Displaying Collections
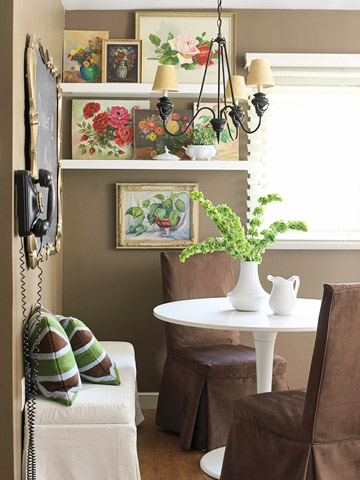 I love how Inspiration For Home Blog didn’t just hang one art piece, but grouped many together and even overlapped them.
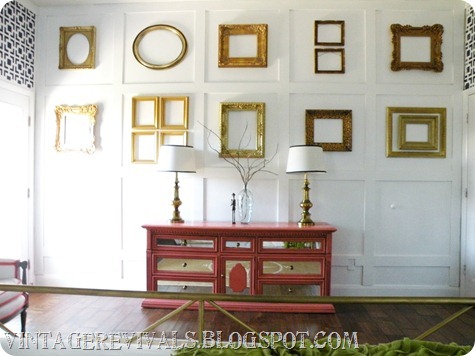 I love the collection of old frames from Vintage Revivals Blog.
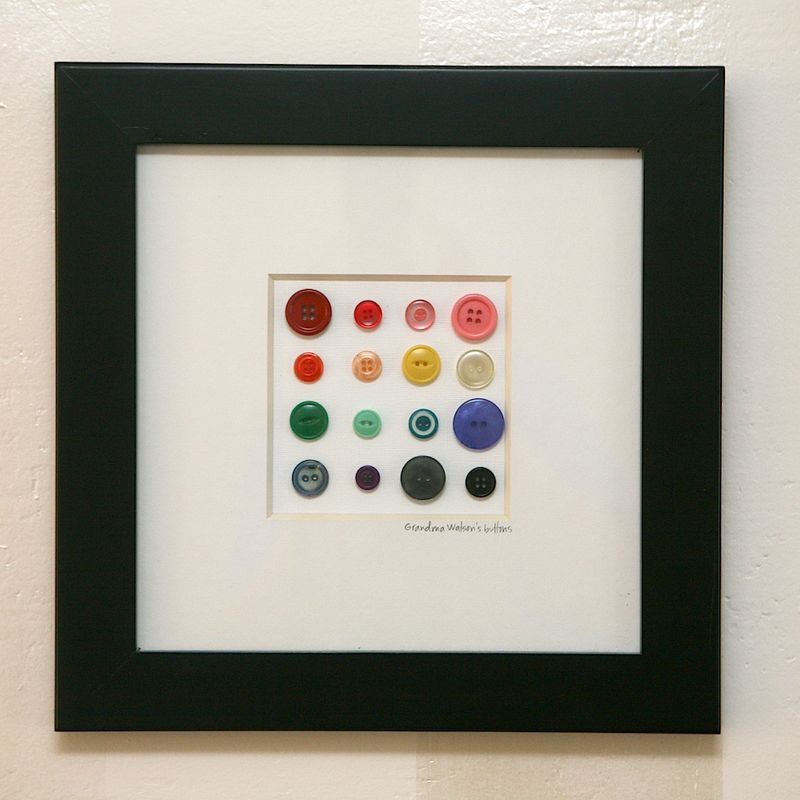 This is a cute way to display grandma’s buttons from Write. Click. Scrapbook.
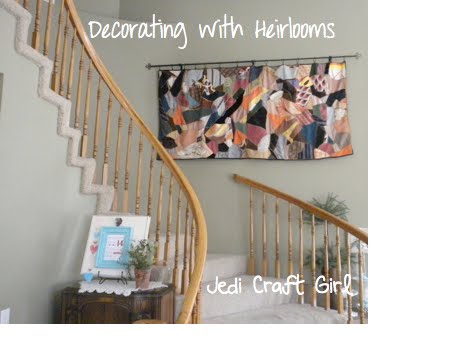
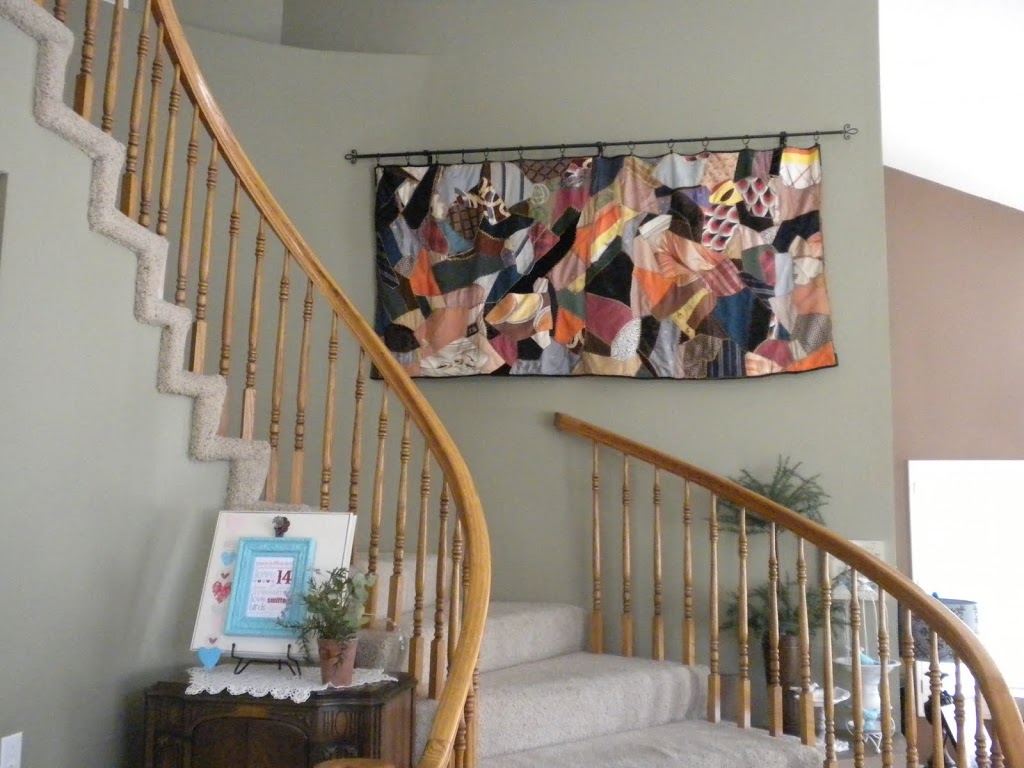
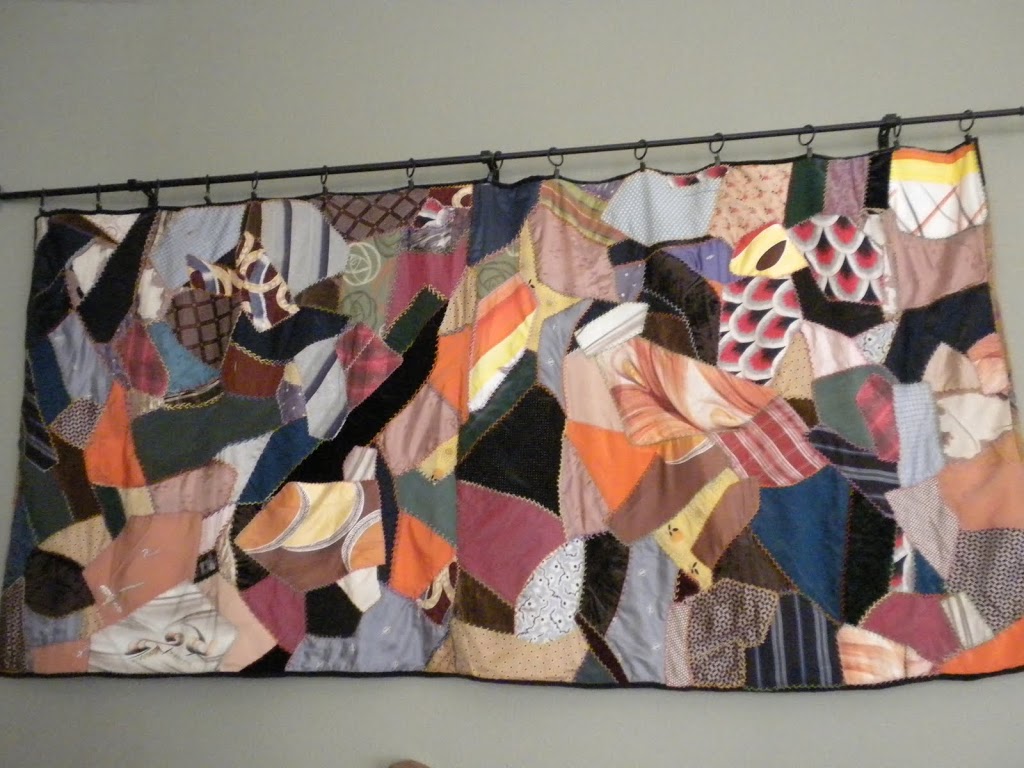
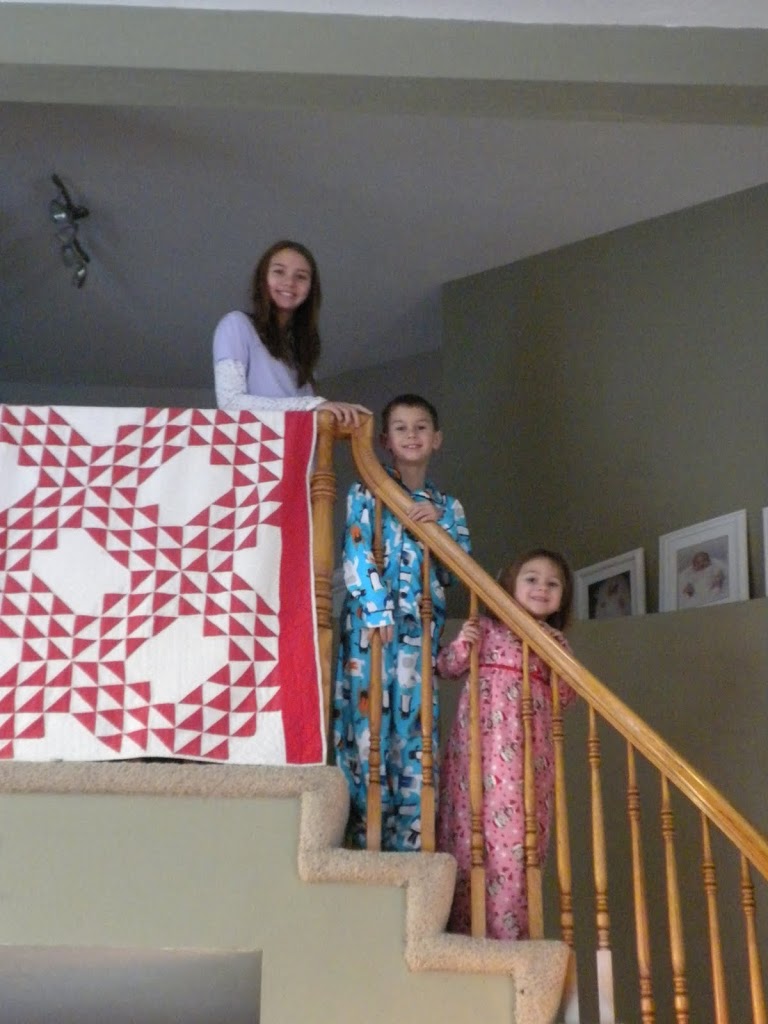
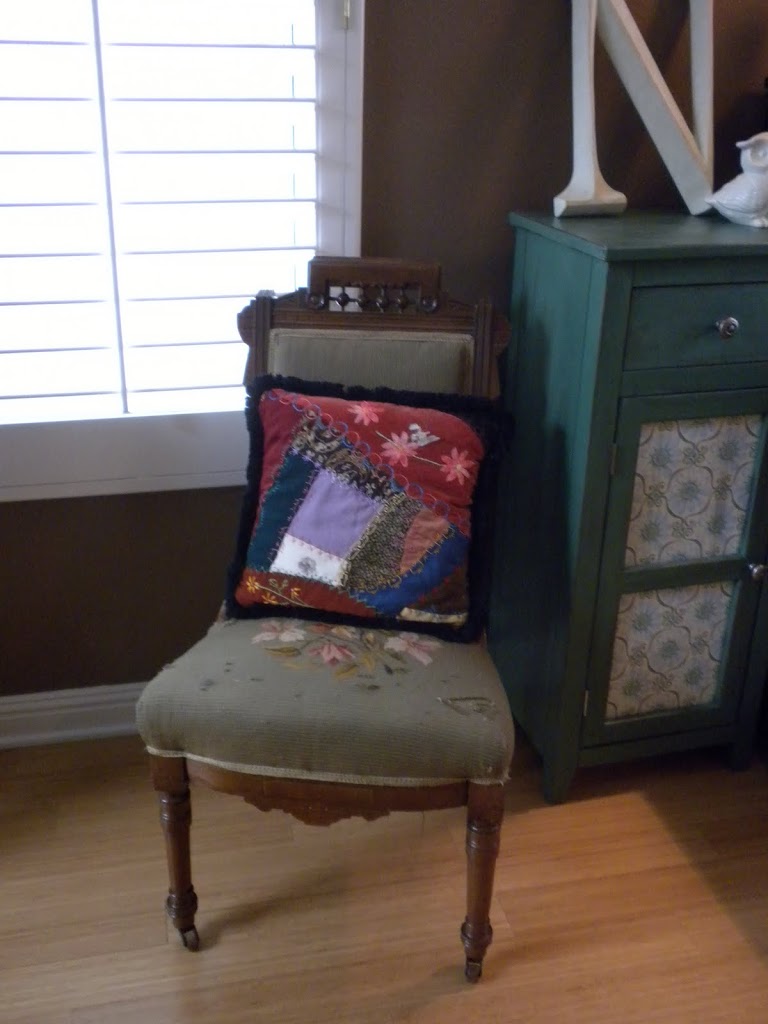
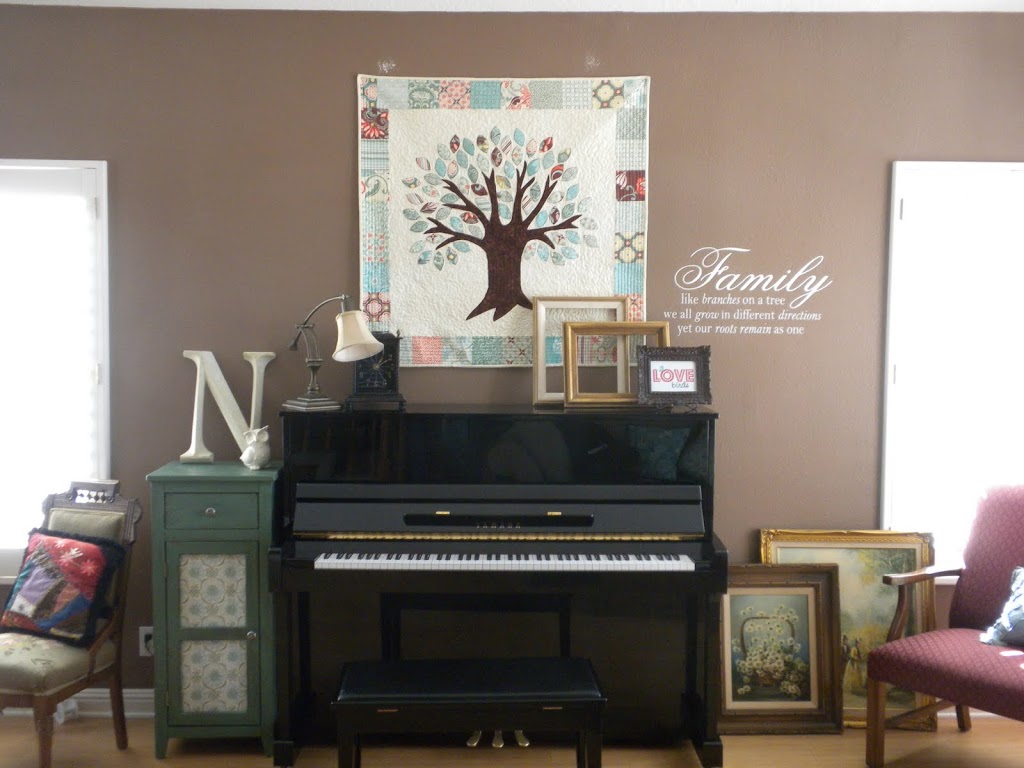
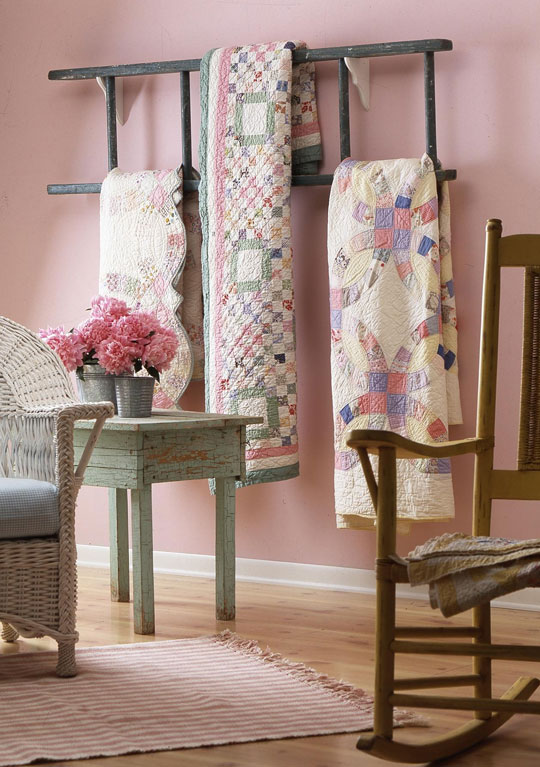
The following three photos come from Bountifulheirlooms.blogspot. Cute ways to display heirloom quilts.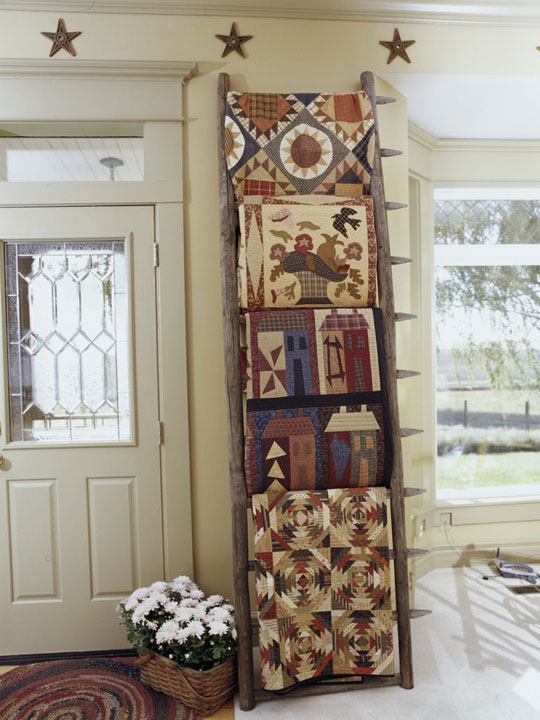
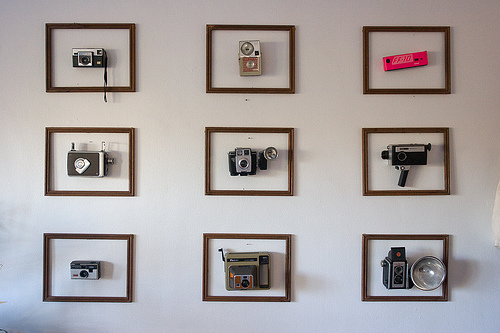 Poppytalk has several creative ways to display vintage cameras.
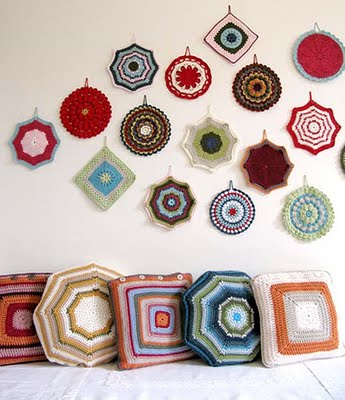 I love this collection of old potholders from Inspirationforhome.blogspot.
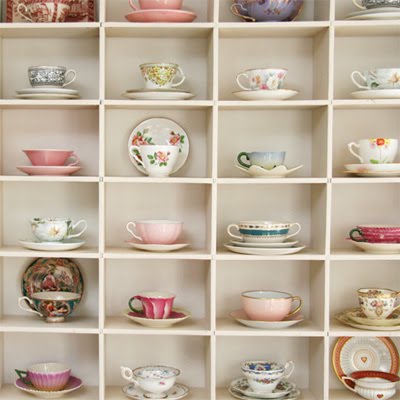 Display collections of china in a display shelf. I love that these are all cup and saucers. Photo from Mamanova.
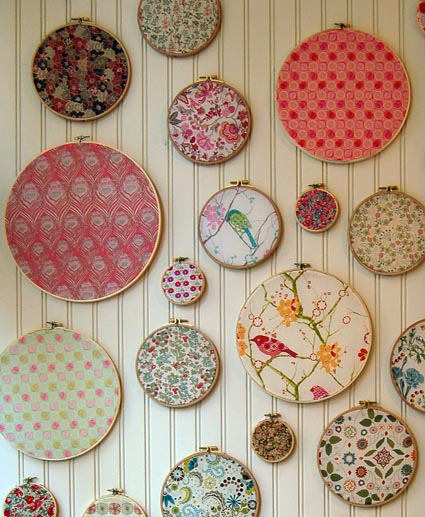 Display favorite fabrics, stitchery, towels, in different sizes of embroidery hoops. Idea from The Purl Bee