So maybe I am the last person on earth to try a “DIY Cake Plate” – but that’s ok because they are so much fun to make. I collected plates, bowls, candle holders and other odds and ends from thrift stores, garage sales, and my own garage! Here’s how you make them:
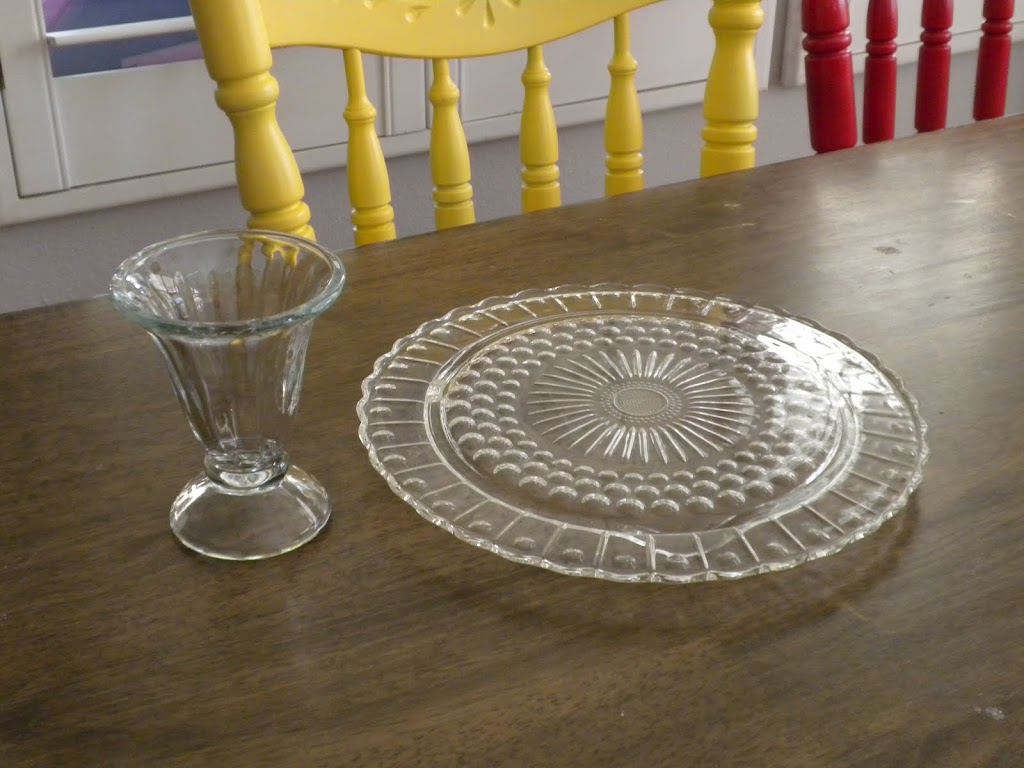
#1 – Clean all pieces (get all those impossible-to-remove labels off and any candle wax that has dripped down on candle holders). In this example I made 3 different ones.

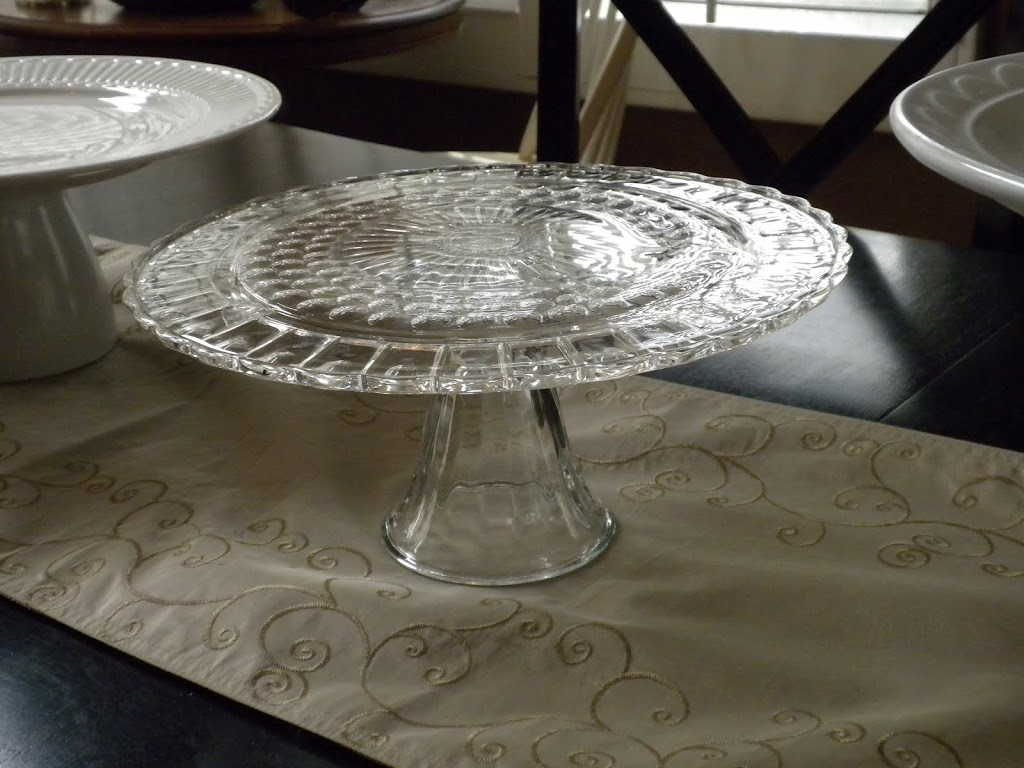
Glass plate & Ice cream sundae dish
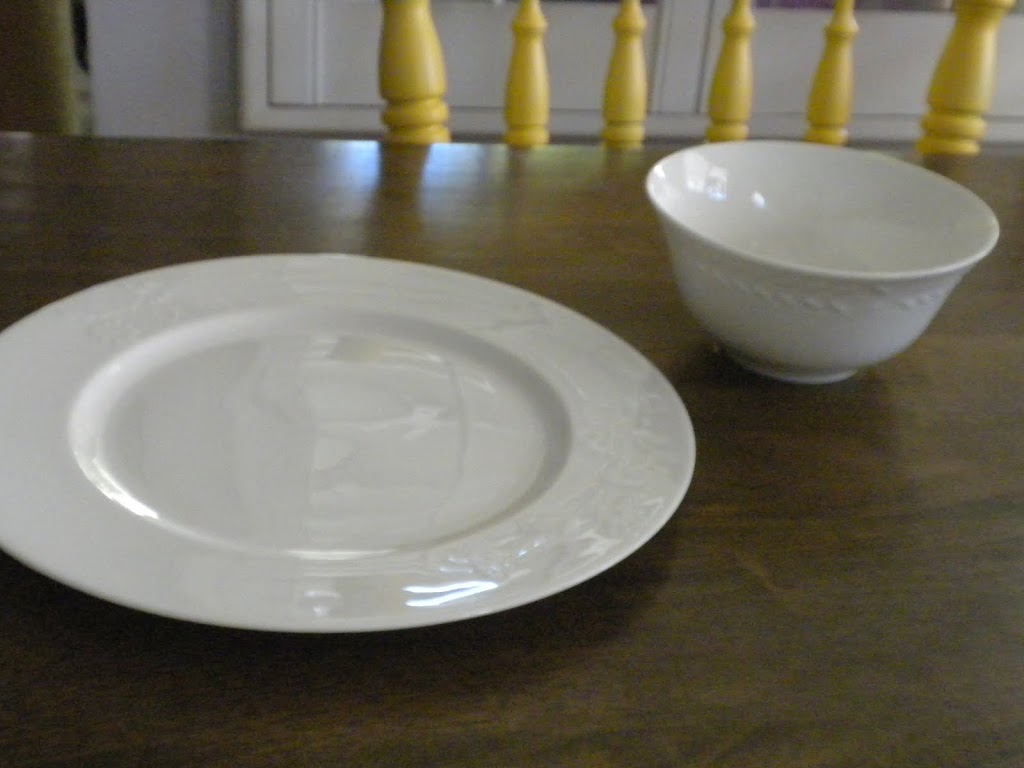
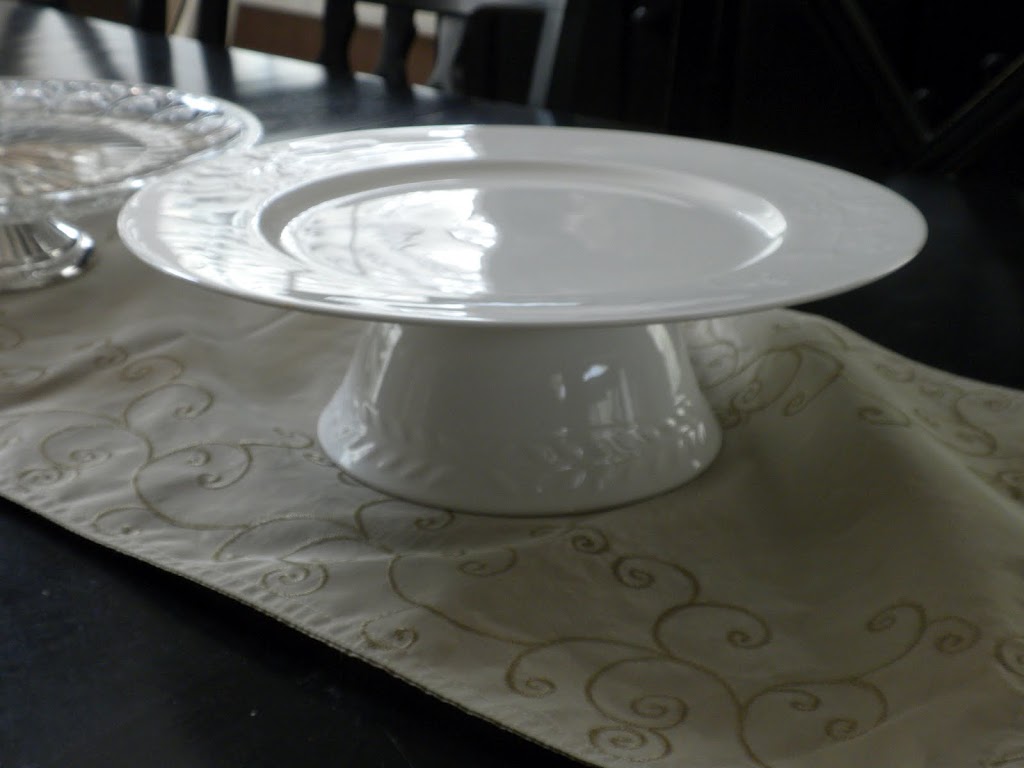
White plate & white bowl
#2 – Mix the Epoxy. I just used a small amount at a time because it dries so fast. I love working with epoxy because it makes me feel smart – like I know all about Science!!! I used a toothpick to apply the epoxy to the base of my cake plate (the part you will attach to the plate).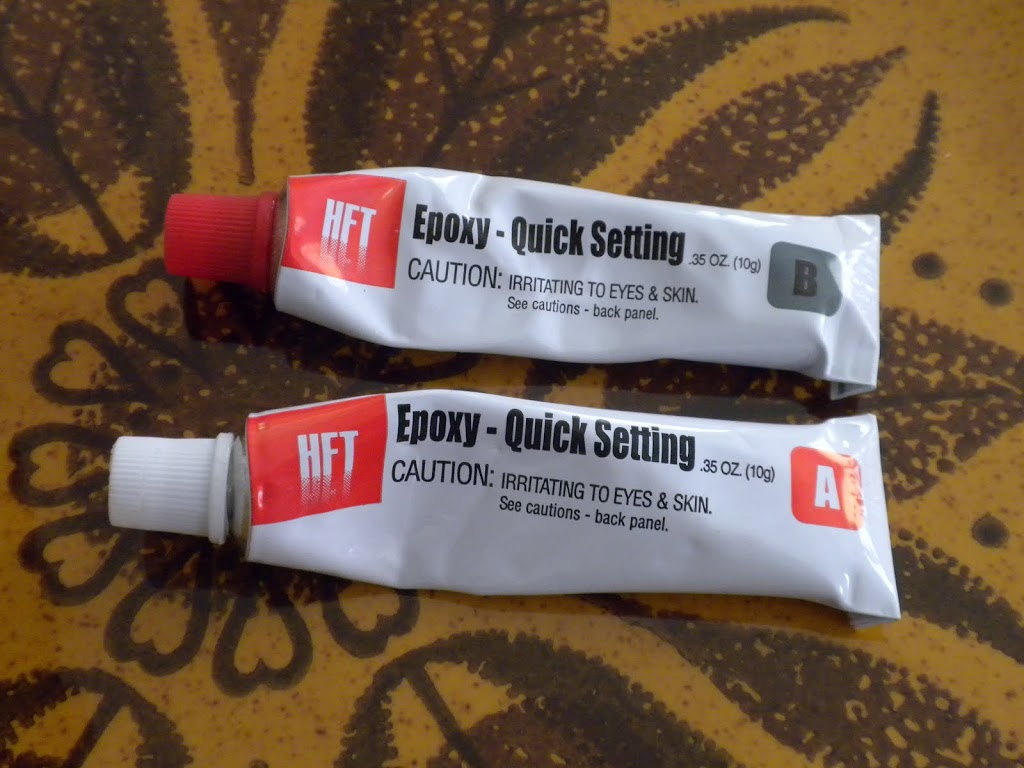
#3 Center the cake plate base onto the bottom of the plate. I placed a book to add some pressure. Let dry.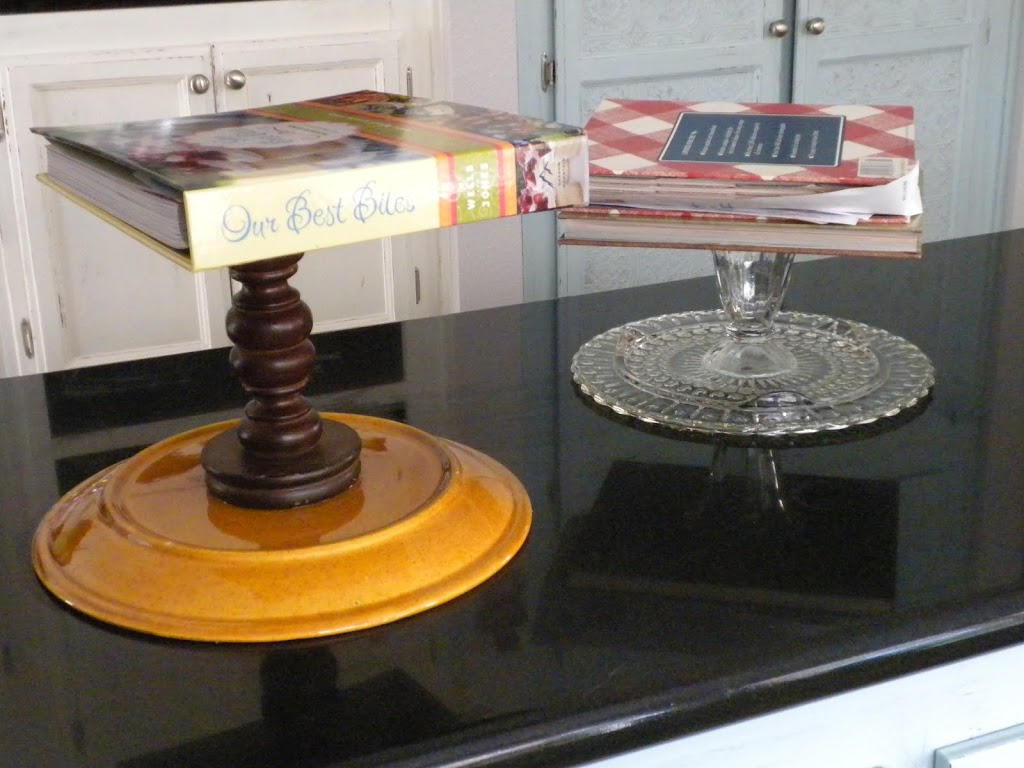
#4 Paint. If you love your plate & stand color & finish then you are done. If you don’t love them (like the gold plate above) then it’s time to spray paint. I primed the entire piece with spray primer then painted my plate gloss white. If you do paint the top of the plate, I don’t suggest placing food directly on the painted surface. Use a cardboard cake board or a doily.
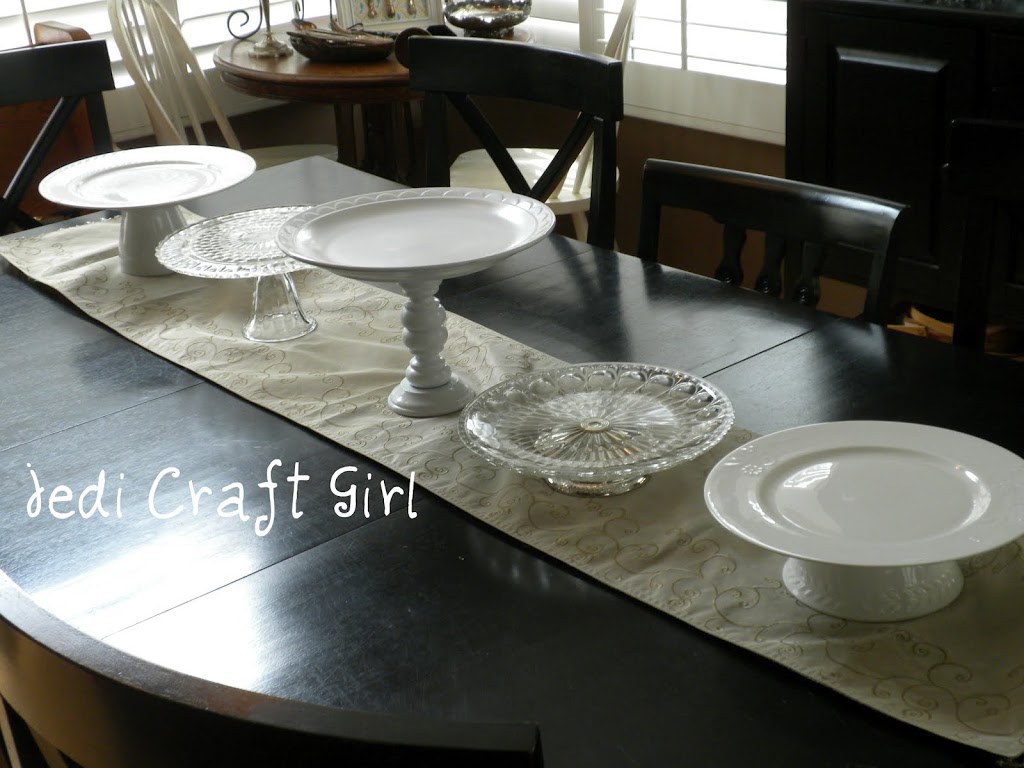
Here are the finished cake plates: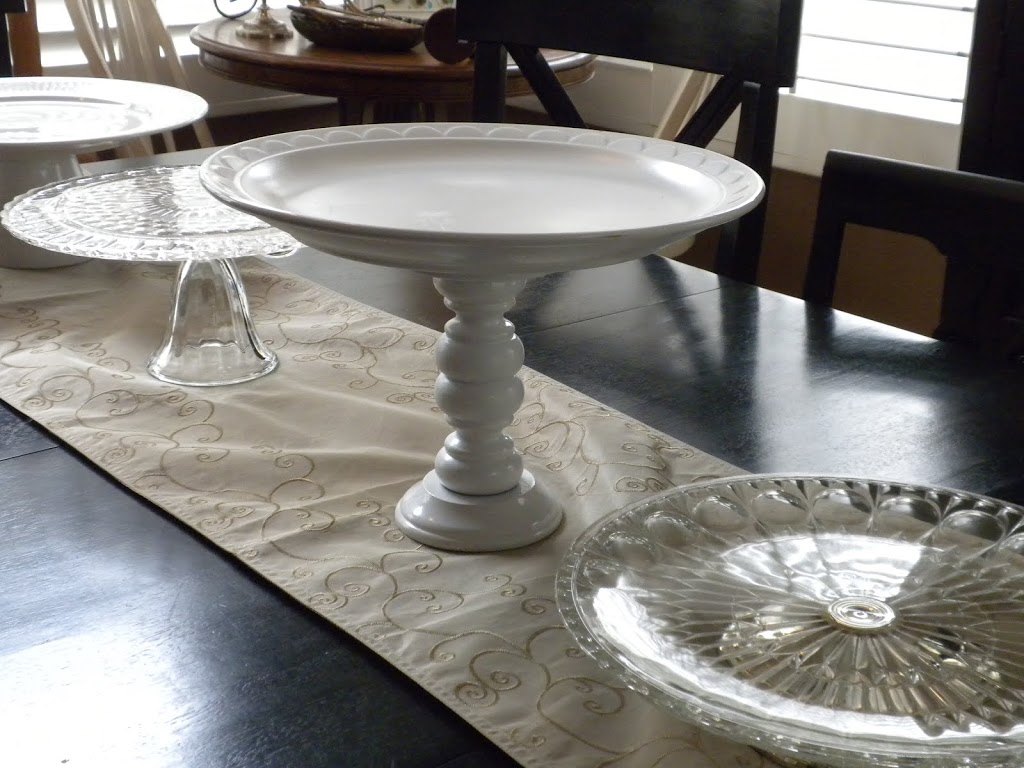
 I also found these cute dessert plates at Home Goods in the clearance section. I epoxied cut glass candle holders to the bottom. The possibilities are endless!!!
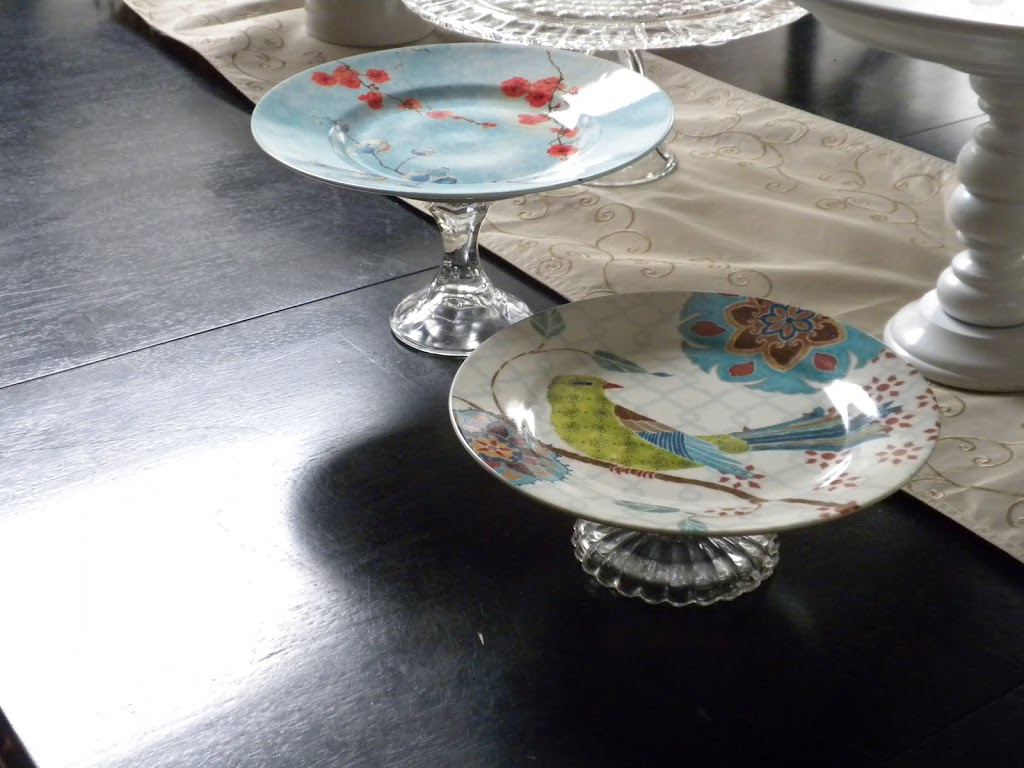


for the amount of spray paint you use my friend…why don’t you have one of those handles you use with the cans???
Oh how I need you makeover and spray paint skills, energy and enthusiasm!