Archives for March 2012

Sewing Organization

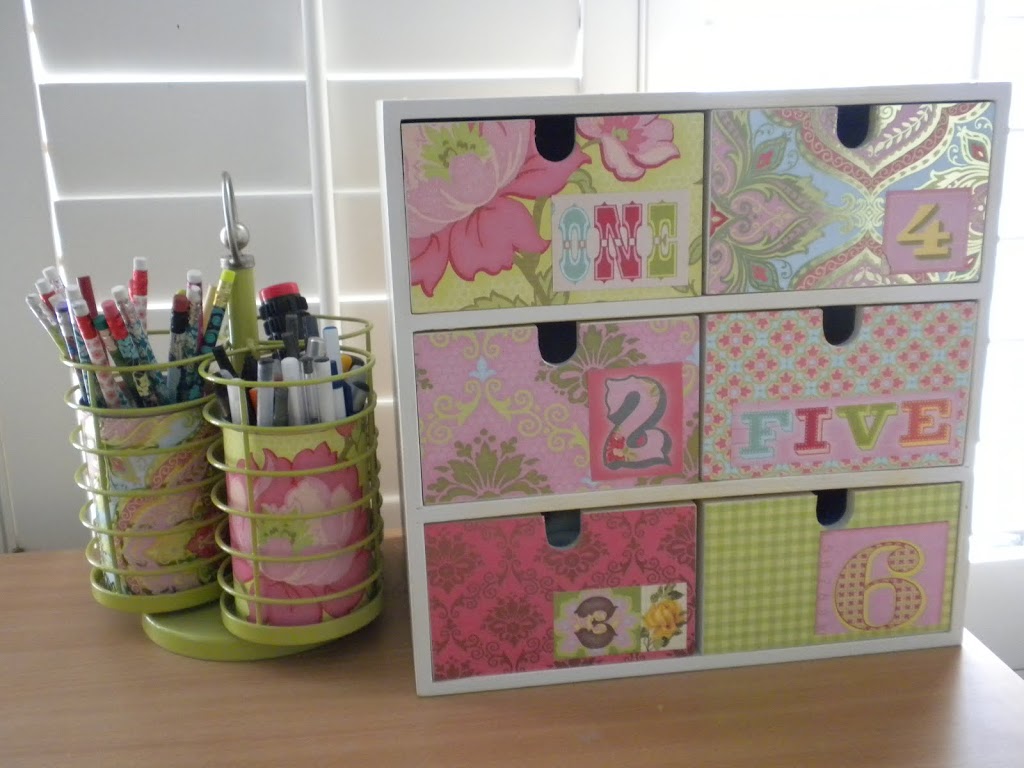
I have these two items sitting on my sewing table in need of help:

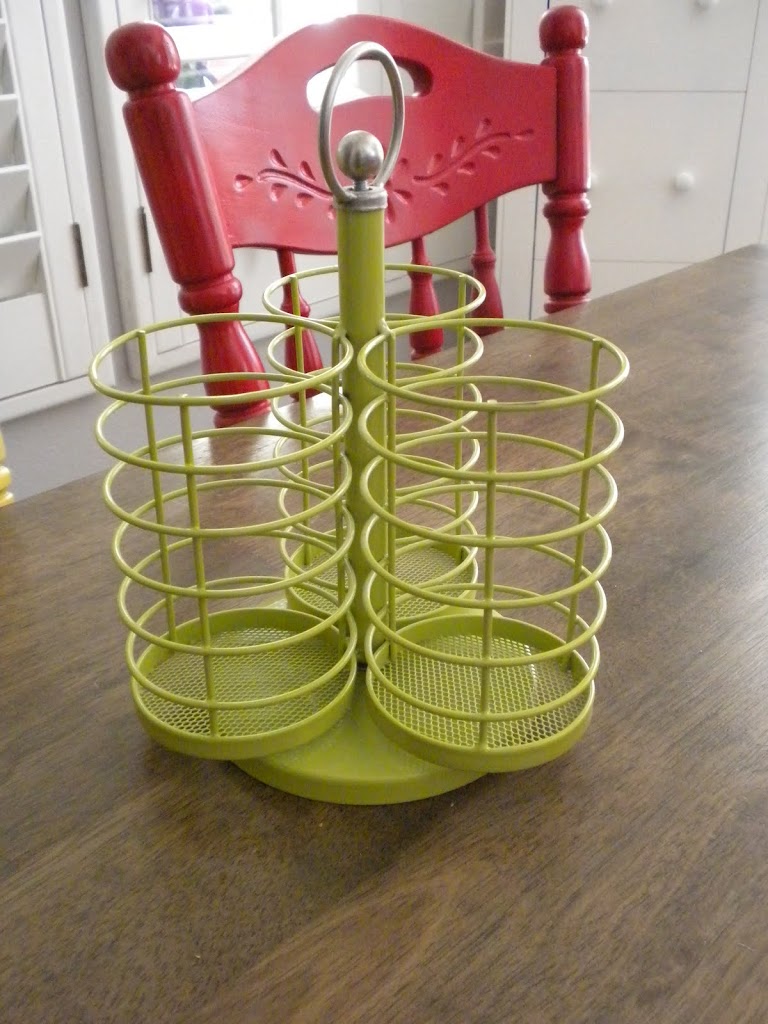
This item – a pencil organizer – I bought at Target and it spins around. I keep scissors and pencils in it. The only problem is that everything falls out the sides because they are open. After a year of putting up with it – I decided to oput it in the “donation” pile. Then an idea came to me and I fished it out of the donation pile. I got 3 cans and covered them with scrapbook paper. The cans fit perfectly inside each of the 3 compartments and now nothing falls out – and it is super cute!

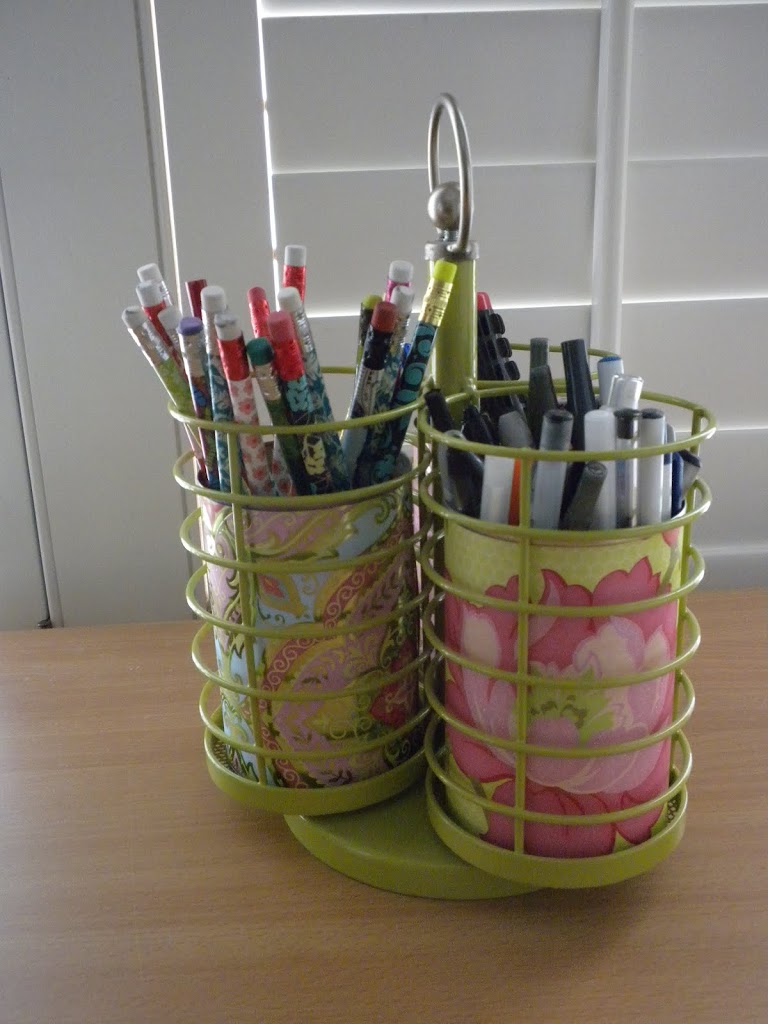
This other drawer thing I bought at a garage sale for 50 cents. I keep my sewing machine feet, different pins, and quilting gloves in each of the drawers. I have been meaning to decorate it and today was the perfect day to do so!

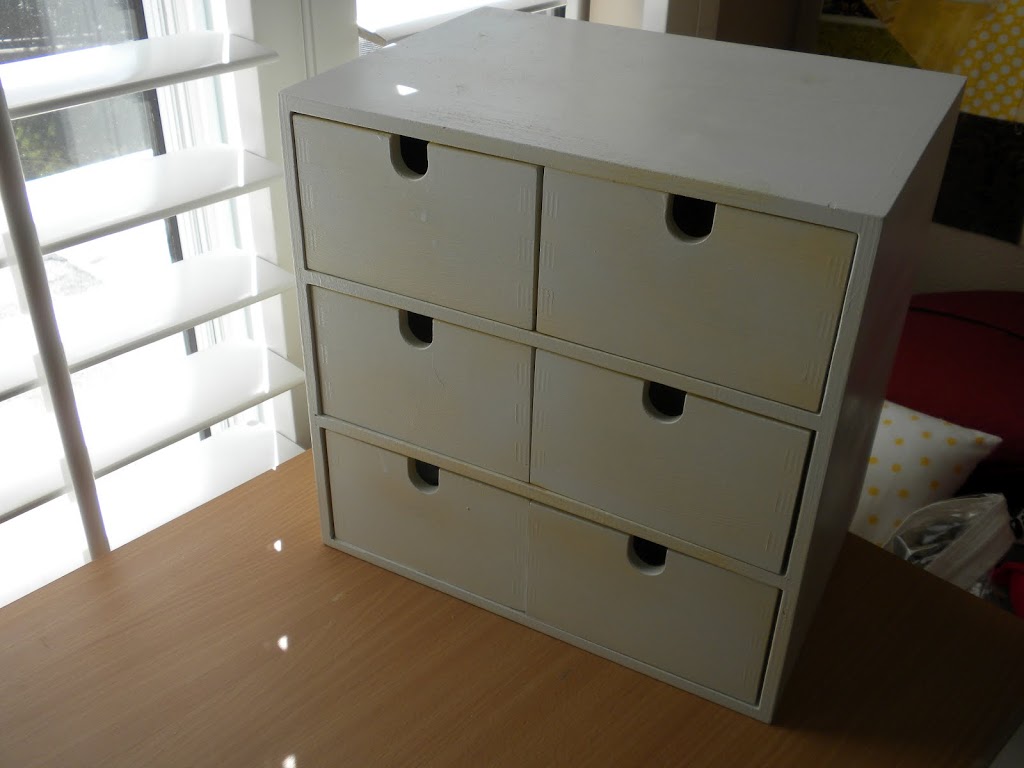
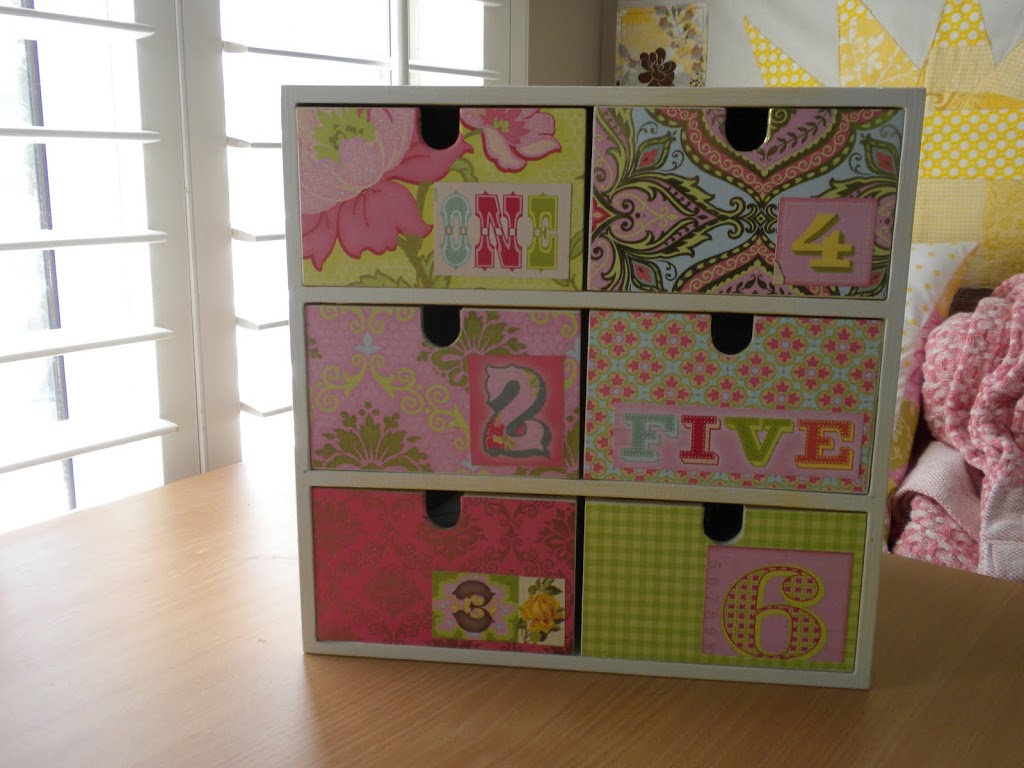
Now everything looks color coordinated and happy!

Spring Dining Room Table

After making all the cake plates, I realized I don’t have anywhere to store them. I decided to use them in my spring table decor. I bought these tins at Target in the $ section. I searched for rabbit silhouettes on the internet and cut them on the cricut out of black vinyl. Then placed spring green silk hydrangeas in each of the tins. I love how it looks! There are 5 total.

Antique Cruet Set


In the springtime, my children are always picking me flowers – so sweet. Usually the stems aren’t very long and there are not enough flowers for a large bouquet – I never know what to do with the little flowers. I finally solved the problem! I got out my antique cruet set. I filled each little vase with water – they are the perfect size for garden plucked flowers. Sally picked me some daisies from the yard and now I can enjoy them for several days!

DIY Cake Plates


So maybe I am the last person on earth to try a “DIY Cake Plate” – but that’s ok because they are so much fun to make. I collected plates, bowls, candle holders and other odds and ends from thrift stores, garage sales, and my own garage! Here’s how you make them:

#1 – Clean all pieces (get all those impossible-to-remove labels off and any candle wax that has dripped down on candle holders). In this example I made 3 different ones.

Platter & wood candlestick


Glass plate & Ice cream sundae dish
White plate & white bowl

#2 – Mix the Epoxy. I just used a small amount at a time because it dries so fast. I love working with epoxy because it makes me feel smart – like I know all about Science!!! I used a toothpick to apply the epoxy to the base of my cake plate (the part you will attach to the plate).

#3 Center the cake plate base onto the bottom of the plate. I placed a book to add some pressure. Let dry.
#4 Paint. If you love your plate & stand color & finish then you are done. If you don’t love them (like the gold plate above) then it’s time to spray paint. I primed the entire piece with spray primer then painted my plate gloss white. If you do paint the top of the plate, I don’t suggest placing food directly on the painted surface. Use a cardboard cake board or a doily.

Here are the finished cake plates:

I also found these cute dessert plates at Home Goods in the clearance section. I epoxied cut glass candle holders to the bottom. The possibilities are endless!!!

Finally – I found something to do with this Ladder!

I bought this ladder 18 years ago when we got married. I used it to hang my collection of “Boyd’s Bears”. It was really cute at the time. I have held onto it all these years – keeping it in the garage. Finally – it has a new purpose! I printed off these “Be” sayings with photos of our family:


Then I spray painted dollar store frames 5 different colors – I wanted it to feel bright and cheery – I can’t have everything painted white 🙂

I hot glued a ribbon hanger to each frame – and it’s done & hanging up. I keep looking at it because it makes me happy.

Snappy Bag

I found this tutorial for these “Snappy Bags” at Just Another Hang Up . They are the cutest things ever! And such great instructions. You use a cut up tape measure inside the bags so they “snap” together! Ella and I made 38 of them for Valentine’s Day Gifts.