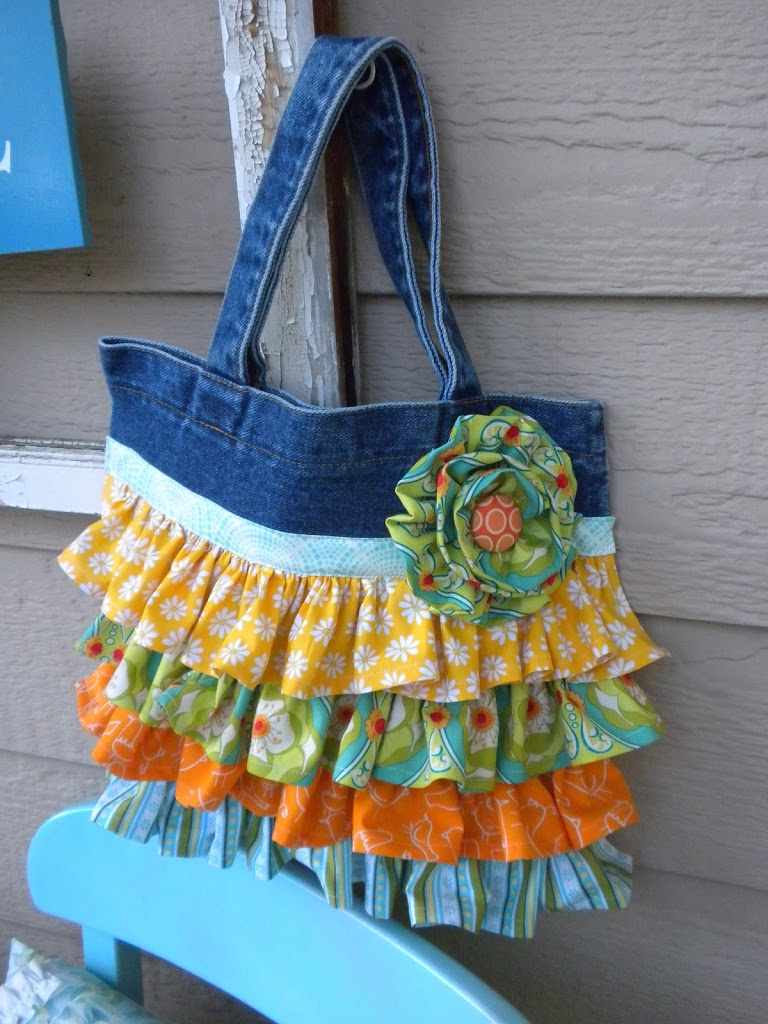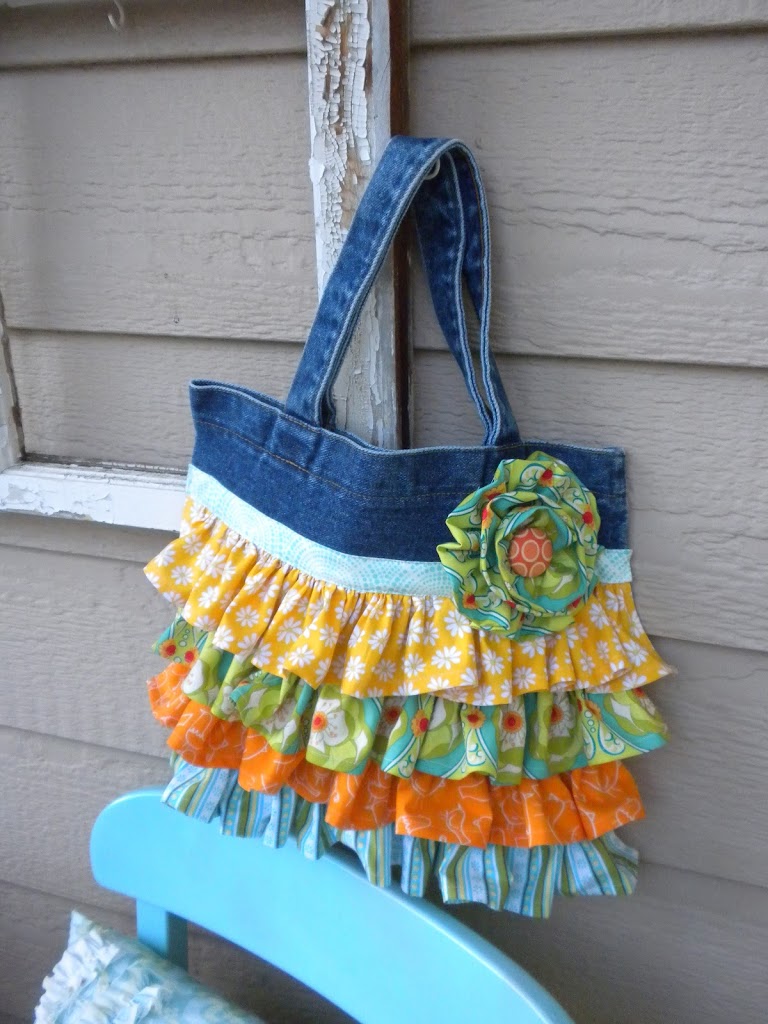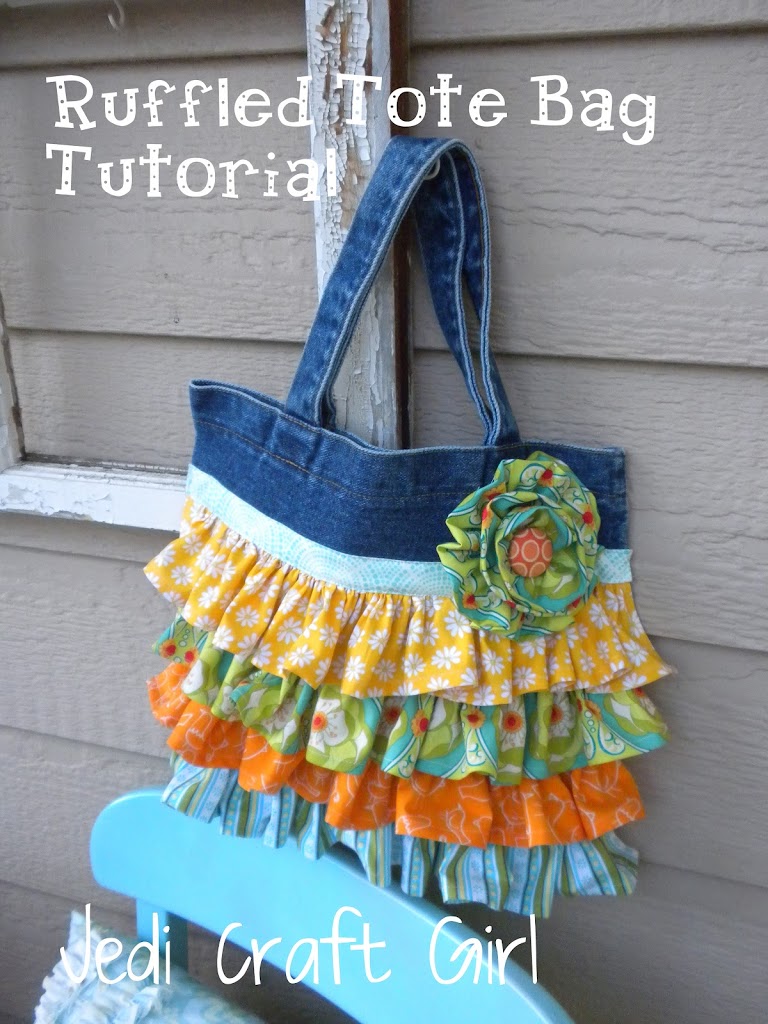
What you need:
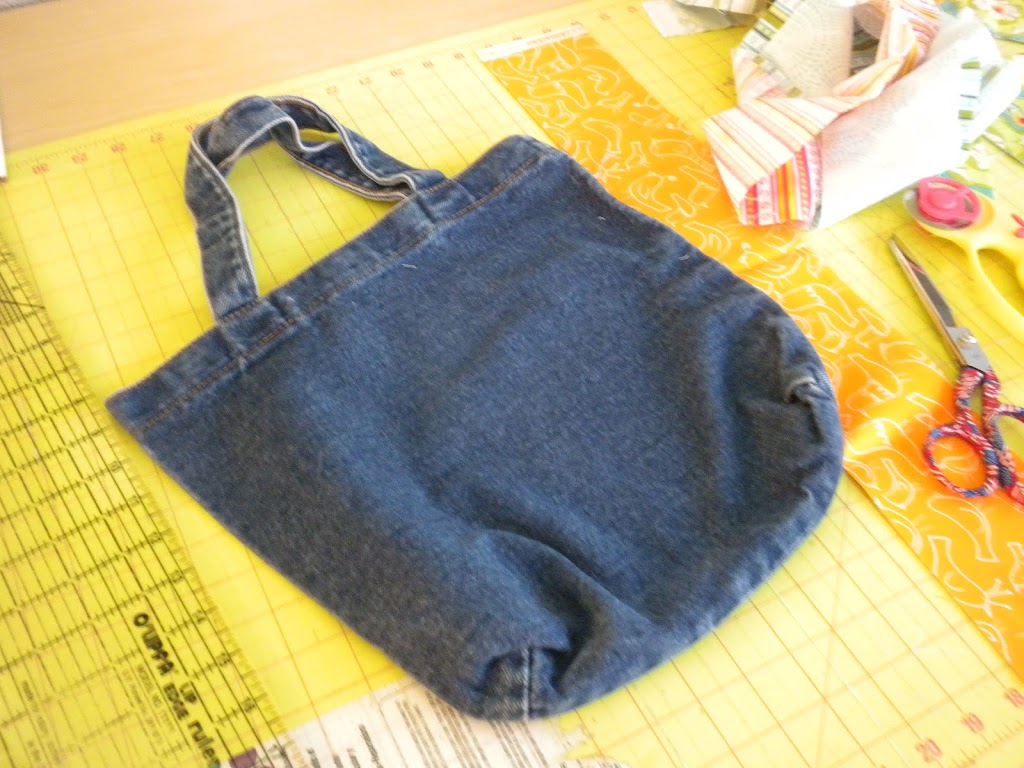
1 tote bag
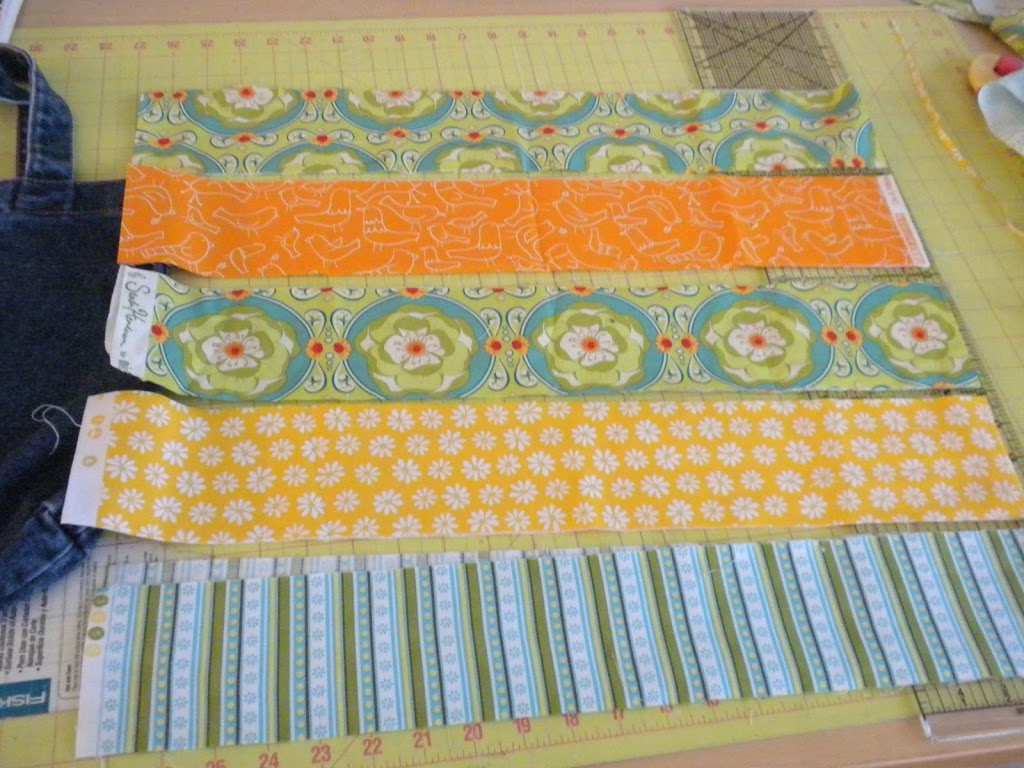
6 strips of fabric 3.5″xWOF. 4 strips are for the ruffles, 1 strip for the trim, and 1 strip is for the flower. You can use ribbon instead of making the top trim.
1 button (I made a covered button)
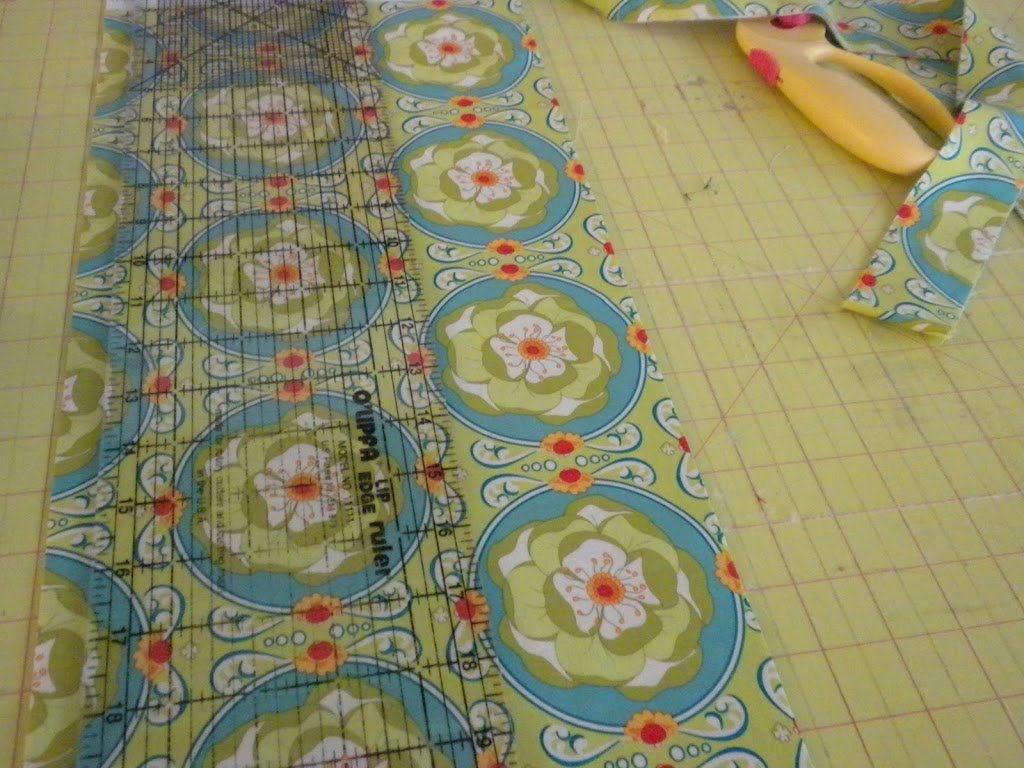
Cut your fabric into strips 3.5″ – this is a great Stash Buster project!!
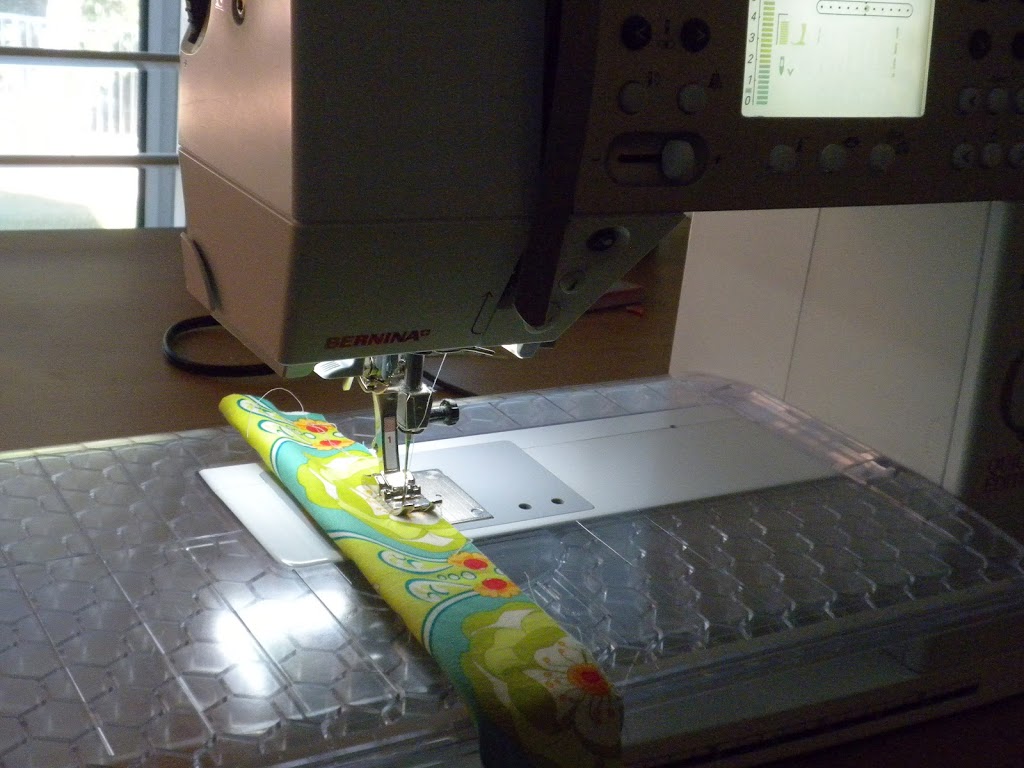
Do a narrow rolled hem along the 2 short sides of the 4 strips and the bottom of the strip.
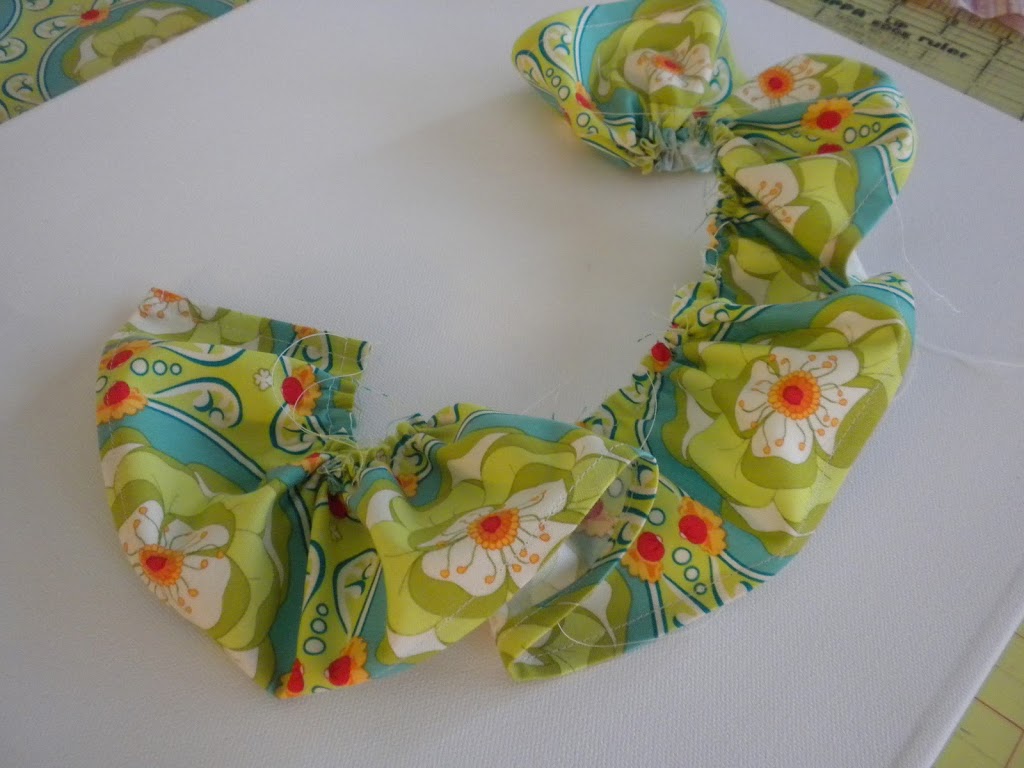
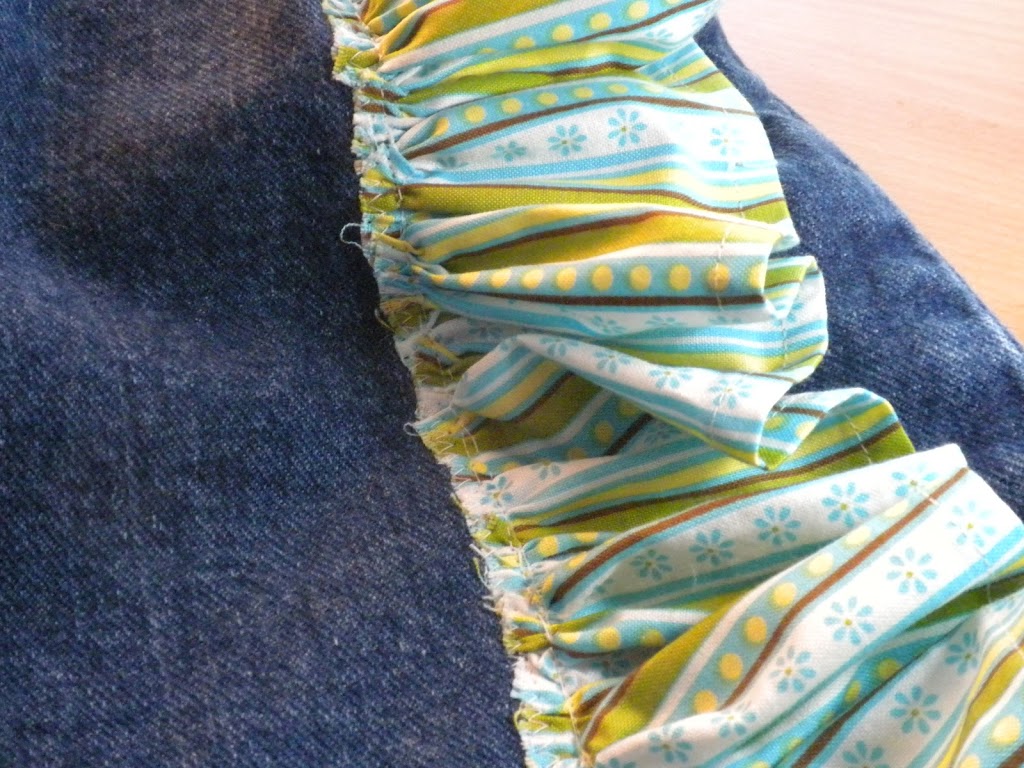
Turn your stitch length up to the maximum and sew 1/4″ gathering stitch along the raw edge of all 4 ruffle strips. Then pull strings and gather each ruffle like this:
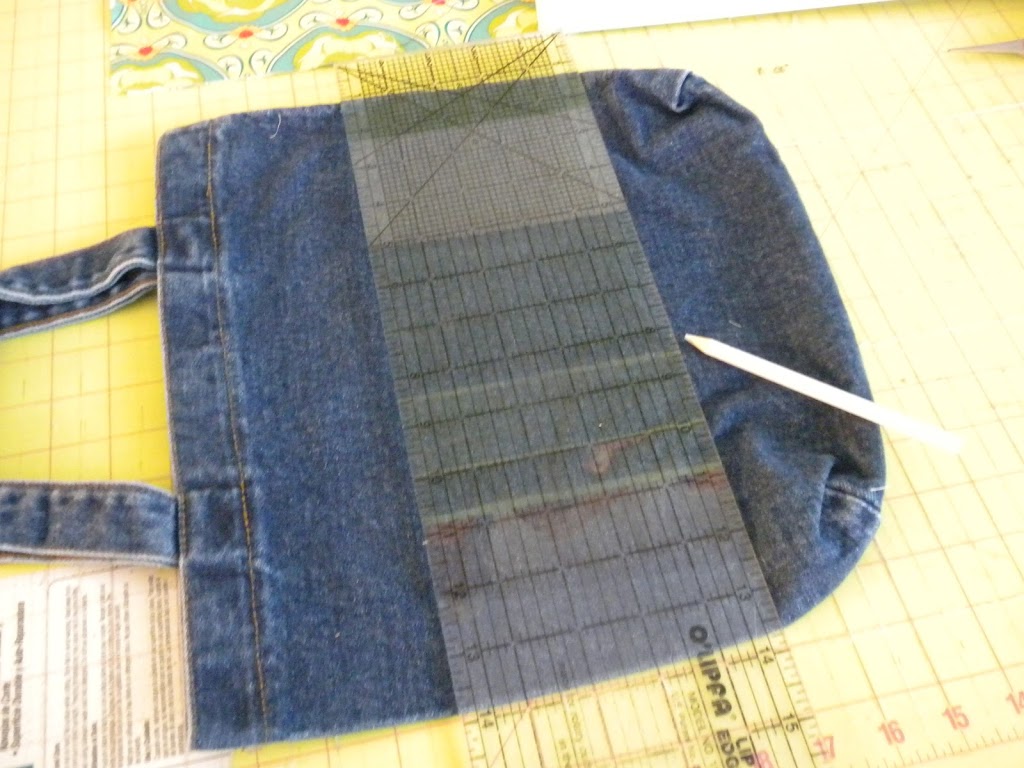
Take your tote bag and mark a line 3″ from the bottom.
Then mark 2″ from your first line. Repeat every 2″ until you have 4 total lines drawn.
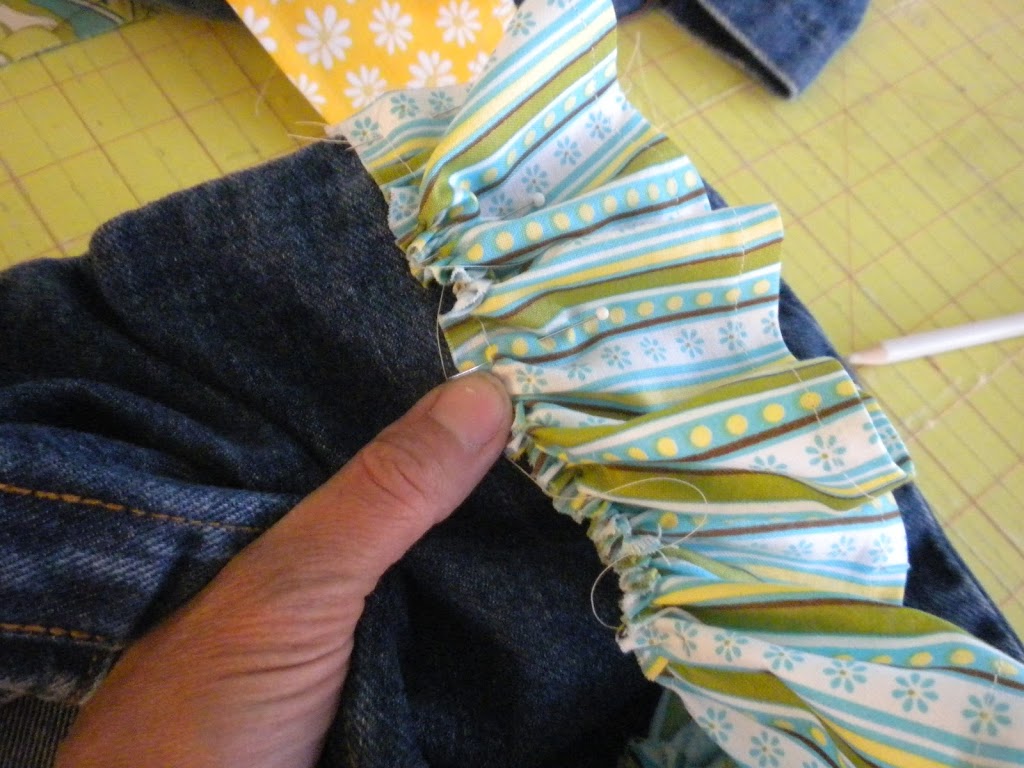
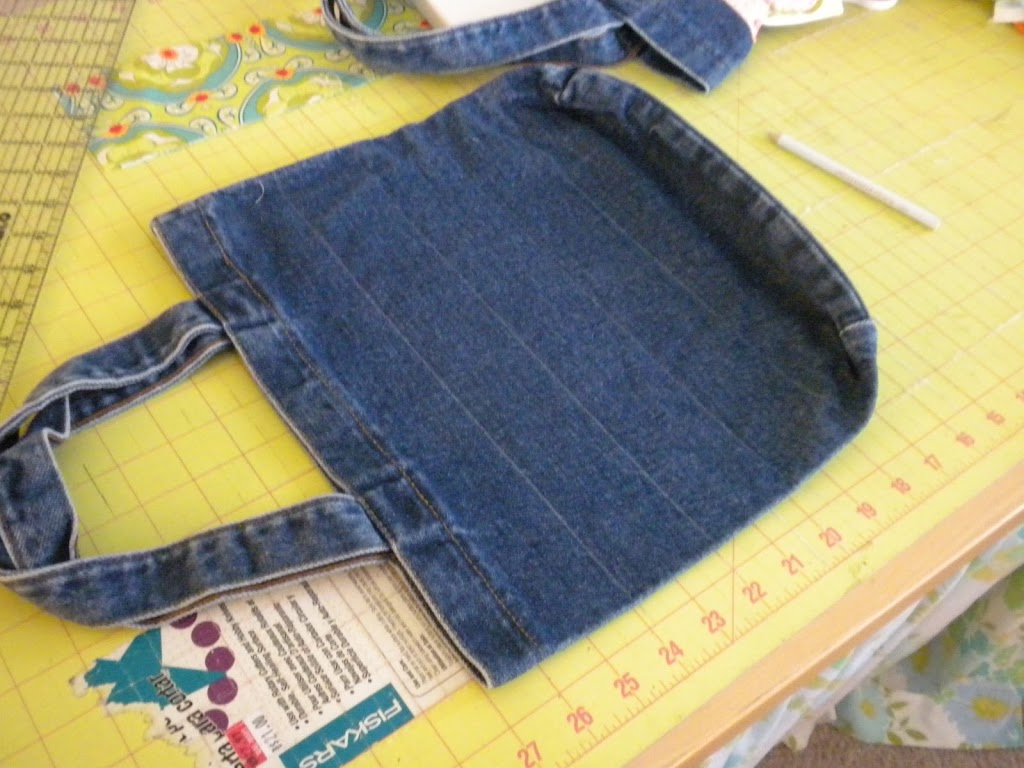
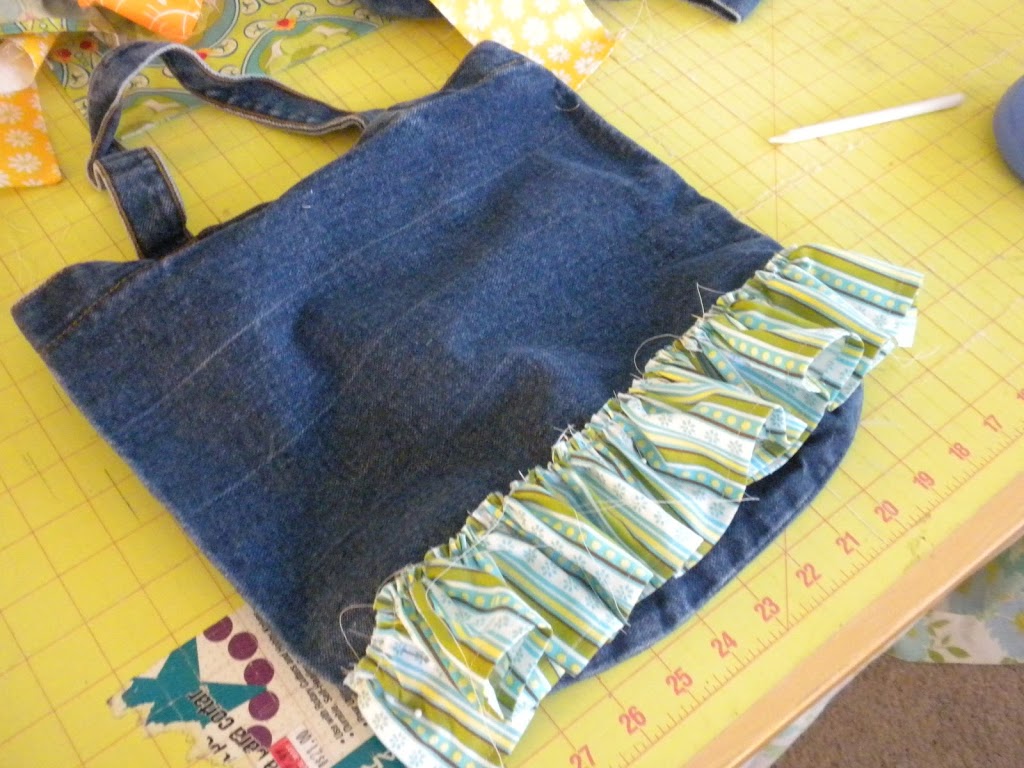
Pin your bottom ruffle to the tote bag matching the raw edge of the fabric to your first marked line. You kind of have to scrunch the bag to get it pinned. This one is the hardest. It SOOO doesn’t have to be perfect!
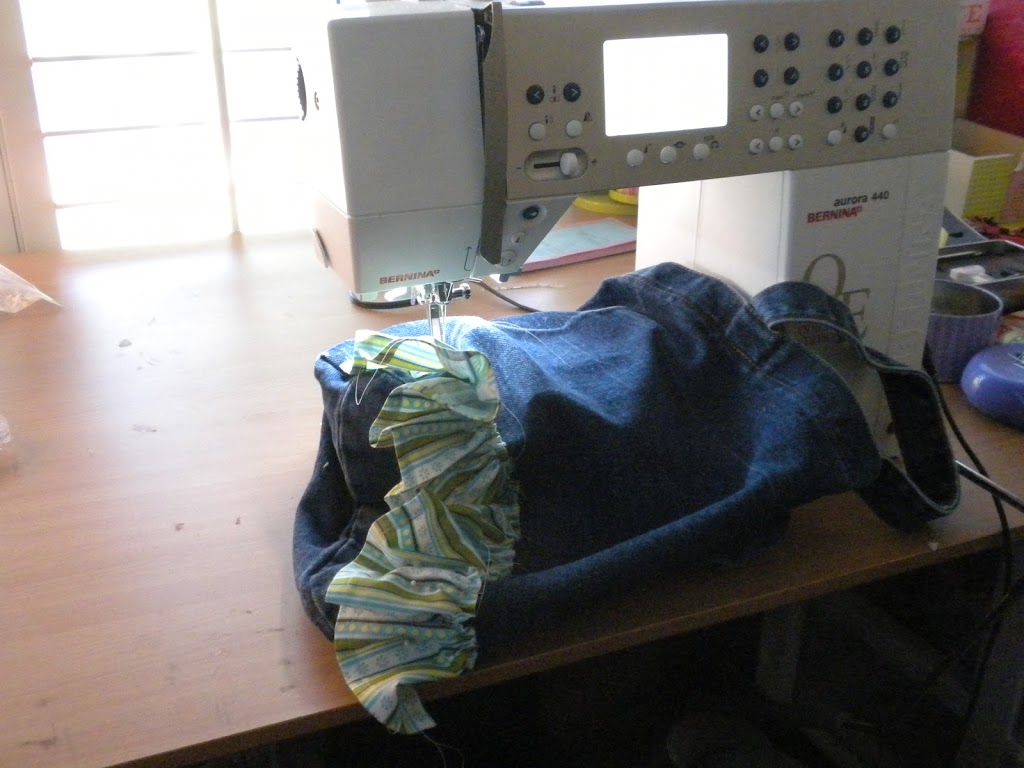
Sew along your gathering stitch. Again, this one is the hardest, the rest get easier. You have to bunch it around your machine – but it will work!
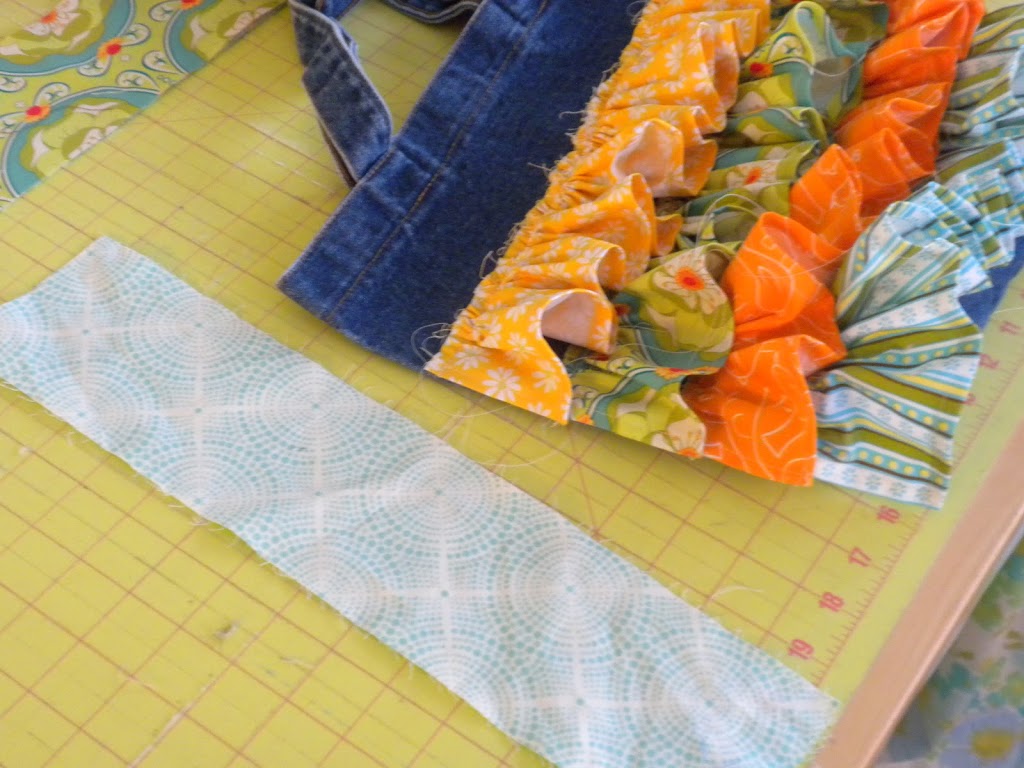
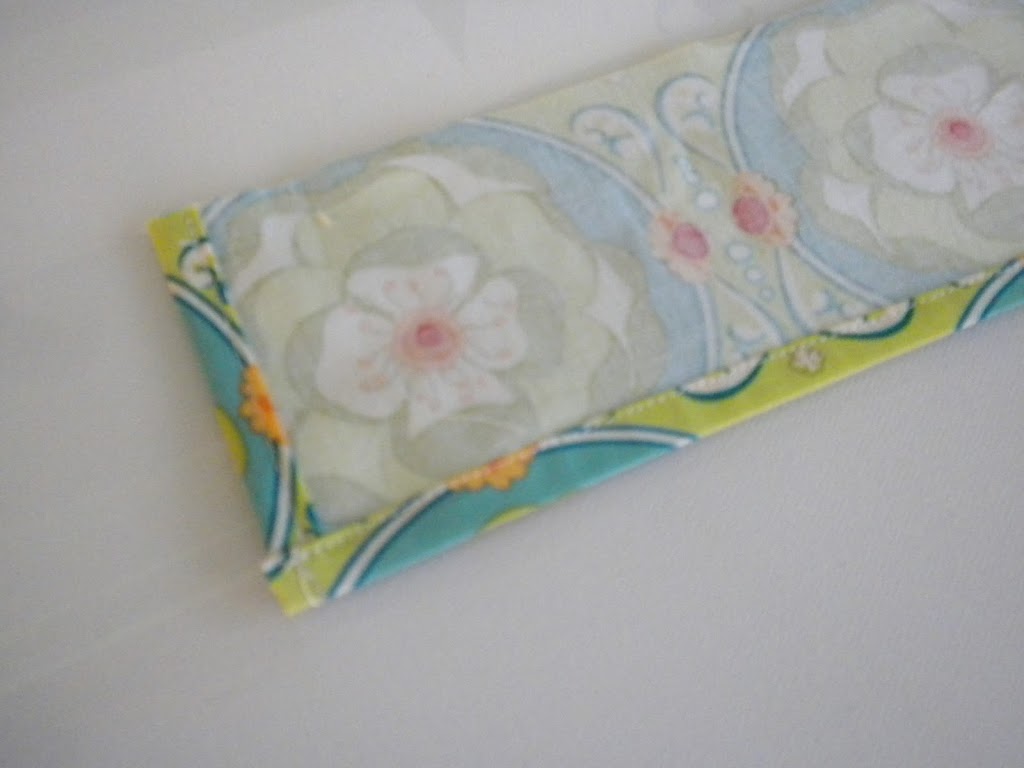
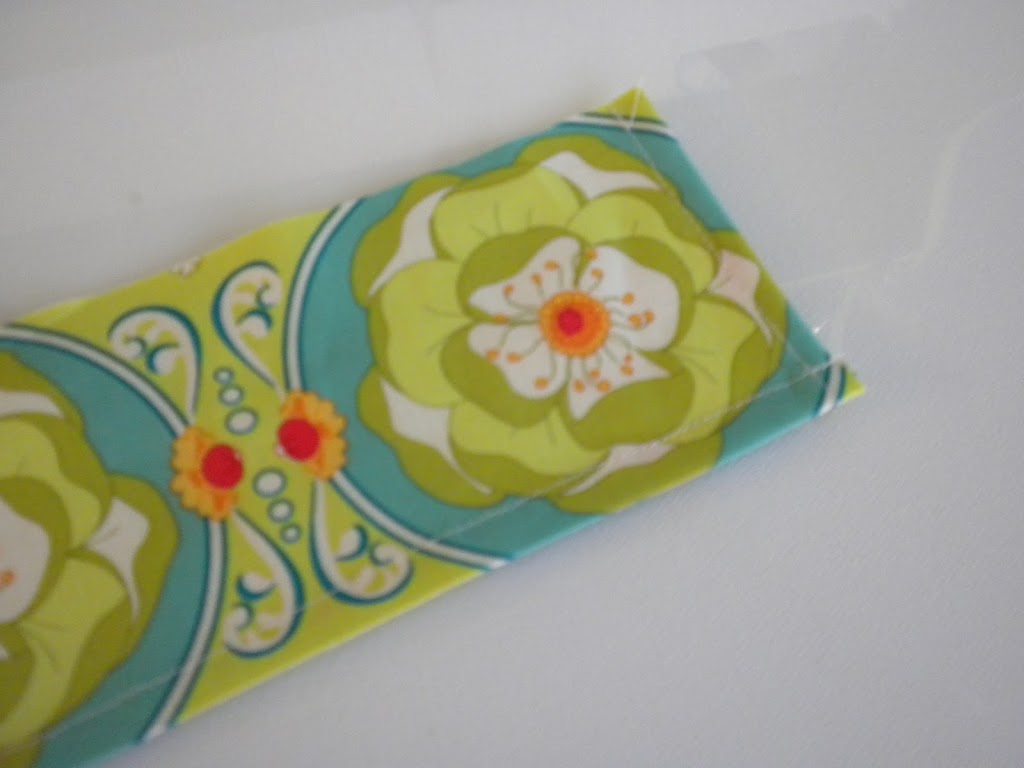
Take your “trim” piece of fabric and cut it so it is just slightly longer than your bag.
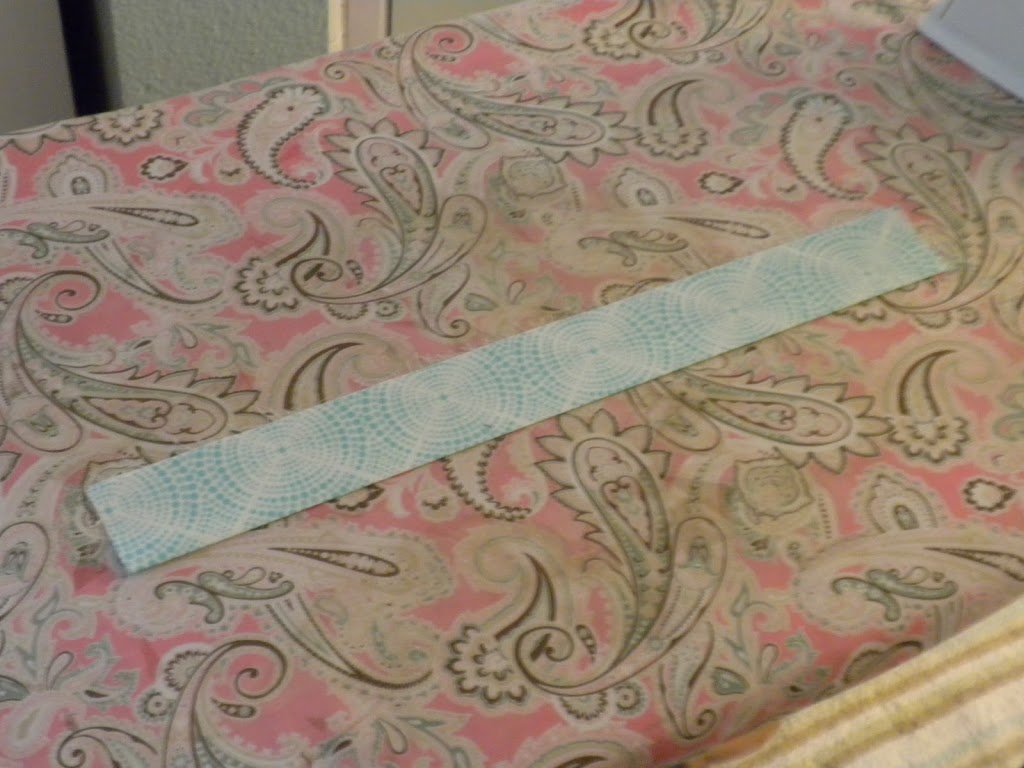
Press this piece in half
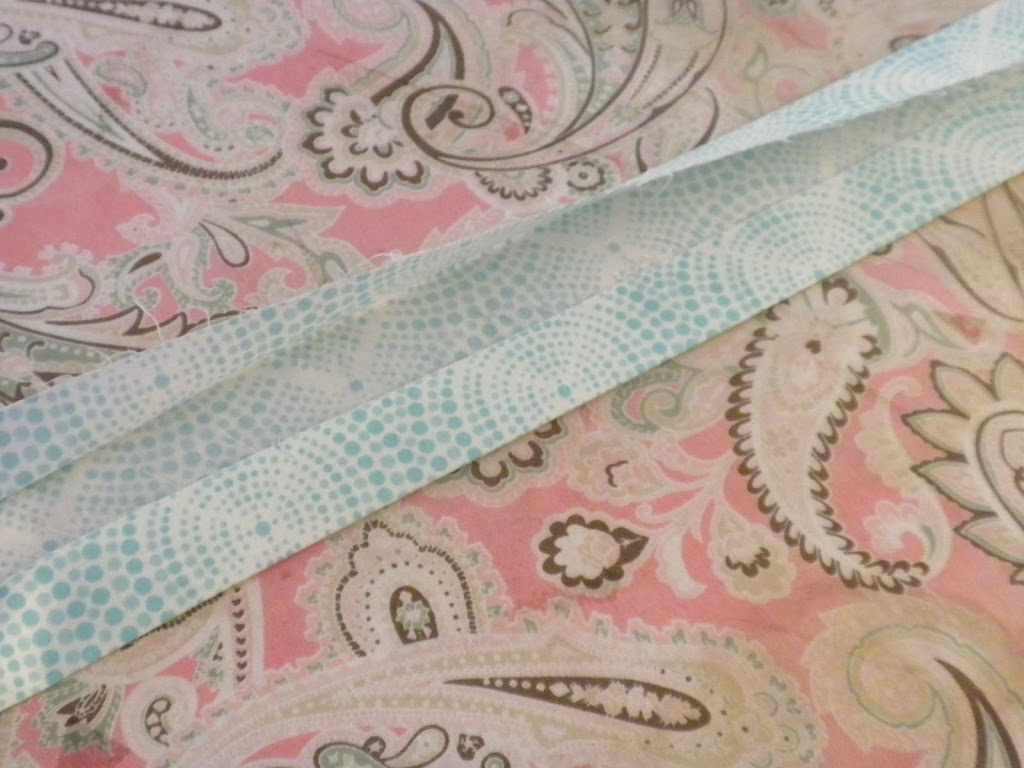
Then open it and press the two sides into the center fold. Then bring these two sides together to make a trim piece with no raw edges.
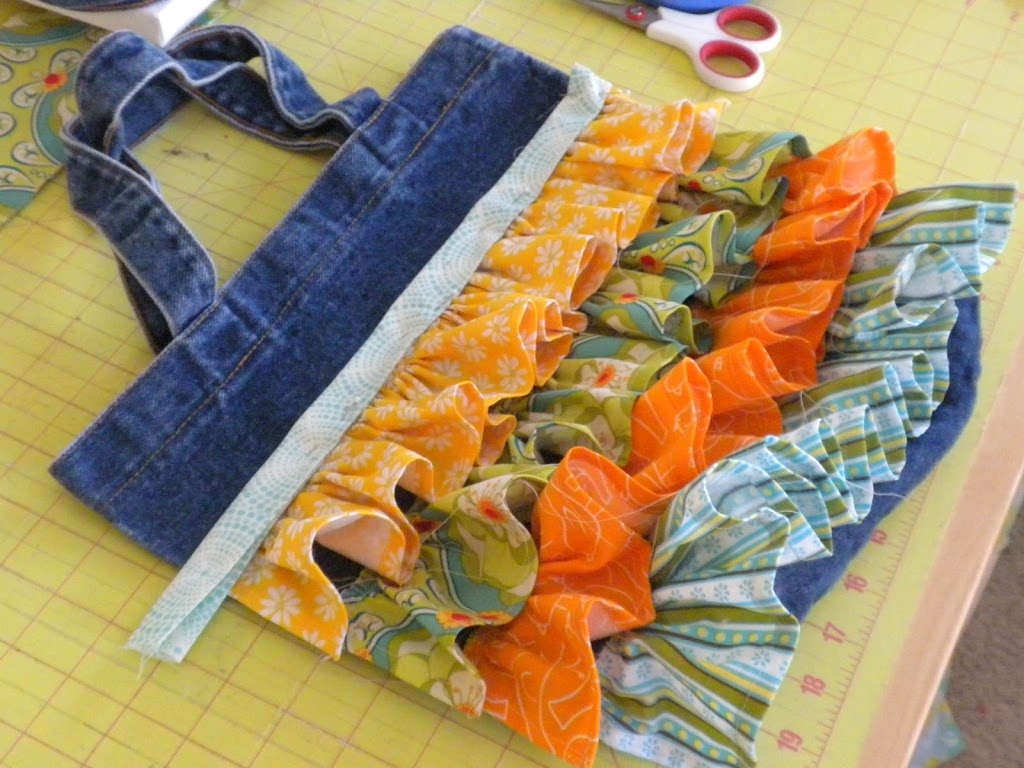
Fold one end in and pin in place. Adjust the length and trim if necessary. Fold the other end in and pin in place. Top stitch all the way around the trim piece. You can totally use pre-made trim, double-fold bias tape, or ribbon. Your bag is almost done!! Just the flower is left!
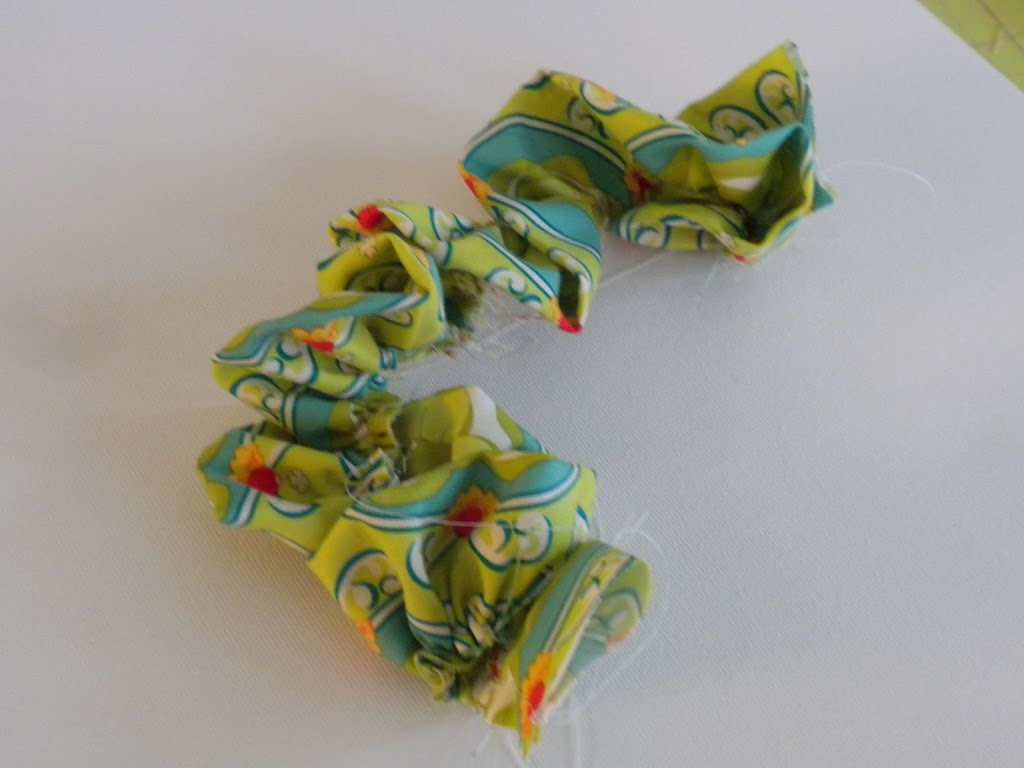
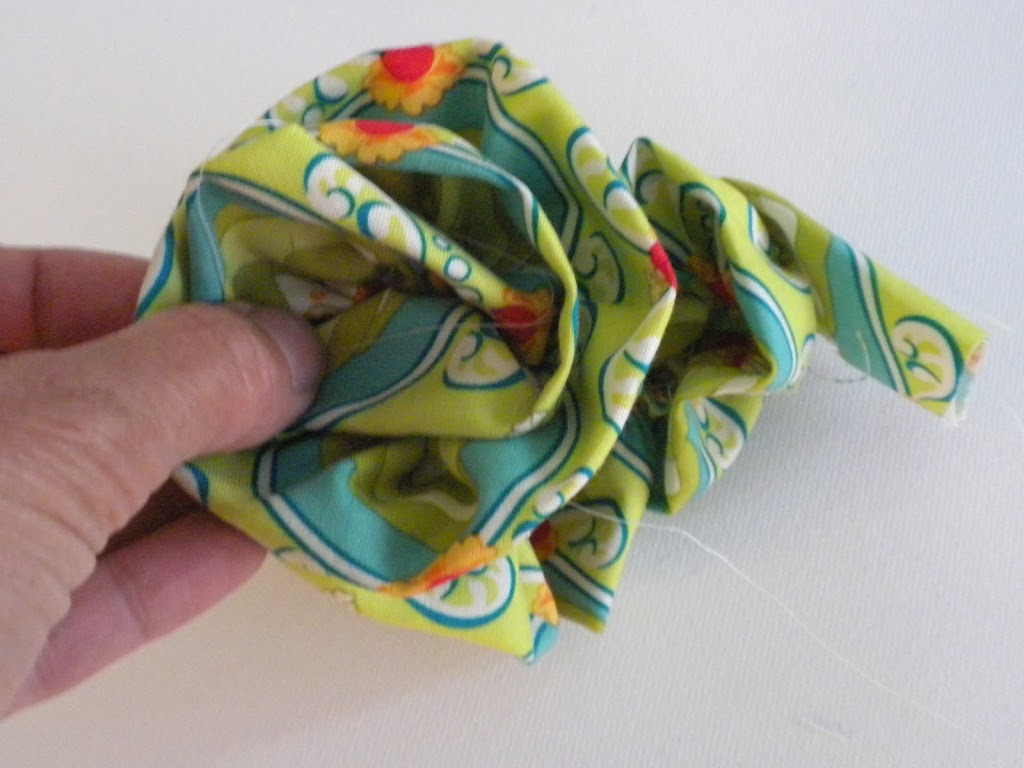
To make the flower, take your last 3.5″xWOF piece and fold in half – don’t press in half – you want it to puff a little. Use your gathering stitch again and run it 1/4″ along the raw edge.