

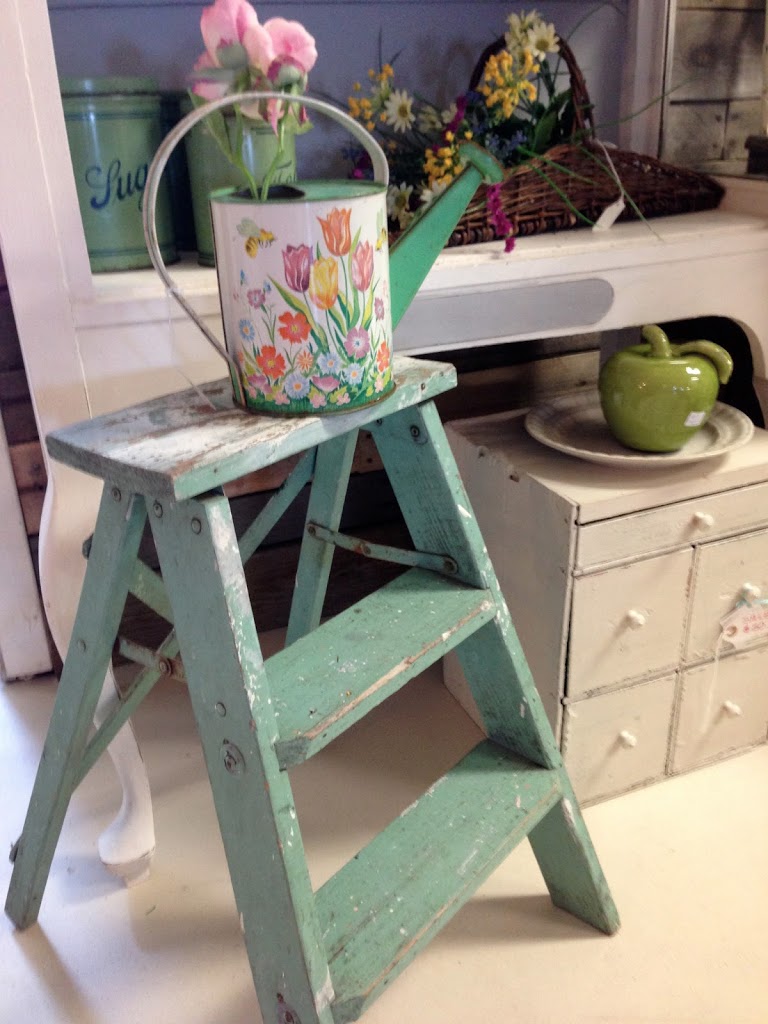
Saving the universe one project at a time!
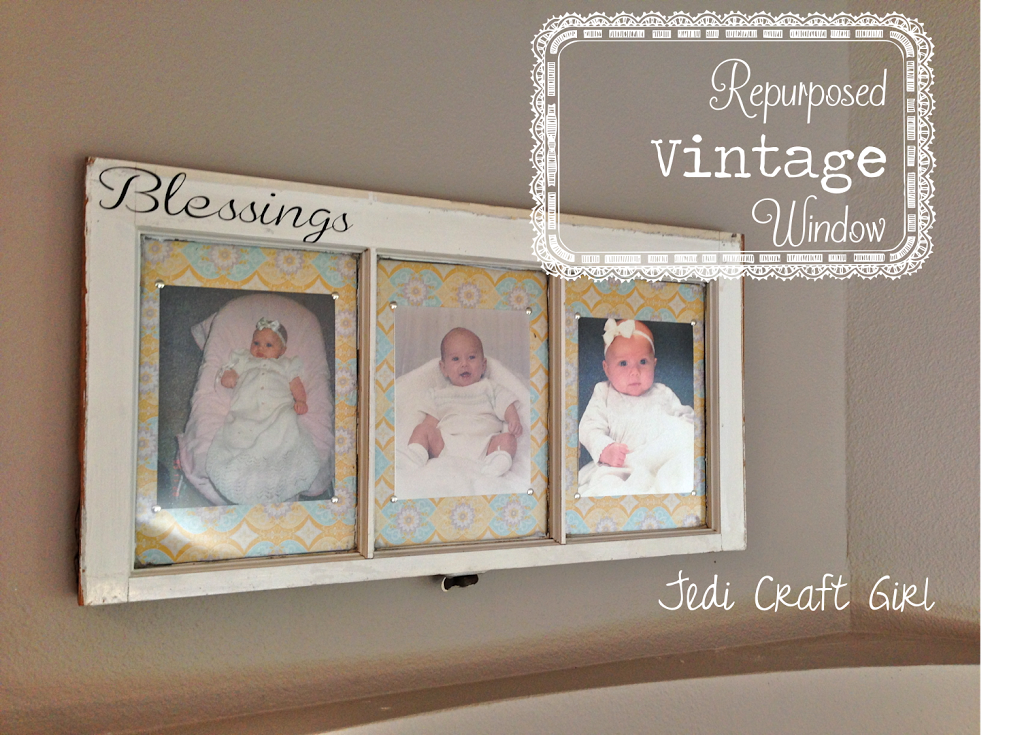
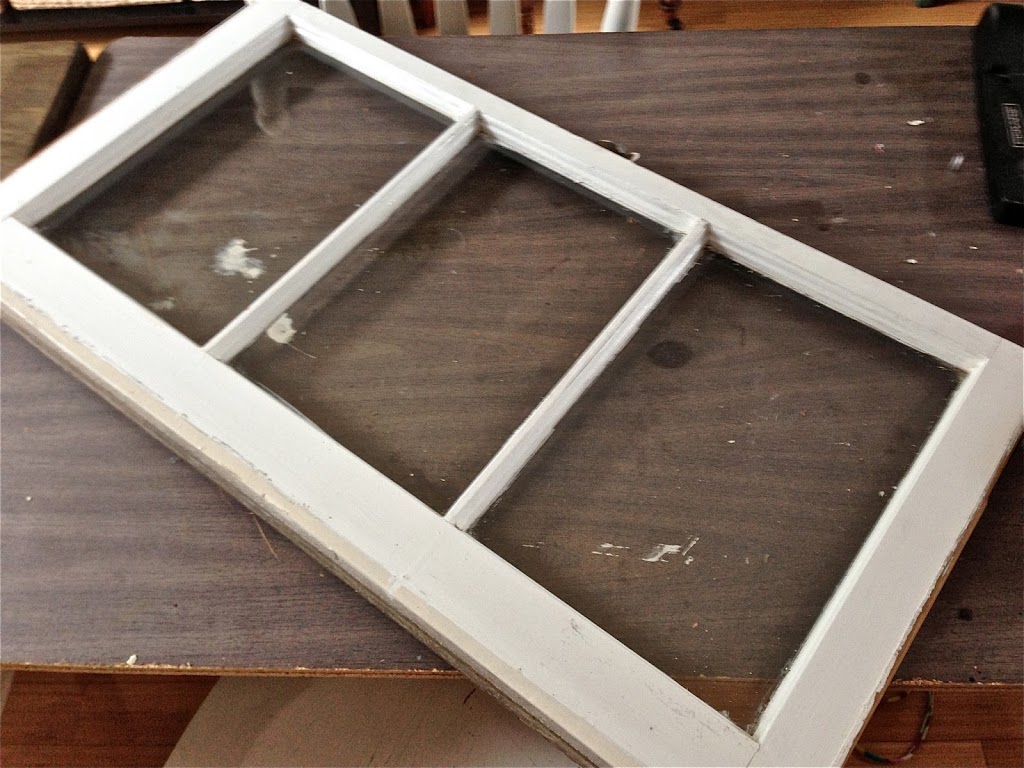
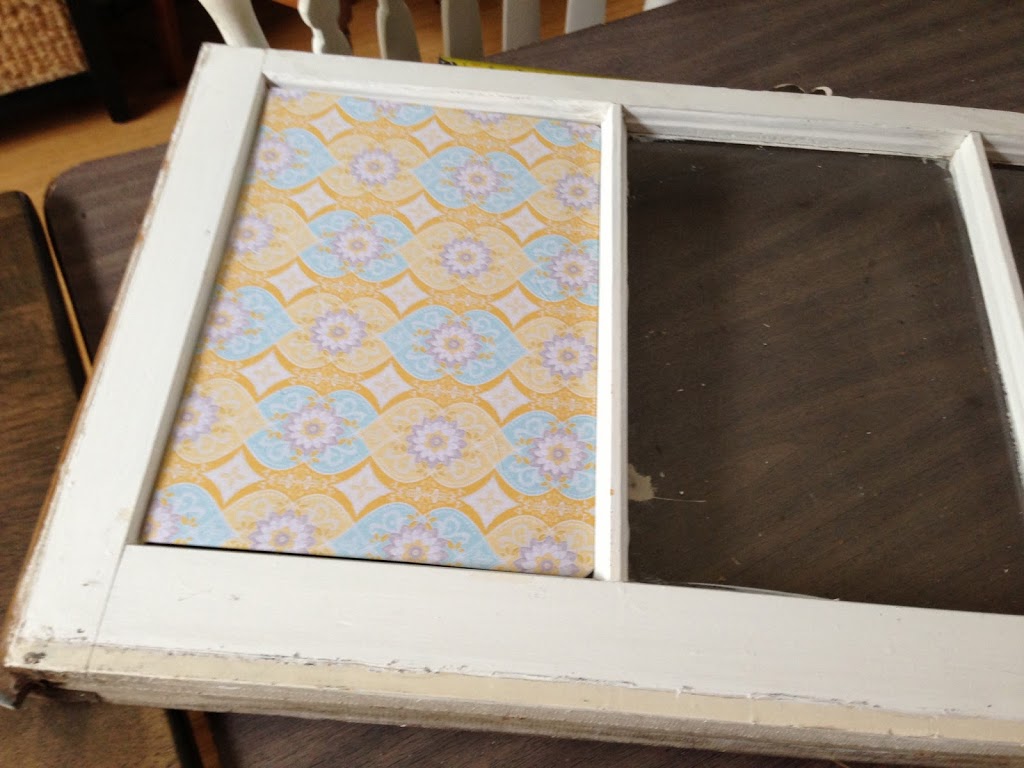
I love old windows! I am always trying to find something new to do with them. At the top of my stairs, I have 3 frames with pictures of my 3 children on their blessing day. This window I found has 3 openings….hmmmm!
This is how you make a fabric mat background for your window:
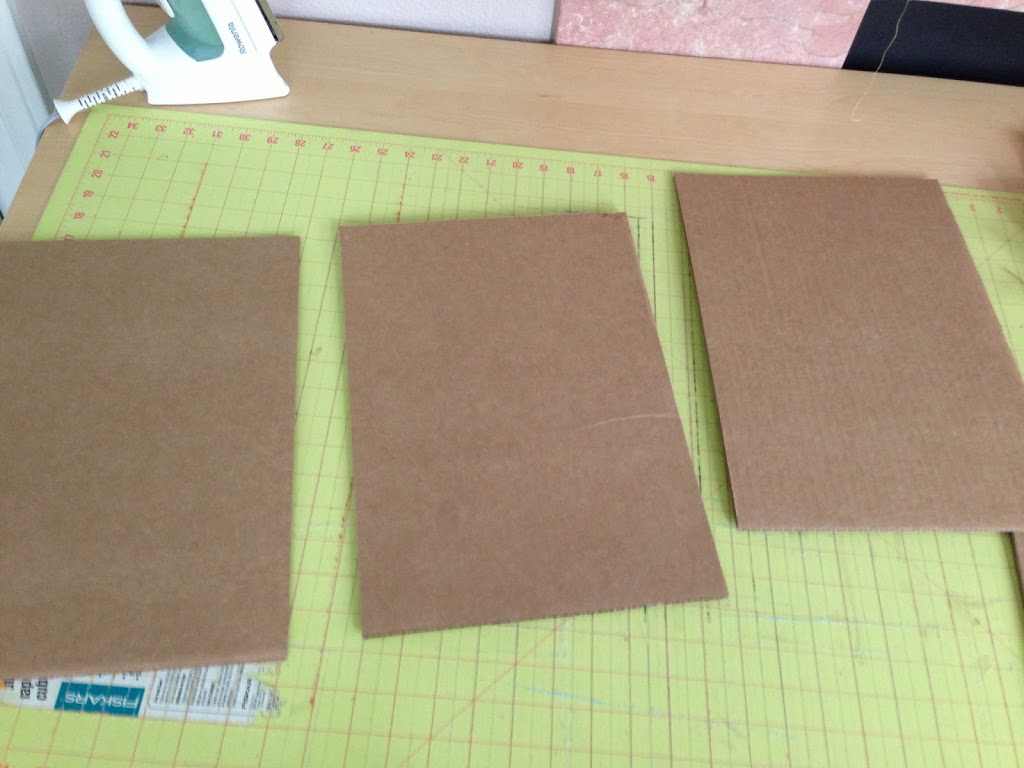
Measure the opening
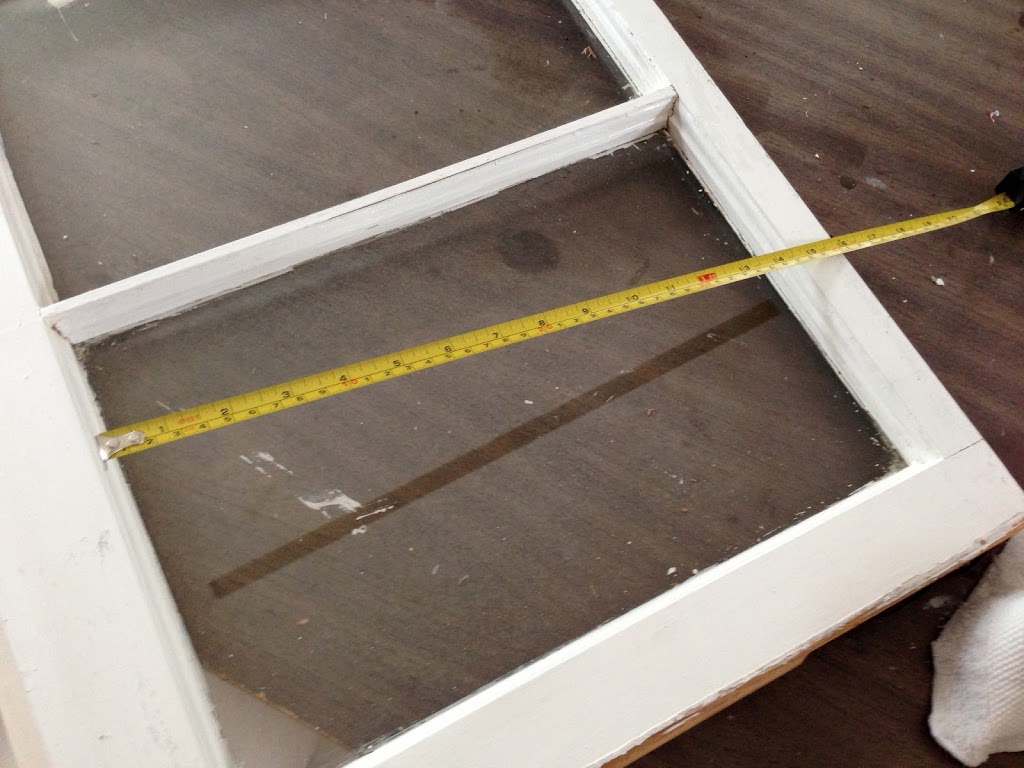
Cut cardboard the size of your measurements
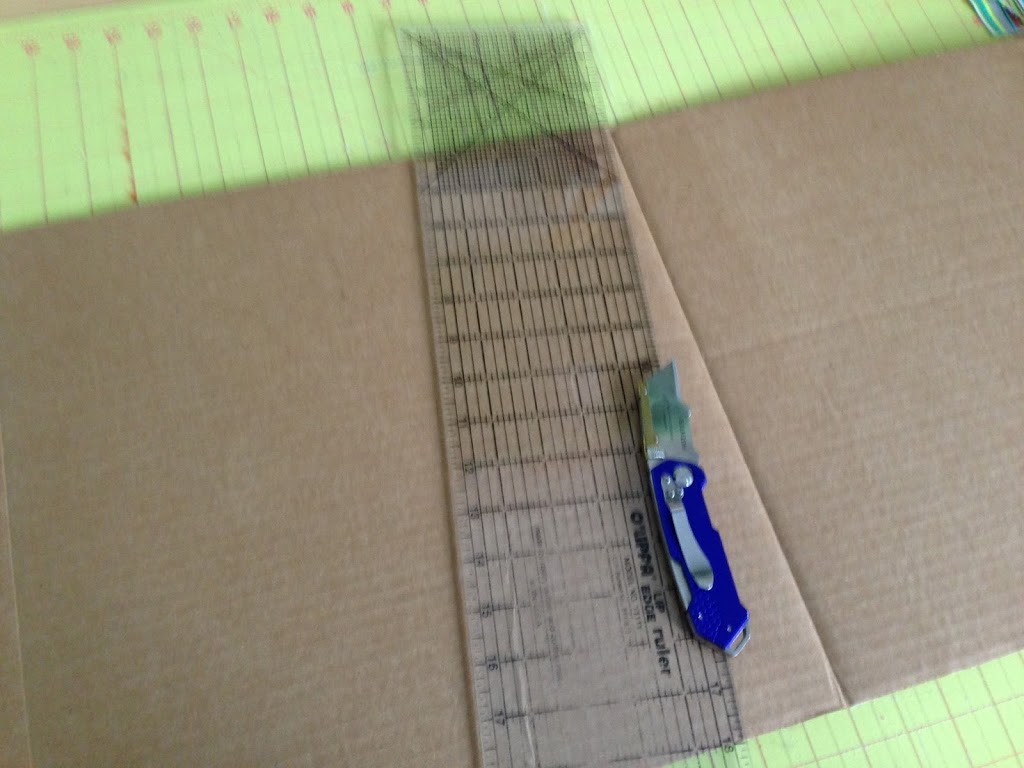
I have 3 pieces the exact same size. I used my rotary mat and guide, but I used a utility knife so I didn’t ruin my rotary cutter.
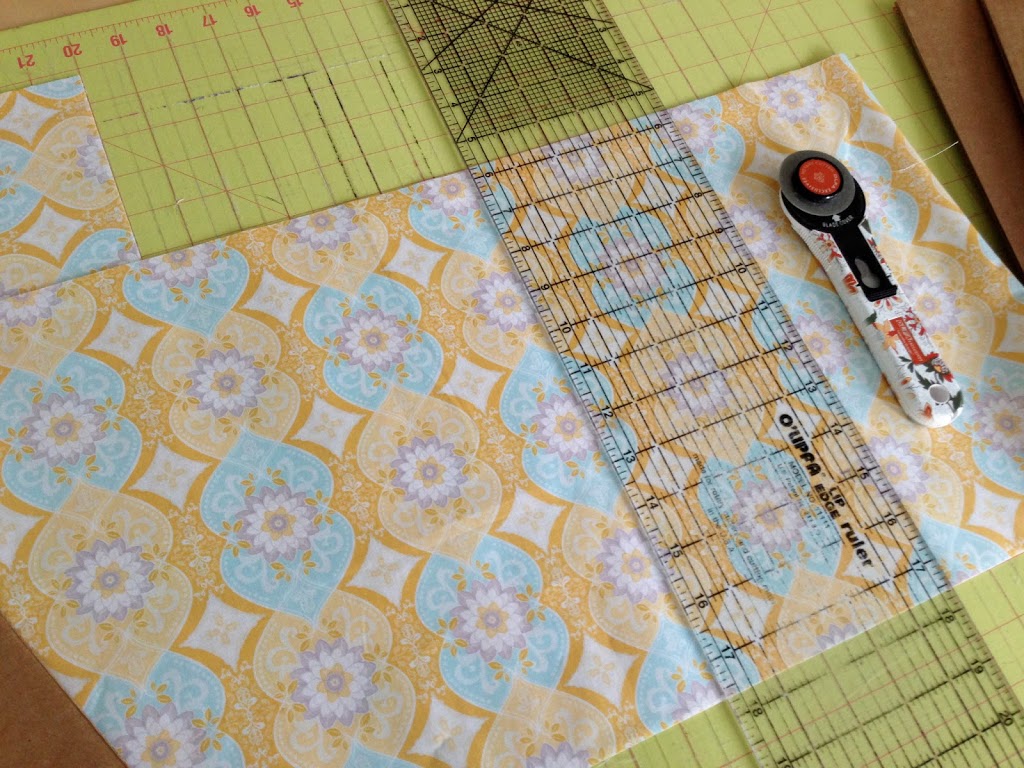
Next, cut your fabric 1″ larger on all sides. Love this Riley Blake print!
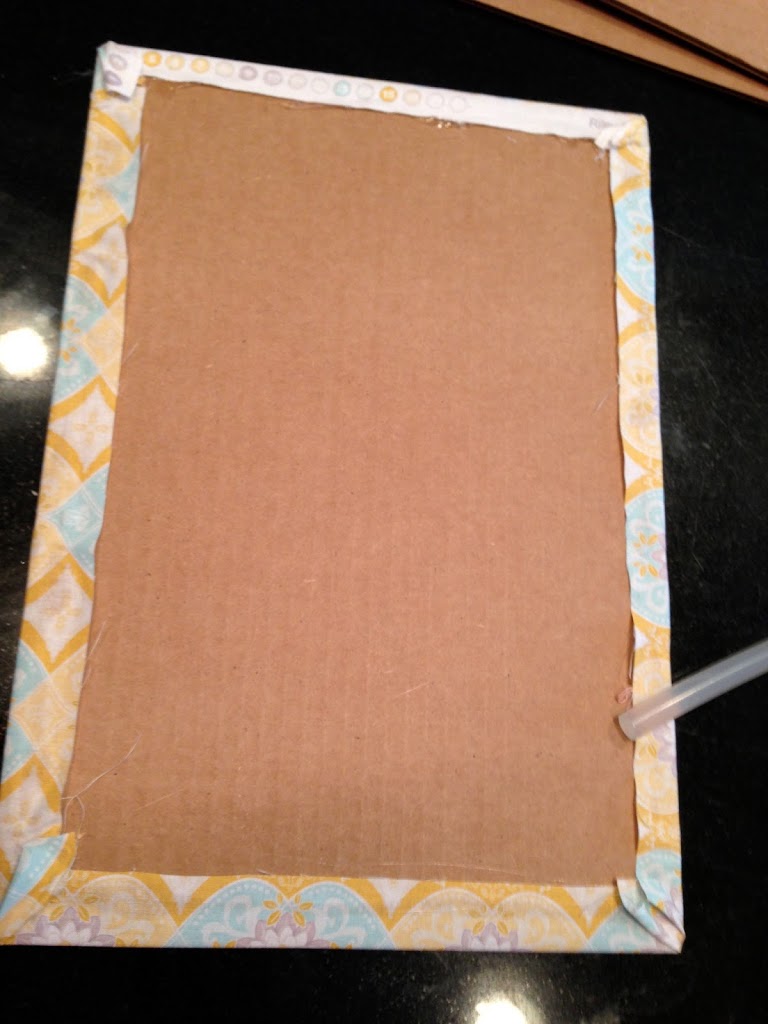
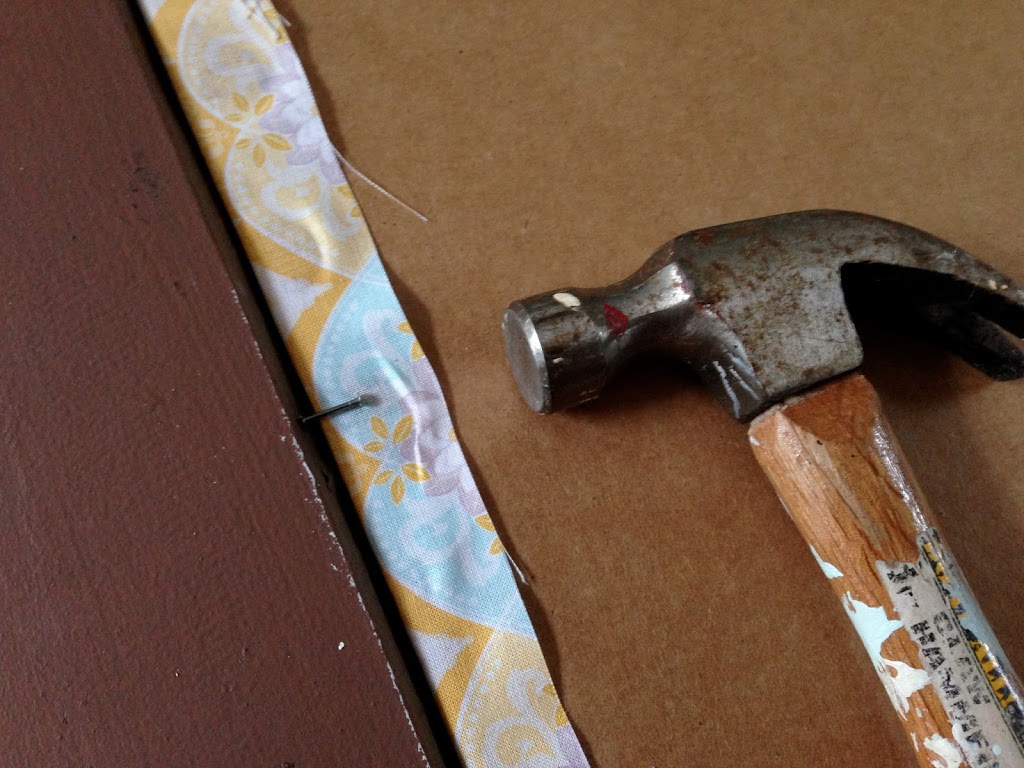
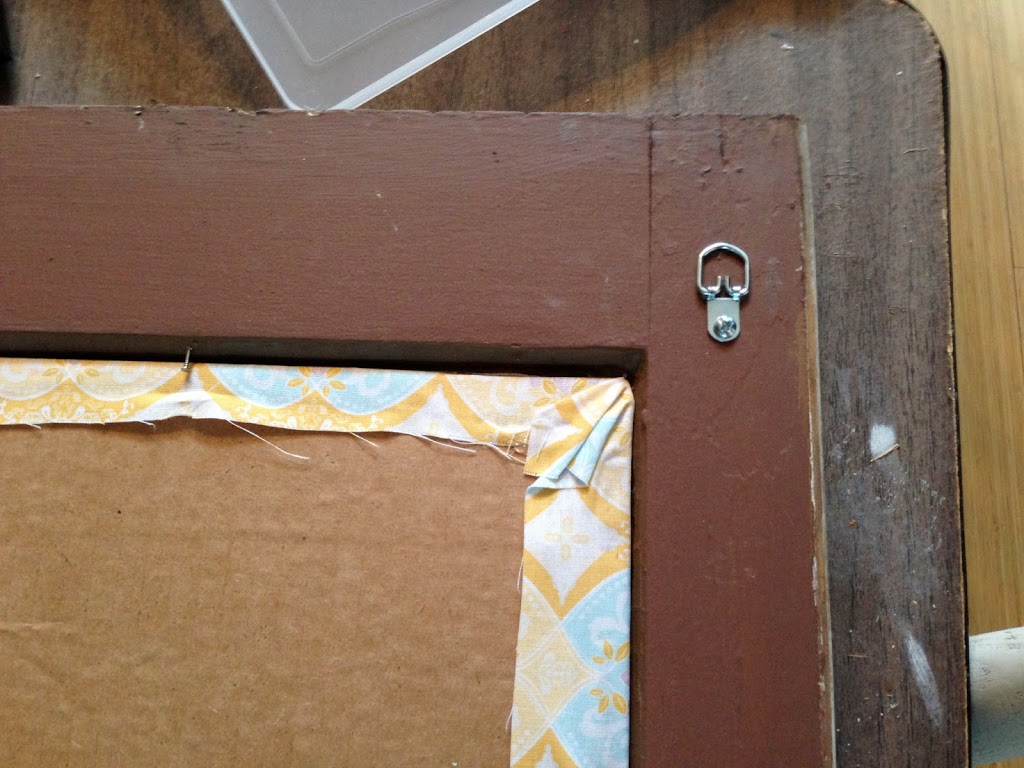
Get out the hot glue gun – yea! Glue all sides and pull the fabric so it is tight.

It should look like this on the back:
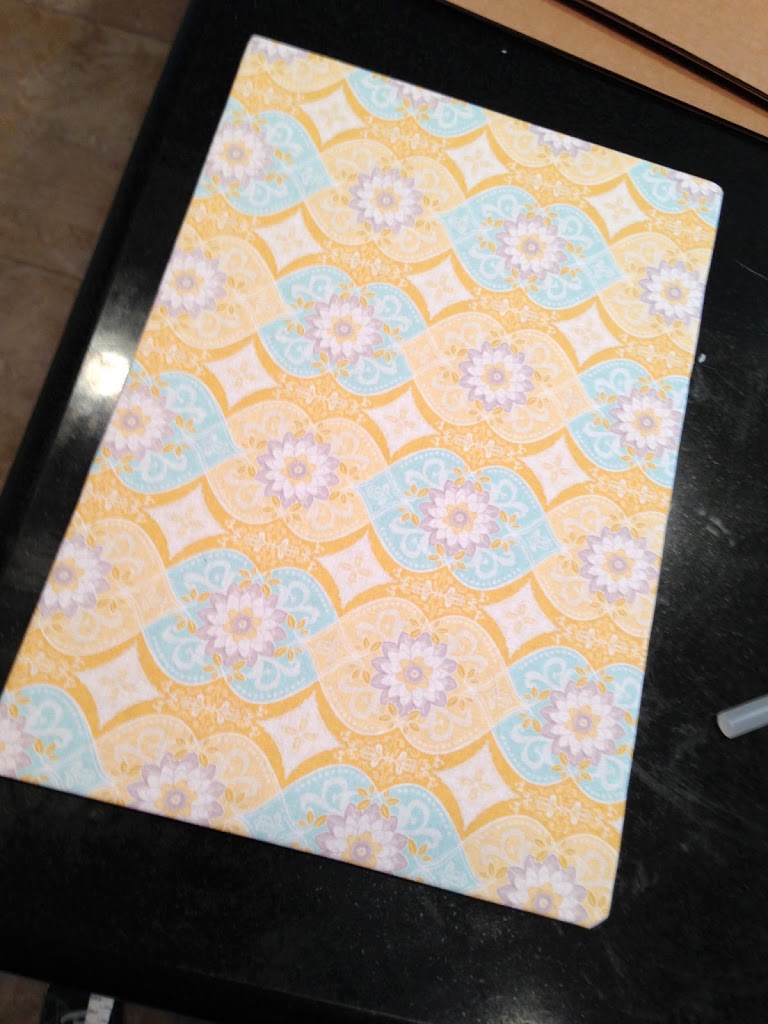
Front:
You can put these on top of the glass, behind the glass, or instead of the glass. I put mine behind the glass.
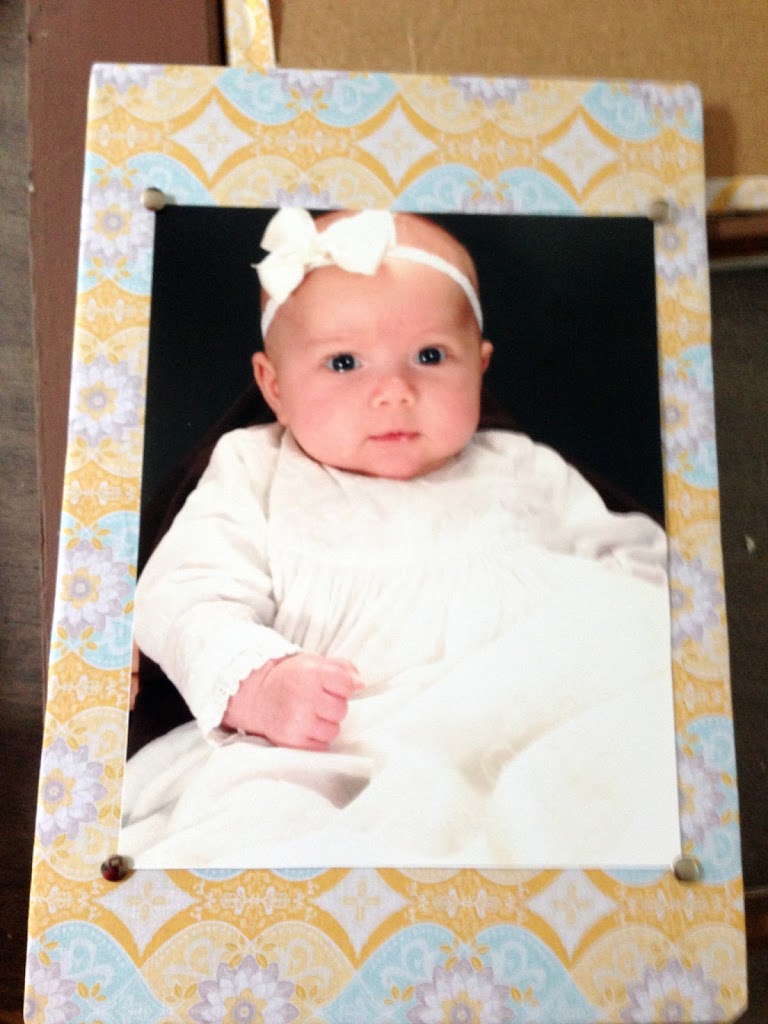
I took each of the photos and attached them by putting push pins in each corner. I didn’t actually put a hole in the picture, just next to it and the tack holds the picture in place.
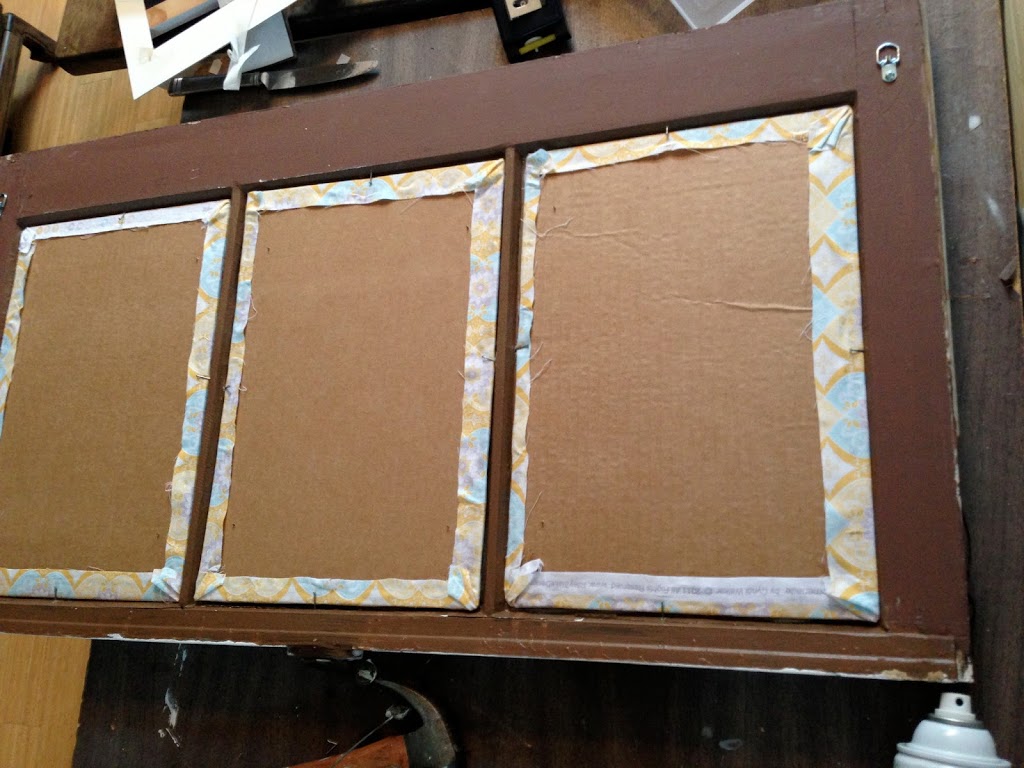
To secure the cardboard mat to the frame, use small nails and hammer them in each of the sides.
Because this is pretty heavy, I wanted to hang it safely. I used “D” rings and attached them with screws to the back of the window. To hang it, I drilled holes where the “D” rings hit and used anchors and screws. The “D” rings hook over the anchored screws.
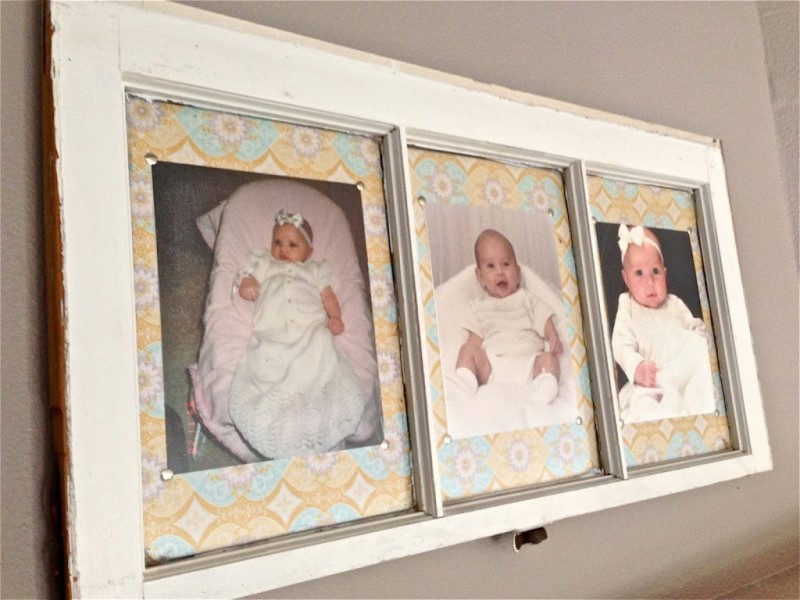 I really like how it turned out! Looking at my daughter’s photo on the left (13 years ago) all I have is this snapshot I took of her in the basement (it was on film of course). The date is even stamped on the side of the photo. We’ve come a long way in photography!
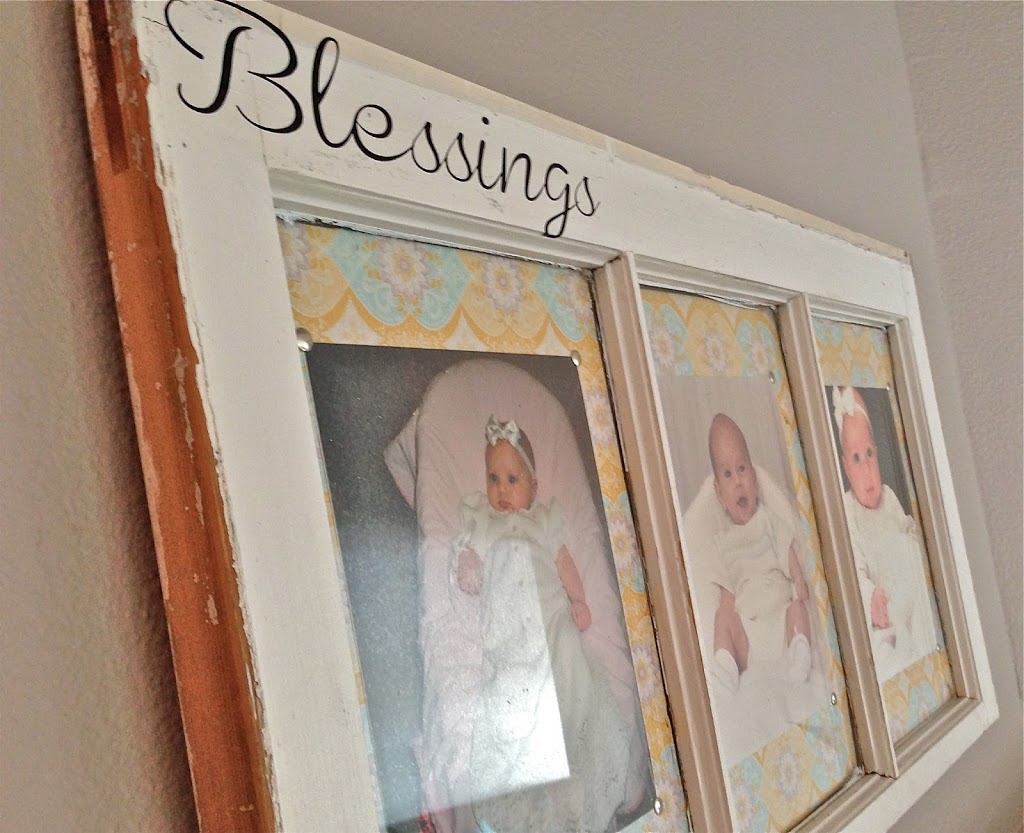
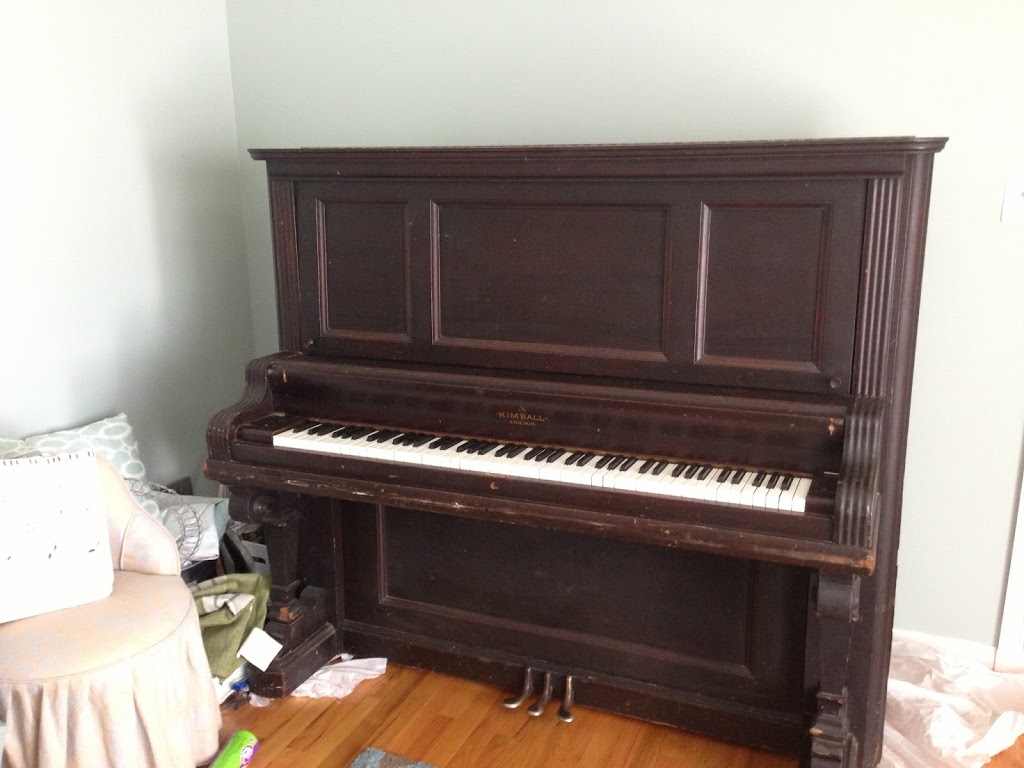
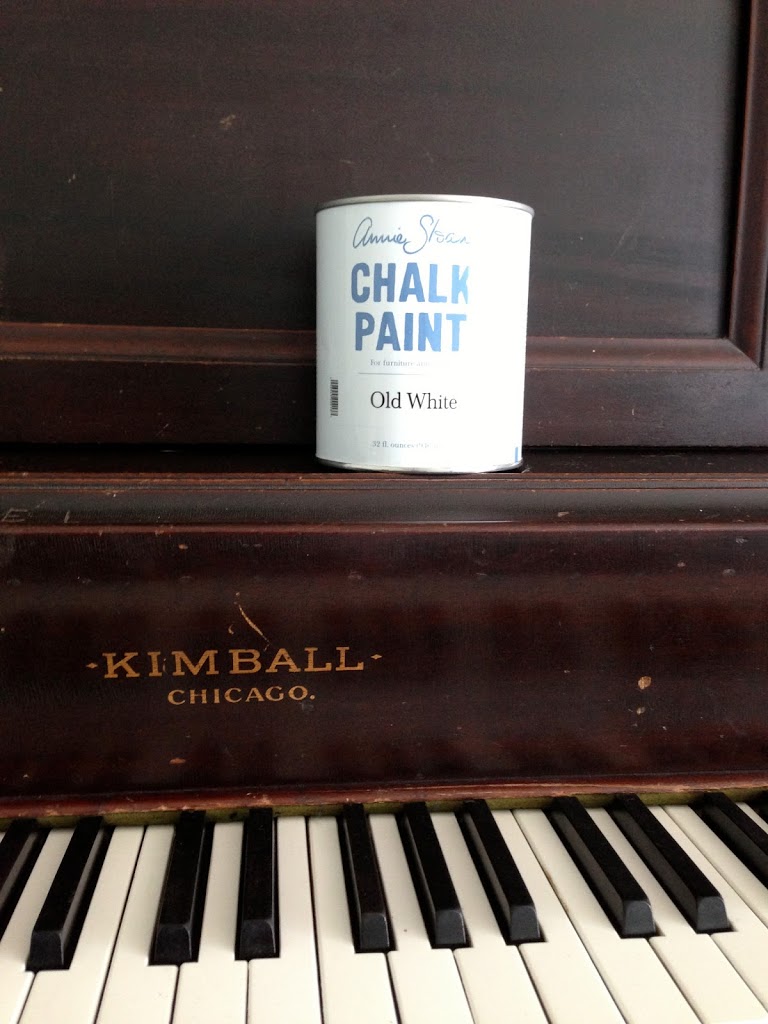
The piano needed 2 coats and a light third coat. I did it in one day. I brought in a fan to help the paint dry faster. I didn’t tape anything off. I used a really good edging brush and was careful not to get it on the keys or drip in between the keys.
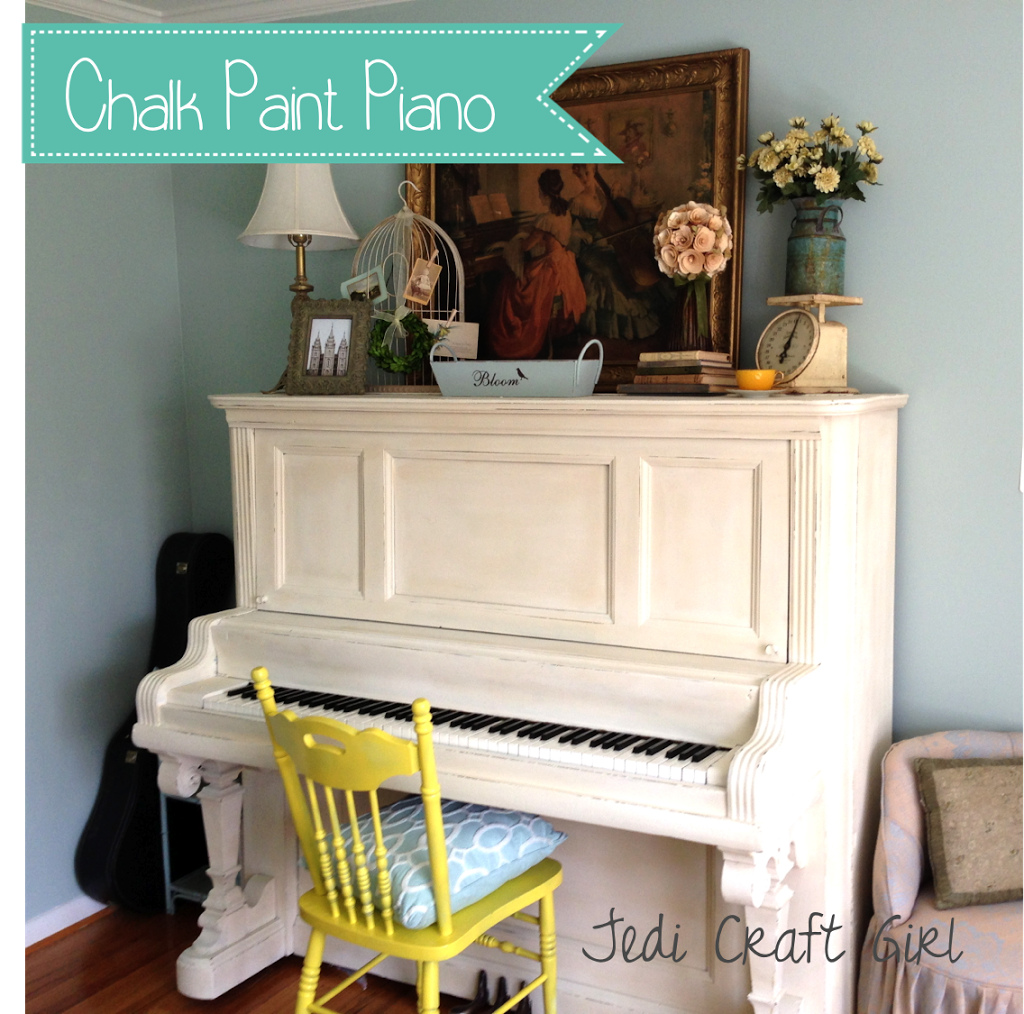
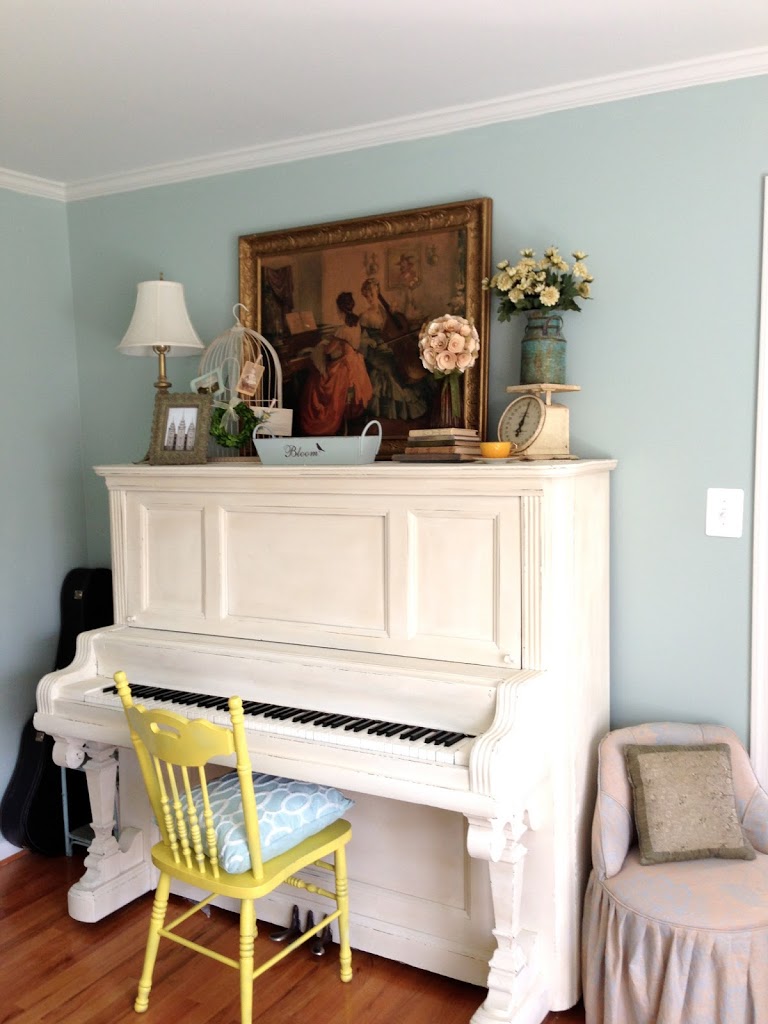
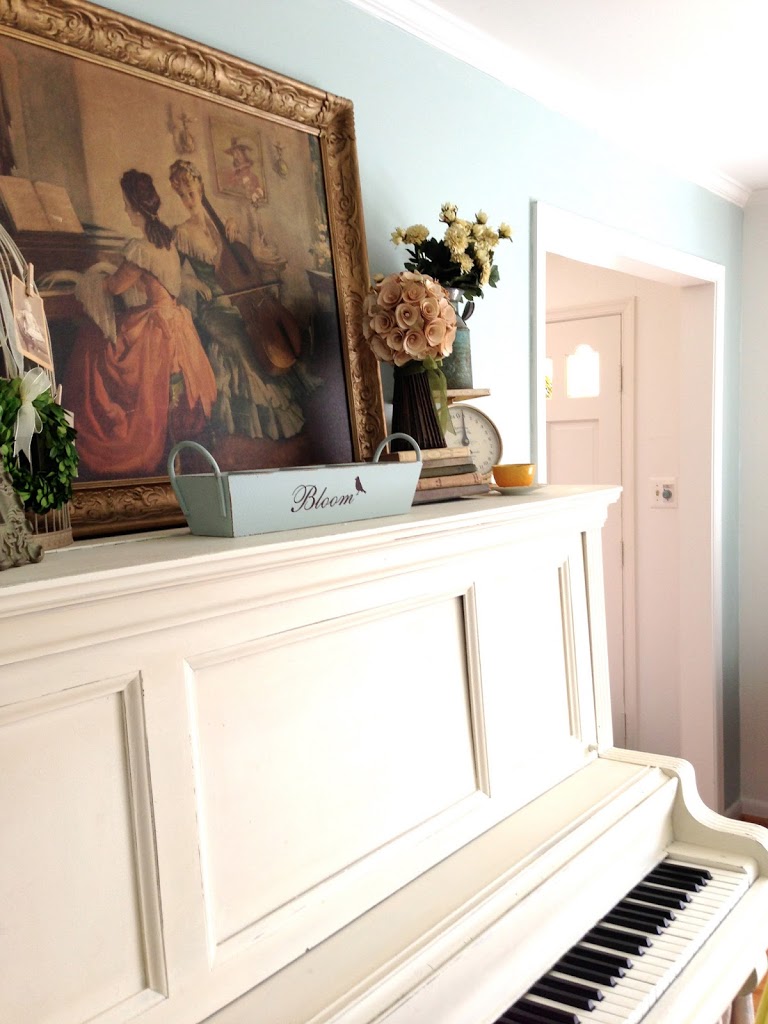
Here is the finished product: It completely changed the look and feel of the room!!
I lightly sanded the edges so some of the dark color would show through a little. I didn’t distress it too much. When the paint was completely dry, I went over it with Annie Sloan Soft Wax and applied it with the wax brush. The Soft Wax is amazing! It gives furniture such a warn, homey feel. It feels like the piano has looked like this for 100 years. It is hard to explain how great the wax is, you just have to try it!
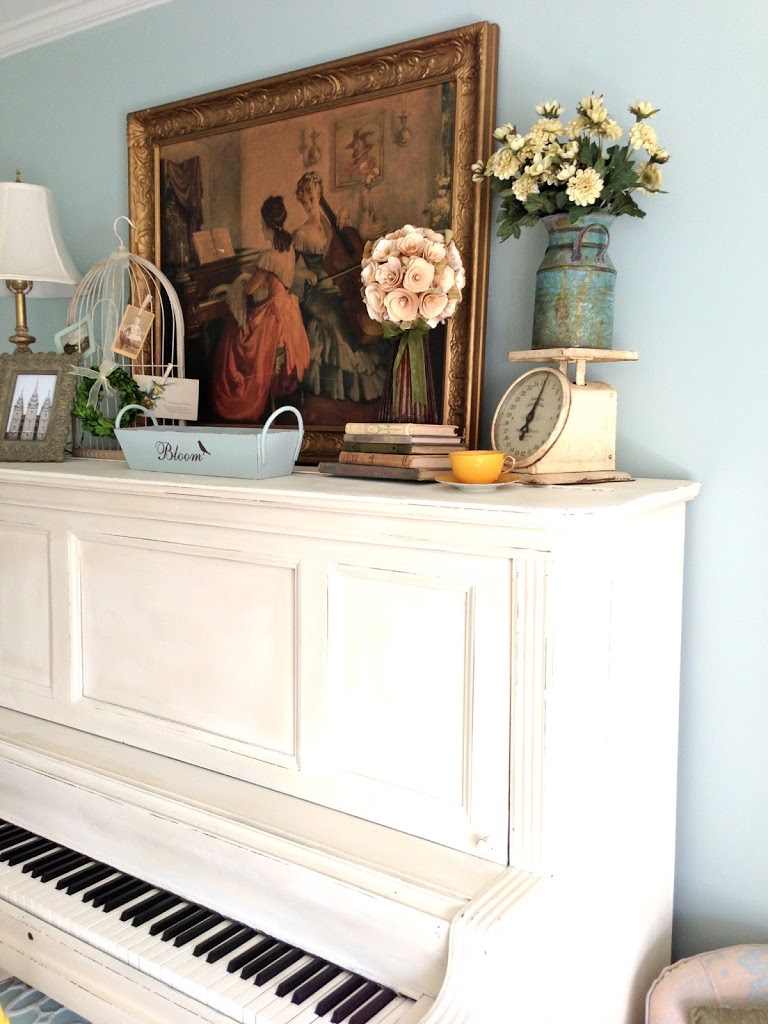
We had fun decorating the top of the piano. I dug this old painting out of her basement that she bought for the frame. I love it! The two fancy ladies sitting around the piano – who has a painting like this these days!
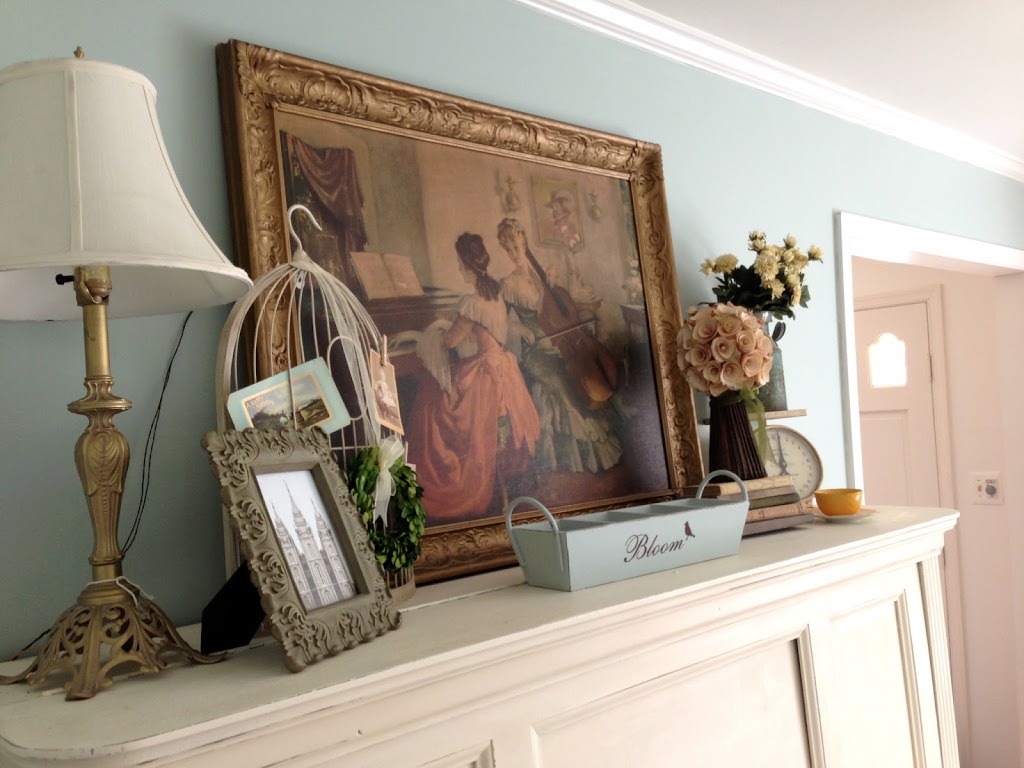
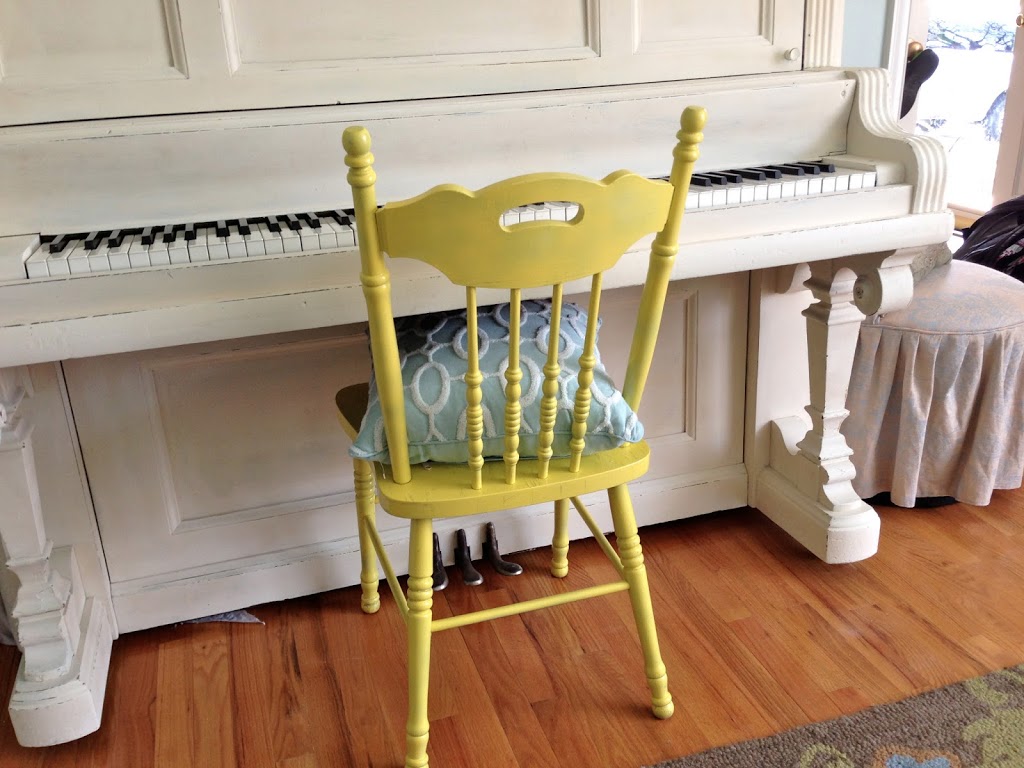
We added the yellow chair for a little pop of color.
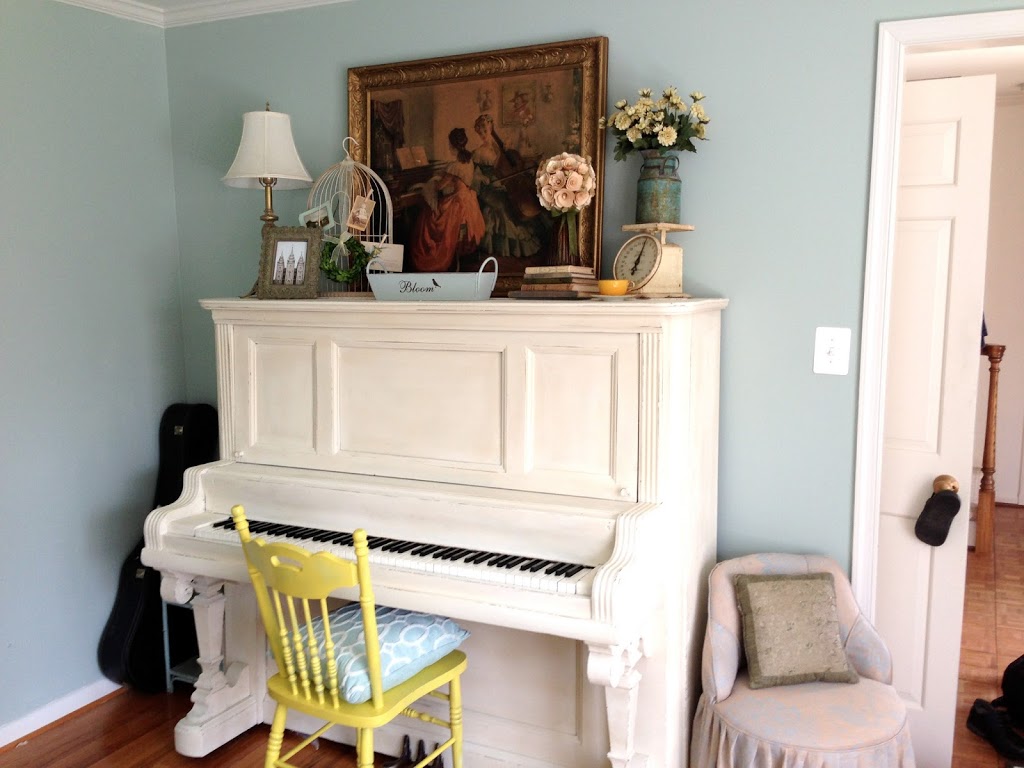
What do you think? Are you ready to paint your piano?
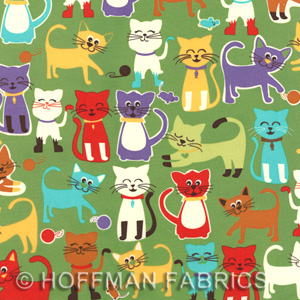
 Look what just arrived in the mail! A darling assortment of fabric from xo.gigi modern fabrics! This is such a fun online fabric shop. There were so many cute prints to choose from, I had a hard time narrowing it down. I am thinking I will be making a new wall quilt for my family room, some throw pillows for the living room and something for my girls out of the cat print! Can’t wait to get sewing!!!
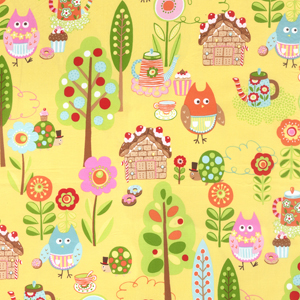
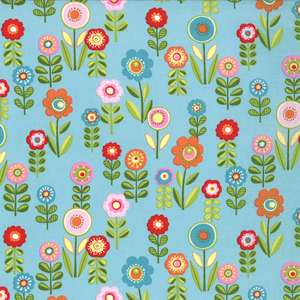
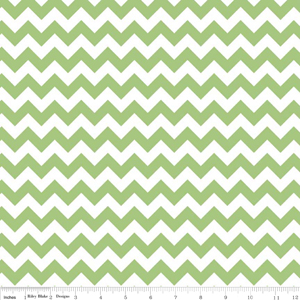
These are some other cute prints that I love!!

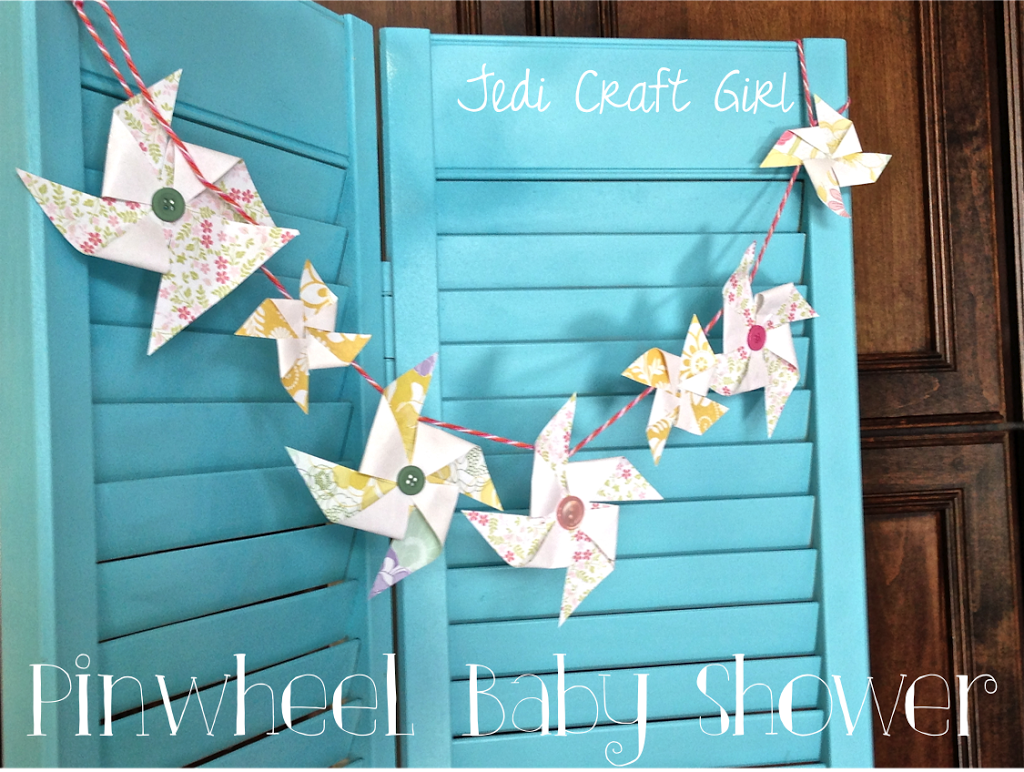
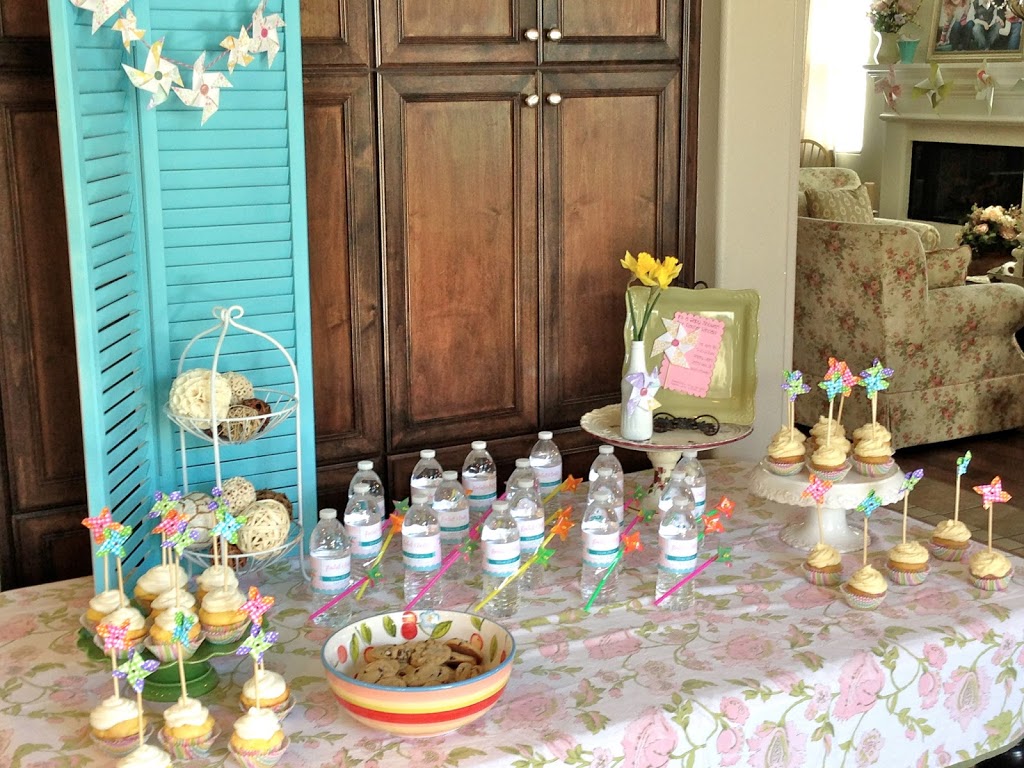

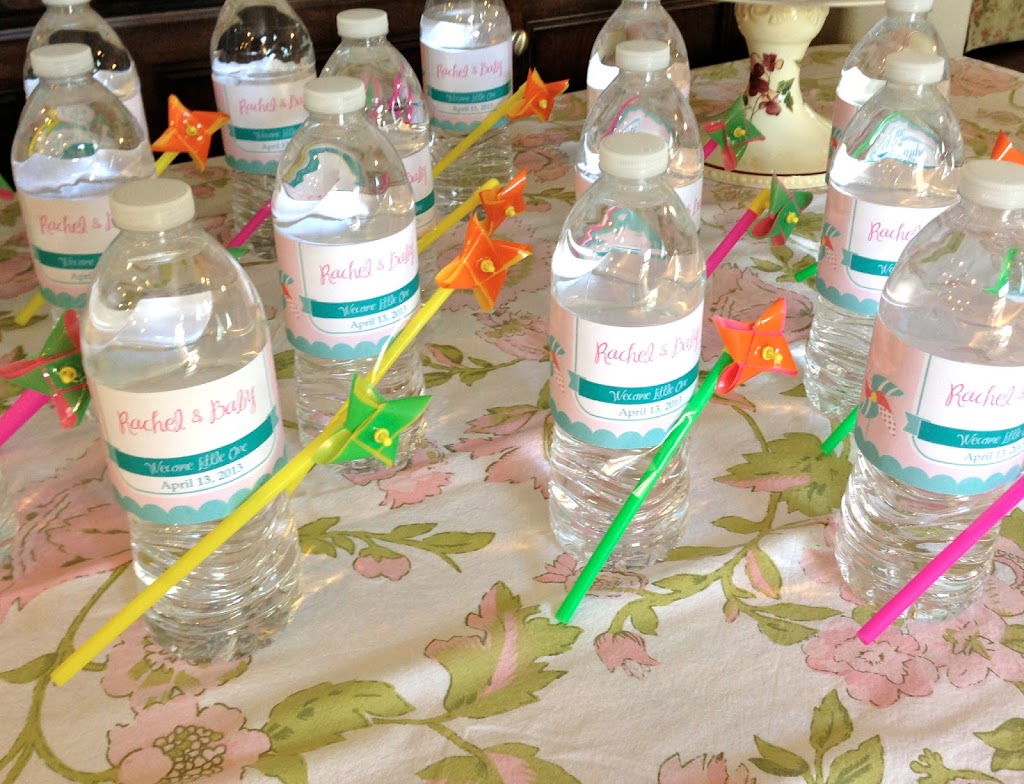
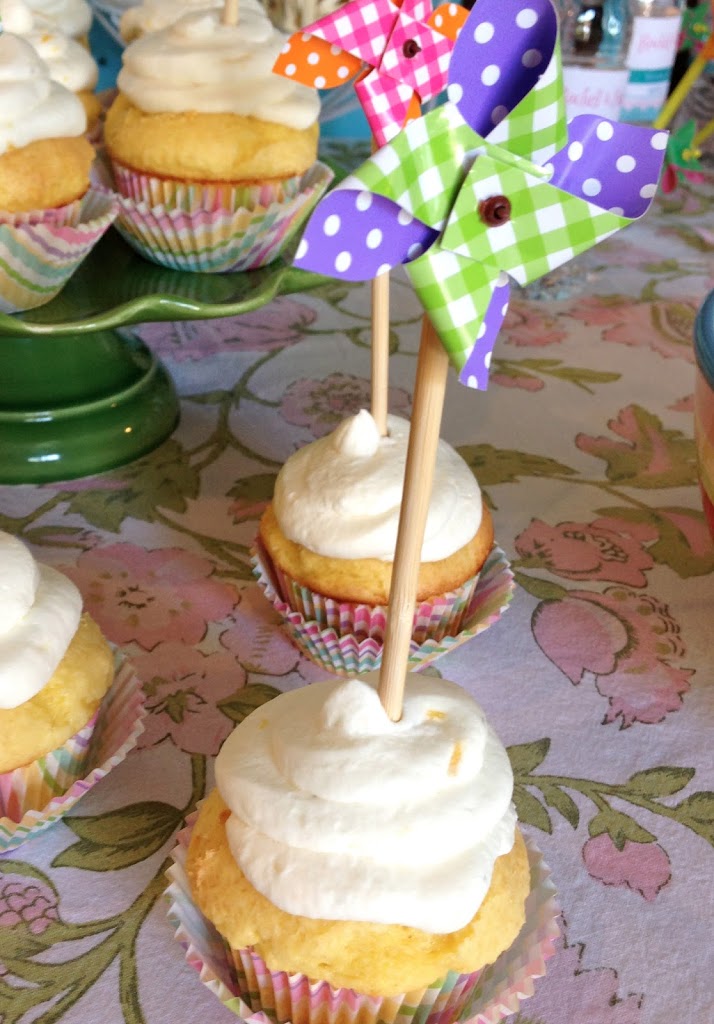
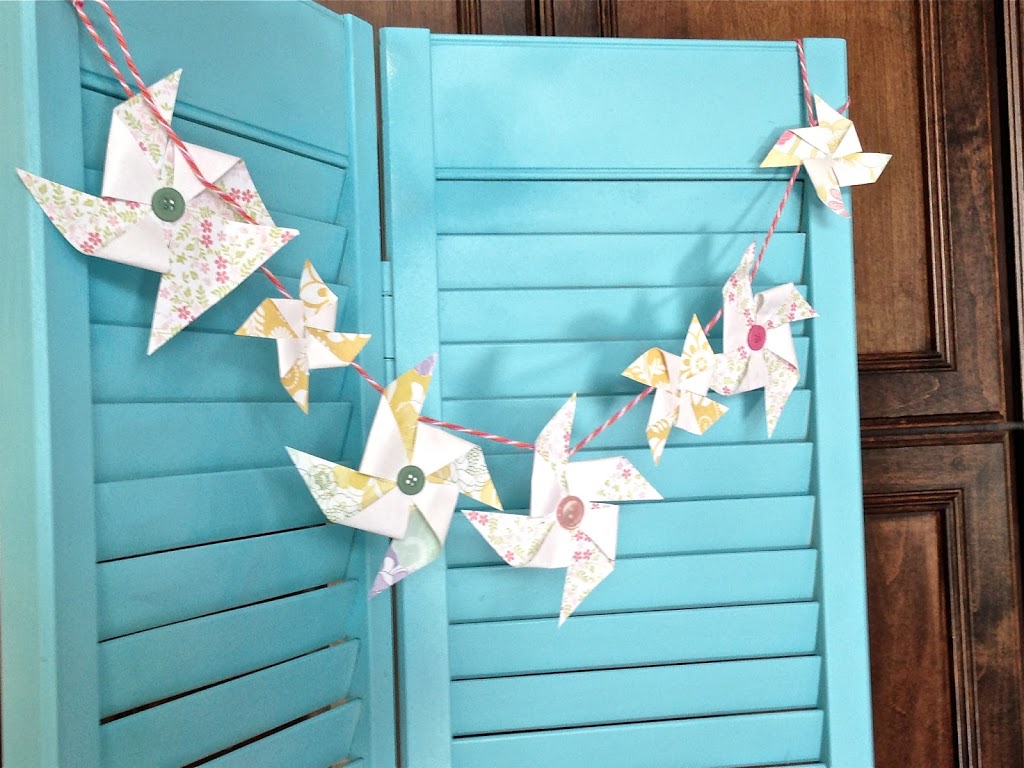
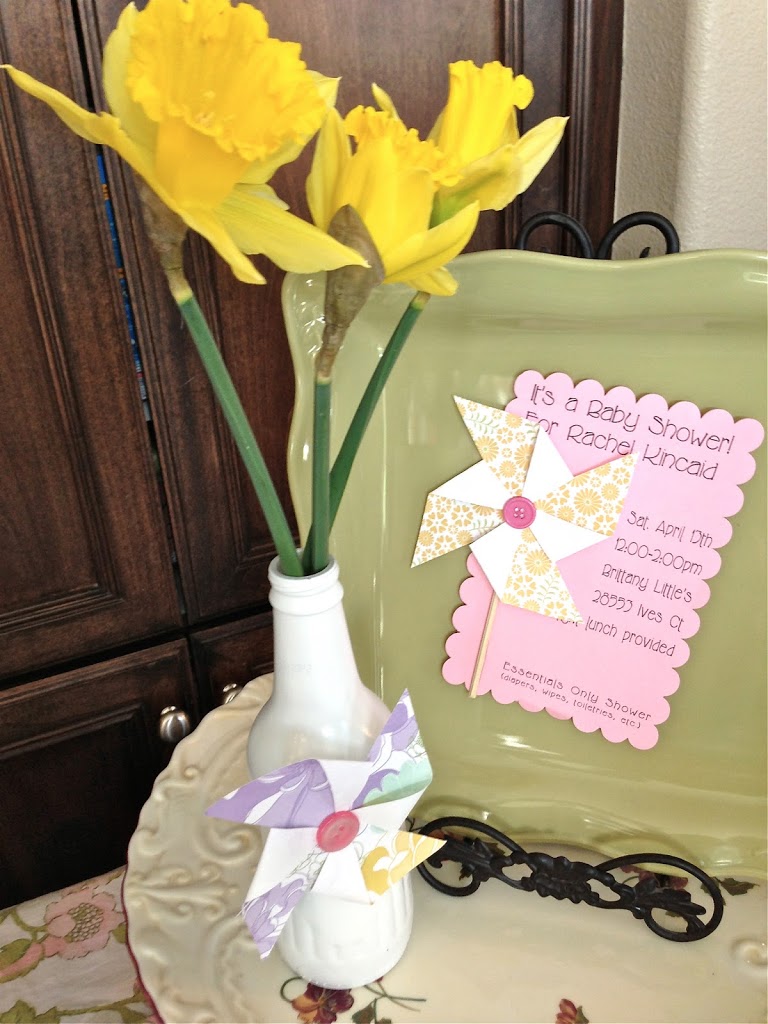
There were pinwheel cupcake toppers which also could be taken home as a favor.
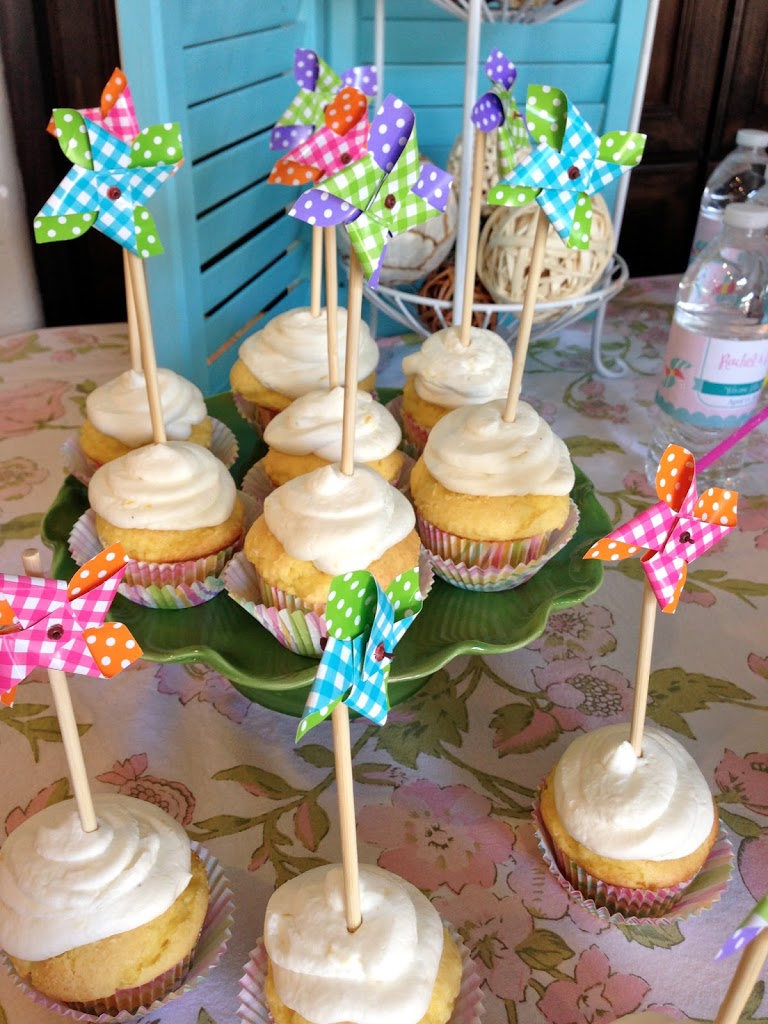
Also note the use of double cupcake wrappers. Bake in one wrapper and serve in an additional wrapper!
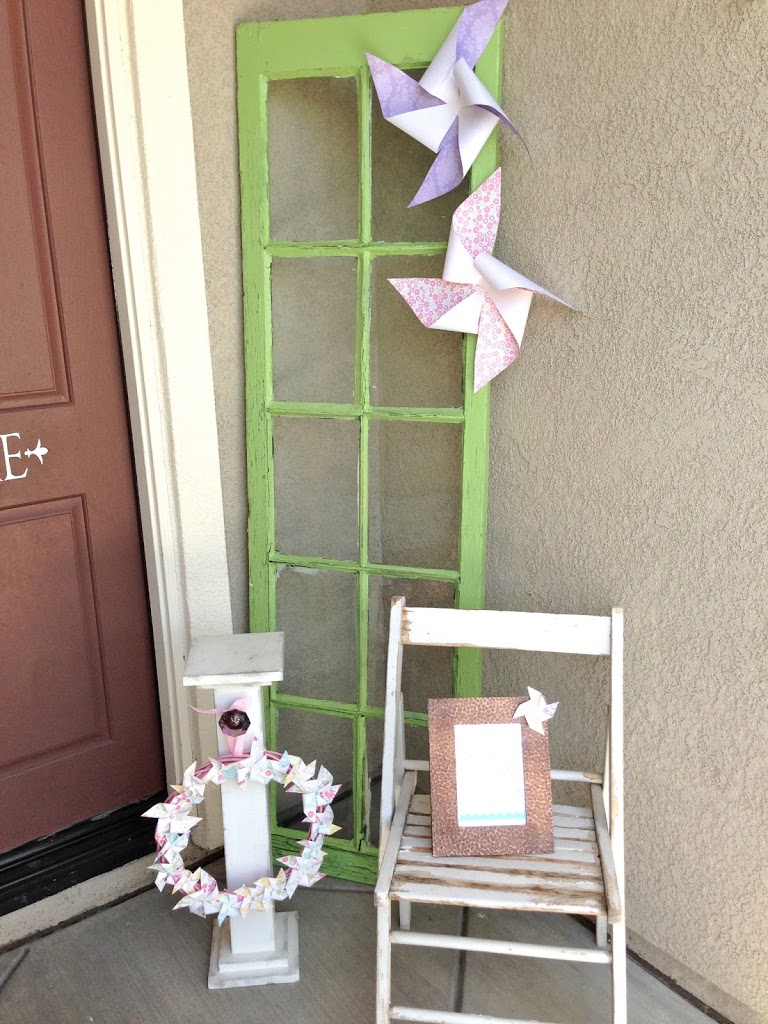
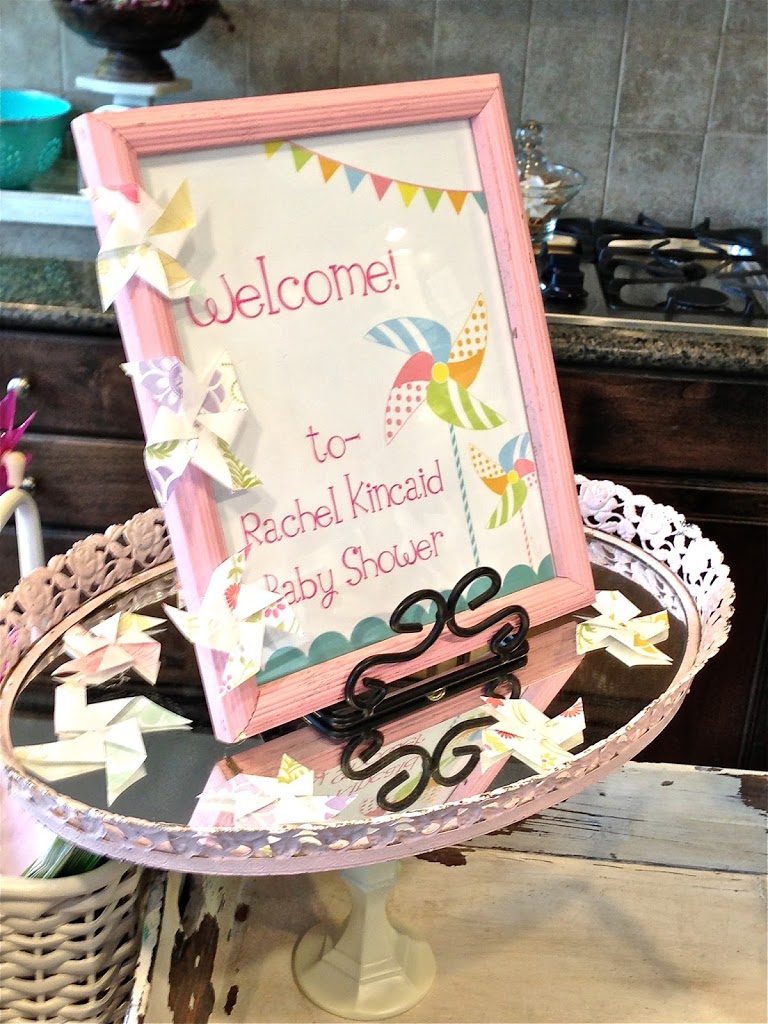
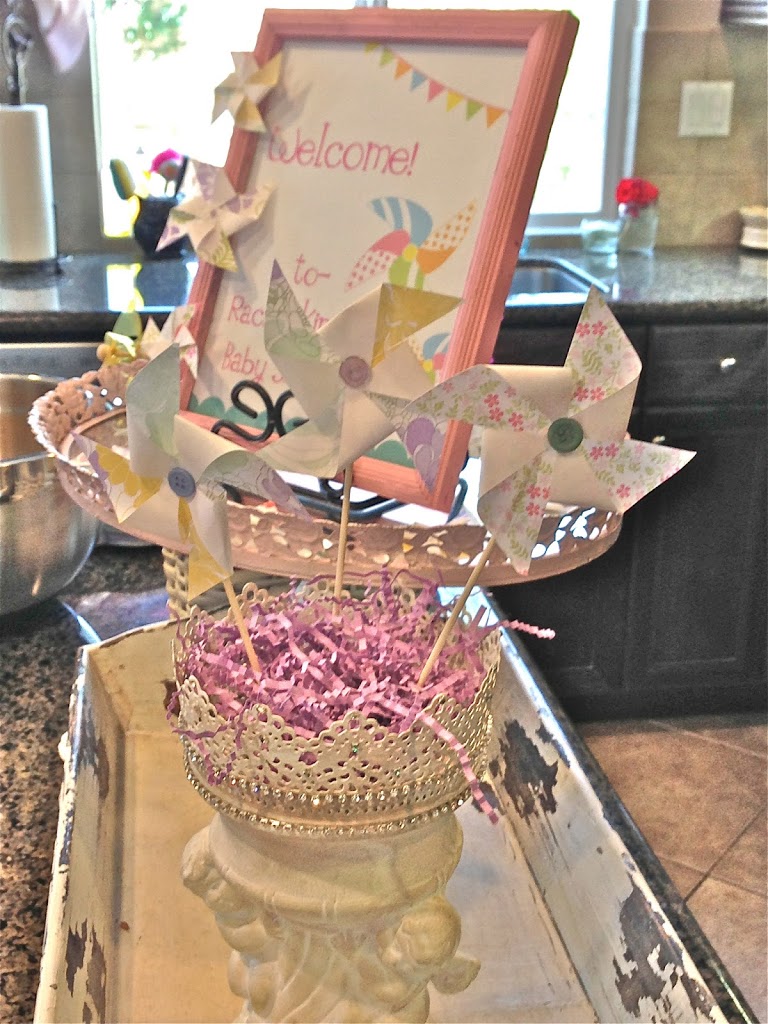
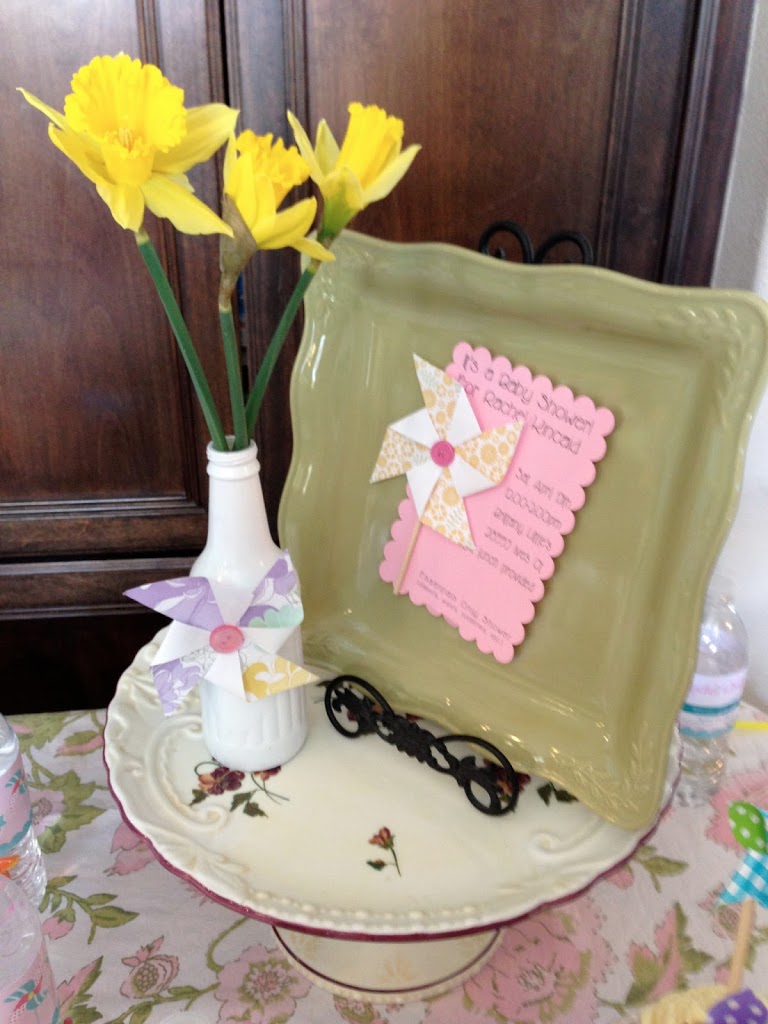
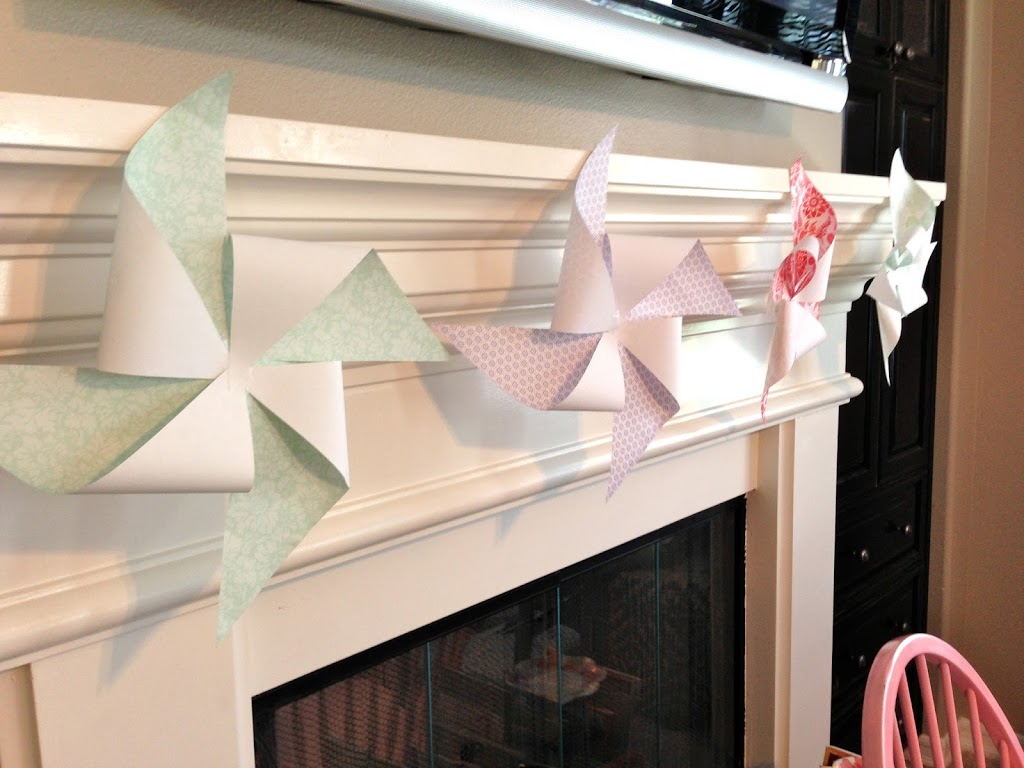
I love the smaller pinwheels scattered around and attached to the pink frame!
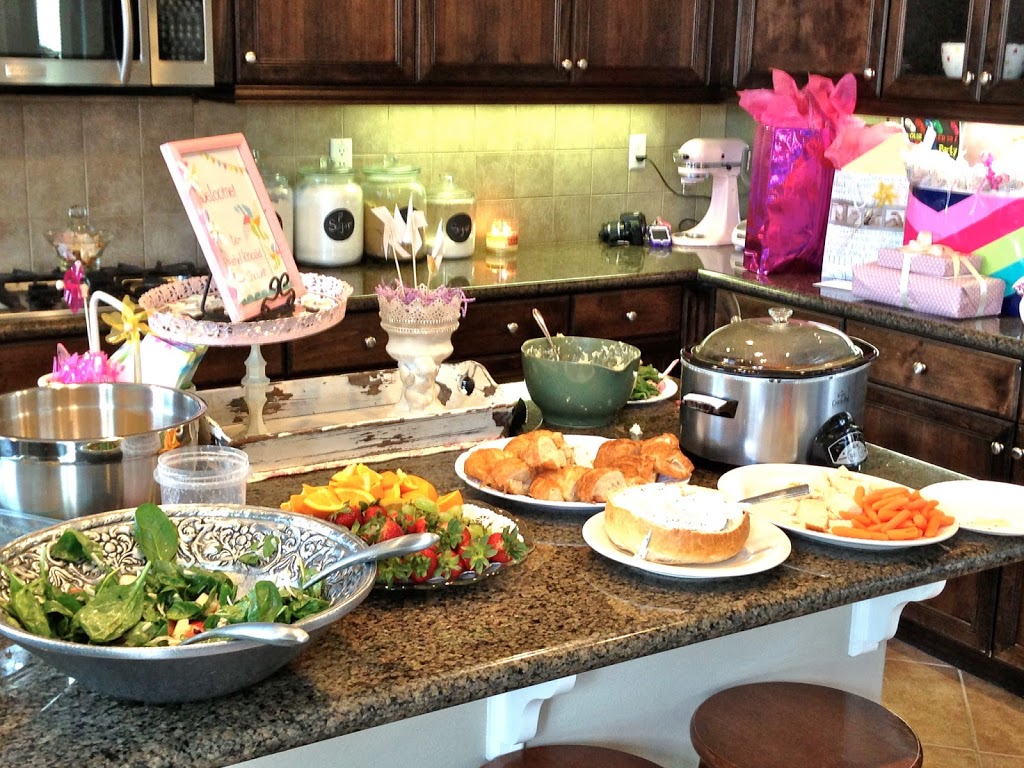
She taped extra invitations to colored plates and set them in easels to continue with the theme.
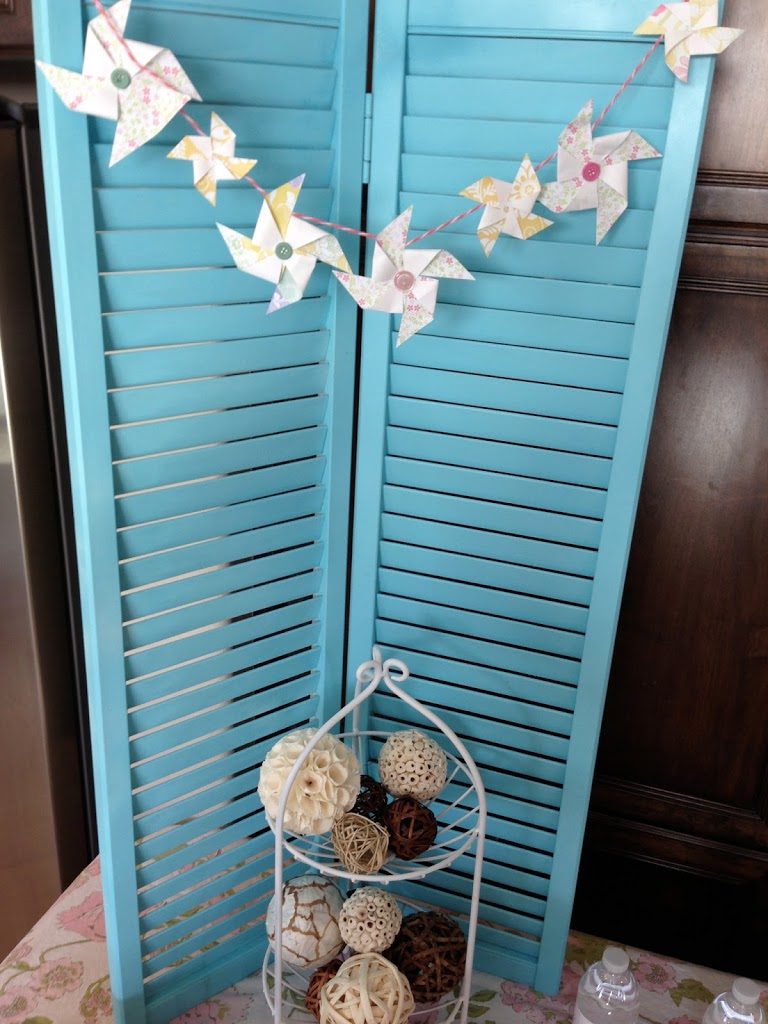
She hung large pinwheels on both her mantles.
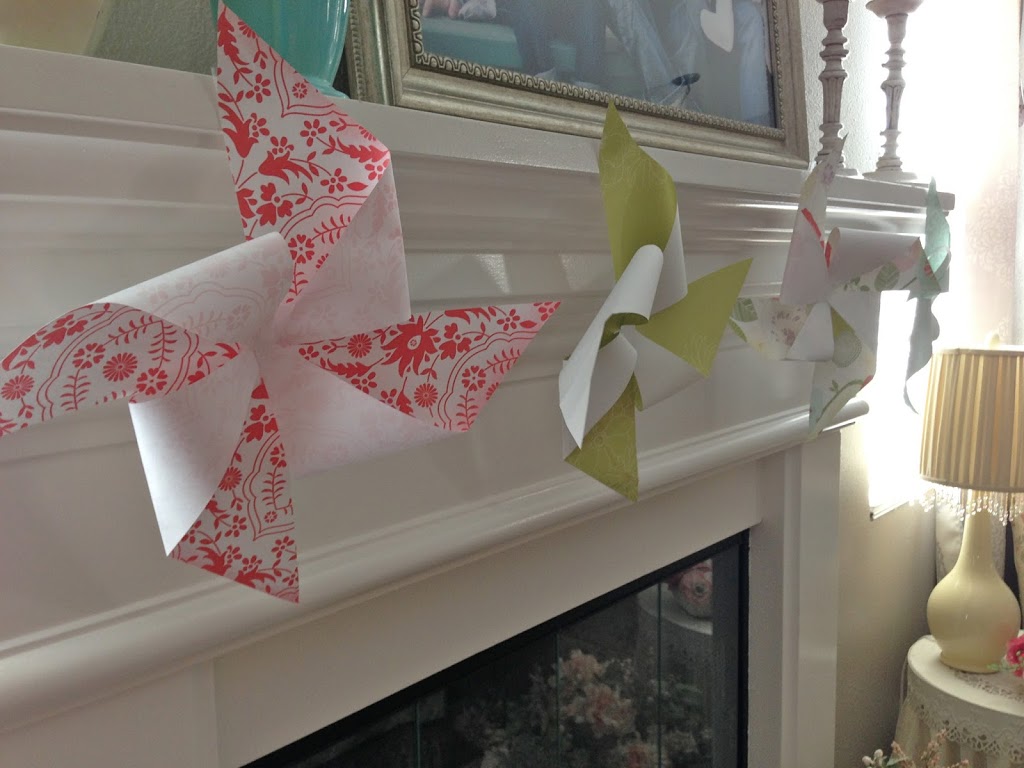
Such a fun and “springy” baby shower!
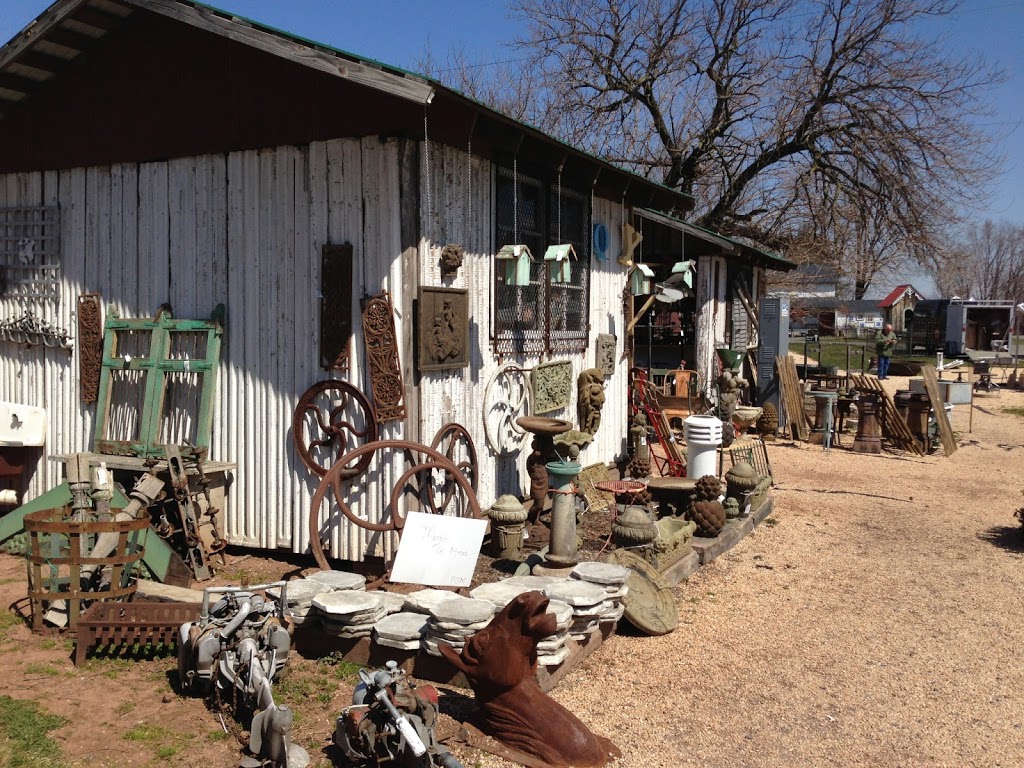
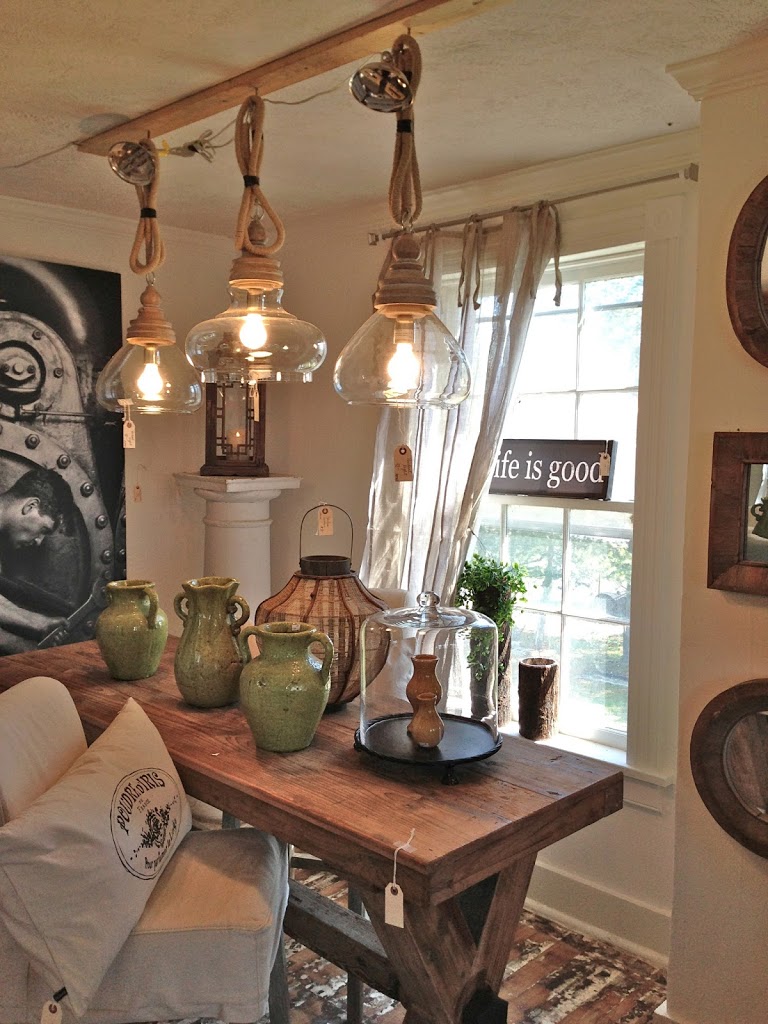
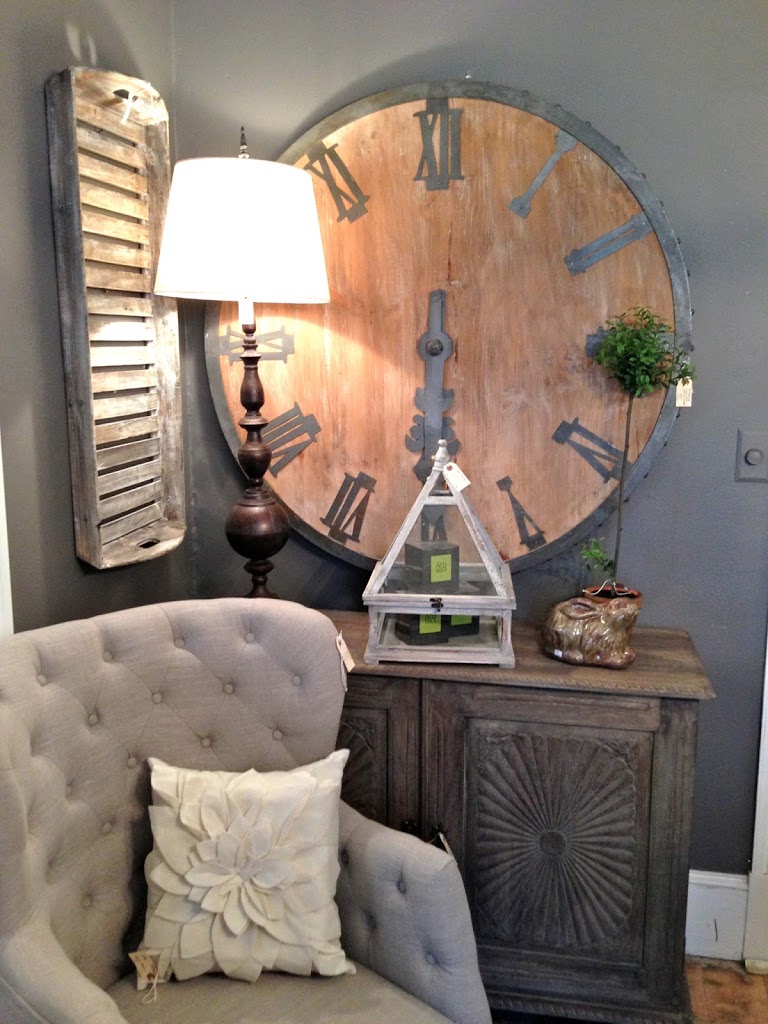
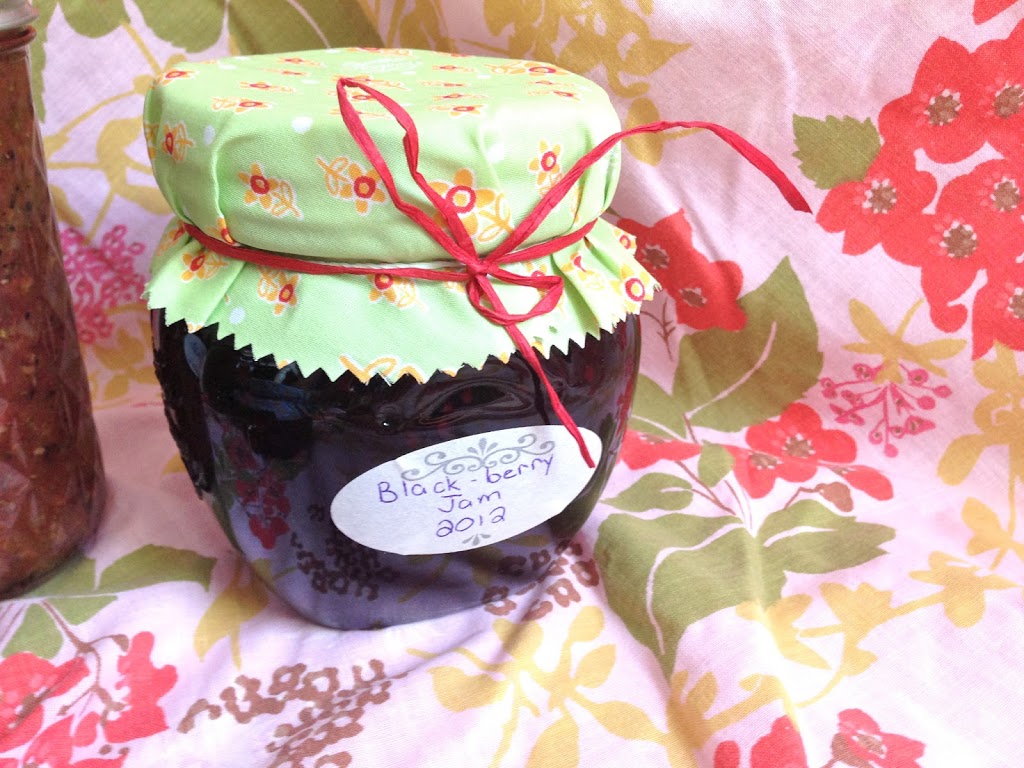
While I was helping my friend in Virginia, she took me to a little place called Lucketts, Virginia. Oh, my, it is the cutest place ever. Rolling hills, sheep, old houses….I want to move there! There are some amazing antique shops there. The first one we went to was called Lucketts Store. It’s more like a destination than a shop!!!
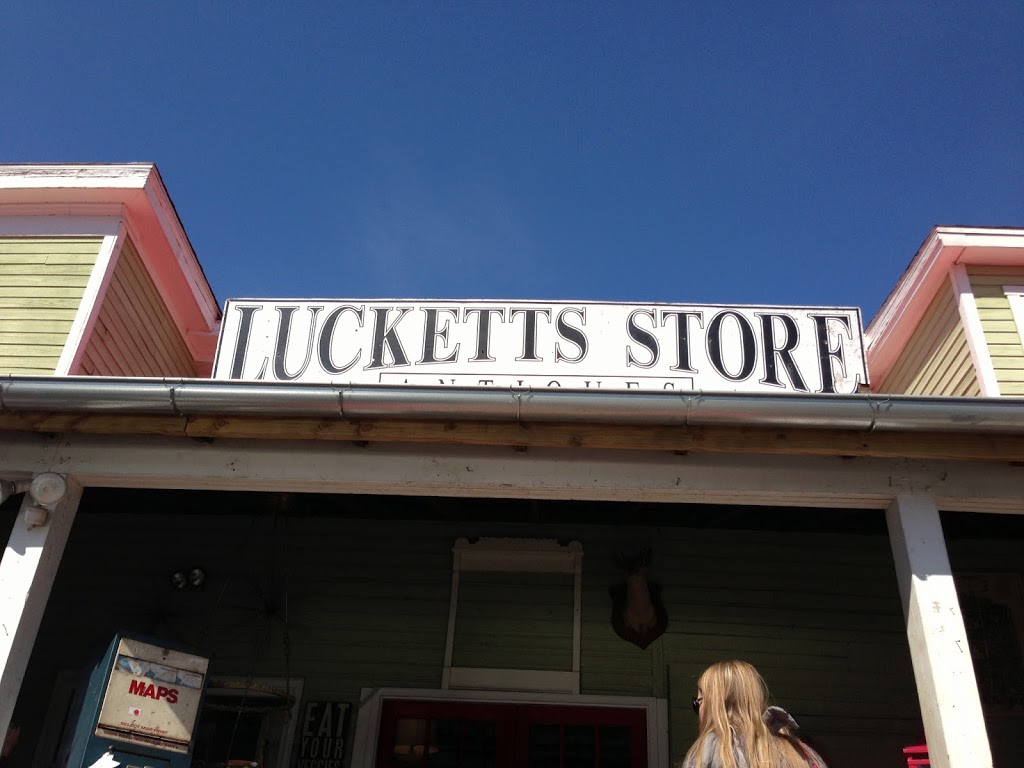
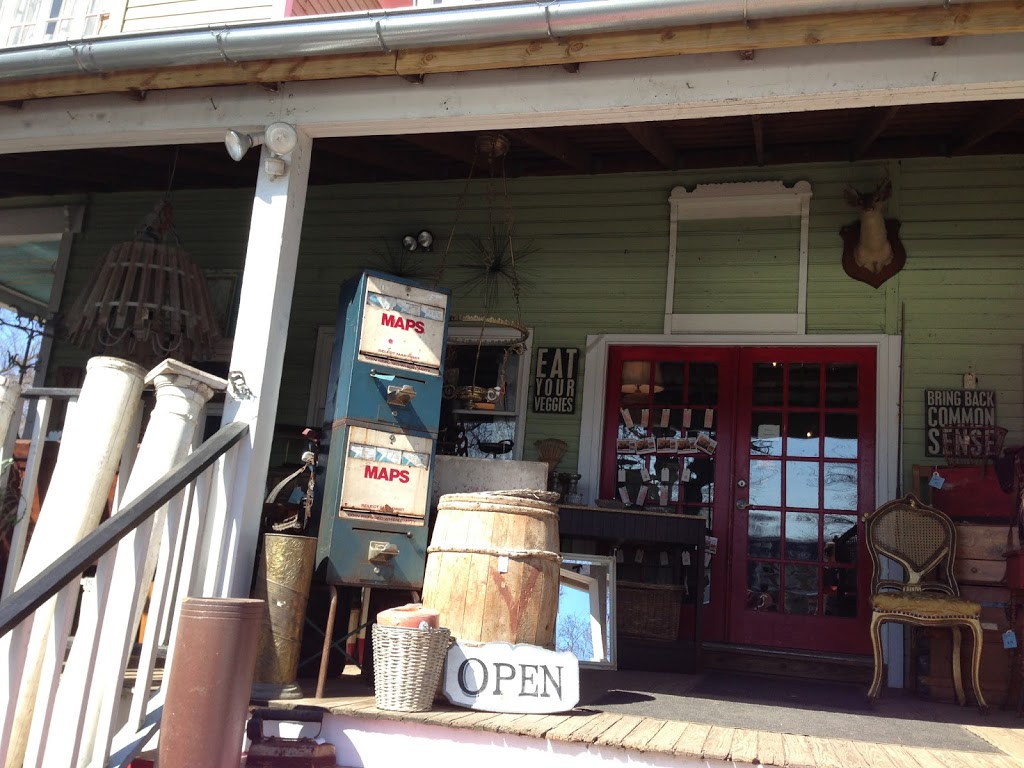
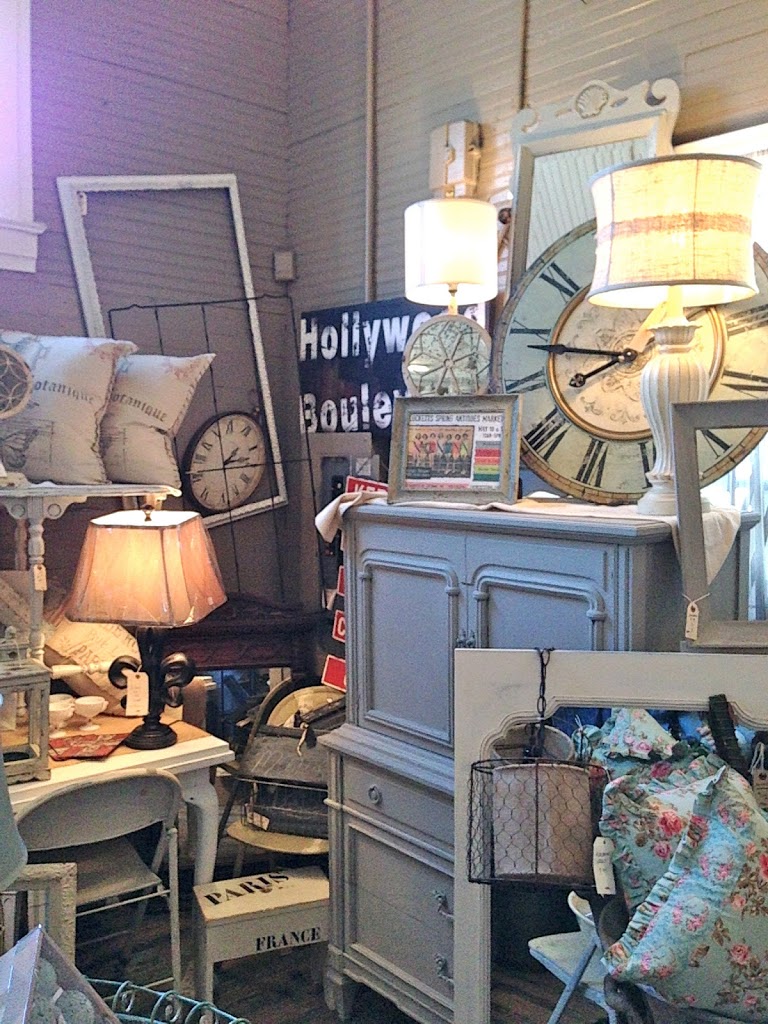
They had so many amazing items. And me, there, having to travel back to California with only a suitcase! I wanted to fill a trailer and drive it across the country!!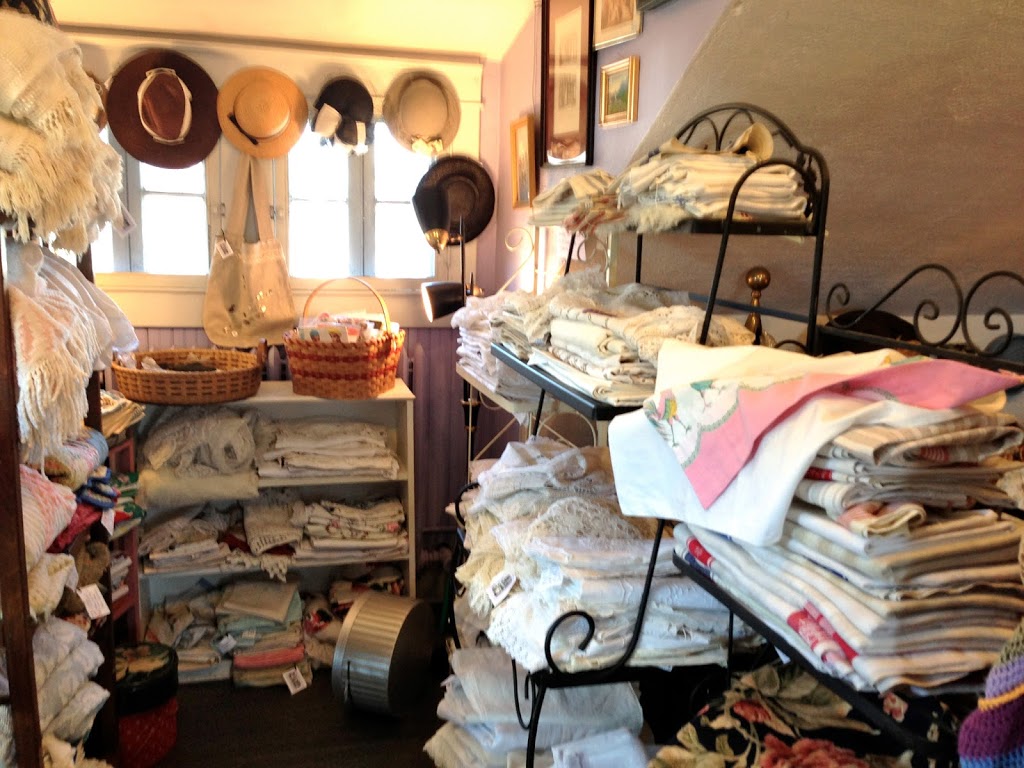
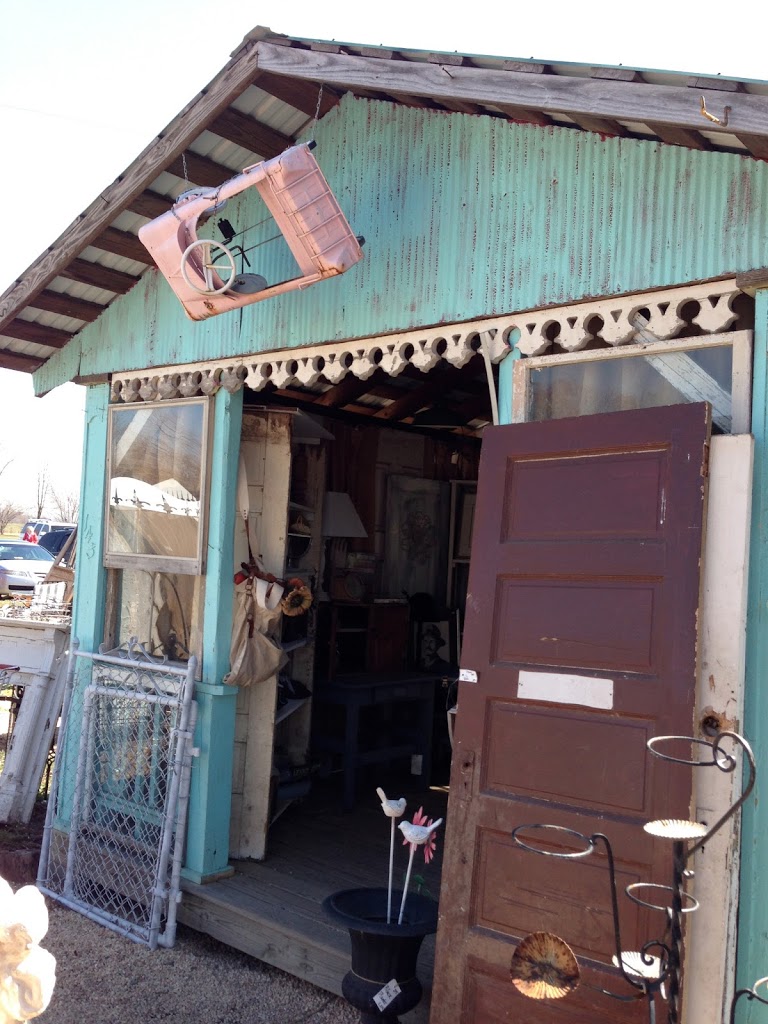
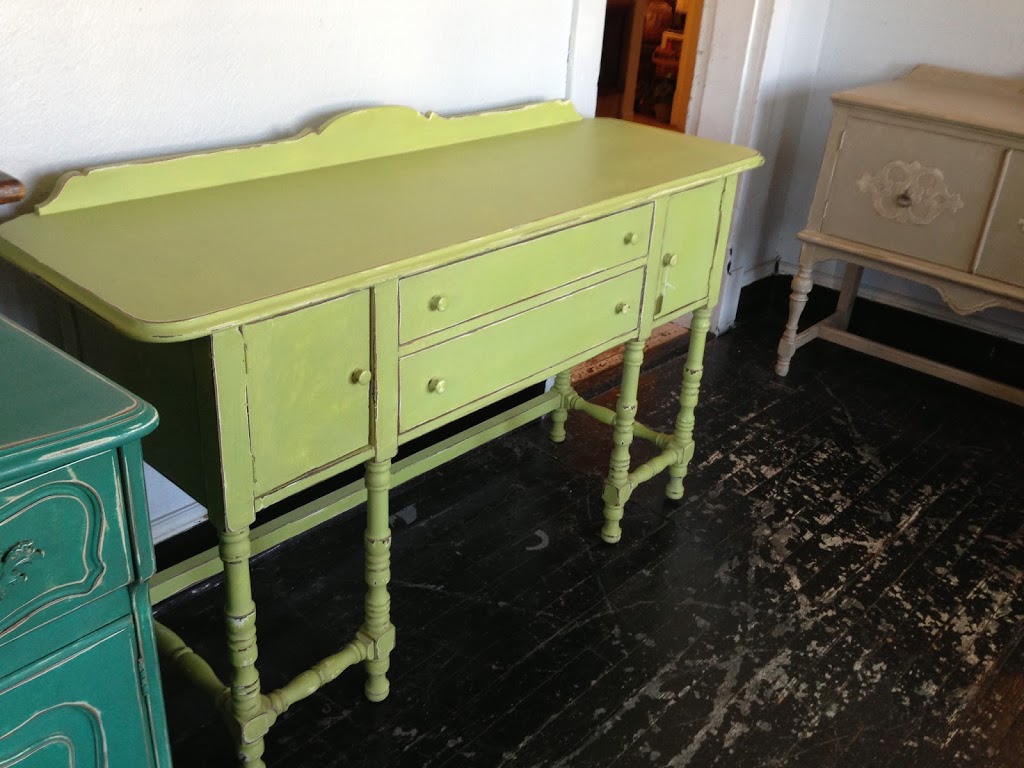
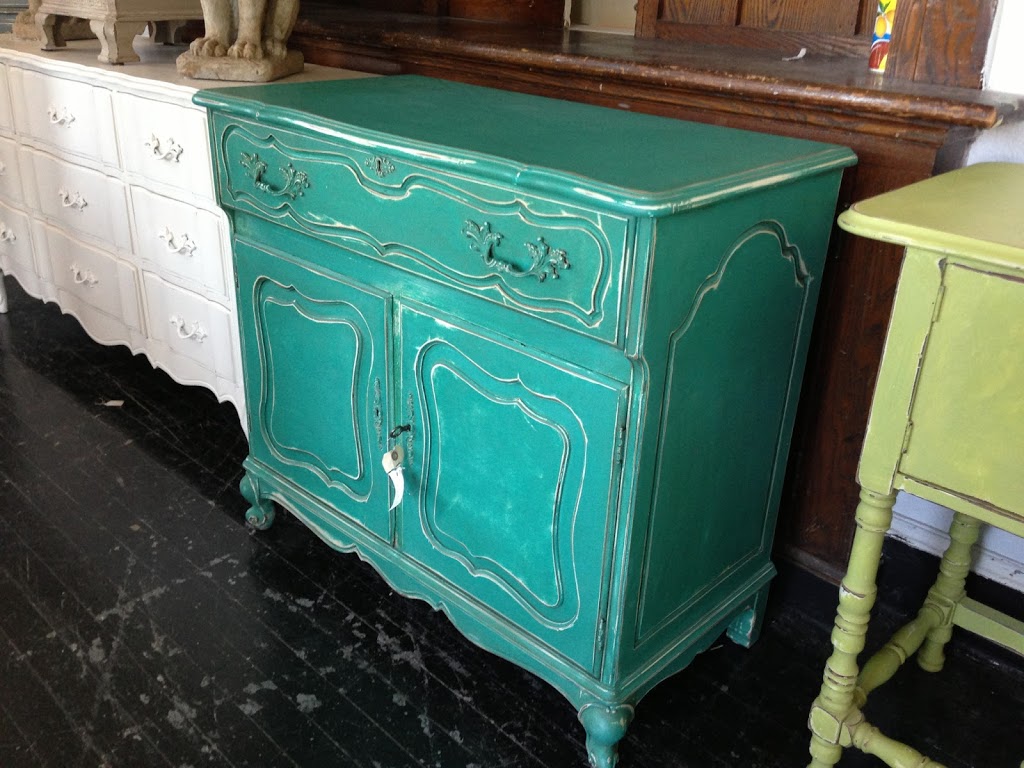
They have a “Design House” which is an old house completely decorated and amazing and everything is for sale!


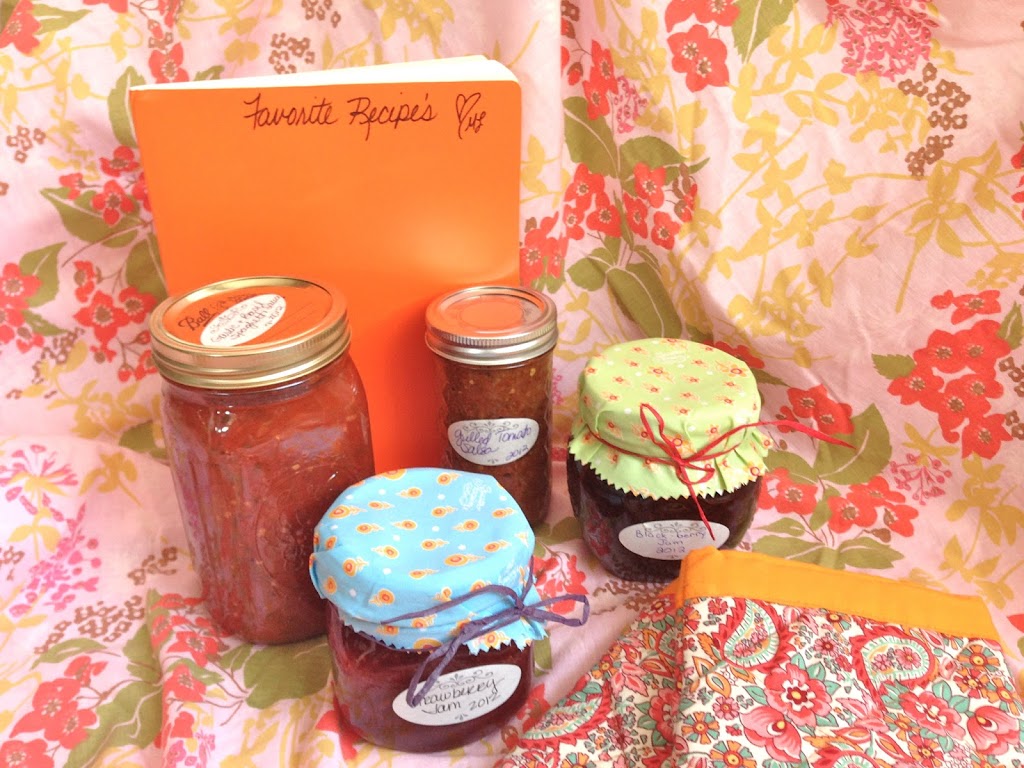
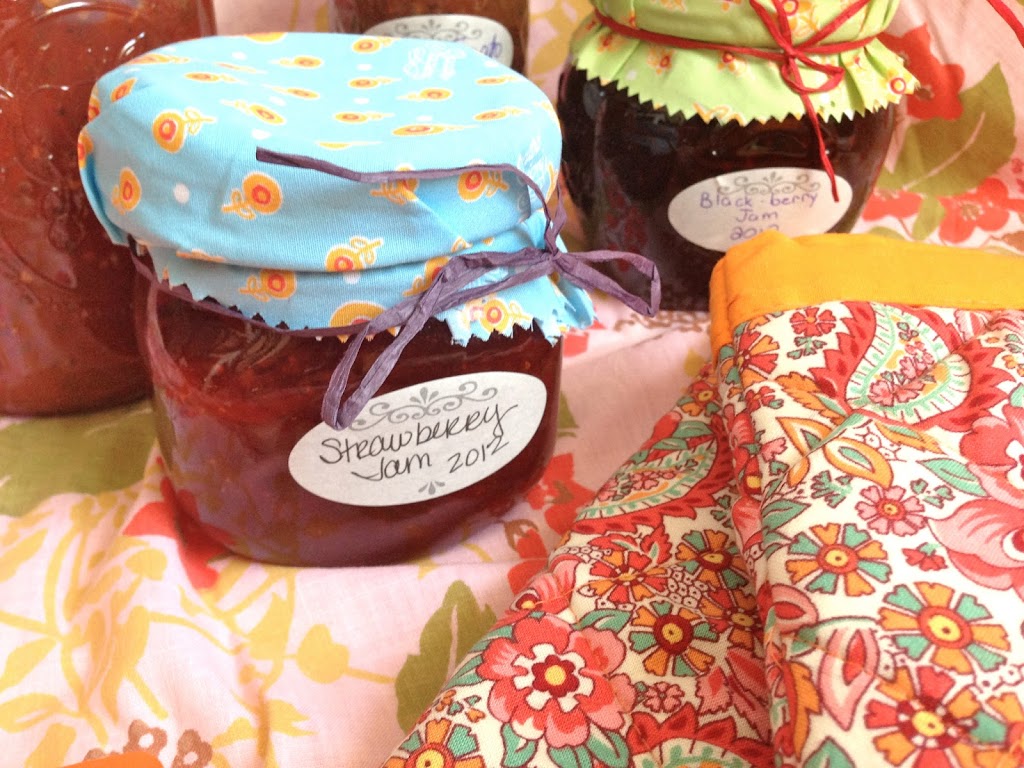
She sewed me a pair of quilted oven mitts. I was so touched when she said she had never made them before! I feel so blessed to be the recipient of this gift.
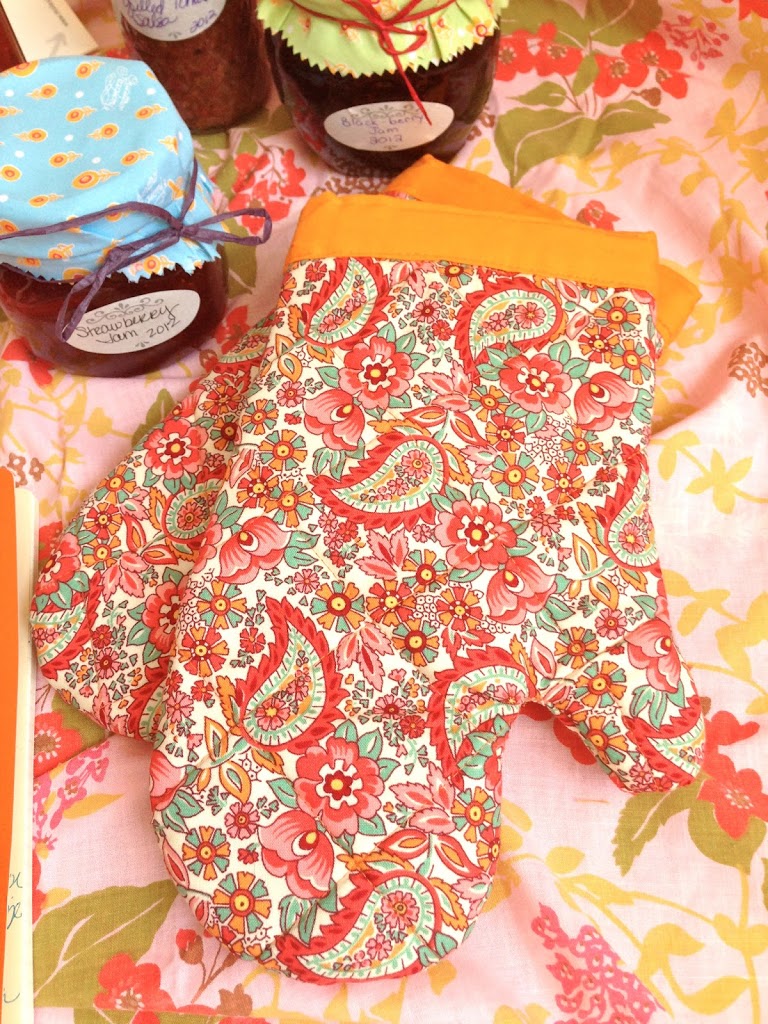
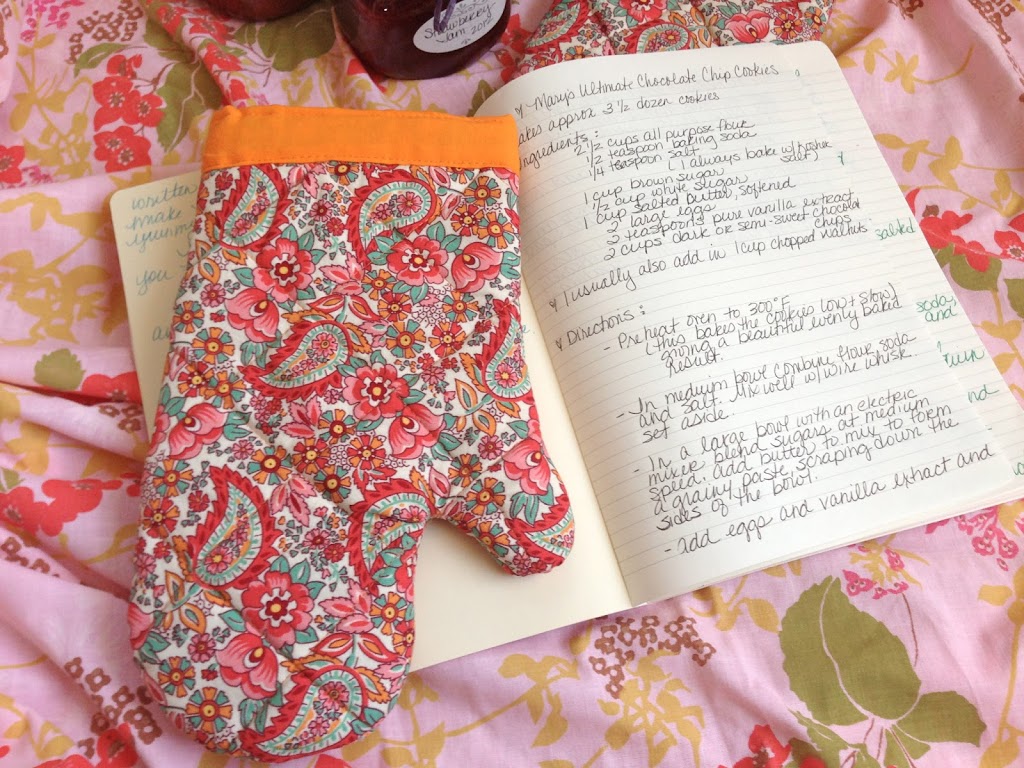
If that wasn’t enough she hand-wrote some of her family’s favorite recipes in a journal. Again – lots of thought and time went into this gift. I am definitely going to try them all.
Thank you so much Mary! I feel very blessed to get to know you and to receive a little bit of who you are!!
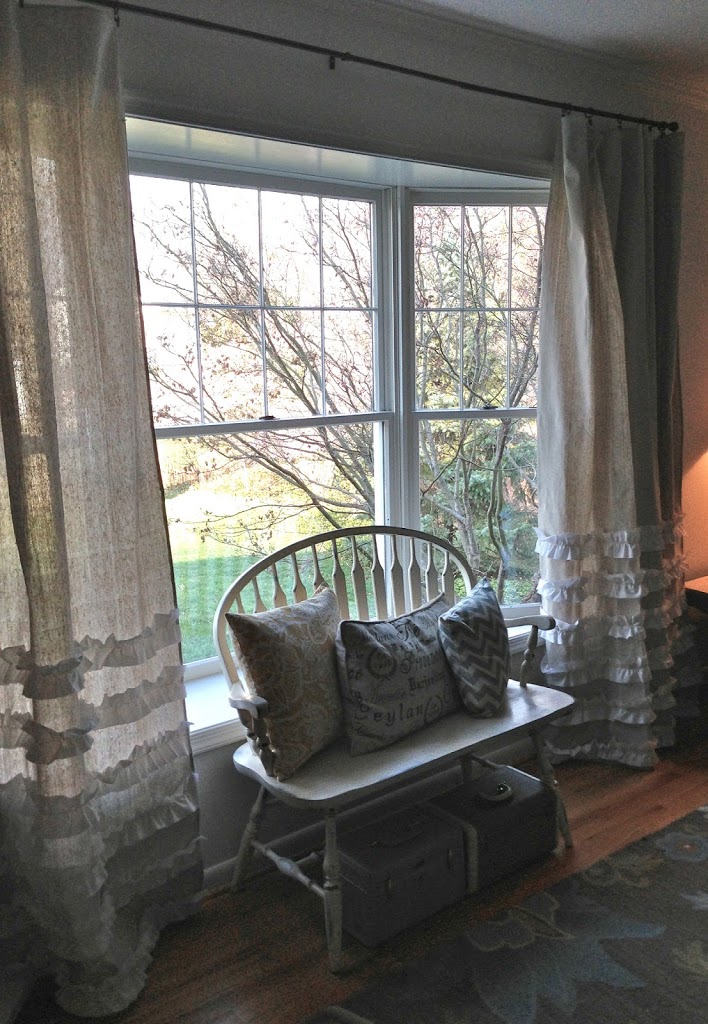
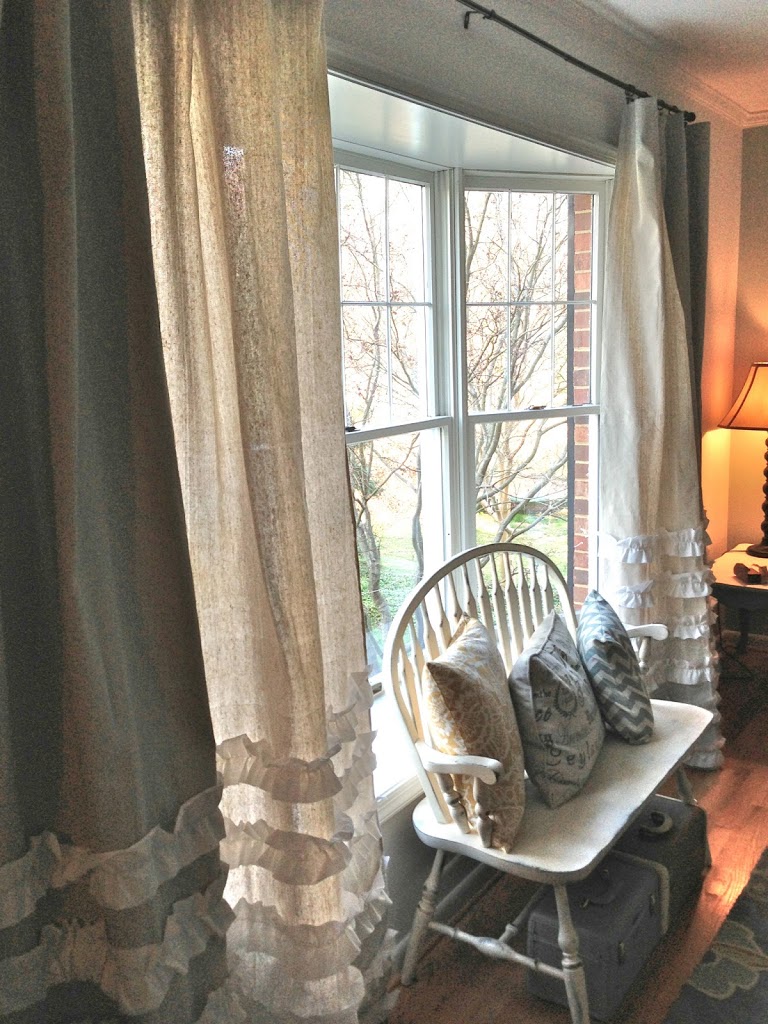
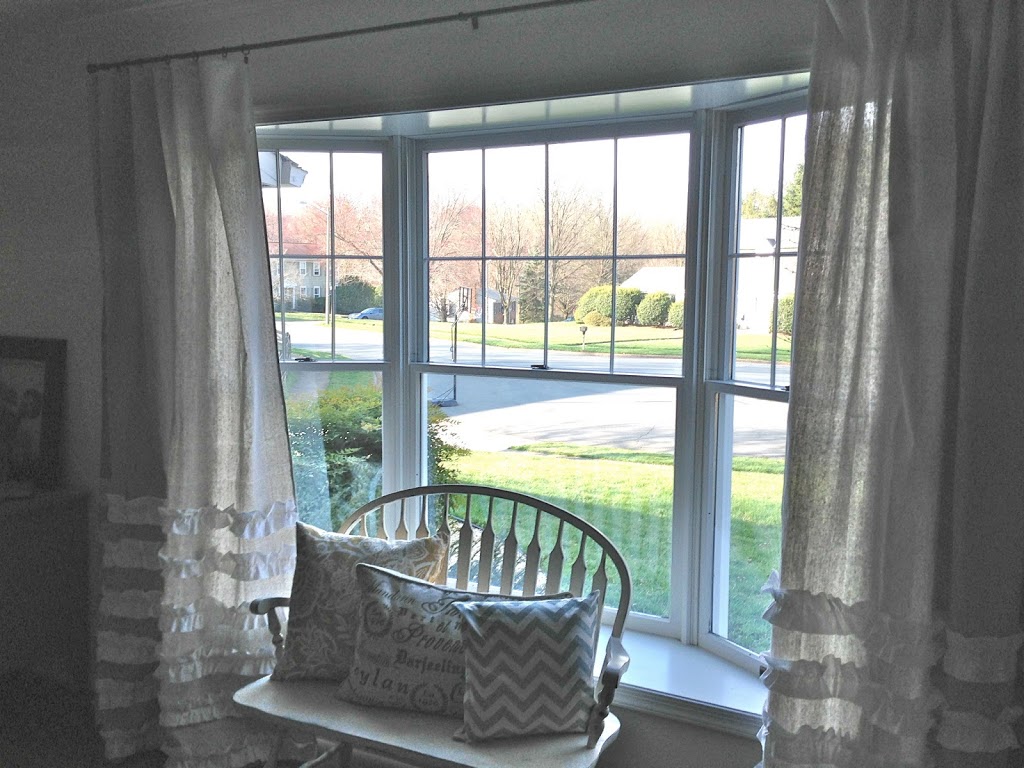
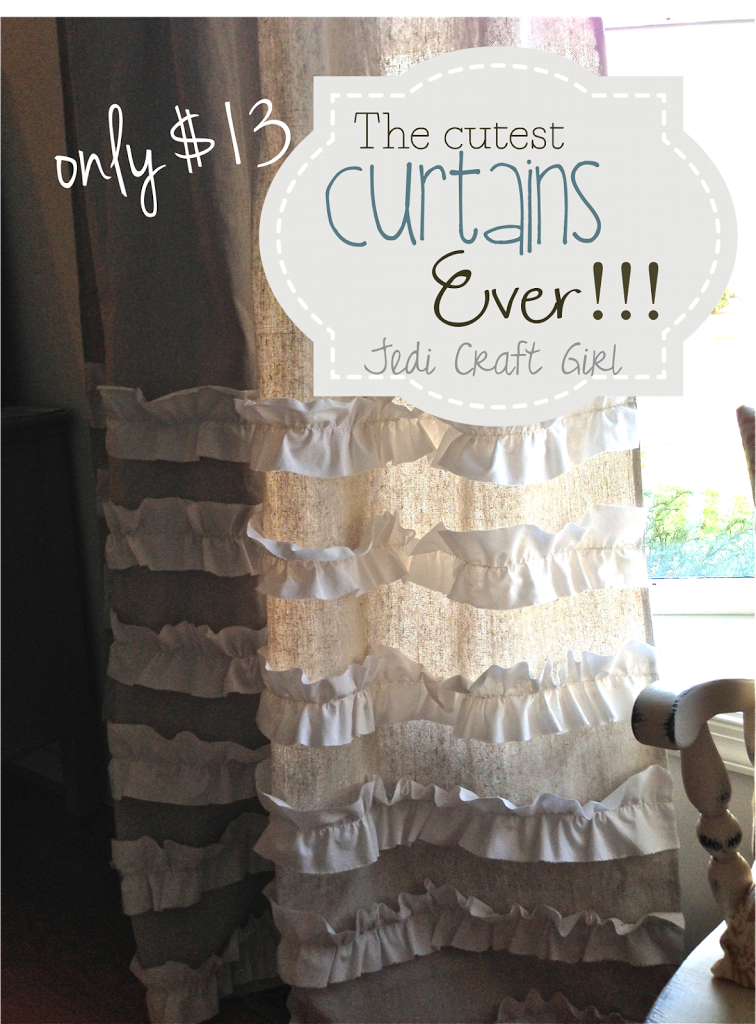
I spent a week in Virginia helping my friend decorate her house. She has this big window in her front room and it needed some curtains. Here is how you can make them too!
We bought this 2-pack of canvas drop cloths at the Home Depot. They were $10 for the pair. We liked these because they were a little more gray than tan. 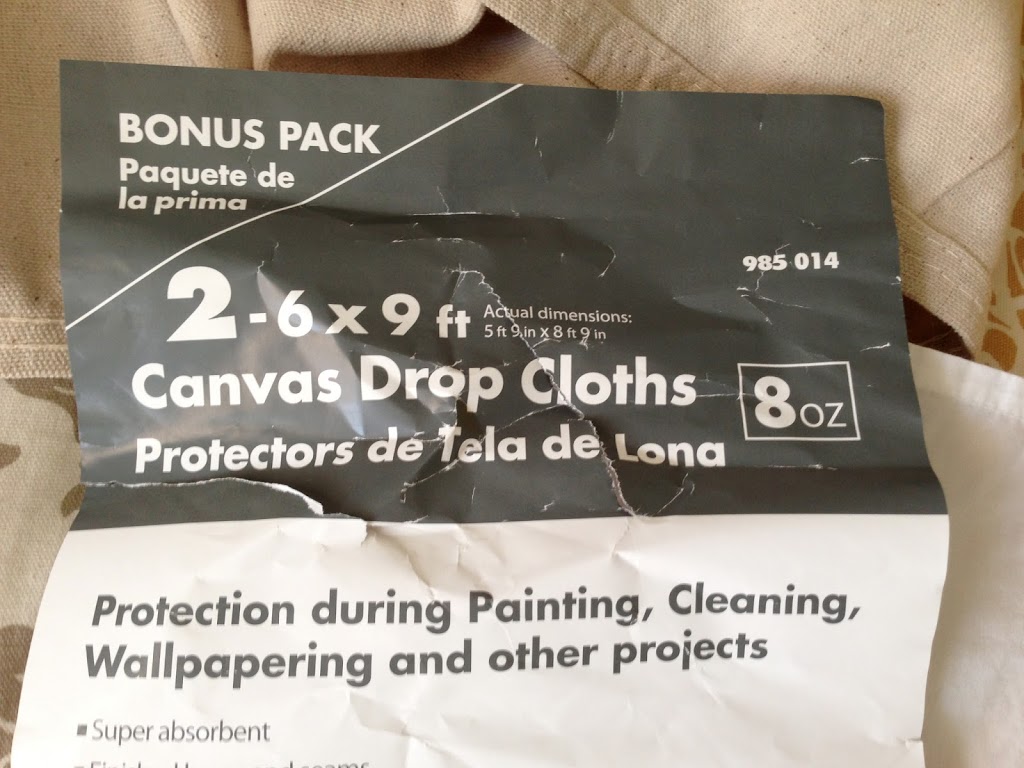
Some of the other canvas drop cloths were only 1 in a package. The ones we bought were perfect because we needed 2 curtain panels.
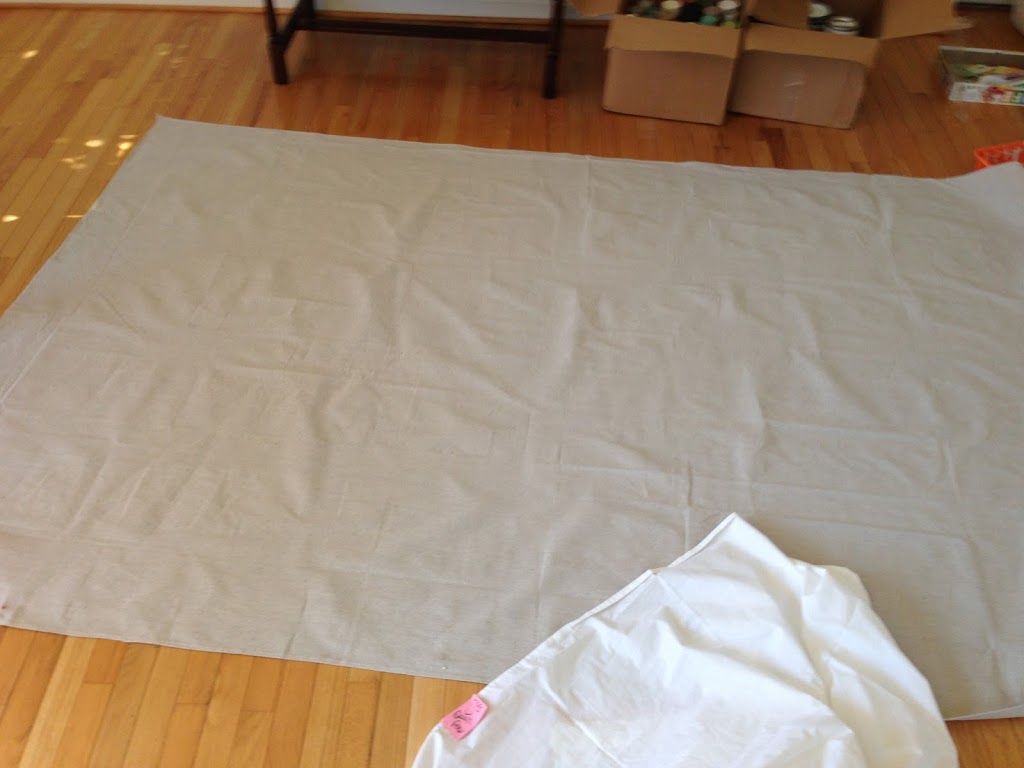
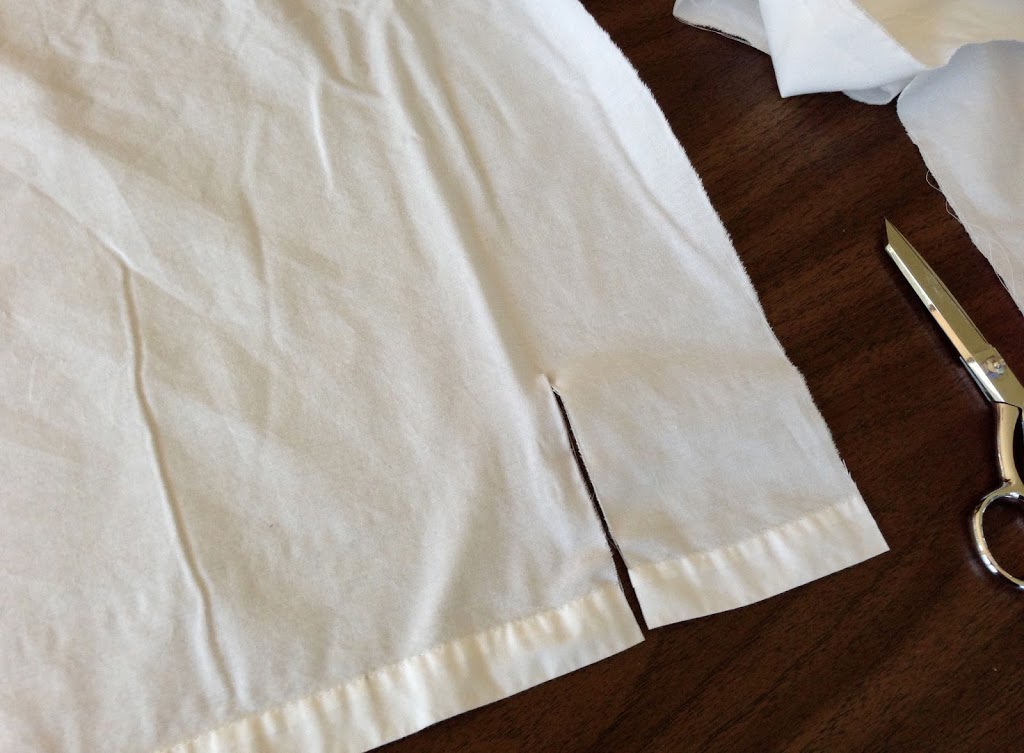
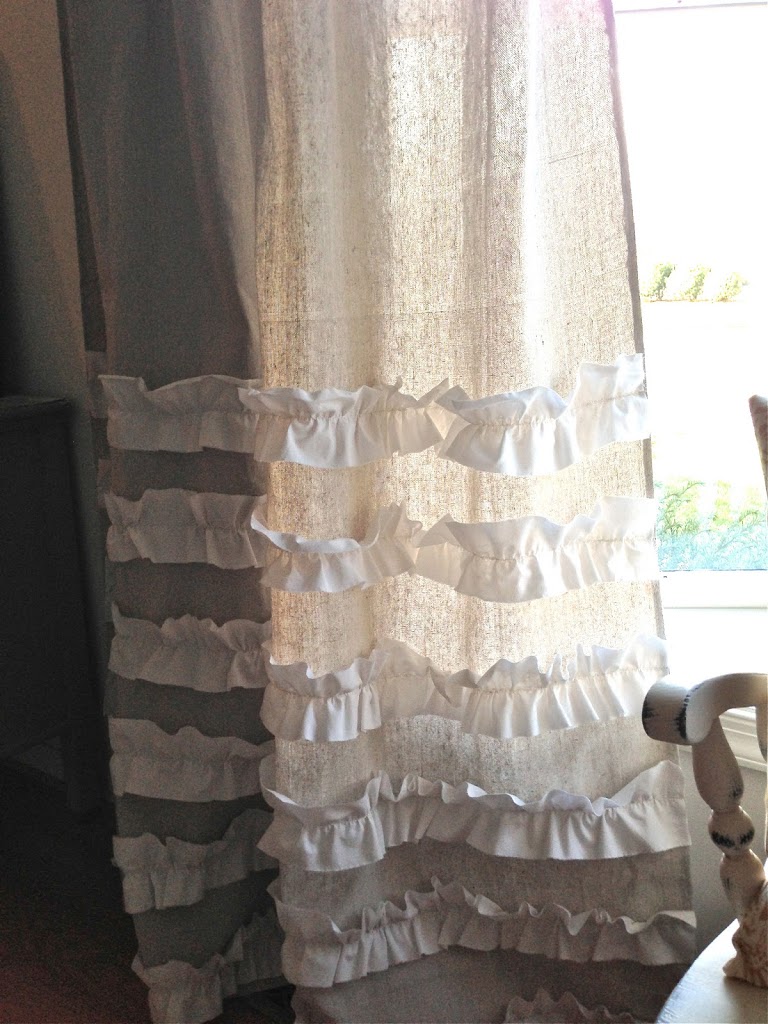
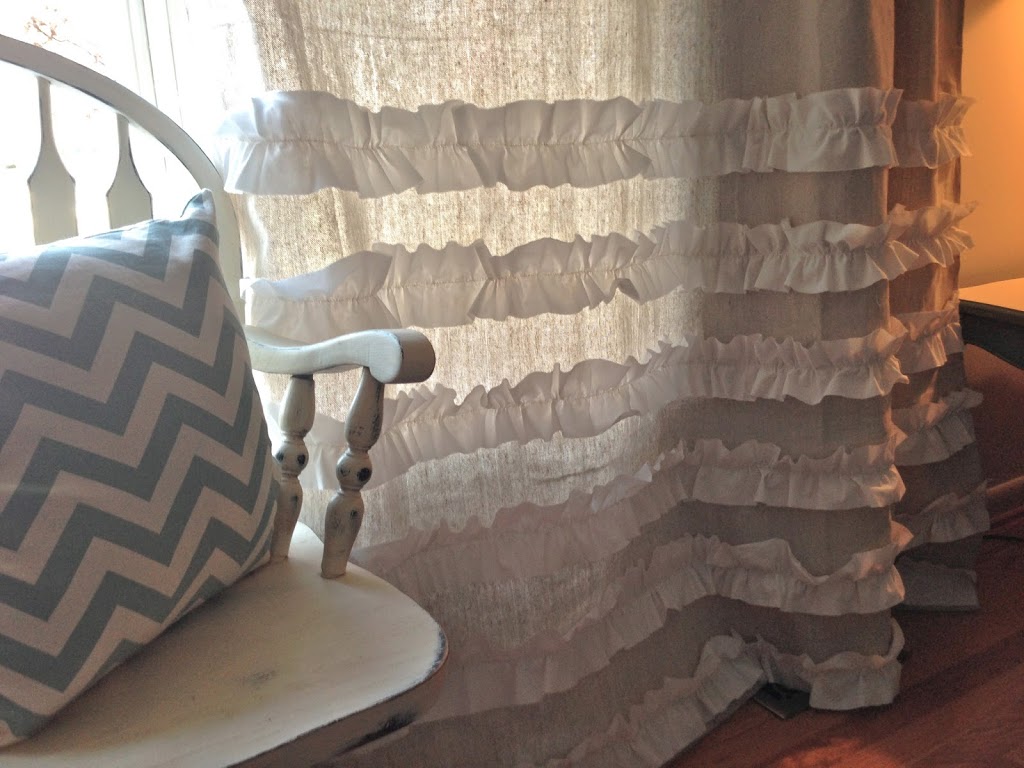
They ended up being the perfect width for our window. You may need to adjust the measurements to fit your window. Measure how long you want them and then add 3″ for the hem. Make sure to consider how you want to hang them. Ours were hung with curtain clips on a rod. Cut off the extra fabric and hem. Our hem was rolled once then again about 2 1/2 inches.
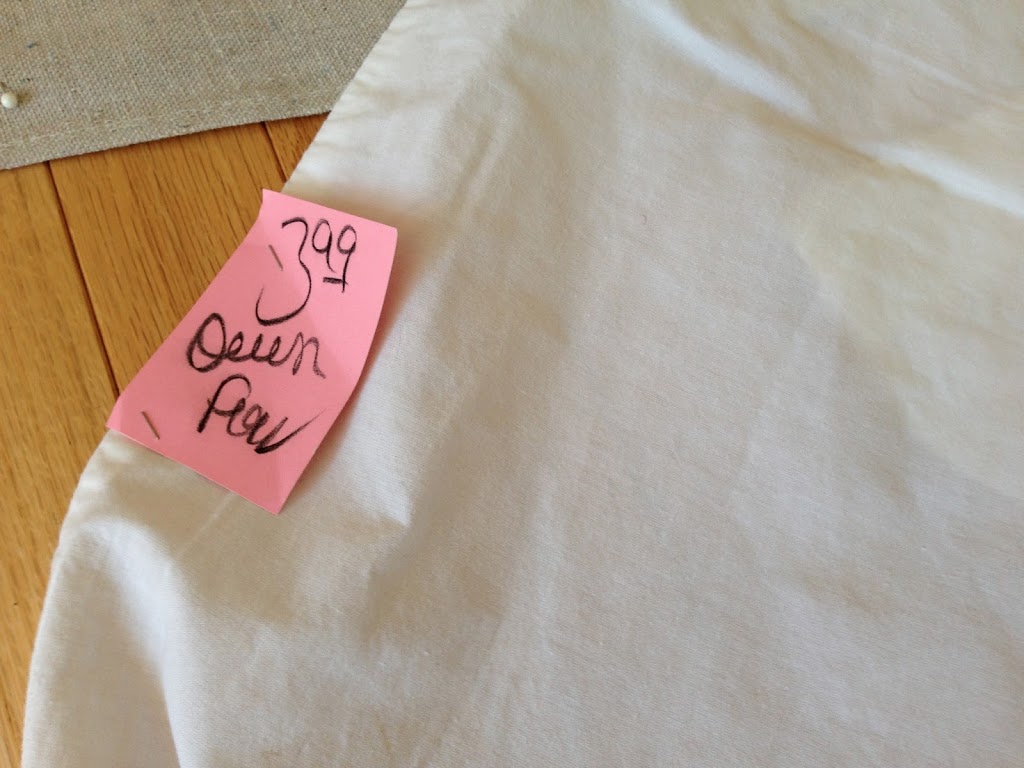
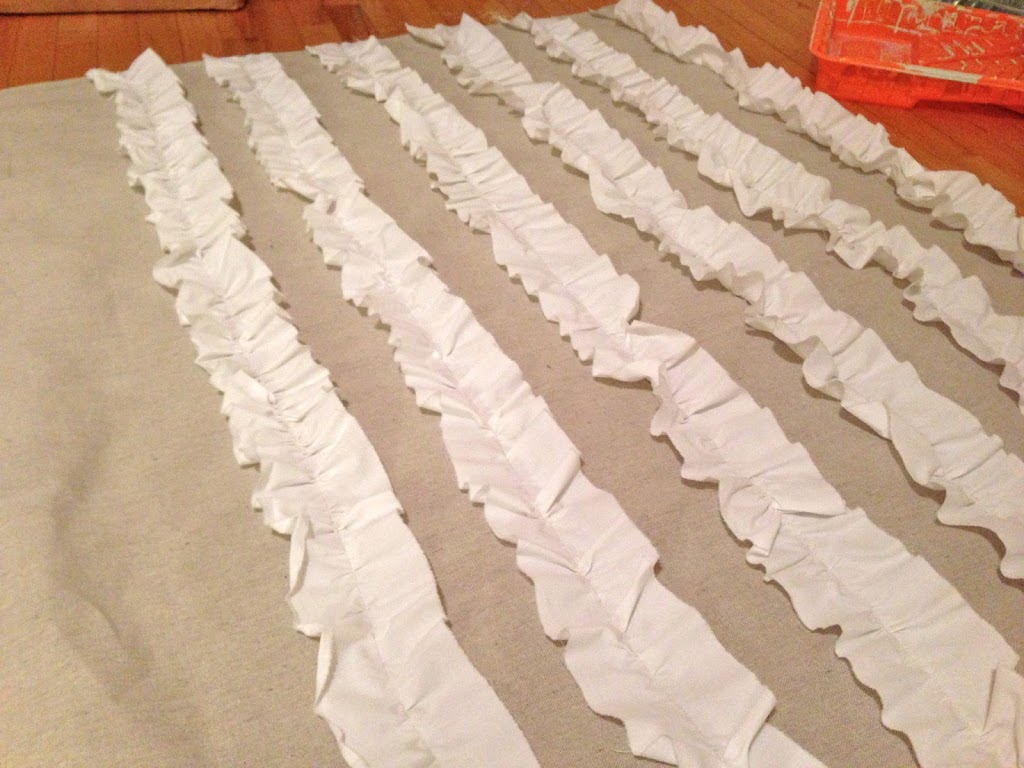
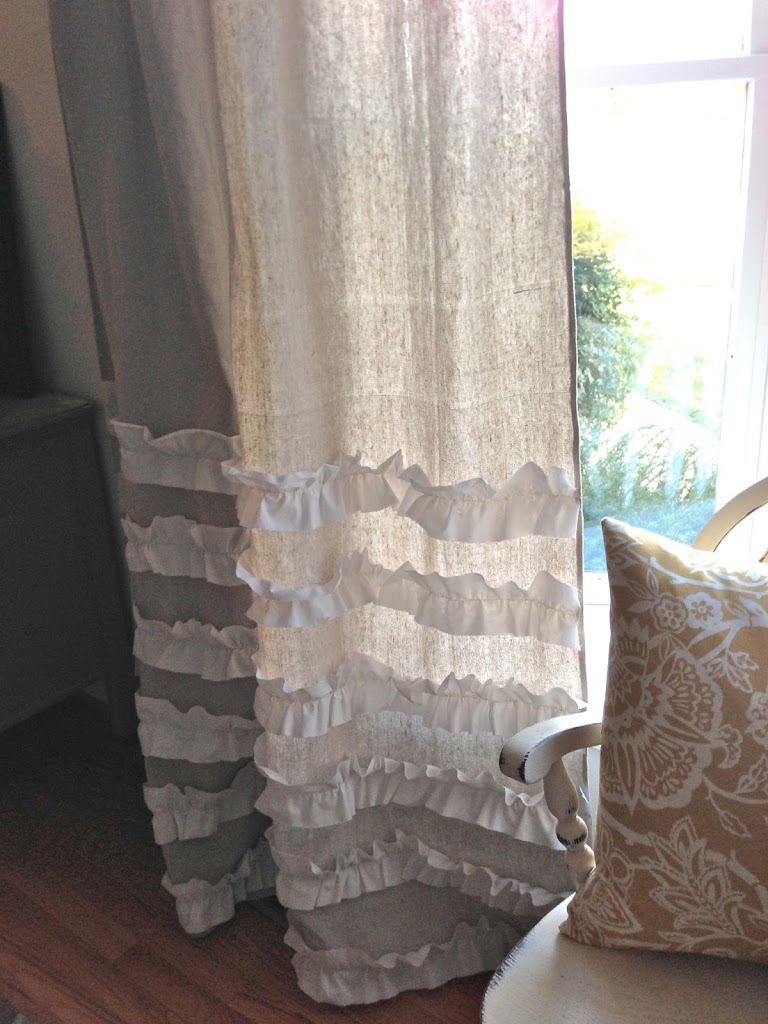
Snip the sheet at 4″ increments and tear apart. (Do this the long way so you have enough length to ruffle.) We used 6 strips per panel. Adjust depending on the size of your curtains. The combination of the warn, softness of the sheet and the tearing gave the ruffles a nice vintage edge.
Draw a line 1/3 the way up from the bottom of the curtain. Then draw a line every 6″ to the bottom of the curtain. You should have 6 lines for 6 ruffles.

Adjust the ruffle to fit the width of your panel. Pin the gathered seam along the pencil line. Continue pinning all 6 ruffles. Sew a straight stitch over your gathering stitch. It’s a little awkward because the drop cloth is a little thick.
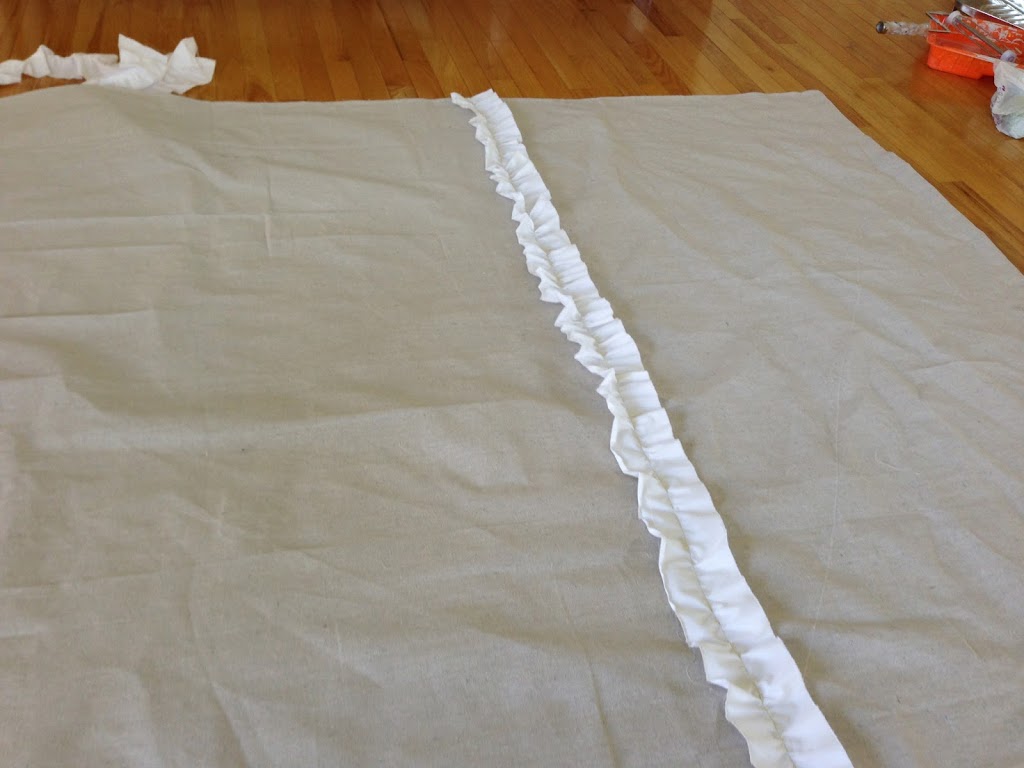
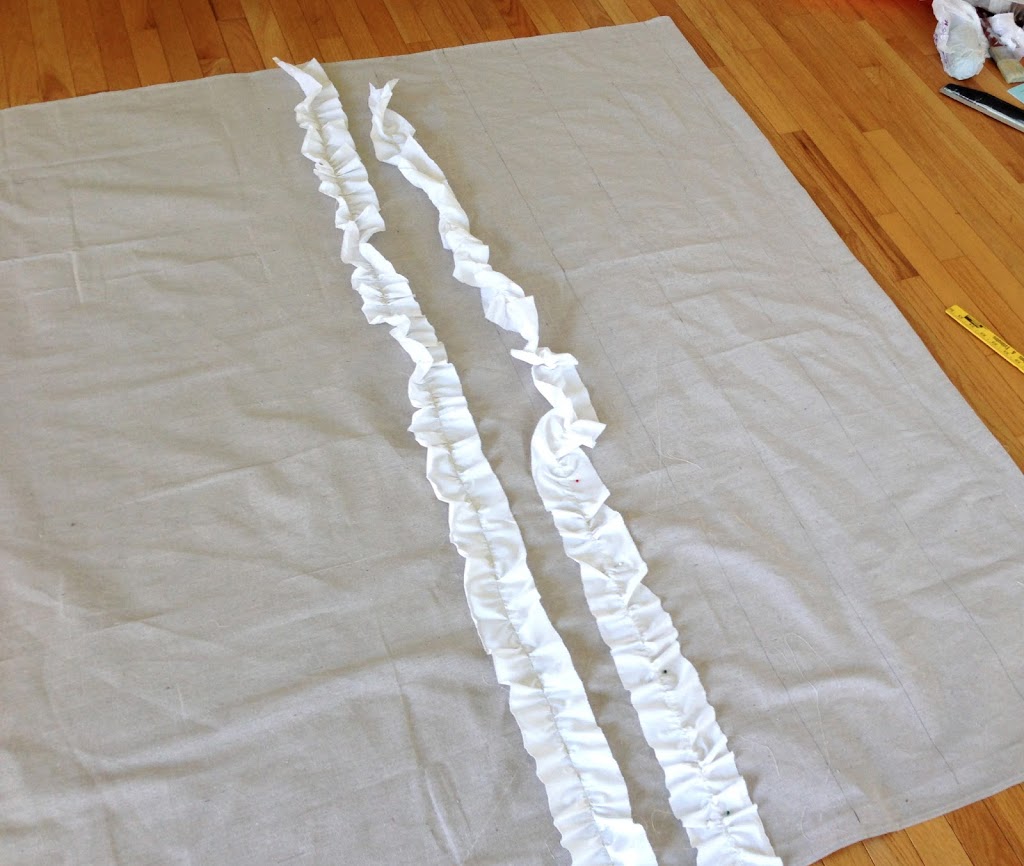
Keep gathering and gathering and pinning and pinning – you can do it!!
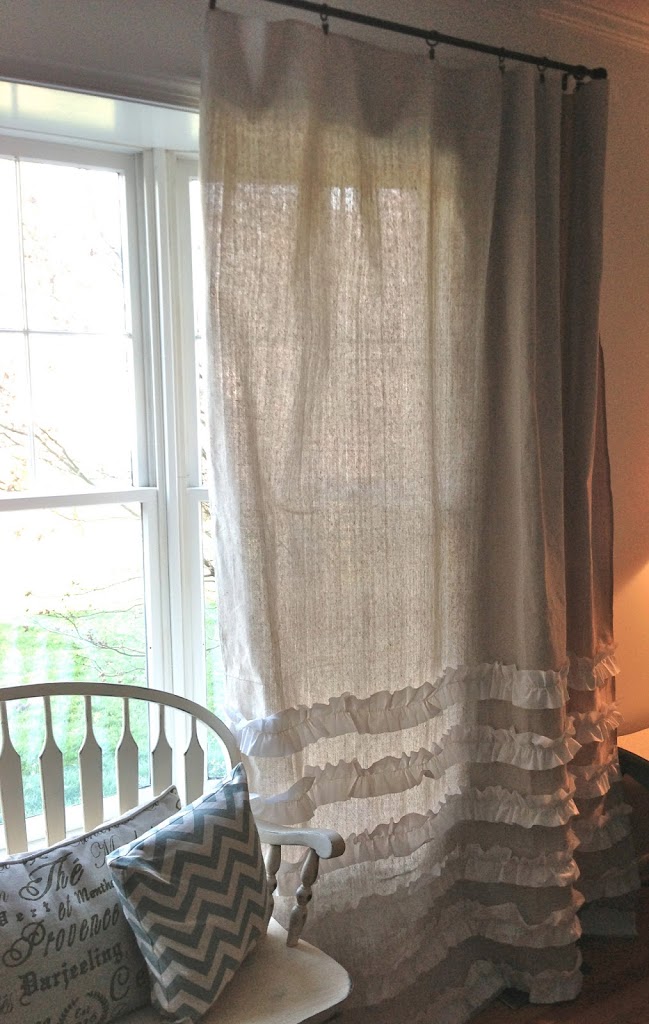
We finished our project at 1:00 am. We hung them up and sat on the couch and admired them for quite some time. They gave the room such a darling, finished look.
In my house in California, I have shutters on all my windows, so I don’t think I will be able to have my own set of these curtains in my house. That makes me sad. I took lots of pictures so I could remember how cute they turned out!!


