Archives for June 2013

Summer Hoodie Tutorial

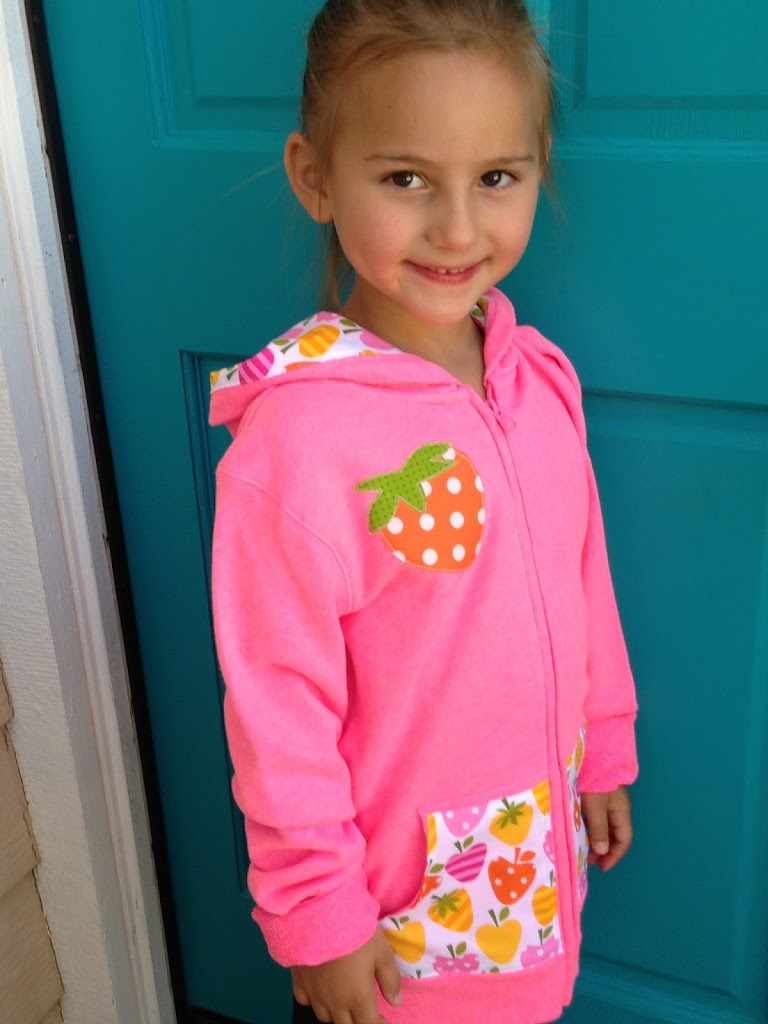
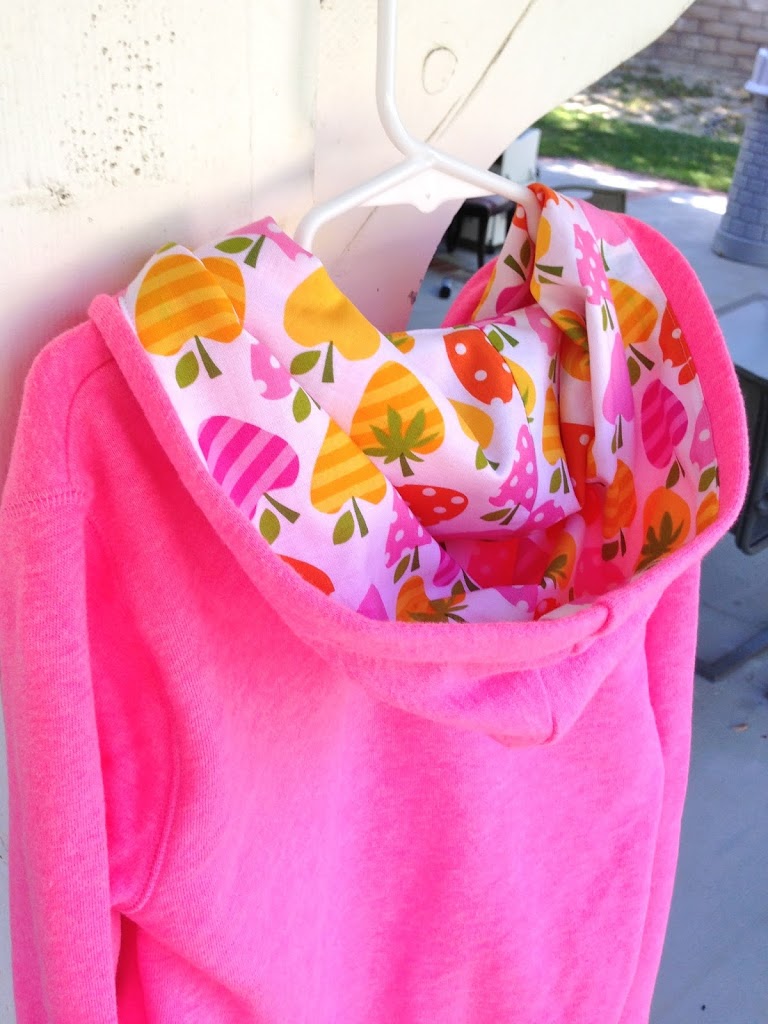
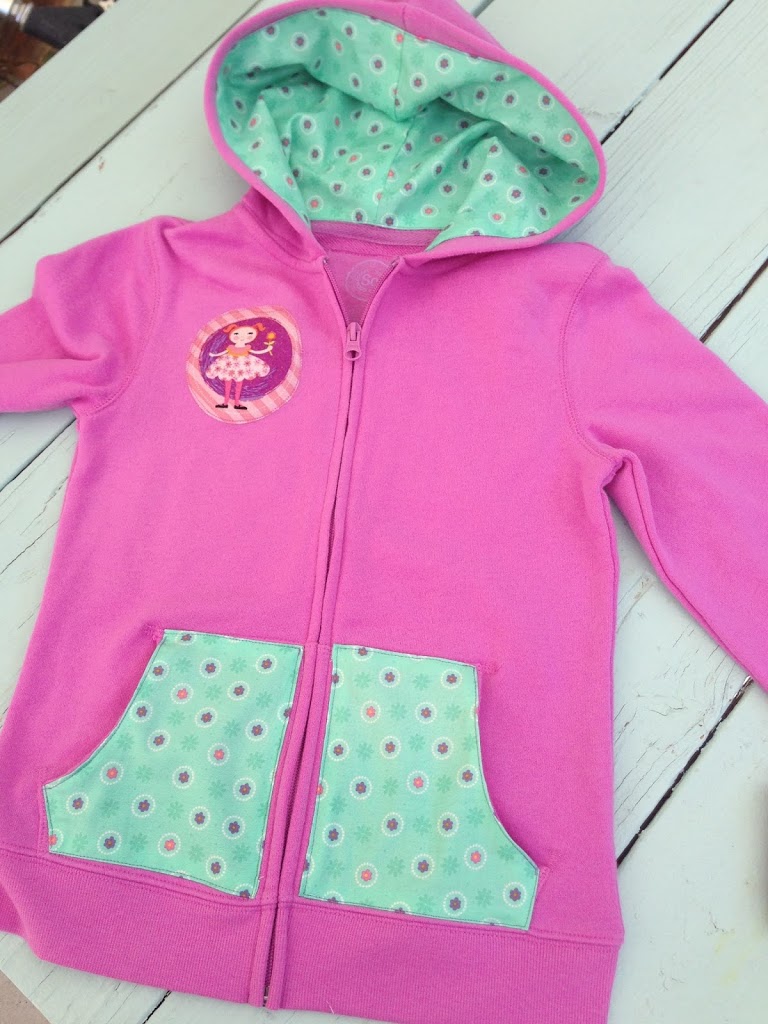
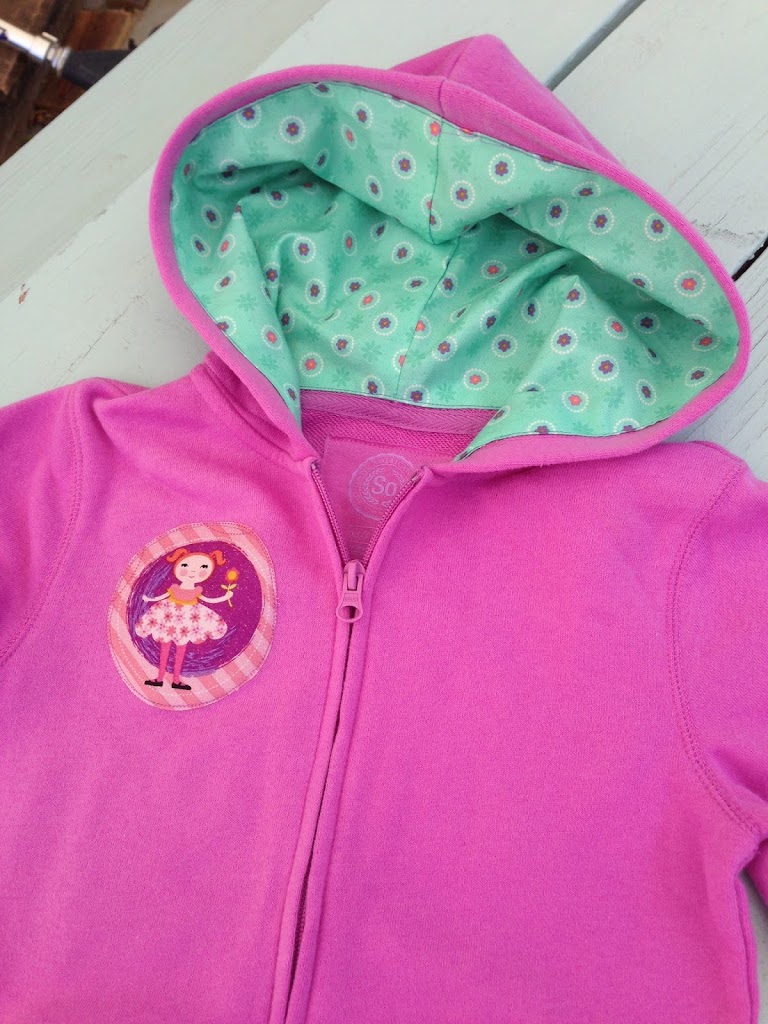
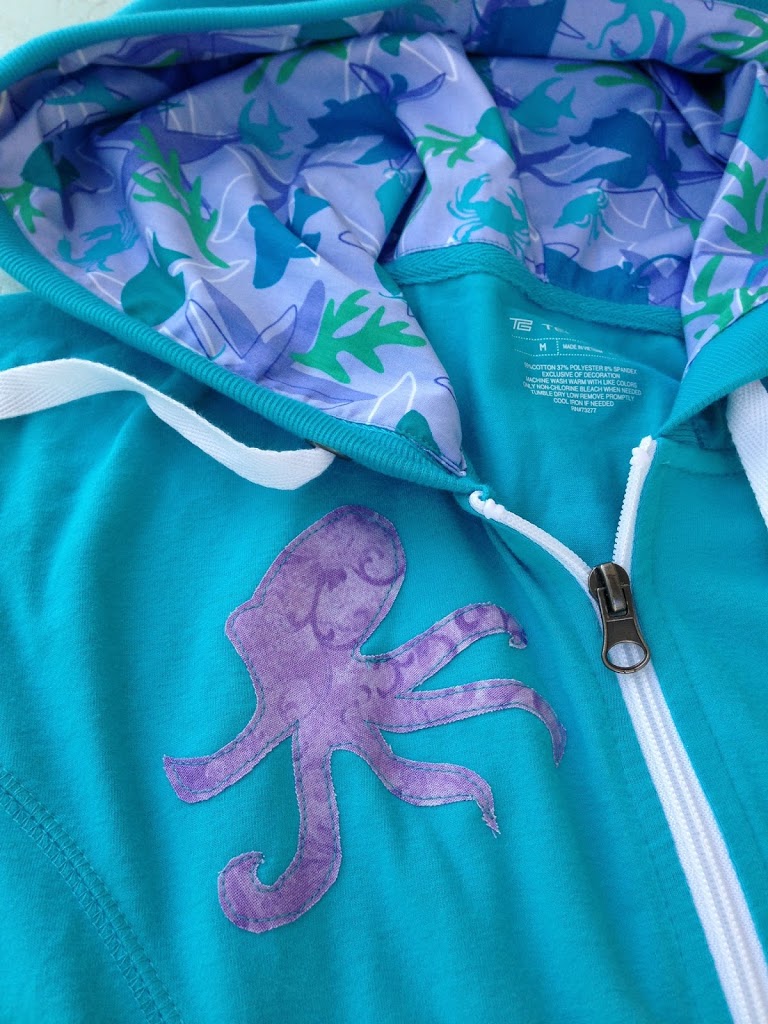
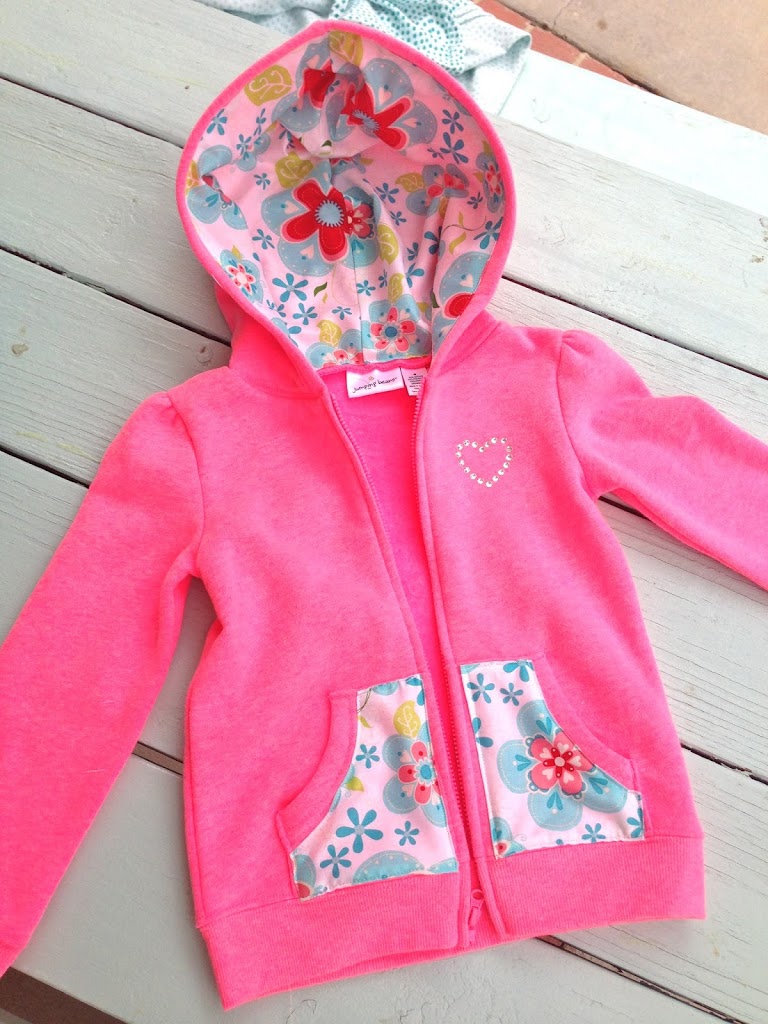
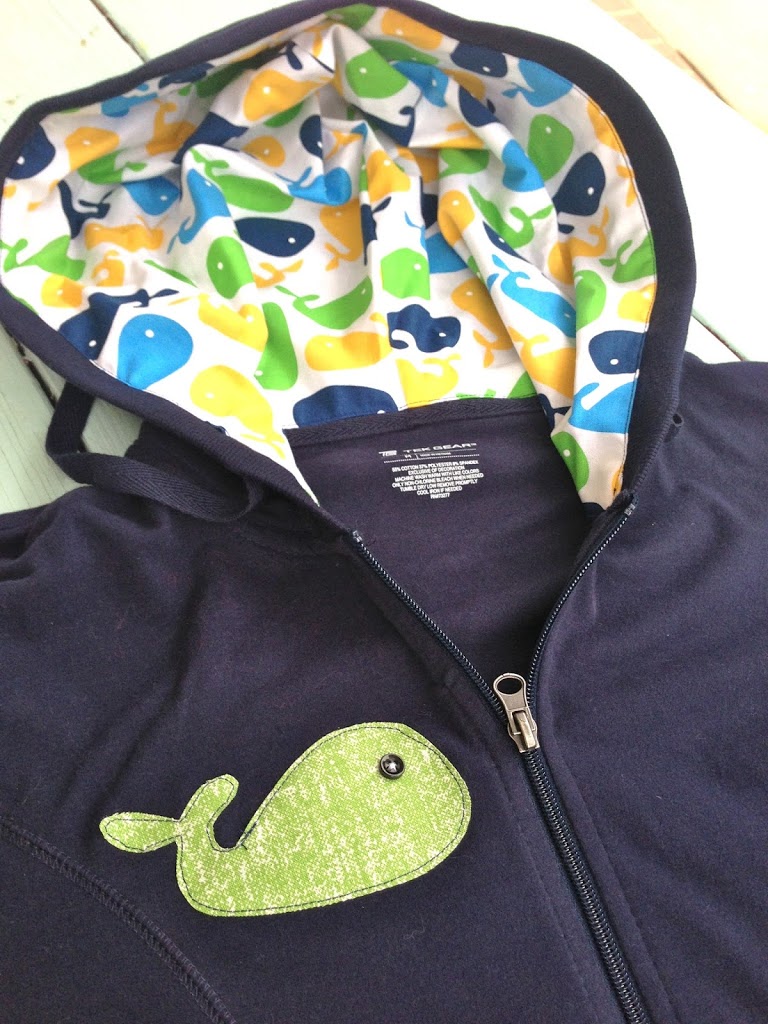
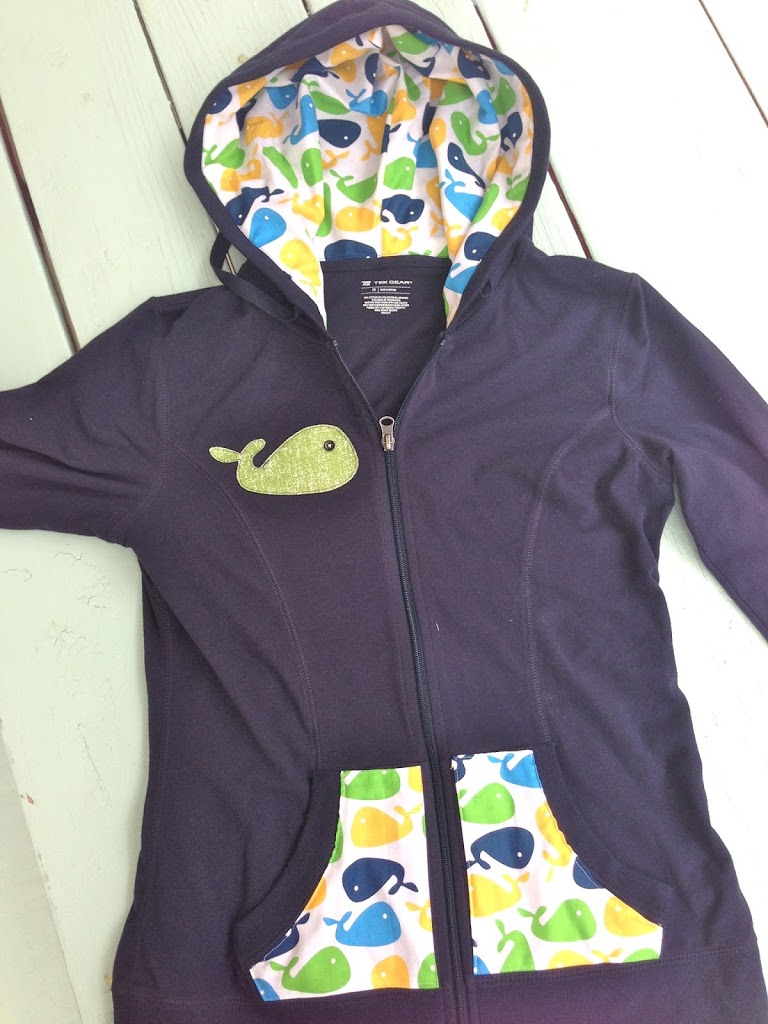
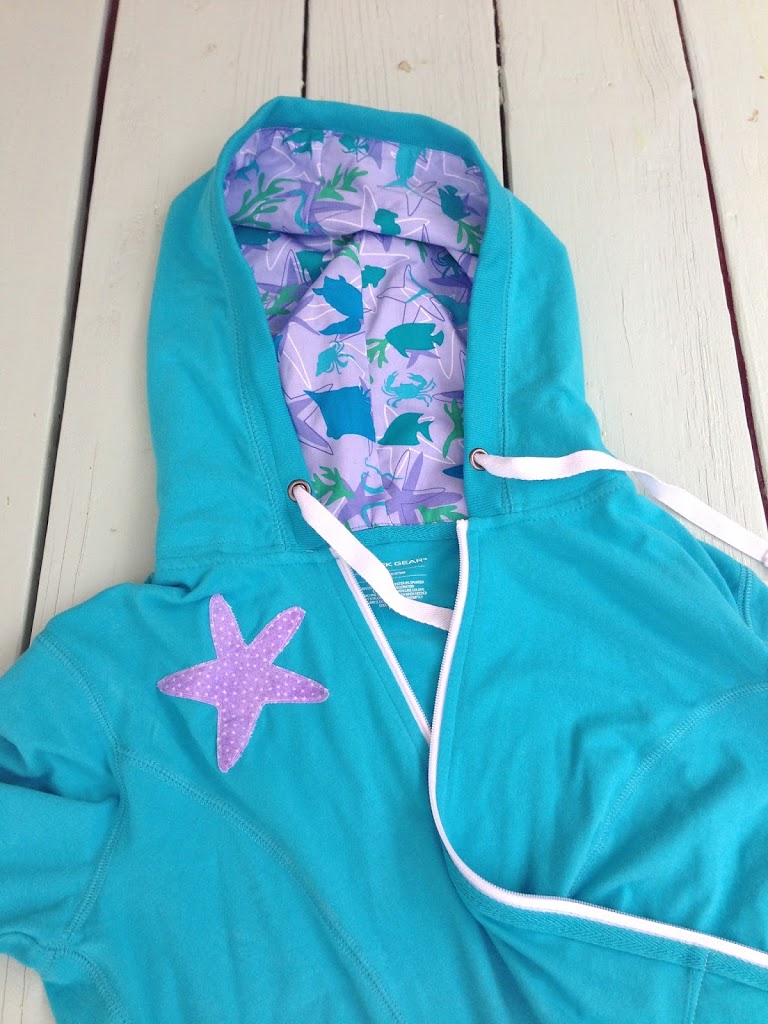
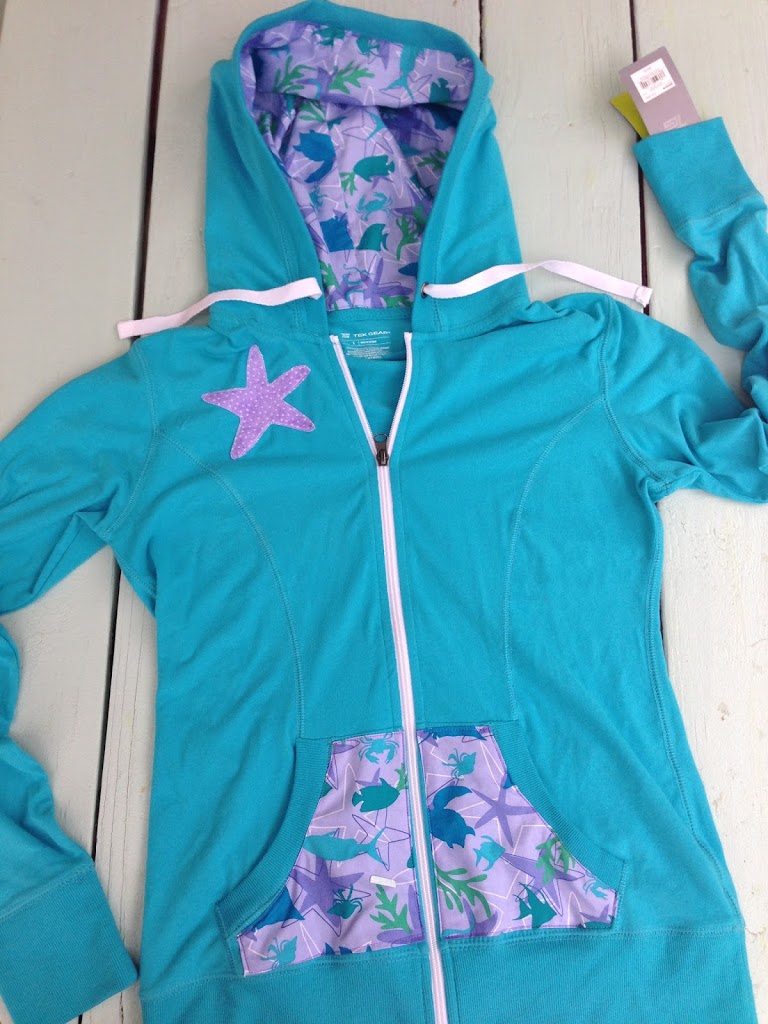
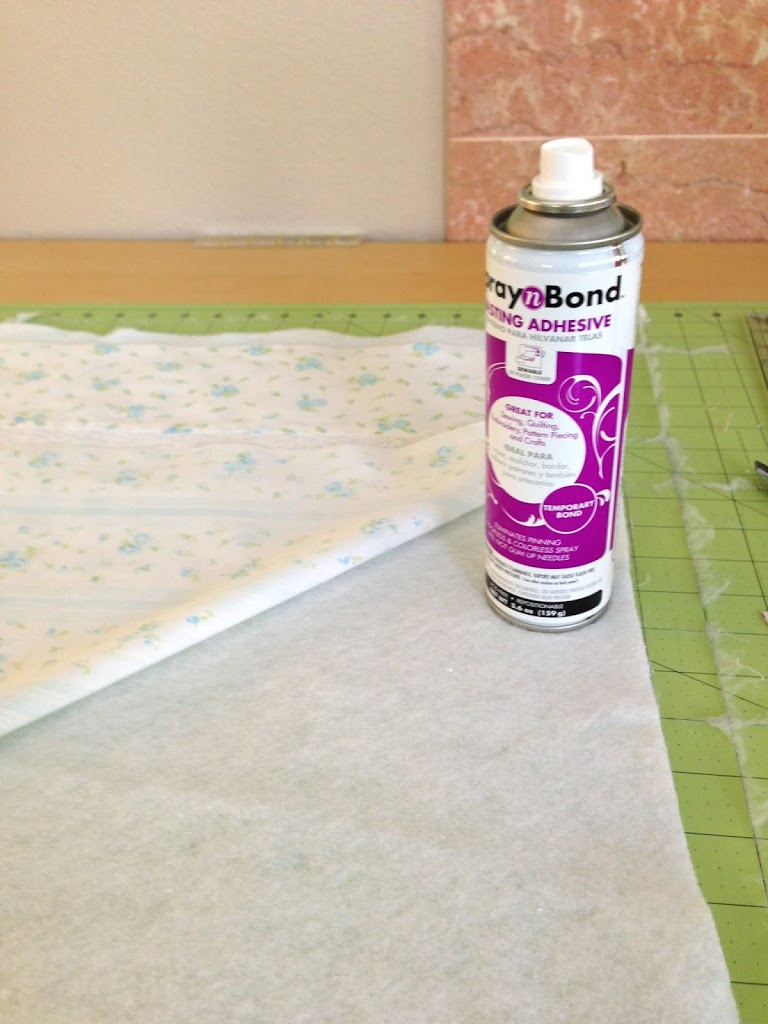
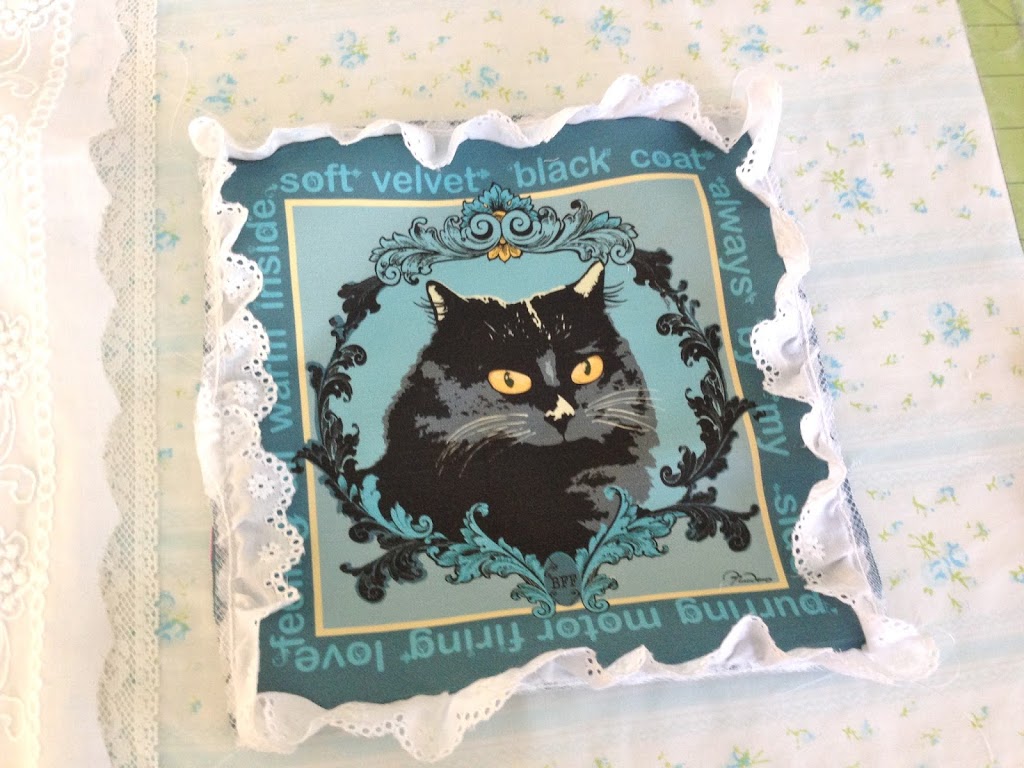
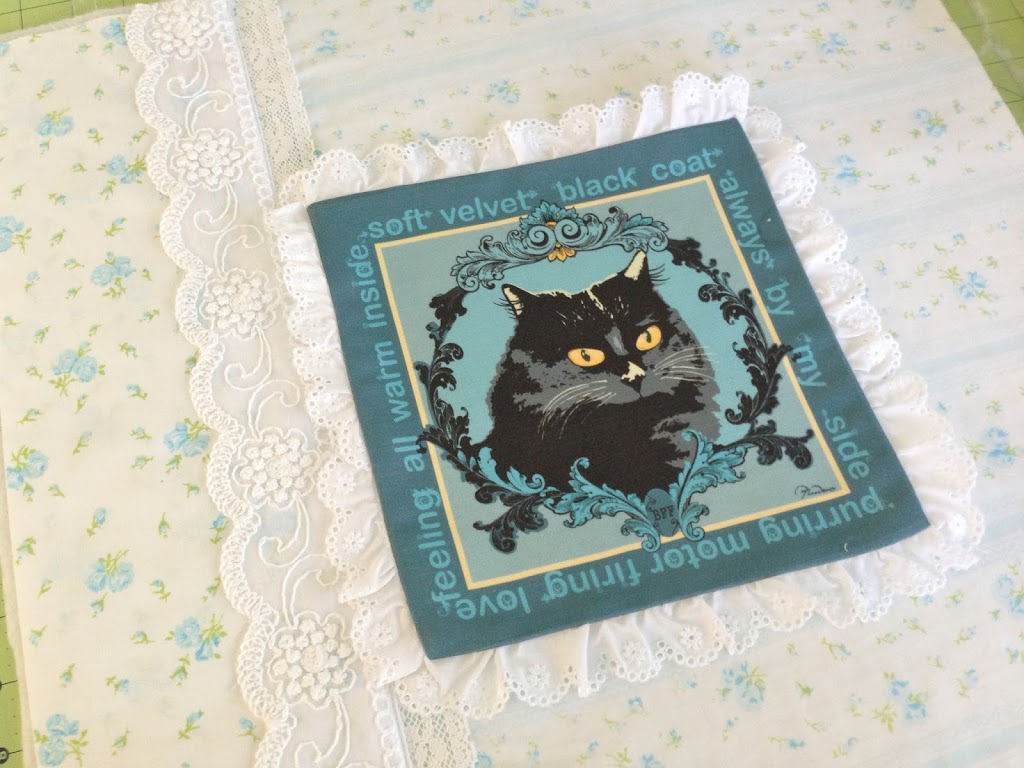
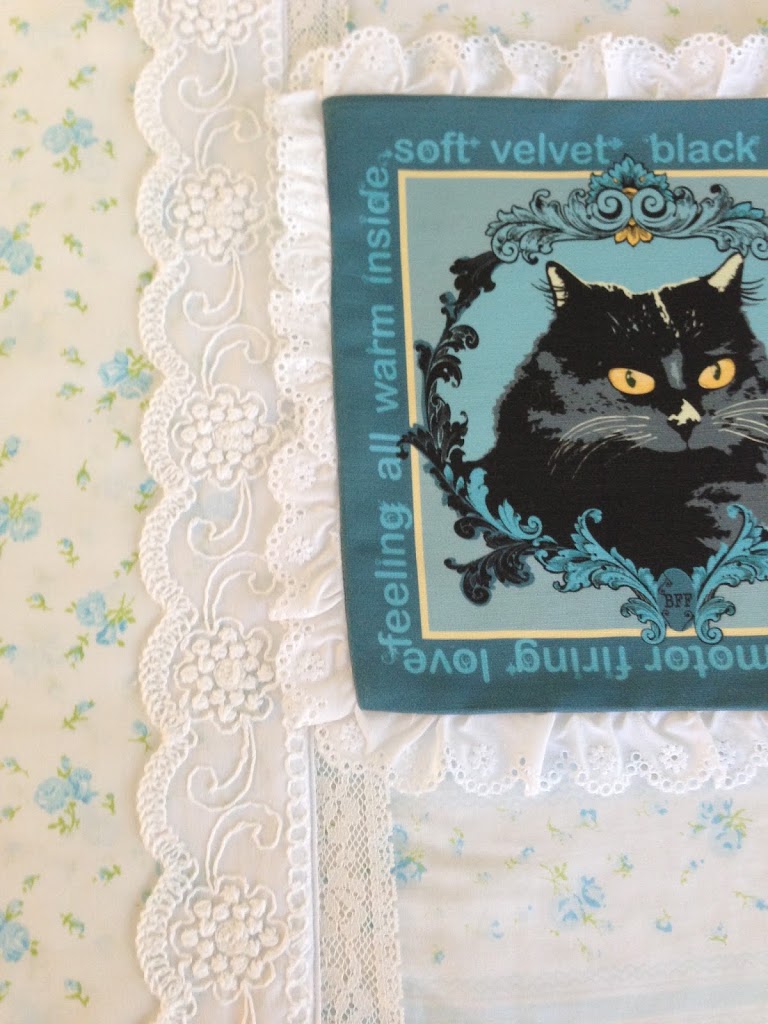
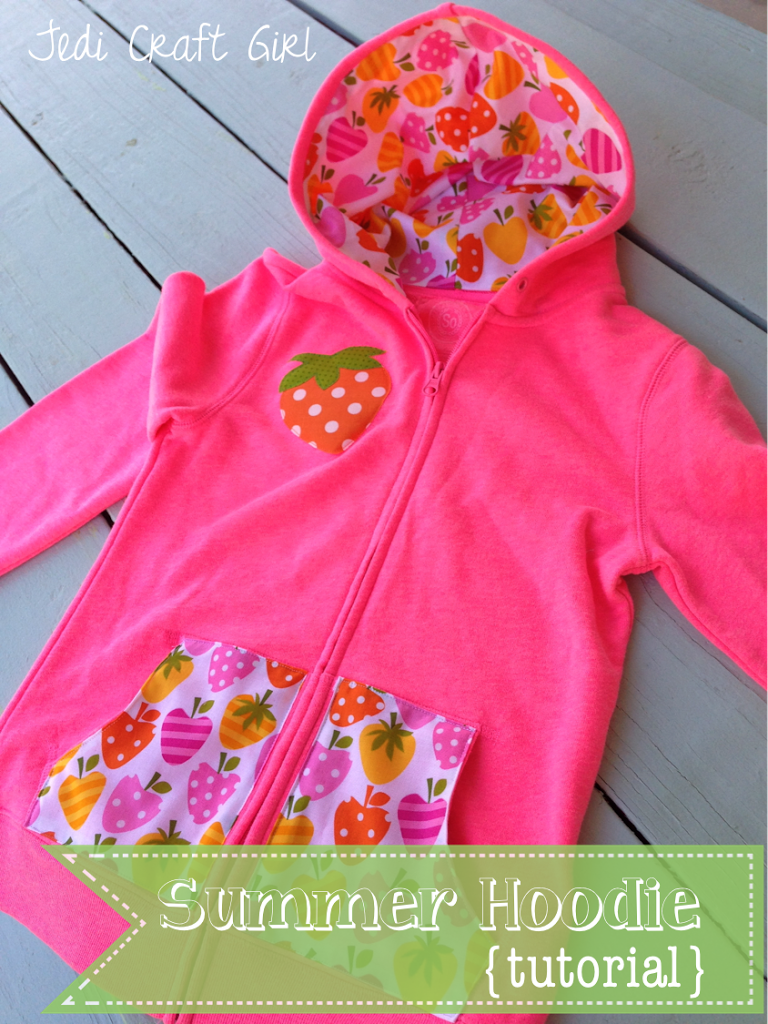
Today I am a Contributor over at Ginger Snap Crafts!  I love Ginger’s blog – she has such great crafts, ideas, and tutorials.  I am sharing this fun tutorial for altering a Hoodie Sweatshirt.  They are so much fun to make!  Click HERE to go to the tutorial.

Amanda

VIntage Ball Mason Jars

I was at Target and look what I found in the canning section!!  I have wondered how long it would take the mason jar people to make some reproduction vintage blue jars.  Ball is offering these as a limited edition in celebration of their 100th Anniversary!

I have always loved vintage blue jars and I have a little collection of them.  But these are fun because you can give them away, or really can something in them….so many ideas!  How cute would they be for the 4th of July as centerpieces!!!  I might have to go and get another case of them.  They were $10.99 which I thought was not bad.  What do you think would be cute to use them for?

Amanda

4th of July Shirts

 I am totally excited!  Everyone’s 4th of July shirts from last year still fit & I don’t have to make new ones!!!!  Yea!!!

All of these made possible using Heat n Bond fusible appliqué!!  My favorite stuff EVER!!

Amanda

Monsters University Movie

Everyone had a great time at the movie.  Don’t you love the shirts!!  Some of our reviews were:
It was so funny!
It’s my new favorite movie!
I can’t wait to see it again!!

Amanda

Vintage Kitty Pillow

The day after my Toonces passed away, I was on Etsy looking at every item that had a black cat: fabric, clothing, jewelry, accessories, quilts, pillows, artwork, greeting cards….you get the idea – pretty pathetic!  By the way, there are 37,221 items that come up when you search “Black Cat.”  Anyway, I came across these fabric squares with original artwork of different breeds of cats.  And one of them looked exactly like Toonces!

Isn’t it cute!  I love what is says around the image:
Soft velvet black coat
Always by my side
purring motor firing love
feeling all warm inside

I had to have it!  I contacted the seller to ask a few questions and you will never guess what….she lives 2 miles from my house!  So I arranged to pick the items up so we could meet!

Her name is Maria Nicodemus.  She paints these beautiful pictures of kitties and has them printed on high quality canvas-like fabric.  You can find her Etsy shop HERE or her blog, Ginger Eyed, HERE.

Here are some of her creations:

This is what I ended up ordering:

My daughter has a Bengal Kitty, so I bought this for her – I cant wait to make something WILD out of it!

Here is Marbles already messing it up!

This is how I made my vintage black cat pillow:
I have a large collection of vintage sheets – I pick them up everywhere I go.  When we were preparing to burry our dear Toonces, I cut this sheet in half and used one half to wrap him in.  (pass the Kleenex).  I kept the other half.  I thought it very fitting that I use this fabric to make this pillow.

My pillow form is 18″ so I cut my fabric 19″.  I loved how the hem of the sheet was in different fabric then the main part of the sheet and I wanted to use the lace trim also.  I included the hem in the pillow body.

I ran out of my favorite Therm O Web fusible fleece, so I used their sew in fleece and Heat n Bond basting spray.  (This stuff is amazing!)  The sheet was pretty thin, so this gave it some soft stability.

I couldn’t quite decide what to do around the cat image.  I had some eyelet lace and sewed it to the cat square.

Then I pressed it under.  I also added a larger piece of eyelet along the lace that was on the sheet.

I used basting spray under the cat image to hold it in place while I top-stitched it on.

I finished the pillow with more of the sheet fabric on the back and an invisible zipper at the bottom.  I put a down pillow form inside & it feels all soft and squishy….just like Toonces 🙂  I love how it turned out.  Now every time I walk into my bedroom I see this pillow and it makes me smile 🙂

 
It matches the other vintage sheet pillowcases I made!

Amanda

Monsters University {MU} Party

We have been waiting for the Monsters University movie to come out since we heard about it last year. Monsters Inc. is one of our favorite movies of all time.  To get everyone excited, we hosted a MU party for all our friend this week.  It was super fun!
First I emailed out “Enrollment Applications” to everyone.  Each “monster” was to fill out an application and submit it to my by a certain date.  There is actually a Monsters University website that totally looks like a real college website!

 Once I received all the applications, I emailed an “Acceptance” letter with all the details:  when Freshman orientation was, a schedule, campus map, and list of items to bring.

 I gathered a team of older girls together to be my:

We even made shirts

We transformed our yard into the MU college campus.  The front yard was set up with a table, banners, balloons, signs for registration.  I had two girls out front “checking” people in.  I totally spaced taking pictures of this.  We had almost 30 kids!  The night before we stayed up till midnight creating a monster for everyone and creating a laminated MU Student ID card.  Disney has a website called Create-A-Monster.  It is so much fun.  You can pick your monster body, skin, fur, hair, eyes, horns, etc.  Then you type in your first name and last initial and it generates a monster last name.  We did this for all 30 kids.

This is me, Amanda Needleman.  Now how do those Disney people know I sew!!!

On the website you can also generate an ID card like this one:
The faculty had these ones:
We laminated each card and placed it in an ID card holder.
The back of the ID looks like this.  I made a fake barcode with a barcode font.  I put 8 circles and when they went to each station they got a little Monster sticker to to put in the circle.  
When the children were all checked in they pinned on their name tag.  They were all totally into this!!
As the children walked along the side of the house to get to the backyard, we made a sign with all the incoming freshman.  I printed out each monster and then after the party, they could take it home (that’s why some are missing.)
We also had a meet the faculty poster and all the faculty members signed it.
We set up the MU campus like this: Cafeteria, Library, Scare Floor, Gym, Student Center,  and Art Club.  This is where you can let your imagination go crazy.  I had so many ideas of what we could do – with this large of a group I had to scale back.
Cafeteria

The cafeteria was fun.  We were just open for snacks.  I made popcorn balls – you can’t tell but they were neon green.   Jell-O brand came out with Monsters University Jell-O & Jell-O molds.  The green was s’lime and the blue was Berry Scary.

 We also had Monsters University fruit snacks.

For the drinks, I got purple and green Hawaiian Punch water bottle mixes and the children could mix their own drinks.
I decorated with a few doors.

 Student Center

 I found this poster at Wal Mart – I love all the monsters!  At the student center the moms hung out and talked.  Towards the end of the party we had a little “School Dance”.  We played scare dance.  It’s like freeze dance, only when you freeze, you have to do a “Scare” pose.

Art Club

 The Art Club was a hit.  I had river rocks, paint & googley eyes.  Yep, we made monster rocks.  They turned out super cute!

The GYM

At the gym we played a version of “Horse” only “Scare”.
The Scare Floor

I think this was the biggest hit!  We turned our shed into the scare floor.  The children sat around and one would go into the shed (which is pretty scary) then come out and try to do their best “scare”.

The Library

 The library was a blanket on the grass.  I bought this cute Monsters University story book at Sam’s Club.  It has about 10 different stories with pictures.  The children sat around while on of our faculty read it to them.  I thought it would be cute to make monster bookmarks – but I ran out of time.

 Most of the children brought plain T-shirts.  During the party I ironed on an MU.  Don’t they all look cute!!  We will all be wearing them to the movies on Friday!!

The hot pink came out cute

I love the green & white stripes too (Target).

It was a really fun party.  Can’t wait to go to the movie now!!!

Amanda

A few more zipper pouches

My sister needed a few birthday gifts so I made here these.  I just can’t get enough of these little pouches.  {tutorial}

Amanda

My Cat is Gone :(

My most loved pet, Toonces, passed away yesterday afternoon.  Toonces has been a part of our family for 19 years.  He died peacefully at home.  It was so hard to watch him go.   We had a little family “funeral” for him.  We all spent the night crying our eyes out.  I can’t say I am too much better today.  All day, I was expecting to see him in all his usual places and started crying when he wasn’t there.    Anyone else loose a pet recently?  It’s much harder than I ever imagined.

Amanda

My Favorite Zipper Pouch {tutorial}

I am excited to share the pattern for my “Favorite Zipper Pouch”.
I needed a few gifts and whipped up some zipper pouches.  I have made lots and lots of zipper bags.  This is the one I always go back to.  It holds a lot but isn’t huge.  I have probably made over 50 of these!


Are you ready??
Prepare the bag:


Iron the fusible fleece to the wrong side of the outer bag fabric.
Measure a 1 1/2″ square and cut a notch out of the bottom corners of the outer pieces and the lining pieces.  This will create the pleat in the bottom of the bag.
Prepare the zipper:
I like to put little tabs on my zipper so the zipper is not directly sewn into the seam of the bag.  It reduces bulk and helps it lay flat.  I always measure my tabs larger then cut them down.
As you can see, I like to buy larger zippers than I need.  You can always cut them down for smaller projects!
Cut off the metal ends of the zipper.
Sew one of the prepared tabs to the end of the zipper.  Backstitch several times over the zipper teeth.
Now measure over and sew the tab on the opposite end of the zipper.  There should be 1″ of tab on each side.  The excess will be cut off in a minute.
Use your zipper foot and sew along the zipper.


Now you do the same process to the other side of the zipper.  Place the zipper face down on the right side of the outer fabric.  Line up the edges.  Layer the lining on top right side down. (pictured below)
Sew the zipper using the zipper foot.
Finish the bag:
Top stitch about 1/8″ next to both sides of the zipper.  This will hold the fabric in place and it won’t catch in the zipper.


Make sure the bag is unzipped!!!


Turn the bag right side out.


Stuff the lining down in the bag and press the bag as needed.  Done!!!


Amanda

Meet & Greet

Today I am a Co-Host for the Meet & Greet Blog Hop.  It’s a great way to meet bloggers, get ideas, and have fun!

Meet & Greet Blog Hop #29 

 Welcome back to the Meet & Greet Blog Hop! Join in, meet some fellow bloggers, greet them with comments, and grow your blog with new friends! Interested in being a Co-Host? Send an email to 2justByou(at)gmail(dot)com with “Co-Host” in the subject line for consideration and include your blog link!

Meet Everyone! This week’s “Get to know you question”: What was your most memorable Father’s Day gift you gave to your dad?

 *Hosts*

 blogbutton180x180
Kim – from 2 just B you: At school one year, we made Mother’s Day and Father’s Day gifts at the same time (school always got out before Father’s Day, so it was great that the teacher did this). I made matching picture frames, one for Mom and one for Dad. And I remember being so proud of how they turned out. I had rushed home to unwrap them, put photos in, and then re-wrapped them!


 Laurie – from Created By Laurie: My Father is away from home a lot for his work, so he really tries to relax when he is home. While he was away one time my younger brother sold his Xbox and all of his games for money. He didn’t have the funds to replace it so he was really disappointed. I bought a replacement along with a handful of games. It was put in an old Xbox box, so when he first opened his gift his eyes light up, “You bought me an Xbox?” “No,” I said laughing, “I just used the box” His smile went away for a second until he opened the box. “You did!” It felt great to give something back to him after he has done so much for me.

 *Co Host*

Amanda – from Jedi Craft Girl: My most memorable Father’s Day gift? Hmmm….I can’t really recall a specific gift for my father (that’s kind of embarrassing). Every year I help my children make their daddy a mix book. We include pictures from the past year, highlights & memories. I ask the children questions about daddy like, if you had $1,000, what would you buy daddy? Or what is daddy’s favorite thing to do in his free time? We do about 10 of these questions and put the answers in the book. We get a kick out of reading the books years later and seeing how everyone’s answers change.

Now it’s YOUR turn! What was your most memorable Father’s Day gift you gave to your dad? *Our Featured Guest this Week*

Diane– from DD Kimball Road Diane blogs about life, love, and the journey to becoming mommy. Check out her “All things Crafty” tab in her blog! Spread the Word, Grab Our Button!

Now Link Up and Have Fun! * Please be sure to follow the Hosts, Co-Hosts, and the Featured Guest! The Co-Hosts and Featured Guest will change each hop!

* If you would like to sign up for email reminders for the Meet & Greet Blog Hop, please sign up below. (Your email address and info will not be used for any other purpose.)


Amanda