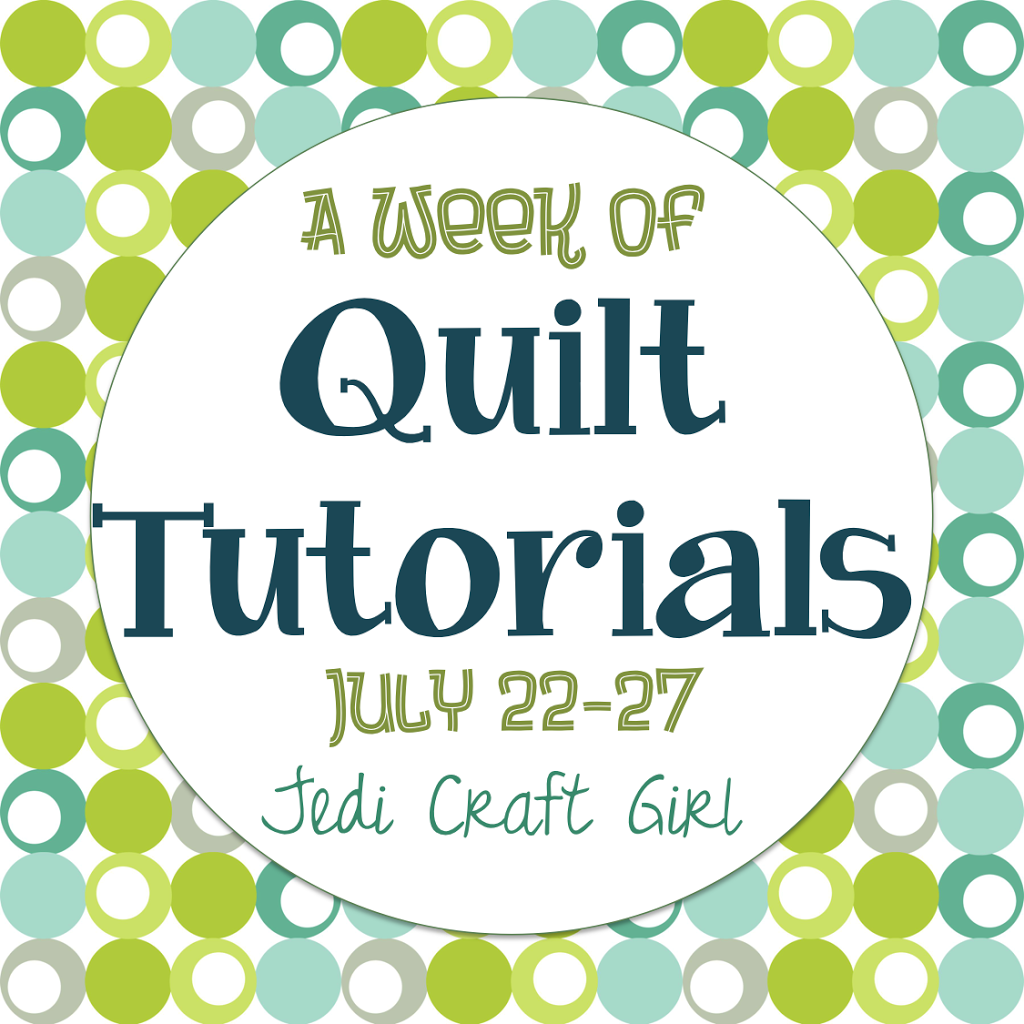
Archives for July 2013
A Week of Quilt Tutorials {Meet the Contributors}
Summer Hoodie Tutorial
Cut along the marked line.
Press each side in 1/4″. Do this for both pockets.
Pin your pocket piece to the pocket. If things aren’t matching up how you want, you may need to make adjustments.
For the appliqué:
I like to add a little appliqué to the front. I choose to do a strawberry since it matched the fabric. I used Heat n Bond Lite from Therm o Web. It’s my favorite fusible appliqué medium!!
Draw your image on the Heat n Bond:
Peel off the paper back and position on your sweatshirt. Press, using a dry iron.
Ta Da!!!
Here are a few other sweatshirts I have made:
Tie Dye Winner Announced
Quilted Composition Book Cover
Tie Dye Giveaway
Bleach Dye Tutorial
How to Bleach Dye your shirt:
1) Purchase your shirts—-any color! For this process they really do need to be a color. I found a bunch at the dollar store {I know totally lucky, and they were Hanes brand too} that were this wierd kind of purple. Perfect for this project and the girls! 2) I didn’t prewash, but it took a lot longer for the bleach to work. Longer than I would have thought, so maybe you want to prewash to remove any kind of sizing and dye stuff they have going on when making them. 3) Fold, twist, scrunch, bundle– and then rubber band the shapes. Just like a typical tie dye method. Follow a few of the tutorials found in the Tie Dye Shirt Series. This is where the moms step in and finish it for them– the kids can go off and play. 4) Mix bleach and water, equal parts into a bucket {use gloves to protect your hands} 5) Stuff all banded shirts into bucket of bleach water
6) Wait patiently. Keep an eye on those shirts. The color does take a bit to start changing from the origional to another color that is layered underneath when they are dying the fabric. We were thinking that this would take just a few minutes, but it ended up to take around 20 minutes or so and then we got real impatient and I sprinkled bleach on them. Yup, straight from the bottle. These weren’t cheap thin shirts so they totally handled it just fine. You do want to make sure that holes don’t appear. That is when you have let the bleach tie-dye stick around too long. 7) Remove the shirts, remove the rubber bands, throw into the washer for a wash and dry.
The dark purple is the original color. The lighter purple/pink is what the bleach tie-dye revealed. Super fun! Each shirt was totally different. I would recommend writing initials on the collar or tag so you can find whose is whose. {we did luckily!} Hope your shirts turn out perfectly wonderful! I love the idea of having everyone ‘matchy, matchy’ but still letting them have their own style and personality. Thanks for letting me share today and hope you stop on by and say hello….there’s always something spec-tac happening!
Tie-Dye 101 {Symmetry}
The goal is to gather along the heart so that it can be tied in a single line. The gathers should form a straight line. Keep gathering all the way around the heart. Tie with rubber bands. You will need another set of hands – one to hold the design in place and one to tie it.
Once you get the heart tied, you can decide what to do on the back – you can scrunch and bunch, add nubs, bullseye, swirl, etc. Tie that all up with rubber bands.
To die the heart – choose your center heart color. The heart will look like a little gathered ball. Dye the heart. Then do a thin accent line along the center heart color, then dye your surrounding shirt color. It should look something like this when it’s done:
Deep “V”
For the deep “V” fold the entire shirt in half and draw your V line like this:
Make small folds along the line until the entire shirt is gathered along the line.
Tie rubber bands along the line, we used string because the rubber bands were hard to get under the center of the shirt. Tie lines going out keeping the folds. In this picture you can see the yellow line, and the folds going out. We scrunched the edges.
This is the Deep V after it’s died. The yellow marker line is dyed dark blue and different colors going out (below).
Megan dyed this scary face for my nephew. Same thing, fold the shirt in half, draw half a scull shape and stitch. To make the eyes, pull little “nubs” out and rubber band them. Same with the nose and mouth. We weren’t sure how this one was going to turn out. It kind of looks like a werewolf scull face.
This is Ella’s cat – supposed to look like her Bangle cat. Maybe we will paint eyes on it or something.
Megan’s black cat turned out the best. It is totally purrrrfect!!
Tie Dye Your Summer Video
Tie-Dye 101 {Circles}
Today is all about circles. The first technique is the “Bullseye”.
Step #1: Decide where you want the center of your Bullseye. In this example I am centering it to the side.
Step #2: Rubber Bands – start section off your bullseye with rubber bands. Begin with a small section, add a rubber band:
Now add another section. The number of sections will determine the number of rings on your bullseye.
This shirt has 5 rubber bands – so it will have 5 sections. The rest of the shirt just scrunch and bunch and rubber band into place.
This is how it turned out once it was dyed – I love it!!
Second circle technique we call “The Nubs”
Pull small portions of fabric and rubber band them, just like you were beginning a bulls eye. You can even do a double or triple nubs. Tie these all over the shirt randomly. (You are also gathering the back of the shirt at the same time so the pattern will be on the back as well.)
Add your dye to the background first – on this one we mixed orange and fuschia.
Then add color to the top of your “nubs”. This one we dyed black and purple on the background and lime on the nubs.
When it’s untied, there are circles all over the shirt:
We tried one placing the nubs around the neck like a necklace, I didn’t get a photo of it. You can start getting creative and combining techniques – maybe a spiral and a few nubs on the corner or a bulls eye and a spiral. The possibilities are endless!!
Tie-Dye 101 {the classic spiral|}
Spiral:
Pinch tightly and begin a slow turn – you decide if it should be clock-wise or counter clock-wise. Hold the fabric tightly as you swirl it. Help the pleats along to keep them crisp.
Continue turning the shirt until the entire shirt is incorporated in the spiral. (the example below we are spiraling from the center)
Keep in place with 3-4 rubber bands like this: When you flip your shirt over to the front, you will see how nice and tight the spiral is on the front.
Dying:
Decide how many colors you want in your shirt. Choose sections like a pie and fill in with colors. Play around with making small pie sections and large sections and using different colors. Once you have died the front, turn it over and dye the back. You can choose to follow the same color pattern, or off set the colors by 1 or do totally different colors. Each will provide a different effect.
This shirt we did not color in pie sections, rather, we followed the swirl. We call it “spiderweb”. This will make the spiral pattern a little different. We used teal and black dye. Alternate the spiral with your colors.
Here it is finished
This spiral is dyed with the center one color and then colored rings going out…kind of like a bulls eye.
This is how it looks once it’s dyed:
This baby onsie was dyed in a pie pattern with fuchsia and purple dye.
This swirl is centered over the shoulder. I used blue, orange, and fuchsia dye.