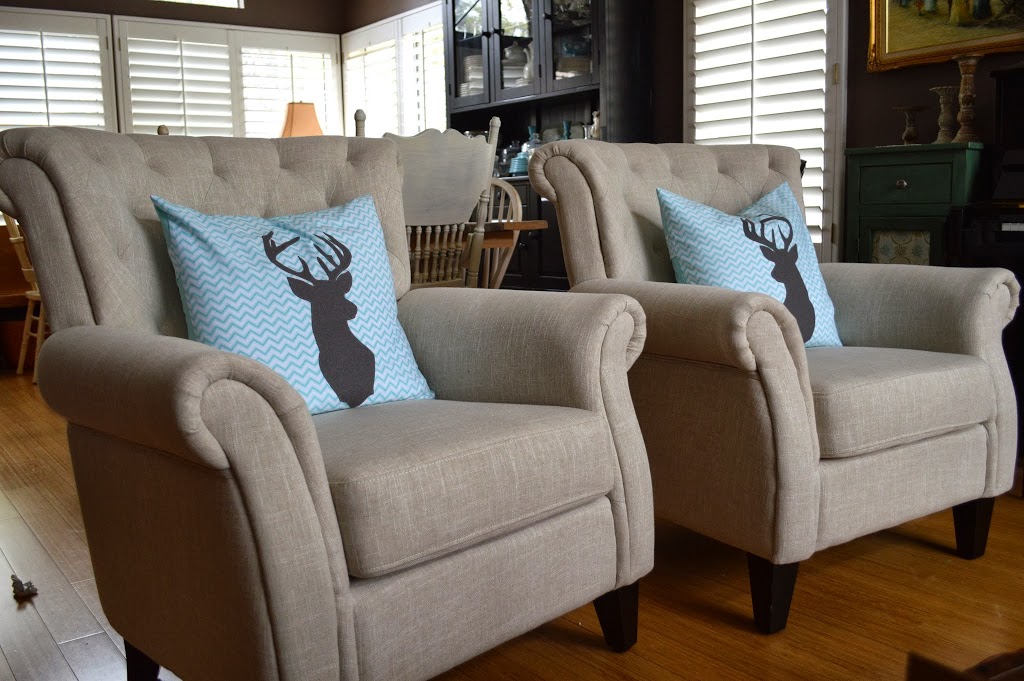
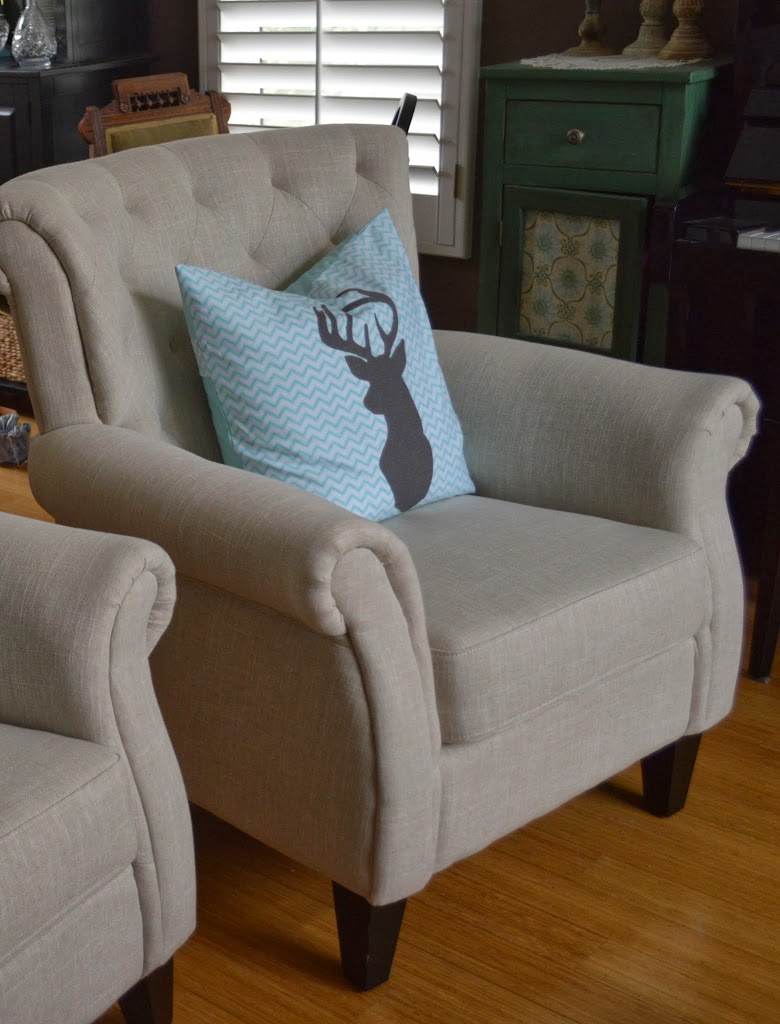
Do you like my new chairs? I just ordered them from Amazon and they came in 2 days! It was totally risky of me to just push a button and have chairs sent to my house, sight unseen! But, I LOVE them! They are exactly what I wanted and they are even comfortable!!! The whole reason to buy new chairs is to sew new pillows, right? I am obsessed with deer! Deer throw pillows my chairs do need (a little Yoda verbiage!)
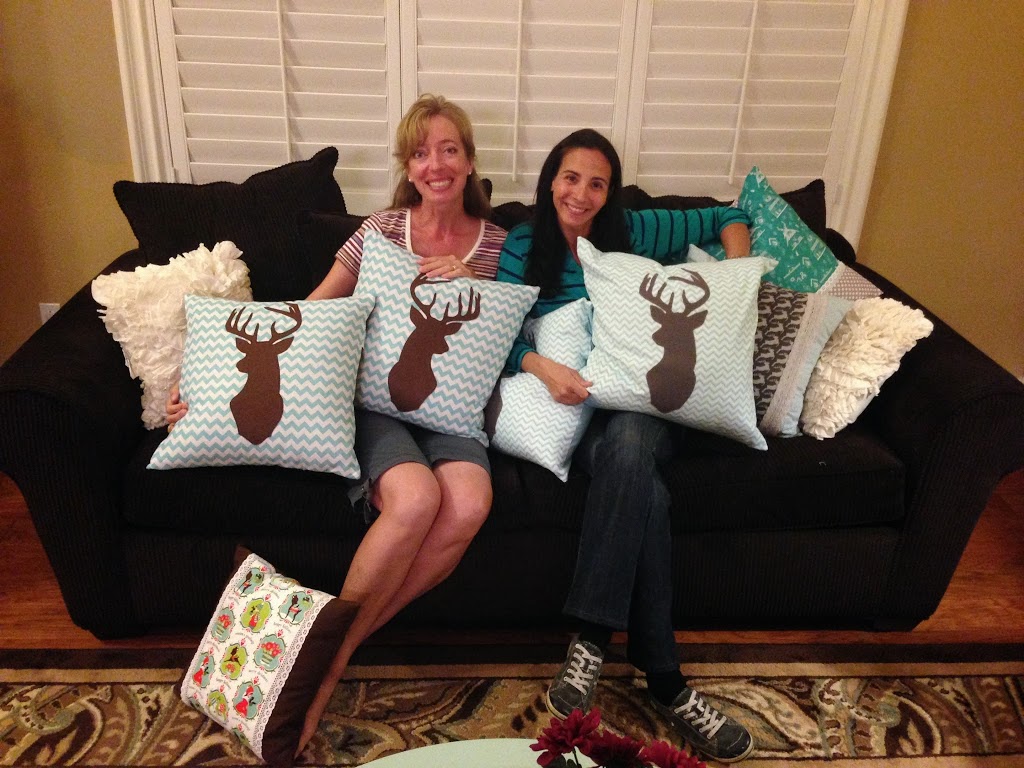
My friend and I got together and the children played and we sewed!! An entire herd of deer throw pillows!
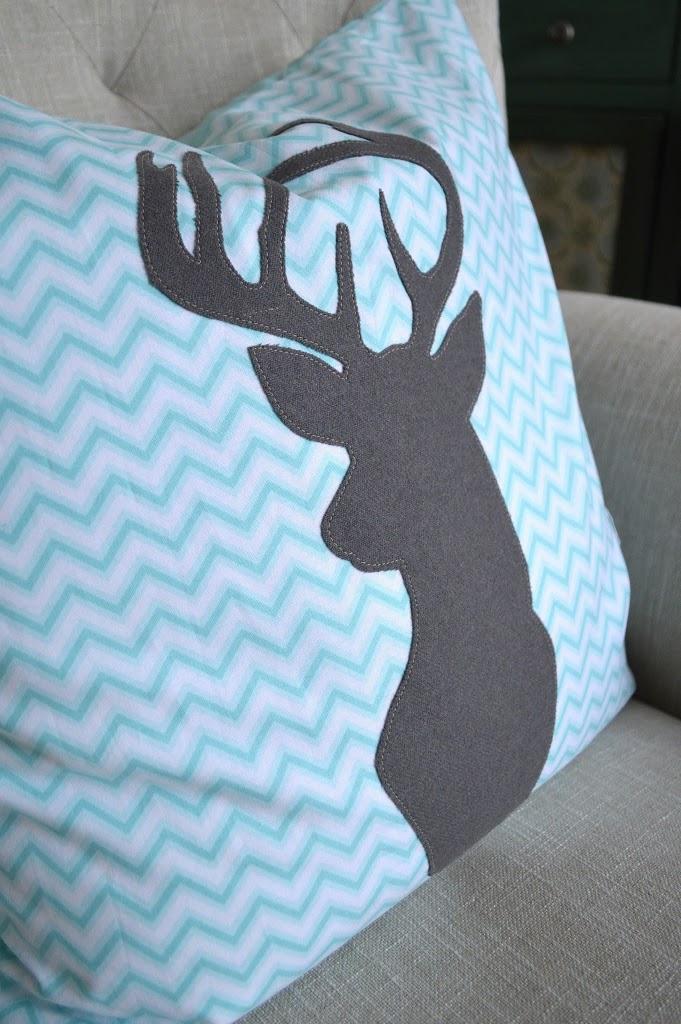
Here’s how to make the appliqué deer pillow: My pillow form is a 20″ square down pillow. Down is a bit “squishy” so the pillows have a more casual feel.
Appliqué Pattern, download HERE. Print 2 of these and reverse one of the images. The image is on 2 pages because it is larger than a piece of paper.
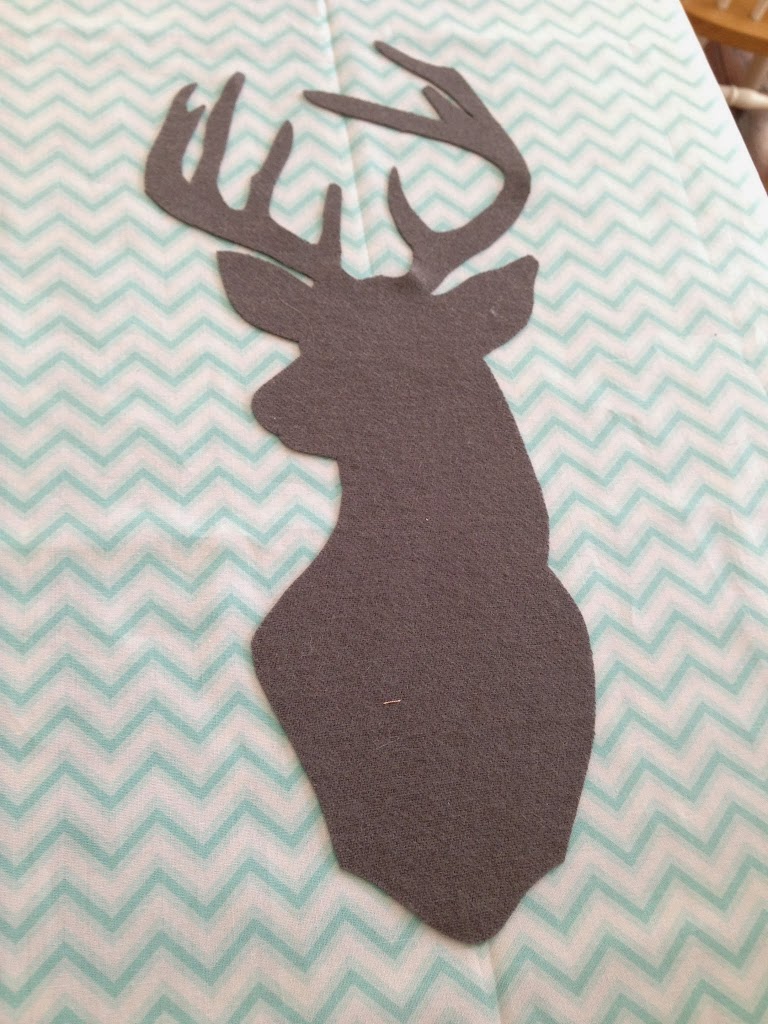
Print out the pattern and tape it together. Trace the pattern onto Heat n Bond Lite fusible appliqué. I used a wool blend fabric for the gray deer. You can use any type of fabric.
Cut the chevron fabric 21″
Iron the deer to the center of the fabric and stitch around the deer.
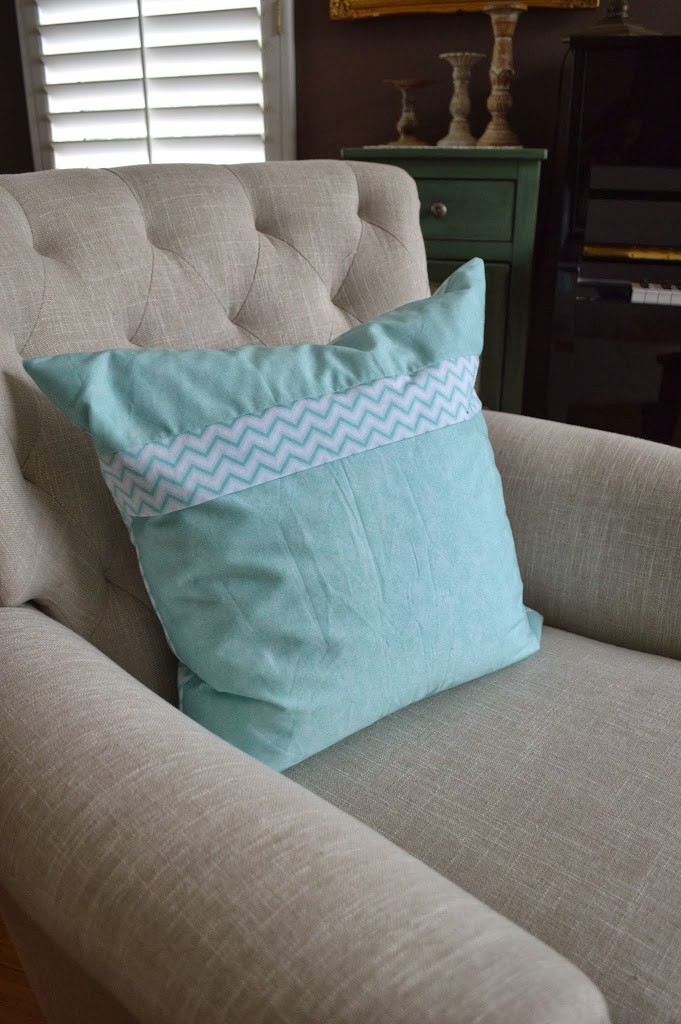
I wanted a bit of an accent on the back of the pillow, so I put the zipper on the back with a decorative flap over the zipper….sounds hard but is super easy!!
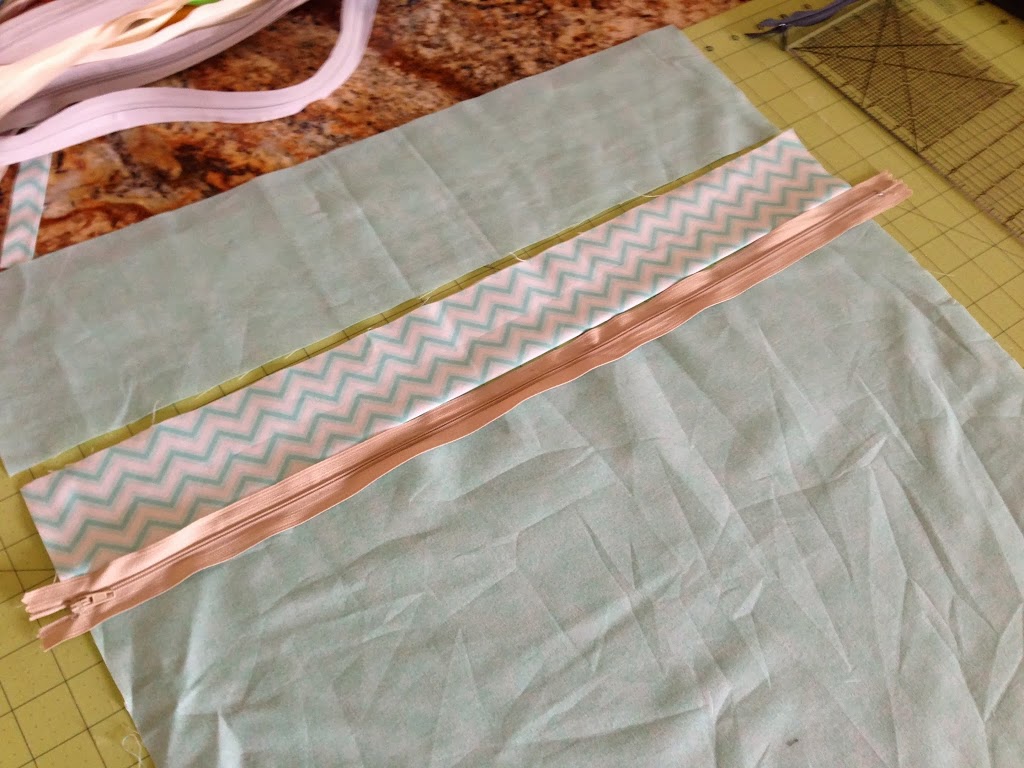
To make the flap, cut your accent fabric 5″ x 20″ and press in half lengthwise.
Cut your back pieces 4.5″x20″ and 16″x20.
Lay them out like this with your zipper placed as so (NOT invisible zipper)
I promise I ironed my pieces!!
Layer the top piece of the pillow back, the folded flap, and the zipper so all the raw edges align, like this:
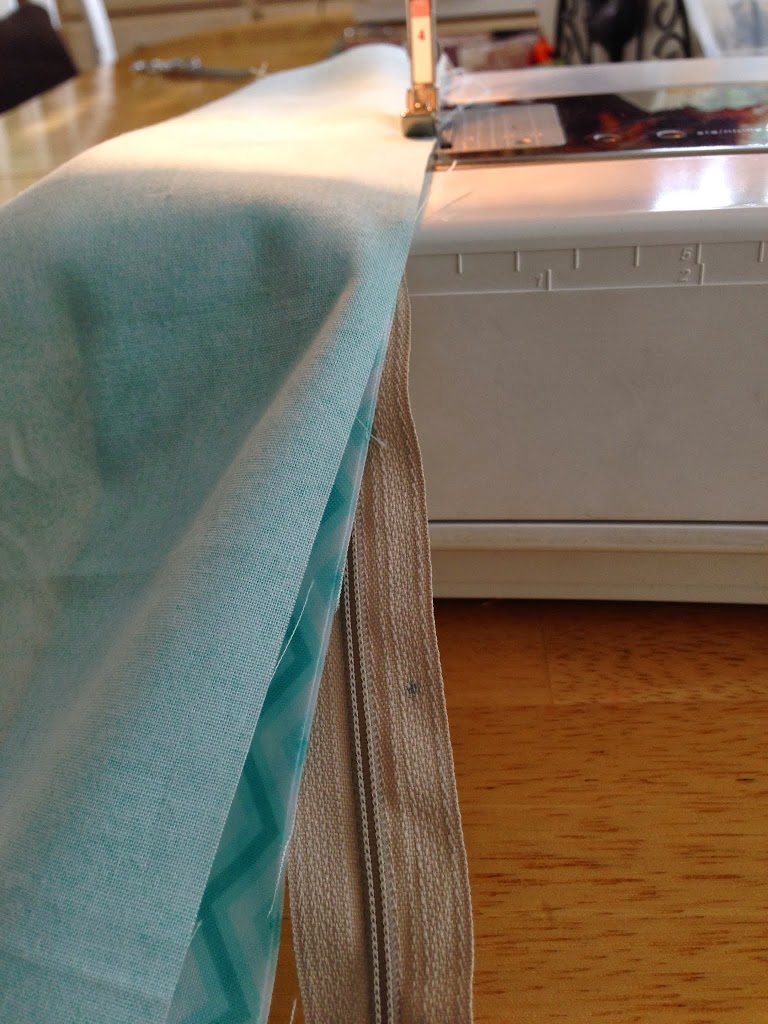
Using your zipper foot, sew along the zipper. For the other side with out the flap, sew the backing fabric to the zipper just as you would normally sew in a zipper. Press the flap down to cover the zipper – super easy!!! Pin the pillow front and back with right sides together. Make sure to open zipper so you can turn it. Sew a generous 1/4″ seam around the entire pillow!
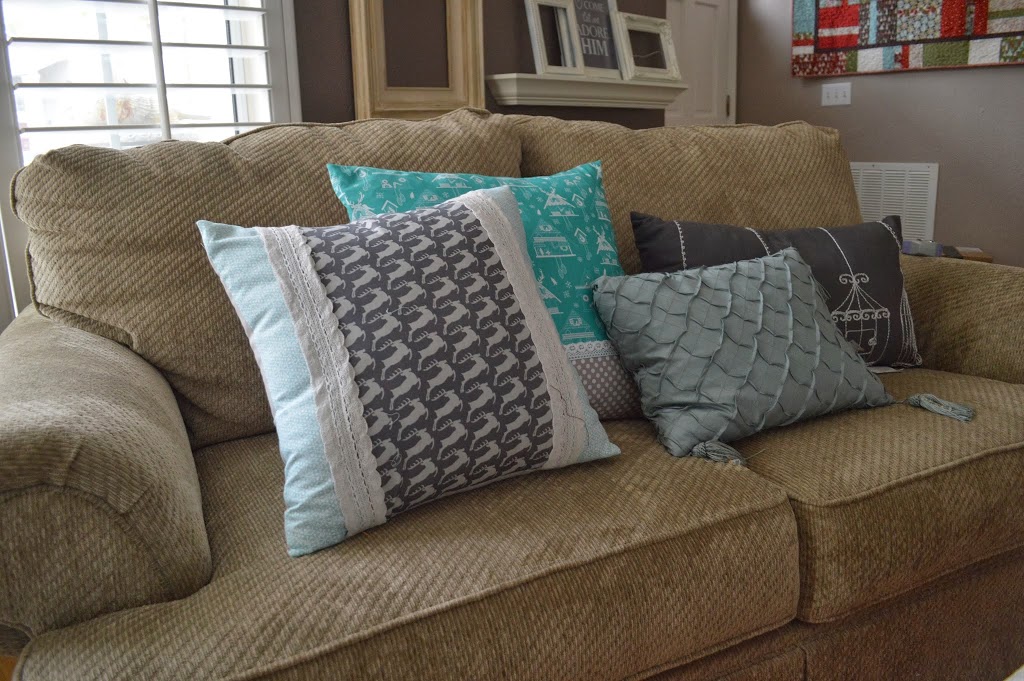
I couldn’t just have 2 deer pillows – I needed more. This one is super quick! It is for a 18″ pillow.
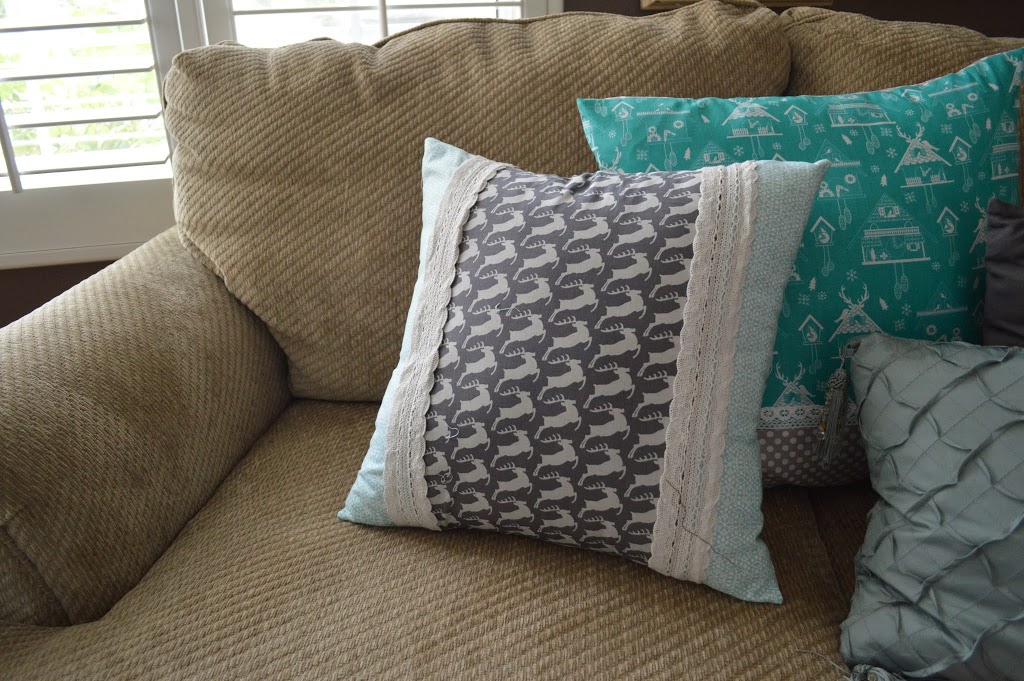
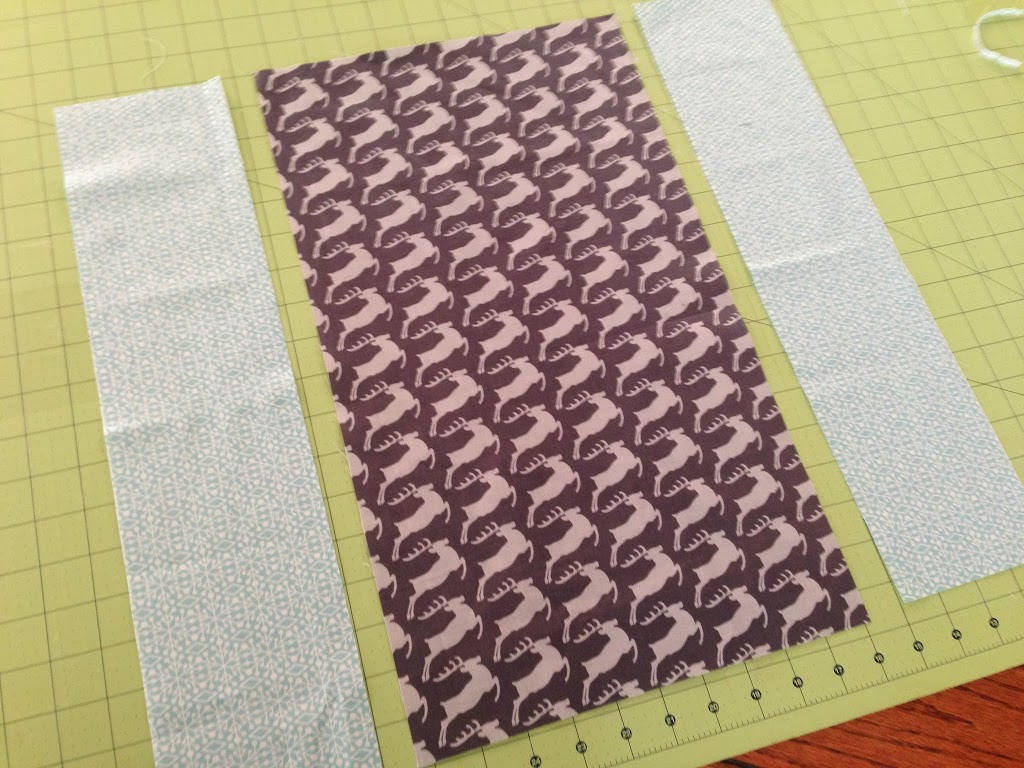
Cut the center deer fabric 10 1/2″ x 19″
Cut the aqua snowflake fabric (2) 4 1/4″ x 19″
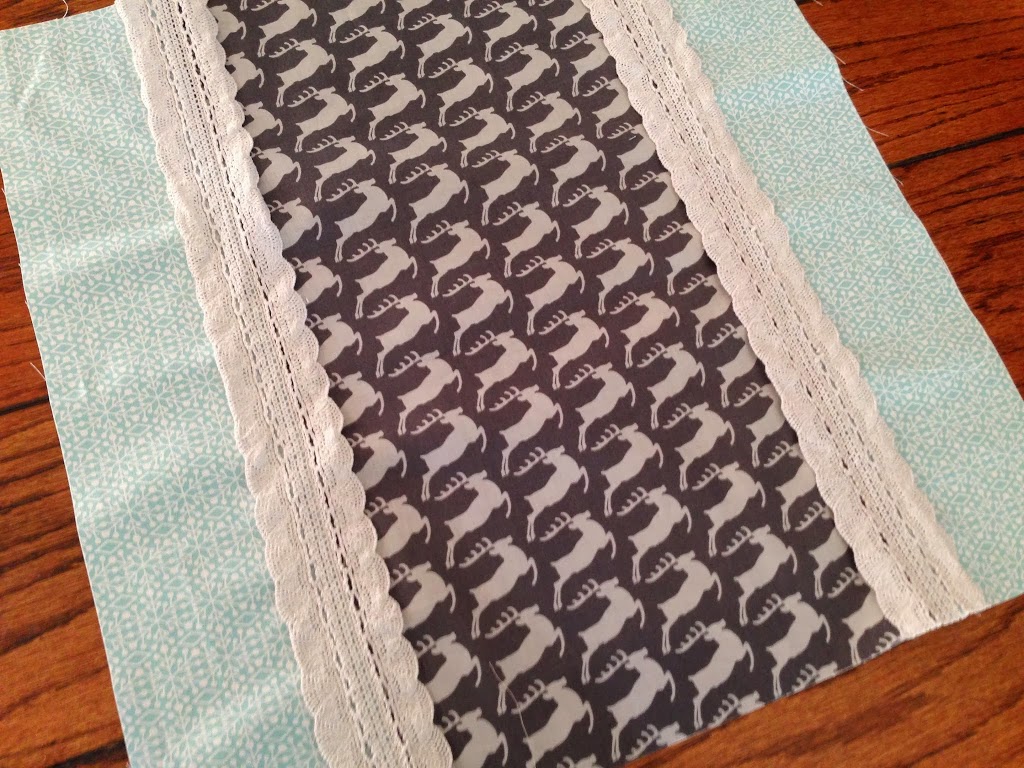
Sew them in this order using 1/4″ seams
I had this pretty light gray lace I top-stitched over the seams. Now, cut the back of your pillow 19″ square and finish as desired. I put an invisible zipper in the bottom.
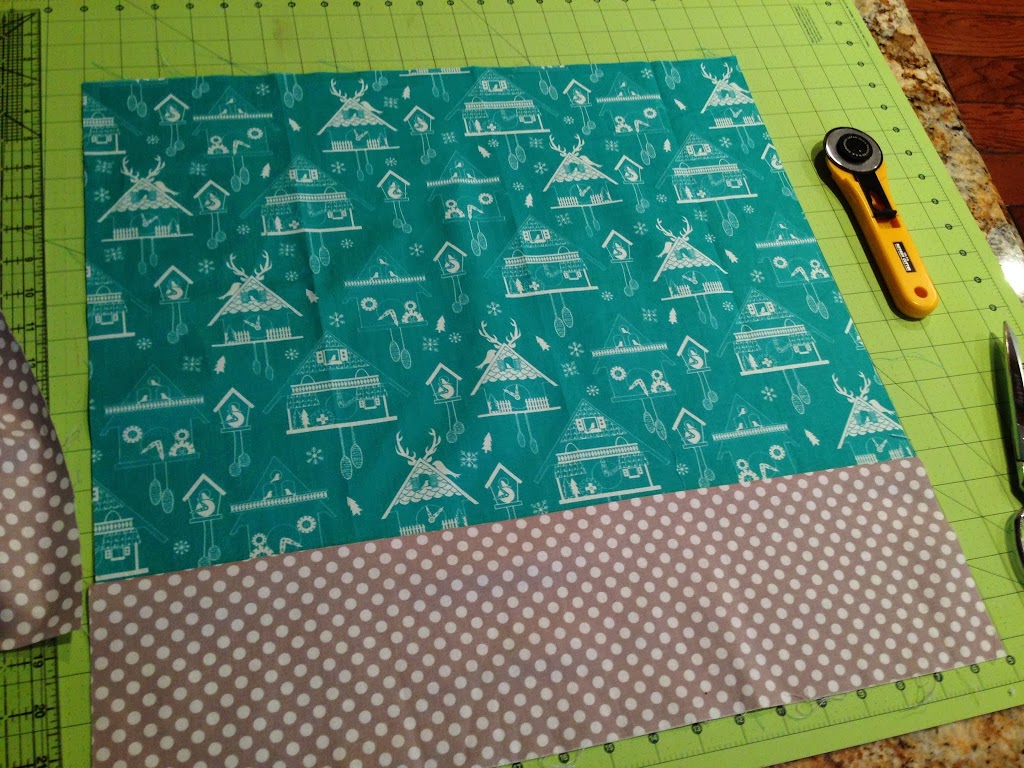
Deer pillow #3 – this fabric doesn’t exactly have deer on it, but it has antlers atop the Cuckoo clocks! And it’s teal!!! Another quick pillow!! This pillow form is 20″ but it is pretty floppy, so I decided to cut my pillow cover at 20″ so it would fit better.
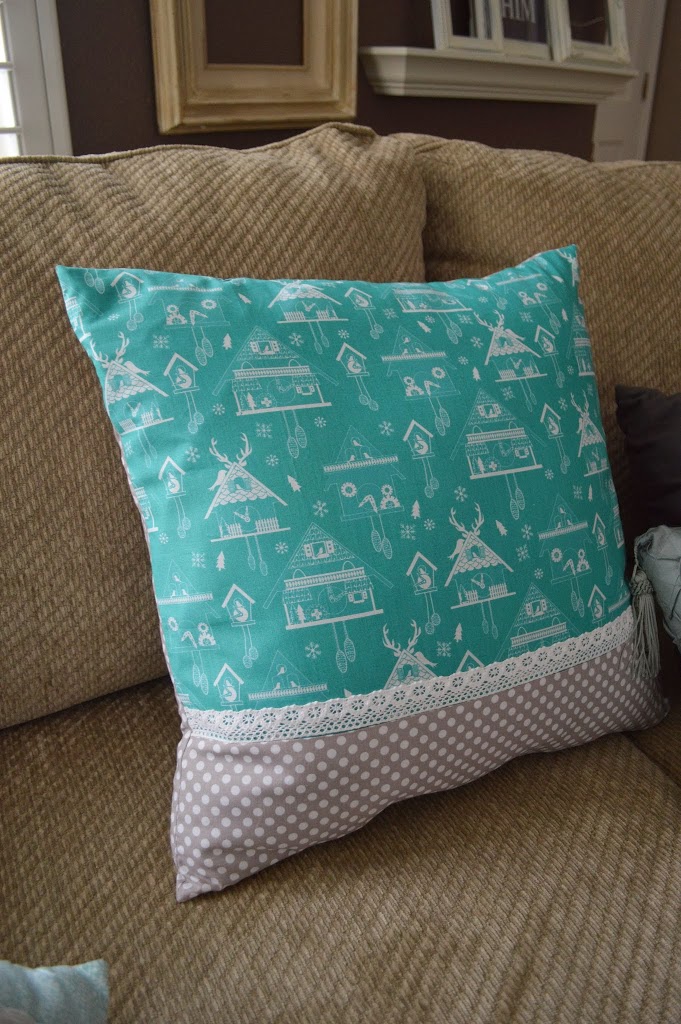
Cut the teal print 15″ x 20″
Cut the gray dot 5 1/2″ x 20″
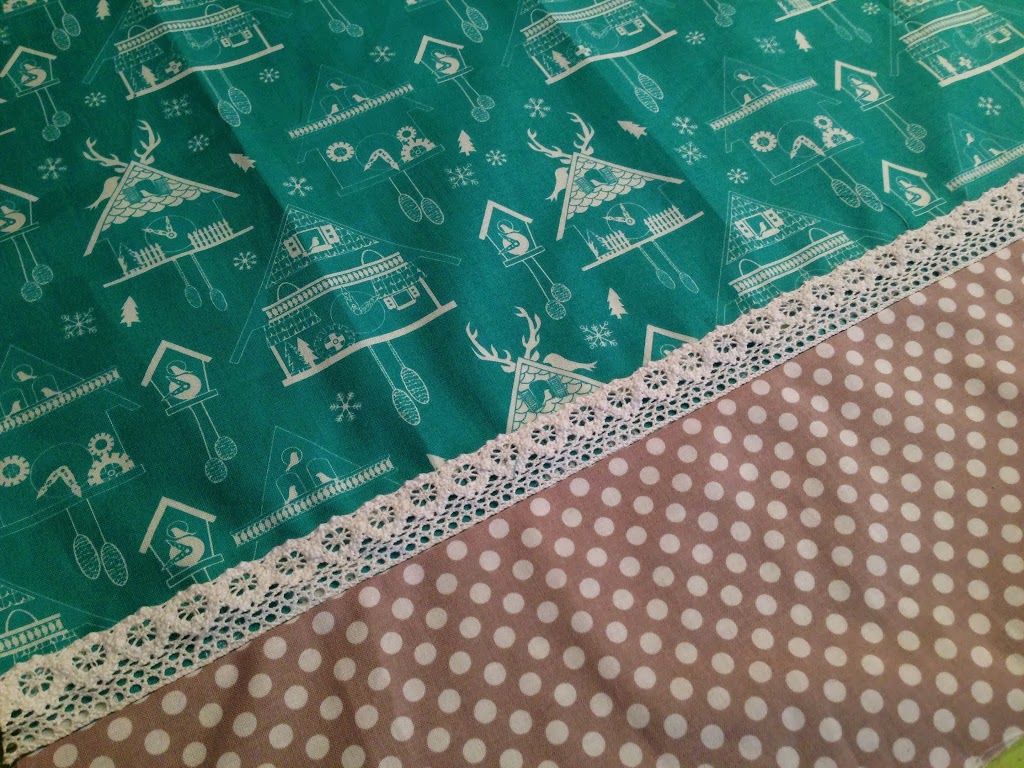
Sew using 1/4″ seams
Cut the back piece 20″ square.
Top stitch lace along seam. Finish as desired – again another invisible zipper – those things are totally AWESOME!!!
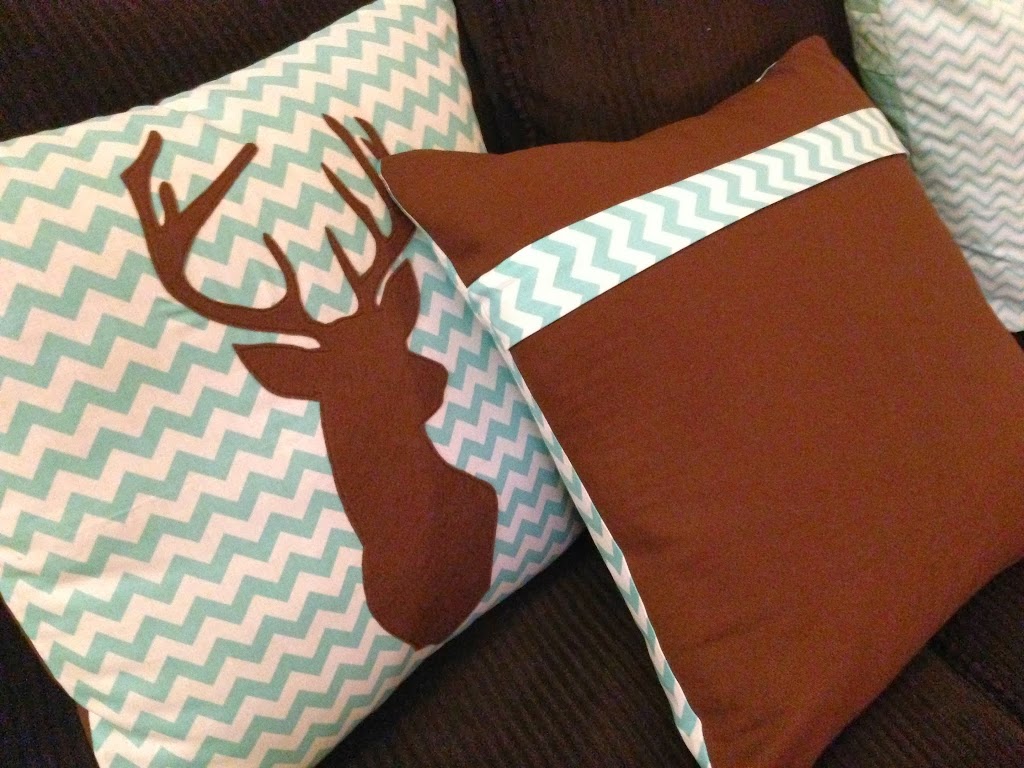
Here are my friend’s cute deer pillows – she used a bolder chevron and a brown deer on an 18″ firm pillow.
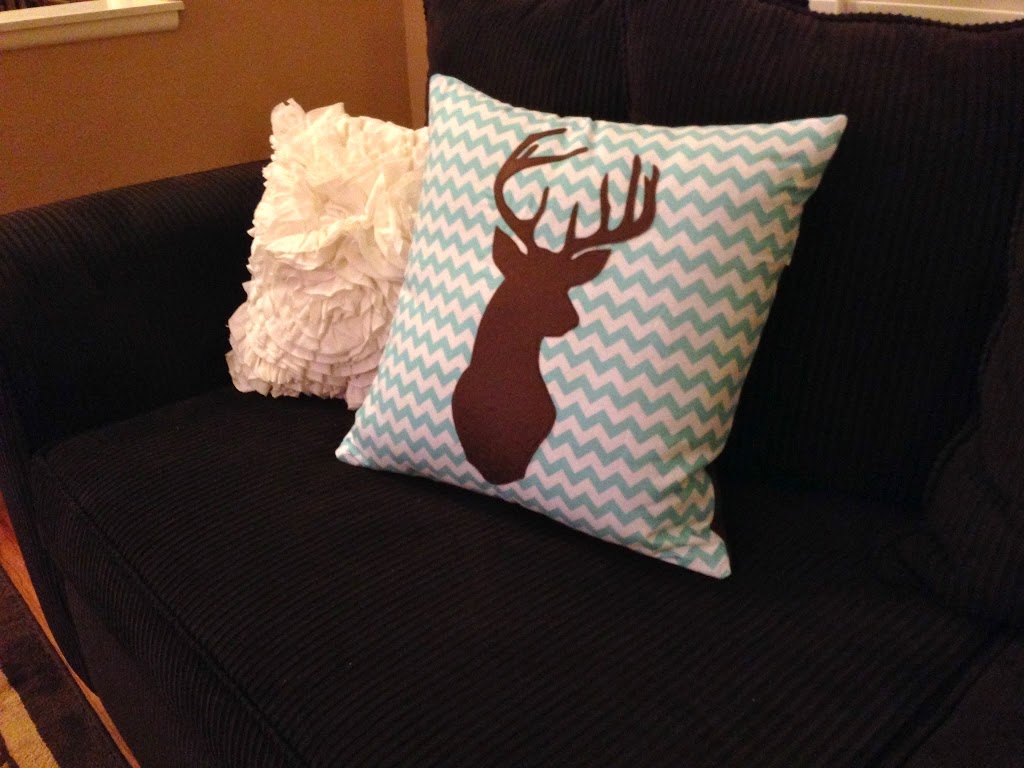
I am so loving the zipper flap!
Sewing deer pillows makes me happy 🙂


love it!! i’m gonna add red noses to them too! thank you Amanda
I just found your blog and I LOVE IT!!!! I have already made two of the deer pillows. I received a Brother Scan n’ Cut for Christmas and haven’t been able to figure it out. BUT, I traced the deer silhouette and scanned it in my machine and then cut it out and it worked wonderful. But, it took me about 3 hours to figure out the Scan n’Cut. I am very technically challenged. I am about to try doing the back of my pillows like you did with the flap. I can’t wait to see how it turns out. Thank You for the pattern and the ideas!