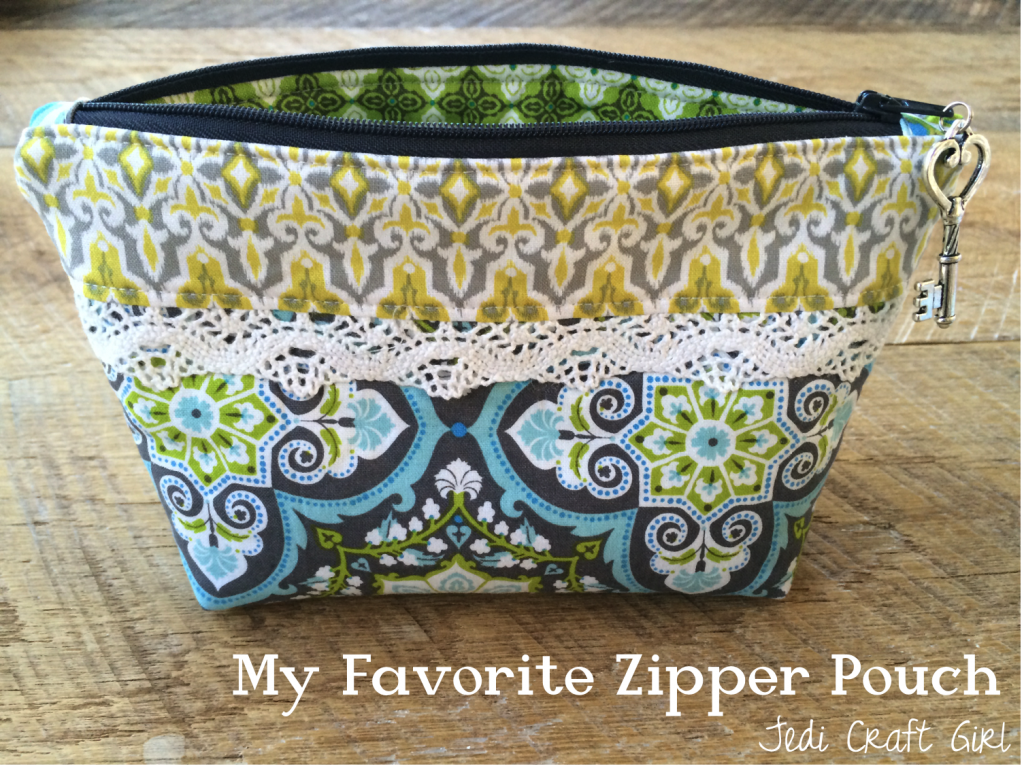
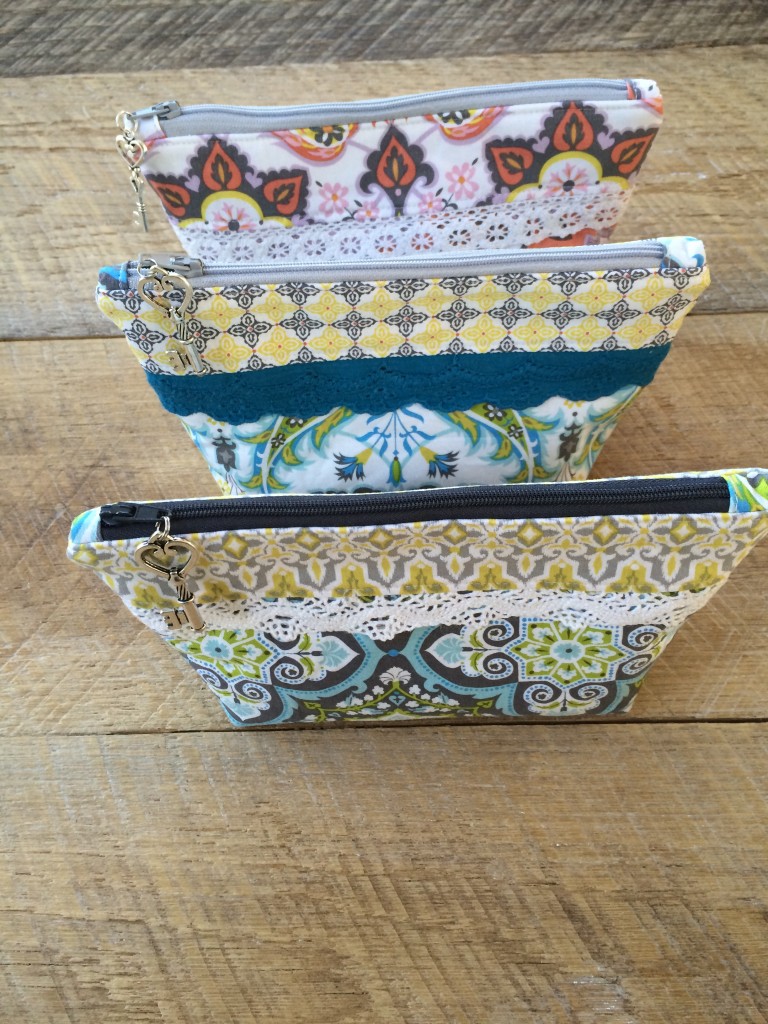
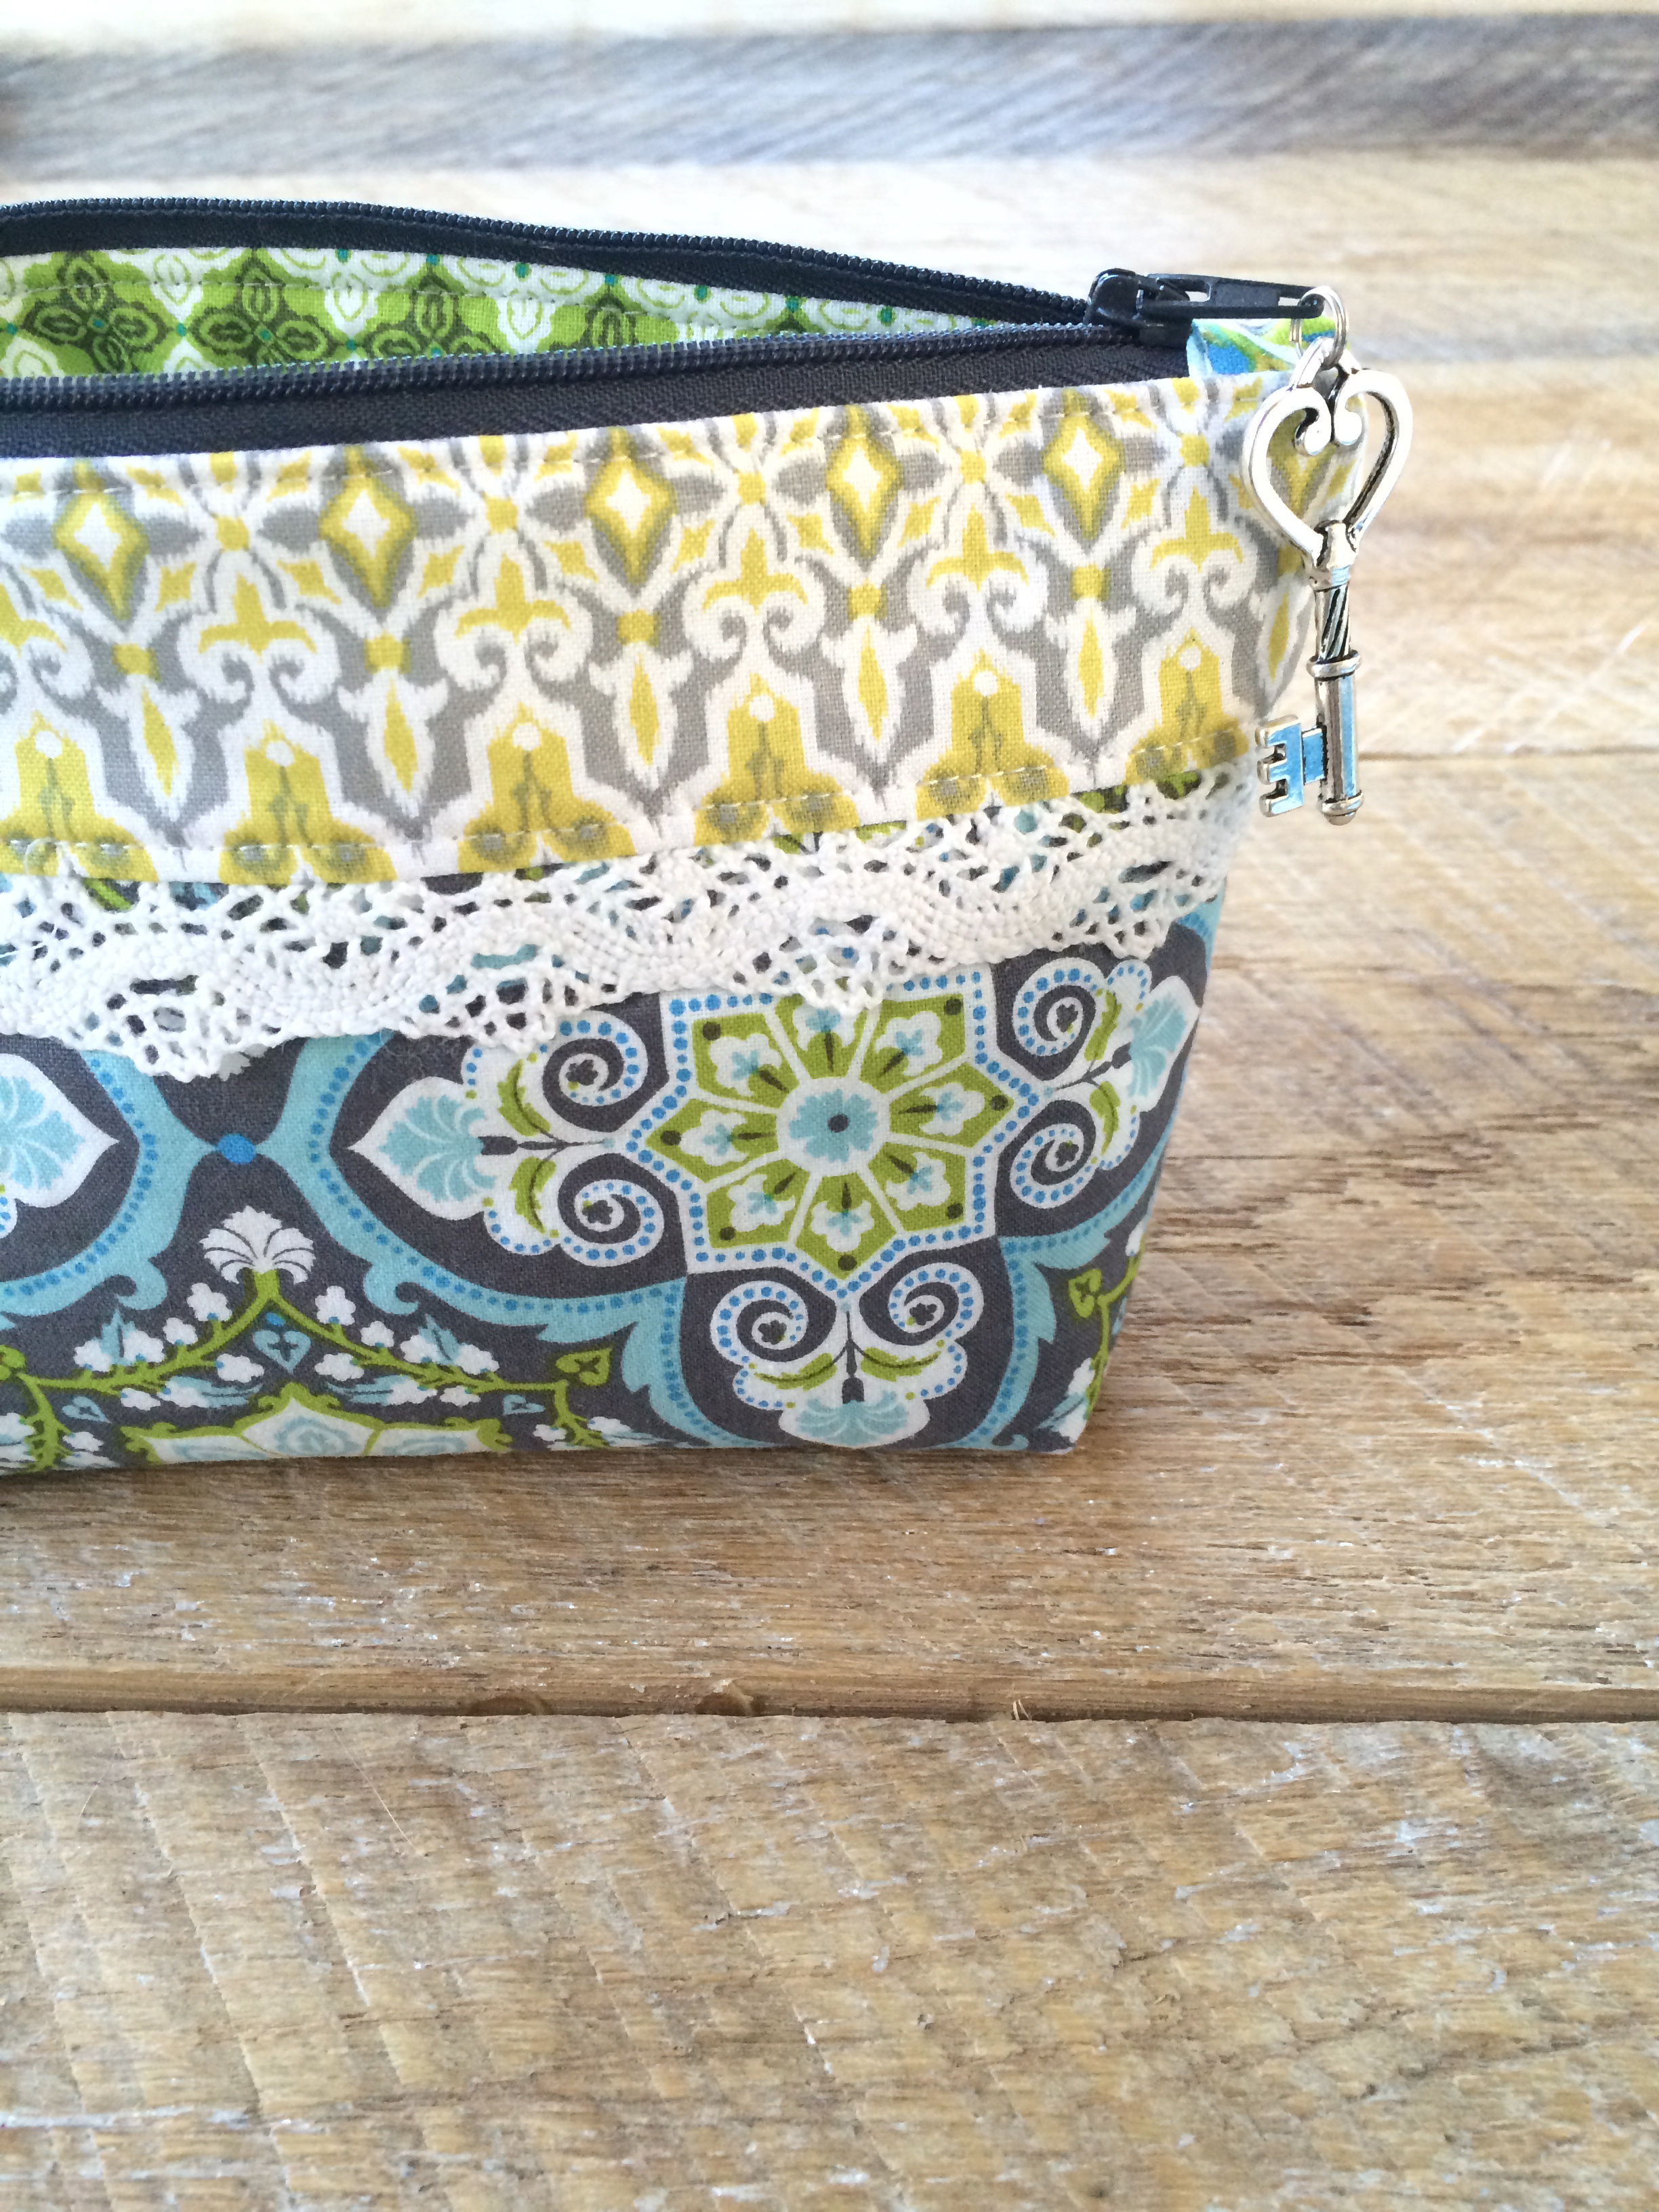
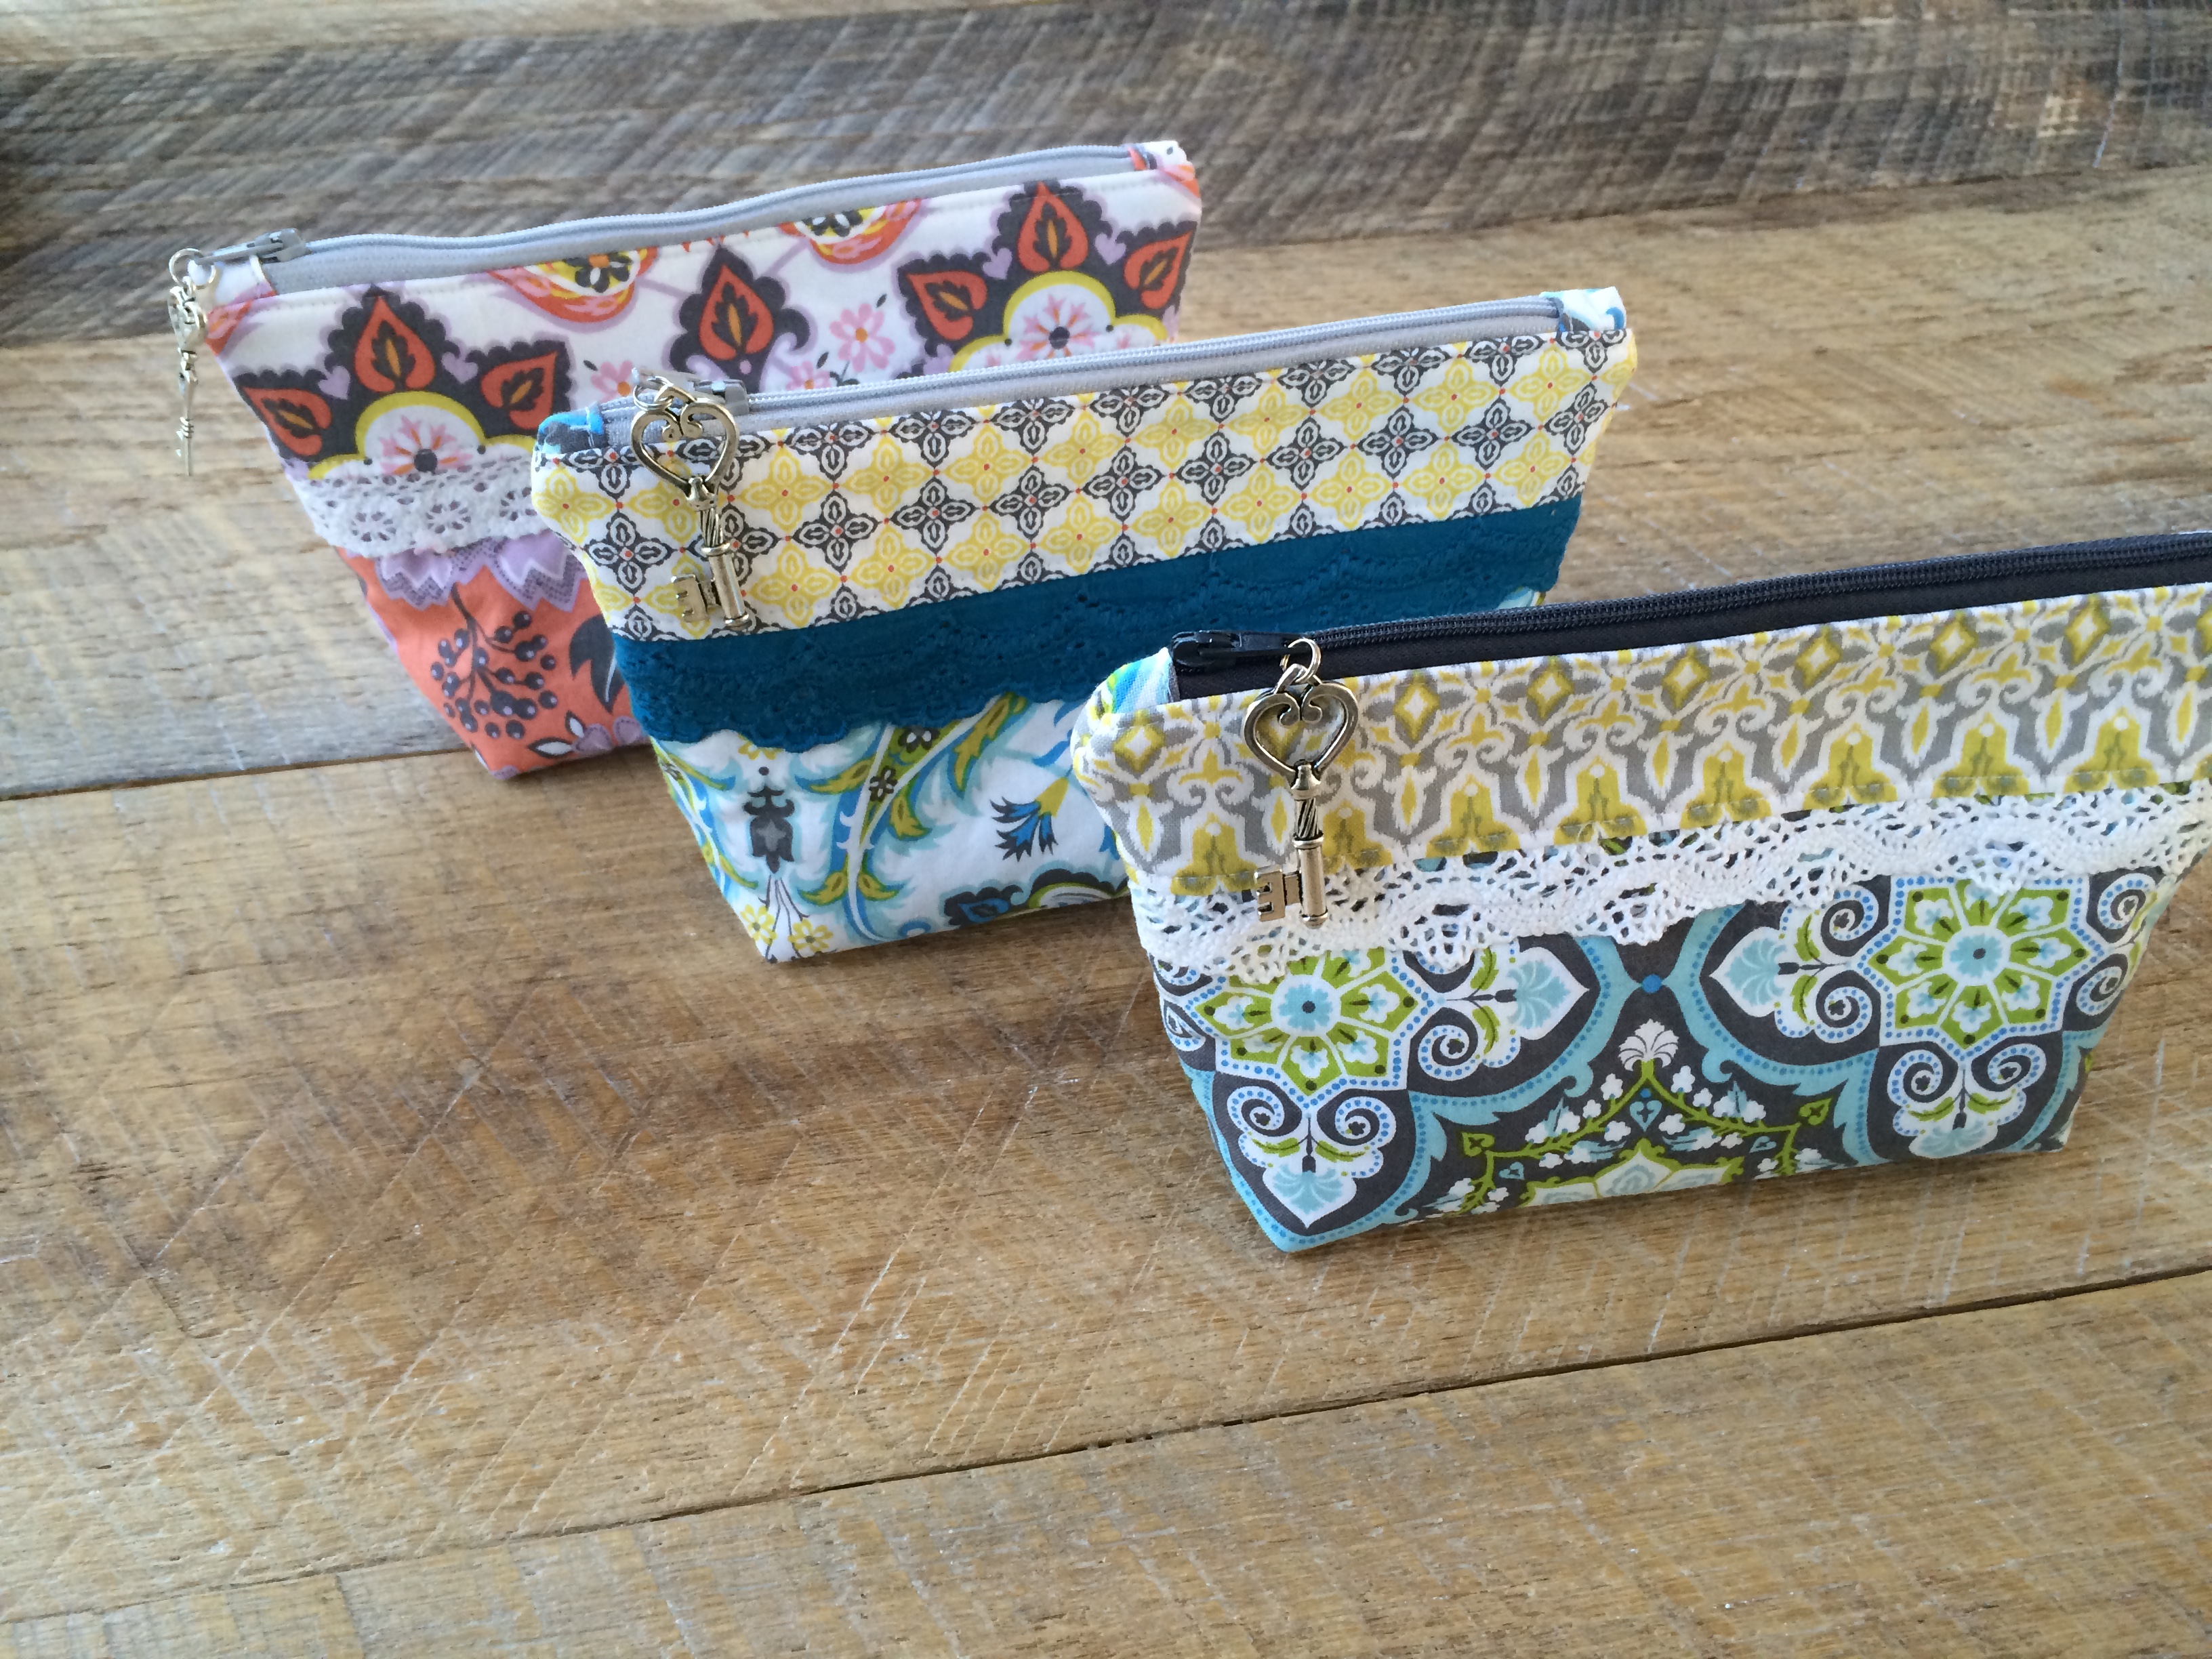
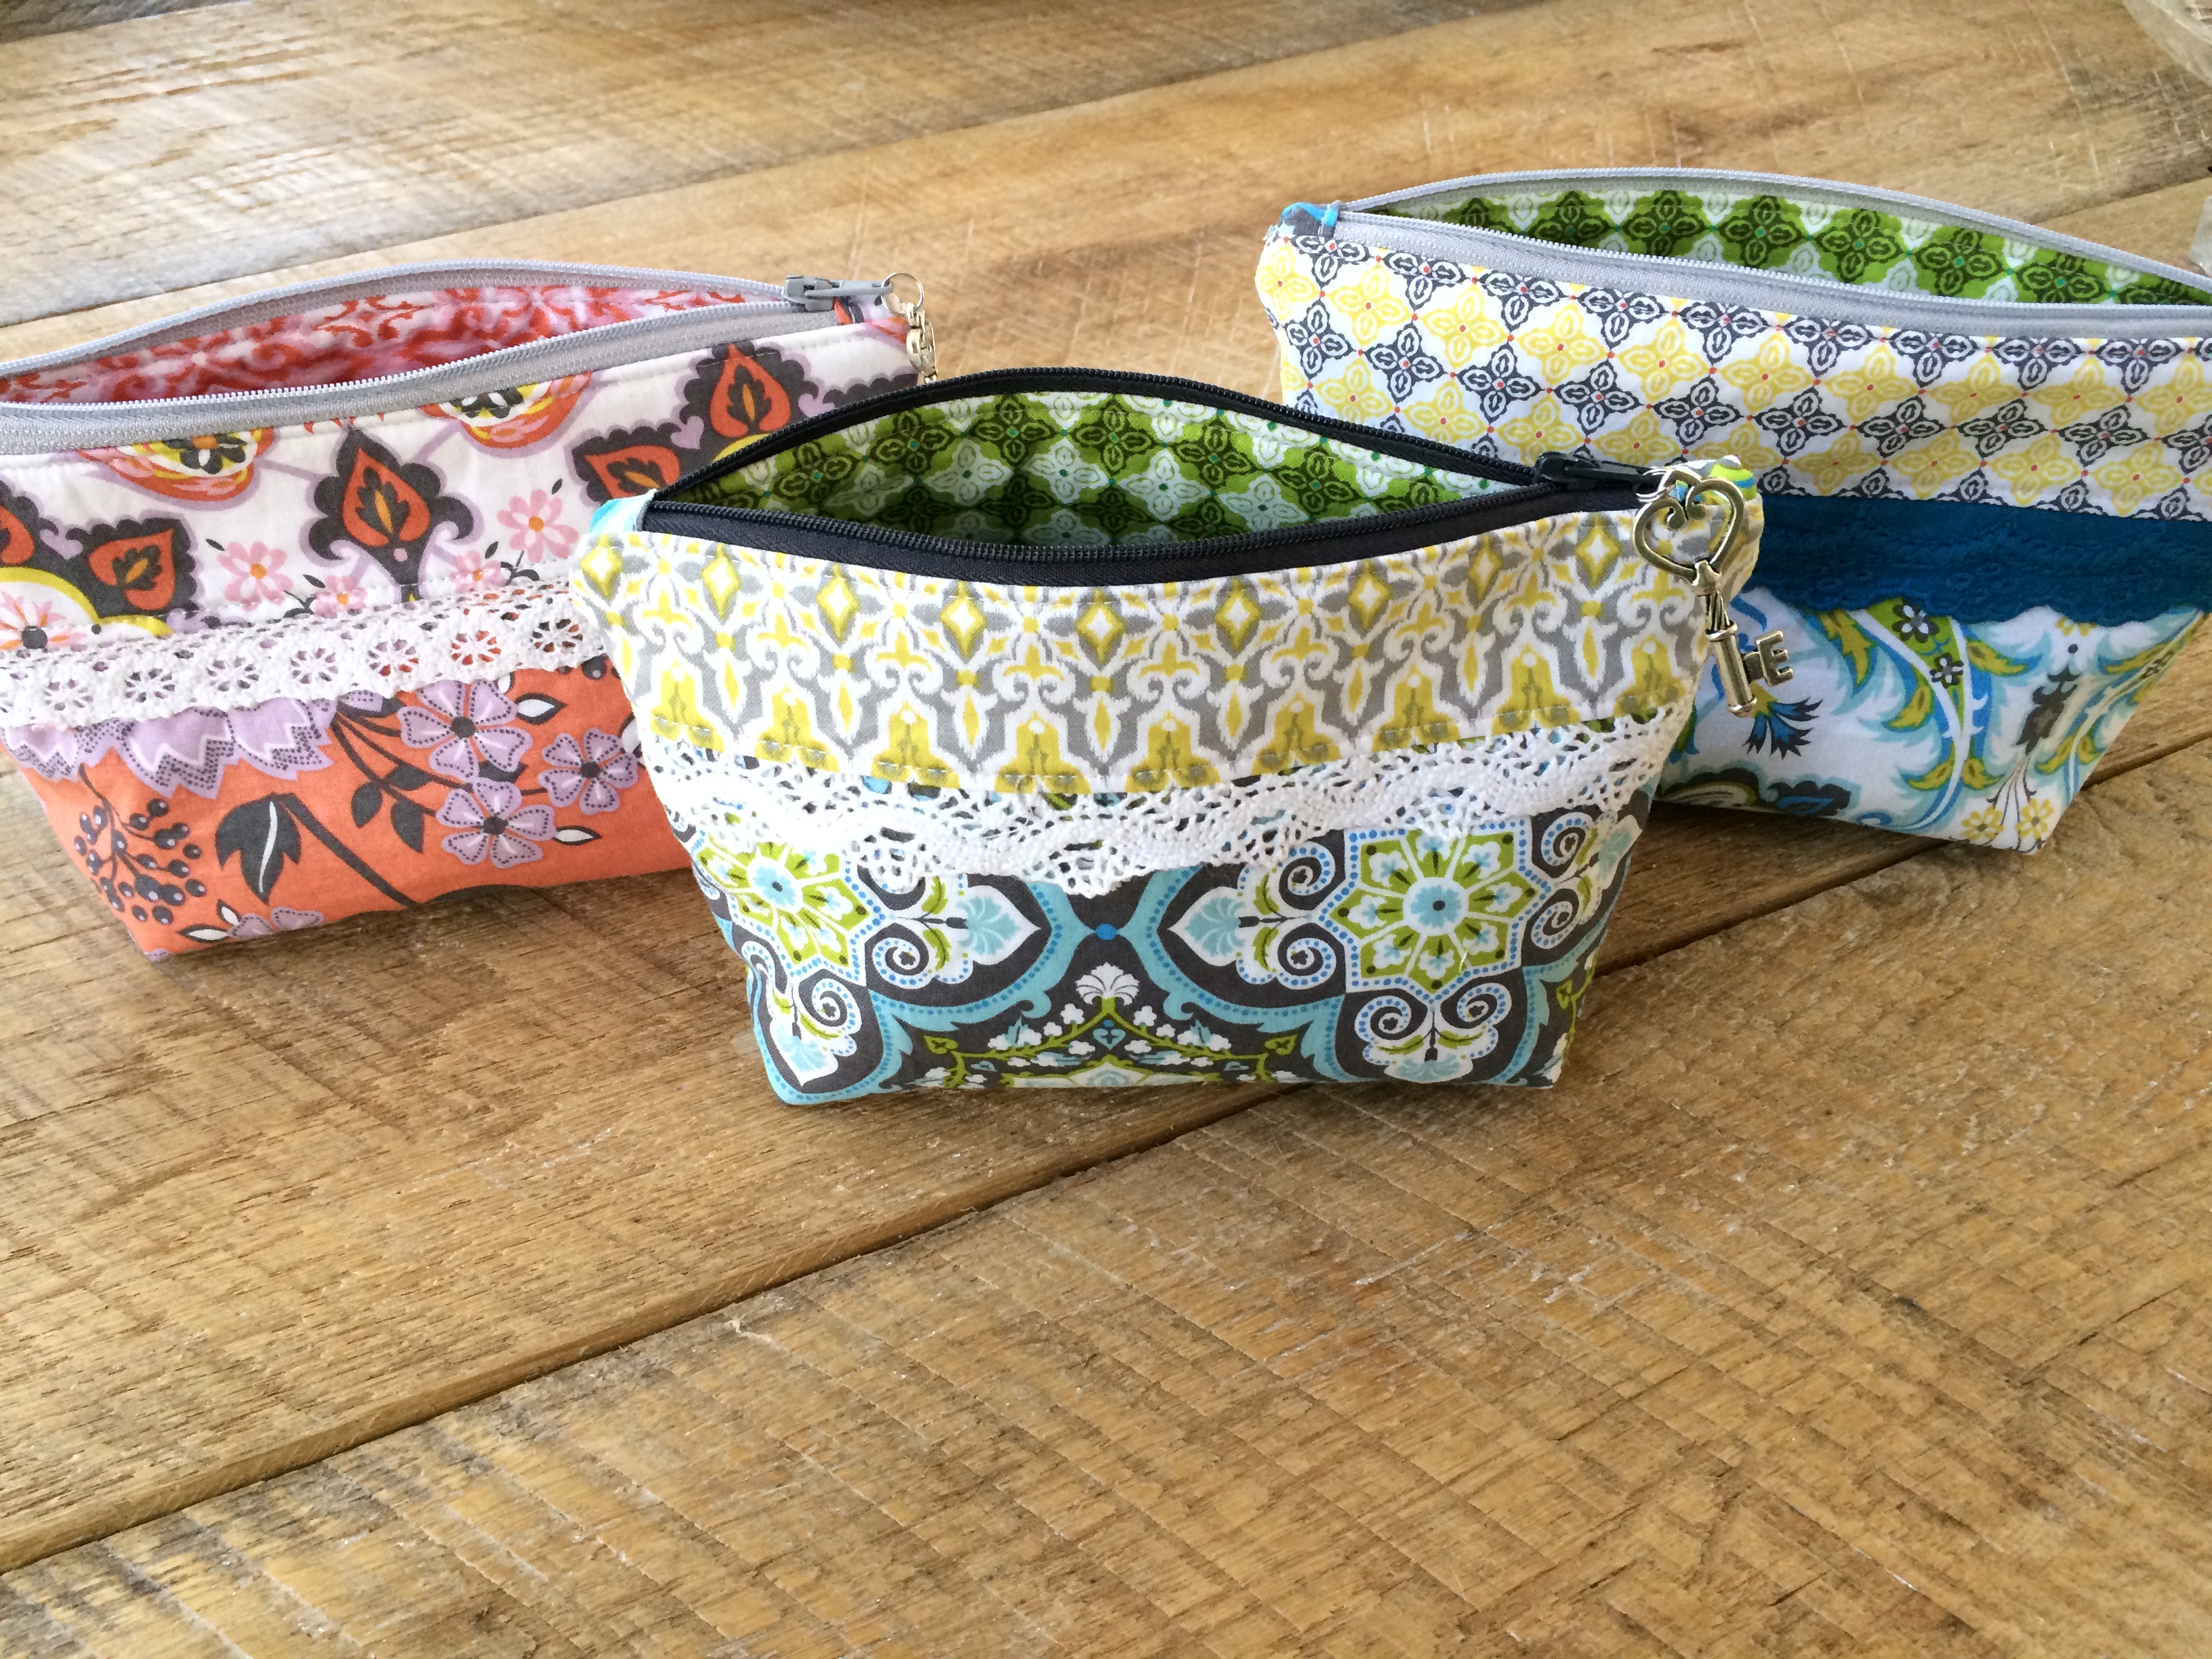
I LOVE zipper pouches! I have million and I still need more! I love that all my friends have one of my zipper pouches in their purses. They are fabulous gifts because you always need another one! I call this pattern My Favorite Zipper Pouch Version 2.0, click HERE for version 1.0 🙂
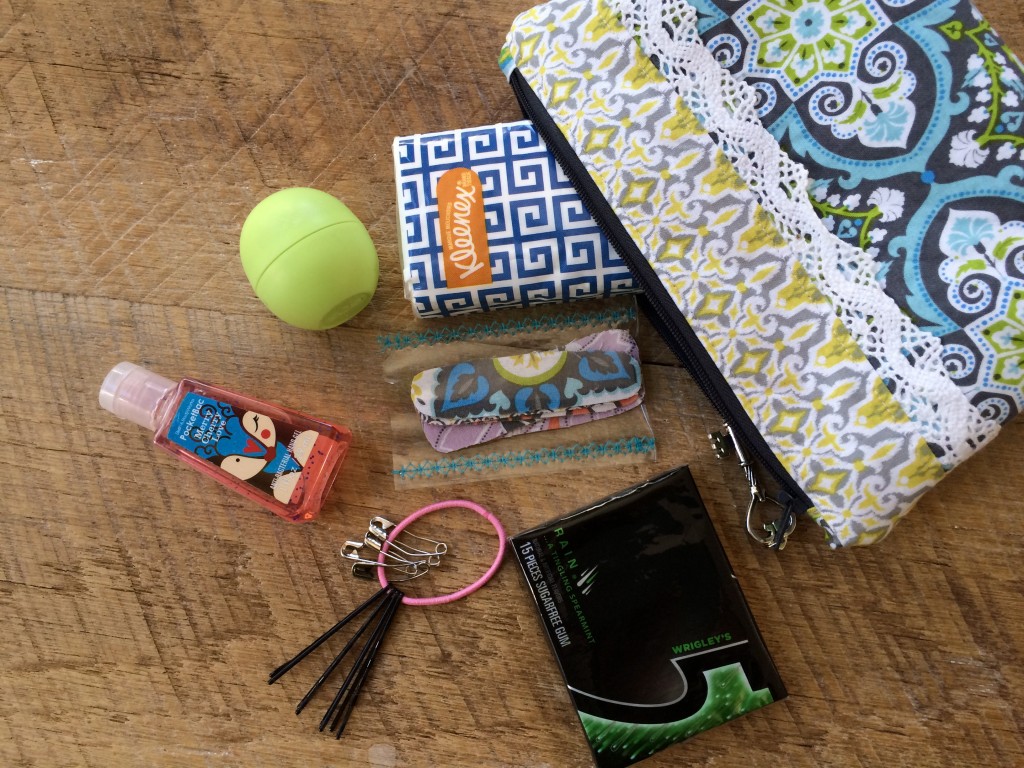
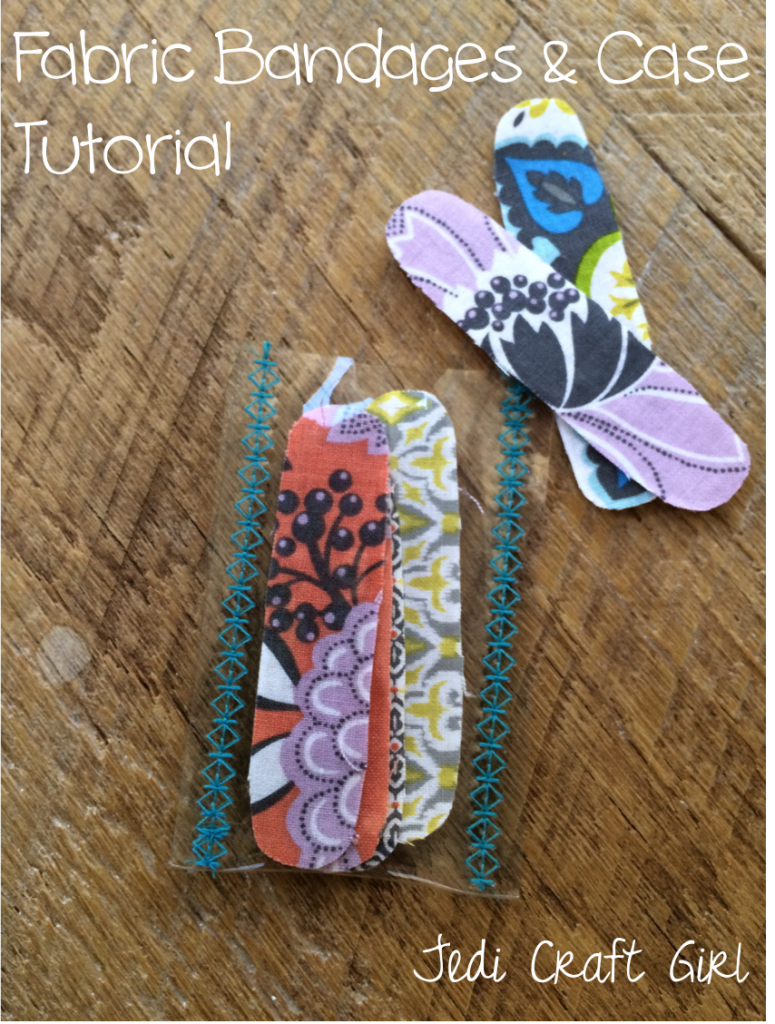
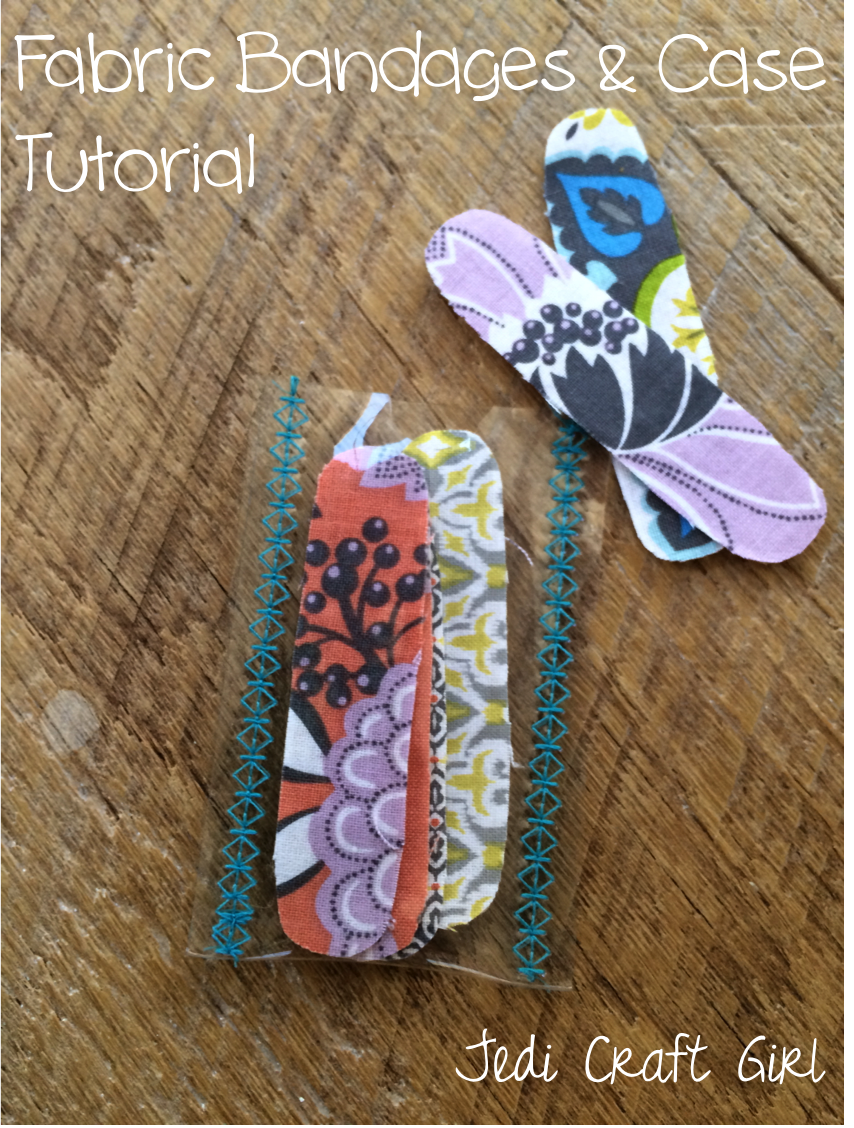
How cute is it to make one of these pouches and then put a few necessities inside: Kleenex, lip balm, hand sanitizer, gum, a handmade pouch of fabric bandages, and my favorite idea which I got from my friend Jennifer, a hair elastic with safety pins and bobby pins attached to it! Brilliant! Below you will find the tutorial for the zipper pouch, fabric bandages, and clear bandage keeper. I hope you enjoy making these.


Supplies:
Fat Quarters or 1/4 yard cuts assorted fabrics
The fabrics used in this project are from Blend’s Turkish Delight. I am totally loving every combination in this collection!!!
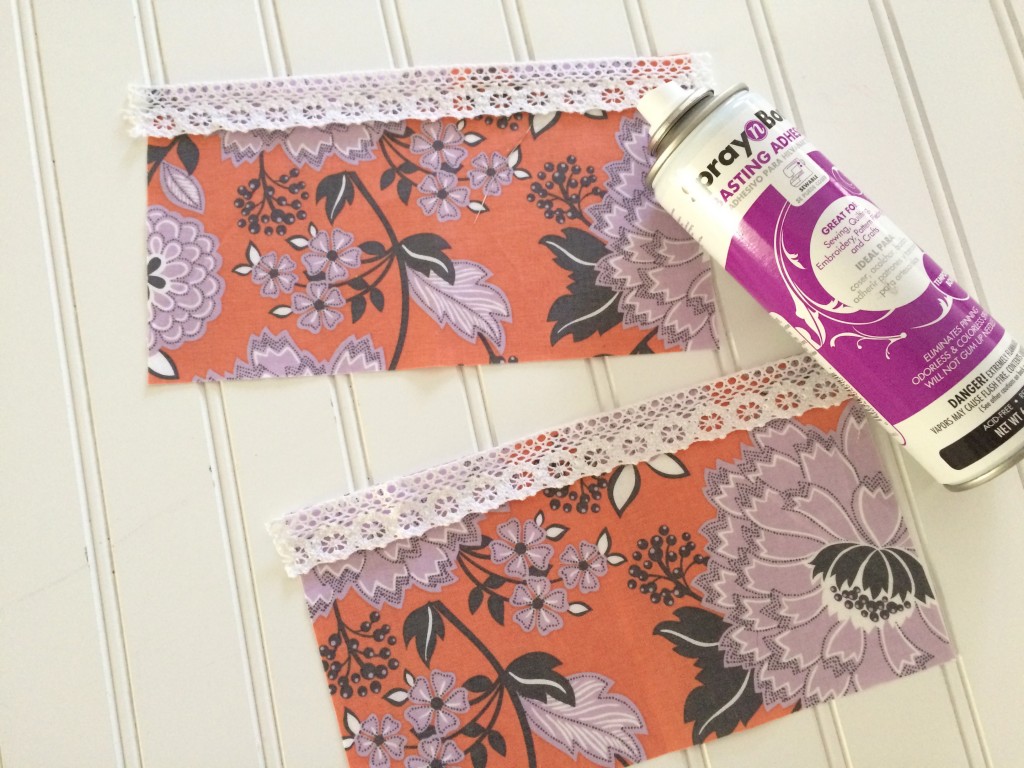
Therm O Web Spray n Bond Basting Spray
1/2 yard of lace
zipper, at least 12″ – I buy my zippers long and then I can always cut them down
Key charm for the zipper pull
Let’s get started!
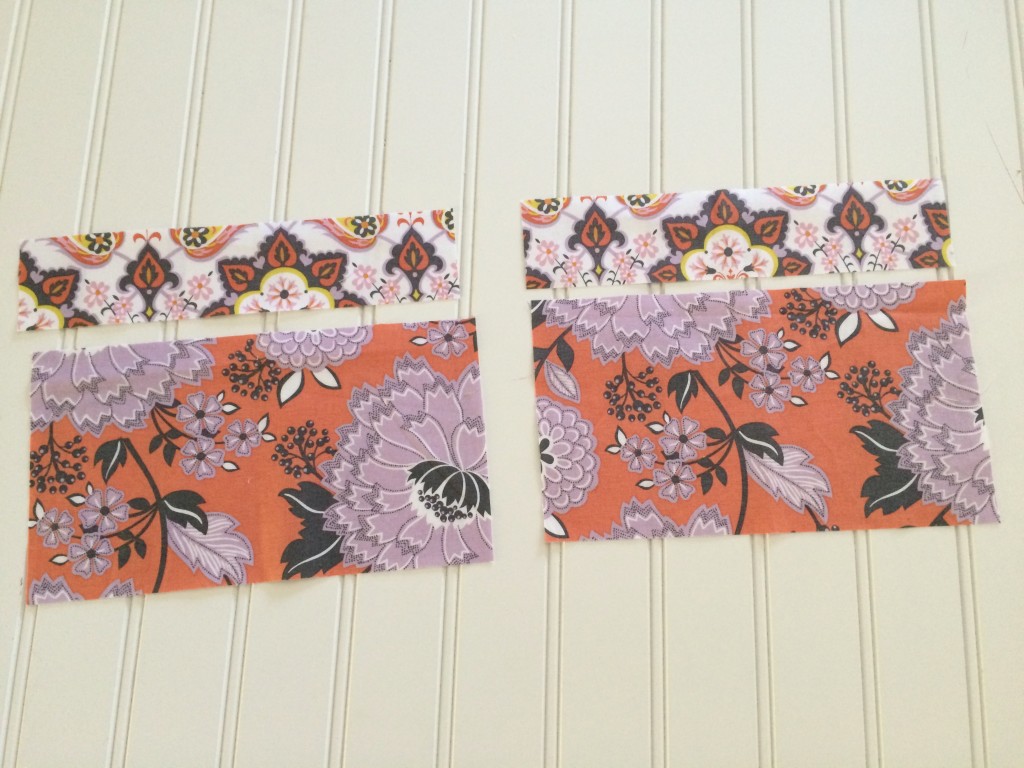
Cut the coral floral fabric (2) 5″ x 9″
Cut the white floral fabric (2) 2″ x 9″
Cut the lining fabric (2) 6.5″ x 9″
Fusible Fleece (2) 6.5″ x 9″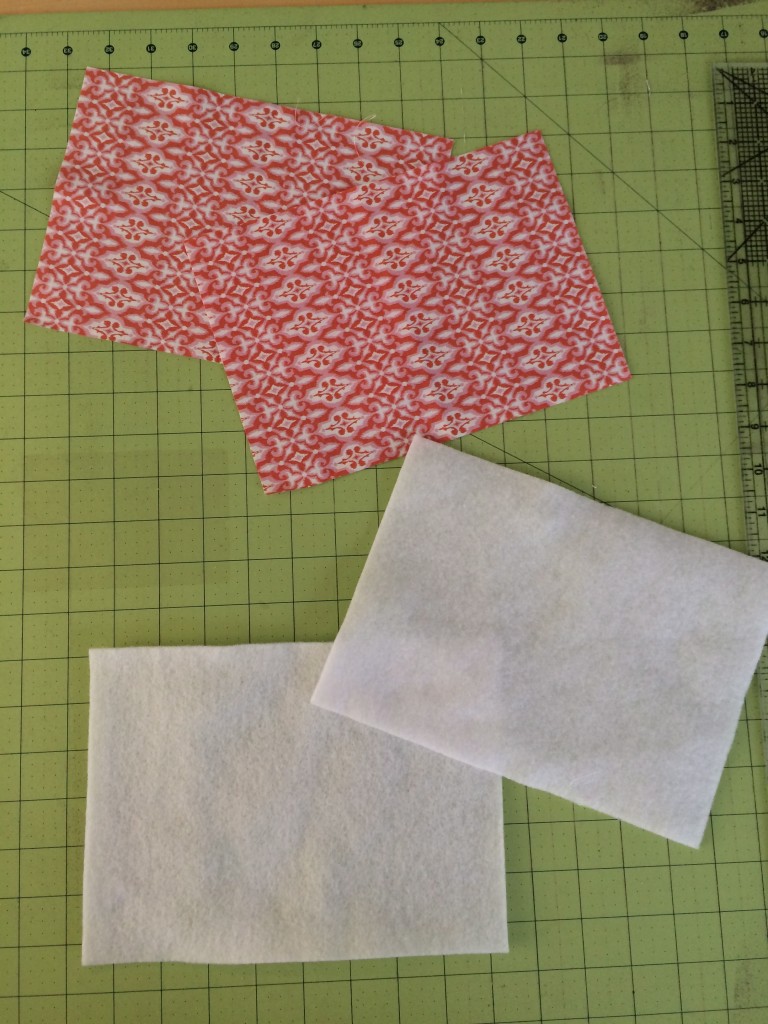
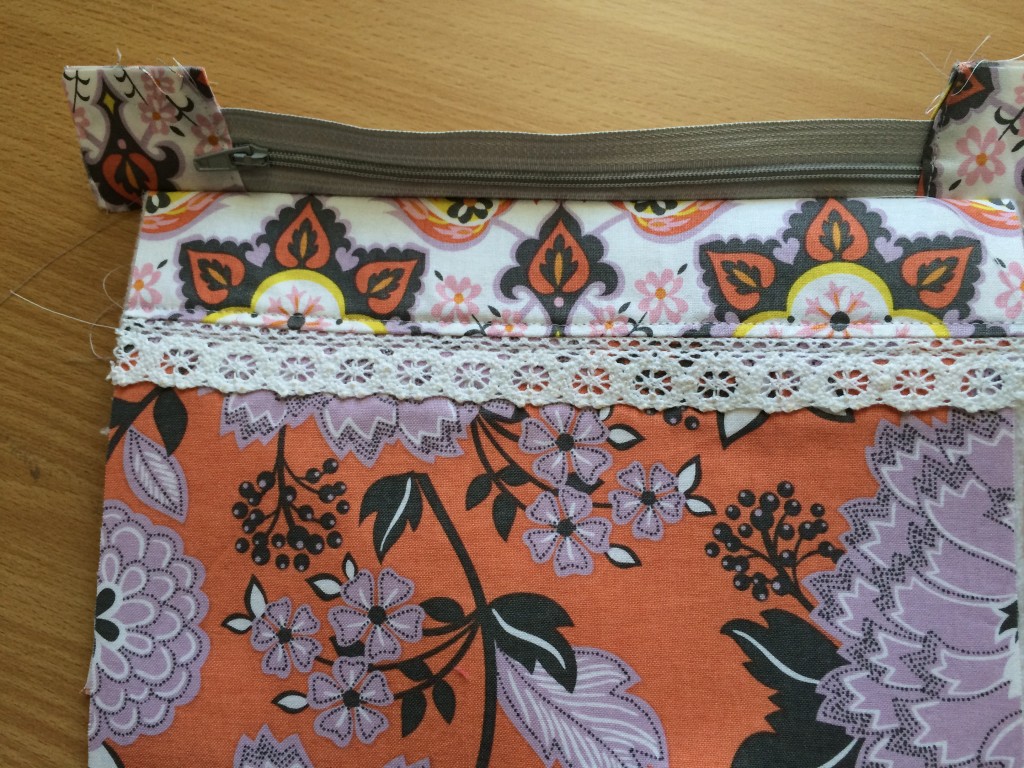
Cut the lace (2) 9″ pieces. Using the Spray n Bond, spray baste the lace into place, lining the top edge with the top raw edge of the coral floral fabric. Do this to both pieces.
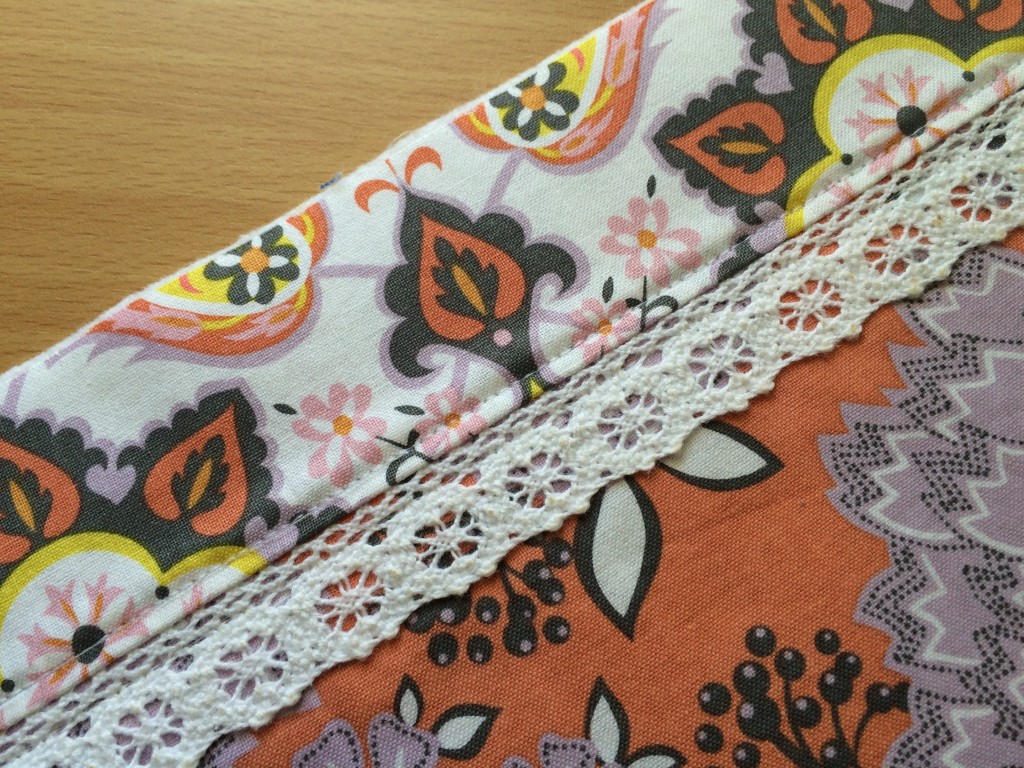
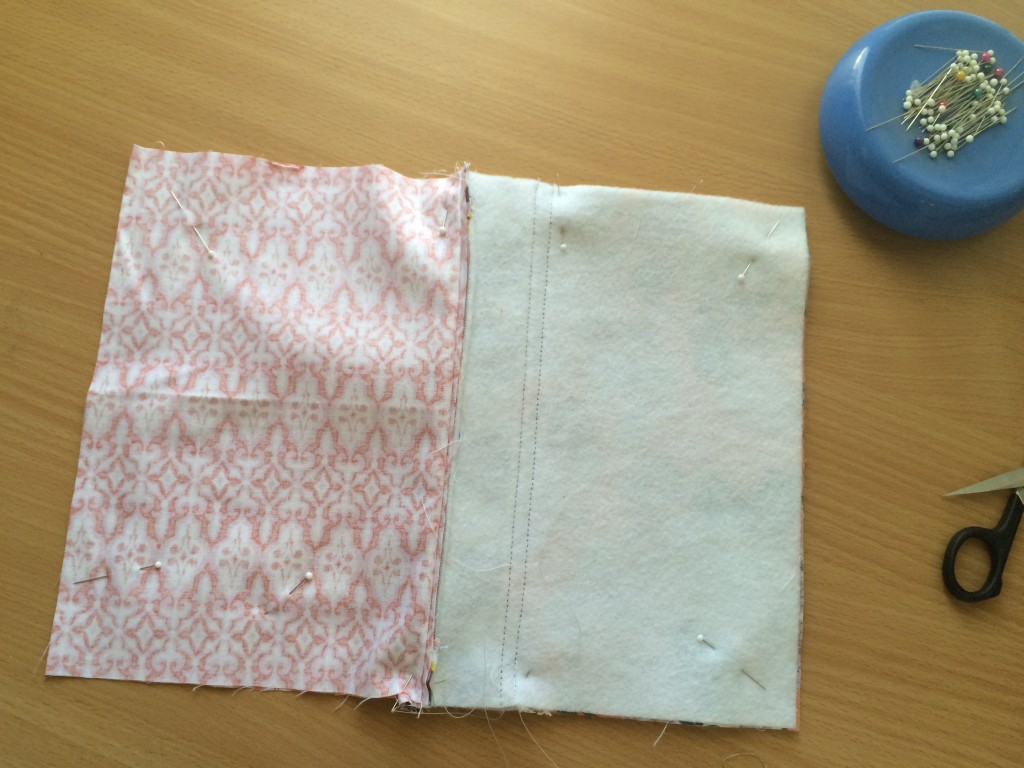
Using 1/4 inch seams, sew the white floral to the top of the coral floral. Press. Layer this piece on the fusible fleece and press according to the directions. Do this to both the floral/lace pieces. Using 1/8″ seam, top stitch next to seam on both pieces:
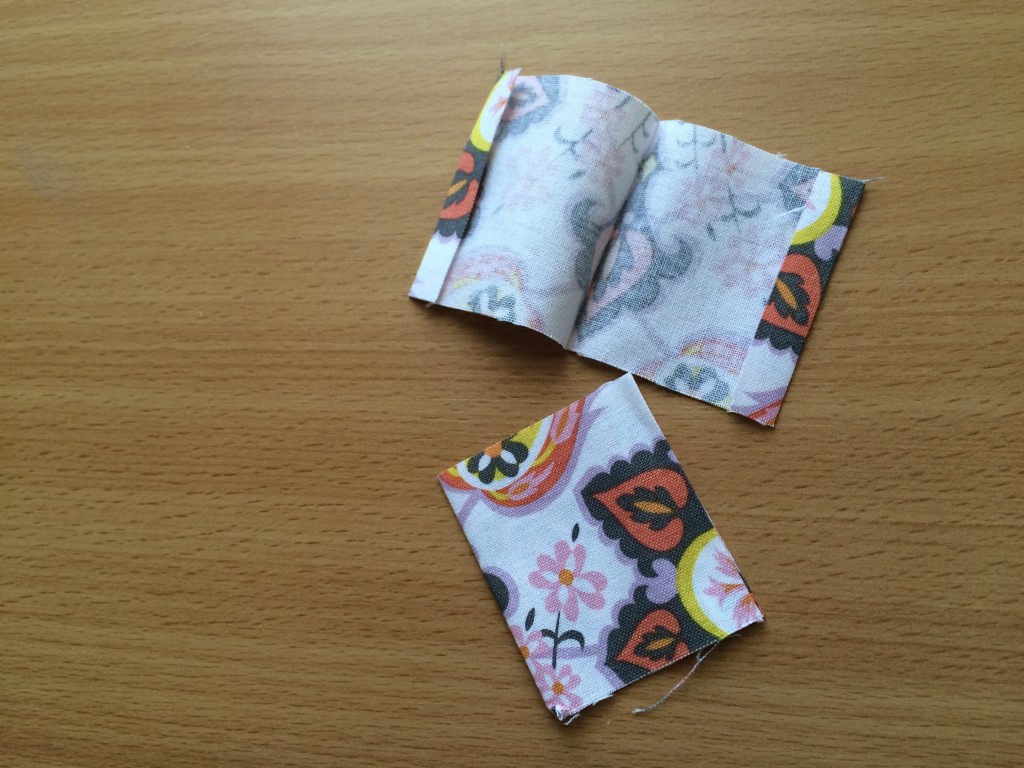
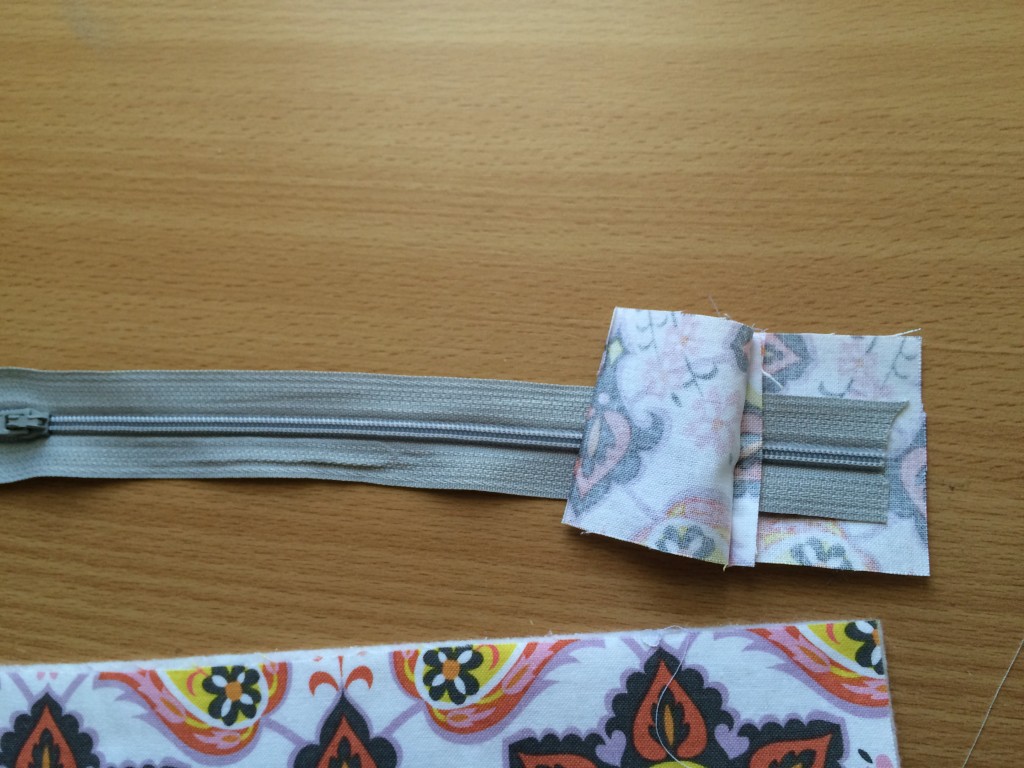
For the zipper tabs….Cut (2) strips of fabric 2″ x 4″. Press in half then press the ends in 1/4″ like this:
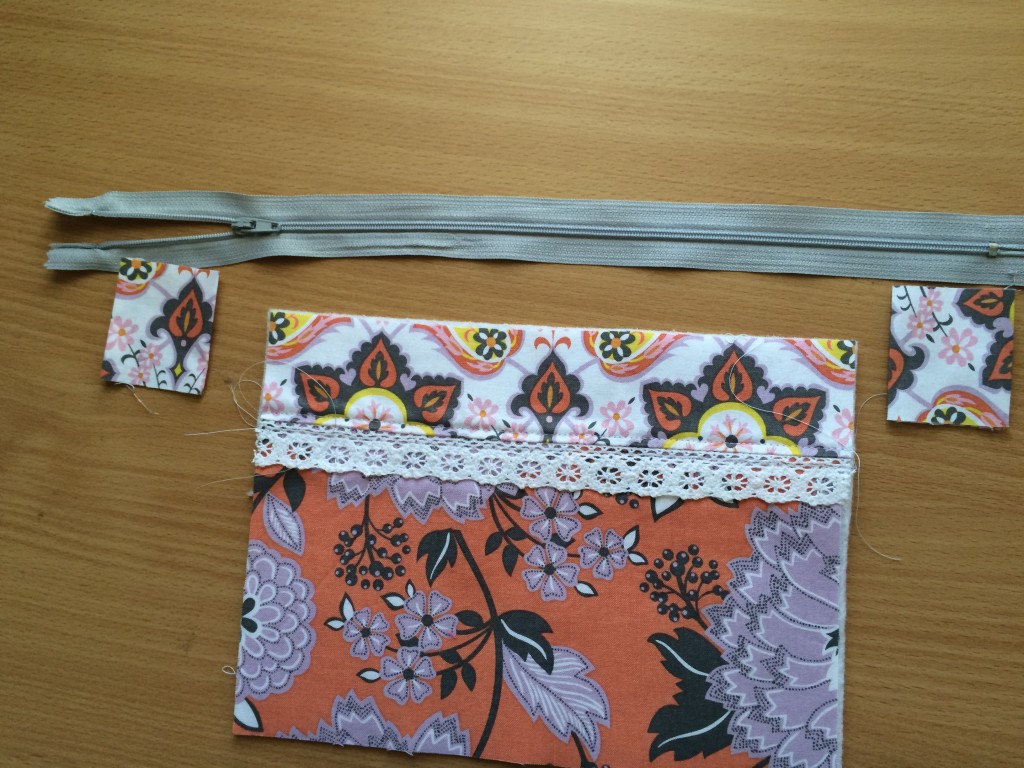
Lay out the zipper, tabs, and one of the floral/lace pieces – note, the zipper tabs are larger than needed, we will cut off the excess
Open one of the zipper tabs and insert one end of the zipper (cut off metal stop). Sew 2 times along the edge holding the zipper into place. Then position the other tab. There should be about 1″ of tab on each side, the extra will be cut off and discarded. If your zipper is really long, you will trim down the zipper then place inside the tab. It should look like this:

Cut open the folded end of the zipper tabs. Cut out the zipper so it only about 1/4″ remains. This photo was taken before the zipper was cut out. The reason for this is to reduce the bulk in the zipper pouch seams.
Place the zipper and one of the zipper pouch sides right sides together, aligning the edges. You can trim off the excess tabs.
Now place one of the bag lining pieces right side down, lining up the raw edges with the zipper and the zipper pouch front. Pin into place. Sew along the edge using a zipper foot.
Now that the one side of the zipper is sewn in, press and trim off excess tabs.
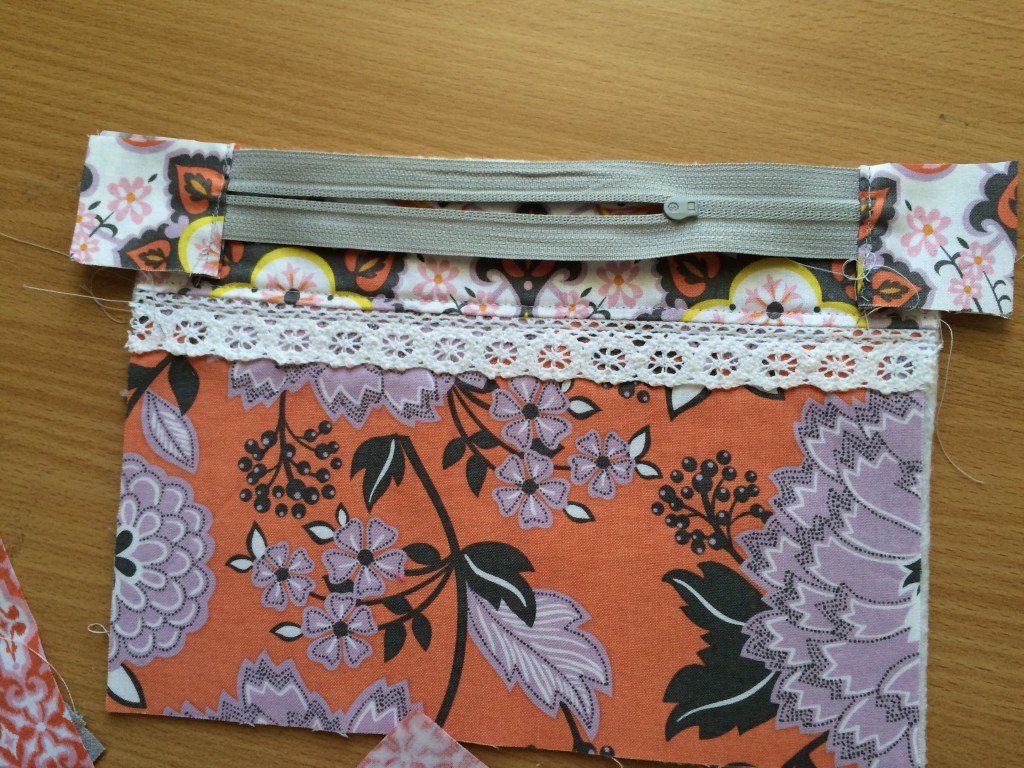
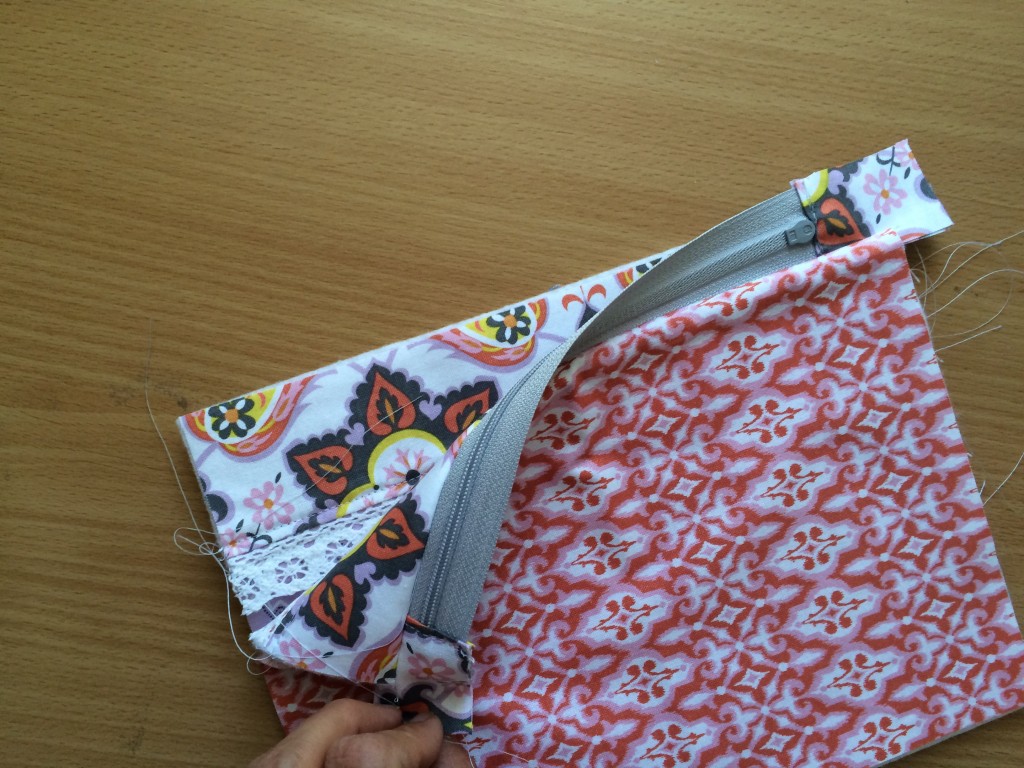
Now it’s time to sew the other side of the zipper pouch to the zipper. Lay the second floral/lace piece facing up. Then lay the piece with the zipper on top, matching right sides. Line up the top edge of the floral piece with the zipper, like this:
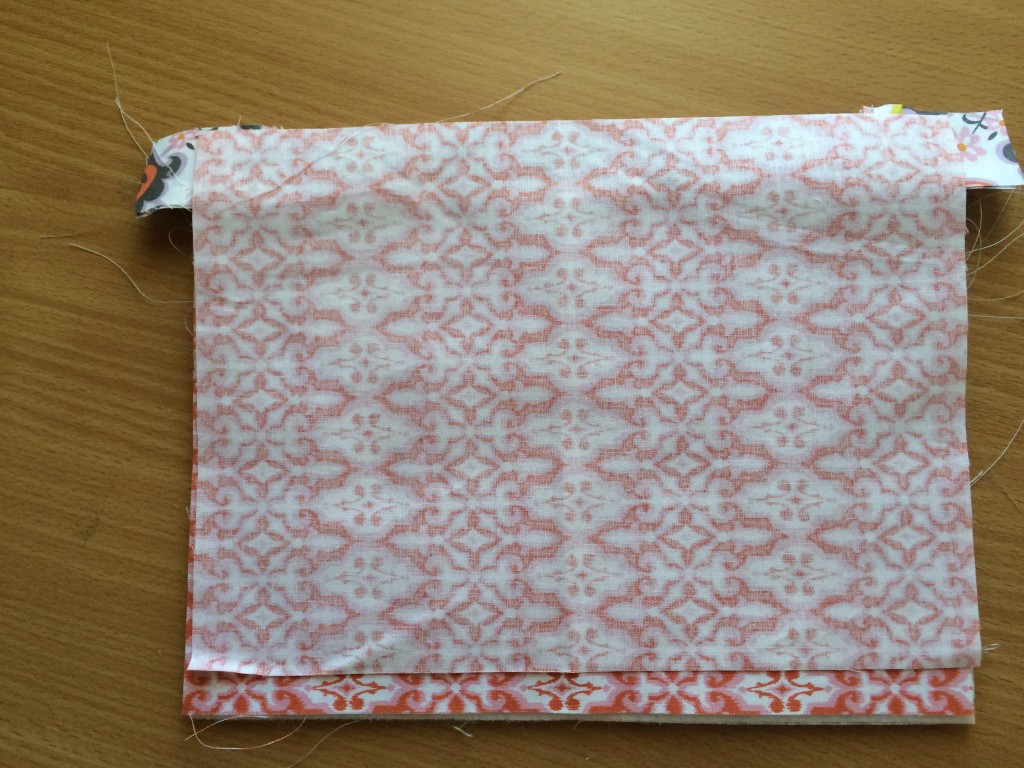
Now lay the second piece of lining fabric right side down and align the top edge as well. Pin. Sew using zipper foot.
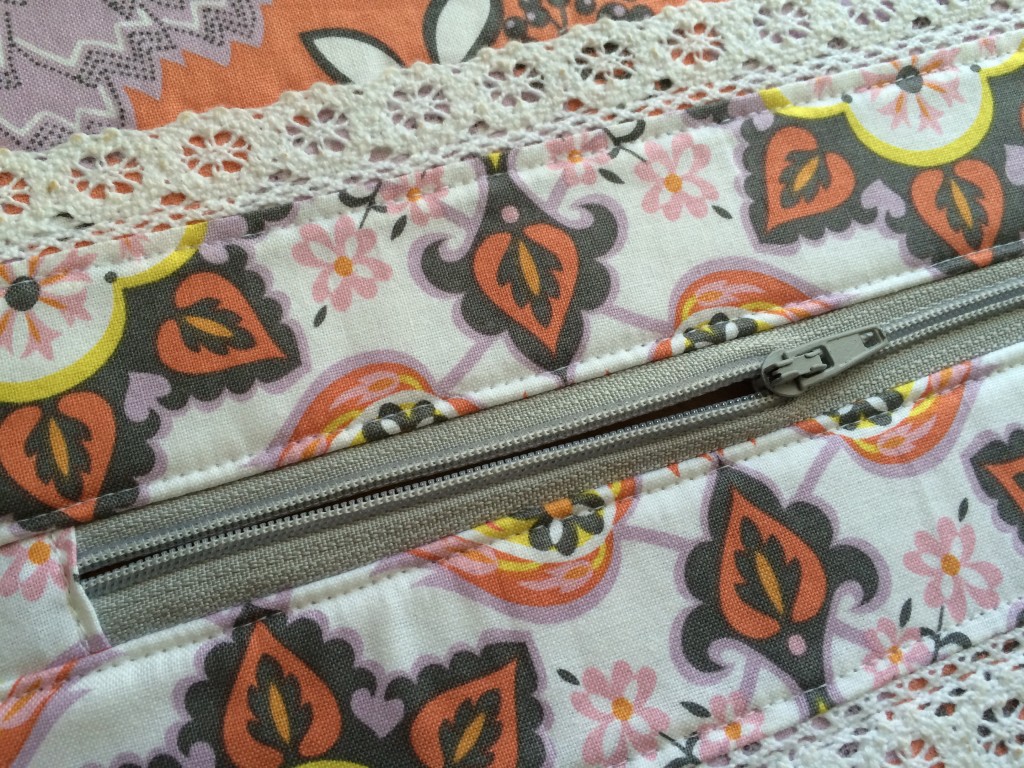
Press the second side so the zipper lays flat. Top stitch 1/8″ next to both sides of the zipper.
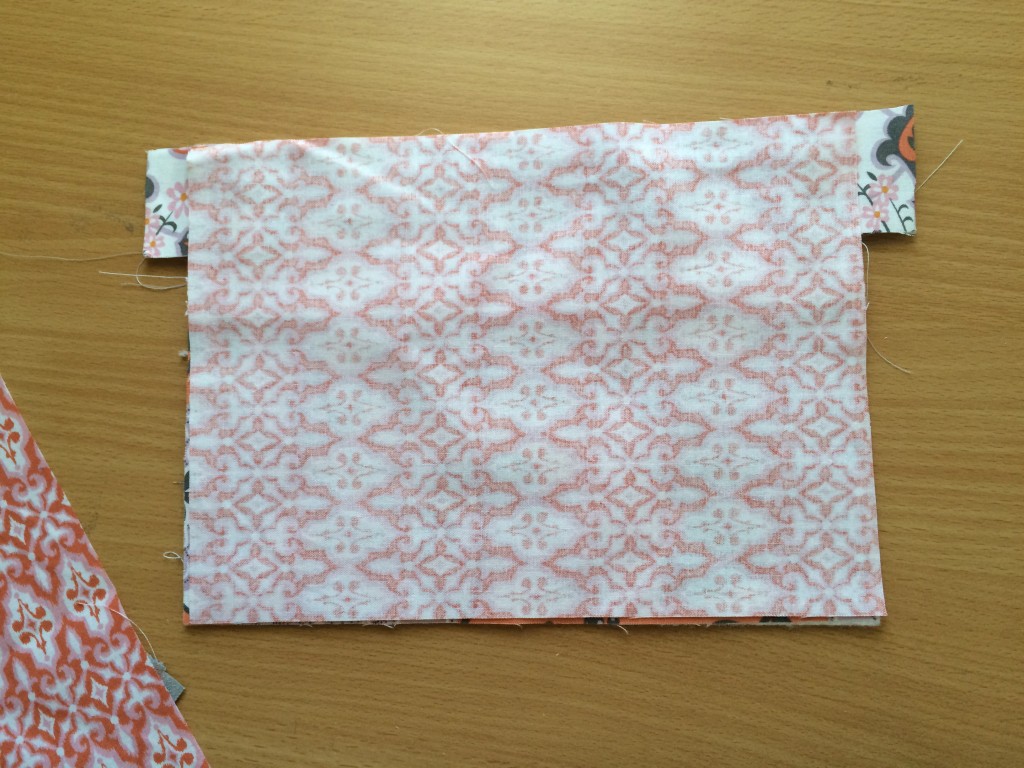
To finish the bag…. MAKE SURE THE ZIPPER IS OPEN Match right sides together beginning at the zipper. Match the zipper seams line this and pin: Do this to both sides.
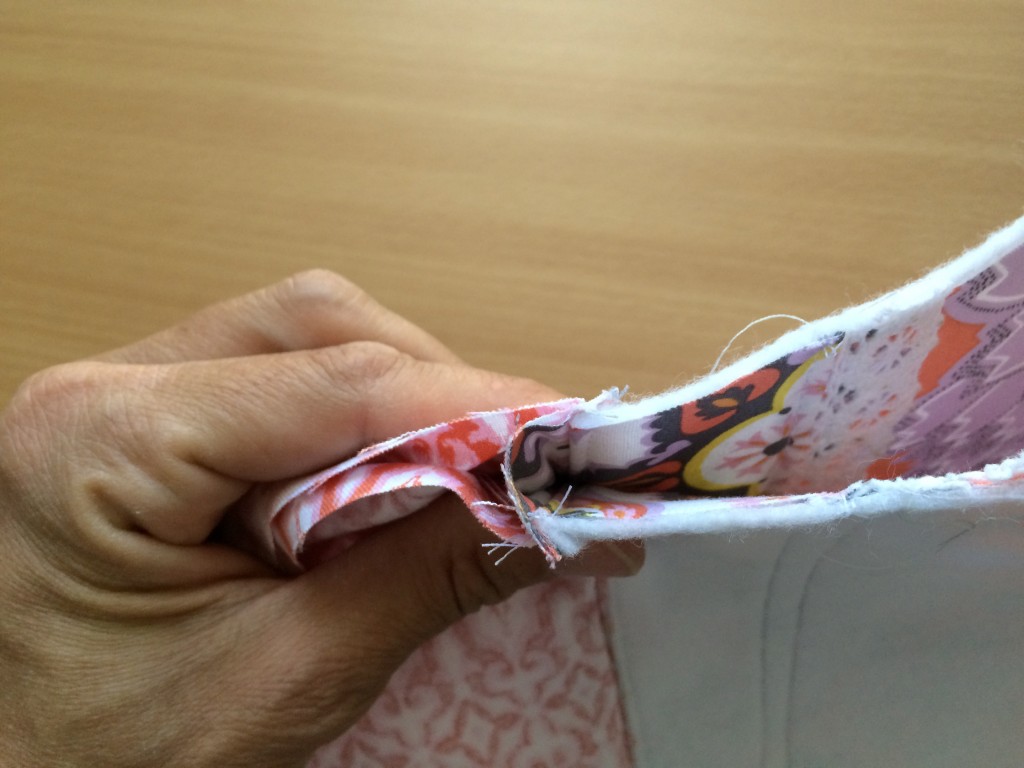
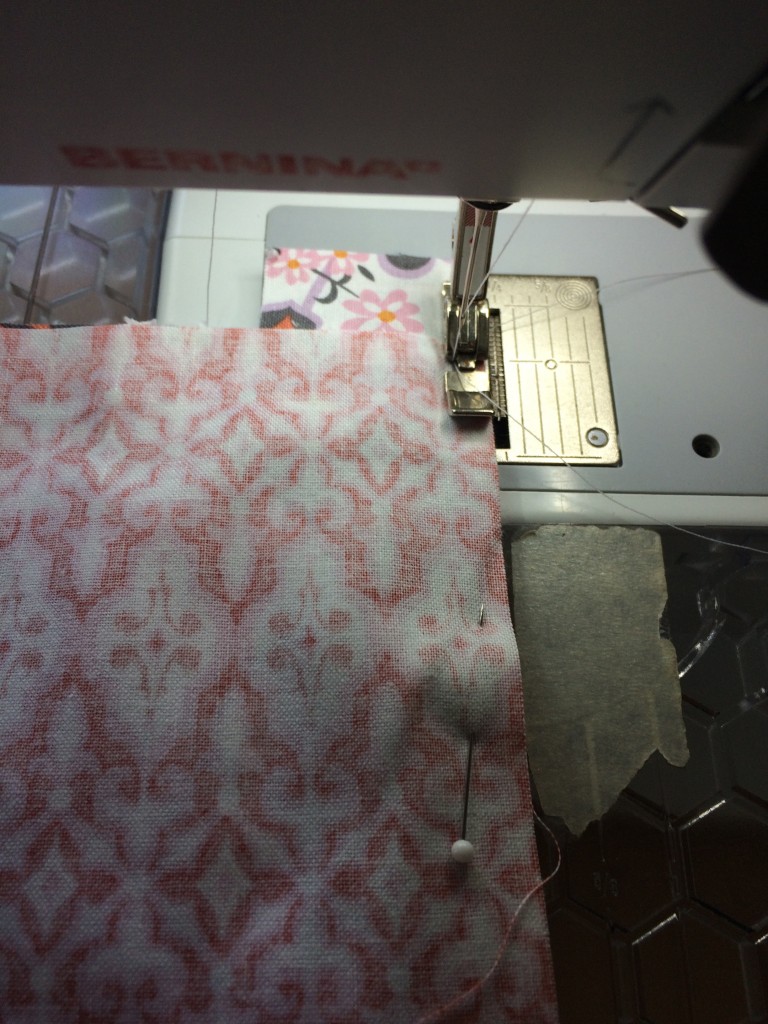
Continue pinning all the way around the bag like this: Then sew 1/4″ all the way around the bag, leaving an opening about 2.5″ on one of the sides of the lining.
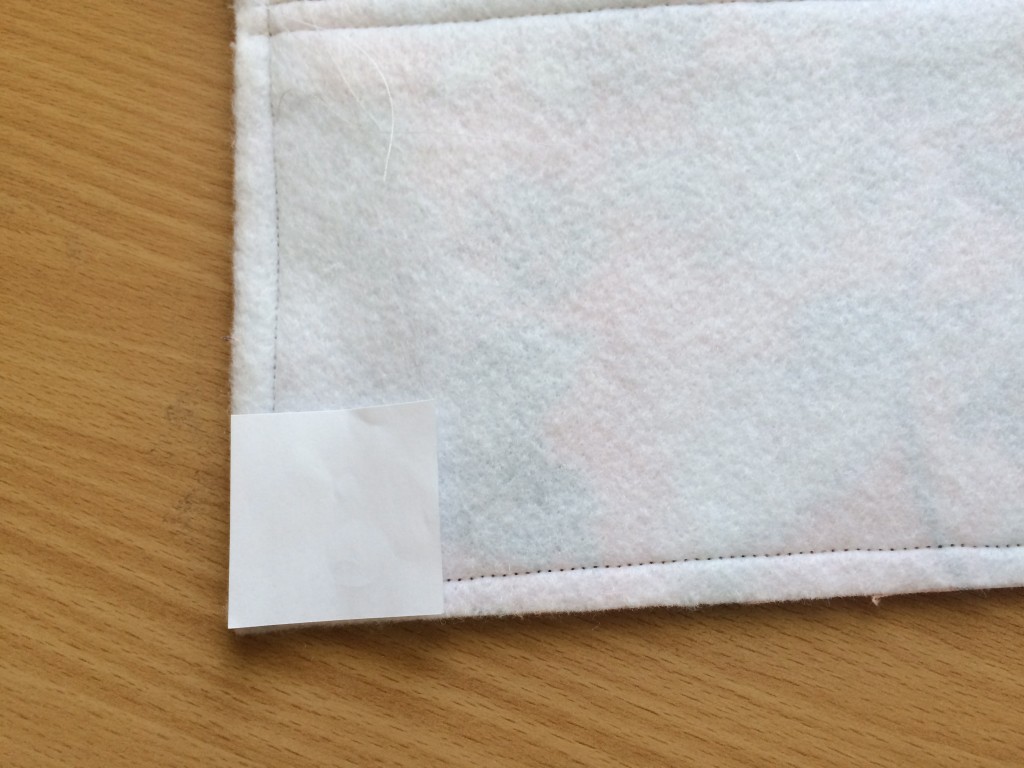
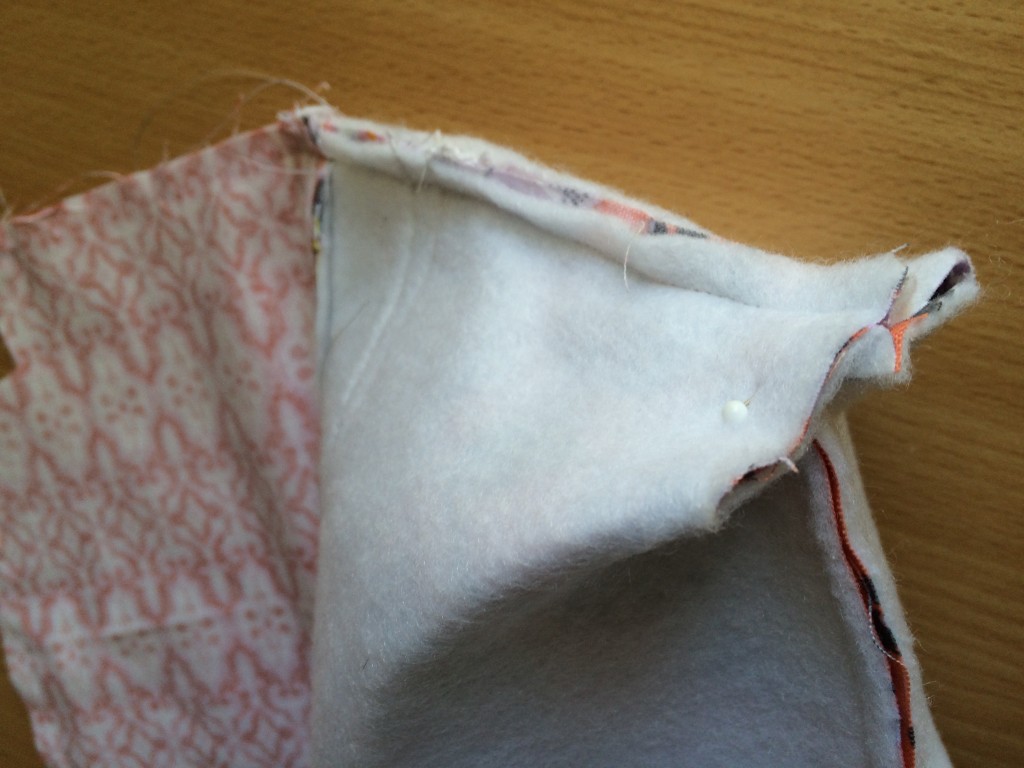
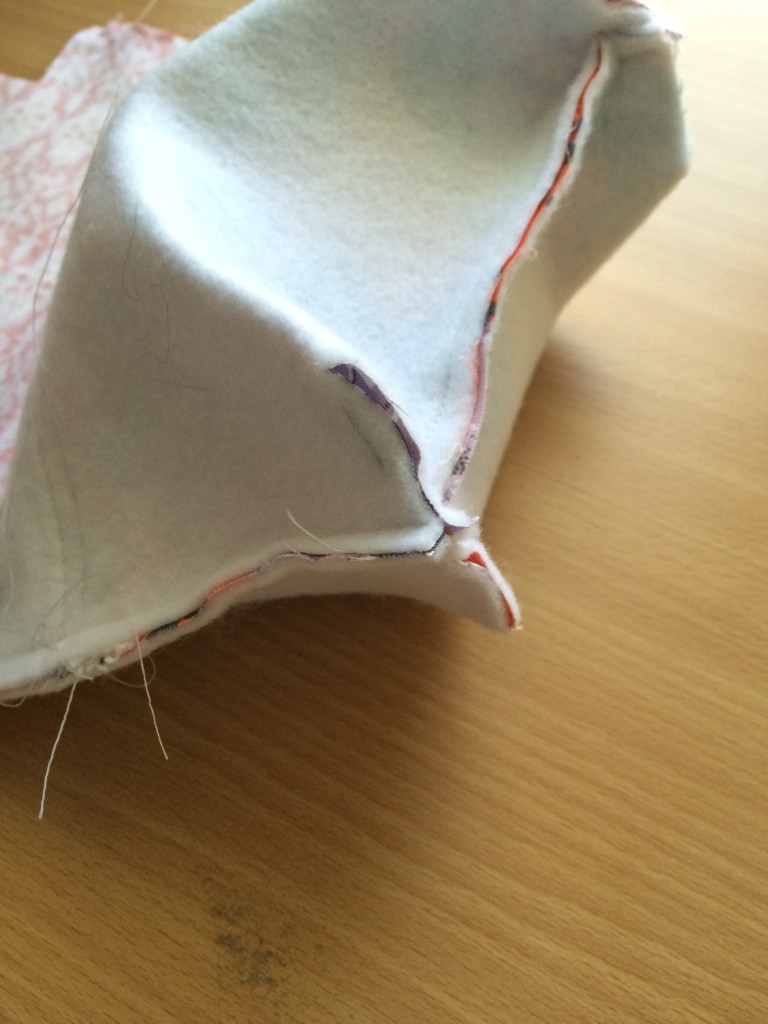
Before turning right side out, cut a 1.25″ square out of each corner. I use a piece of paper 1.25″ square and cut with scissors.
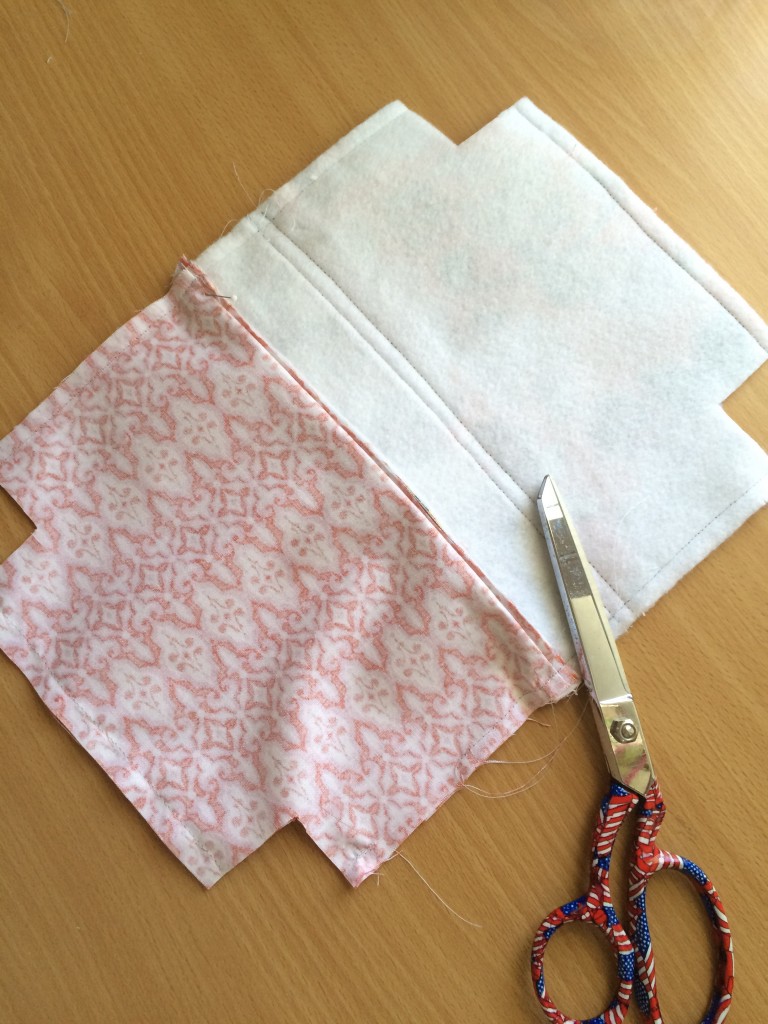
This is what it looks like after all 4 corners have been “notched”.
Open each notched corner and match the seams, pin, sew 1/4″ seam, backstitch to start and stop. Do this to each corner.
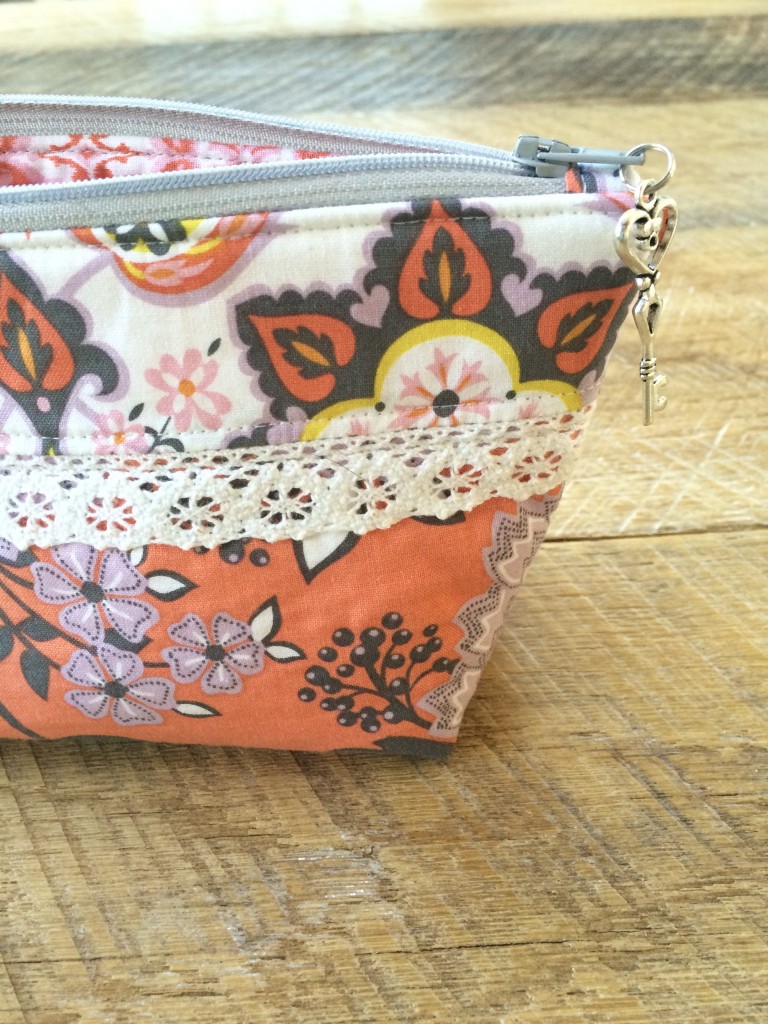
Turn the bag right side out, topstitch the opening closed. I like to add a little charm to the zipper.

Now, to make the Fabric Bandages….
You can make fabric covered bandages several ways. I’ve seen some tutorials and they use a double sided permament sticky tape. I decided to try using iron-on adhesive hem tape, which happens to be the exact width as most bandages, 3/4″!
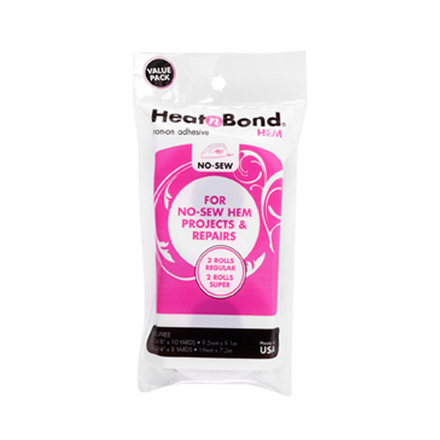
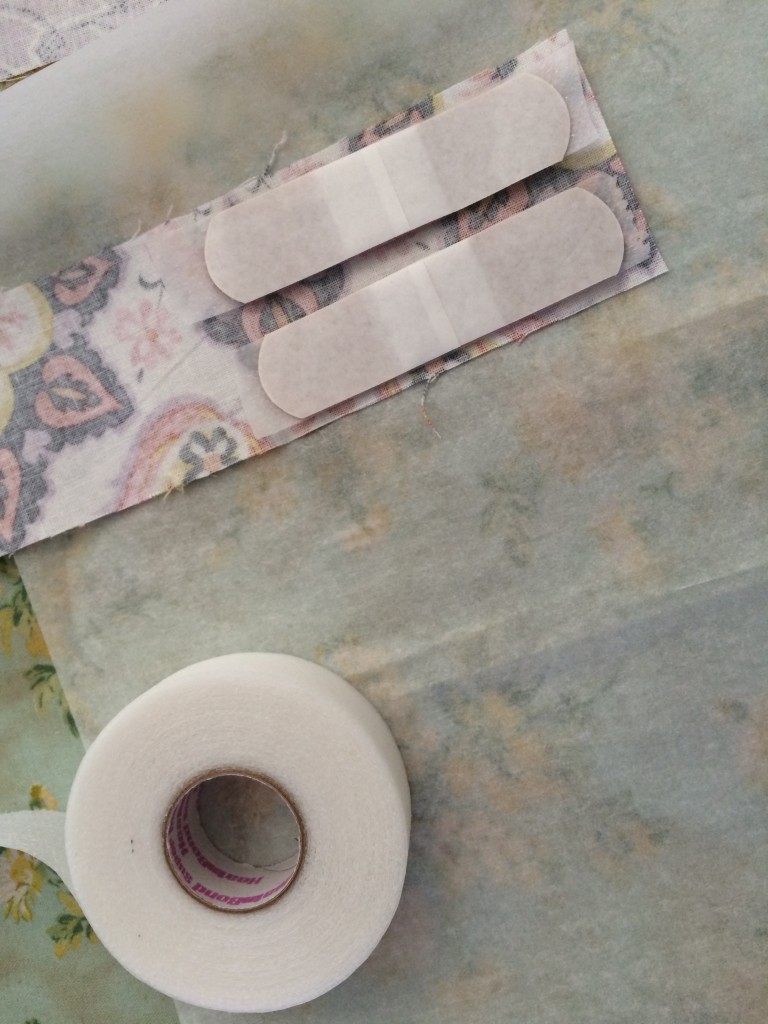
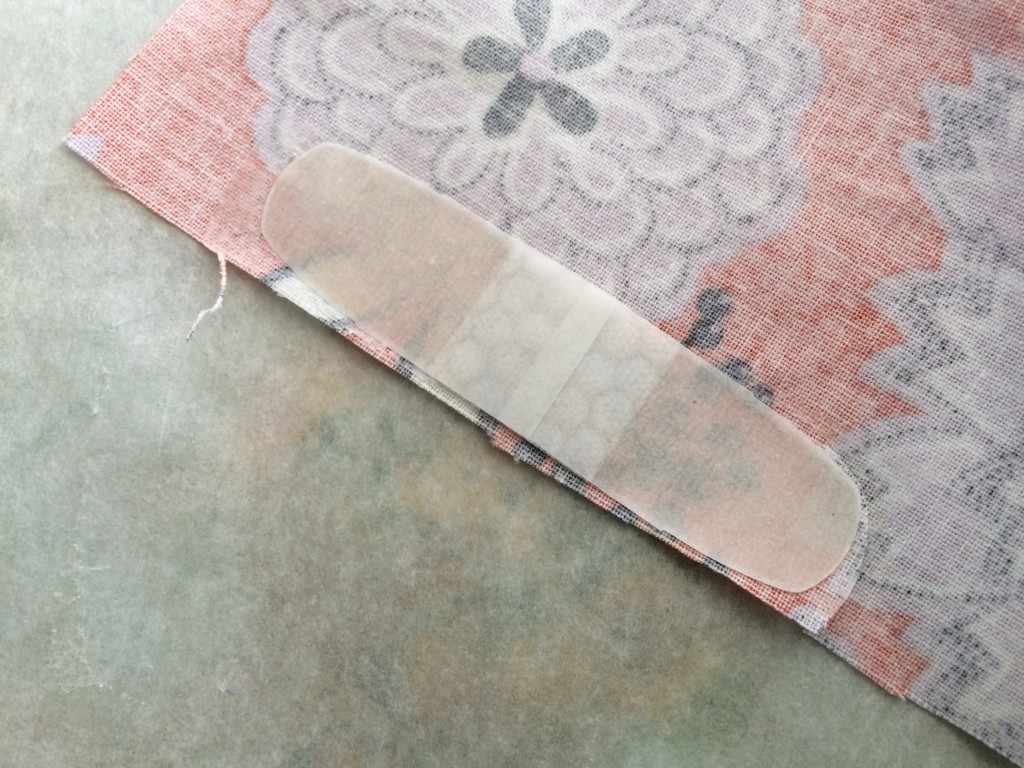
To make the fabric covered bandages, cut a piece of Heat n Bond Hem tape the length of the bandage. Place it in-between the bandage and the fabric. Using a pressing paper for protection, press. TWO IMPORTANT THINGS…. FIRST, make sure you flip the bandage/fabric over to press so the iron hits the fabric first and not the bandage. SECOND, only iron with hot dry iron for 2-3 seconds max. If you heat any longer, the heat will melt the bandage adhesive and the bandage won’t be sticky.
Please note, these are just for fun and to be used on minor scratches or “boo boos”. For serious injuries or wounds, use a real first aid kit and seek medical attention.
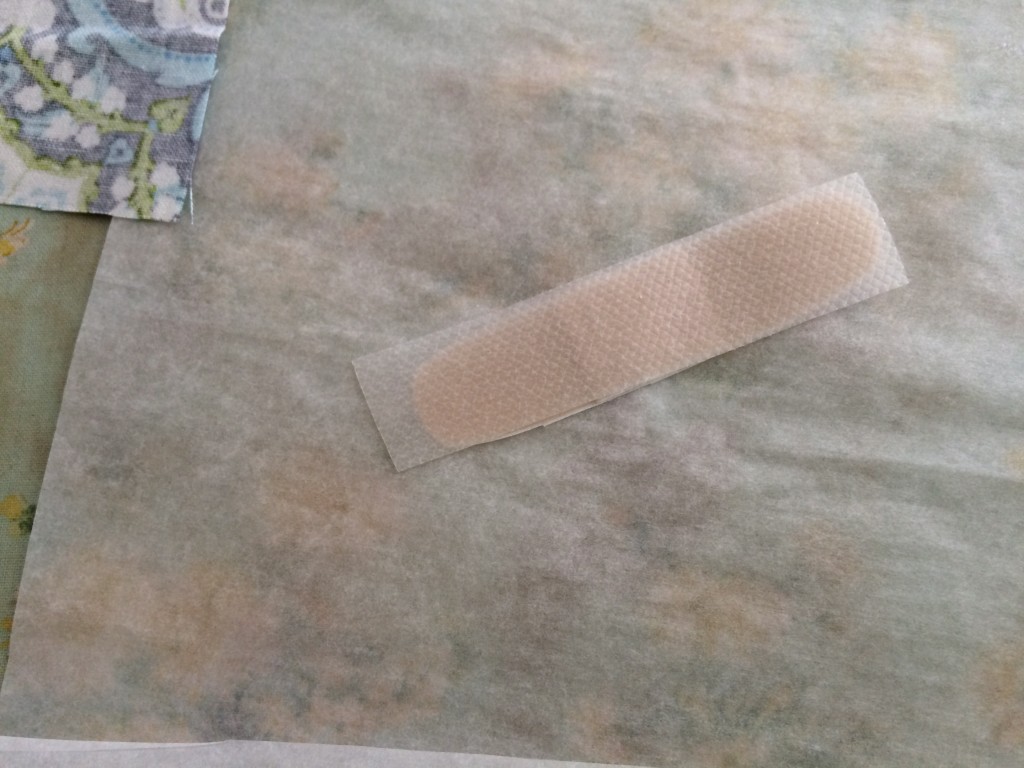
Once the adhesive has cooled, cut the bandage out.
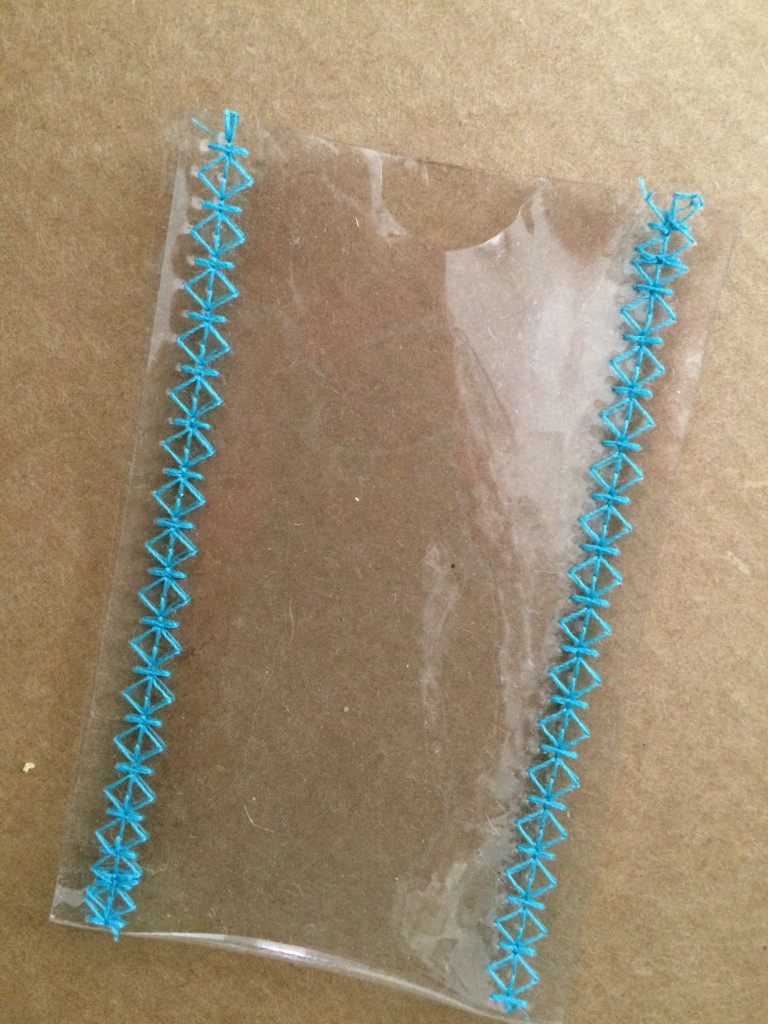
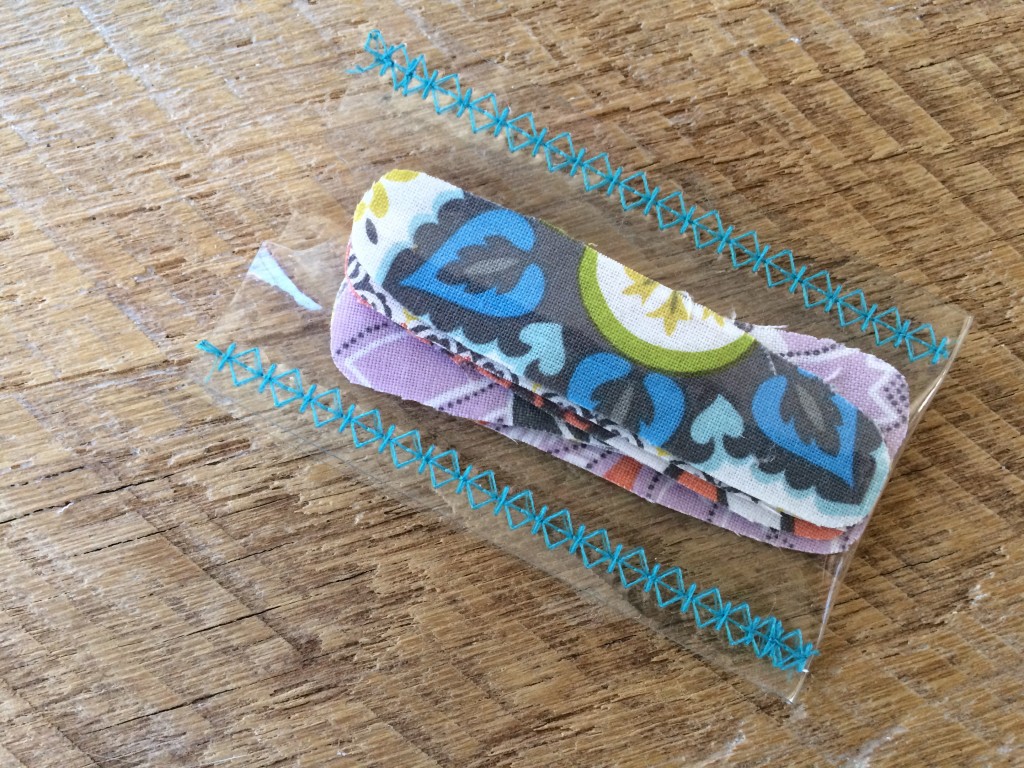
To make the bandage “keeper” cut a piece of clear vinyl 2.25″ x 7″. Fold in half. Cut a little notch out of the front. Use a decorative stitch to sew up the sides.
Place the colorful bandages inside. I can’t wait to use mine, I guess I should sew some more for gifts!


This is super cute! i love that you used 2 fabrics and some lace, it make it so much cuter than just 1 fabric, def will be whipping some of these up for gifts!
What wonderful ideas Amanda! The tutorial makes it look easy enough for even a beginner like me to take on. The fabric bandages are too cute!
This is fab! I really appreciate the tutorial. I’ve always had trouble with zippers but I might give this a try. The fabric band-aids are fun.
Those fabric bandaids would be so perfect when you get a minor scratch but don’t want everyone to see an ugly bandaid on your hand. You could even make them match your outfit.
Shawn ~
Design Team Coordinator for The Buckle Boutique
Personal Blog ~ Crafty Chics Blog
and
MyCutSearch.com ~ Find your Cricut images FAST!
Super cute pouches, they would make the perfect little gifts.
Thank you for this tutorial. I am getting a head start on my Christmas sewing and made a cute little puppy pouch for my sister-in-law. I think there will be some more of these made for other relatives.
This looks great! Do you have a printable version?
These pouches and little band aids are adorable!! I’ve never tried pouches or done anything with zippers.. strictly a quilter, but willing to broaden my horizons with these .. can’t wait to try. Thanks for sharing !!