Archives for March 2015

Announcing Nautical Week


nautical week 2Get ready to set sail for some sewing fun!  Monday, March 9th will begin a week long series of nautical tutorials and giveaways.  Each day on Instagram I will post a new giveaway from some fantastic companies: Therm O Web, Riley Blake Designs, Tie Dye Diva Patterns, and Indygo Junction.  I will be also adding in some fun Jedi Craft Girl items to the giveaway also!  So batten down the hatches and keep an even keel as we go totally overboard with Nautical items!!

Join in the hashtag and post your nautical inspired projects!! #SewNauticalWeek


Lucky Pillow – Version 2.0

lucky pillow tutorial

Since I was already in the St. Patrick’s Day sewing mode after sewing a banner, I thought I would whip up a throw pillow!  I’m sure you know by now that I love throw pillows!  Last year I also made a “Lucky” patchwork pillow, so I am calling this one version 2.0.

St-Patrick-s-Day-Pillow-Tutorial1Here’s how you can make one!

Supplies

Scraps of green fabric – I used fabric from Blend: Tea Garden, Turkish Delight, and the Makers

blackish/grayish denim or other fabric for lettering

Heat n bond Lite

Heat n bond EZ print sheets

Sizzix Shamrock Die

Lucky words, click HERE – print in reverse

20″ square natural canvas

20″ square green print for back, I used Yuletide Greetings by Anna Griffin

22″ zipper

20″ pillow form

Begin by ironing the Heat n Bond Lite to the wrong side of the green fabrics and the “lucky” fabrics.  Run the green fabrics through the Sizzix Big Shot.  If you don’t have a Big Shot machine, you can hand cut the shamrocks.

lucky pillowPrint off the “lucky” letters and iron them to the wrong side of the fabric.  Cut with scissors.  This takes a little bit of patience 🙂 IMG_4173Peel off the backing paper and position the word and shamrocks as desired.  Outline stitch around each shamrock 2 times in black thread.  There was no way I was sewing around the cursive letters more than once!!

lucky pillow 2 3Prepare the back of the pillow by cutting a 20″ square.  Make a cut at the 2″ mark for the zipper.  You can put the zipper where ever you like, or you can insert an invisible zipper.

lucky pillow 2Sew the zipper in just like you were piecing a strip of fabric in between the two pieces – only use a zipper foot.lucky pillow 4
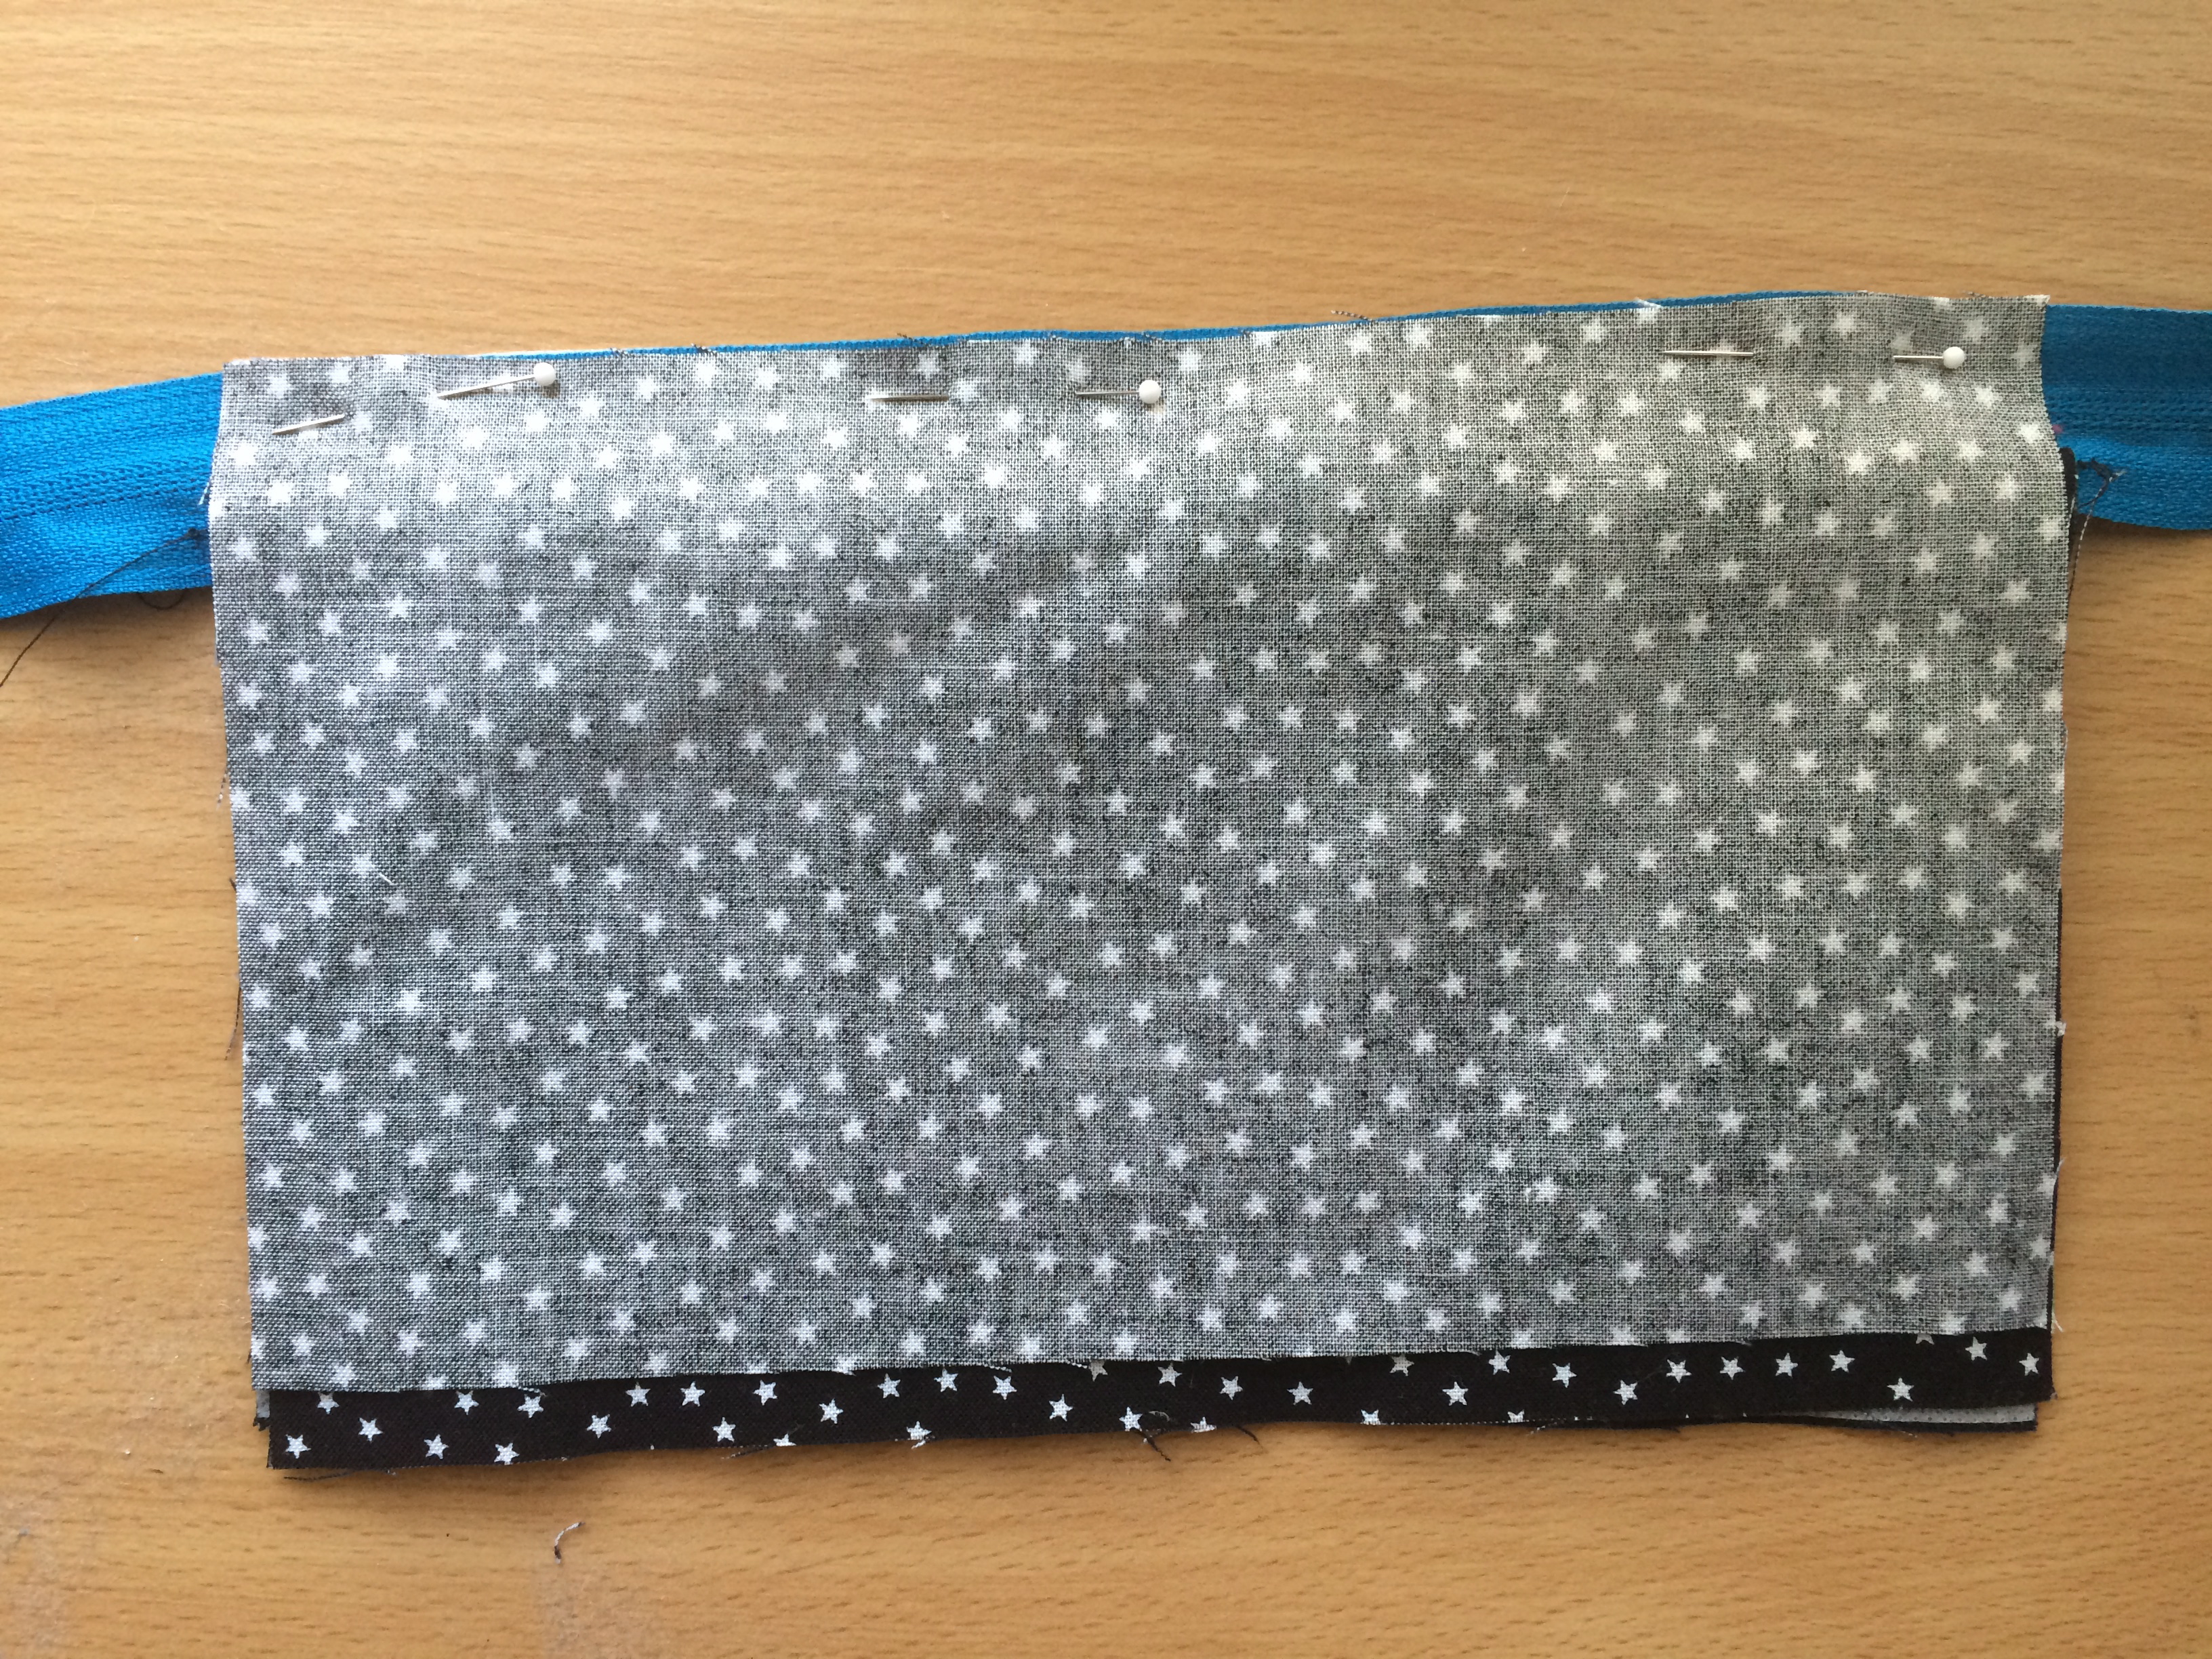
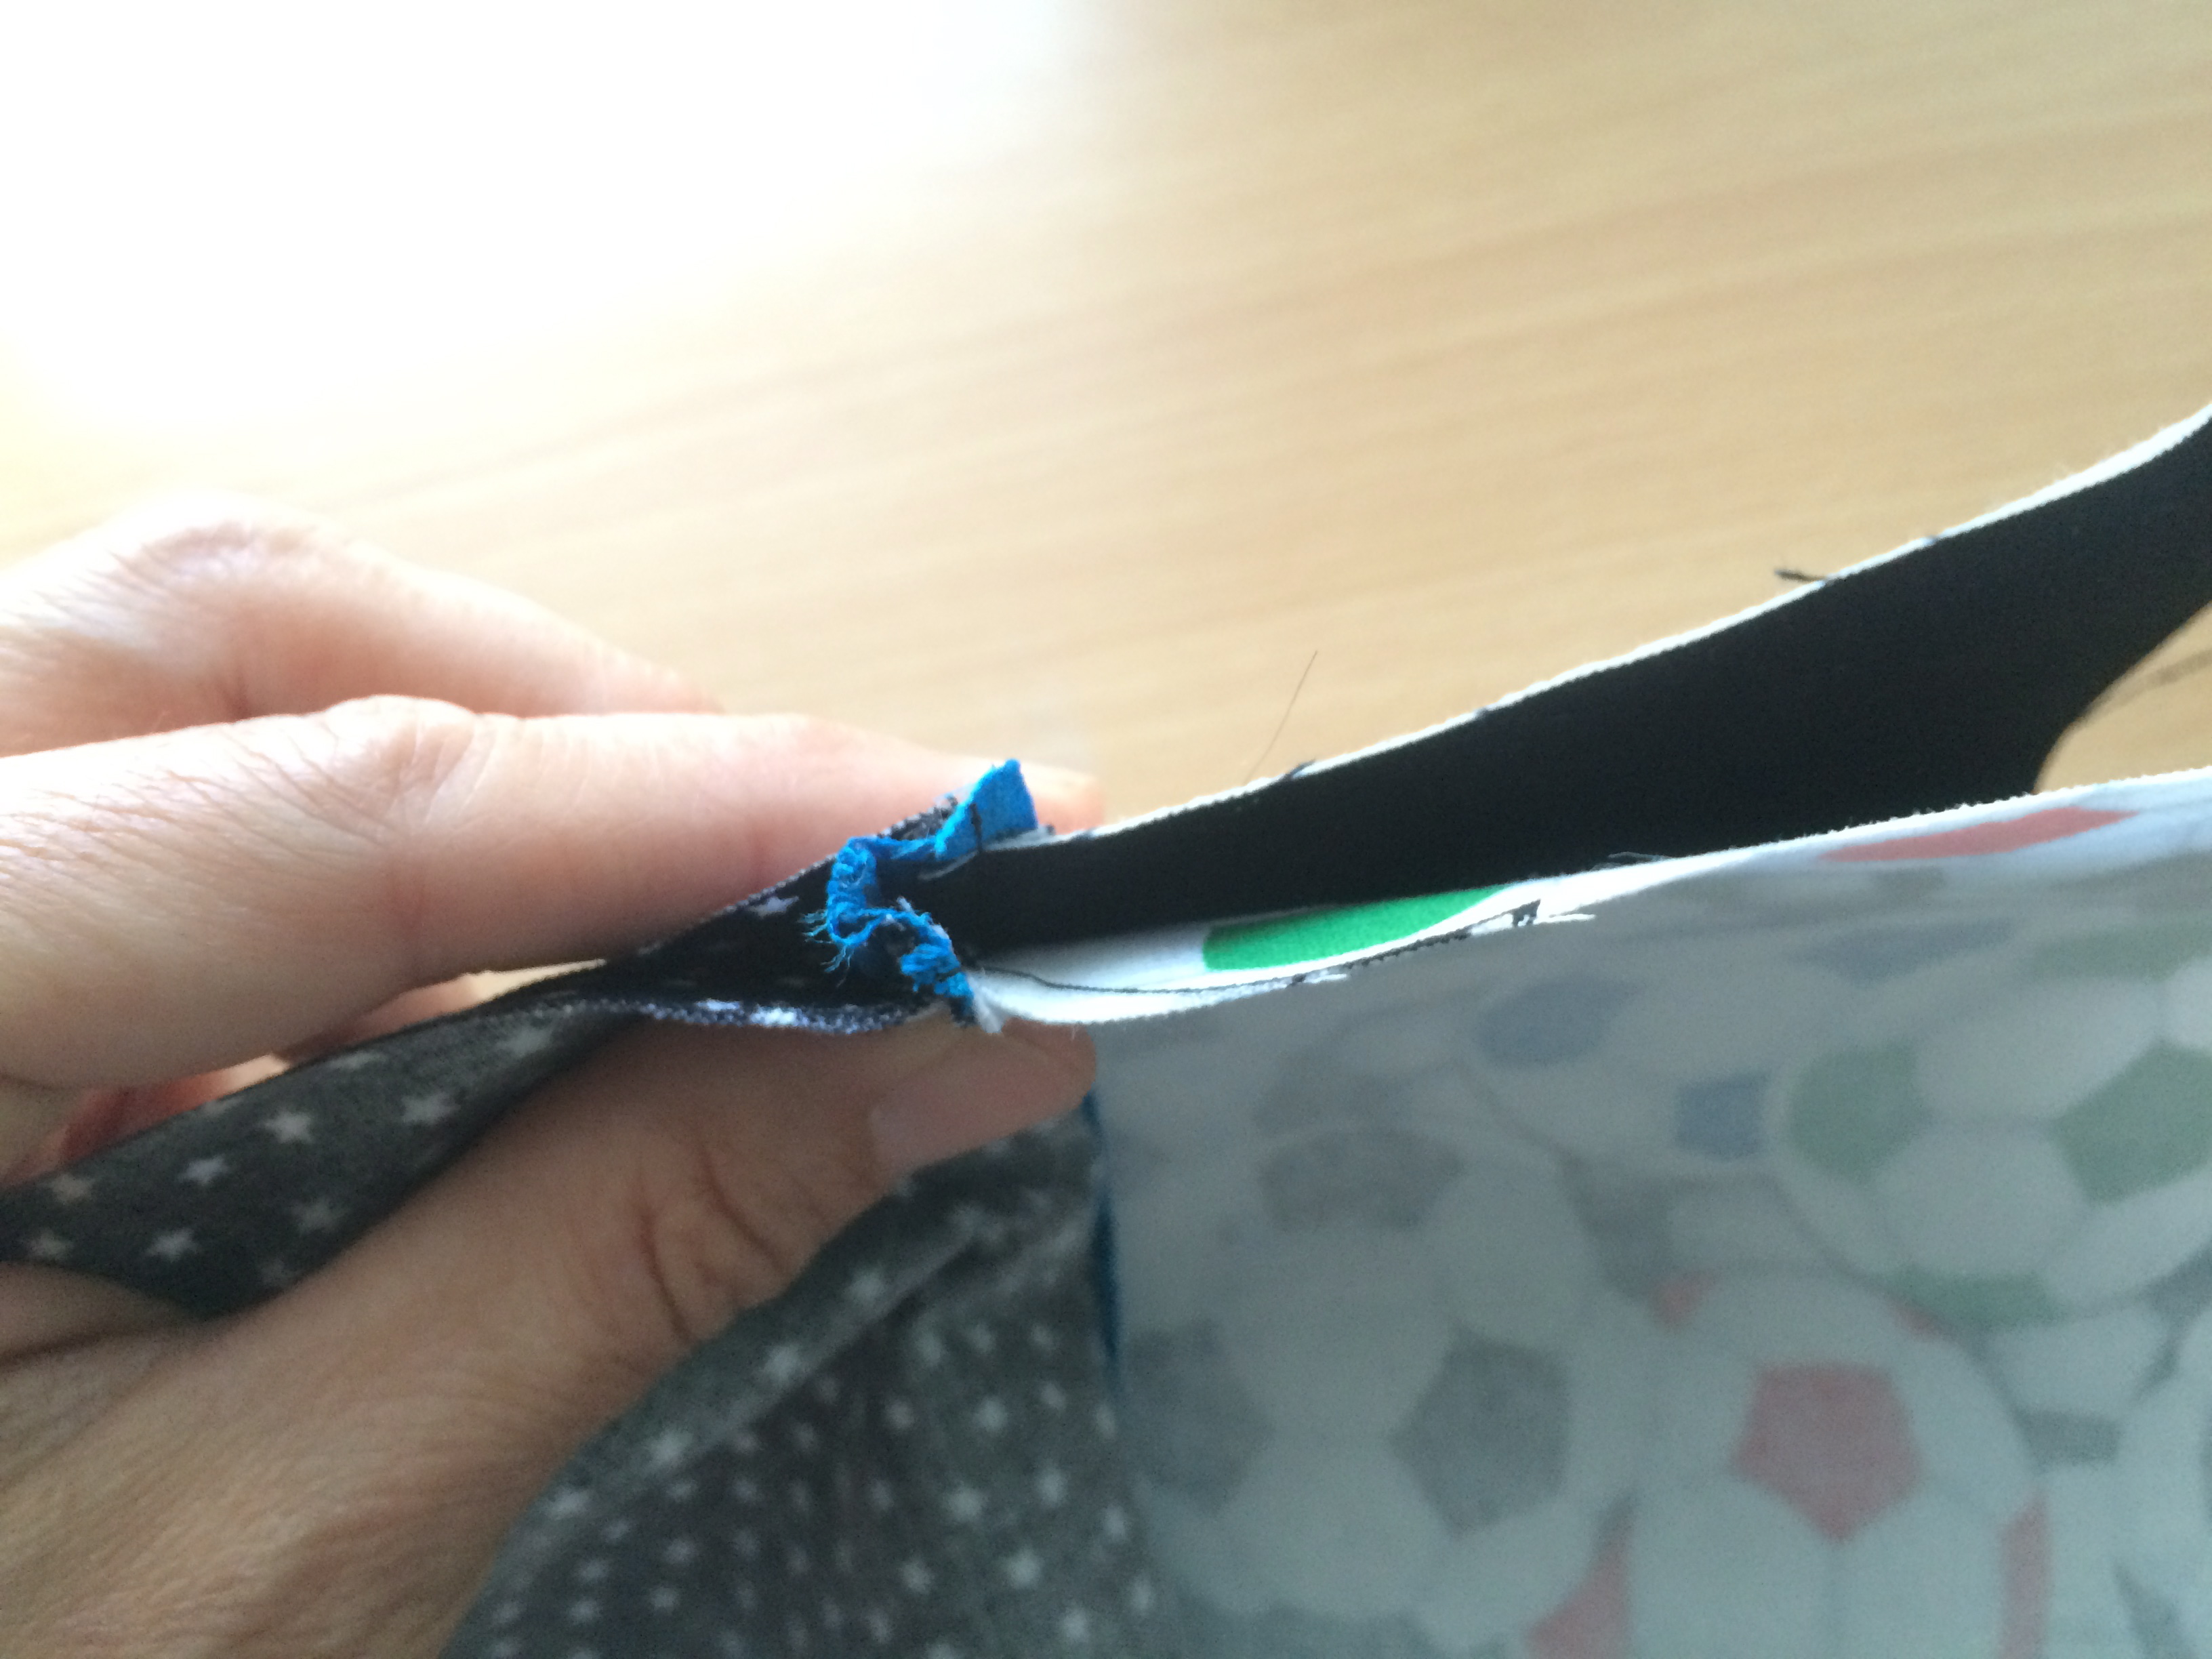
Cut off the excess zipper ends.  Partially open the zipper and place the pillow top and the pillow back, right sides together. matching and pinning all edges.  Sew 1/4″ all the way around the pillow.

lucky pillow 5

Turn the pillow right side out and insert the pillow form.lucky pillow 9
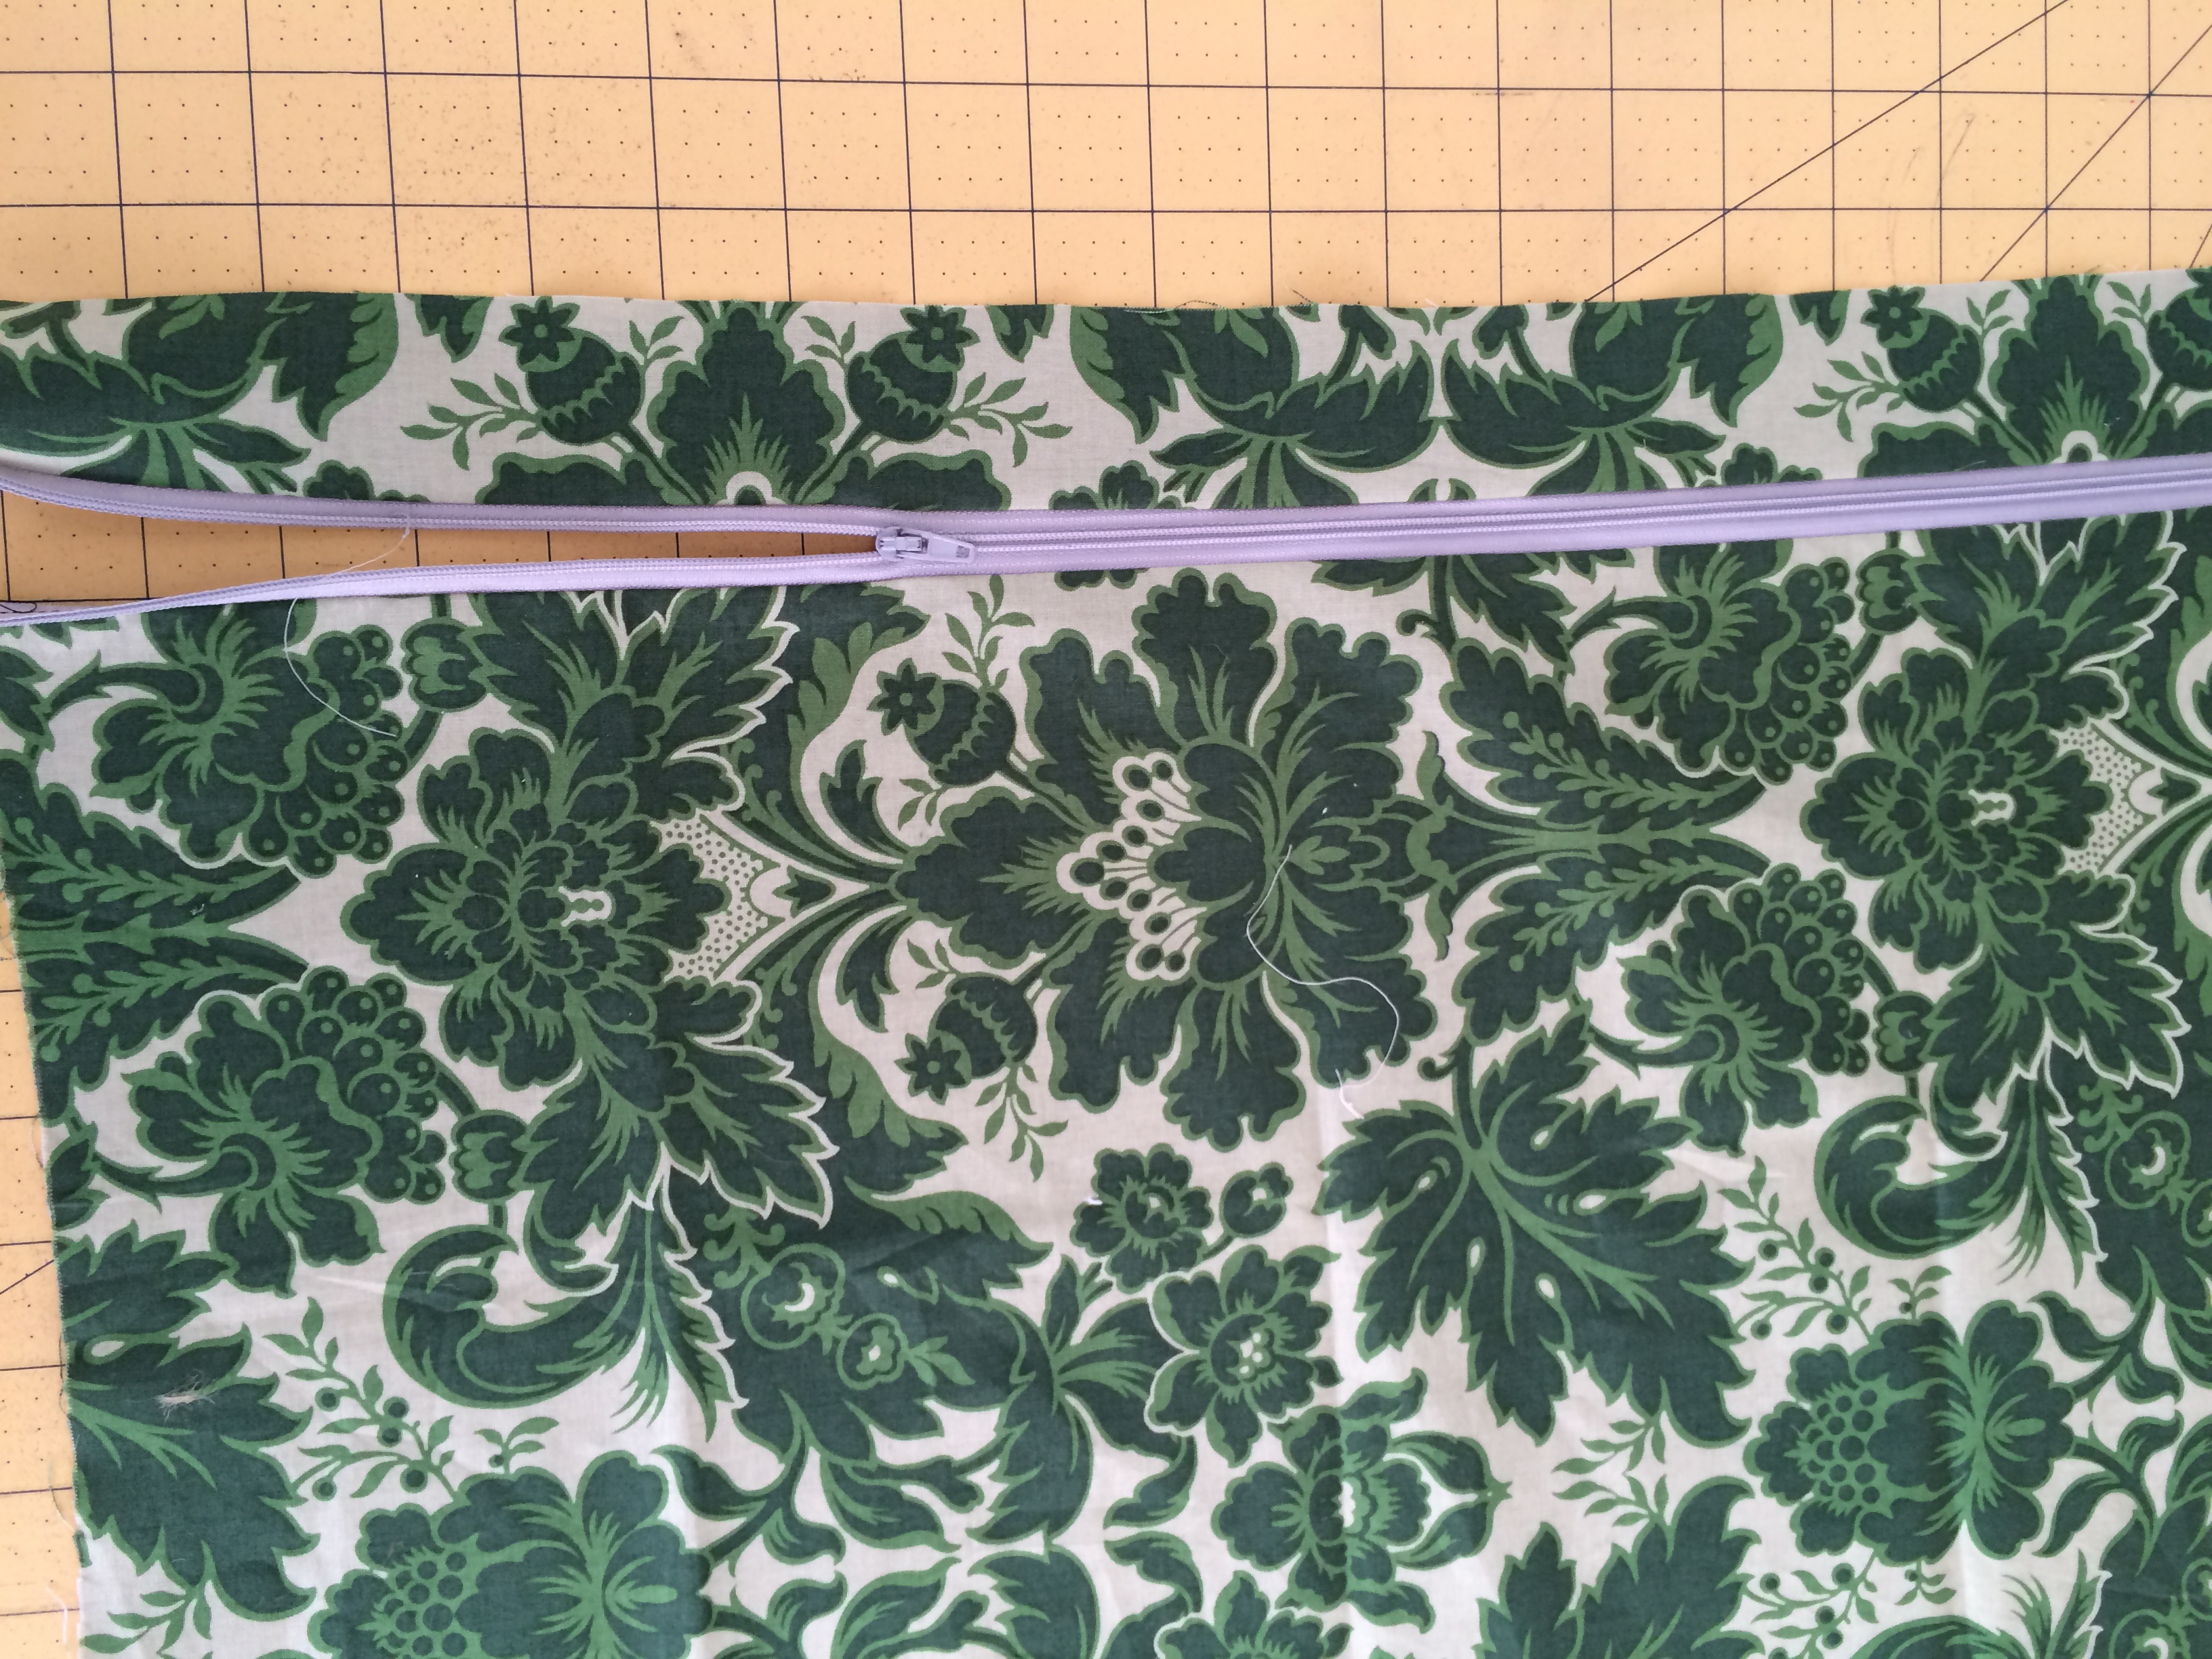
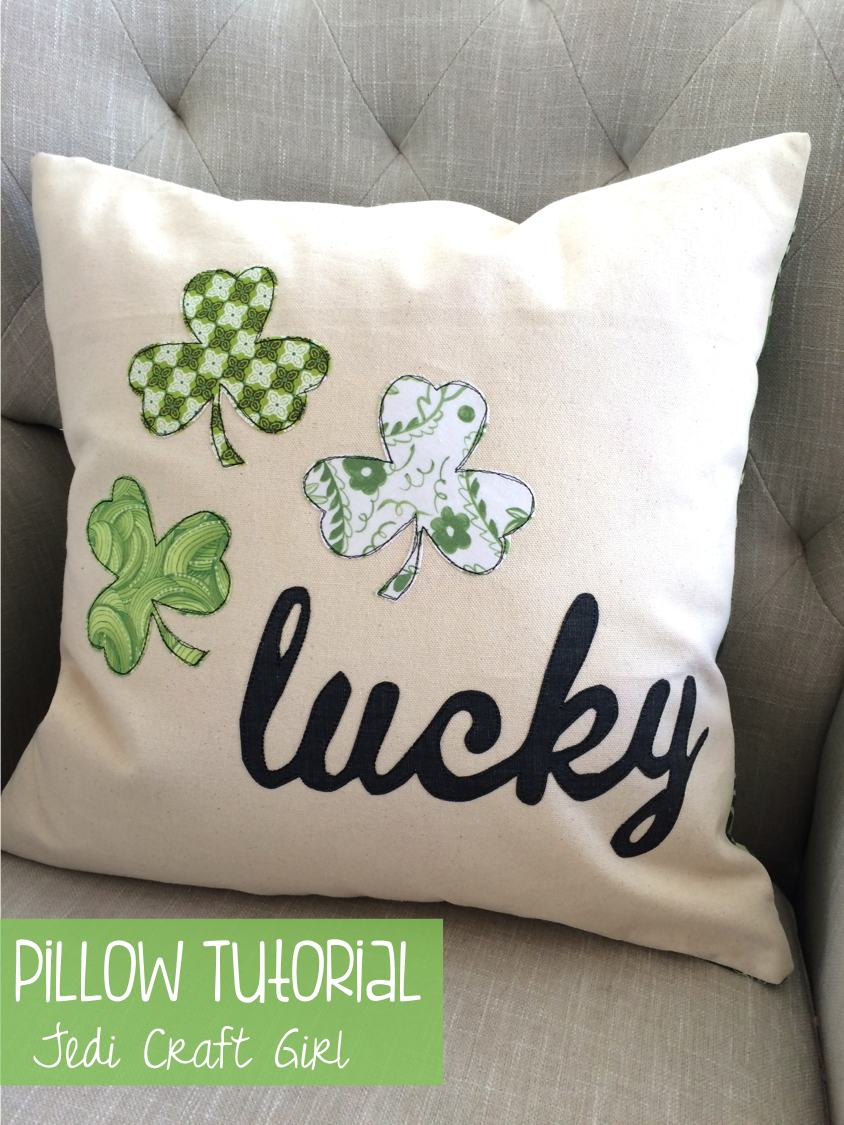
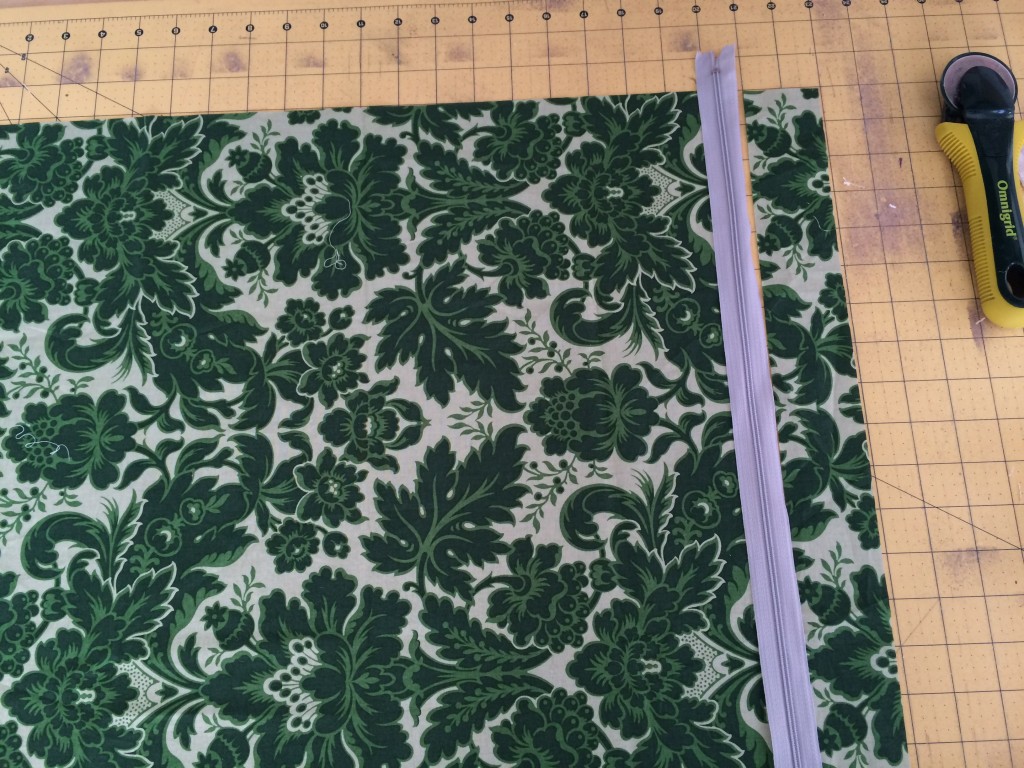
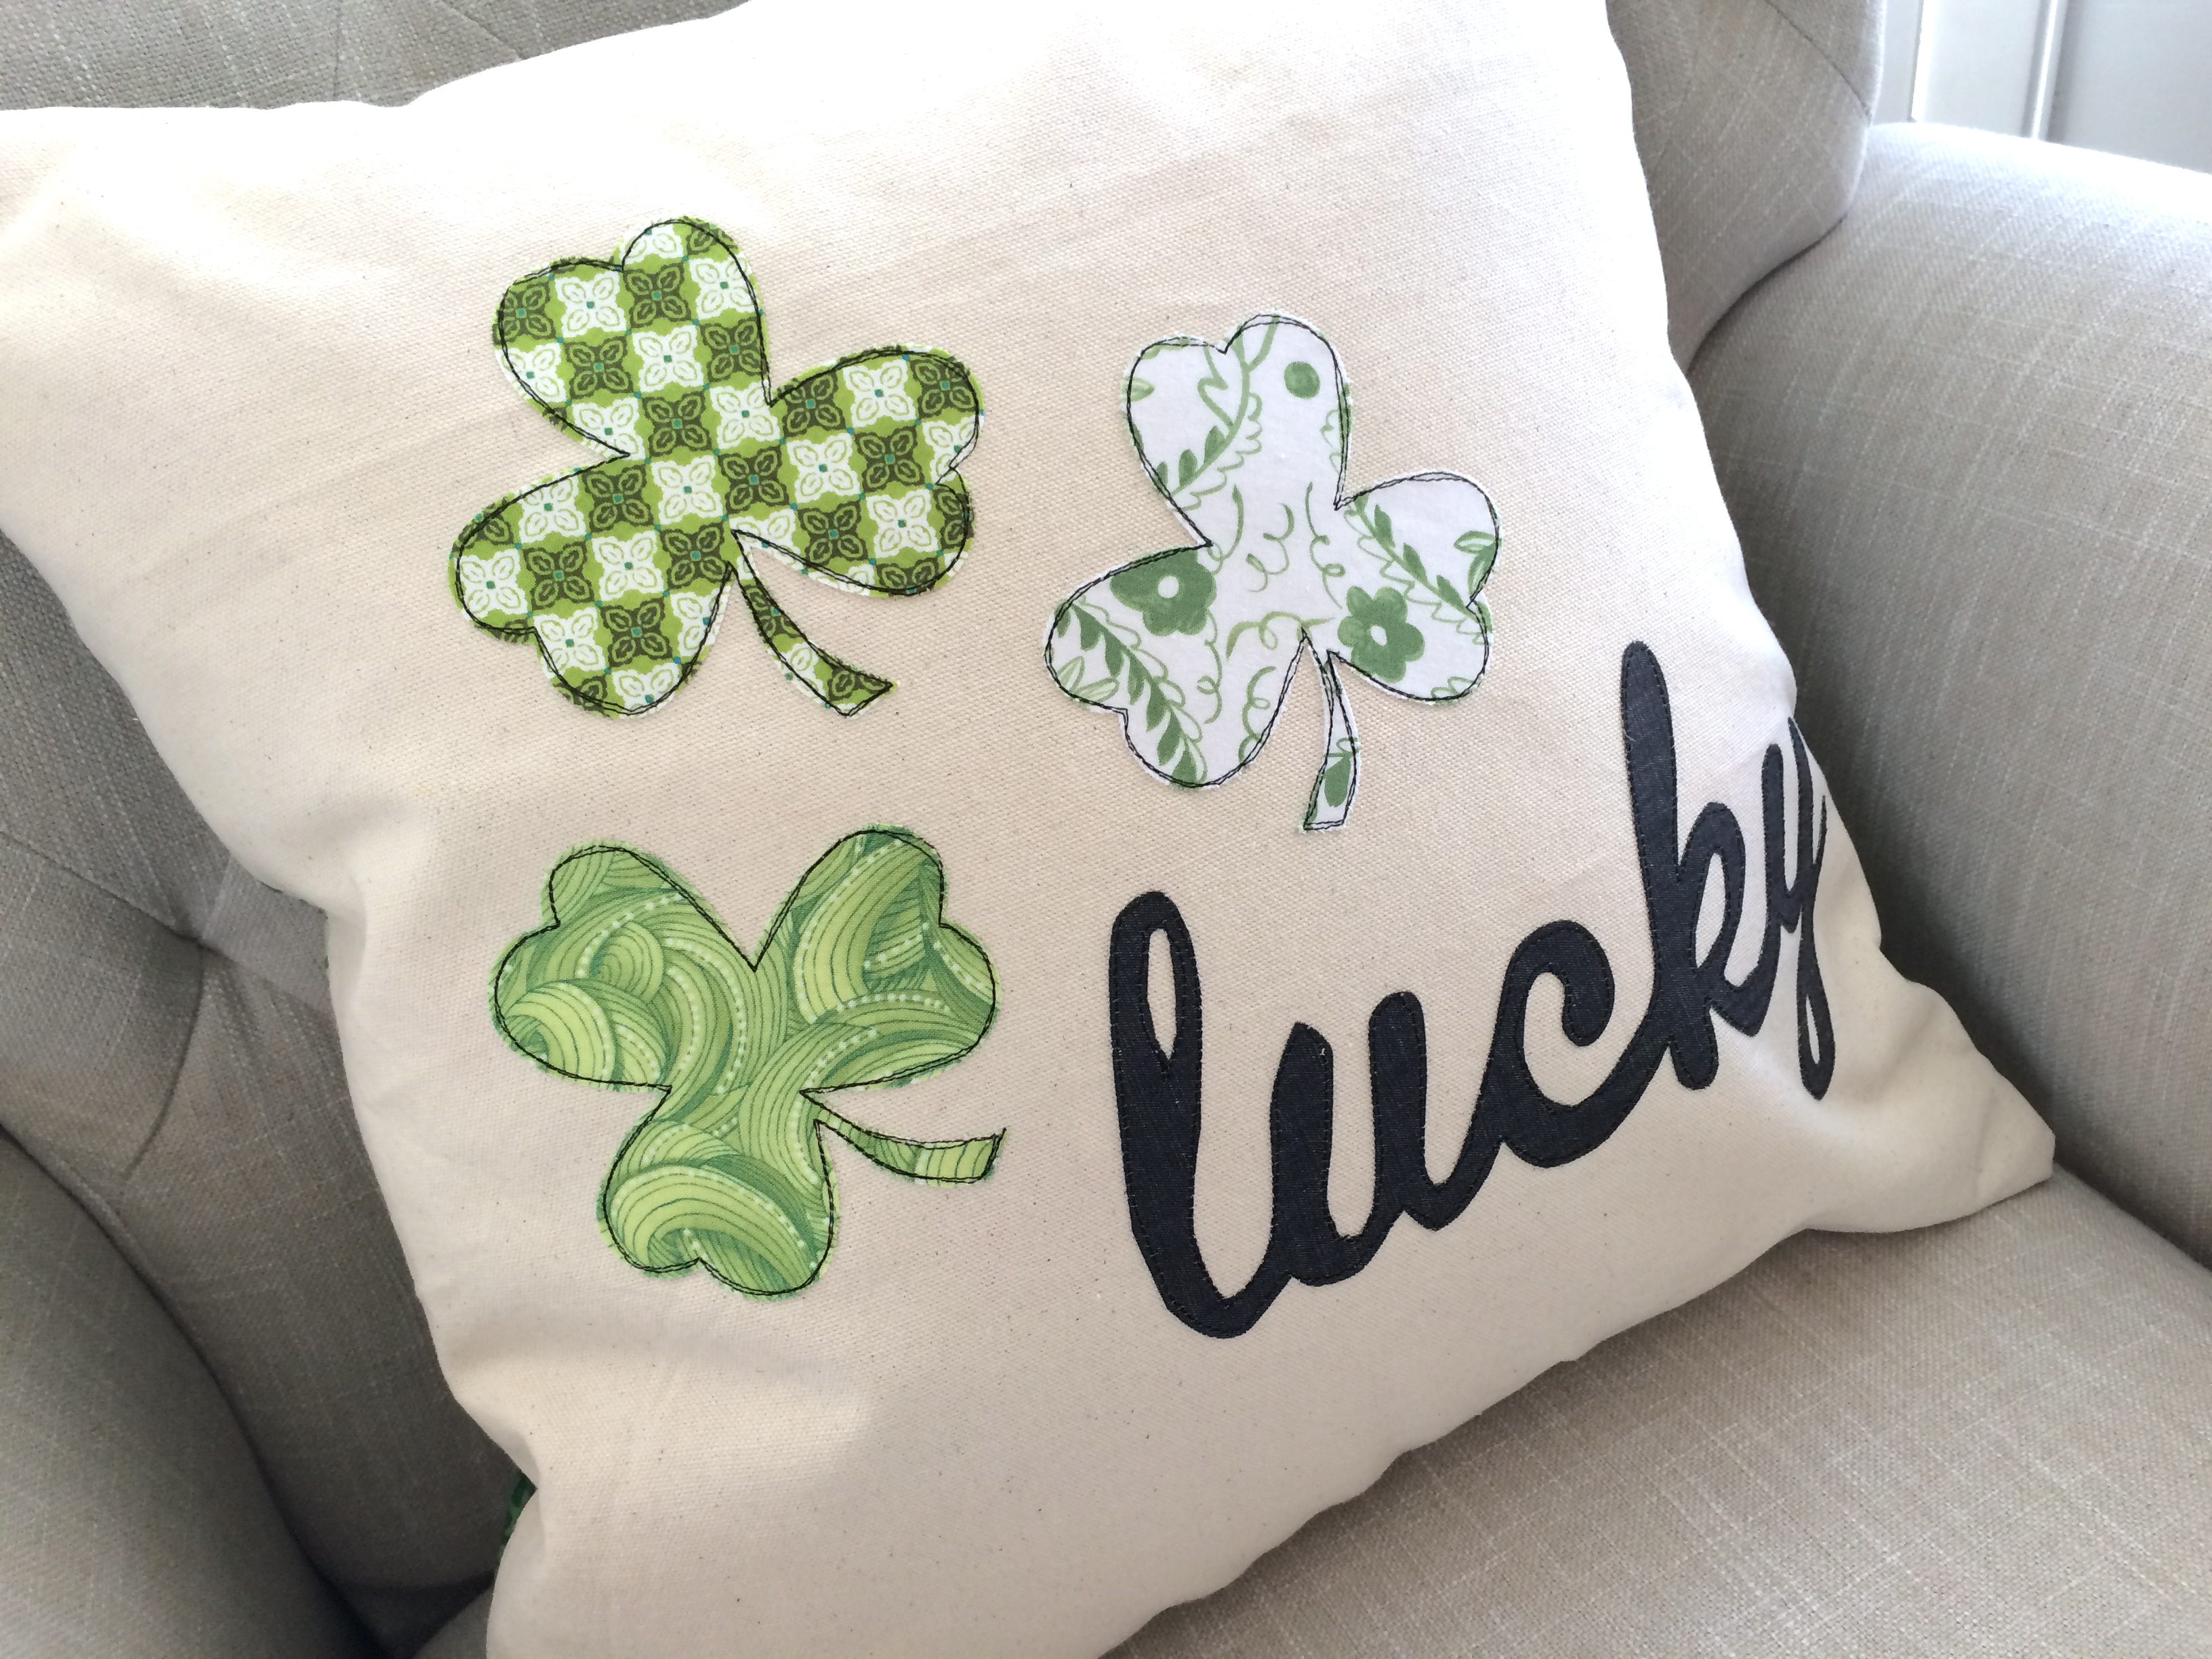
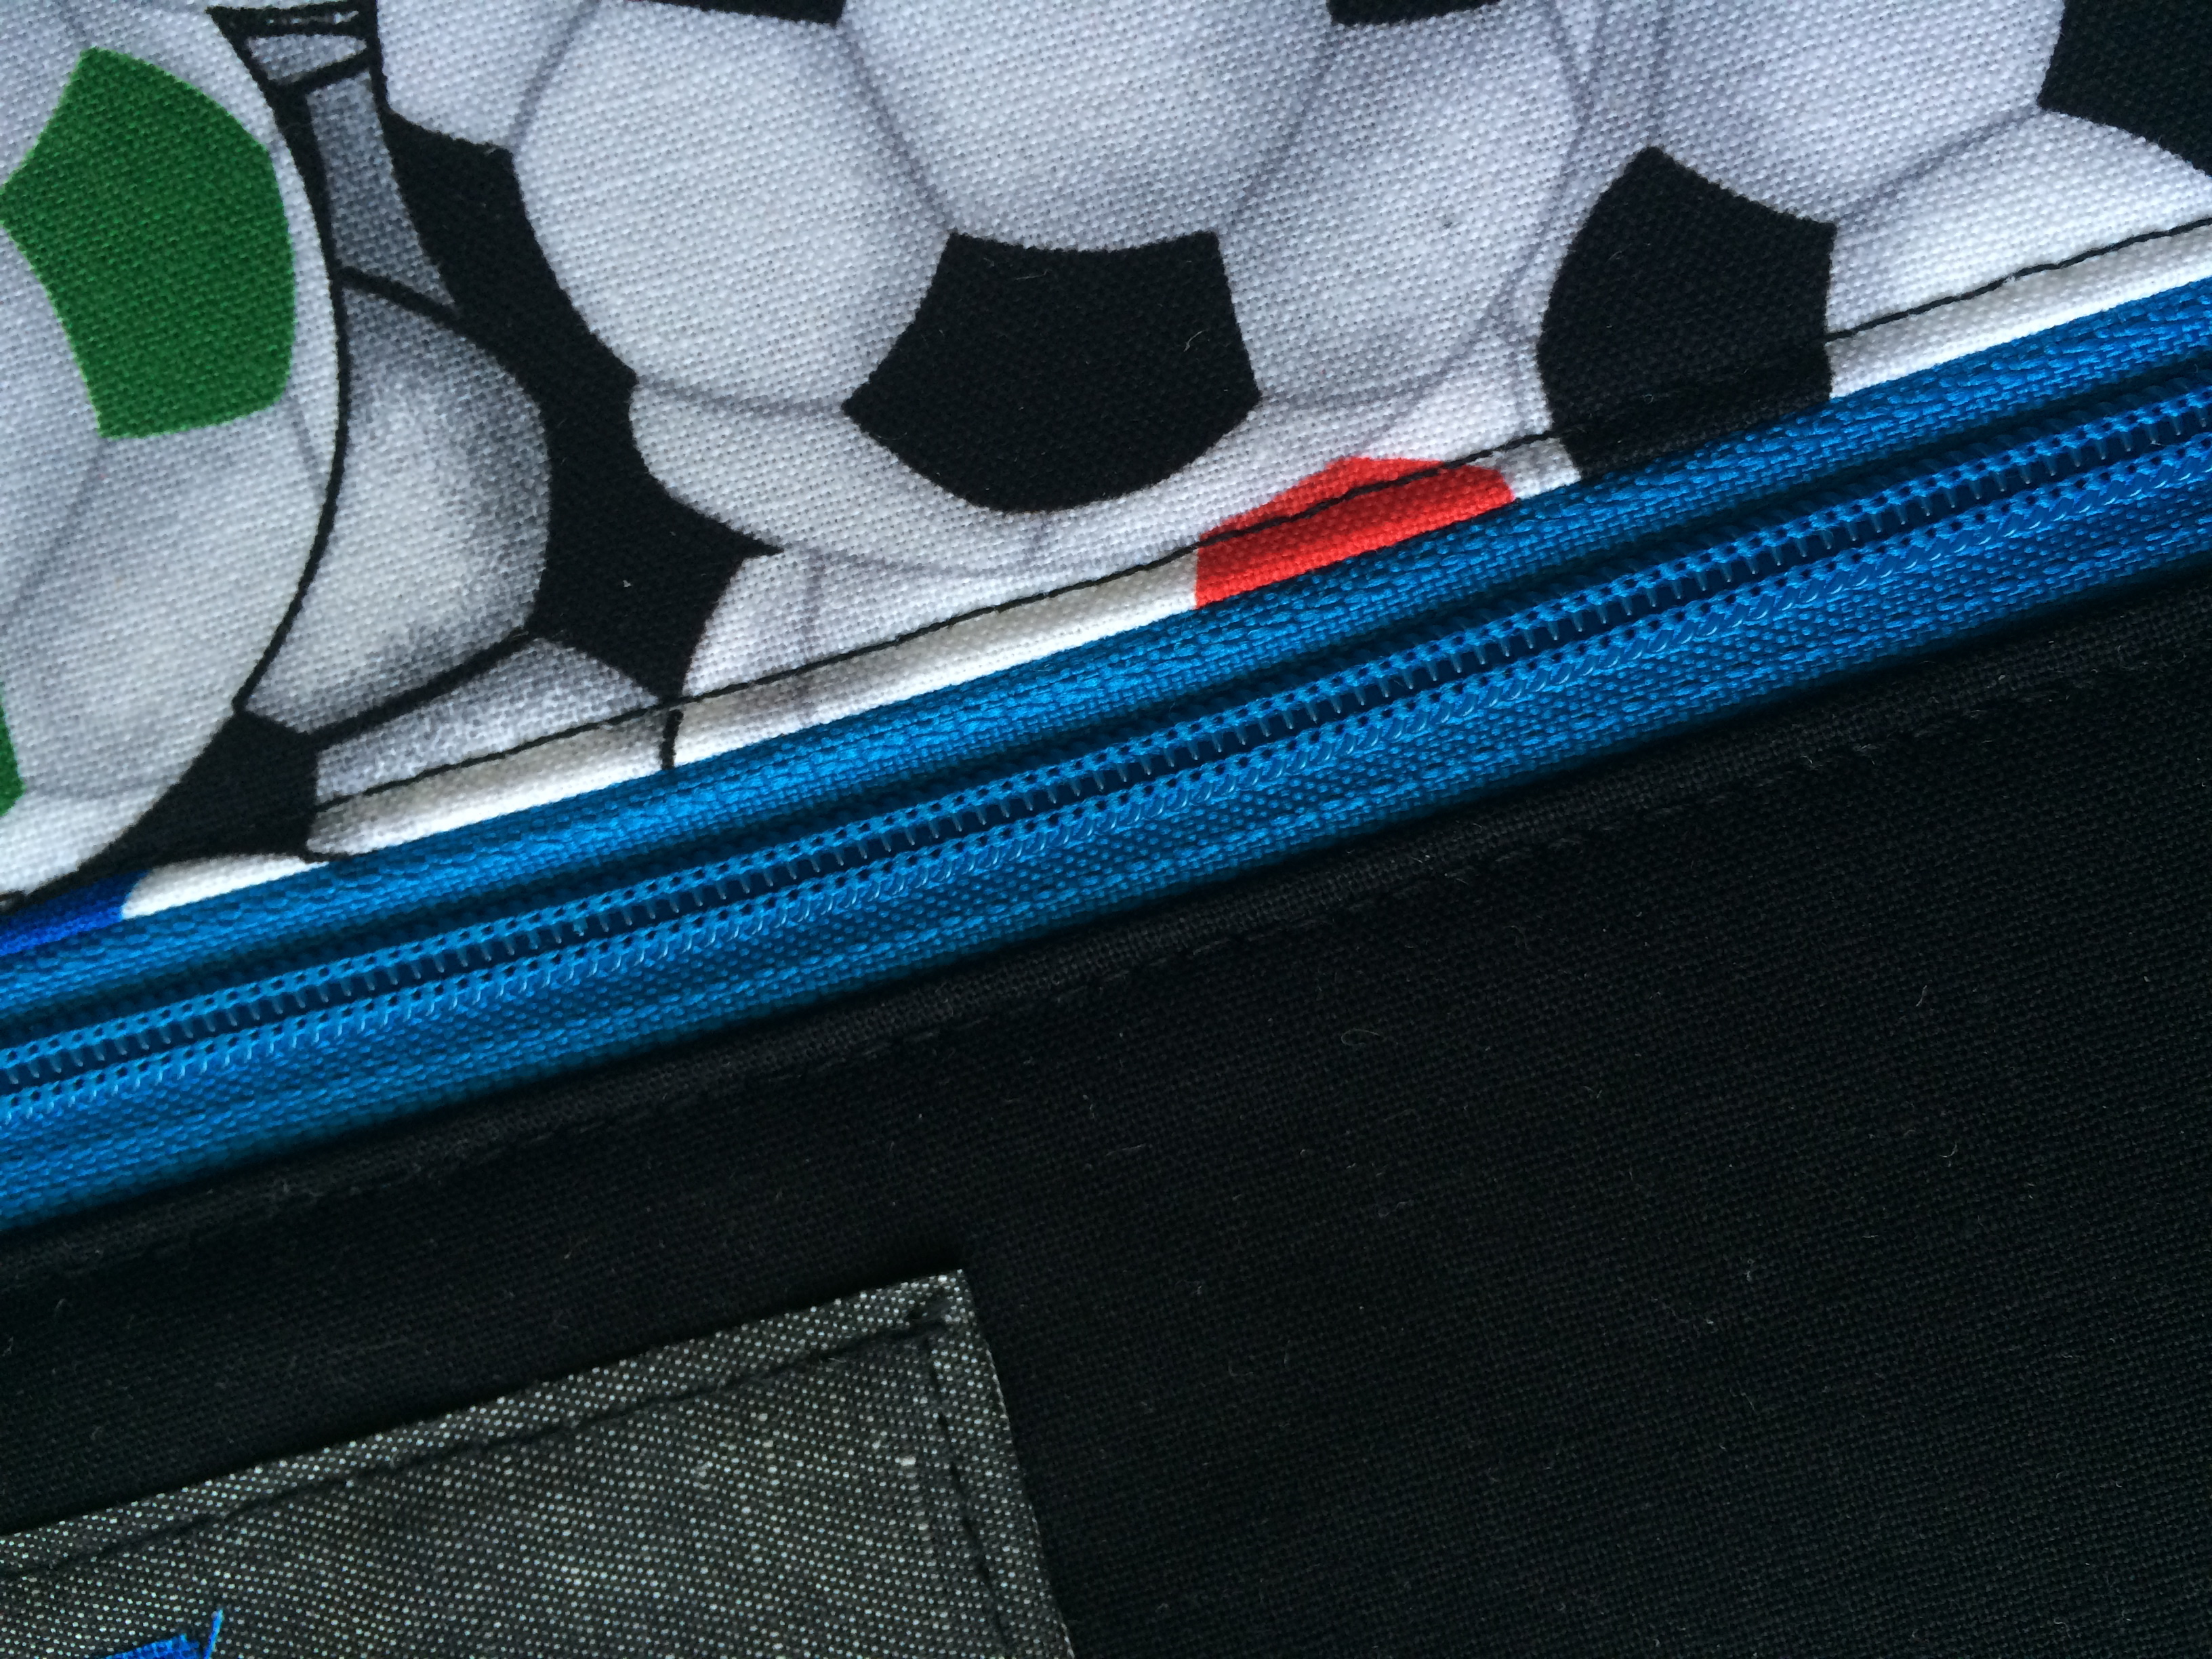
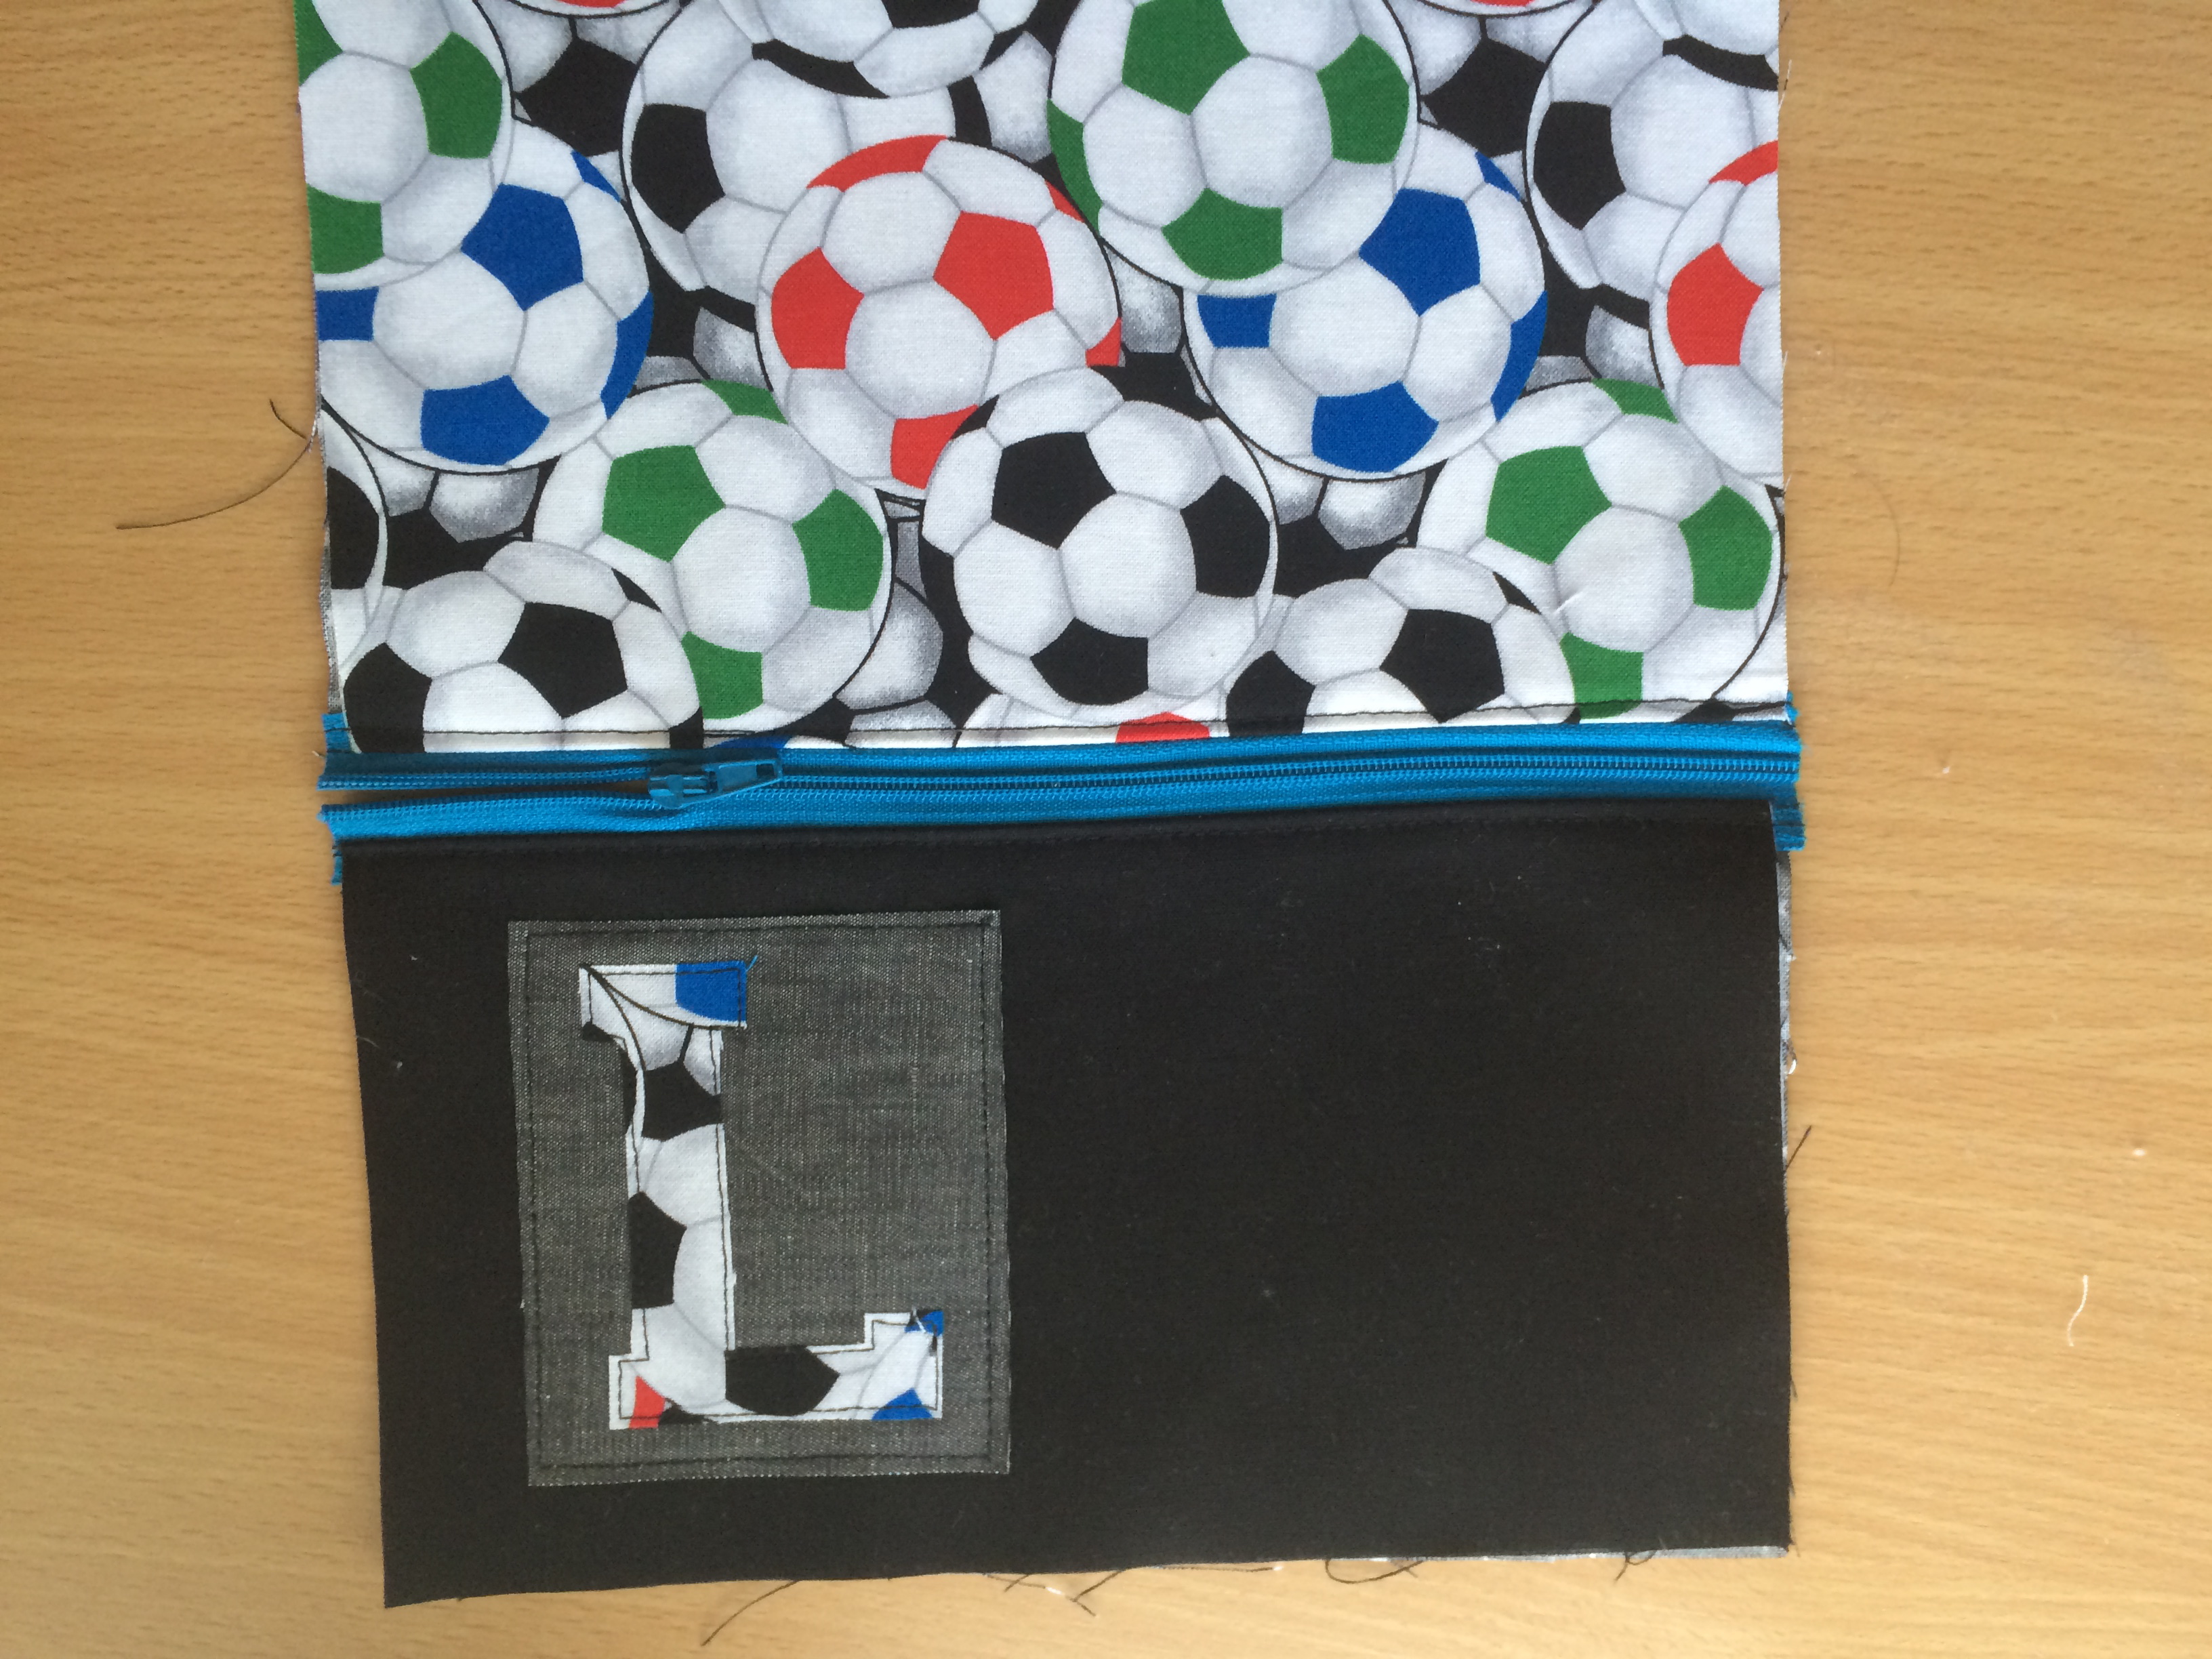
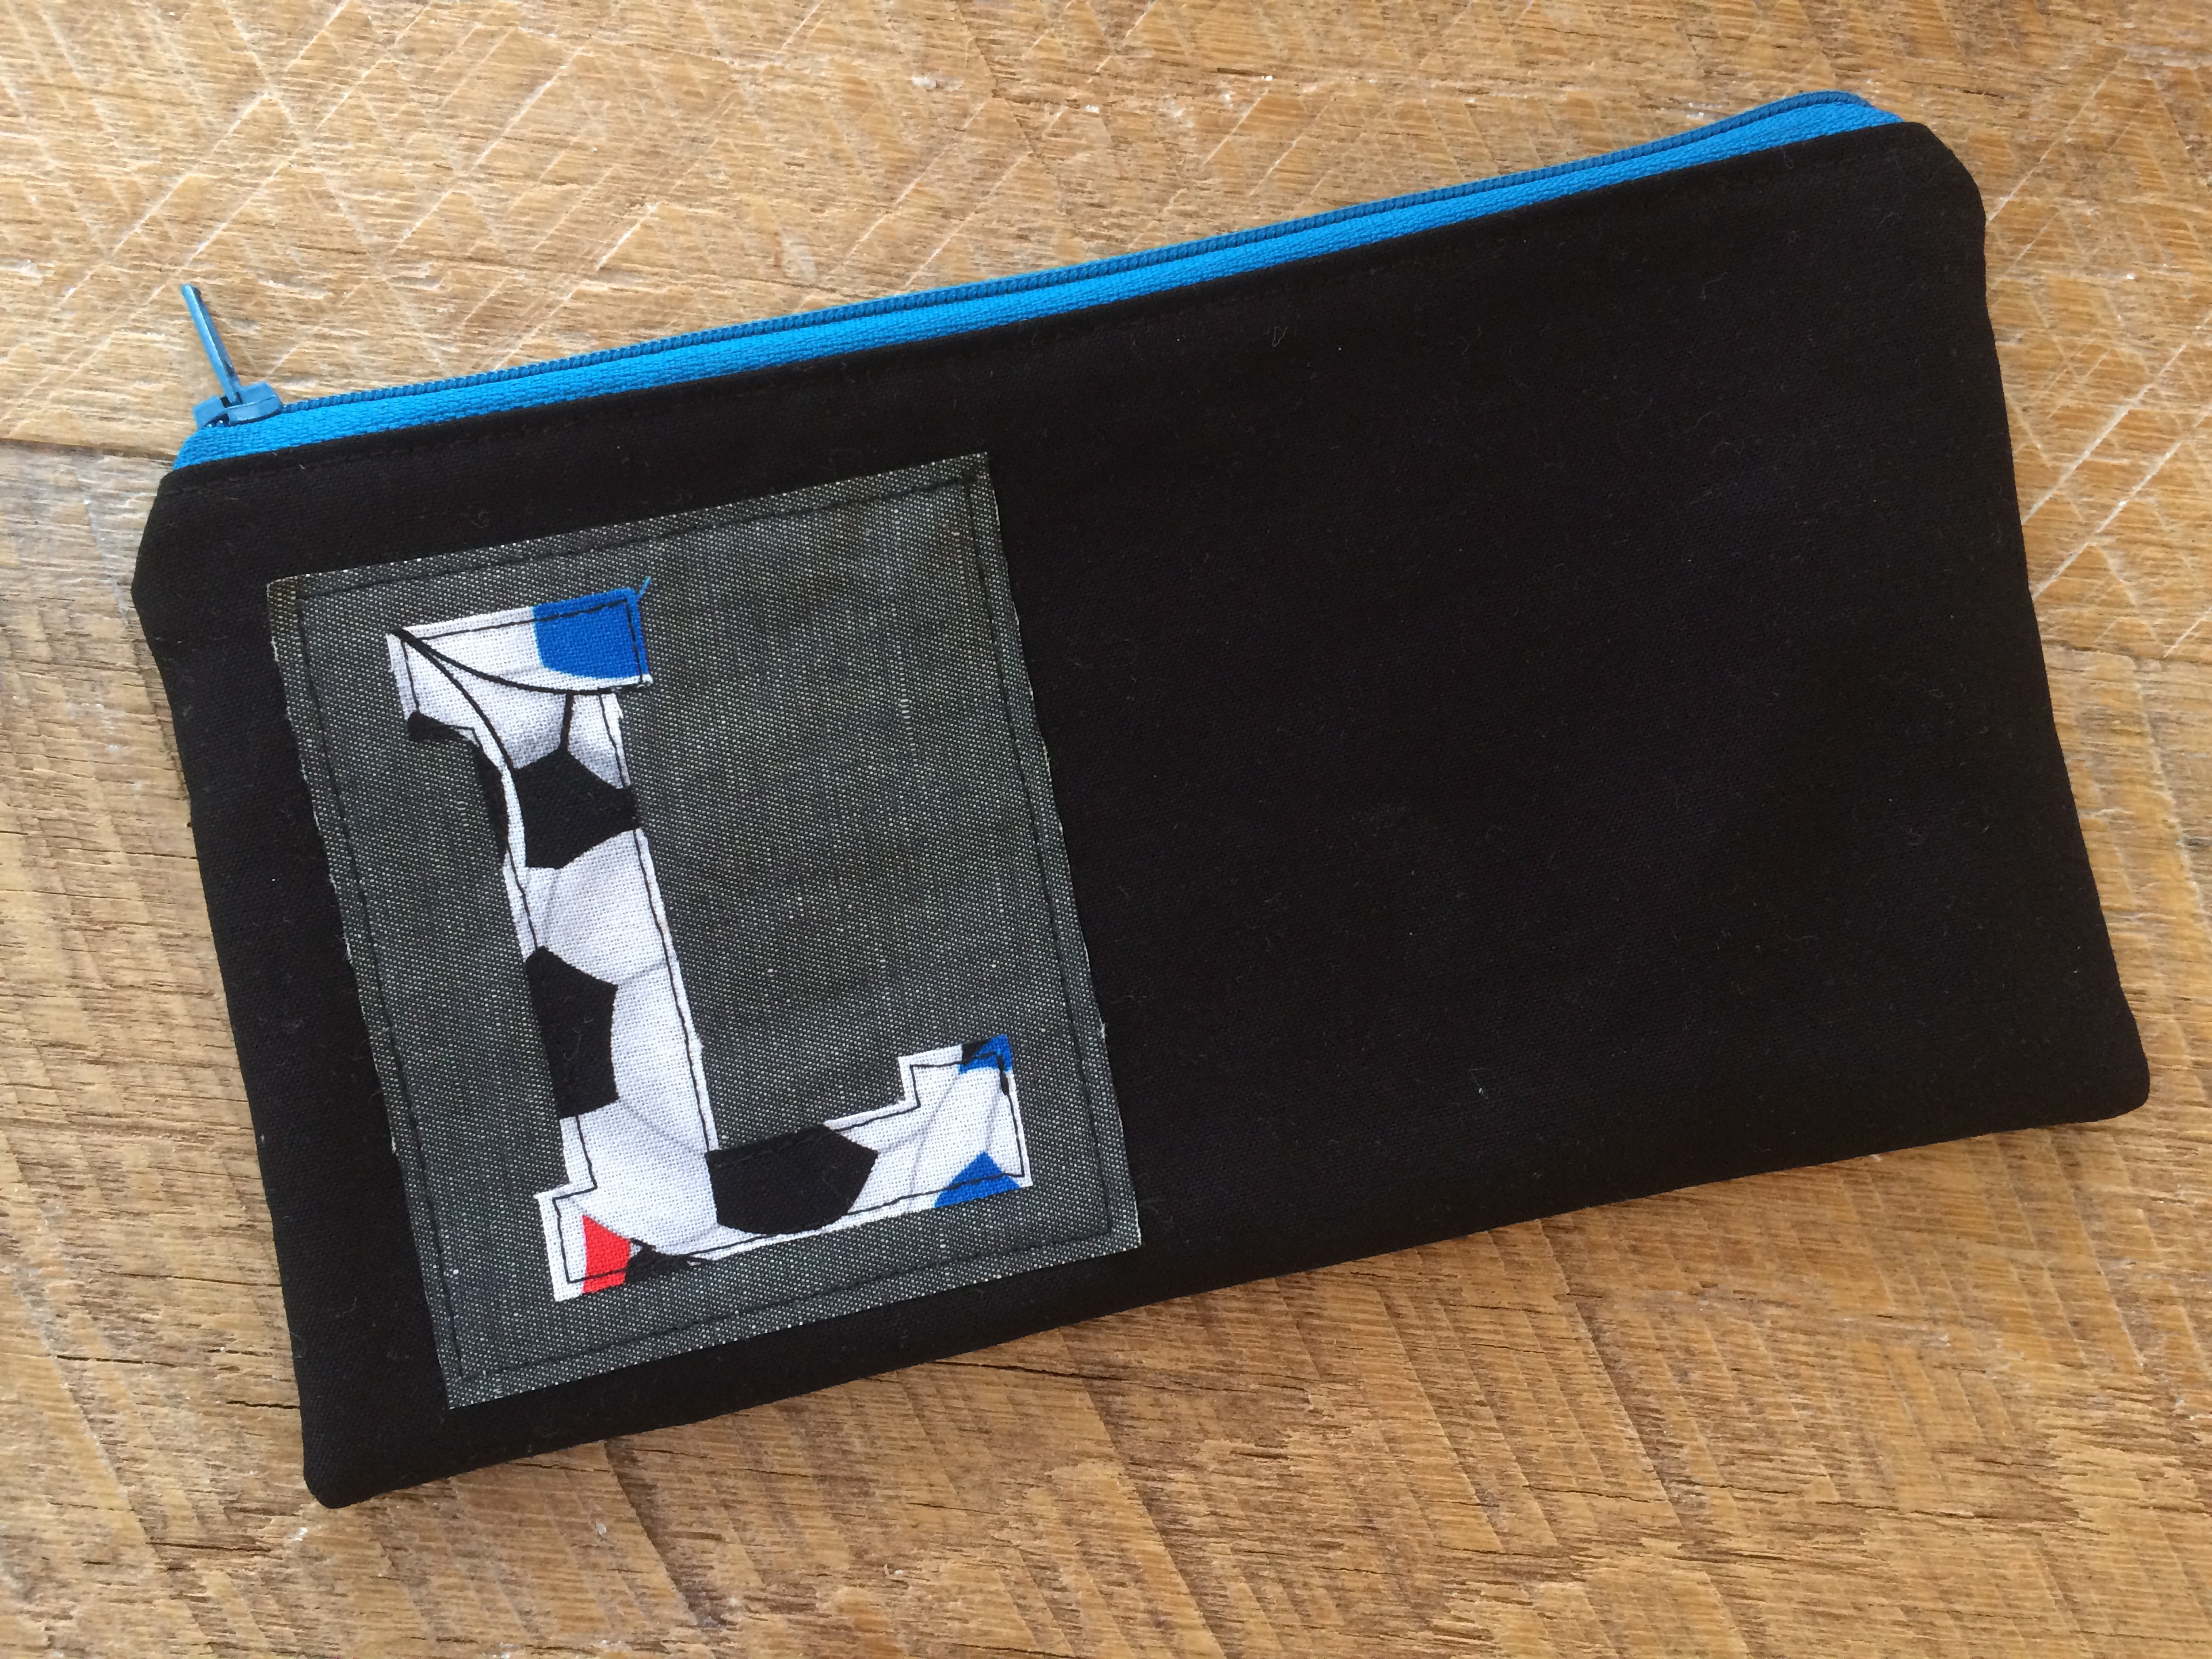
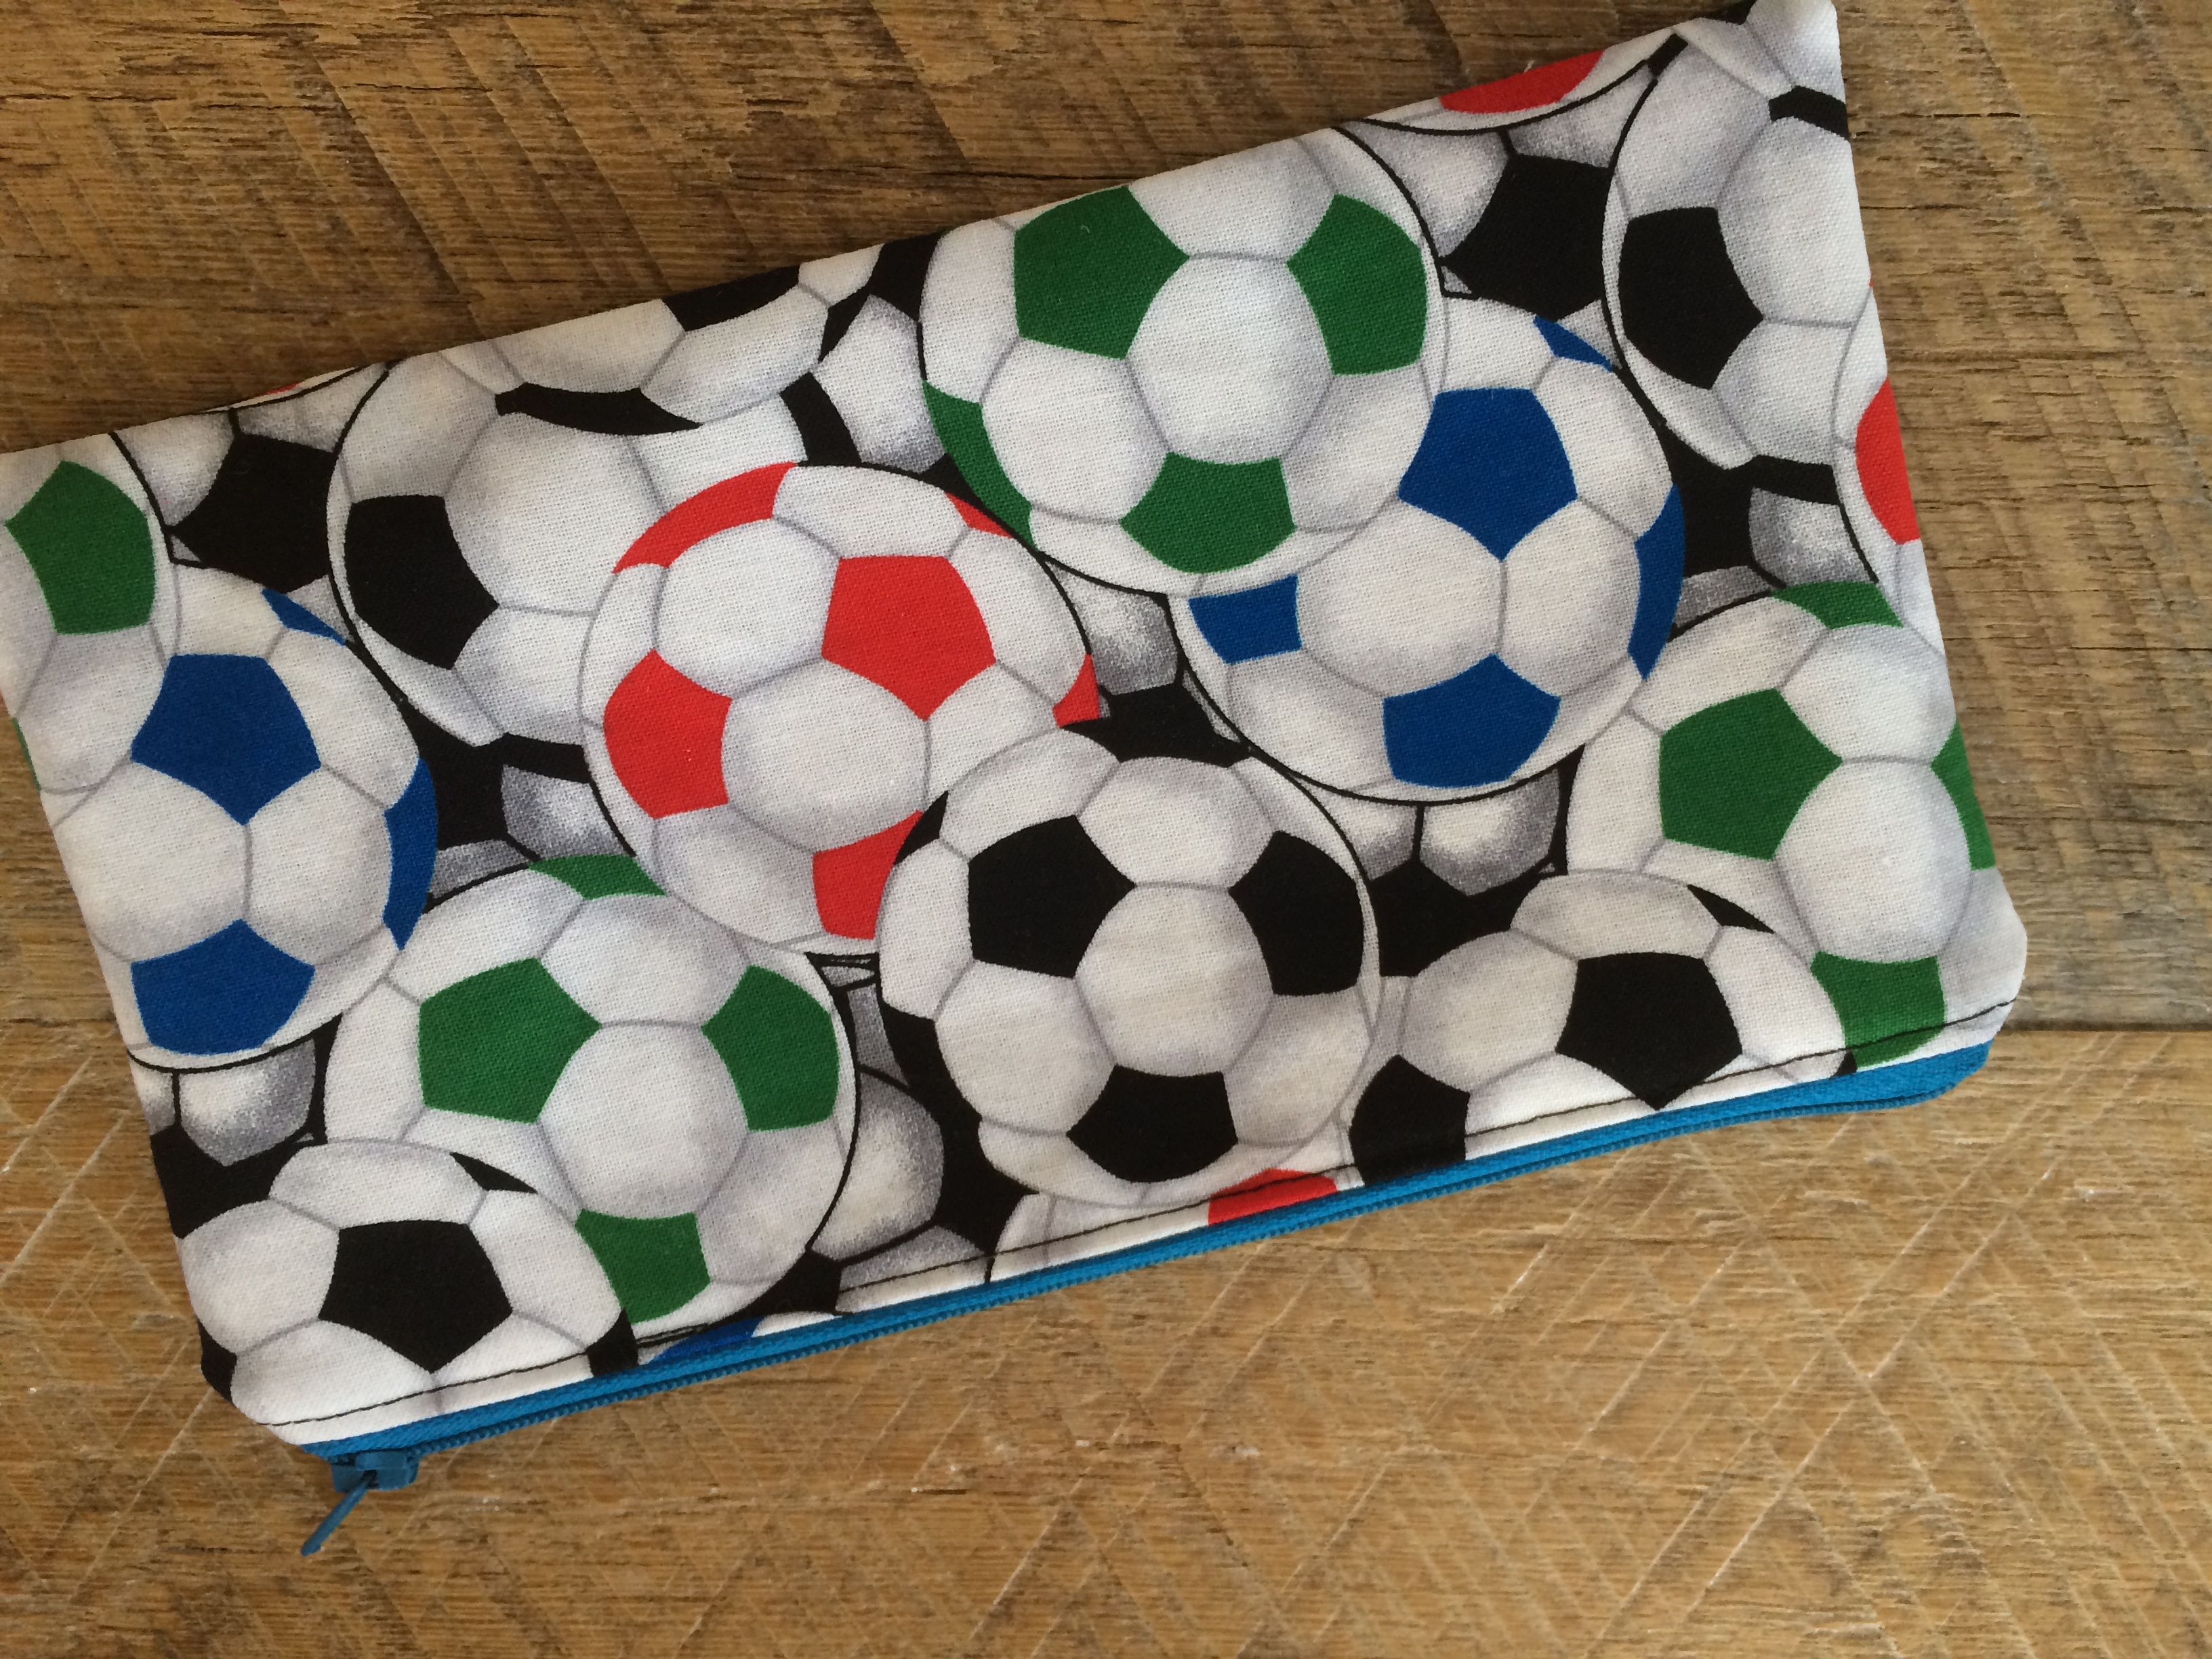
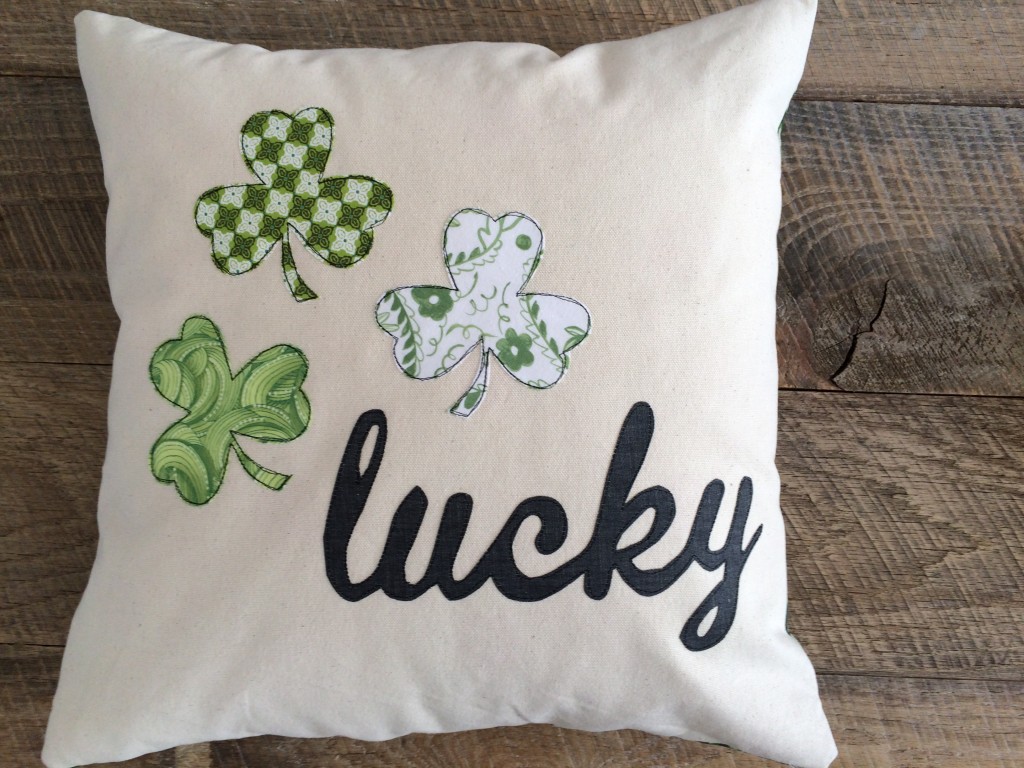
I put the zipper in the bottom portion of the pillow.  I like that you can see the zipper.

lucky pillow 10

You’re done!  Aren’t you LUCKY!!!!!lucky pillow 6

St. Patrick’s Day Banner

st. patricks day bannerI love sewing quick little banners!  This one can be made in 1 hour, or less if you’re speedy!  It’s the perfect size to hang in a window, on a frame, or a chalkboard.  I rummaged through my stash of fabrics and found these darling green prints from 3 different lines of Blend Fabric: Turkish DelightTea Garden, and The Makers.  I ironed Heat n Bond Lite to the back of the fabric and used my Sizzix Big Shot to cut out the shapes. Here’s how you can make one:

Supplies

1/3 yard burlap

1.5 yards green lace

scraps of green fabric for shamrocks

scraps of lace & white/yellow fabric for flowers.

Heat n Bond Lite

Sizzix Shamrock Die , flower die, and Flower Layers Die
shamrock banner st. patricks day


Cut (5) burlap rectangles 8″ x 5.5″shamrock banner st. patricks day 5

Fold the rectangles in half lengthwise and cut a 1.5″ angle off the bottom. 

shamrock banner st. patricks day 6

Iron the Heat n Bond Lite to the back of the appliqué fabric.  Then have your cat run it through the Sizzix Big Shot.

IMG_4084

IMG_4071

Peel off the backing fabric of the shapes and press it to the burlap flags.
shamrock banner st. patricks day 9
Cut the lace out with the flower die cut.  Don’t put Heat n Bond on the lace.  Put the Heat n Bond on the center flower instead.  I was going to put buttons in the center of the flowers but totally forgot!

shamrock banner st. patricks day 8


Sew around each image using a straight stitch.  Then line them up and sew the lace to the tops.shamrock banner st. patricks day 14

shamrock banner st. patricks day 15
It’s done!  Go hang it somewhere fun!!!

shamrock banner st. patricks day 12


Mine is on my front porch 🙂shamrock banner st. patricks day 11


Soccer Zipper Pouch Tutorial

soccer team gift

It’s the day before my son’s school soccer party and I decided I should make each of the 12 boys a gift.  Now what to make?  I know – a zipper pouch of course!  Why do I do this to myself?  Really, 12 zipper pouches in 24 hours?  It’s a good thing I buy my zippers in bulk 🙂
IMG_3934

I was so happy I decided to make these little pouches because the boys (age 11-13) LOVED them.  soccer zipper pouch

Each pouch has their initial appliquéd on it.  soccer zipper pouch 1
The back of the zipper pouch is soccer ball fabric.  This is a great size because it can be a pen/pencil pouch, or hold other items like phone, keys, or in my sons case an inhaler and kleenex 🙂soccer zipper pouch 3

The inside of the pouches are all different black and white prints.  I just used up what I had.soccer zipper pouch 5

These are great for any type of party favor – just change up the fabric!
soccer zipper pouch 7

Heres how you can make one!

Supplies:

Fabric for outer bag and lining and scraps for appliqué square

12″ or longer zipper

Heat n Bond fusibile stabilizer

Heat n Bond EZ print sheets

Begin by printing the desired initial in reverse on the Heat n Bond EZ print sheets.  If you don’t have the printable sheets, print the letters in reverse on paper and then trace them to a fusible appliqué paper.

soccer zipper pouch 9

Iron the letters to the wrong side of the soccer ball fabric.  Cut out each letter.  Or, have your daughter cut them out for you while you sew the bags because the clock is ticking!!

Cut (2) outer bag pieces 8.75″ x 5″

cut (2) lining pieces 8.75″ x 5″

cut (2) fusible stabilizer pieces 8.75″ x 5″

soccer zipper pouch 11

Iron the stabilizer to the wrong side of the outer bag pieces.soccer zipper pouch 10

Cut a 3.5″ or so square (it just needs to frame the letter) of grey denim fabric.  Layer it as pictured below.  Peel the backing paper off the letter and heat set it into place.

soccer zipper pouch 13


Stitch around the square and the letter.soccer zipper pouch 15

To insert the zipper…..lay the zipper face down on the front of the bag.  Then place a lining piece right side down on top of the zipper, like this: (note, position the front and the lining piece so they line up perfectly.  I moved the lining piece over for the picture so you can tell how they are layered.

soccer zipper pouch 14

Pin the pieces into place.  Notice the zipper ends are hanging out – totaly ok.  In my other zipper pouch tutorials I have made zipper tabs.  I skipped this step to save time.
soccer zipper pouch 16

Sew using a zipper foot along the edge like this:soccer zipper pouch 17


Now do the same thing to the other side.  This is how it is layered: the backing fabric (soccer balls) face up, the letter piece face down then add the second lining piece so the right sides are together.  Line everything up and sew.soccer zipper pouch 18

It should look like this before you sew:soccer zipper pouch 19

Once the zipper is in, press the sides like this:  
soccer zipper pouch 22

Top stitch next to the zipper.soccer zipper pouch 23


Trim off the excess zipper making sure not to trim the zipper pull.soccer zipper pouch 24


I spy a kitty paw 🙂

soccer zipper pouch 30
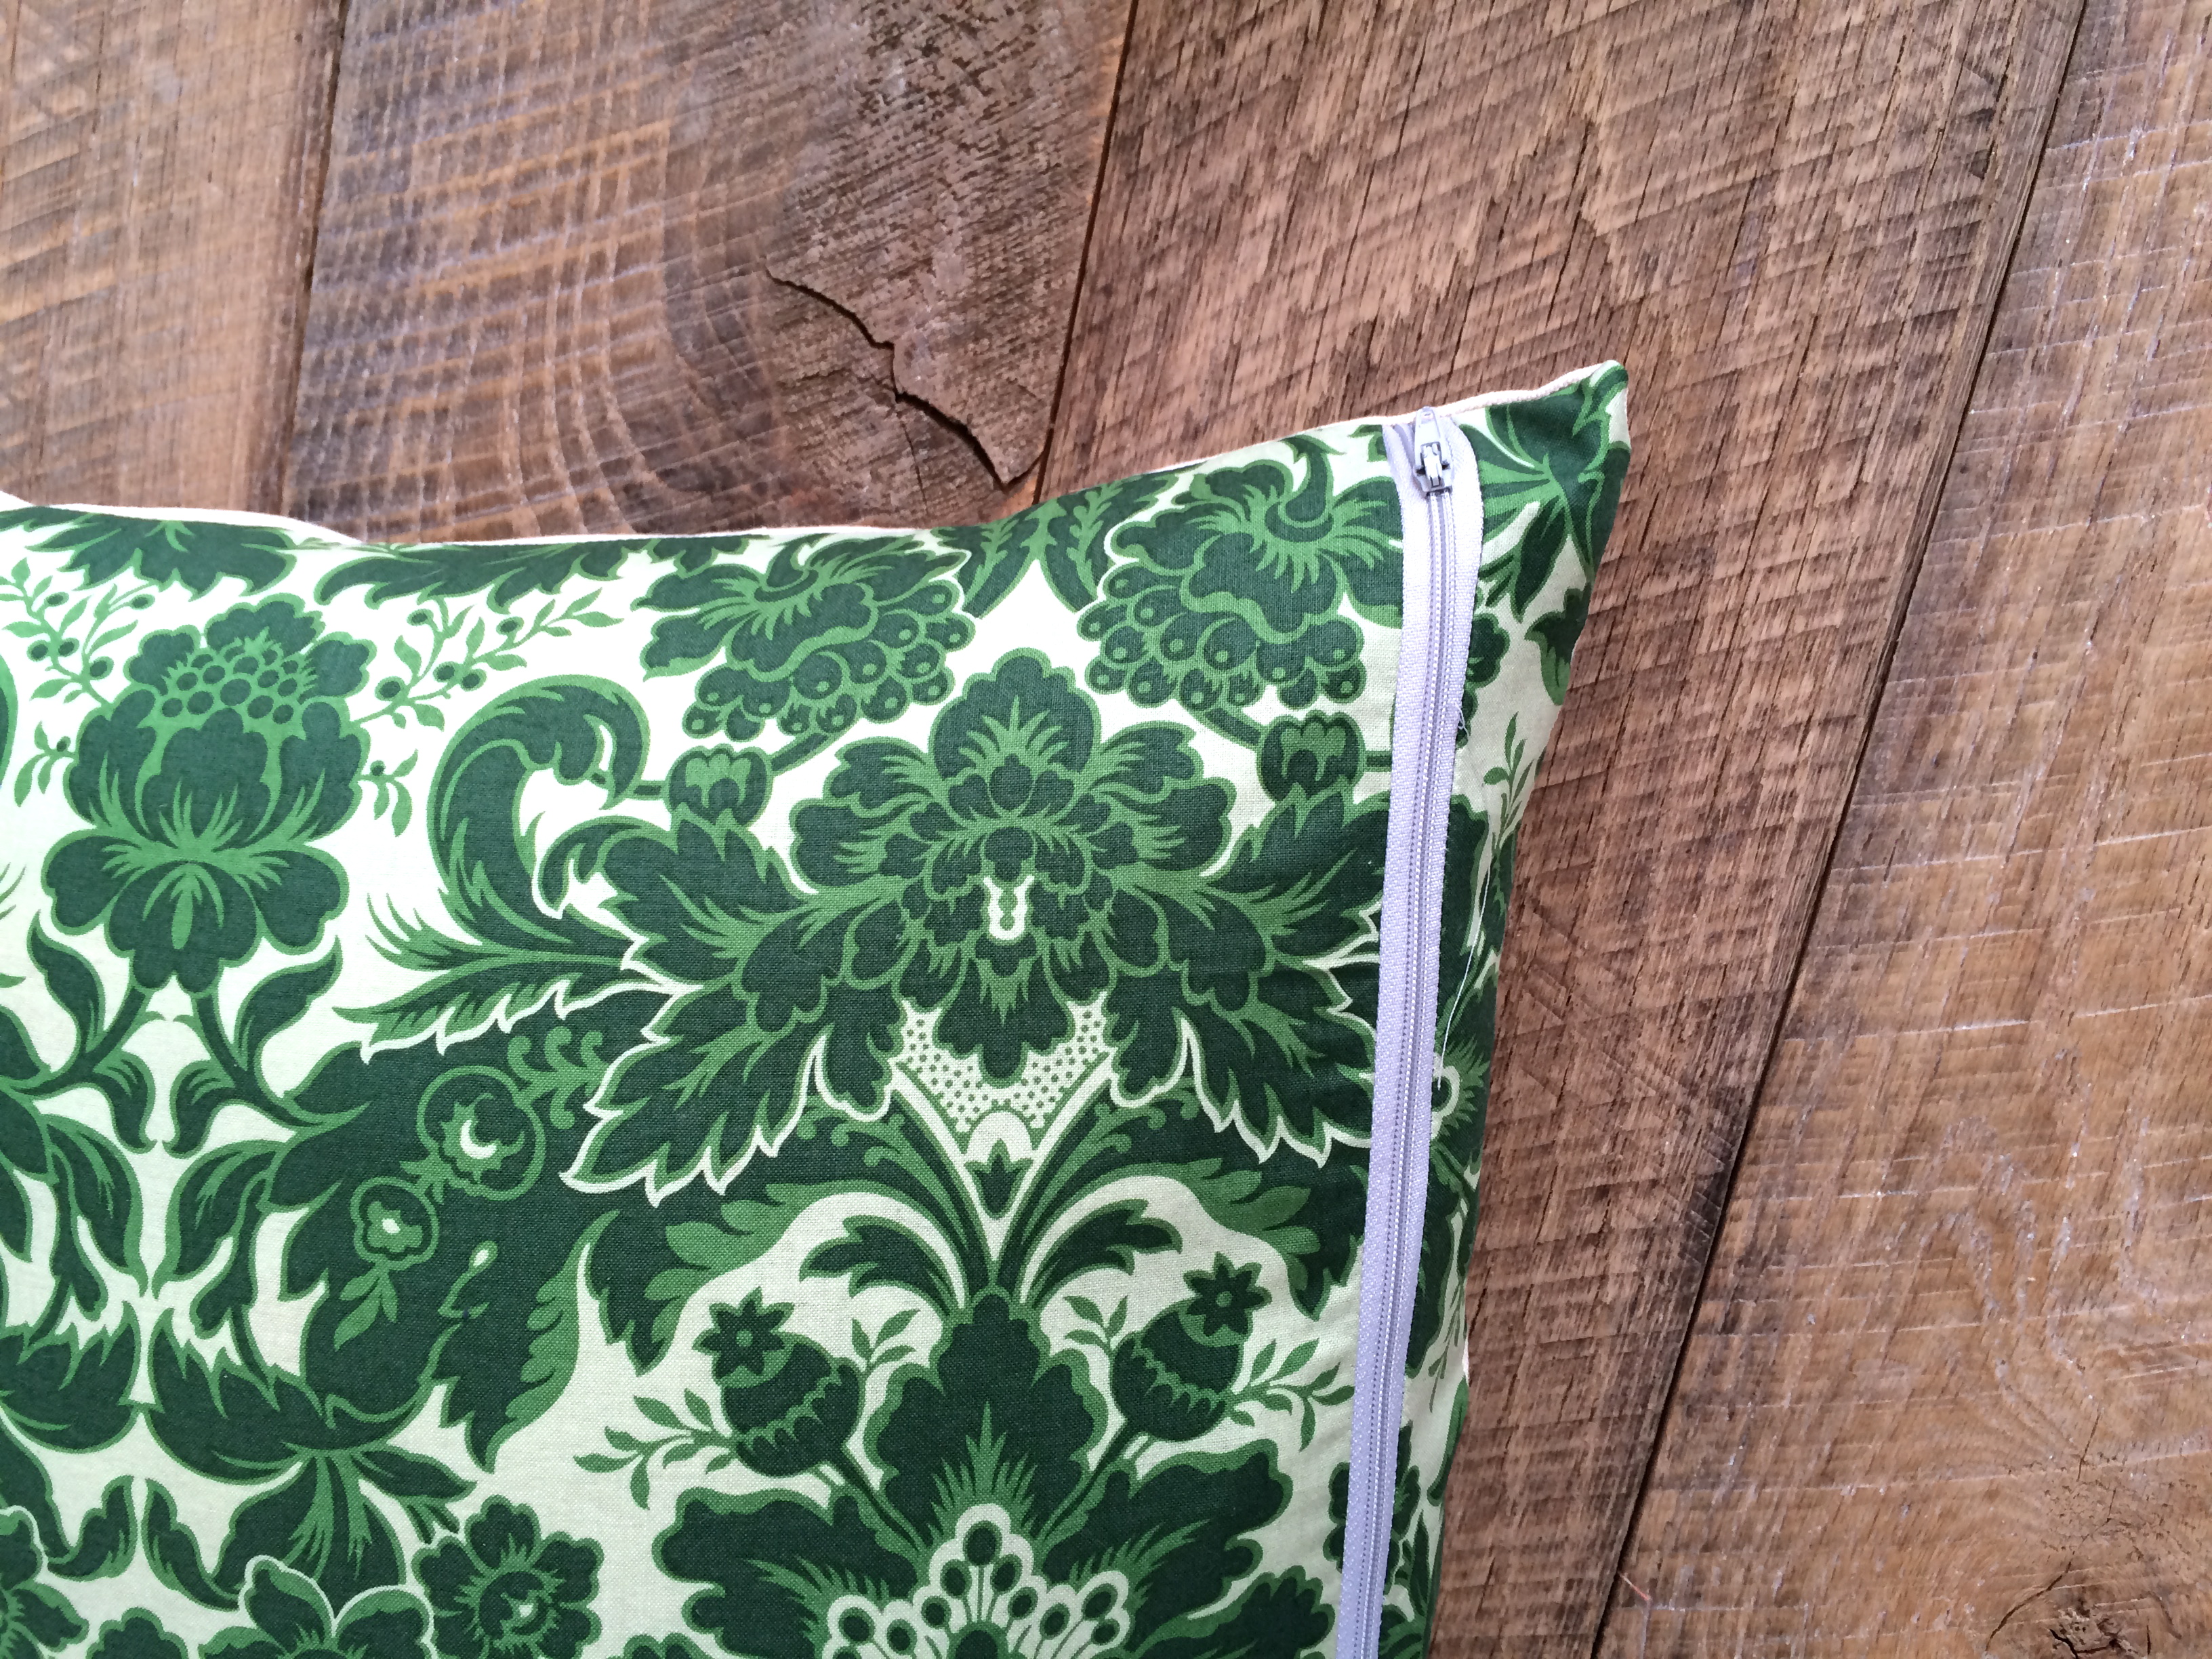
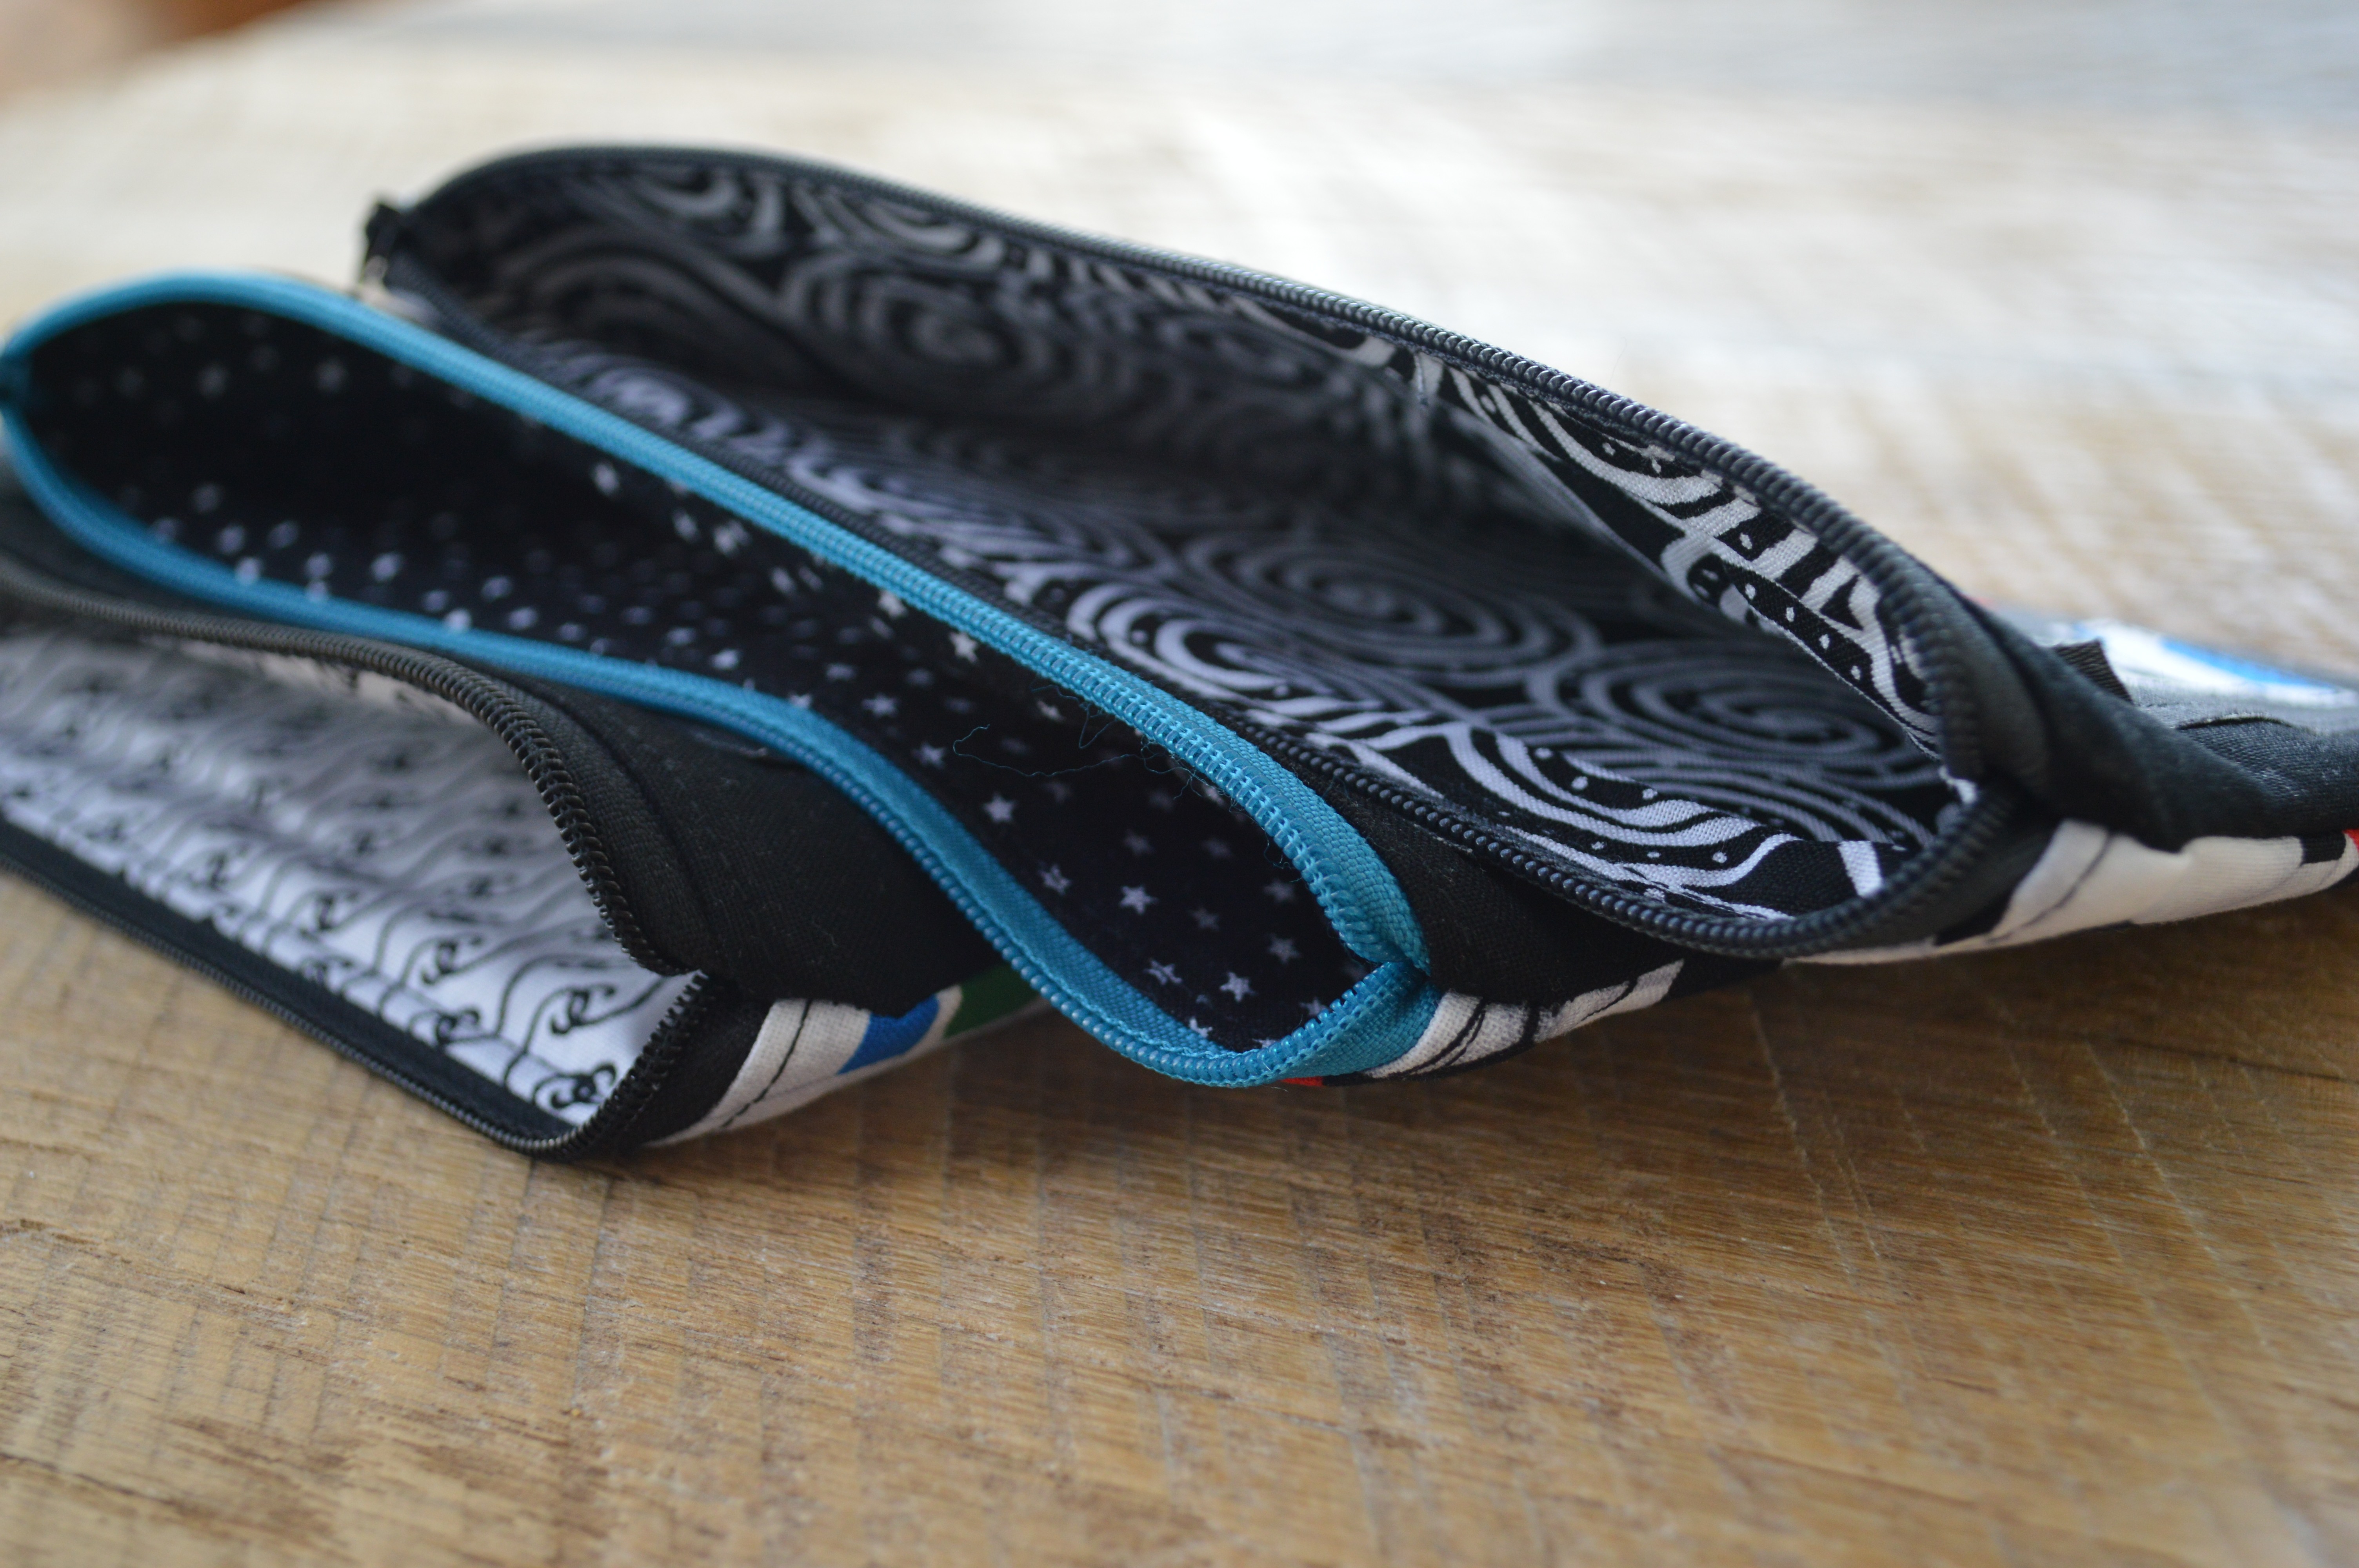
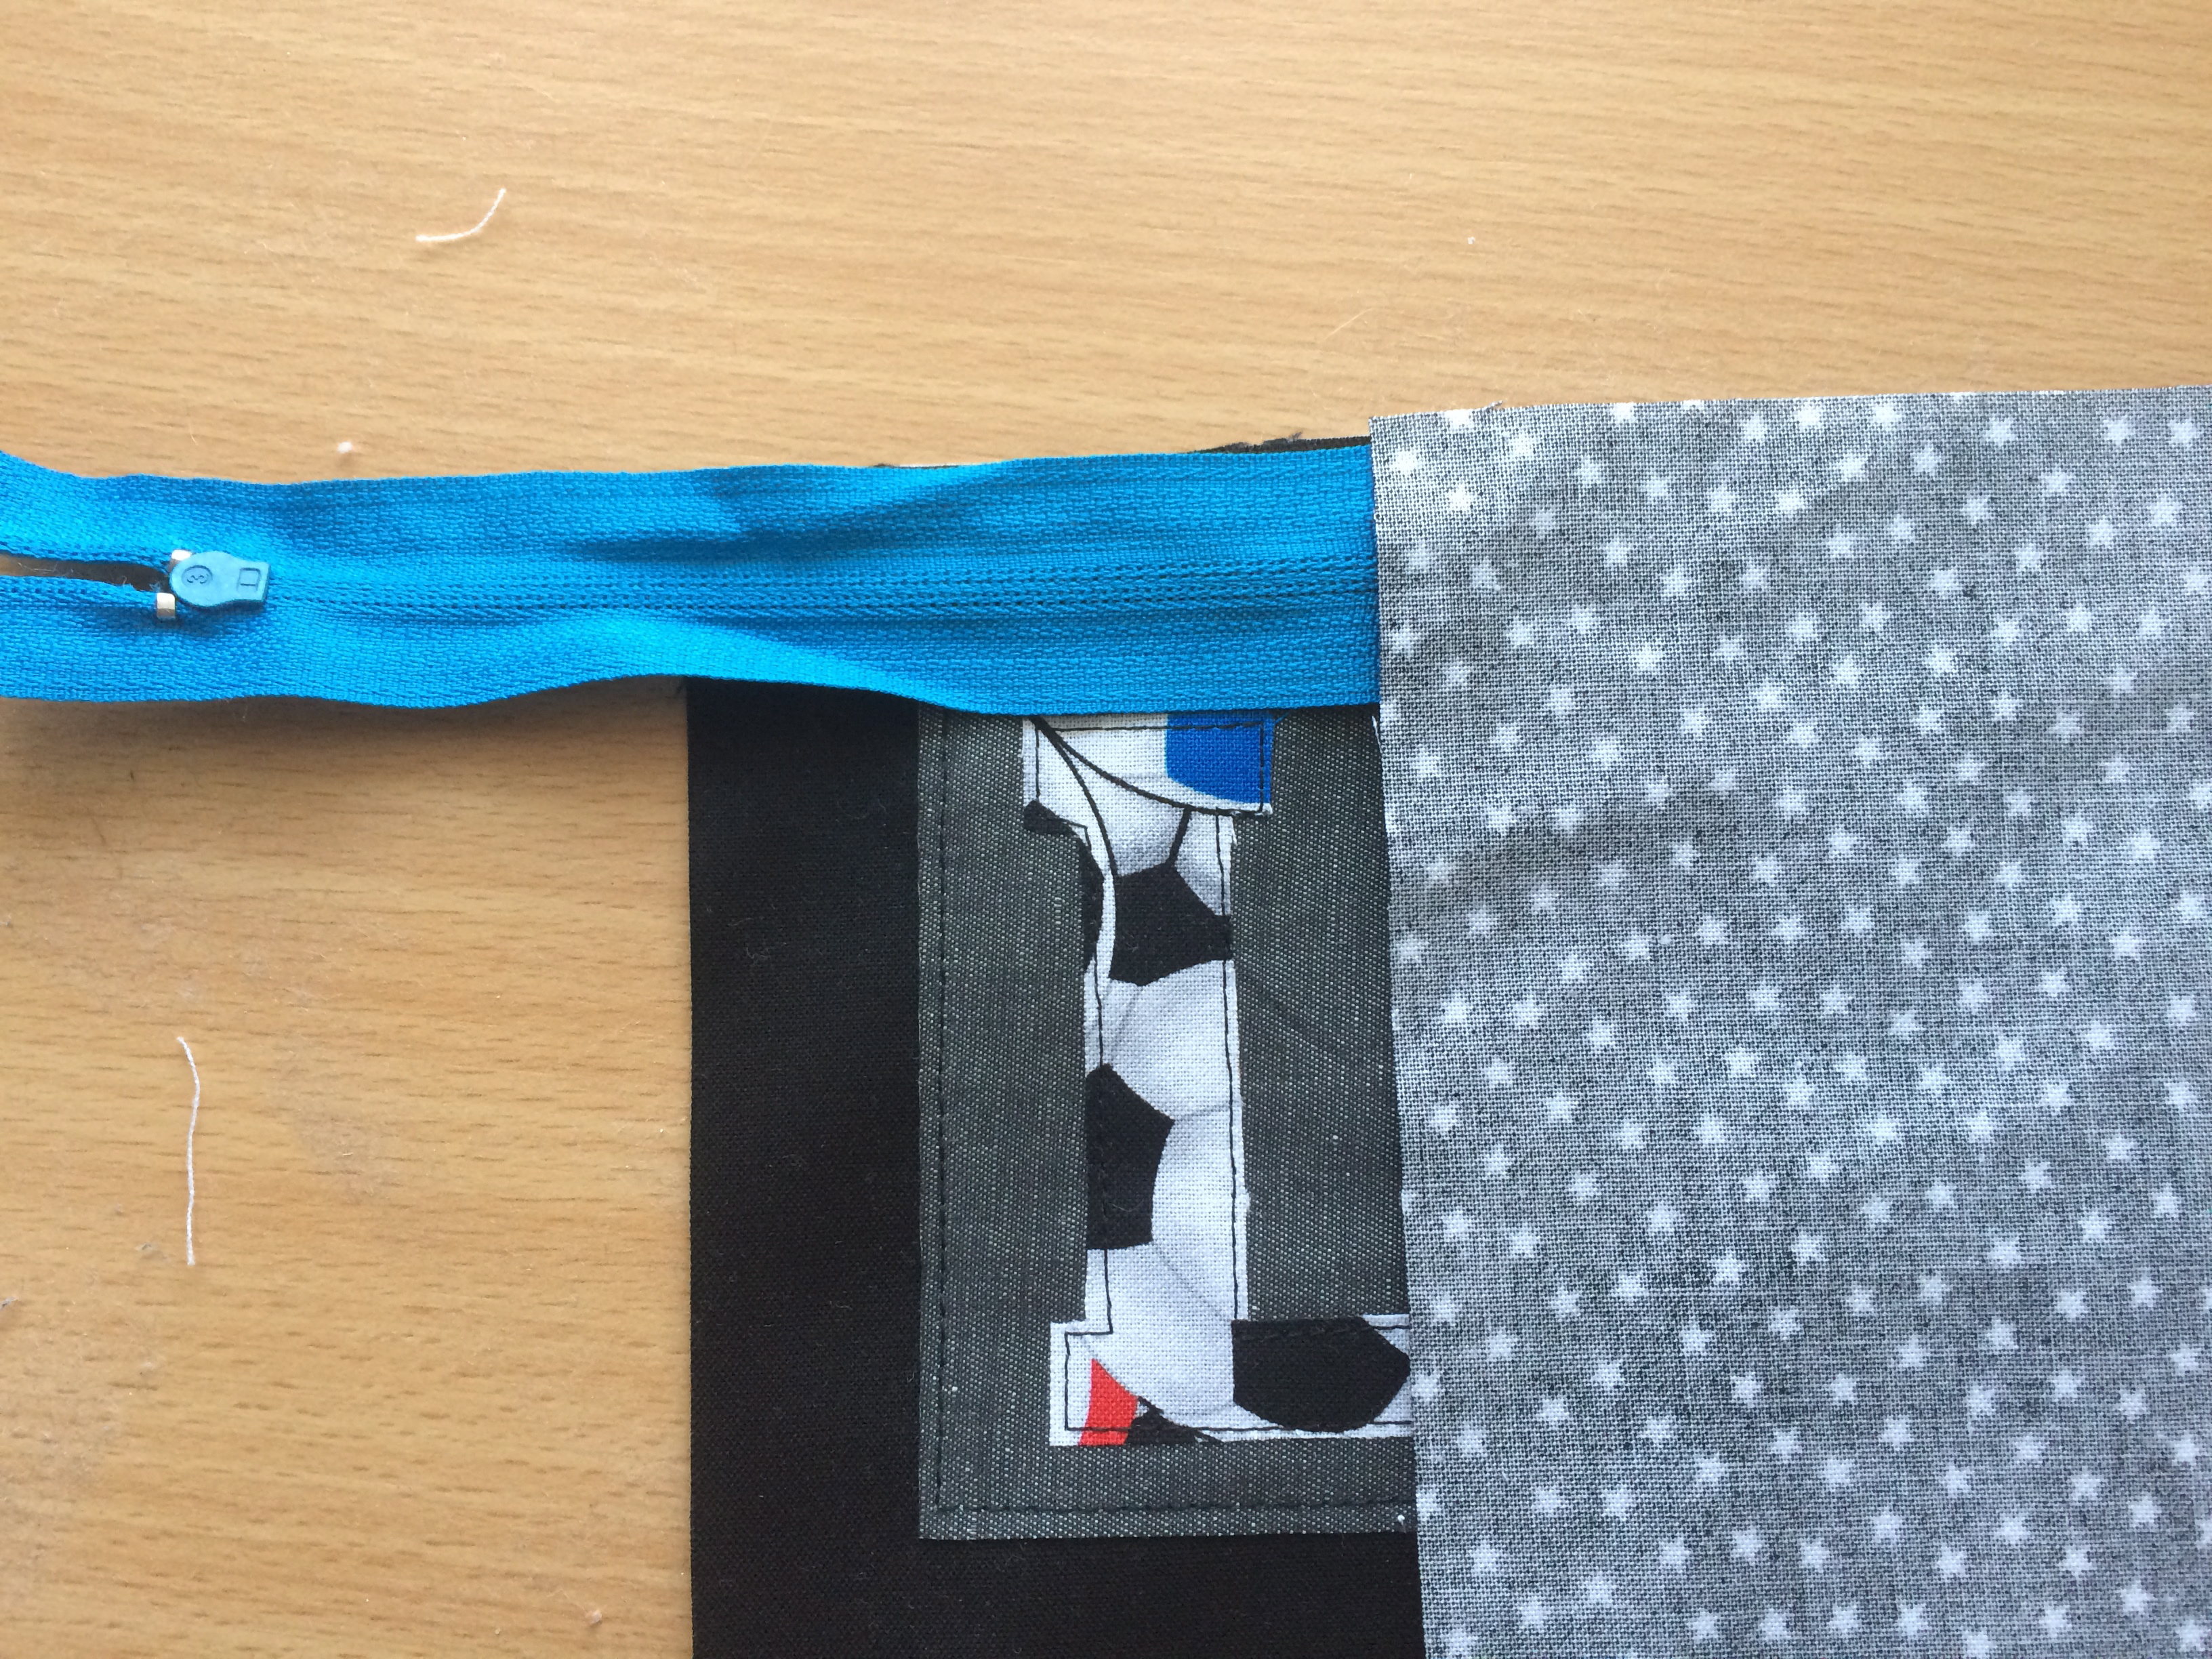
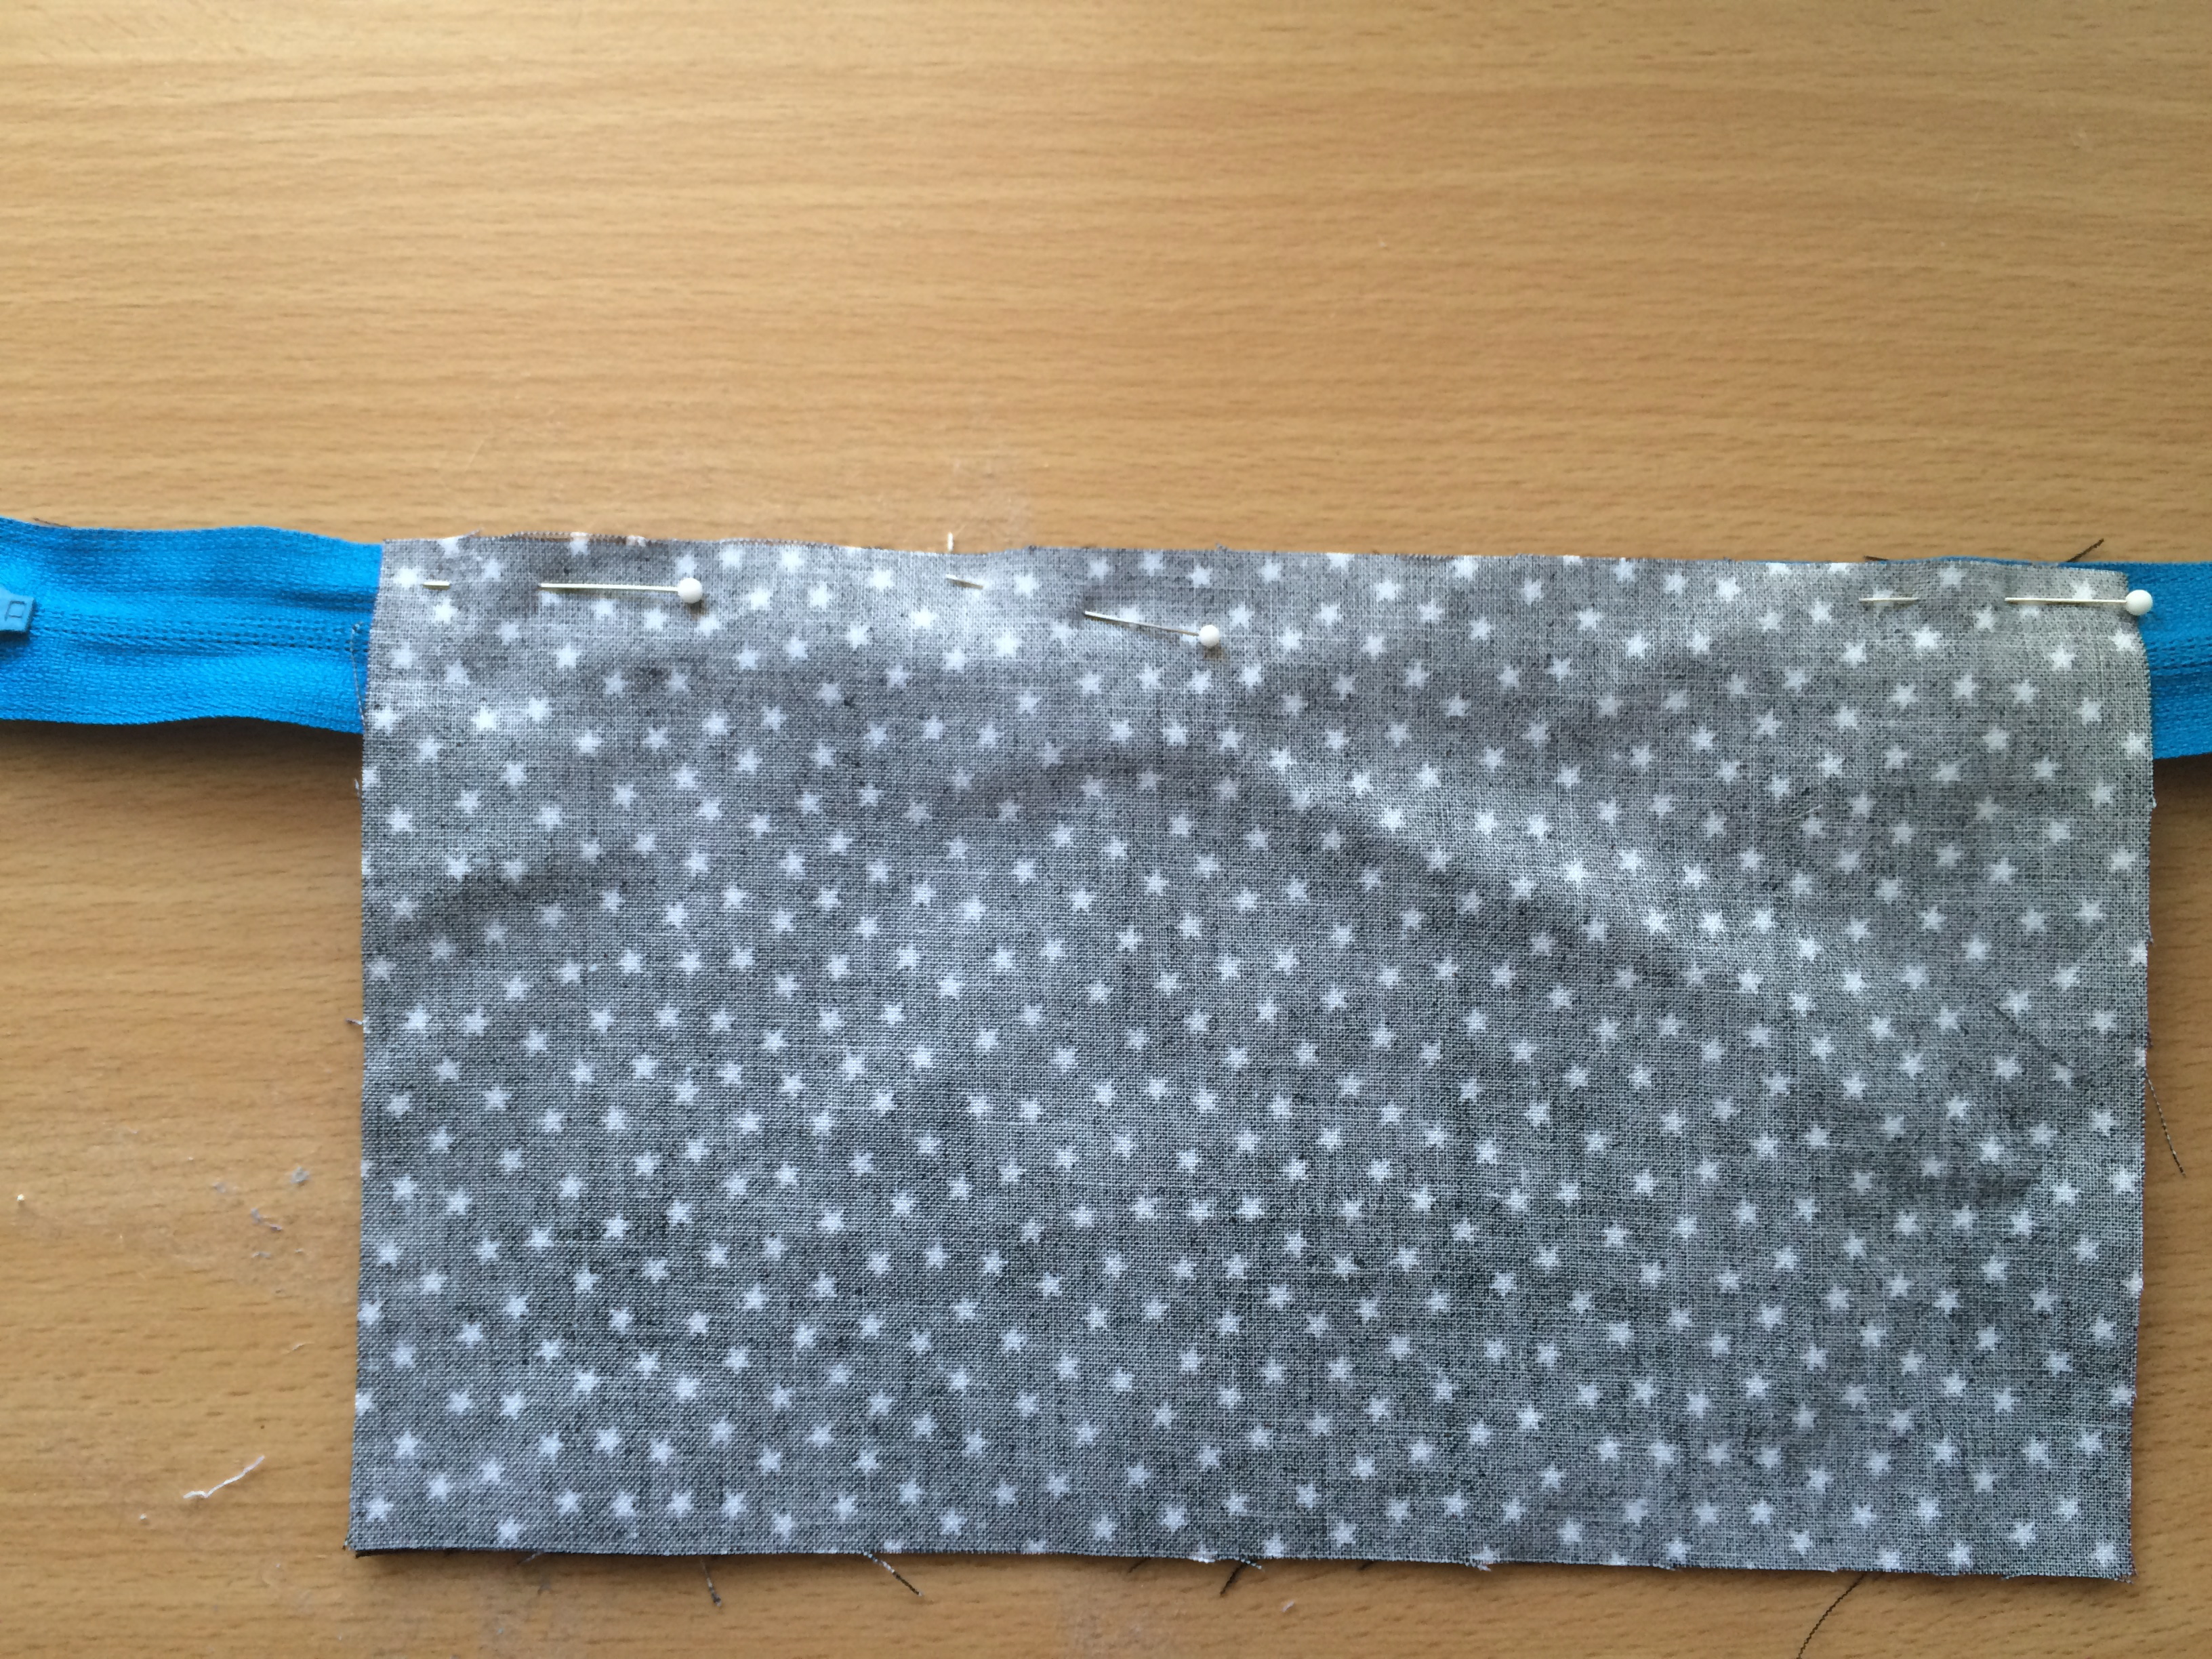
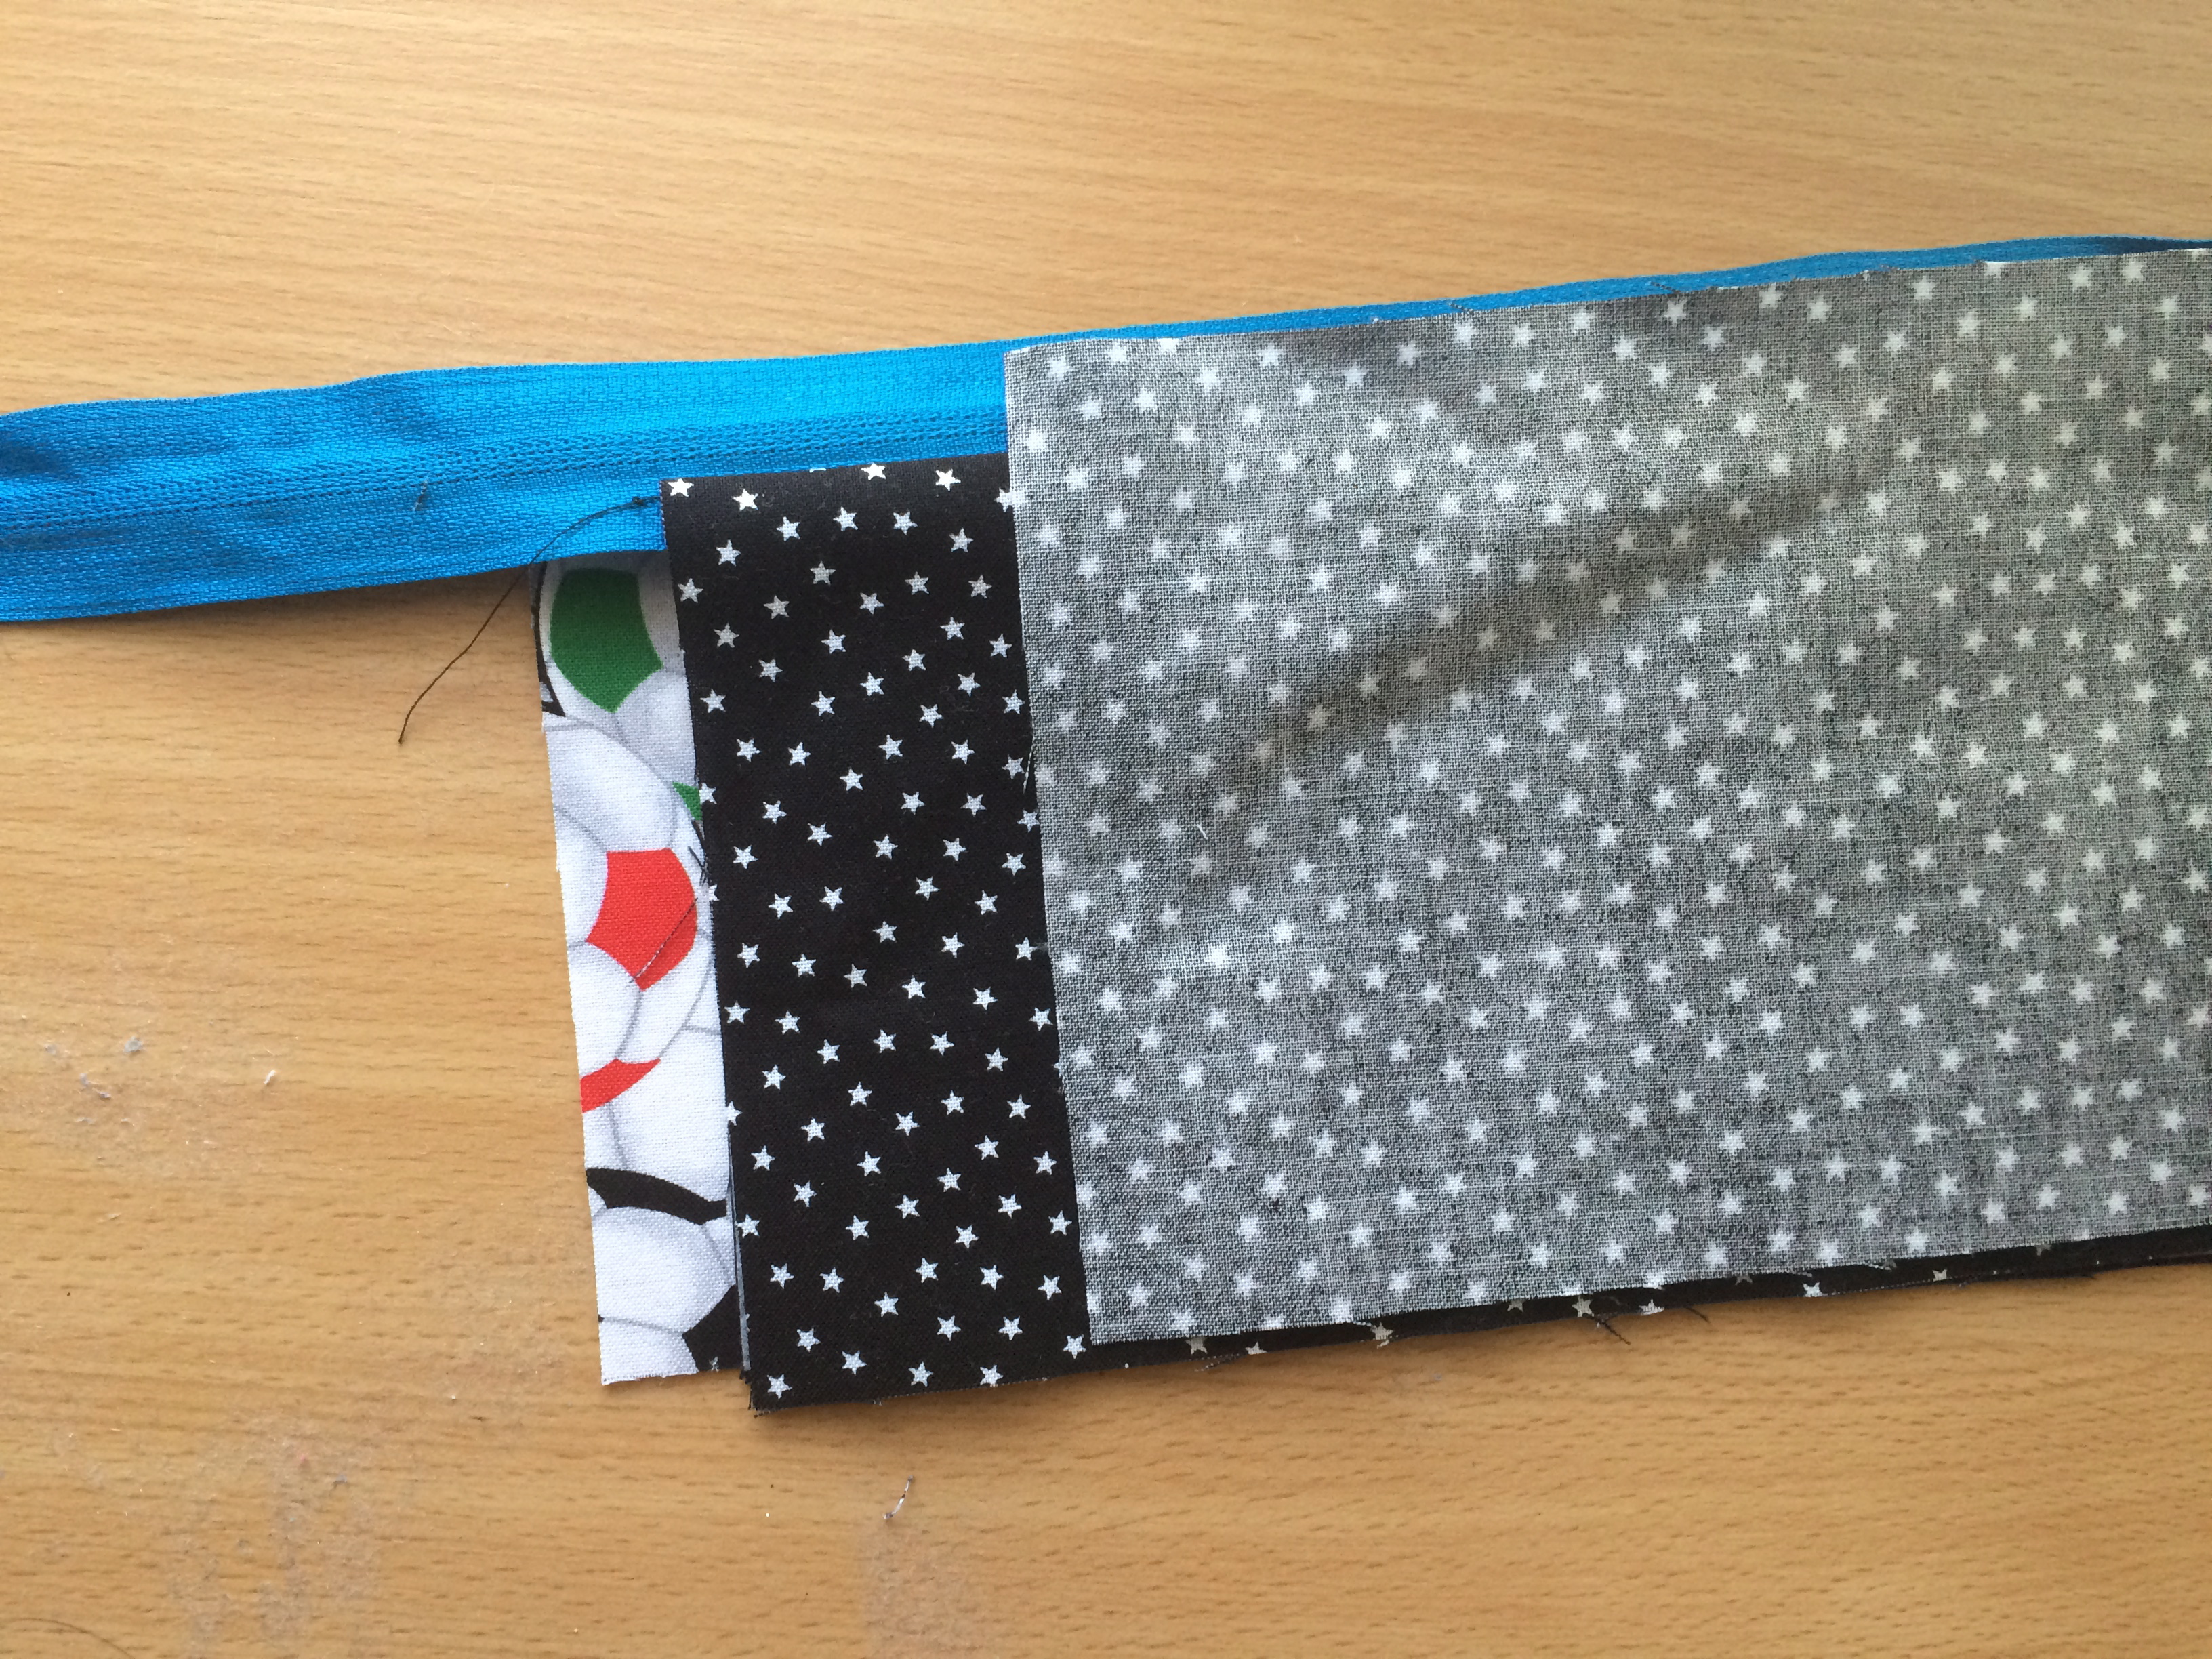
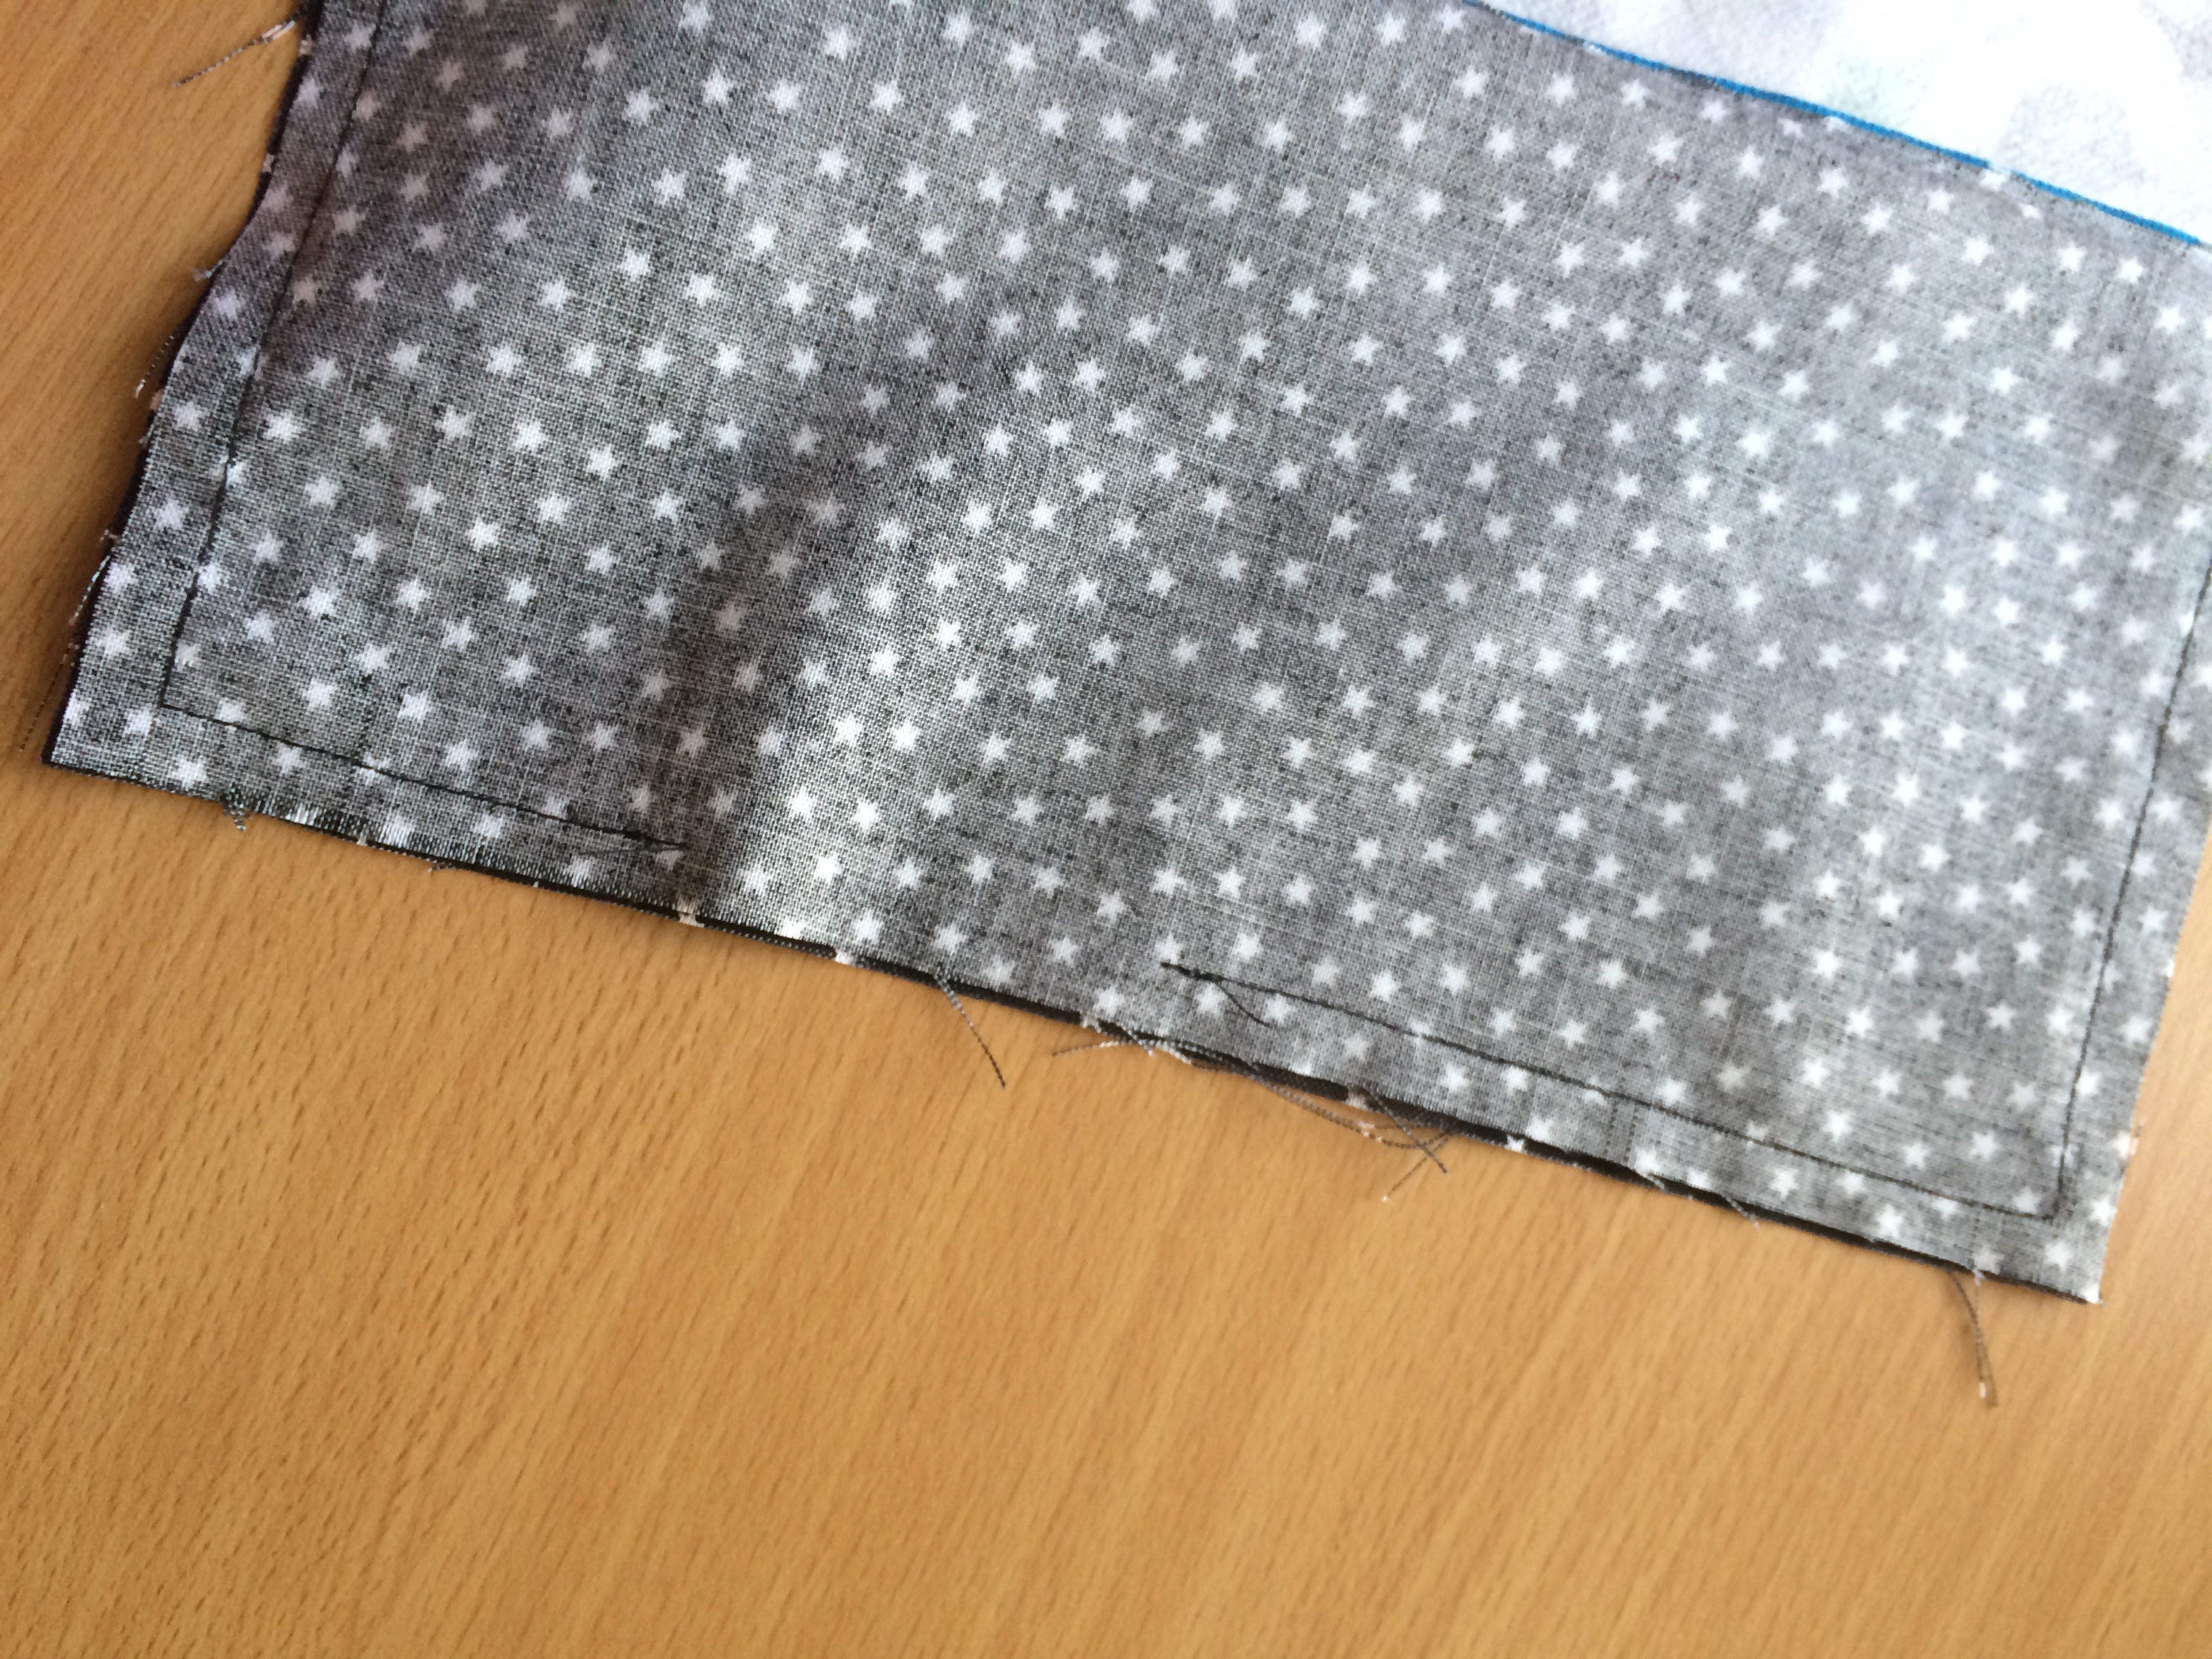
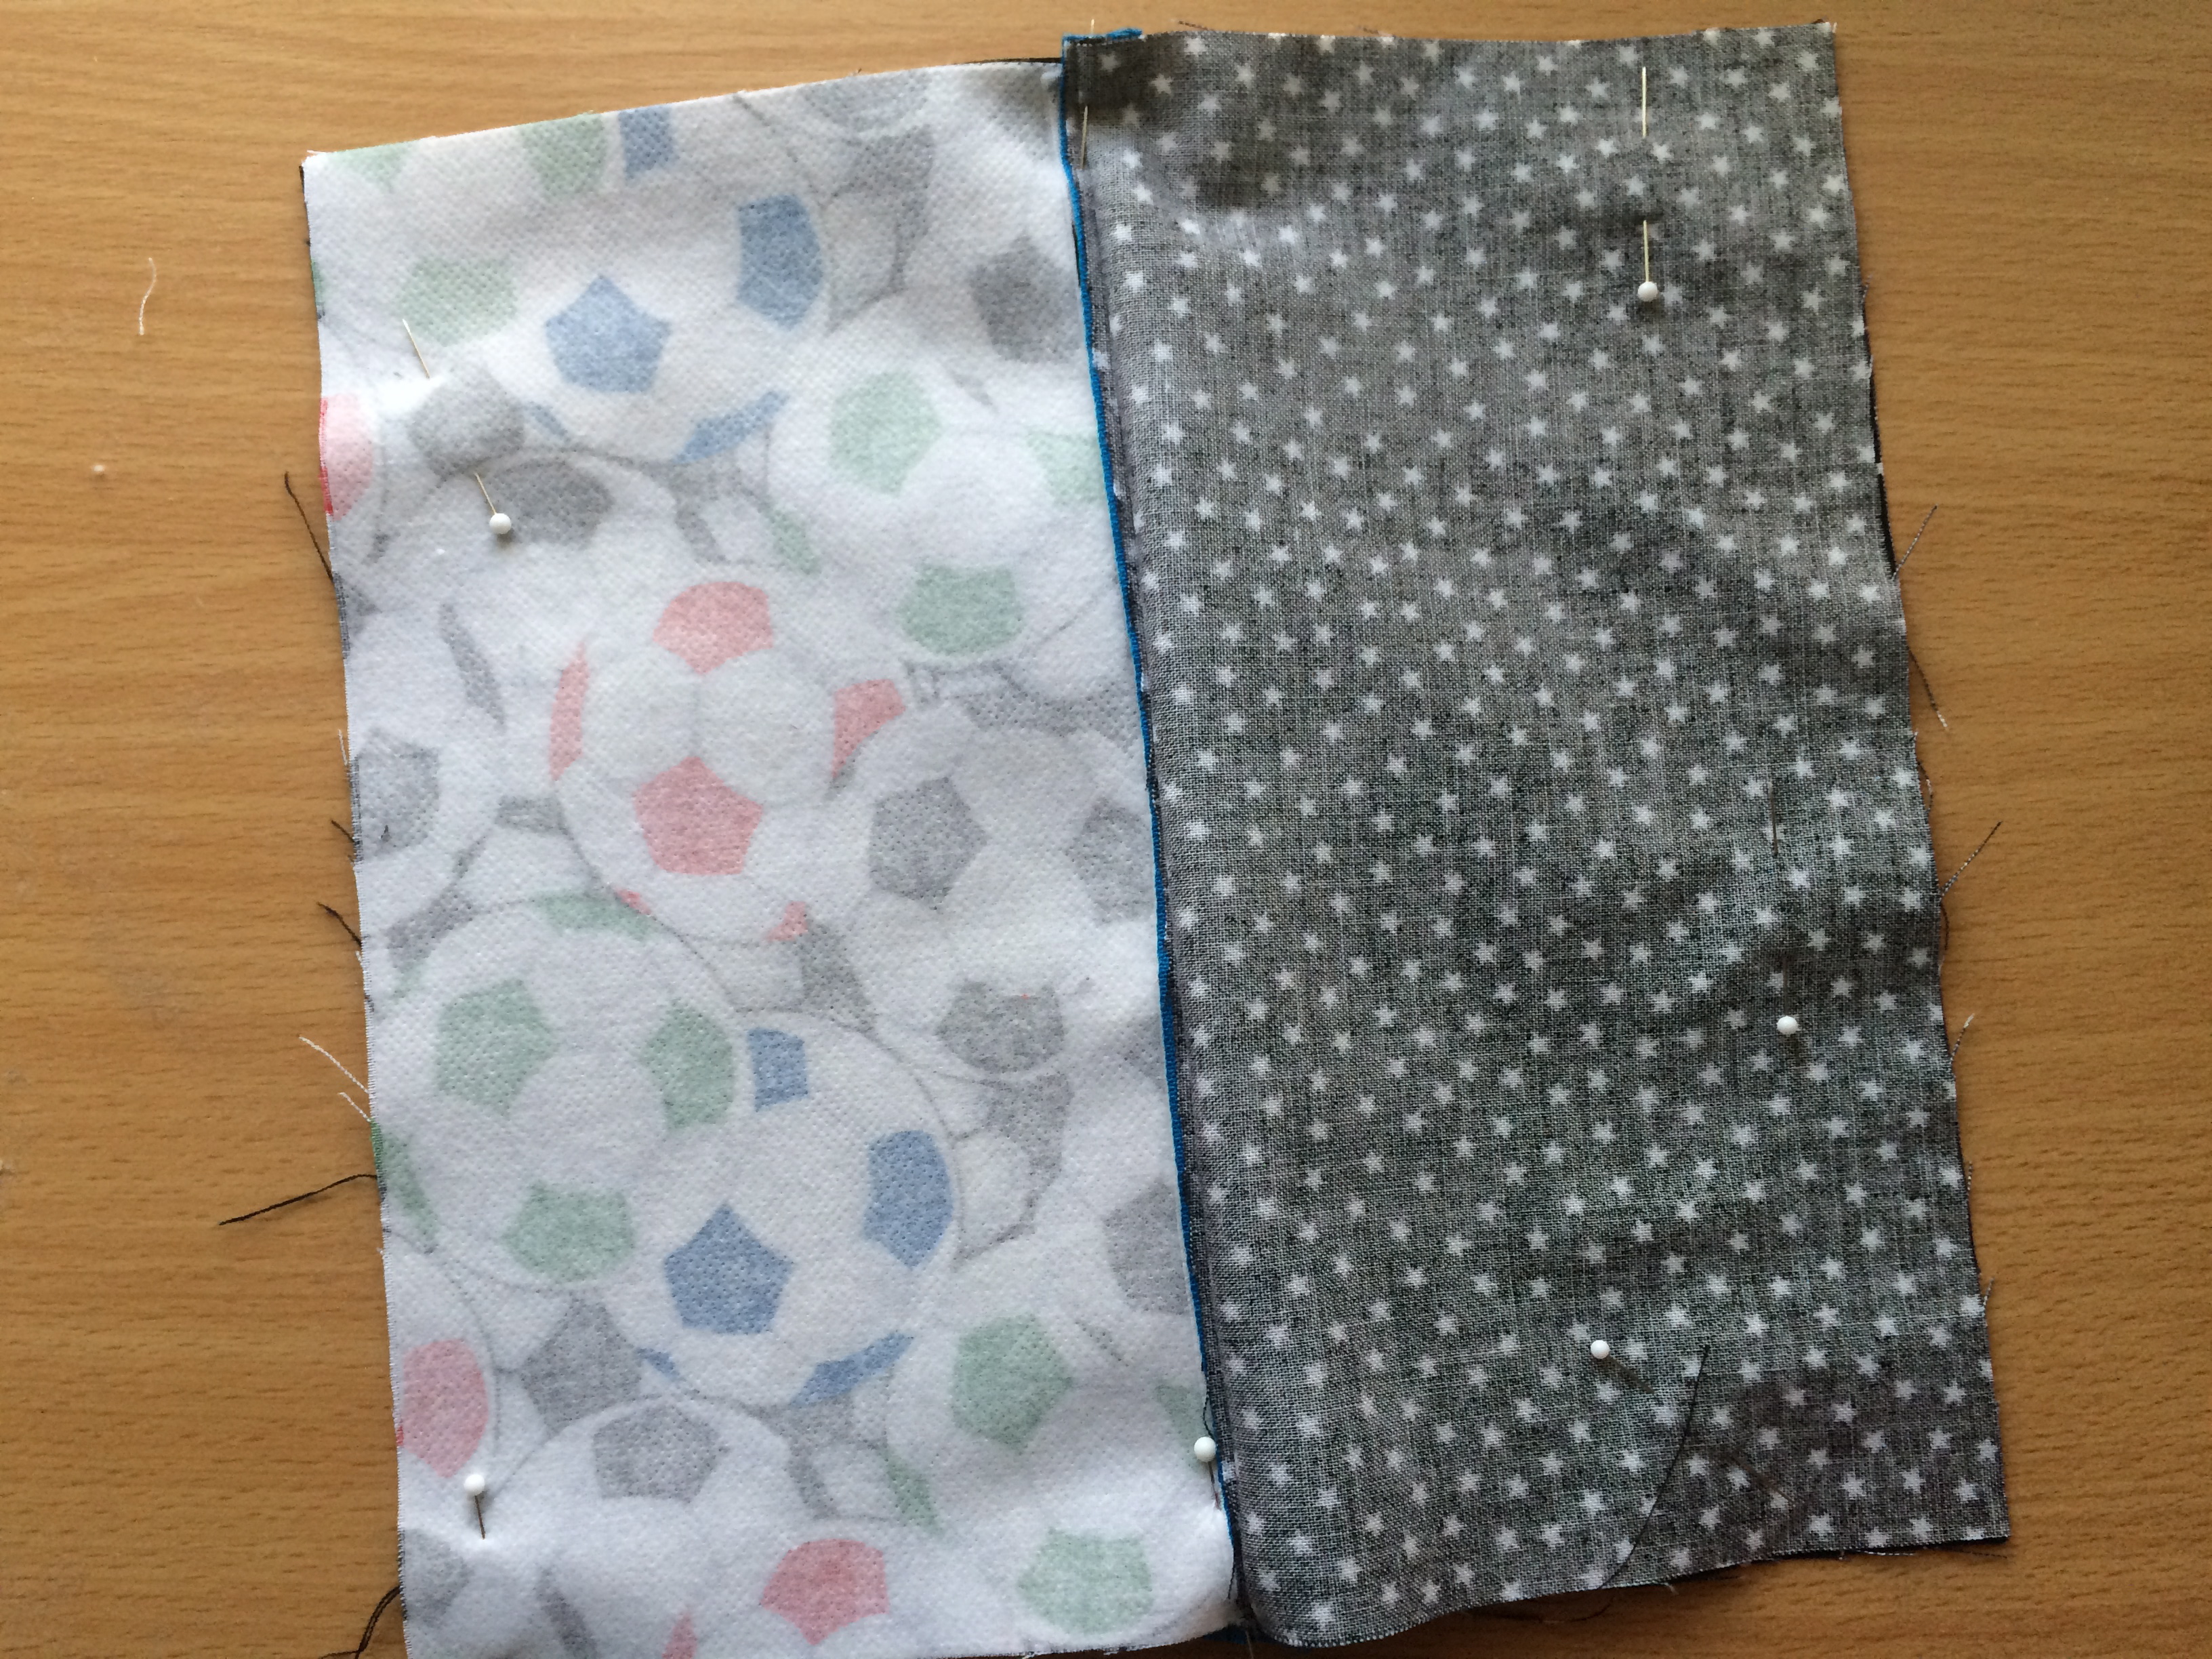
Making sure the zipper is open, place right sides of the outer bag together and right sides of the lining together and pin all the way around.
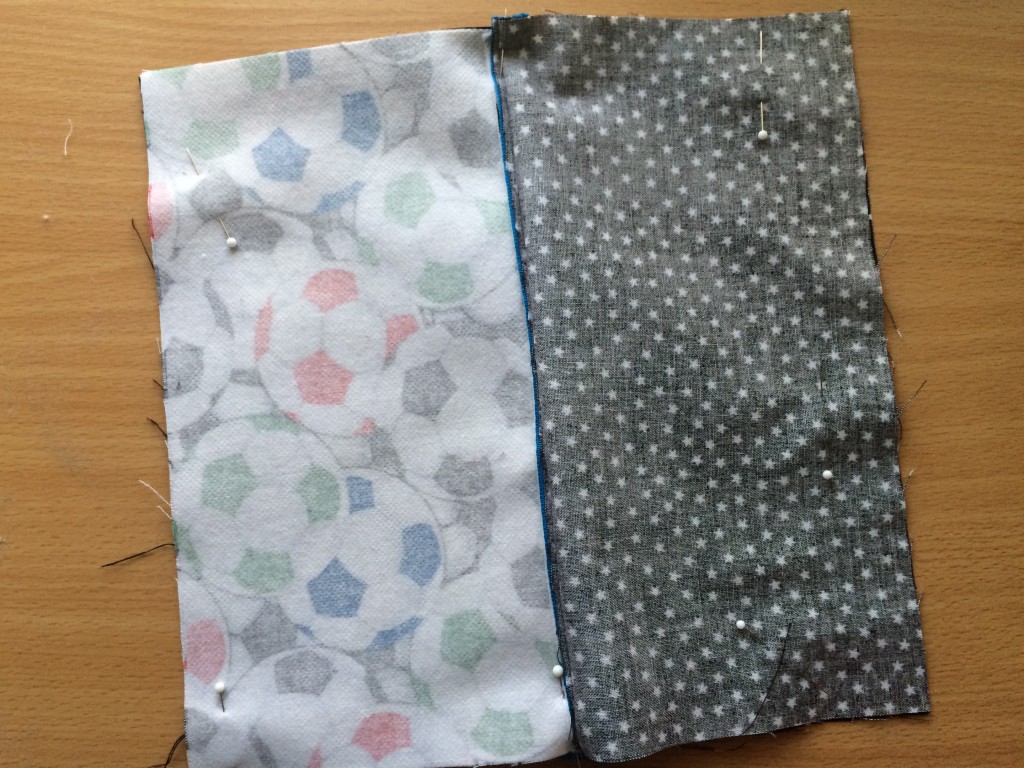
soccer zipper pouch 26

When you get to the zipper, match the seams and push the zipper toward the lining:soccer zipper pouch 25

Leave a 3″ opening at the bottom
soccer zipper pouch 27

Sew all the way around using a 1/4″ seam.  Turn right side out and top stitch the opining closed.  Use a turn stick or chopstick to push out the corners and the zipper.soccer zipper pouch 28


Now make 32 cupcakes with cupcake toppers and dash to the soccer party!!!

DIY Soccer Banner – Meet the Stingrays

diy soccer banner

With spring soccer beginning I thought I would share our last season soccer banner.  We were the Stingrays and we had an awesome season!  In our town, most teams pay over $100 for a custom airbrushed soccer banner.  With a team of only 7 players, this seems to be a lot of cost per family.  This homemade version was much more cost-effective and it was cuter than any airbrushed banner I’ve seen.  We received compliments on it all season long.  You can use canvas or a heavy duty drop cloth as the background fabric.  Click HERE for step by step instructions.  There is not a predetermined or set banner size.  I usually use the width of the fabric as my guide.  Cut the desired size of the banner.  Notch the top 2 corners about 4″ and then fold the sides and the top in and sew a seam.  This leaves a space open in the corners for the PVC elbows.  It’s not fancy at all.  Then we cut the PVC pipe to fit the measurements of the banner.soccer banner 2

I spray painted several blue paints on the canvas to give it a watery look.  I drew the stingray shape on some tissue paper and then cut them out of felt.  I used a combination of Fabric Fuse and hot glue to adhere the stingrays.  I added a little bow on the tail.  The eyes, eyelashes and mouth are cut out of felt.  I printed the letters out on Heat n Bond EZ Print sheets.  I cut out the letters and used fabric fuse and hot glue to attach the letters.  (normally you can just iron the letters but the paint makes it difficult.)  The names are written with black metallic puffy paint.  It was fun to use puffy paint, it always reminds me of high school cheerleading days 🙂  I found a soccer ball image from an internet search and printed it on Heat n Bond transfer sheets.  I then ironed the soccer ball to a piece of felt and glued it to the banner.

I painted stingrays on the coaches T-shirts so they matched.

soccer banner 6

Whats fun about this banner is at the end of the season, during our team party, we cut the banner up and each girl got to take her stingray home.soccer banner 3

This year we are the Bengals.  I better get working on the banner!!!
soccer banner 5

soccer banner diy