Archives for April 2016

Jewelry Pouch Travel Set

jewelry pouch

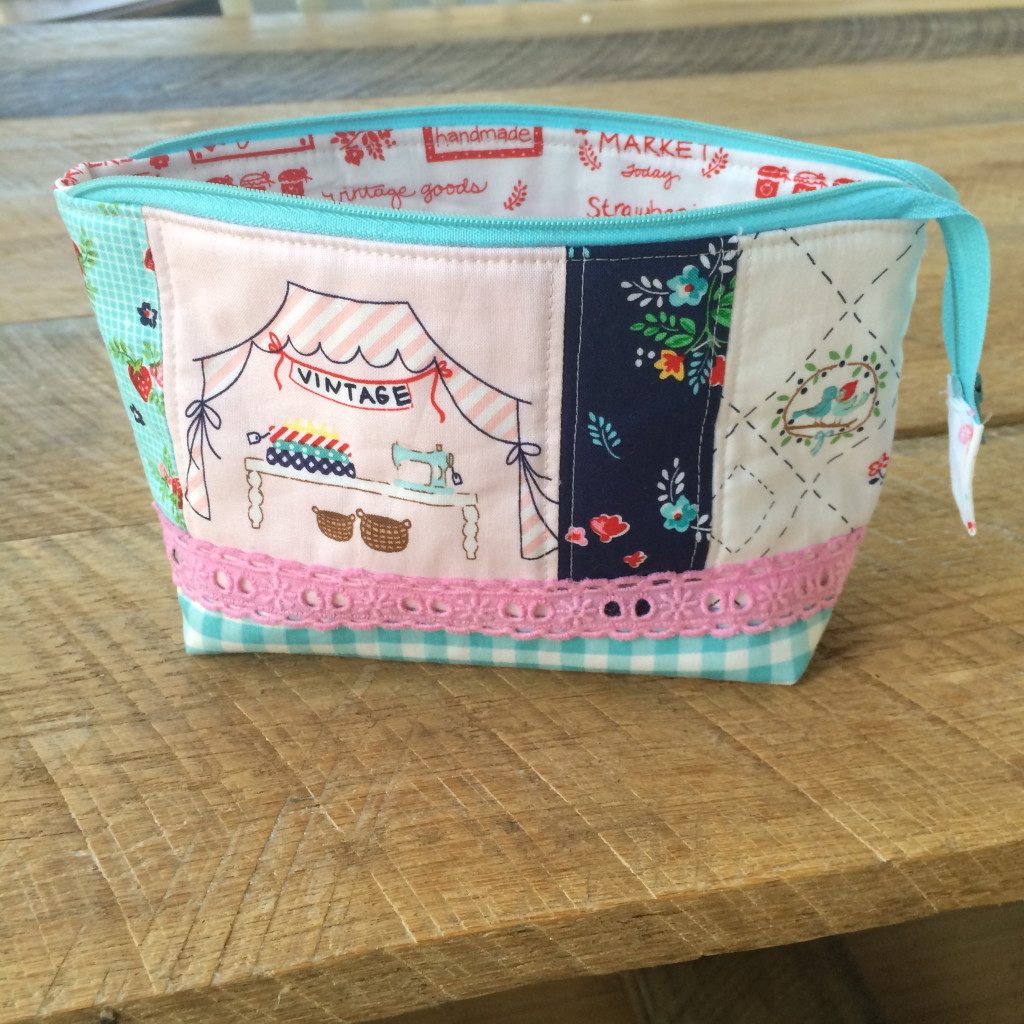
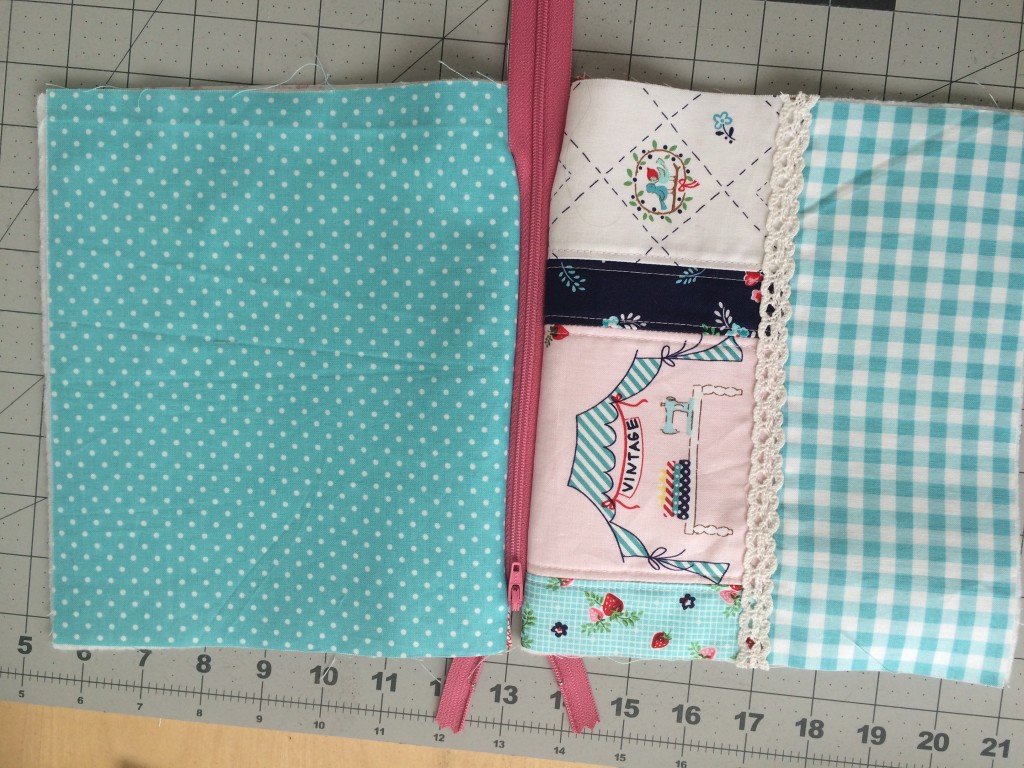
I am so excited to share this project with you!!  I LOVE jewelry!  (Especially Twisted Silver Jewelry) This is the perfect way to store your jewelry when you travel so it doesn’t get tangled or damaged.  You can sew as many of these little pouches as you want and they all fit in this zipper bag.  This would make such a great gift for Mother’s Day, Birthday, or Graduation.  The full tutorial is over on the Therm O Web Blog.jewelry zipper pouch 21

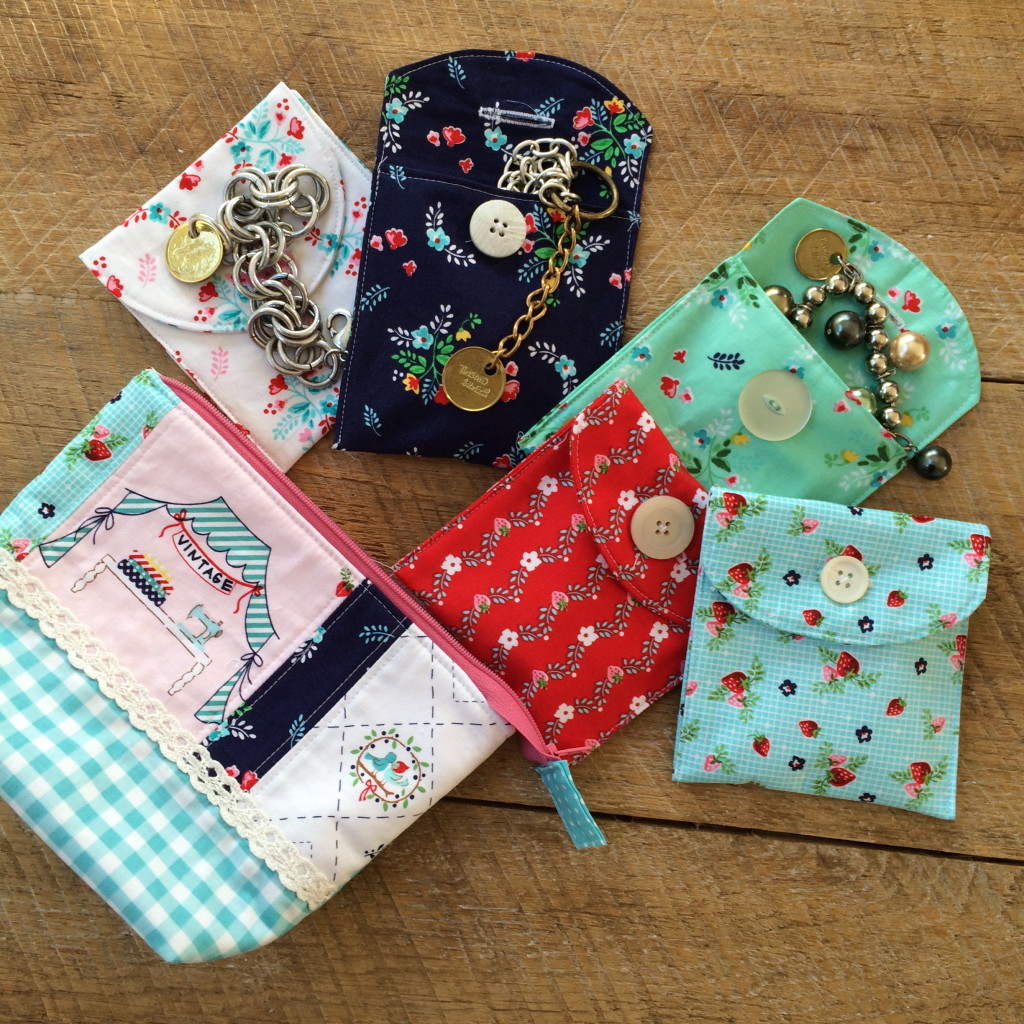
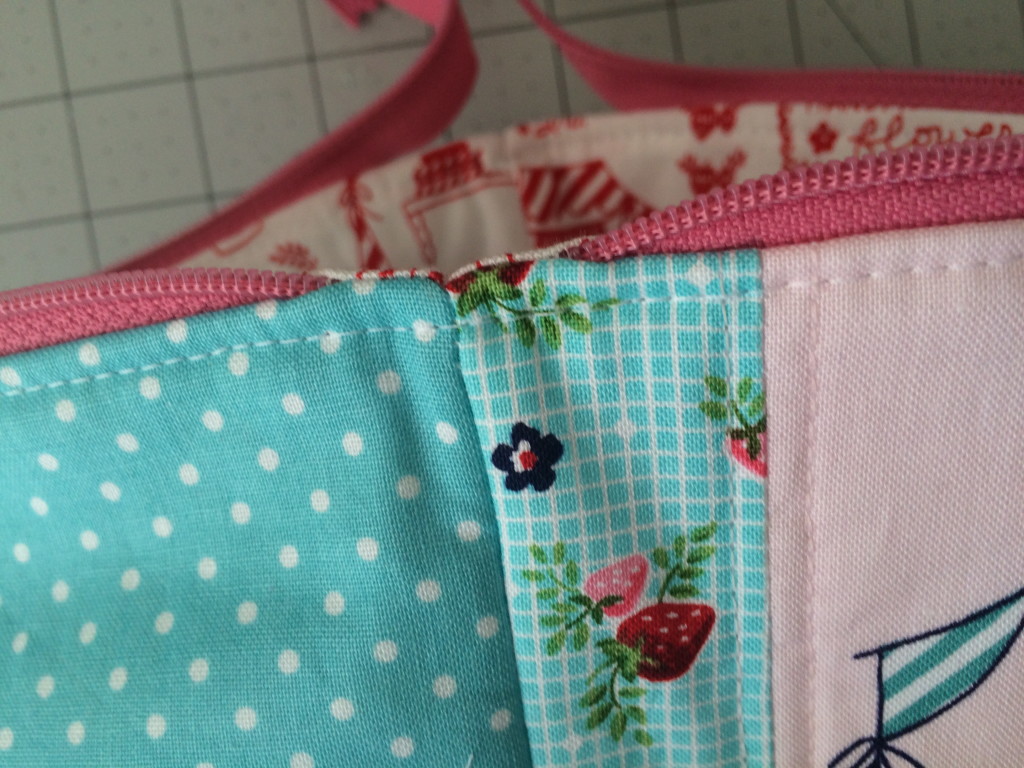
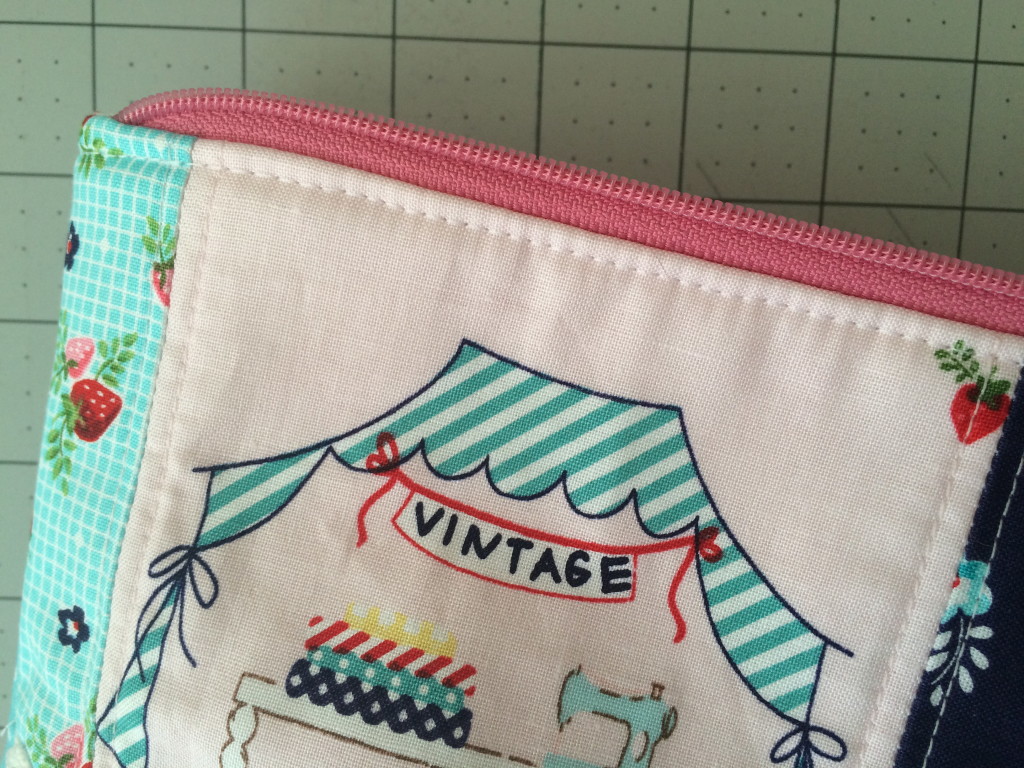
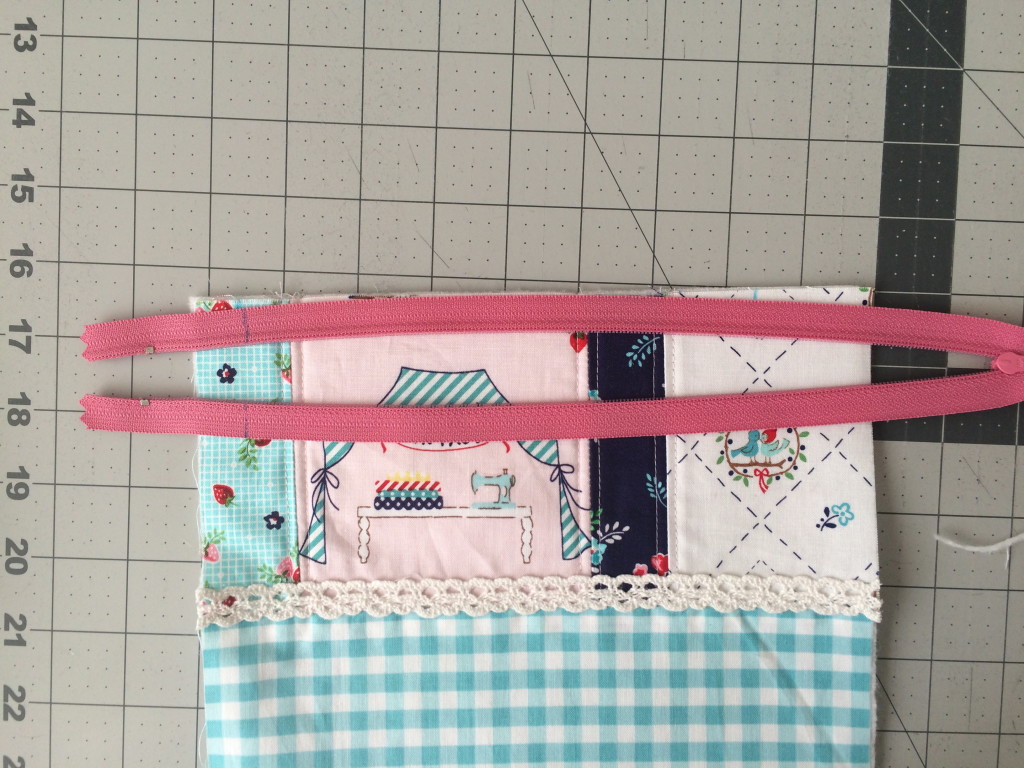
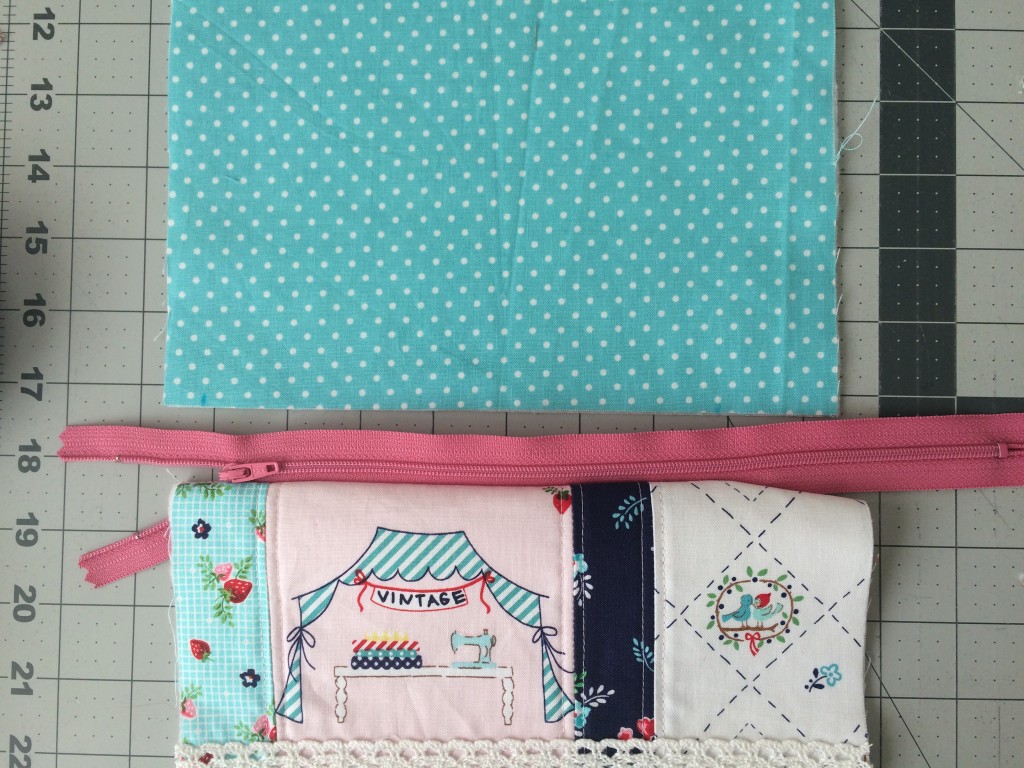
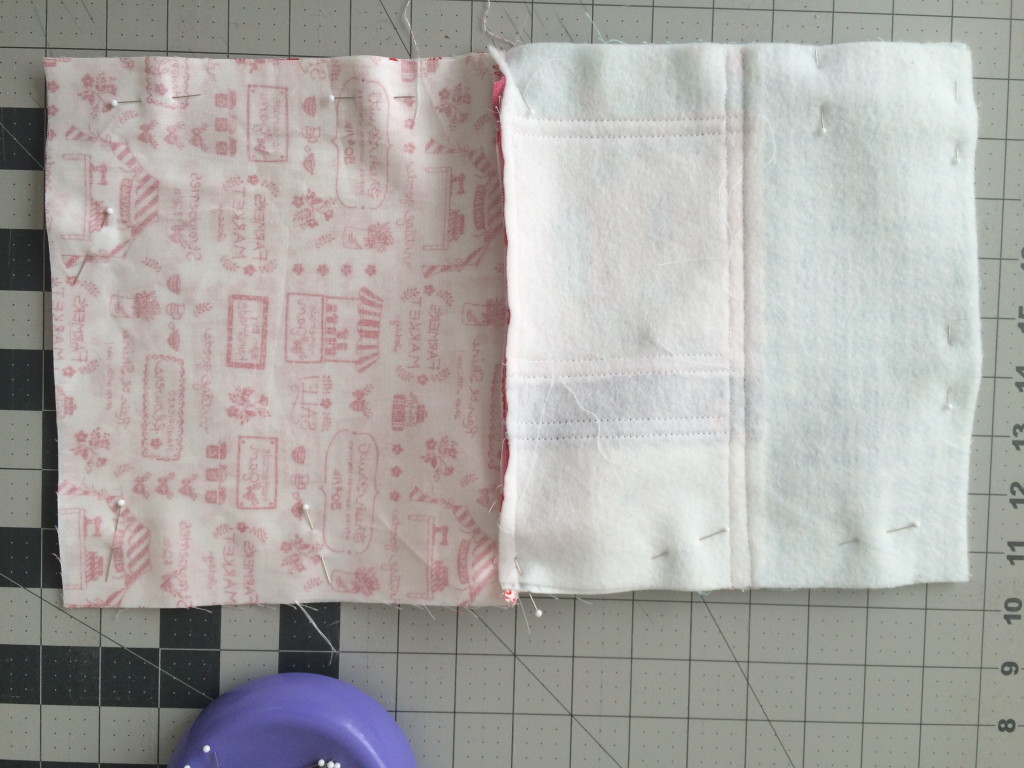
All the fabrics are from Riley Blake Designs Vintage Market Fabric Line by Tasha Noel.  I used Heat n Bond Fusible Fleece in the zipper bag and then a medium weight fusible stabilizer in the little pouches.

jewelry zipper pouch 9

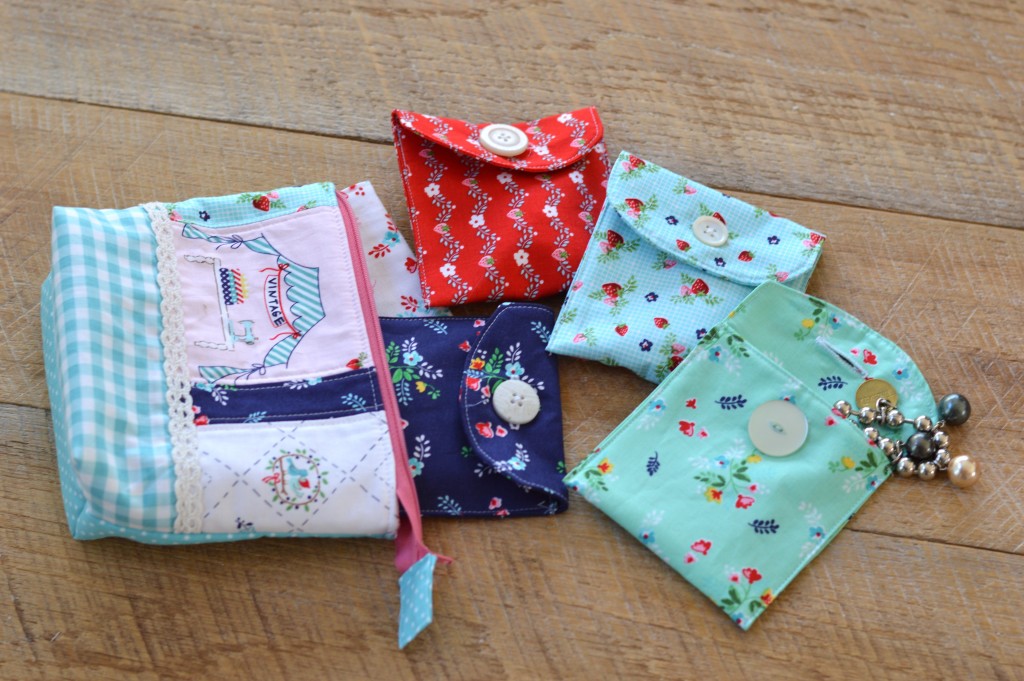
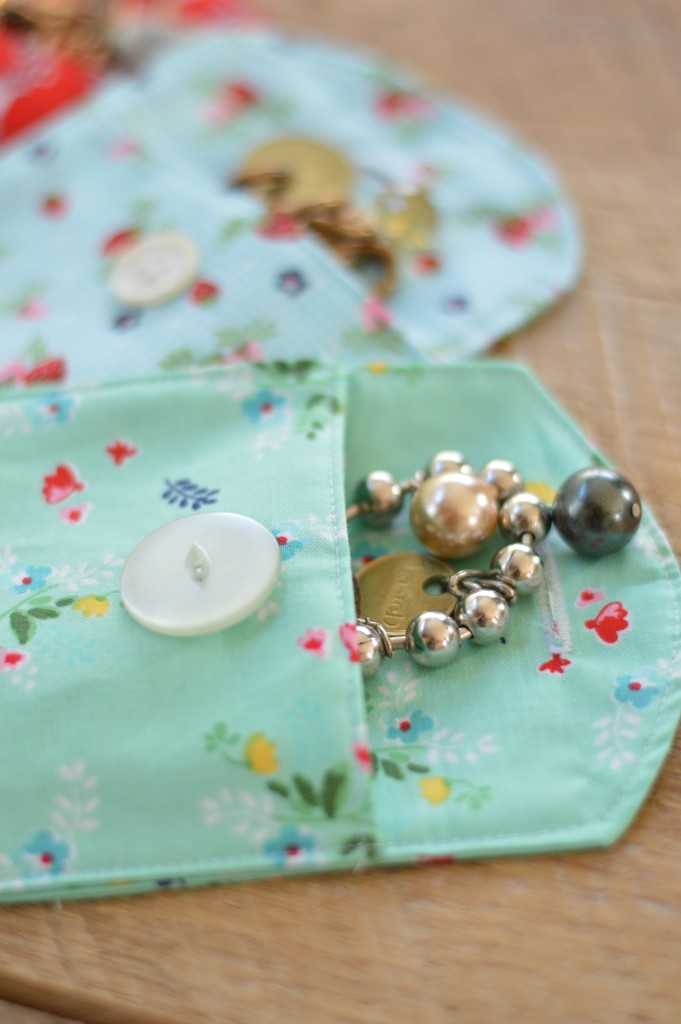
Each little pouch has a button closure.

jewelry zipper pouch 13


Full Access Zipper Pouch Tutorial

full access zipper pouch tutorial

I love making zipper pouches – any shape and any size!  They are perfect for every situation and every occasion!!  This is a tutorial for how to make a “full access” or “open wide” zipper pouch.  This method will work for any measurements of zipper pouch.  Before we get started, prepare the outer bag, lining, and stabilizer or quilt batting.

My favorite zipper pouch dimensions:

6.5″ x 9″

8″ x 11″

and this one is 7.5″ x 9″

Cut (2) outer bag pieces the same size.  The one above is pieced.  You can piece the outer bag in any design, as long as the measurements are the same as the back and the lining.

Cut (2) lining fabrics the same size

Cut (2) stabilizer pieces or batting pieces also the same size

Fuse the stabilizer to the outer bag pieces, or quilt the outer bag pieces.

And now for the zipper…..

I always use a zipper that is larger than I need.

Mark a straight line on the wrong side of the zipper, as pictured below.  This will provide a way to make sure the zipper matches up.

zipper pouch tutorial

Place the 2 outer bag pieces as pictured below, as thought the zipper was in the center.  Place a mark 1/2″ from the left edge and 1 1/2″ from the right edge, as shown below.

zipper pouch marking guide

Place the zipper face down on the front piece of the bag:

zipper pouch tutorial. 4

Match up the mark on the zipper and the 1/2″ mark on the bag with the end of the zipper trailing off as pictured below:zipper pouch tutorial. 3

Continue to pin the zipper along the raw edge of the bag front.   zipper pouch tutorial. 6

Now place one of the lining pieces face down on the bag front/zipper portion.  Align the raw edges along the top and pin in place.

zipper pouch tutorial. 10

Using a zipper foot, sew along the pinned edge.  The front end of the zipper should be trailing out of the seam, and the marked lines should match up.  Kind of curve the zipper in to make sure the marks meet exactly.

Continue sewing and stop the needle in the down position at the 1 1/2″ mark.  Move the zipper tail to the right  and continue sewing right off the zipper and all the way along the raw edge.  You should not be sewing the zipper once you hit the 1 1/2″ mark.

zipper pouch tutorial. 1

Once you turn the outer bag piece facing out, this is what it should look like:

zipper pouch tutorial. 7

Position the outer bag back piece next to the zipper as pictured above. Repeat the same process of sewing the zipper, only on the opposite side.  Match the marks at the 1/2″ point.  Then put the second bag lining piece on top, right side down.  Pin along the top and sew with the zipper foot.

zipper pouch tutorial. 9  
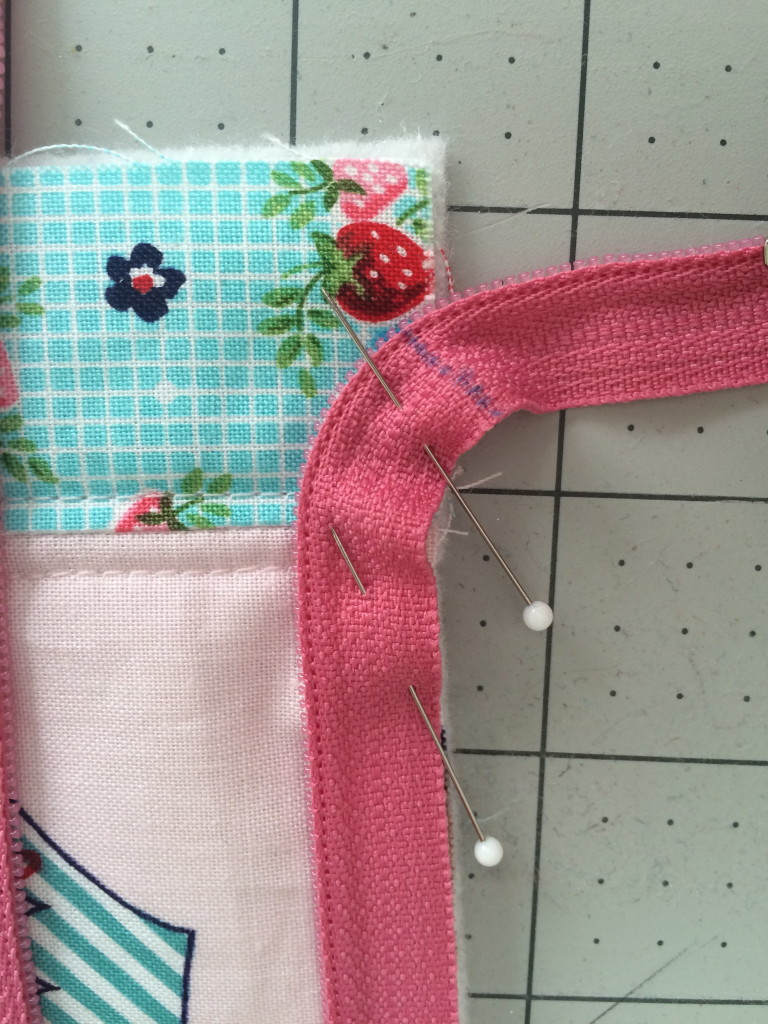
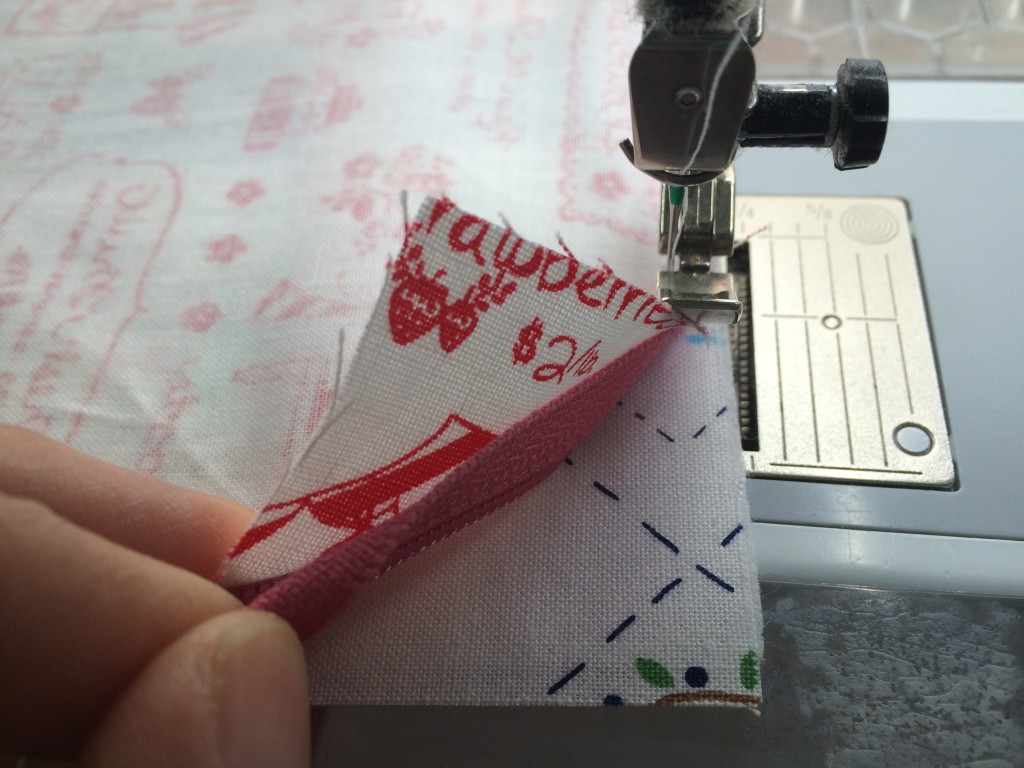
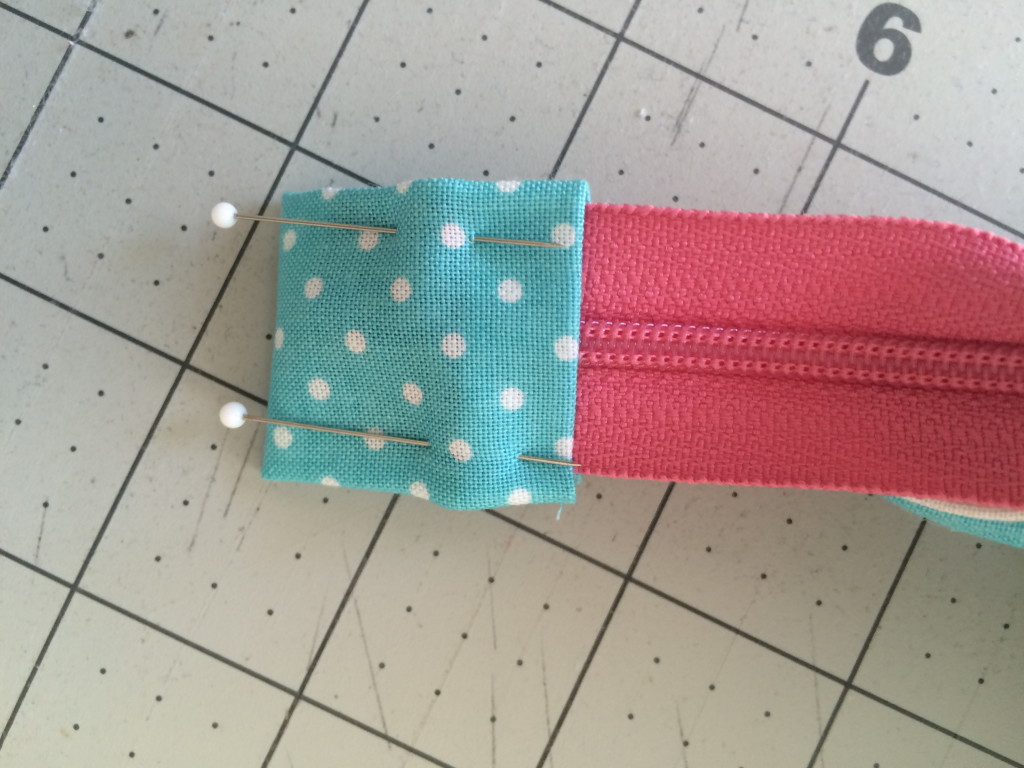
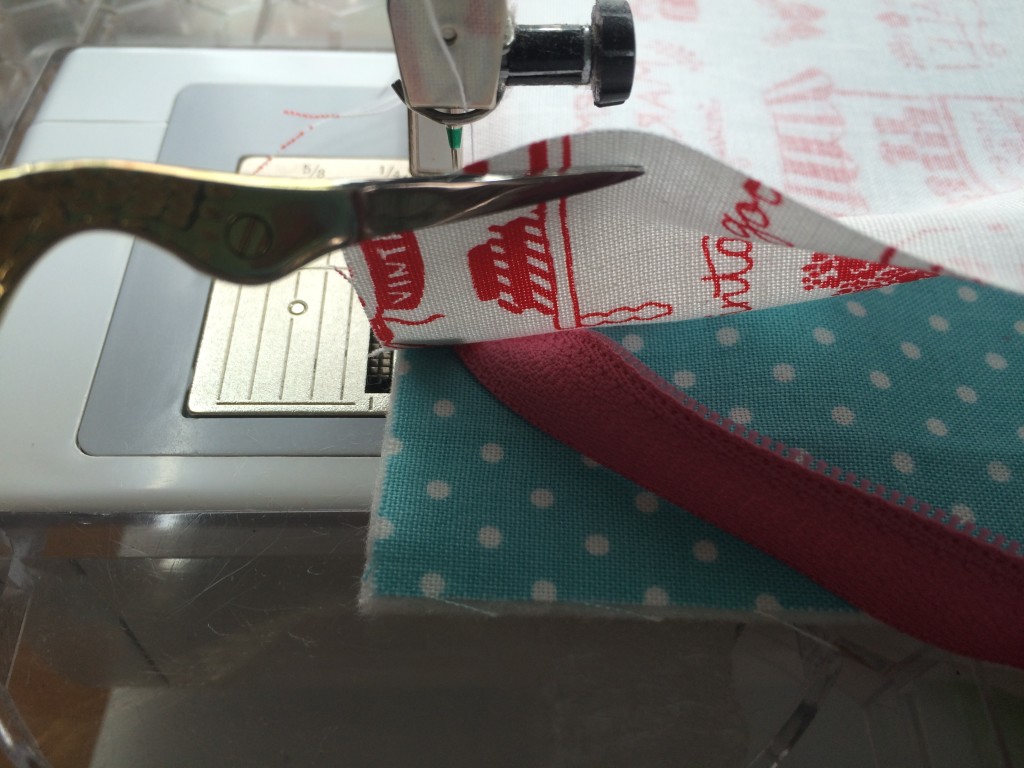
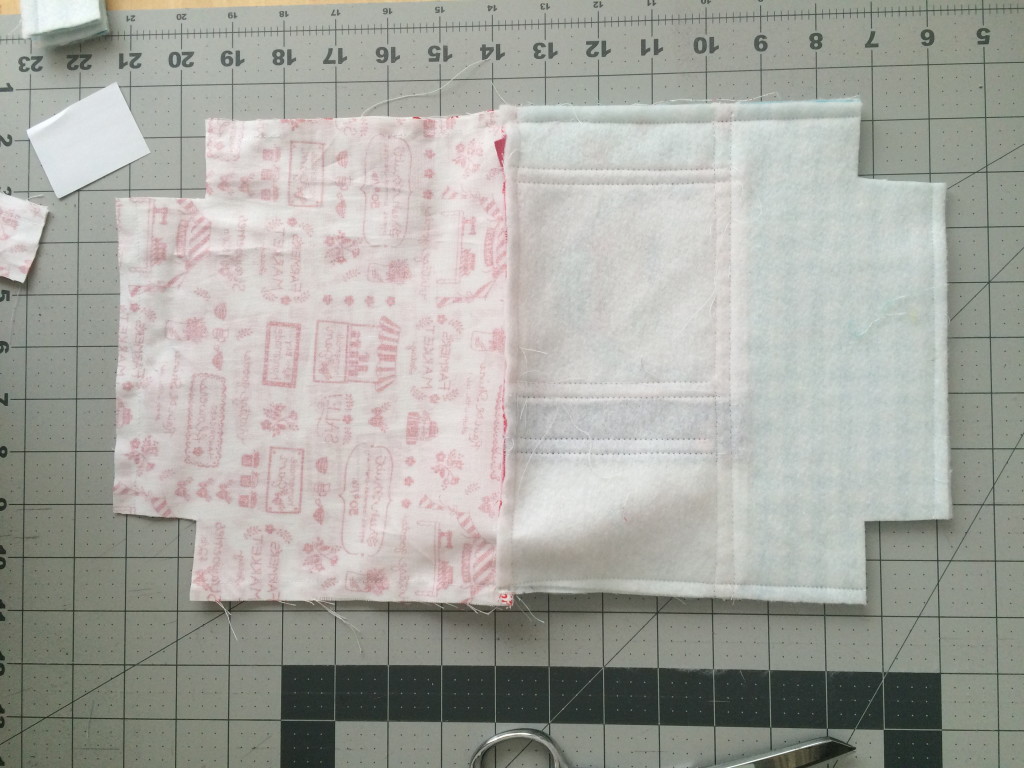
You will need to sew this portion “opposite” with the needle moved all the way over to the opposite side and the bulk of the zipper pouch next to the throat of the sewing machine.

zipper pouch tutorial. 11

Stop sewing at the 1 1/2″ mark and pull the zipper end to the right and continue sewing (below)

zipper pouch tutorial. 12

This is how the bag should look now:zipper pouch tutorial. 13

zipper pouch tutorial. 14

Trim off the excess zipper of the front only, leave the tail.zipper pouch tutorial. 15

WITH THE ZIPPER PARTIALLY OPEN, match right sides together of the lining pieces and right sides together of the outer bag pieces, tuck the zipper tail way inside this unit so it doesn’t get caught in the seam.  Pin all the way around, matching the seams.zipper pouch tutorial. 16

Sew all the way around the bag using a 1/4″ seam allowance.  Leave a 3″ opening on one of the bag lining sides for turning.zipper pouch tutorial. 18

This part will differ depending on the bag you are making.  I like to use a 1 1/4″ or a 1 1/2″ notch.  Cut a pattern square the desired size of the notch.  Cut this notch out of each corner.zipper pouch tutorial. 19

After the notches have been cut, open the corner of the bag so the bottom seams match up and pin:zipper pouch tutorial. 20

Sew a 1/4″ seam along each of the 4 corners, back-stitching at the start and stop of the seam.zipper pouch tutorial. 22
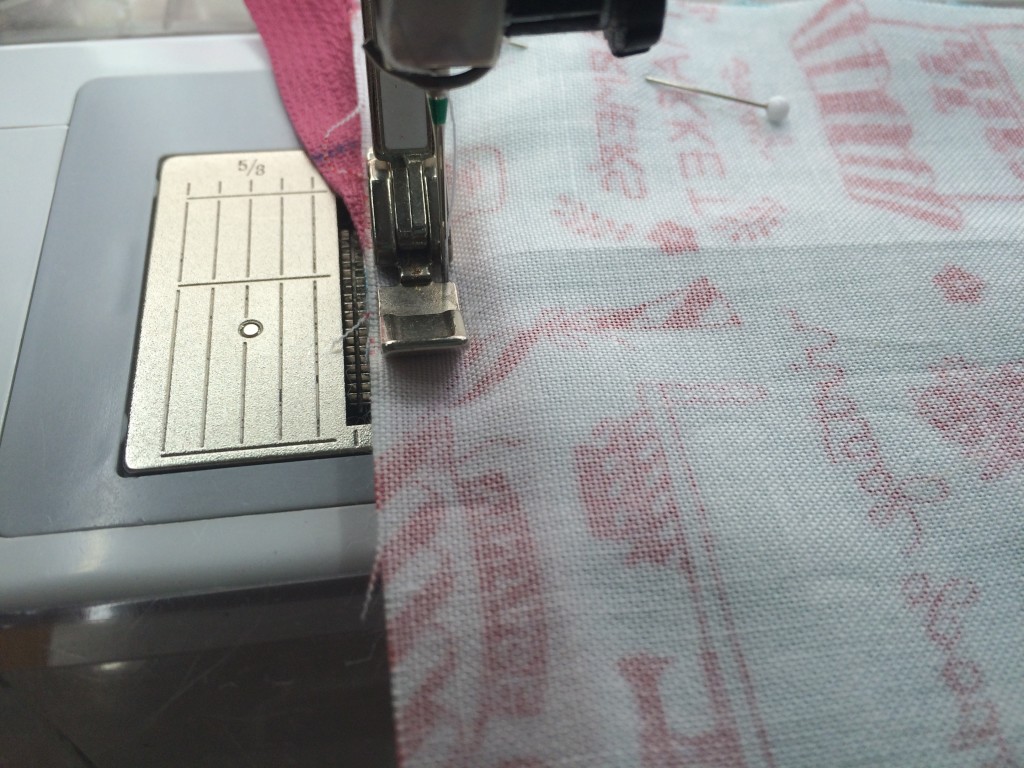
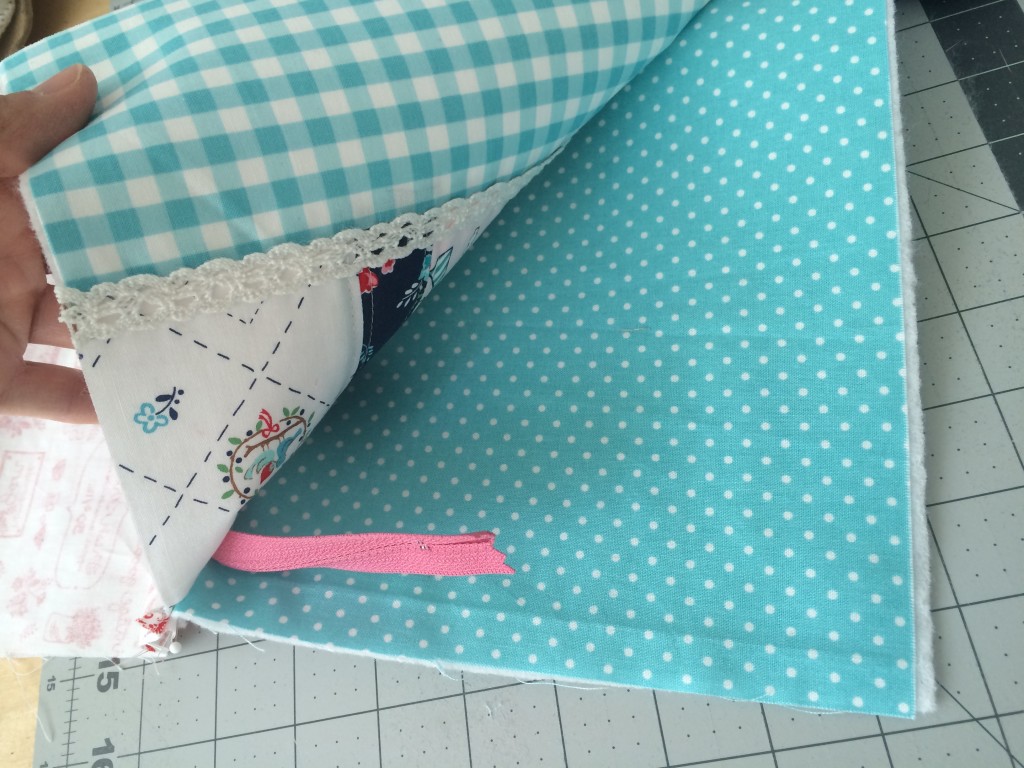
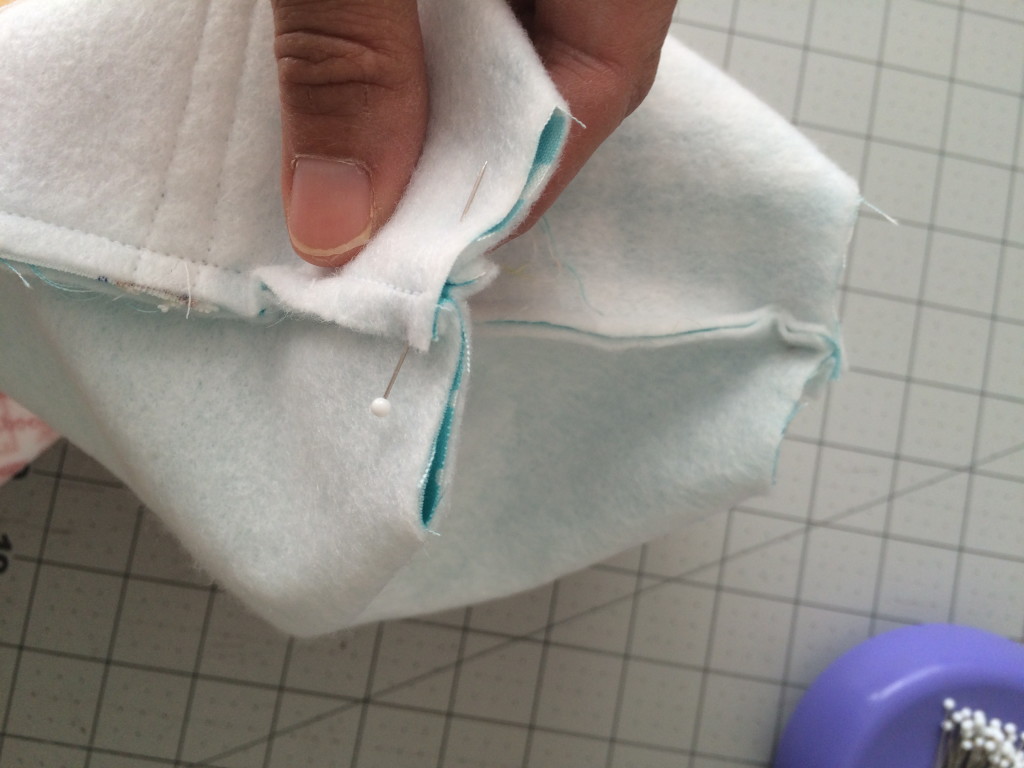
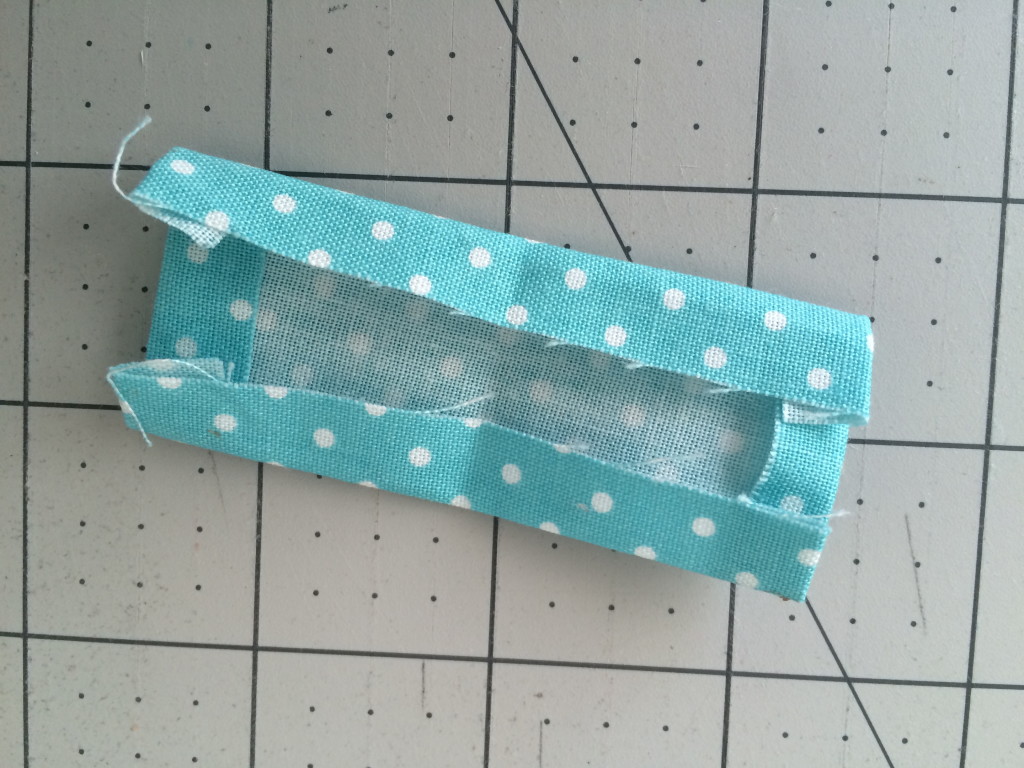
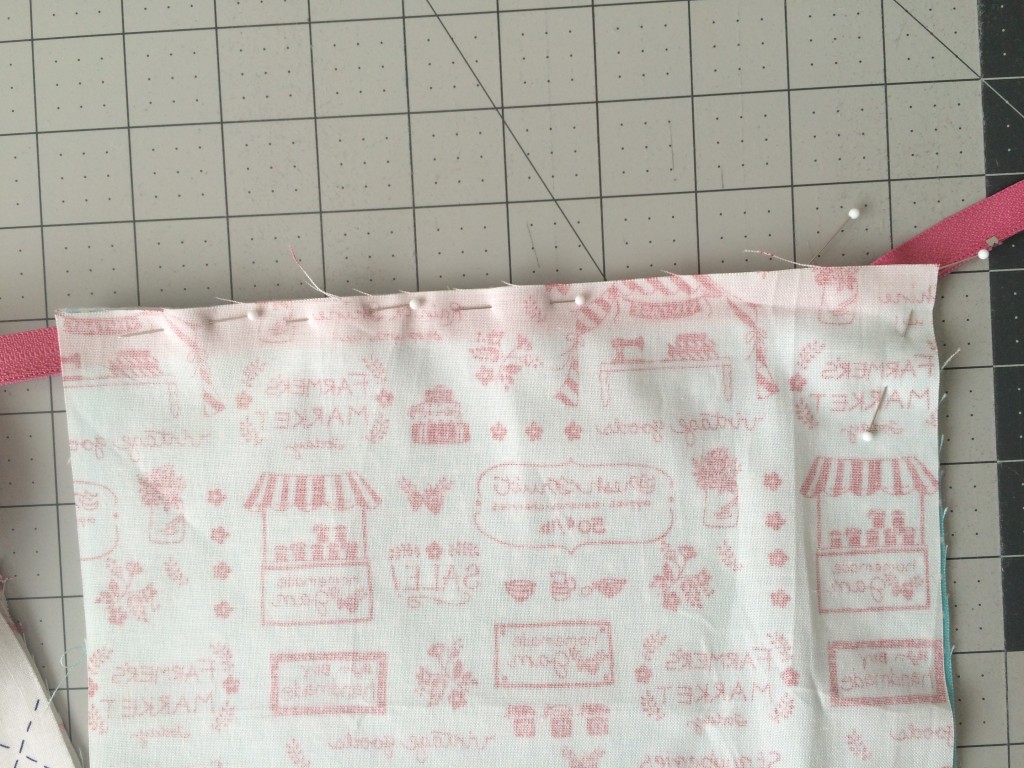
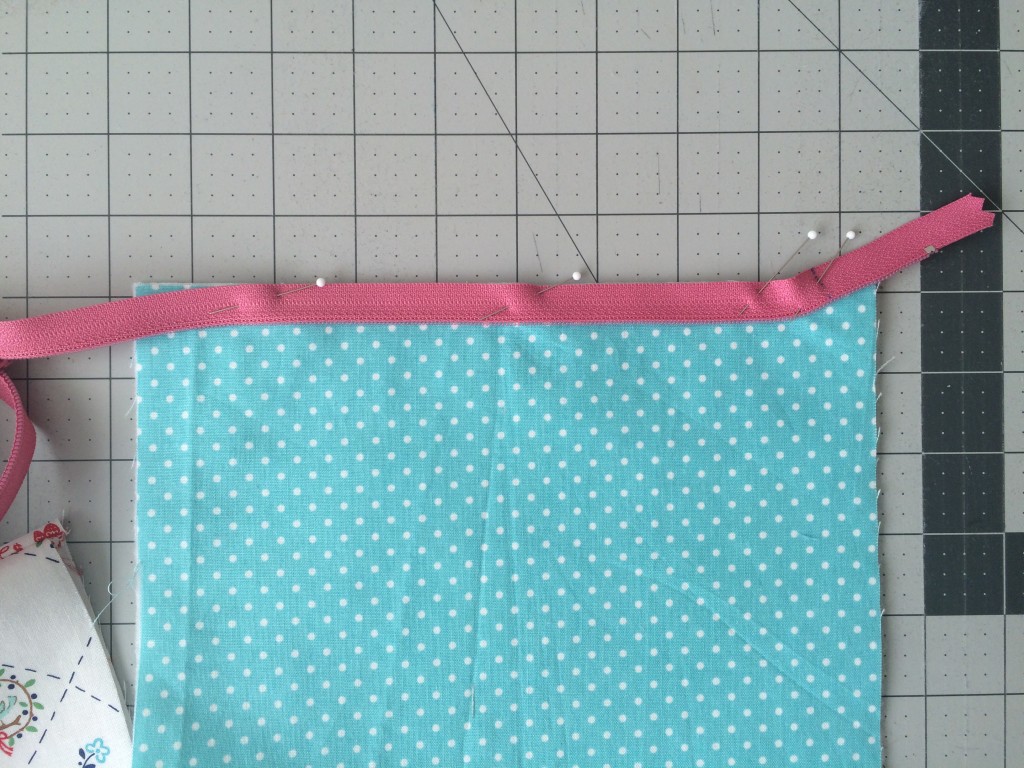
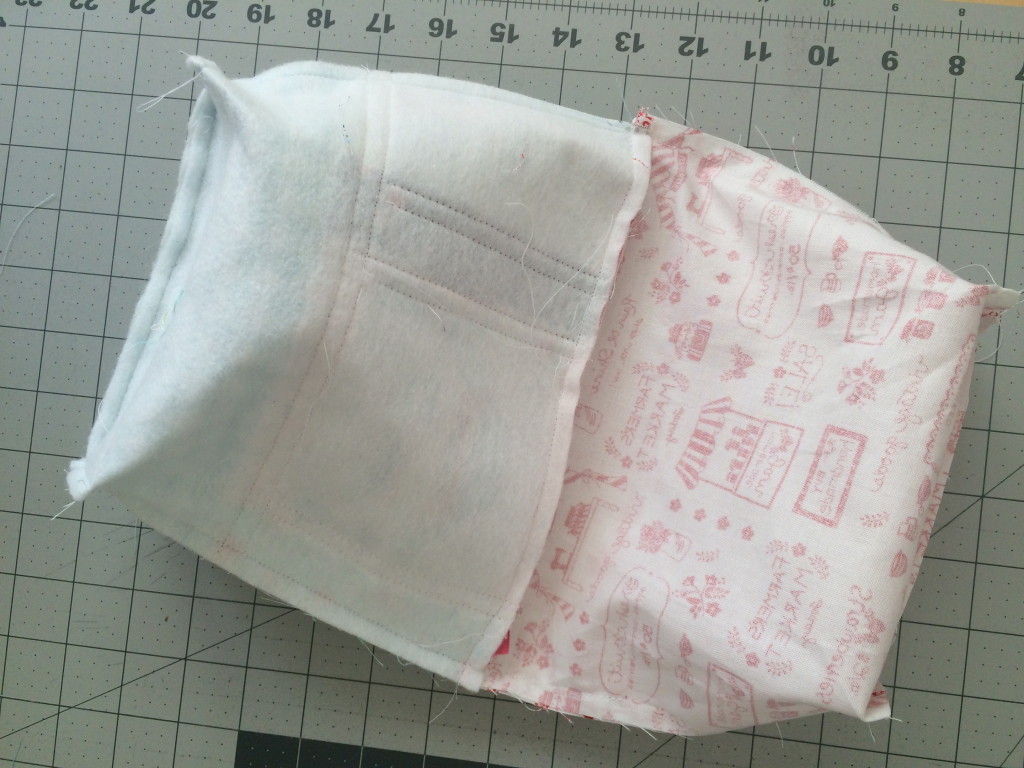
This is how the bag should look now (above).  Turn the bag right side out and top stitch the opening closed.
zipper pouch tutorial. 23

Press the lining down inside the bag and top stitch all the way around the top of the bag 1/4″ away from the top.zipper pouch tutorial. 24

To finish the zipper, make a zipper tab.  Cut an accent piece 3 1/2″ x 2″.zipper pouch tutorial. 25

Press the short ends under 1/4″ and the sides in enough to match the width of the zipper.  Then press in half.zipper pouch tutorial. 26

Cut the zipper tail to the desired length and then place the zipper tab over the end of the zipper.  Pin.  Top stitch all the way around the zipper tab.zipper pouch tutorial. 27

And it’s finished!!!

zipper pouch tutorial. 28

These are some of my favorite zipper pouch tutorials:

theme print zipper pouch tiger lilyanchor zipper pouchzipper pouch father's day