Archives for July 2016

Captain America Throw Pillow Tutorial

captain american pillow 8

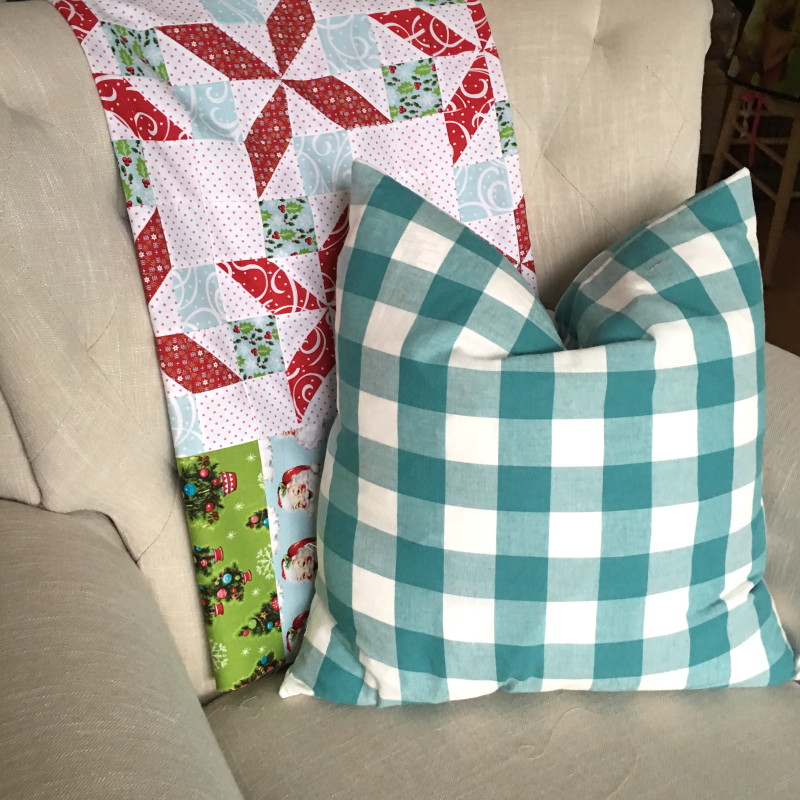
What does your daughter give her Captain America loving friend for her birthday?  After realizing the friend owns everything Captain America we created this fun pillow with the Captain America shield appliqued on it.  I used Crossroads Denim so it’s super soft, Heat n Bond Lite and some fabric scraps.  Do you want to make one too?  Here’s how!!


Supplies:

(2) 20″ pieces of Crossroads Denim

2 fat quarters red prints

2 fat quarters white prints

1 fat quarter blue print

1 yard Heat n Bond Lite or Feather Lite

20″ pillow (I like down pillows)

22″ zipper

4″ x 20″ strip for zipper flap

captain america shield cutting

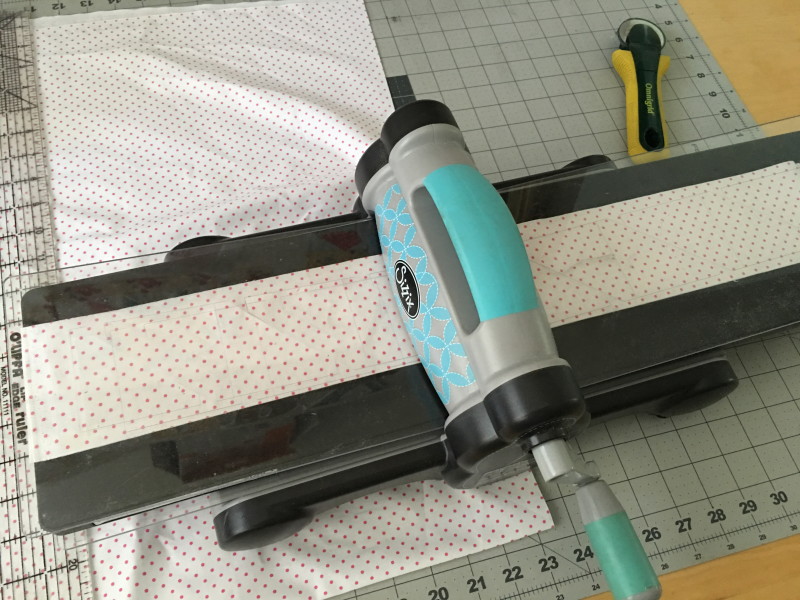
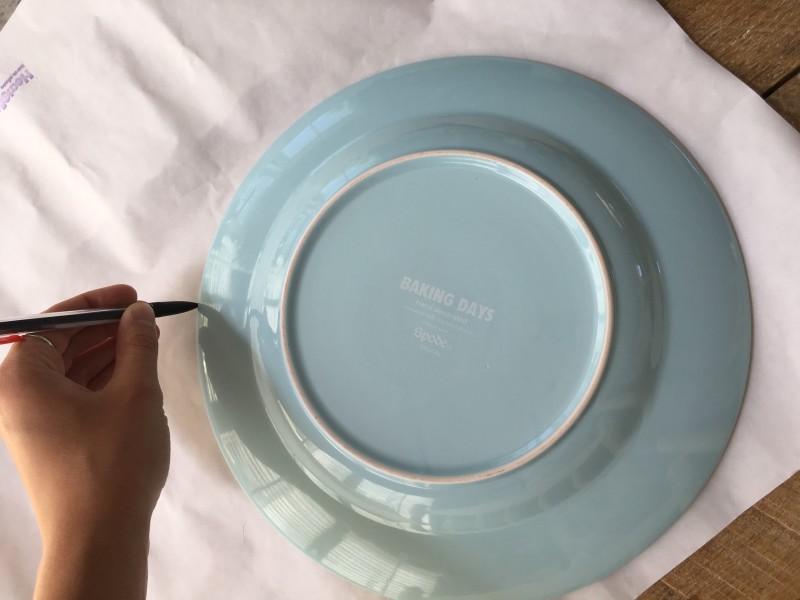
Begin by tracing the circles onto the Heat n Bond Lite.  We ran around the house measuring everything to find a 12″ circle and a 10″ circle because they are too large to print.  We found a cake plate and a dinner plate did the trick.

captain american pillow 3
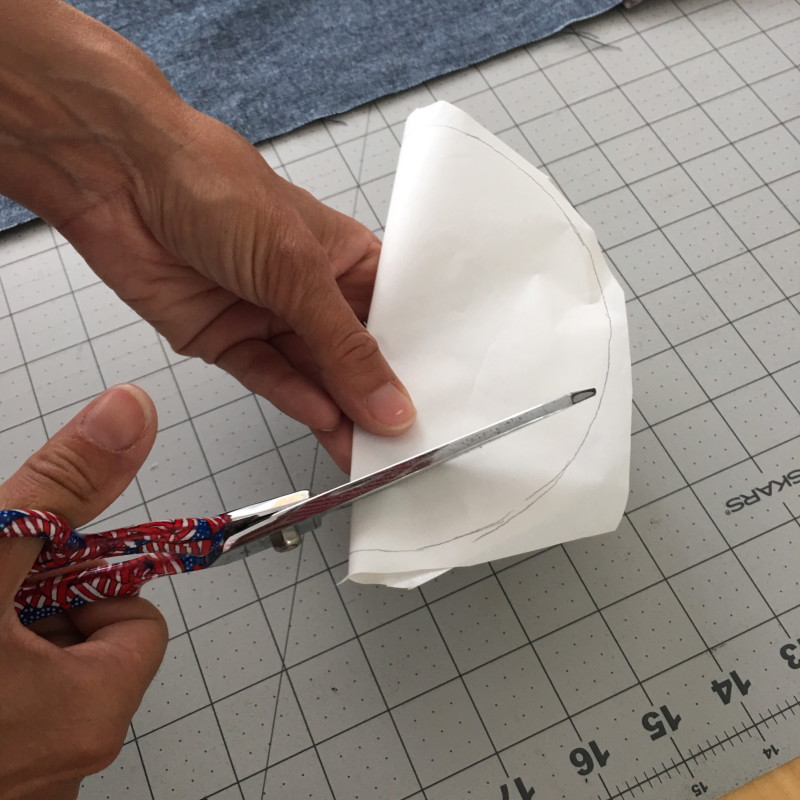
For the 8″, 6″, and star shape you can click HERE to download.  Cut around each circle about 1/4″ away from the pencil line.

captain american pillow 5

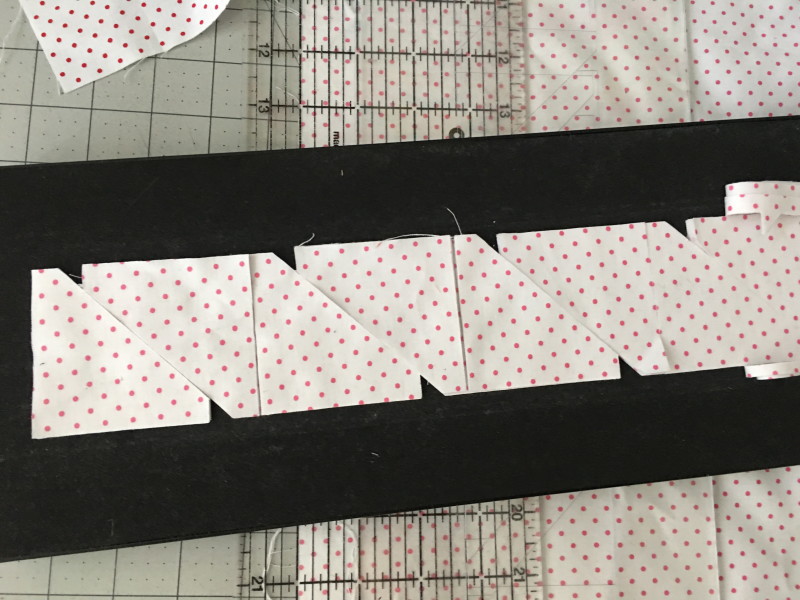
A little trick for layerd applique to prevent too much bulk:  Cut the inside of the circle about 1″ away.  It will look like this:

captain american pillow 6

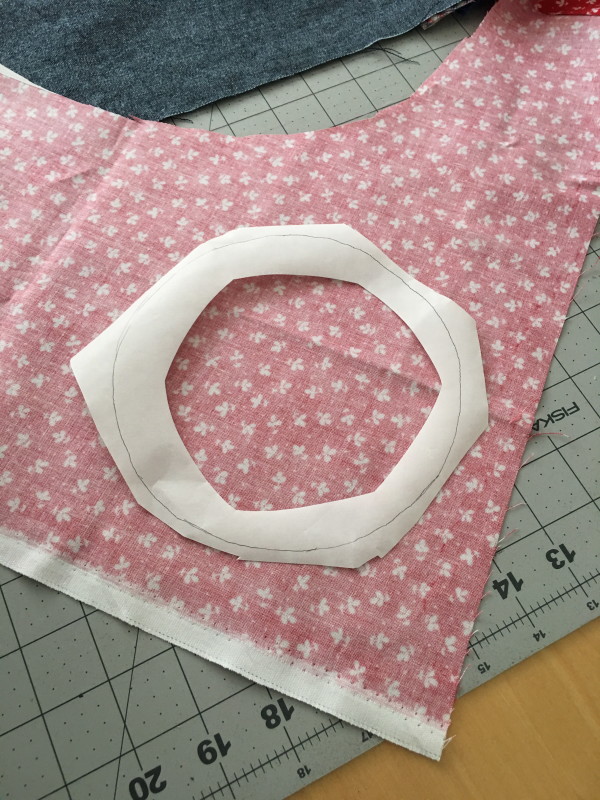
You really only need the Heat n Bond to hold down the edges.  The circles will be layered on top of each other and it will keep everything secure.  Continue doing this with each of the circles.

captain american pillow 2

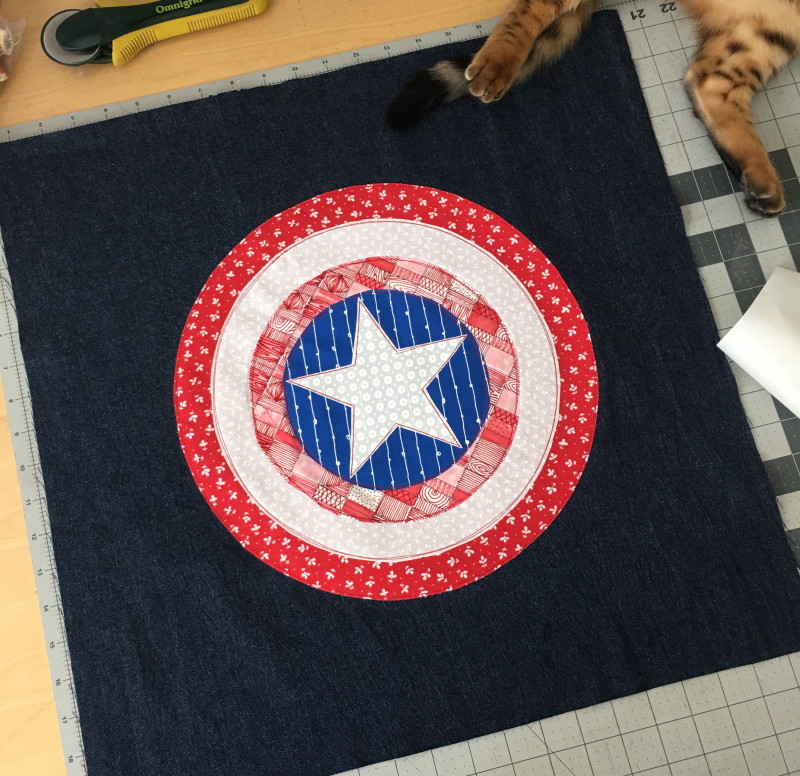
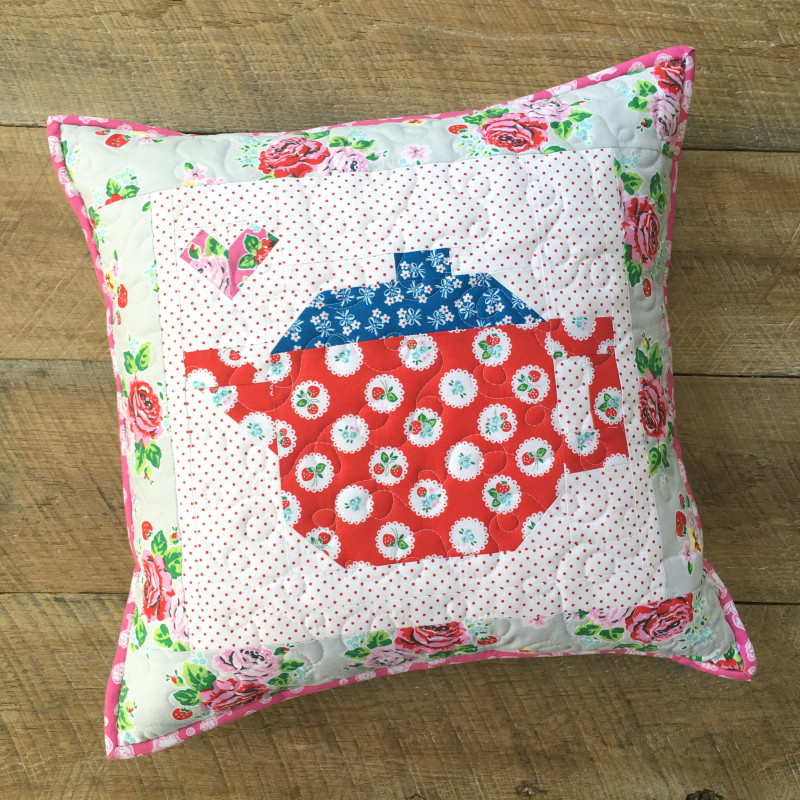
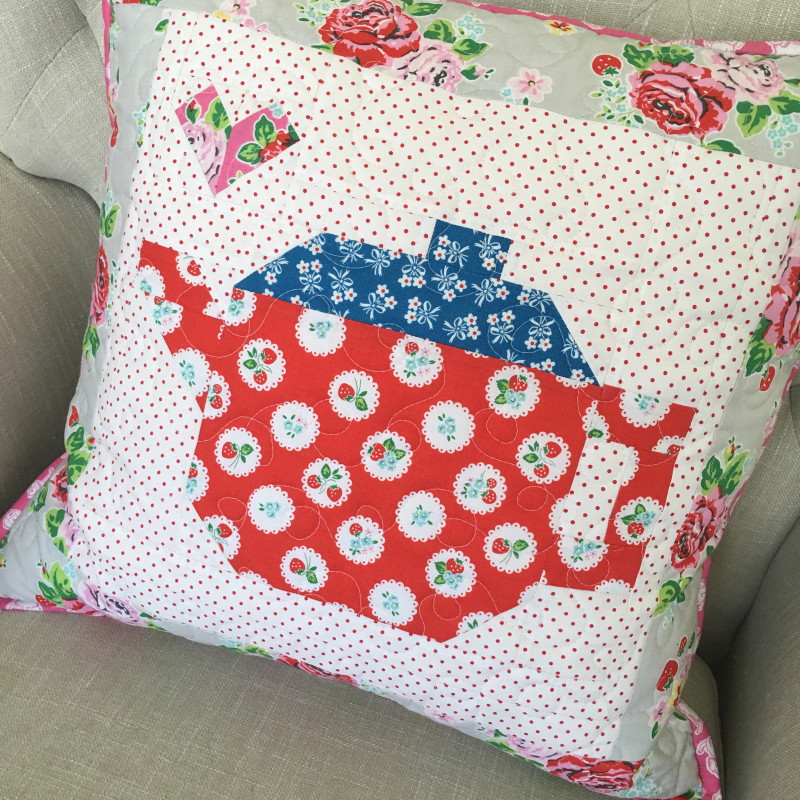
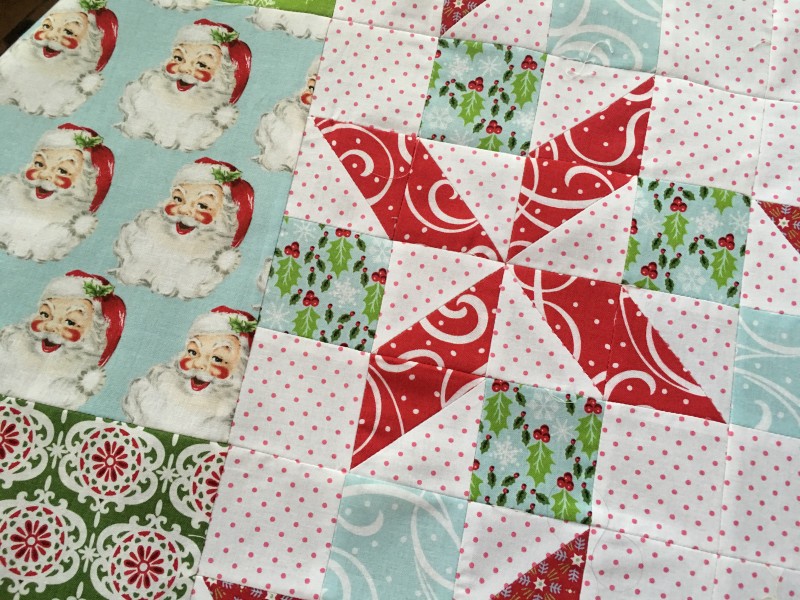
Position the circles as shown above.  Straight stitch around each circle and star 2 times.  I used red thread.  captain american pillow 4

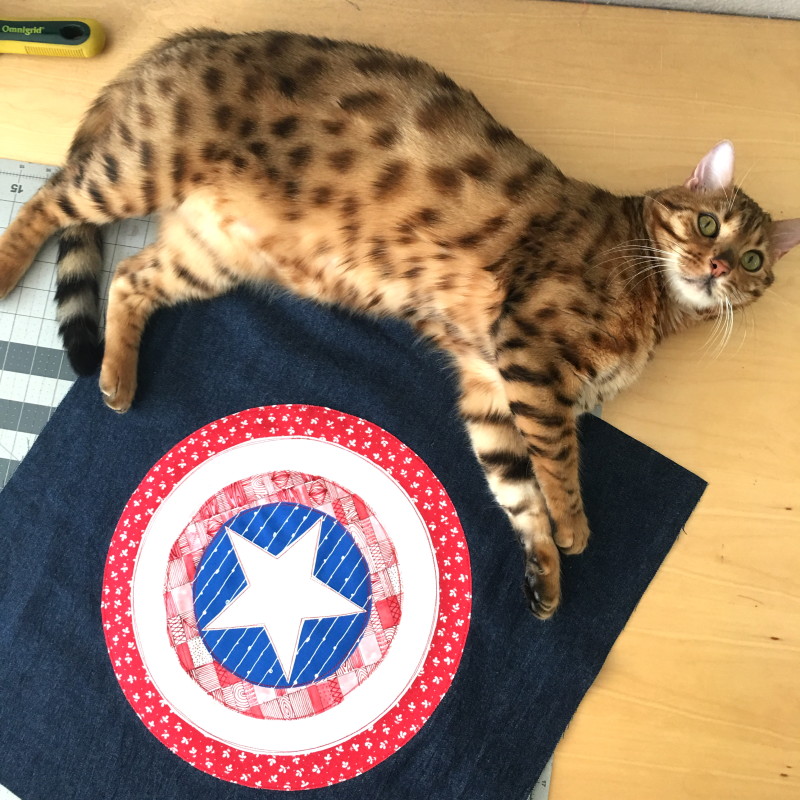
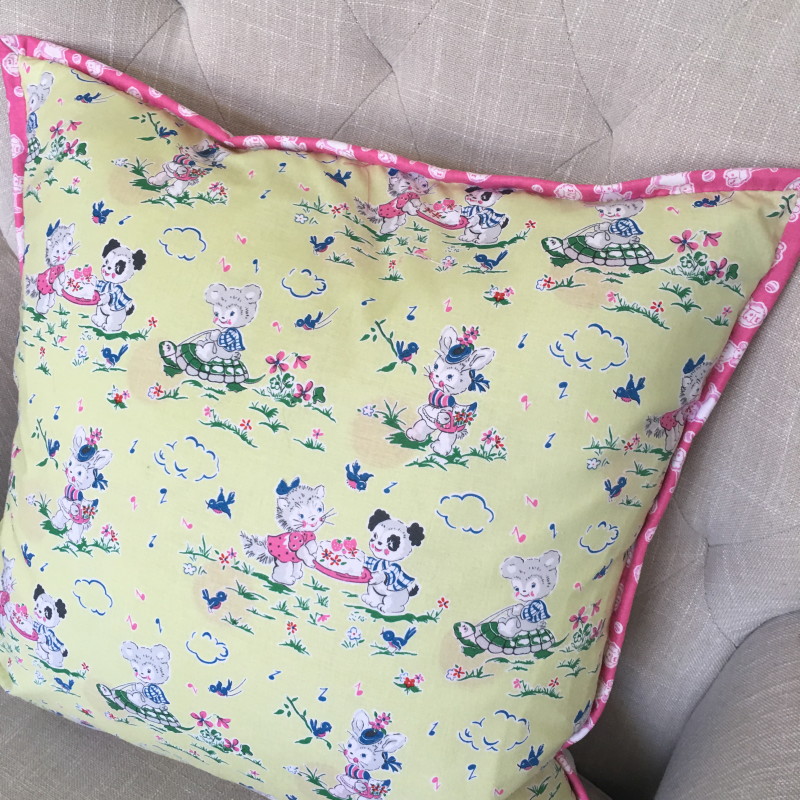
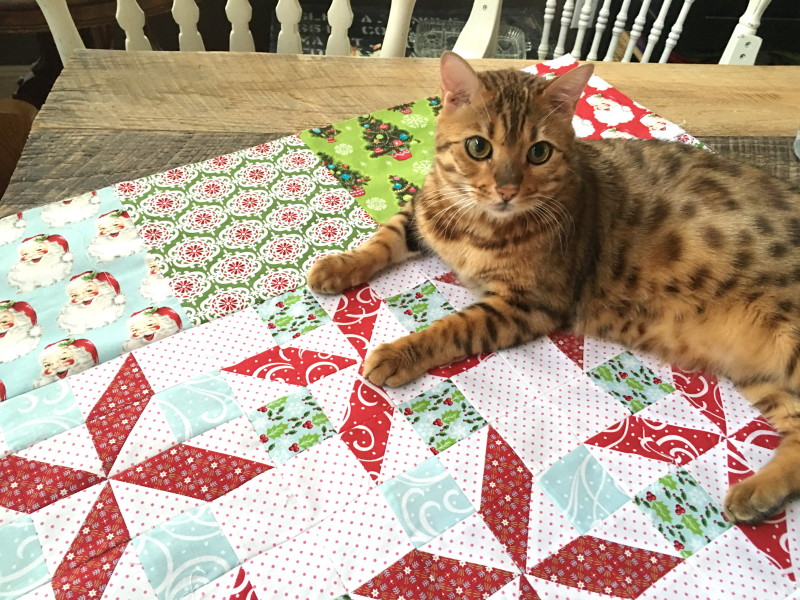
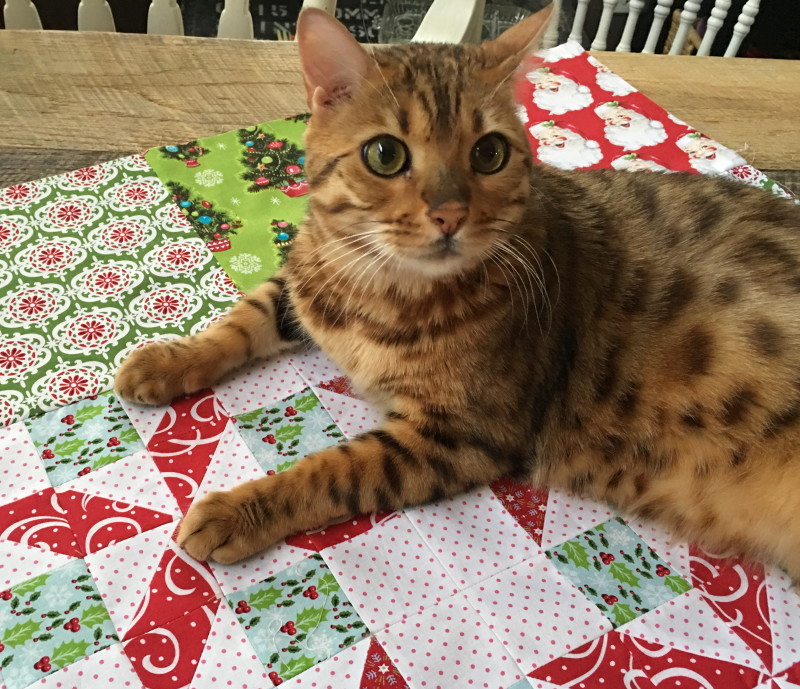
Make sure your cat approves 🙂   To finish the pillow you can follow this tutorial for inserting a zipper and zipper flap to a pillow back.

captain american pillow 10
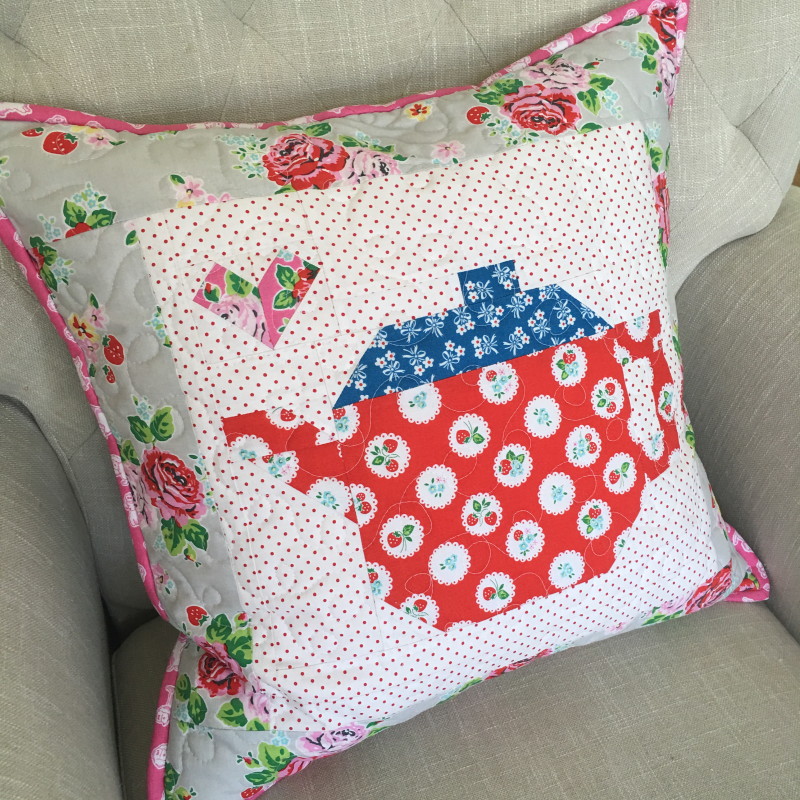
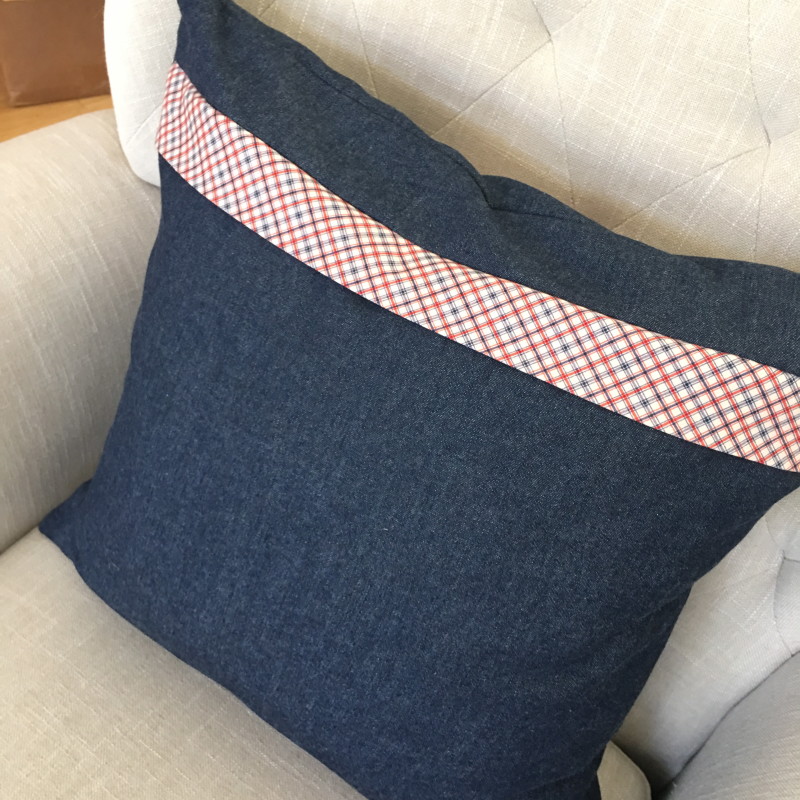
Insert the pillow form and you’re done!  Ready to wrap and head to the party!!  captain american pillow 9

Pretty Playtime Quilts Teapot Block Pillow

Blog-Header

Today is my turn on the Pretty Playtime Quilt Blog Tour!  I love this sweet pattern book by Elea Lutz!  (Juicy tidbit…..Elea and I once spent a wild night together at an 80’s dance club!!!)  The patterns for this entire quilt are in the spiral bound book available from Fat Quarter Shop.  You can make the sampler quilt or you can get creative with the blocks!Screen Shot 2016-07-03 at 10.00.13 PM
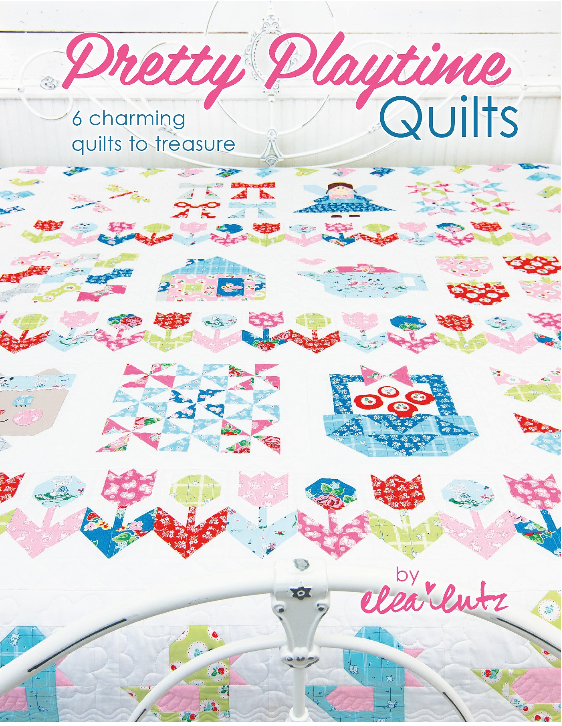
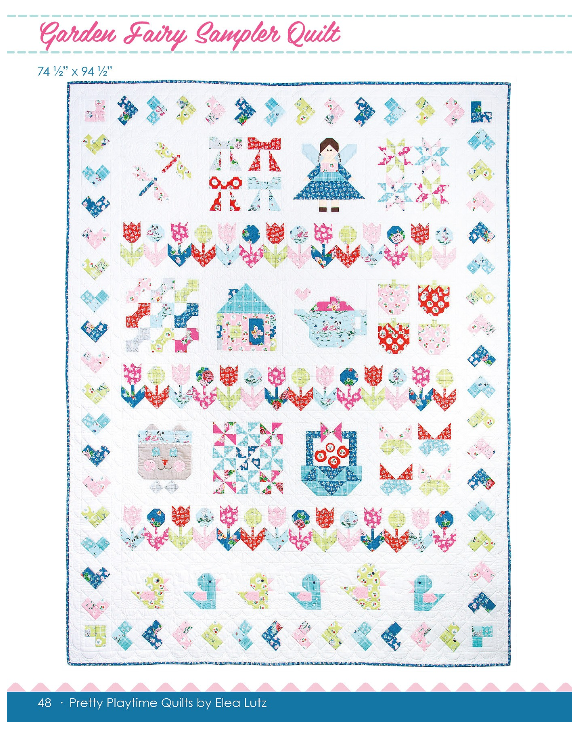
The fabrics used in the pattern book are from Elea’s fabric line Strawberry Biscuit.Screen Shot 2016-07-03 at 9.59.54 PM

I choose to make a throw pillow out of the teapot block.IMG_9424

I sewed the block exactly like the pattern instructed.  I love how the instructions are super easy to read and the diagrams make sewing the block a snap.  I added a 1.5″ border around the teapot followed by a 3.5″ floral border.  IMG_9416

I quilted the entire block like you would a mini quilt.  I trimmed it down to measure 20″ square.  Before adding the binding I sewed a 20″ x 20″ back with a zipper.  IMG_9412

I basted the quilted front to the pillow back wrong sides together with a 1/8″ seam all the way around.  Then I added the binding just like you would a quilt.IMG_9409

I inserted a 20″ down pillow form.  It’s super soft and perfect for propping your head while reading or watching a movie 🙂IMG_9414

Be sure to check out a new block from a new designer each week!  You will love all the inspiration!

Week 2 – Erin from Why Not Sew?
Week 3 – Wynn from Zakka Art
Week 4 – Anorian from Samelia’s Mum
Week 5 – Amy from Diary of a Quilter
Week 6 – Renee from Sewn with Grace
Week 7 – Jemima from Tied with a Ribbon
Week 8 – Amanda from Jedi Craft Girl
Week 9 – Debbie from Happy Little Cottage
Week 10 – Tina from Emily Ann’s Kloset
Week 11 – Erica from Kitchen Table Quilting
Week 12 – Kristyne from Pretty by Hand
Week 13 – Heidi from Fabric Mutt
Week 14 – Brigitte from The Family Hearth
Week 15 – Lorrie from Sew Mod Designs
Week 16 – Kristin from They Grow Up Too Fast

Christmas Kitsch Blog Hop {Christmas Quilt Tutorial}


ChristamsKitschHeader
IMG_9355
I’m kicking off the Christmas Kitsch Blog Hop today!  For the next 6 weeks, each of the Blend Fabrics Design Team Members will be sewing up a fantastic holiday project with this retro-inspired fabric line!  Christmas in July here we come!
ChristamsKitschBeauty
Immediately I fell in love with these fabrics!  My kids call the santas “the scary Santas!”  I love them because they remind me of all the Christmas decorations my mom had when I was a little girl.  This fabric is available at Fat Quarter Shop.
 IMG_9349
For my project I made a table size quilt.  I love this size quilt because it’s perfect to whip up in a day, give as a gift, throw over a chair, or hang on the wall.  This quilt consists of only 2 sizes of squares: 2.5″ and 8.5″.
IMG_9348
I also love this pattern because you can show off the larger prints on the border, and then do a little half square triangle (HST) piecing on the center.  Lets get started!
Press all seams open
1/4″ seams throughout
Finished block 8″, finished quilt 40″ square
IMG_9333
Fabric Requirements
Assortment of at least 10 fat quarters
1 yard of low volume background.
IMG_9339
The star block is made up of 2.5″ squares.
For each block you need:
4 low volume 2.5″ squares
4 blue tone 2.5″ squares
8 half square triangle blocks: red and low volume.
I choose to make my HSTs with my Sizzix Fabi.  I love this extra long die that cuts perfect triangles that when sewn together measure 2.5″ square.
IMG_9335
If you don’t have this die you can make the HSTs using your favorite method.  Just make sure they finish 2.5″ square.
Piece the star block together in rows, pressing seams open.
Make 9 star blocks
 IMG_9358
For the border, cut (18) 8.5″ squares from an assortment of the darker prints.
IMG_9346
Lay out the quilt and sew together in rows, pressing seams open.
Quilt as desired.
IMG_9356
IMG_9364
This is such a fun quilt to sew!  You could easily make it larger or make it rectangle.
Be sure to check out the other designers during the next 6 weeks!  I can’t wait to see what they have.
Amanda – Jedi Craft Girl – July 1
Tina – Emily Ann’s Kloset – July 8
Jen – Tie Dye Diva – July 15
Caroline – Sew Can She – July 22
Bev – Flamingo Toes – July 29
Andy – A Bright Corner – August 5
      BlendButton