Spooktacular Eve Big Block Quilt Pattern

spooktacular eve halloween quilt
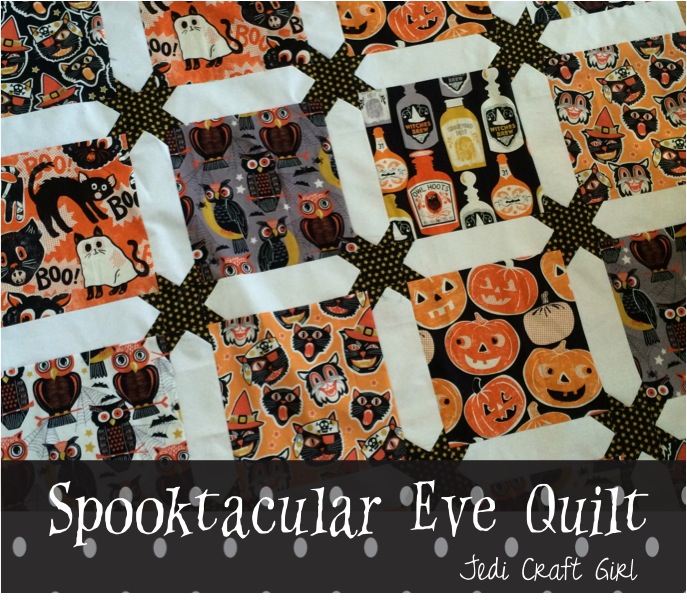
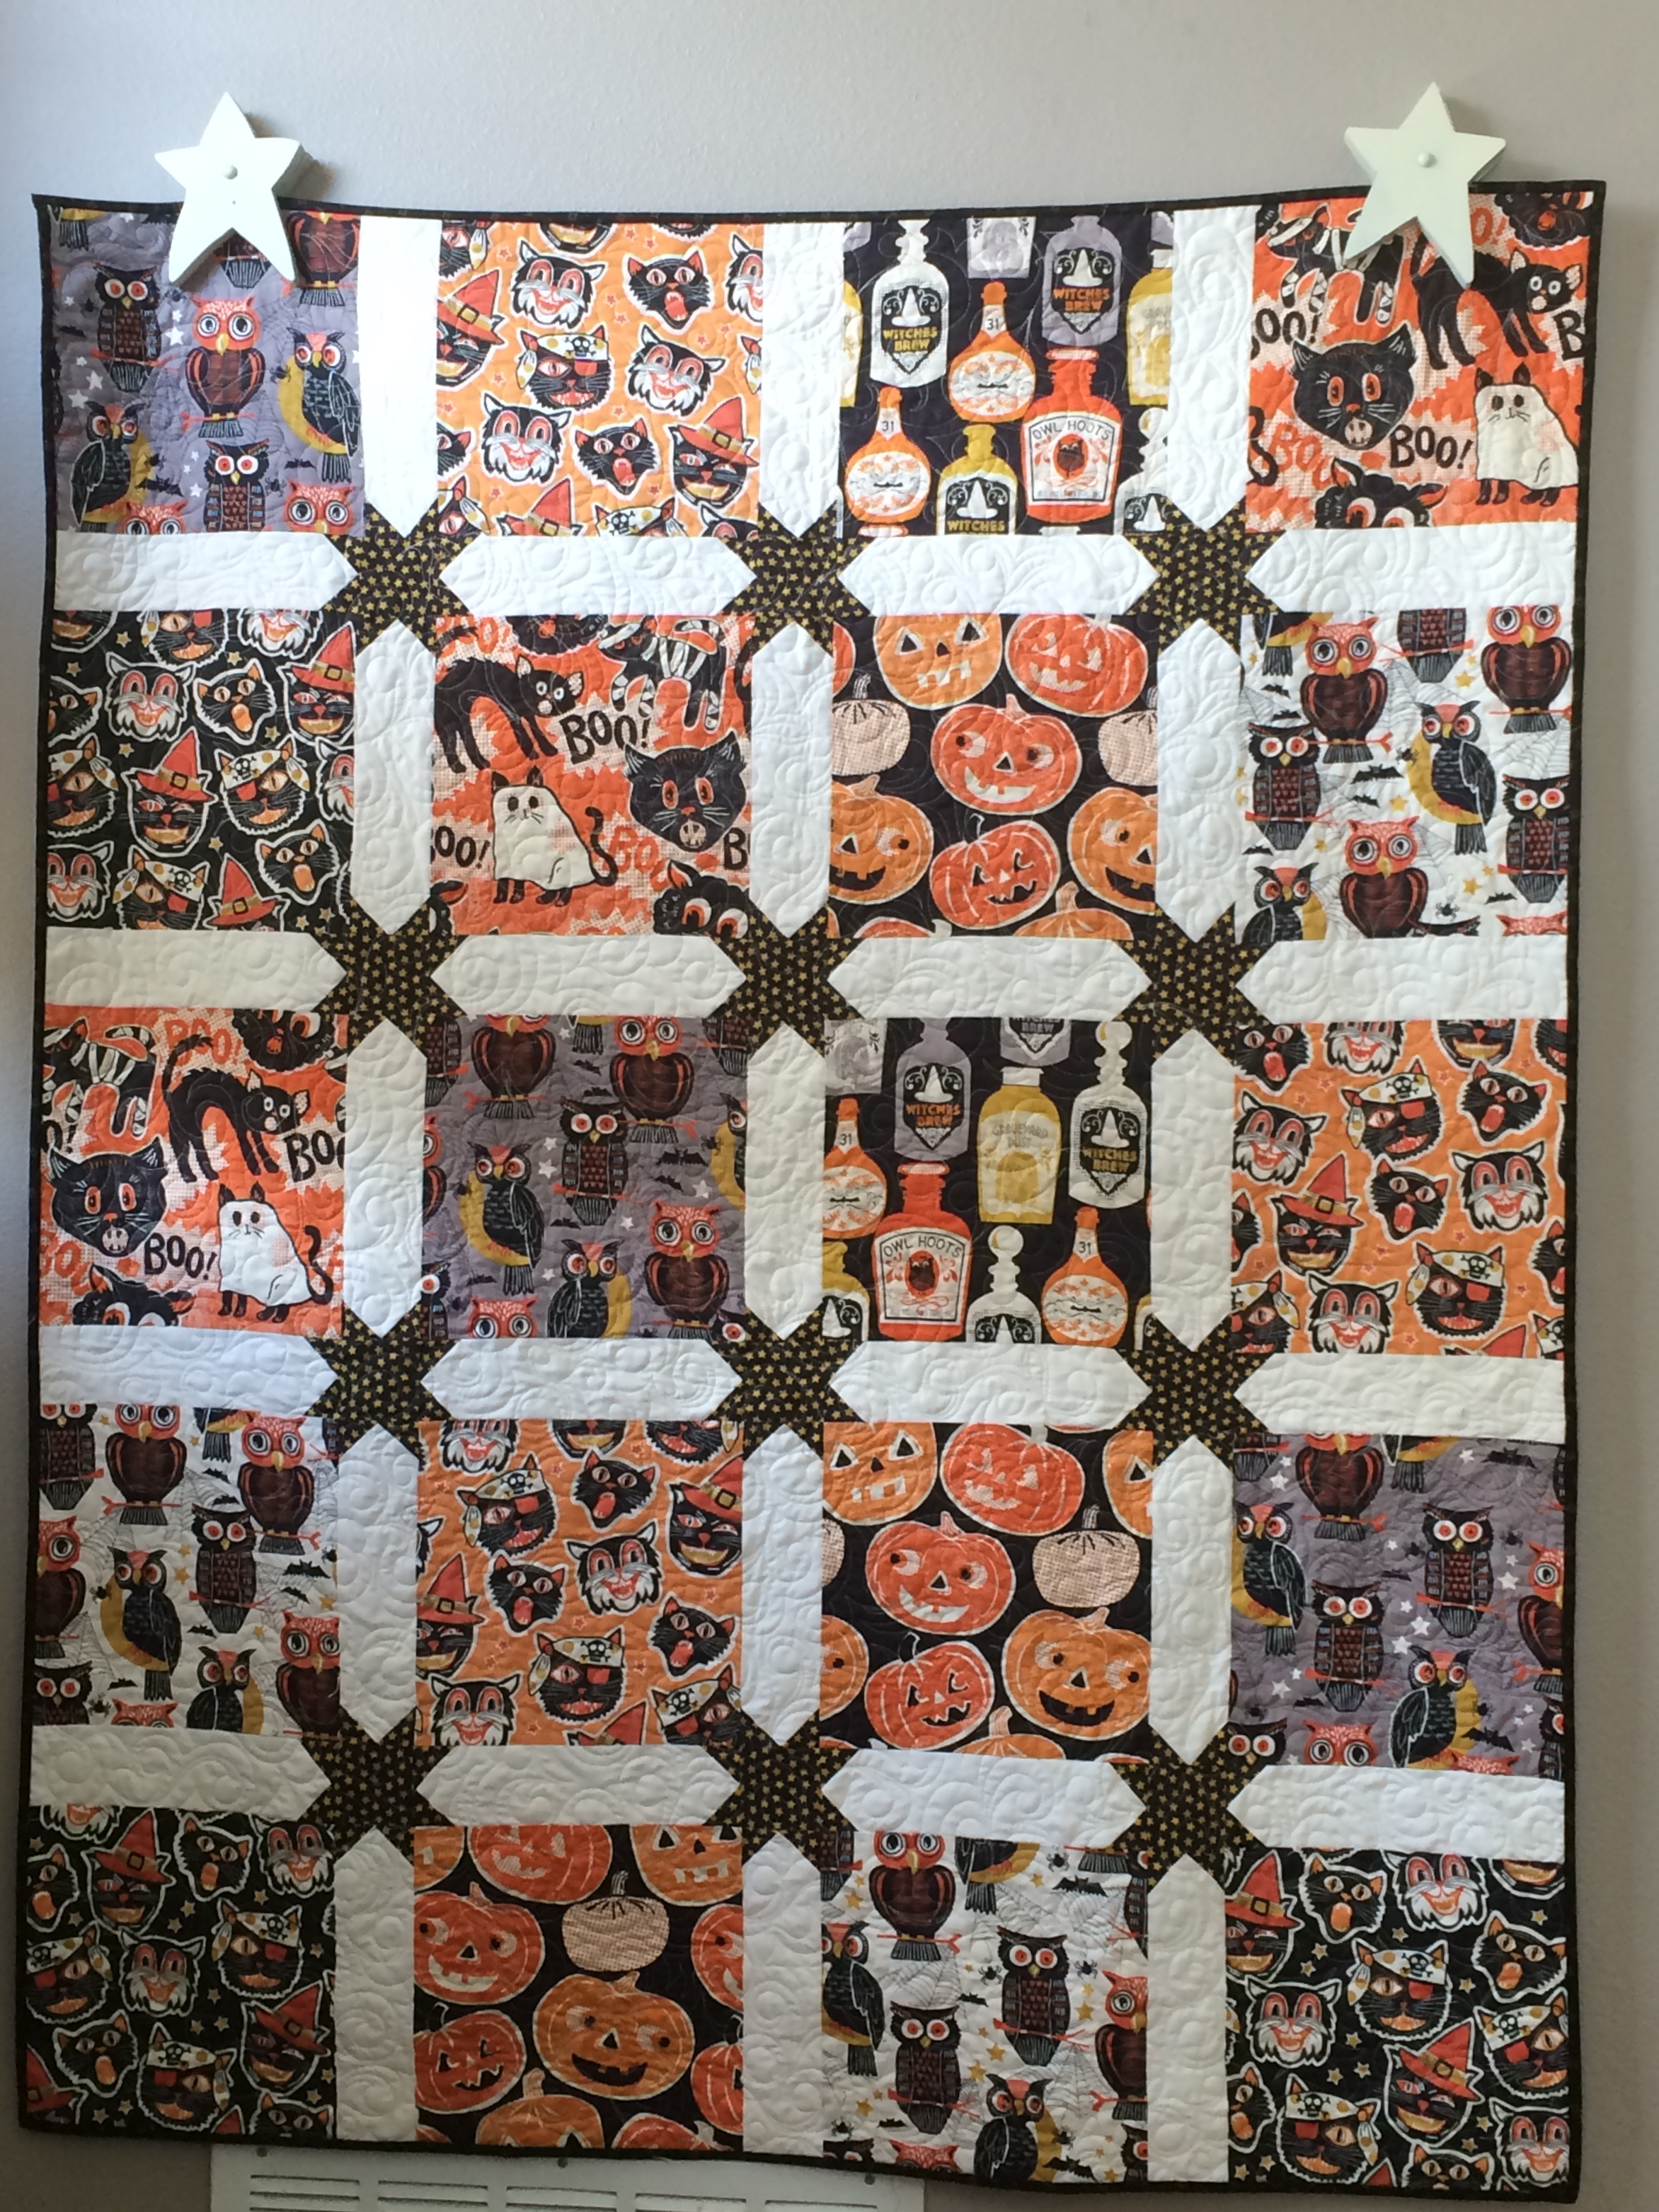
I LOVE Halloween fabric!!!  When I met Spooktacular Eve by Blend Fabrics it was Love at first sight!  These patterns have a fun vintage feel which makes them timeless!  I didn’t want to cut into the fabrics too much so I created this Big Block quilt pattern just for you!!!  It’s a fast and easy way to show off those bold prints!

spooktacular eve quilt 6
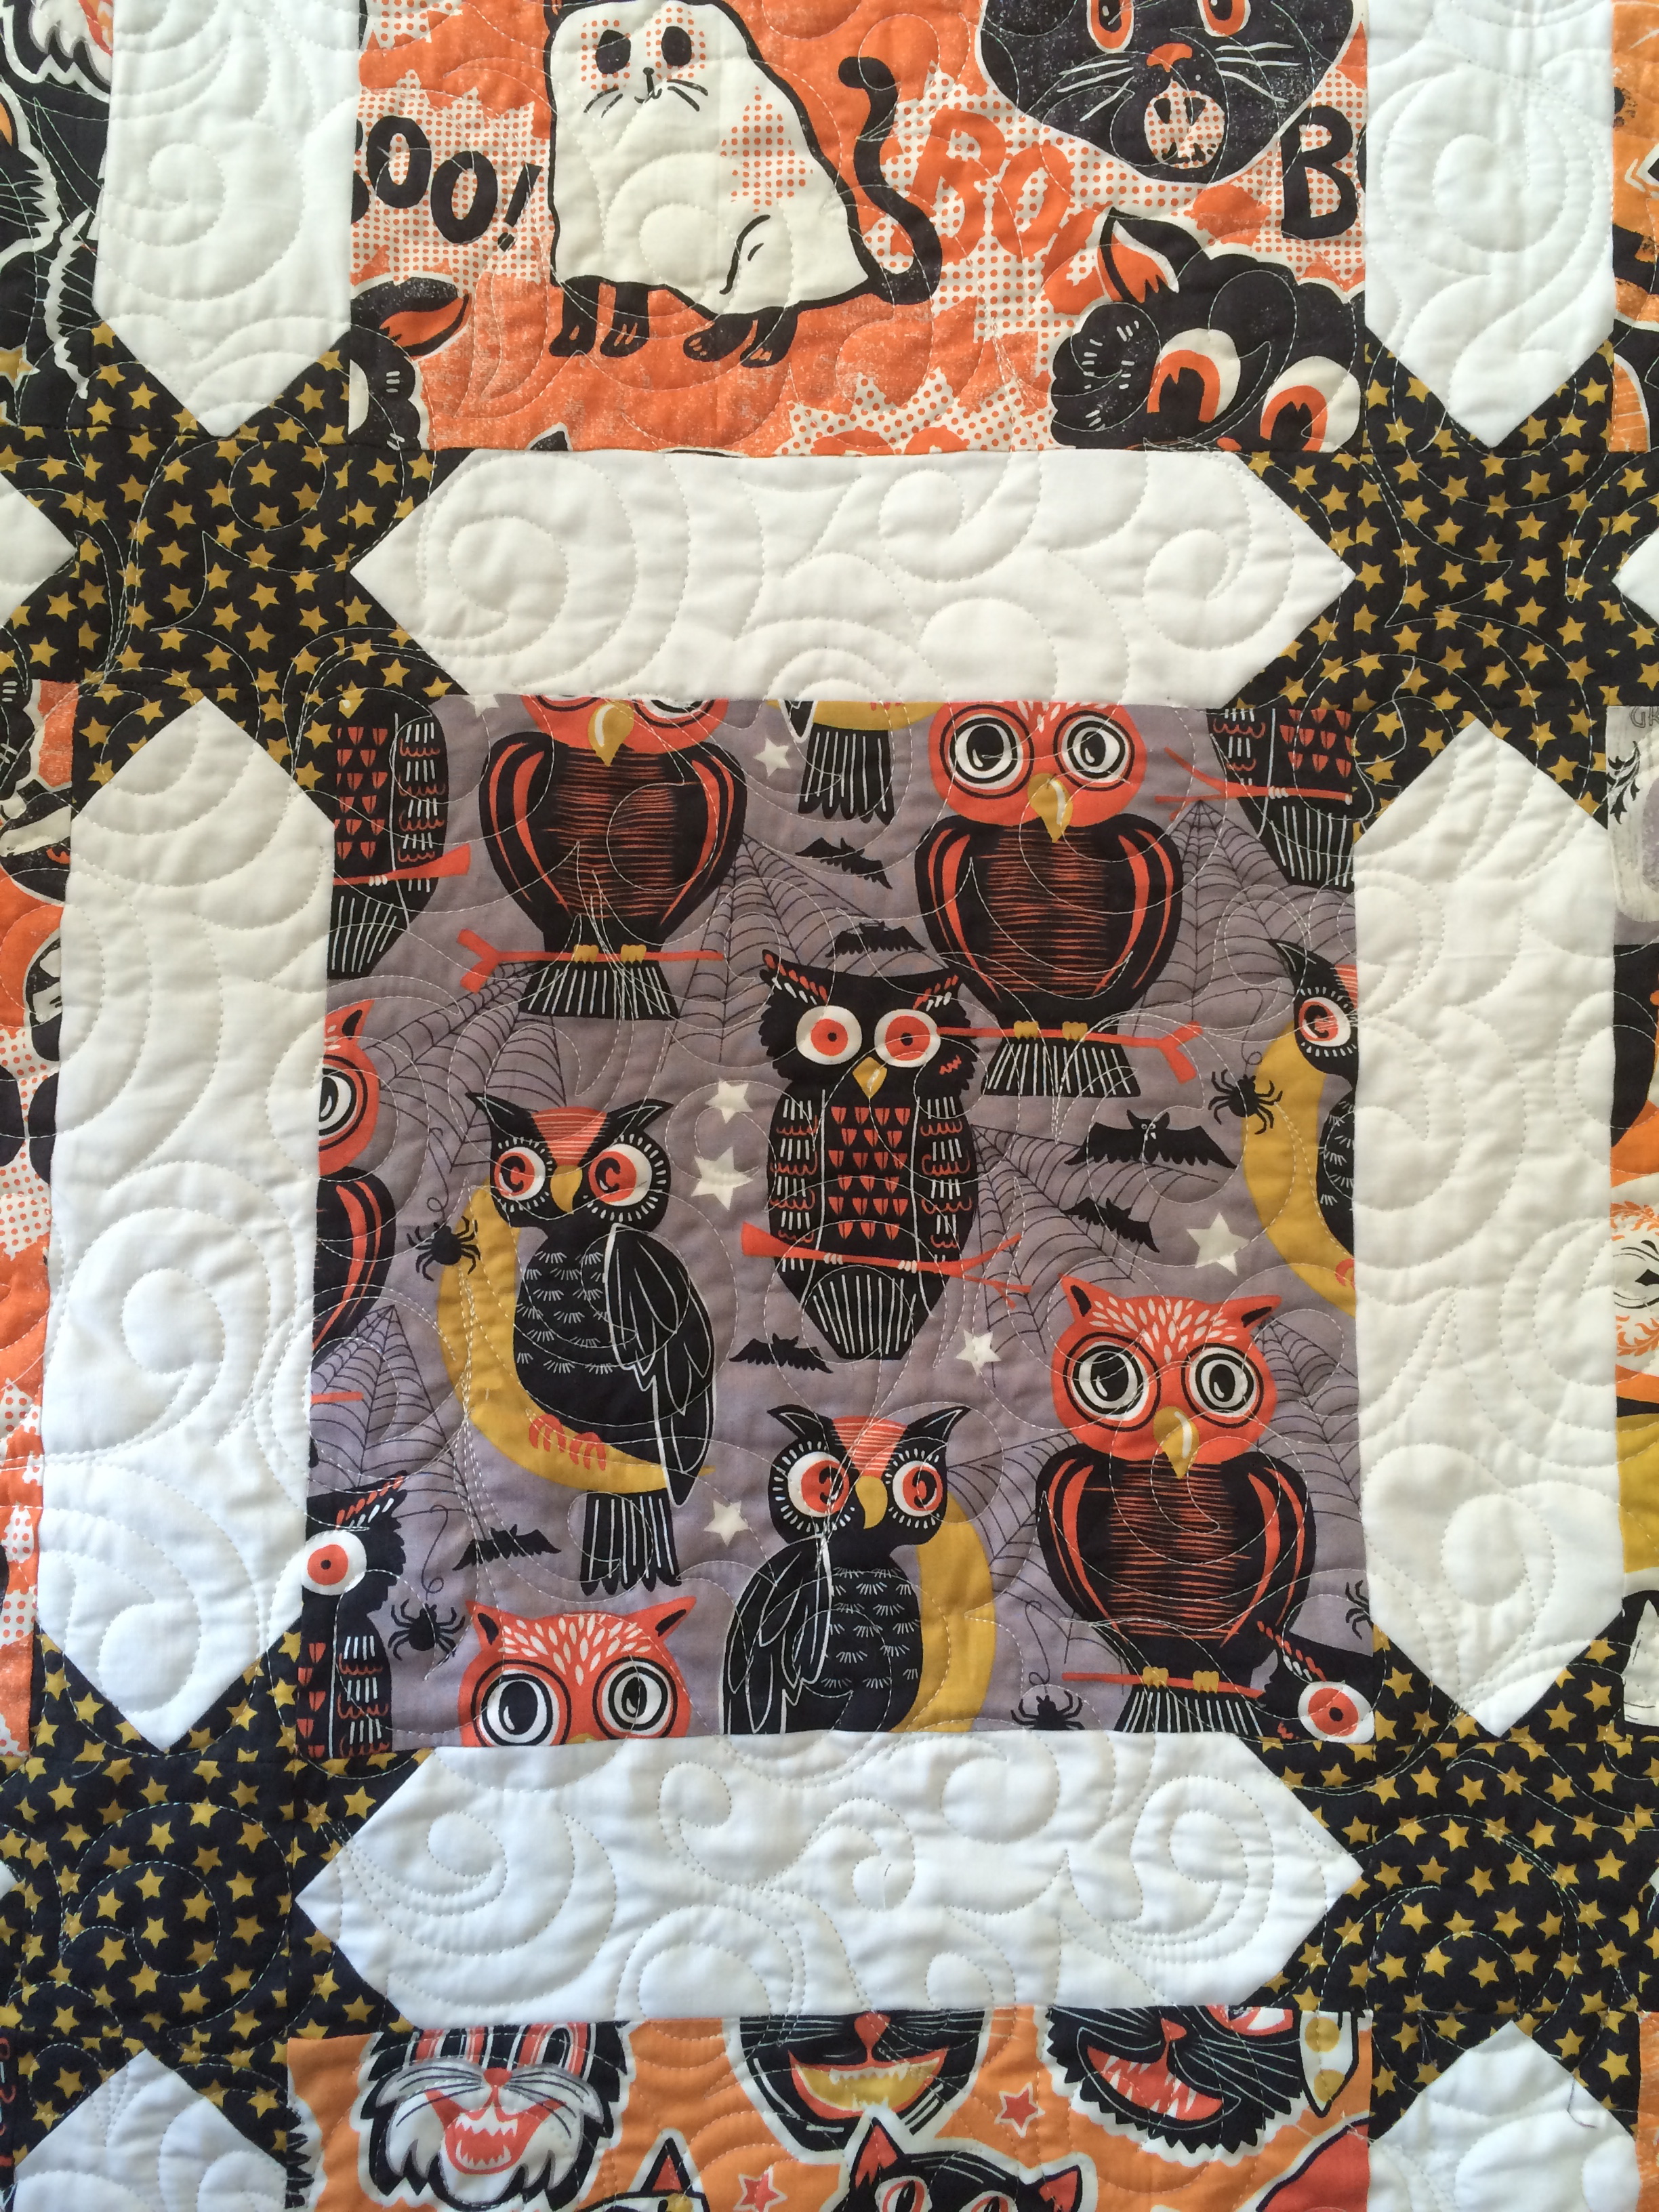
I can’t decide which print is my favorite!  If you would like to make this quilt click HERE for the PDF download version.

spooktacular eve quilt 7
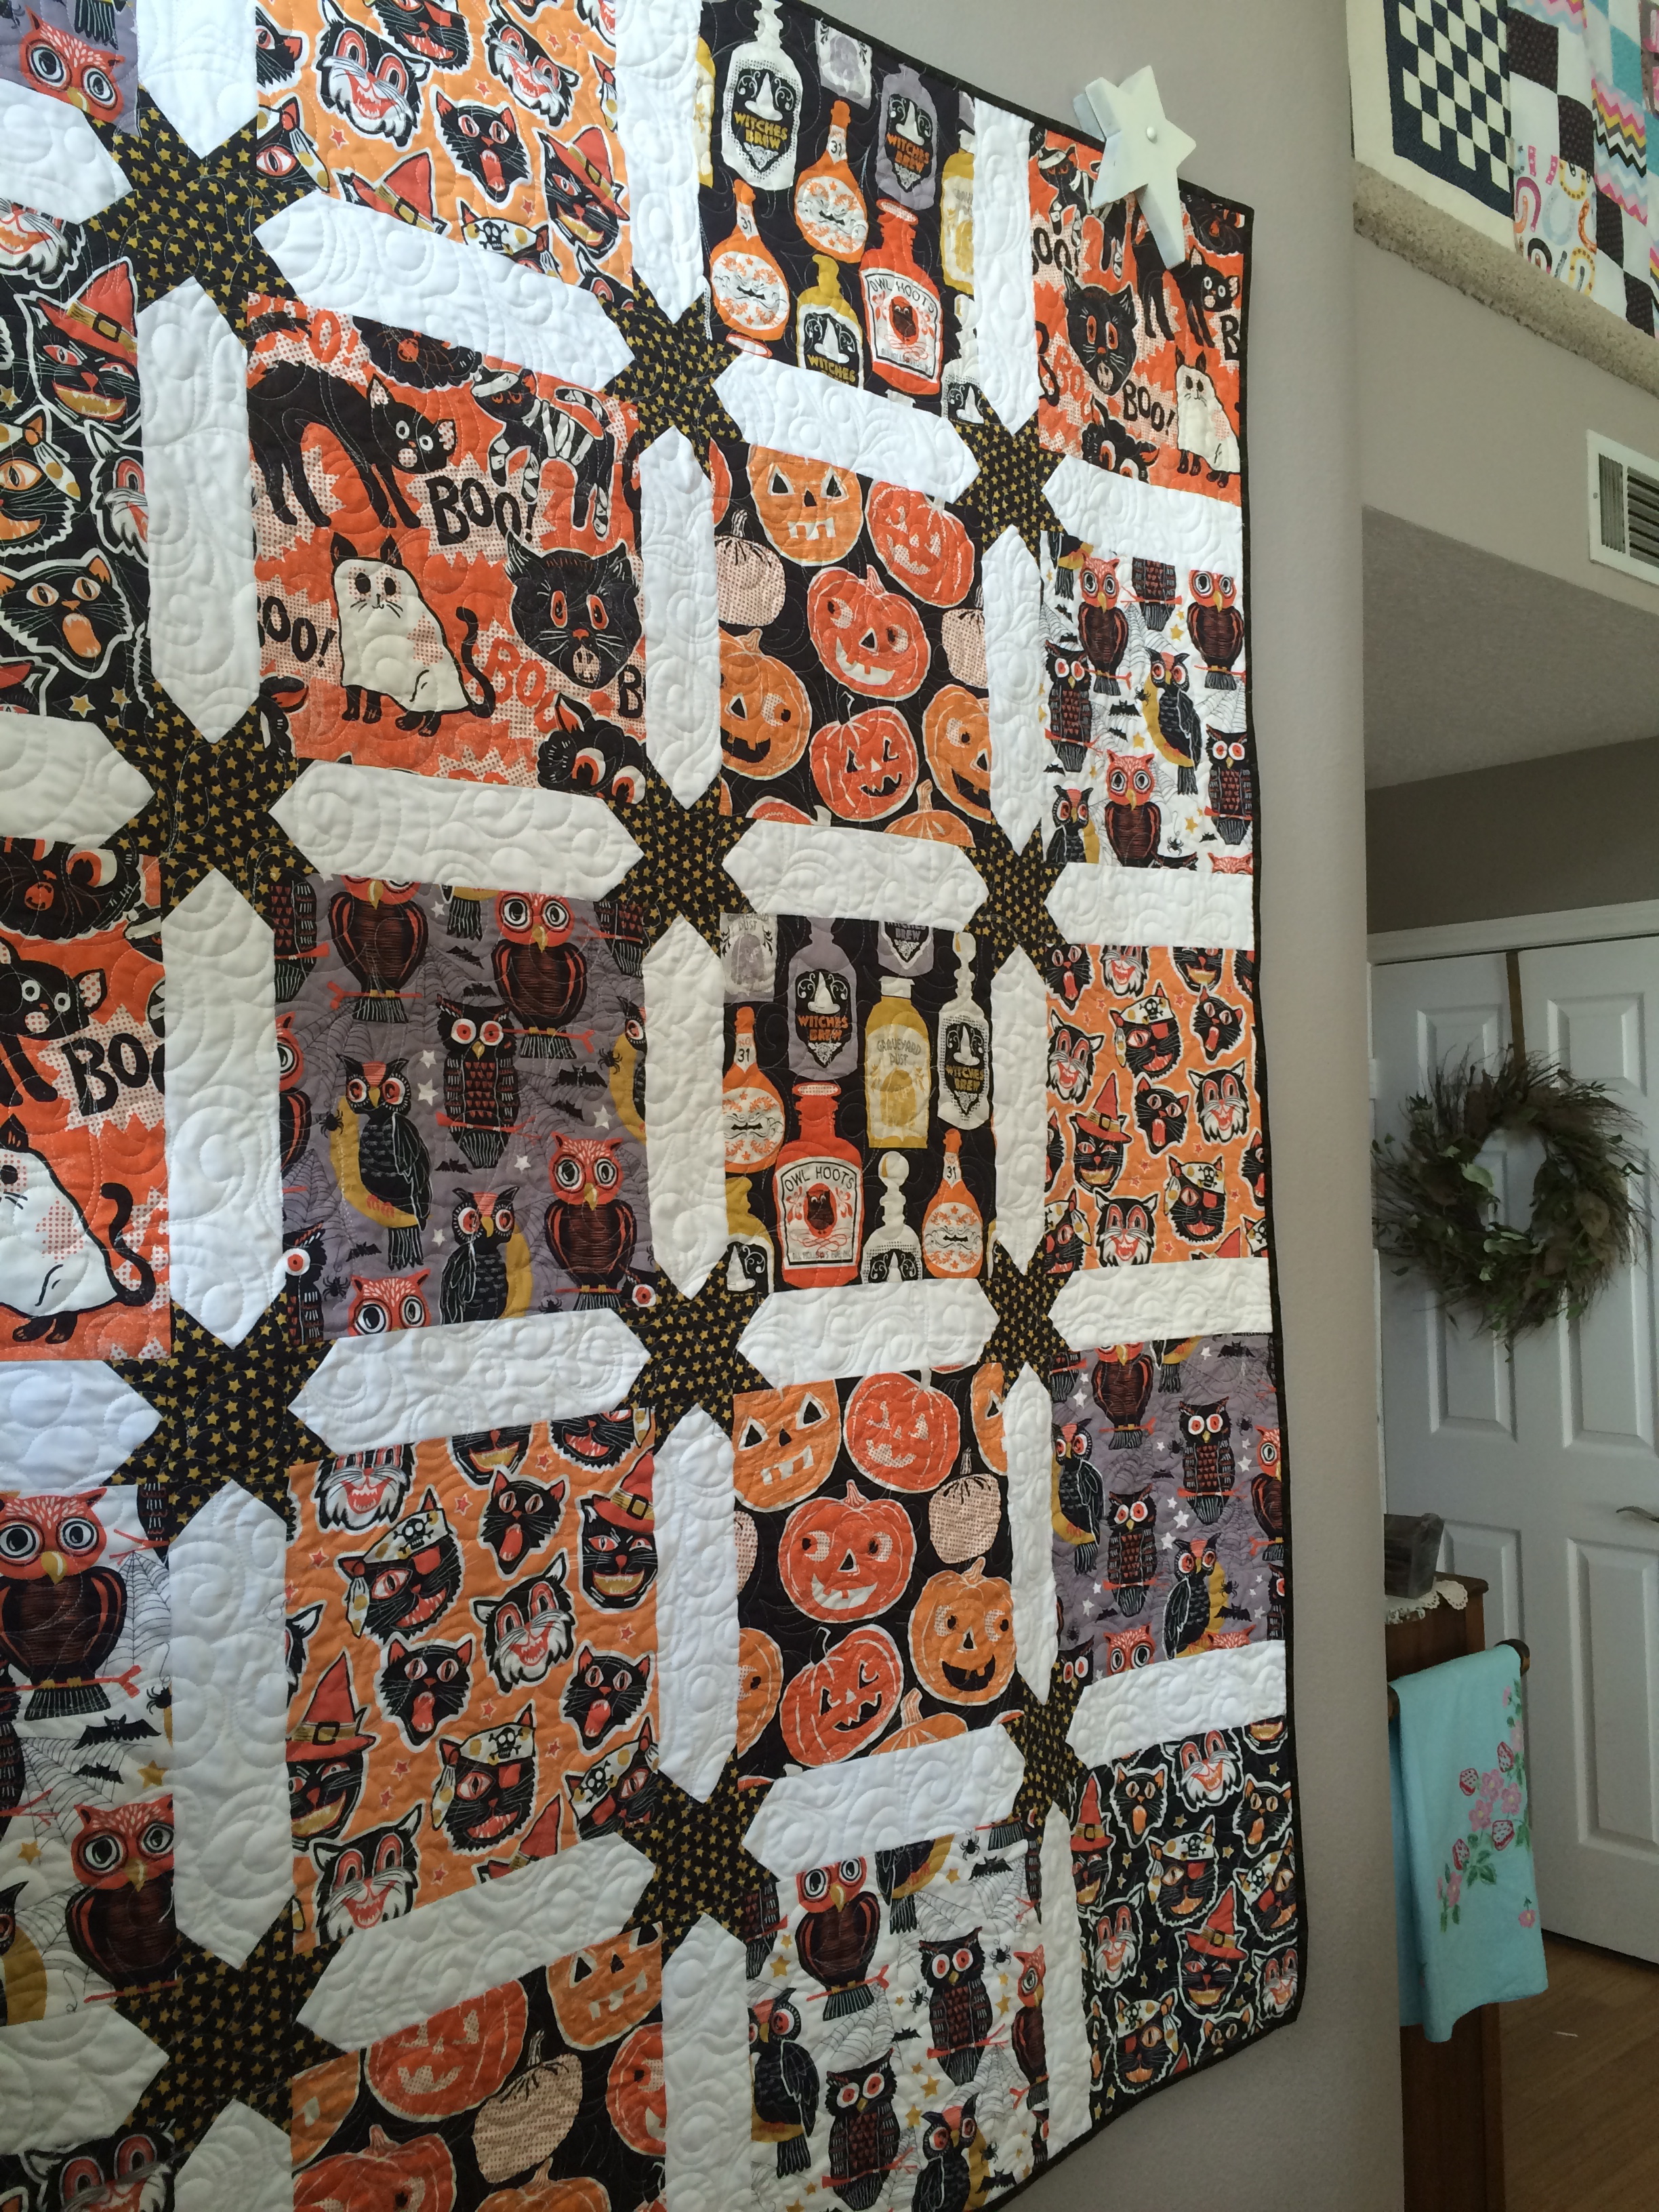
I have this quilt hanging in my entry way.  The finished quilt measures 55″ x 70″ which also is a perfect throw quilt size!

spooktacular eve quilt 2
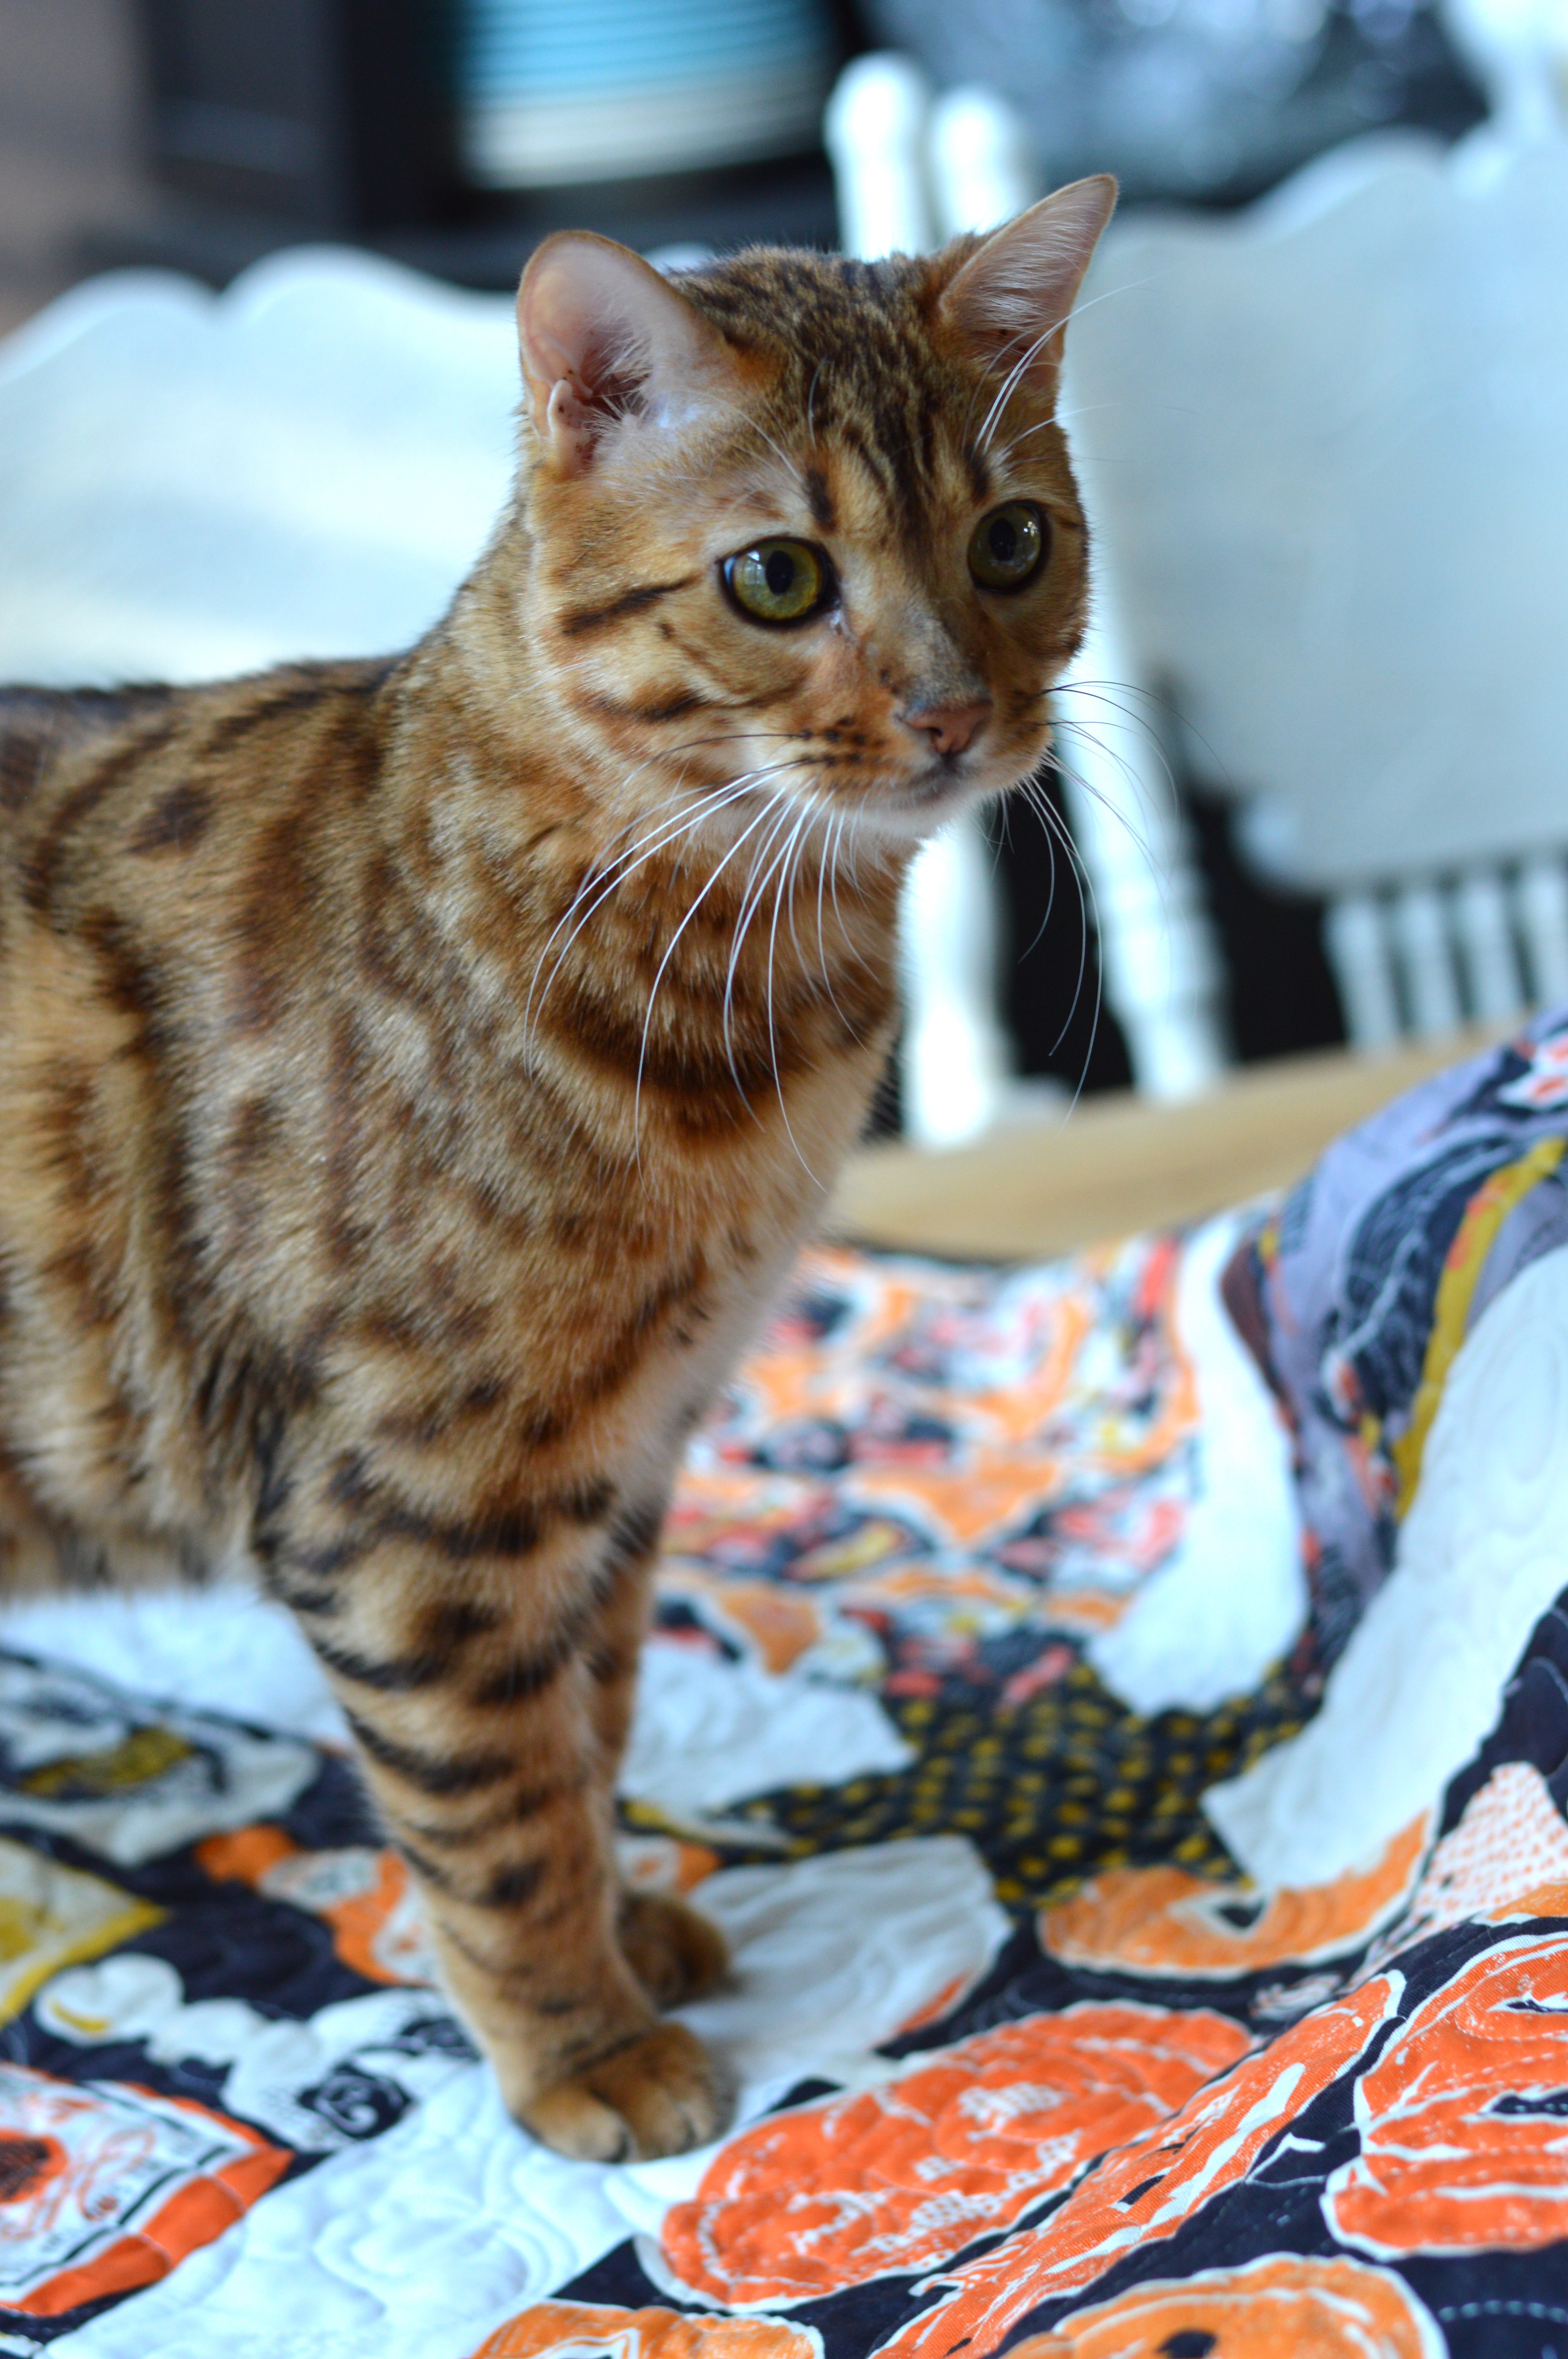
Even better – it’s Mufasa approved!!!

spooktacular eve quilt 2 5I hope you love making this quilt!!!

Lucky Pillow – Version 2.0

lucky pillow tutorial

Since I was already in the St. Patrick’s Day sewing mode after sewing a banner, I thought I would whip up a throw pillow!  I’m sure you know by now that I love throw pillows!  Last year I also made a “Lucky” patchwork pillow, so I am calling this one version 2.0.

St-Patrick-s-Day-Pillow-Tutorial1Here’s how you can make one!

Supplies

Scraps of green fabric – I used fabric from Blend: Tea Garden, Turkish Delight, and the Makers

blackish/grayish denim or other fabric for lettering

Heat n bond Lite

Heat n bond EZ print sheets

Sizzix Shamrock Die

Lucky words, click HERE – print in reverse

20″ square natural canvas

20″ square green print for back, I used Yuletide Greetings by Anna Griffin

22″ zipper

20″ pillow form

Begin by ironing the Heat n Bond Lite to the wrong side of the green fabrics and the “lucky” fabrics.  Run the green fabrics through the Sizzix Big Shot.  If you don’t have a Big Shot machine, you can hand cut the shamrocks.

lucky pillowPrint off the “lucky” letters and iron them to the wrong side of the fabric.  Cut with scissors.  This takes a little bit of patience 🙂 IMG_4173Peel off the backing paper and position the word and shamrocks as desired.  Outline stitch around each shamrock 2 times in black thread.  There was no way I was sewing around the cursive letters more than once!!

lucky pillow 2 3Prepare the back of the pillow by cutting a 20″ square.  Make a cut at the 2″ mark for the zipper.  You can put the zipper where ever you like, or you can insert an invisible zipper.

lucky pillow 2Sew the zipper in just like you were piecing a strip of fabric in between the two pieces – only use a zipper foot.lucky pillow 4
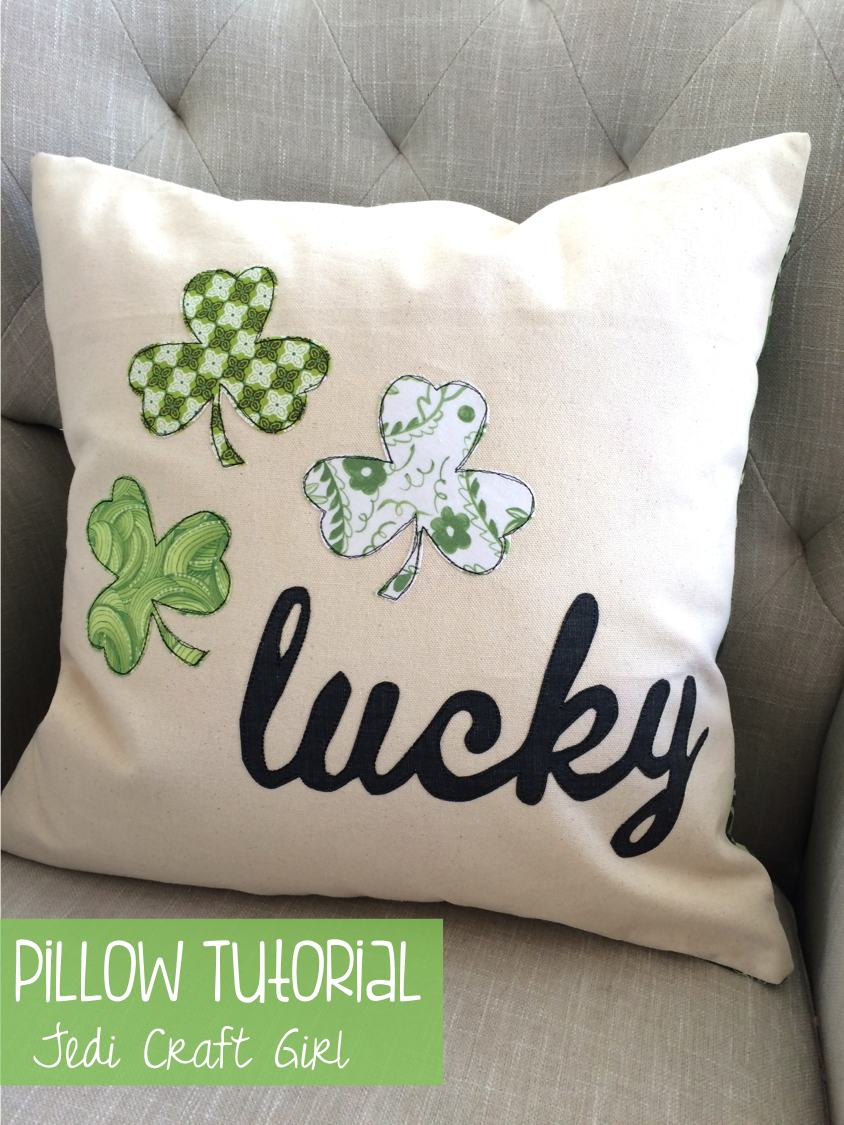
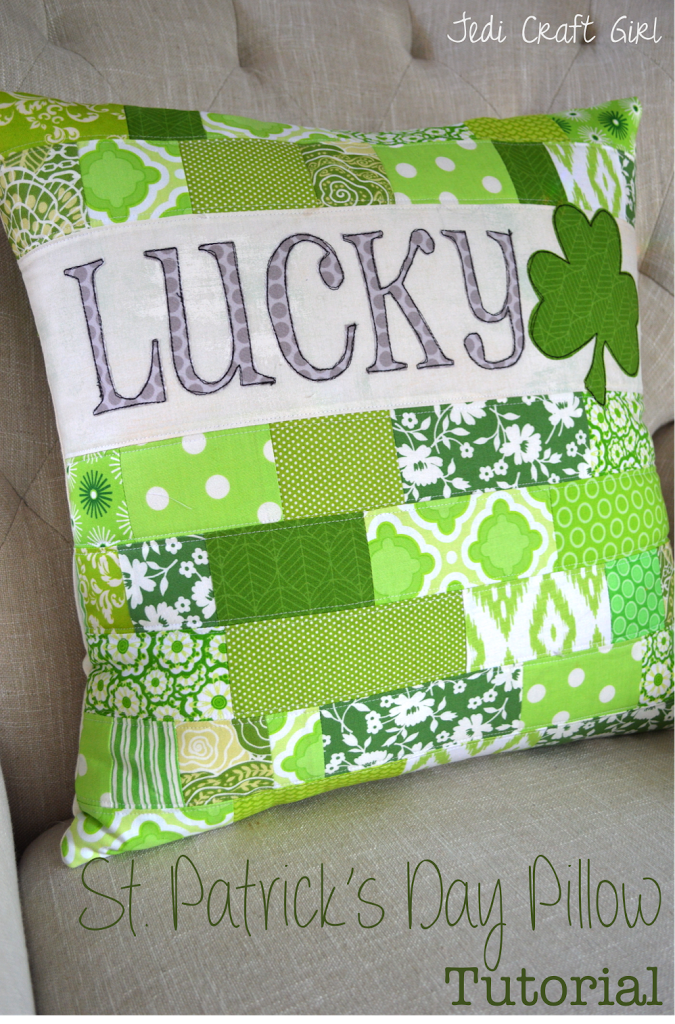
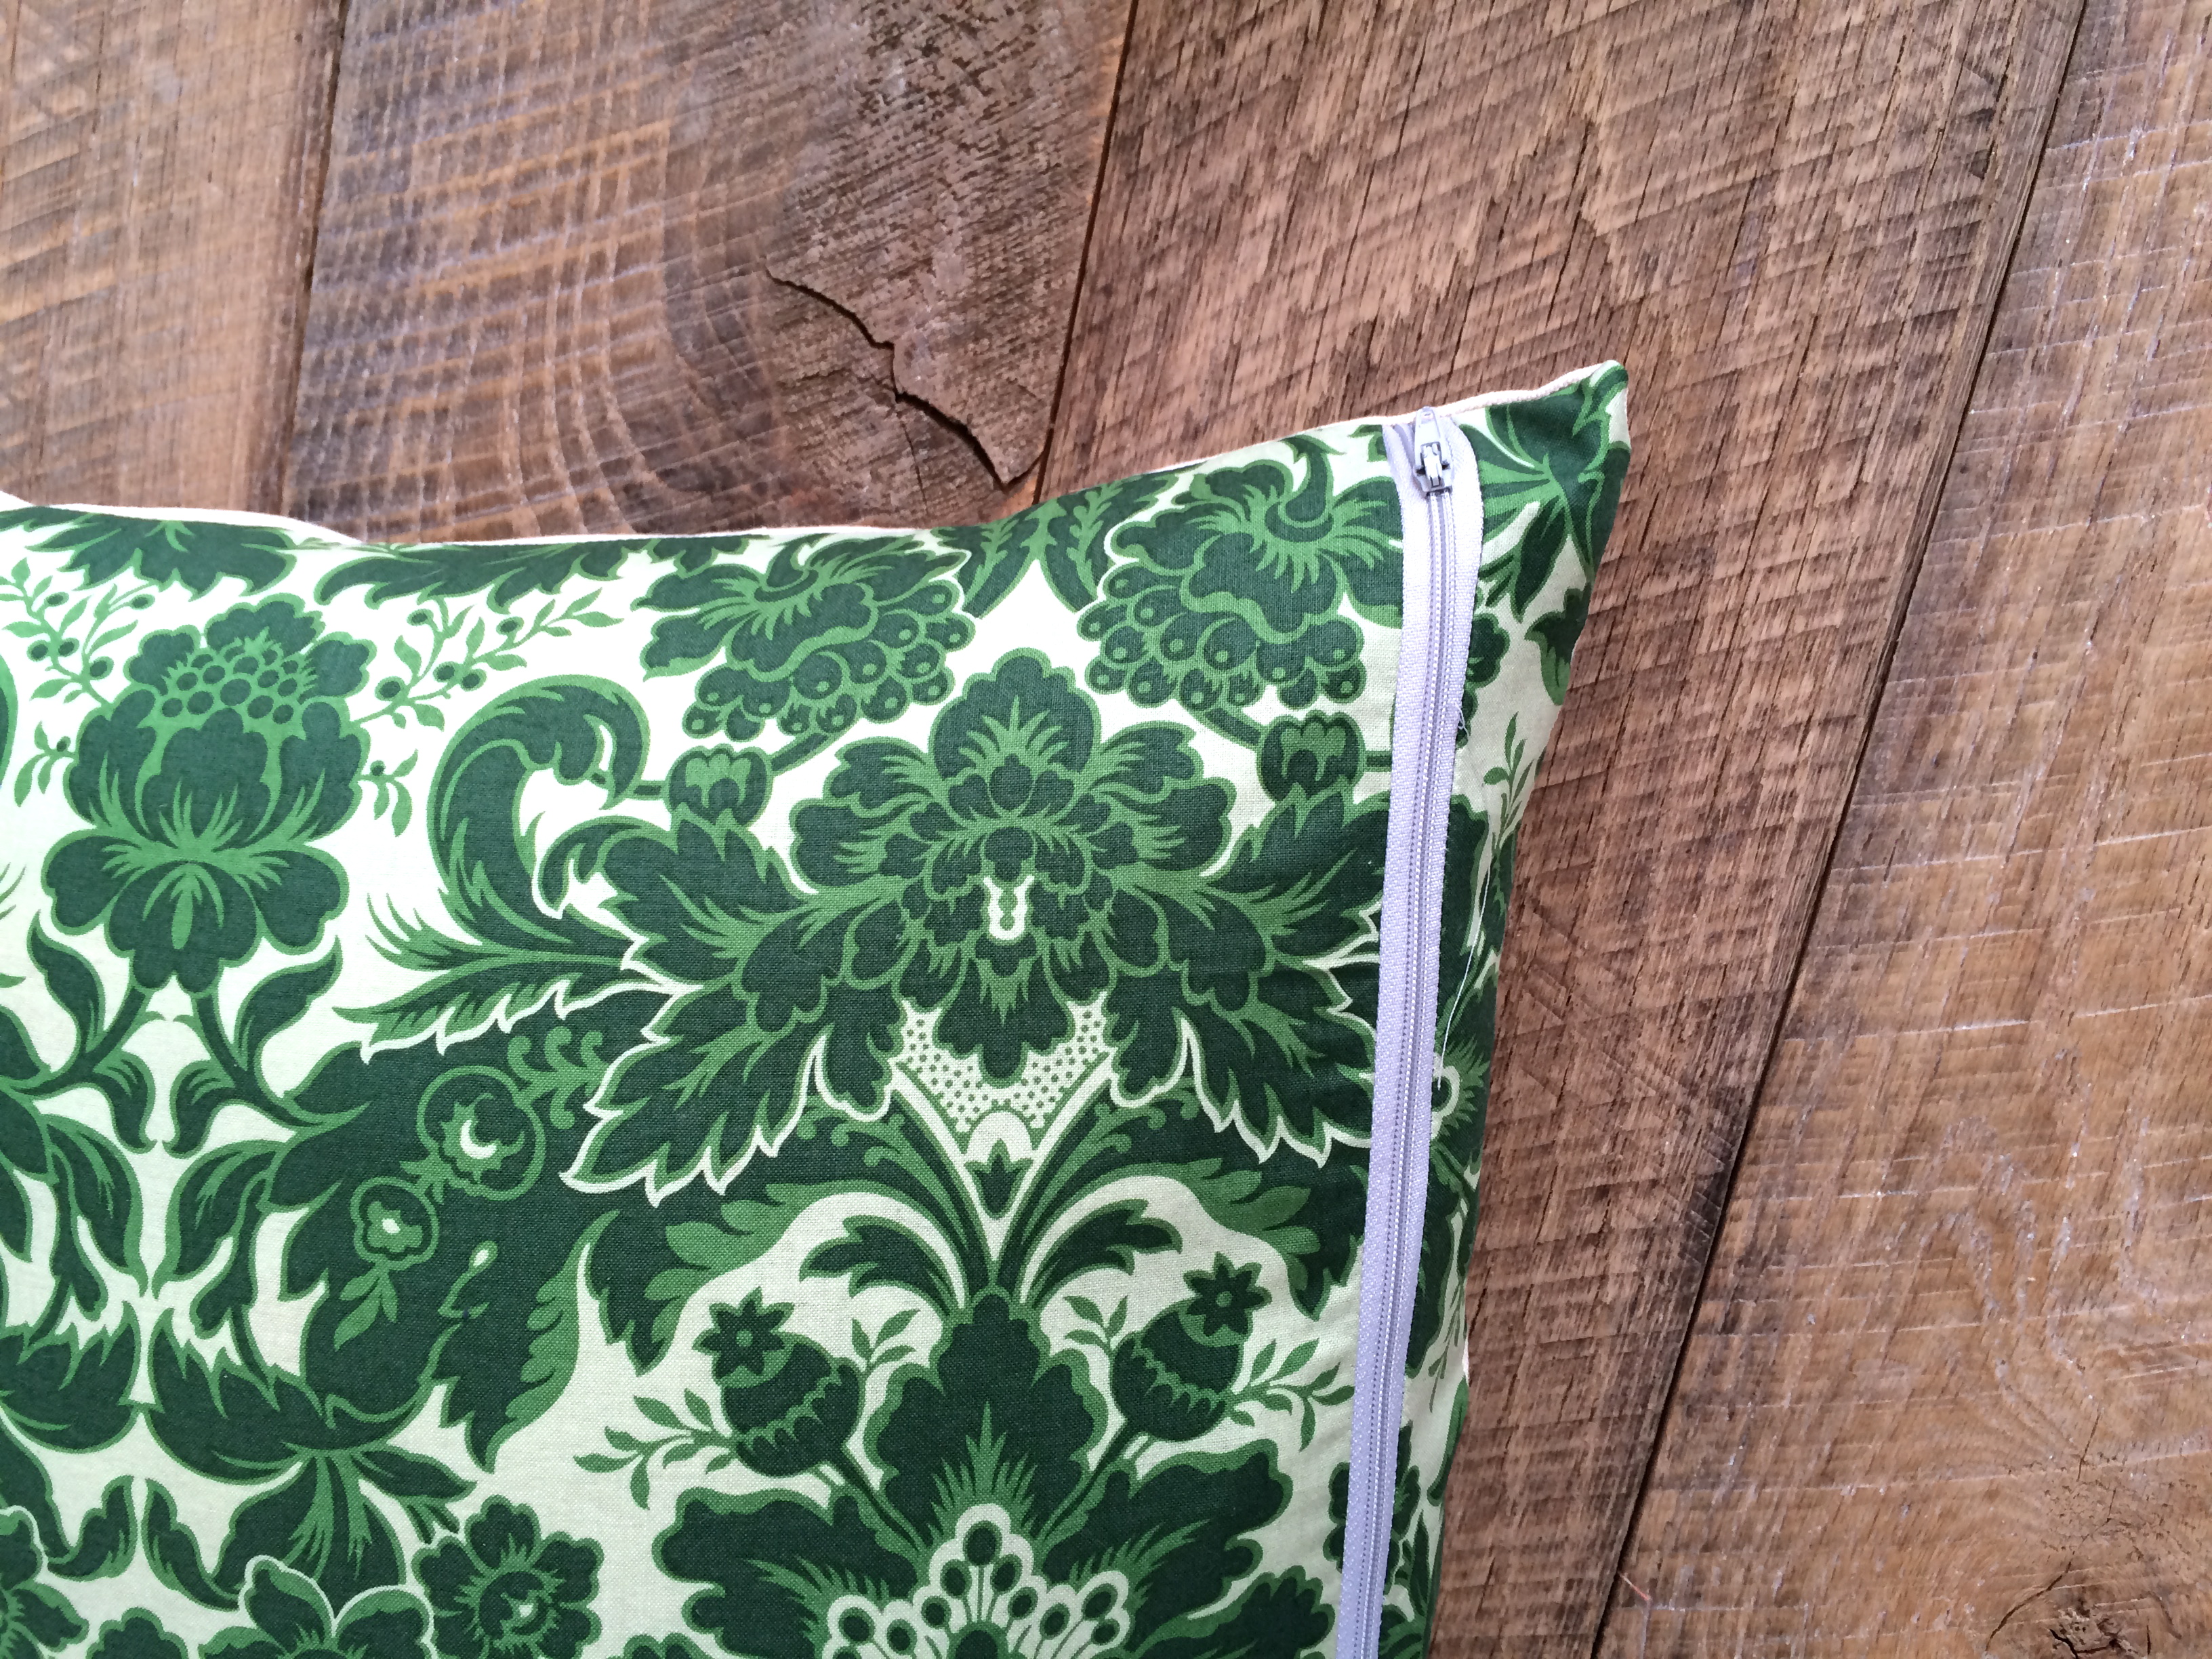
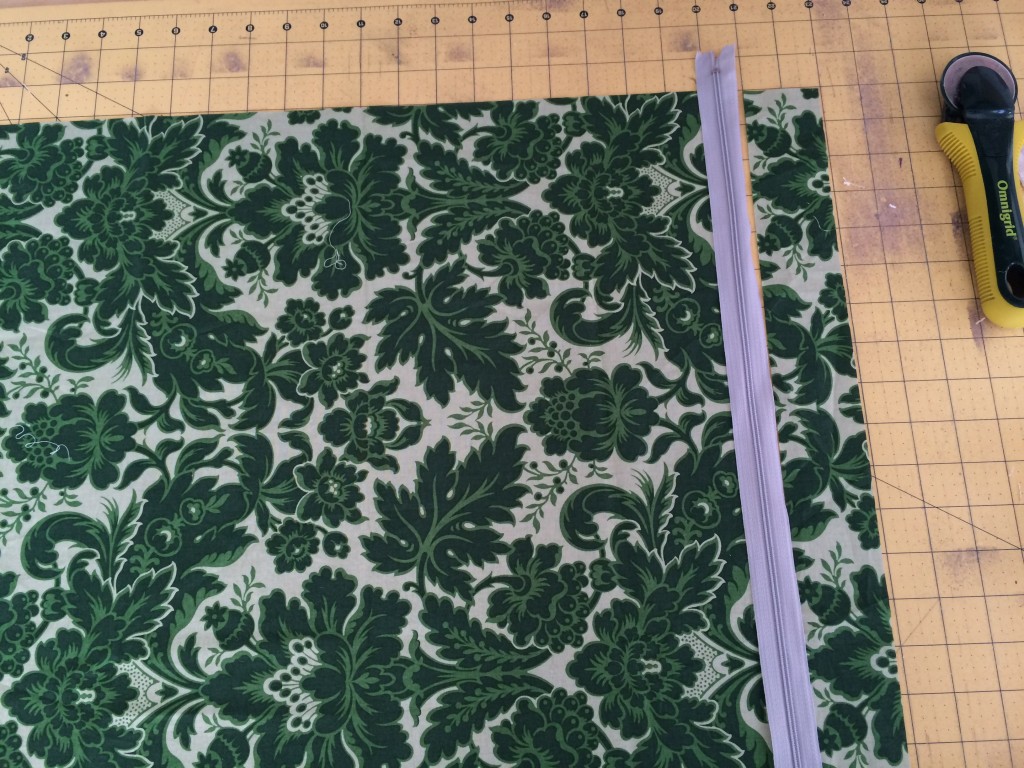
Cut off the excess zipper ends.  Partially open the zipper and place the pillow top and the pillow back, right sides together. matching and pinning all edges.  Sew 1/4″ all the way around the pillow.

lucky pillow 5

Turn the pillow right side out and insert the pillow form.lucky pillow 9
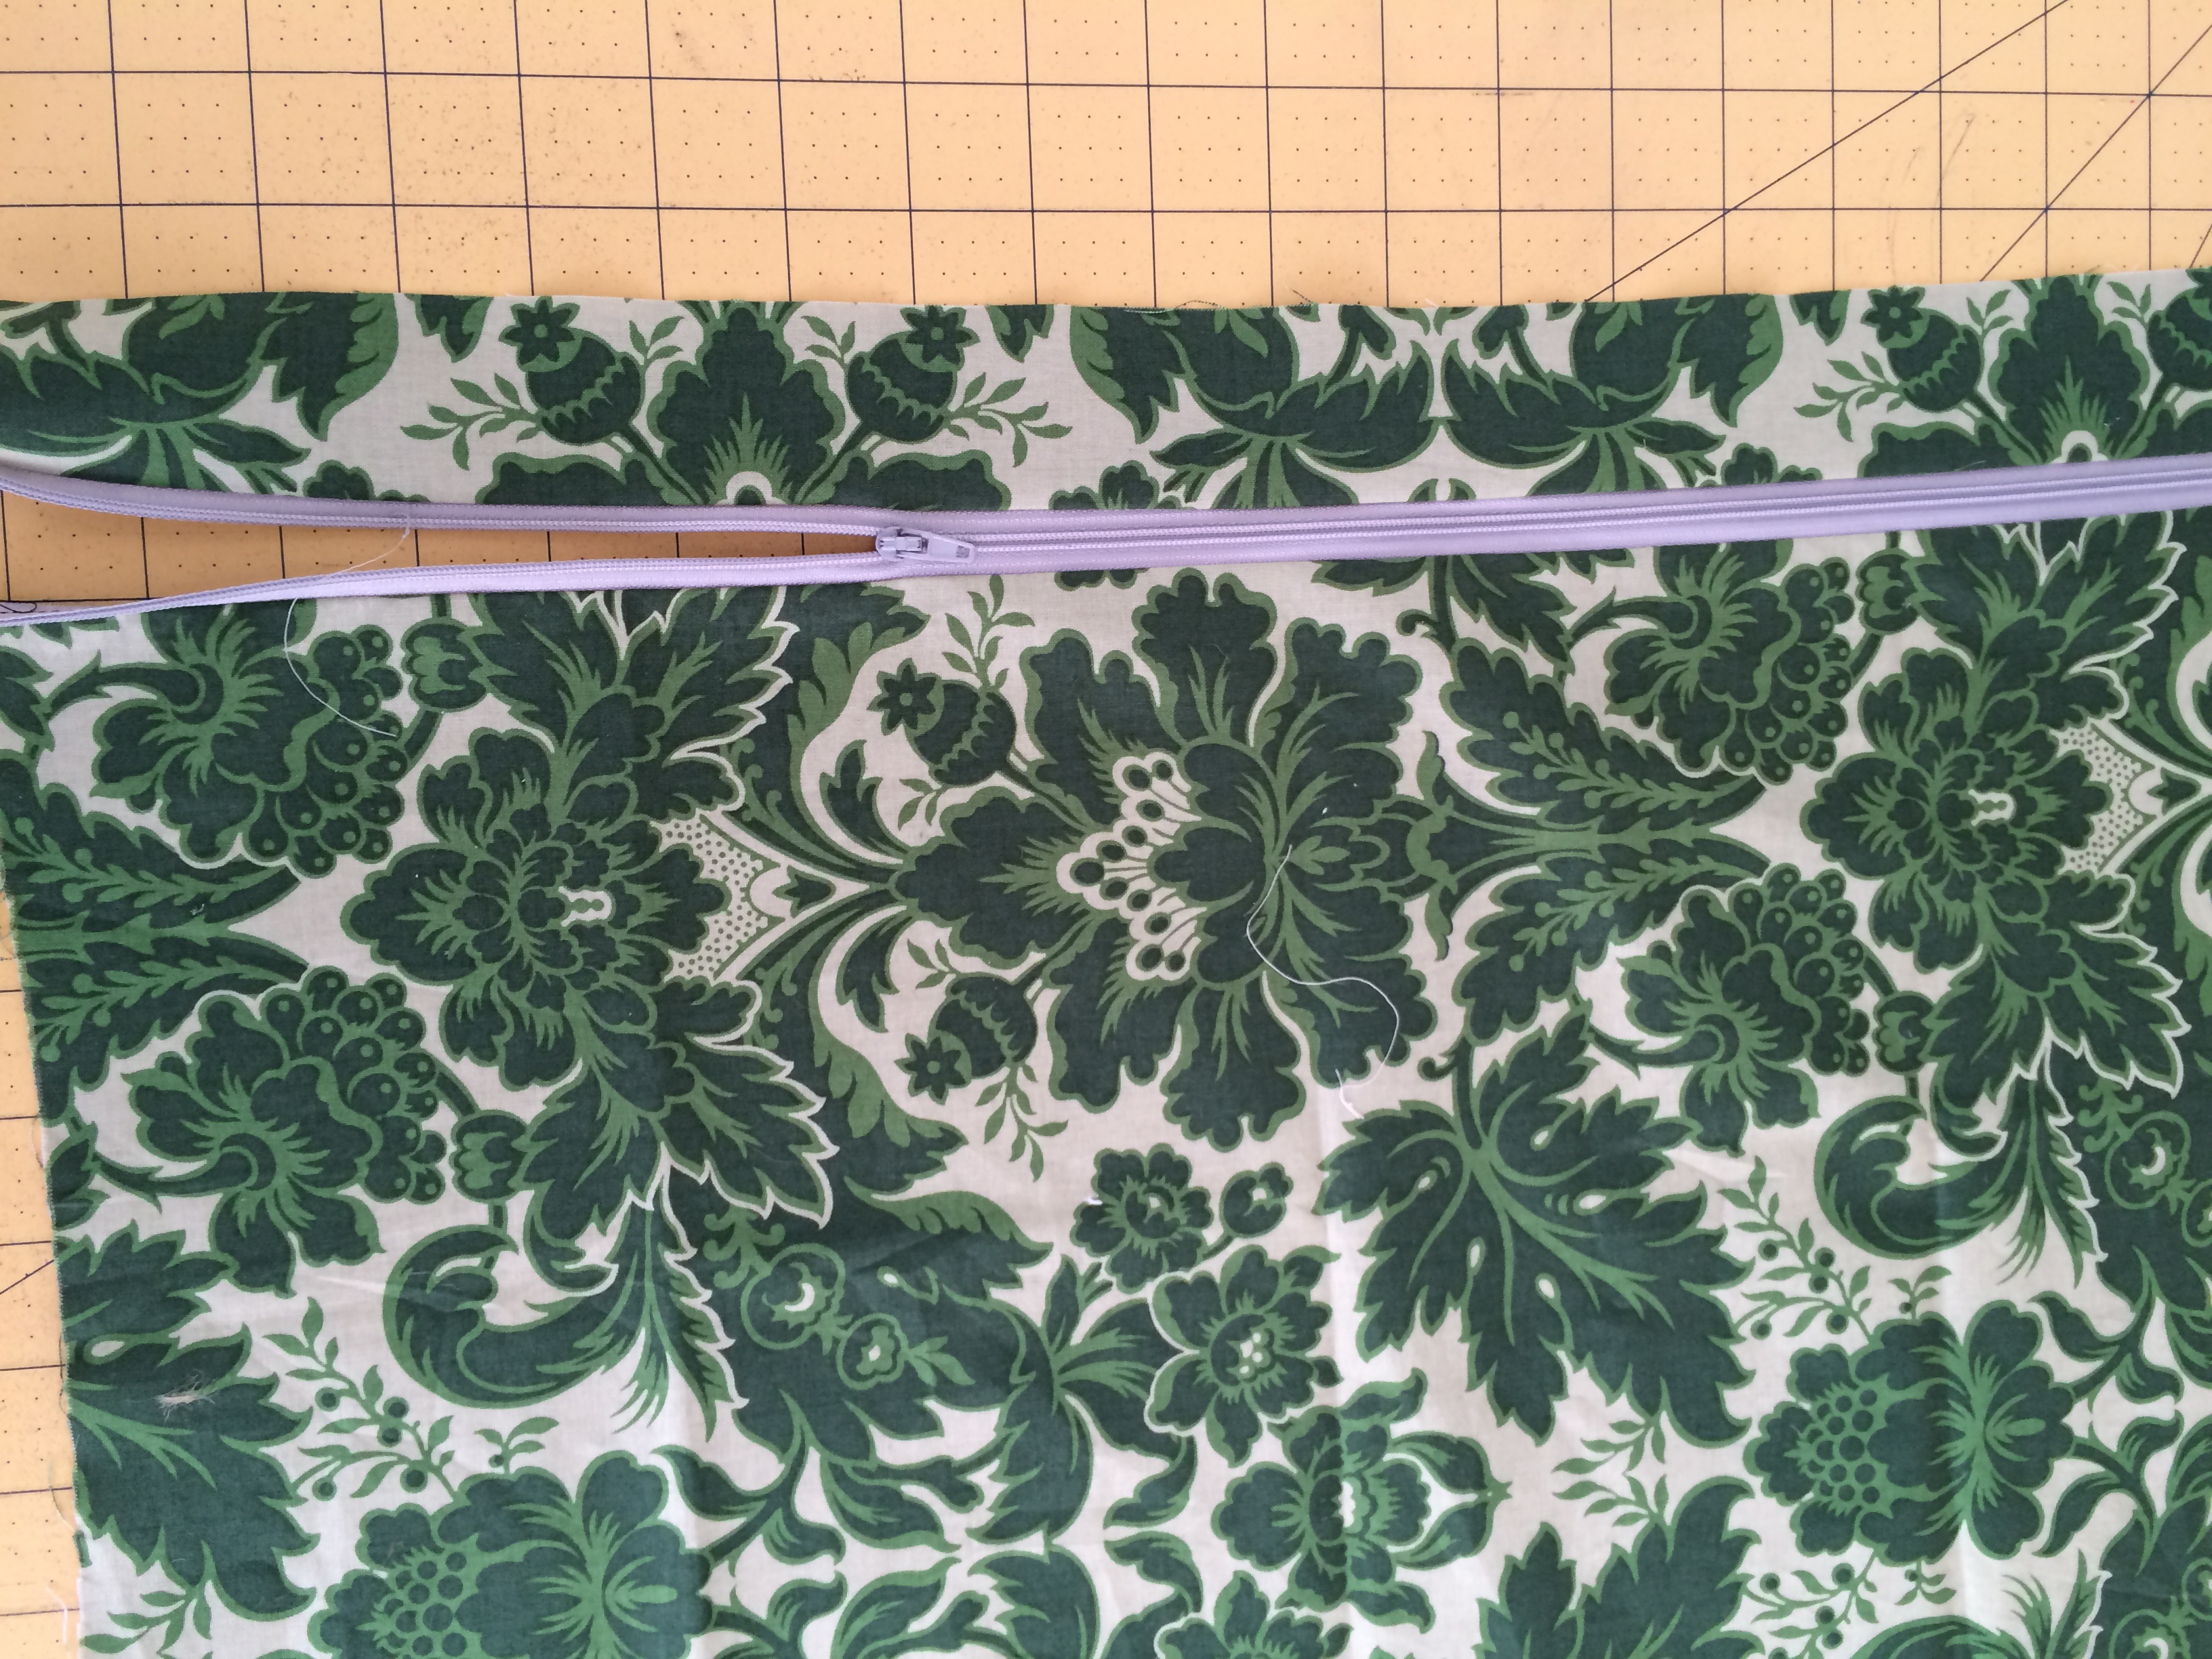
I put the zipper in the bottom portion of the pillow.  I like that you can see the zipper.

lucky pillow 10

You’re done!  Aren’t you LUCKY!!!!!lucky pillow 6

Fabric Key Chain Tutorial

Everyday this week I will be featuring a Mother’s Day Gift sewing tutorial!!
I like to give my “Mom Friends” a little give on Mother’s Day.  I have seen these fabric keychains, or “Key Fobs”  all over blogland and I finally decided it was my turn to have a go at them.  They are a perfect little gift!  These yummy fabrics are Modern Eclectic by Khristian Howell for Blend Fabrics.

Supplies
Cotton belting or webbing – I purchased mine from the Etsy Shop, Everything Ribbons
Key Fob hardware – purchased from the same Etsy Shop
2″ strips of fabric
Therm o Web Heat n Bond Hem Tape
Cardstock
Fray Check
Pliers
Cut the fabric into 2″ x 10″ strips
Cut the cotton webbing 10″

Cut a piece of card stock 1″ wide.  This will be the pressing guide.  Center the card stock strip in the center of the wrong side of the fabric.  Press the sides in using the card stock to keep the folds nice and straight.

Using the hem tape, place a 10″ piece in the center of the webbing.
Place the pressed fabric piece on top of the fusible hem tape like this:
Press in place
Top stitch the fabric along both sides.  I like to use this Bernina foot #5 and move my needle over 3 or 4 spaces.  It works like a charm!

I took one of those sticky discs that you put on the bottom of chairs and cut it in half and adhered it to my pliers – this will prevent scratching on the hardware.  Fold the Keychain in half matching raw ends. Center the hardware and use the pliers to press in place.

Use the fray check on the sides to prevent fraying.

I think they are so cute!!  And also handy!!

Amanda