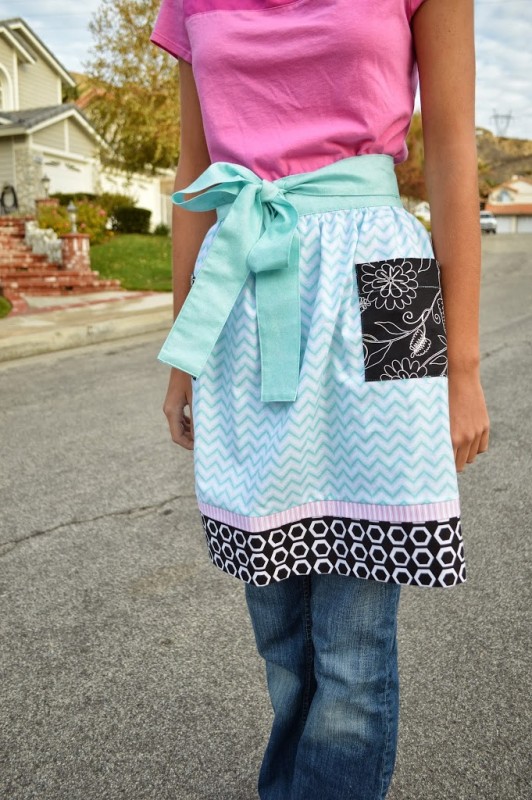
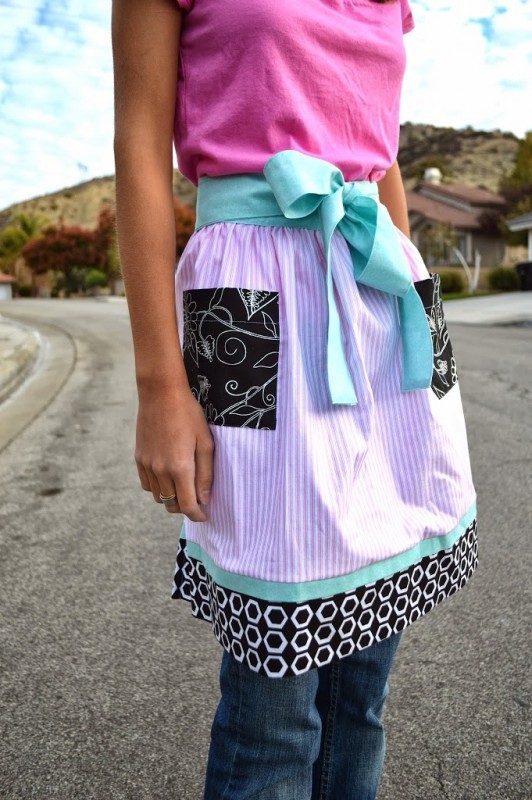
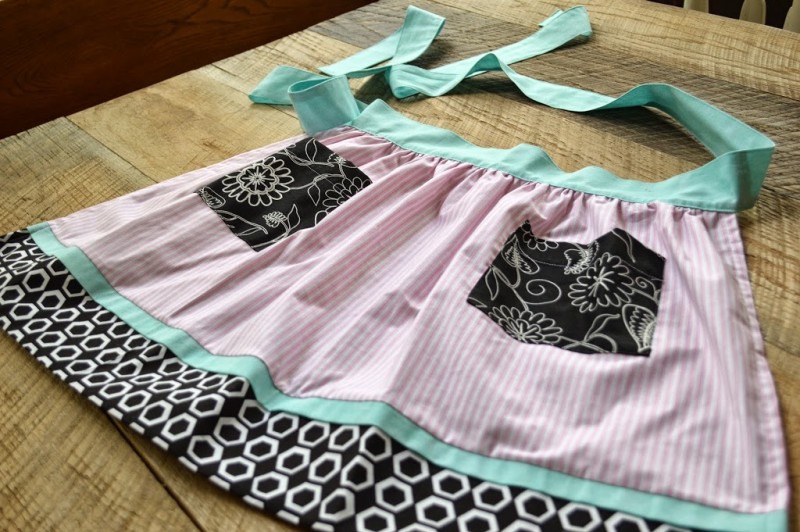
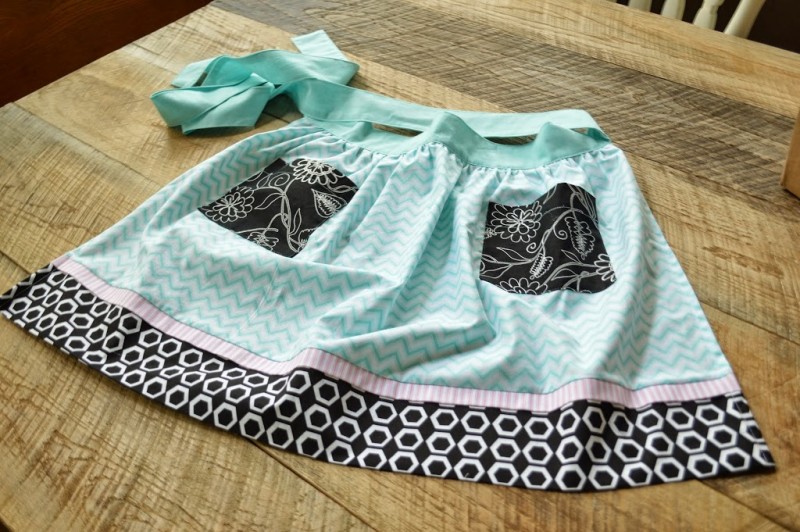
Mommy & Me Aprons

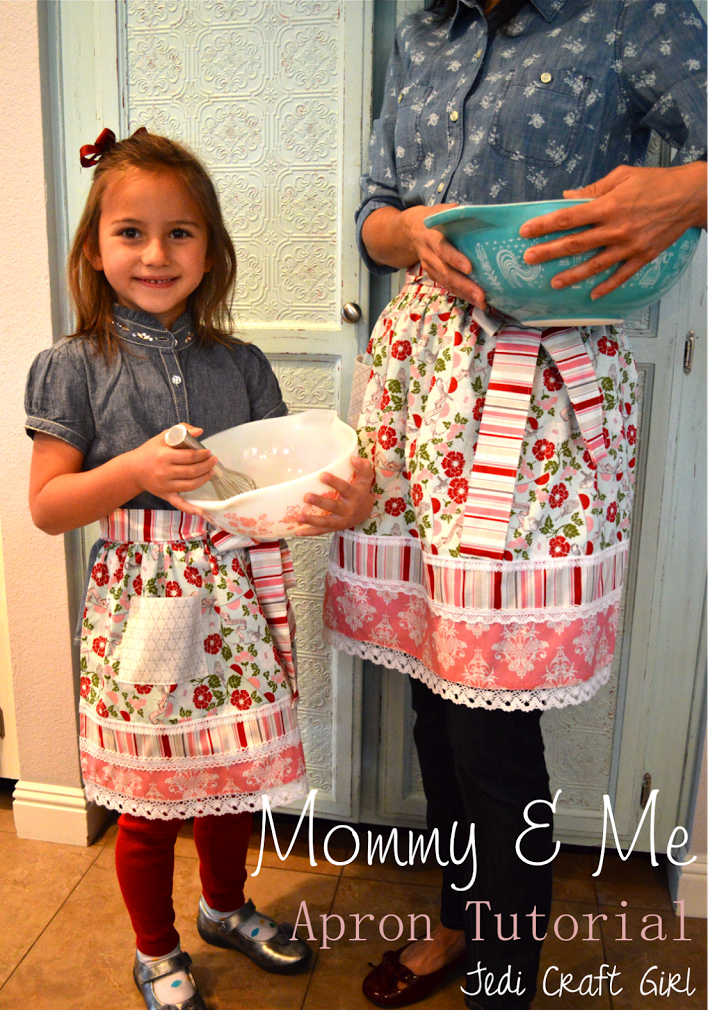
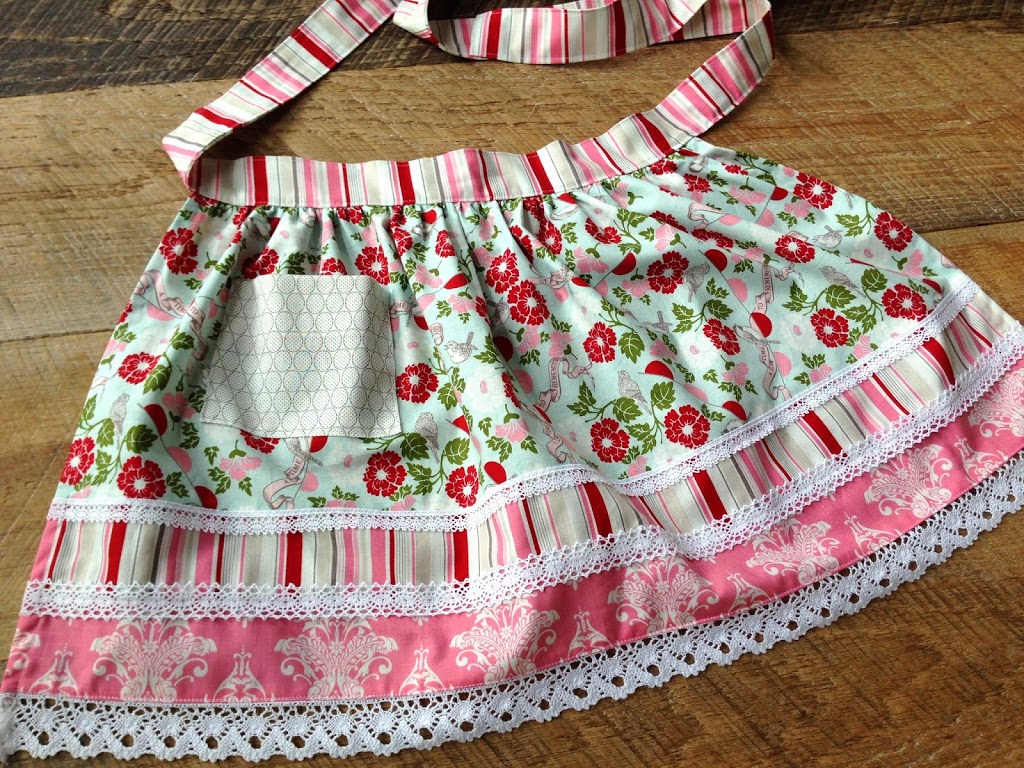
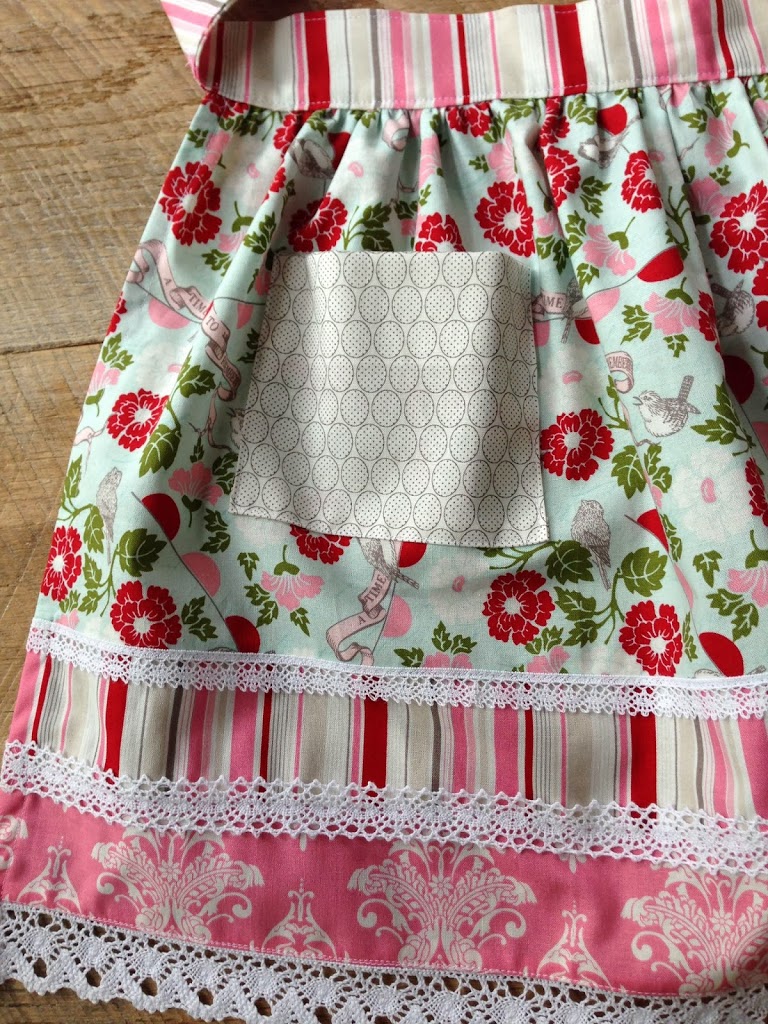
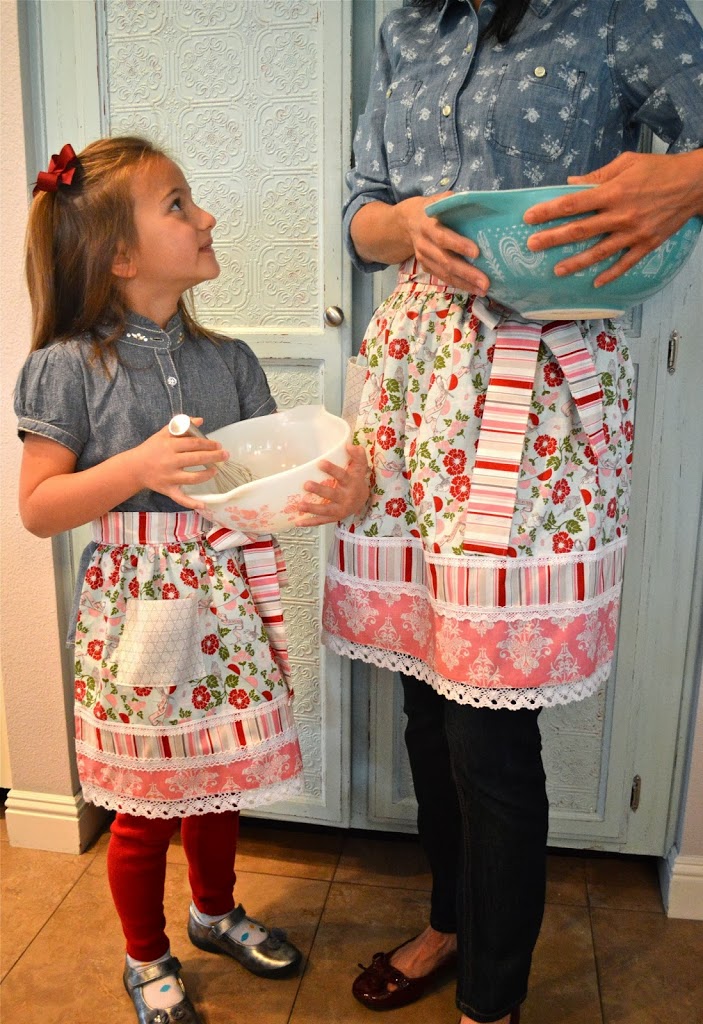
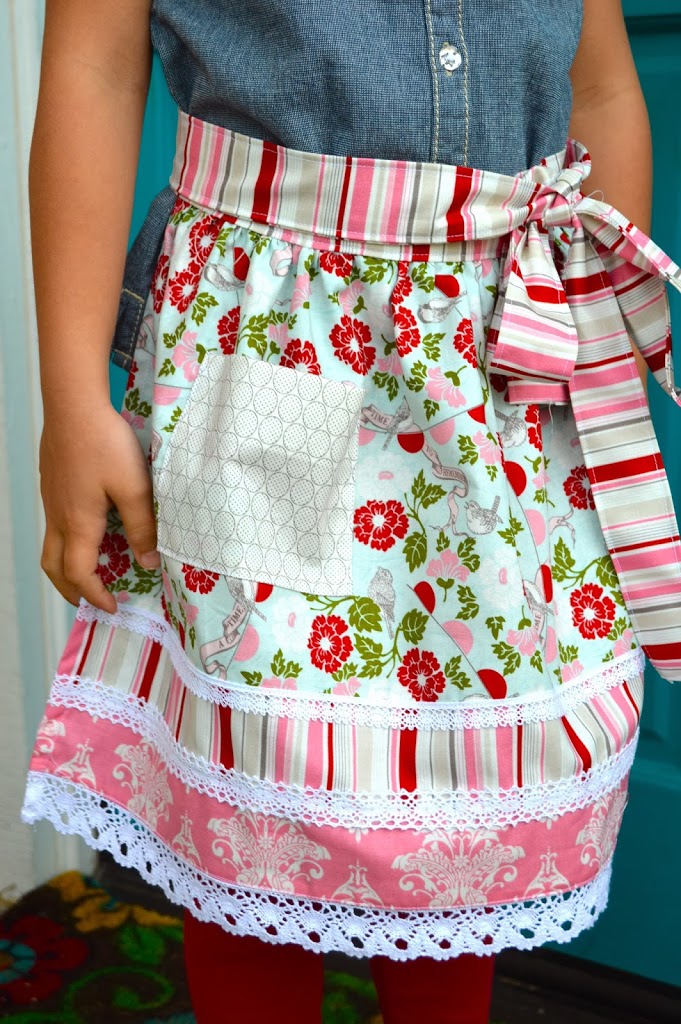
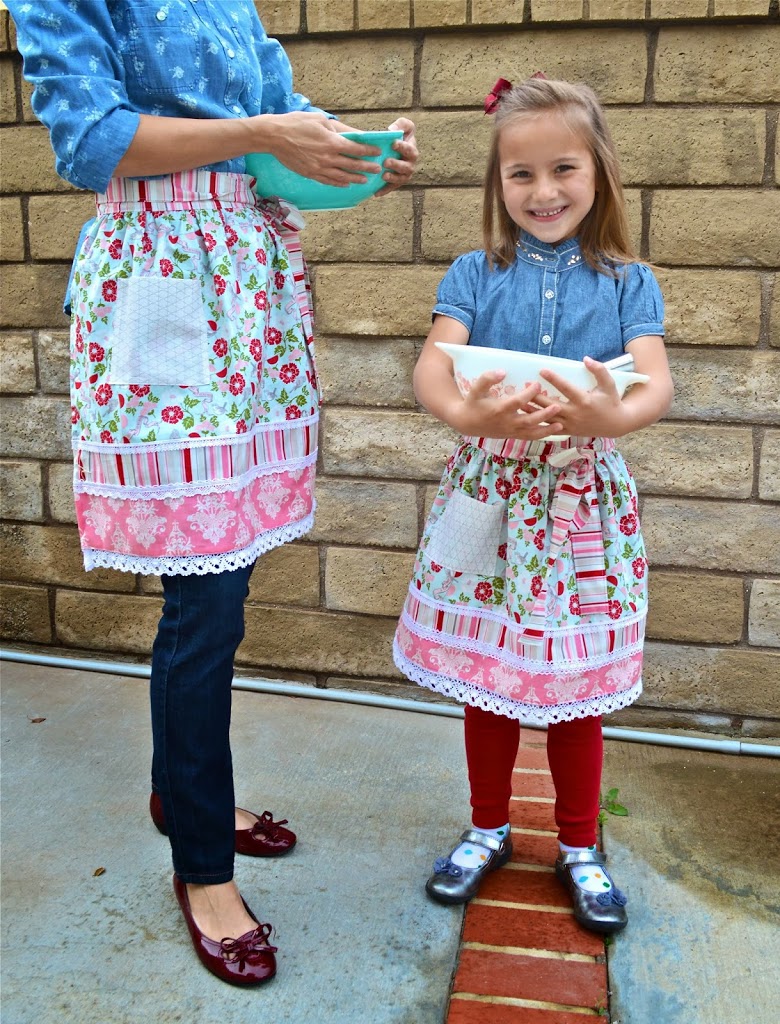
Sally has been begging me for a half-apron for quite some time.  I fell in love with the Remember fabric line designed by Carina Gardner, who I had the privilege of meeting at Sewing Summit!  Her Riley Blake Fabrics are so beautiful.  I love the vintage feel of this fabric line – it’s perfect to go in my vintage-inspired kitchen.  The aprons are pretty simple to make.  Here’s what you need:

Supplies:
3/4 yard main fabric
1 yard stripe fabric
1/4 yard pink fabric
1/4 yard pocket fabric
2 yards wide lace
2 yards medium lace
2 yards small lace

For Adult Apron:
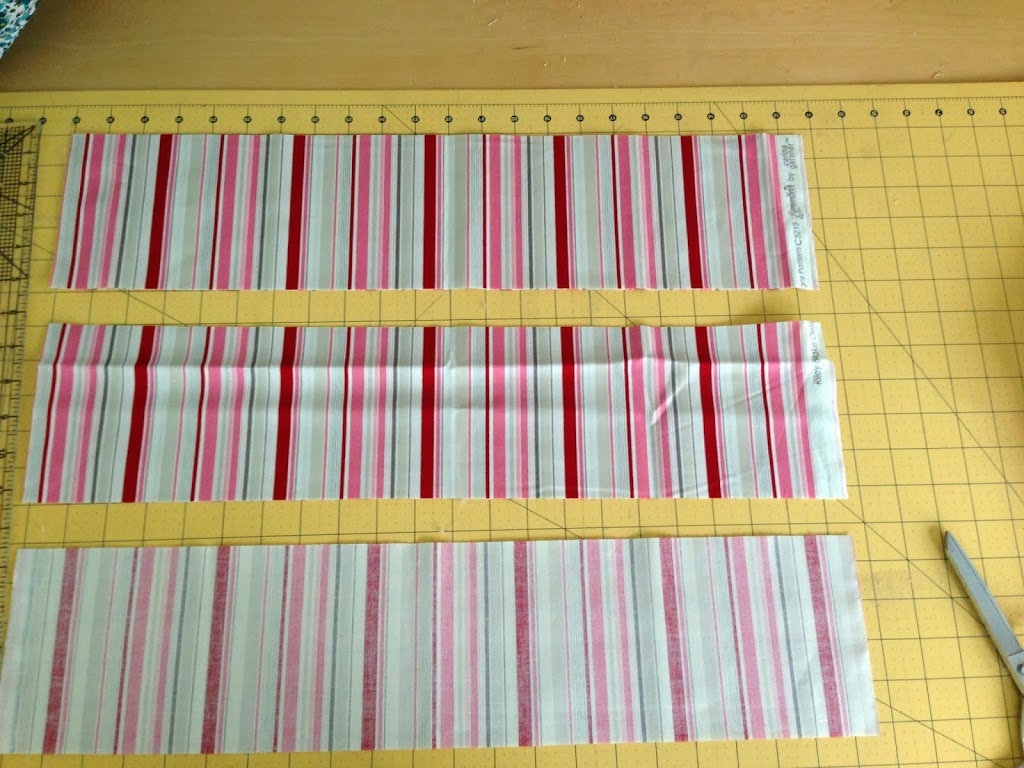
Cut main fabric 13.5″ x 36″
Cut stripe fabric 3″ x 36″
Cut pink fabric 4.5″ x 36
For Child Apron:
Cut main fabric 9.5″ x 30″
Cut stripe fabric 2.5″ x 30″
Cut pink fabric 3″ x 30″

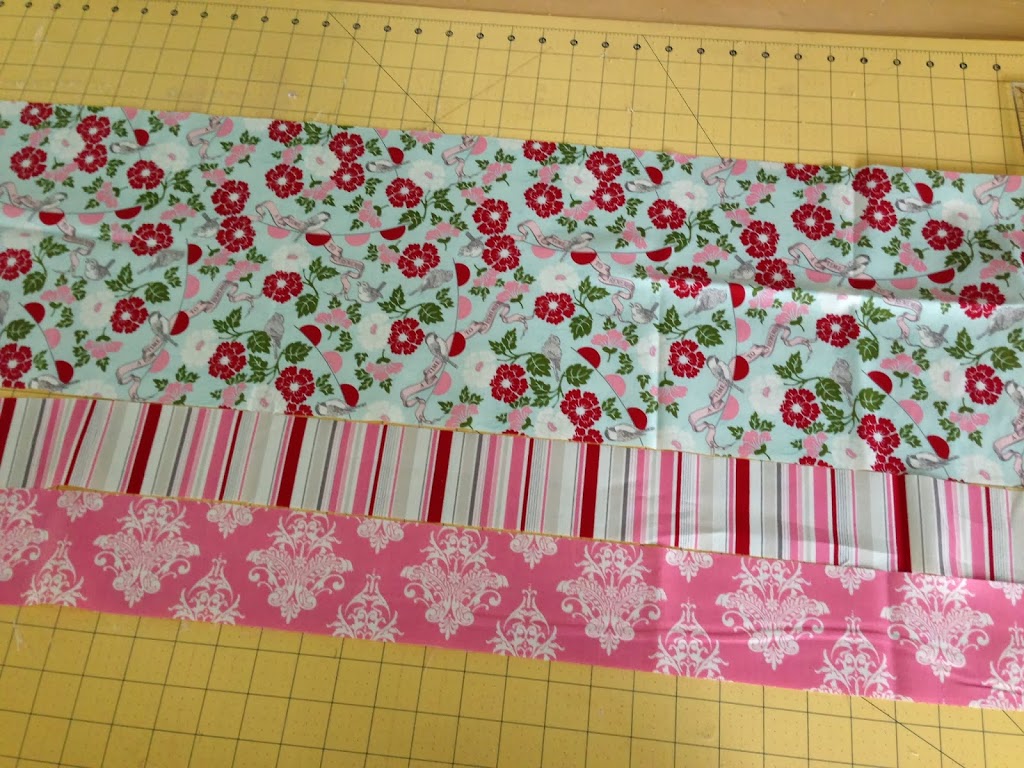
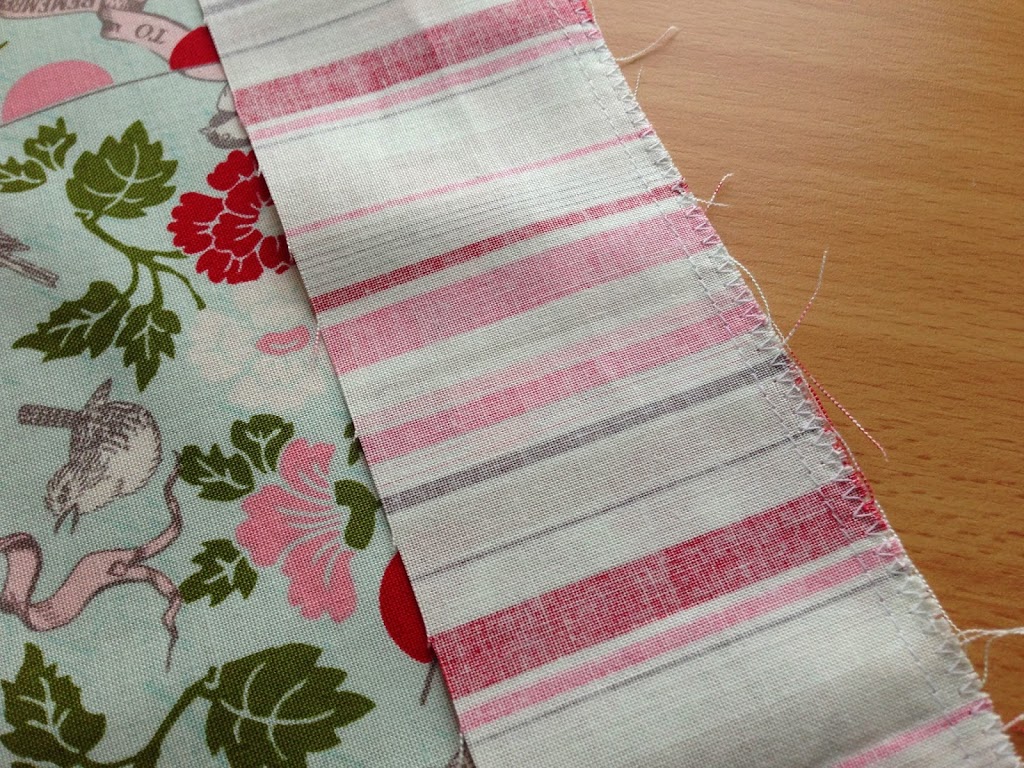
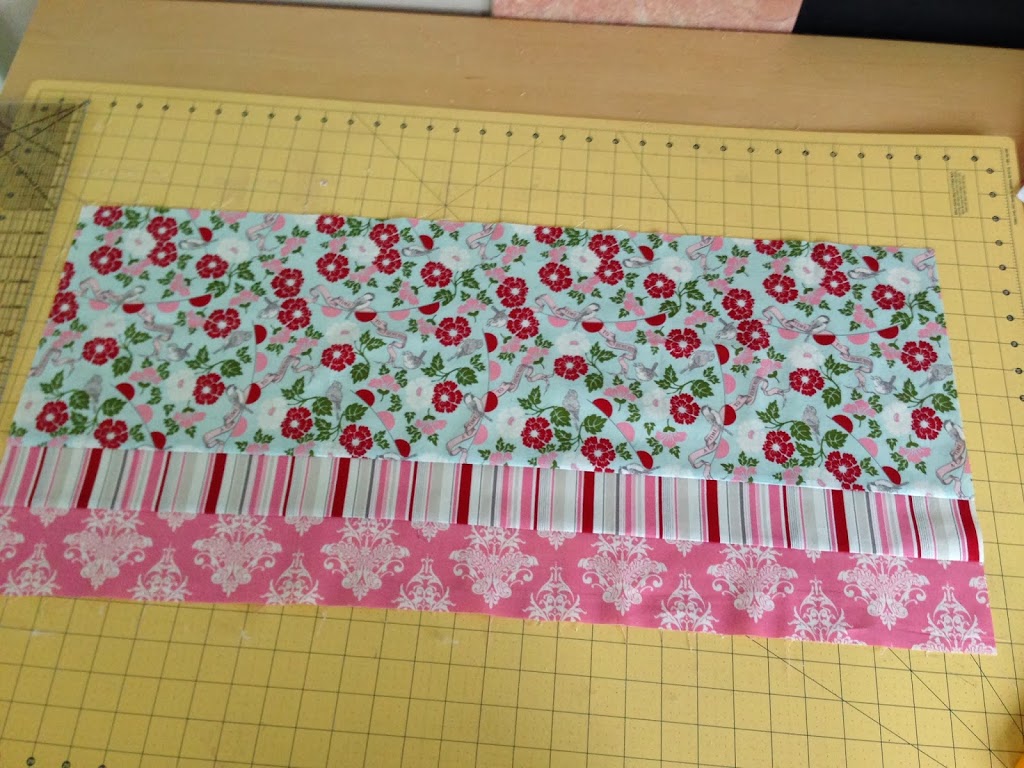
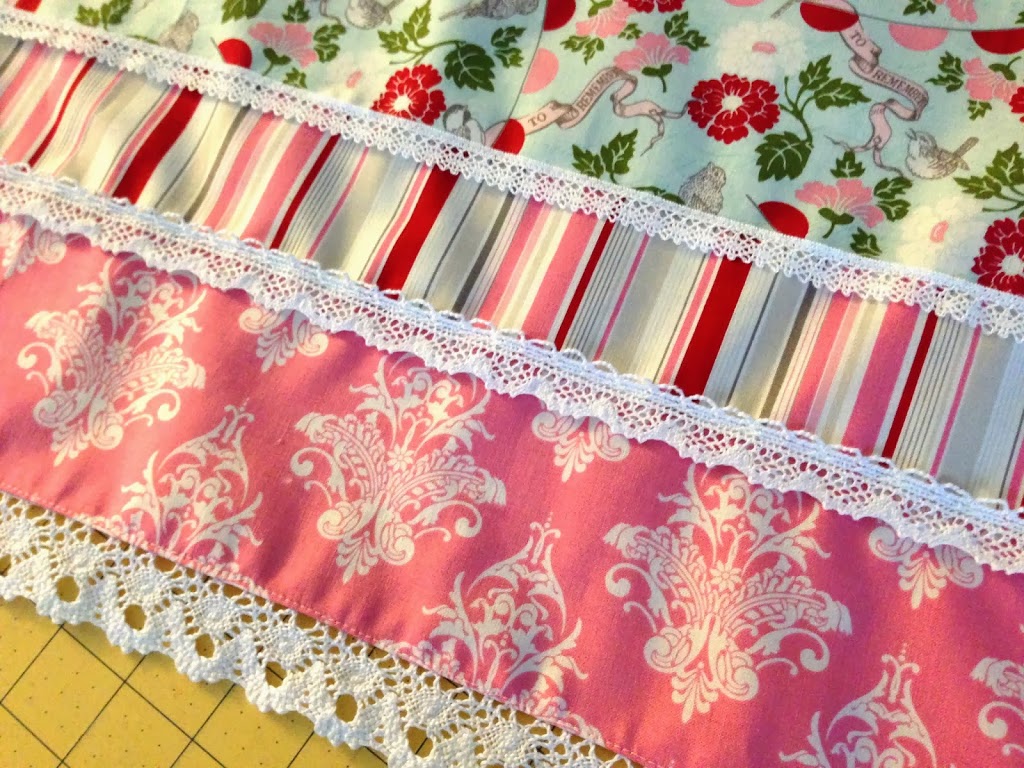
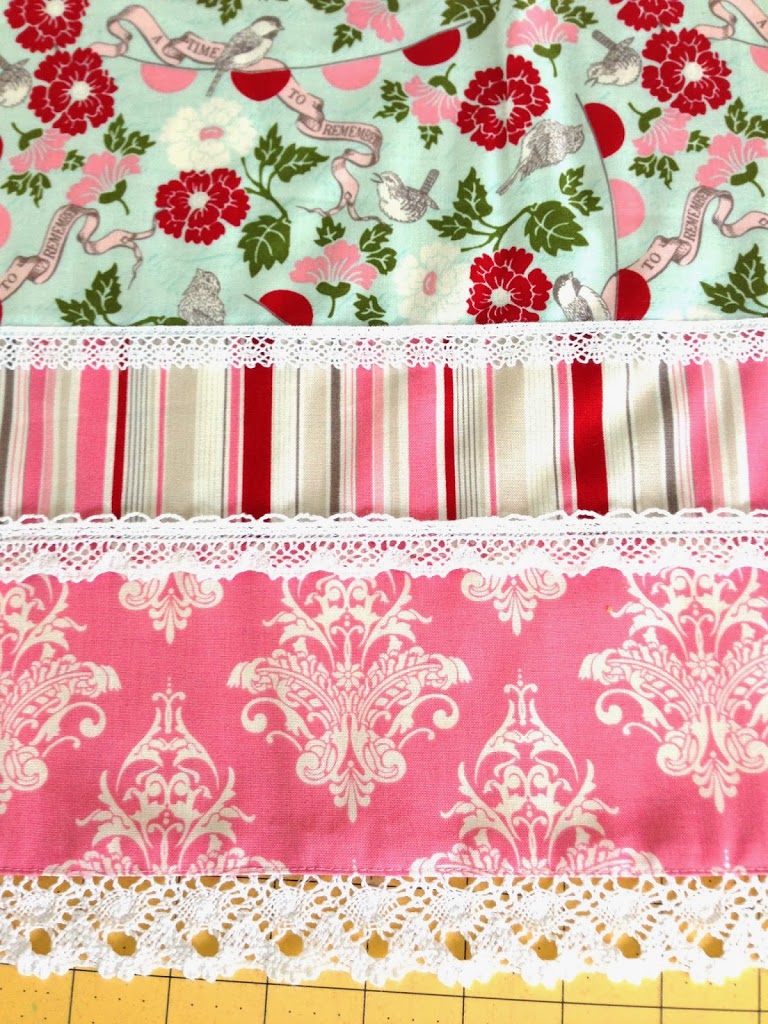
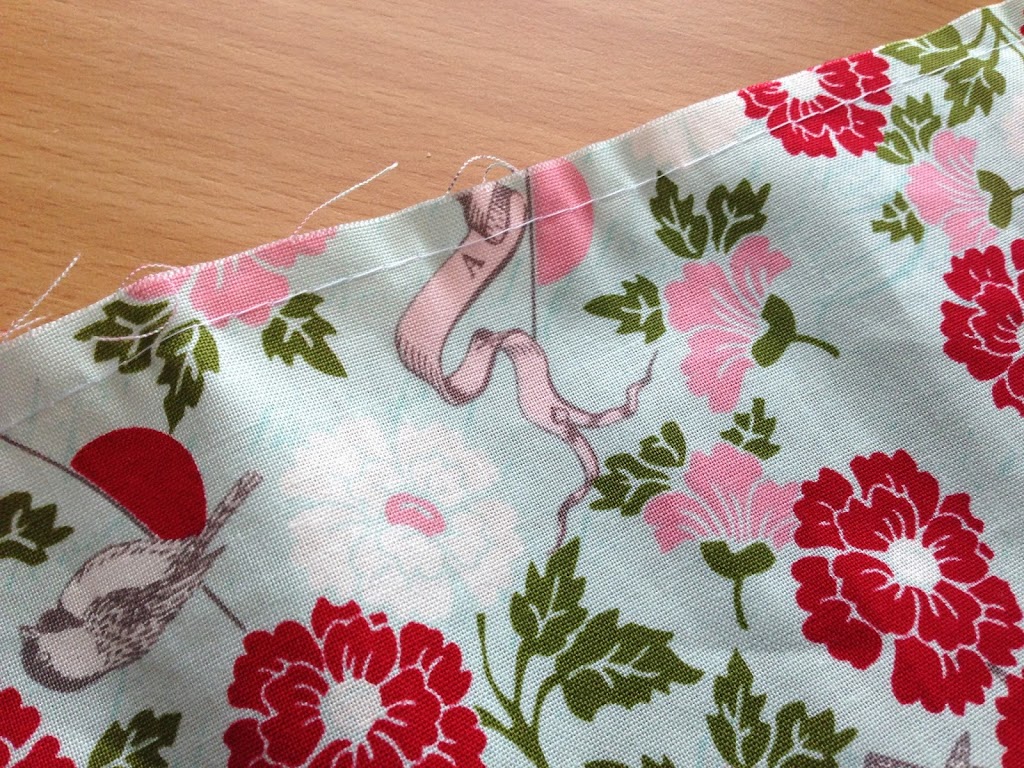
Sew the strip sets together using 1/4″ seams in this order.  Zig zag each seam to prevent fraying.

Press seams in one direction.

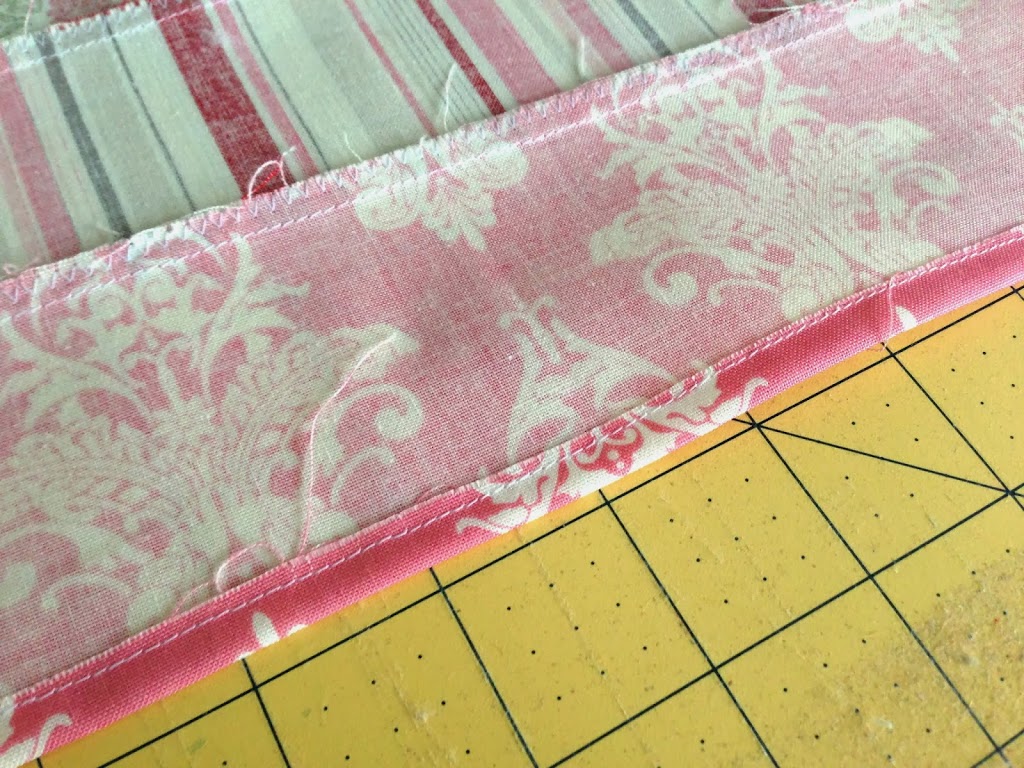
Fold pink raw edge (hem) under 1/4″ and sew.

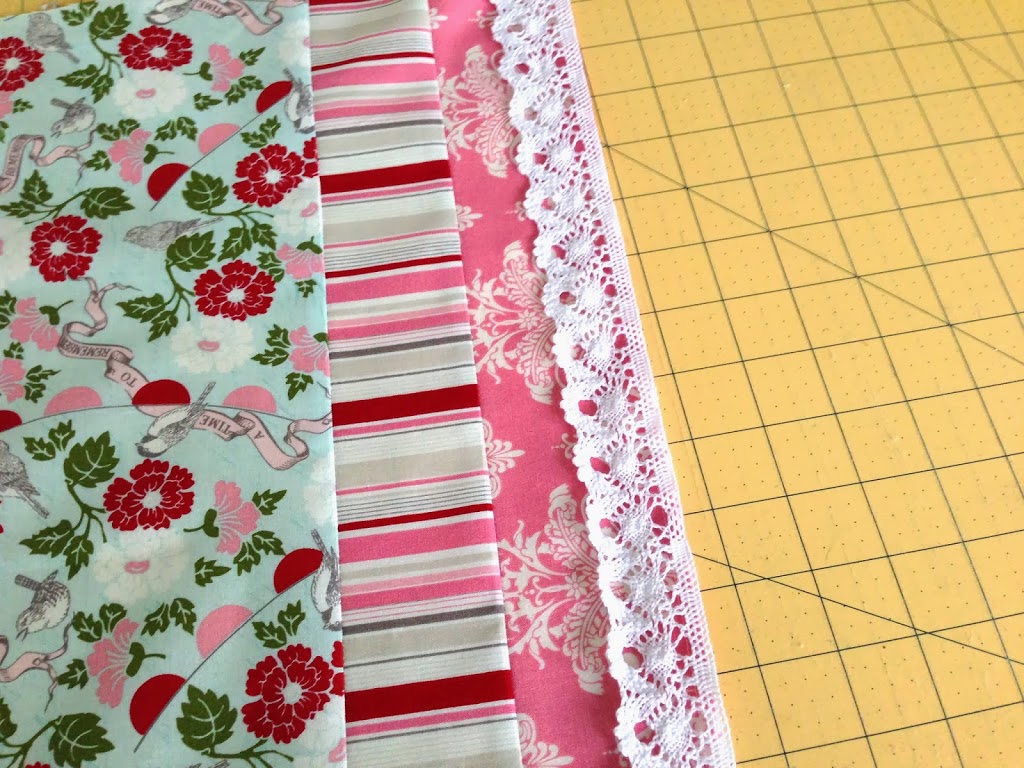
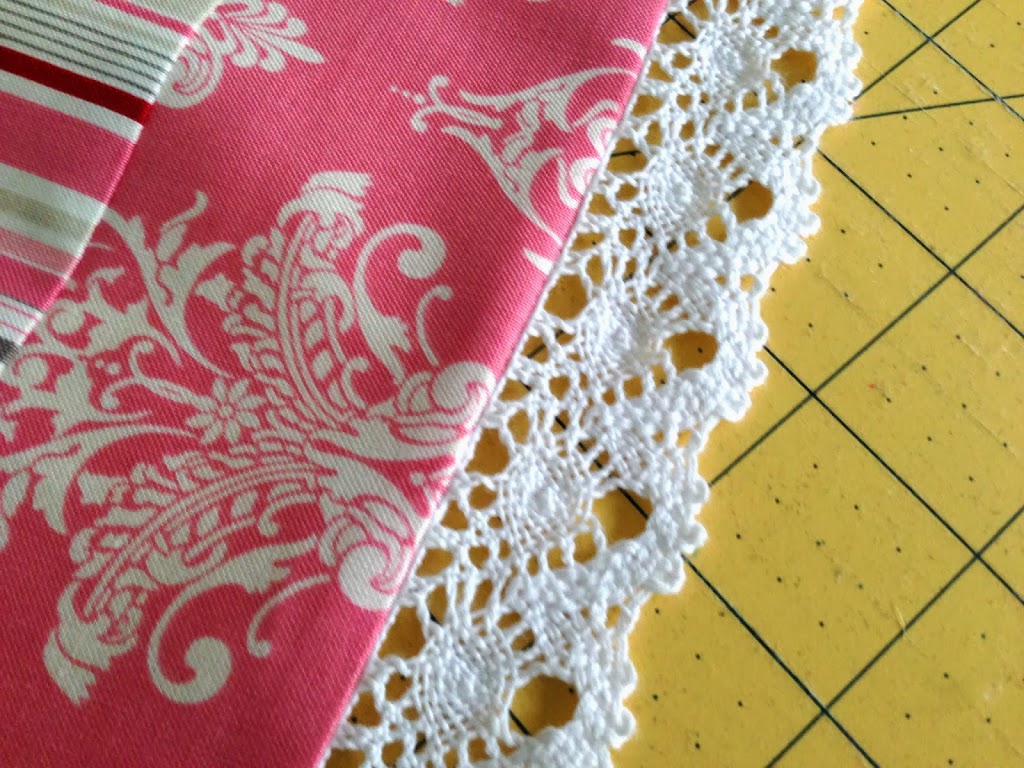
Lay the wide lace with right sides together along the hem.  Sew along the edge of the lace about 1/4″ depending on the lace pattern.

Fold under and press.  Top stitch in place.

Next place the medium and small lace along the seams of the fabric strips.  Top stitch in place.

To finish the sides, fold raw edges in 1/4″ and sew, then fold in 1/4″ again.  Back stitch at the start and stop.  This should also secure the raw edge of the lace and keep it from fraying.
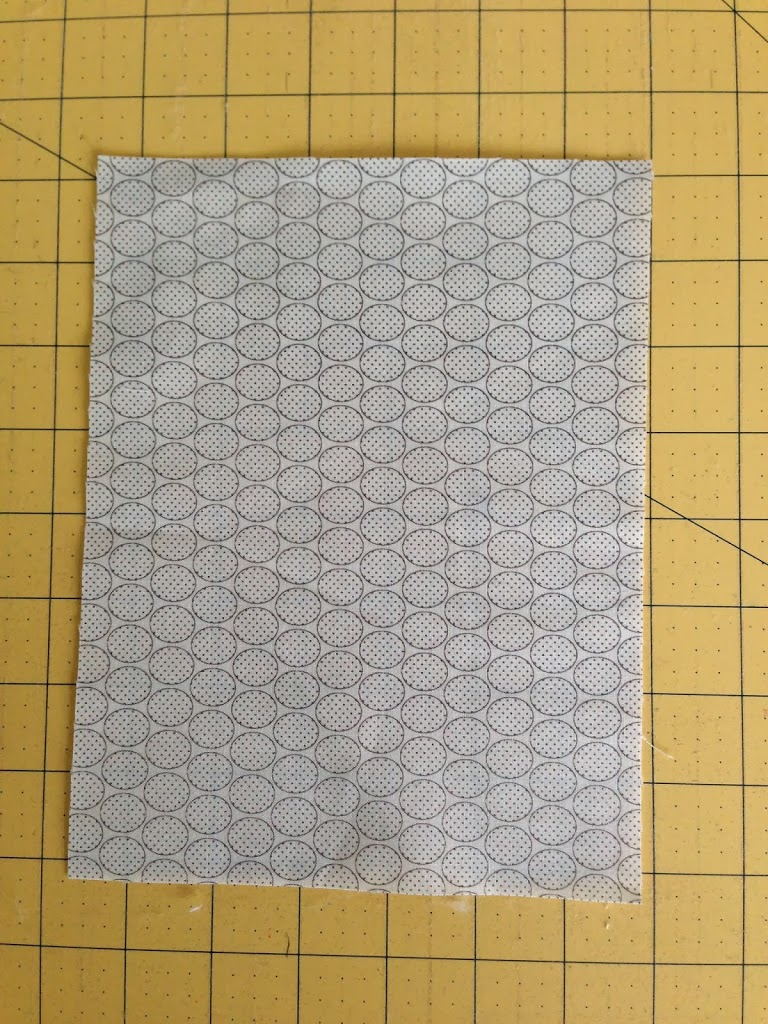
Prepare the pocket…cut:
Adult pocket: 8.5″x 6.5″
Child pocket 6.5″ x 5.5″
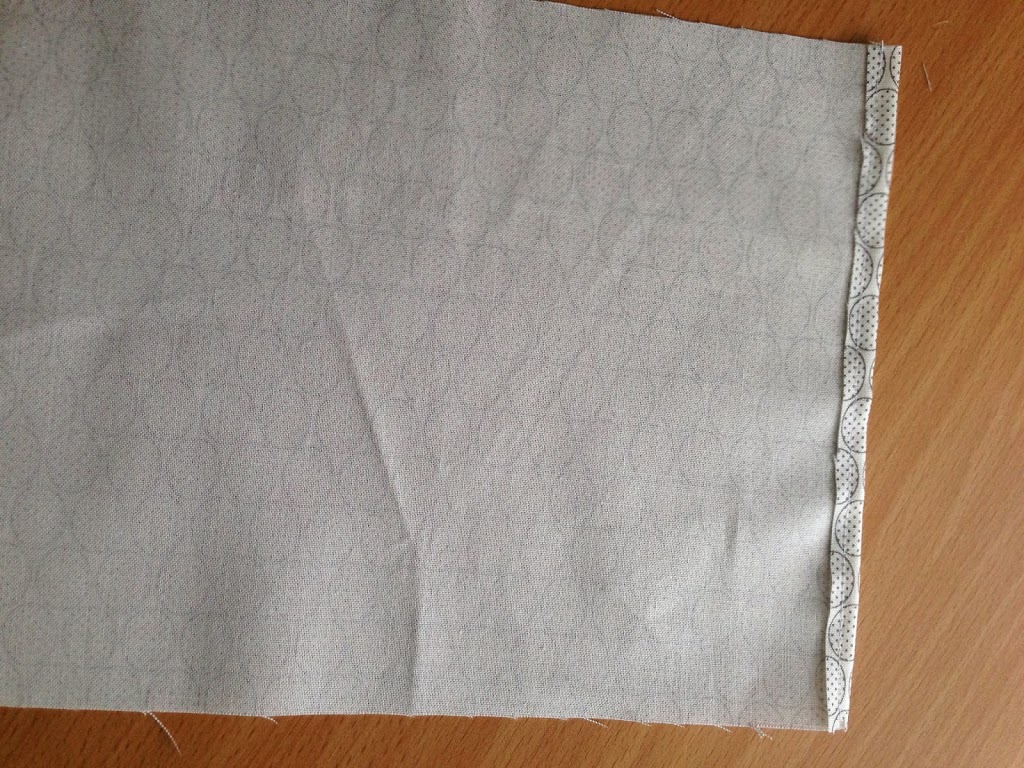
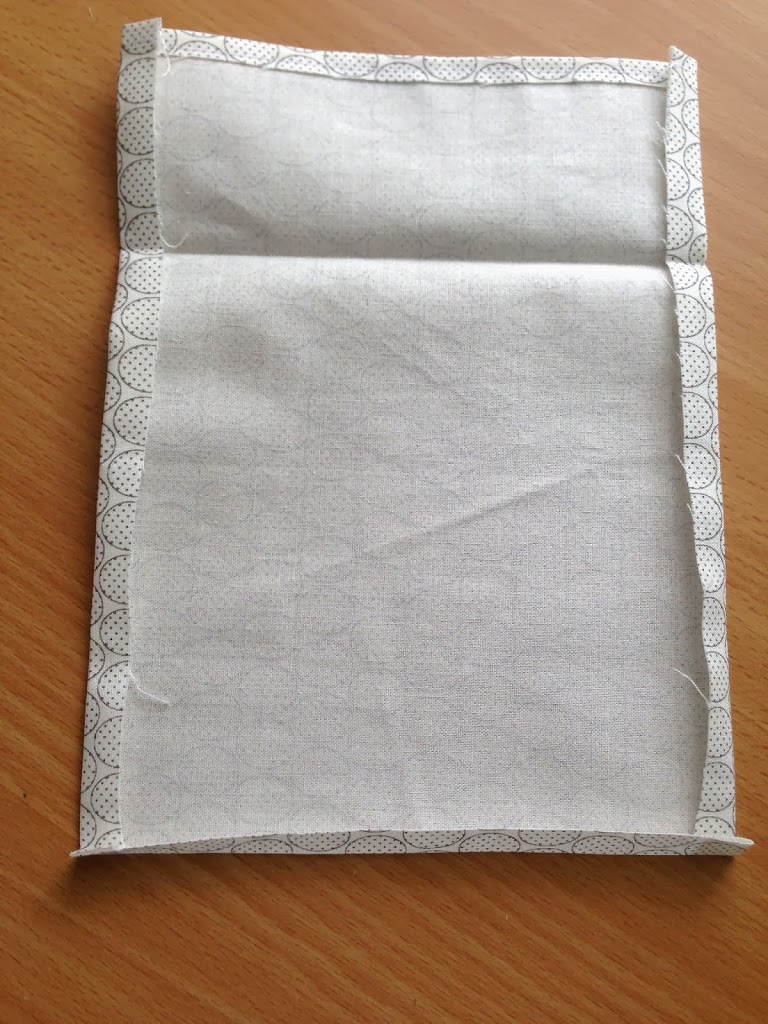
Fold the top edge in 1/4″ and sew.

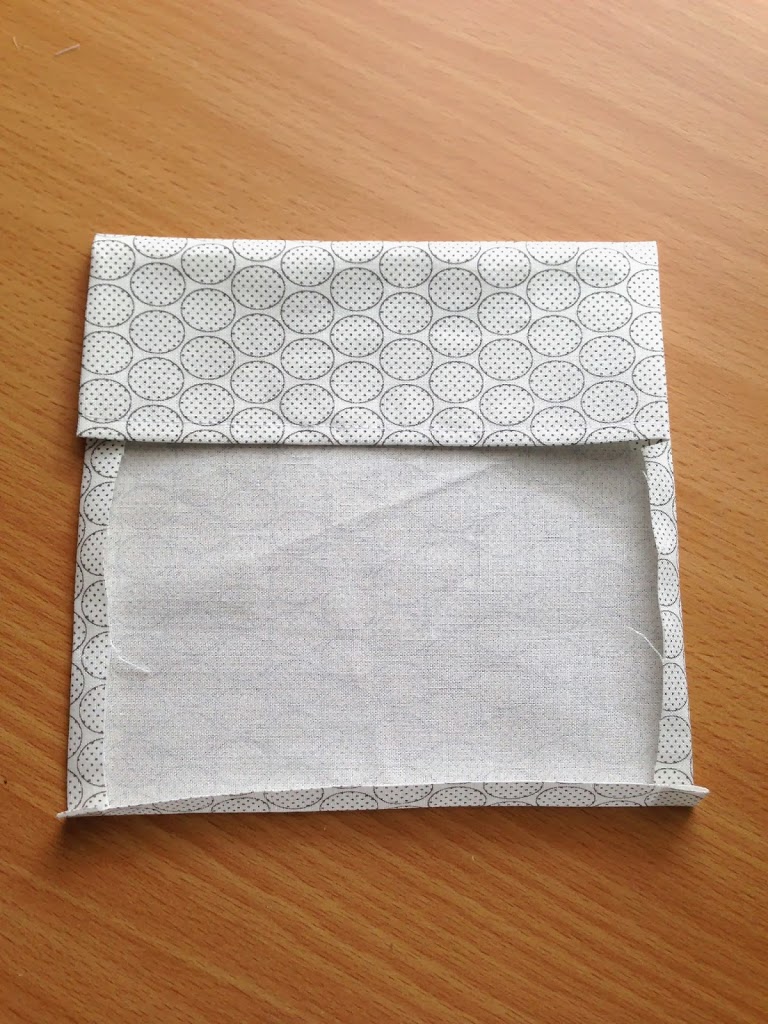
Press sides in 1/4″ and bottom 1/4″.  Fold the top down about 2.5″ or to your liking.

It should look like this:
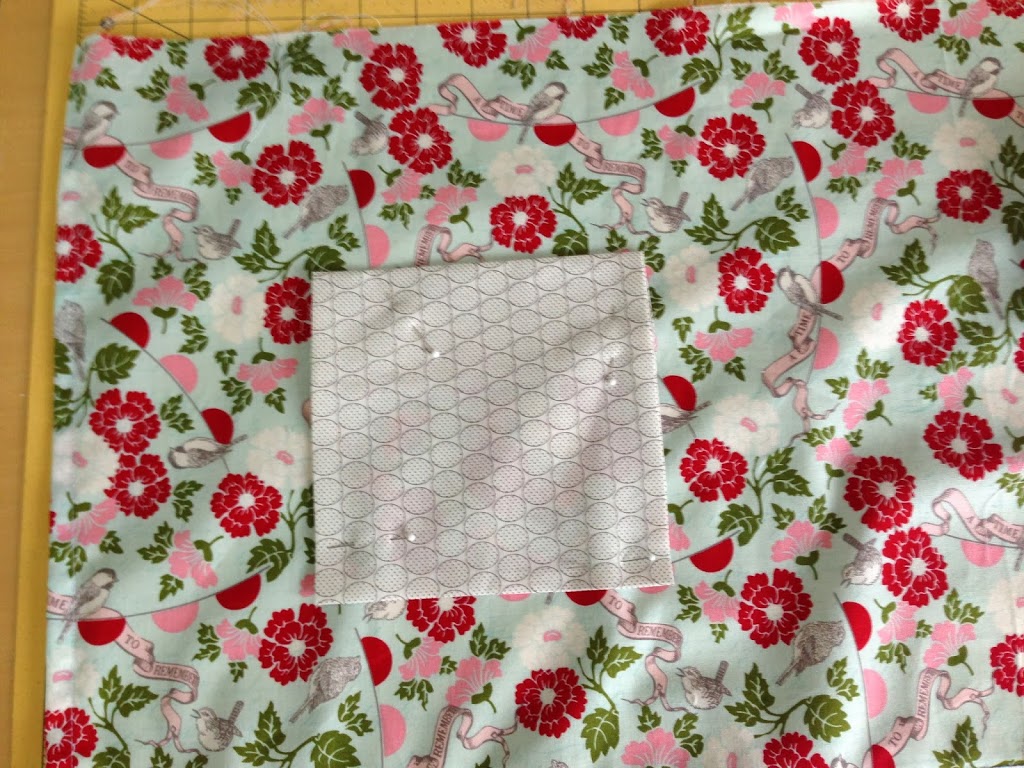
Pin the pocket into place.  Of course you can sew 2 pockets or change up the shape.  I am right handed so I put the pocket on the right side of the apron.  Pin in place and topstitch leaving the top open. 
Prepare the waistband:

Adult apron cut (2) 5″ x WOF and (1) 5″ x 21″
Child apron cut (2) 4″ x 38″ and (1) 4″ x 18″ – you can adjust the length depending on how long you want the ties.

The idea is to have a waistband portion (the shorter piece) in the center and two ties (the longer pieces) on each side.

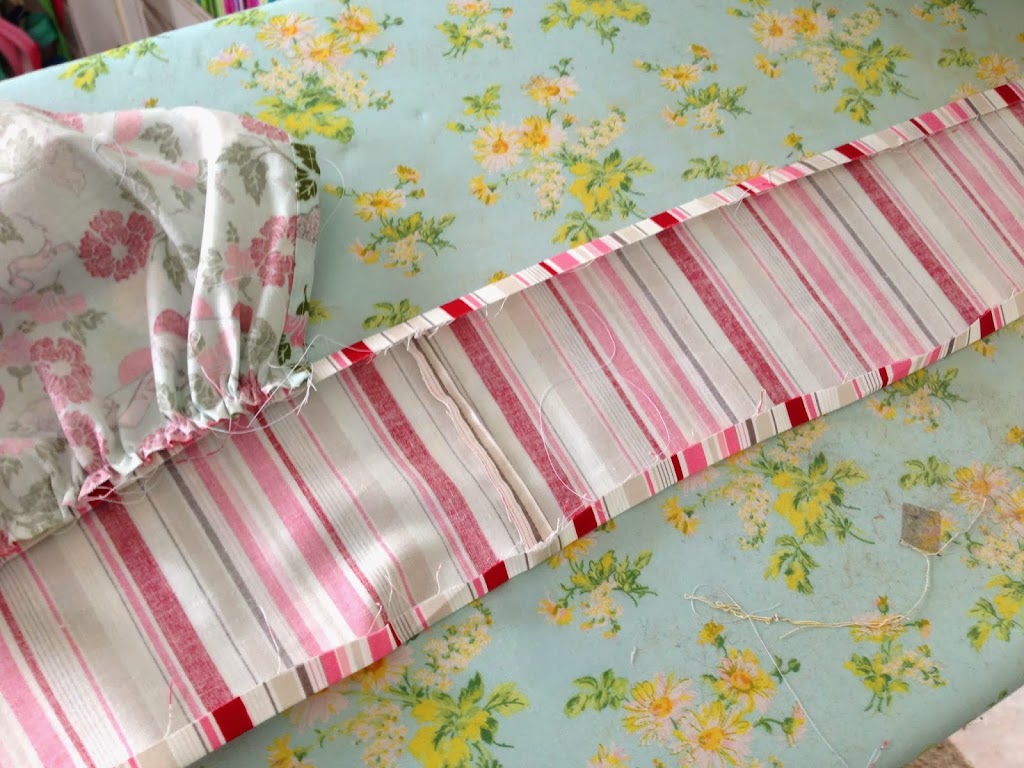
Sew the waist band pieces end to end with the shortest piece in the center.  Press seams open.
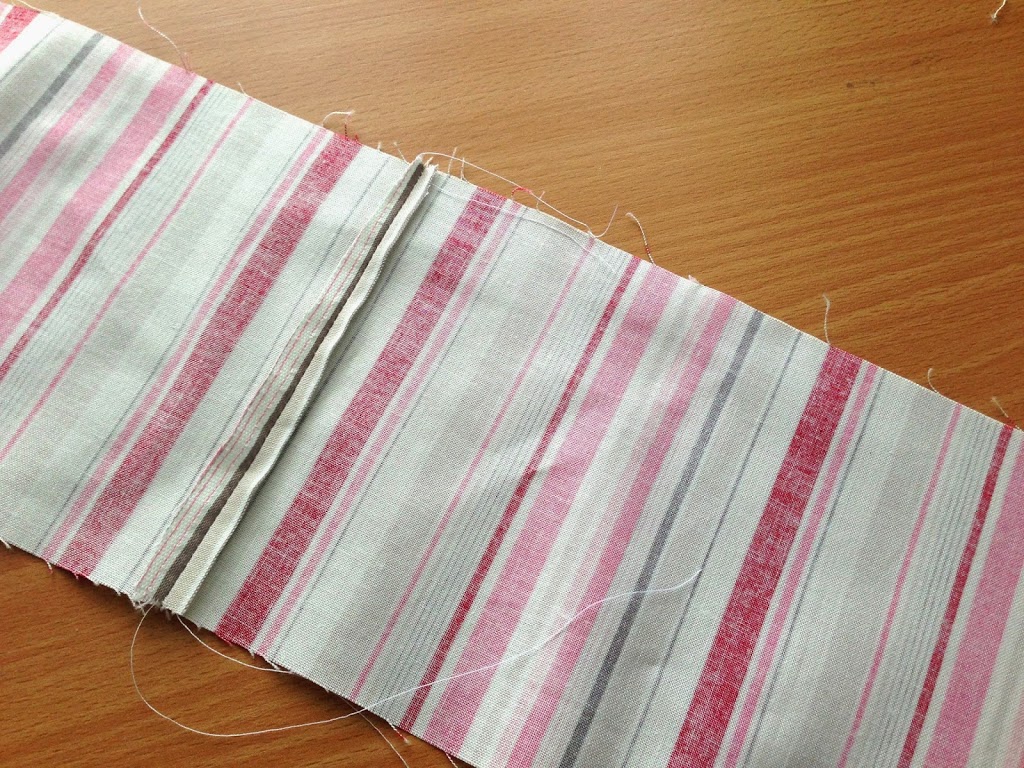
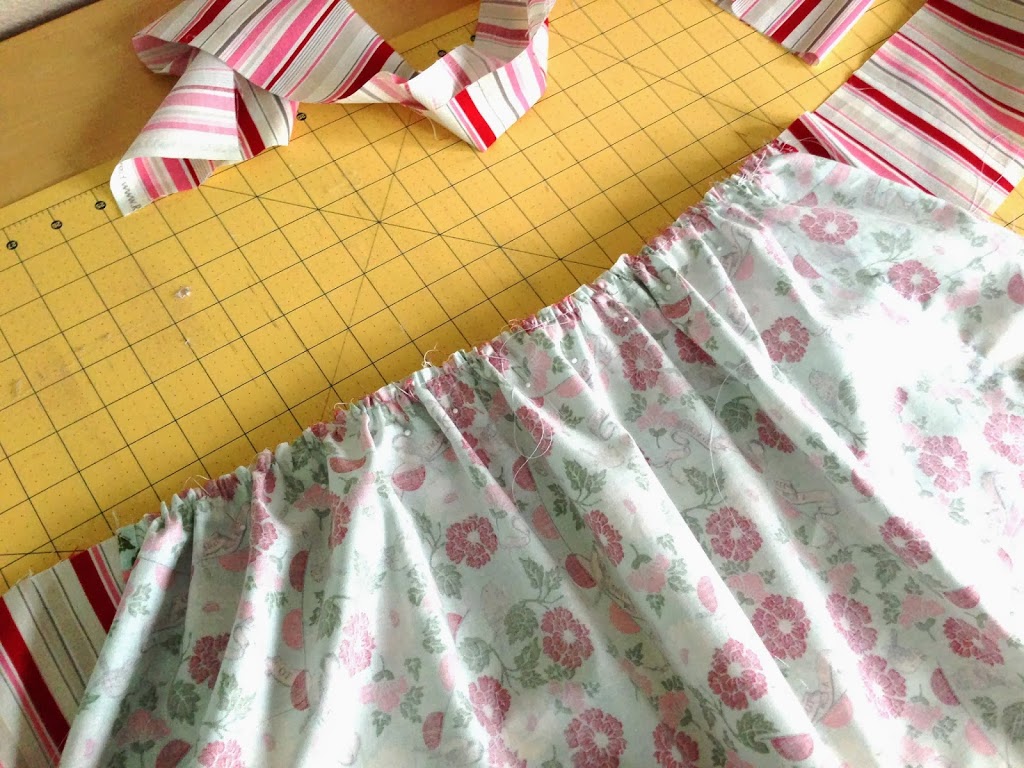
Sew a 1/4″ gathering stitch along the top of the aprons.  Pull up threads to gather.

Lay the gathered piece along the waistband piece like this – making sure to align centers.  Notice right sides are together.

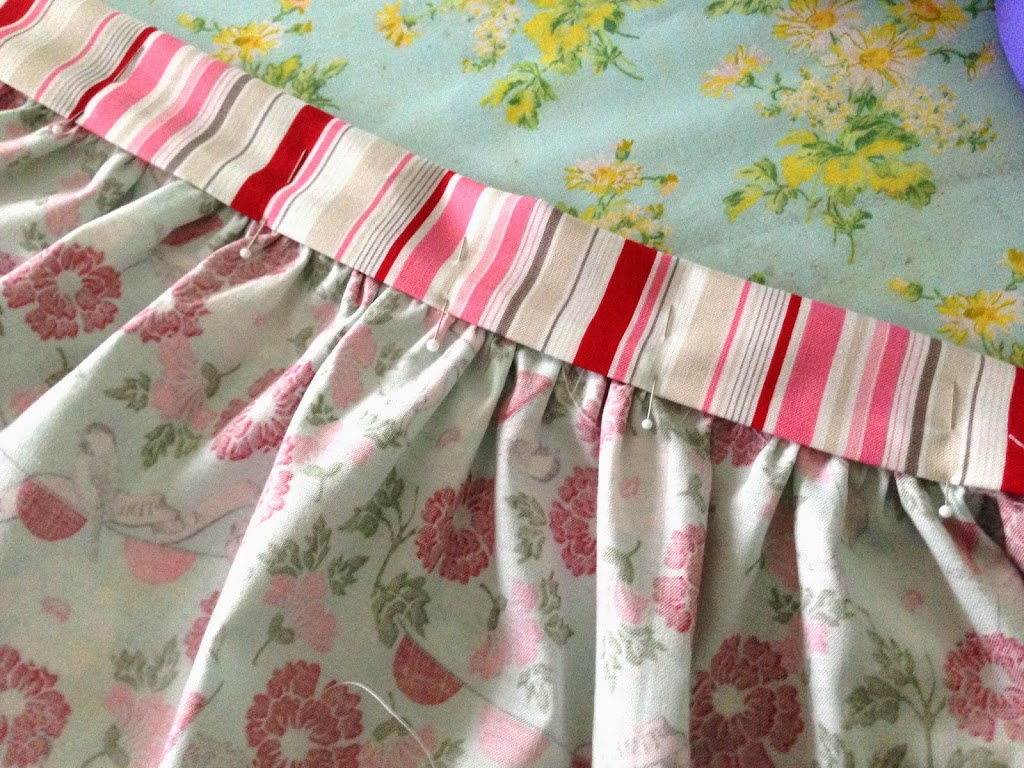
Pin into place.  Sew just this portion sewing over the gathering stitch.

Press the entire waistband under 1/4″ – all the way around, like this:

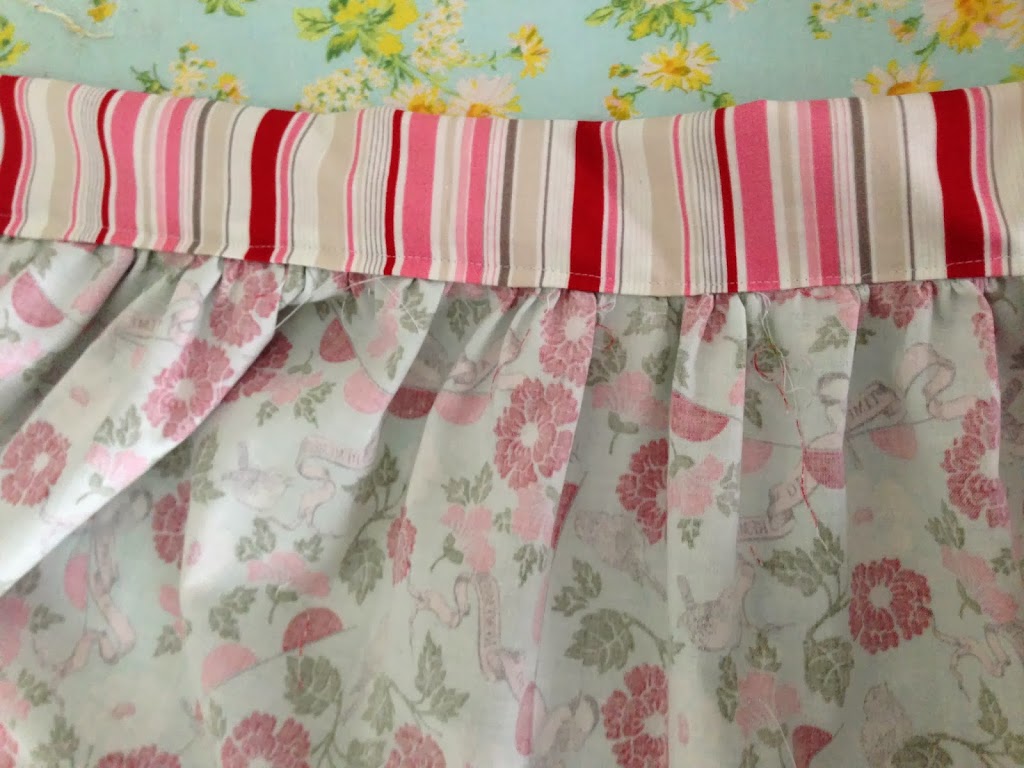
Fold the waistband over so folded edges align.

Pin into place.  I leave my pins in and turn the apron over and sew using the front of the waistband as my guide.  That way the front of the apron looks perfect.  The seam catches the back of the waistband just fine. Continue sewing the entire way around the waistband with a 1/8″ seam.

Done!!

I think they are so cute!!  We’ve already made a batch of orange rolls today!!
Amanda

A little sewing…..

I have been a busy little sewer bee this week!!  I sewed these cute half aprons for my friends at Therm O Web to wear at Quilt Market.  Half aprons are my favorite!  And they are so fun to sew!
The theme of their booth is aqua, pink, black and white.  Super retro colors – love ‘um!
 

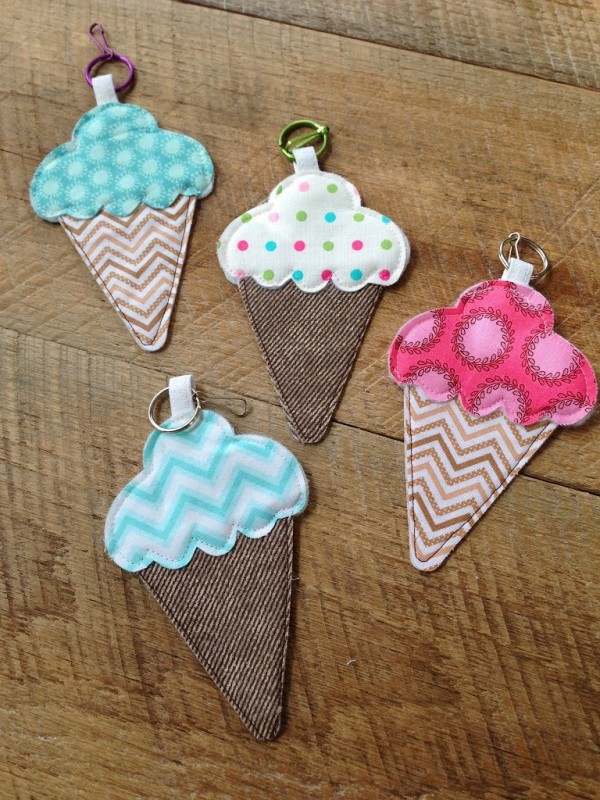
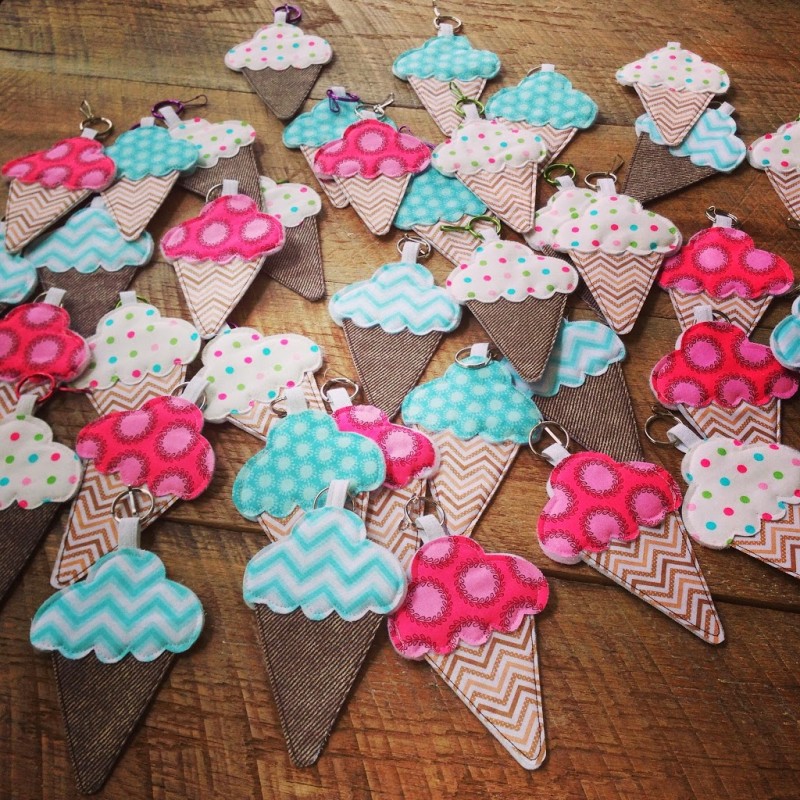
I also sewed 40 of these little ice cream cone key chains.  I used Heat n Bond fusible appliqué and Heat n Bond fusible fleece.  I used the Sizzix ice cream cone die to cut them out.  They are really fun to make!

Amanda

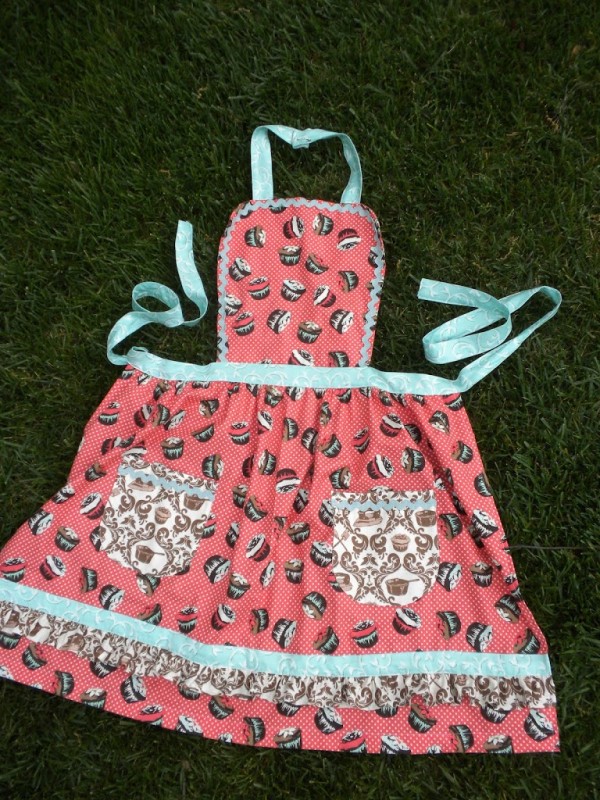
Retro Cupcake Apron


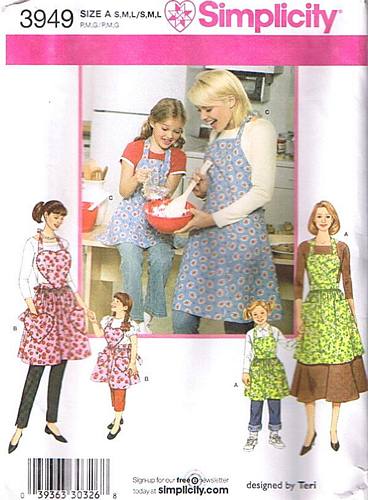
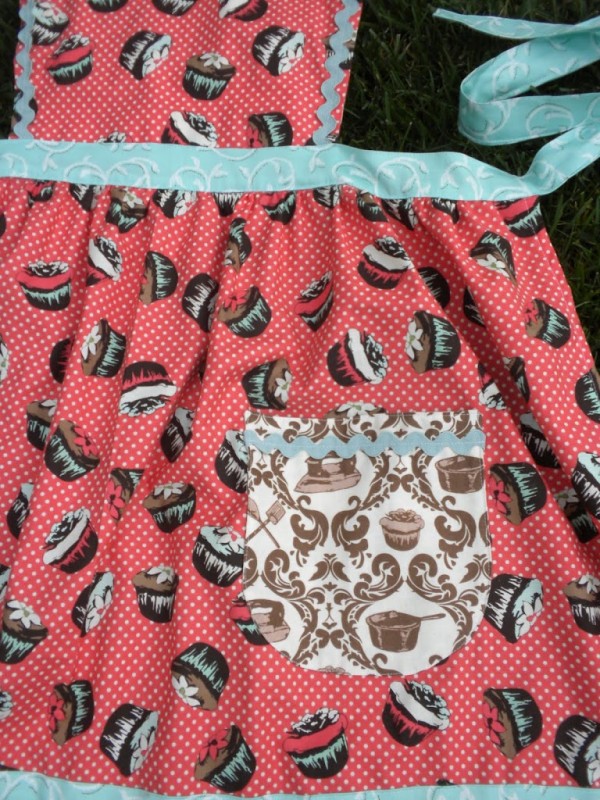
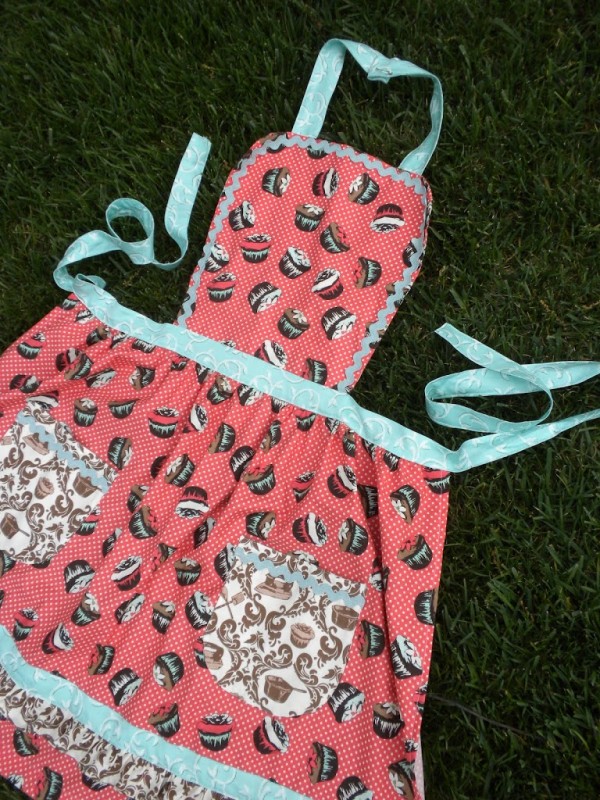
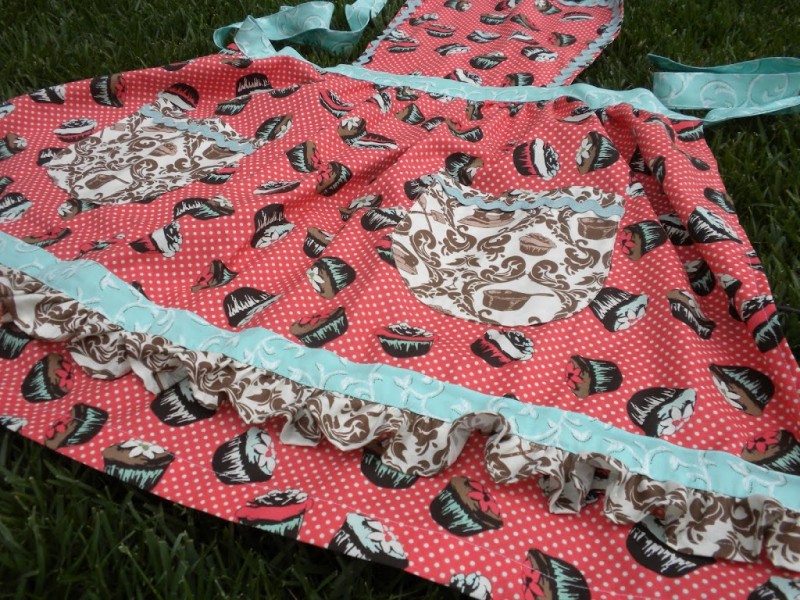
Judy, from Sprizzie, and I shared some cupcake making ideas last night at our Relief Society meeting. Of course we NEEDED matching cupcake aprons for the presentation! This is what I came up with. It is the Simplicity 3949 pattern.

I added ric rac and the ruffle to cute it up! I love the fabric & the colors – it’s so retro feeling. It’s my new favorite apron!

A New Apron for Me


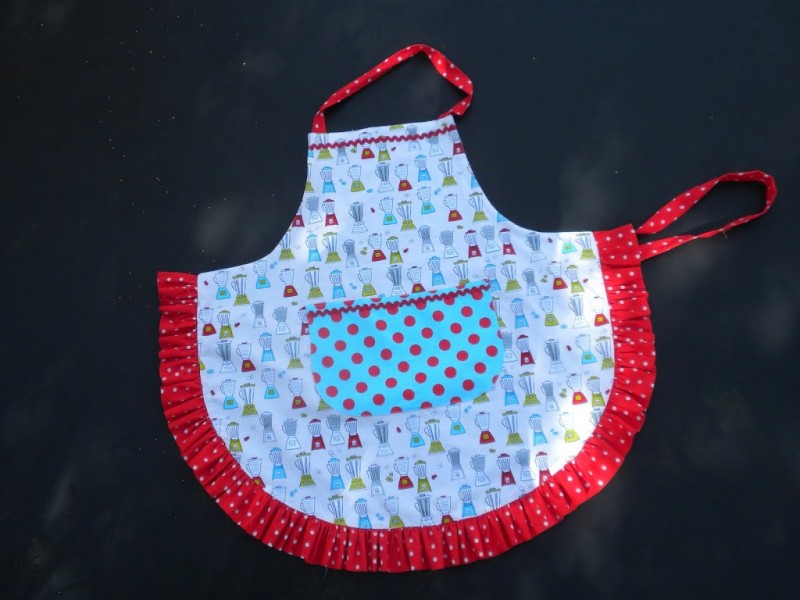
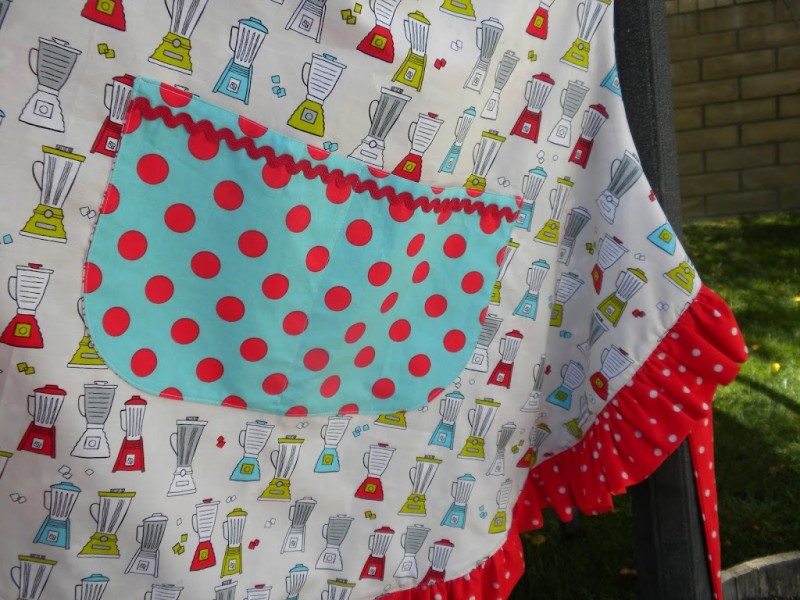
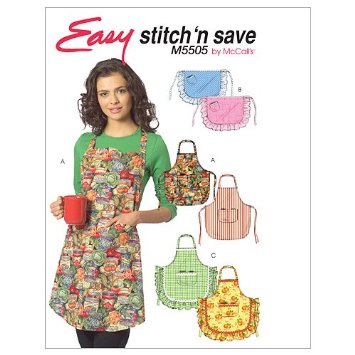
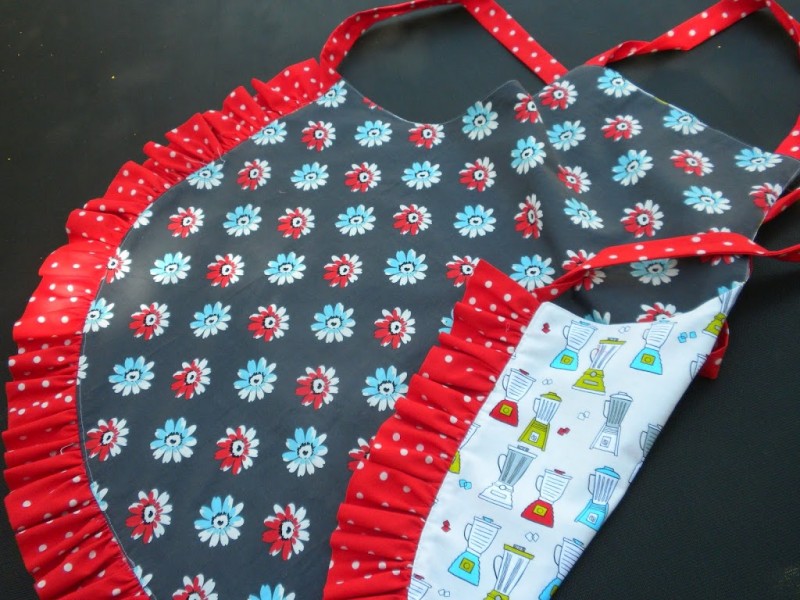
I have been collecting apron patterns and tutorials. I found this darling retro blender fabric and knew it was destined to be an apron. So instead of getting out one of my many new apron patterns, I dig out an old one – McCalls M5505

The pattern has you hem all the edges and there are so many raw seams especially with the ruffle. I cut another apron front out and used it as the back. I sewed it and turned it and now there are no exposed seams! I love that!