Scaredy Cat Tote Bag

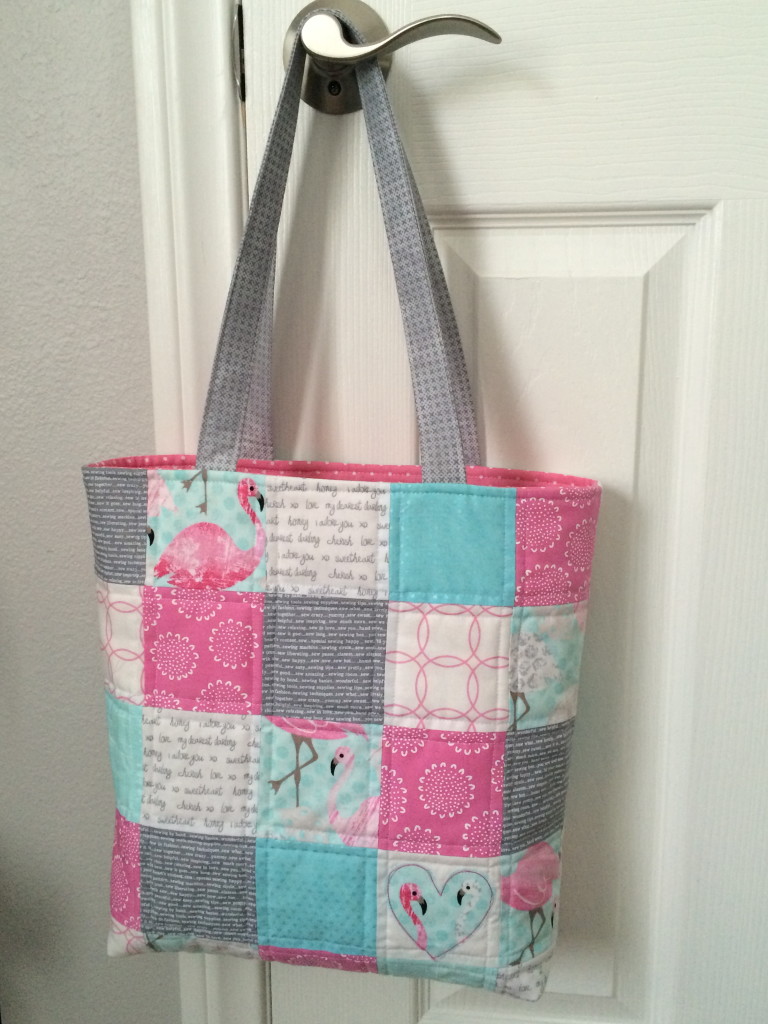
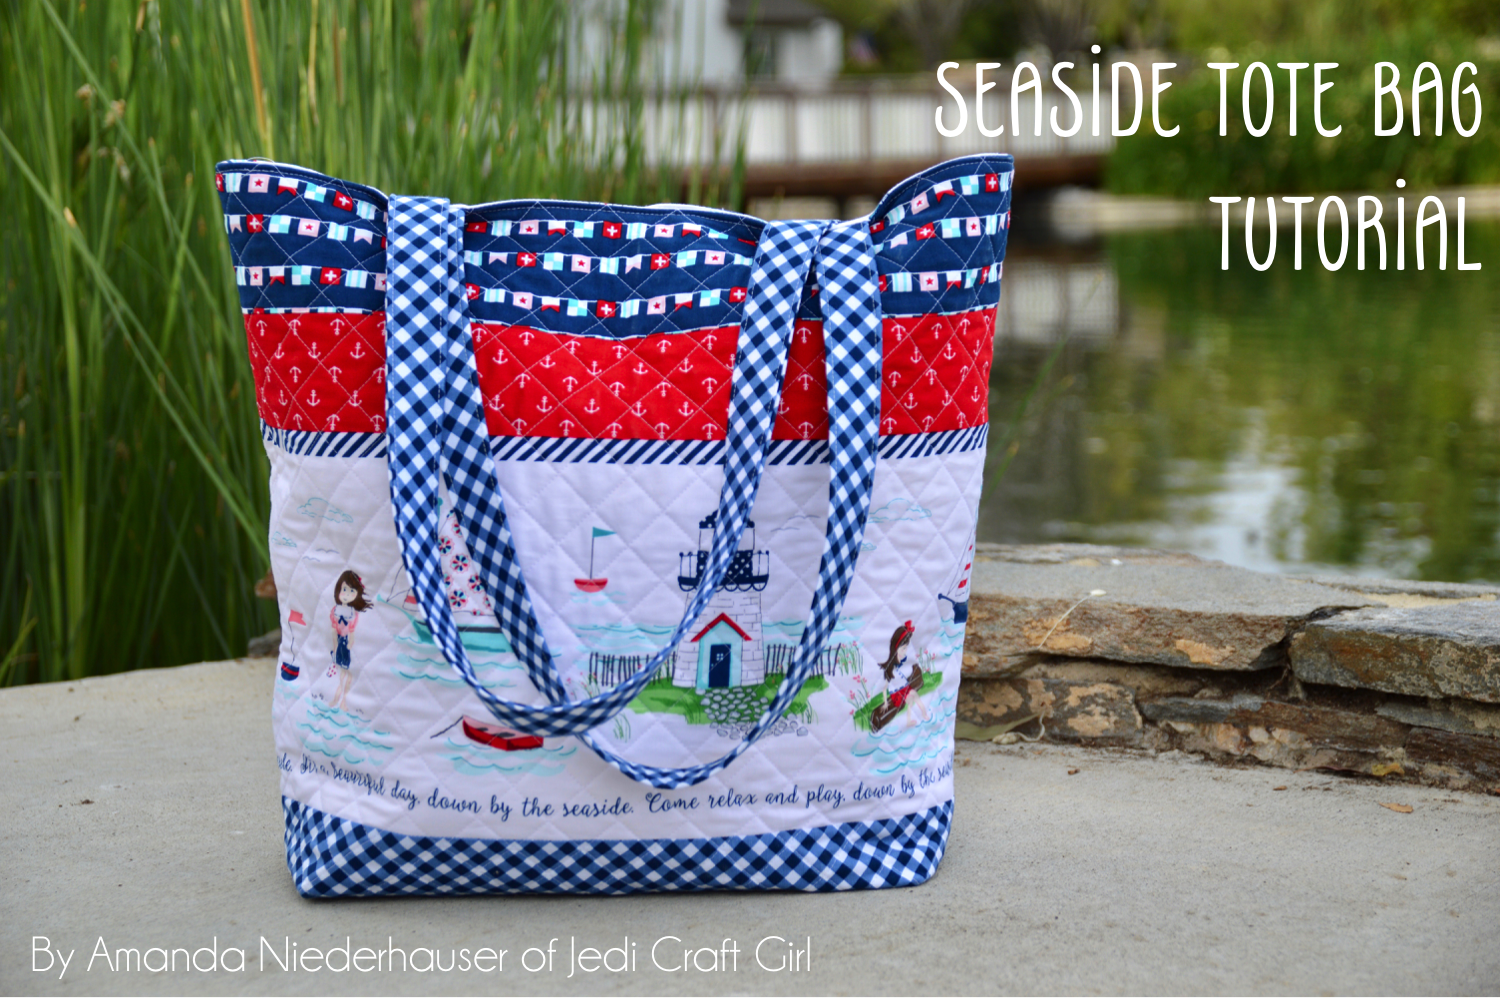
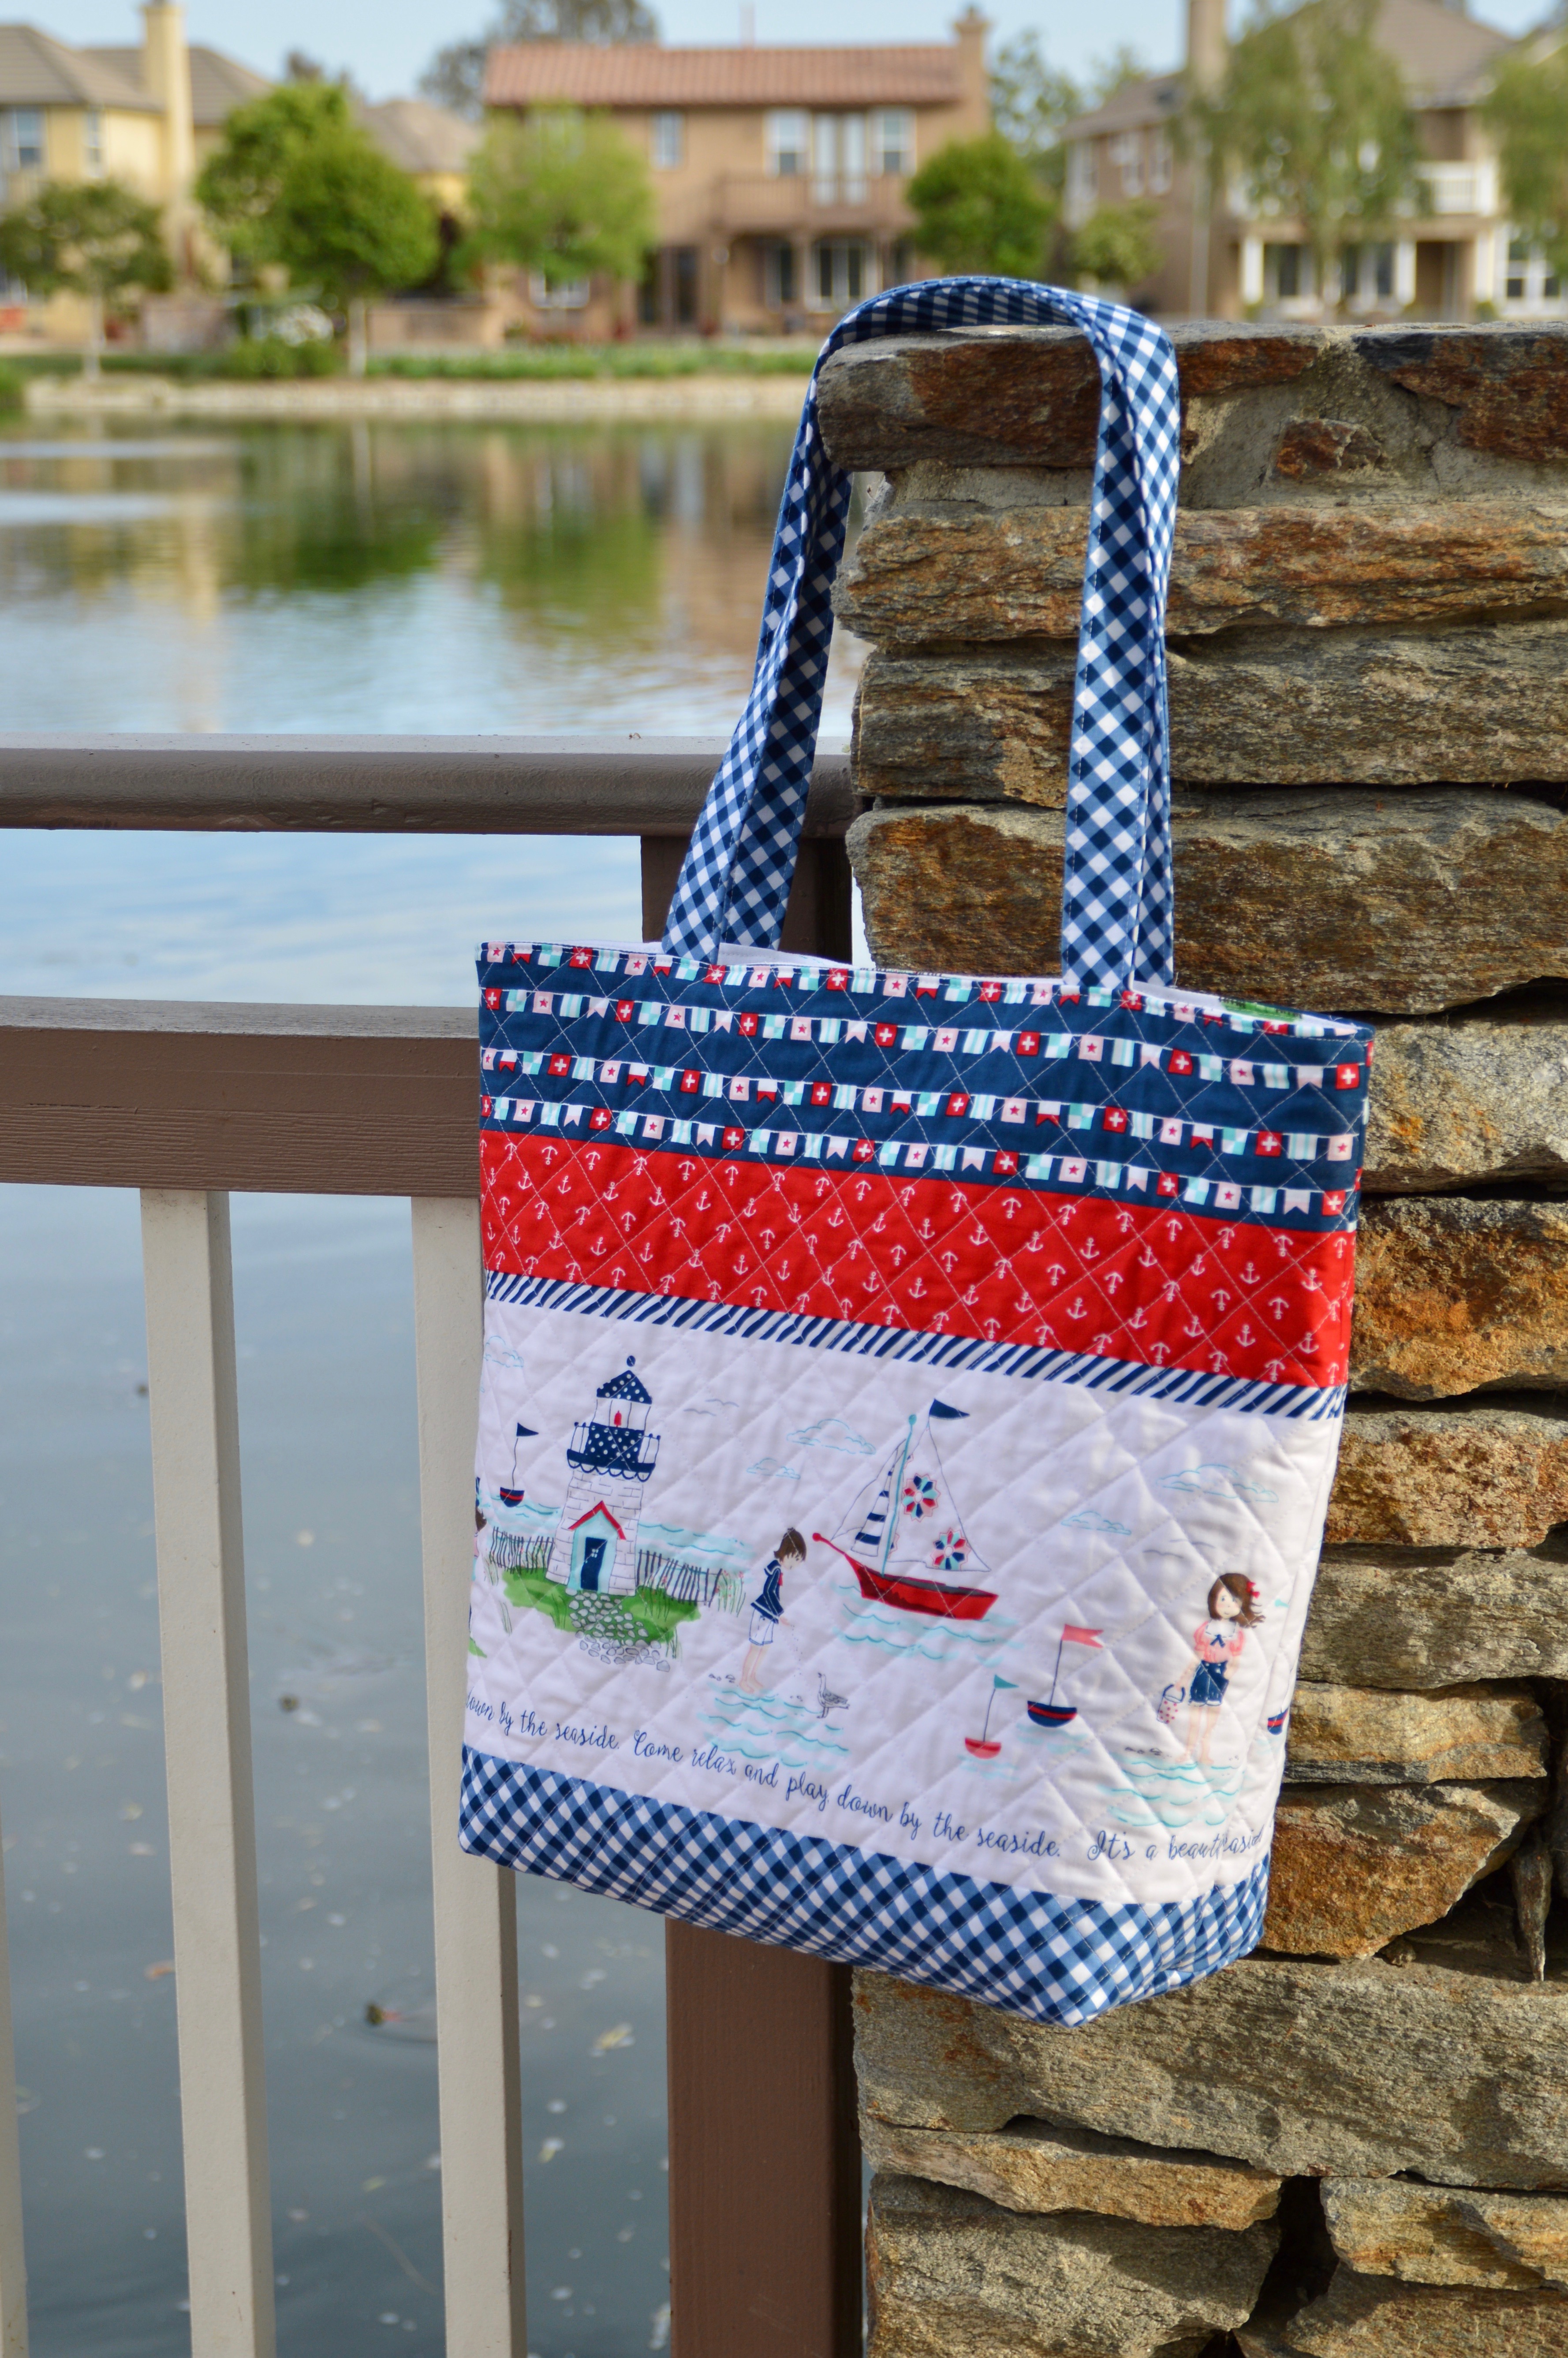
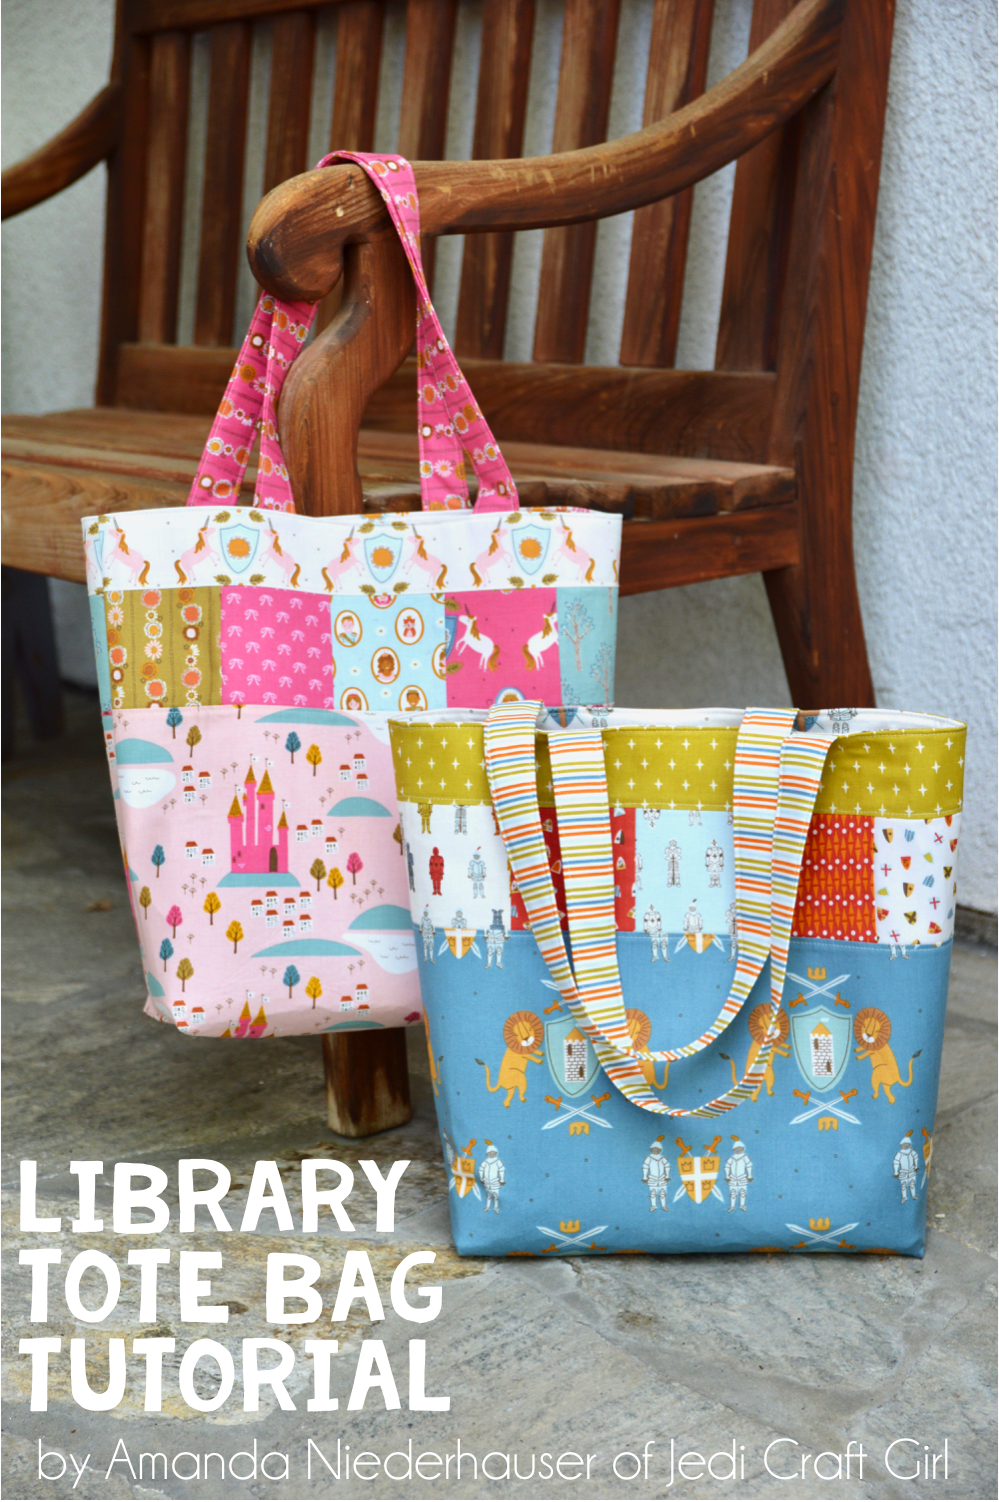
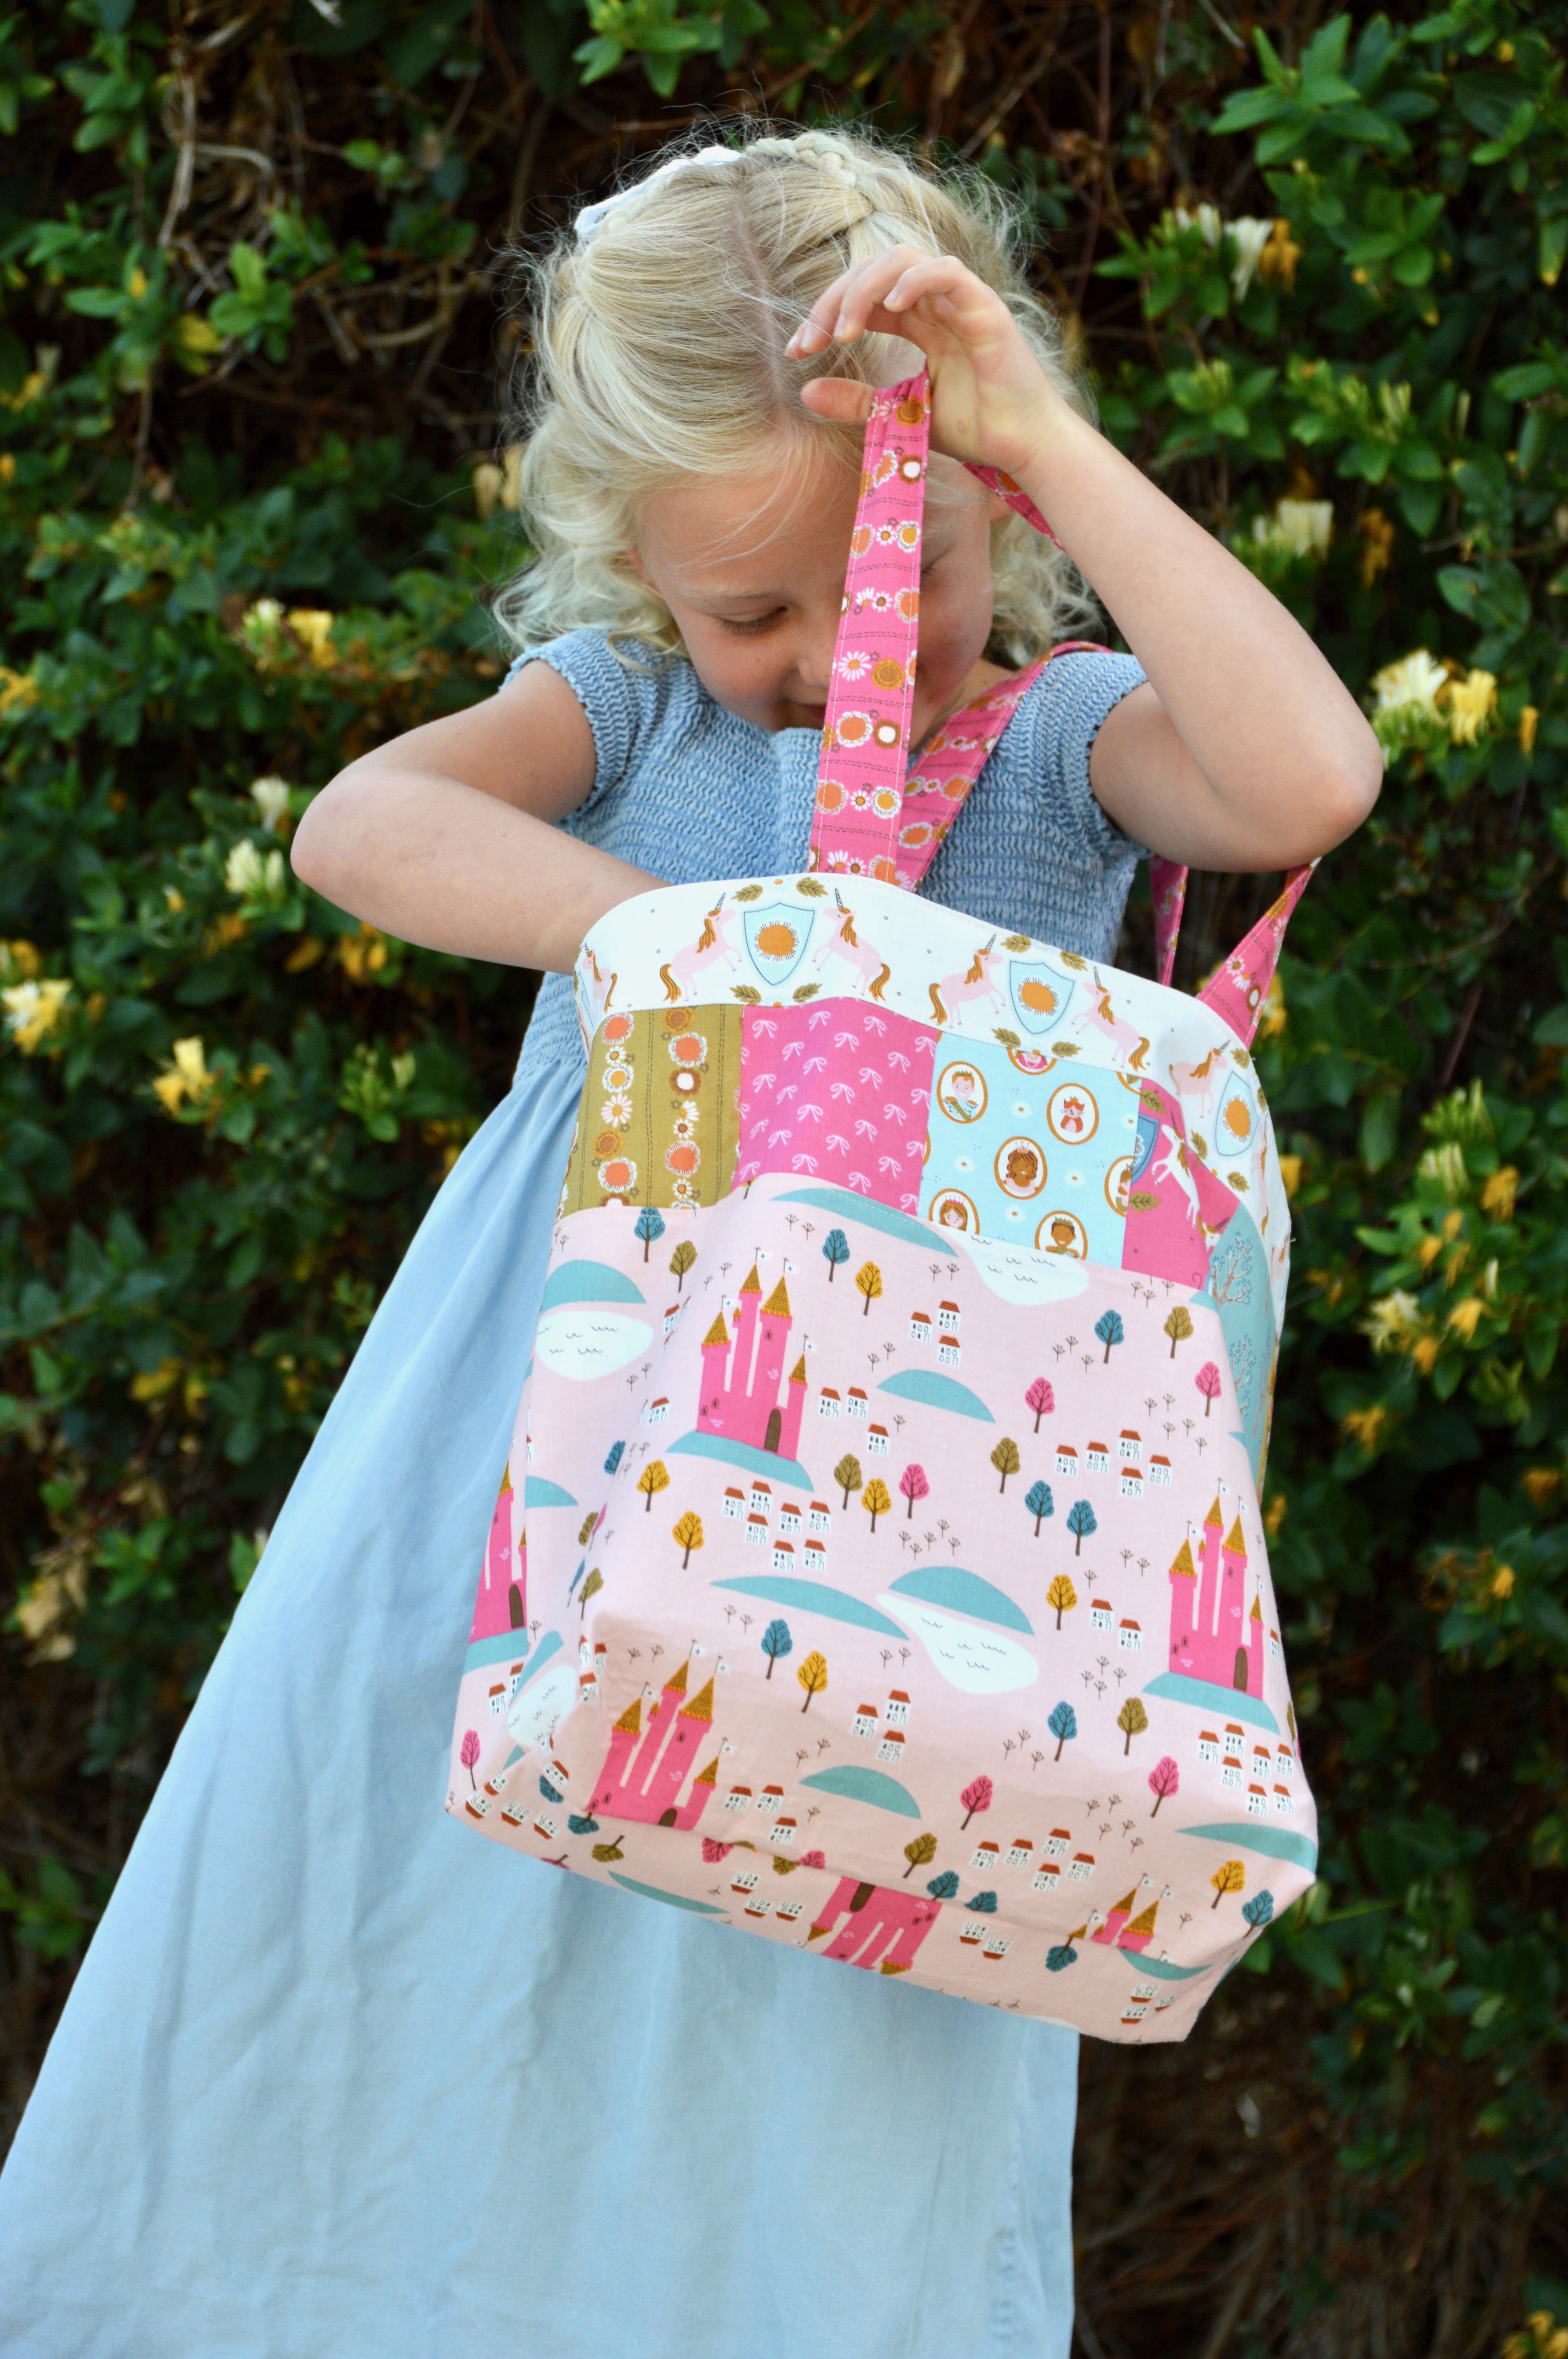
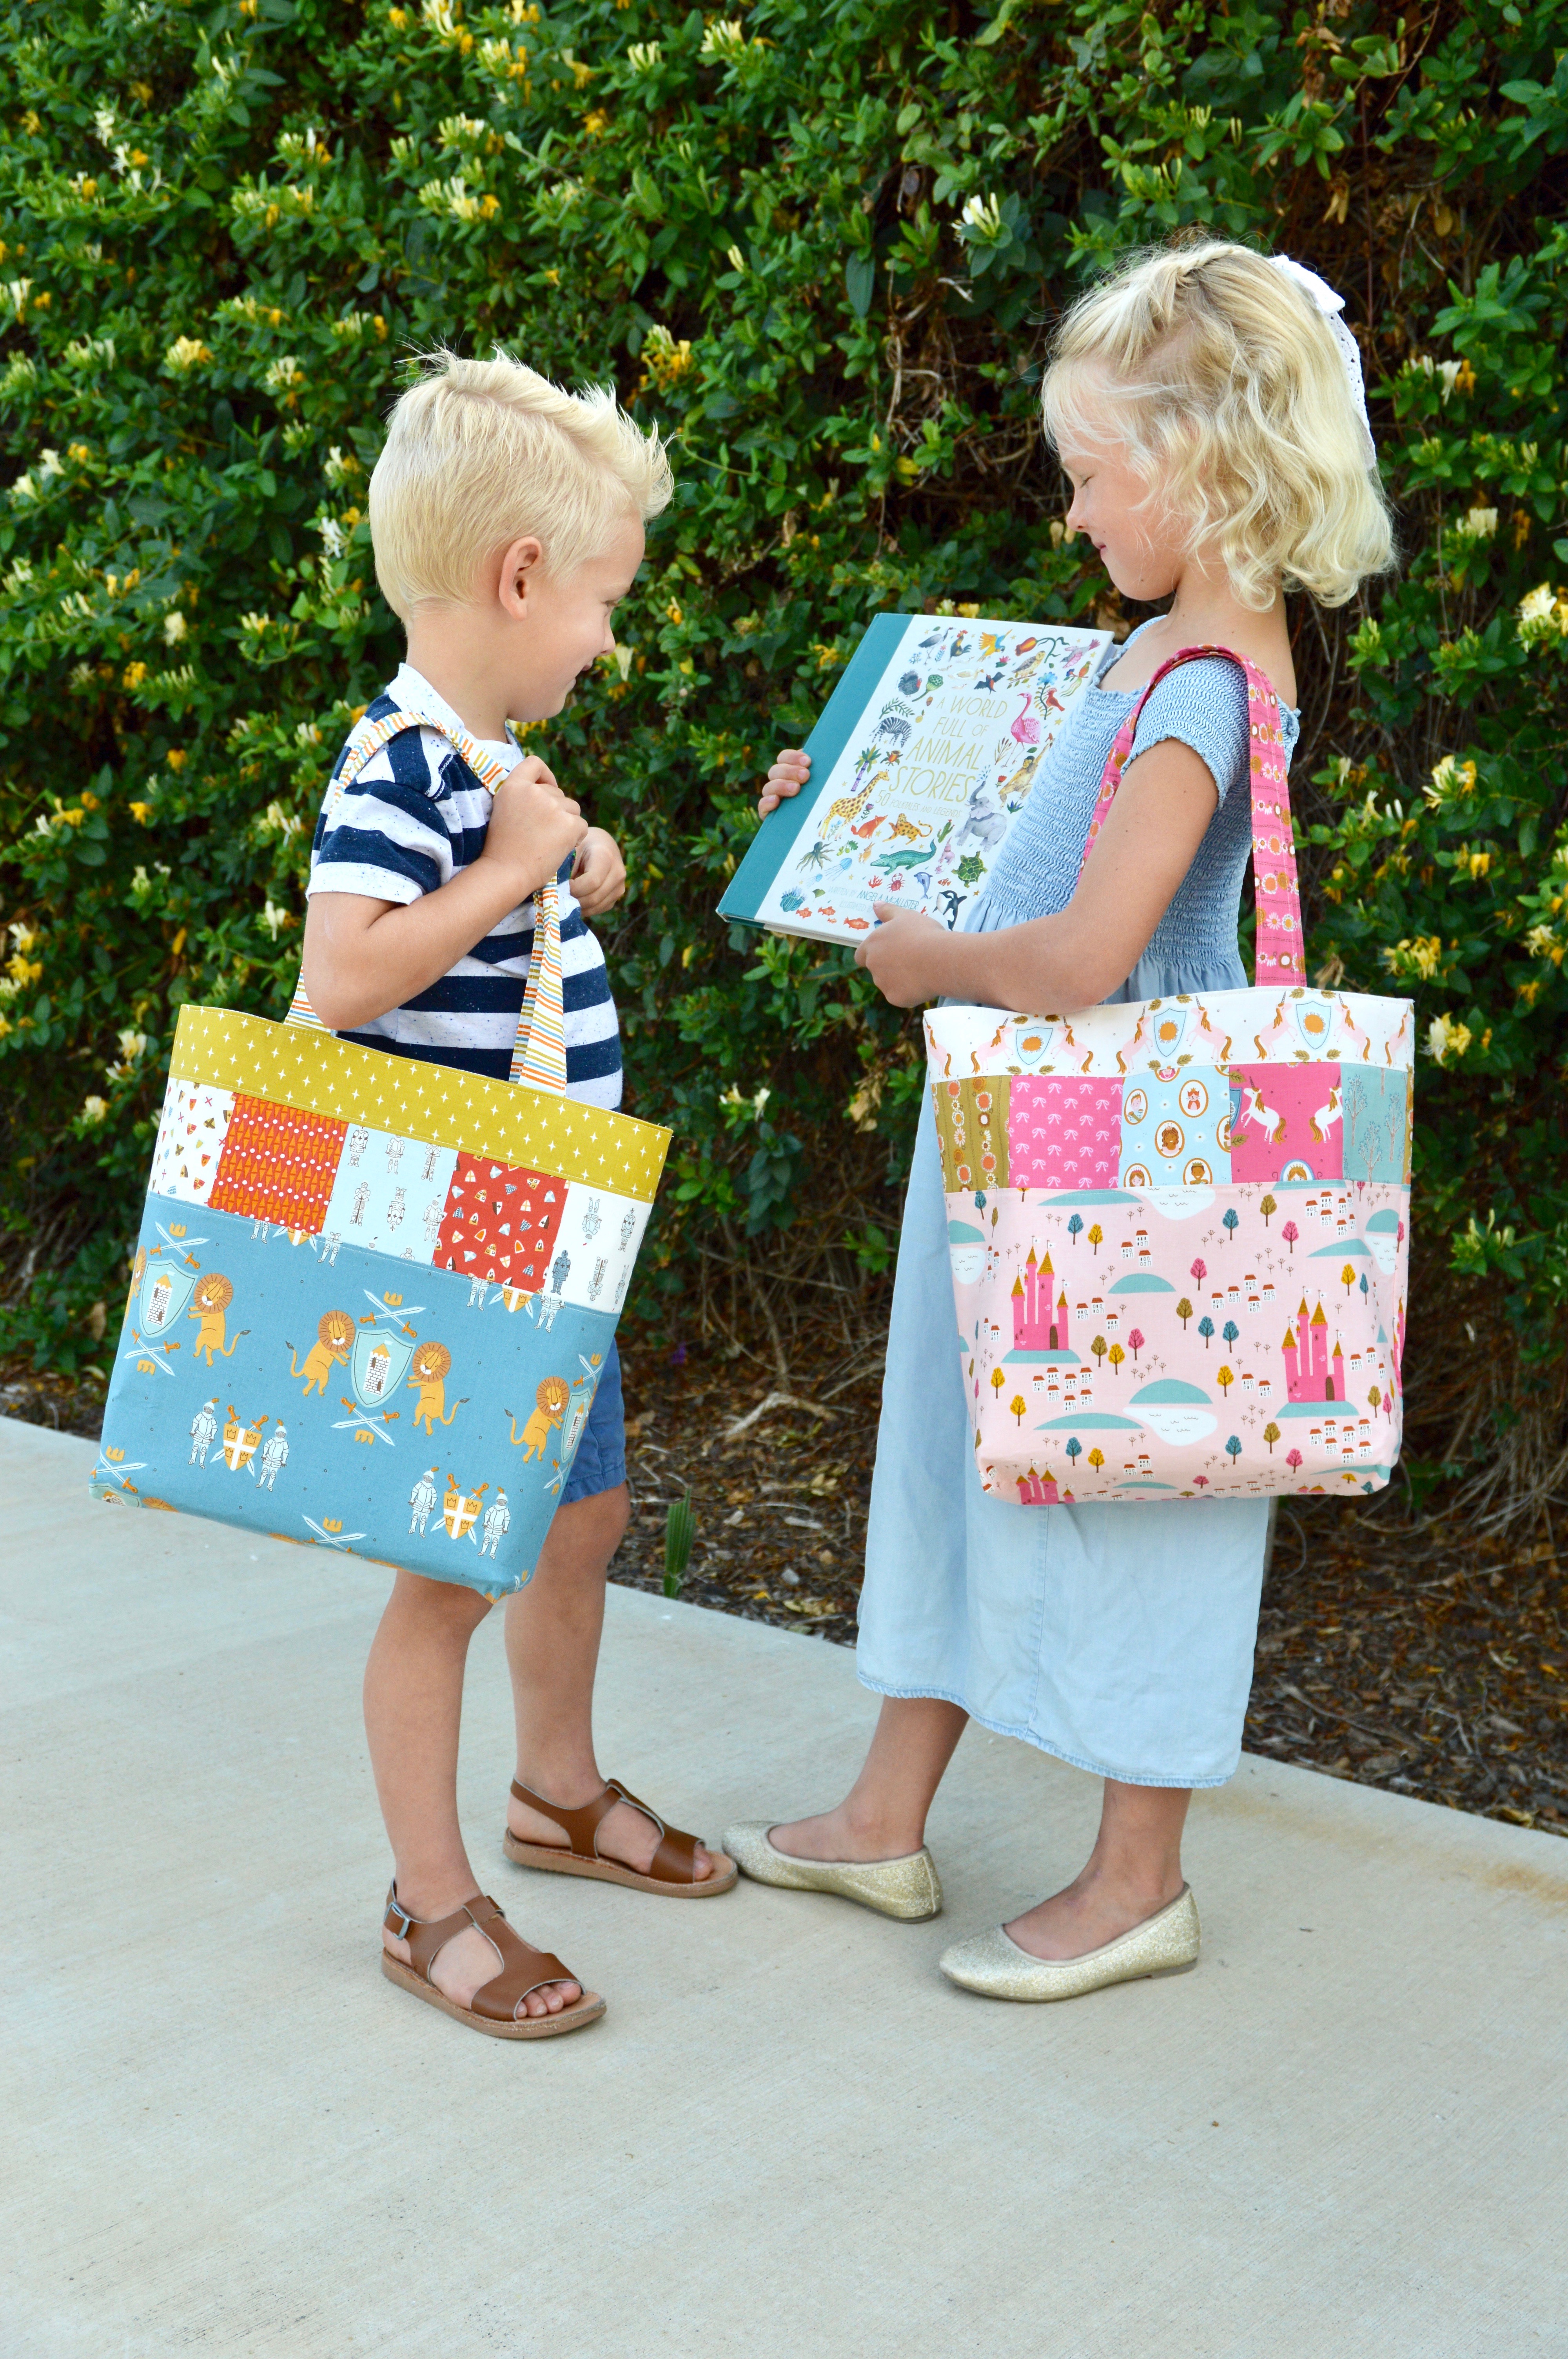
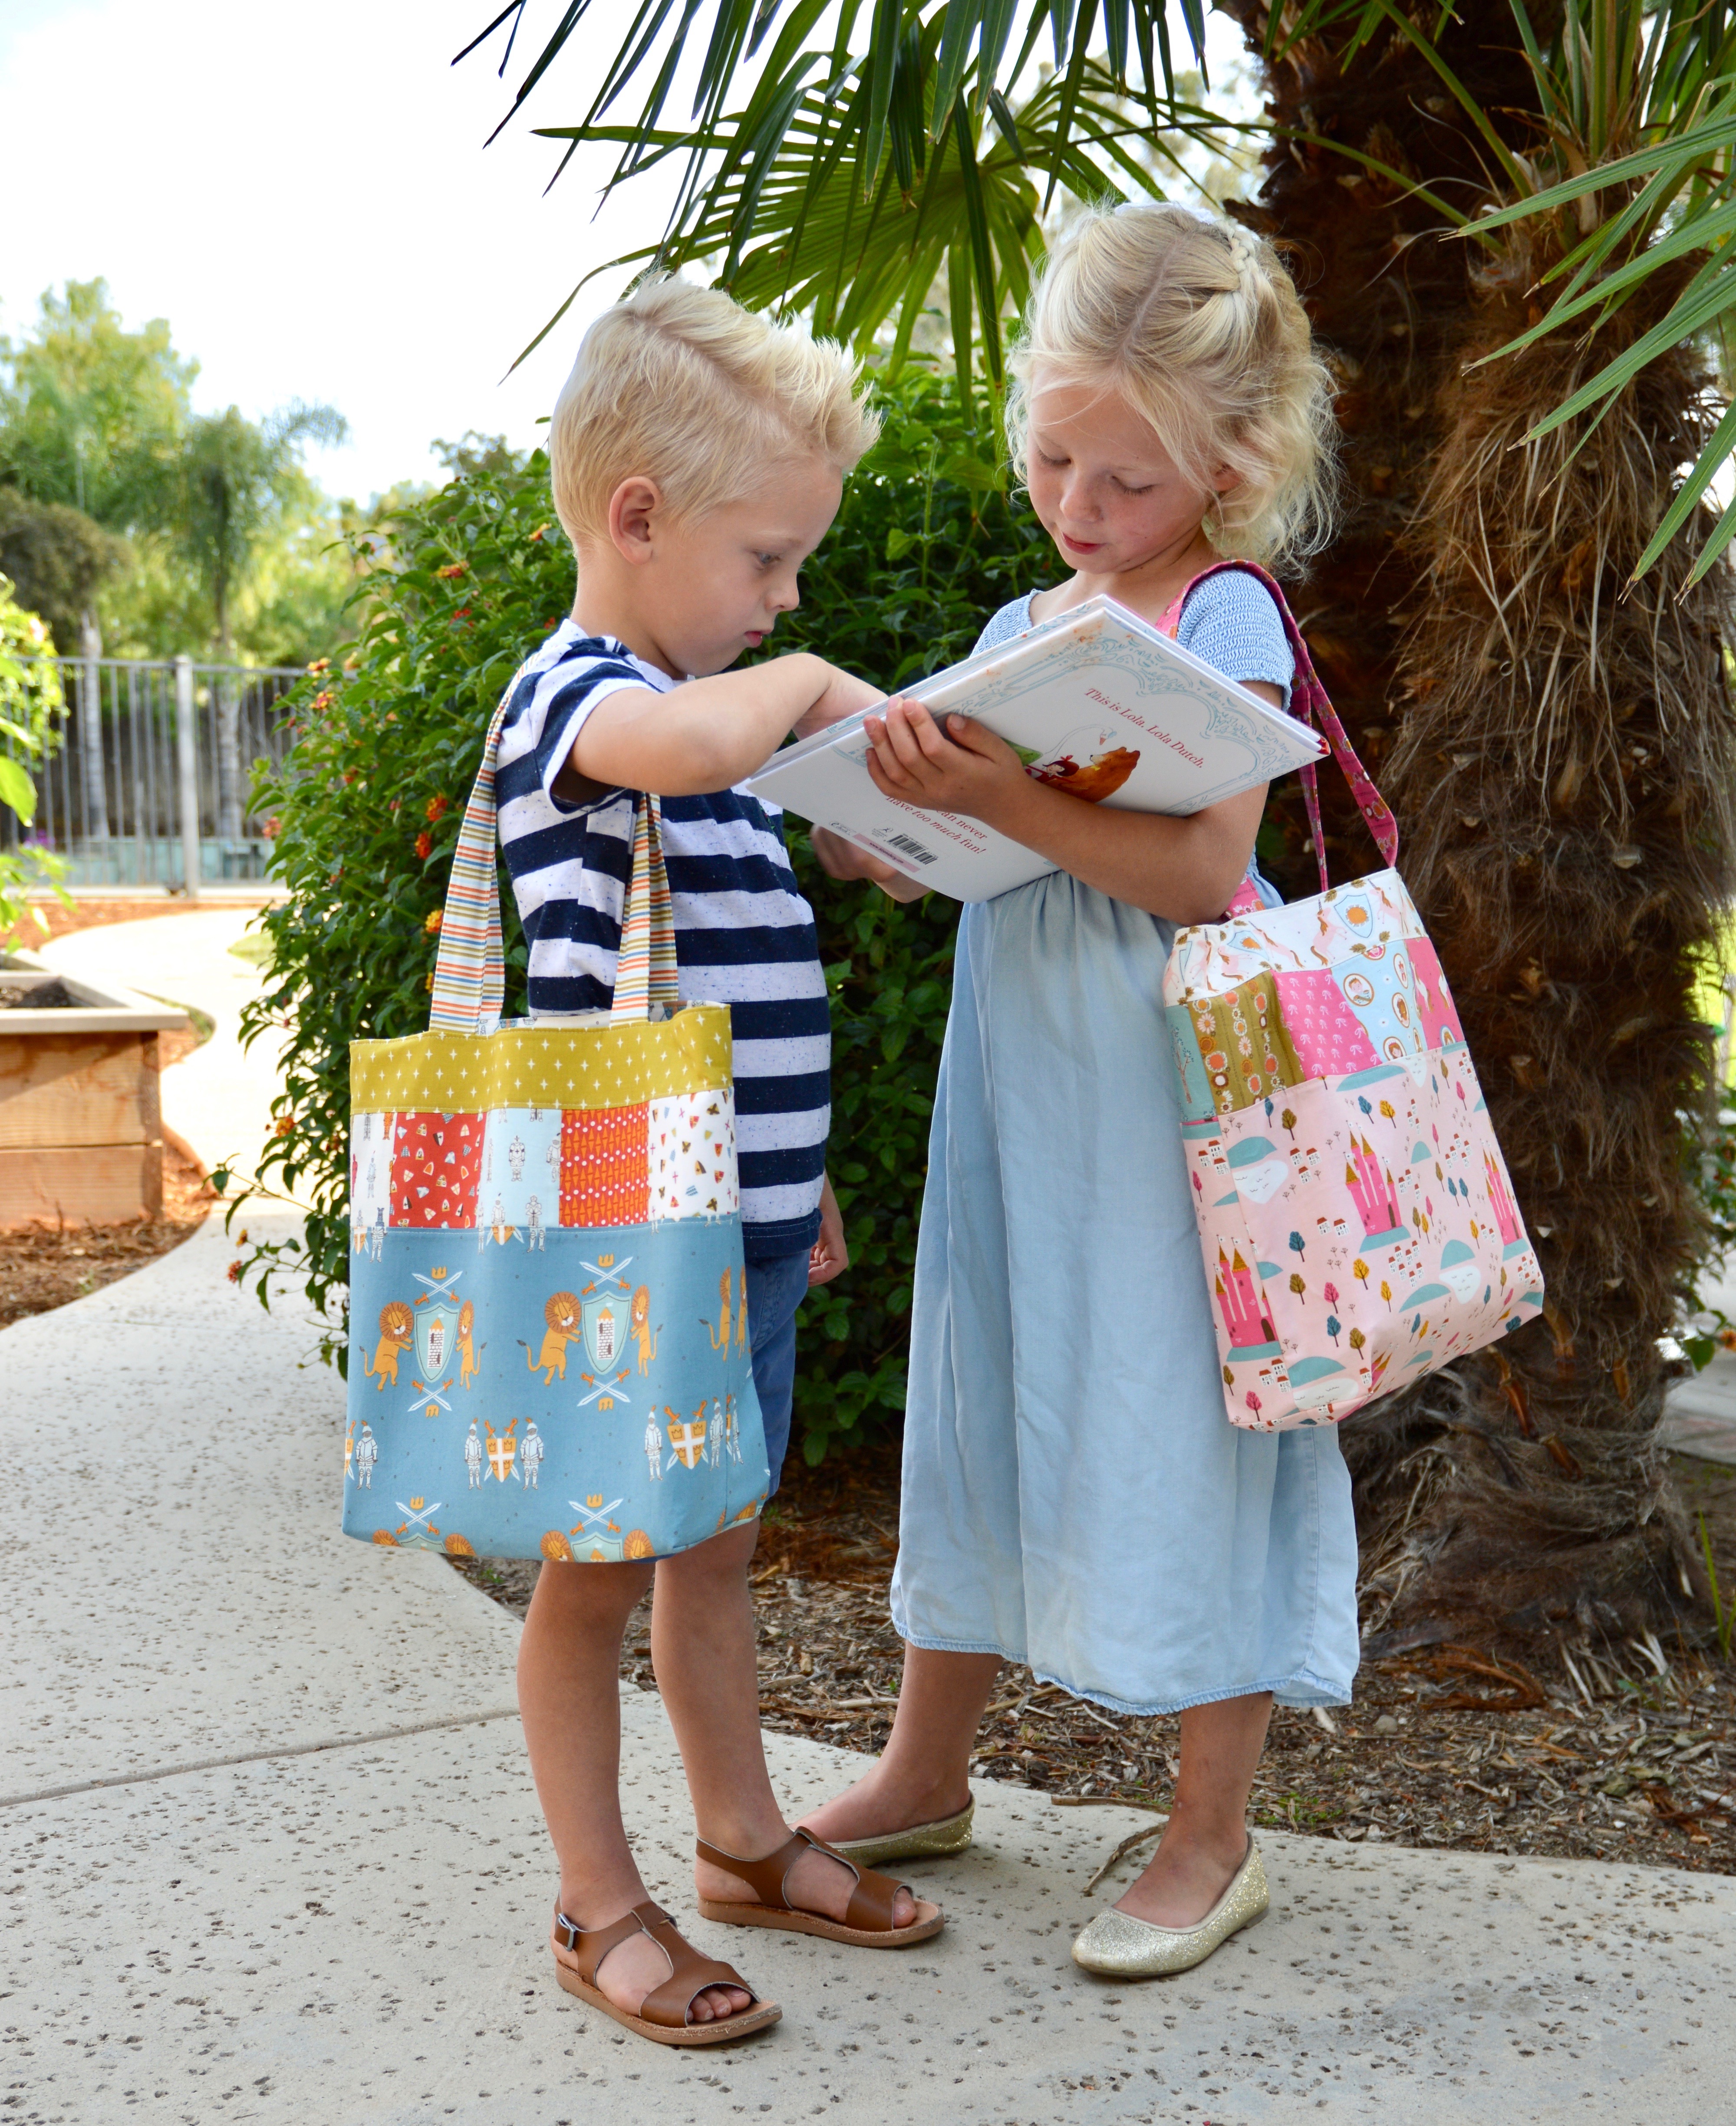
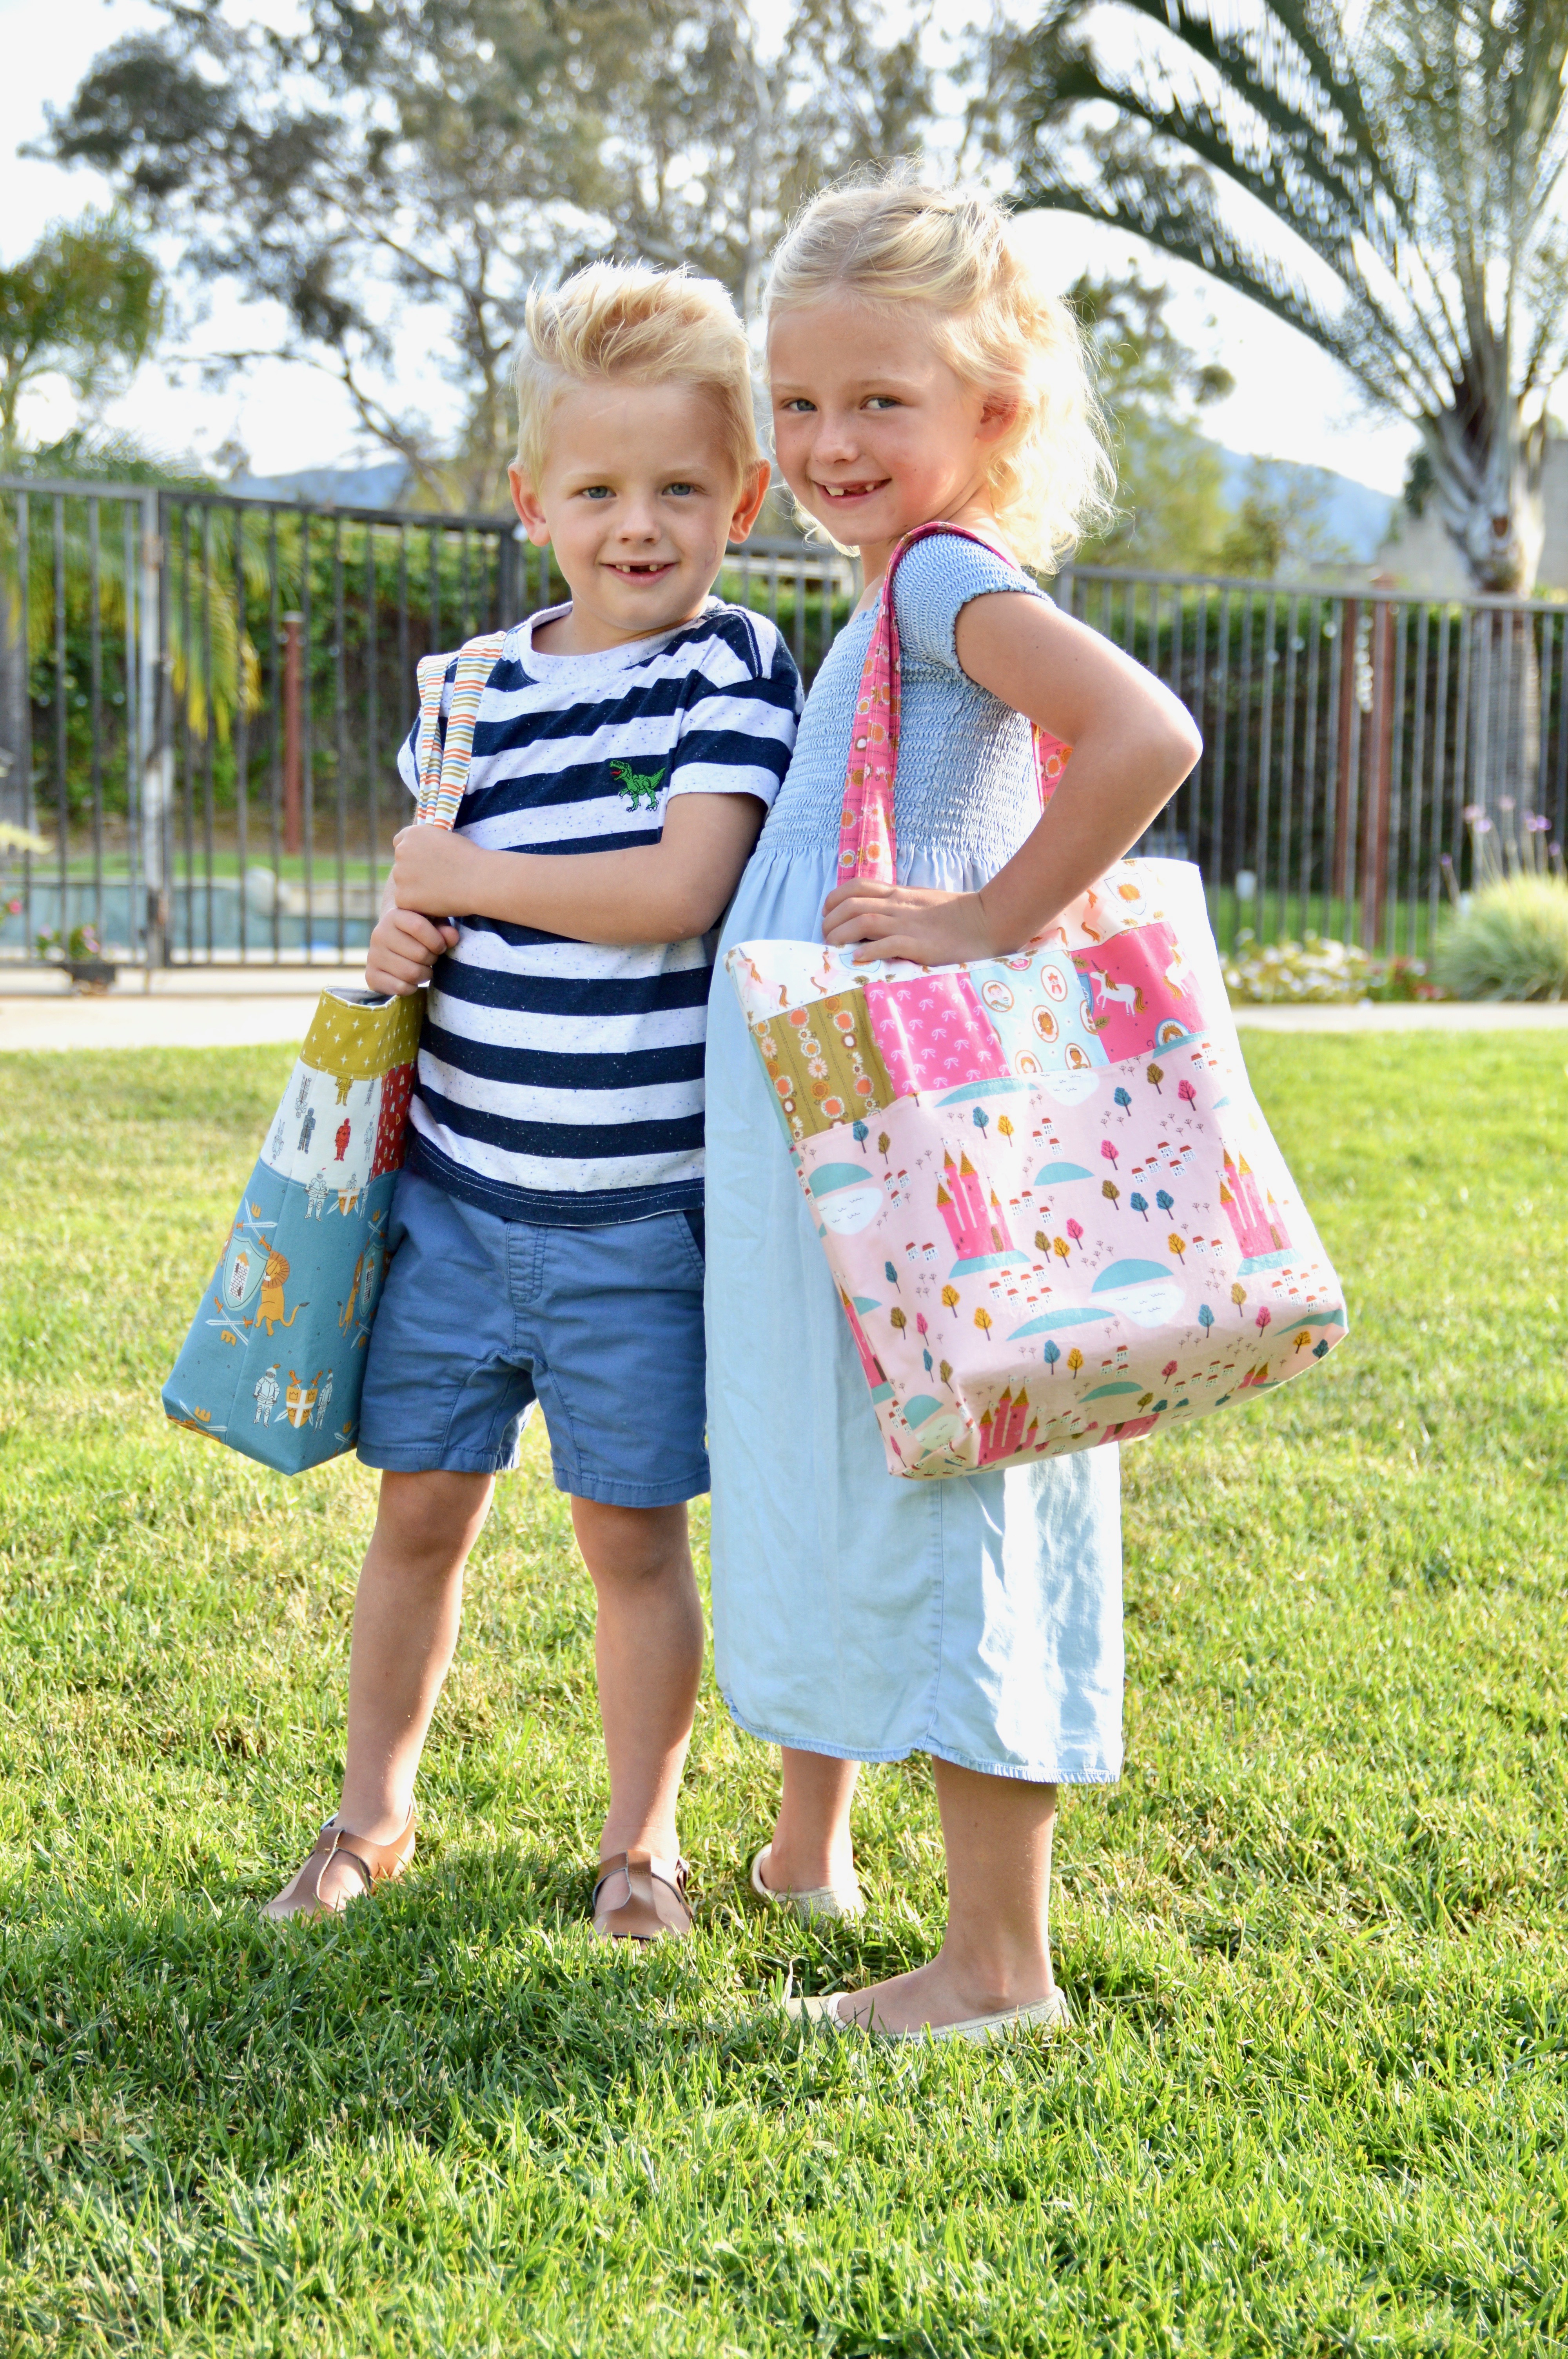
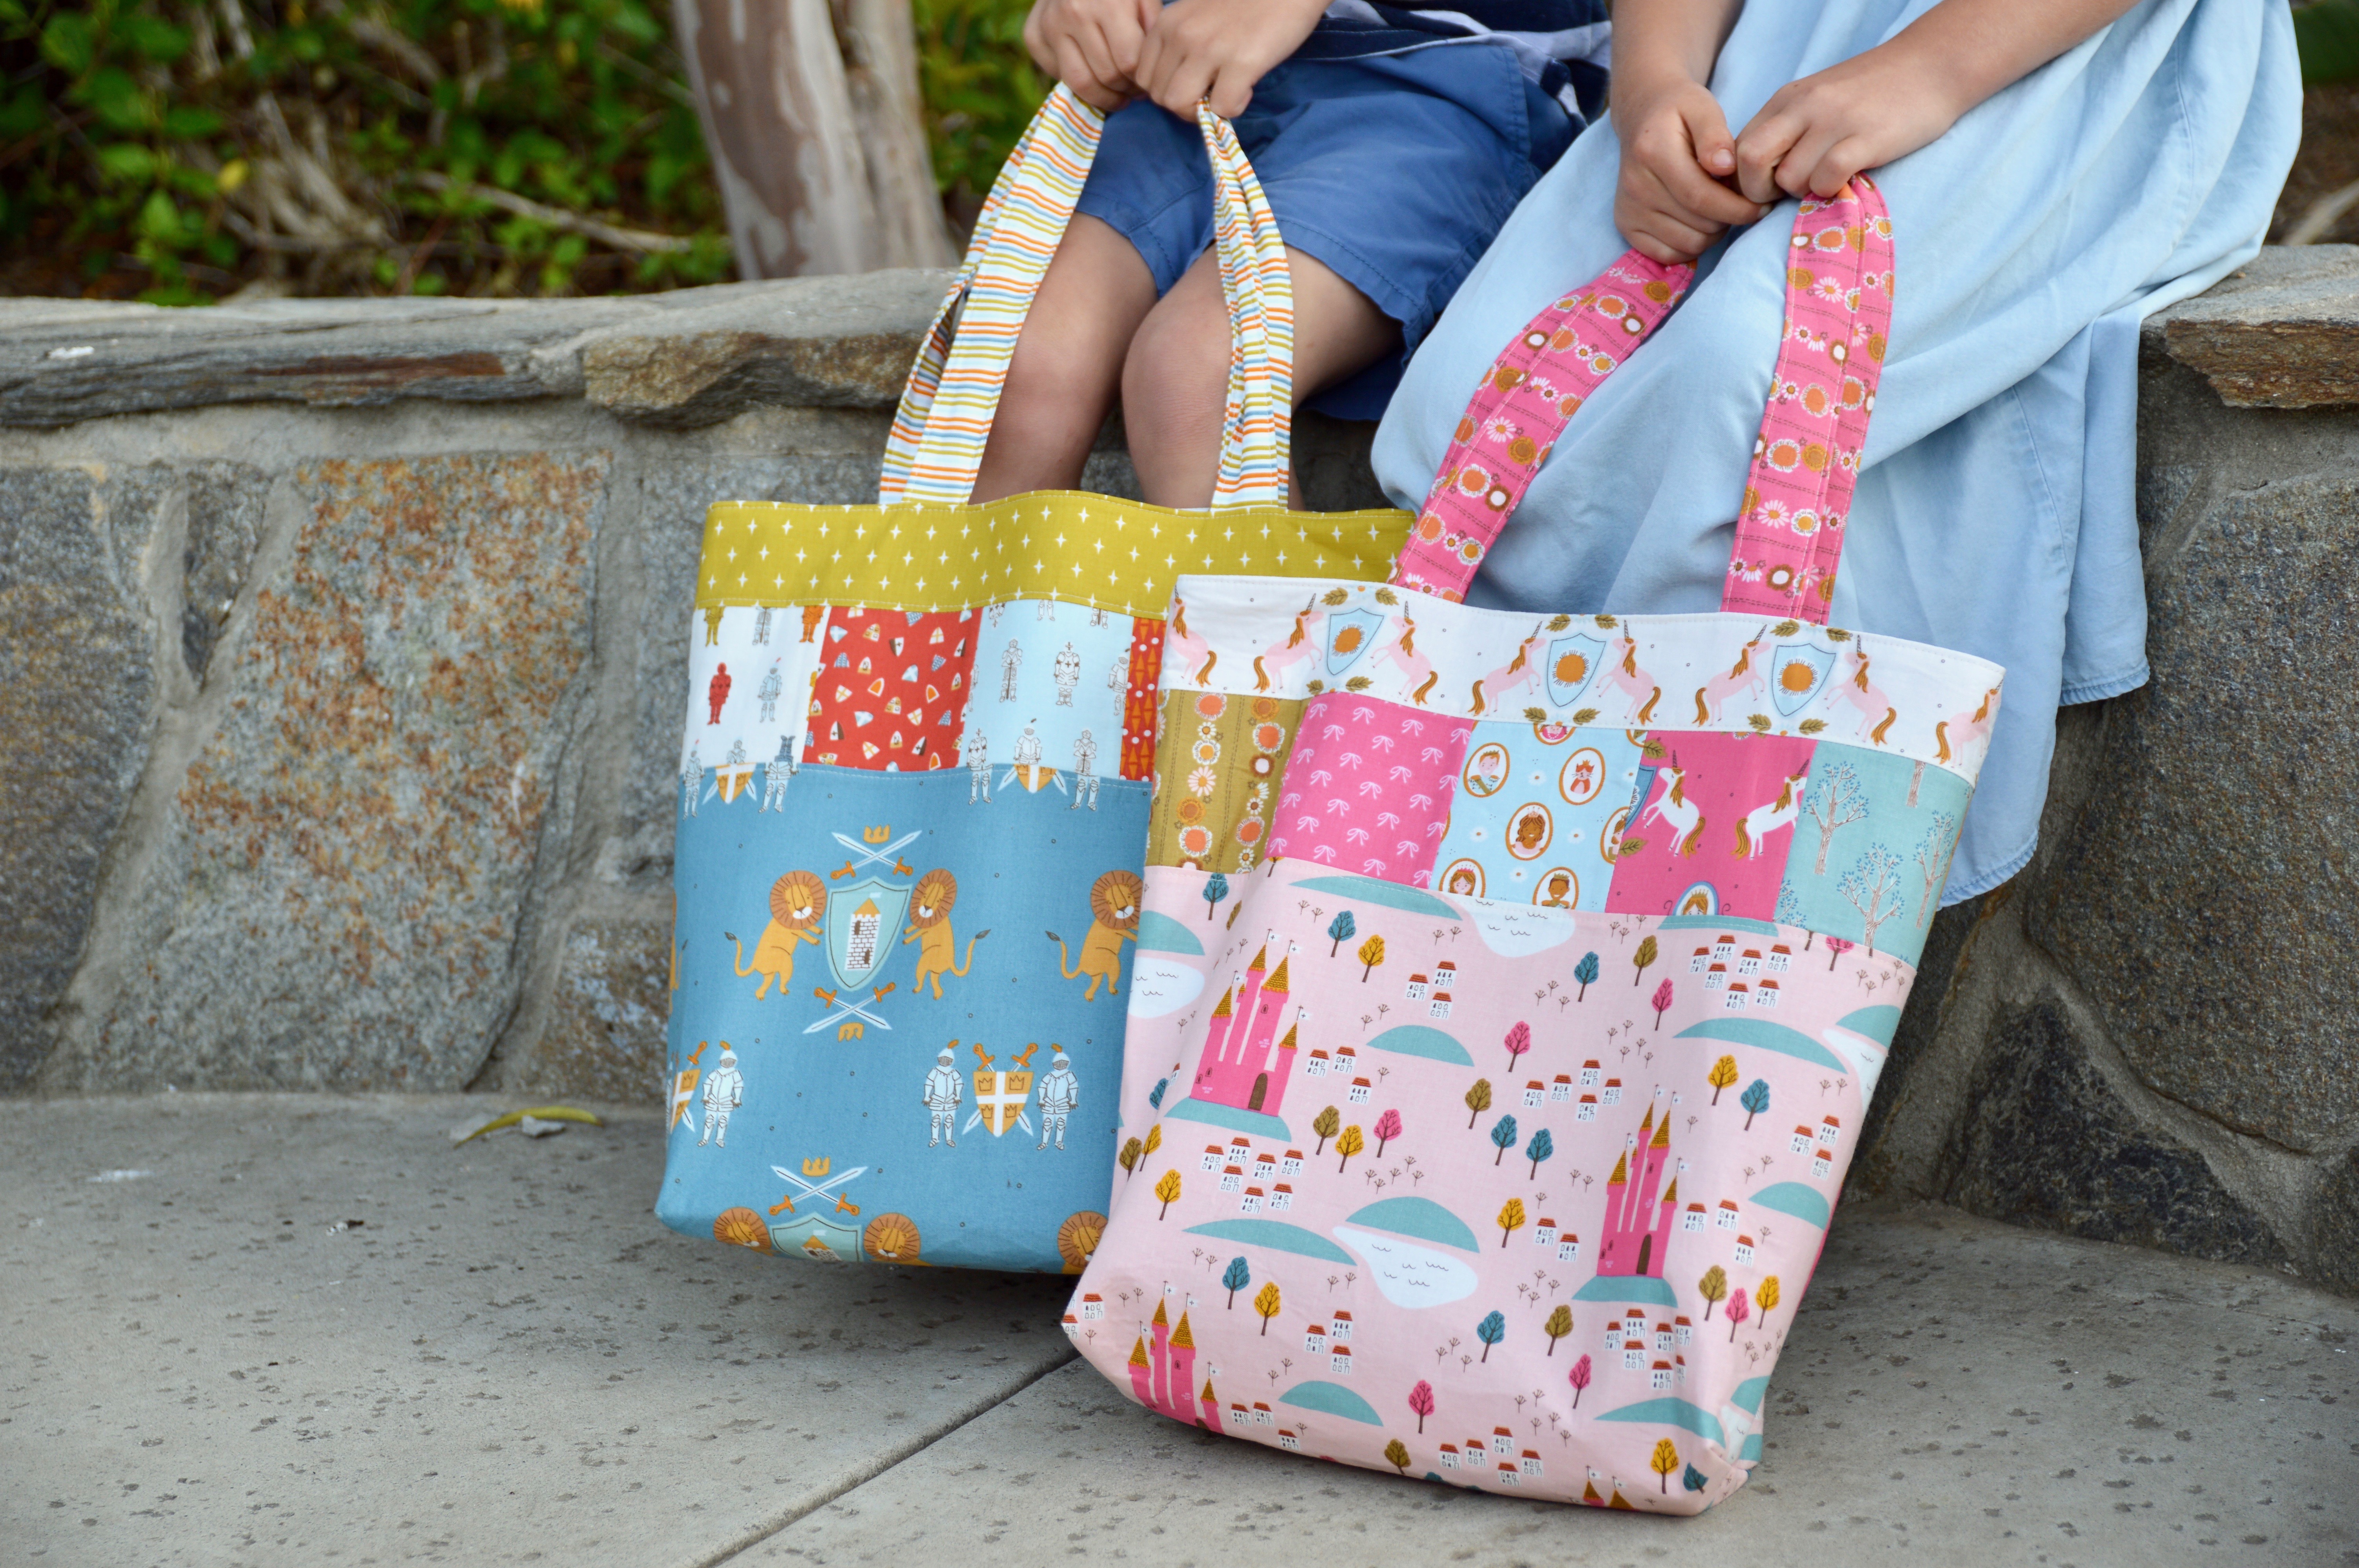
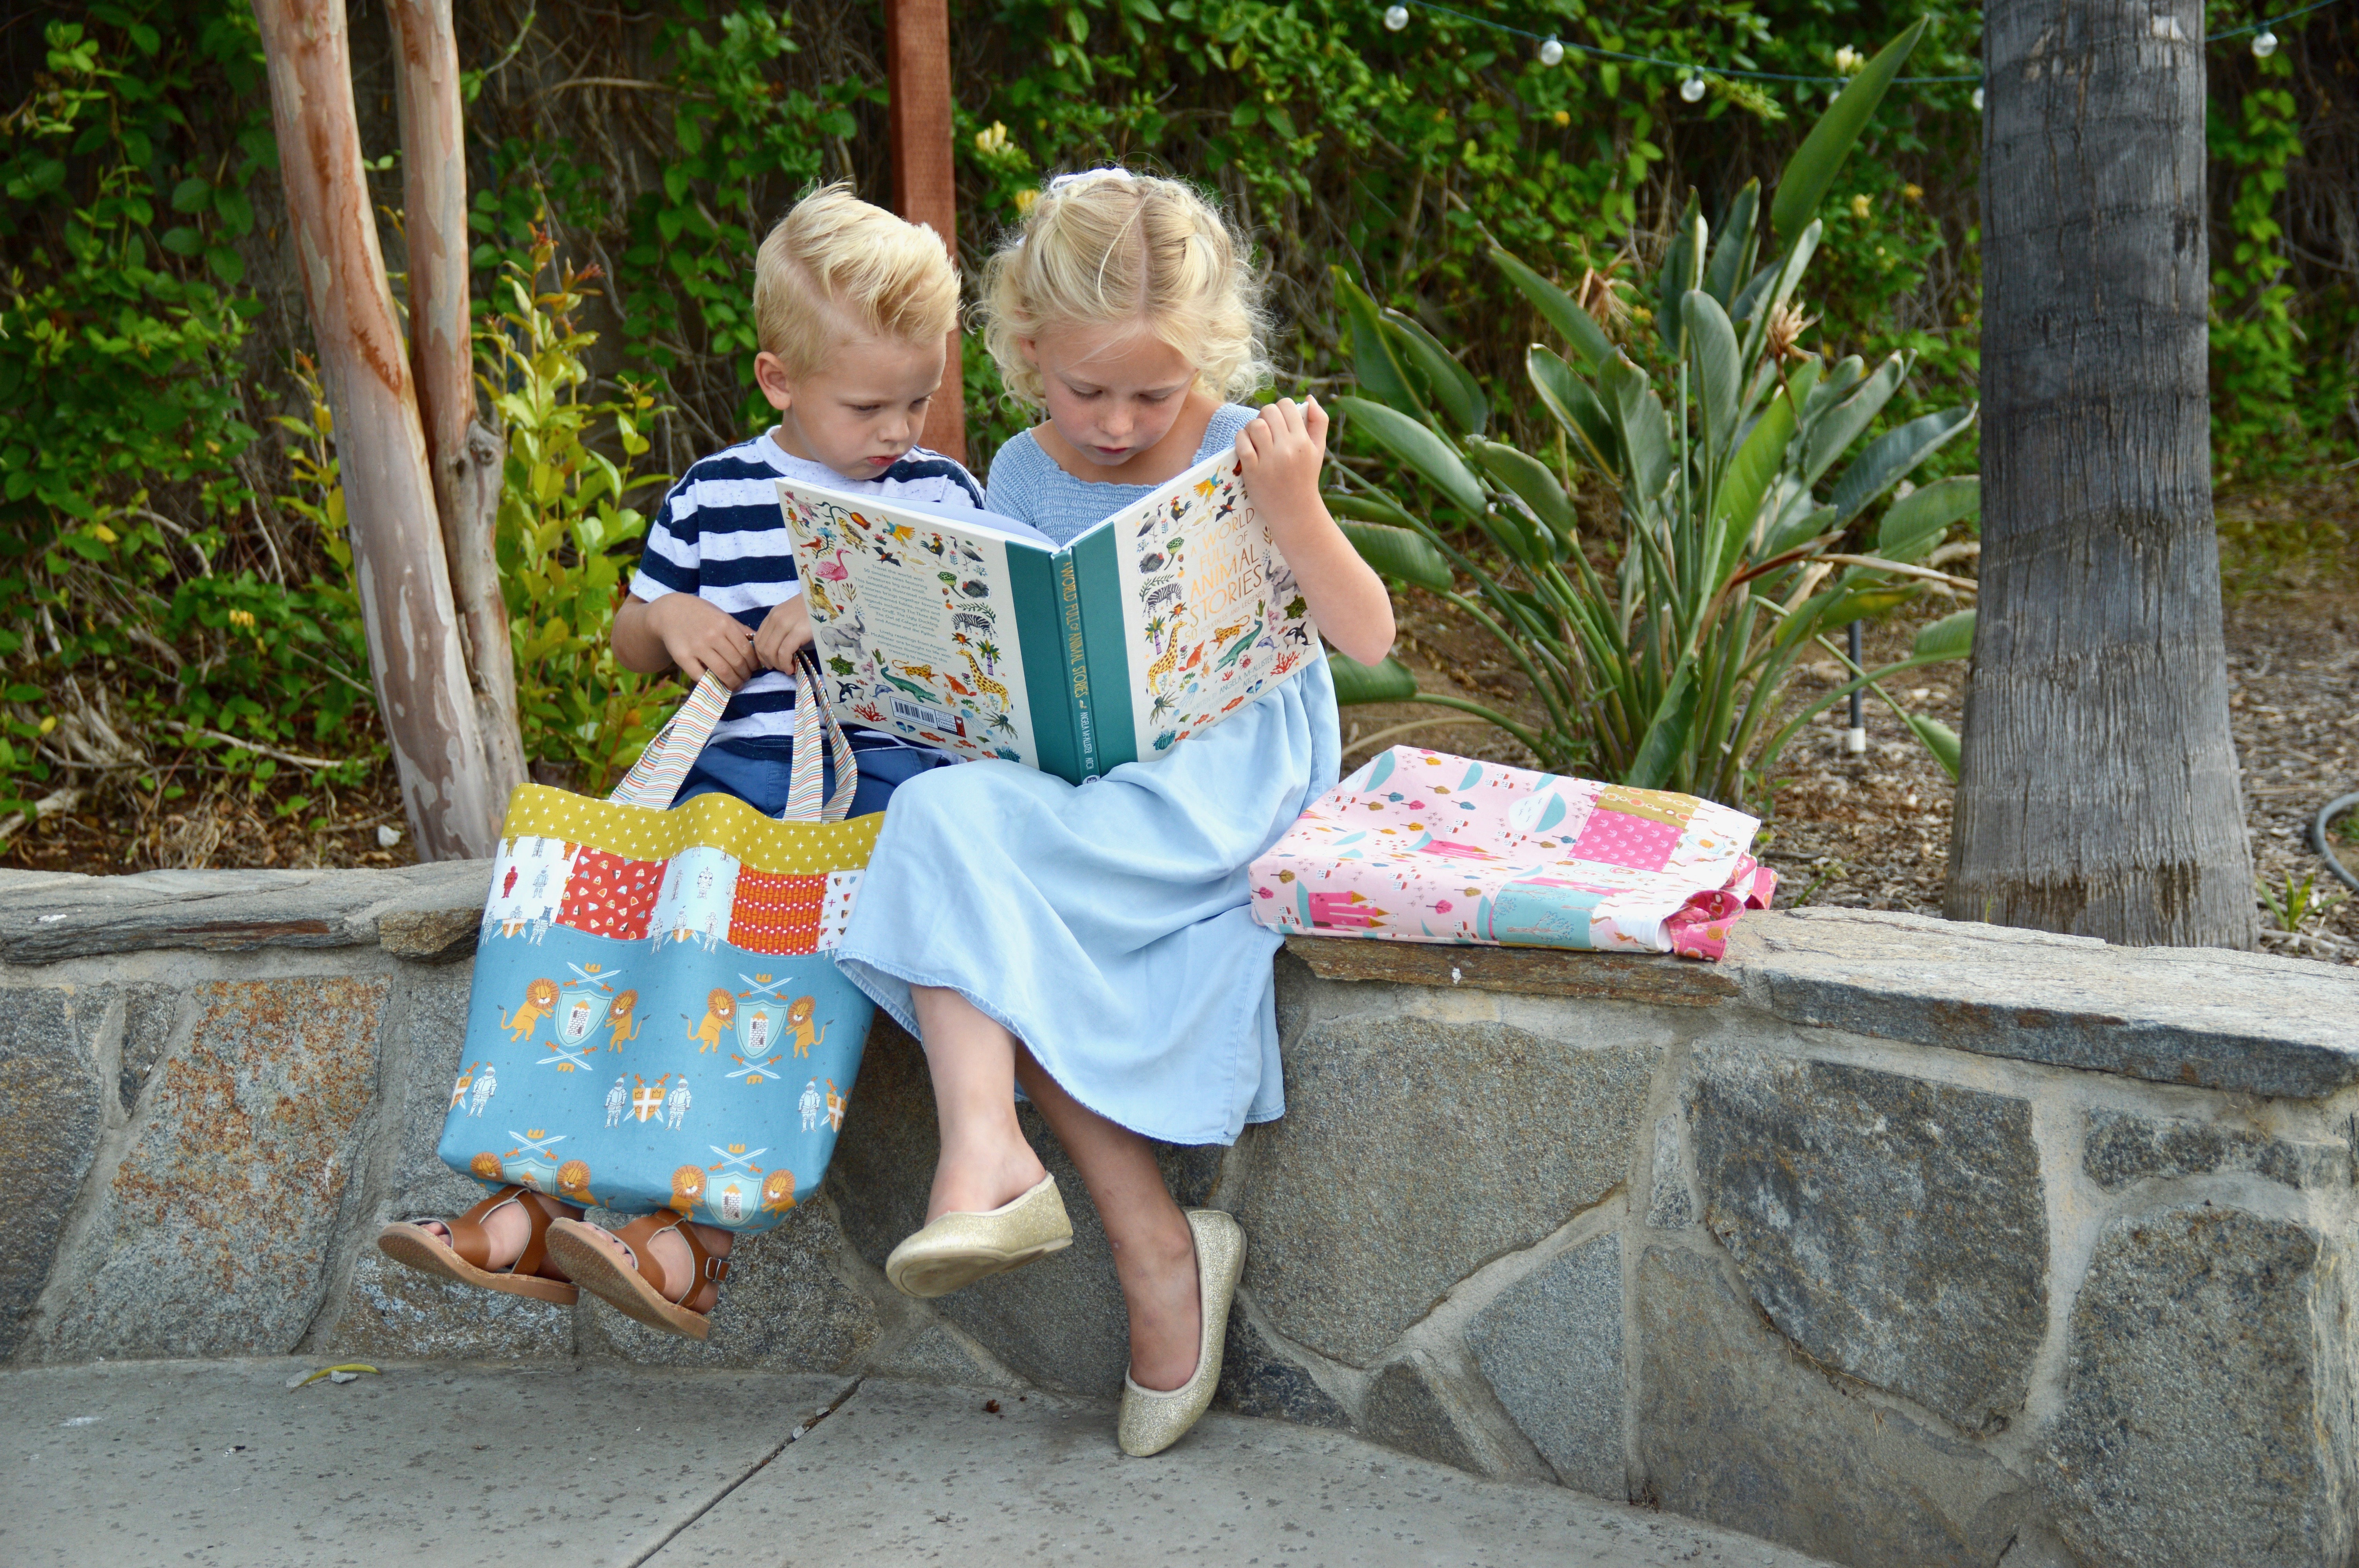
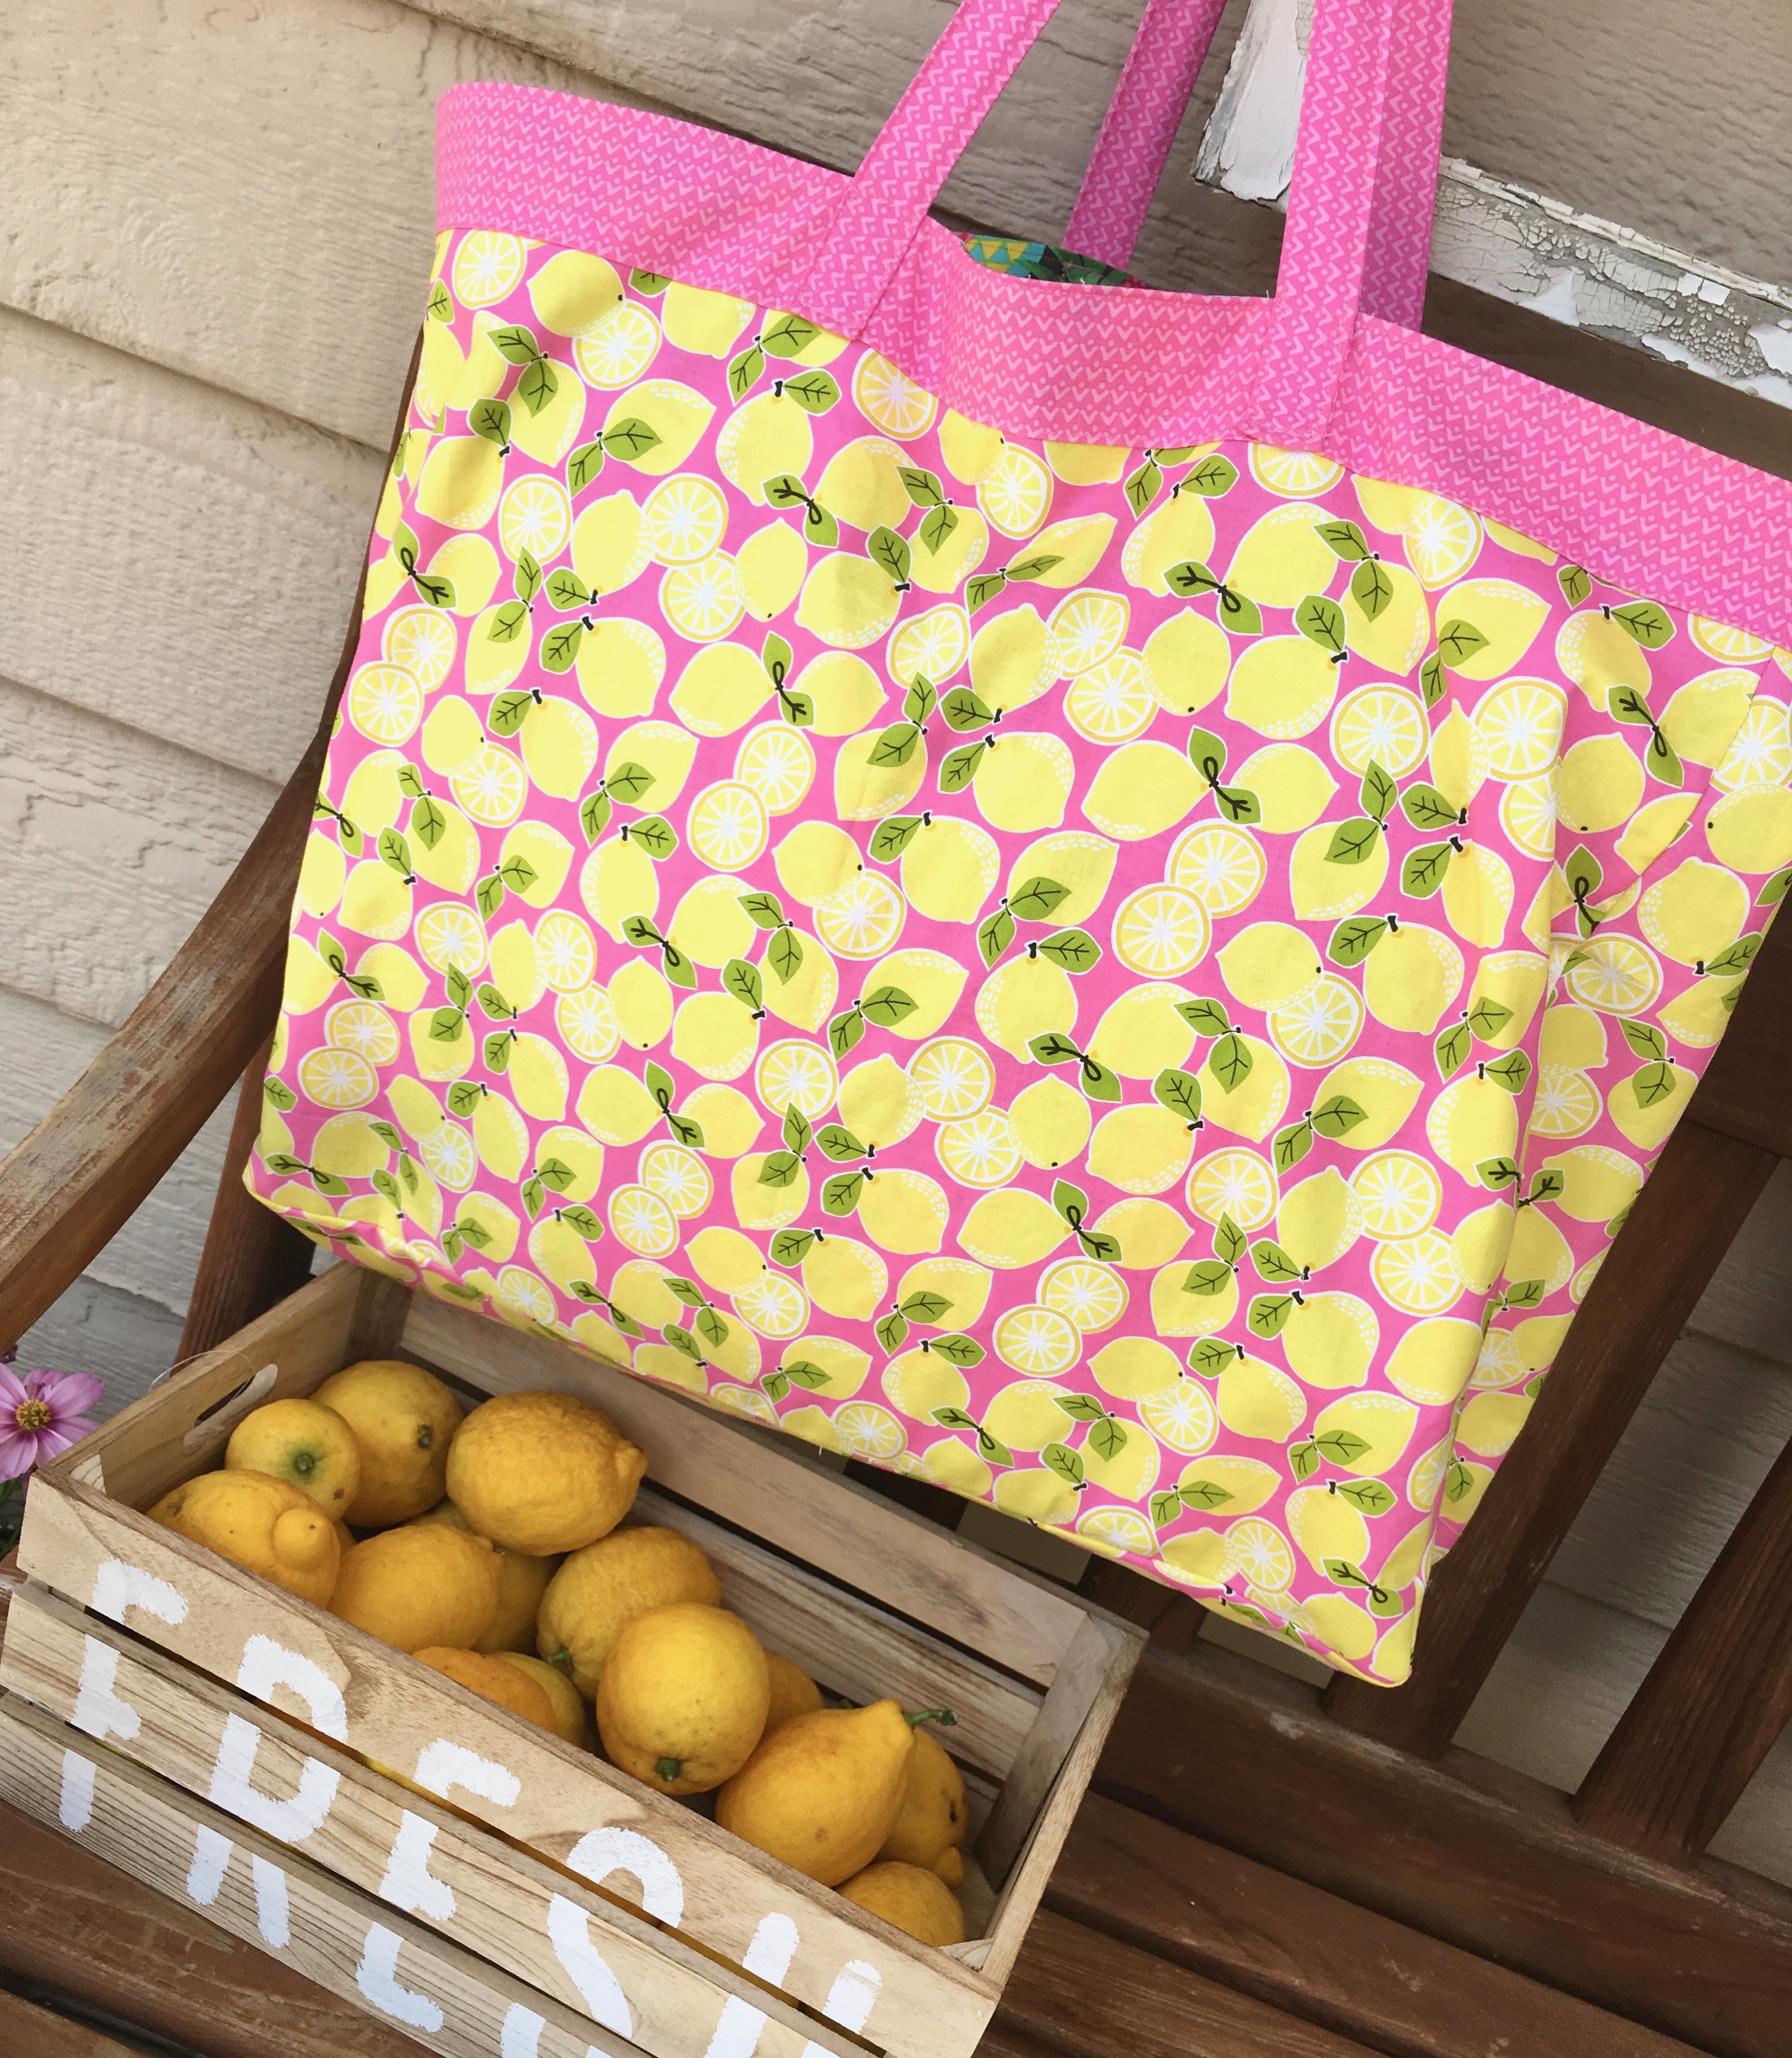
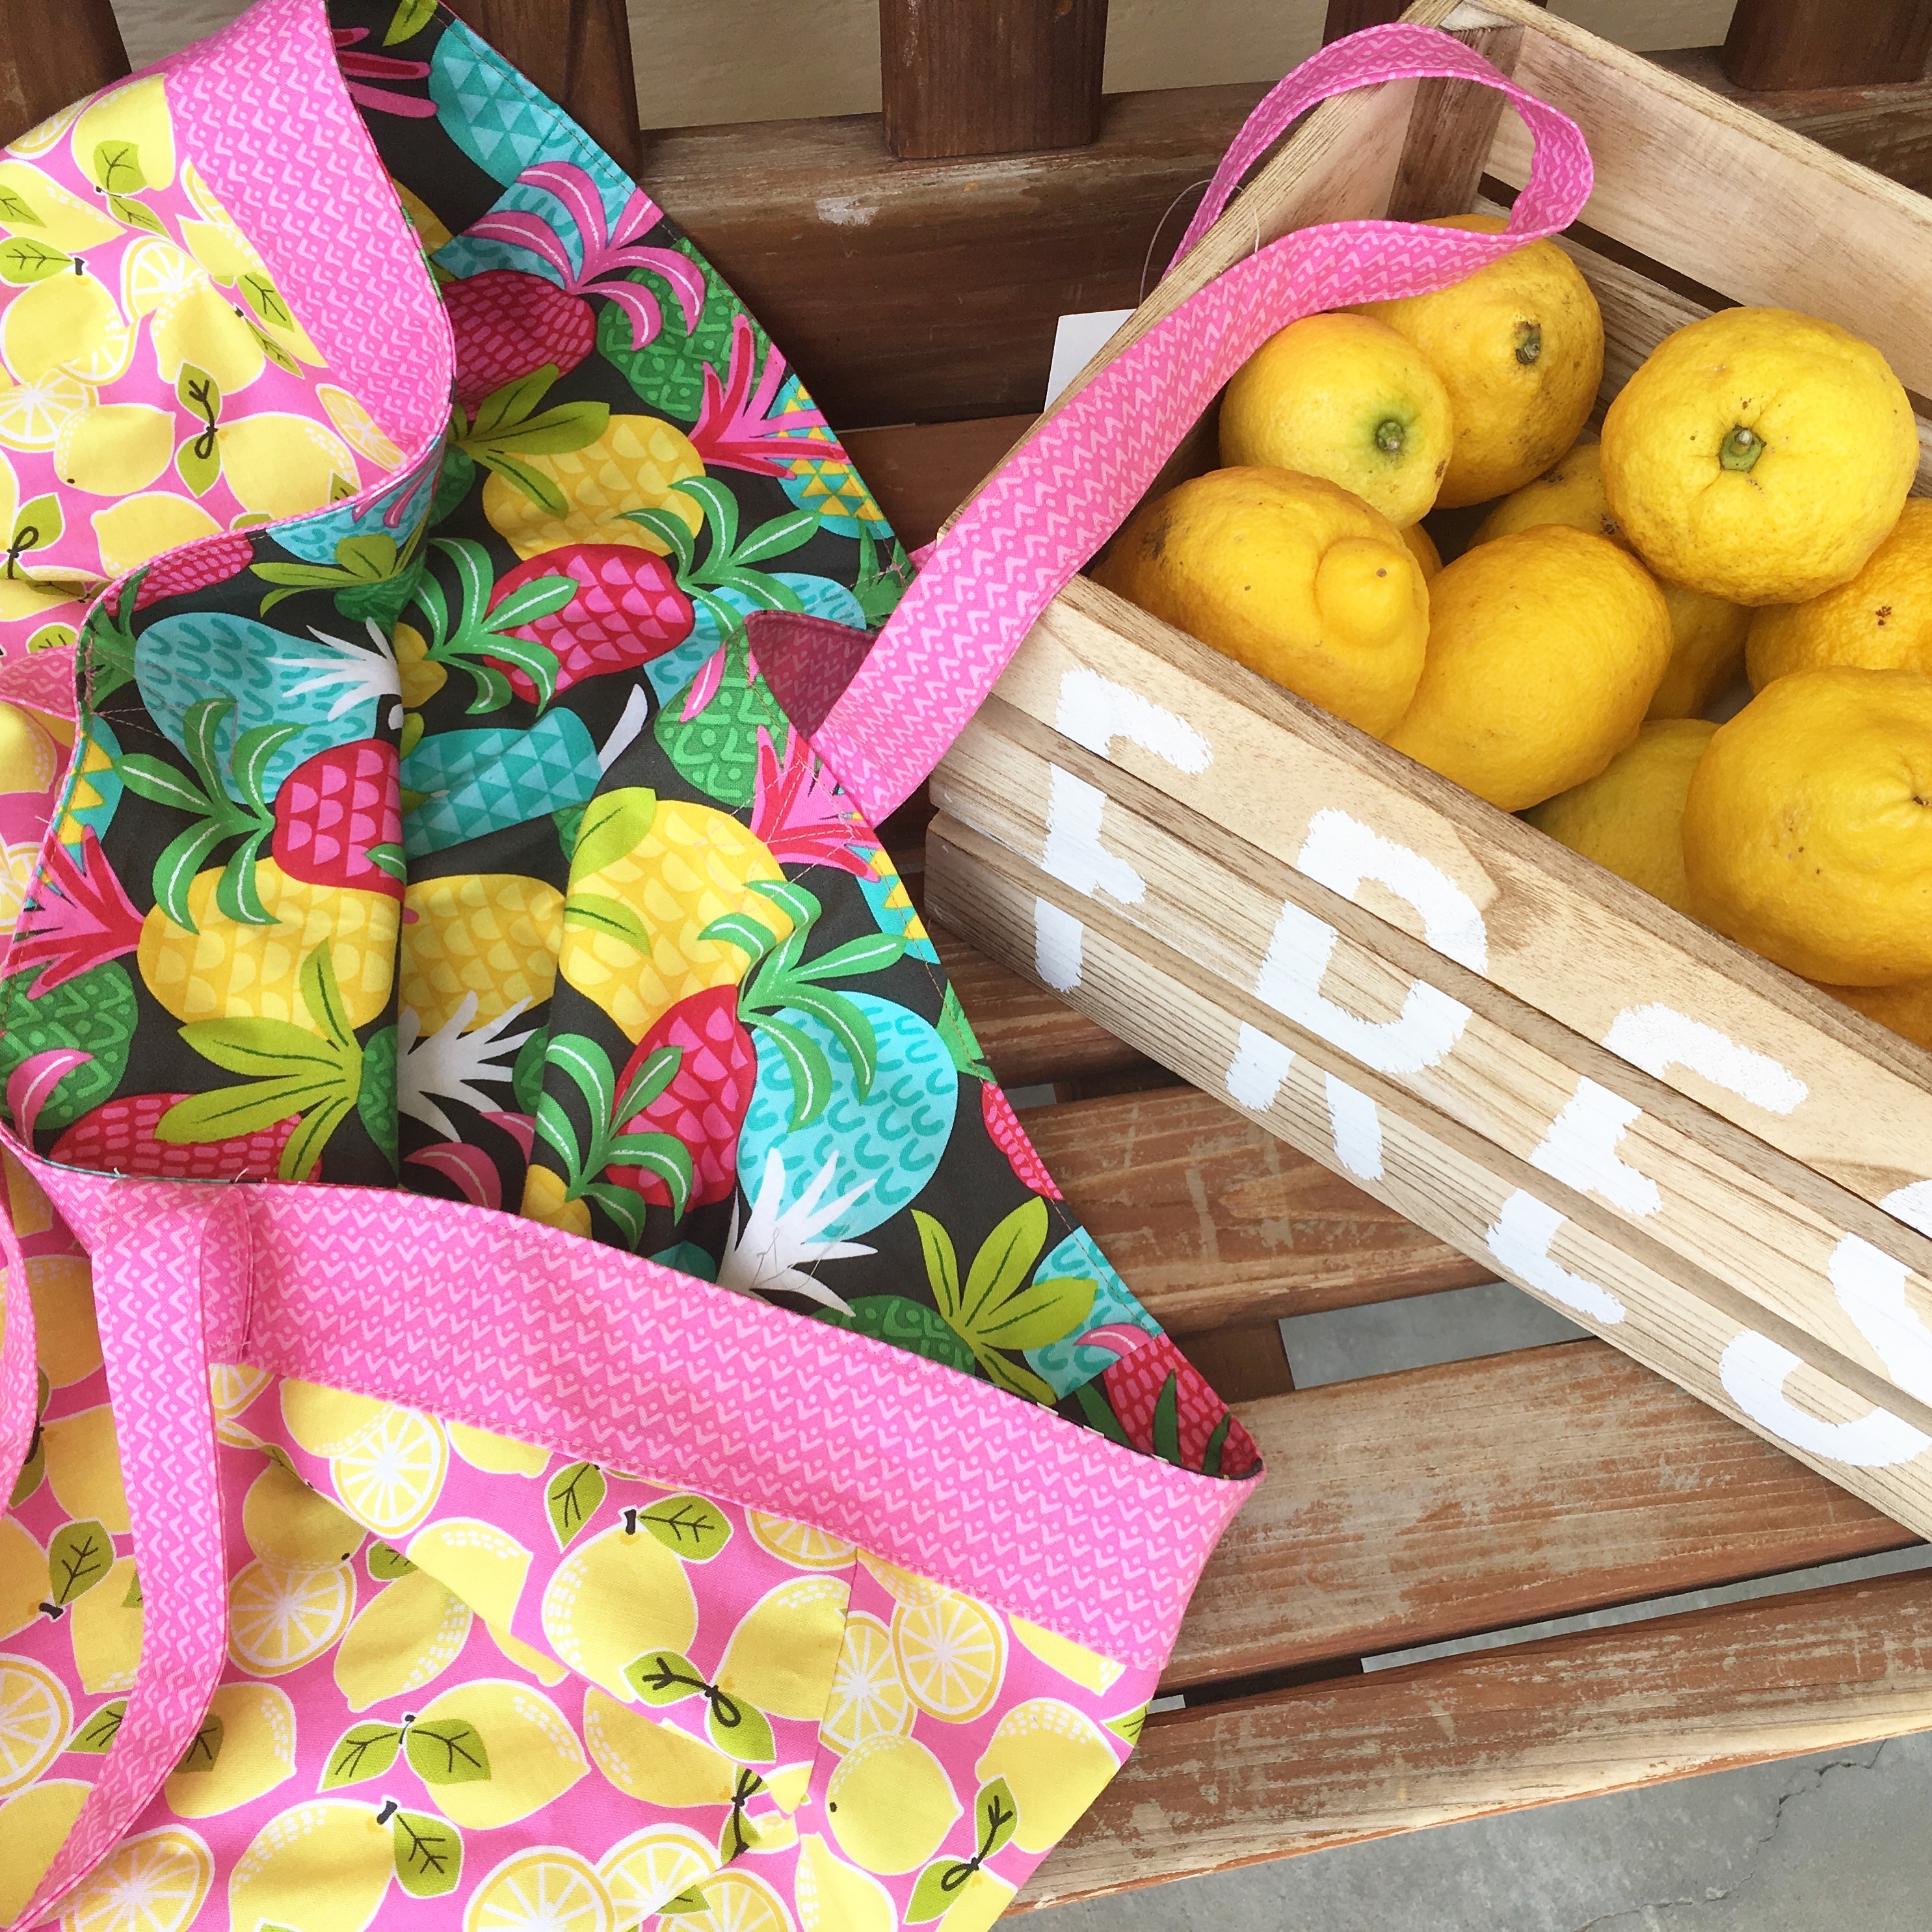
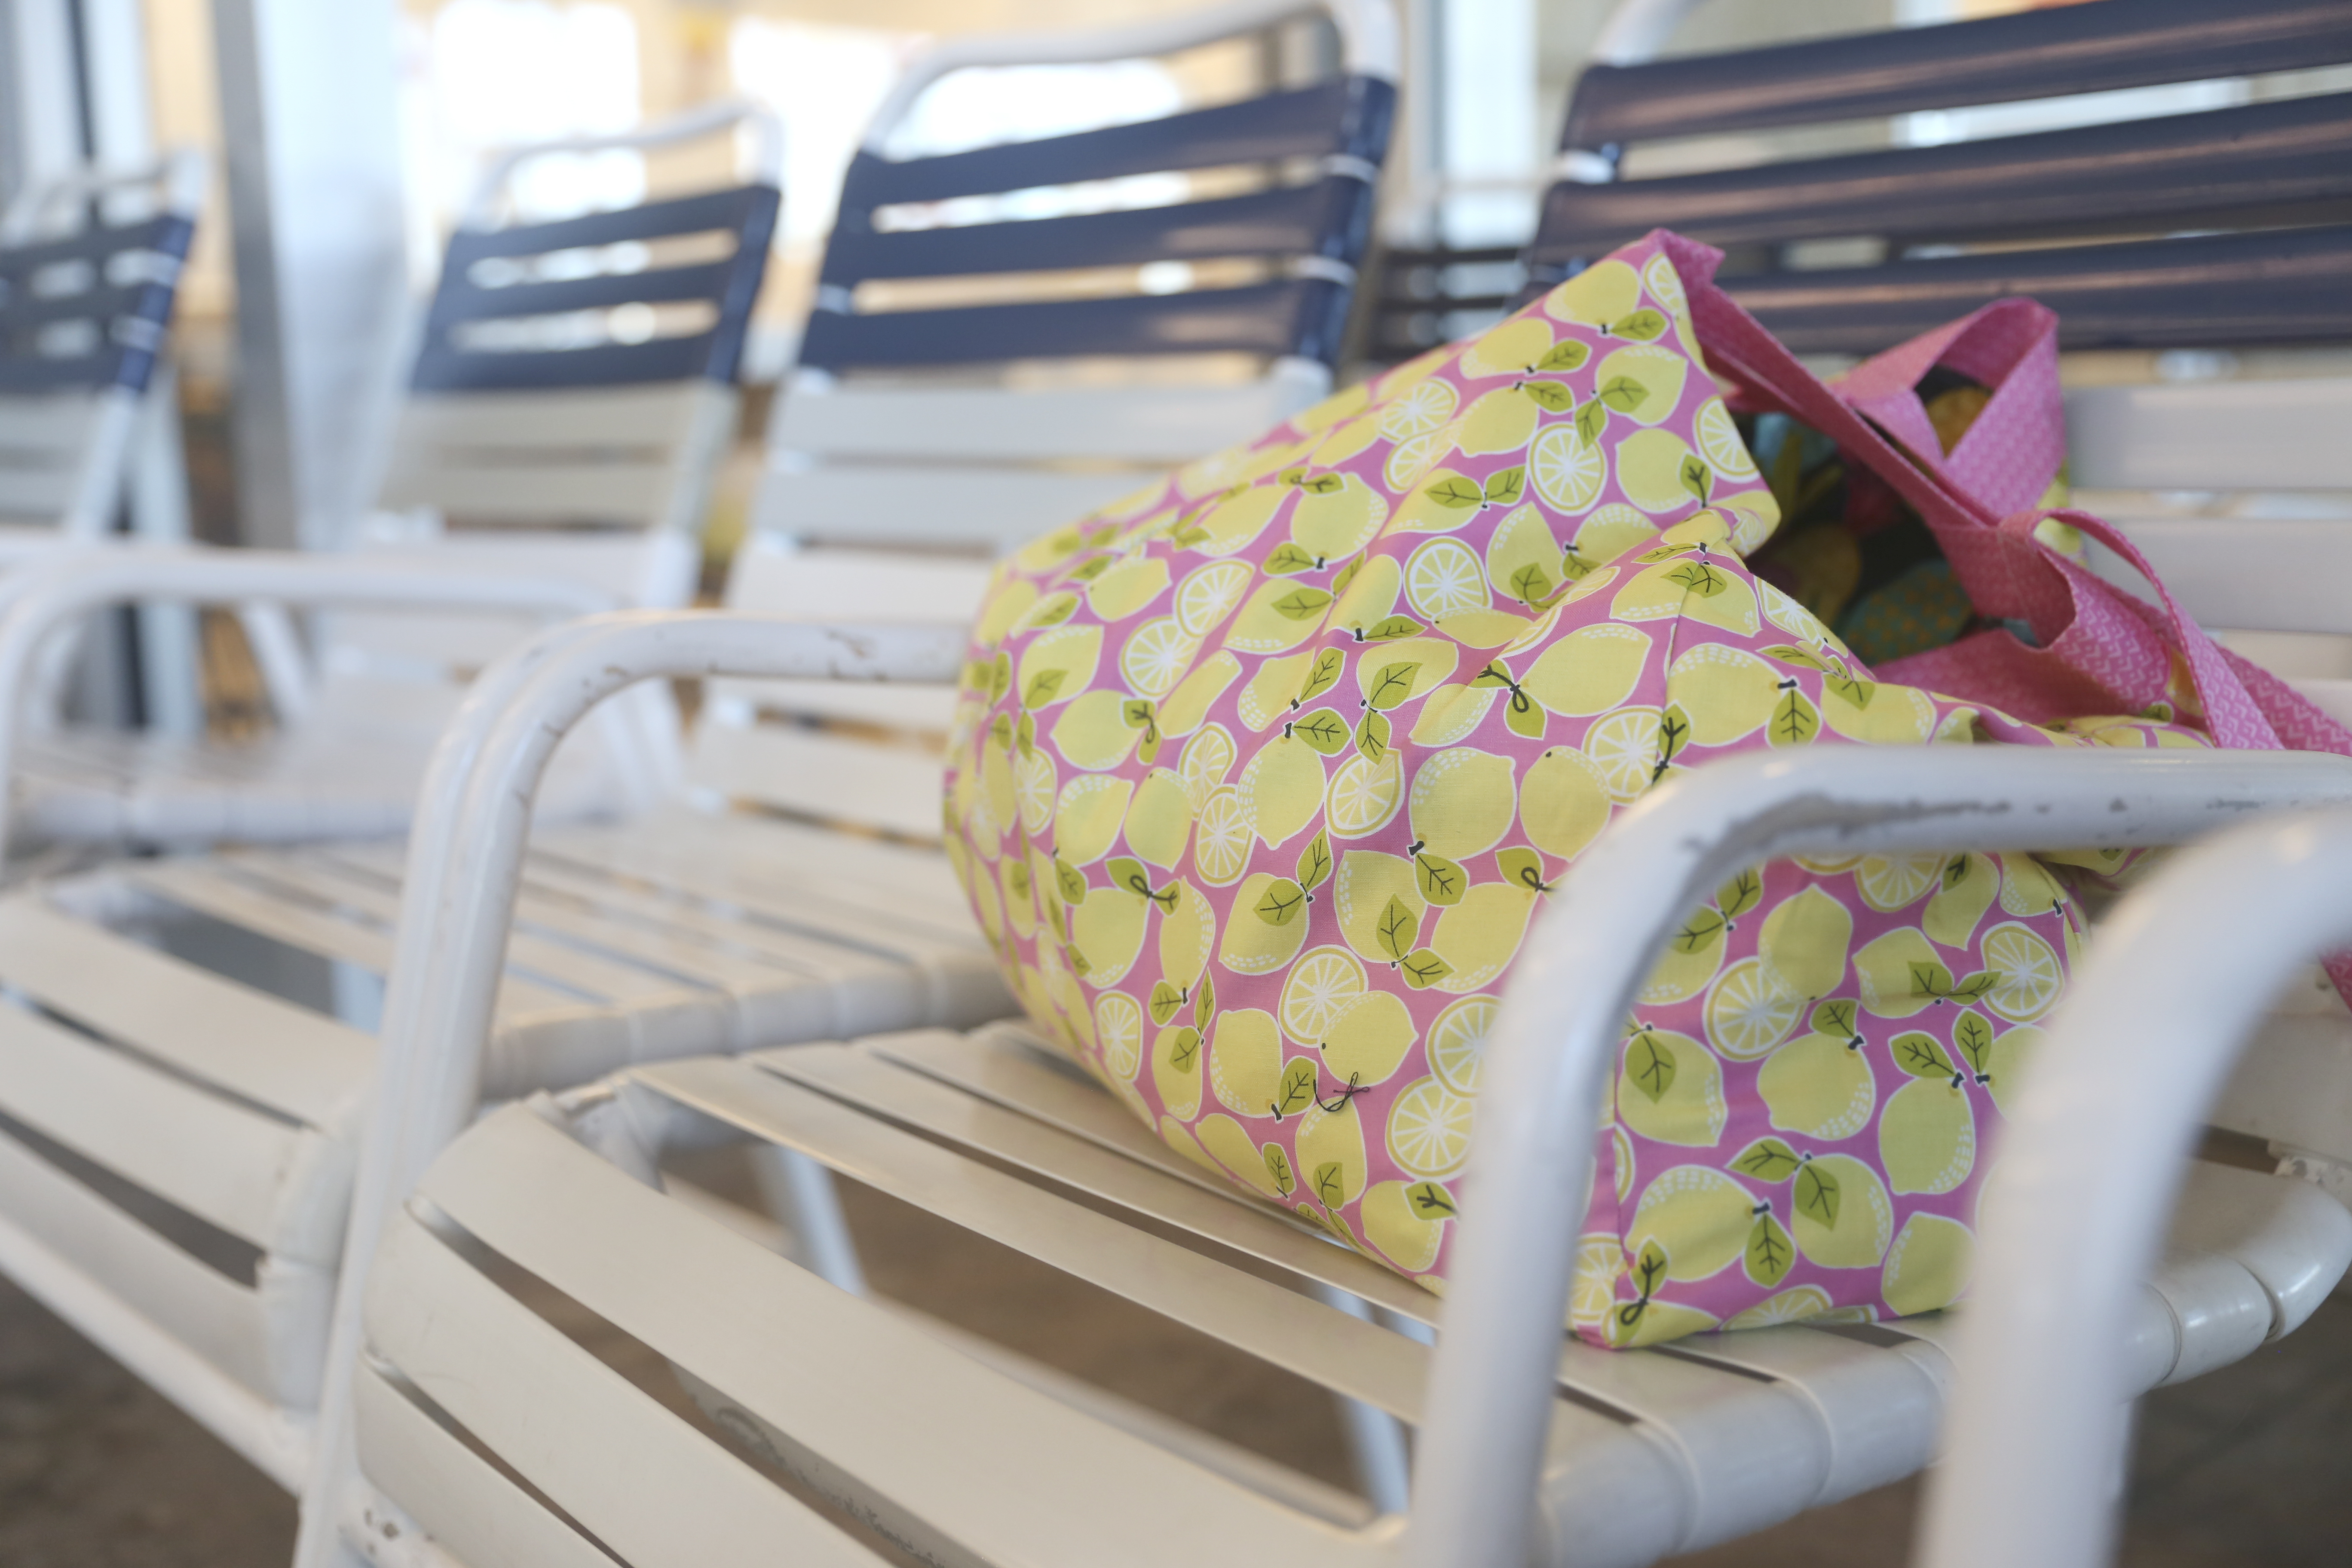
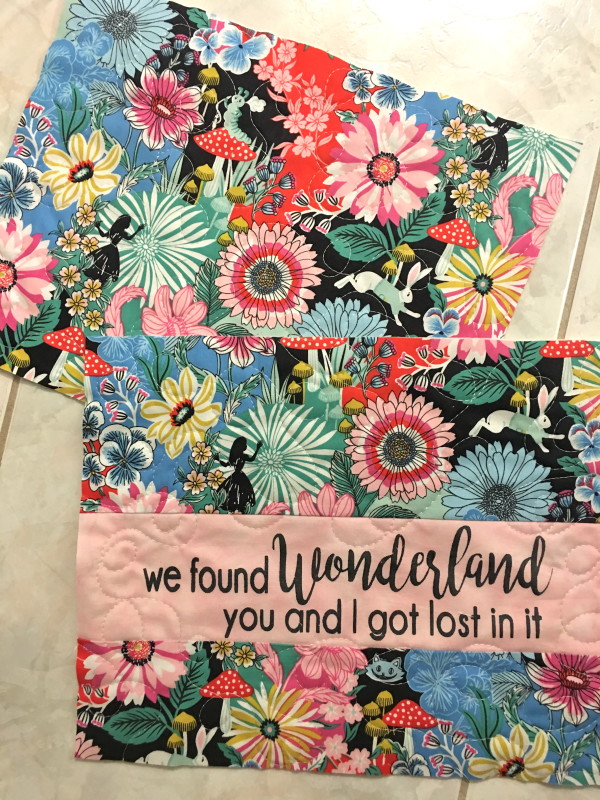
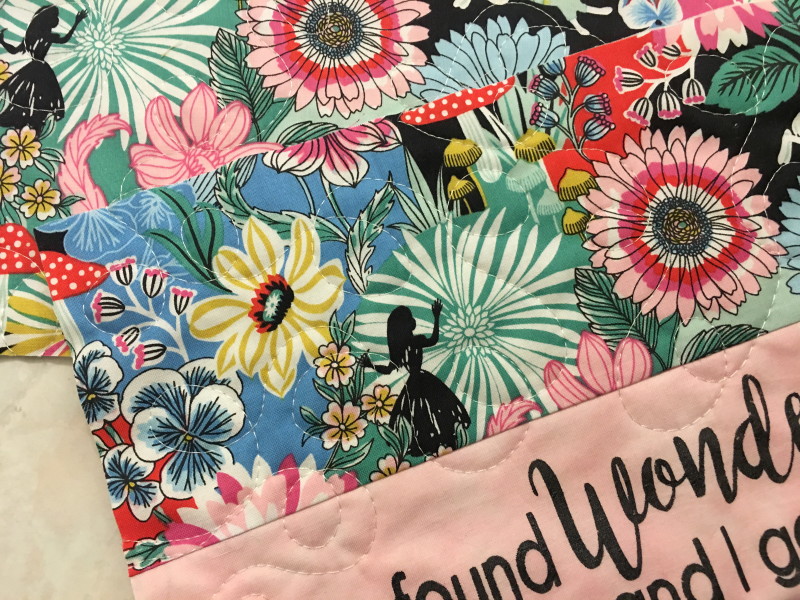
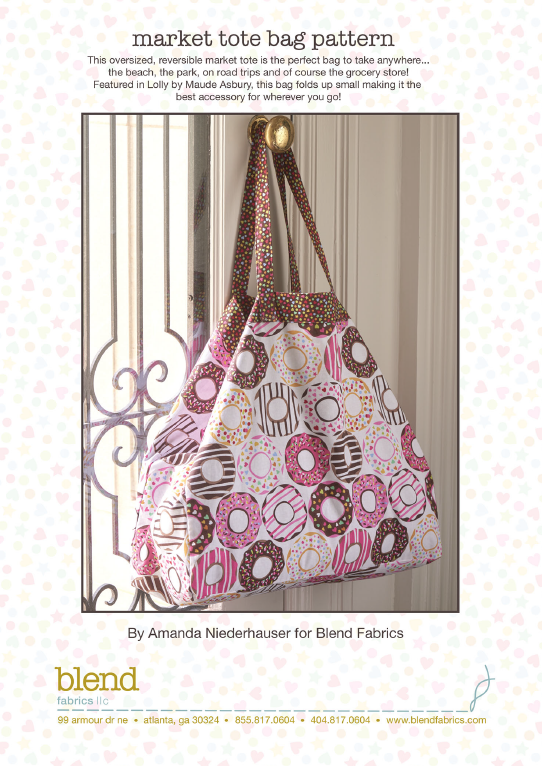
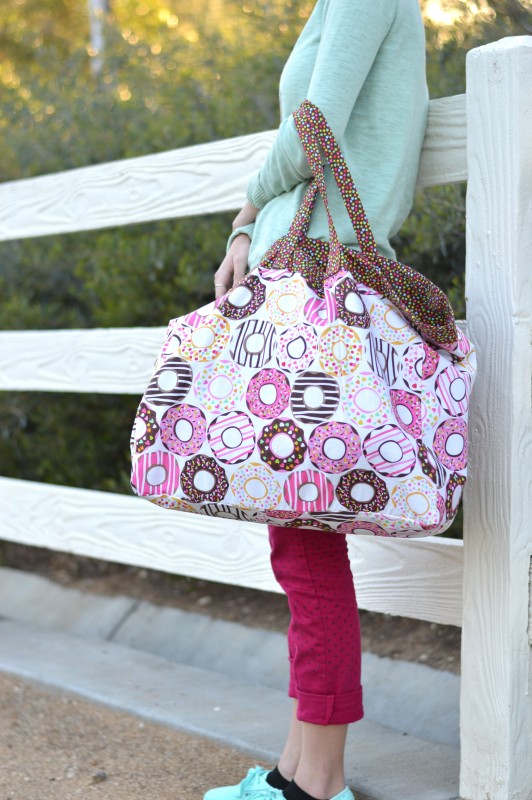
I made these fun little tote bags for quilt market and they are the perfect size for Trick or Treating, a library bag, or a car ride to grandma’s house!

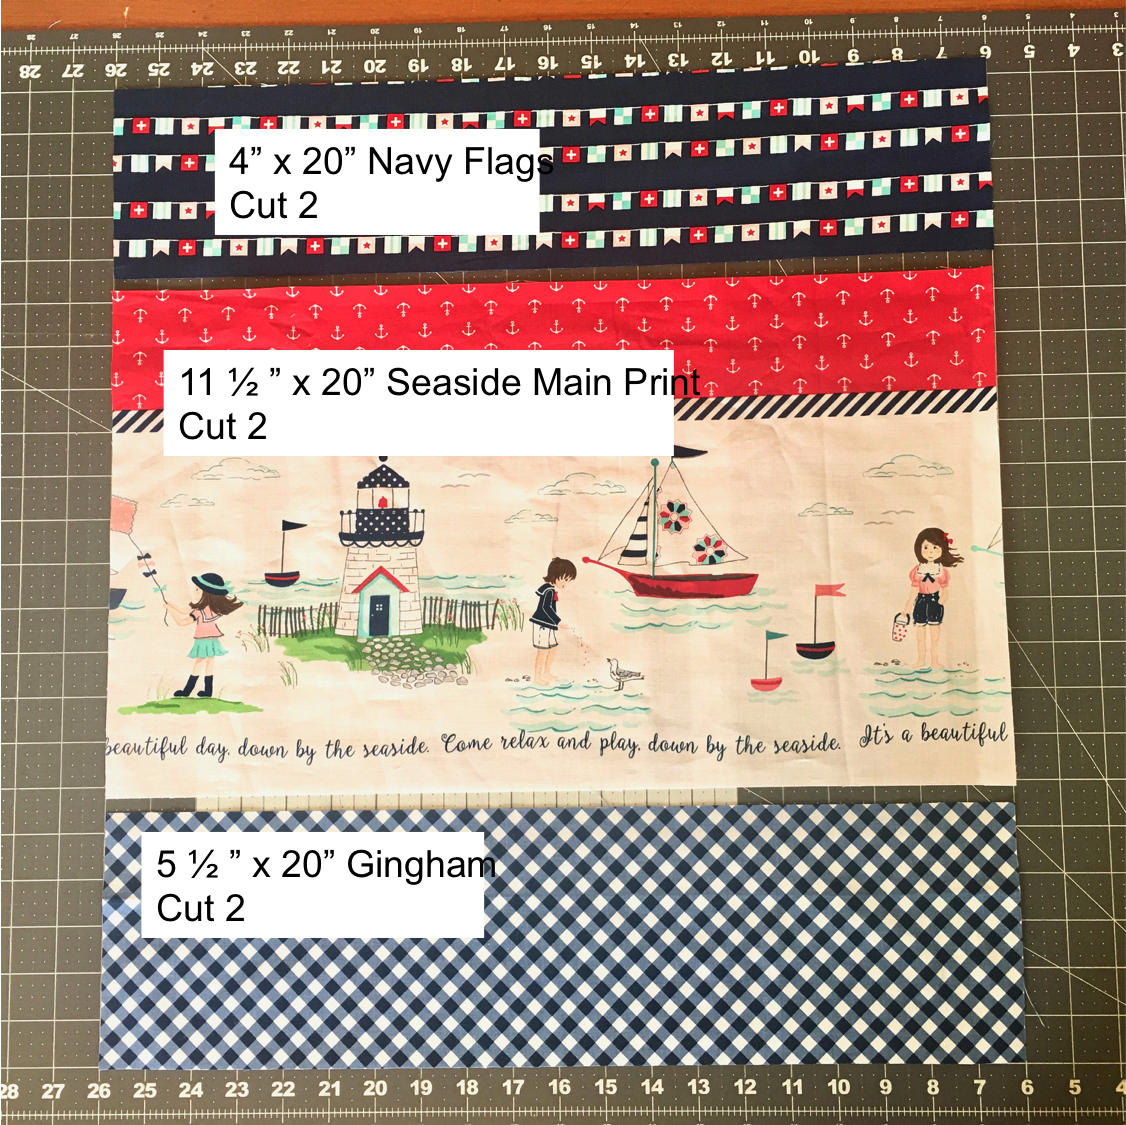
I used my Library Tote Bag tutorial. They sew up fast and you can use your favorite fabrics!

Click HERE for the tutorial.

Seaside Tote Bag Tutorial

seaside tote bag tutorial

I am super in love with Tasha Noel’s new fabric line Seaside!!!  It just totally captured my little nautical heart!!  I knew a beach bag was in order.  I love the theme print in the fabric line!!  The outer bag only has 3 fabric strips!  So it sews up totally fast!
seaside tote bag tutorial 2

This is my favorite size tote bag.  It’s not too big that it’s hard to use and it’s big enough to hold a towel, sunscreen, lunch, and some beach toys!  There is even a pocket and a key fob to hook your keys on so they don’t fall out and get lost in the sand!

seaside tote bag tutorial 5

You can totally switch up the fabrics and choose your favorites.

seaside tote bag tutorial 4

All seams 1/4″ unless otherwise stated

Supplies and Fabric Requirements

1 fat quarter Navy Flags – outer bag

40″ Seaside Main Print – outer bag

1 fat quarter Navy Gingham – outer bag

2/3 yard lining fabric

1/3 yard Navy Gingham for handles

1 fat quarter pocket fabric

Key Clasp

2/3 yard muslin or inside lining fabric

cotton batting

lightweight stabilizer

seaside tote bag tutorial 3

Cutting Instructions

seaside tote measurements

Cut the outer bag pieces according to the above photo.

Cut lining pieces (2) 19 1/2″ x 19 1/2″

Cut handles (2) 5″ x 28″

Cut Pocket 14″ x 19 1/2″

Cut Key Strap (1) 2″ x 10″

Sewing Instructions

Sew the three pieces of the out bag together and press seams in one direction.  Make a bag front and a bag back.
seaside tote bag

Baste each outer bag piece to batting and to a piece of muslin or light colored fabric. This gives the bag a little extra weight.

seaside tote bag. 2

Quilt each outer bag piece.  I quilted straight lines 1″ apart on the diagonal.  It took some time but it was worth it!

Square up each outer bag piece and measure. Mine shrunk 1/2″ so each piece measured 19 1/2″ square.

Cut (2) lining pieces the measurements of your outer bag (19 1/2″ x 19 1/2″).


Pocketseaside tote bag. 3

Cut the pocket 14″ x 19 1/2″

seaside tote bag. 4

Fold the pocket in half lengthwise, right sides together.

seaside tote bag. 5

Top stitch the top edge.

seaside tote bag. 10

Position the pocket 6″ from the top of one of the lining pieces.  Pin in place.

Sew along the bottom 1/8″ away from the fold.  Sew seams going down where you want the pockets – you can decide what size you want!

seaside tote bag. 7

Fold the 2″ x 10″ key strap in fourths lengthwise.

seaside tote bag. 8

Top stitch both edges 1/8″.

seaside tote bag. 9

Thread through the key clasp, fold under raw edge and sew pin place.

seaside tote bag. 11

Baste the raw edge of the key strap in place as pictured above.

seaside tote bag. 16

Place the outer bag pieces right sides together and sew the sides and bottom using a 1/4″ seam

Place the lining pieces right sides together and sew the sides and bottom using a slightly larger 1/4″ seam.  This makes the lining fit nicely inside the bag.

seaside tote bag. 15

Cut a 3″ square and use as a pattern.  Cut a 3″ notch out of the bottom corners of the outer bag and the lining.

seaside tote bag. 18

Match the seams of each corner, pin and sew 1/4″, backstitching to start and stop.

seaside tote bag. 12

If you would like to add stability to the handles, fuse a piece of light weight stabilizer the same size as the handle strips to the wrong side of the two handle strips.

seaside tote bag. 13

Press the handle strips in half lengthwise, then press the edges meeting in the center.  Fold in half again and press.  (The handles will be folded in 4ths)

seaside tote bag. 14

Top stitch 1/8″ along both sides of the handles.
seaside tote bag. 19

Measure 4 1/2″ in from each side seam and pin the handles into place.

Baste handles in place.

With the outer bag inside out and the lining right side out, place the lining inside the outer bag (so right sides are together).  Match and pin side seams and pin all the way around the bag.

Sew 1/4″ around the top of the bag.

Using a seam ripper, unstitch about 3″ on one of the side seams and turn the bag right side out.  Top stitch the opening closed.

Press lining down inside the bag and top stitch 1/8″ around the top of the bag.

seaside tote bag tutorial

You’re all done!  Time to hit the beach!  Or set sail on your boat!

seaside tote bag tutorial 6

seaside tote bag tutorial 8


Library Tote Bag Tutorial

library tote bag tutorial

I recently got to spend time with my friend and her darling children!!  I made them each a library tote bag using this tutorial and these new fabrics from Riley Blake Designs!  I love that there is a Lancelot and a Guinevere fabric line!  You can’t go wrong!  This tote bag is the perfect size for library books, music books, ballet clothes, a car ride to grandmas, or a trip to the pool!  It’s so versatile!!!

tote bag tutorial. 5

These fun little bags take about an hour to sew (that is if you are focused and not watching Netflix!). They make cute little birthday gifts!

tote bag tutorial 10

tote bag tutorial. 11
tote bag tutorial. 3

tote bag tutorial. 7
tote bag tutorial. 9
tote bag tutorial. 12

OK let’s get started!!
(In the photos I switch back and forth between the Guinevere and the Lancelot, just focus on the measurements and the process)

Fabric Requirements

1/3 yard outer bag main fabric

5 prints for accent piecing – 10 squares 3 1/2″ each

1/8 yard top band fabric

1/4 yard handle fabric

1/2 yard lining fabric

2/3 yard fusible medium weight stabilizer

Cutting Instructionscutting instructions

Follow the above instructions for cutting the outer bag pieces.

Cut (1) 5″ x width of fabric strip for handles

Cut (2) 15 1/2″ x 15 1/2″ squares of lining fabric

Cut (2) 15 1/2″ x 15 1/2″ squares of staibilizer

Begin by sewing (5) 3 1/2″ squares together in a horizontal row.  Press seams in one direction. Make two of these units.

IMG_9603

Sew the 2 1/2″ x 15 1/2″ rectangle to the top of the square strip.

Sew the 10 1/2″ x 15 1/2″ bottom piece to the bottom of the square strip.  Press away from the square unit.

Repeat this step so you have two identical units for the front and the back of the bag.
IMG_9605

These are the lining fabrics I choose!  So cute!!!IMG_9606

Fuse the stabilizer to the wrong side of the two outer bag pieces.IMG_9607

Add a little top stitching accent along the square strip.

IMG_9608

For the handles, press the 5″ strip in half lengthwise.  Open and press the edges in to meet the center crease.  Press.IMG_9609

I fused a 1″ piece of stabilizer inside the handle along the entire length.  This is totally optional.
IMG_9610

Fold the handle in half again (now it is folded in 4ths) and press.IMG_9611
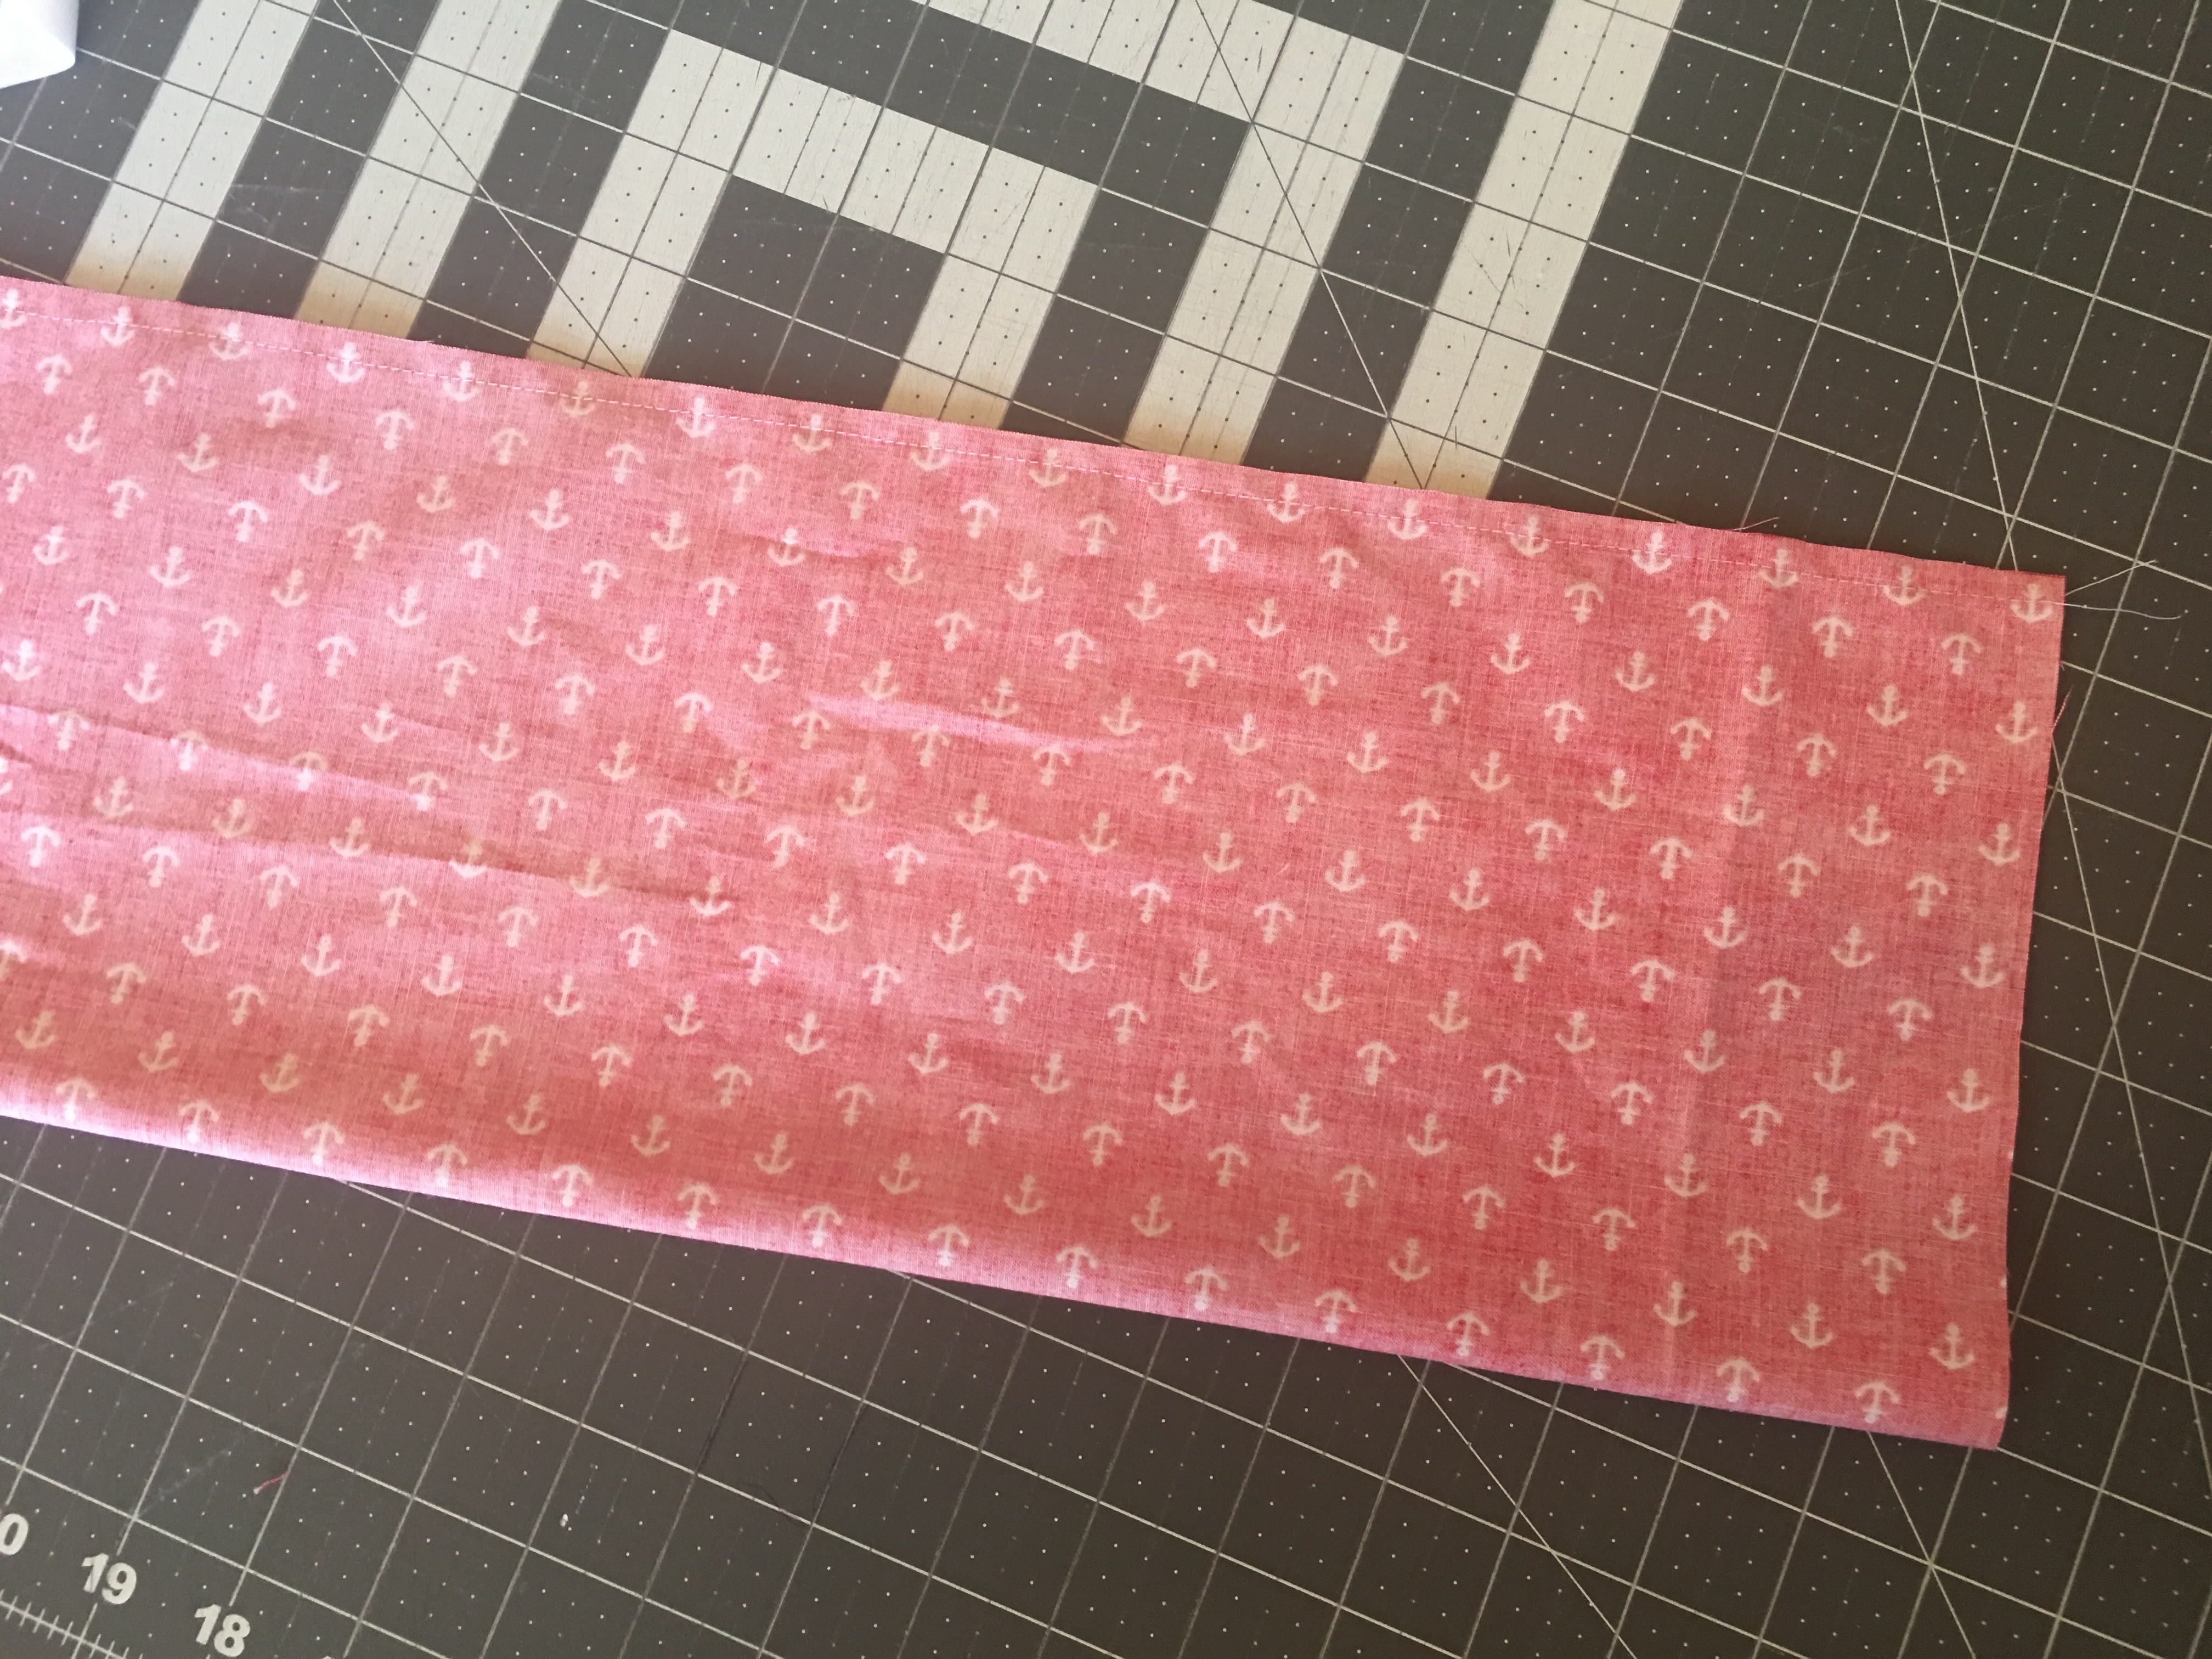
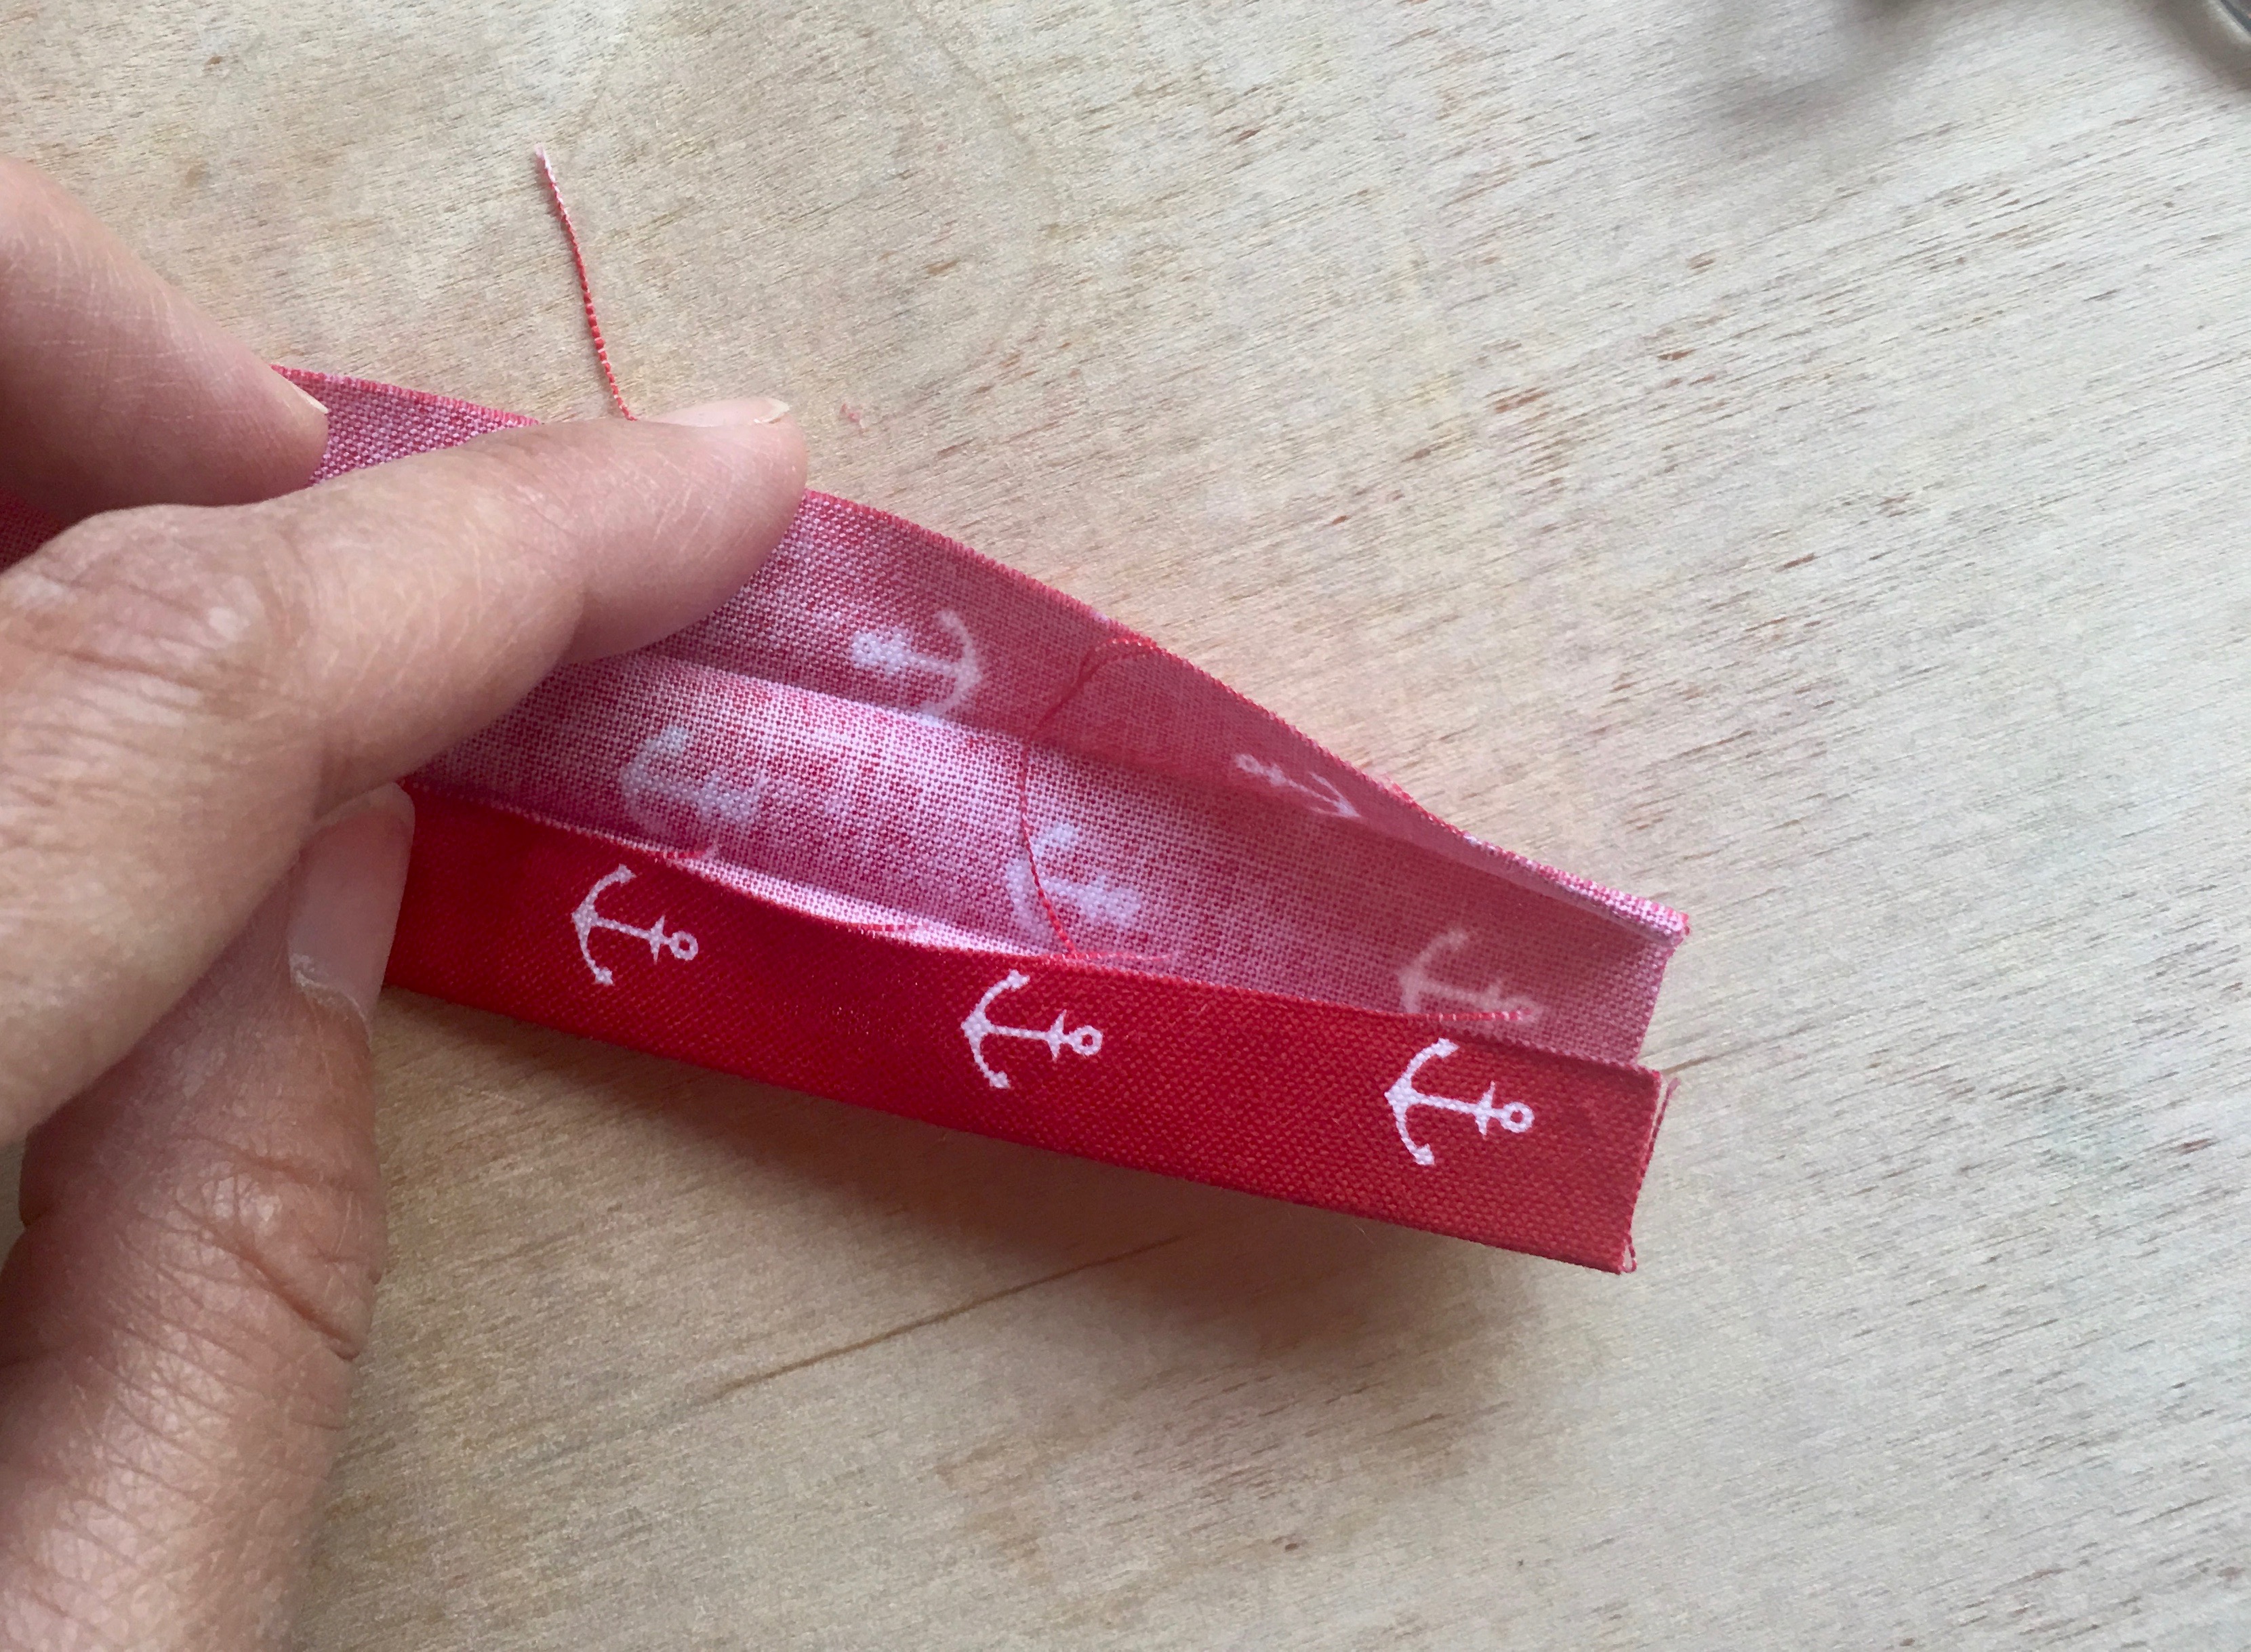
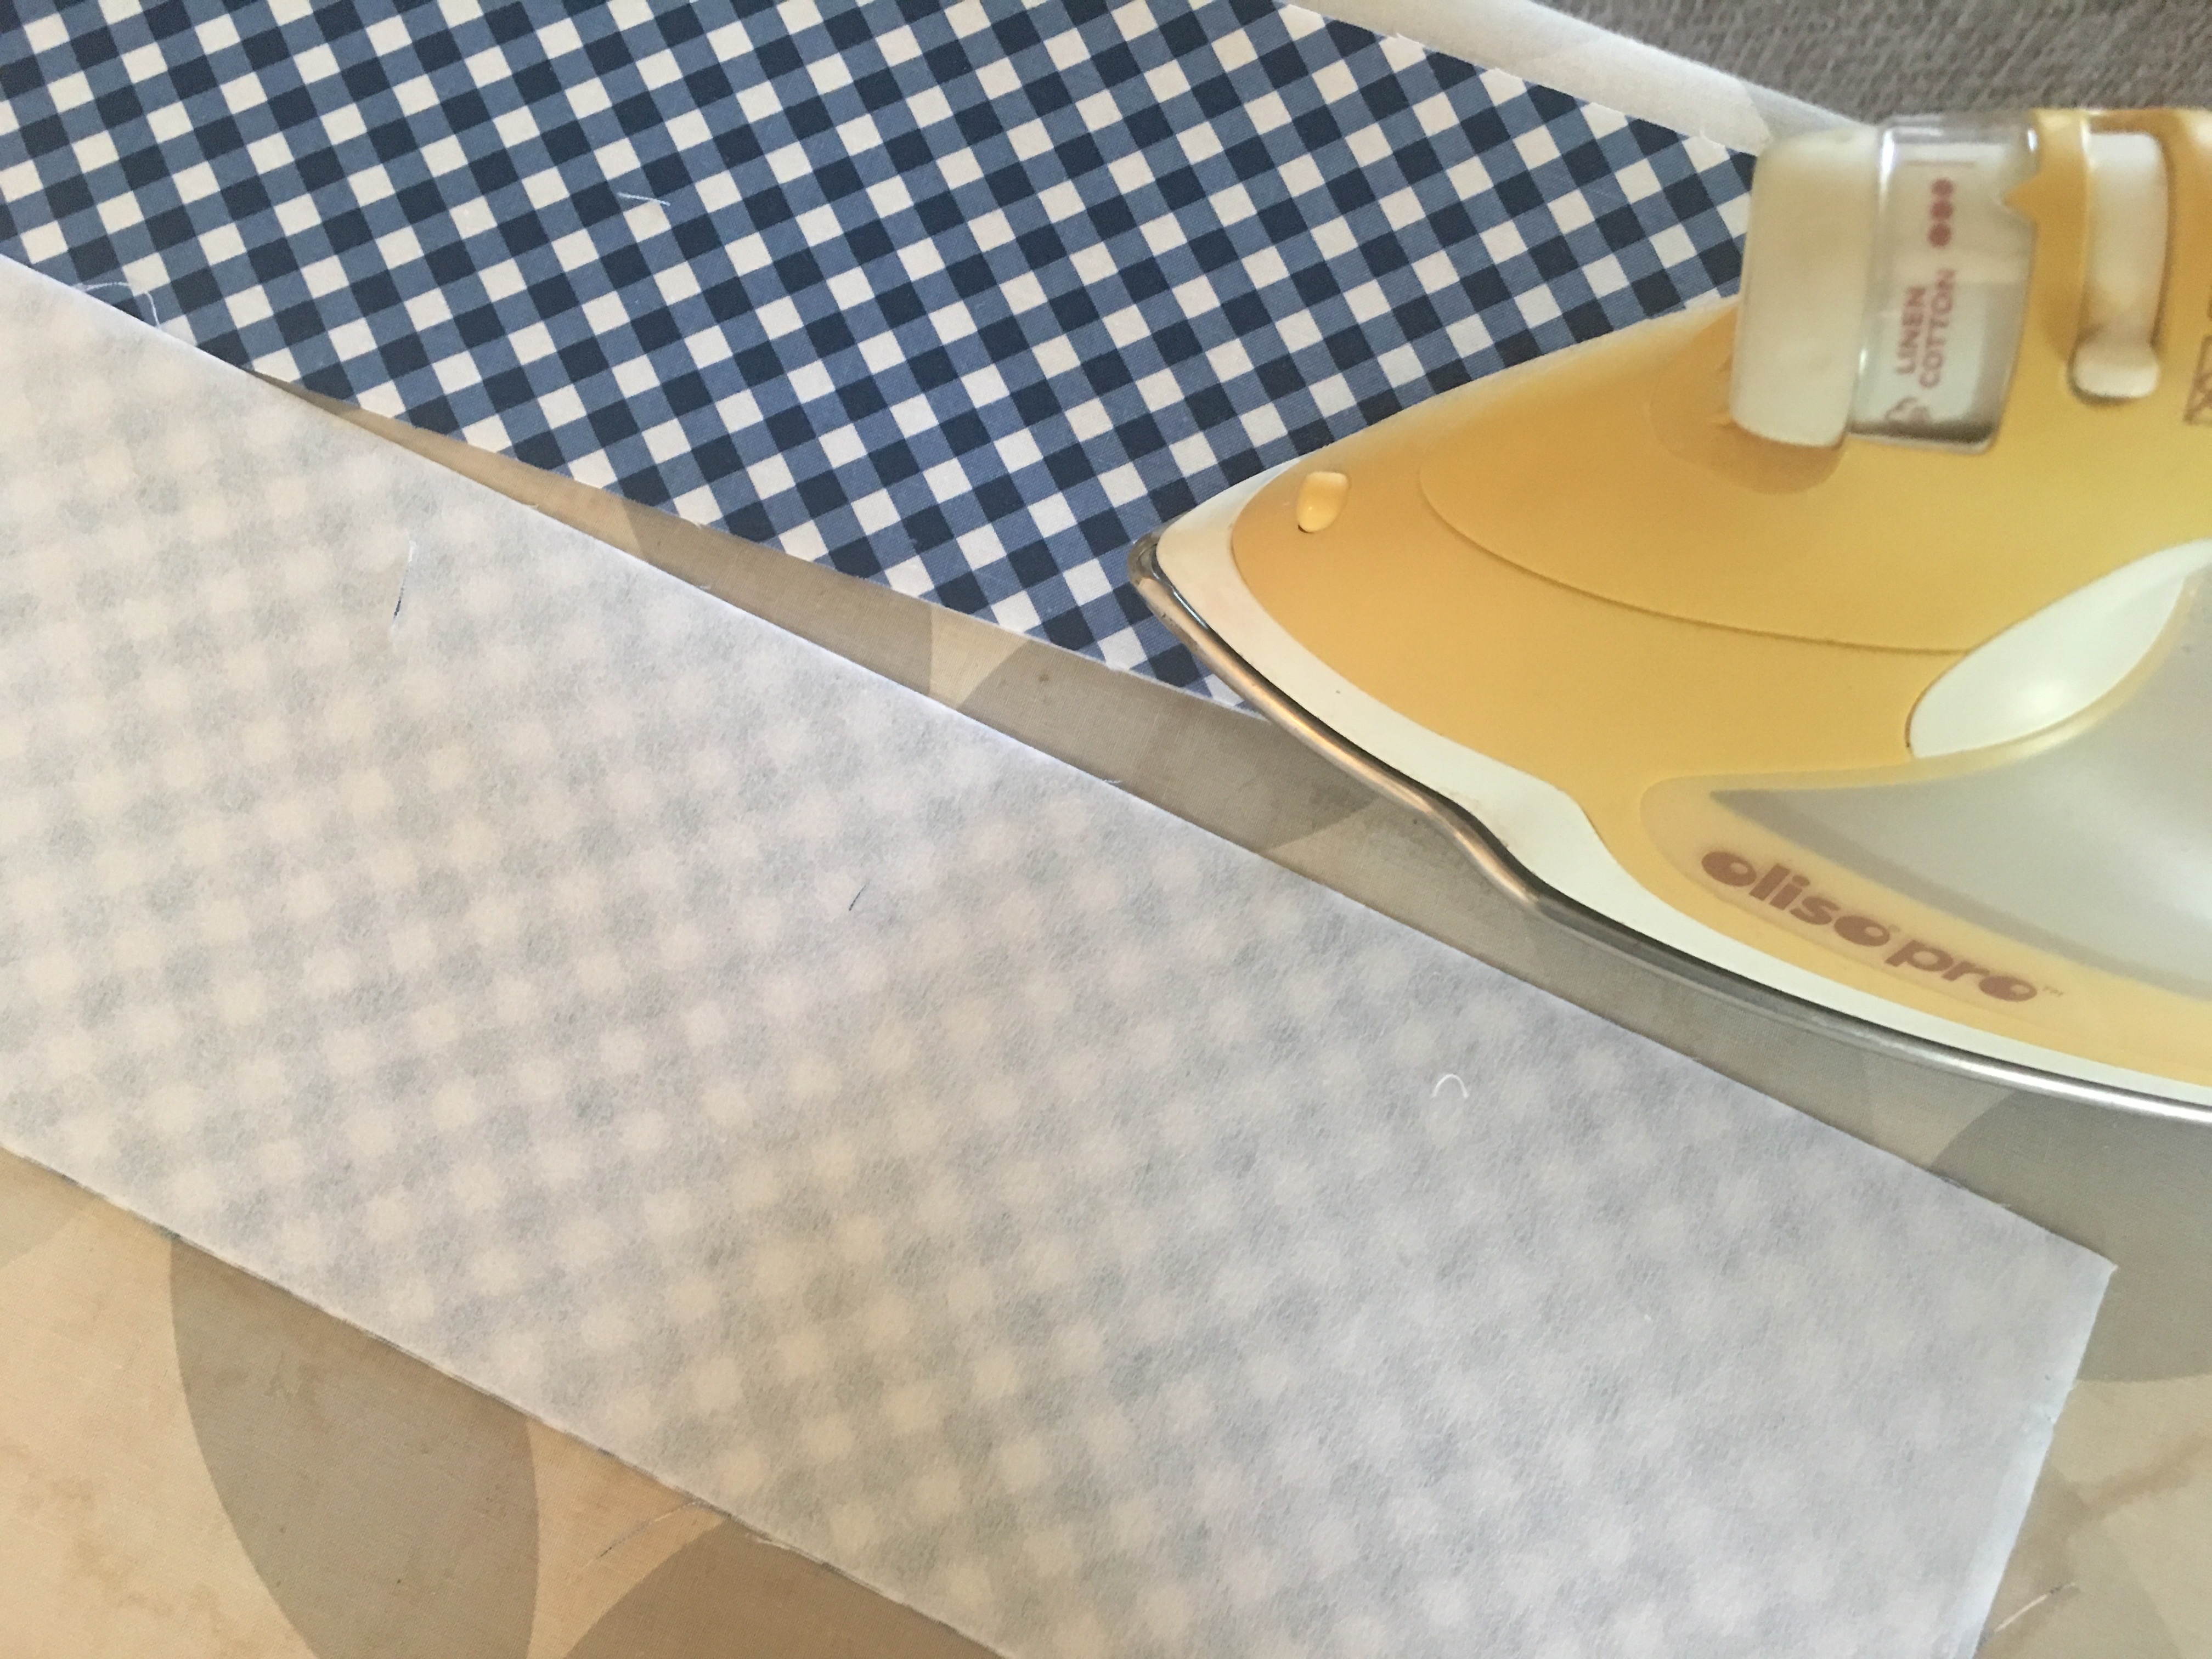
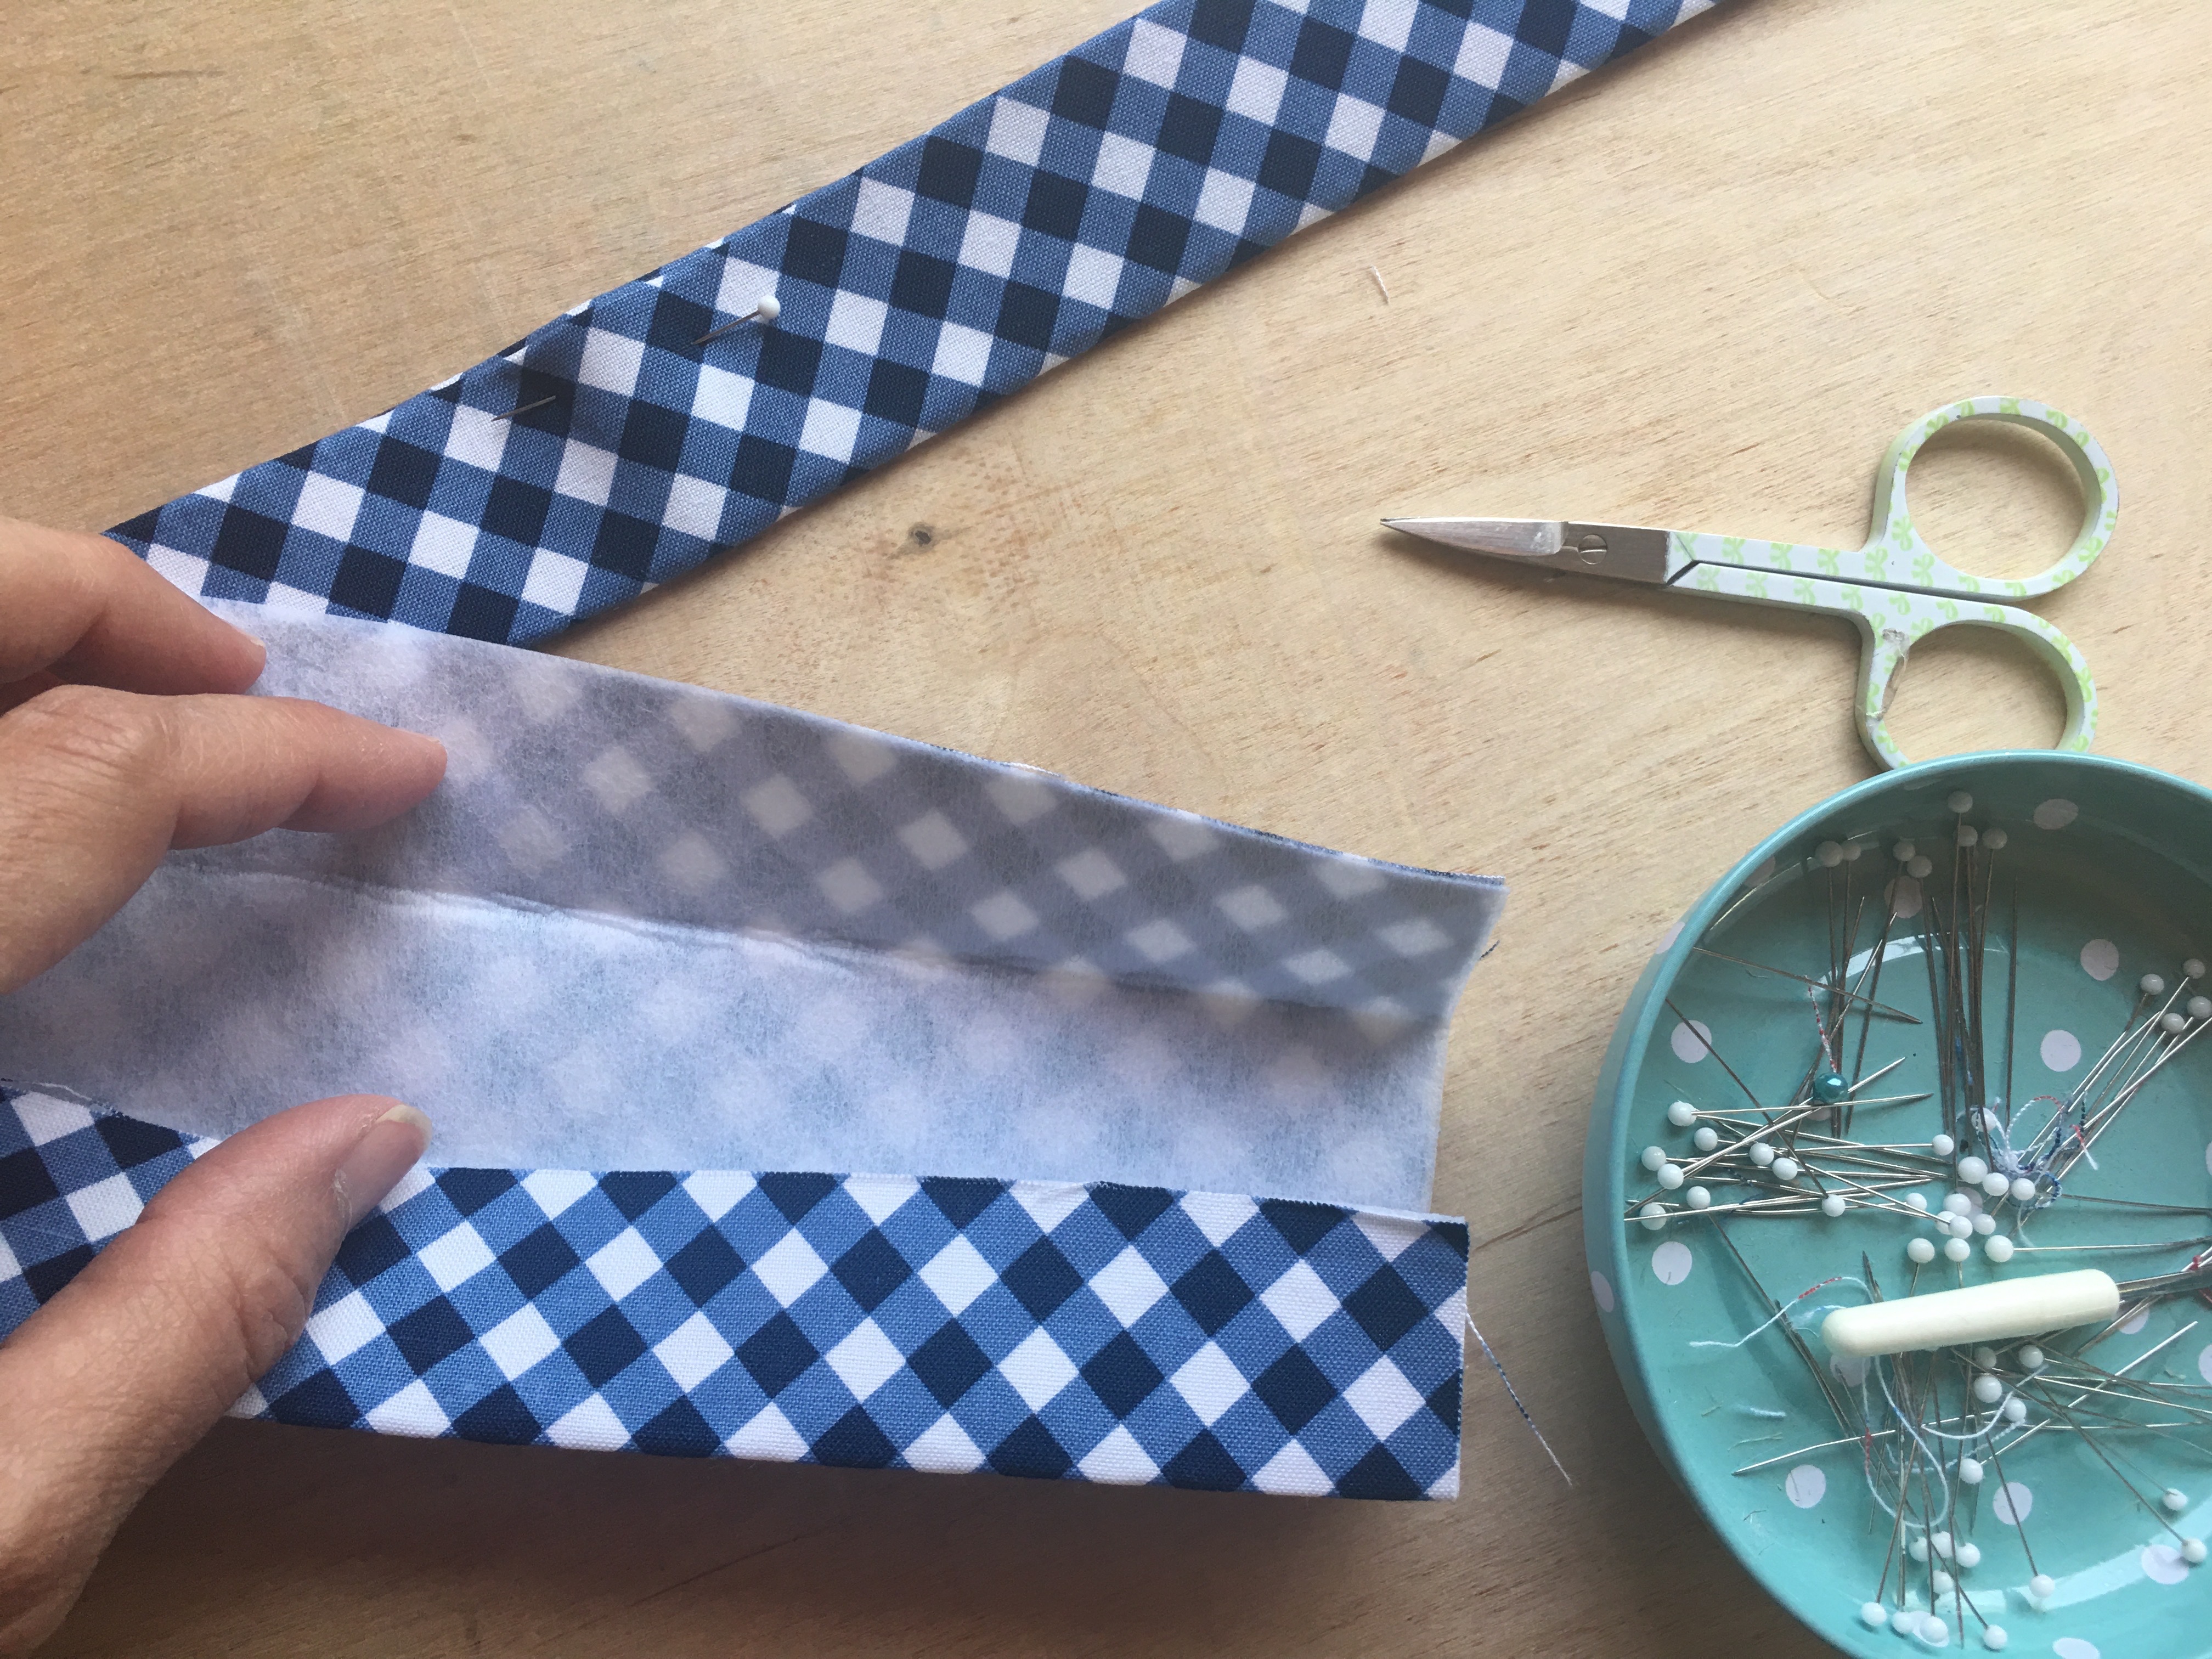
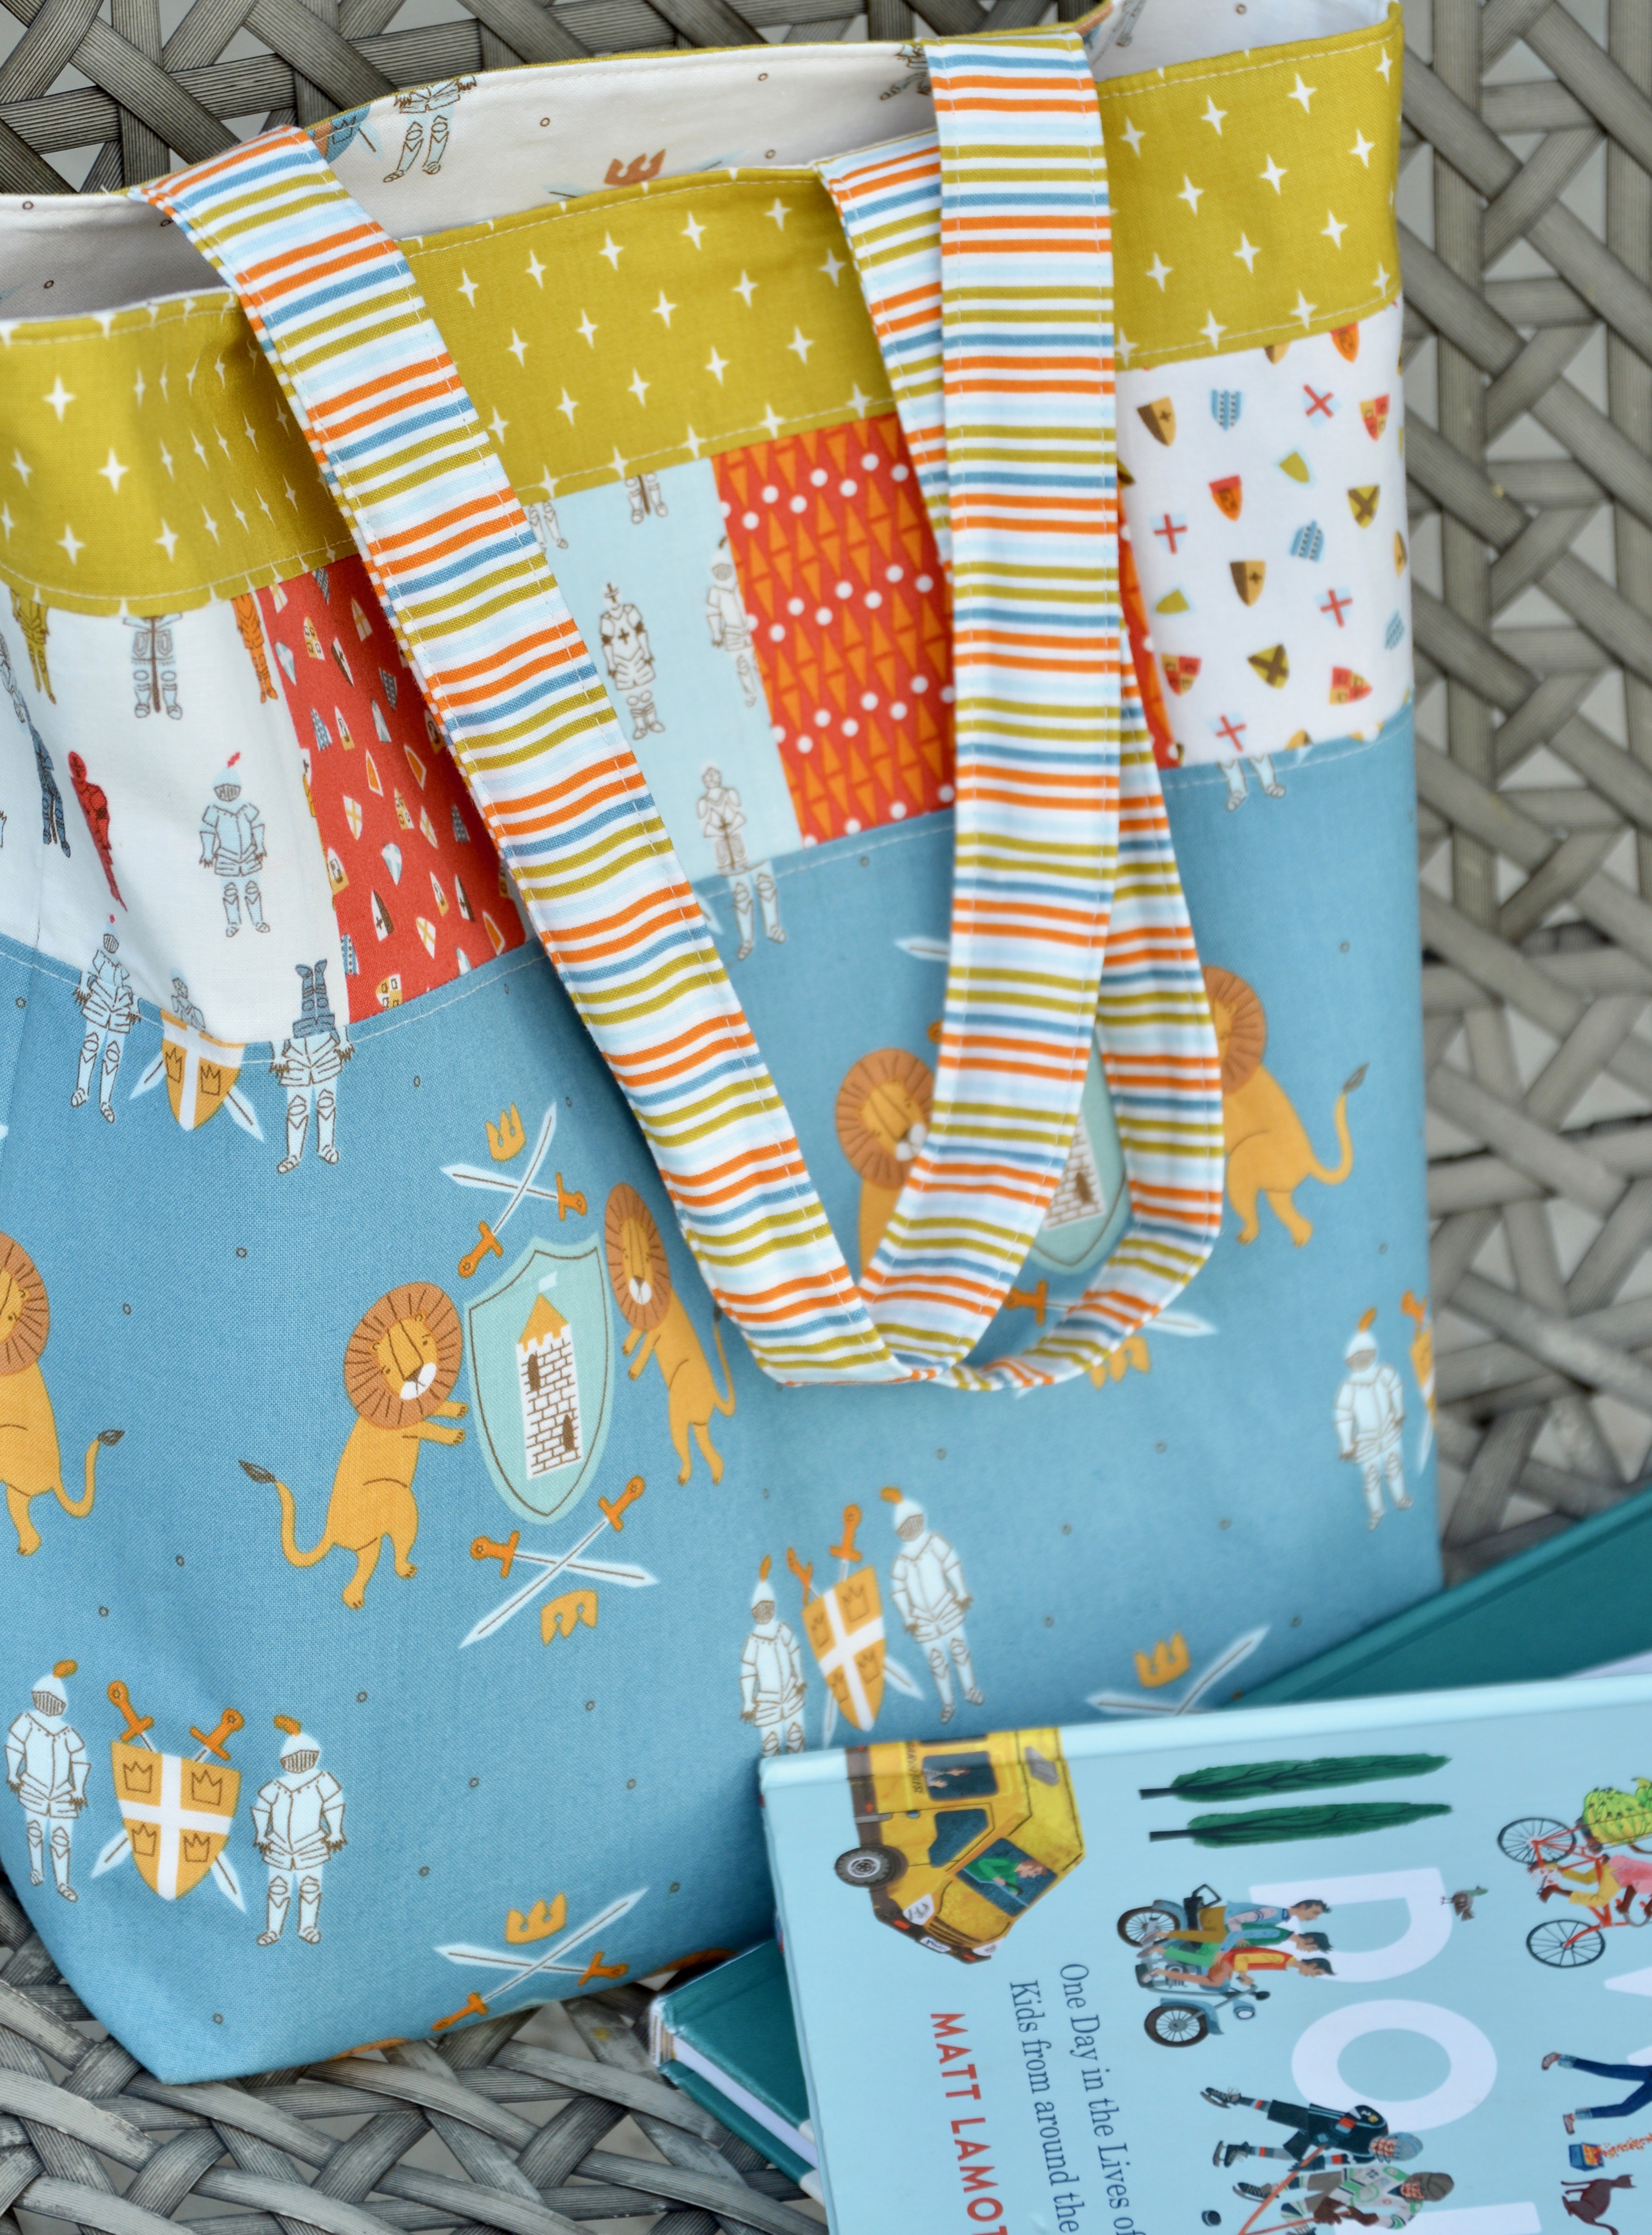
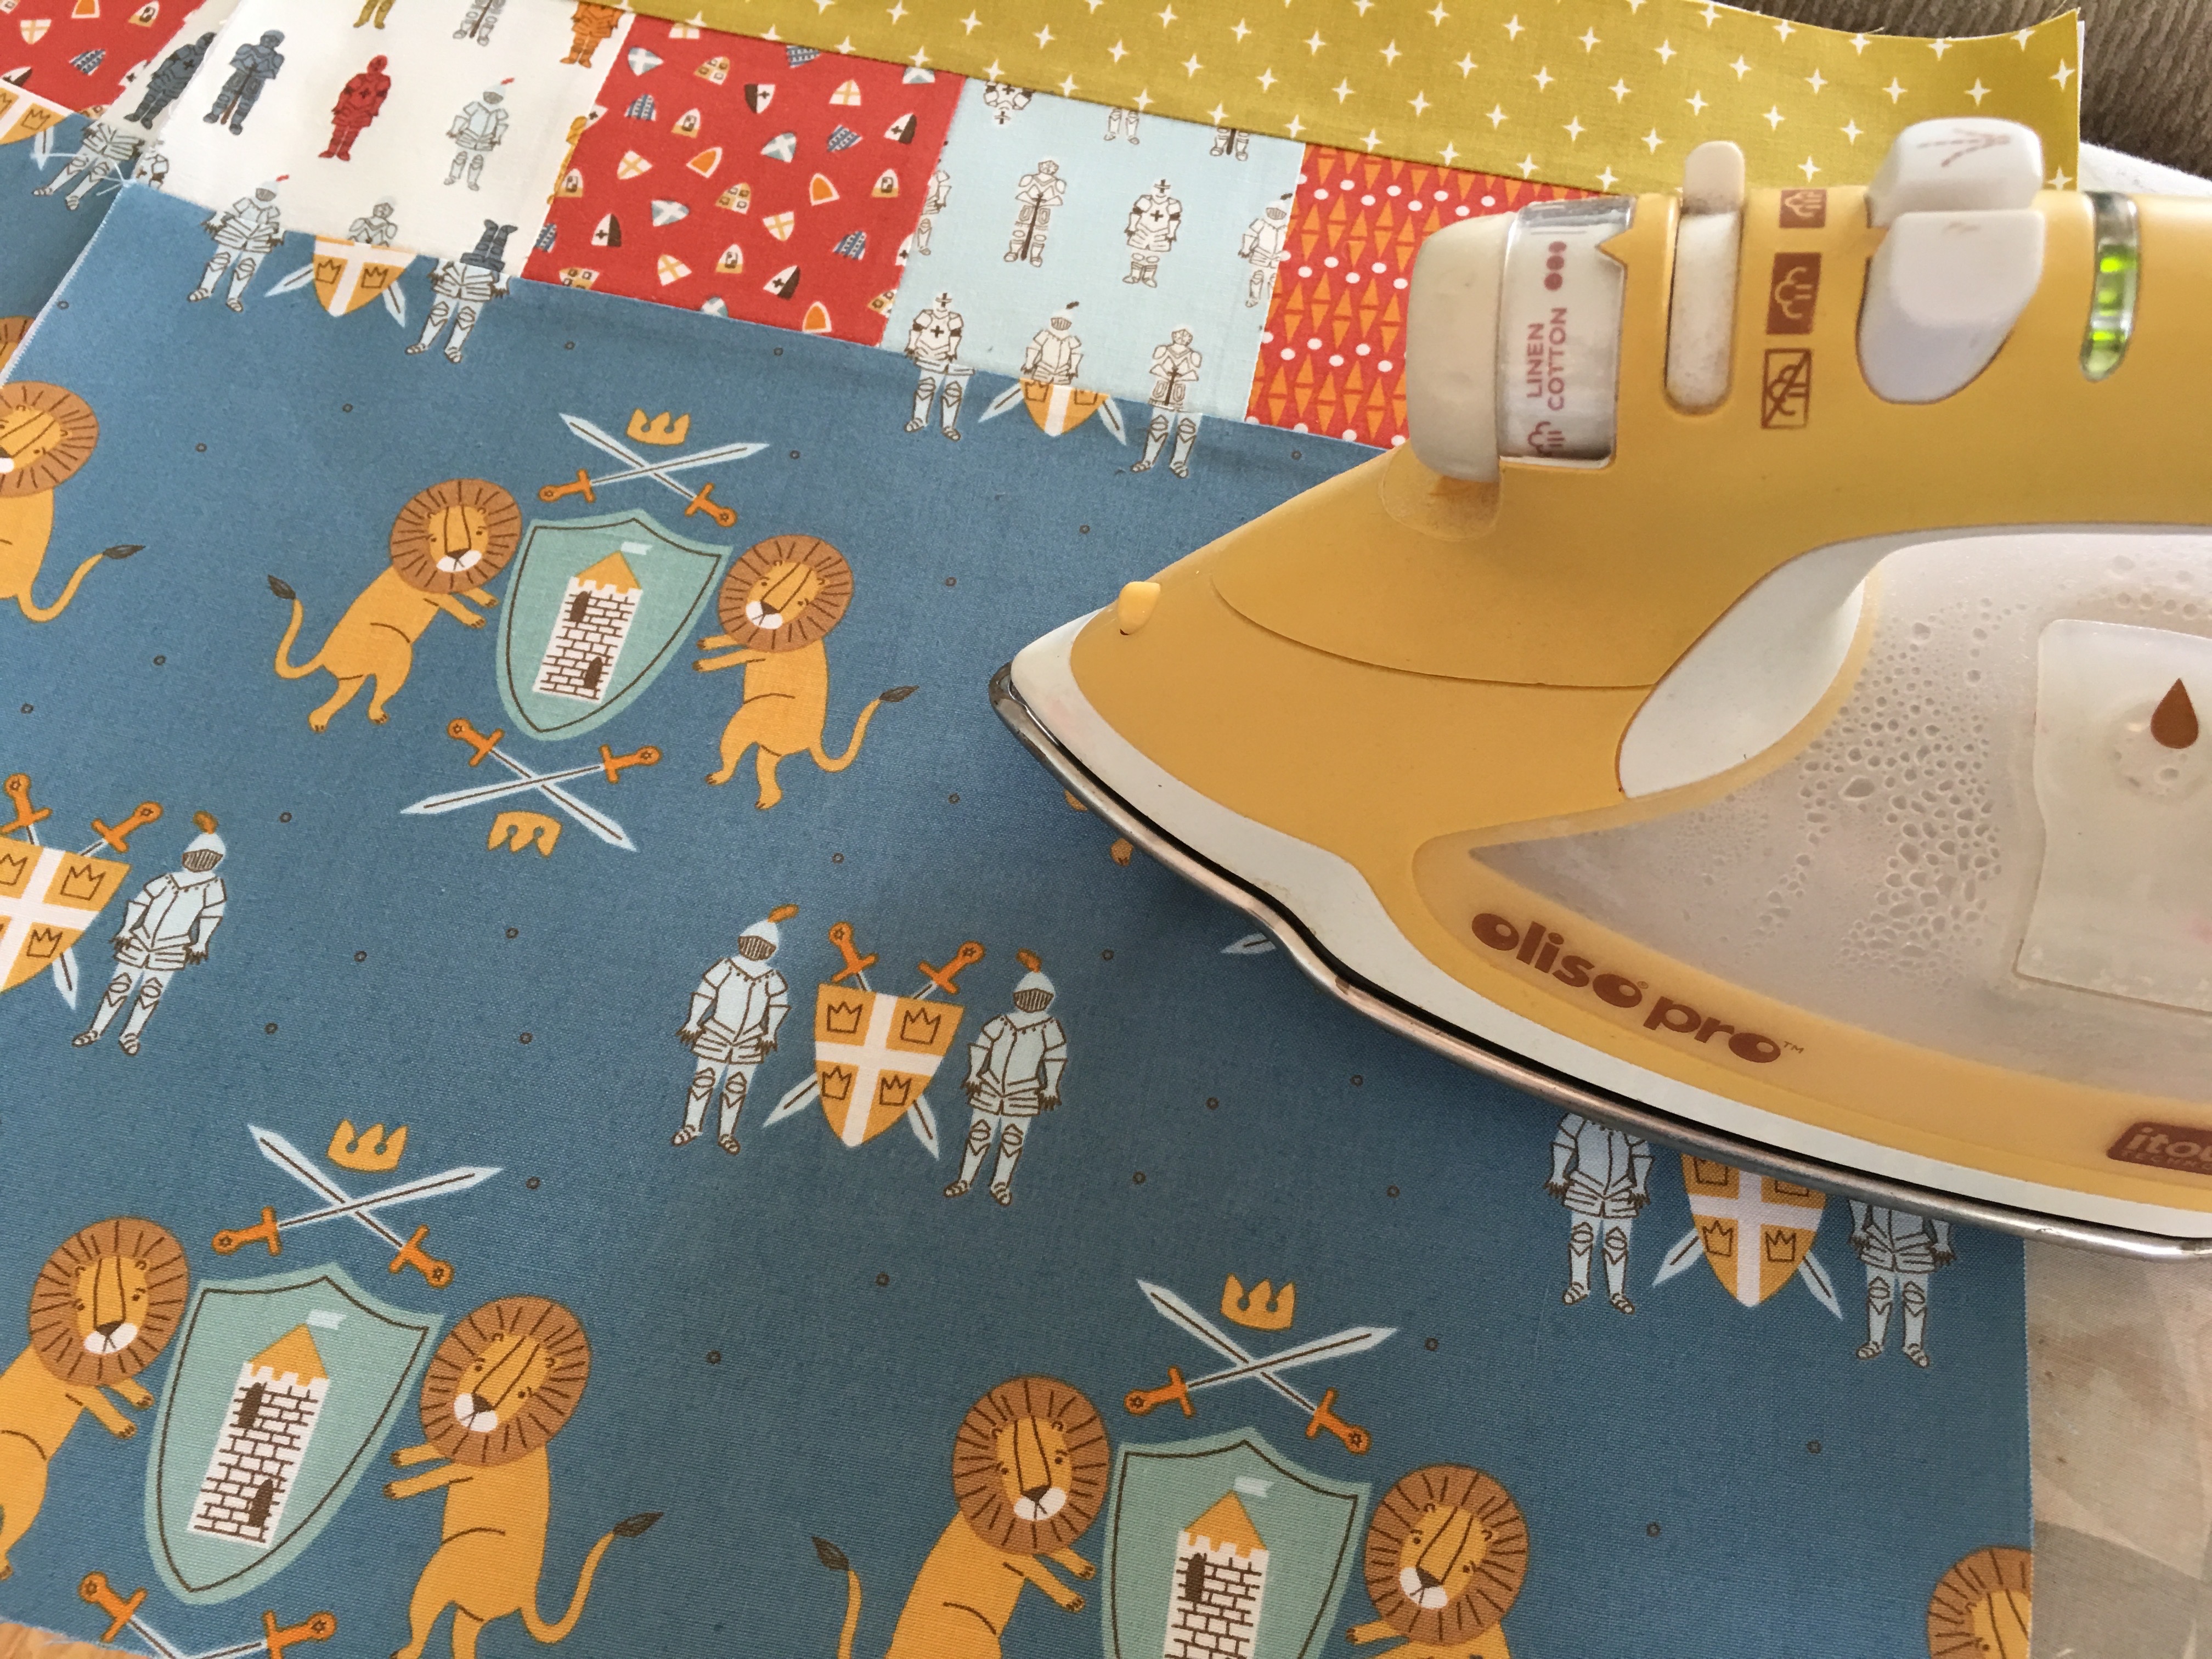
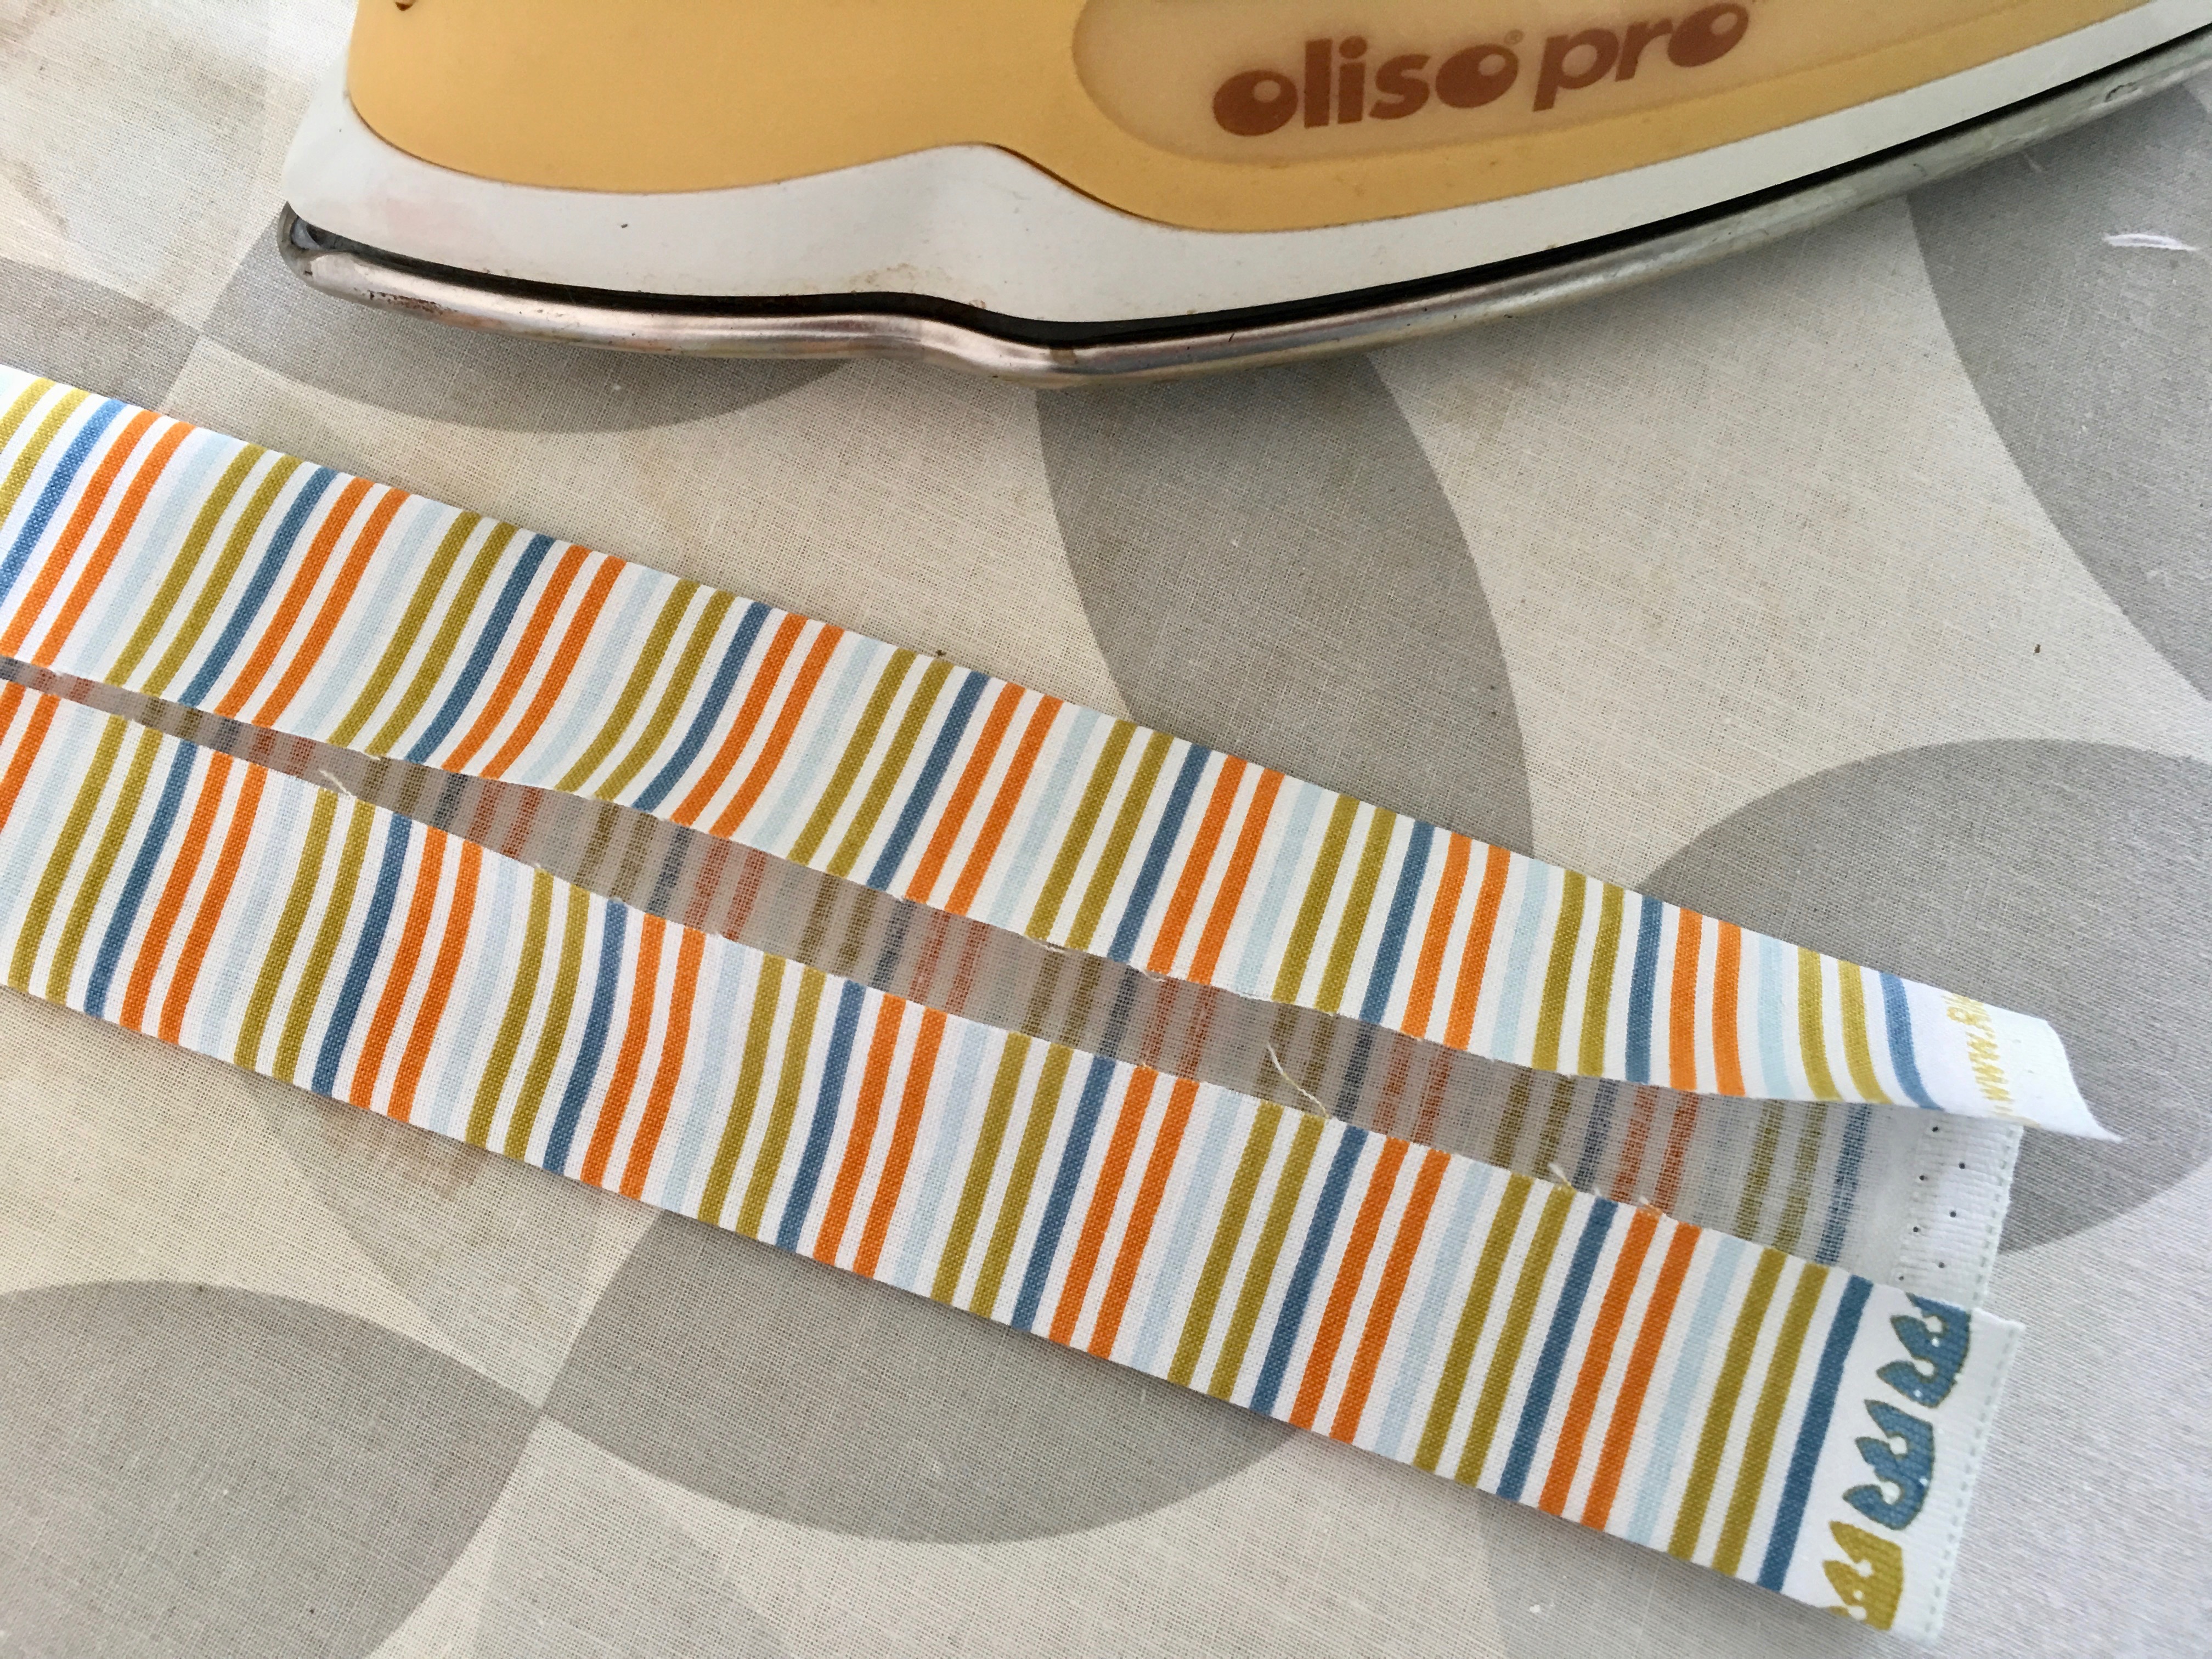
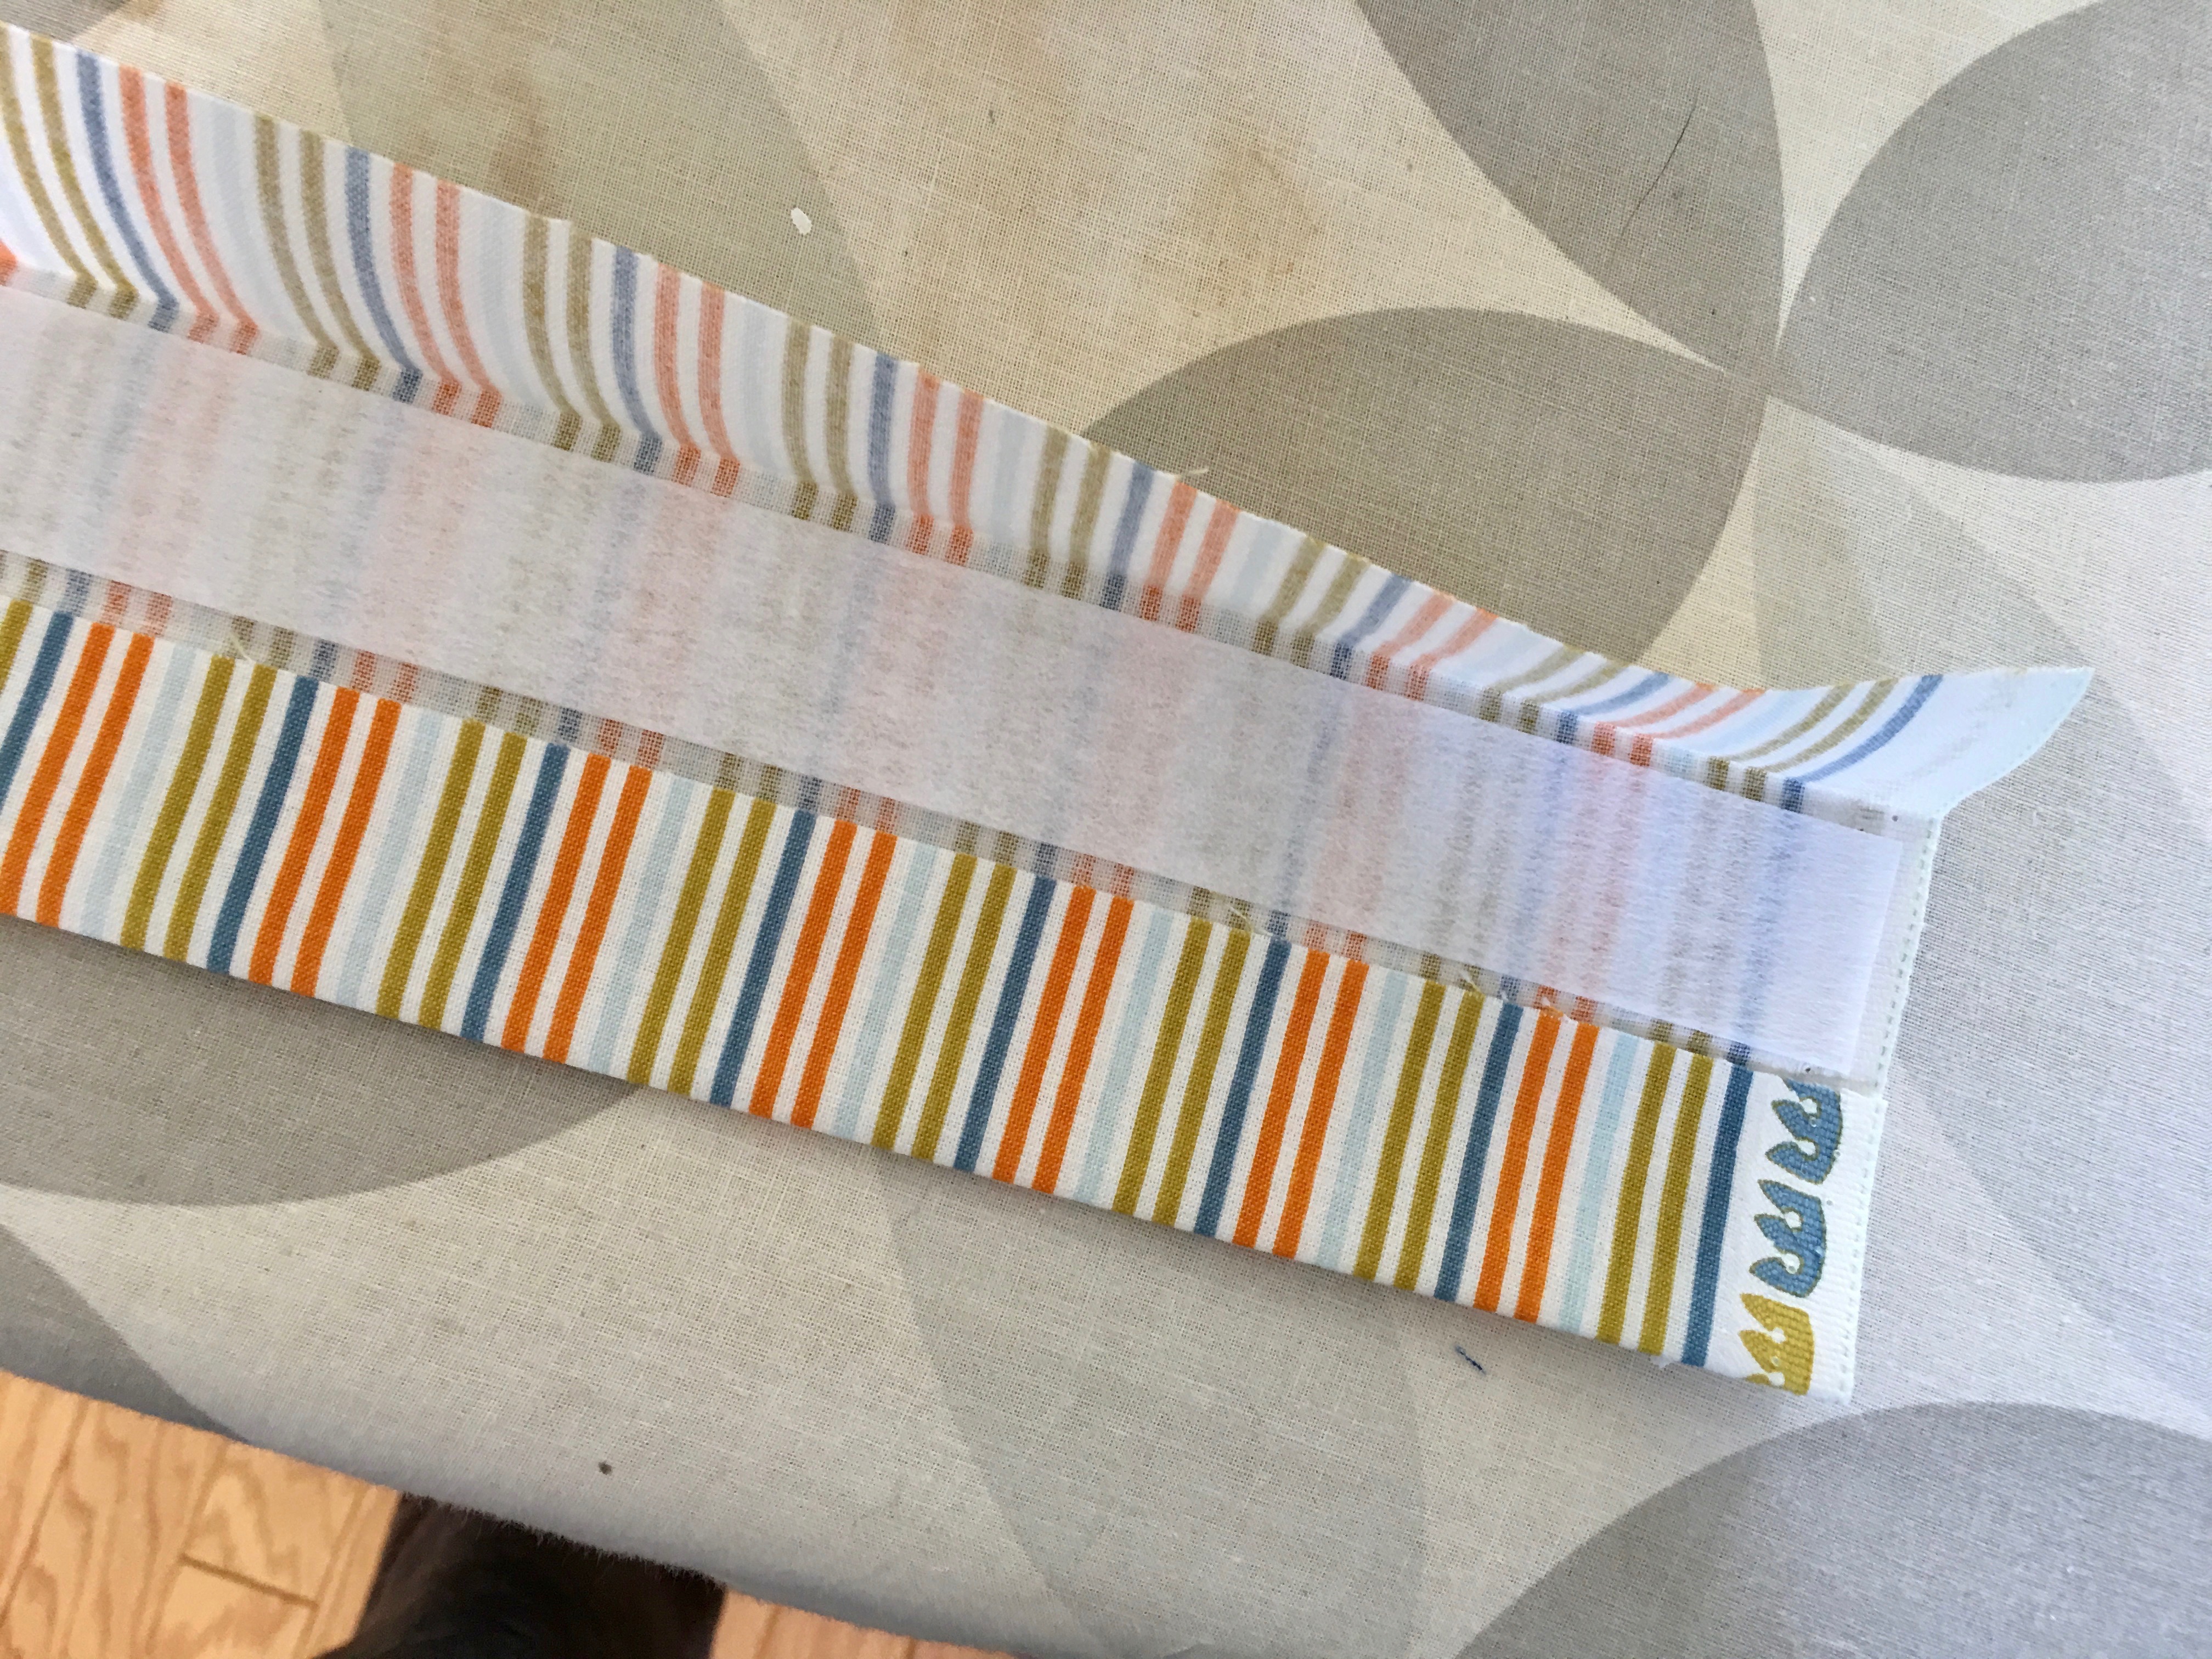
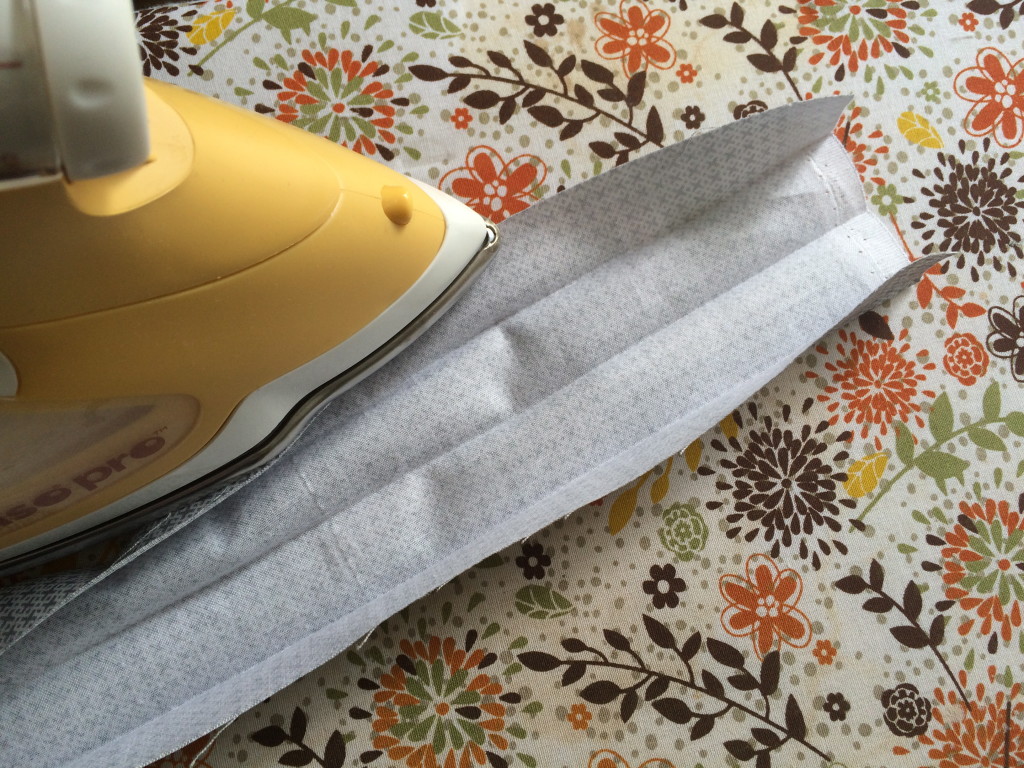
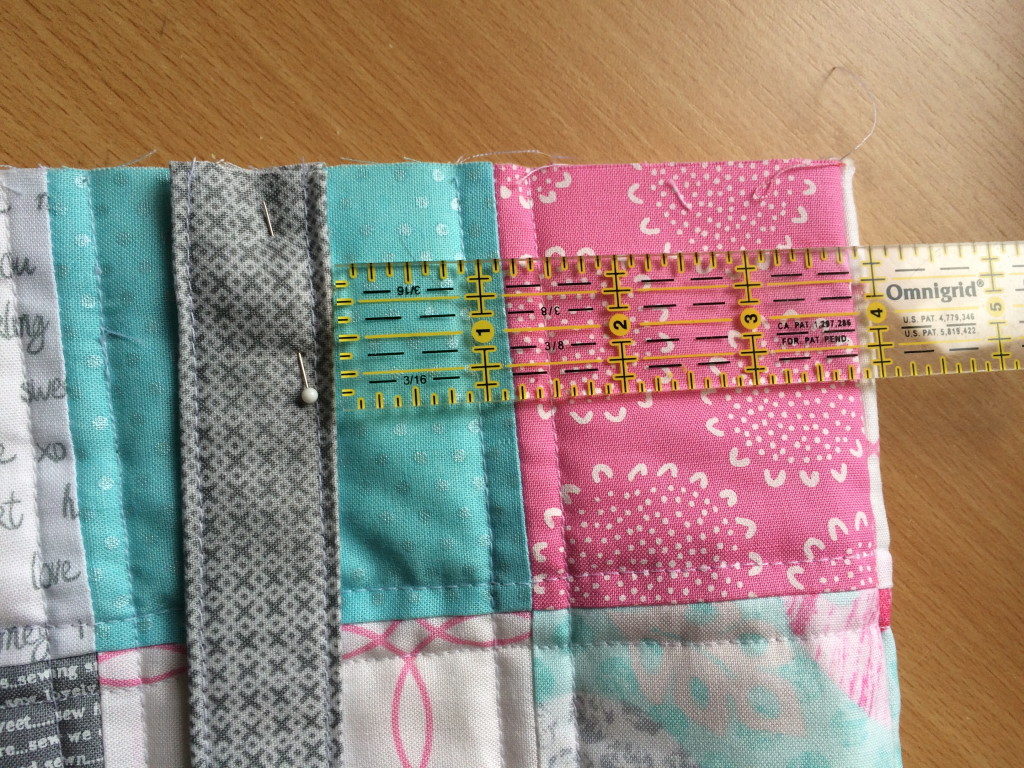
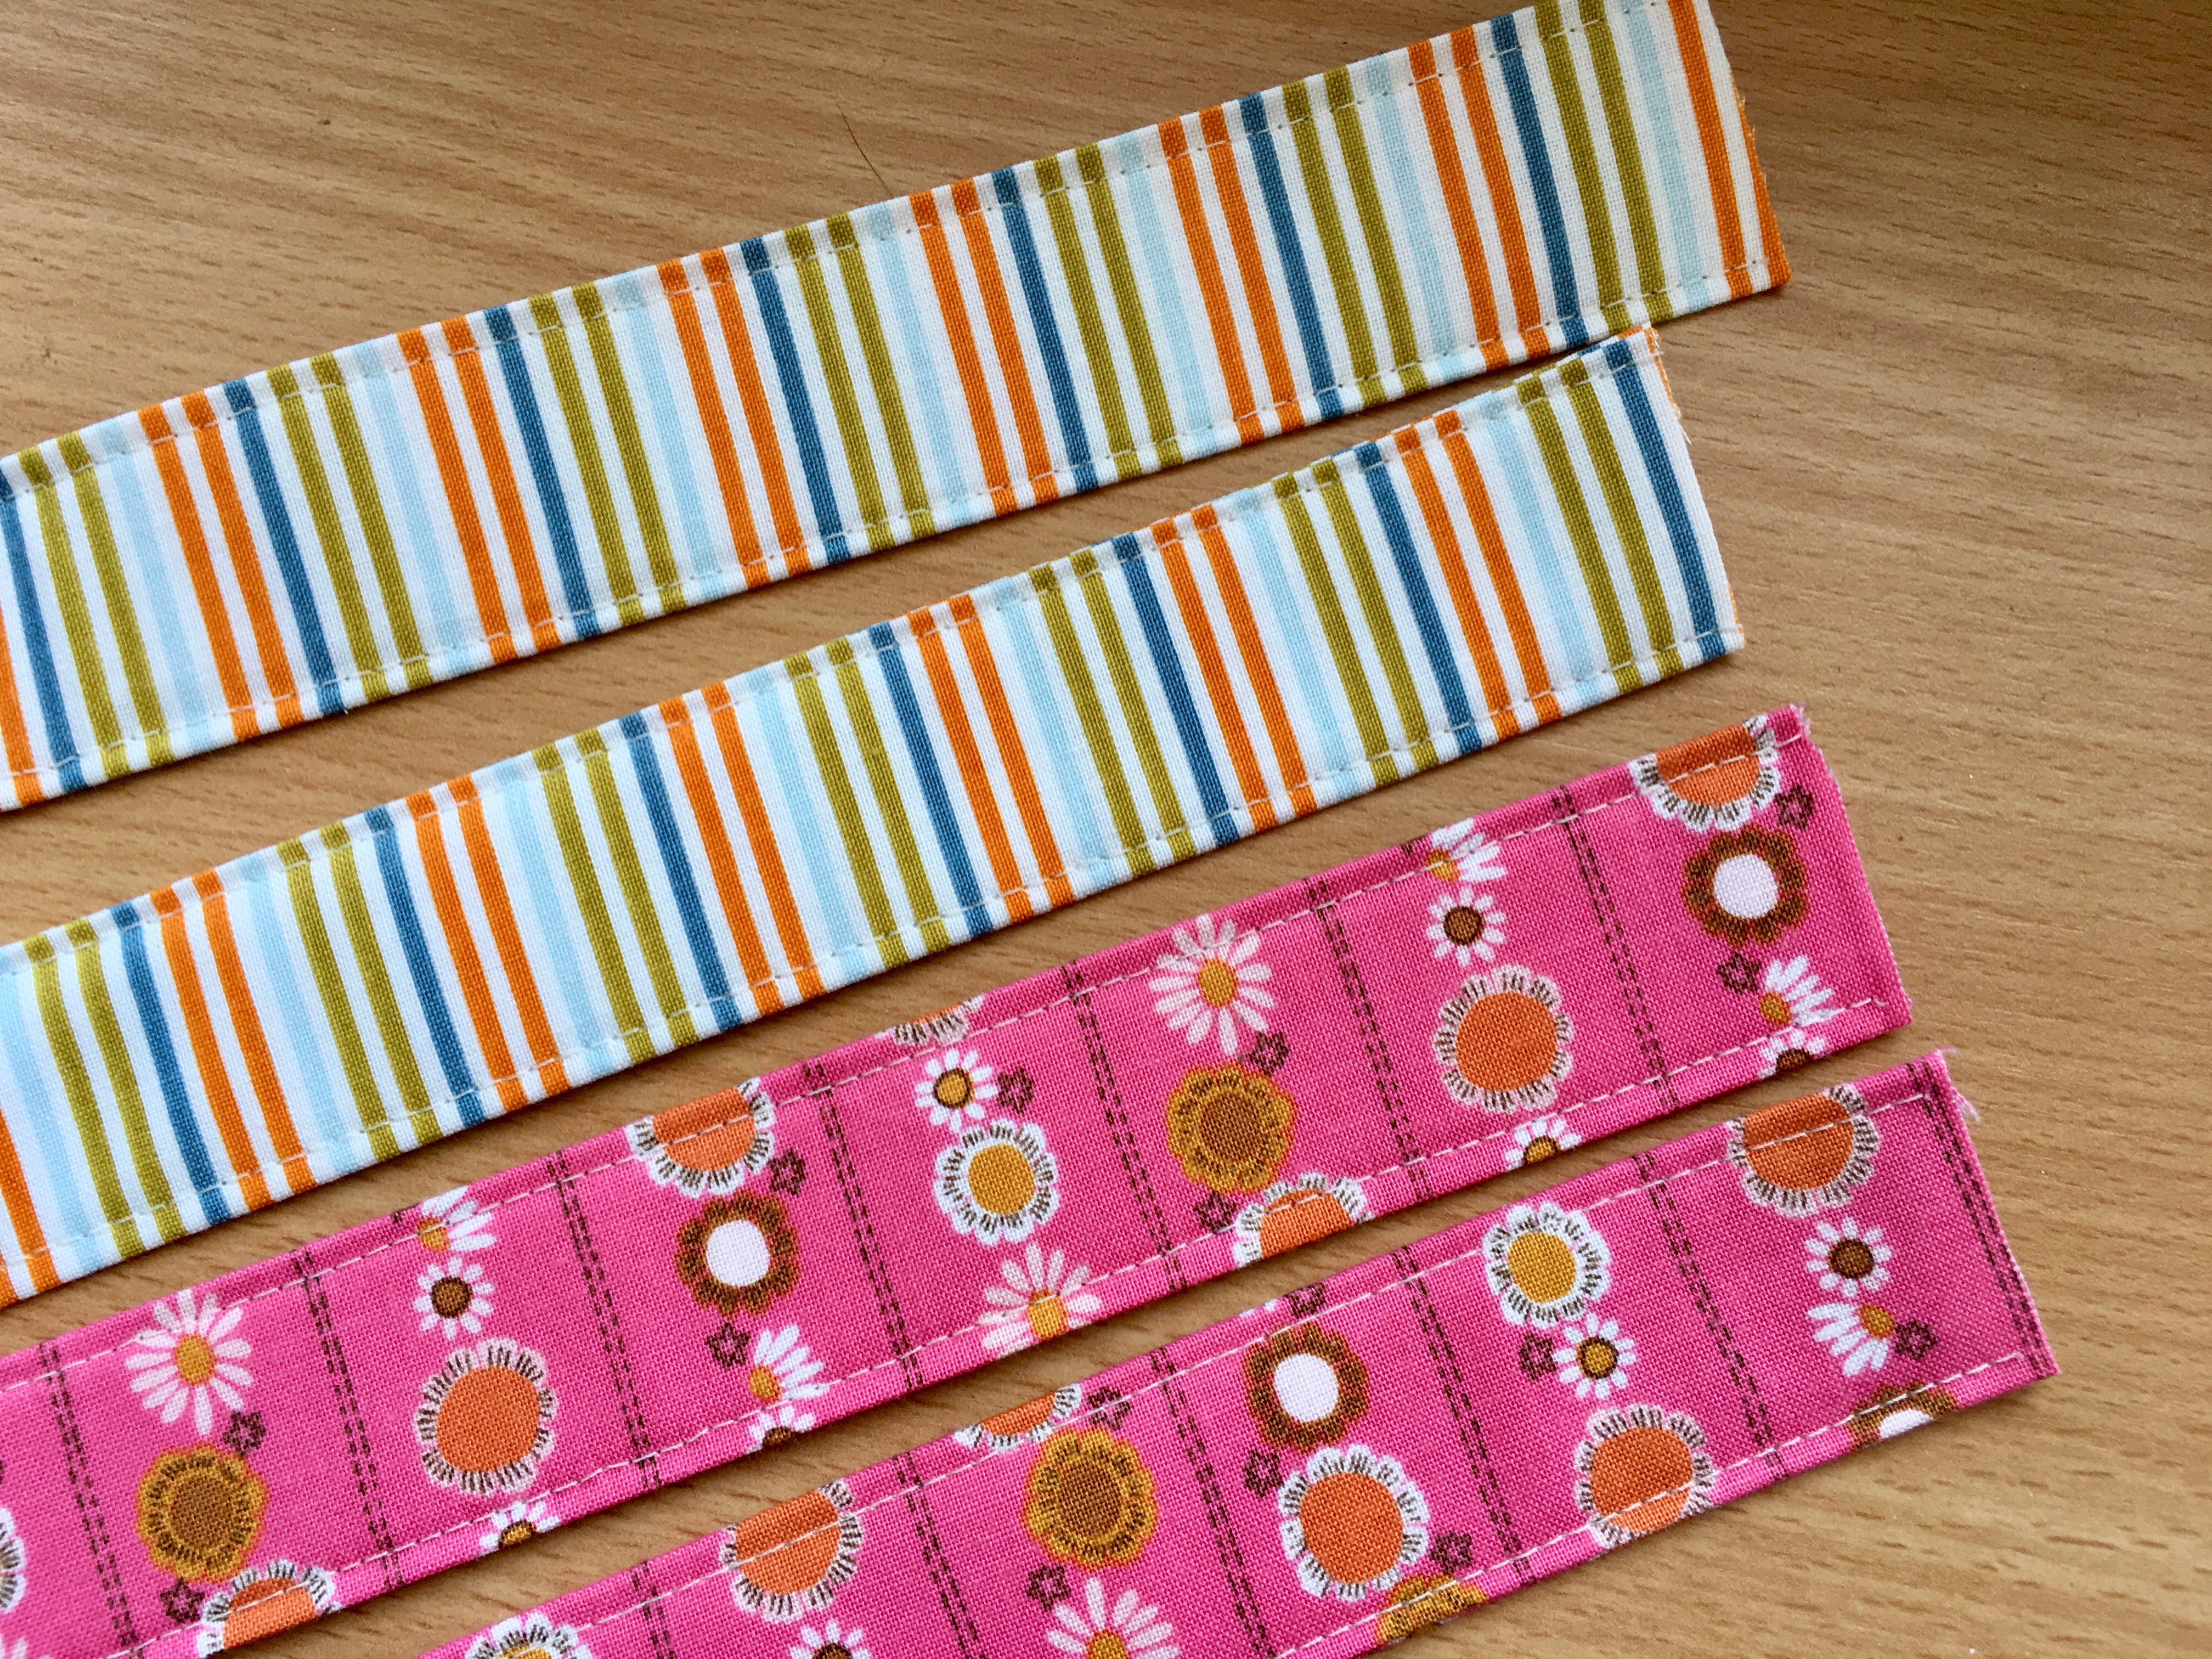
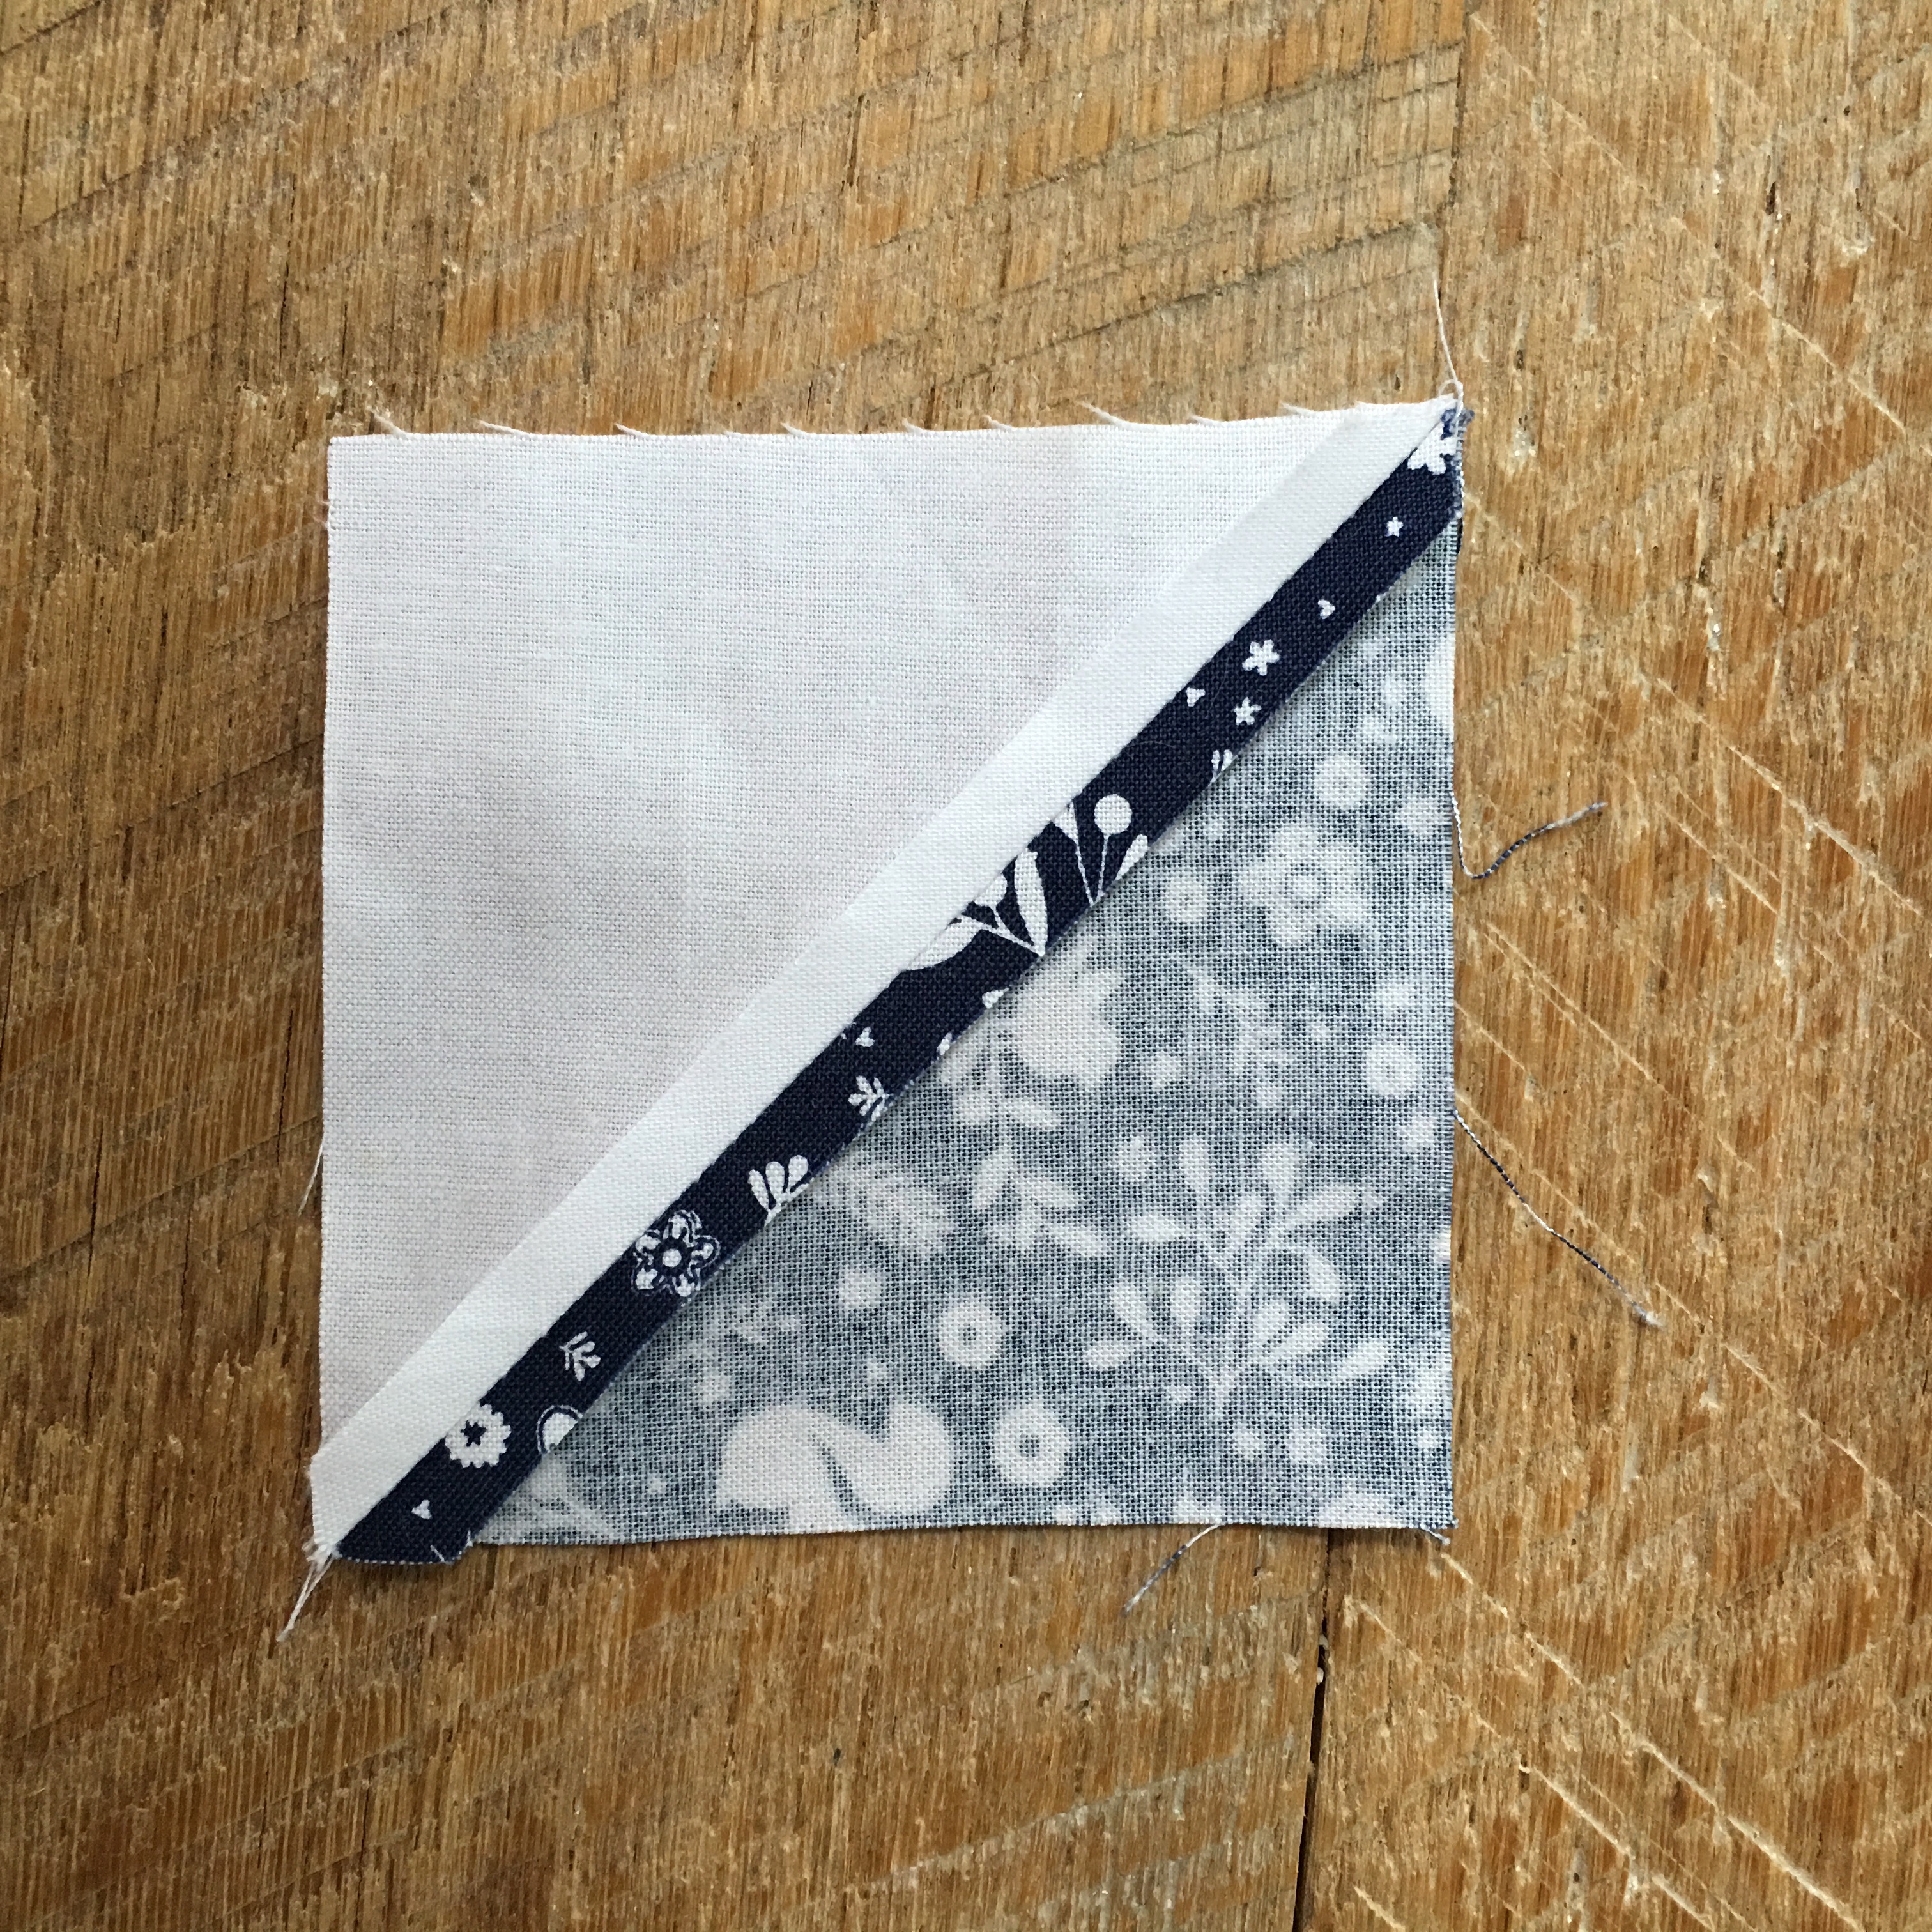
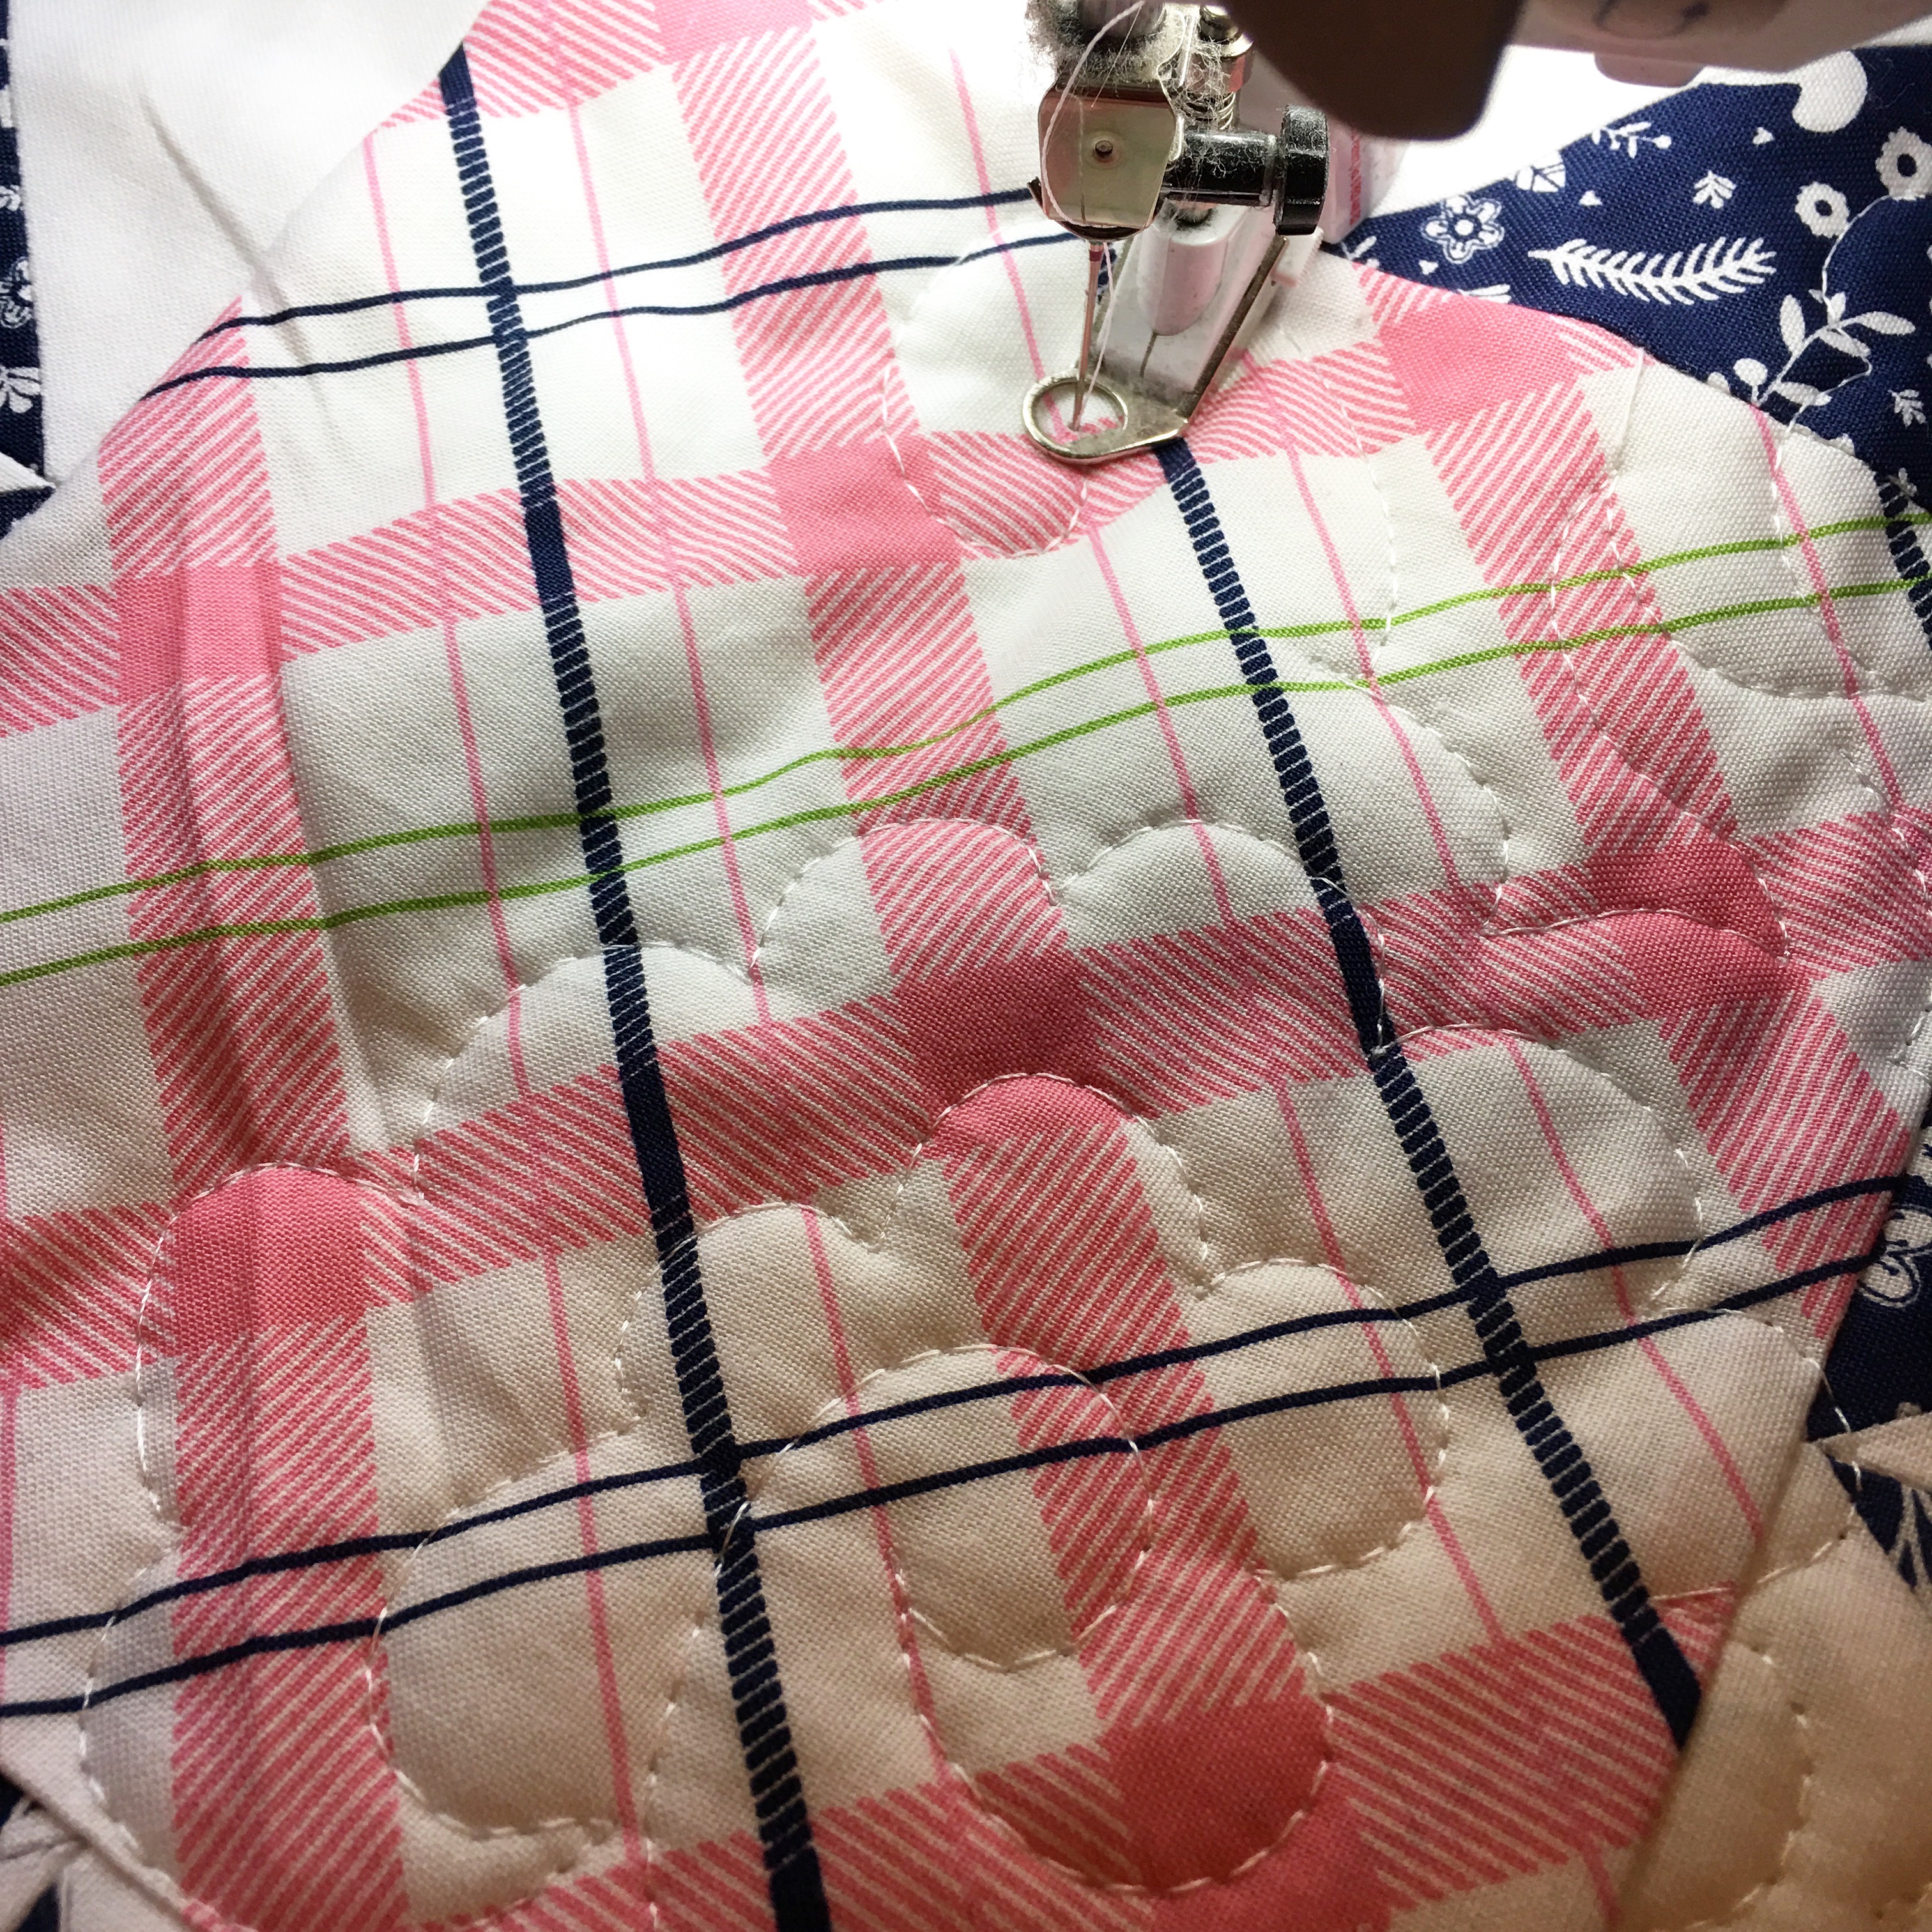
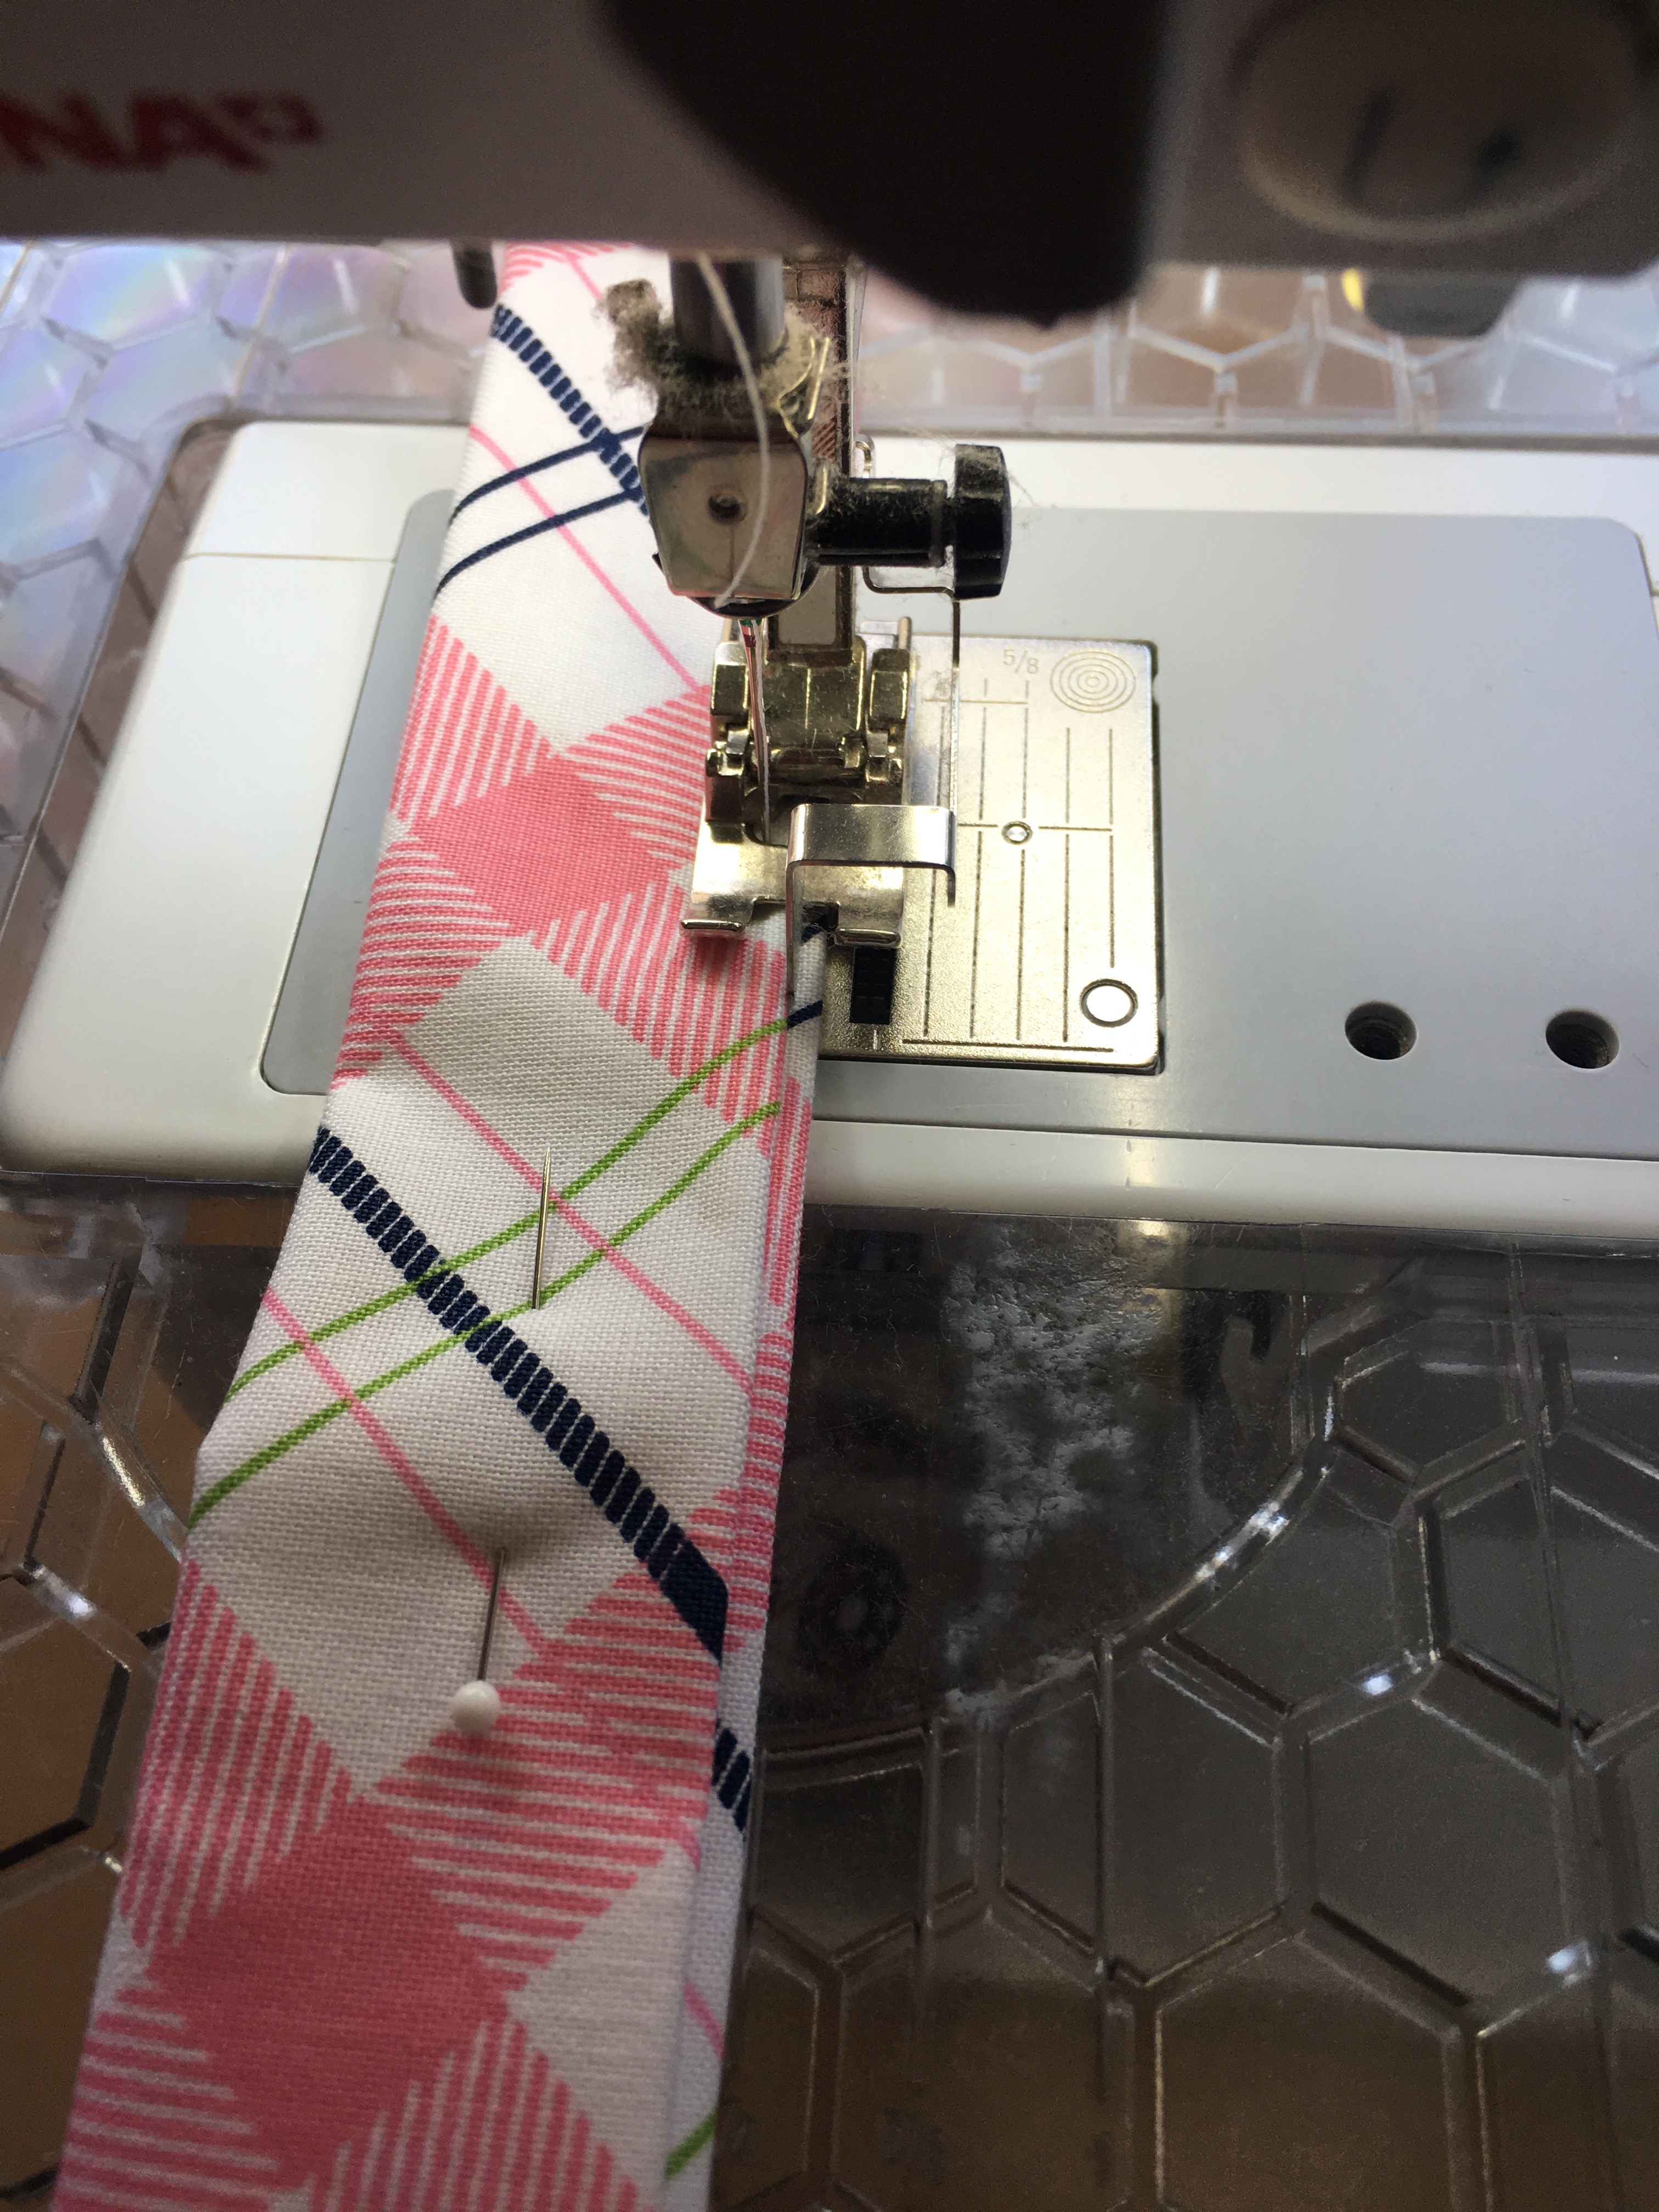
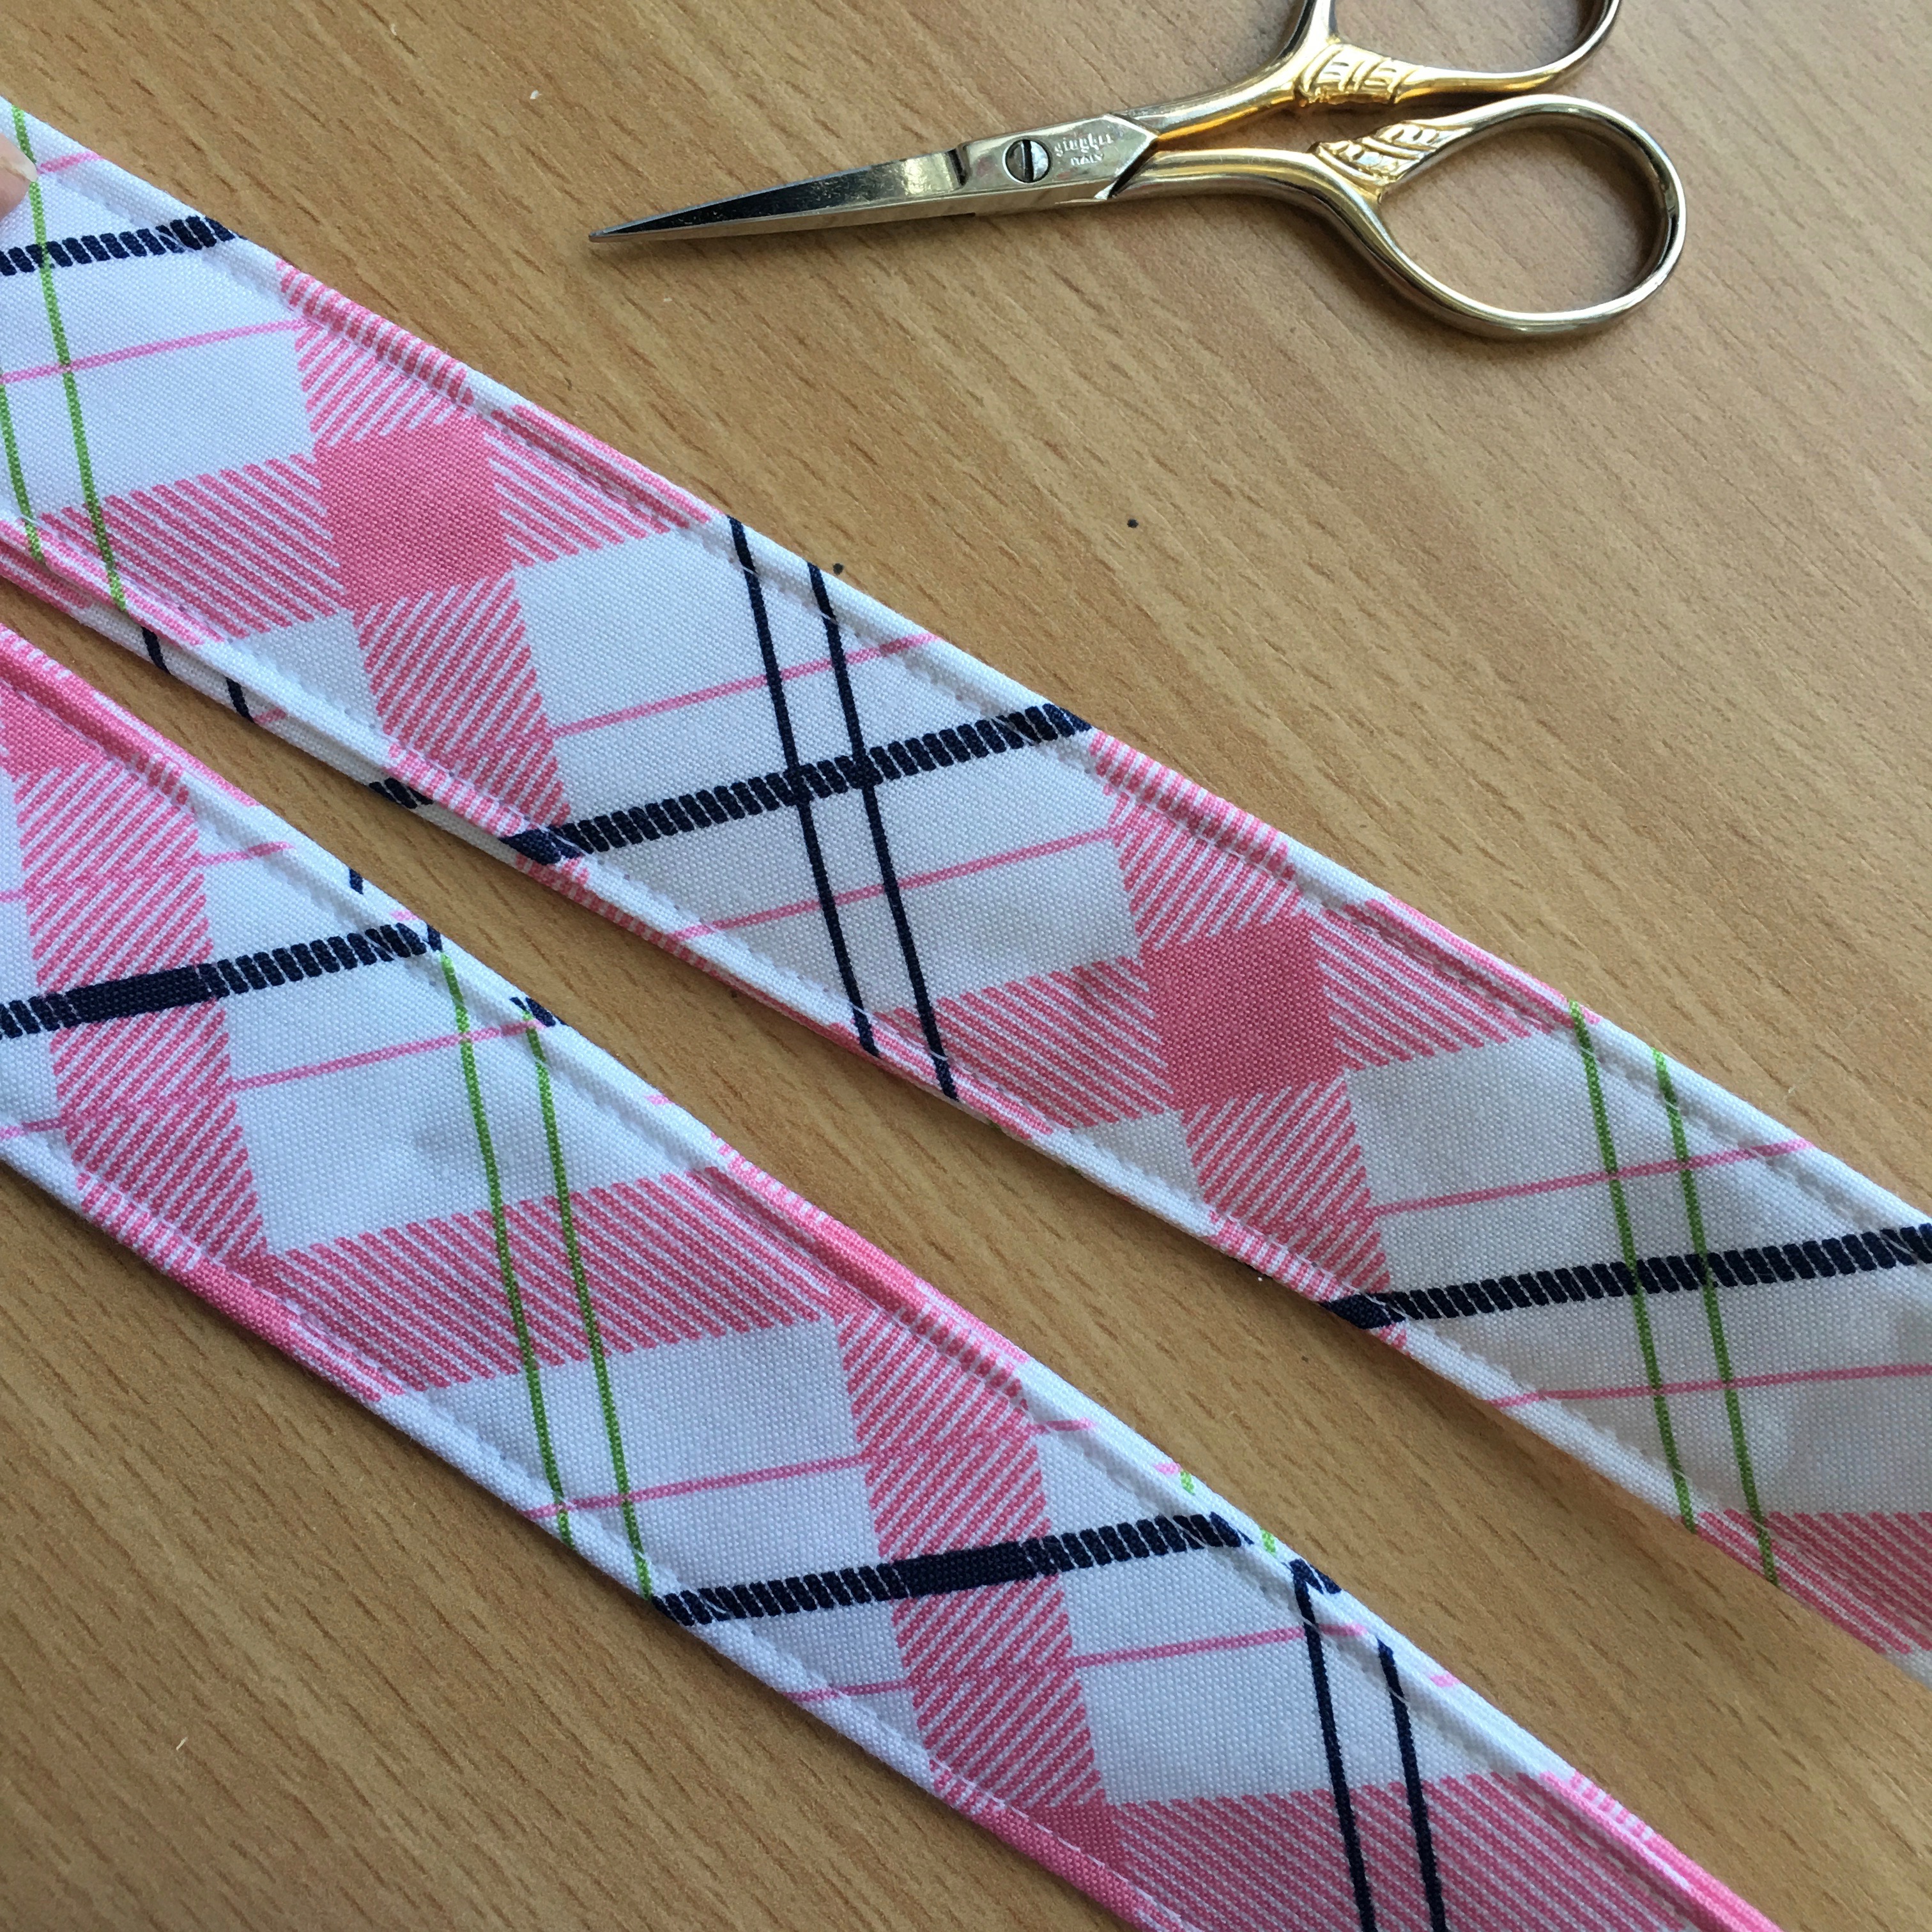
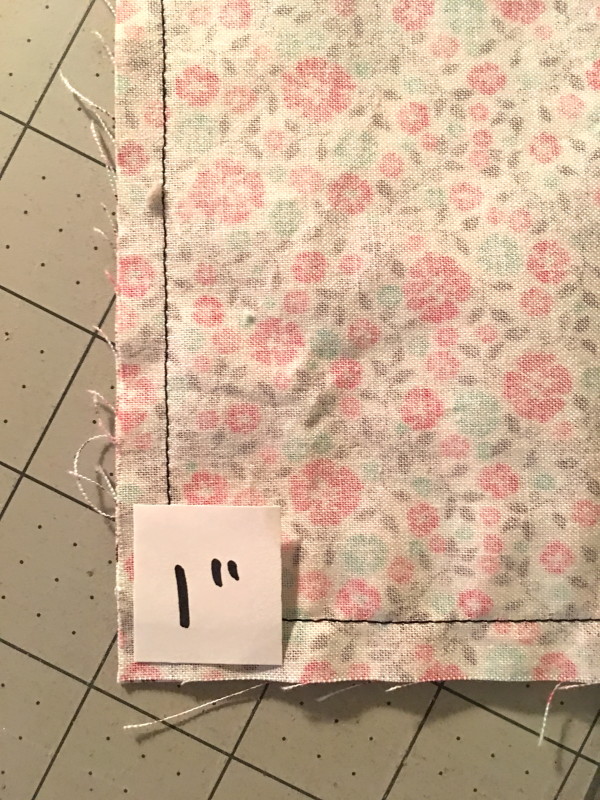
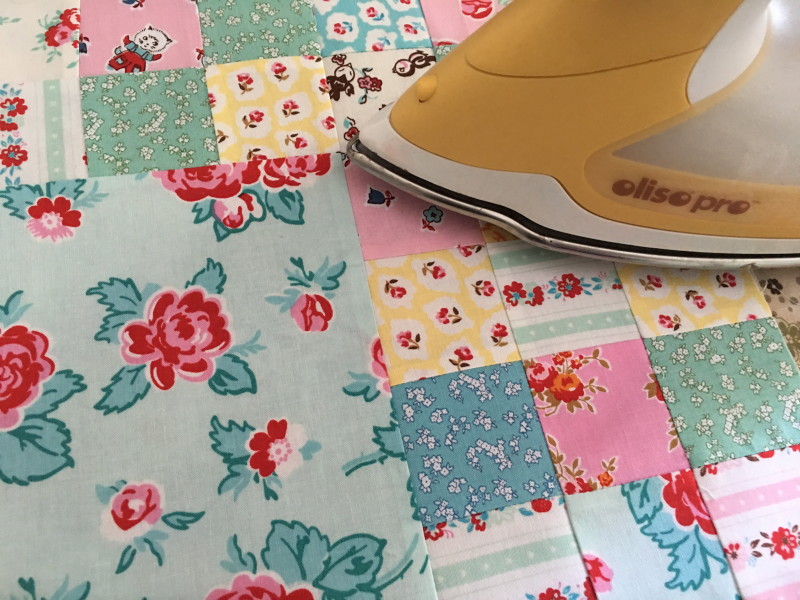
Top stitch 1/8″ along both sides of the handle.  I like to use my walking foot so nothing shifts.IMG_9612

I love top stitching!  Cut the long handle strip exactly in half so you now have two handles!IMG_9613

Pin the handles to each outer bag piece.  Measure in 4″ from the edge and pin in place.  Notice I overlap the edge of the handles about 1/4″.  This is to ensure that they fully get caught in the seam.  Baste the handles  1/8″ away from the top of the bag.IMG_9614

Pin the outer bag pieces right sides together, leaving the top open.

Pin the lining pieces right sides together leaving the top open.

Sew the sides and bottom of the bag using 1/4″ seam allowance.

*Tip – I use a slightly larger seam allowance on my lining – it makes all the difference in making sure it fits inside the bag!
IMG_9615

Cut a 2″ square out of paper and use it as your guide to cut a 2″ notch out of the bottom two corners of the outer bag and the lining.IMG_9616

Open the 2″ square and match the seams together.  Pin.  Sew 1/4″ along this edge, backstitching to start and stop.

Do this to each corner of the outer bag and the lining.

IMG_9617

Leave the outer bag inside out and turn the lining right side out.  Put the lining inside the outer bag so right sides are together.  Match the side seams.  Pin all the way around the bag.

Sew using 1/4″ seam allowance all the way around the bag.

Using a seam ripper, unstitch 3″ of the side seam and turn the bag right side out.  Sew the opening closed by topstitching on the machine in matching thread.

Press the lining inside the bag and top stitch 1/8″ all the way around the top of the bag.

tote bag tutorial. 14

So fast and easy!  The children were so excited to get to keep the bags!!  Happy sewing!!

tote bag tutorial. 8

Tutti-Fruitti Market Tote Bag

This tote bag is by far my most used tote bag I own!!  What I love about it is that it is super big but folds up small so you can keep it in our purse or in your car.  My goal is to sew a bunch of these and use them when I go grocery shopping.  When they get dirty, just toss in the wash!!

IMG_1378

This fabric is called Tutti-Fruitti from Blend Fabrics – it just screams summer!  You can click on this link to see all the fabrics in the collection!
IMG_1356

My friend, Rachel from Little Fish, and I made them together and she loves taking hers to the pool!  (She also makes these adorable euro style swim trunks for little boys). You can fit a ton of beach towels in this bag!!

IMG_6035 copy-2

The bag is also reversible – I love the pineapples!!!  So click HERE and download the free pattern and get ready for summer!!!IMG_1379

IMG_6034 copy-2


Preppy Plaid Tote Bag & Quilt Tutorial

Enchanted blog logo

I am so totally excited to be a part of the Enchanted Blog Tour sponsored by Riley Blake Designs!  You can see the entire collection designed by Dodi Poulsen of Two Sisters at Squirrel Hollow by clicking here 🙂
preppy plaid

When I saw this new fabric line from Riley Blake Designs called Enchanted, my heart stopped.  I took one look at this pink, navy and white plaid and immediately I was transported to a Cape Cod dream!  Sailboats, lobsters, quaint homes and preppy boys on vacation from Harvard 🙂

DSC_0188


IMG_9070
Ok Ok, so I’ve never been to the Cape but a girl can dream right?  I knew I wanted to design something that let this preppy plaid be the focus and something that would be perfect for my sailboat (hahaha).

DSC_0167

I came up with a simple quilt pattern that uses plaid, navy and white.  When only two prints arrived in the mail I began to panic wondering if I had made a terrible decision to make a quilt using only two prints!  I decided to go with my instincts and make the quilt……and I am totally in LOVE!!!!

This quilt really lets the plaid shine in and it’s a great pattern to use if you fall in love with a single fabric print.  The accent blocks are made of 4 half square triangle blocks.

DSC_0213

…..and the quilt fits nicely inside this preppy plaid whale tote bag – made with denim, plaid, and Heat n Bond Fusible fleece.  So, are you ready to set sail for the Cape?  Grab your fabrics and lets get sewing!

DSC_0154

Preppy Plaid Quilt

1/4″ seams 

Supplies

2 yards plaid print

1 yard navy print

1 yard white

Begin by cutting the plaid into (40) 6.5″ squares.

Using the navy blue print and white print sew (160) half square triangles (HST) that measure 3.5″.  You can use any method you like.  I use my Sizzix half square triangle dies!  It is super fast, super easy and no squaring up – just perfection!!

IMG_9037

Die cut 160 navy HSTs and 160 white HSTs.

IMG_9038

Sew the navy and white HSTs right sides together using 1/4″ seam.

IMG_9043

Press seams open.  Continue until you have 160 HSTs.  It’s probably a good idea to put on a movie while doing this!

IMG_9042

Lay out 4 HSTs to make the pattern above.  Sew together as you would a 4-patch.  Press seams open.  Finished block will measure 6.5″.  Make 40 of these blocks.

IMG_9045

Cut 40 squares measuring 6.5″ out of the plaid.

DSC_0121

Sew the blocks together (1/4″ seams) as you would a checkerboard, alternating each block.  Make sure the pieced blocks are going the same direction.  Press the seams toward the plaid.  There are 8 blocks across and 10 rows down.

IMG_9046

Baste (I always use Spray n Bond basting spray)

IMG_9056

Quilt.

IMG_9075

Bind.

DSC_0142

Love.

DSC_0089

Mufasa and I love sewing on rainy days!!

DSC_0098

DSC_0220

Tote Bag Instructions

I used my pattern, Quilted Tote Bag, for the measurements.  I followed the pattern pretty closely with the following exceptions:

  • I added an appliqué to the main bag.
  • I used denim.
  • I did not quilt the bag; I stabilized it with fusible fleece.
  • I came up with a new way to sew the handles (continue reading)
  • I omitted the inside pocket
  • I simplified how to make the bag bottom

Supplies

Denim (2) 20″ x 10.5″

Plaid (2) 20″ x 9.5″

Lining (2) 20″ x 19.5″

Plaid for handles (2) 5″ x 28″

Heat n bond medium stabilizer (2) 5″ x 28″

Heat n Bond Fusible Fleece (2) 20″ x 19.5″

Piece of plaid for the whale

Heat n Bond Lite

Appliqué the whale  Click HERE for the whale pattern.

IMG_9093

You can print the whale directly on Heat n Bond Lite EZ print sheets, or trace the whale onto Heat n Bond Lite.

Heat set the whale to the wrong side of the plaid fabric.

Cut out the whale.  Peel off the backing paper.

IMG_9094

Press it onto one of the denim pieces, centering.  Using 1/4″ seams, sew the denim piece to the plaid piece to make the bag front and back.  Press seams.

IMG_9099

Fuse the Heat n Bond Fusible fleece to the wrong side of the bag front and the bag back.  Add some accent stitching along the seam.

Bag Handles

Fuse the stabilizer to the wrong side of each of the handle strips.

Press in half lengthwise.  Open up and press the long ends in to meet the center.  Press.  Then press in half again.  This makes a super sturdy handle!

IMG_9095

Topstitch along both of the long edges of each handle.

IMG_9096

IMG_9097

Continue following the bag instructions from this tutorial to complete the bag.  To make the bag bottom, cut a 3″ notch out of the bottom corners of the bag and the lining.

IMG_9100
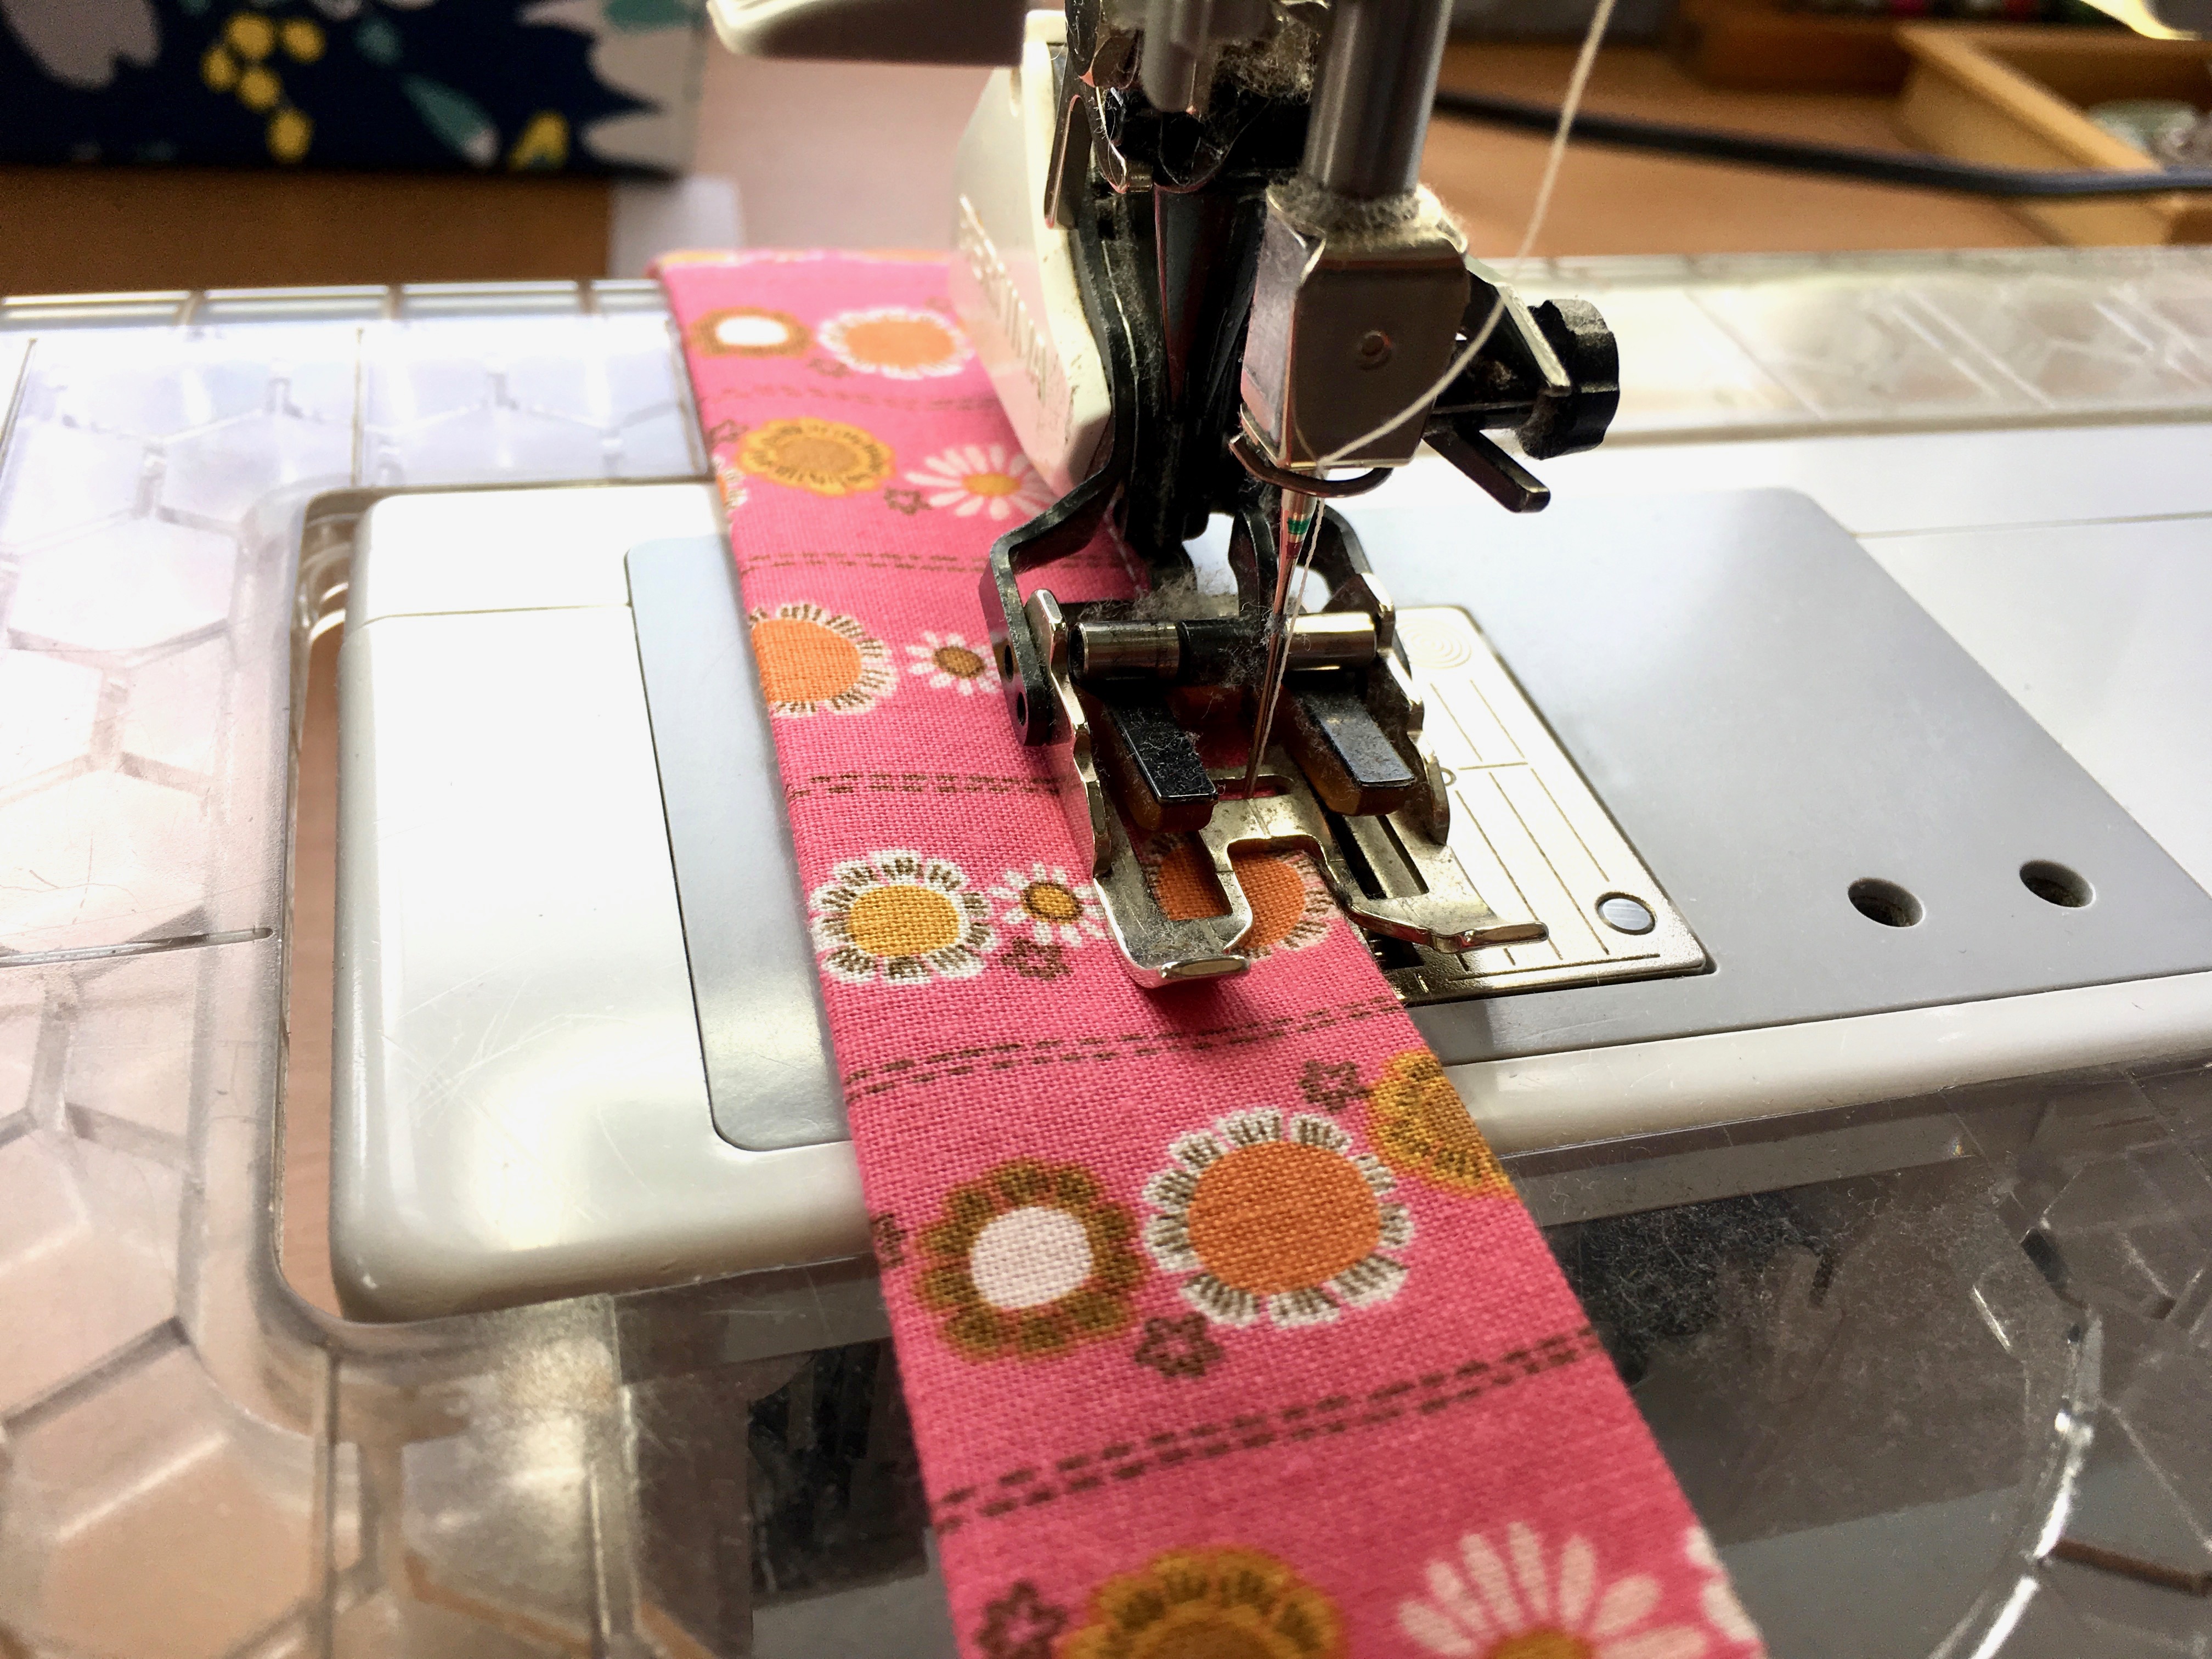
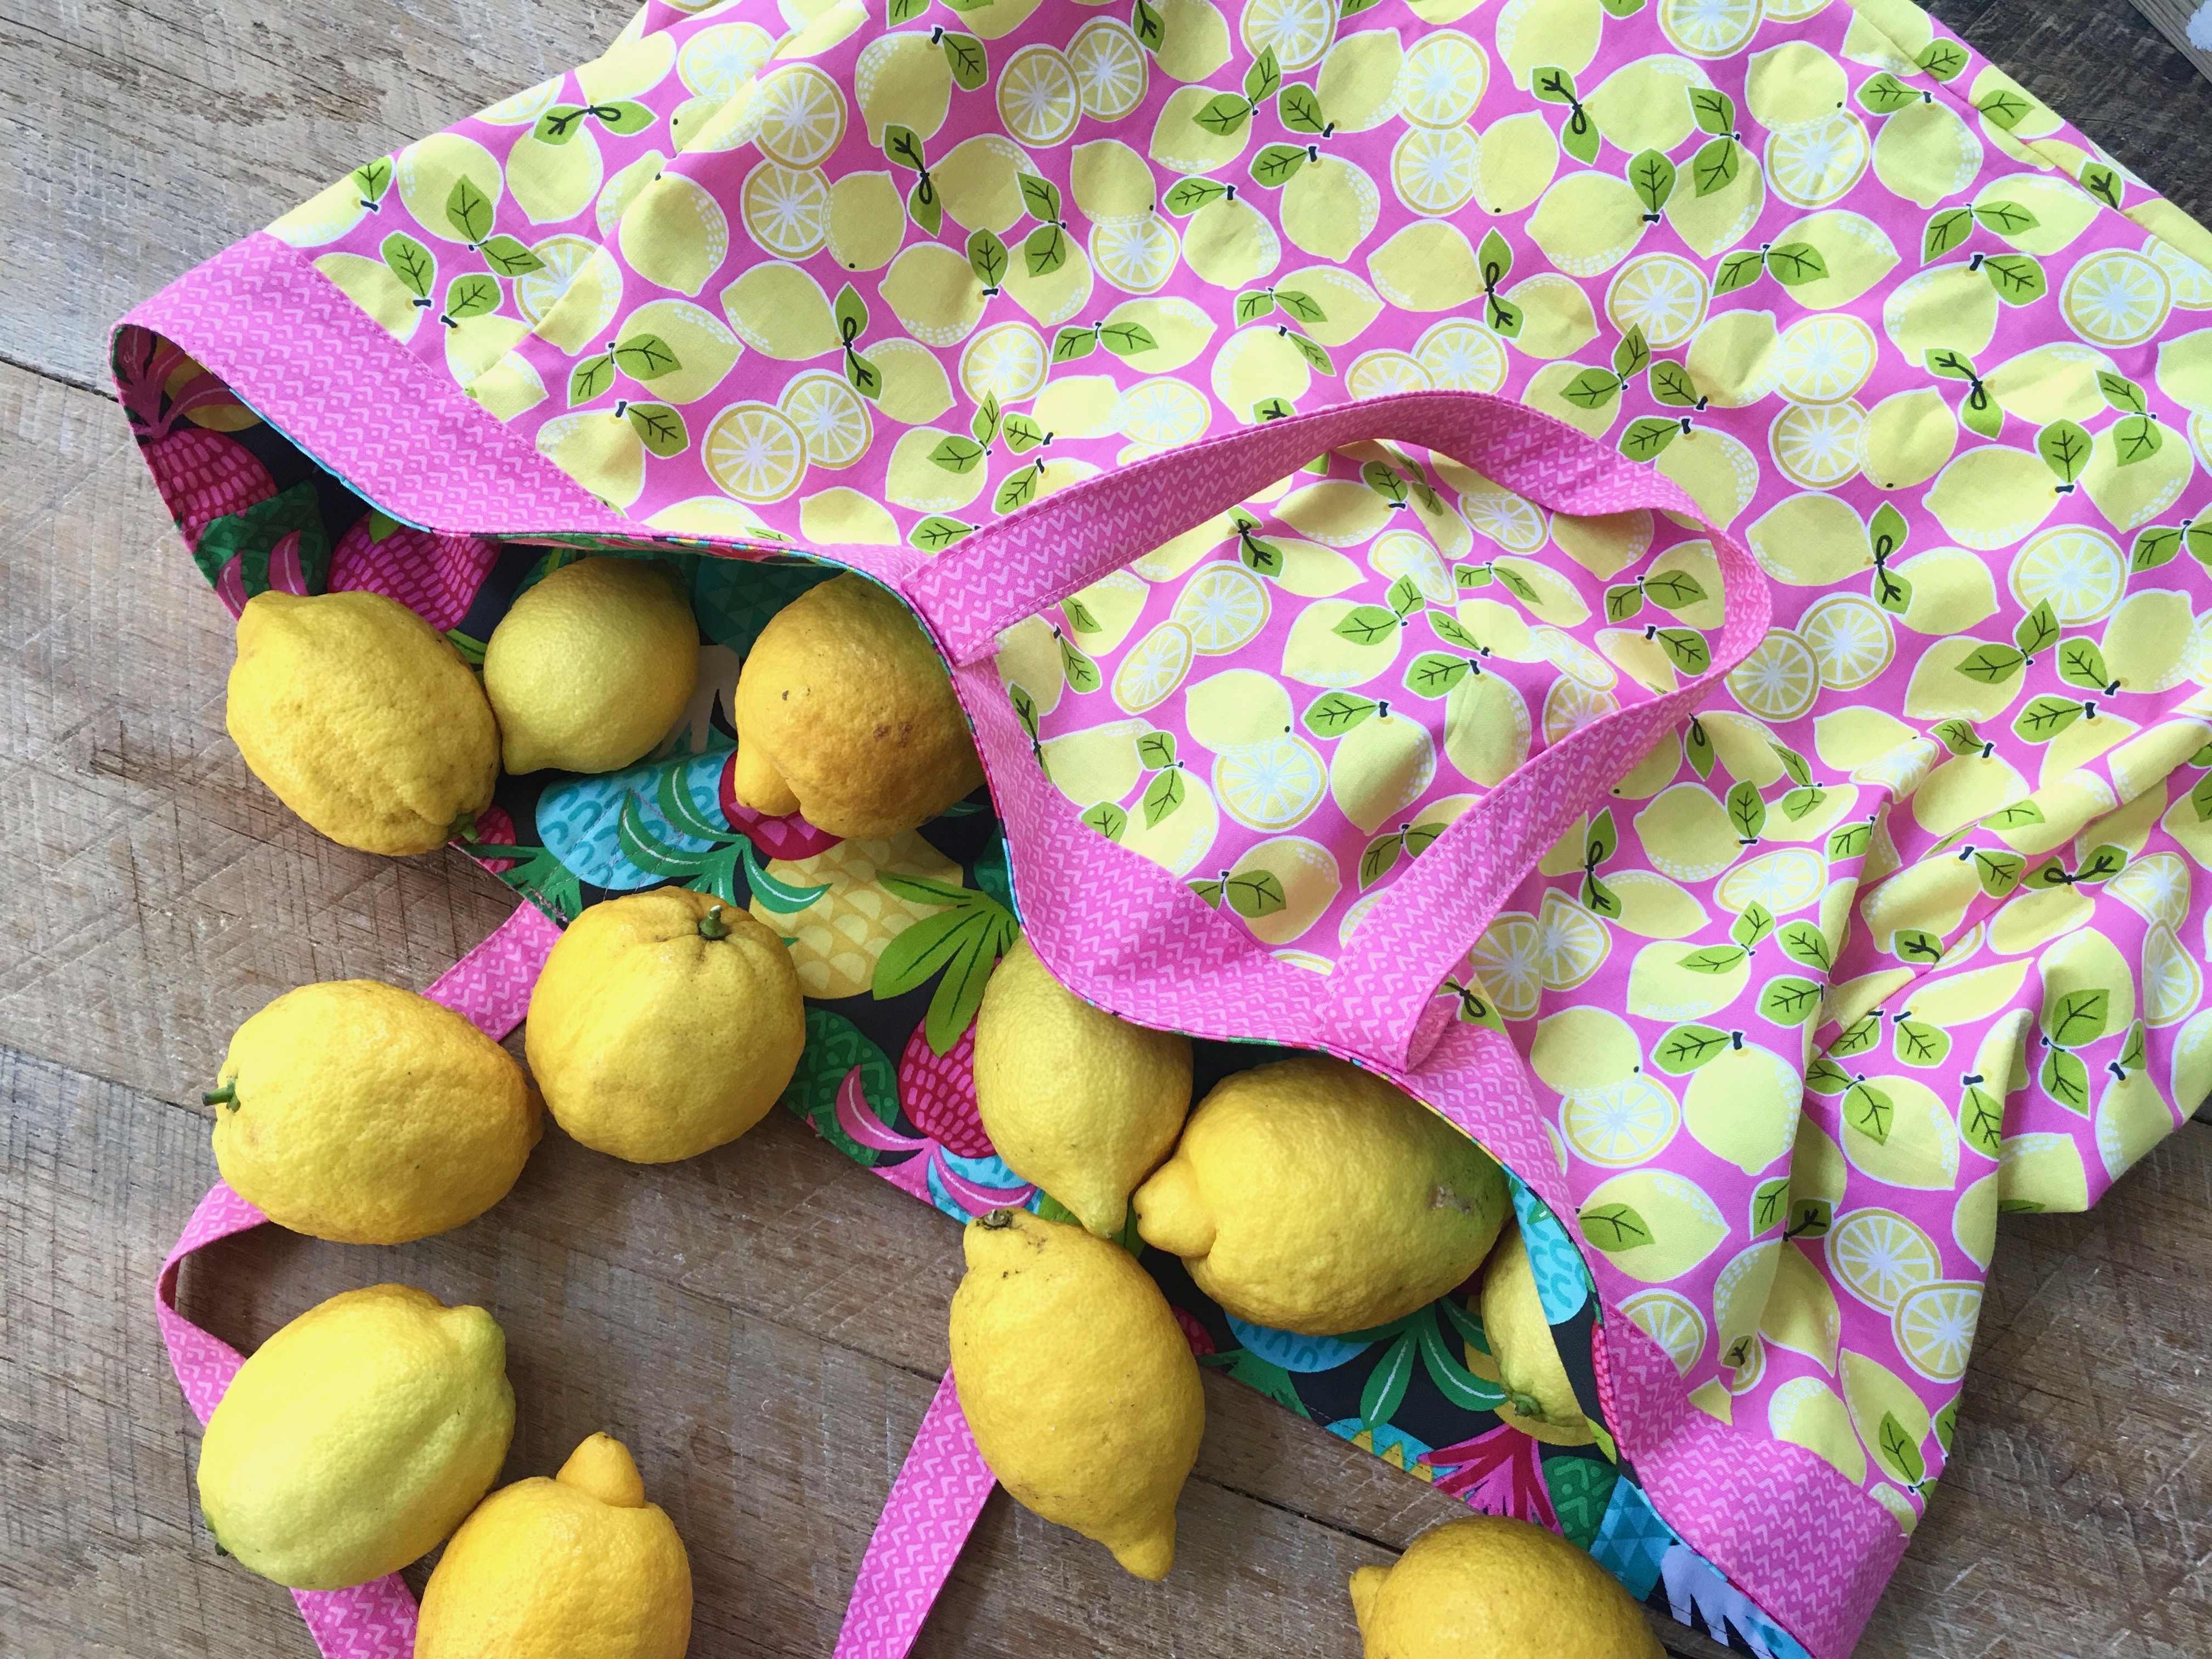
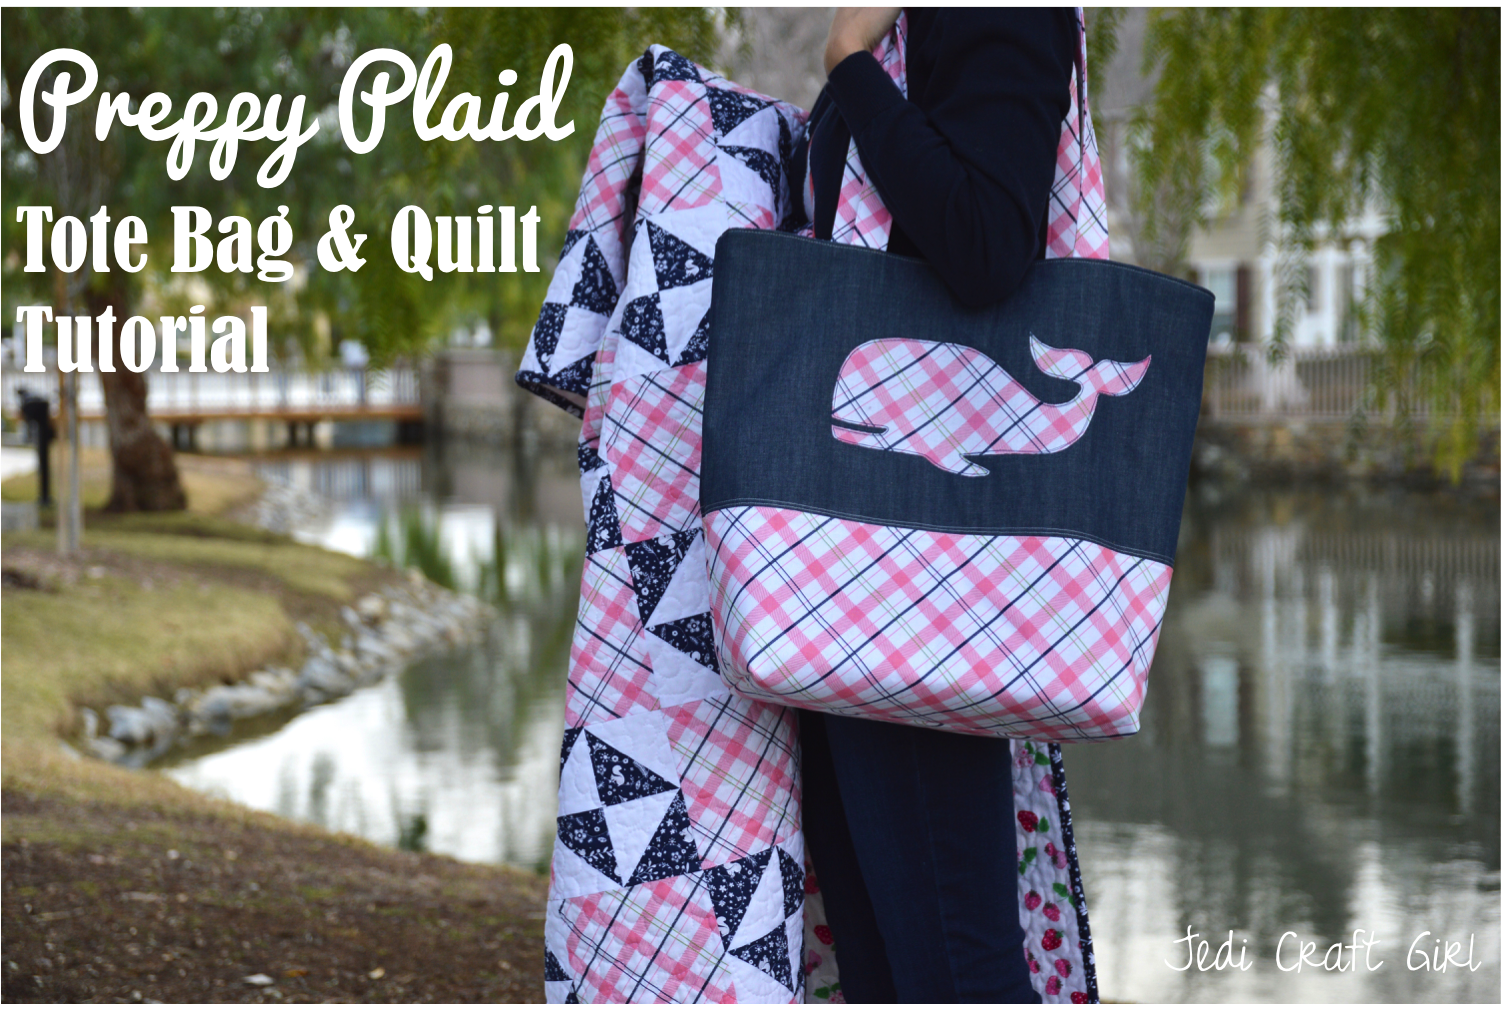
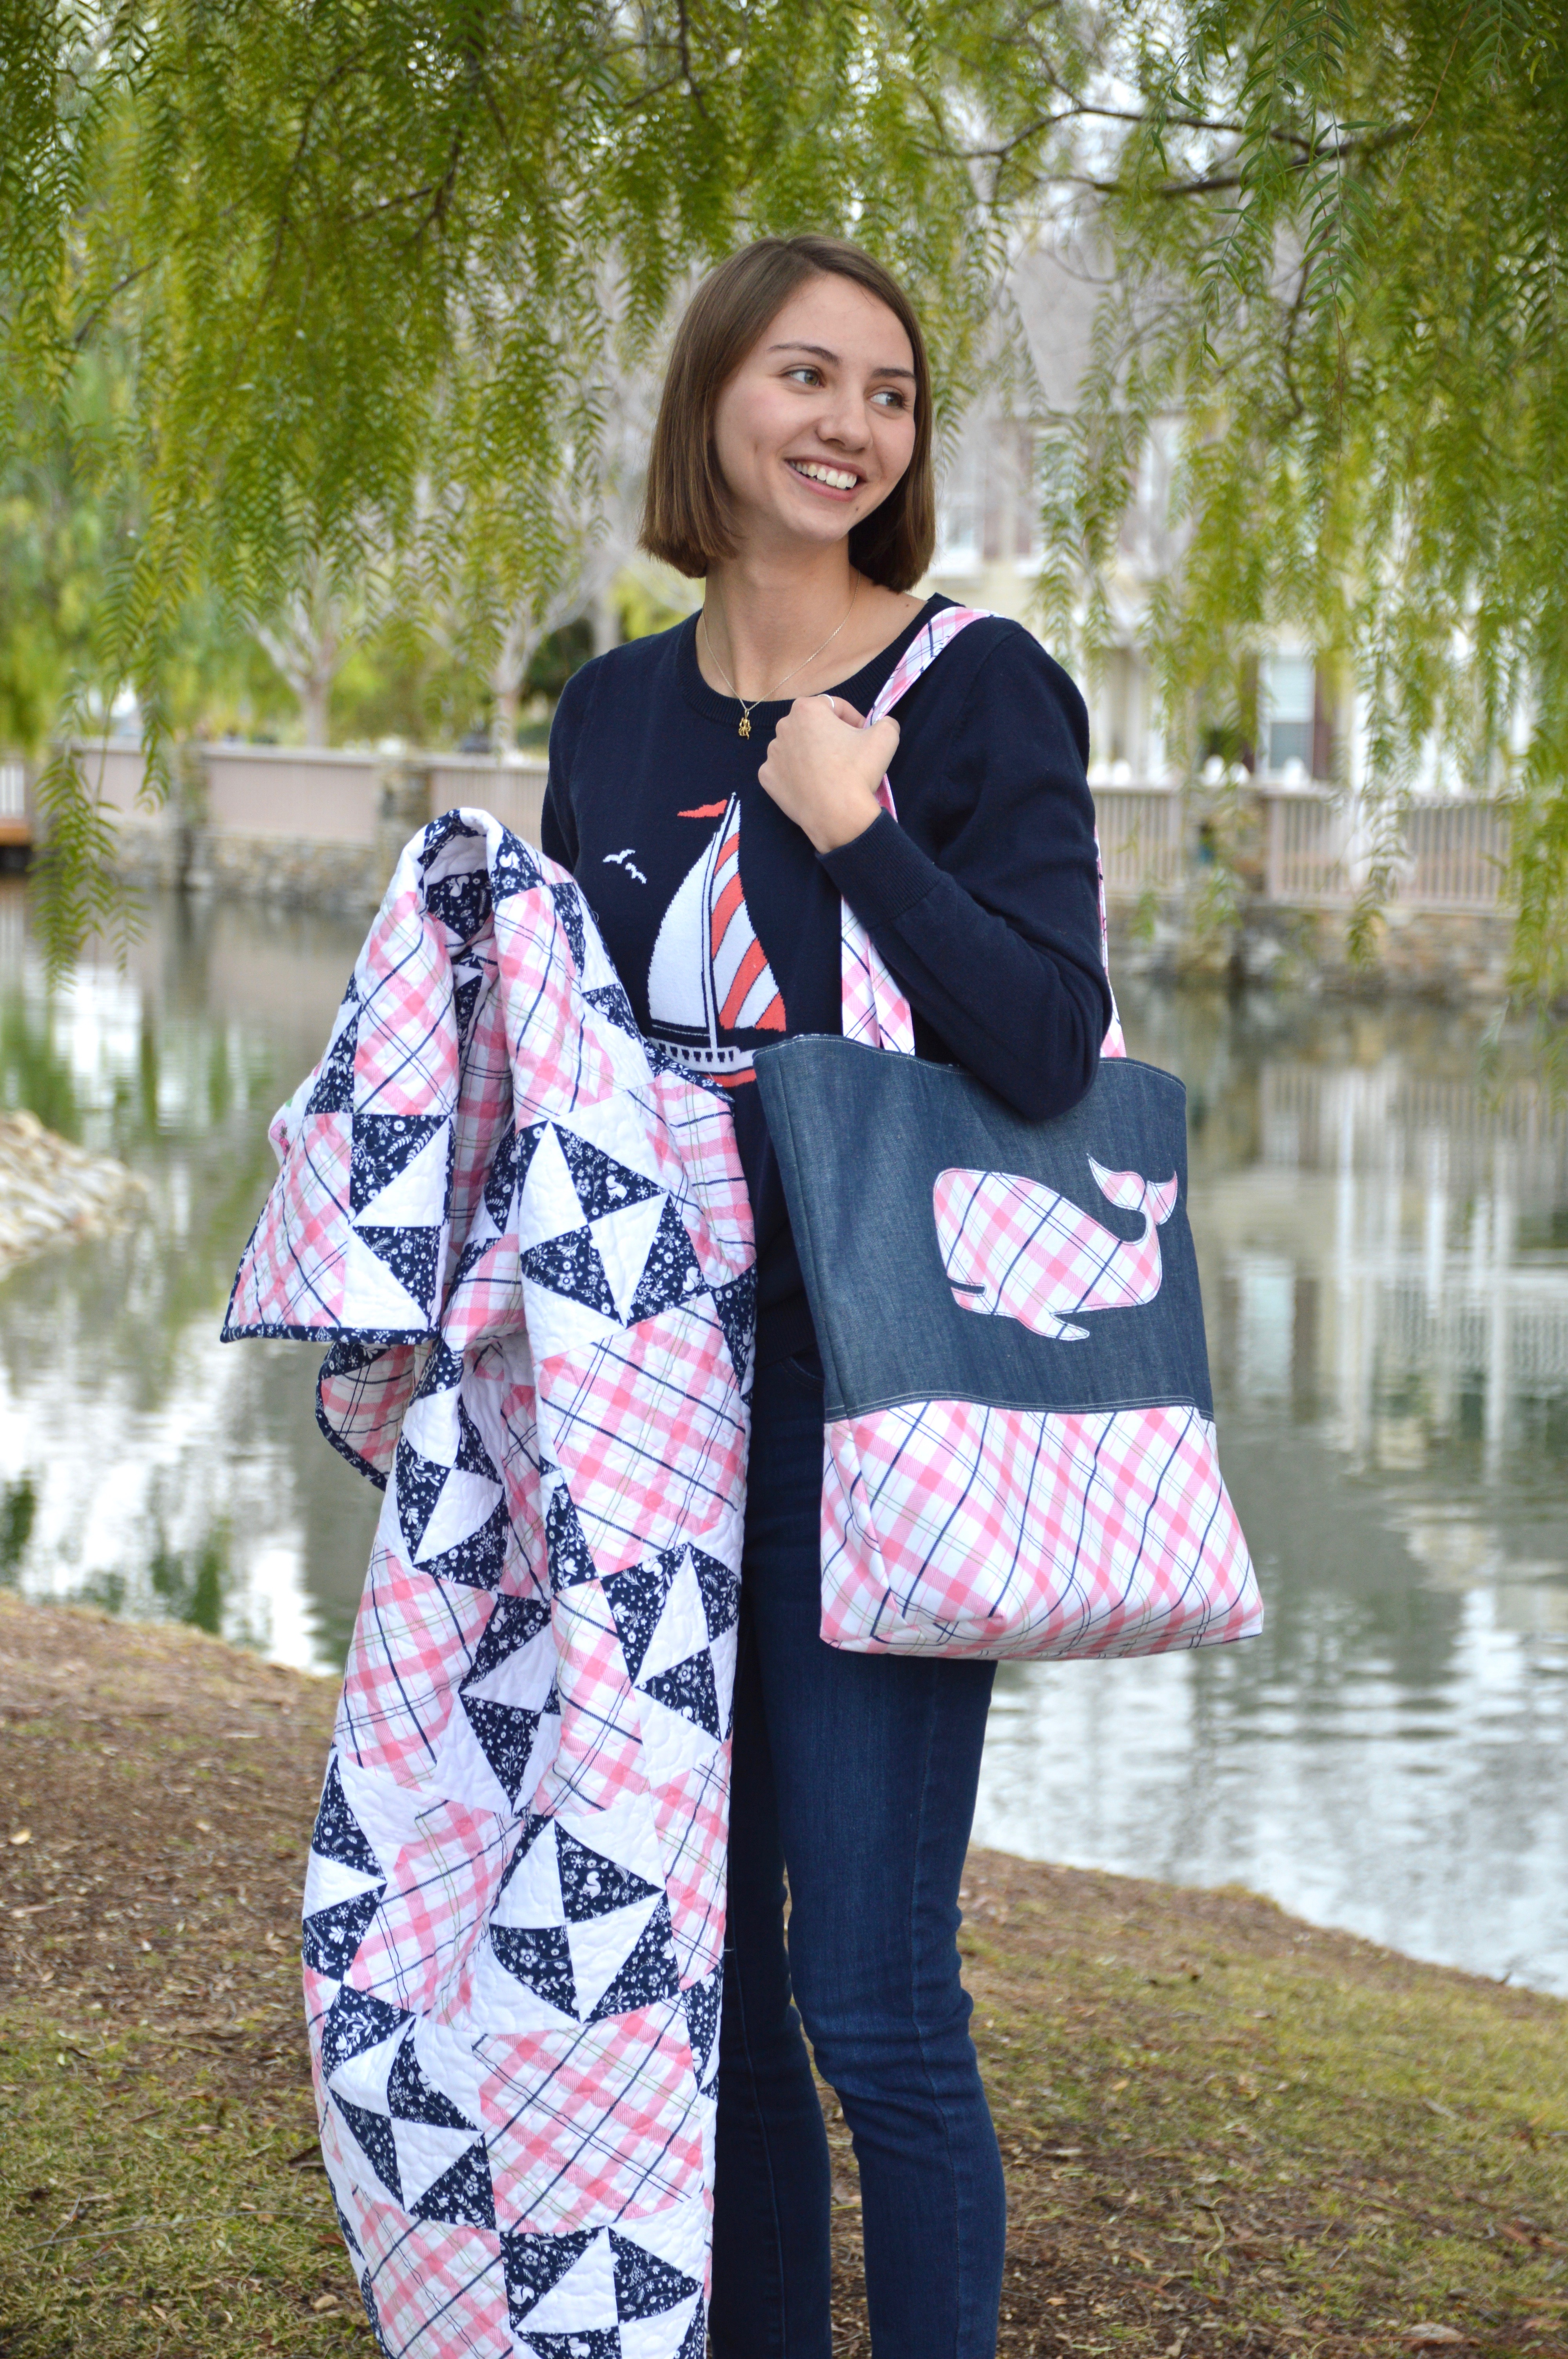
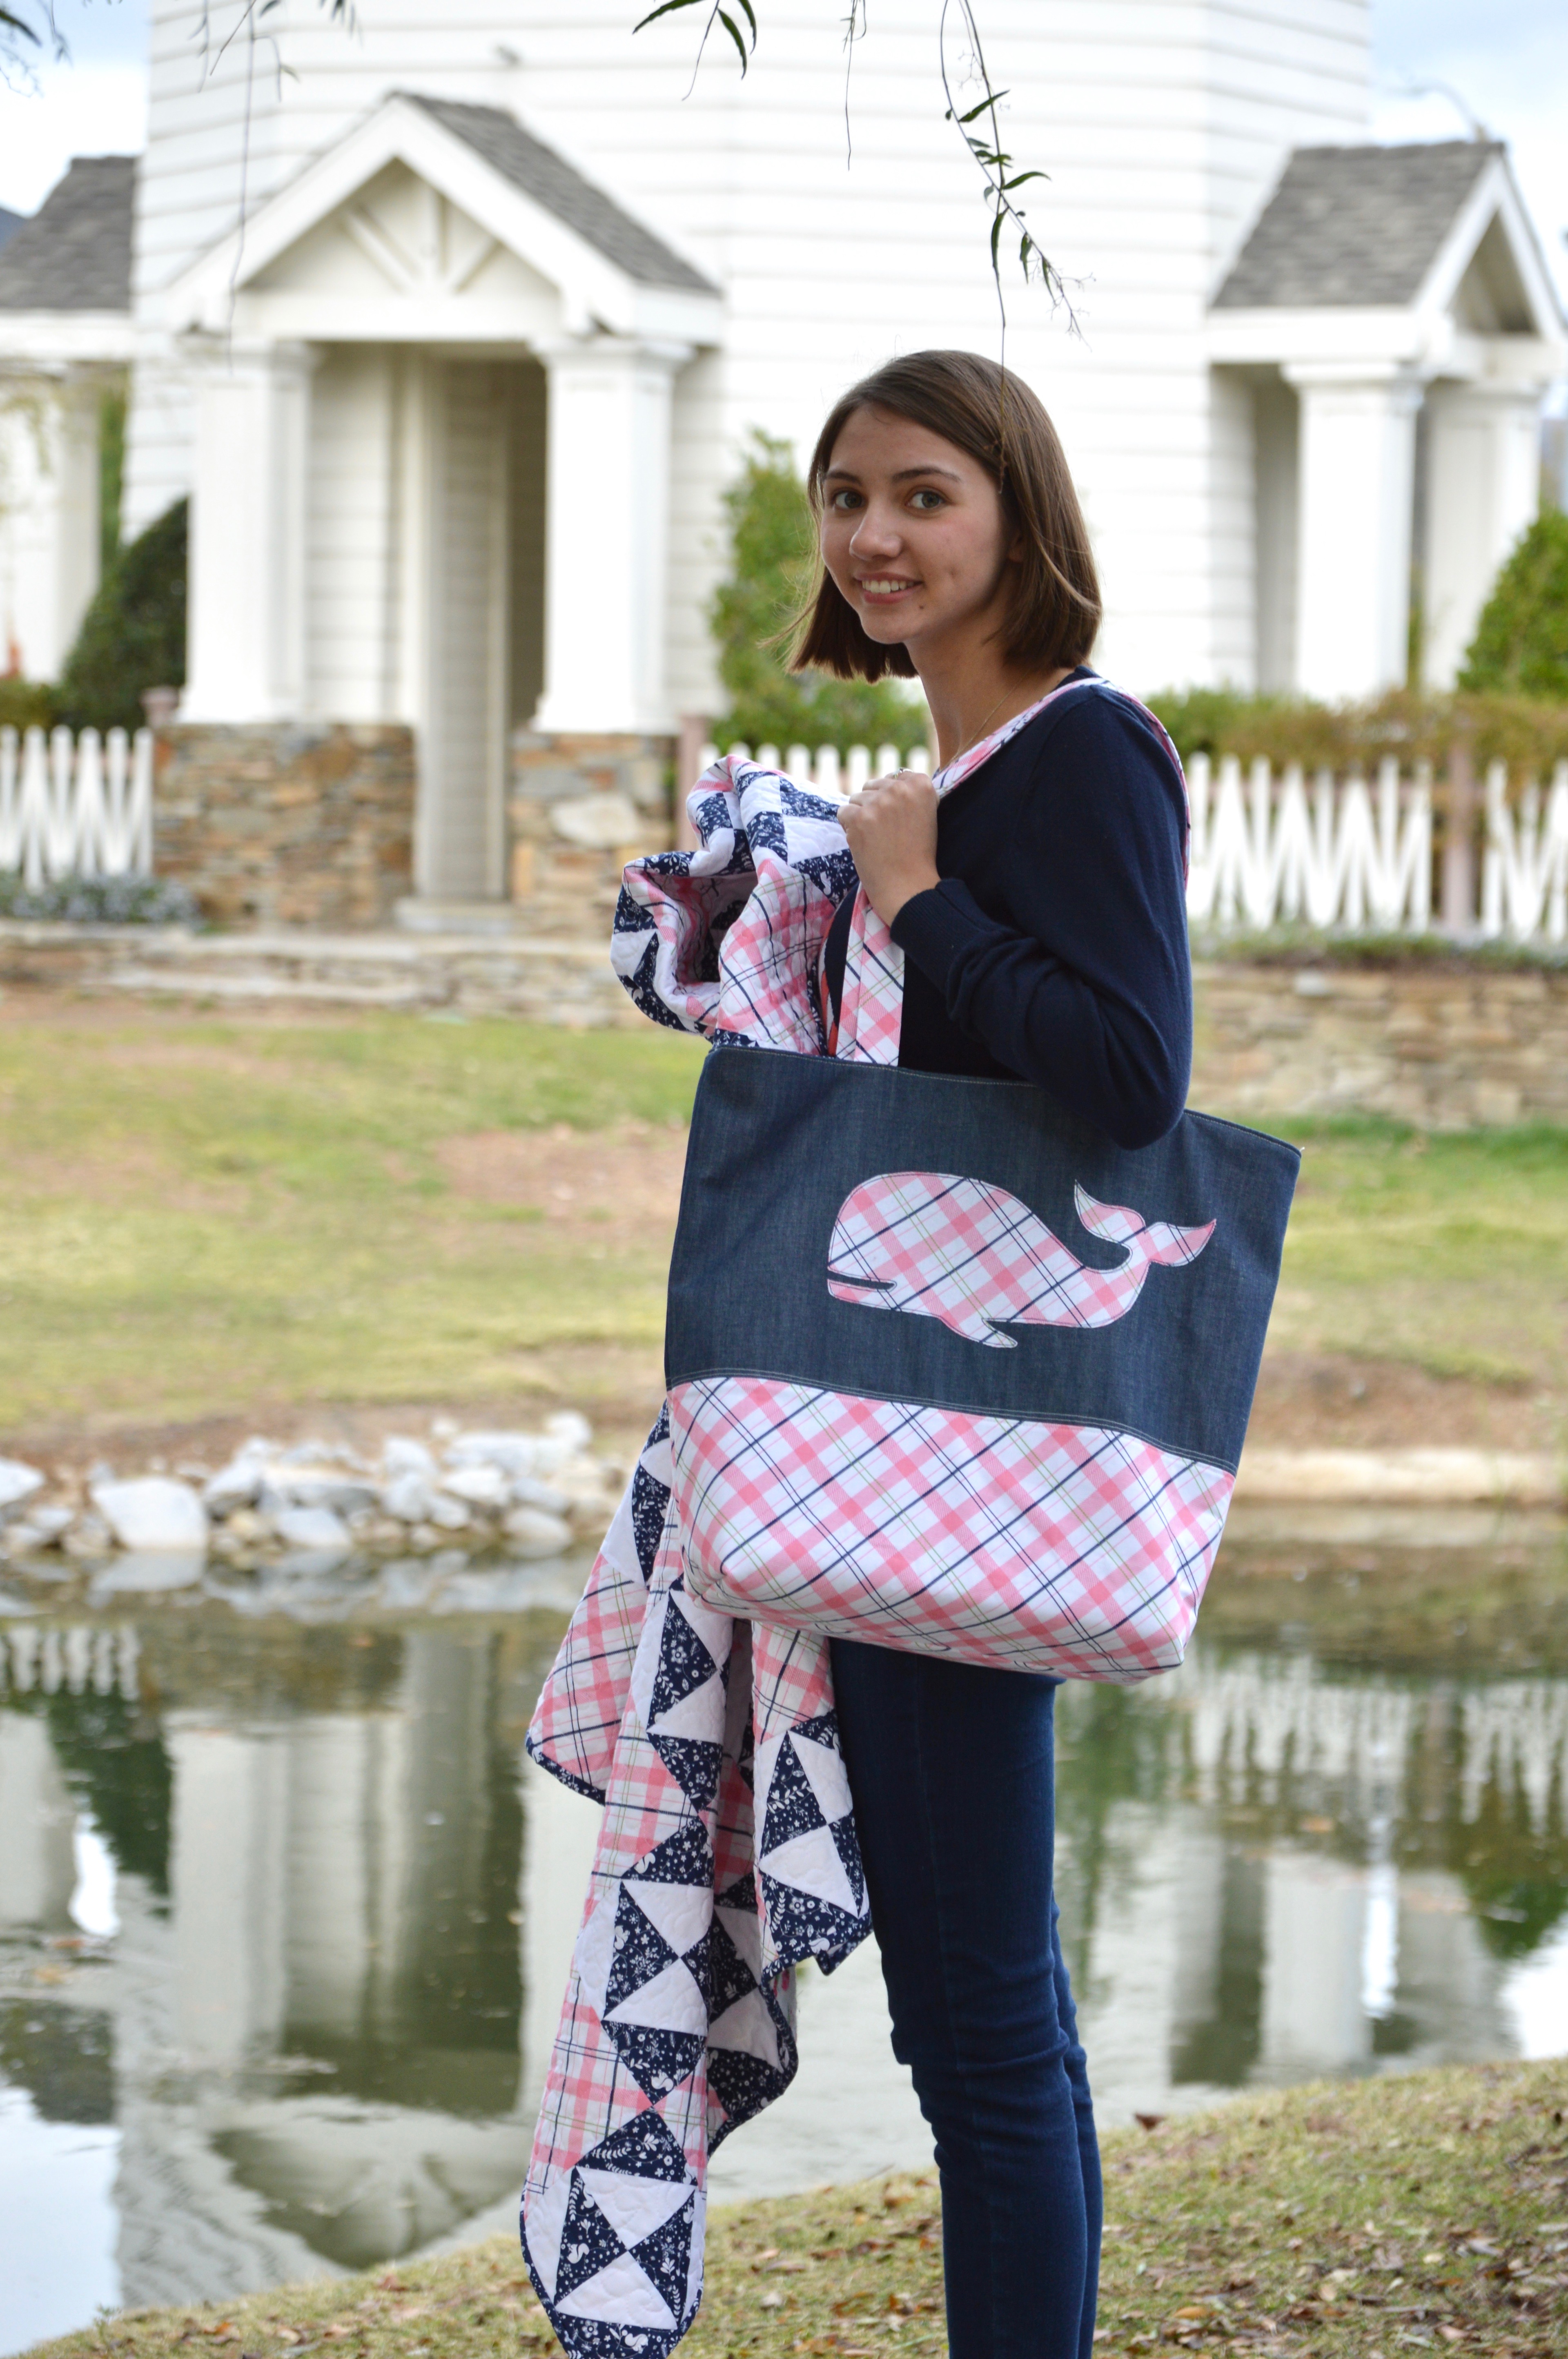
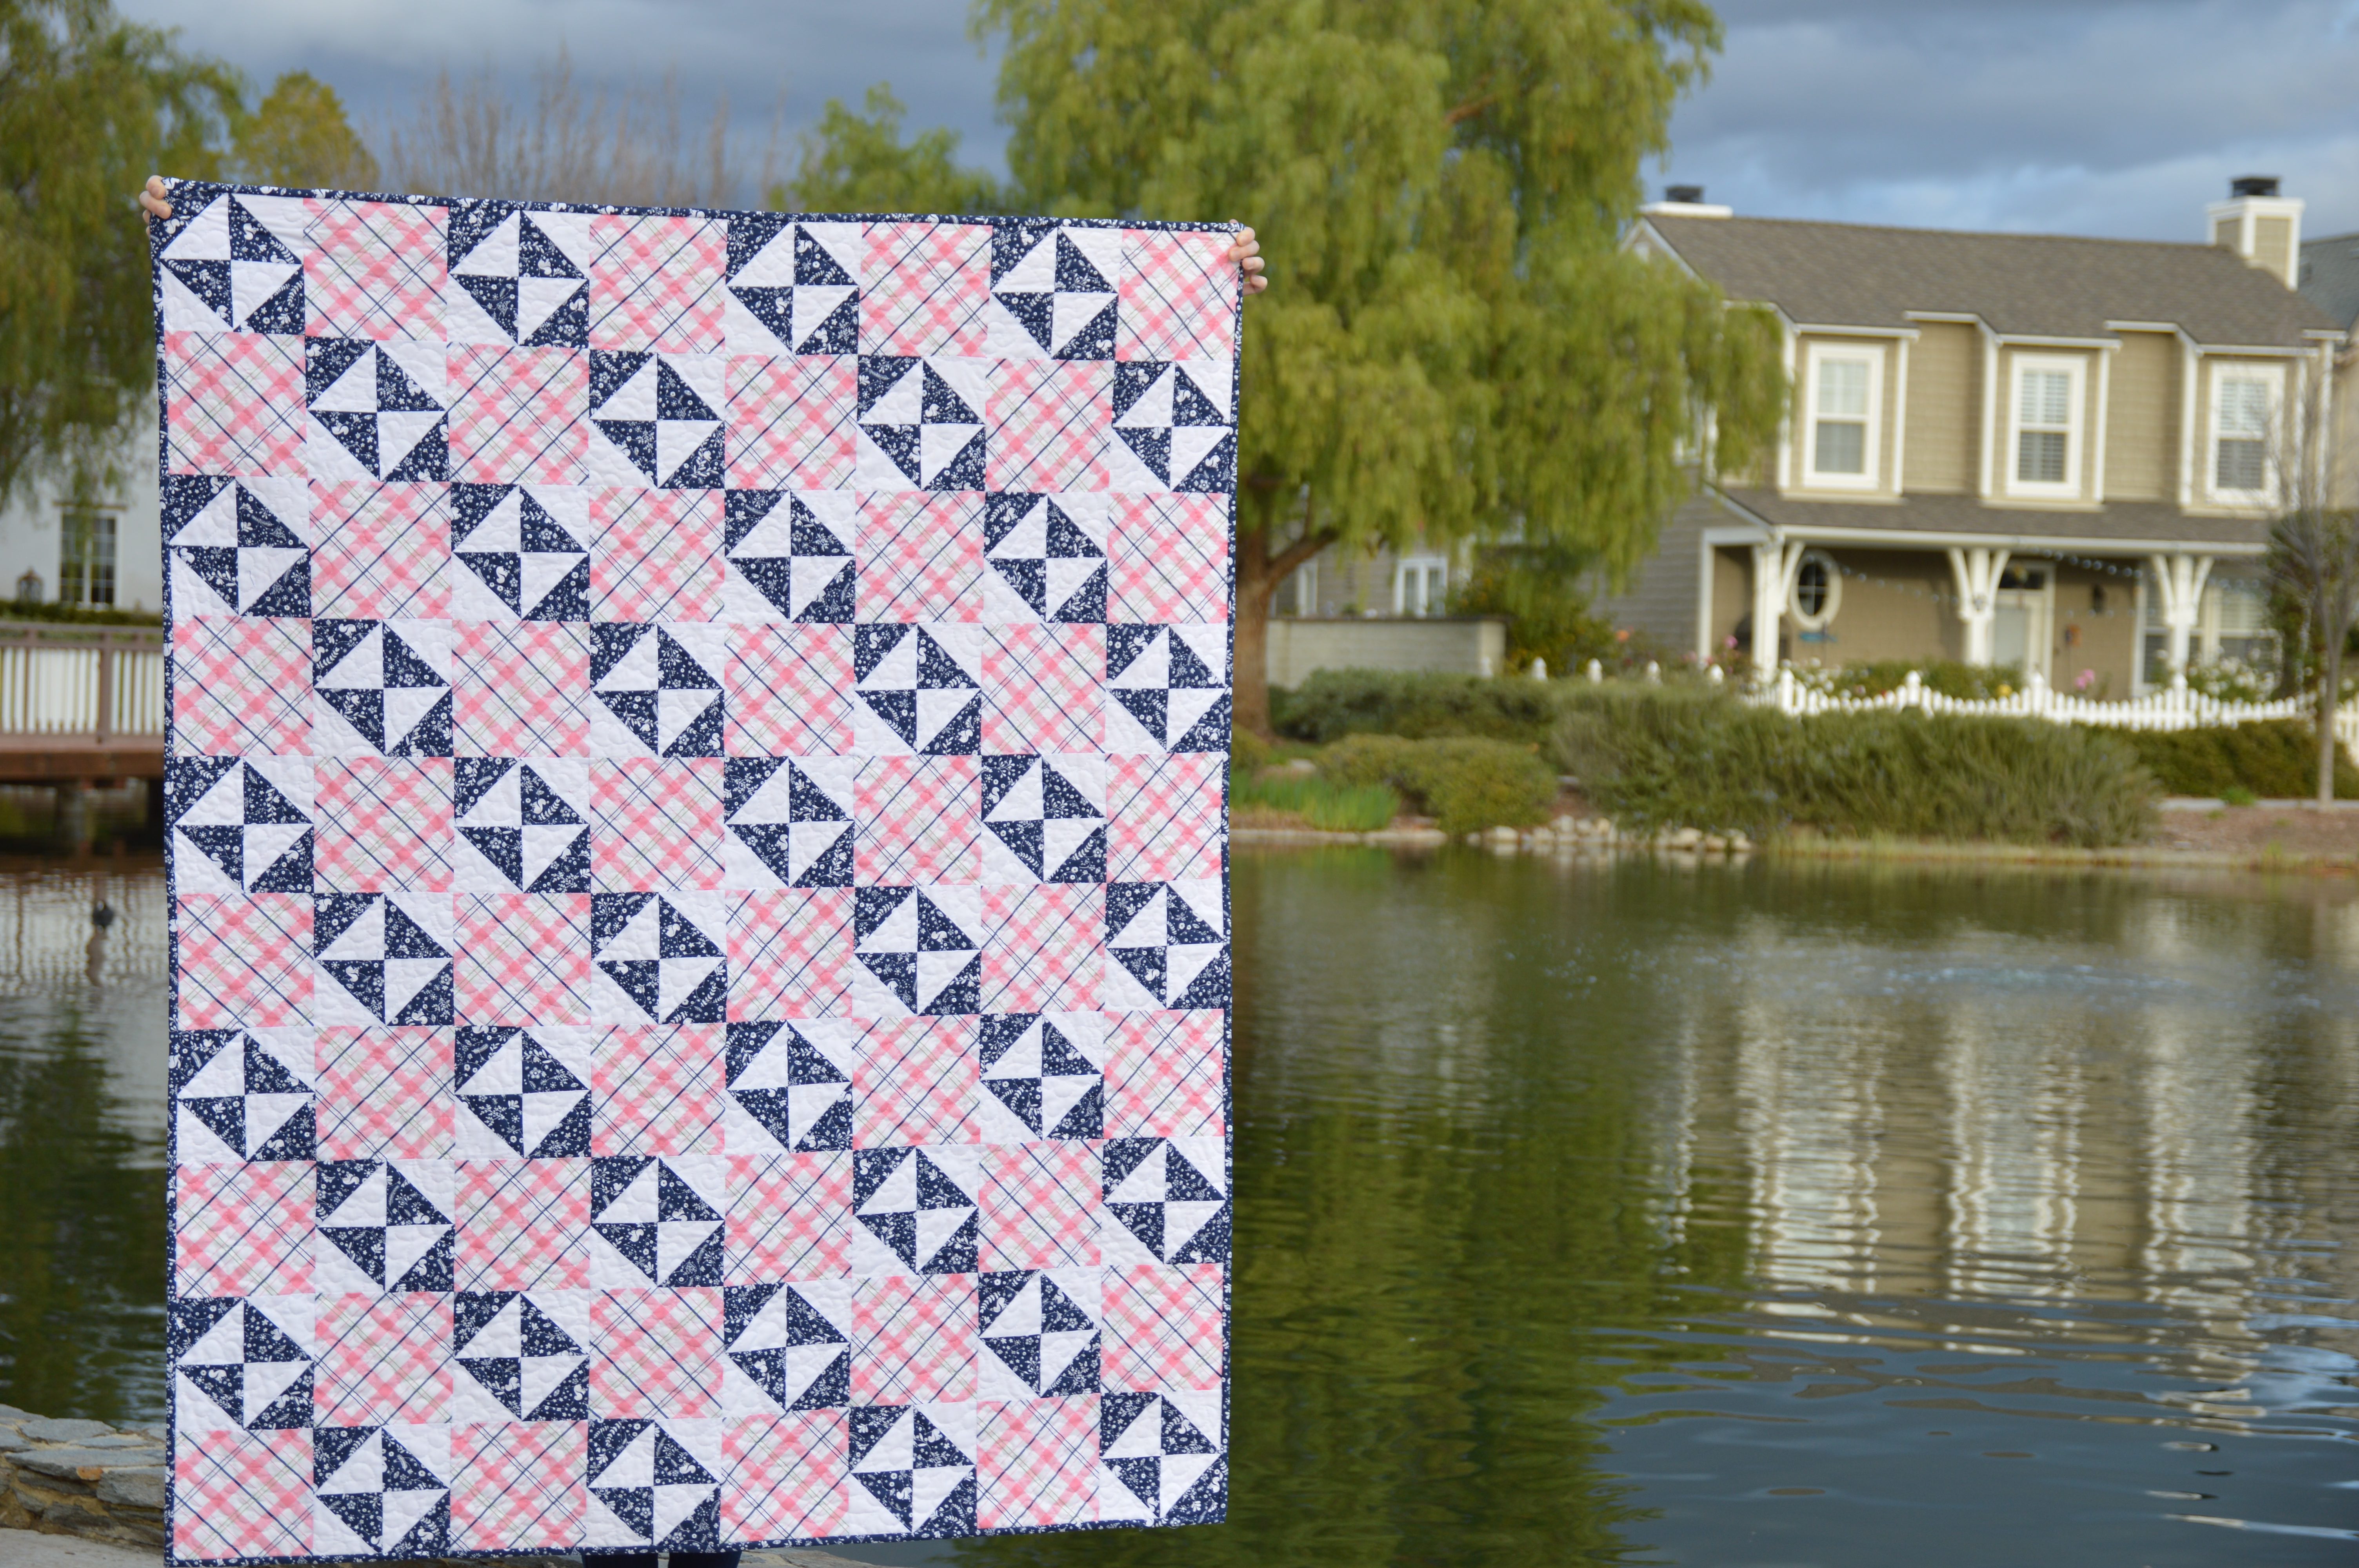
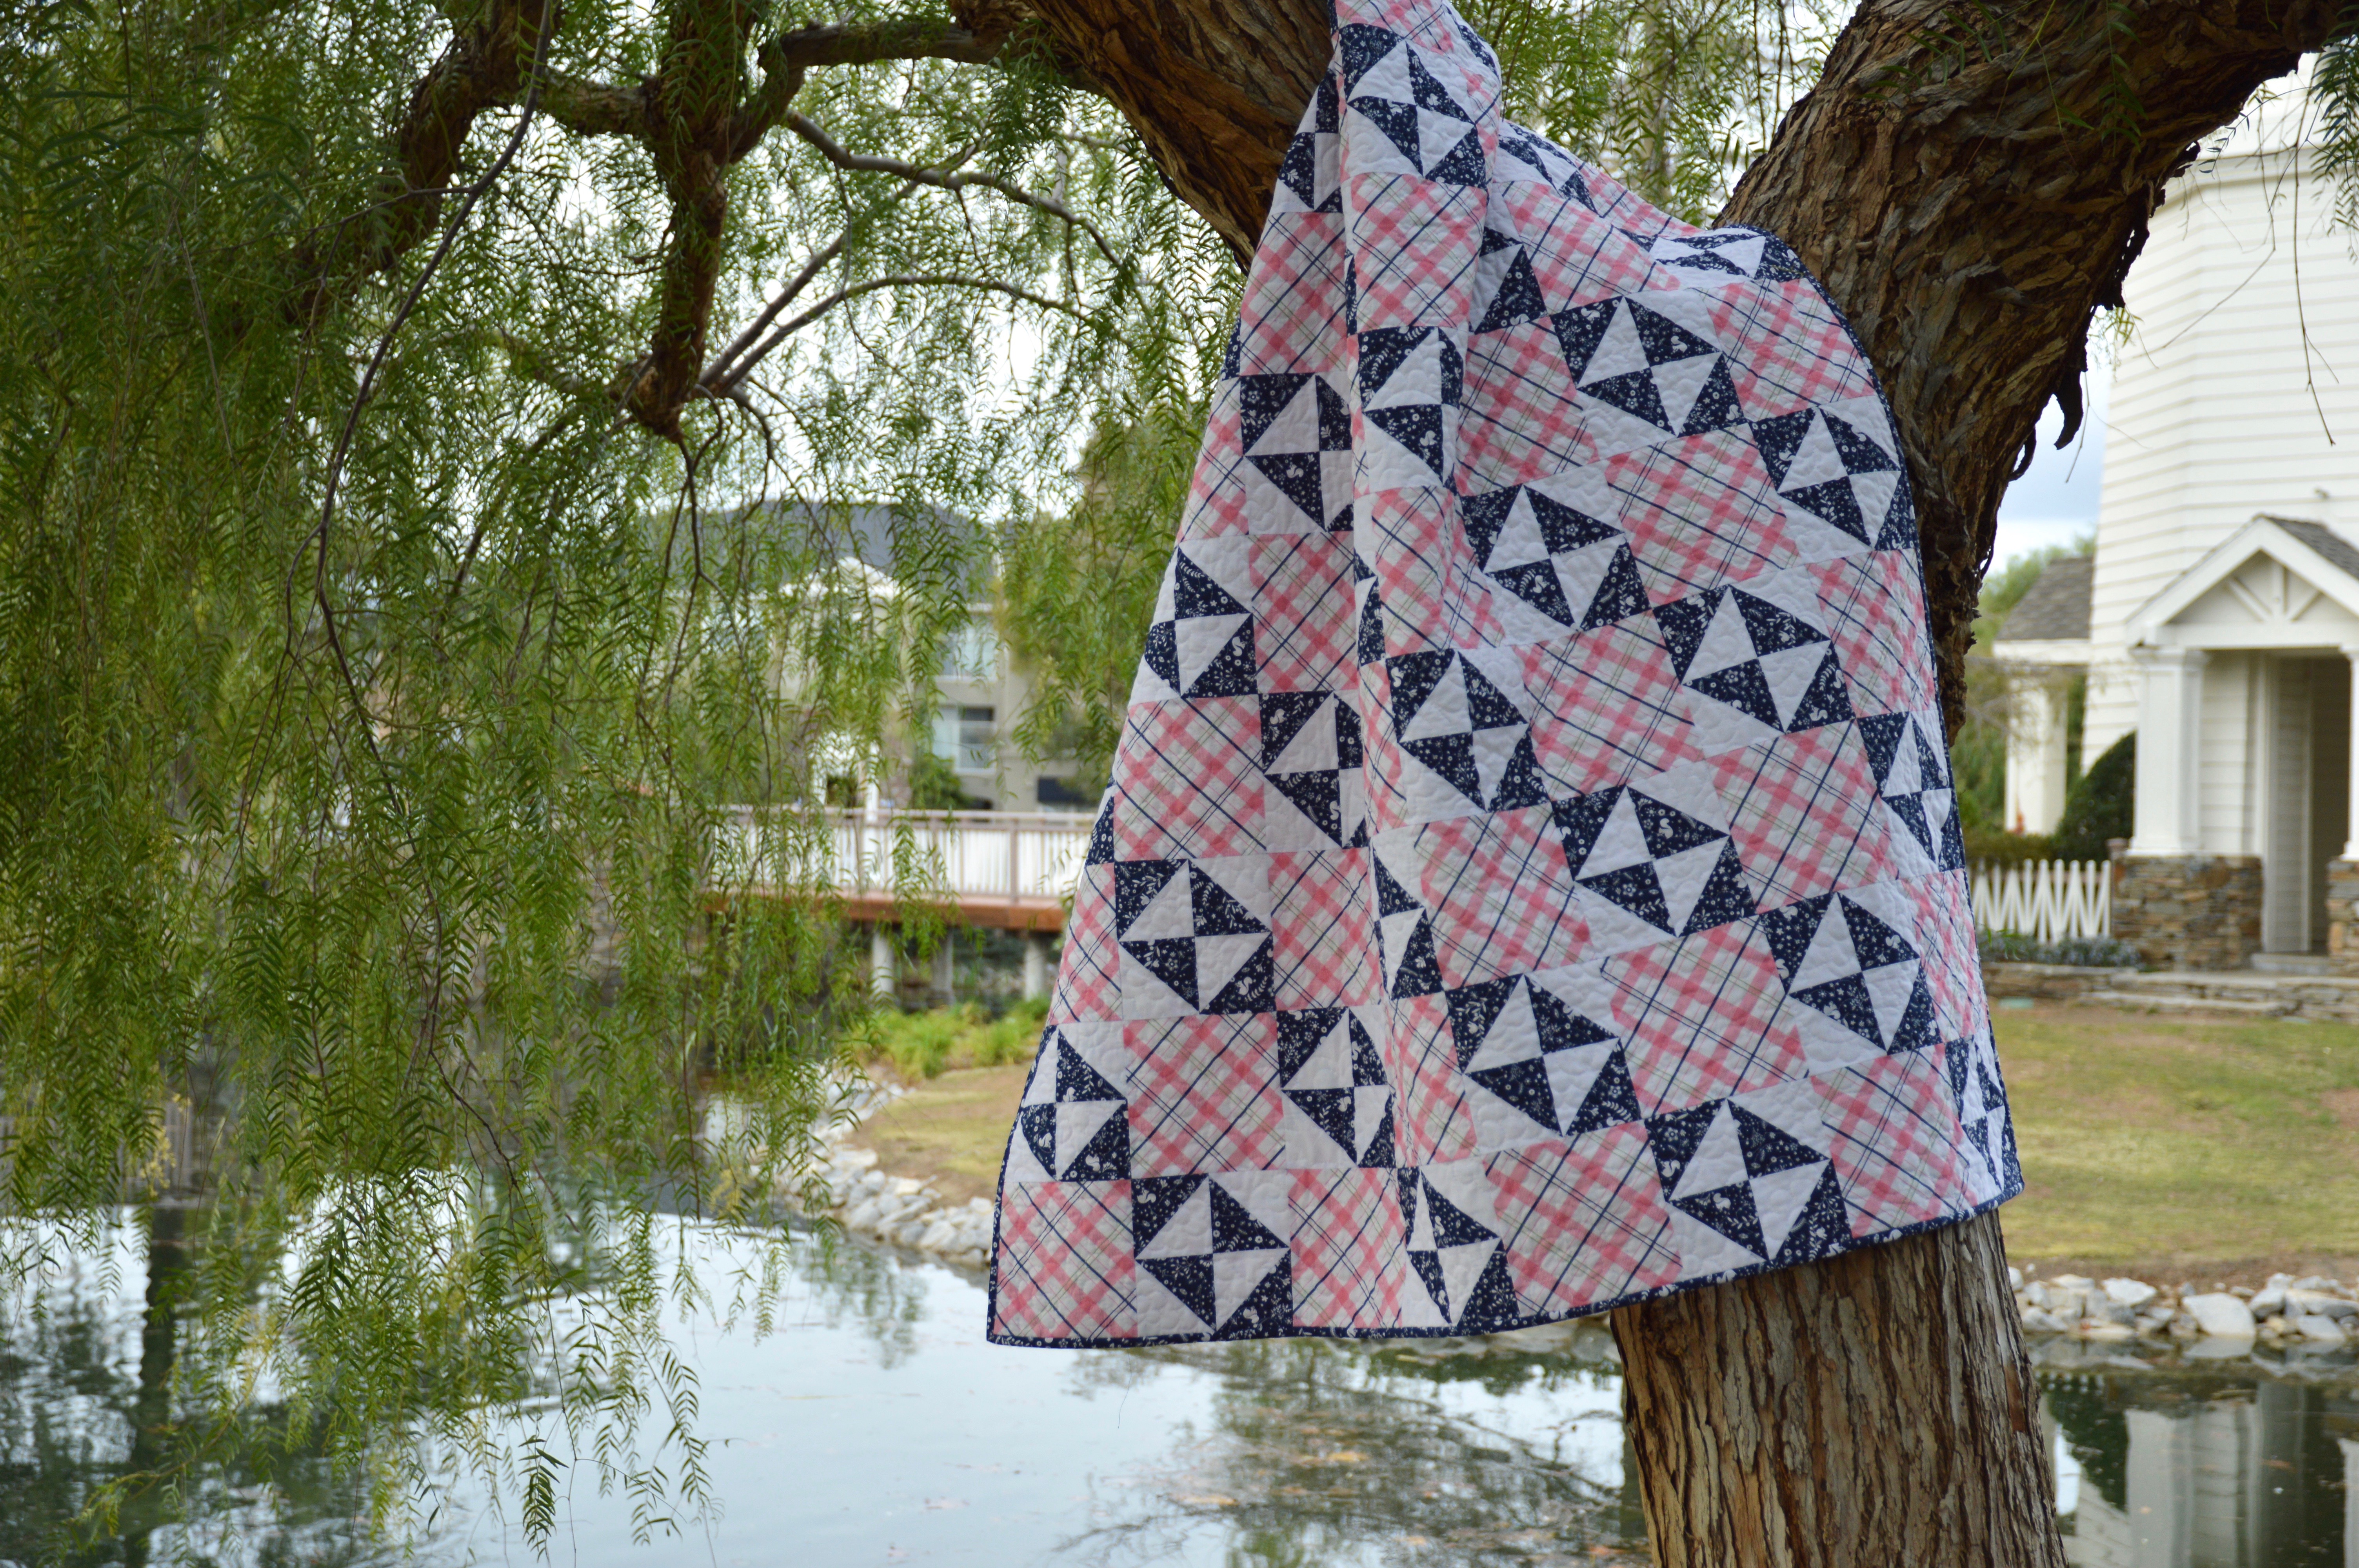
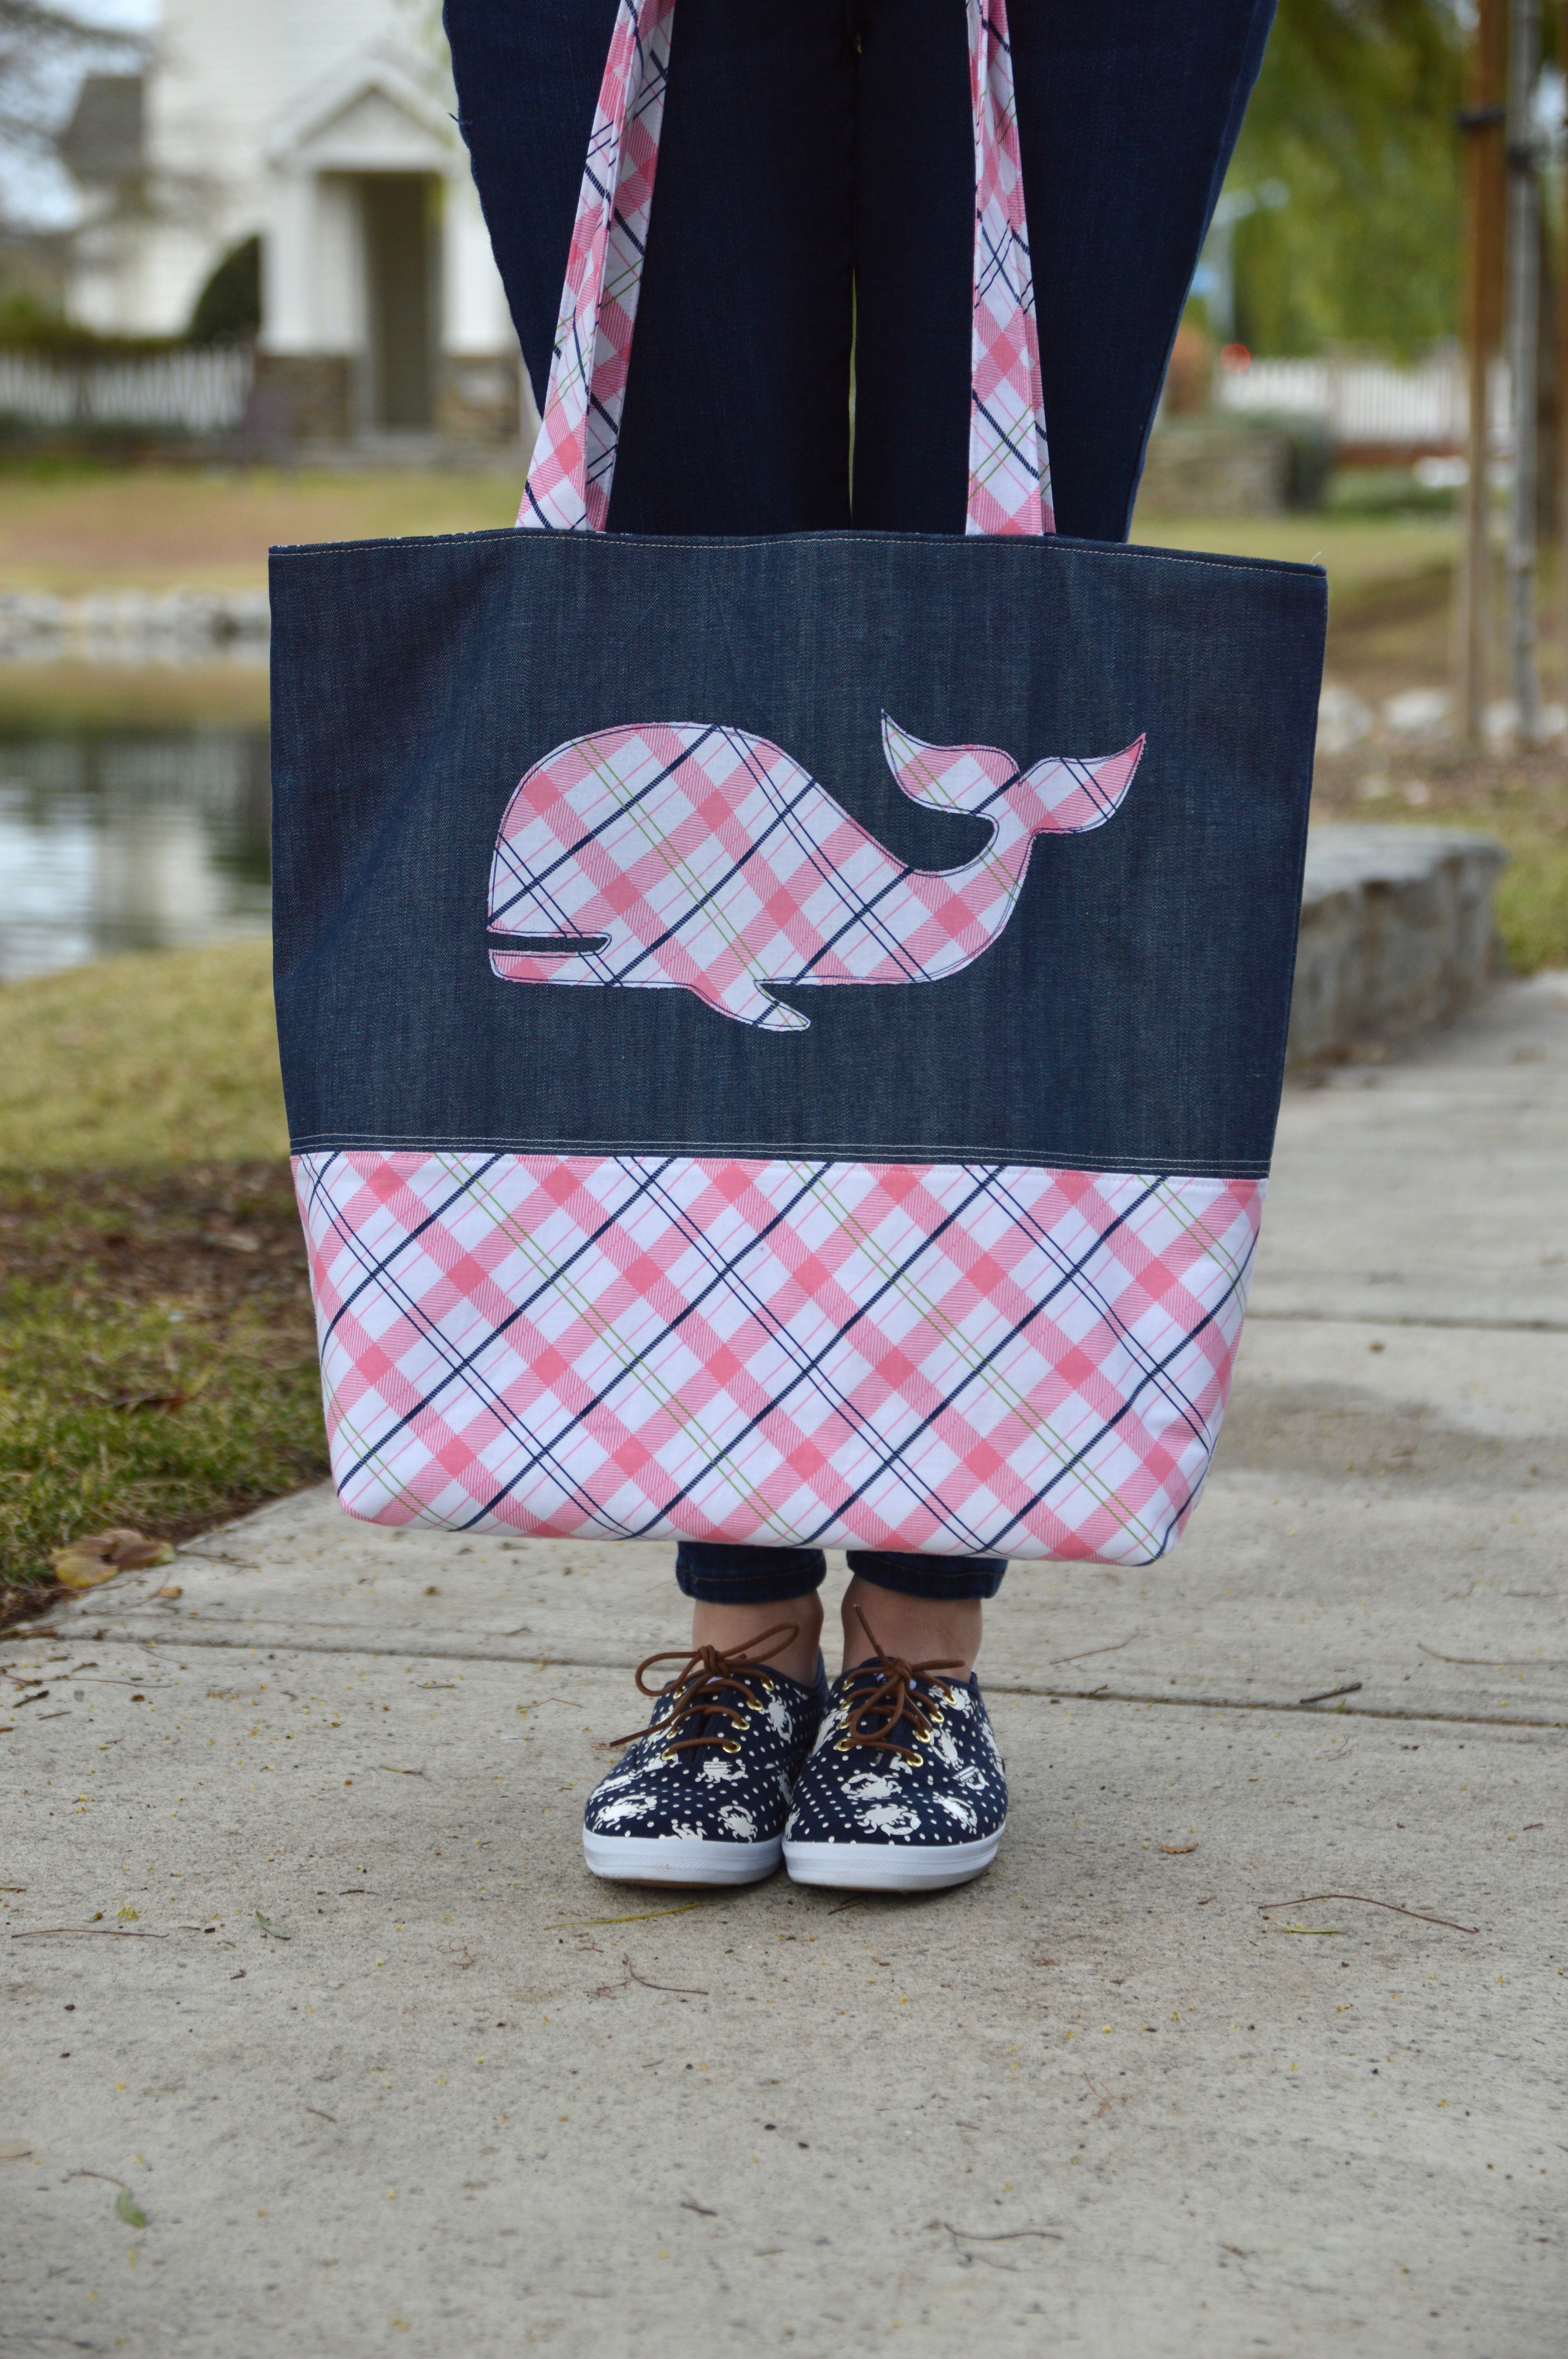
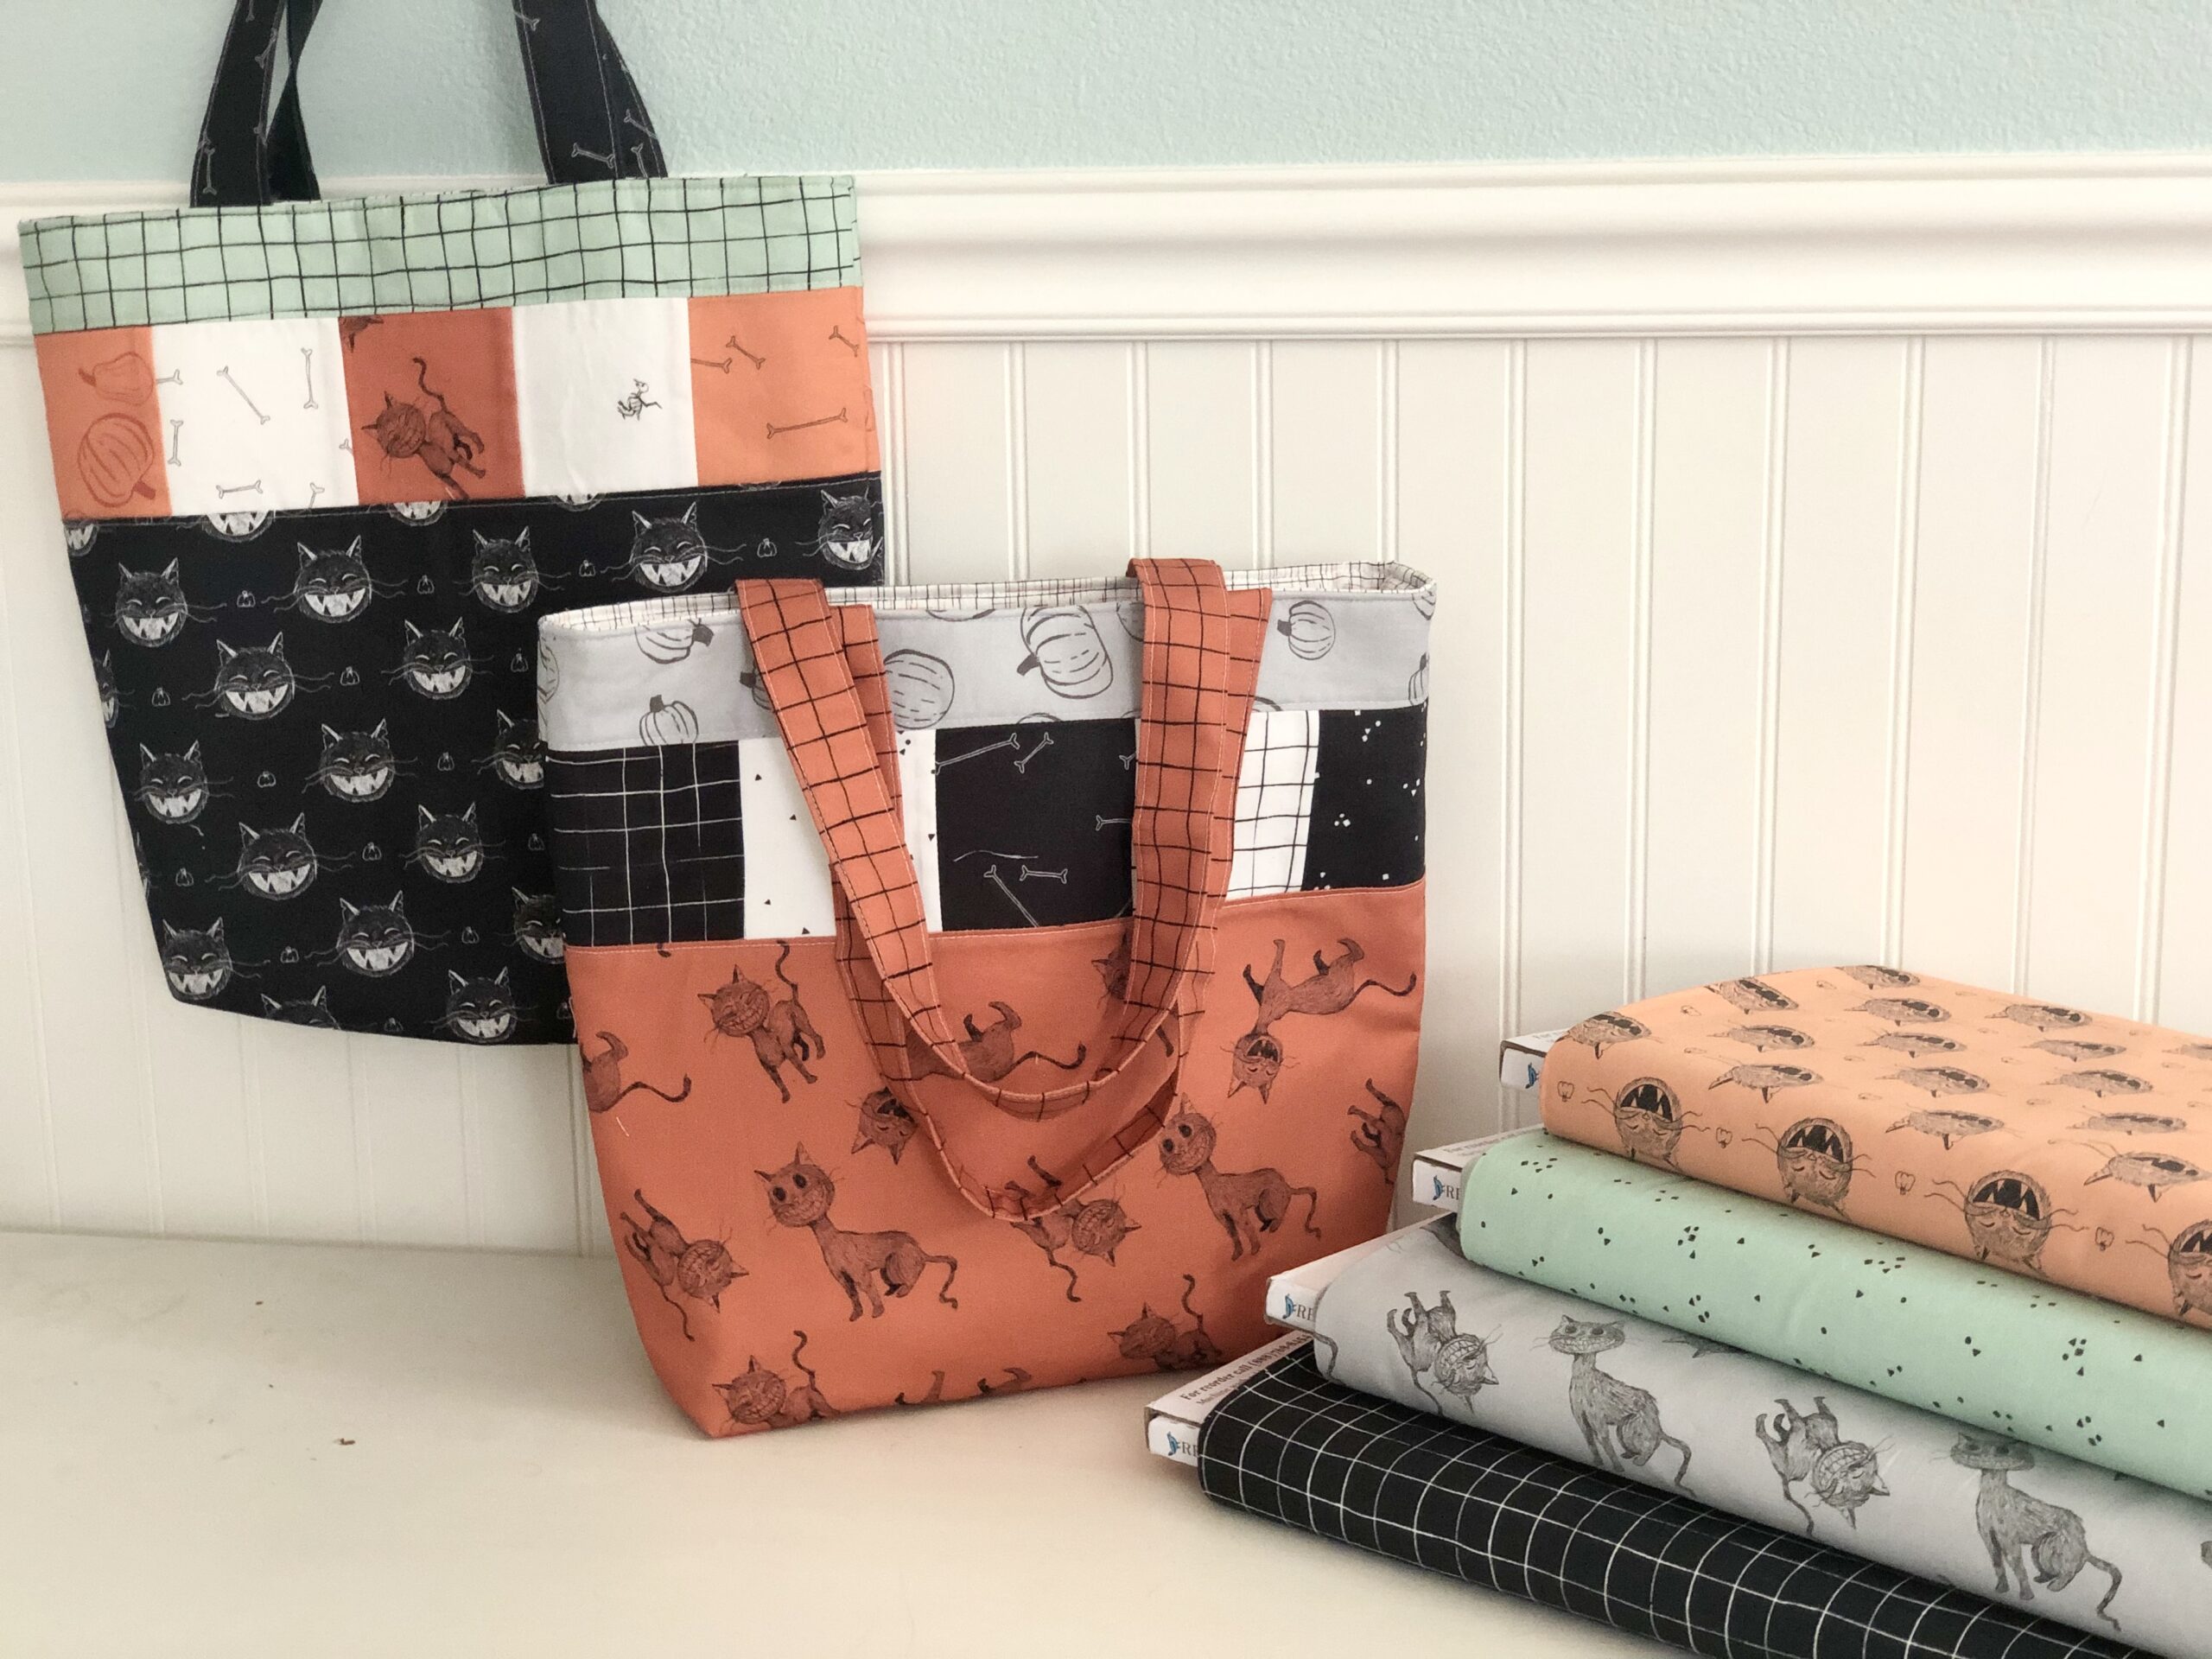
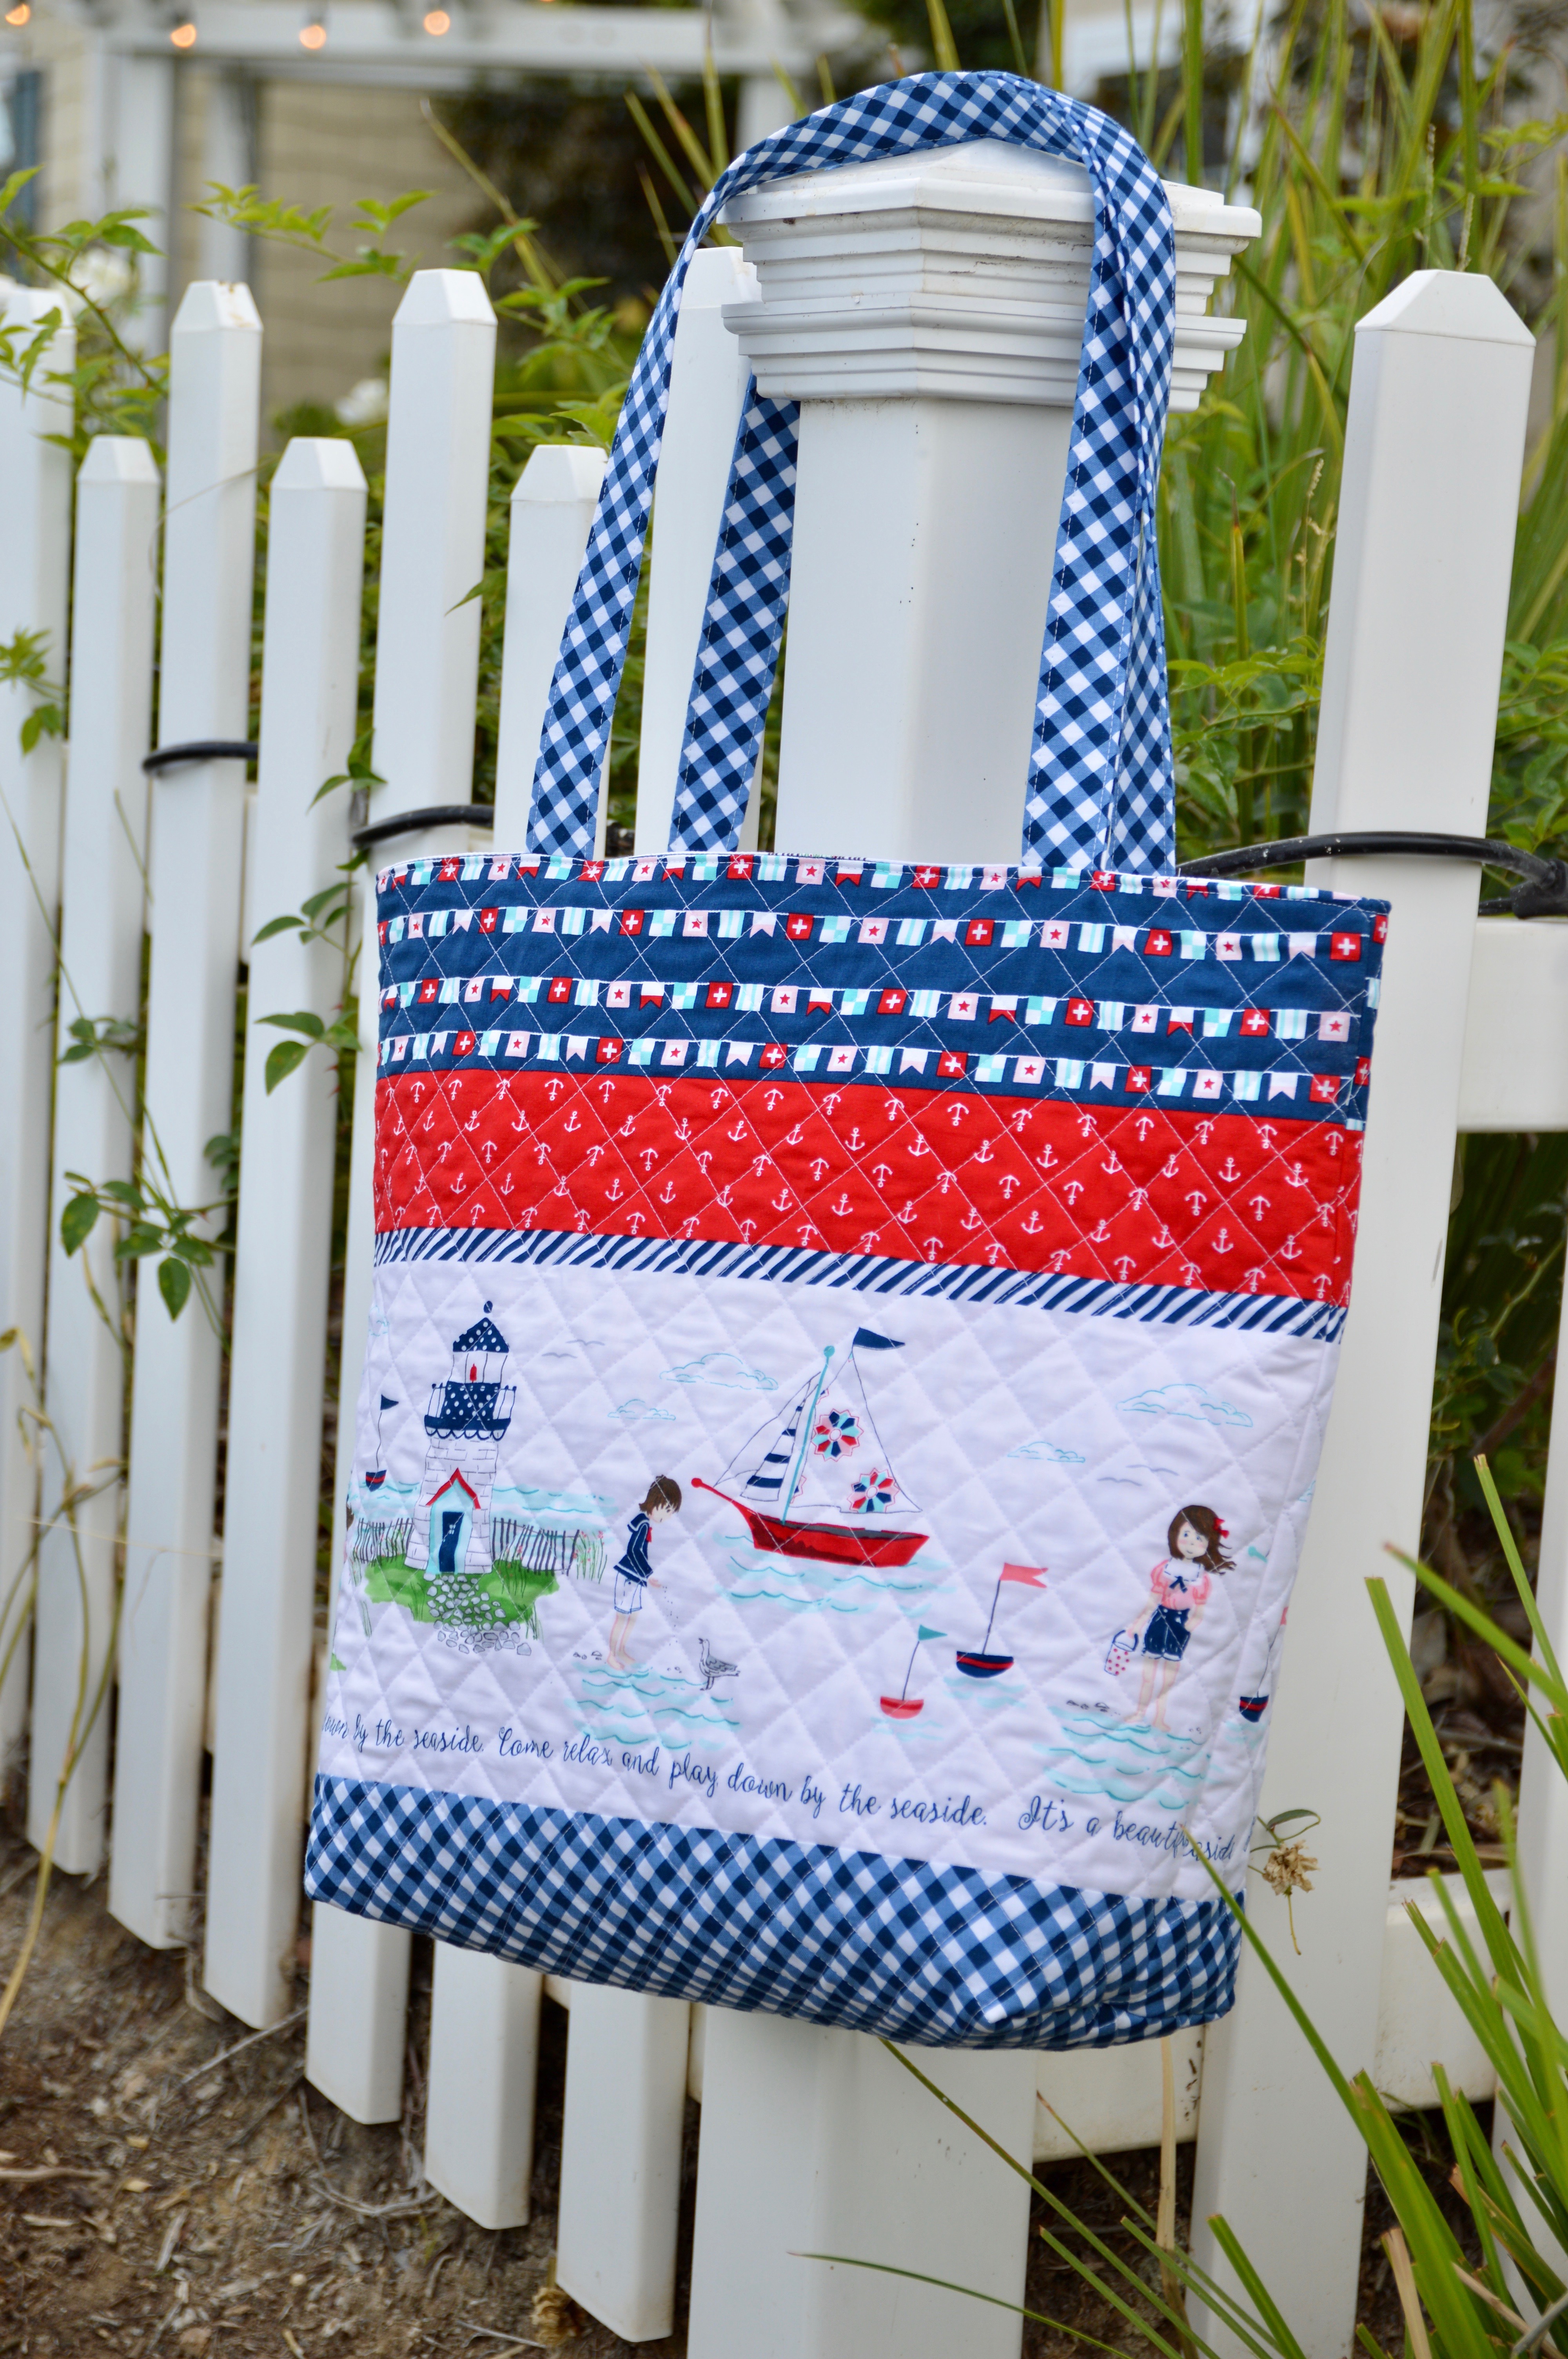
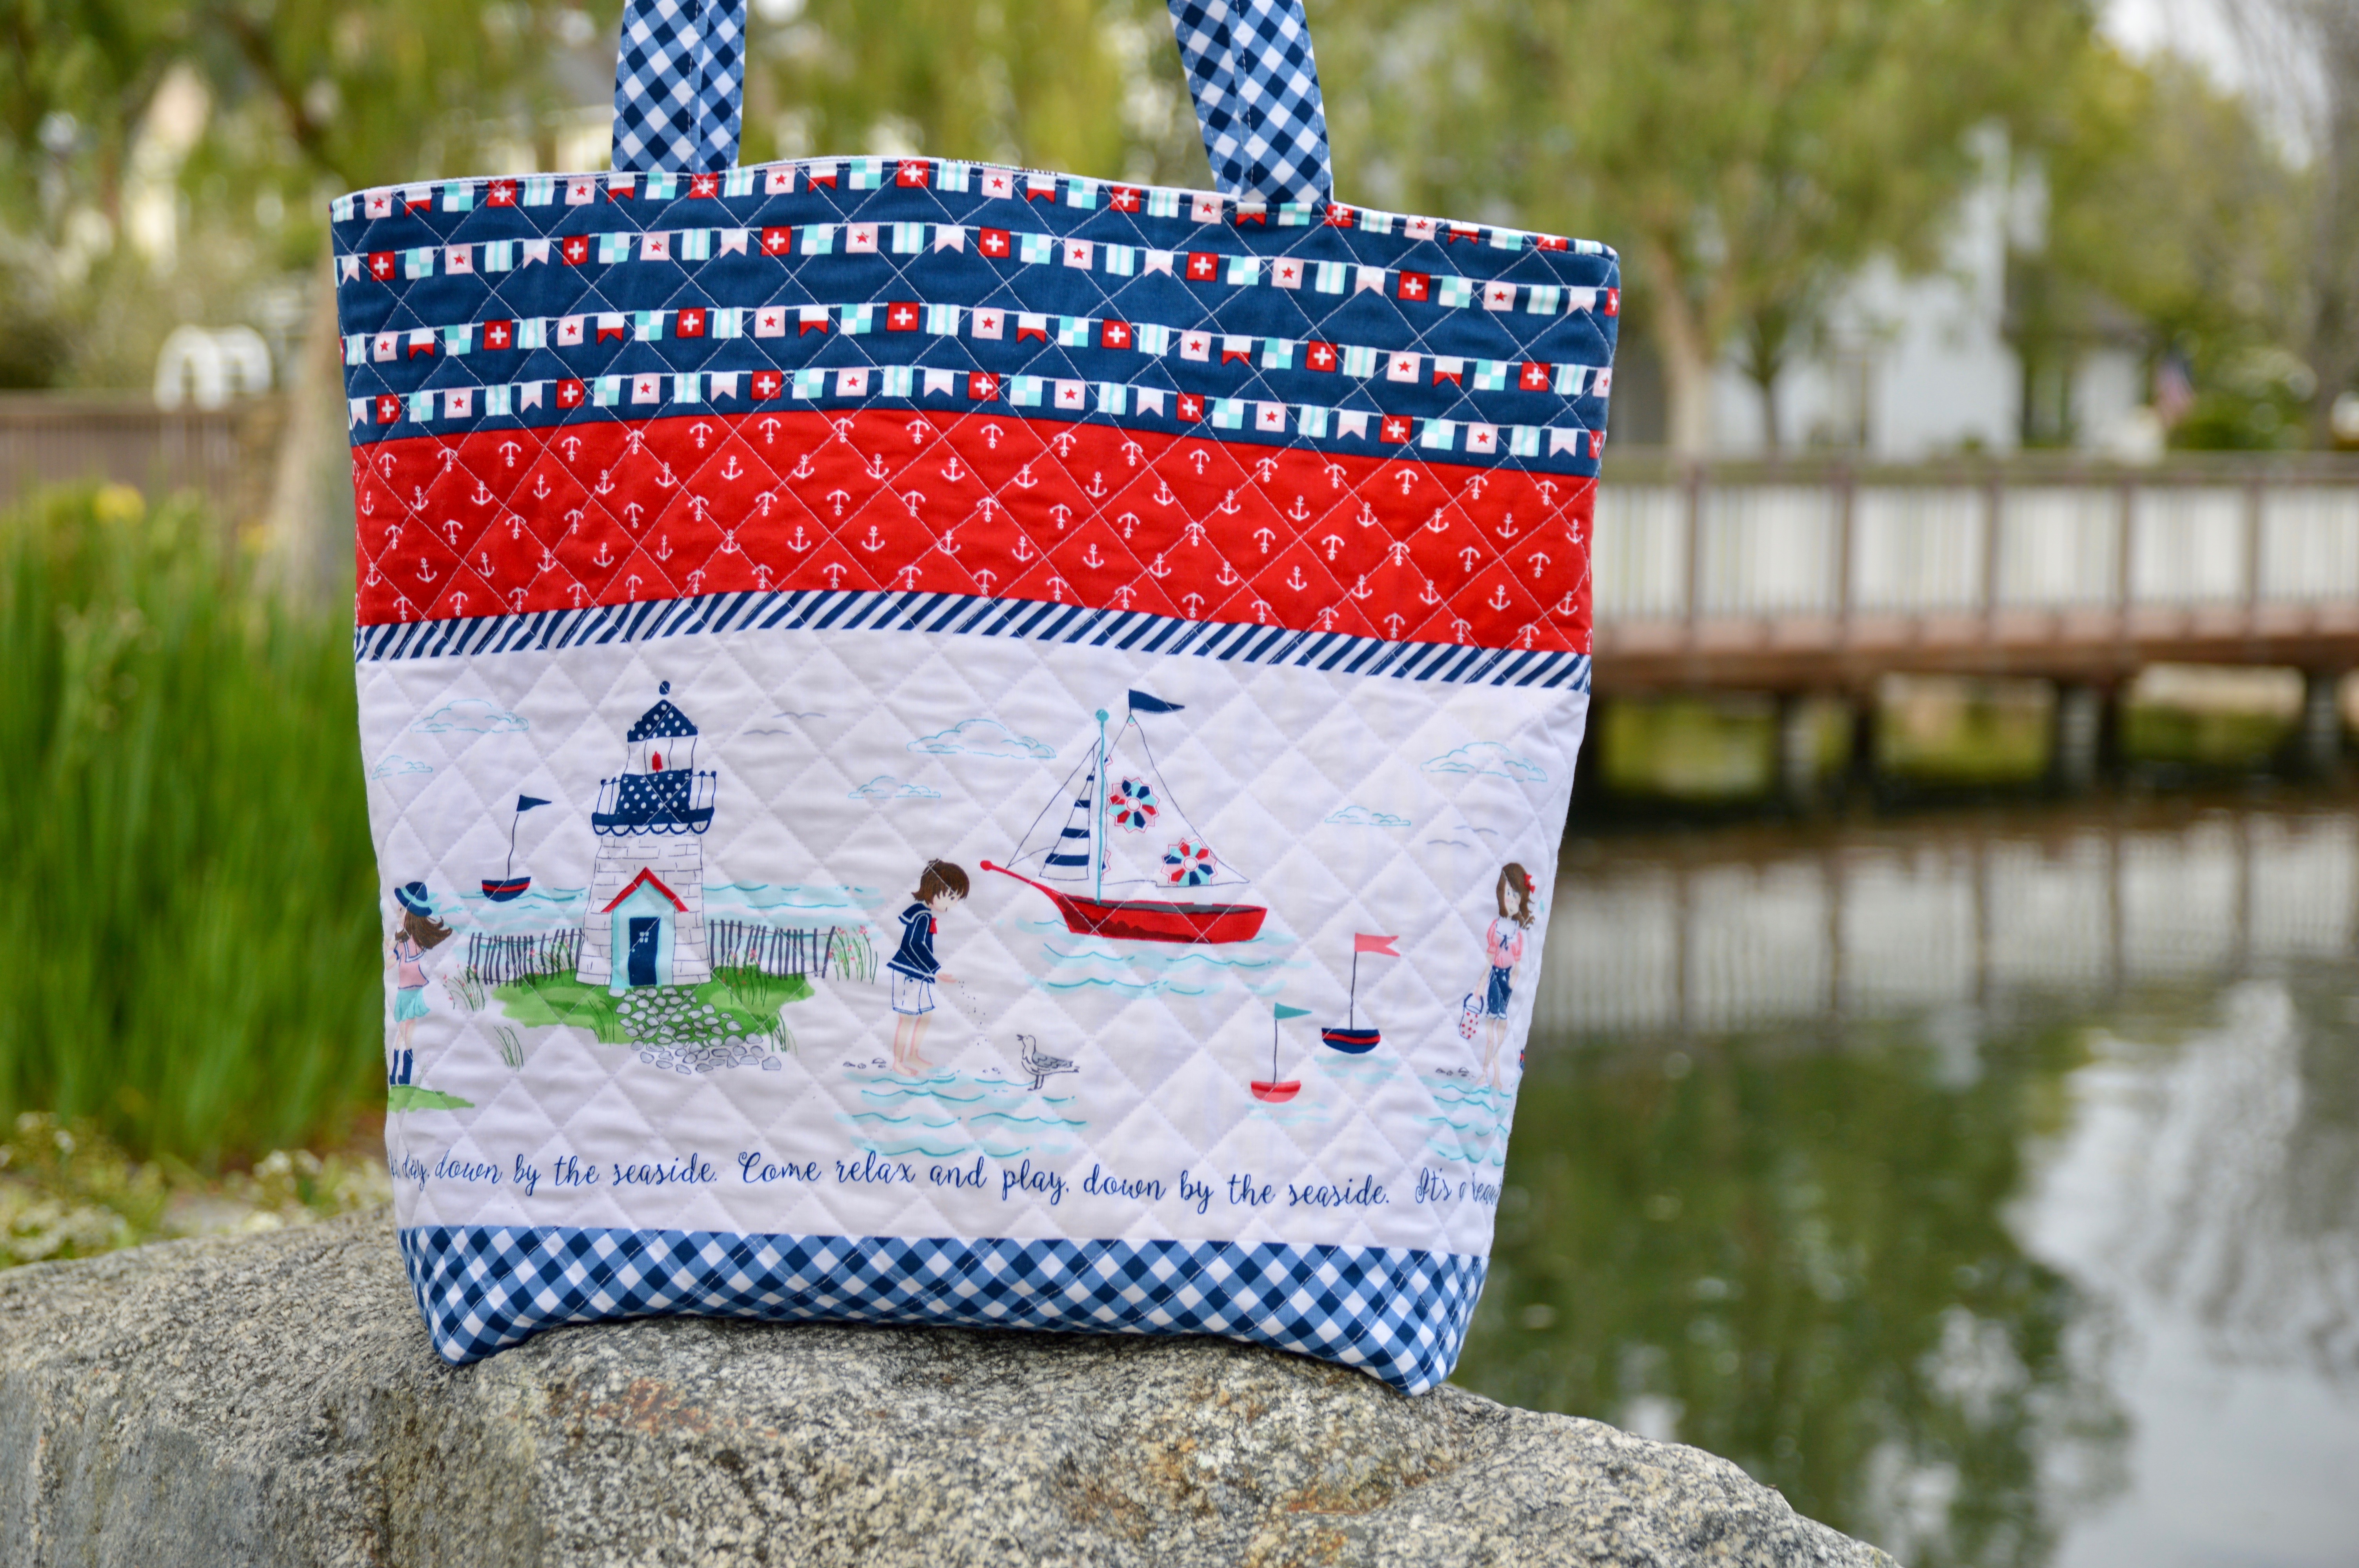
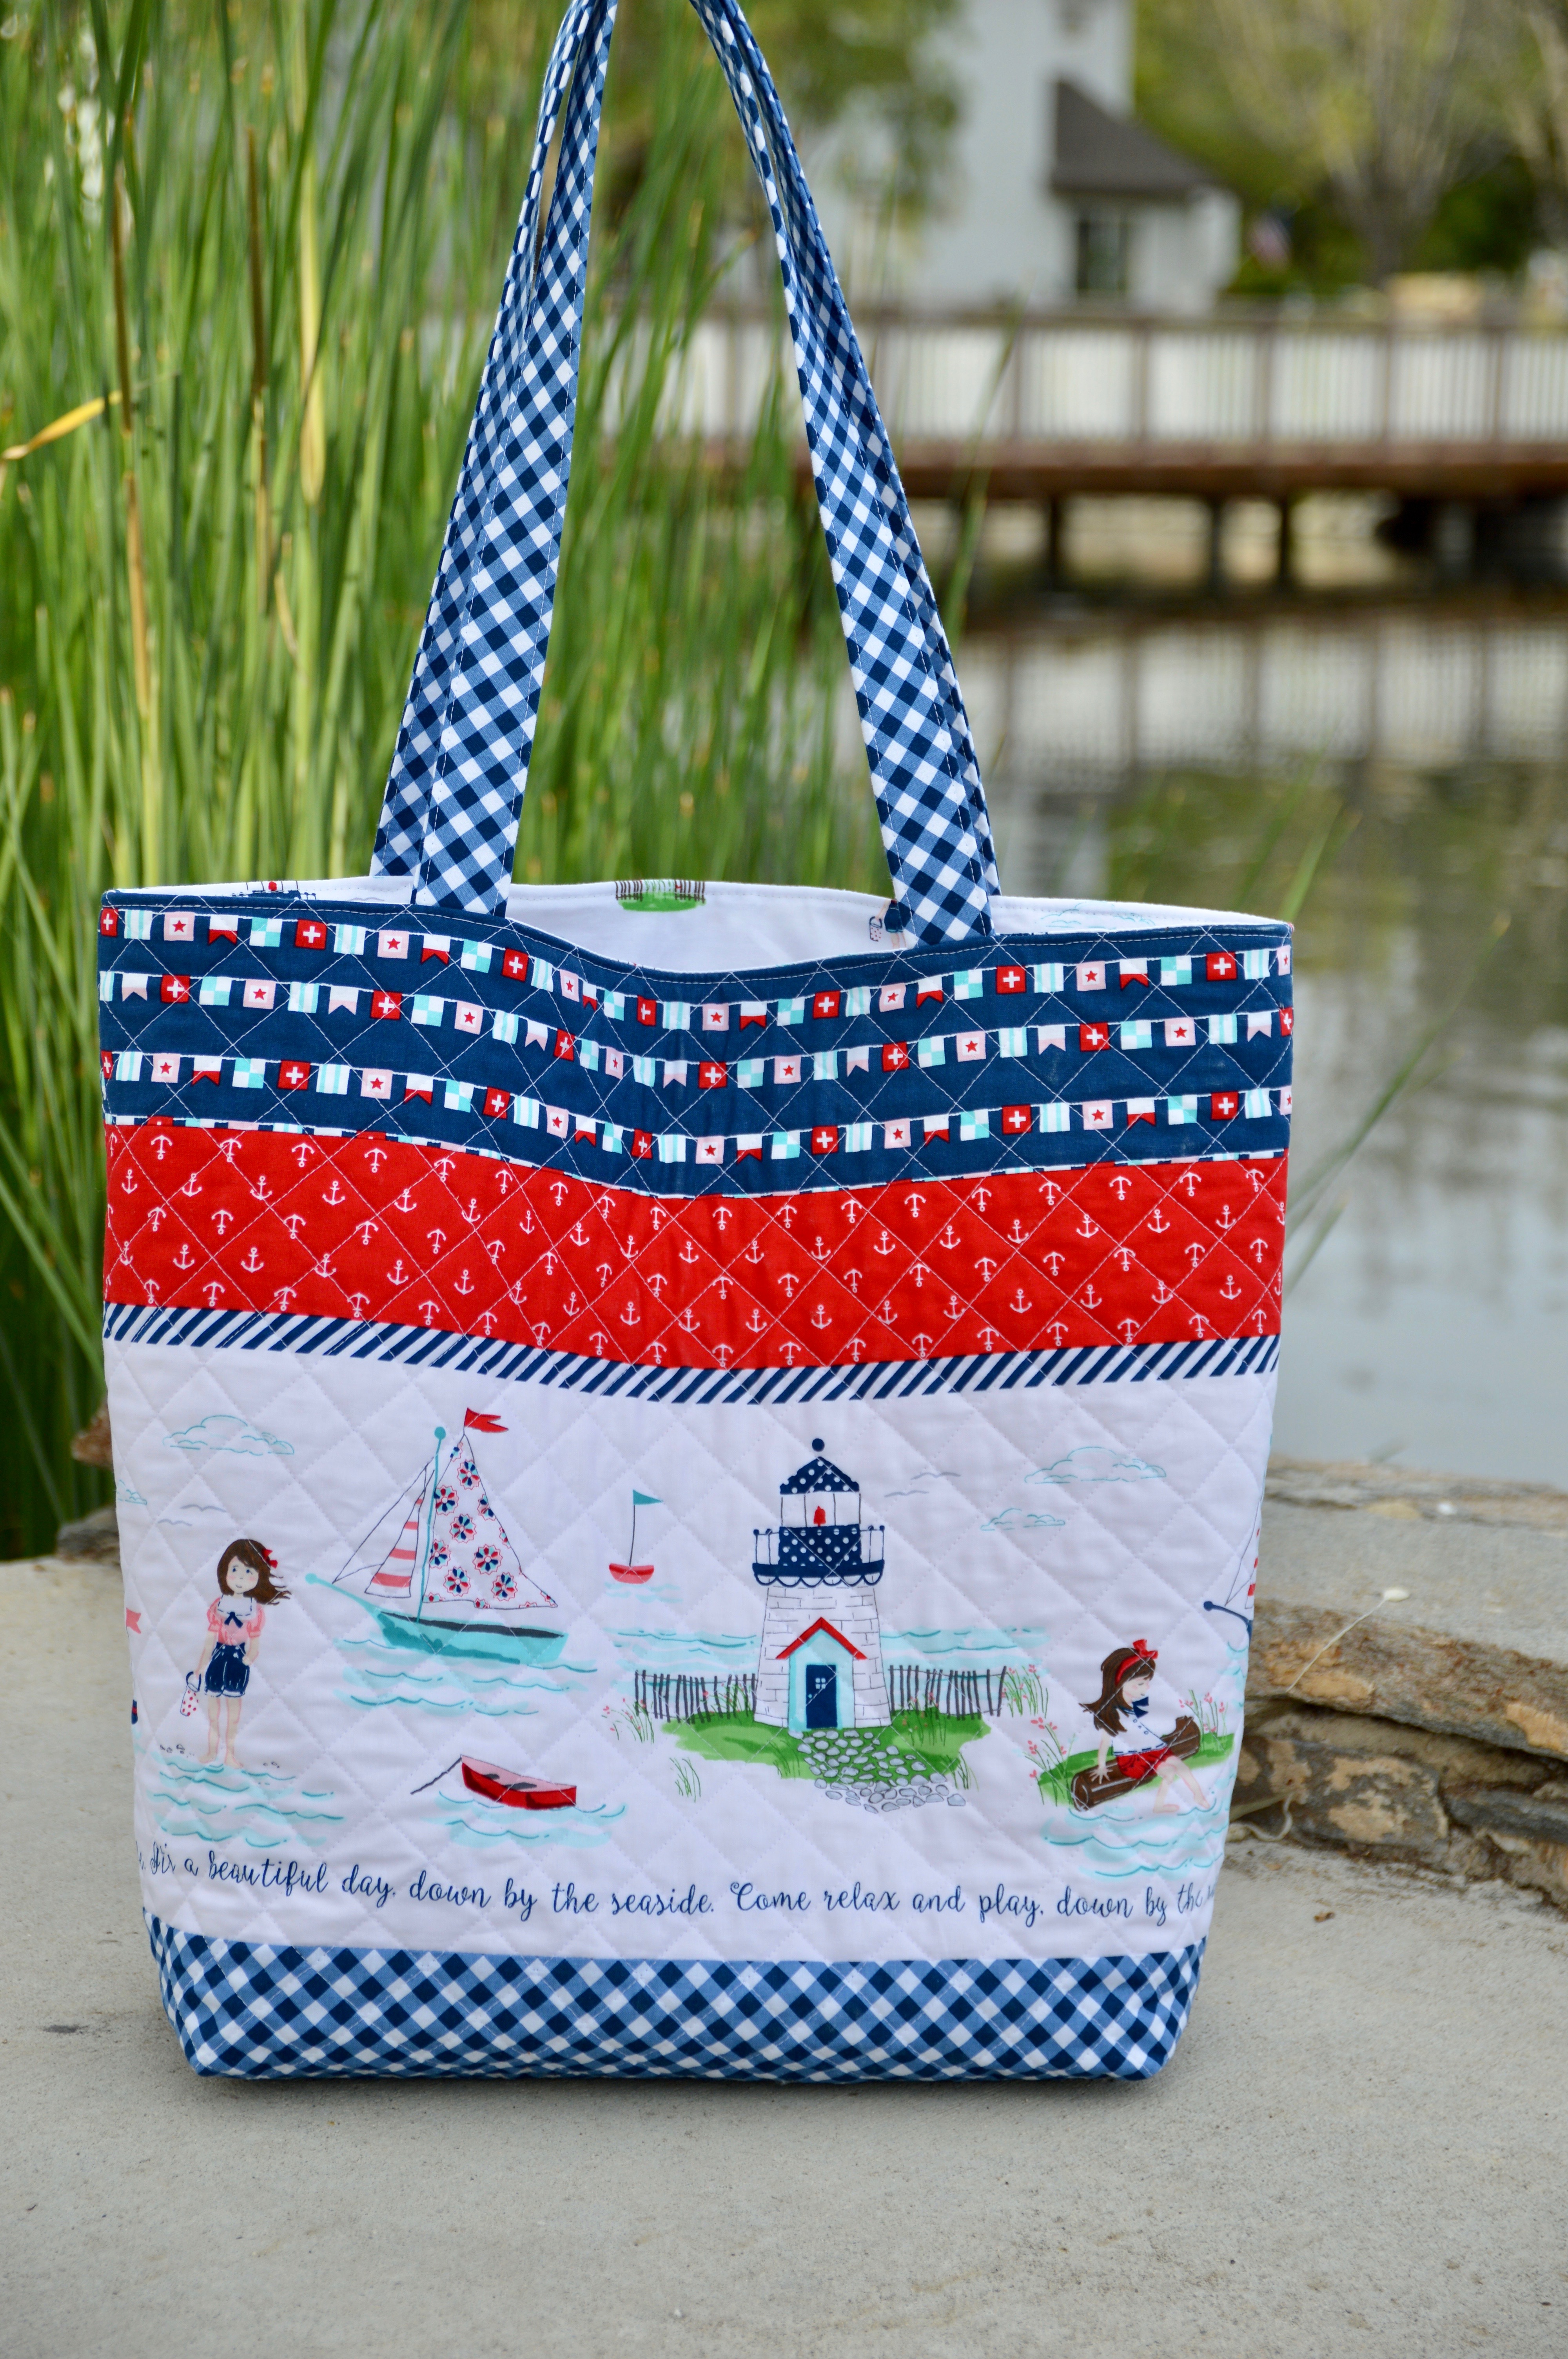
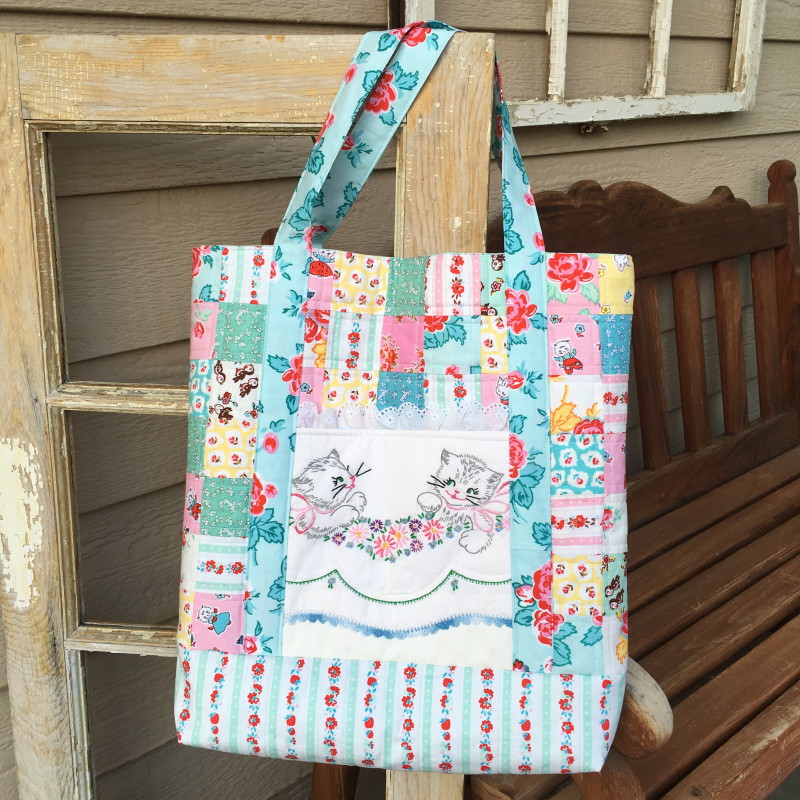
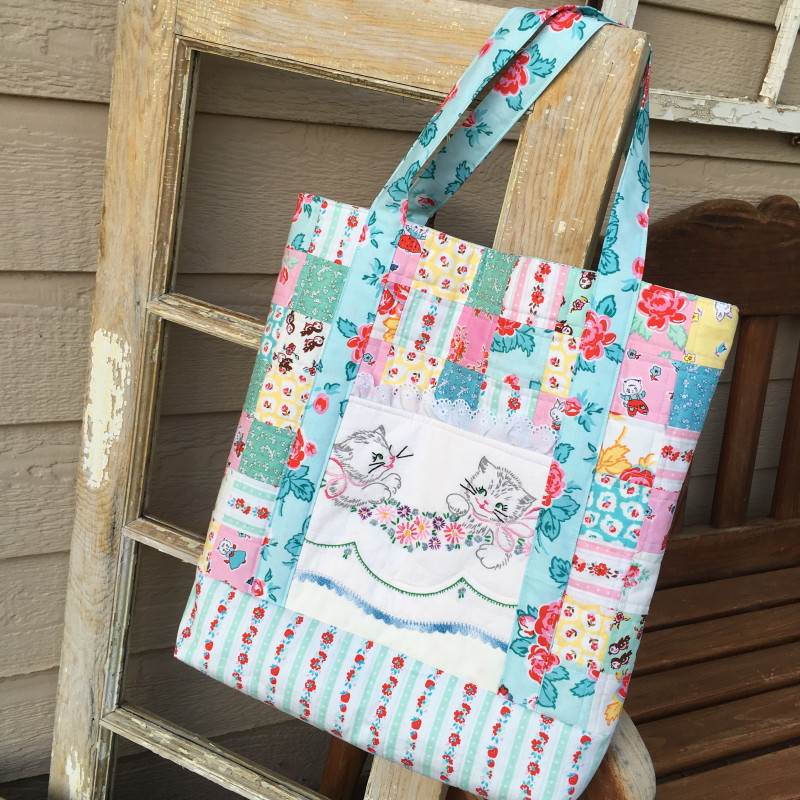
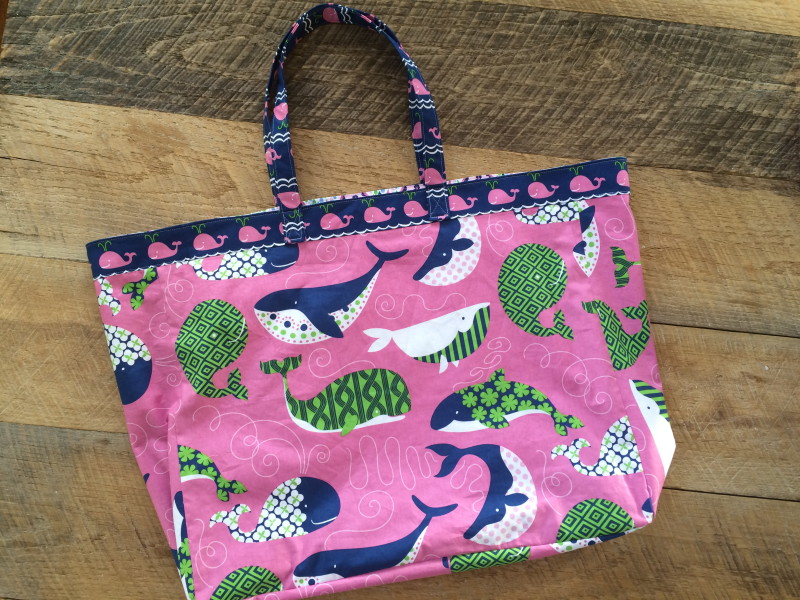
I am so in love with this tote bag!  It is such a great size, and if feels sturdy and it is super preppy plaid cute!!
DSC_0136
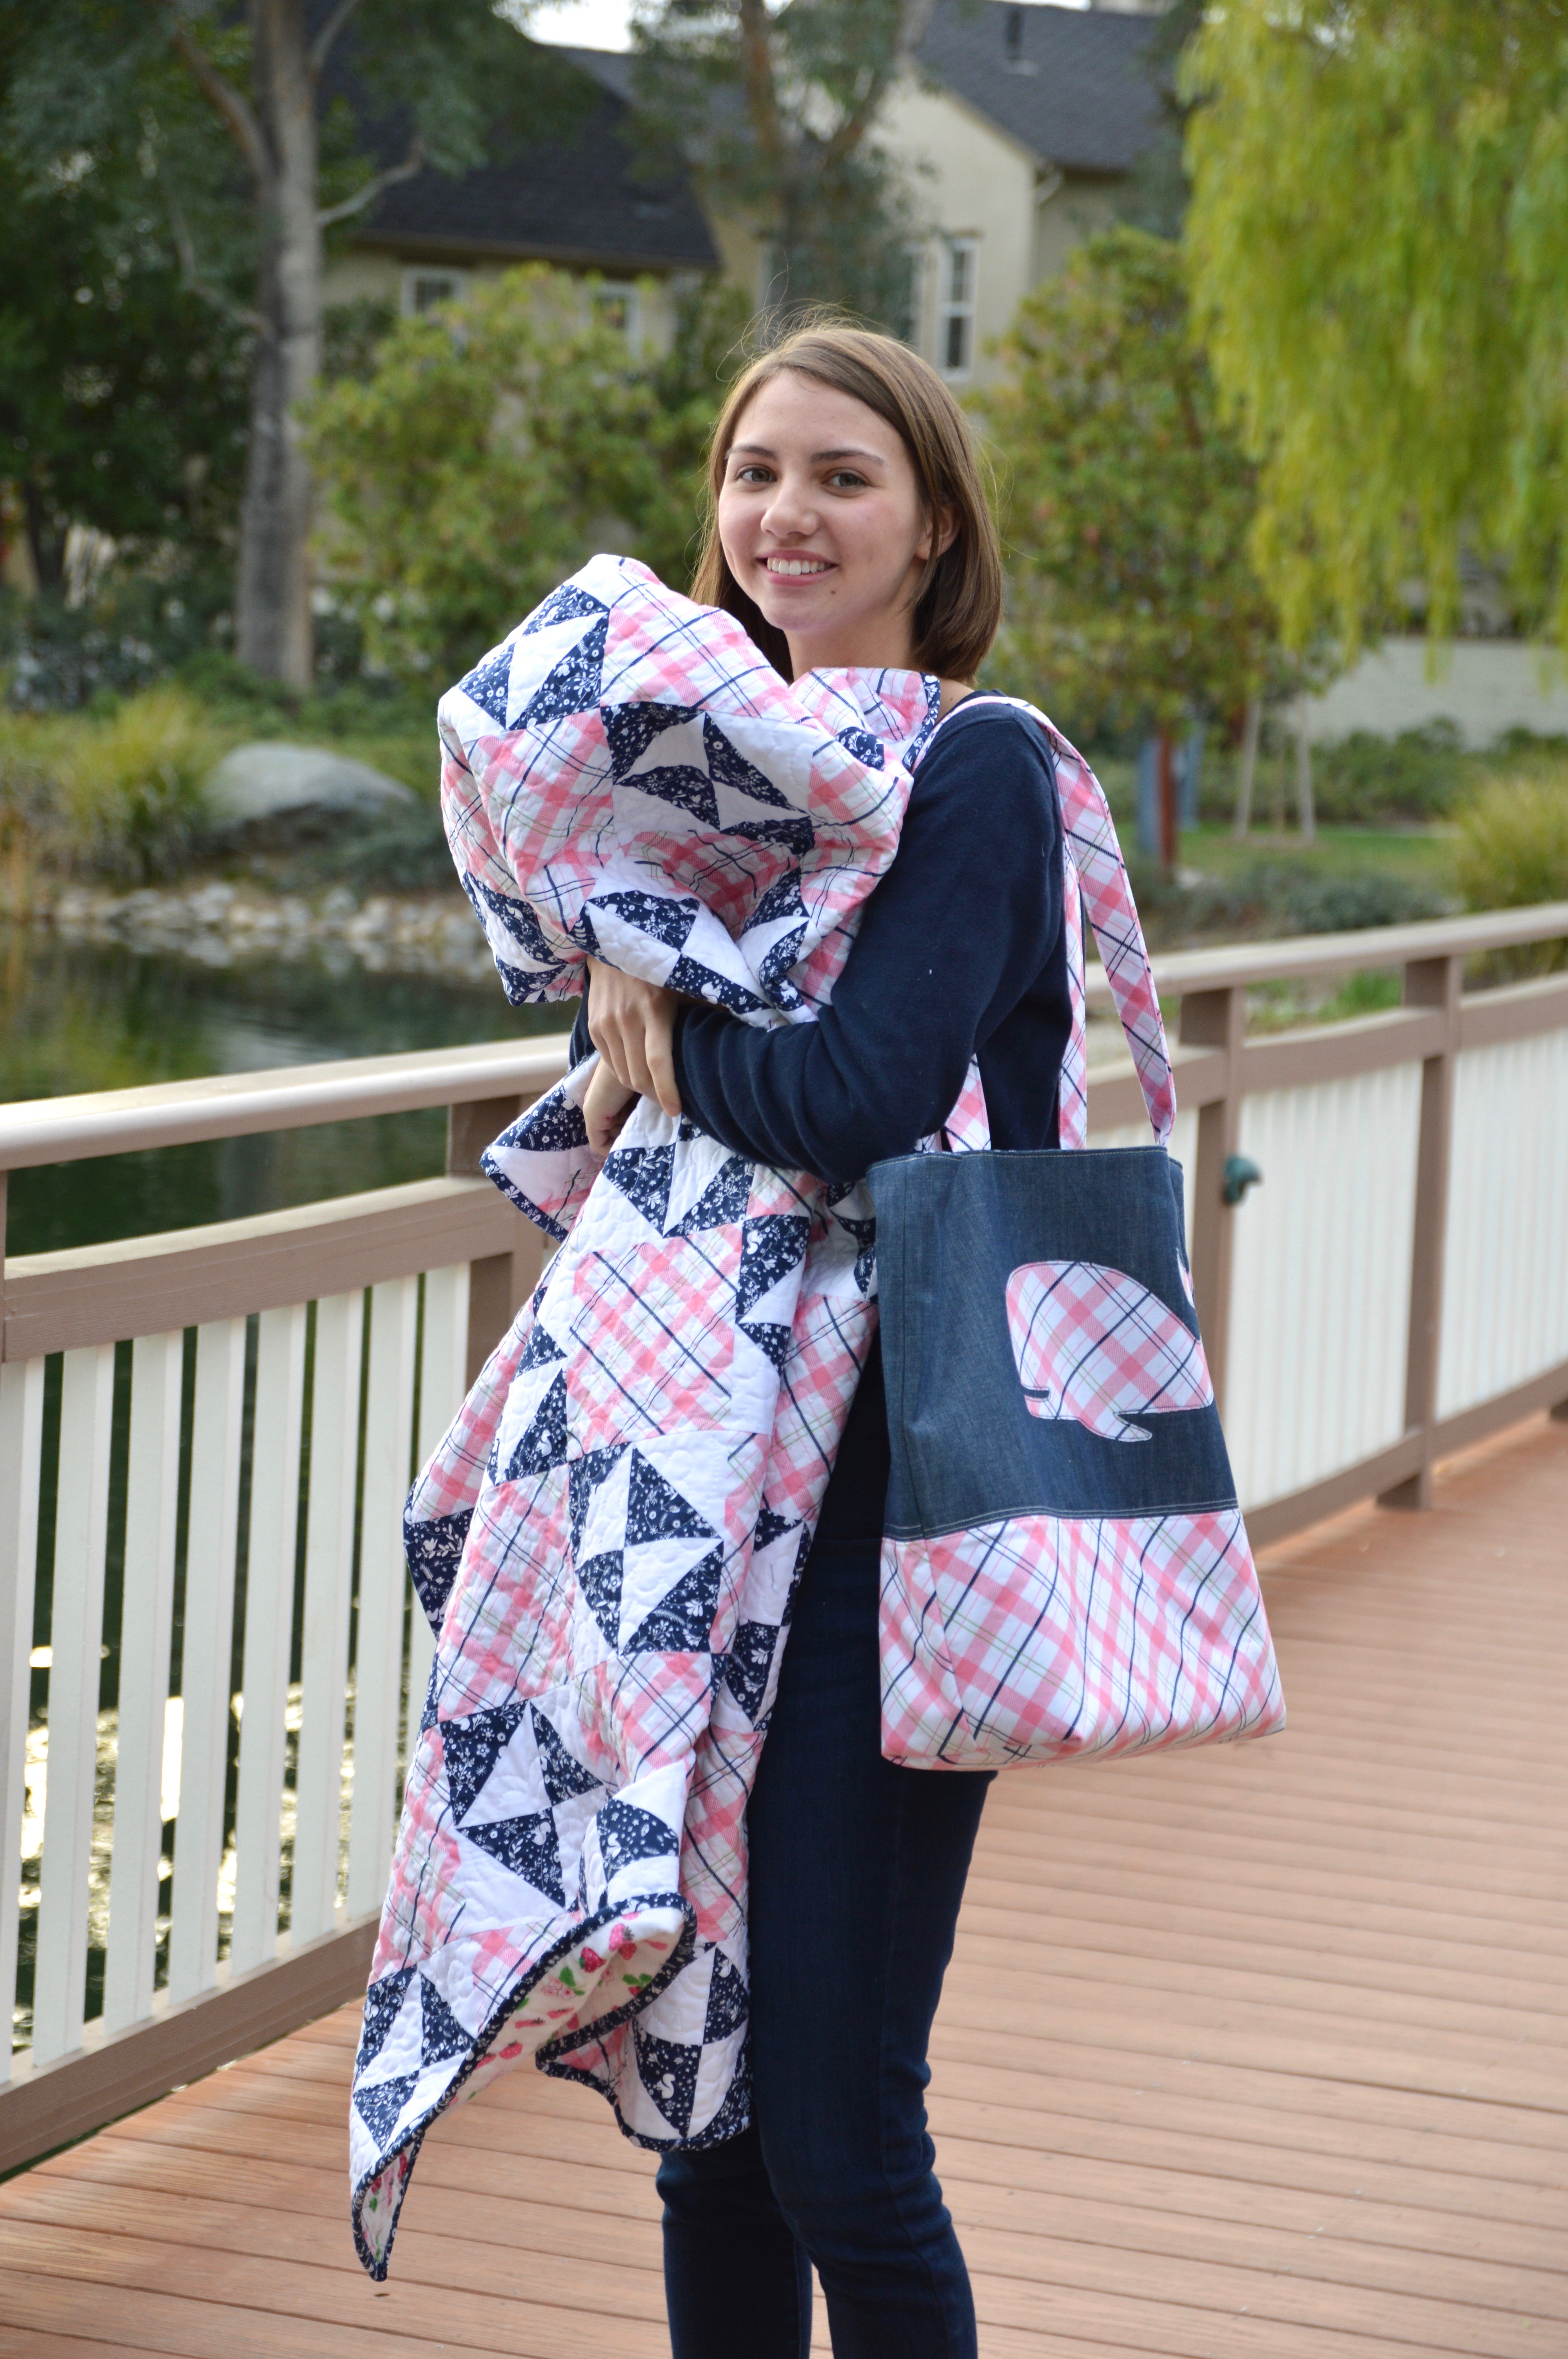
I’m ready for an Eastern Seaboard Vacation!!!
Together they make the Perfect Preppy Plaid Pair!!!!!
DSC_0110

Enchanted logo 2

Be sure to check out these amazing designers to see what they’ve created using Riley Blake’s Enchanted Fabric!!!

Blog Tour Schedule

Monday, Jan 23rd – Little Londyn

Tuesday, Jan 24th – Jedi Craft Girl

Wednesday, Jan 25th – Loose Threads

Thursday, Jan 26th – Meags and Me

Friday, Jan 27th – Pretty by Hand

Monday, Jan 30th – Tie Dye Diva

Tuesday, Jan 31st – Two Sisters as Squirrel Hallow

Wednesday, Feb 1st – Striped Swallow Designs

Thursday, Feb 2nd – Izzy and Ivy

Friday, Feb 3rd – Ellis and Higgs

Monday, Feb 6th – Aurifil

Tuesday, Feb 7th – The Crafy Quilter

Wednesday, Feb 8th – Two Sisters at Squirrel Hallow

Thursday, Feb 9th – Jina Barney Designz

Friday, Feb 10th – Riley Blake

You could win a bundle of Enchanted fabric by visiting Dodi’s blog, Loose Threads (www.sashgals.com) and leaving a comment.

One entry per blog post, per day of the Blog Tour, there on Loose Threads.

Enter every day to increase your chance of winning!!!

We Found Wonderland Zipper Pouch Tutorial

WonderlandBlogHop

IMG_3488

IMG_3478

This Wonderland fabric by Blend Fabrics totally reminded my daughter of the Taylor Swift song “Wonderland” so I came up with this little project that I’m sure your daughter will love!  I love this size zipper pouch because you can use it to put journals and writing supplies in, sketchbooks and art supplies, small sewing projects, coloring books and crayons – it’s just a great project size!!

I first cut the words out of vinyl on my Cricut to create a stencil.  I placed it on light pink fabric and used a metalliac black fabric paint to stencil.IMG_3474

Cut the theme print and pink prints according to the measurements below:

Screen Shot 2016-09-01 at 11.39.42 PM

Sew together using 1/4″ seams allowances.  Press.

Cut the backing piece 11″ x 14″ – which is slightly larger.  It will get trimmed down in a minute.

Fuse the outer zipper bag pieces to Heat n Bond medium weight stabilizer.

IMG_3480

Next spray baste the two pieces to cotton batting.IMG_3481

Quilt each piece as desired.IMG_3482

Because quilting tends to alter the measurements, trim both pieces to measure 13 1/2″ x 10 1/2″.

Cut two lining pieces these same measurements: 13 1/2″ x 10 1/2″.

To finish the bag, follow these instructions for inserting a zipper and sewing the pouch.IMG_3483

Before turning right side out, cut a 1″ notch in each of the 4 corners.  IMG_3484

zipper pouch tutorial. 19
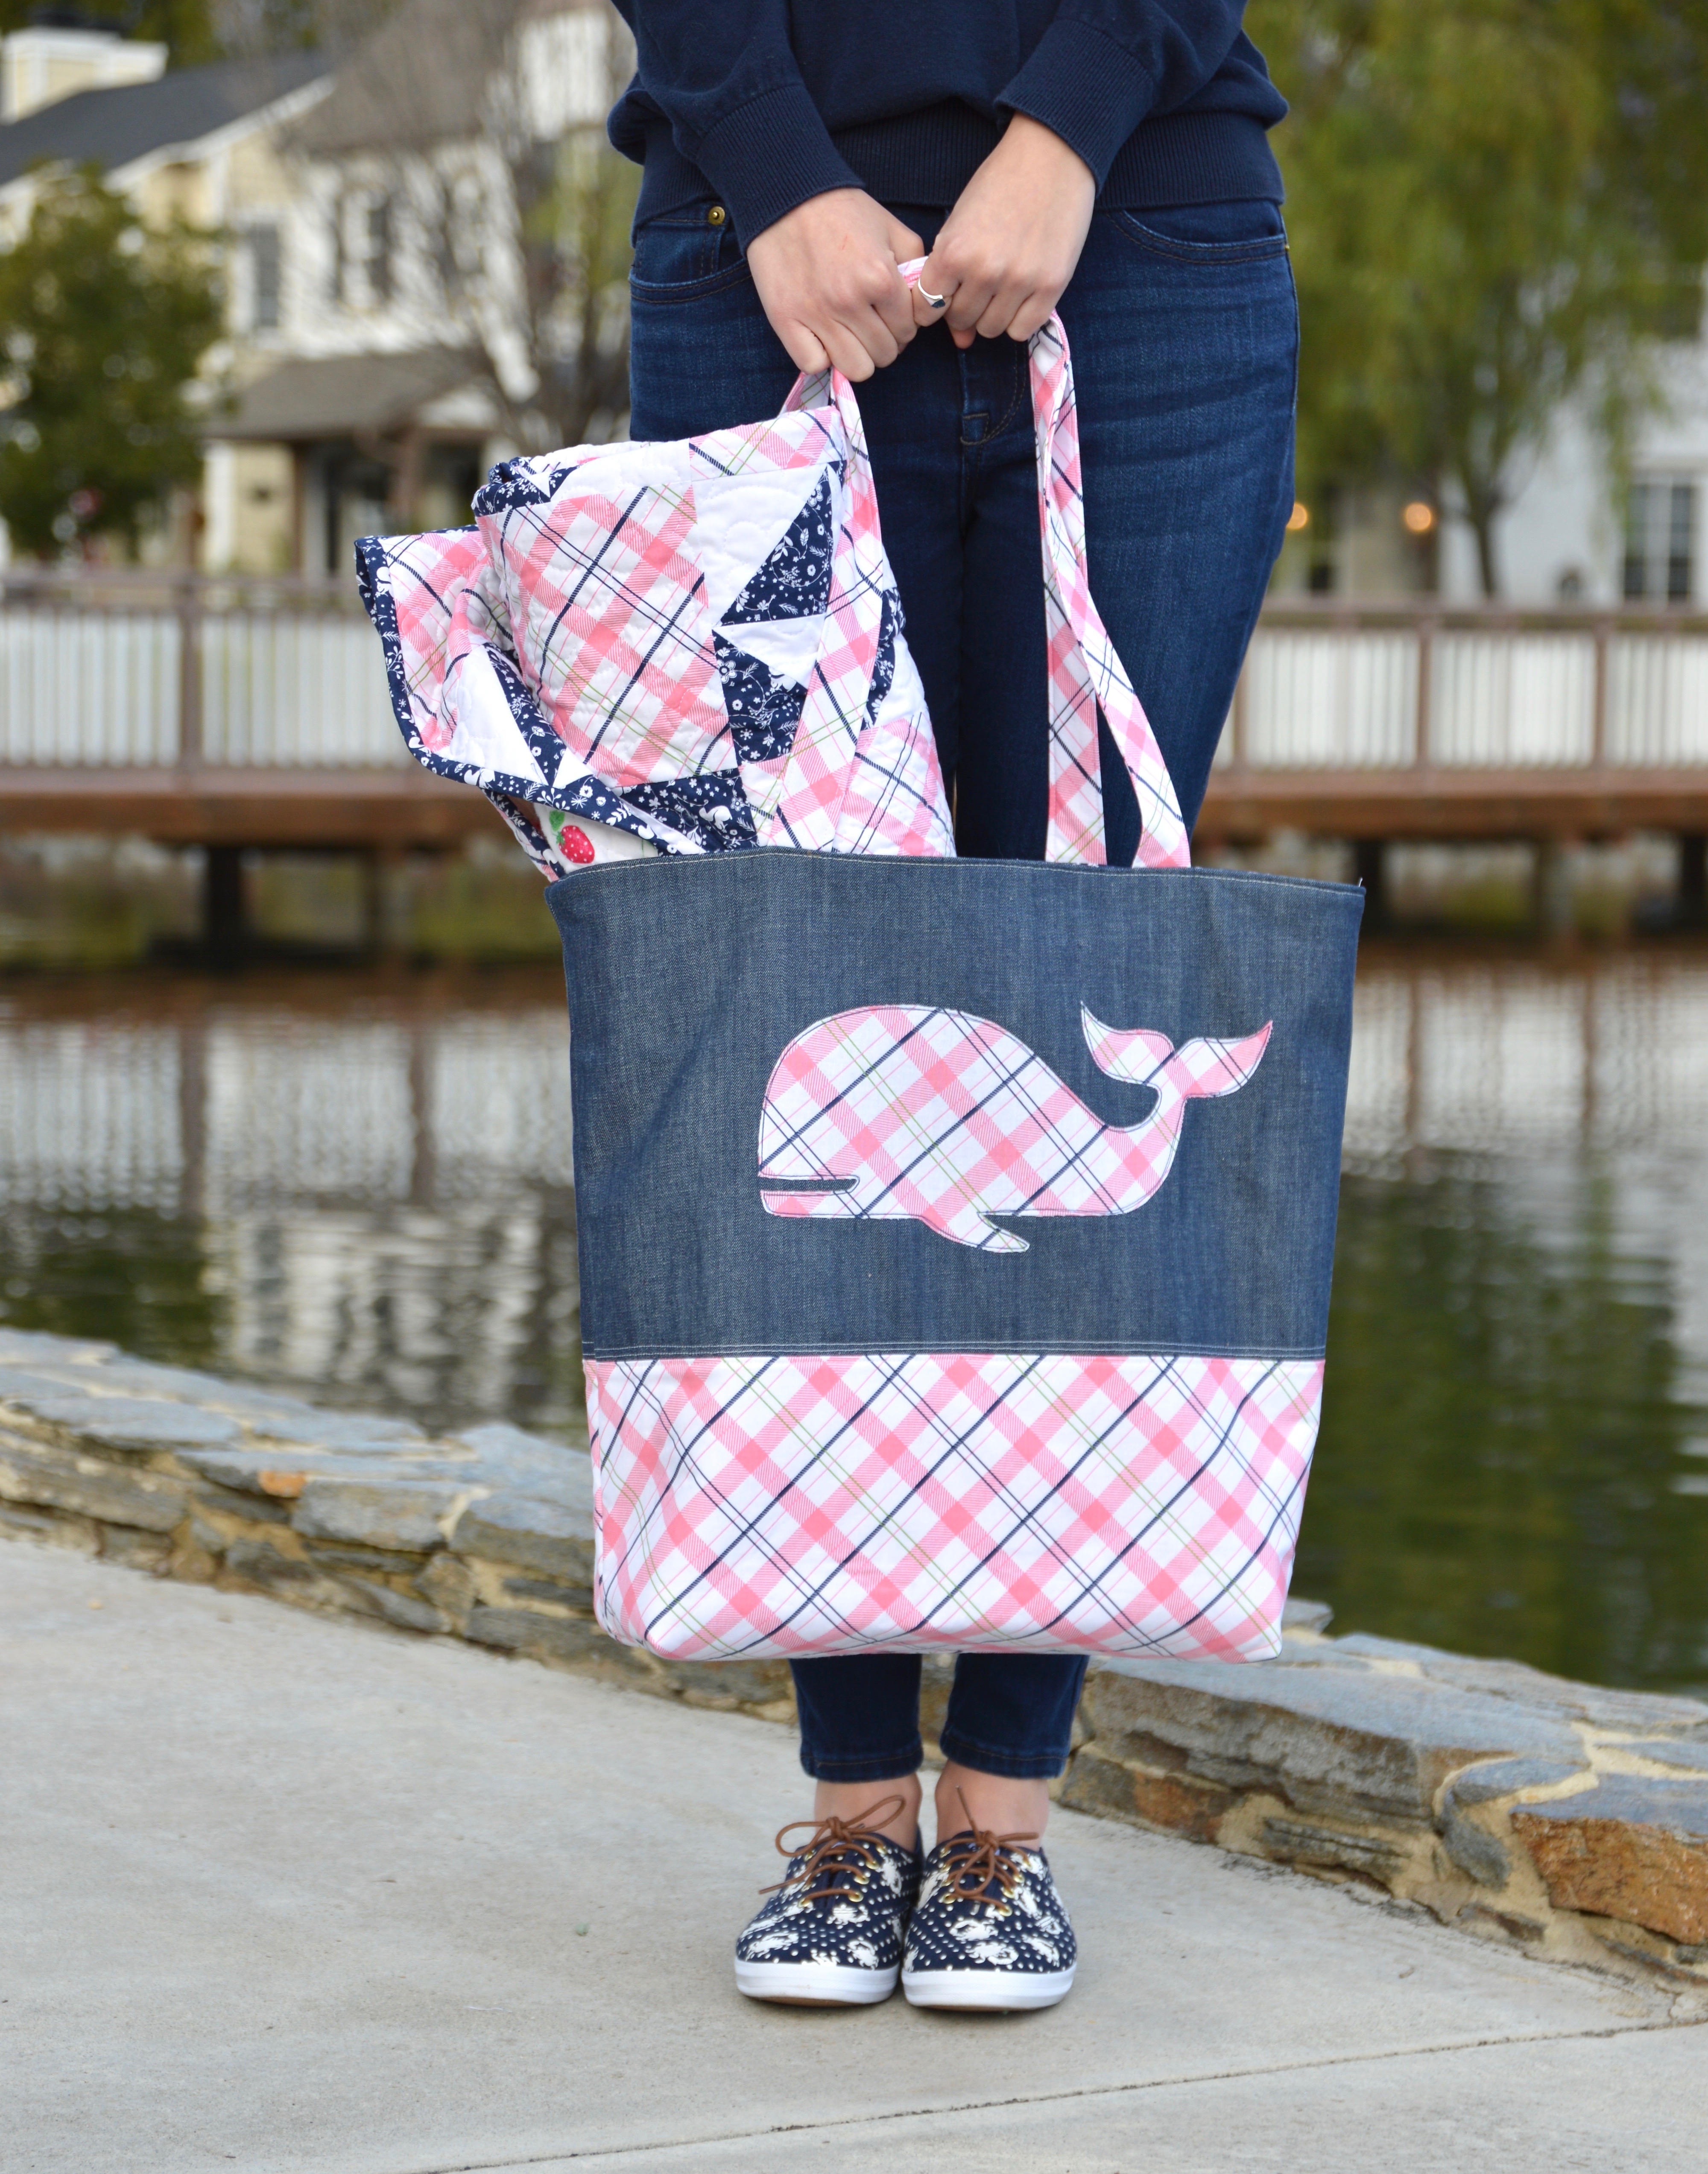
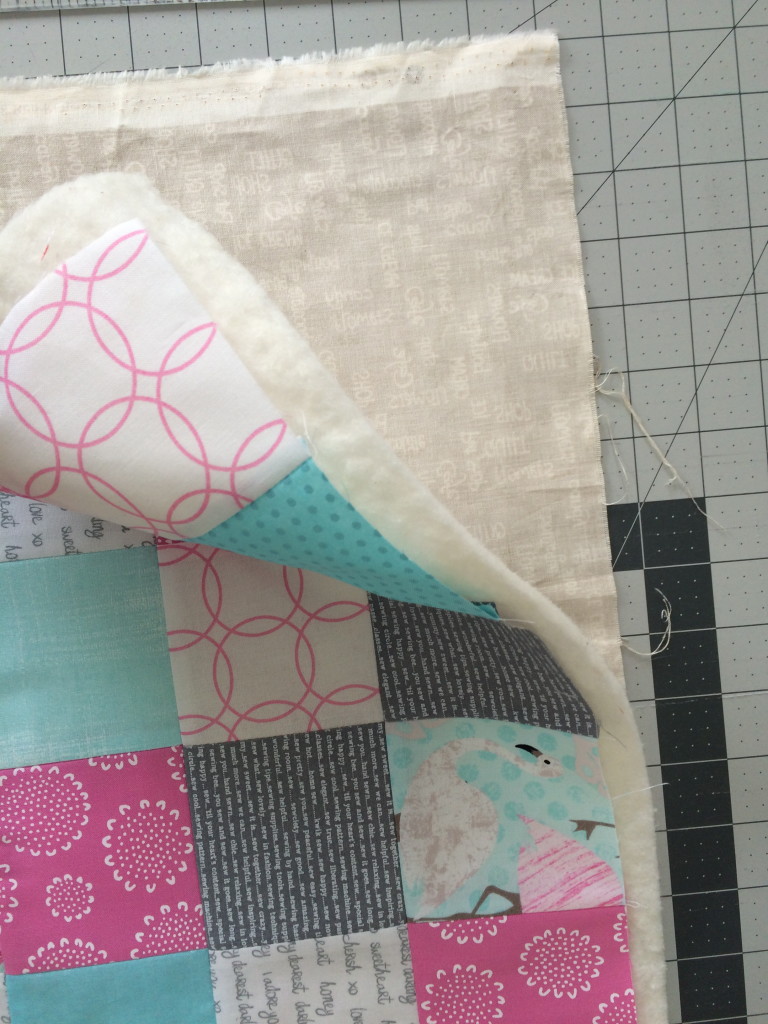
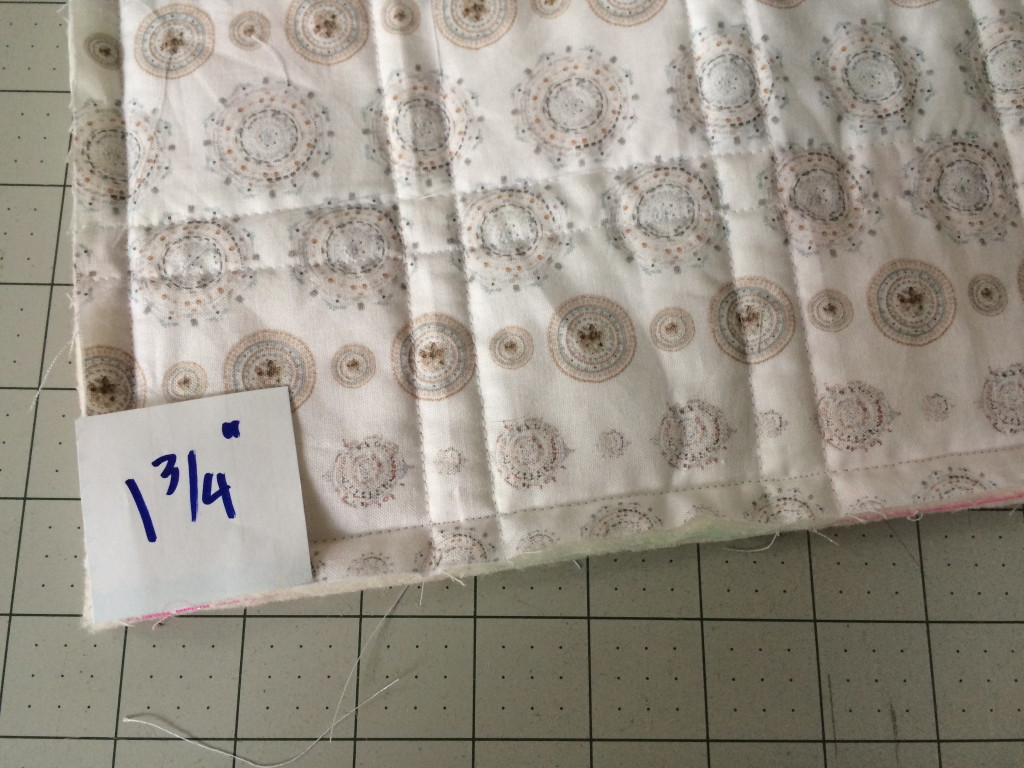
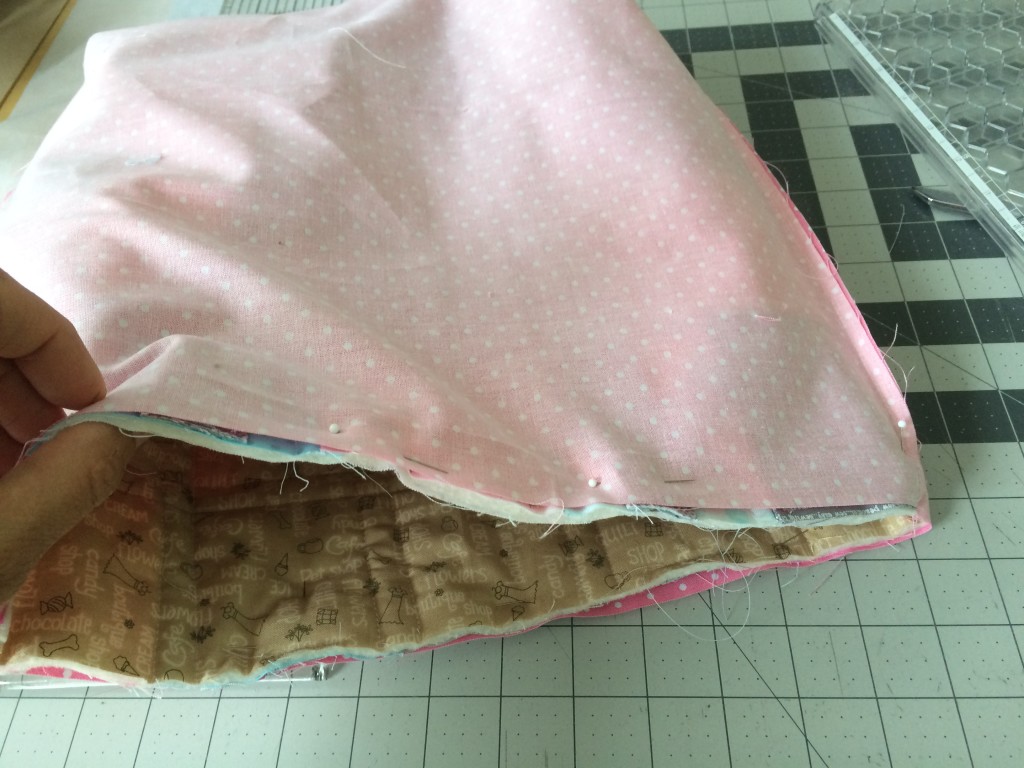
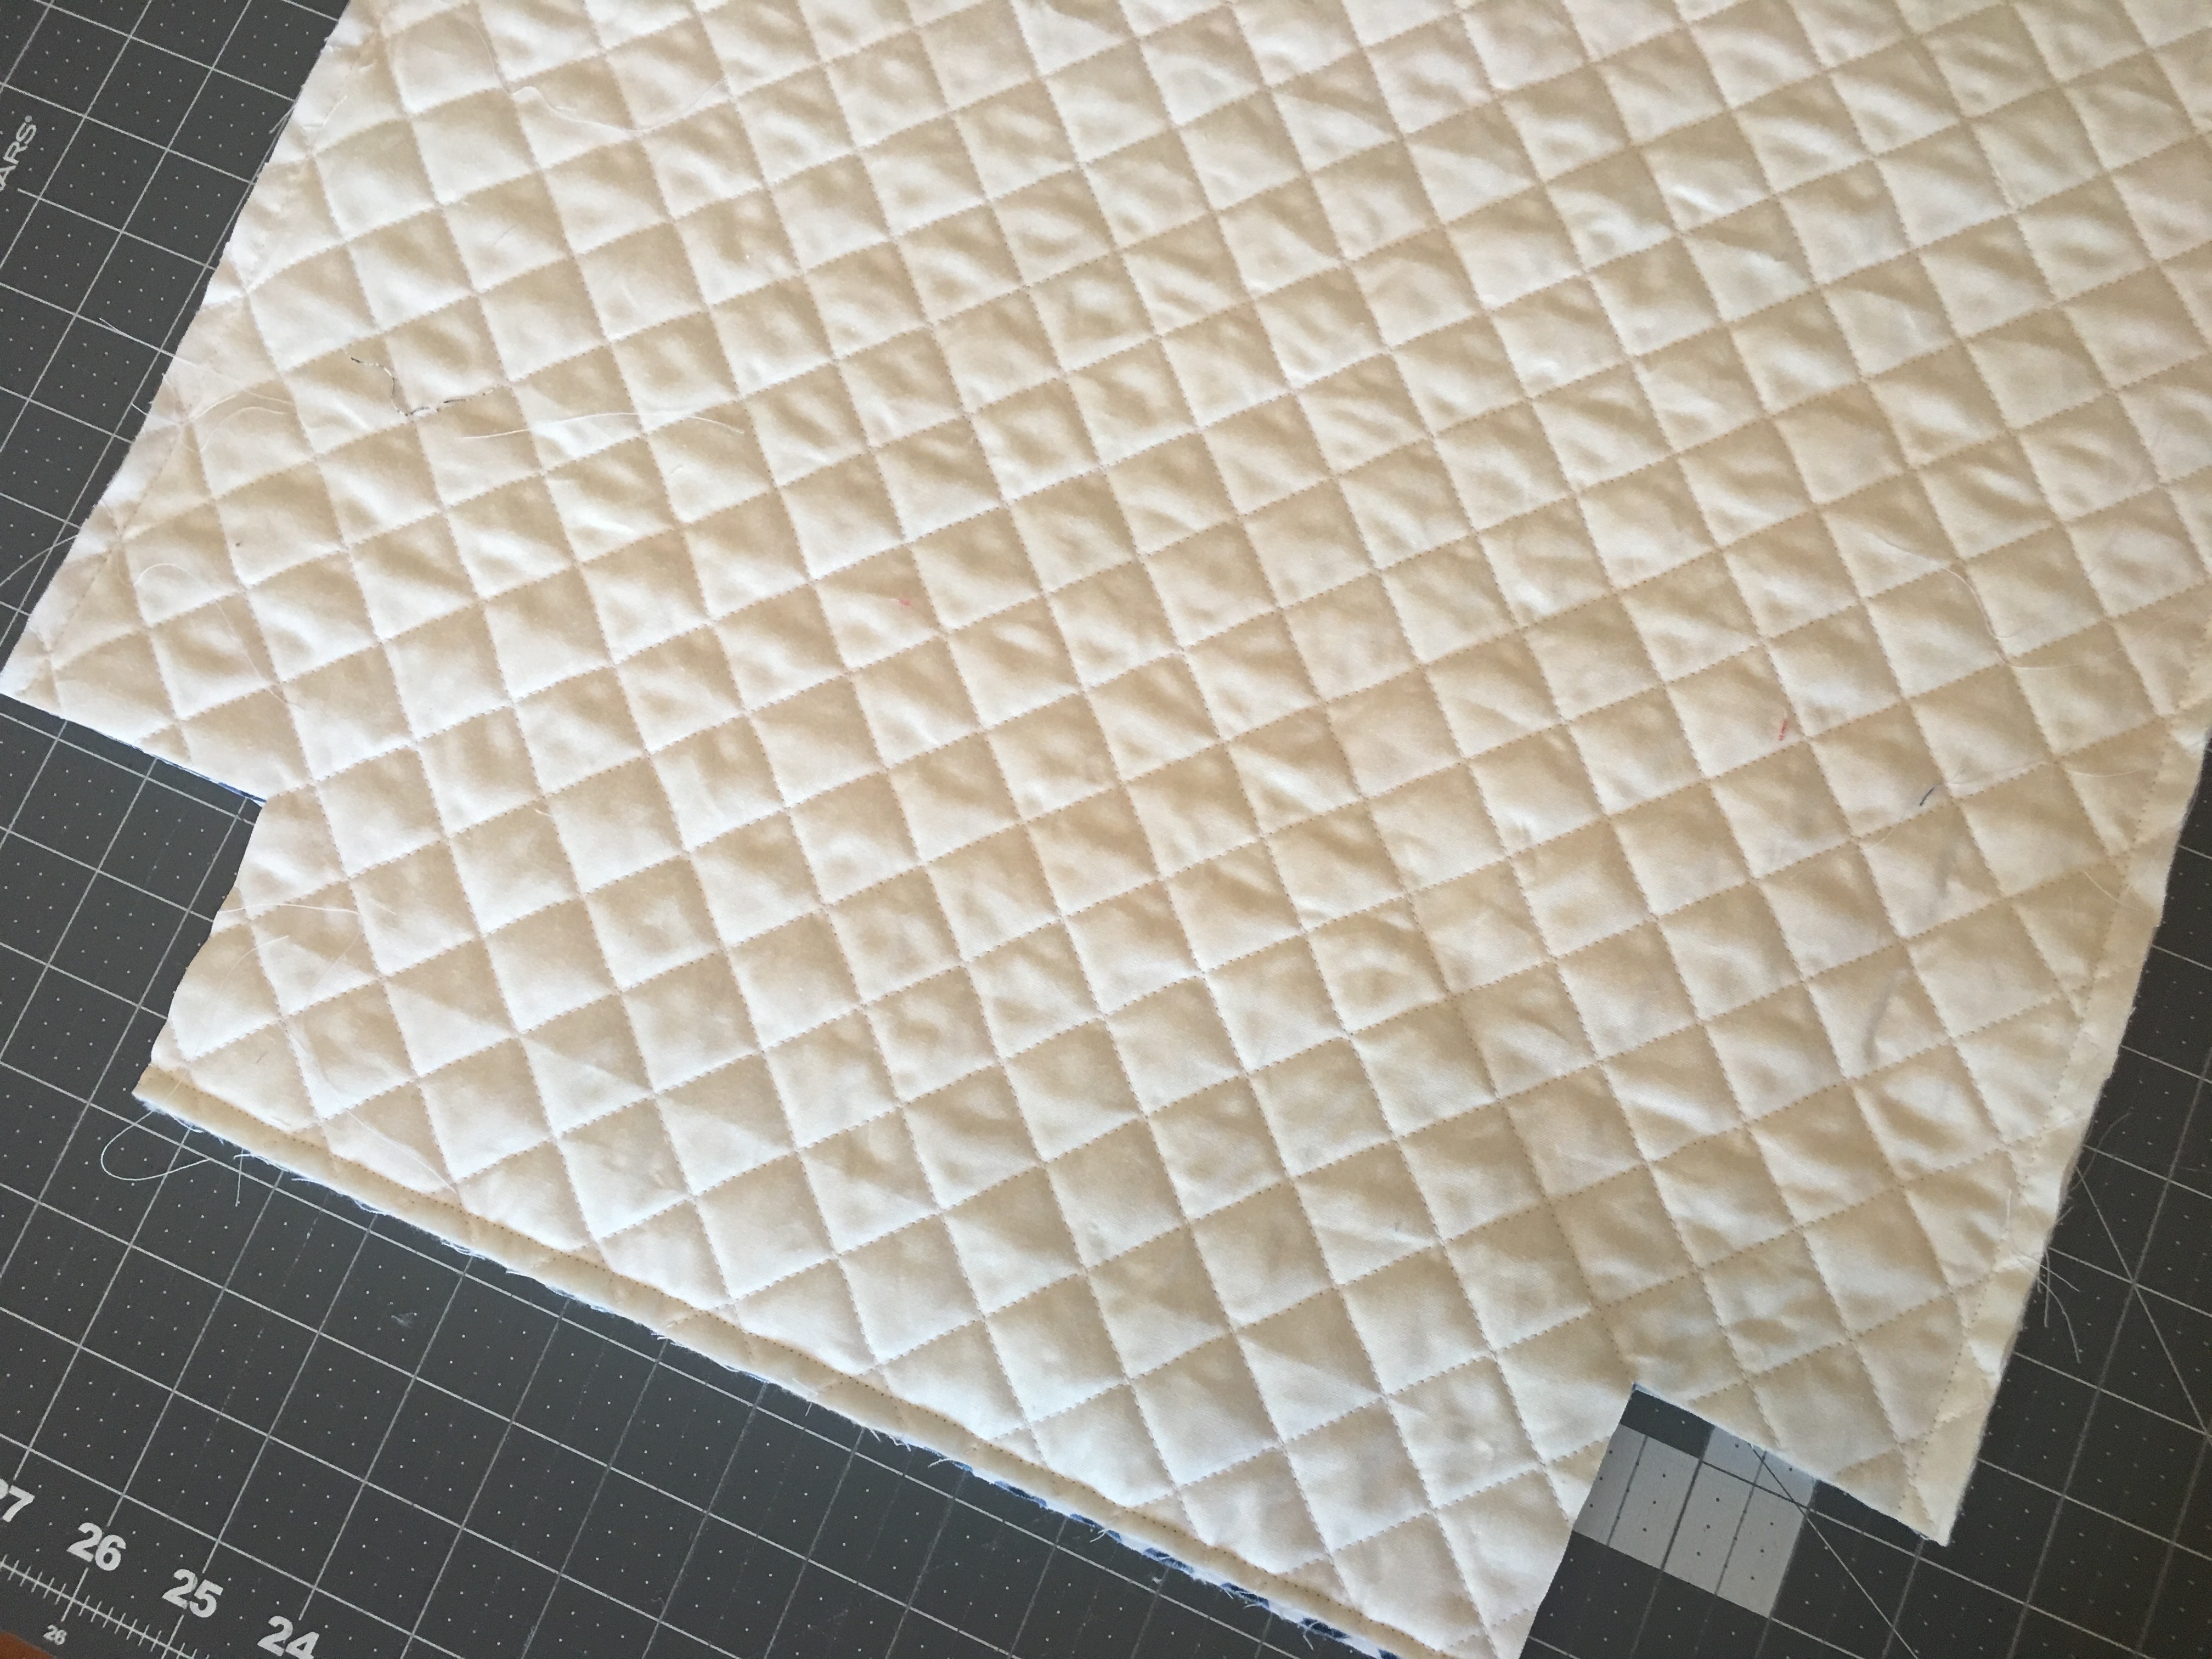
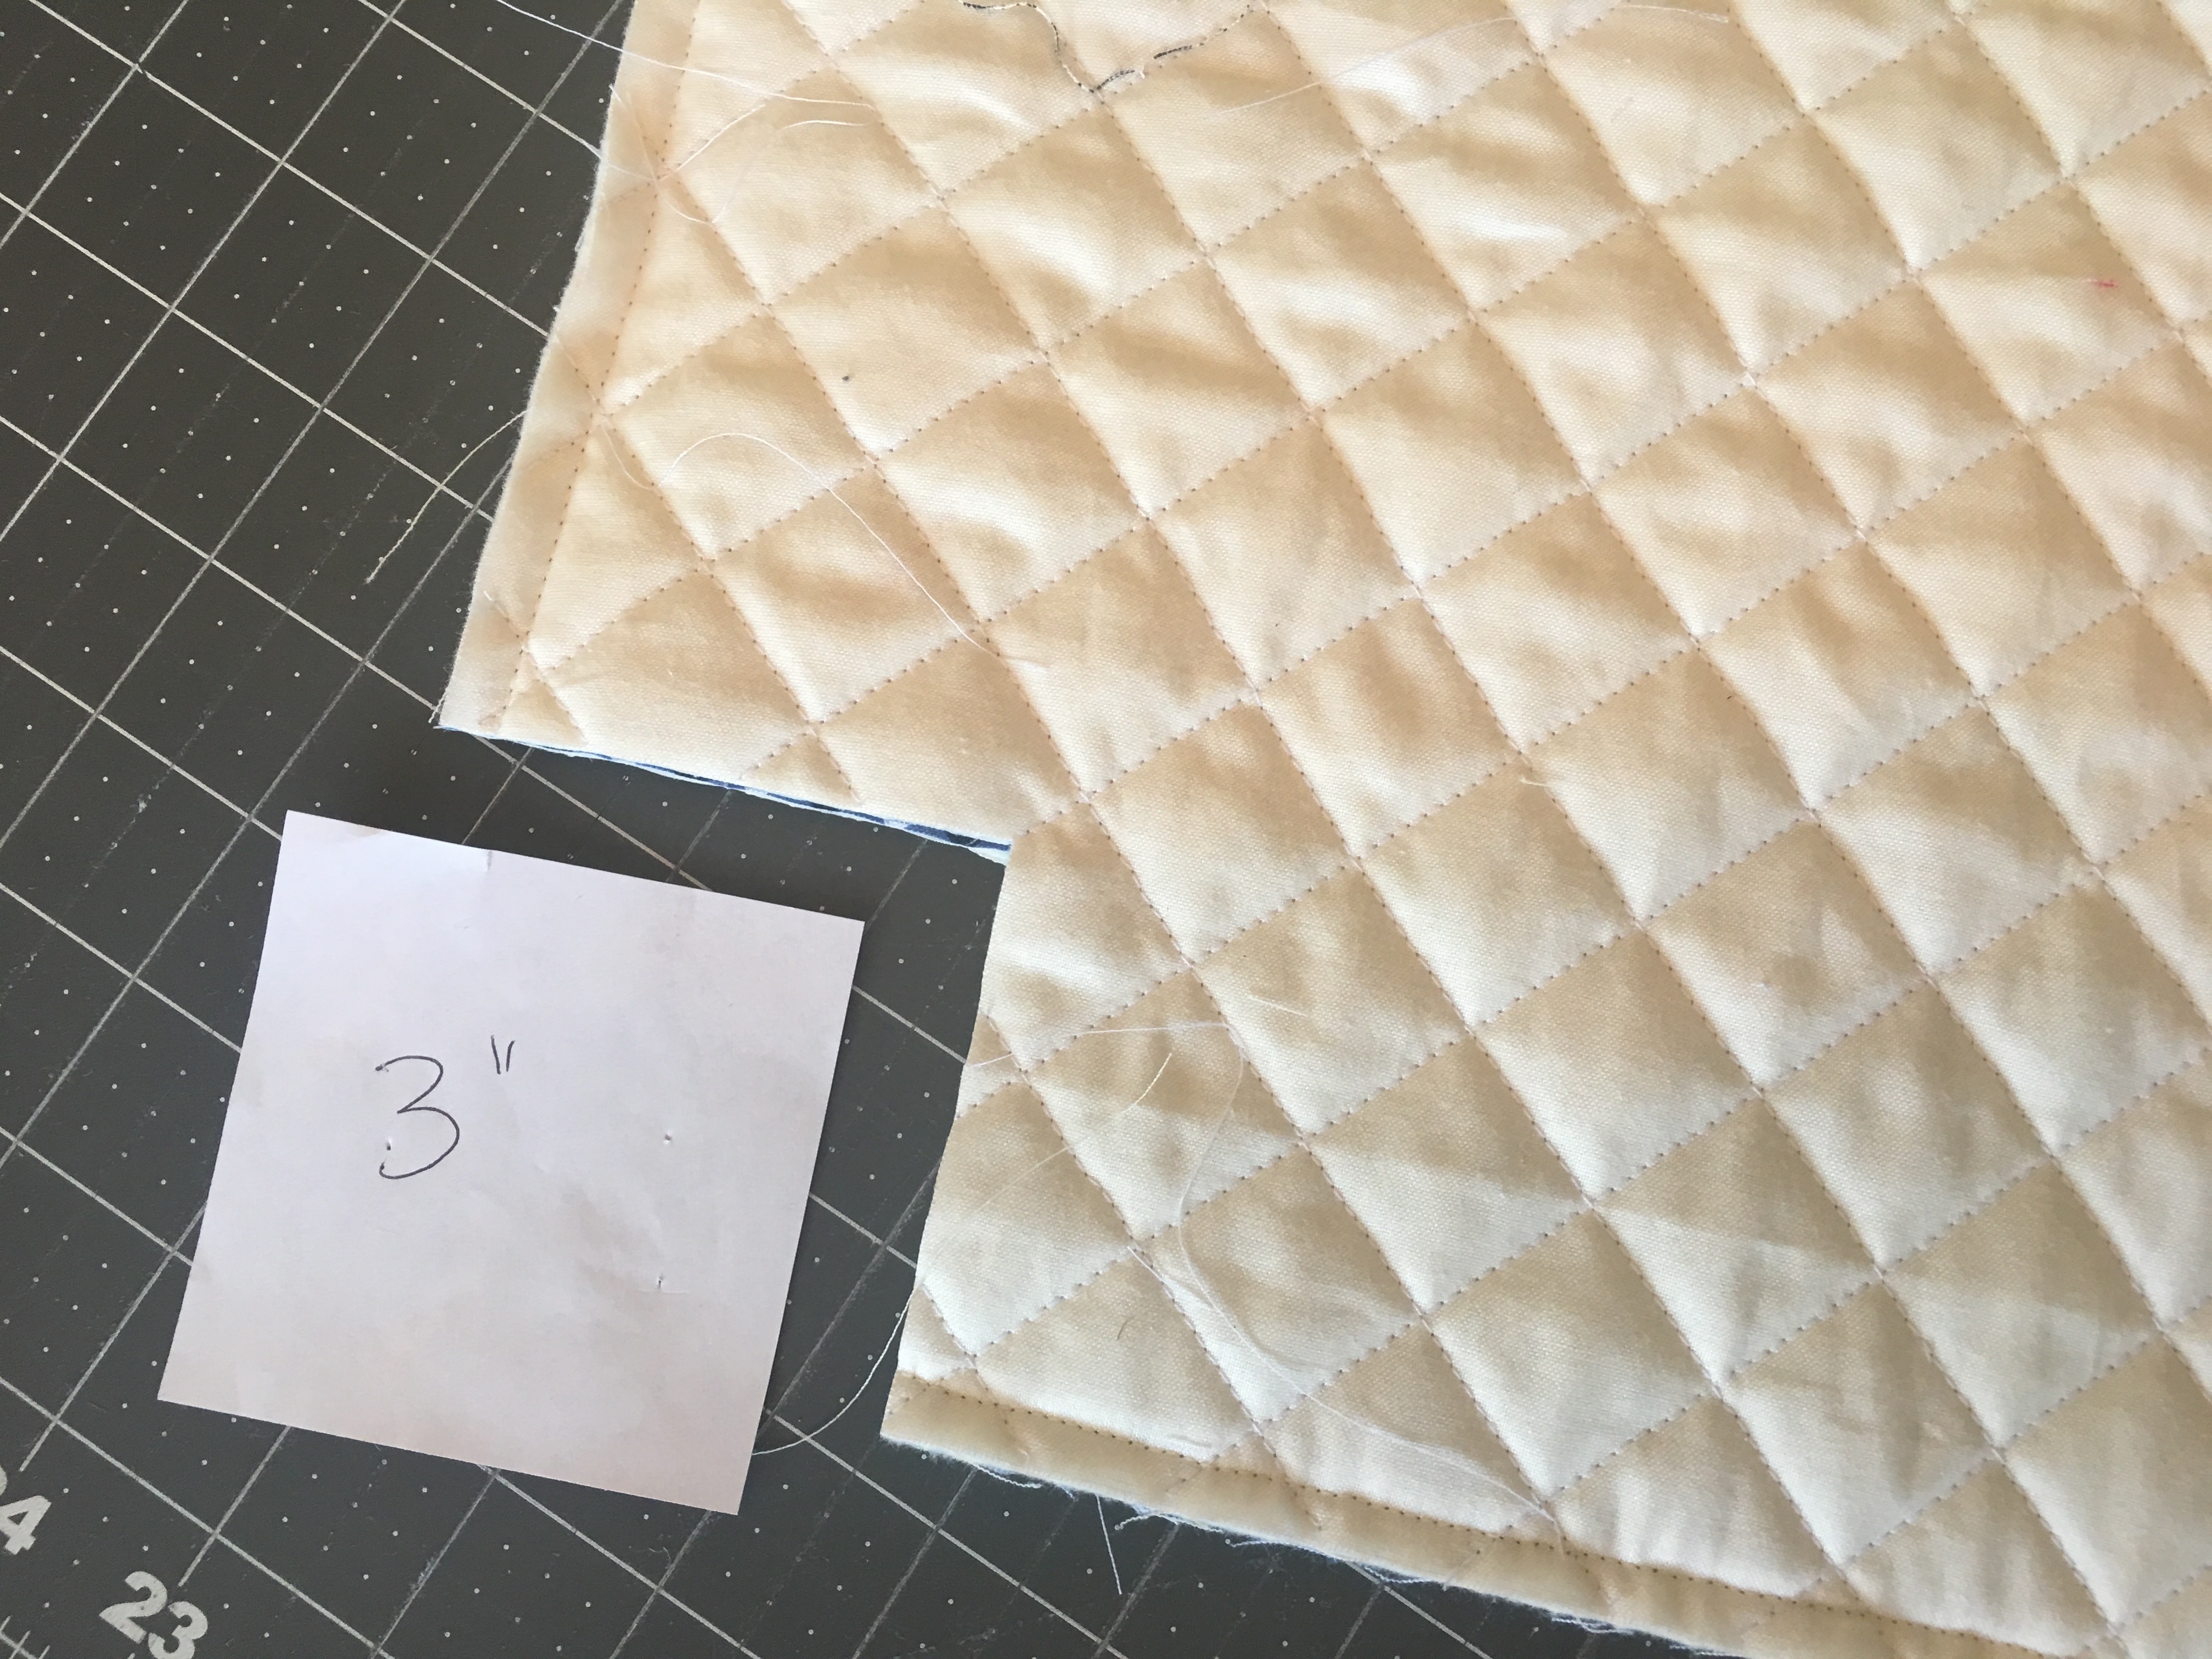
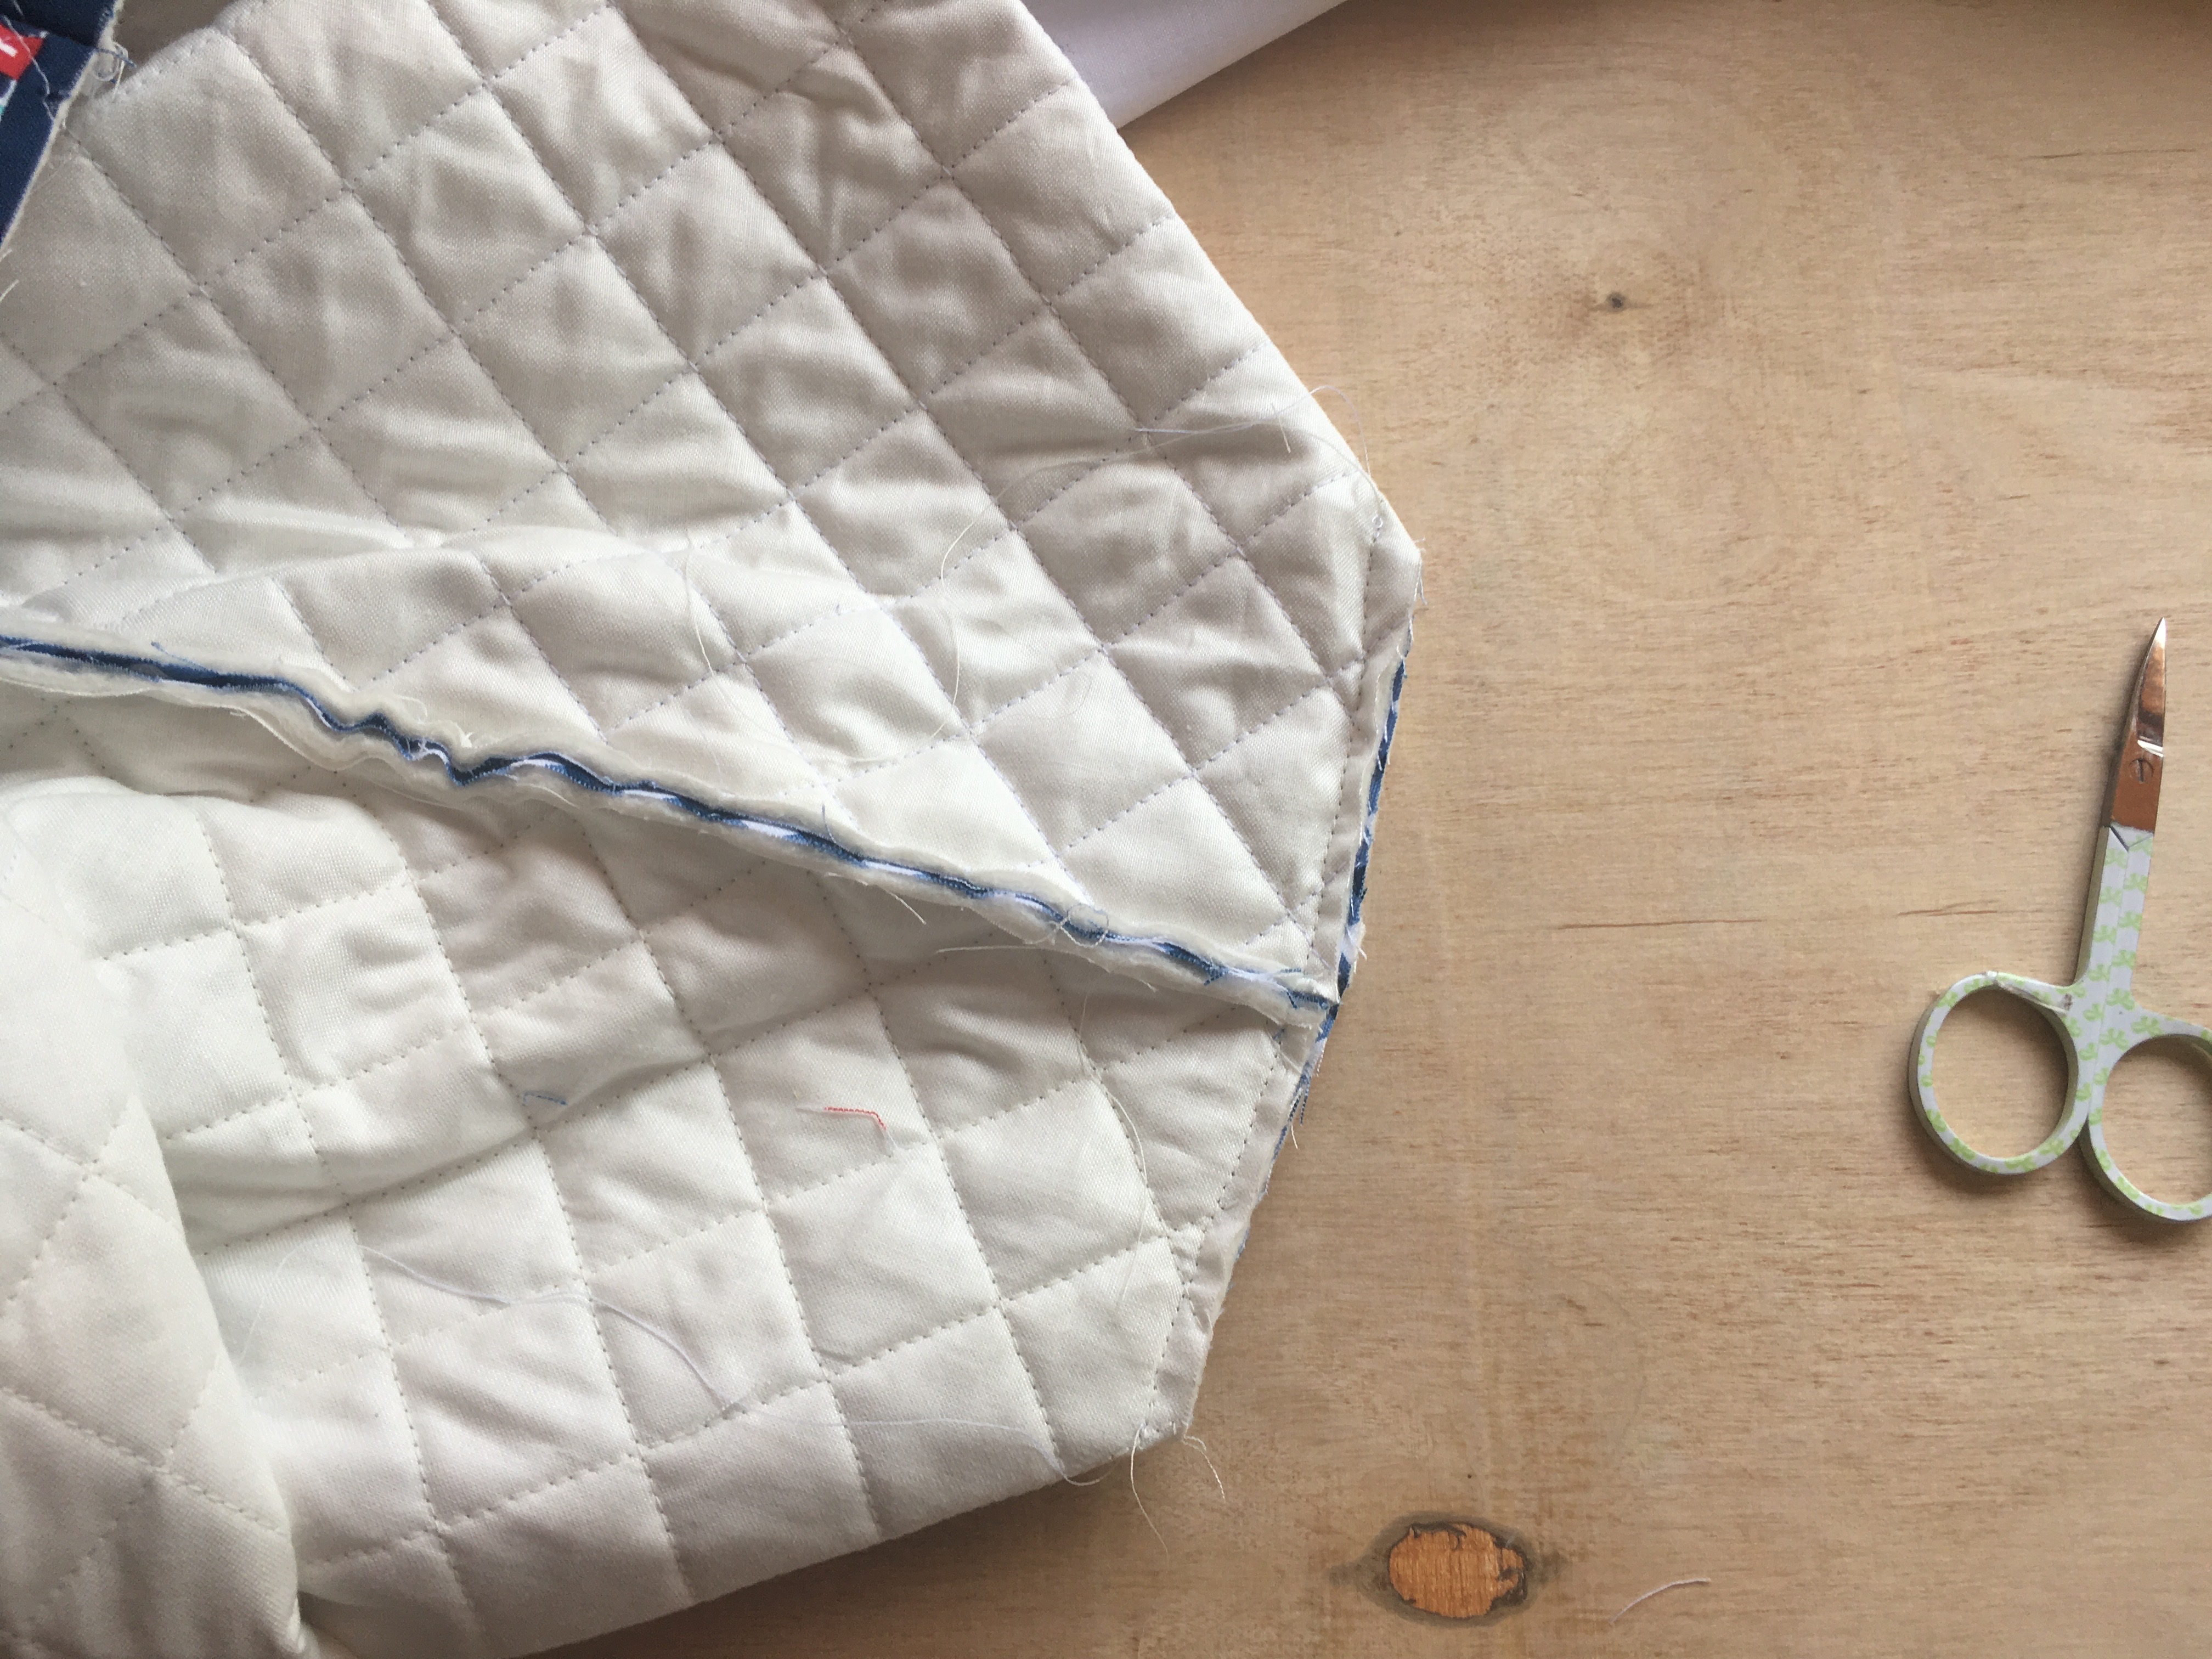
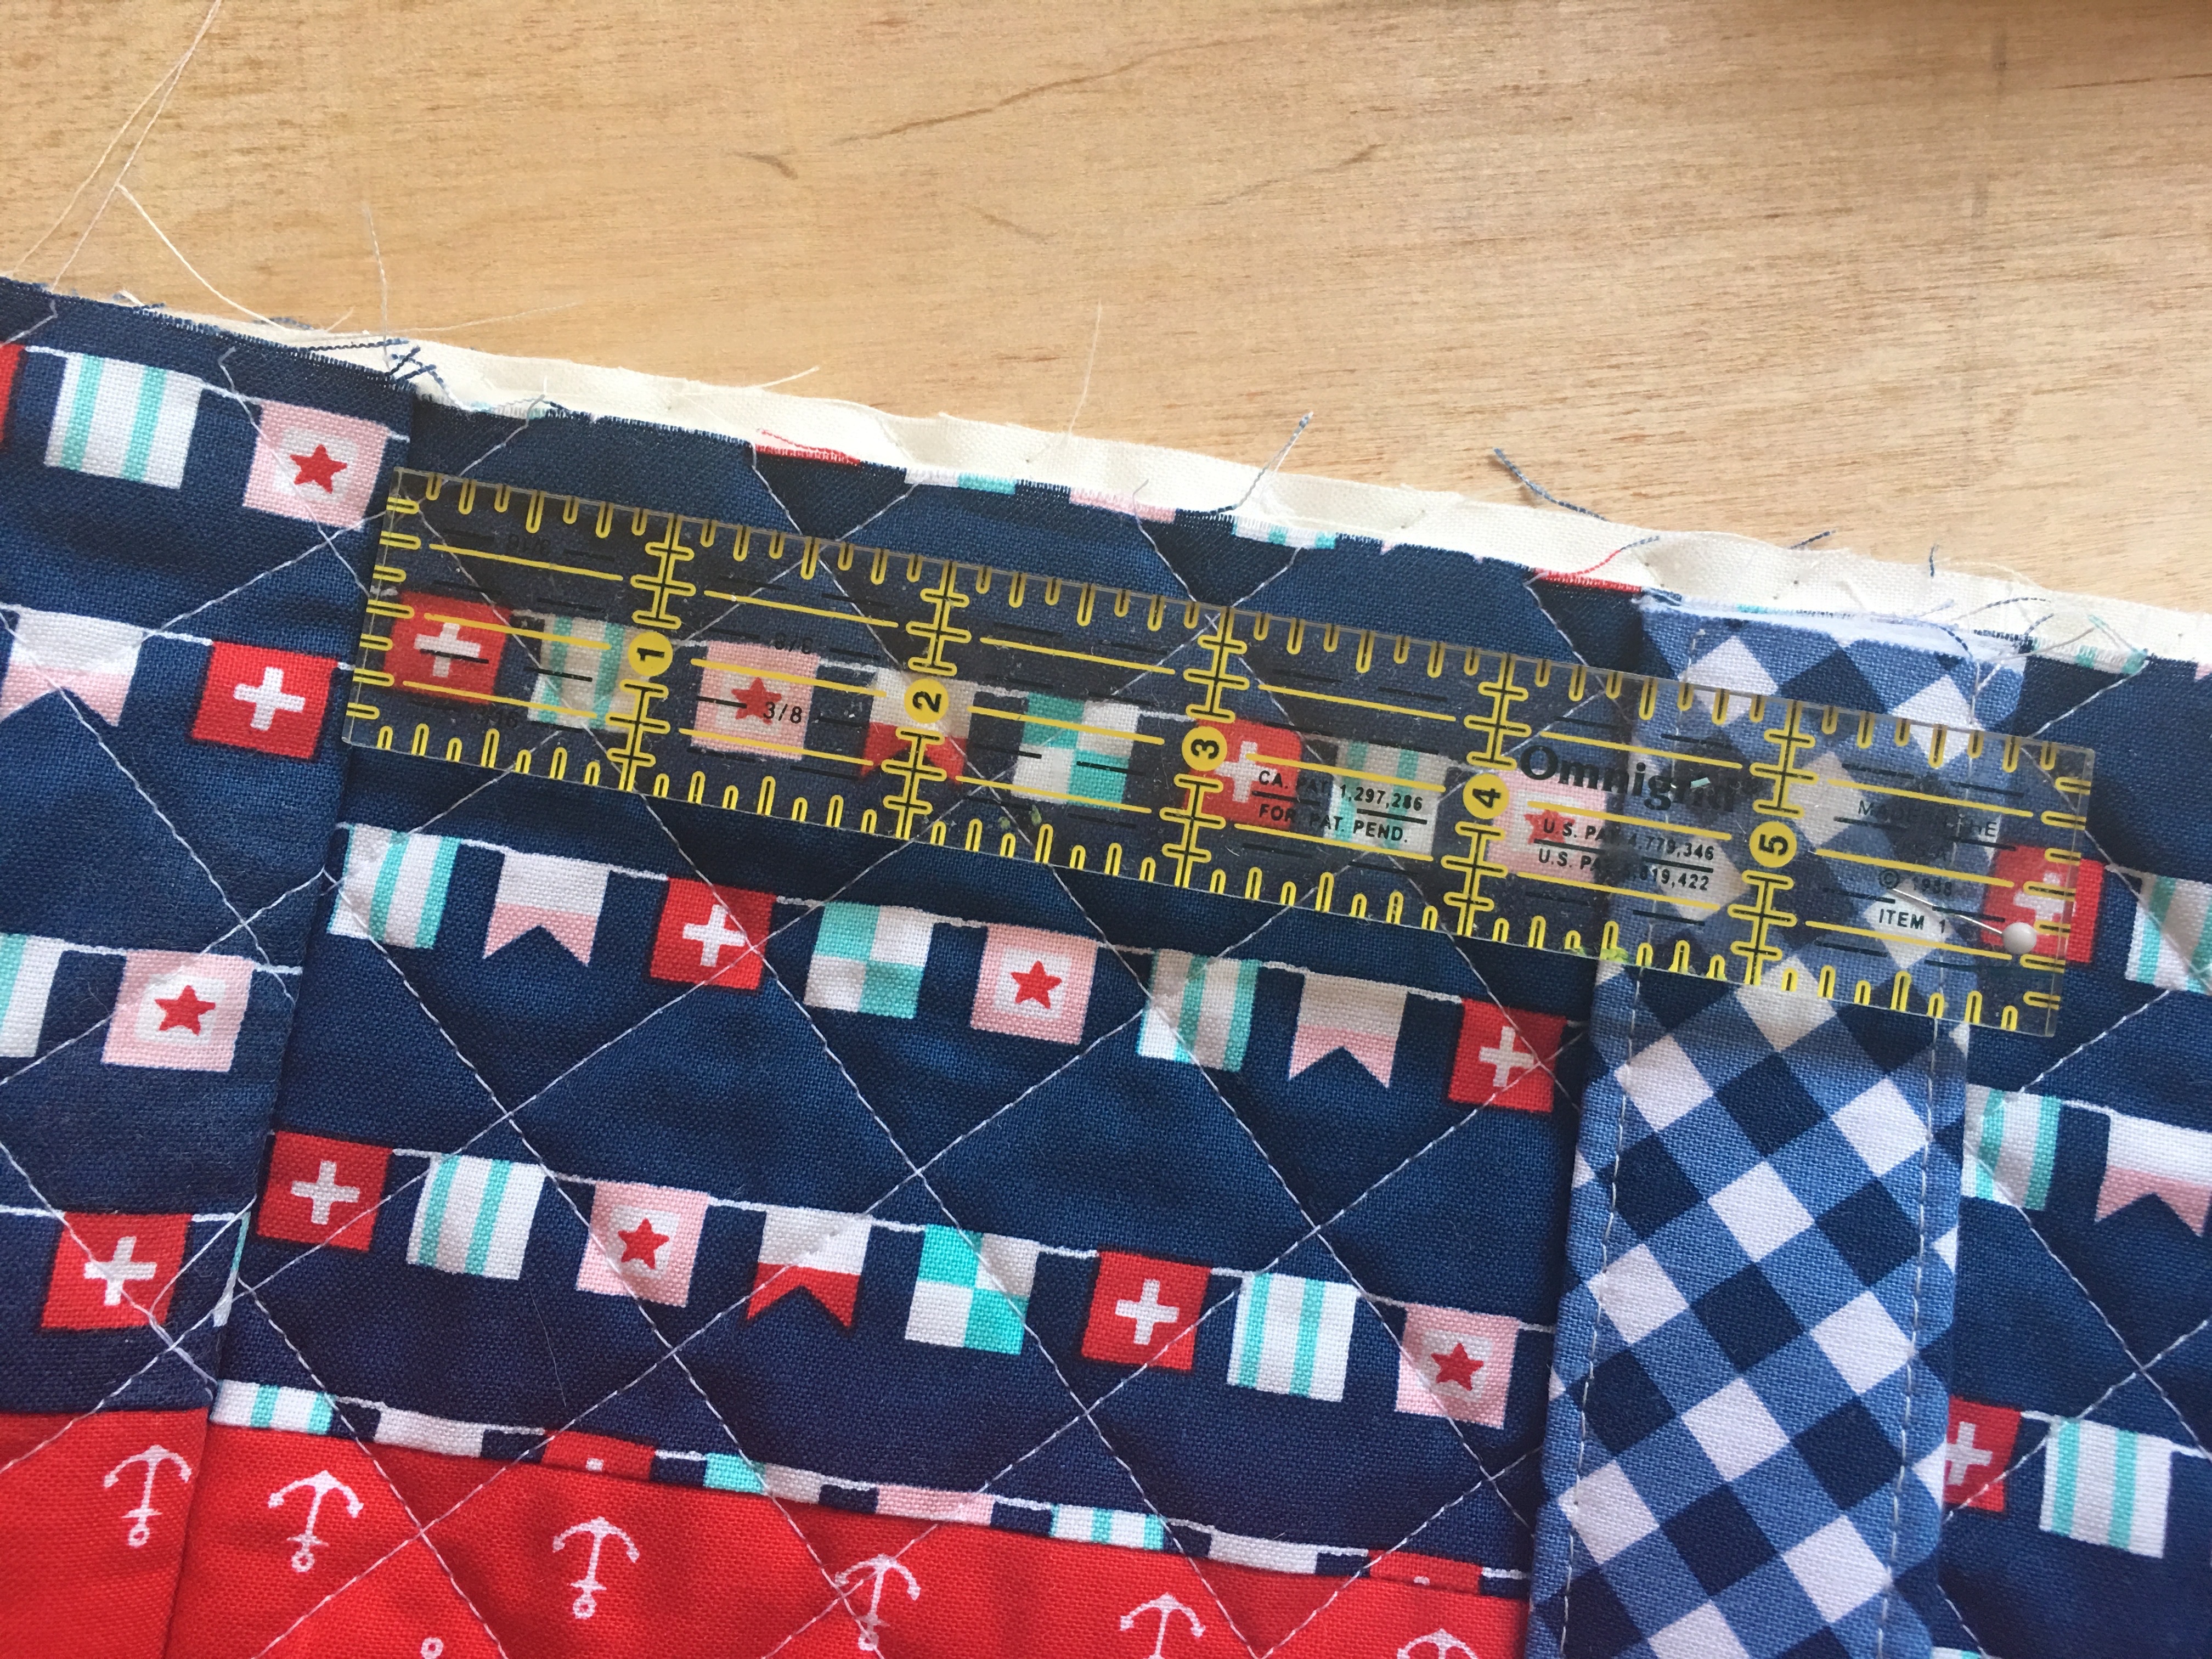
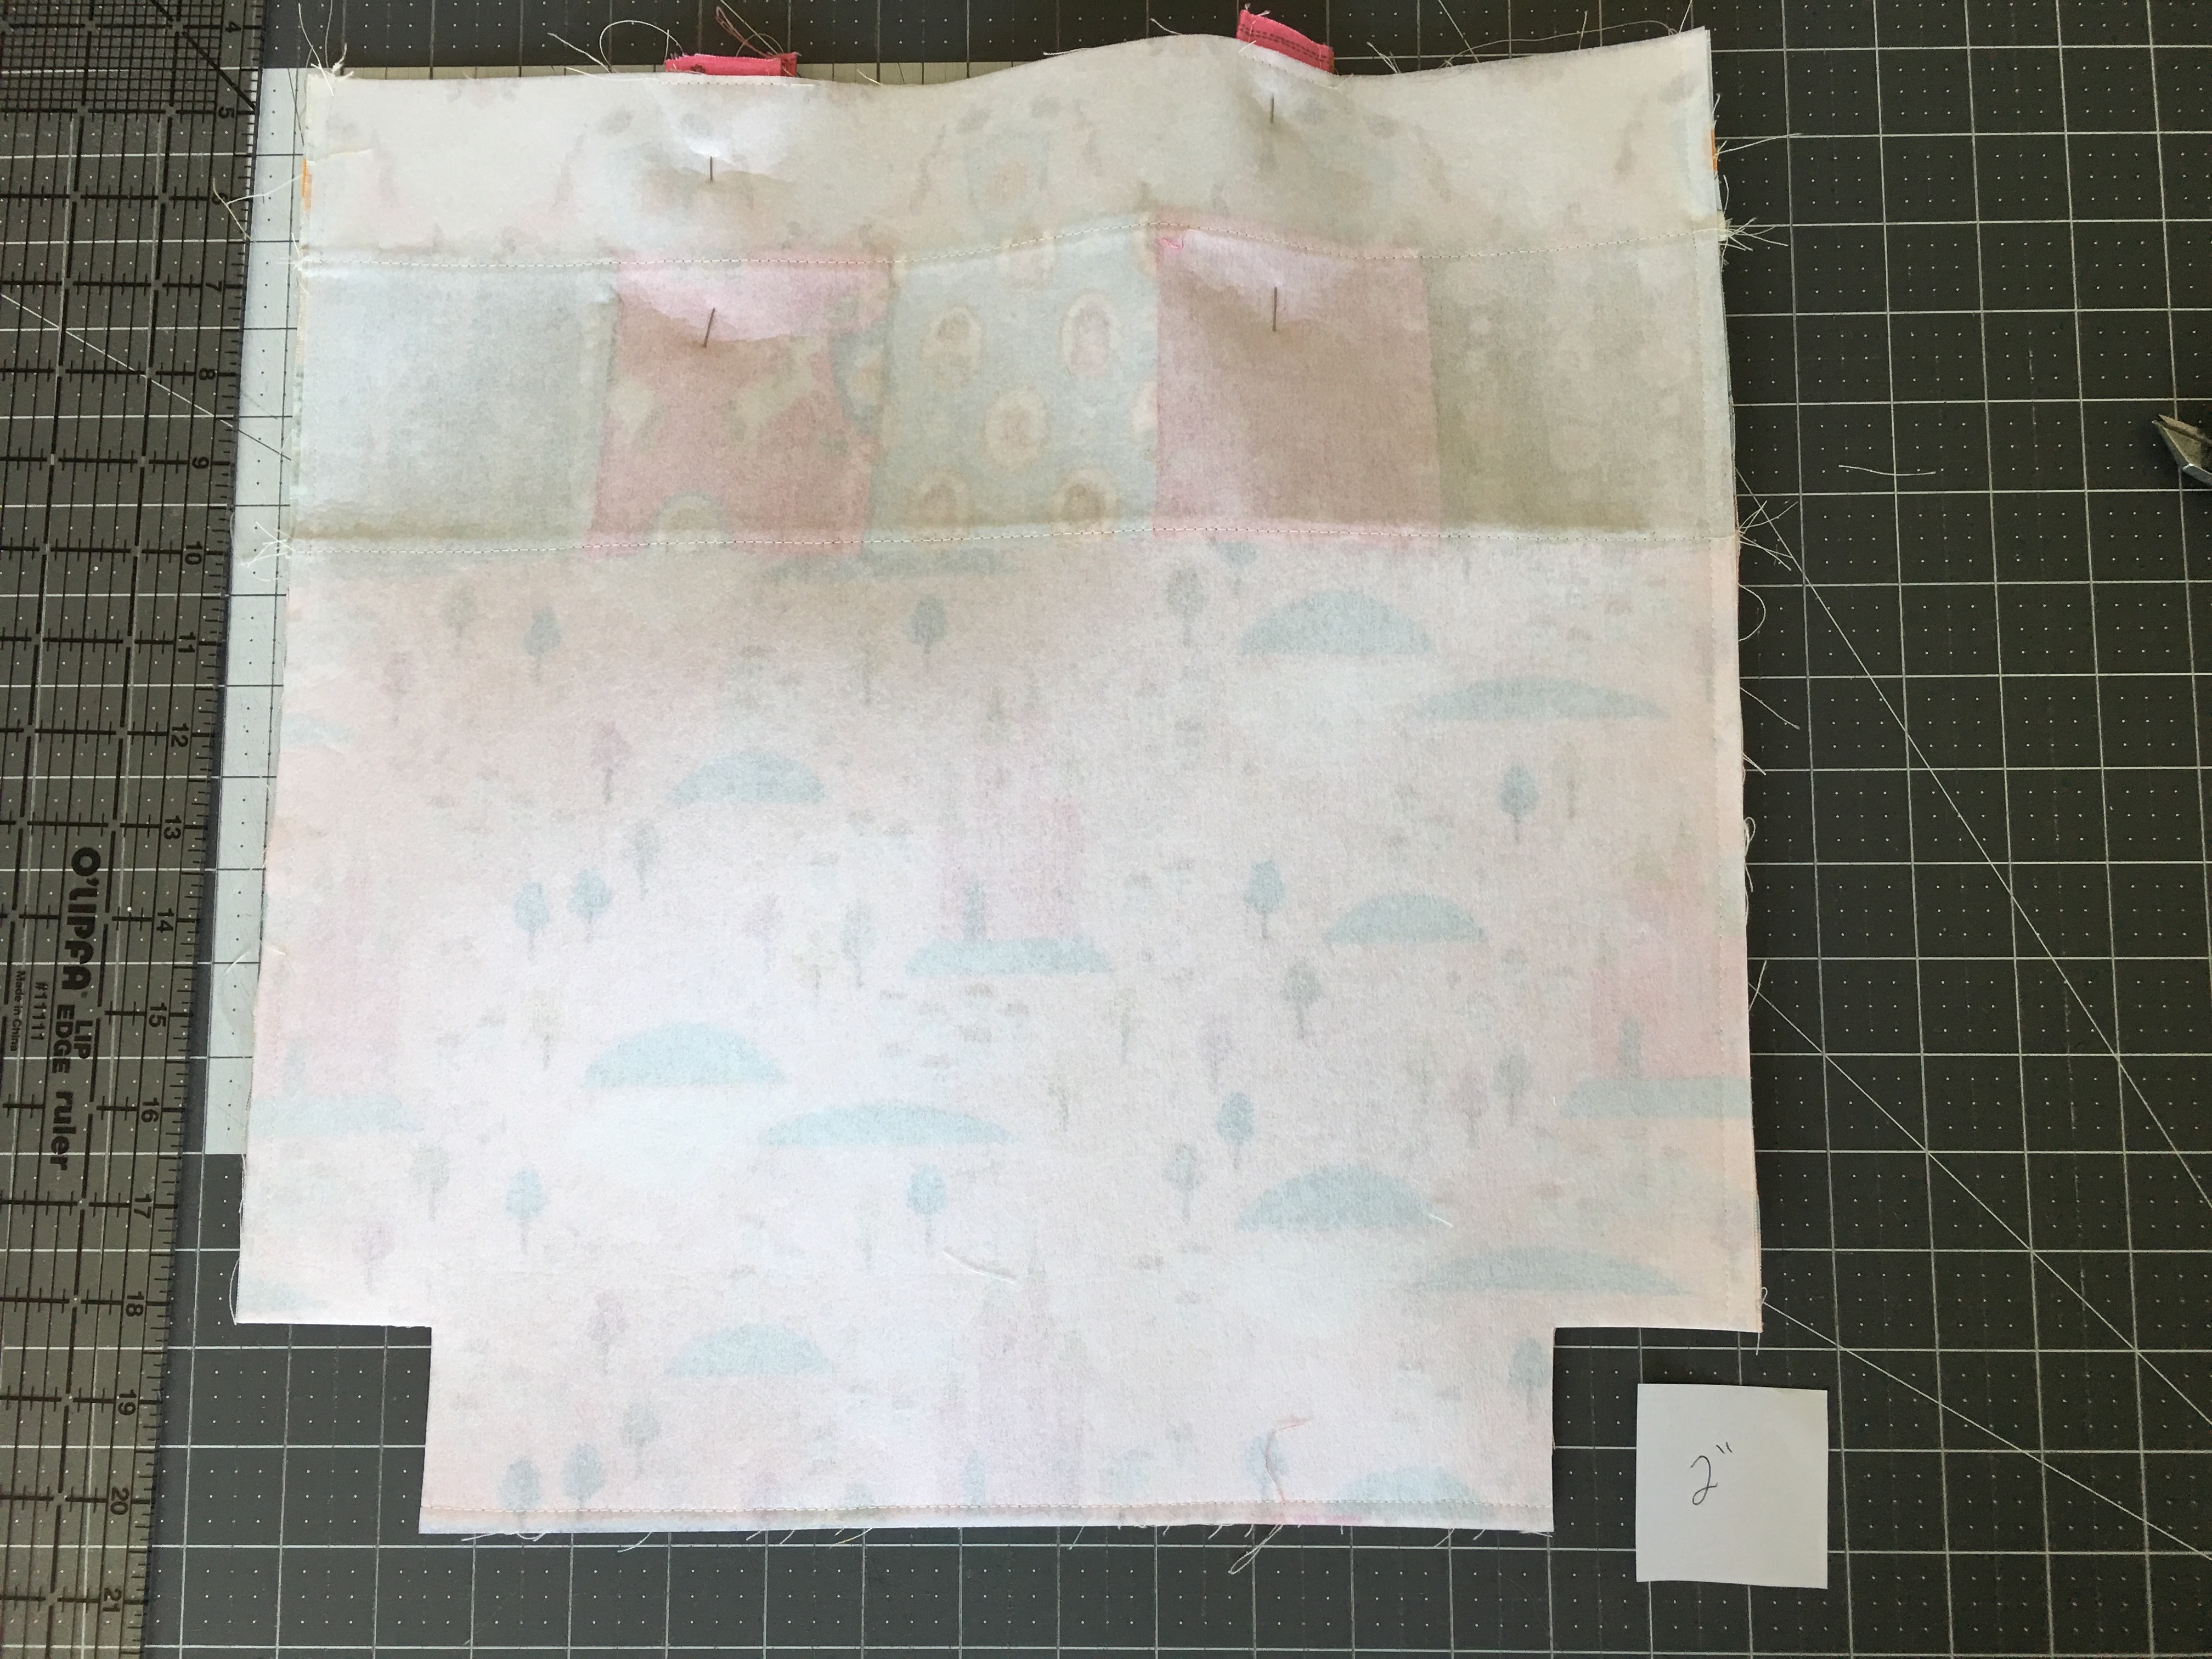
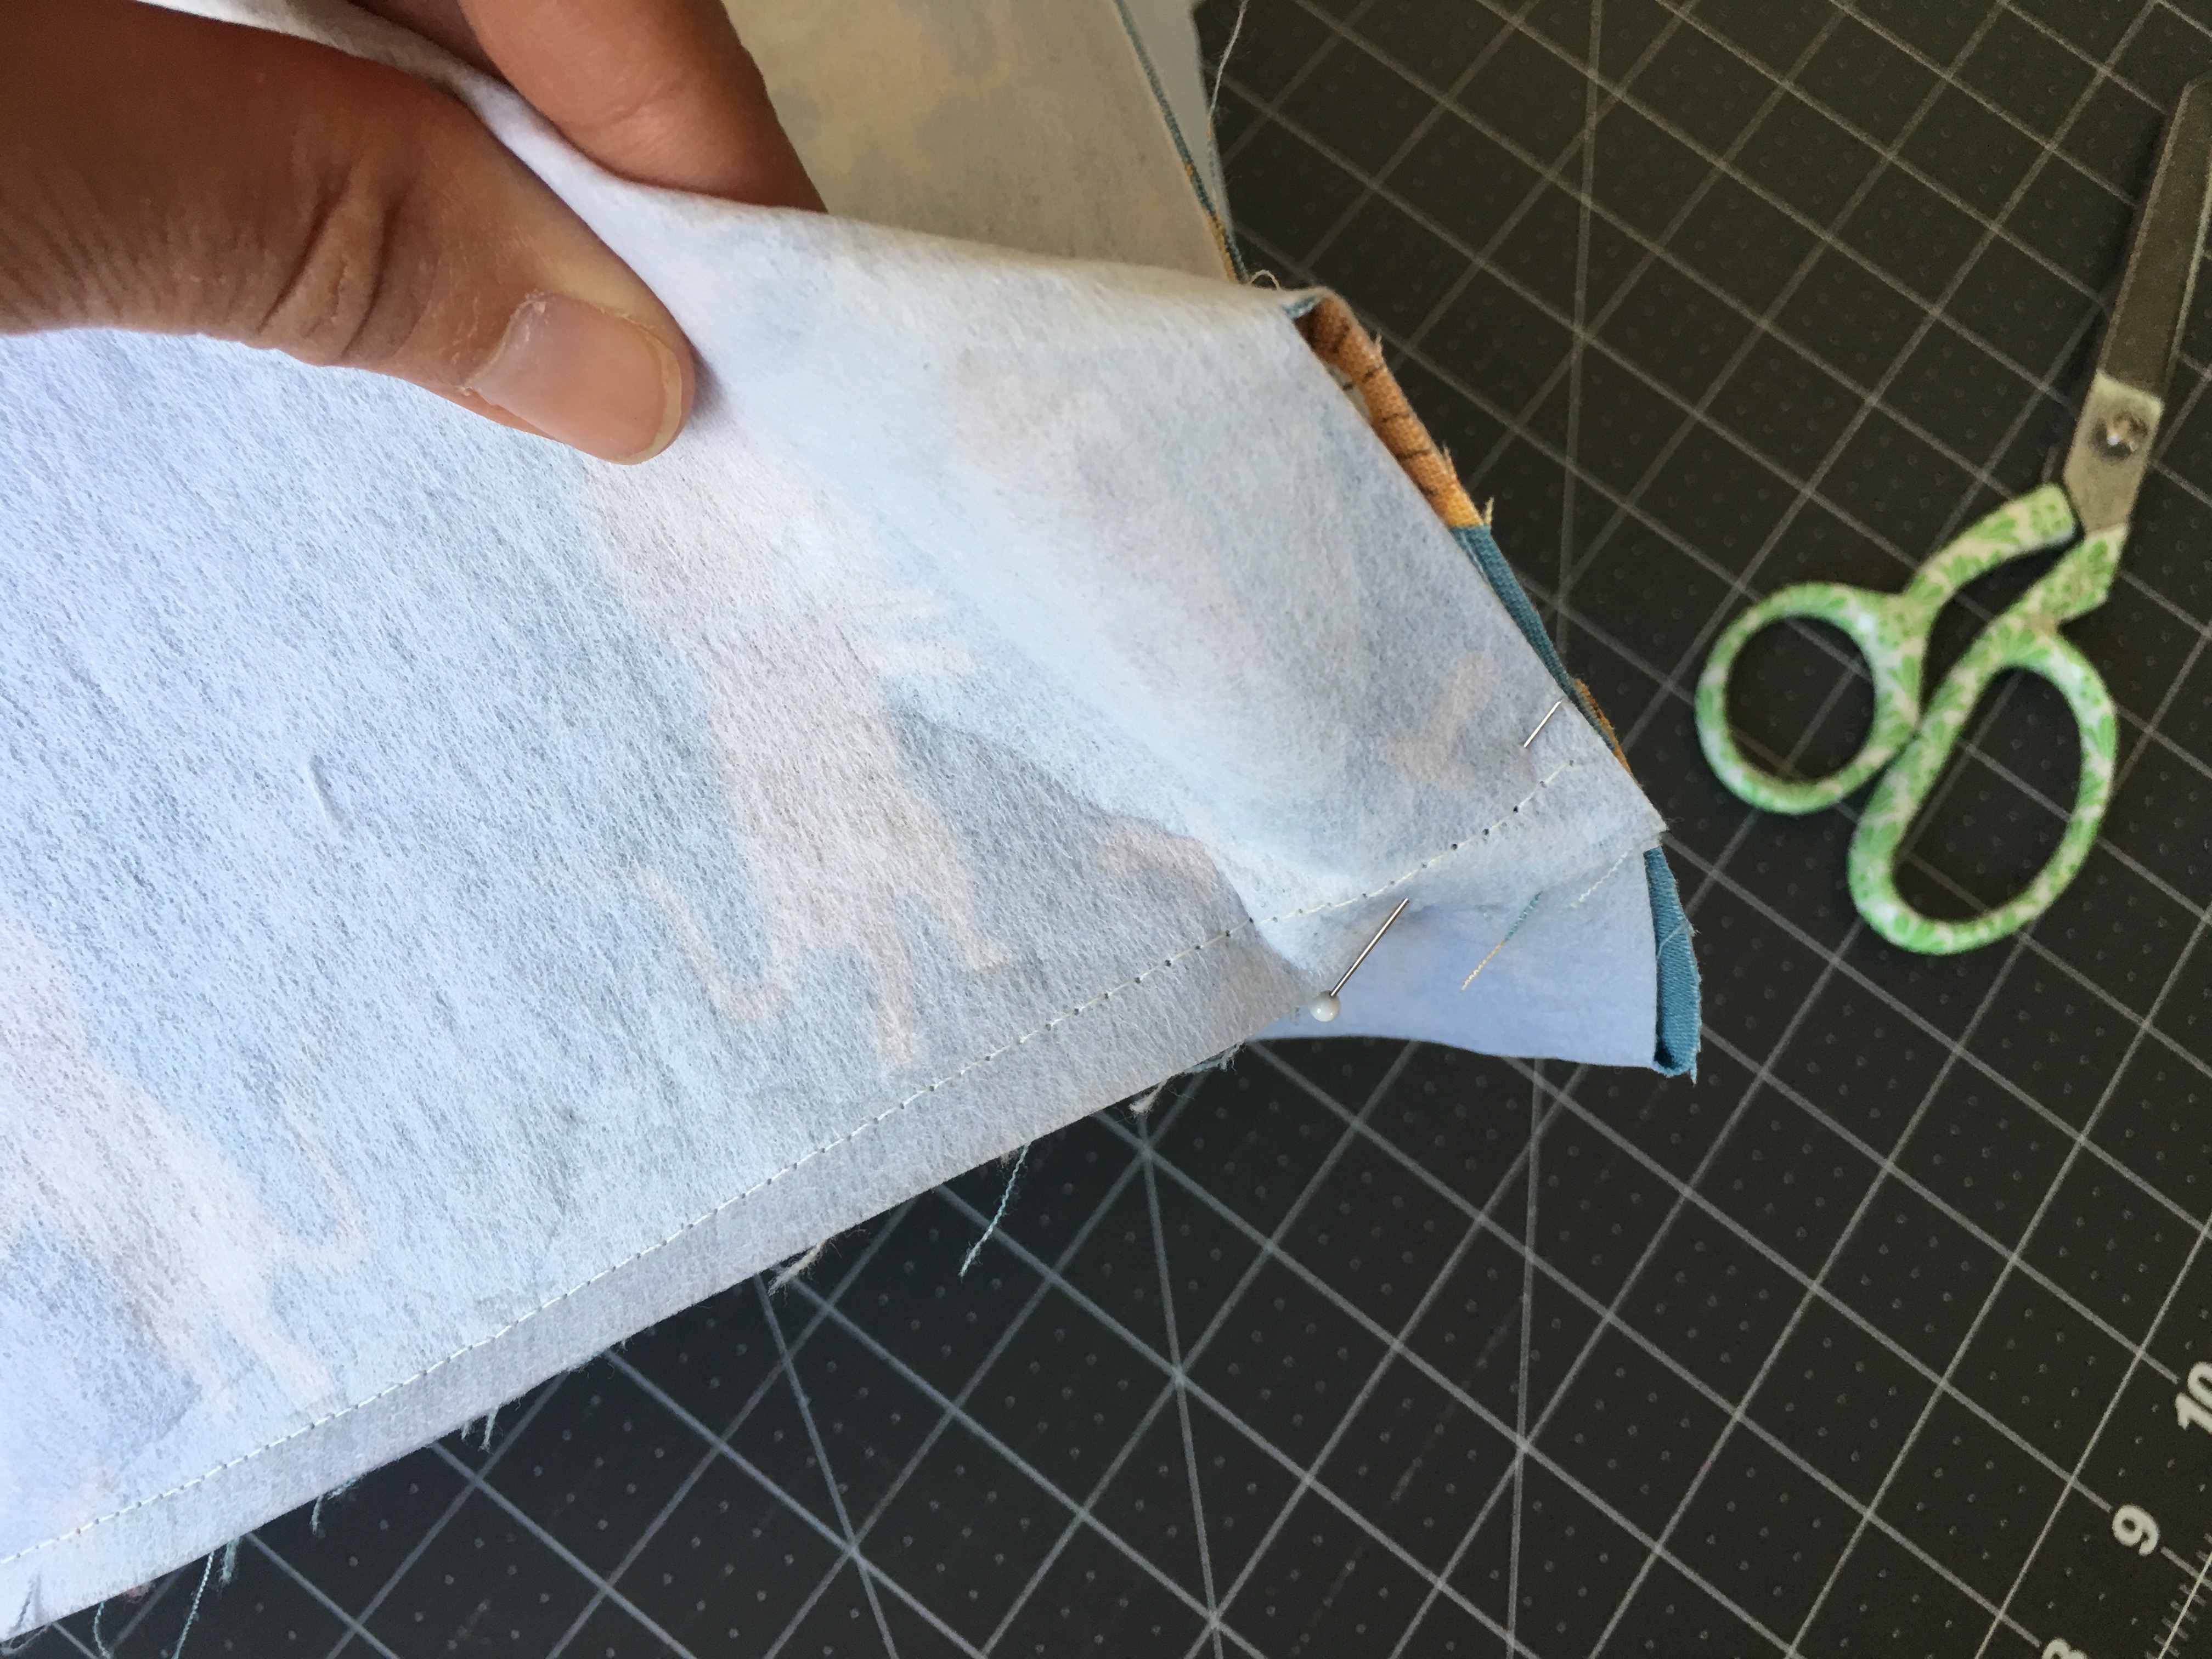
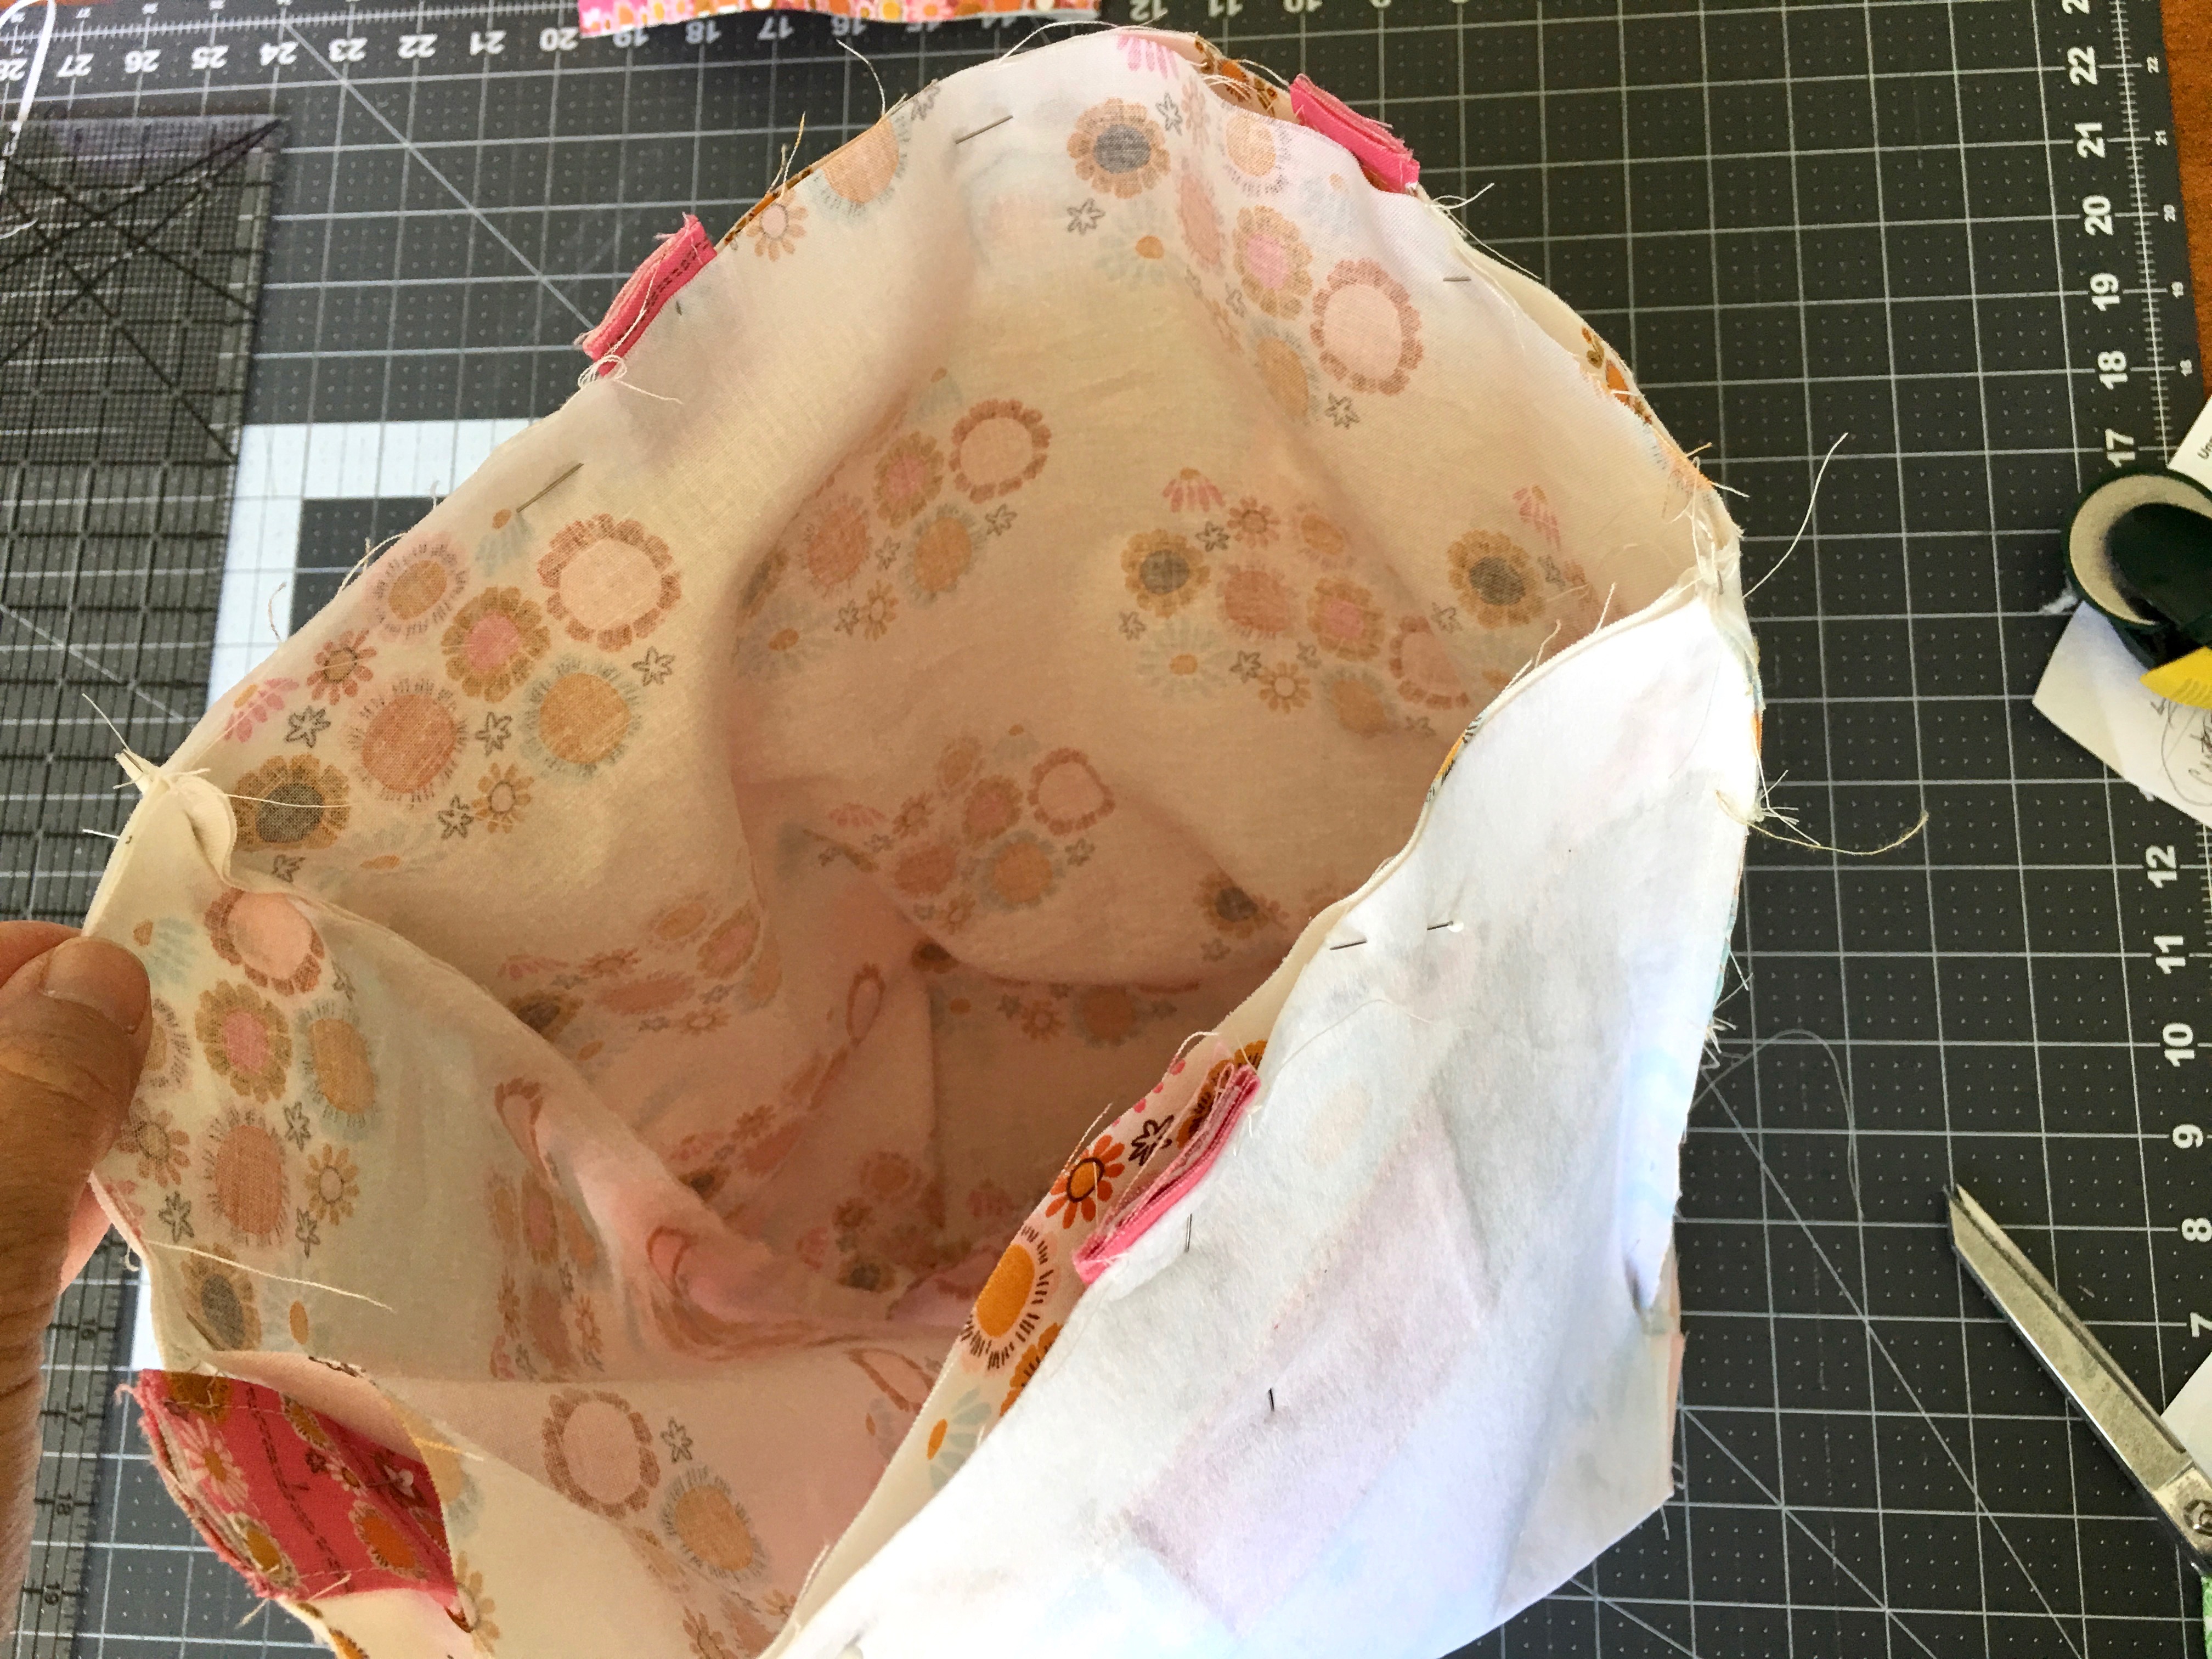
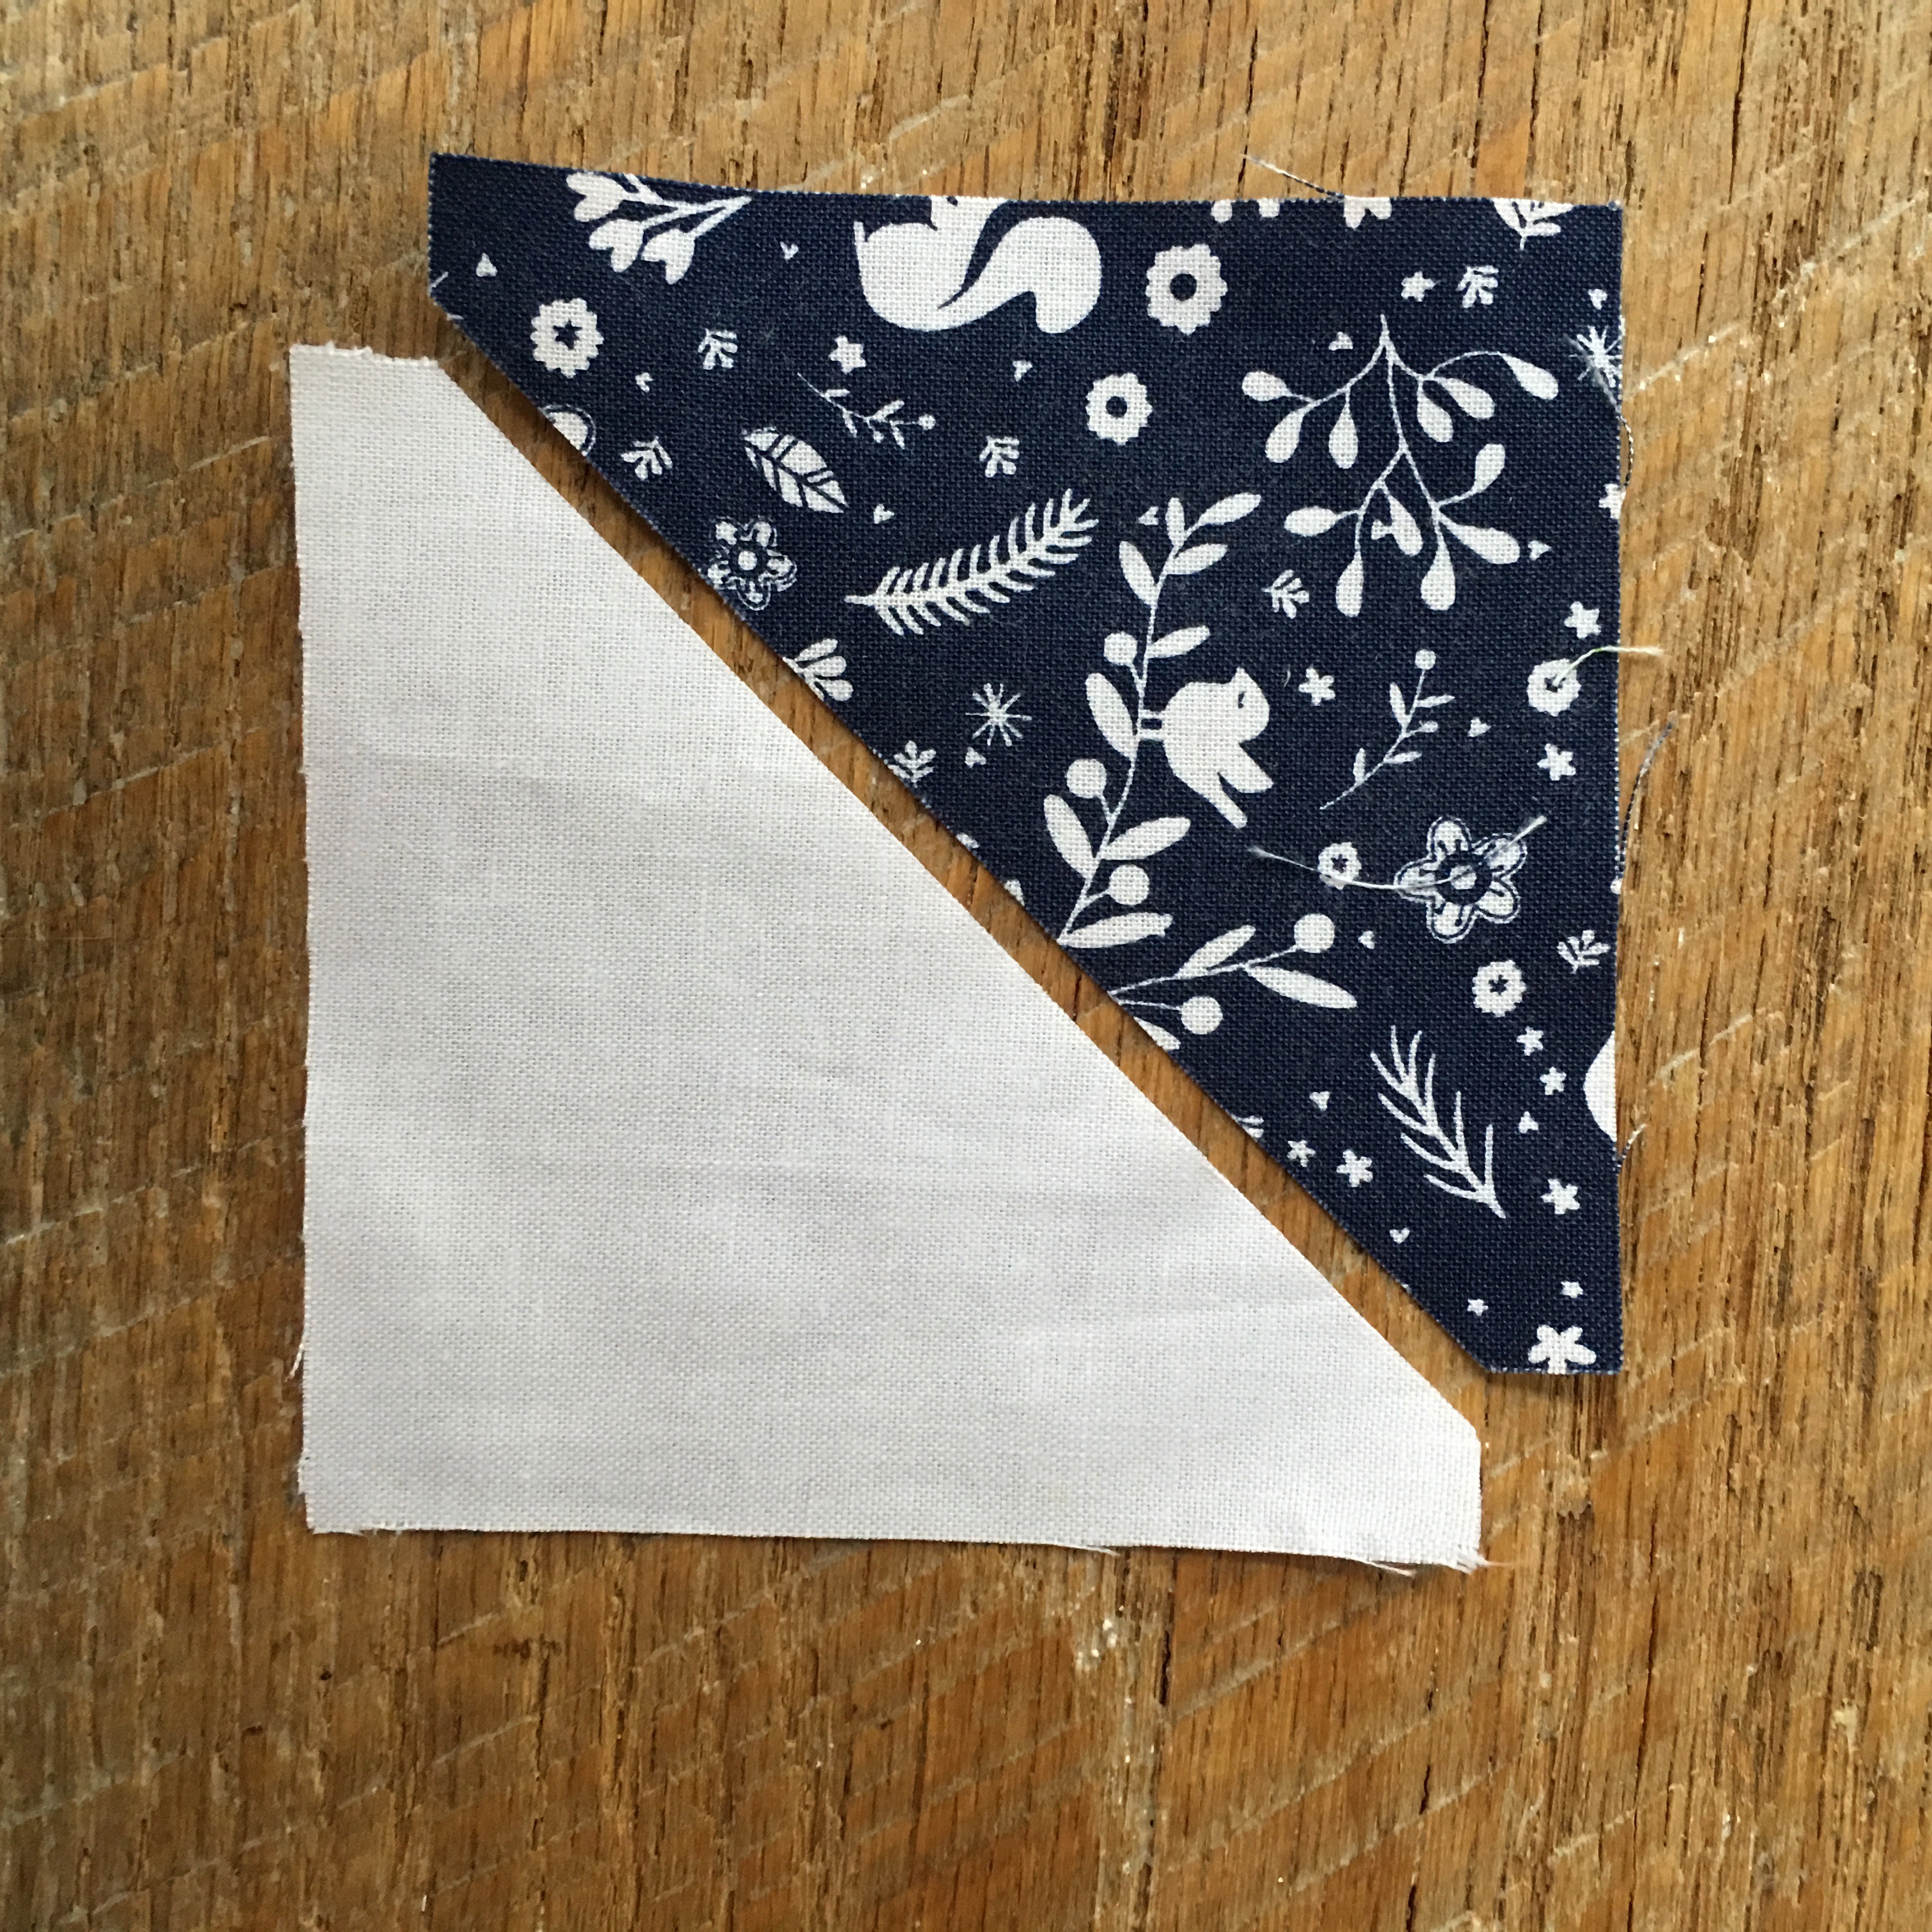
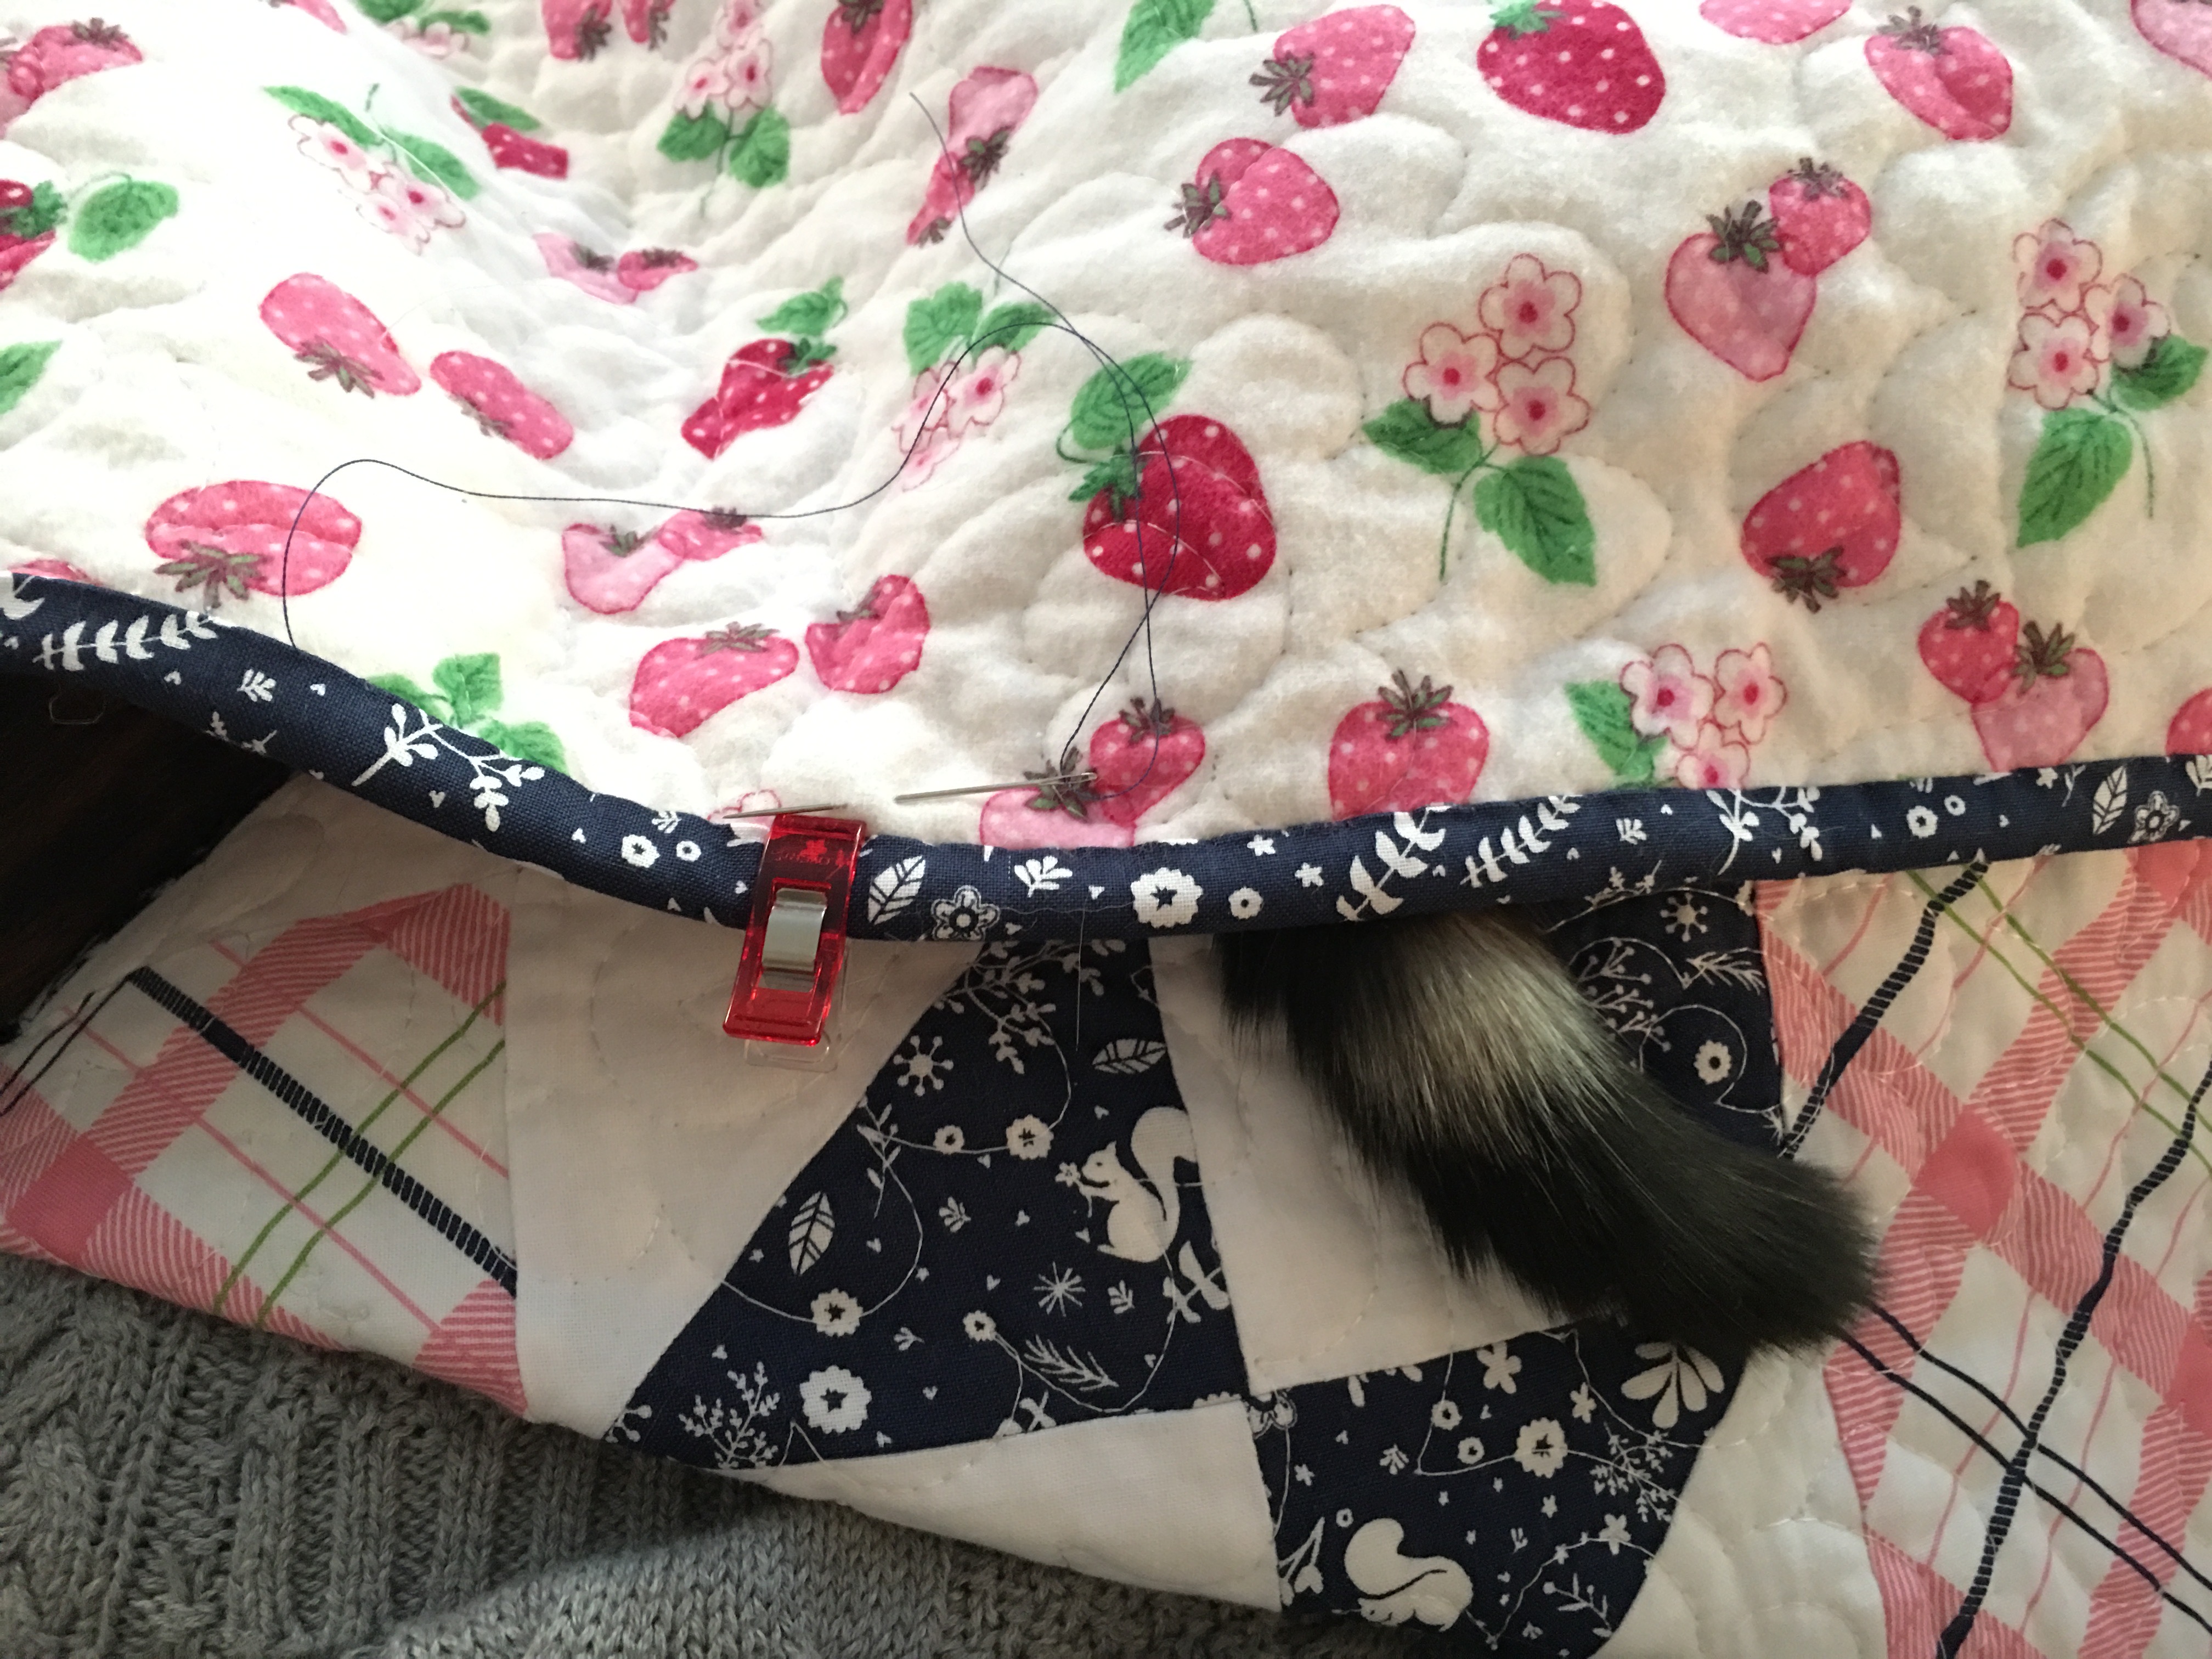
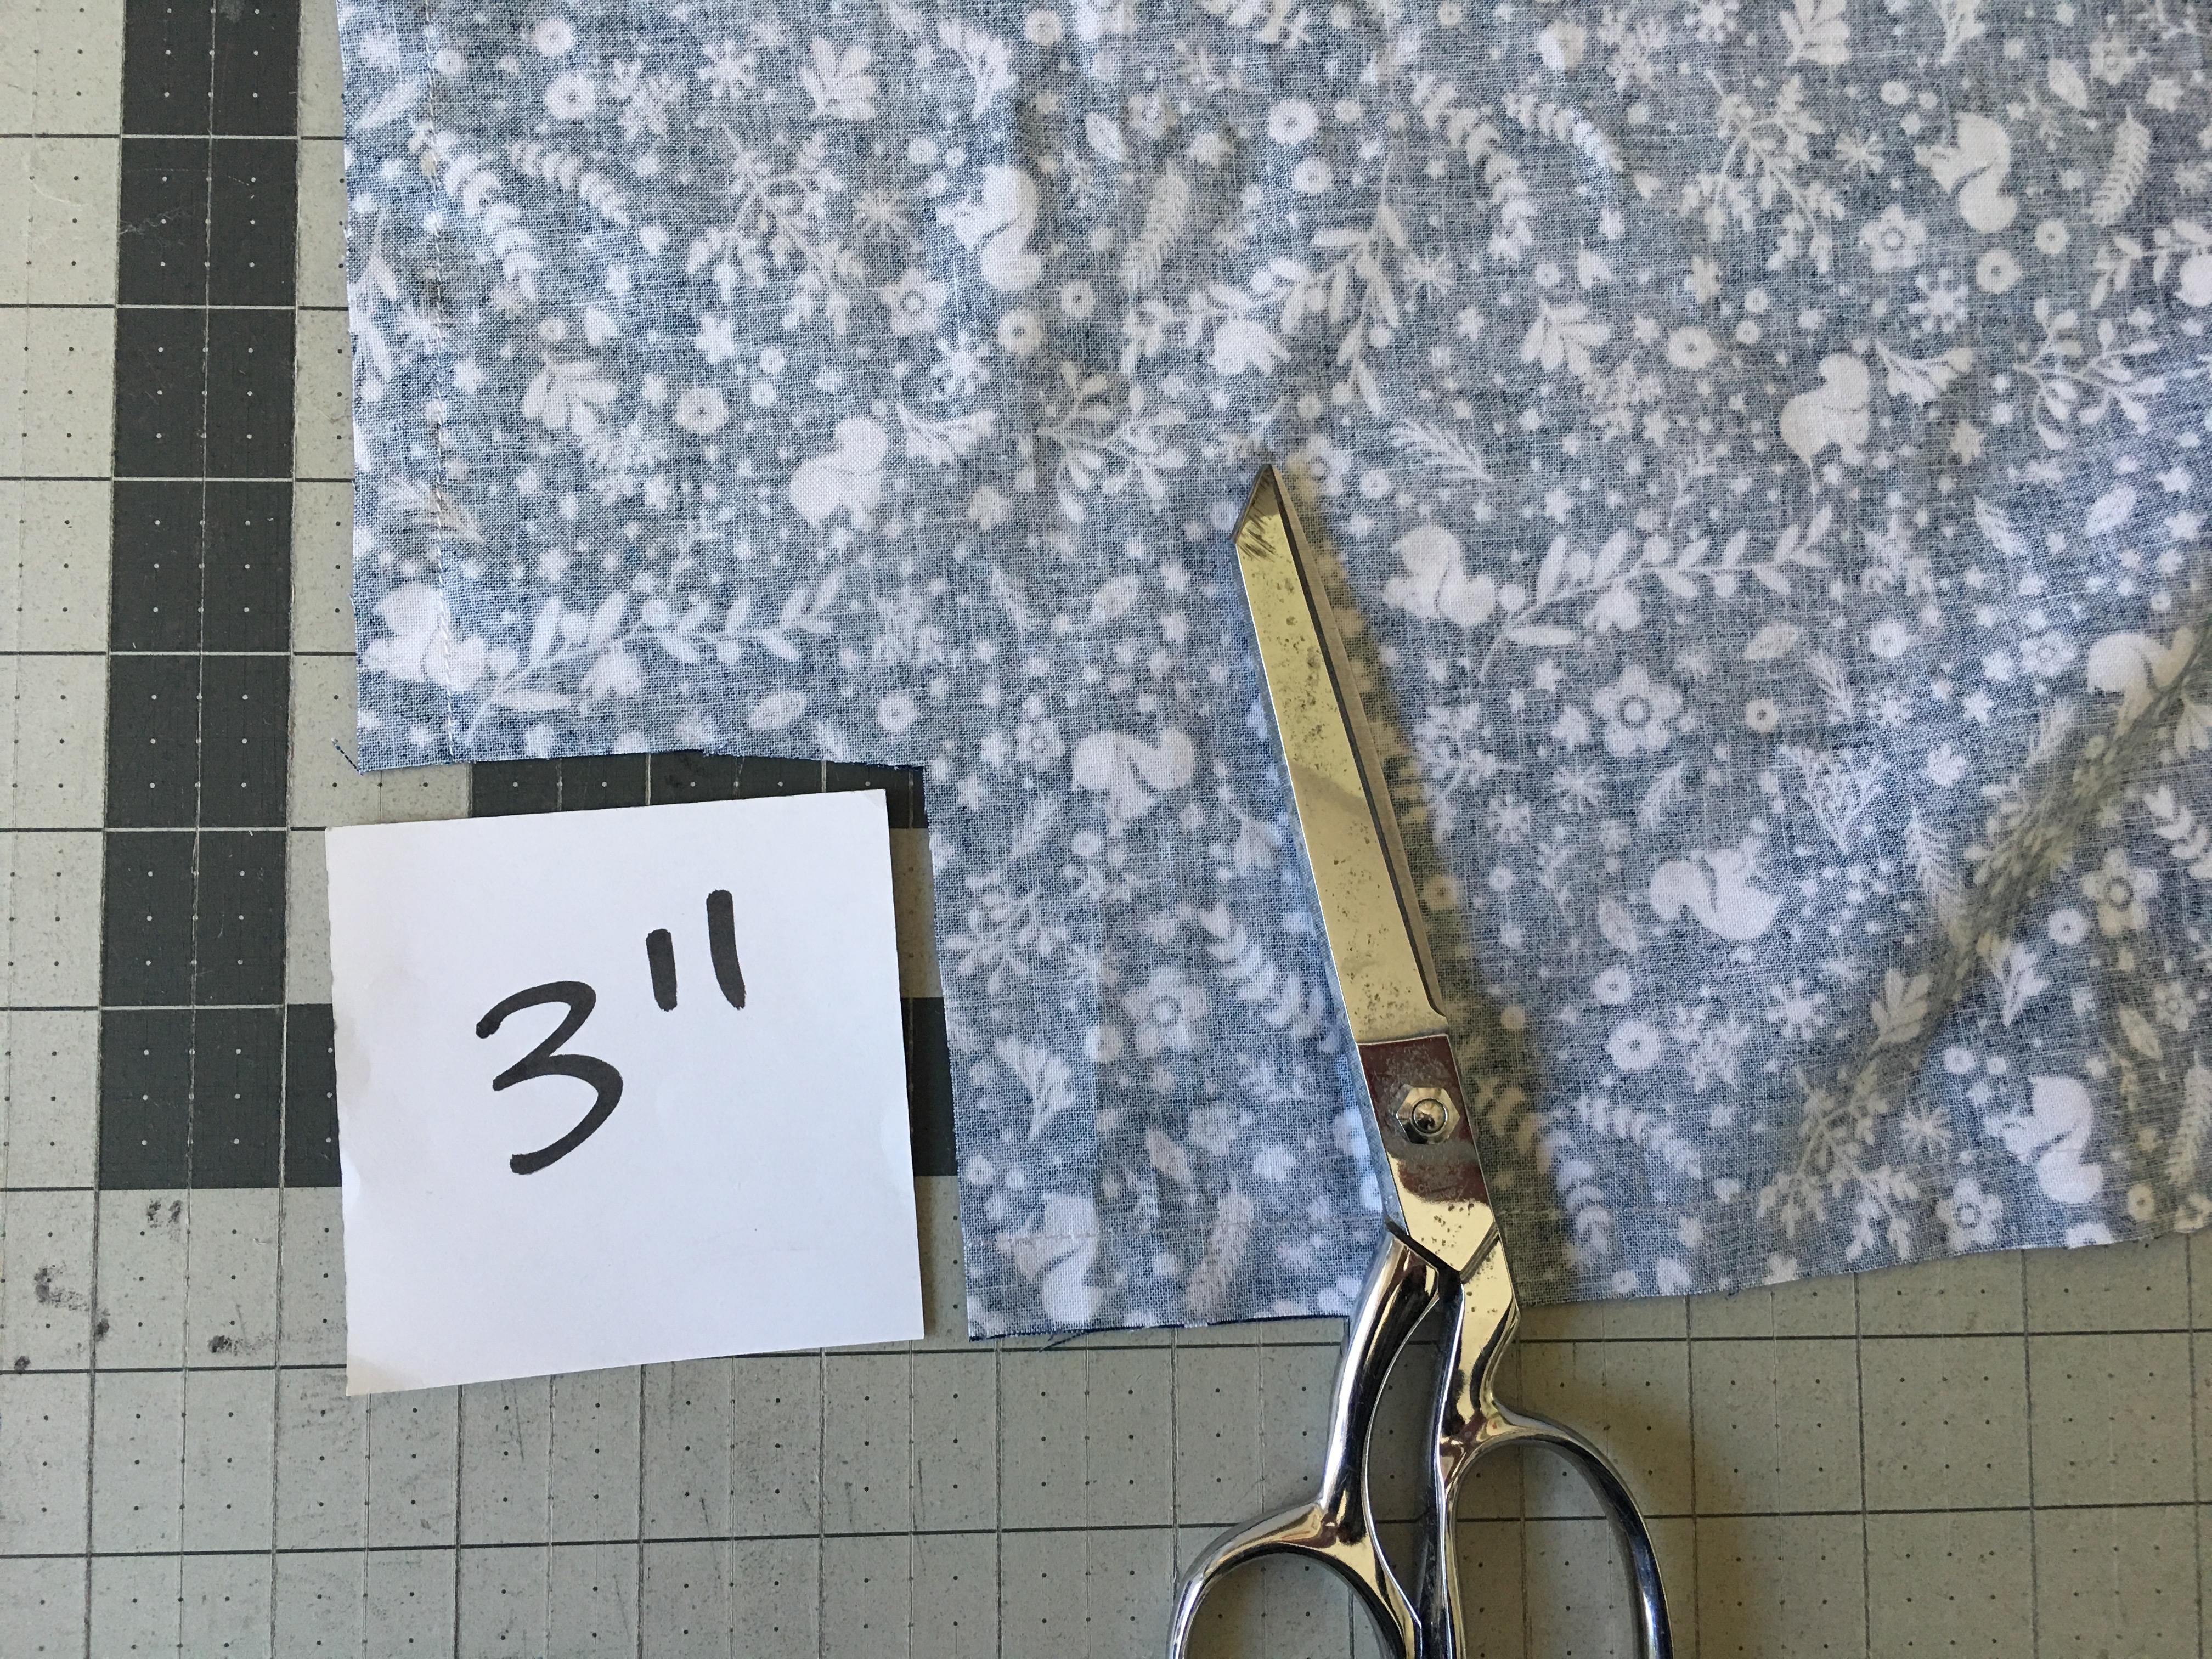
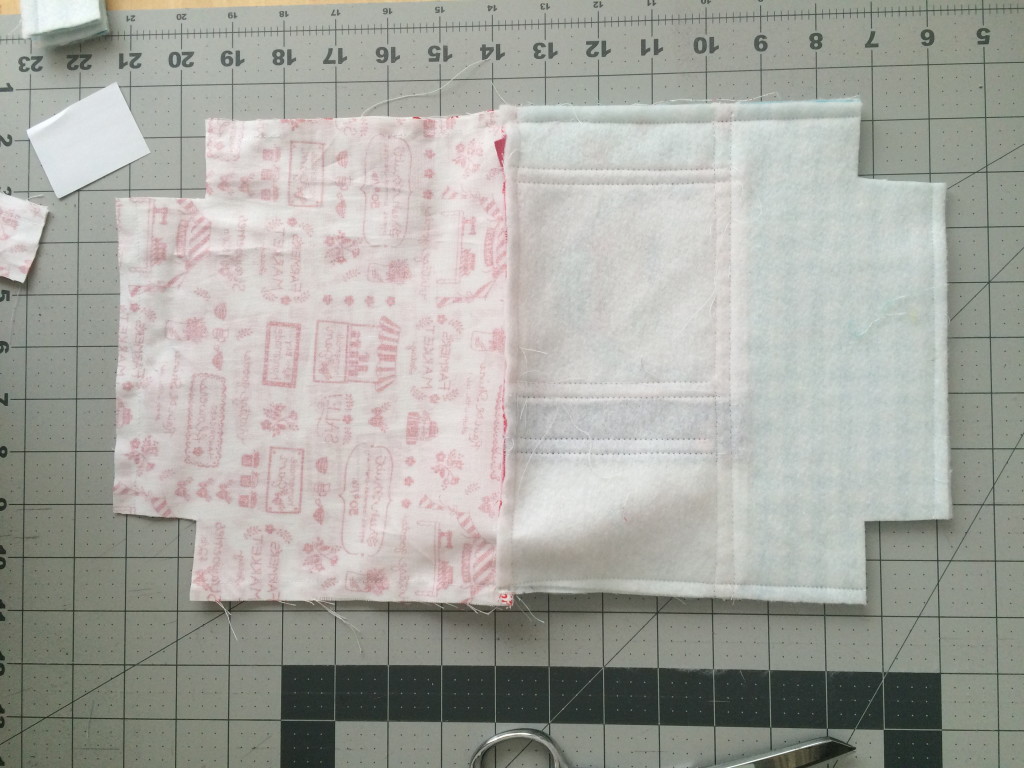
The above photo is from another tutorial but you can see how the notches should be at each corner.

zipper pouch tutorial. 20
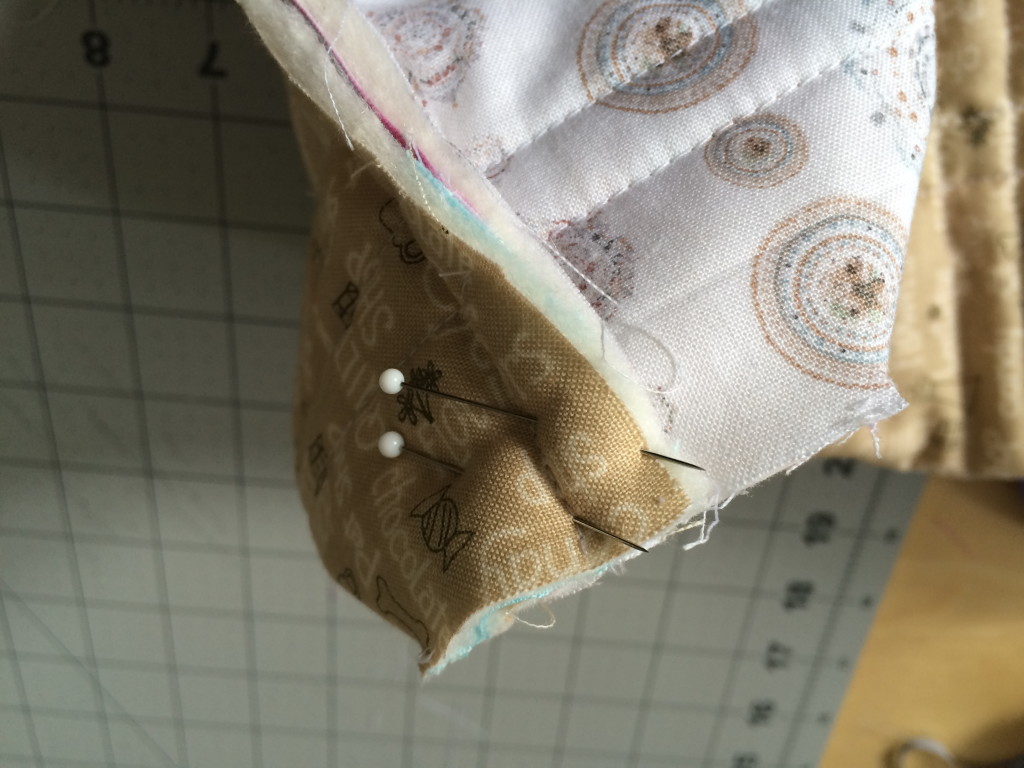
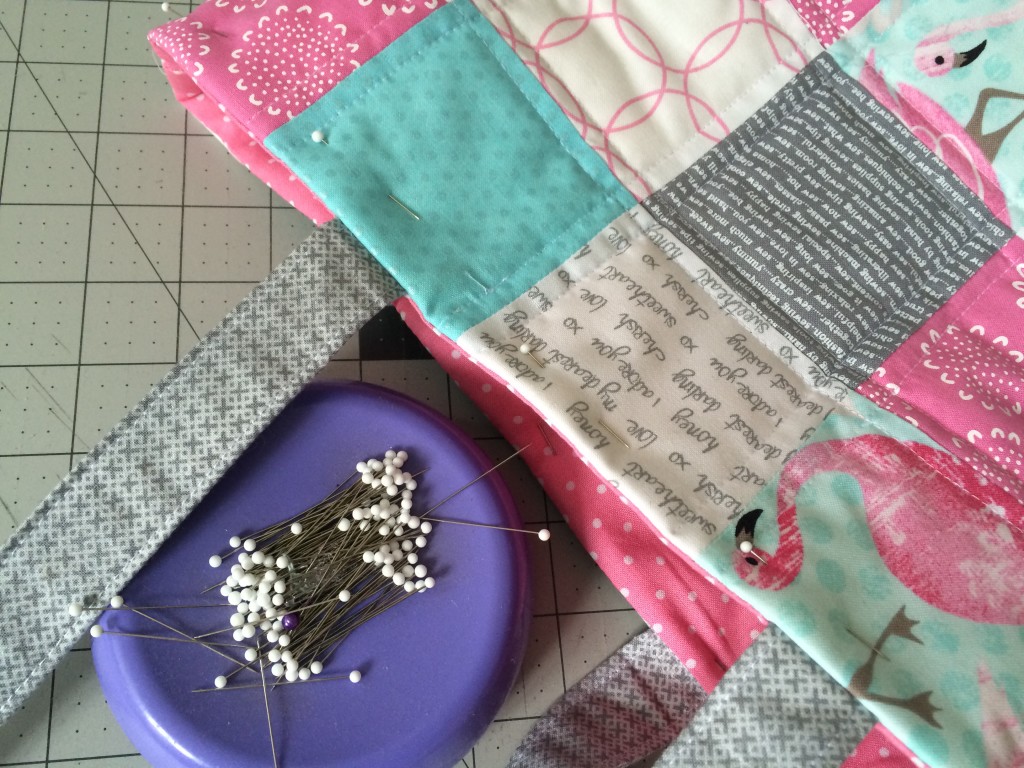
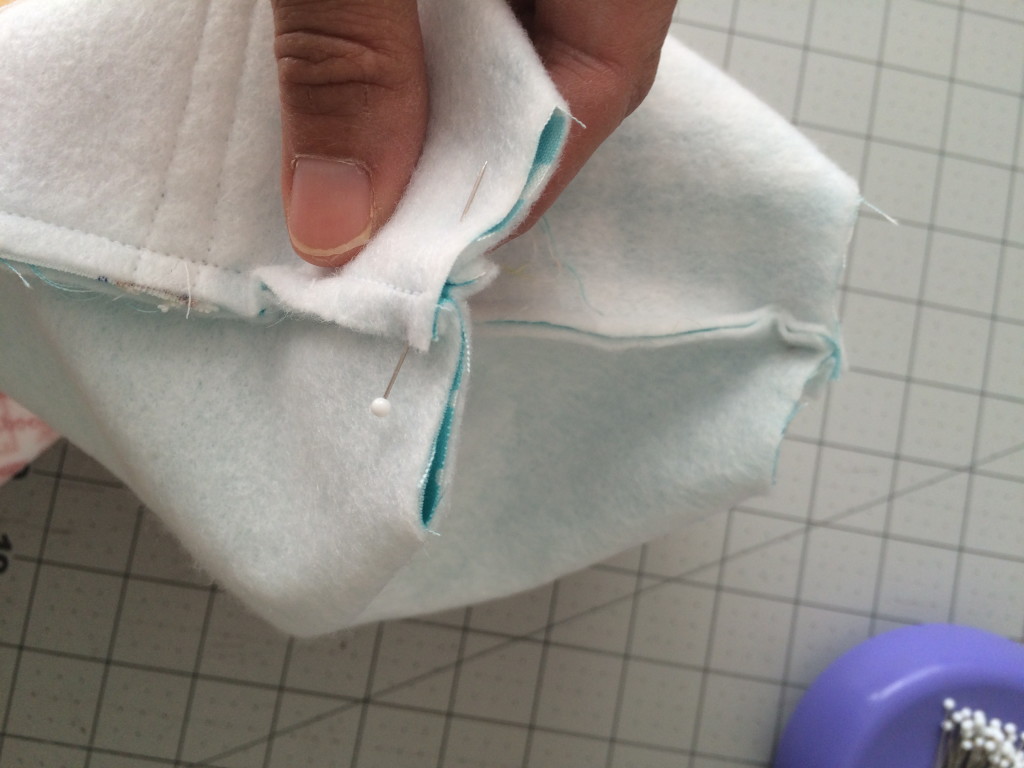
Fold each notch so the two seams align, pin, and sew 1/4″ seam along raw edge.  Do this to each corner.

IMG_3501

Ella loves her bag!  Look at all the things you can use it for:

IMG_3490

Journaling supplies, art supplies, or even your favorite magazines on a road trip!

IMG_3499

Lovely Little Patchwork Tote Bag

LLP Sew Along Banner

IMG_7827

I’m super excited to be a part of Kerri Horsley’s Lovely Little Patchwork Blog Tour!  Her book is so adorable with creative projects ranging from quilts to pillows to aprons!

IMG_3224
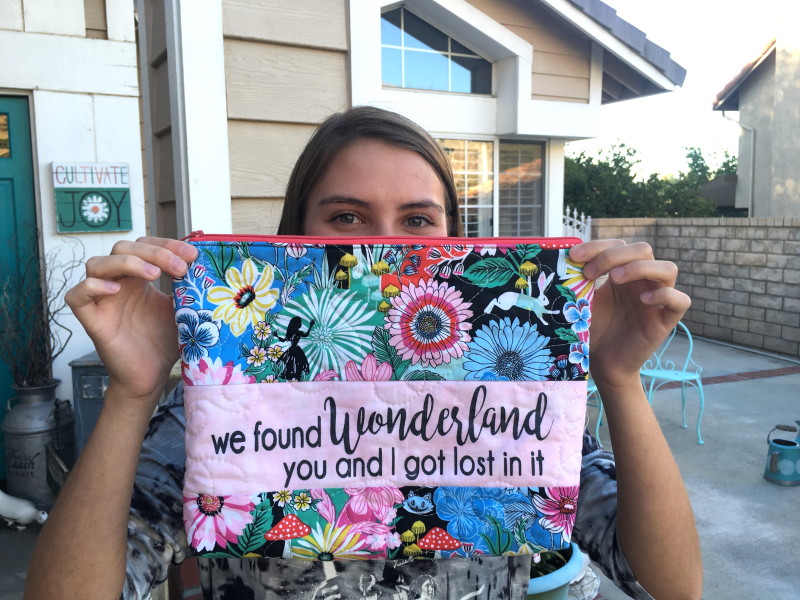
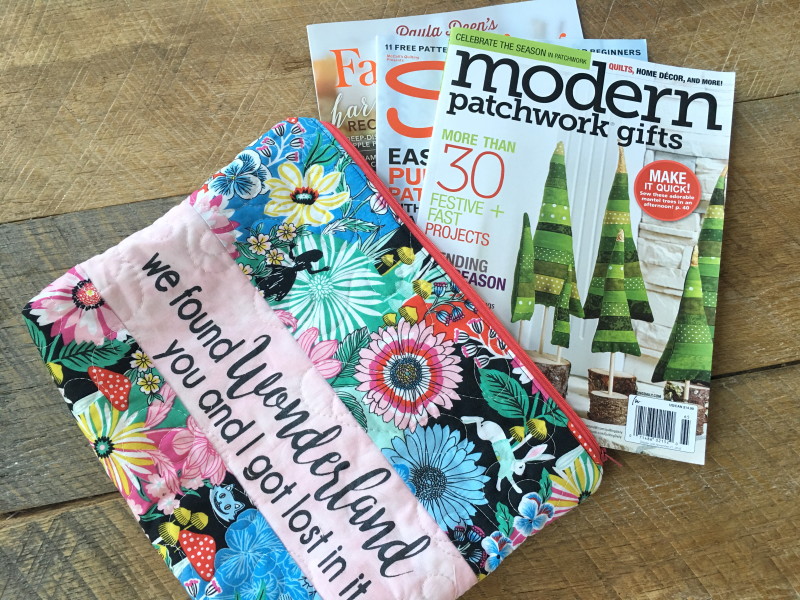
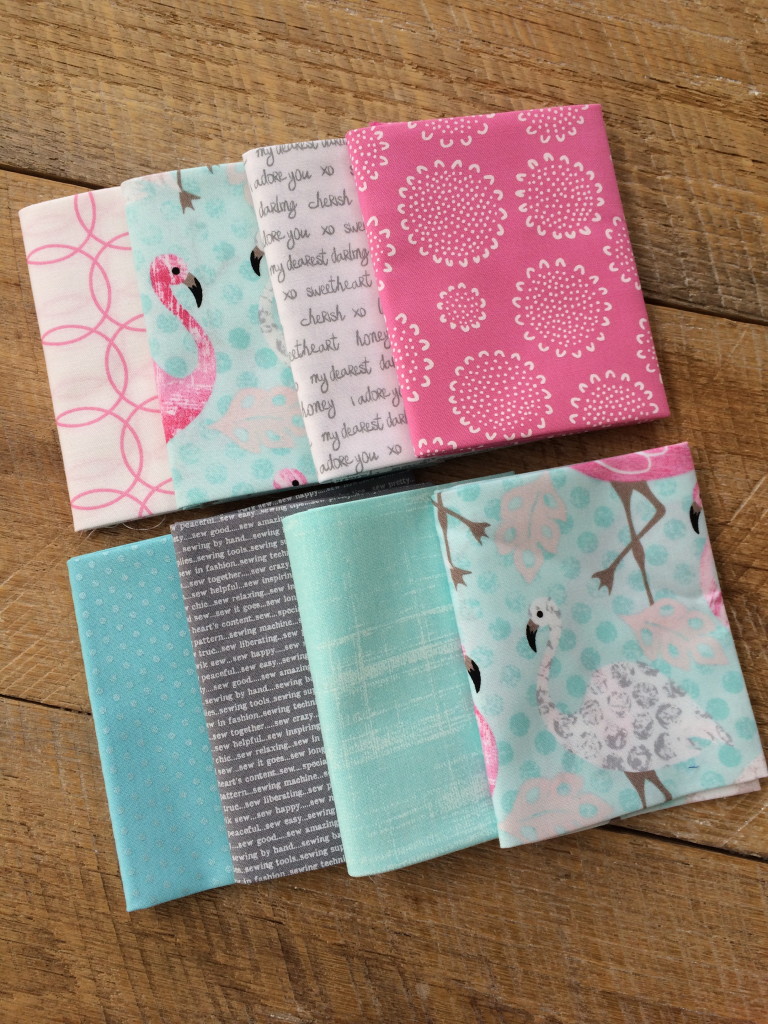
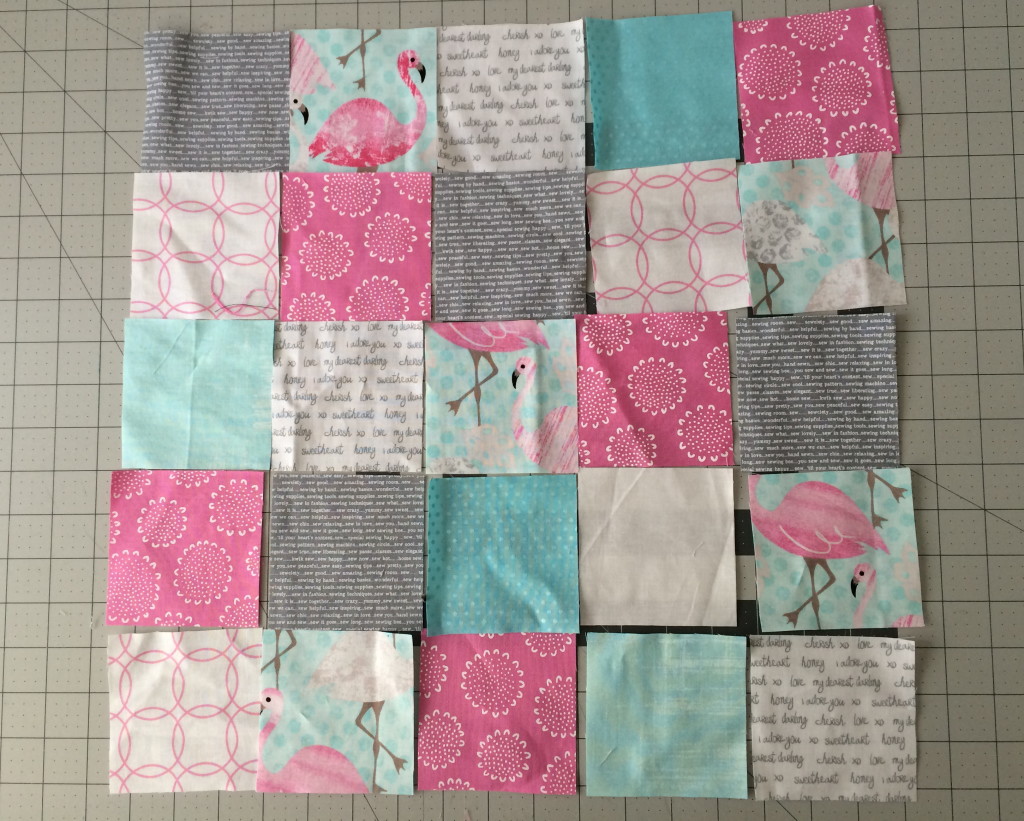
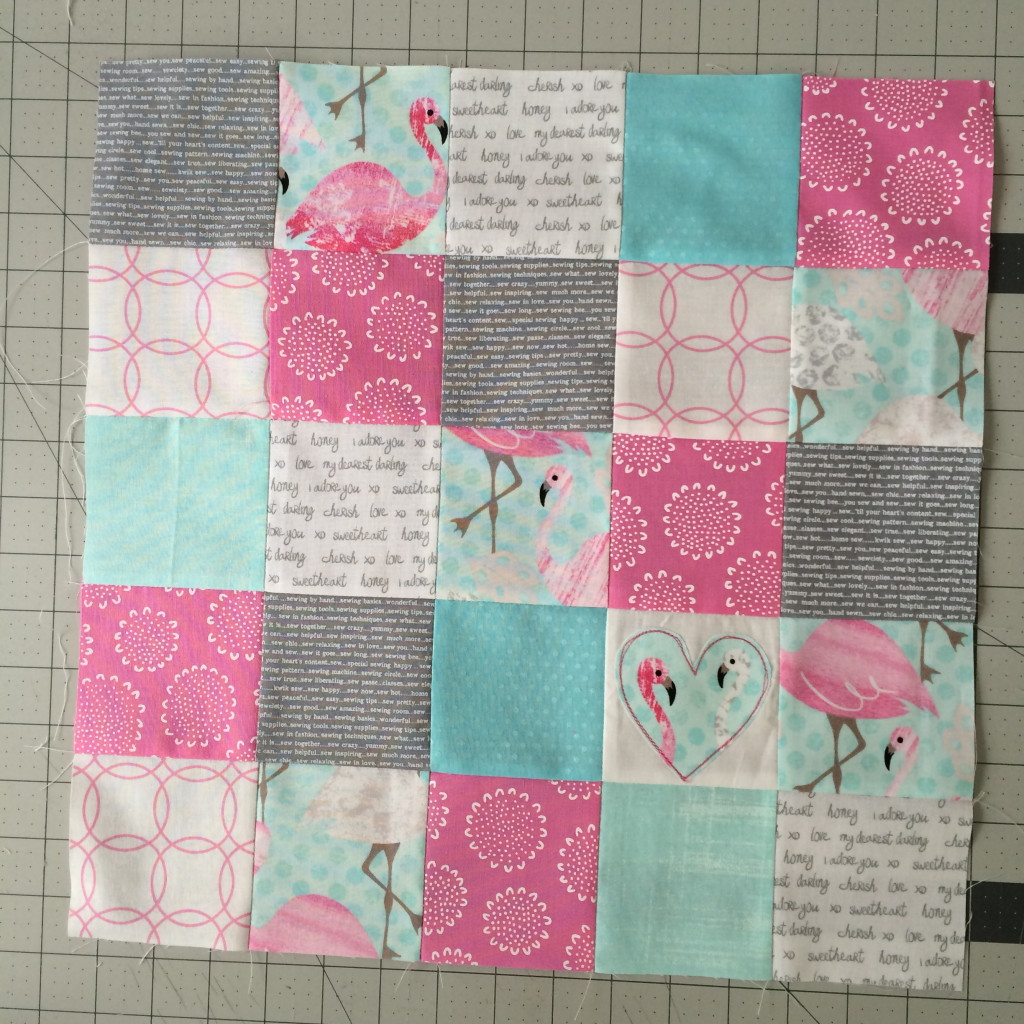
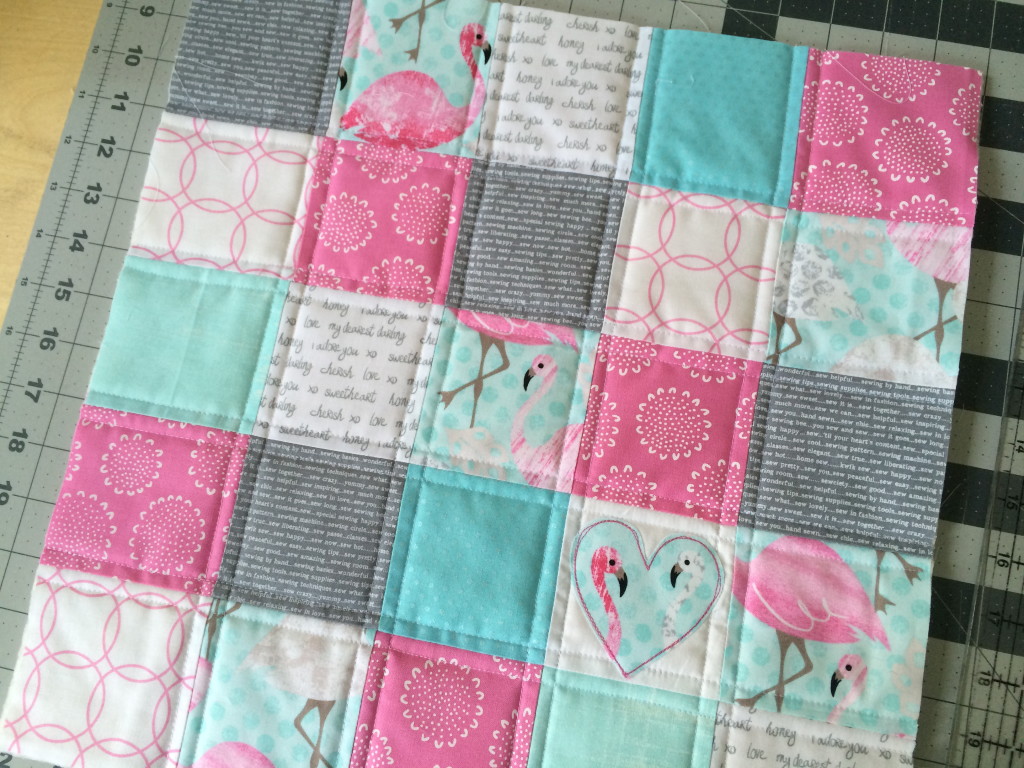
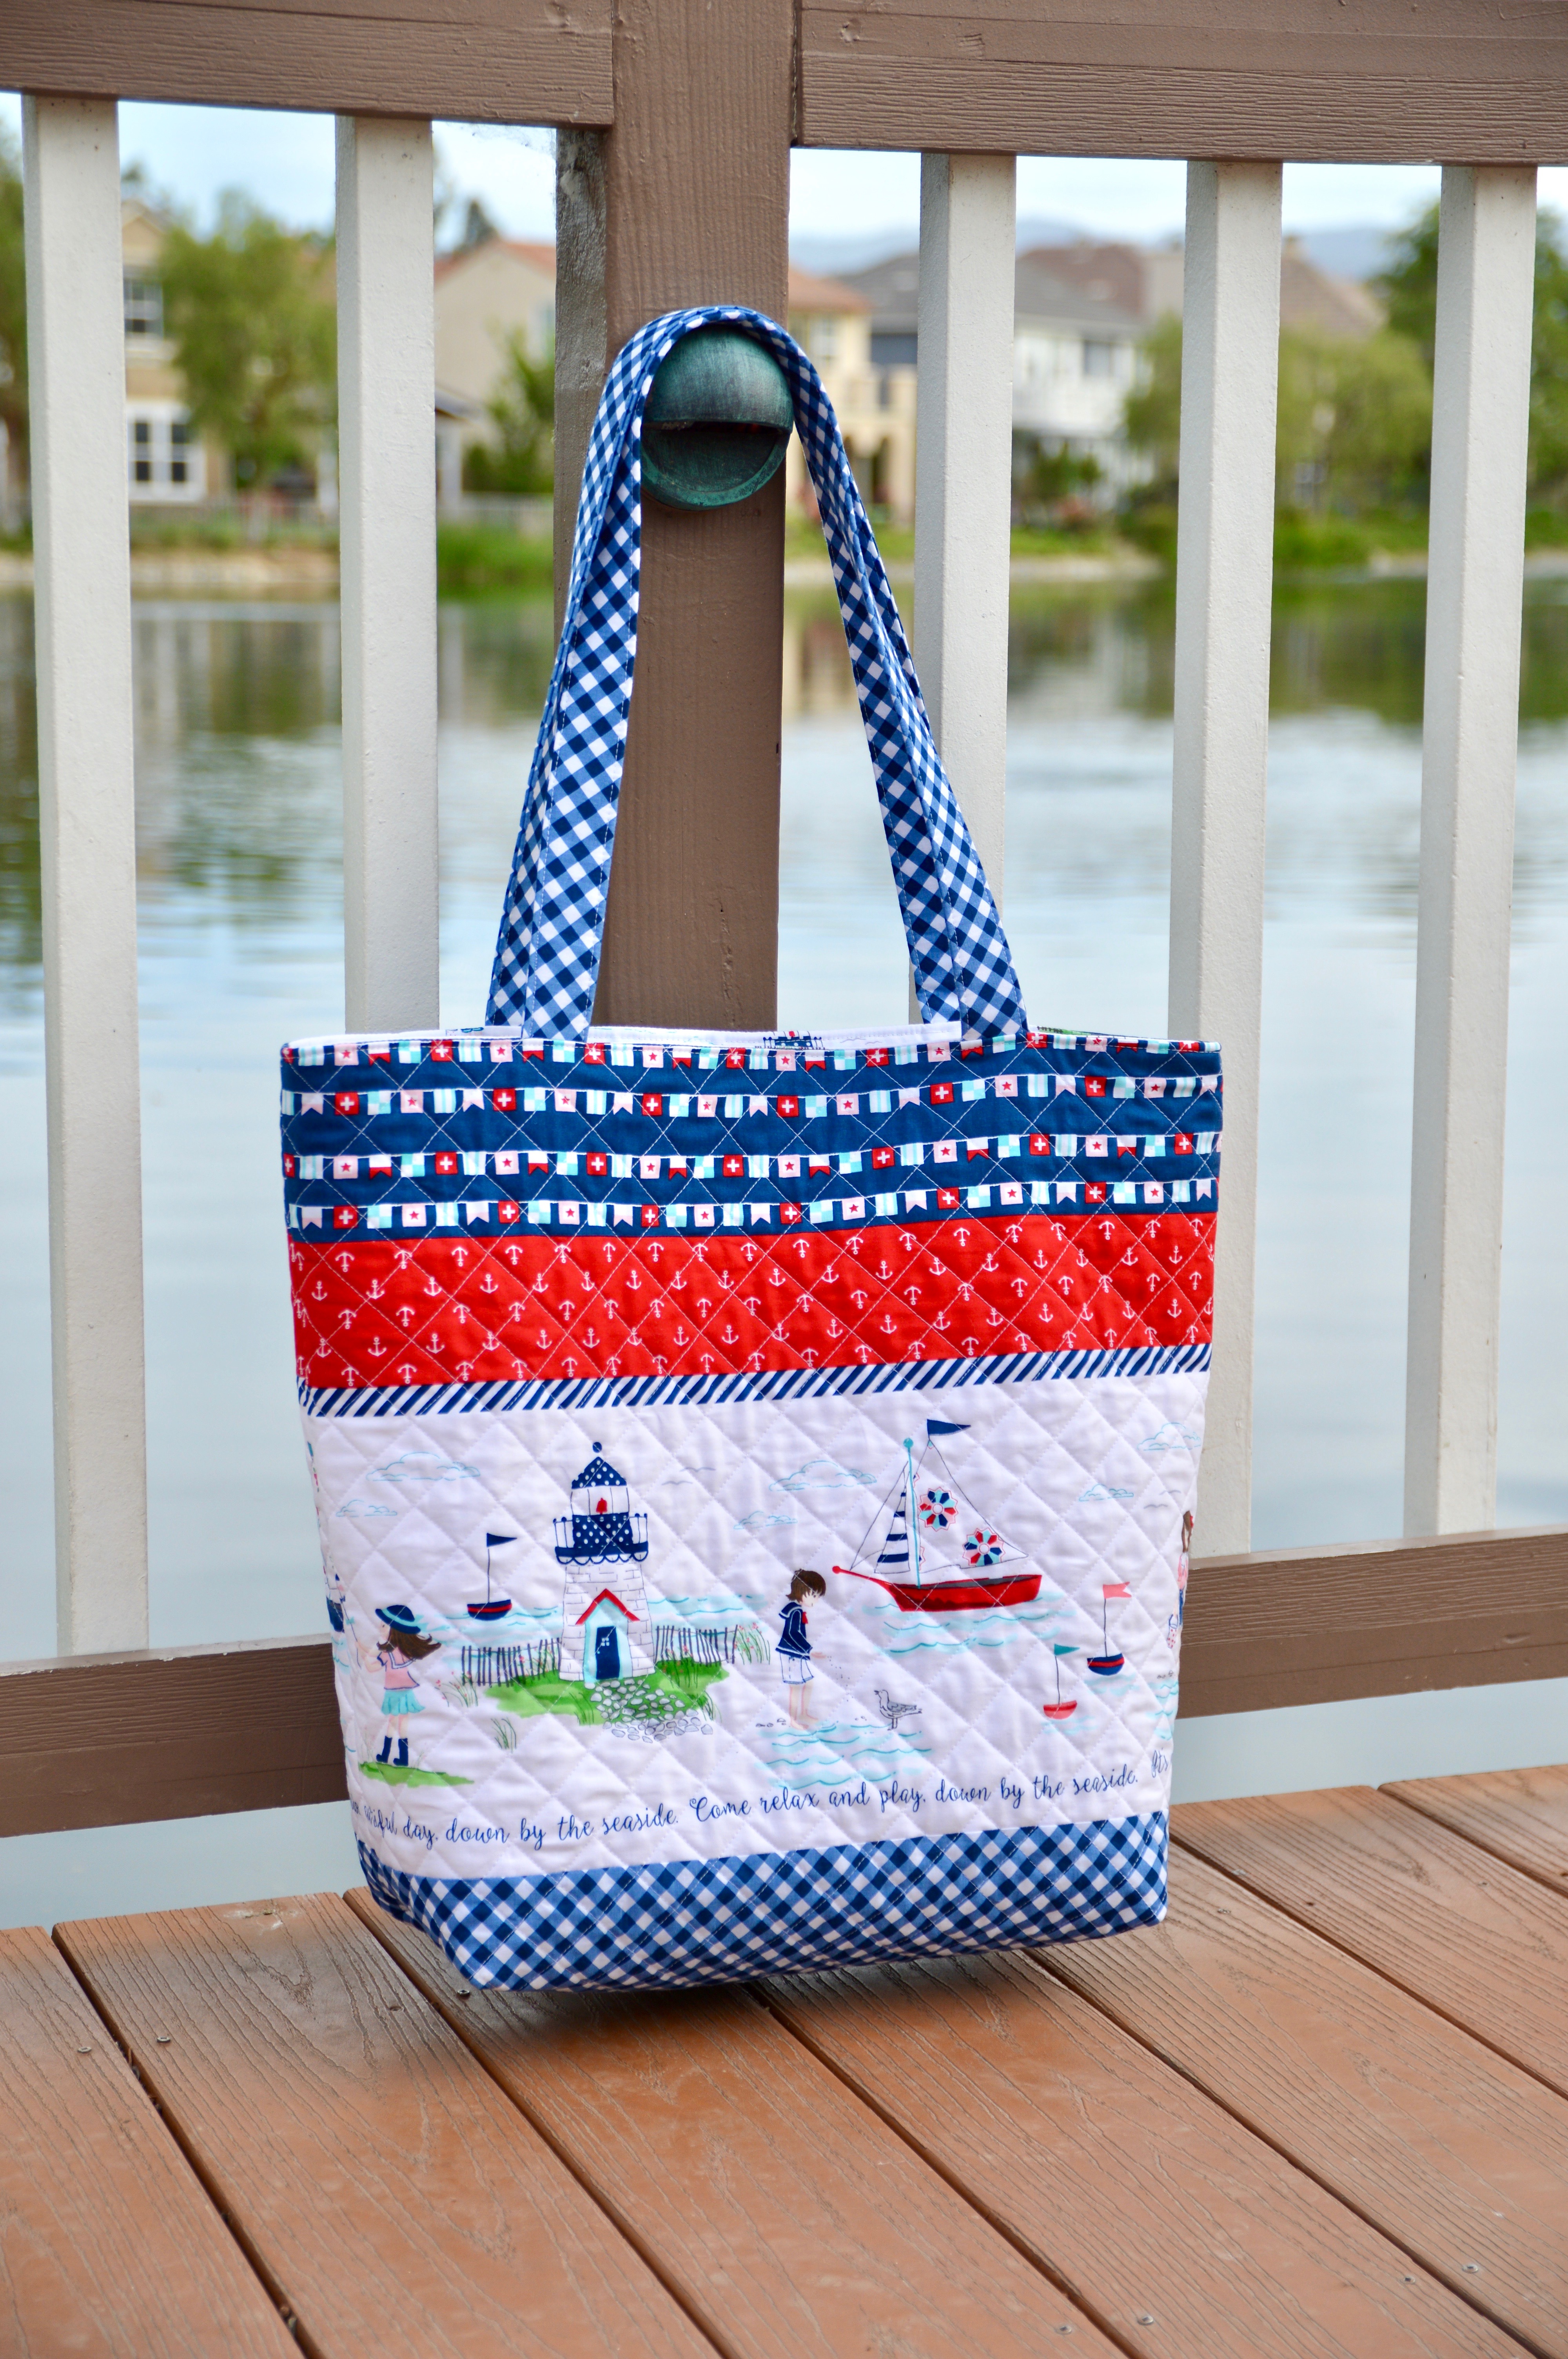
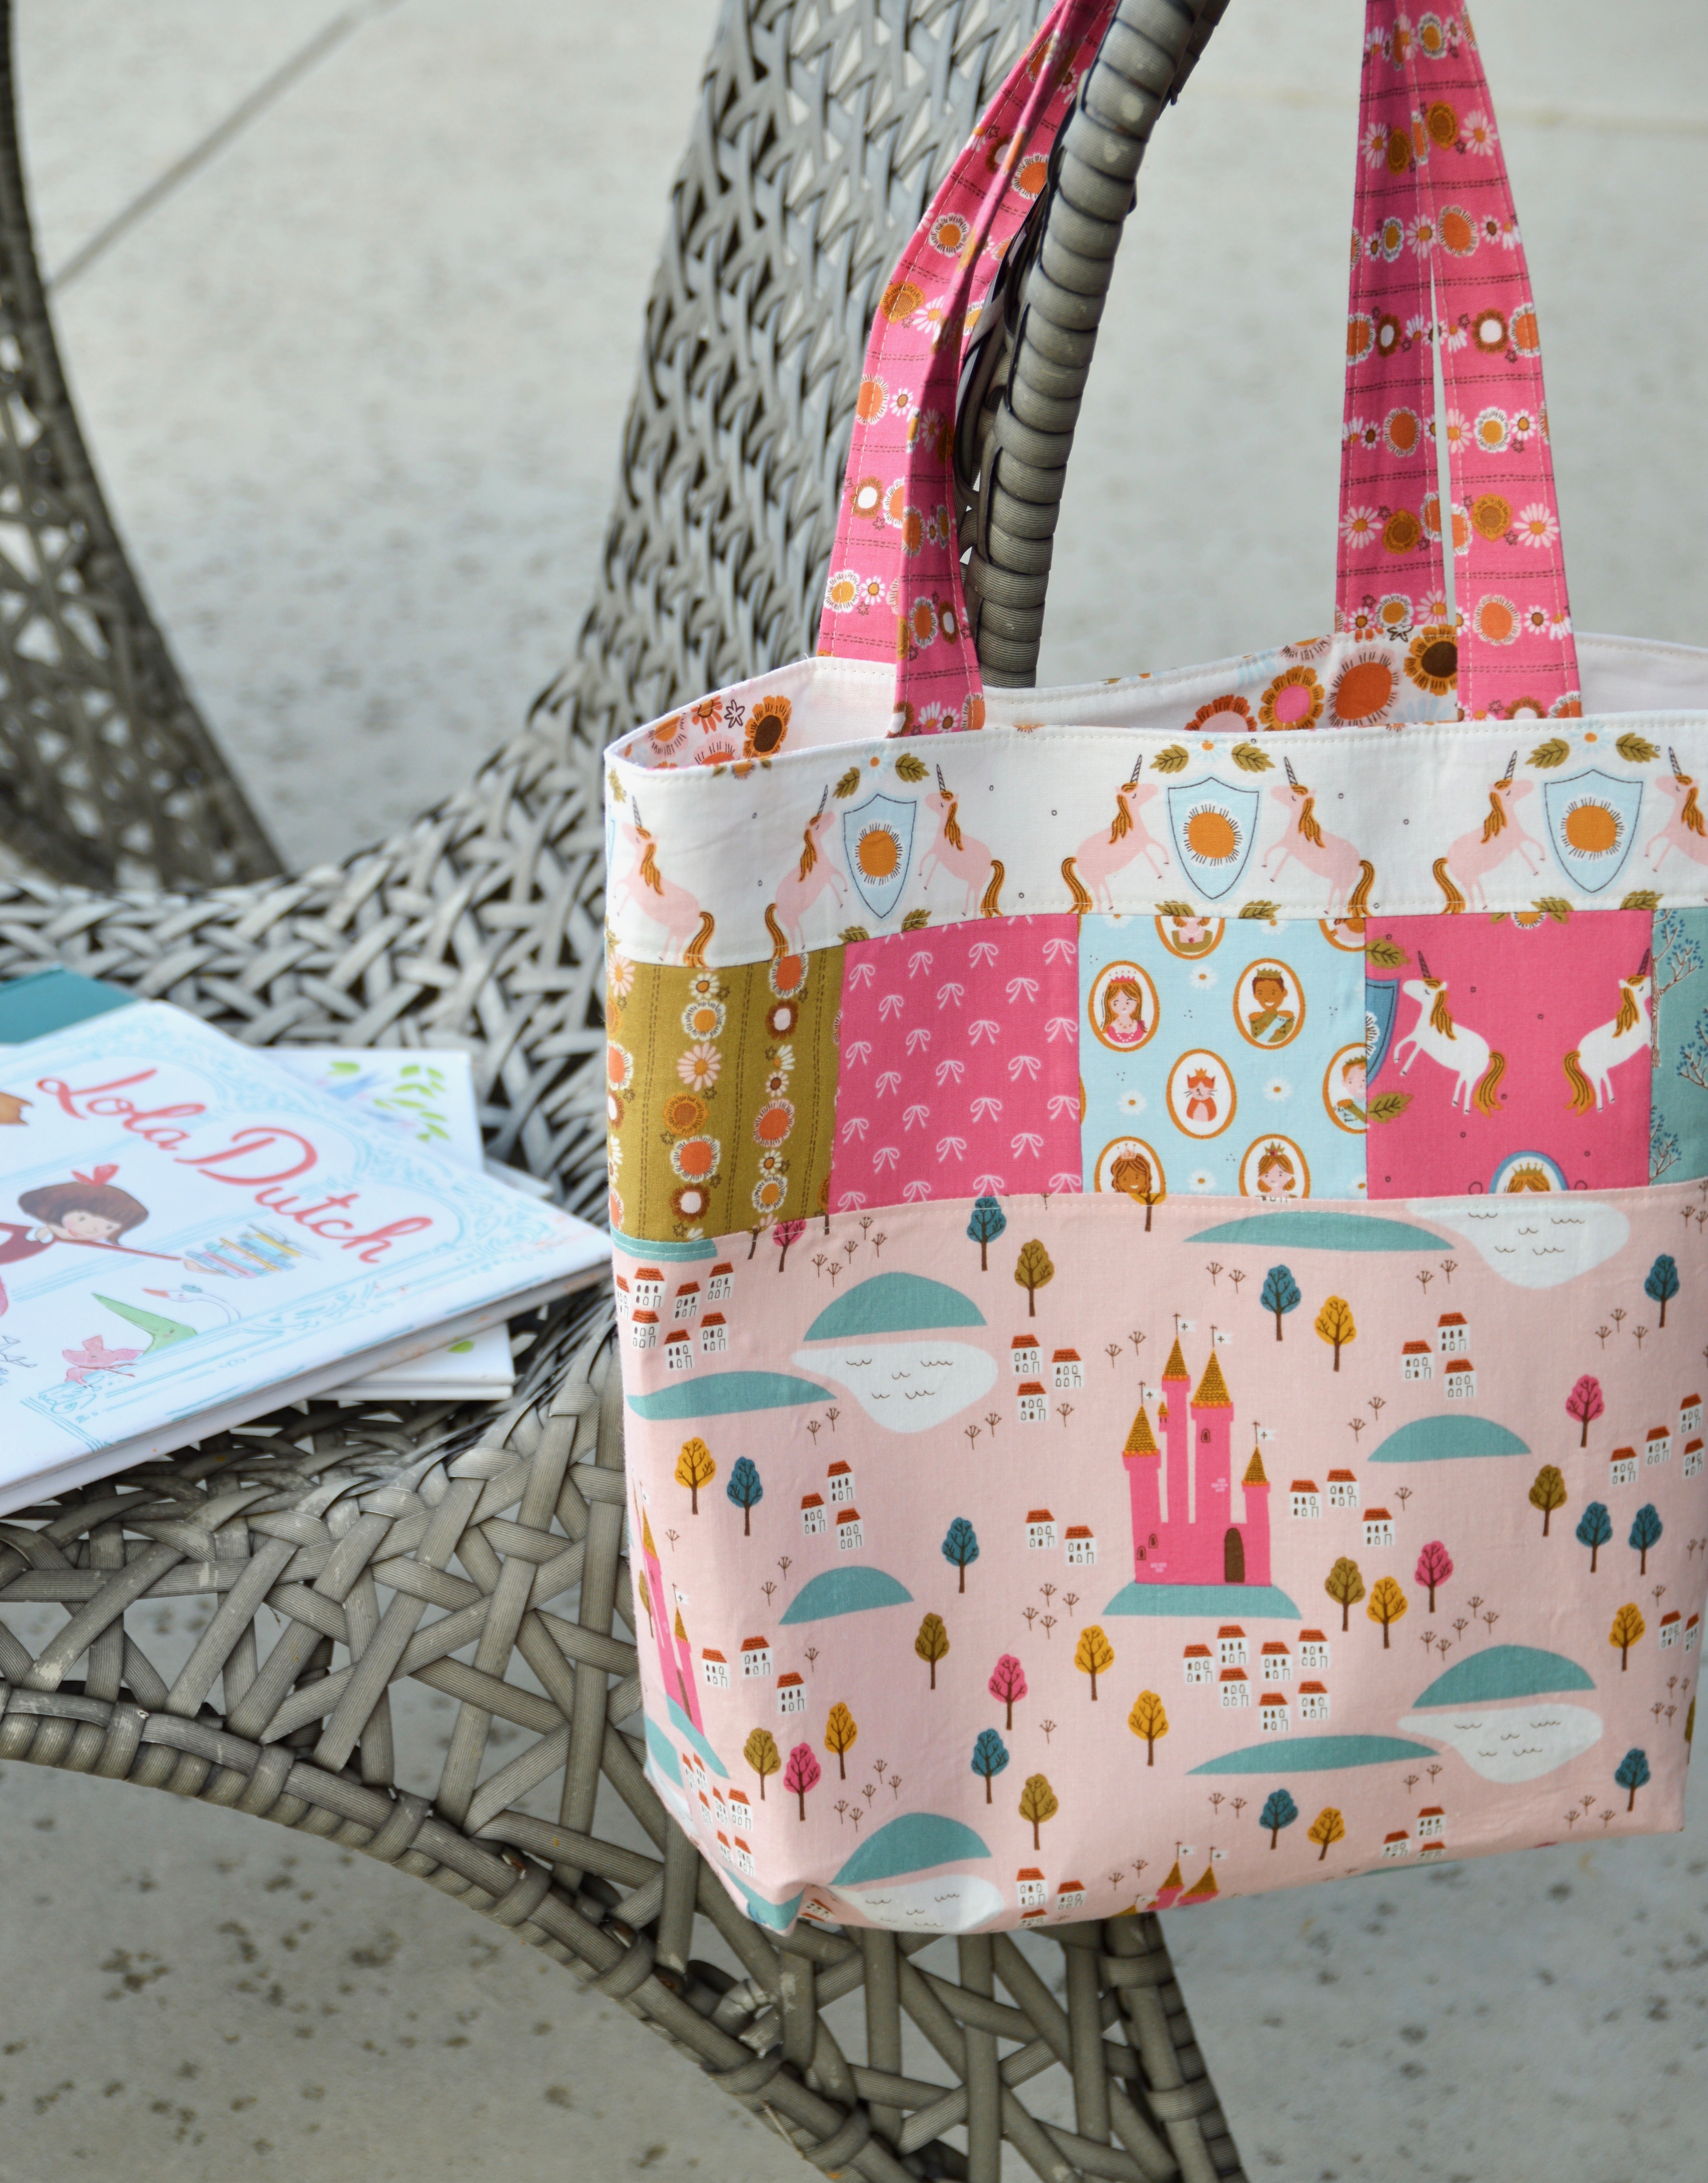
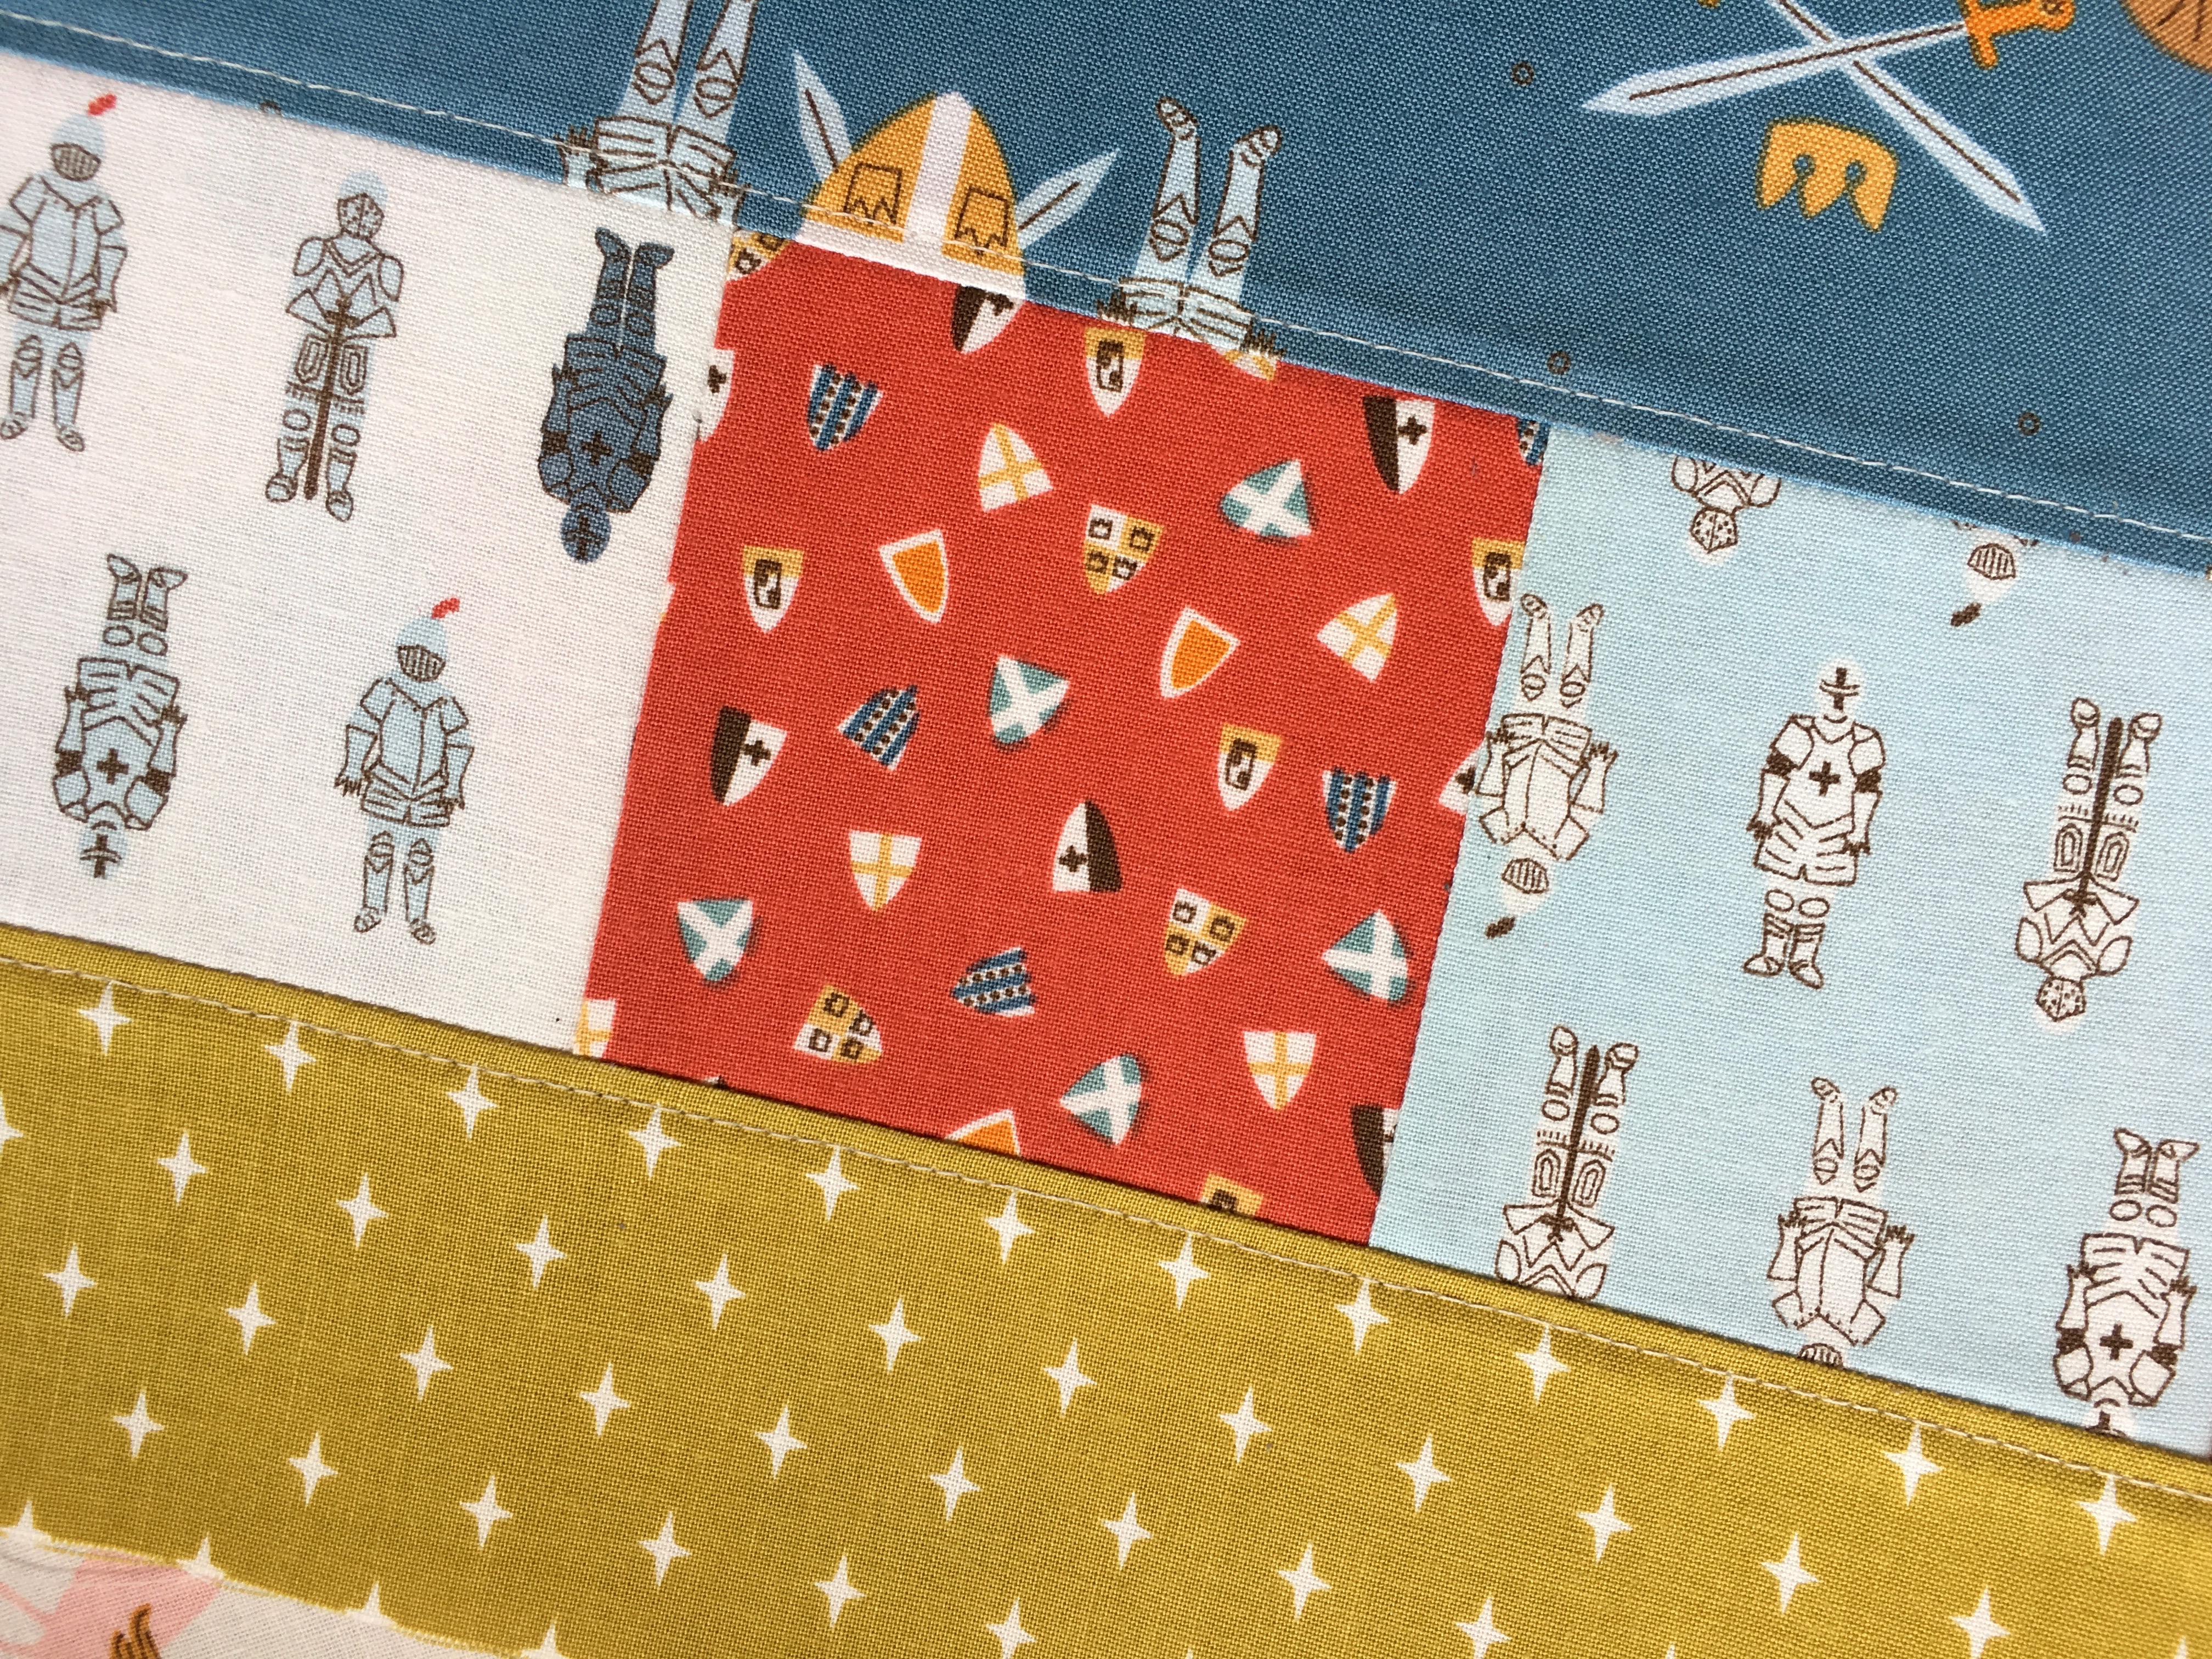
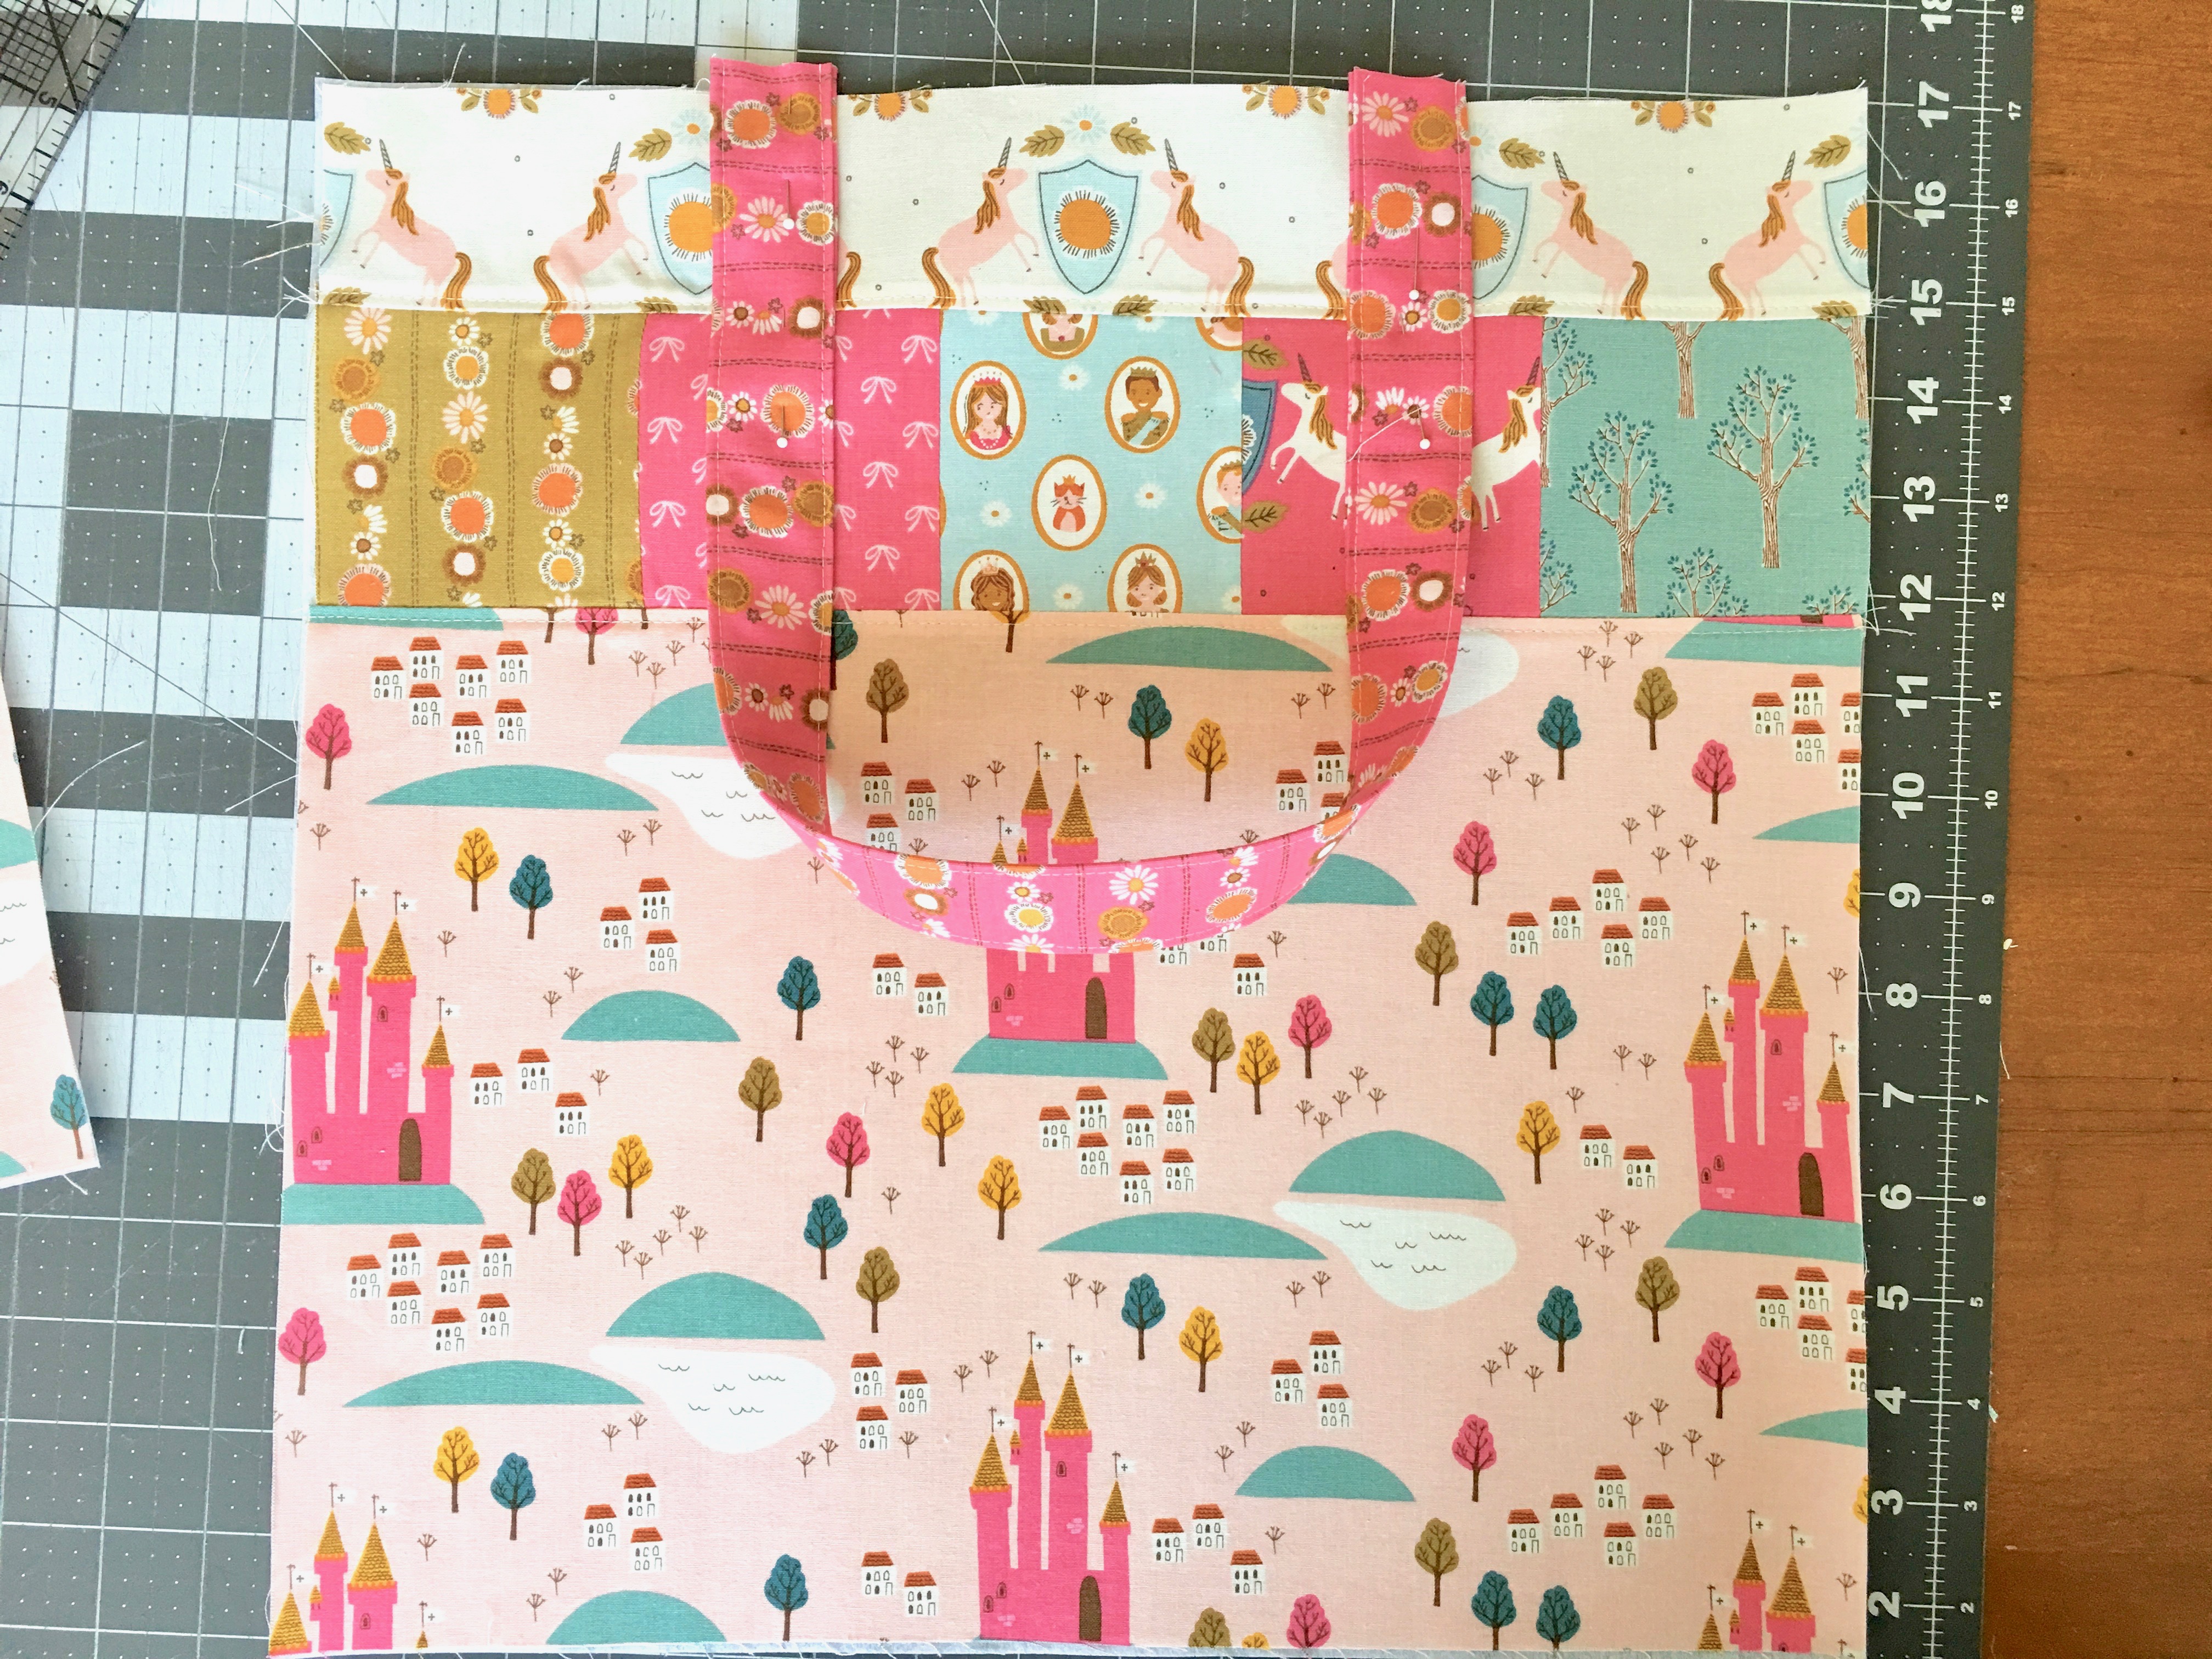
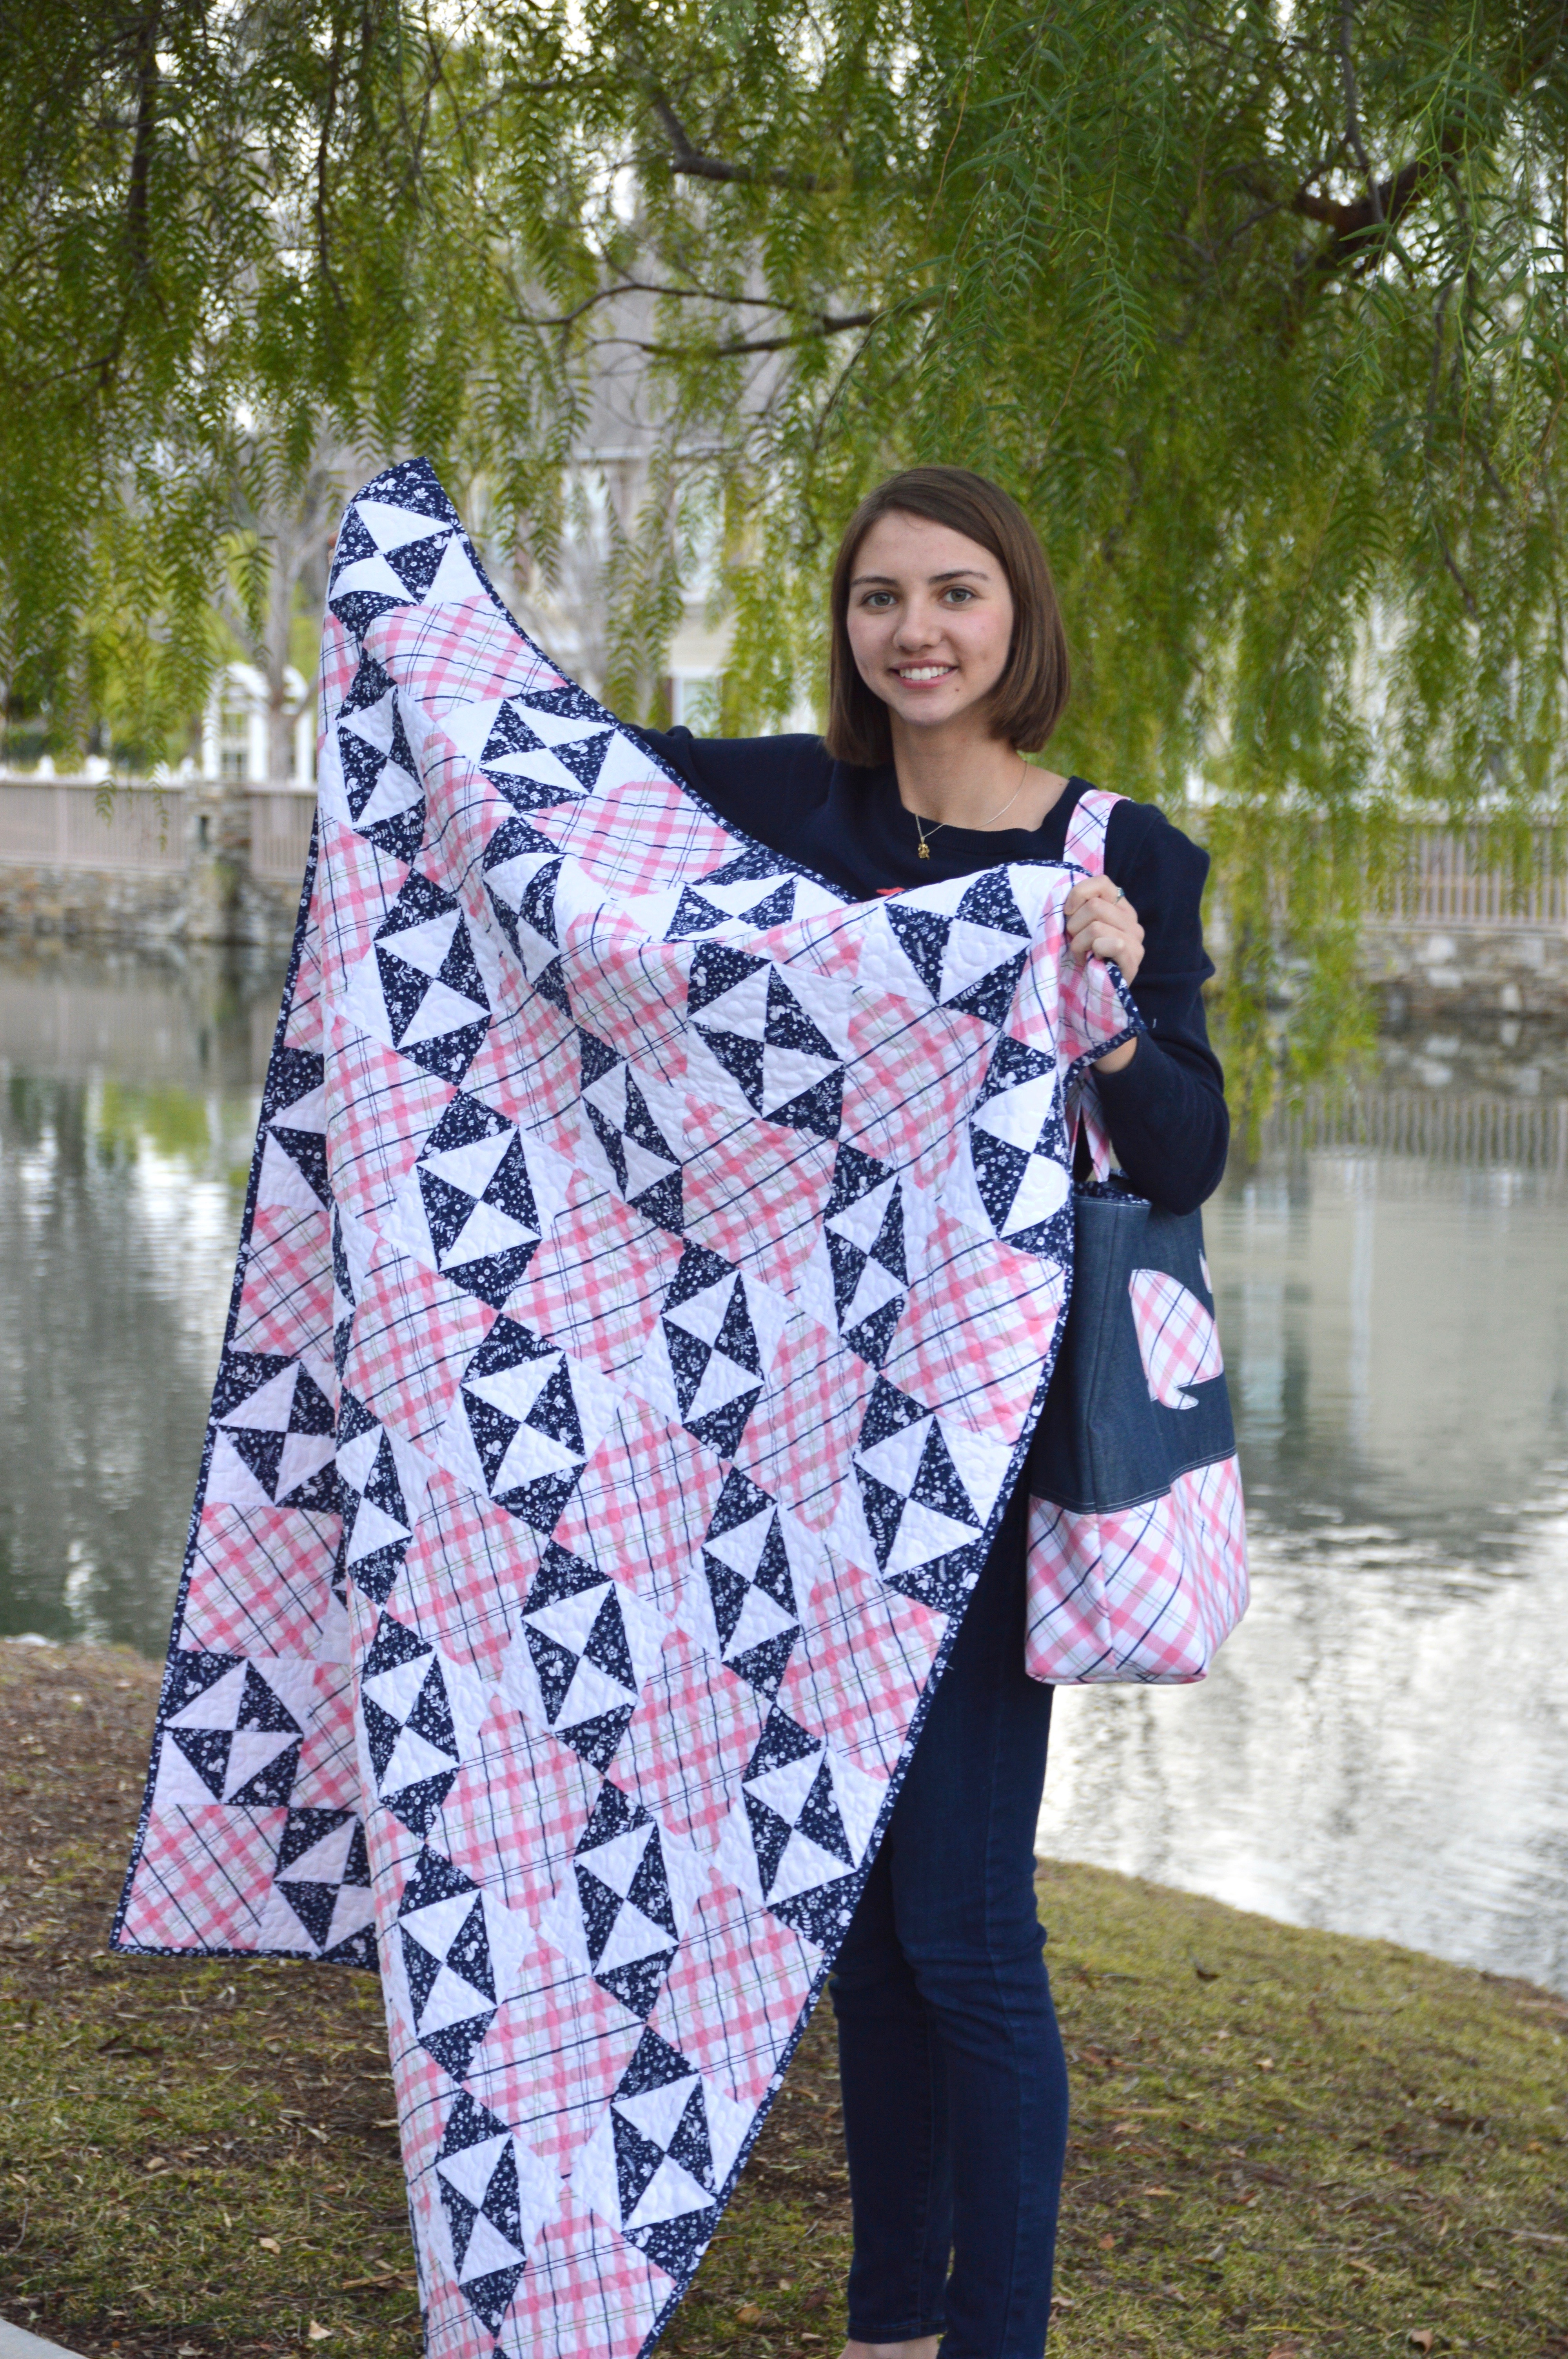
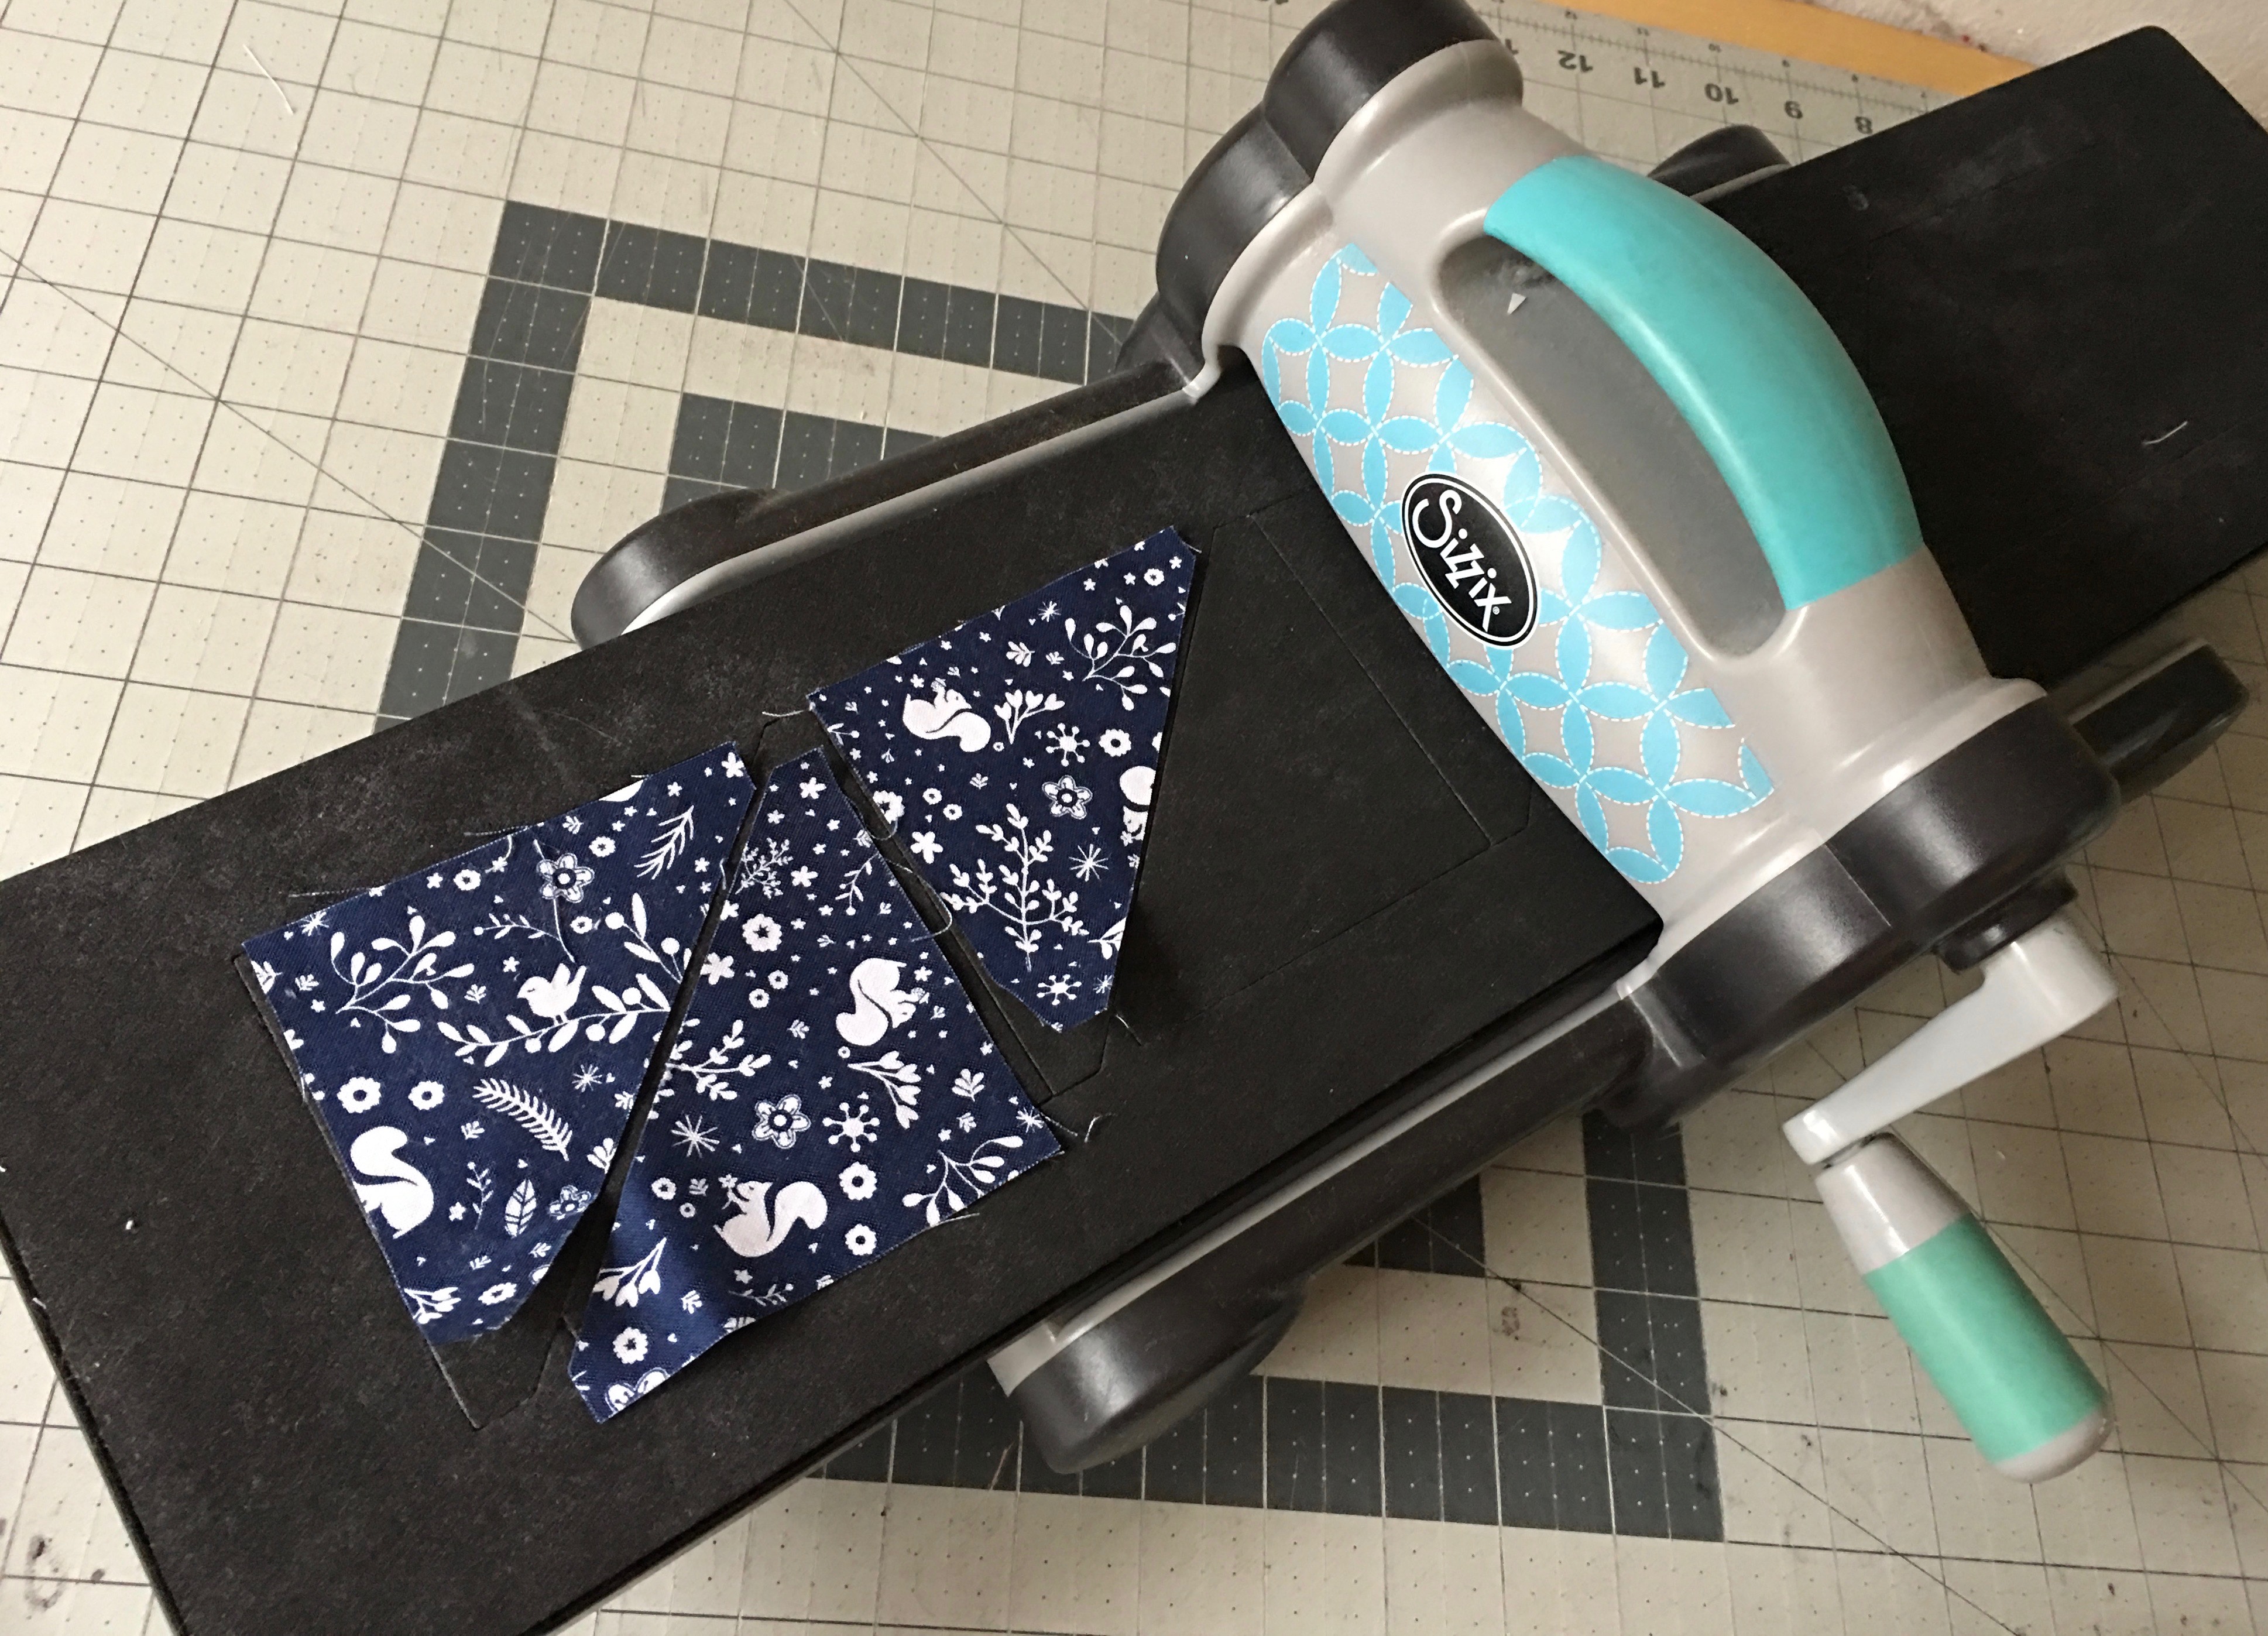
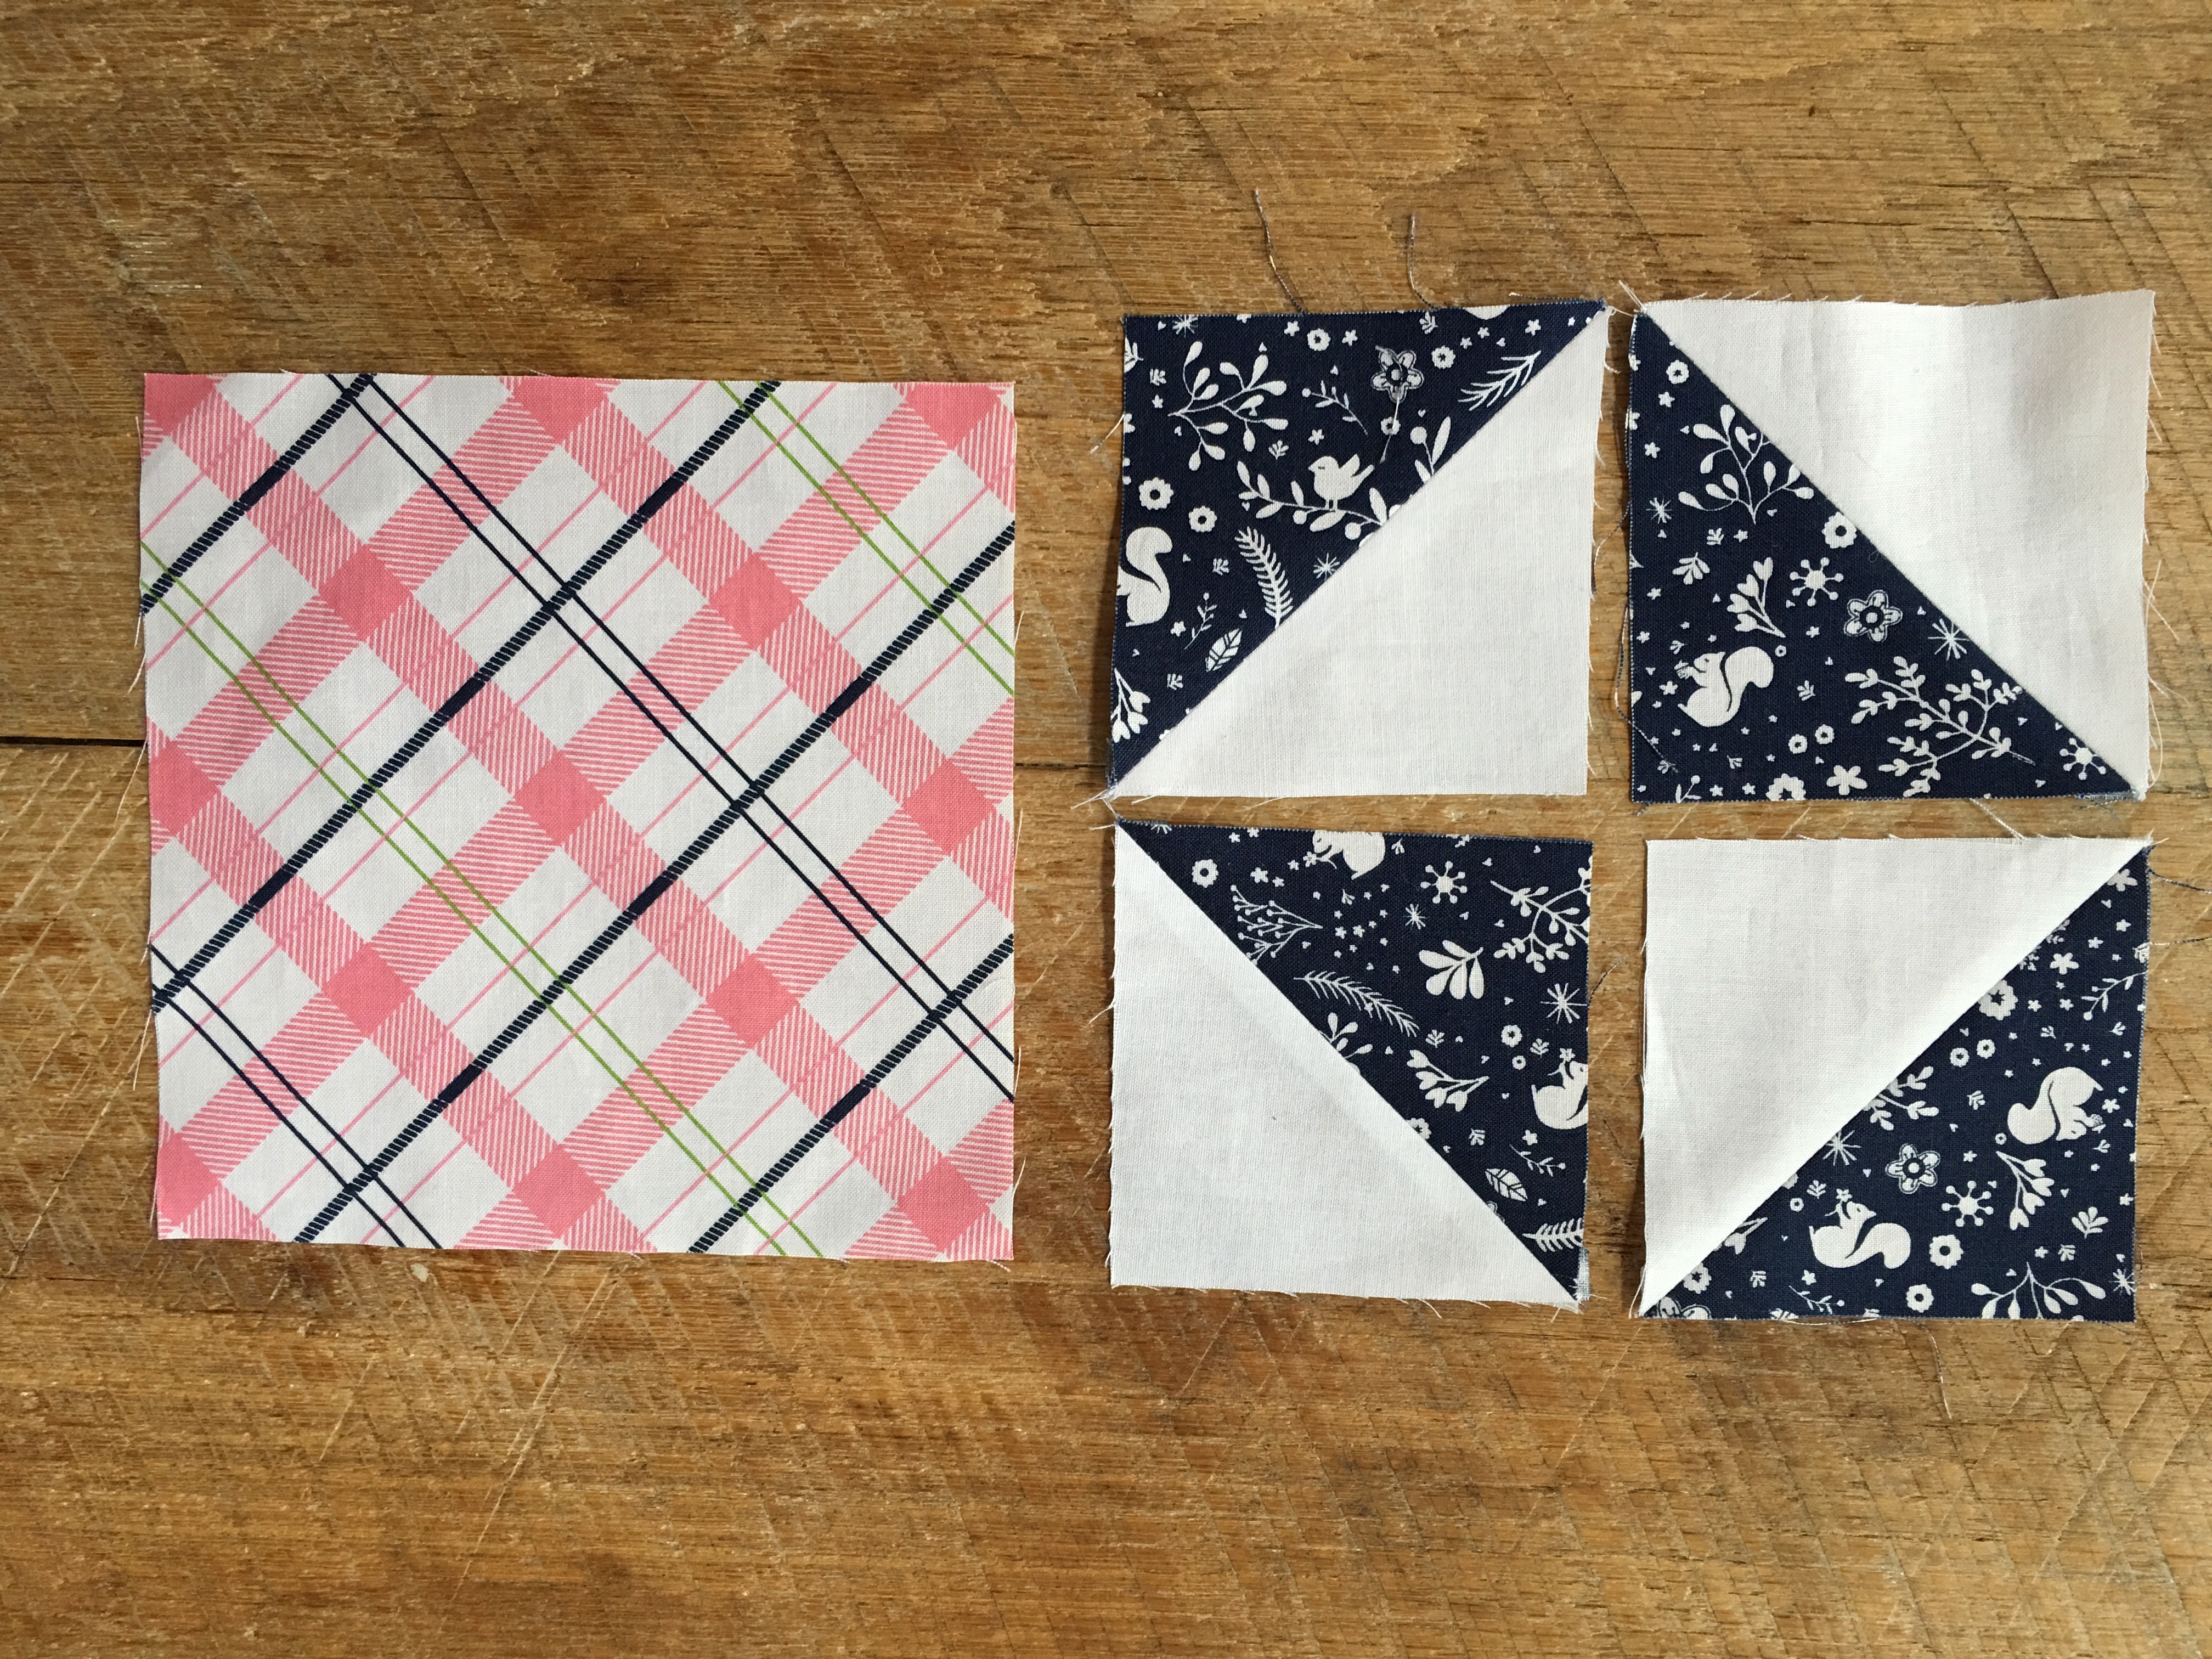
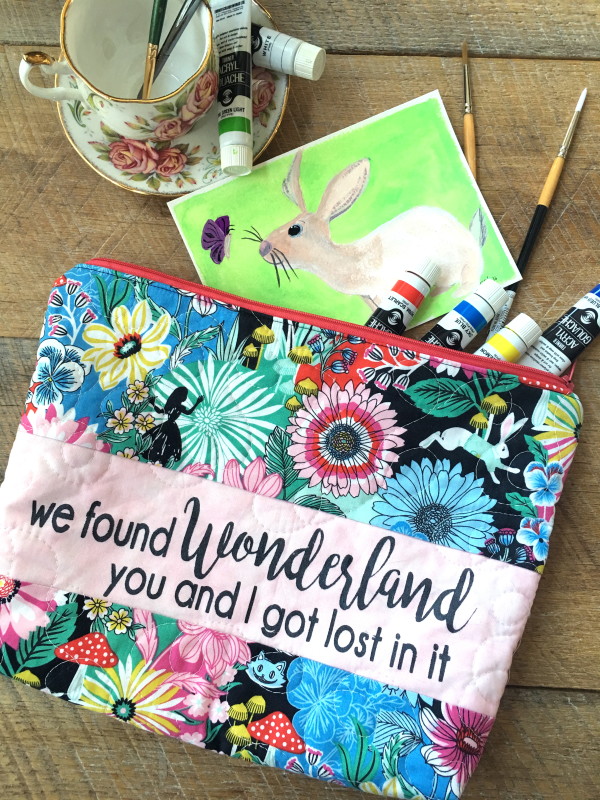
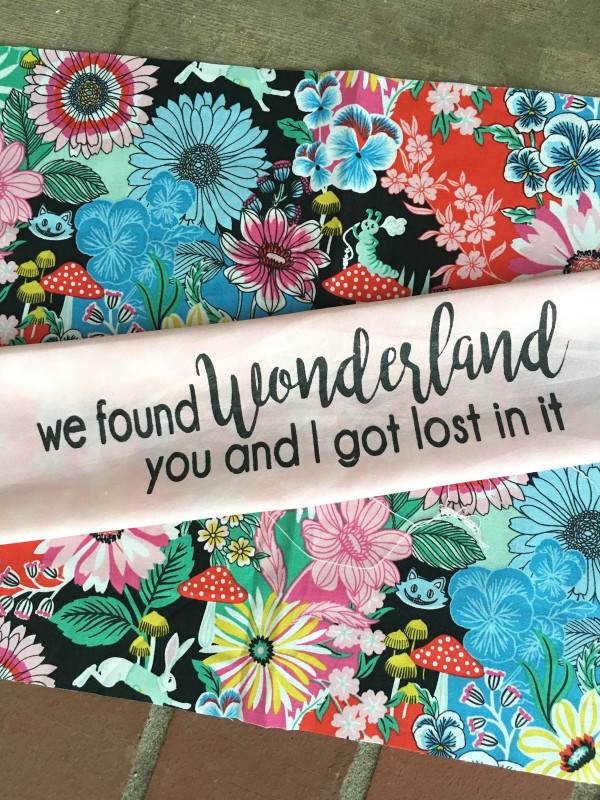
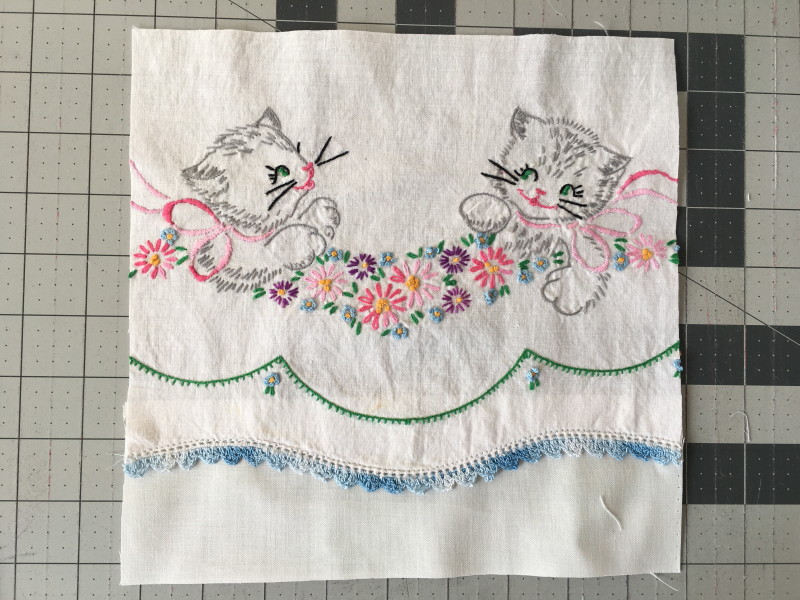
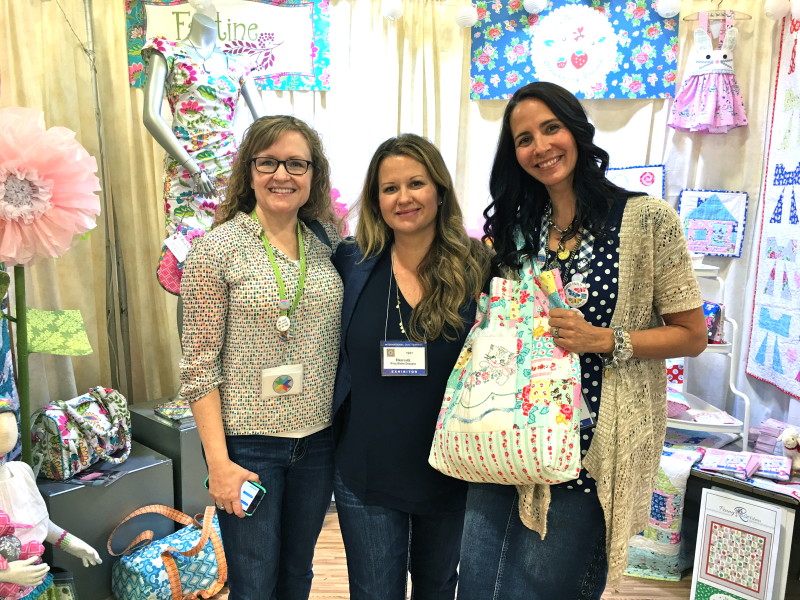
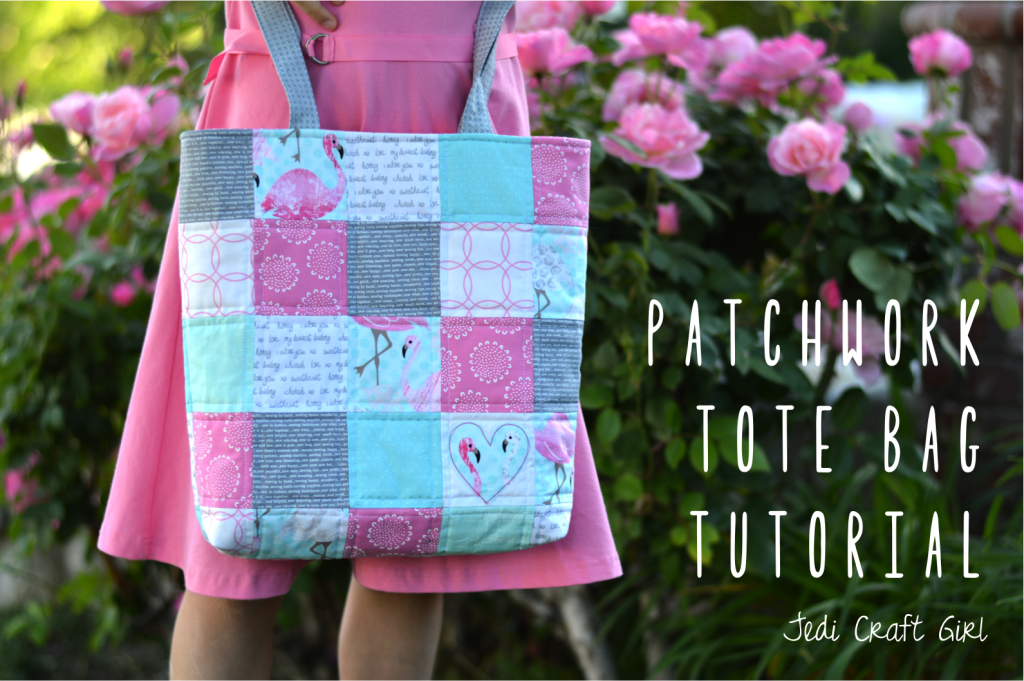
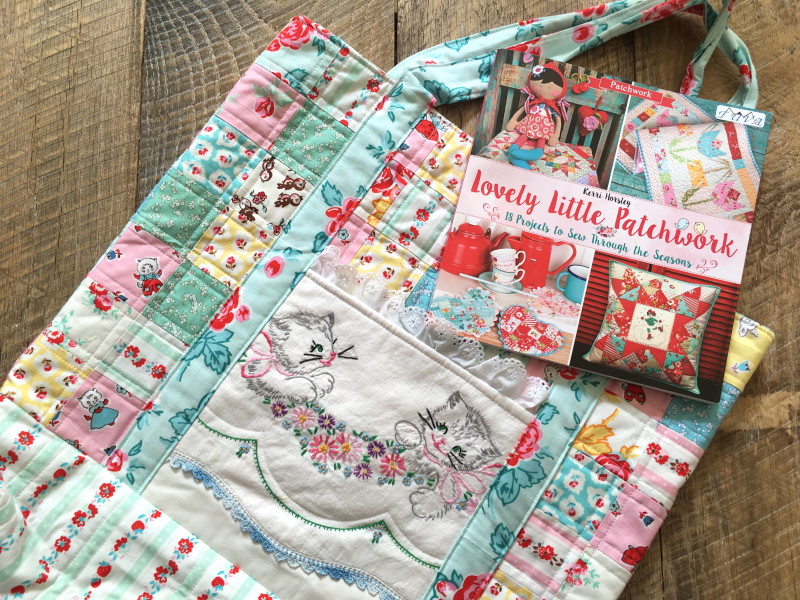
What I love about this book is that not only are the projects inspiring but the book is also fun to read and so pretty to thumb through! I choose to make her Patchwork Market Tote.
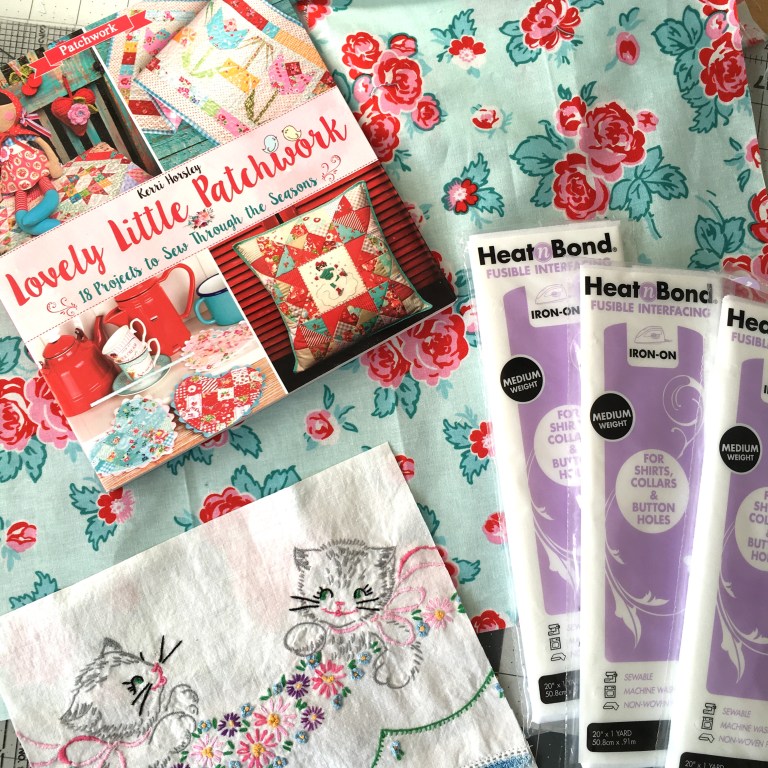
IMG_7760

For my fabrics I selected Milk, Sugar, Flour by Elea Lutz for Penny Rose Fabrics – one of my all time favorite fabric lines!  The pattern calls for an embroidered pocket.  I found this vintage pillow case with cats and flowers and knew it would be purrrrfect for this project.

IMG_7776

I gathered all my supplies and began cutting and Mufasa decided this would be the perfect place for a catnap 🙂

I followed the cutting instructions exactly.  I am a lover of totebags and so I stabilized my bag a little differently.   My favorite method is cotton batting + HeatnBond medium weight fusible stabilizer!

IMG_7787

Once I had the outer portions of the tote bag completed  I fused the Heat n Bond® medium weight stabilizer to the wrong side of the outer bag pieces.

Next, I used  Spray n Bond to baste the fused outer bag pieces to cotton quilt batting and then quilted. The addition of the stabilizer gives the bag more strength and substance while the batting keeps it feeling soft!

IMG_7758

I cut my pillowcase to the measurements indicated in the pattern.

IMG_7763  I used this same method to create the pocket, first ironing on stabilizer to the wrong side of the embroidery piece, followed by quilt batting.

IMG_7812I quilted the entire bag with straight line stitching along each of the seams.

I didn’t have webbing for the straps so I created my own using the same length measurements as in the pattern.

To create a 1″ wide handle, cut a 4″ x desired length piece of fabric.   Press the entire length in half.

IMG_7782Open the strap and press both long edges in to meet the center crease.

IMG_7785Now comes the fun part, cut a 2″ x desired length piece of stabilizer and slip it inside the folded handle.  Press to fuse.  Then fold the 2″ piece in half again lengthwise to result in a 1″ wide strap.  Top stitch both sides to secure.  There are 4 layers of fabric and 2 layers of stabilizer in the handle!  It’s perfect!  I topstitched along the handles and then continued following the pattern.

IMG_7822

I love it so much!

IMG_7834

I took this bag to quilt market in May and I was thrilled to show it to Elea who absolutely loved it!!  IMG_8083

lovely little patchwork 2

For more inspiration stop by each of these designers’ blogs to see what fun projects they have made from Kerri’s book!!

28.08.2016 Sarah Edgar @sarahedgarprettyfabrics alittlehappyplace.blogspot.co.uk
29.08.2016 Heidi Staples @fabricmutt fabricmutt.blogspot.com
30.08.2016 Megan Jimenez @QuiltStoryMeg quiltstory.blogspot.com
02.09.2016 Cheri Lehnow @tinkerellen tinkerwiththis.blogspot.com
03.09.2016 Ange Hamilton @alittlepatchwork alittlepatchwork.wordpress.com
04.09.2016 Sedef Imer @downgrapevinelane downgrapevinelane.com
05.09.2016 Kimberly Jolly @fatquartershop fatquartershop.blogspot.com
06.09.2016 Samantha Dorn @aqua_paisley aquapaisleystudio.com
07.09.2016 Ayda Algın @cafenohut cafenohut.blogspot.com
08.09.2016 LeAnne Ballard @everydaycelebrations everydaycelebrate.blogspot.com
09.09.2016 Sharon Burgess @lilabellelane lilabellelane.blogspot.com
10.09.2016 Lauren Wright @mollyandmama mollyandmama.com.au
11.09.2016 Kate May @thehomemakery thehomemakery.co.uk/blog/
12.09.2016 Debbie Homick @happylittlecottage1 happylittlecottage.blogspot.com
13.09.2016 Wynn Tan @zakkaart zakkaart.blogspot.com
14.09.2016 Kim Kruzich @retro_mama retro-mama.blogspot.com
15.09.2016 Jennie Pickett @cloverandviolet cloverandviolet.com
16.09.2016 Veronica AM @VividFelicity vividfelicity.wordpress.com
17.09.2016 Nadra Ridgeway @ellisandhiggs ellisandhiggs.com
18.09.2016 Amanda Woodruff @acraftyfox_amanda acraftyfox.net
19.09.2016 Minki Kim @zeriano minkikim.com
20.09.2016 Sharon Yeager @daisycottagequilting Instagram
21.09.2016 Peta Peace @shequiltsalot shequiltsalot.com
22.09.2016 Sarah Scott @piccolostudio_sarah piccolostudio.com.au
23.09.2016 Kristin Cobb @goobadesigns Instagram
24.09.2016 Erin Cox @whynotsewquilts whynotsew.blogspot.com
25.09.2016 Kerri Horsley @sewdeerlyloved lovelylittlehandmades.blogspot.com

Market Tote Pattern

market bag pattern cover

I created this fun and versitile tote bag for Blend Fabrics.  It’s such a great tote because it folds up super flat but then you can fill it with tons of stuff!  It’s perfect for beach towels and swimming stuff, goodies from the farmers market, or a fun day in the fabric district in LA!  You can download the pattern by clicking HERE.

doughnut bag 2

No really, it’s huge!  Sally was thrilled to finally have a photo shoot that involved food!!!  This fabric is called Lolly by Blend Fabrics.

doughnut bag 4

dougnhut bag 3

You can make this optional Doughnut Money Pouch.  Download the instructions HEREdoughnut moneydoughnut bag3

I also made a True Blue version of this bag.  doughnut bag

True Blue Summer Satchel


summer satchel
I love summer! Isn’t it the best!!!! In our family we have lots of outdoor actives and camps scheduled. Sometimes I need to carry a few items around that I can have quick access too, like my clipboard, water, bug spray and flashlight. I came up with this pattern for a cross-body satchel. It’s not complicated and sews up quick – it would be fun to make one for the whole family – you can match at your family reunion!IMG_8140_2

I used Heat n Bond® Medium Weight Fusible Stabilizer to give the bag more stability. Don’t you just love these whales by Blend Fabrics!!!
IMG_8136_2


Here is how you can make one:

Supplies:

1/2 yard outer bag
1/2 yard lining
1/3 yard bag strap
1 yard Heat n Bond® Fusible staibilizer

Cut:

(2) outer bag 15″wide x 16″ tall
(2) lining 15″wide x 16″ tall
(2) stabilizer 15″wide x 16″ tall
(2) Strap 5″ x WOF


IMG_8108_2

Fuse the HeatnBond® stabilizer to the wrong side of the (2) outer bag pieces.IMG_8109_2

With right sides together, pin all the way around the outer bag, leaving the top open. Do the same with the lining pieces. Sew using 1/3″ seam all the way around leaving the top open. You should have (2) bags, one outer and one lining.IMG_8110_2

To form a pleate in the bottom, cut a 1″ notch out of the bottom corners of the outer bag and the lining.IMG_8111

Match seams, pin, and sew 1/4″ seam, backstitching to start and stop.IMG_8112

Sew the (2) 5″ strap pieces together end to end. Press the seams open. Measure how long you want your strap. Mine was 48″. Cut at the desired length. Fold in half, right sides together and sew 1/3″ seam all the way down.
IMG_8113

Turn right side out, press and top stitch.IMG_8114

Baste (1/8″) the ends of the strap centering on the side seams on the right side of the outer bag.IMG_8115

Place the lining inside the bag so that right sides are facing each other. Match side seams and pin all the way around.IMG_8116Sew 1/4″ seam all the way around the top of the bag leaving a 3″ opening. Turn bag right side out and press. Sew a 1/8″ top stitch around the bag top, sewing the opening closed.
IMG_8117_2

IMG_8130

IMG_8122

To add a little detail to the fabric, I used Deco Foil™ Transfer Adhesive and followed the loops on the fabric. After it dried I rubbed the Deco Foils™ on the adhesive. You can add a little shine to any project this way!!

IMG_8142

Patchwork Tote Bag Tutorial

patchwork tote bag tutorial

I love sewing for Sally!  And I love that she loves everything I make for her!  I was thrilled to receive this bundle of fat quarters from Ft. Worth Fabric Studio.  Every Friday they feature a fun Friday bundle!  This is the perfect project to make with a handful of fat quarters and a few cuts of yardage. patchwork tote bag 3
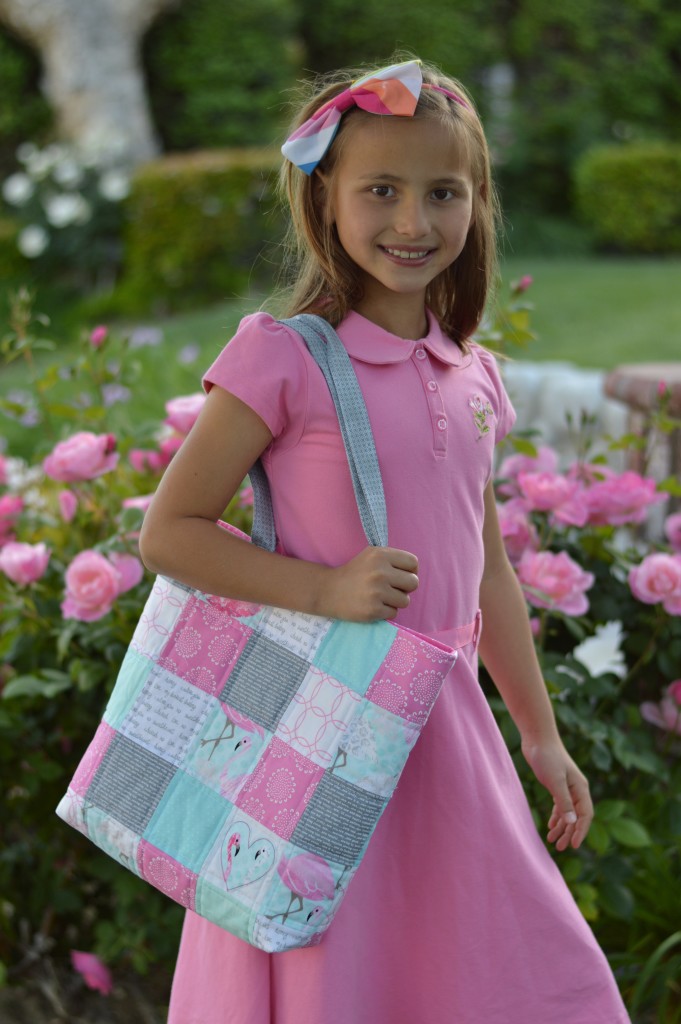
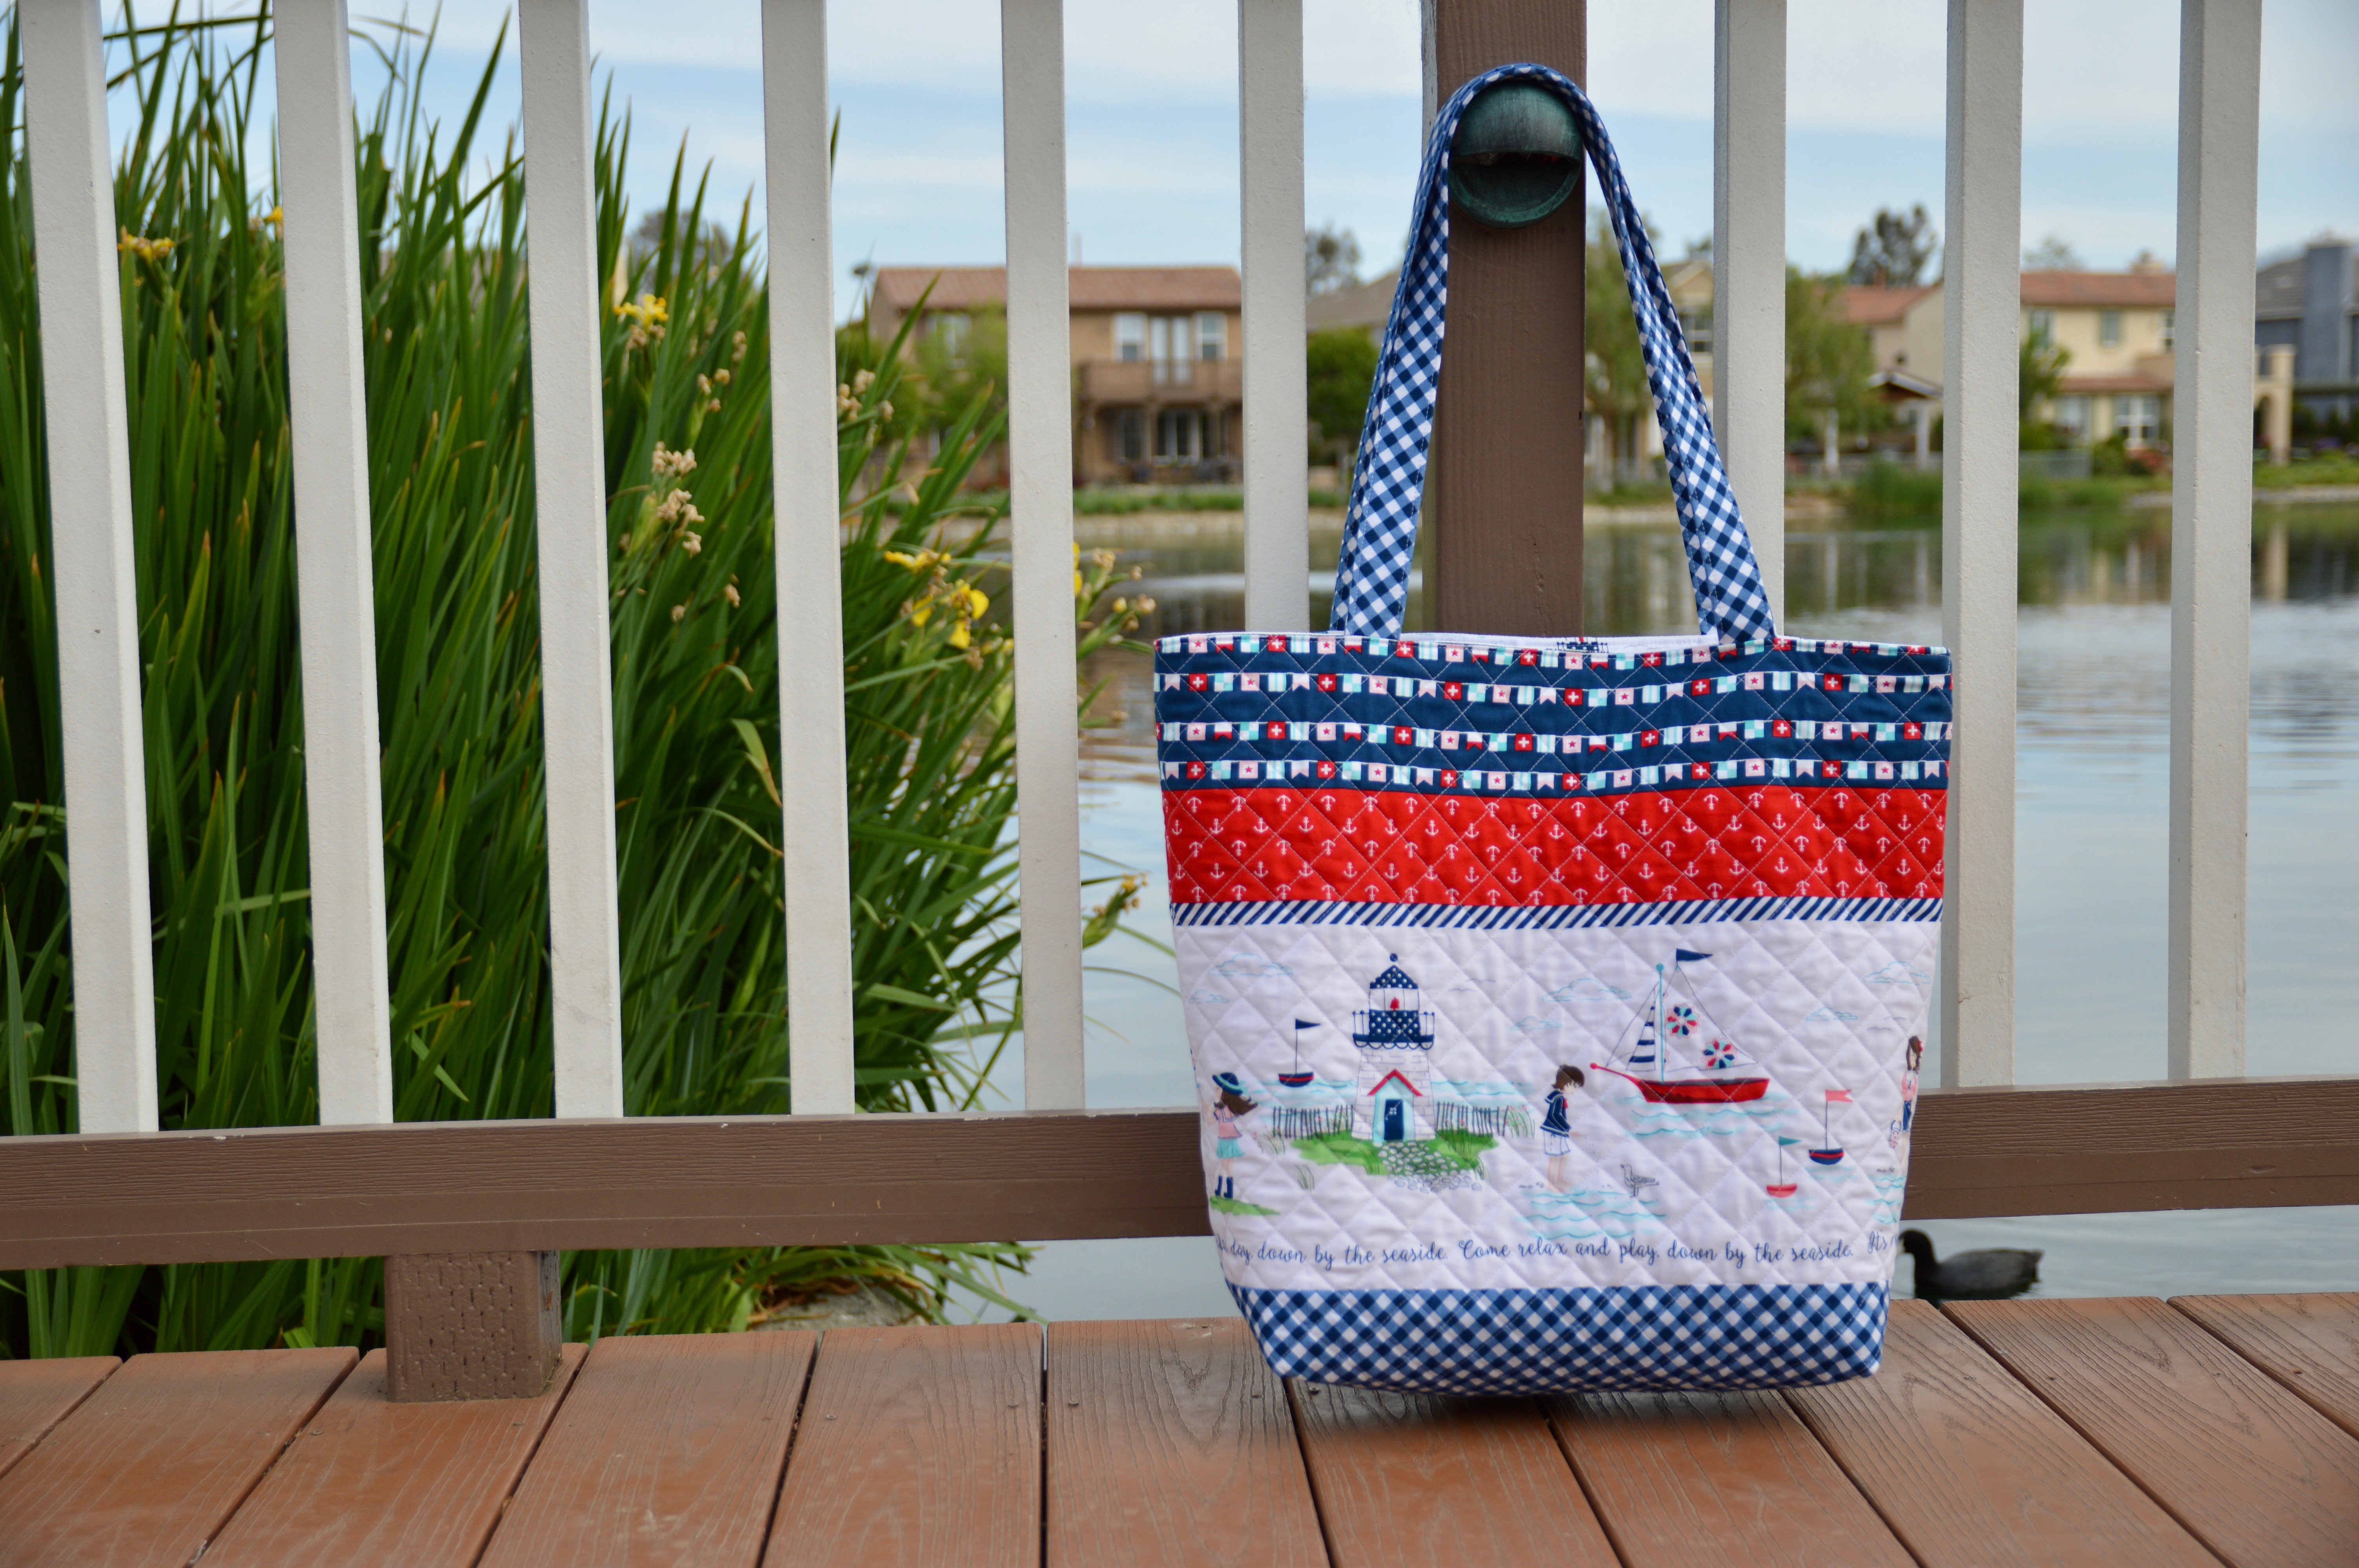
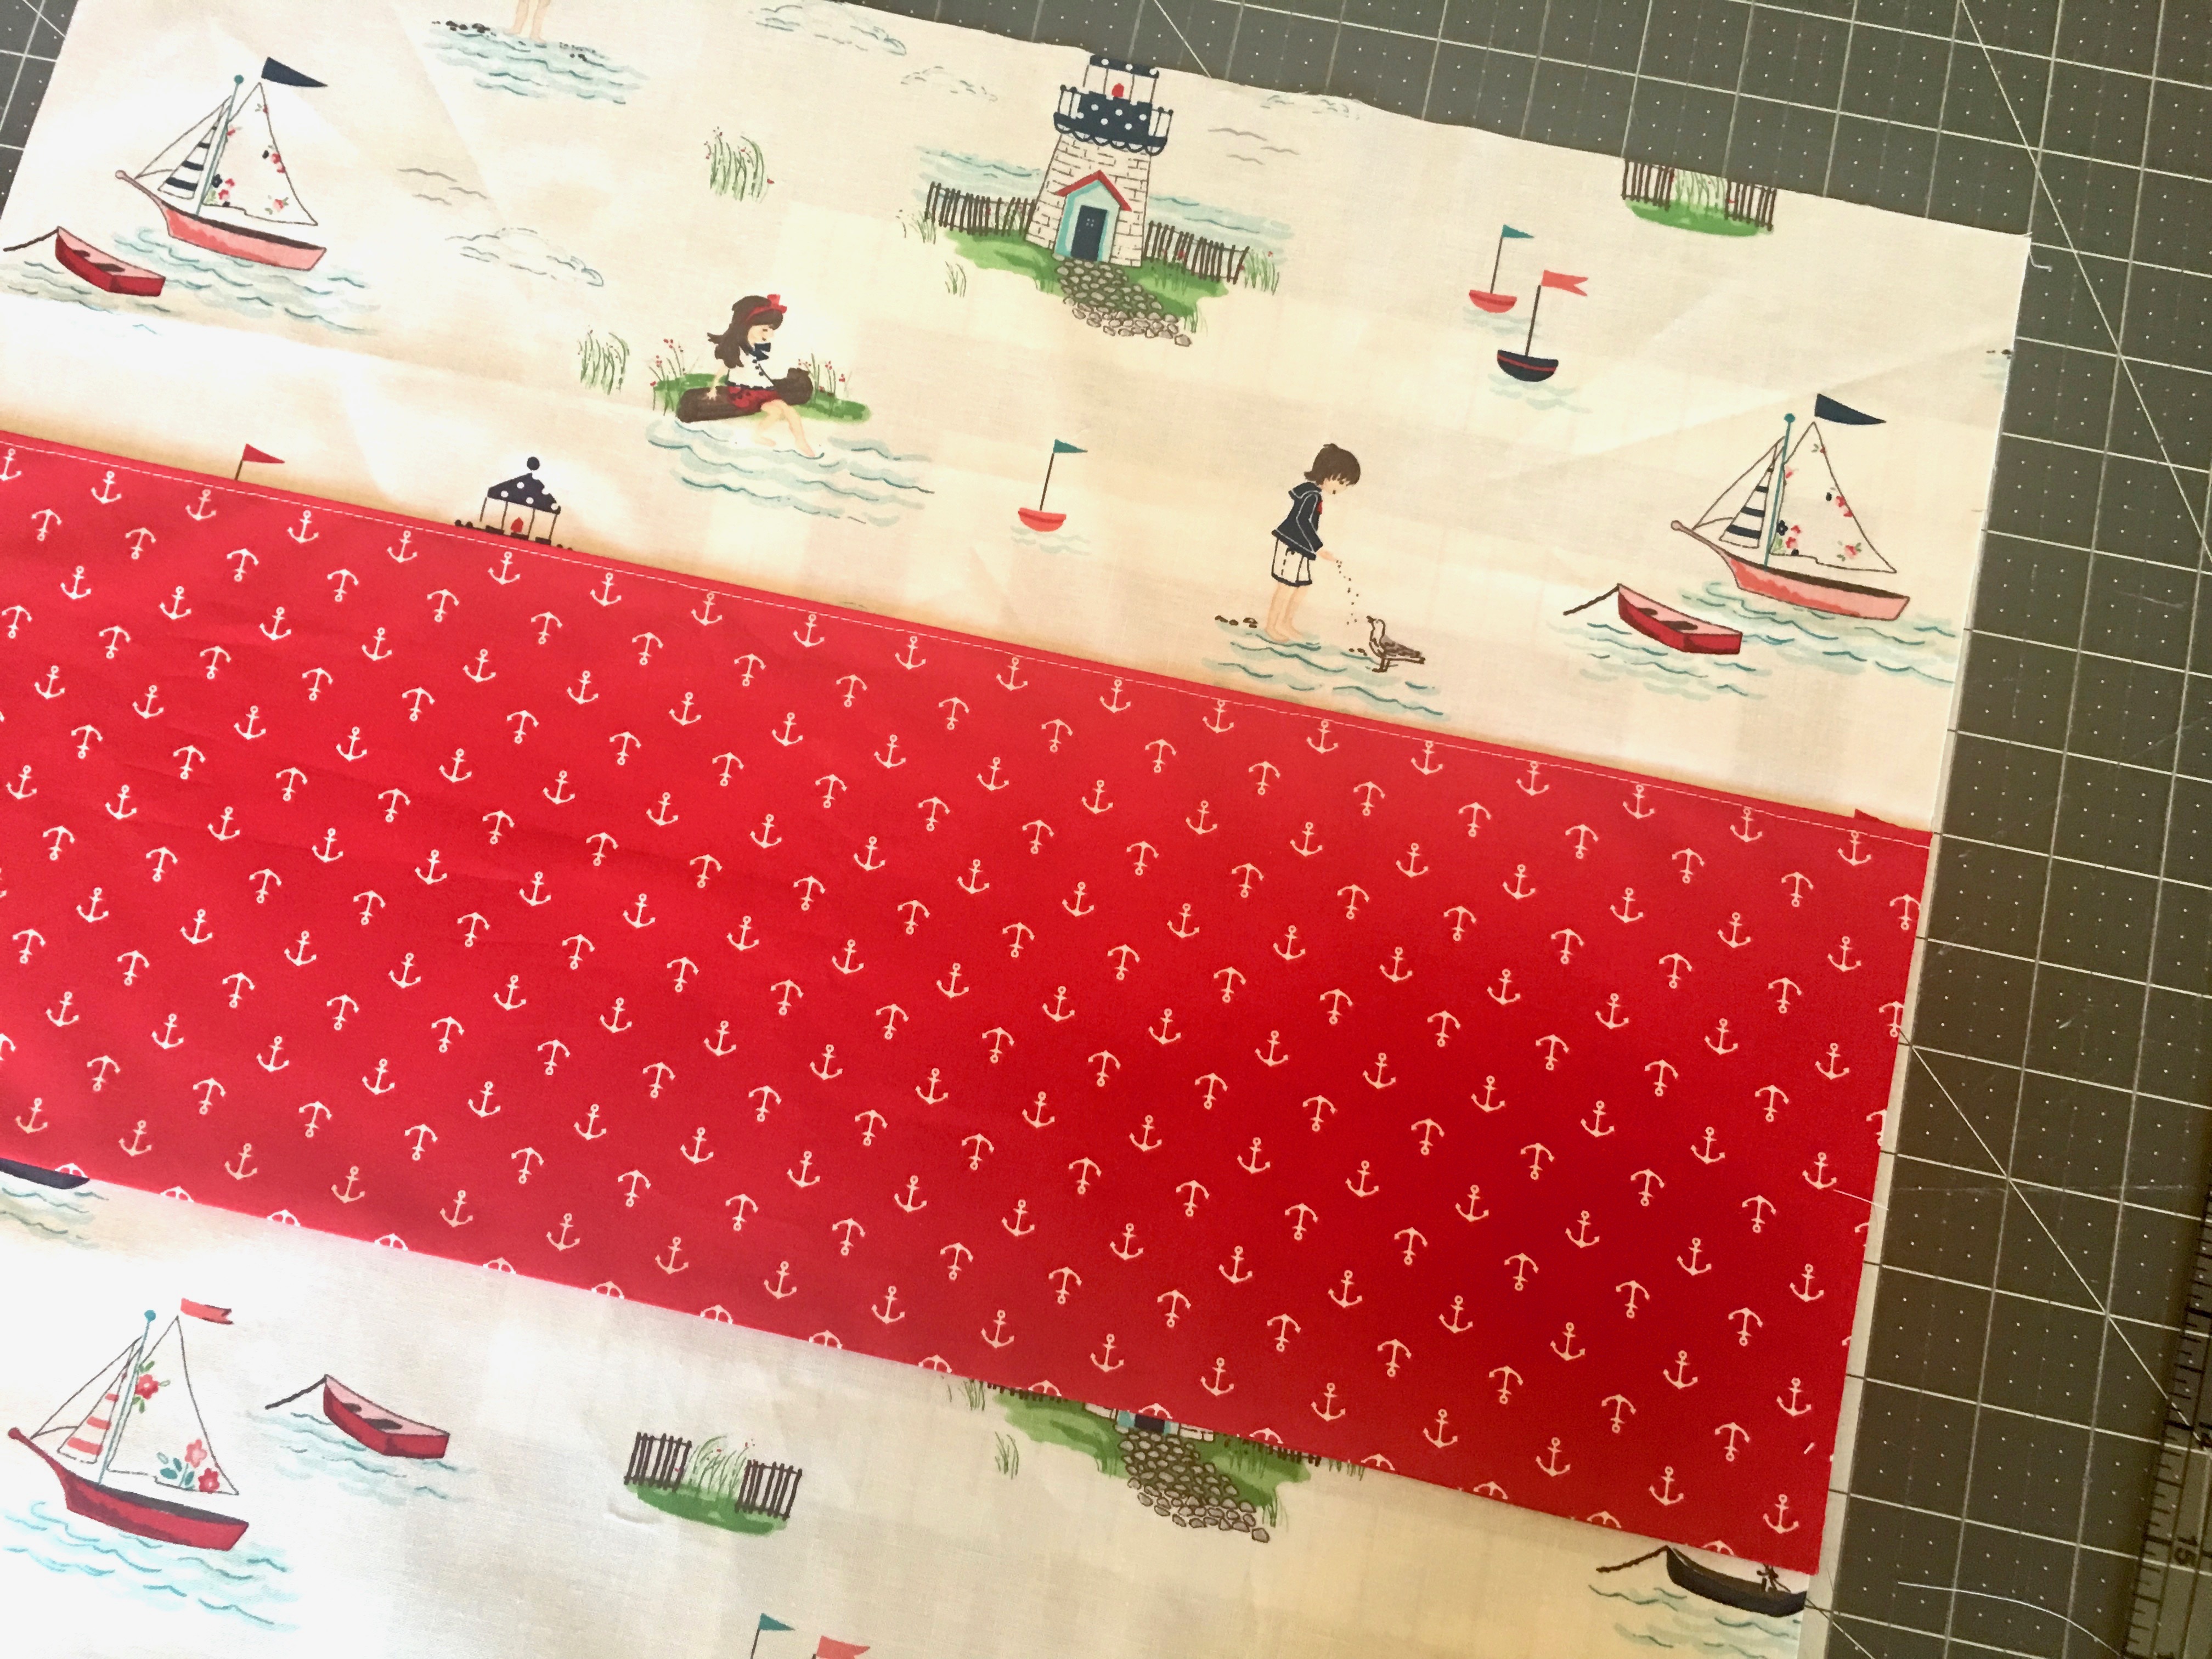
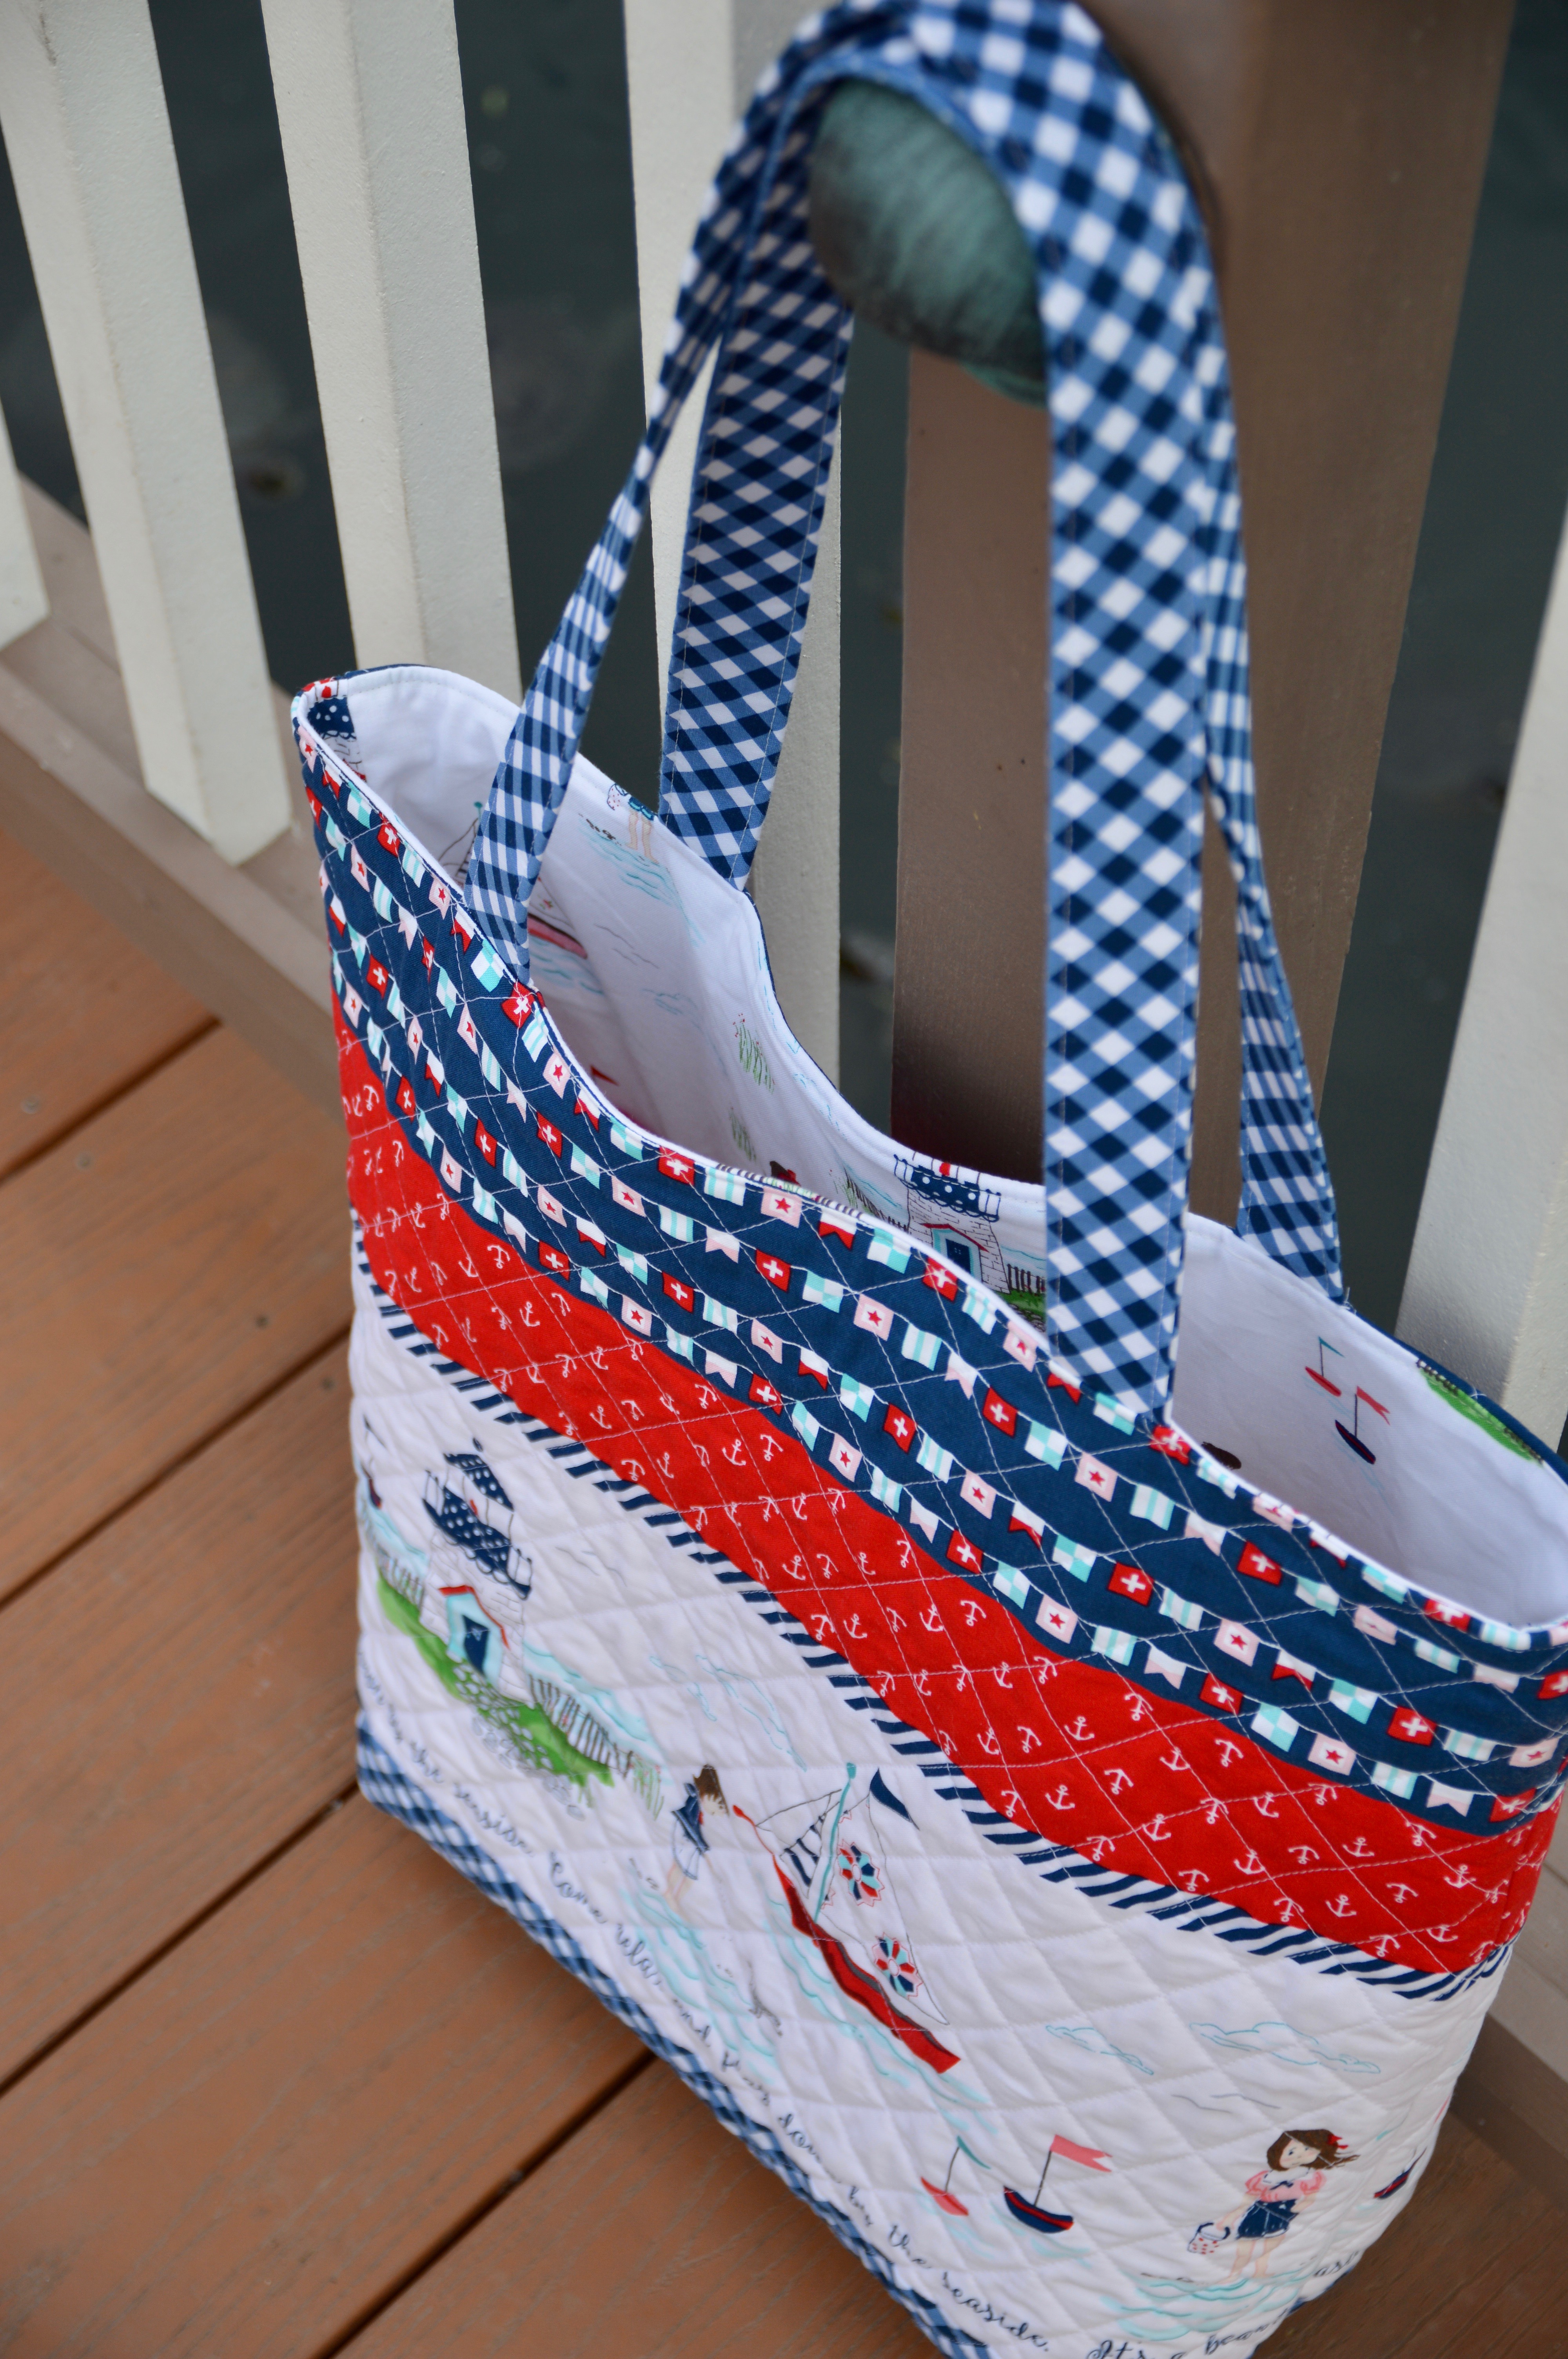
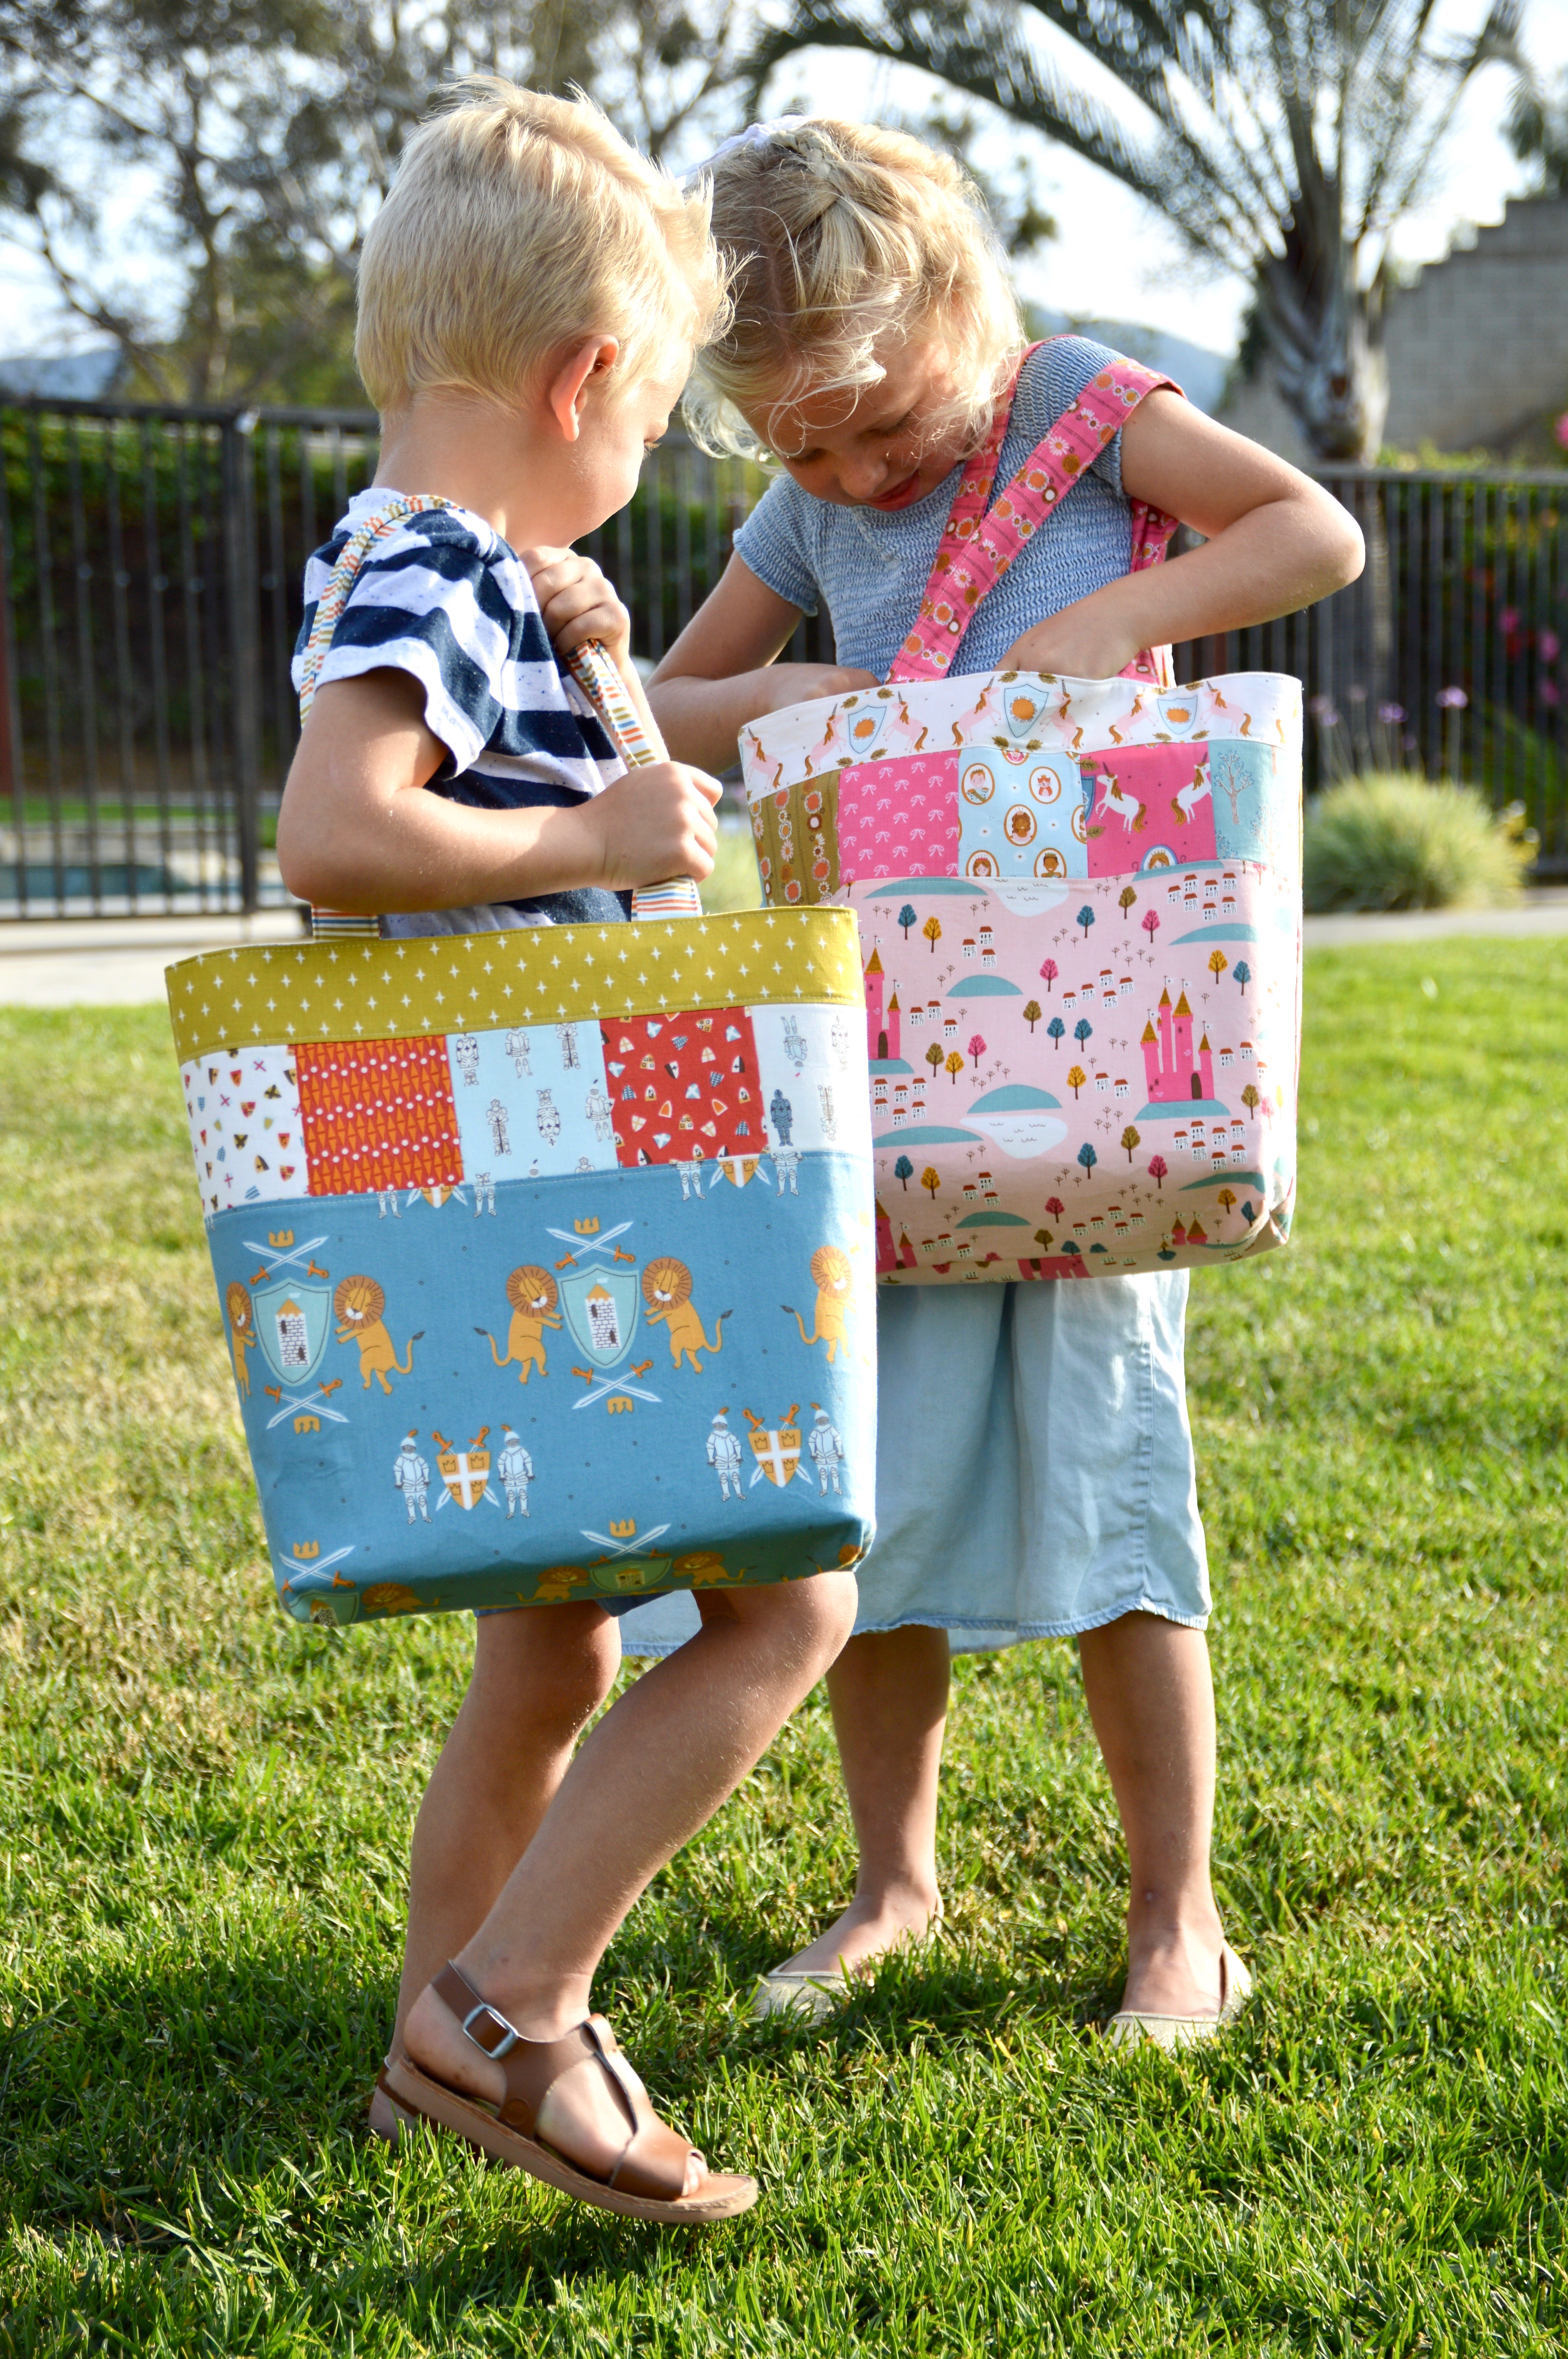
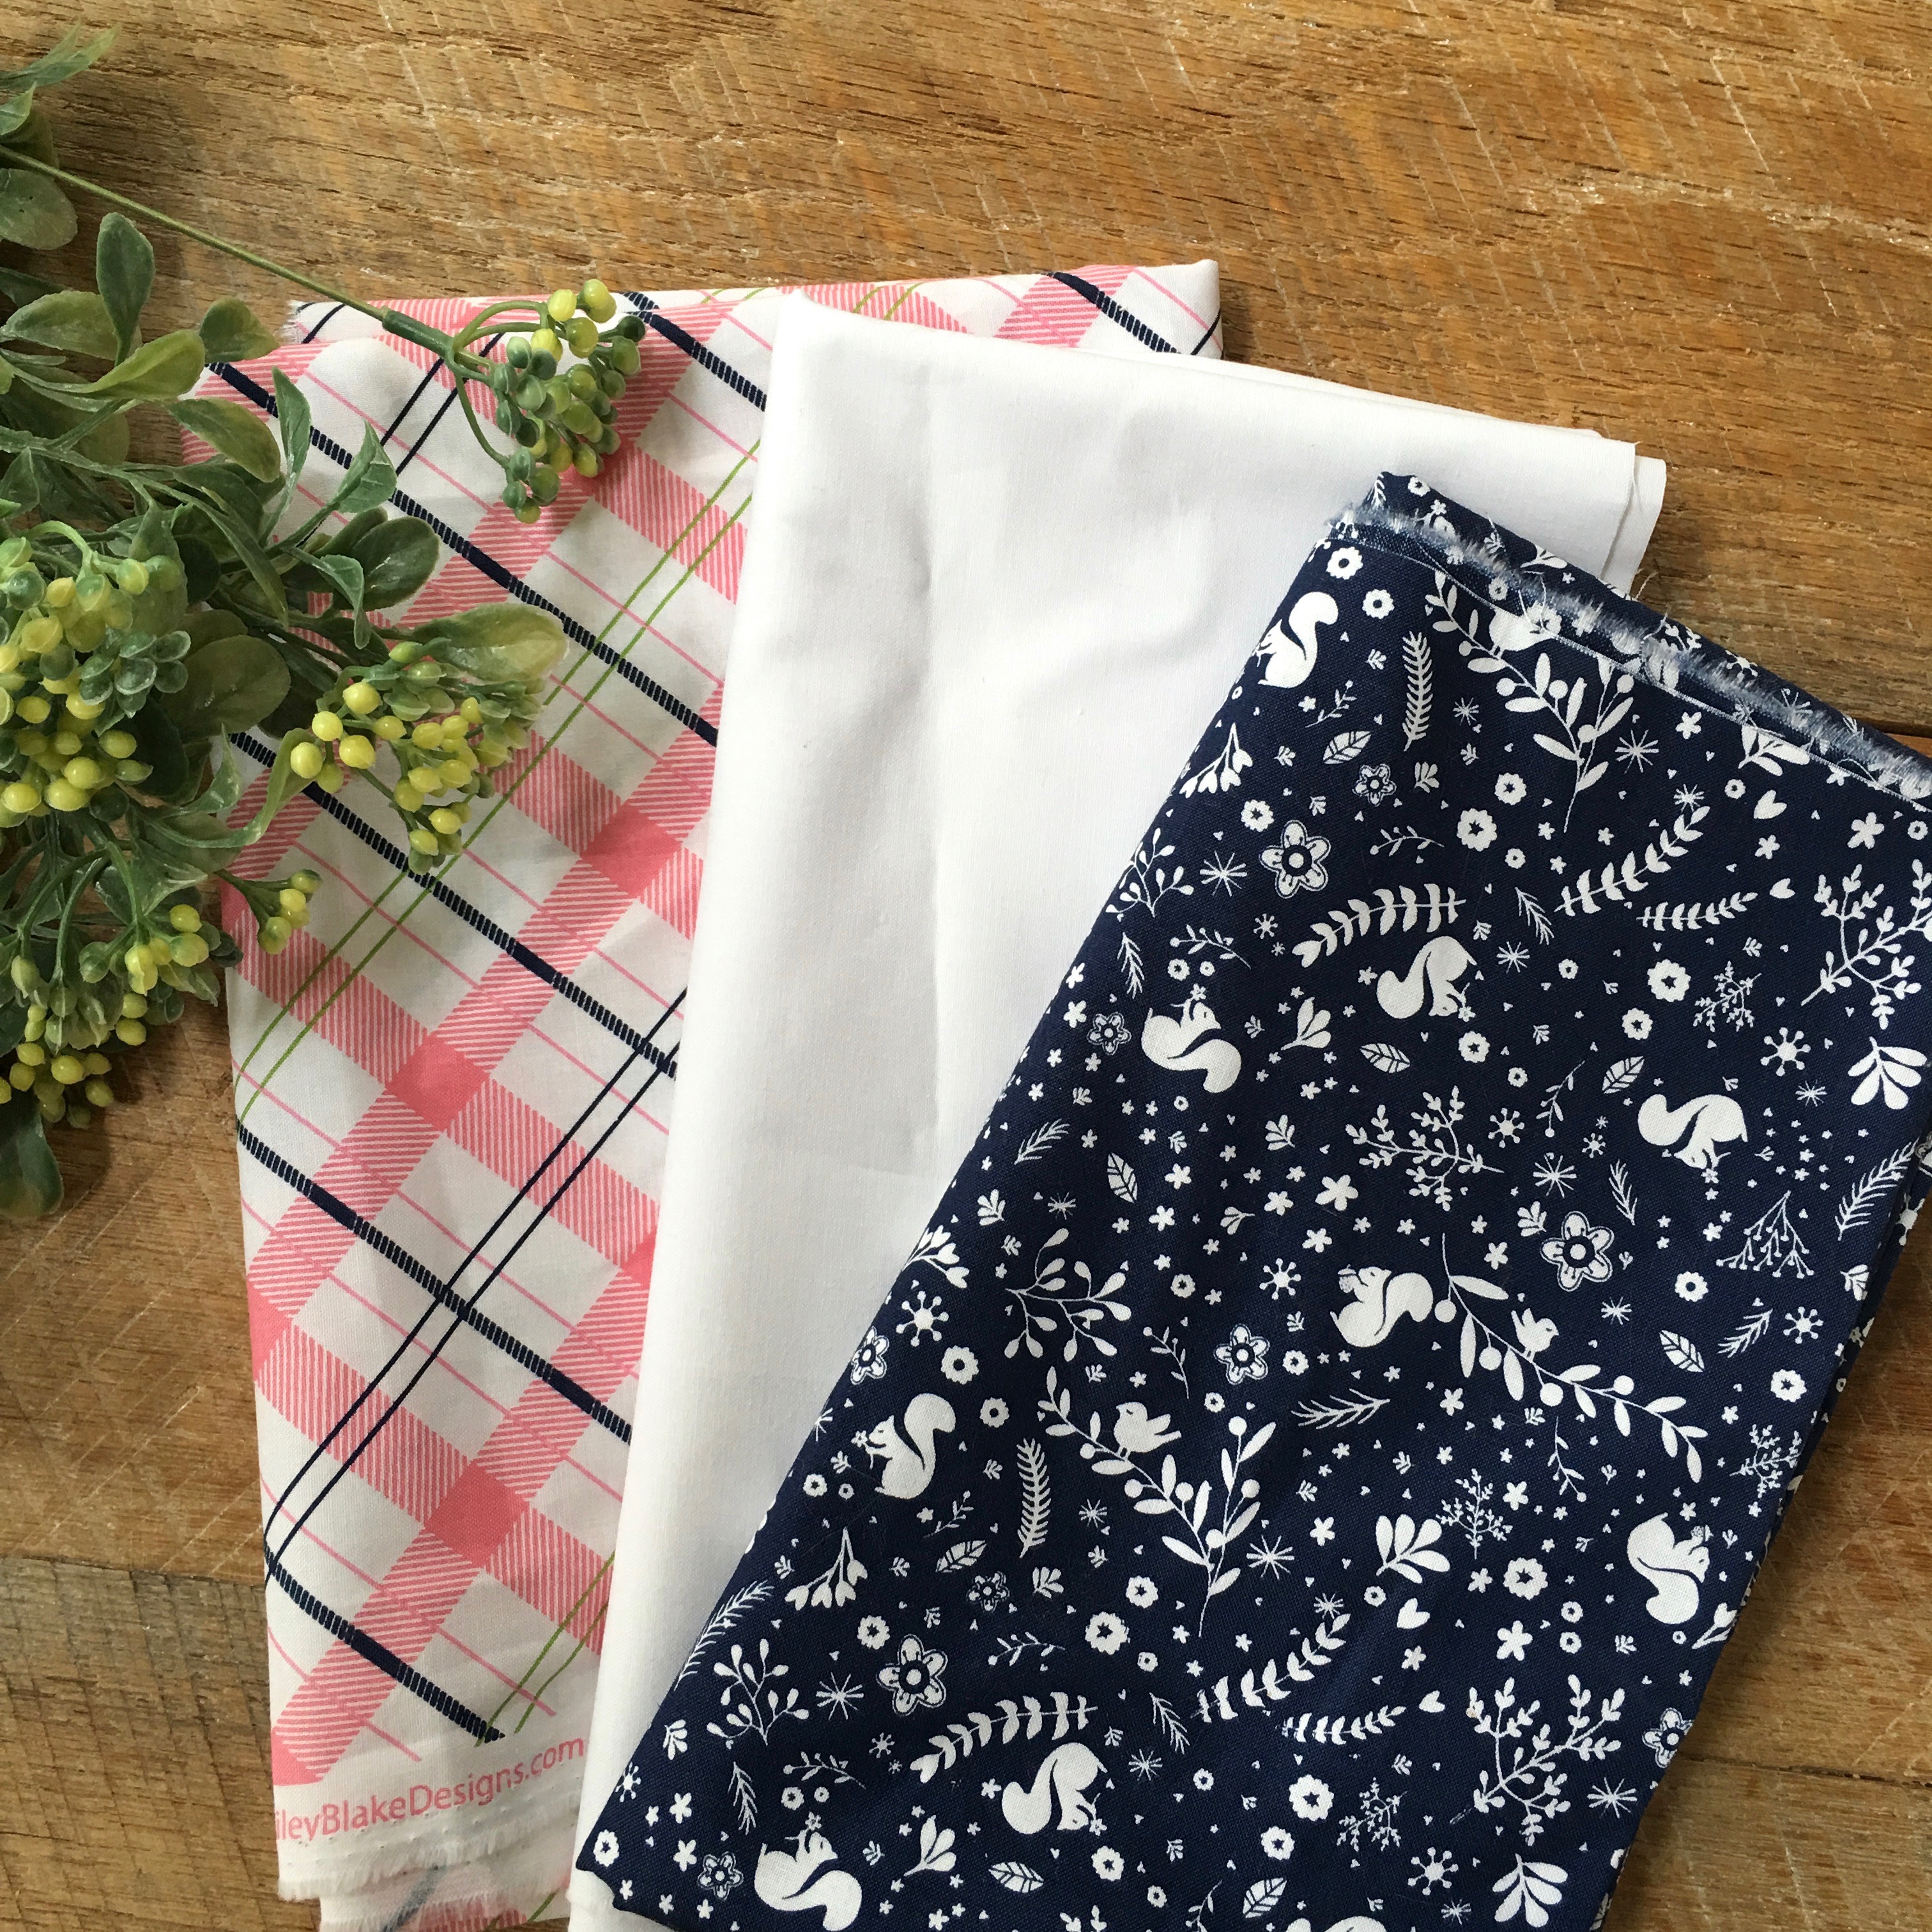
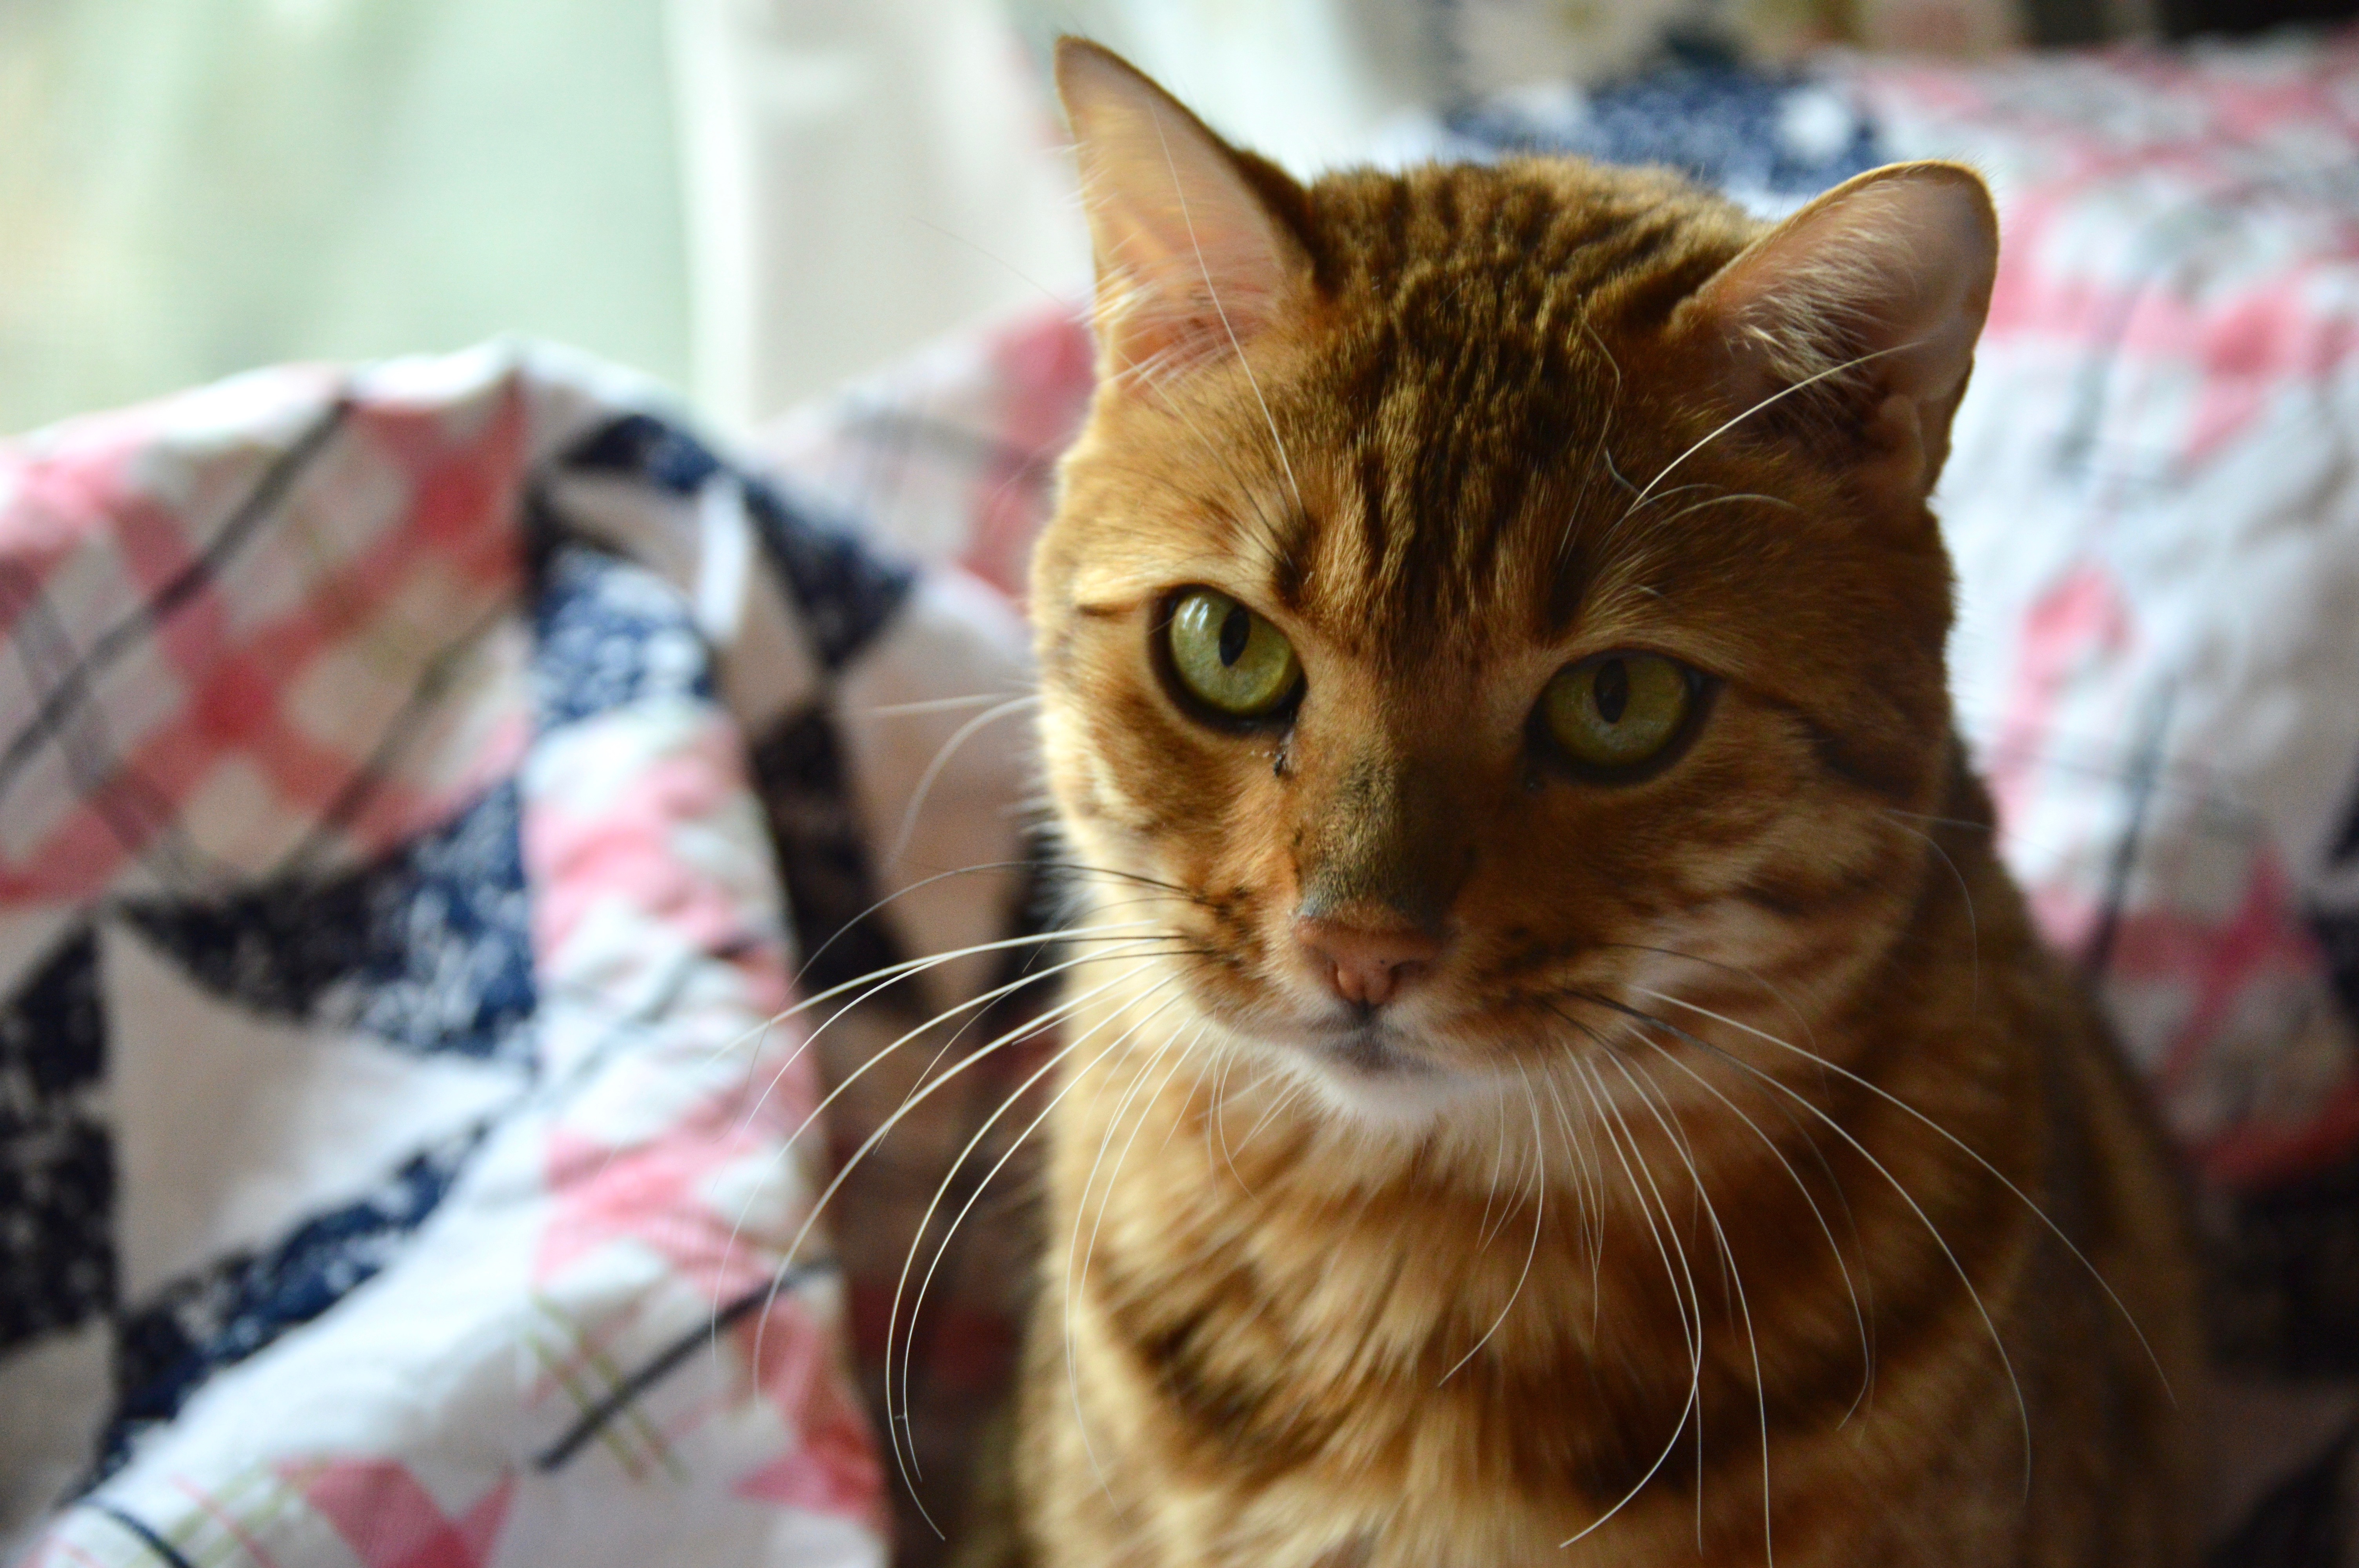
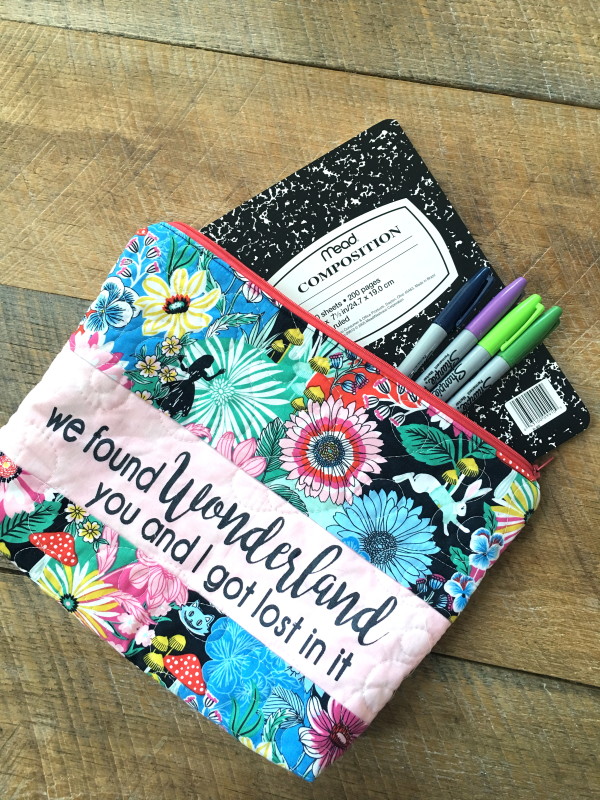
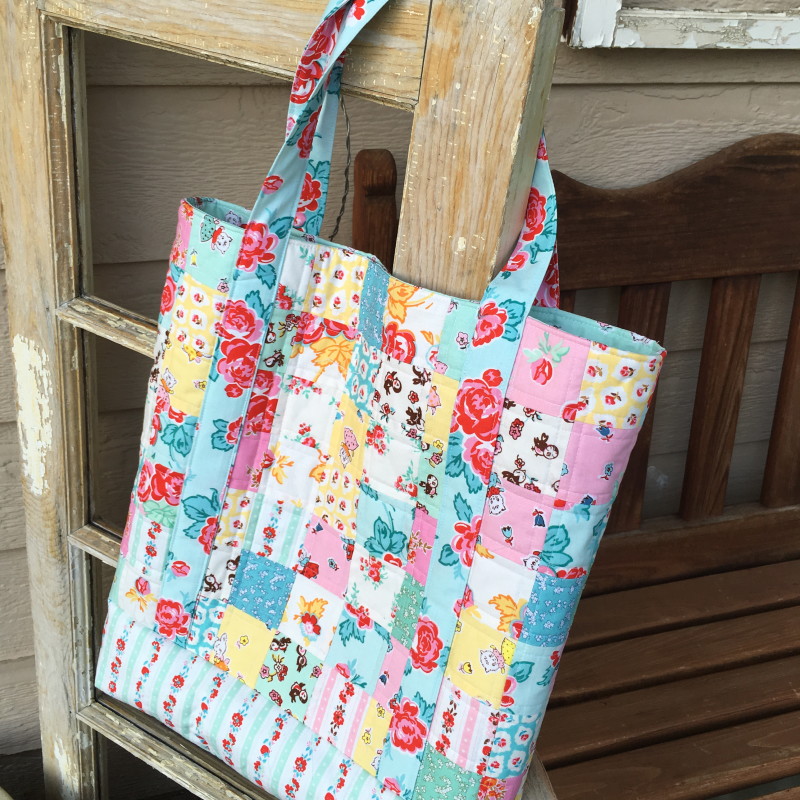
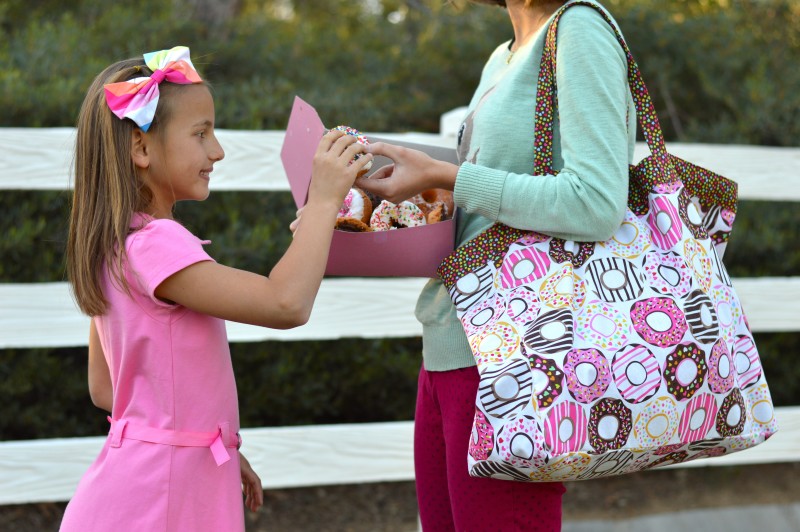
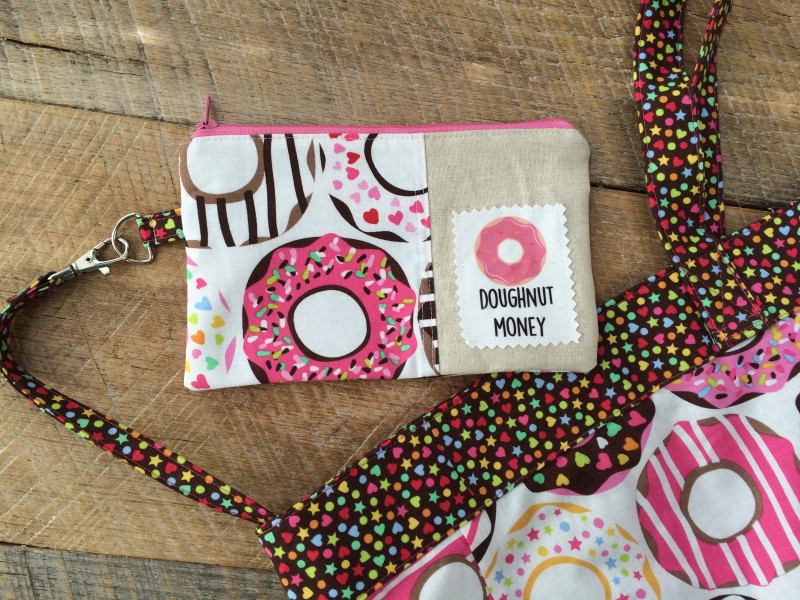
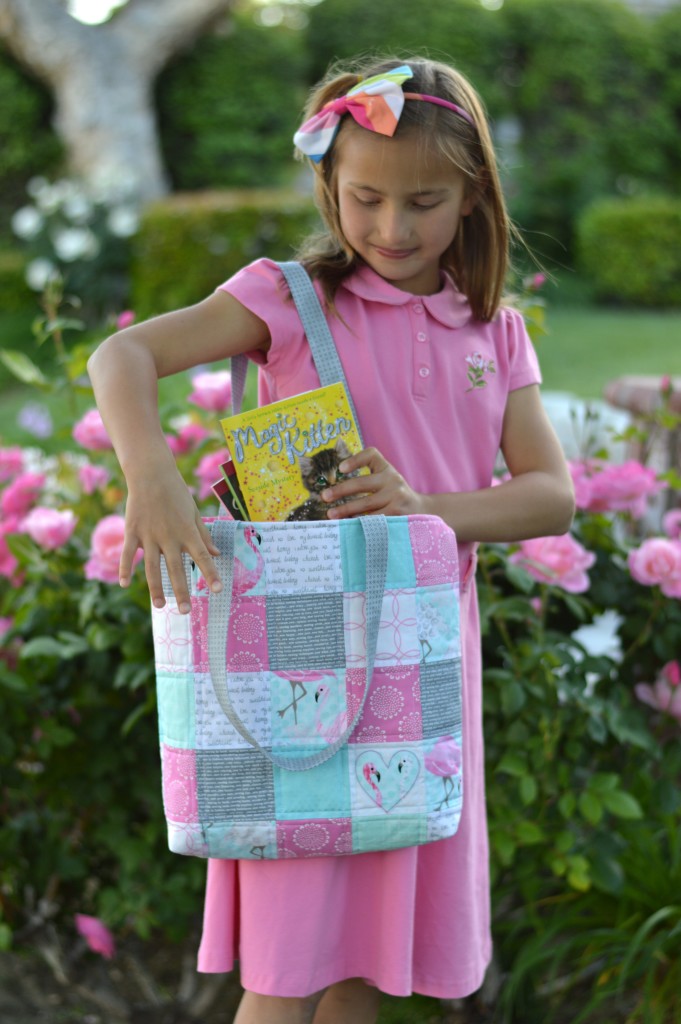
This is such a versatile size of bag!  And the fabrics are so perfect for a little girl 🙂

Let’s get started!

Supplies:

7 Fat Quarters assorted prints

1/2 yard lining

1/4 yard handles

quilt batting

patchwork tote bag 9

Press all your fat quarters so they are nice and smooth.

patchwork tote bag 12

And by “press” I don’t mean let your cat lay on the fabrics!

The bag is made up of 2 outer pieces and 2 lining pieces.  For the outer bag, cut 3.5″ blocks.  You will need 25 for the front and 25 for the back.  I added in 1 solid white square to applique a heart on.

patchwork tote bag 10

For the applique, draw a heart onto Heat n Bond Lite.  Cut the heart out 1/4″ larger than the drawn heart.  Iron it to the wrong side of the flaming fabric.  Press.  Then cut out on the heart line.  Peel off backing paper and press the heart onto the white fabric.

Top stitch around the heart a few times in an accent color.

patchwork tote bag 14

Once you have all the blocks cut and arranged, sew them together using 1/4″ seams, just like you would a quilt.  Press each row in opposite direction so the seams match up nicely.  Make 2 of these.  This should measure 15 1/2″ square.

patchwork tote bag 16

Next we will be making a quilt.  Baste each patchwork outer bag piece onto the quilt batting.  Then baste onto plain fabric for the backing.  This backing will NOT be seen.  I used some fabric I didn’t like very much 🙂  This extra layer will give the bag a bit more weight and stability.

patchwork tote bag 17

Basting spray is the greatest invention ever!!!

patchwork tote bag 19

Here you can see my “junky” fabric on the back.

Quilt as desired.  I quilted 1/4″ away from each of the seams.  The quilting will shrink the up the quilt a little bit.  Measure the size of the patchwork piece, mine measured about 15.25″

patchwork tote bag 21

Once each of the 2 pieces is quilted, trim off any excess batting.  Pin right sides together, matching at all side seams, leaving the top open.  Sew around the sides and the bottom using 1/4″ seam allowance.

Cut (2) lining pieces 15.25″.  This should be the exact measurement as the patchwork outer bag.  Place the two lining pieces right sides together, and sew around the sides and bottom, leaving the top open.  I like to take a slightly larger seam on the lining, so a generous 1/4″ seam allowance.

patchwork tote bag 23

Cut a 1 3/4″ notch out of the bottom of each corner.

patchwork tote bag 25

Open each notch, and match the seams, pinning.  Sew a 1/4″ seams across.  The picture below is slightly confusing because I used 2 different fabrics on my quilt back.

patchwork tote bag 27

Once each of the corners are sewn, it’s time to make the handles.

Cut (2) 4″ x 23″ strips.  Press in half lengthwise.  Then fold each side up to the center.  Then fold again, giving you a 1″ wide handle.

patchwork tote bag 31

Top stitch each handle 1/8″ from the edge.  Position the handle 4″ from the side seam.  Pin in place.  Baste in place.

patchwork tote bag 32

Place the outer bag and the lining right sides together, matching side seams, and pinning all the way around.  Sew all the way around the top of the bag using a 1/4″ seam.

patchwork tote bag 30

Unstitch a little section on the side of the lining and turn the bag right side out.

patchwork tote bag 34

Top stitch the opening closed.  Tuck the lining down inside and press the top edge of the bag.  Pin along the edge so the lining stays down.  Top stitch all the way around the bag using a 1/4″ seams allowance.

patchwork tote bag 33

It’s all done!!!  And it’s oh so sweet!!

patchwork tote bag 35

patchwork tote bag 8