Quilted Tote Bag Tutorial


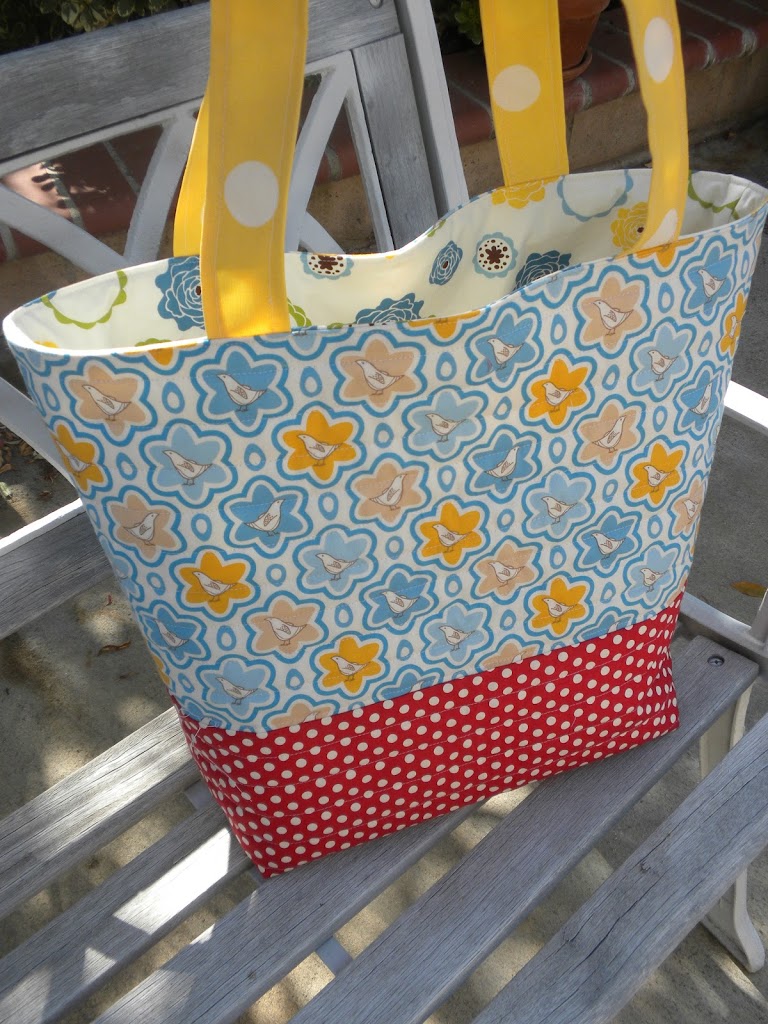
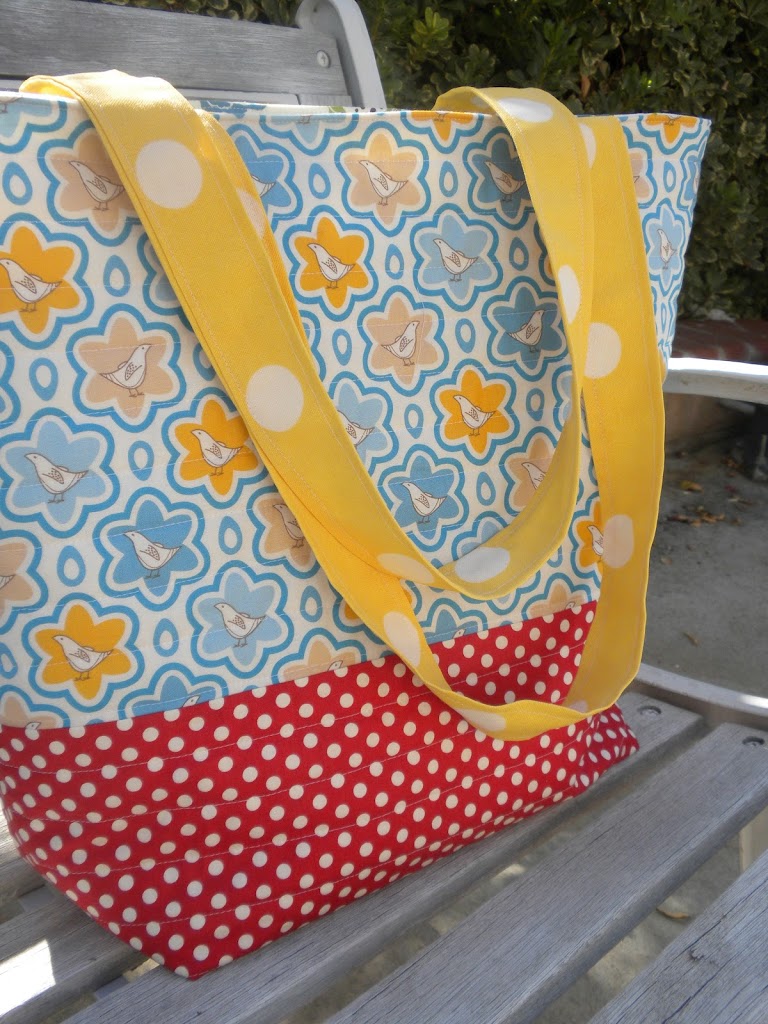
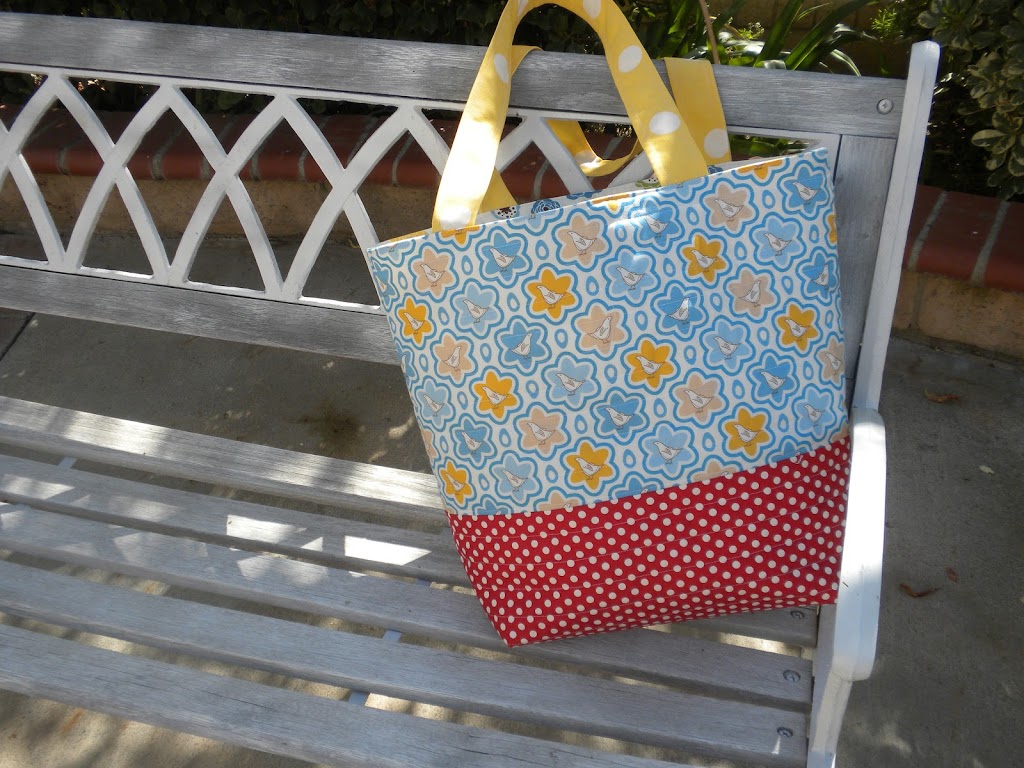
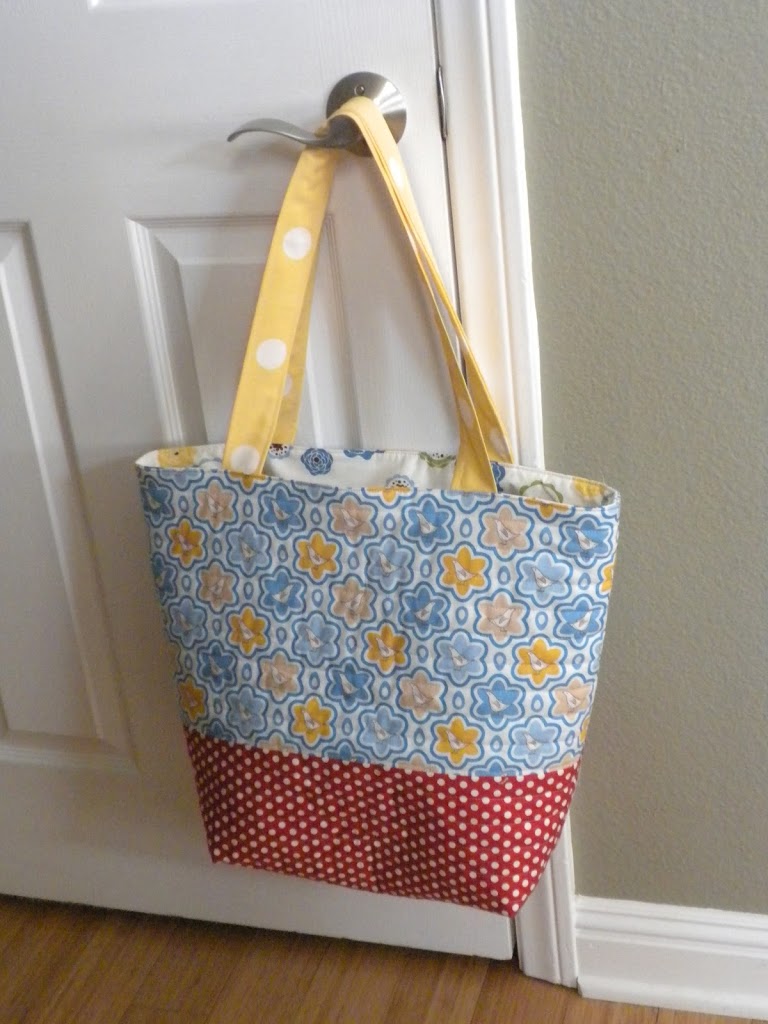
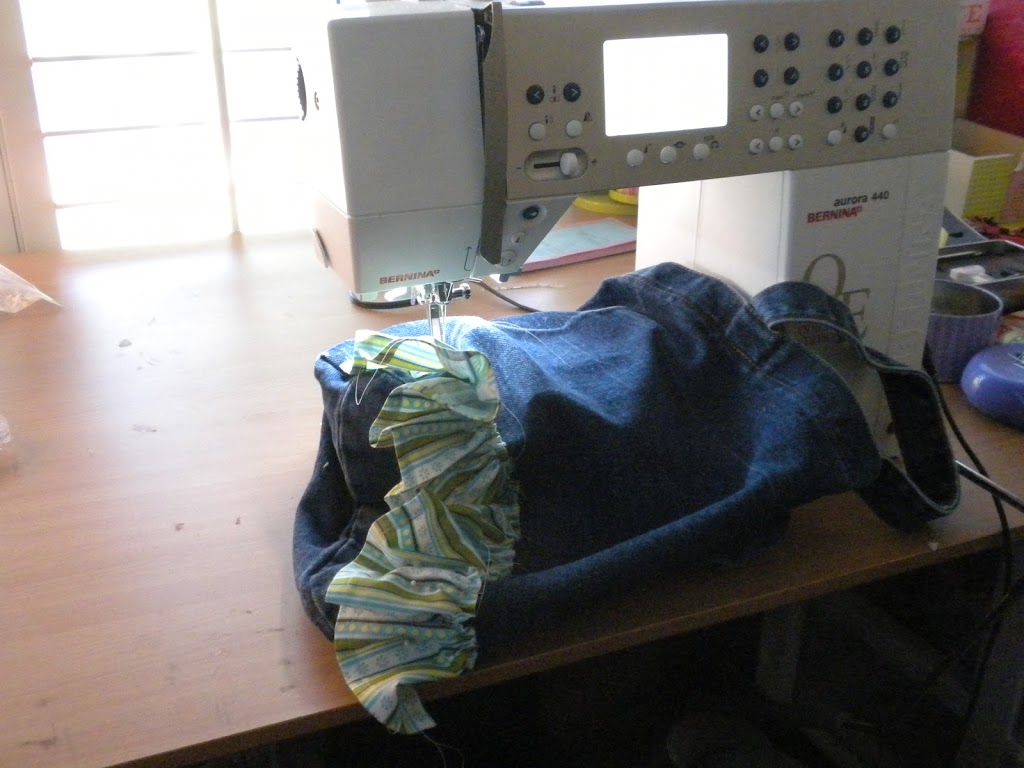
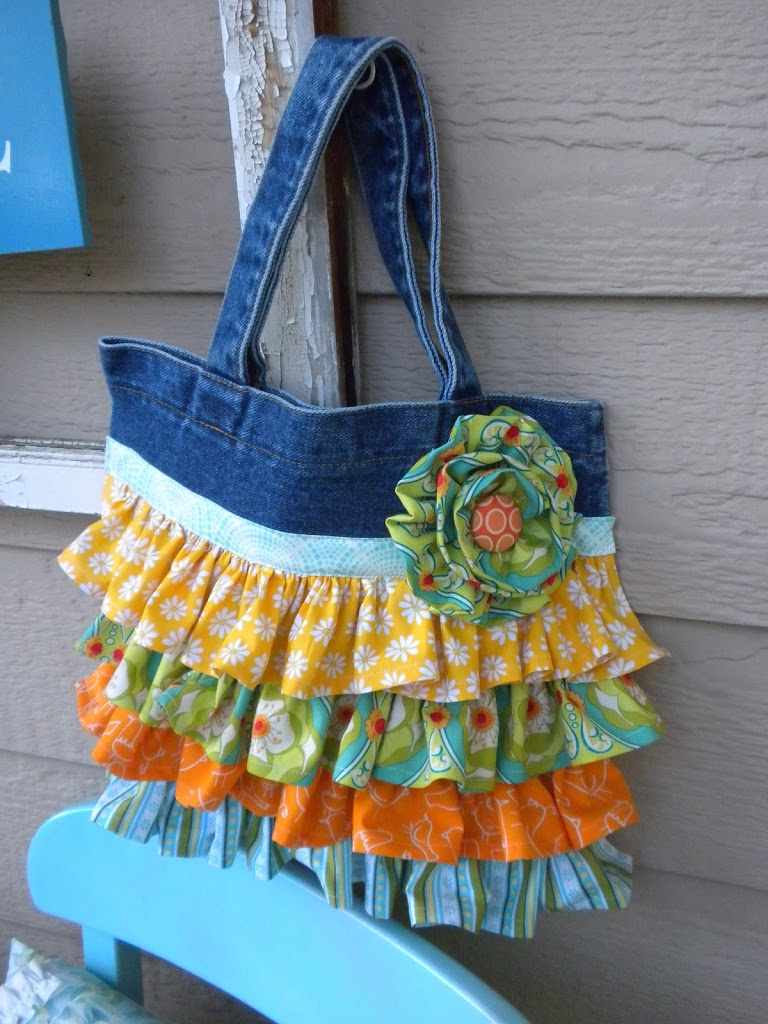
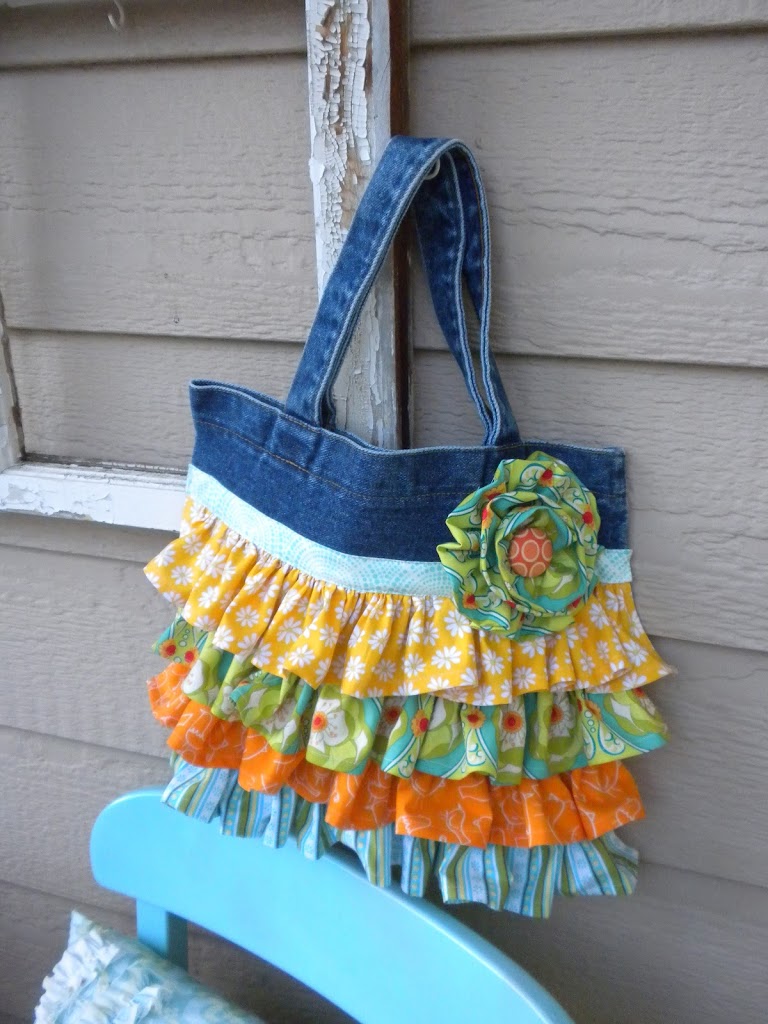
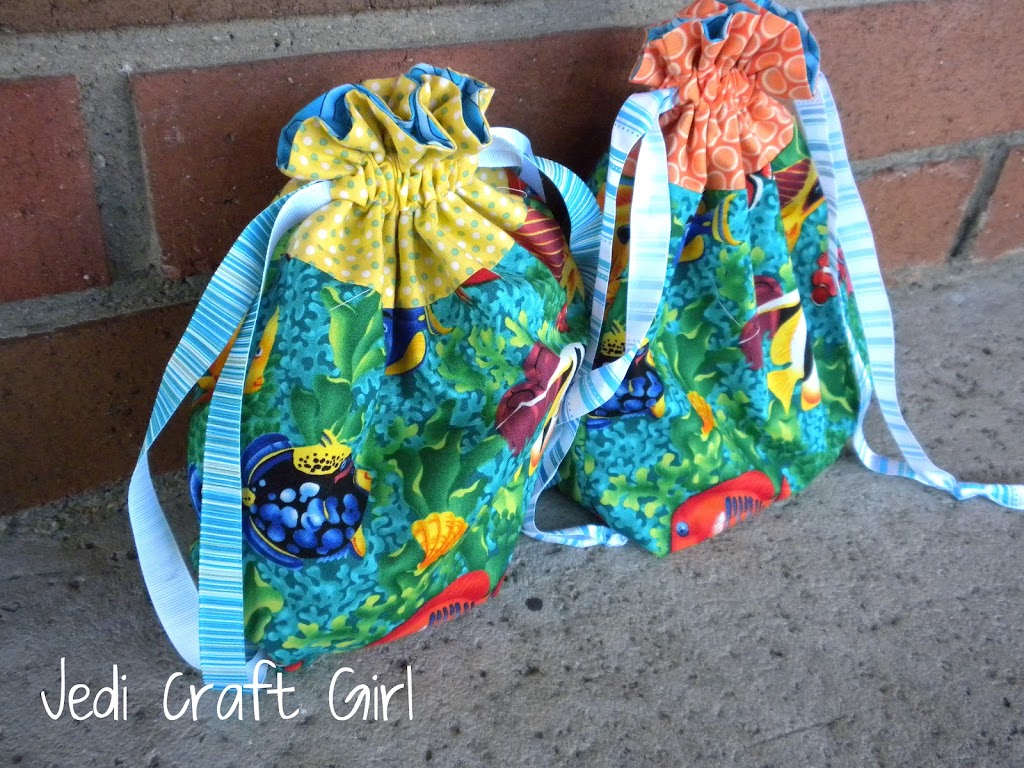
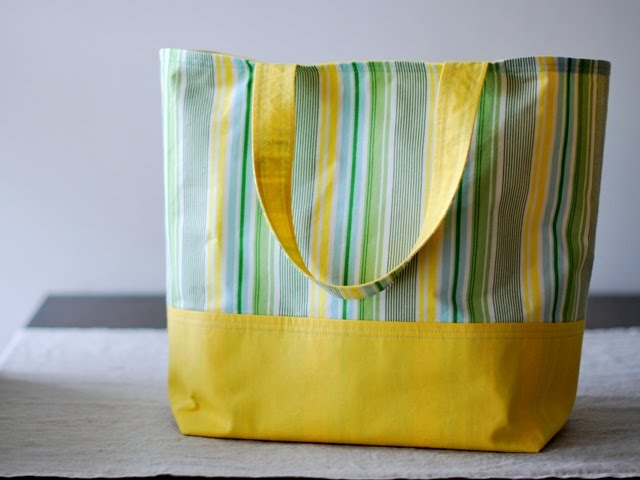
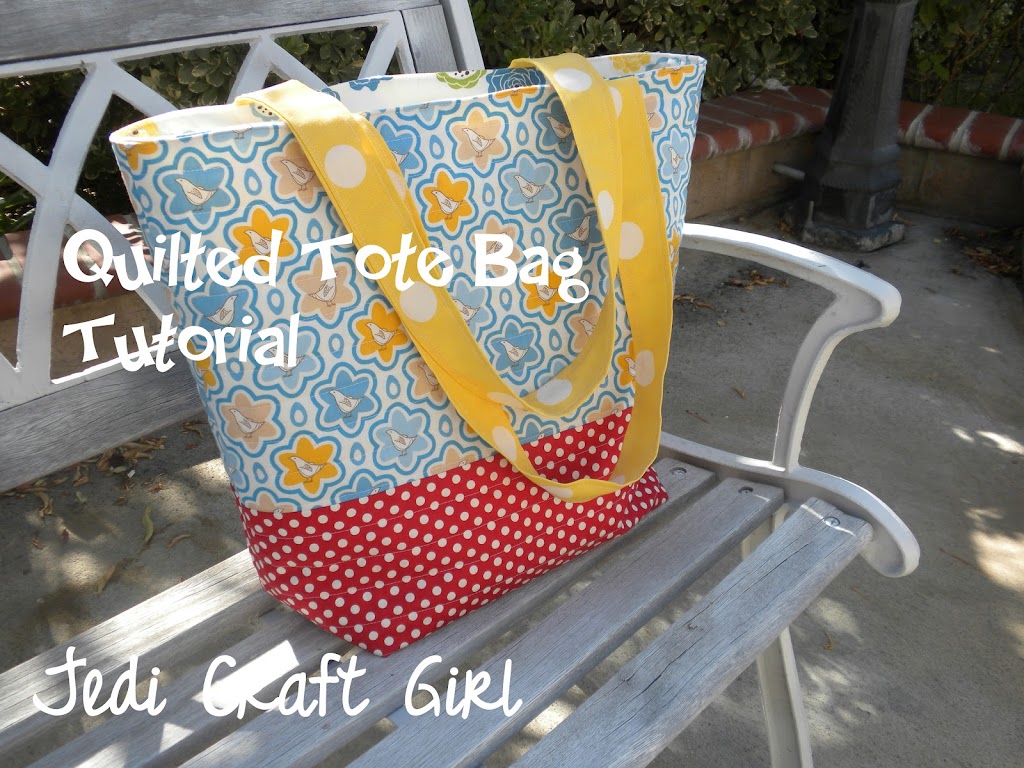
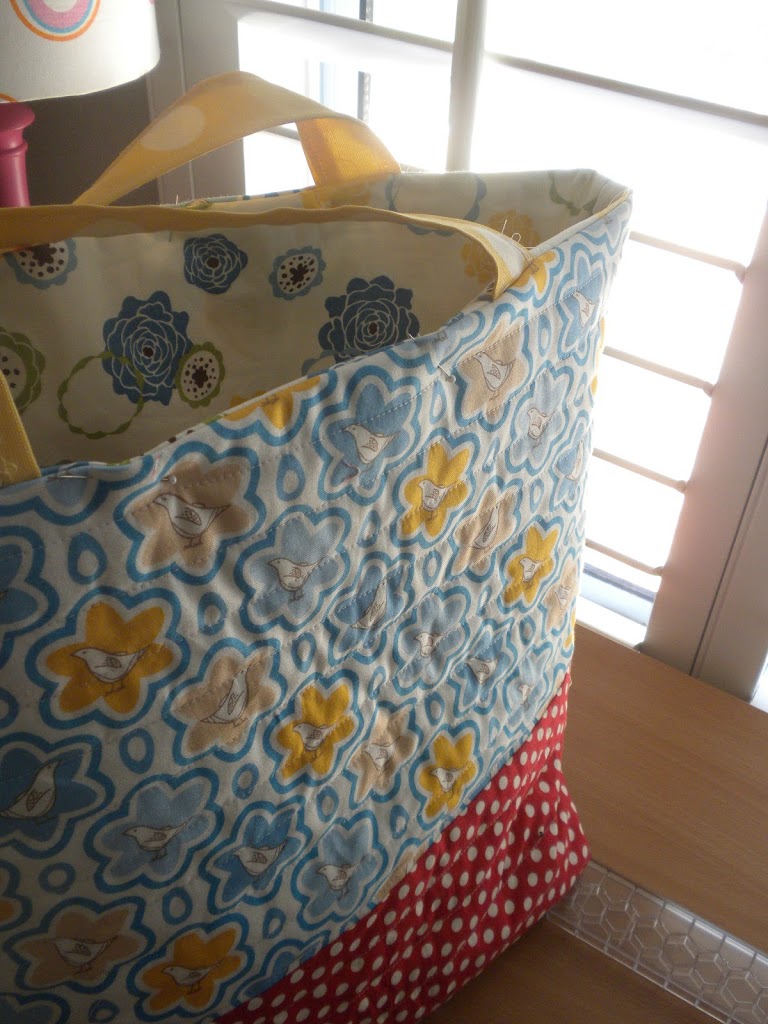
This is my favorite tote bag.  Of course I didn’t invent the quilted tote 🙂  Here is my tutorial for how I made this one.  Hope you love it!

Supplies:
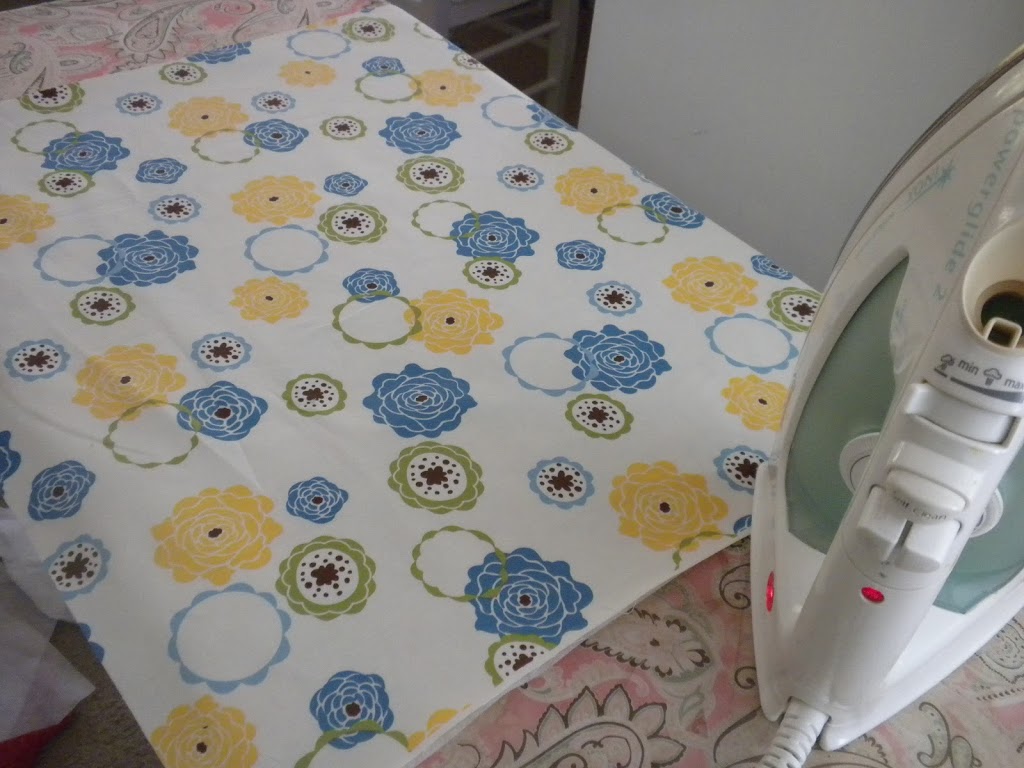
1/3 yard main outer fabric
1/3 yard bottom contrast outer
3/4 yard muslin or other light weight for the back of the quilting
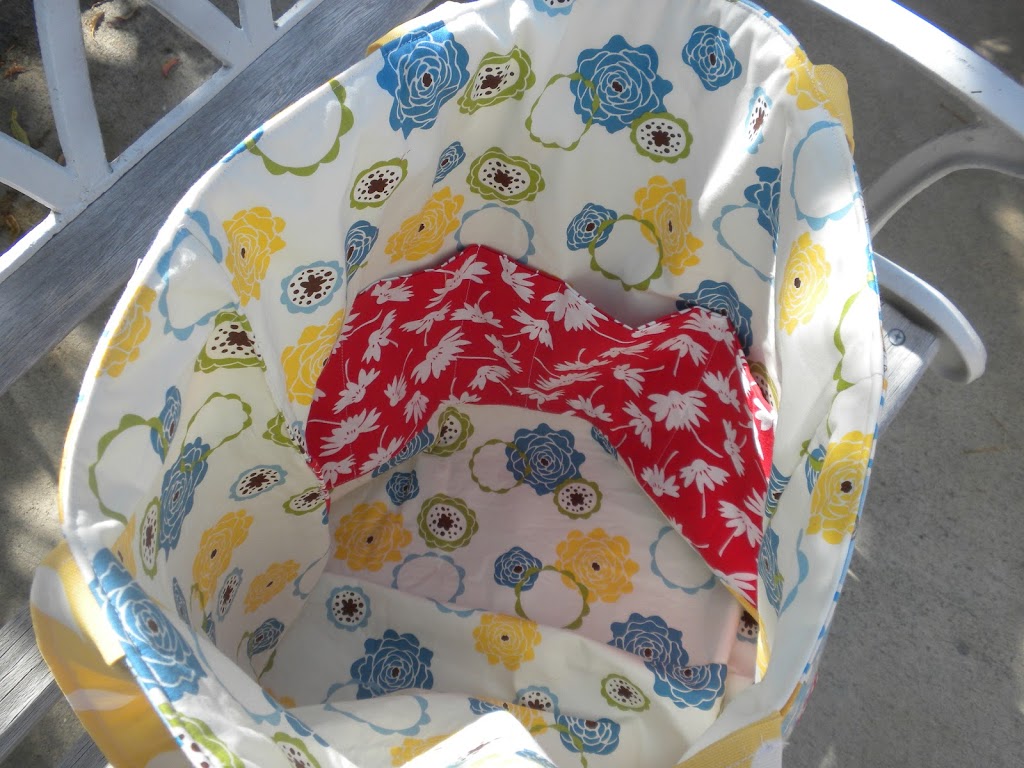
3/4 yard bag lining
1/4 yard handles
quilt batting
911 feather weight interfacing (optional)
1/3 yard contrasting fabric for pocket (optional)

Instructions
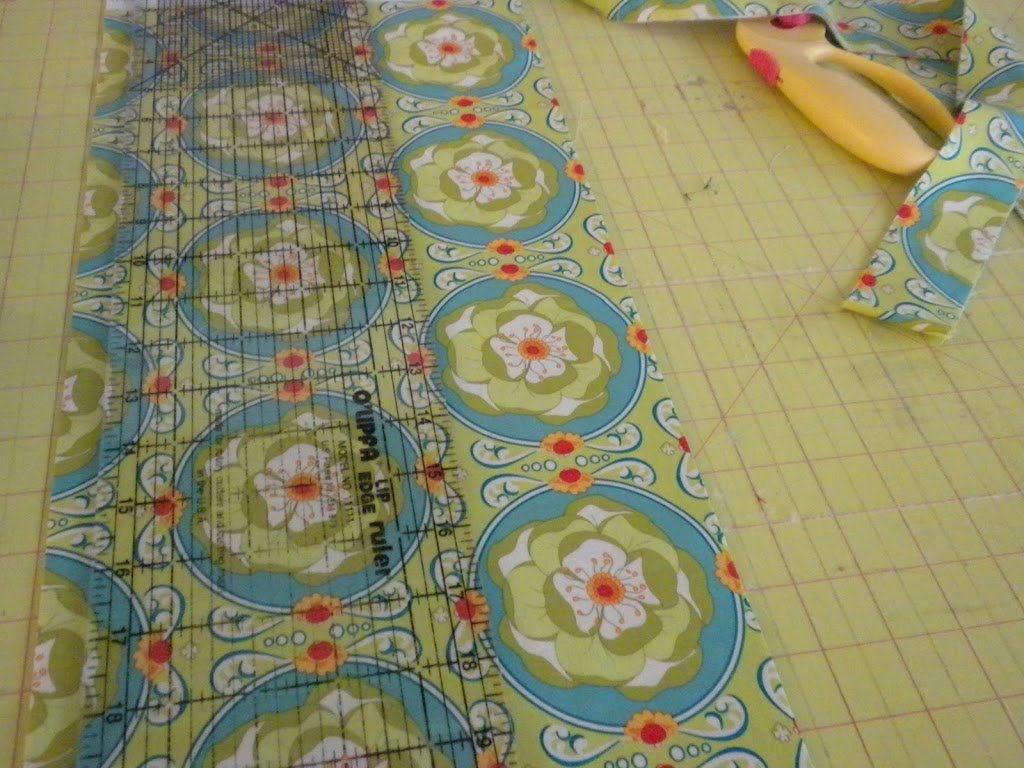
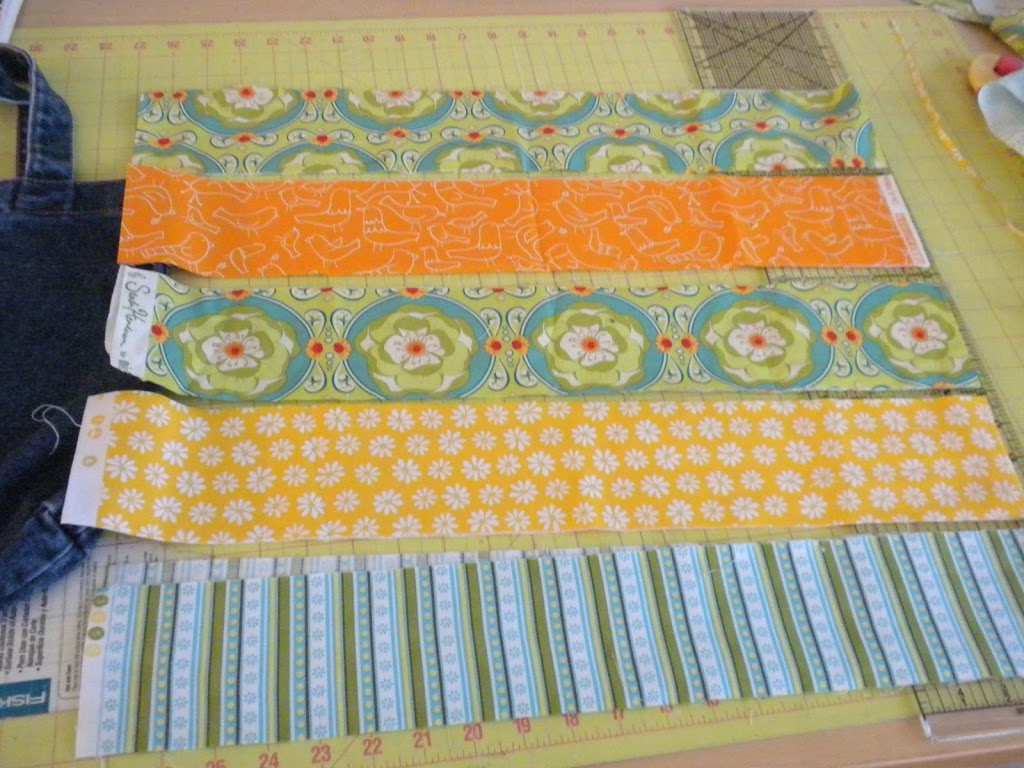
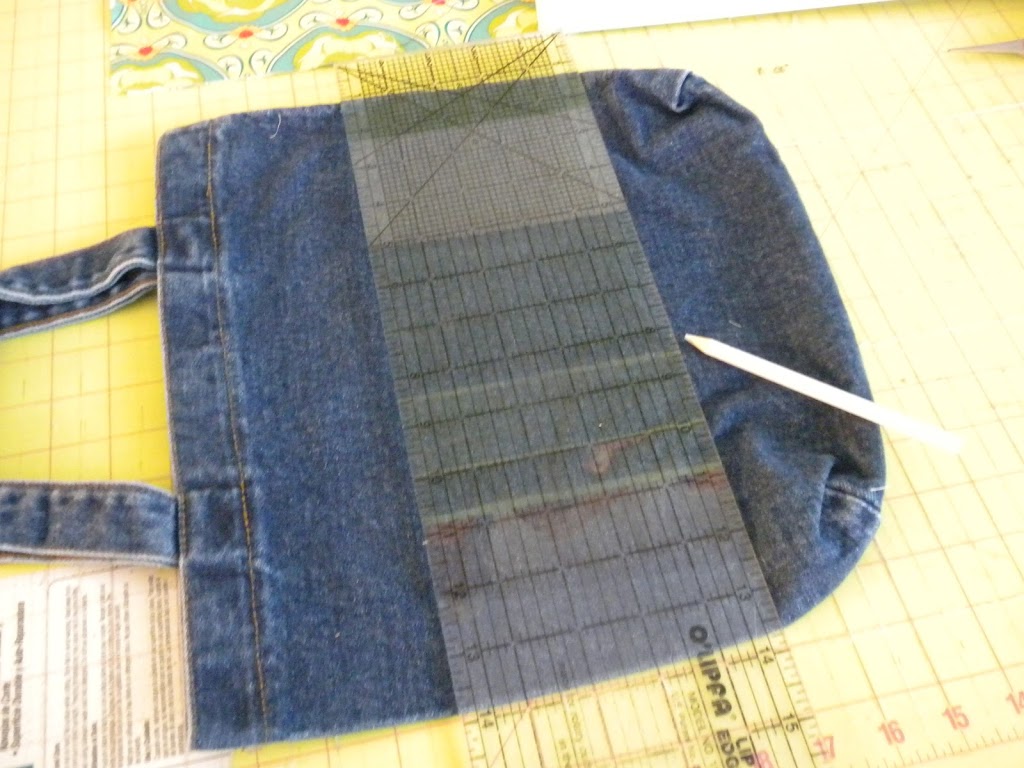
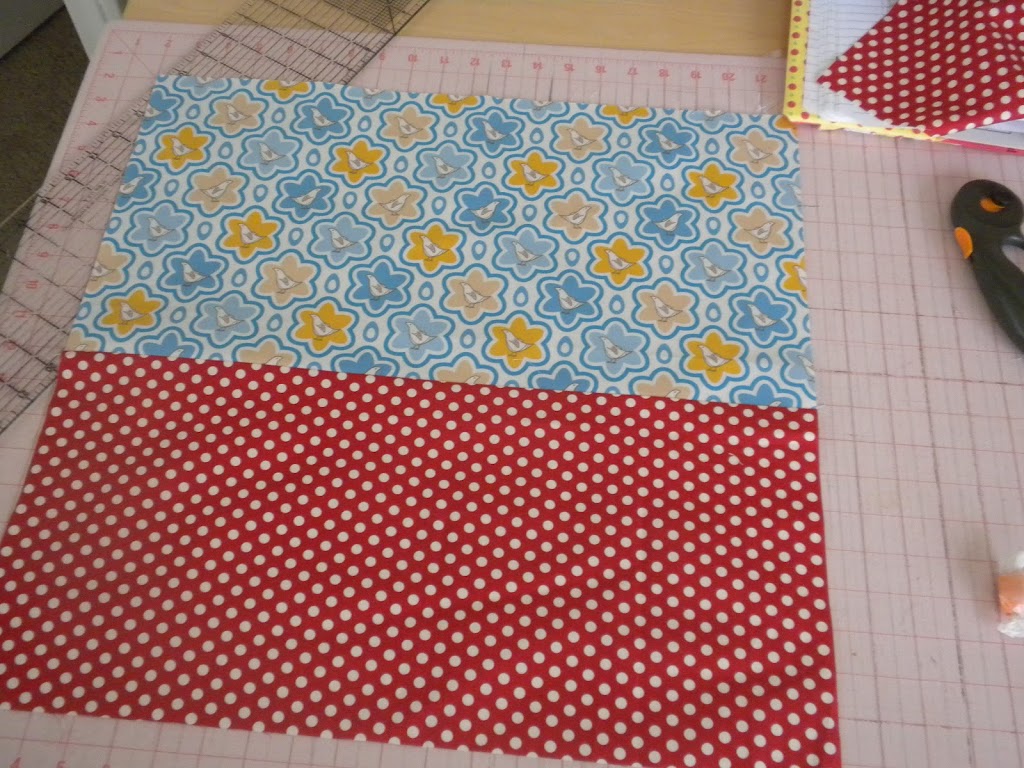
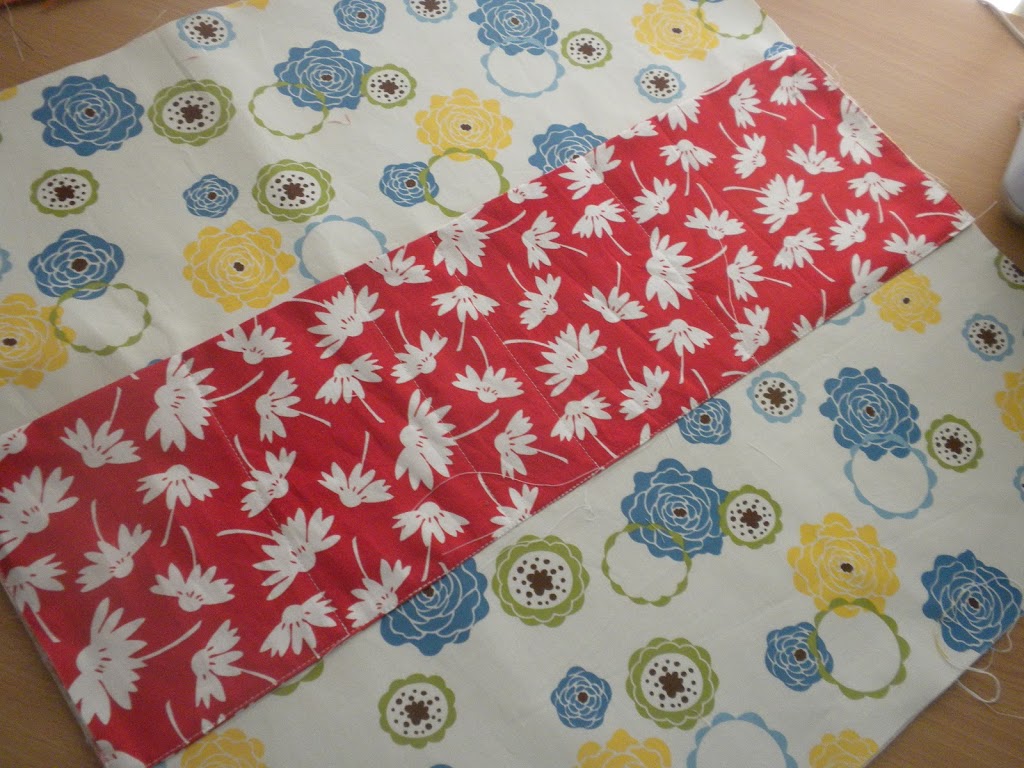
Cut your main outer fabric (top piece) 2 pieces 10.5″ x 20″
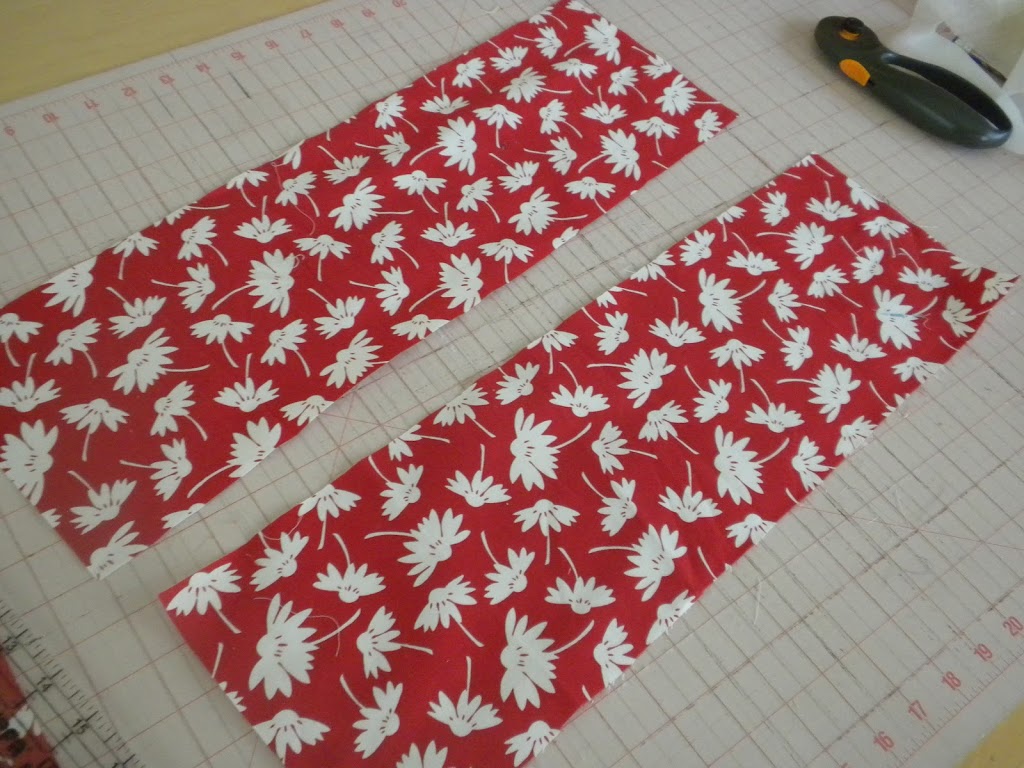
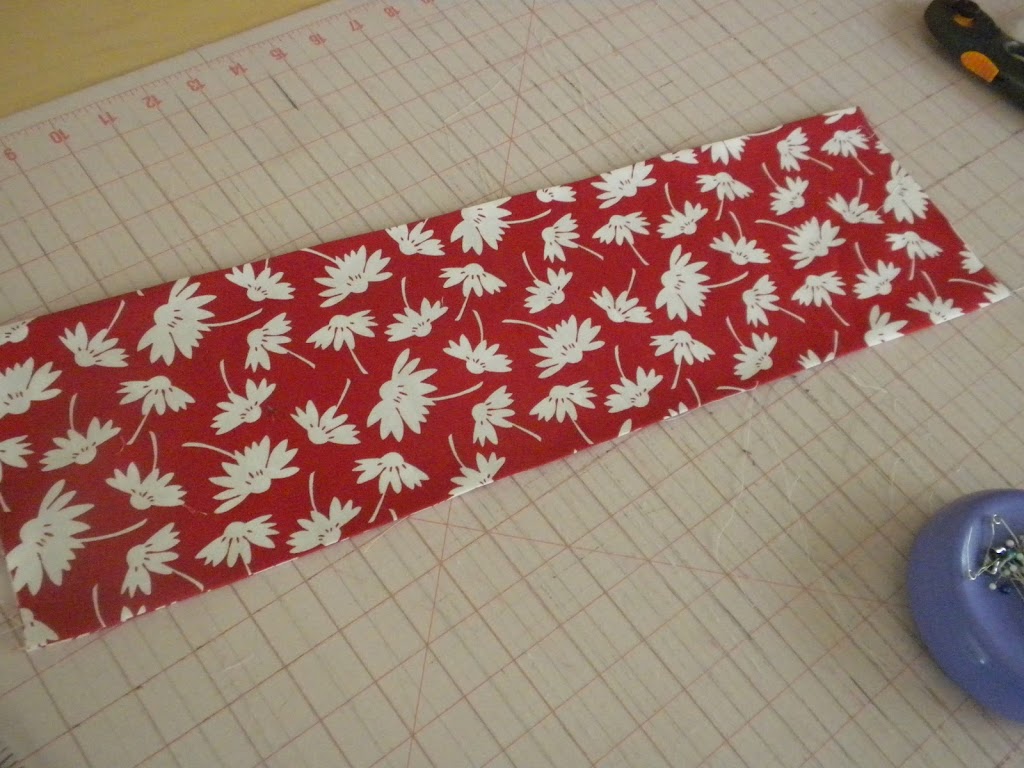
Cut your bottom contrast fabric 2 pieces  9.5″ x 20″
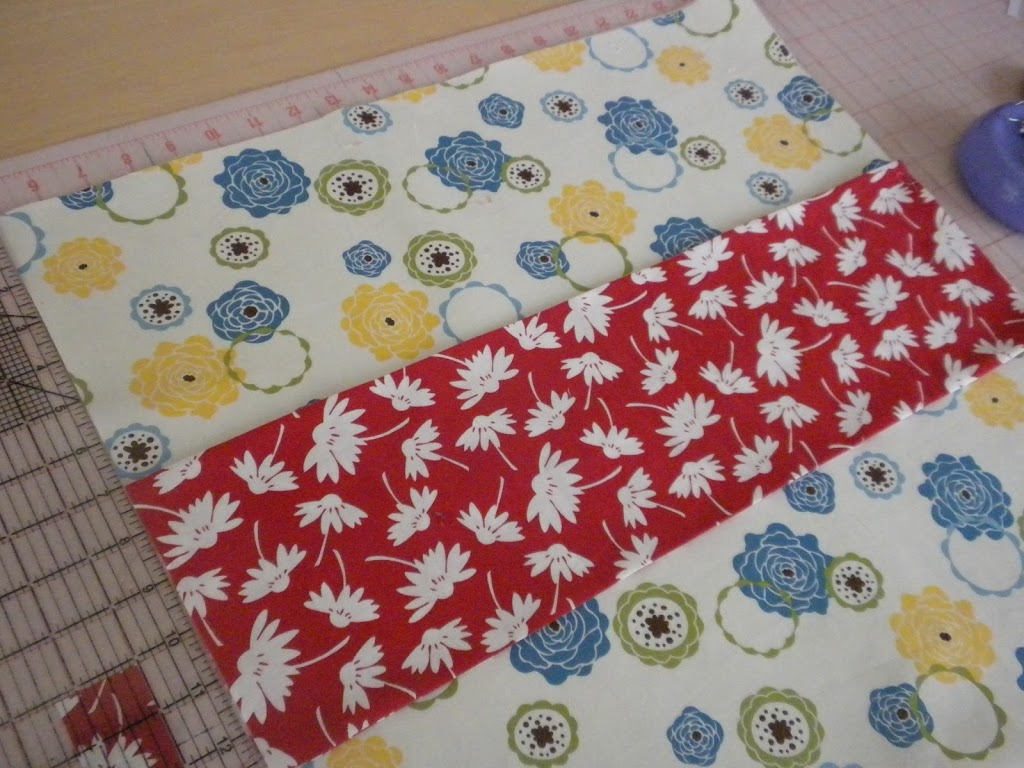
Sew these two pieces together and press. 
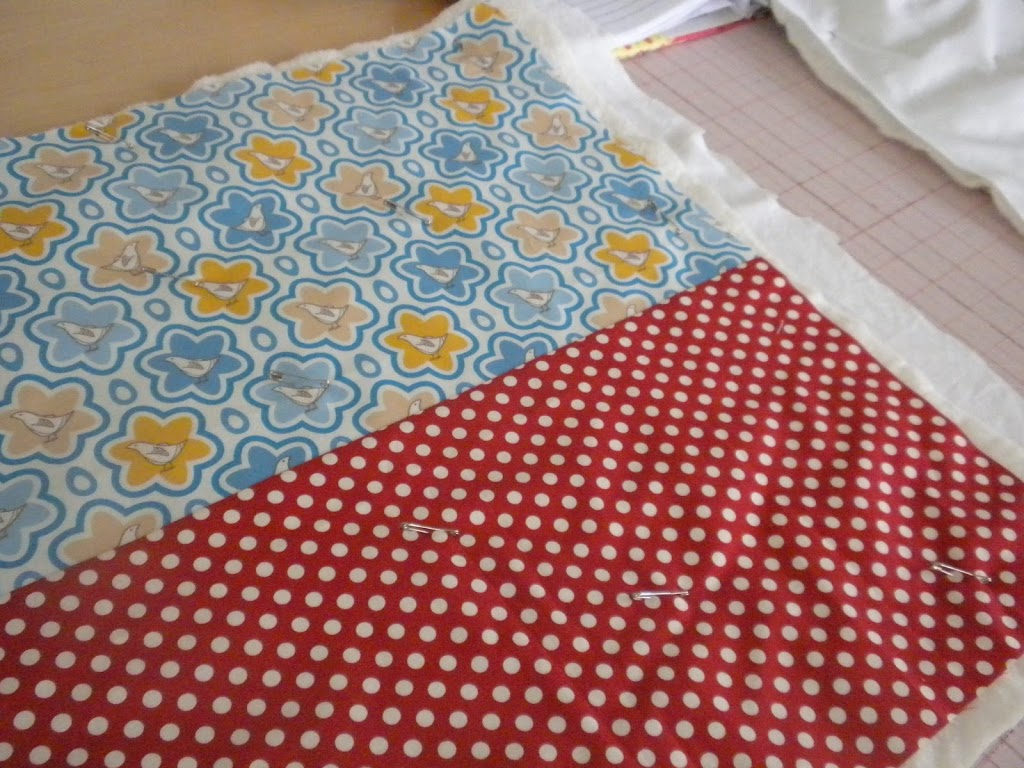
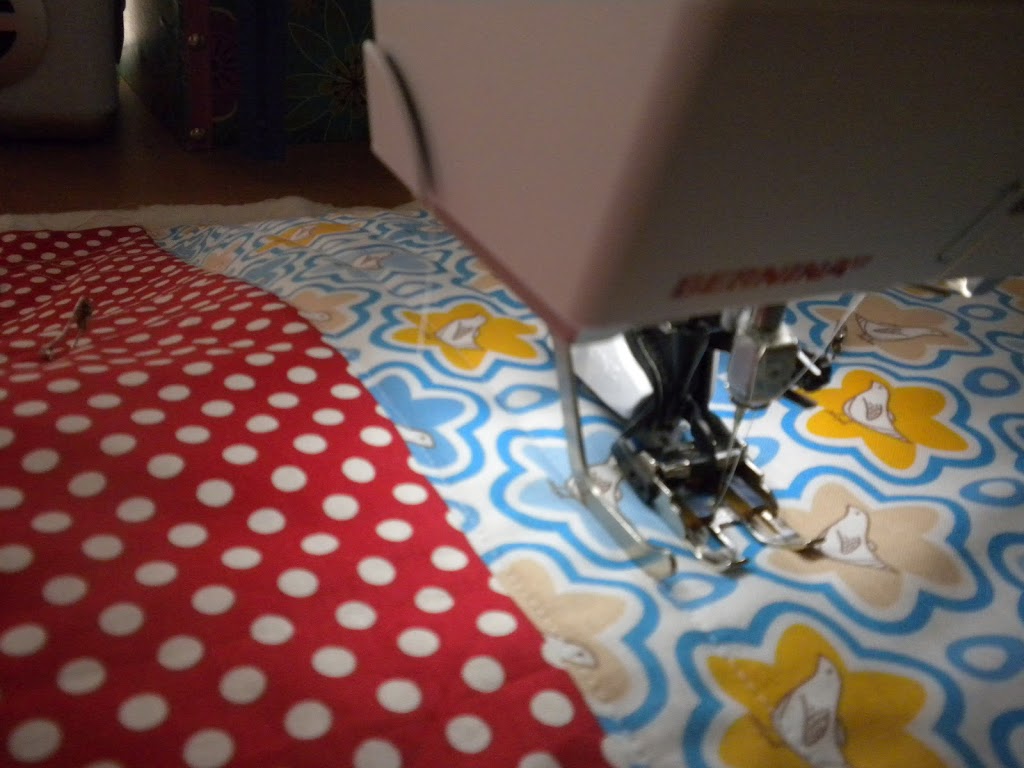
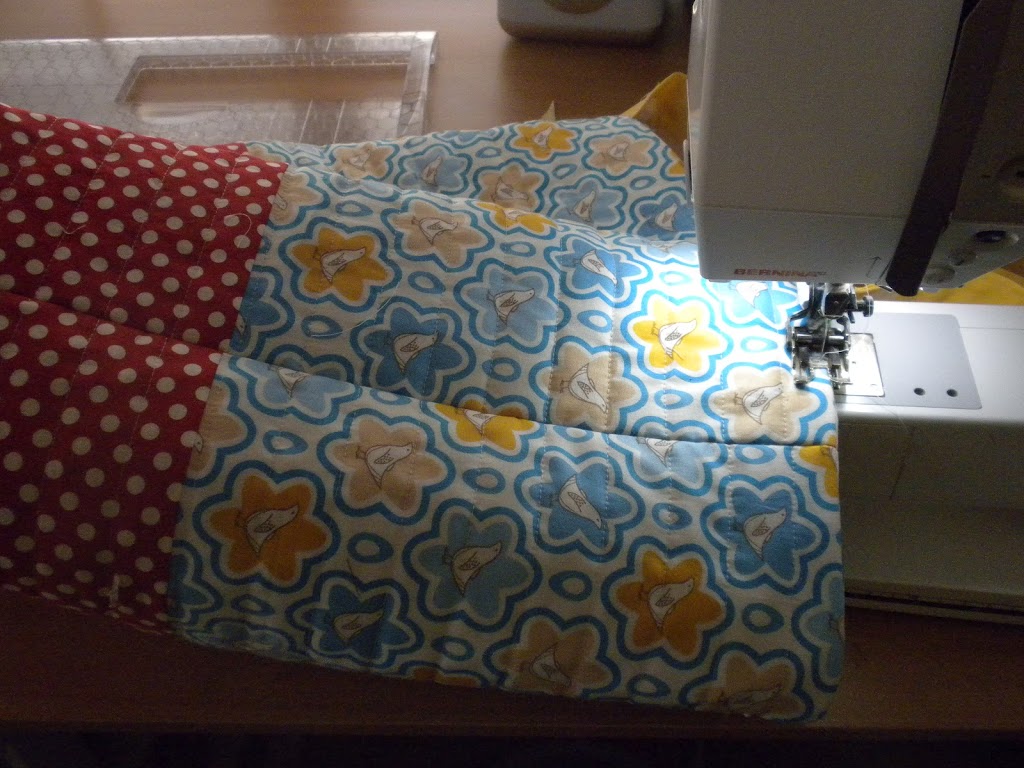
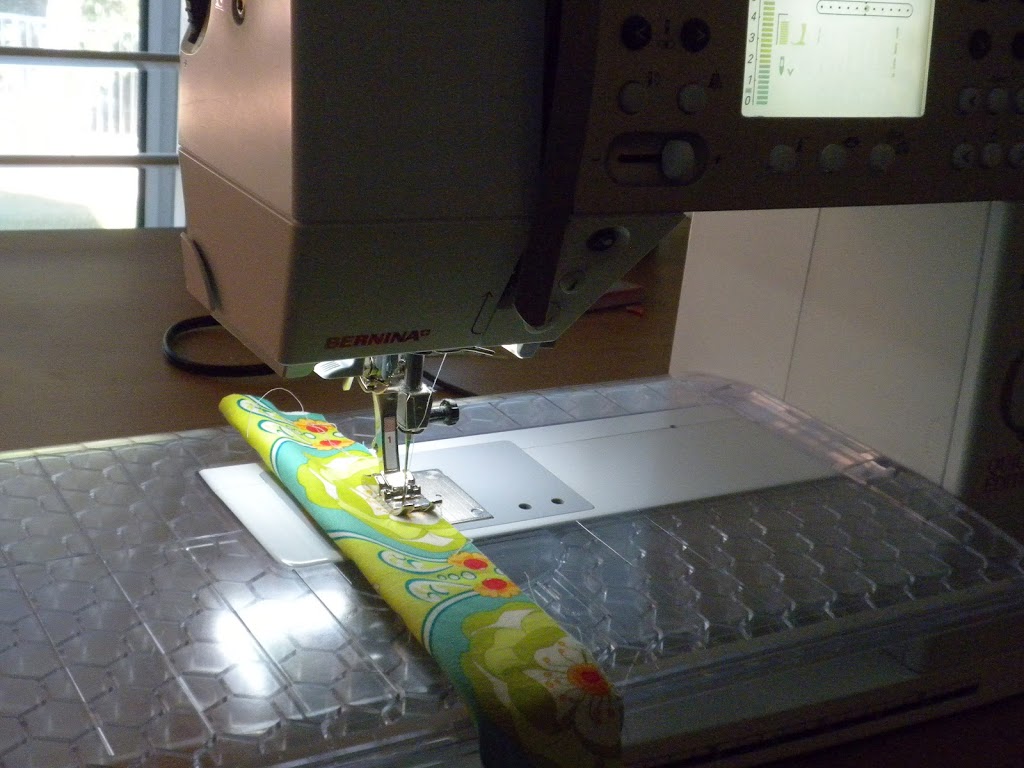
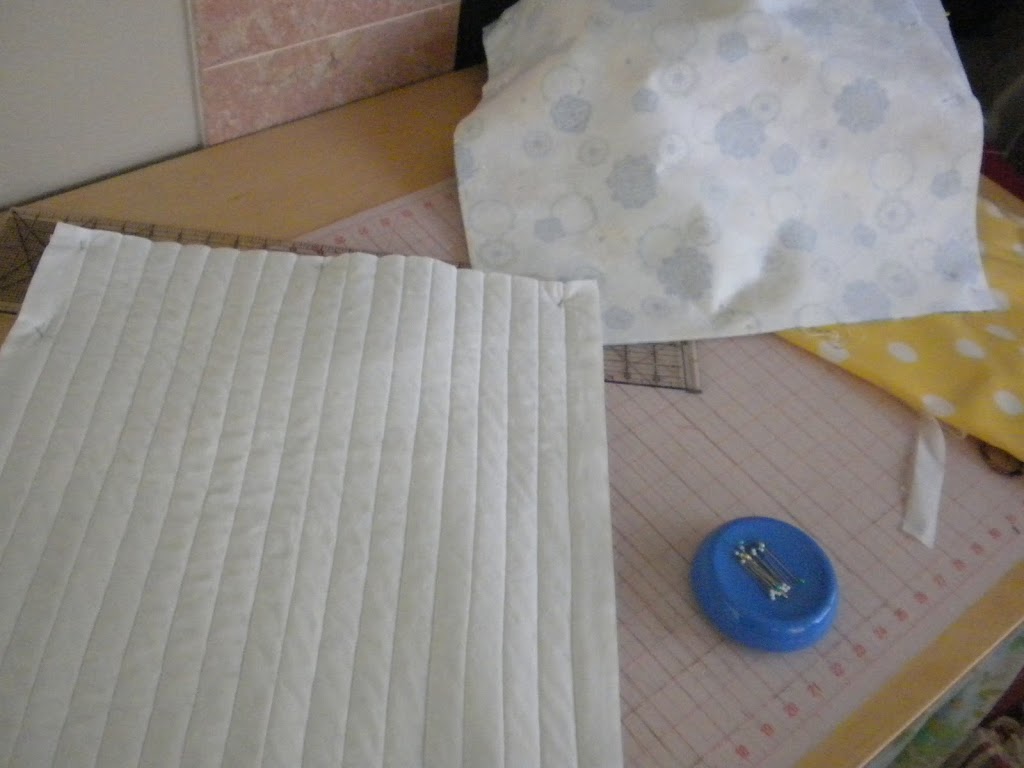
I pin basted my two outer bag pieces and straight lined quilted every 1 inch.  You can quilt how you want it.  I actually used an old sheet for the back of this part – you will never see it – it just adds stability to the quilting.

Quilt both pieces

Cut your lining (2 pieces) 19.5″x20″.  (I had to cut 1/4 inch off the 19.5″ piece because the outer bag shrunk from the quilting.  So mine measured 19.25″ x 20″)  Iron the fuseable Pelon to the wrong side of your bag lining fabric – this is optional.  Once I finished mine, I thought this step really wasn’t necessary.

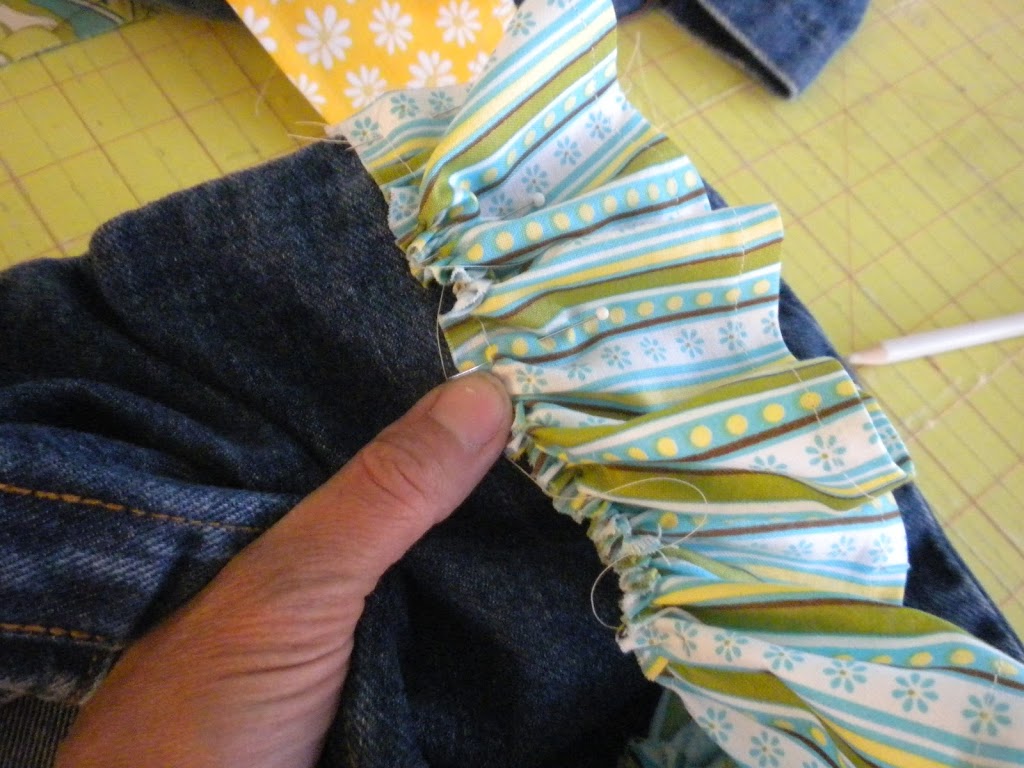
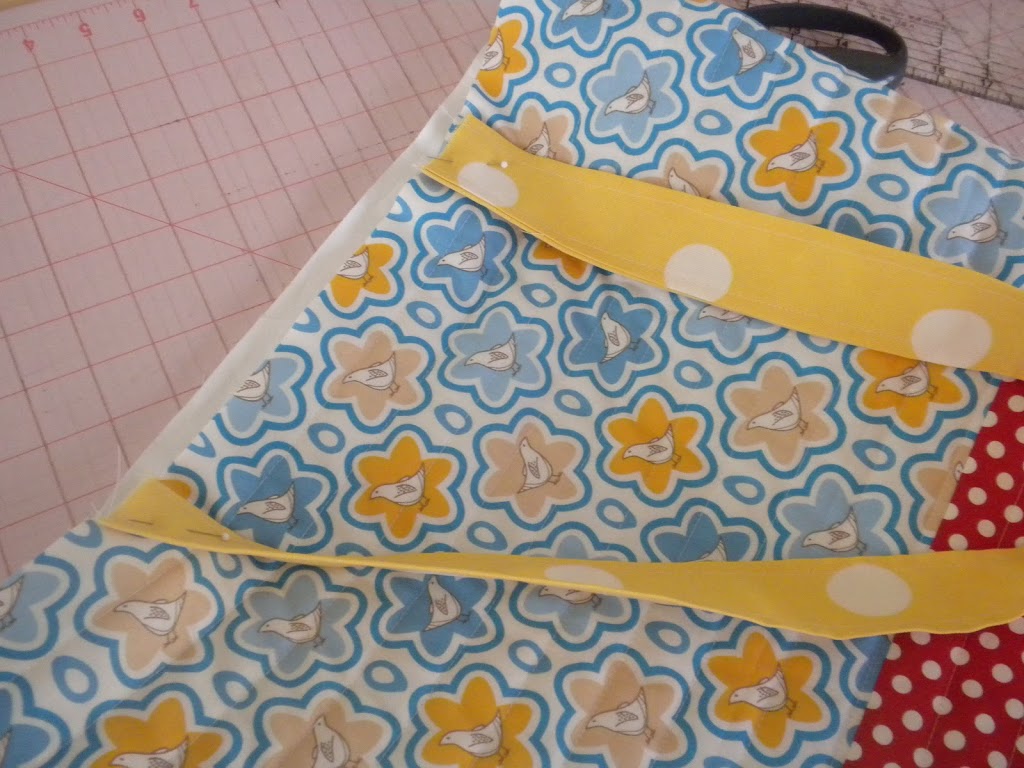
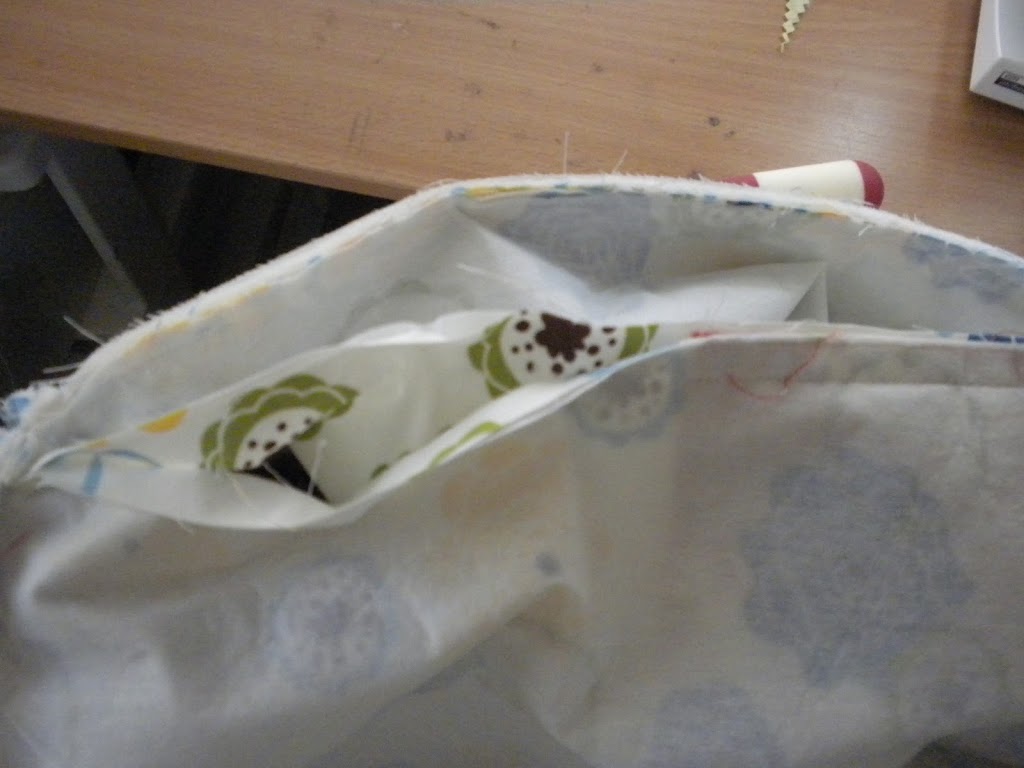
Next, prepare your pocket. Cut 2 strips 6.5″ x 20″.  Sew the two pocket pieces right sides together.

Sew 1/4 inch along the top and bottom – leaving edges open.

Turn and press.  Top stitch along just the top of the pocket piece.

Pin the pocket band where you want the pocket to hit.  I pinned mine 7 inches from the top of the bag.

Now sew along the sides and the bottom using a narrow 1/8 inch seam allowance.  Then sew lines going down the pocket piece to form the pockets.  I just eyeballed mine.  Some are narrow for pencils, others are wider.

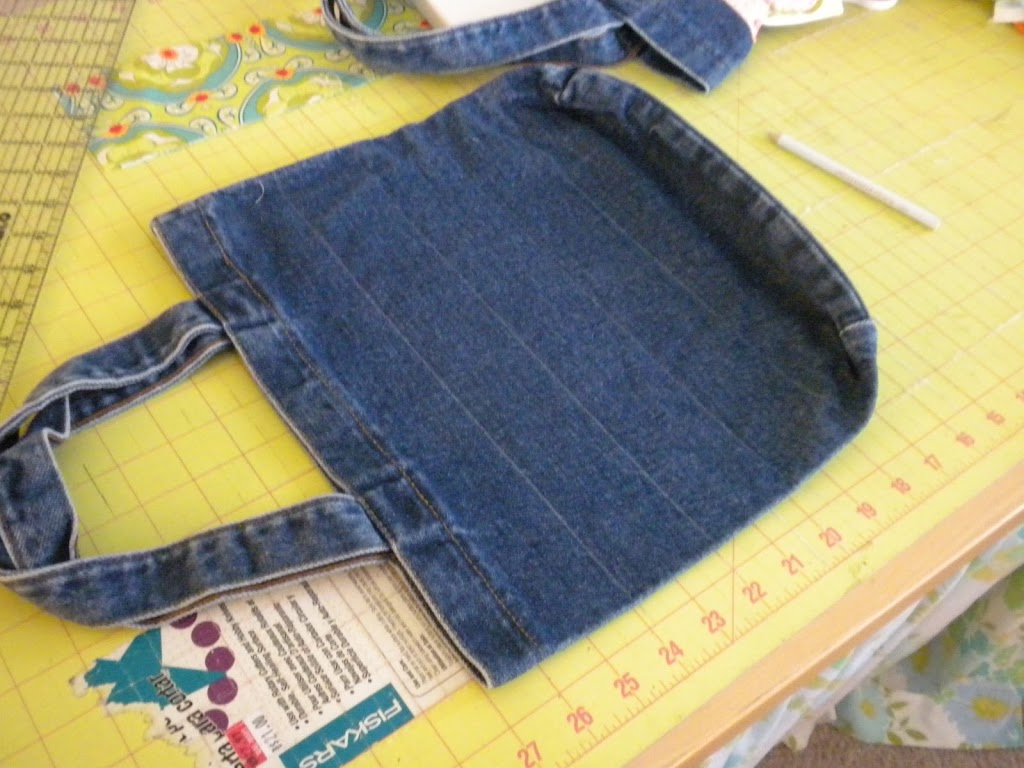
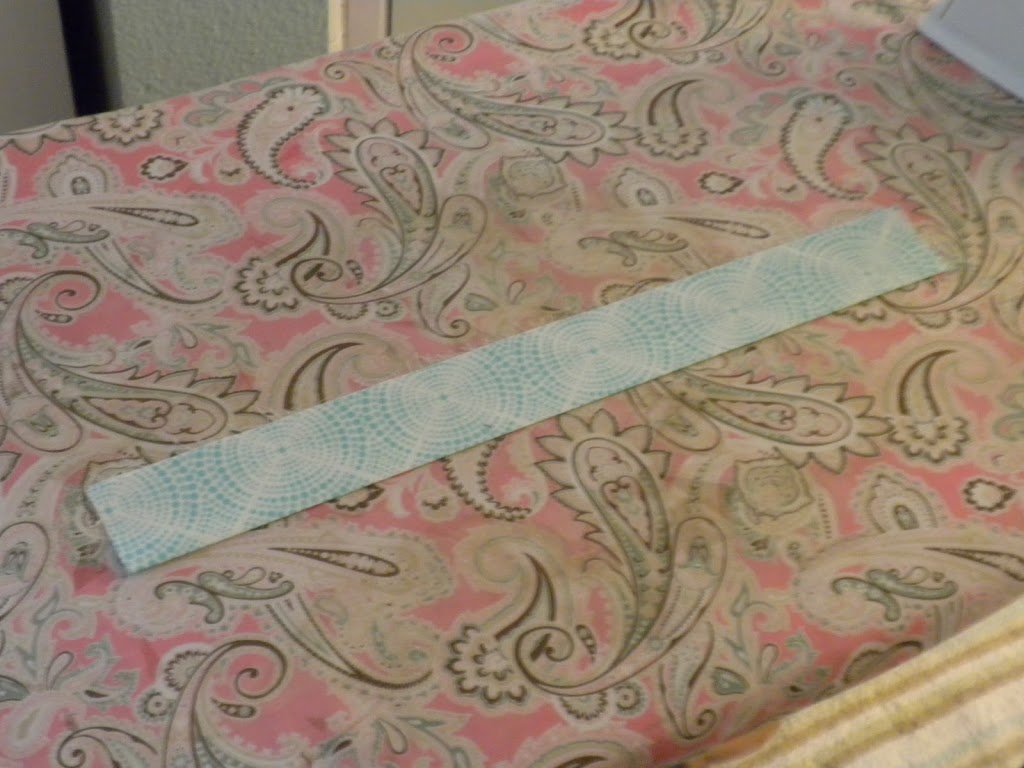
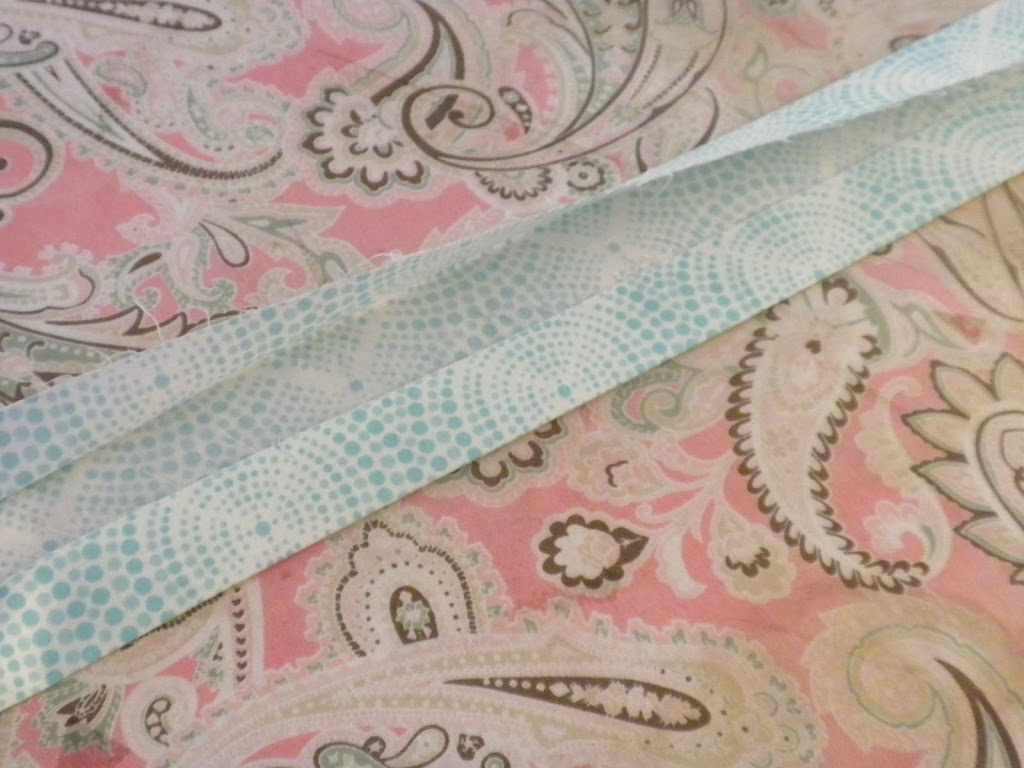
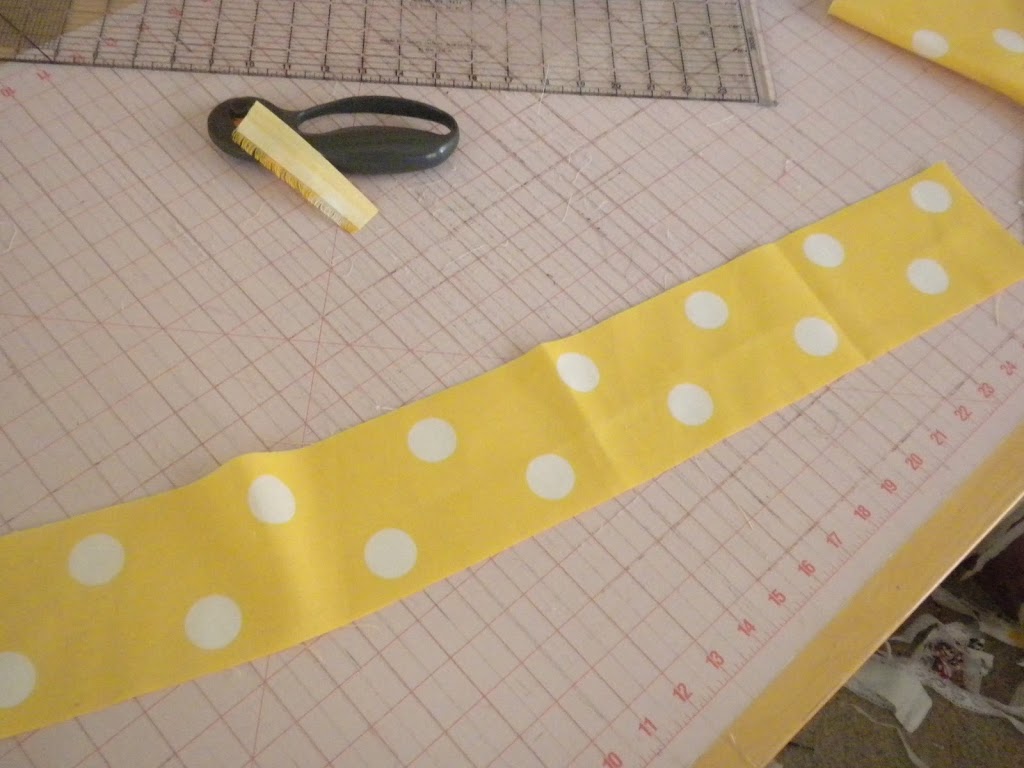
Prepare the handles.  Cut 2 strips 28″ x 4″.  If your fabric is thin, iron fusable interfacing to handle pieces before sewing.  This fabric was kind of canvas-like.  Fold longways and sew along the side leaving the ends open to turn.

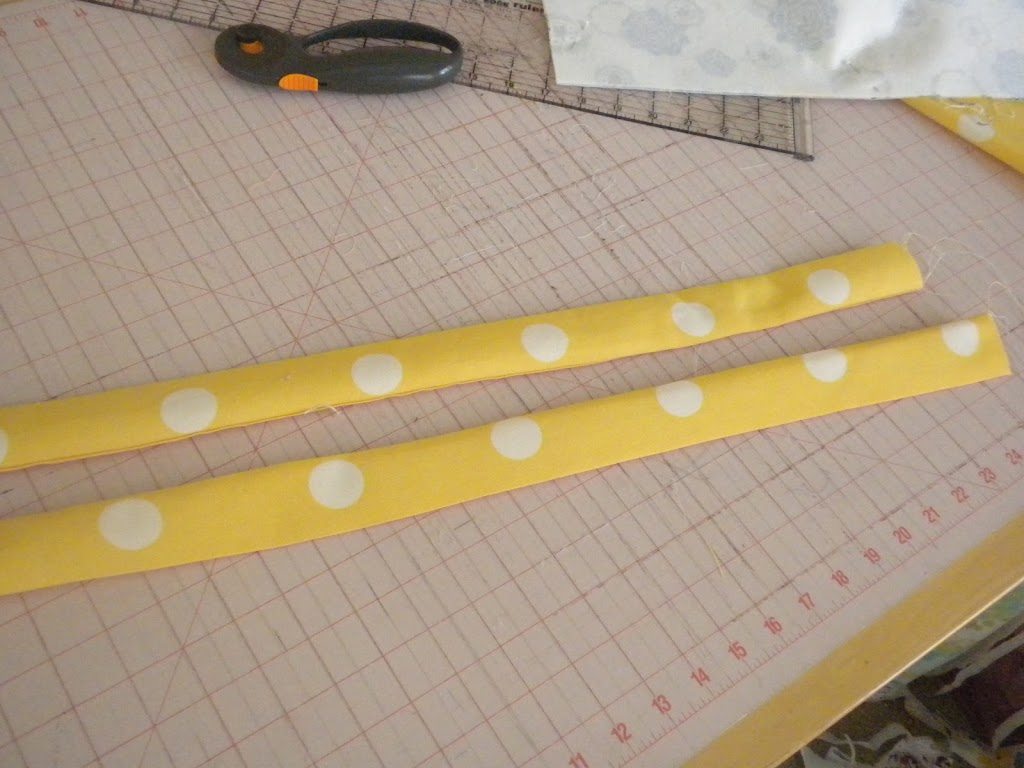
Turn and press both handles.  Top stitch both sides of handles.

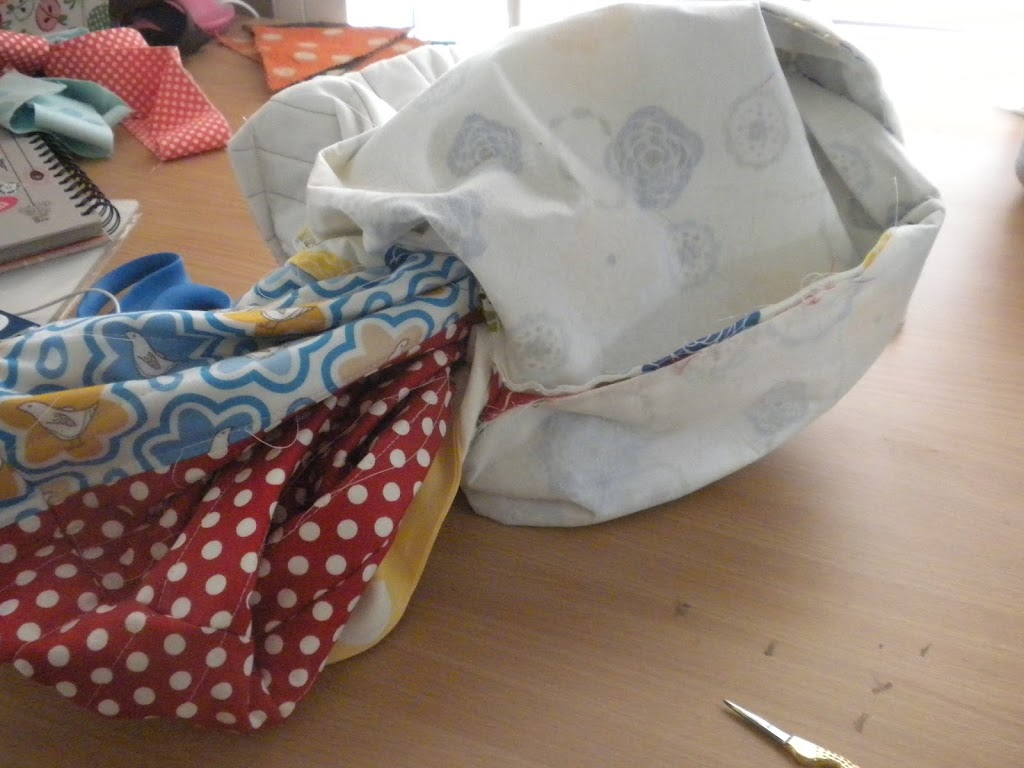
Now, pin your outer bag right sides together, matching the side seams.  Also, pin your lining together right sides together.  Sew around both pieces leaving the top open.  I used about a 1/2 inch seam.  Make sure your seam allowance is exactly the same for both bags or they won’t match up!

Place your handles as desired.  Use this point to shorten the handles if you want.  Baste the handles on to the outer bag using a 1/8 inch seam.

Push out the bottom of the bag – while it is wrong side out.  Flatten and measure 3 1/2″ from the point and draw a straight line.  Do this to both ends of the outer bag and the lining.

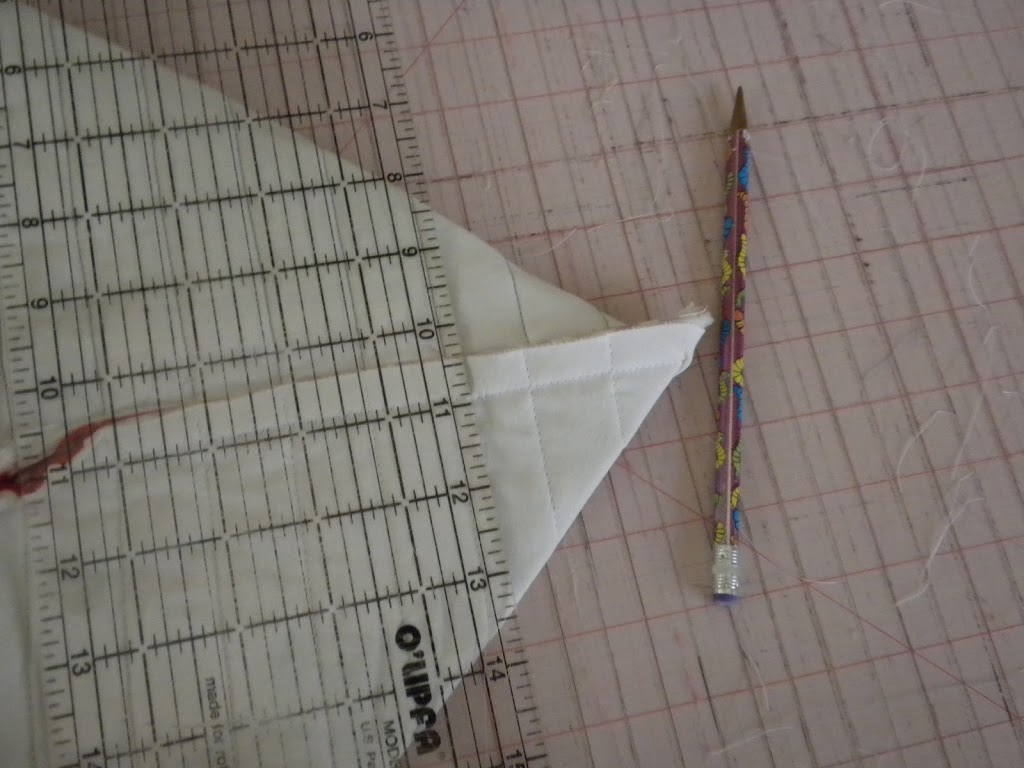
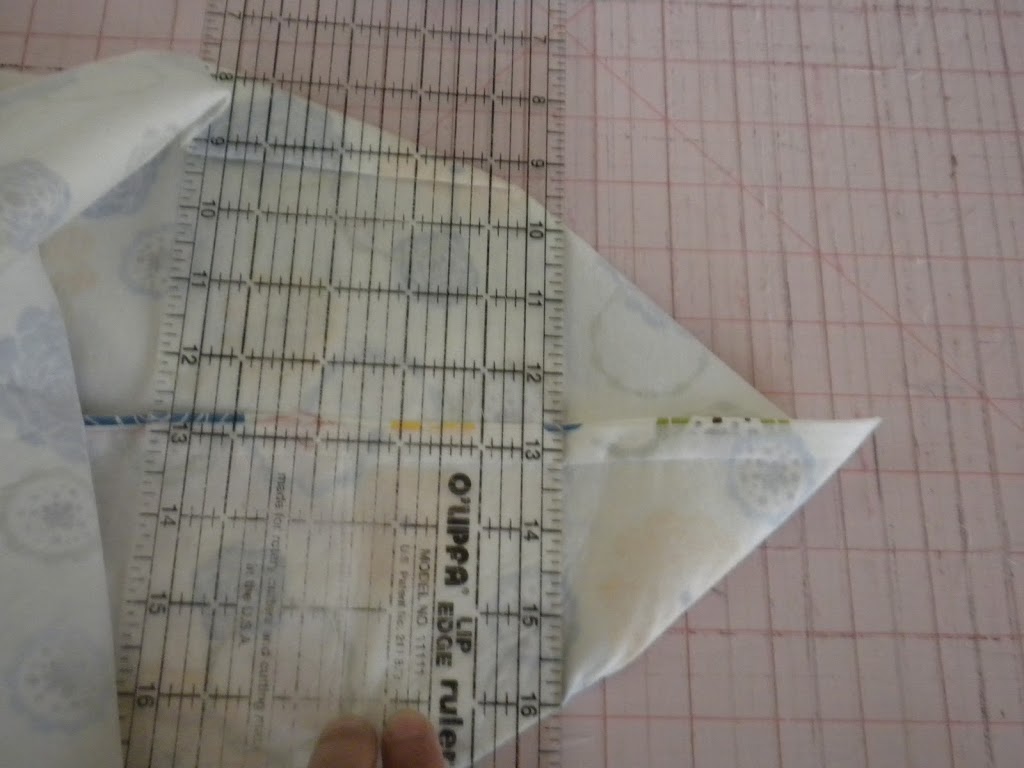
Pin in place and sew along your line – back-stitching to start and stop.

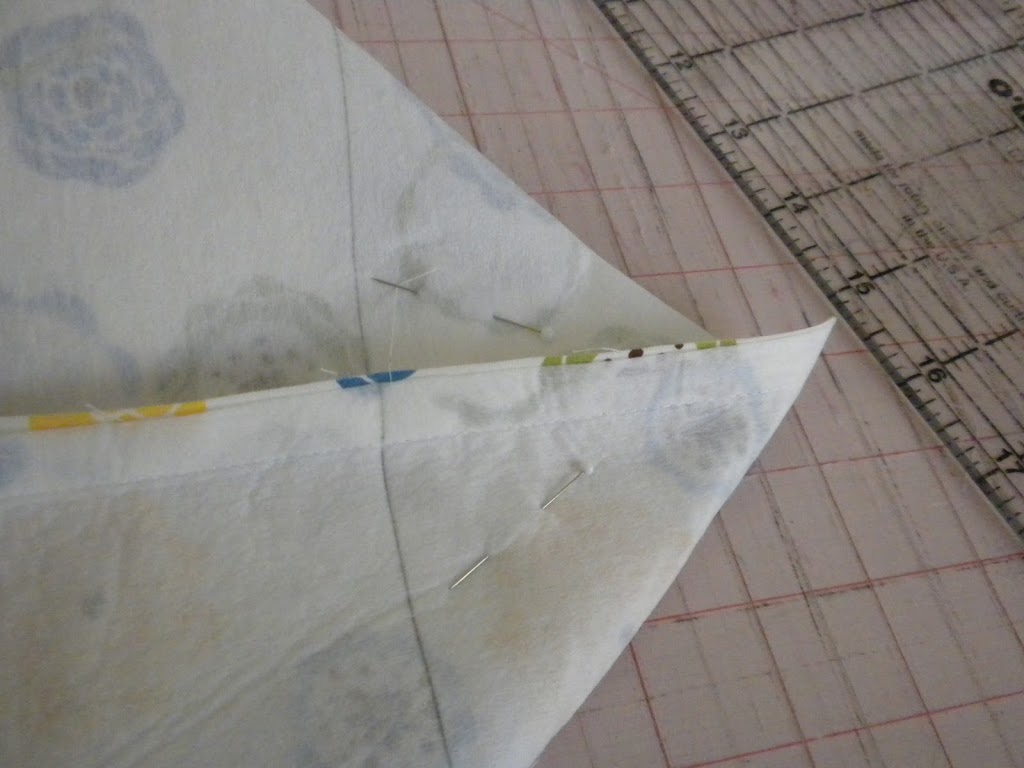
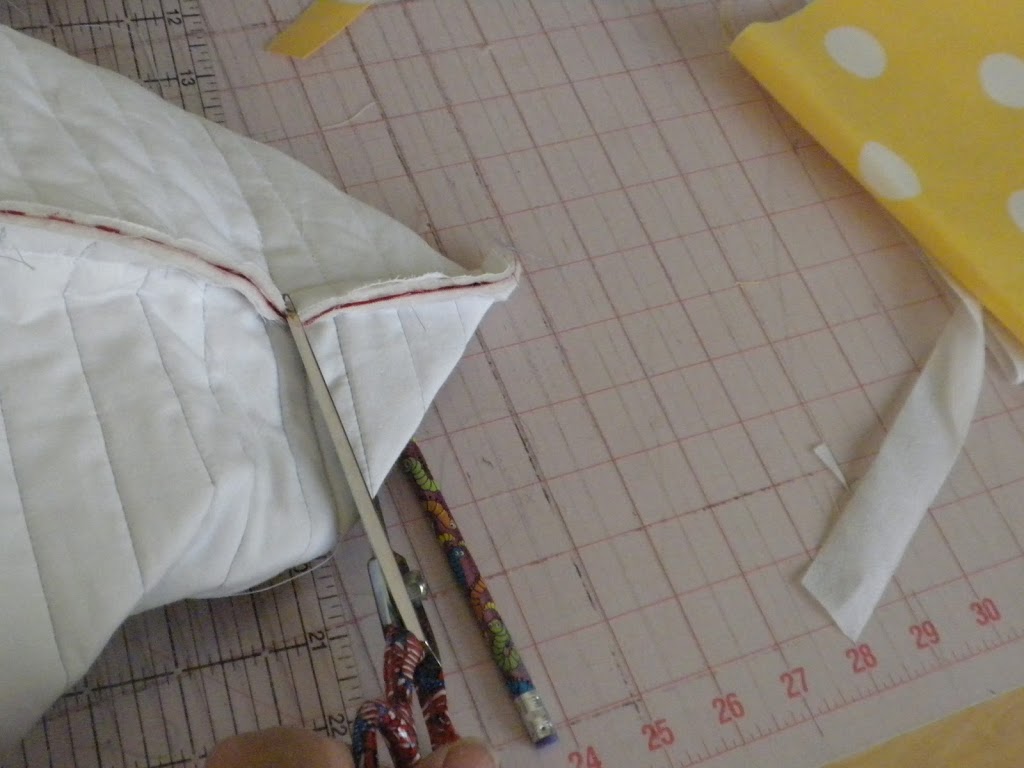
Trim along your seam about 1/4 inch.

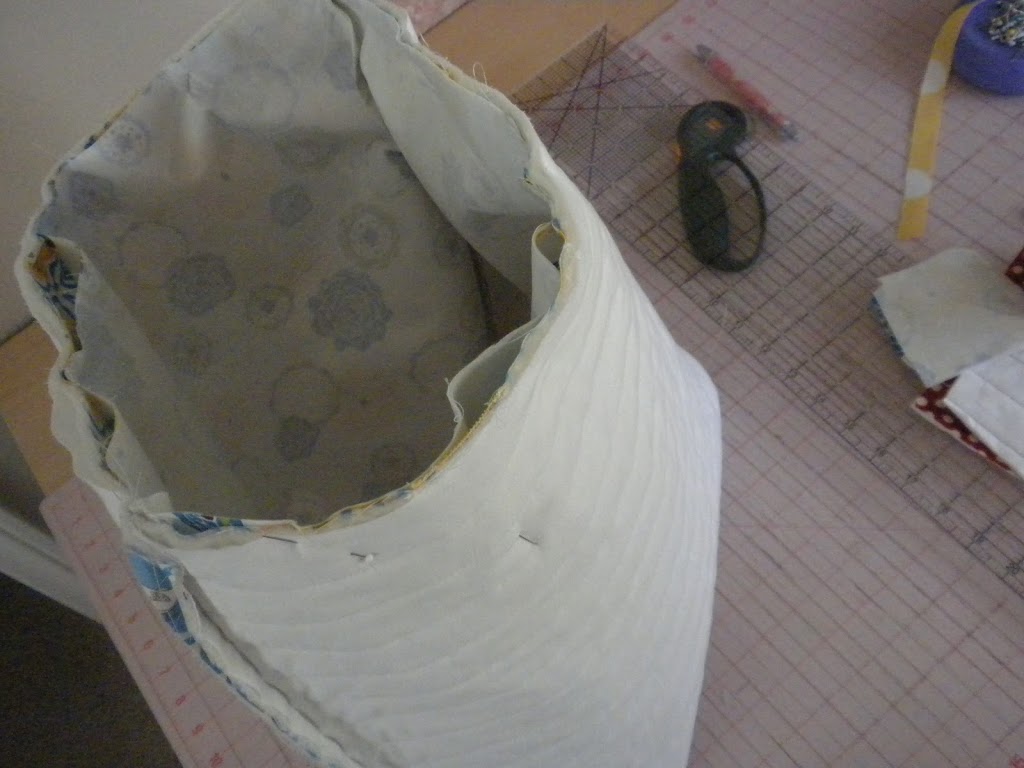
You are almost done!  Now the fun part!  Leaving the outer bag wrong side out, put the lining (right side out) inside the quilted bag.  Match the side seams and pin all the way around the bag.  It should line up perfectly.

Sew a 1/4 inch seam all around the entire bag.

Unstitch a little place on the side lining of the bag to turn the bag right side out.

Turn bag right side out and top stitch the opening closed using matching thread.

Press the lining down so the top of the bag is flat (it will want to puff out the top).

Top stitch using 1/8″ seam all around the bag.

You are done!!!!


Ruffled Bag Tutorial is Here!

I am linking this post up to Family Ever After’s “Pinspired…Rewired” Link Party.  I had seen ruffled tote bags all over on Pinterest.  Here is the bag that was my inspiration.  There wasn’t a pattern or tutorial so I came up with this one on my own. 

What you need:
1 tote bag
6 strips of fabric 3.5″xWOF.  4 strips are for the ruffles, 1 strip for the trim, and 1 strip is for the flower.  You can use ribbon instead of making the top trim.
1 button (I made a covered button)

Here is my lovely denim blag.  It measures about 12″ x 12″ not including the handles.  

 Cut your fabric into strips 3.5″ – this is a great Stash Buster project!!

Here are my fabrics

Do a narrow rolled hem along the 2 short sides of the 4 strips and the bottom of the strip. 

So the top of the strip is a raw edge.

 Turn your stitch length up to the maximum and sew 1/4″ gathering stitch along the raw edge of all 4 ruffle strips.  Then pull strings and gather each ruffle like this:

 Take your tote bag and mark a line 3″ from the bottom.

 Then mark 2″ from your first line.  Repeat every 2″ until you have 4 total lines drawn.

 Pin your bottom ruffle to the tote bag matching the raw edge of the fabric to your first marked line.  You kind of have to scrunch the bag to get it pinned.  This one is the hardest.  It SOOO doesn’t have to be perfect!

  Sew along your gathering stitch.  Again, this one is the hardest, the rest get easier.  You have to bunch it around your machine – but it will work!

Then go over your seam with a zig zag stitch to keep it all from fraying.
Repeat this process with each ruffle matching the raw edge of the ruffle with your marked line.  Stitch along your gathering stitches and then zig zag to finish.  You don’t have to zig zag the last ruffle because we will cover it.

 Take your “trim” piece of fabric and cut it so it is just slightly longer than your bag.

 Press this piece in half

 Then open it and press the two sides into the center fold.  Then bring these two sides together to make a trim piece with no raw edges. 

 Fold one end in and pin in place.  Adjust the length and trim if necessary.  Fold the other end in and pin in place.  Top stitch all the way around the trim piece.  You can totally use pre-made trim, double-fold bias tape, or ribbon.  Your bag is almost done!!  Just the flower is left!

 To make the flower, take your last 3.5″xWOF piece and fold in half – don’t press in half – you want it to puff a little.  Use your gathering stitch again and run it 1/4″ along the raw edge. 

Pull up the threads to ruffle – you want it as ruffled as possible – careful not to break the thread.  Since the fabric is double thickness, it needs a little extra care.
Then tuck the end of the fabric under so you can’t see it and start to twirl it around.  You can play around to get the look you want.  Here is where I got the hot glue gun out.  I added glue each time I turned.  You can sew it too.  I was just in a hurry:)  Once the flower is done I hot glued a fabric covered button in the center.  You can use any button that you like.  Then I hot glued it to the bag. 

Thanks for stopping by!  Hope you get the chance to make one!

Princess Draw-String Bag

We were invited to a princess birthday party.   I sewed this princess draw-string bag using this amazing tutorial again.  I am telling you – you gotta make one!  They are so much fun!  I thought it would be the perfect birthday gift for a 4 year old.  We included inside Bath & Body Works body spray & lotion and some princess sunglasses.  We were so excited for the party!  That’s my little Rapunzel!!!

Lined, Draw-String Fish Bag

 My daughter is going to Hawaii and she wanted a little bag to keep her mask in so it wouldn’t get scratched by all the sand in her beach bag.  I found this tutorial on In Color Order blog.  It is the best tutorial & and the bags come out darling!  I love that they are fully lined.  My daughter choose the tropical fish fabric.  I would have sewn the ties out of fabric – but I ran out of time so we just used ribbon.  Now I must make a dozen of these for me!!

Snappy Bag

I found this tutorial for these “Snappy Bags” at Just Another Hang Up . They are the cutest things ever! And such great instructions. You use a cut up tape measure inside the bags so they “snap” together! Ella and I made 38 of them for Valentine’s Day Gifts.


Snappy Bag

I found this tutorial for these “Snappy Bags” at Just Another Hang Up . They are the cutest things ever! And such great instructions. You use a cut up tape measure inside the bags so they “snap” together! Ella and I made 38 of them for Valentine’s Day Gifts.


Just Made This Tote Bag!


I just made this tote bag from Bijou Lovely Designs. It is a great tutorial with easy to follow instructions. That bag is a perfect size for the beach. Wait till you see the fabric I choose! It’s for a gift.

Just Made This Tote Bag!


I just made this tote bag from Bijou Lovely Designs. It is a great tutorial with easy to follow instructions. That bag is a perfect size for the beach. Wait till you see the fabric I choose! It’s for a gift.

Sewing Marathon

My friend came to visit for the weekend. All we did was buy fabric, sew, and listen to country music – that is so my kind of weekend! Here are a few projects we made. (There were 2 other small quilts and a table runner that I didn’t get pictures of because we were so busy!)

The quilt is for her little boy’s toddler bed.
These items are for her little girl’s birthday. We made a skirt, headband, and cross-body purse. I love the fabrics!