Christmas Kitsch Blog Hop {Christmas Quilt Tutorial}


ChristamsKitschHeader
IMG_9355
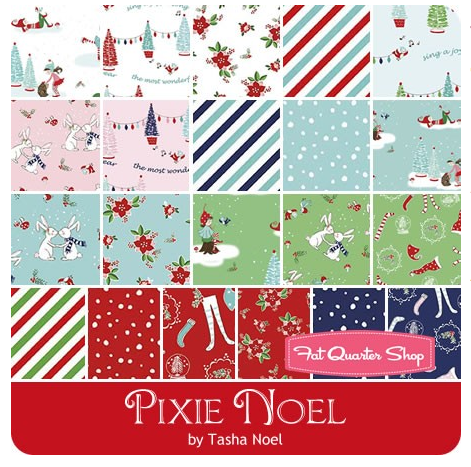
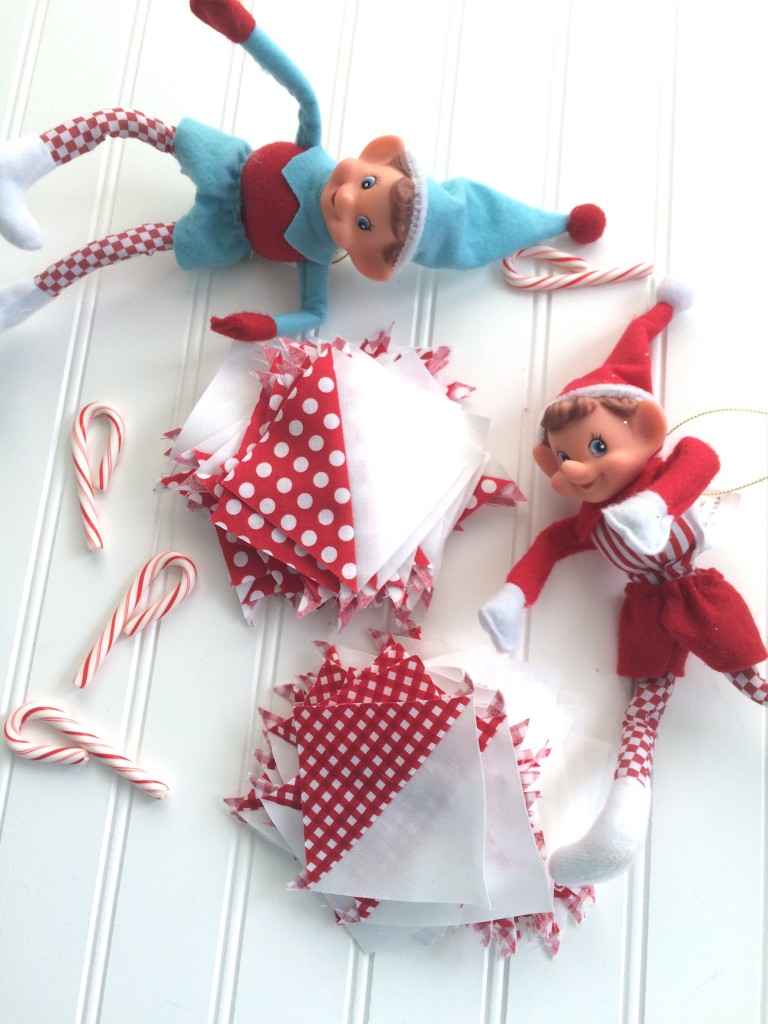
I’m kicking off the Christmas Kitsch Blog Hop today!  For the next 6 weeks, each of the Blend Fabrics Design Team Members will be sewing up a fantastic holiday project with this retro-inspired fabric line!  Christmas in July here we come!
ChristamsKitschBeauty
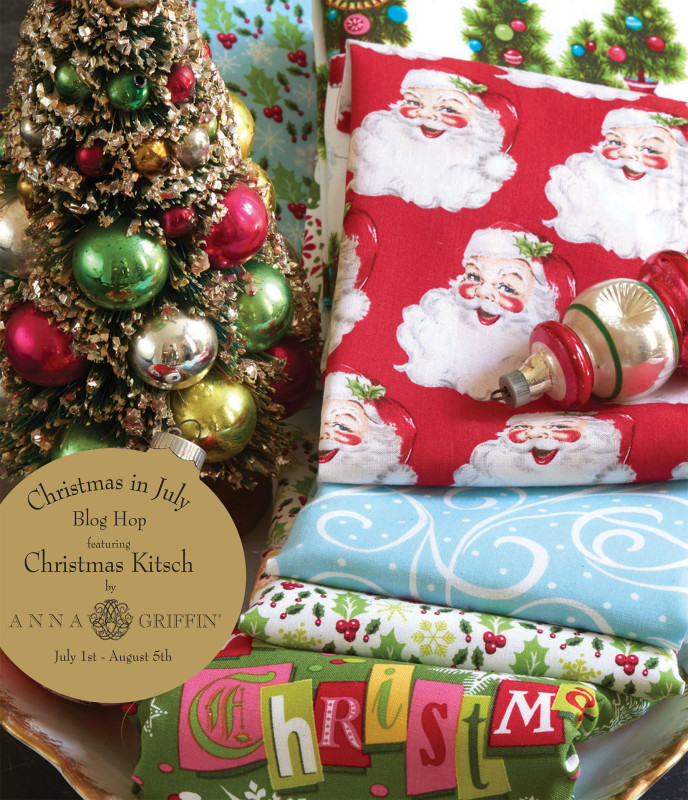
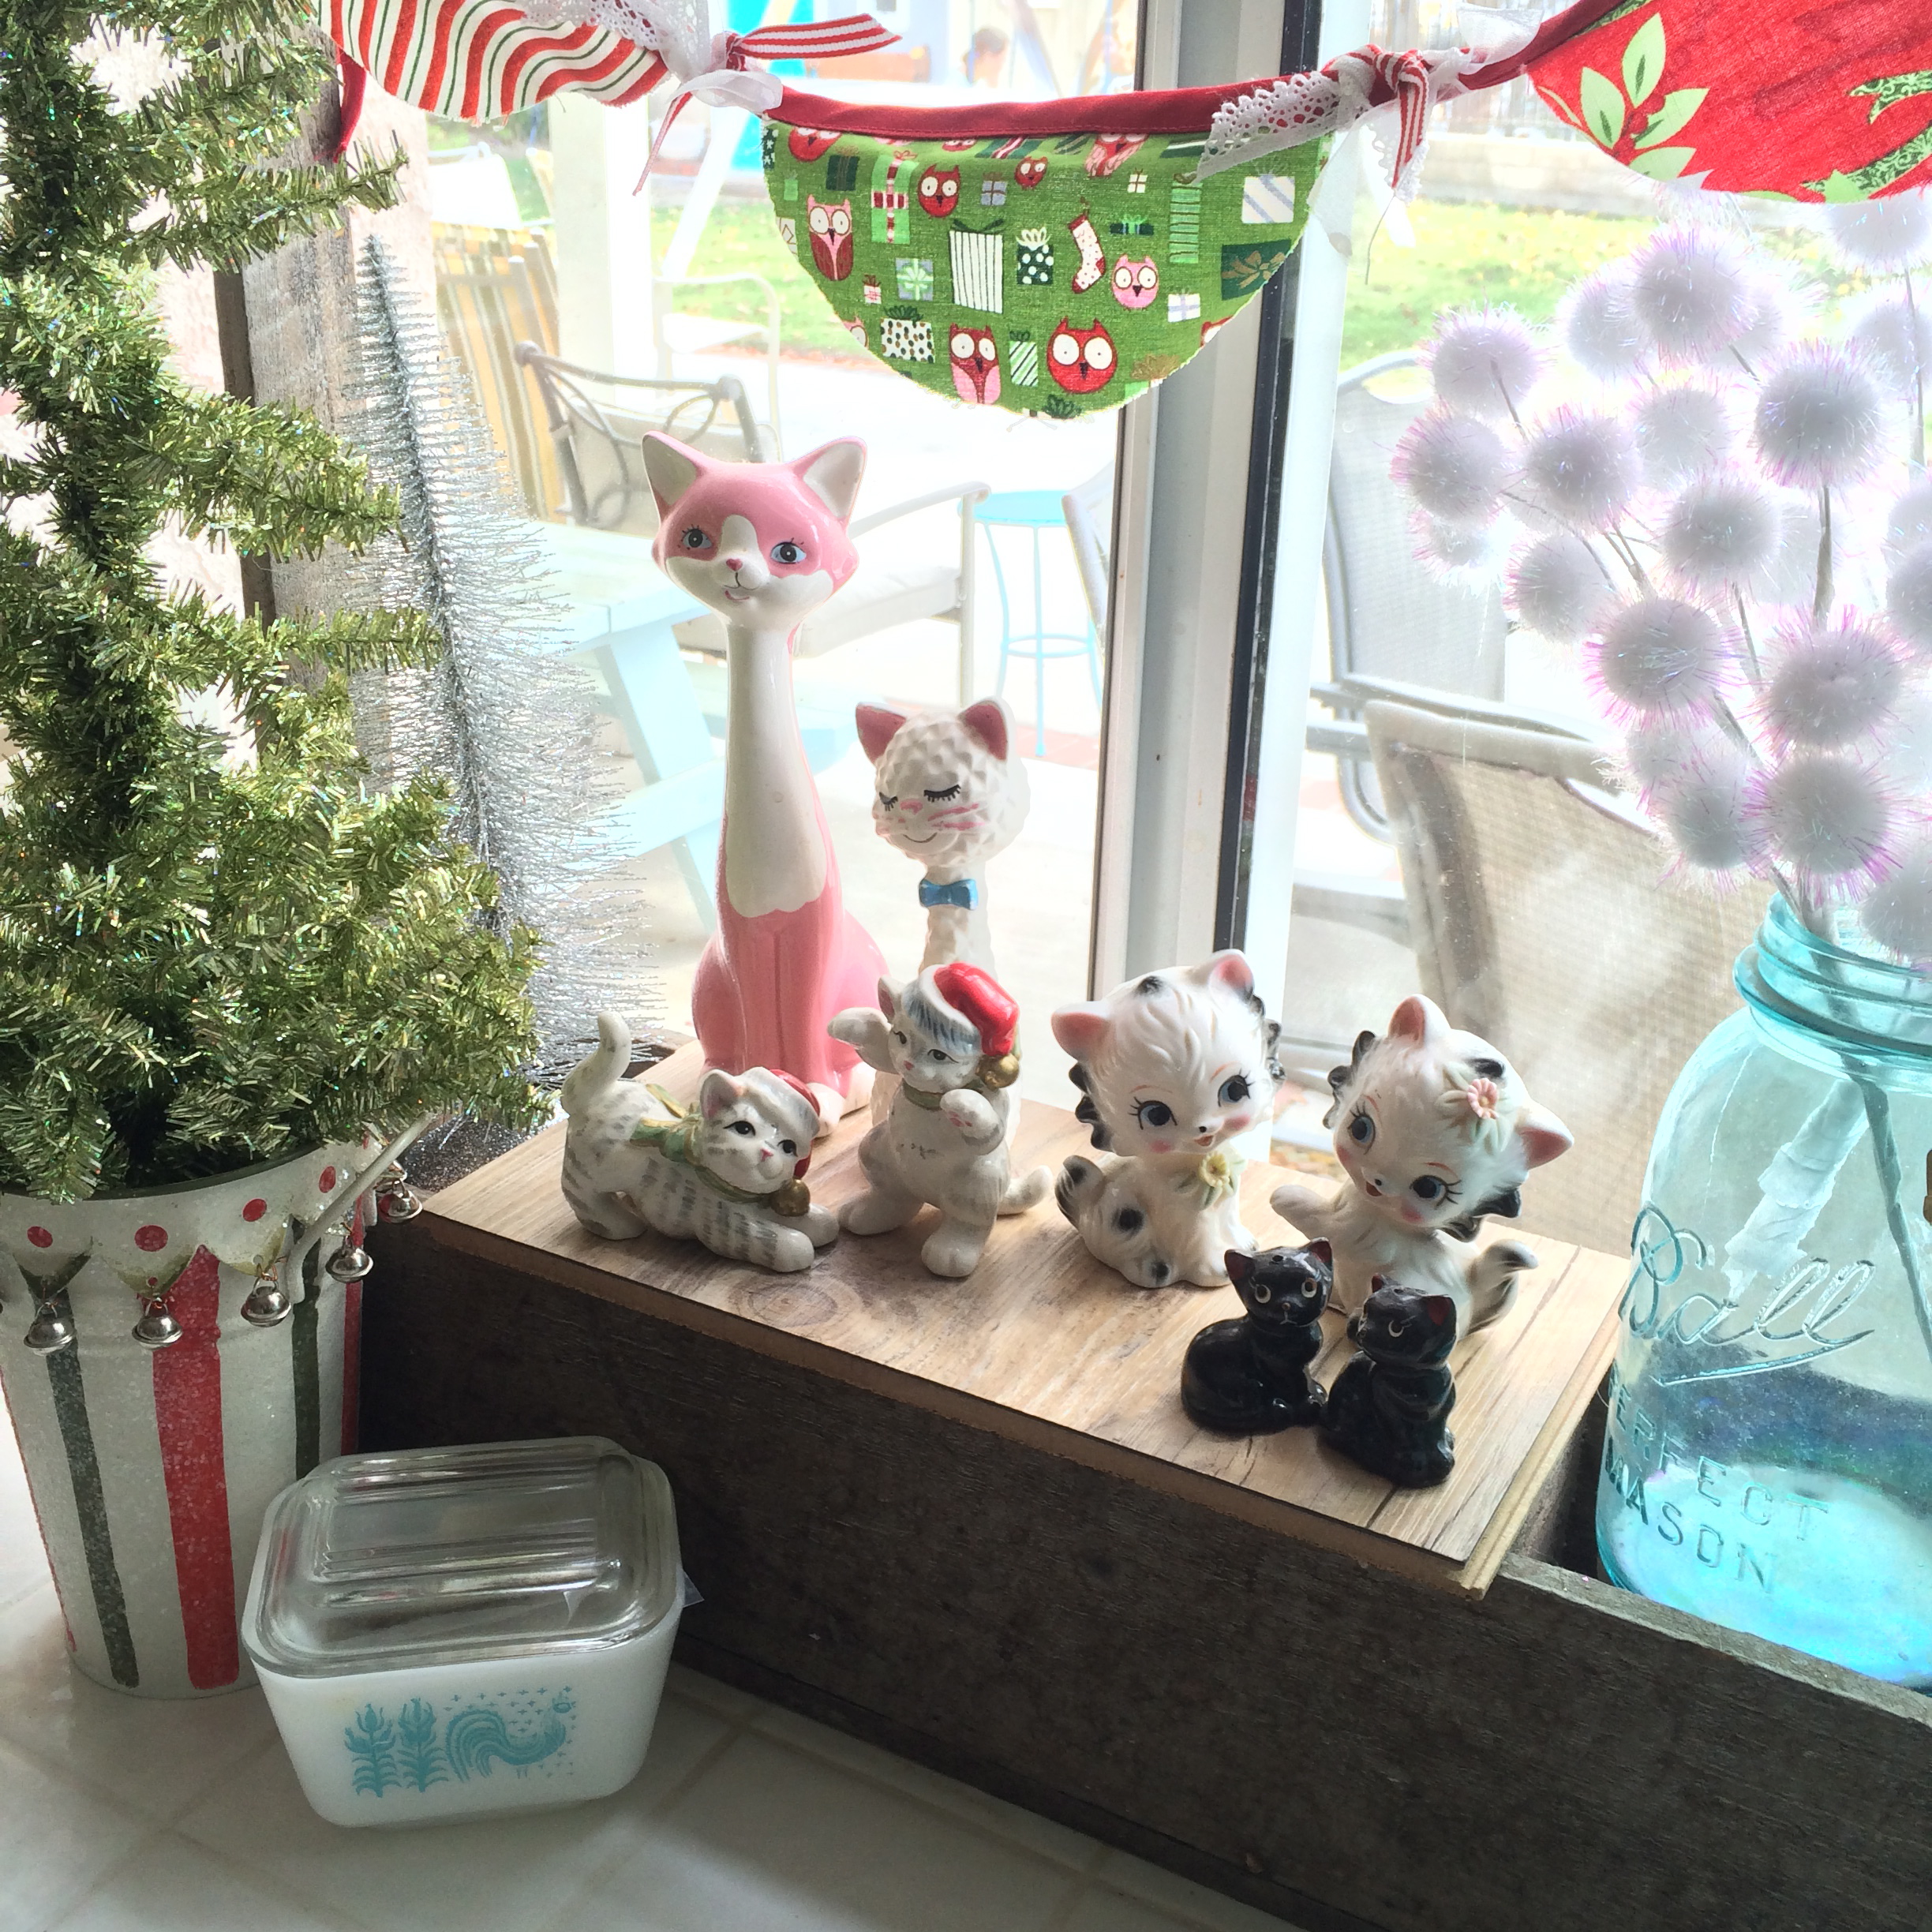
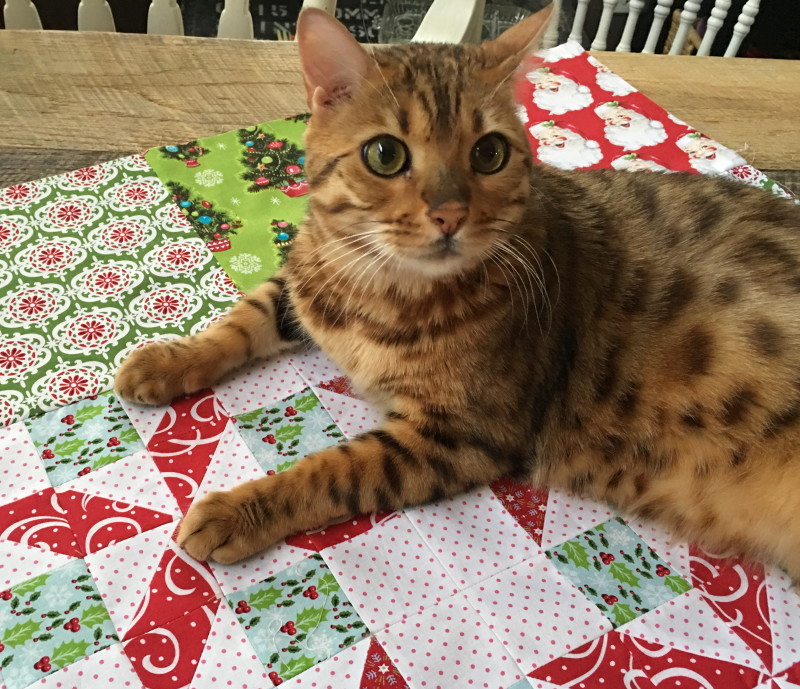
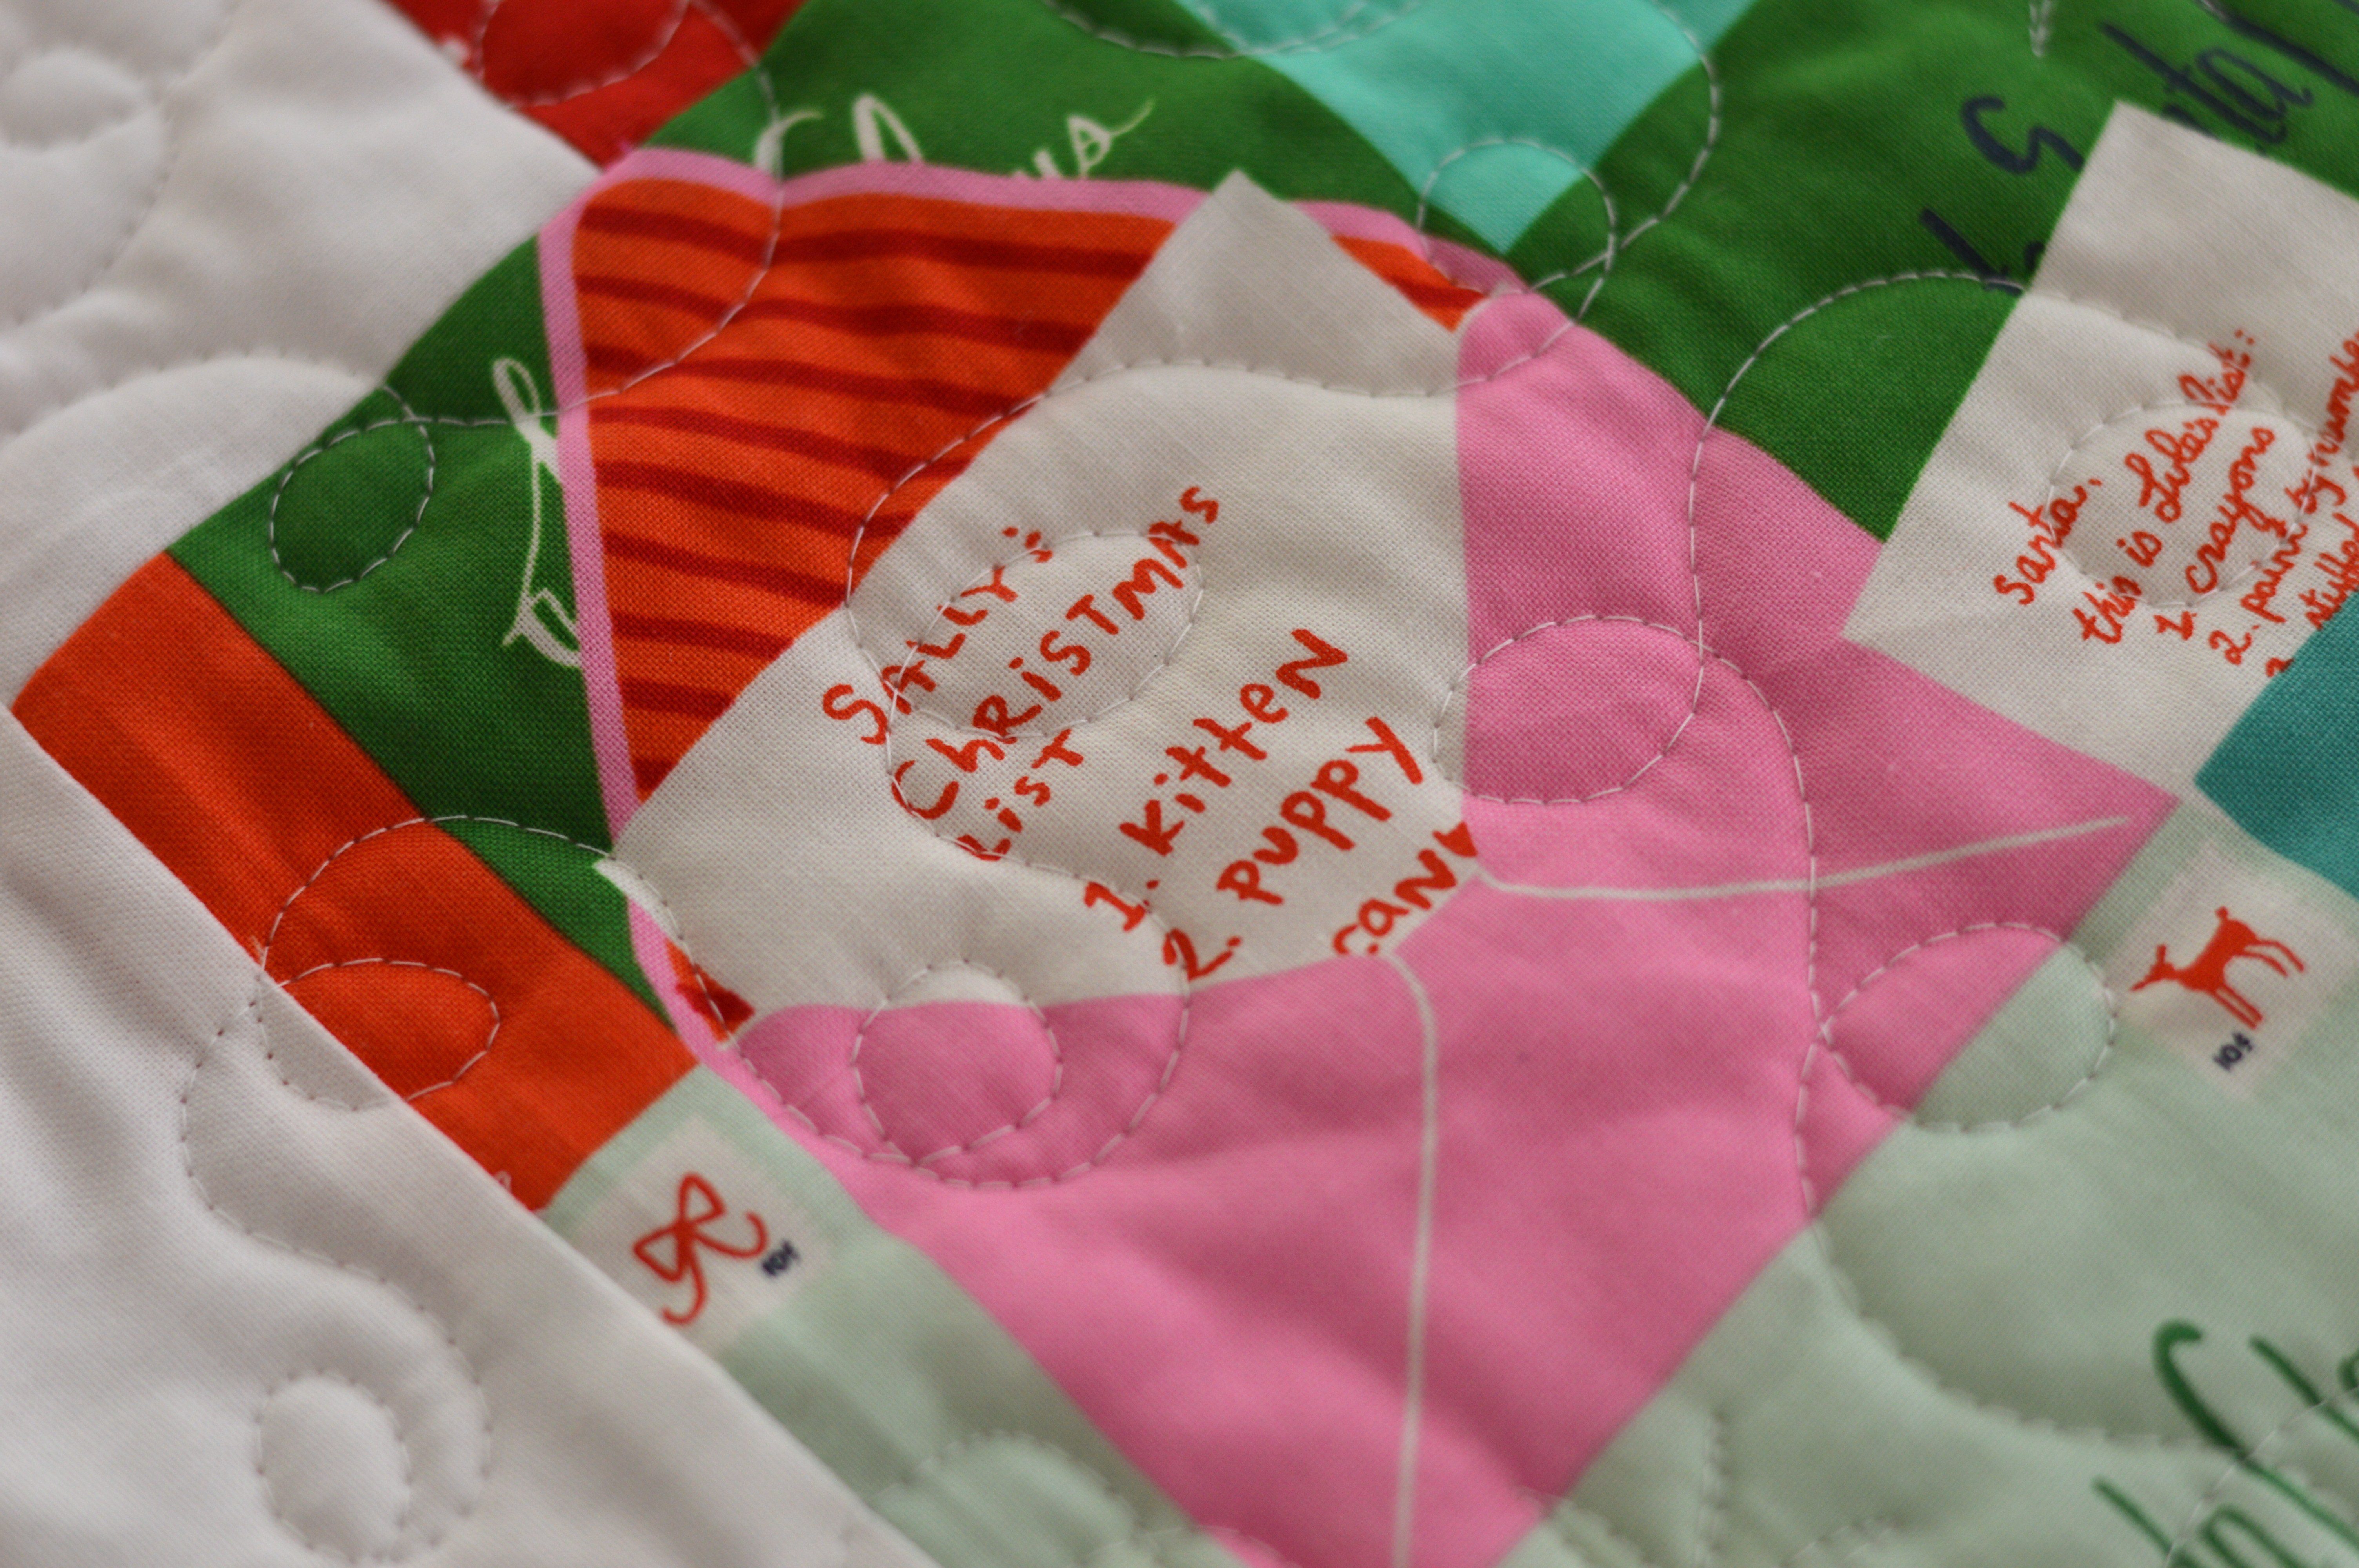
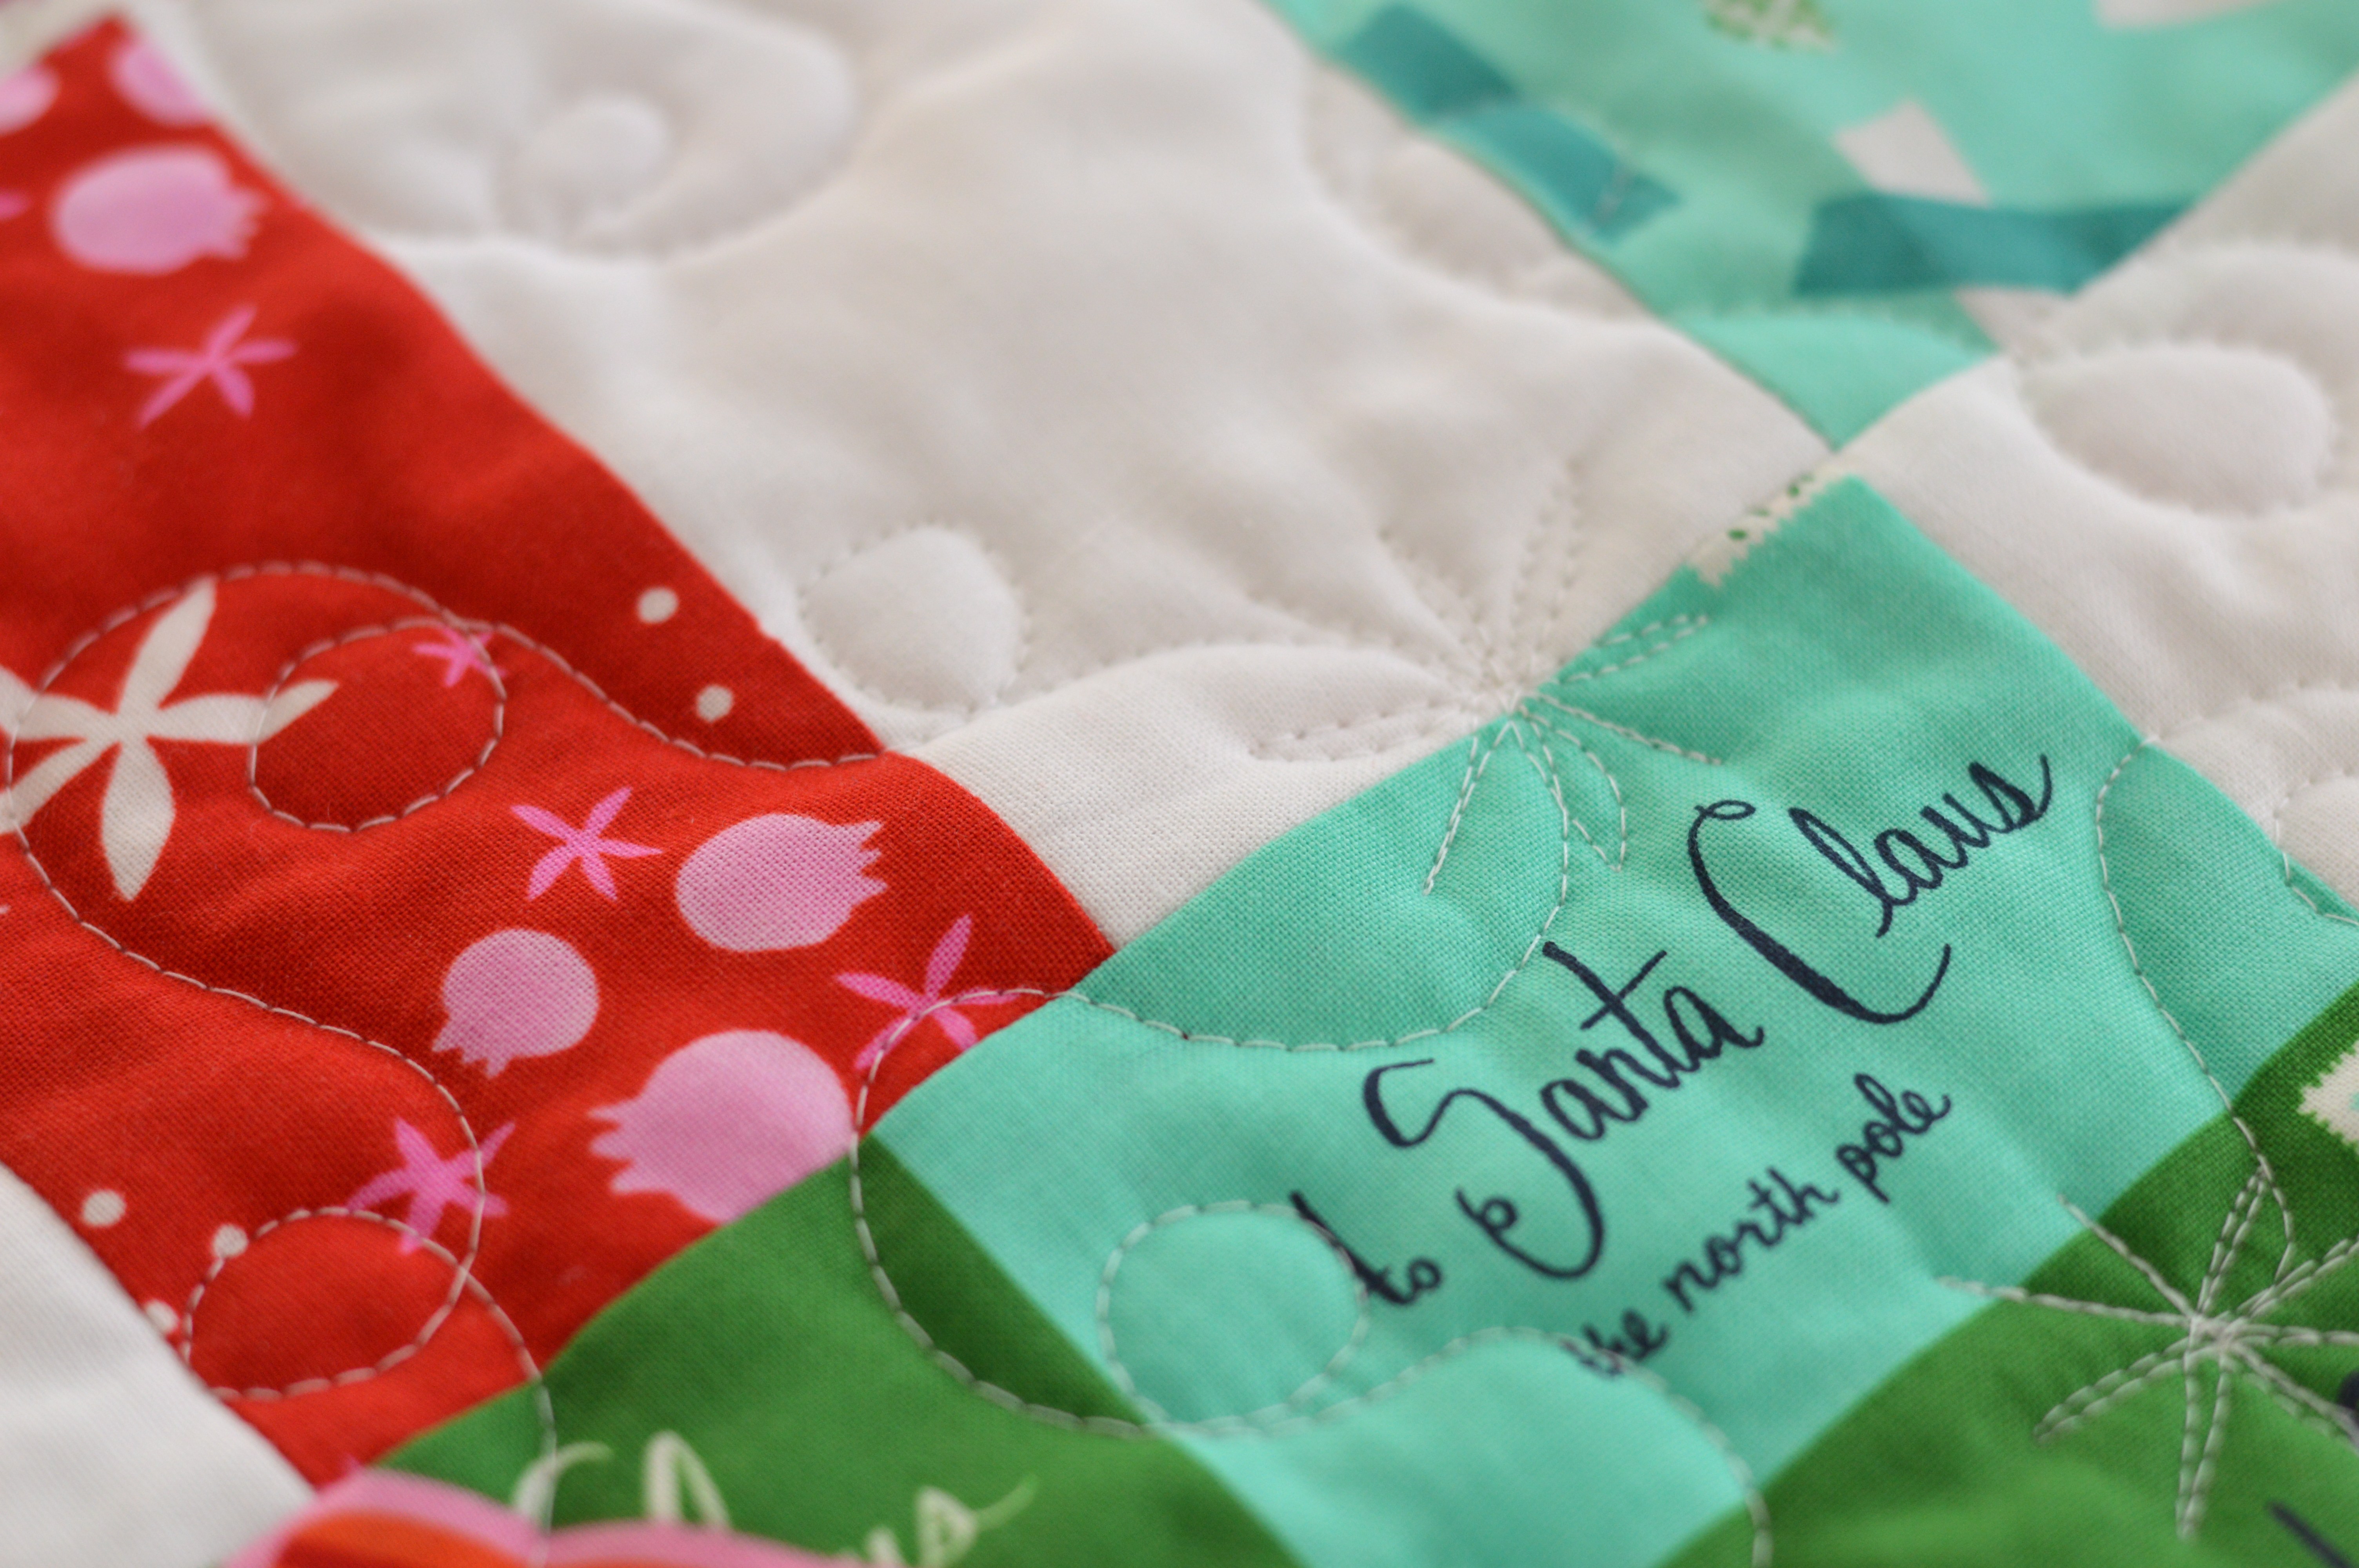
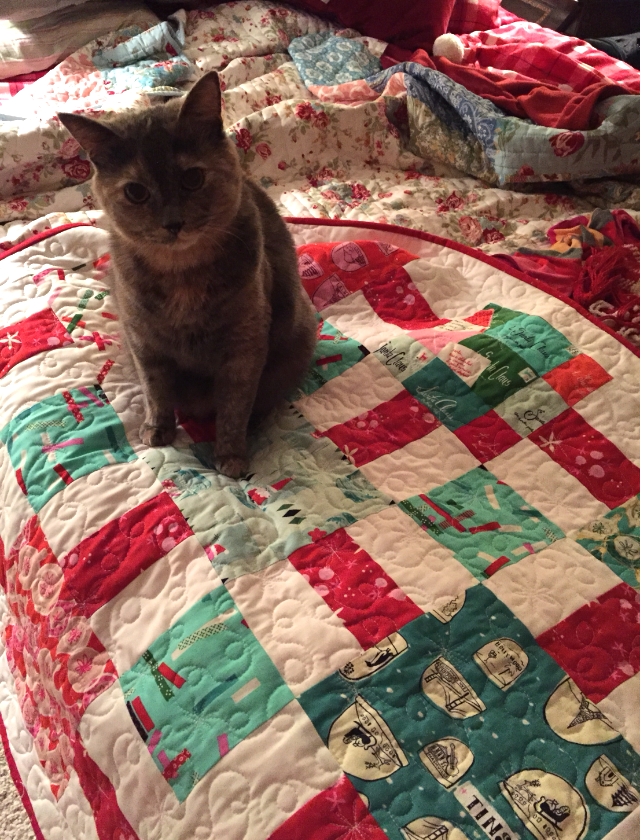
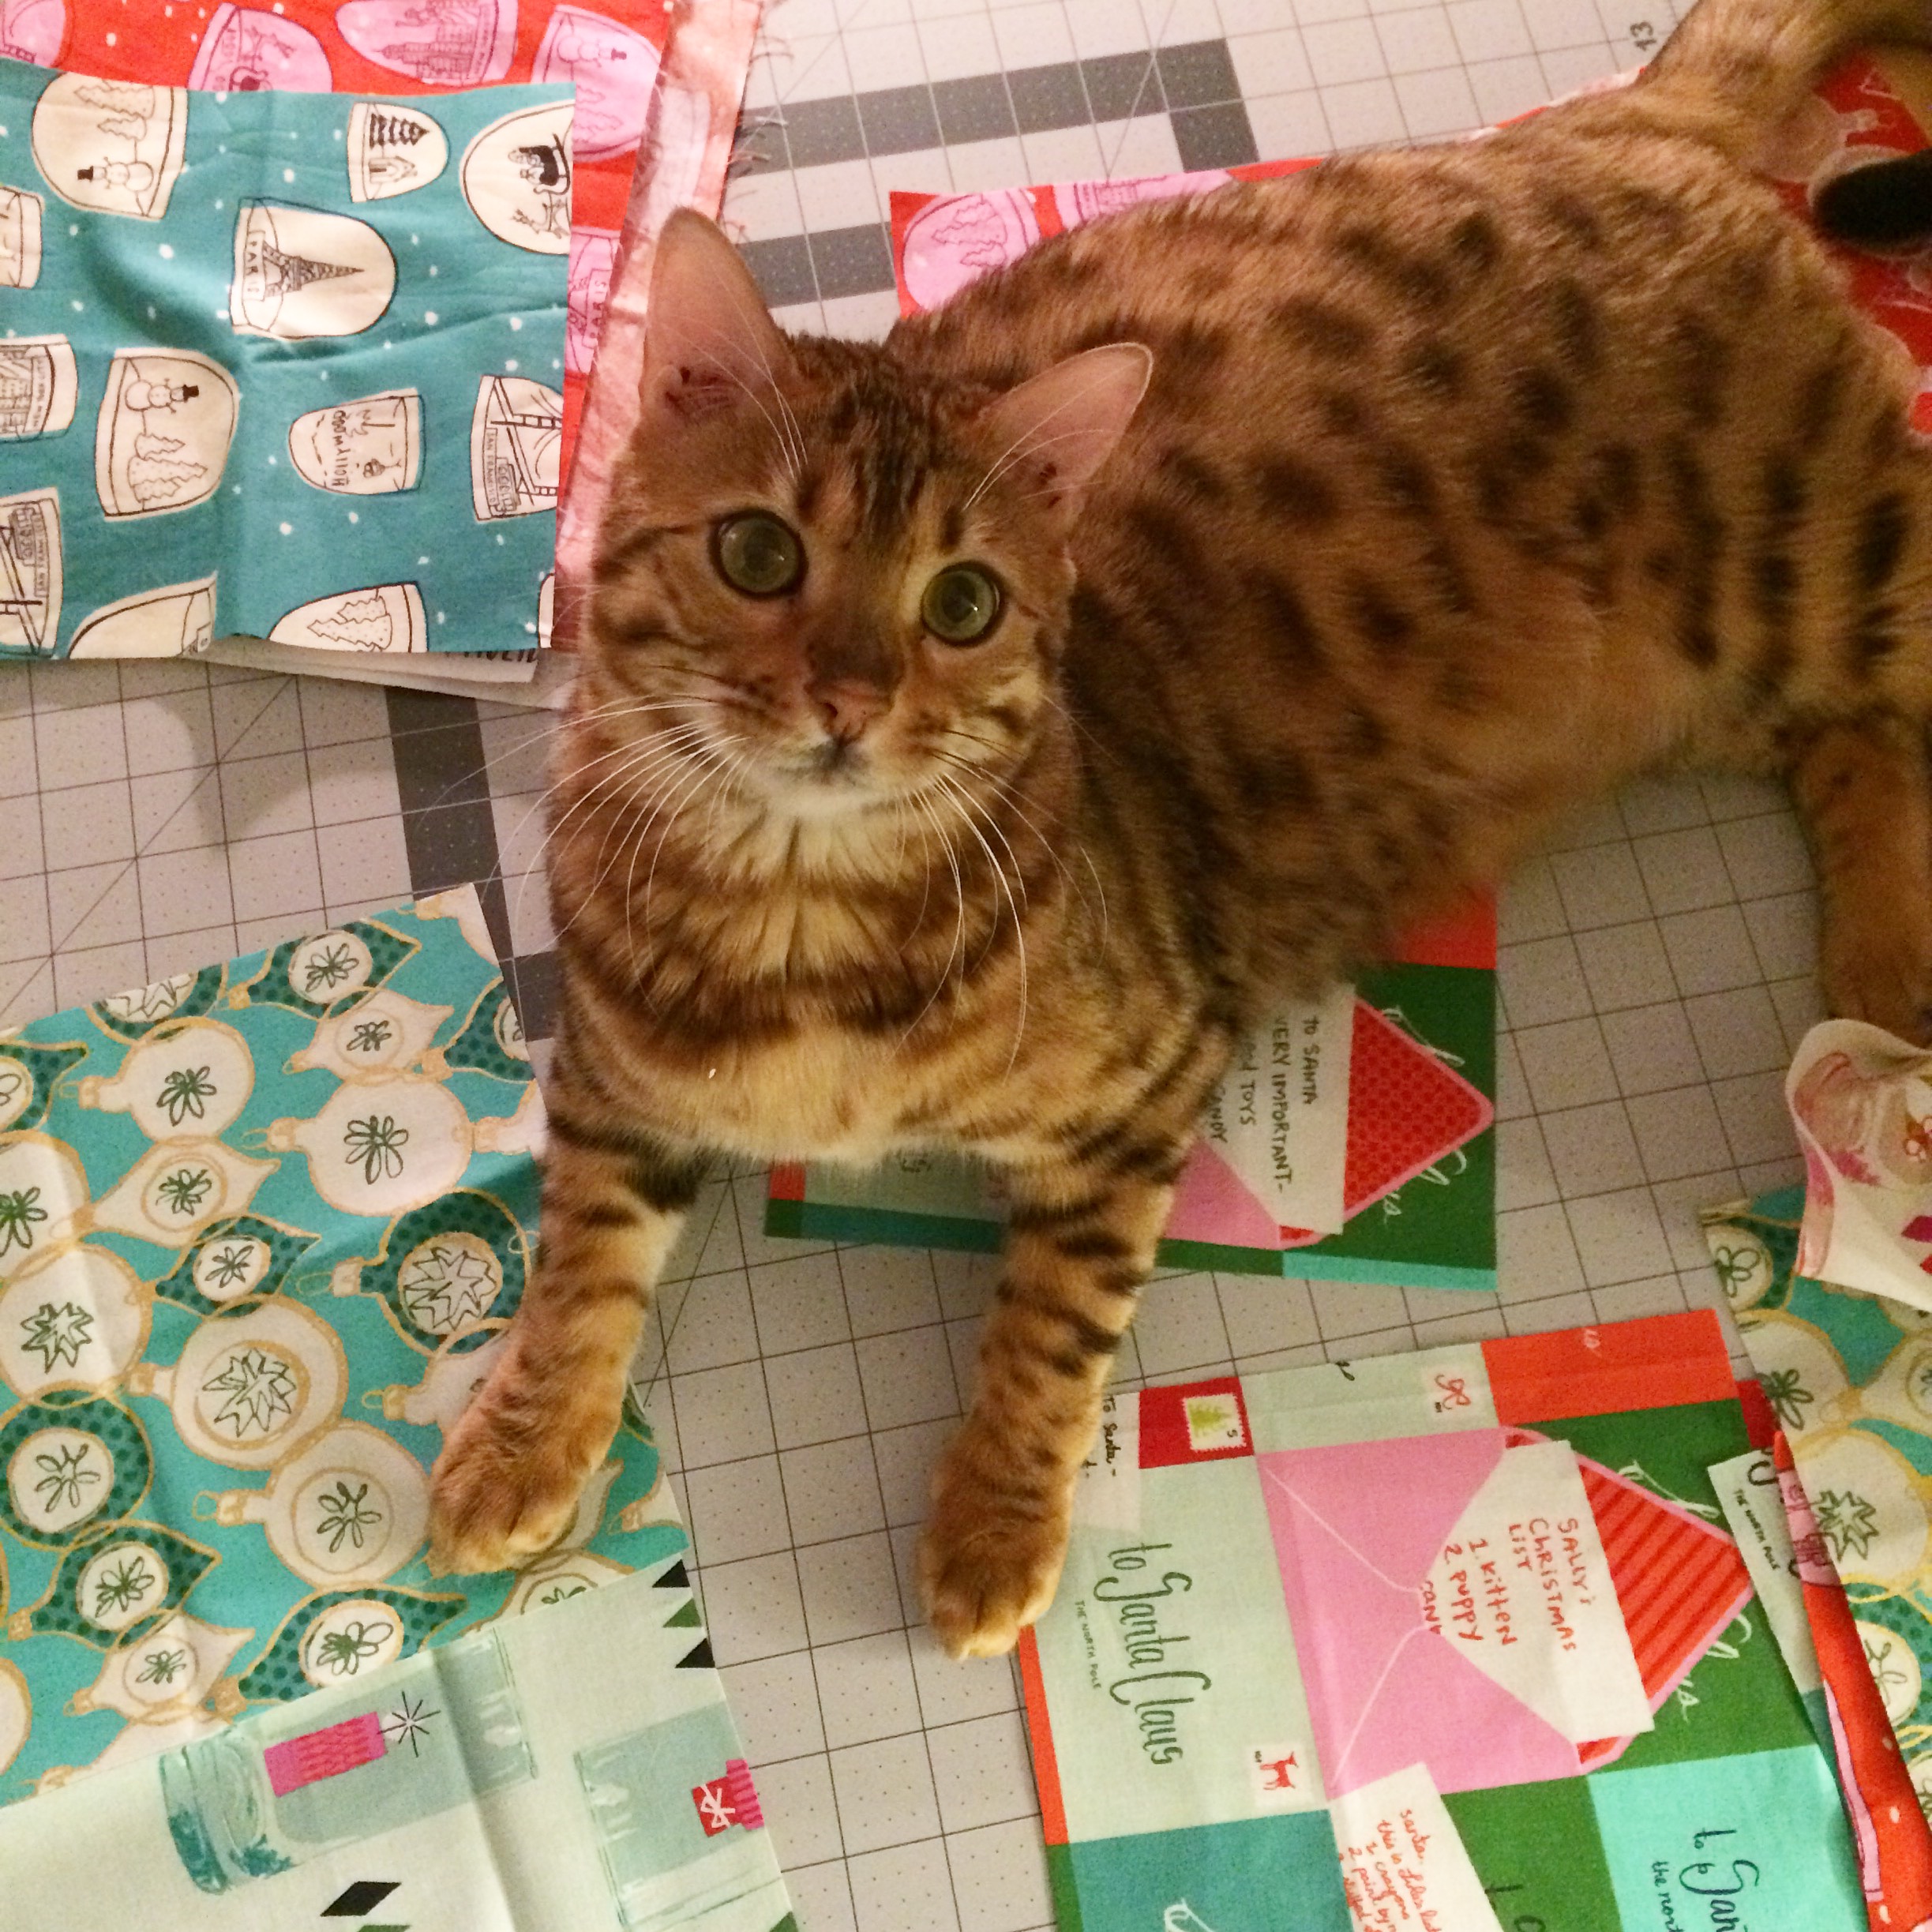
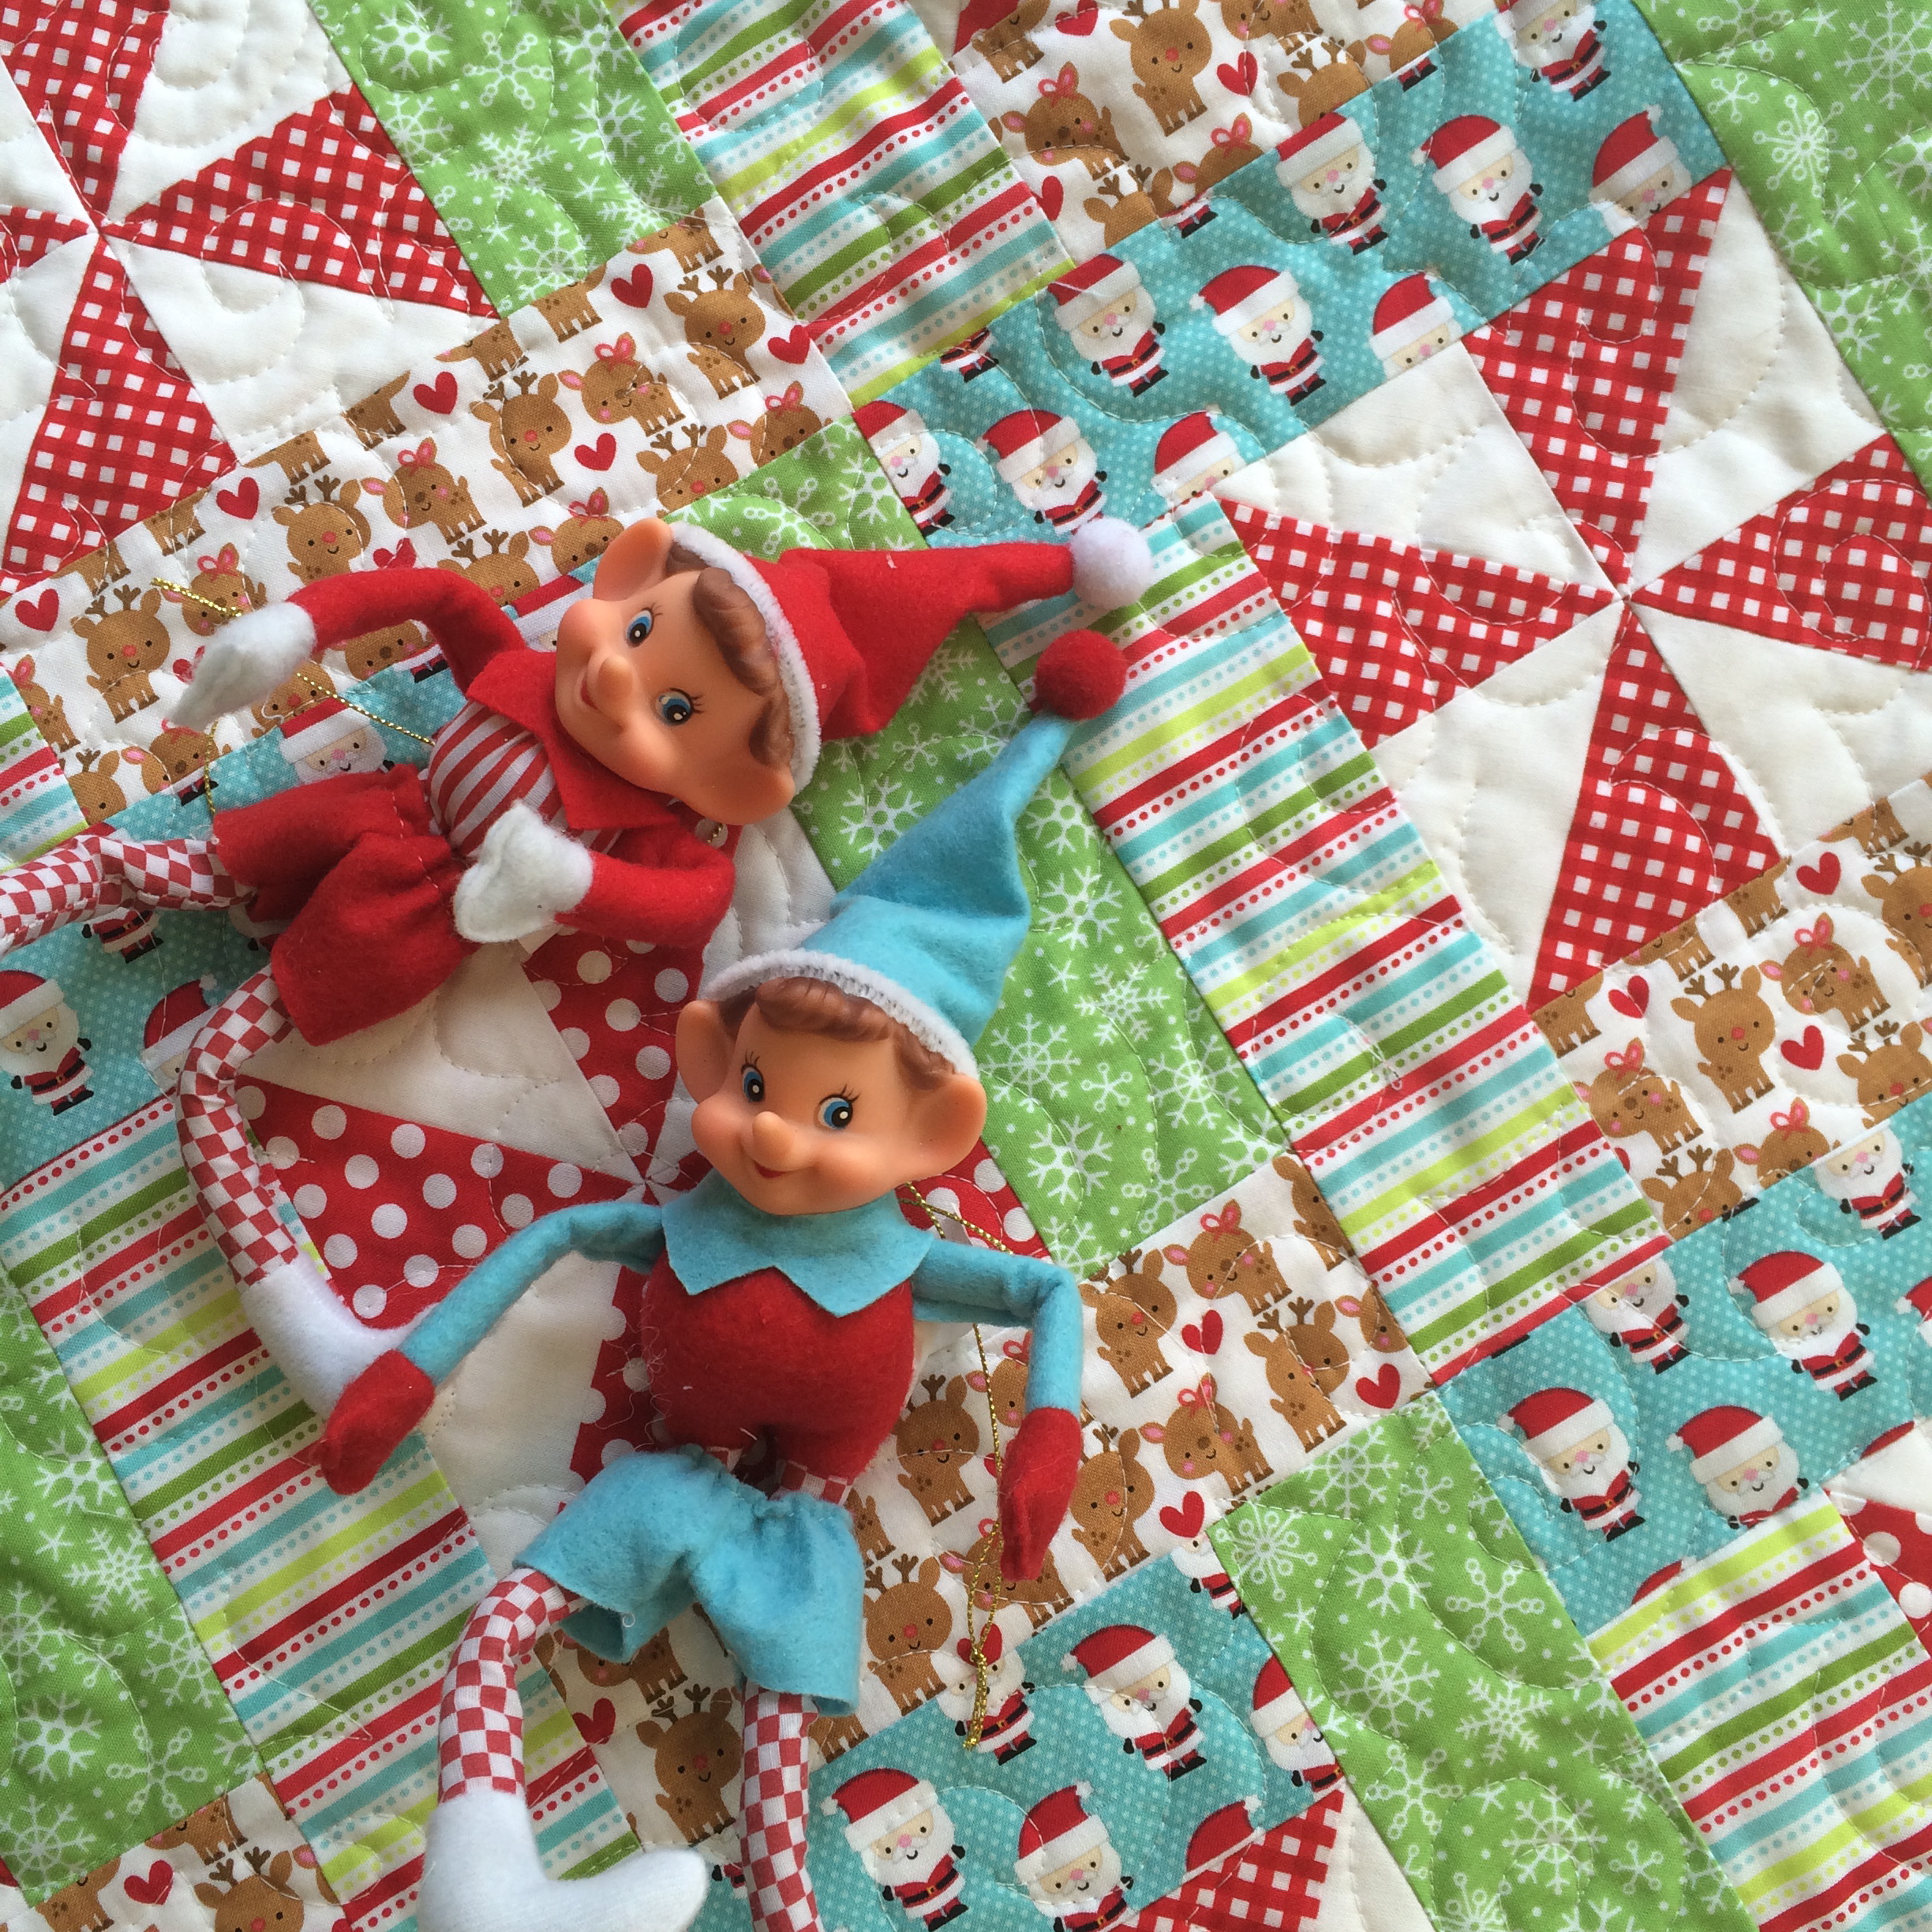
Immediately I fell in love with these fabrics!  My kids call the santas “the scary Santas!”  I love them because they remind me of all the Christmas decorations my mom had when I was a little girl.  This fabric is available at Fat Quarter Shop.
 IMG_9349
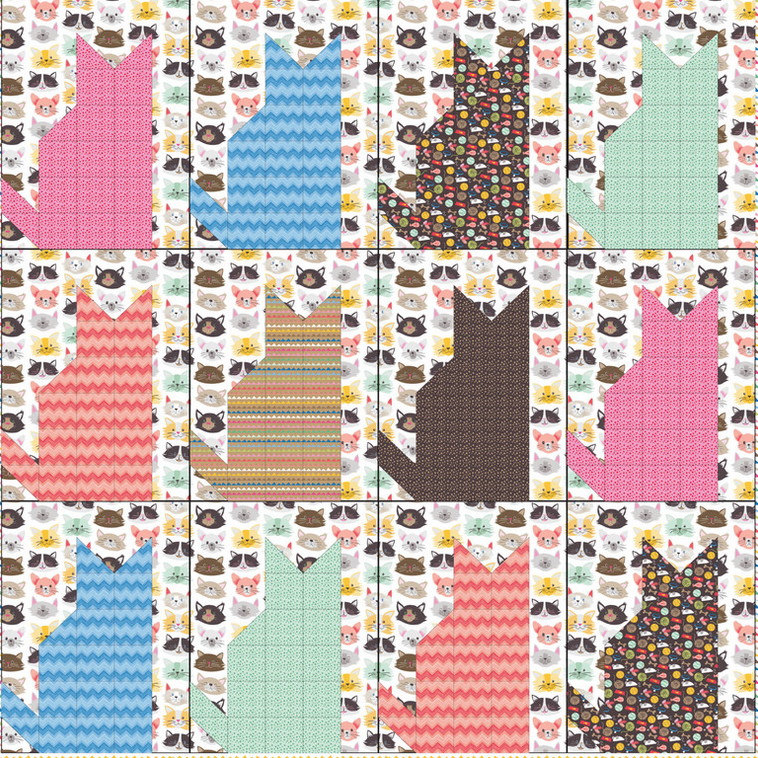
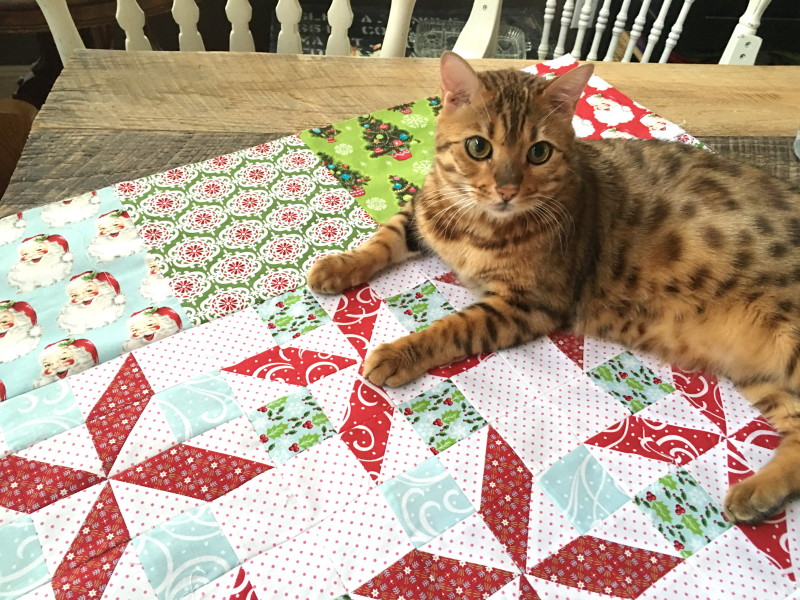
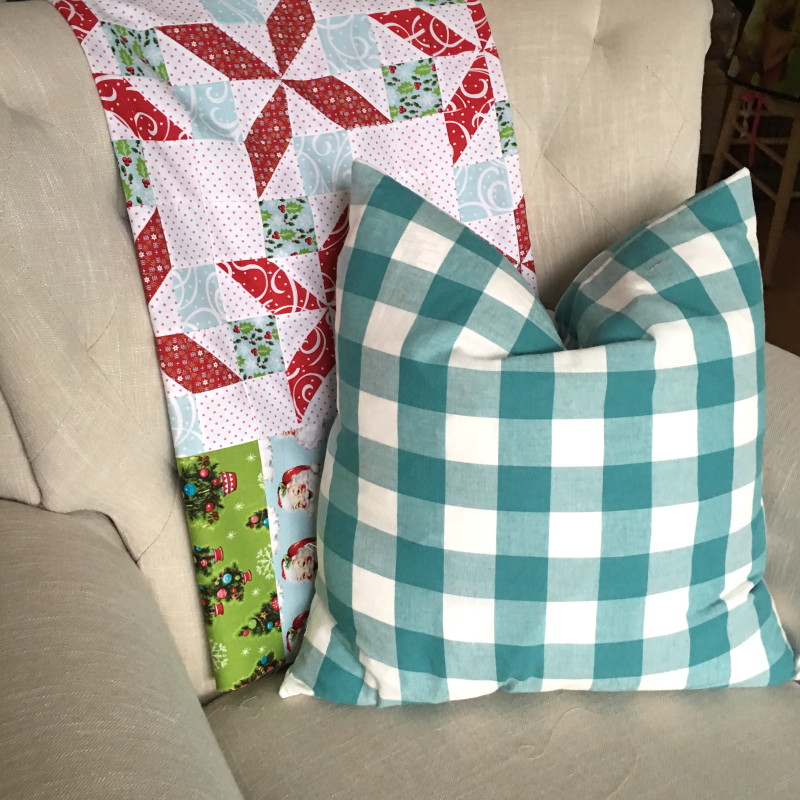
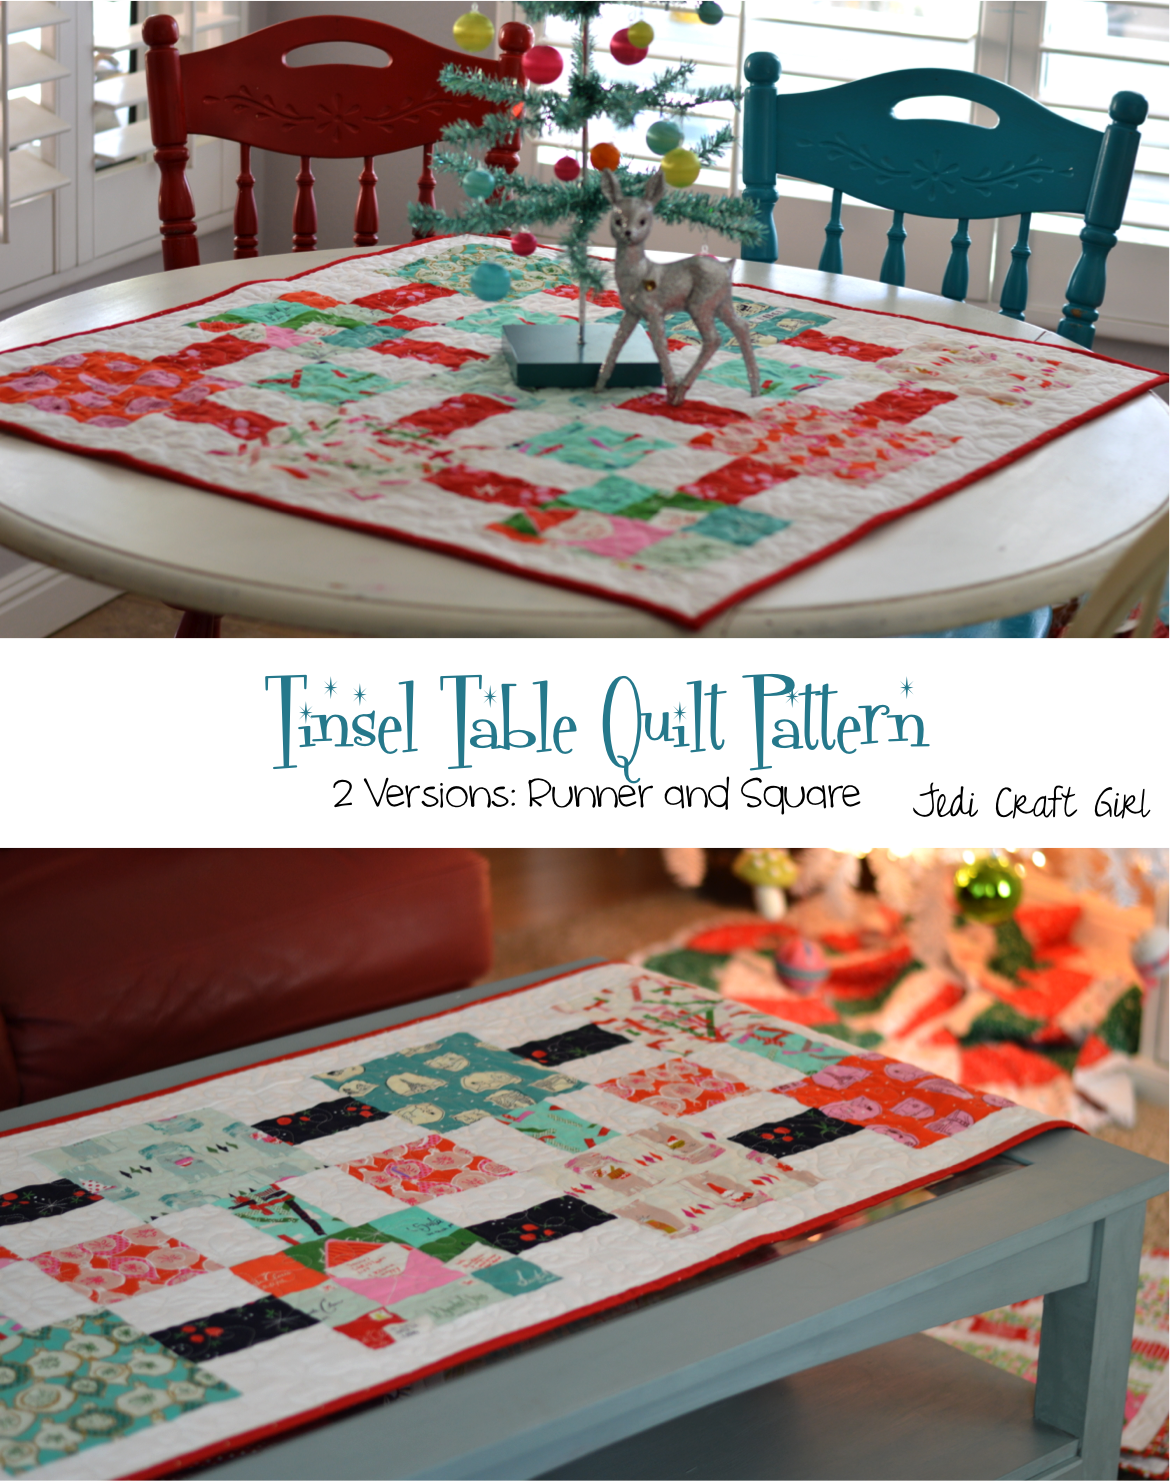
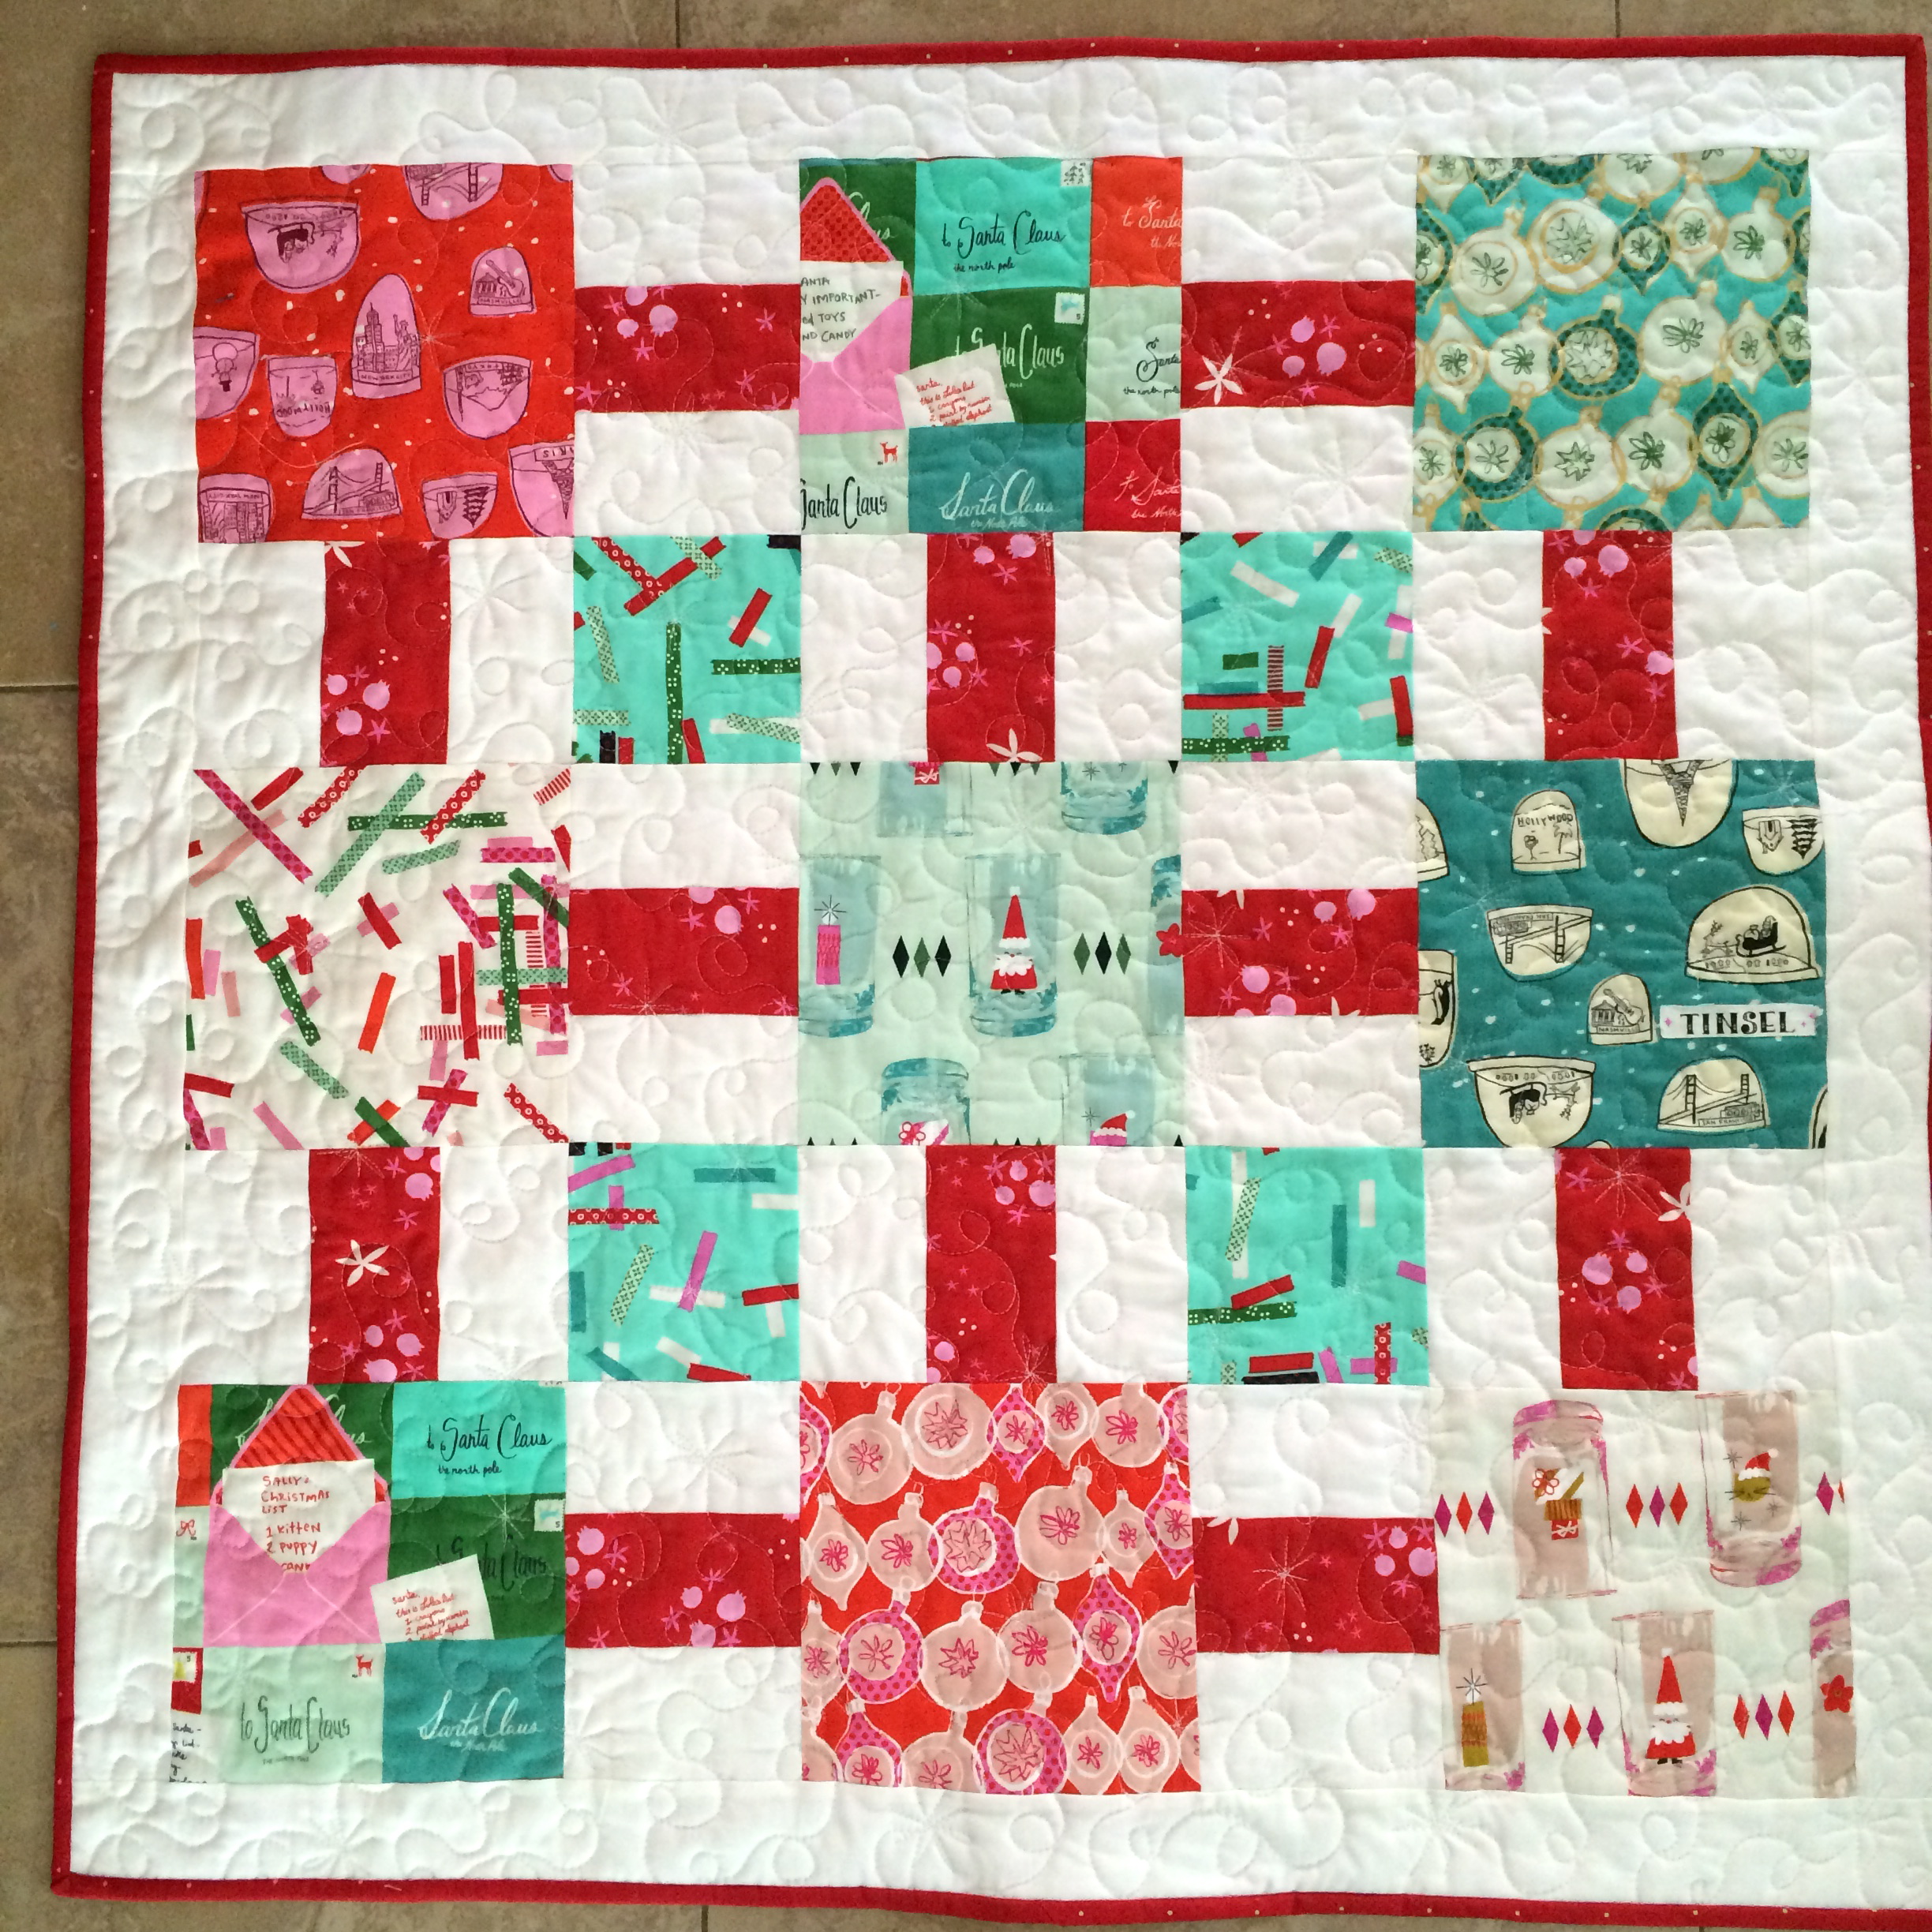
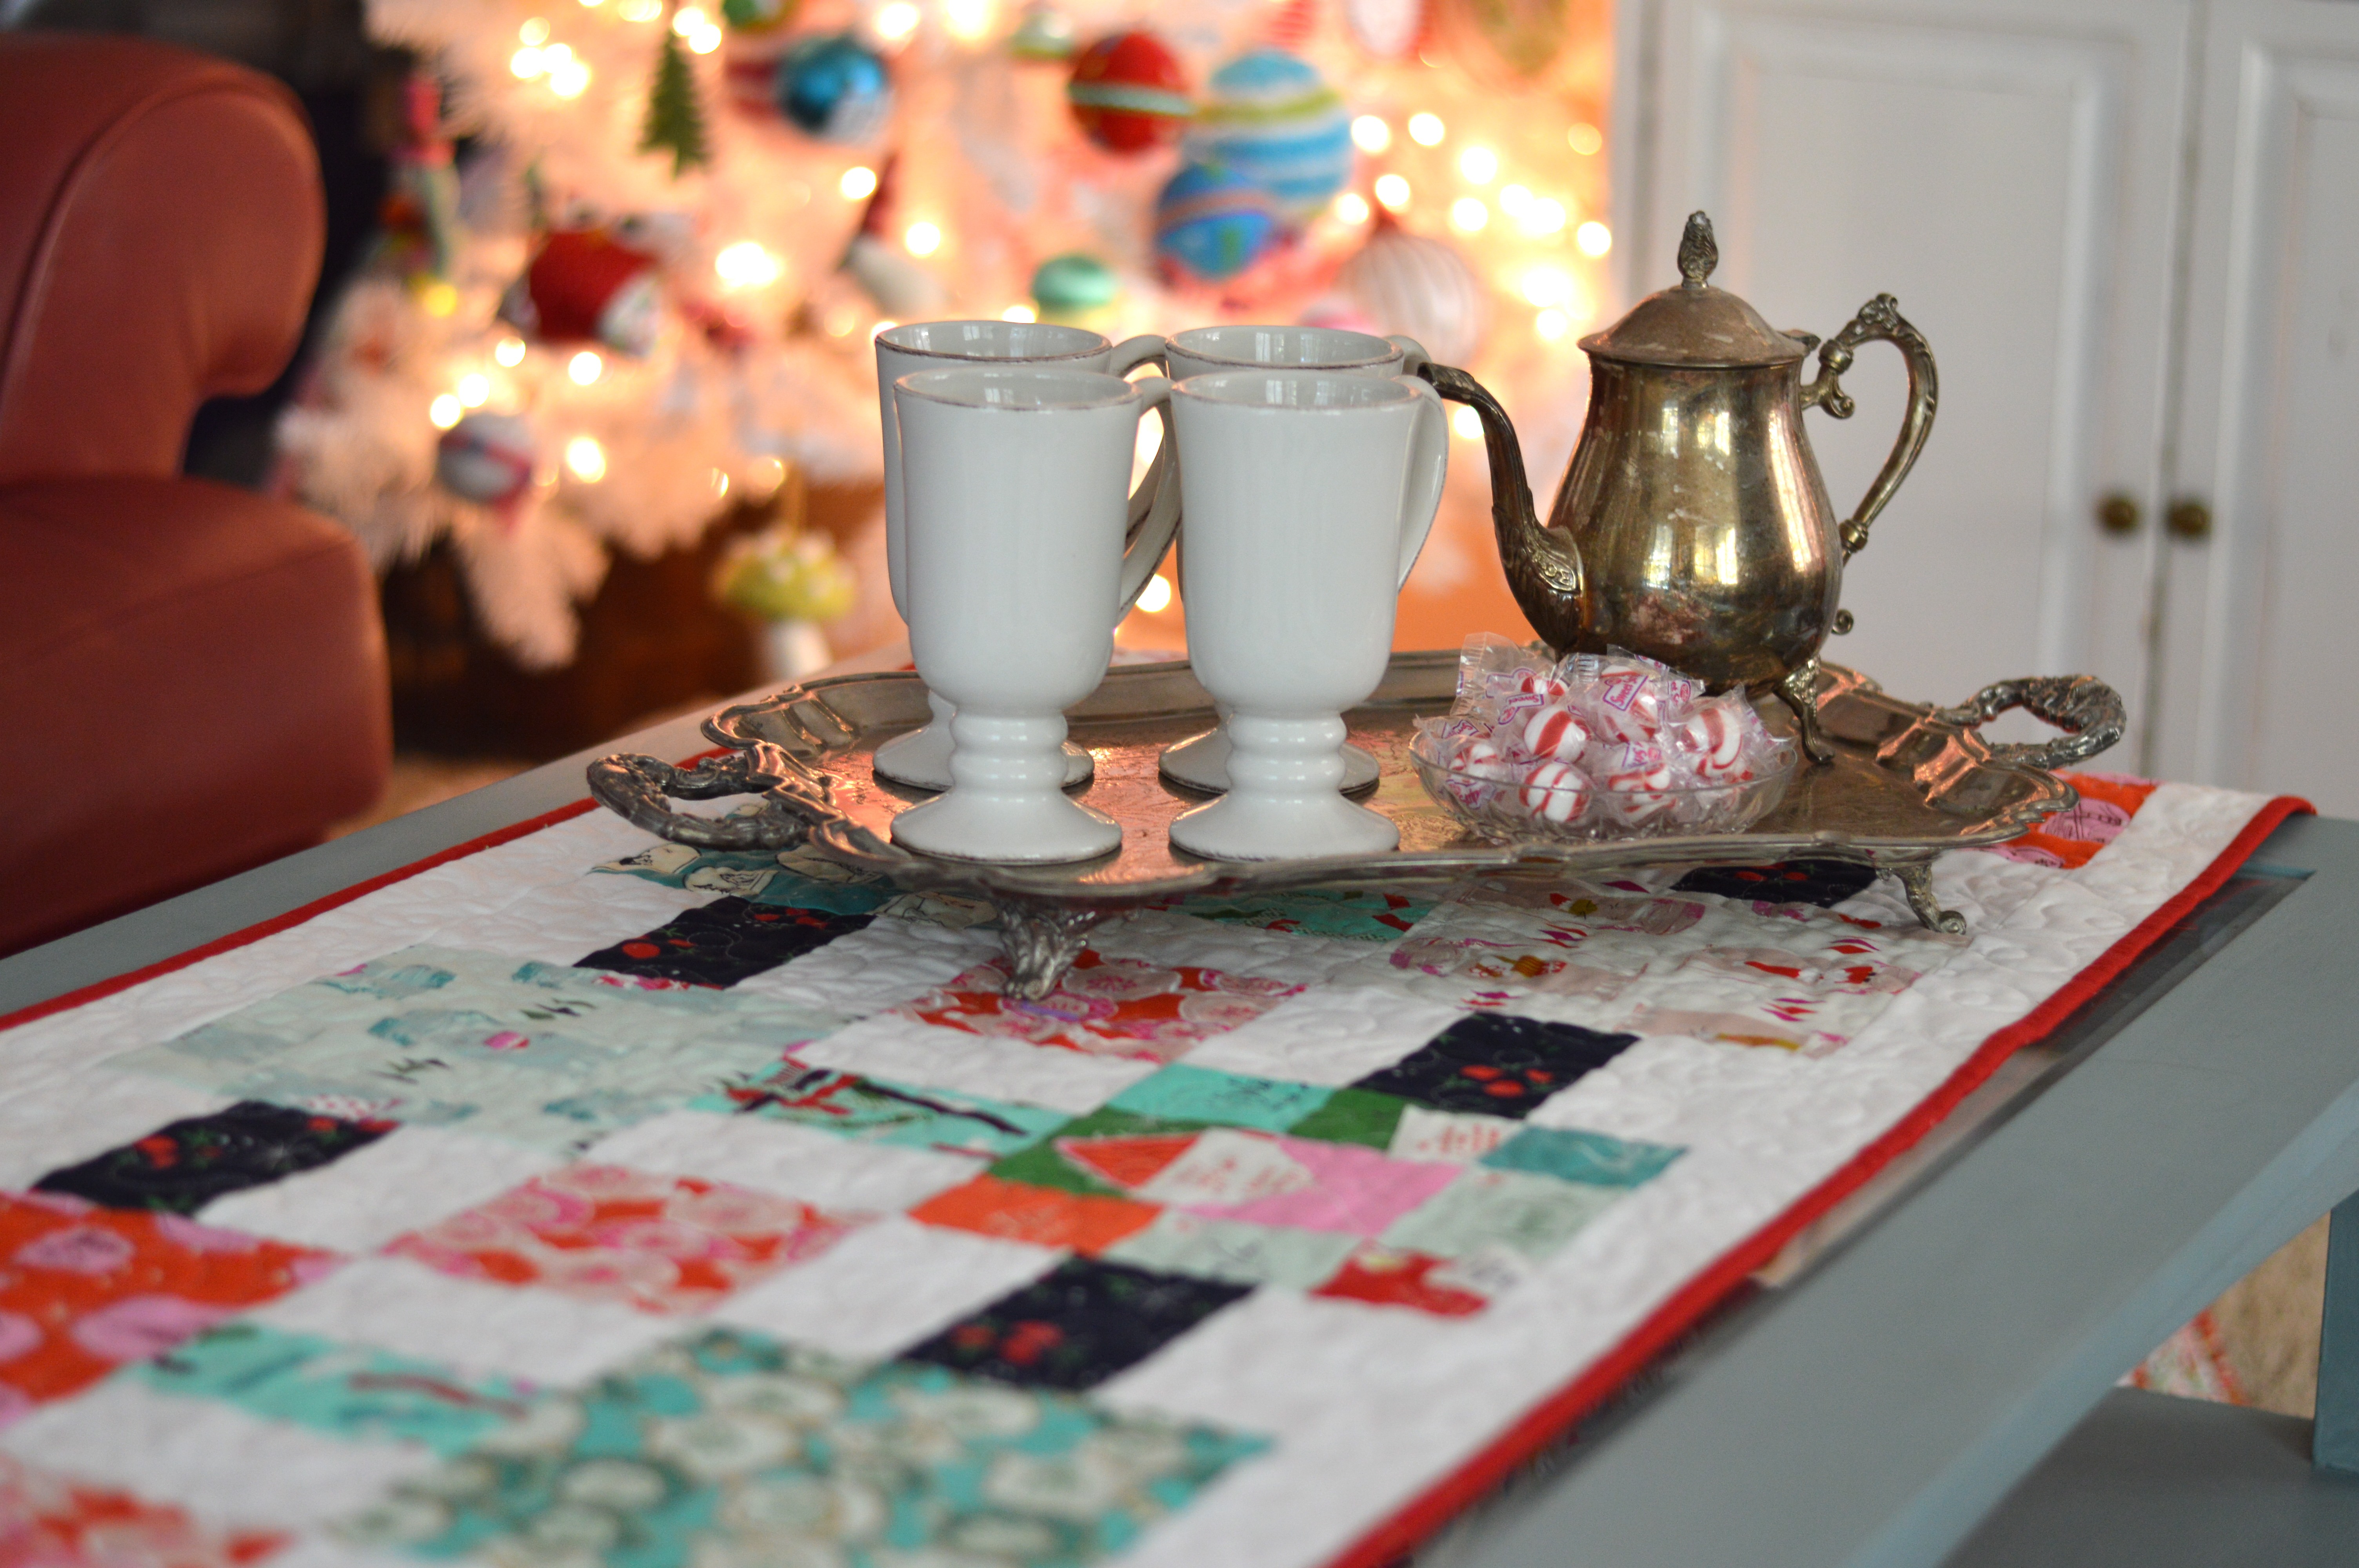
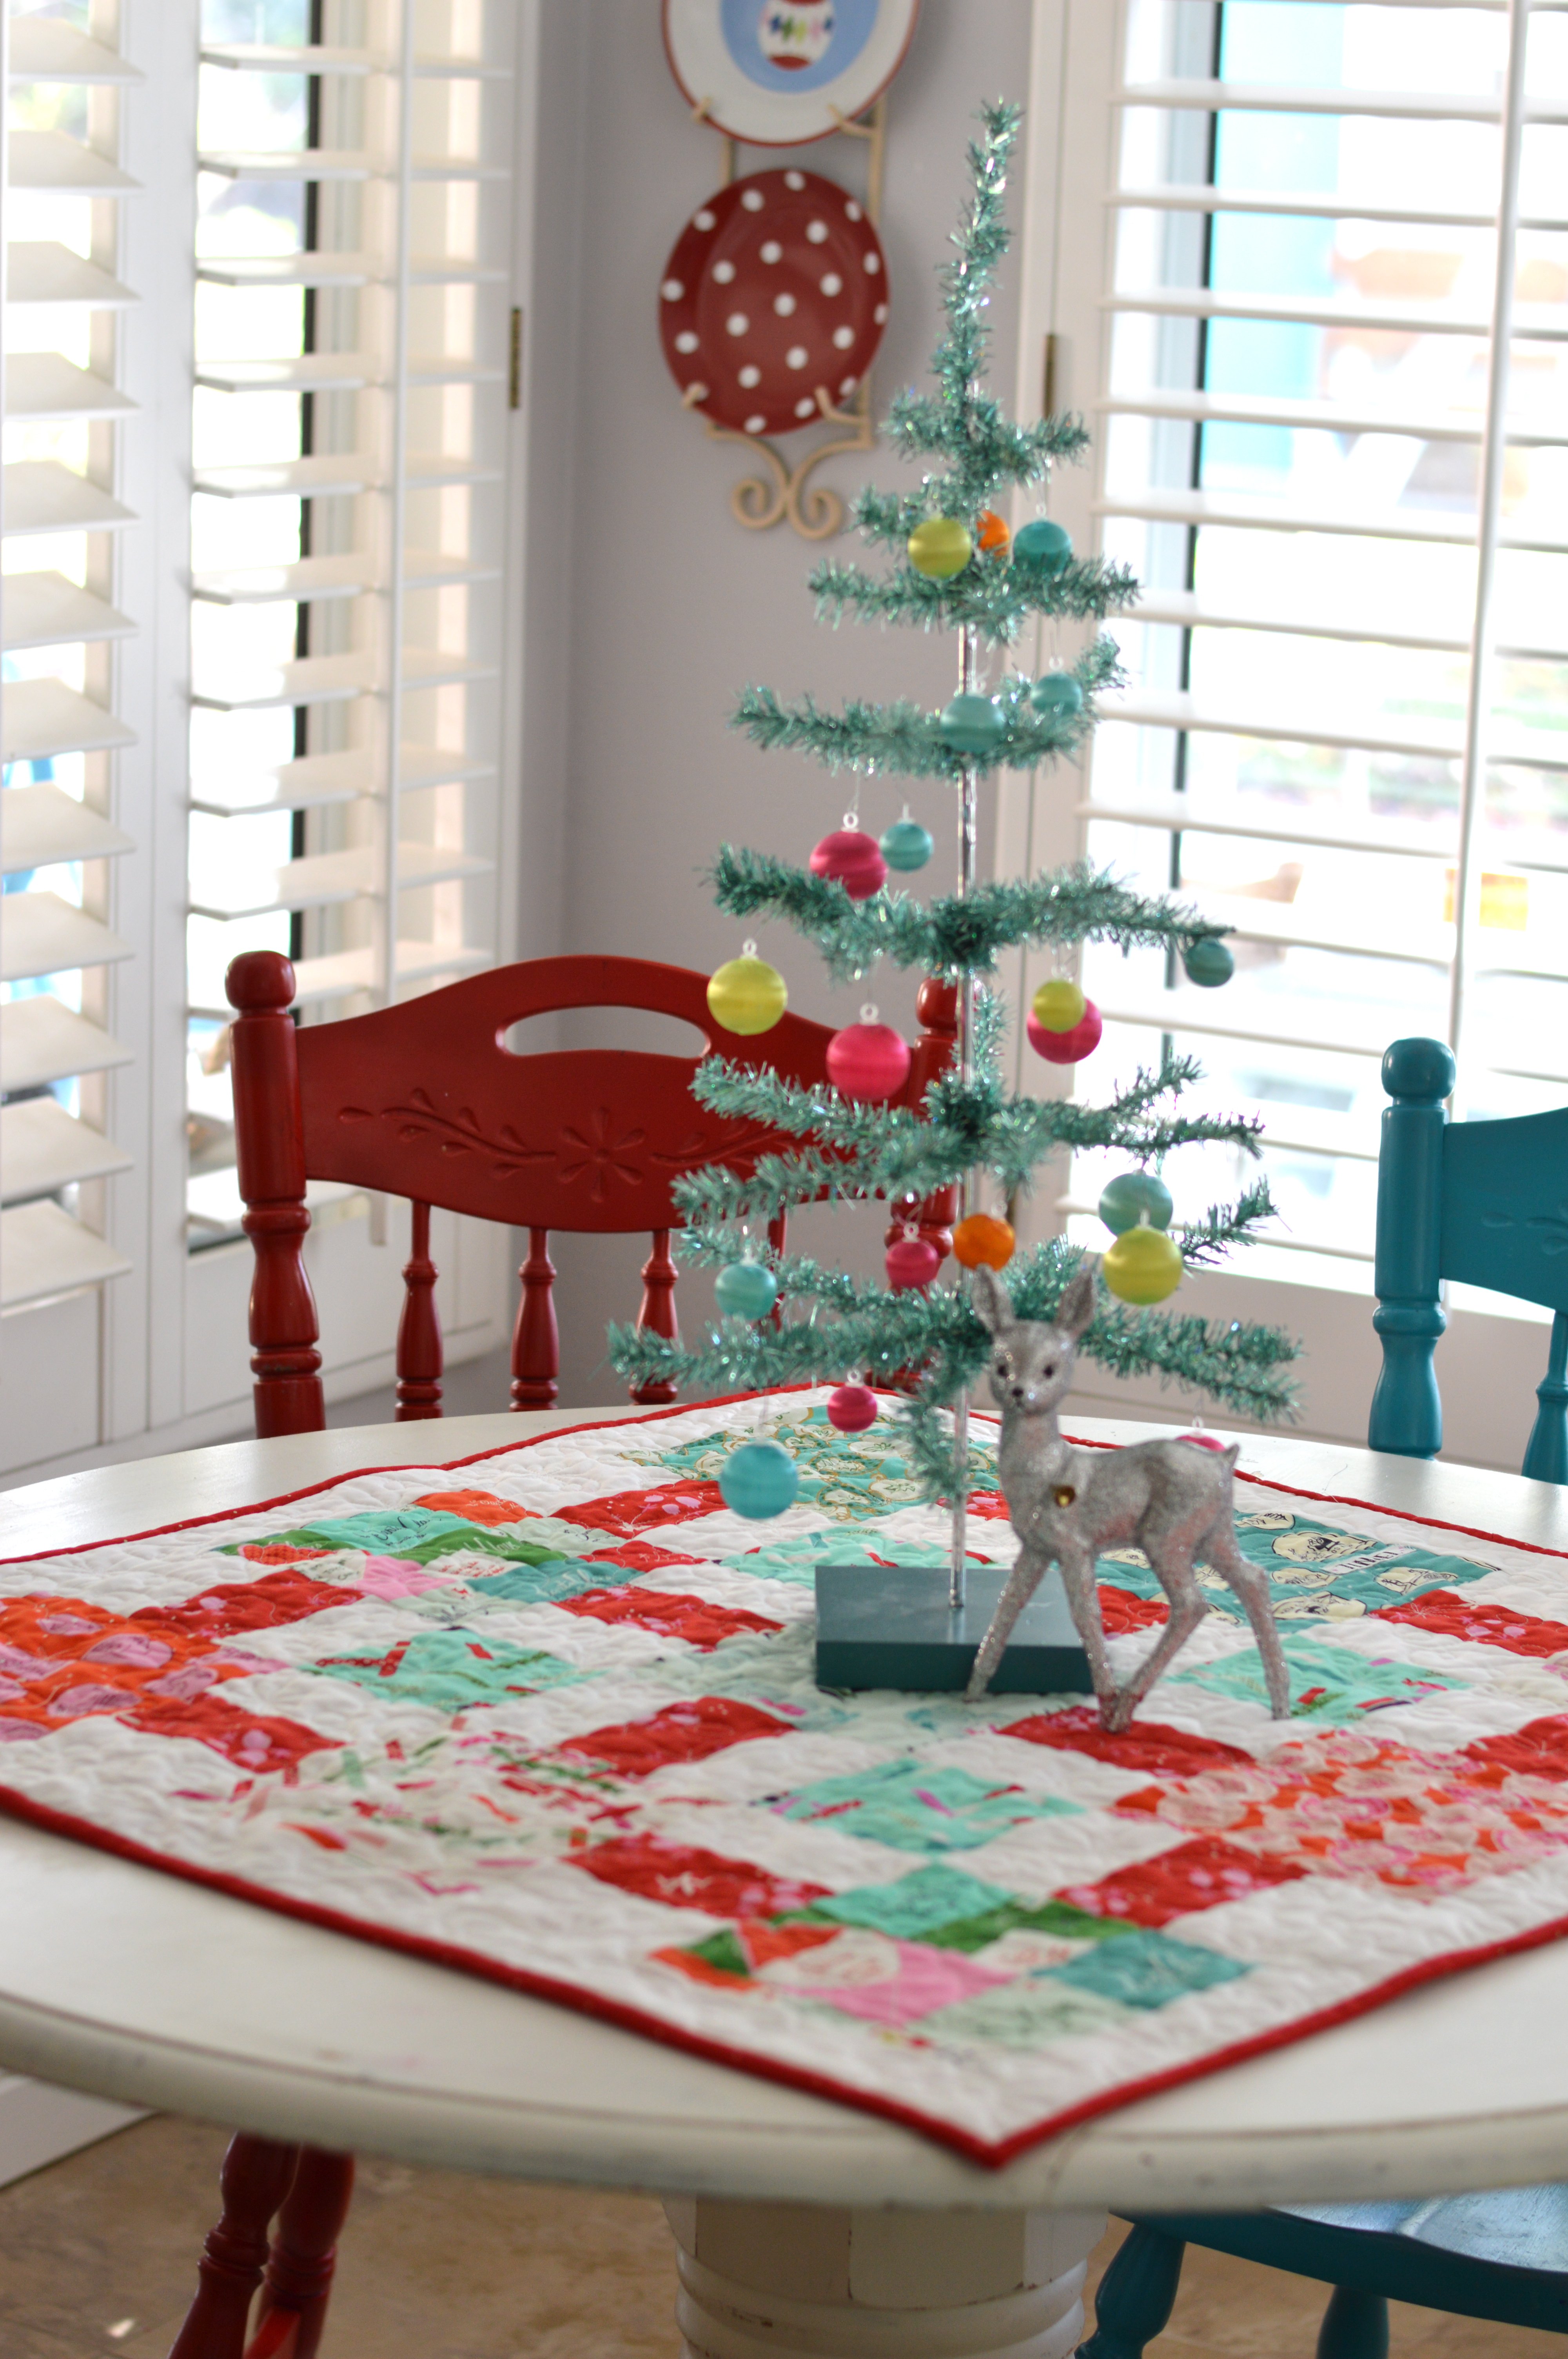
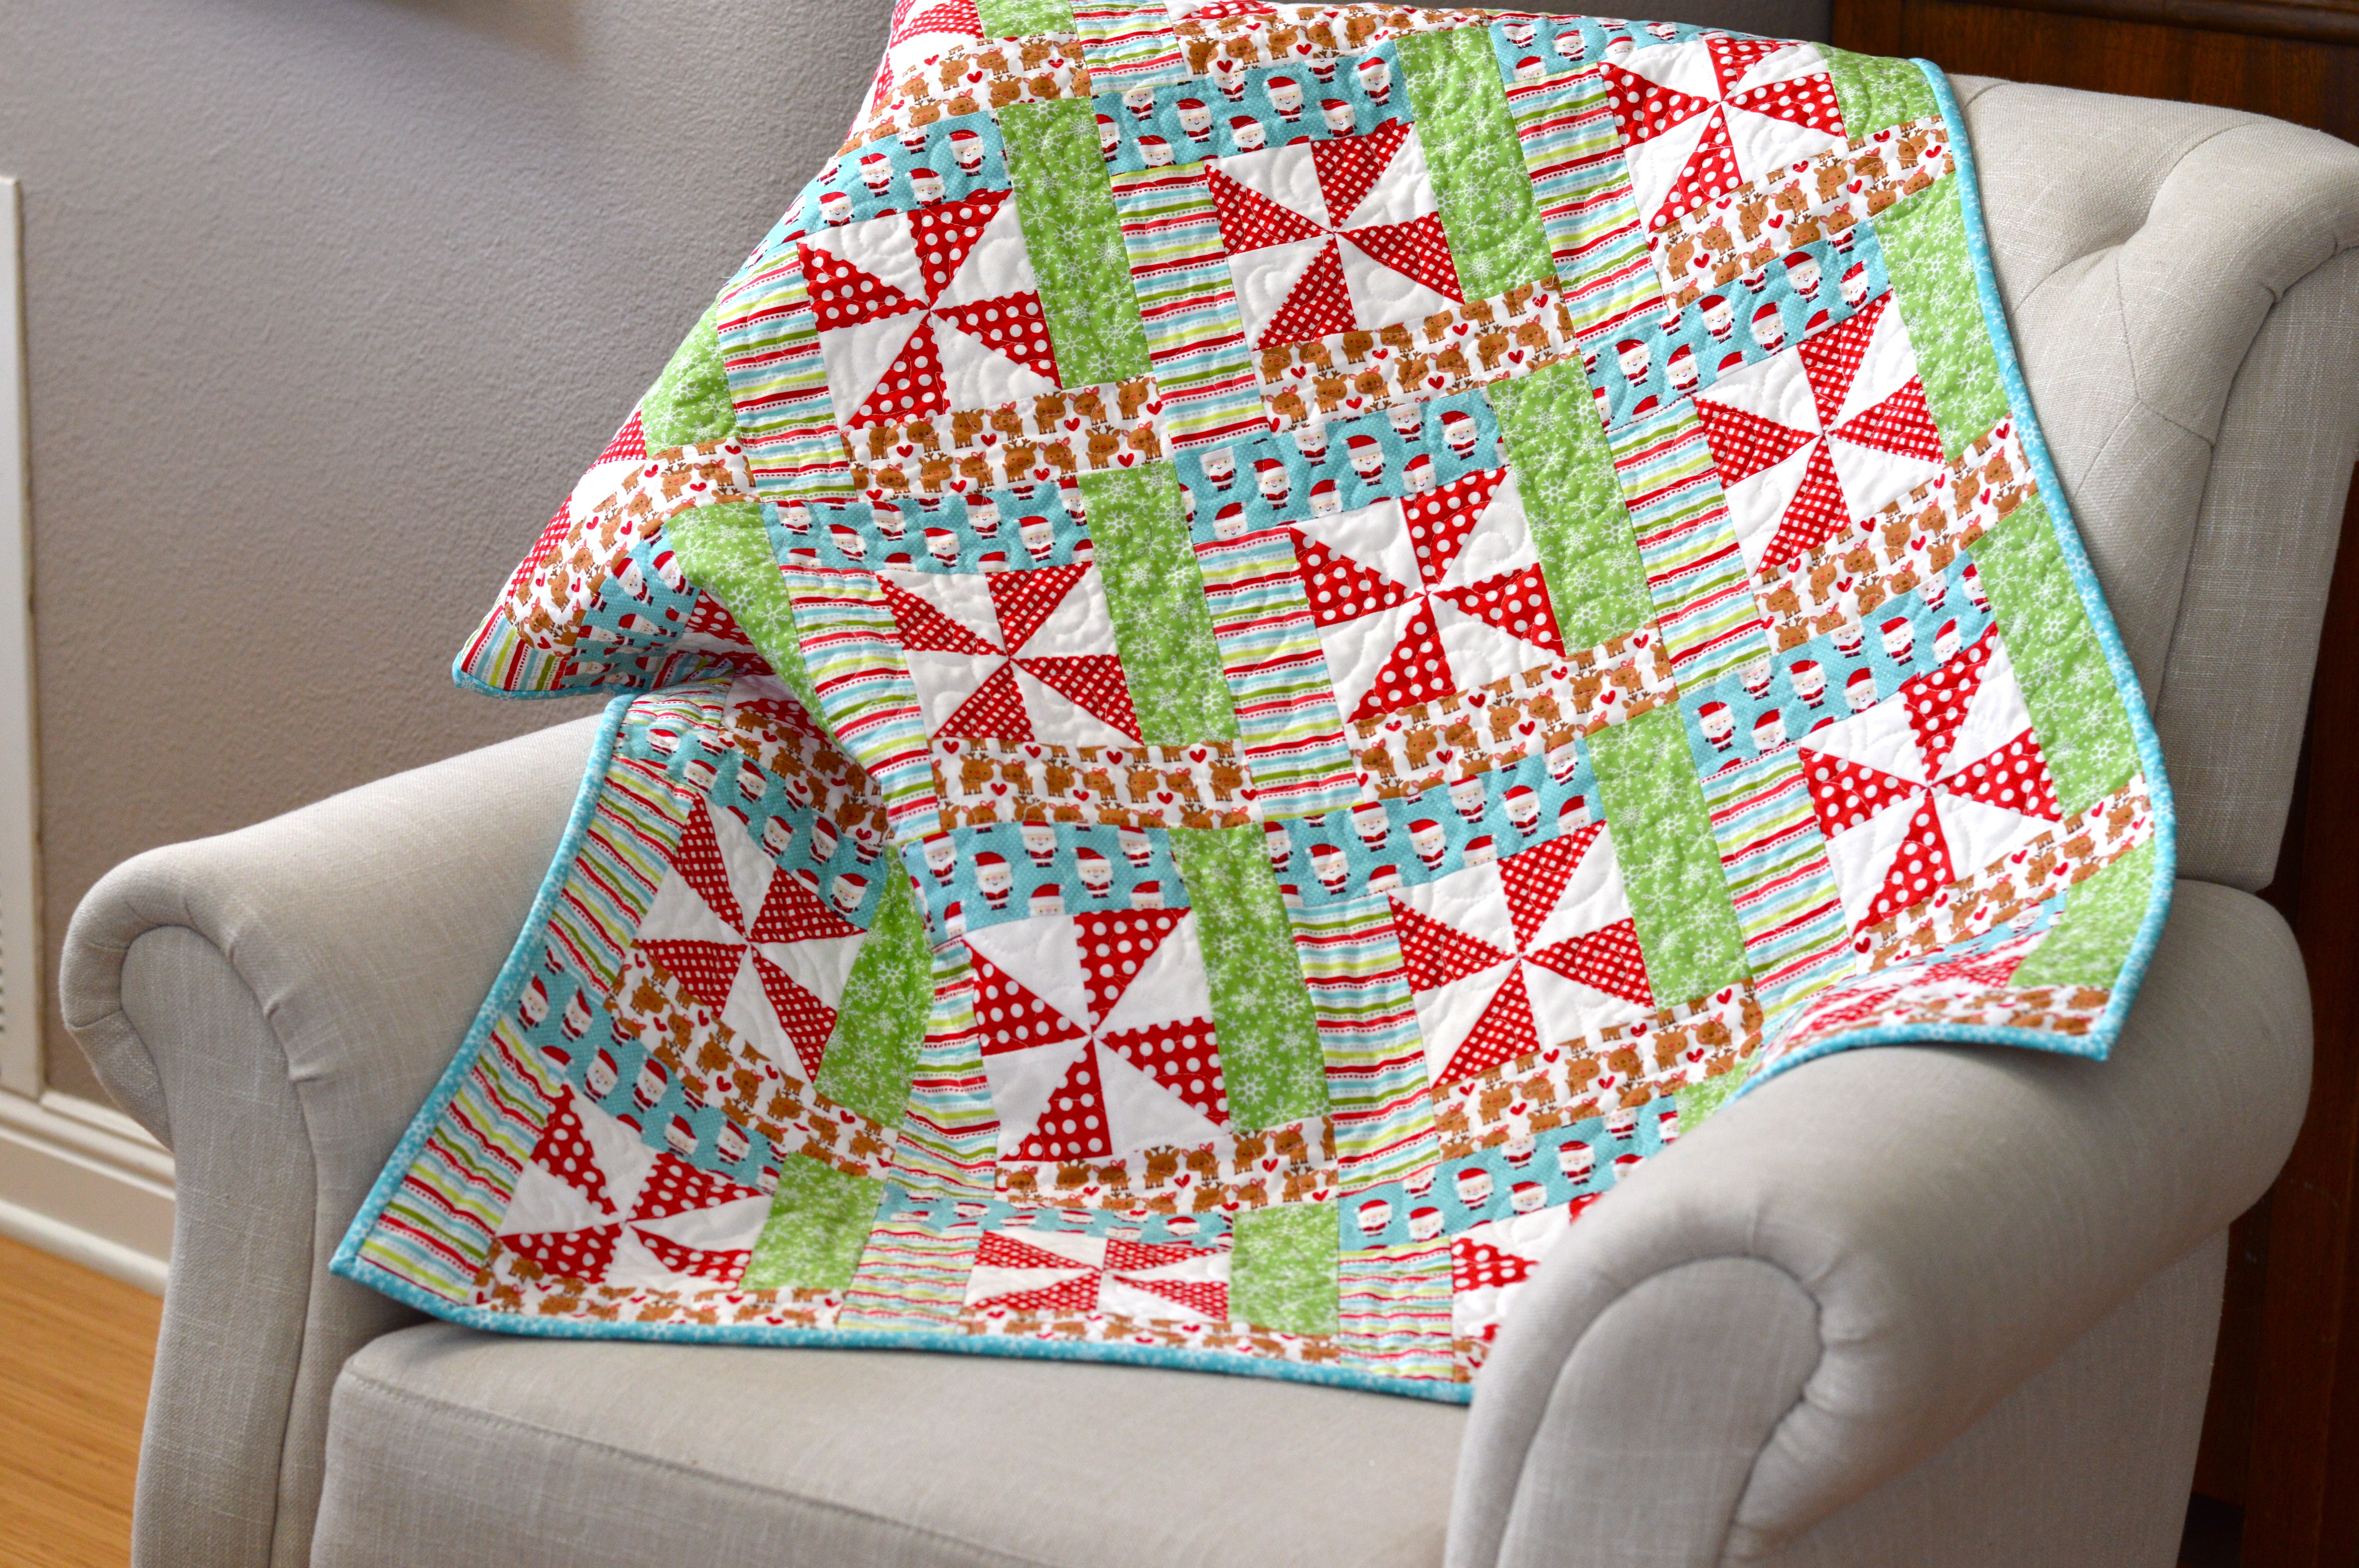
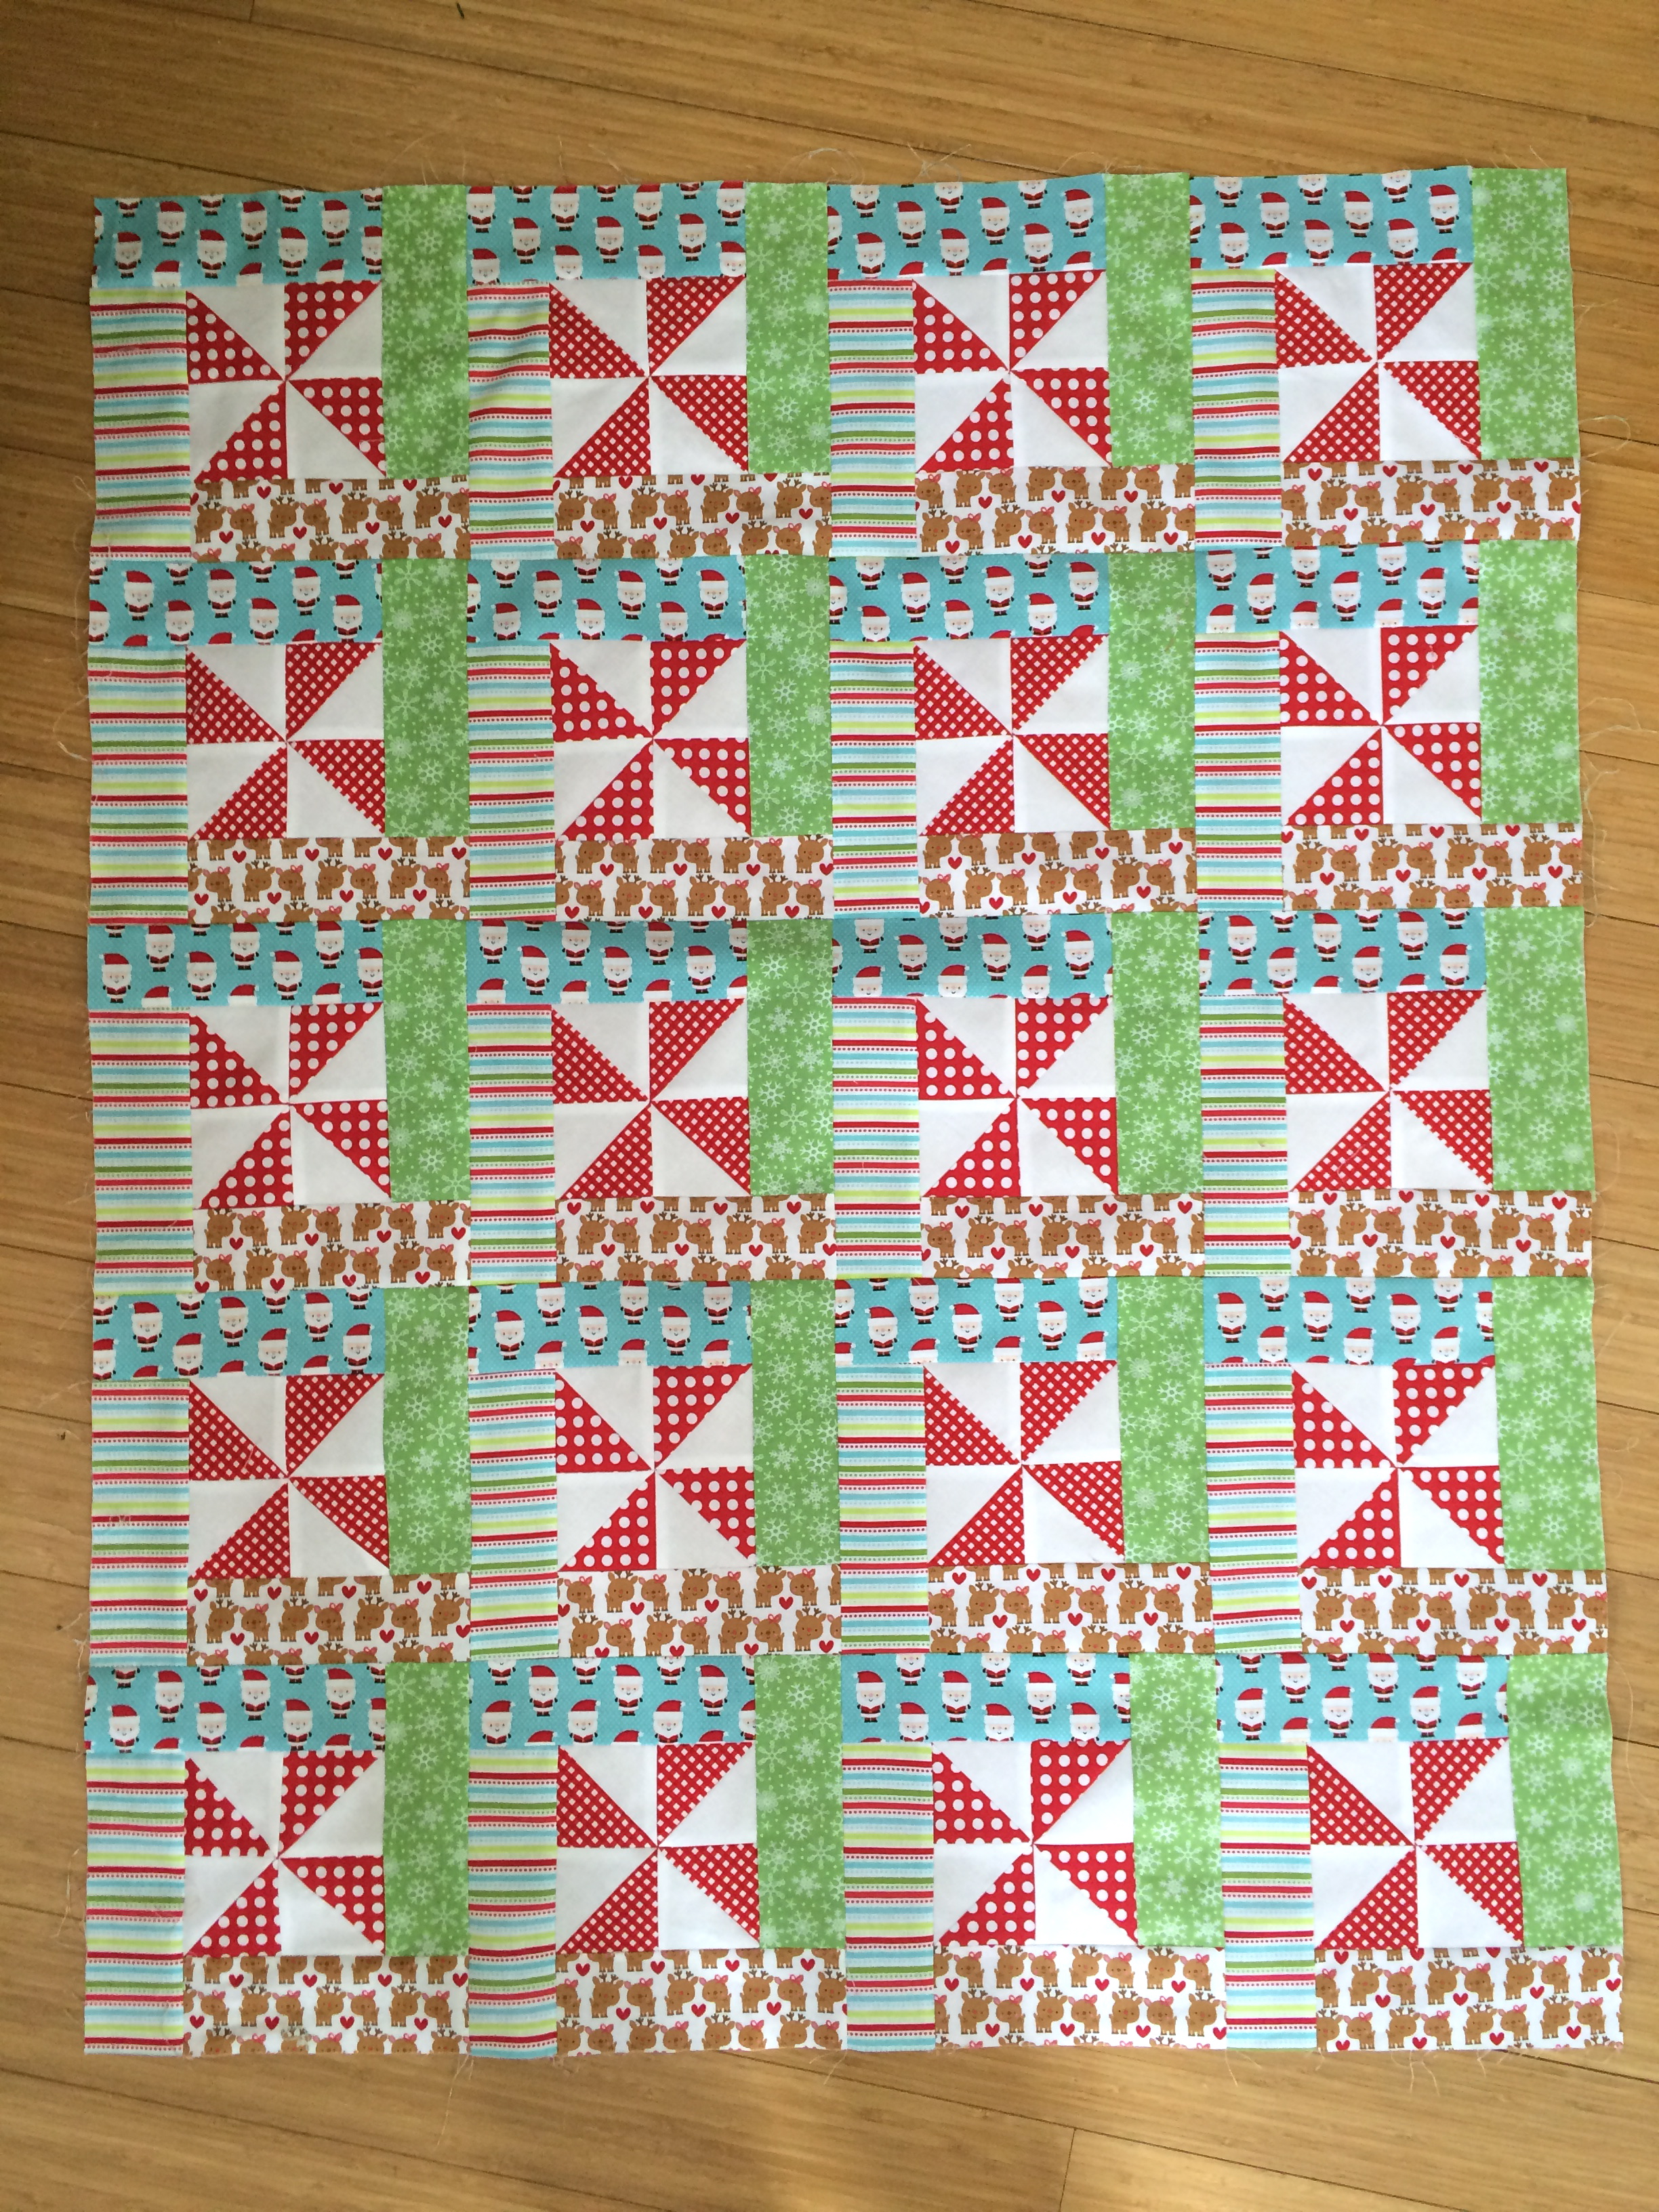
For my project I made a table size quilt.  I love this size quilt because it’s perfect to whip up in a day, give as a gift, throw over a chair, or hang on the wall.  This quilt consists of only 2 sizes of squares: 2.5″ and 8.5″.
IMG_9348
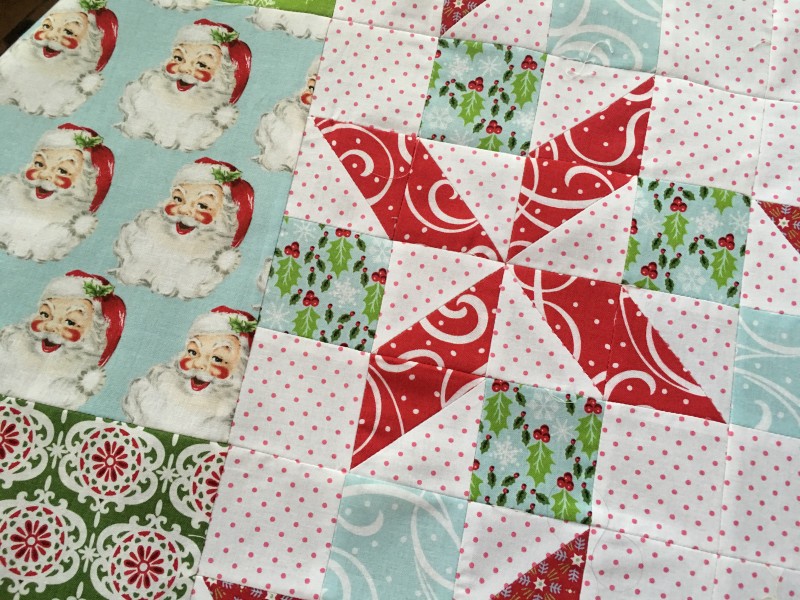
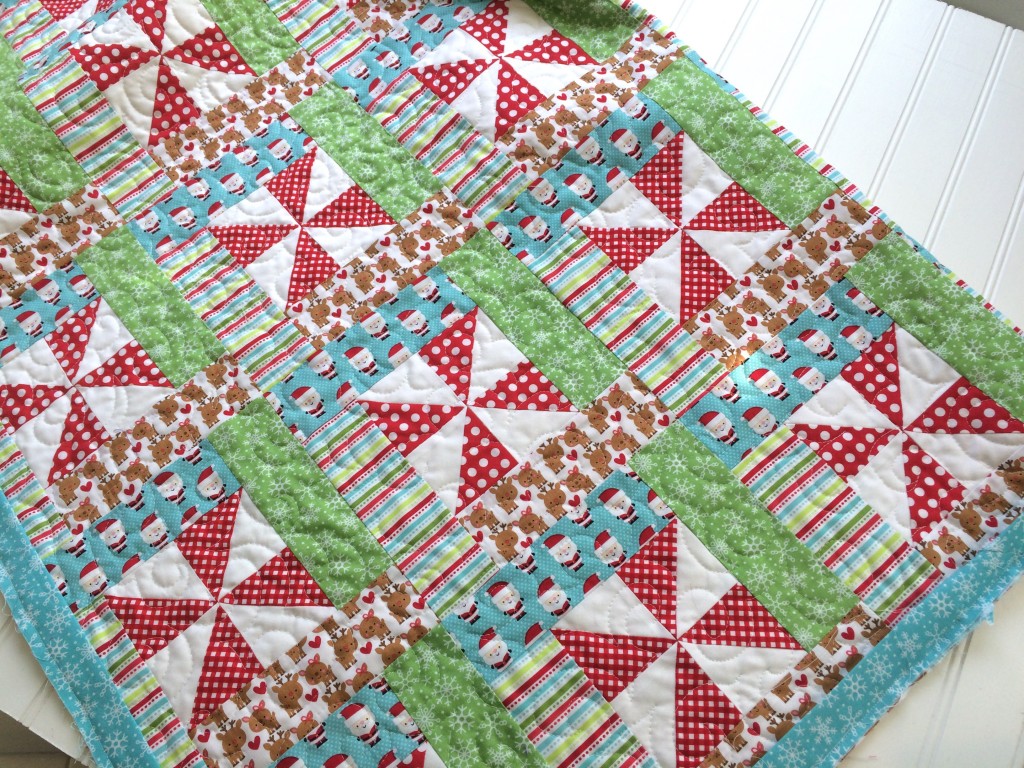
I also love this pattern because you can show off the larger prints on the border, and then do a little half square triangle (HST) piecing on the center.  Lets get started!
Press all seams open
1/4″ seams throughout
Finished block 8″, finished quilt 40″ square
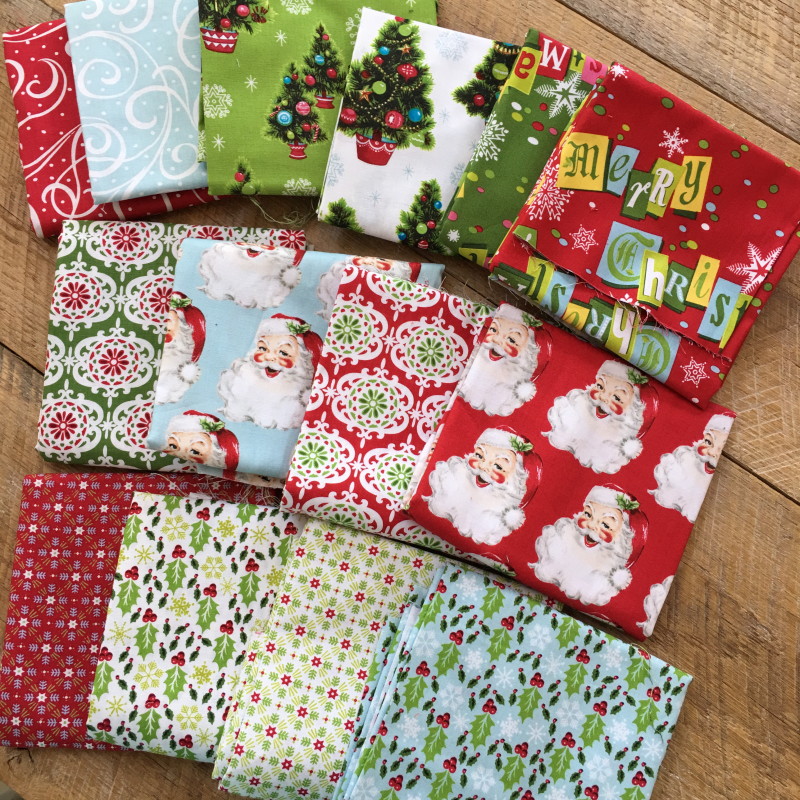
IMG_9333
Fabric Requirements
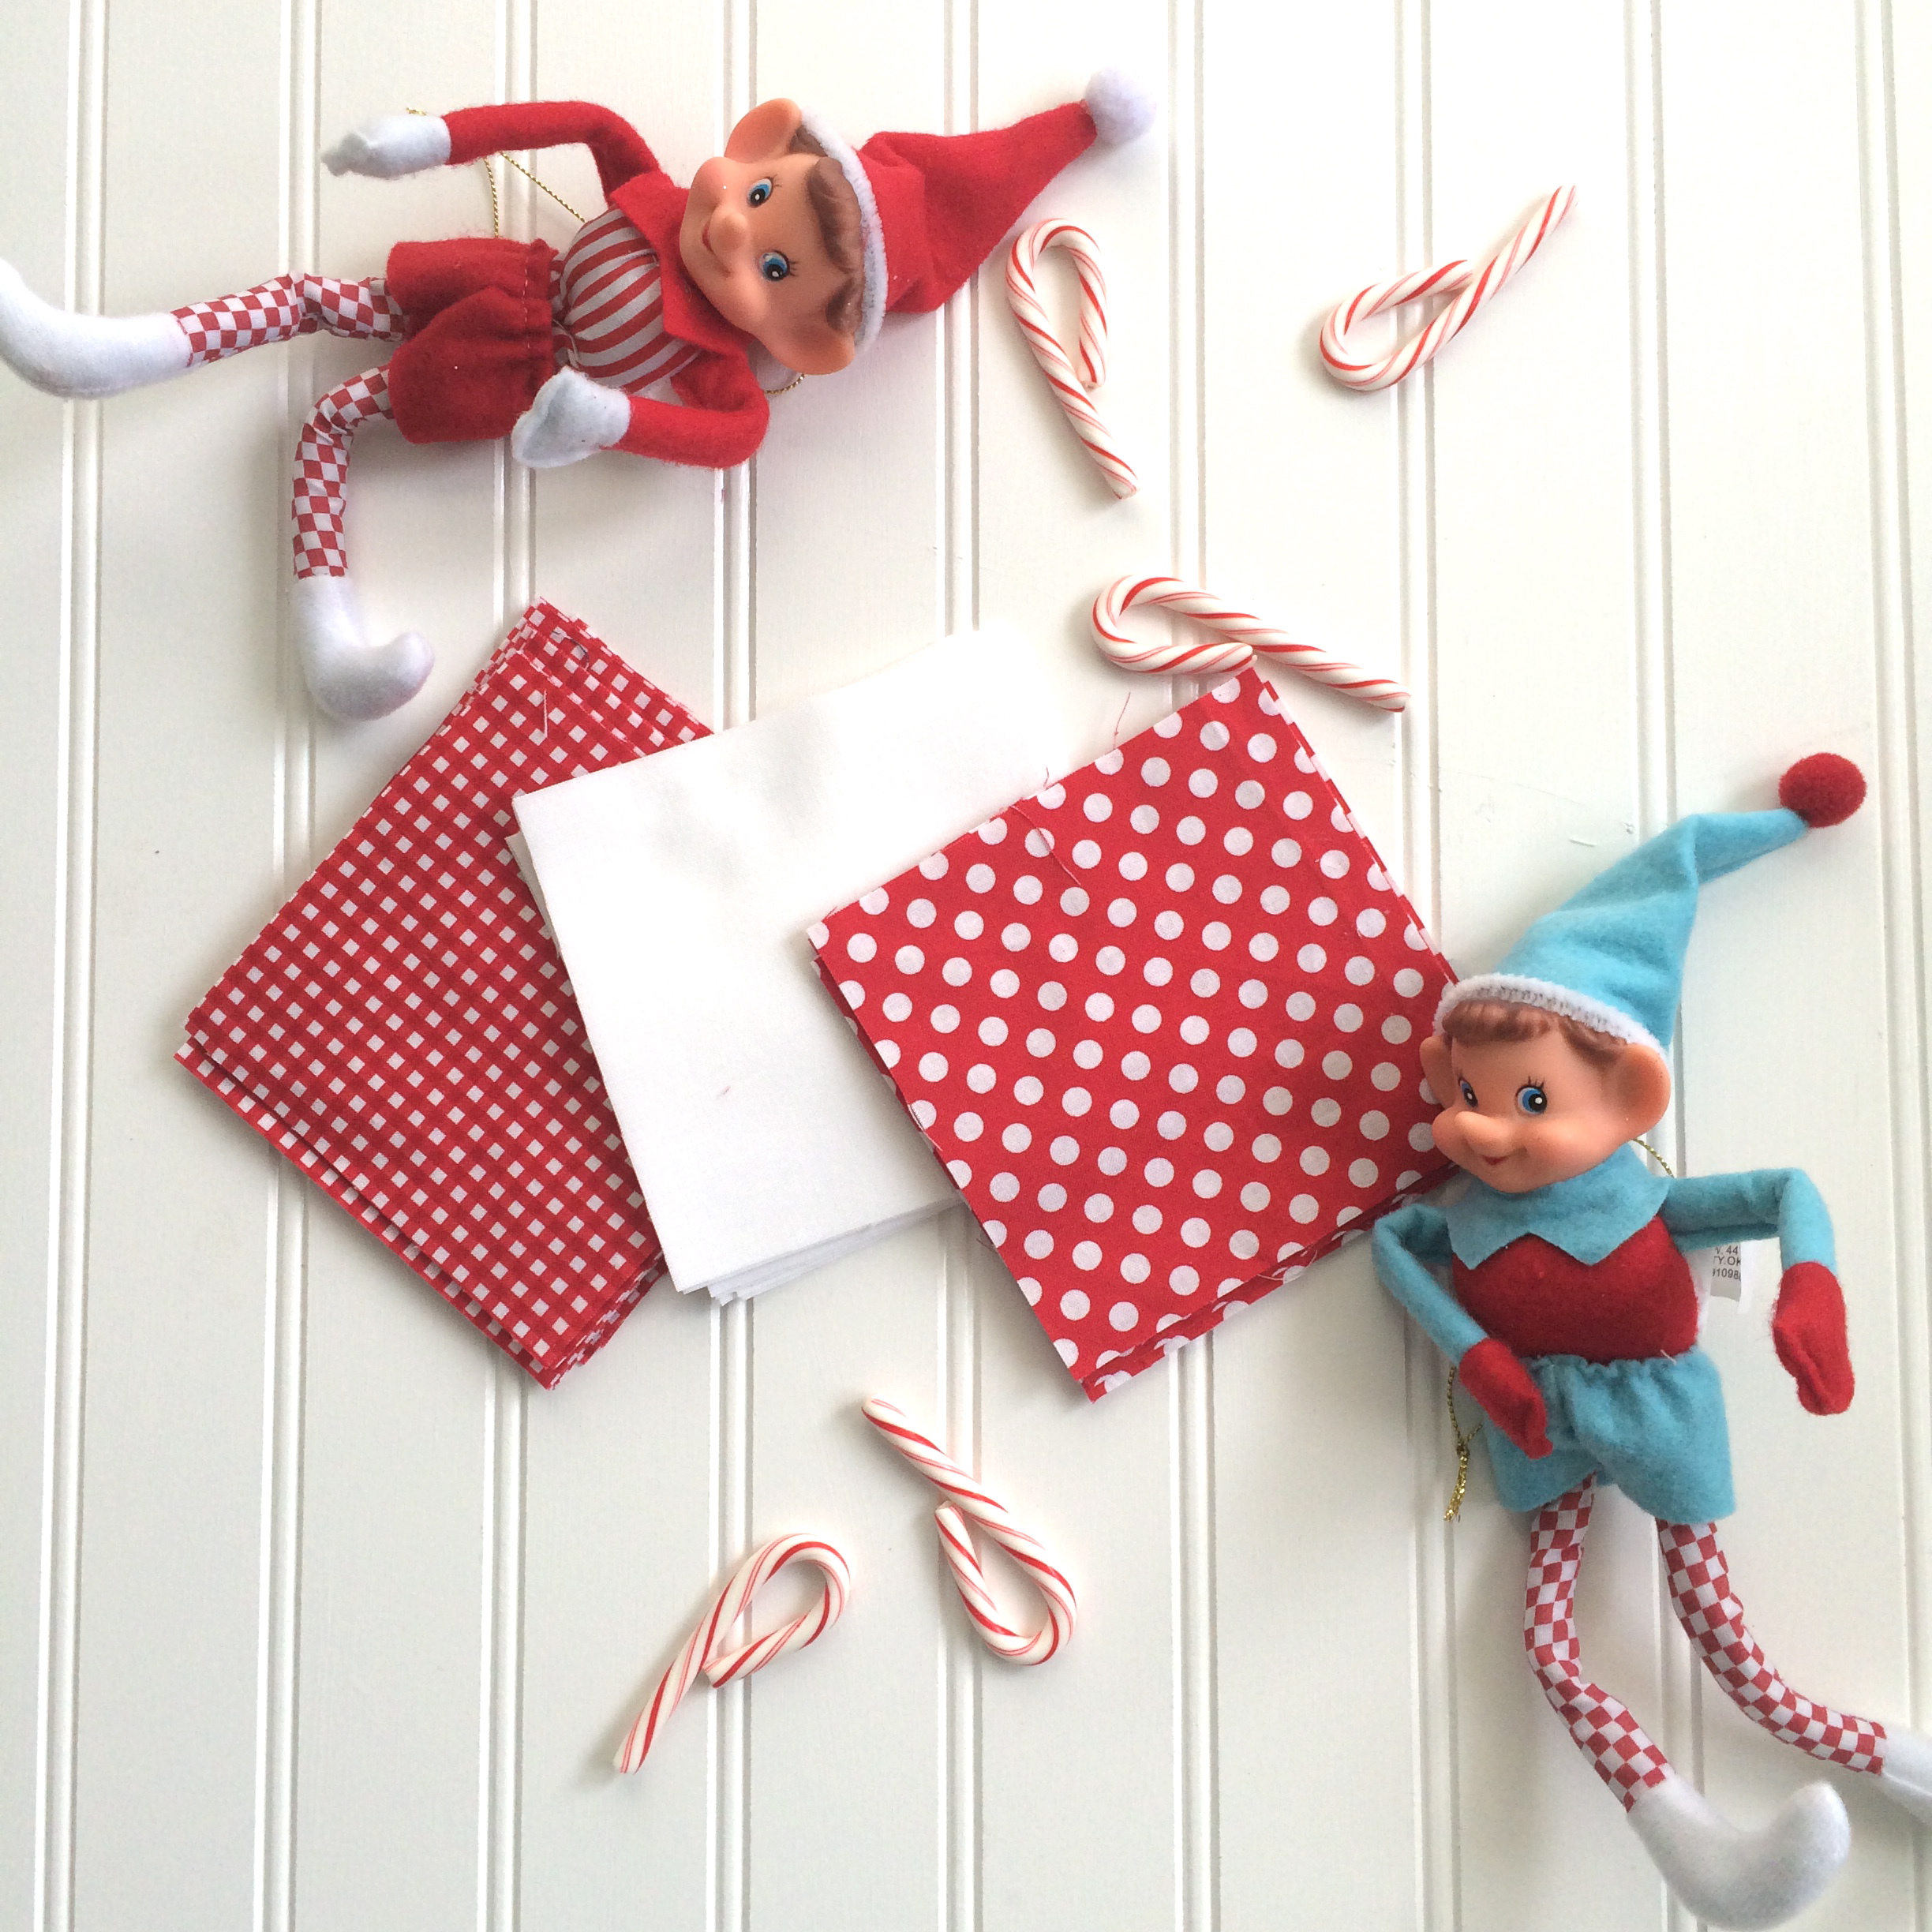
Assortment of at least 10 fat quarters
1 yard of low volume background.
IMG_9339
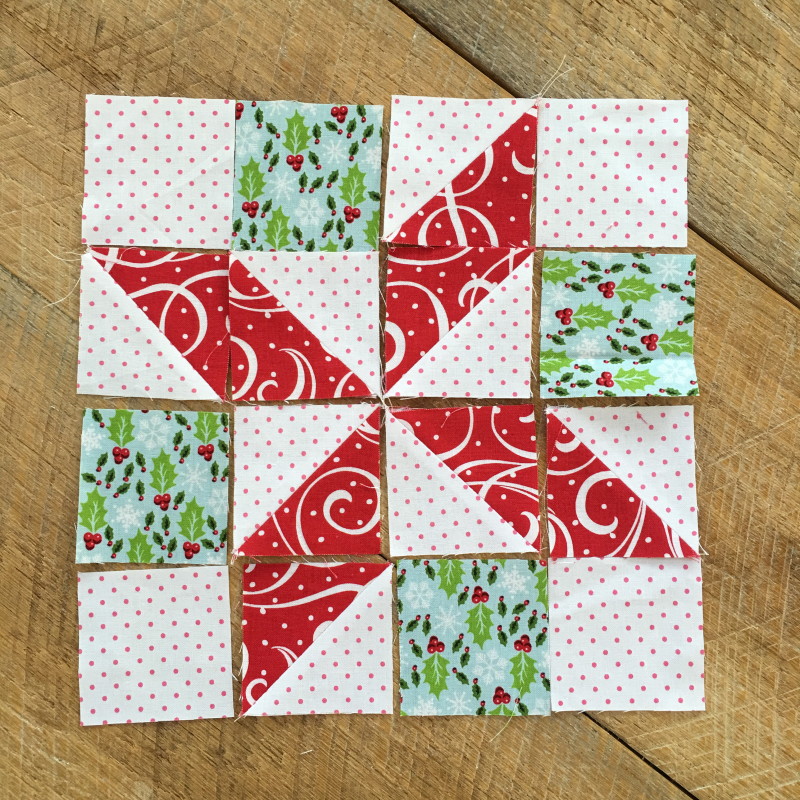
The star block is made up of 2.5″ squares.
For each block you need:
4 low volume 2.5″ squares
4 blue tone 2.5″ squares
8 half square triangle blocks: red and low volume.
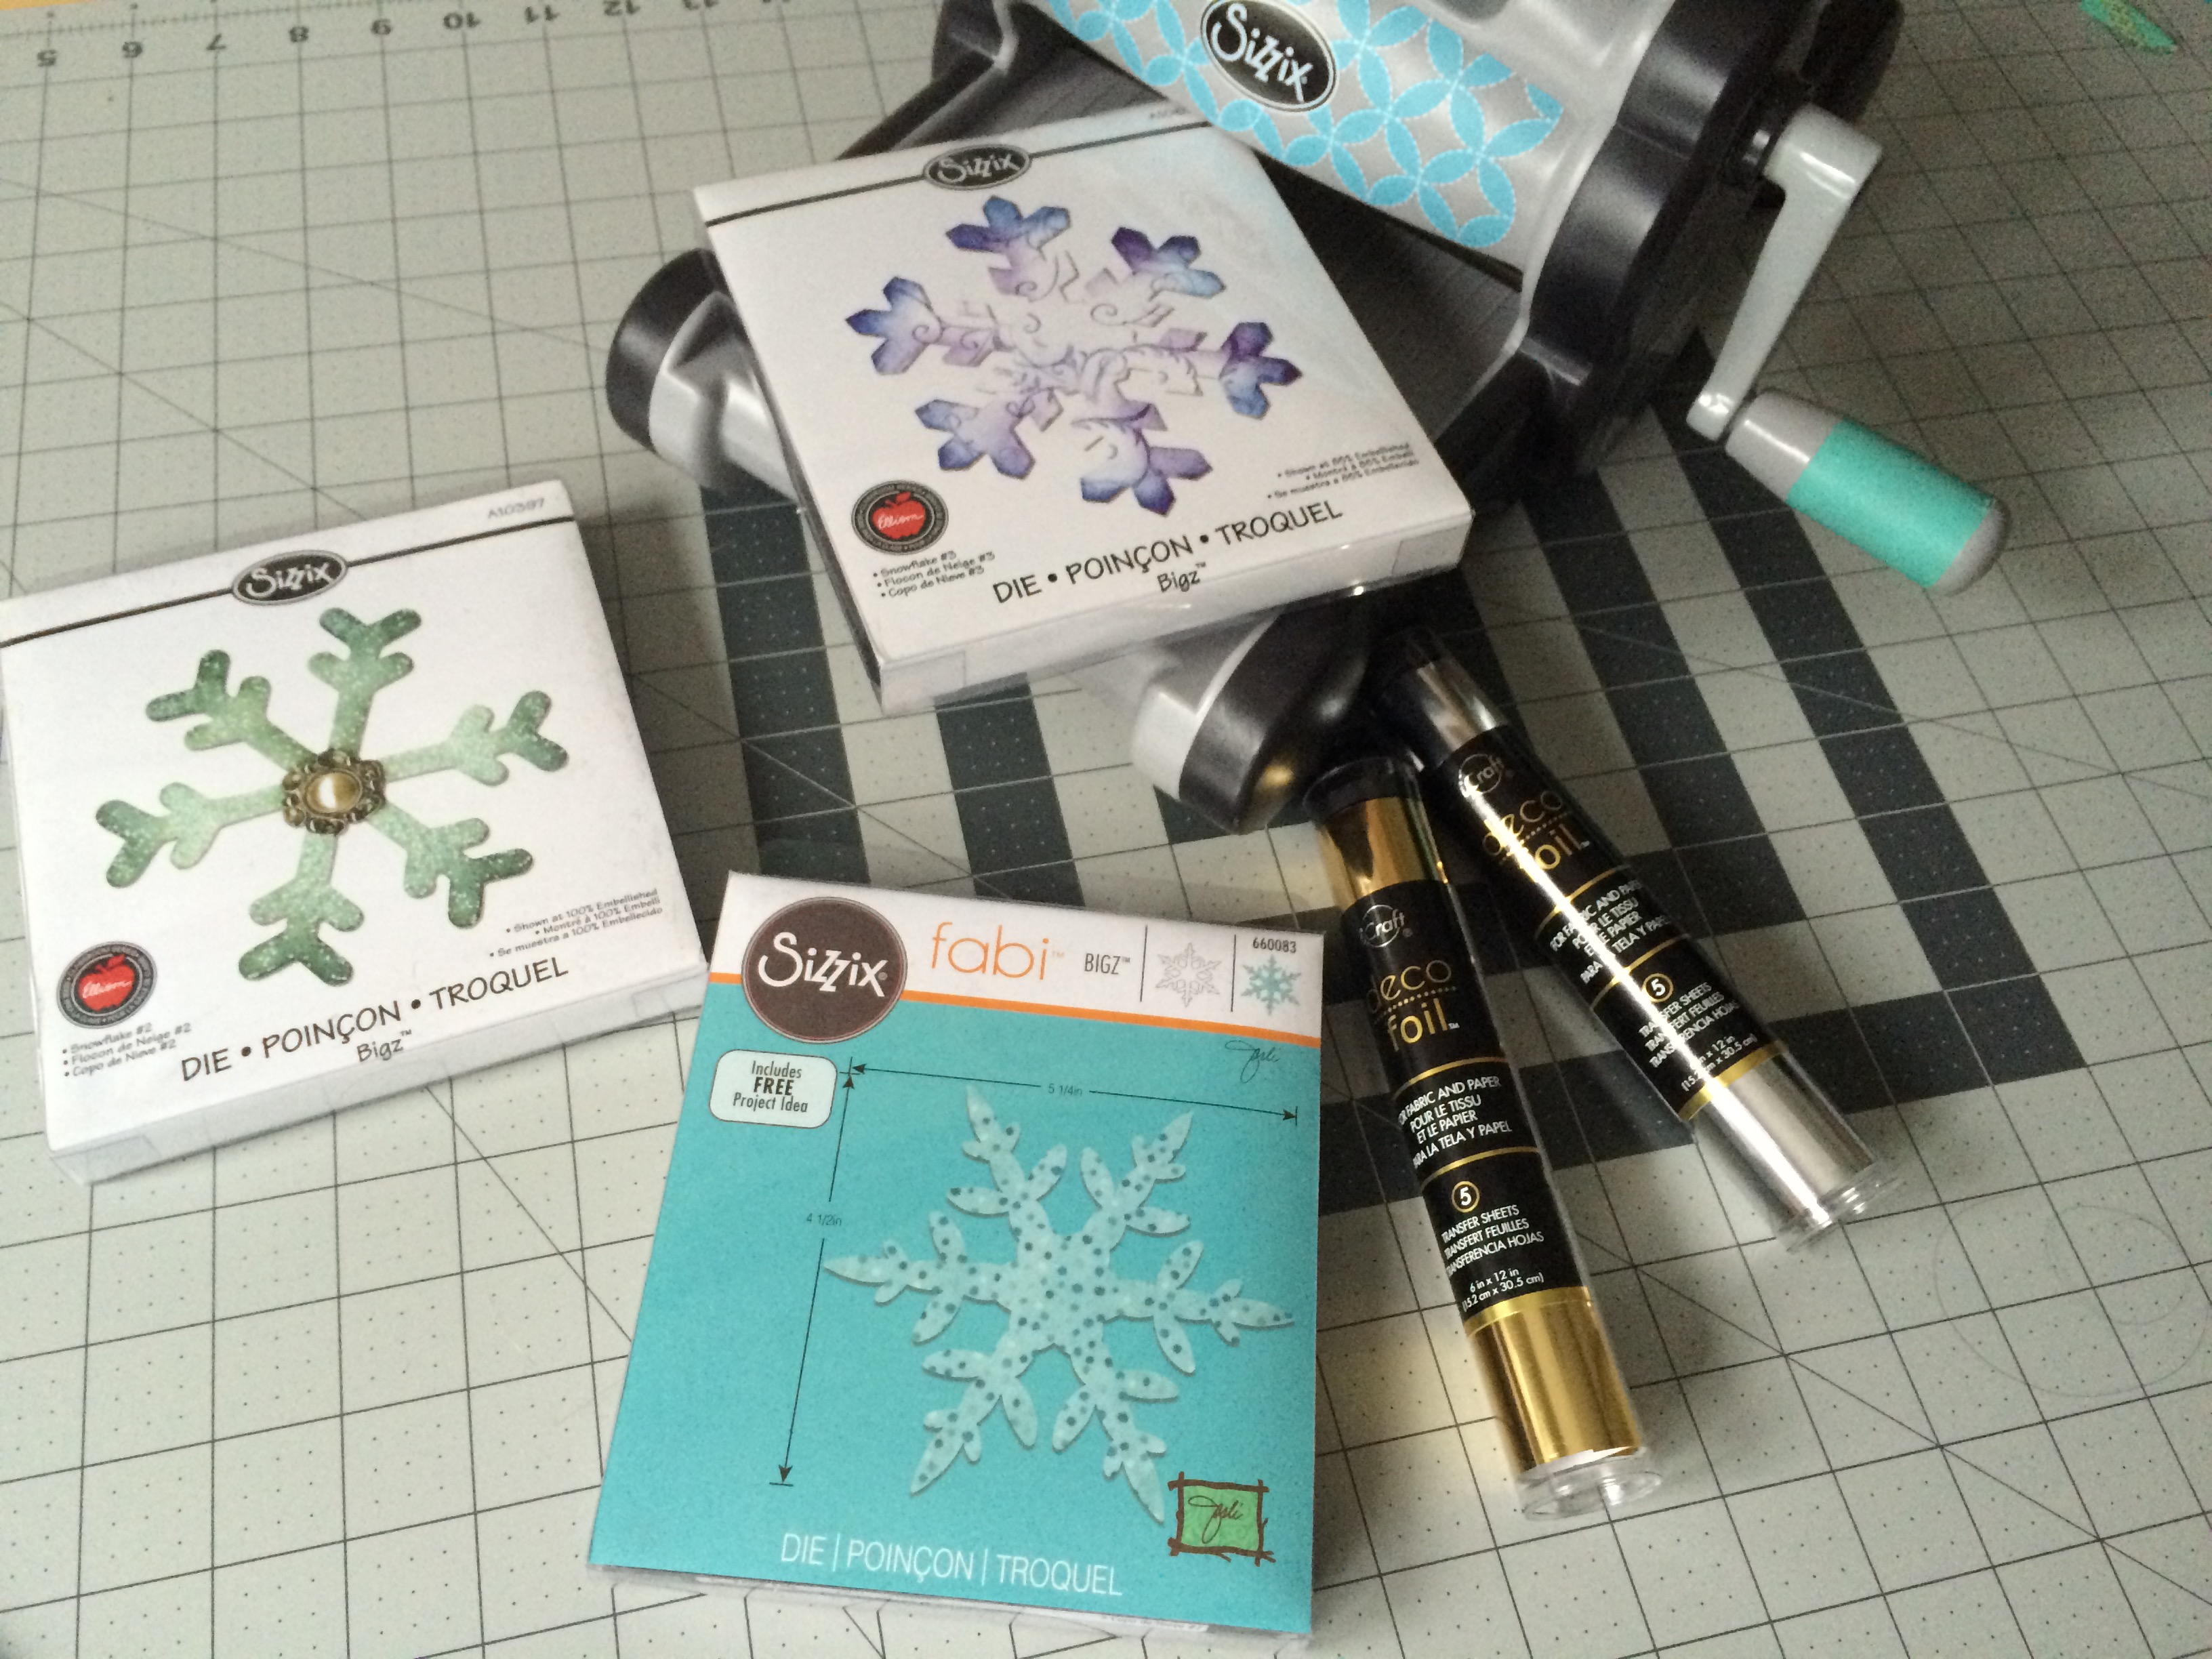
I choose to make my HSTs with my Sizzix Fabi.  I love this extra long die that cuts perfect triangles that when sewn together measure 2.5″ square.
IMG_9335
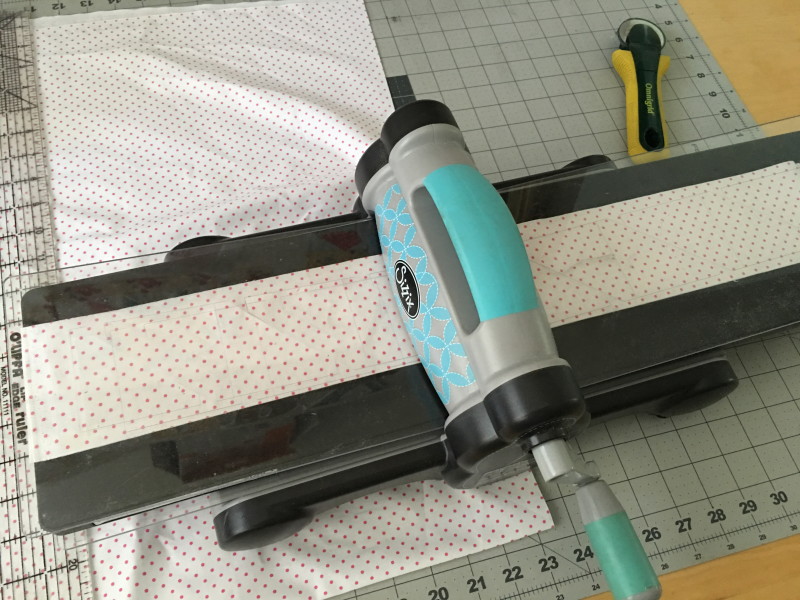
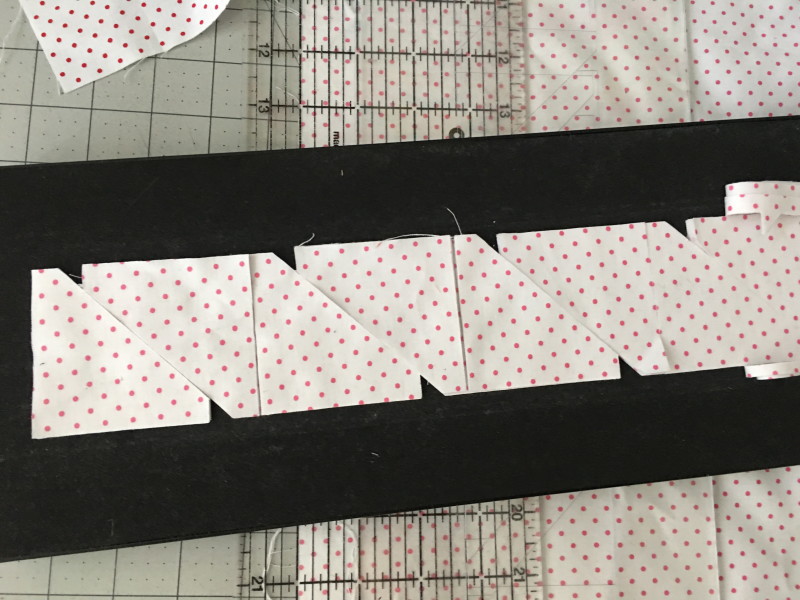
If you don’t have this die you can make the HSTs using your favorite method.  Just make sure they finish 2.5″ square.
Piece the star block together in rows, pressing seams open.
Make 9 star blocks
 IMG_9358
For the border, cut (18) 8.5″ squares from an assortment of the darker prints.
IMG_9346
Lay out the quilt and sew together in rows, pressing seams open.
Quilt as desired.
IMG_9356
IMG_9364
This is such a fun quilt to sew!  You could easily make it larger or make it rectangle.
Be sure to check out the other designers during the next 6 weeks!  I can’t wait to see what they have.
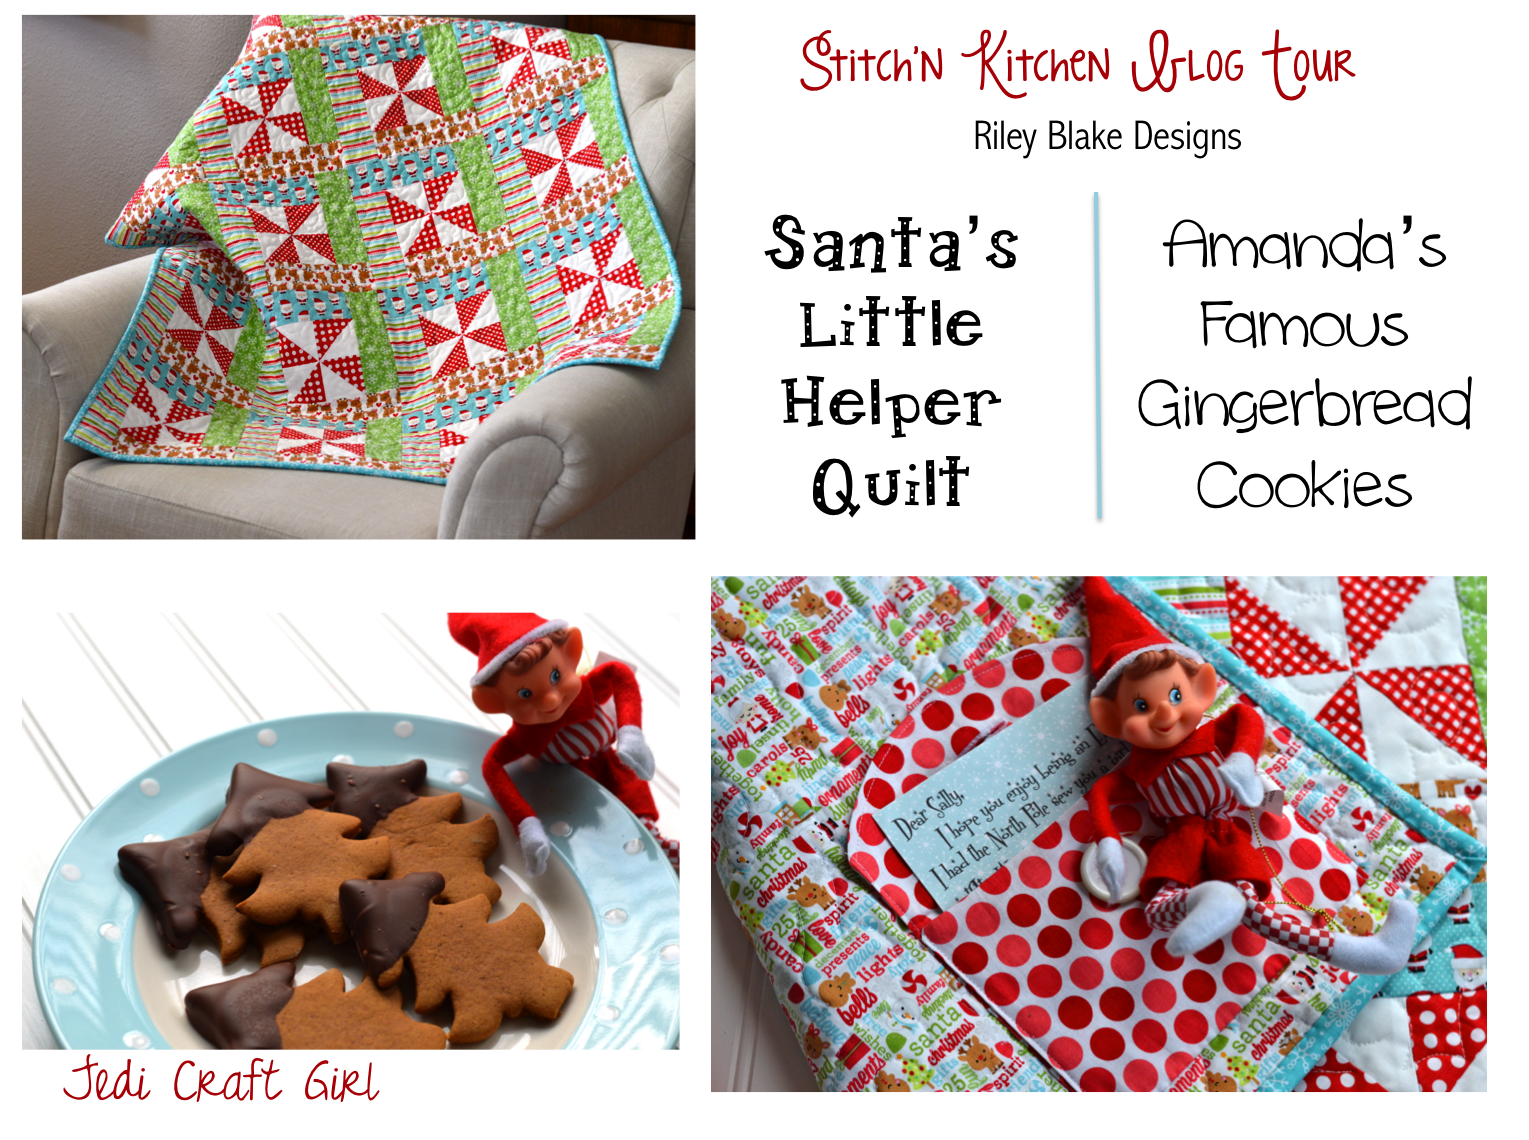
Amanda – Jedi Craft Girl – July 1
Tina – Emily Ann’s Kloset – July 8
Jen – Tie Dye Diva – July 15
Caroline – Sew Can She – July 22
Bev – Flamingo Toes – July 29
Andy – A Bright Corner – August 5
      BlendButton

Noel Mini Quilt

quilt cover

I am so in love with Tasha Noel’s newest fabric, Pixie Noel!

Screen Shot 2016-05-23 at 9.51.51 PM 
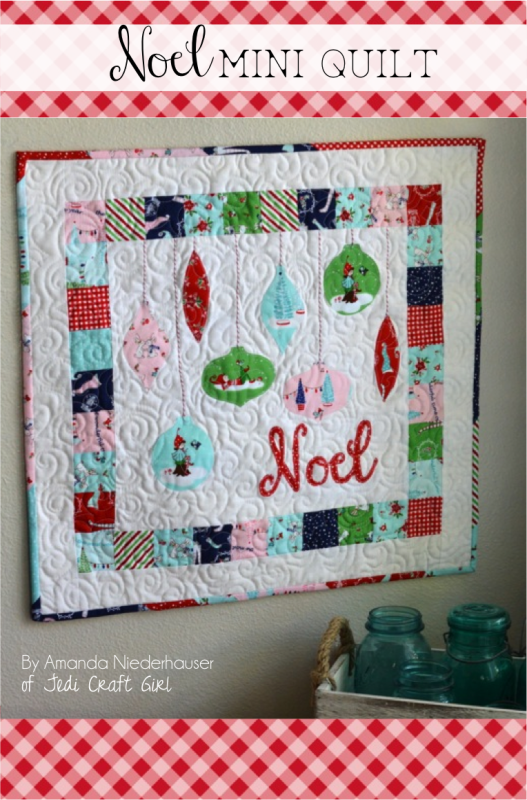
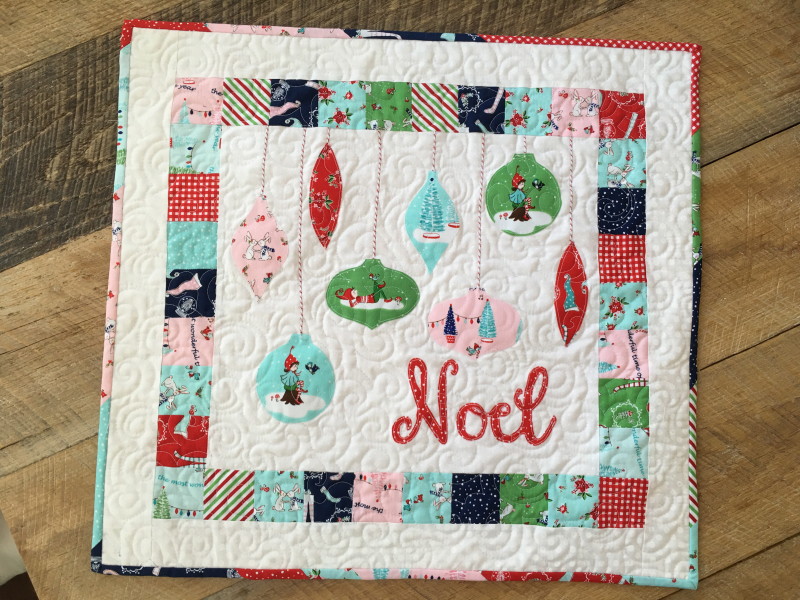
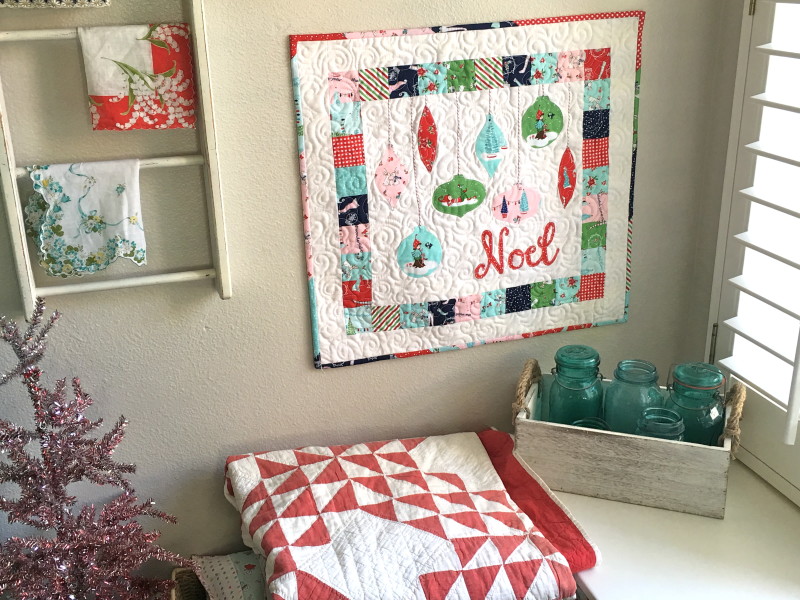
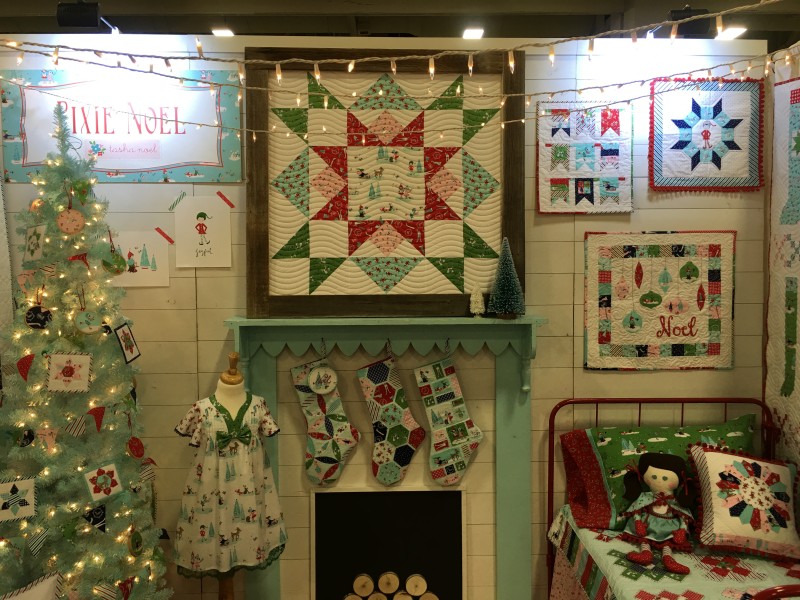
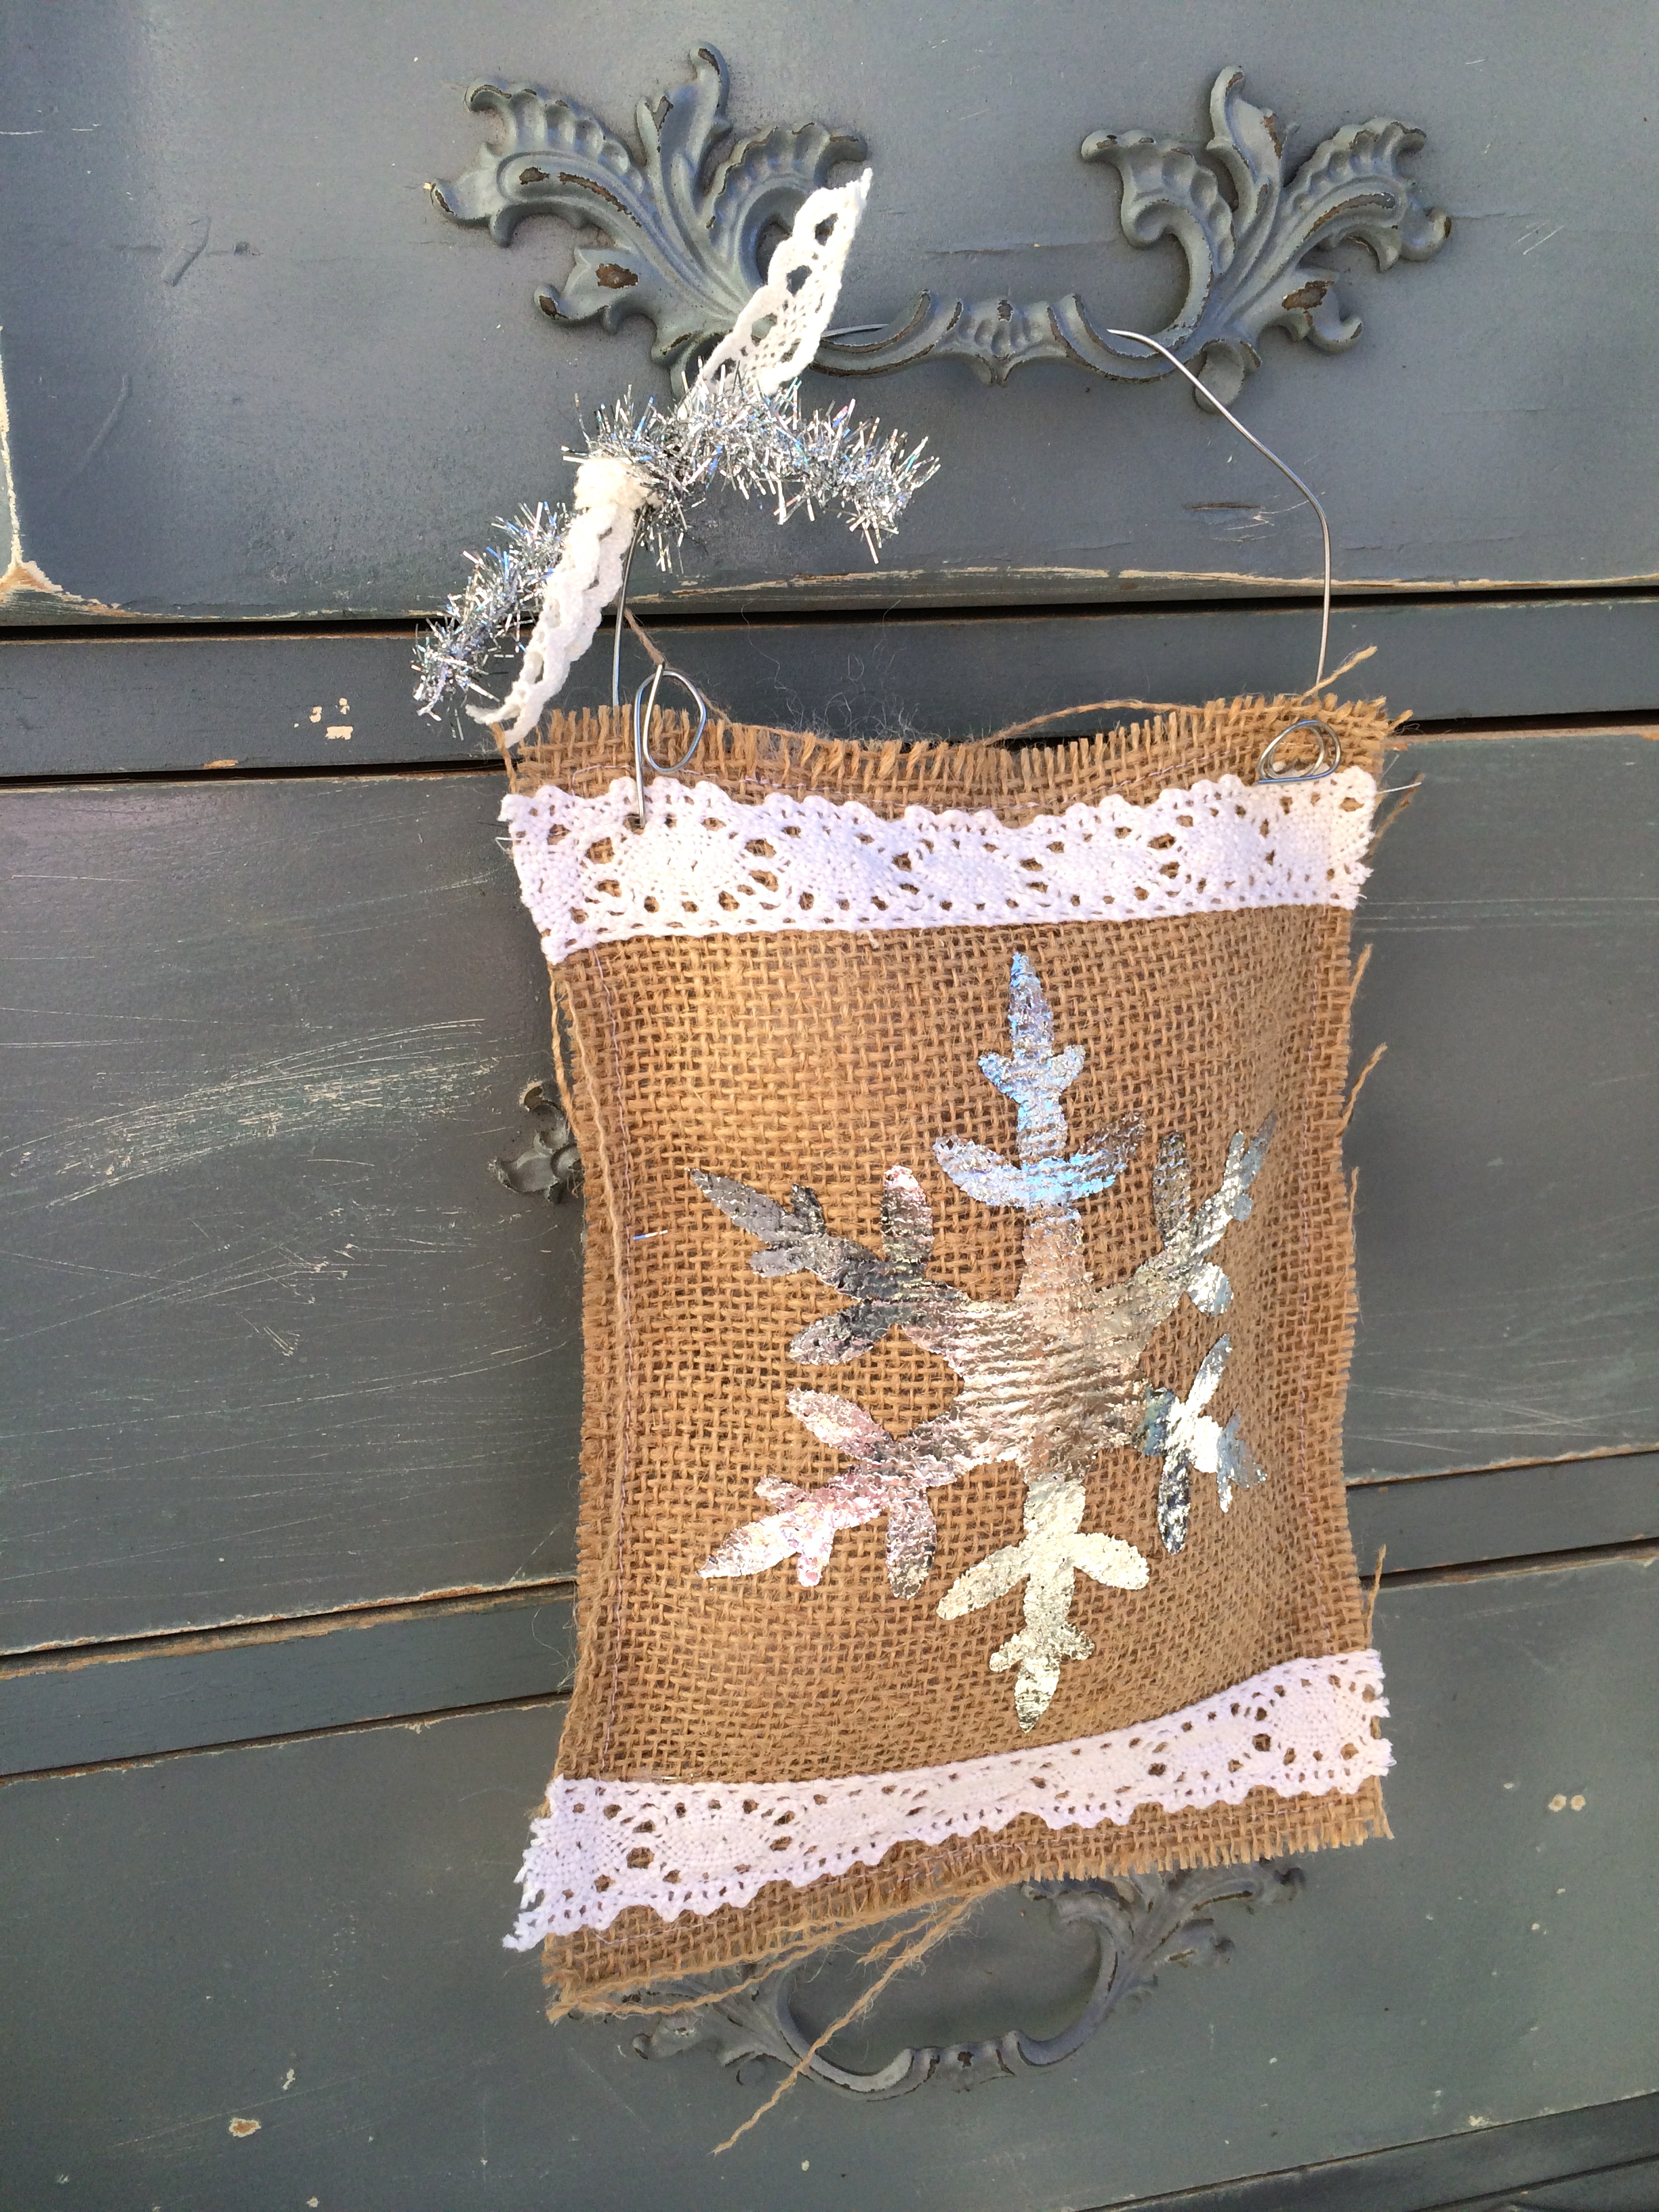
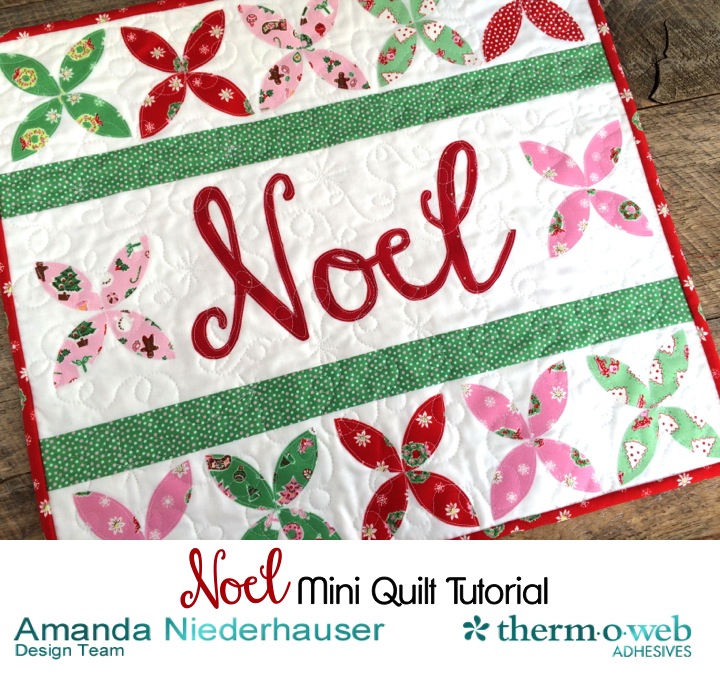
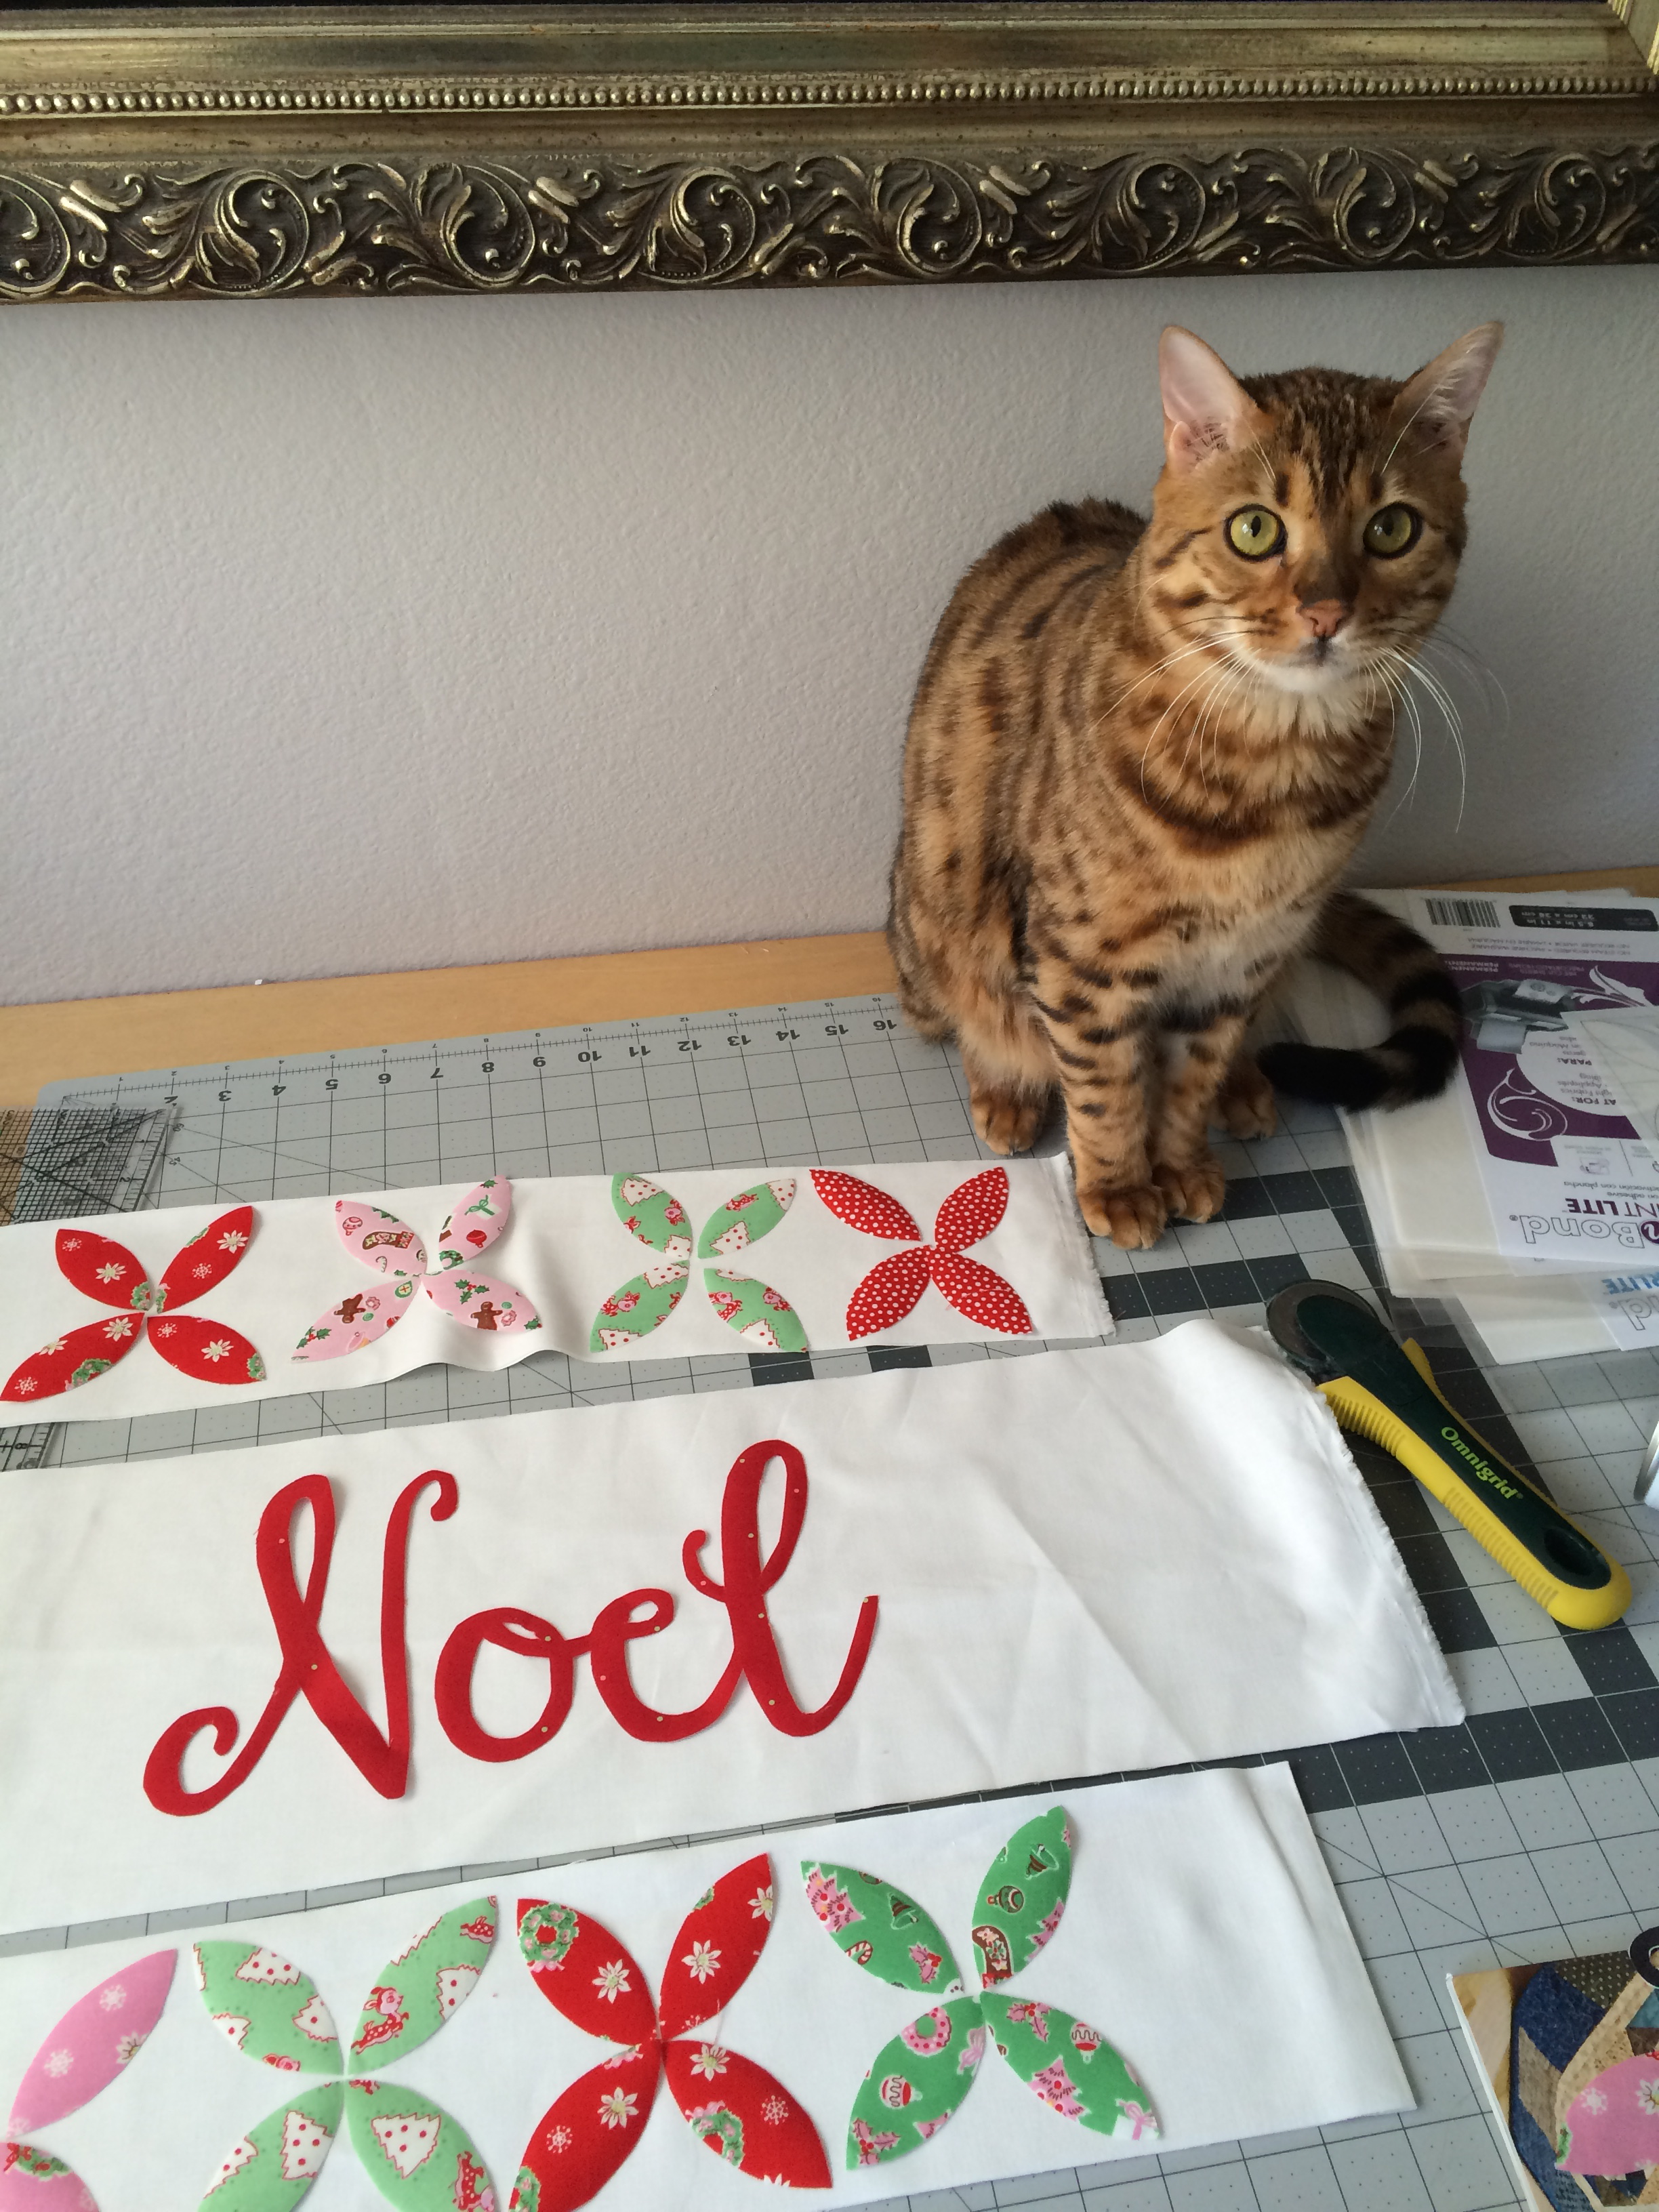
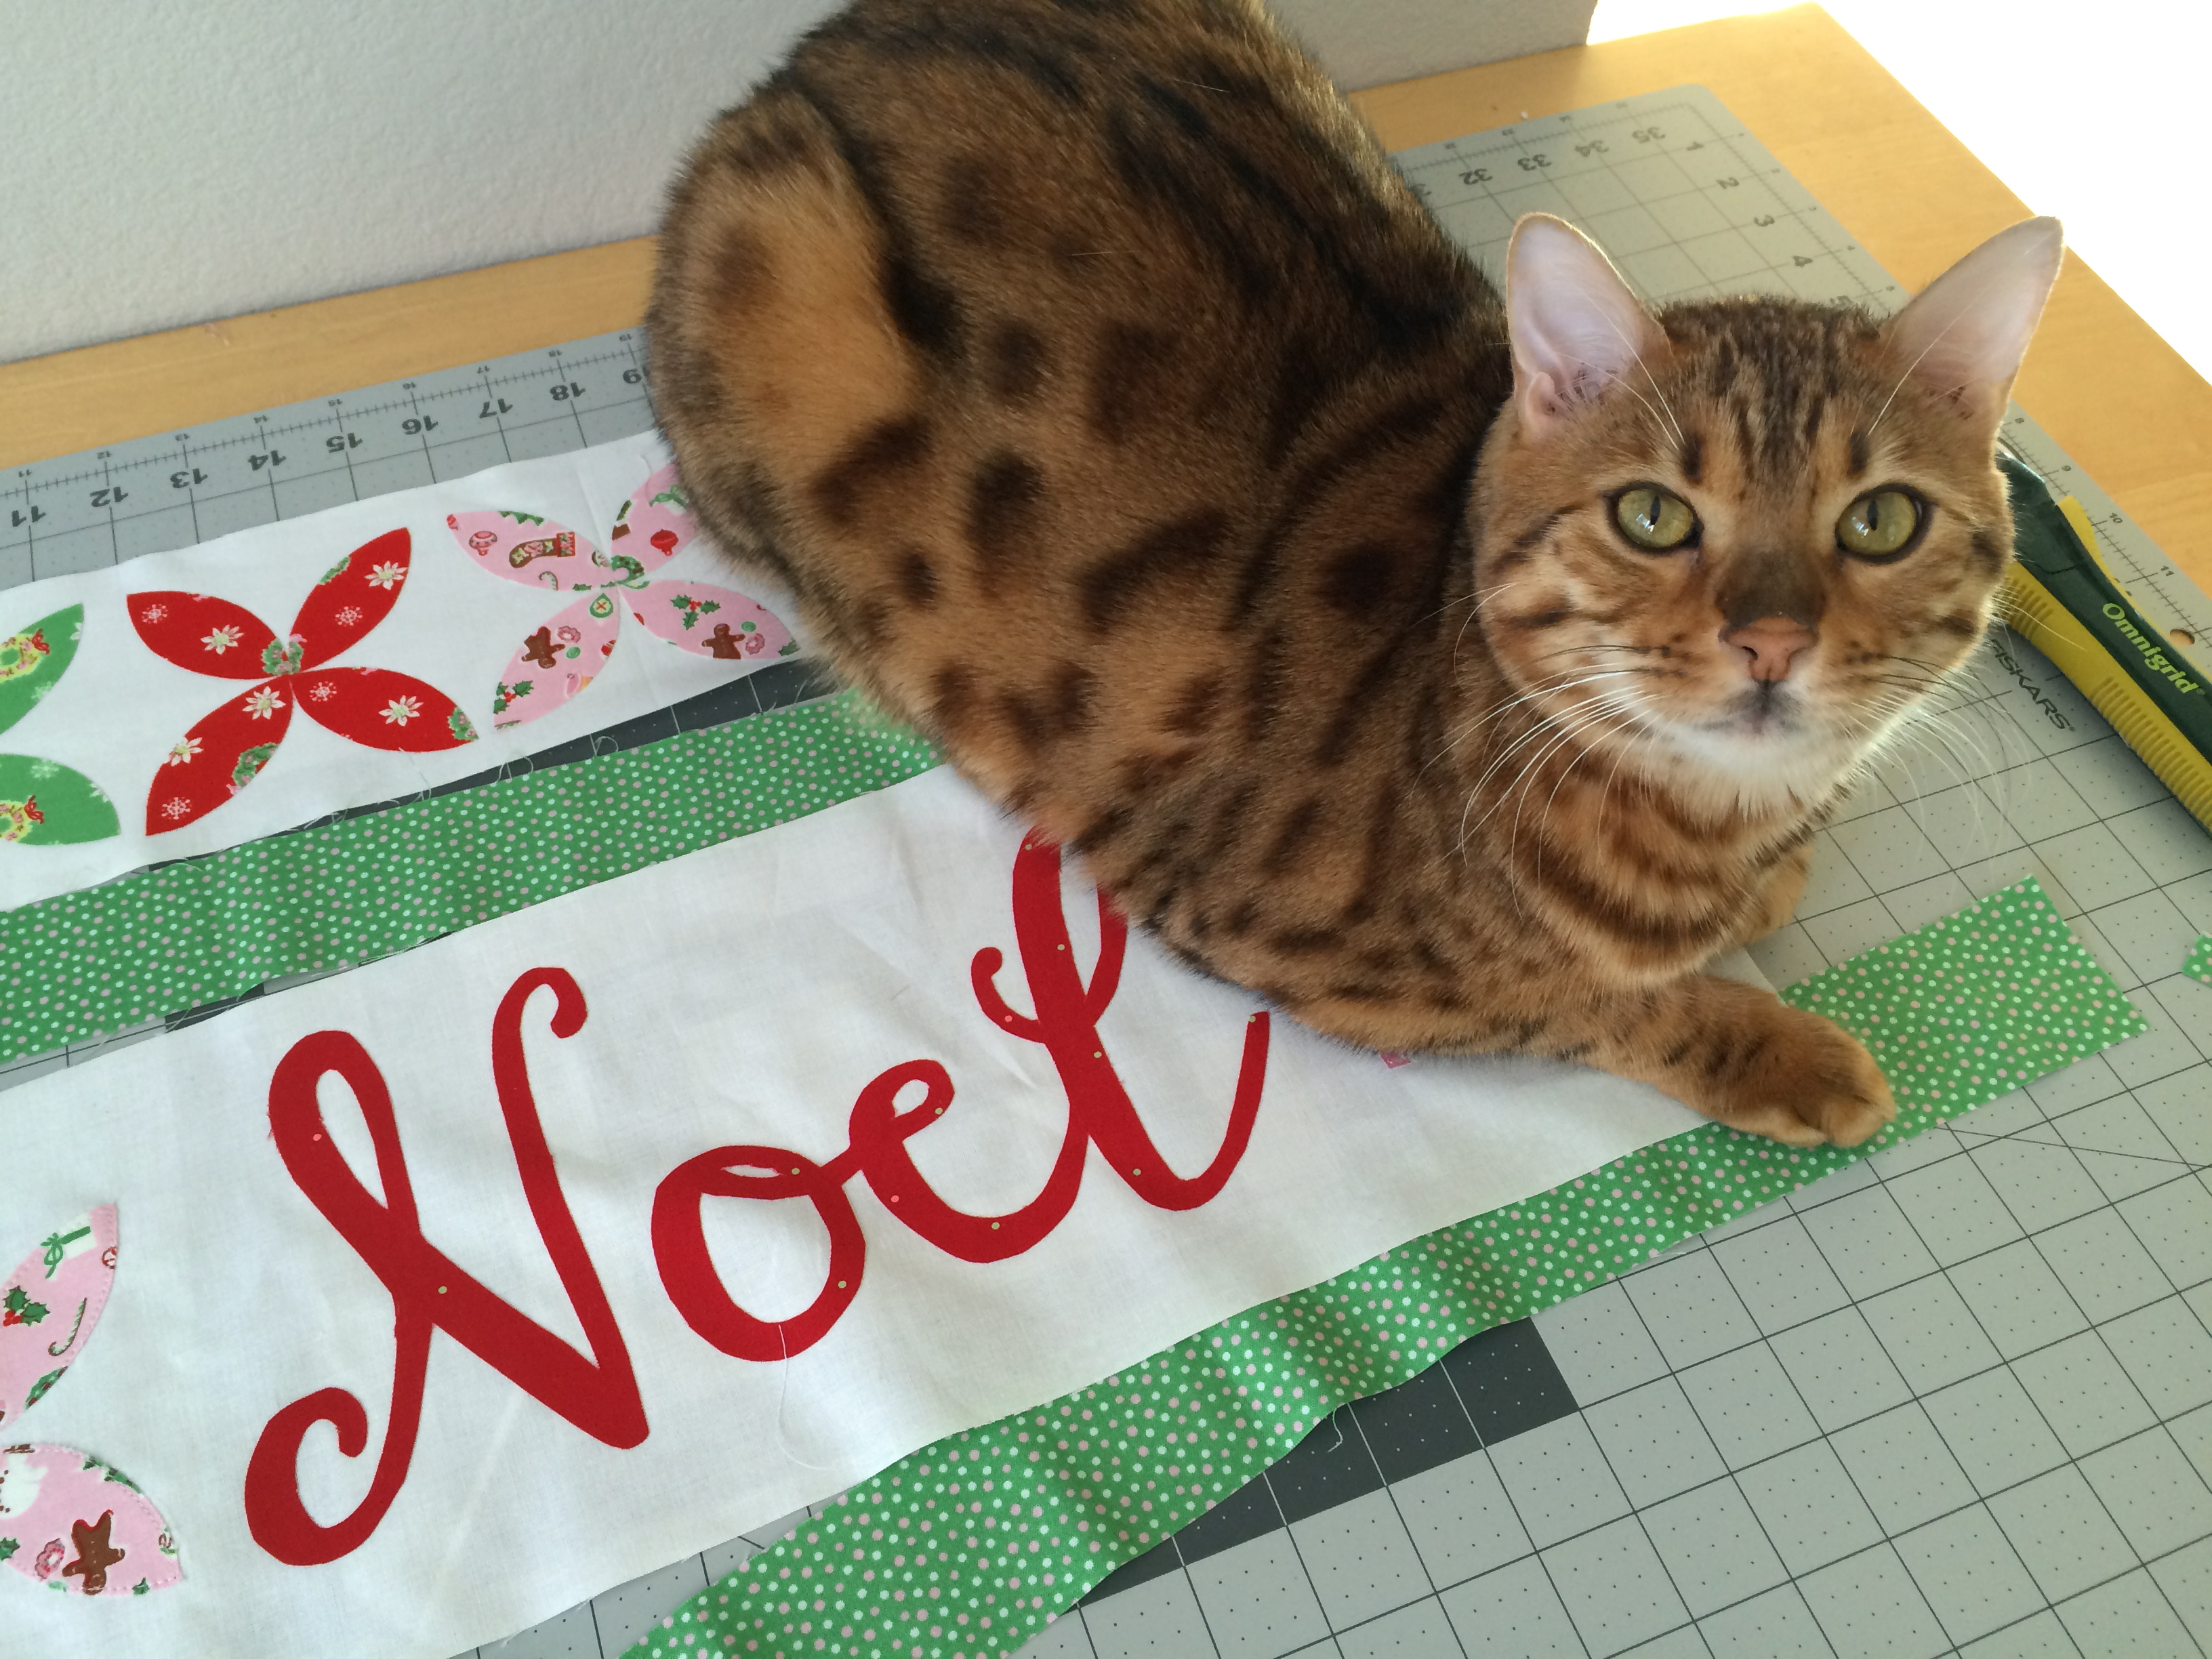
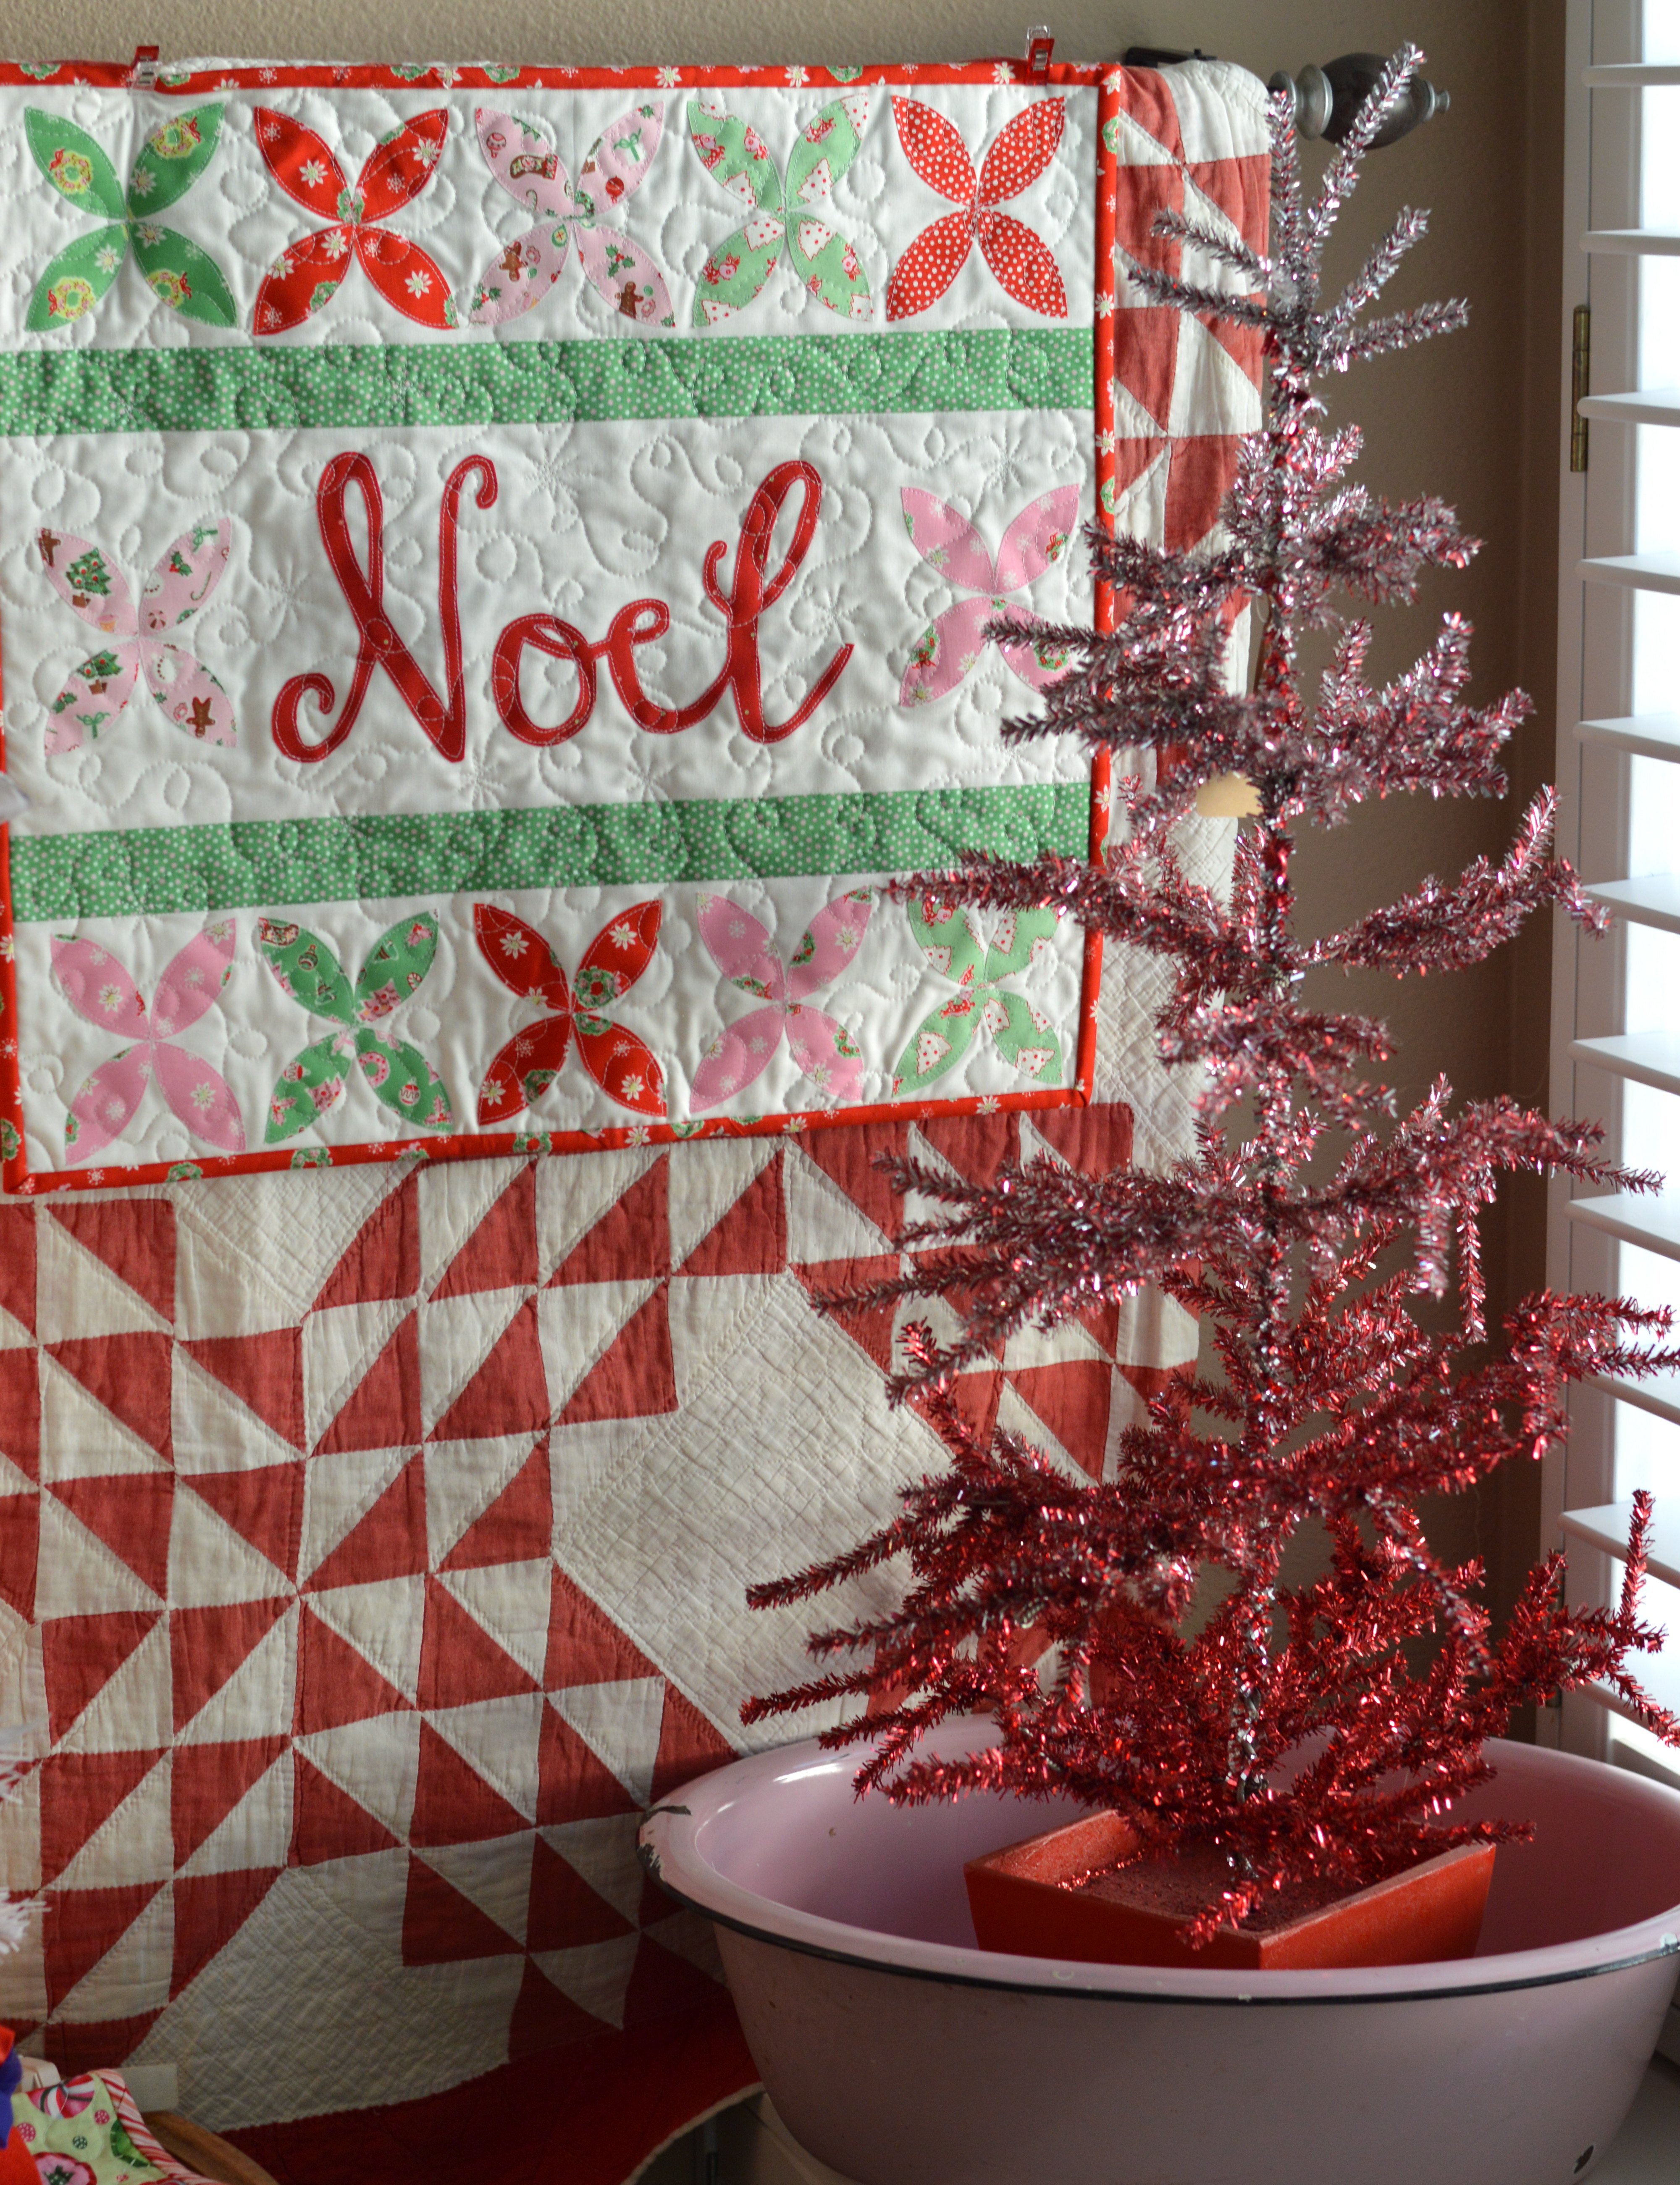
I created this little mini quilt for her to hang in her Quilt Market booth.  You can purchase this quilt pattern as a PDF download in my Etsy shop.IMG_8371 
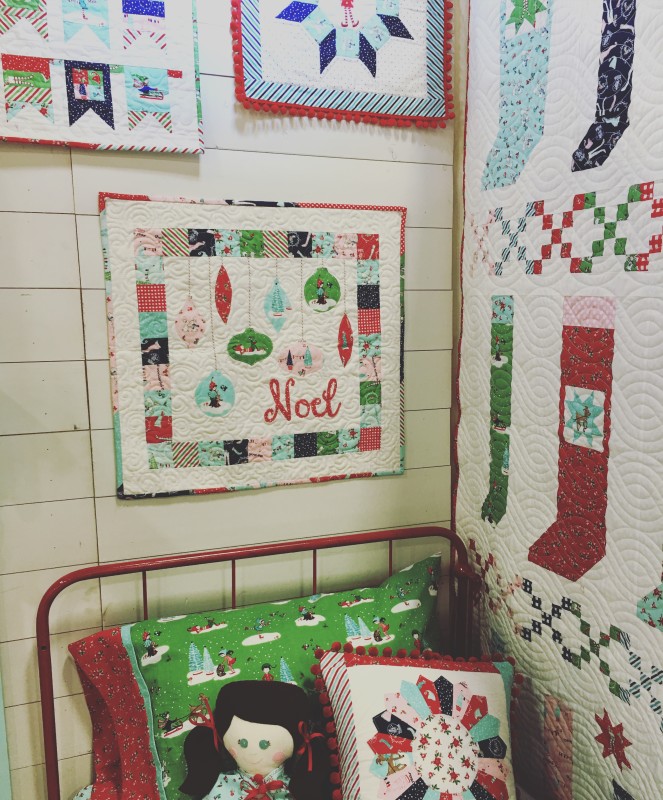
Her booth was the cutest!
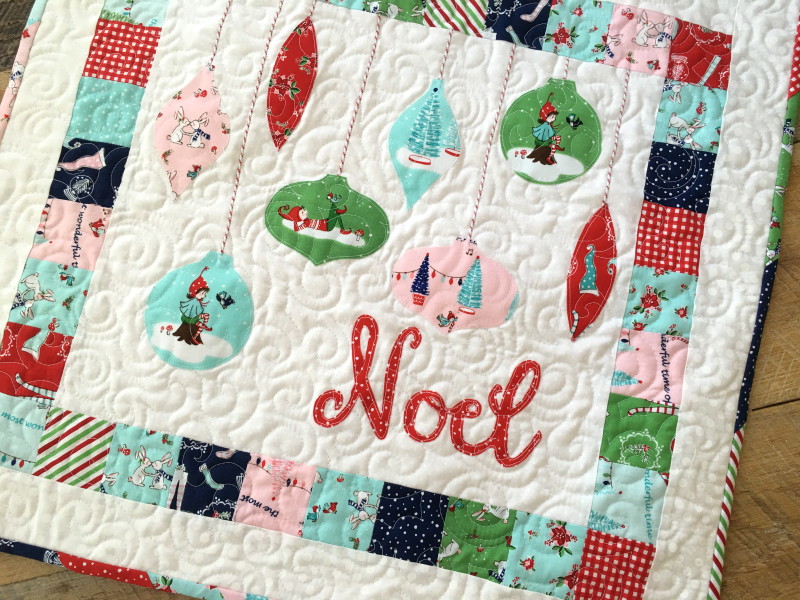
IMG_7481

The mini quilt features iron-on applique ornaments and letters and a scrappy pieced border.IMG_7484

I quilted it in swirls to look like swirling snow.  This is the perfect size to sew up for yourself or for gifts!  You can get a jump on your Christmas list!!IMG_7501

IMG_8092

Deco Foil Sizzix Snowflake Pillow

sizzix snowflake pillow

Merry Christmas!  I can’t believe how fast December flew by!  I still have a stack of projects I was hoping to get to!  There is still time to whip up this quick snowflake pillow before Christmas.   I used 3 different Sizzix snowflake dies and Deco Foil in Silver and Gold – just like the song!

deco foil snowflake sizzix pillowGather your supplies and let’s get started!

deco foil snowflake sizzix pillow 2The Hot Melt Sheets are what allow the Deco Foil to adhere to the fabric.  Cut the Hot Melt Sheets the size of the Siizix die.

Use only one layer of the Hot Melt Sheets at a time.  I tried cutting multiple and it cuts great but the hot melt sheets end up sticking together.

deco foil snowflake sizzix pillow 6Cut (2) squares the size of your pillow.  I always use 20″ pillow so I can swap pillow covers out in a jiffy.  I used a heavy natural muslin.  Mine is cut 20″ square.  Have your cat help you position the snowflakes randomly all over the pillow front.  You can also position in three rows for a linear look.  Once you have the snowflakes placed just so, press them into place using a medium-hot dry iron.  Let cool completely.

deco foil snowflake sizzix pillow 7Don’t peel the backing paper off all the snowflakes at once.  Begin in the center and peel off as you add foil to protect the adhesive from the iron.  Peel off the center snowflake’s paper and place a piece of Deco Foil over.  Place the pressing sheet (it comes with the Hot Melt Sheets) over the foil.  USING A MEDIUM HEAT DRY IRON press for about 20 seconds.  I found that if my iron was set on the cotton/linen setting it would scorch the foil.  If this is your first time, test this on a piece of scrap fabric to make sure it works.  Once you’ve pressed the foil let it cool completely.

IMG_3286Once the foil has cooled, gently peel away the foil sheet.  It will leave a perfect snowflake!  Continue this process.

deco foil snowflake sizzix pillow 8 Be mindful not to touch the iron to the completed snowflakes.

deco foil snowflake sizzix pillow 9They are so shiny and pretty!!  Once all the snowflakes are finished you can turn it into a pillow!  I always put a zipper in my pillow back.  I also added some decorative fringe.  For more instructions on how to finish the pillow, you can check out this tutorial.

deco foil snowflake sizzix pillow 3

I love how this pillow looks in my sparkly living room!          deco foil snowflake sizzix pillow 11 Supplies:

2/3 yard heavy muslin for pillow

Sizzix Snowflake Dies

Therm O Web Hot Melt Sheets

Therm O Web Deco Foil in silver and gold

2.5 yards decorative fringe

22″ zipper, optional

Burlap Foil Snowflake Ornament

foil snoflake burlap ornament 12

It’s only 1 day until Christmas!  Are you ready?  These little snowflake pillow ornaments are the perfect gift to whip up if you can find a few spare minutes!

Supplies:

Sizzix Fabi or Big Shot

Sizzix Snowflake Die

Therm O Web Hot Melt Sheets

Deco Foil Silver

1/4 yard burlap

scraps of lace

wirefoil snoflake burlap ornament

First I had to clear a spot on my sewing/craft table.  There are too many projects going on right now!  Once you’ve cleared a little spot, die cut the Hot Melt Sheets with the Sizzix snowflake die.  Cut only 1 at a time as the adhesive will stick to itself if you try multiple layers.foil snoflake burlap ornament 2
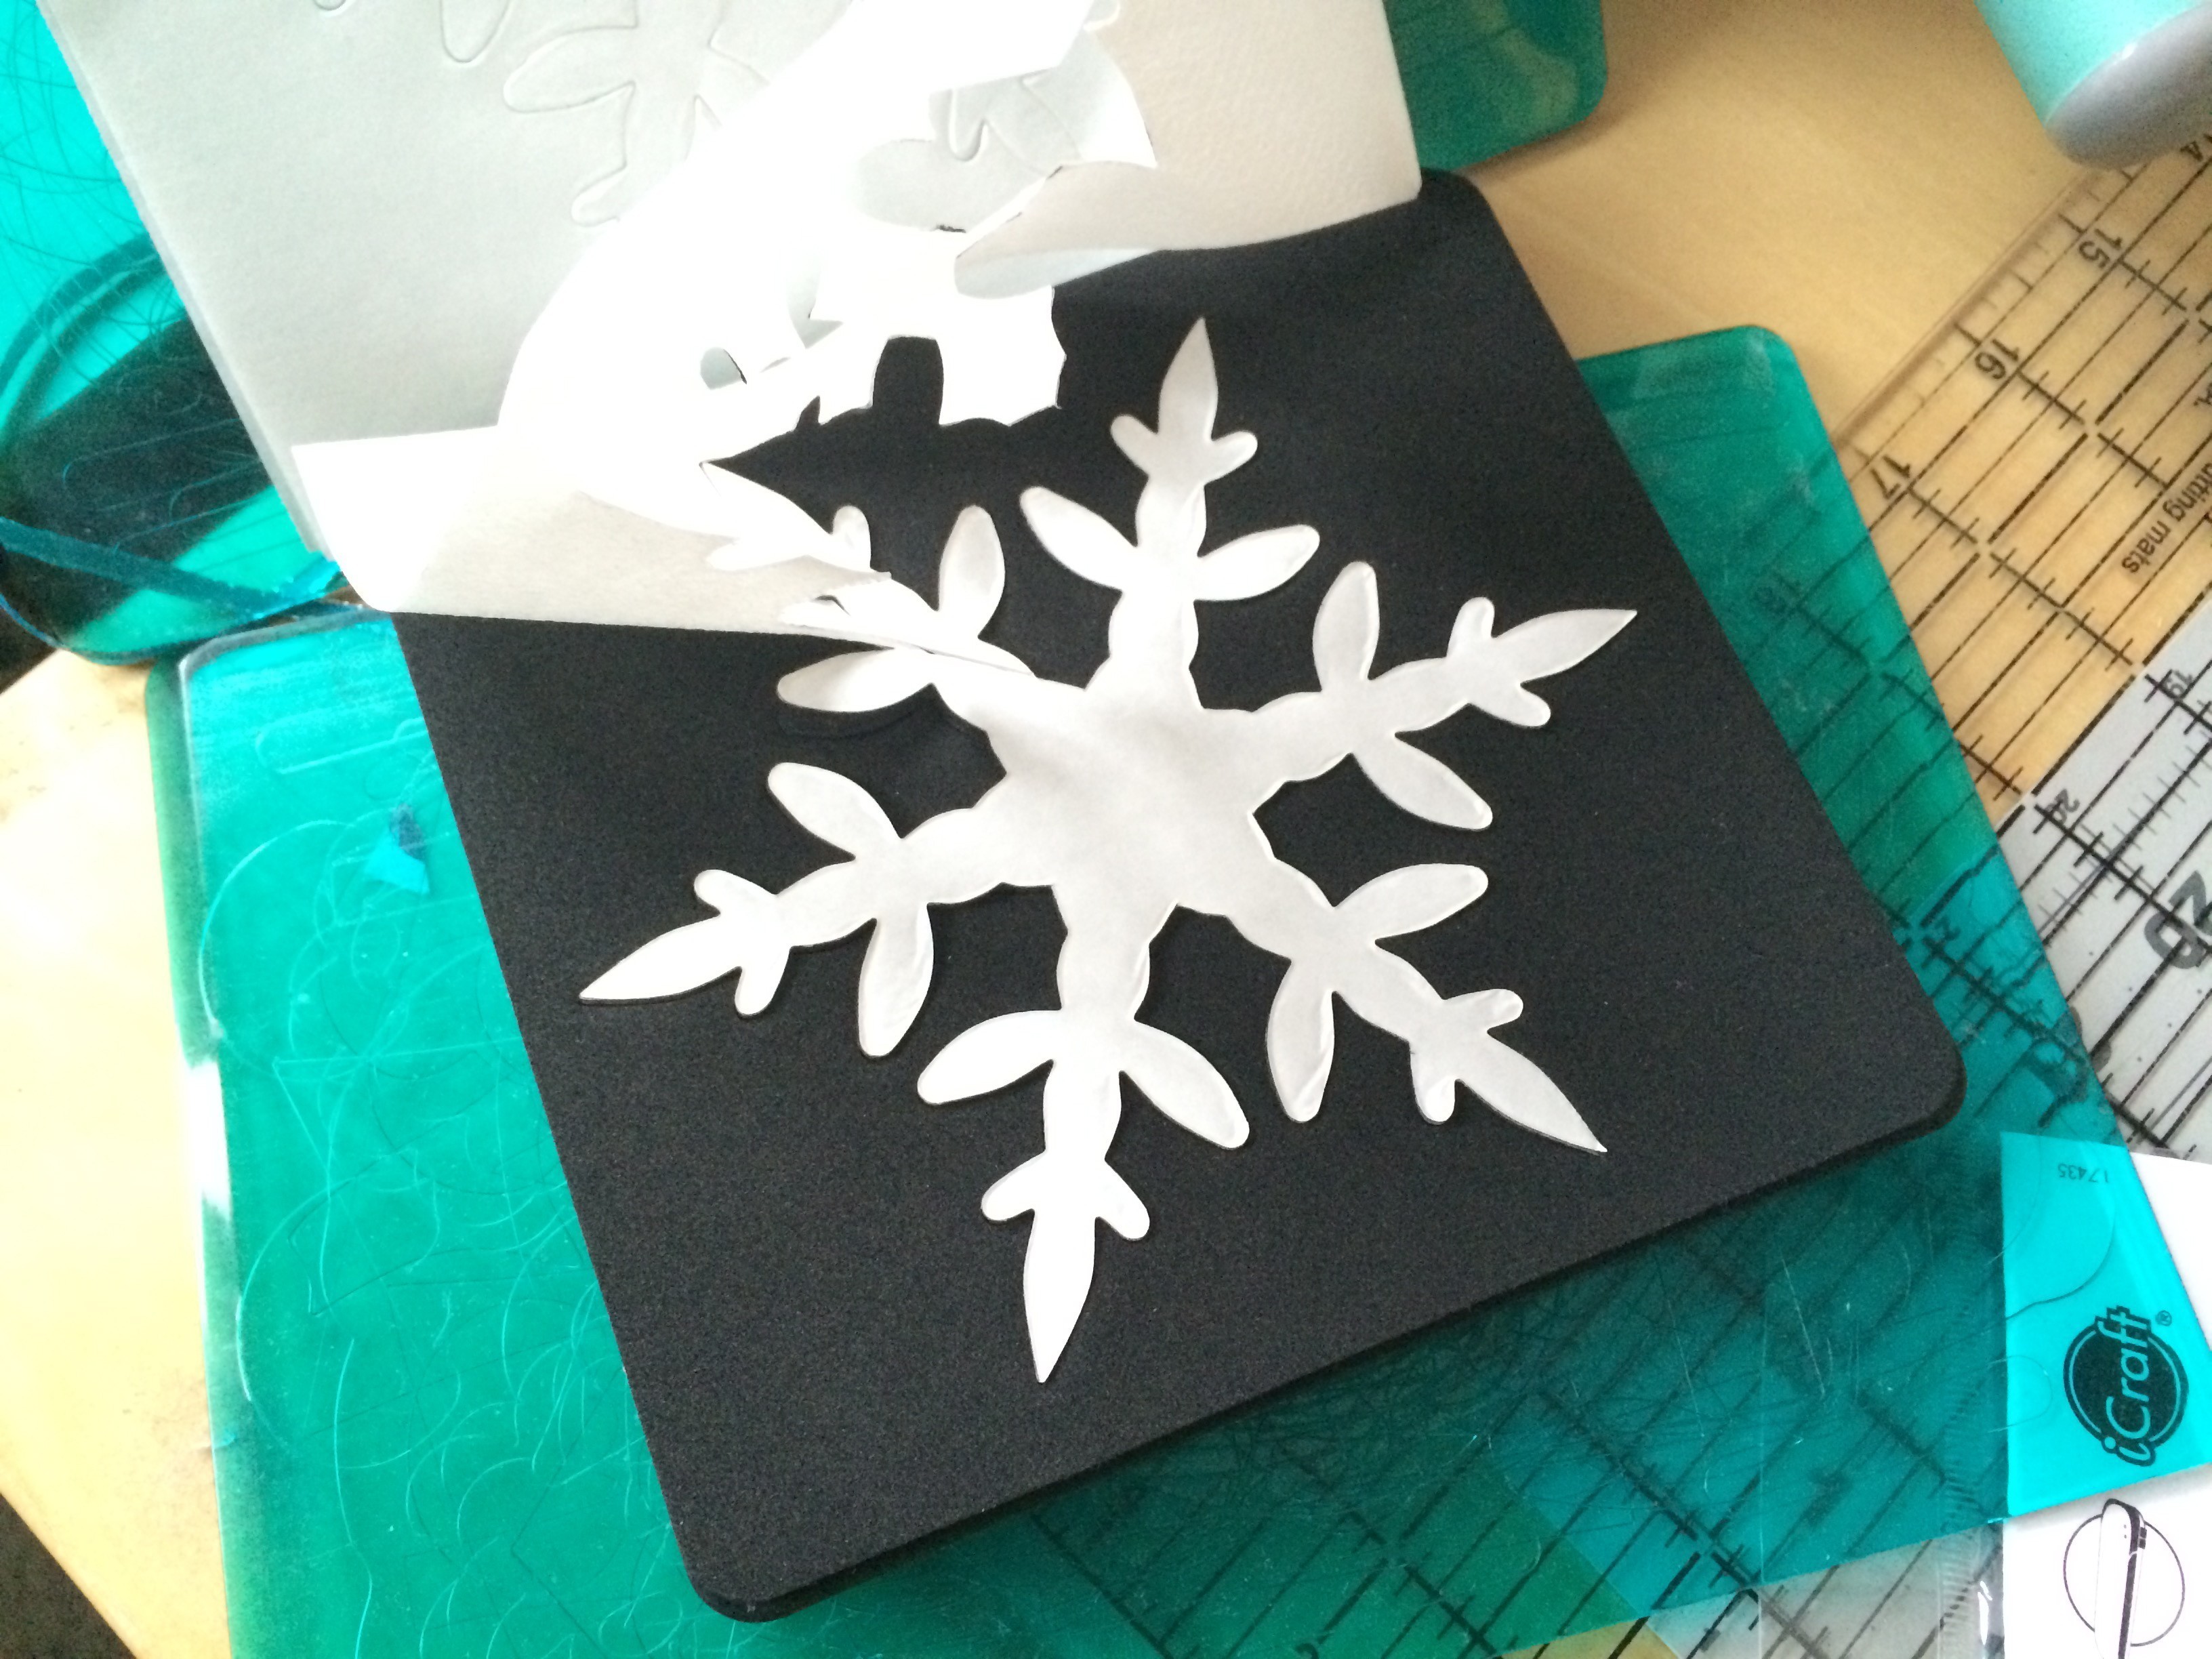
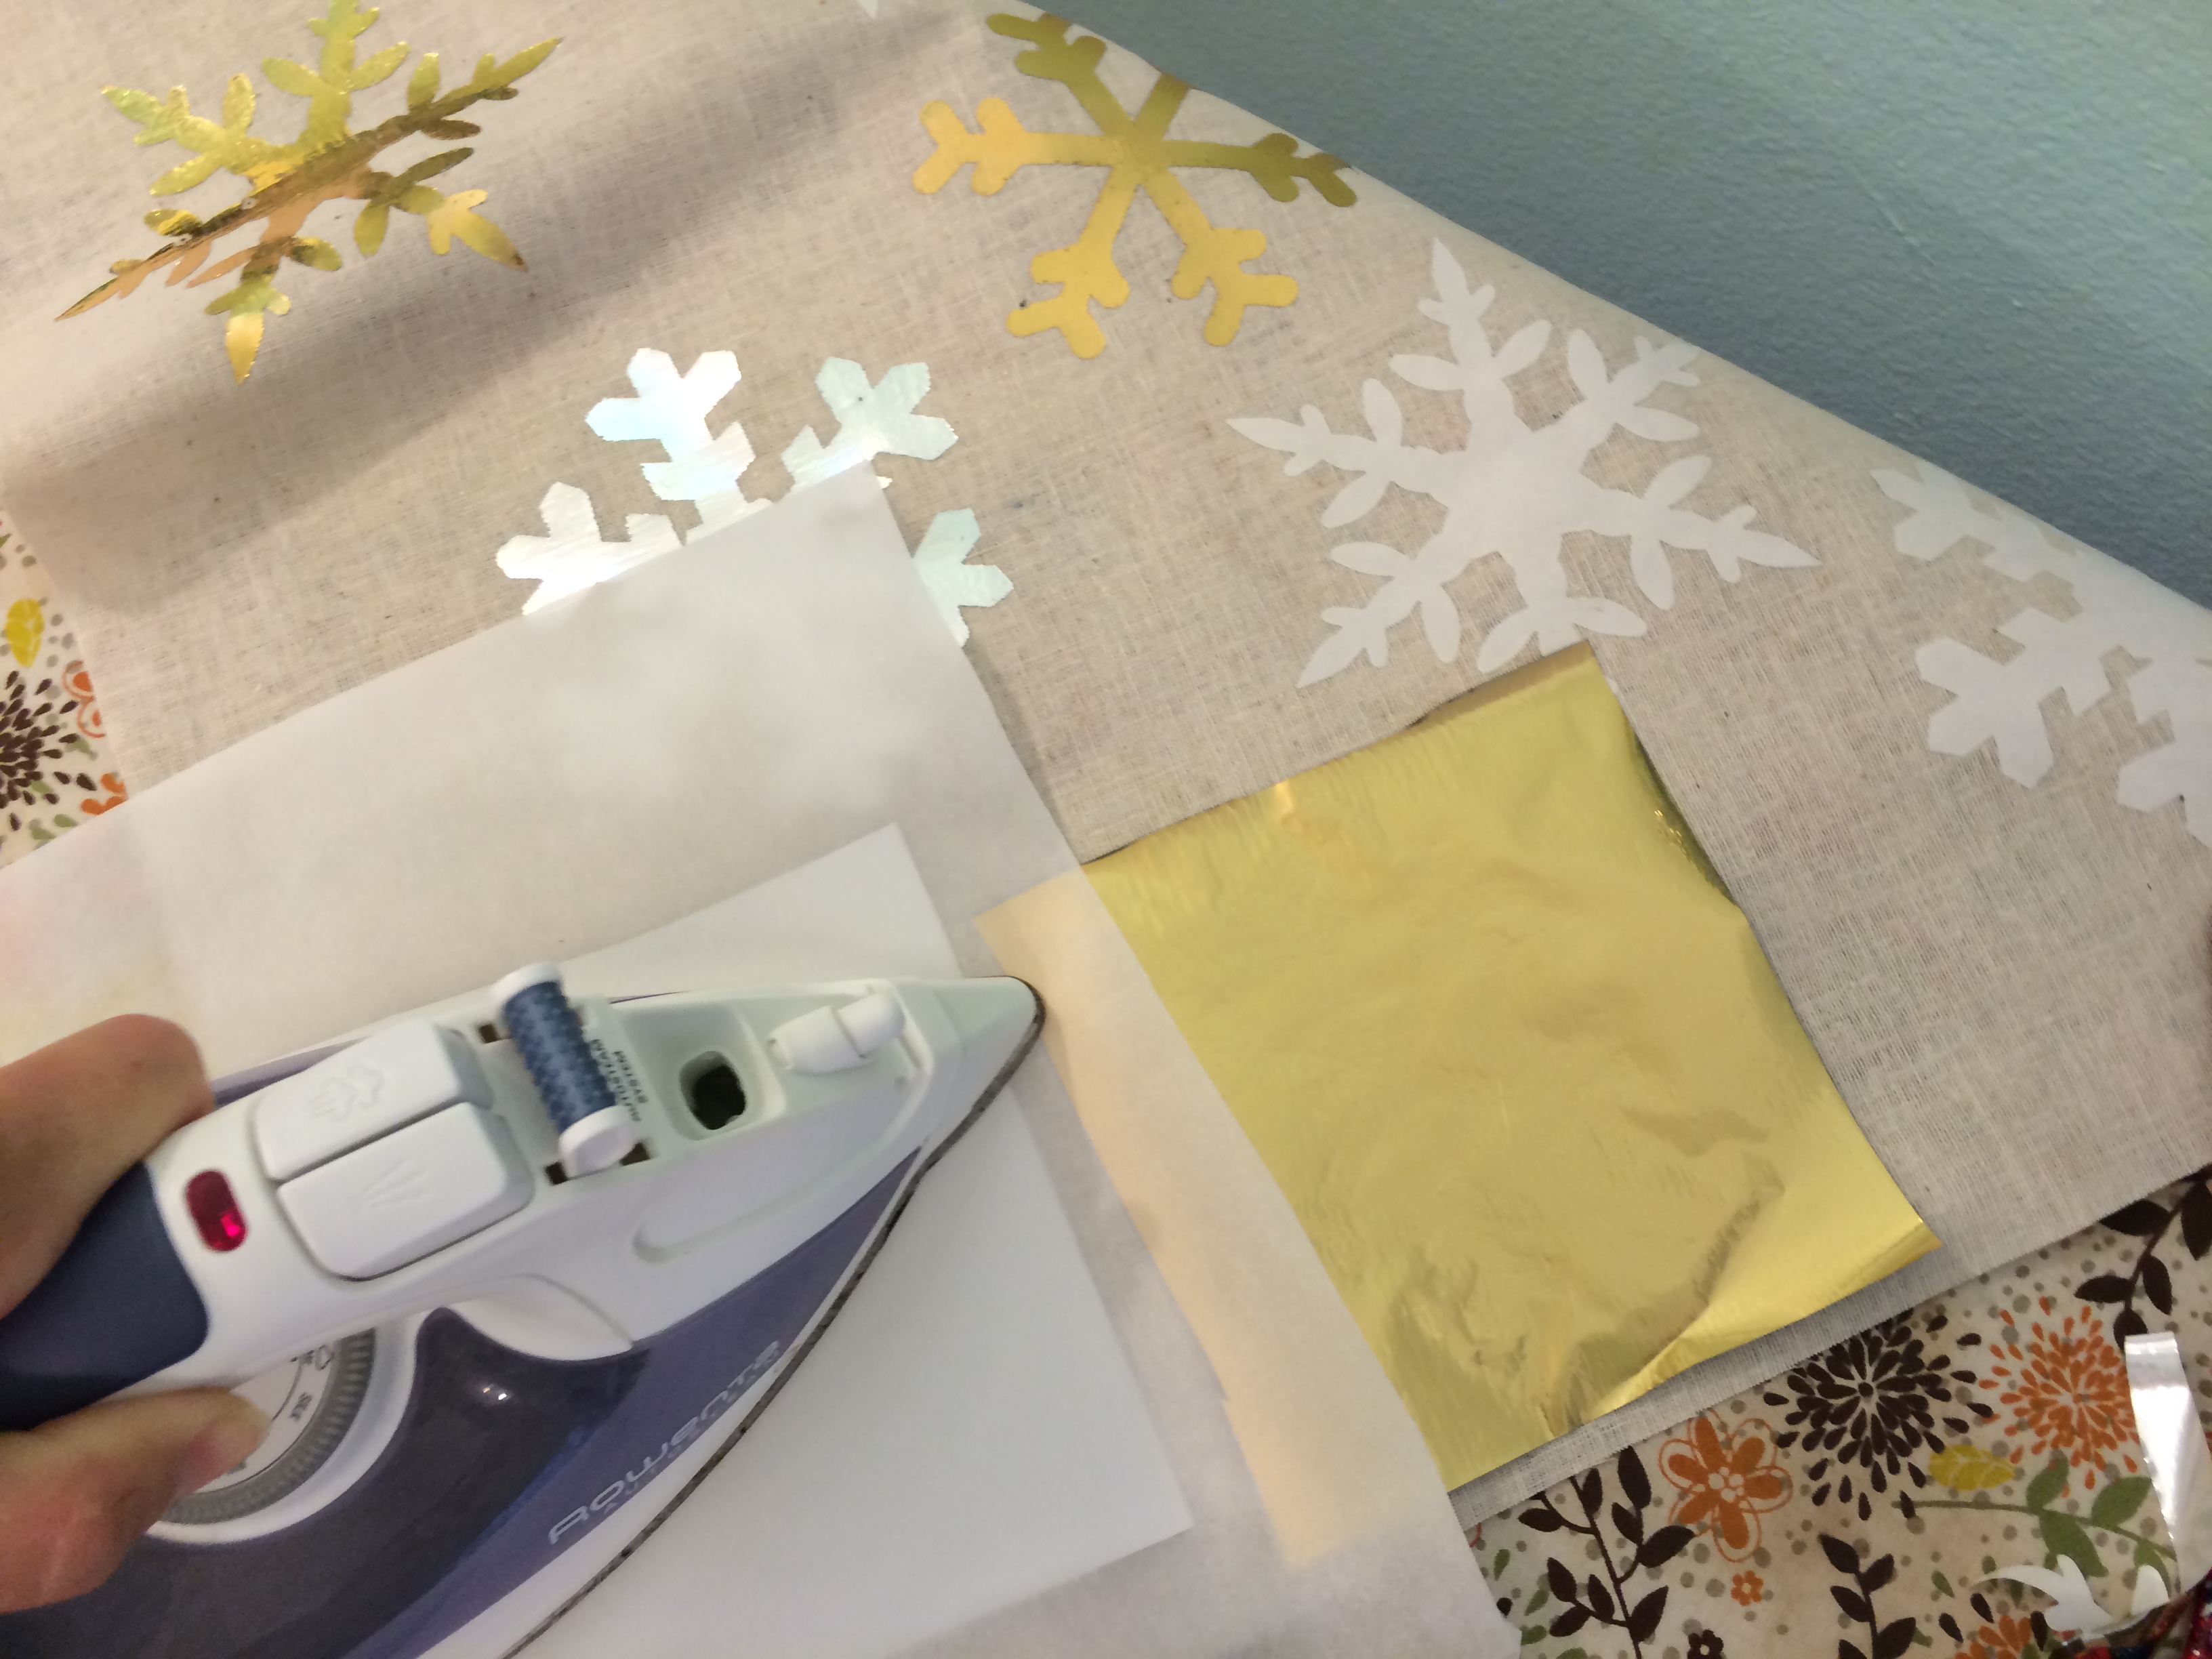
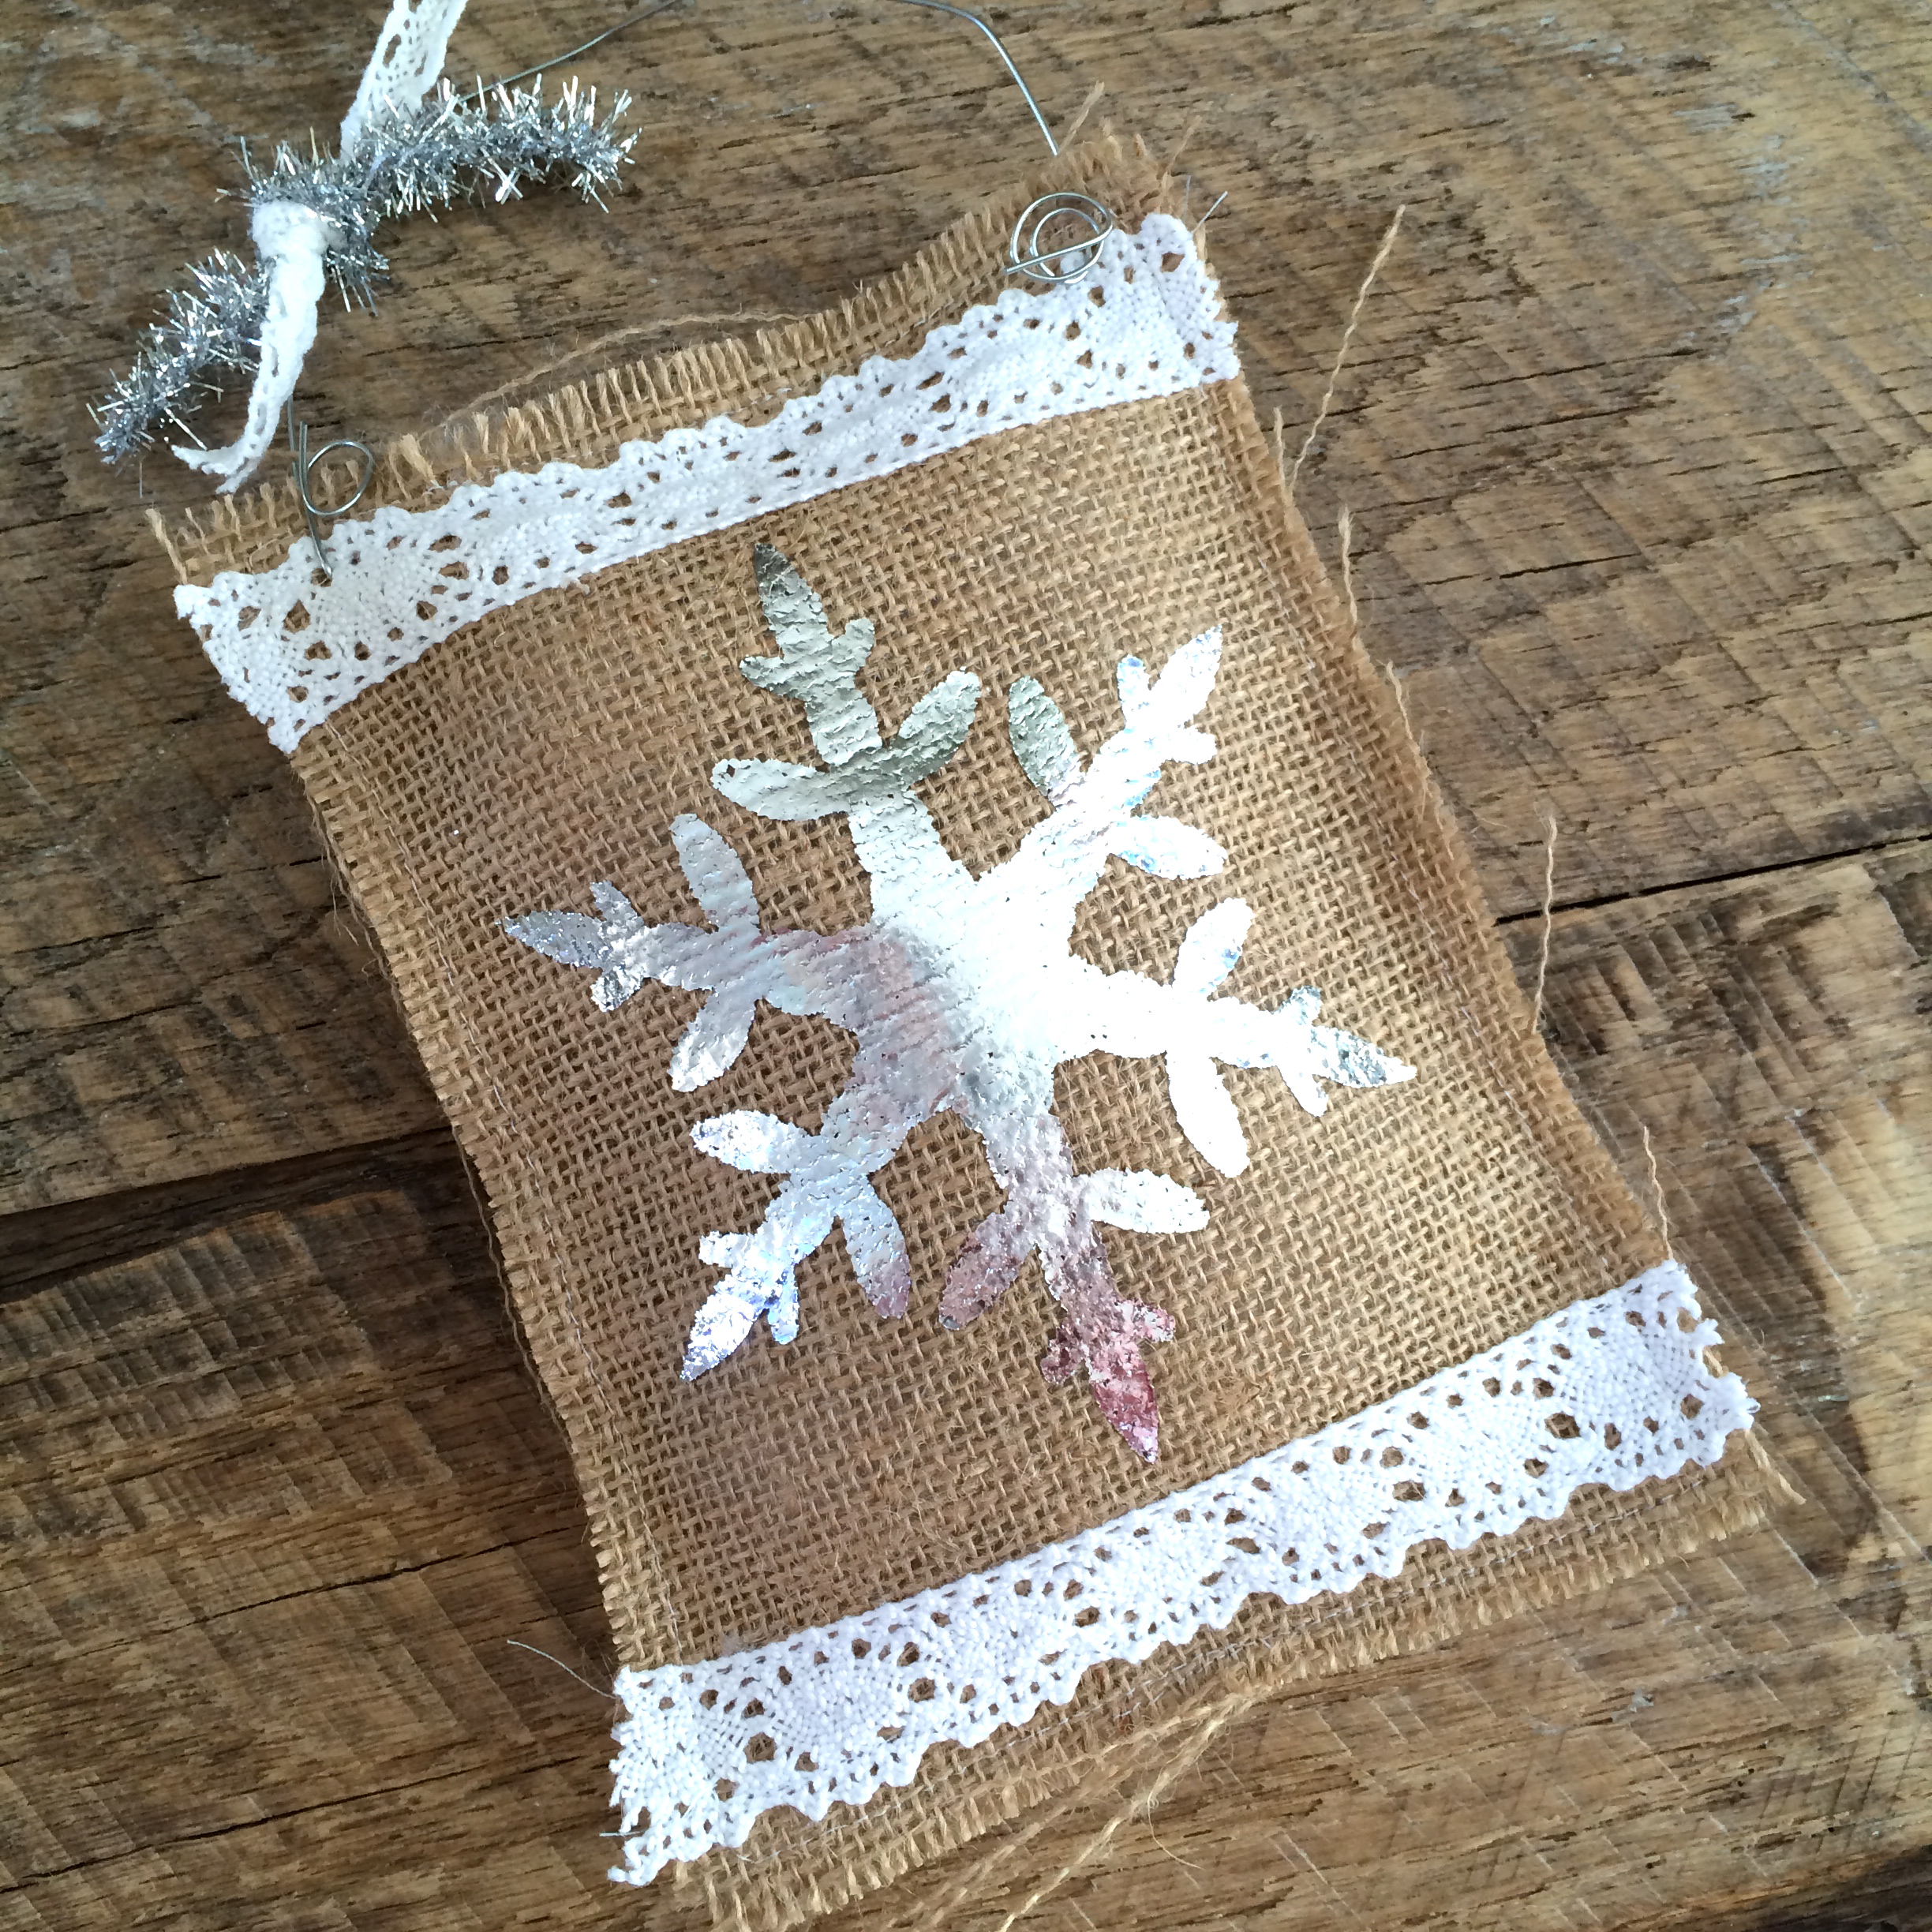
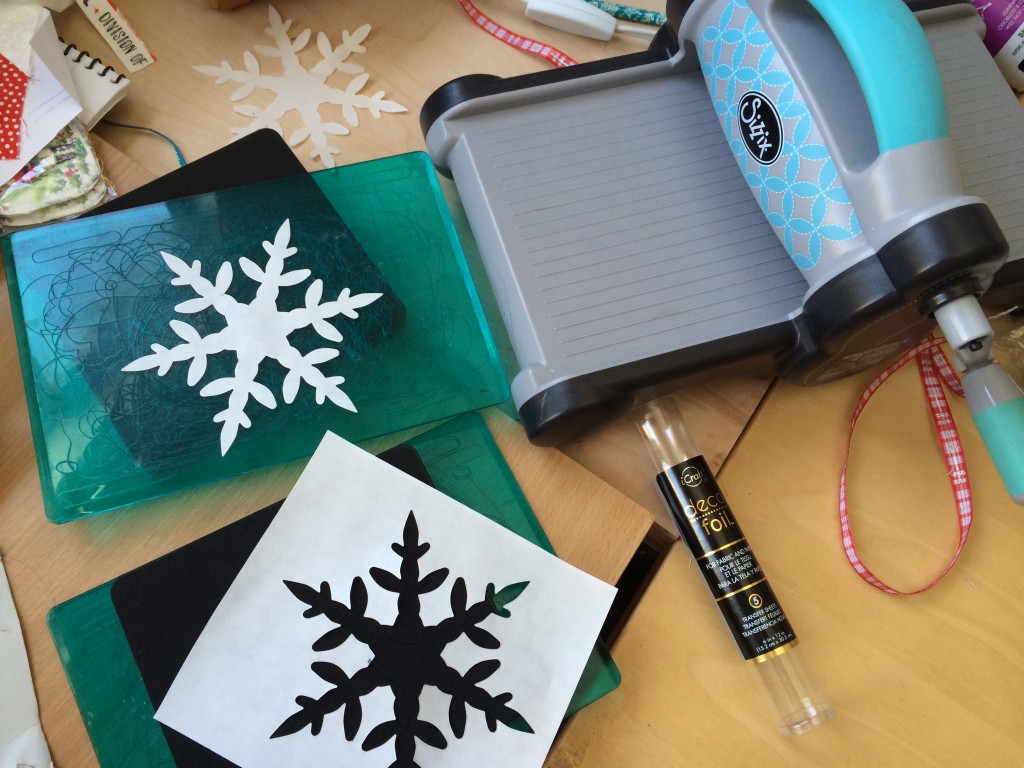
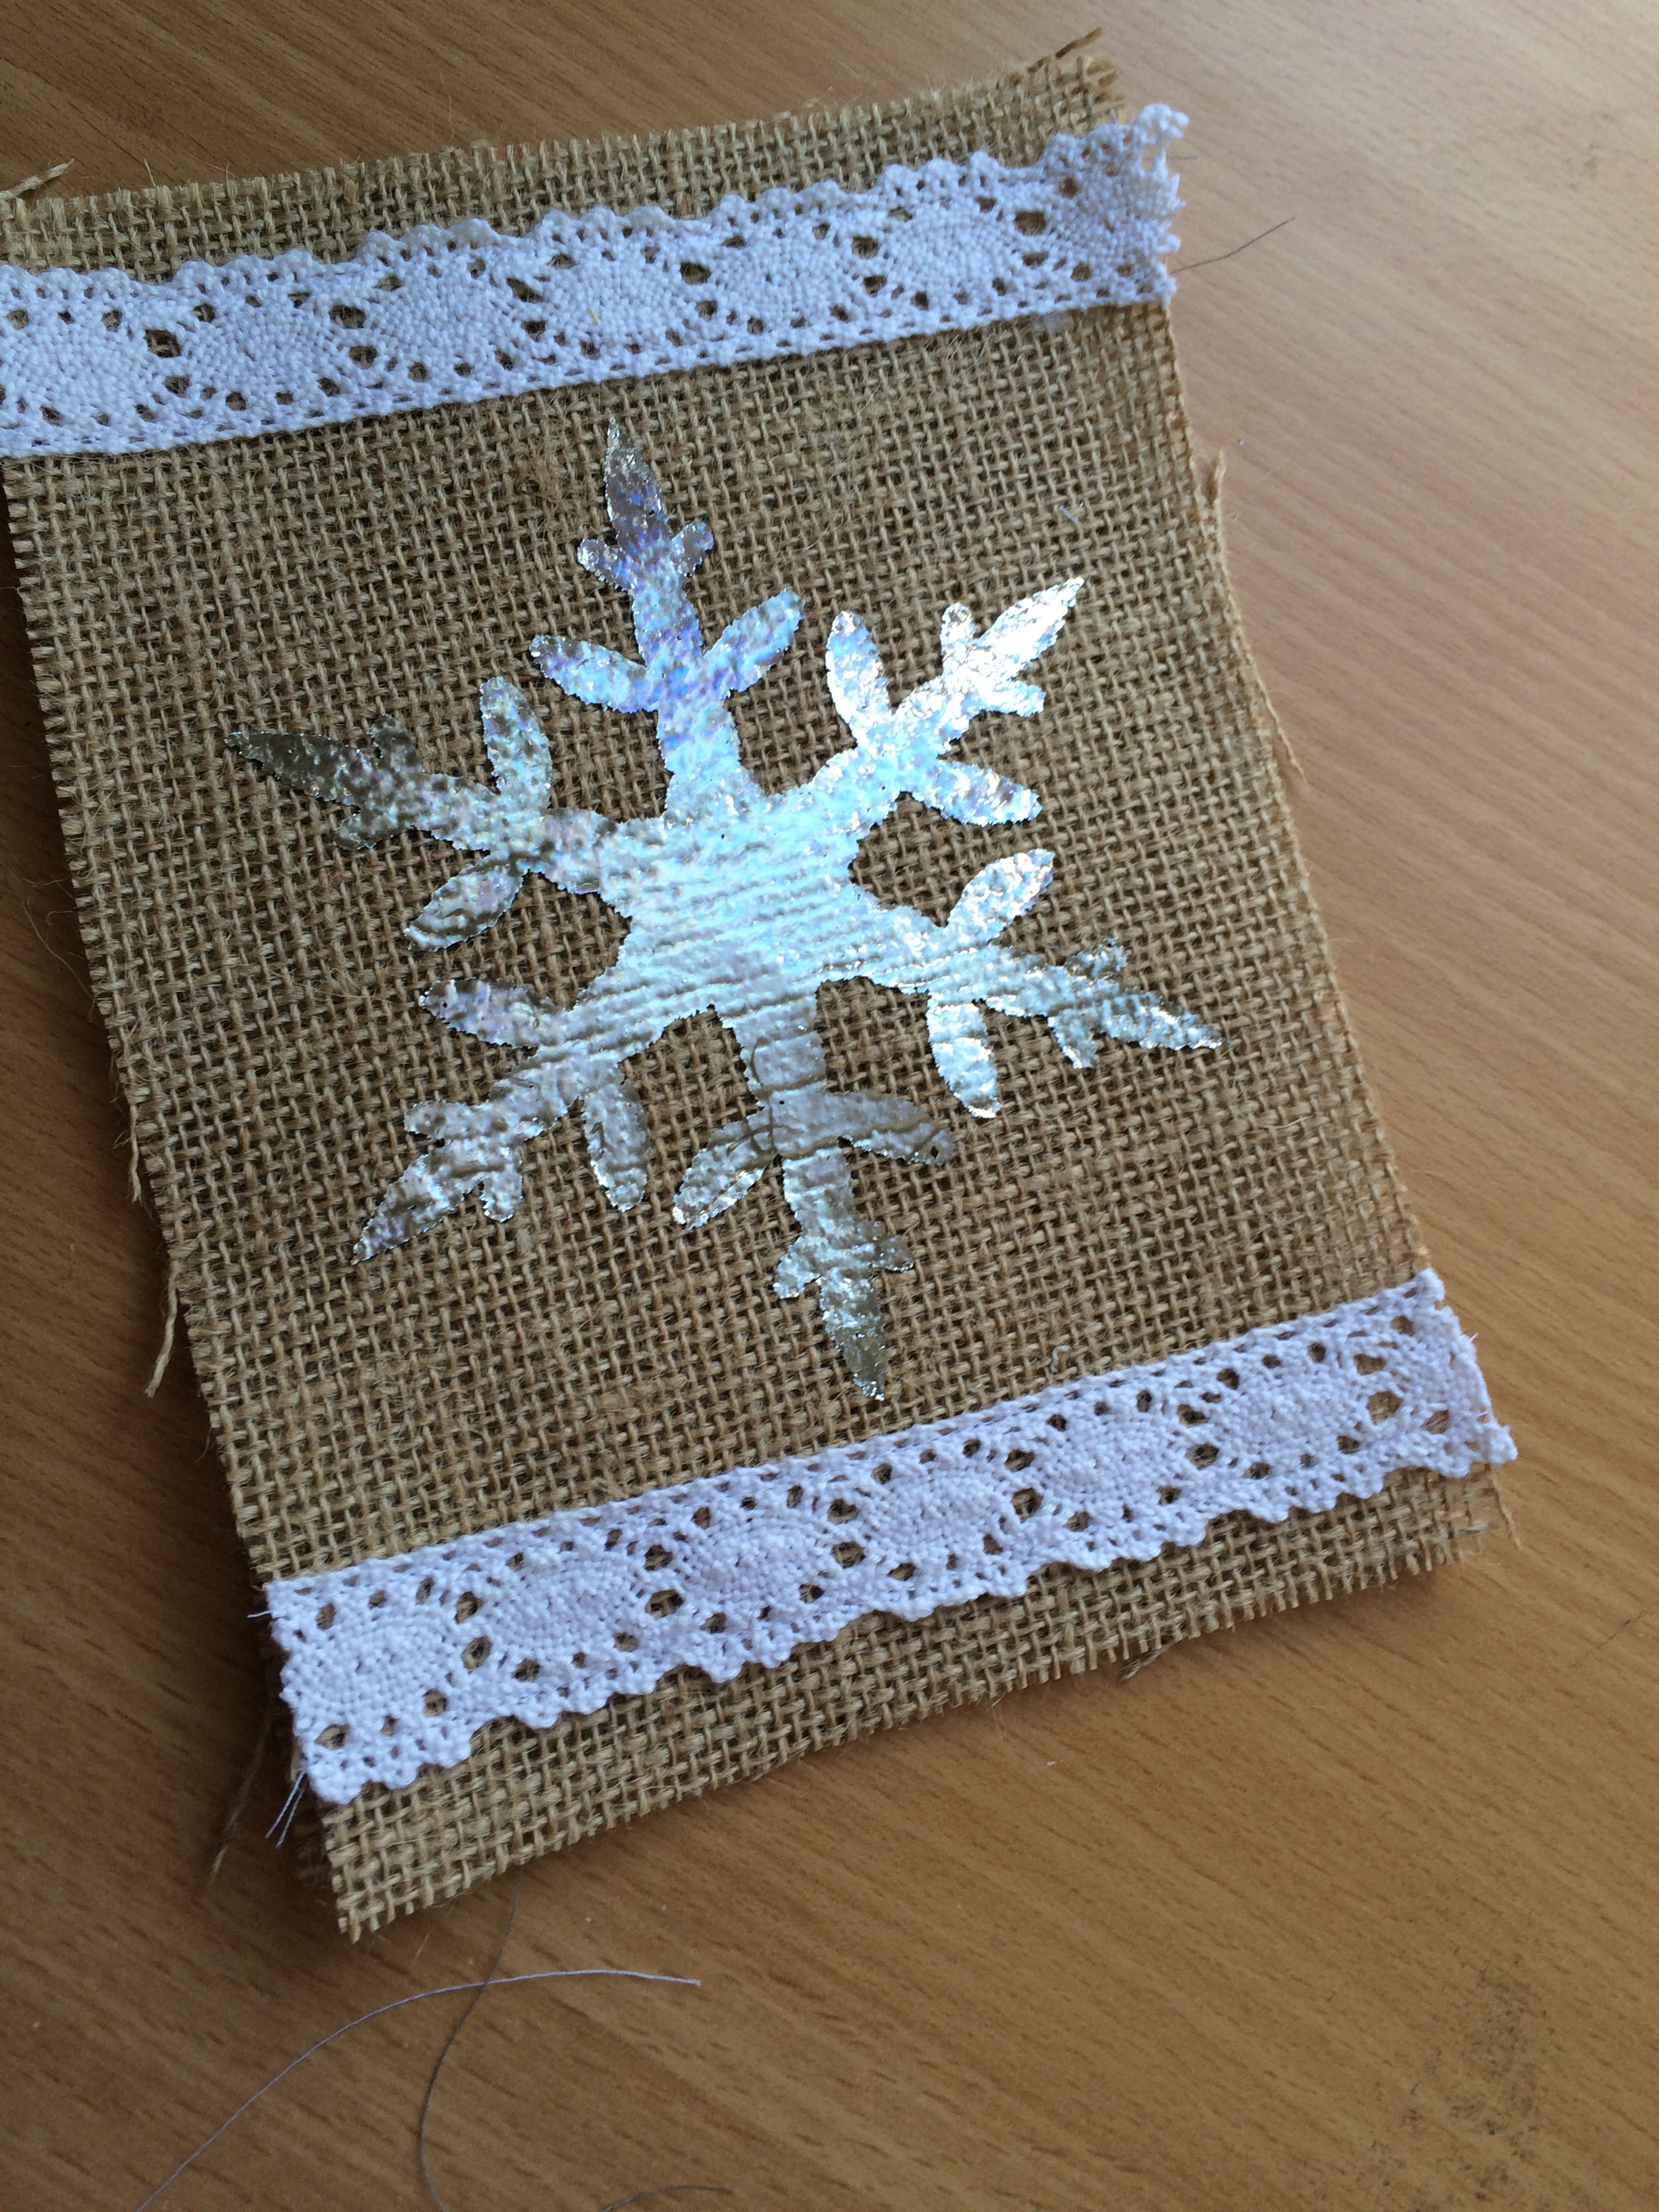
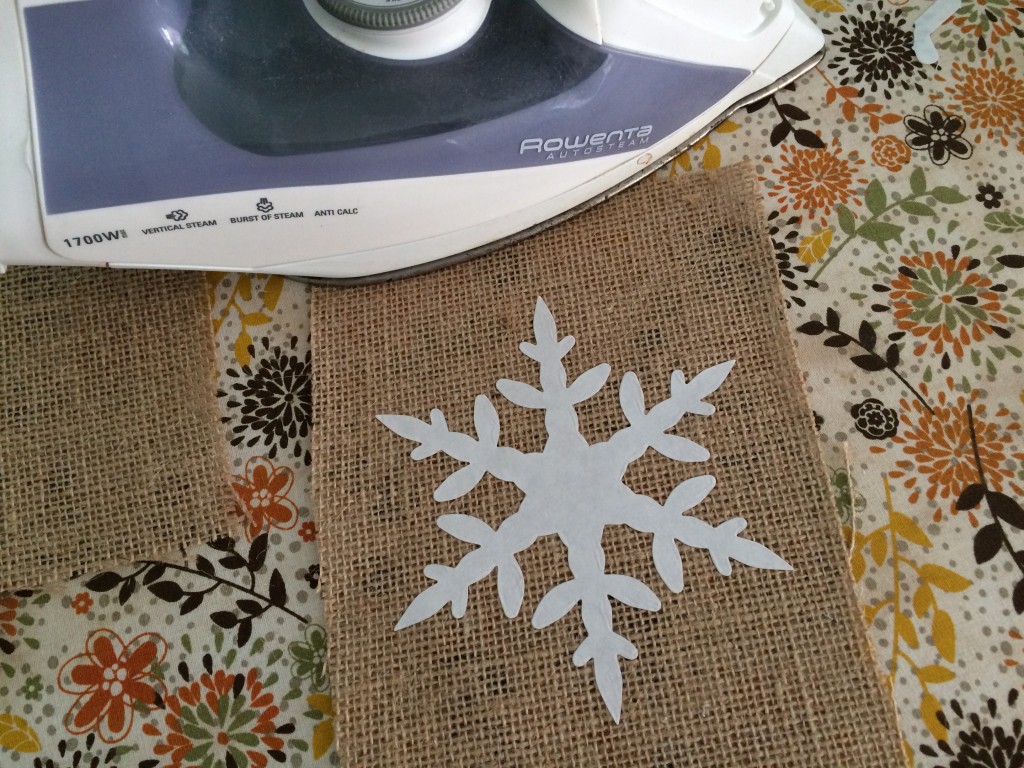
Cut the burlap (2) 6″ x 8″.  Position the snowflake and heat set with a medium hot iron, about 20 seconds.  Let completely dry and peel off backing paper.

foil snoflake burlap ornament 3Cut the foil sheet to cover the snowflake.

foil snoflake burlap ornament 4

Cover with the pressing paper that comes with Hot Melt Sheets.  Heat set with an iron set to a MEDIUM DRY temperature.  DO NOT OVER HEAT.  Iron with firm pressure for 20 seconds.  Let cool completely.foil snoflake burlap ornament 5
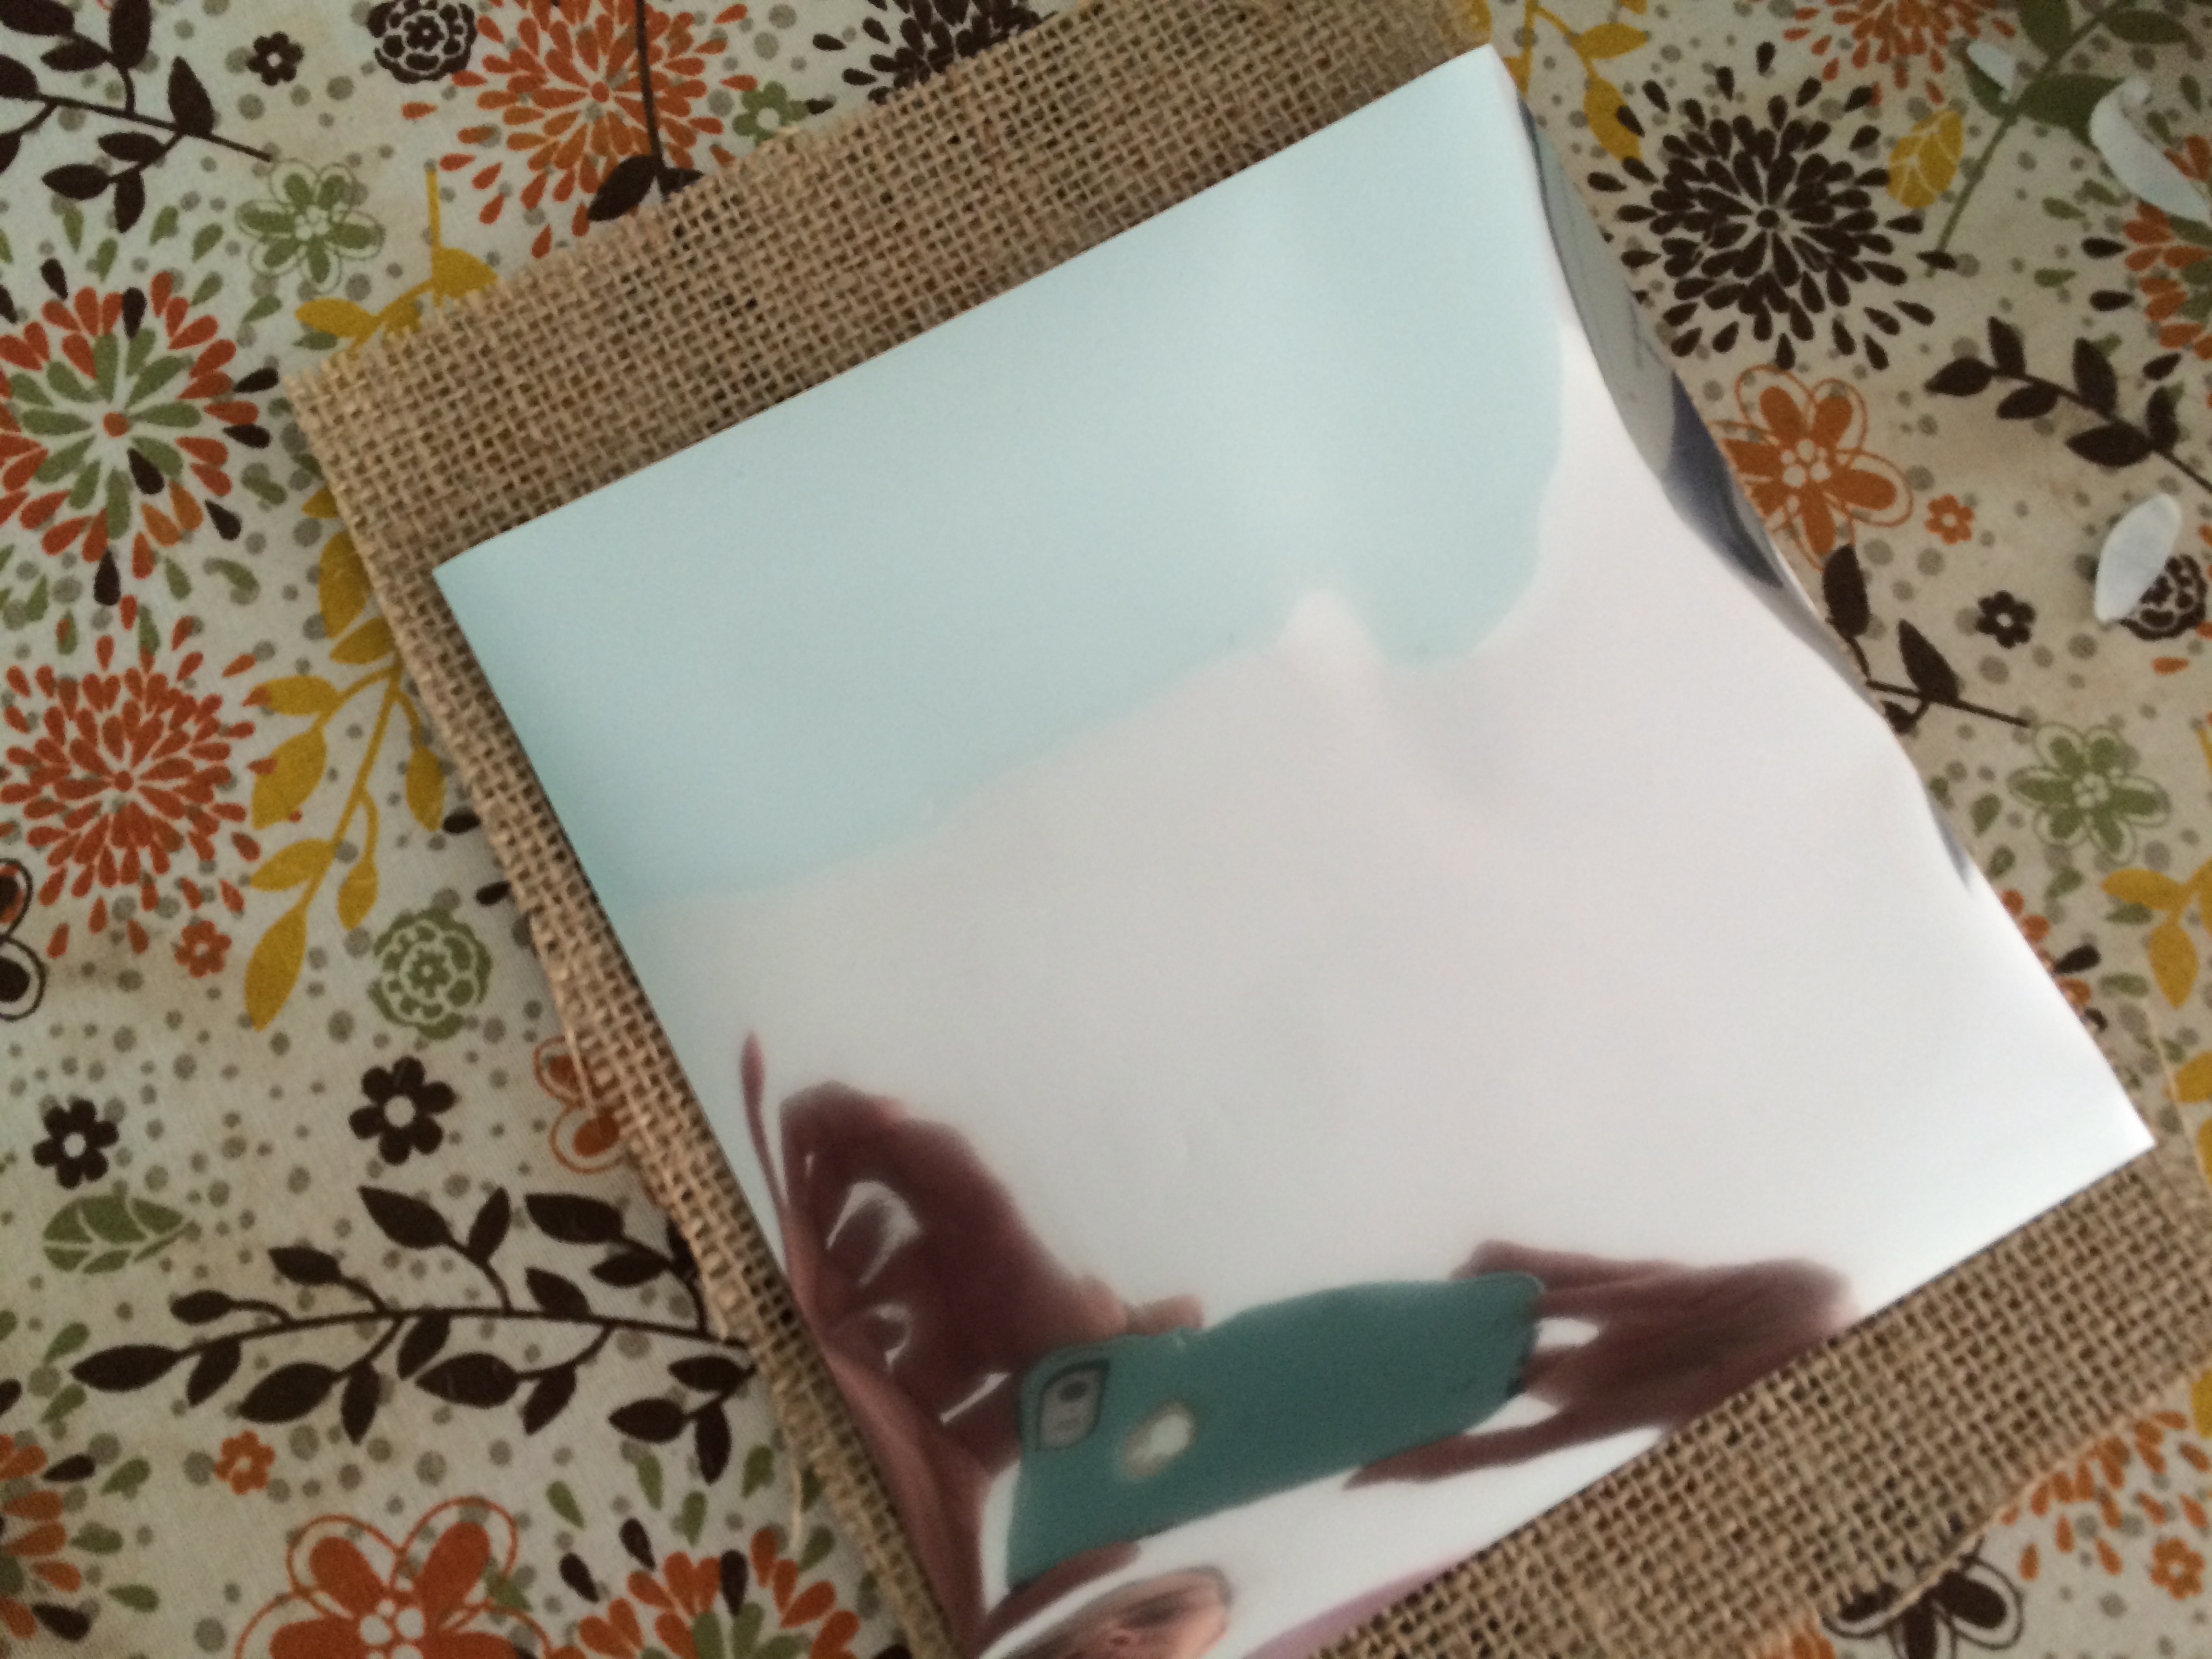
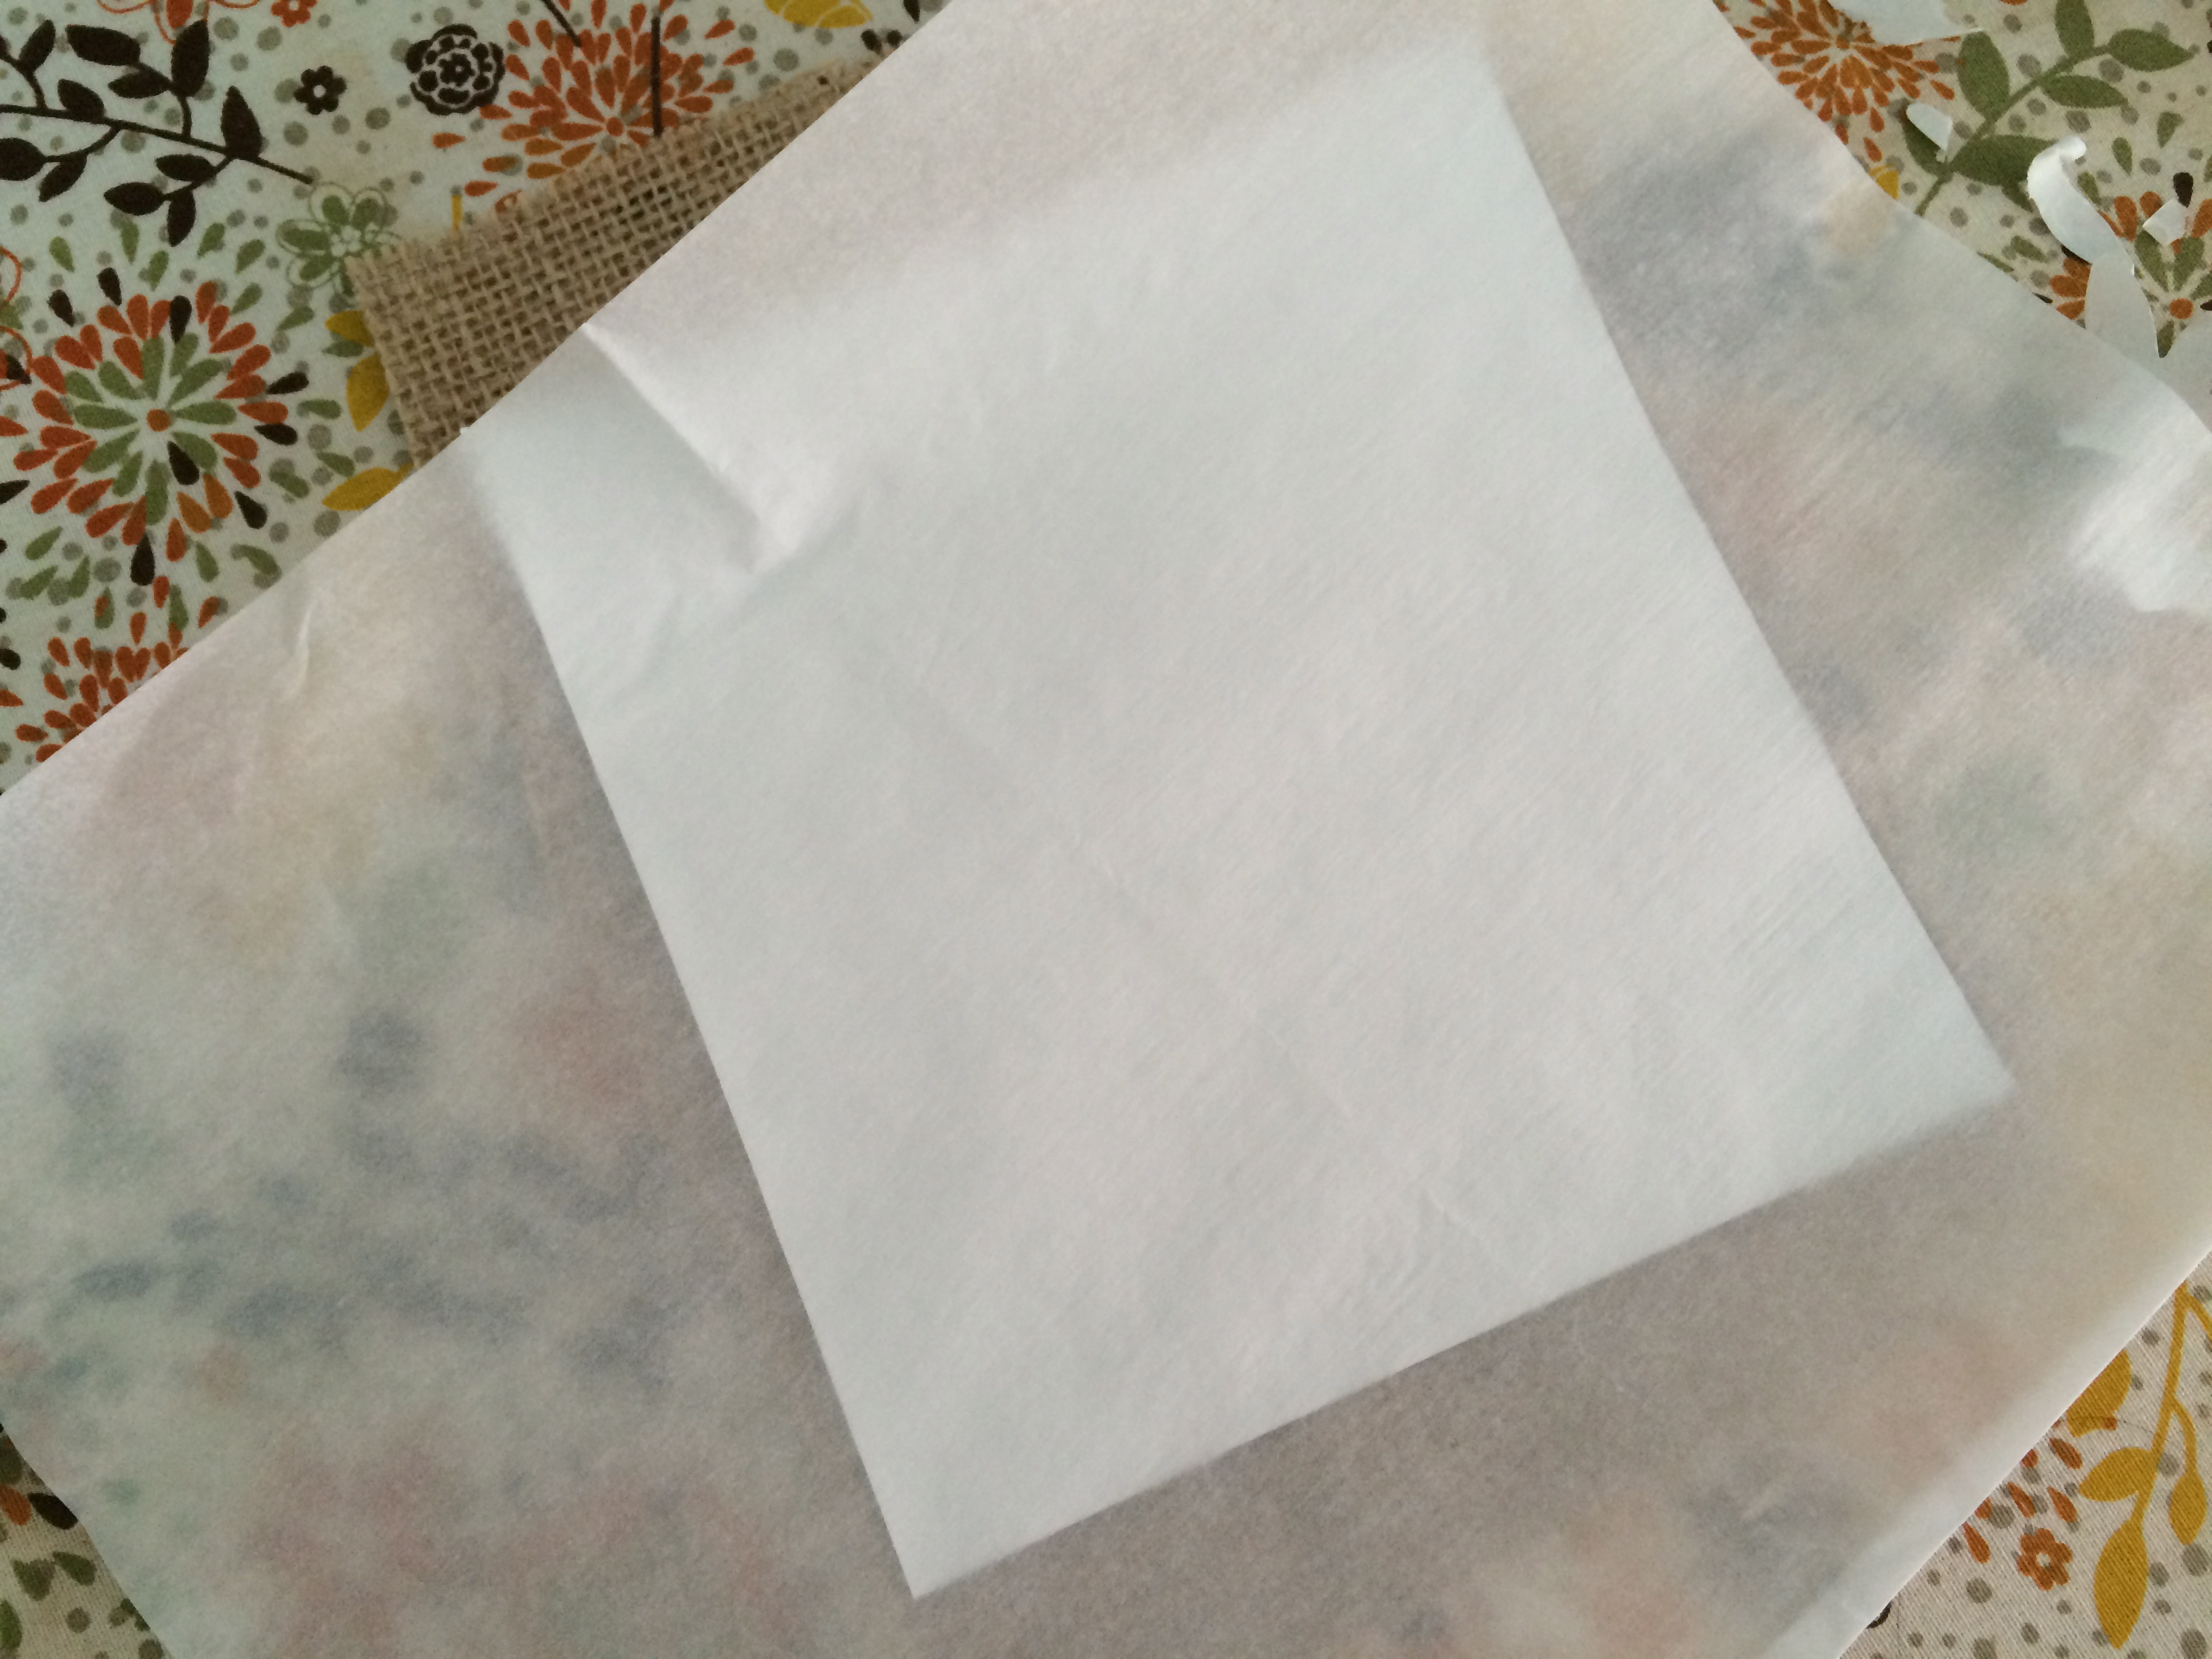
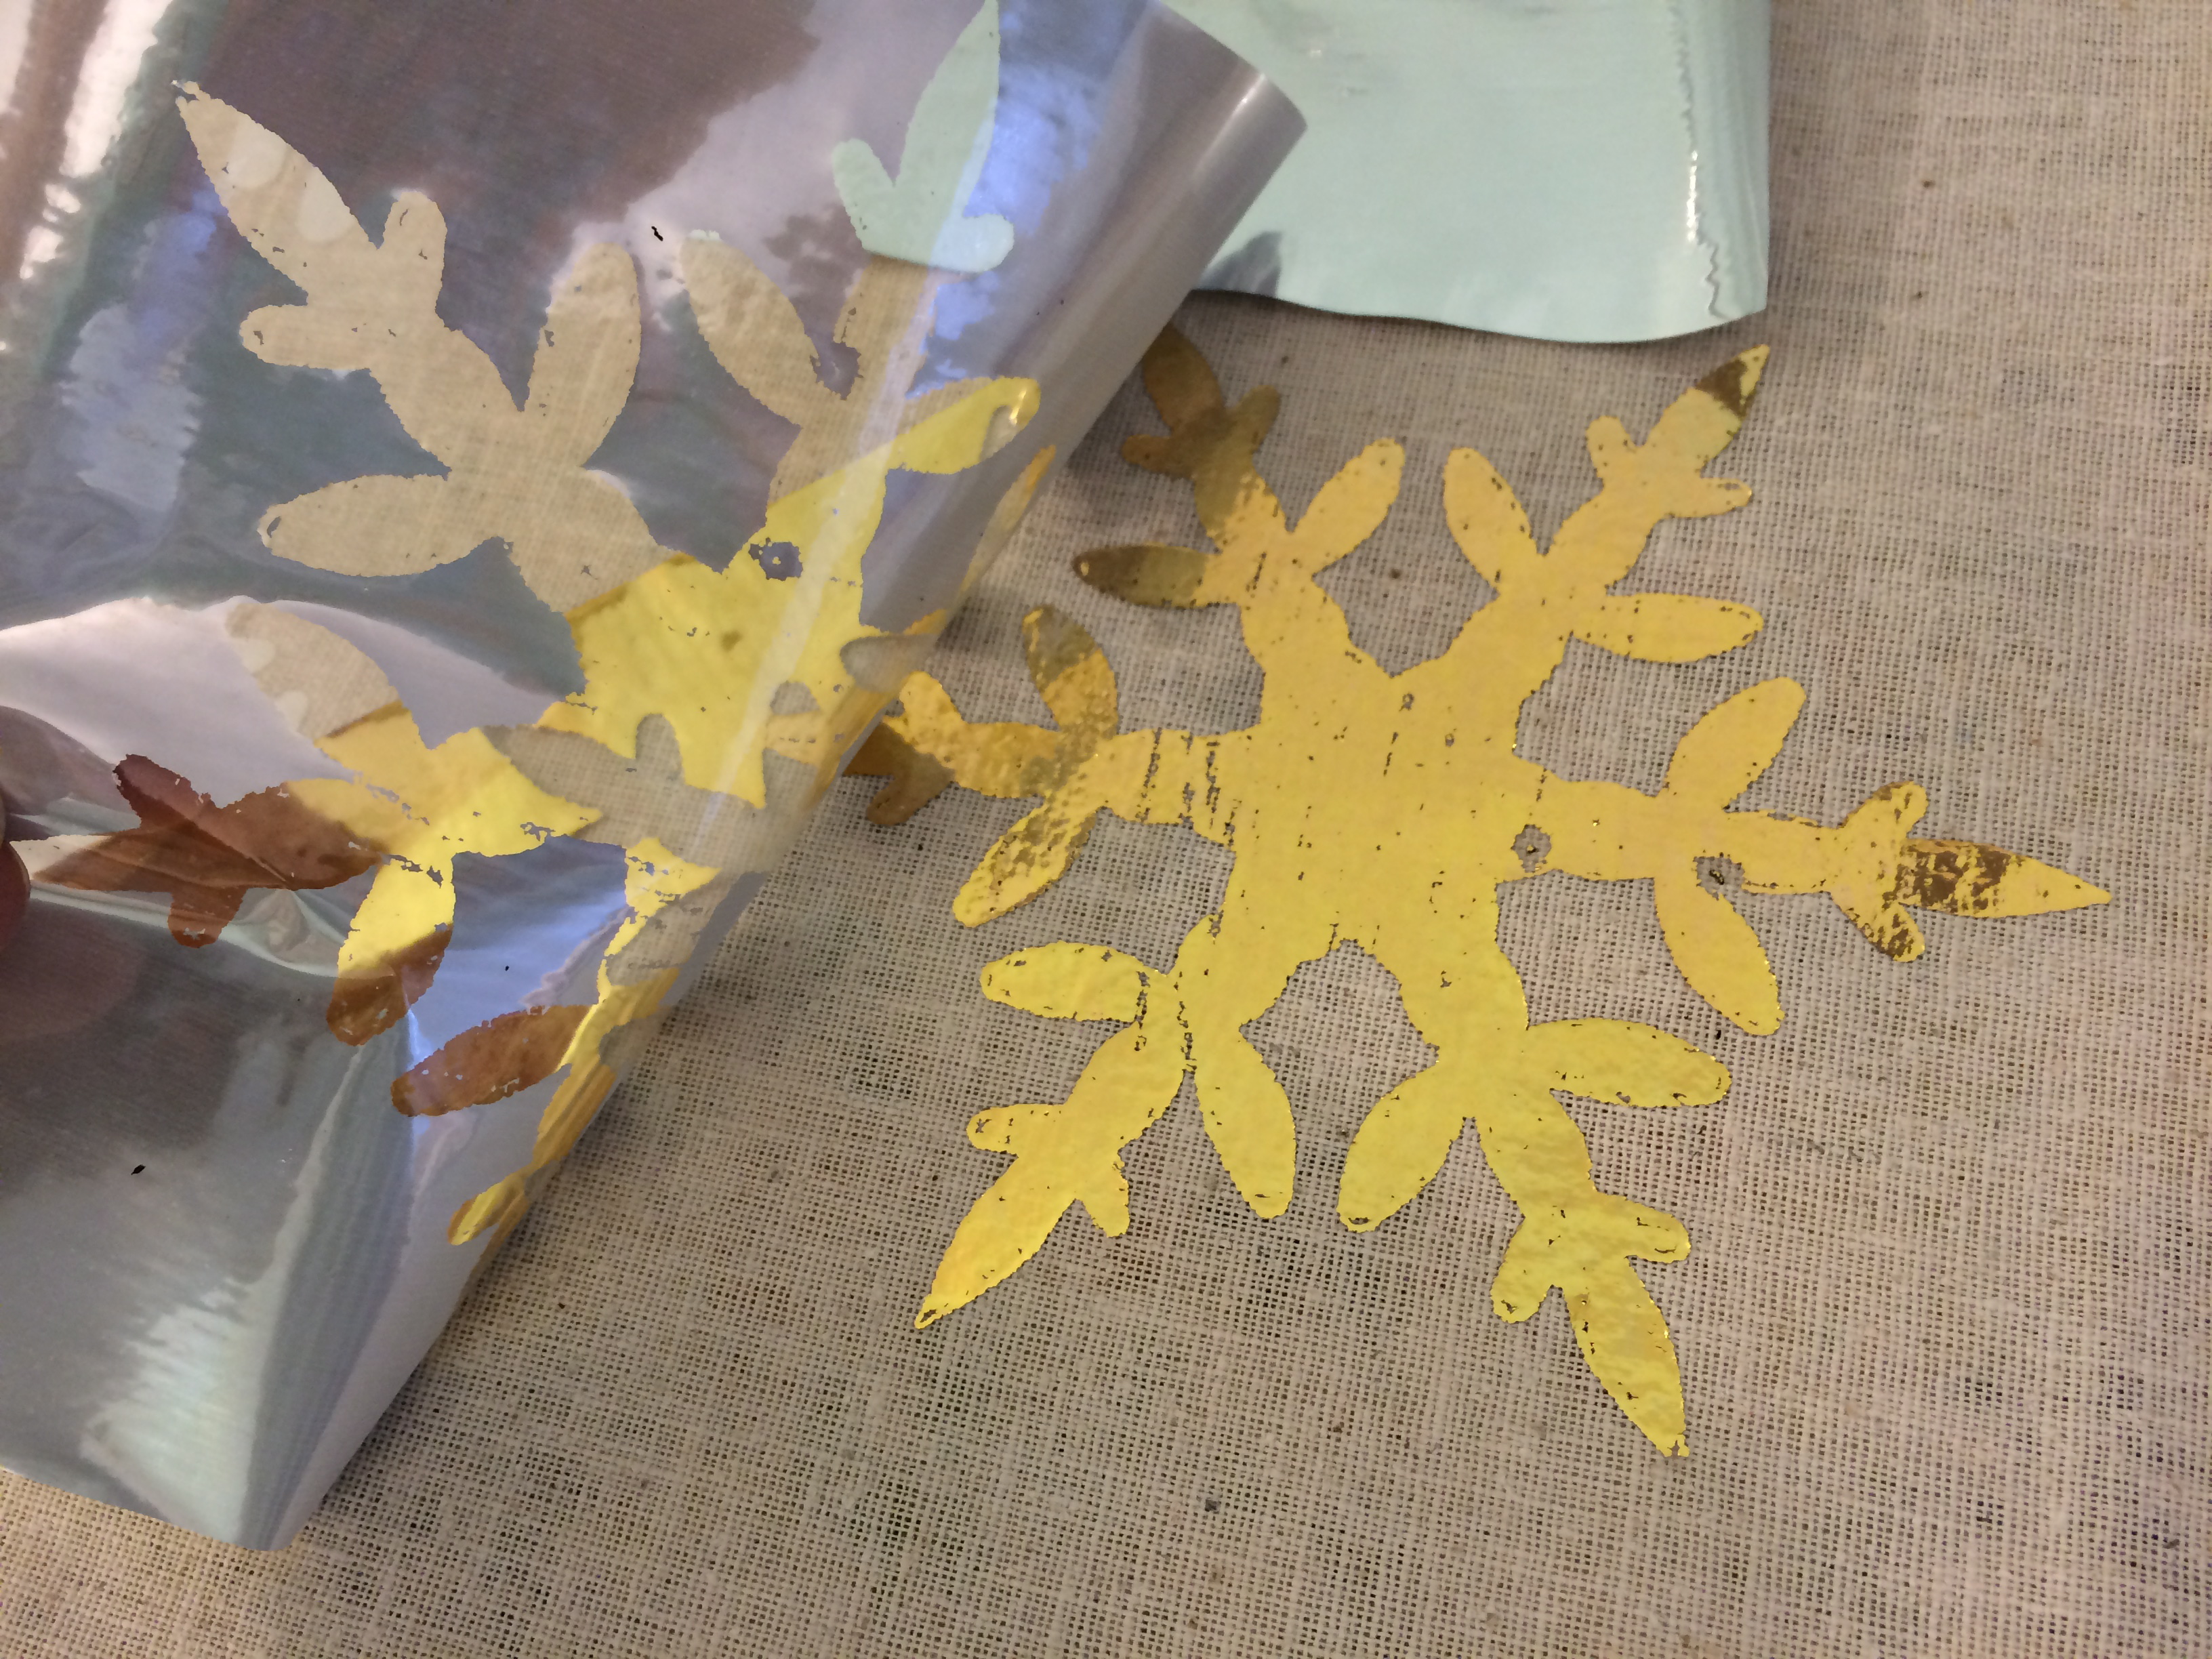
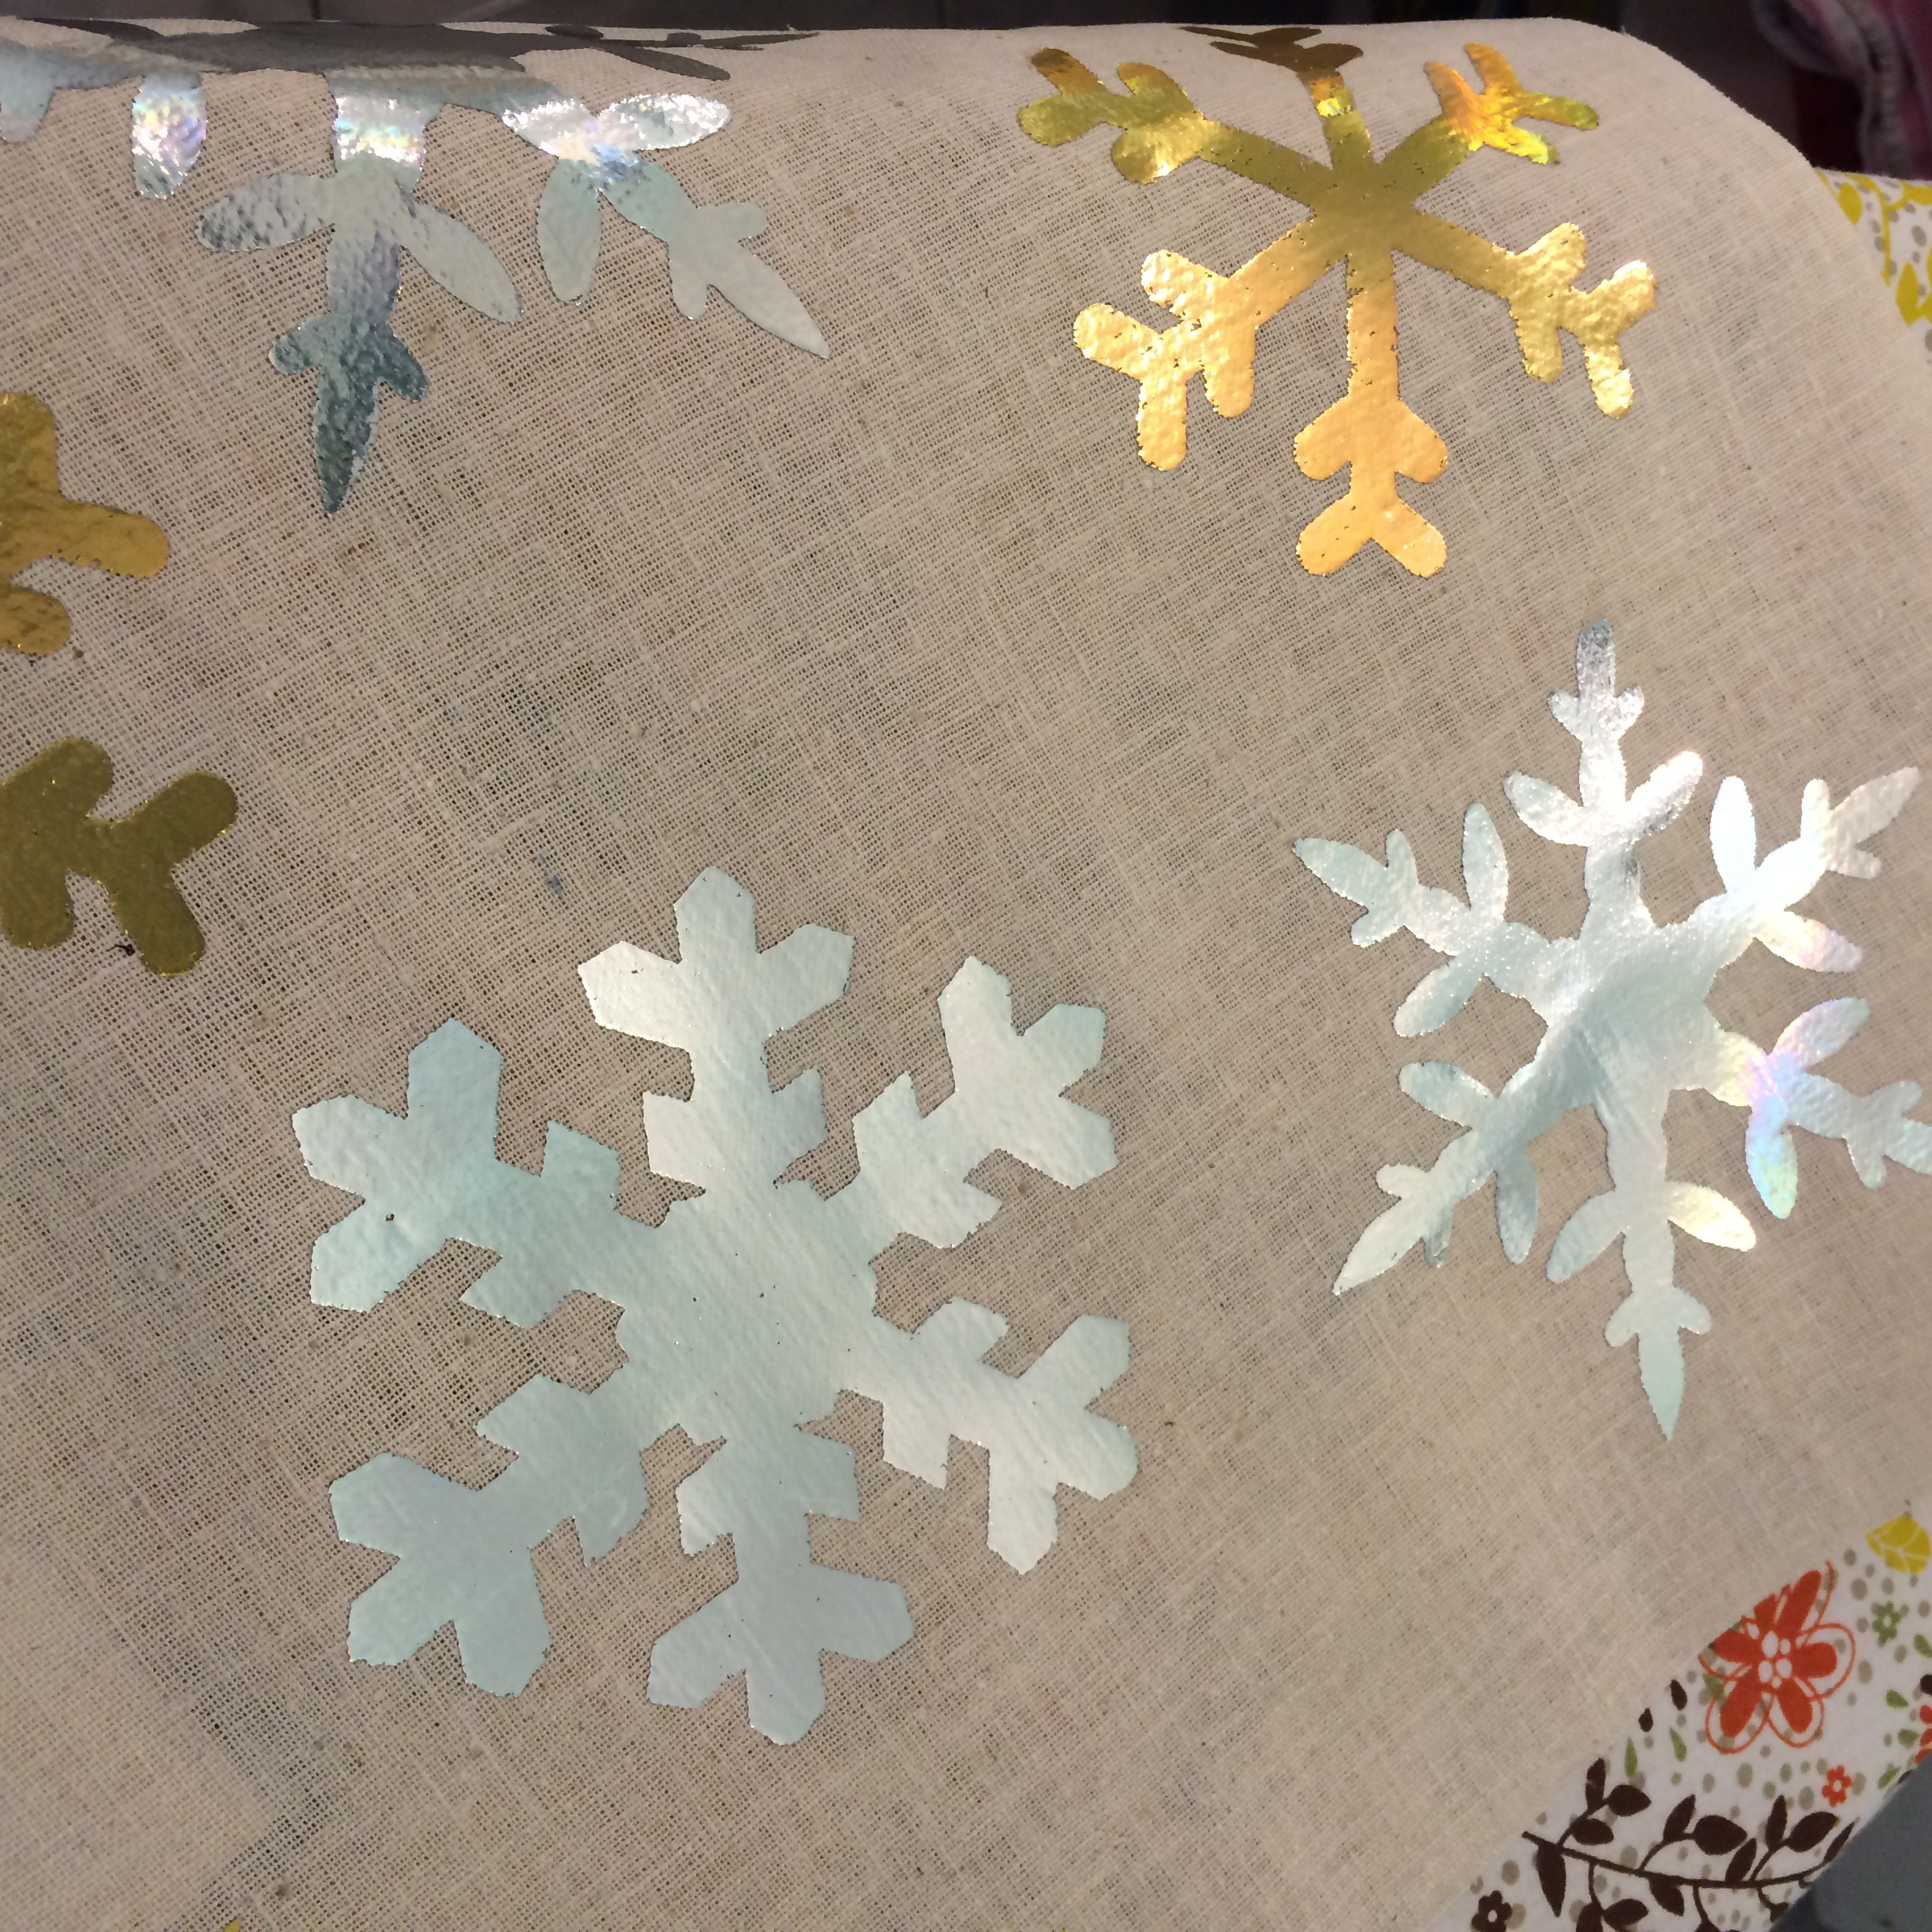
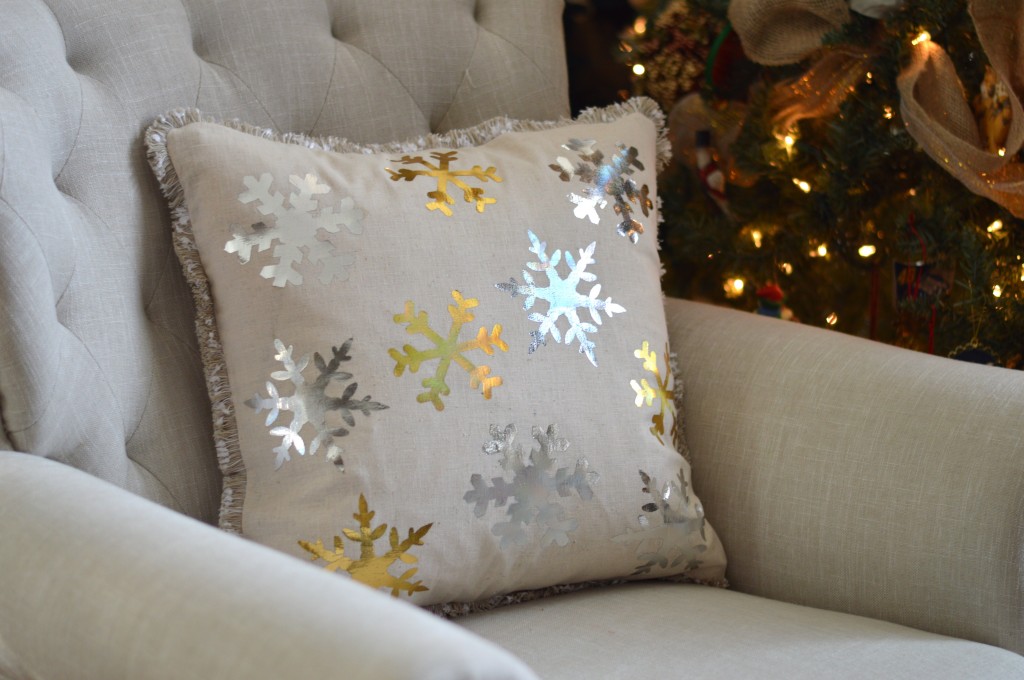
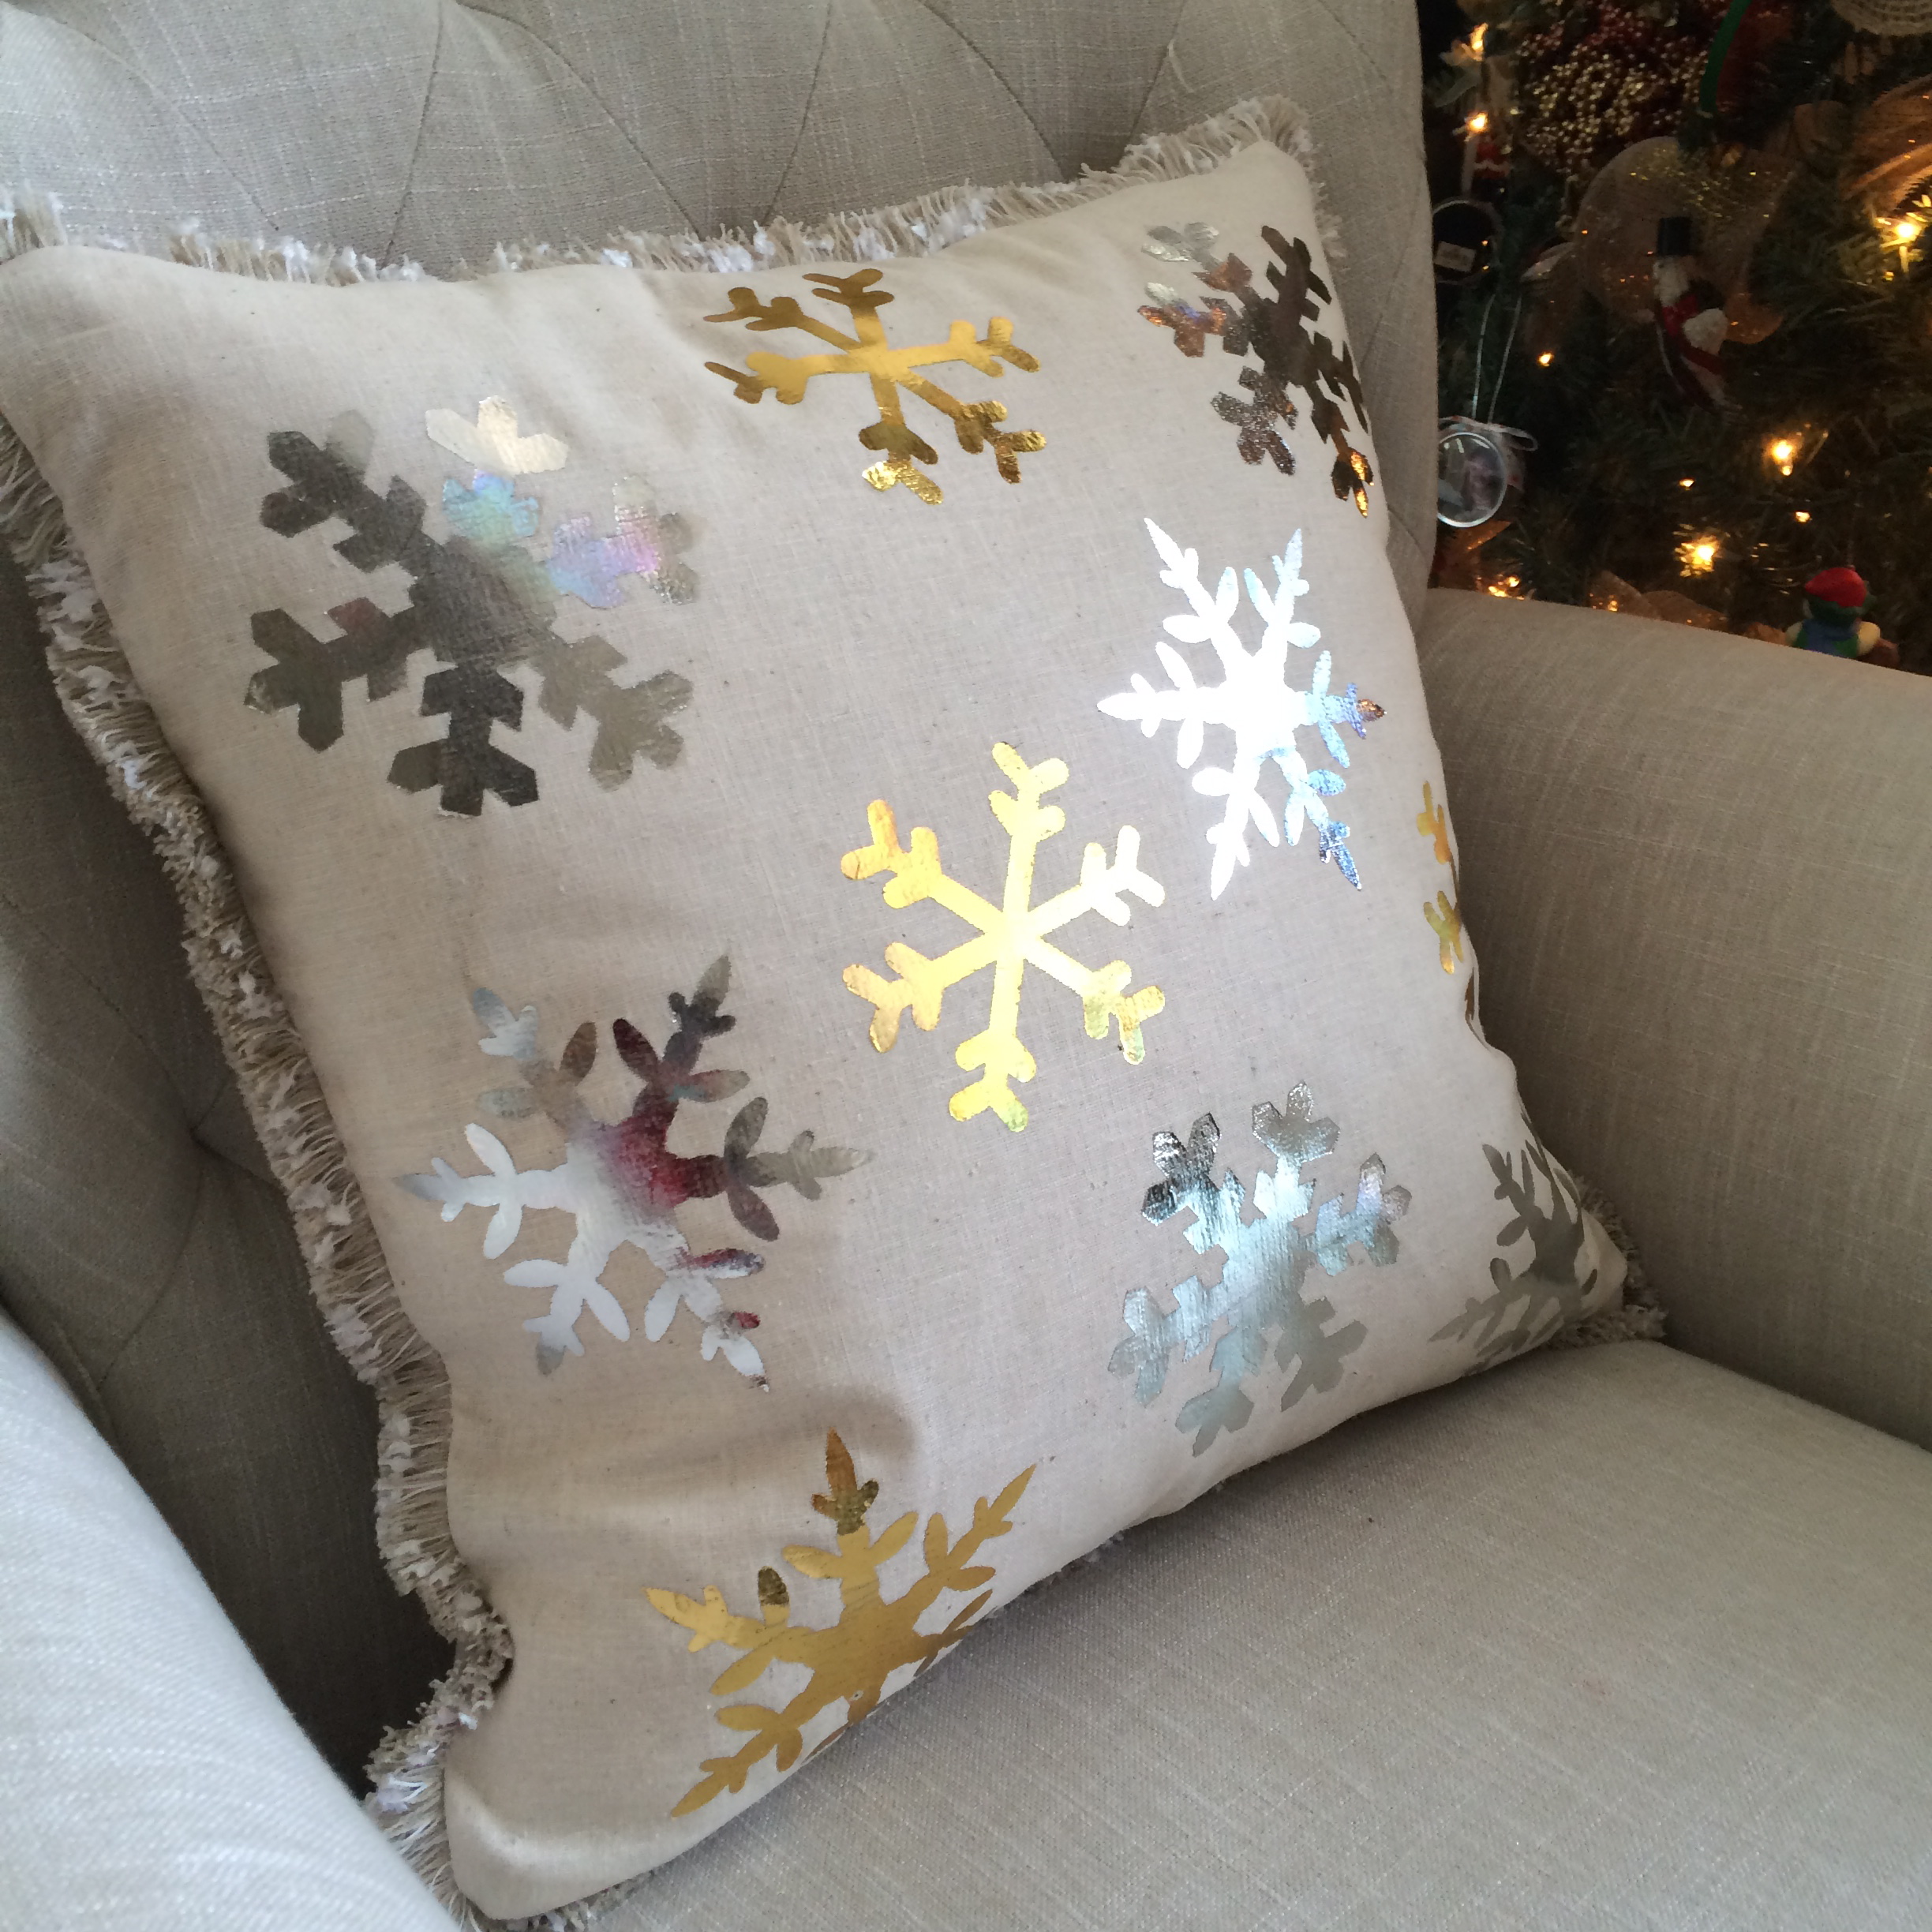
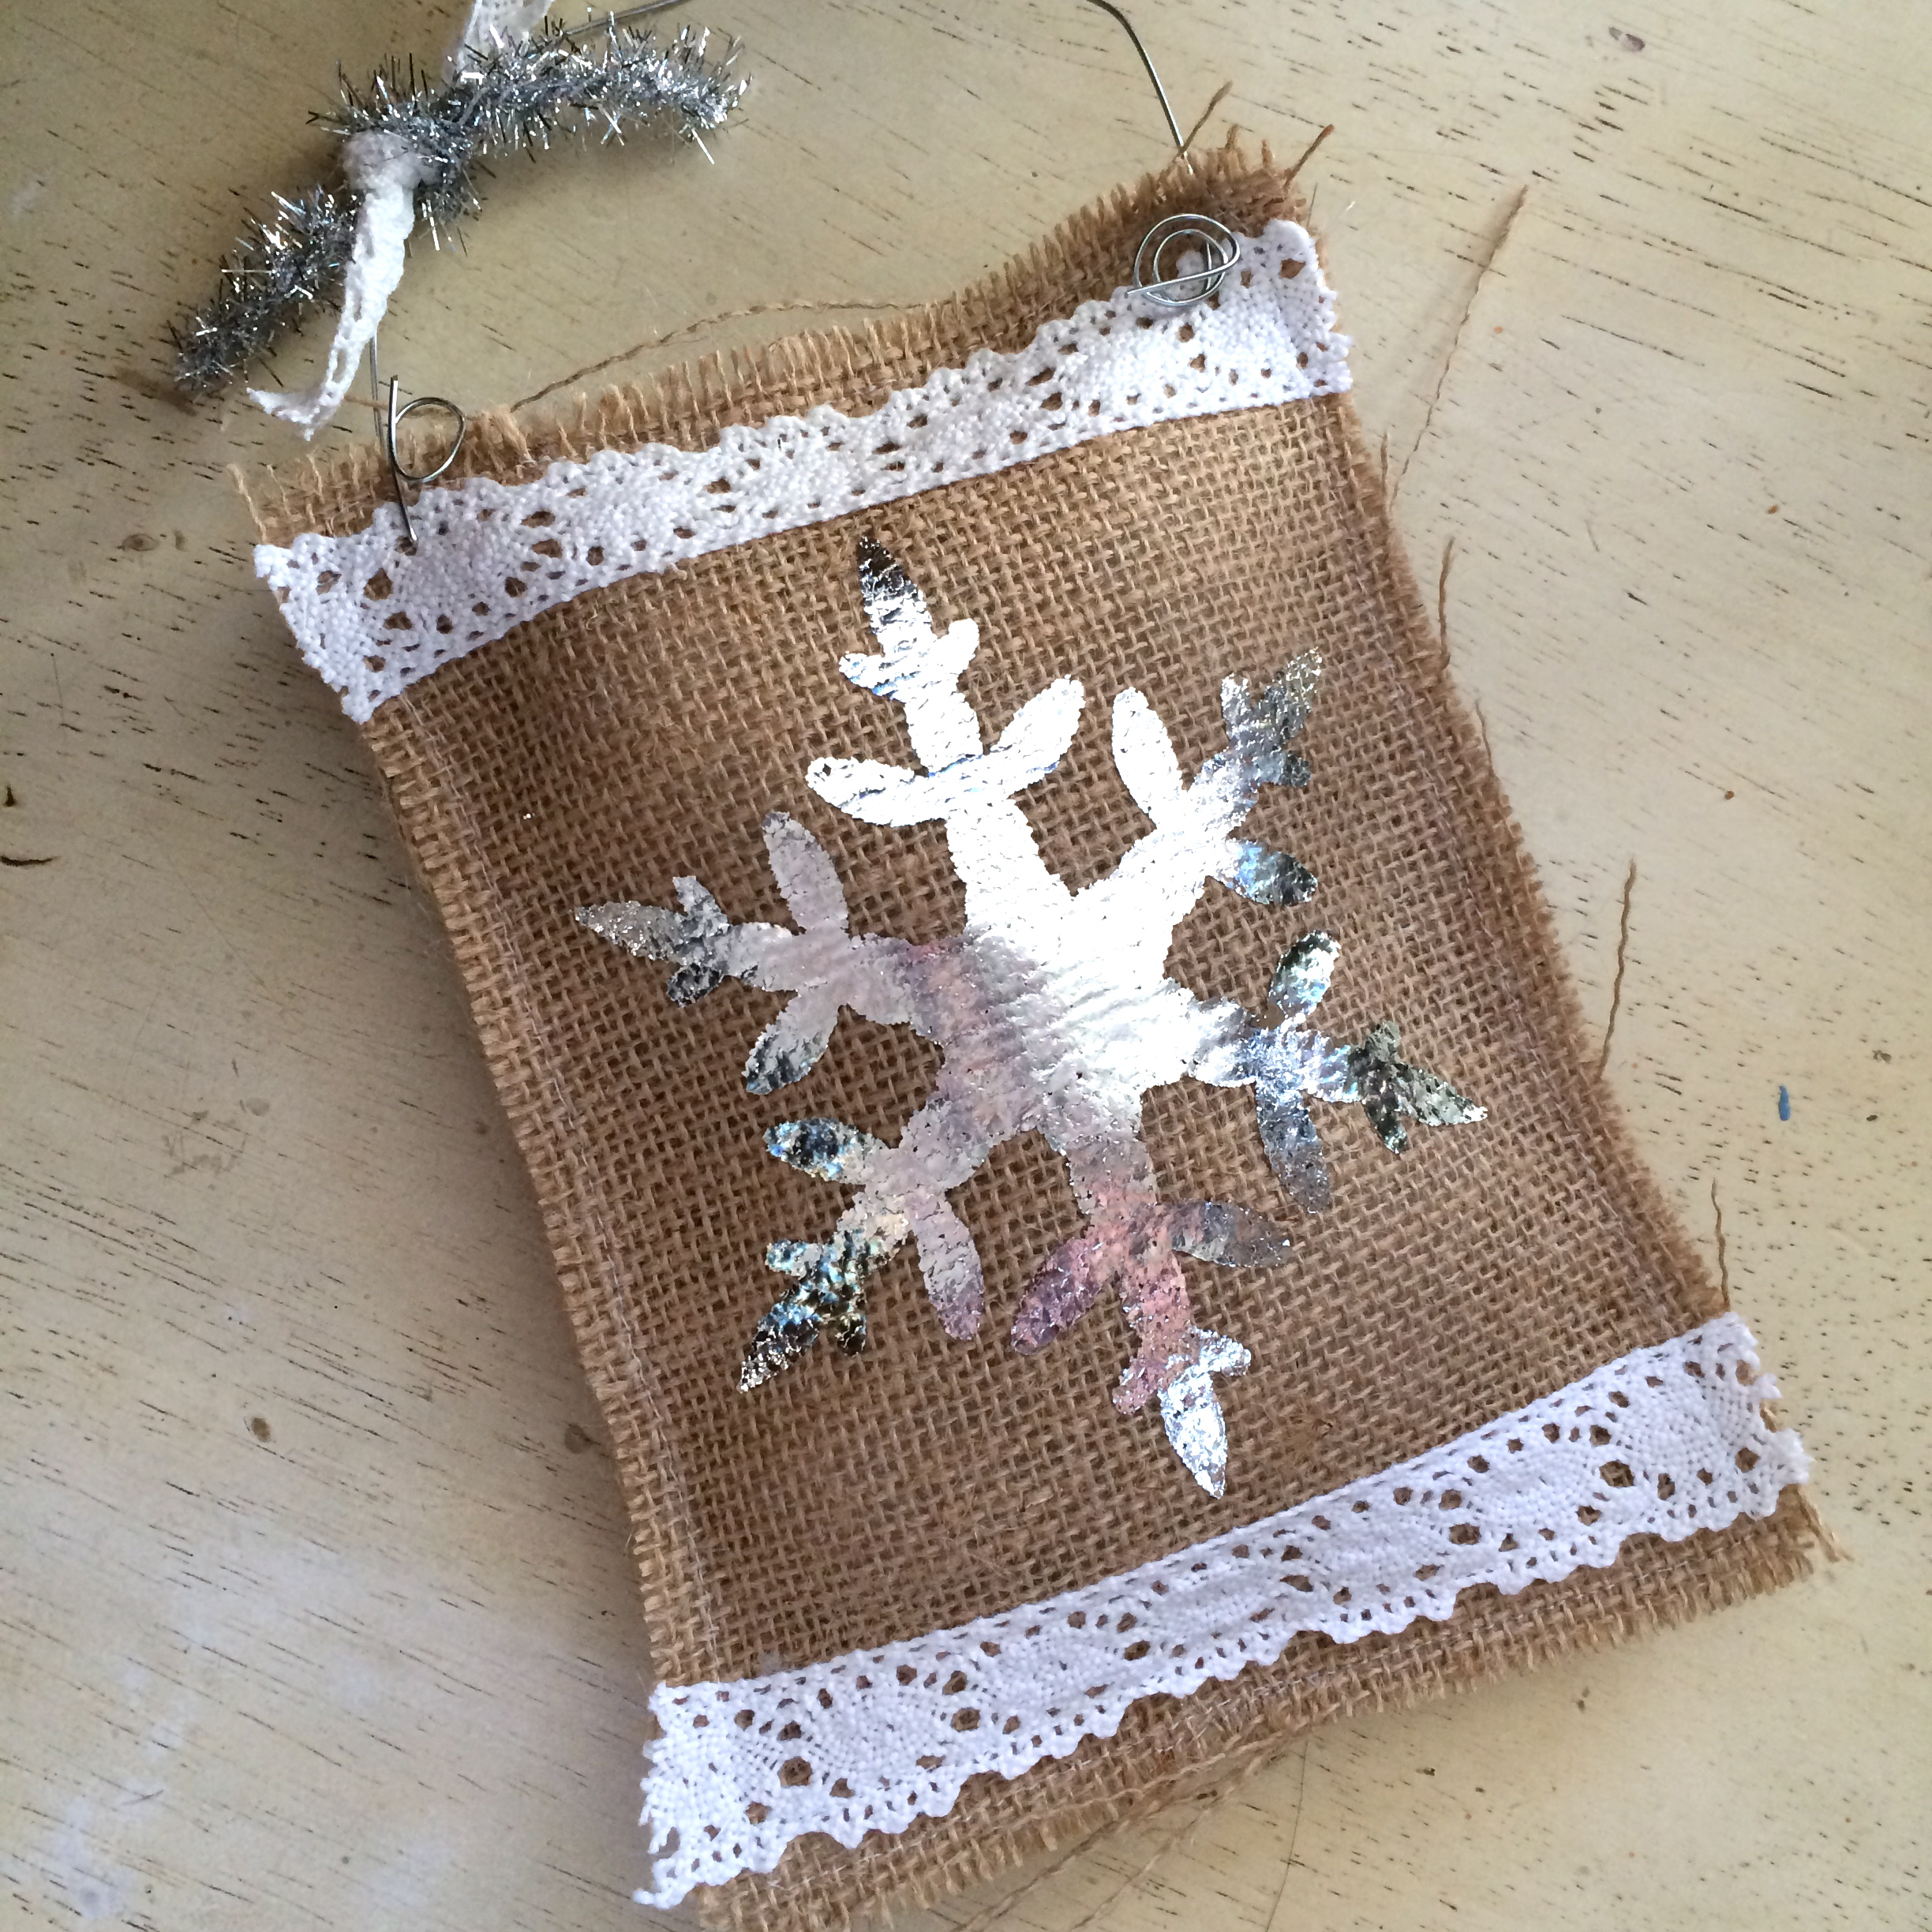
Gently peel off the foil leaving a beautiful snowflake!foil snoflake burlap ornament6

Cut 2 pieces of lace the 6″ and use Spray n Bond to position.  Sew lace on using white thread.
foil snoflake burlap ornament 8Pin the front piece to the back piece wrong sides together.  Top stitch all the way around the little pillow 1/4″ from the edge.  Leave a 2″ opening at the bottom.  Lightly stuff the pillow and sew the opening shut.

foil snoflake burlap ornament 18

Add a piece of wire and tie a decorative bow.  I like my burlap to look frayed, you can trim if you like a neater look 🙂

foil snoflake burlap ornament 10Take them to all your friends!!

Tinsel Table Top Quilt

tinsel quilt cover

It’s almost Christmas!!  There is still time to whip up a few last minute gifts!  I love this pattern because it shows off theme prints so well.  If you didn’t know, I LOVE theme prints!  Especially if they have cats!  I love this fabric by Cotton and Steel called Tinsel.  I couldn’t bring myself to cut it up into tiny pieces.  Click HERE to download the PDF.

tinsel quilt. 11

tinsel quiltThere are two versions you can make.  A table runner or a table square.

tinsel quilt. 5I love that the fabric has “Sally’s Christmas List”  because I have a Sally 🙂tinsel quilt. 3I quilted it with loops and retro stars.tinsel quilt. 4The runner is for me!!tinsel quilt 18And the square is for Mufasa’s best friend Roo!

tinsel quilt. 13   tinsel quilt. 6        Baby Mufasa was such a big help!!!  IMG_3043

Noel Mini Quilt

noel cover

Hello, my name is Amanda and I am addicted to gingerbread cookies and Christmas sewing!  I love this time of year!!!  It’s so happy and magical and joyful!  I can’t stop listening to Christmas music, baking cookies, or sewing with this Little Joys Fabric from Penny Rose!  I created this little quilt pattern using Therm o Web’s EZ print sheets.  All you have to do is print the applique pieces from your computer and you’re already on your way to making this quilt!  noel quilt 3

Mufasa was very helpful in the creation of this quilt as you can see.noel quilt 4The pattern is over on the Therm O Web blog today!  Hop on over to download the pattern and get the cutting instructions!!

noel quilt 5This quilt is perfect to hang on a wall, put on a table, or give as a gift to someone special.

noel quilt 13Because most of this quilt is applique, I didn’t want the applique pieces to puff out from the quilt so I quilted over the entire top.

noel quilt 11Merry Christmas!!


Santa’s Little Helper Quilt

santa's little helper quilt patternHey good lookin’!  Whatcha got cookin’? How ’bout cookin’ somethin’ up for me!

Stitchn_Kitchen_Christmas_Blog_Tour-01I’m so excited to be participating in Riley Blake’s Stitchin’ Kitchen blog tour!  Thanks for stopping by and welcome to my little corner of blog land!!!  I’m a Southern California mom who loves cats, quilting and sewing!!  You can follow Mufasa and I and our sewing antics on Instagram @jedicraftgirl.

christmas elf quilt 6I love sewing at Christmas time and I am loving all the amazing projects everyone is creating as part of the Riley Blake Stitchin’ Kitchen Blog Tour!  I created this fun little throw quilt with inspiration from our elf, Ritchie.  My kids love our Elf and they love writing him little notes.  This special Santa’s Little Helper Quilt has a pocket on the back of the quilt for children to leave notes for their elf and for the elf to leave notes in response.  It’s a magical quilt and it was created with a little help from some magical elf friends!

christmas elf quilt 26Let’s get cookin’!  All fabrics are from the Santa Express fabric line.Screen Shot 2015-12-11 at 2.51.25 PM

christmas quiltRecipe yields 1 quilt 32″ x 42″

1/4 ” seam allowances

Ingredients

1/4 yard each:  blue santa, green snowflake, reindeer, and stripe fabrics for strips

1/3 yard solid white for pinwheels

1/3 yard Riley Blake Basics prints in red

1/4 yard for pocket

1 1/2 yard backing

batting

1/2 yard binding

a sprinkle of elf magic

Directions

Preheat your television to play your favorite Christmas movies while you are bakin’ up this project!

Begin by cutting the red basics and the solid white fabrics into 4 1/2″ squares.  You will need 20 of each.

christmas elf quilt 8Using a sprinkling of elf magic use the directions below to create some magical half square triangles.

magic pinwheel instructions

It’s almost like magic how the half square triangles appear!  Make sure to cut off the little “dog ears” of the pinwheels.christmas elf quilt 12
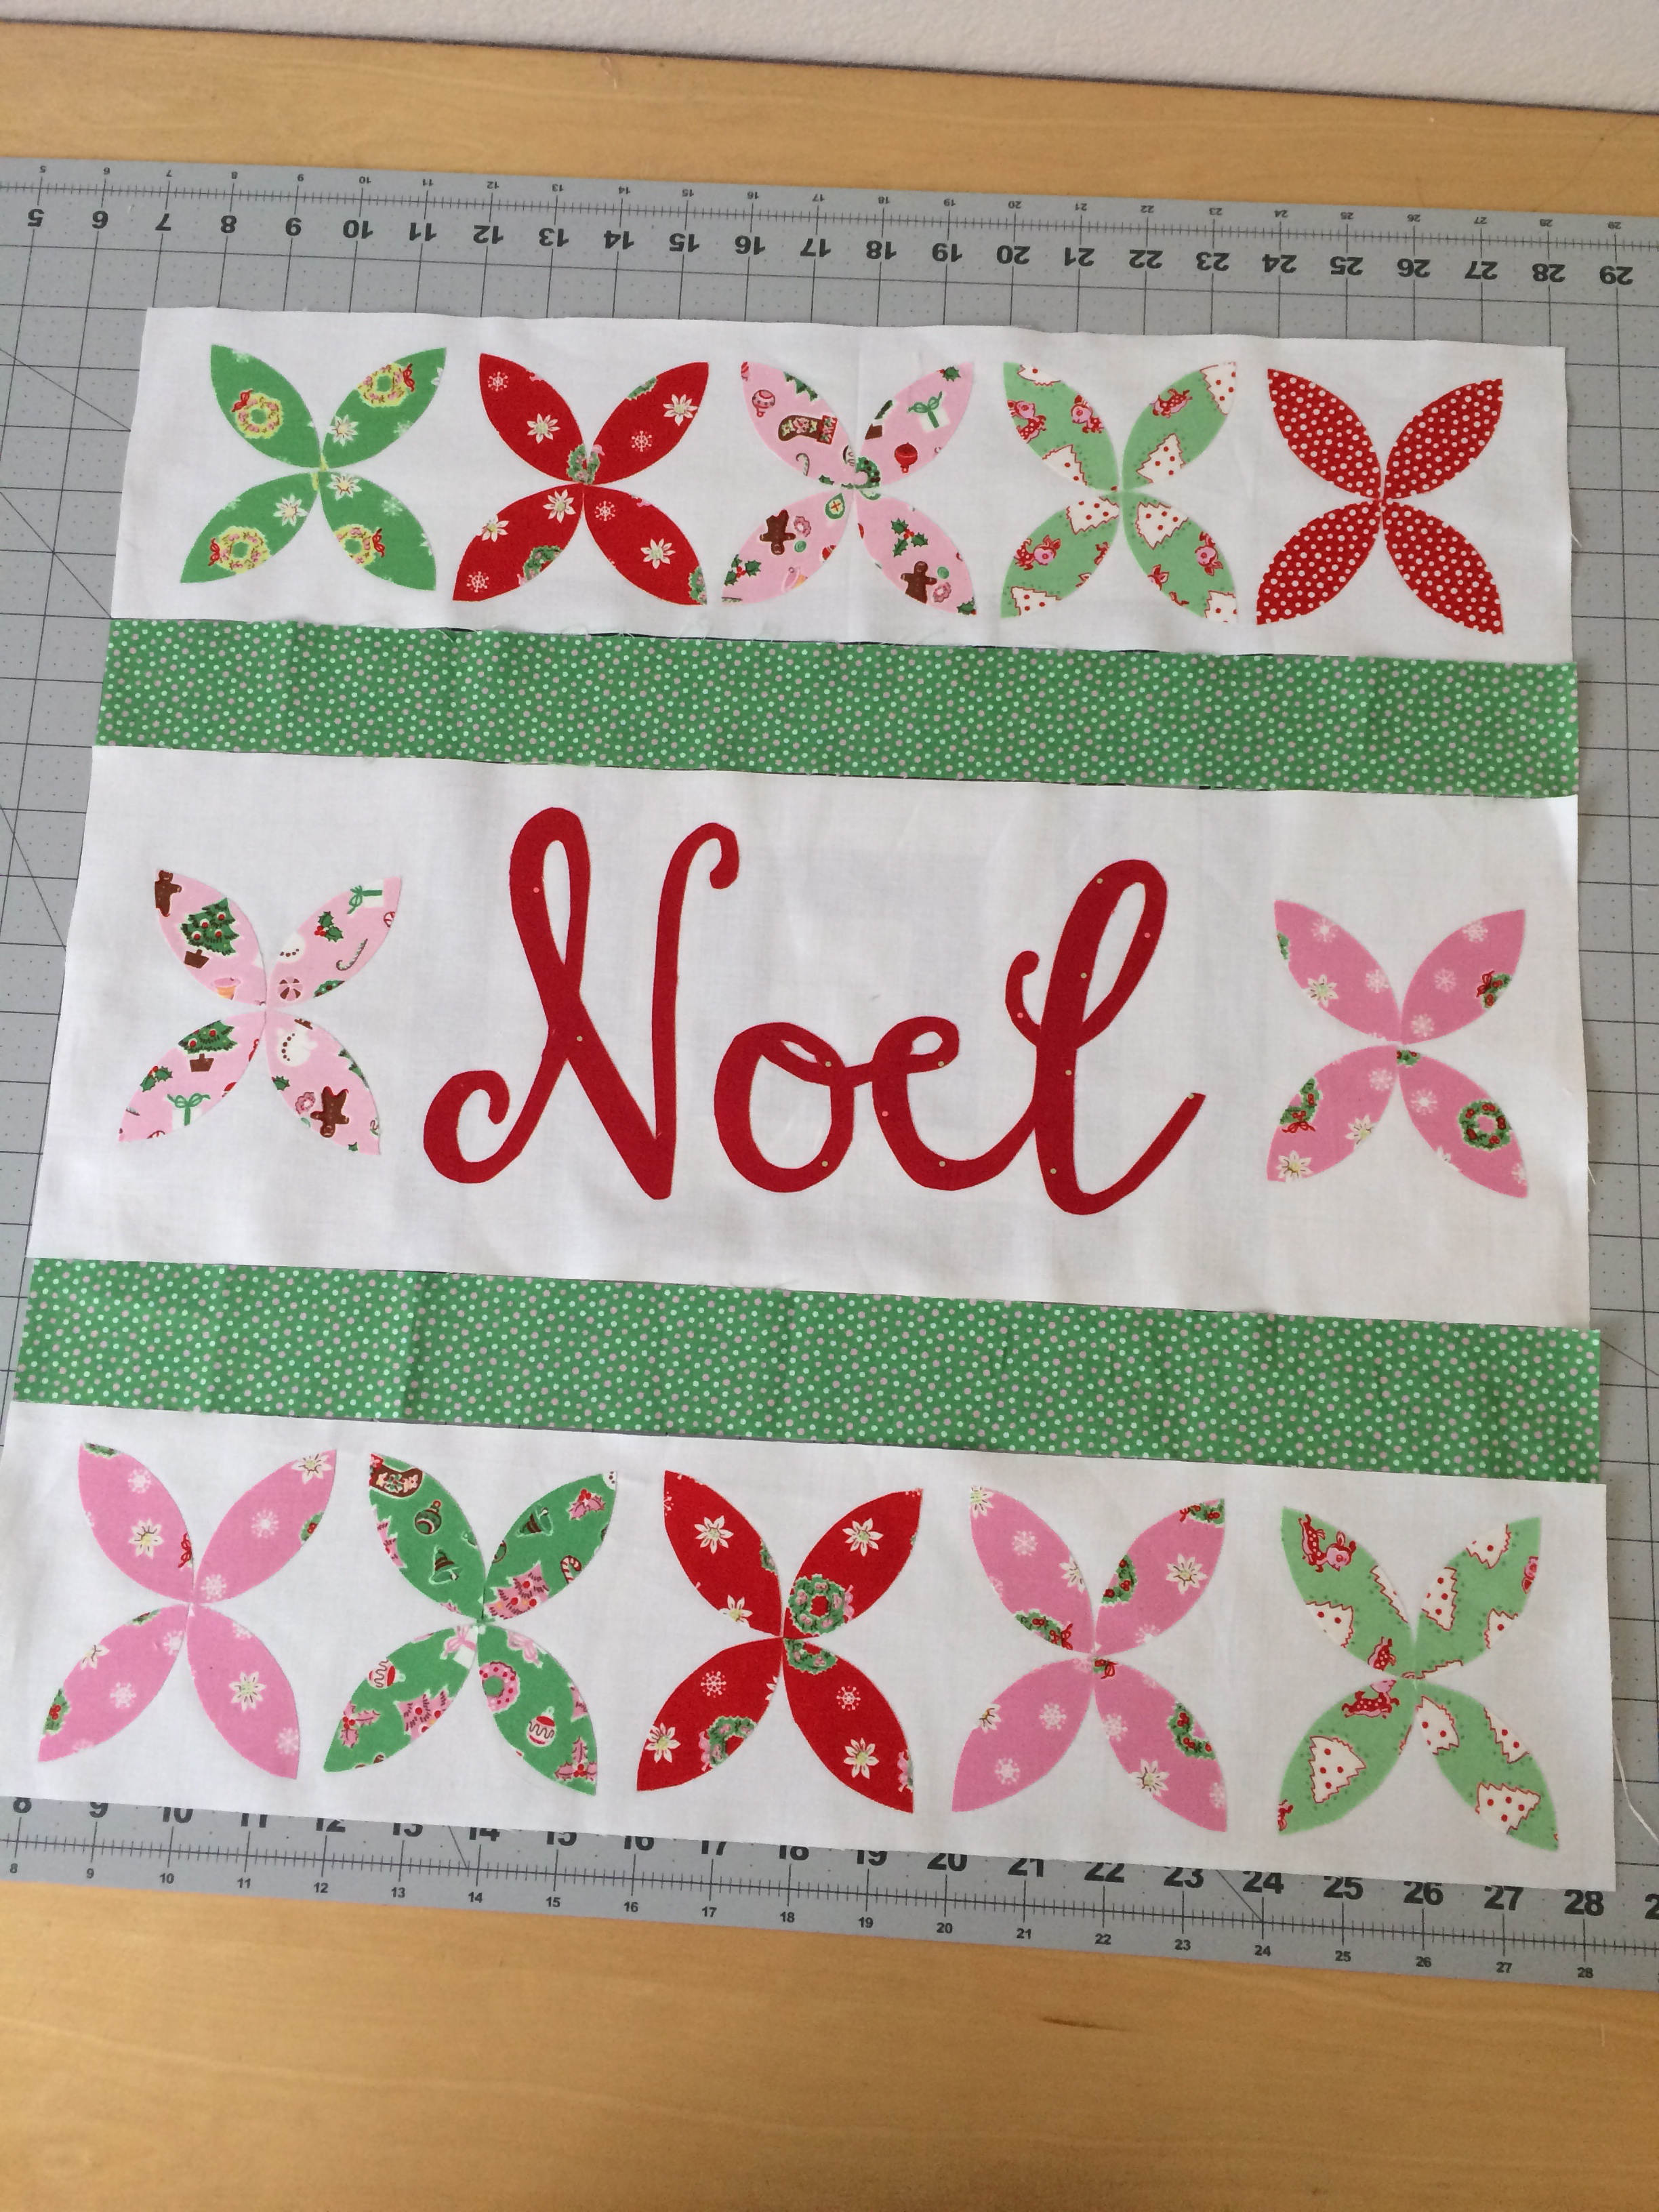
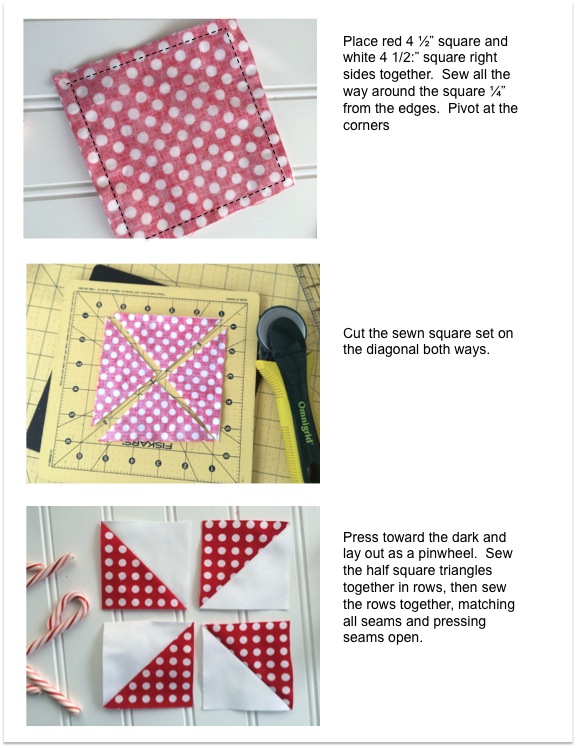
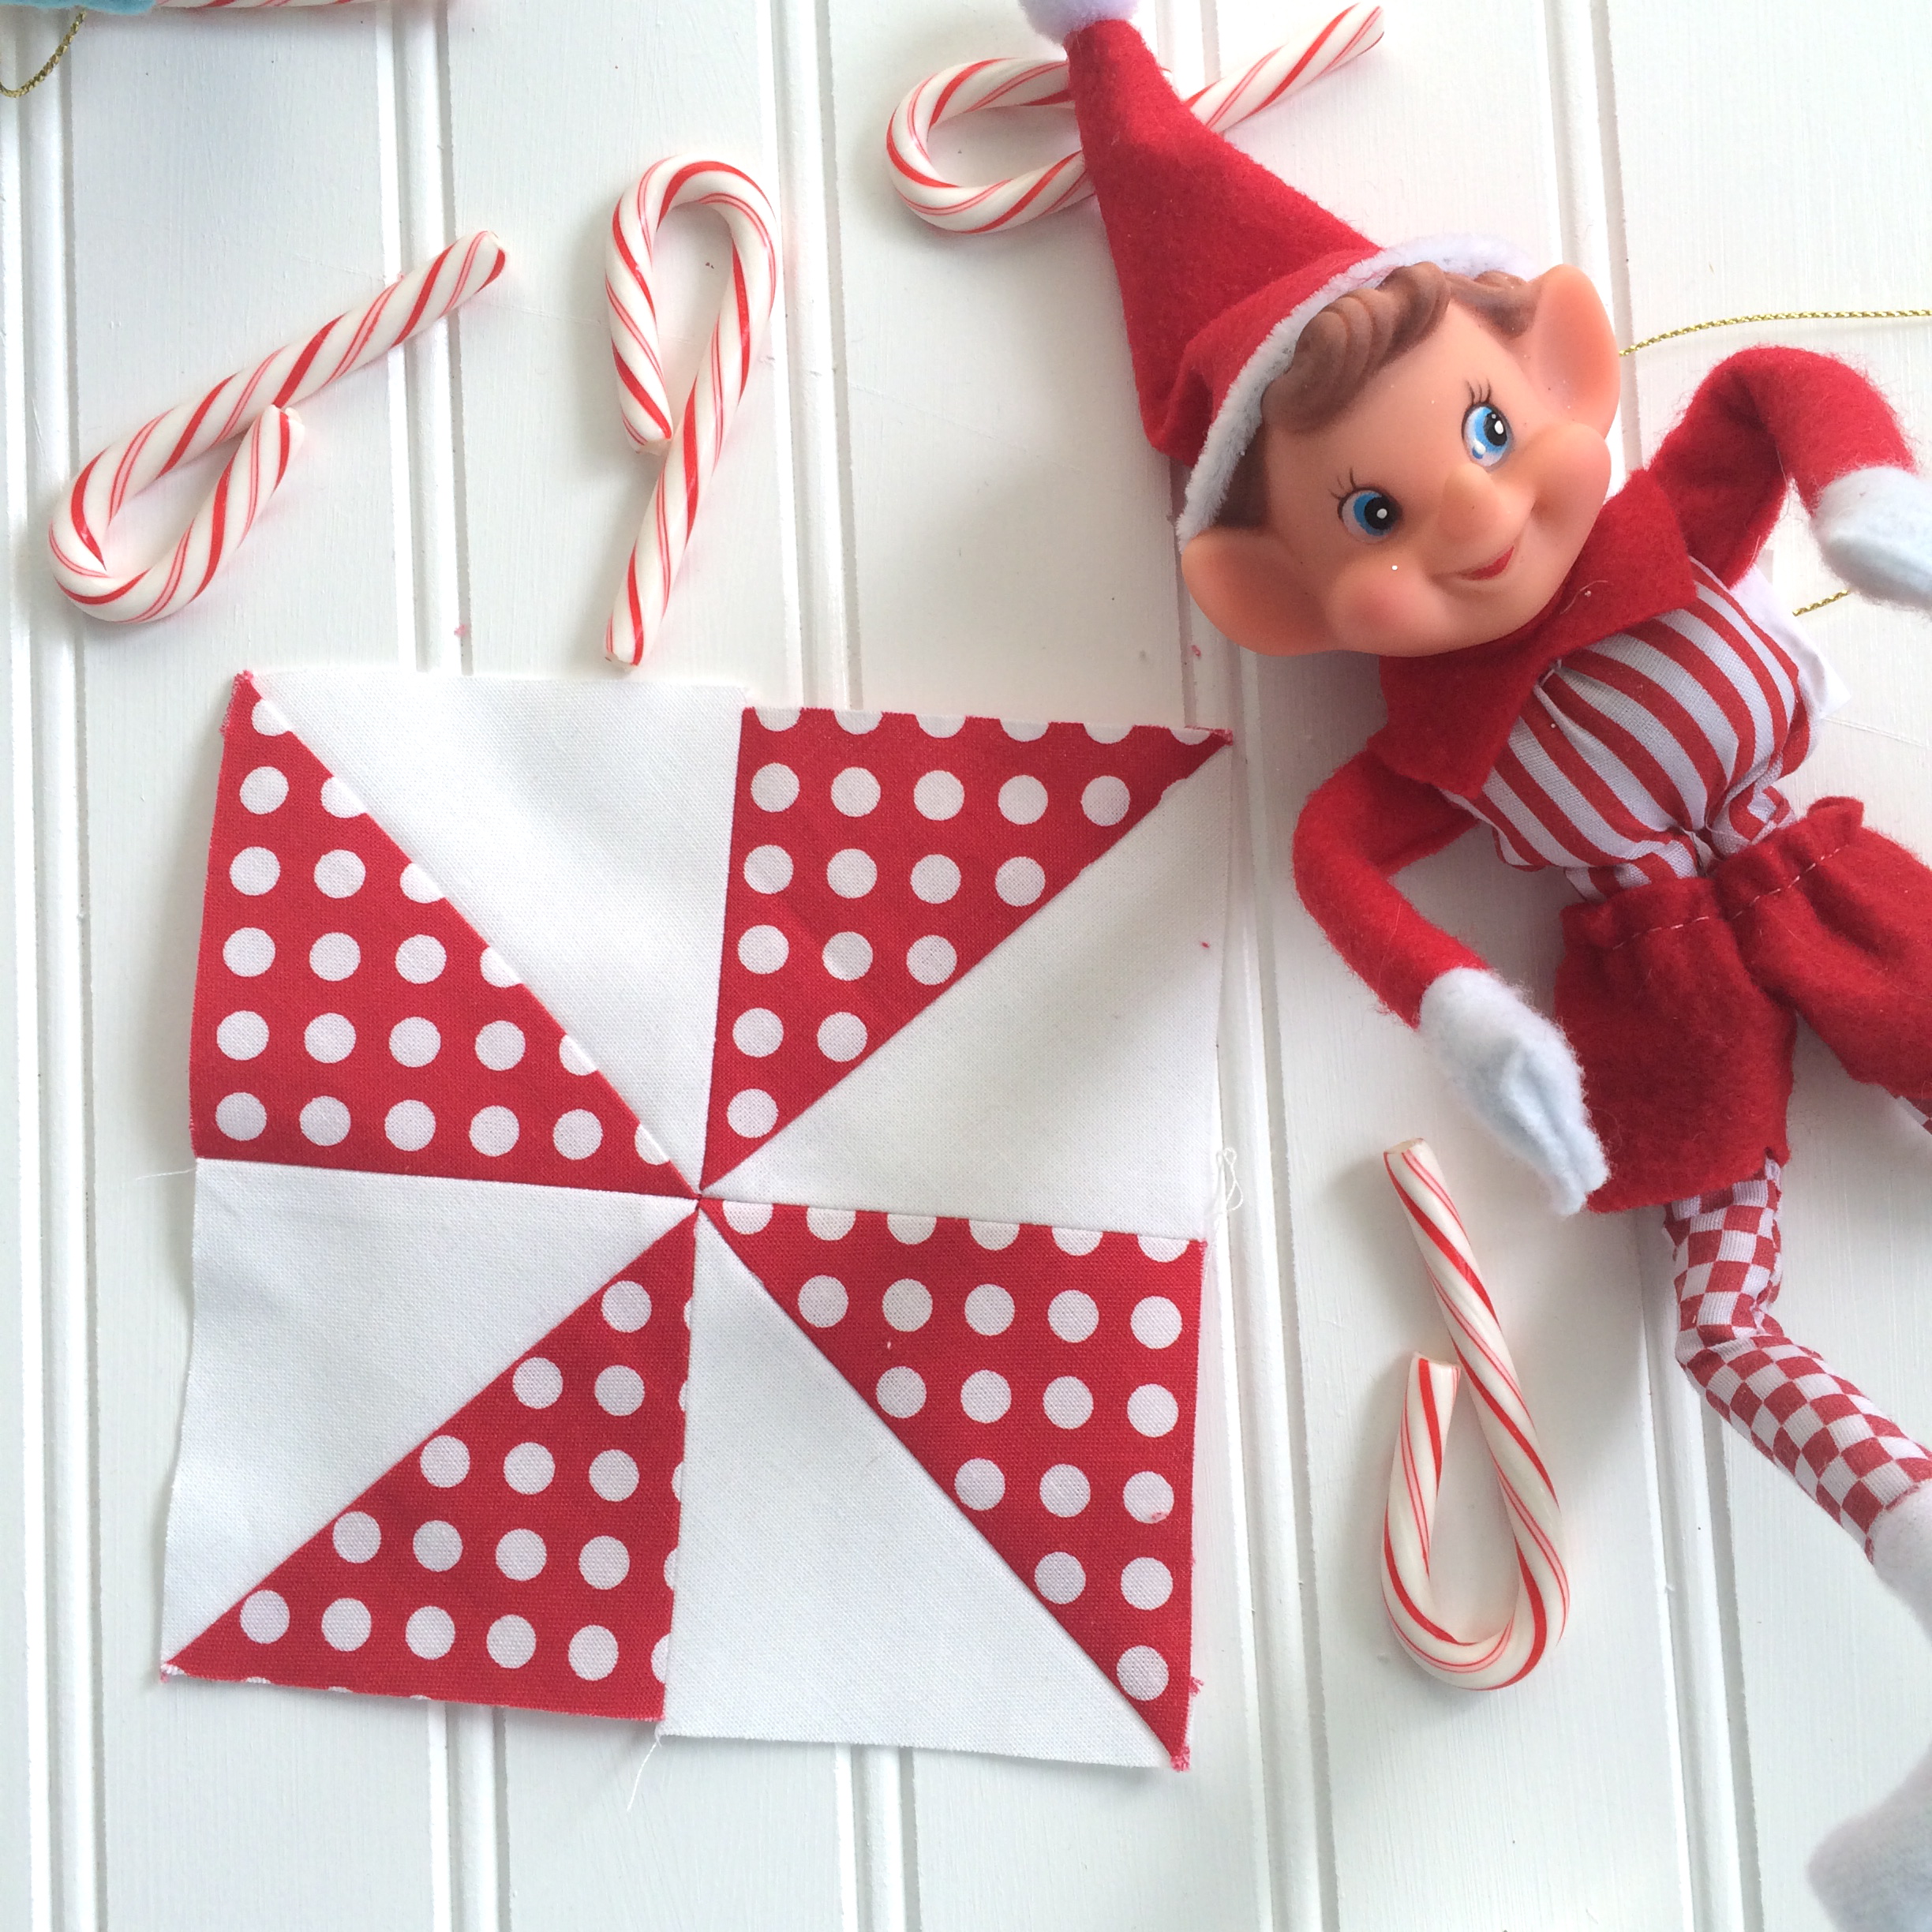
Pressing the seams open helps the pinwheel lay flat.christmas elf quilt 15'

christmas elf quilt 16

Once you have pinwheel blocks constructed (dry ingredients) you can now add them to the side strips (wet ingredients).

pinwheel block sashing instructionsSewing blocks with partial seems also seems a little magical!  Lay the 20 blocks out and sew them together in rows.  Pressing seams alternately and pinning at intersections.

christmas elf quilt 25

Quilt as desired 🙂  Add binding.christmas elf quilt 27
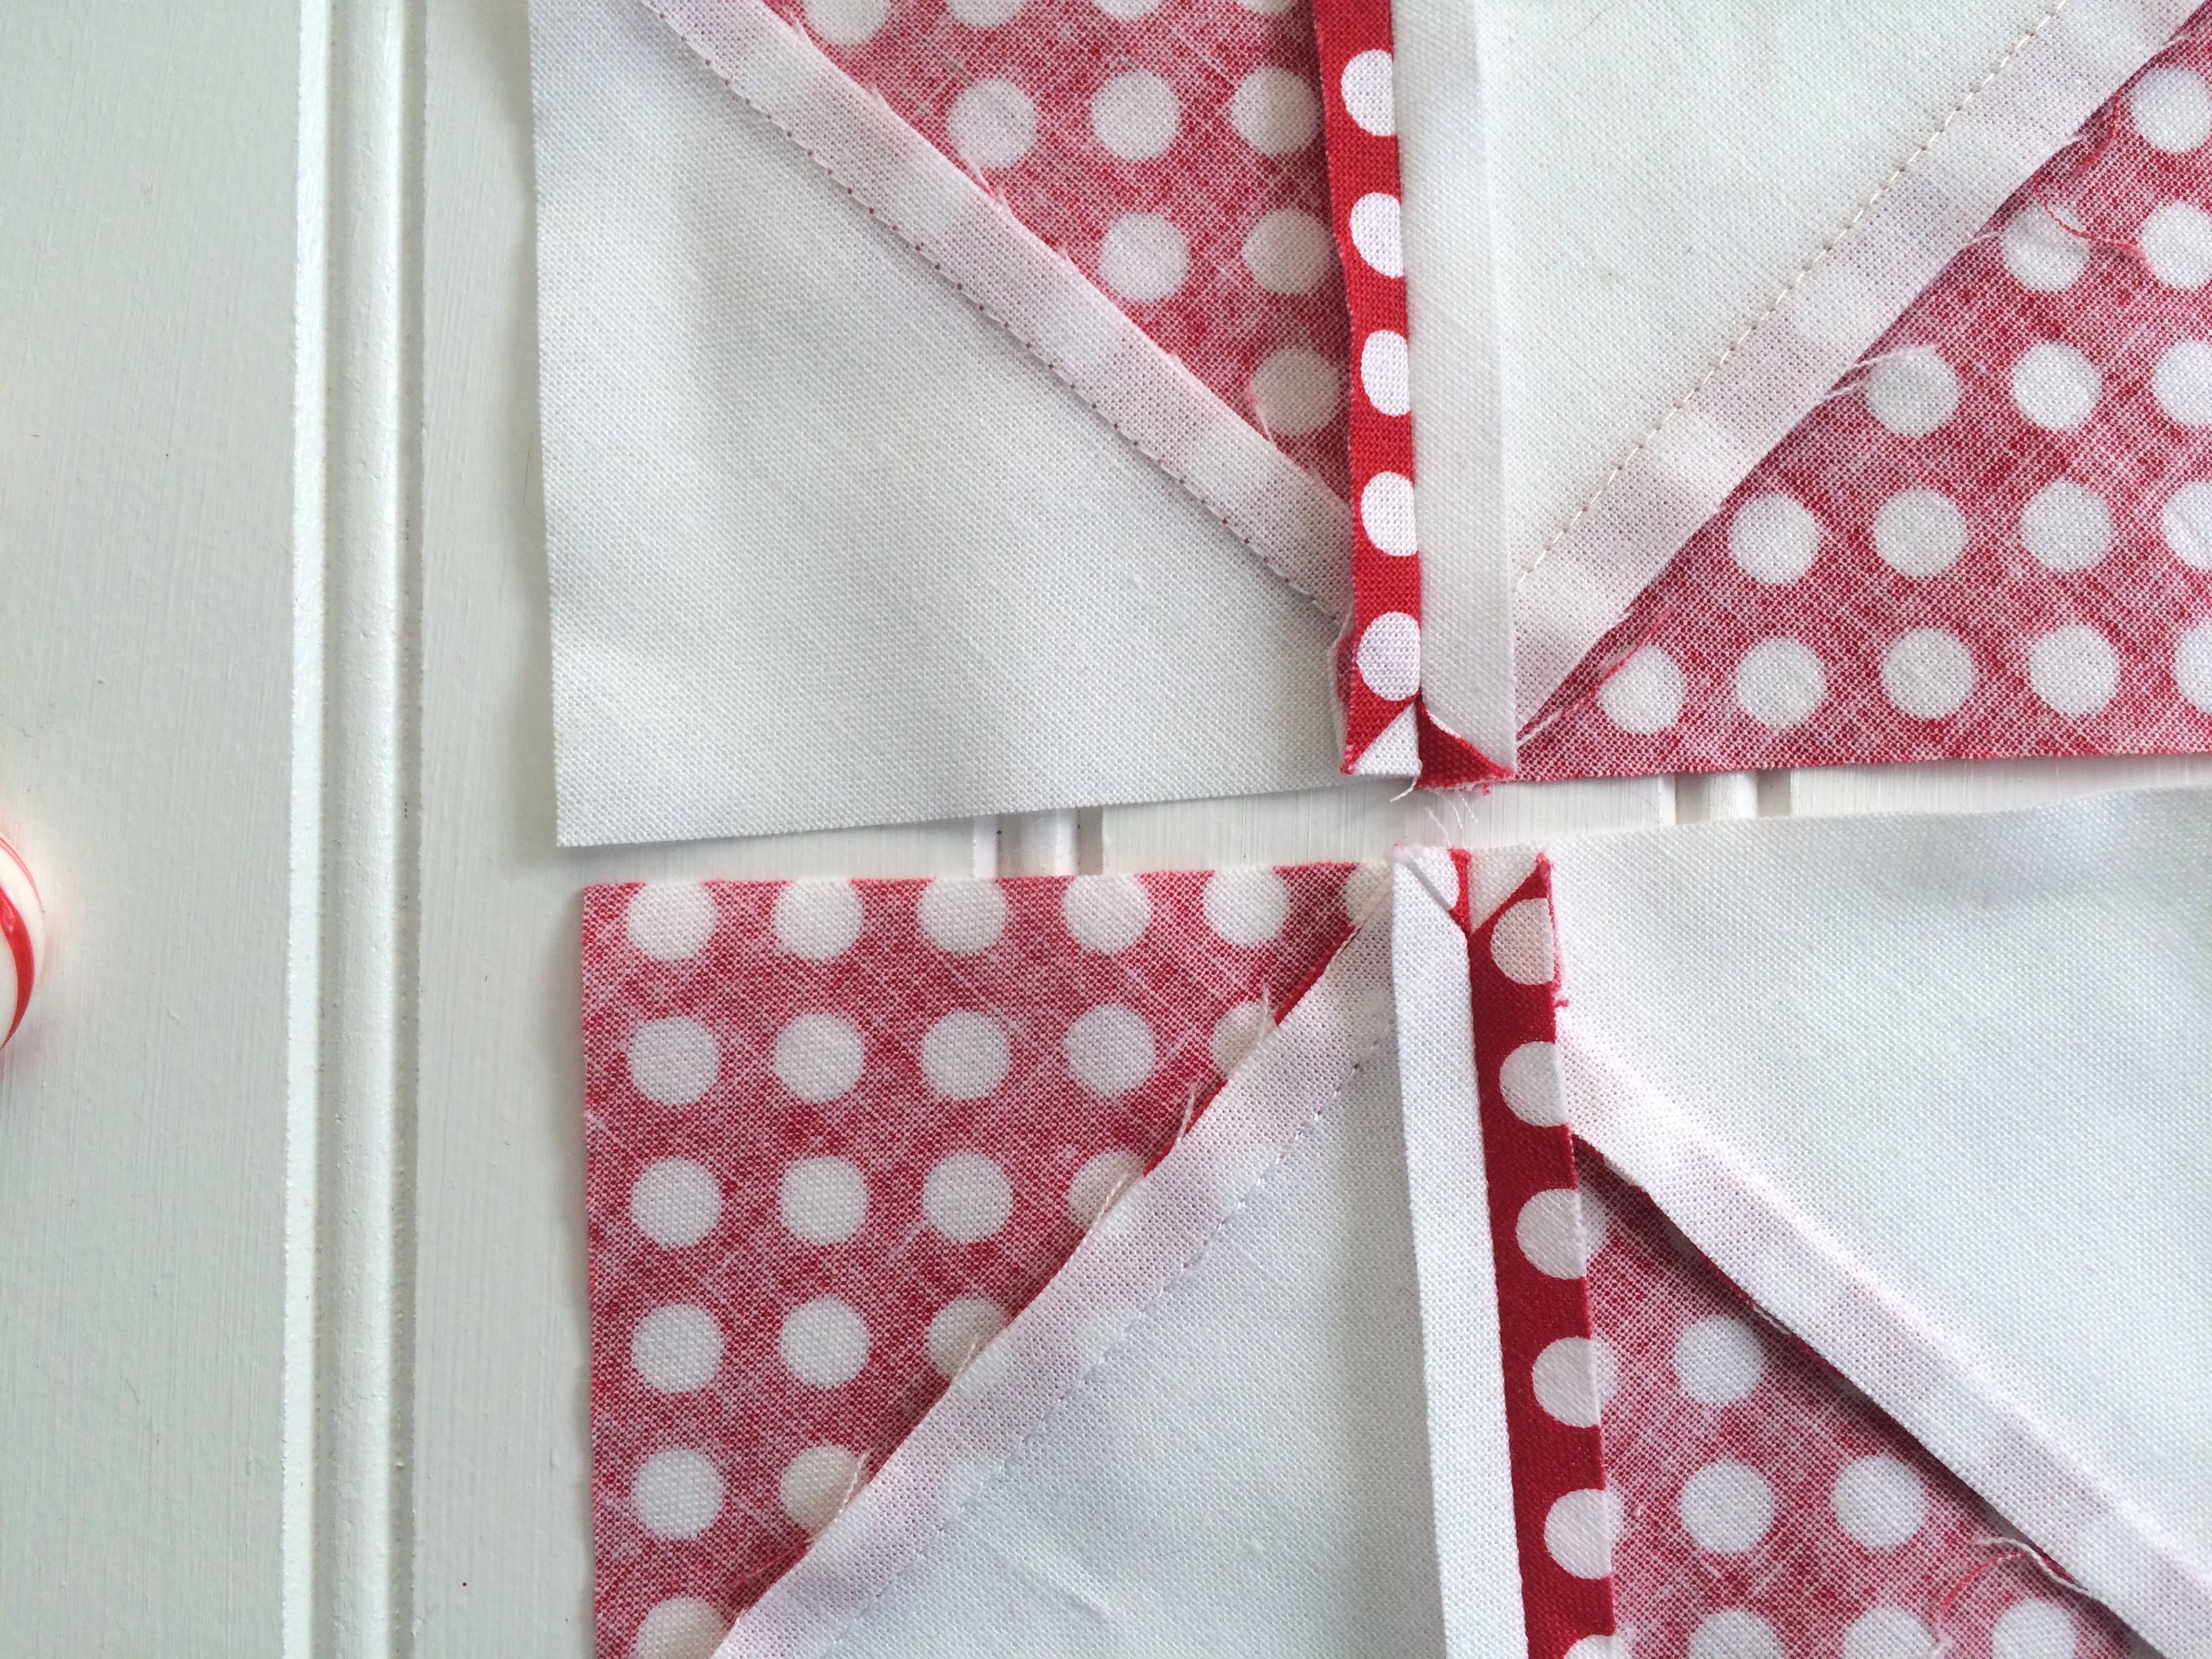
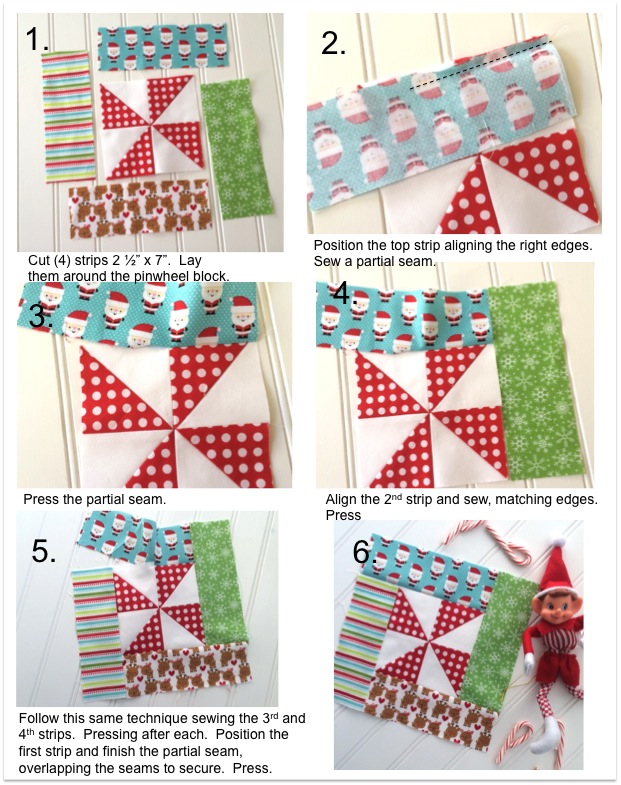
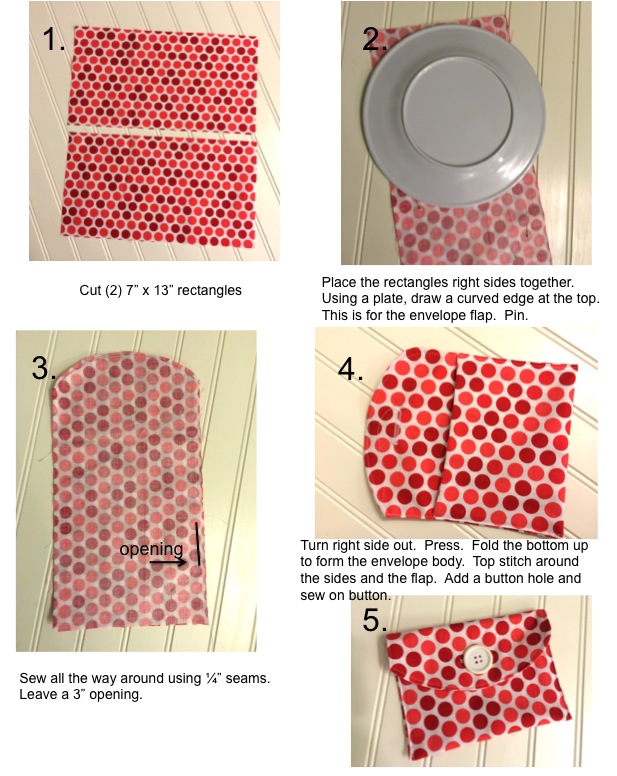
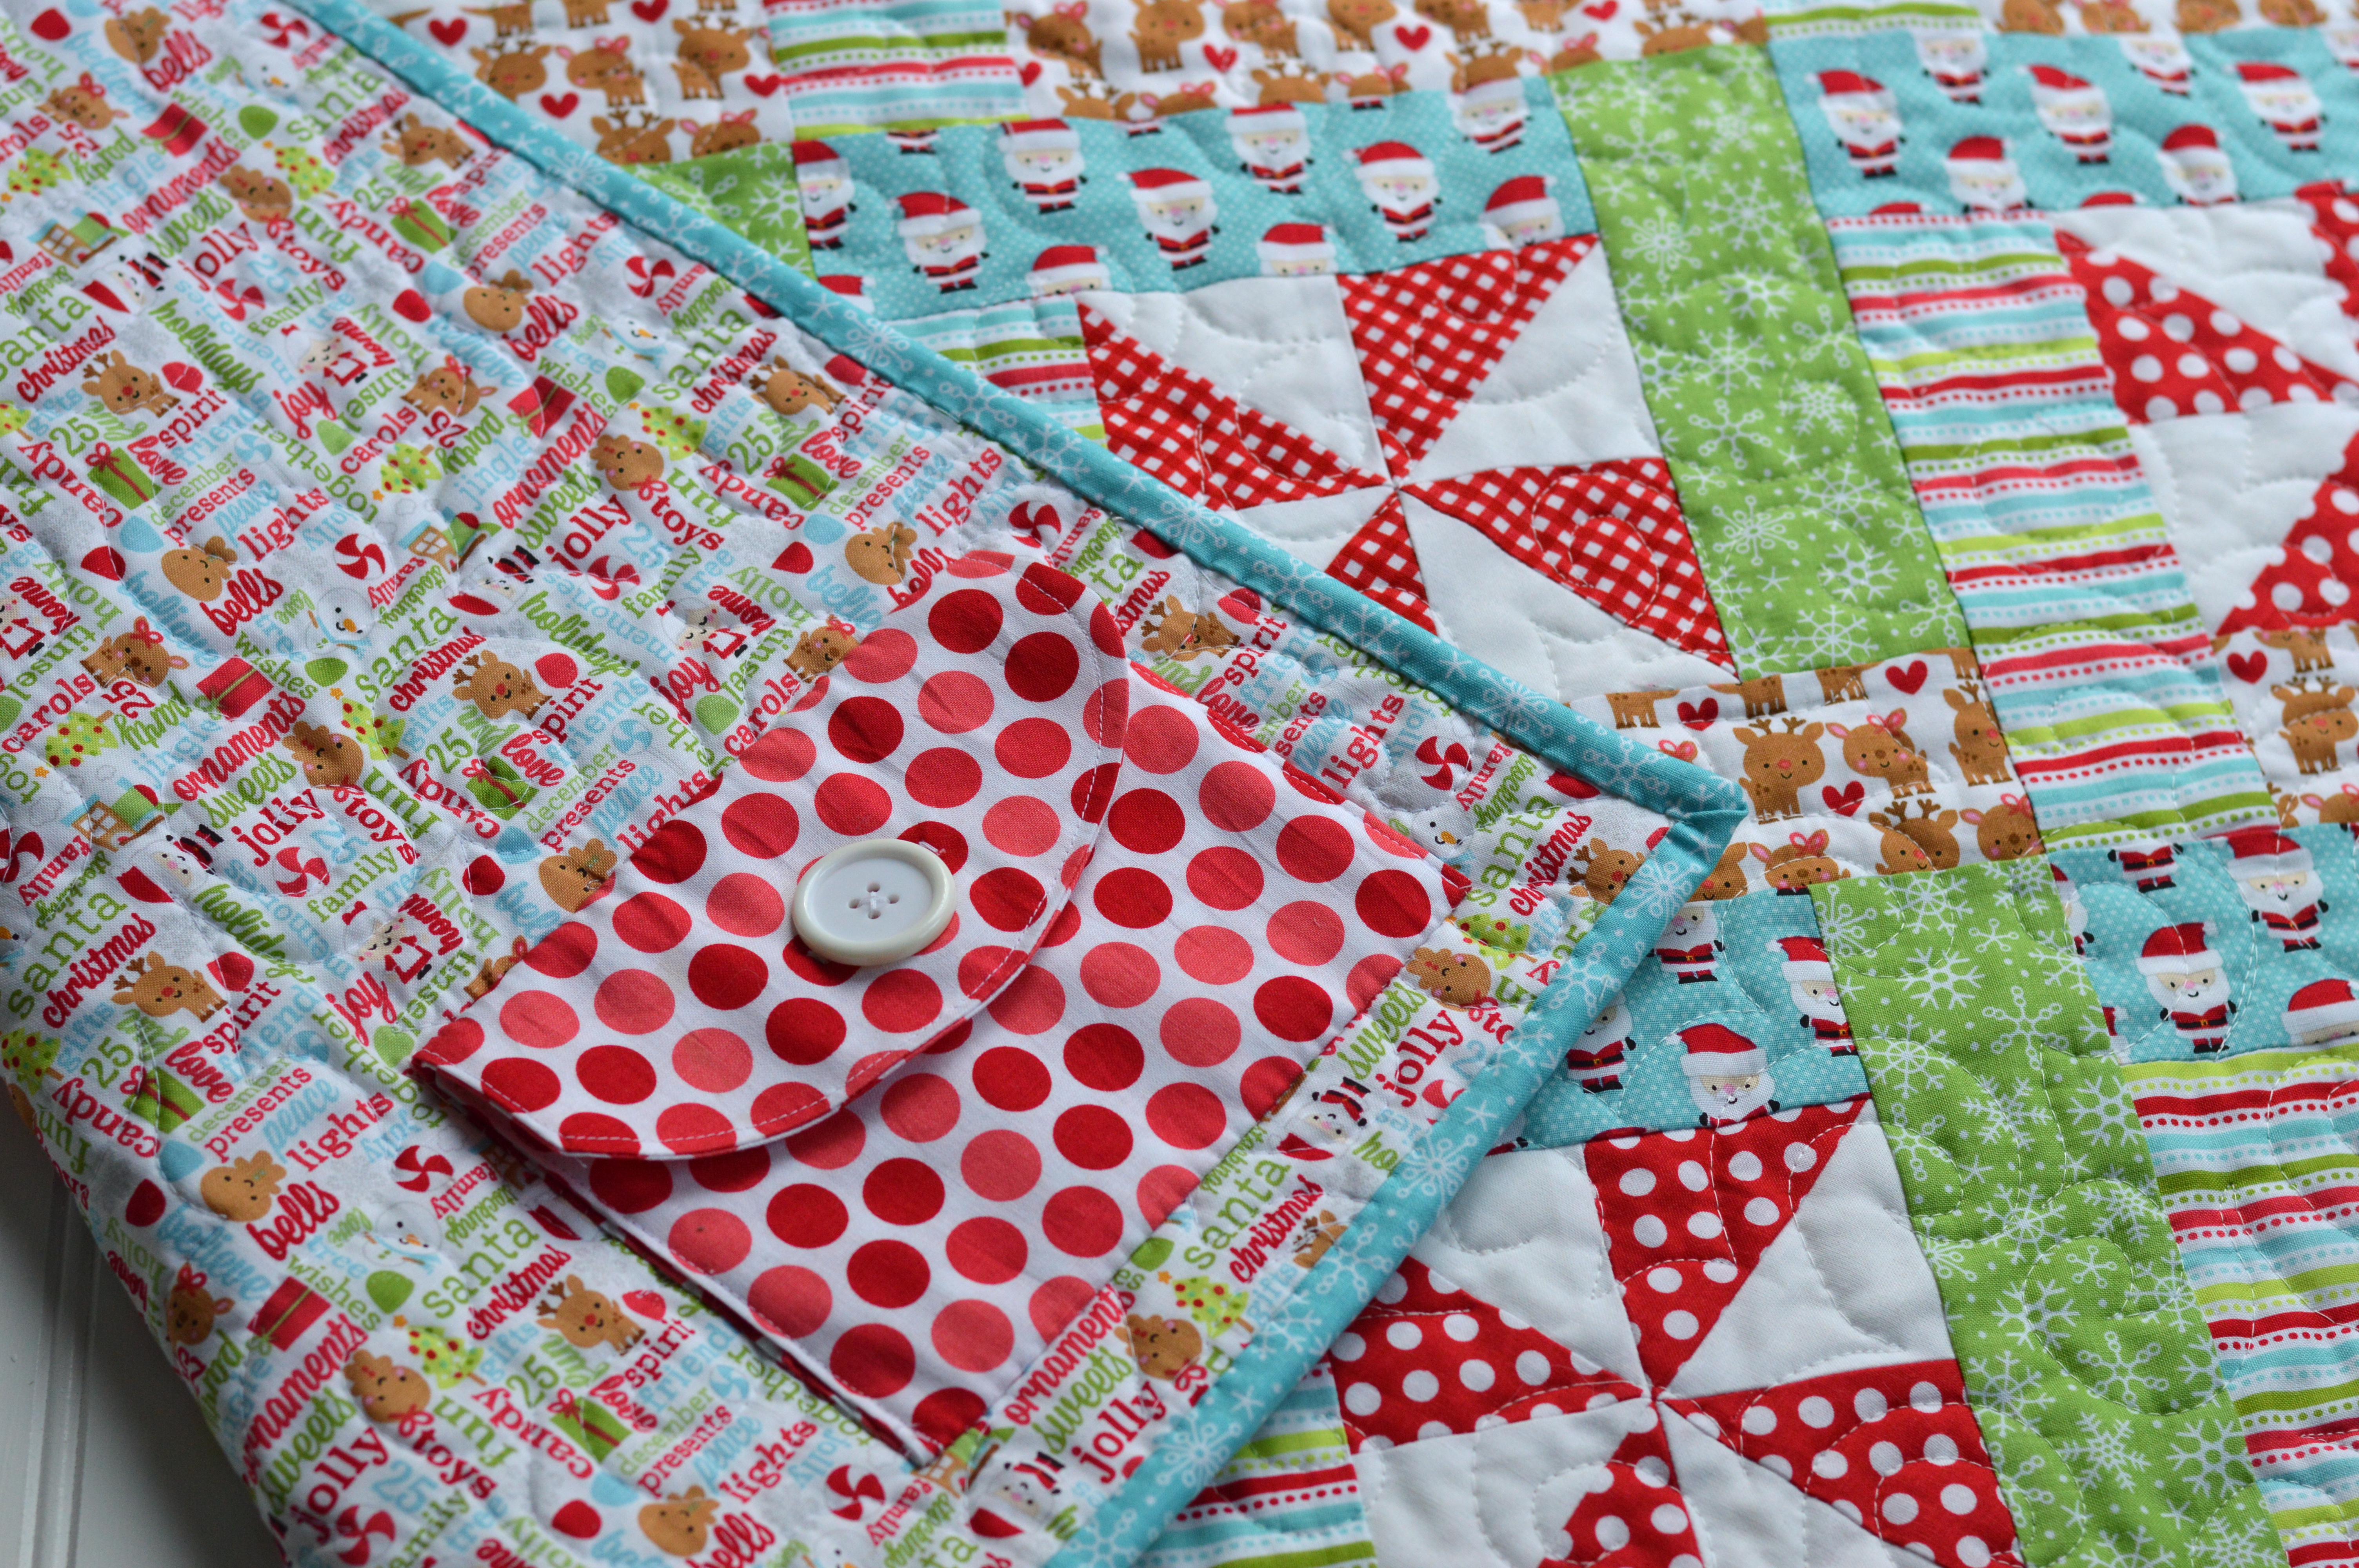
To make the little envelope for the back, follow the instructions below:

fabric envelopeHand stitch the envelope on the back of the quilt as you would hand applique a quilt label or applique piece.

christmas elf quilt 4

I just love this little pocket!  You could use this same idea for a tooth fairy quilt!!

christmas quilt elf

With the quilt all finished, it’s time to enjoy some homemade gingerbread cookies!  These are my family’s favorite!  We’ve been making this recipe every year since I was in Kindergarten!

gingerbread cookiesThey are so spicy and yummy and your house will smell delightful!!!

christmas elf quilt 3

Be sure to follow along with our Stitch ‘n Kitchen blog tour for holiday project tutorials and favorite recipes!

12/1 – Riley Blake Designs

12/2 – Simple Simon

12/3 – Mode de Lis

12/4 – One Little Pooh

12/5 – A Bright Corner

12/7 – Quiltscapes

12/8 – Life After Laundry

12/9 – Crafting Chicks

12/10 – Melly Sews

12/11 – Choo Choo Skadoo

12/12 – Jedi Craft Girl

12/14 – Polka Dot Chair

12/15 – Sew Like My Mom

12/16 – Sugar Bee Crafts

12/17 – Fort Worth Fabric Studio

12/18 – Messy Jesse

12/19 – Leigh Laurel Studios

12/21 – The Happy Housie

12/22 – The Flannel Queen

12/23 – Riley Blake Designs

12/24 – Riley Blake Designs

12/25 – Riley Blake Designs

12 Days of Meowy Christmas {Catch Up}

I’ve gotten a little behind with blogging about the 12 Days of Meowy Christmas!  I’m much better at keeping up on Instagram!  Here goes:

On the 7th day of Meowy Christmas my true love gave to me, a fun excuse to get quilty!  This adorable cat quilt pattern is free from Blend Fabrics.  You can download it here!  I think it would be so cute in Christmas fabrics!  I’m hoping to make it before Christmas 🙂Screen Shot 2015-12-09 at 8.20.54 AM

On the 8th day of Meowy Christmas my true love gave to me, an apron with a had stitched kitty!  Kerri from Sew Deerly Loved is sharing this darling tutorial for a vintage inspired apron with kitty embroidery!  Go check out her blog for full instructions and pattern!!

Screen Shot 2015-12-09 at 8.21.41 AM

On the 9th day of Meowy Christmas my true love gave to me a lion that is soft and cuddly!  Lucy from Lucy Blaire has created this pattern called Lyle the Lion.  You can purchase it on her blog or enter to win one today on Instagram!Screen Shot 2015-12-09 at 8.01.15 AM

Christmas Cat Sweater

typsy elves cat sweater 4I don’t know if I’ve ever posted about an item of clothing that I didn’t sew but I am so in love with my new Christmas sweater that I had to post a few pictures!  The sweater has cats  all over it and bells all over it and bows all over it!  I JINGLE when I walk!!  I got the sweater from Tipsy Elves .com.  I saw them in an episode of Shark Tank – their sweaters are amazing and they even had several cat themed sweaters to choose from!  I wore it to our church Christmas party and i attracted a lot of attention 🙂

typsy elves cat sweater 2I’m not one for a lot of pictures of myself – but if I’m wearing a cat sweater it’s all right!!  typsy elves cat sweater 3It was very difficult to get a picture with Mufasa – he was pushing away from me as I was trying to hug him – he ended up snagging the sweater 🙁  typsy elves cat sweater 5I can’t help but smile when I see this sweater!  I wish it wasn’t 80 degrees today so I could wear it!

12 Days of Meow-y Christmas {Day 6} Gingerbread Cookie Cats

IMG_2617

Today I’m taking a little break from the sewing machine and enjoying my FAVORITE gingerbread cookies – shaped like cats!  This recipe has been our family’s favorite since I was in Kindergarten!  It is super easy but the most flavorful gingerbread recipe you will ever have.  I just brought them to our church Christmas party and a few people were fighting over them 🙂

Amanda’s Famous Gingerbread Cookies

1/4 cup butter

1/2 cup brown sugar

1/2 cup molasses

1/3 cup water

3 cups flour

1 tsp. baking soda

1/2 tsp. ground cloves

1 tsp + cinnamon

2 tsp. ginger

1/2 tsp. salt

Cream the butter and brown sugar.  Add the molasses.  Next beat in the water. (it will look a little weird)

In a separate bowl, mix all the dry ingredients together.  Then add the dry ingredients to the wet ingredients and mix until incorporated.

On a floured surface roll out the dough 1/4″ thick and cut with cookie cutters.  If the dough seems a little sticky, just add more flour as you are rolling out.

Transfer to a parchment lined baking sheet and bake at 350 for 8 minutes.  Let cool.  Dip in dipping chocolate or pipe with royal icing.

IMG_2622


Gingerbread dipped in chocolate is one of the best flavor combinations in the whole world!!!IMG_2612I collect little vintage cats – they sit in my kitchen window and keep an eye on the baking!  IMG_2626I didn’t want to cover up the detail on the cats, so I just dipped their heads in chocolate 🙂