12 Days of Meow-y Christmas {Day 5} Kitten Softies

christmas cat softie 8
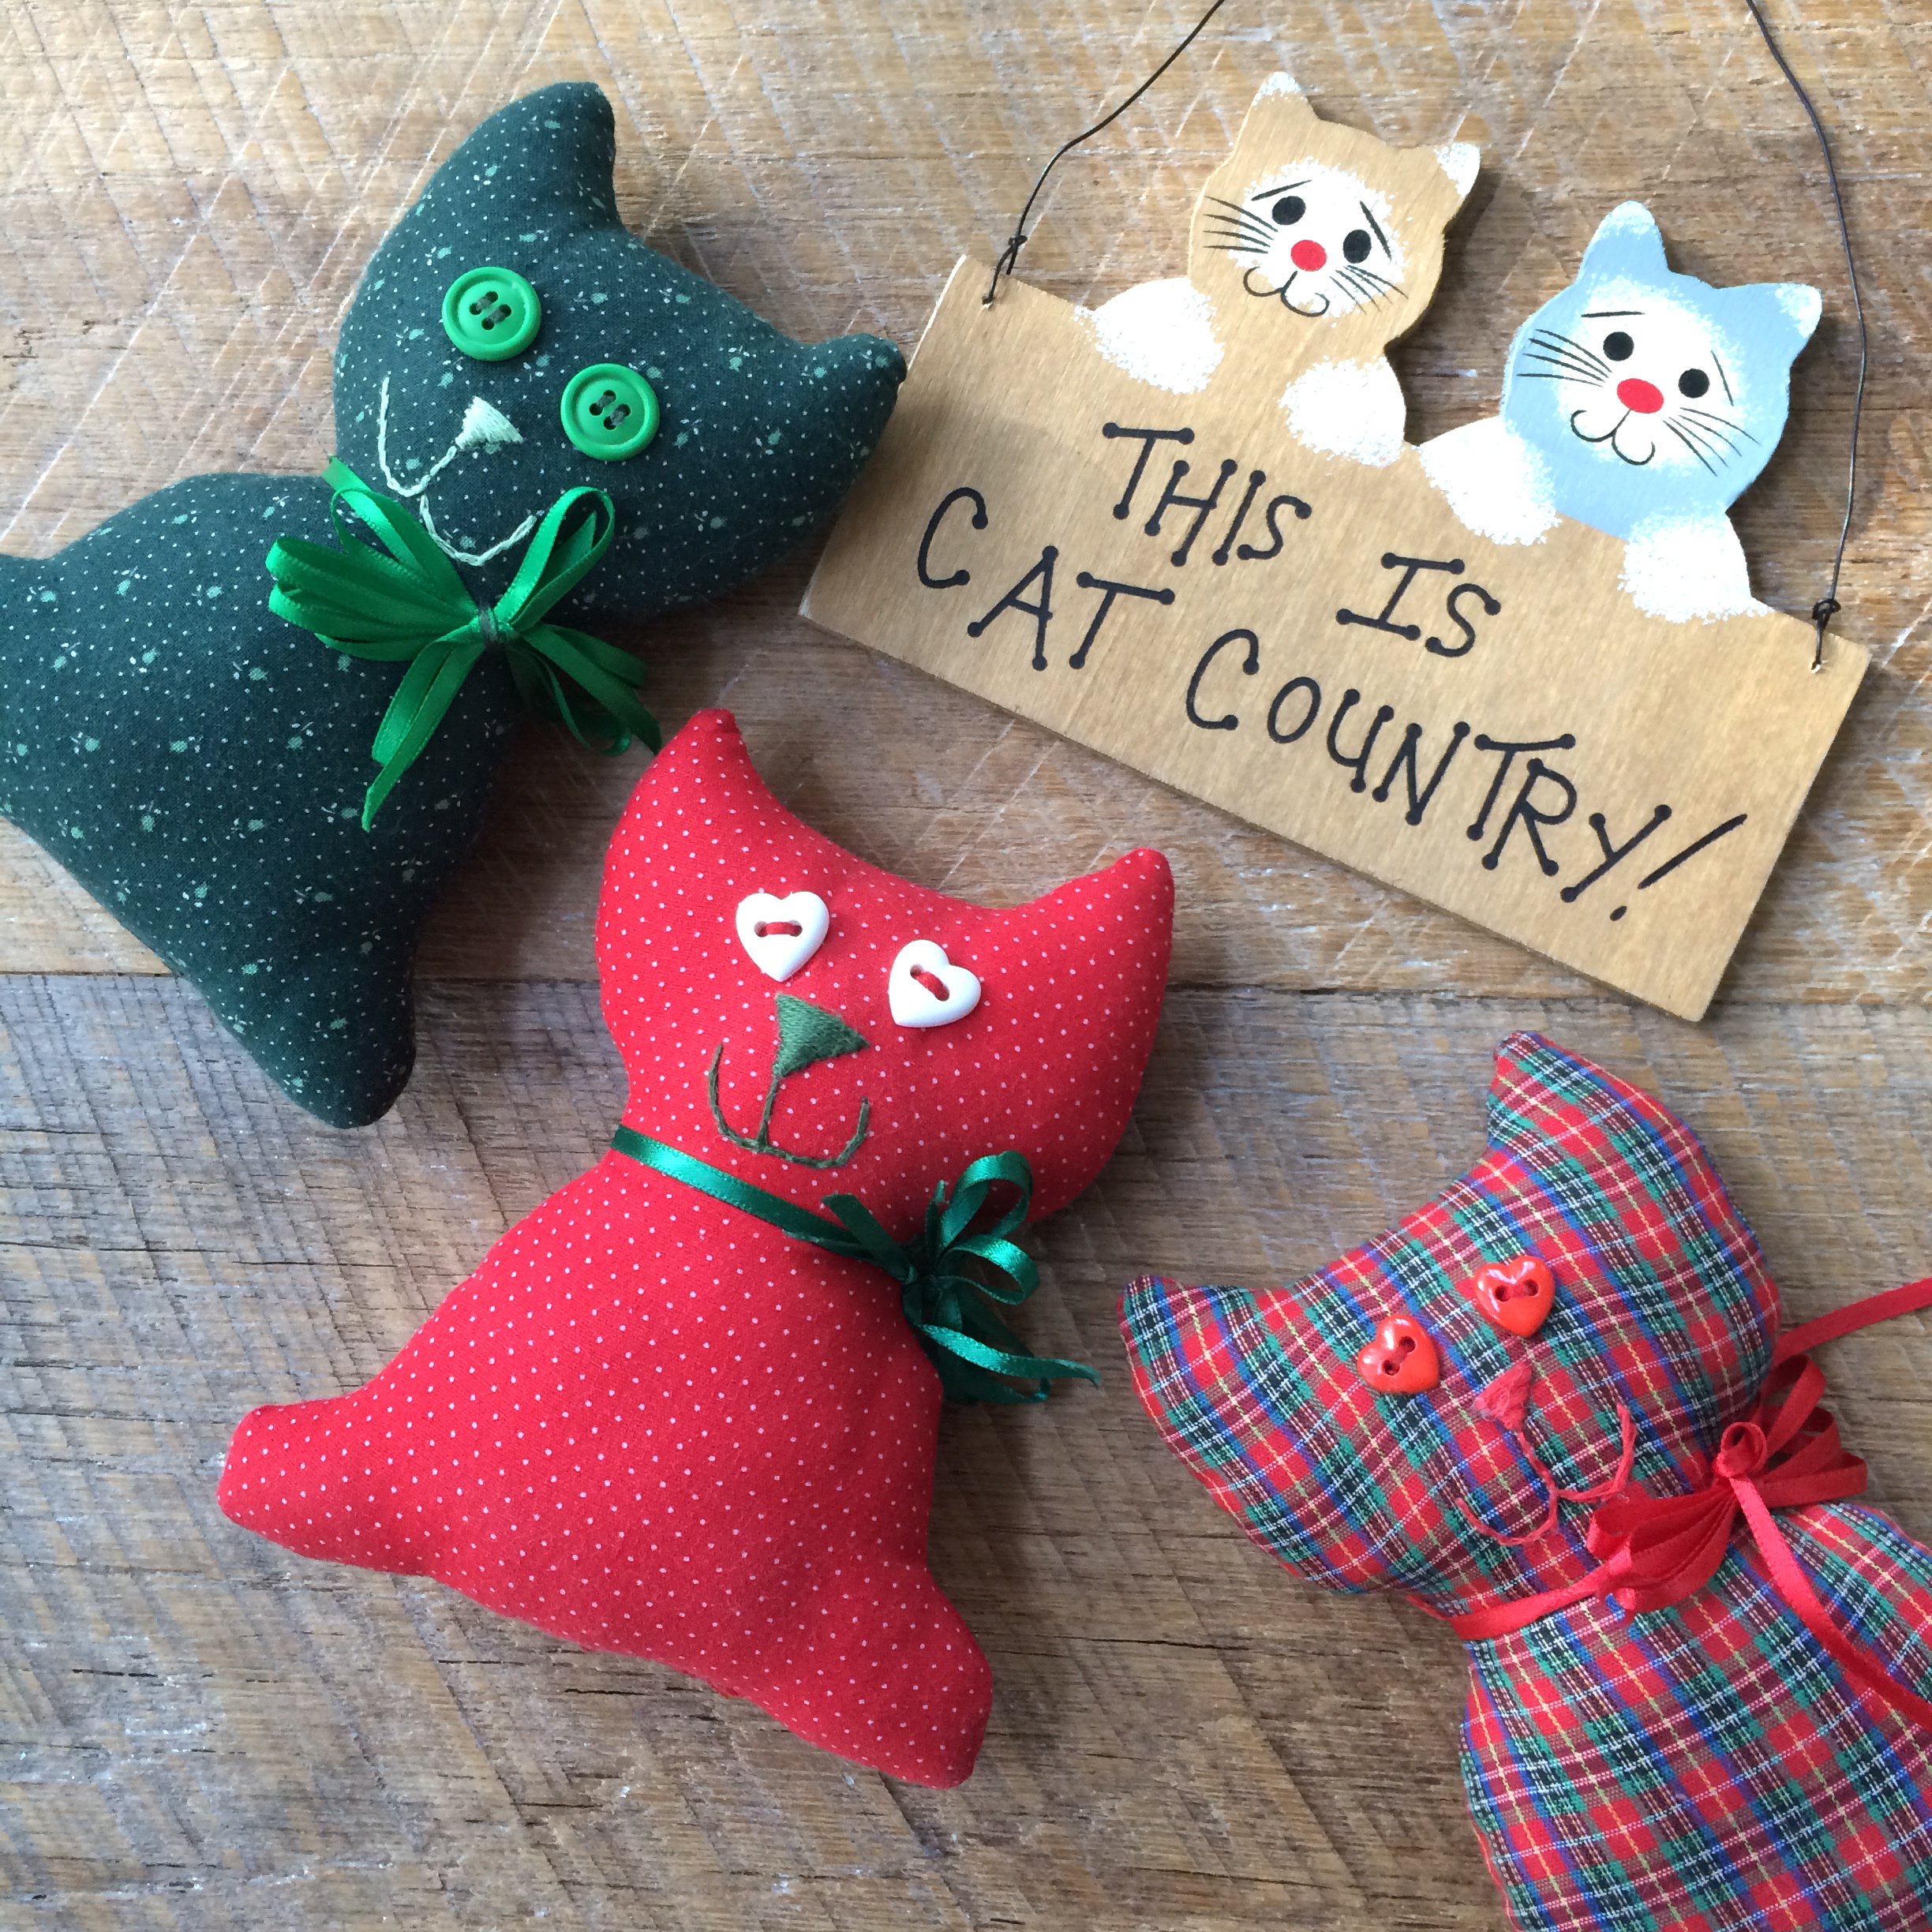
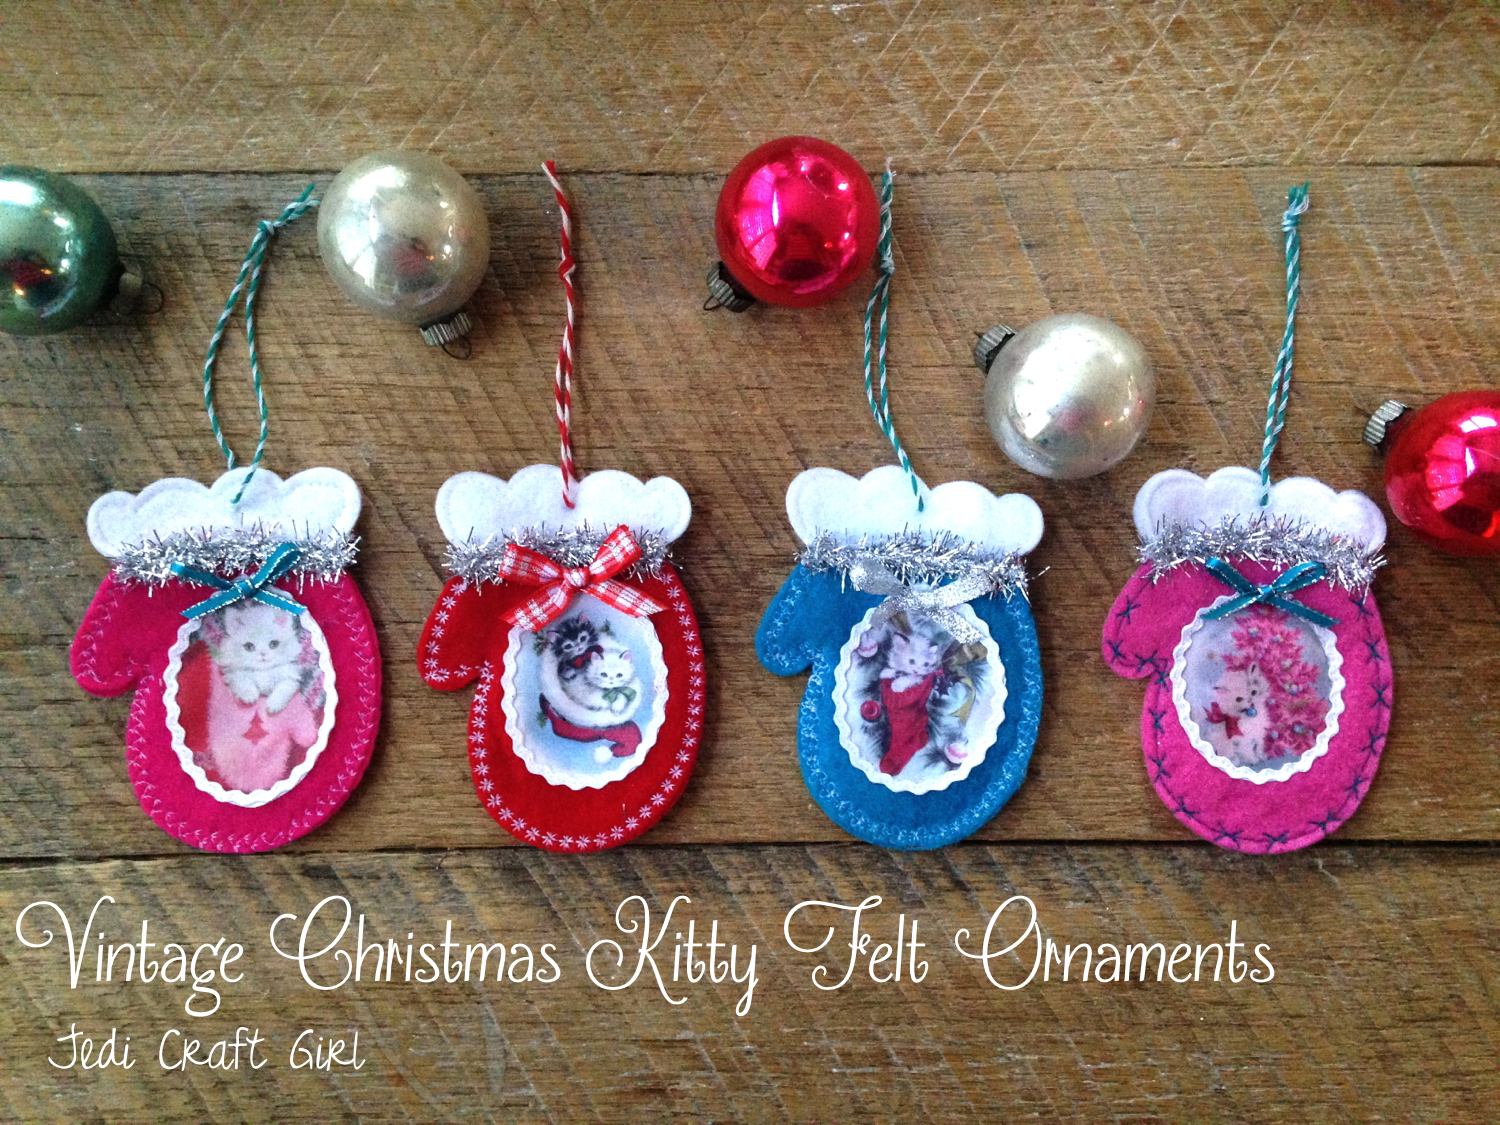
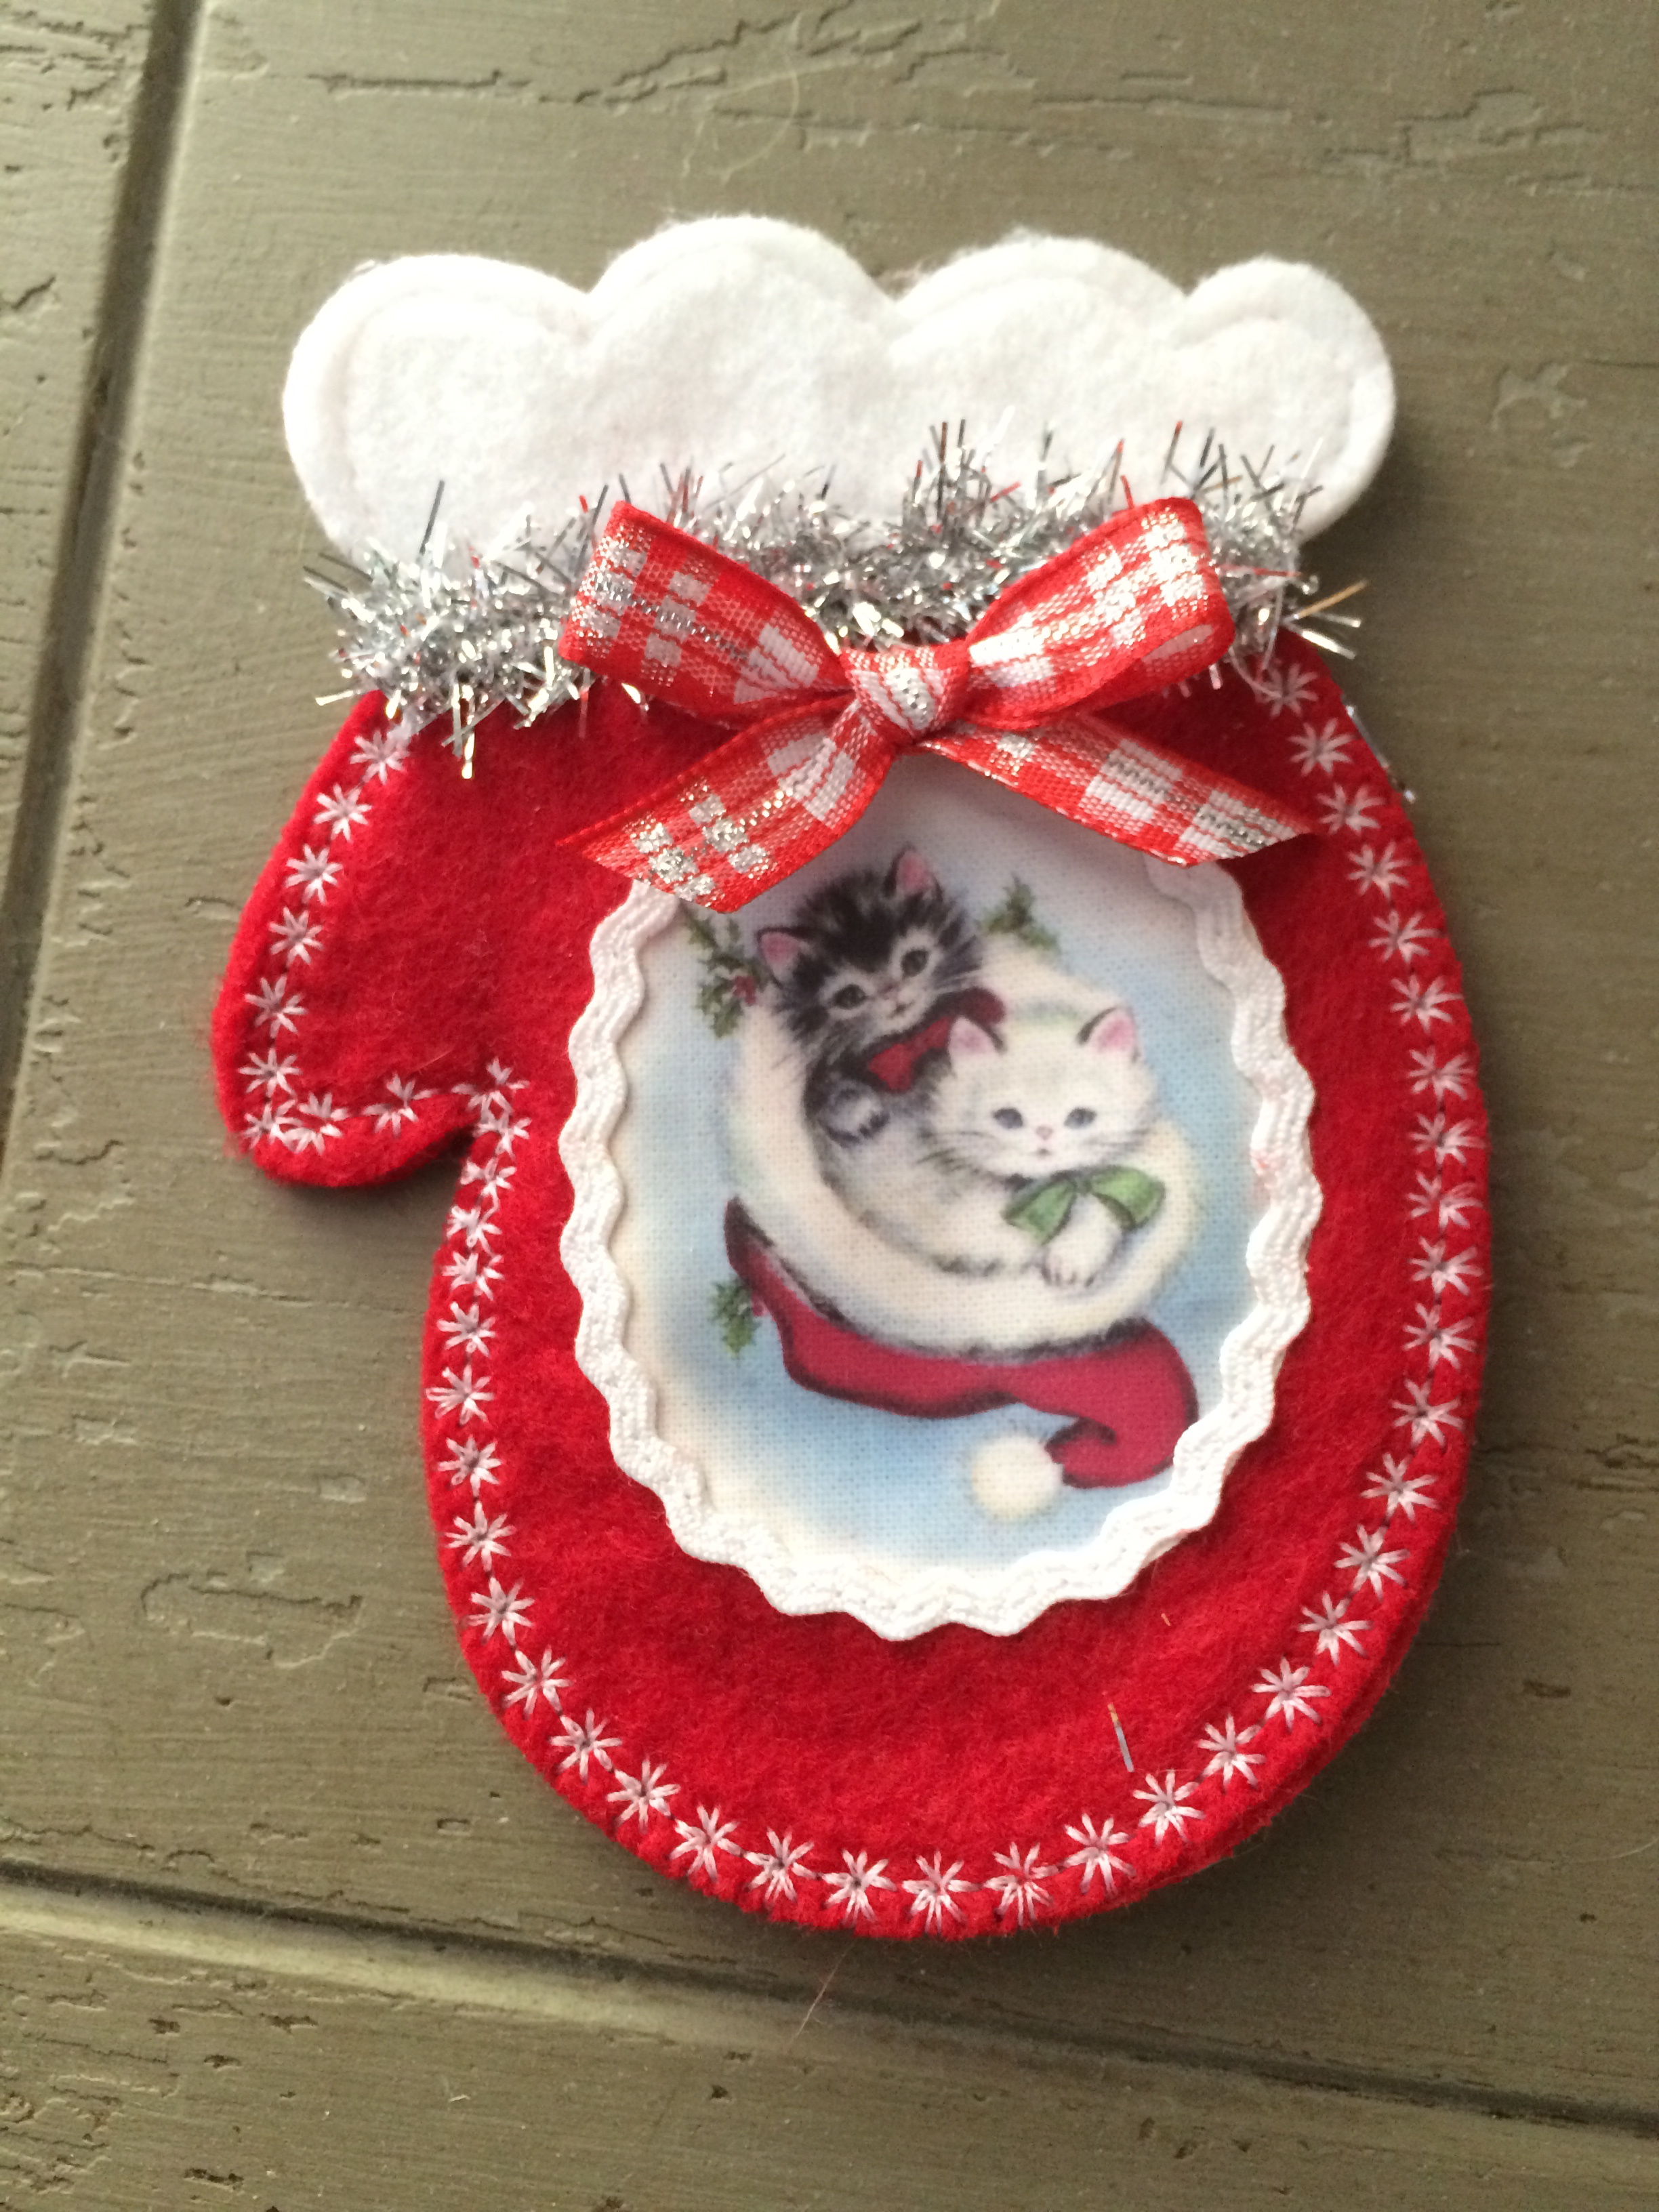
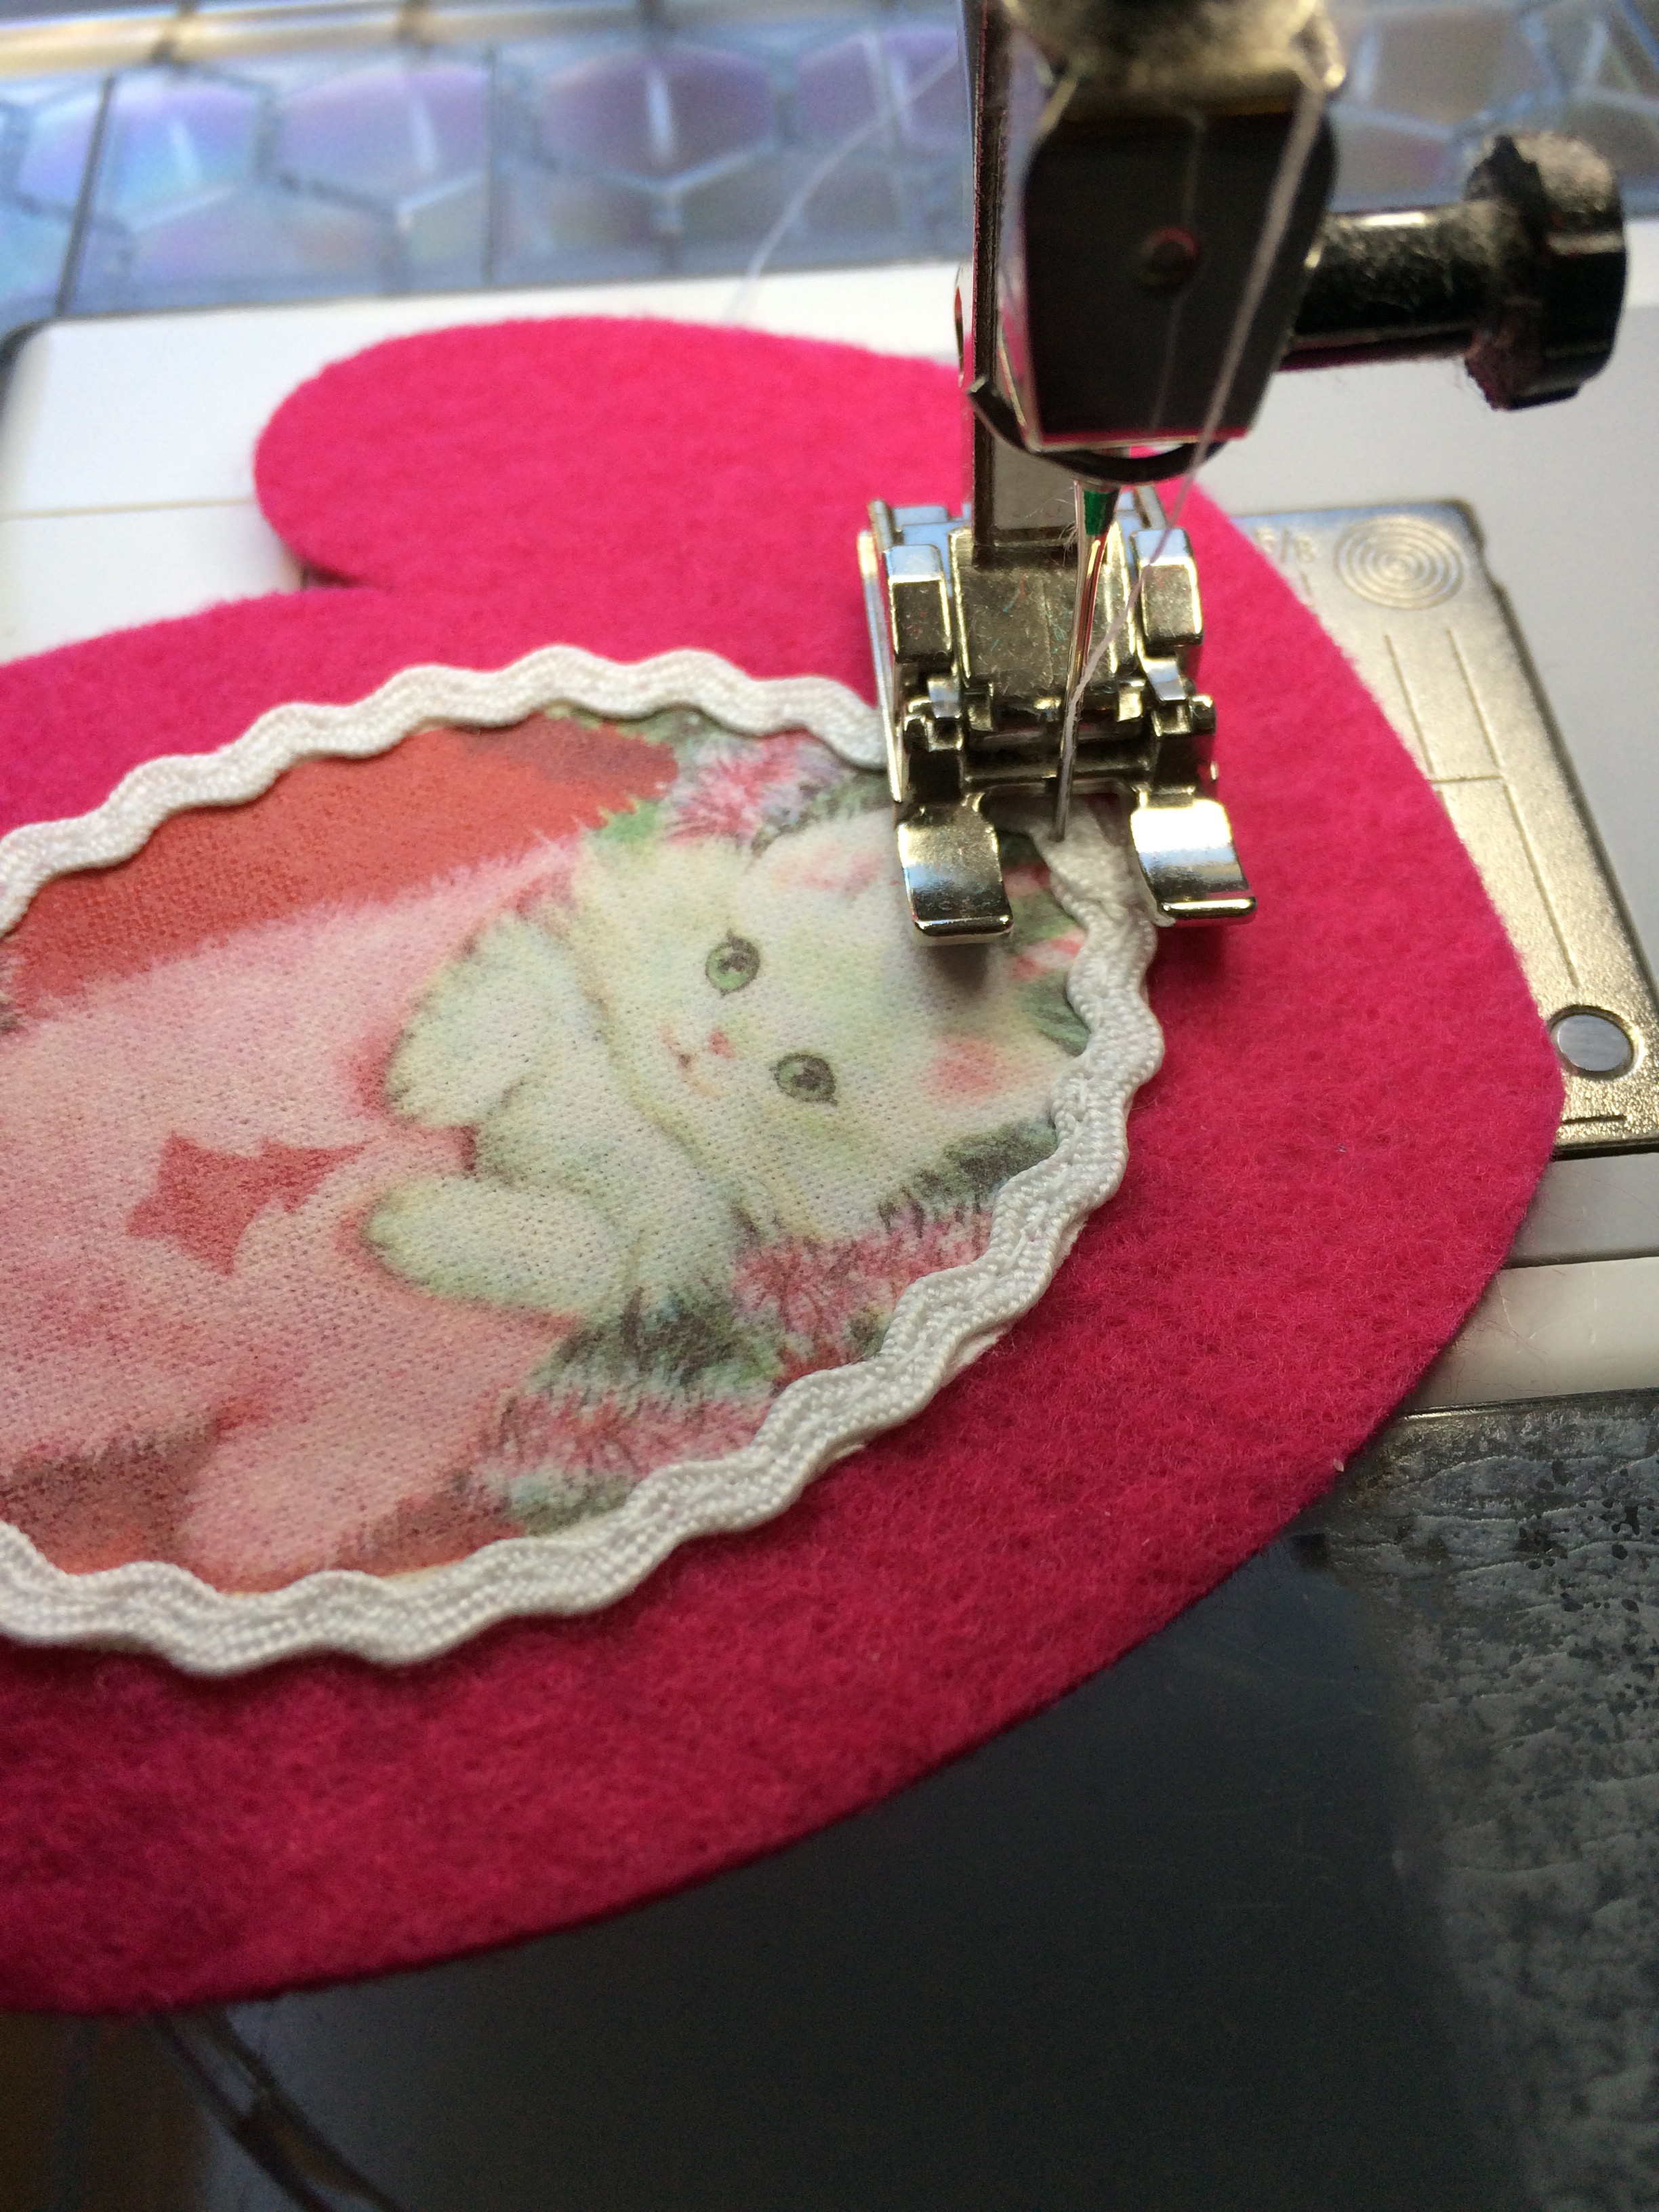
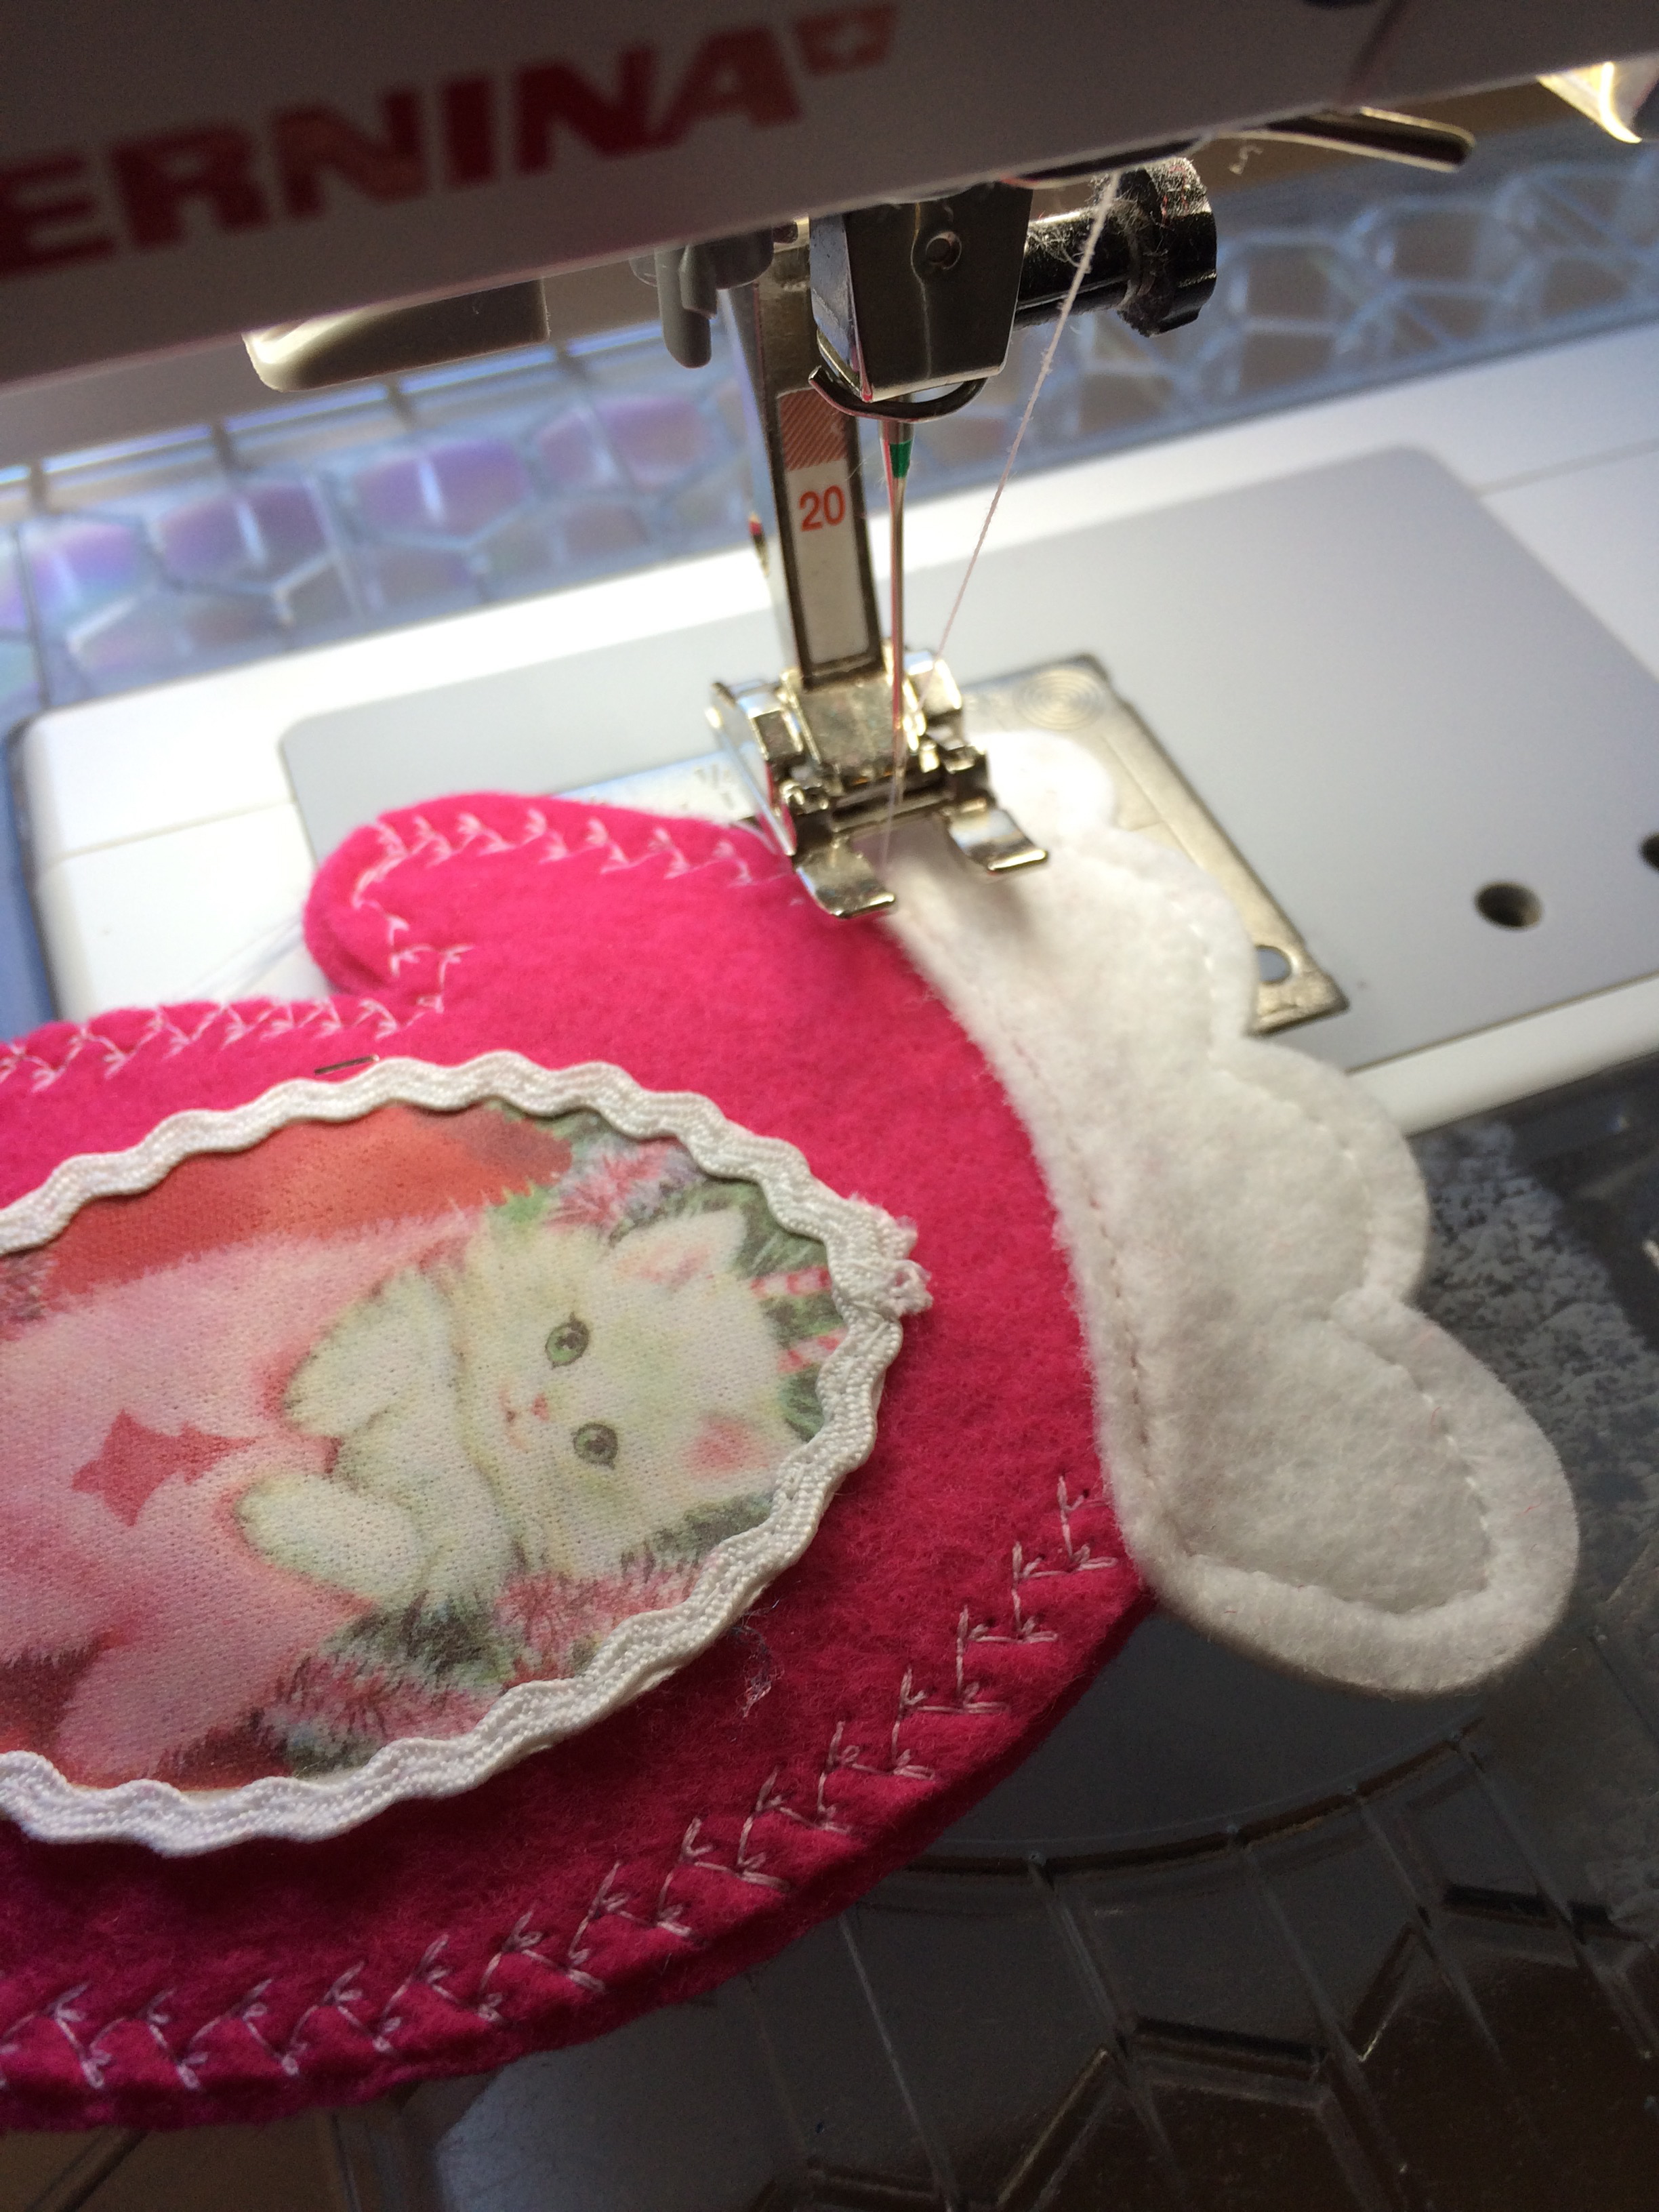
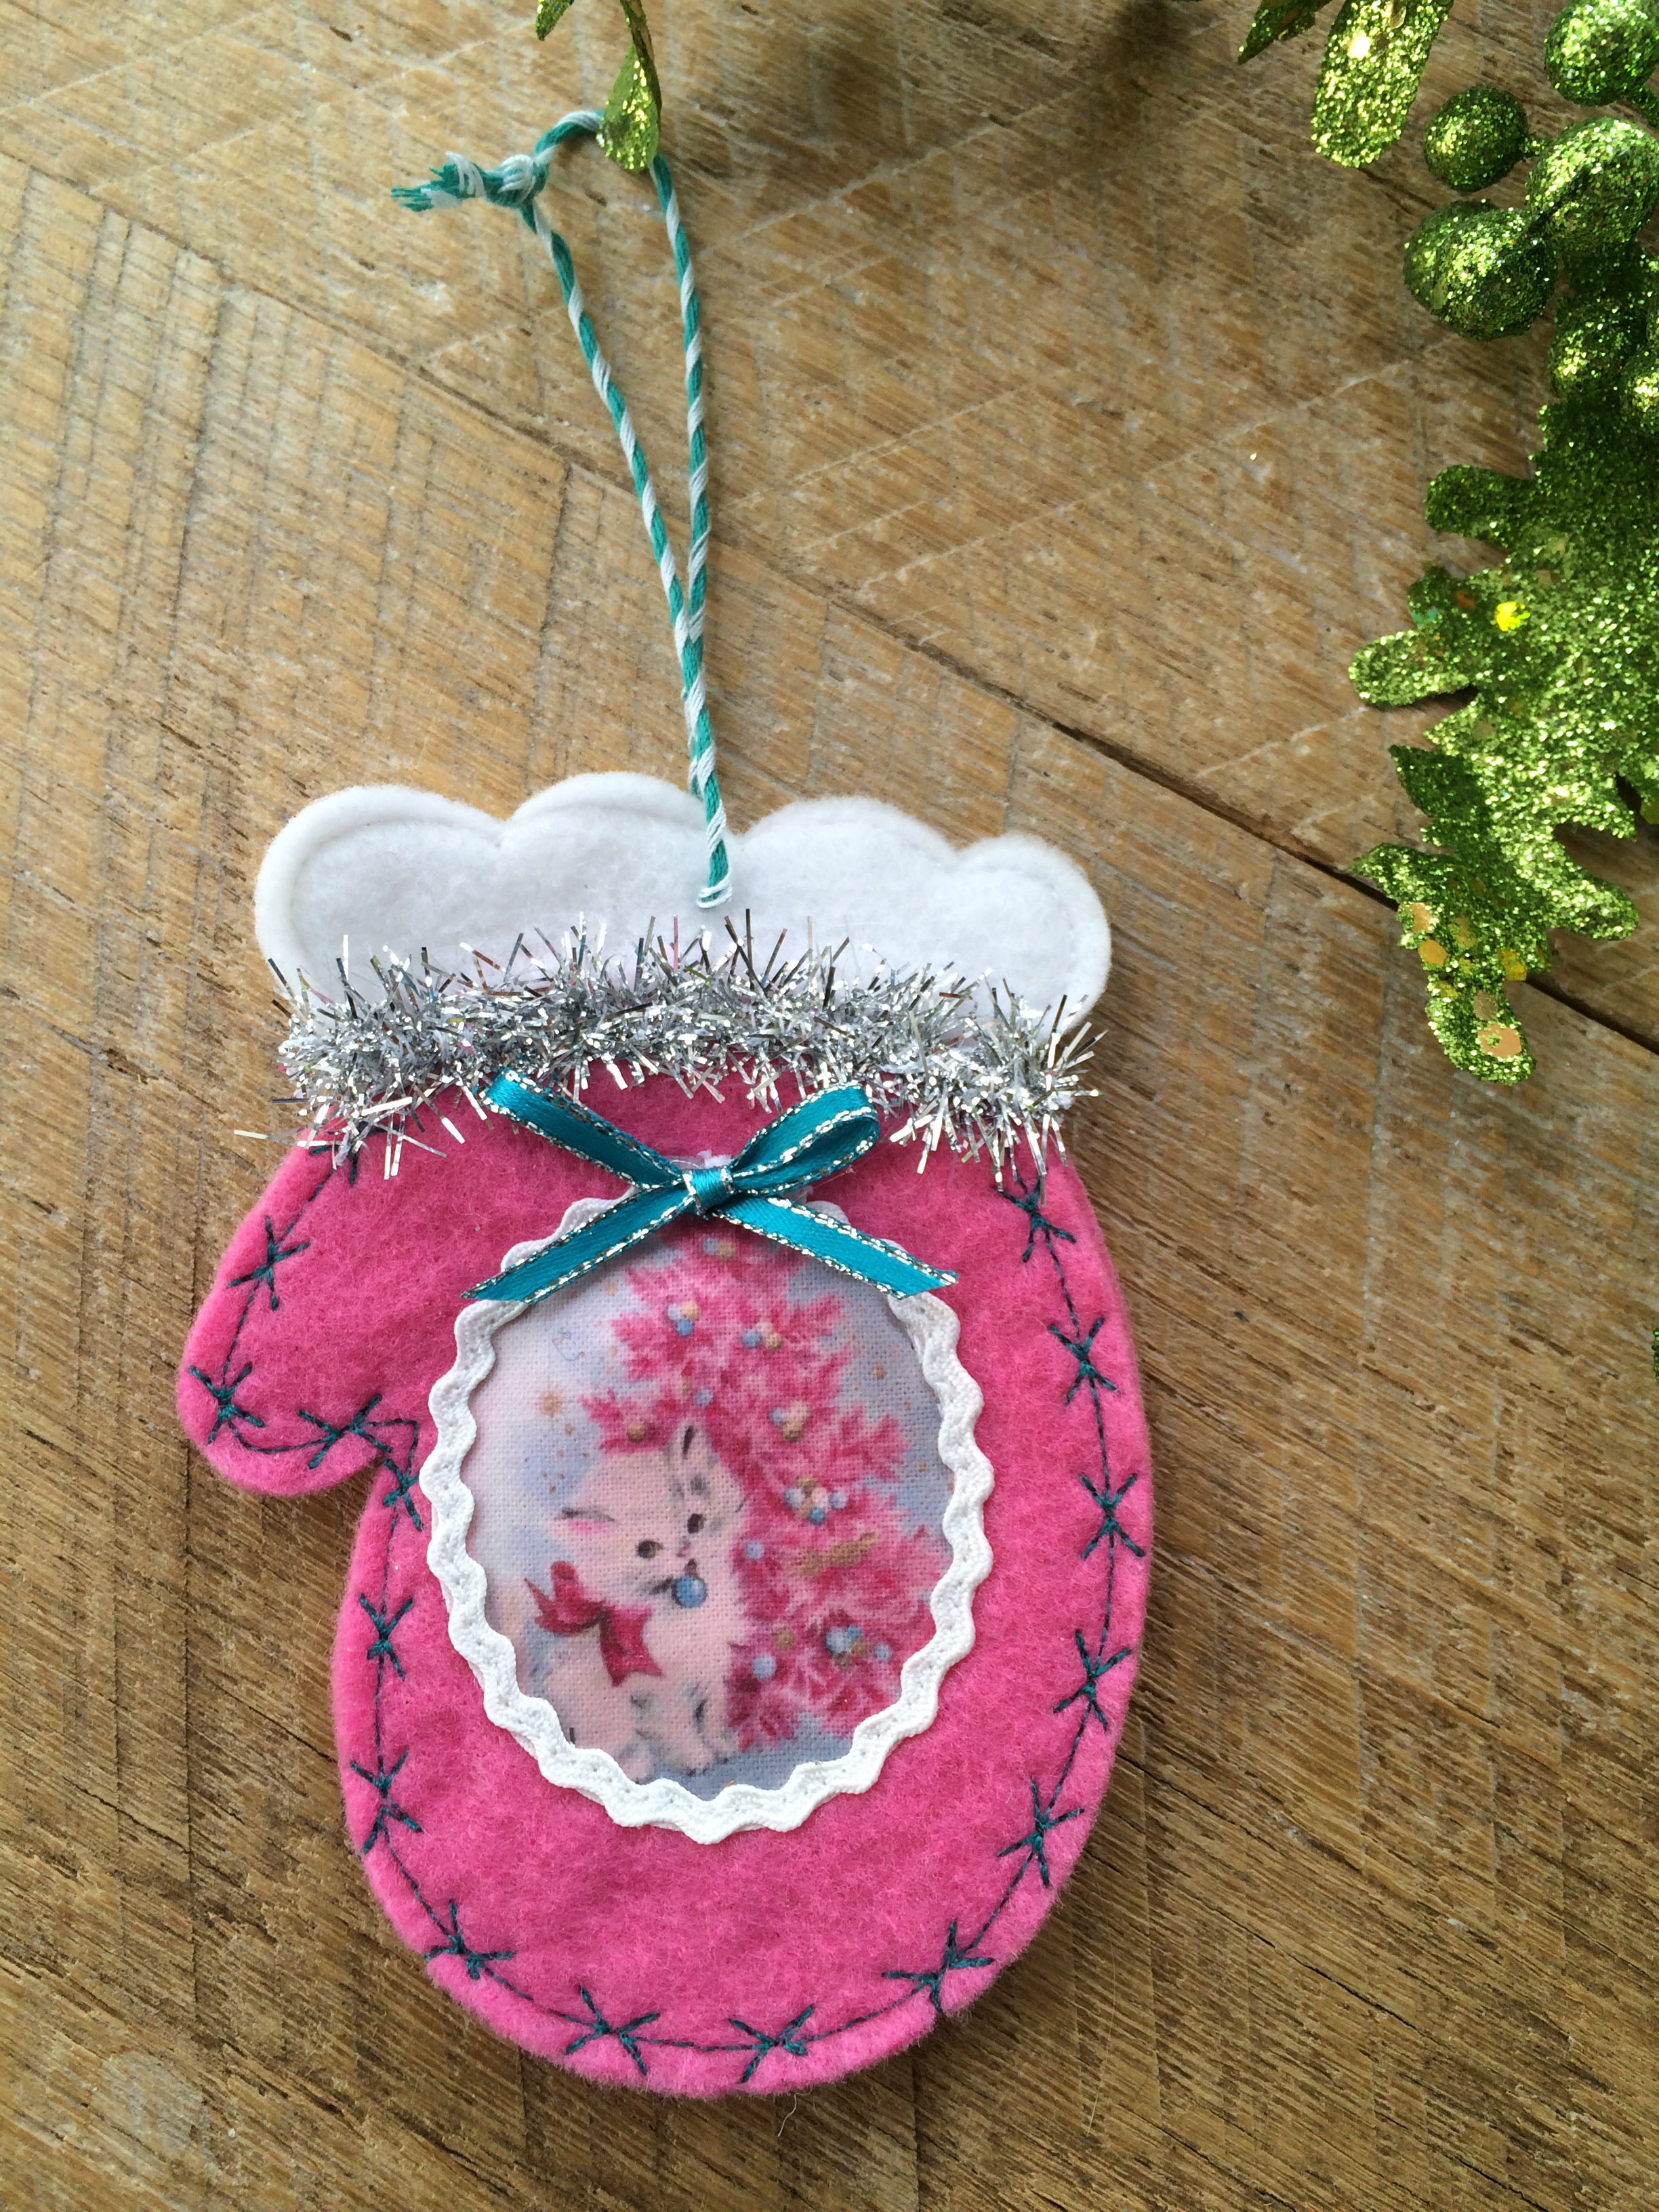
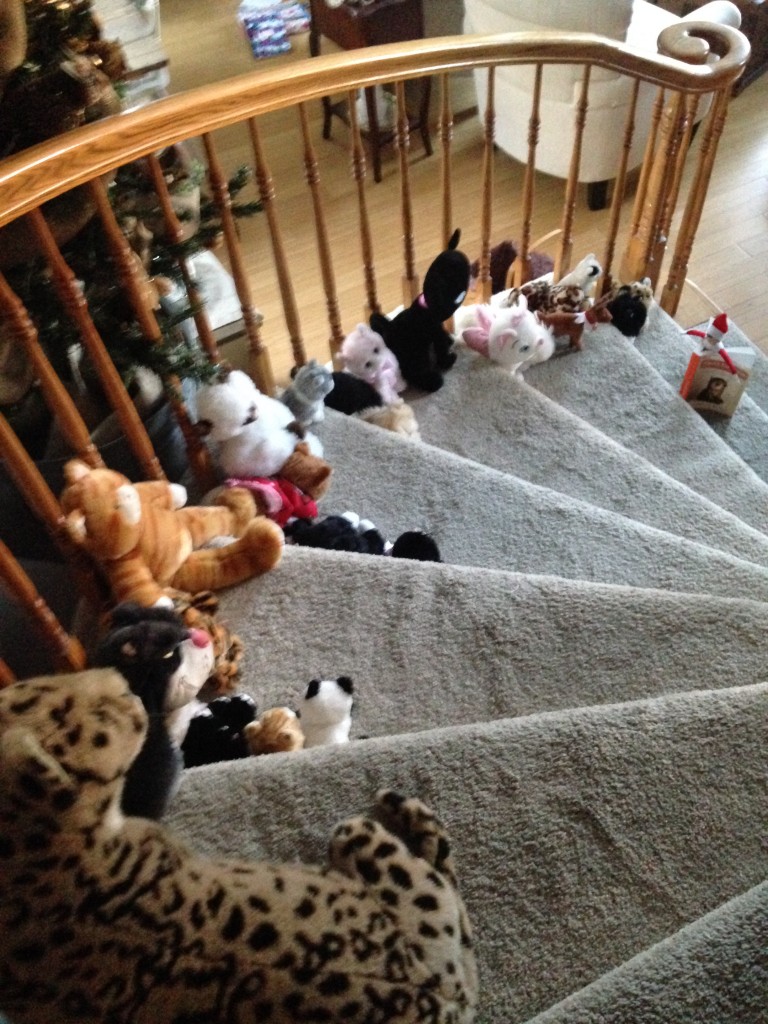
These cute cat softies are ones my mom made in the early 80’s.  She is also a crazy cat lady, I think it is hereditary!  These cute little kittens can sew up in a snap and look darling tucked in a Christmas tree.  Download the pattern HERE.  I think I will make some in some updated fabrics!  Every tree needs kitties in it!!!

christmas cat softie 2
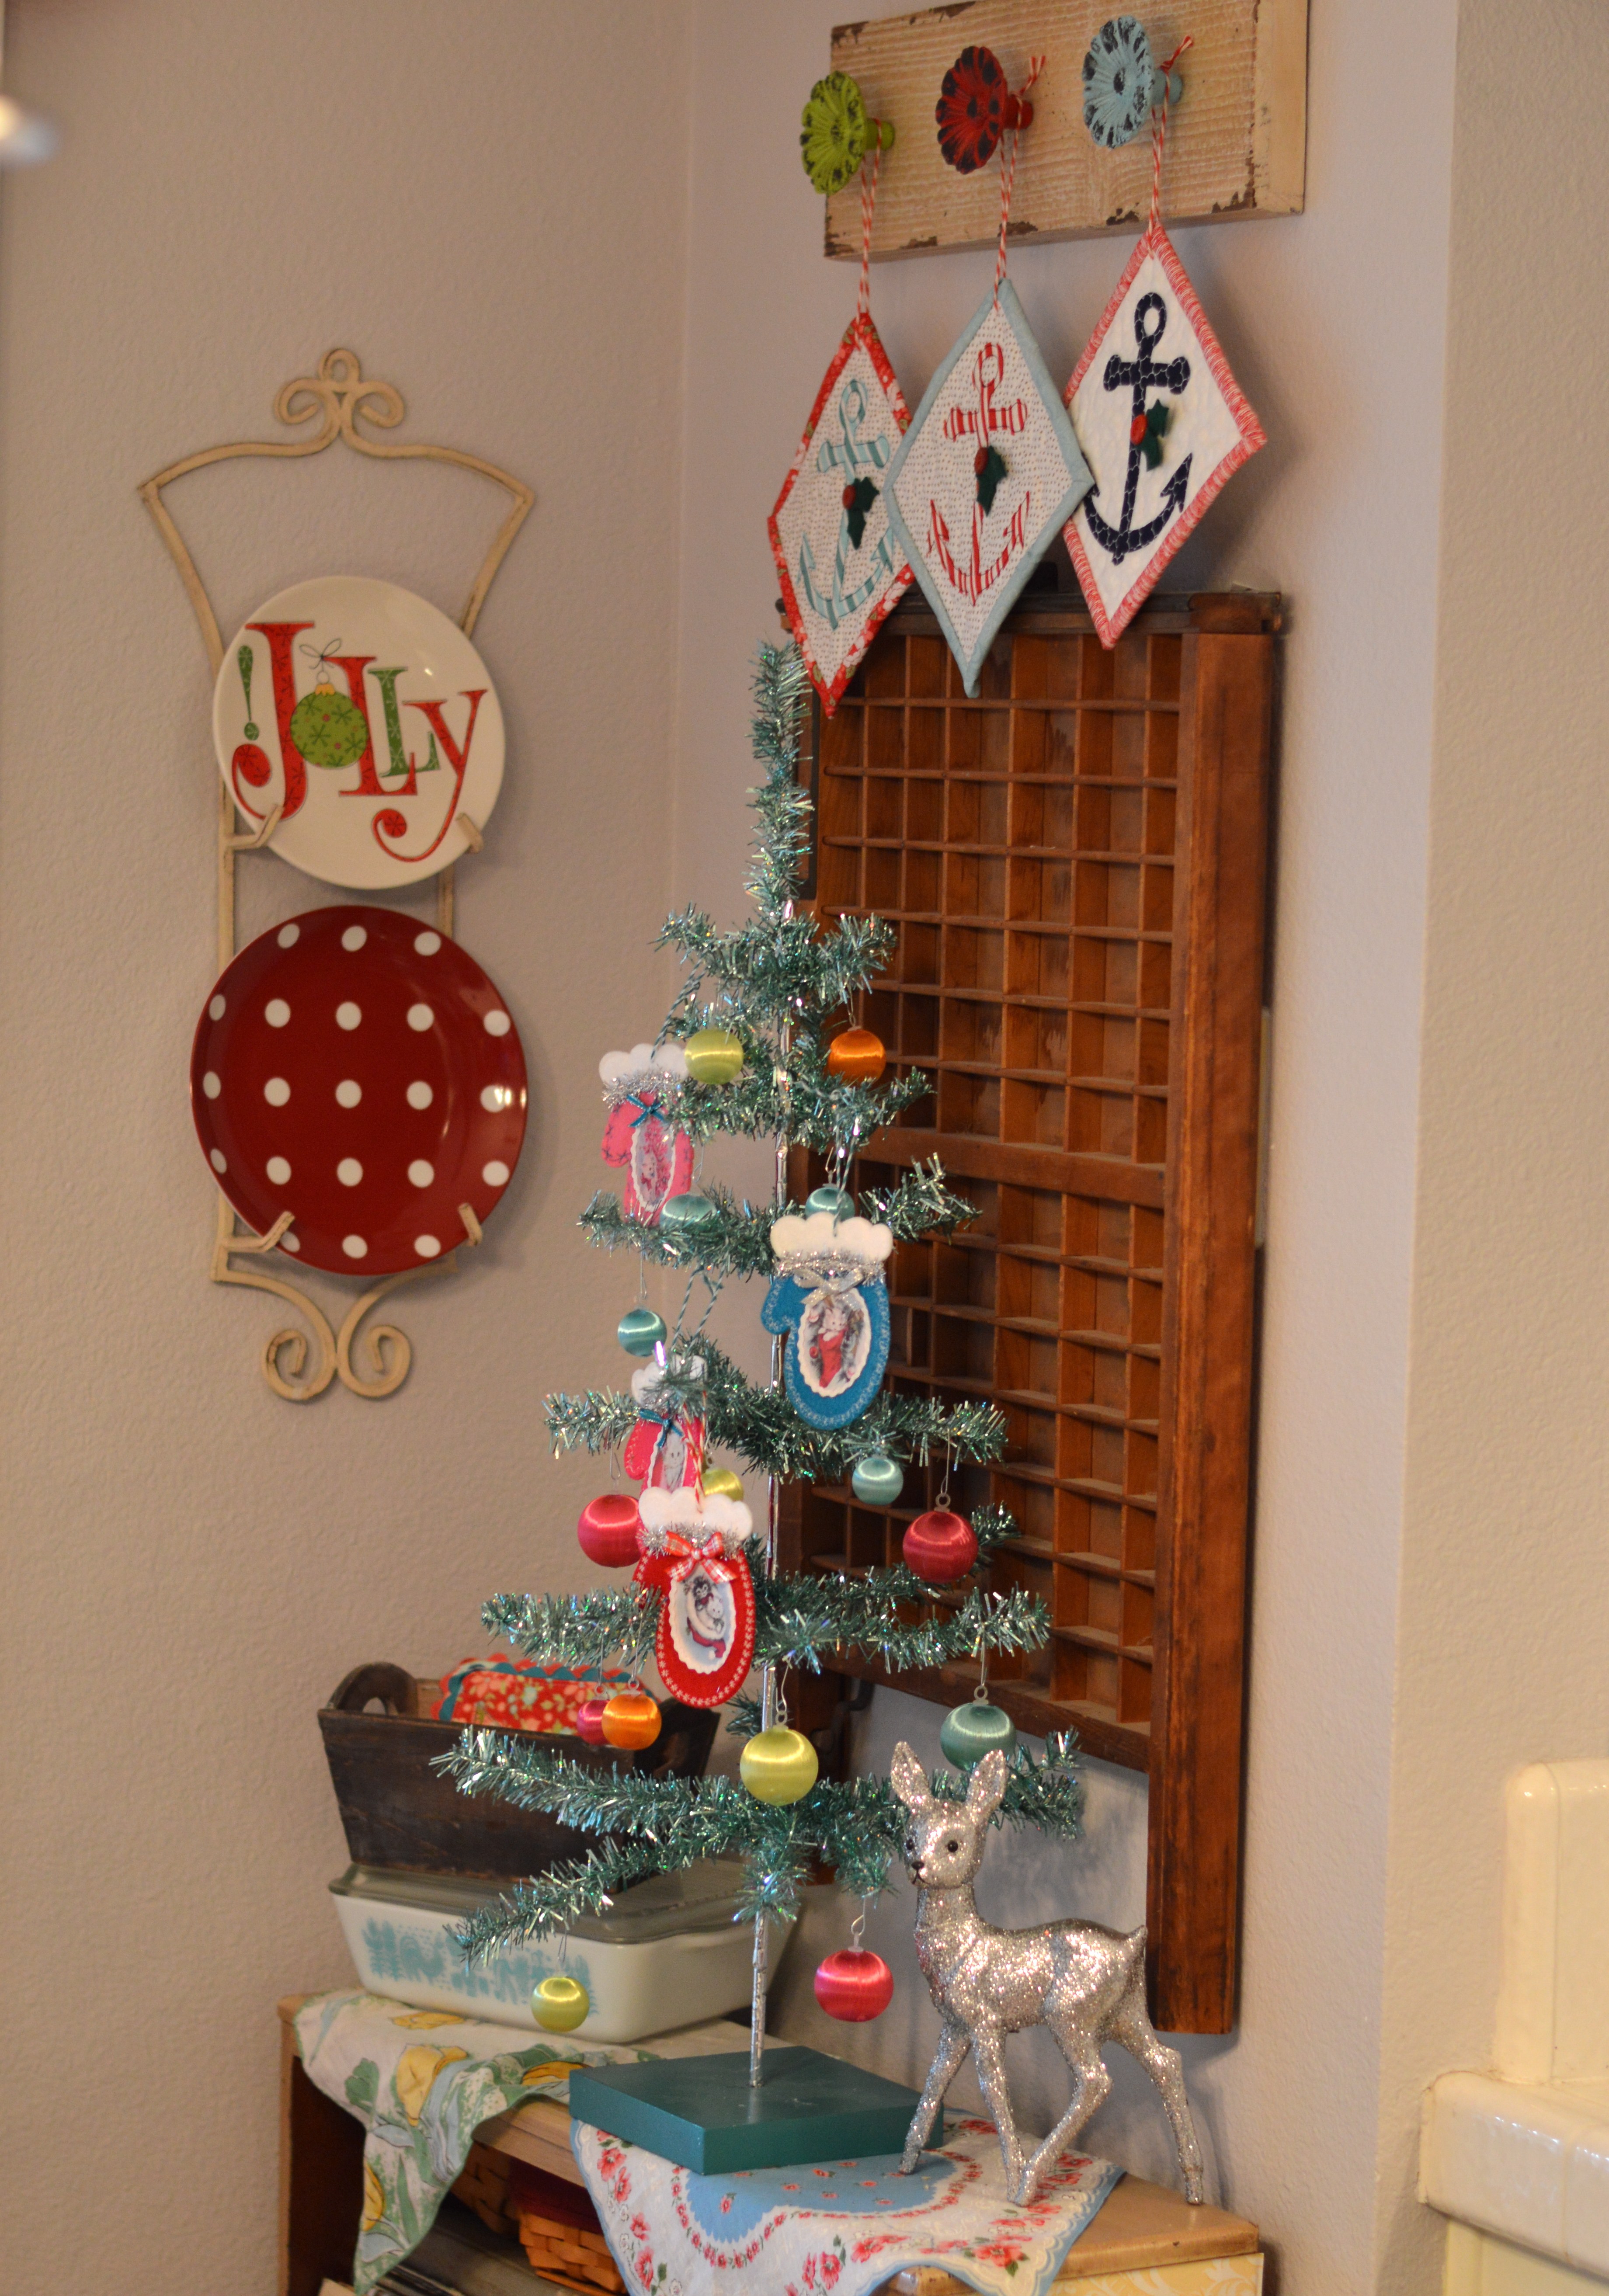
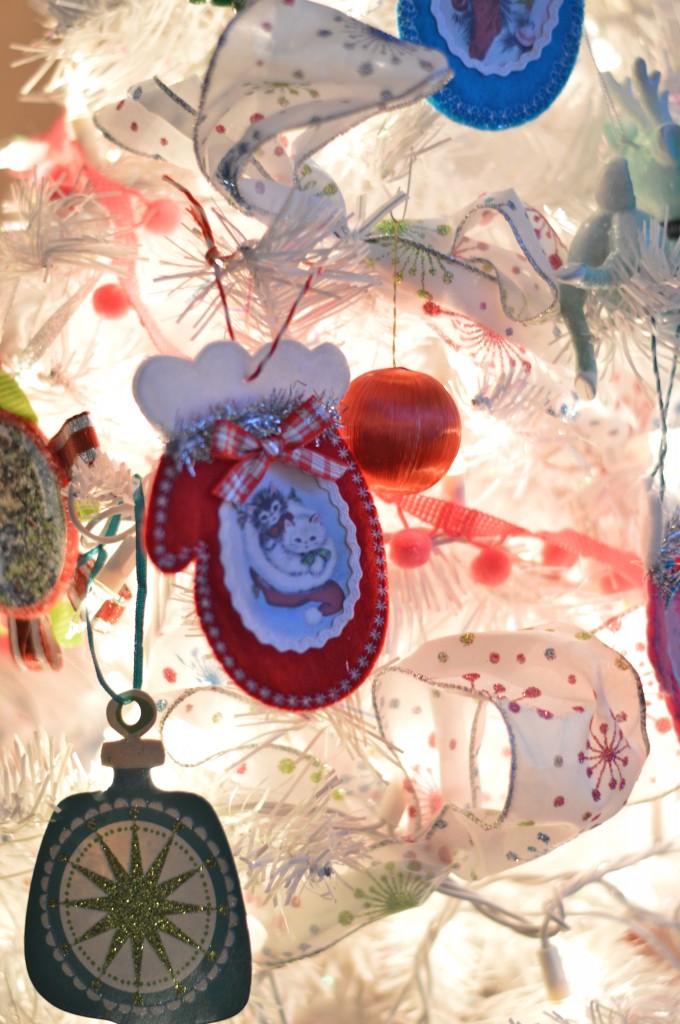
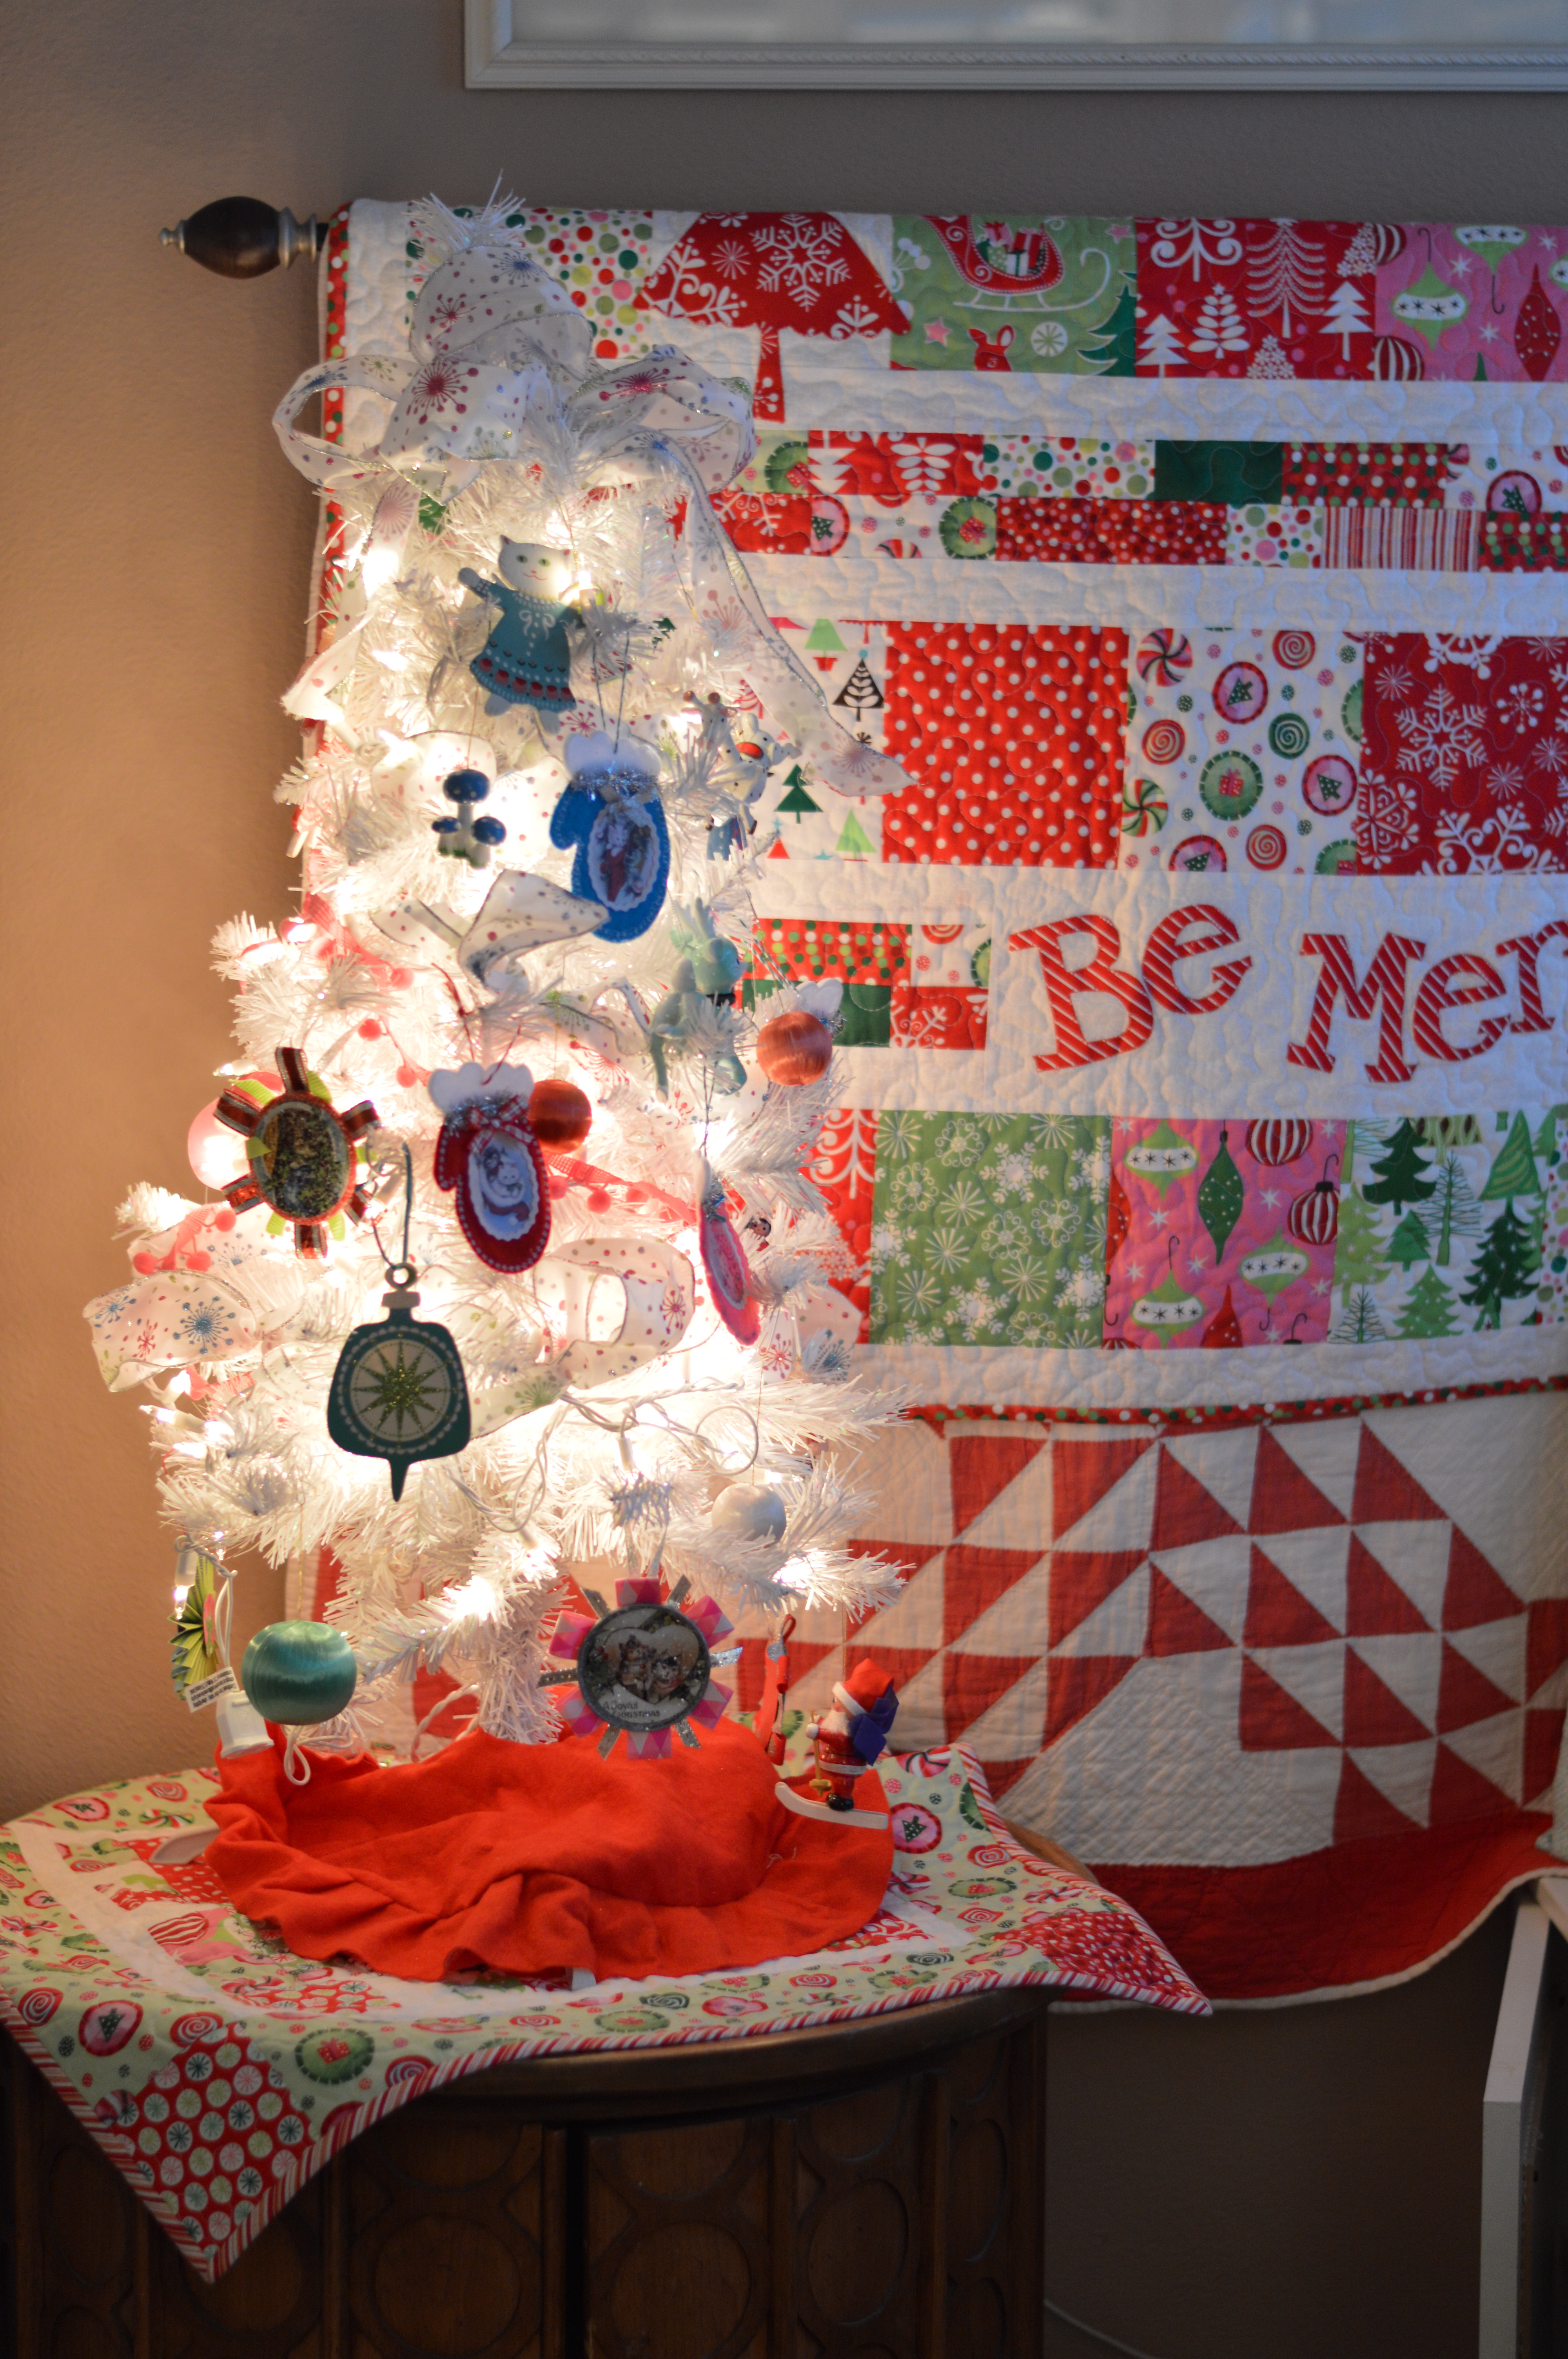
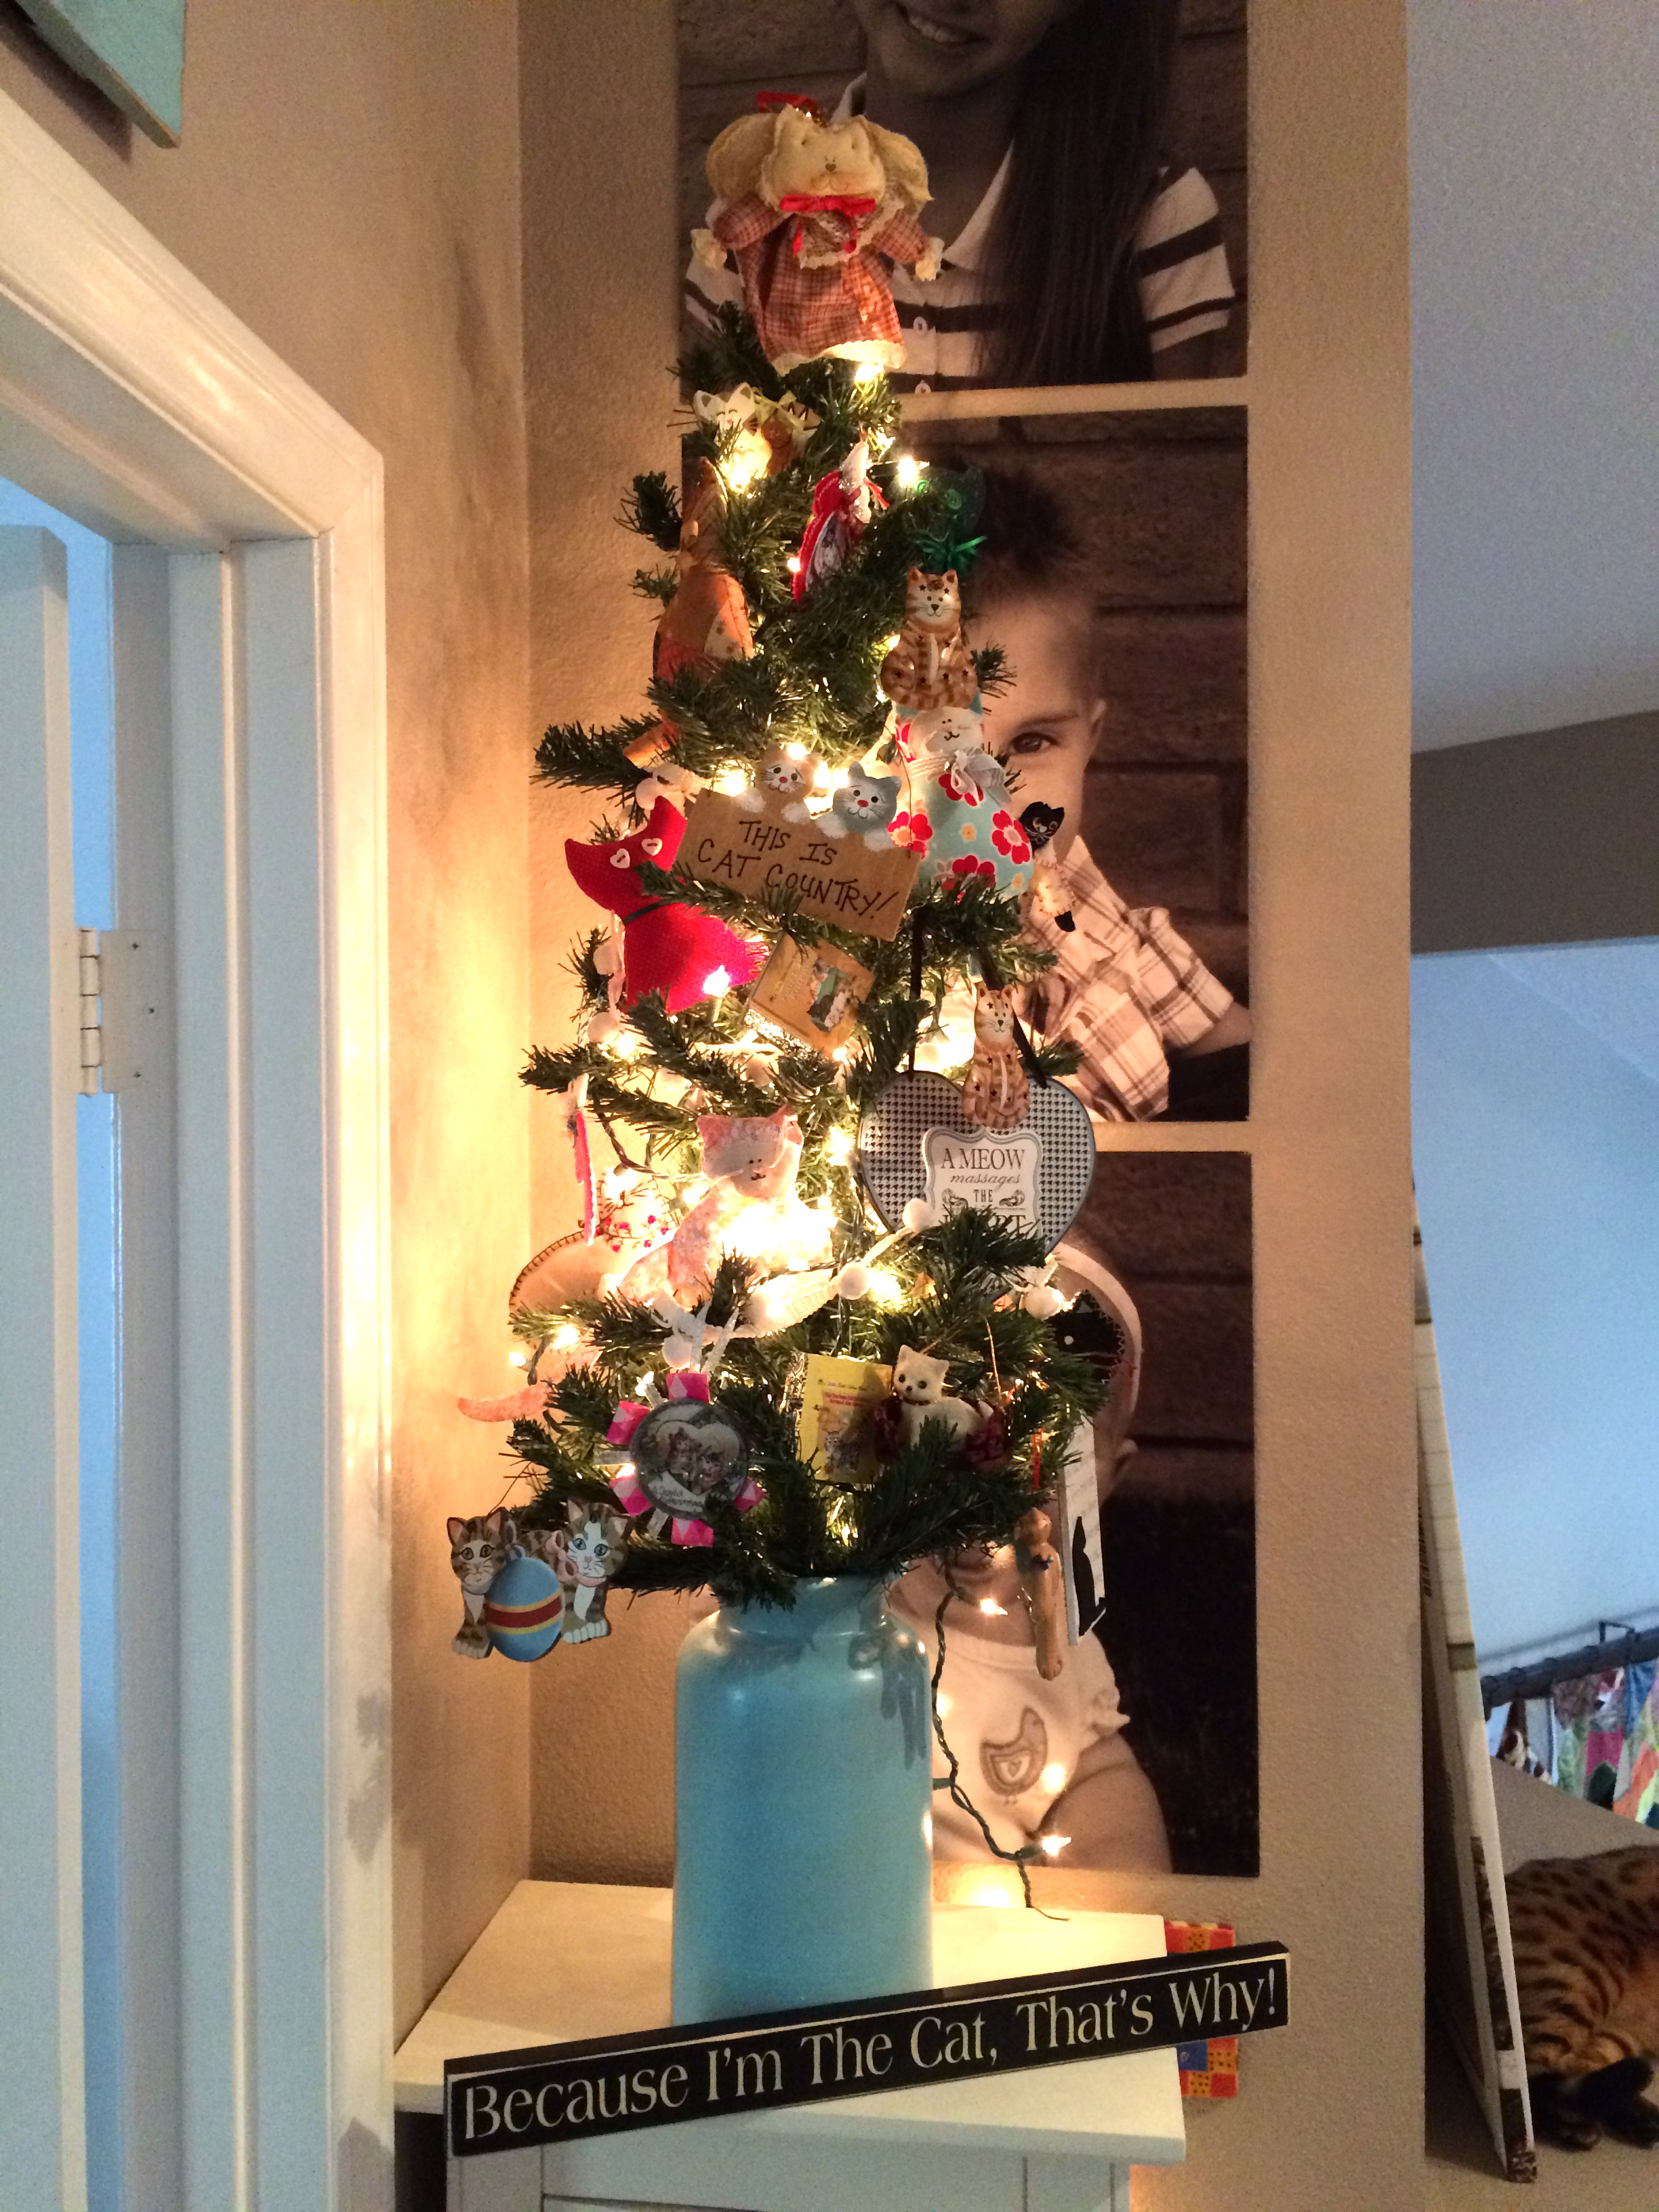
I have a cat themed tree upstairs in the hallway.  Don’t worry, there are plenty of cat ornaments on all my other trees!!!christmas cat softie 3

christmas cat softie 6  
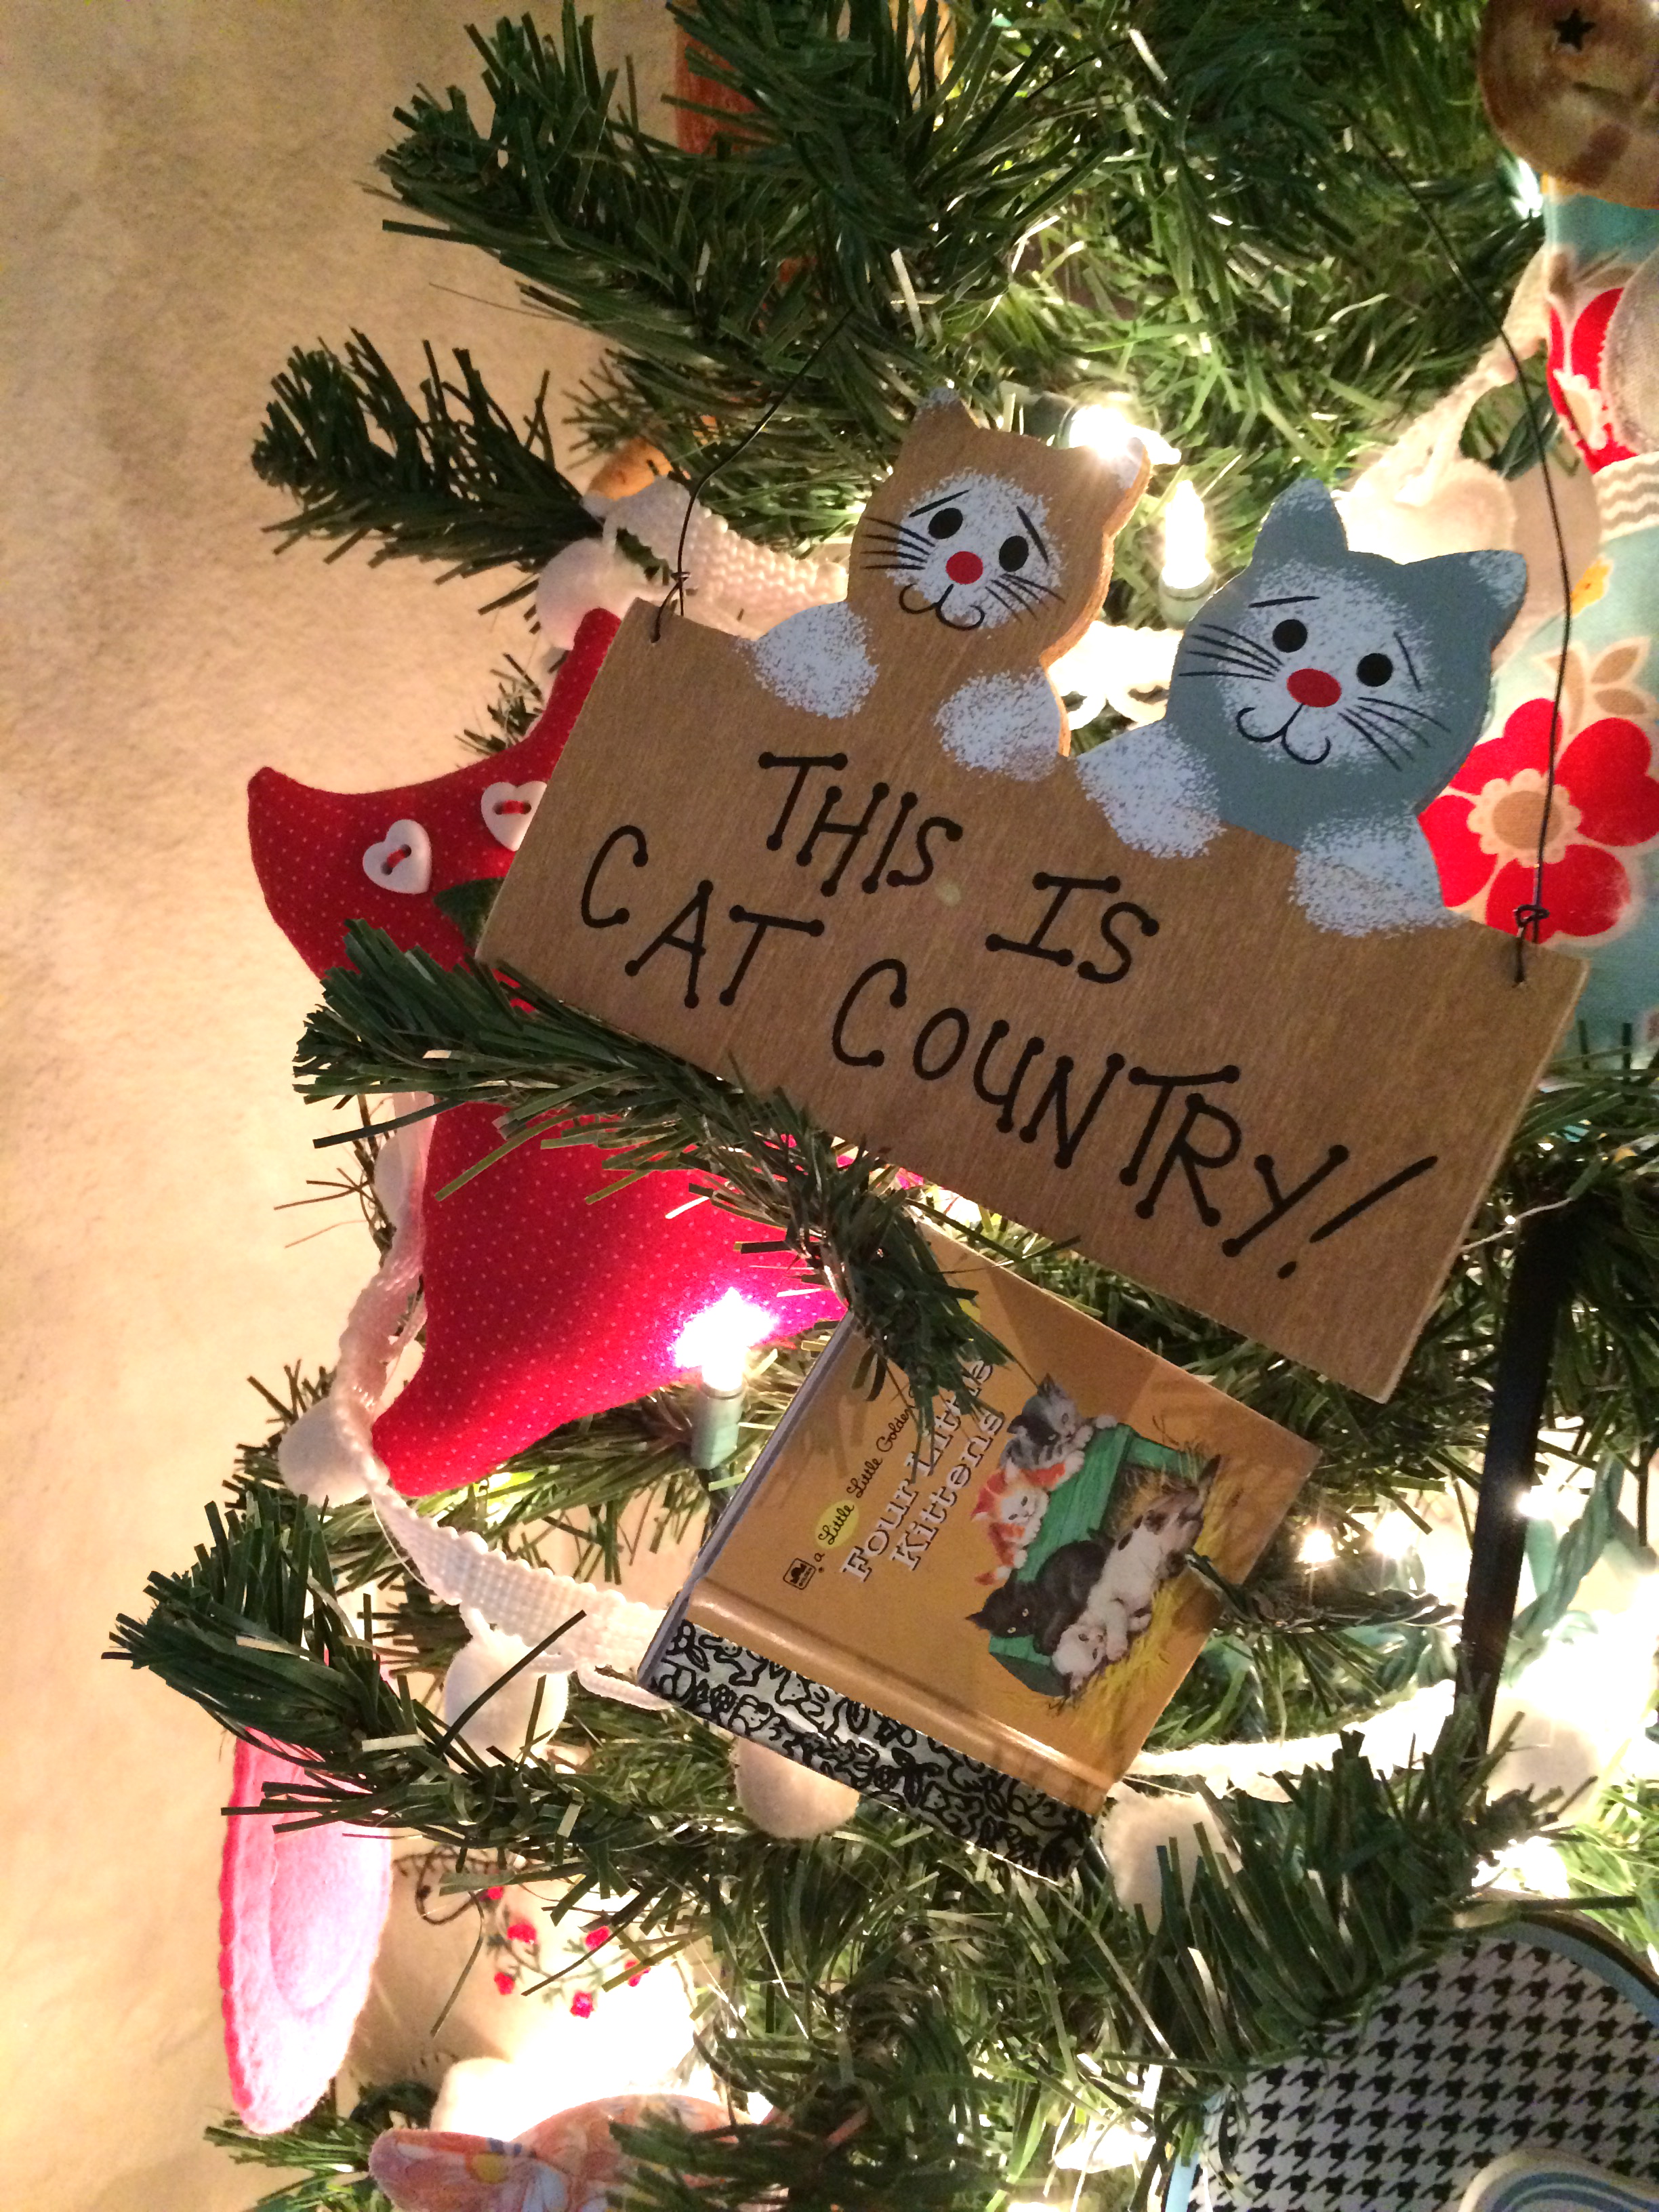
I bought this Mufasa ornament when I was at the Farmers Market in New Jersey!christmas cat softie 5
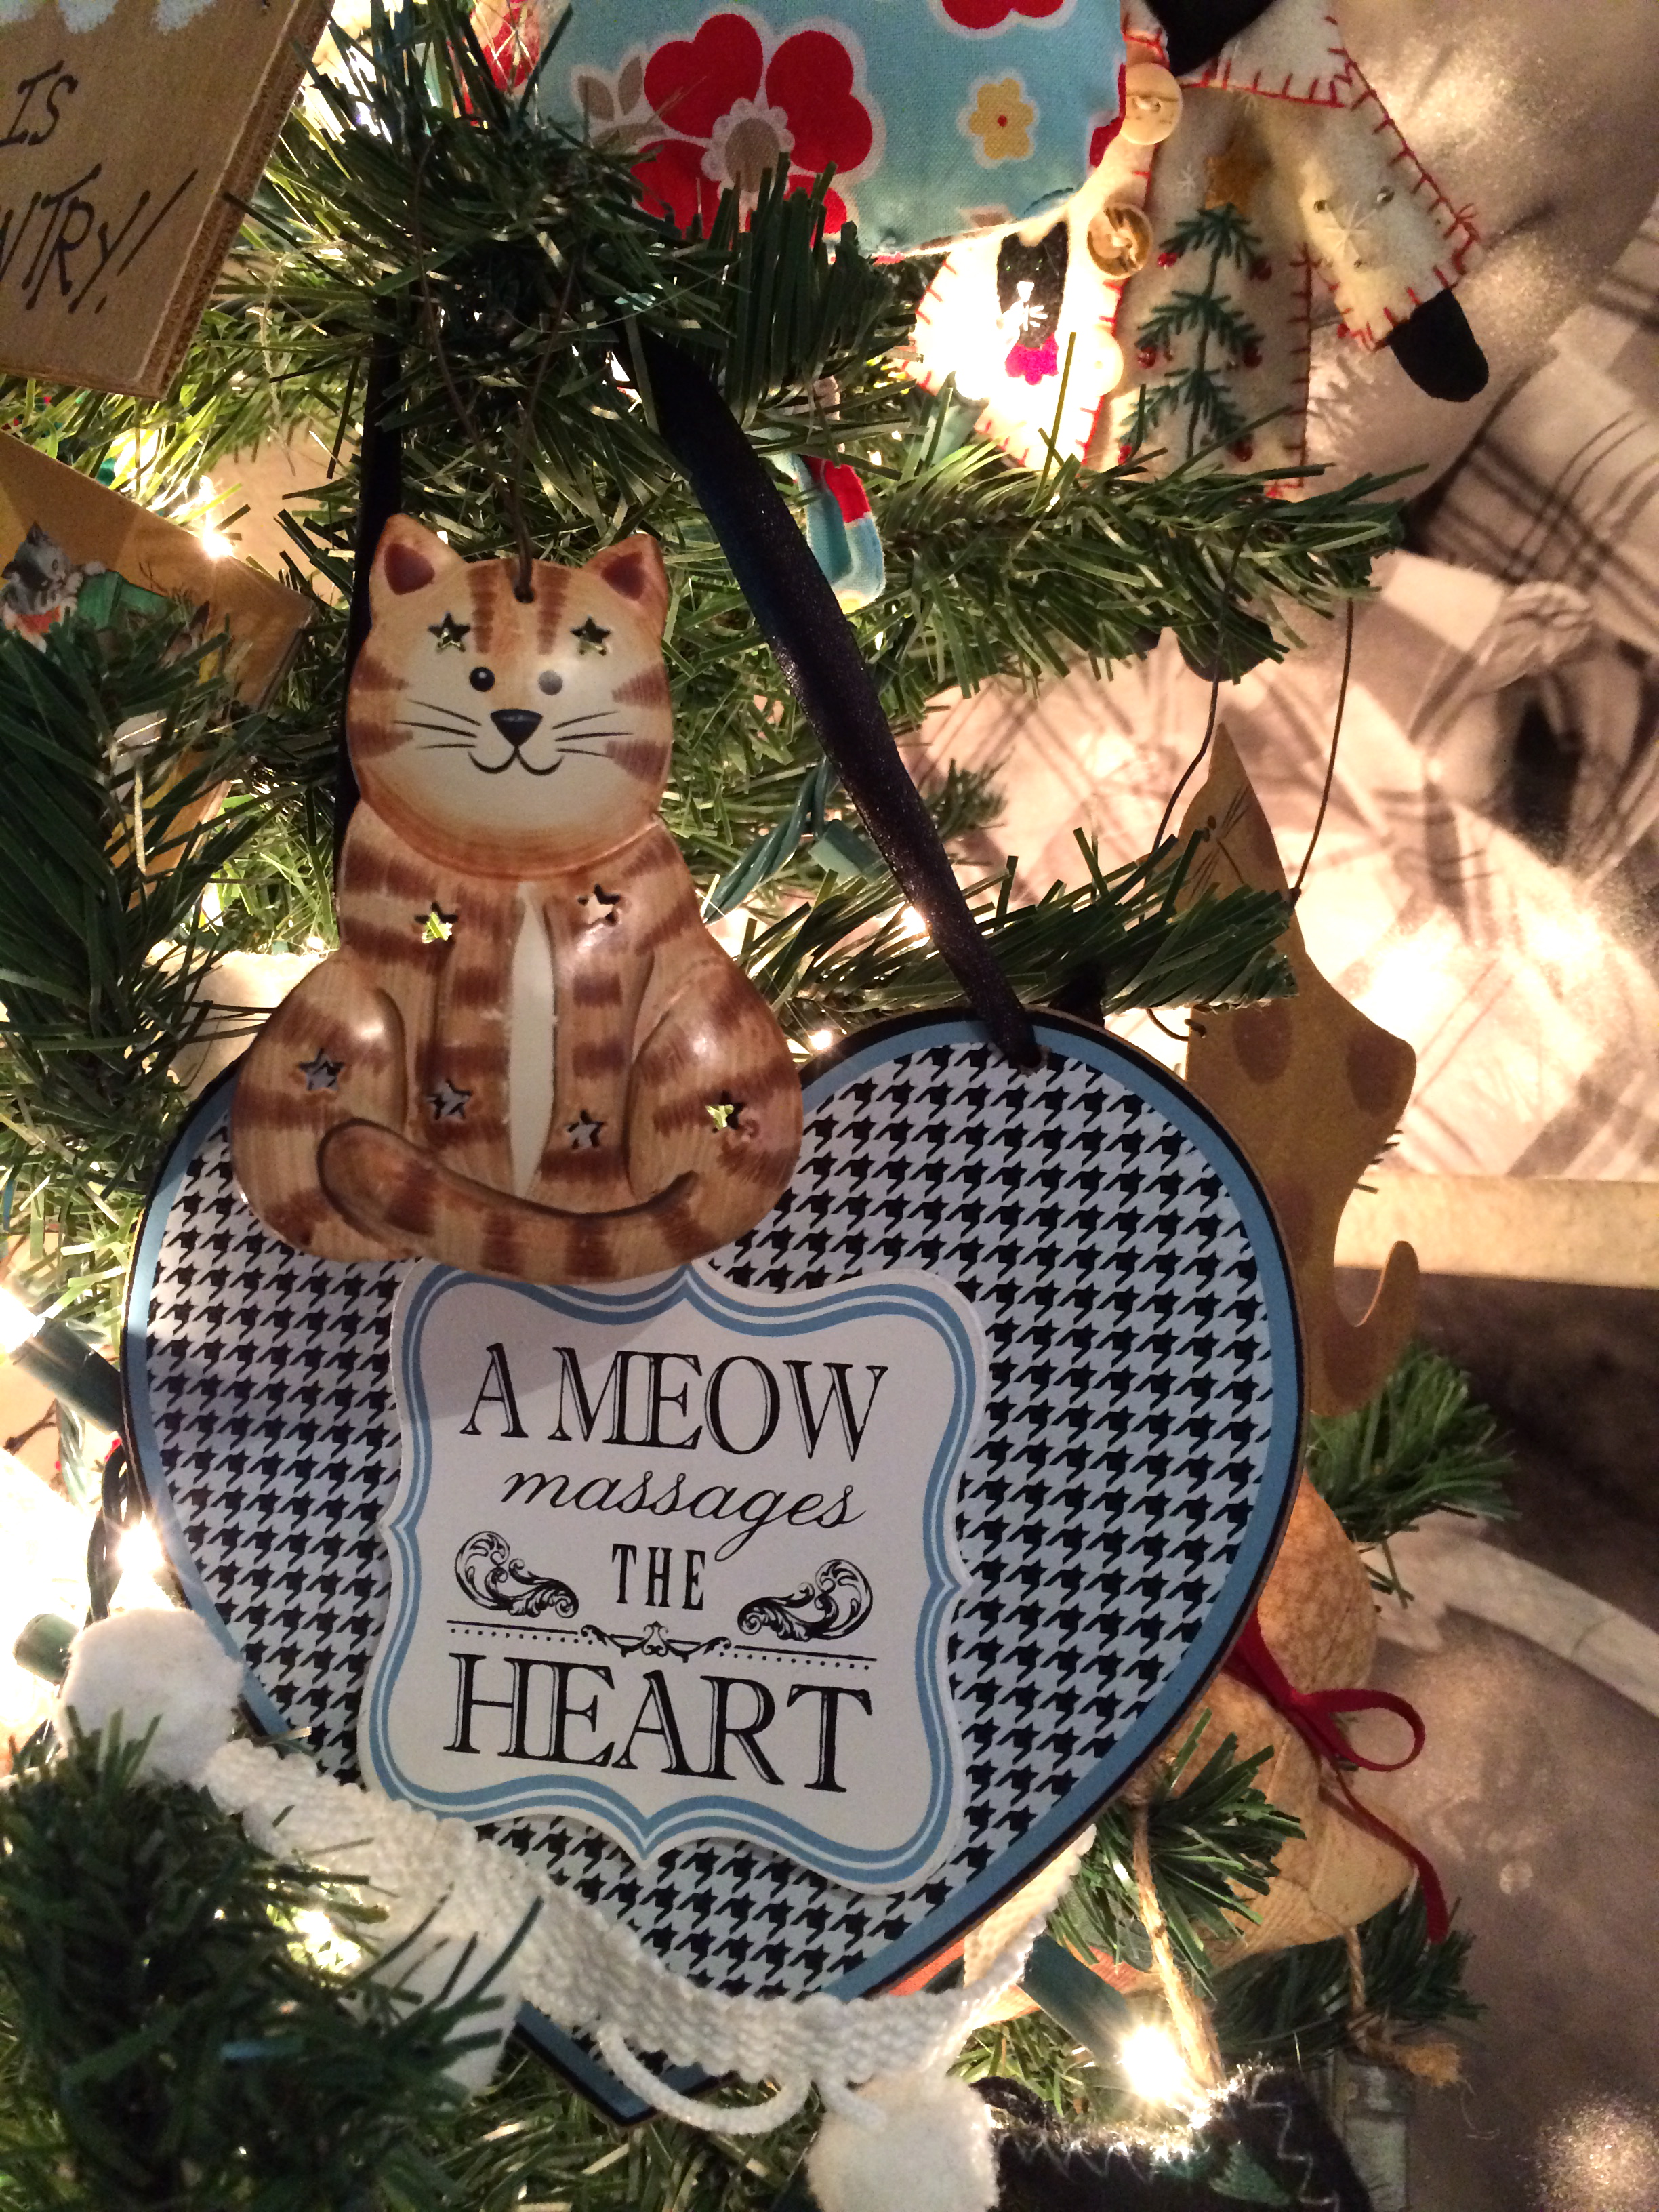
OK, I may have bought 2 Mufasa ornaments 🙂

IMG_2607
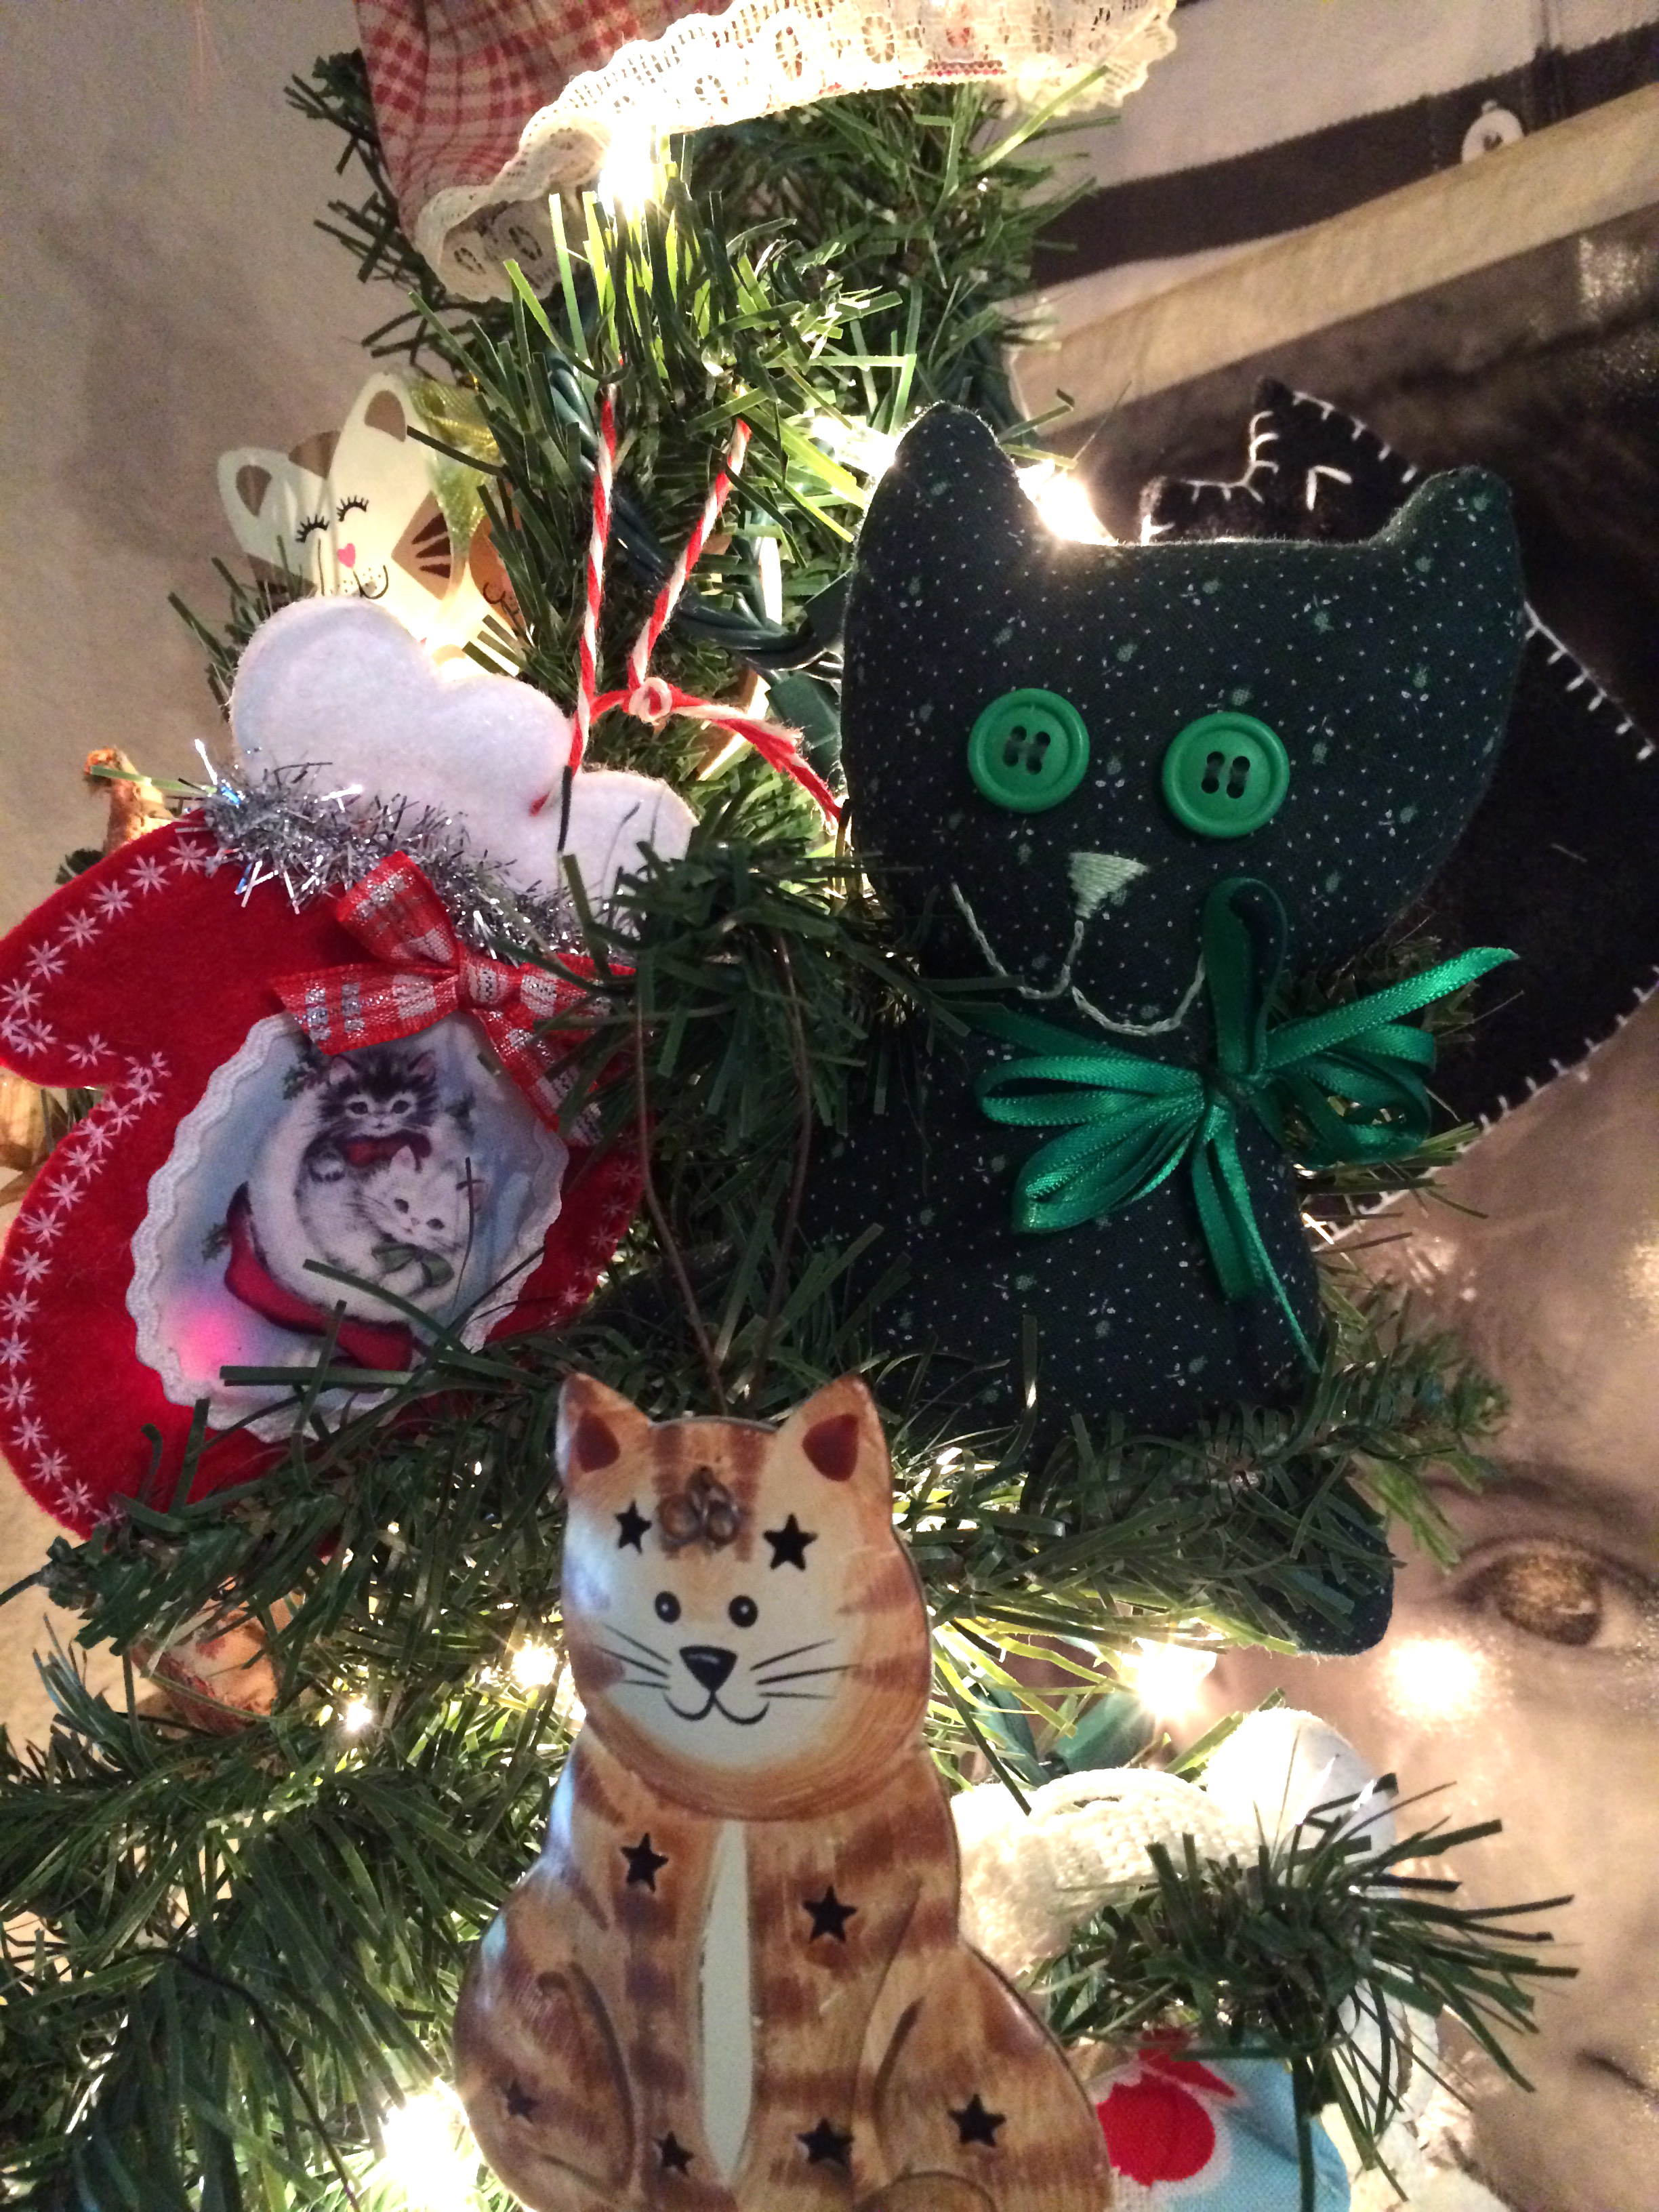
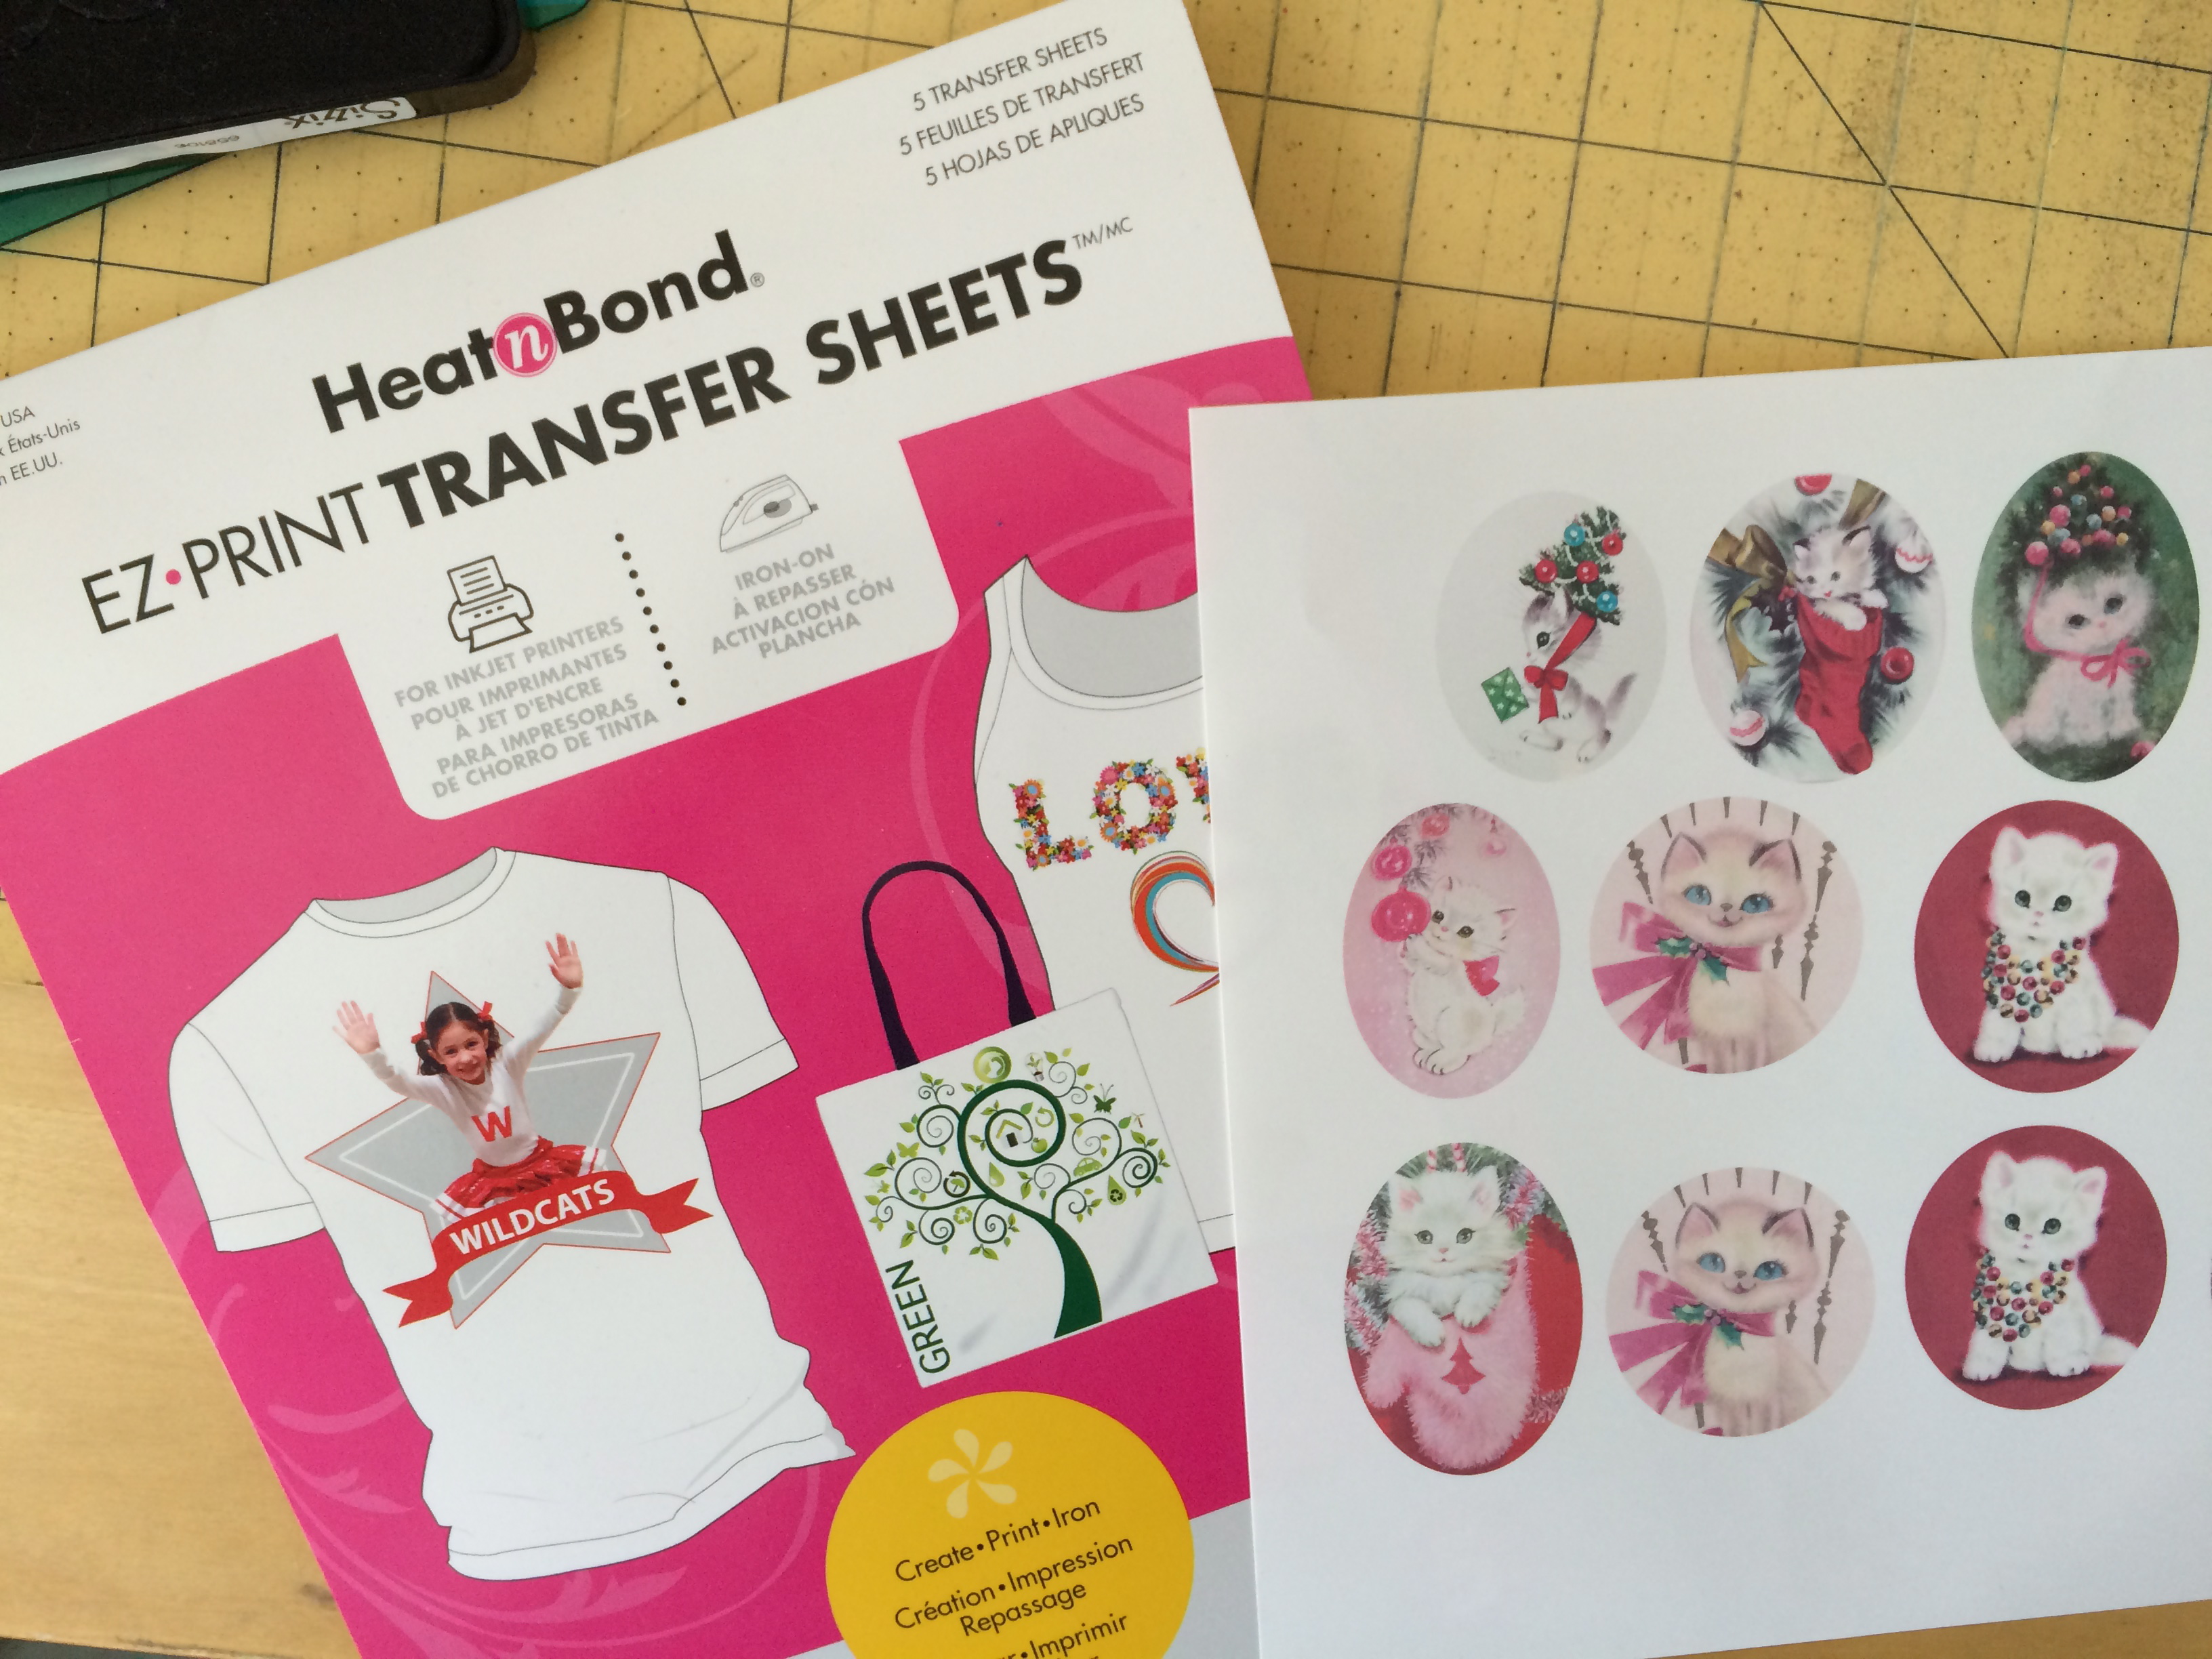
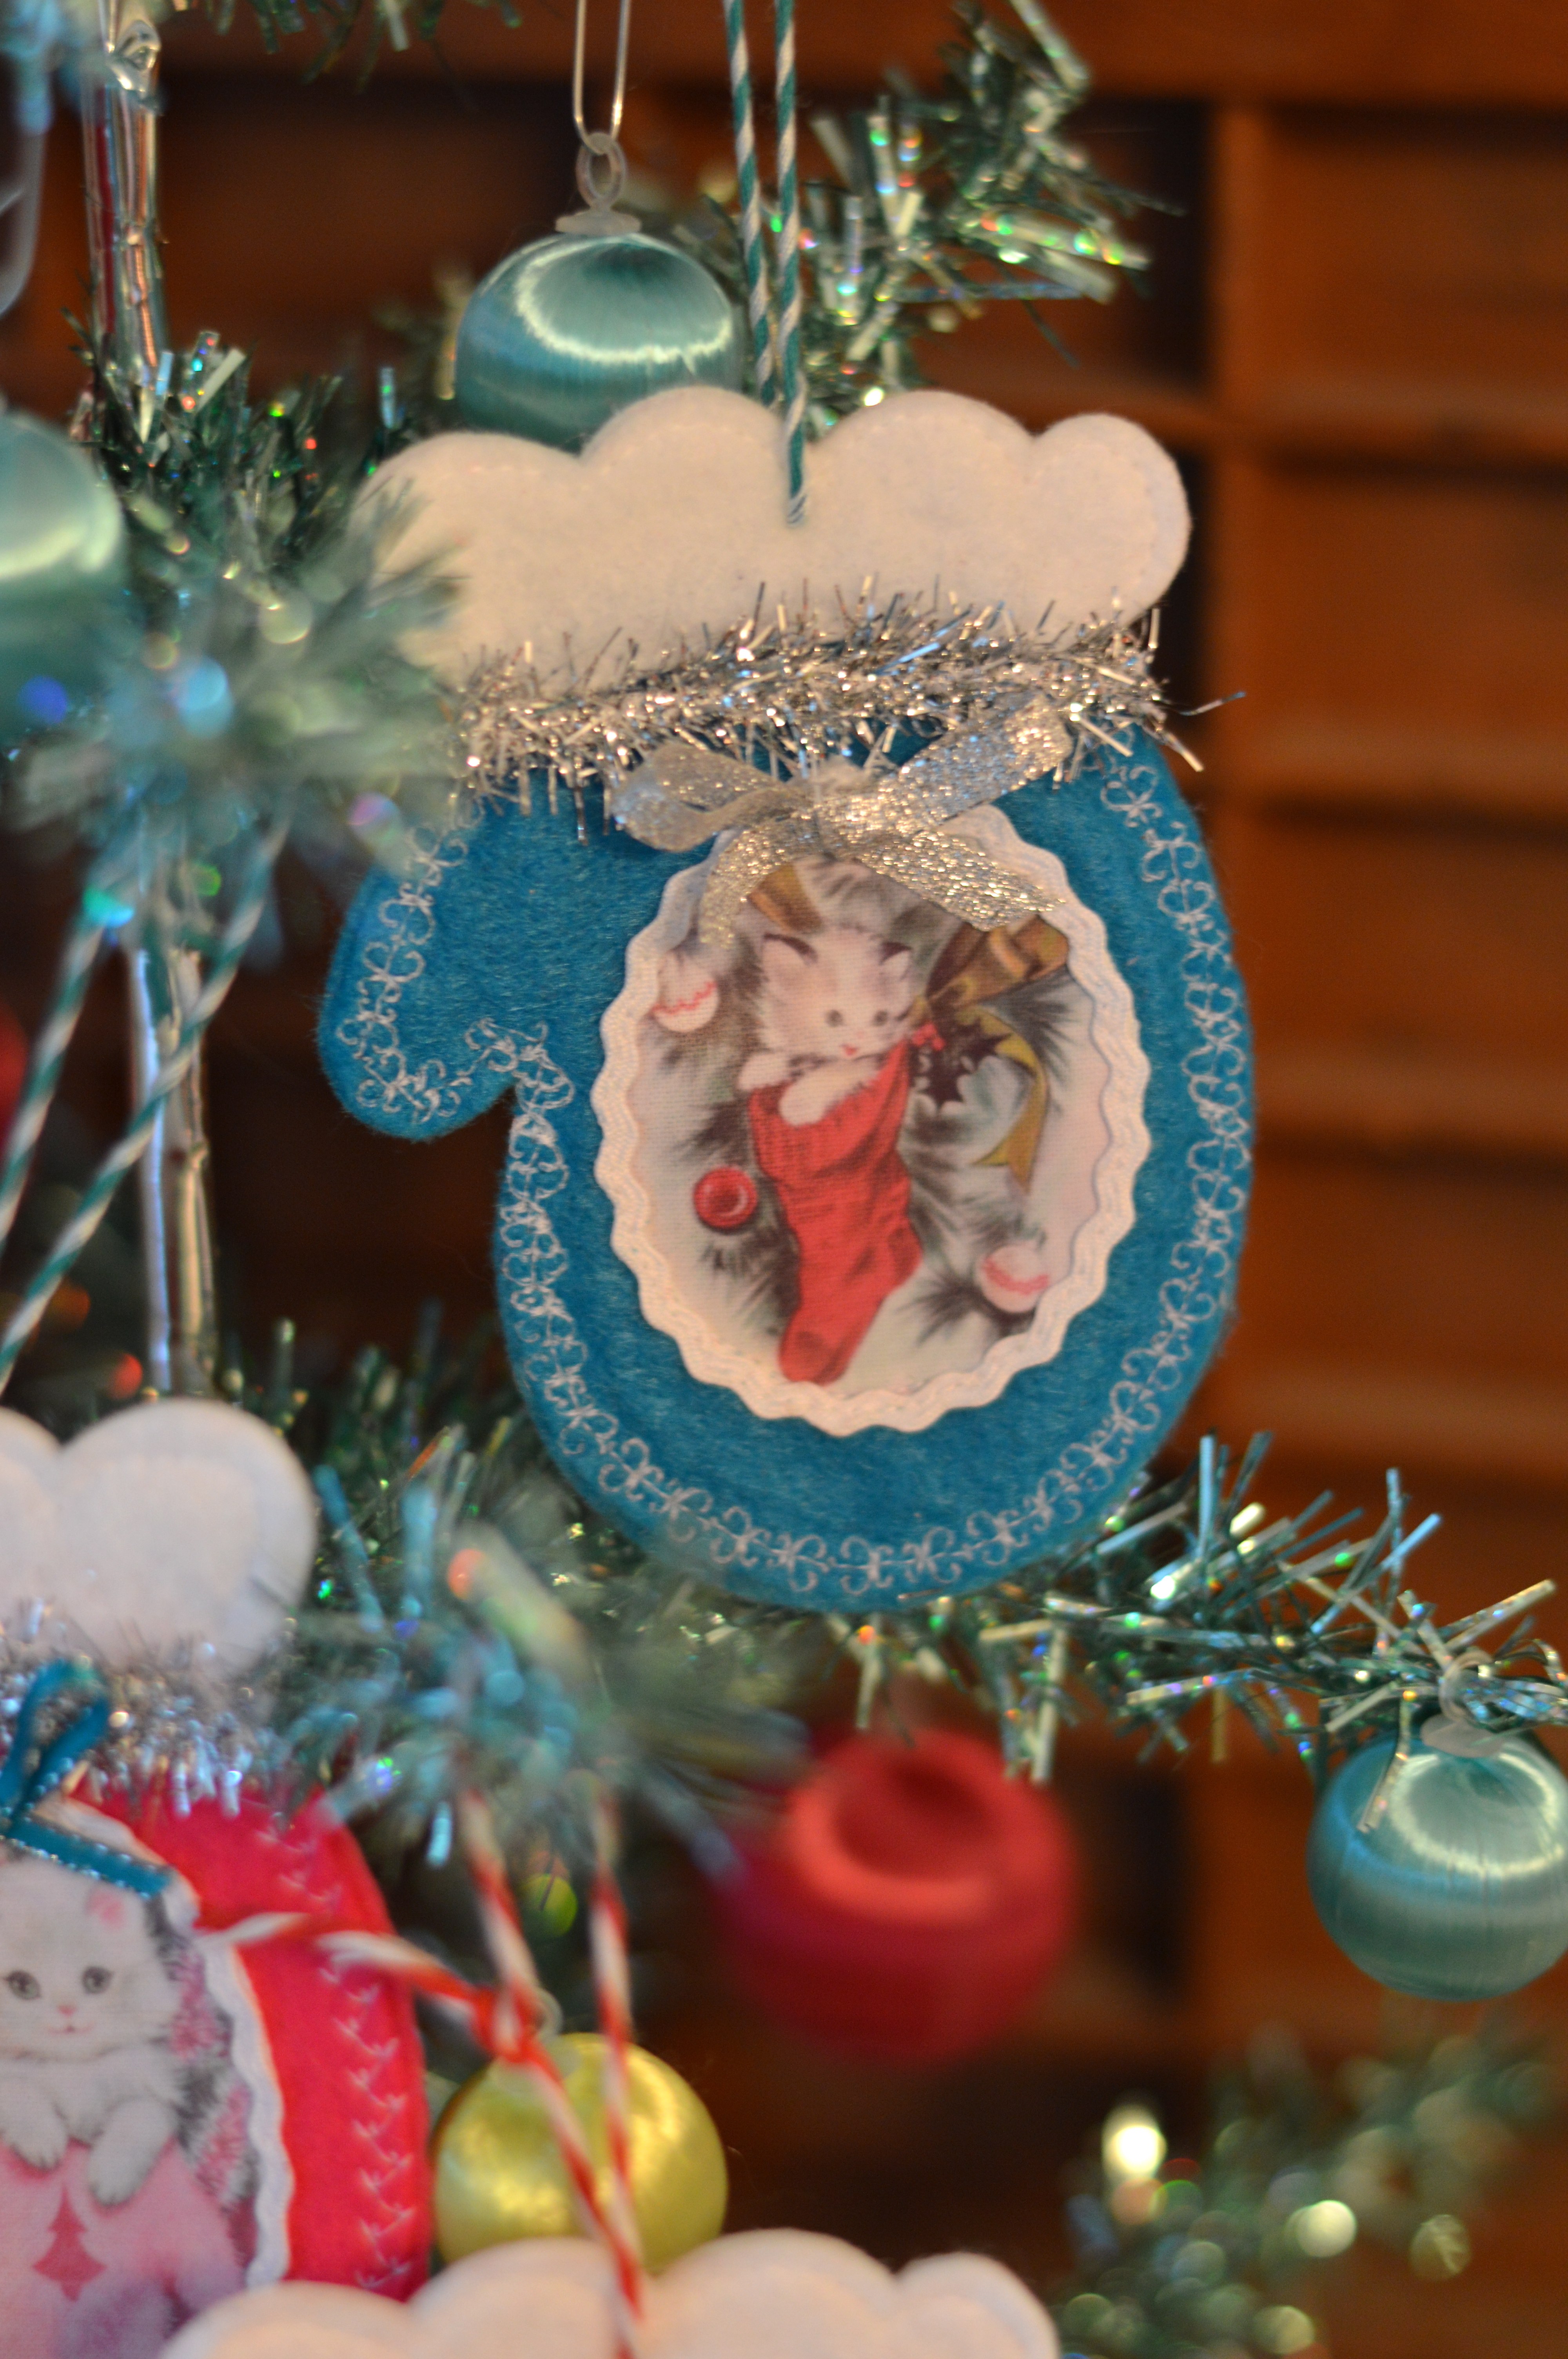
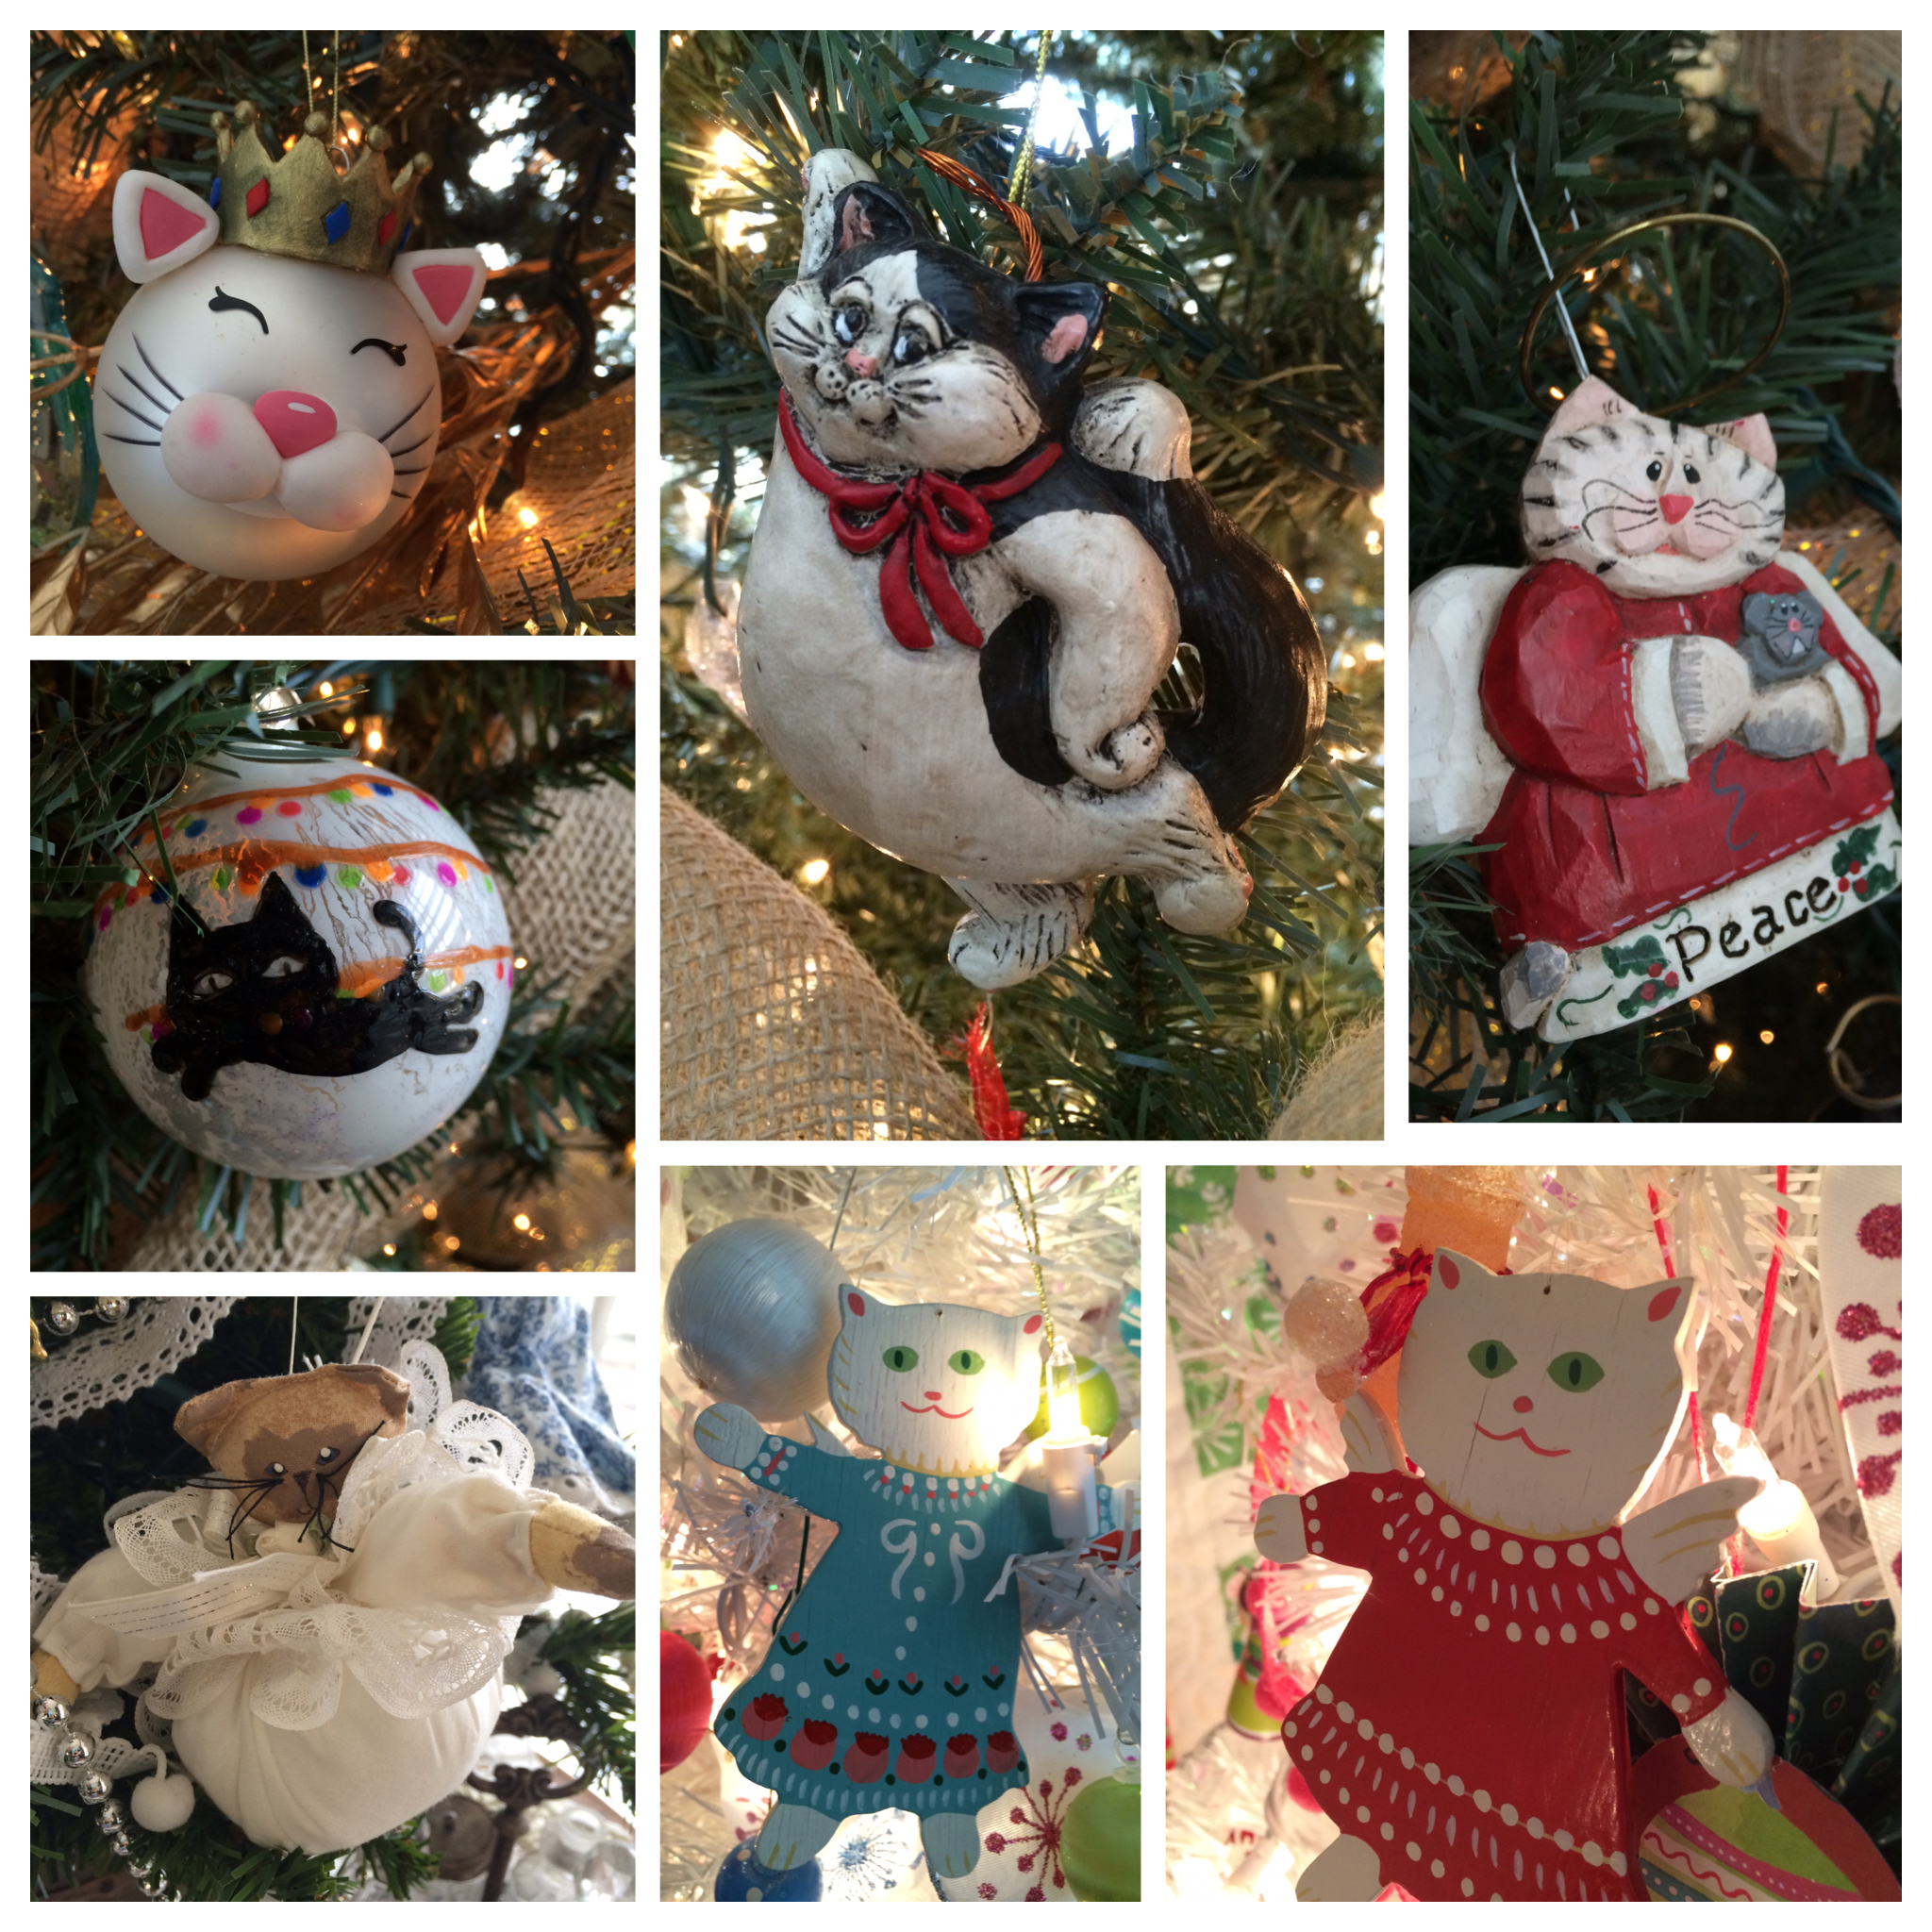
Just a sampling of some of my favorite cat ornaments I’ve collected 🙂

christmas cat softie

12 Days of Meow-y Christmas {Day 4}

catnip pillow toy

For years my mother has purchased little catnip pillows at her veterinarian’s office and sent them to her grand-cats.  My cats have actually worn the pillows out because they love them so much.  They are super simple just a square stuffed with fiberfill and catnip!  They are purrrrfect little stocking stuffers for your furbabies!

catnip pillow toy 9

This is the old one – not even made with cute fabric!

Let’s make some Christmas ones!

Supplies:

Bright cheery Christmas fabric, mine is from Riley Blake Designs

Fiberfill

Catnip

a word about catnip…..for years I have grown catnip.  It grows easy and doesn’t need a lot of care.  In fact if you start growing it you might find it growing in other parts of the yard.  However, if there are any cats in the neighborhood or if your cats roam outside, they will find the catnip, roll in it, sleep in it, eat it and ruin it!  You can purchase dried catnip at pet supply stores.  You should definitely give your cat fresh catnip sometime just to see their reaction! 

catnip pillow toy 6

Cut (2) 3.5″ squares for each pillow.  Mine were a touch smaller then the ones my mom sent.  I think they were cut 4″.

catnip pillow toy 2Sew  using 1/4″ seams along 3 sides, back stitching to start and stop.

catnip pillow toy 3Turn them right side out.

catnip pillow toy 5

Fill with catnip and fiberfill.  I alternated so the catnip wasn’t just at the end.catnip pillow toy 4

catnip pillow toy 7Turn the raw edges under 1/4″ and top stitch closed.

catnip pillow toy 8It’s best if you sew them when your cat is not sleeping right behind the sewing machine.  The smell woke Mufasa and this is what happened!

catnip pillow toy 10Mufasa loves his new catnip pillow!catnip pillow toy 12        
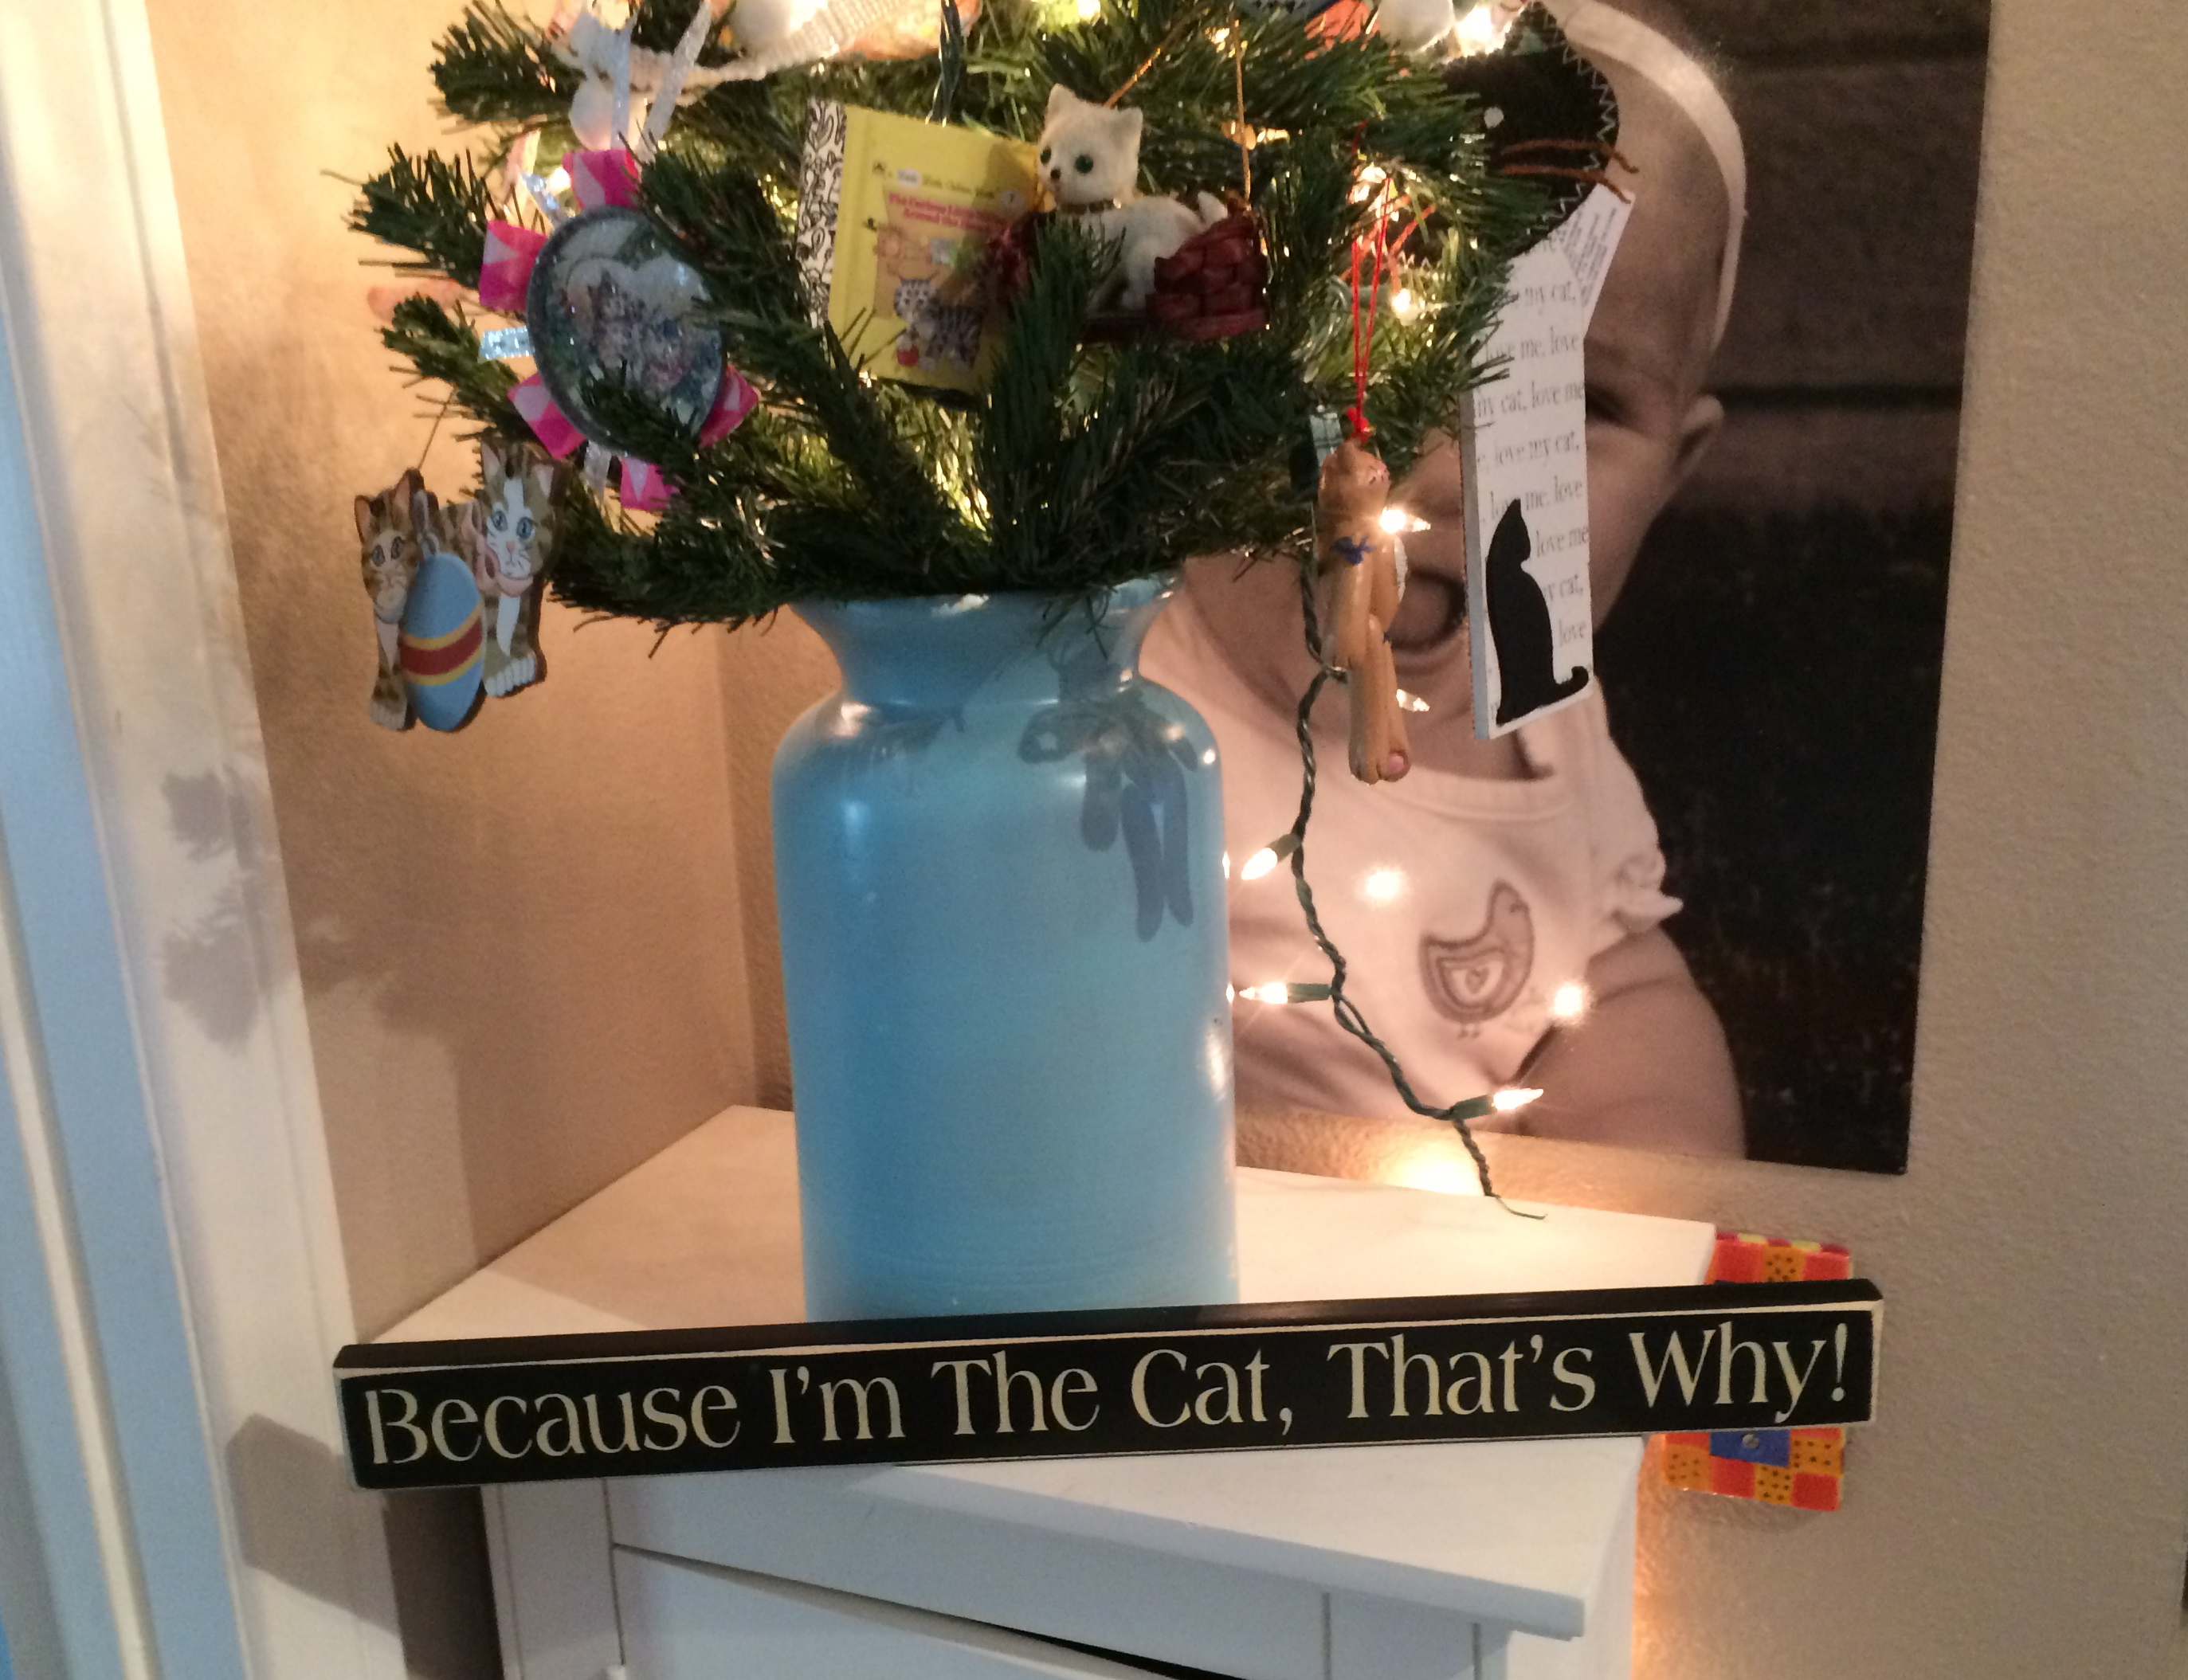
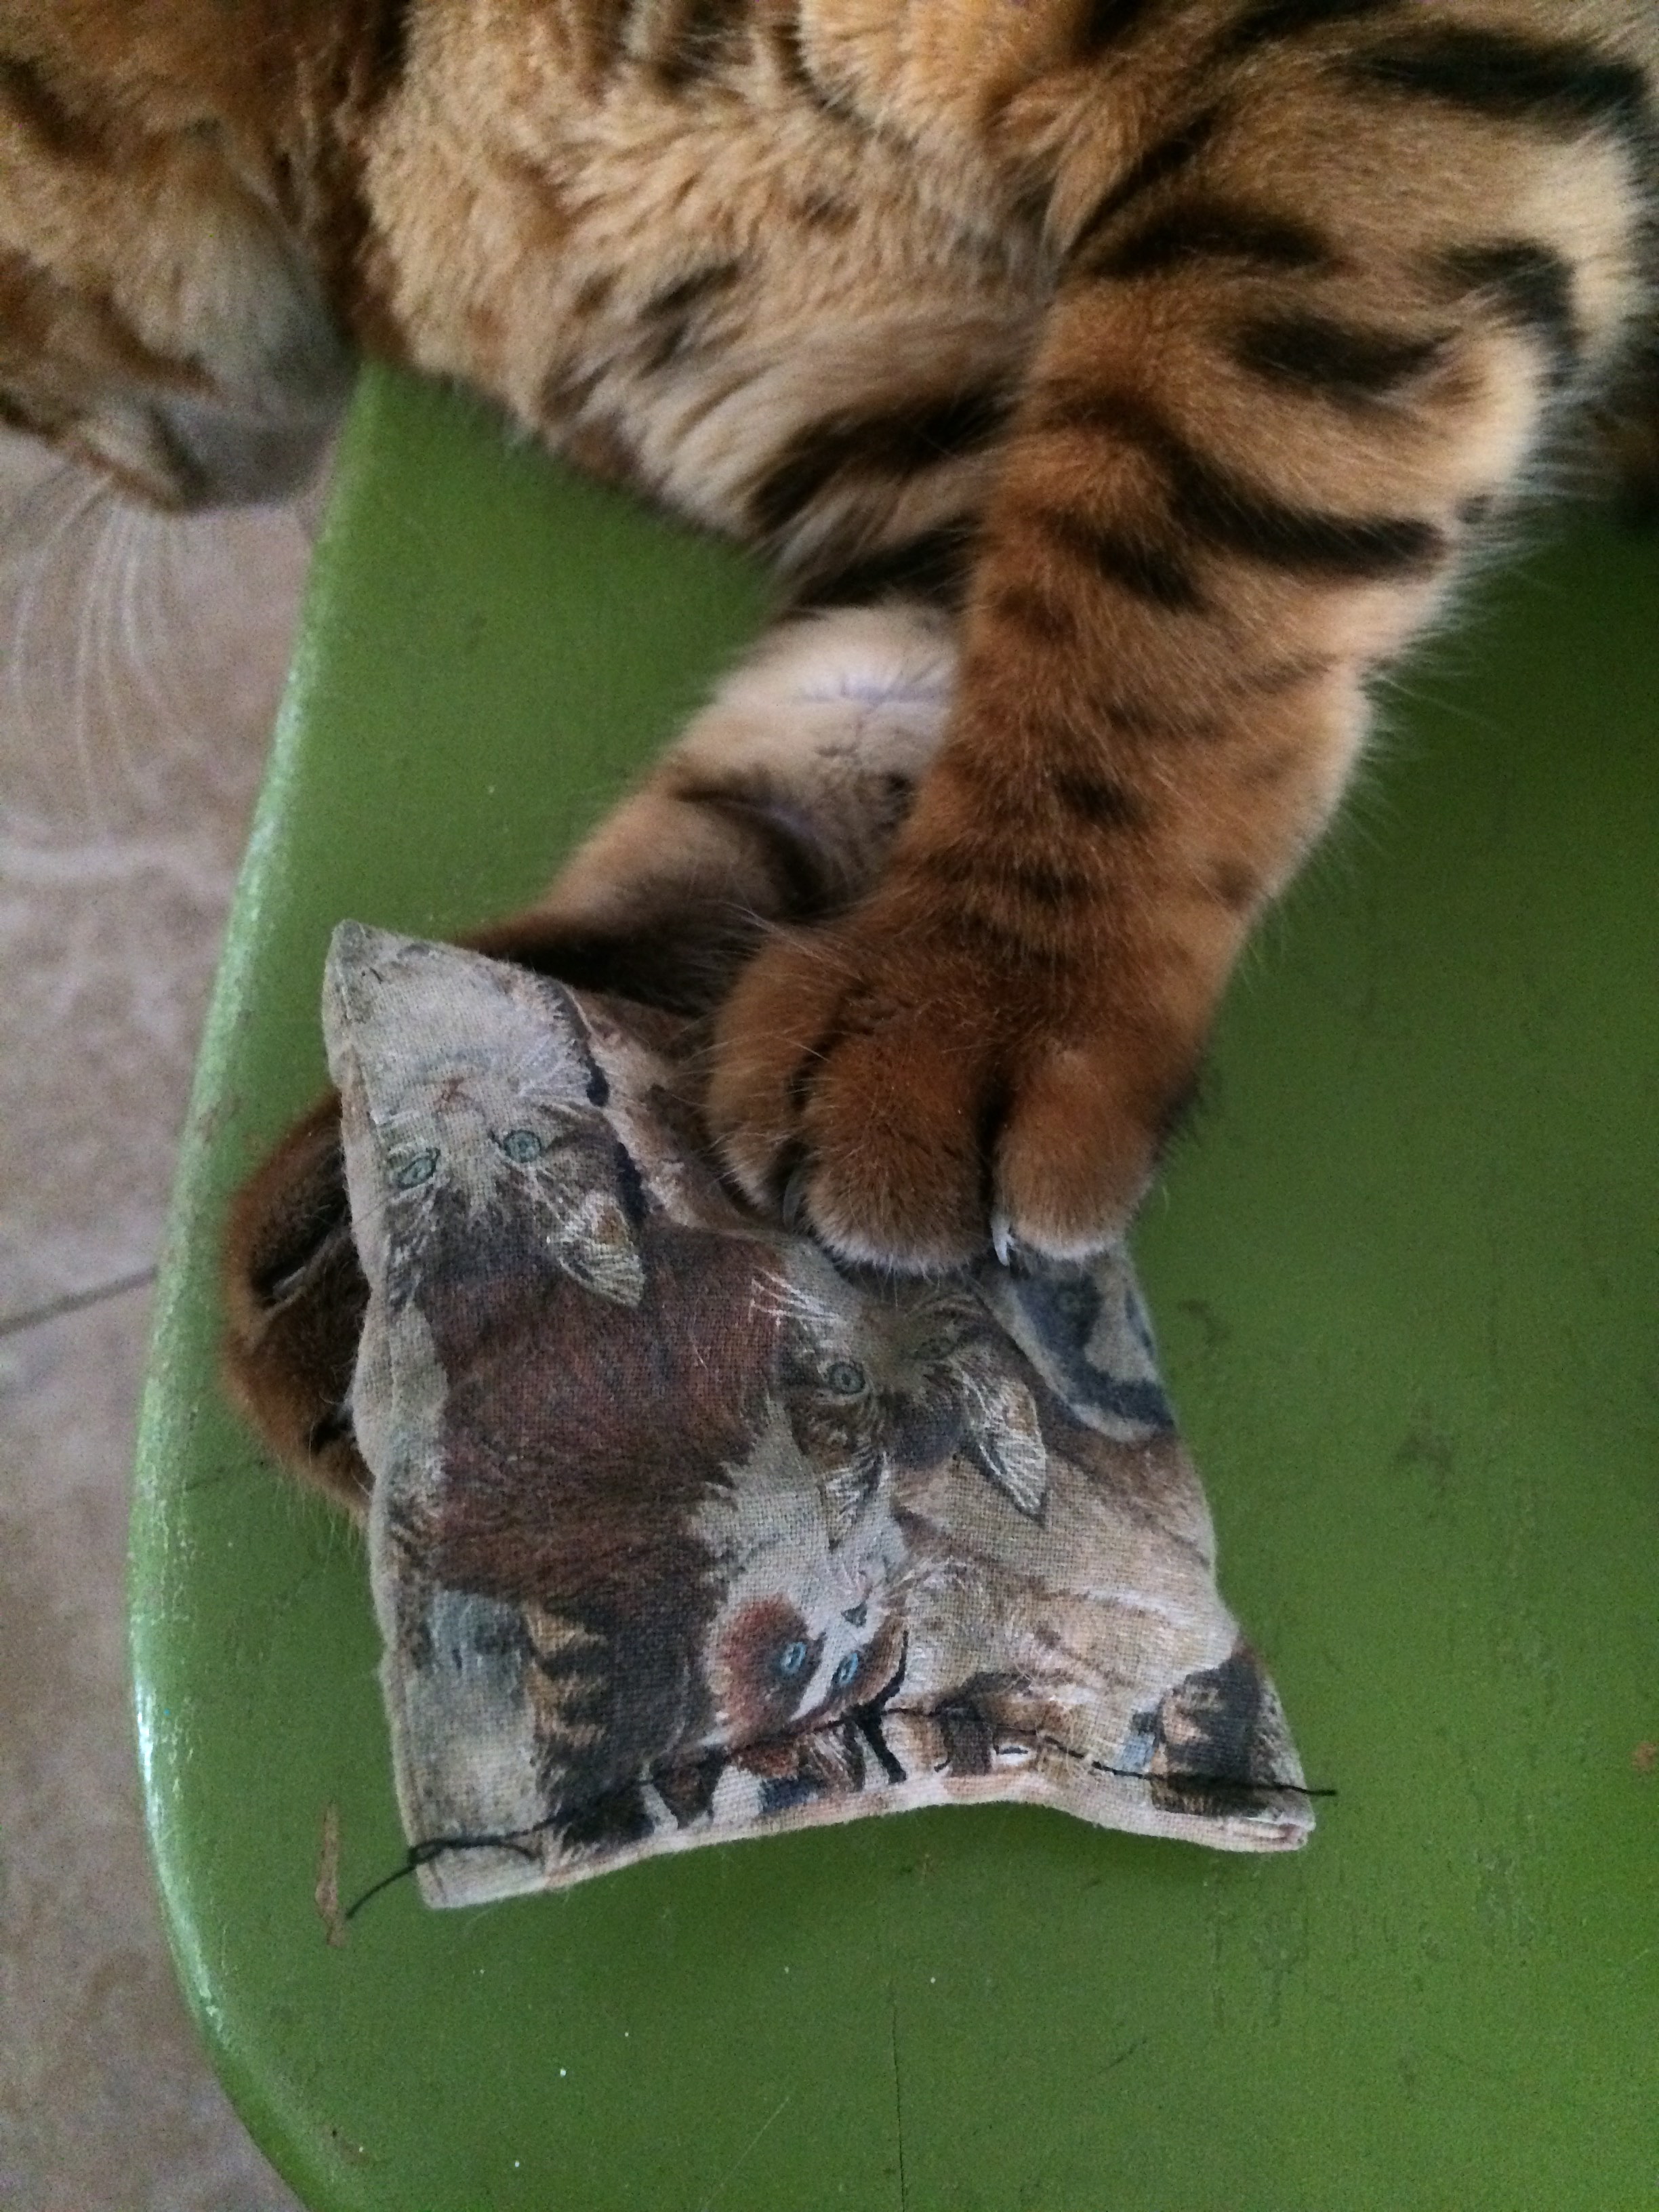
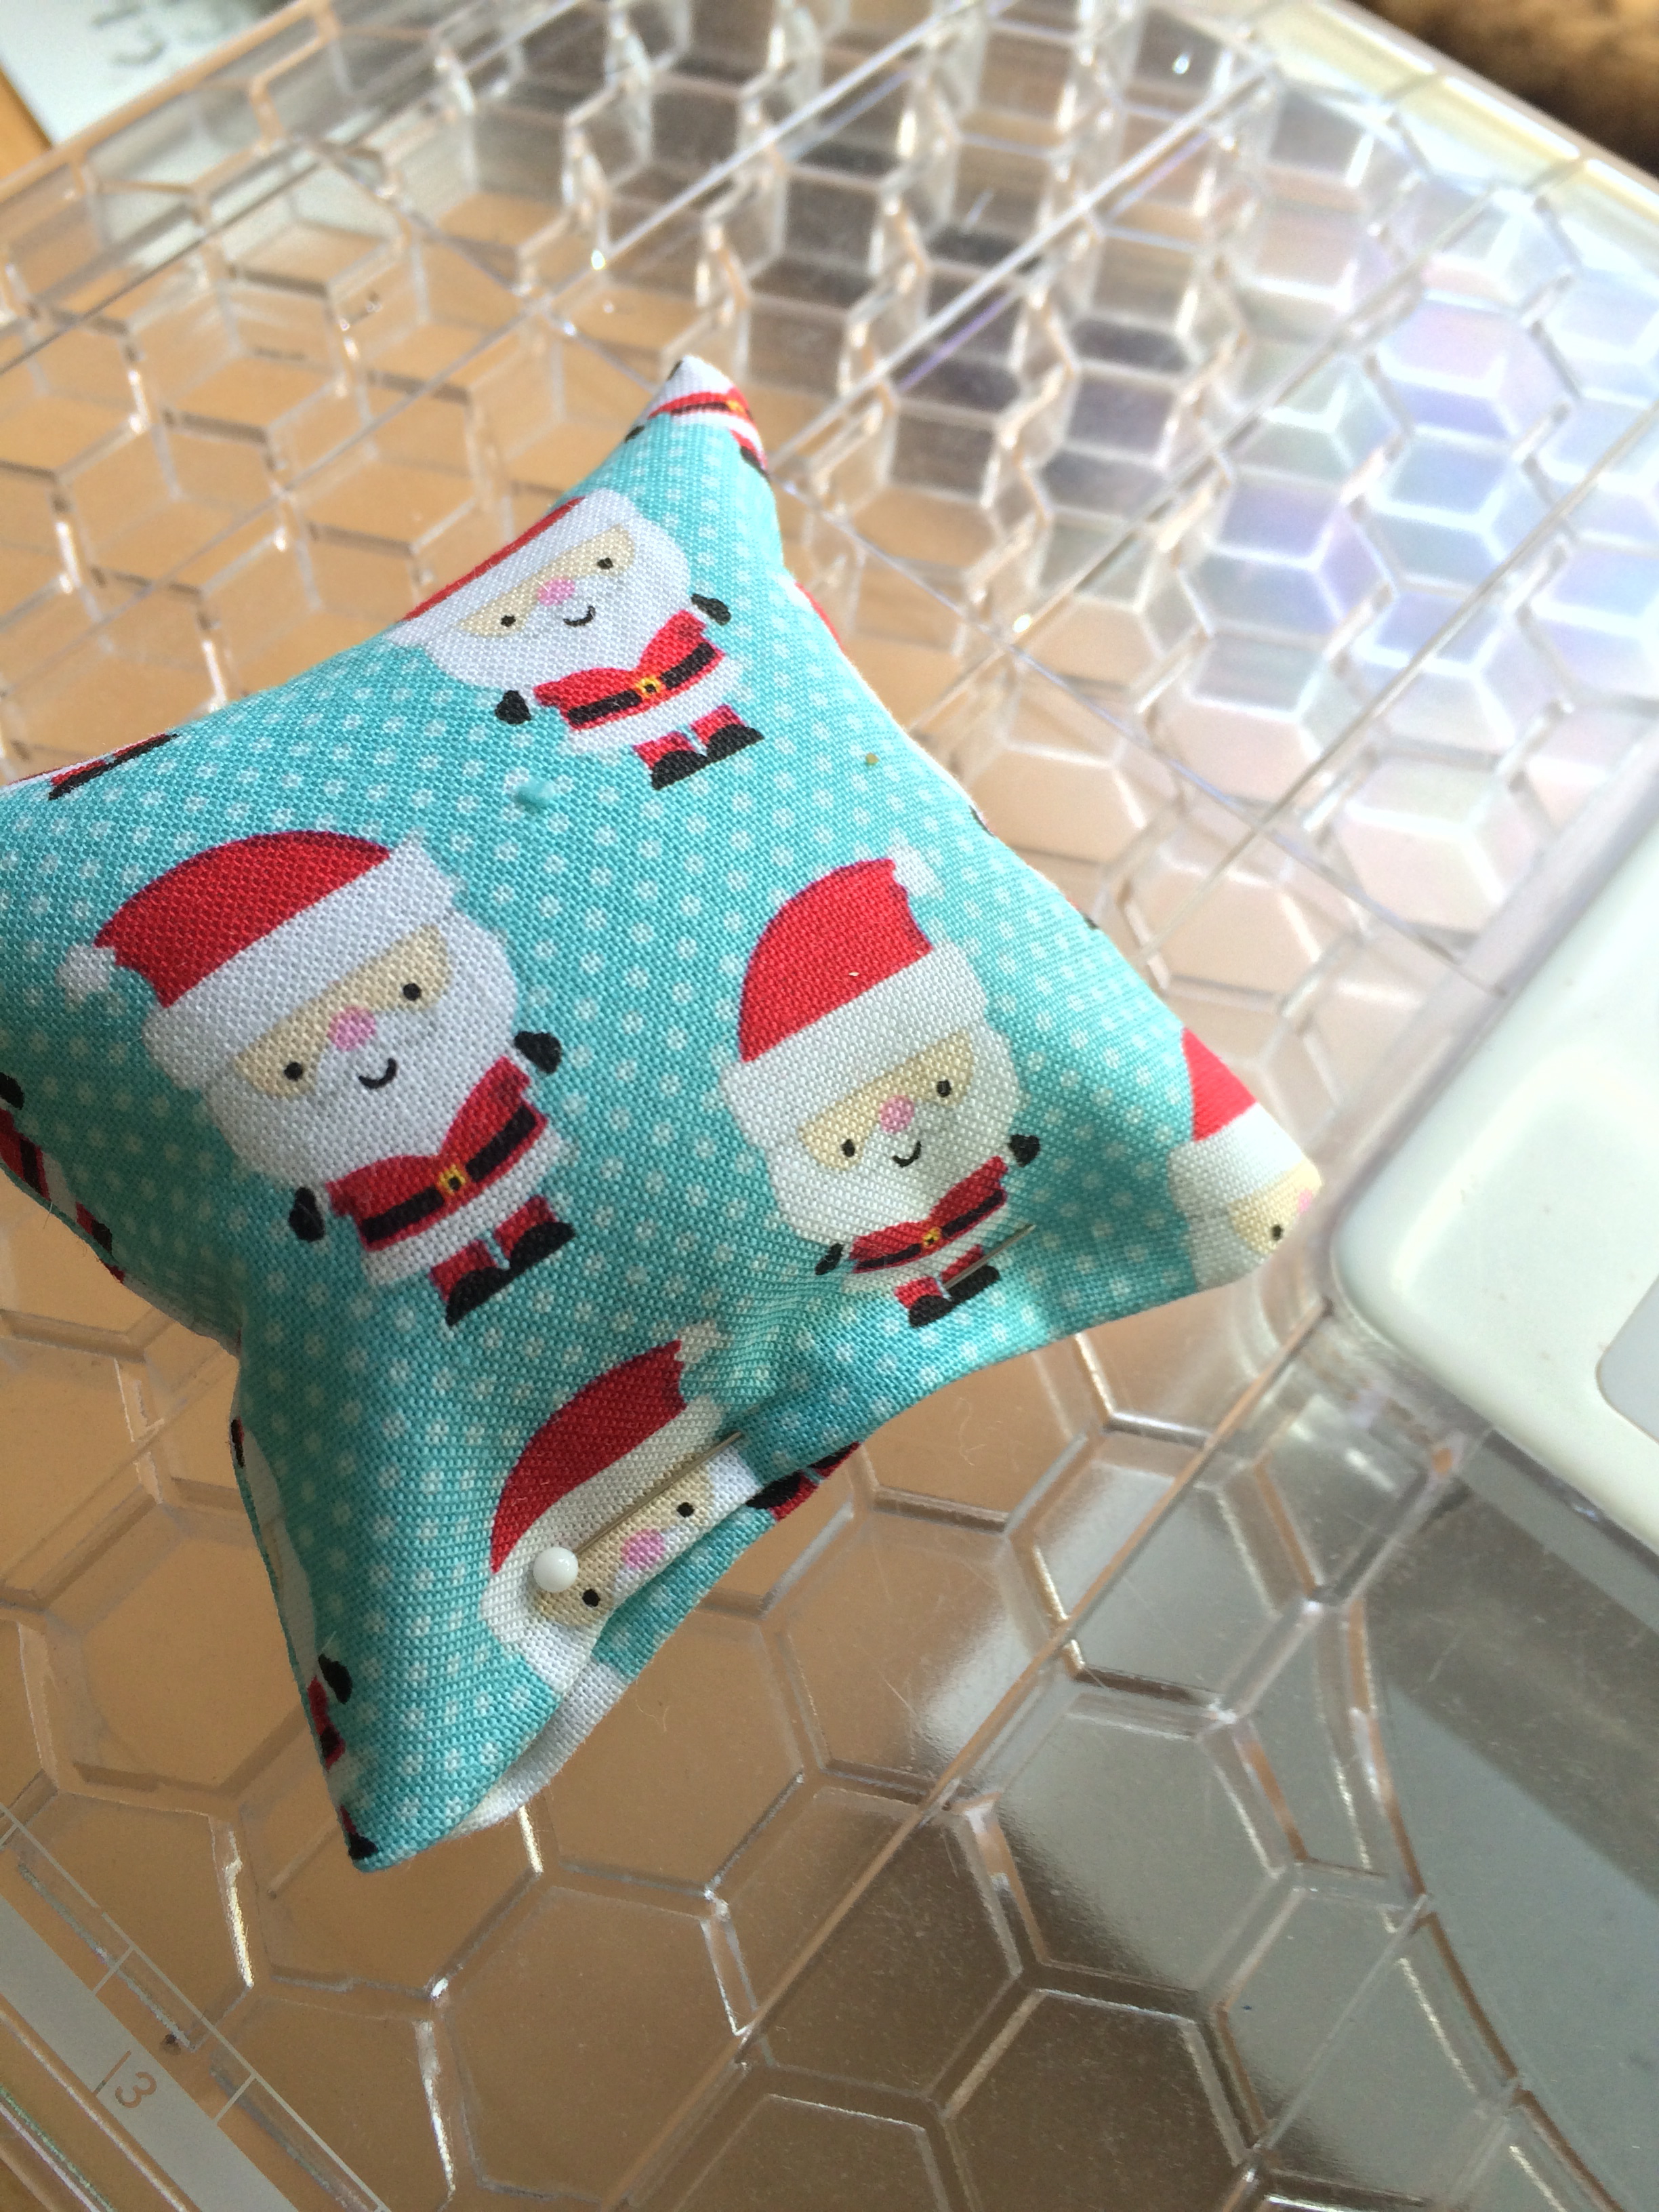
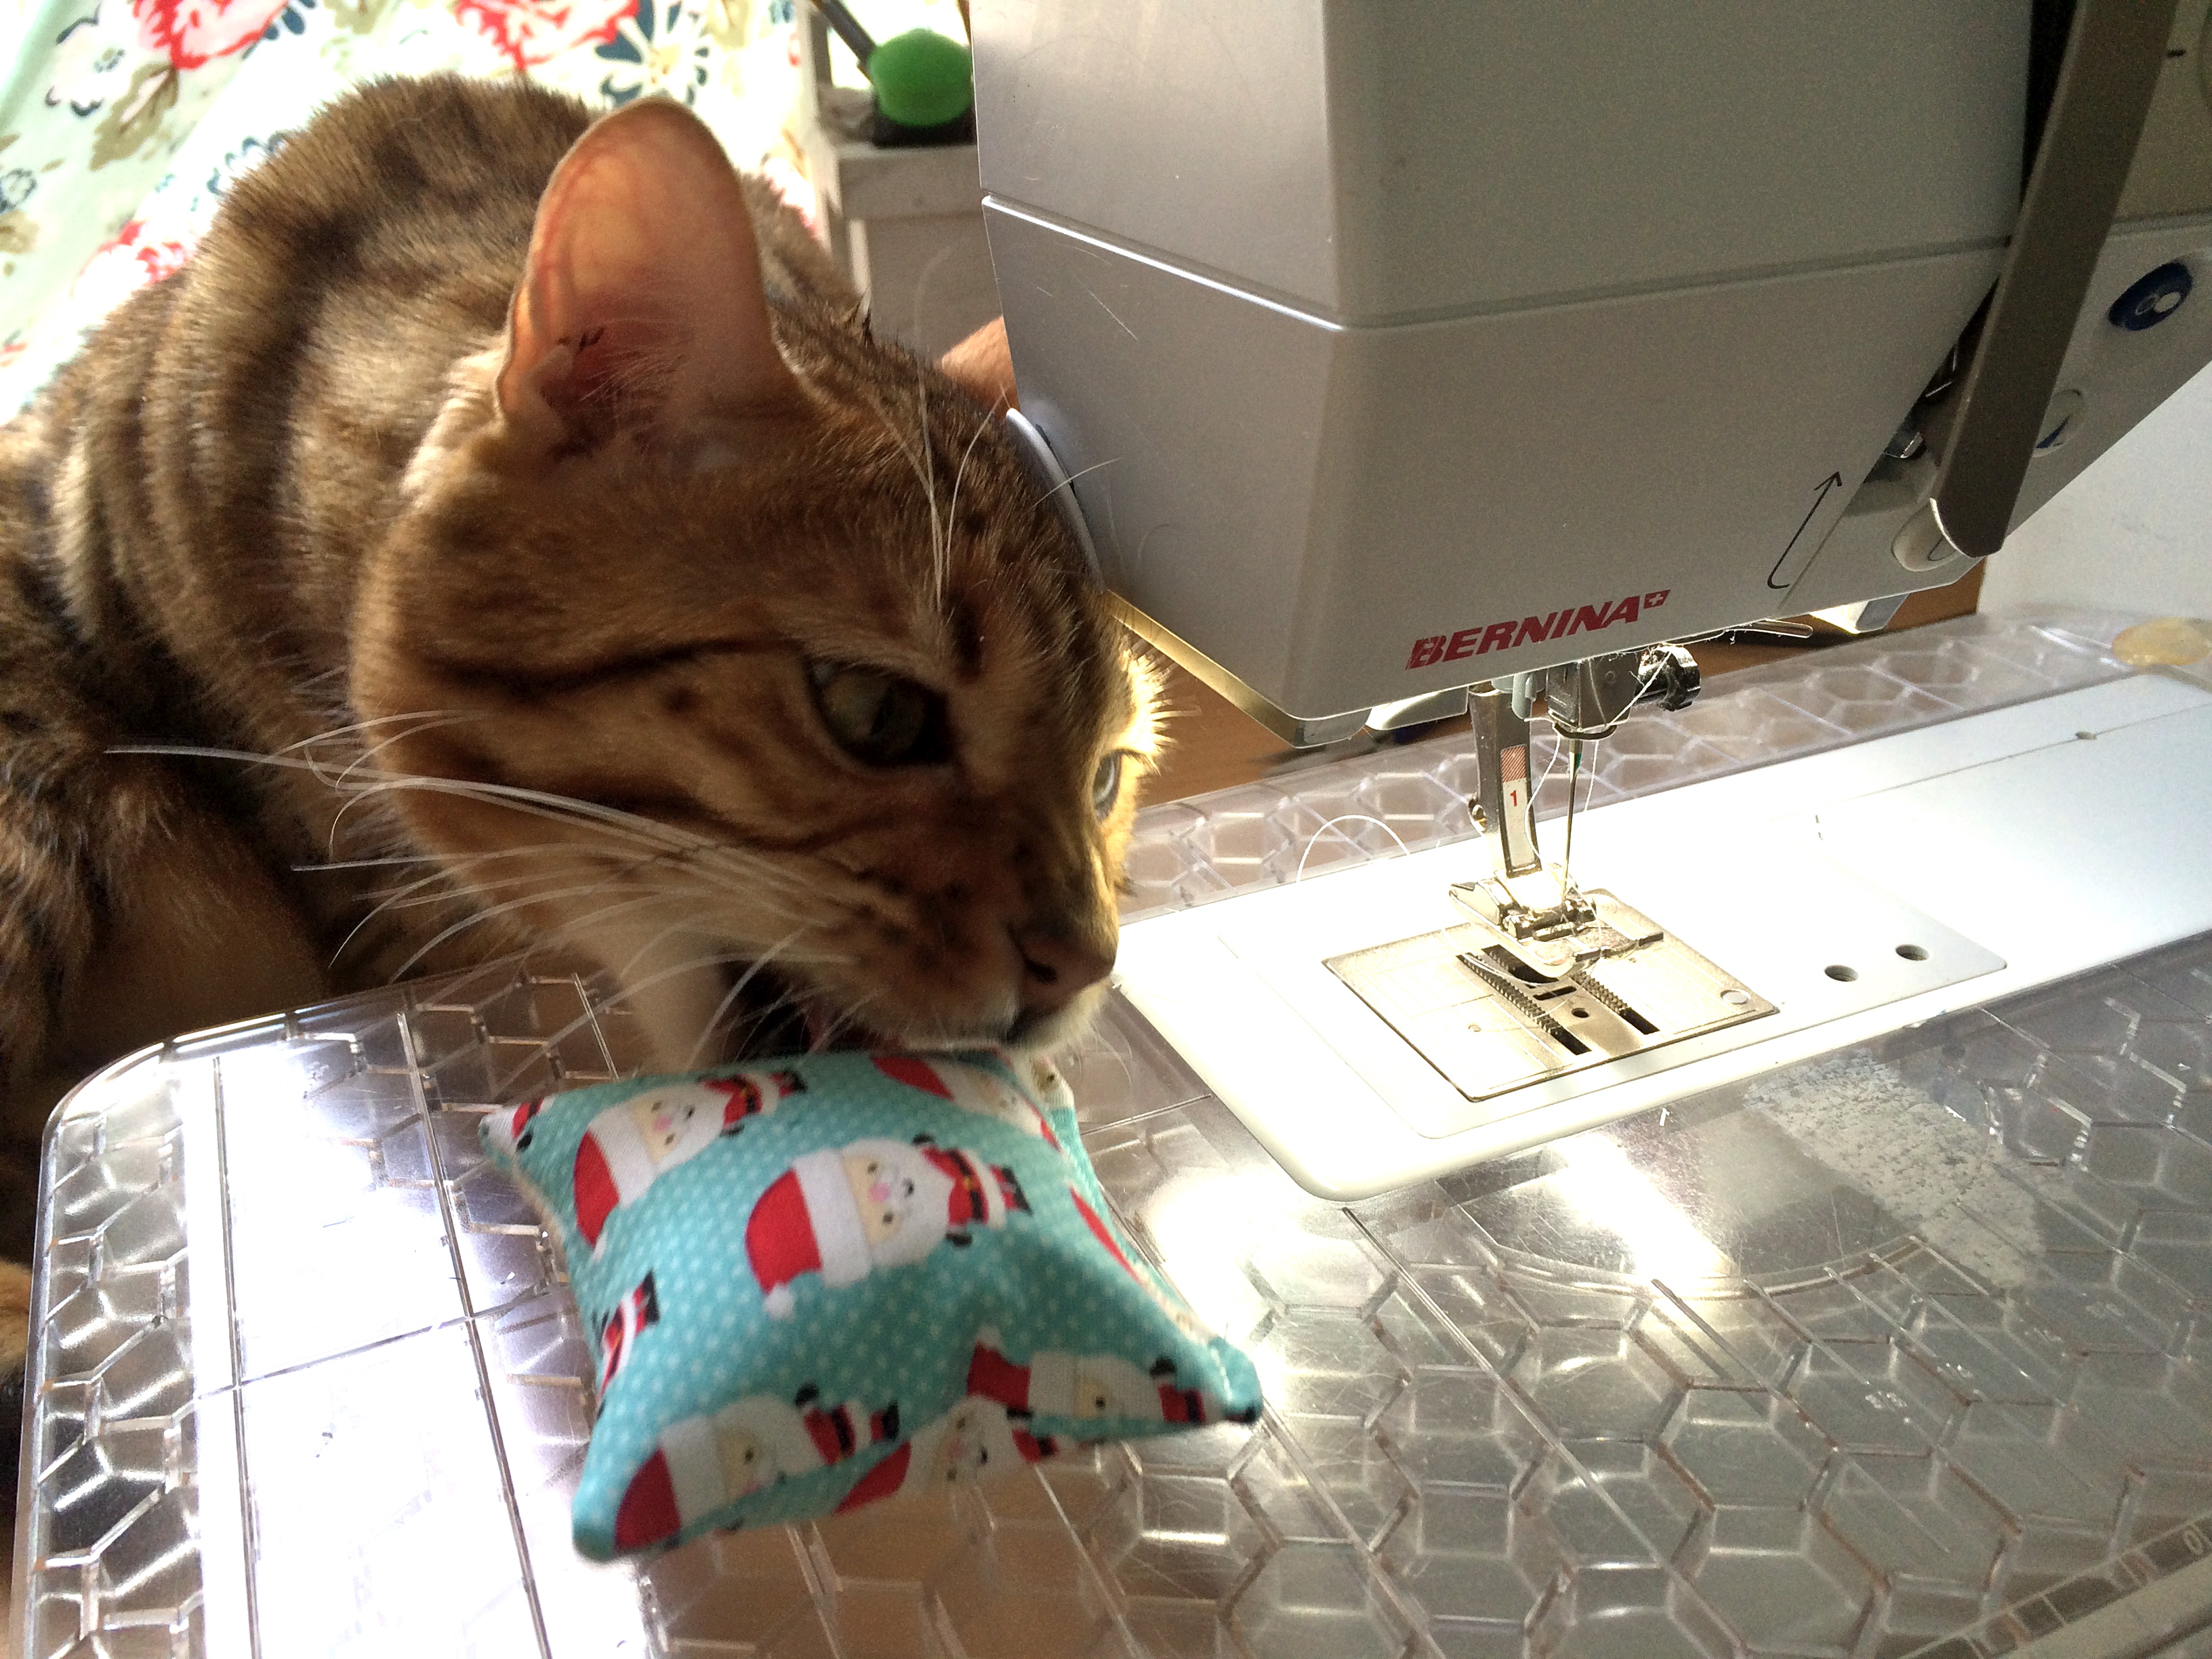
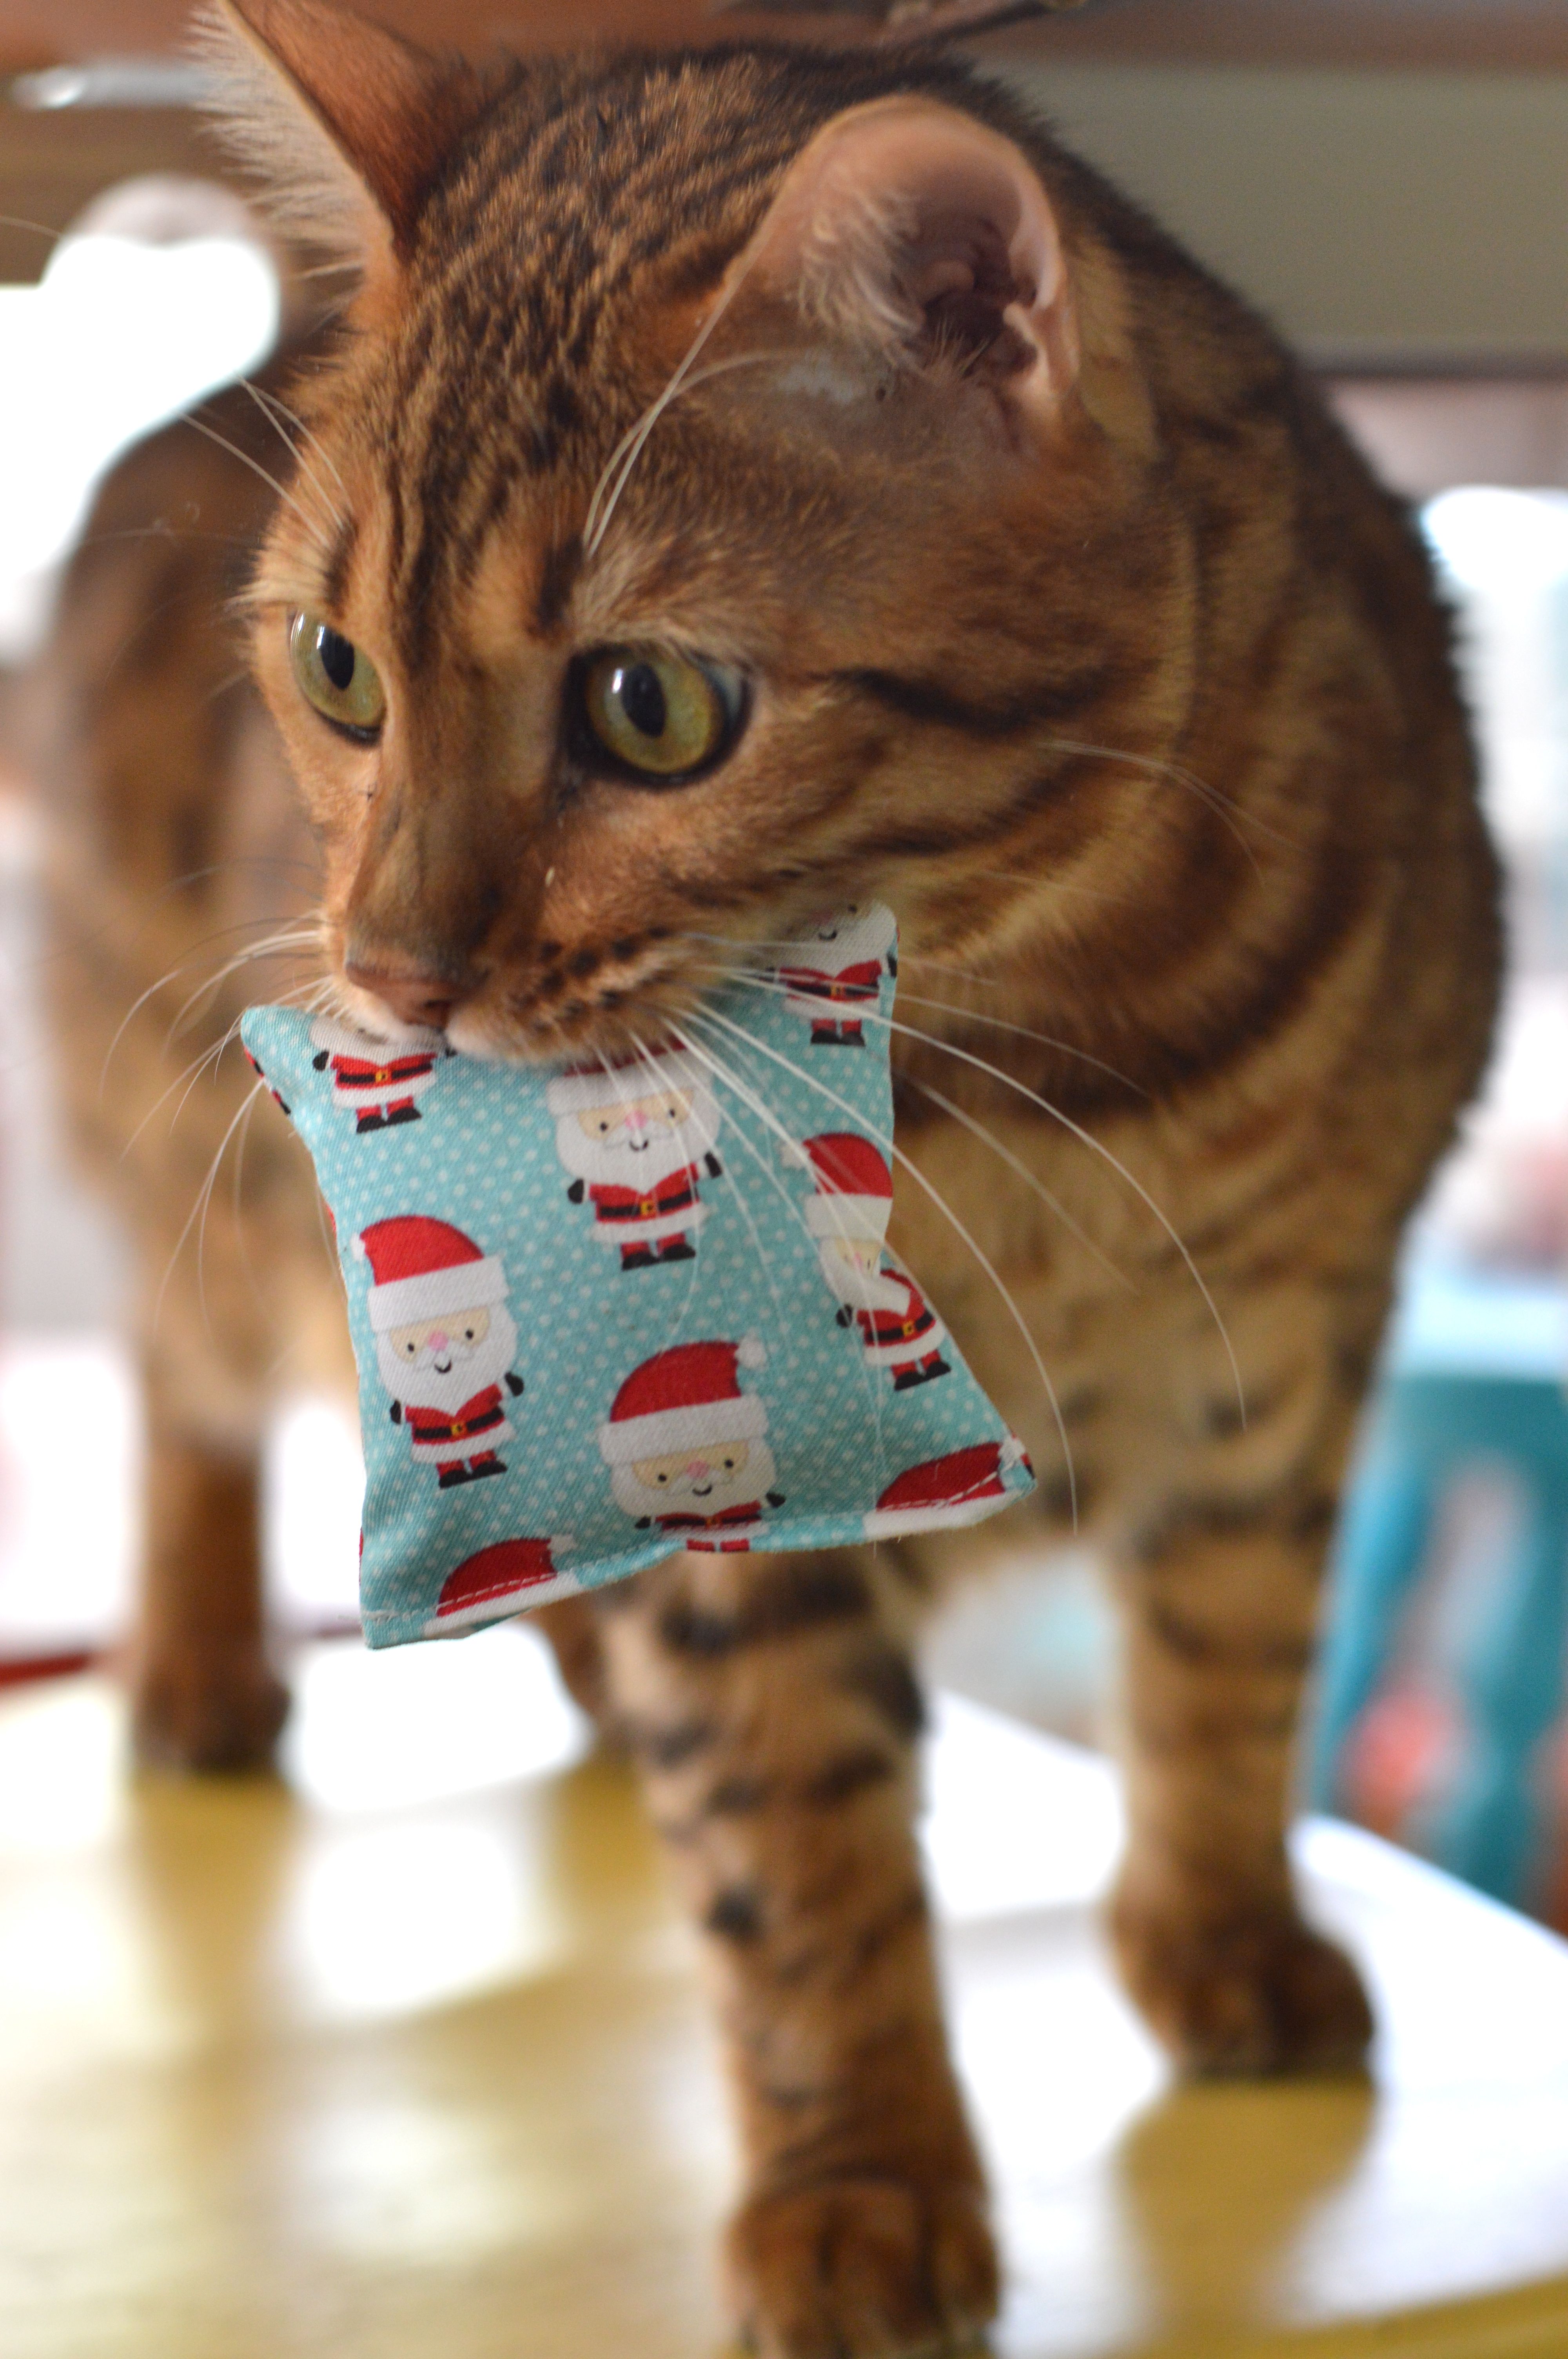
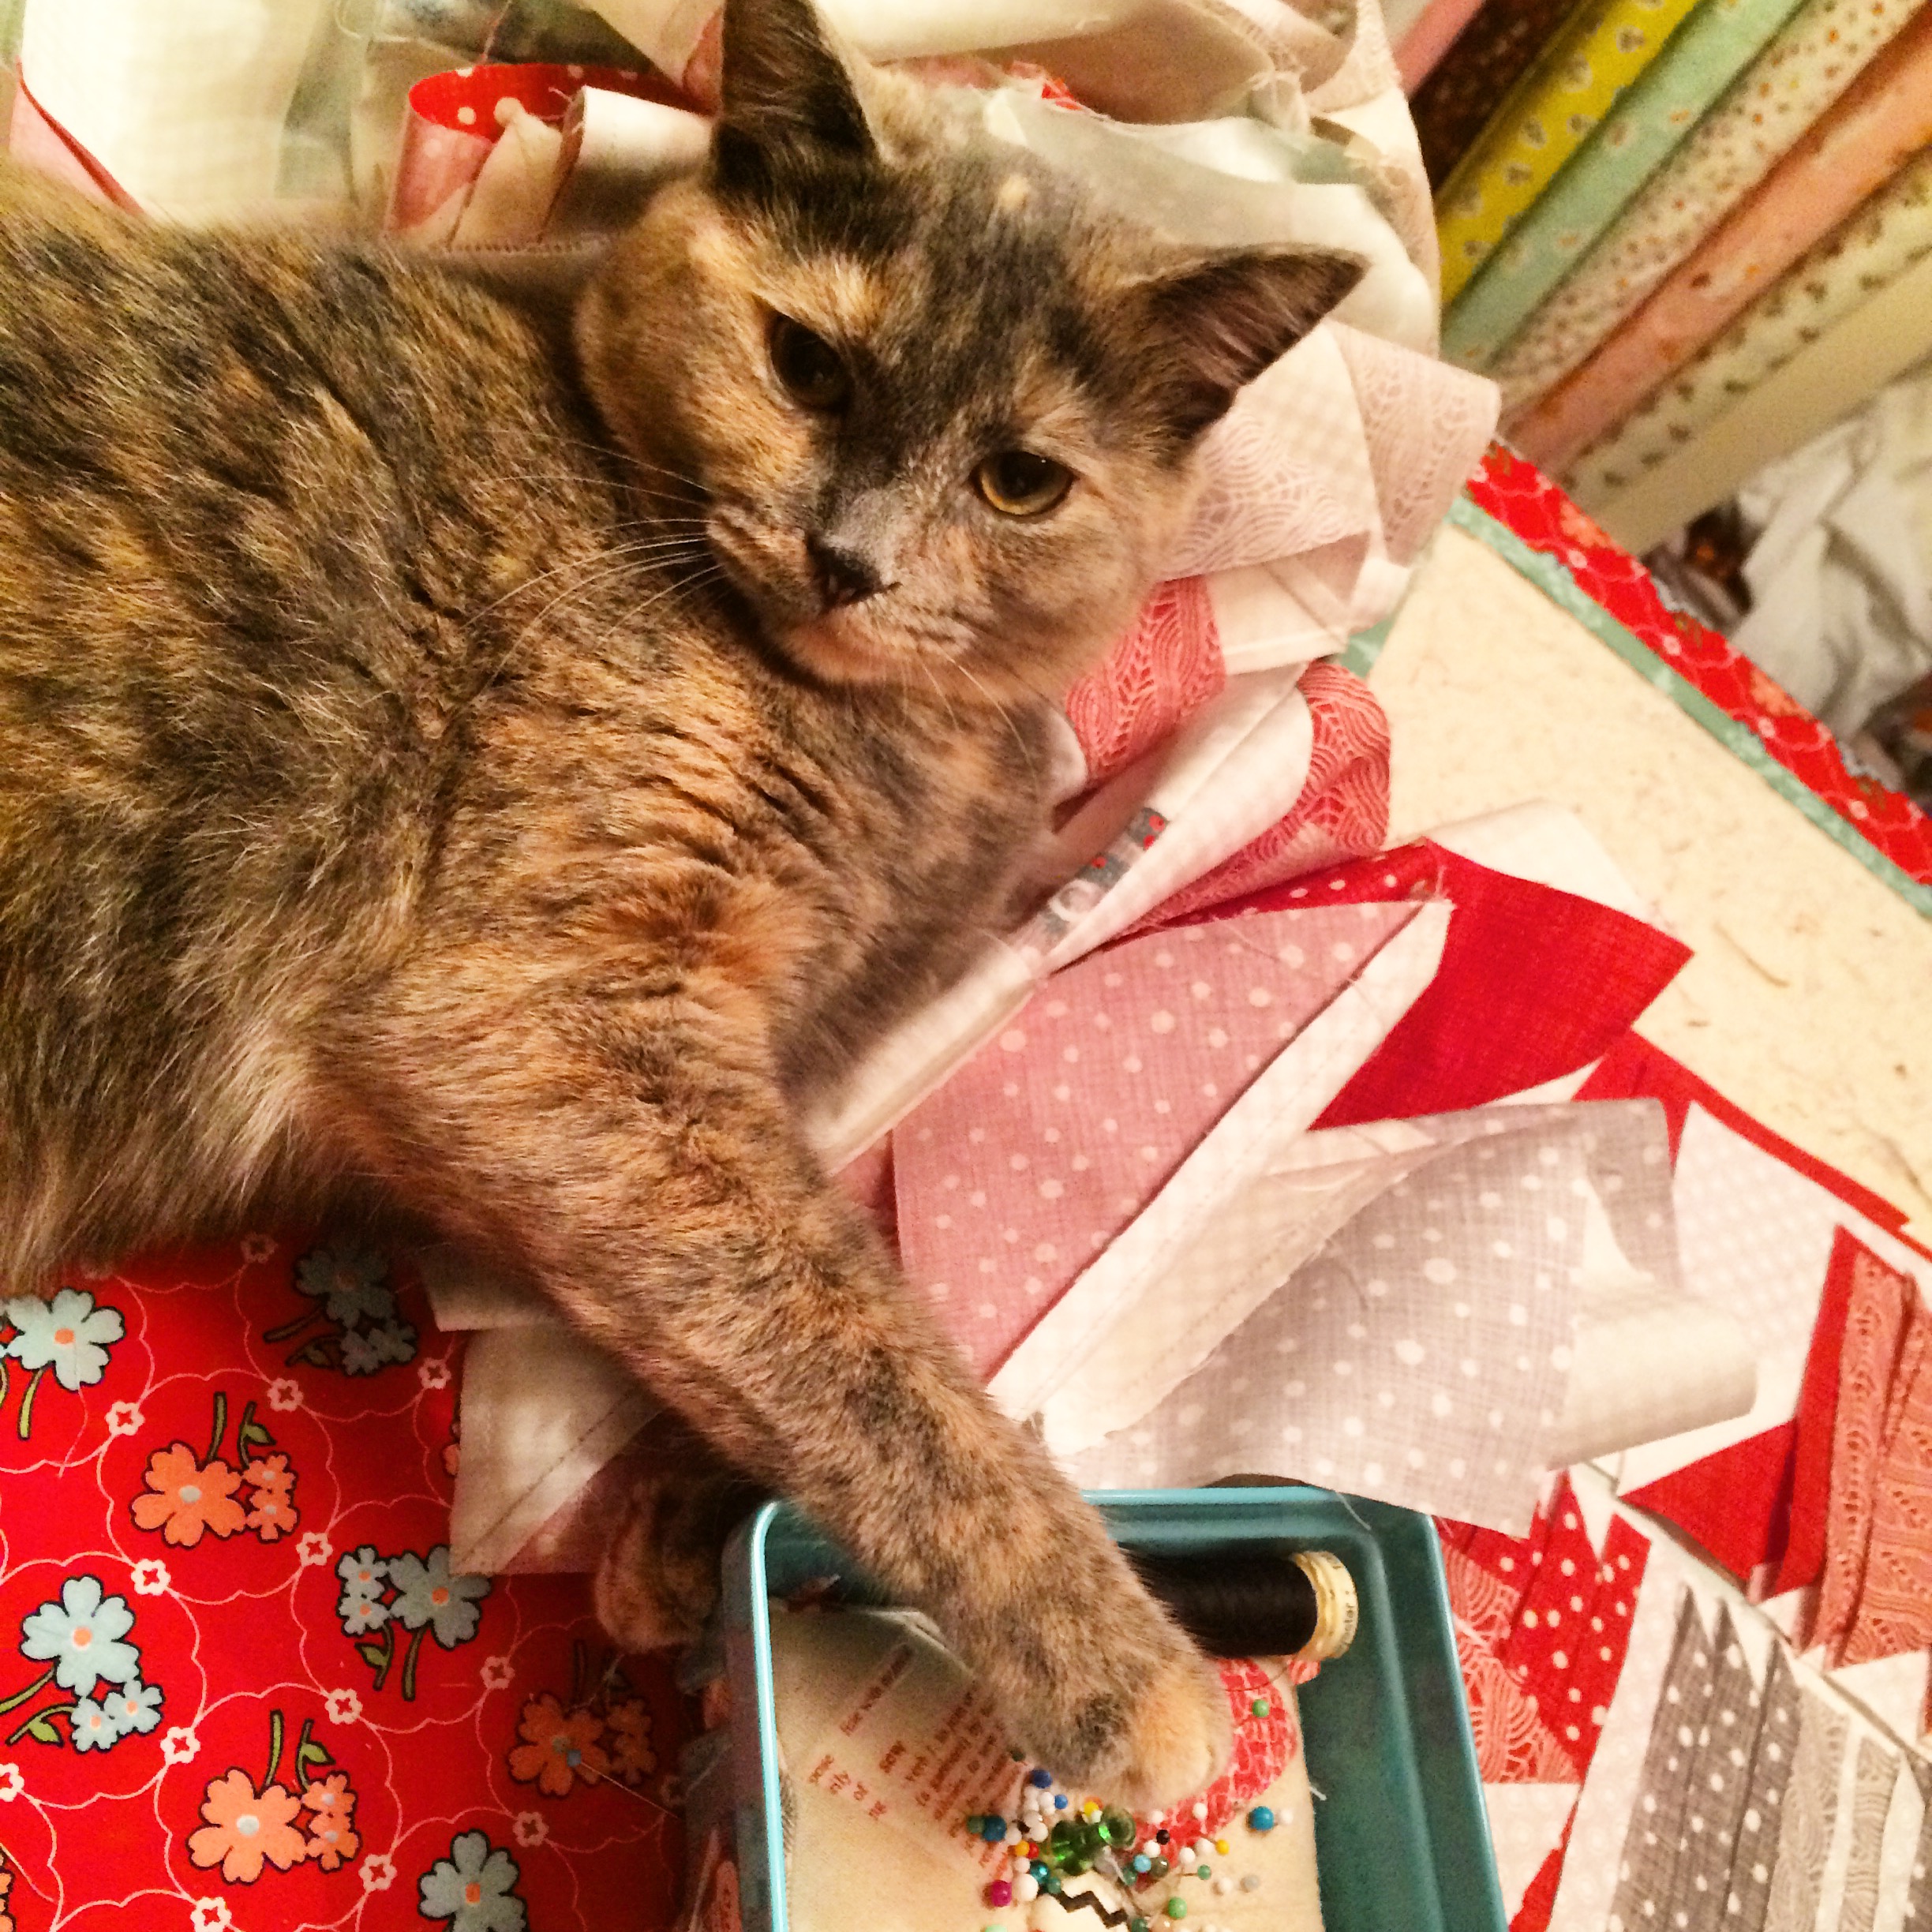
Don’t touch my pillow!

IMG_2531

Holly Jolly Jingle Bell Key Fobs

christmas key fobI whipped up a few of these Jingle Bell Key Fobs because it’s nice to jingle everywhere you go in December!  They make fun gifts and I really do love having one on my key chain.  If you would like the tutorial, click HERE.

12 Days of Meow-y Christmas {Day 1}

vintage kitty sizzix ornament

meowychristmasHi, my name is Amanda and I am a crazy cat lady – there I said it!!  There is something about Christmas and cats that it so much fun!  Whether the cat is climbing the tree and batting ornaments around the house, clawing at the wrapping paper on the gifts, or drinking the milk for Santa, Christmas and Cats were made to go together!  Each day December 1-12 we will have a Christmas Cat themed project for you to make!  I say “we” because I have teamed up with some talented ladies for some feline fun!  Tina from @emilyannskloset, Melissa from the Polka Dot Chair, Bev from Flamingo Toes, Tasha  from a Little Sweetness, Kerri from Sew Dearly Loved, and Lucy from Lucy Blaire Handmade will be joining in the festivities!

vintage kitty ornament sizzix

vintage cat ornament 12Today I am showing you how to make these vintage inspired cat ornaments.  I LOVE vintage prints especially if they involve cats.  Let’s get started!

Supplies

Sizzix Mitten Die

Small Ric Rac

White fabric

Tinsel

Felt, 2 colors

Heat n Bond EZ Print Transfer Sheets

Spray n Bond

Ribbon

Bakers Twine

vintage cat ornament 5Begin by printing the cat images (click here to download) in REVERSE onto the Transfer Sheets.

vintage cat ornament

Roughly cut out the image and place it face down onto white cotton fabric.

vintage cat ornament 6Place the pressing sheet over the image and press with a hot, dry iron for 20 seconds.  (Read the instructions from the manufacturer just to be safe).  Let cool completely and then peel off the backing paper.  Cut out with scissors.

vintage cat ornament 11Mufasa my Kitty Helper was sleeping on the job!!!  For the mittens, die cut the felt using the Sizzix mitten die.

Screen Shot 2015-11-30 at 9.02.43 PM

You can die cut up to 4 at a time.   You will need (2) mittens and (2) mitten tops per ornament.

vintage cat ornament 2Using Spray n Bond, spray the back of the kitty image and position on the top of one of the mittens.  Spray the back of the small ric rac also, and position it around the kitty image.  Start and stop the Ric Rac at the top of the image.  The Spray n Bond keeps all the pieces firmly set so they don’t move during sewing.  Sew on top of the ric rac.

vintage cat ornament 14

vintage cat ornament 3Using the basting spray, spray the wrong side of one of the mittens and stick the 2 mittens together.  Choose a decorative stitch and sew around the mitten.  Start and stop at the top.

vintage cat ornament 15Spray the (2) white mitten tops with basting spray and position them on opposite sides of the mitten.  Top stitch around the mitten top in white thread.  Cut a piece of narrow tinsel by the yard and zig zag it along the mitten cuff.

vintage cat ornament 9Thread a piece of baking twine on a needle and add a loop at the top of the mitten.  Hot glue a little bow at the top of the ric rac.vintage cat ornament 4

Hang on your vintage tree!!!   vintage cat ornament 8       These are so fun and easy to make!  They would be purrrrfect tied on top of a gift, tied on a plate of cookies, or simply tucked into a Christmas card 🙂vintage cat ornamentvintage kitty ornament sizzix 3

vintage kitty ornament sizzix 2

Winterberry Quilt

winterberry quilt 2

I visited my friend Tina in New Jersey this summer!  We sewed for 5 straight days and this is one of the quilts we put together.

winterberry quilt 9 I just got it back from the quilter; just in time for December!  The fabrics are called Winterberry by Moda.  winterberry quilt 3We choose this pattern called Modern Greek Cross.  It is such a FUN pattern!winterberry quilt 4

I’m used to sewing with Mufasa so I was so happy to have Roo’s company while we sewed.  winterberry quilt 5

The blocks are so much fun to put together!winterberry quilt 6

All good kitty quilters must approve the quilt layout before sewing it together!winterberry quilt 7

We sewed this together in August and December seemed so far away.  How time files!  winterberry quilt 8  The quilting turned out darling – she used an allover holly design.  I love it! winterberry quilt 12

Mufasa totally approves!  I think it’s so cute that Roo helped make the quilt that Mufasa is sitting on!  They are best friends and don’t even know it!winterberry quilt

Little Joys Quilt Tutorial

little-joys-quilt
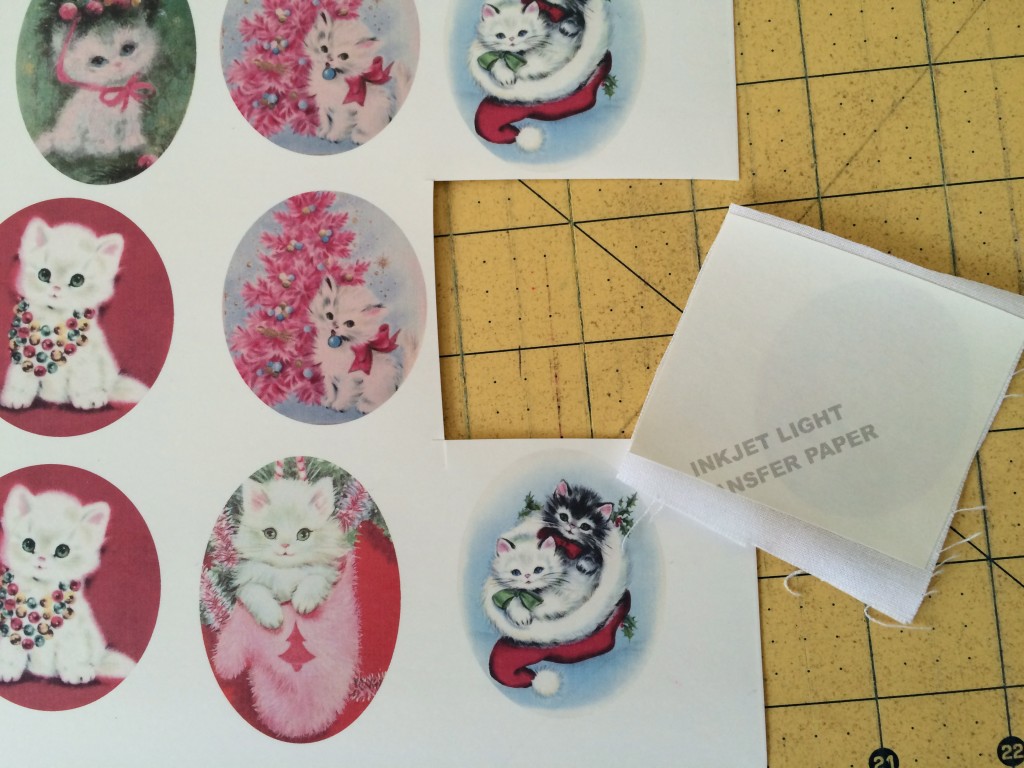
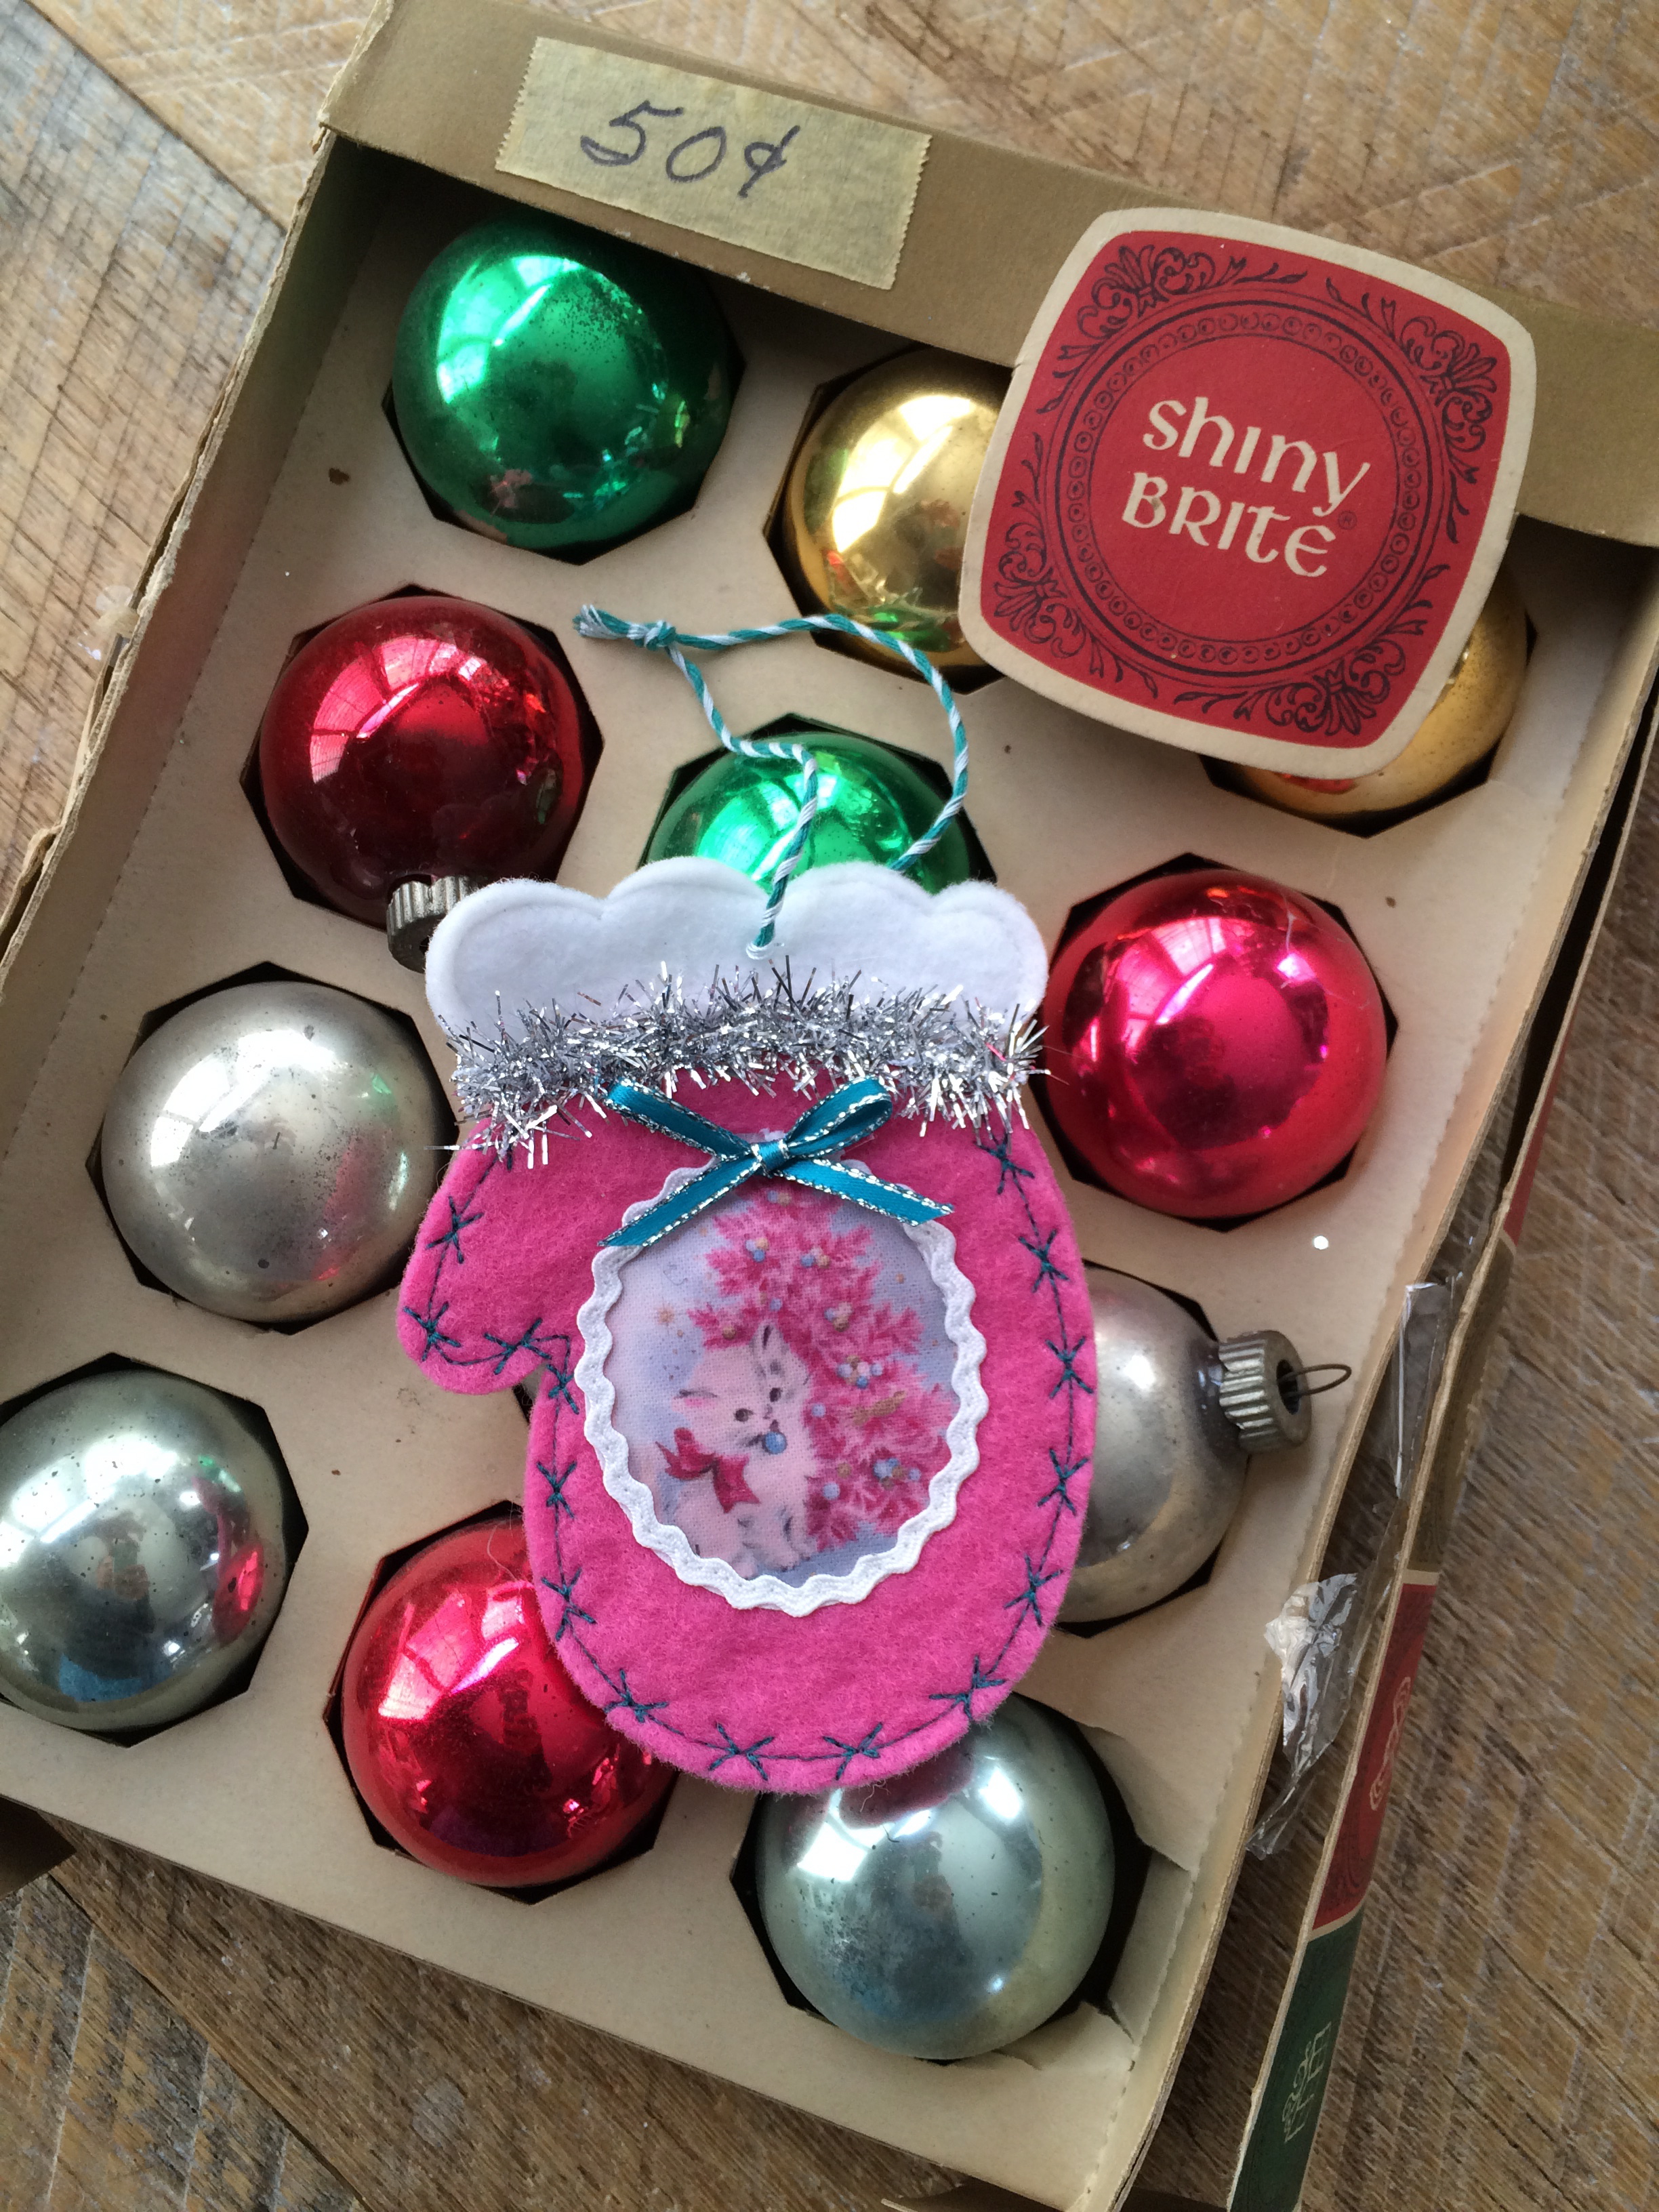
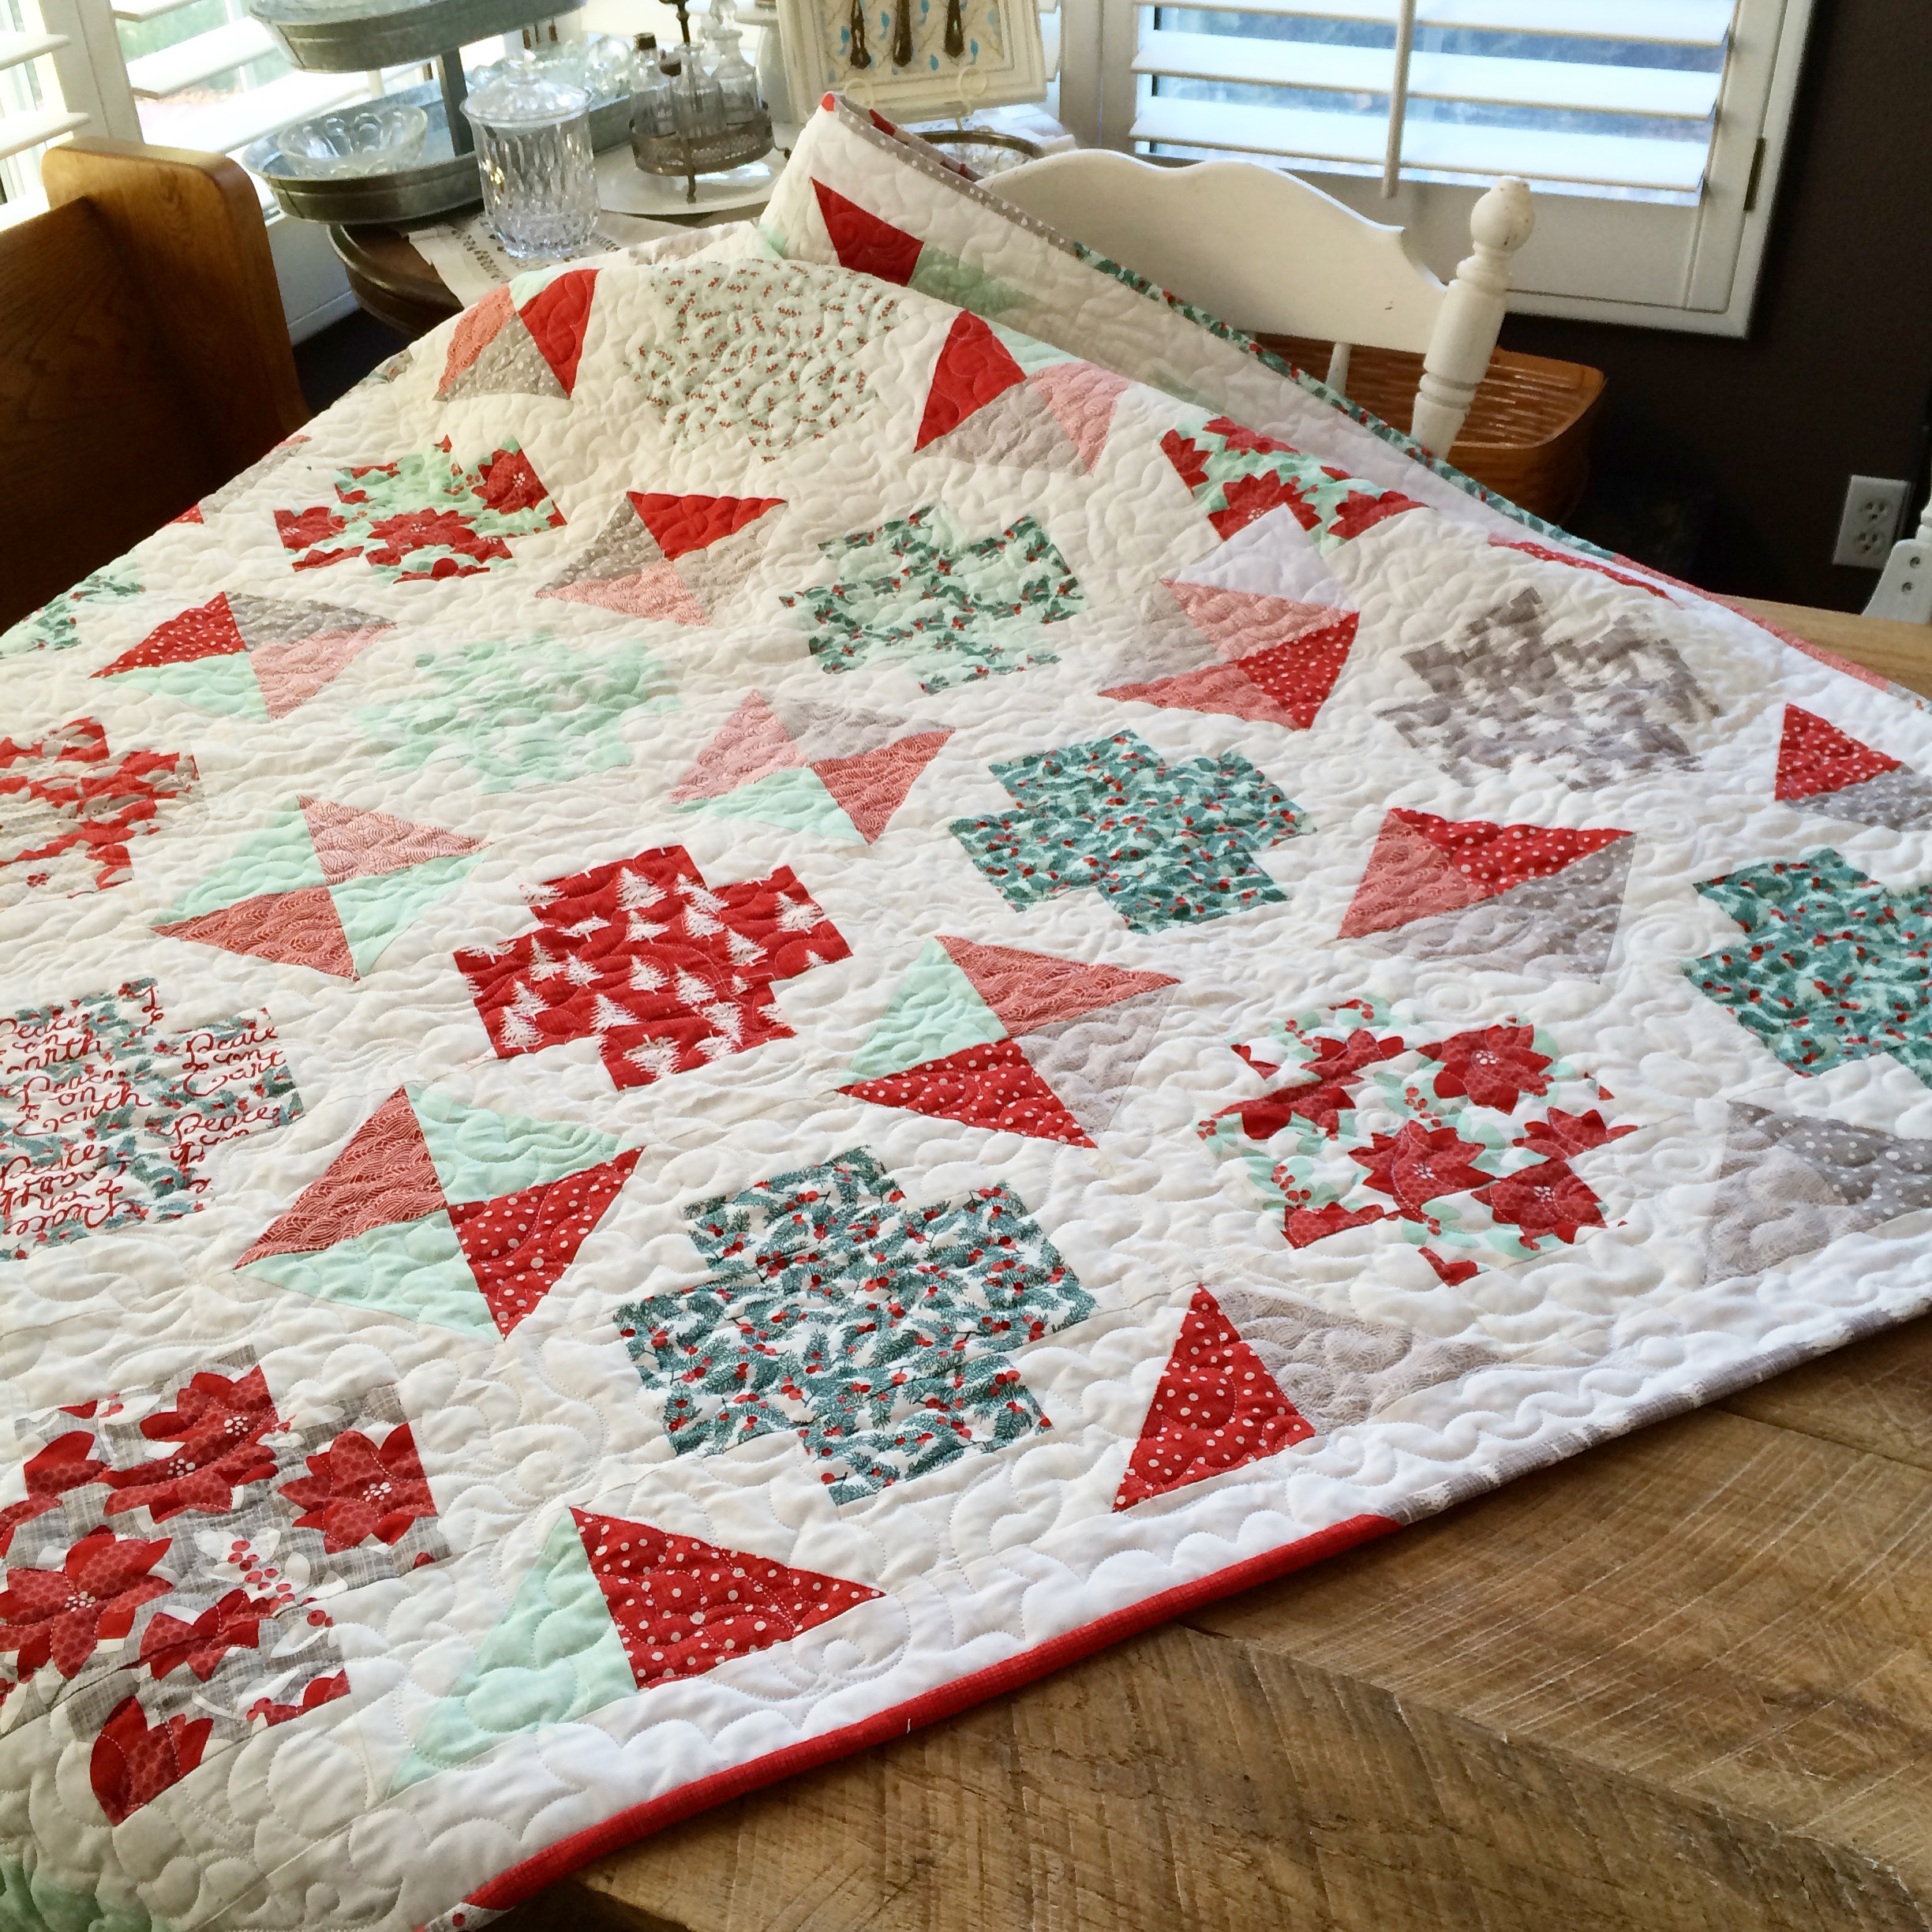
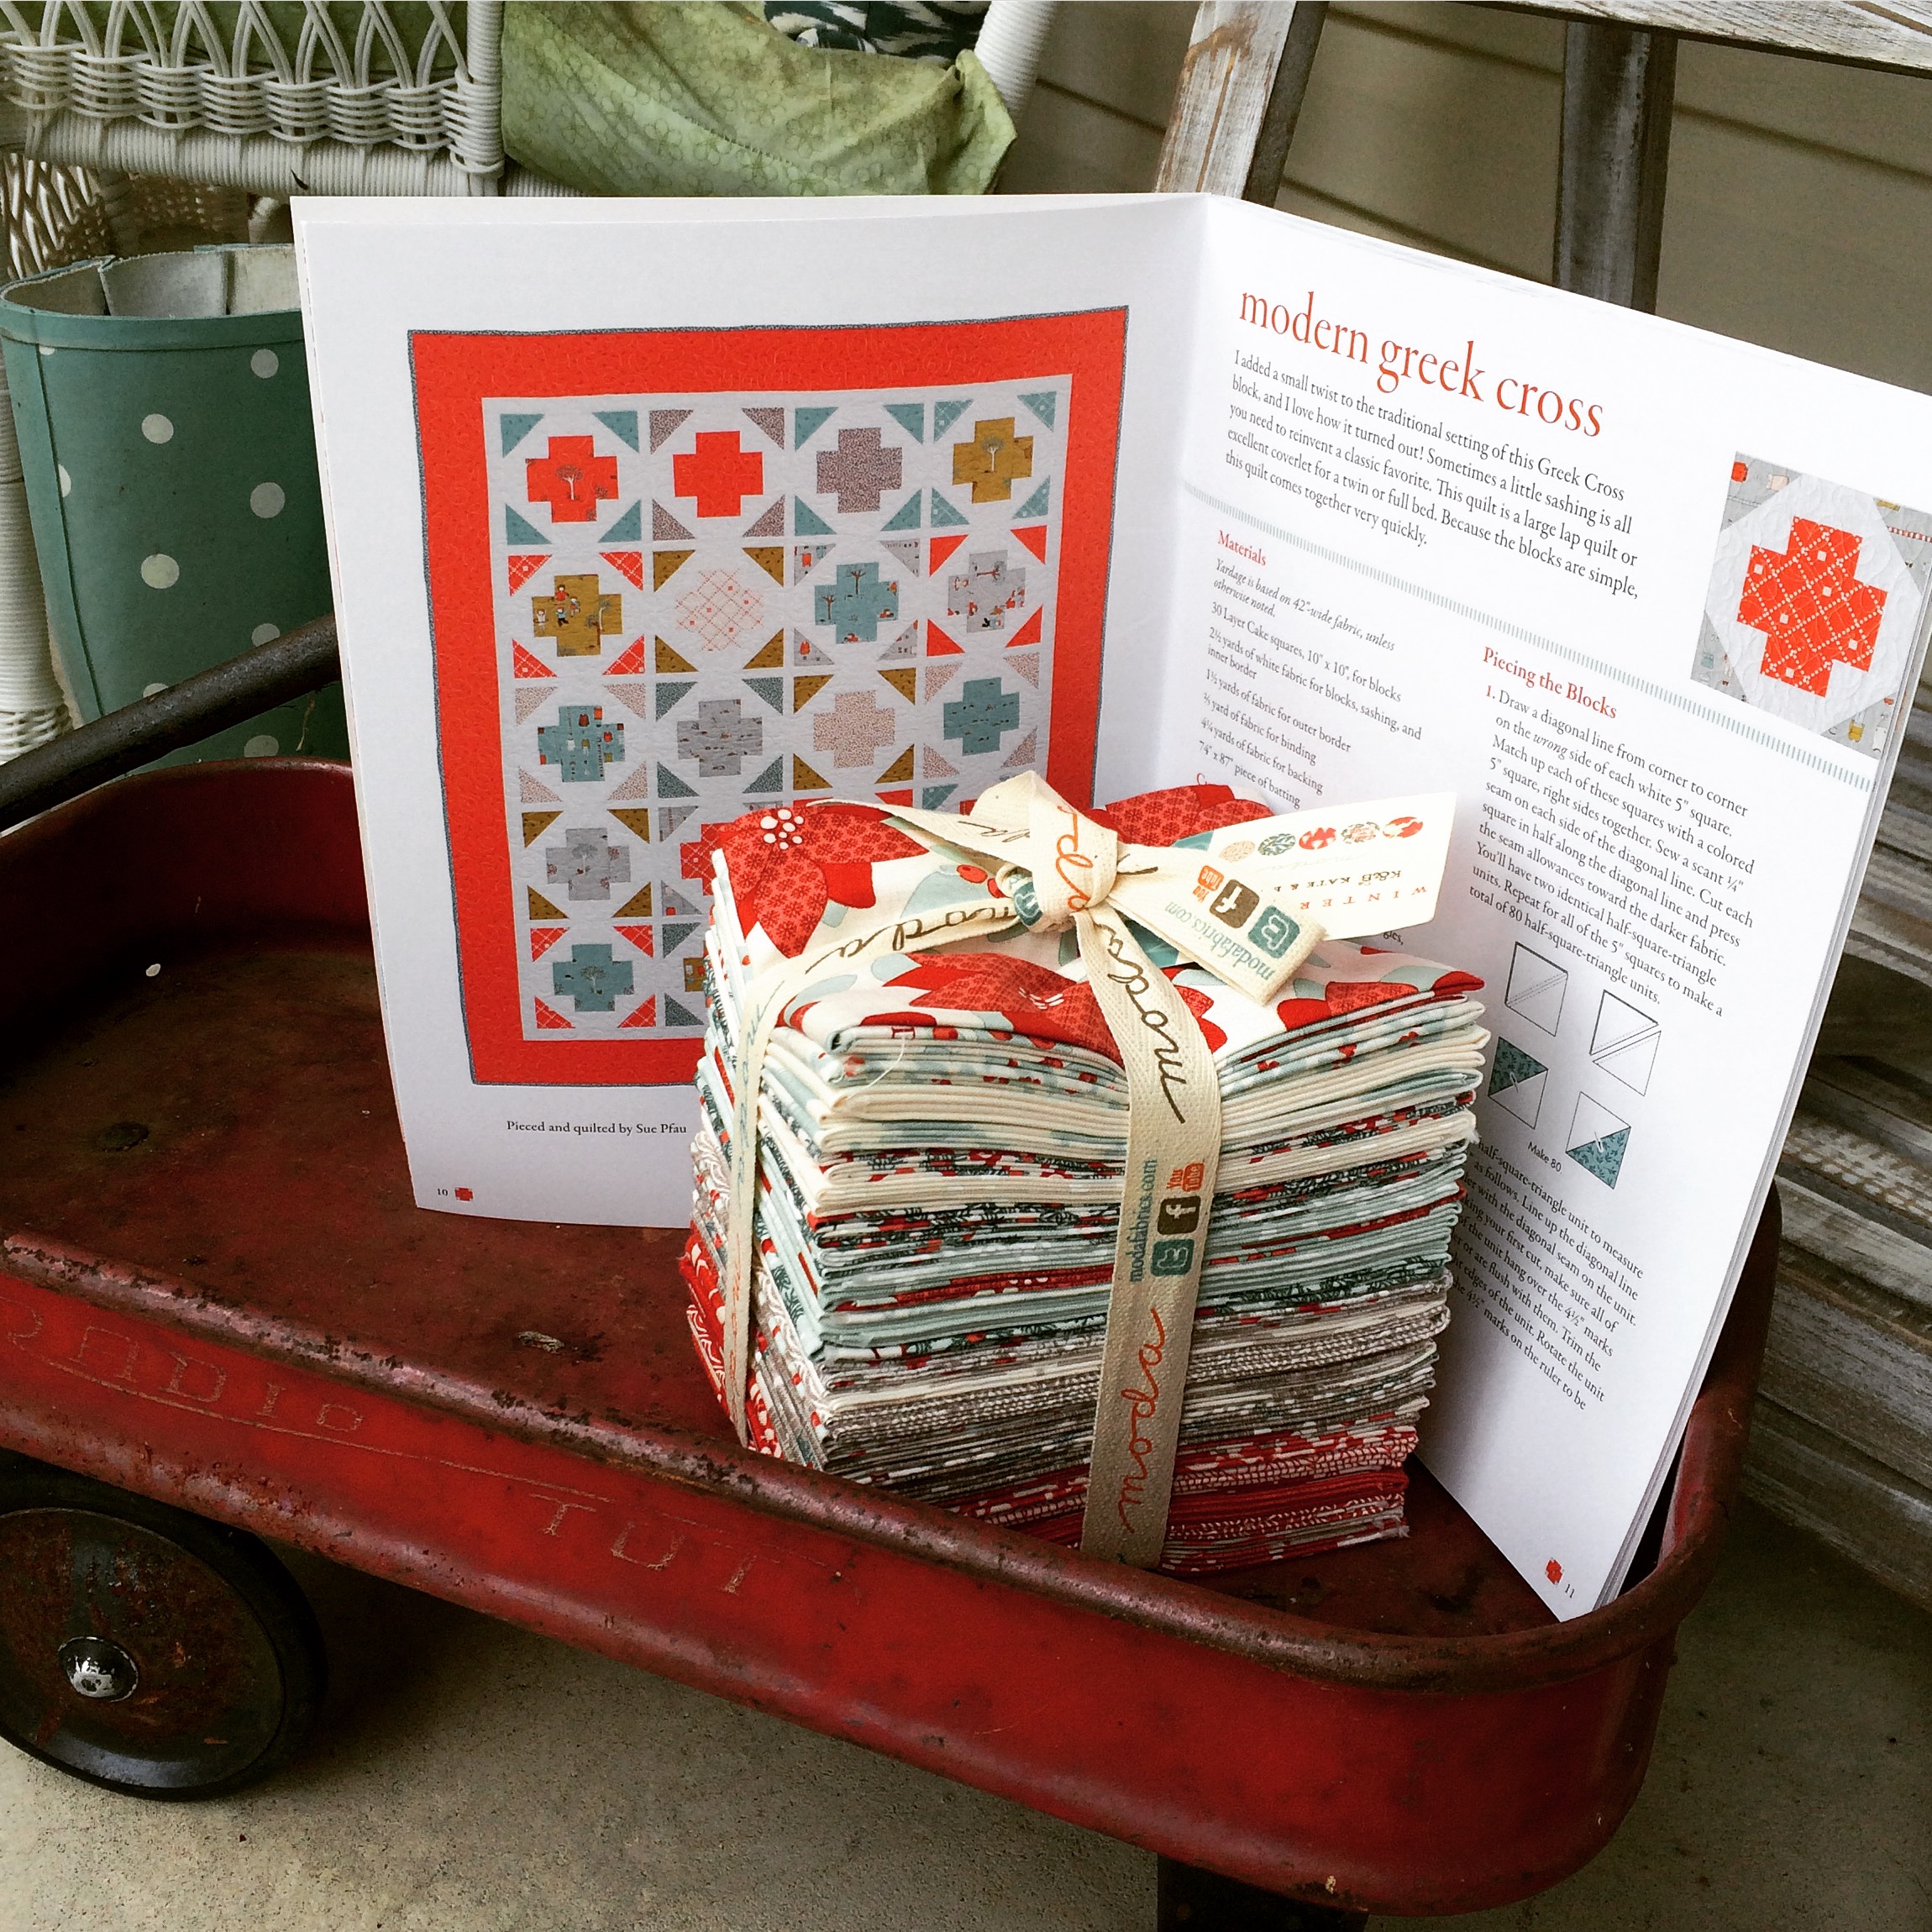
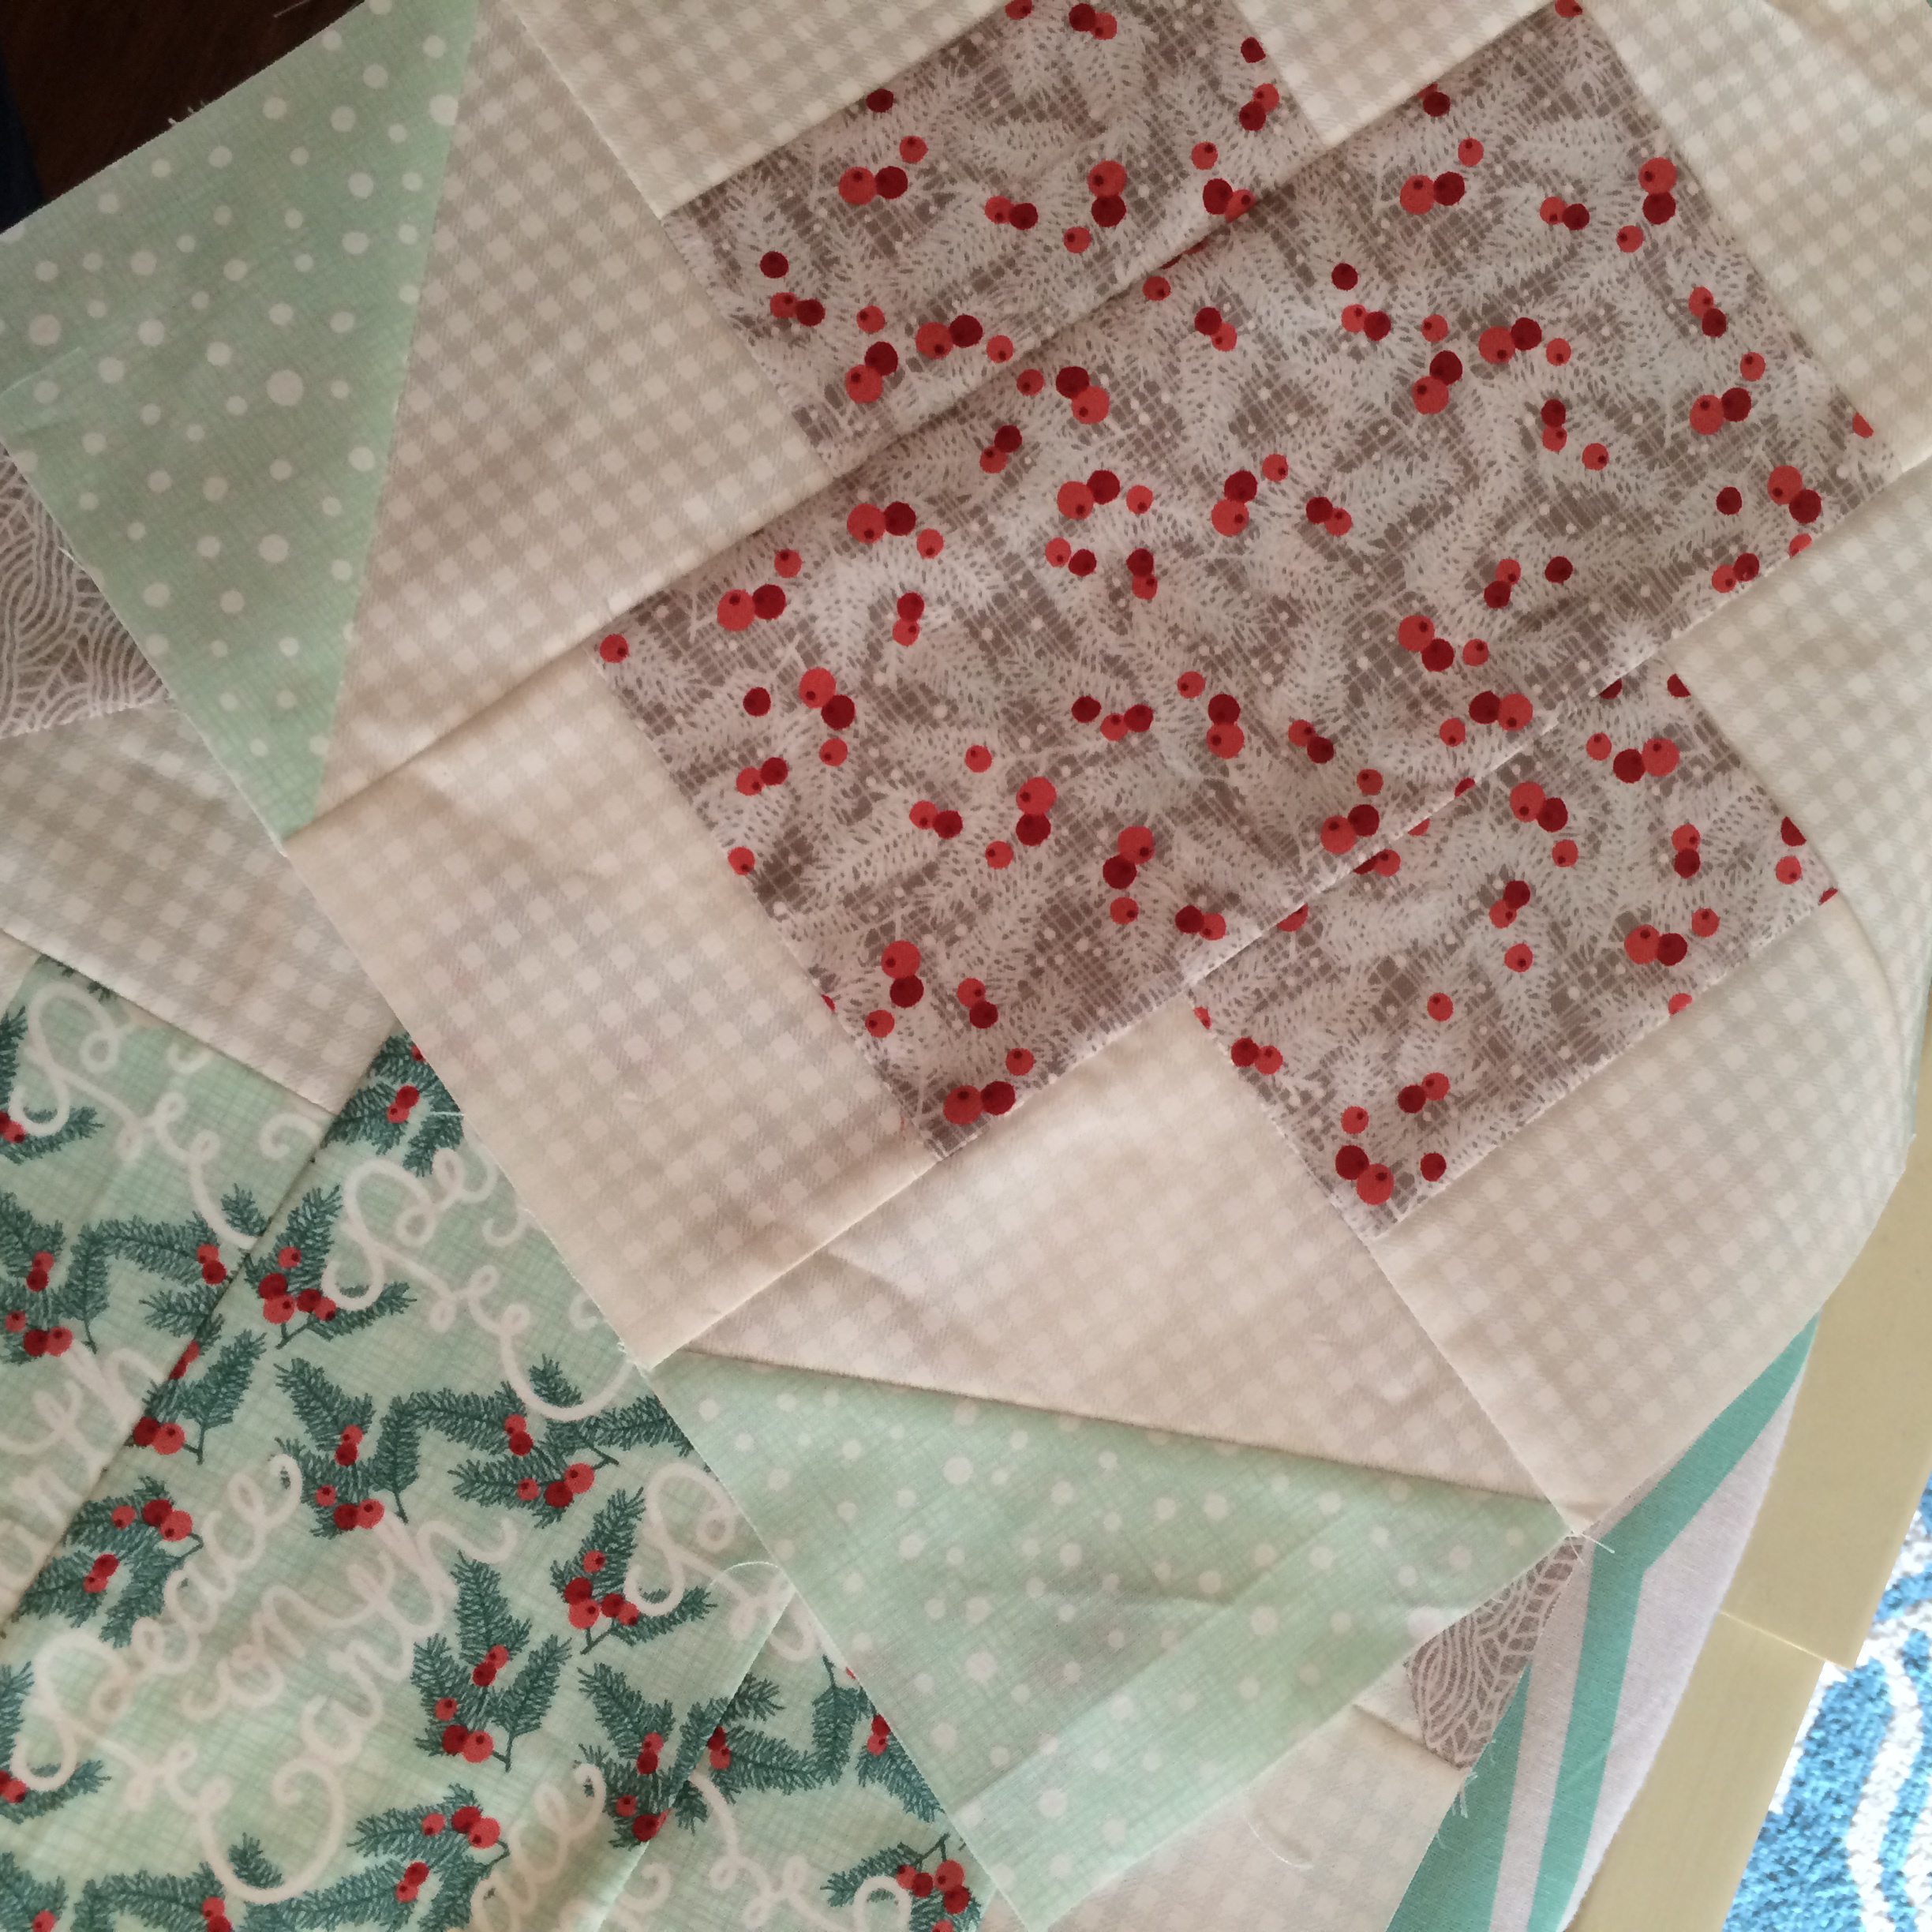
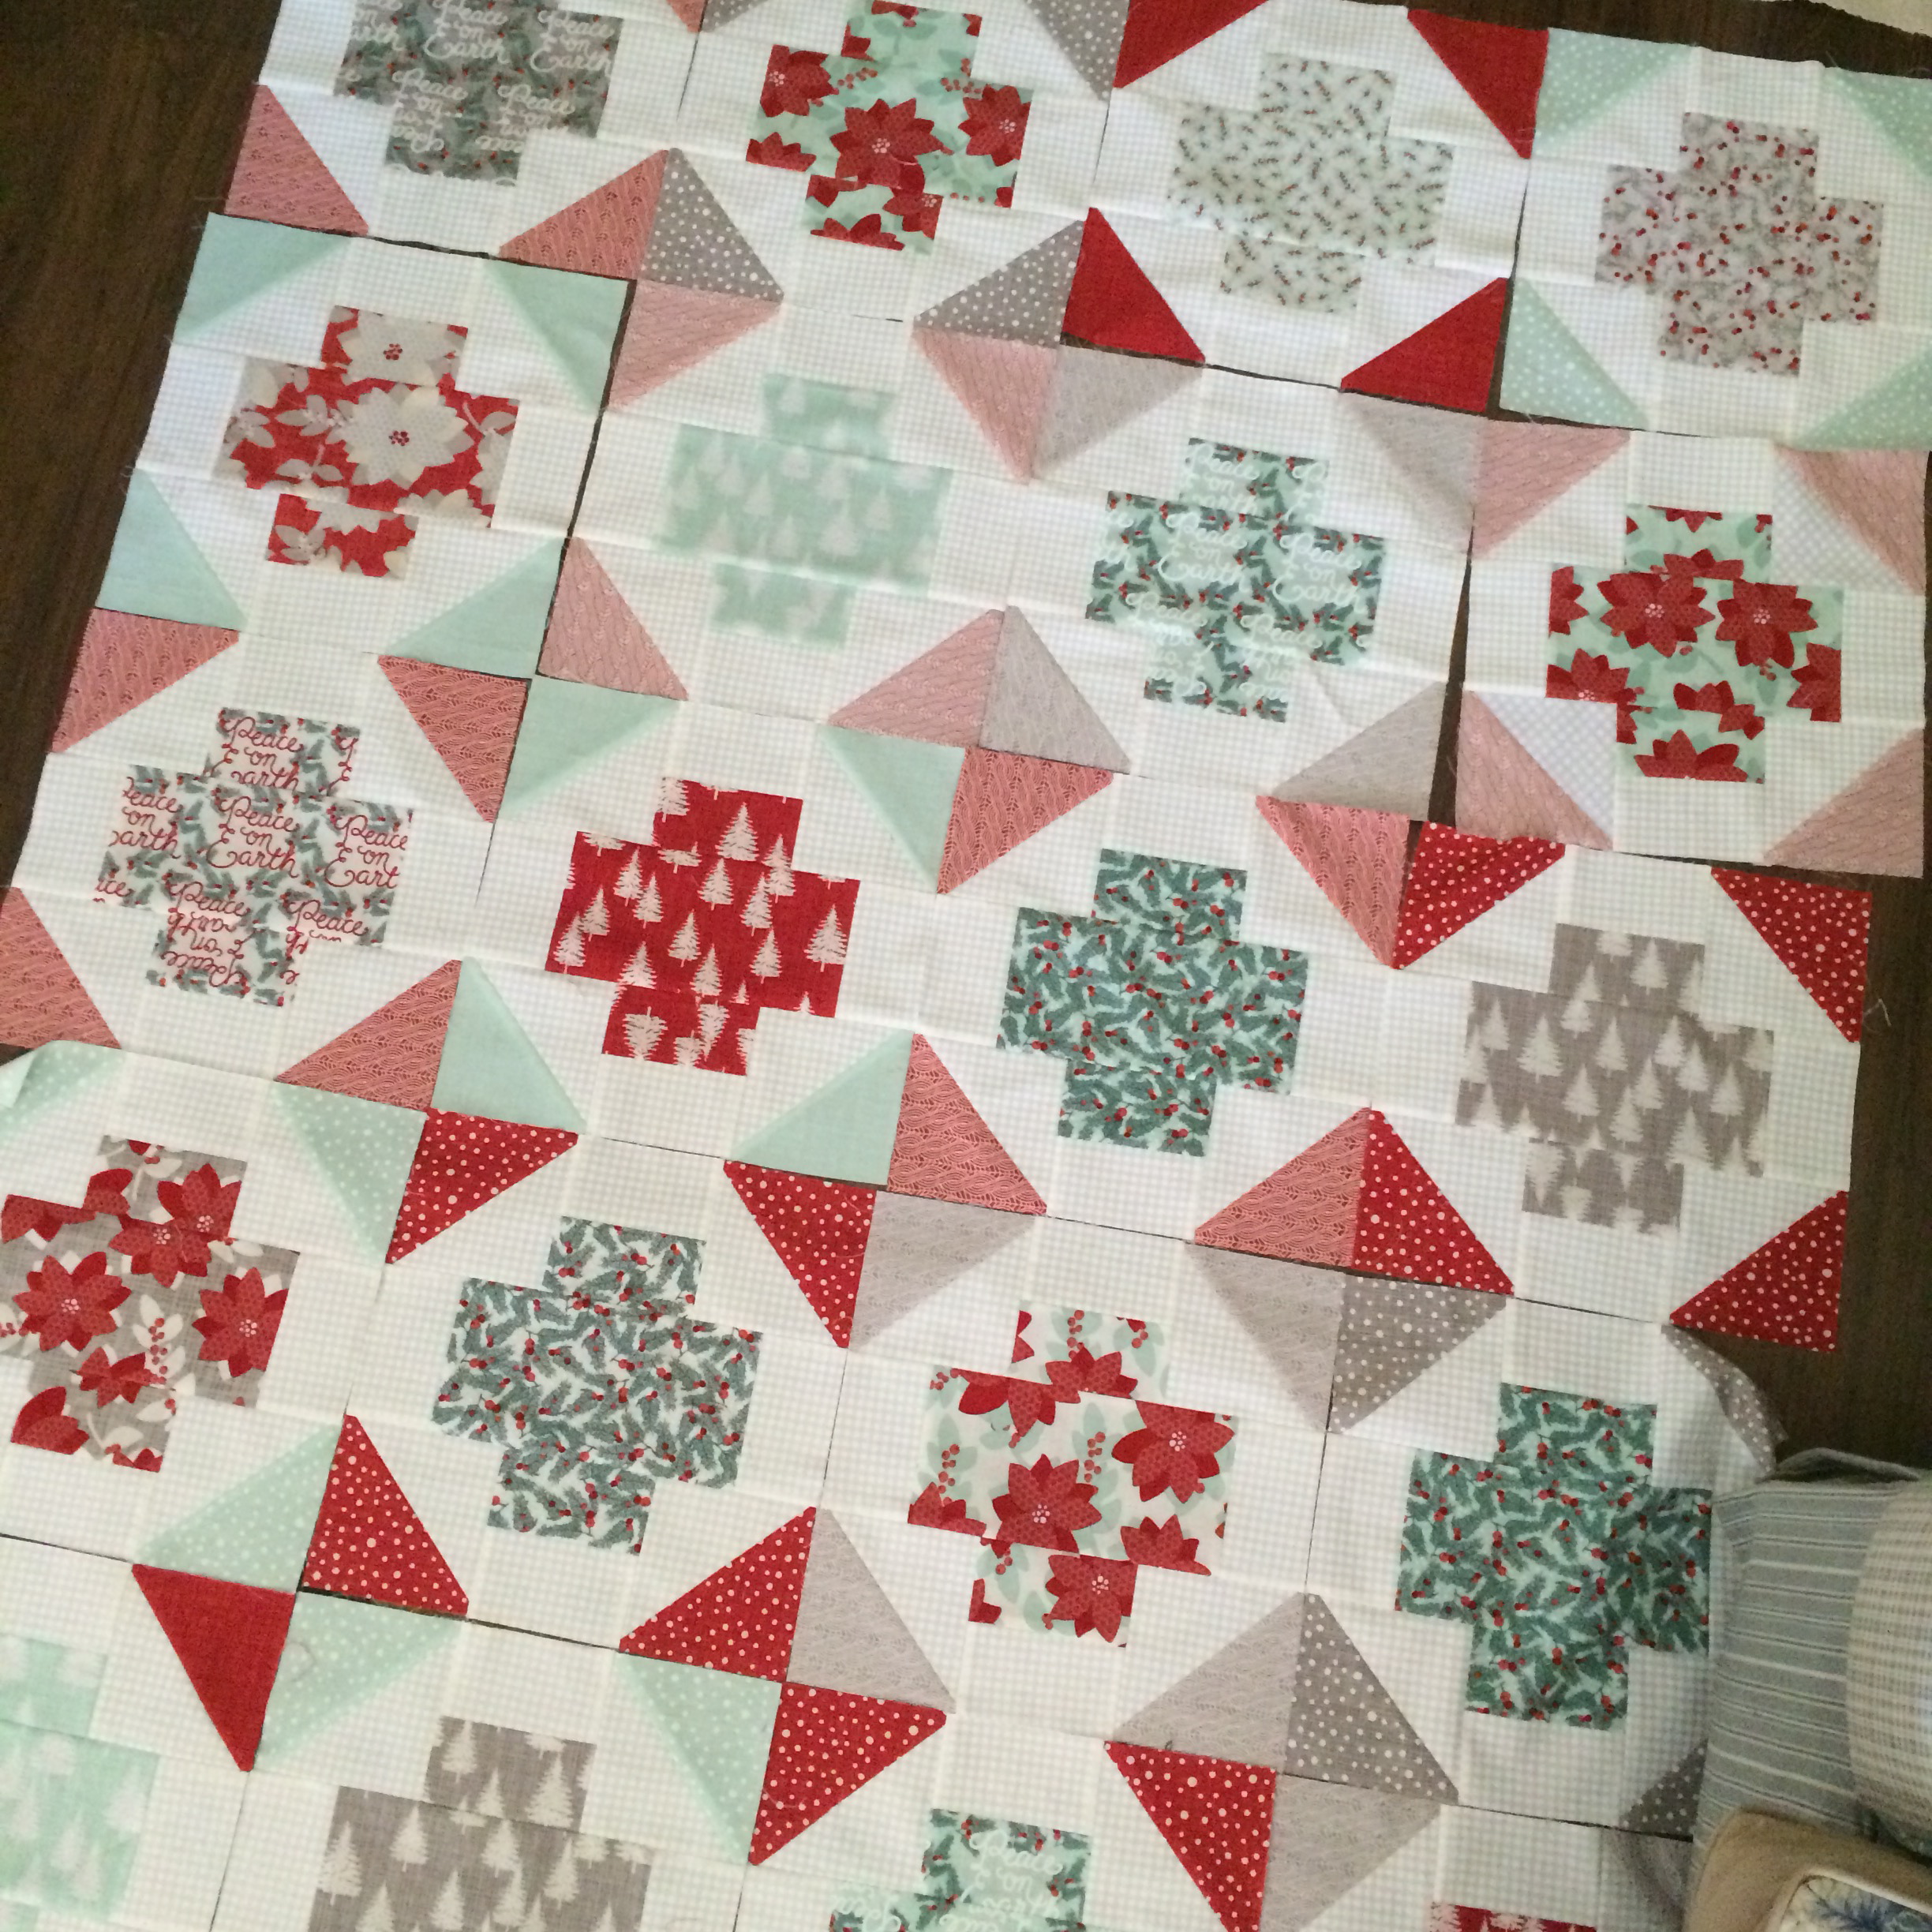
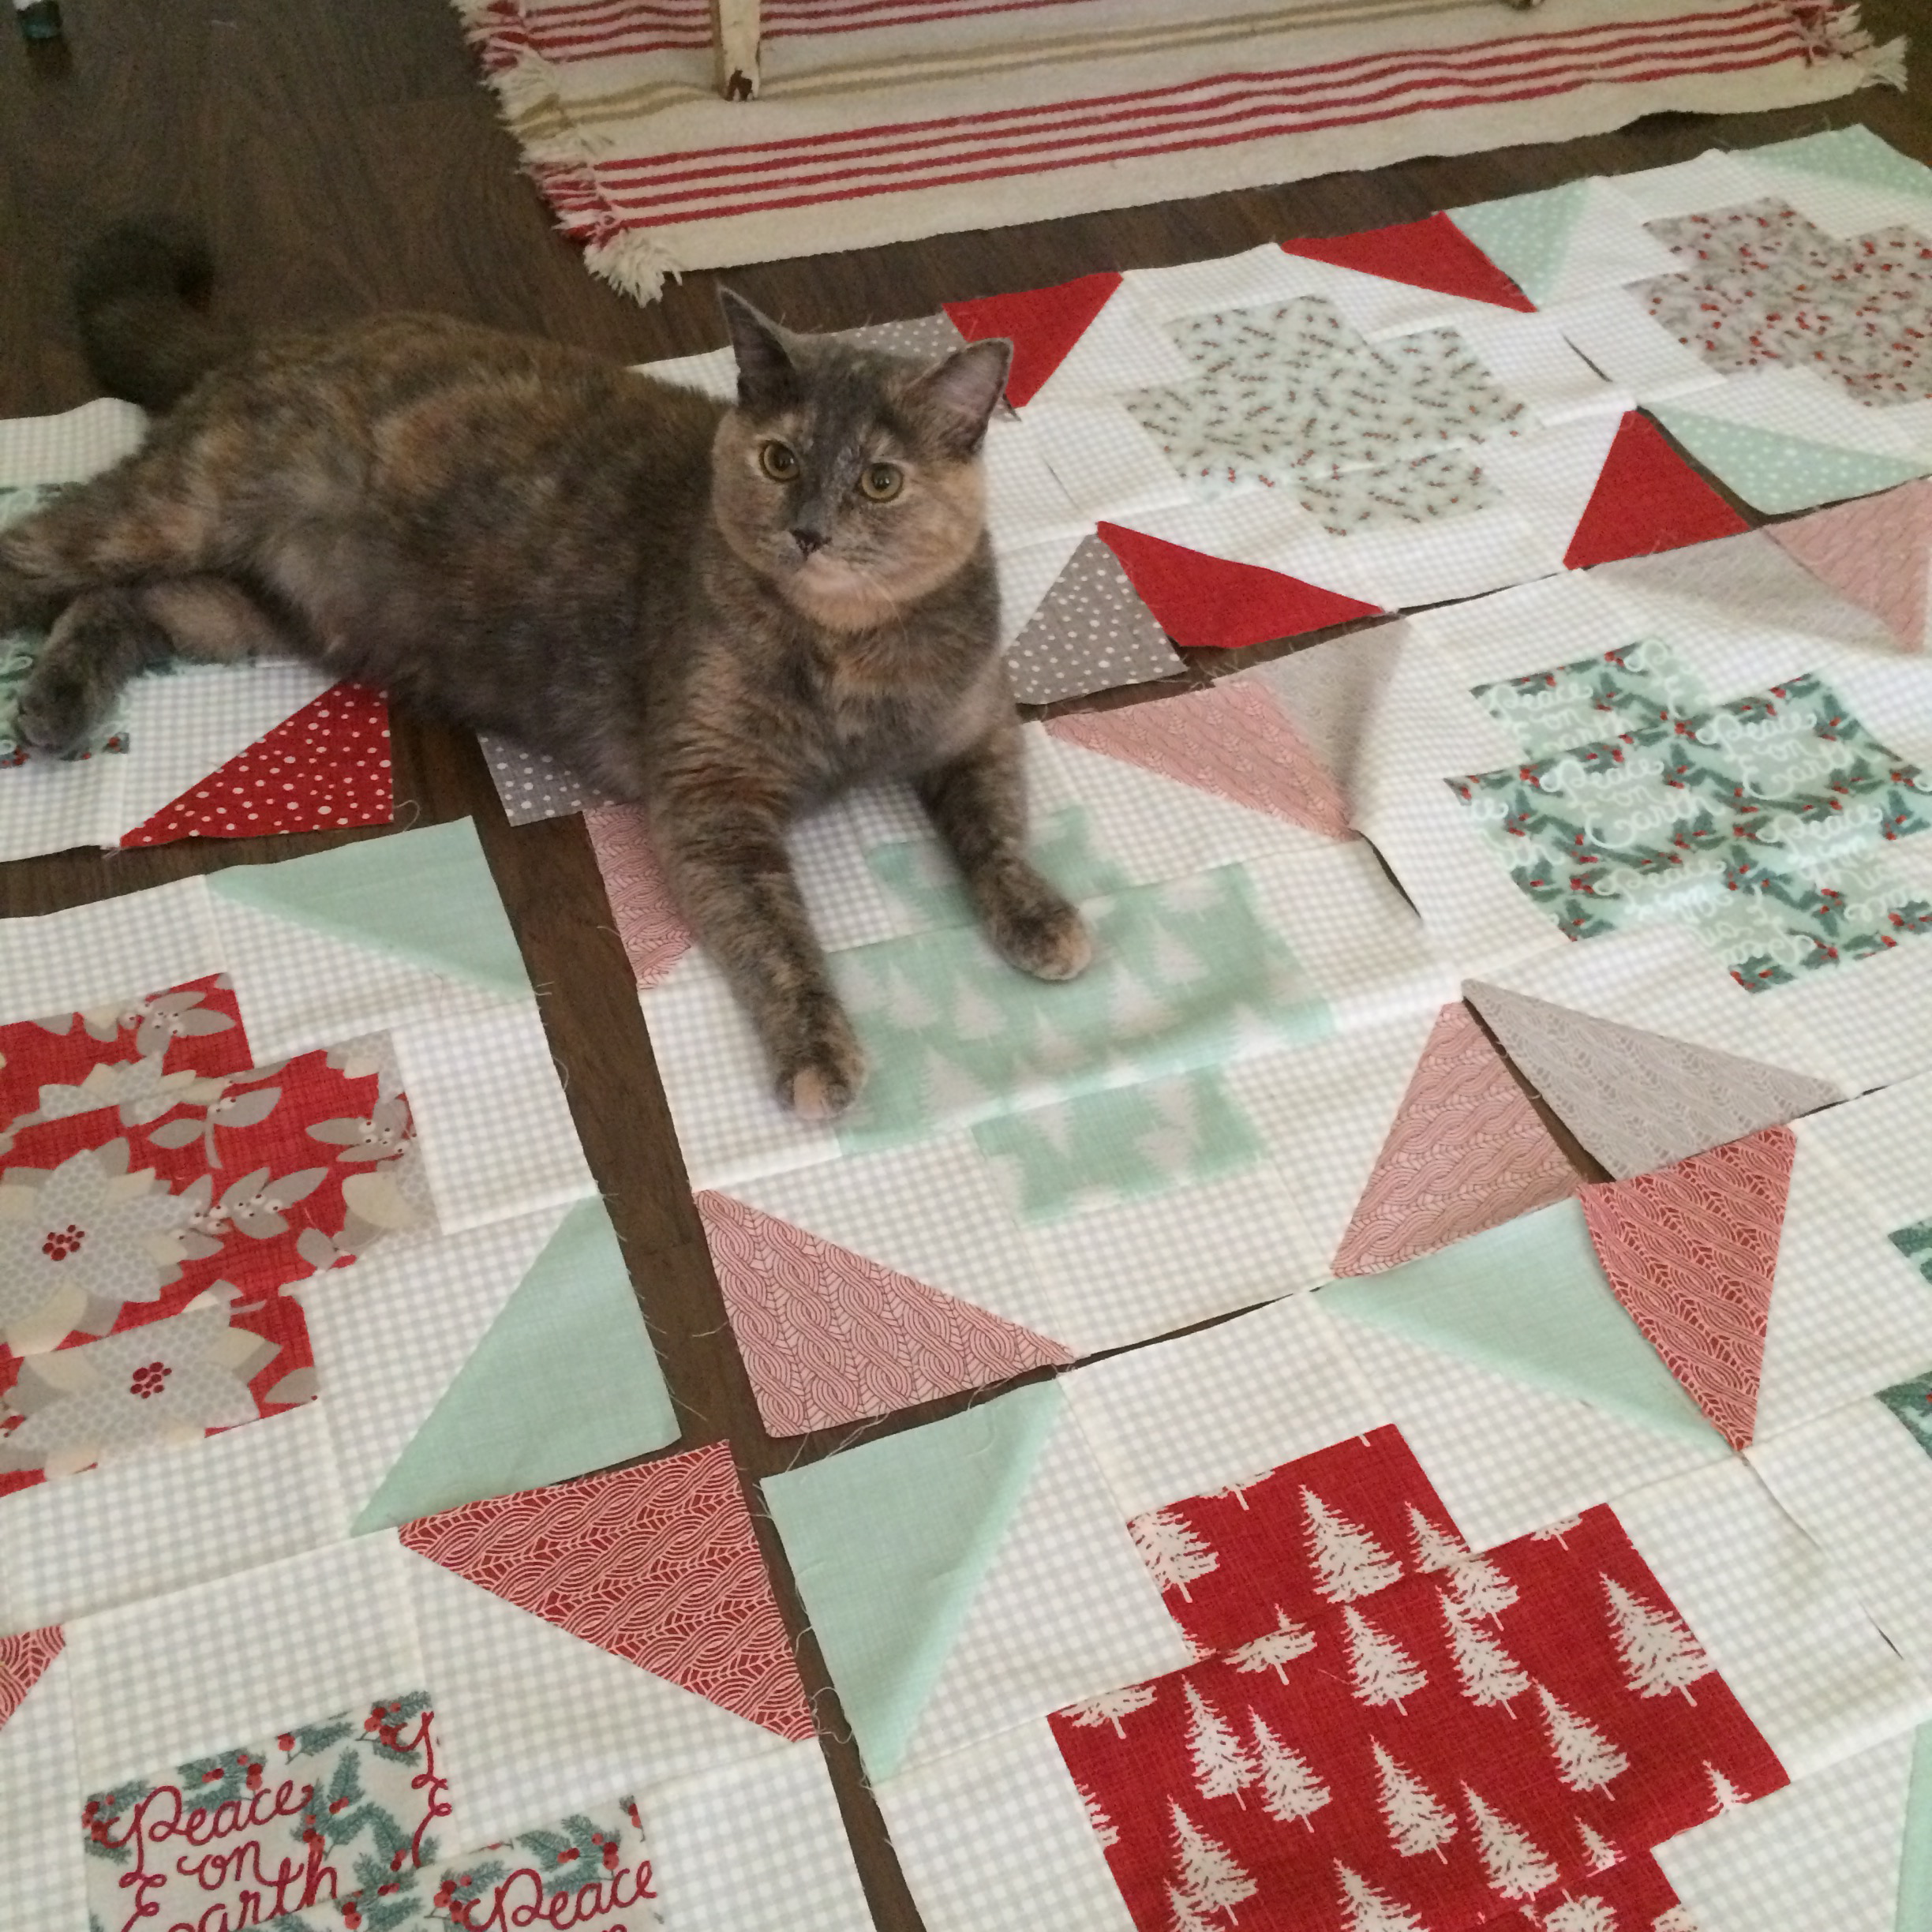
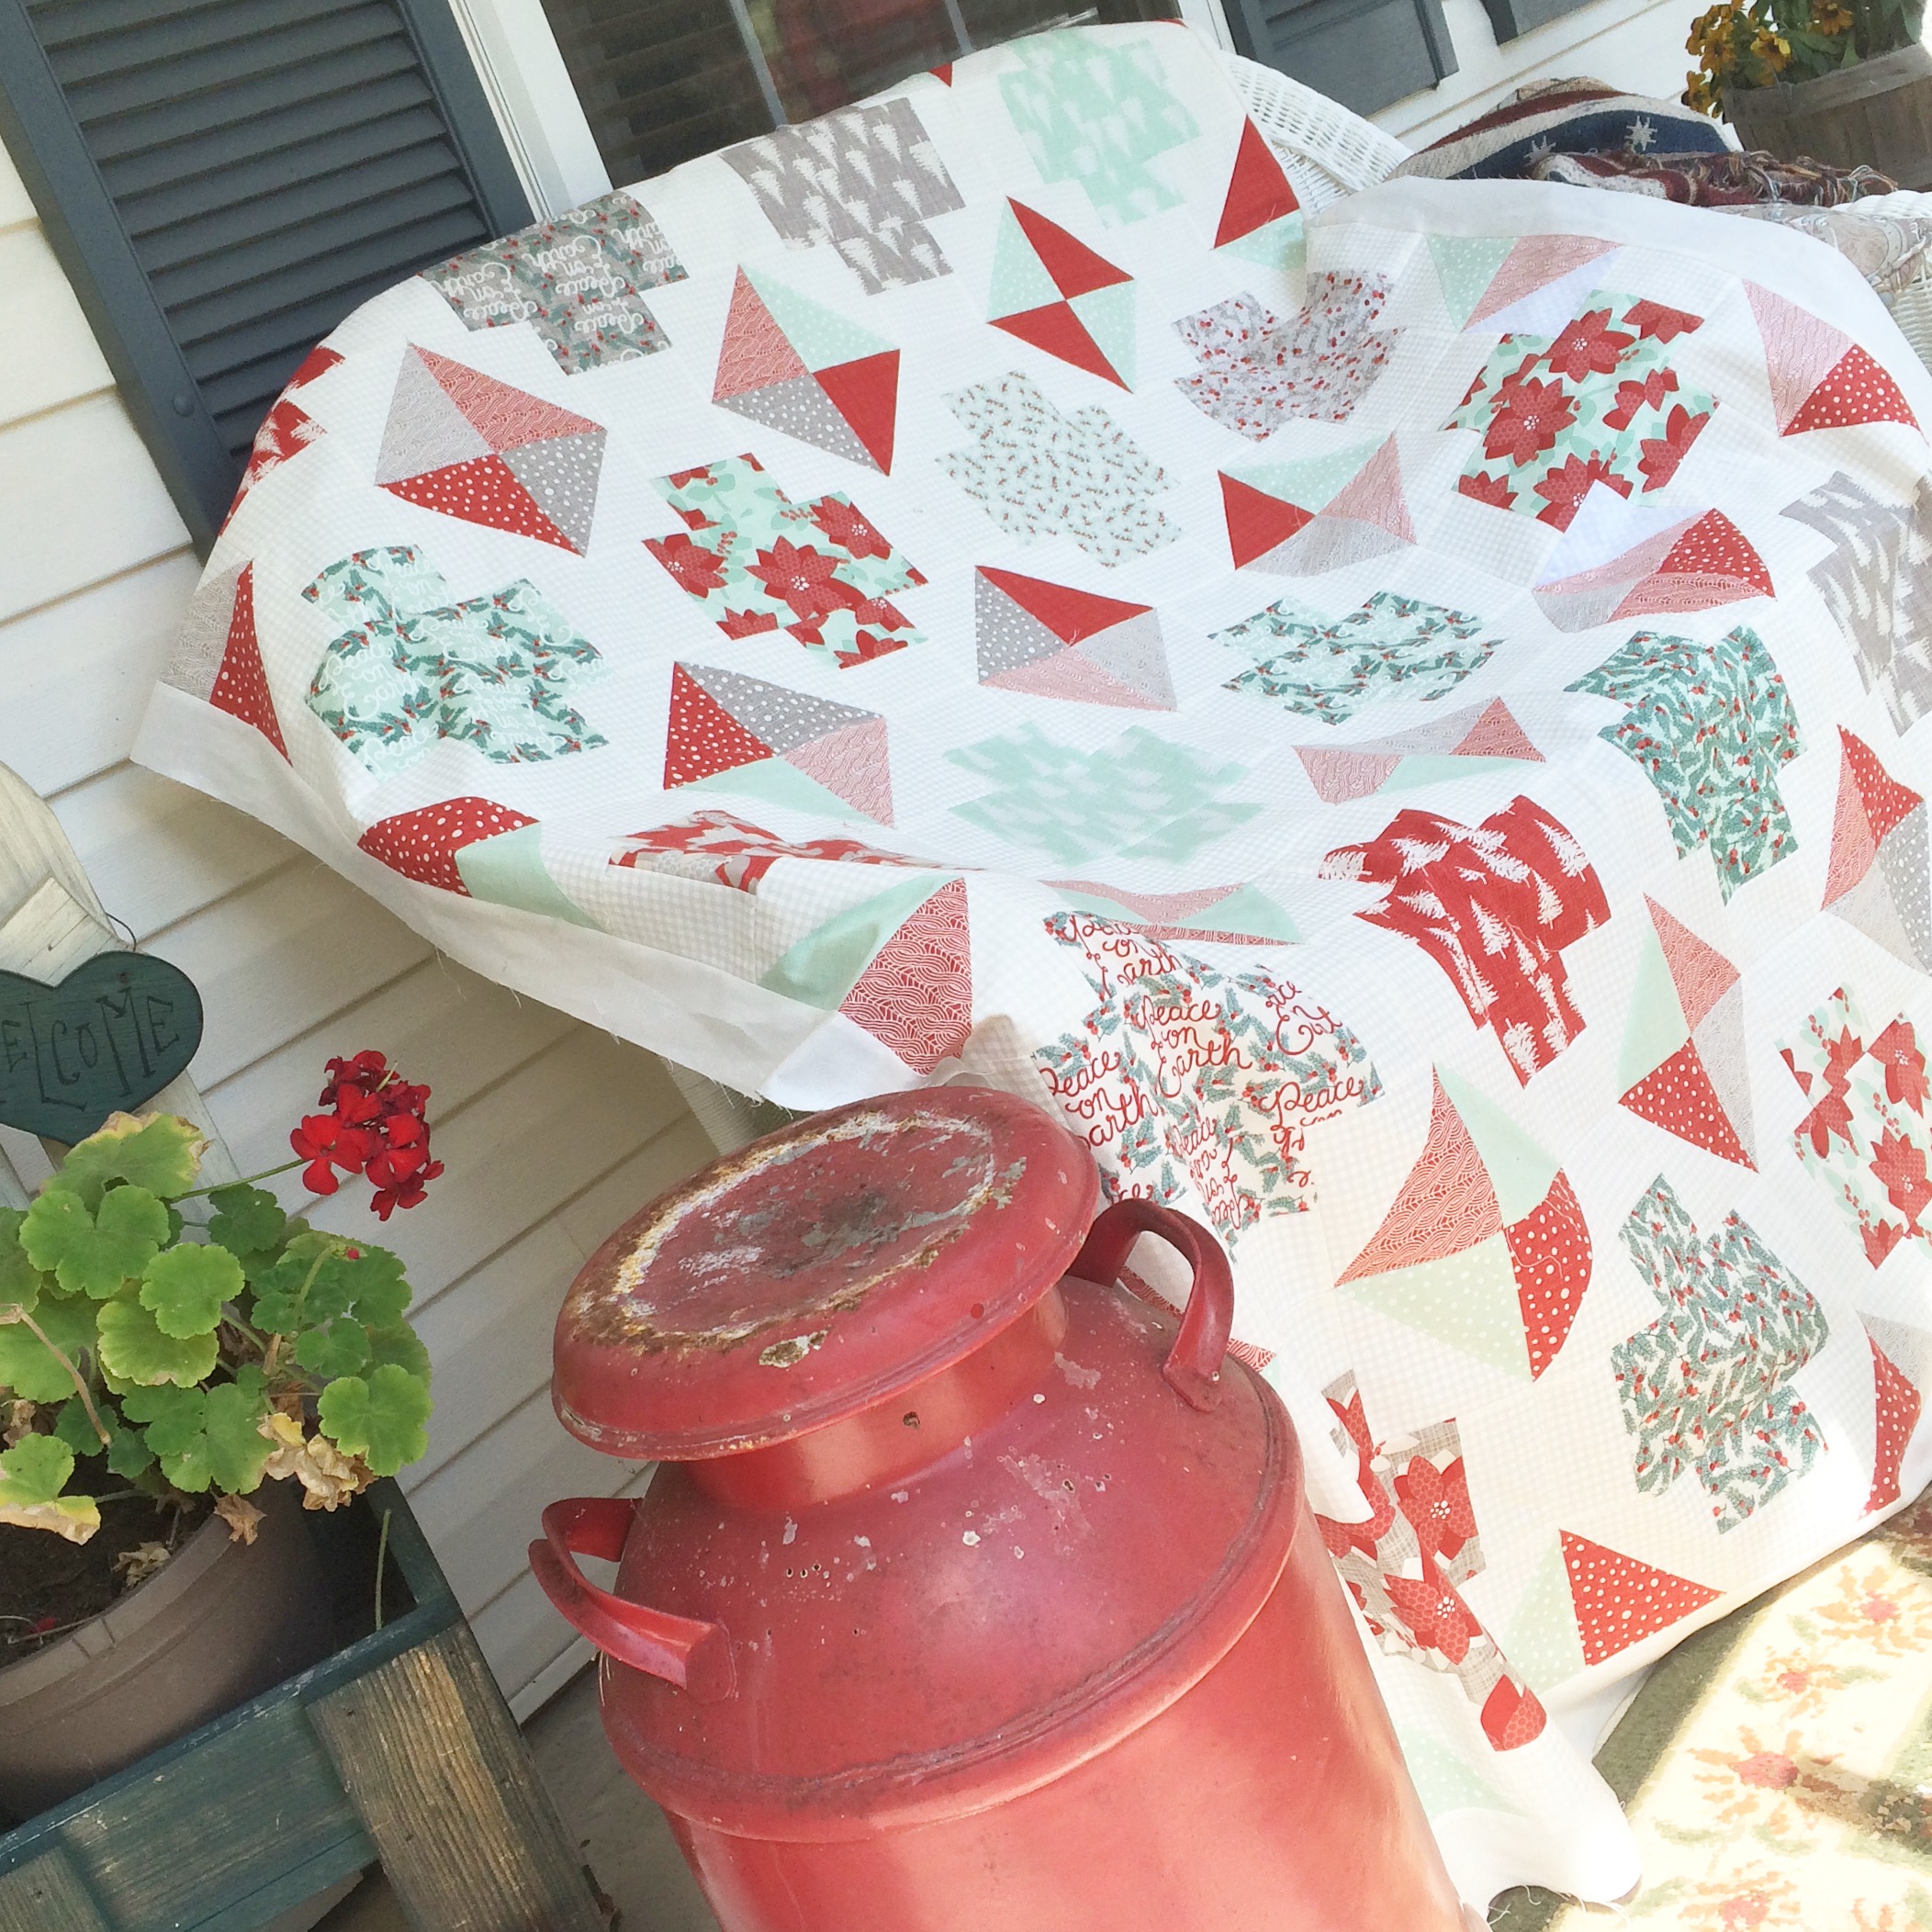
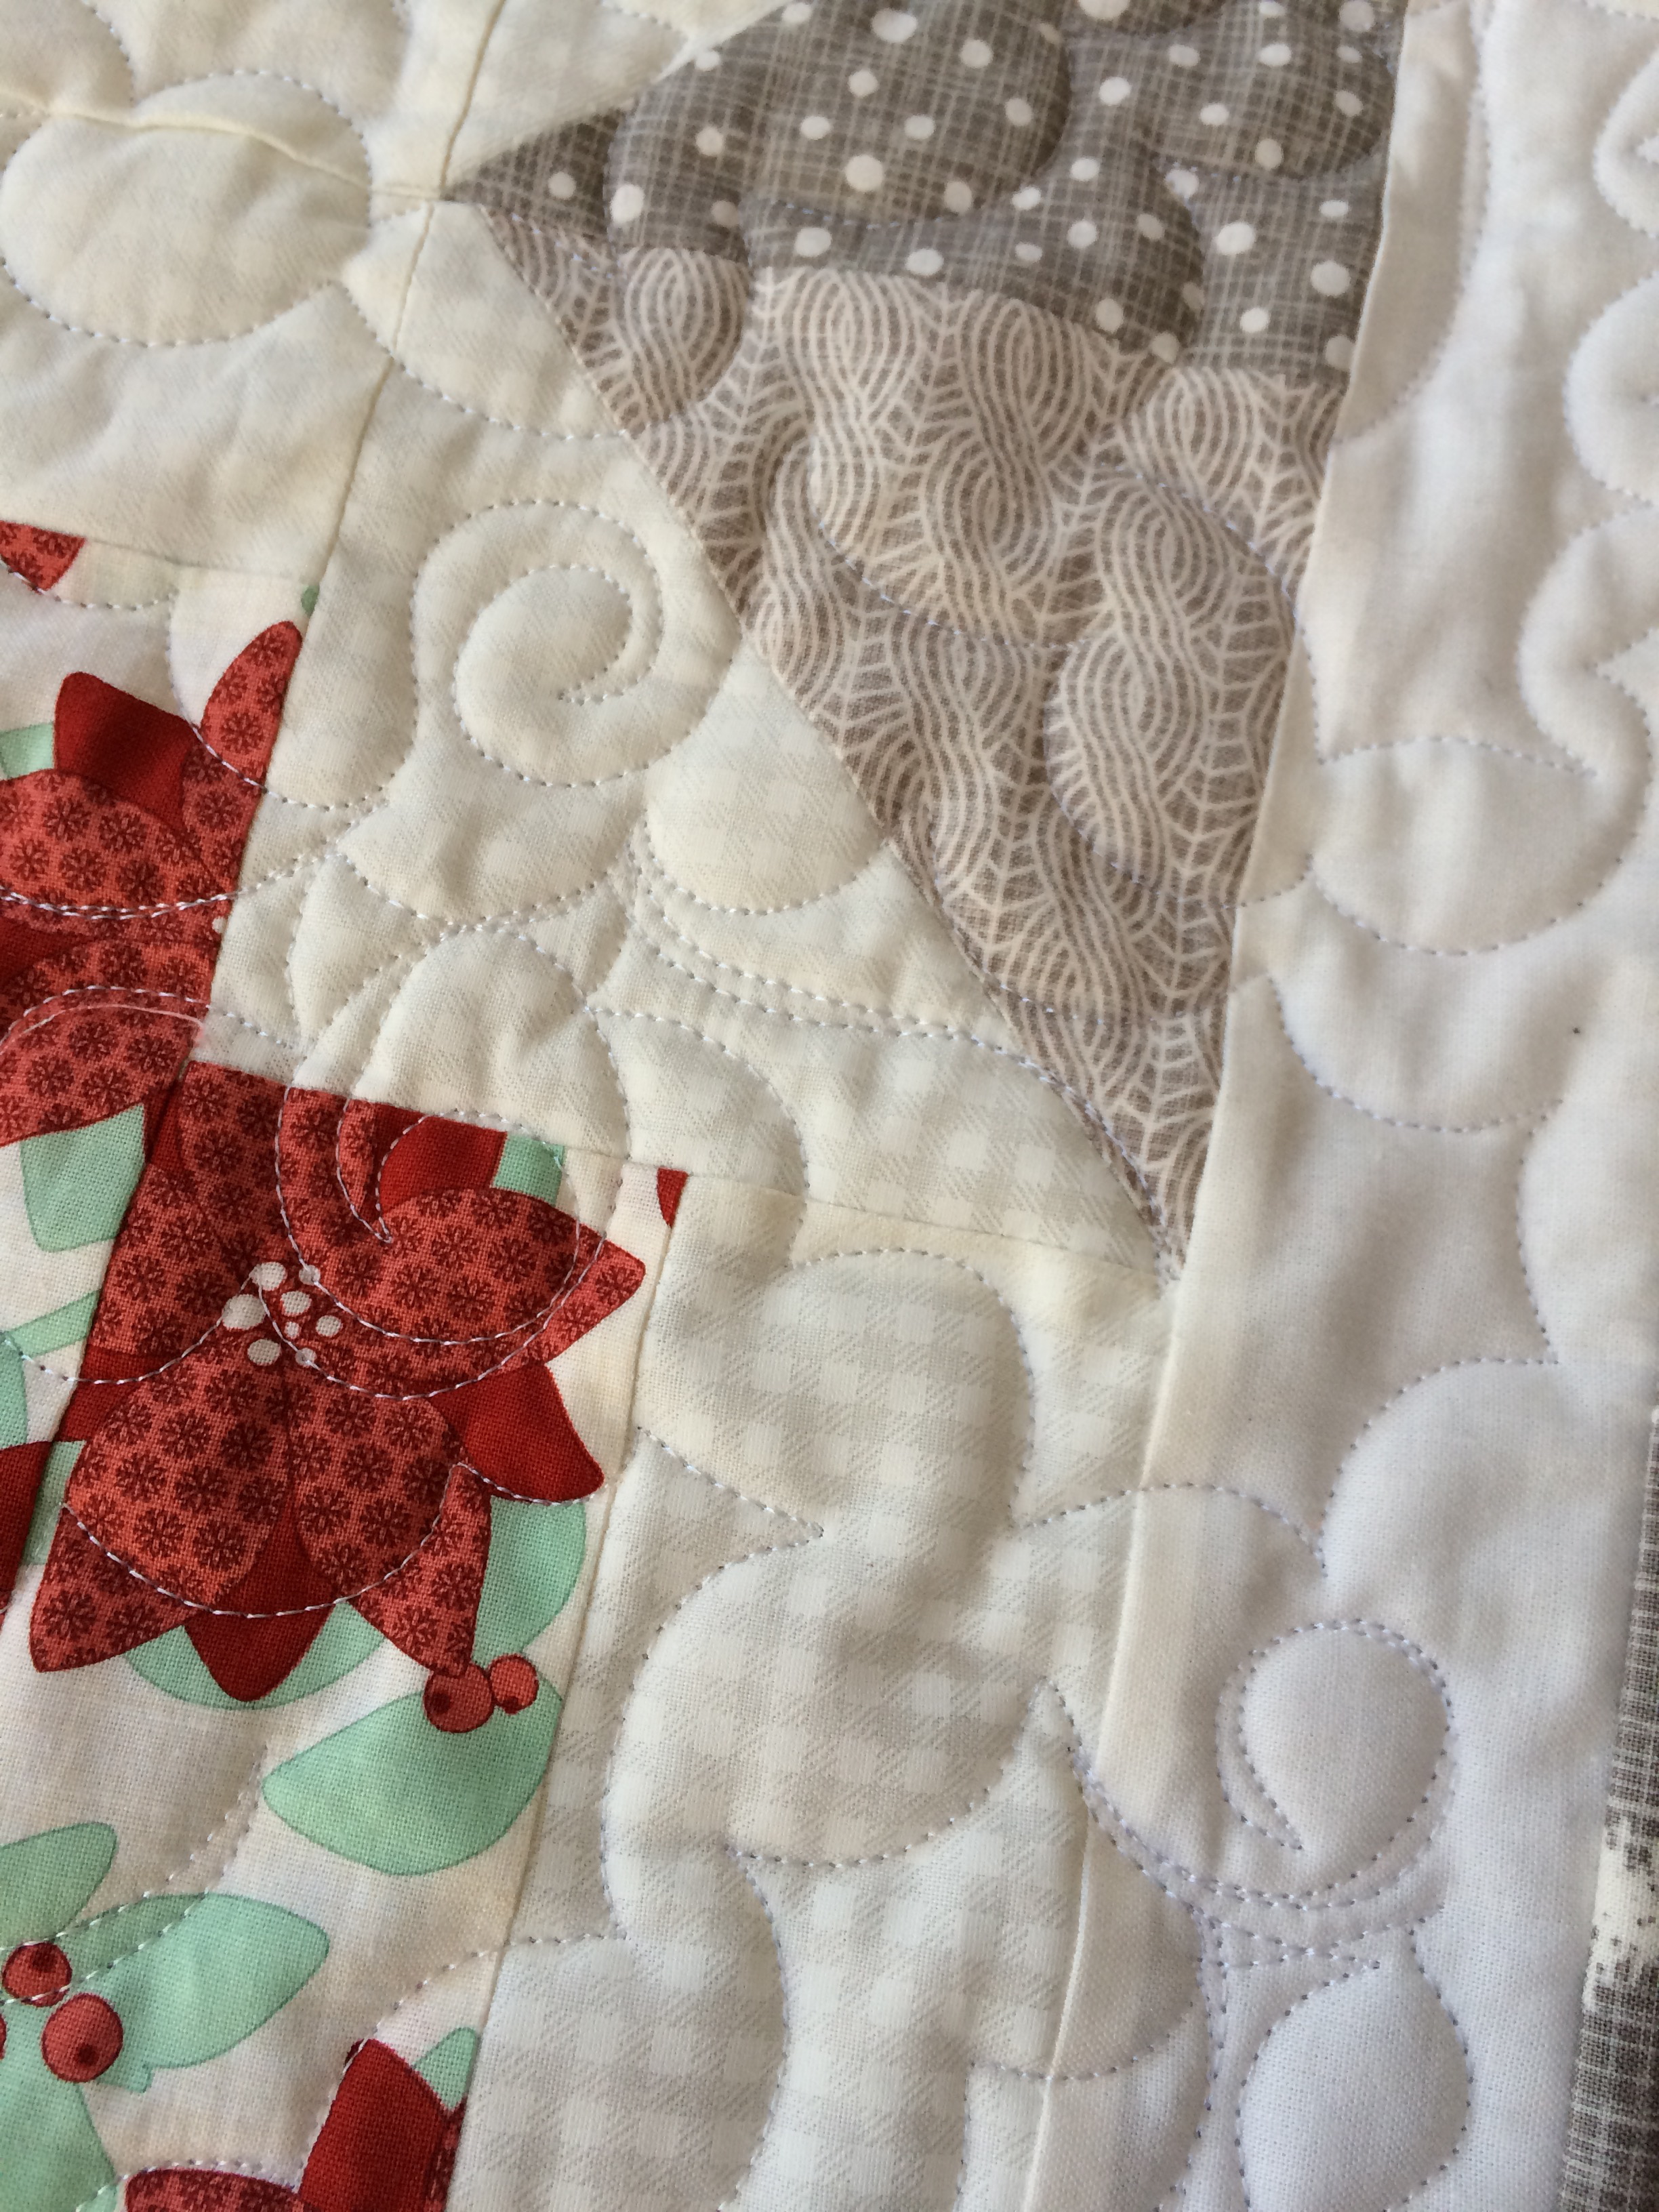
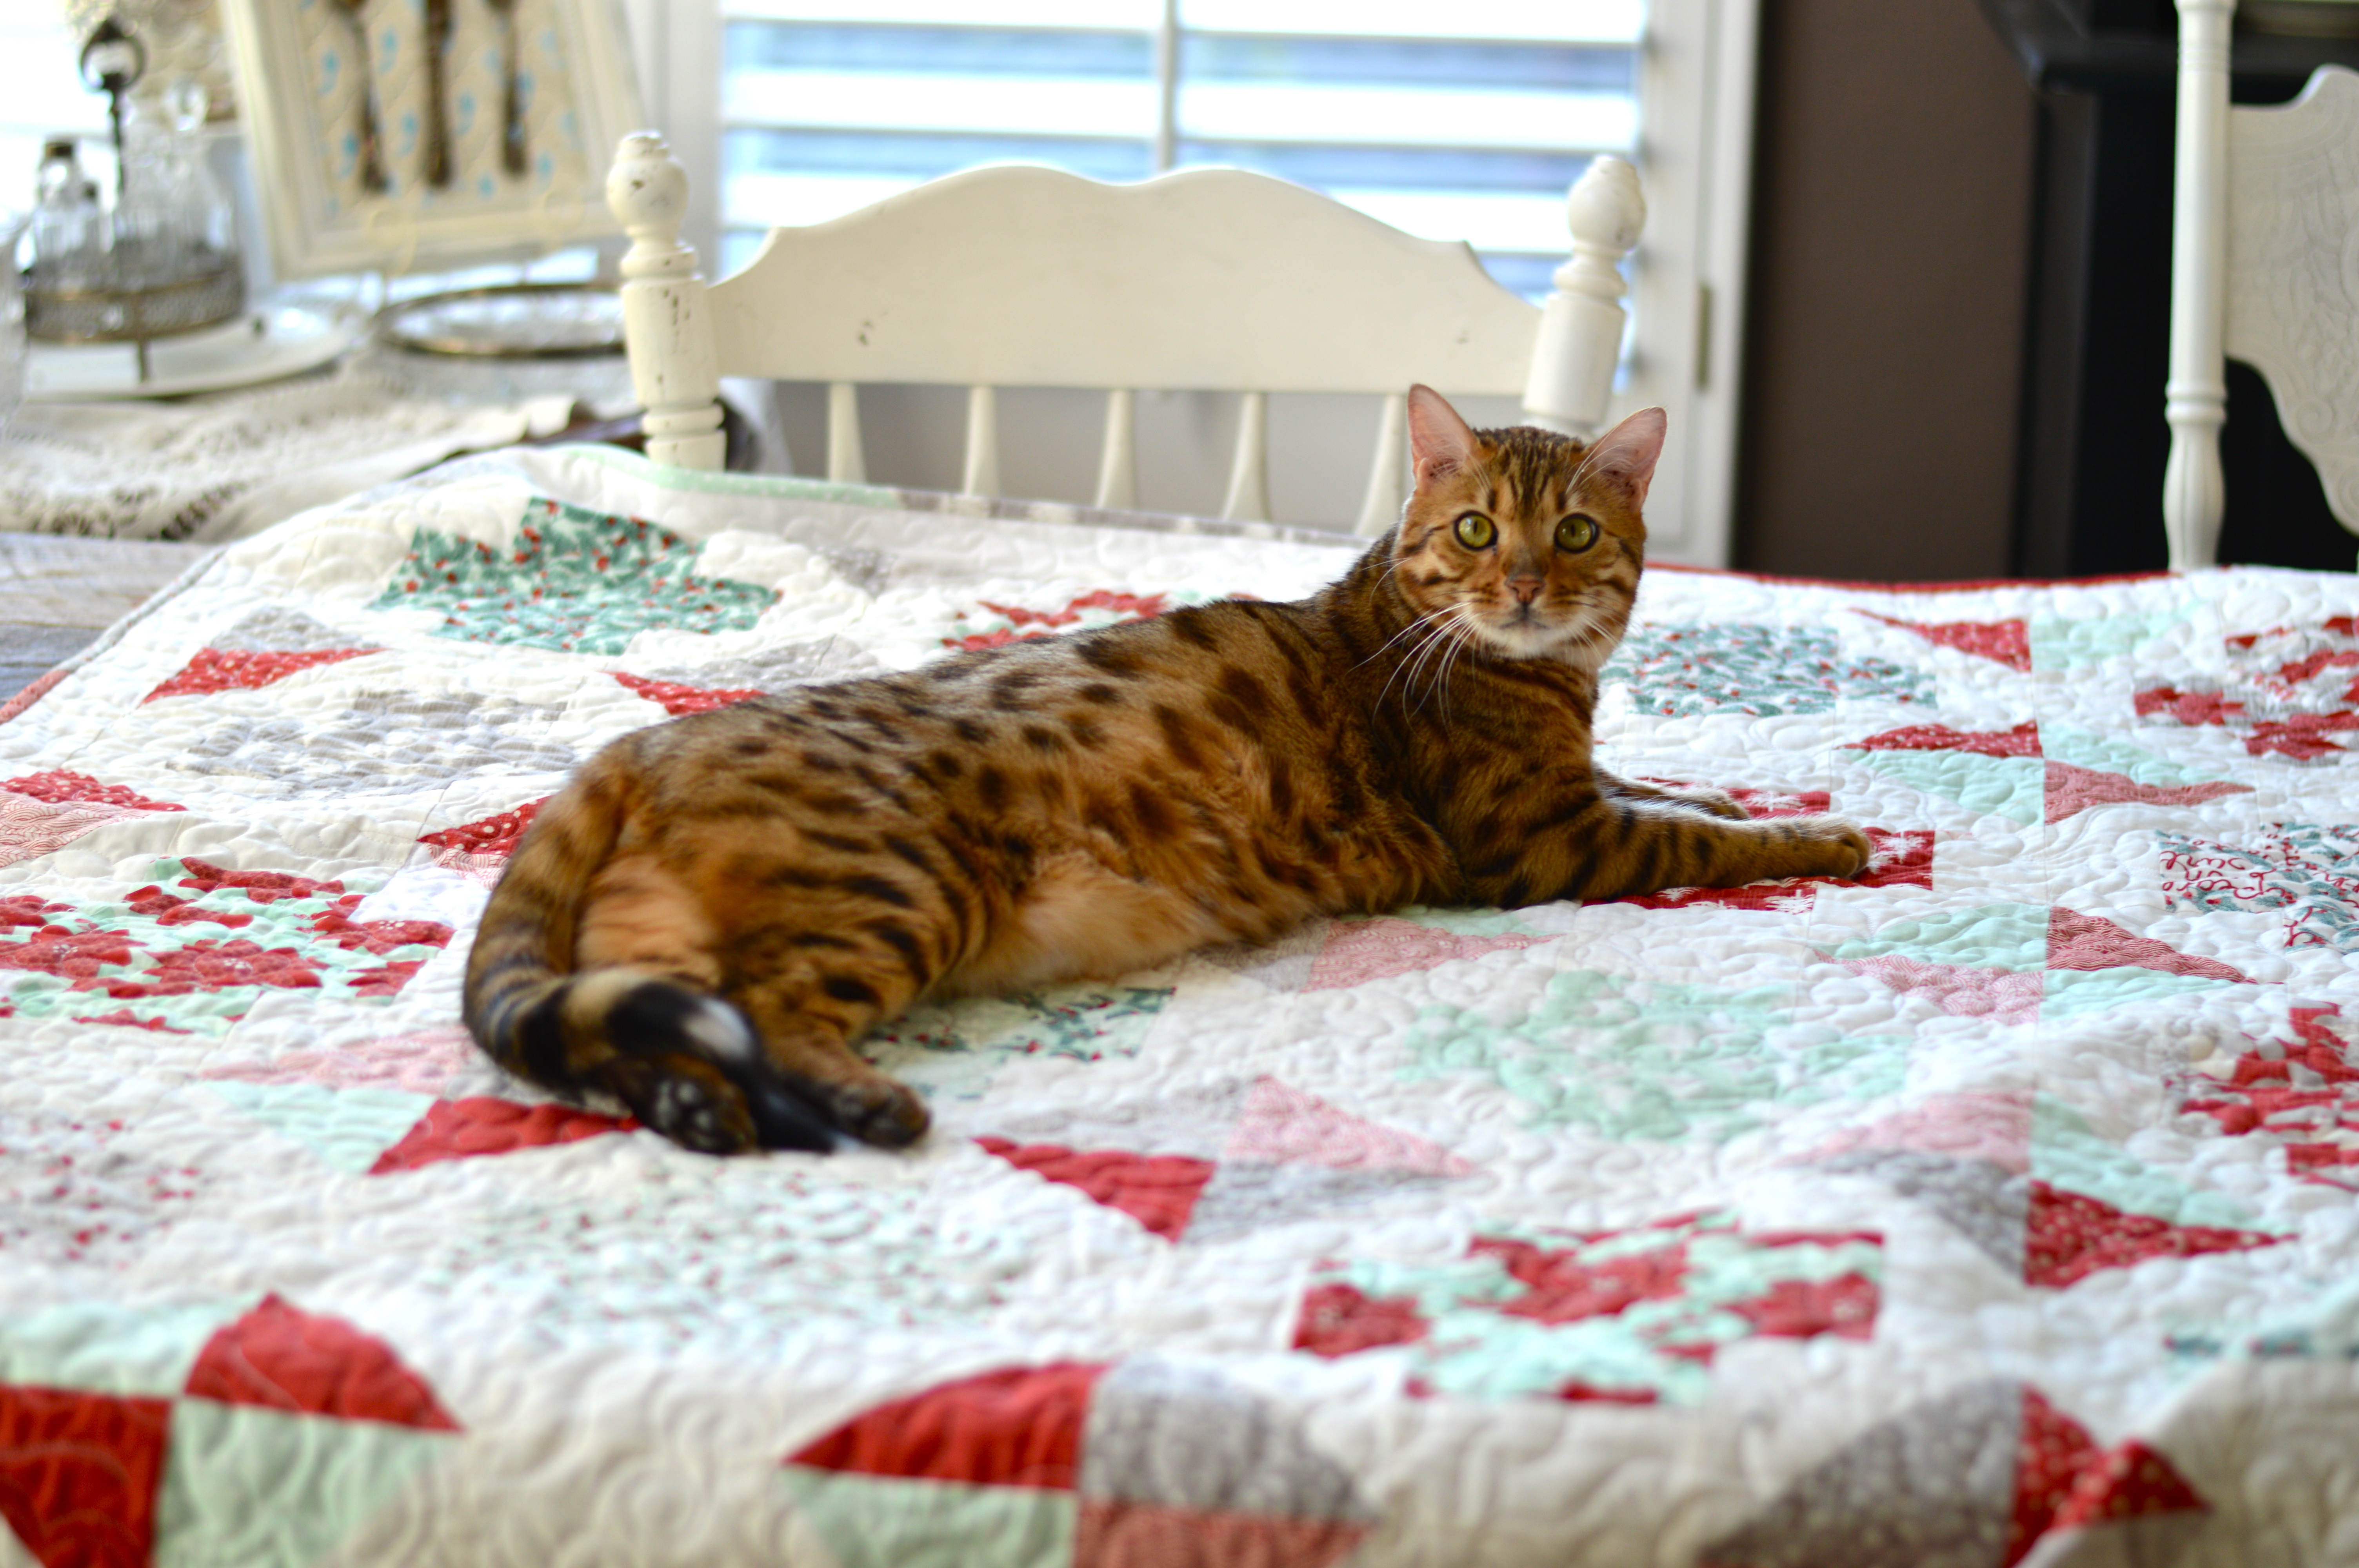
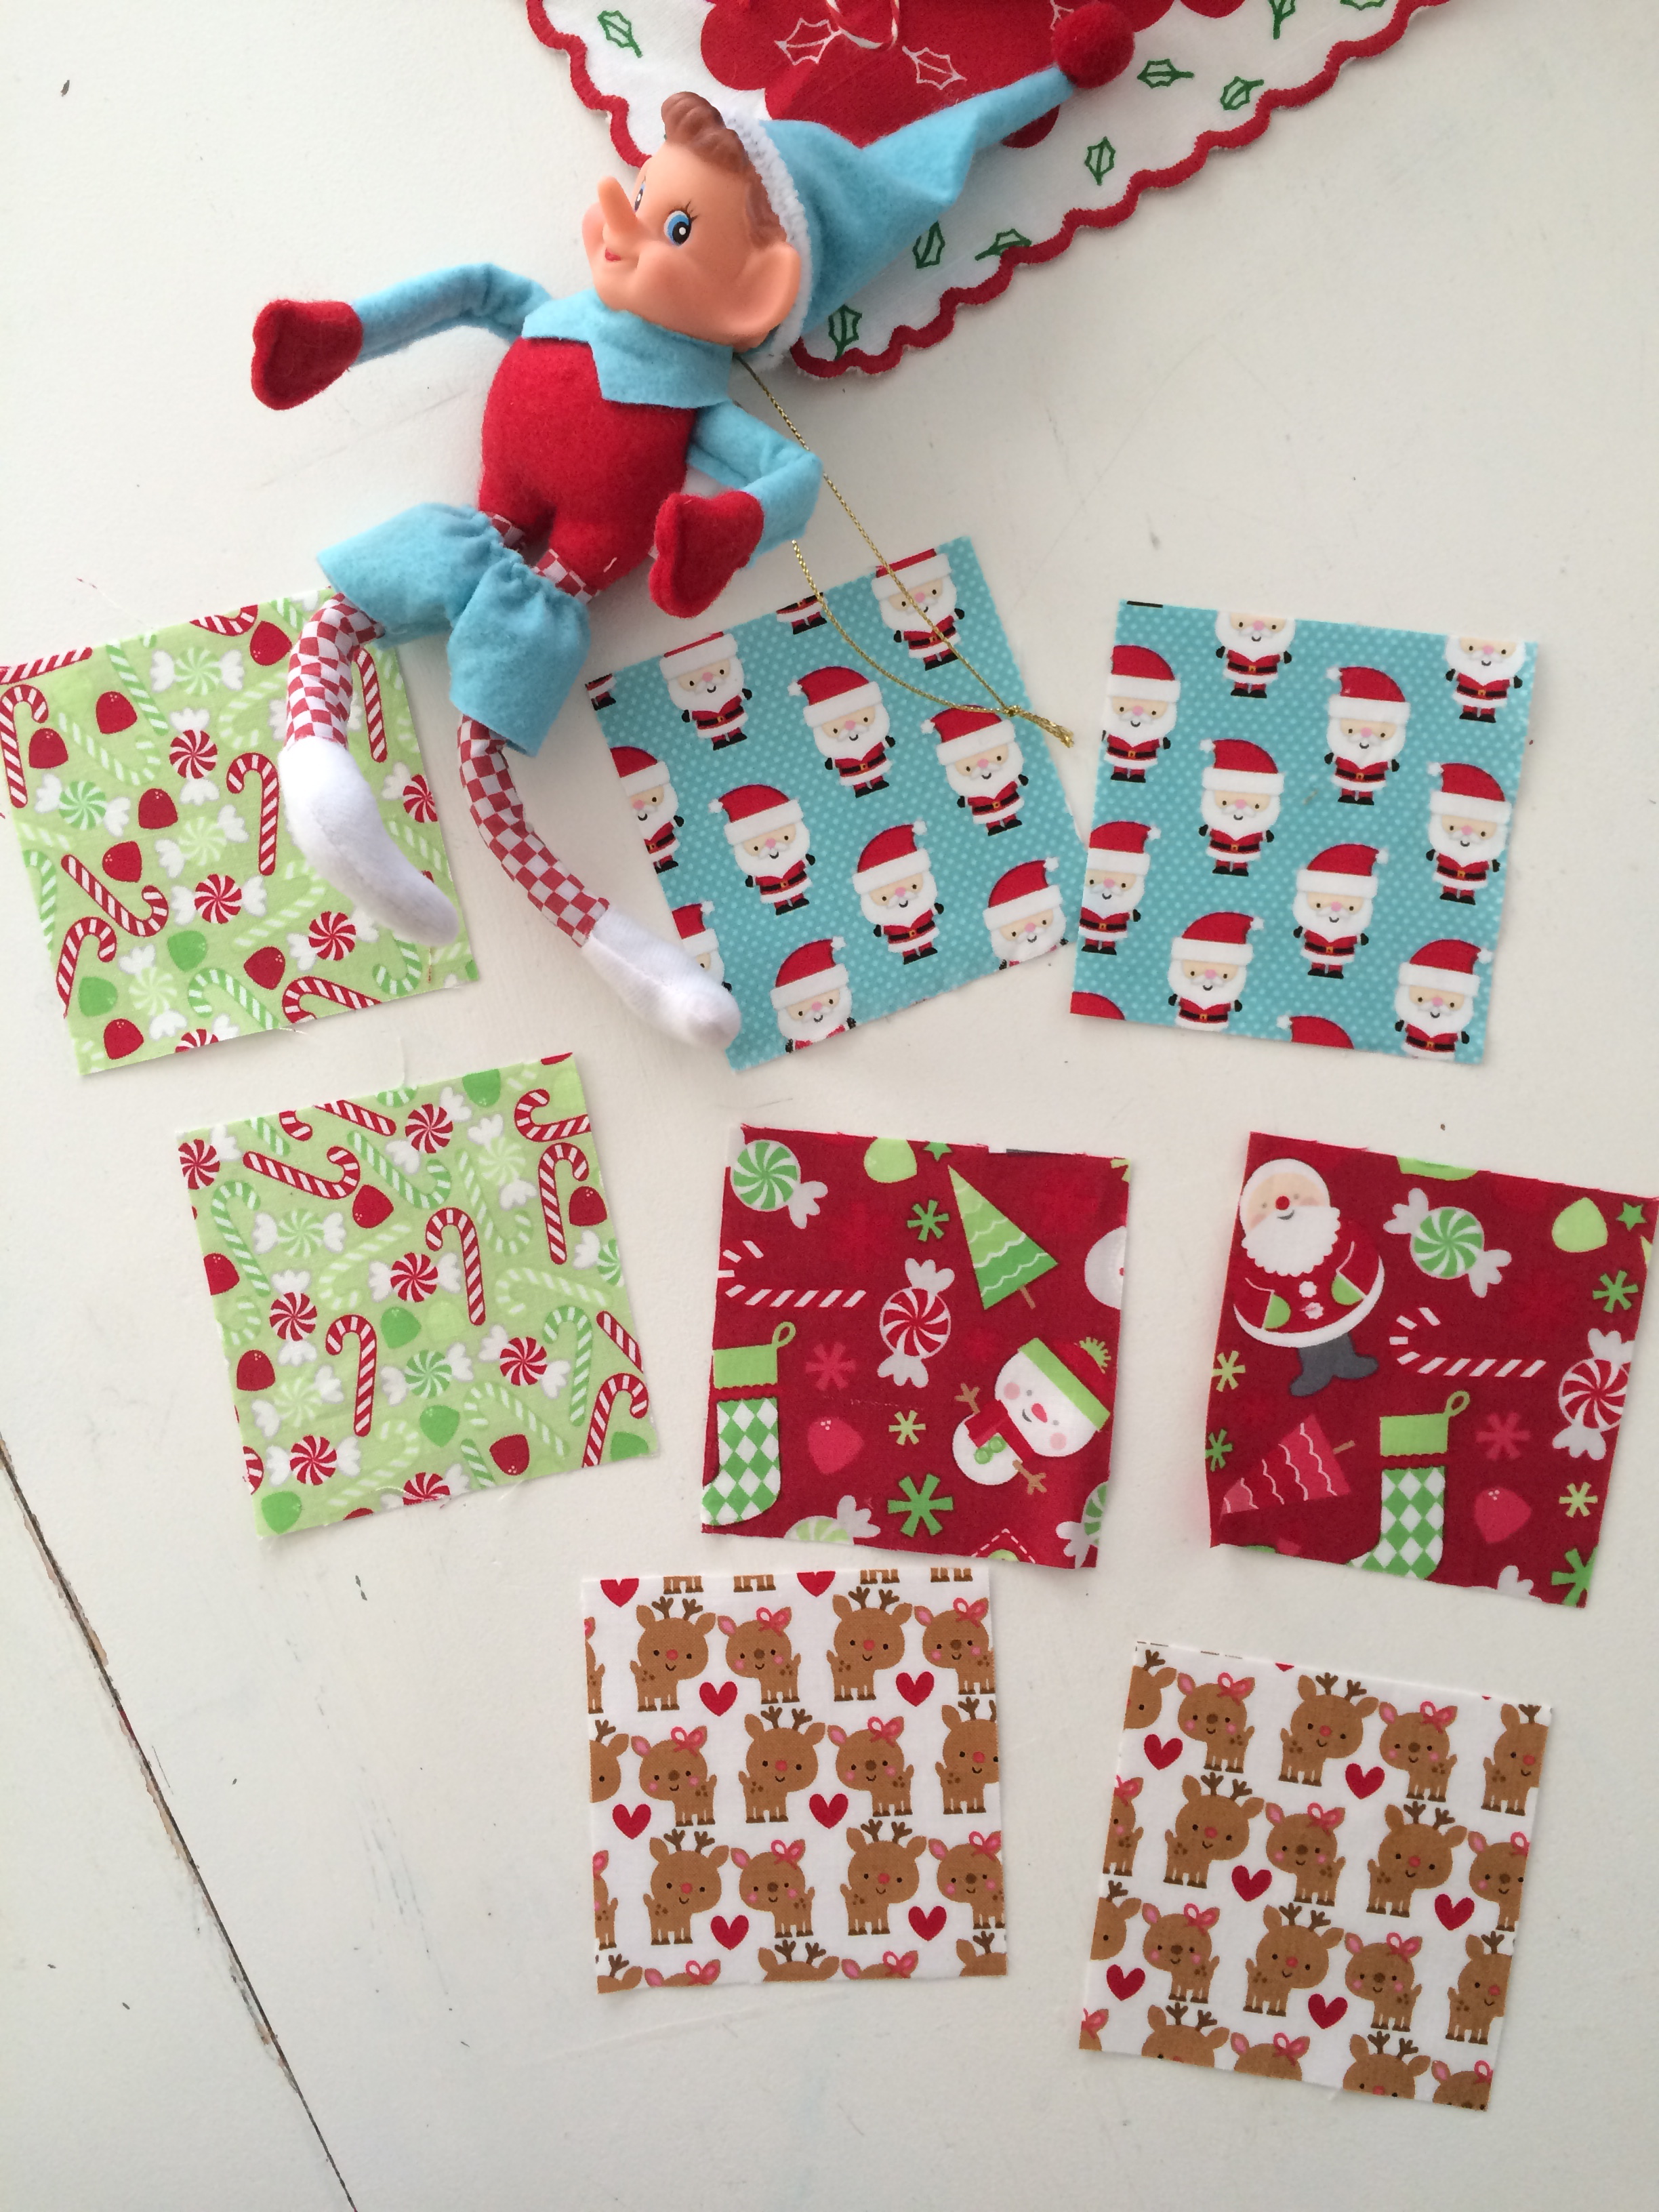
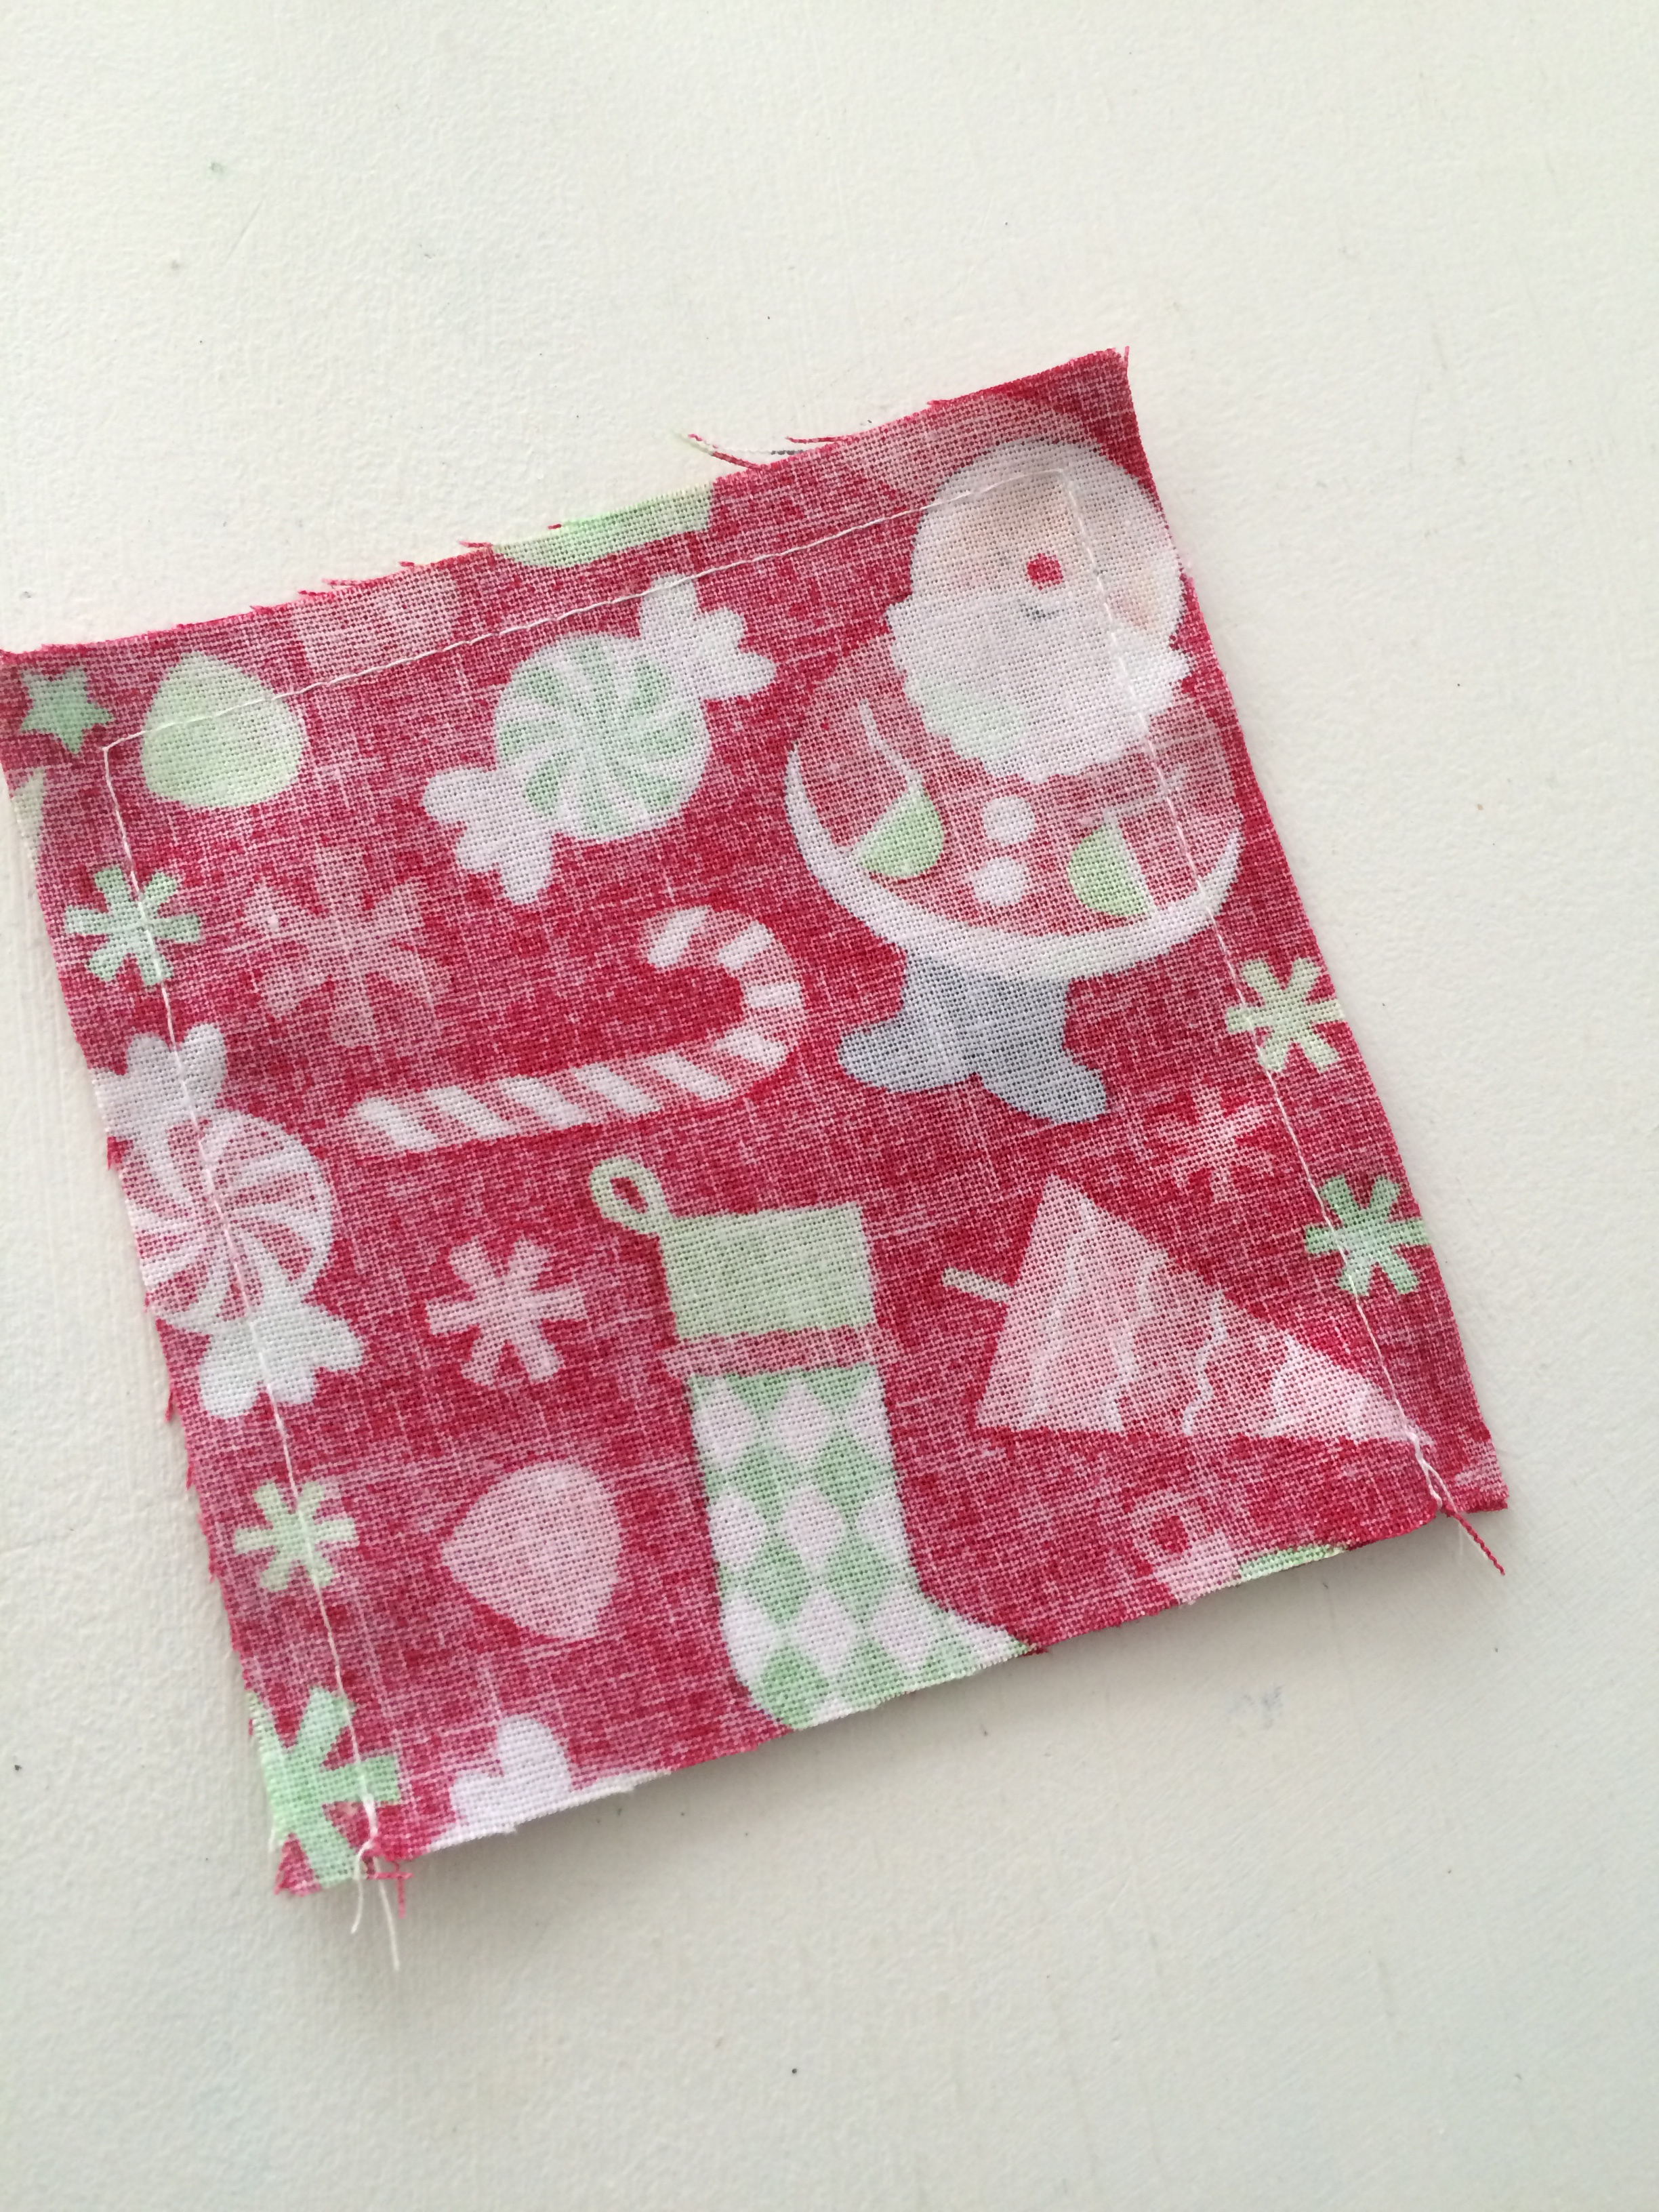
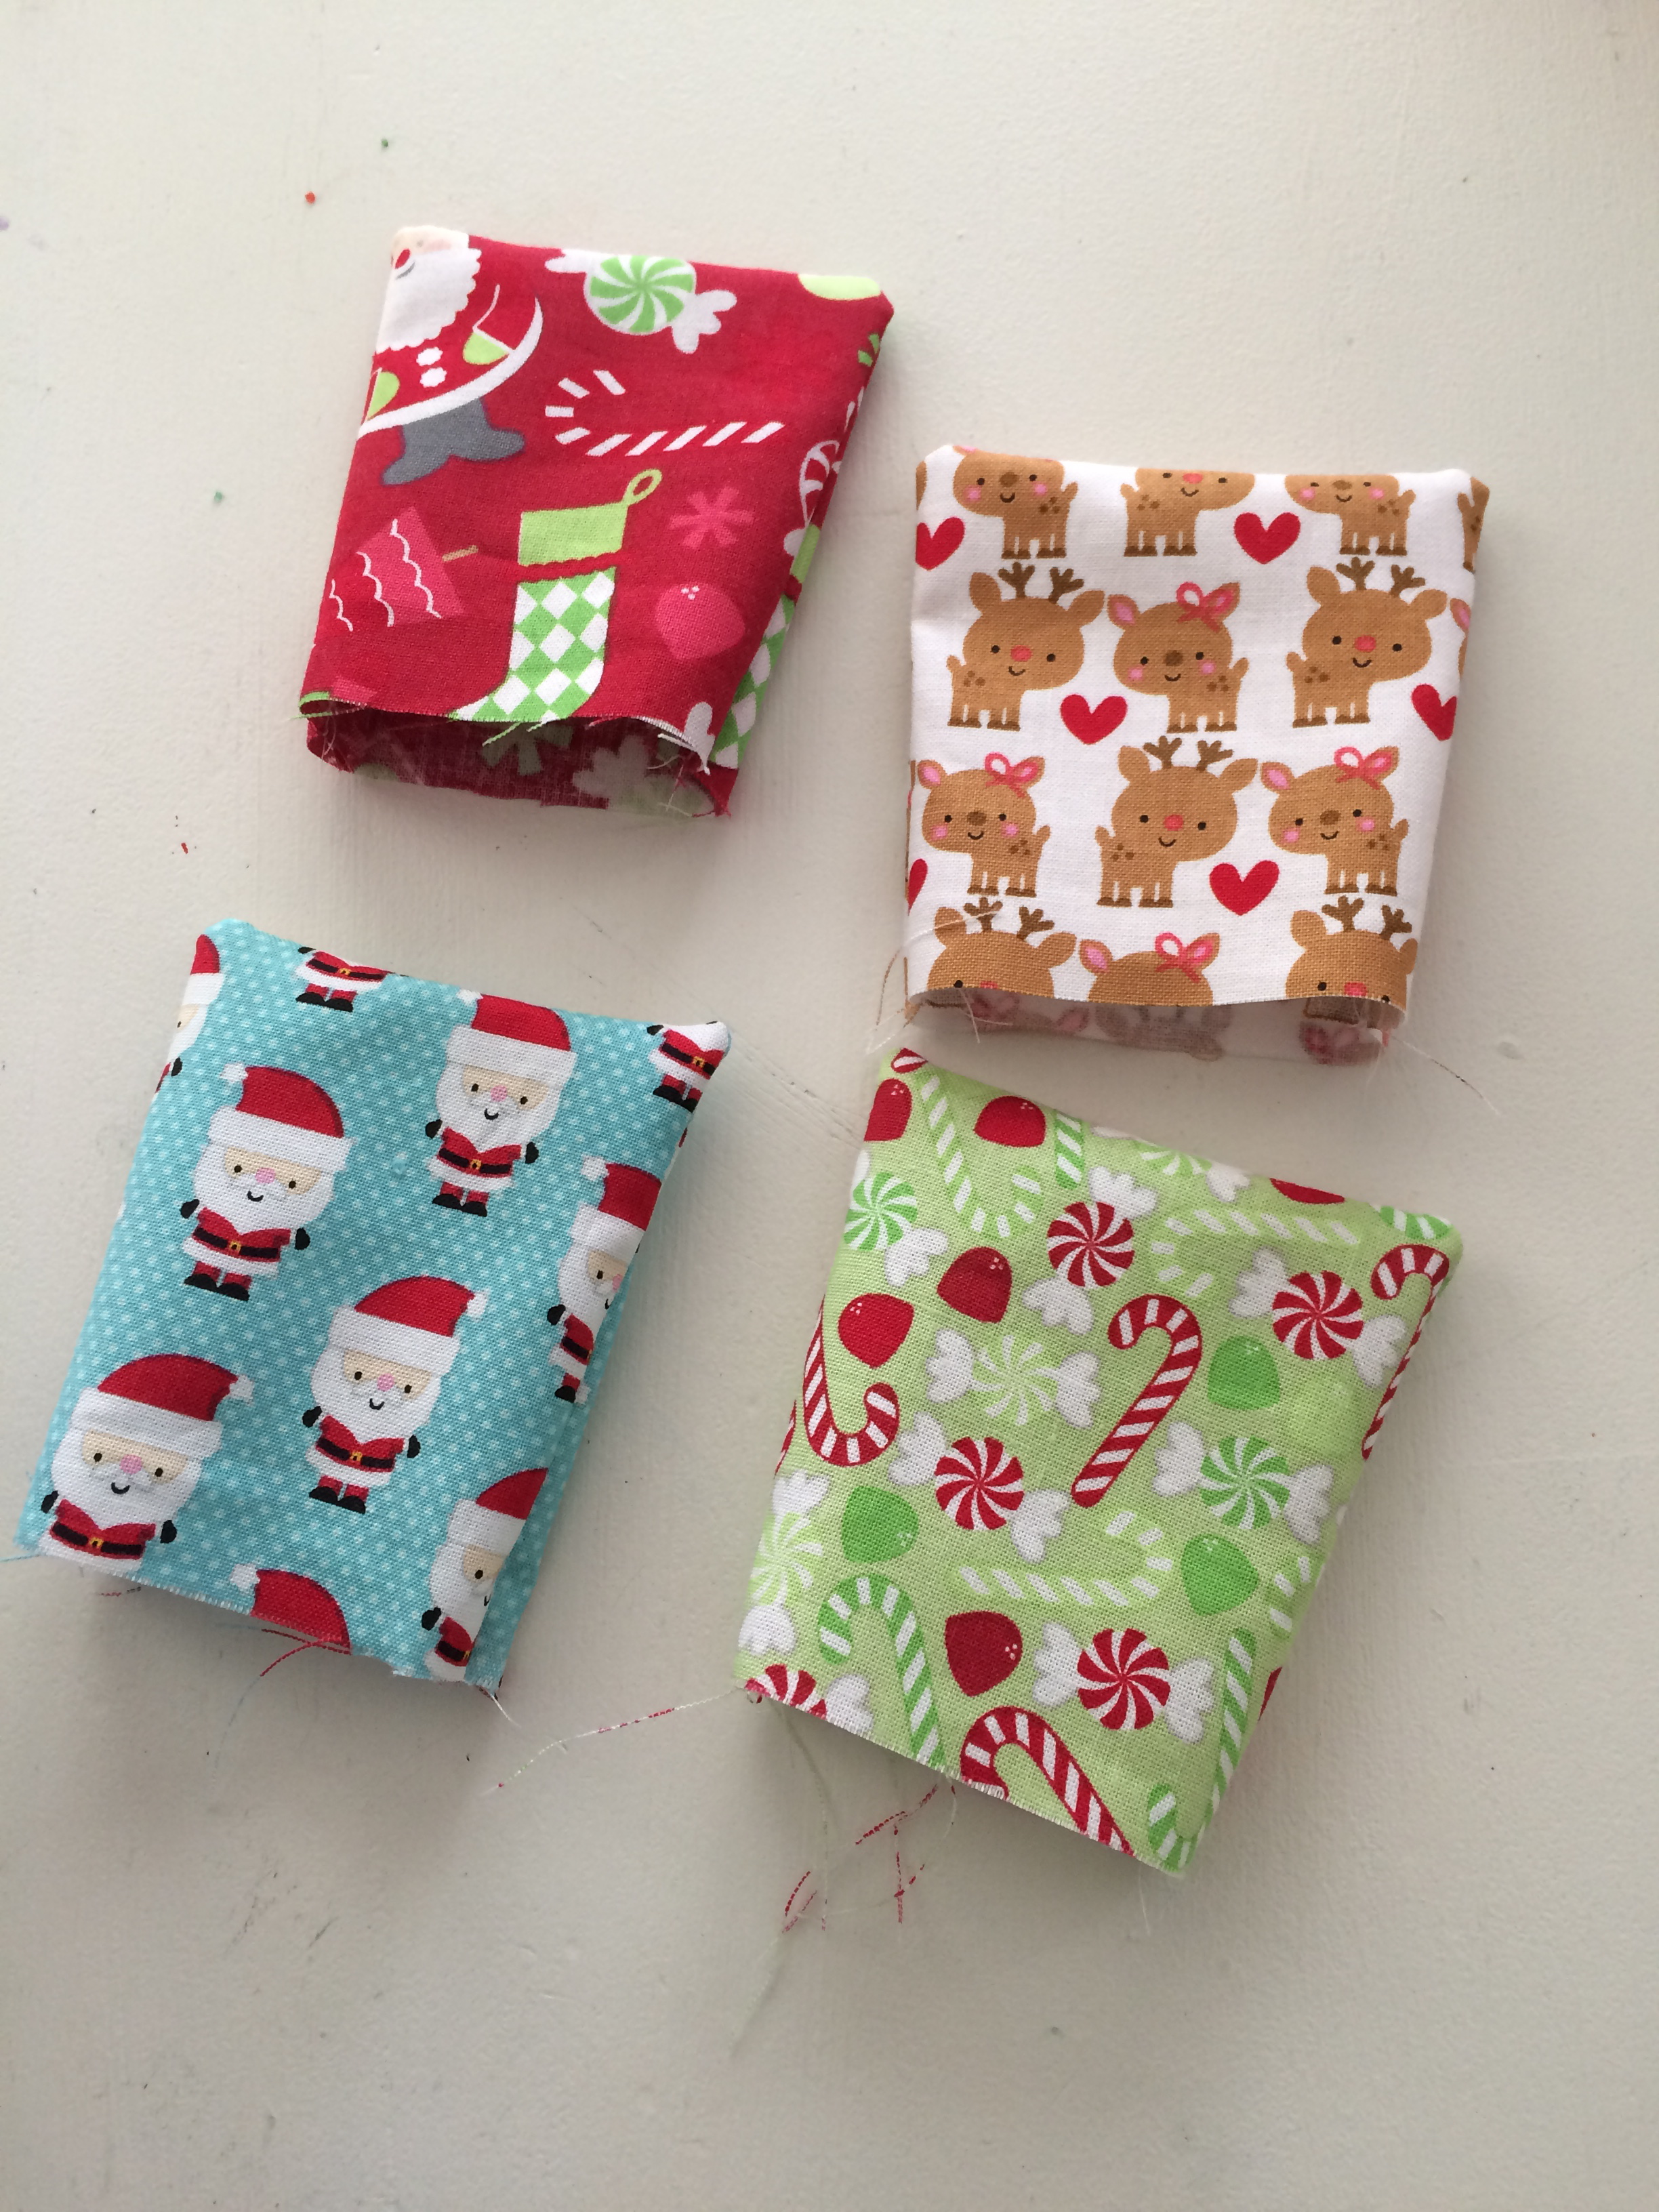
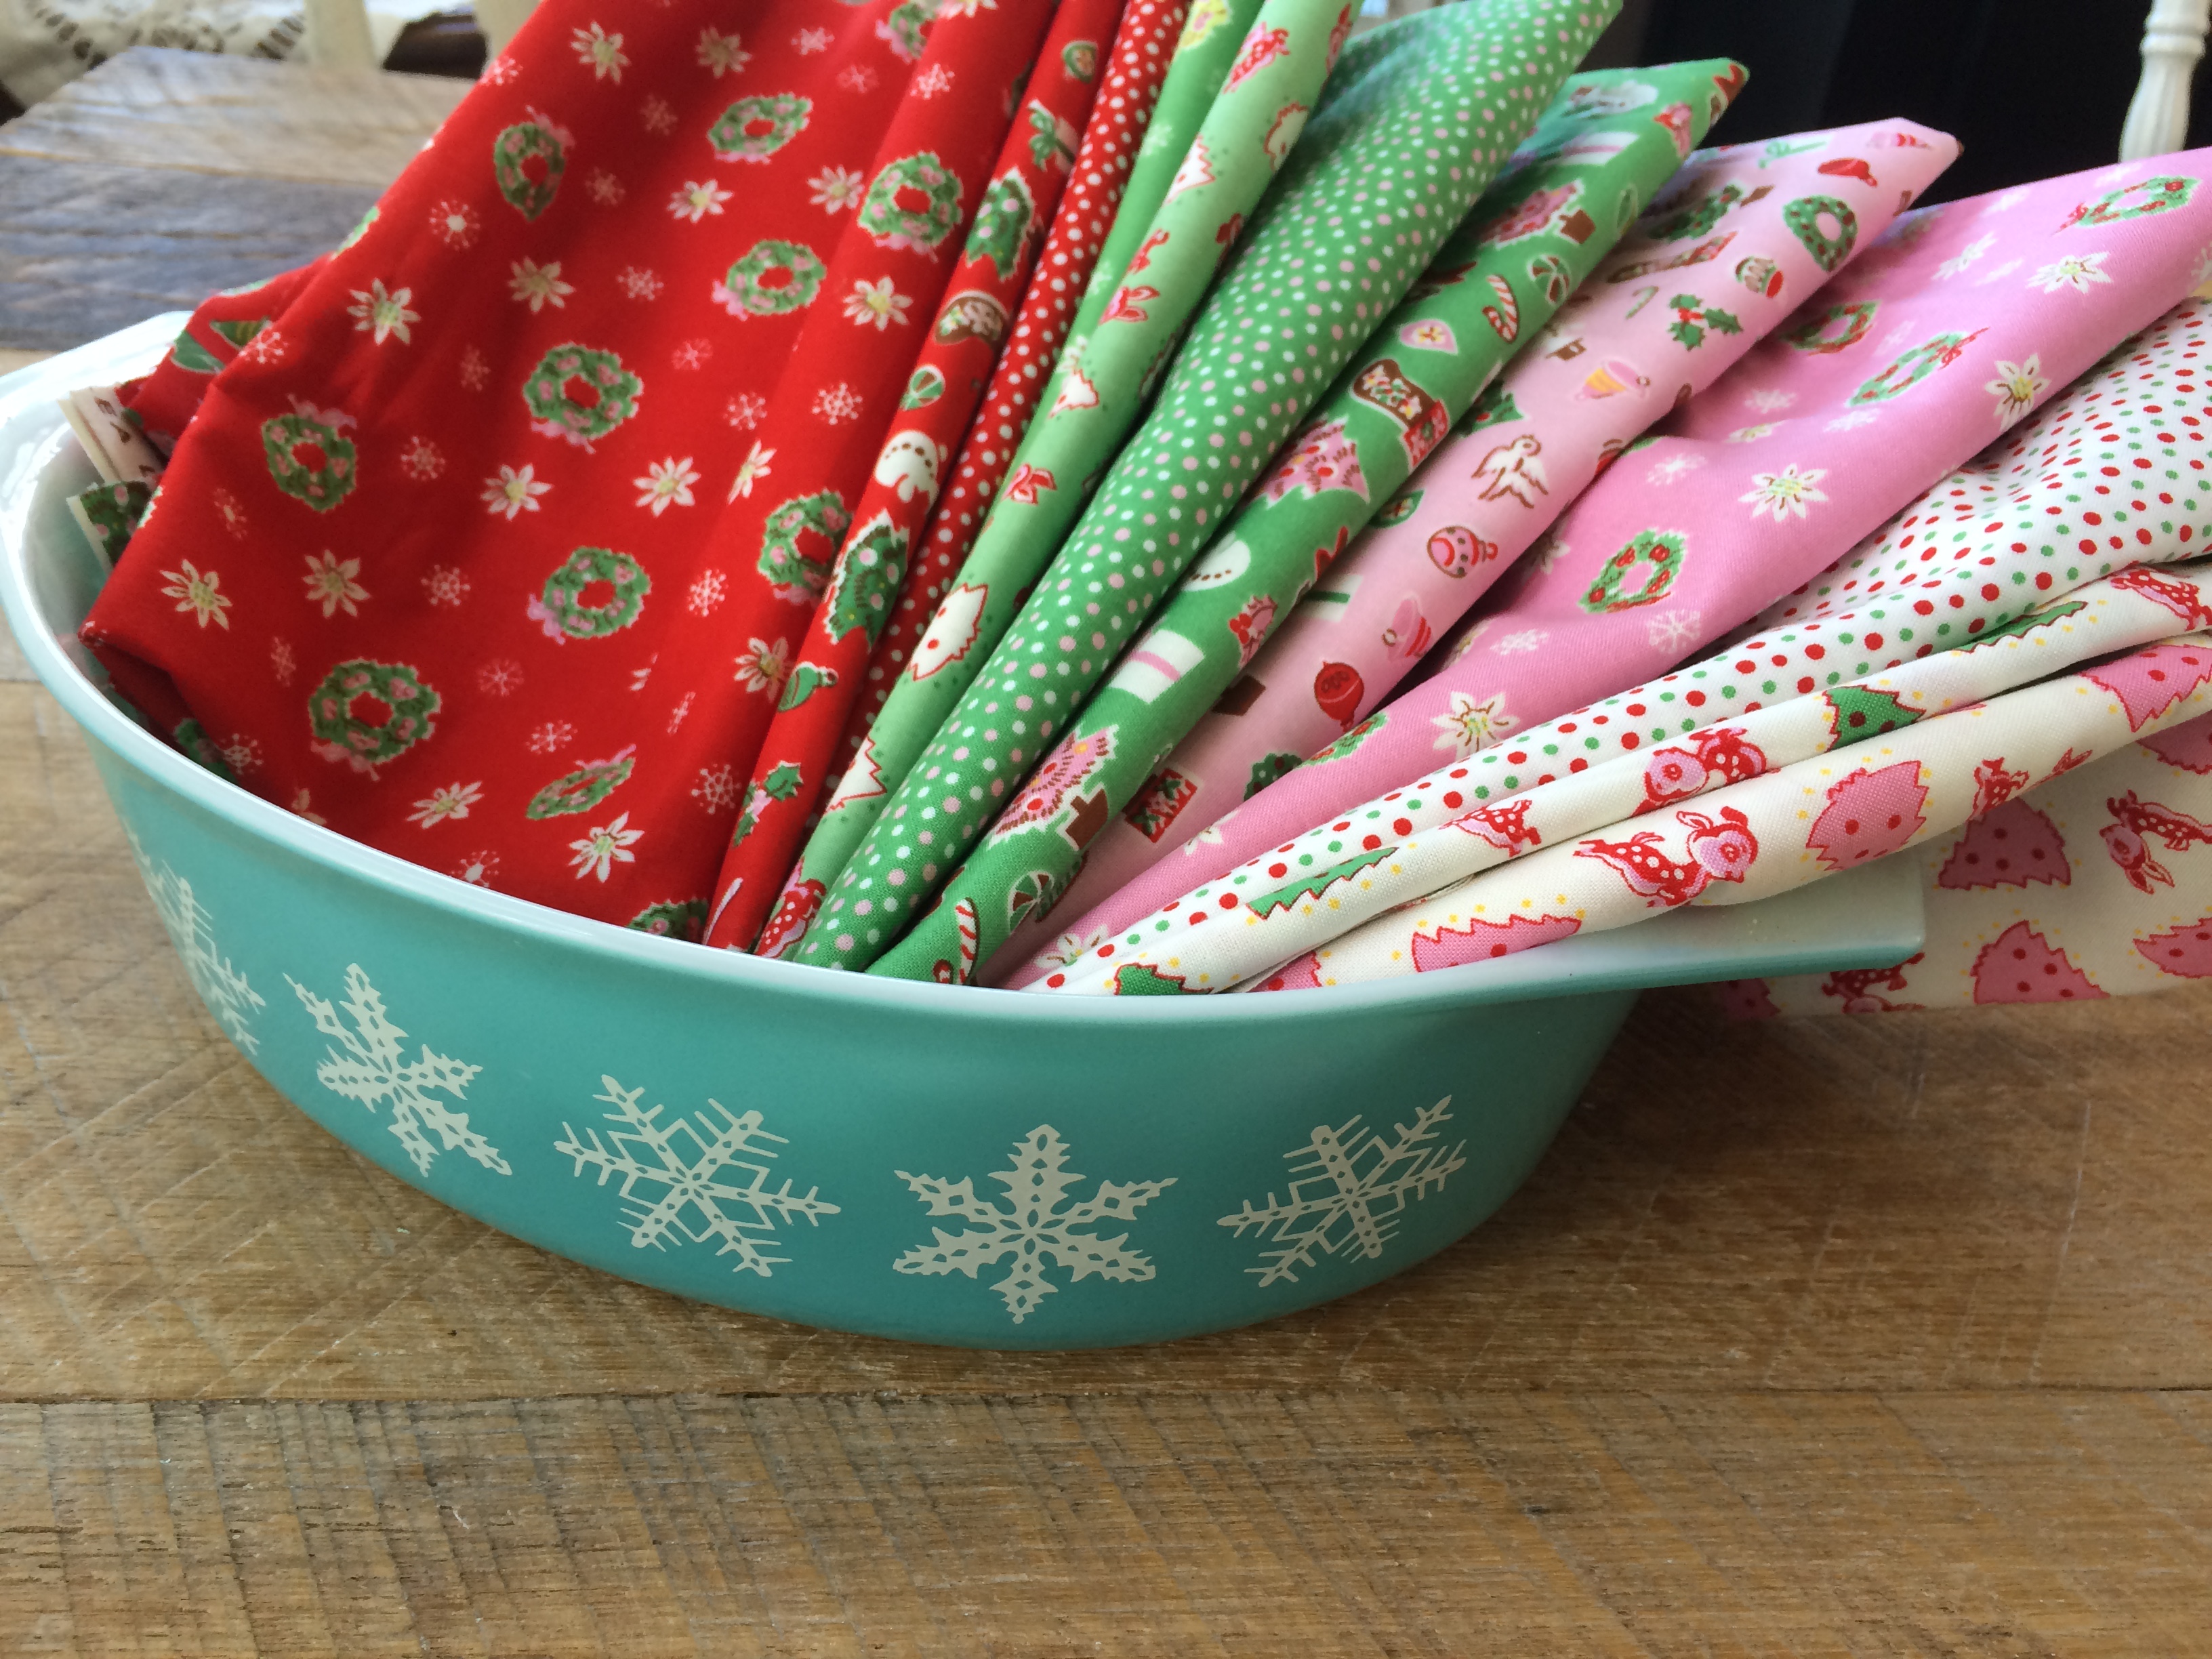
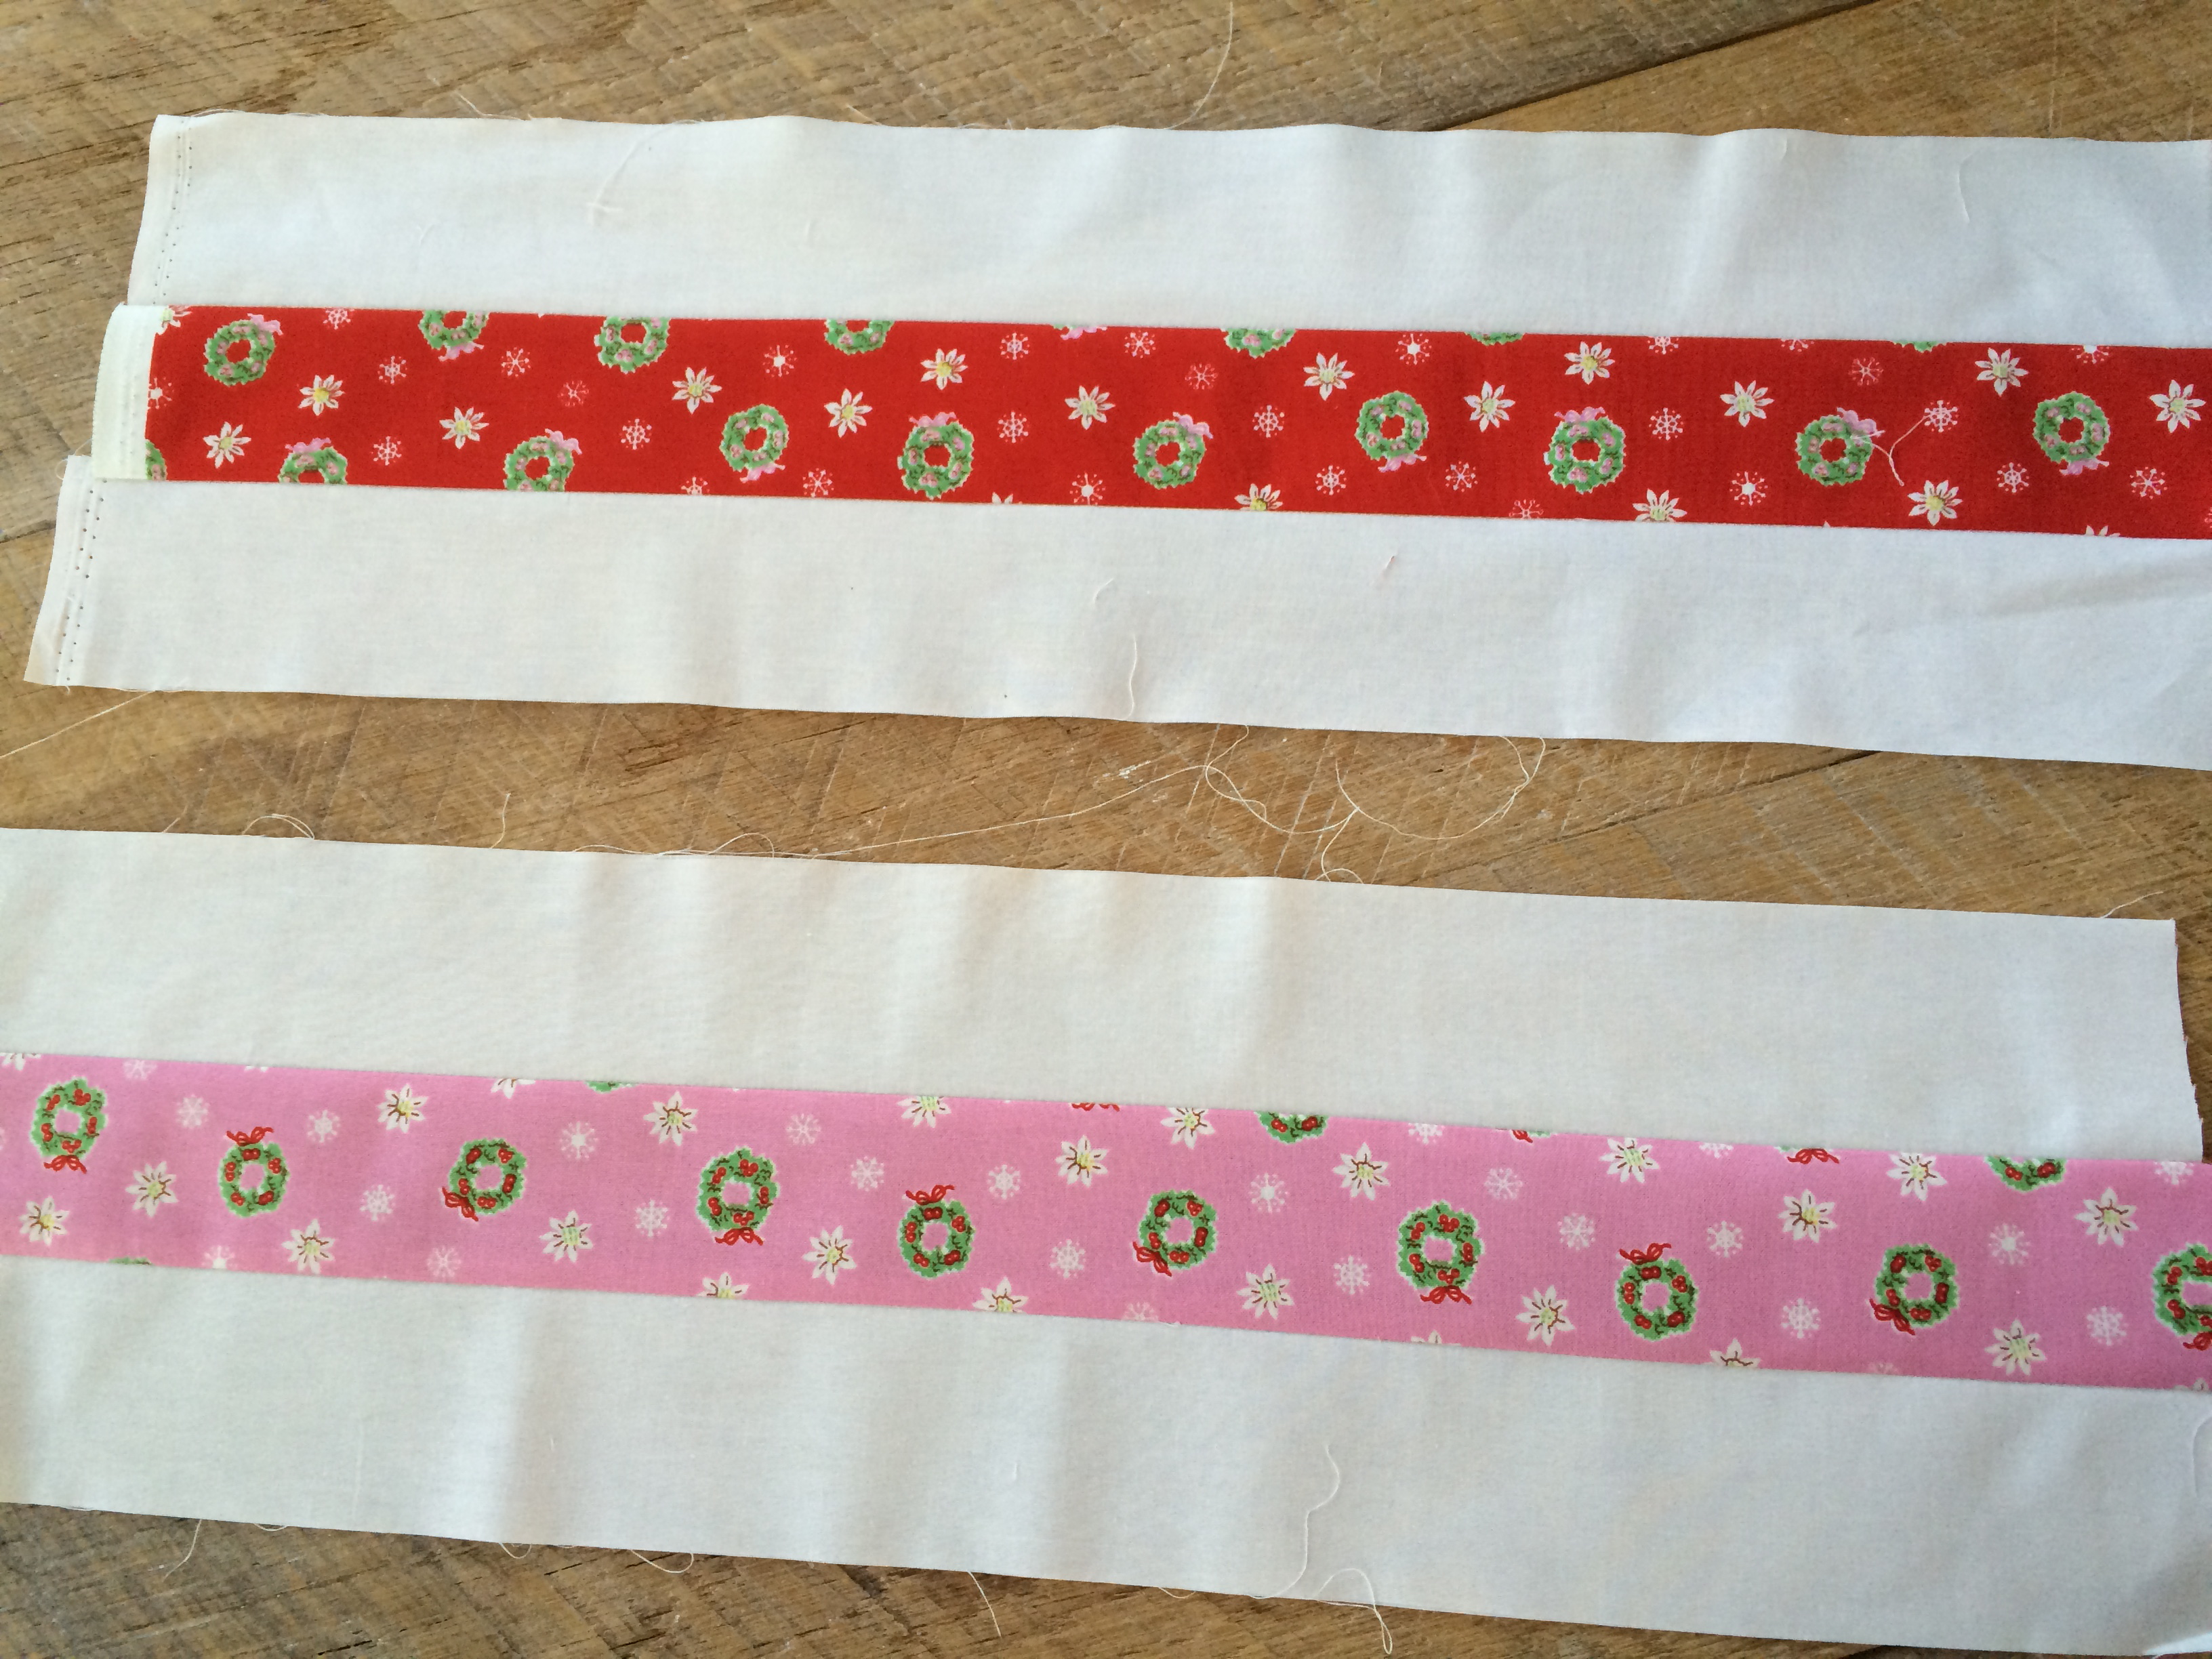
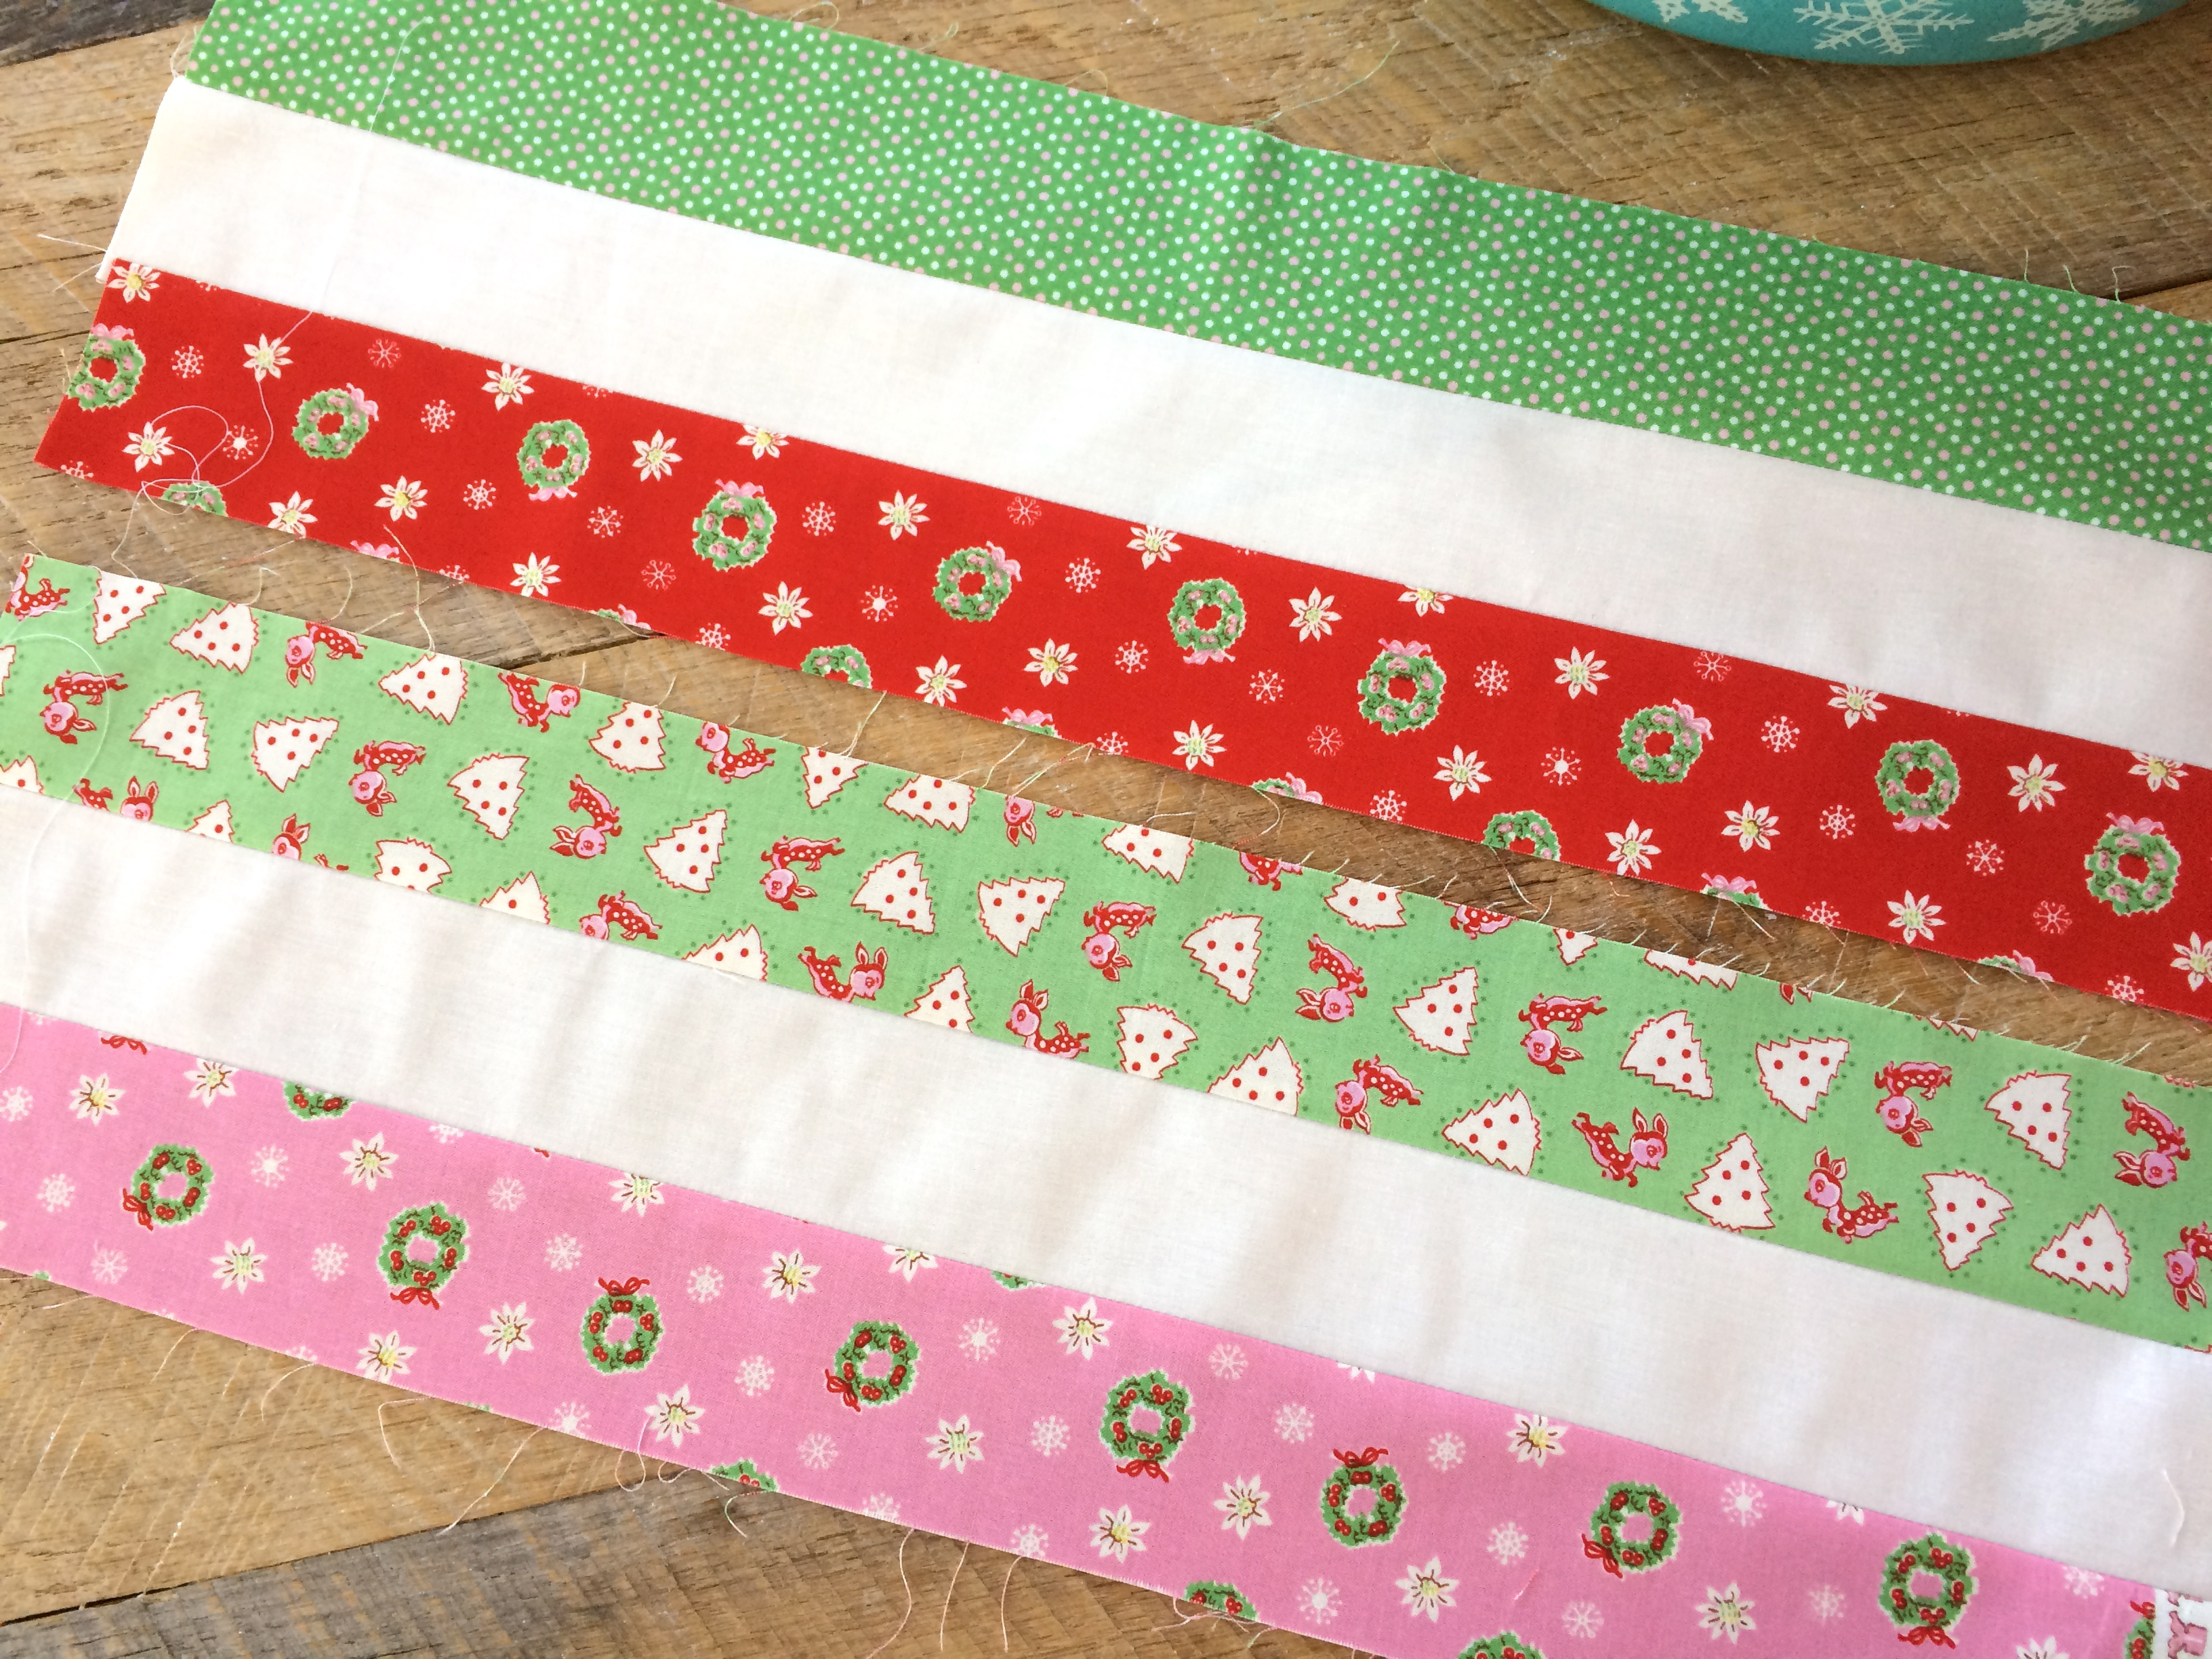
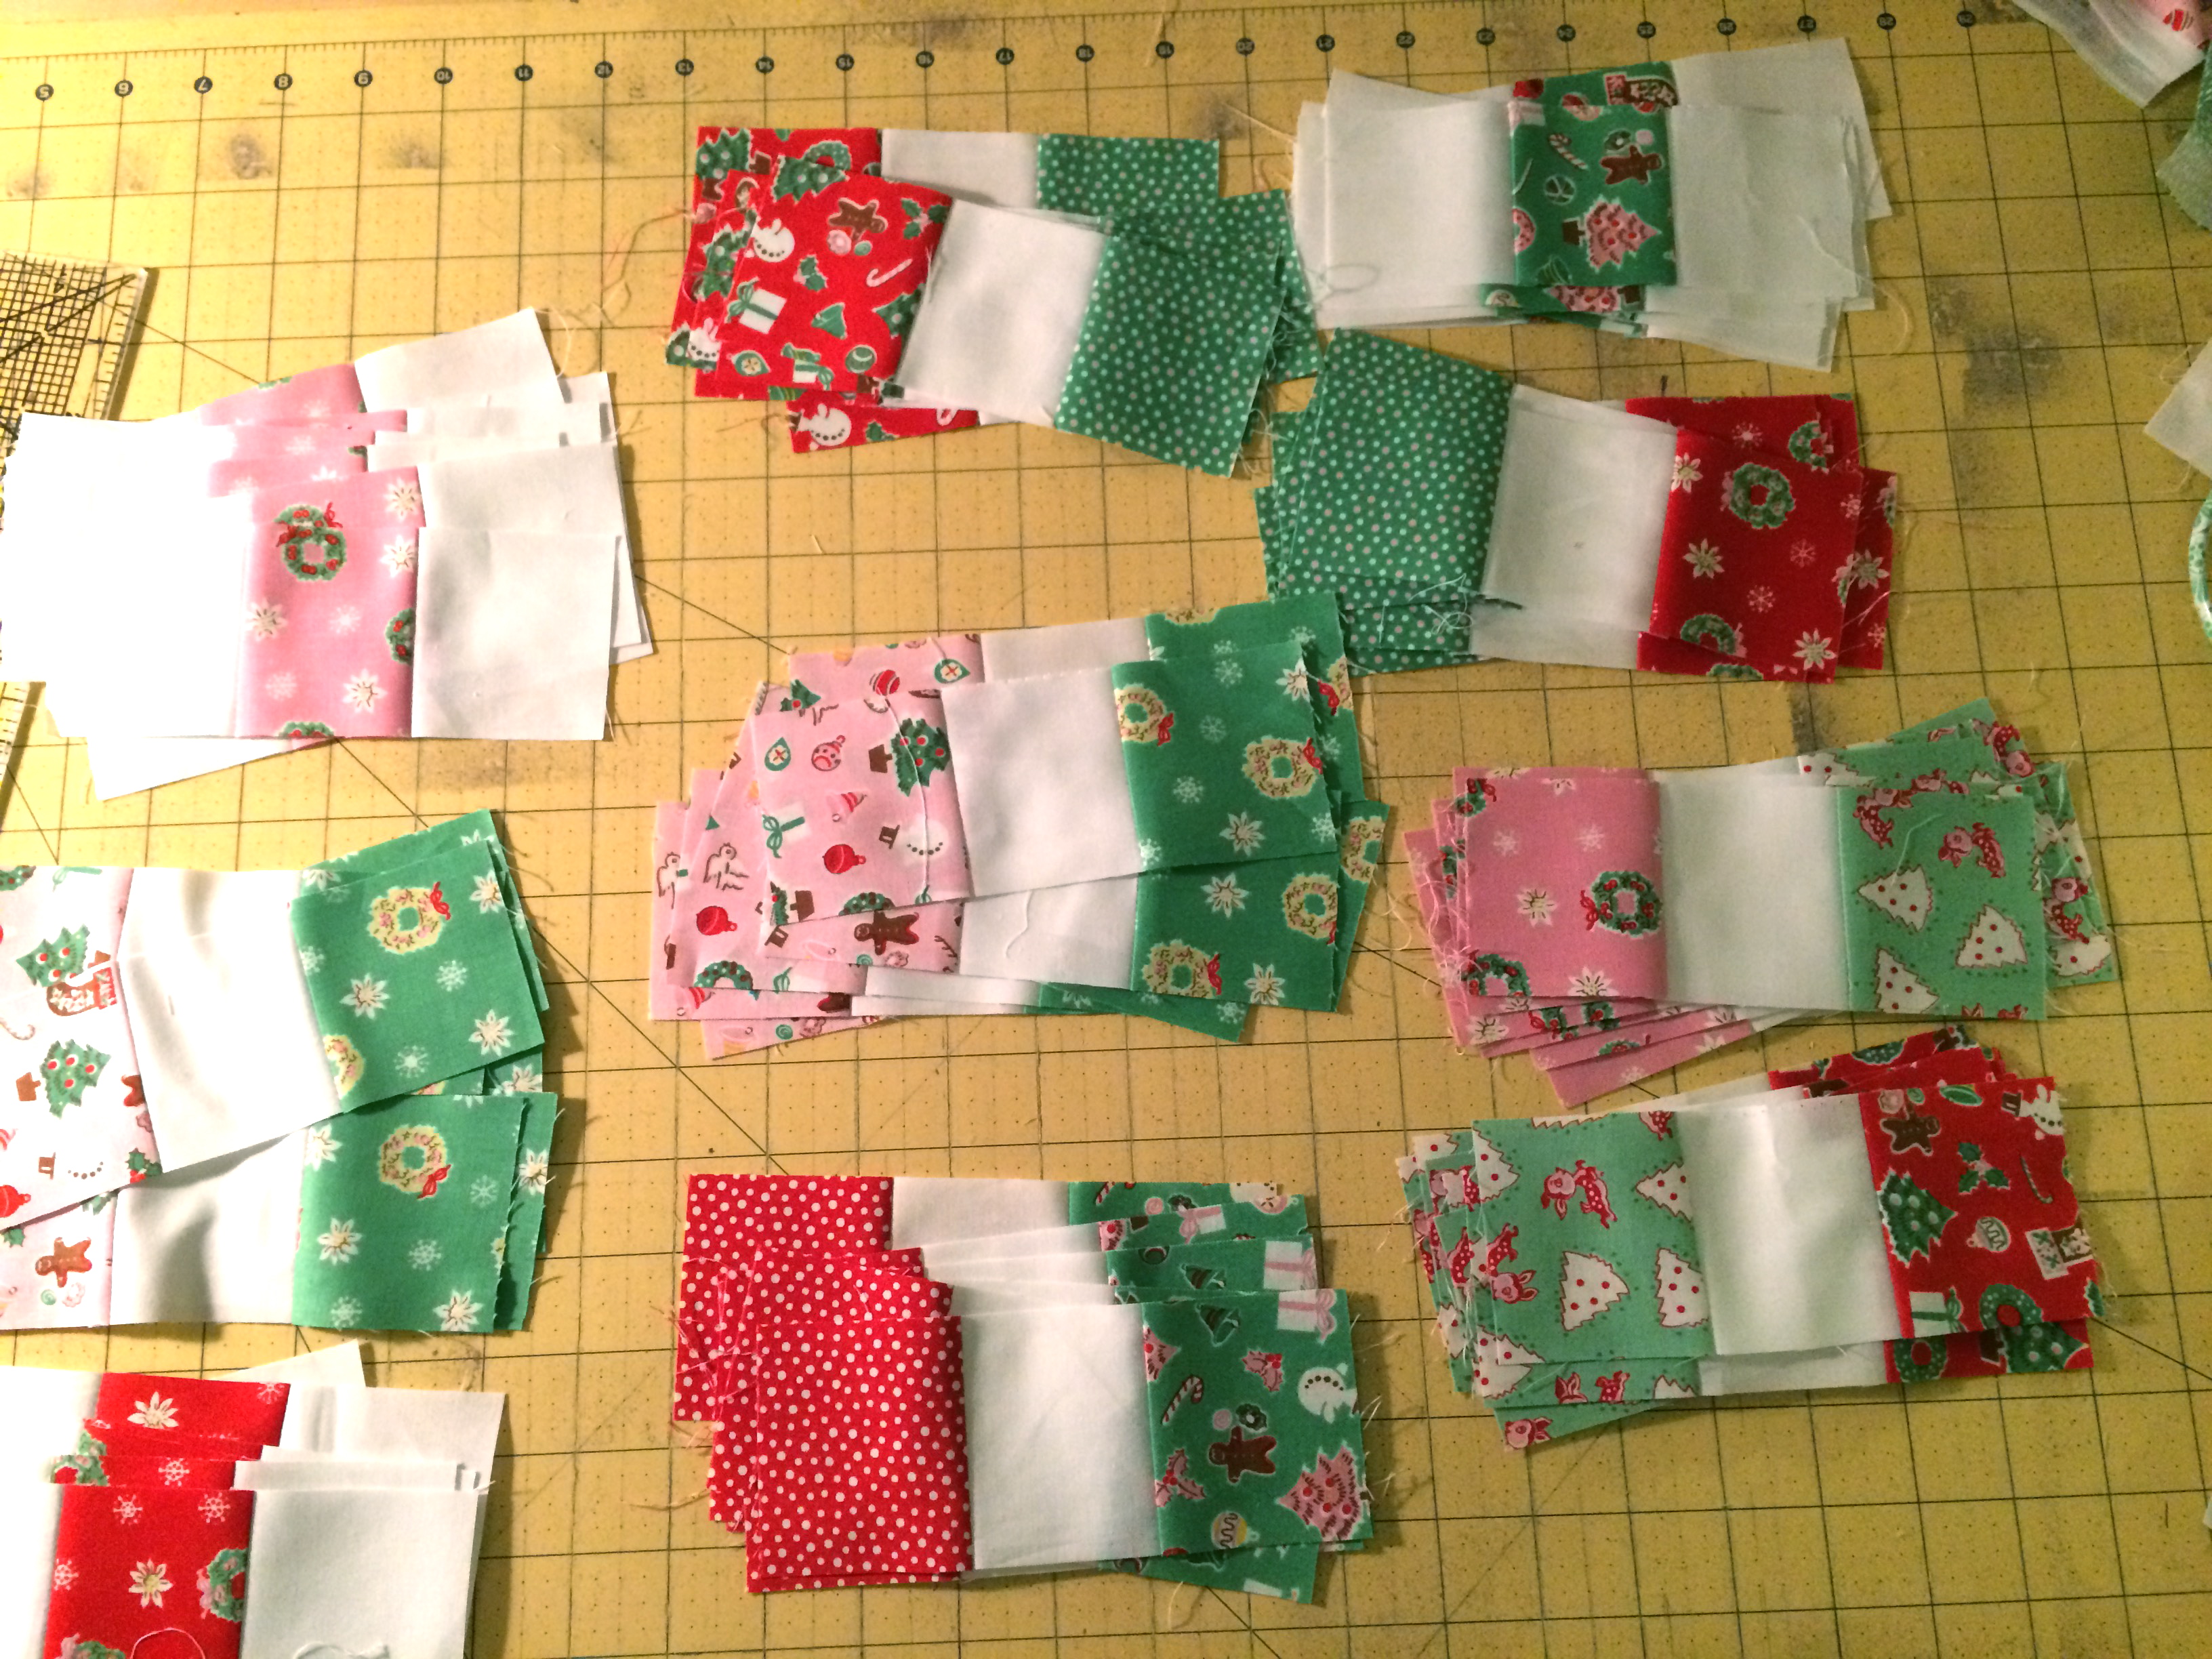
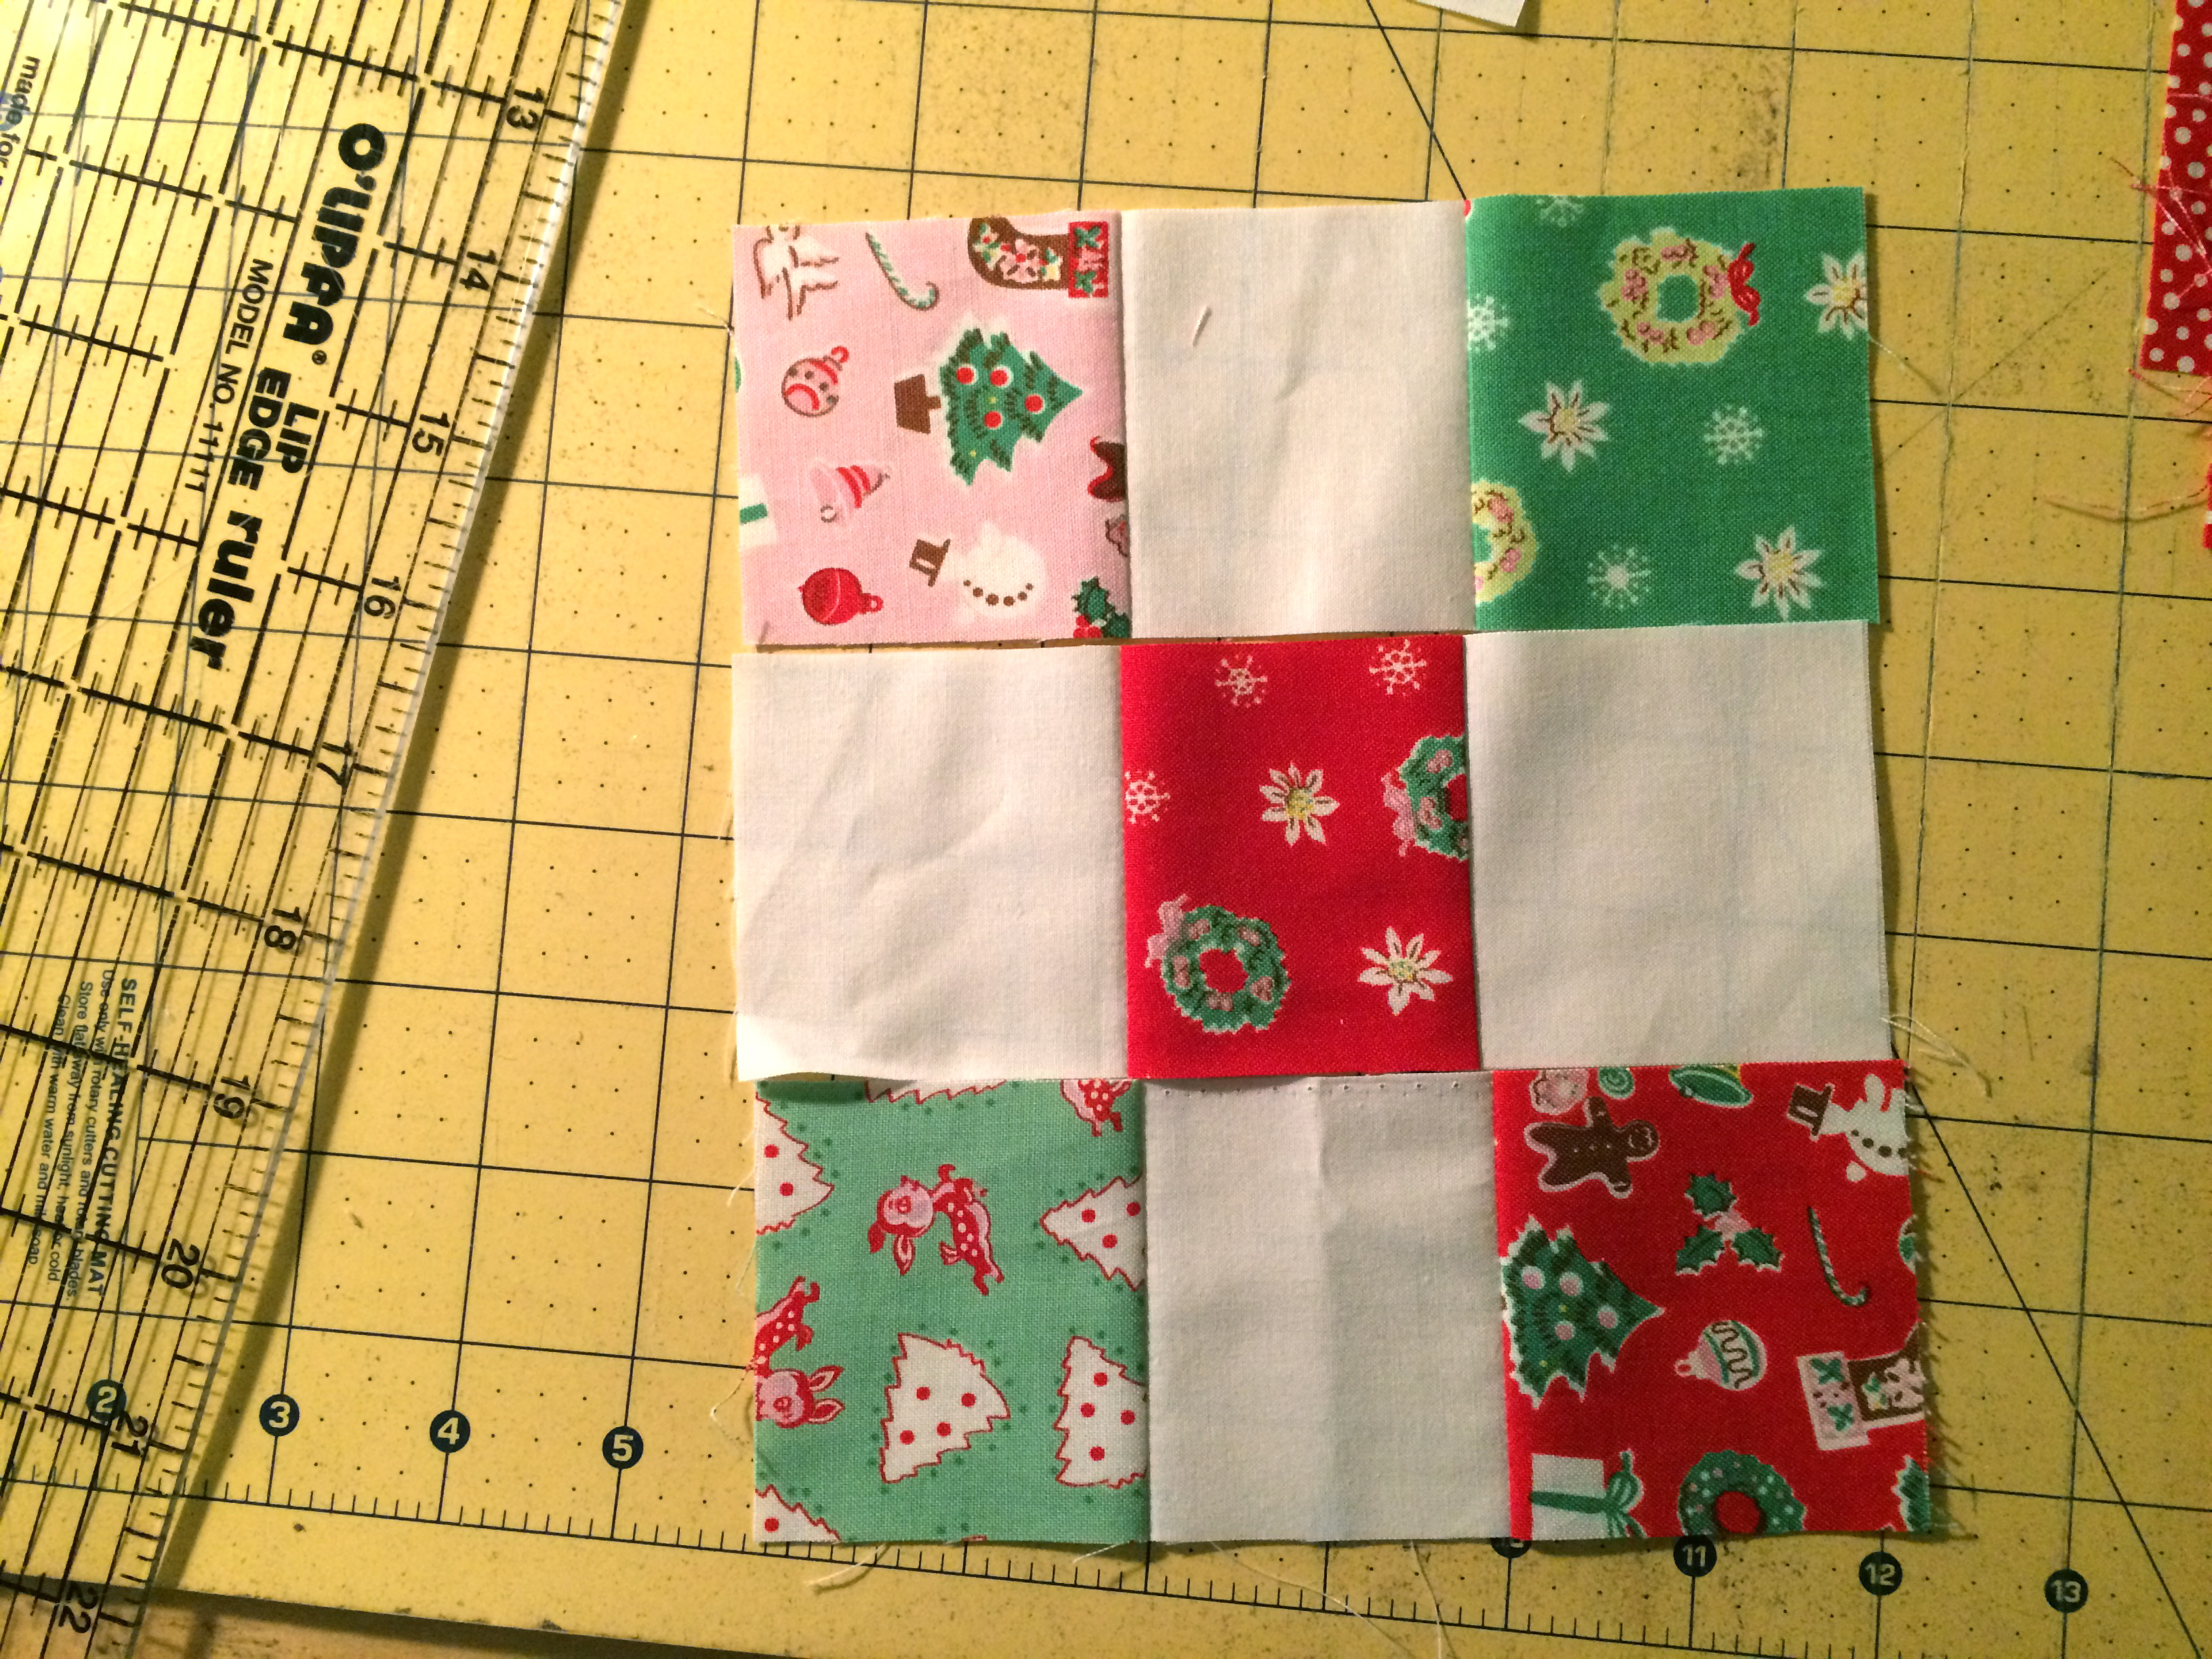
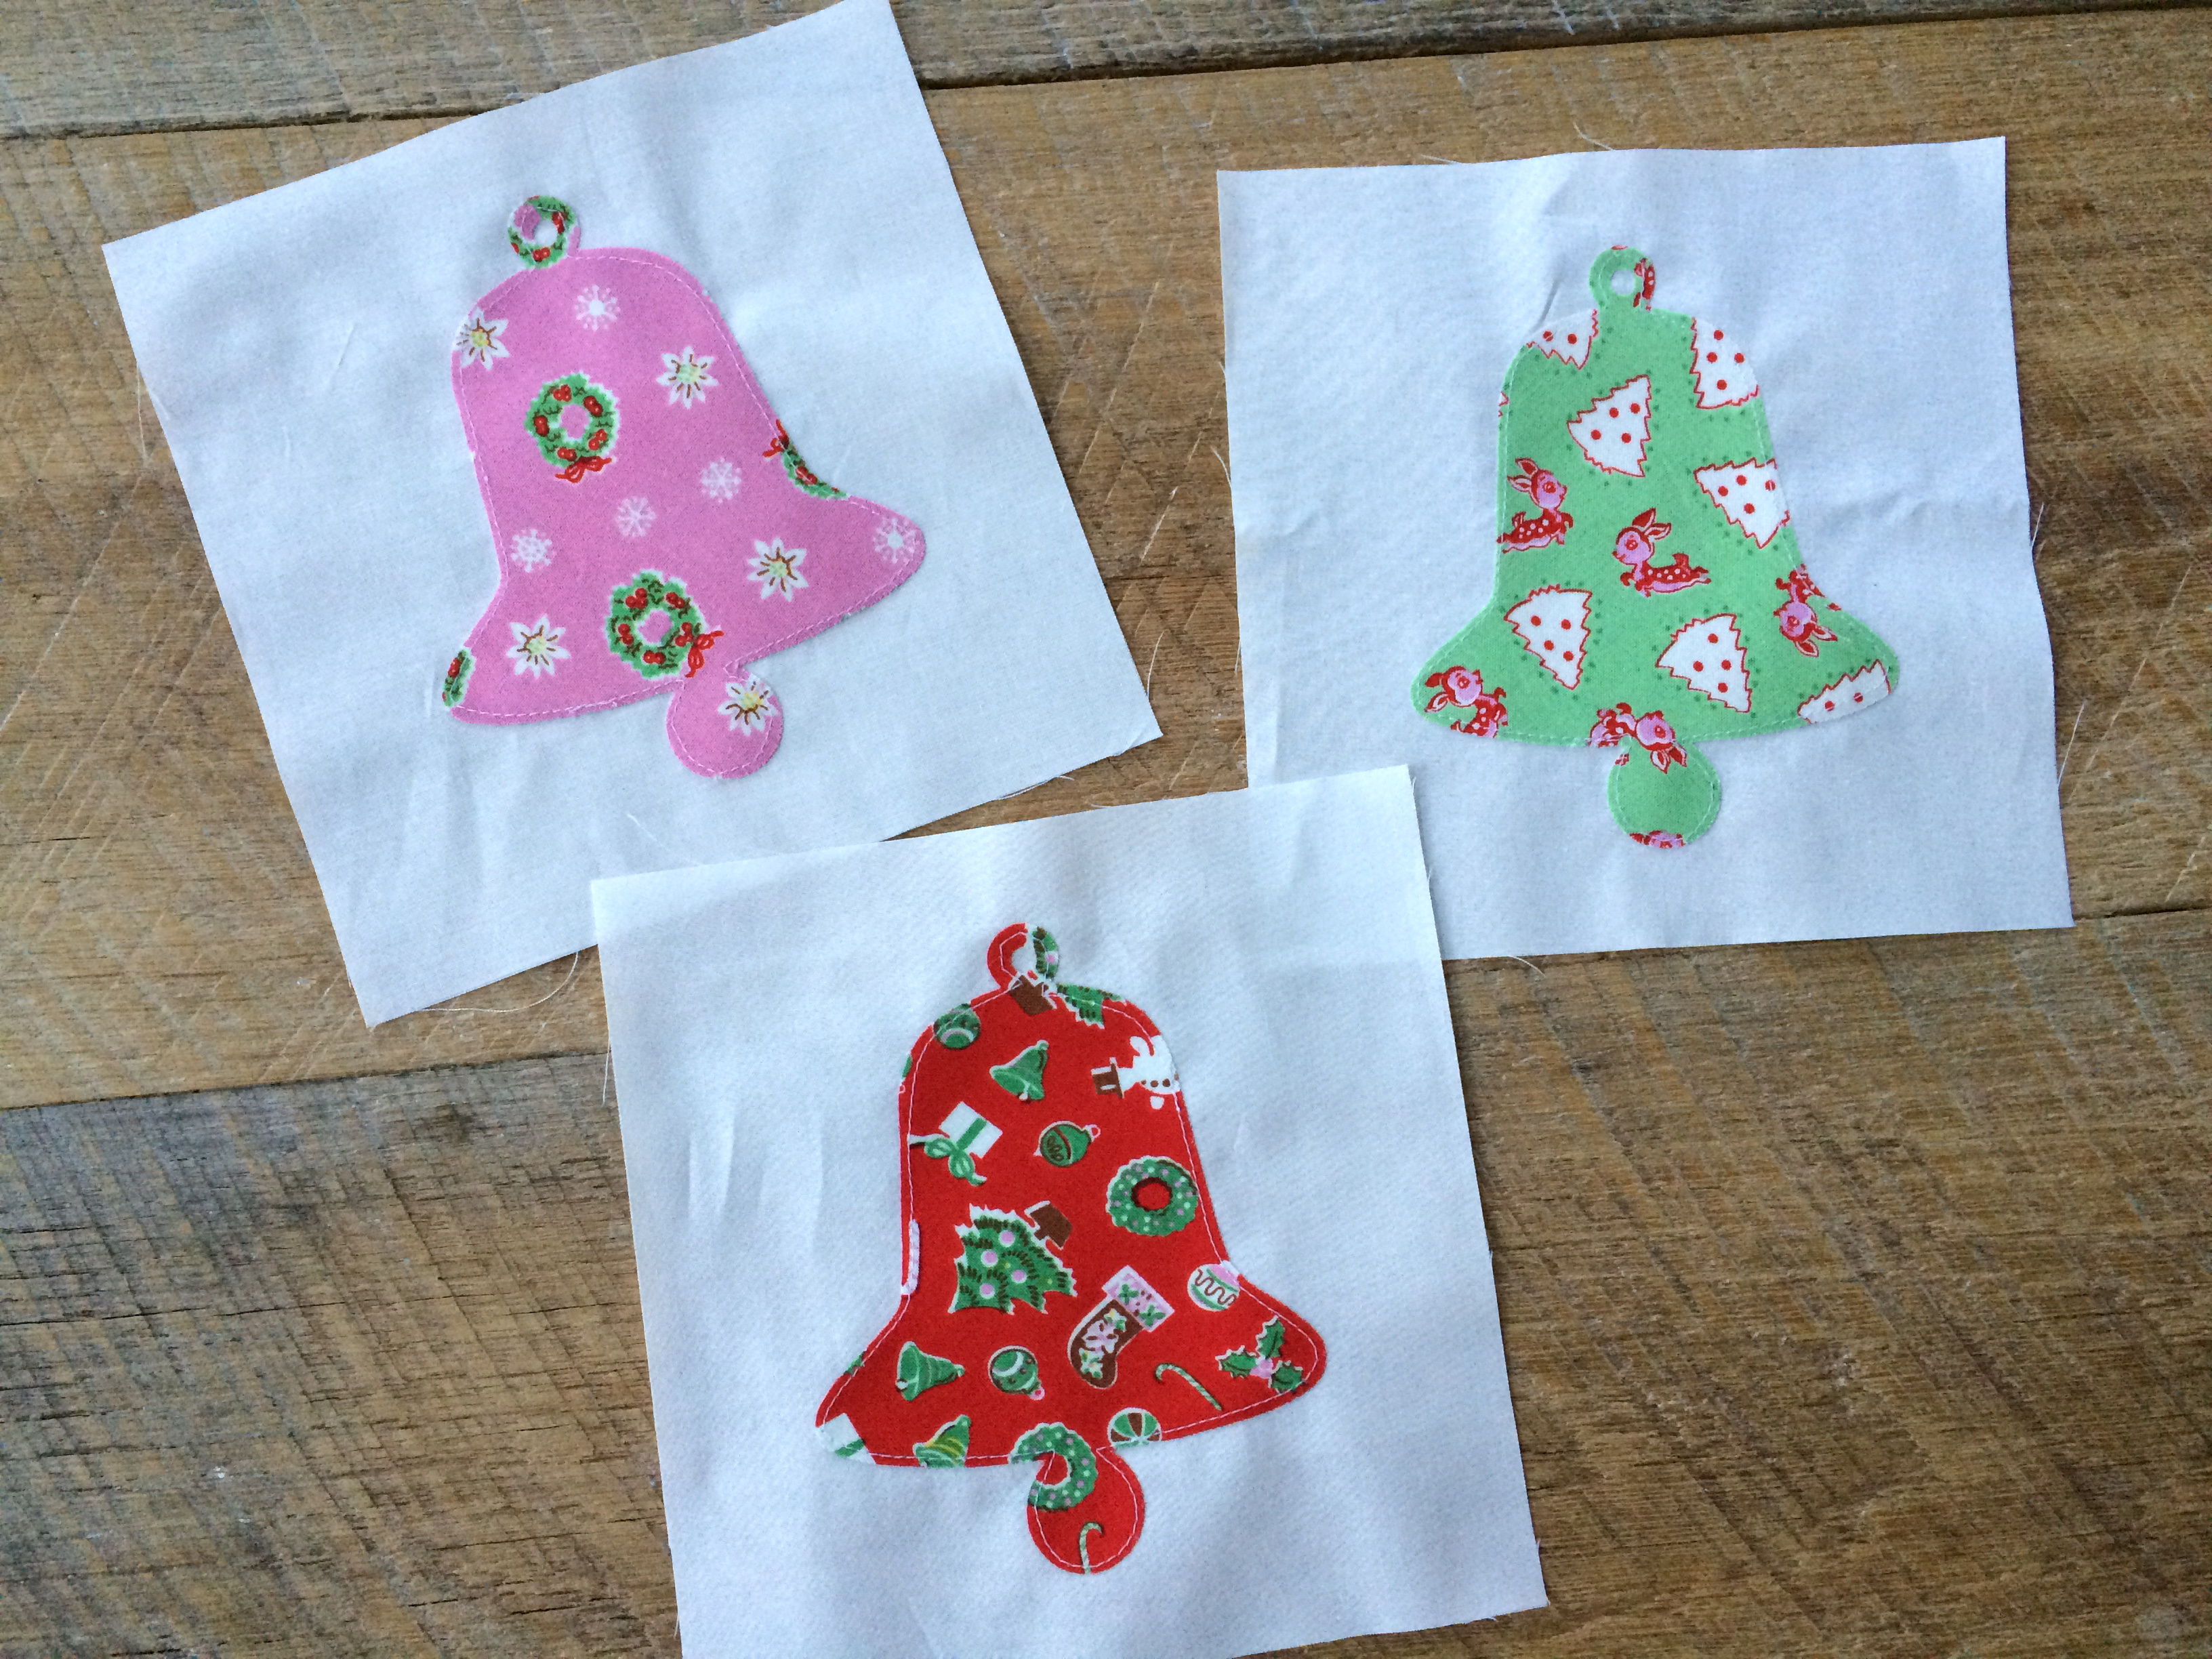
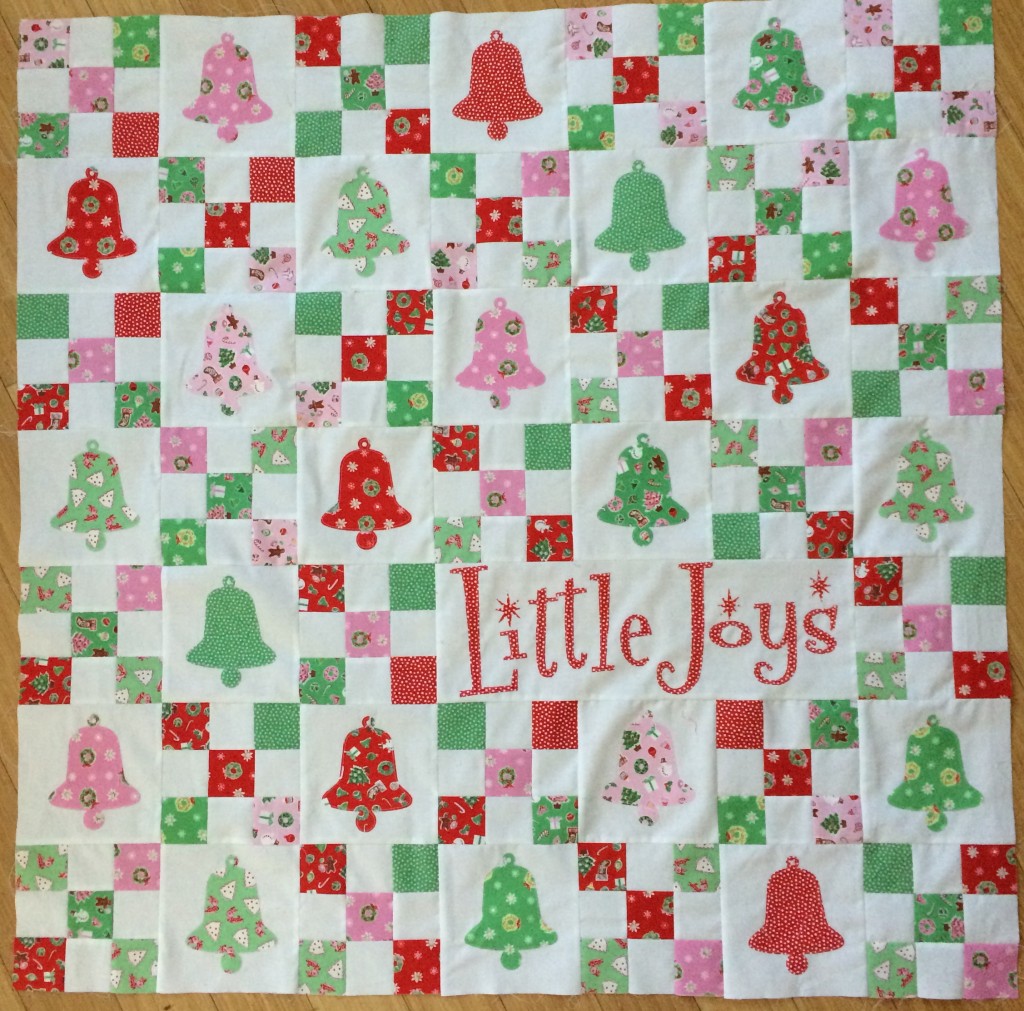
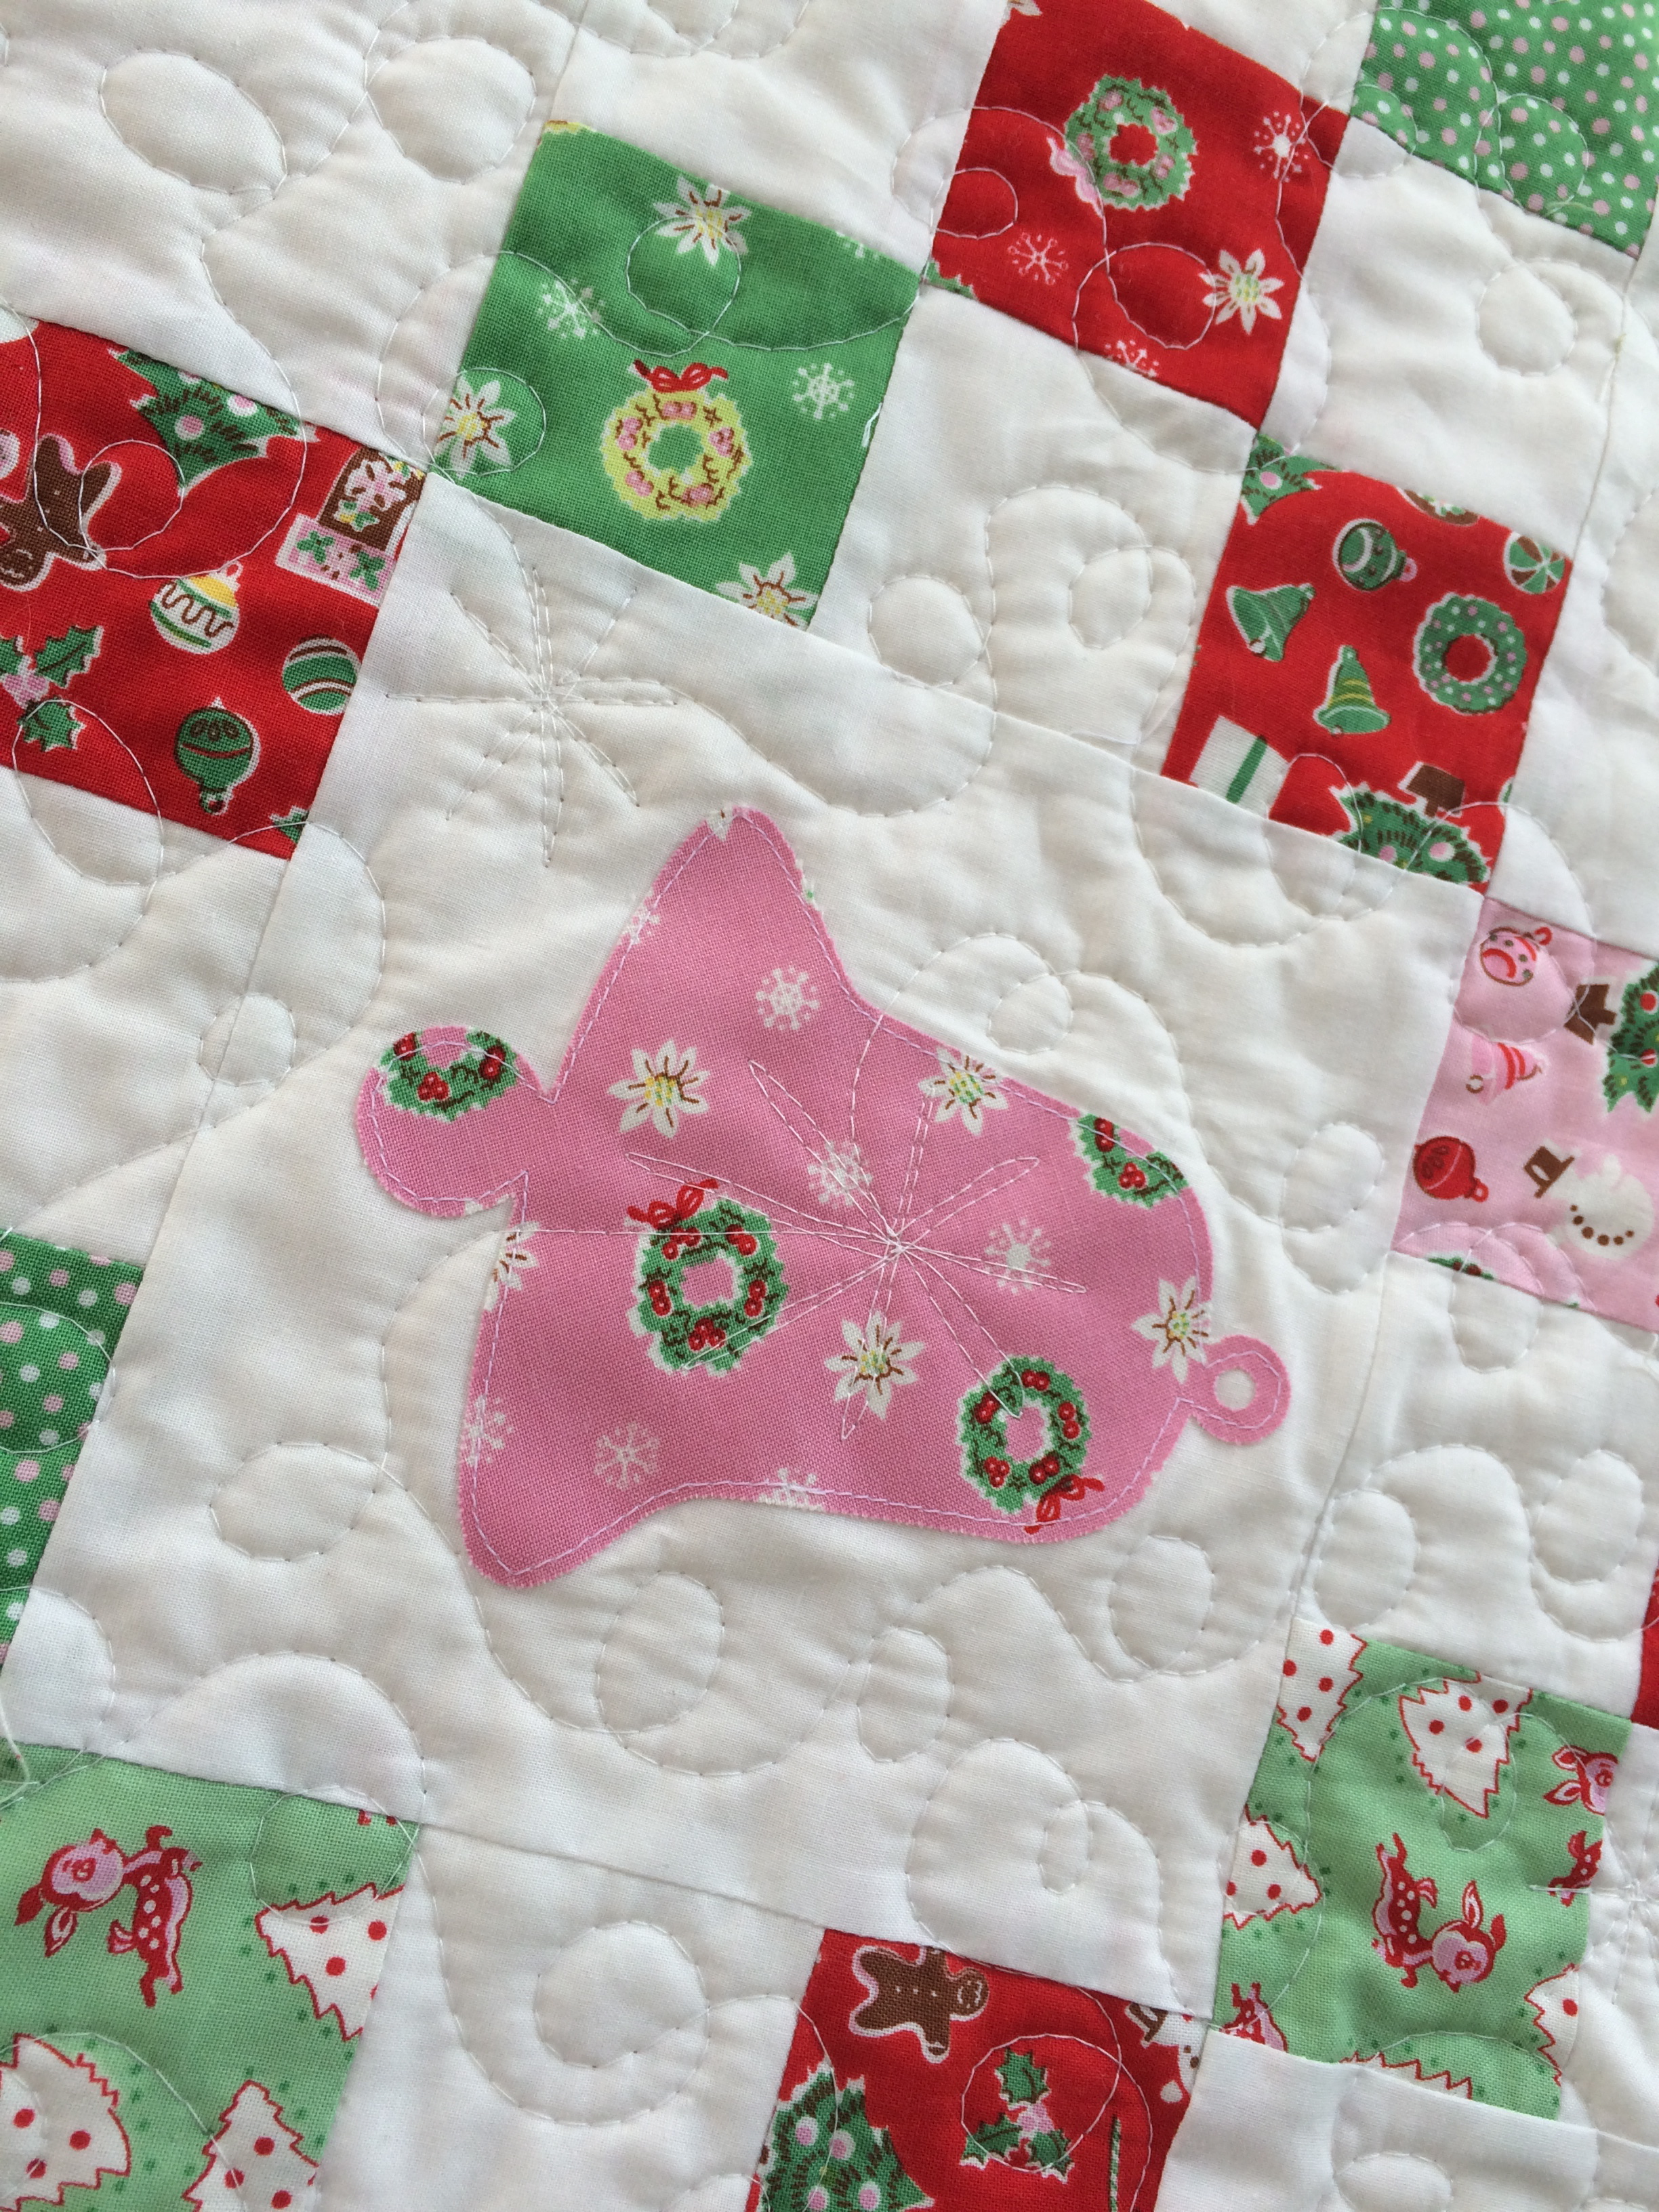
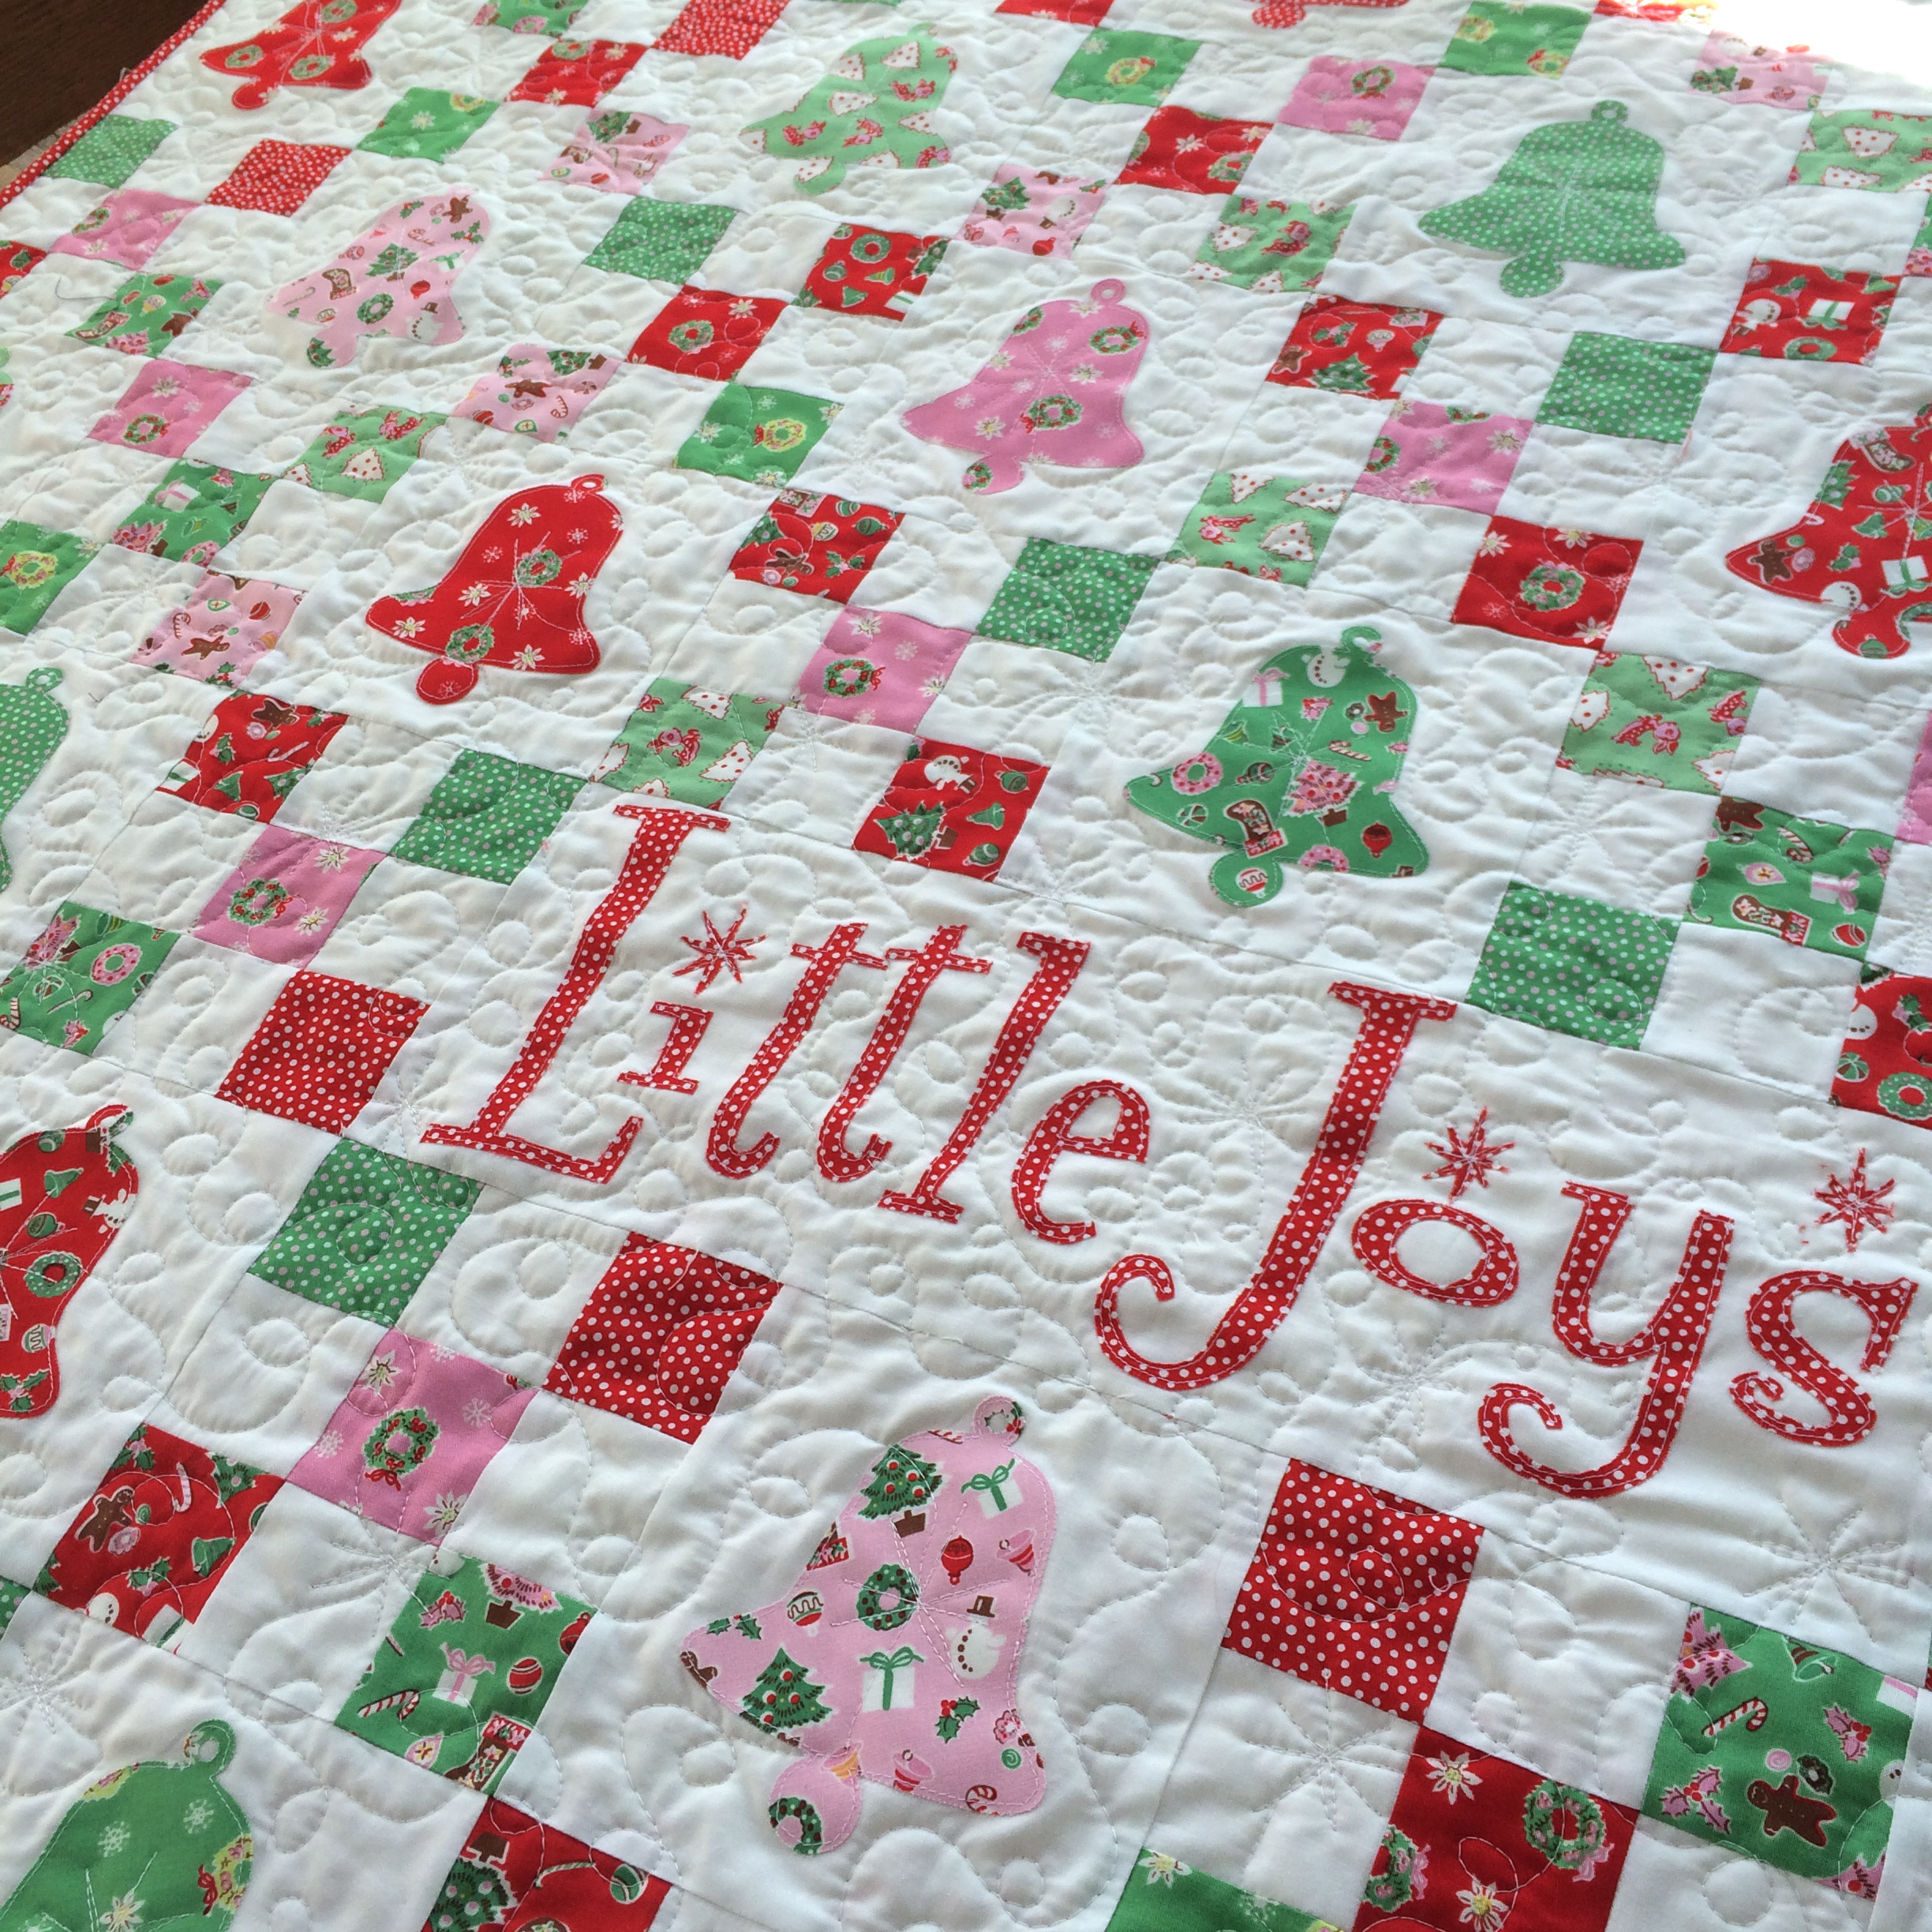
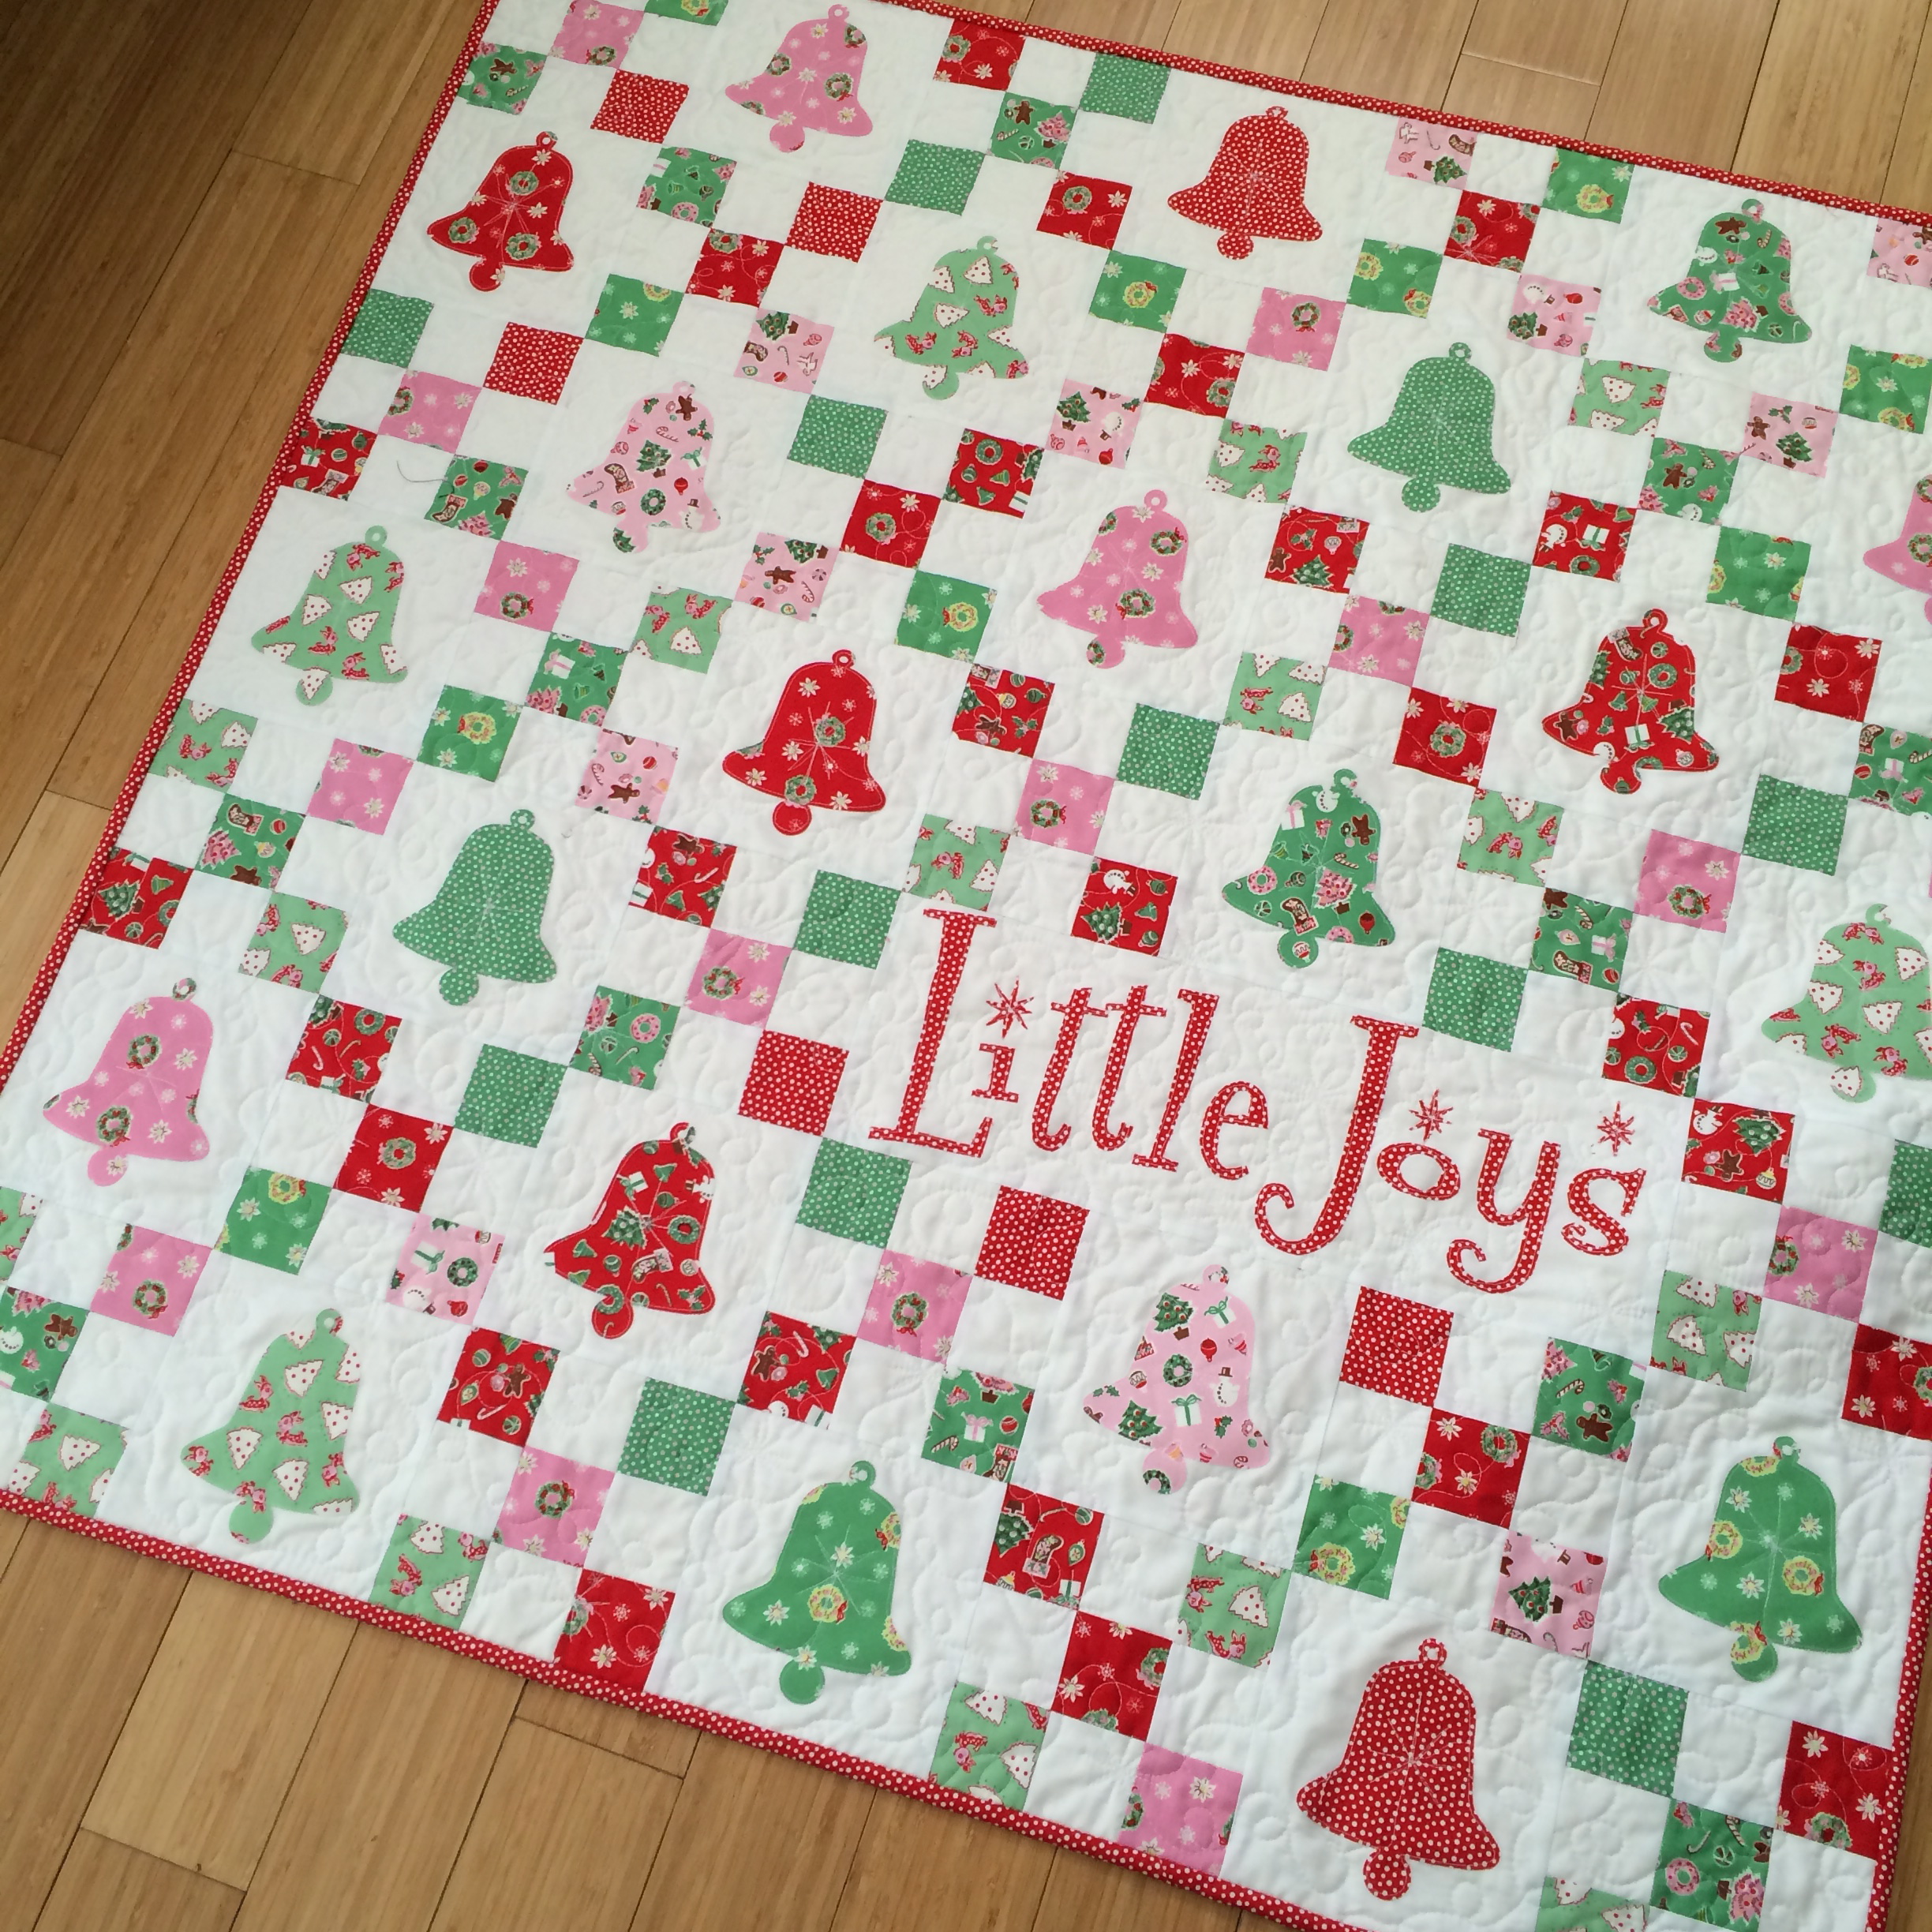
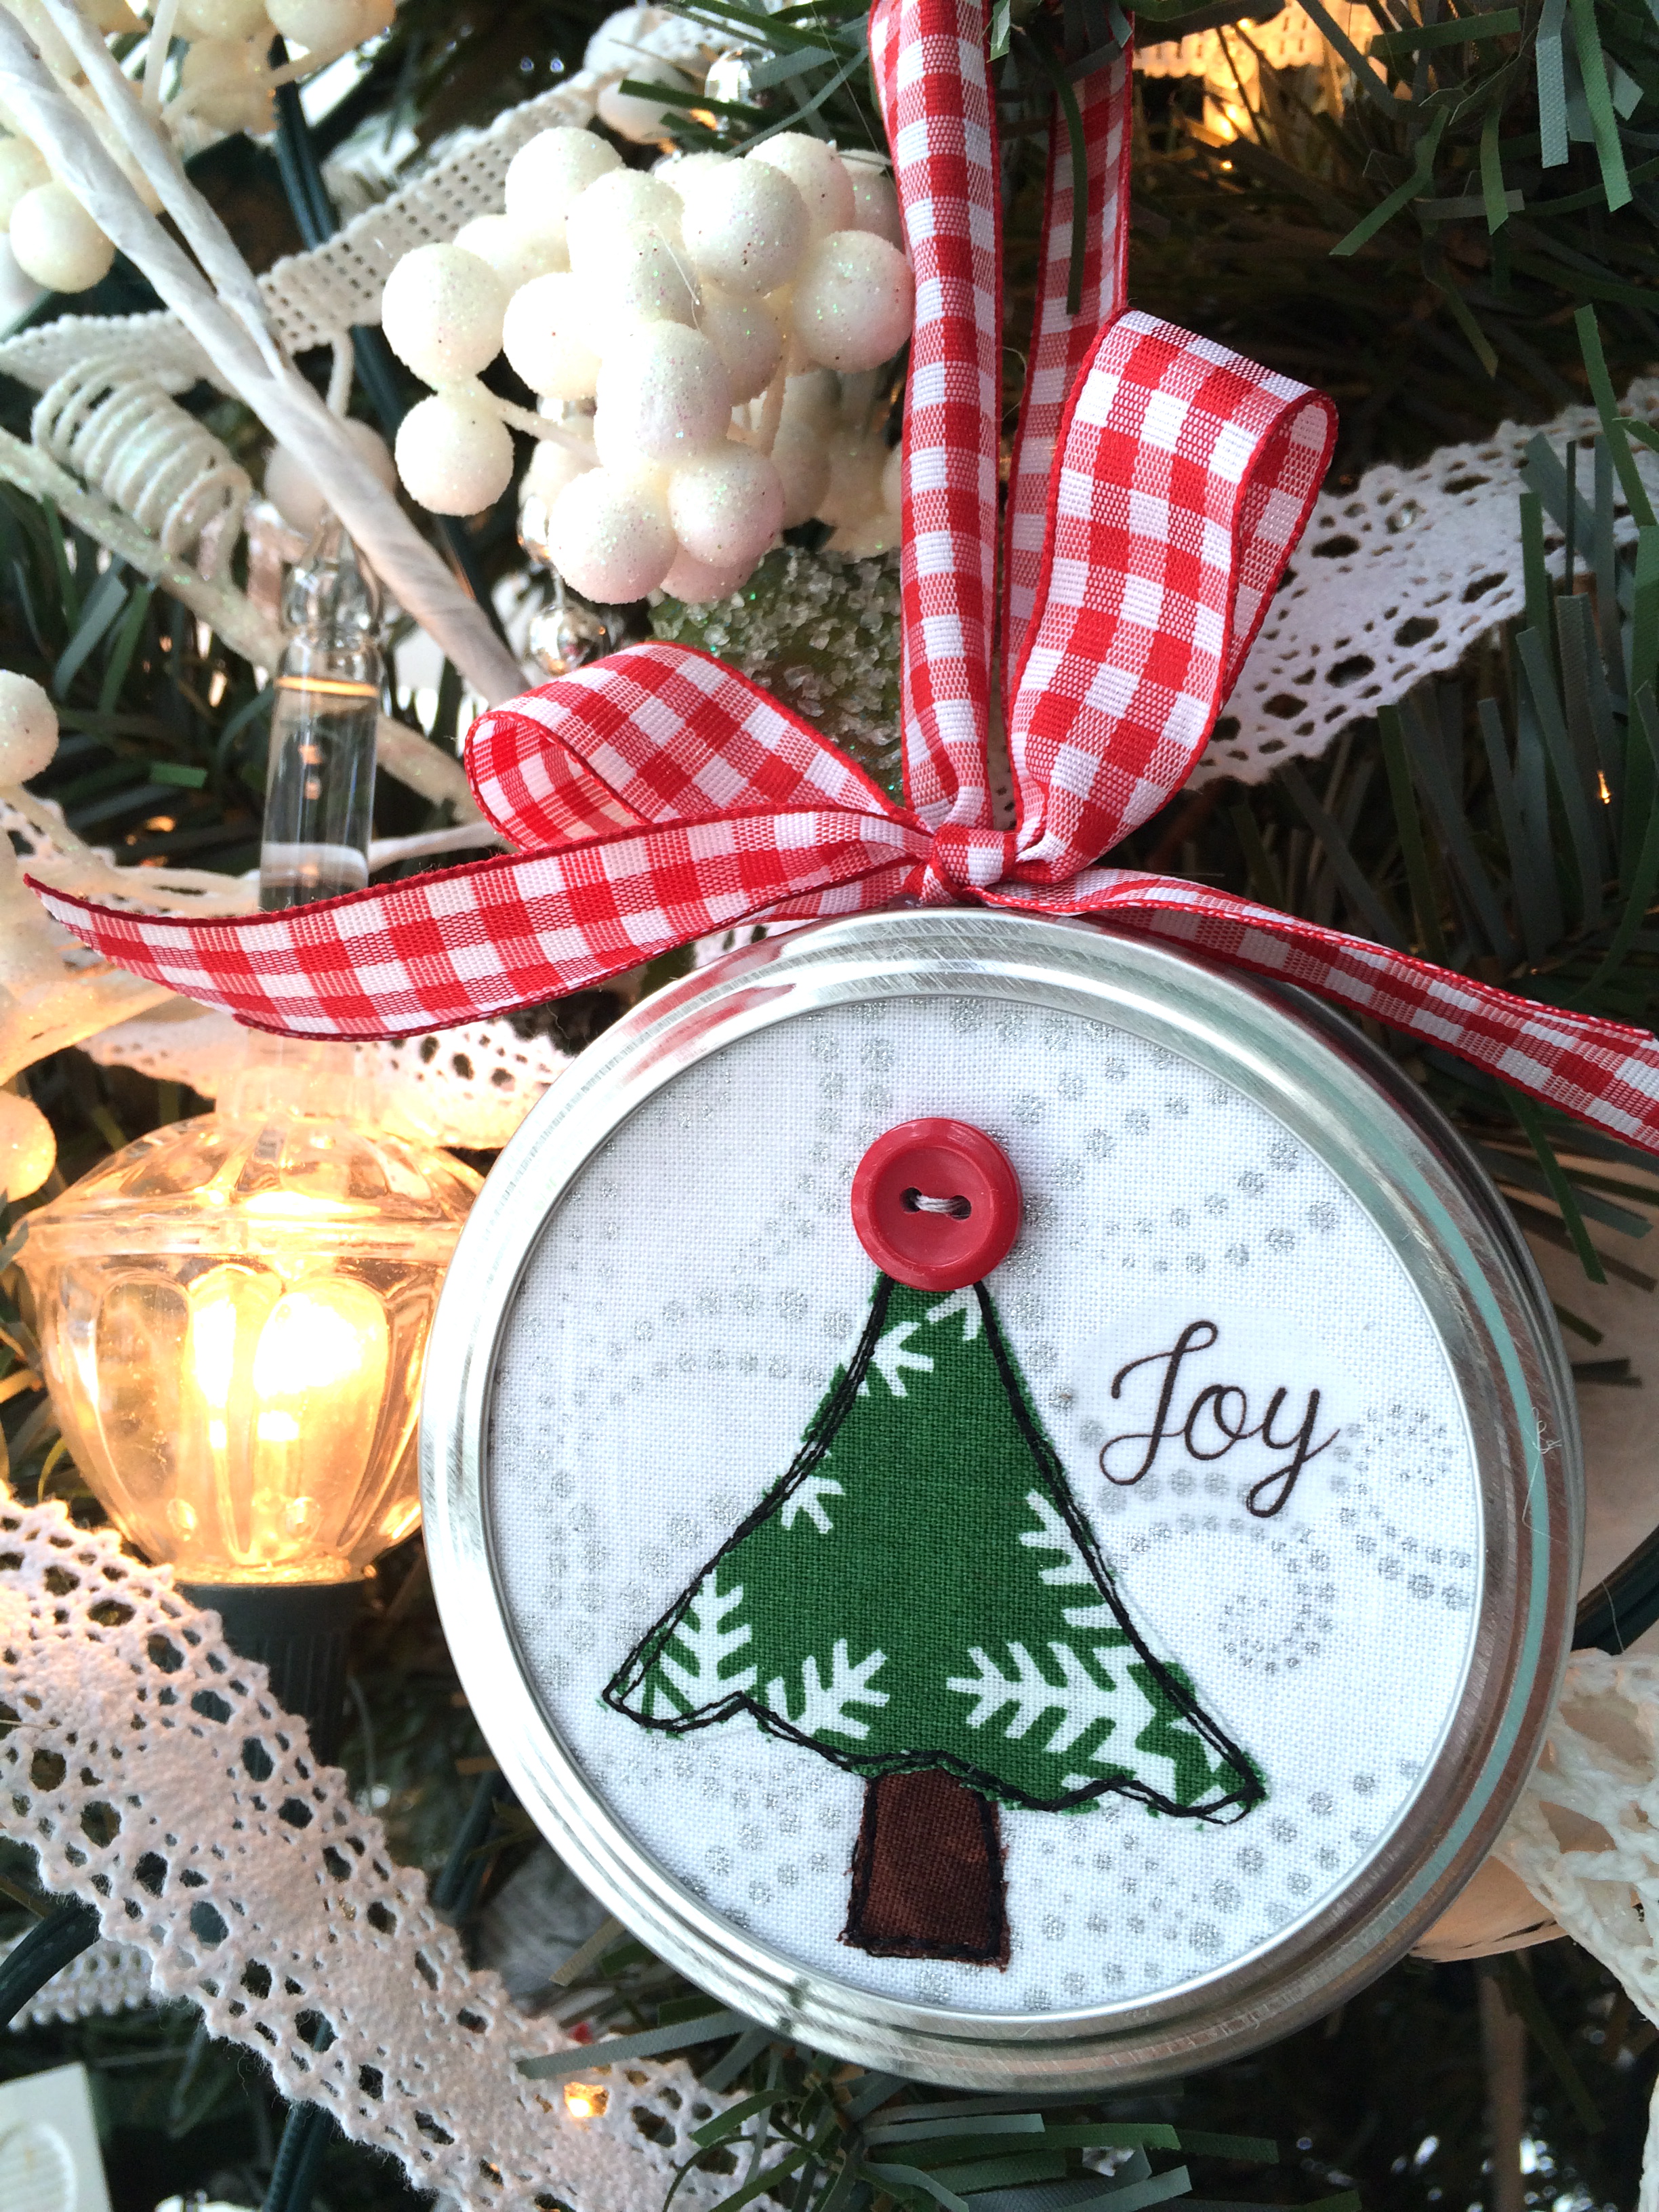
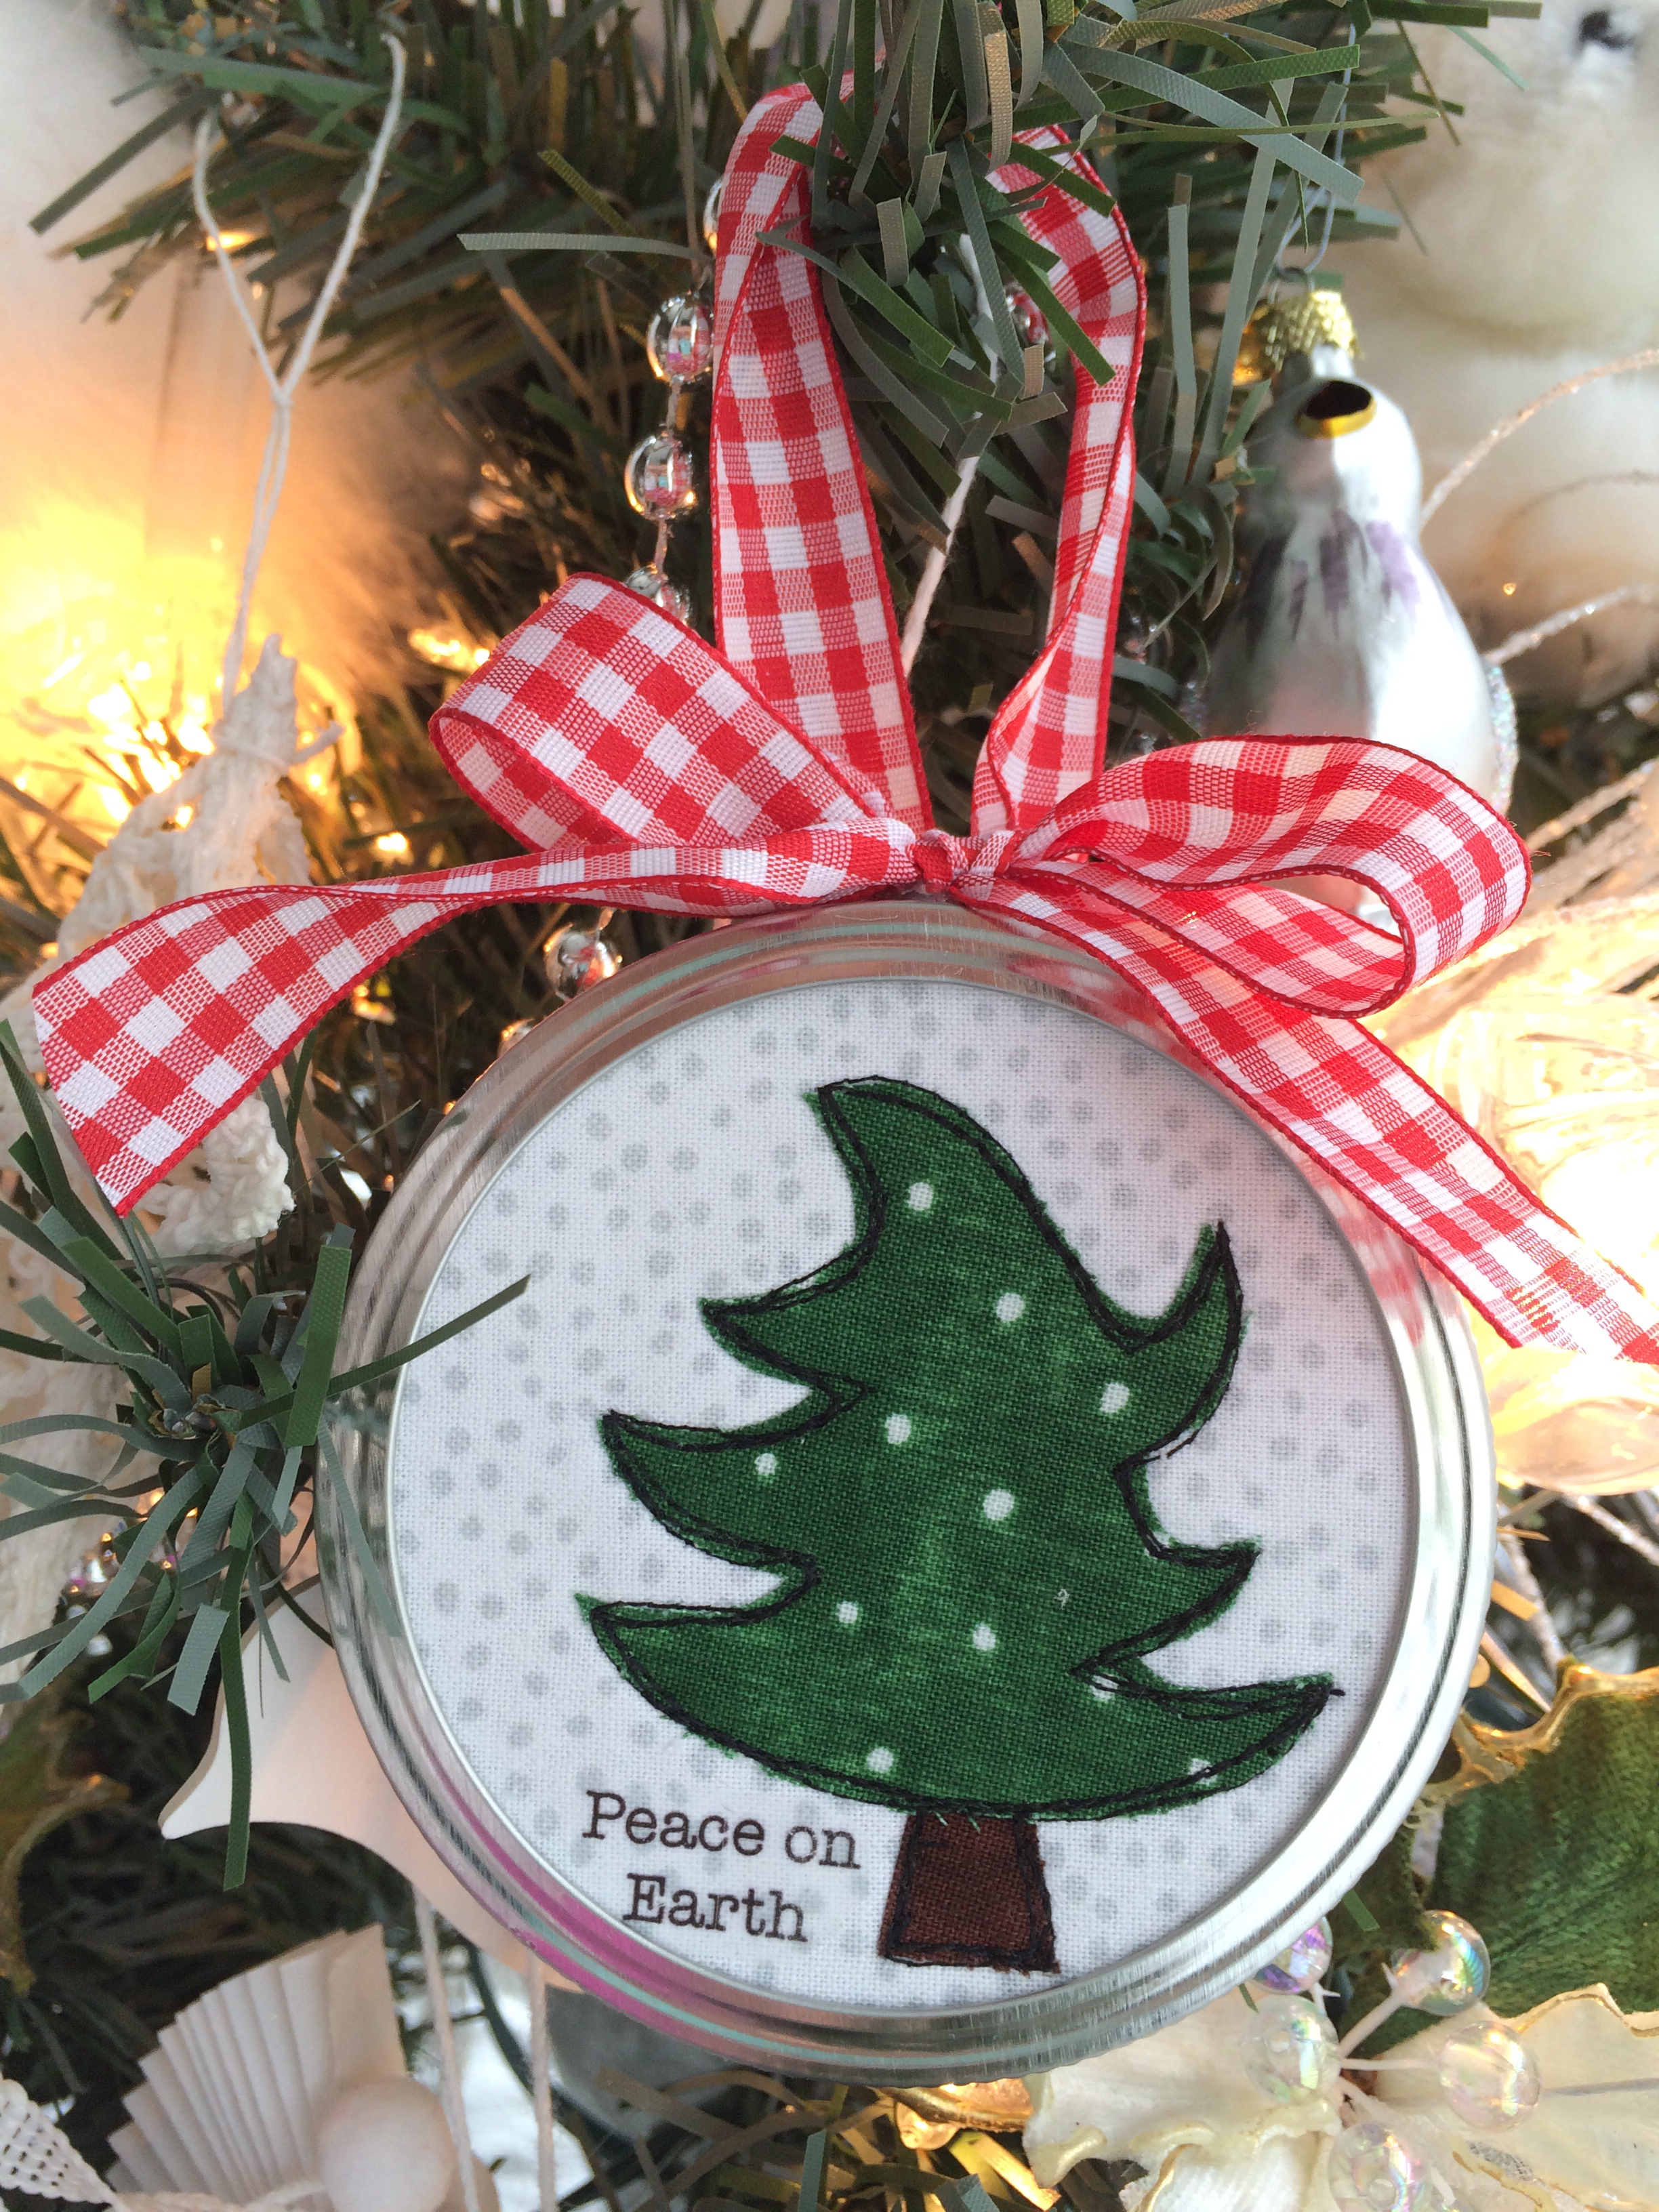
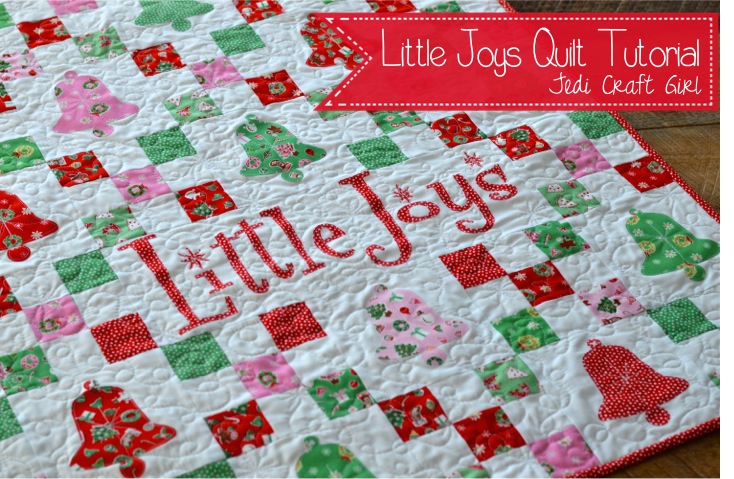
I wrote this pattern a few years ago for Penny Rose Fabrics.  I updated it and have the full tutorial available here!  I have always loved the Penny Rose “Little Joys” Christmas fabrics!  These sweet vintage prints make me think of a simpler time.  I love collecting vintage Christmas ornaments and decorations; this quilt is sure to fit into the mix!
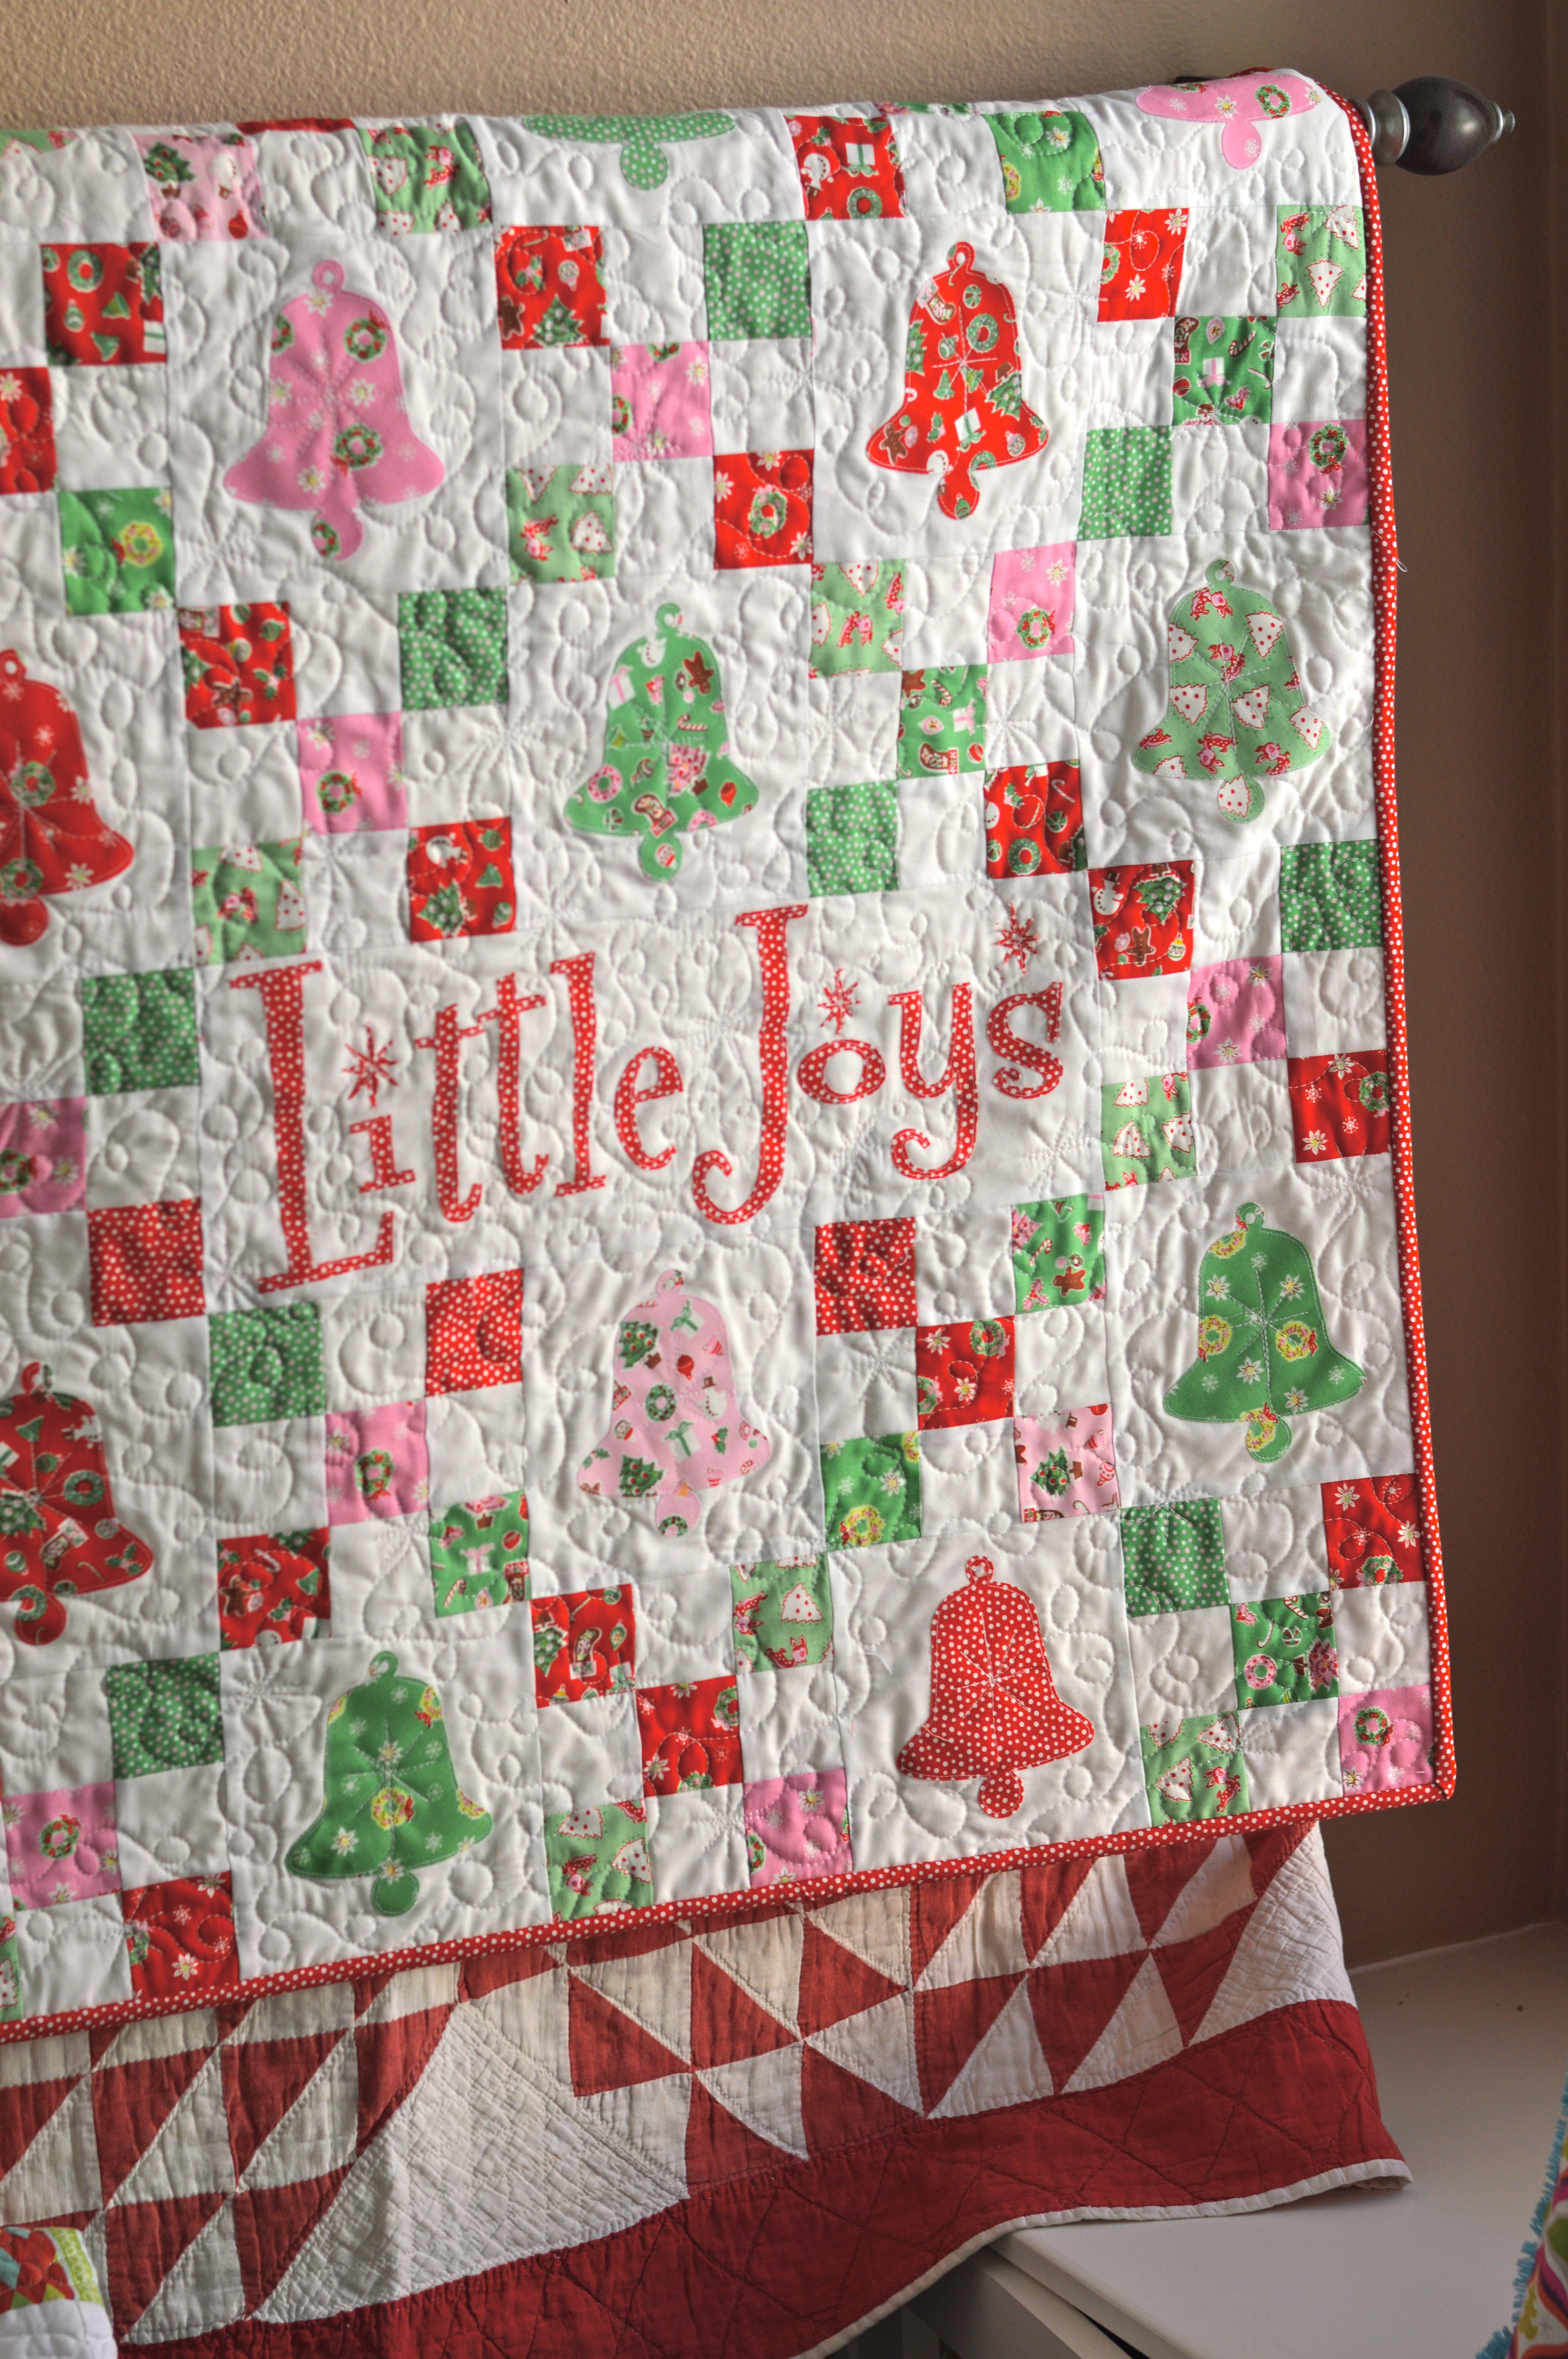
little joys quilt pattern christmas 35This quilt measures 42″ square and is a perfect size to hang on a wall, put at the end of a bed, or center on a table.  The quilt is made up of 6″ solid blocks with bell applique and  6″ nine-patch blocks that form a chain.

Screen Shot 2015-11-30 at 8.08.25 AMI used this Bell from Sizzix.  It is such a versatile die!

little joys quilt pattern christmas 15

Mufasa was all over this project because it involved the Sizzix Fabi – his FAVORITE toy!little joys quilt pattern christmas 20

Fabric Requirements:


9 fat quarters (green, red, and pink) – this is a scrappy little quilt so there are different amounts of each color – the colors don’t form a pattern in this version, but if you would like a pattern it would be easy to do!

1 1/2 yards solid white fabric

Heat n Bond Lite for appliqué

1/2 yard binding

1 1/4 yard backing (the fabric needs to measure at least 43″ wide or you may need to piece it)

Cutting Instructions

Fat Quarters:

Cut (2) 2 1/2″ x WOFQ strips from each fat quarter. You will have a few extra.

Use remaining fabric for bell appliqué and letters

Solid White:

Cut (6) 2 1/2″ x WOF strips, cut them in half to give you (12) 2 1/2″ x 21″ strips.

Cut (5) 6 1/2″ x WOF strips, subcut into (22) 6 1/2″ squares and (1) 6 1/2″ x 18 1/2″ rectangle

little joys quilt pattern christmas 7

2 1/2″ strips are cut from each of the 9 fat quarters.

little joys quilt pattern christmas 3

6 white 2 1/2″ x WOF strips are cut and then cut in half to equal the width of the fat quarter strips.

little joys quilt pattern christmas 16

Sew white, dark, white strip sets together, making 3 strip set units.  Press toward the dark.

little joys quilt pattern christmas 5

Sew 6 strip units of the dark, white, dark pattern (above).  Press toward the dark.

little joys quilt pattern christmas 13

Sub cute each strip set in 2 1/2″ increments.  You should have 8 per strip set.

little joys quilt pattern christmas

Lay out blocks making a checkerboard pattern.  Sew together, matching seams.  Press seams in one direction.  Continue this process making 24 total checkerboard blocks.

little joys quilt pattern christmas 11

Cut the remaining fat quarters into 5″ squares and fuse Heat n Bond Lite to the wrong sides of the fabric (above).  Using the Sizzix Bell die, die cut 22 bell shapes.  Peel off backing paper and heat set to the centers of the 6 1/2″ white squares. Sew around each bell with a straight stitch.

little joys quilt pattern christmas 6

little joys quilt pattern christmas 12For the Little Joys word block I cut the letters by hand.  Download the Little Joys pattern HERE.  I printed the letters on Heat n Bond EZ print sheets.

little joys quilt pattern christmas 17You can also trace onto iron-on transfer paper.  The letters are in reverse.  Iron the heat n bond to the wrong side of the letter fabric.  Cut out by hand around each letter.  Peel off the backing and position on the white rectangle.  Heat set in place.  Sew around each letter.

little joys quilt pattern christmas 19

Now you’re ready to lay out the whole quilt!  Use the above photo as your guide.  Again, my colors are random but you can make a color pattern!

Sew each block together creating rows, pressing toward the applique blocks.  Then sew the rows together, pinning at intersections so seams match up.  Press all seams in one direction.

Baste, Quilt, Bind!


IMG_2019Mufasa also loves the sewing machine!  No animals were harmed in the quilting of this project!


little joys quilt pattern christmas 9Make sure your cat approves 🙂

little joys quilt pattern christmas 2I free motion quilted this with loop de loos and retro style stars.  I love how it turned out!  Add the binding and you’re finished!

little joys quilt pattern christmas 10

little joys quilt pattern christmas 14


Fun with Richie our Elf on the Shelf Christmas 2014

Life was too hectic to write about our sweet Elf Richie everyday.  I thought you might like to see some highlights of his antics this year.  We will miss you so much, Richie!  We hate to say goodbye to you tonight.  Until next year….


Richie arrived at our home in a sealed Santa’s Workshop Lego set.  We were all so surprised and we didn’t know he was inside for quite a while!elf on the shelf 8

All the children had so much fun putting the Lego set together.  We used the tongs to put Richie on the little tree so he could watch.

elf on the shelf 9

We found Richie and his reindeer in a roll of TP

elf on the shelf 10

elf on the shelf 6

Richie is somewhat of a cardshark, sporting a full house in this game of Tripoley.

elf on the shelf 7


DSC_0004

Richie gathered all the stuffed cats in the house an placed them on the stairs.  He was found reading my “Think Like A Cat” book.

IMG_2504

Sugar Angles

IMG_2503

Hanging in the bathroom

IMG_2502

This one was a little questionable 🙂

elf on the shelf 2

Bows all over the kitchen and stuck to any solid surface!

elf on the shelf 19

Hot Hot cocoa date with Anna

elf on the shelf 15

A little mischief with Snowflake Sally’s non-magical girl elf

elf on the shelf 11

Helping out with St. Nicholas Day

elf on the shelf 12

Chillin’ in the freezer with some North Pole Fat Boys!

elf on the shelf 14

Setting the table and serving everyone gingerbread men for breakfast.

elf on the shelf 13

Peppermint cotton candy for breakfast


IMG_2505

We are saying our goodbye’s to Richie today.  I love the photos.  I can’t believe we have to wait an entire year to see him again…..pass the Kleenex!!

elf on the shelf 5

elf on the shelf 4

elf on the shelf 3

The Harper Stocking Tutorial

christmas stocking quiltedWhen I was little, my mom made everyone in our family “quilted” stockings with appliqué motifs on them.  To me, all stockings must be quilted 🙂  I made my husband and children these quilted stockings many years ago.

stocking
The fabrics are a little dated but we still love them!  Here are a few more peeks at stockings I have made over the years with this same pattern.

IMG_2199

DSCN5264

DSCN5180


There are so many wonderful fabrics out there to make stockings with.  I love this line from Blend called Treelicious.  I’ve made a few other projects with it, here and here.  Below is the pattern and instructions for making this “Harper” stocking which I made my friend’s baby’s first Christmas.  You can change the fabric piecing to be more intricate or you can use a plain piece of fabric and quilt it.  It’s fun to customize each stocking to your children’s personalities.

Supplies:

fat quarters of 3 fabrics for stocking and stocking tab

1/2 yard for the stocking lining

piece of lace

1/4 yard faux fur, fleece, or I used a type of cloud fleece with a diamond pattern…anything soft and white

Heat n Bond EZ print appliqué sheets or heat n bond appliqué transfer paper

quilt batting

Stocking Pattern, Click HERE

Note – the length of the cutting measurements are approximates, you just need enough to fit the stocking pattern on

Begin by cutting the pink trees 9″ x 12″

Gray deer 5″ x 12″

Pink 8″ x 20″

Piece together using 1/4″ seams, press

Try to place the pieces like this – it’s just rough background to quilt then cut the stocking from.


quilted christmas stocking 2


Using Spray n Bond spray basting (or pins) baste the fabric on a scrap of cotton batting – I love projects like this that use batting scraps!

quilted christmas stocking 4


Quilt as desired – I sewed loop de loos.

Print the pattern out (here).  It’s in 4 pieces.  Assemble them together like this.  I added some dotted lines to help with matching up each piece.  Don’t laugh at how rough my pattern is, it’s the middle of December and who has time for perfection!!  Cut out the pattern.

IMG_2299_2

Next, pin the stocking pattern to the quilted piece and cut out.  If you want the stocking a little larger, cut out 1/4″ away from the pattern and the finished stocking will be the size of the pattern.  Just make sure to cut the same for the lining.quilted christmas stocking 5


You can add some lace embellishment if you want.  Choose a font you like and print it in reverse on the EZ print sheets, or print in reverse and draw onto the Heat n Bond appliqué paper.  Press the letters to the wrong side of the white fabric.  Cut out each letter.  Peel off the backing and press into place.  It’s always a trick to get the letters to fit – I like to make them as big as I possibly can.  Top stitch in gray thread.
quilted christmas stocking 6


Here is a close up of the letters.  You can see my white fabric has a little silver detail in it!quilted christmas stocking 18

Now do the same process with the back of the stocking.  Only remember the stocking will be opposite.

quilted christmas stocking 7


Instead of cutting the stocking out again and trying to match it, I pinned the appliquéd part to the newly quilted piece, matching the seams along the sides.  Sew using 1/4″ seams all the way around the stocking leaving the top open.  Cut around the seam.quilted christmas stocking 8


For the lining of the stocking, cut the same pattern out of a coordinating cotton (2).  Sew right sides together all the way around the stocking.quilted christmas stocking 9


Prepare the fur cuff.  Cut the fur 18.5″ x 11″quilted christmas stocking 10


Fold it in half fat ways, right sides together and sew about 1/2″seam along the side:quilted christmas stocking 11


Turn the cuff right side out like this:
quilted christmas stocking 14


For the stocking holder, cut a strip of fabric 10″ x 3″.  Folding in half lengthwise with right sides together, sew 1/4″ seam and turn right side out.  Press the seam in the center like this:quilted christmas stocking 13


This is how it will look from the outside:quilted christmas stocking 12


Place the stocking lining inside the stocking, just how you want it to look, with the right side of the lining facing out.

Baste the stocking holder by bringing both raw edge ends together and pin it inside the stocking centering on the seam.  Sew about 1/8″ to keep it in place.quilted christmas stocking 16

Next, place the cuff inside the stocking & lining, aligning all raw edges:

quilted christmas stocking 17


Pin all the way around matching the seam in the cuff with the side seam in the stocking.  Sew 1/4″ to 1/2″ seam all the way around using a walking foot – it gets pretty thick by the seams but it will work.  Turn the cuff right side out and it’s done!  Kind of magical!!quilted christmas stocking 23

quilted christmas stocking 21

quilted christmas stocking 20

quilted christmas stocking 1

Jar Lid Applique Christmas Ornaments

tree ornaments

I love Christmas ornaments and every year I try and come up with a new ornament to make.  These are my favorite so far!!   These make great little gifts and they can be personalized! Using the Therm o Web Iron-On Transfer sheets you can print any word you want and iron it onto the ornaments. 

christmas tree applique ornament 9

christmas tree applique ornament 7

christmas tree applique ornament 8


On this one I added some clear glitter to the jar lid by painting it with Mod Podge and dusting it with glitter.  I LOVE clear glitter!  I could clear glitter my entire home!  It gives such a warm yet sparkly feel!IMG_2055_2


Supplies:

Wide mouth mason jar lids

5″ square background fabric

5″ square Therm o Web HeatnBond® Fusible Fleece

Small pieces of green fabrics and brown fabrics

spool of ribbon

button

Heat n Bond® EZ print Transfer Sheets

Heat n Bond® EZ Pressing paper

Tree Pattern, click HERE

Words, click HERE

Piece of Christmas card stock cut into a circle the exact size of the jar lid

Begin by cutting a 5″ square of background fabric and fusible fleece.  Fuse the fleece to the wrong side of the background fabric.  This gives the fabric a little stability and softness.

christmas tree applique ornament

Print out the tree patterns and roughly cut them out and iron them to the wrong side of the tree and trunk fabrics.  Cut on the pattern line, peel off backing paper.

christmas tree ornament 1

Center the tree on the background fabric and press into place.

christmas tree applique ornament1

Top stitch around the tree and trunk three times in black thread.  I like the stitching to look “sketchy” but it’s hard to not sew along the same line each time – you need to purposefully not follow the pattern.

christmas tree applique ornament2

Print out the words in REVERSE on the EZ Print Transfer Sheets for light fabric.  Cut around the words and heat set in place.  Let cool then peel off the paper.

christmas tree applique ornament 3

christmas tree applique ornament 4

Punch 2 holes in the mason jar ring – I used a crop-a-dile.christmas tree applique ornament 5

Thread the ribbon through and knot it in a loop.  Cut a second piece of ribbon and tie a bow.  Center the design and push through the mason jar ring.  Trim off excess and hot blue into place.  Hot clue excess fabric down and glue all the way around the inside as pictured below:christmas tree applique ornament 6

Place the card stock circle in the back to cover the mess!

christmas tree applique ornament 8

Hot glue the bow to cover the holes.  Finished!  Now go make one for all your friends!!!
I sewed a button to the top of this tree.  You could easily sew buttons to each tree or add other embellishments.  I love being able to add a word to a fabric craft!  I’m off to make more – think cats, owls, gingerbread men, and birds!


christmas tree applique ornament 10


Christmas Jingle Bell Key Chain Tutorial

christmas key chain tutorial

December is well underway and there is so much to be done!  Is anyone else going crazy!!!   I love these fabric key chains – they make it super easy to find your keys in your purse and you can slide your keys on your wrist.  I wanted something festive for the holidays so I made candy cane stripe ones and added a jingle bell.  I love the fact that I jingle where ever I go!!  These make great gifts and you can whip up a bunch in an afternoon.

Supplies:

10″ red cotton webbing 1.25″ wide, I bought mine here

10″ x 2″ strip of striped fabric

Spray n Bond

Key fob hardware, I bought mine here

Jingle Bell

strip of card stock 1″ wide

Begin by cutting the fabric 2″ x 10″.  Center the 1″ strip of card stock in the center of the wrong side of the fabric.  Use the card stock as your guide to press the sides in evenly.  Remove the card stock.

keychain_tutorial_fabric_3

In my previous keychain tutorial I suggested using fusible hem tape to fuse the fabric to the webbing.  While this works great, I choose to use Basting Spray – it’s faster and goes farther.  A few tips about the basting spray: put down a disposable protective surface because there will be some overspray.  I made quite a few so I used some old wrapping paper which could be rolled and discarded to give me a clean surface.  If you are doing a lot I would wear gloves because you may get it on your hands.  

christmas key chain

Open the folds and spray a line down the center of the fabric.  Pat the folds in and smooth to hold in place.  Spray the folds again with the basting spray and center on the 10″ strip of webbing.

christmas key chain 2

Top stitch about 1/8″ away from the edge.

christmas key chain 3

Using pliers with some padding attached, fold the strip in half and pinch the hardware around the ends to secure.  Add a split ring and jingle bell.

keychain_tutorial_fabric_9

IMG_2062
I packaged mine up with some Holiday Bath and Body Works soaps and lotions.  Now I’m off to deliver them!
IMG_2064_2