Repurposed Window

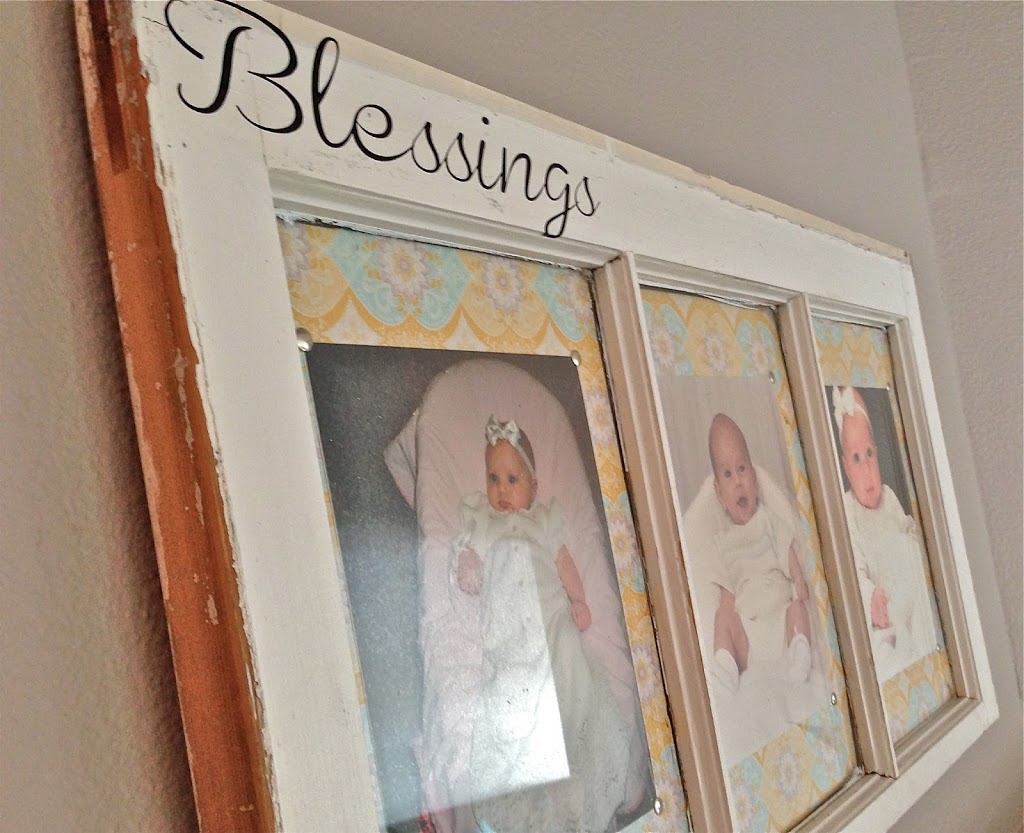
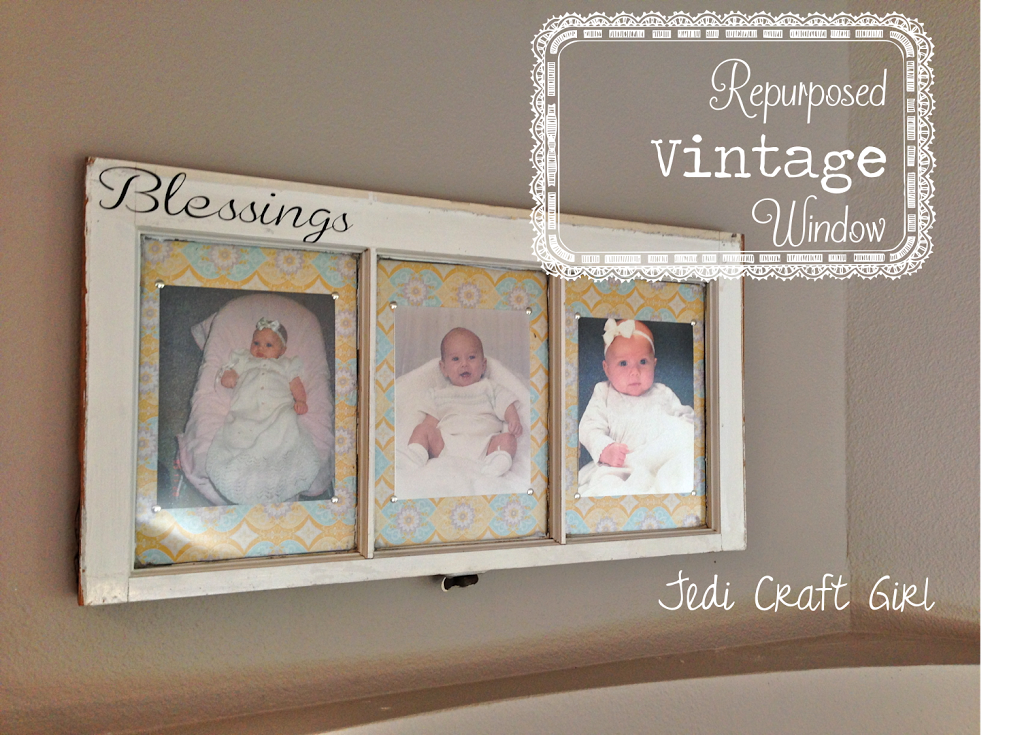
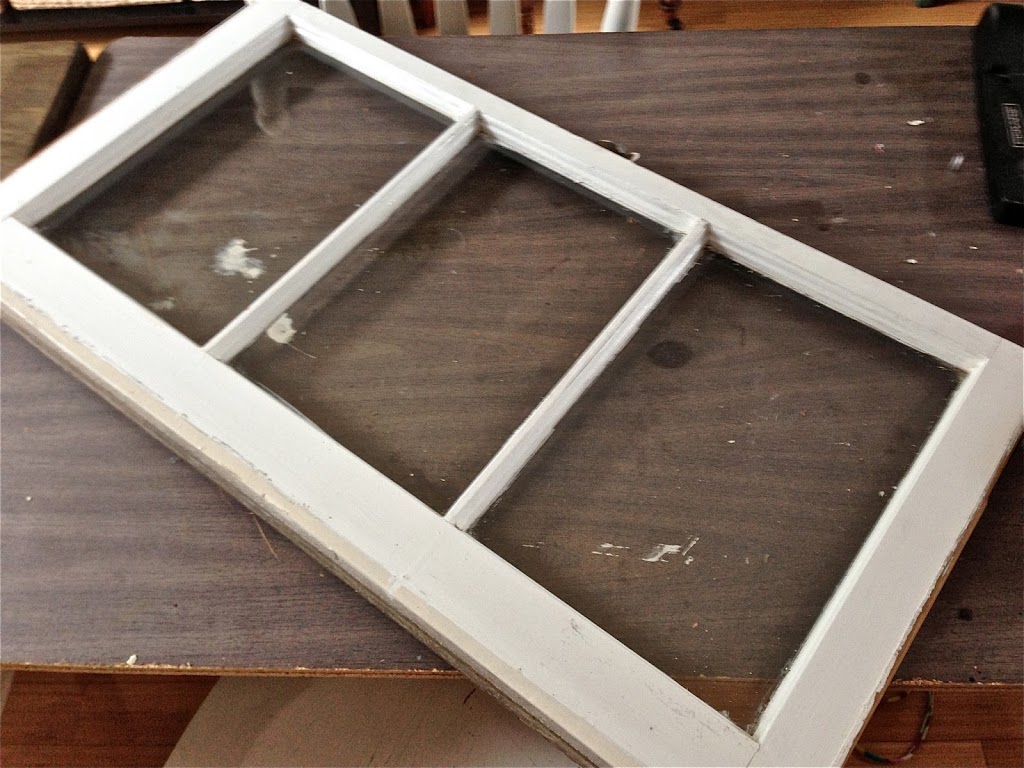
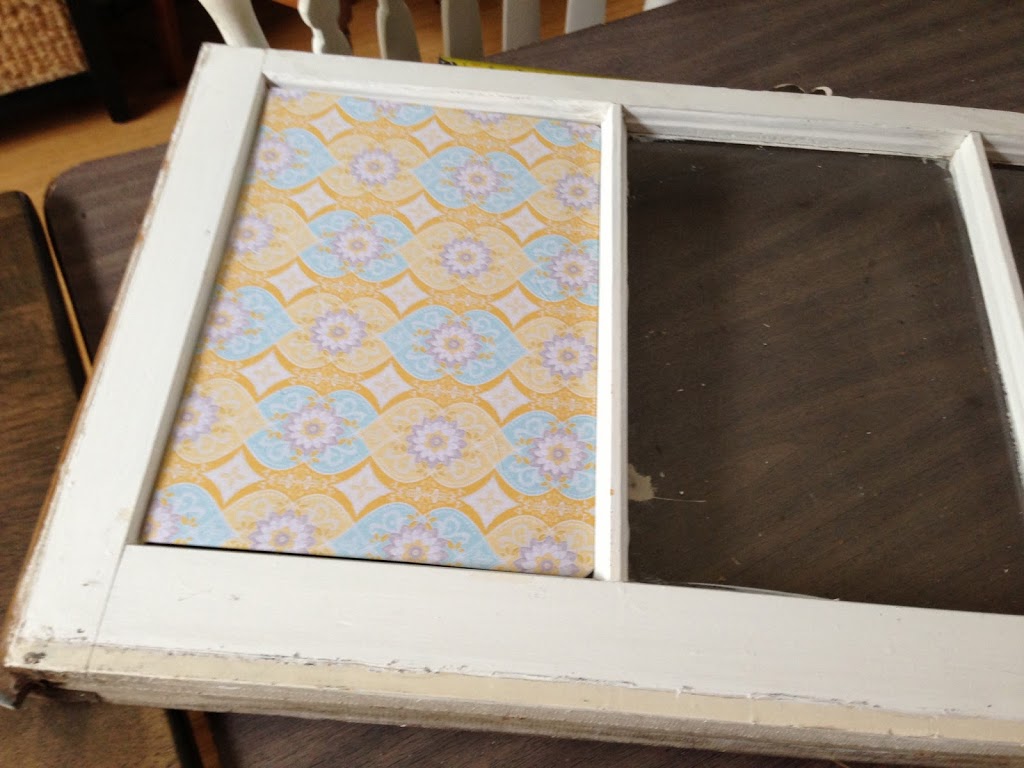
 I love old windows!  I am always trying to find something new to do with them.  At the top of my stairs, I have 3 frames with pictures of my 3 children on their blessing day.  This window I found has 3 openings….hmmmm!

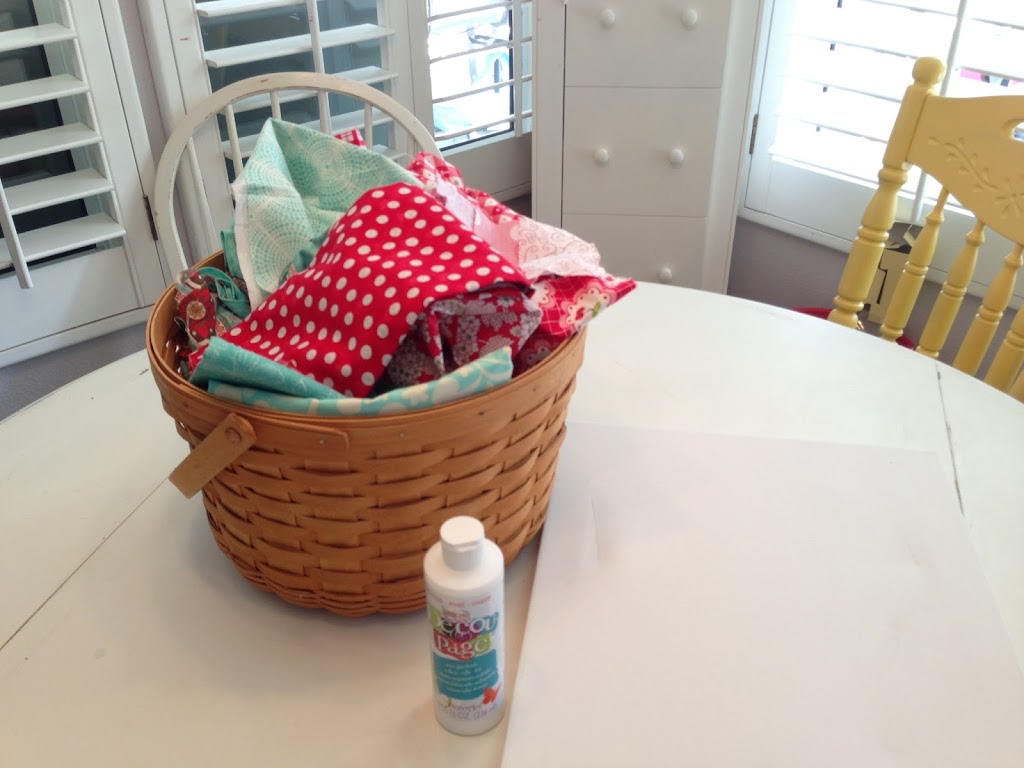
This is how you make a fabric mat background for your window:

Measure the opening

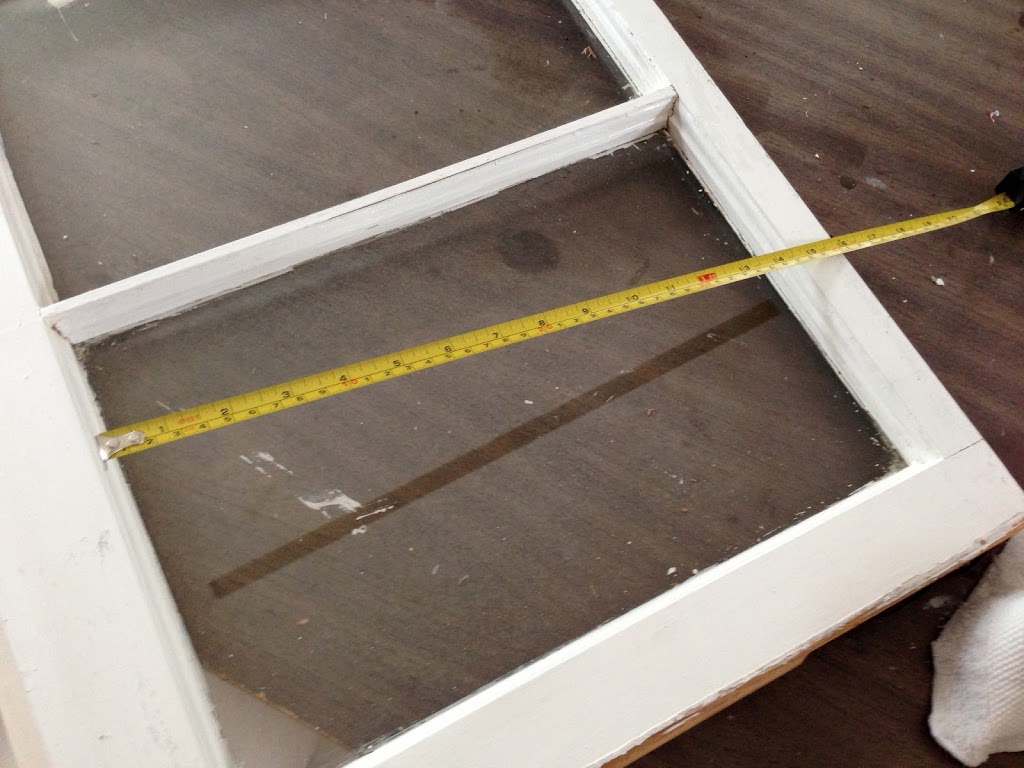
 Cut cardboard the size of your measurements

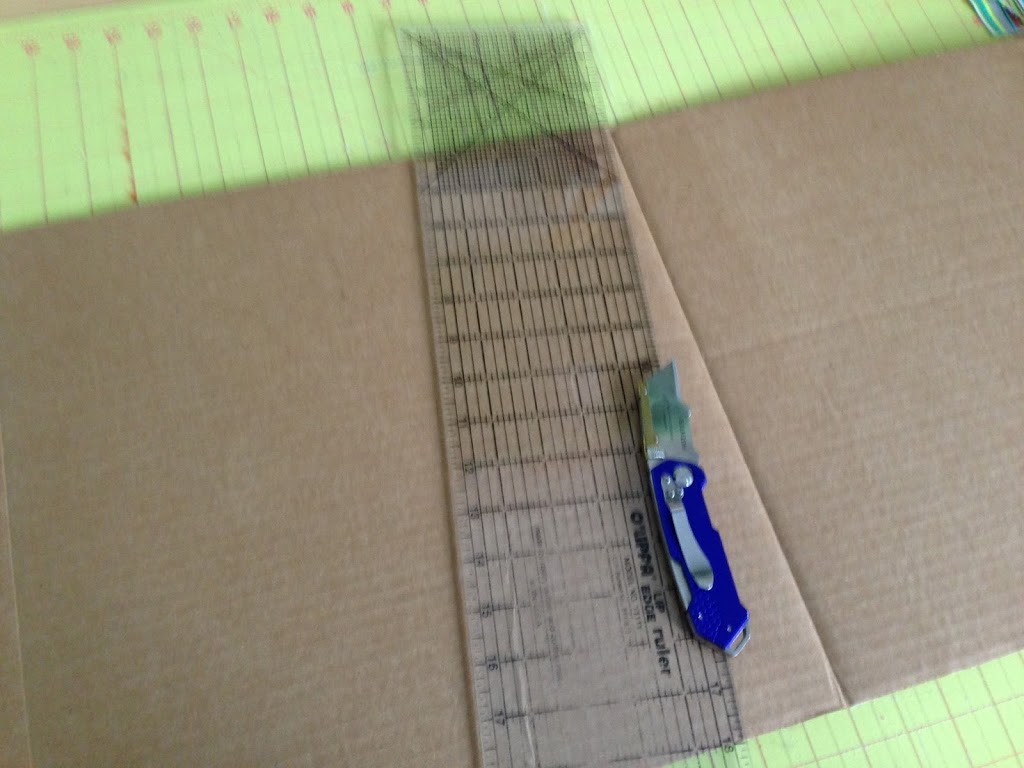
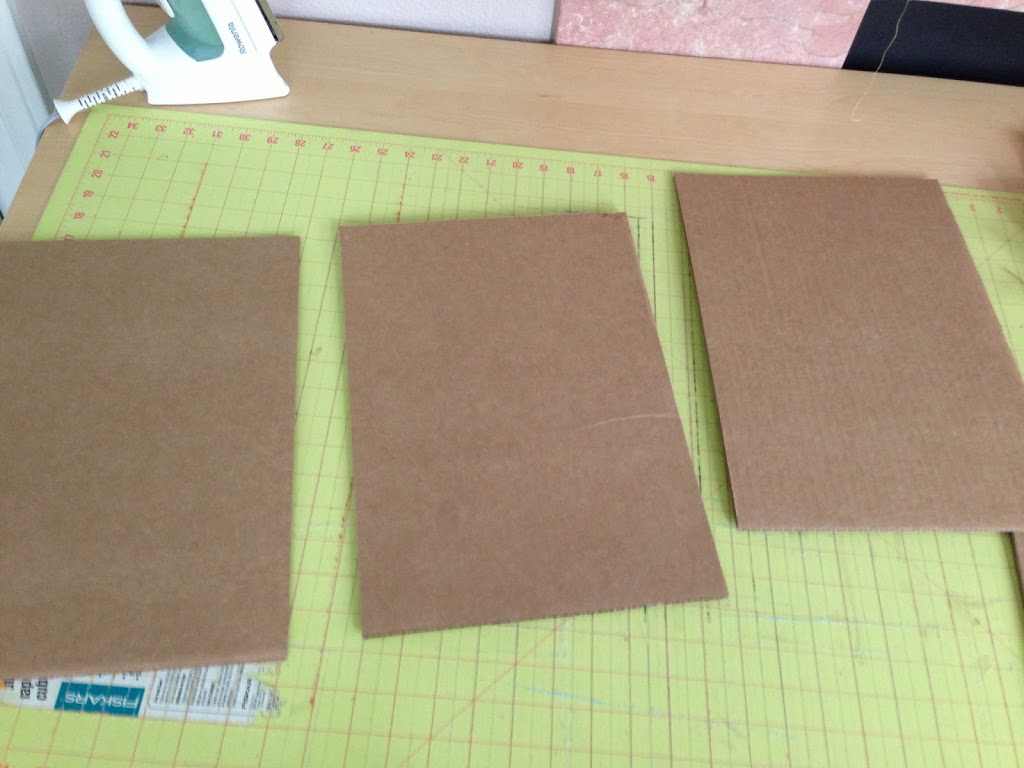
 I have 3 pieces the exact same size.  I used my rotary mat and guide, but I used a utility knife so I didn’t ruin my rotary cutter.

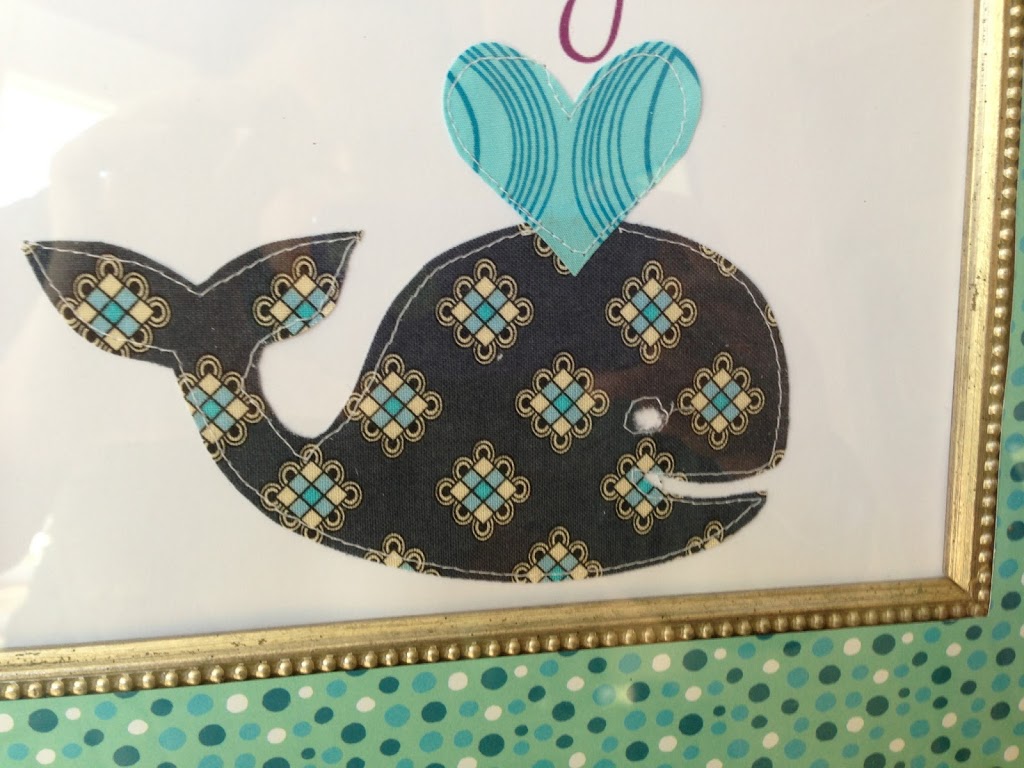
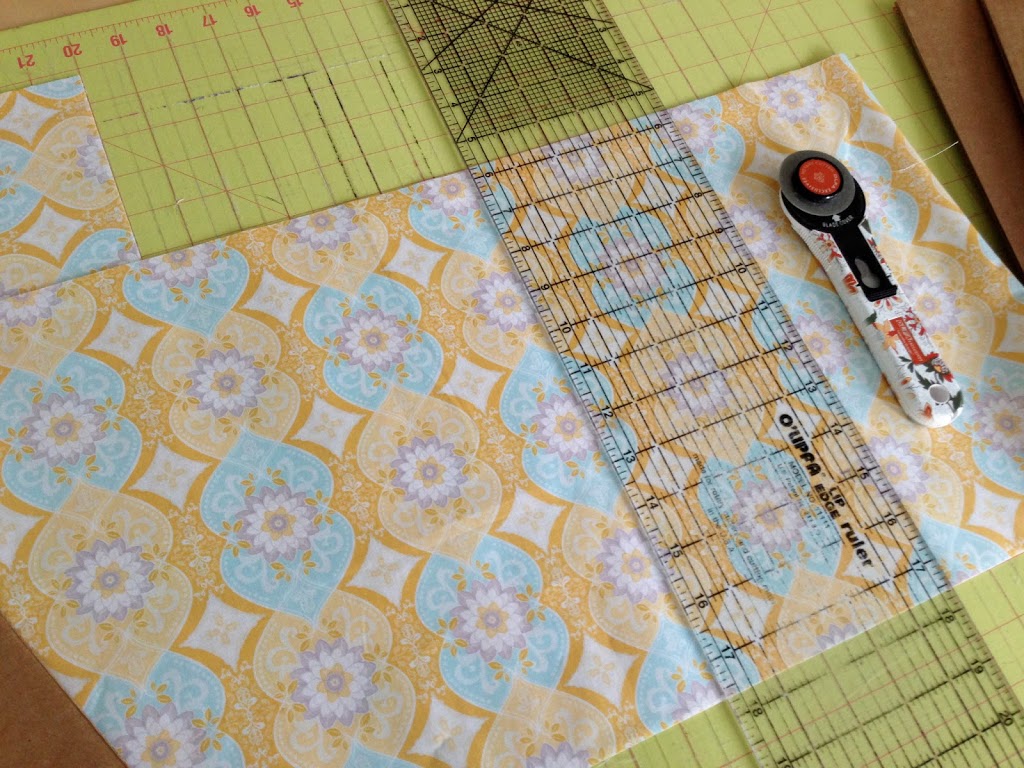
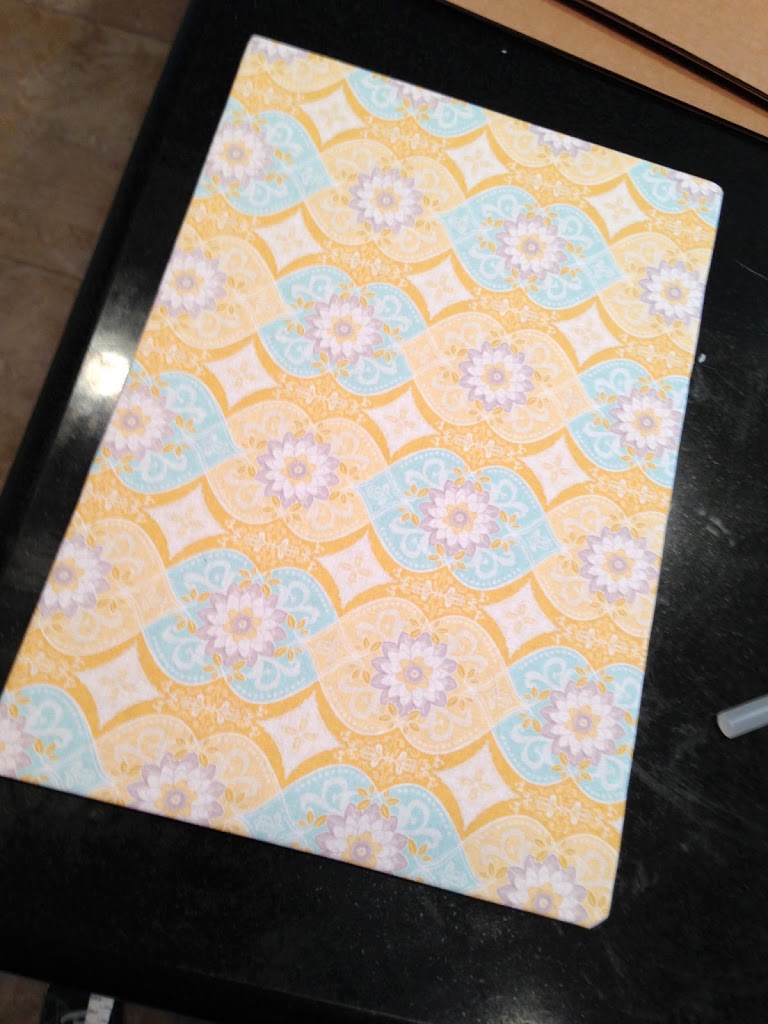
 Next, cut your fabric 1″ larger on all sides.  Love this Riley Blake print!

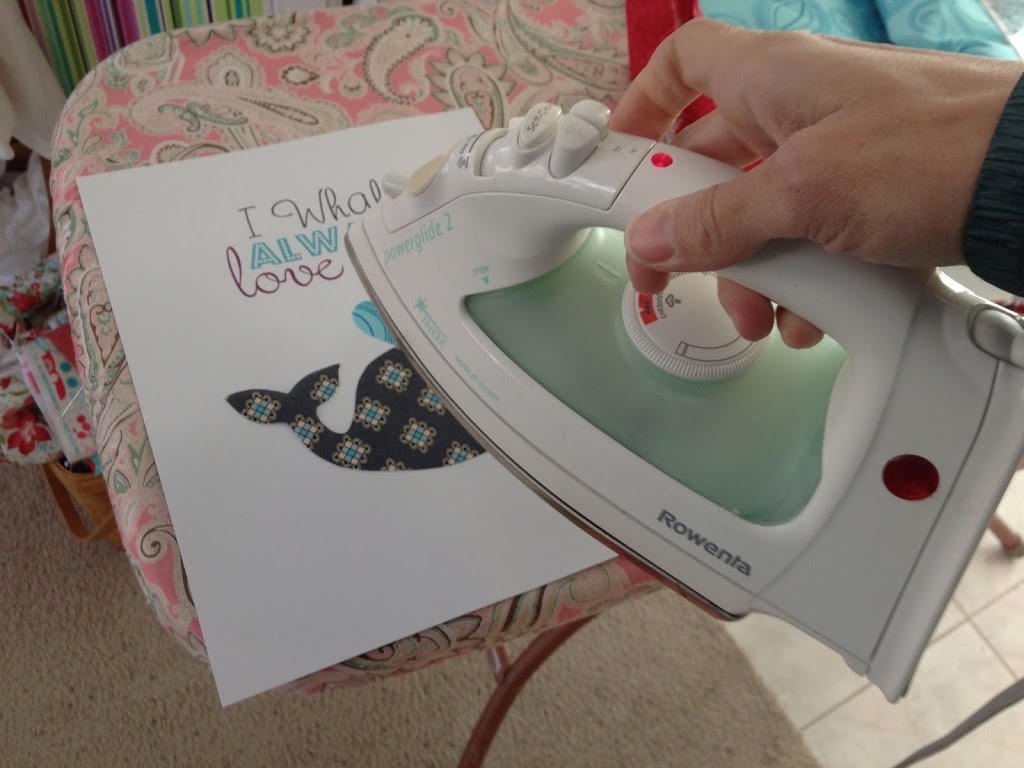
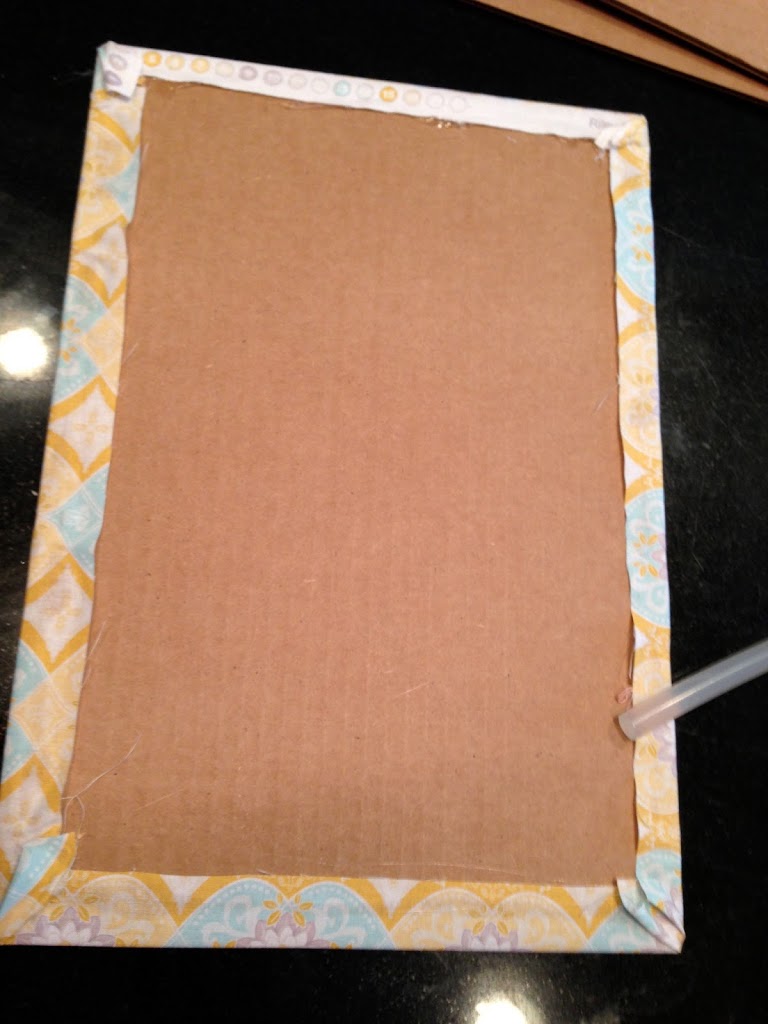
 Get out the hot glue gun – yea!  Glue all sides and pull the fabric so it is tight.

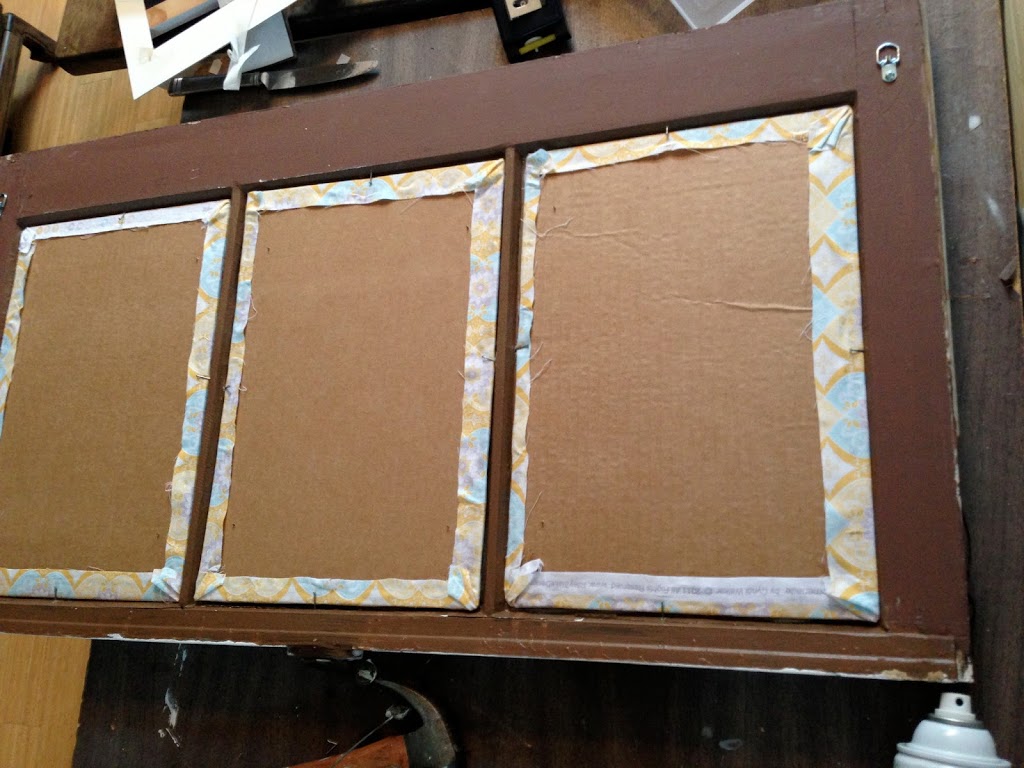
 It should look like this on the back:
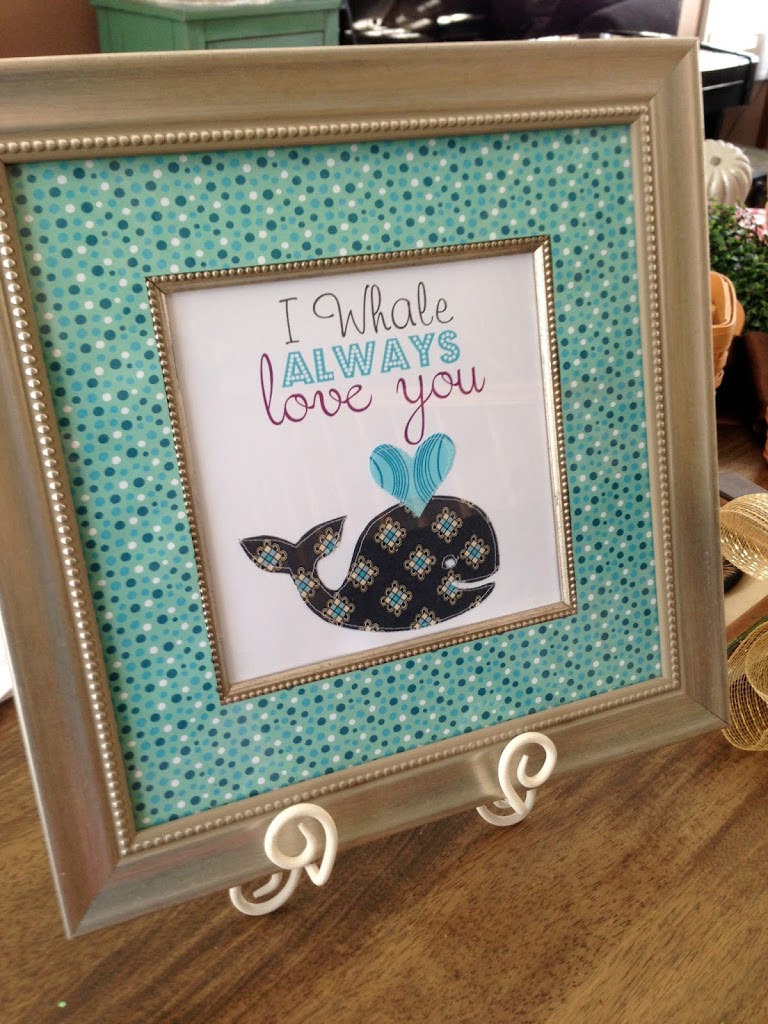
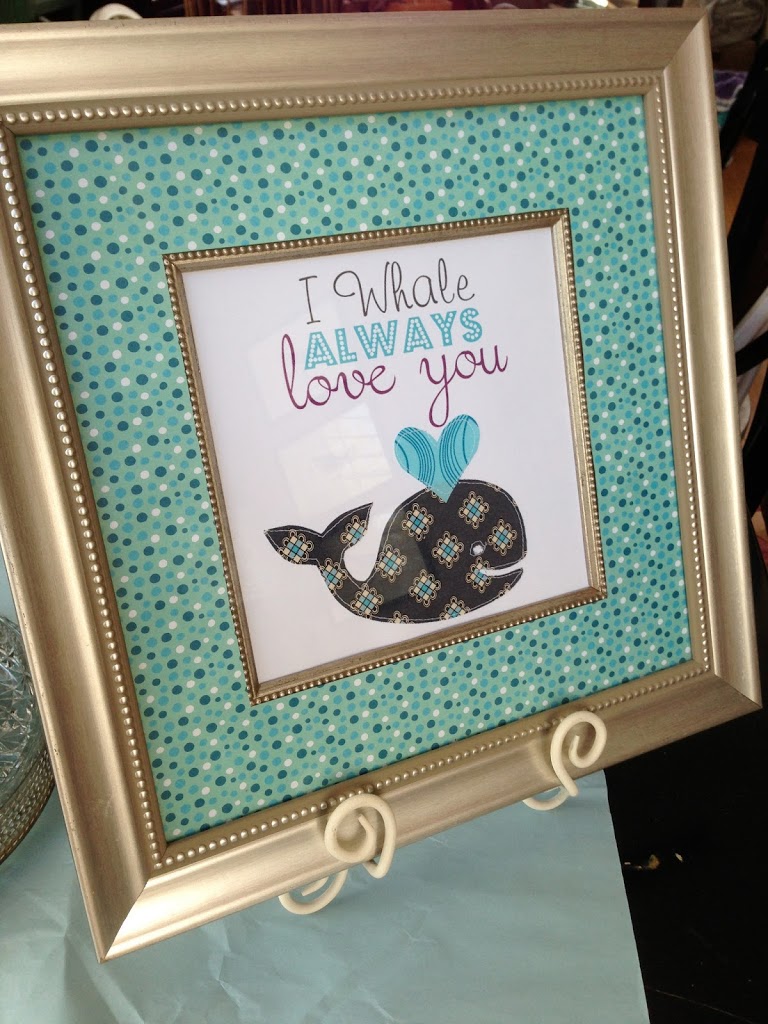
 Front:

 You can put these on top of the glass, behind the glass, or instead of the glass.  I put mine behind the glass.

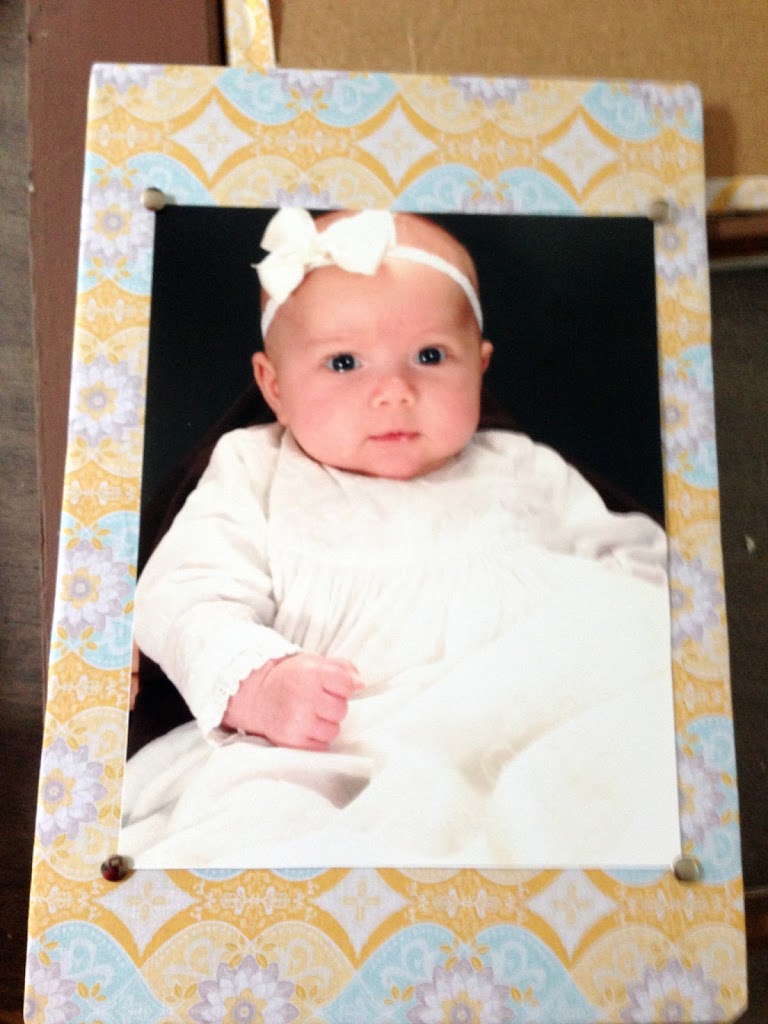
 I took each of the photos and attached them by putting push pins in each corner.  I didn’t actually put a hole in the picture, just next to it and the tack holds the picture in place.

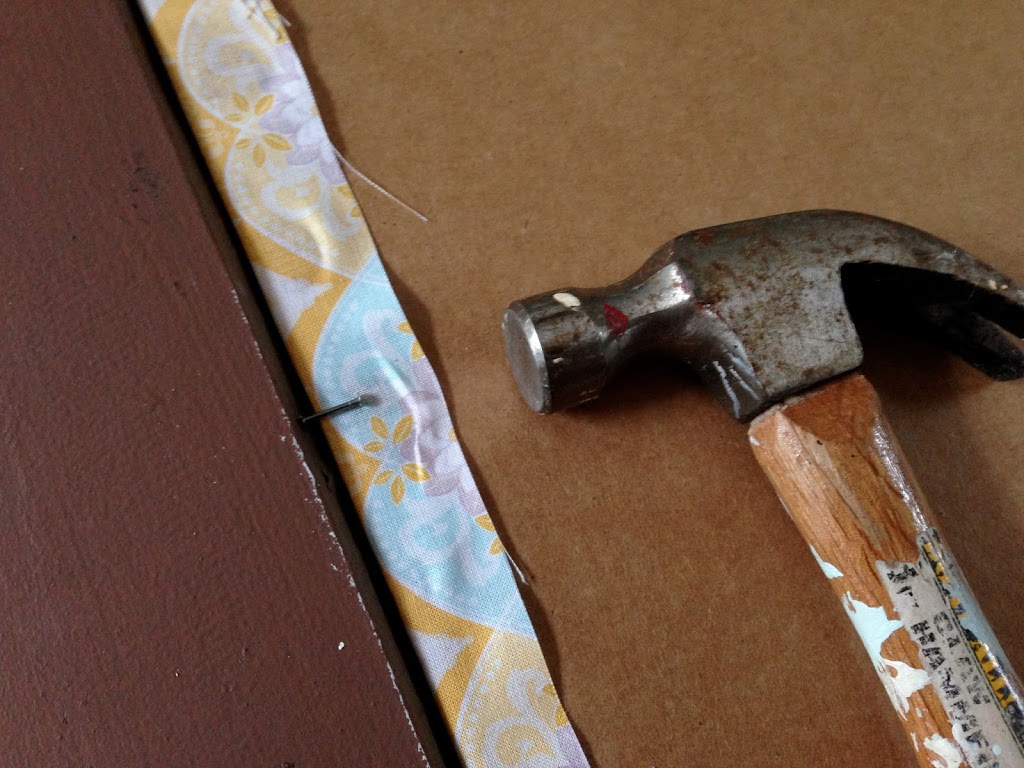
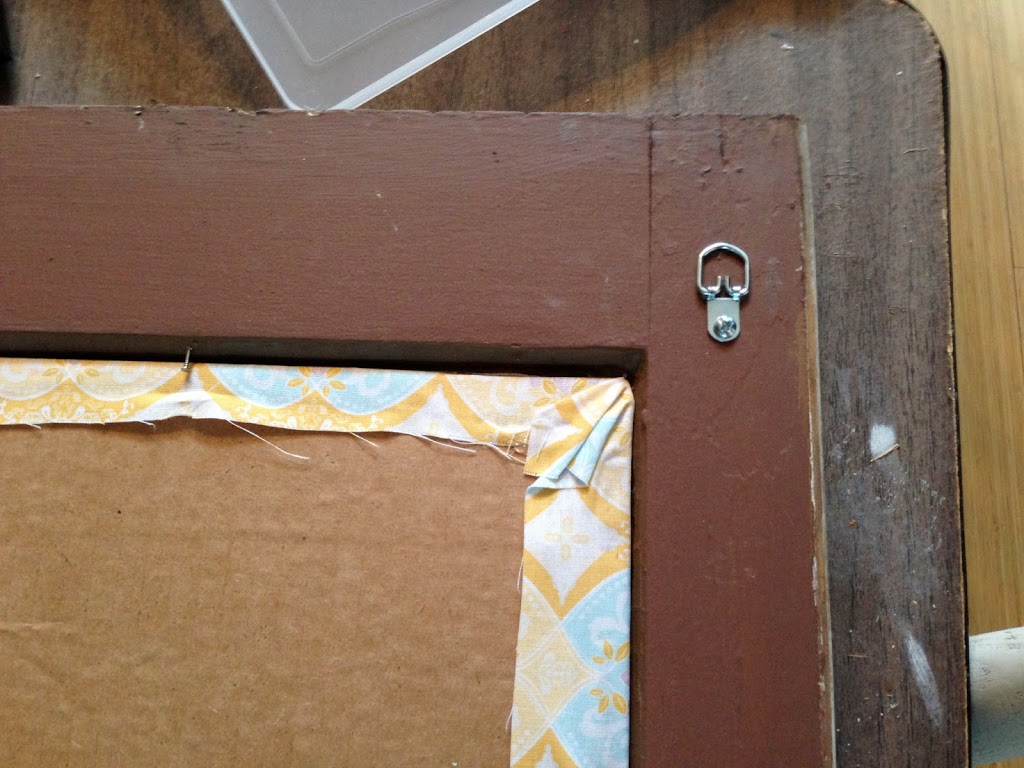
 To secure the cardboard mat to the frame, use small nails and hammer them in each of the sides.

 Because this is pretty heavy, I wanted to hang it safely.  I used “D” rings and attached them with screws to the back of the window.  To hang it, I drilled holes where the “D” rings hit and used anchors and screws.  The “D” rings hook over the anchored screws.

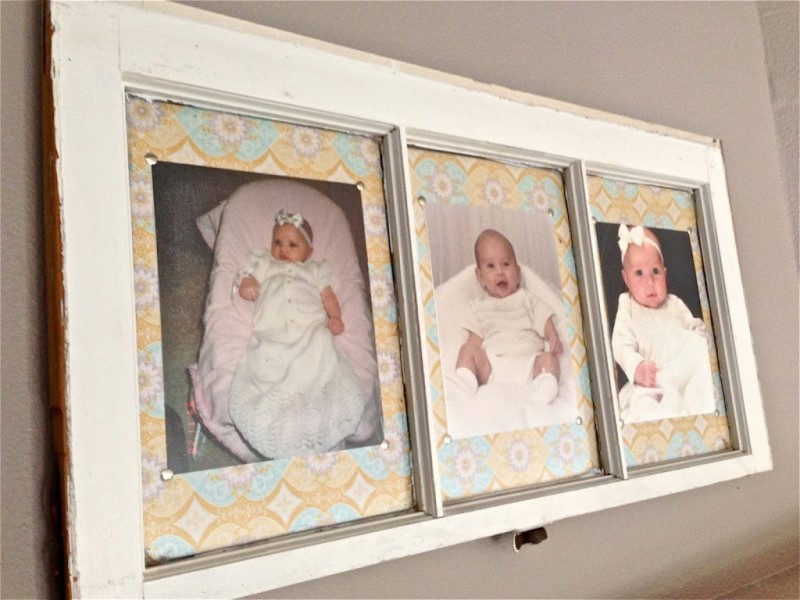
I really like how it turned out!  Looking at my daughter’s photo on the left  (13 years ago) all I have is this snapshot I took of her in the basement (it was on film of course).  The date is even stamped on the side of the photo.  We’ve come a long way in photography!

Amanda

Gratitude Rocks version 1.2

We’ve had so much fun making these gratitude rocks, I though I would post our latest versions.  For the original post, click HERE.

Step #1 Paint river rocks.

Step #2 Write or paint your name on the rock
Step #3 Cut words out of magazines describing the person whose name is on the rock.   By doing this, you are showing your gratitude for these qualities and talents. 

 Step #4 Use Mod Podge to attach the words to the rock

Step #5 Smile at your rock every time you look at it!!!


Amanda

Happy Valentine’s Day!

Its been a crazy month.  February is starting to feel like the new December!  Of course I left making the children’s valentine’s to the night before at 10pm.  Lucky Ginger Snap Crafts posted this idea and it was quick and easy!
 
Here are mine.  I could not find any crazy straws with loop-de-loos – only squiggles.  We added a Hawaiian Punch on the go pouch and tied them all together.  We only had to make 60 of these!!

I found this cute printable from Lizzie Jane Baby and sized it down to use as a tag for my daughter’s Valentines.

 My daughter made the quilted valentine keychains for her friends.  She fussy cut images of birds and fish and owls!  She is the cutest 13 year old ever 🙂

I tied up all my valentine keychains and hopefully I can get them delivered today.

Amanda

Baby Owl Birthday Favors

 We made these little owls for my daughter to bring to her preschool class on her birthday.  Remember when we were little and our mothers would bake cupcakes and bring them to school on our birthday?  Not any more – we can’t bring any treats – even if they are store-bought.  We wanted to bring something cute and fun and that most likely wouldn’t get thrown away. 

 We love these little hooties!  Each one is just a little bit different.

 As she handed them to the children, they were so excited to bring home a new friend!!  (they would also make cute valentines!)

Amanda

Valentine Heart Art – Fabric & Canvas

 I needed a little pick-me-up today and so I made this Valentine Heart Art.  Here is how you make one: 
Supplies:
Art Canvas
Fabric scraps – I used only red and aqua
Deco Page (Mod Podge)
Sponge Brush
Let’s get started!!
Begin cutting out random heart shapes in a variety of sizes.  I didn’t use a pattern and every heart is different!  

 Keep cutting.  I laid out my pattern as I went so I knew what sizes to cut. Now start deco paging.  With your sponge brush paint the glue under the heart, then over the heart, making sure to coat well.  (nice cereal bowl in the background…I was eating breakfast and crafting!)

 Let dry completely and you are done!

 I was hoping to frame mine but I chose an odd size canvas….hmmmmm.  Oh well, I will hang it up anyway!

 HAPPY!!!!

I Whale always Love You

 I am loving anything with whales!!  I had to make something fun for Valentine’s Day!  You can make one too!!  Scroll down for the pattern and tutorial!

 This one is with not so traditional Valentine’s colors – I needed something to hang in the guest bathroom.

To make this Whale Valentine’s Day Art follow the steps below:

Click HERE for the purple and aqua “I whale always love you”
Click HERE for the red & aqua one
Click HERE for a neutral color one with cream background and grey letters
 
Download whale and heart image HERE.  Draw the images on a piece of fusable webbing (Heat Bond or Wonder Under etc).  Cut it out larger than the outline of the whale (do not cut on the line).  Using a HOT iron, press the whale onto the WRONG side of your fabric for a few seconds.  Do the same thing for the heart.

 Now cut out the images on the line.  Peal the paper off the fusable webbing and position the whale and heart where you want them. 

Press the images with the hot iron for a few seconds.

 I sewed around the whale and the heart.  You don’t have to do this step – the fabric will stay on the paper fine.

 Frame as desired!!


Glitter Volleyball Christmas Ornaments


 I needed a little gift for the girls on our Volleyball team.  Here is what I came up with!  I started with a chipboard coaster.  I got mine at Michael’s.  I spray painted them white.

Then I got out a gray Sharpie and had my daughter draw the volleyball lines.  These would be cute for any sports – basketball, baseball, soccer, etc.

 I cute out all the player’s names in red vinyl and punched a hole in the top.

 Then, my favorite part, the clear glitter.  I could use this stuff on everything I own.  It is great because you can see through it – but it gives it a sparkly finish.

 Get out the Elmer’s glue (or any similar) and brush over the top of the ornament – making sure to cover it completely.  Sprinkle on the glitter & now they are super cute!

 I attached a little ribbon and let them dry completely.
 They are pretty cute!

 The fun thing is I left the backs plain so the girls could all sign the back of the ornament.

Thankful Owl Pillow

I can’t believe it is November!  I made this cute owl pillow out of a dish towel from Joann’s – 70% off!
I love the fall owls – but the fabric was canvas-like – not good for doing dishes…. better for a pillow!  I cut a piece of burlap and cut the word “Thankful” on the Cricut in vinyl.

 I removed the letters, leaving the background for the stencil.  Then I stenciled black paint & removed the vinyl when it was dry.

 I love stenciling on burlap!!  It is so fun & easy!

 I cut the dish towel into a 17″ square (it will fit at 16″ pillow form).  I top-stitched the burlap piece in place.  Then just sewed the pillow.  I added some trim in the seam. 


Quilted Halloween Pillow

I made this Halloween pillow for a friend.  I love how it turned out.  I love making pillows with lots of different fabrics.  I cut random strips of coordinating Halloween fabric and sewed them together.  Next I trimmed the finished piece to measure 17″ (to fit a 16″ pillow form).  I quilted the pillow front in vertical seams 1″ apart.  I added a black jersey ruffle (from an old T-shirt) and sewed a gathered flower!  I could make 100 of these!!


Boo Photo Art Thingy

I have so many Halloween photos through the years – it’s hard to display them all!  I came up with this idea to use photos to create the mat.  I bought this frame at a garage sale and the decorative mat was already in the frame.  I tossed the glass, painted the frame and then glued my favorite Halloween photos to the mat.  I also love the paper rosette – I can’t get enough of them!!