Laundry Room Update

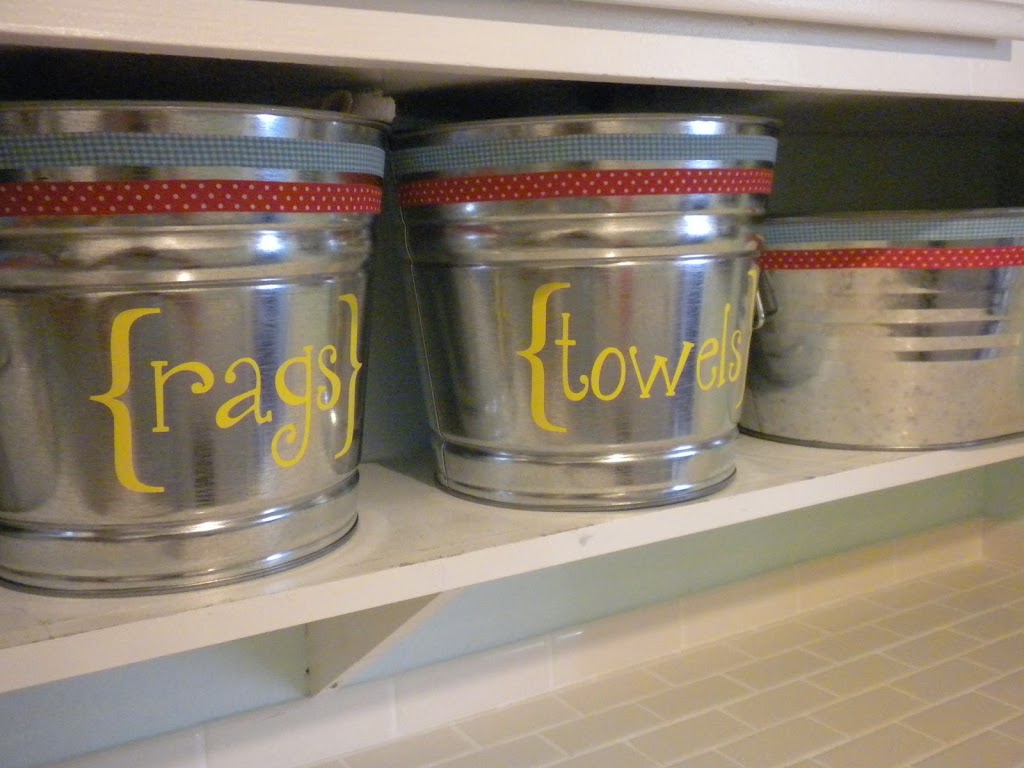
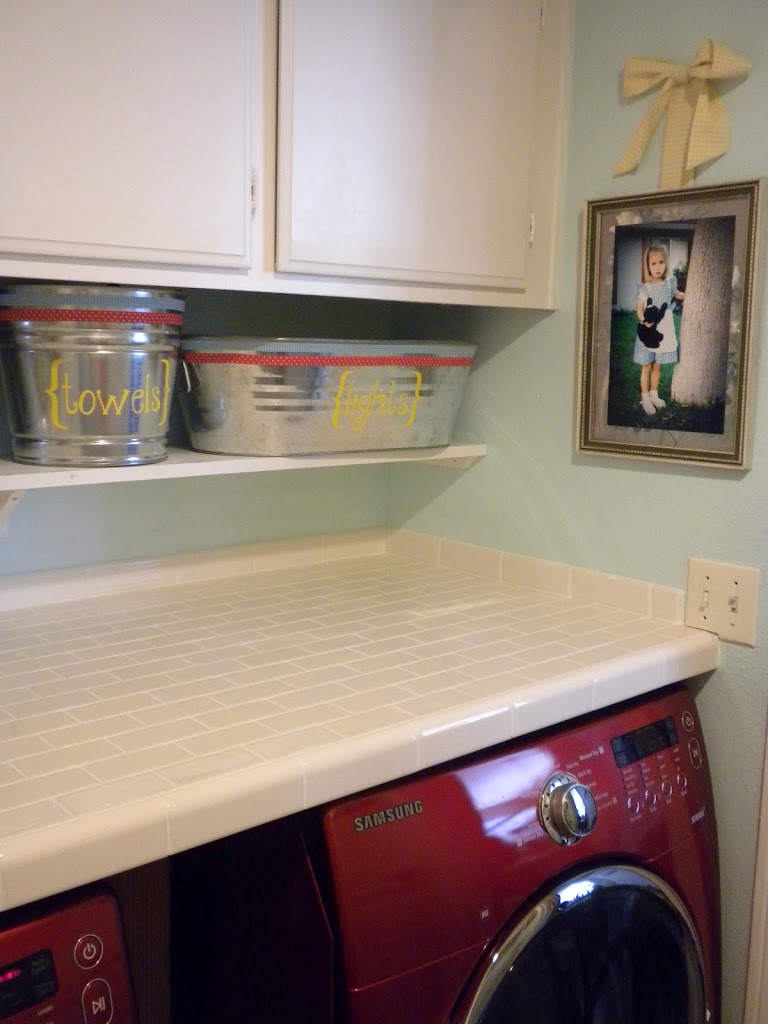
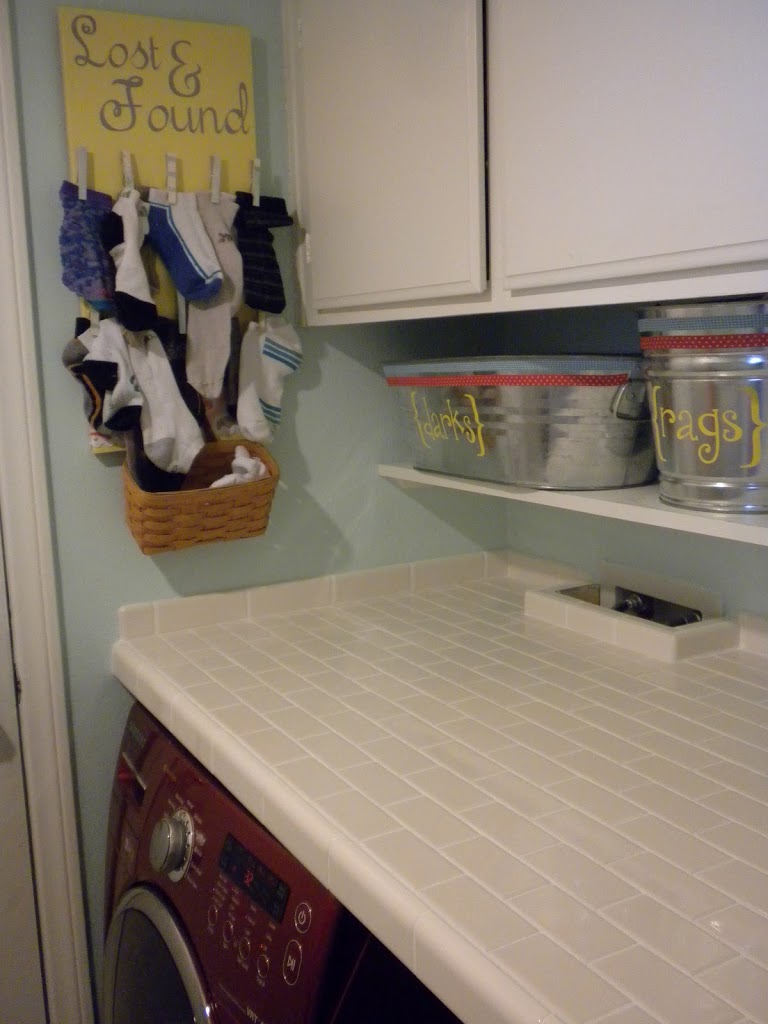
 My laundry room is finally coming along.  David finished the tile work and built the shelf this past weekend.  I decorated the buckets and tubs with fabric tape from my friend Judy at Sprizzie.  I love it – she also has lots of fun washi tape!  I don’t keep all my laundry in here – there just isn’t room.  This is where the stragglers life.  The rest is in hampers in everyone’s room.

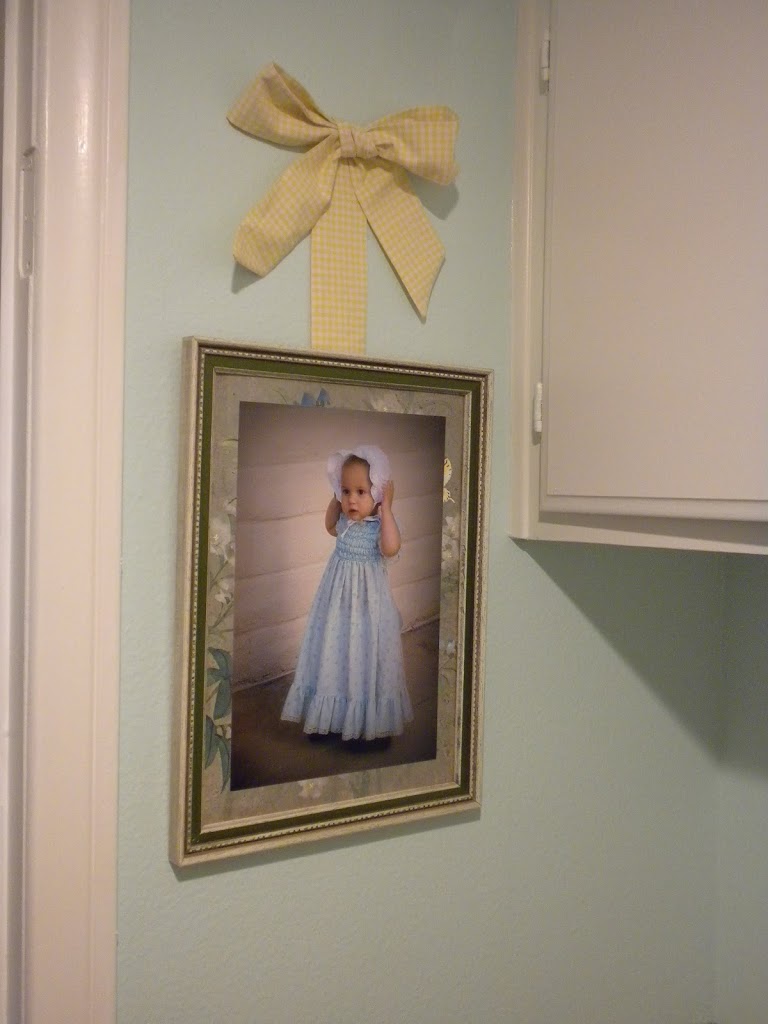
 I bought these vintage frames at a garage sale.  The art work was a little faded.  I printed out photos of my girls wearing clothes I wore when I was little and I mounted them right on top of the vintage prints.

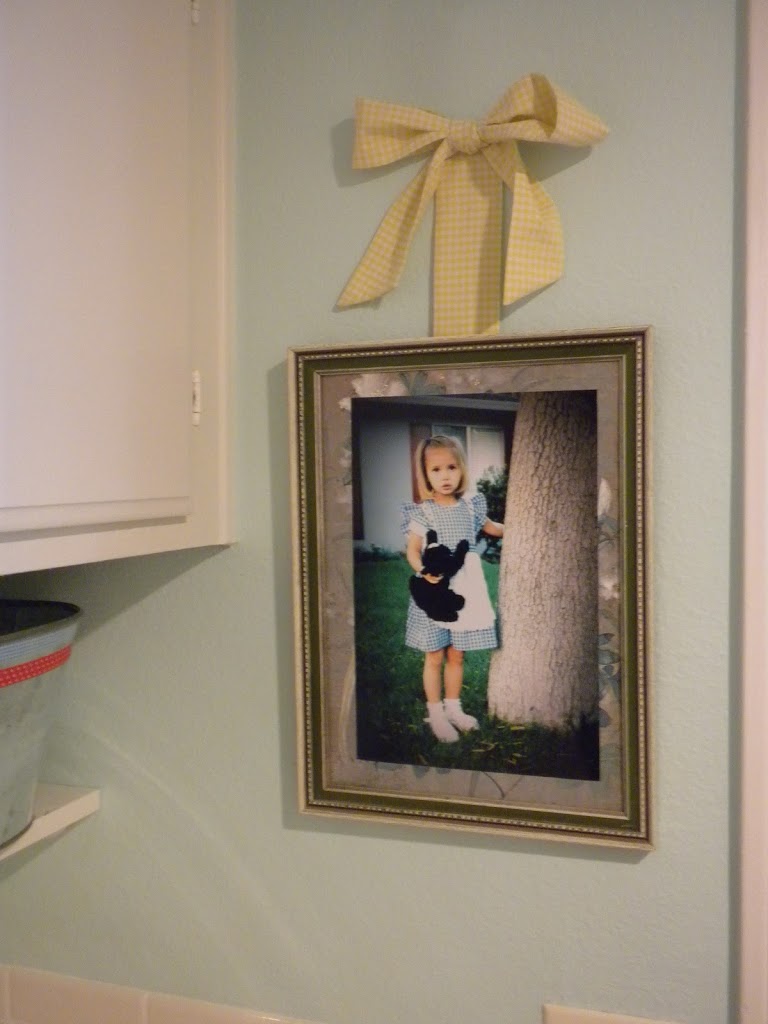
The frames are really hanging on the wall – the fabric bows are made to look like the picture is hanging from them – the bows are actually hot glued on!

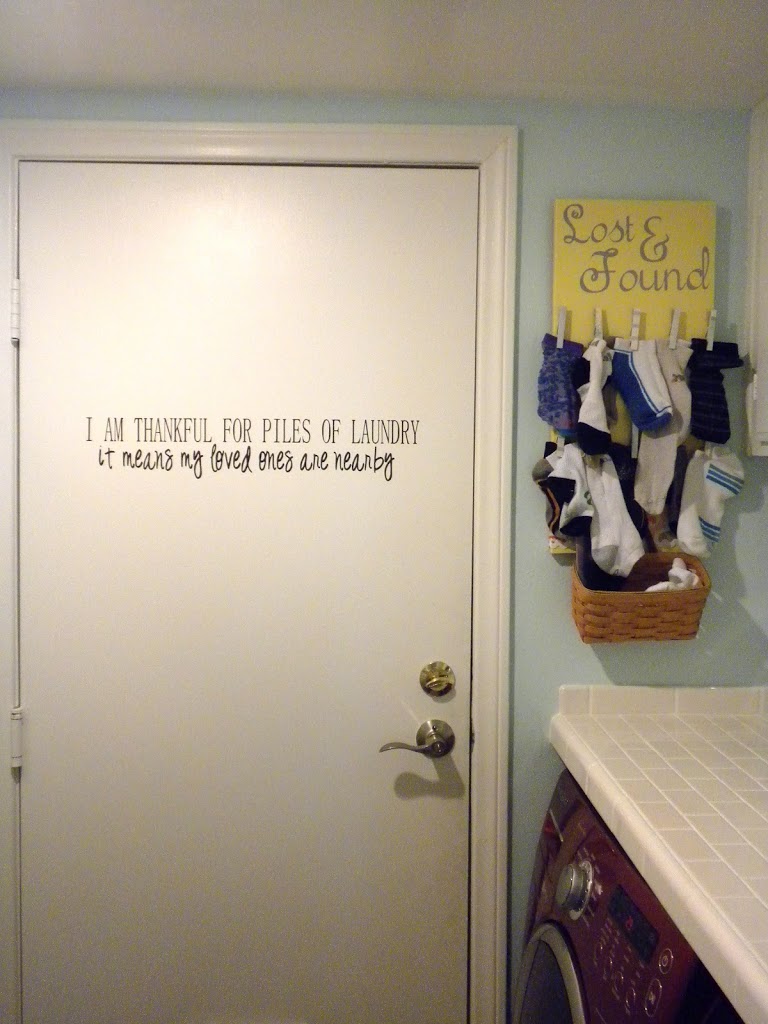
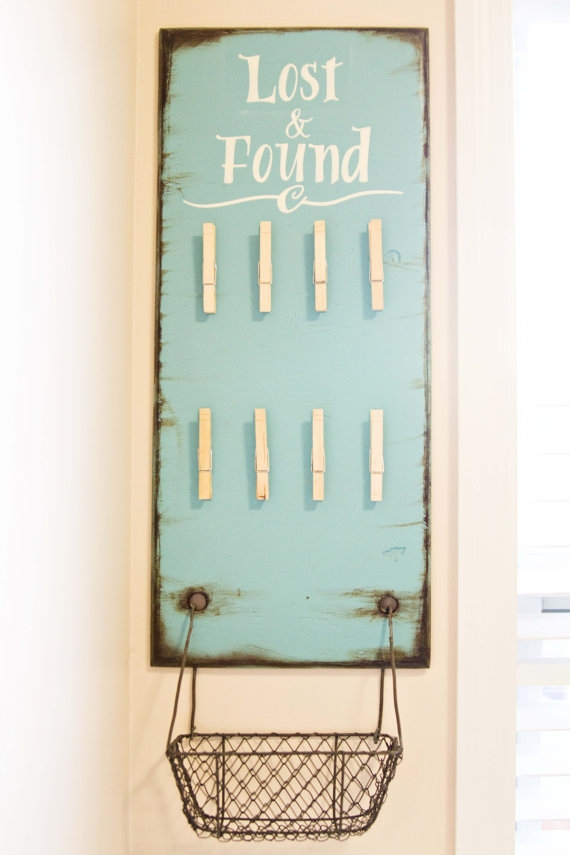
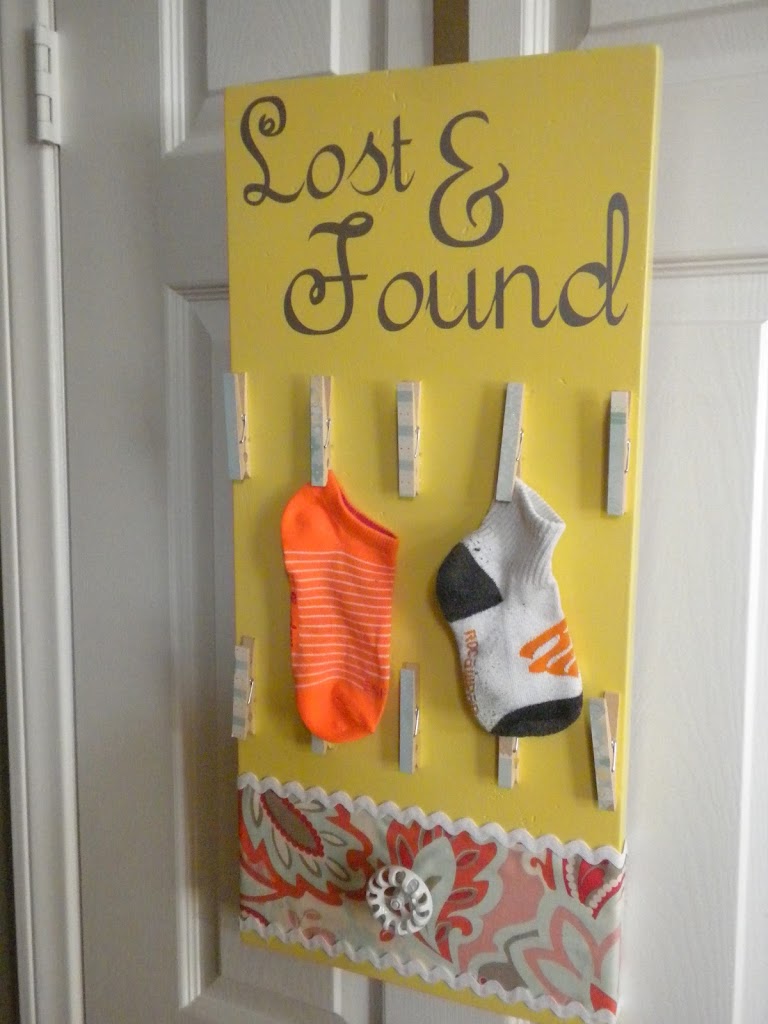
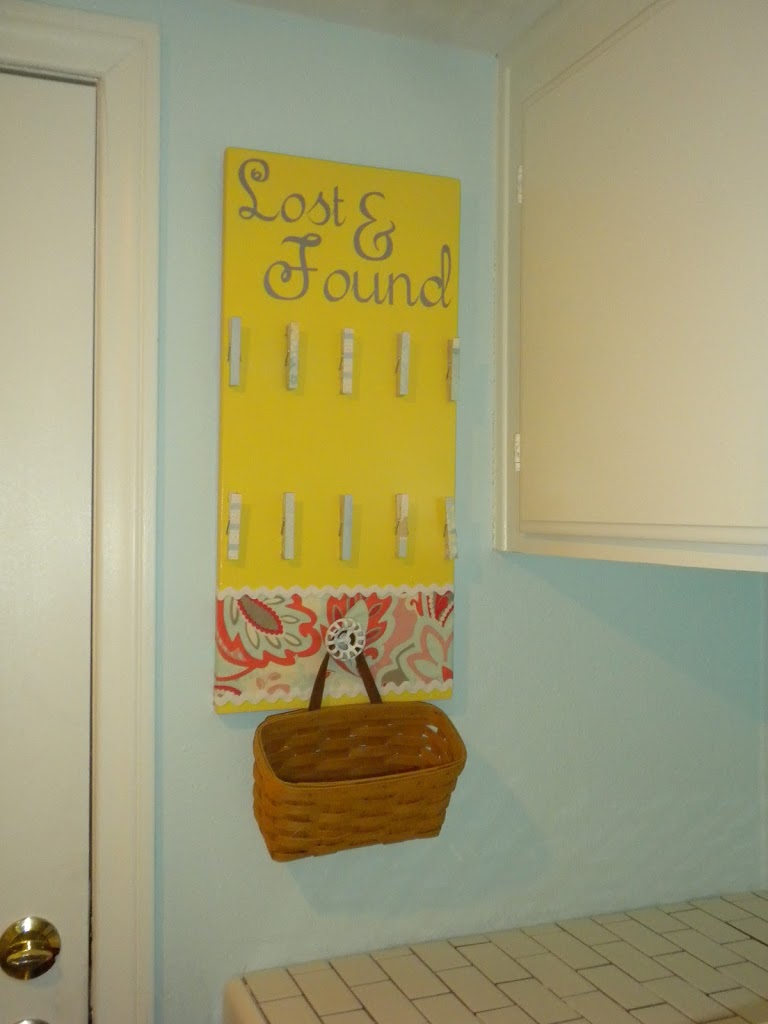
 Oh yes, the lost and found board is in full use!  It’s kind of embarrassing how many missing socks I am responsible for!!

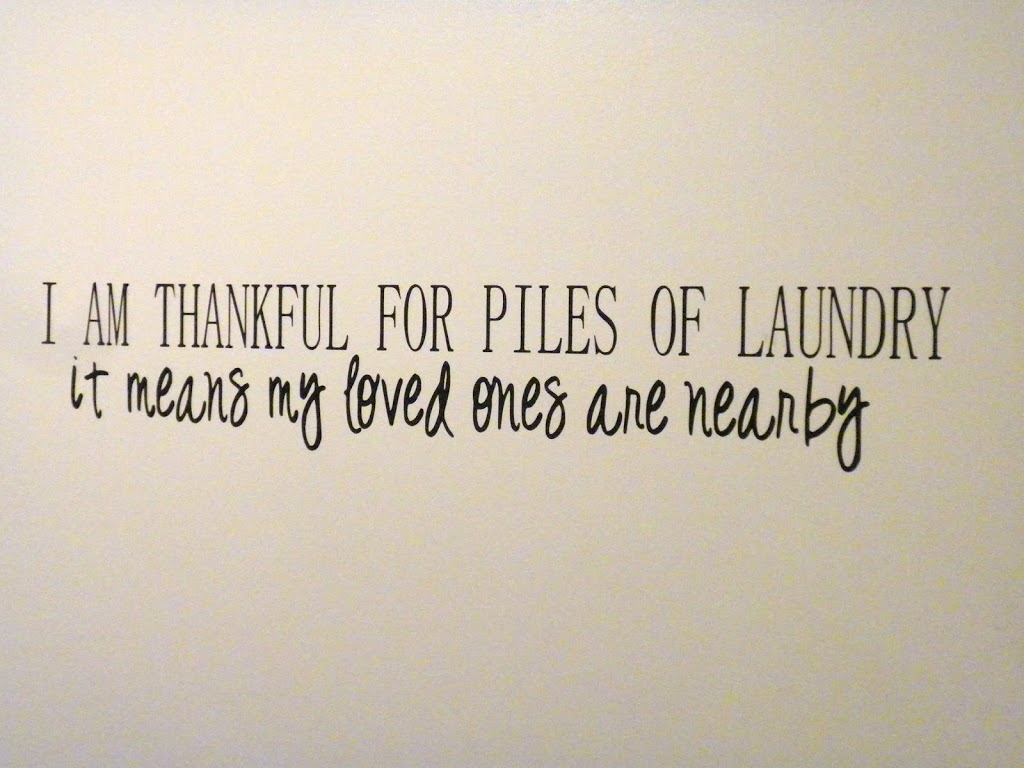
 Finally I cut this little phrase out and put it on the door.  I found it on the internet somewhere & loved how it turned laundry into something to be thankful for!  A nice reminder for sure.

I have a few more things to finish – I am making a little quilt to hang above the backsplash.  Hopefully it will get done soon!

Polyester Flowers

 We made these in Relief Society.  They were really fun and super easy!! 

To make these, get your polyester fabric – sheer and thin seemed to work the best.  Cut out circles – lots of variety in the sizes.  I played with mine – but a 5 or 6 inch circle worked the best for the largest pieces. 

Next cut slits like in the diagram below.  The deeper the slits the deeper the petals.  The more slits the more petals.  Again, it was fun to play around to get the look I wanted.

Then take a candle and hold the edges of the fabric above the flame so the fabric singes & melts.  This creates the ruffelly petally look.  And who doesn’t love to play with fire while crafting!!

Finally I pinched the centers of the flowers and hand sewed them all together.  You can add buttons, beads, rhinestones, or anything to the centers – the possibilities are endless!  I hot glued an alligator clip to the back so Sally (or mommy) can wear!!

3rd Grade Mother’s Day Craft

I needed a quick & low-cost Mother’s Day craft for 3rd grade.  Here is what I came up with.  It was fun & crazy at the same time.  I forget how long it takes younger people to craft – but everyone finished their project.


To make these pom pom pens & holder you need:
fabric 2.5″ x 20″
fabric 1″ x12″
ballpoint pens
can without a sharp edge
scrapbook paper
glue & hot glue

There are many ways to make a fabric pom poms – I have seen many tutorials.  This is what I came up with.  I think if I was making it myself I would have sewed them.  It’s too hard to sew with 46 3rd graders!  So glue it is!  Take your 2.5″ piece of fabric and snip it almost all the way through – making a sort of fringe.


Next, run a bead of glue along the bottom of the fringe.  I glued this one to the wrong side.  Glue it to the “right side” of fabric.  Then start rolling up your fringe into a tight tube.
When you are done the pom pom should look like this.  Next take your 1″ piece of fabric and wrap it around the pen, gluing to secure.

Don’t they look cute?


All we did to make the “Pencil Holder” was glue a strip of scrapbook paper around the can.  Of course you can get super cute with die cuts, vinyl, ribbon, buttons, and ric rac – but we are keeping it simple for 3rd graders!!!


Next we needed to wrap the gift.  Wrapping 46 gifts can add up – so I went the brown paper bag route!  I bought doilies and cut them in half.  The learners glued the doily to the front, placed the gift inside & wrapped the outside with variegated pink cotton yarn!  Done!

I was exhausted when I came home from making this craft at school.  I don’t know how teachers do it.  They are amazing people!!


5 Minute Fix-Up

 I literally had five minutes to pull this outfit together.  I had bought a stack of solid shirts for Sally hoping to embellish or “fix up”.  I have tons of ideas pinned on Pinterest – ruffels, gathers, buttons, etc.  Not today – but the shirt still came out cute!  I drew a crazy daisy on some Heat Bond.  Ironed it to the yellow fabric, cut it out, ironed it to the T-shirt & stitched it in hot pink thread with the Free Motion foot.  Added a center to the flower & stitched that as well.

For the headband – I cut 2″ WOF of the yellow fabric.  I didn’t even hem the edge.  I ran a gathering stitch along the length.  Gathered & hot glued it to a circle of felt.  Made a quick fabric button & hot glued that into the center.  Done!!

 Don’t you love the dangly clip-on earrings!  I got them at an estate sale for $1!


I saw this idea on Pintrest and thought I would make my own!  I found this country checker board at a garage sale for 50 cents.  It sure beat waiting for hubby to cut wood for me!!
I sanded it, primed it & spray painted it yellow.  I cut the vinyl on the cricut and added some scrapbook paper to the clothespins.  I used epoxy to adhere the clothespins to the board.  Added a little fabric to the bottom & drilled in a decorative knob.  I love it!  Now maybe I can keep all the socks together!


https://www.jedicraftgirl.com/2012/05/i-saw-this-idea-on-pintrest-and-thought.html

Bunny Jars

Instead of packing for our camping trip, I have been obsessing about these:
Yesterday I saw this tutorial for Bunny Jars from Torie Jayne. For the past 24 hours all I could think about was making the jars. I went through all the children’s toy animals only to find not one bunny. (If I want to make dinosaur jars sometime, I am set!) I went to a few stores keeping my eyes open. Finally at Pier One I found these porcelain bunny ornaments – they were the closest thing so I bought them.

Last night I cut off the hangers (which I wish they didn’t have) and epoxied them to my jars. (I save every jar I come across. I even emptied out a bottle or pickle relish because I liked the jar!)


This morning I got out the spray paint. I first primed them then painted them what ever colors I had on hand. I filled them with paper grass (which was also hard to find this late in the season) and then put the malted milk eggs in. I think they are cute.
Now I can start packing for our camping trip!!!

Bunny Silhouette Art


I made this cute bunny picture today. It’s been a while since I spray painted anything so I was looking around my house and found this frame I picked up at a garage sale for $1.


Then went through the scrapbook paper and found this paper. I went through my spray paint collection and found a color that matched. I glued the paper to a matte and then cut the opening with a paper crafting knife. I tore a page out of Charlotte Bronte’s, Villette (I read it and didn’t like it so the 500+ pages are perfect for crafting!) Then I googled bunny silhouette and cut it on the Cricut. Easy peasy!

It sits in my kitchen window! Happy Easter to me!!

DIY Cake Plates


So maybe I am the last person on earth to try a “DIY Cake Plate” – but that’s ok because they are so much fun to make. I collected plates, bowls, candle holders and other odds and ends from thrift stores, garage sales, and my own garage! Here’s how you make them:

#1 – Clean all pieces (get all those impossible-to-remove labels off and any candle wax that has dripped down on candle holders). In this example I made 3 different ones.

Platter & wood candlestick


Glass plate & Ice cream sundae dish
White plate & white bowl

#2 – Mix the Epoxy. I just used a small amount at a time because it dries so fast. I love working with epoxy because it makes me feel smart – like I know all about Science!!! I used a toothpick to apply the epoxy to the base of my cake plate (the part you will attach to the plate).

#3 Center the cake plate base onto the bottom of the plate. I placed a book to add some pressure. Let dry.
#4 Paint. If you love your plate & stand color & finish then you are done. If you don’t love them (like the gold plate above) then it’s time to spray paint. I primed the entire piece with spray primer then painted my plate gloss white. If you do paint the top of the plate, I don’t suggest placing food directly on the painted surface. Use a cardboard cake board or a doily.

Here are the finished cake plates:

I also found these cute dessert plates at Home Goods in the clearance section. I epoxied cut glass candle holders to the bottom. The possibilities are endless!!!