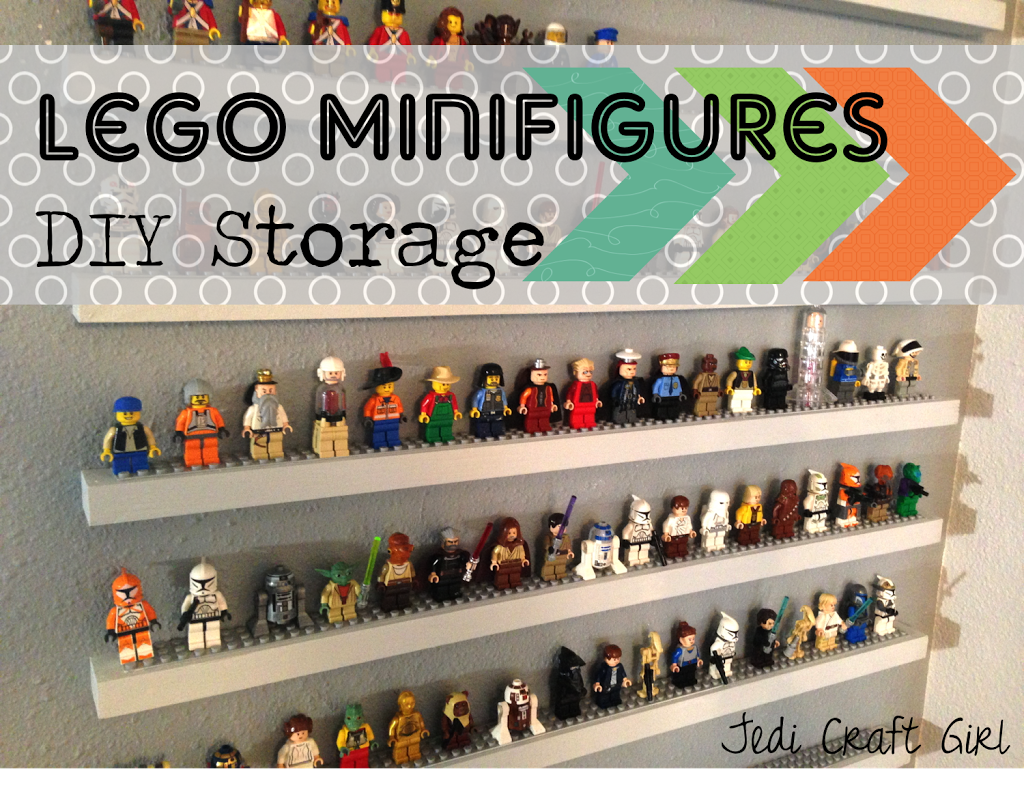
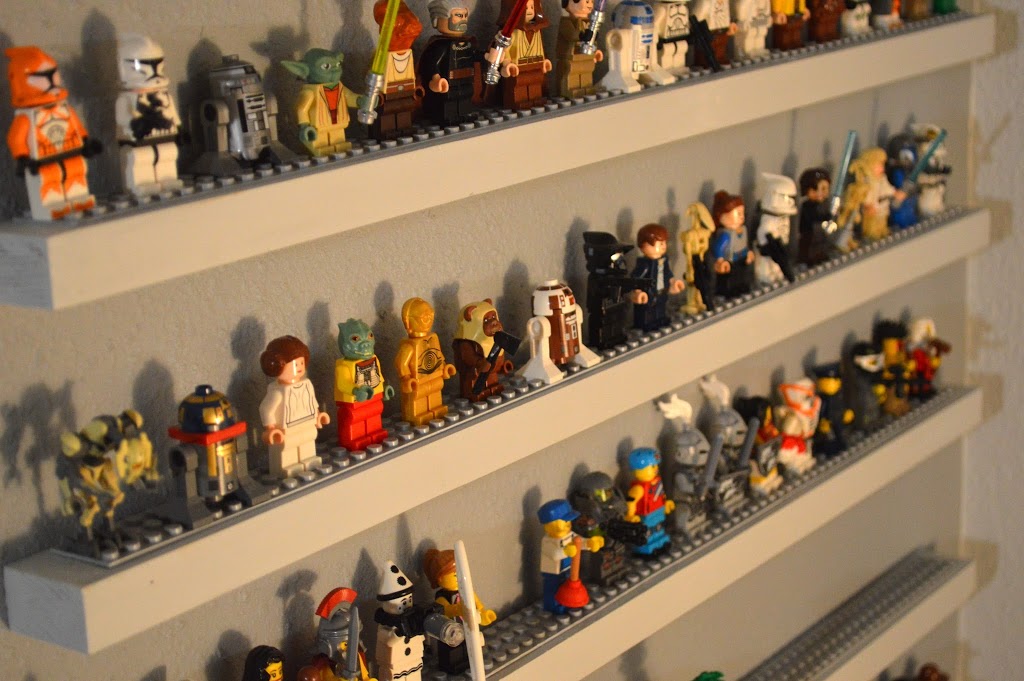
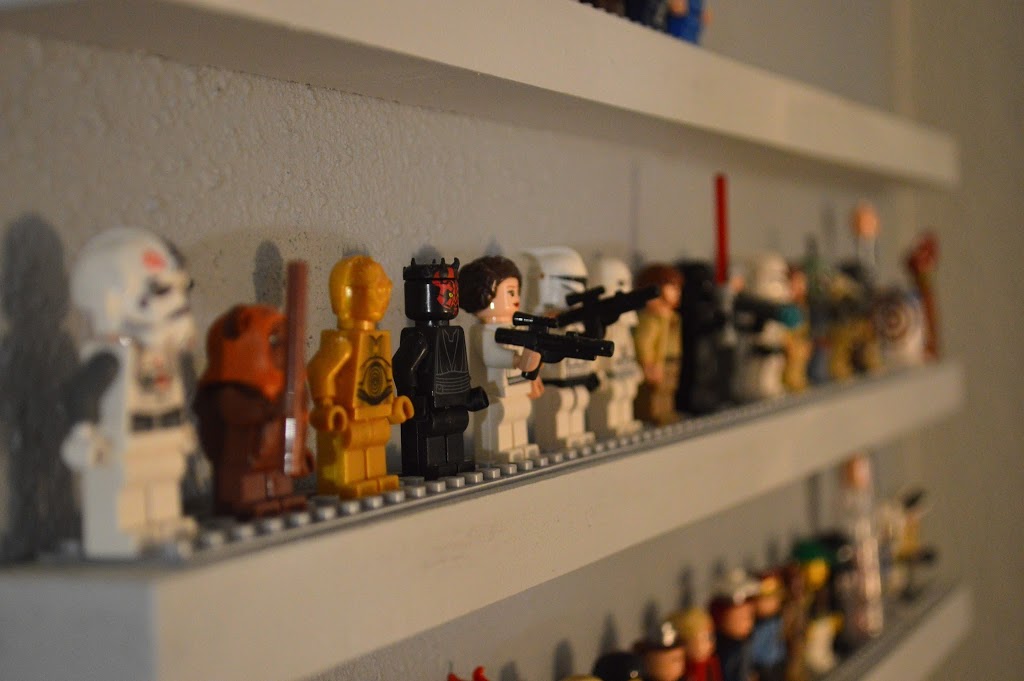
Do you have little person living with you that is obsessed with Legos? I do!! We love the Lego Minifigures at our house!!! I wanted to find a way to display and store them. I think this works well and it has lots of room so we can buy more Legos!!!!
Supplies:
3/4″ wood (pine, MDF, etc.)
Lego building board (available at Lego store or Lego online)
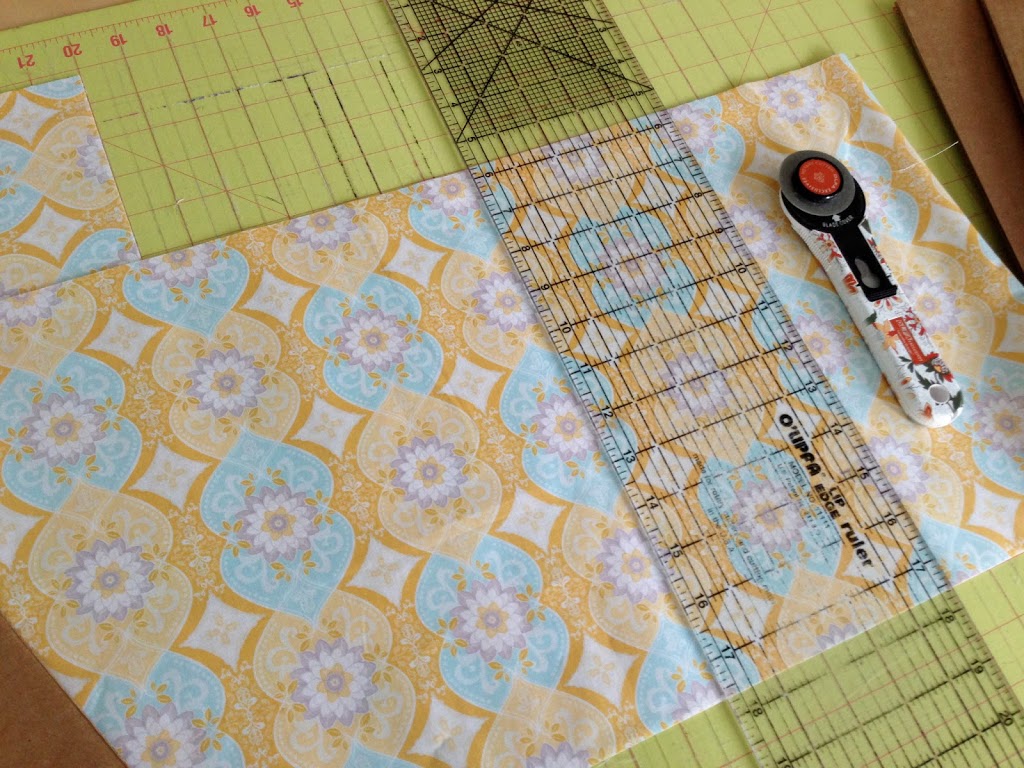
utility knife
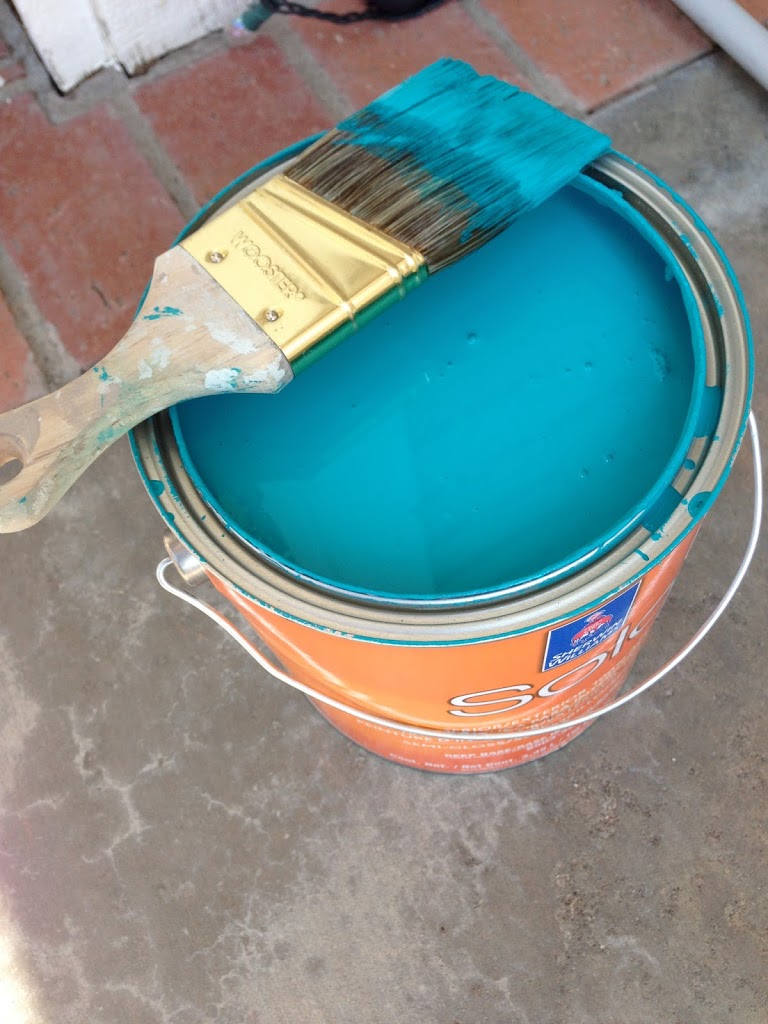
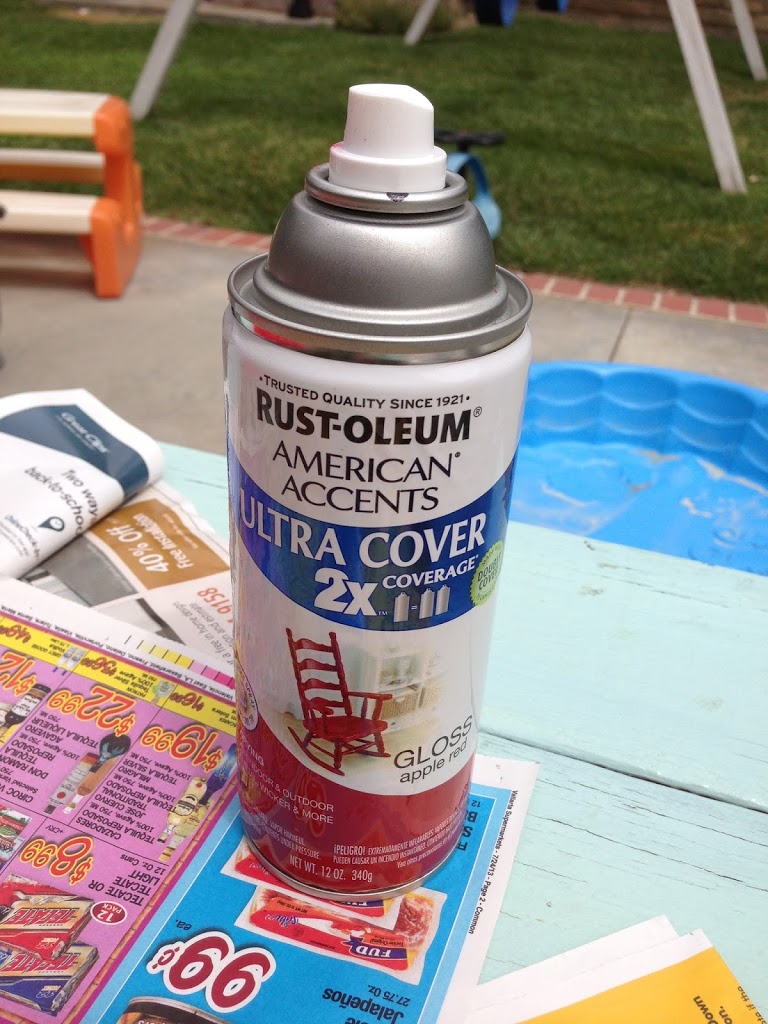
paint
Quick Hold E-6000 glue (or similar)
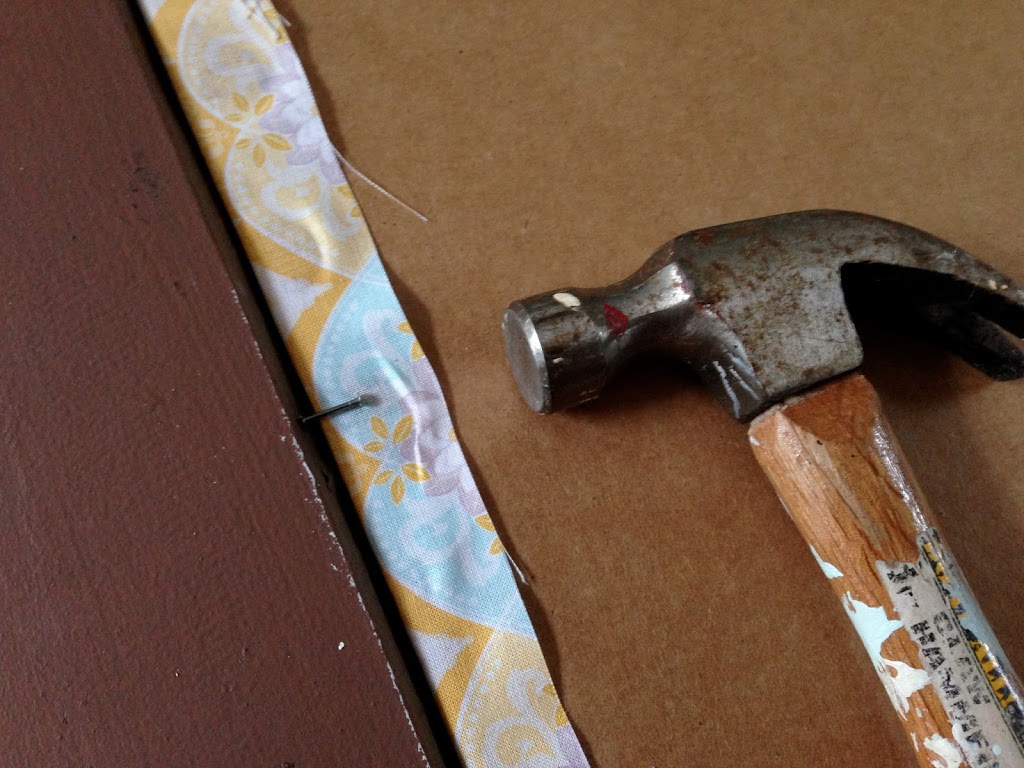
nail gun
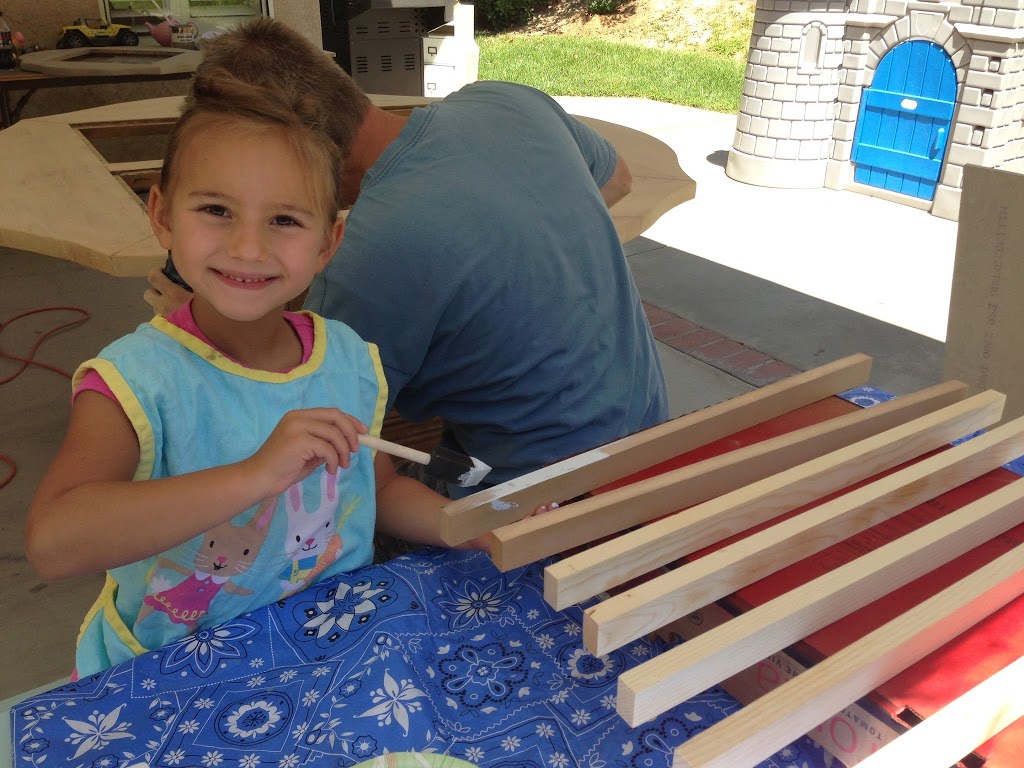
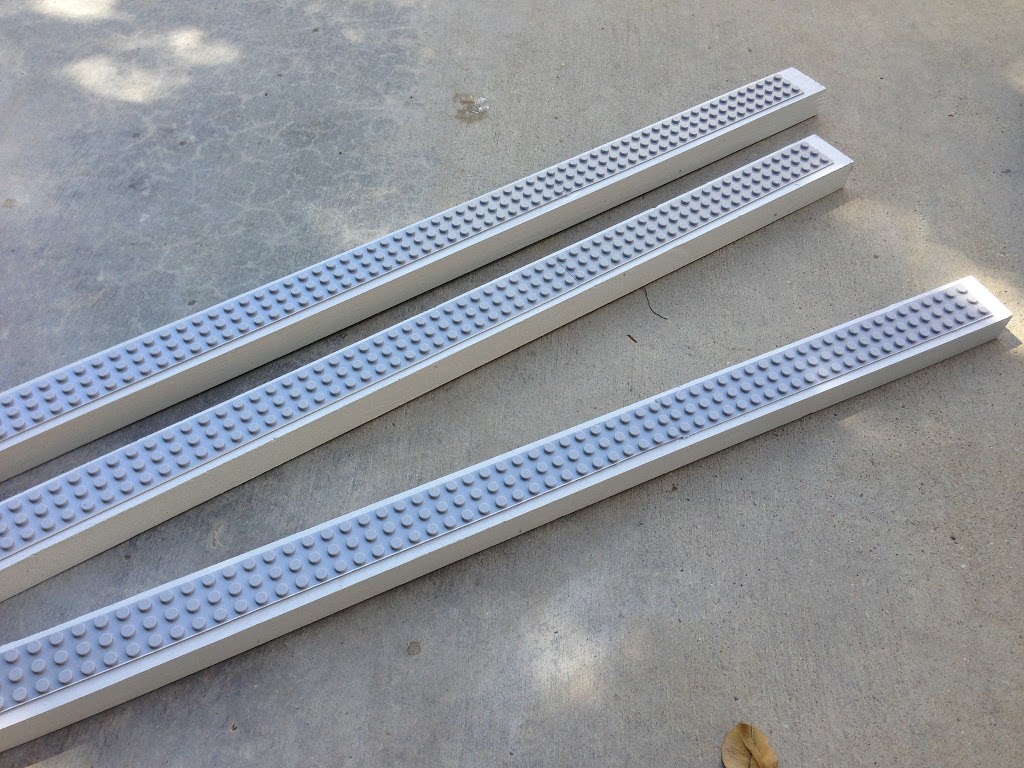
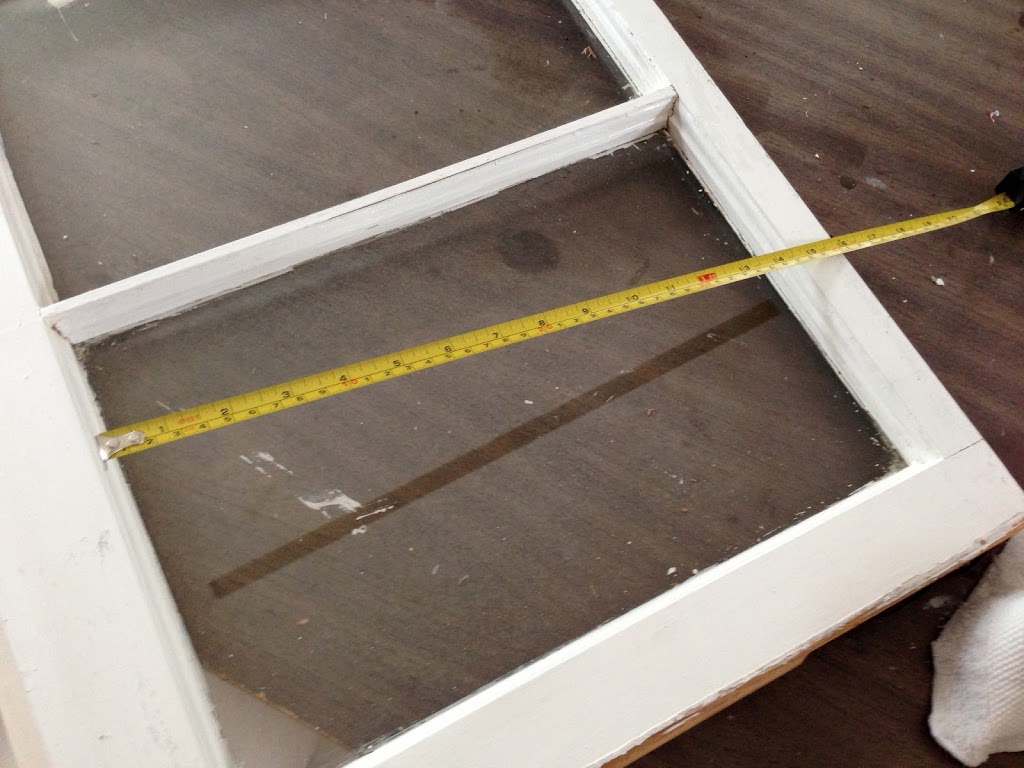
Begin by cutting the 3/4″ wood into 1 1/4″ strips. You can make as long you want. Mine are 23 3/4″ long because that is what looked best on the wall.
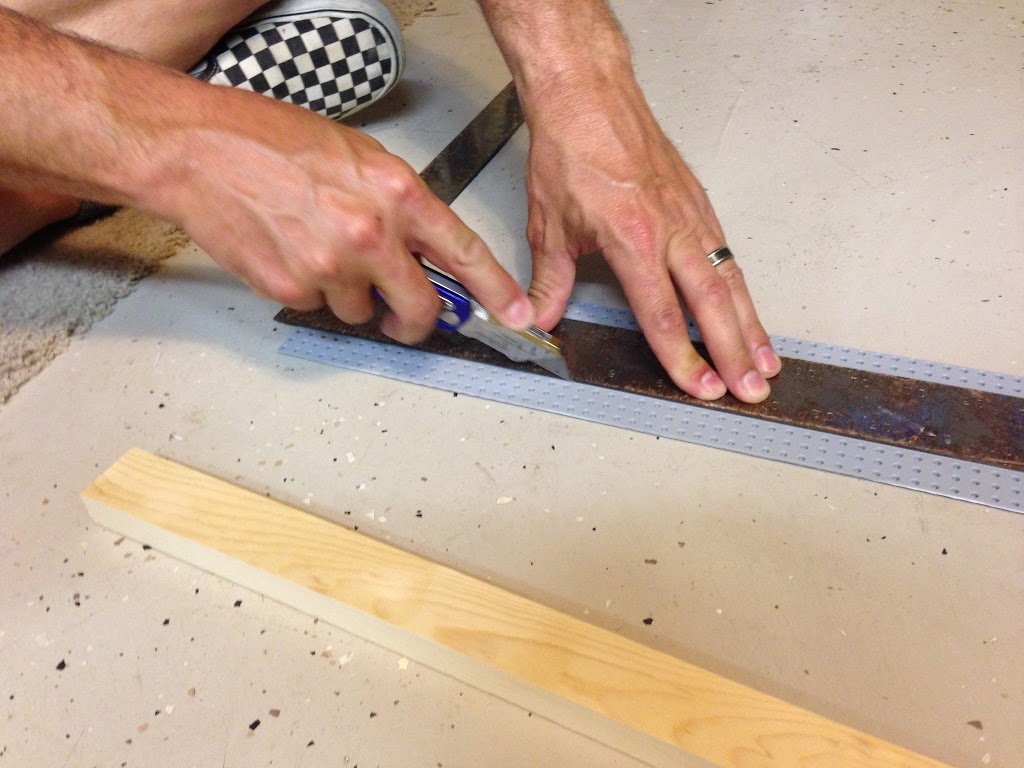
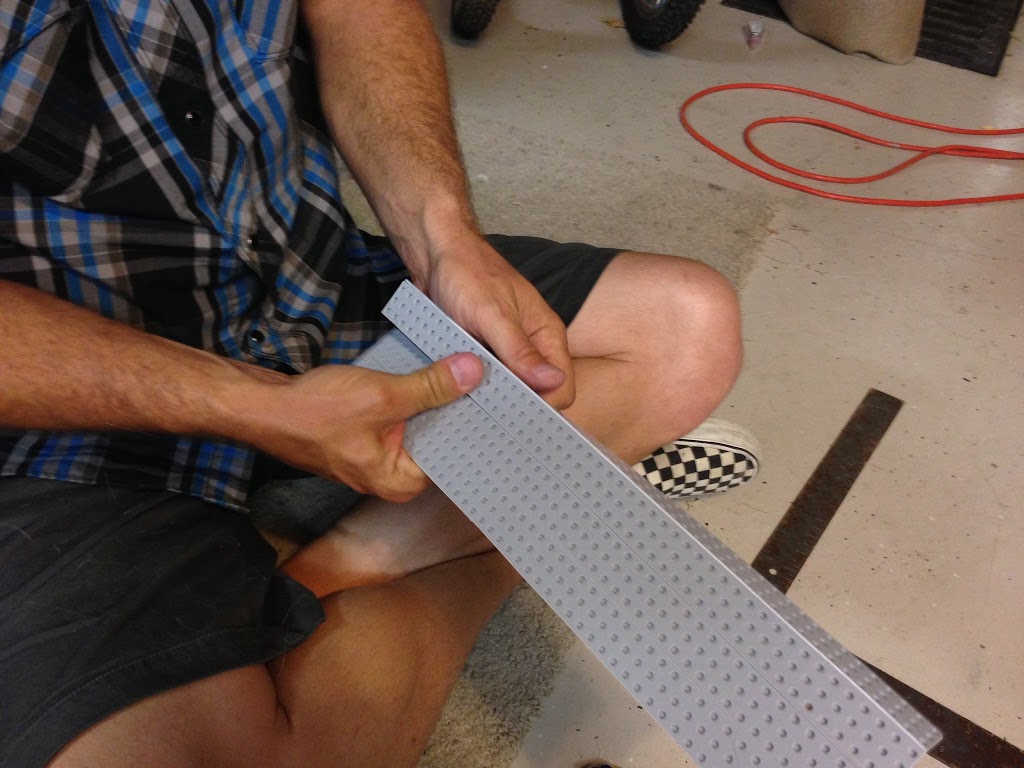
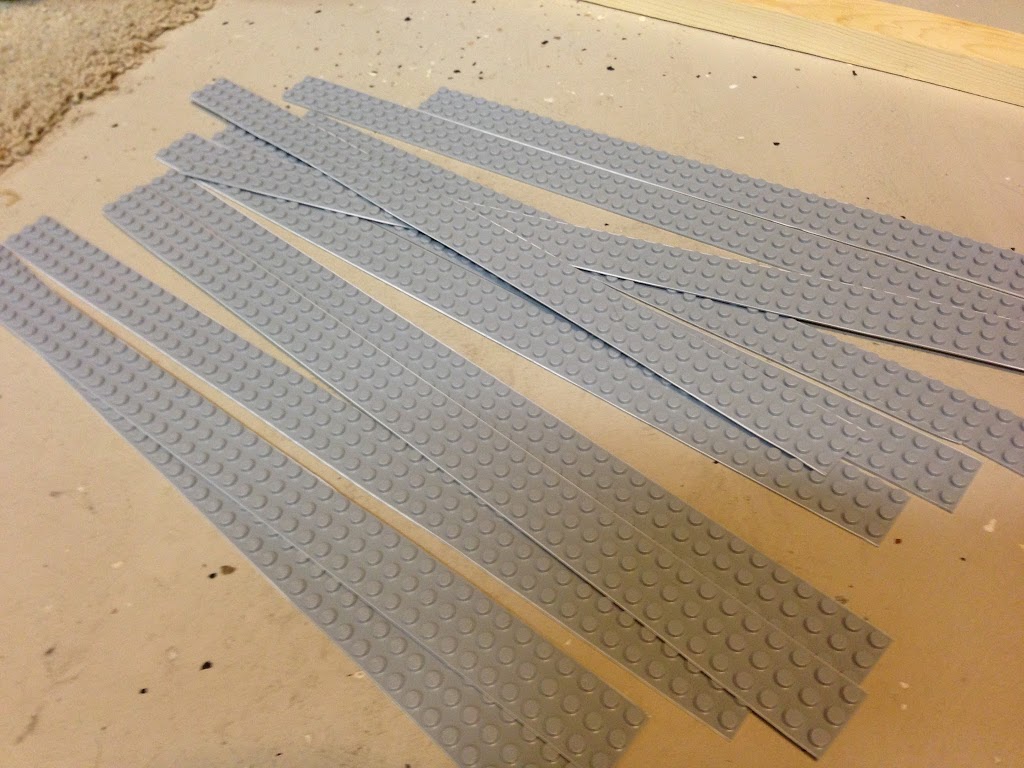
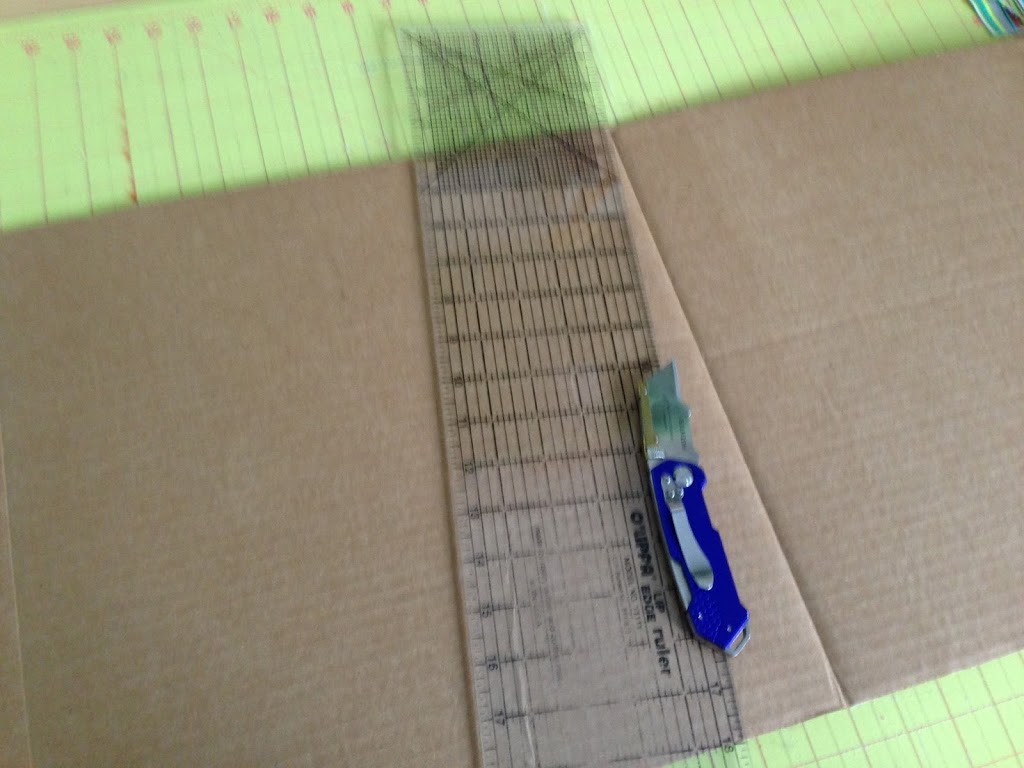
Next cut the Lego board. Using a utility knife, cut the Lego board every “3 circles”.
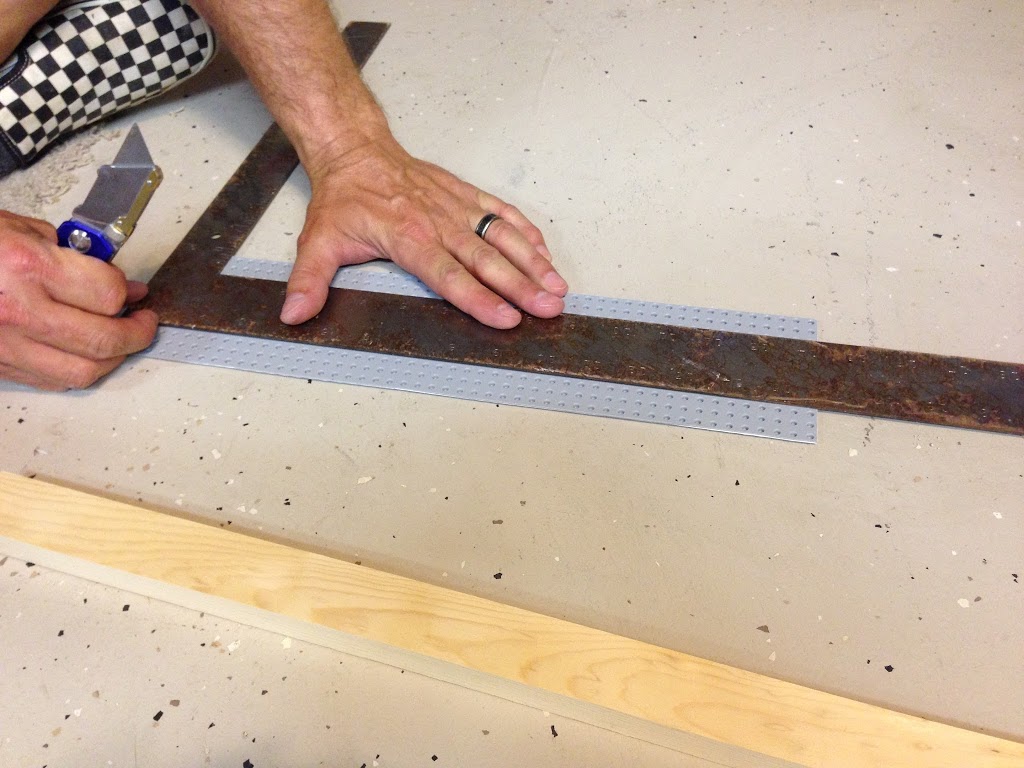
Once they are cut, bend them a little bit to break them apart.
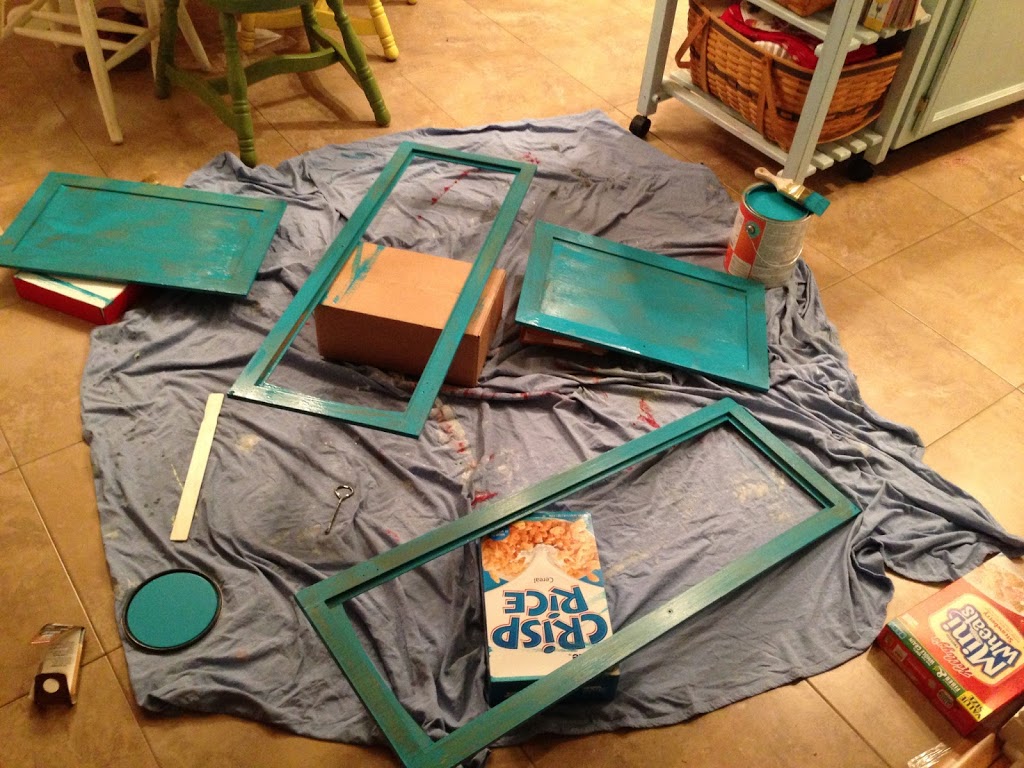
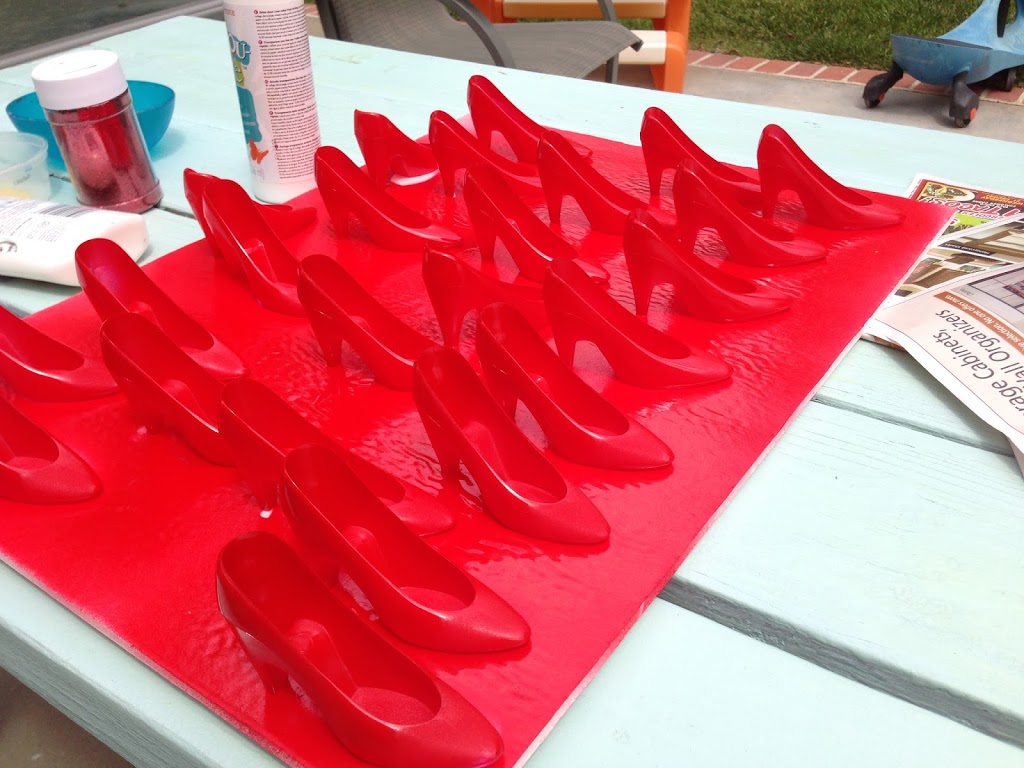
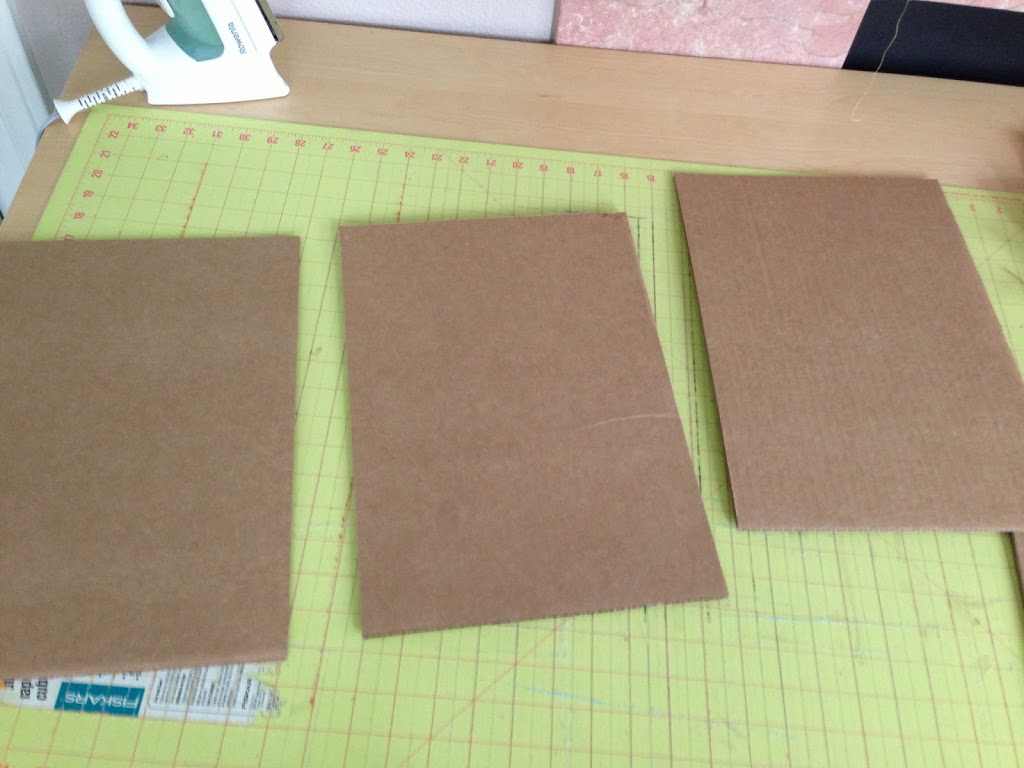
Paint the boards.
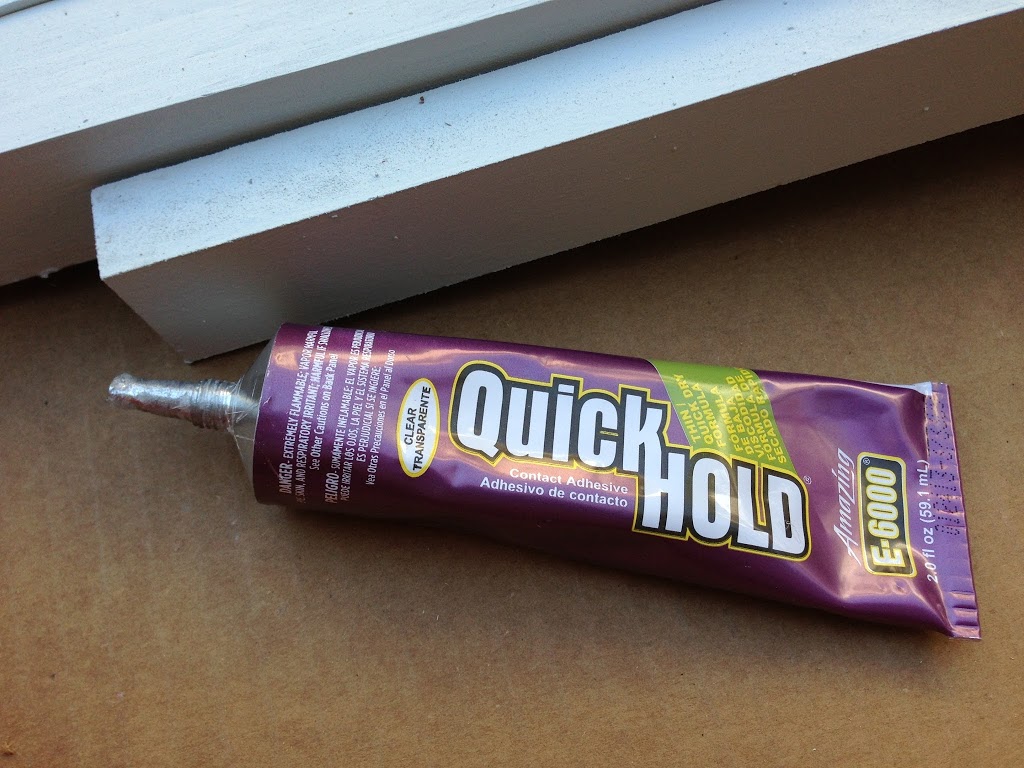
Glue the Lego strips down. I used one and a half of the Lego strips on each board.
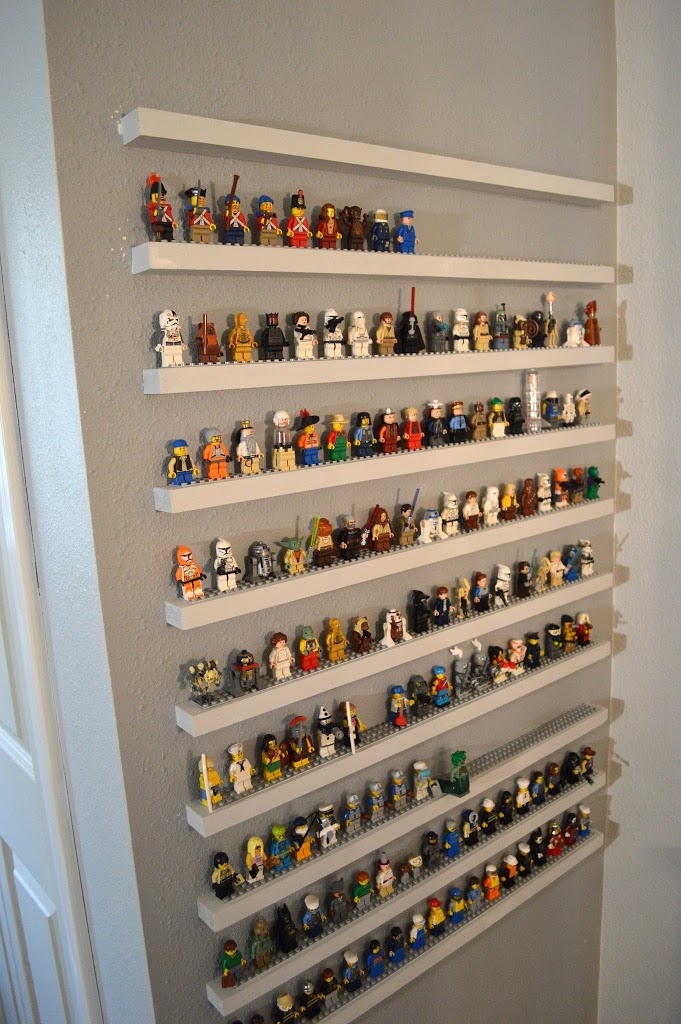
Once everything is dry, measure the wall for placement. Using a nail gun, nail the boards into the wall, making sure to hit studs. Patch the nail holes and touch up the paint where the patches are.

My son made me this “Keith Urban” minifigure.

We just bought our series 11 Lego Minifigures today. These are mine! 50″s girl and pretzel girl!!


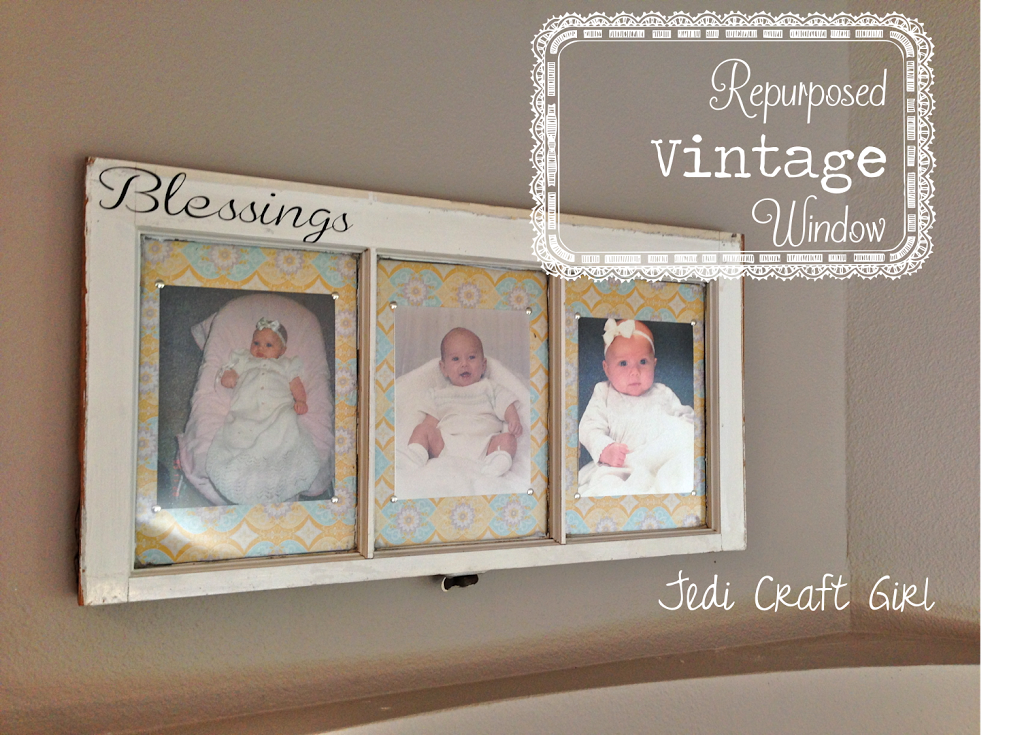


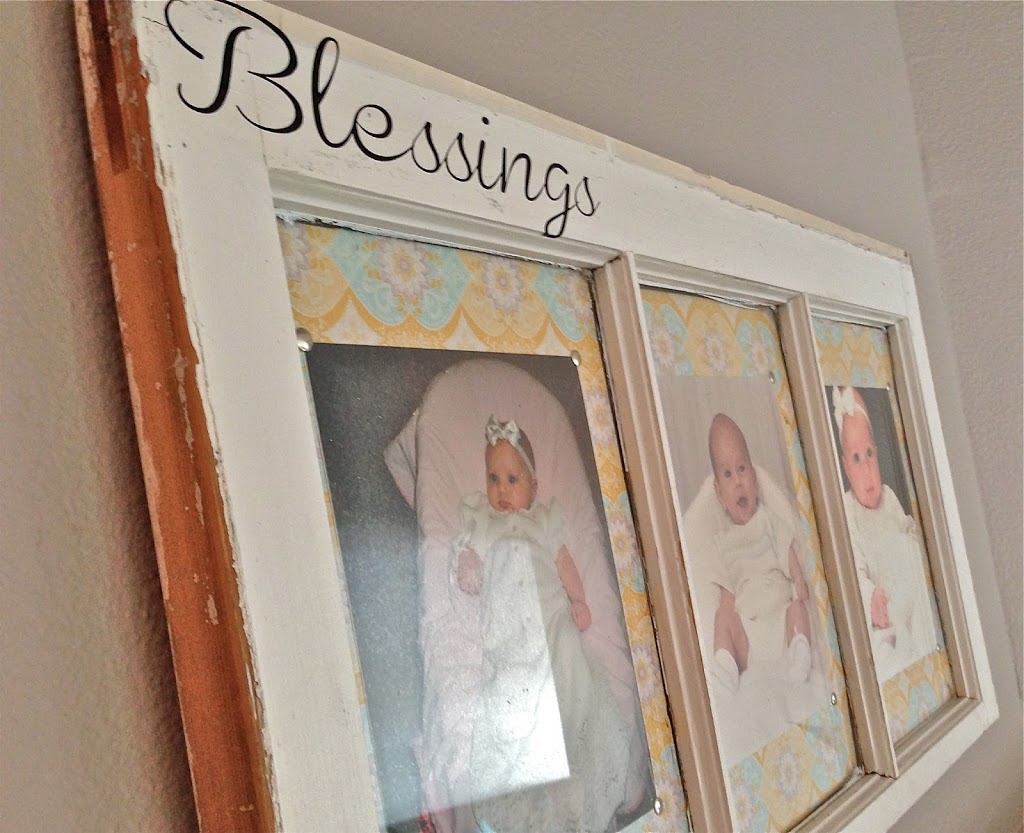
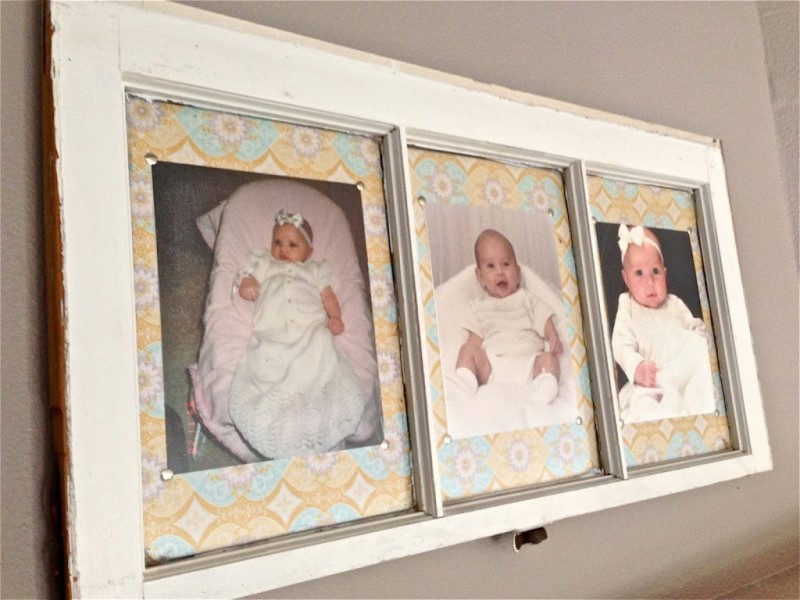 I really like how it turned out! Looking at my daughter’s photo on the left (13 years ago) all I have is this snapshot I took of her in the basement (it was on film of course). The date is even stamped on the side of the photo. We’ve come a long way in photography!