Rustic Farm Table Reveal

It’s finally here – the day I have been waiting for!  My rustic farm table is finally finished!!  This project all started when I got the crazy idea to sell my dining room set to my friend and use the money to purchase reclaimed lumber and have my husband build me a table!  It all started in February…..

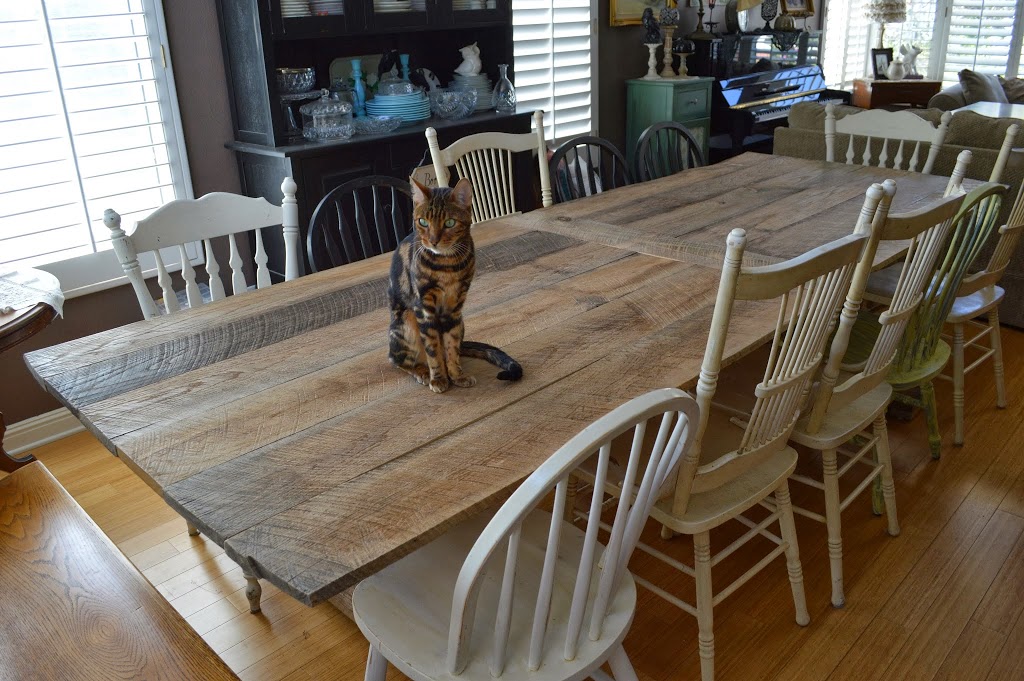
Living in California, reclaimed lumber is hard to find and it is expensive!  I called and researched places that sold reclaimed wood.  There wasn’t too many to pick from in the LA metro area.  We ended up driving out to the valley where this guy had a huge garage/yard full of lumber.  We choose Michigan Oak that was used in a subfloor of a barn.  I am guessing its 60 to 80 years old.  For the price of my dining room table & 8 chairs – I got a truck load of lumber.  Seems reasonable!!

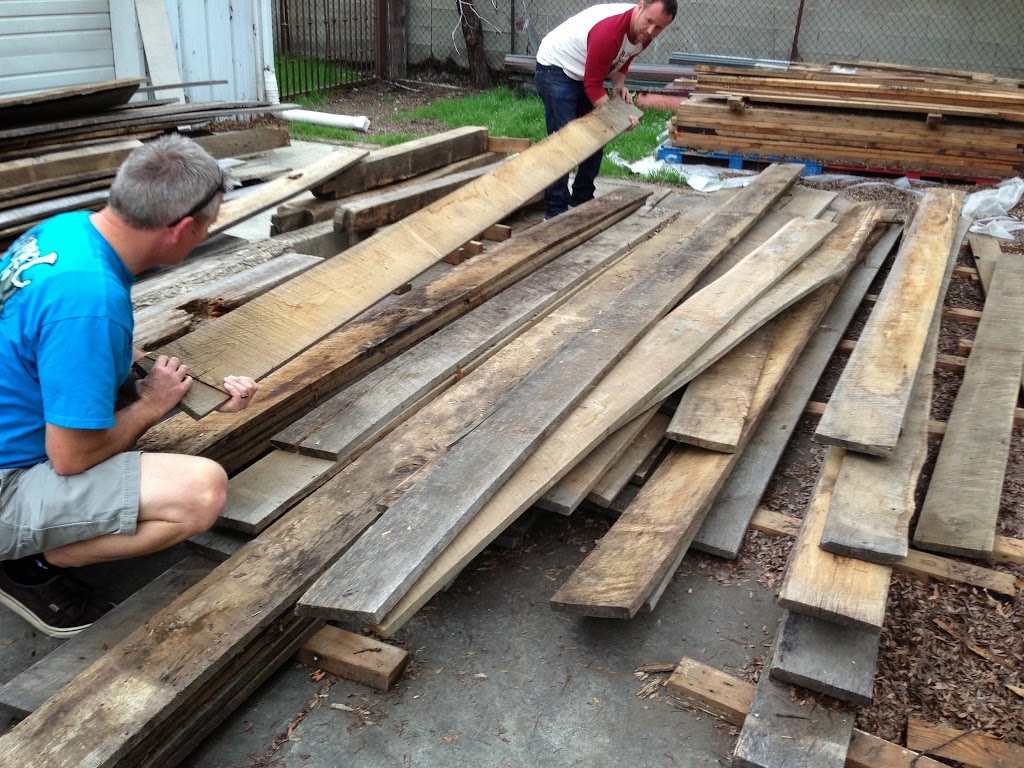
Oh the projects we could make!!!!

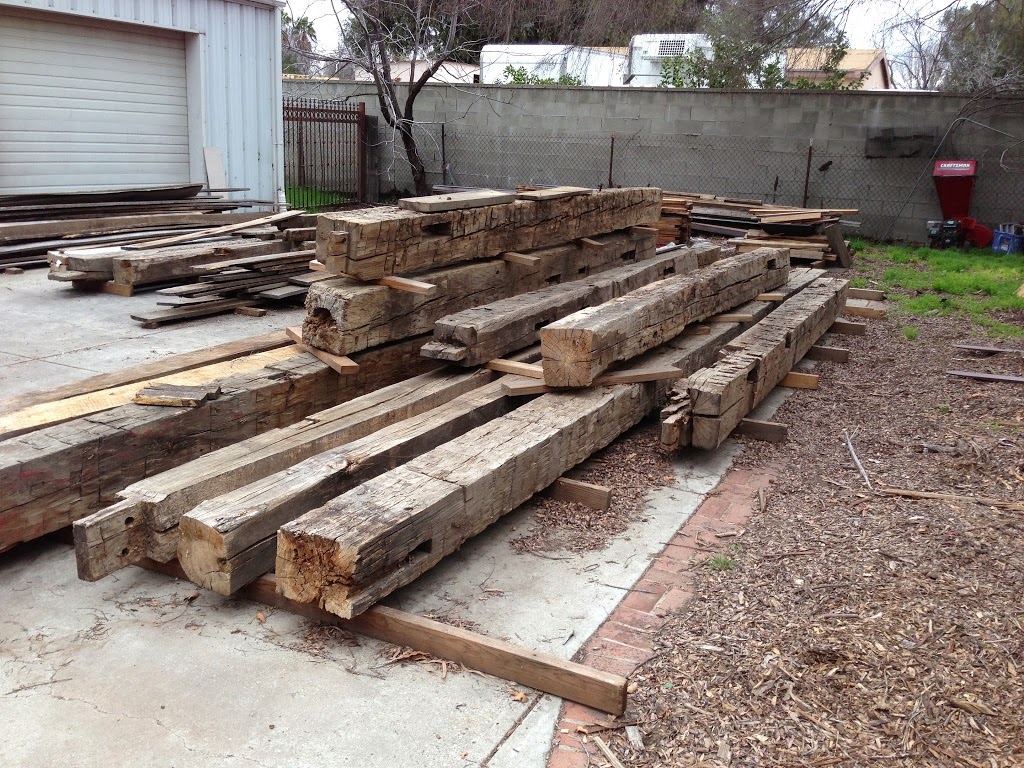
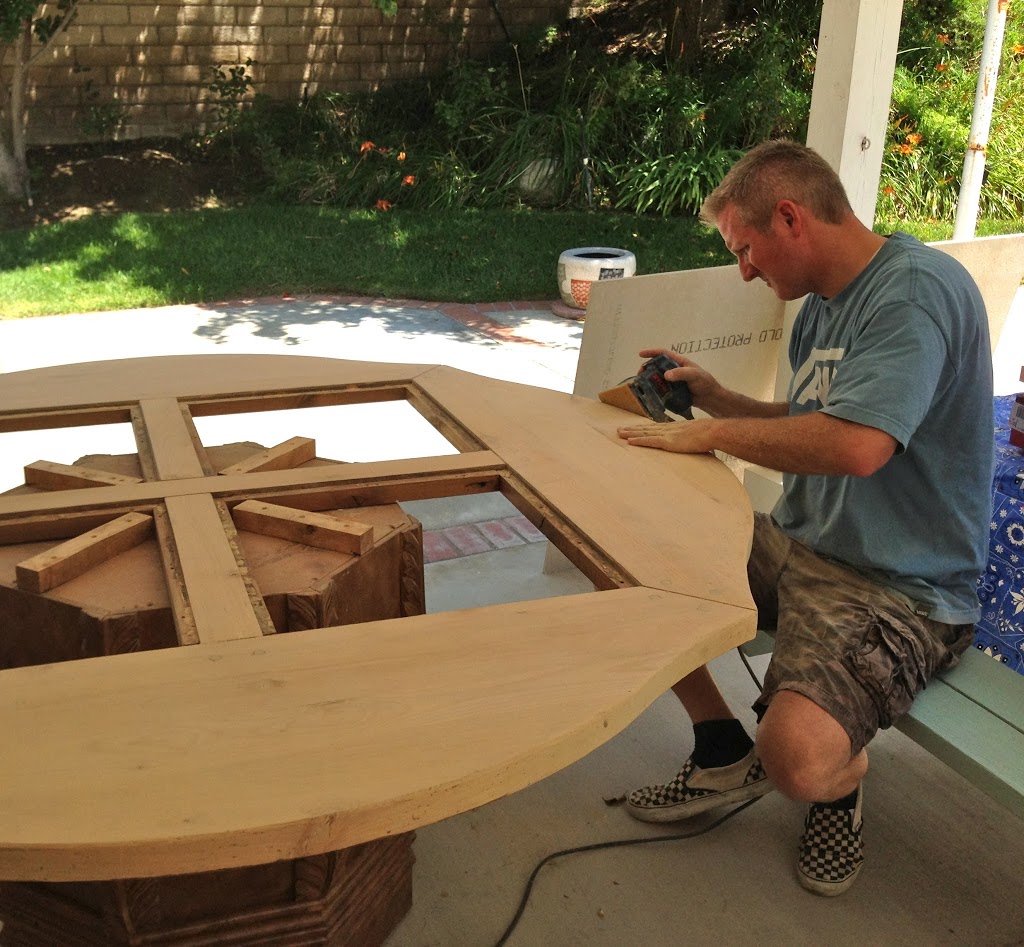
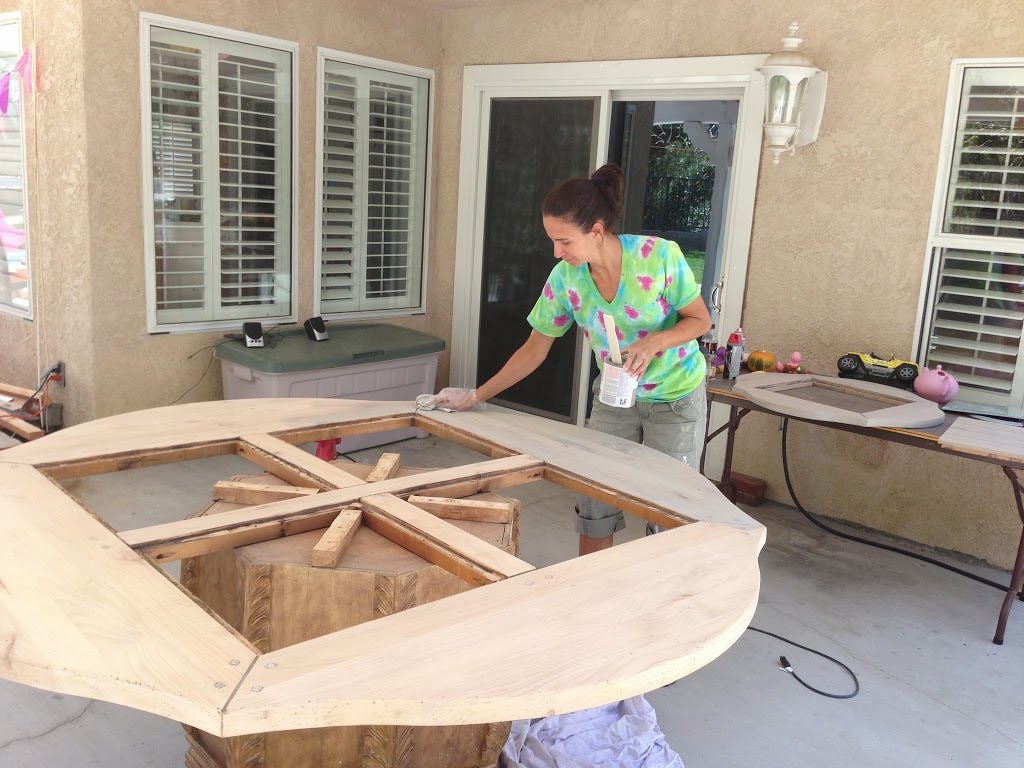
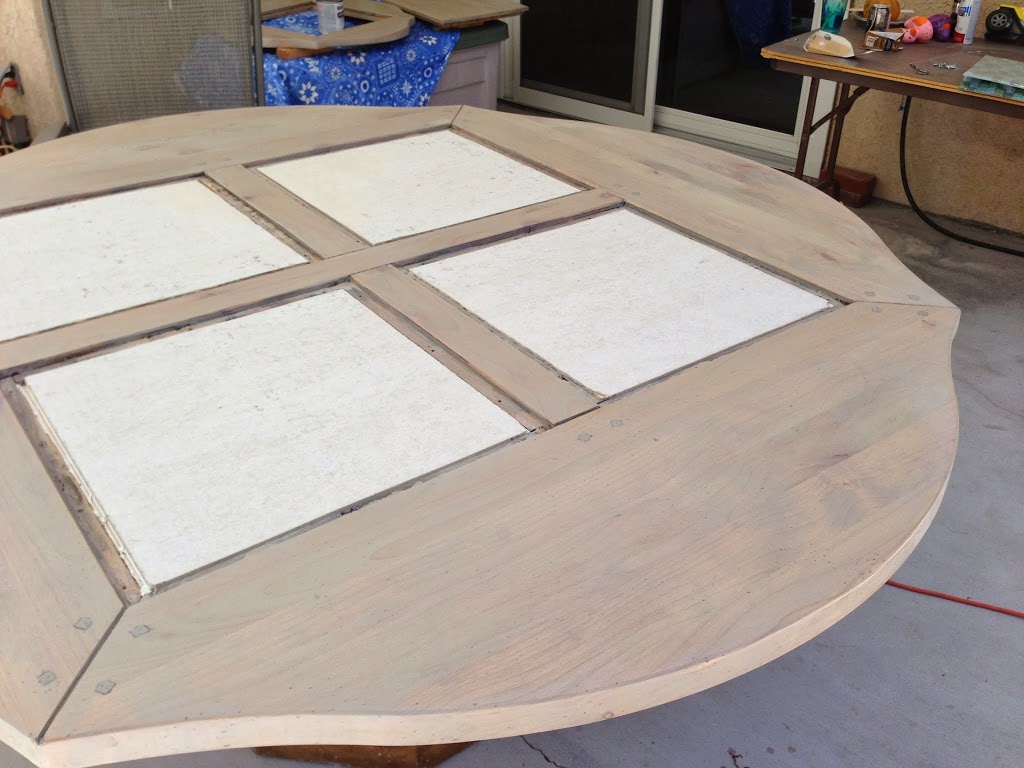
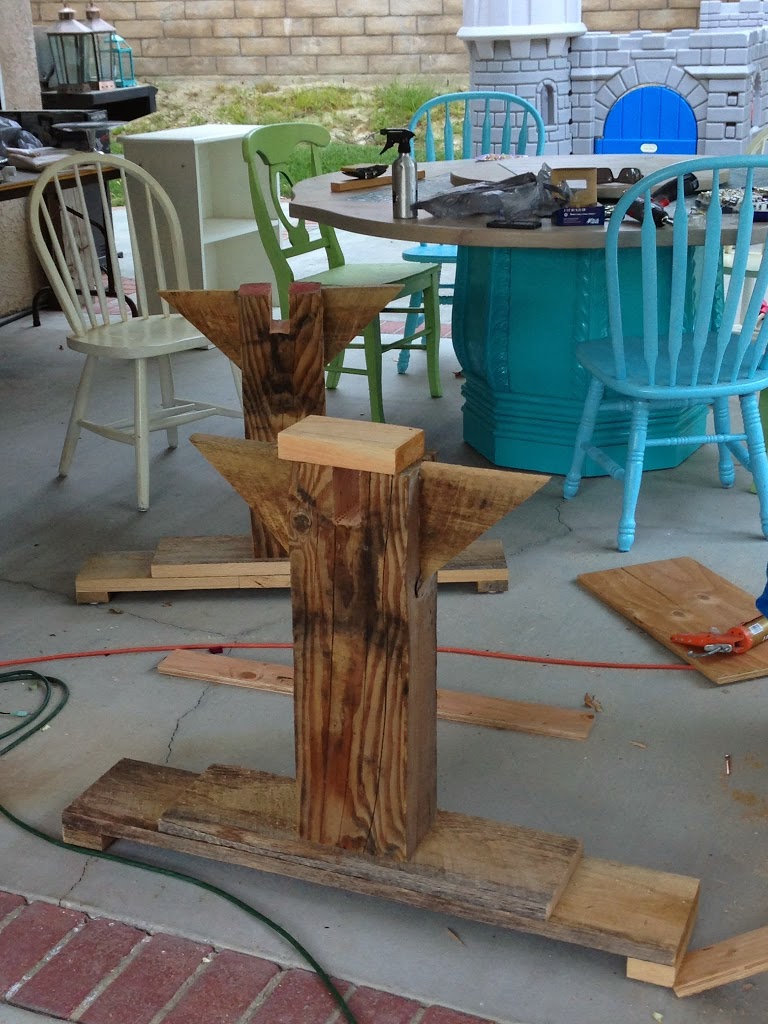
The wood sat in our back yard for about 6 months while we gathered the right tools, additional lumbar, etc….and while my husband came up with a plan for the construction.  Then, one day in September, it happened, the table started coming together.

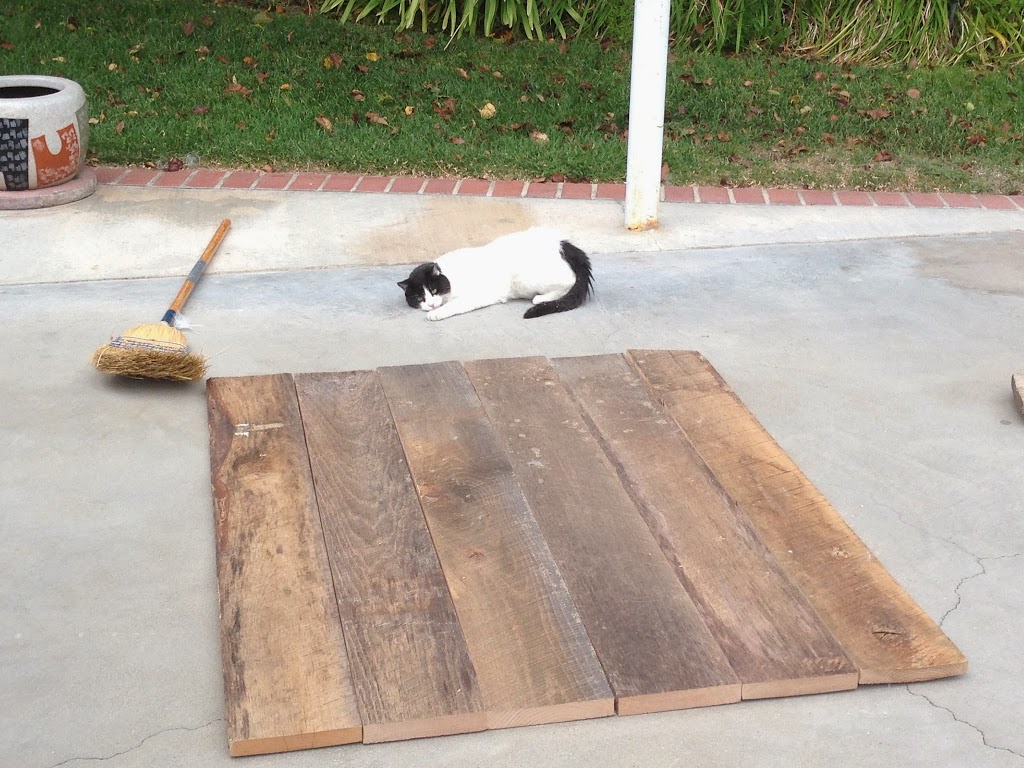
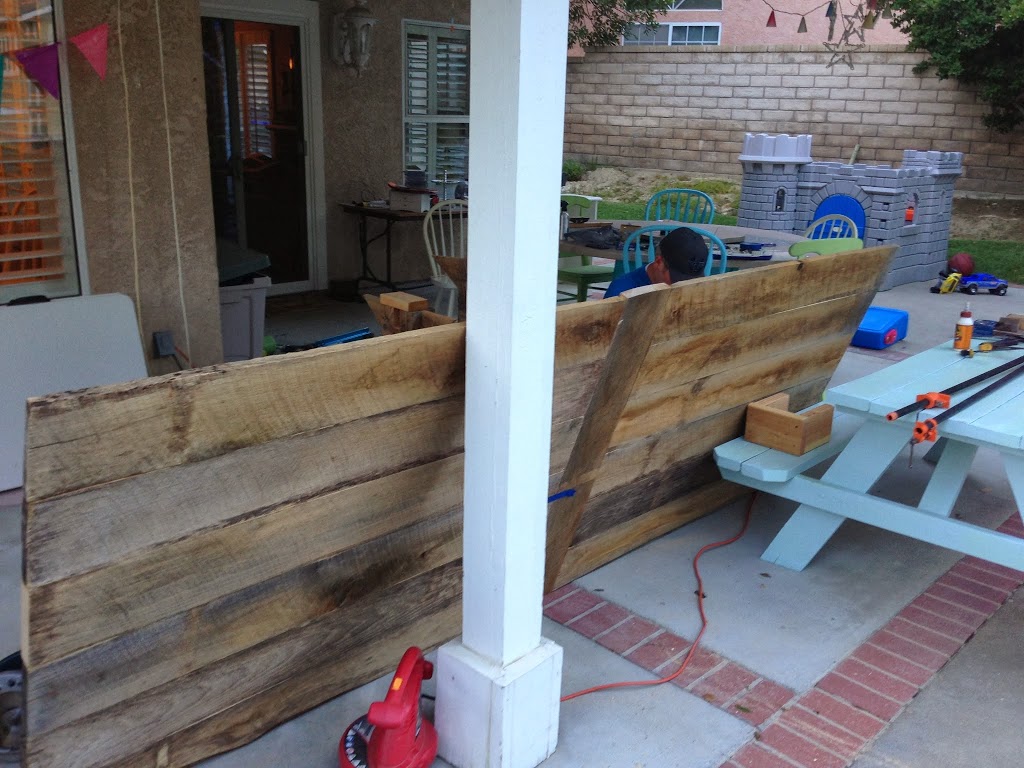
We constructed it in 2 sections.

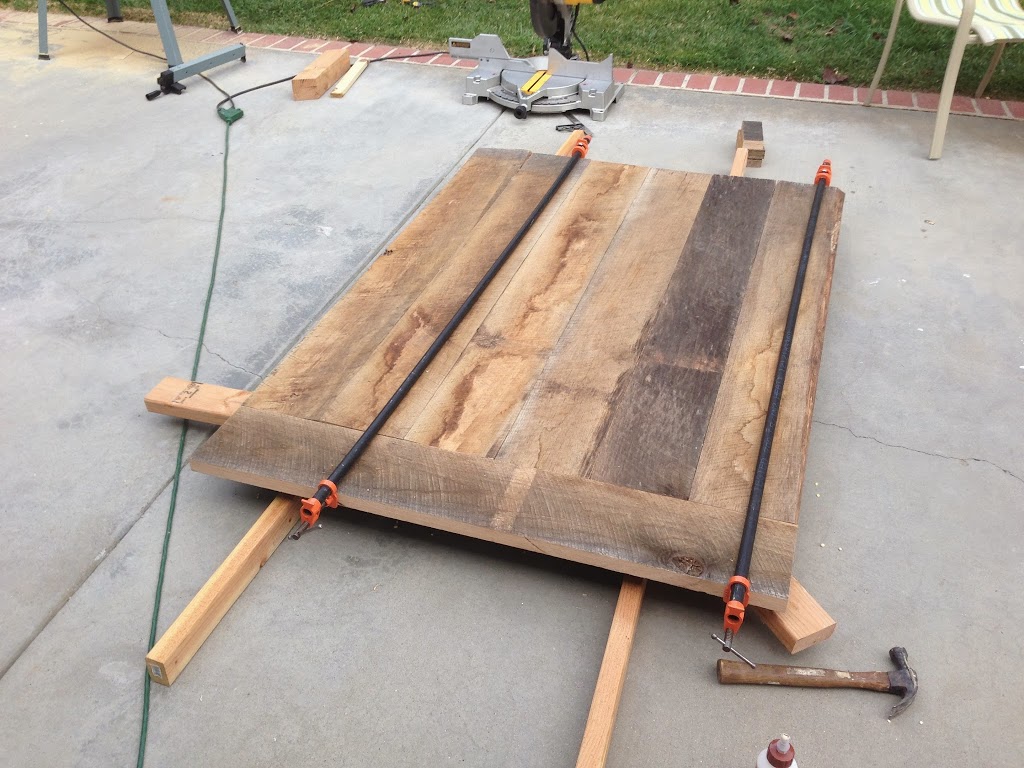
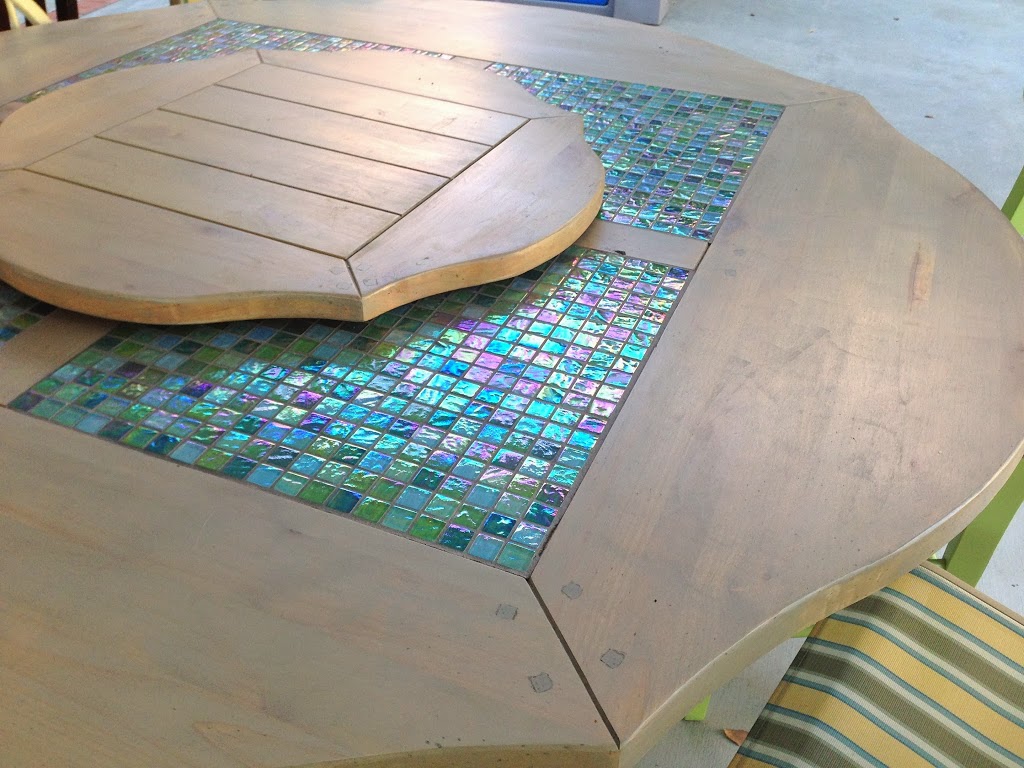
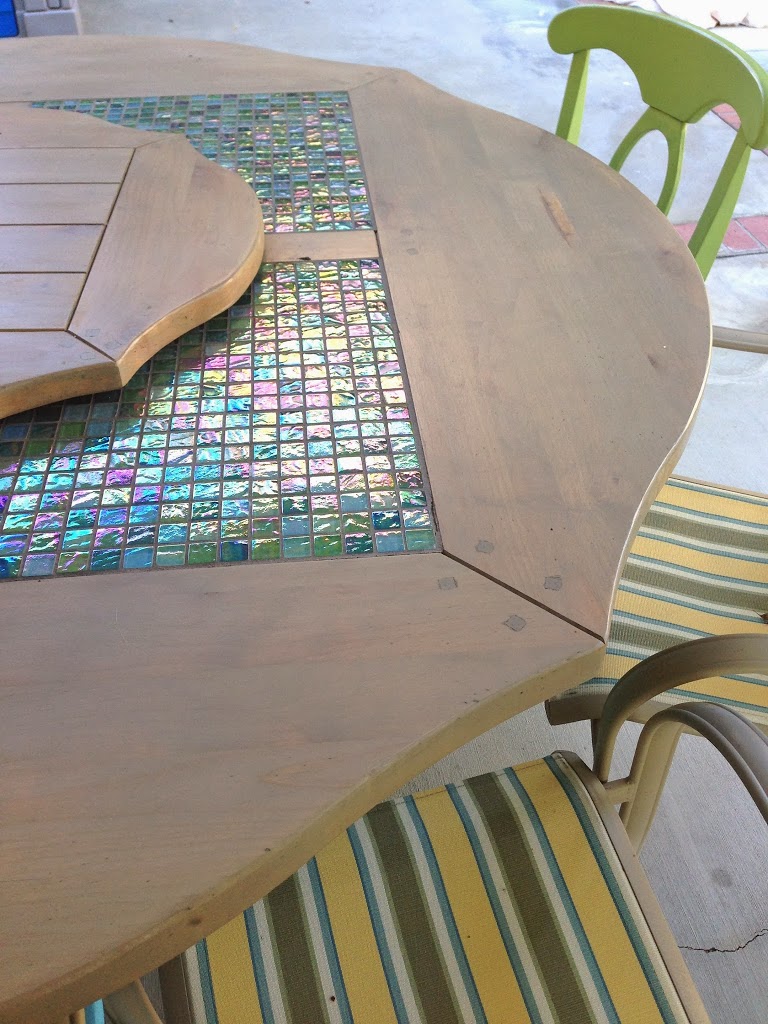
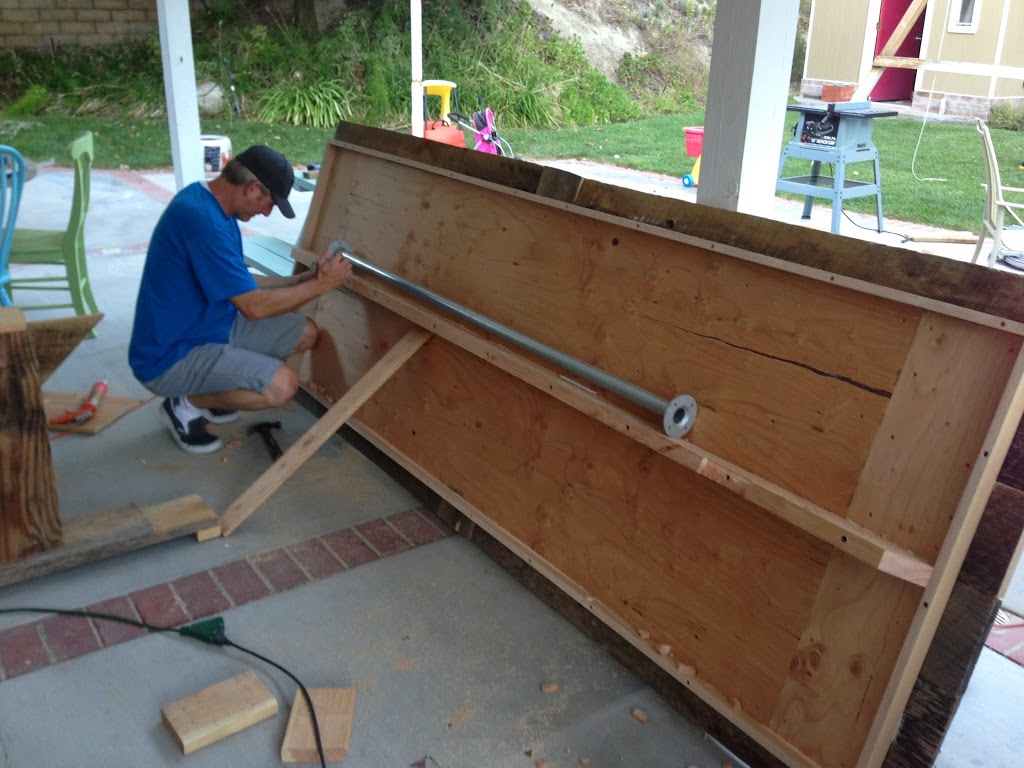
I am not going to write too much detail on the construction.   If you want to build one, leave me a comment, and I can send more detailed instructions 🙂

These are the pedestals for the table.
Here it is all finished.  It took 3 men to get it into the house!  It is super heavy!  I wasn’t sure what type of protective finish to put on the top.  I didn’t want a shiny or thick polyurethane.  I looked into linseed oil, but didn’t feel good about that choice.  I went with Minwax finishing wax.  I have used it before and it turned out to be the perfect finish for the table.  It still feels like the original wood and will repel moisture.
The chairs are mismatched: some are chairs I had and others are from my adventures garage sailing!  They are white, antique white, heirloom white, and ivory. 

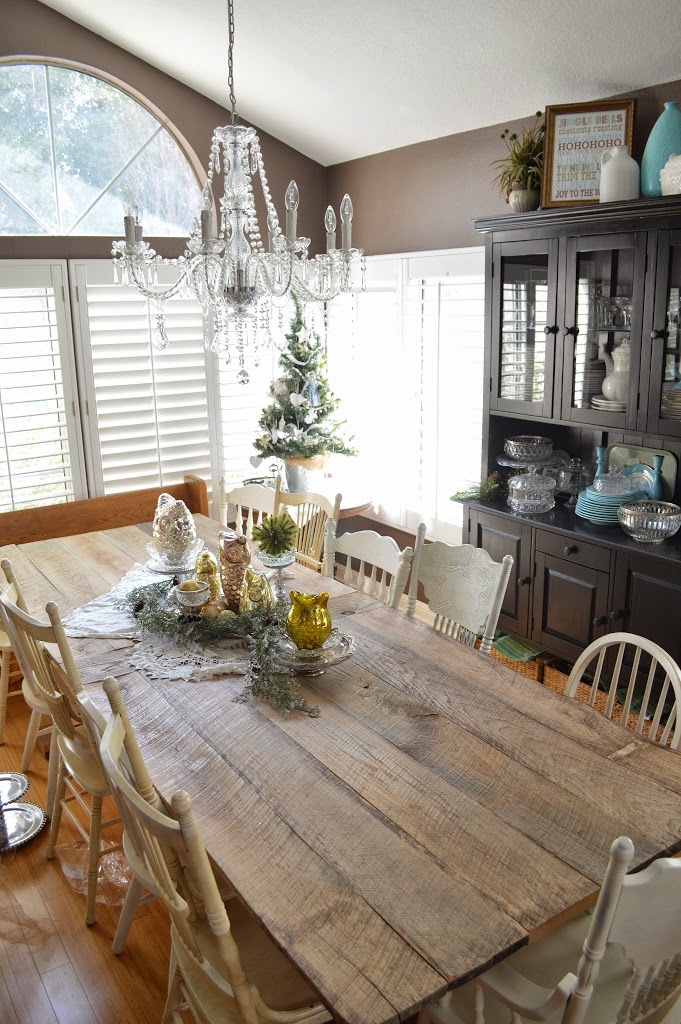
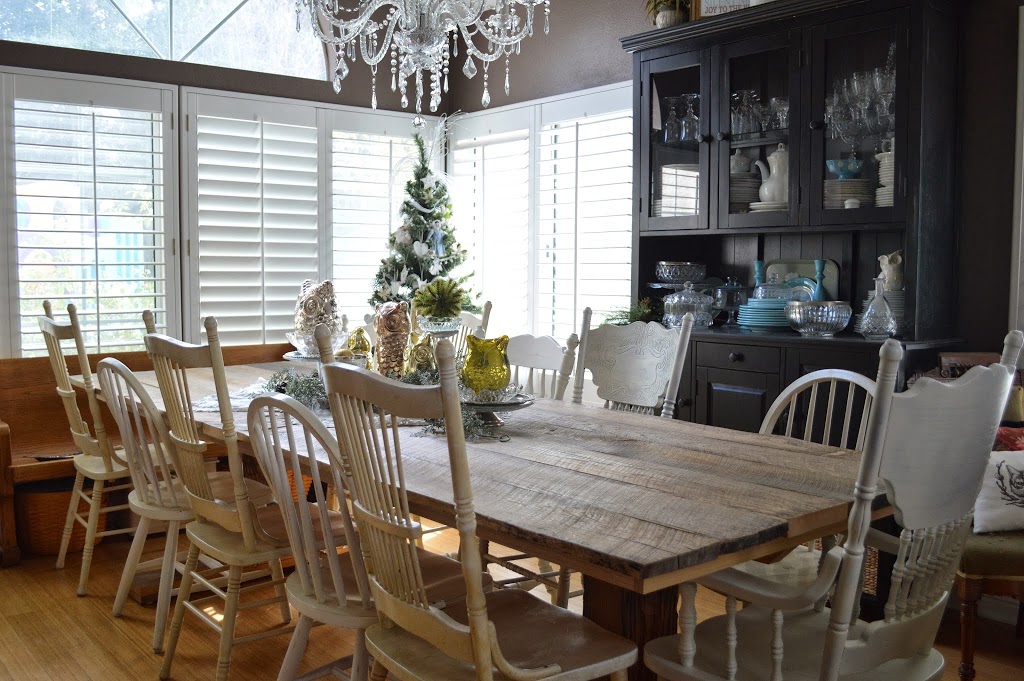
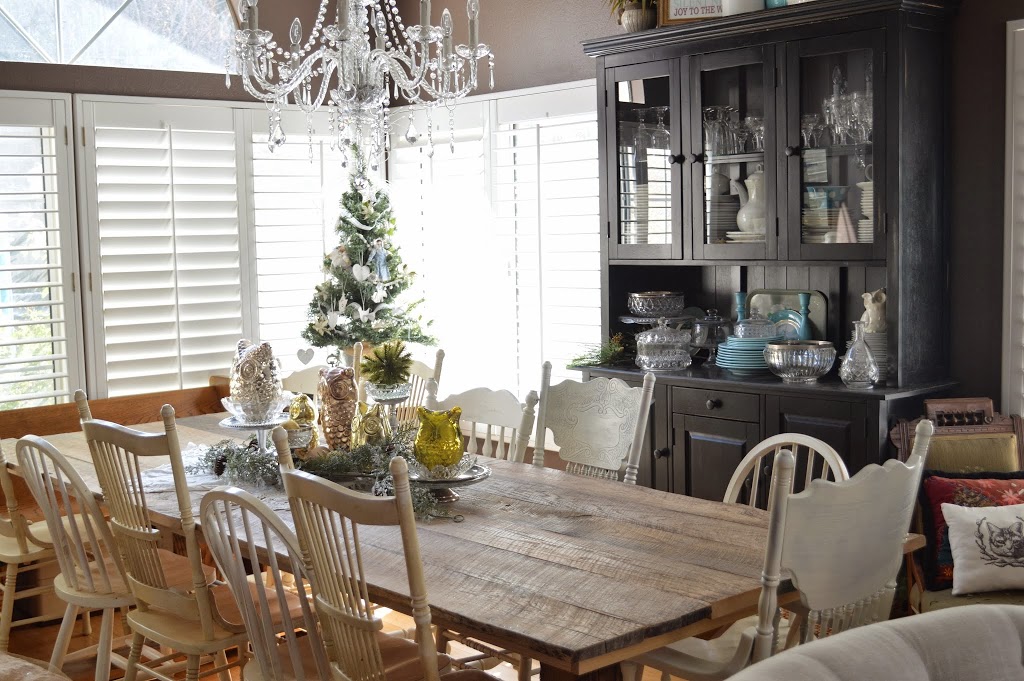
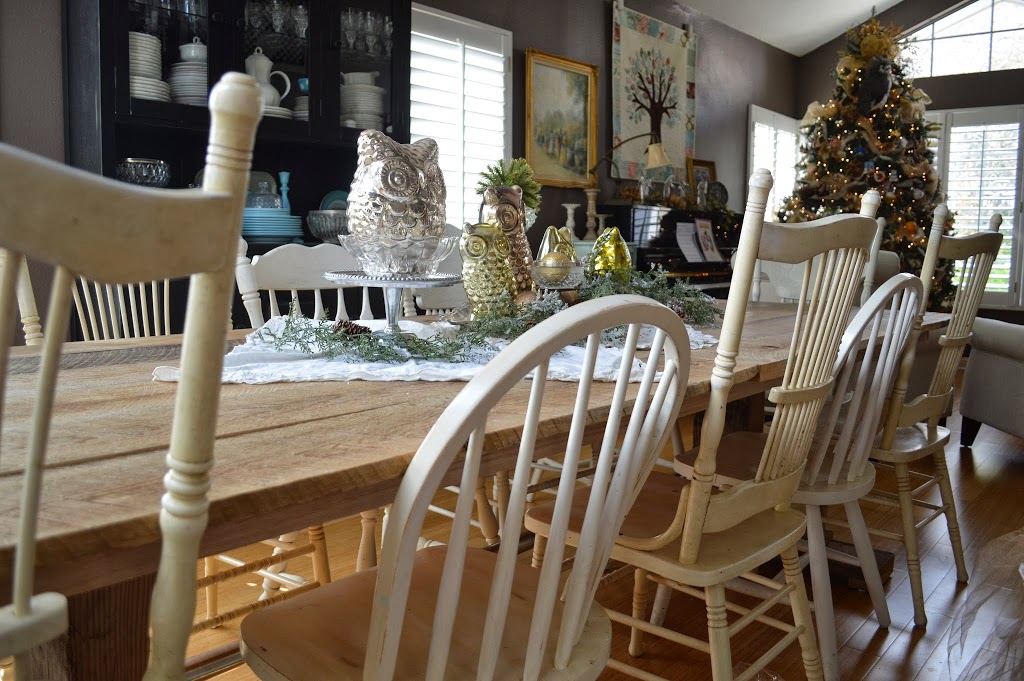
 I love that the table seats 14 people!  5 on each side and 2 on each end.

This photo really shows all the different tones in the wood – I love that darker piece.

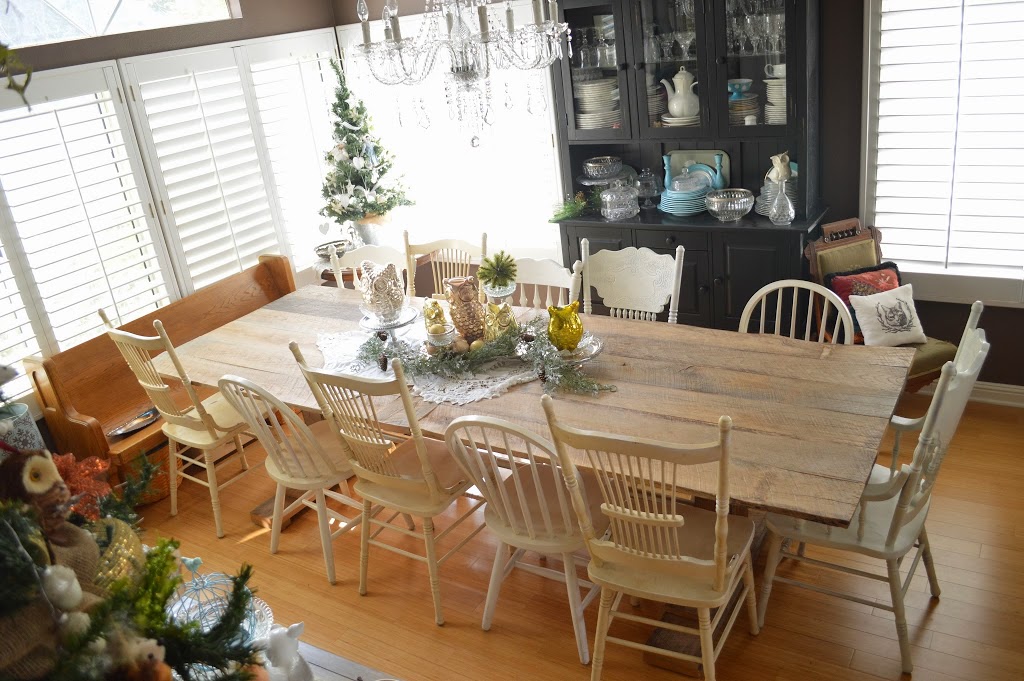
I bought a new chandelier to go over the table – that was a project in itself.  I ordered it from Amazon.  I really like it – it just took a long time to rewire everything because the wire it came with was way to short.  It is really bright and sparkly!  This is me adding each crystal one at a time!

Marbles also loves the table!!
 

Amanda

Outdoor Table Re-Do

My friend gave me her mother’s kitchen table.  It’s not your average kitchen table…..It’s HUGE and ROUND!!!  I think the table originally cost $$$$.  It was in bad shape when I got it.  The mom had caught a floral arrangement on fire and burned part of the table.  Then she cleaned it with some harsh cleaner and it reacted with the finish, turning it into a sticky mess!  Of course we’ll take the table!!!
I didn’t get a good before picture – but this is it after hubby took it apart.  I just love power tools!!!  We plained it down pretty good – it took the burn mark right.  Then finished with light sanding to get it really smooth.  I didn’t bother sanding the base – it is getting paint!
Meet my new favorite stain – Rust-Oleum’s “Driftwood”.  That’s exactly what it looks like!  It’s perfect for this project because it will be living outside!
That’s me!!  Of course I do all my DIY projects in tie-dye!!
We took out the rotten fake wood inlays and prepared the surface for tile!!
And here it is with super cute 1″ tiles.  It makes me think of the ocean!!  Don’t you love the Lazy Suzan on top!  My kids LOVE this – we’ve never had one before!
I sealed it with Rust-Oleum’s Ultimate Spar Varnish.  It has maximum weather protection!!
I love that it can seat 10 people comfortably!

I couldn’t resist painting the base a bright turquoise color!  Spray paint, of course!!

It’s pretty bright, but the outdoors can handle it!!


I love how it turned out – it’s totally me!!

Amanda

Chalk Paint Piano

 Have you seen those darling pictures of painted pianos on Pinterest?  I love how they look – but who in their right mind would paint their piano????  While I was visiting my friend out in Virginia she told me she wanted me to paint her piano….gasp!!!  All I could think about was how I was not going to get paint on the keys, in between the keys, and how was I going to paint around all the intricate parts of a piano.  The best way to deal with your fears is to face them.  And so I did!!!
Here is the piano before.  When she told me it was free, I started feeling better.  Like, even if I mess it up, she’s not really out much money!
The first choice in the right direction was using Annie Sloan Chalk Paint.  This made all the difference in this piece.  It goes on like a dream, you don’t need to prime, and it has that old look which we wanted on the piano.  This quart of paint was just enough for 2-3 coats on the piano.

 The piano needed 2 coats and a light third coat.  I did it in one day.  I brought in a fan to help the paint dry faster.  I didn’t tape anything off.  I used a really good edging brush and was careful not to get it on the keys or drip in between the keys.

Here is the finished product:  It completely changed the look and feel of the room!!


 I lightly sanded the edges so some of the dark color would show through a little.  I didn’t distress it too much.  When the paint was completely dry, I went over it with Annie Sloan Soft Wax and applied it with the wax brush.  The Soft Wax is amazing!  It gives furniture such a warn, homey feel.  It feels like the piano has looked like this for 100 years.  It is hard to explain how great the wax is, you just have to try it!

We had fun decorating the top of the piano.  I dug this old painting out of her basement that she bought for the frame.  I love it!  The two fancy ladies sitting around the piano – who has a painting like this these days!

 We added the yellow chair for a little pop of color.


What do you think?  Are you ready to paint your piano?


Amanda

Painted Armoire


 I bought this armoire on Craig’s List on Saturday.  I needed something for my 5 year old’s room – the mess is out of control in there!  I paid $125 for it – she originally wanted $200 so I felt like it was a pretty good deal.  (I am used to garage sale prices!!)  The armoire was from an antique store in Beverly Hills – sold!! 

I got it home and immediately sanded it and painted it…in the dark!  I might be the world’s most impatient person!
 
By Monday morning 3 coats of paint had been applied.

I decided to distress it a touch.  I like the “shabby” feel of it.  I love the detail of the flowers – perfect for the princess Rapunzel room!!

 When I was done with the distressing, I rubbed Minwax Finishing Paste on it – it’s my FAVORITE way to finish furniture.  I love the feel it gives it!


 It is hard to photograph in my daughter’s room – but we got it all moved in last night – yea!!!


Amanda

Painted Tea Cabinet

 I have been wanting to paint this cabinet for quite some time.  I can’t believe I finally did it!

 This is how it looked before.  It was stained one color.  Enter in Sherwin-Williams “Splashy”.  Only my new favorite color!

I decided to tackle this project at 10pm Saturday night.  That’s just how I work.  I took the doors off the hinges and lightly sanded – I mean LIGHTLY sanded.  This piece does not get a lot of wear.  I didn’t even prime (gasp).  I wanted some wood showing through.
 (Do you like the cereal boxes used to hold the doors off the floor!)
After it was painted I rubbed a walnut stain on the painted parts and then quickly wiped it off.  It took the “Splashy” down a notch and made it look a little more vintage.


 I bought some glass knobs which give it just the right touch.

 I added wallpaper to the back of the cabinet.  I cut the wallpaper to fit the dimensions on my rotary cutter.  I followed the manufacturers instructions on adhering the wallpaper.  It was quick and easy.

 
Whose ready for a tea party?

Amanda

Coffee Table Re-Do!

 I bought this coffee table at a garage sale over 6 months ago – I paid $2 for it!  I didn’t really know what I wanted to do with it – I figured I would paint it or something.  So, it sat in the backyard for months and months.  After reading I Heart Naptime’s post on DIY Chalk Paint, I was inspired to paint something.  This coffee table was the perfect candidate!

 Step #1
Have your husband kill the black widow spider that is living in the underside of the table.  YIKES!!!

 I loved the tutorial from I Heart Naptime.  She does an amazing job of explaining each step and her piece of furniture came out fabulous.  You should check it out!!  I followed her steps pretty closely.

#2 Sand

This table had spots of glitter glue all over it from it’s previous owner.  I felt that a good sanding would help my table get off to a good start.  I didn’t sand down to the grain – just till it was smooth.

 #3 Base Color
My goal in this piece was to distress it.  I wanted a black color showing through (you can use any color – or even have the wood show through)  I used some black paint and painted the edges and spots on the surface.  Looking back, I would have given the entire table a coat of black because I couldn’t remember where I put my spots on the top!!

#4 Vaseline

This is a technique to help the base color show through the top color.  I have also seen it done with candle wax.  Rub the Vaseline along the edges and parts where you want the black to show through – this will give it a shabby chic or rustic look depending on how much sanding you do. 

#5 the Chalk Paint Mixture

This is where we will get that worn, vintage feel to our paint.  I went to Lowe’s and purchased latex paint in a light aqua color.  I asked for Satin finish and when I got home I noticed it was semi-gloss.  I was a little miffed, but it worked fine anyway. 

Mix 5 Tablespoons of Plaster of Paris with 2 to 3 Tablespoons water in a small container
Then measure 2 cups of paint in a separate container and stir the plaster mixture into the paint until it’s smooth.  This was the right amount for the size of table I was painting.

#6 Paint Paint Paint

I gave my table 3 coats of paint with a paint brush, letting it dry completely between coats.  Some items may only need 2 coats of paint.

#7 Inspection
Make sure your cat inspects your work, getting his paws, tail and back in the paint!!

#8 Sanding
Take a light weight sand paper and sand where ever you want the black to show through.  I sanded all the edges, curves, and random areas on the top.  This is where the Vaseline helps so you don’t have to sand like crazy – especially with 3 coats of paint!  It worked great!!

 #9 Finishing Wax
This is my favorite part of the project!  Use Minwax Paste Finishing Wax.  Get a rag and rub it all over your piece of furniture.  Then let it sit for 20-30 minutes.  Take another cloth and buff or polish the wax.  The wax gives it a vintage look as it is not glossy or too shiny, yet not flat.  It’s the perfect finish for this project.  If you are finishing a piece that needs to be durable, such as a kitchen table, I suggest polyurethane or polycrylic – it will be more durable.  You can get those in satin finish so they aren’t too glossy.

 Ta Da!!!!
It’s done & I LOVE it so much!!!

 I would totally paint furniture using this technique again.  When I bought the $2 table I was thinking $4 of spray paint and it’s done.  This process was lots more $$ but still cheaper than buying real chalk paint.  Plus I have plenty of Plaster of Paris and finishing wax to do several more projects – YEA!!!

Old Radio Re-Do

I bought this old fashioned radio/turntable thing at a garage sale. (can you just see my husband rolling his eyes at me when I told him to get the truck and come with me!) When I saw it I loved it. Well – not the finish – it was super shiny – this photo doesn’t even show how much it shined.
I didn’t really need the turntable aspect of it although it would have been cool to restore it. I do need storage. I knew this was a project for me. We took the insides out and made it into three sections for storage. Then we stripped it, sanded it, and stained it. I love it! I’ve already got it full. I keep table linens, candles and other items I use in the dining room – I love it.

From Junk to storing Piano Music

I found this sad little piece at a garage sale. I snatched it up for $2. (garage sale tip: never ask what they want, always make an offer. It also helps to point out what poor condition it is in!)
Anyway, I knew it had potential. I sanded it, spray painted it, and then gave it an antique feel by sanding the edges and wiping it with a brown glaze. Then I attached fabric from the “Moda Fandango” line (which is inspiring my dining/living room). And I love it. It fits all the children’s music perfectly. Yea!