Whale Composition Book Cover

covered composition book tutorial whales

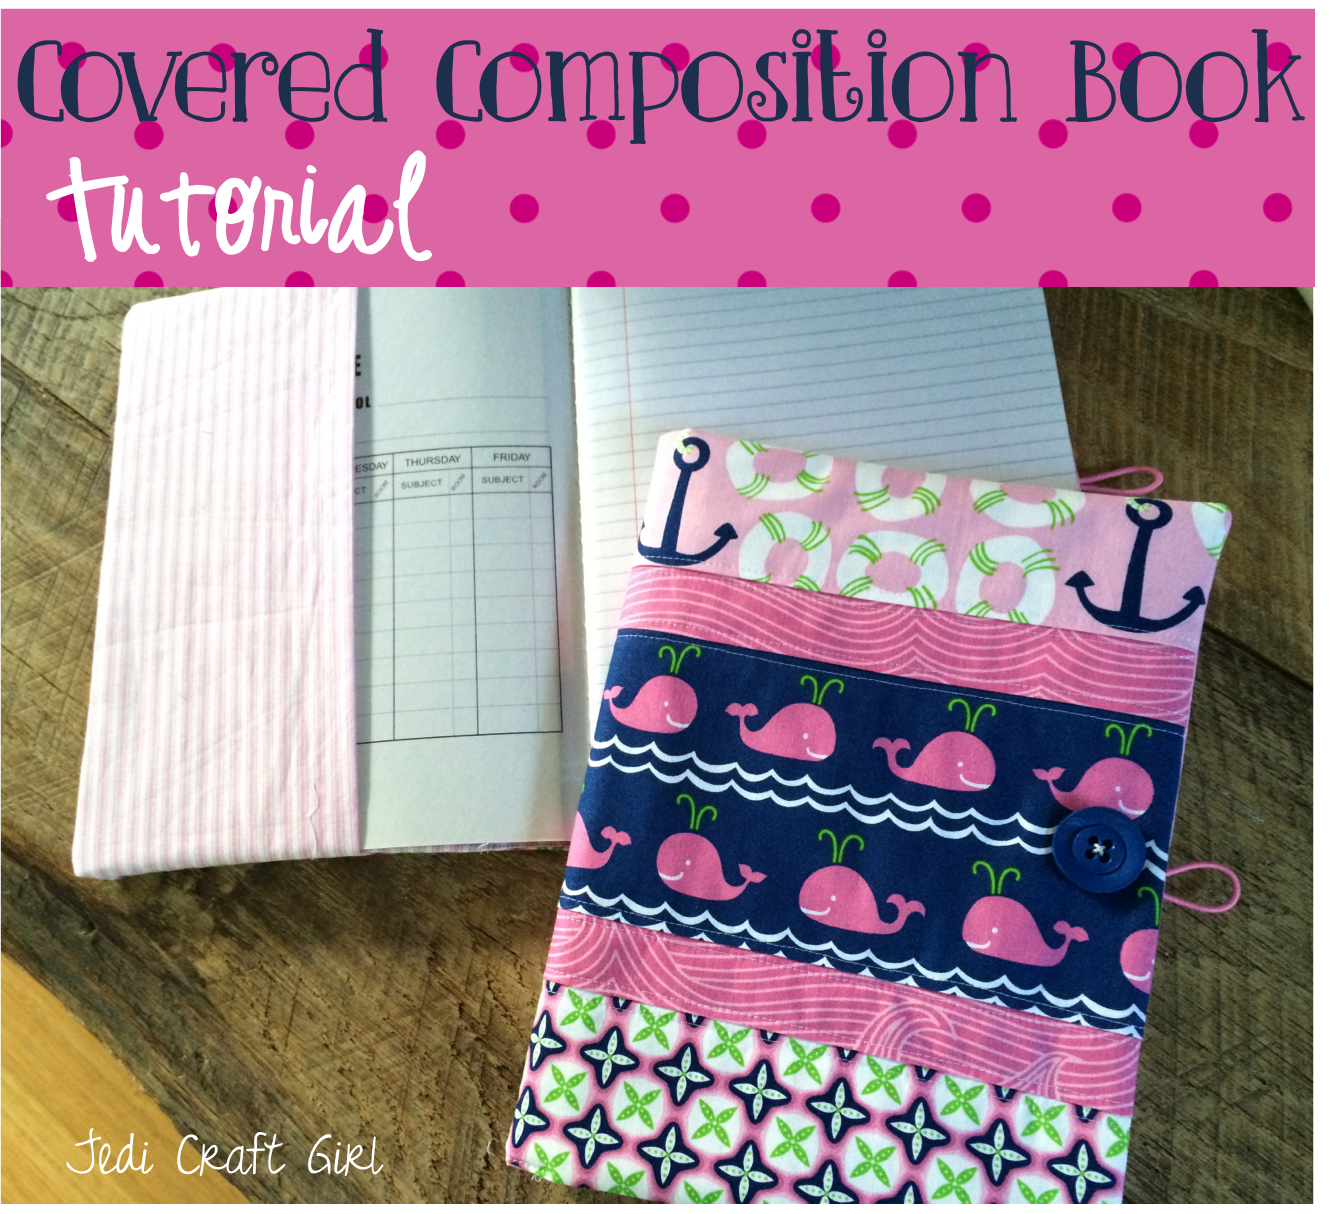
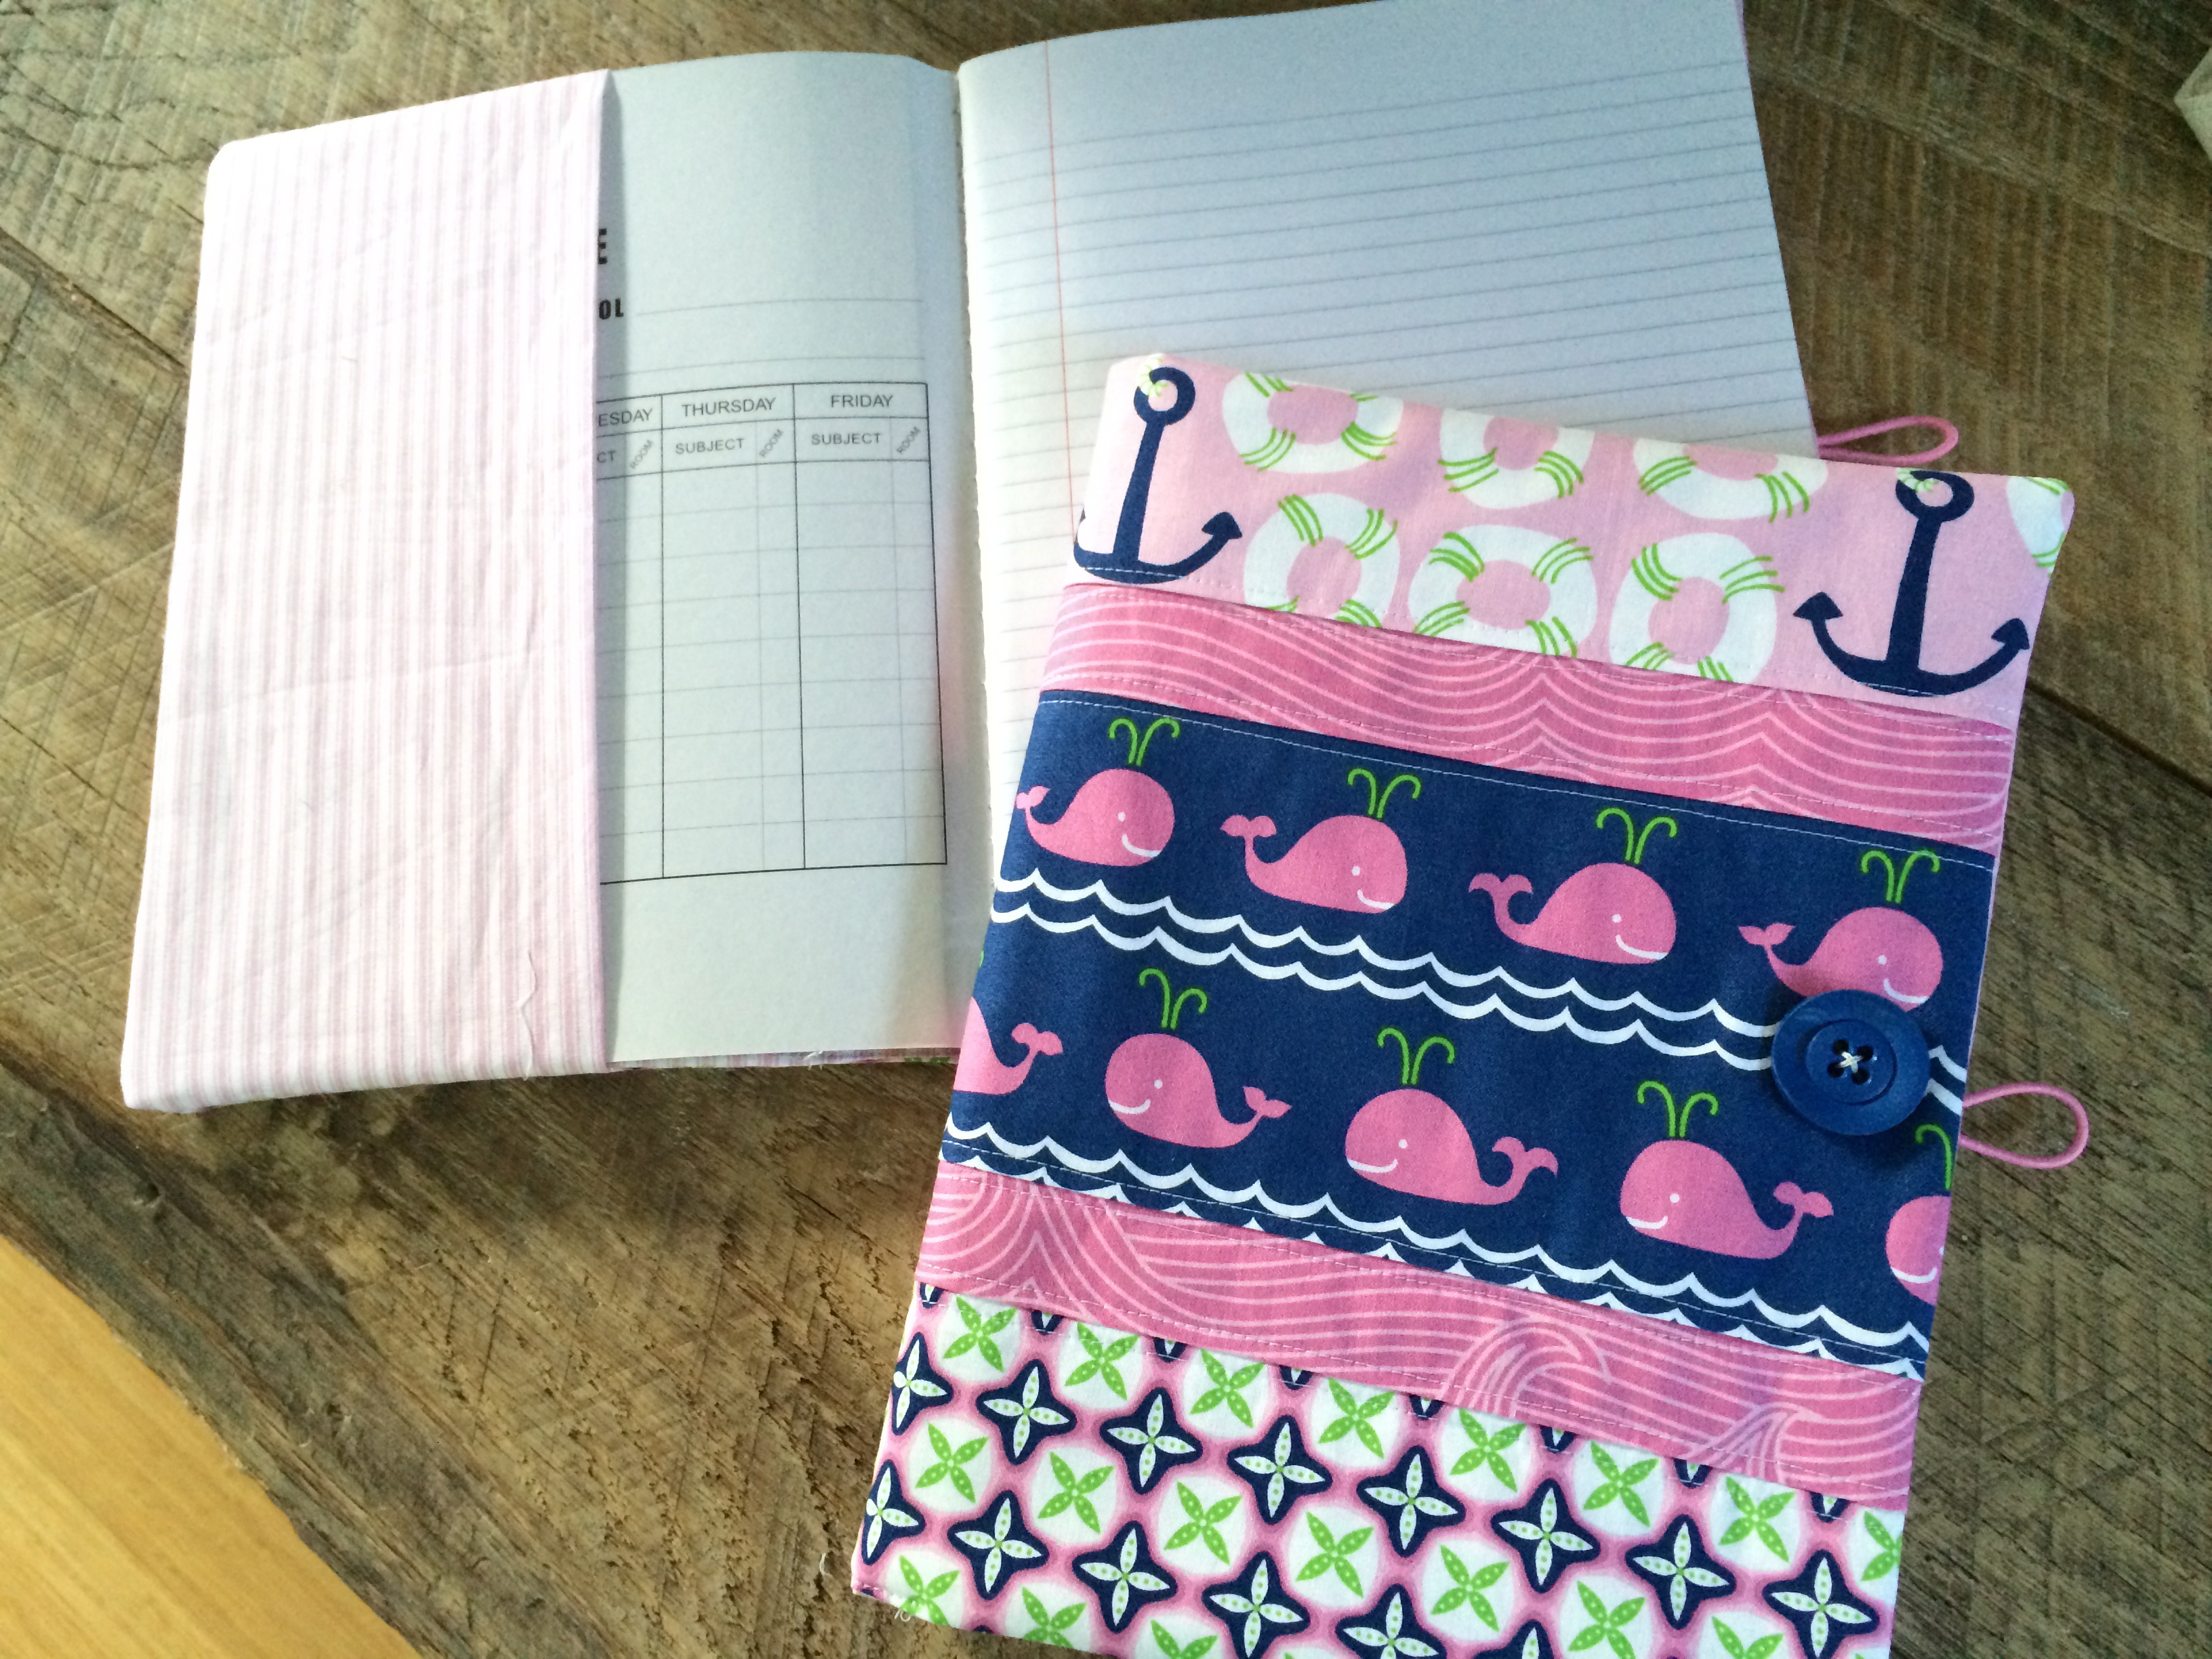
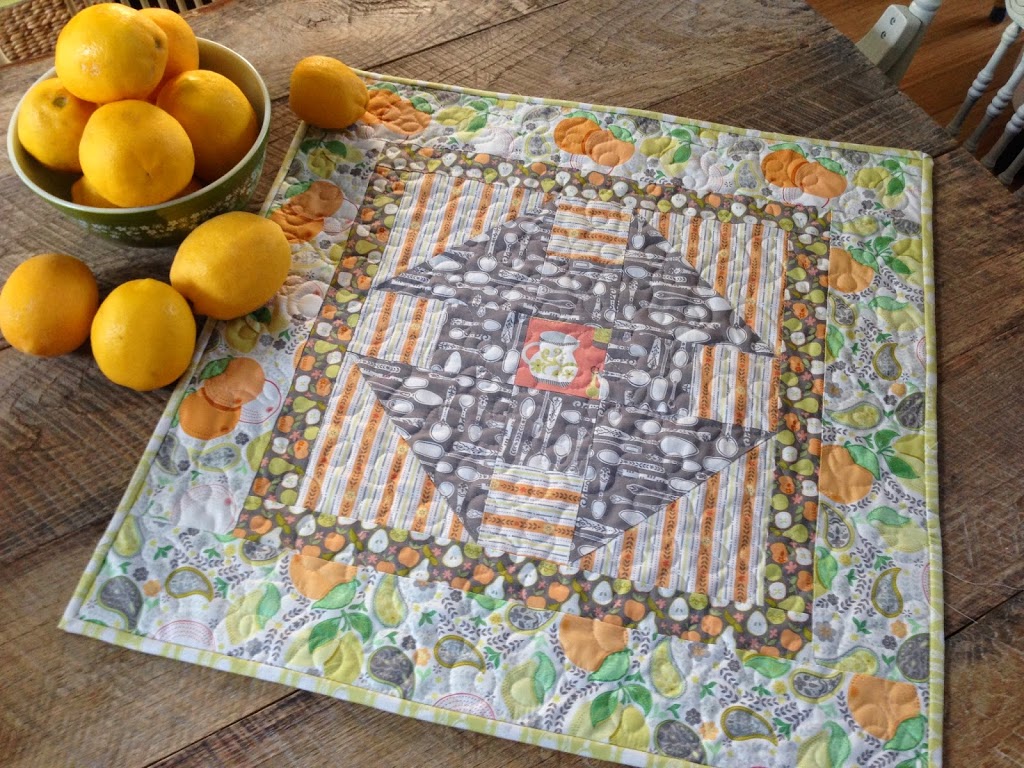
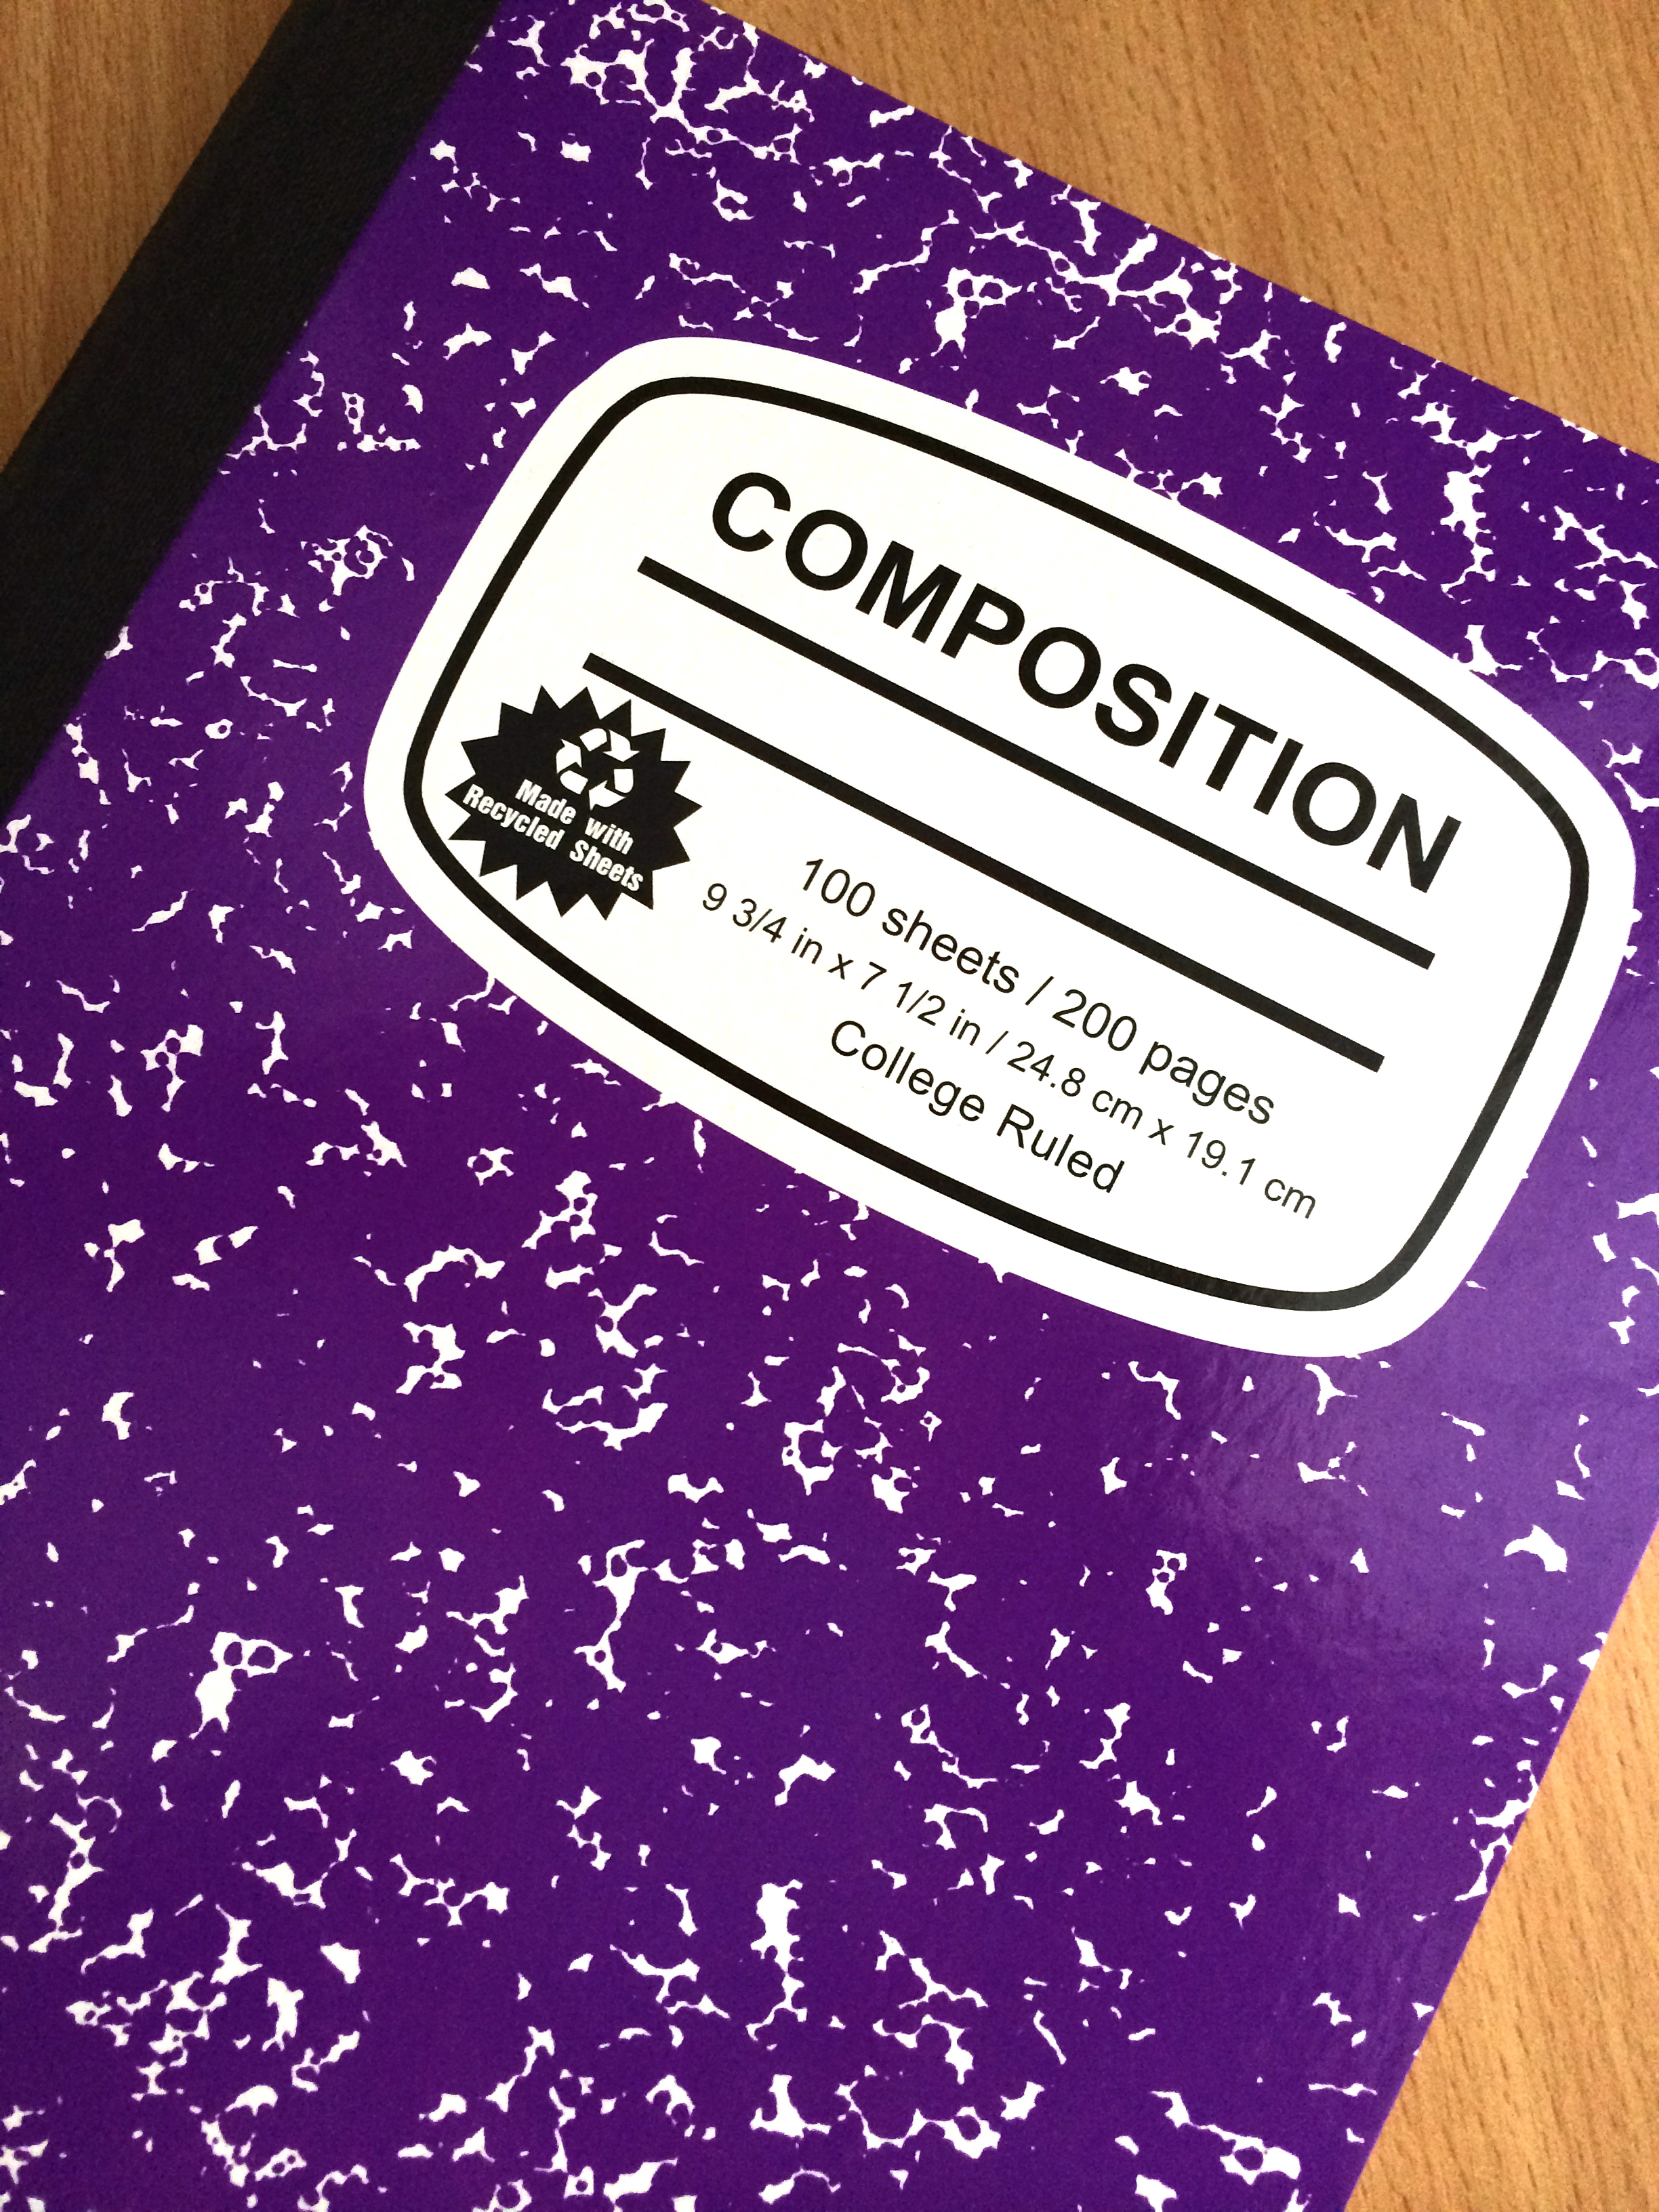
I love composition books and I have written several tutorials for them.  I use these cute covered books for everything: journals, notes, reminders, etc.  Do you use a sewing journal?  I am always writing patterns or changing existing patterns and I take notes as I go.  This has totally saved me as I have all the notes in one place.  Here is my current sewing journal – with only a few pages left in it:
whale_composition_book_true_blue_13


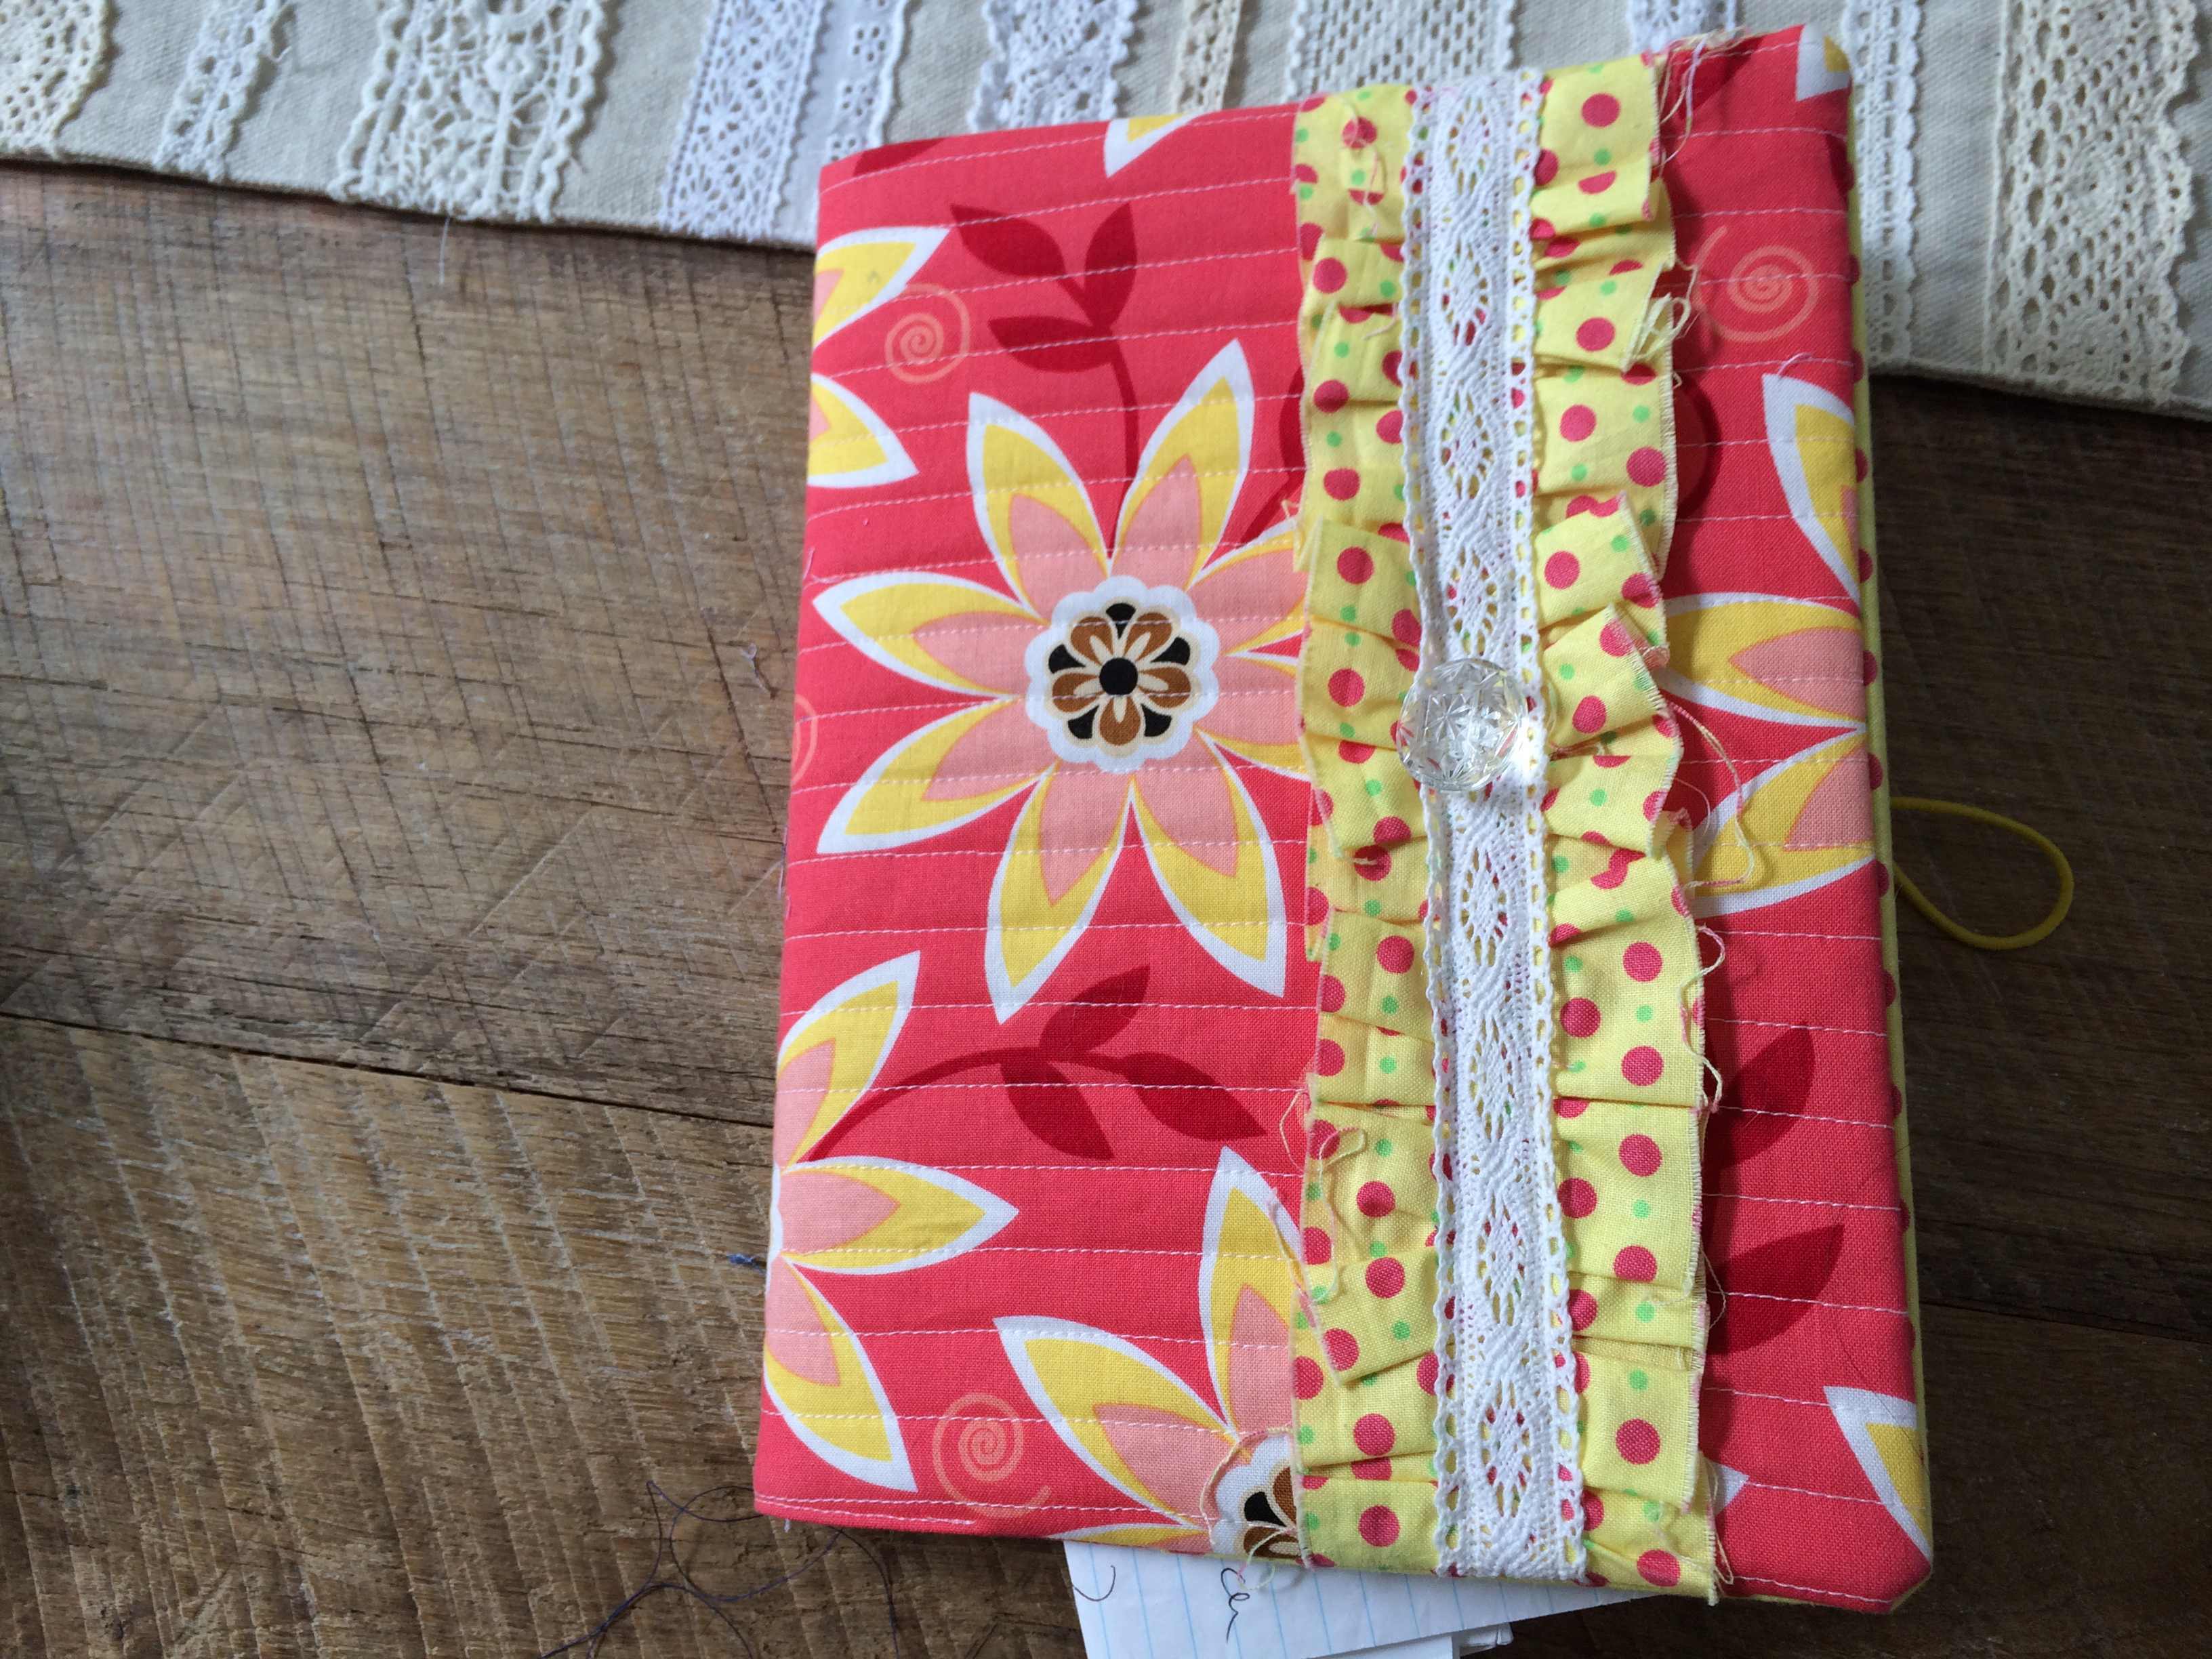
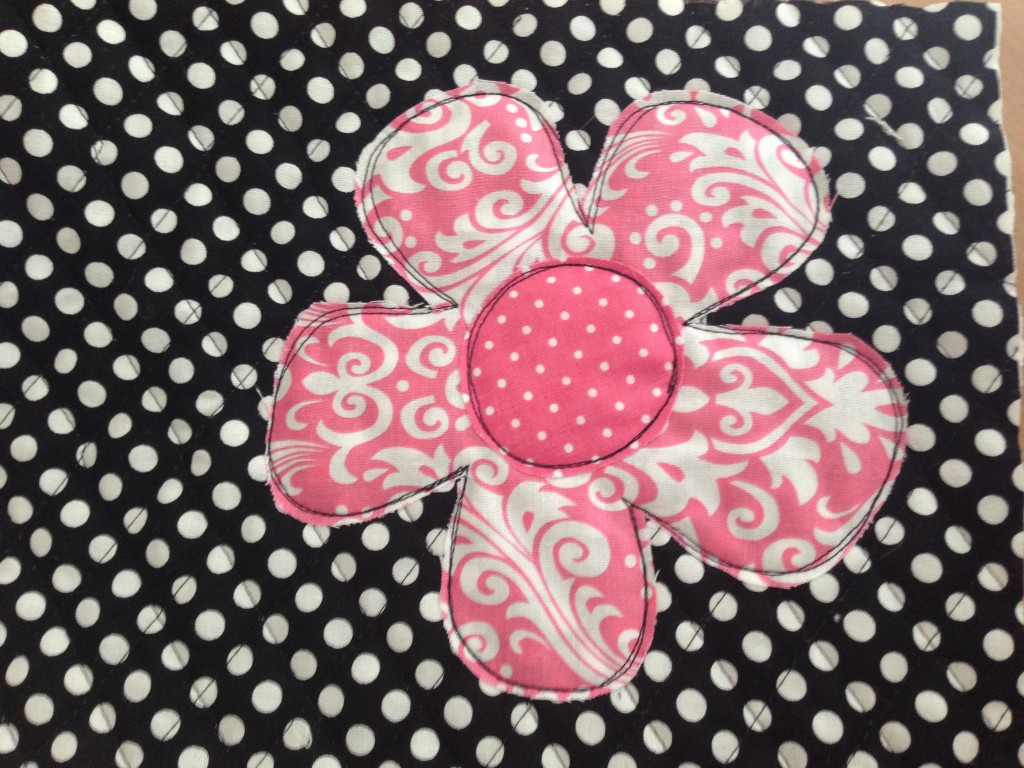
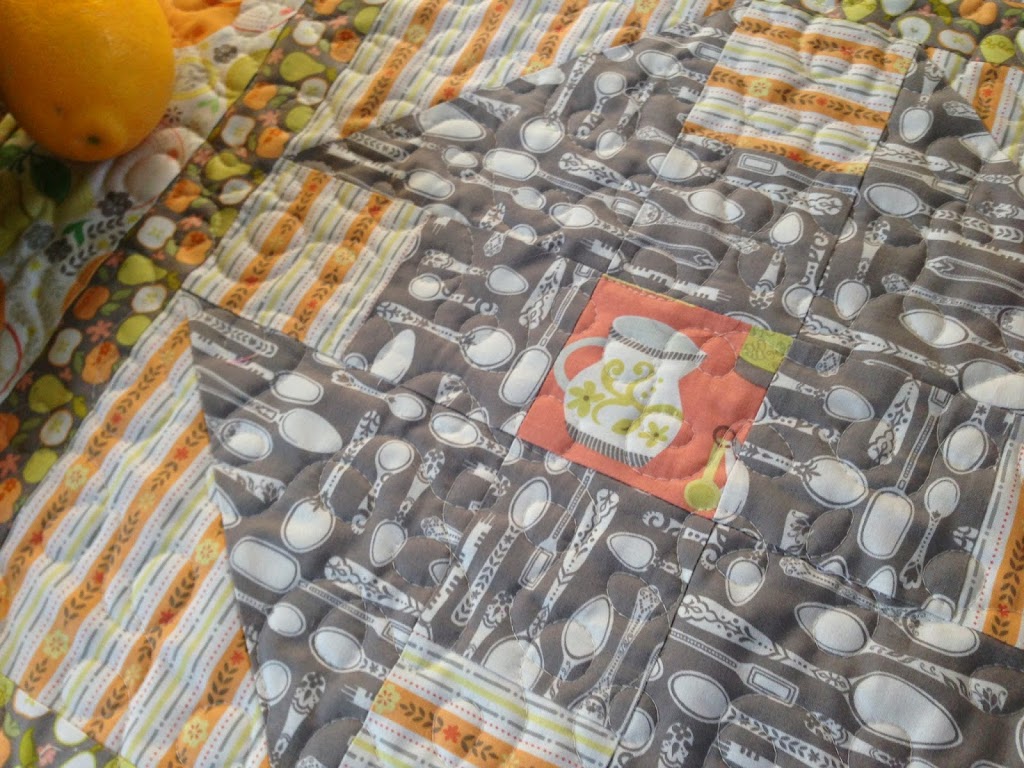
This is an example of how fabulous my notes and sketches are 🙂  After I have all my notes and the project is finished, I type it up as a tutorial or pattern online.  It’s time for a new composition and I’m feeling “whale-y!whale_composition_book_true_blue_12


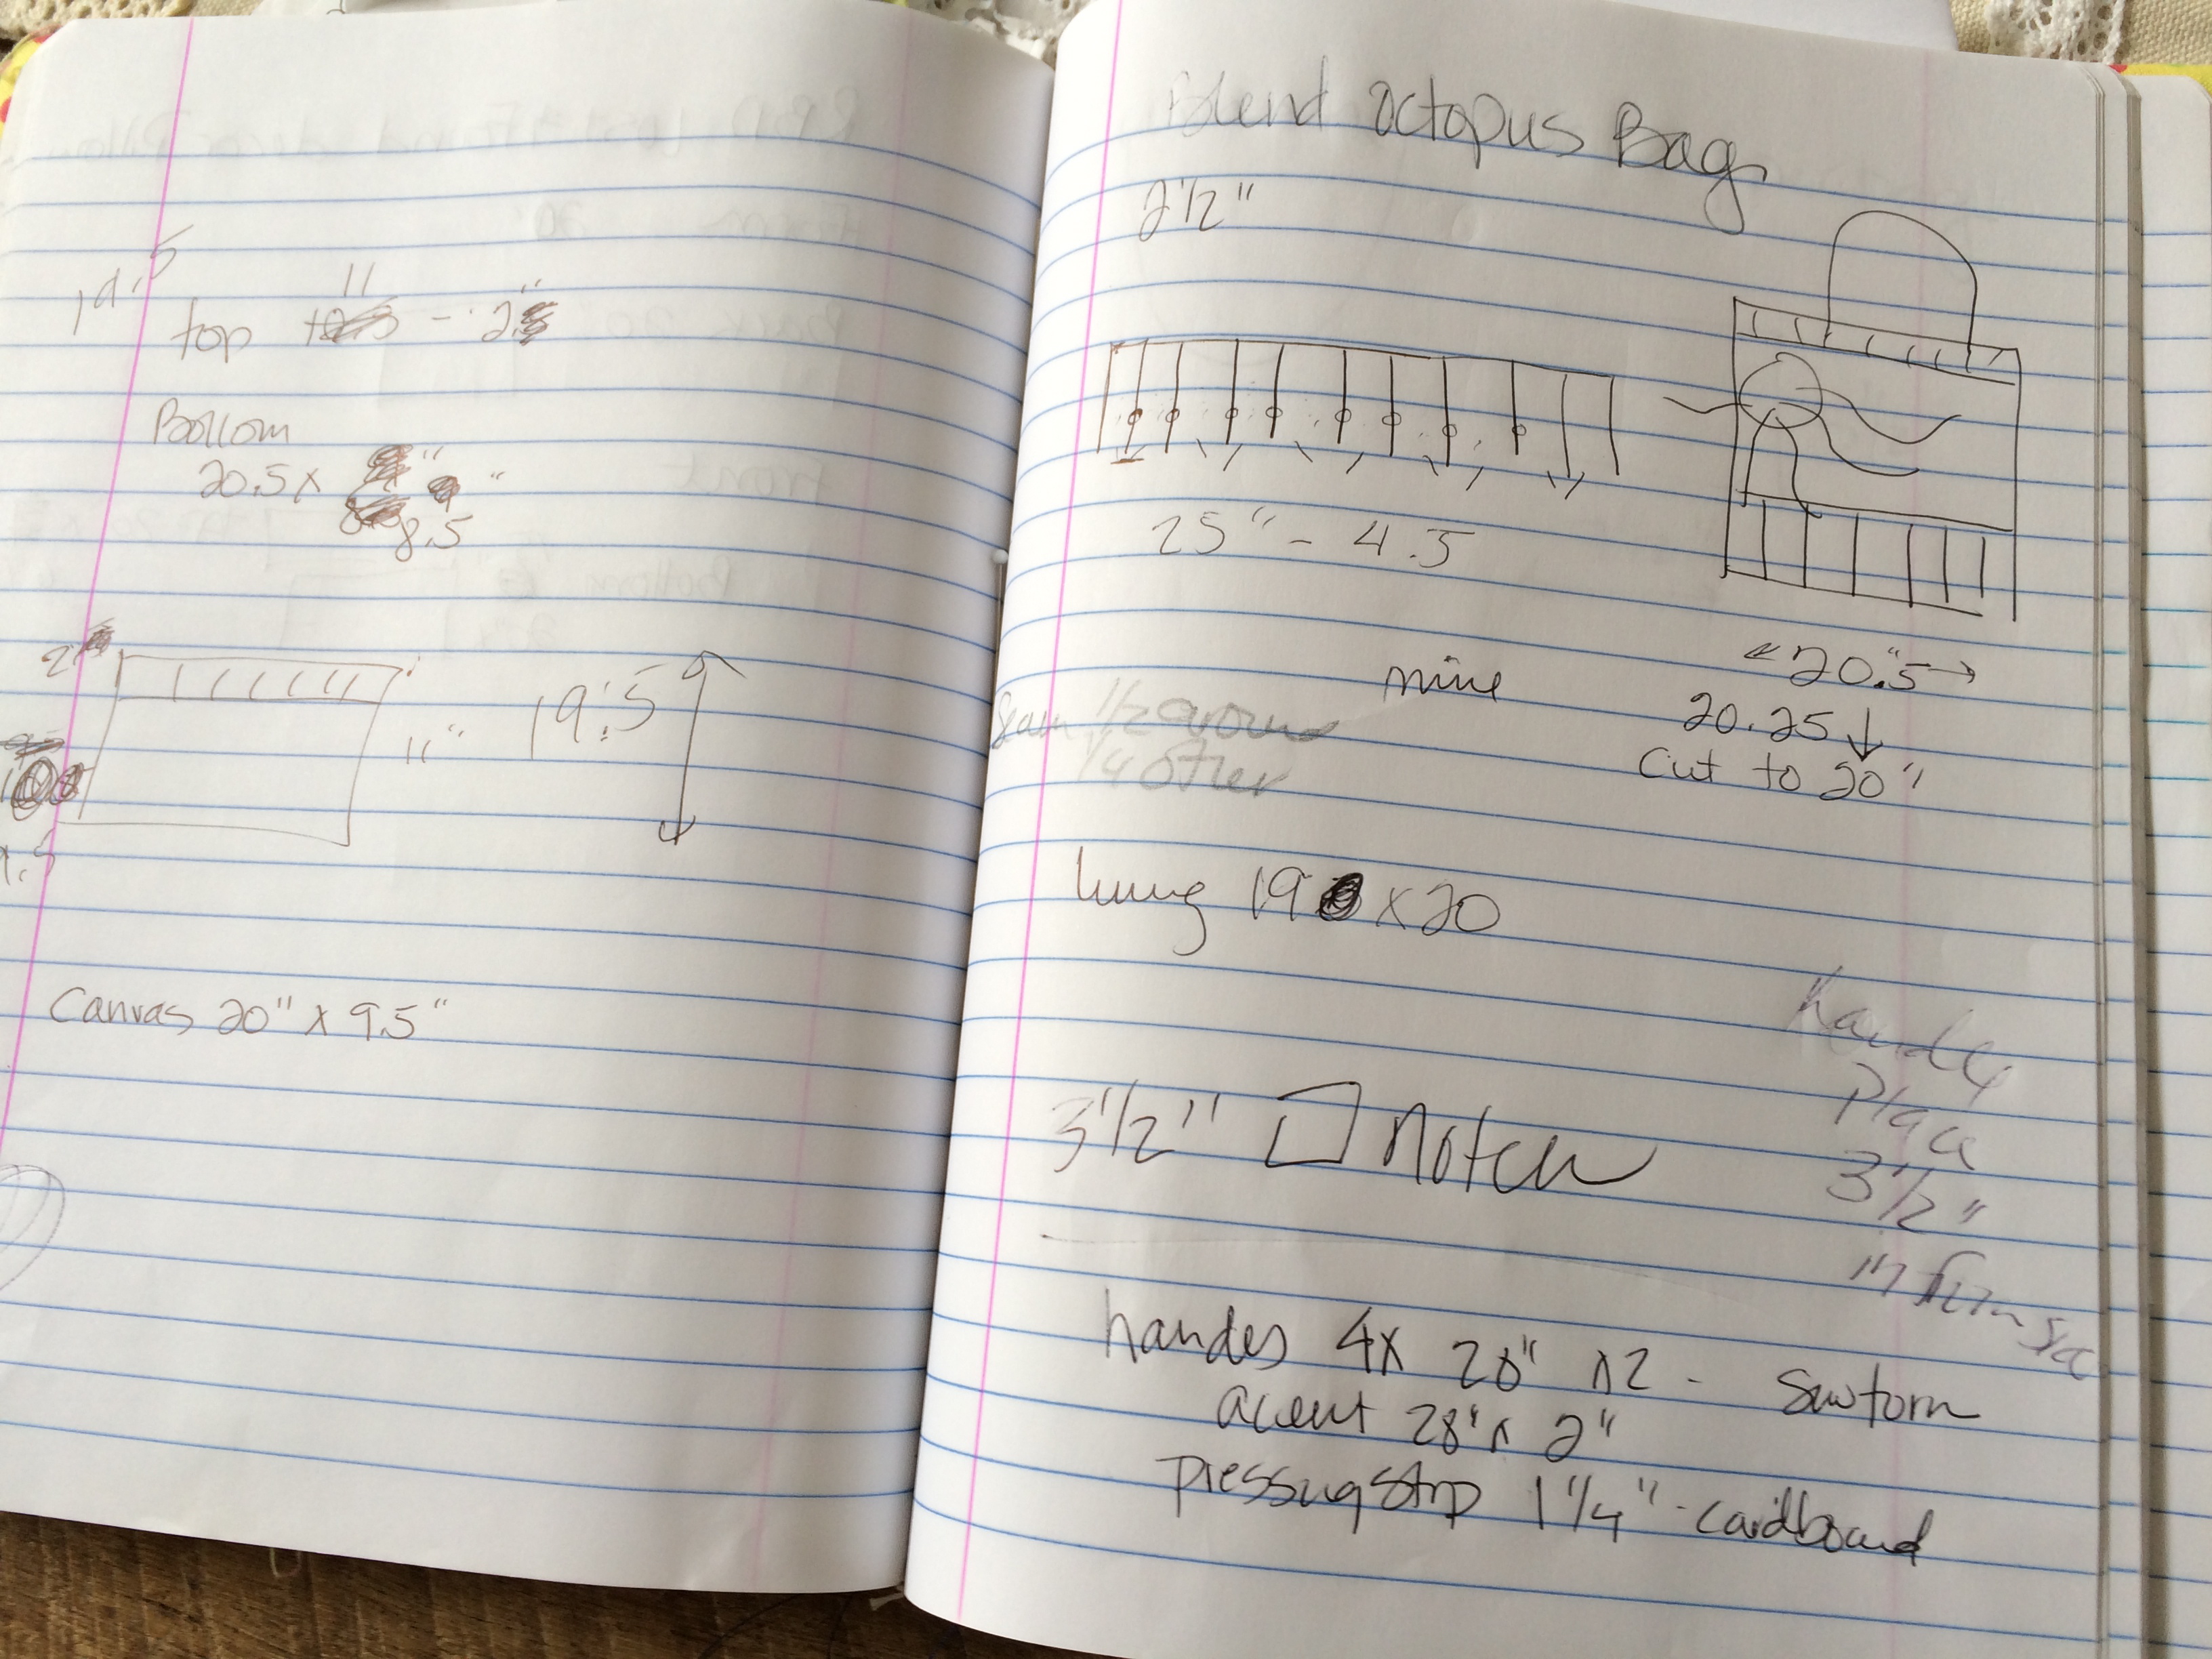
This is the composition book I am using – make sure you measurements are 9 3/4″ x 7 1/2″
whale_composition_book_true_blue_8

Supplies:

composition book

scraps of fabric

1/3 yard fabric for lining and flaps

batting

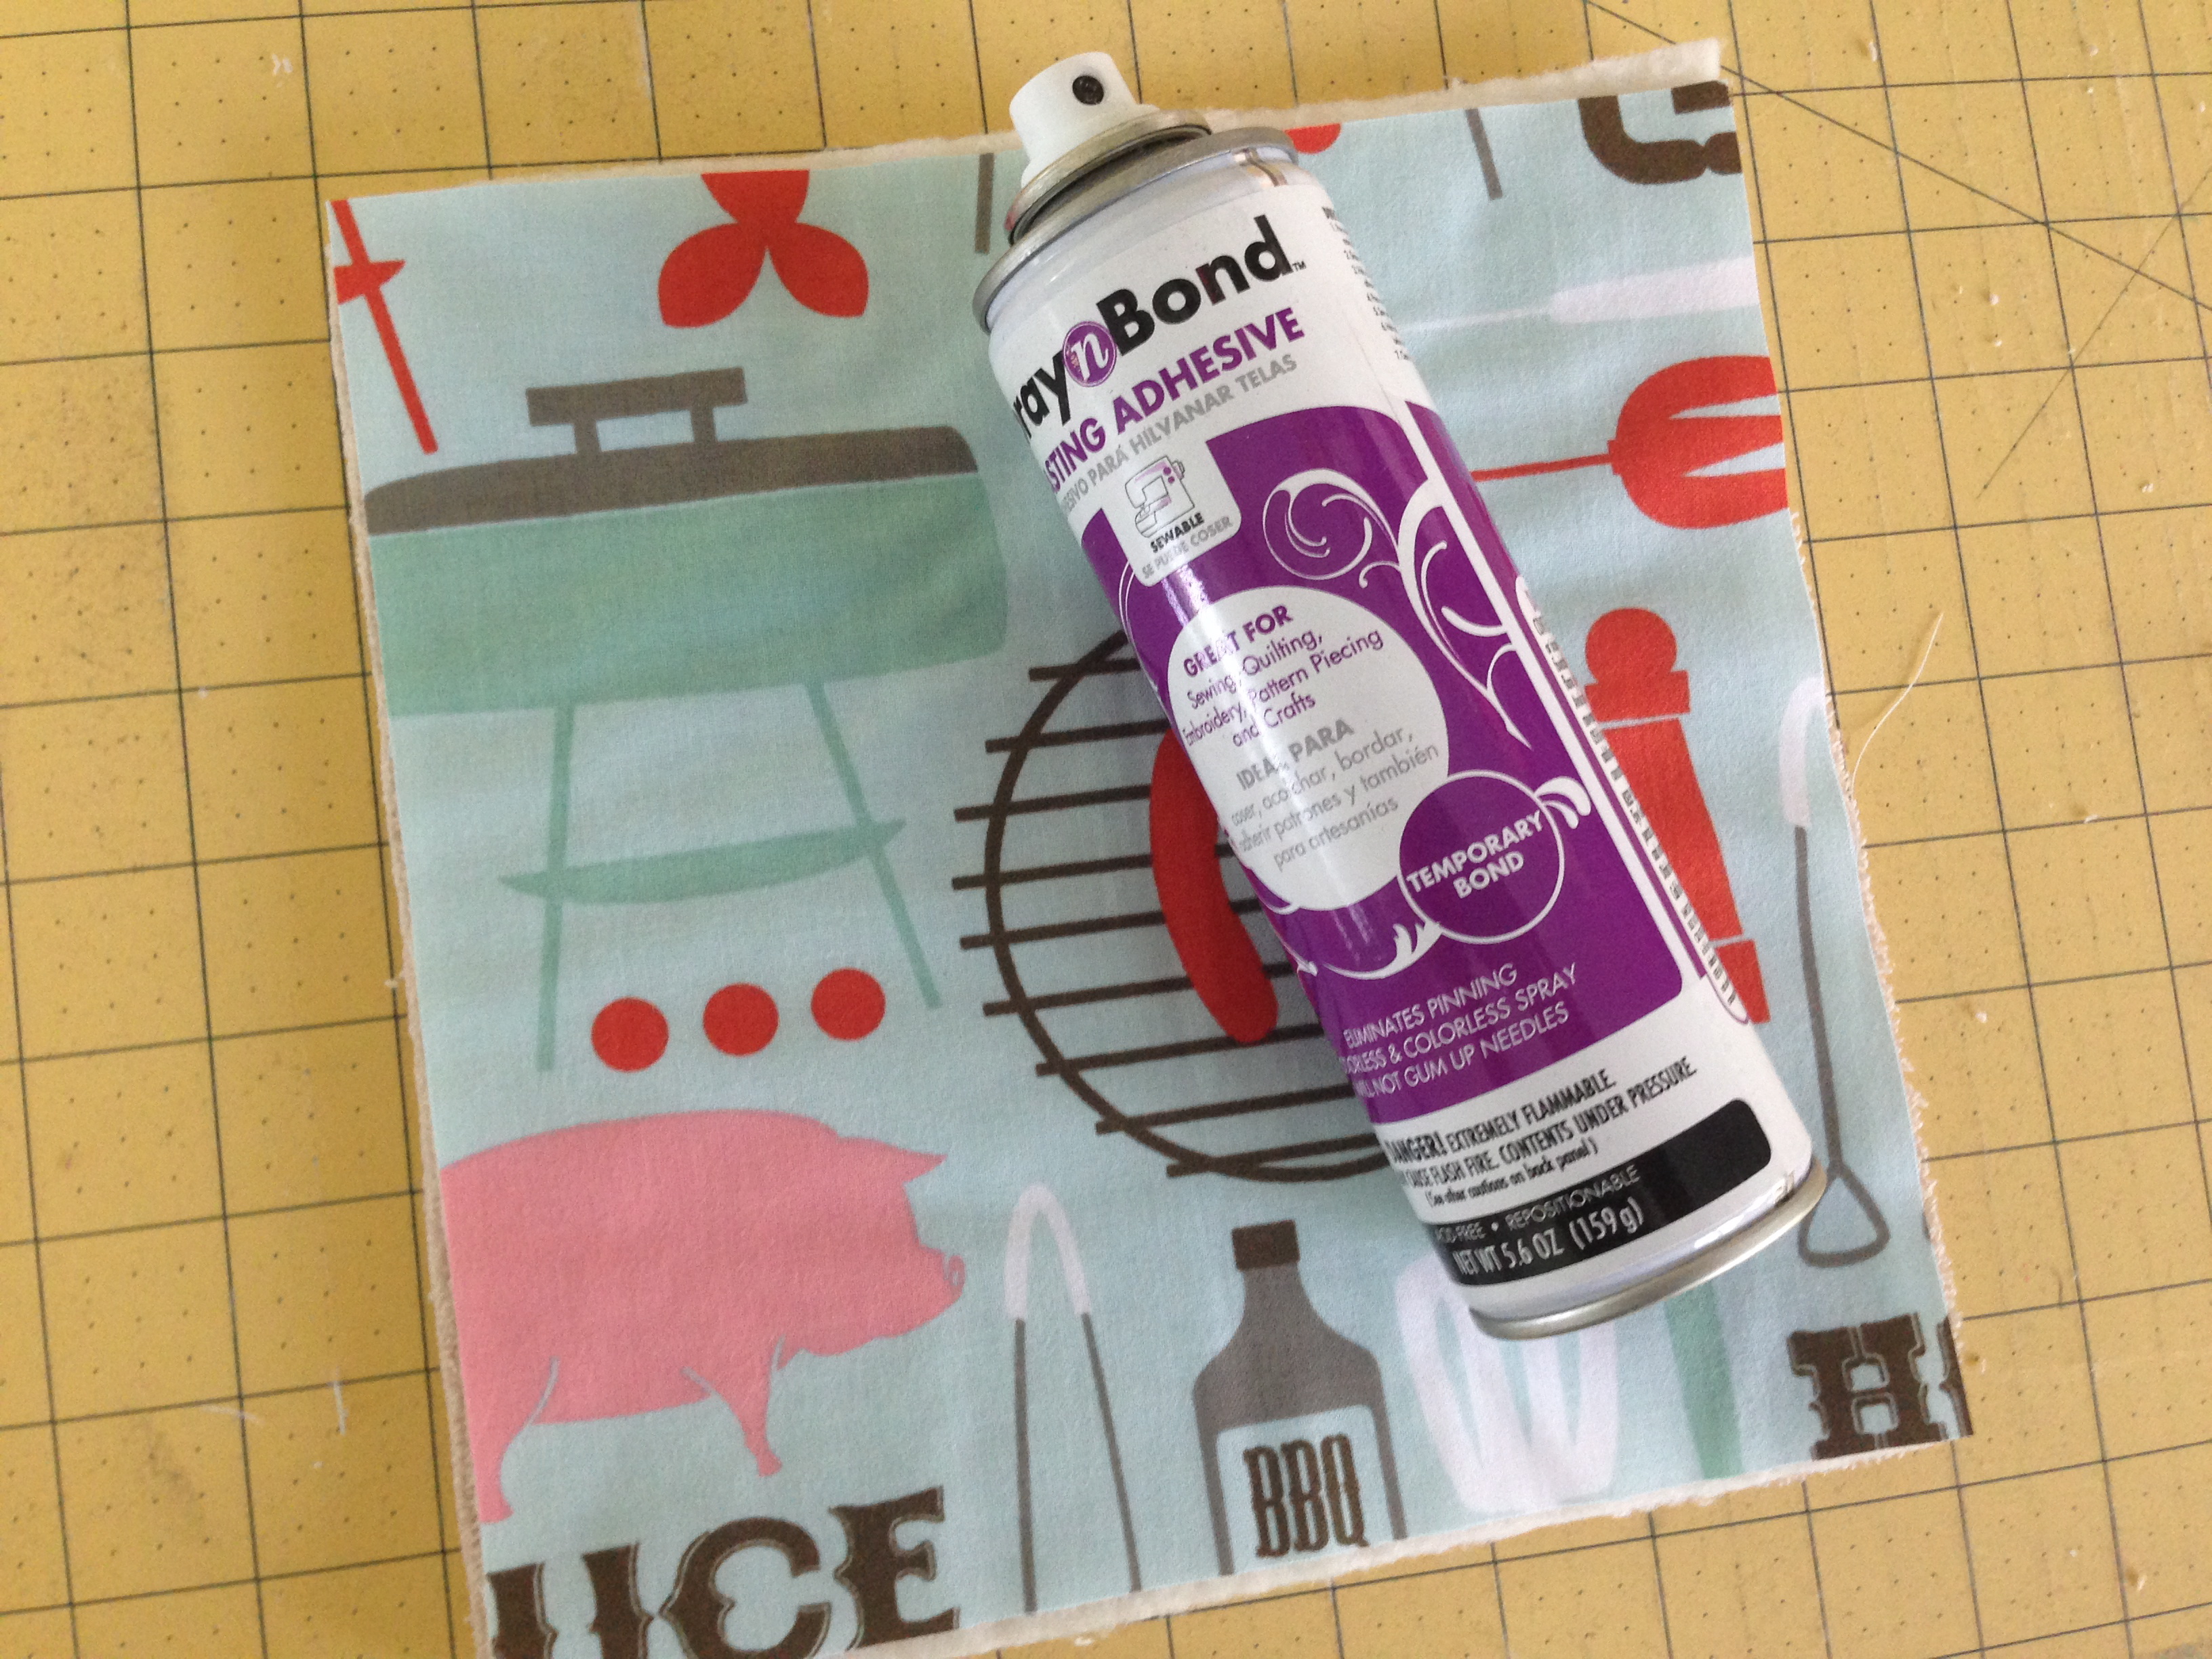
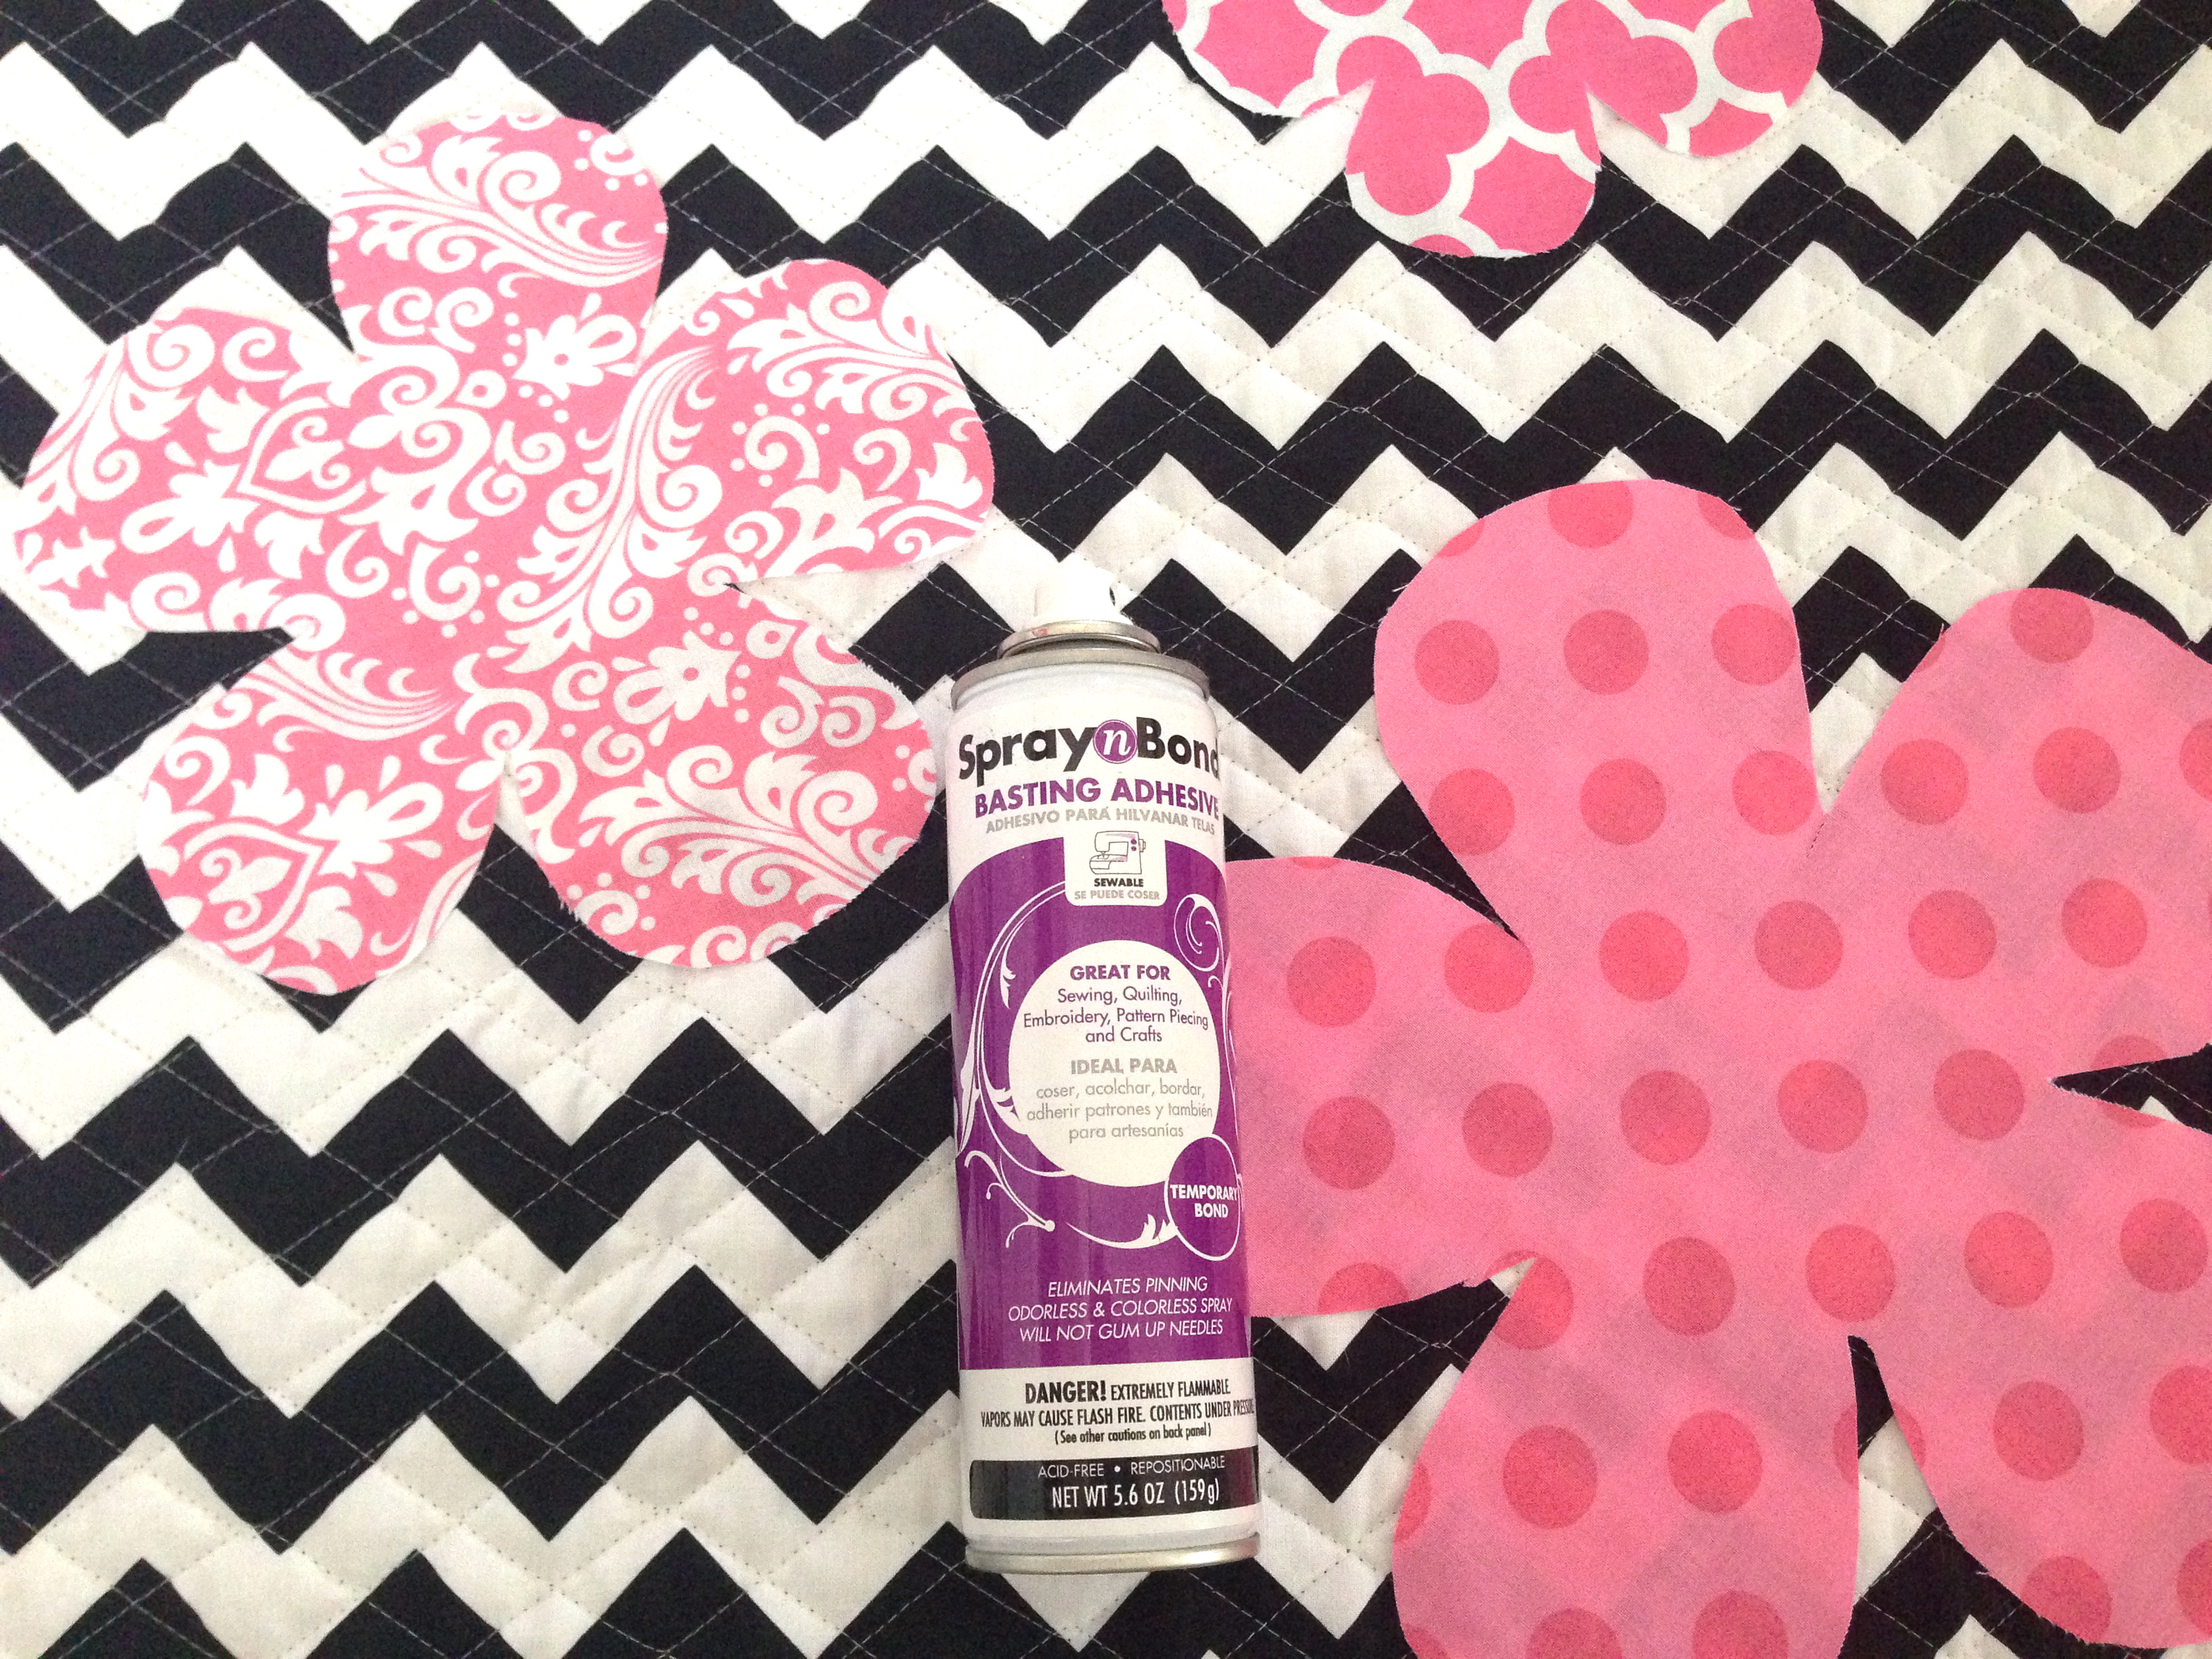
spray n bond basting spray

hair elastic

button

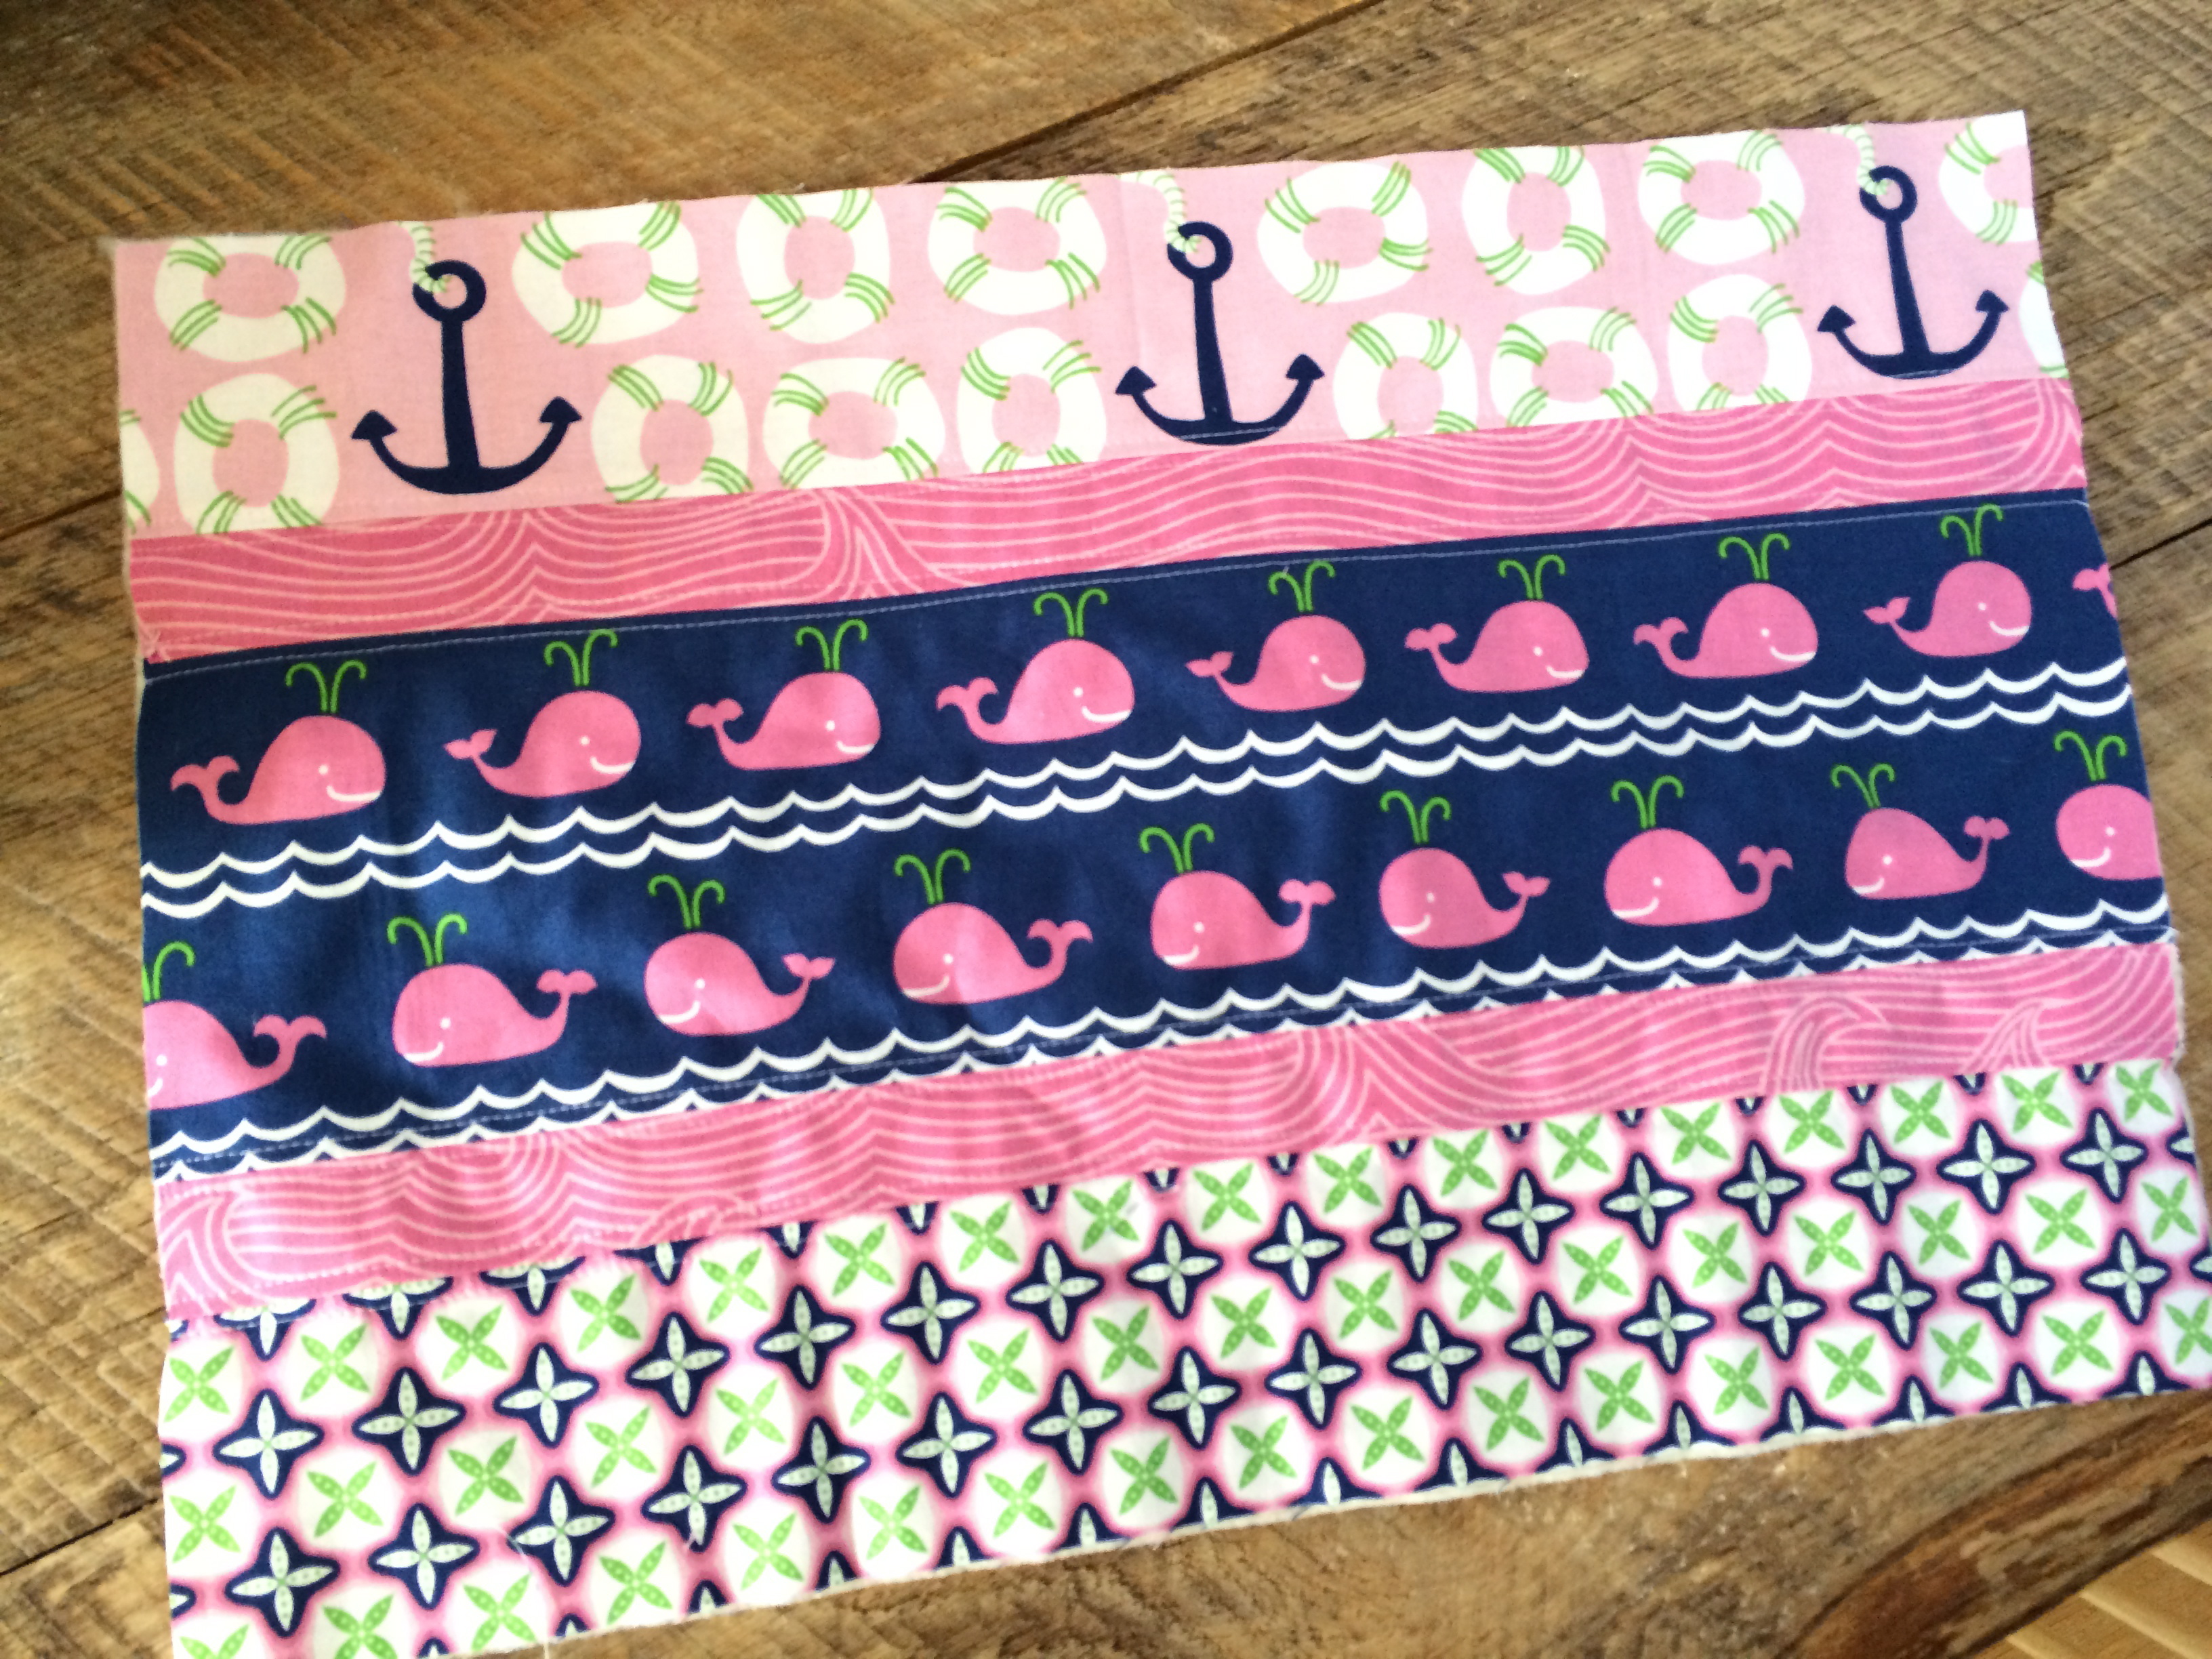
You can create any design as long as it measures 16/5″ x 11″ when you are finished

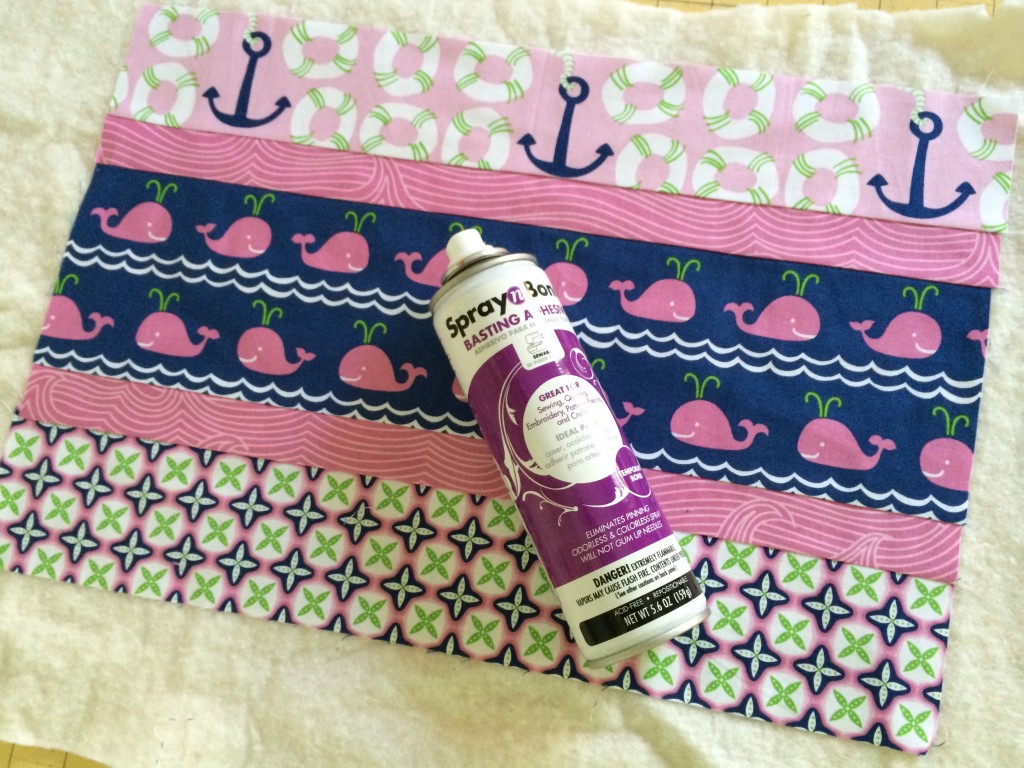
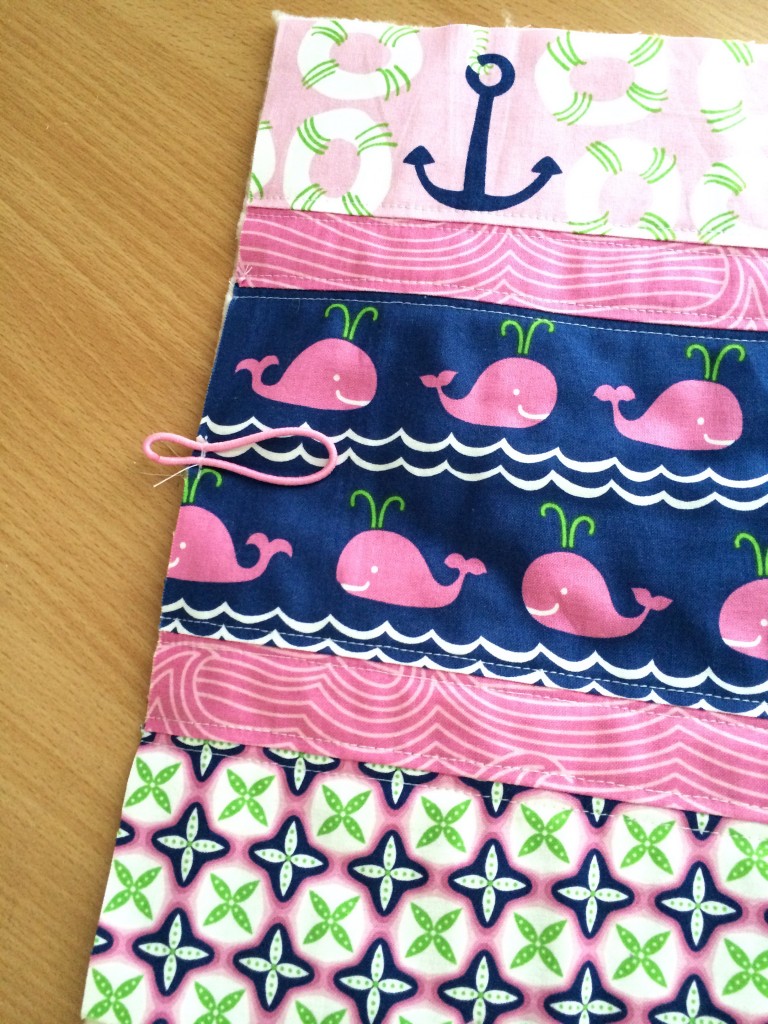
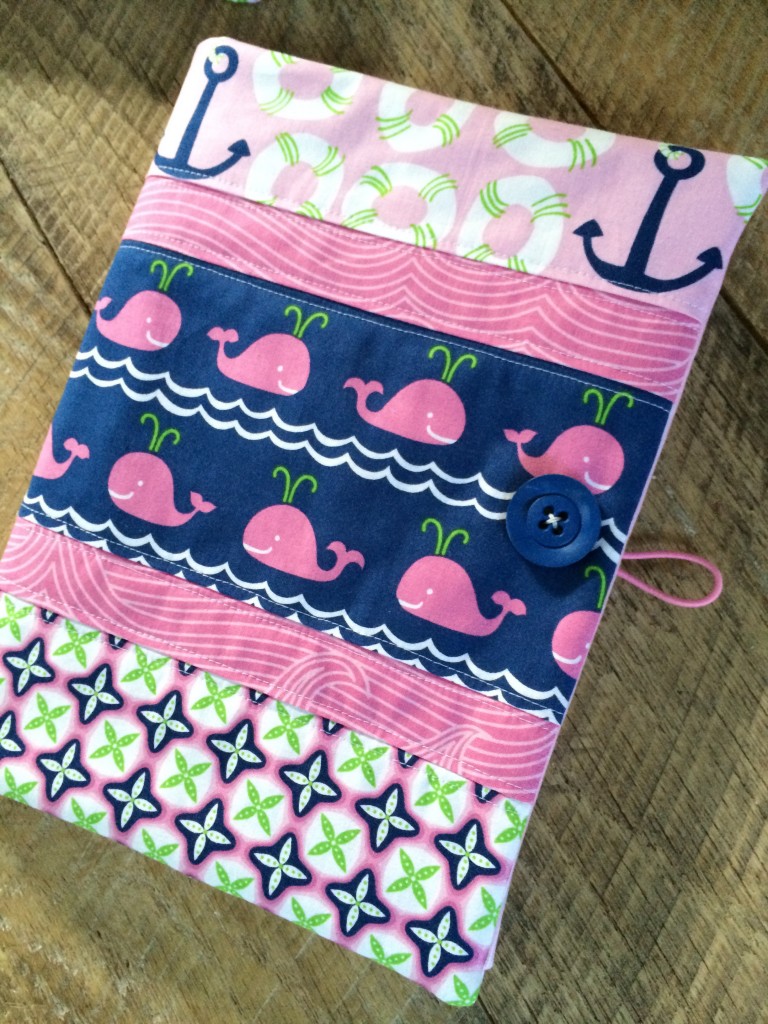
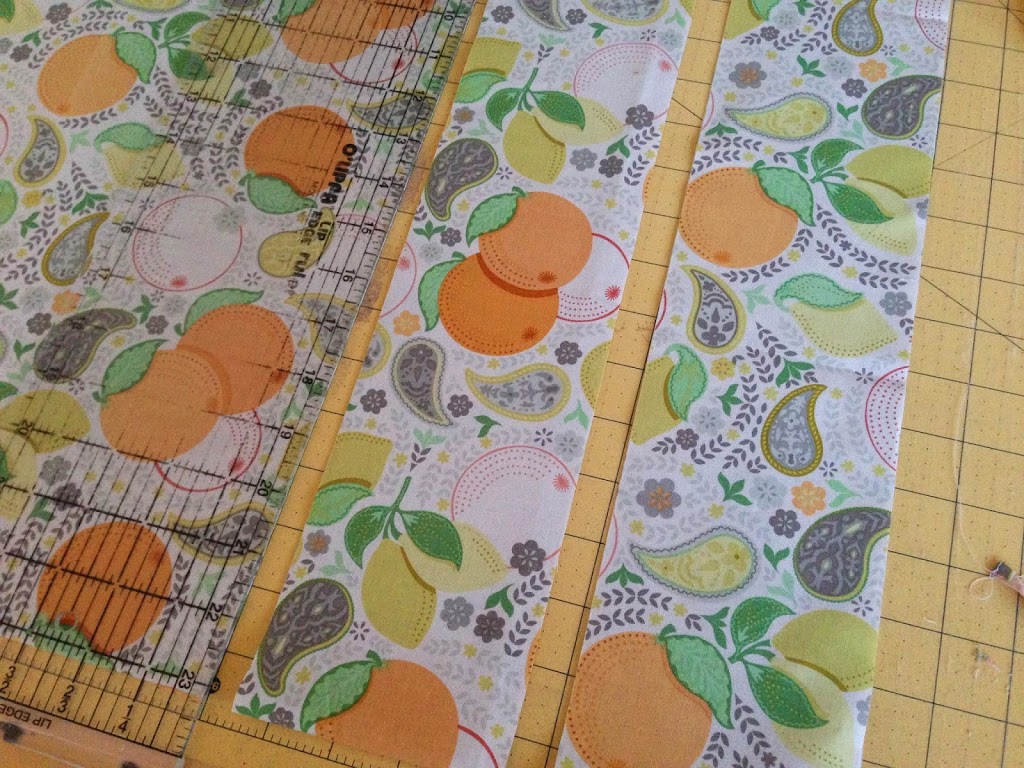
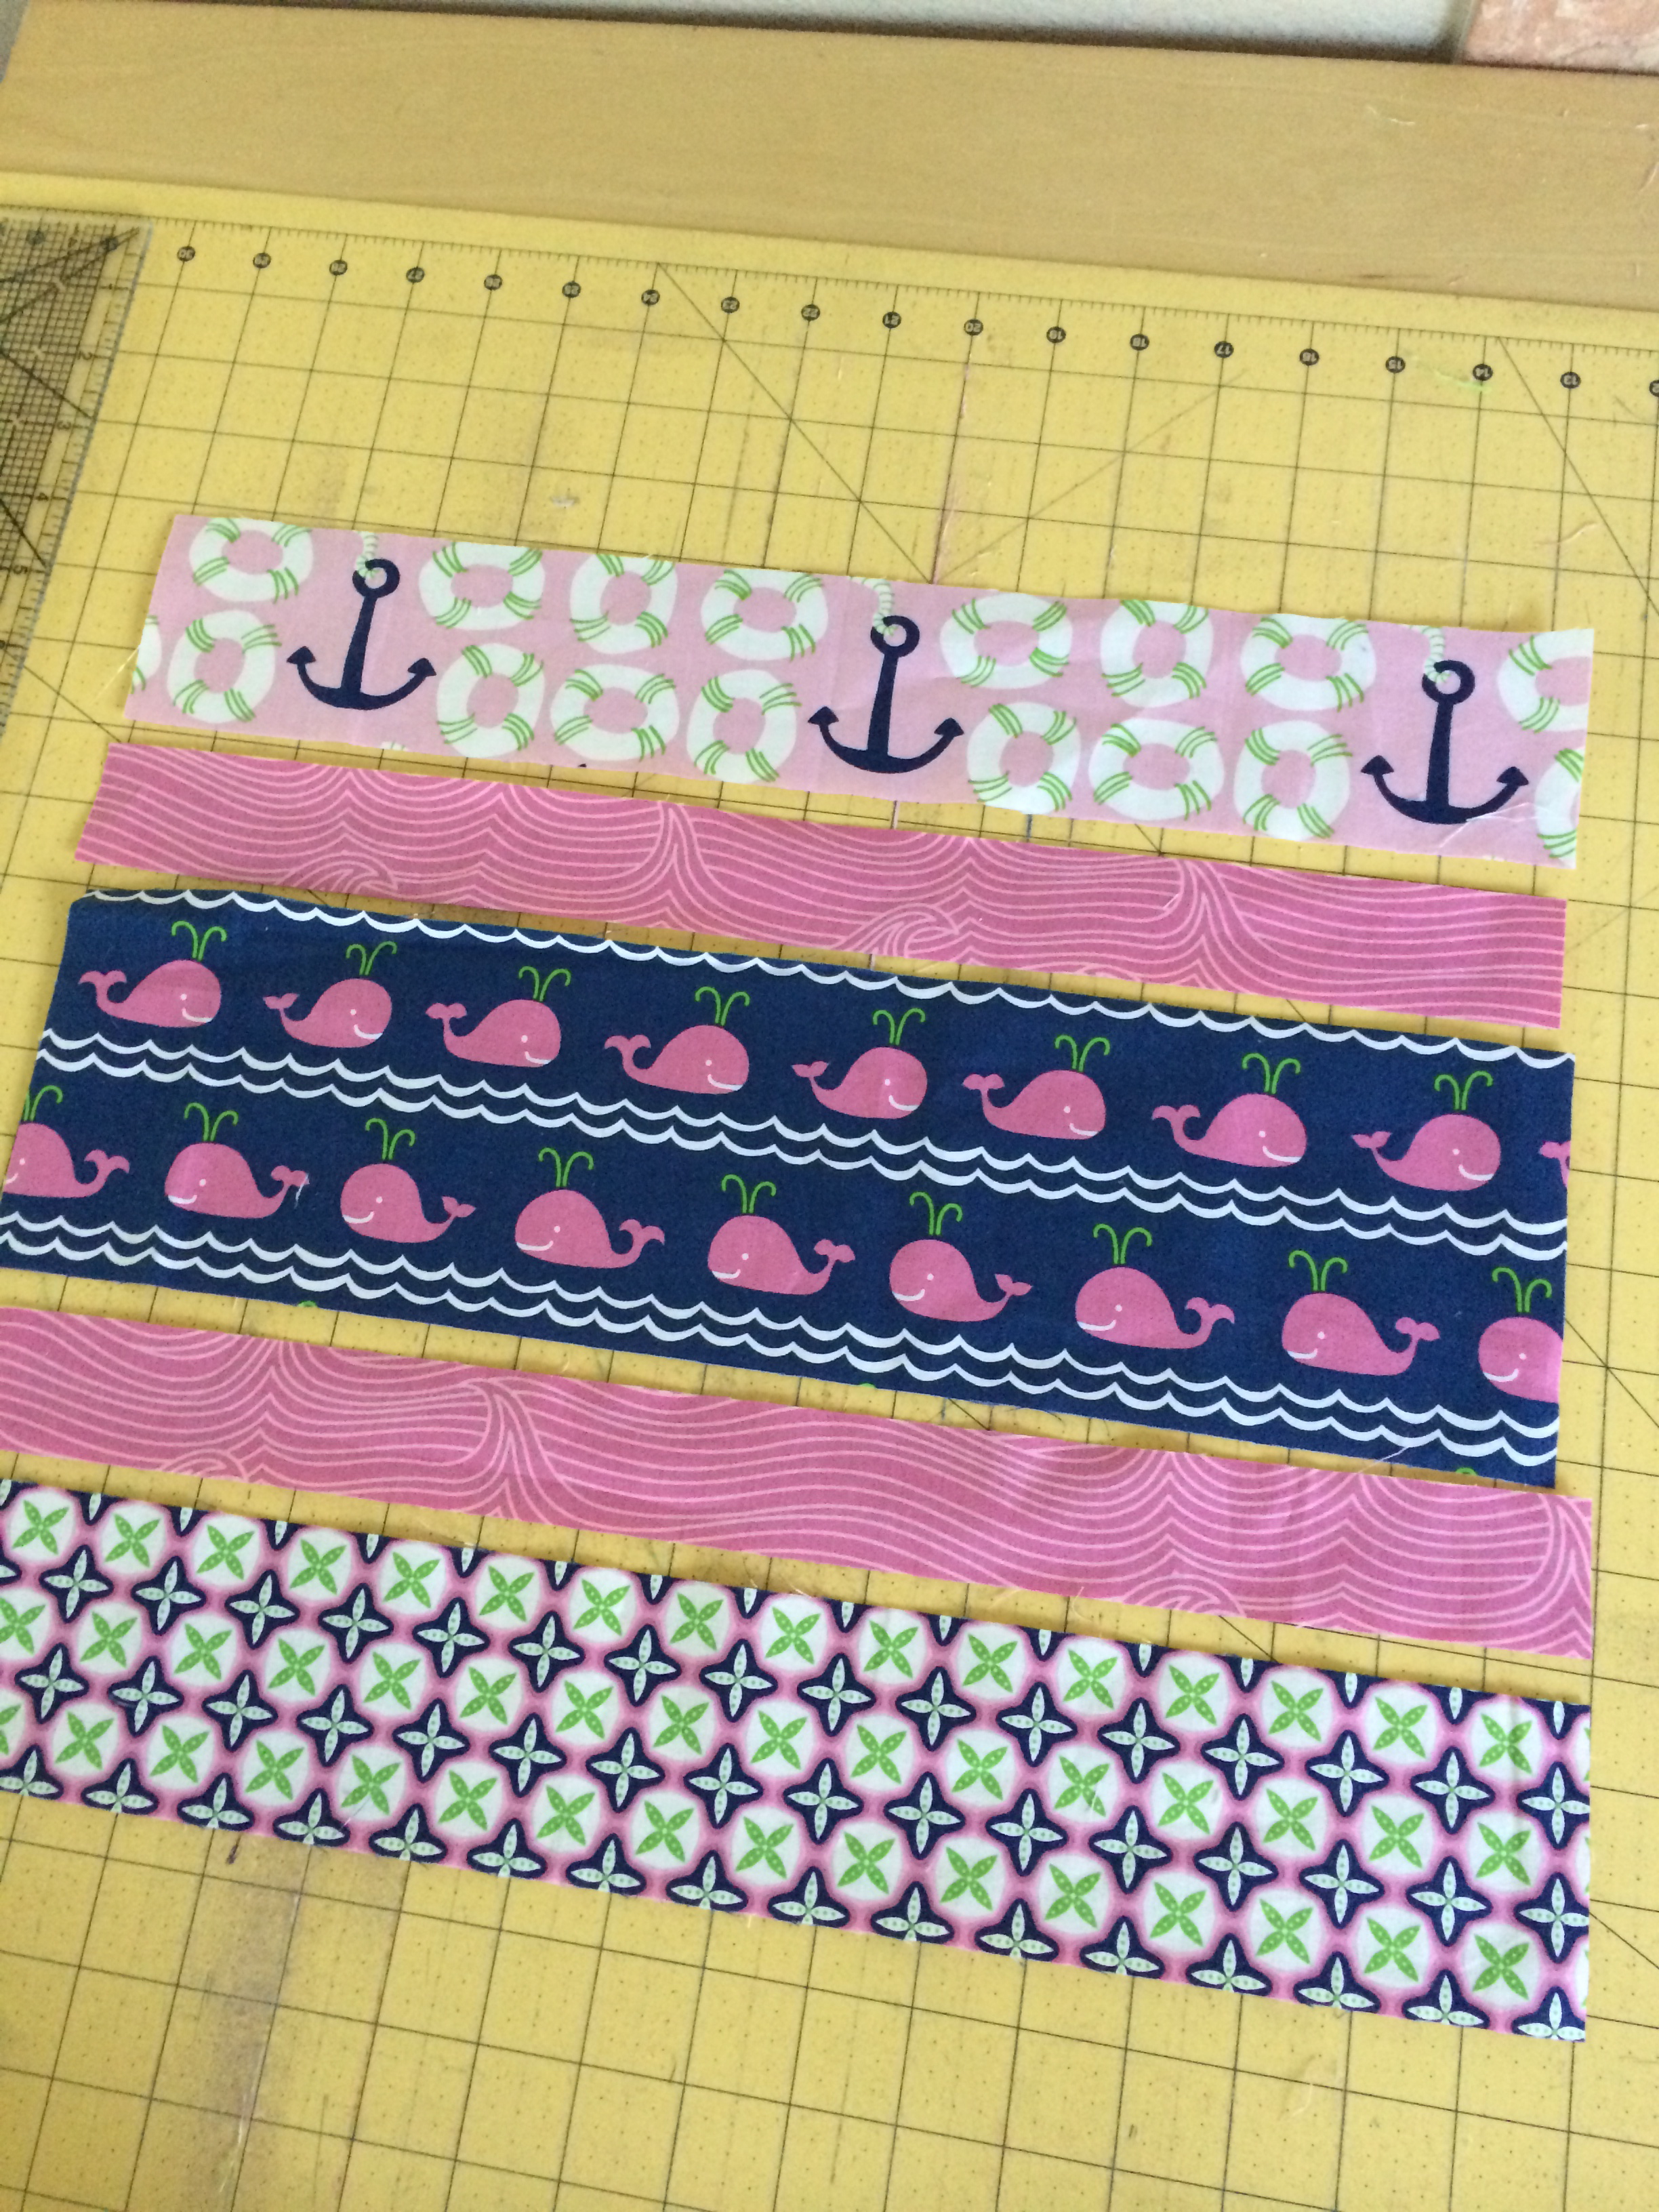
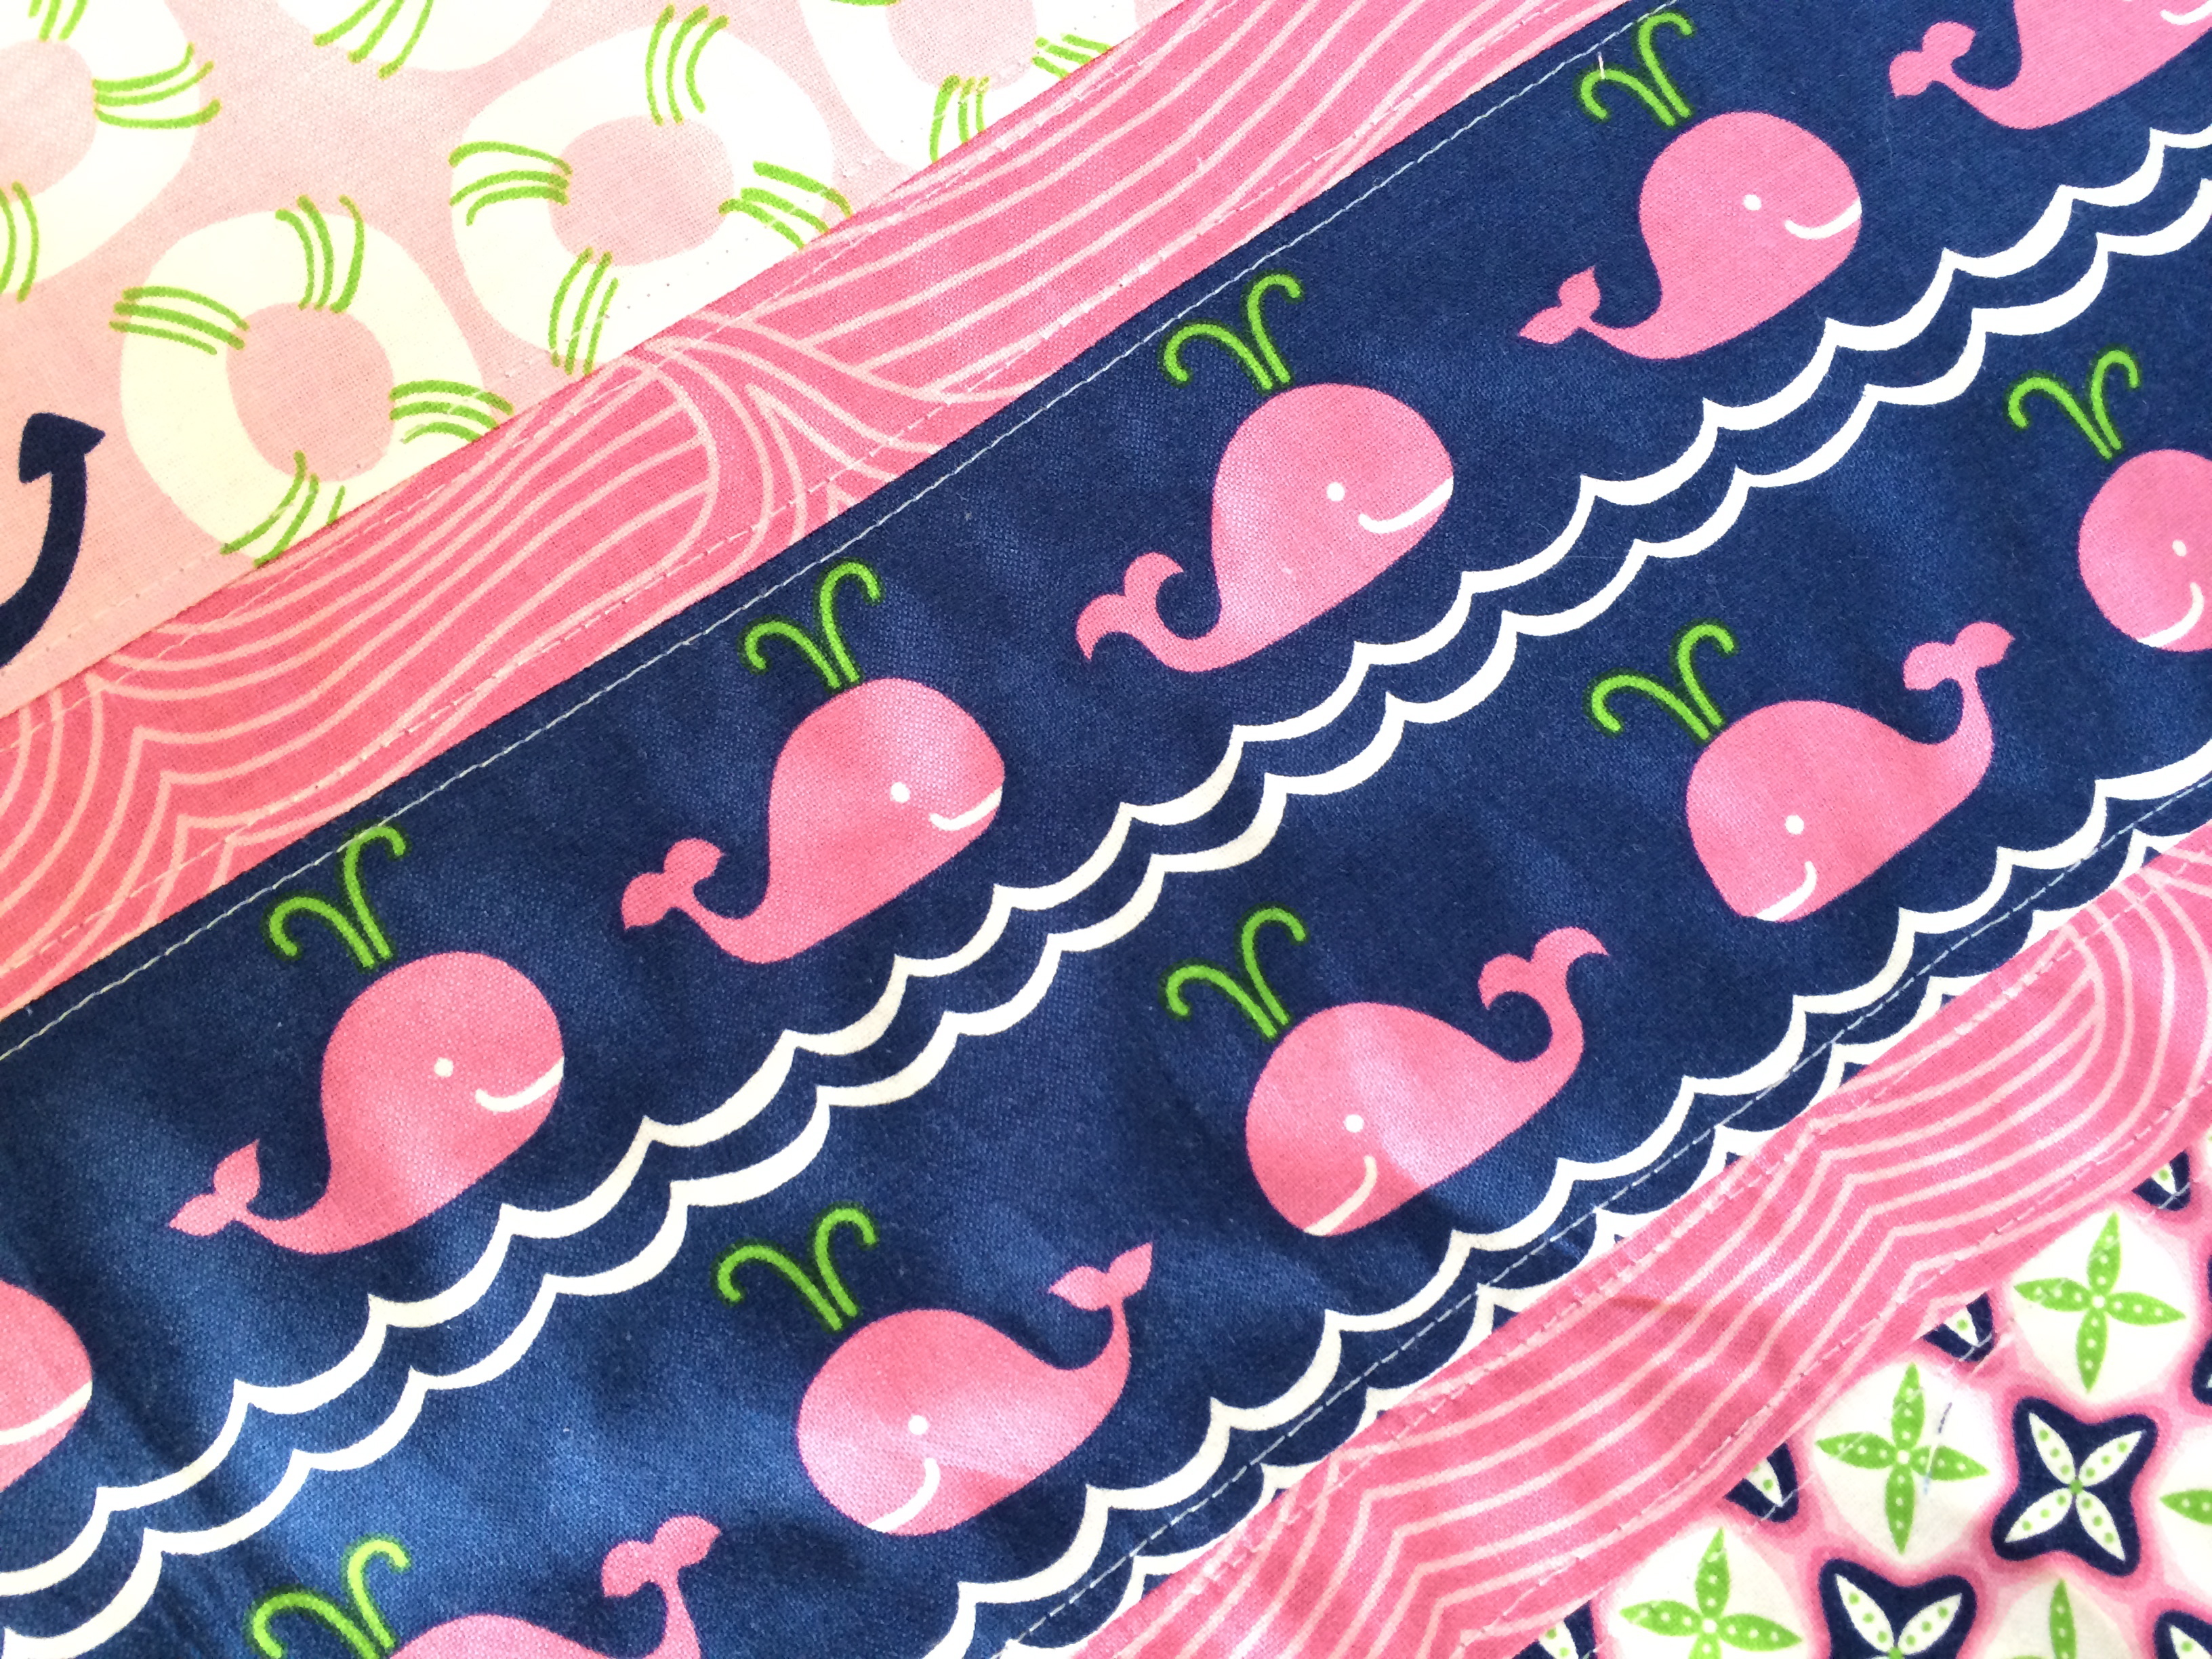
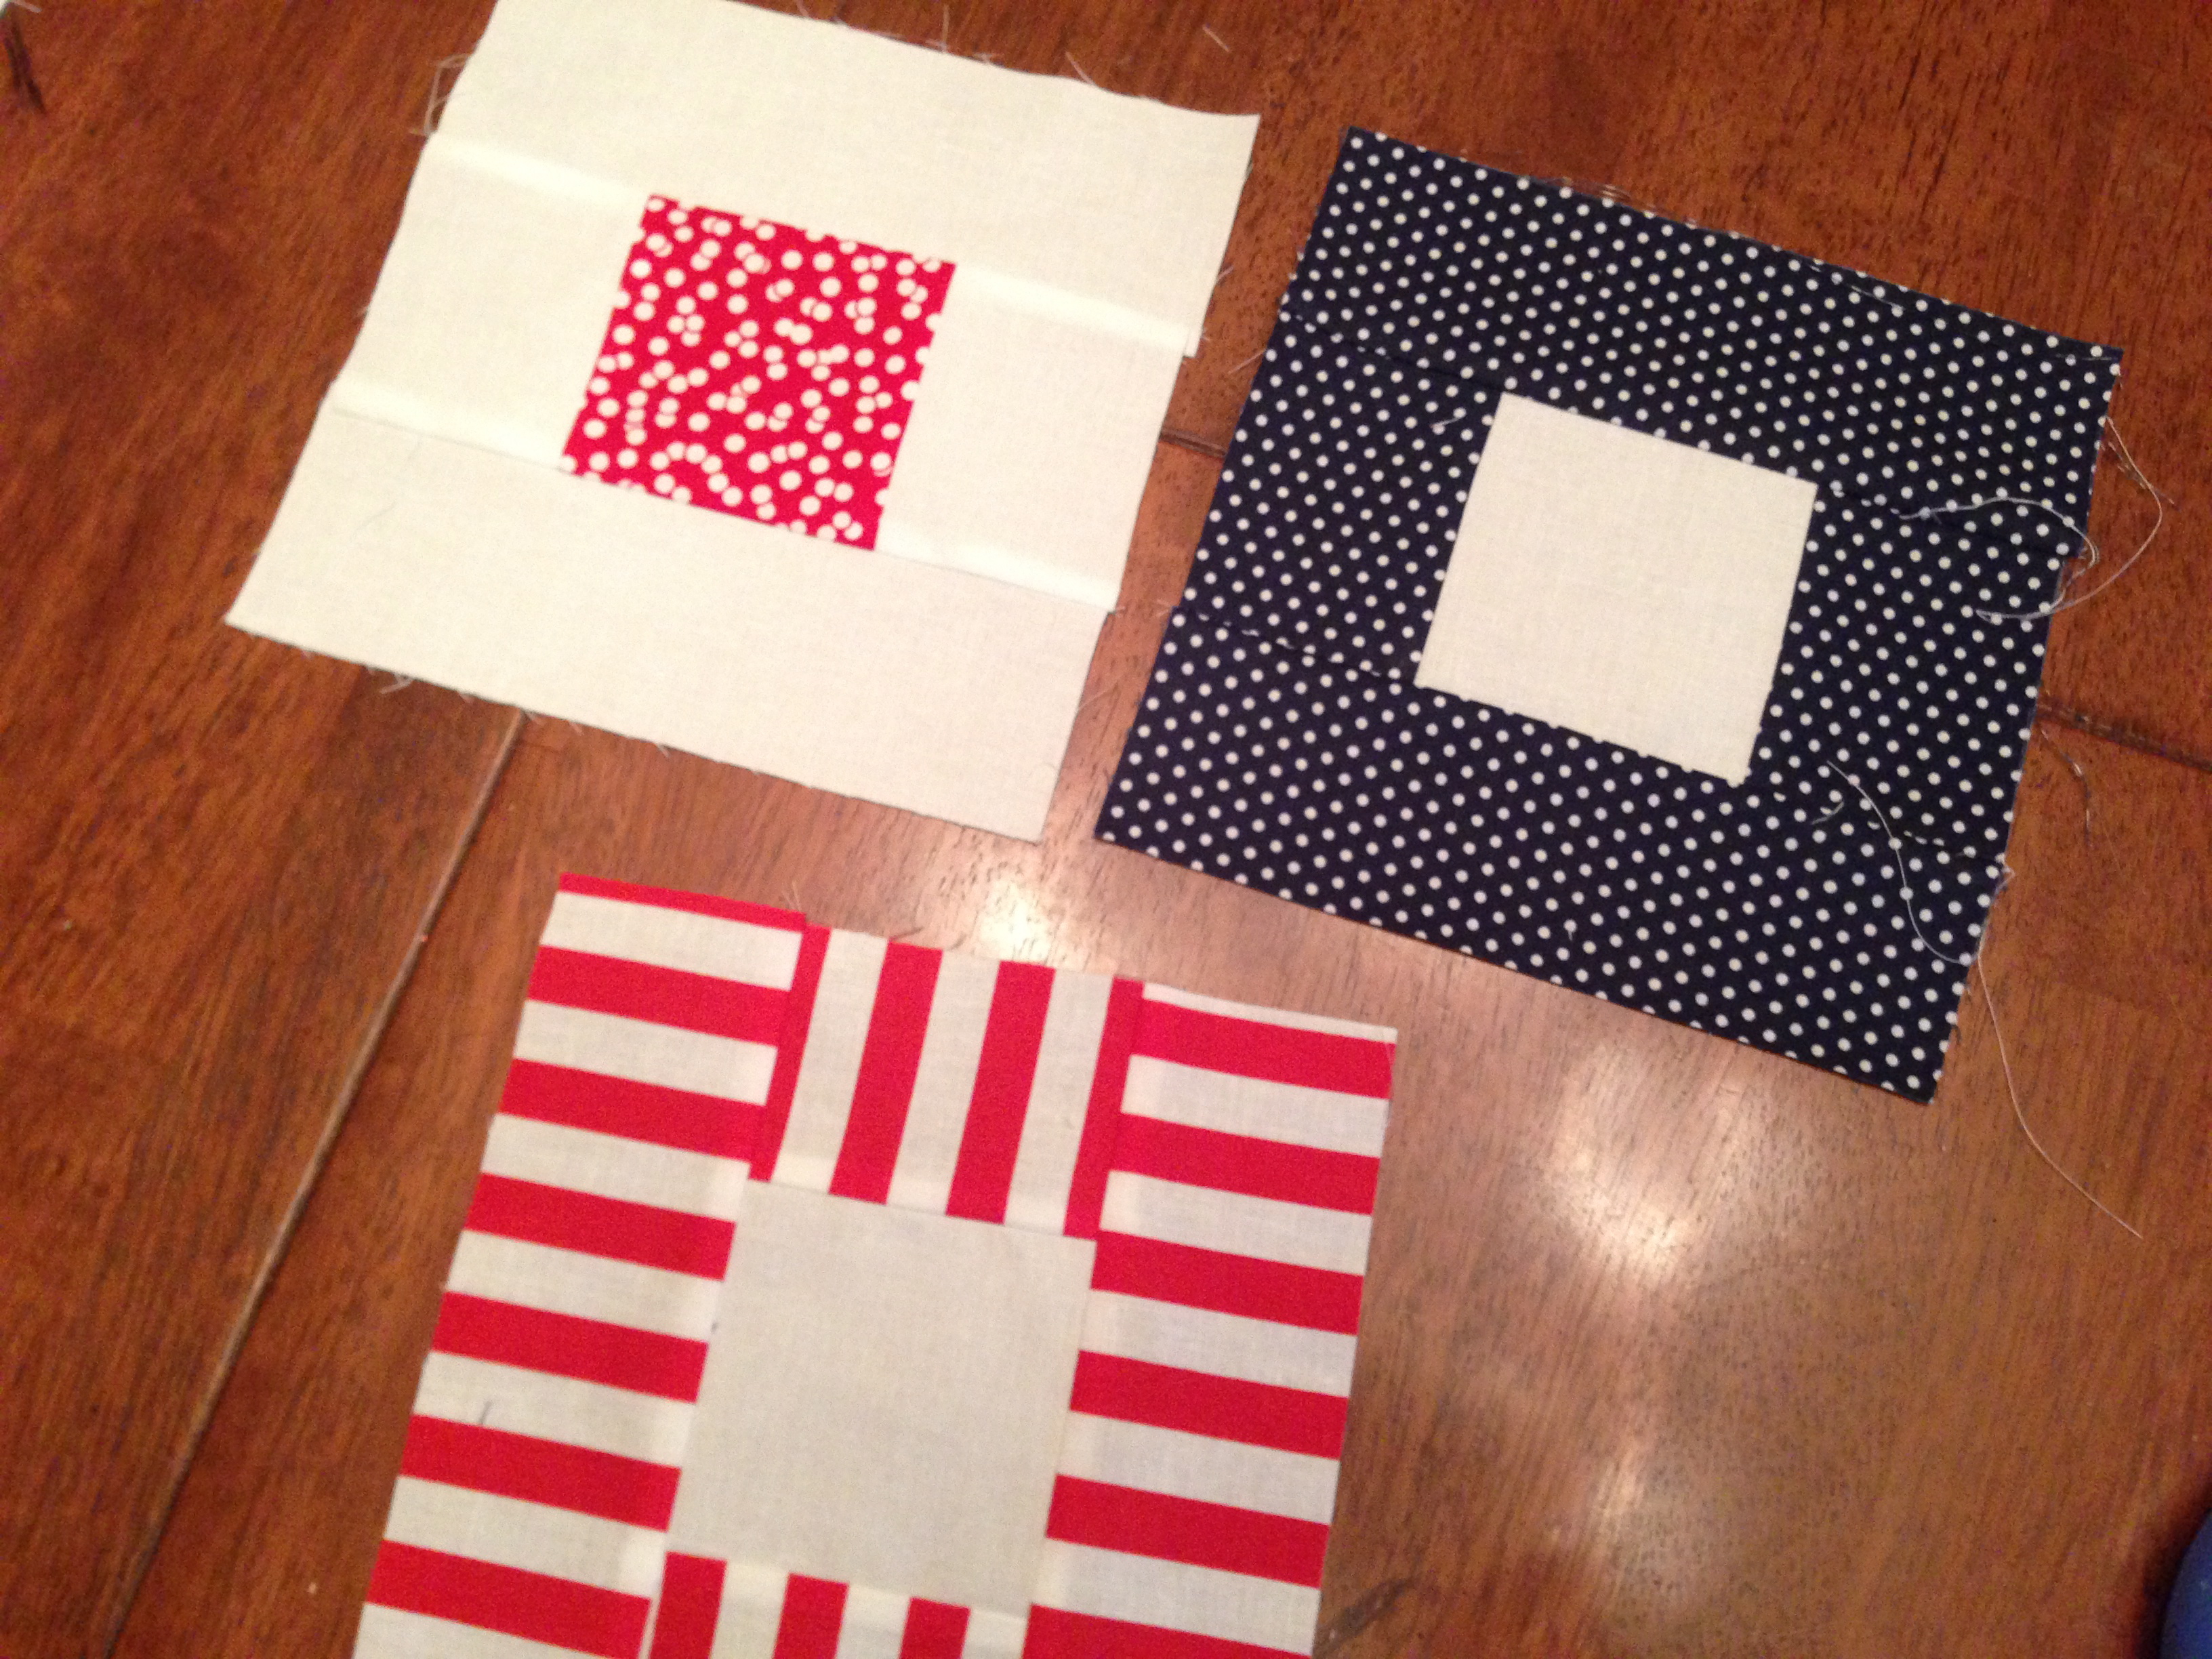
Anchor fabric 3″ x 16.5″

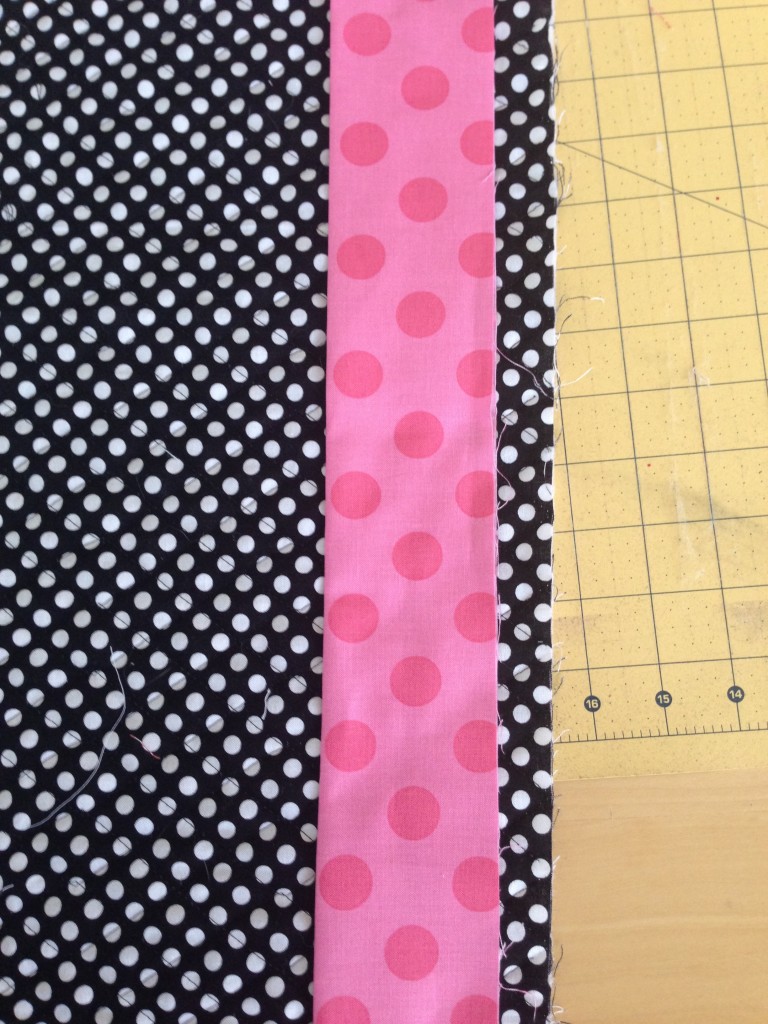
pink accent fabric (2) 1.25″ x 16.5″

whale fabric 4.5″ x 16.5″

flower fabric 3″ x 16.5″

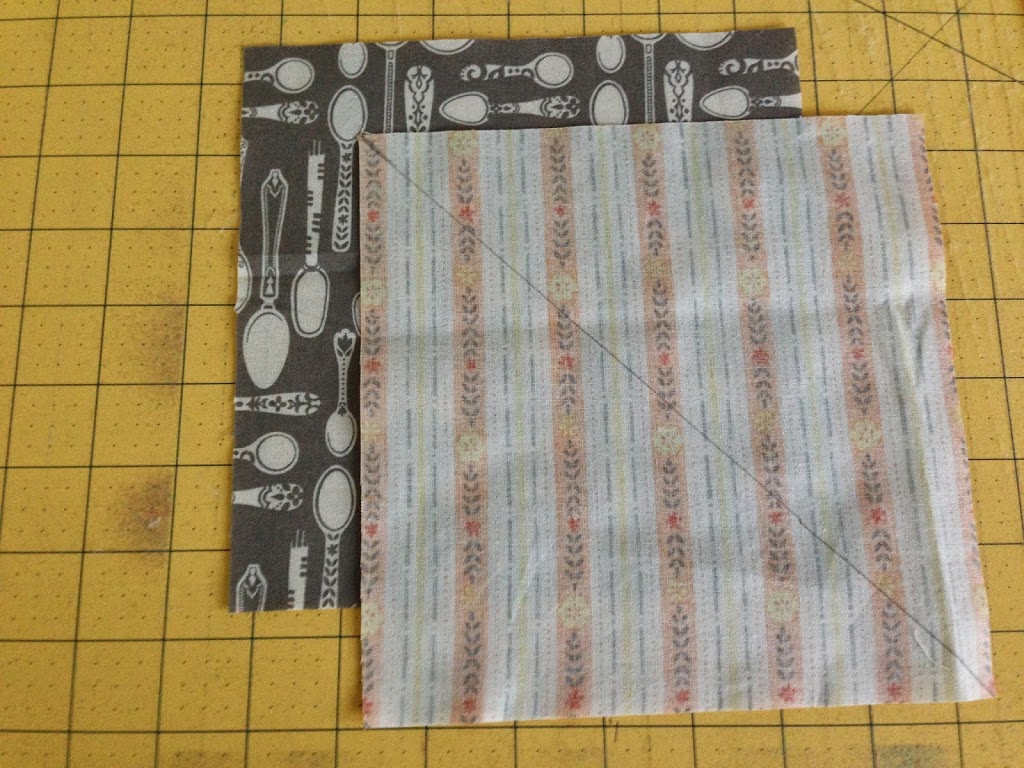
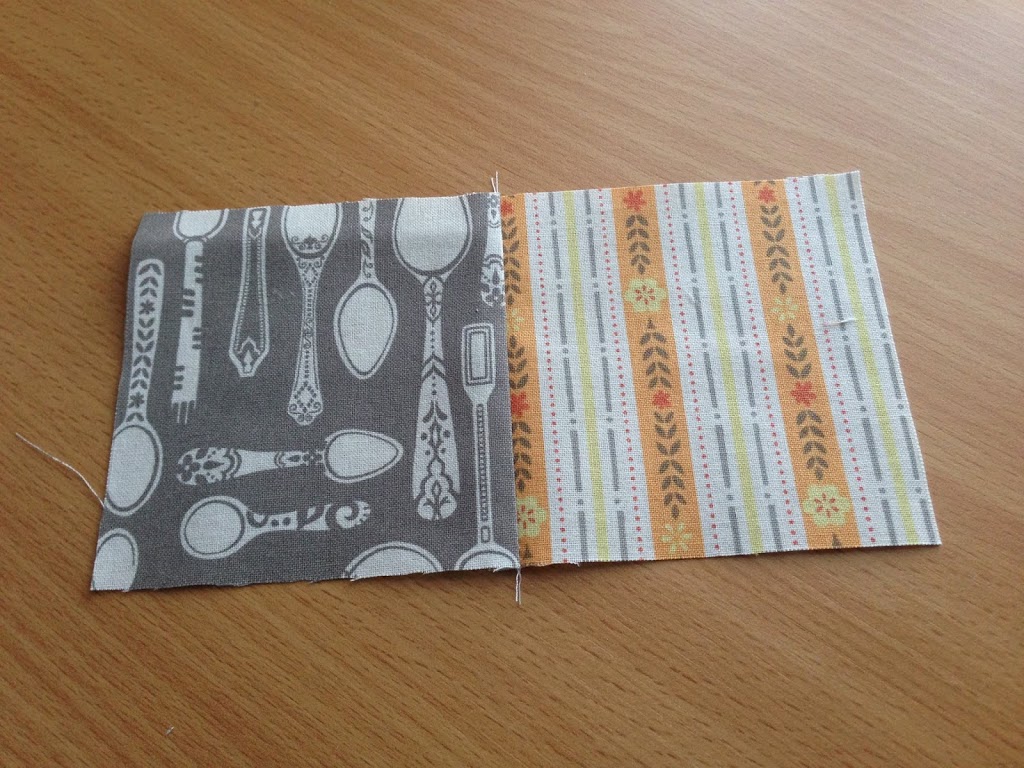
Piece them together in this order using 1/4″ seams:

whale_composition_book_true_blue

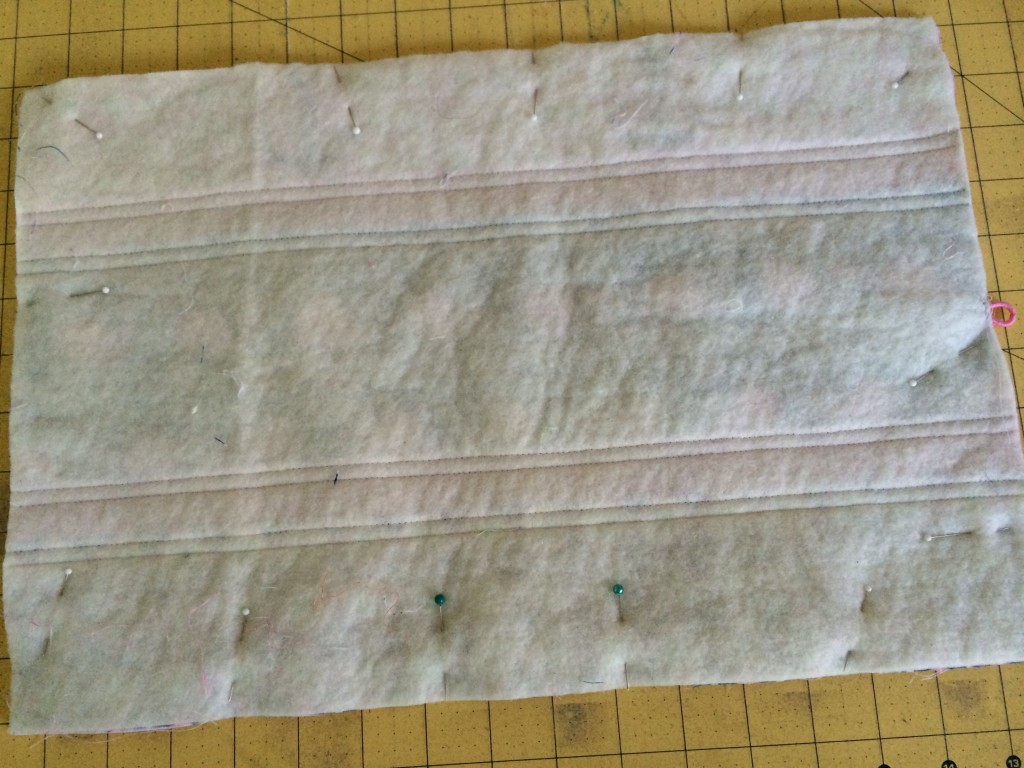
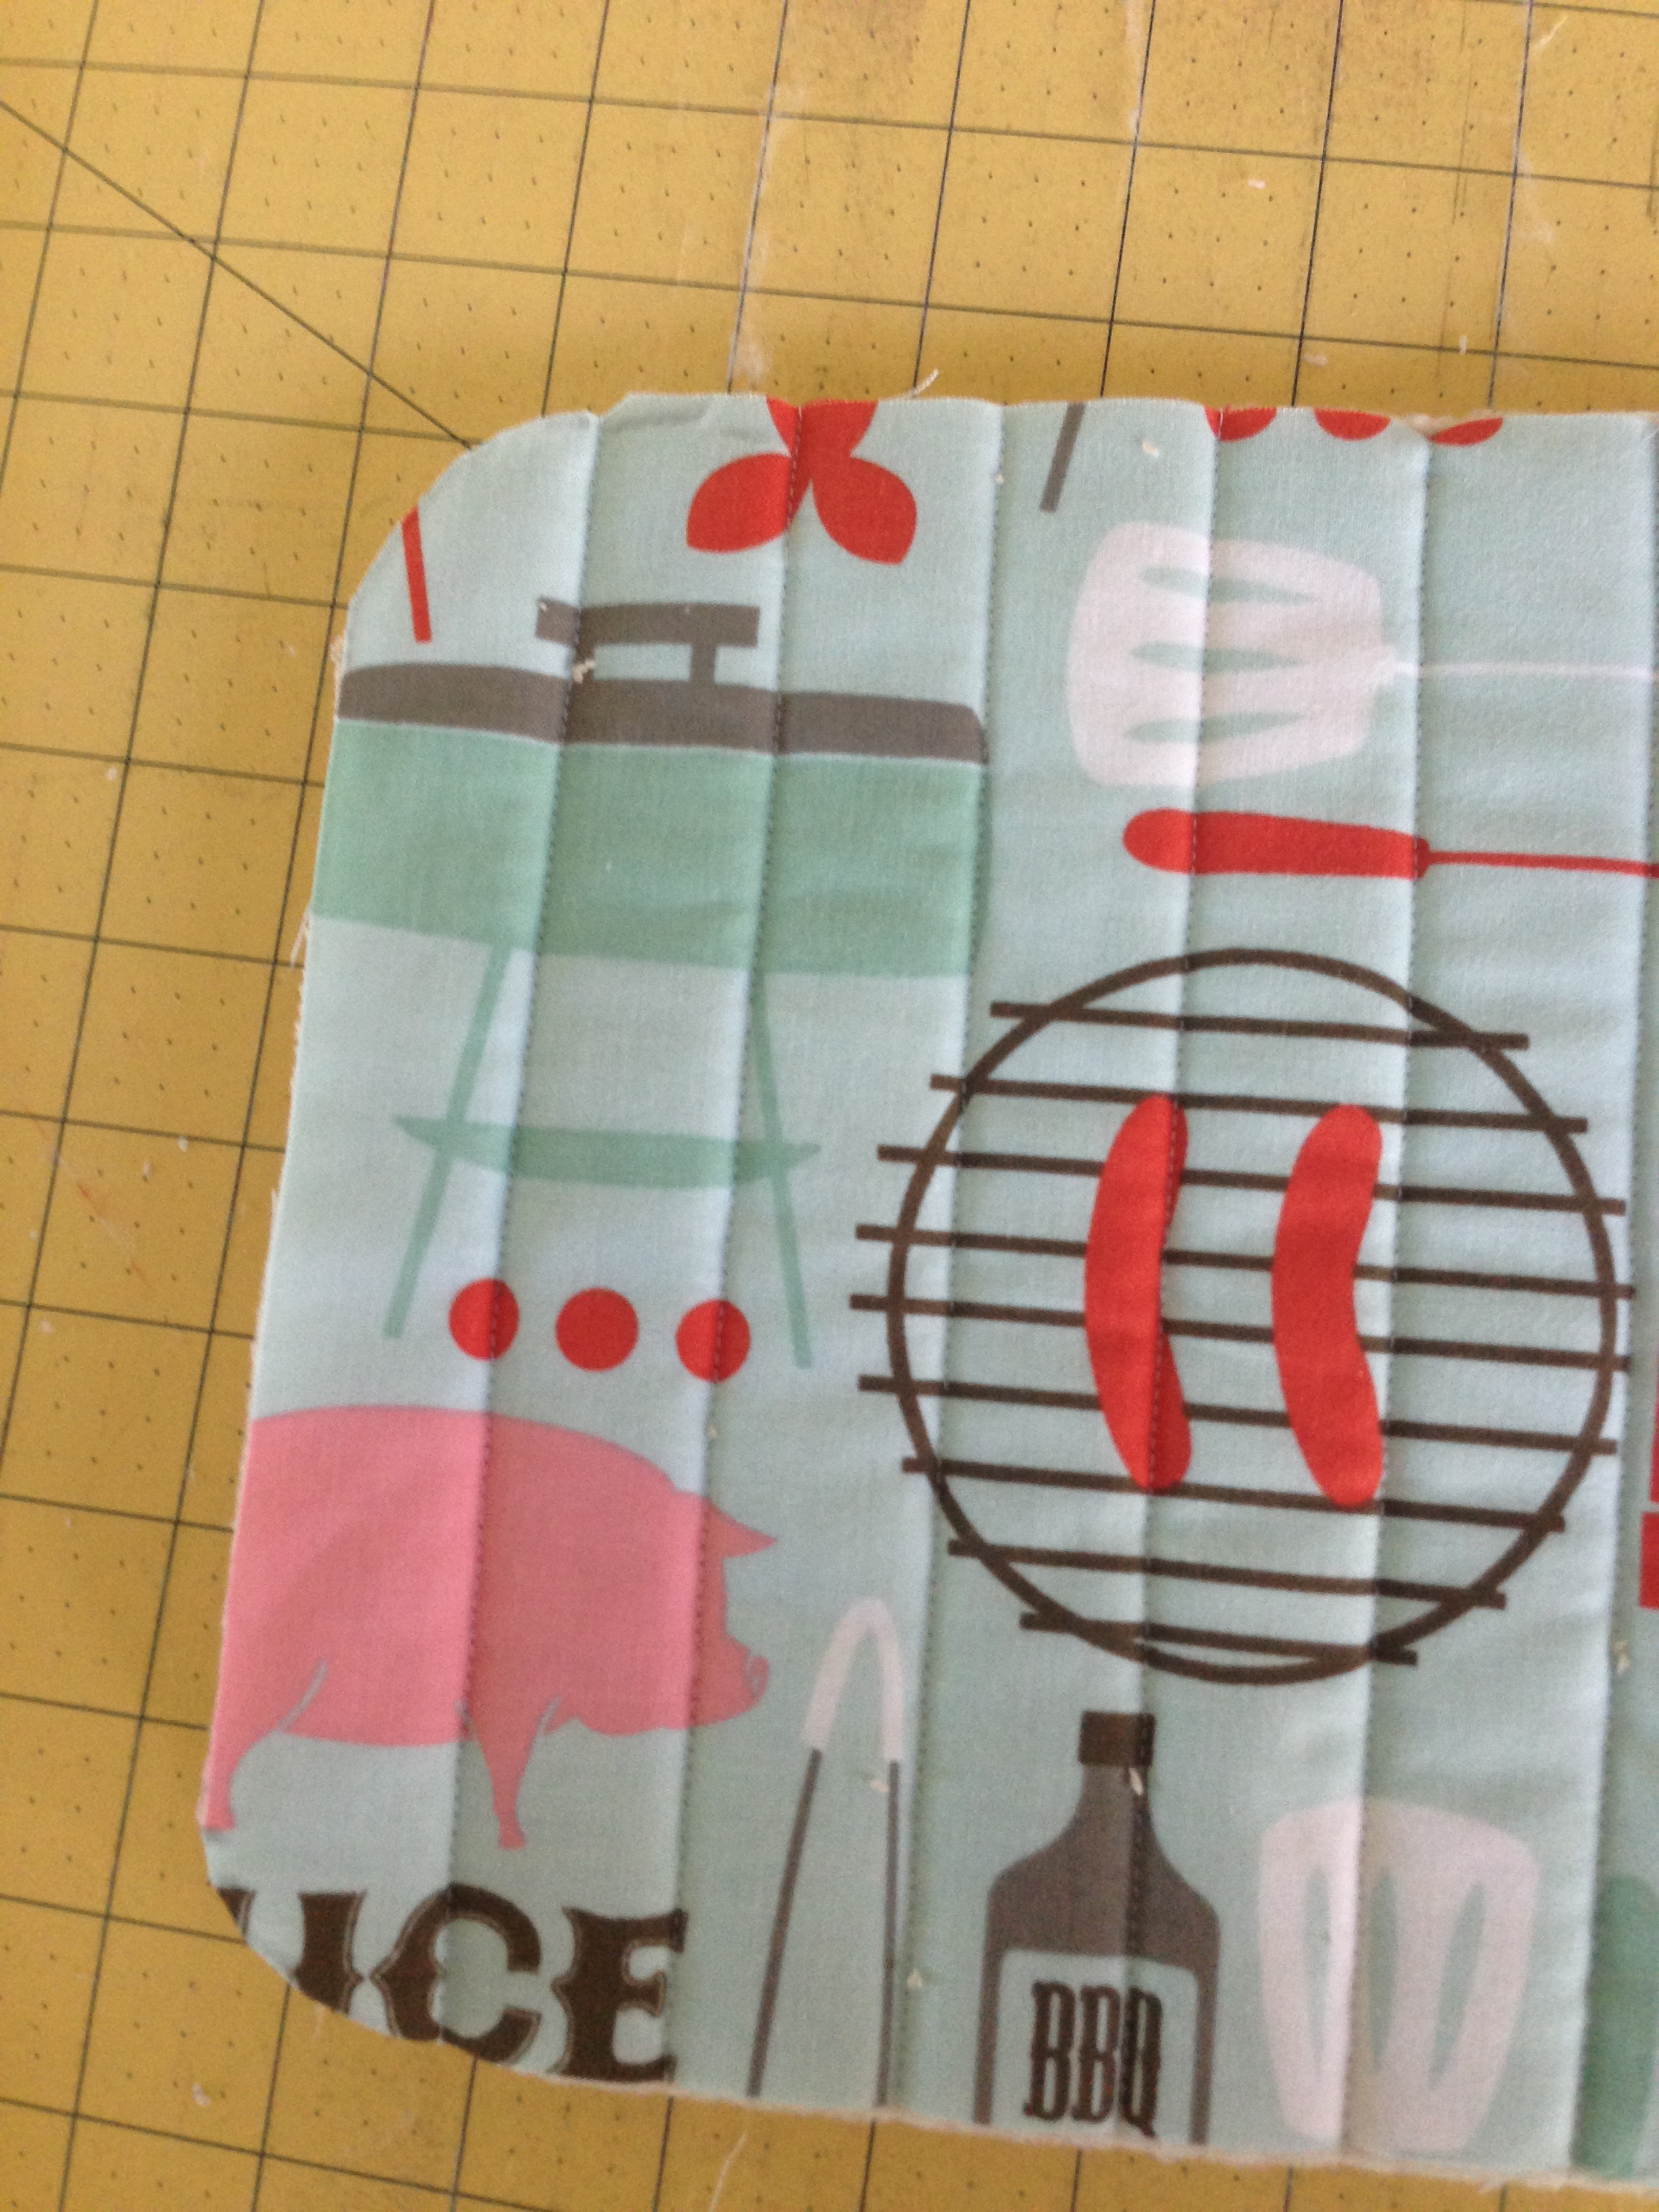
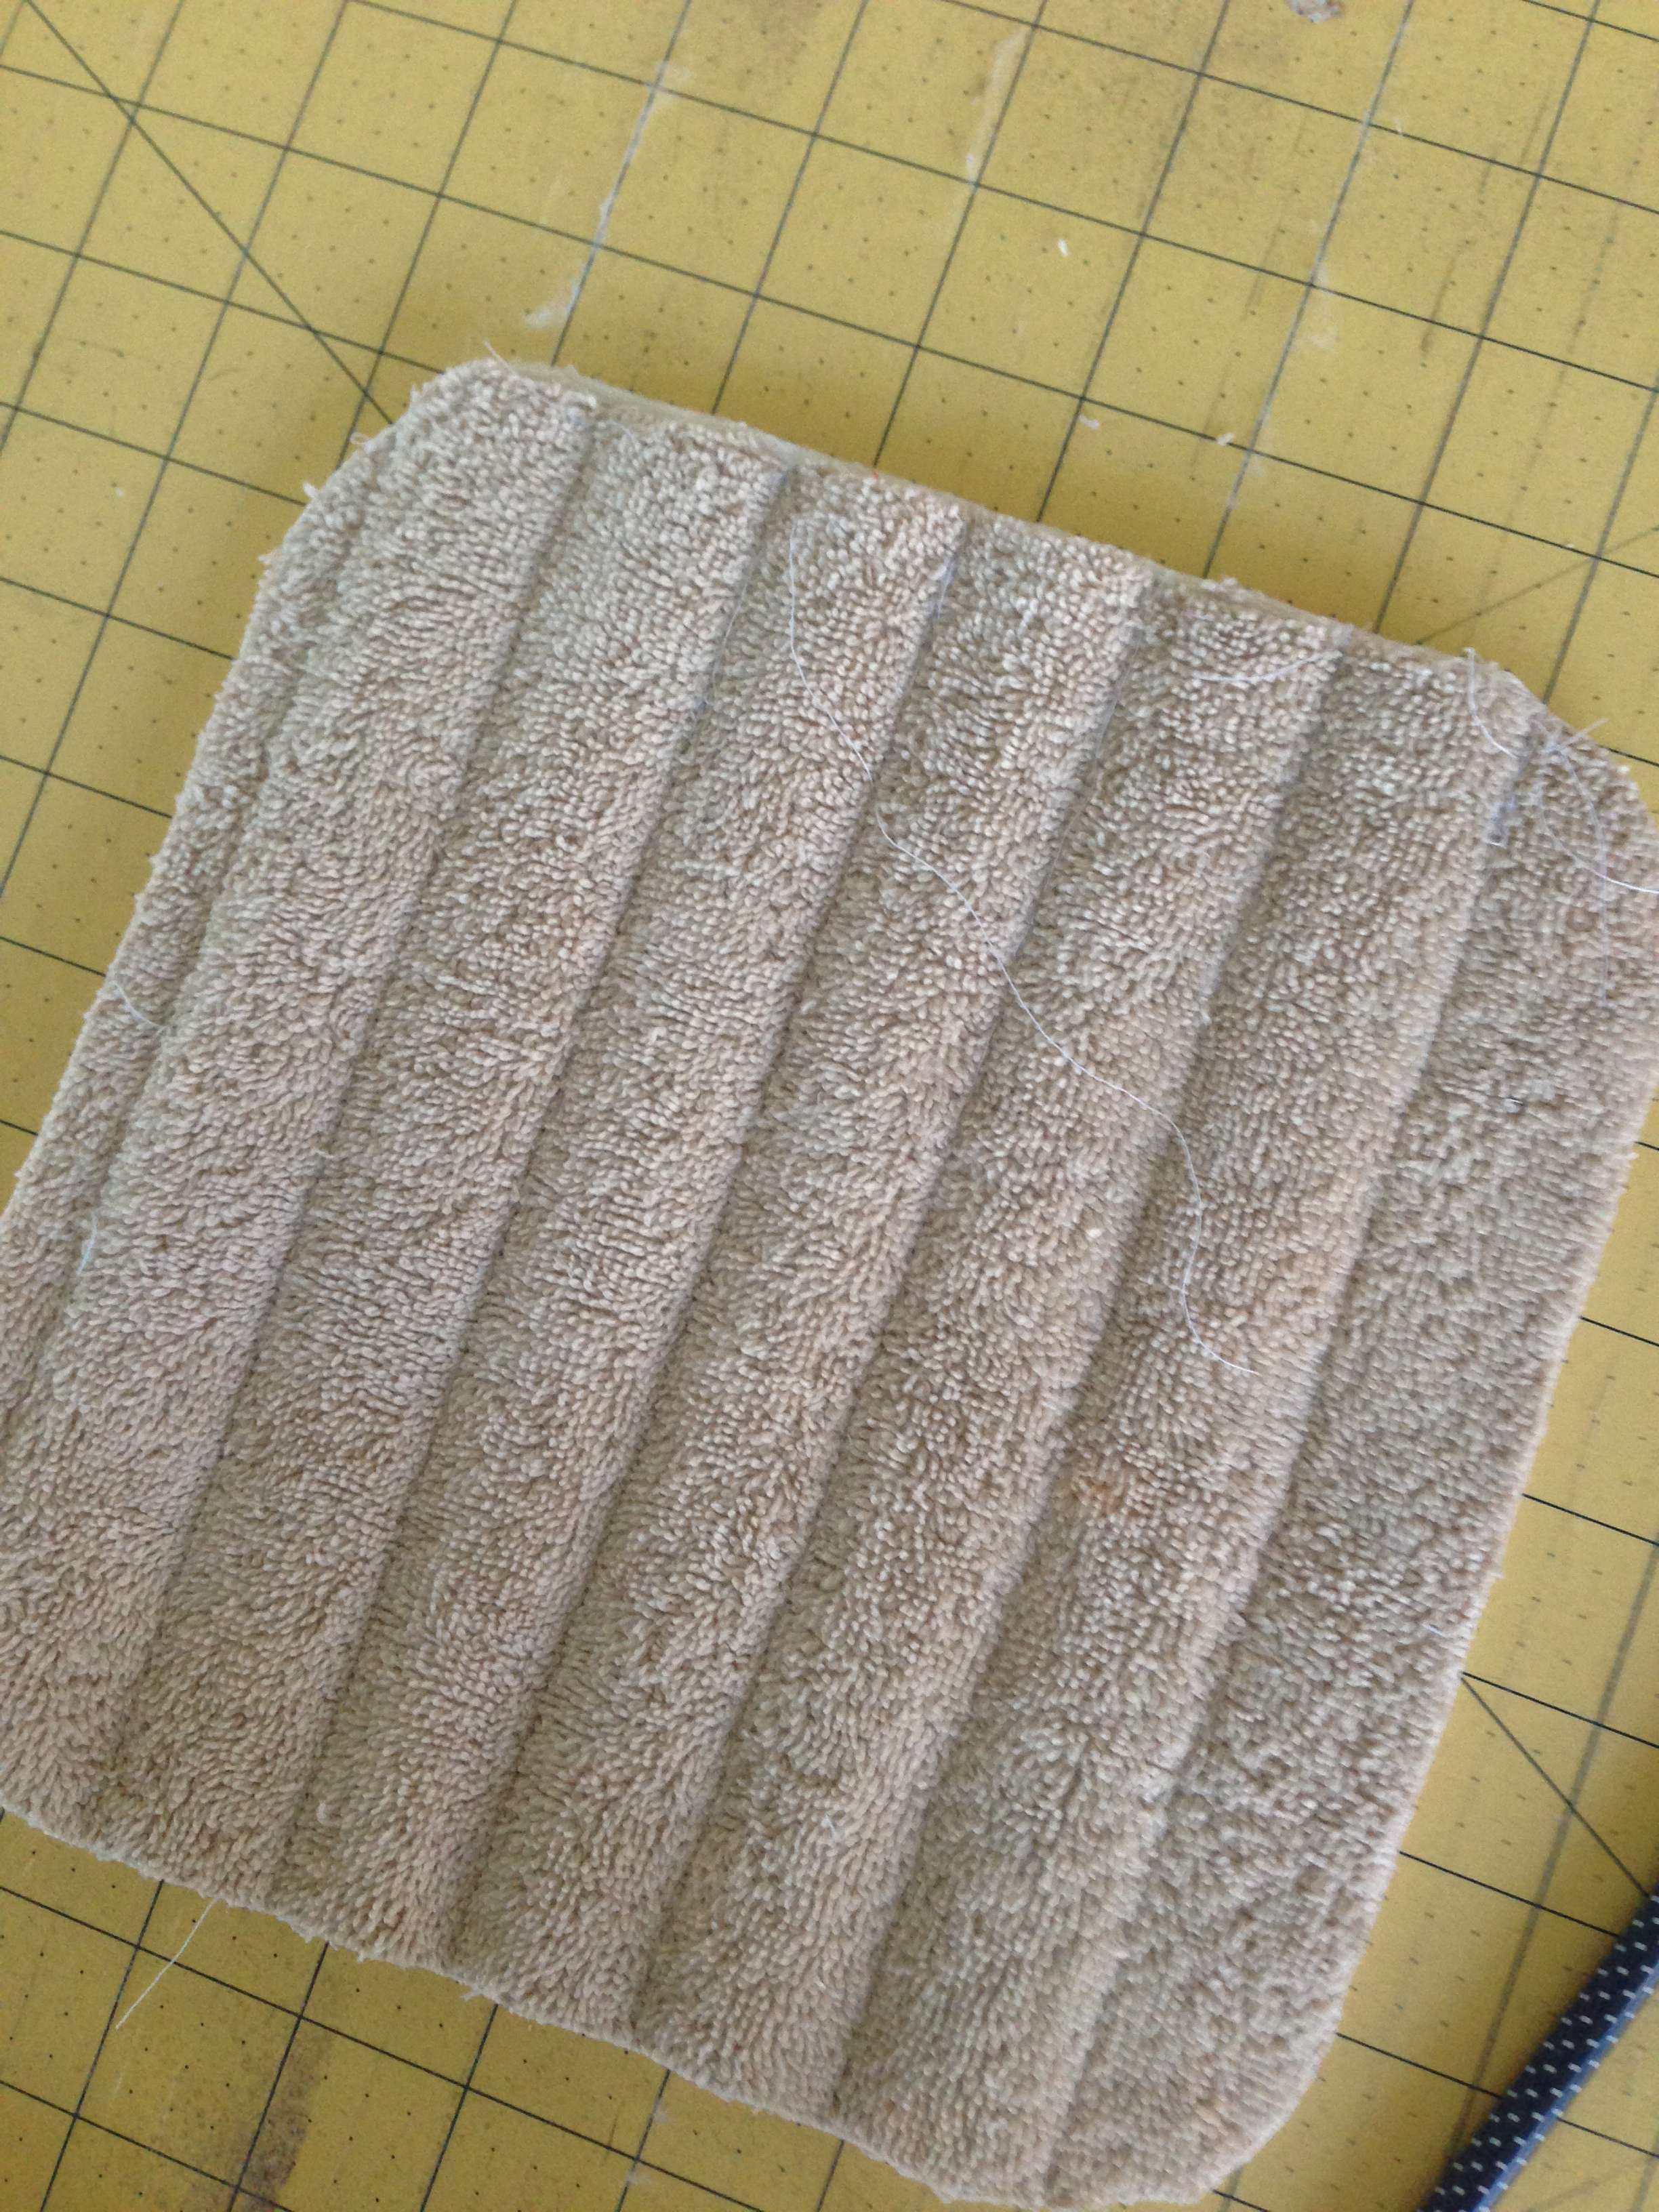
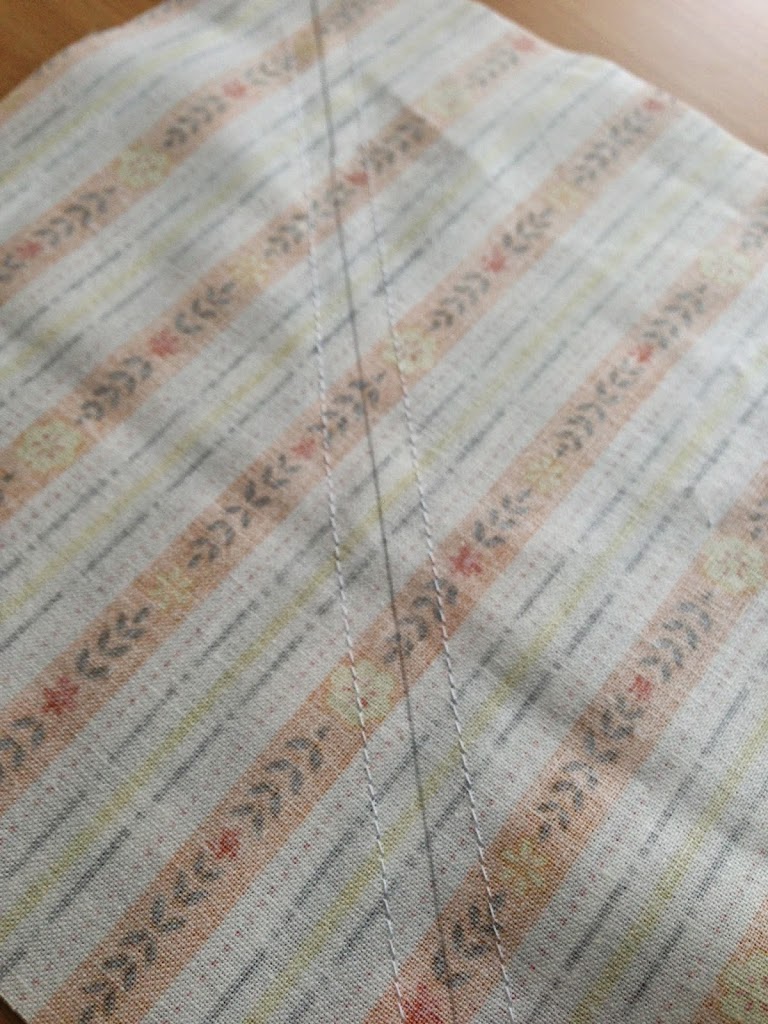
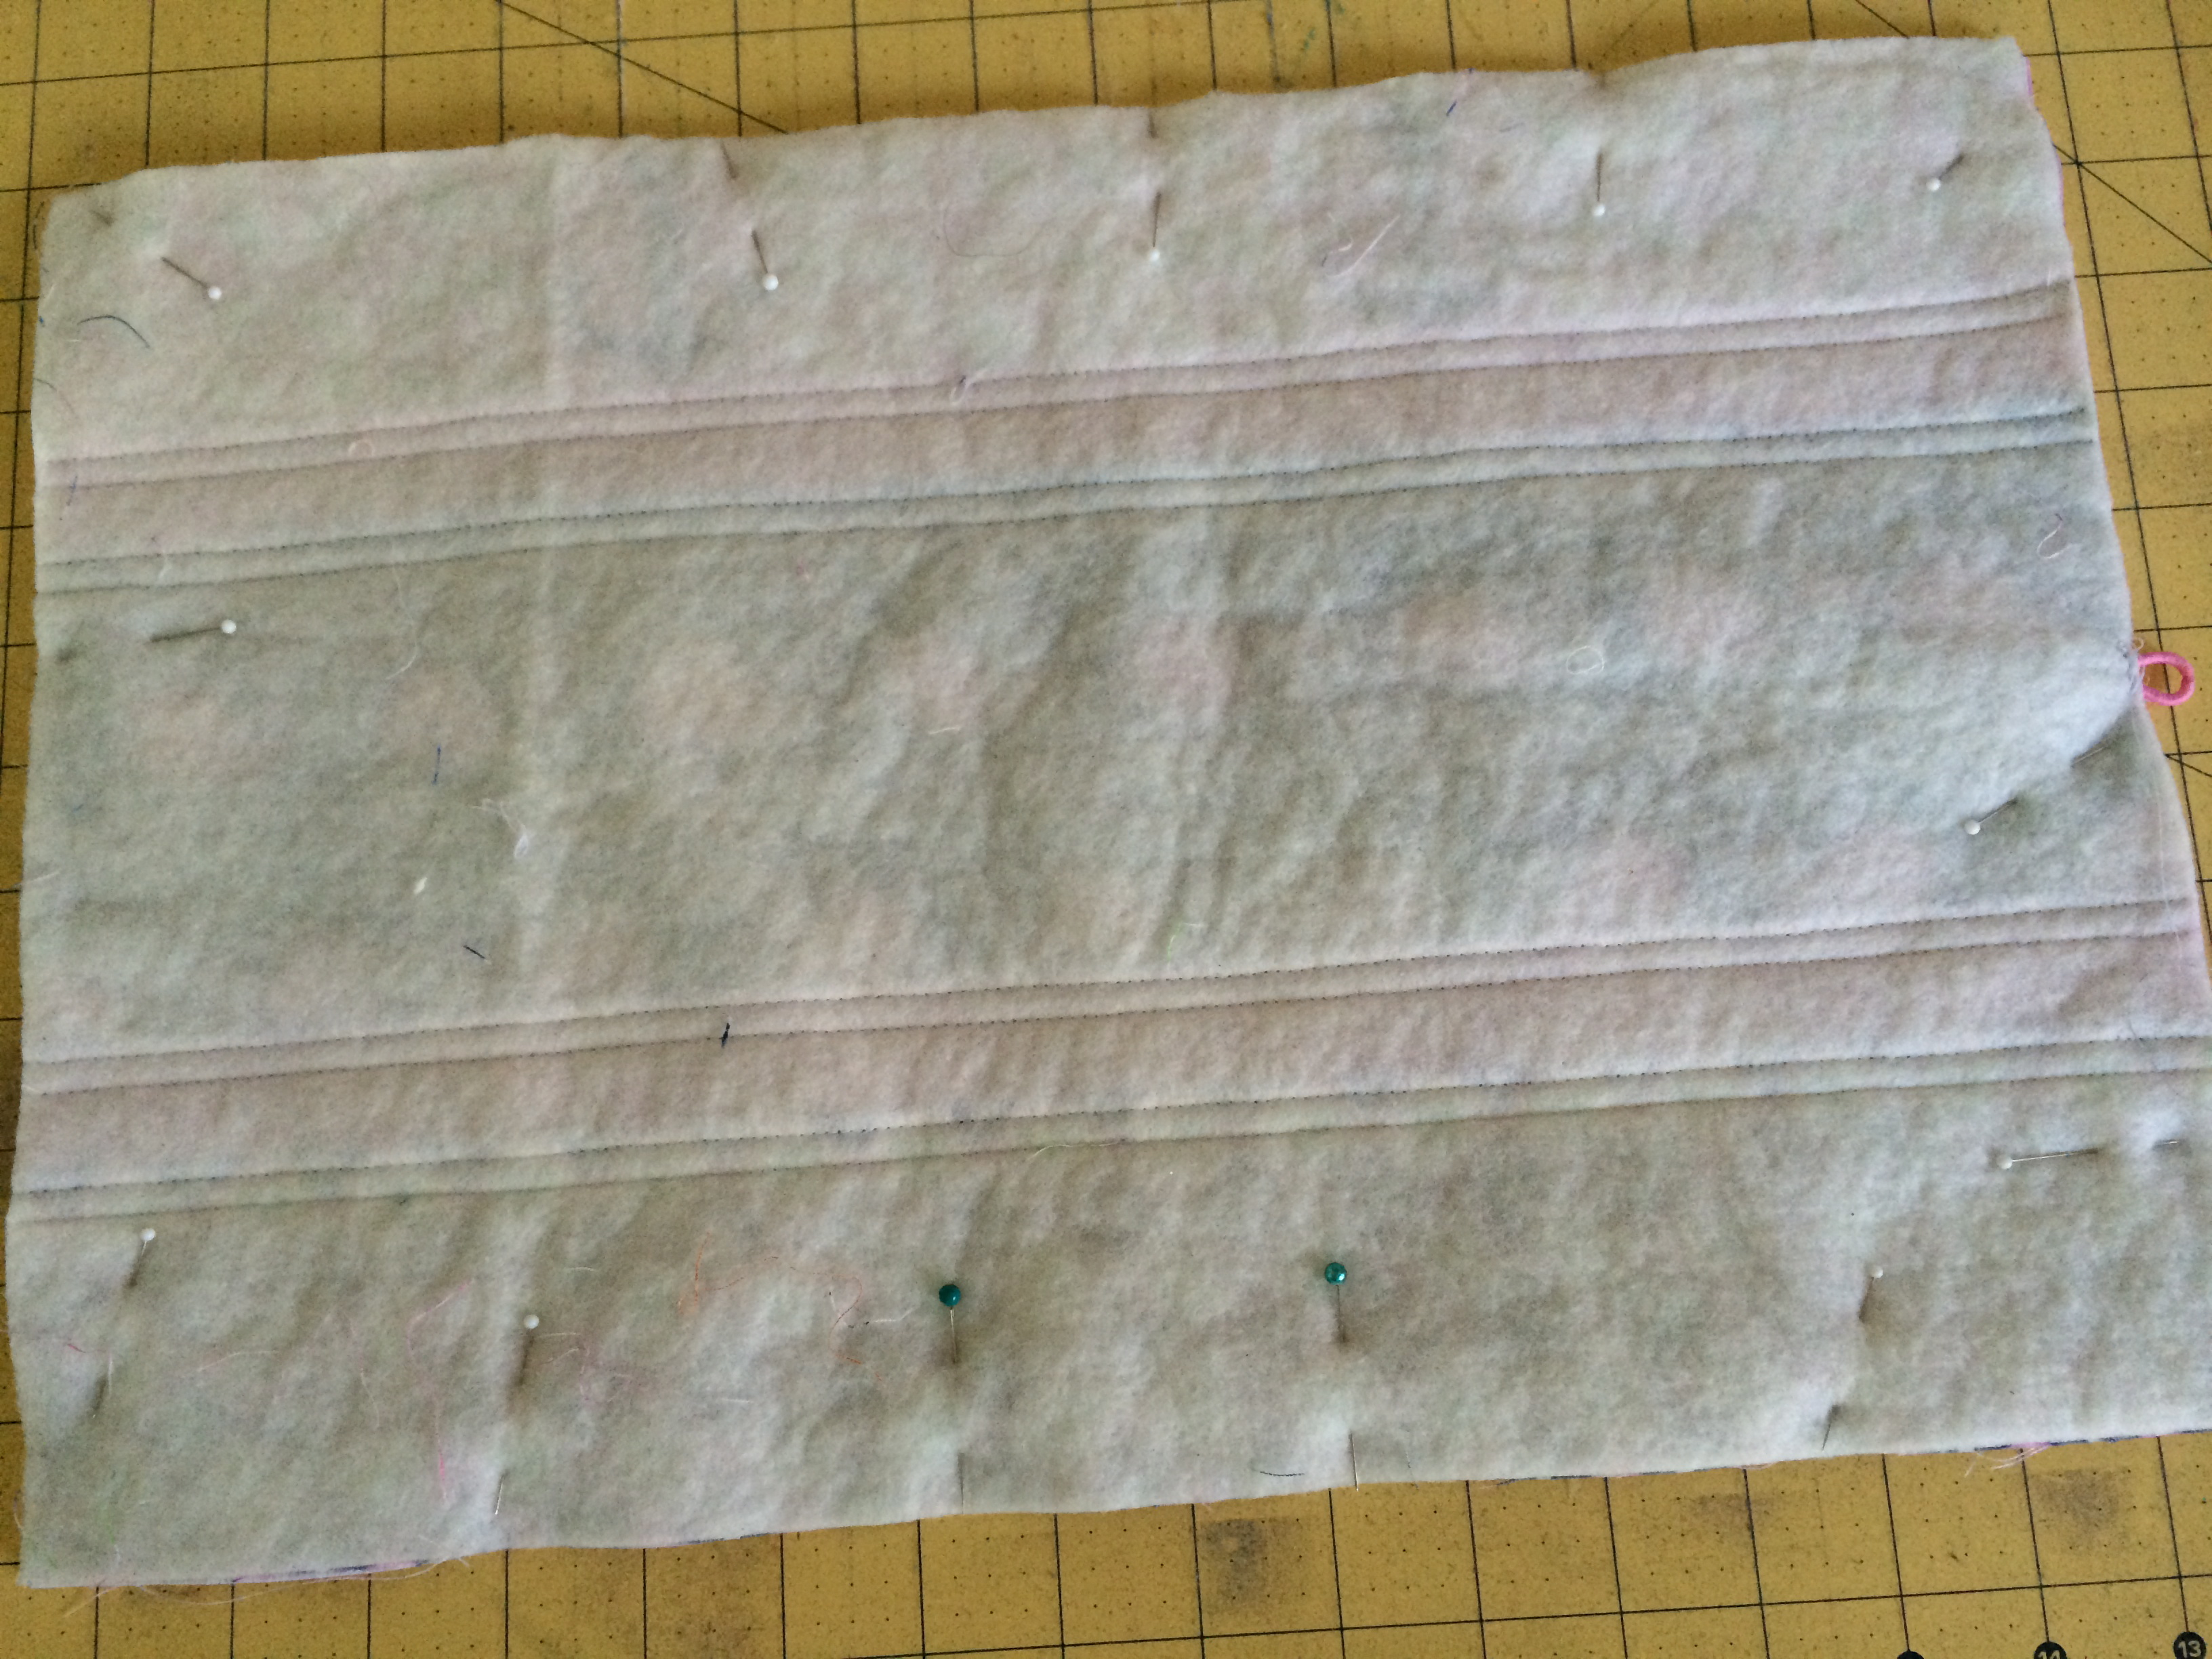
Press the seams in one direction.  Using basting spray or pins, baste the top to the batting.  Quilt as desired.  I quilted 1/4″ lines on both sides of the seams.  Square up the batting after quilting.

whale_composition_book_true_blue_2

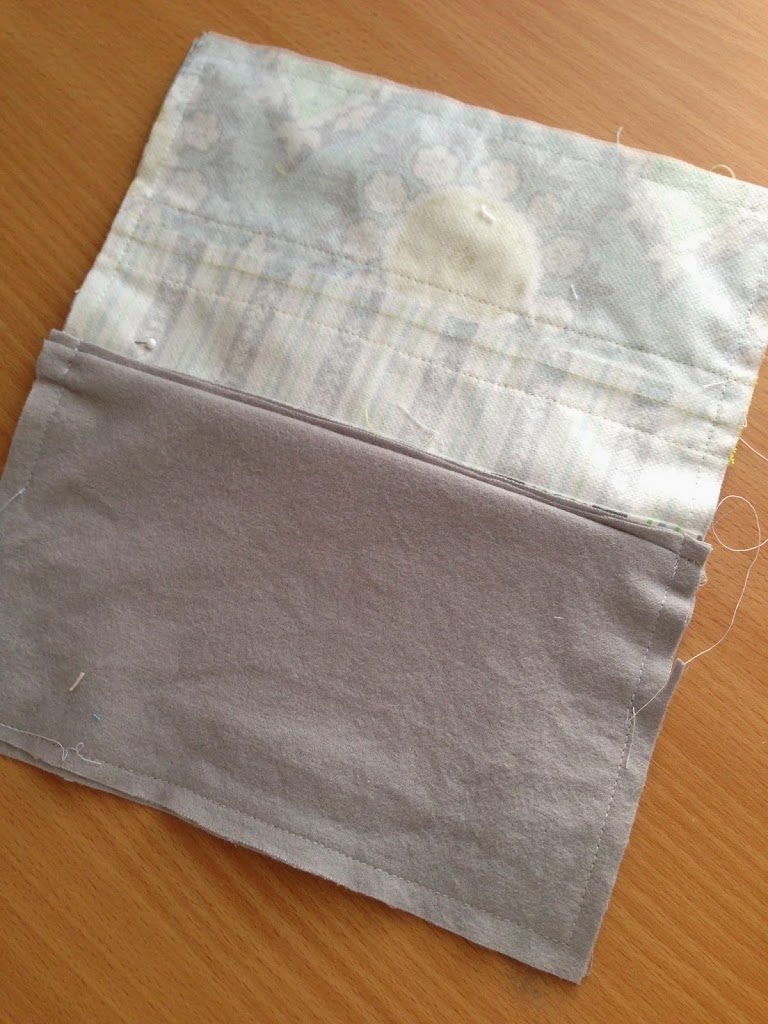
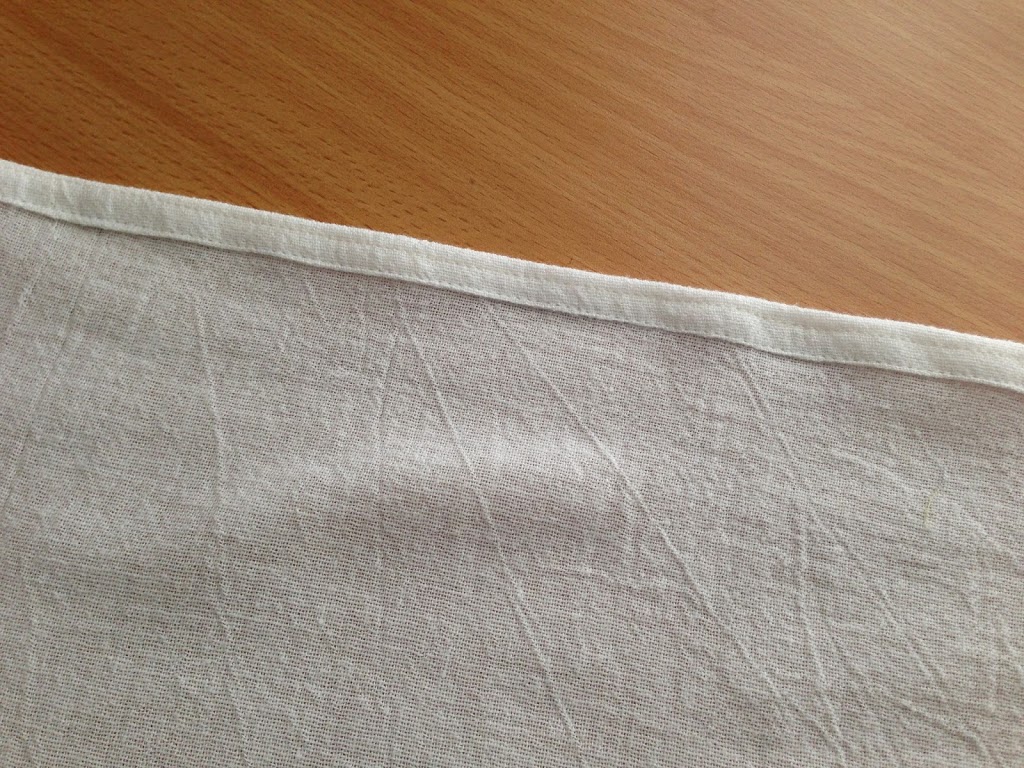
Take the hair elastic and baste it 1/8″ in the center on the left side of the book cover.  Like this:

whale_composition_book_true_blue_5

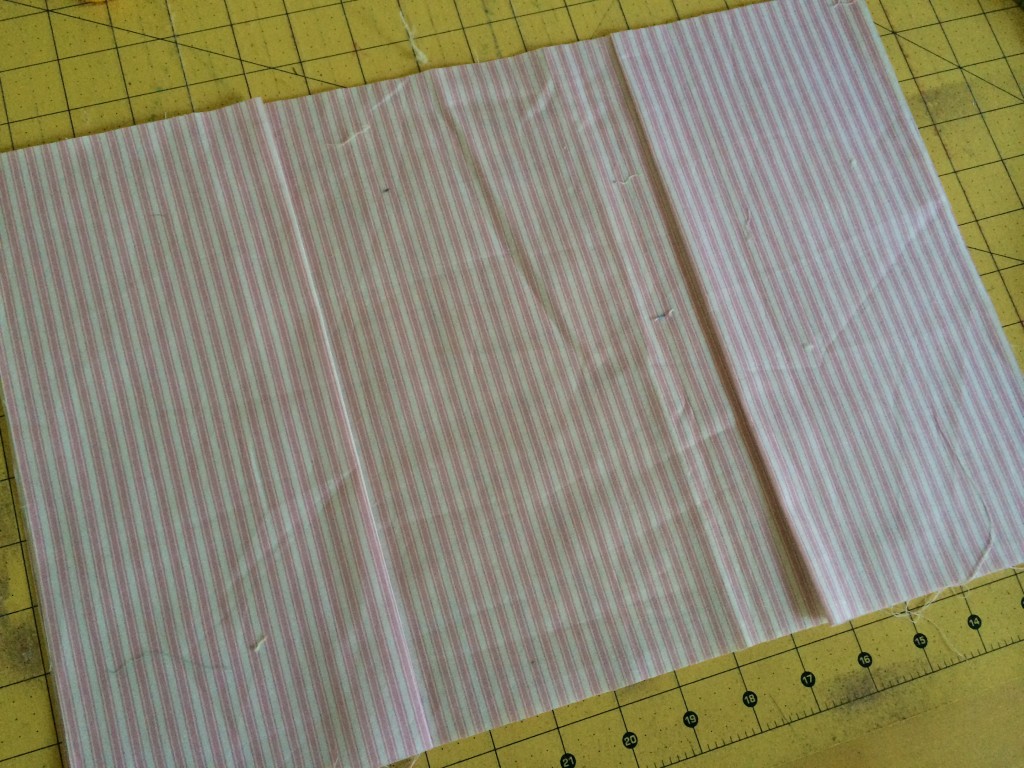
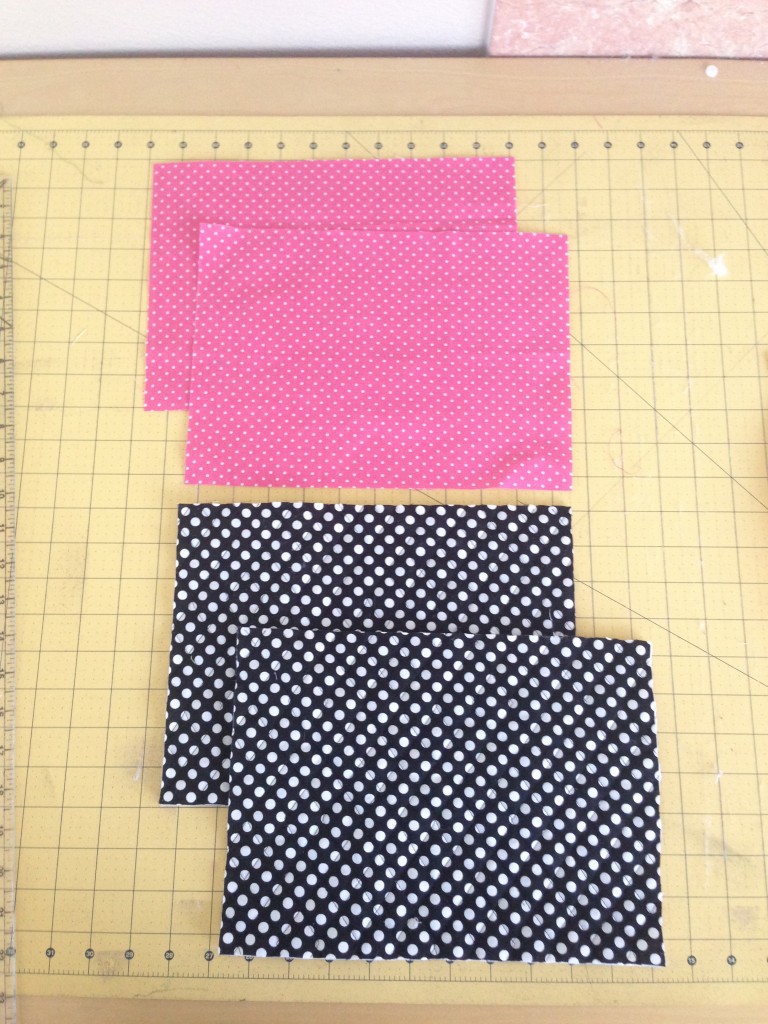
For the lining, cut a piece 16.5″ x 11″

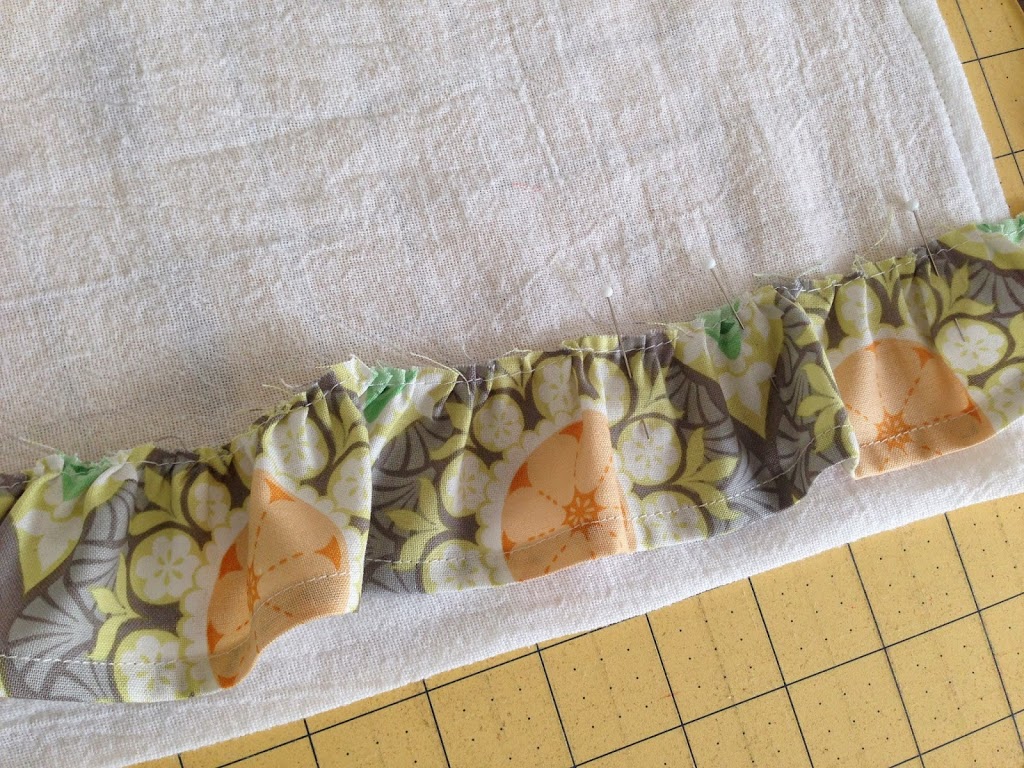
For the flaps cut (2) 11″ x 10″ and press in half

Lay them out like this:

whale_composition_book_true_blue_6

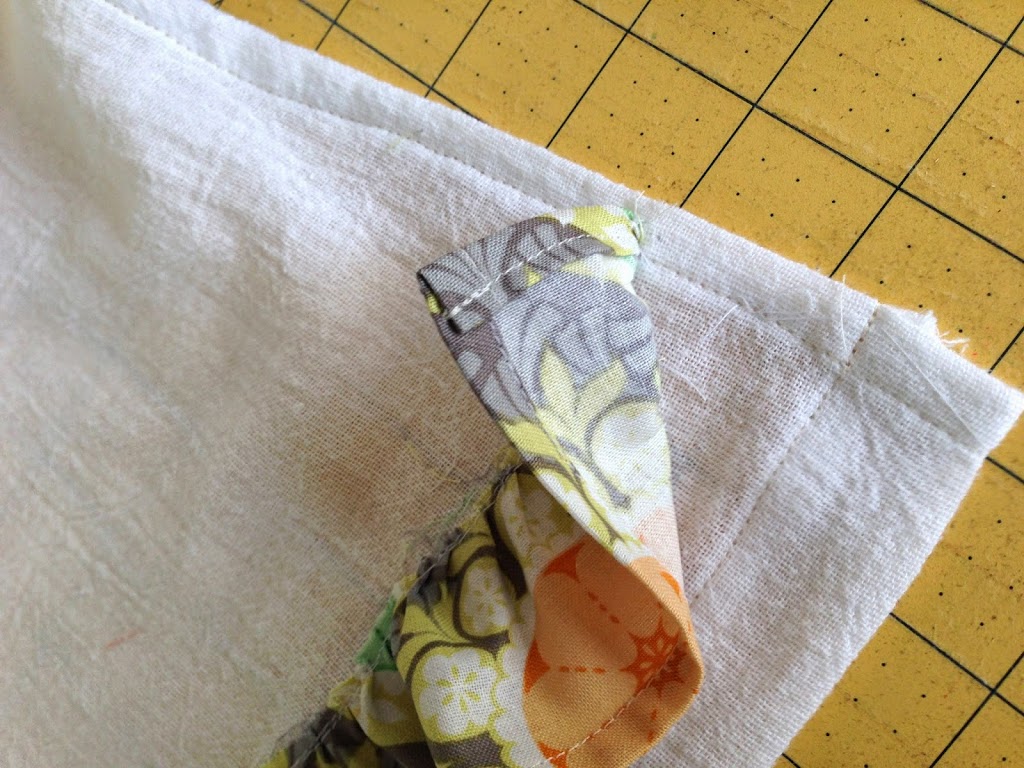
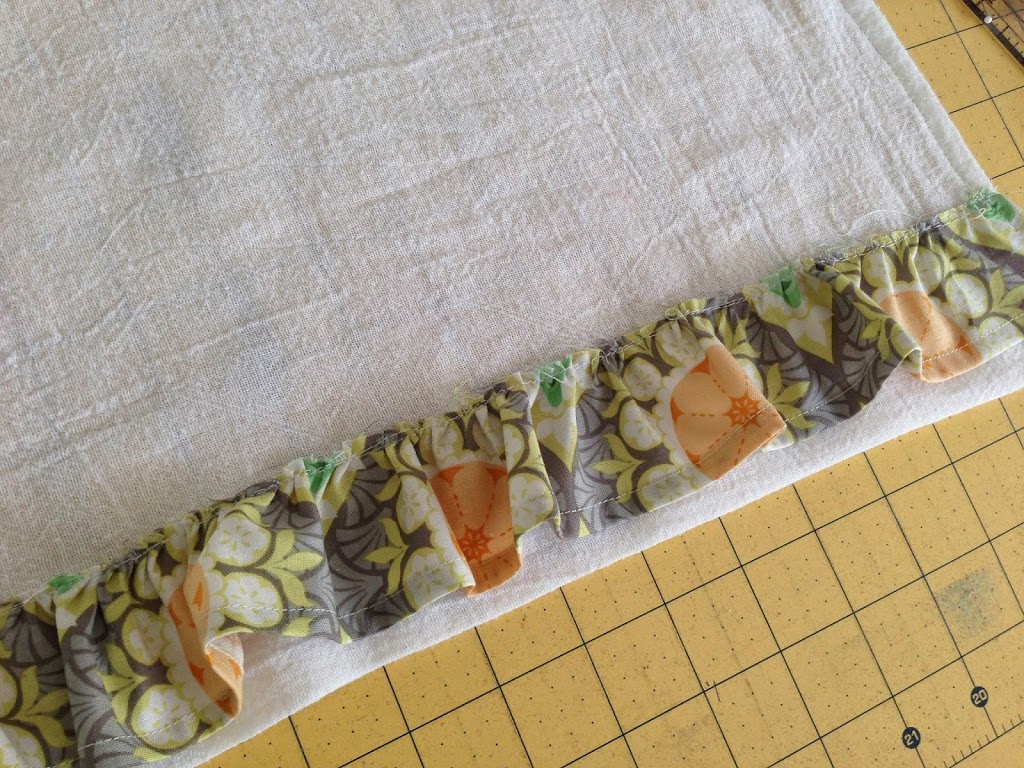
Lay right sides together and pin all the way around.  Sew using 1/2″ seam allowance leaving a 3″ opening at the bottom to turn.

whale_composition_book_true_blue_7

Turn right side out and press.  Top-stitch the opening closed.

whale_composition_book_true_blue_9

Insert the composition book and mark where you want the button.  Remove the book and sew the button on with a needle and thread – inside the flap.  It’s hard to see my button because it is blue.

whale_composition_book_true_blue_10

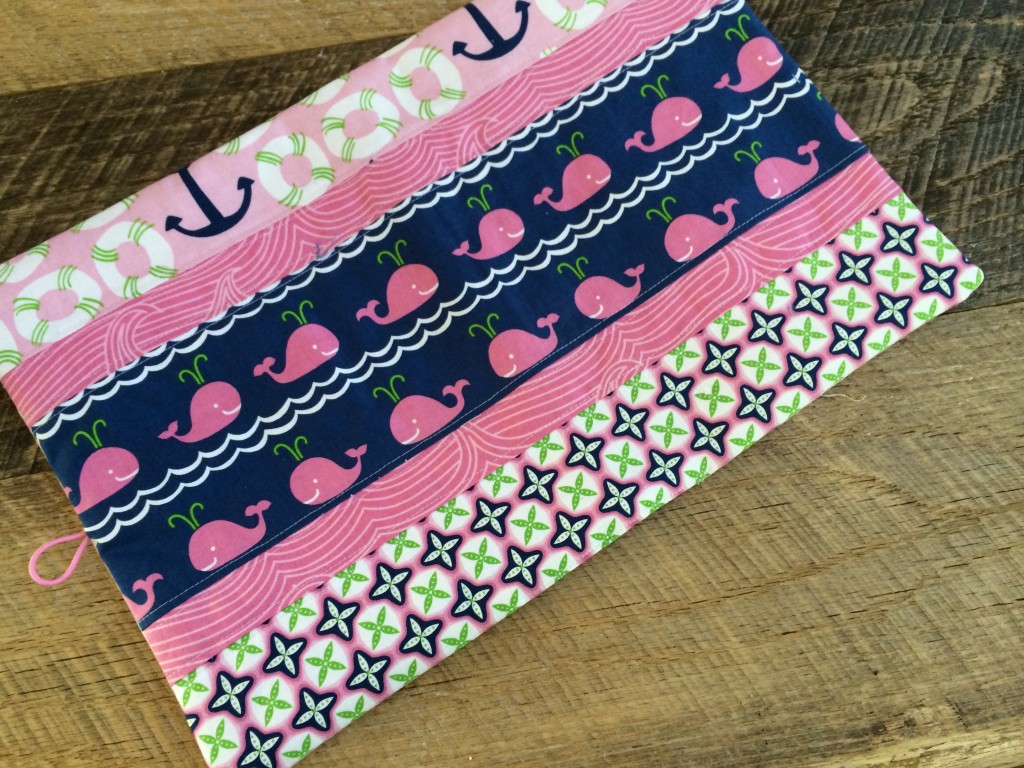
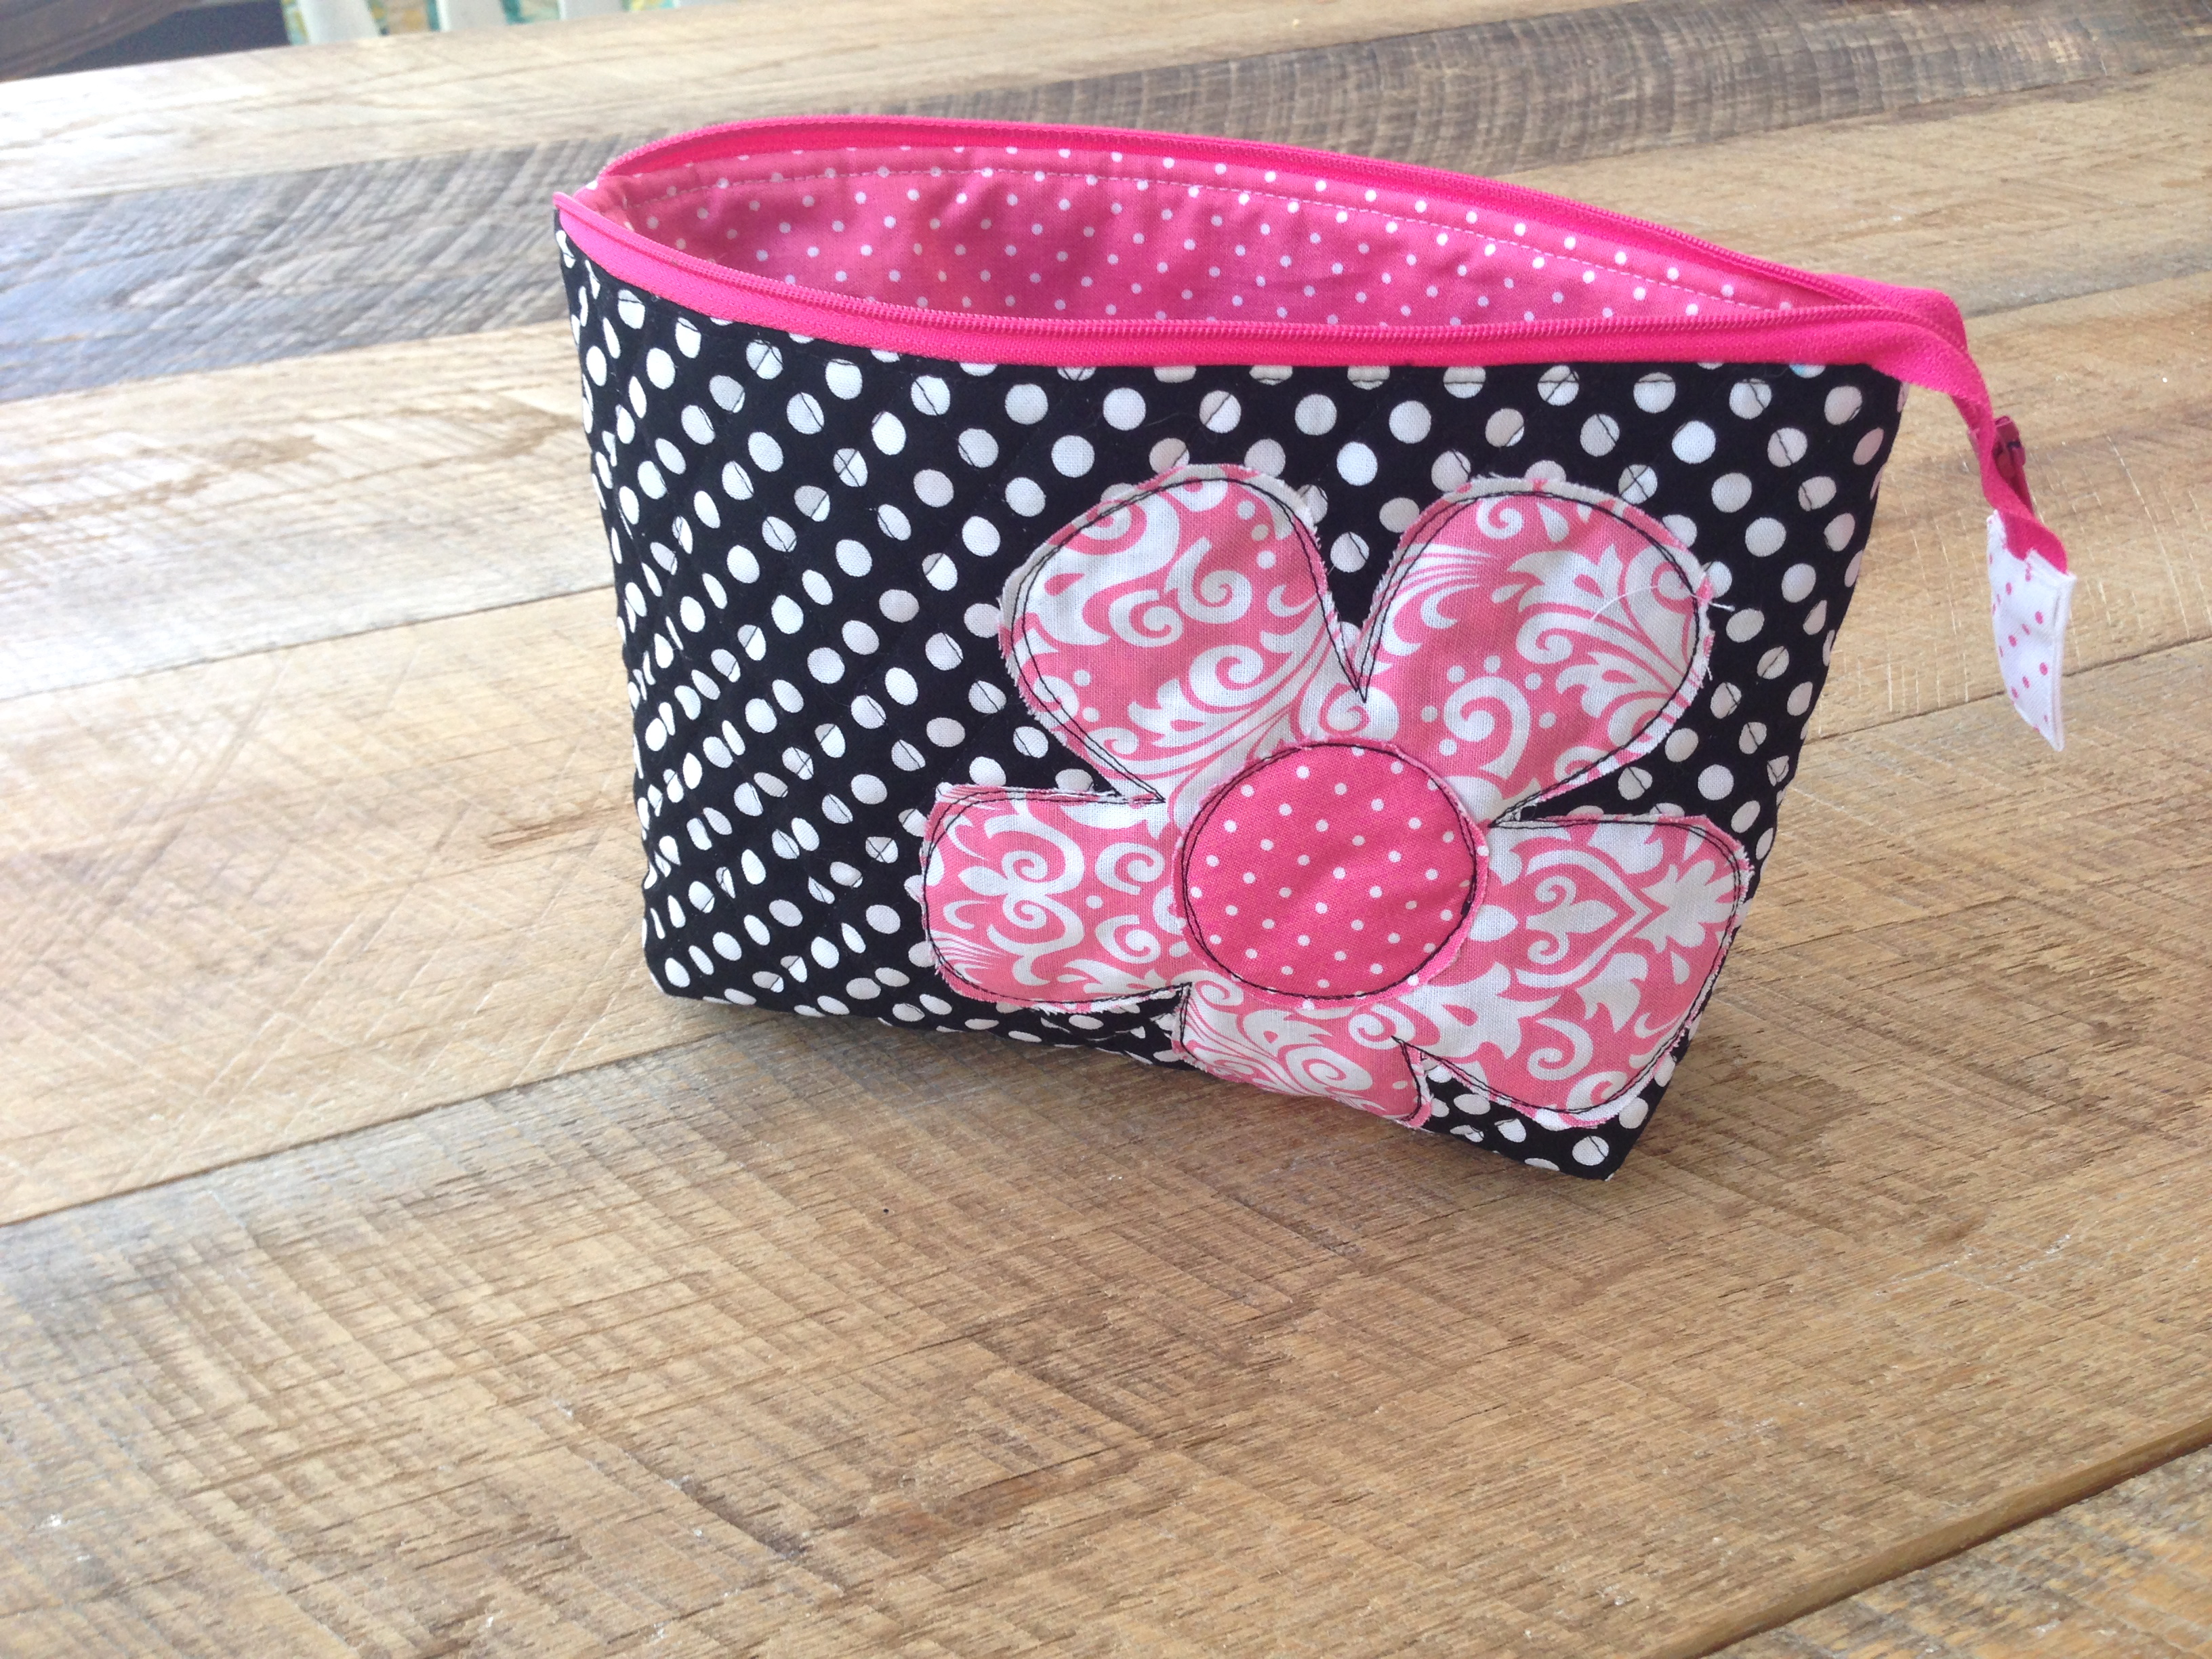
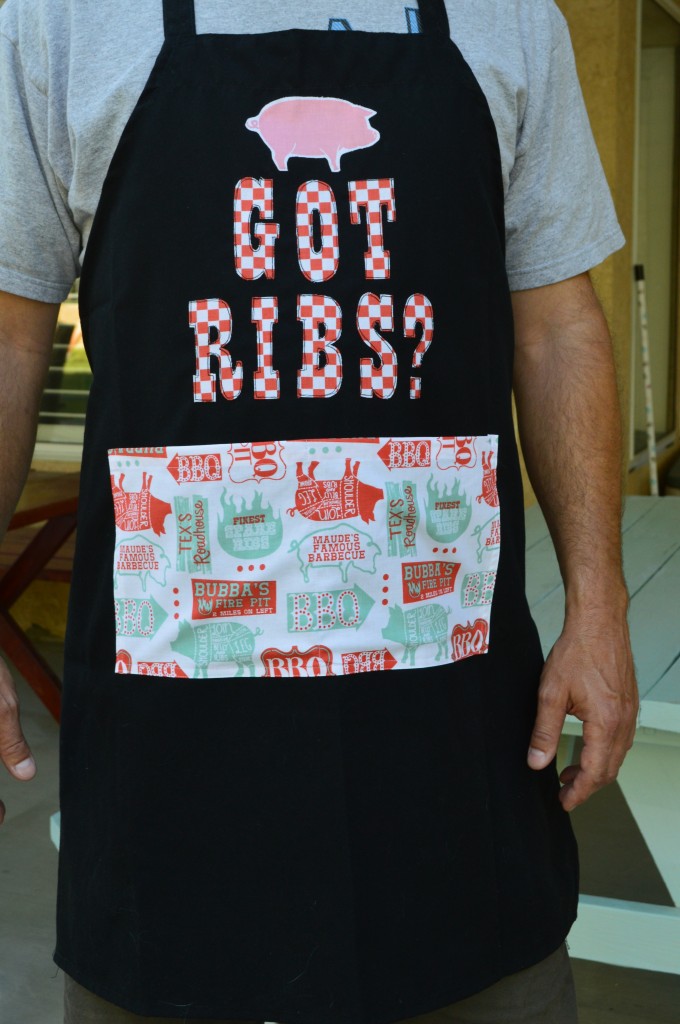
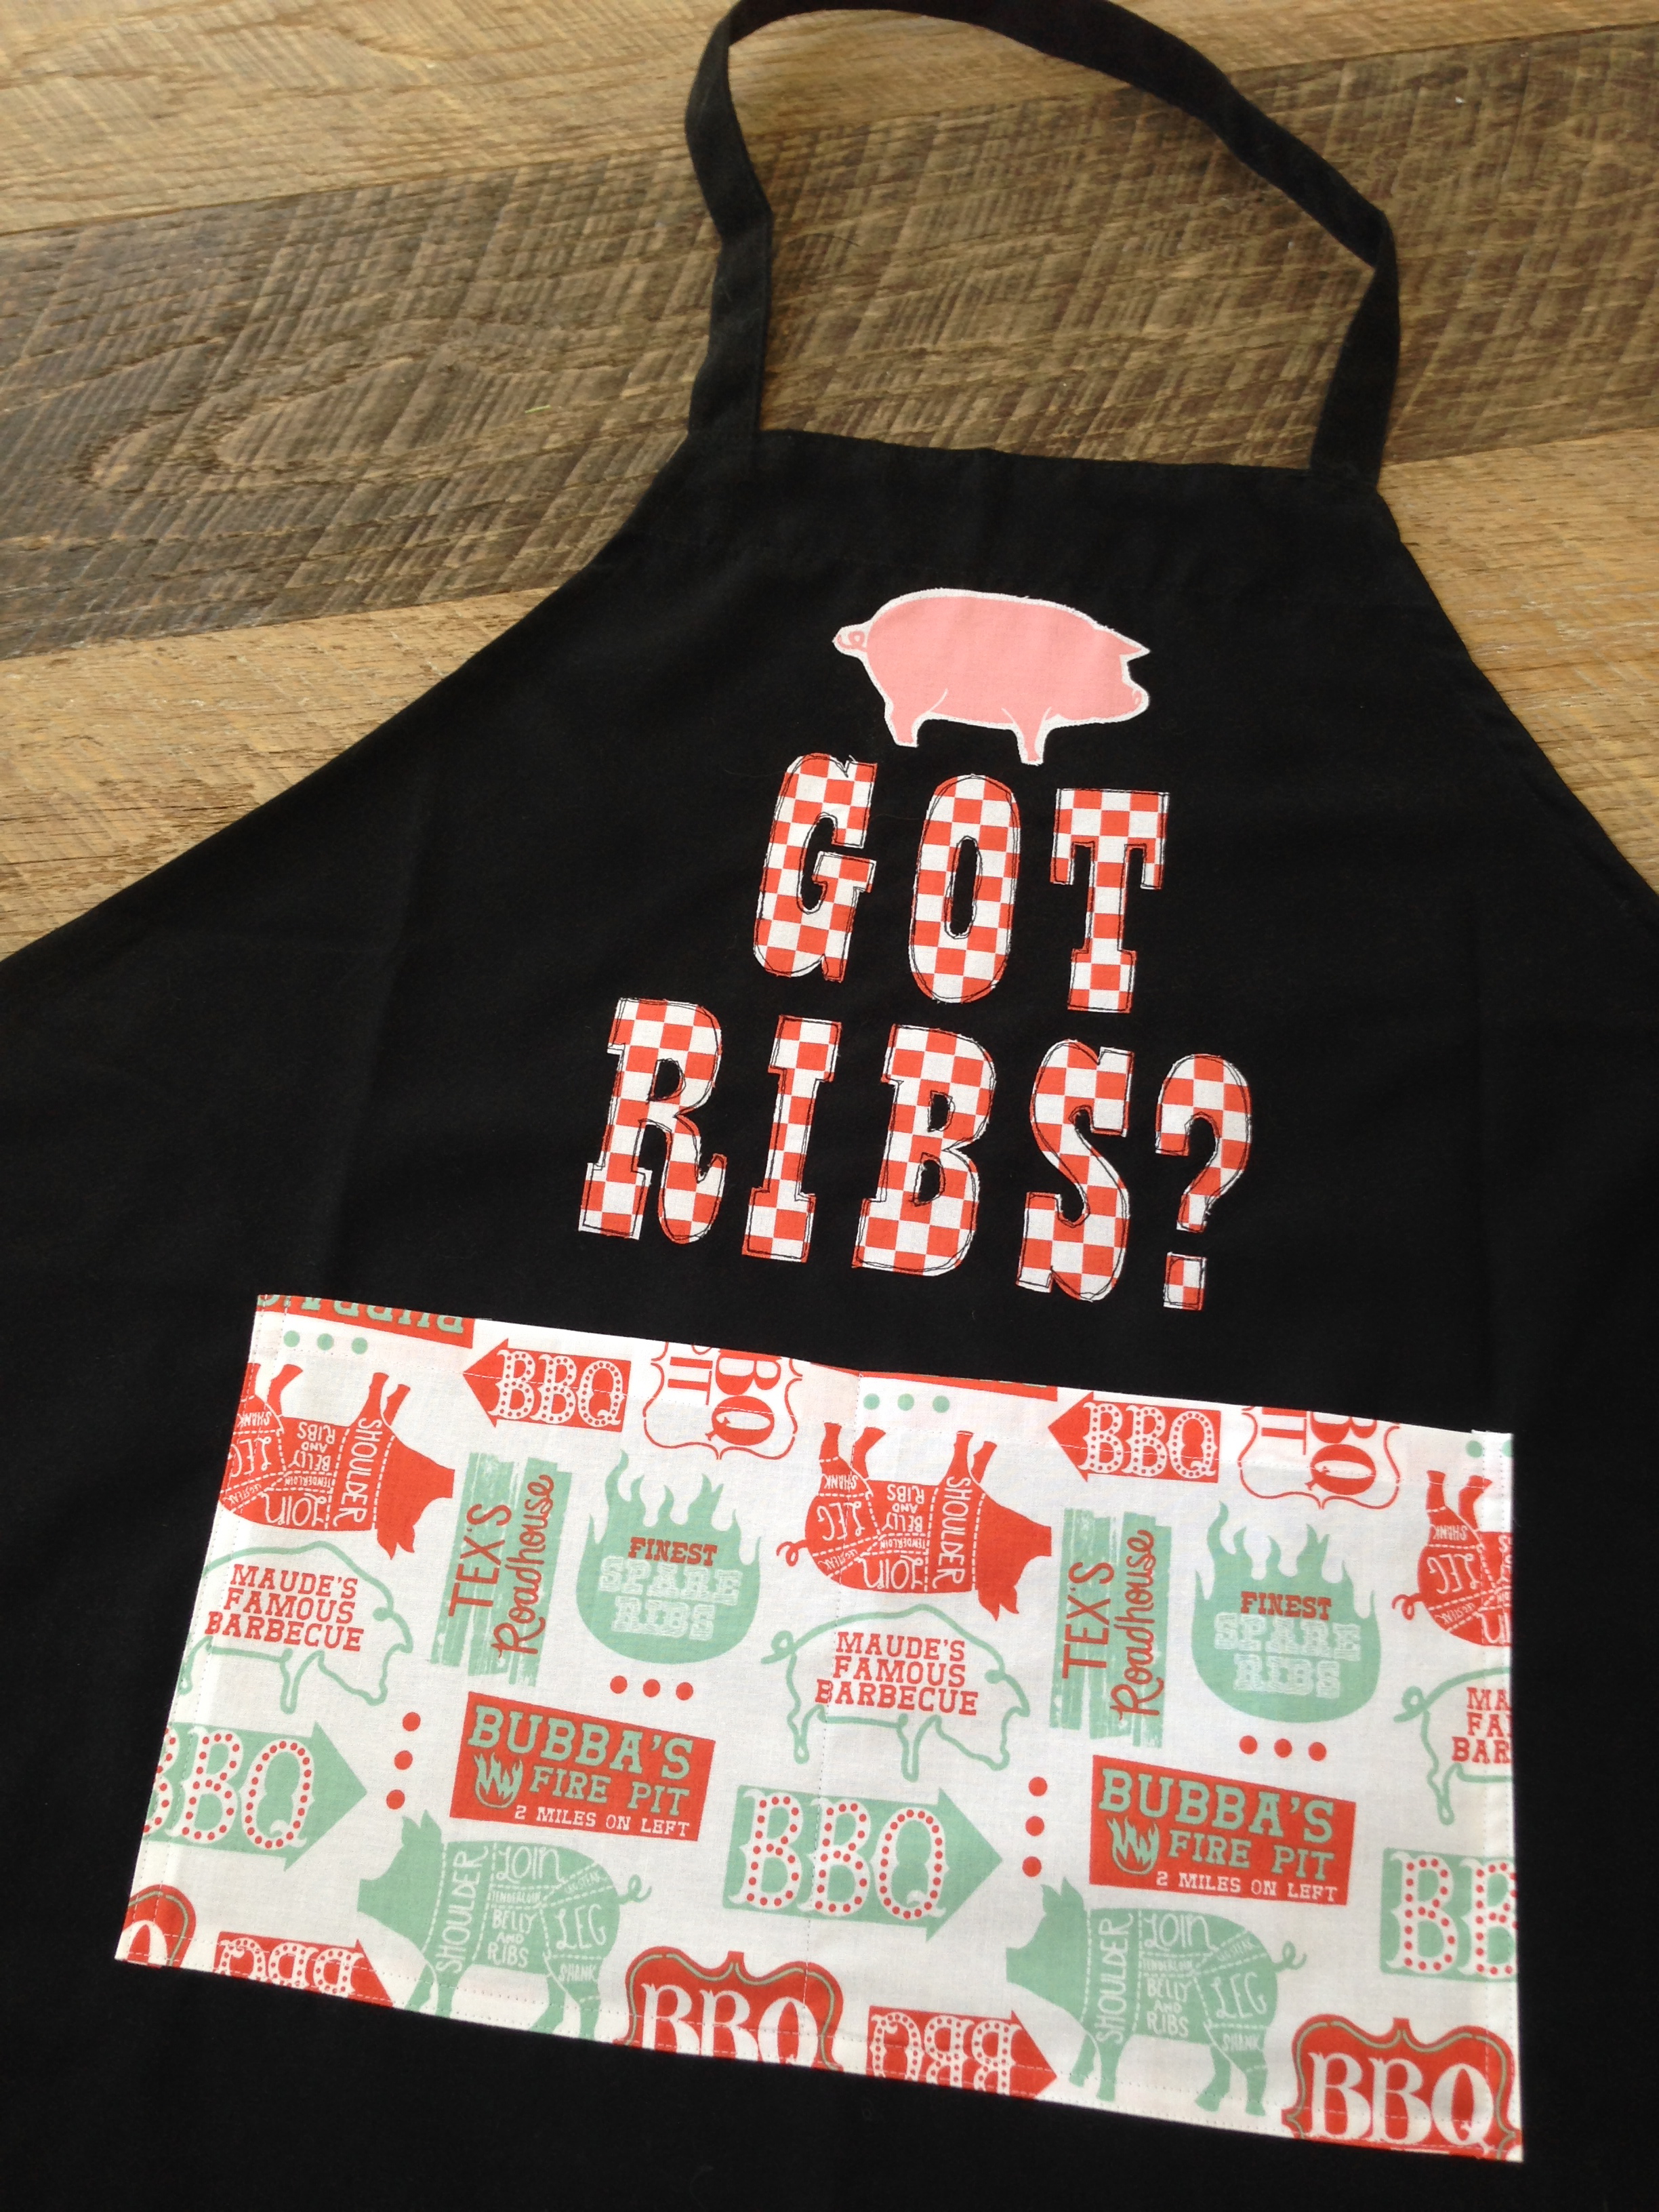
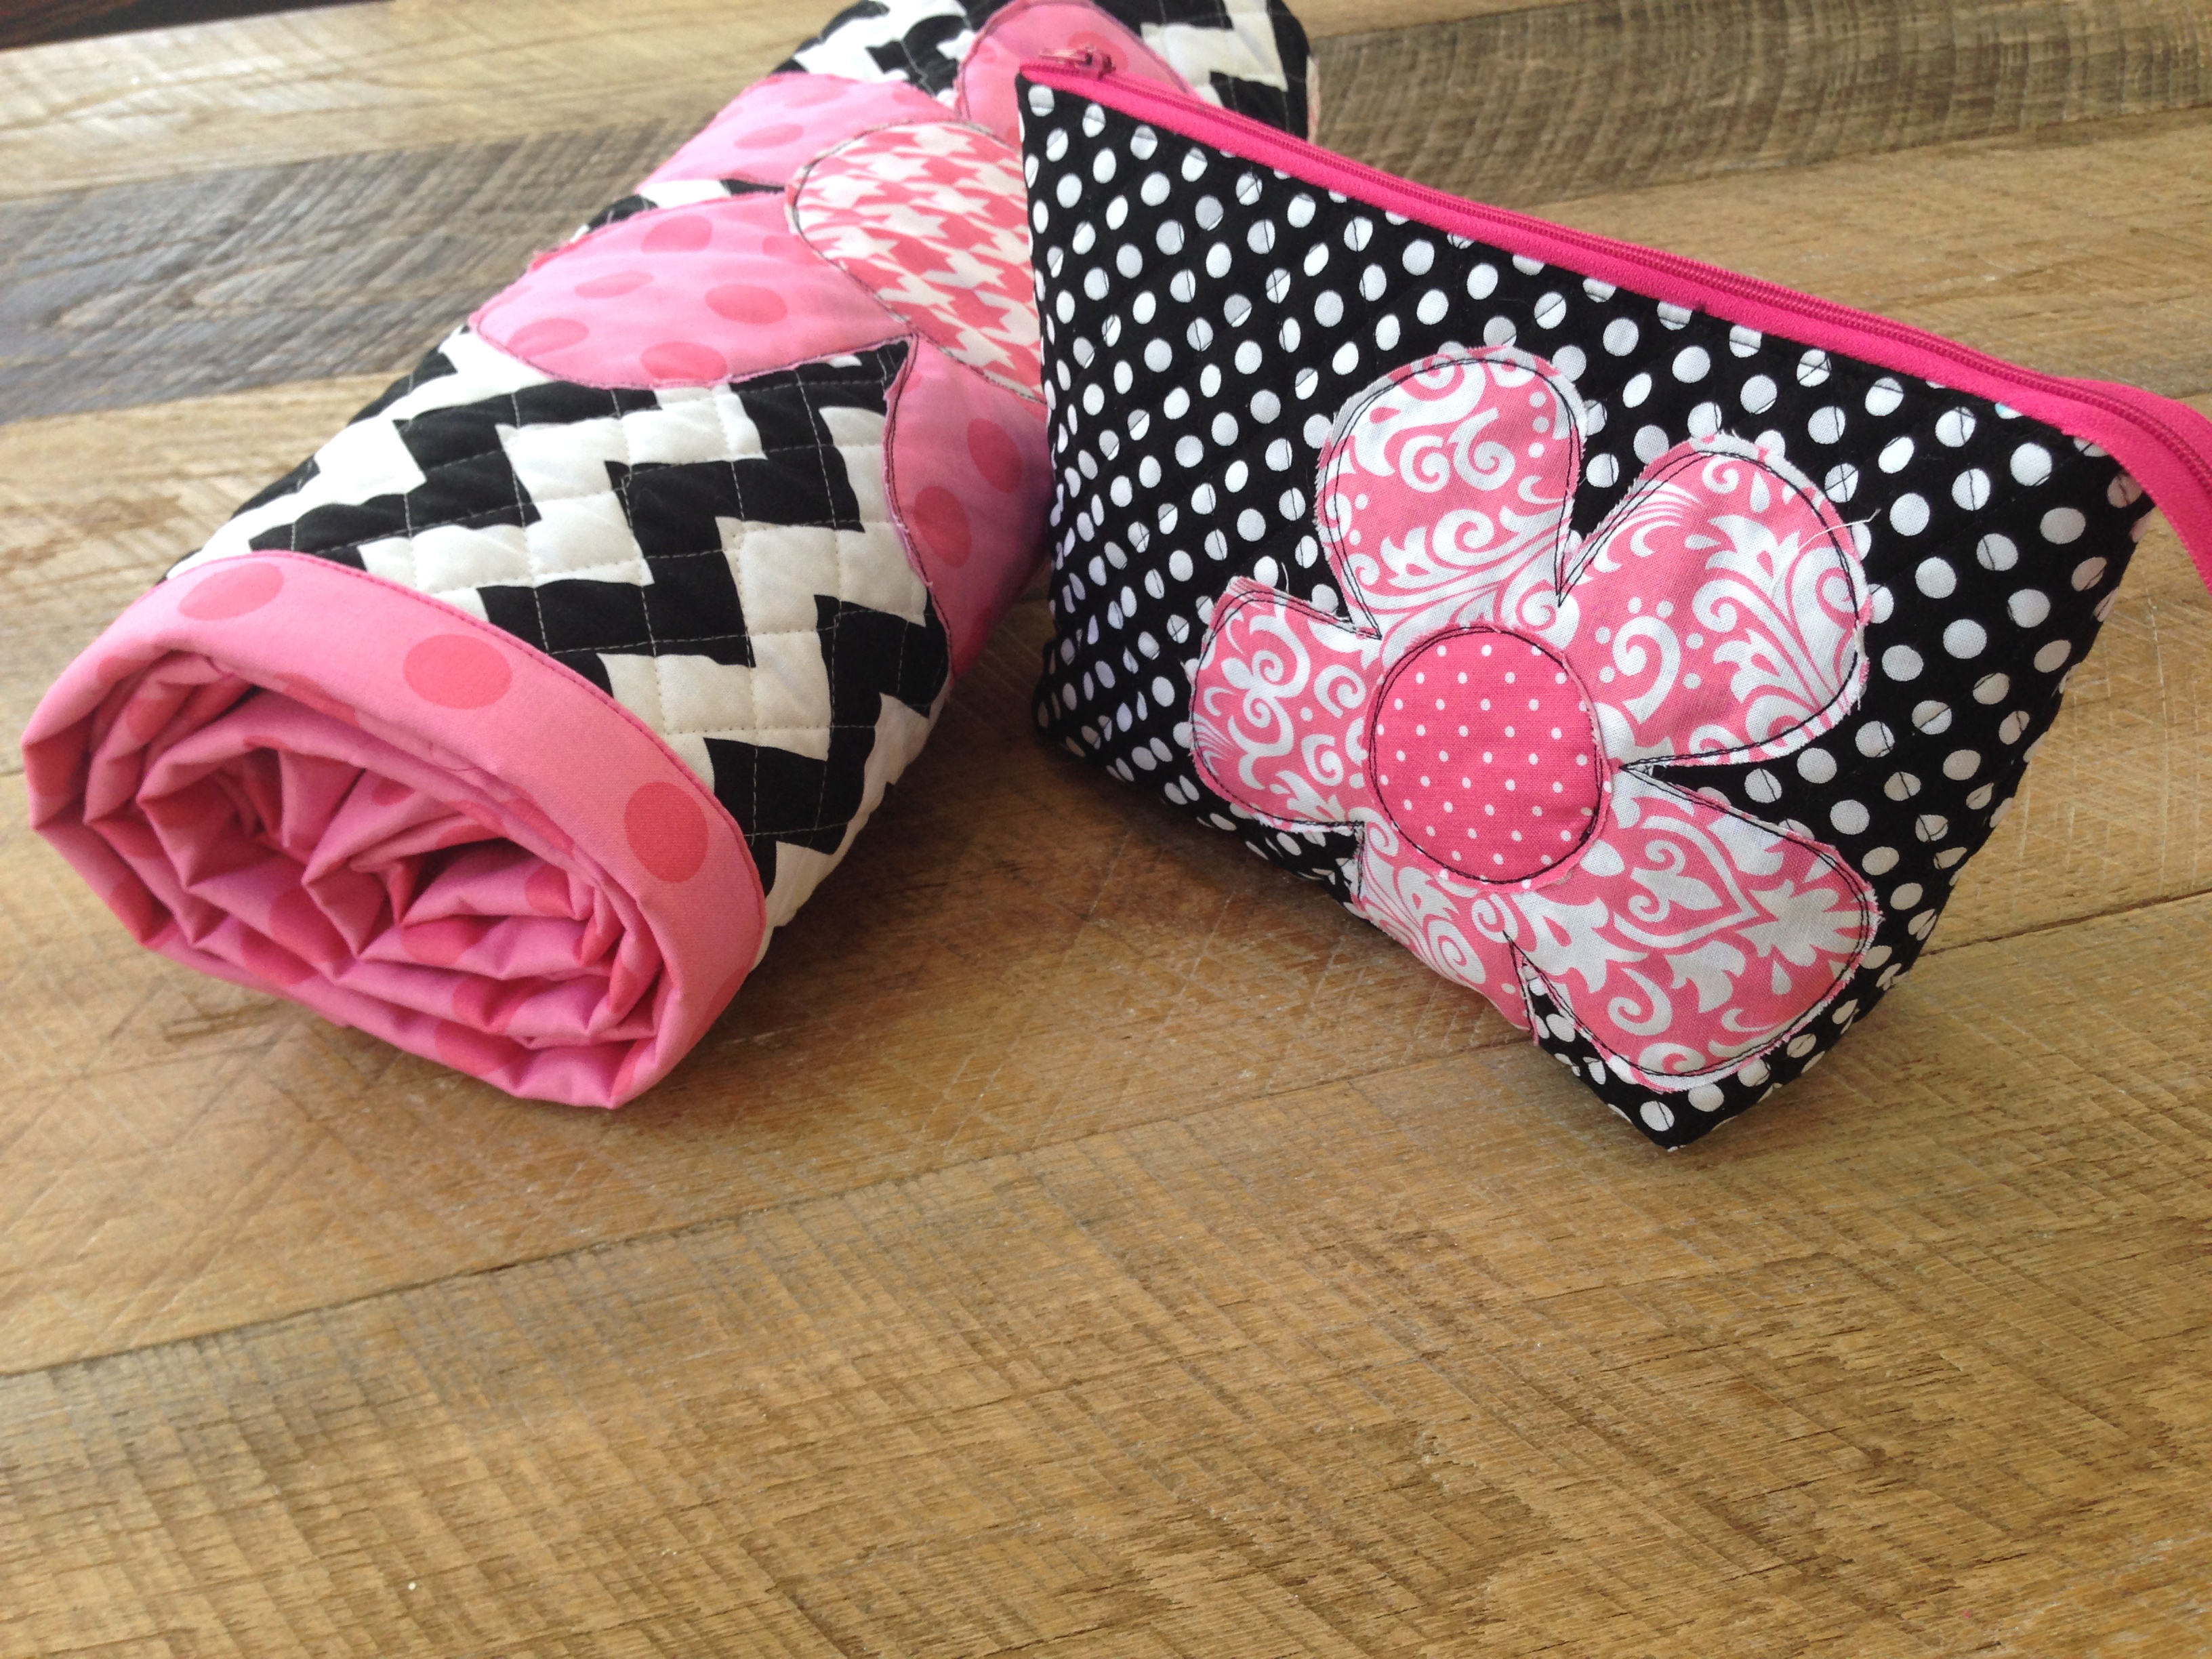
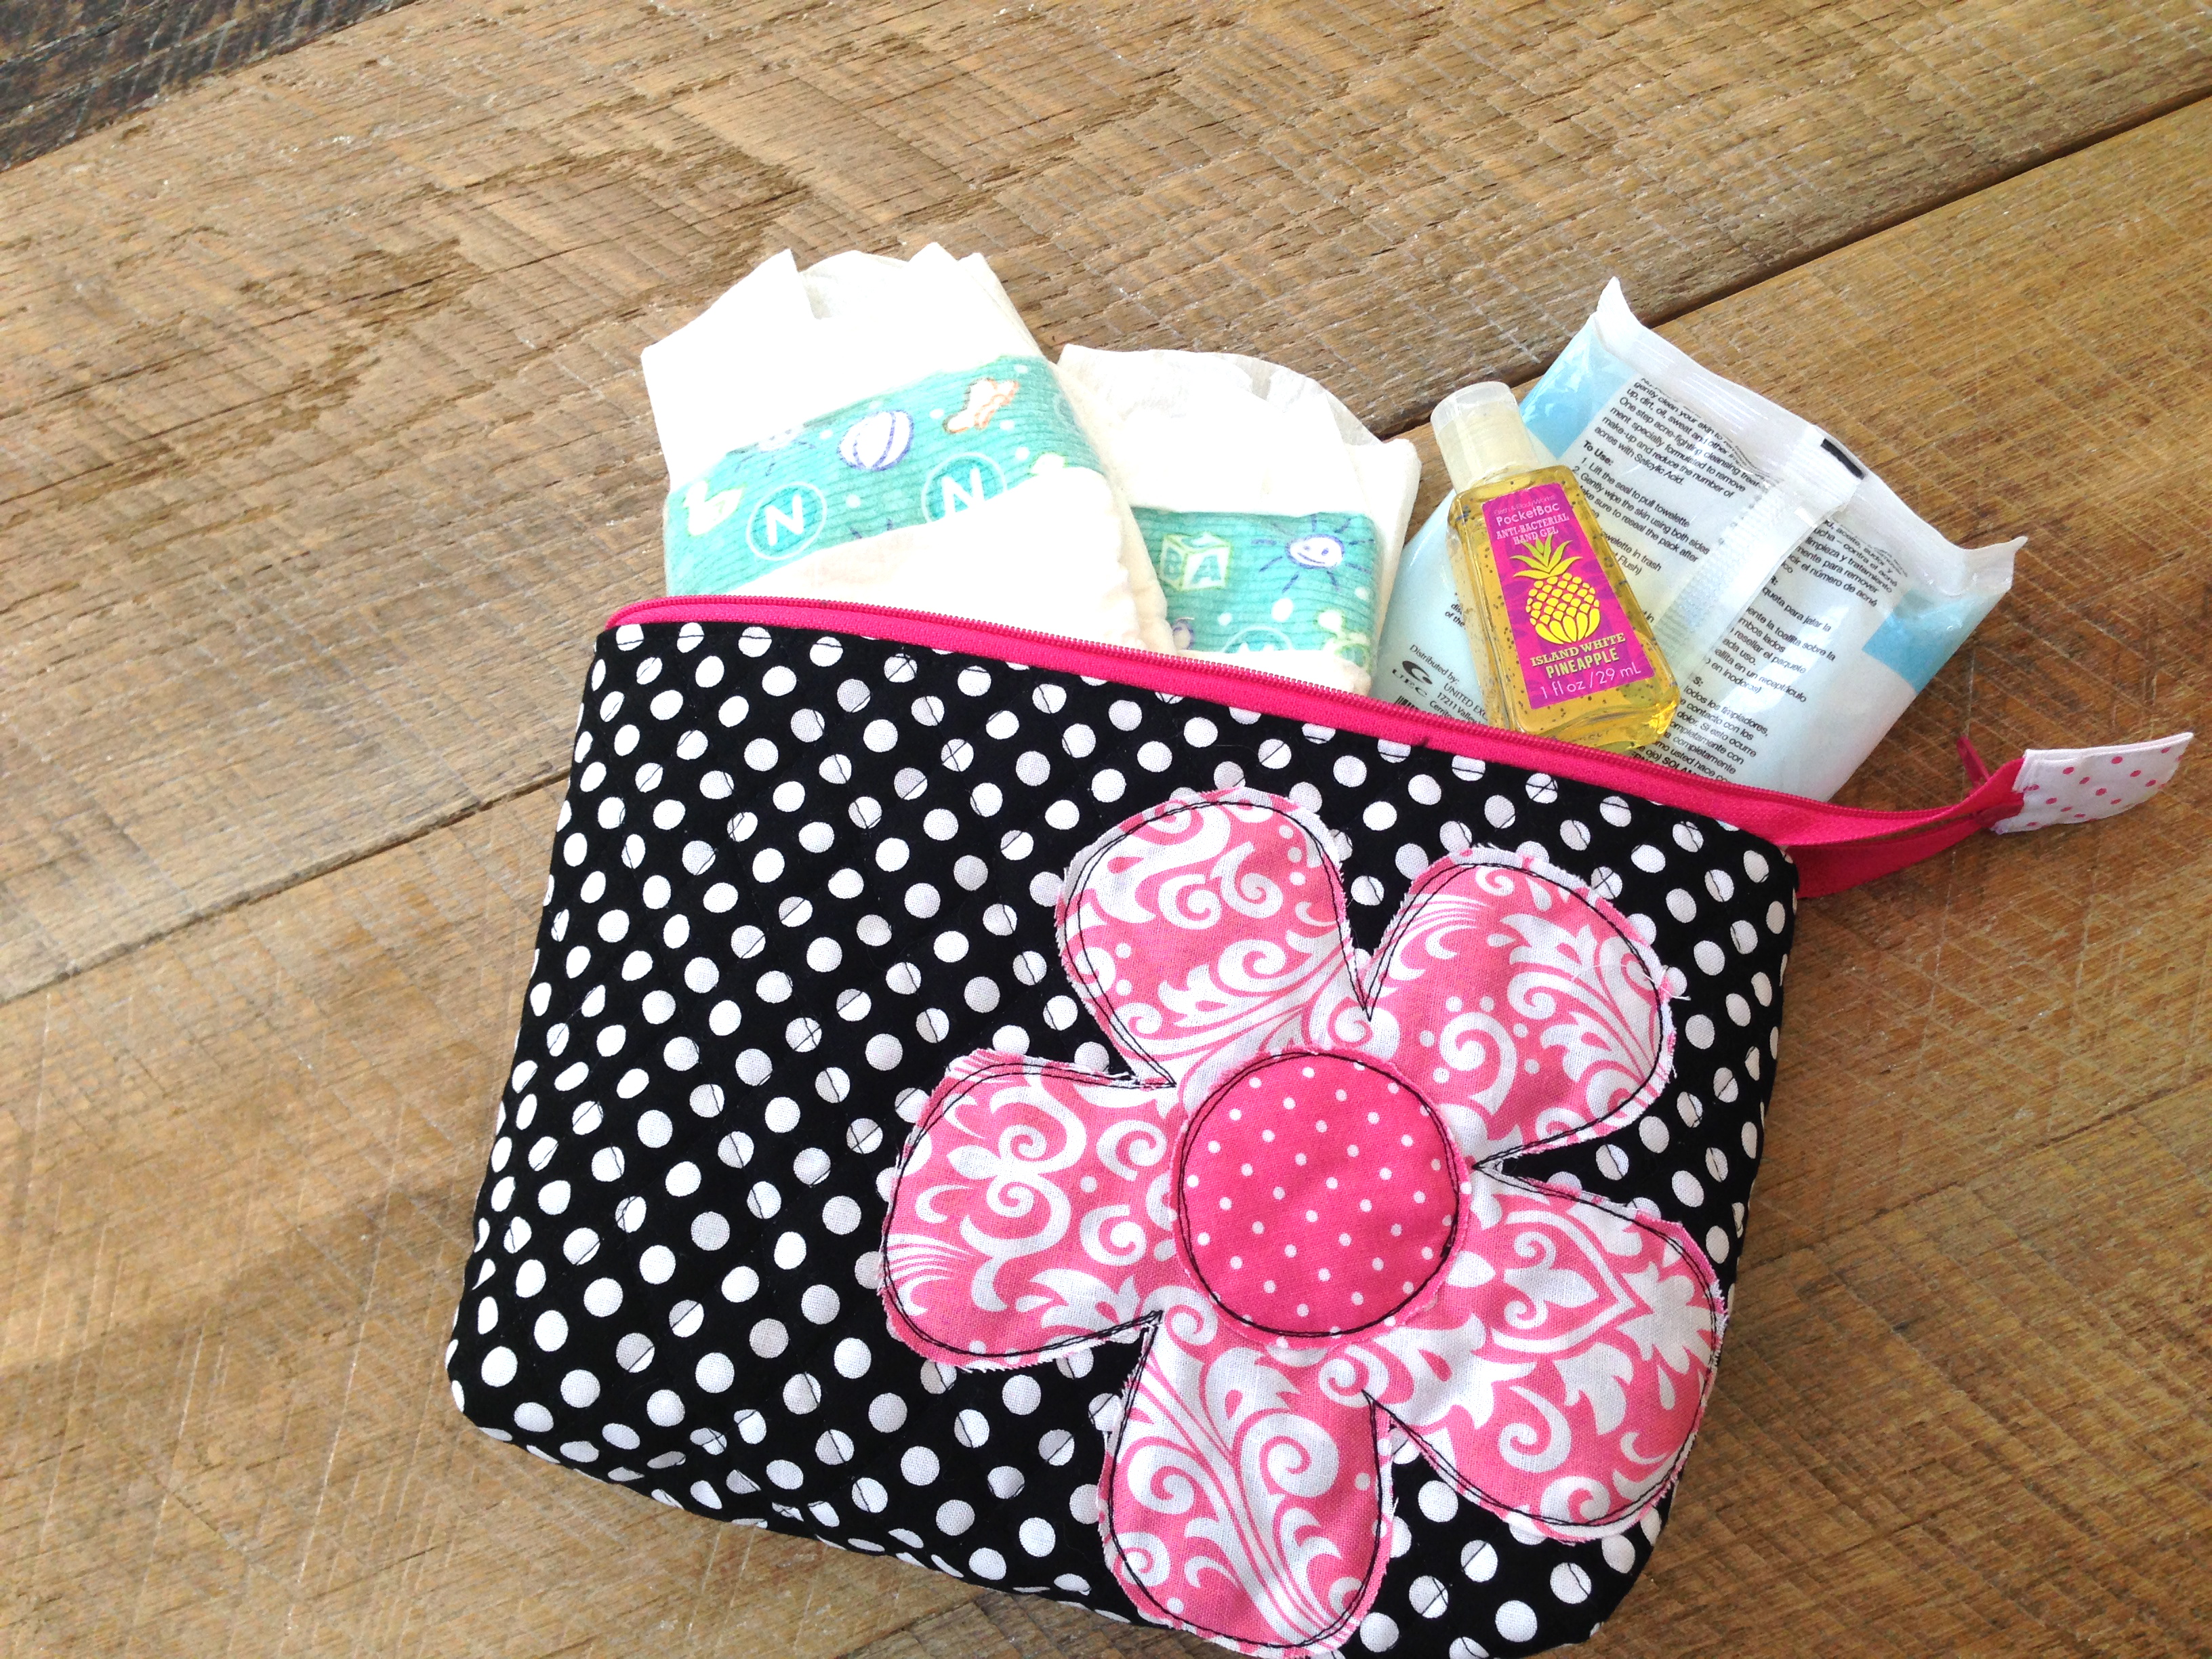
And you’re done!!  Perfect gift for just about anyone!!

whale_composition_book_true_blue_11


Save

Nautical Baby Quilt

nautical_quilt_tutorial_baby_shower

I am happy to share with you my Nautical Quilt tutorial.  One of my good friends is expecting a baby and her nursery has a nautical theme.  I came up with this quilt to give her at her baby shower.  I love how it turned out!

The quilt starts with a simple square in a square block.  (1/4″ seams throughout)


Cut the center piece is 3.5″ square.

Cut the side pieces (2) 3.5″ x 2.5″

Cut the top and bottom pieces 7.5″ x 2.5″

Nautical Quilt Tutorial_5

Sew the side pieces on and press toward the dark.  Sew the top and bottom pieces on and press toward the dark.

Nautical Quilt Tutorial_4

Now that you have the basic block down, make 9 like this with red or navy borders and a white center.  Then make 9 the reverse, white sides and a red or navy center.

Nautical Quilt Tutorial_3

Assemble the blocks in rows like this:

Nautical Quilt Tutorial_2

For the large white pieces, cut”

15″ x WOF

4.5″ x WOF

Sew these to the sides of the block portion.  Square up the edges.

For the appliqué, I just googled “anchor clip art” and found this anchor – there are hundreds to choose from.  Trace the anchor onto Therm O Web Heat n Bond Lite.  Iron the heat n bond to the wrong side of the navy fabric.  Cut out the anchor, peel off the back and press into place.  Top stitch in matching thread.  I toyed with the idea of adding rope, ribbon, or ric arc along the length connecting to the anchor, but ultimately I decided to leave it as is.

Nautical Quilt Tutorial


I quilted it with straight lines.  I measured the lines so they would cross the squares in equal portions.  I love the navy & white polkadot binding.  Now it’s time to throw a Nautical themed baby shower!Nautical Quilt Tutorial_17


This is me and the mommy-to-be.  The shower was super fun!!Nautical Quilt Tutorial_6

Nautical Quilt Tutorial_16

Nautical Quilt Tutorial_15 Nautical Quilt Tutorial_12

Nautical Quilt Tutorial_8

Nautical Quilt Tutorial_10


The Perfect Potholder {Father’s Day Tutorial}

the perfect potholder

I know the claim “The Perfect Potholder” is pretty bold!!  I am a bit of a potholder snob.  I can’t stand silicone ones, I don’t like them if they are too stiff or puffy, I also don’t like them if they are too thin.  I love the cute quilty ones, but I am always afraid to use them.  So I resort to my trusty terrycloth potholders…..behold:

hot pad tutorial

Aren’t they beautiful!  haha!!  They’ve been used and washed at least a million times and I can never give them up…..until TODAY when I came up with a homemade version that is just as functional yet much more stylish.  The trick is that I cut up a hand towel (or bath towel), layered with batting and quilted it.  Are you ready for the tutorial?  Here we go:

Supplies:

1 bath or hand towel (not kitchen) the thicker the better!

Fat Quarter Bibs and Ribs fabric – still loving it!!

Scraps of cotton batting

fabric for the binding

Therm O Web Spray n Bond

Begin by cutting the towel 8.5″ square

hot pad tutorial_3


also cut the batting and fabric the same size, 8.5″ square.

hot pad tutorial_4

Use the basting spray to baste all the lawyer together with the batting in the middle.

hot pad tutorial_2_5
Quilt as desired.  I made 4 of these and did vertical lines, diagonal lines and then criss cross.  Using a cup, draw a rounded corner on each of the corners and trim along the line.

hot pad tutorial_6


hot pad tutorial_7

Cut the binding on the bias 2.5″ x WOF, or enough to sew around the potholder.  Sew the binding to the back of the  potholder then pull the binding around and machine sew the top of the binding down.hot pad tutorial_8

Seriously, tears of joy were shed over this project.  I cannot contain my excitement!!  It actually feels just like my old trusty potholders – YIPPEE!!!hot pad tutorial_9

Now that I knew they were a success, I got a little creative.  Try rounding all the corners but the top left corner like this:

hot pad tutorial_10


Then sew the binding like this:hot pad tutorial_11


Take the little tail and give it a twirl to make a loop to hang or to just be decorative or to just finish the binding nicely.

hot pad tutorial_14

They are the perfect addition to my collection of Father’s Day Gifts!!
hot pad tutorial_12

Riley Blake Blog Tour {Baby Play Mat Tutorial with Matching Zipper Pouch}


riley blake quilted cotton baby mat tutorial

riley blake quilted cotton_2


I am so excited to be participating in the Riley Blake Designs Quilted Cotton Blog Hop.

quiltedcottoncollage_1_png_600x600_q85QuiltedCotton1_1_png_600x600_q85

6/10 – Nancy Zieman

6/12 – The Sassy Quilter

6/17 – Just Let Me Quilt

6/19 – Simple Simon & Co.

6/24 – Haberdashery Fun

6/26 – Sew We Quilt

7/1 – Jina Barney Designz

7/3 – Leigh Laurel Studios

7/8 – Riley Blake Designs

Today is my day for the blog hop so WELCOME and thanks for stopping by!  I can’t tell you how in love I am with Riley Blake’s new quilted cottons.  They come in a variety of  patterns and colors.  I choose the black chevron which has polka dots on the reverse side.  I love giving hand made baby gifts but sometimes it gets a little challenging to create a new quilt from scratch for every baby gift; as much as my heart wants to.  The quilted cottons are perfect for sewing for baby: I appliquéd some flowers, added extra wide binding and it’s an adorable play mat or changing mat or quilt for baby.

riley blake quilted cotton tutorial

I also used what was left of the quilted cotton to make a diaper change zipper pouch.  It holds all the essentials: diapers, wipes, sanitizer, etc.  Continue reading for the instructions….

riley blake quilted cotton_4

Supplies:

1 yard Riley Blake Quilted Cotton

6 fat quarters flower appliqué fabric

3/4 yard fabric for wide binding

Therm O Web Spray n Bond basting spray.

Download the flower patterns HERE (for large flower, you will have to enlarge on your computer – it measures about 10.5″ across)


Cut the quilted cotton 35″ x WOF (Of course you can cut whatever size you want)

Cut the 3 sizes of flower and flower centers out to make the pattern.

riley blake quilted applique quilt_tutorial

Pin the pattern pieces to the fabric and cut out.

riley blake quilted applique quilt_tutorial_2


Spray the Spray n Bond to the wrong side of the fabric appliqué pieces and place on the quilt.  It is a bit of a challenge to appliqué on such a large piece of fabric – there was some pushing and pulling involved.  I found it easier to spray baste the flowers after finishing sewing the one before.riley blake quilted applique quilt_tutorial_5

Stitch around each flower and flower center 2 times using black thread.
riley blake quilted applique quilt

riley blake quilted cotton_10

To make the extra wide binding…. cut 4 strips 5″ x WOF.  Sew together and press in half.  Continue as you would with regular binding, only line up the raw edge of the binding  1″ from the edge of the quilt like this:

IMG_8580
I machine sewed the binding so it would hold up nice in the wash.  I am hoping this will be used more as a changing mat or crawling mat so it will be getting laundered often!  I love how it turned out!  This could easily be changed up for a boy – the navy and white chevron would be cute with anchors or fish!!

riley blake quilted cotton-15
Of course I needed to sew a matching zipper pouch.  I like the idea of having all the diaper change stuff in one handy pouch.  I used one of my favorite tutorials from my good friend Jennifer.  I changed the measurements from 9″x11″ to 8″x11″.  The rest of the tutorial is exactly the same.

Cut (2) quilted cotton pieces 8″ x 11″

Cut (2) lining fabric pieces 8″ x 11″

riley blake quilted cotton_12

Applique the smallest flower from the quilt pattern above to the side of one of the quilted cotton pieces.  Then follow the rest of the tutorial.

riley blake quilted cotton+11

I need one of these for myself!!
riley blake quilted cotton_5

They make such a darling set!  I can’t wait to give this to my friend who is expecting her very first baby!!
riley blake quilted cotton_8
Thanks for stopping by!  I can’t wait to see all the projects on this fun Blog Tour!!

riley blake quilted cotton_3

Got Ribs? {Father’s Day Apron Tutorial}

father's day sewing tutorials 2BBQ apron tutorialThe BBQ Father’s Day gift theme continues today with this BBQ apron using the Ribs & Bibs fabric line.  BBQ and Ribs are a big part of our family traditions.  I am so excited to give this apron to my dad who prides himself on his slow-cooked ribs.  I’ve cut some corners on this project by ordering solid black chef’s aprons from Amazon – a 2 pack is about $10 and they arrive in 2 days!  Here’s how you can make one:


Supplies:

Solid black chef apron

Fat quarter Checker Board Red

Fat quarter Open Pit White

Pig from Dinner for Two

Therm O Web Heat n Bond Lite EZ print sheets

Print the pattern in reverse on the Heat n Bond EZ print lite printer sheets – they make appliquéing letters a snap!

got ribs fathers day apron tutorial

got ribs fathers day apron tutorial.jpg_2


Iron the letters to the wrong side of the checkerboard fabric.Then cut the letters out with scissors – this part takes a little while.got ribs fathers day apron tutorial.jpg_5


Iron a piece of the Heat n Bond Lite to the wrong side of the pig.  Cut out the pig leaving a boarder of white.got ribs fathers day apron tutorial.jpg_3


Peel off the backing paper.  Center the pig and the letters on the top portion of the apron.  Iron in place.  Top stitch around each letter and the pig.  Yes, it’s a little tedious, but think of all the time we saved by not sewing then apron 🙂got ribs fathers day apron tutorial.jpg_4


Prepare the pocket by cutting a rectangle 15.5″ x 9″

got ribs fathers day apron tutorial.jpg_8

Press the sides and bottom in 1/4″got ribs fathers day apron tutorial.jpg_6


On the top edge of the pocket, sew a 1/4″ hem and then roll it to make a 1/2″ hem.
got ribs fathers day apron tutorial.jpg_7

Pin the pocket into place and topstitch around the sides and bottom.  Top-stitch again 1/4″ away from the first seam.  This helps prevent fraying inside the pocket where there is a raw edge.

got ribs fathers day apron tutorial_11
Finally, find the center of the pocket and sew a straight seam to make 2 sections of pocket.
got ribs fathers day apron tutorial_13


I made my husband close his eyes while modeling this apron so he wouldn’t see it – he is getting one for Father’s Day too!!got ribs fathers day apron tutorial_16


got ribs fathers day apron tutorial.jpg_9

Surf & Turf Towels {Father’s Day Tutorial}


father's day sewing tutorials 2


surf and turf bbq towels tutorial

I just can’t get enough of the Bibs & Ribs fabric!  Today’s tutorial goes nicely with yesterday’s napkins.  There are lots and lots of dish towel tutorials out there…..they are all super cute with ruffles, lace, and trim.  That just doesn’t work for the guys.  These towels have no “fluff” and they are very manly.


Supplies:

Dish towels, pre washed & dried

fat quarter Lobster Tails

fat quarter Dinner for Two

Therm O Web’s Heat n Bond Lite

Begin by ironing the towels.  As with most store-bought dish towels, they are not perfectly square or rectangle.  Do your best to press the towel so it’s straight on the end.

Cut a strip of lobsters.

Cut an equal sized strip of Heat n Bond Lite.  Fuse it to the wrong side of the lobsters.

surf and turf bbq towel tutorial father's day

Peel off the backing and iron it along the edge of the towel.  (normally I would cut the fabric and press the seams under, but we are focusing on quick and the Heat n Bond does just the trick!)

surf and turf bbq towel tutorial father's day_8

Locate the “Surf and Turf’ words in the fabric.

surf and turf bbq towel tutorial father's day_6

Fuse a piece of Heat n Bond to the wrong side.  Cut around it with scissors.  Peel off the back and press into place on the towel.

surf and turf bbq towel tutorial father's day_4

Top stitch around the lobster strip and the surf & turf.

surf and turf bbq towel tutorial father's day_3

I love that all my Father’s Day gifts will coordinate.  Can’t wait to see what’s for tomorrow’s tutorial!!


surf and turf bbq towel tutorial father's day_2

The lobsters totally make me smile 🙂

BBQ Napkins {Father’s Day Sewing Tutorial}

father's day sewing tutorials 2
BBQ napkin tutorial
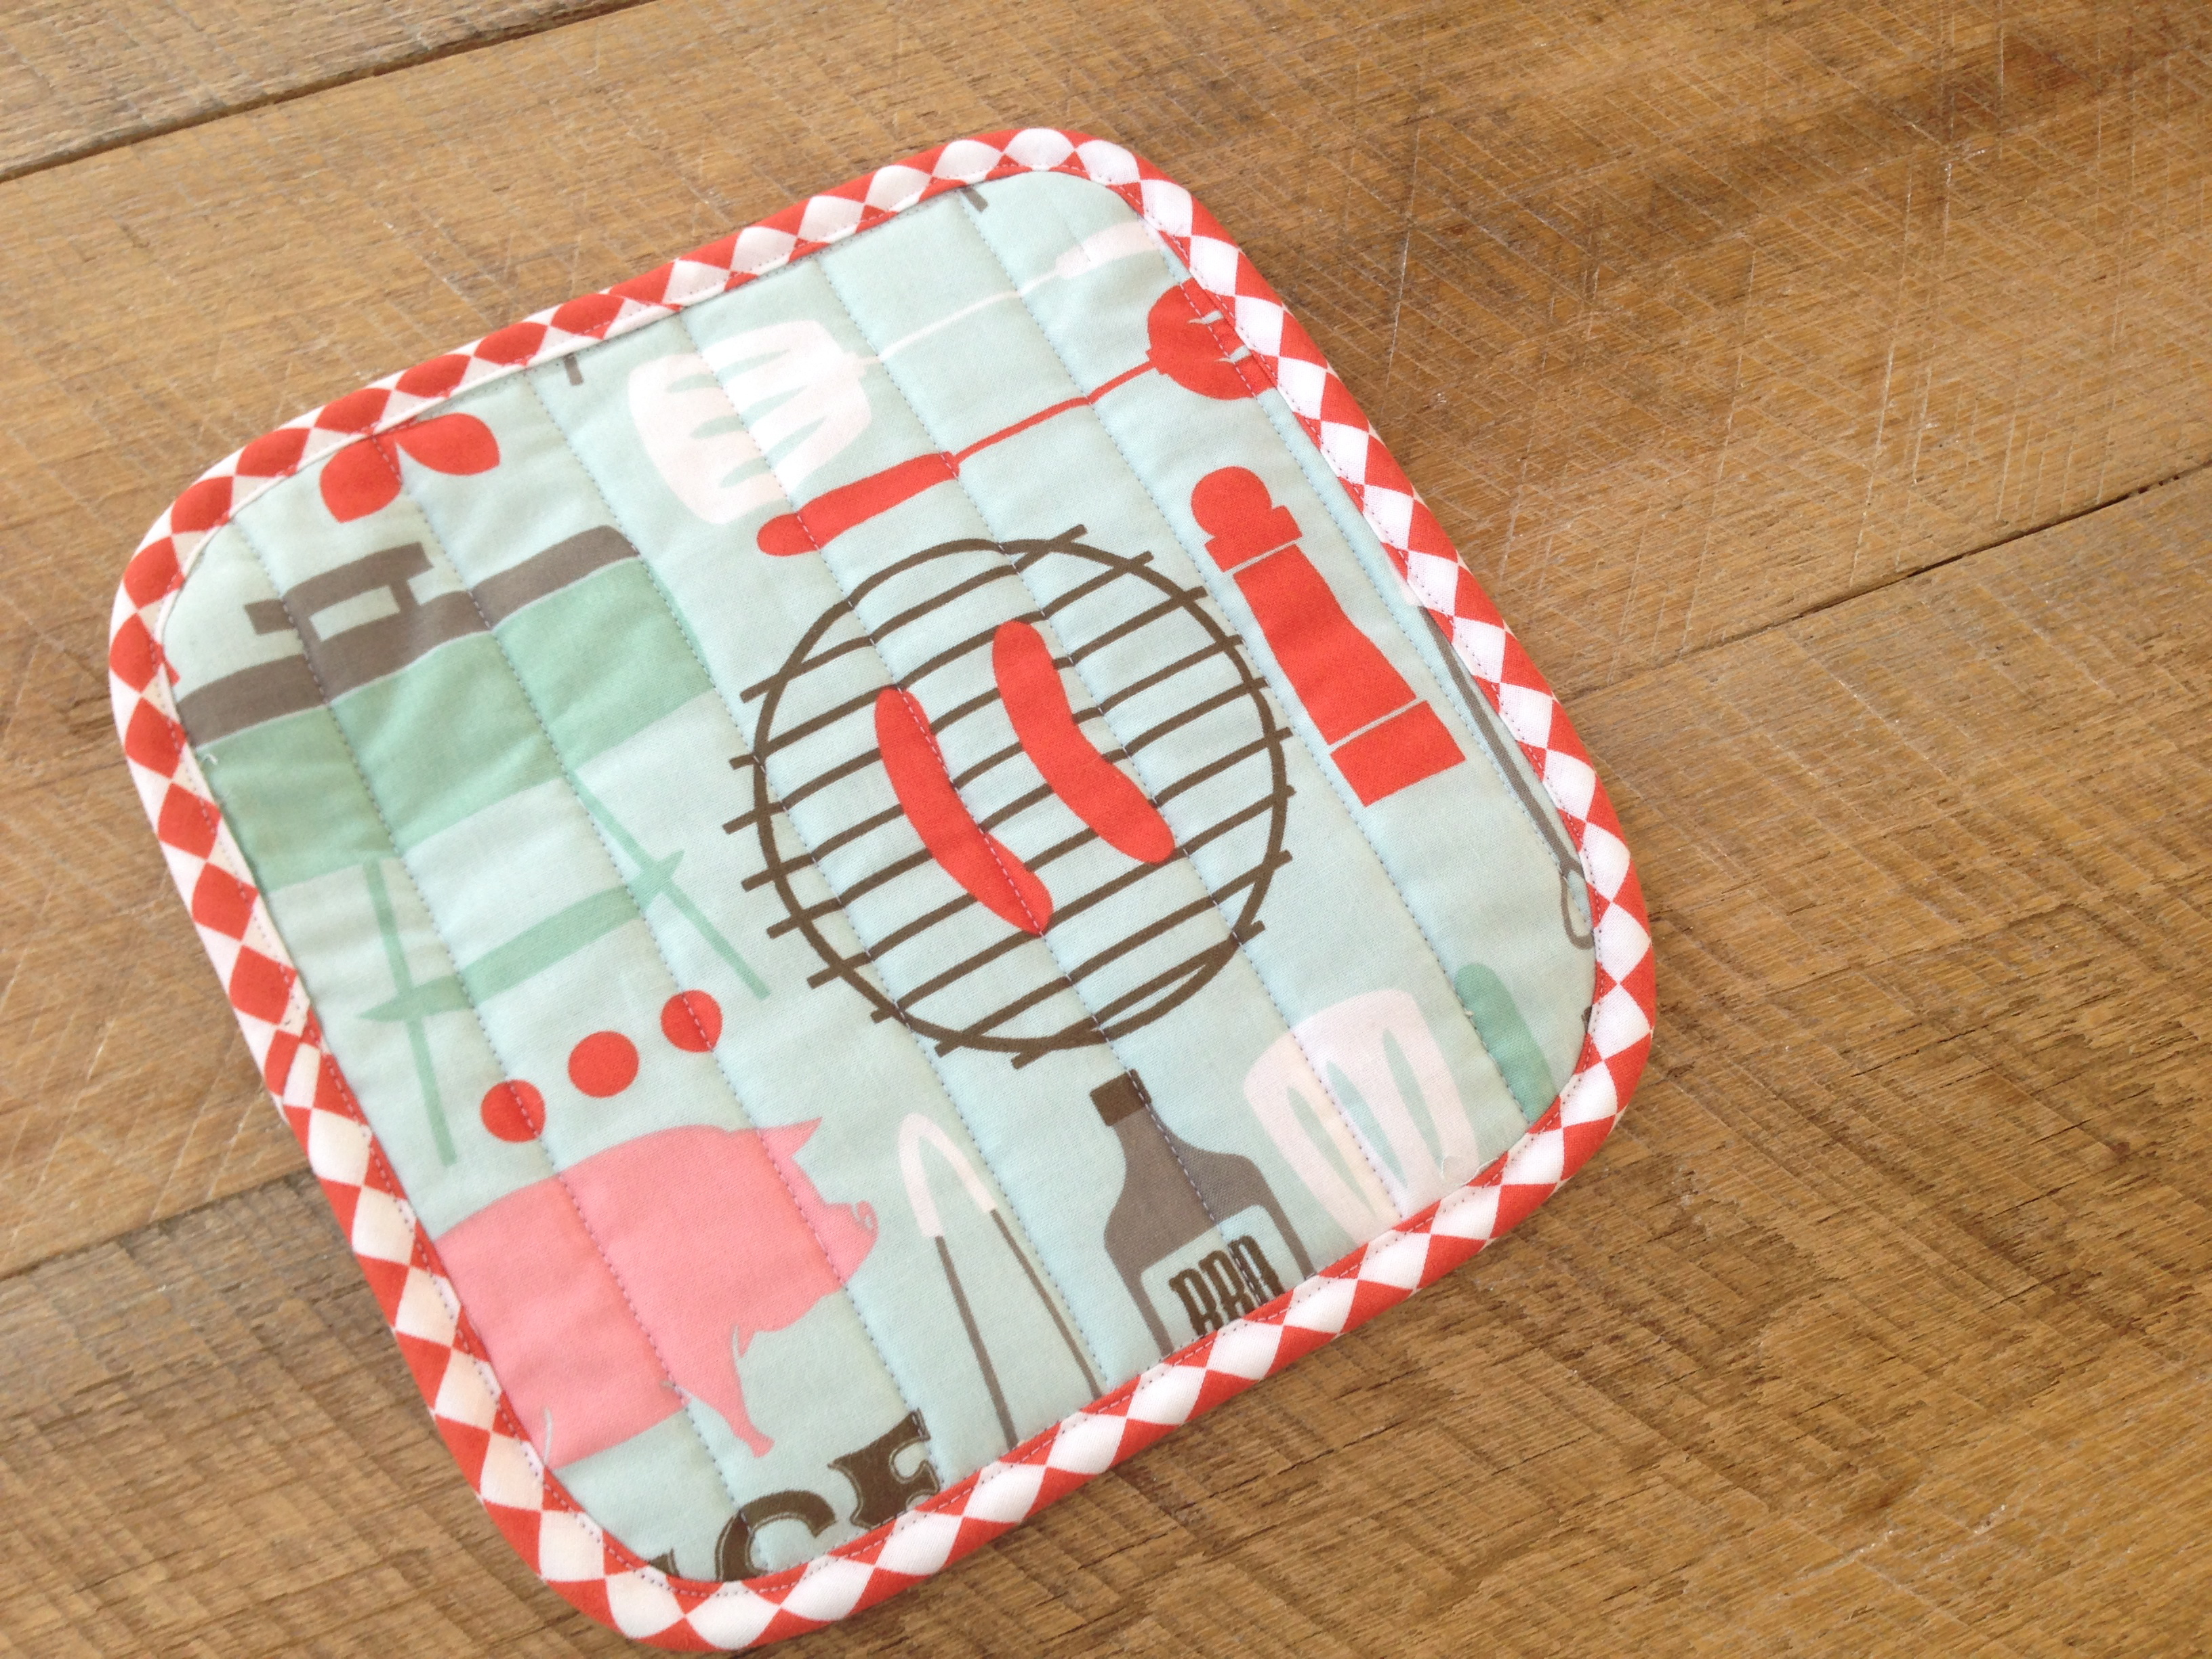
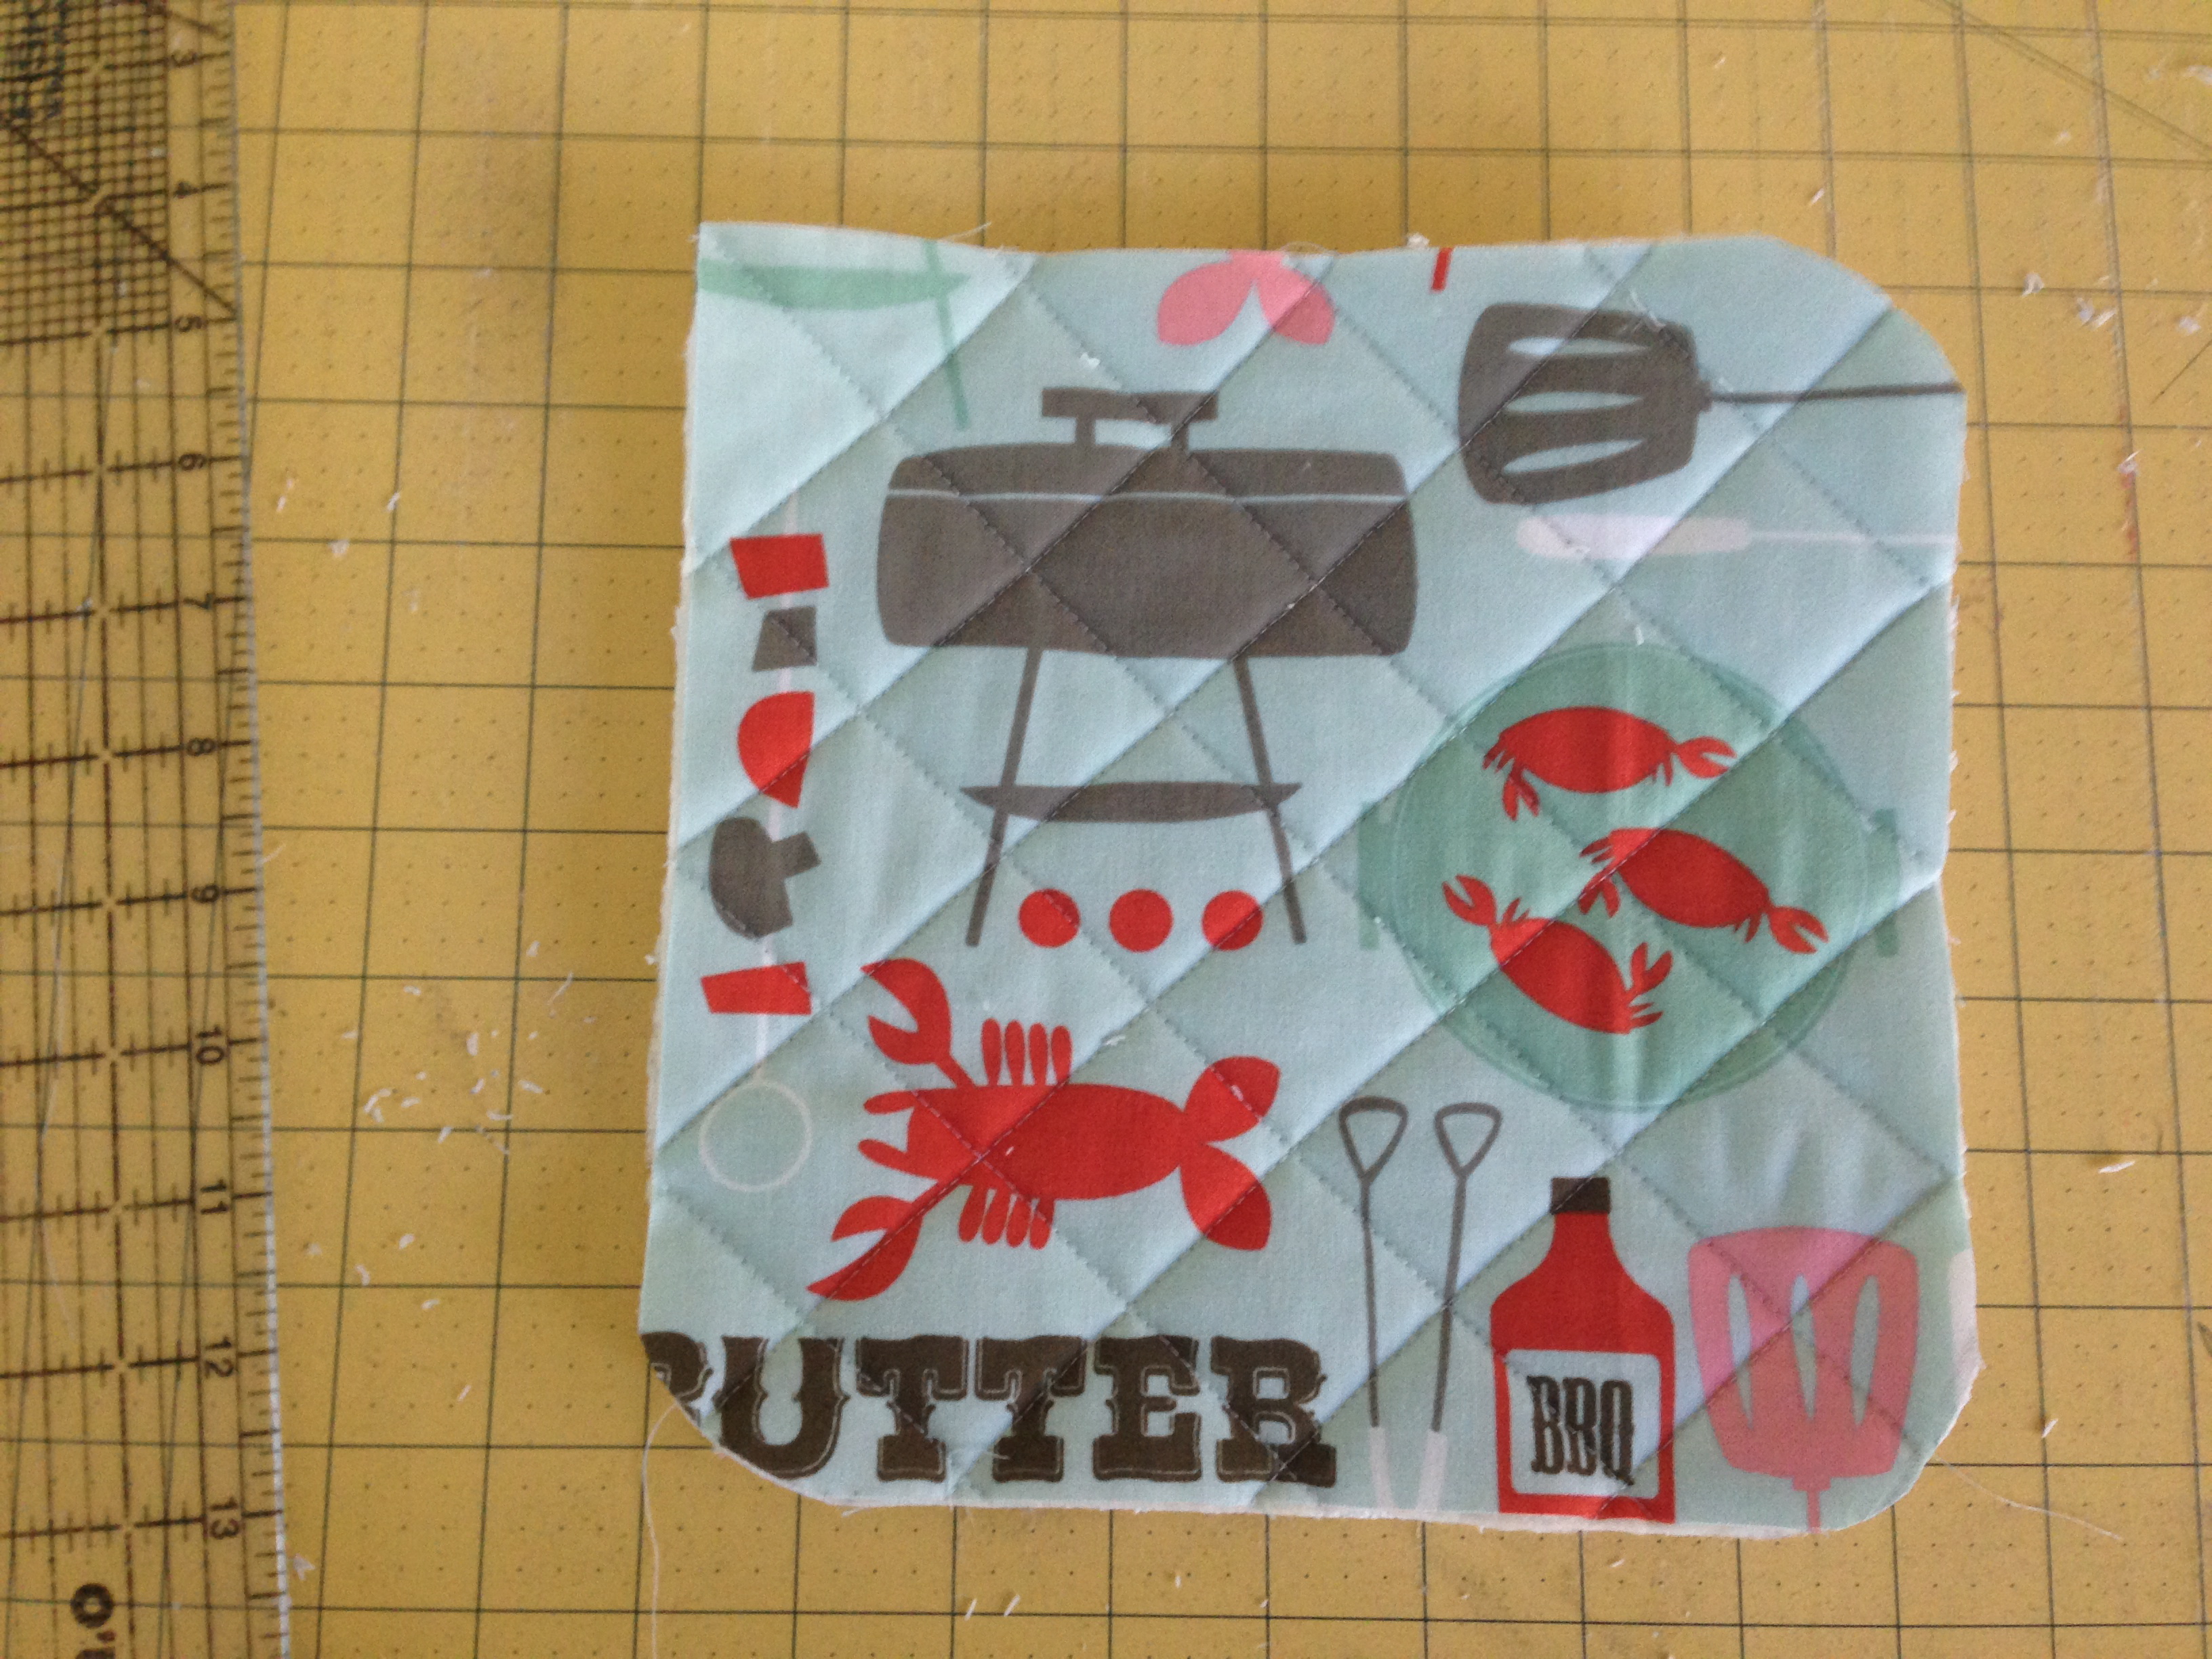
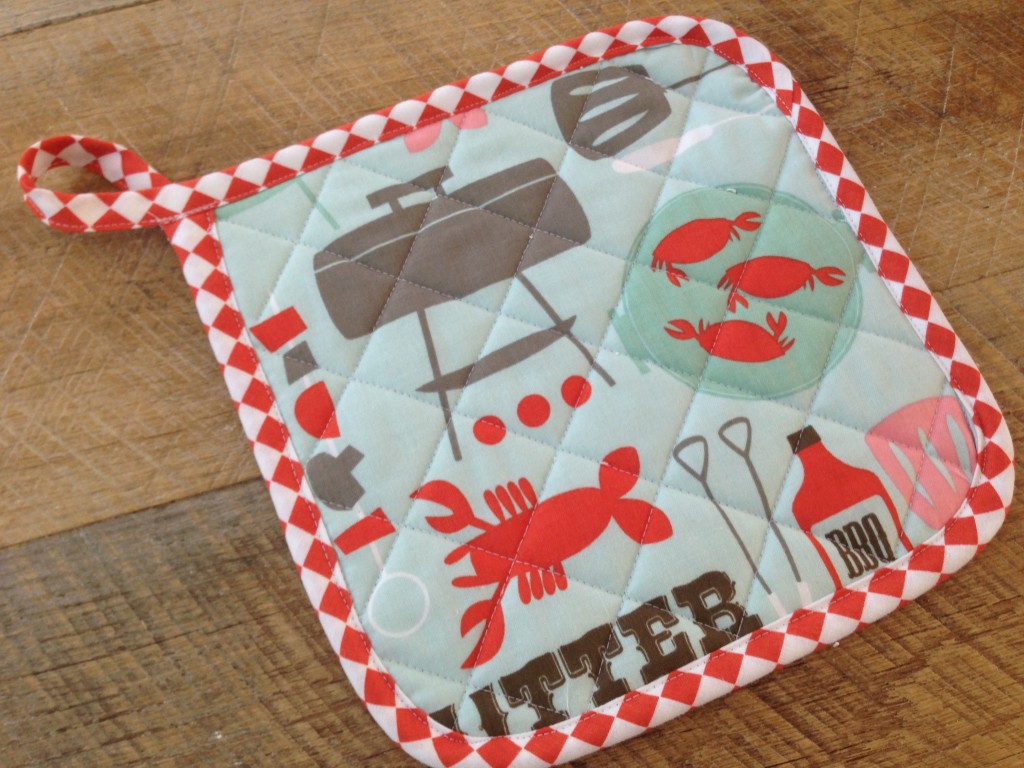
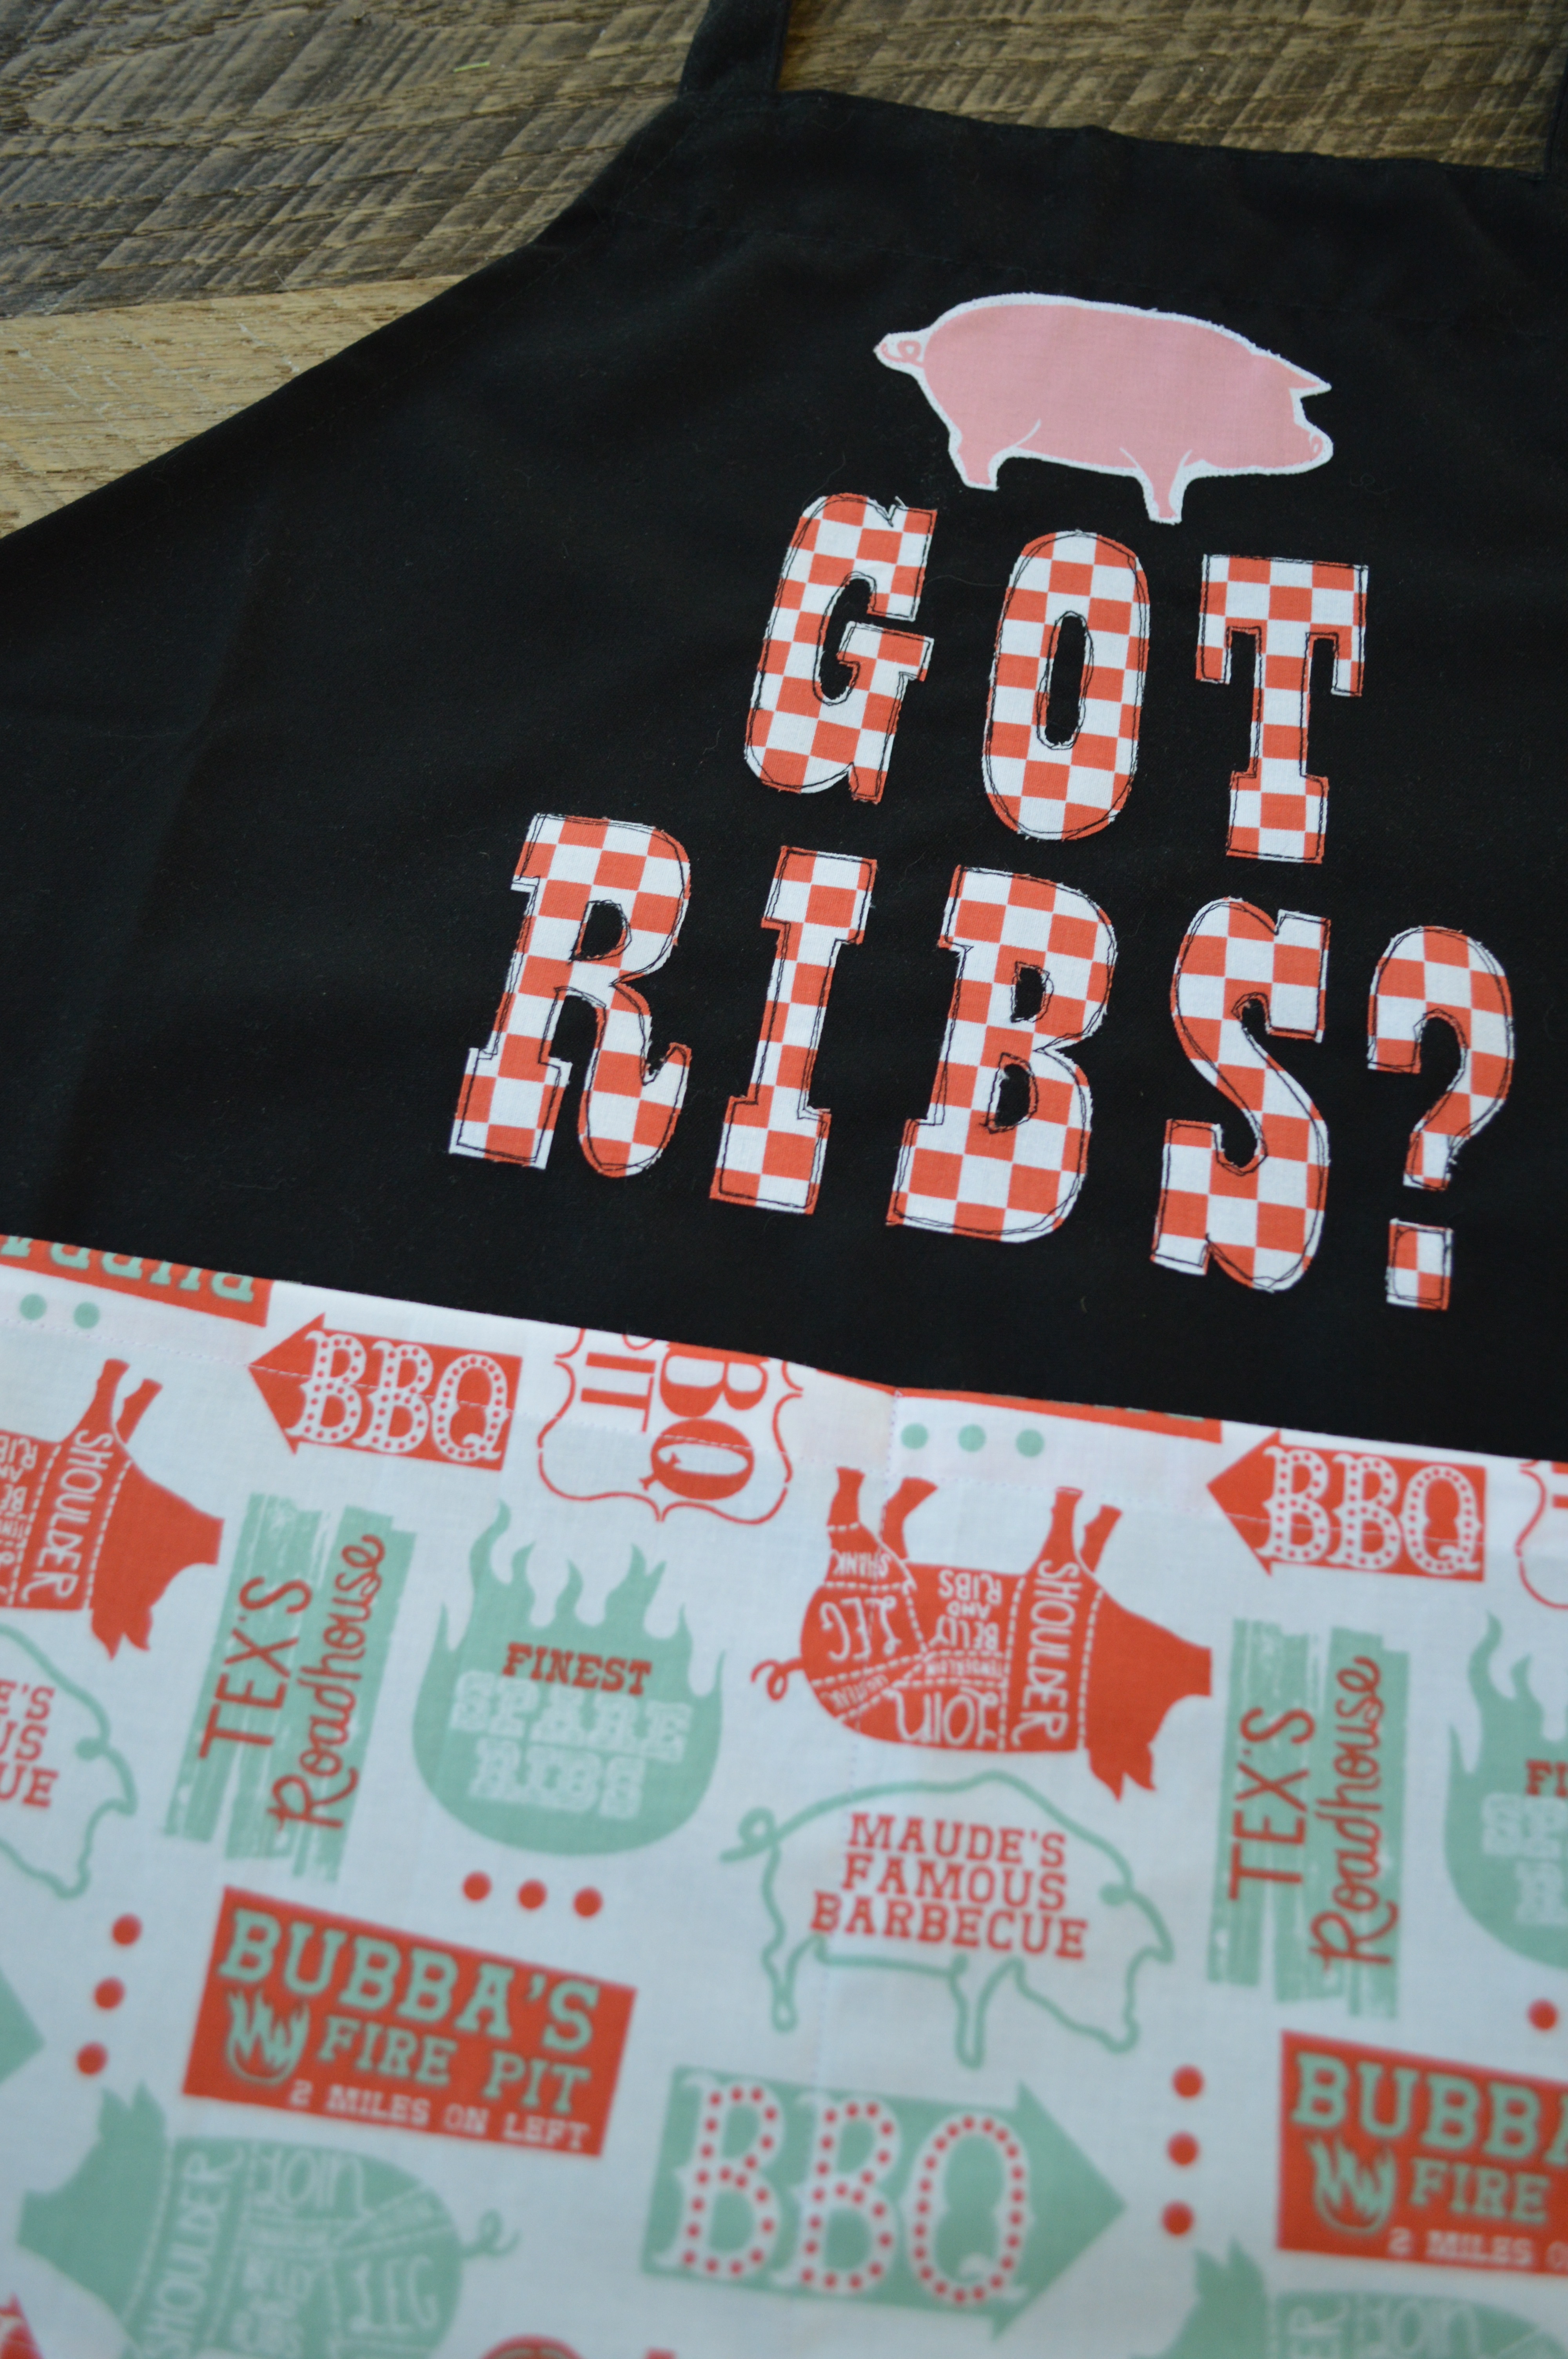
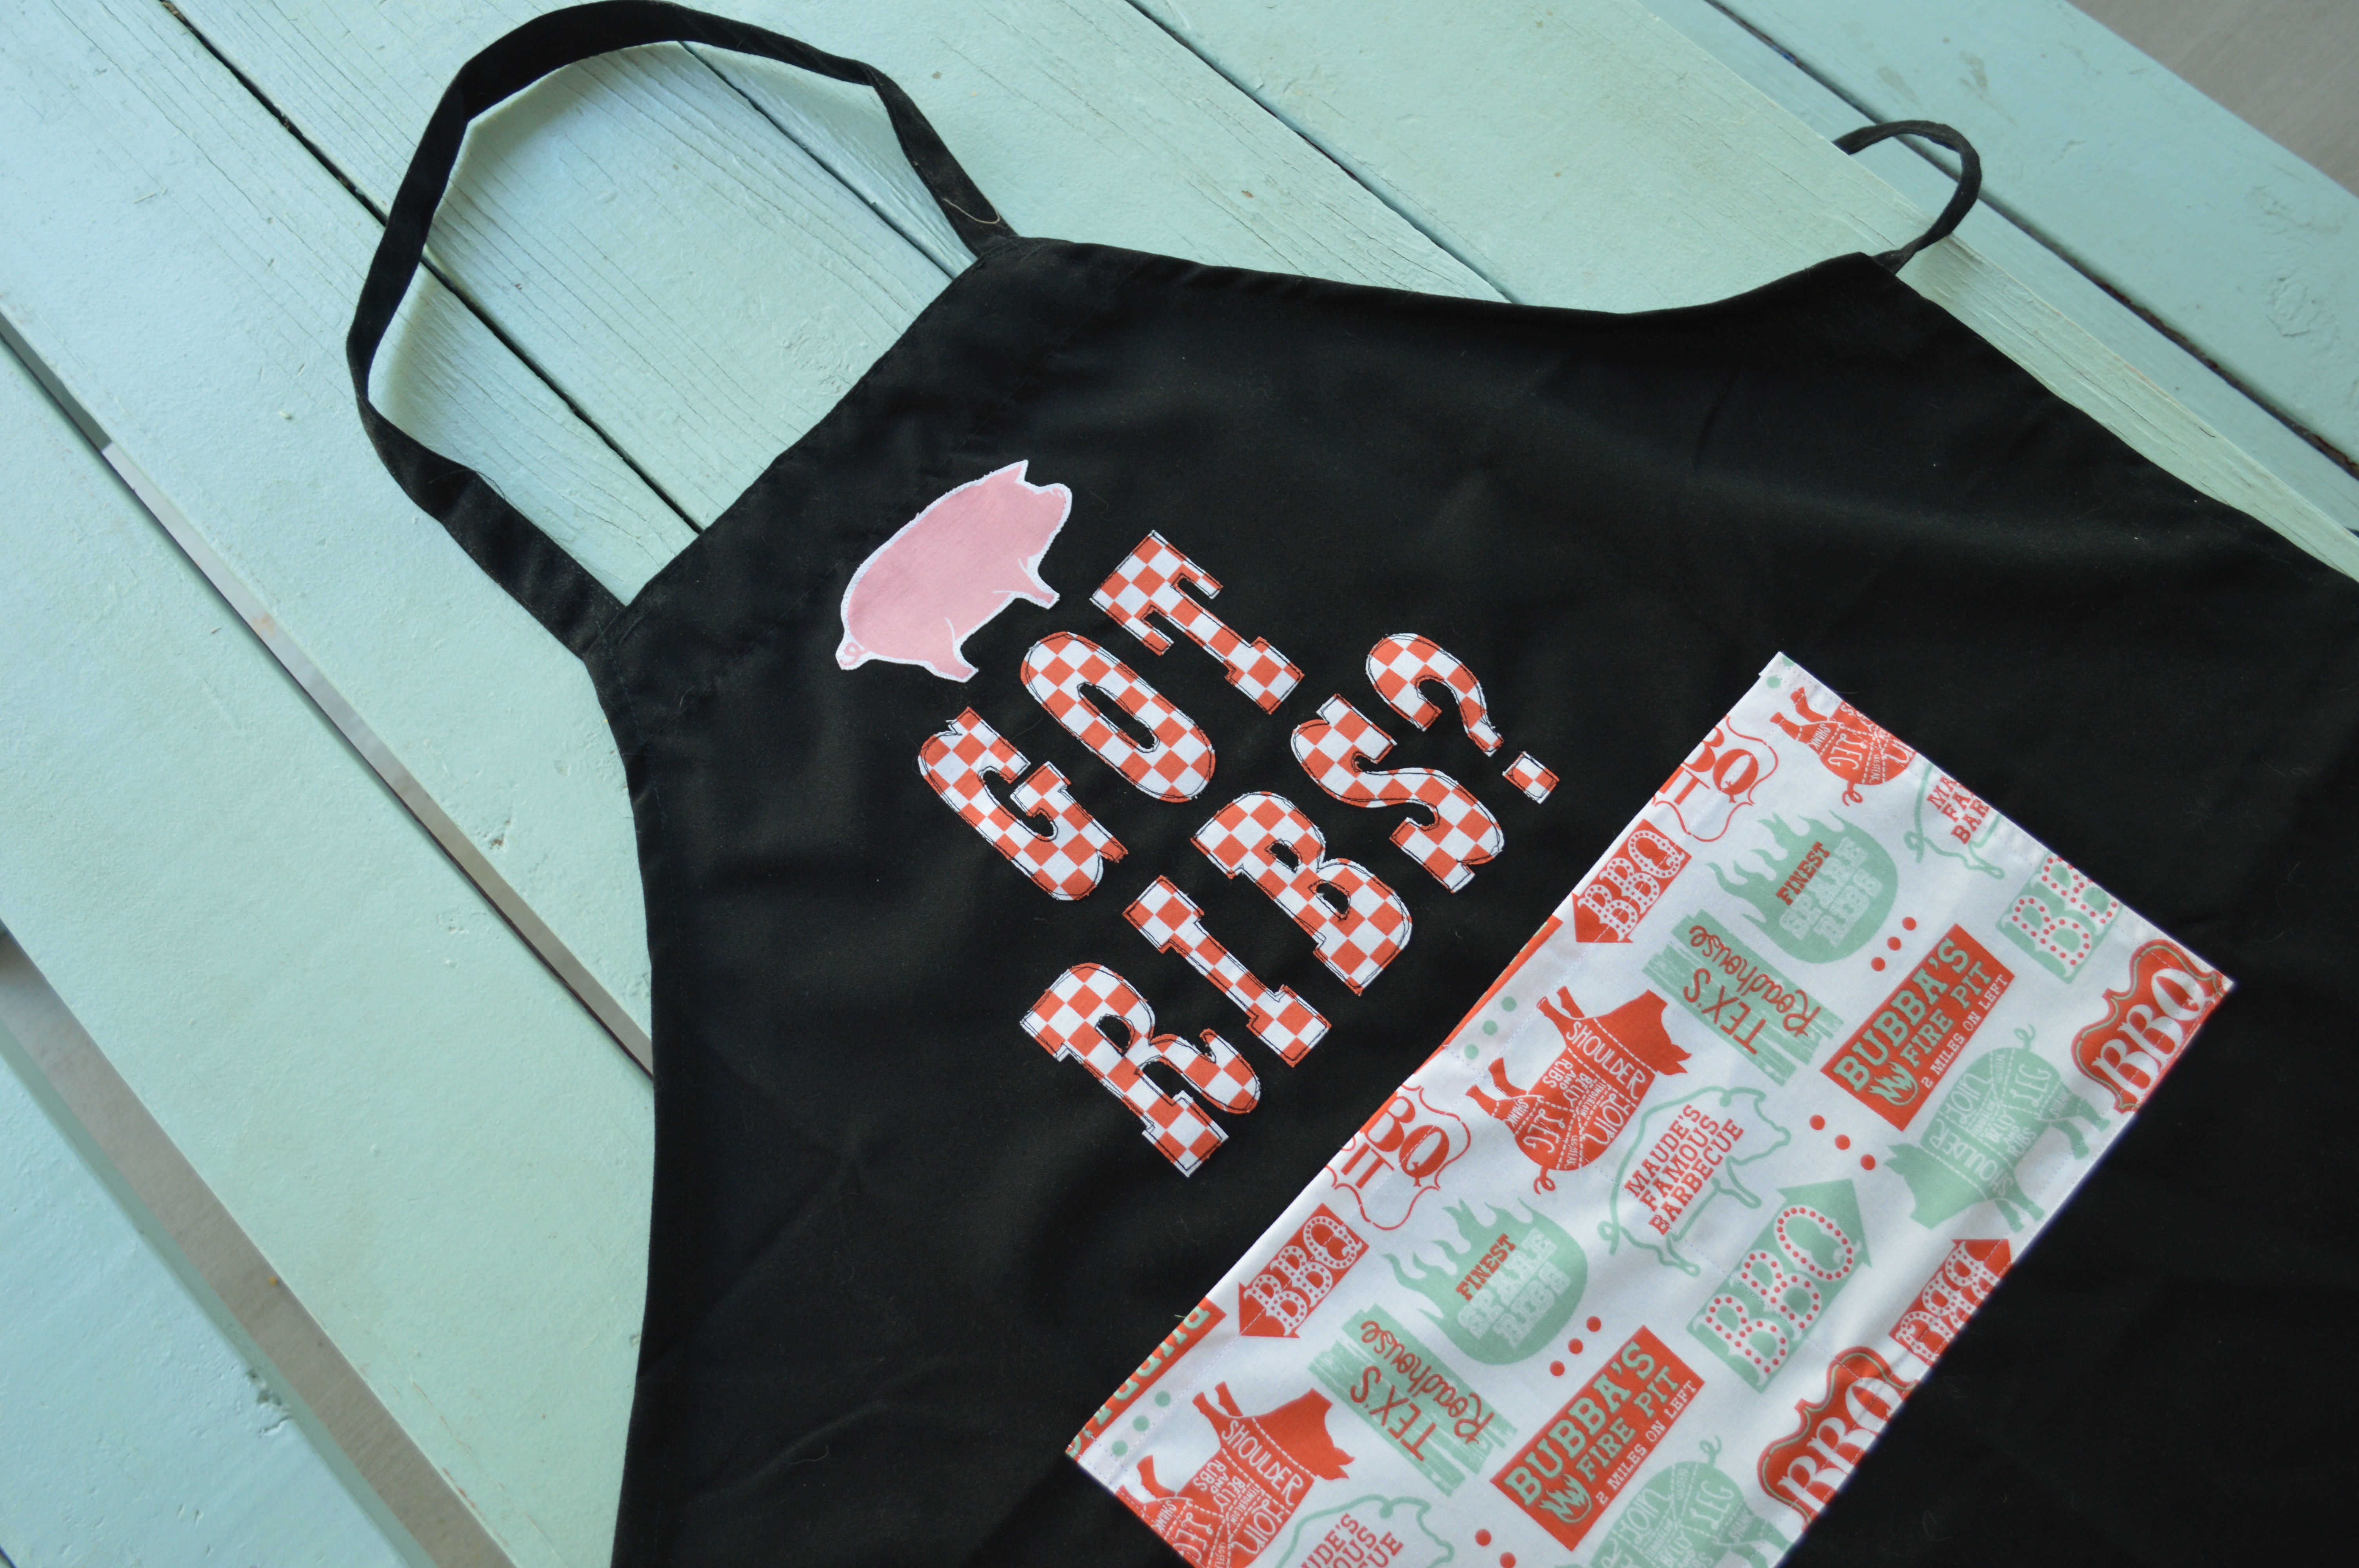
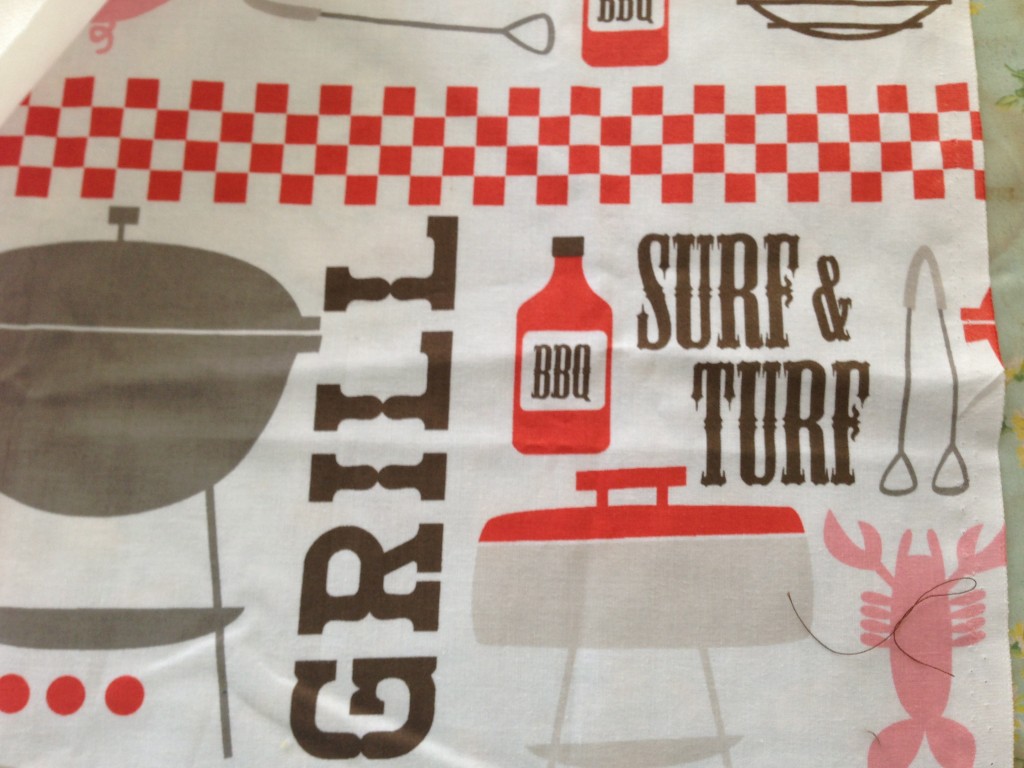
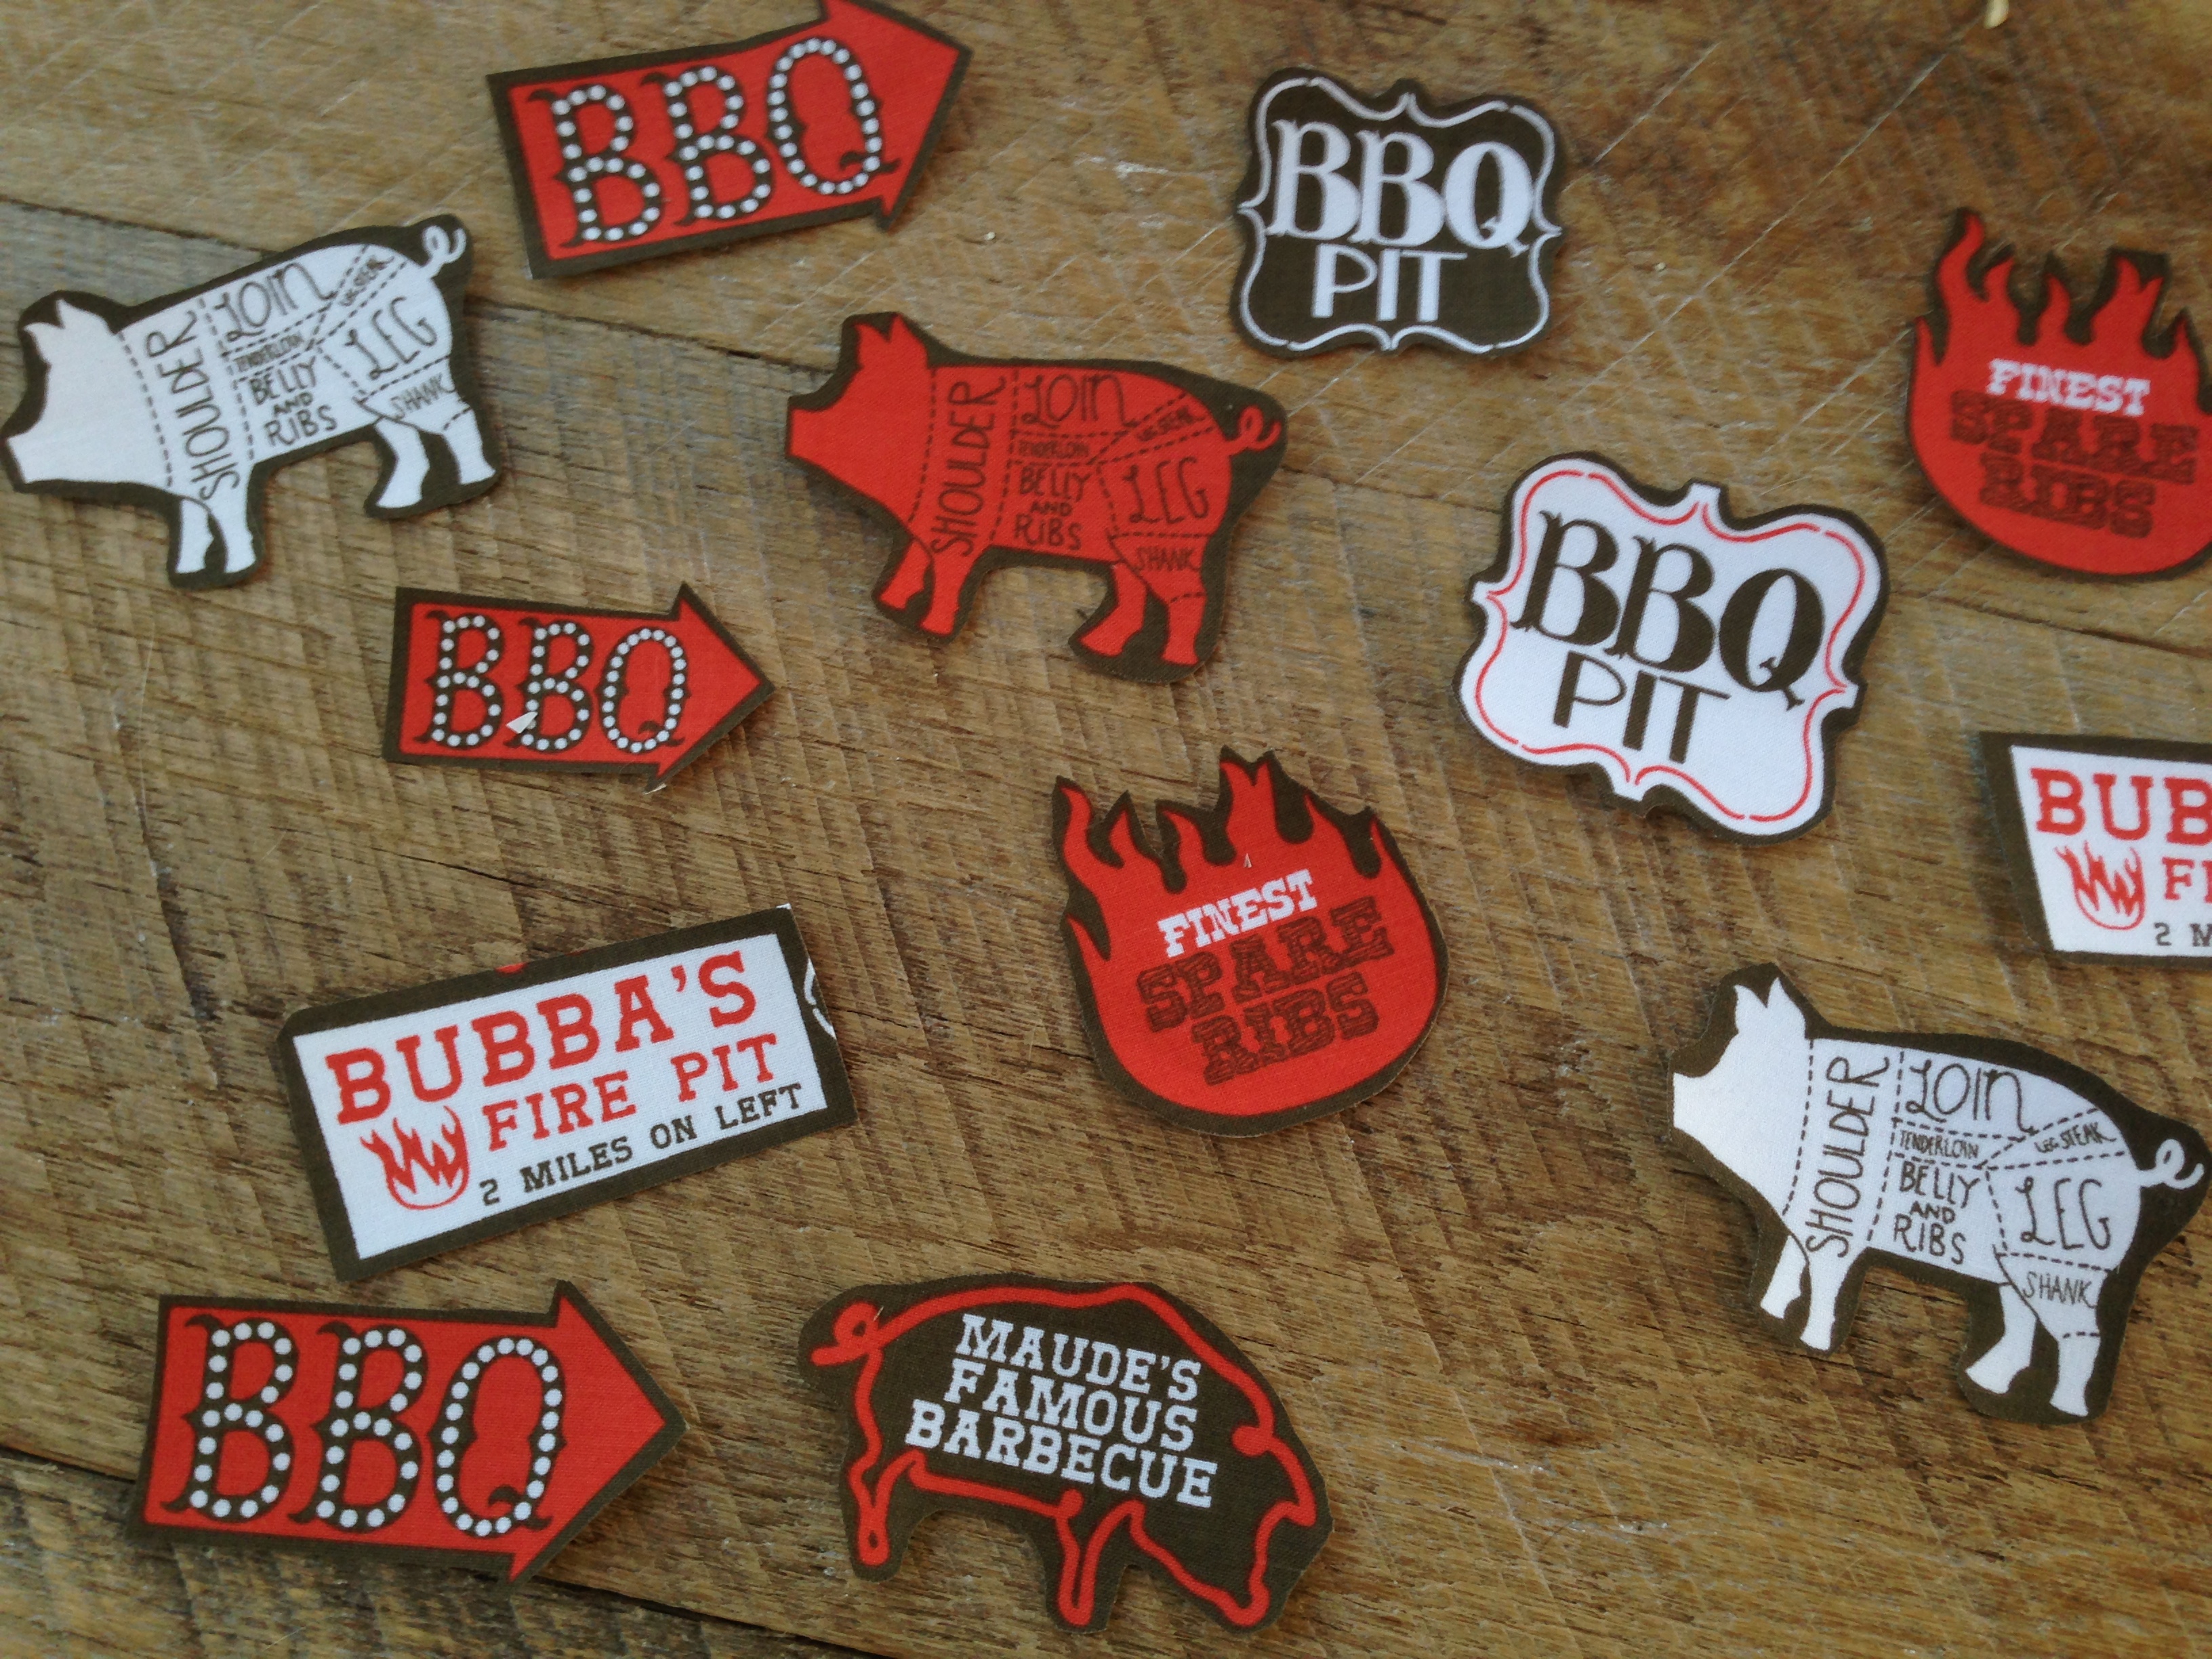
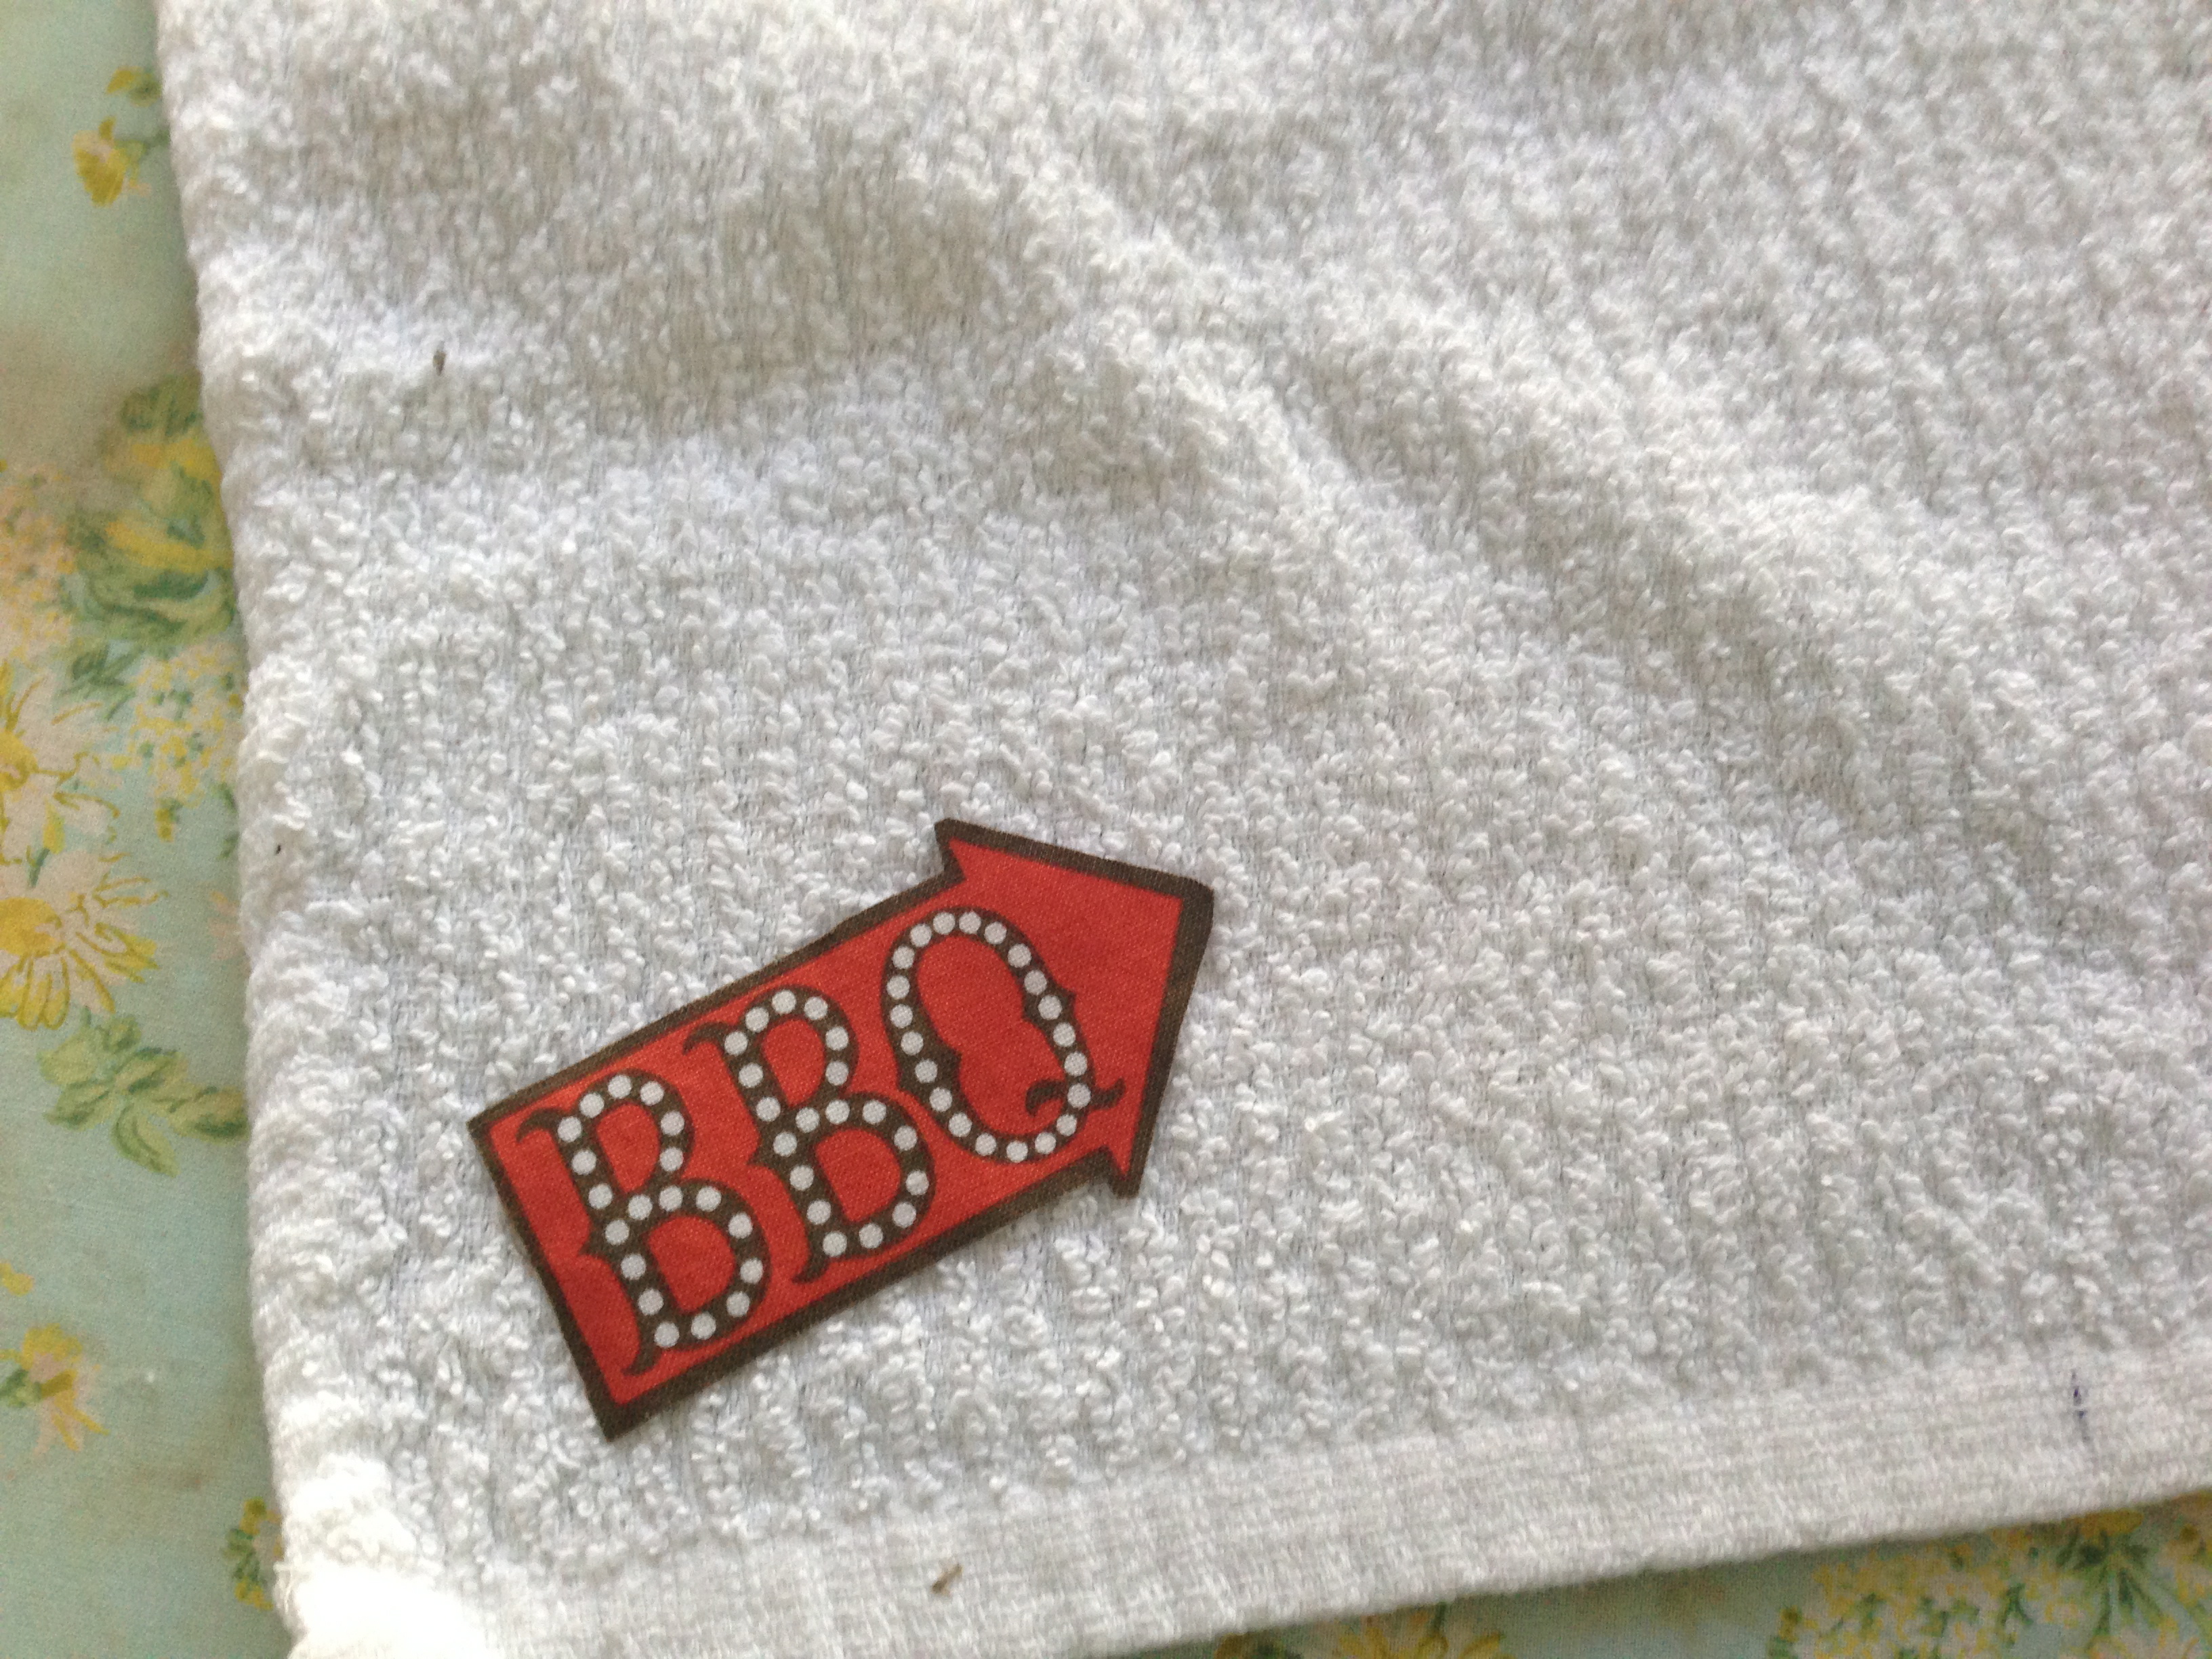
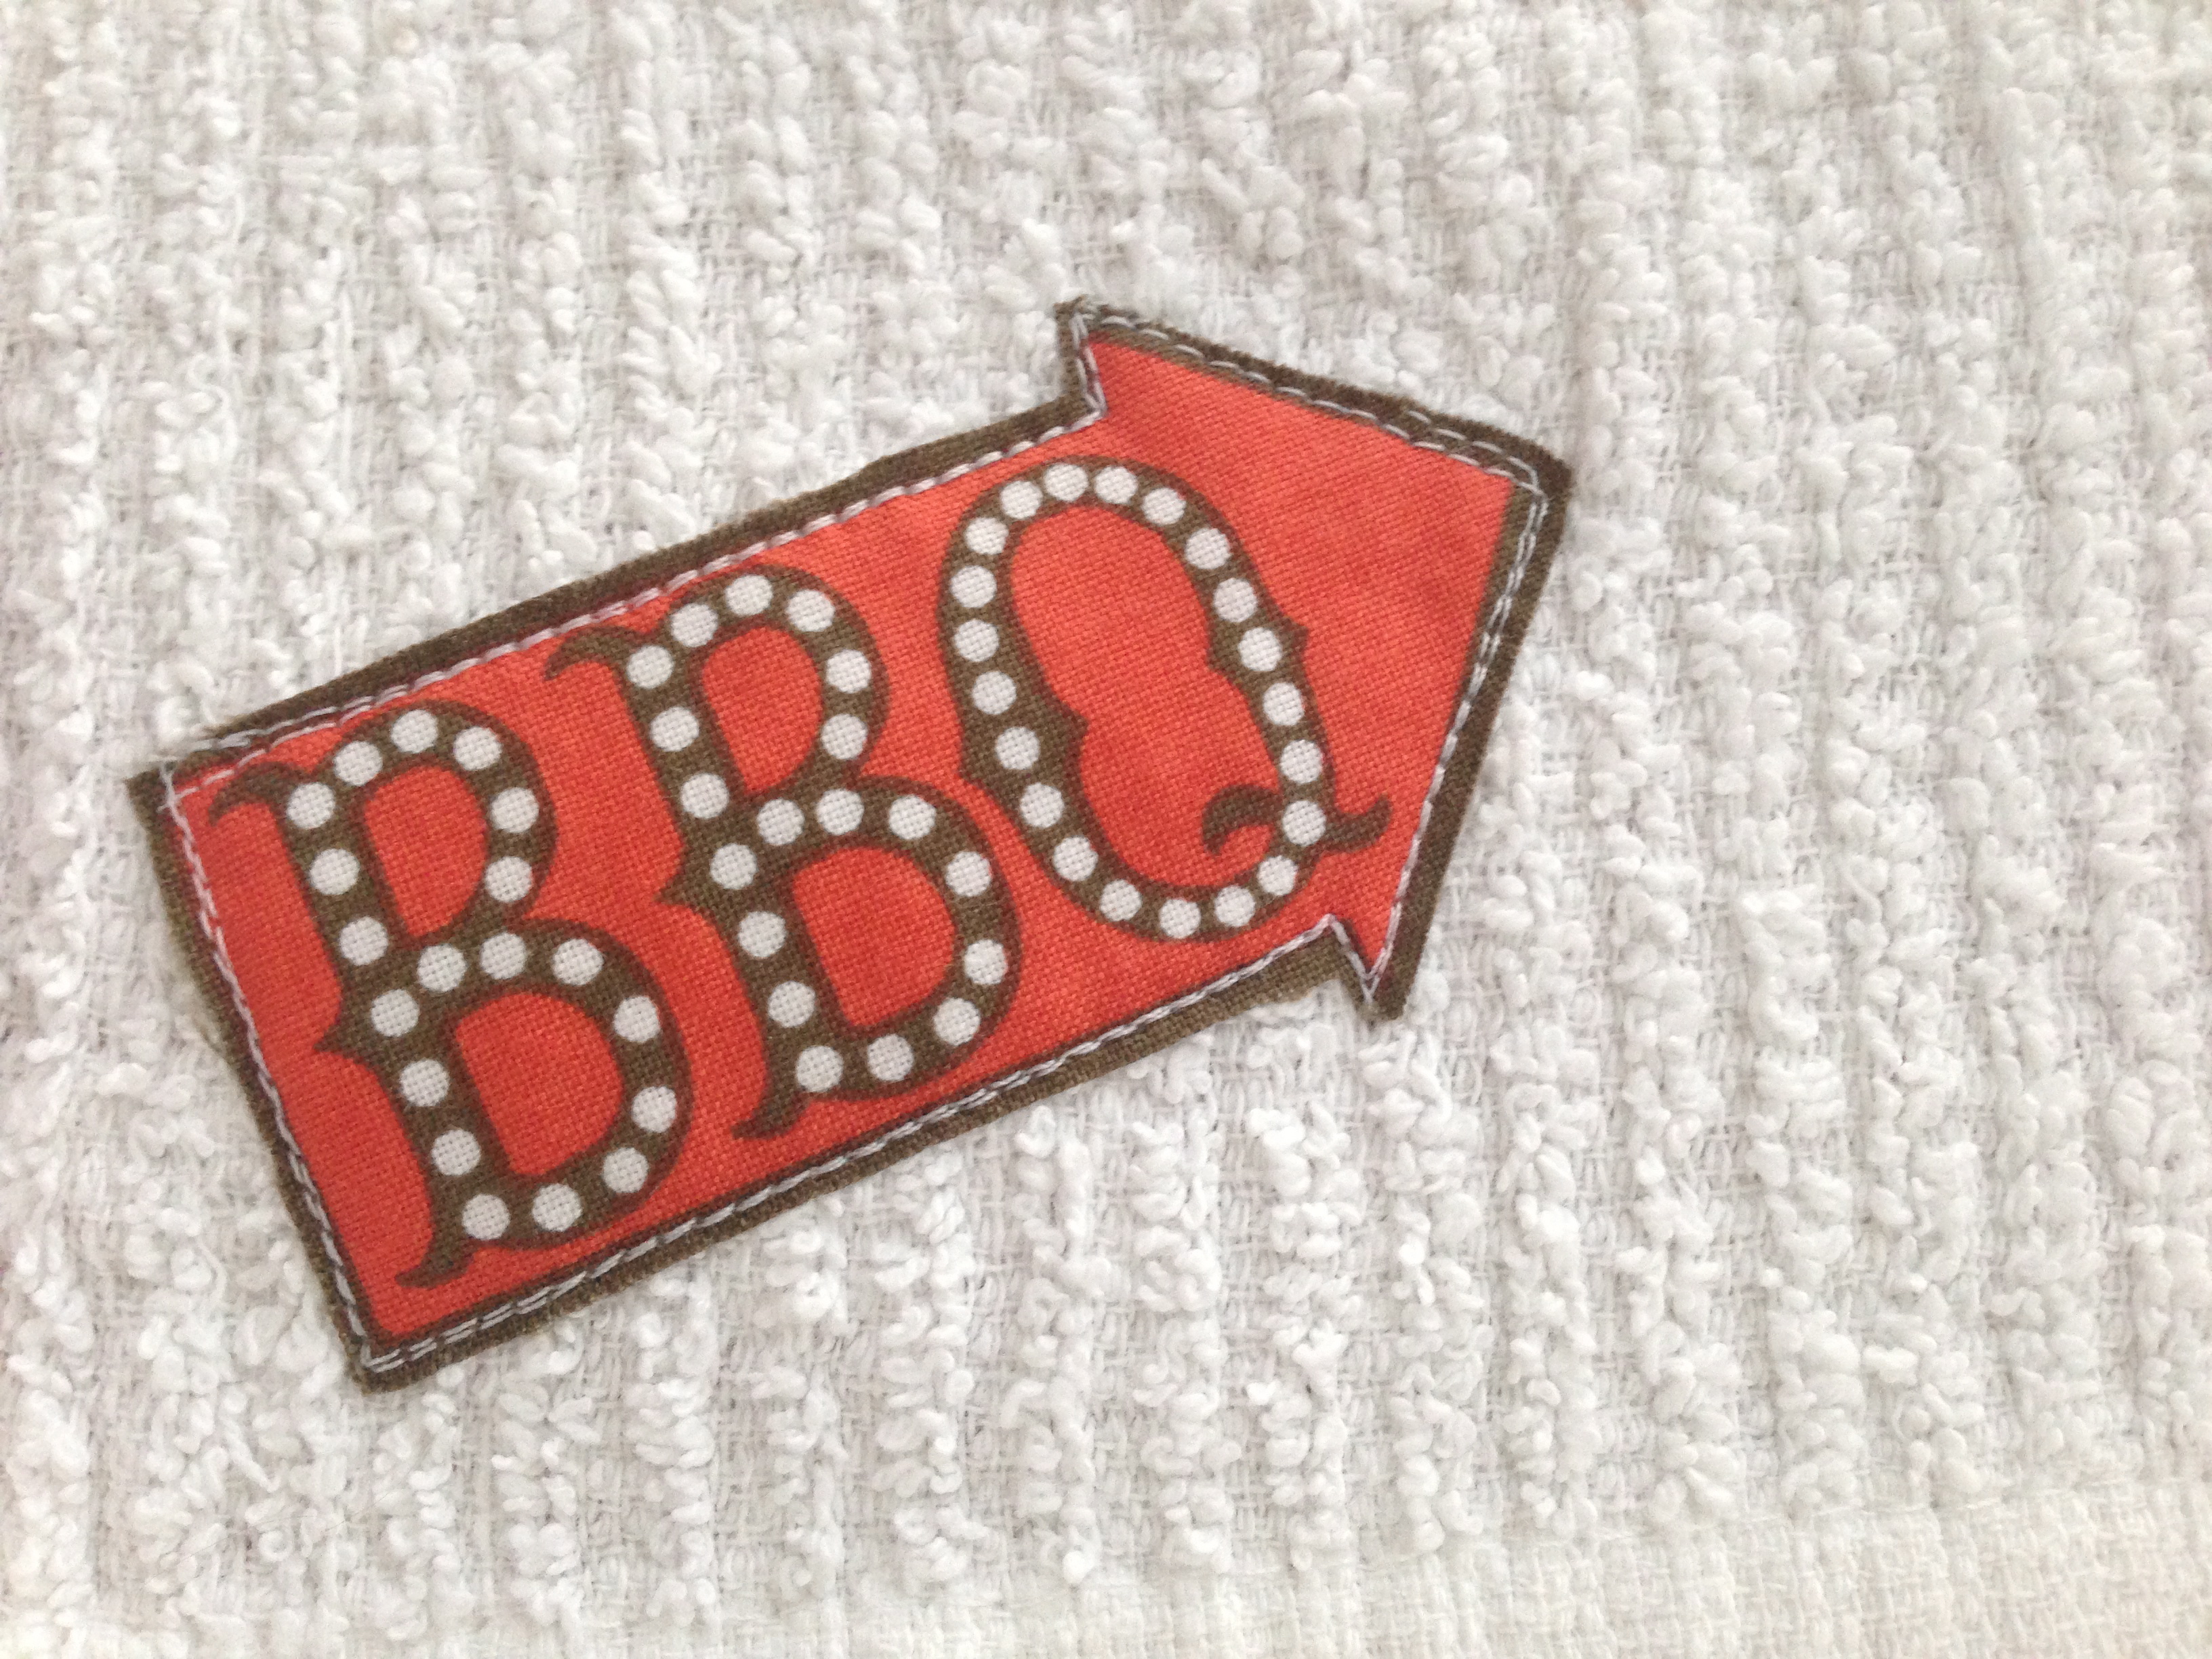
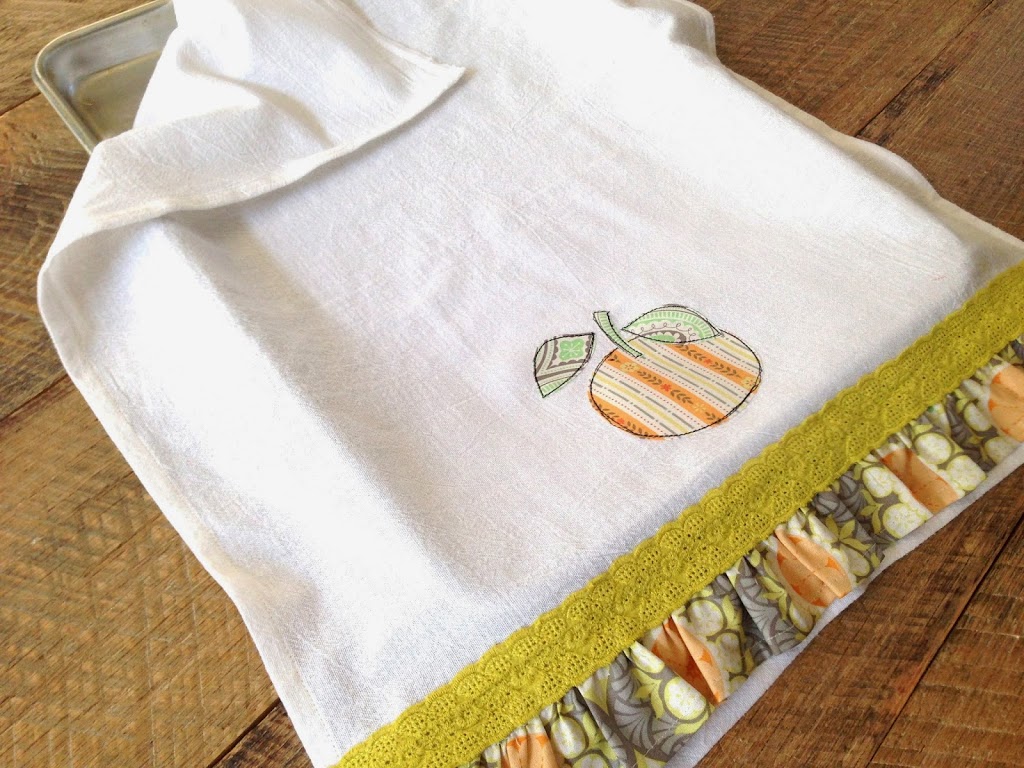
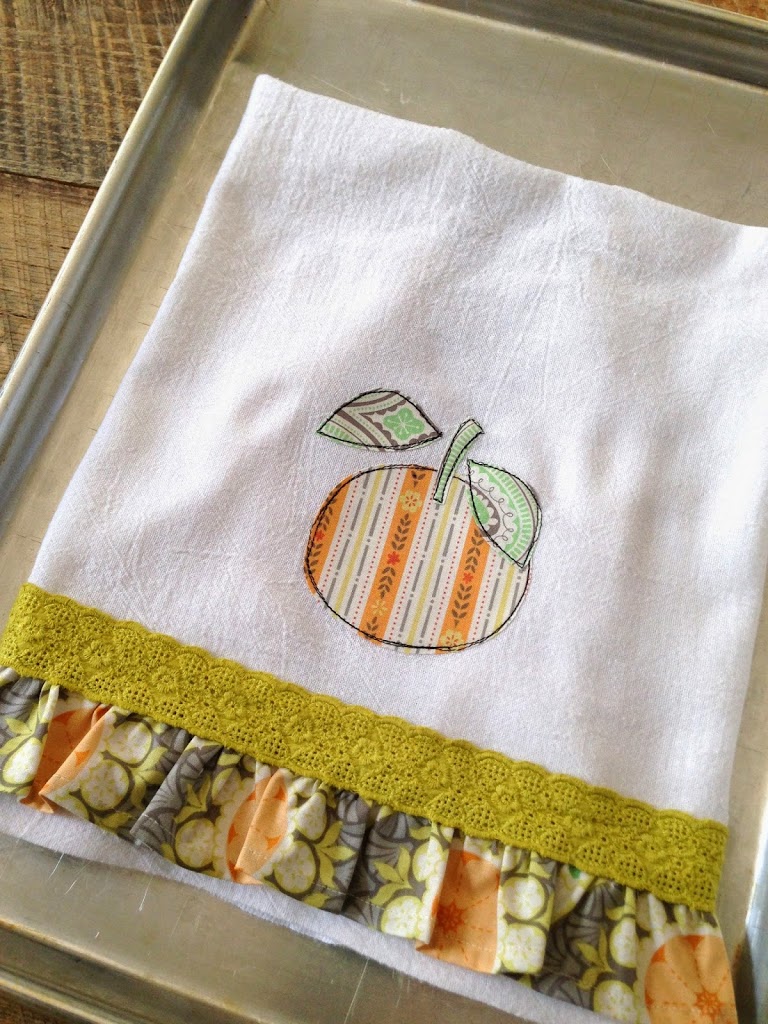
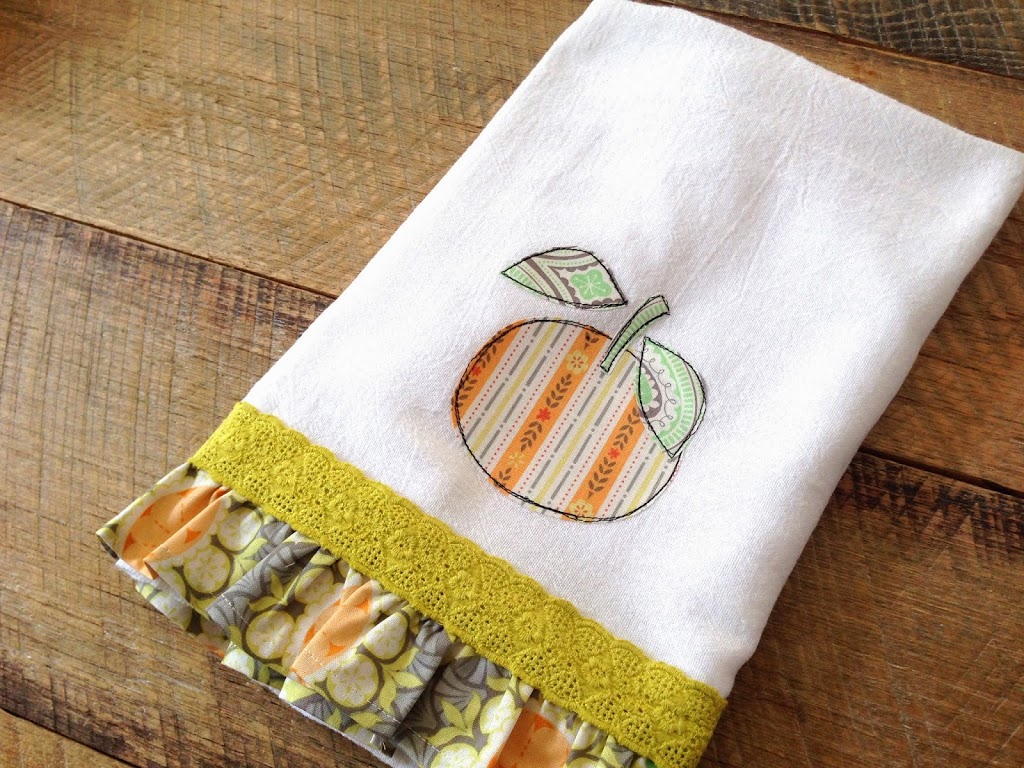
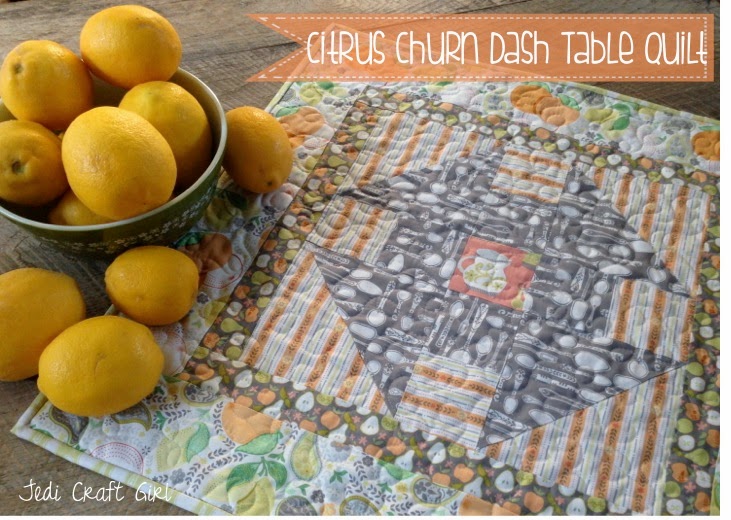
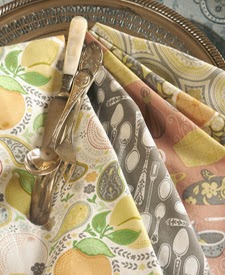
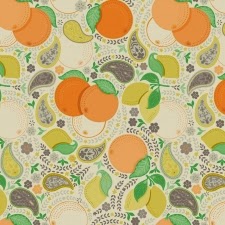
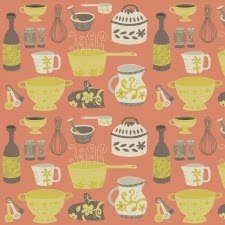
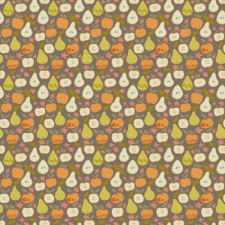
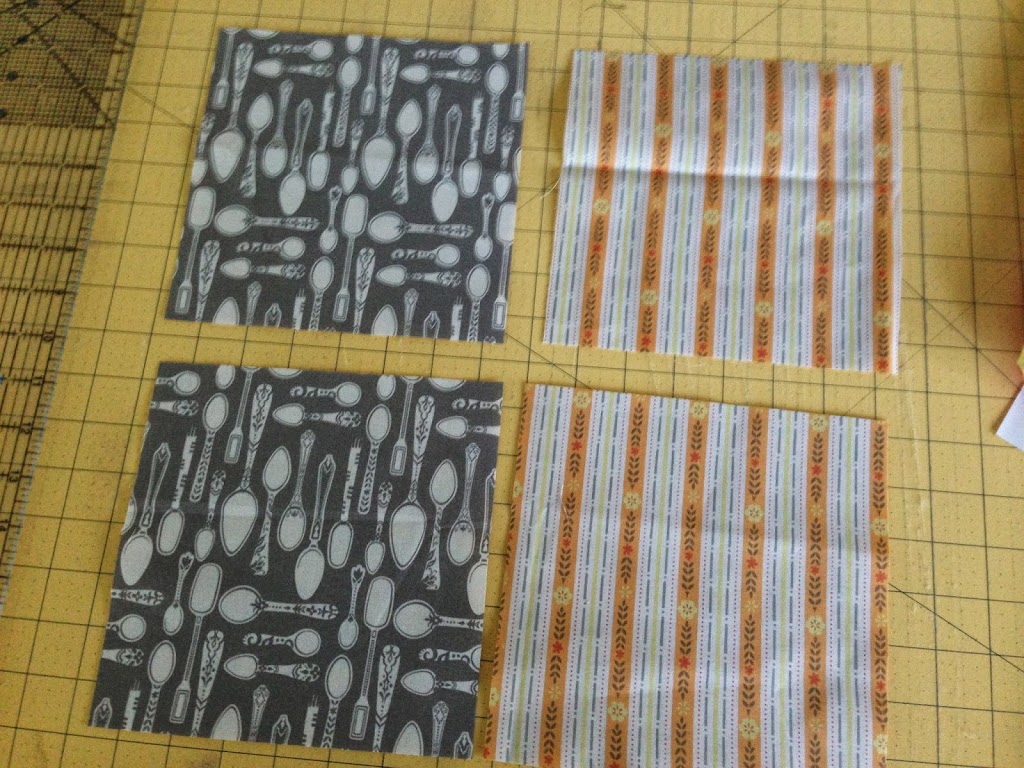
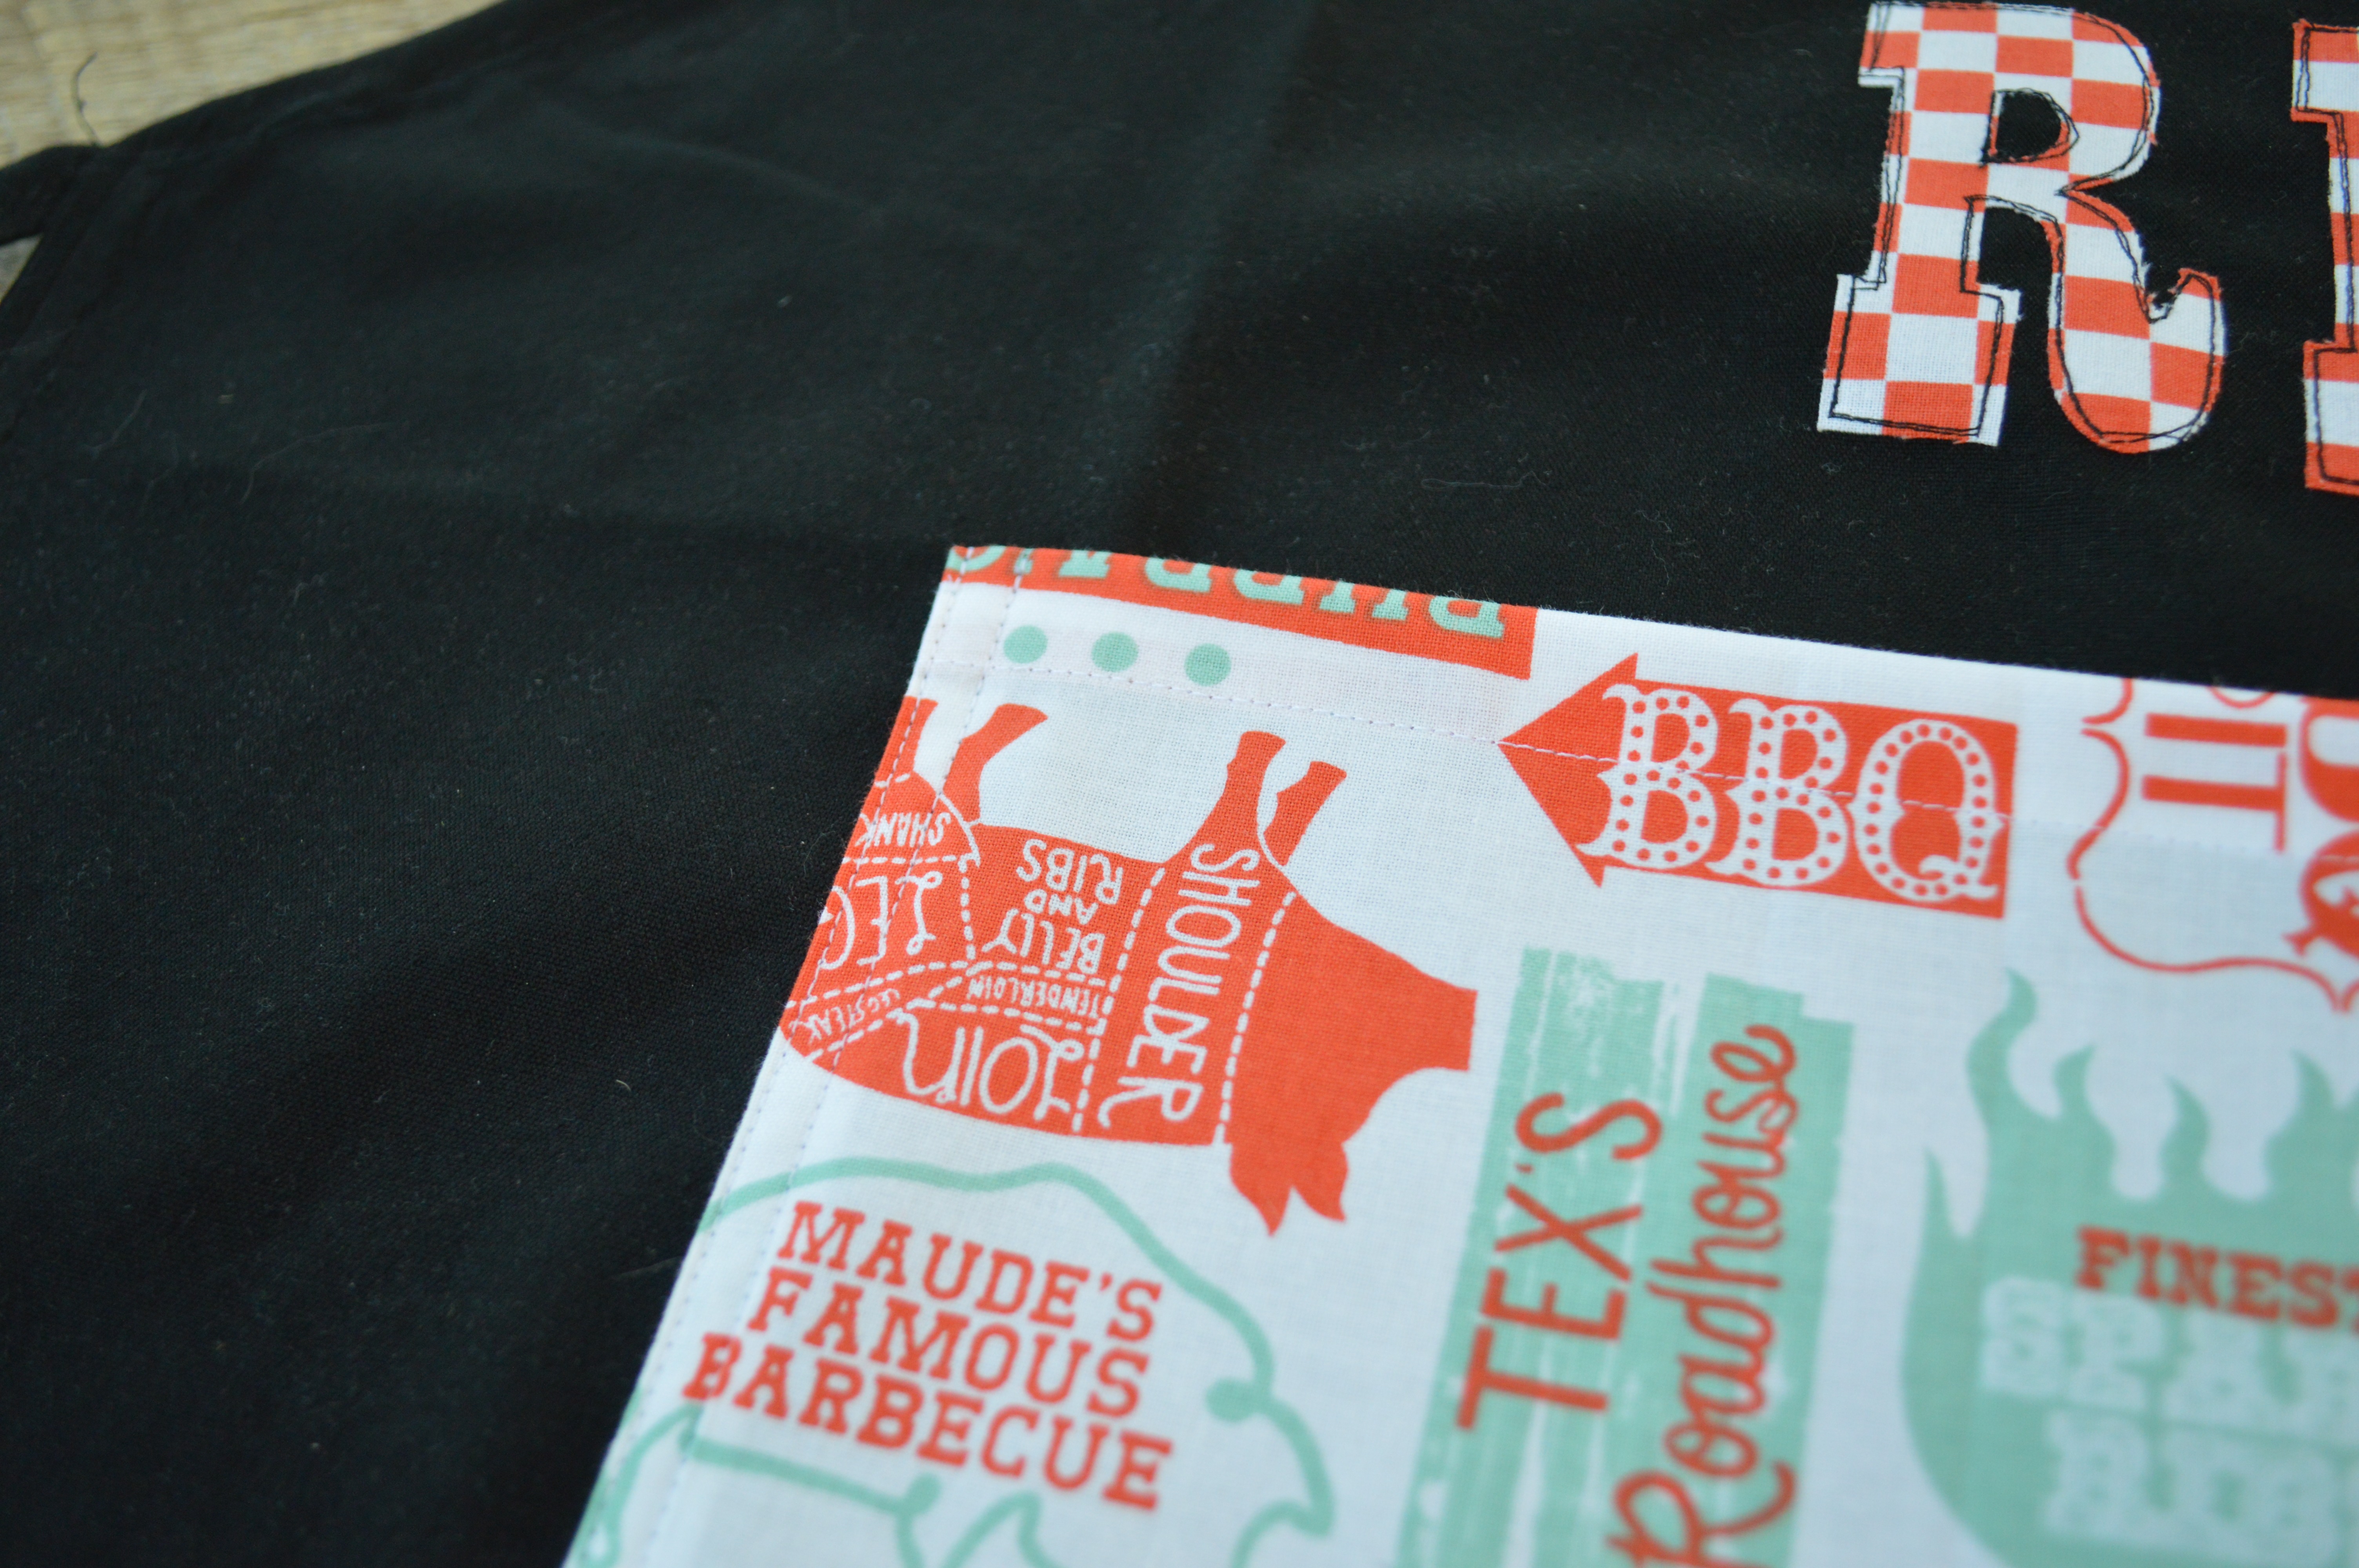
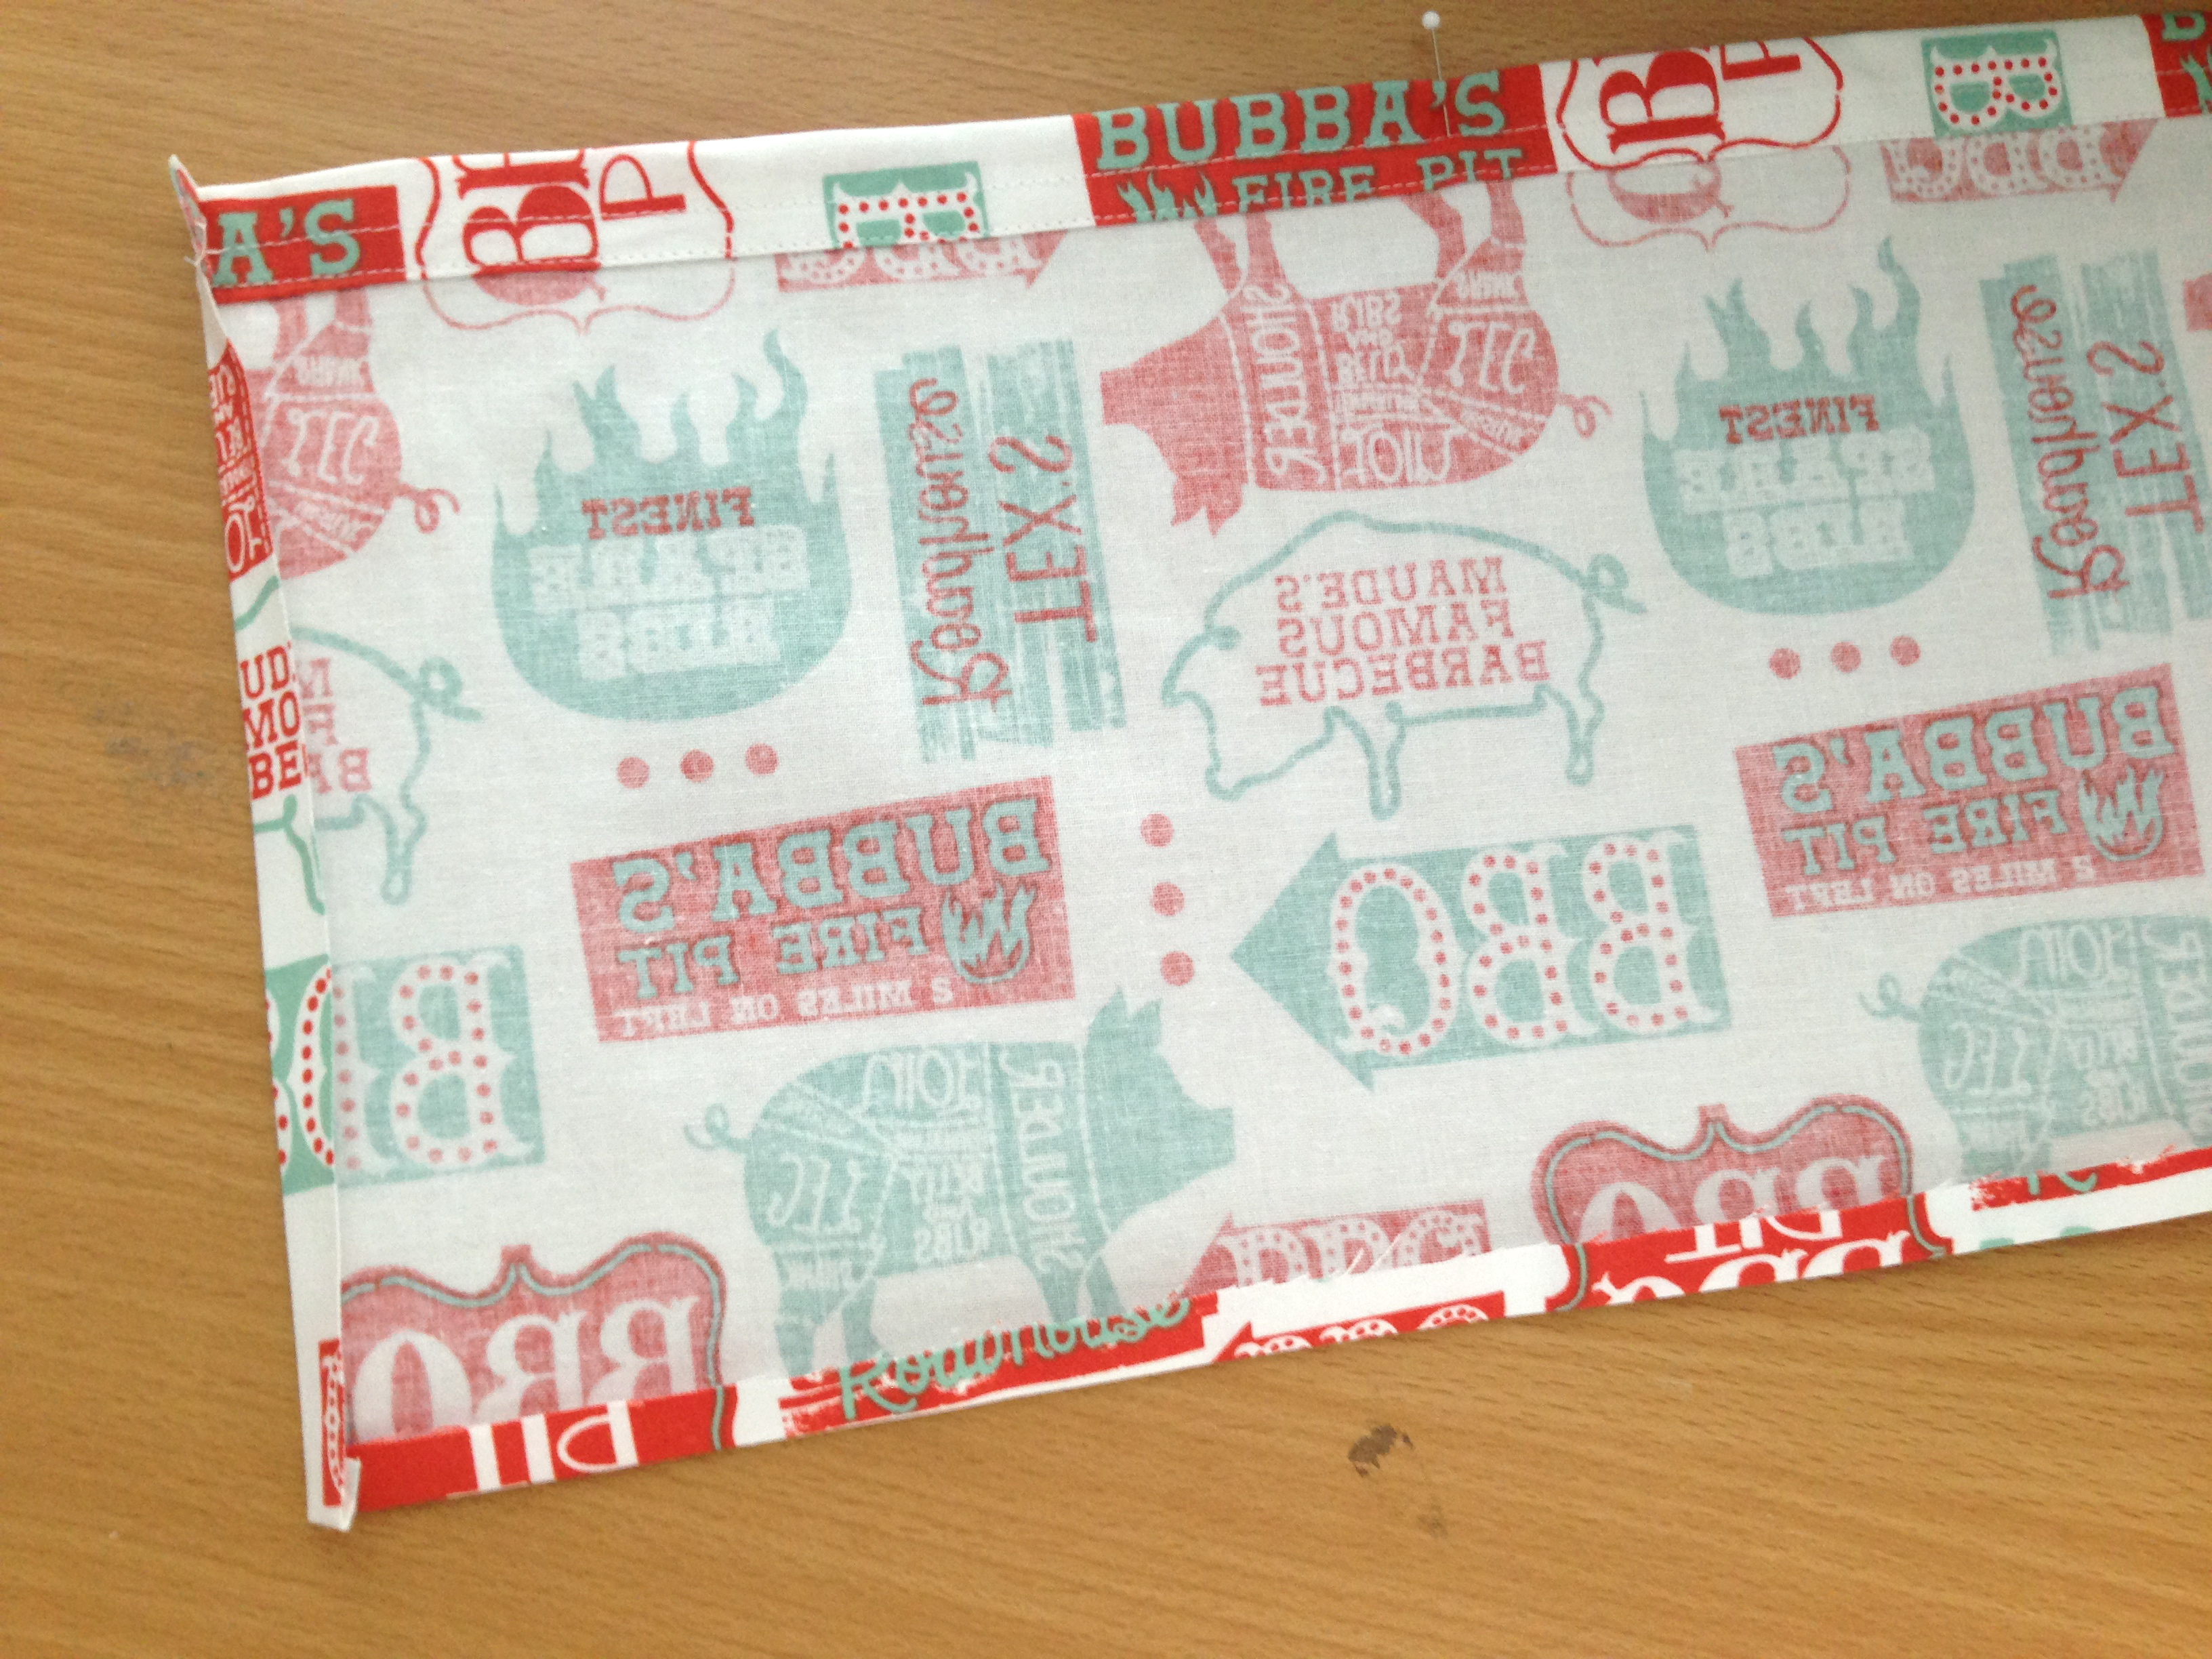
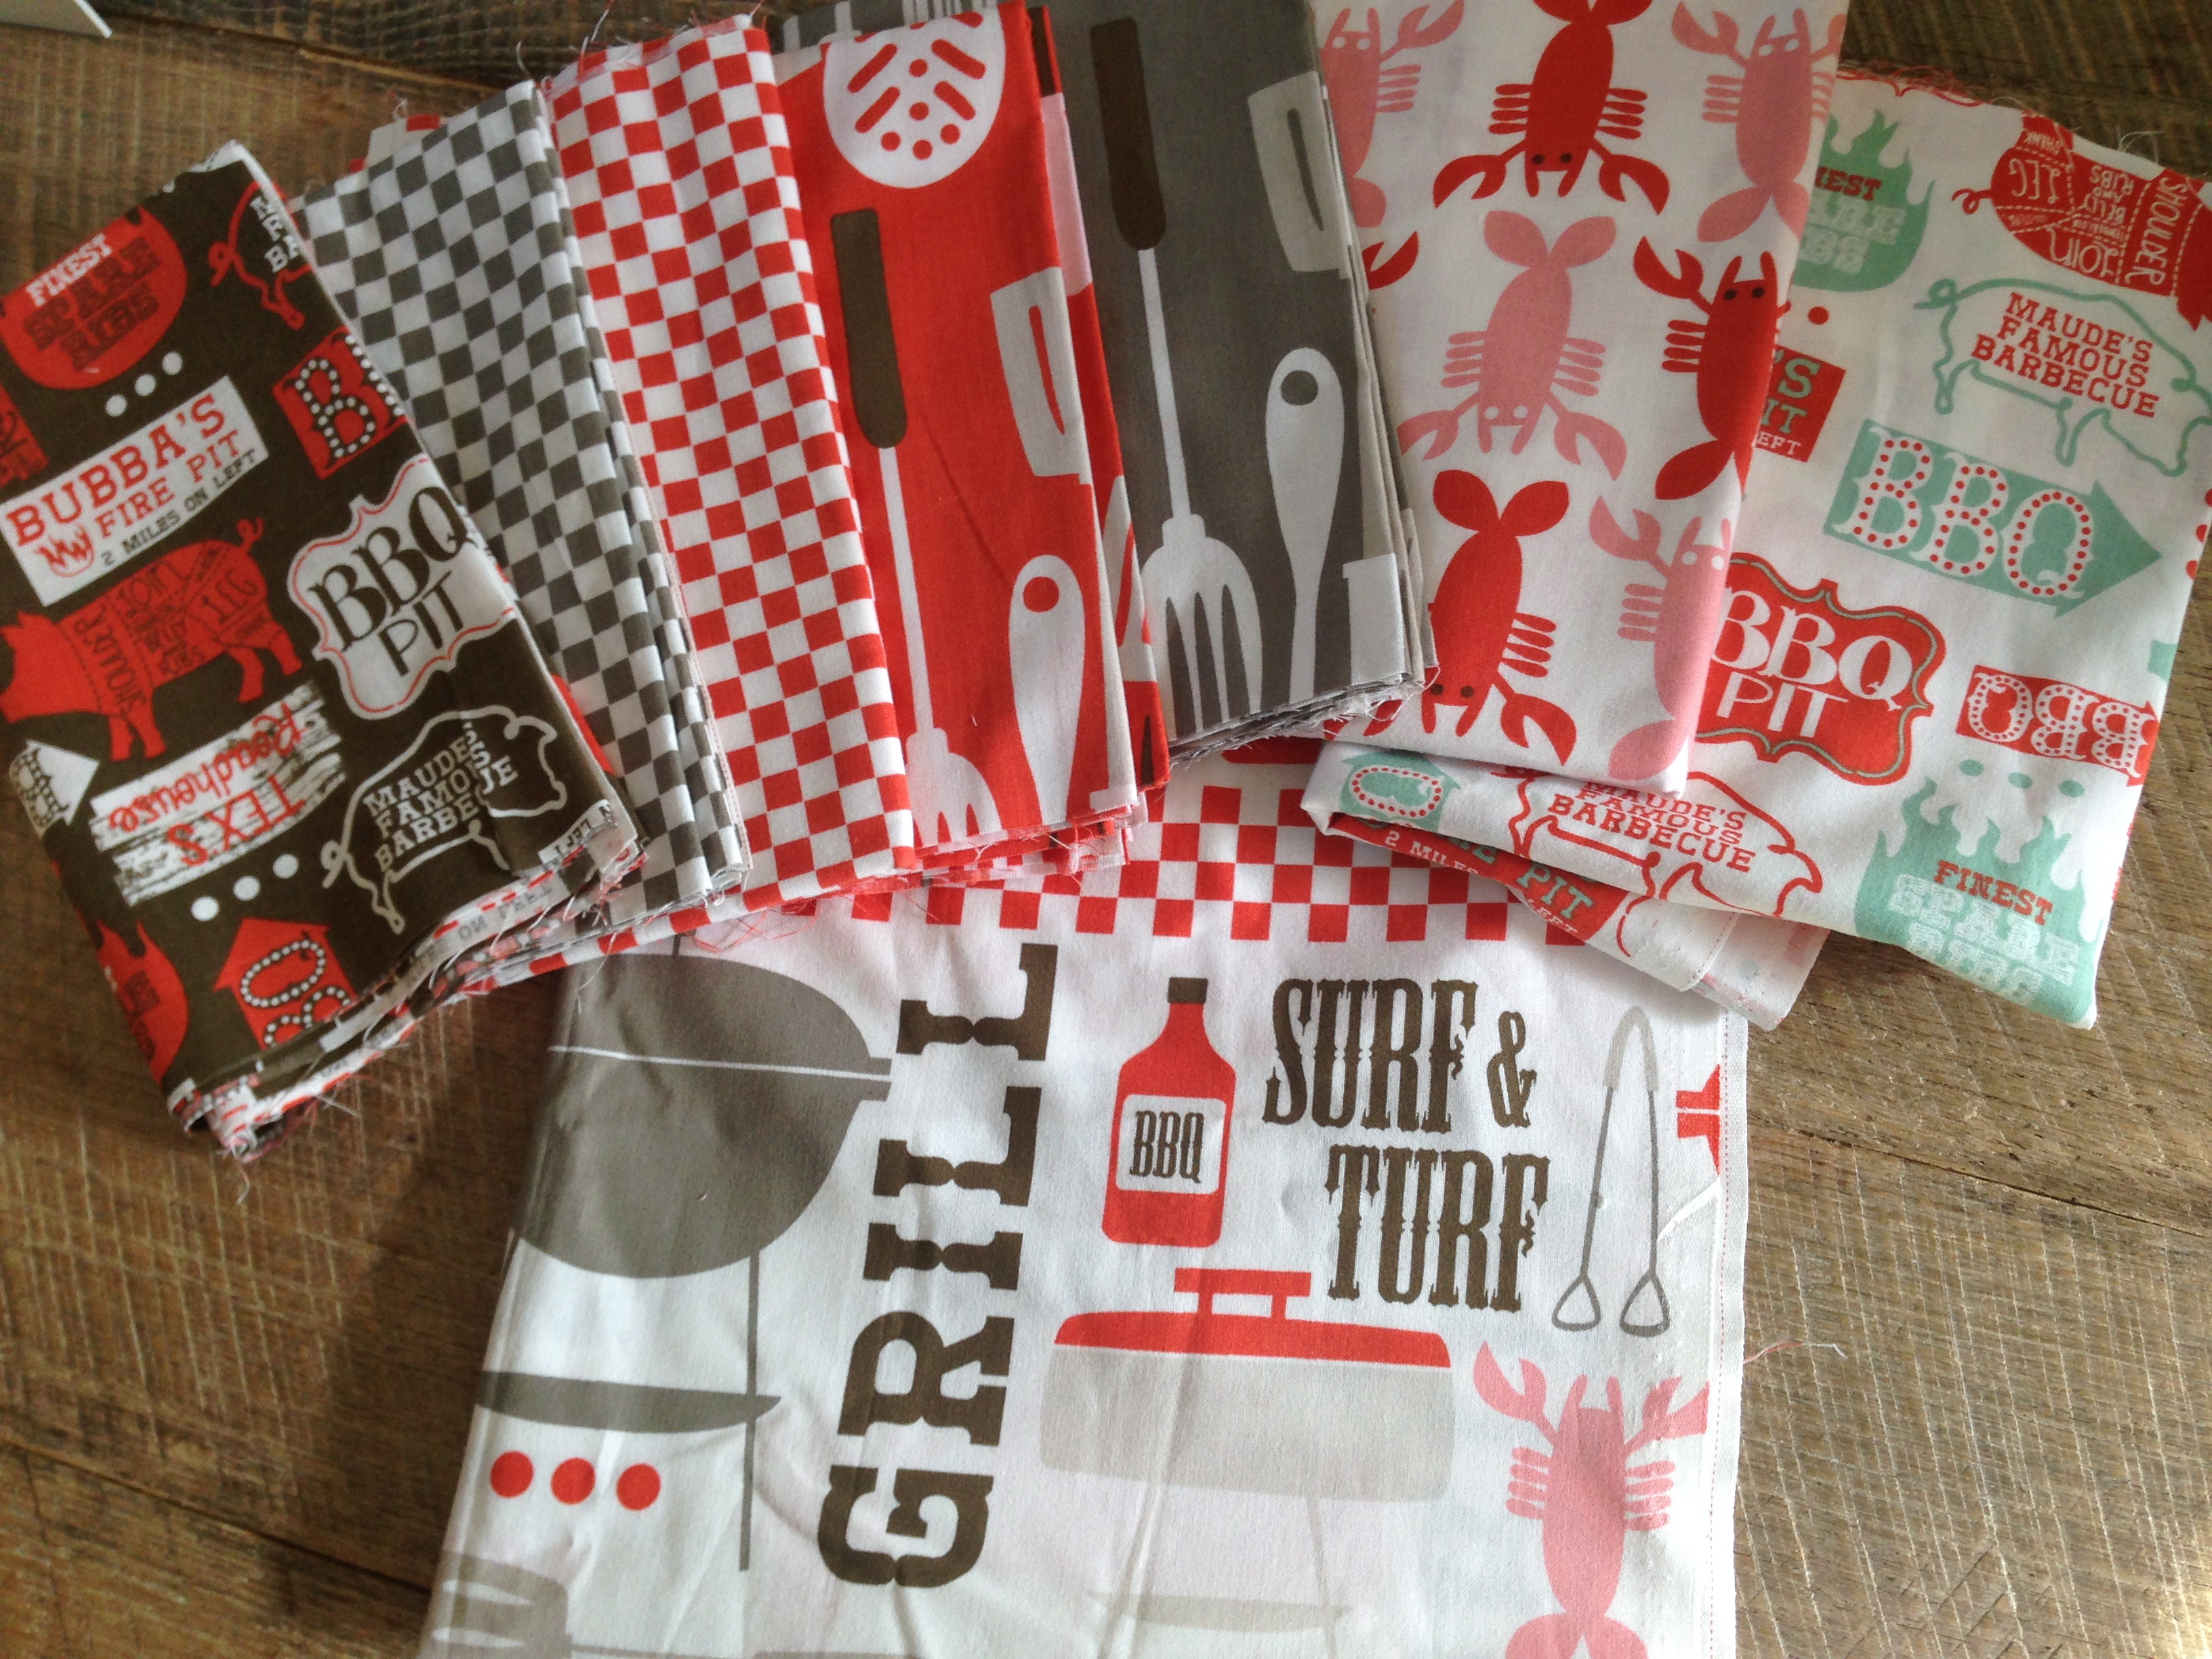
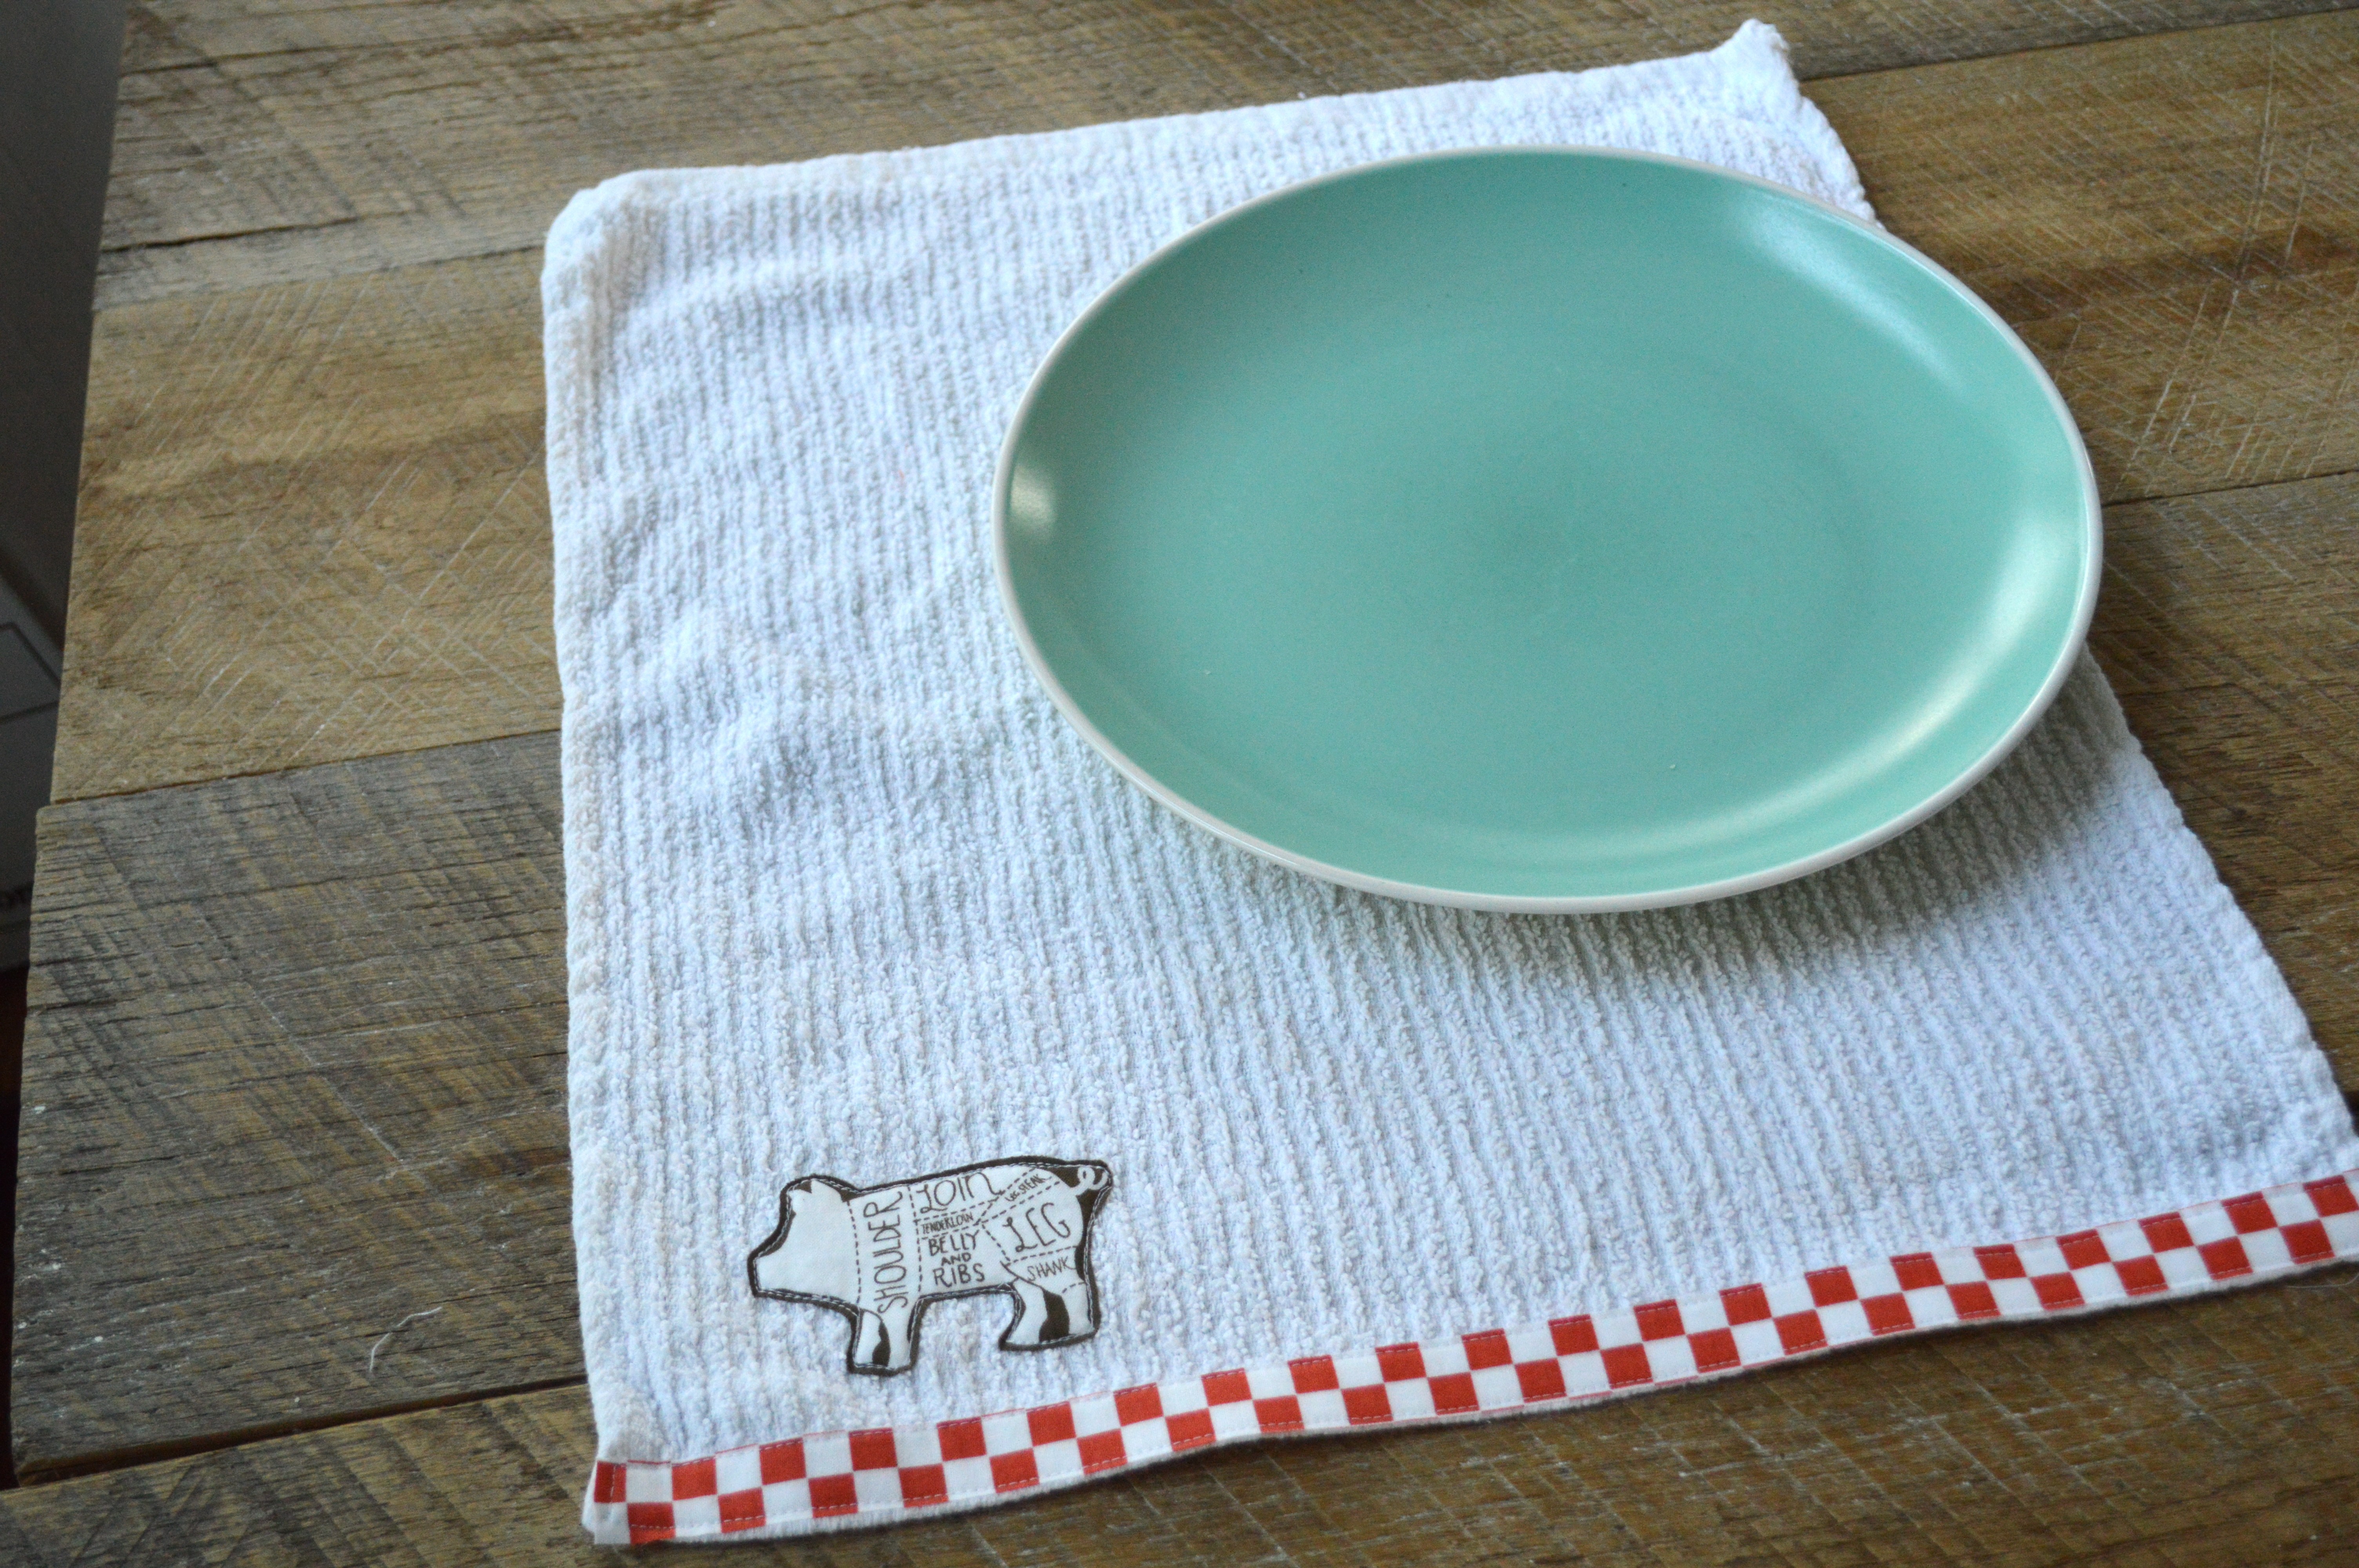
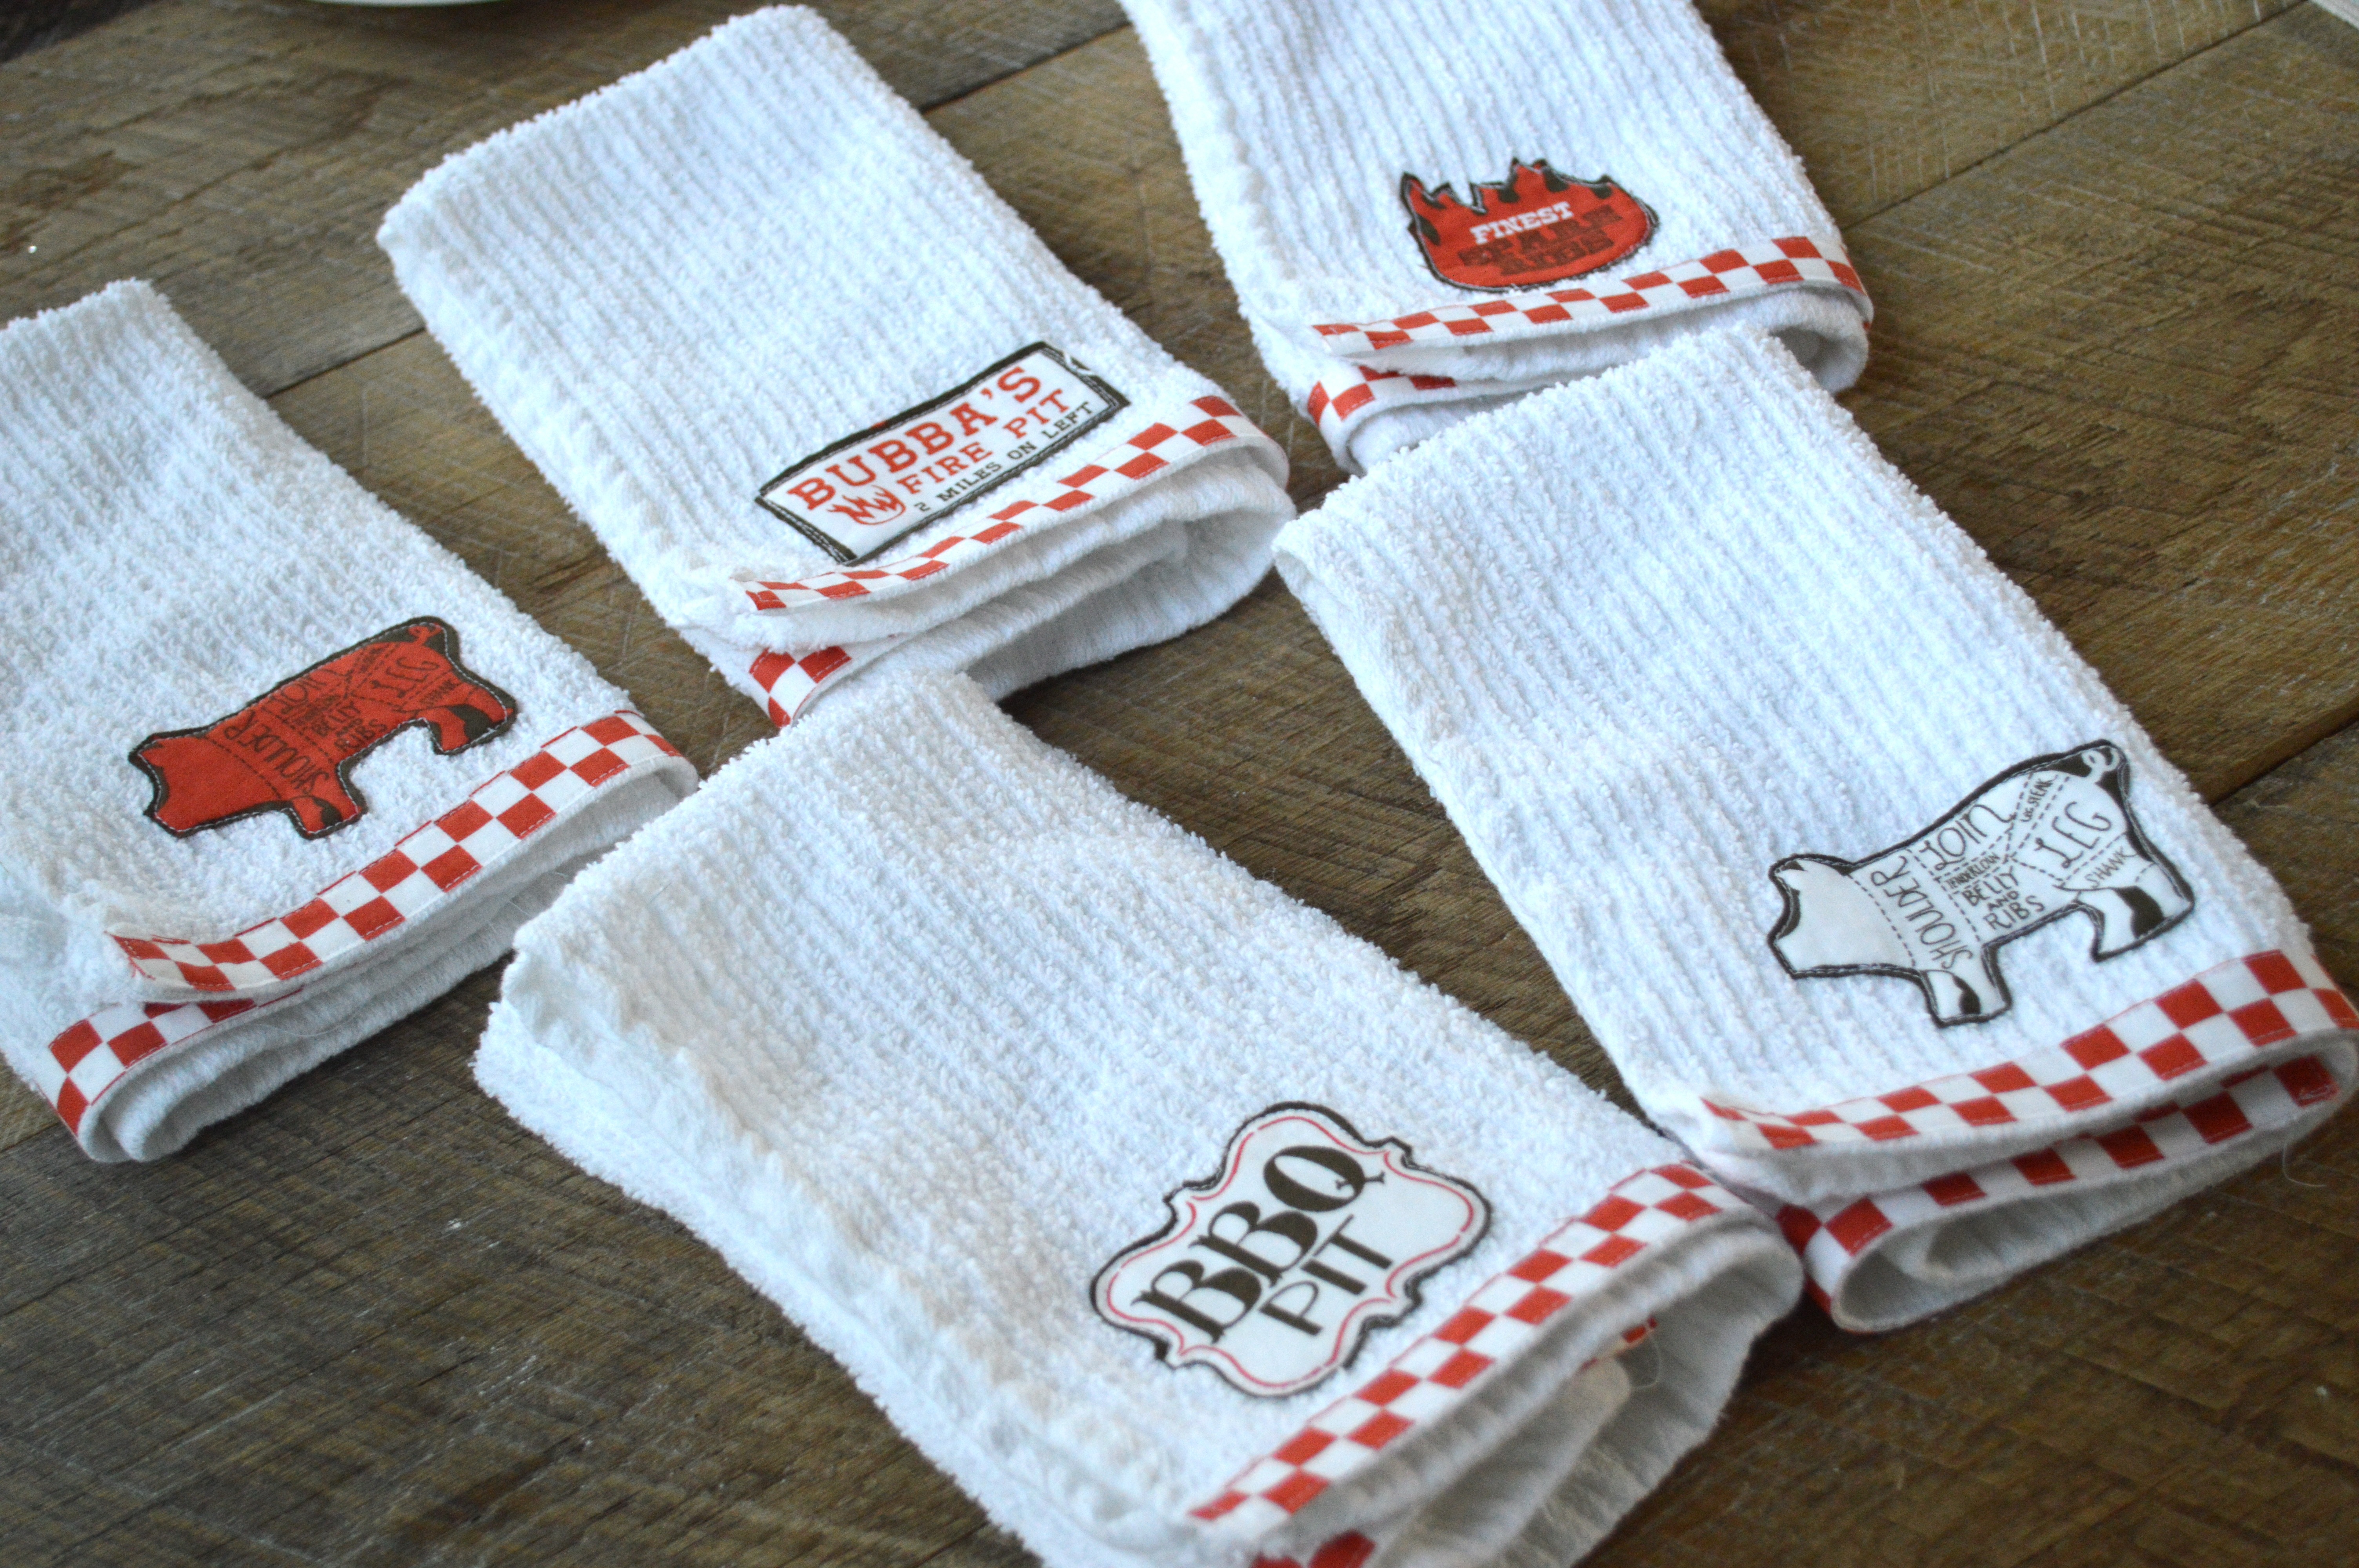
I am so in love with this fabric line from Blend designed by Maude Asbury called
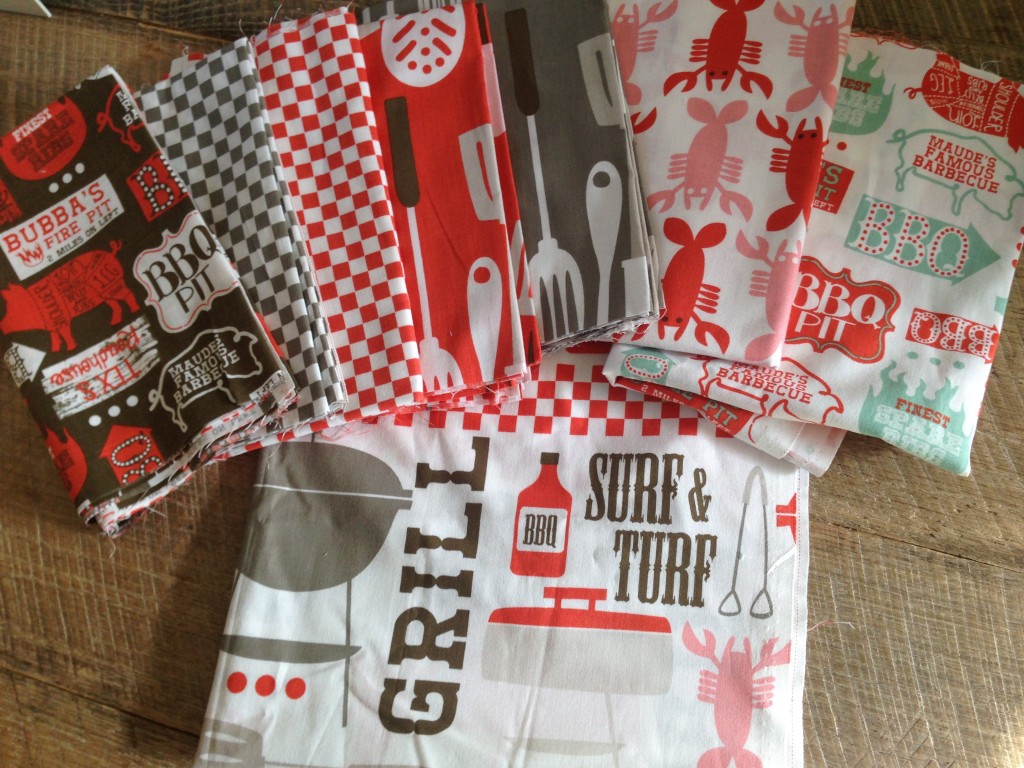
 Ribs and Bibs.  It screams Father’s Day.  I normally don’t sew for the men in my life but this year is totally different because of all the inspiration this fabric has given me!  Don’t you just love it!!  I wish I had yards and yards to make table cloths with!  Every day this week I am sharing a tutorial using this fabric line.

father's day sewing tutorial napkin_1

Of course Father’s Day is in June – during one of the busiest months of the year.  The holiday has to compete with end of the year final projects, class parties, class field trips, graduations, and the list goes on.  The tutorials I am sharing are projects that can be sewn quickly – because who has time in June for anything extra?


I am the world’s messiest eater – I really mean it.  When I go out to dinner with my husband, I have a pile of napkins at the end of the dinner and my husband doesn’t even have one (because I used it for myself).  At home I eat with a kitchen towel on my lap – it just saves paper 🙂  When our family gets together to eat ribs or BBQ paper napkins just are not enough – and even cloth napkins leave something to be desired.  That’s when I decided to purchase “Bar Mop” towels and turn them into BBQ napkins.  Bar Mop towels are available at any home store in the kitchen towel department.  They are slightly smaller than  normal kitchen towels, and not a traditional washcloth.  They provide the right amount of absorbency for BBQ sauced fingers!

IMG_8513


Let’s get started….

Supplies:

Bar Mop Towels – pre wash & dry

fat quarter Ribs & Bibs “Open Pit” in brown fabric

fat quarter Ribs & Bibs “Checker Board” in red

Therm O Web Heat n Bond Lite


Begin by cutting a piece of the Heat n Bond and ironing it to the back of the Open Pit fabric.
father's day sewing tutorial napkin_2

Cut around each image leaving a little bit of brown boarder.

father's day sewing tutorial napkin_3


Peel off the backing paper and iron it to the corner of the bar mop towel.  Keep in mind the heat n bond won’t permanently adhere to the fuzzy towel so it needs to be sewn on.  The Heat n Bond will hold the image in place temporarily and it will prevent fraying.father's day sewing tutorial napkin_4

Sew around each image with a straight stitch.father's day sewing tutorial napkin_5

Iron another piece of Heat n Bond to the wrong side of the checker board fabric.  (This is a little bit of a “cheater” way to add an accent strip to the towel.)

father's day sewing tutorial napkin_6

Cut strips of the checkerboard 2 squares wide.  Peel off the backing fabric.

father's day sewing tutorial napkin_7


Iron it to the bottom of the towel and top stitch around the strip.  Now make enough for everyone coming to your Father’s Day BBQ!!father's day sewing tutorial napkin

father's day sewing tutorial napkin_12


father's day sewing tutorial napkin_9

father's day sewing tutorial napkin_14

Sunglasses Zipper Pouch Tutorial

Today I am sharing my tutorial for a zippered sunglasses case over on the Therm O Web Blog.  What is great about this zipper pouch is the lining is made of flannel so it is soft on the lenses.  I love this fabric – it’s the “blue” version of the Clementine fabric by Blend.  It screams summer to me.


Here you can see the gray flannel inside the pouch:

For the zipper pull, I took apart some owl earrings and used a split ring to attach the owl to the zipper pull.  I always am on the look-out for cheap dangly earrings!


It’s not too late to sew up one of these in time for Mother’s Day.  It should only take about 30 minutes!
For a slightly different version……
 cut a 1″ square notch out of each corner of the bag when it’s in this stage:
Open the notches, and match the seams, sewing a 1/4″ seam.  This gives the bag a “bottom” and allows the pouch to stand up.  I can’t decide which one I like the best!   

Amanda

Bread Blankets: Flour Sack Towel Tutorial

I have had it in my mind to make these “Bread Blankets” for sometime.  I bake a lot of bread, rolls, and especially our secret family recipe Orange Rolls.  I like to cover my rising dough with a light weight flour sack towel.  The white towels are so plain and boring, so I decided to embellish the towels.  The Clementine fabric from Blend lends itself so well to my orange roll making – so I knew I wanted an orange on the towel.  Since the recipe is my mother-in-law’s, I decided to send her one of these Bread Blankets for Mother’s Day.
Supplies:
2 1/2″ x WOF strip of fabric for the ruffle
Small pieces of fabric for the appliqué
22″ lace
Heat n Bond Lite Fusible appliqué
Flour Sack Towel
Orange pattern, download HERE
When you open your flour sack towels, toss them in the wash and dry them, then press them.  They will be very wonky.
The towels are much larger than the cookie sheet trays or a bowl of rising dough.  Cut the towel as desired, I cut mine 26″ x 20″.  Sew a rolled hem on both sides, then sew a rolled hem on the top and bottom.
Cut your ruffle fabric 2 1/2″ x WOF

Sew a rolled hem in the bottom:

Gather the fabric using a ruffling foot – or you can gather by hand.

This will make extra ruffle.  Cut the ruffle 1/2″ longer than the towel on each side.  Fold the ends of the ruffle in 1/4″ and 1/4″ again and sew a little seam.

Pin into place.  You can position your ruffle where ever you like it, of course you can add more ruffles or change up the design.  Stitch along the gathering stitch.

Pin the lace into place and sew using matching thread.

Print the pattern and trace it onto the Heat n Bond Lite.  The pattern is already printed in reverse.  Iron the Heat n Bond to the wrong side of the orange, leaf, and stem fabric.  Cut out along the pattern line, peel off the backing and press into place.  Outline stitch in black thread 2 times around the shapes.

Perfect for covering a delicious tray of orange rolls!

Amanda

Citrus Churn Dash Table Quilt

Today’s Mother’s Day Tutorial is this cute Citrus inspired Churn Dash Table Quilt.  I made this little quilt for my mom (I hope she doesn’t read my blog between now and Mother’s Day!)  My mom is always asking me if I have a little quilt she can put on her table to decorate with and in my parent’s backyard are lemon, orange, and lime trees – sooooo when I saw this Clementine fabric from Blend I freaked out!!
I am so in love with this fabric – I want to rip out all my kitchen decor and replace with these fabrics.  Here is a little close up of some of the prints I used in this quilt.
Let’s get started – you can make this project in a few hours.
Supplies:
fat quarters of spoon print, stripe print, and small fruit print
1/4 yard large citrus print
1/4 yard for binding
3/4 yard for back
batting
Finished Quilt: 25″
Cut (2) 7 1/4″ squares of the gray
Cut (2) 7 1/4″ squares of the stripe
Cut (4) 3 1/2″ squares of the gray
Cut (4) 3 1/2″ squares of the stripe
Cut (1) 3 1/2″ square of the center square, fussy cut if desired
Draw a diagonal line on the back of the 2 stripe 7 1/4″ squares
Layer them right sided together and sew 1/4″ along both sides of the diagonal line.  Cut on pencil line.
Press toward the dark.  These half square triangle blocks finish slightly larger than the desired 6 1/2″.  This is so you can square the block up and it is nice and even.  Lay it on a rotary mat and align the diagonal with the diagonal line on the mat and cut so it measures 6 1/2″ square.  Do this to each of the 4 blocks.

Sew the 3 1/2″ squares in (4) sets like this:  Press toward the dark.

Lay out the churn dash block and sew together in rows.  Press seams.
Now all that’s left is to sew the boarders on.  Cut the small fruit into 2″ strips.  Sew sides, then press, then sew top and bottom.  You don’t need to measure on this part.  Use the block as your guide.
The large citrus print is cut in 4″ strips.  Sew those on in the same manner as the small fruit strips.
Quilt as desired and bind.

I love it!!!!!

Amanda