BBQ Napkins {Father’s Day Sewing Tutorial}

father's day sewing tutorials 2
BBQ napkin tutorial
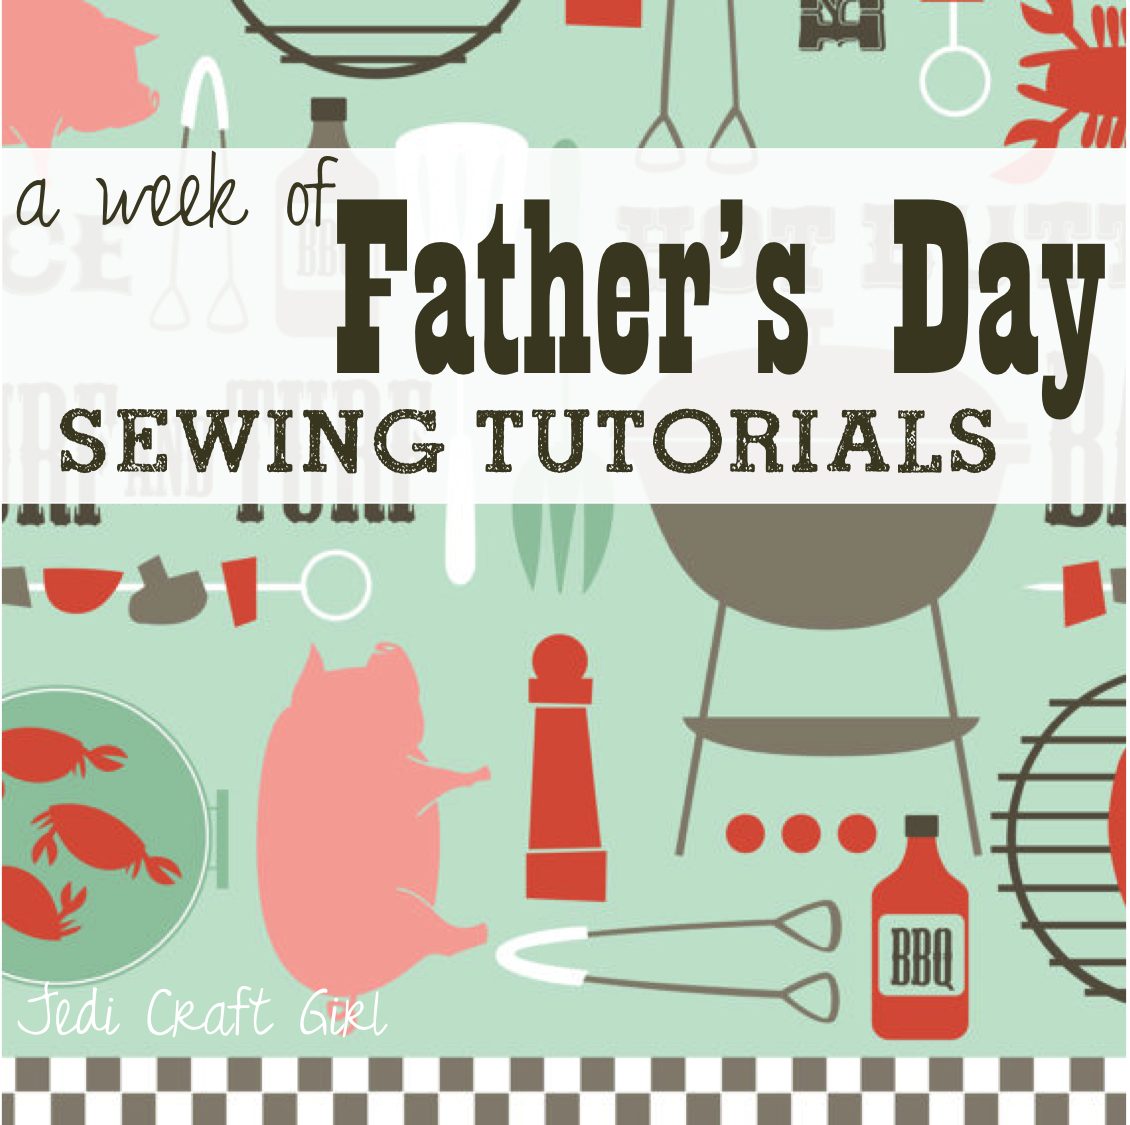
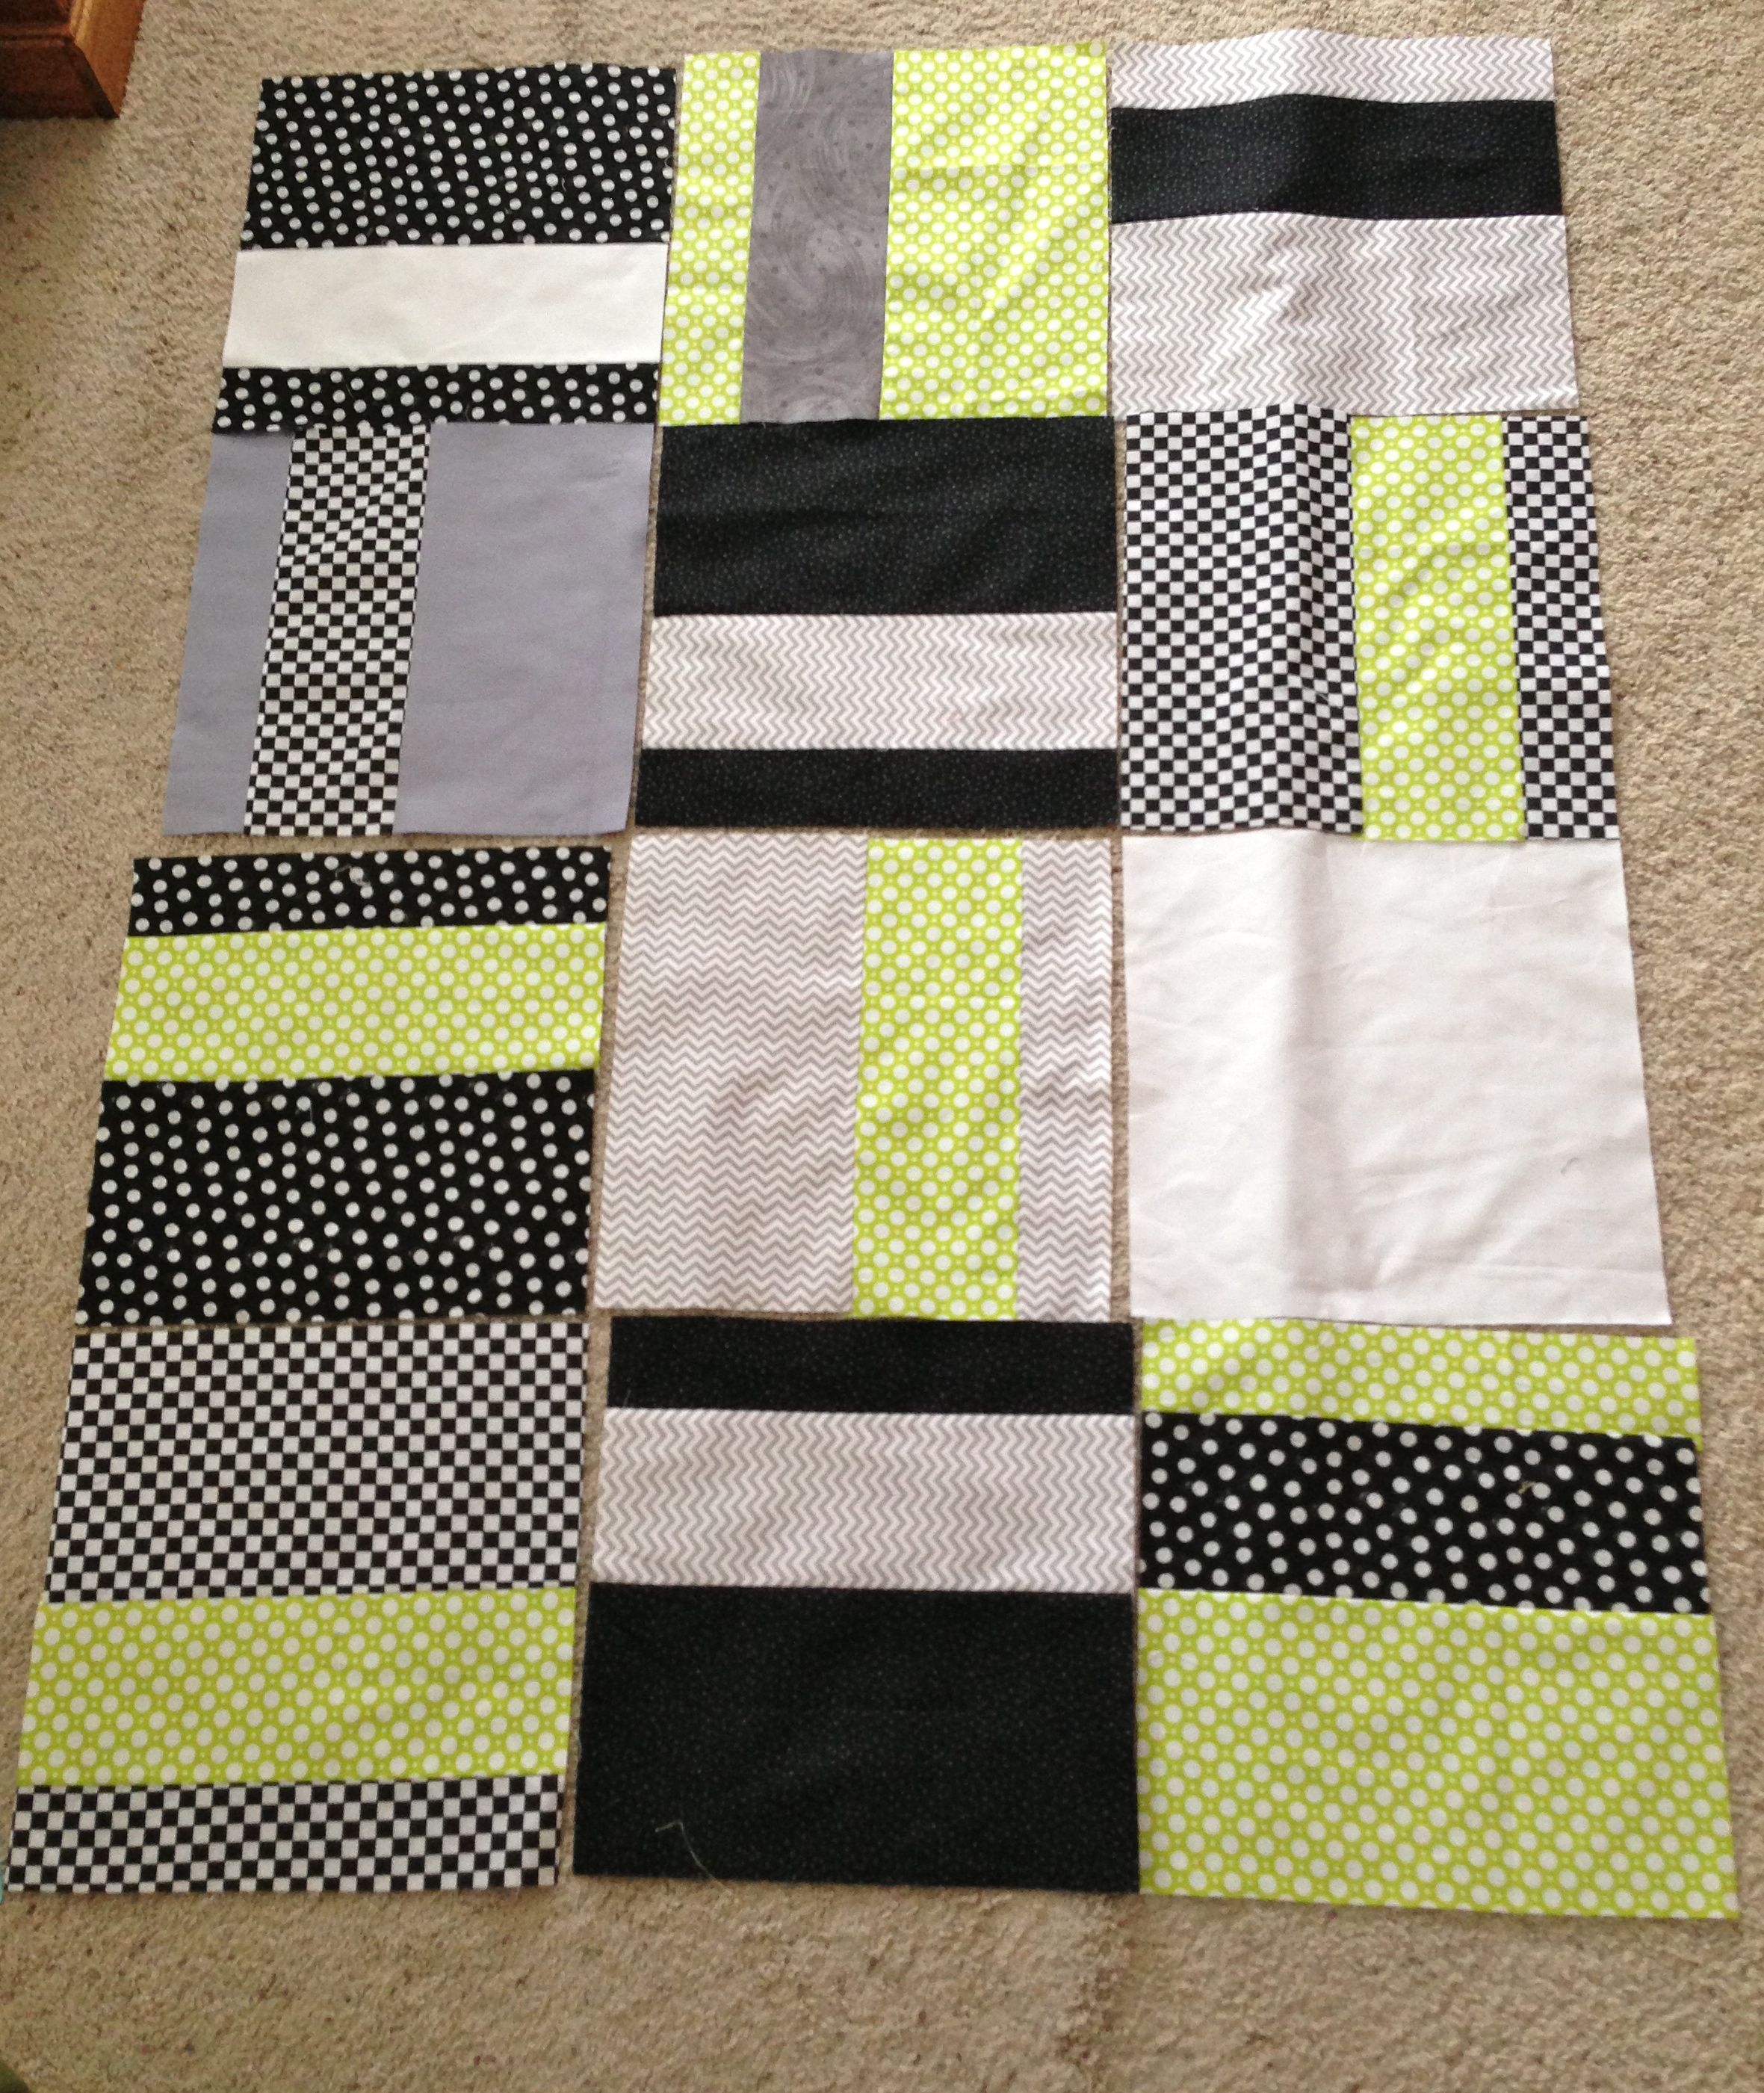
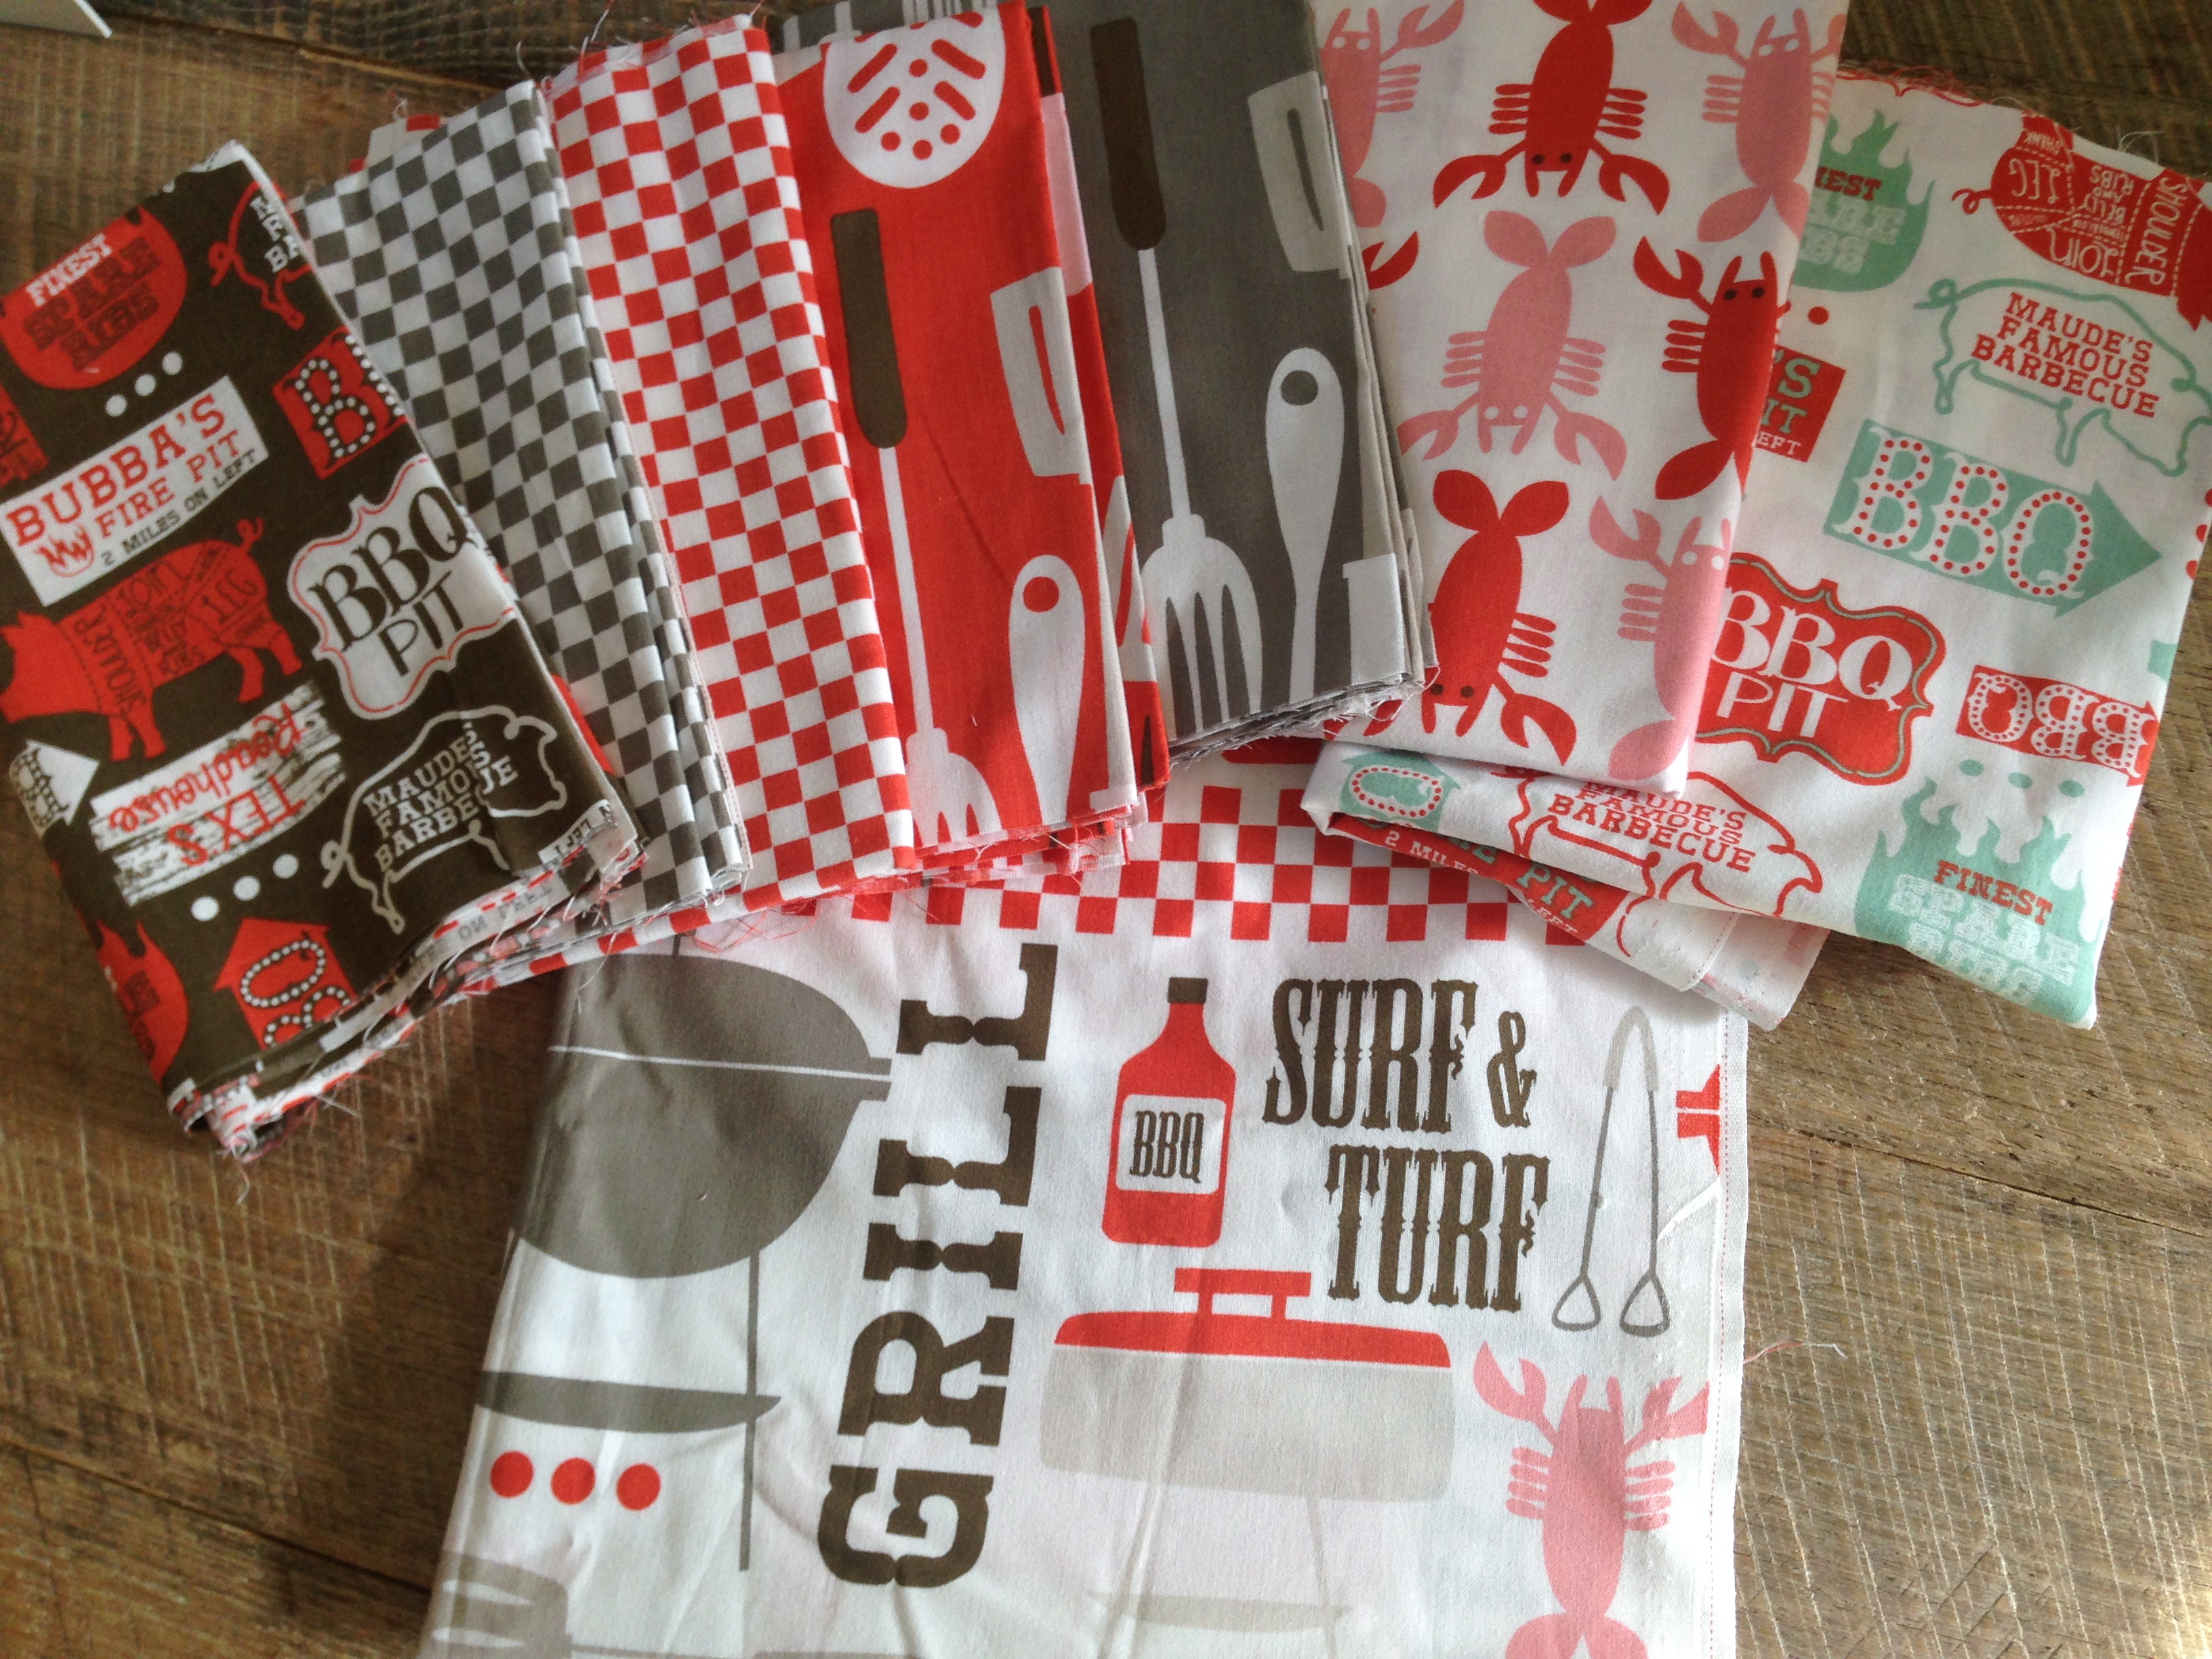
I am so in love with this fabric line from Blend designed by Maude Asbury called Ribs and Bibs.  It screams Father’s Day.  I normally don’t sew for the men in my life but this year is totally different because of all the inspiration this fabric has given me!  Don’t you just love it!!  I wish I had yards and yards to make table cloths with!  Every day this week I am sharing a tutorial using this fabric line.

father's day sewing tutorial napkin_1

Of course Father’s Day is in June – during one of the busiest months of the year.  The holiday has to compete with end of the year final projects, class parties, class field trips, graduations, and the list goes on.  The tutorials I am sharing are projects that can be sewn quickly – because who has time in June for anything extra?


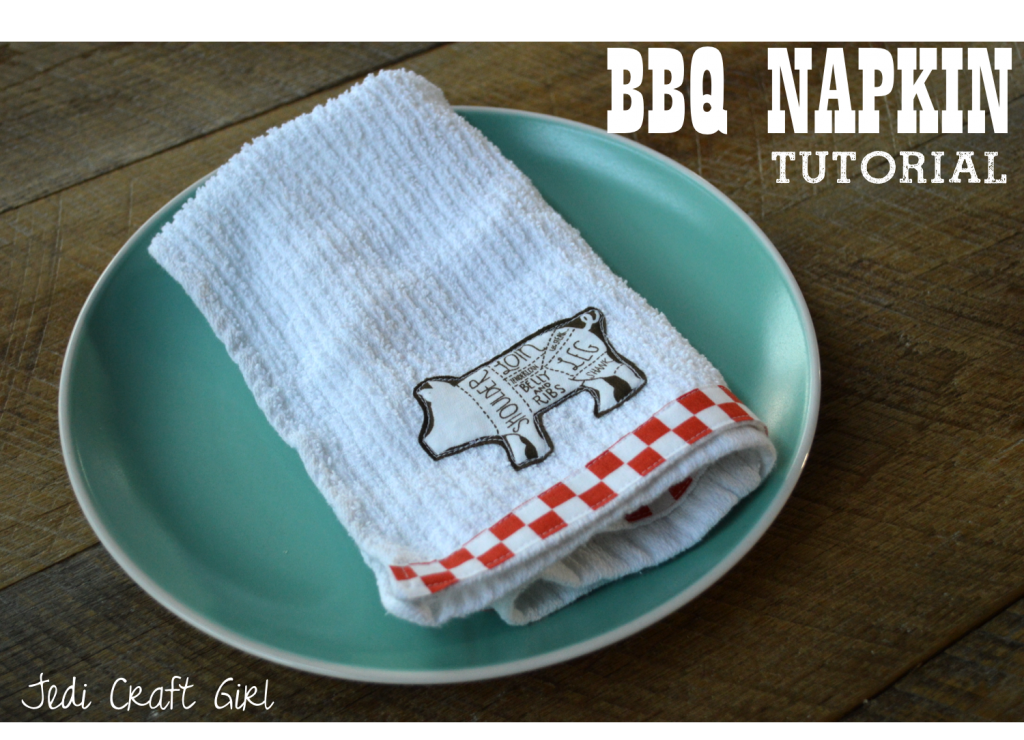
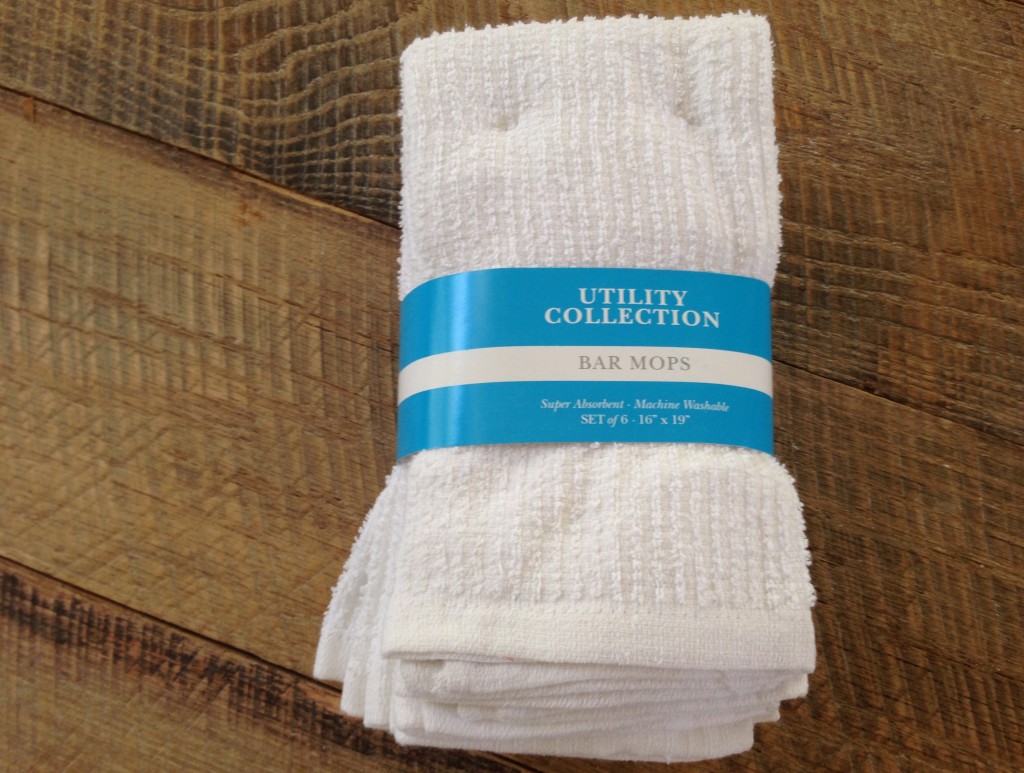
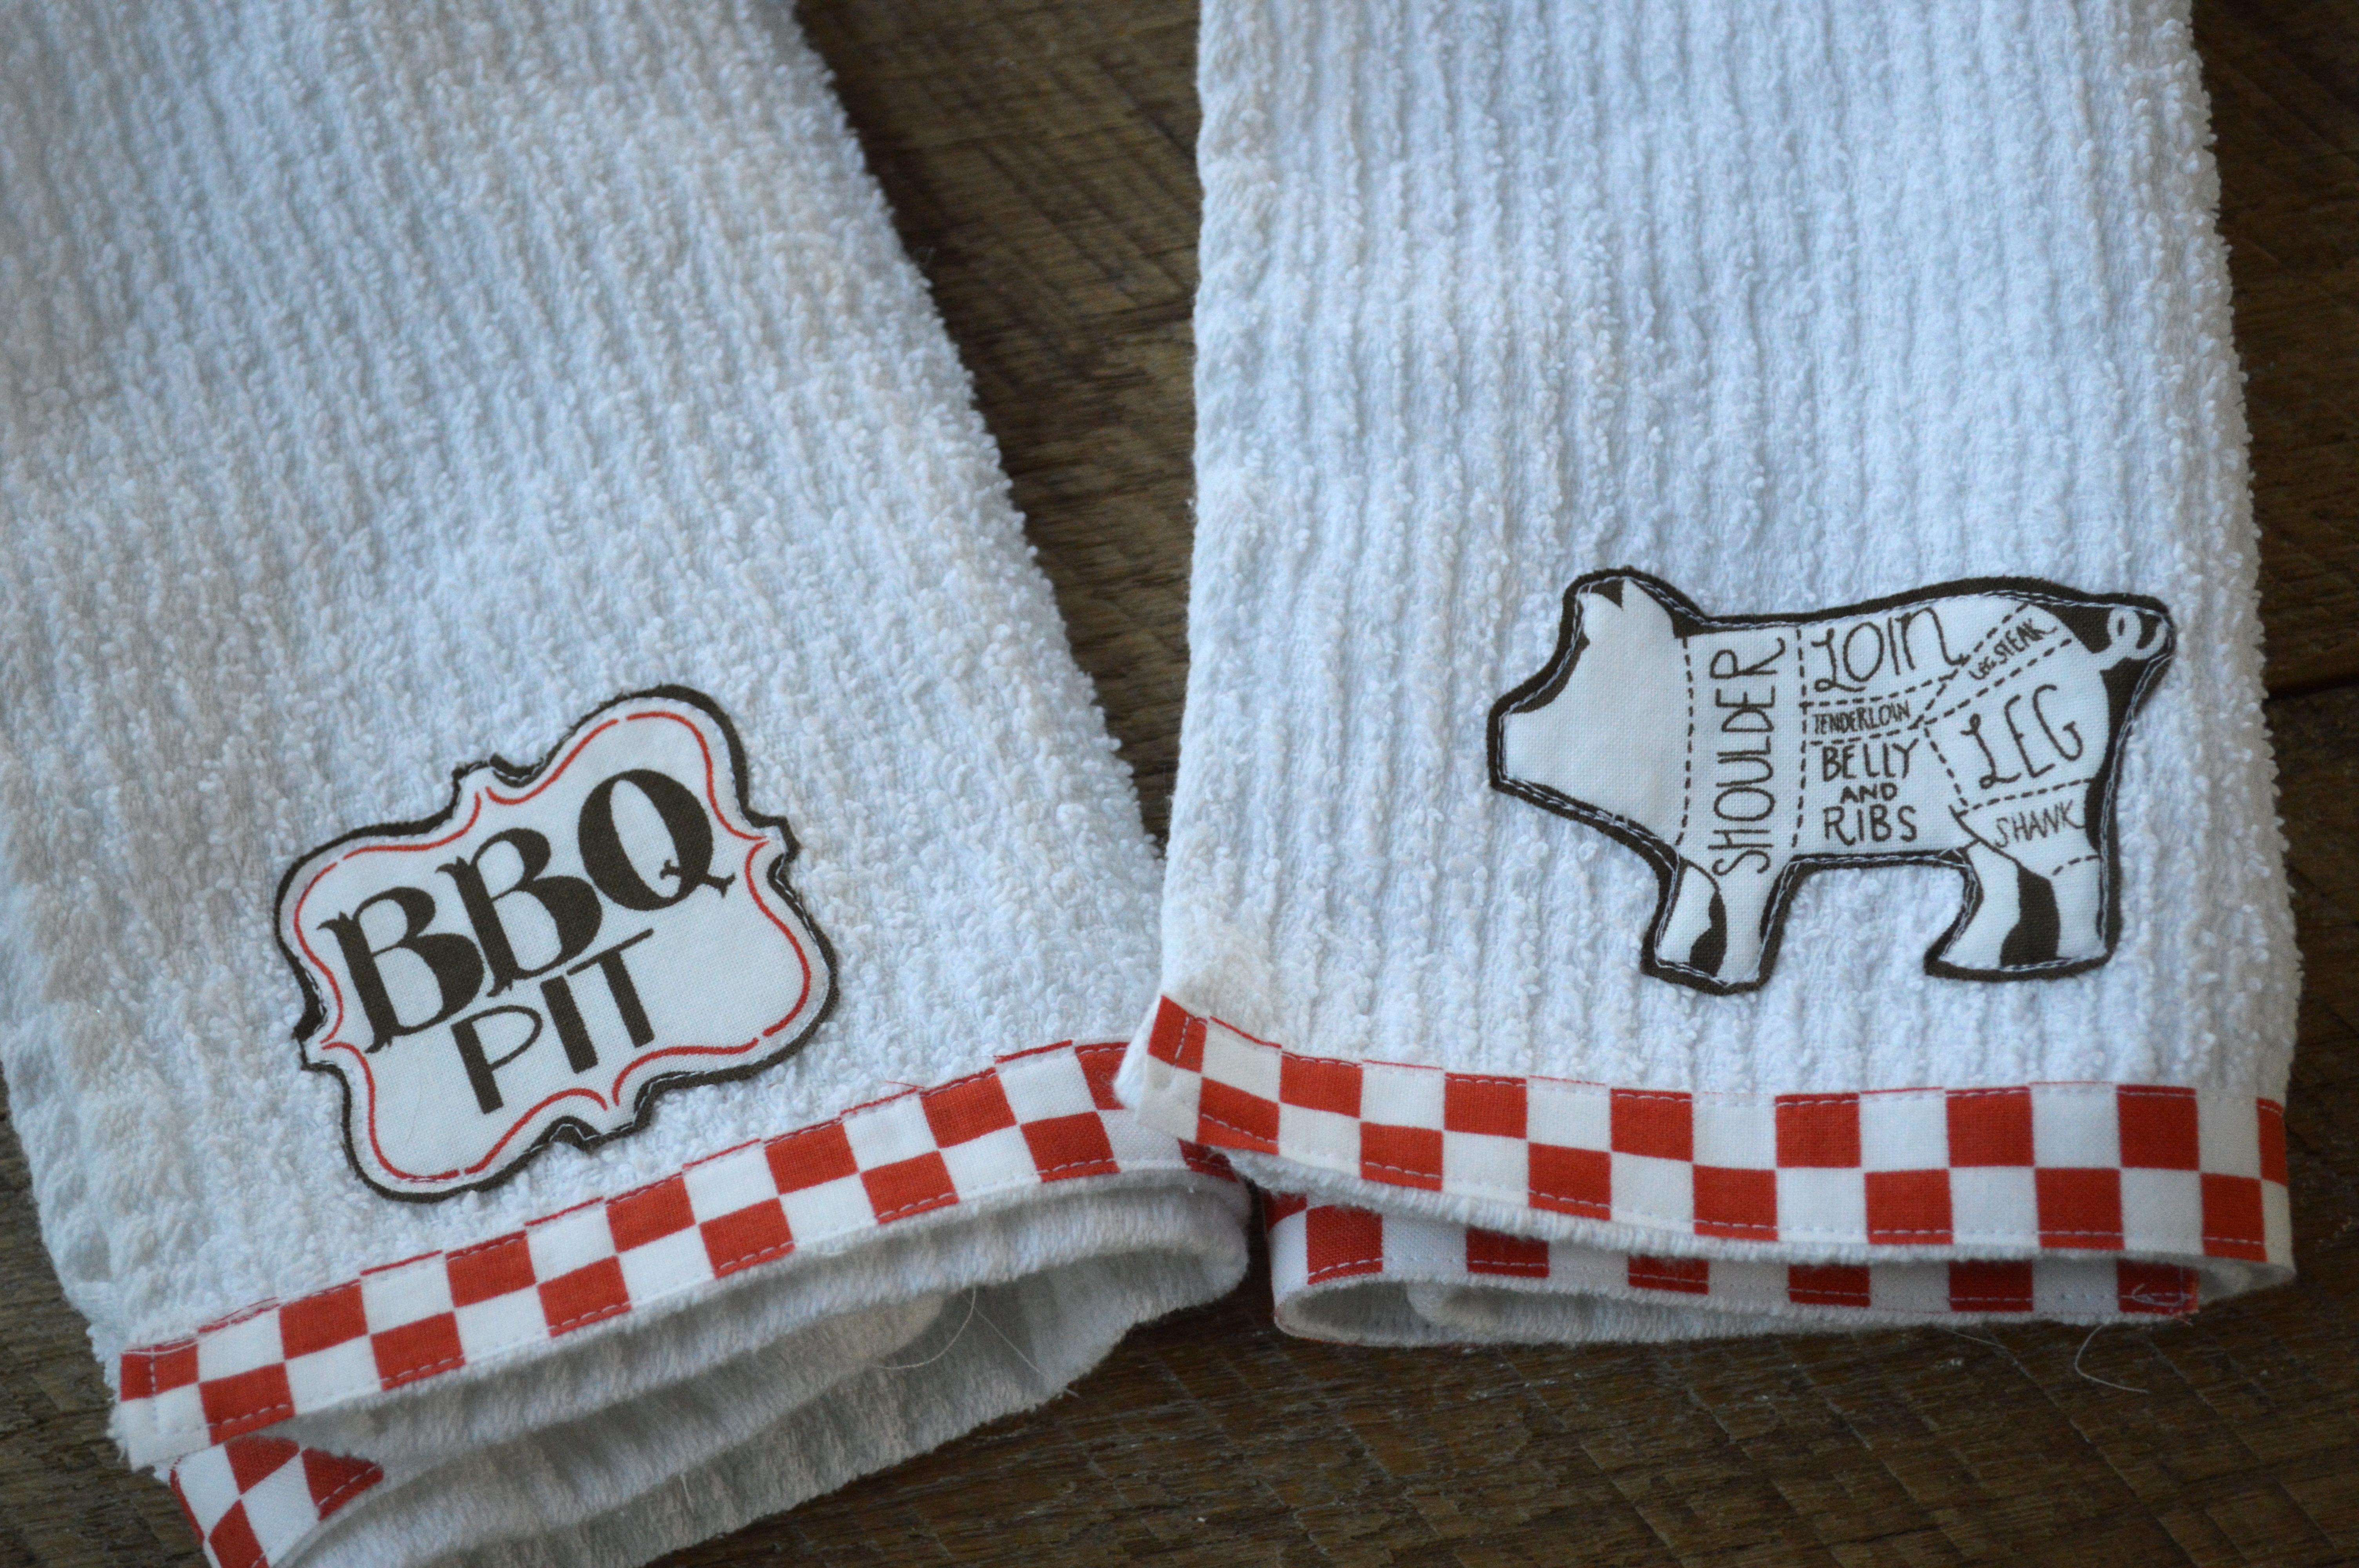
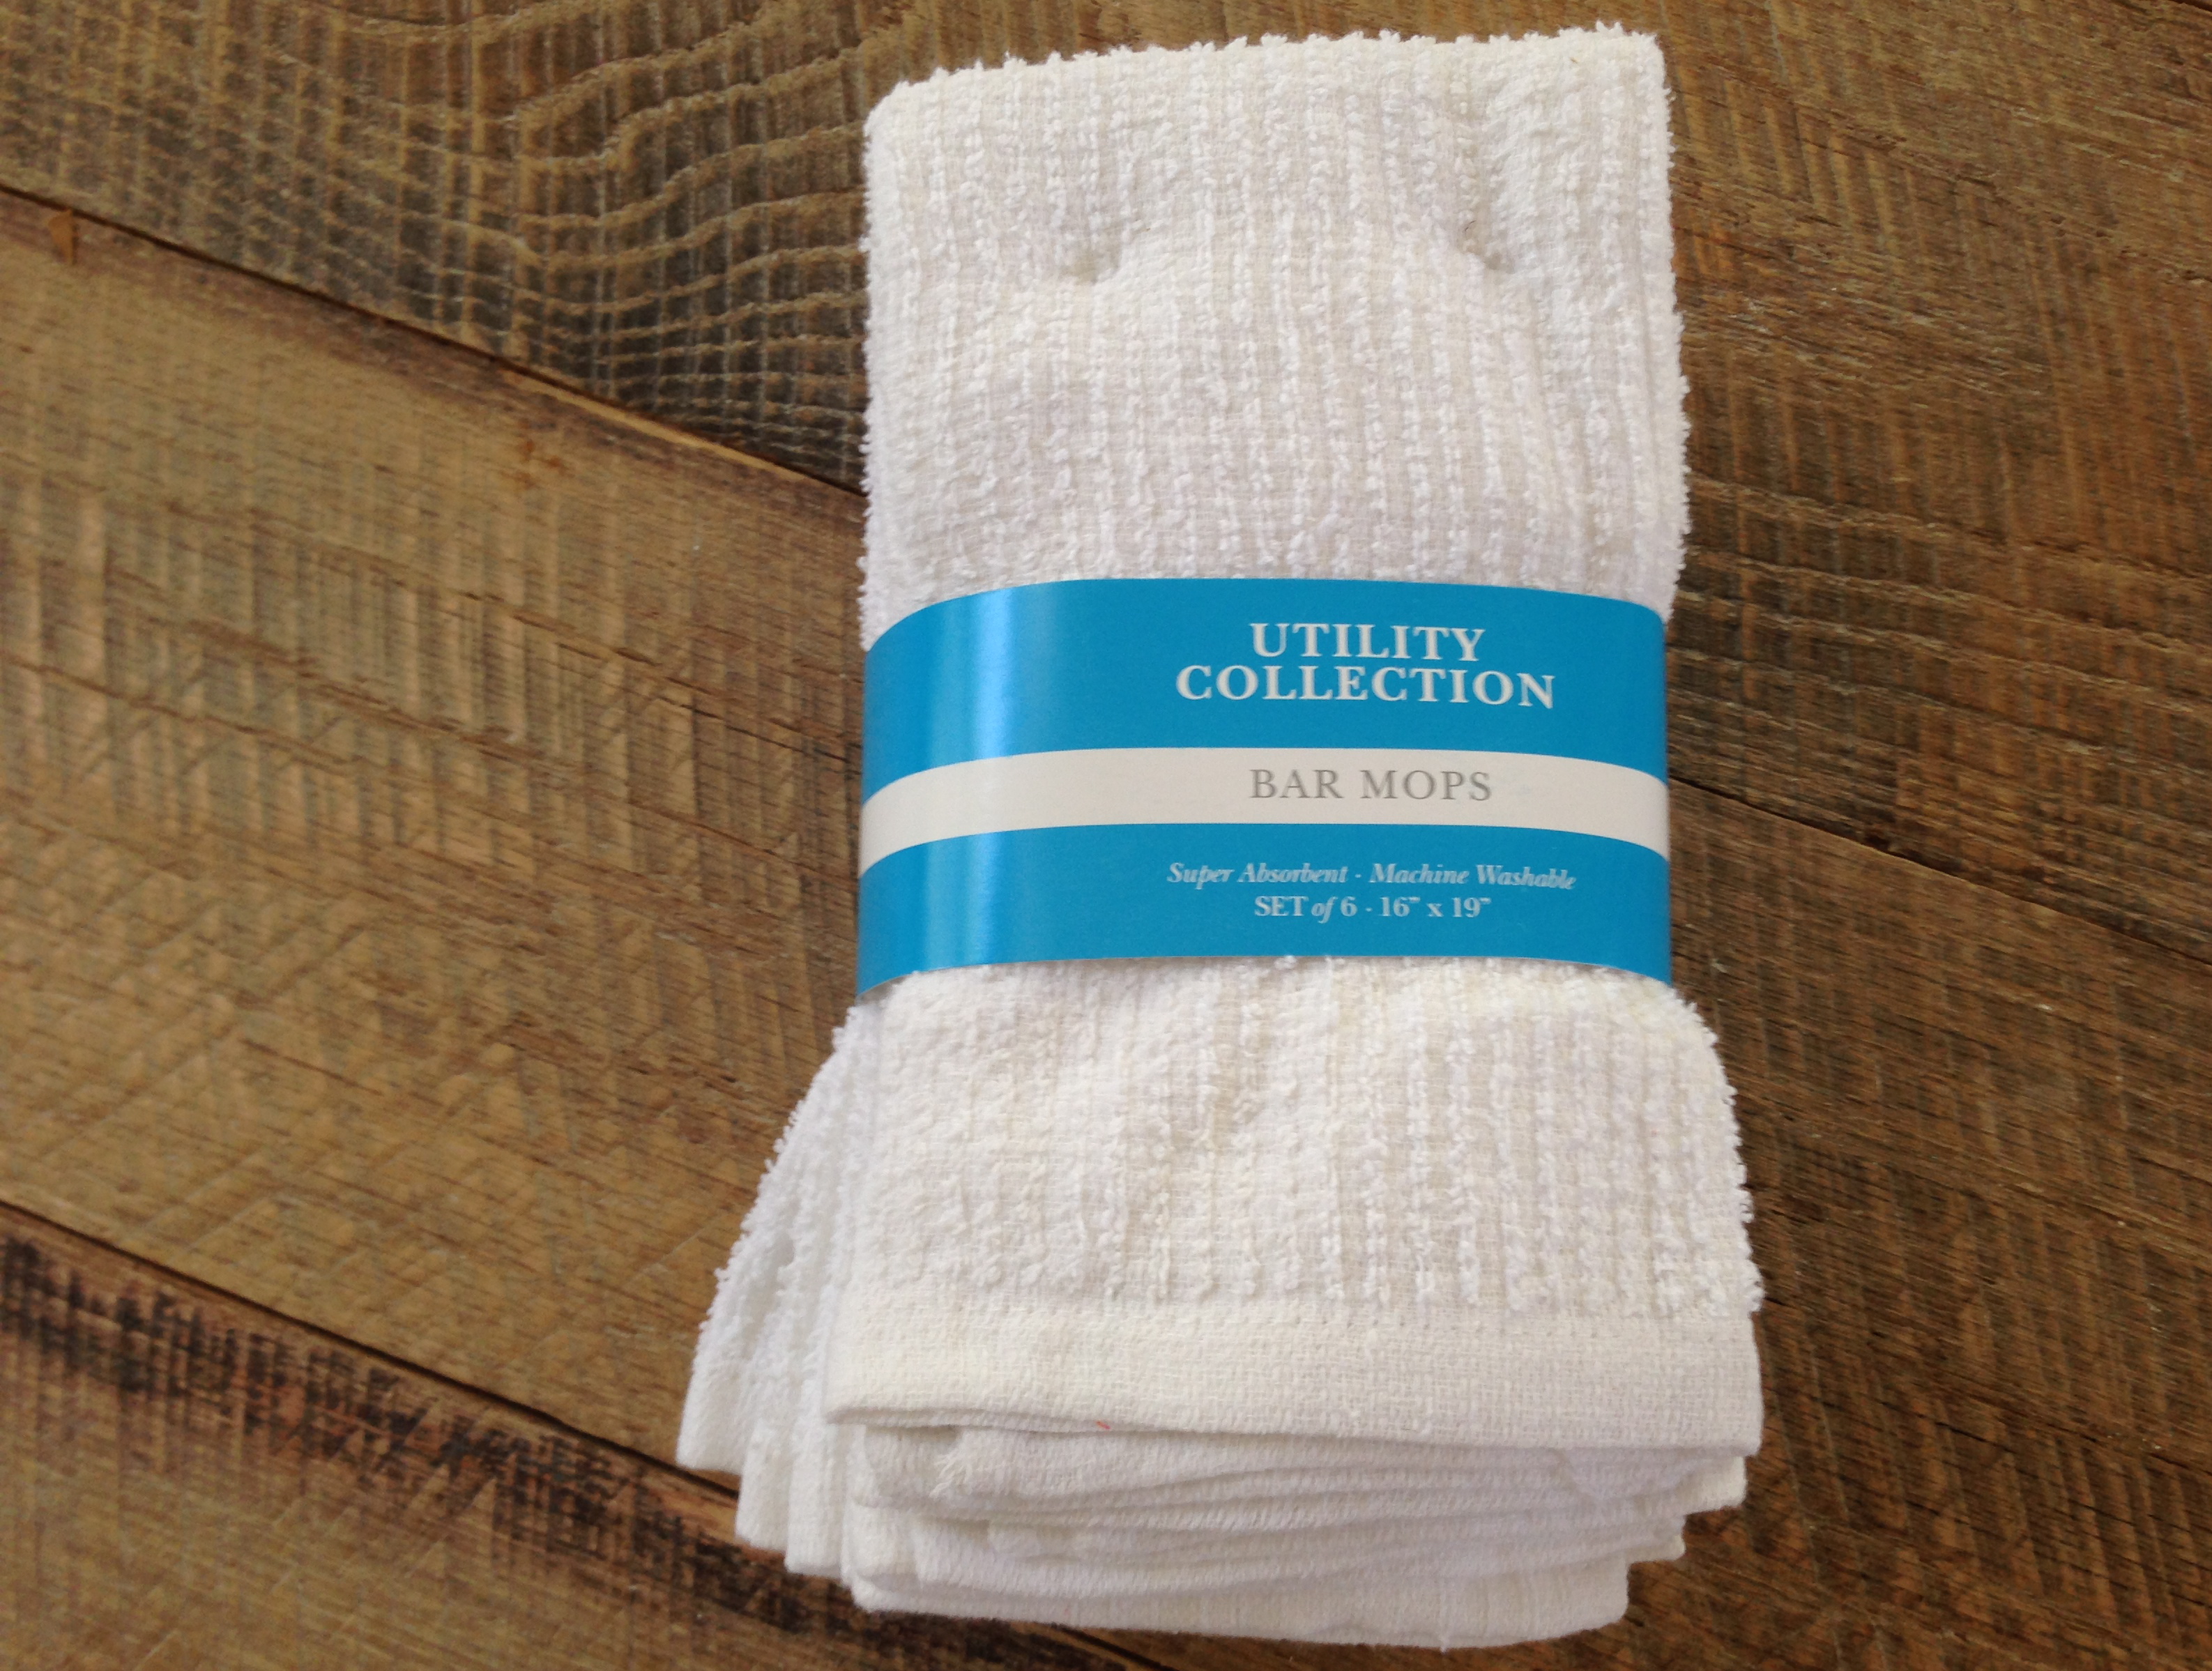
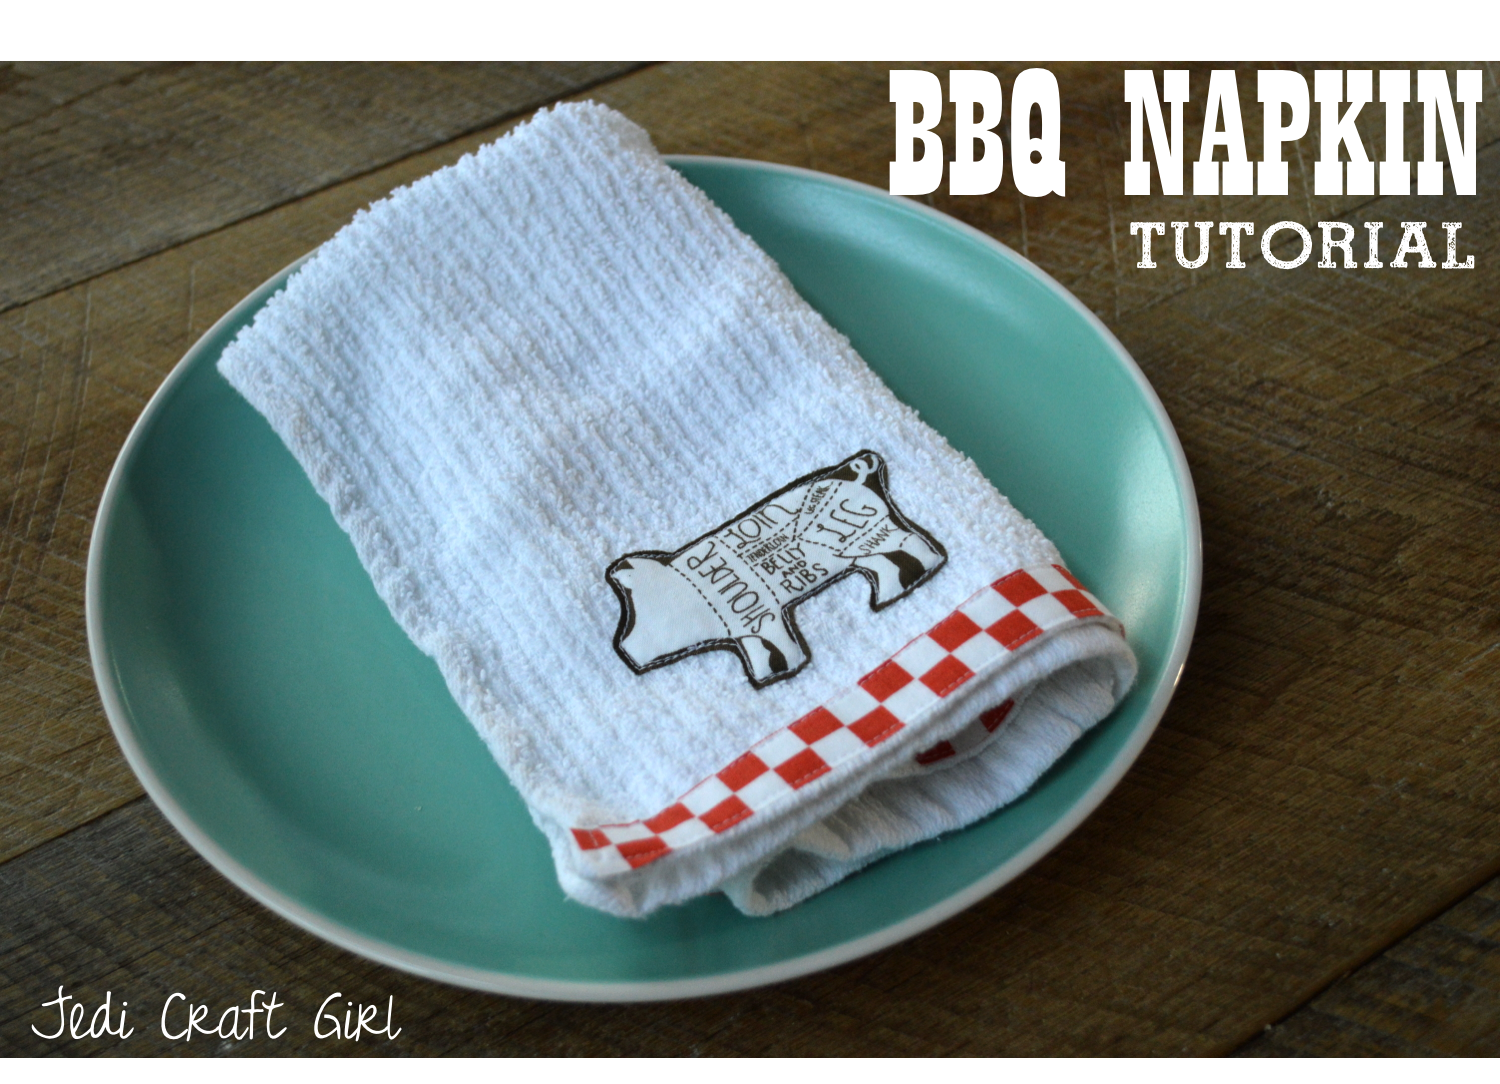
I am the world’s messiest eater – I really mean it.  When I go out to dinner with my husband, I have a pile of napkins at the end of the dinner and my husband doesn’t even have one (because I used it for myself).  At home I eat with a kitchen towel on my lap – it just saves paper 🙂  When our family gets together to eat ribs or BBQ paper napkins just are not enough – and even cloth napkins leave something to be desired.  That’s when I decided to purchase “Bar Mop” towels and turn them into BBQ napkins.  Bar Mop towels are available at any home store in the kitchen towel department.  They are slightly smaller than  normal kitchen towels, and not a traditional washcloth.  They provide the right amount of absorbency for BBQ sauced fingers!

IMG_8513


Let’s get started….

Supplies:

Bar Mop Towels – pre wash & dry

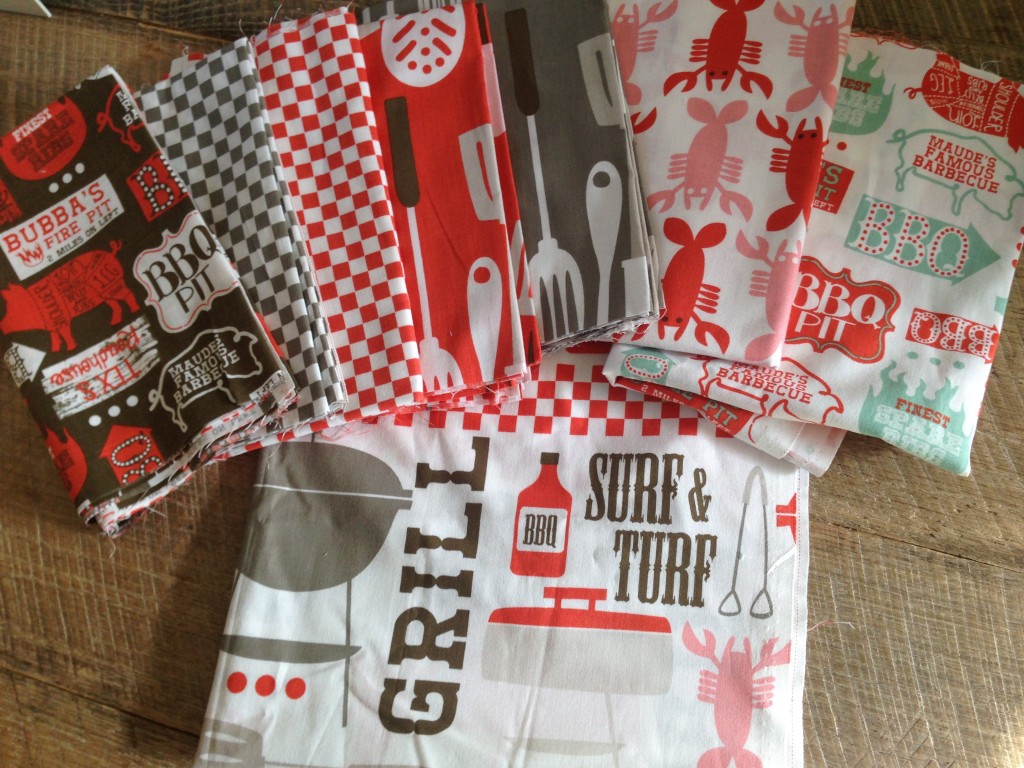
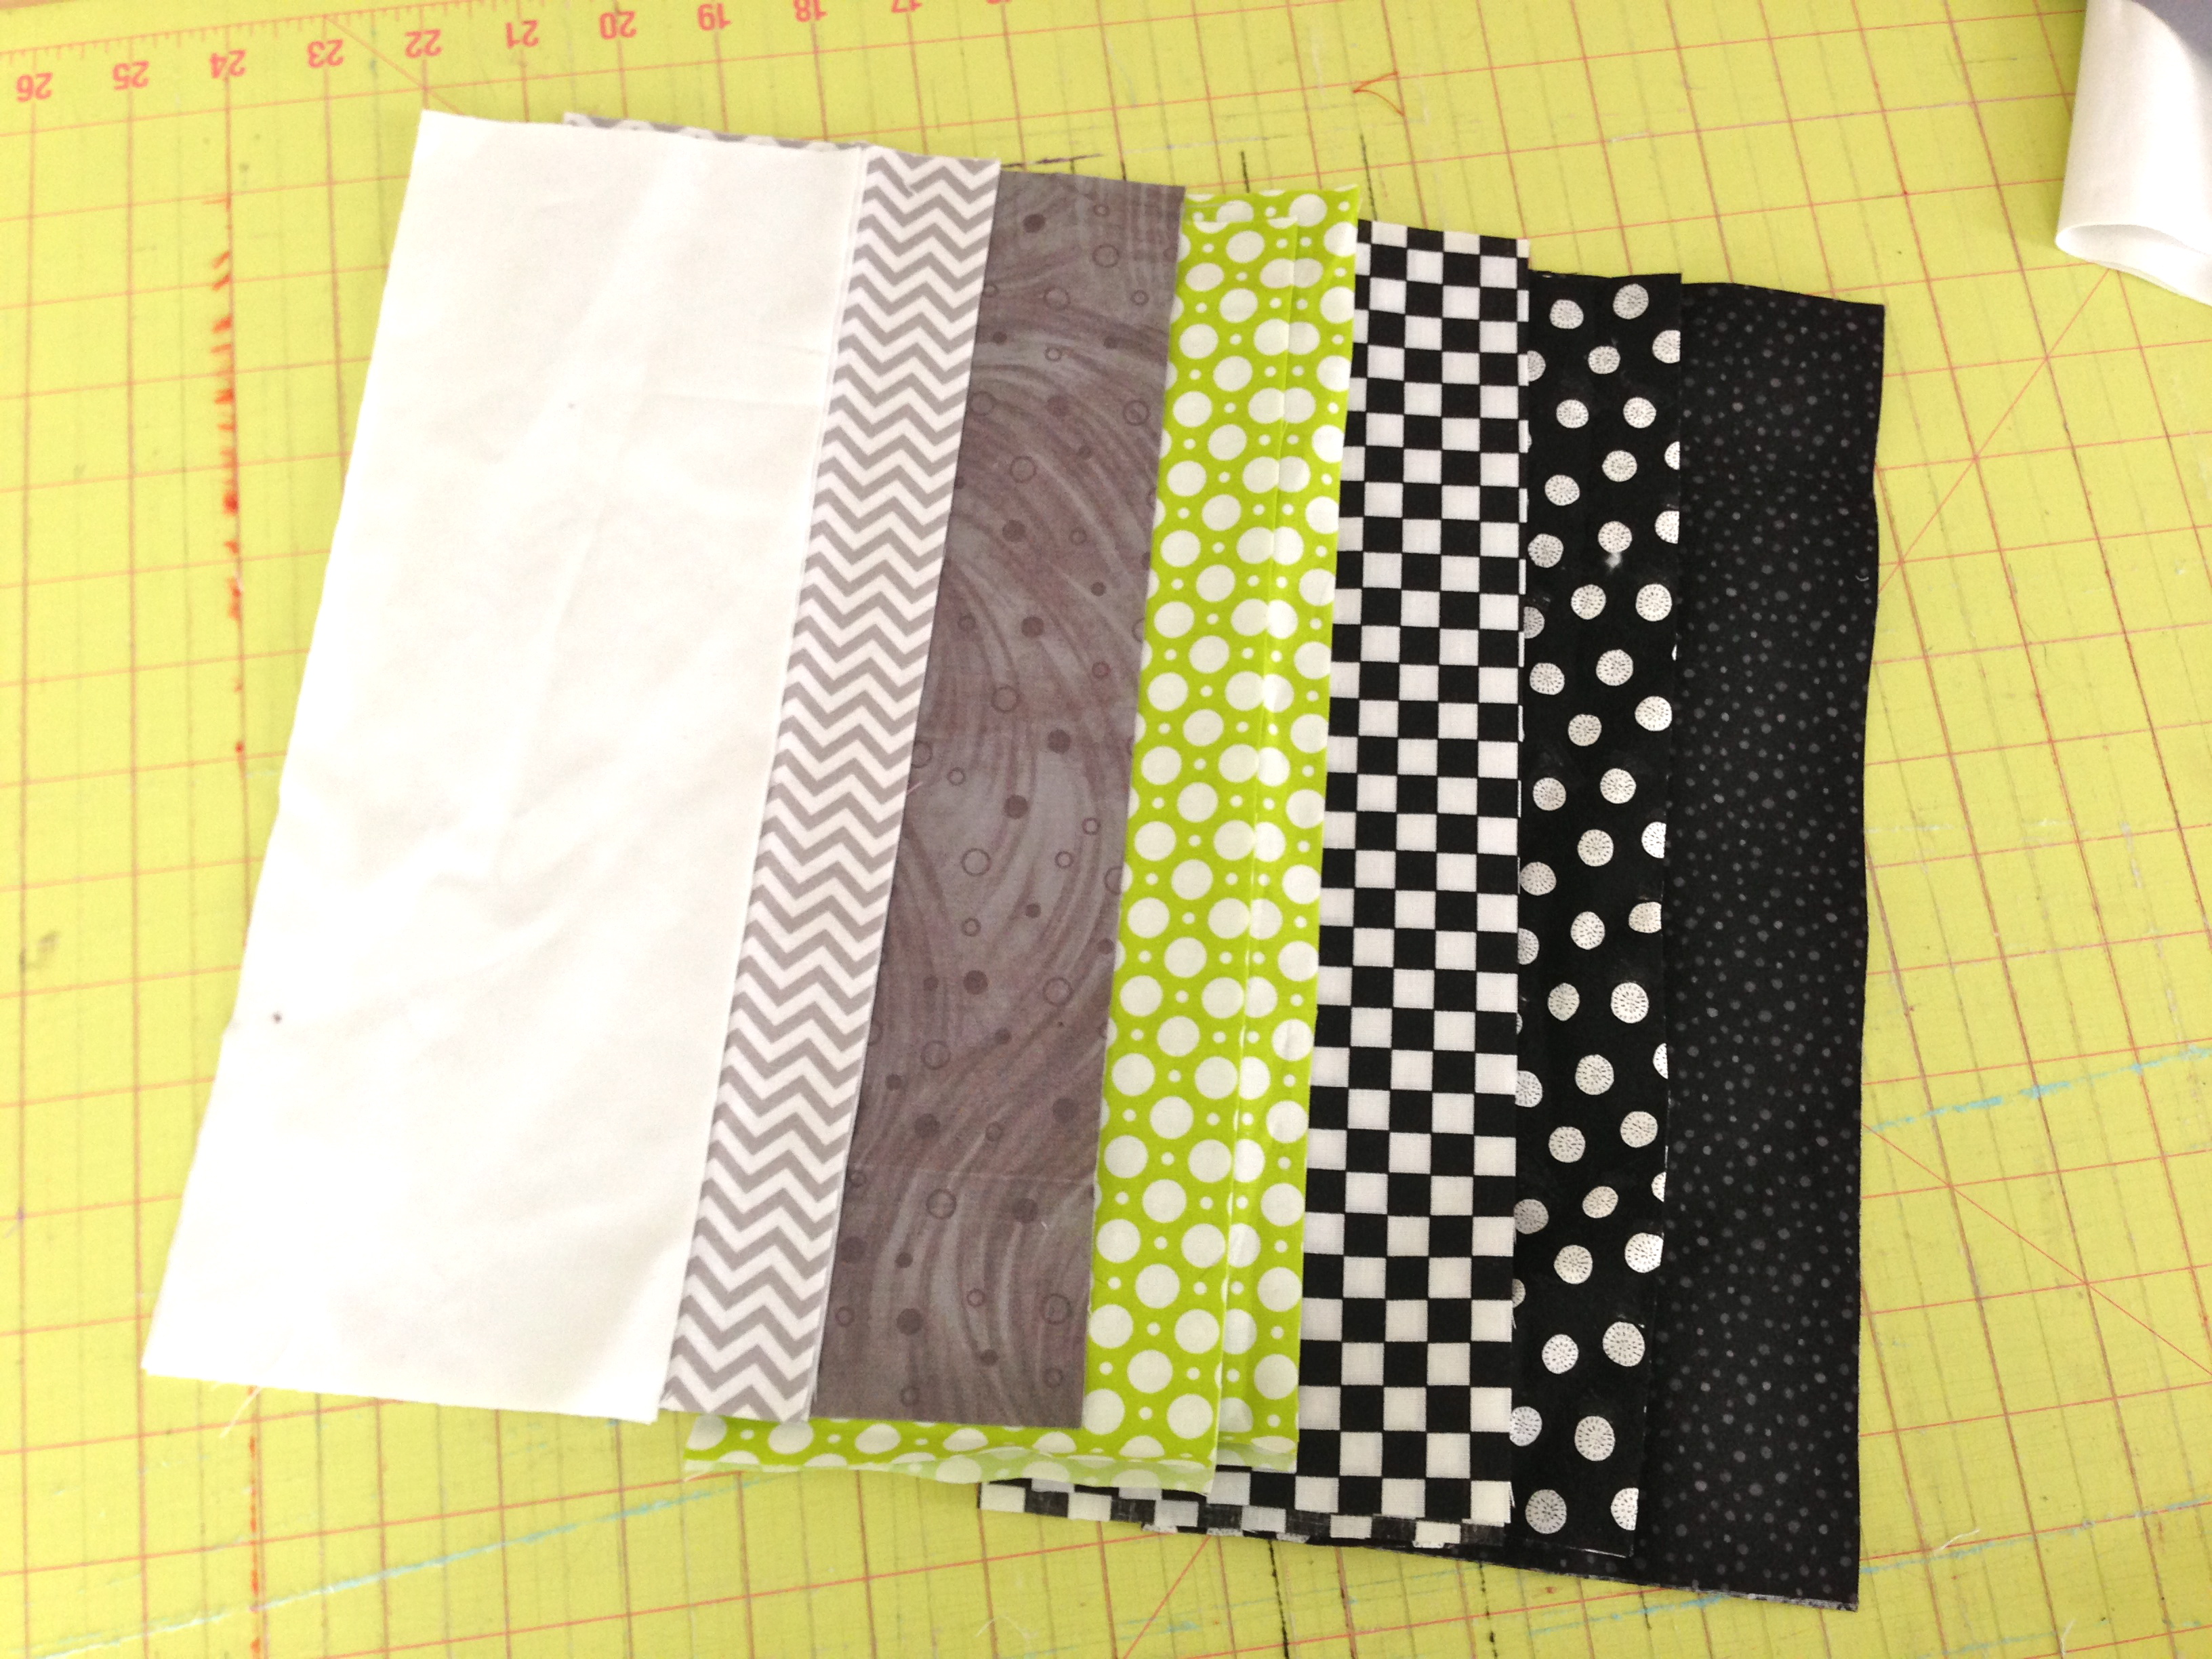
fat quarter Ribs & Bibs “Open Pit” in brown fabric

fat quarter Ribs & Bibs “Checker Board” in red

Therm O Web Heat n Bond Lite


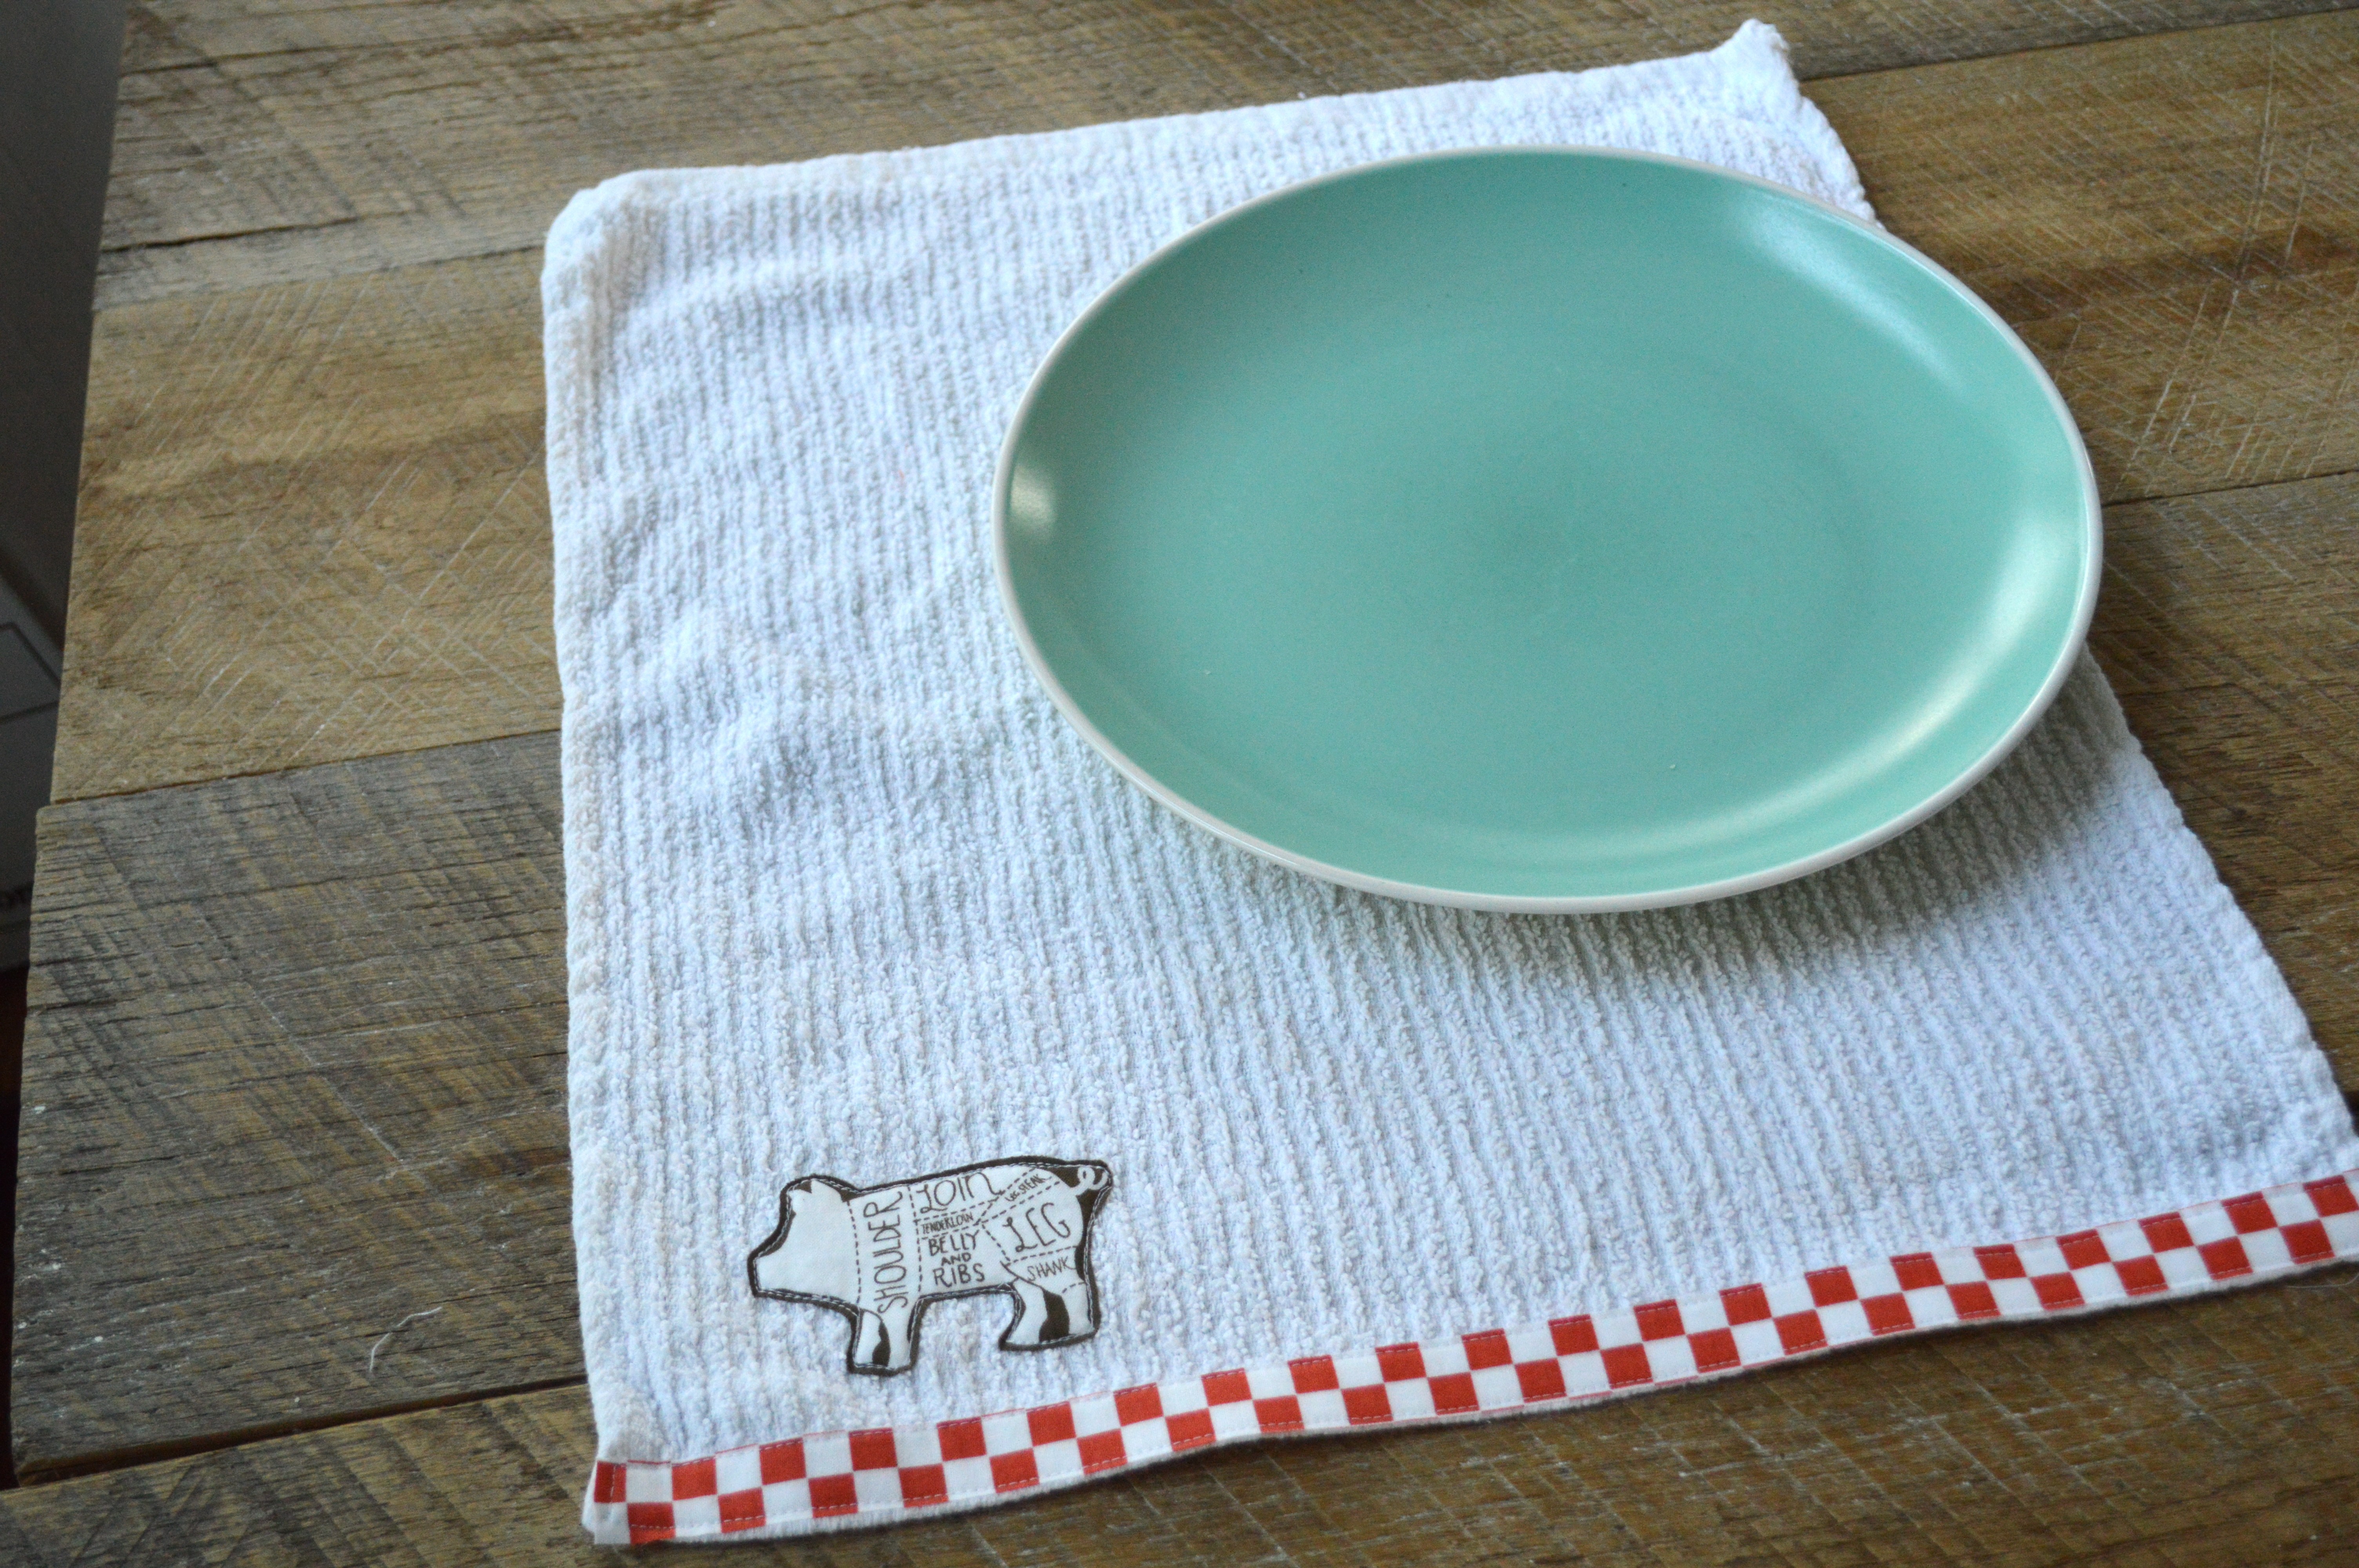
Begin by cutting a piece of the Heat n Bond and ironing it to the back of the Open Pit fabric.
father's day sewing tutorial napkin_2

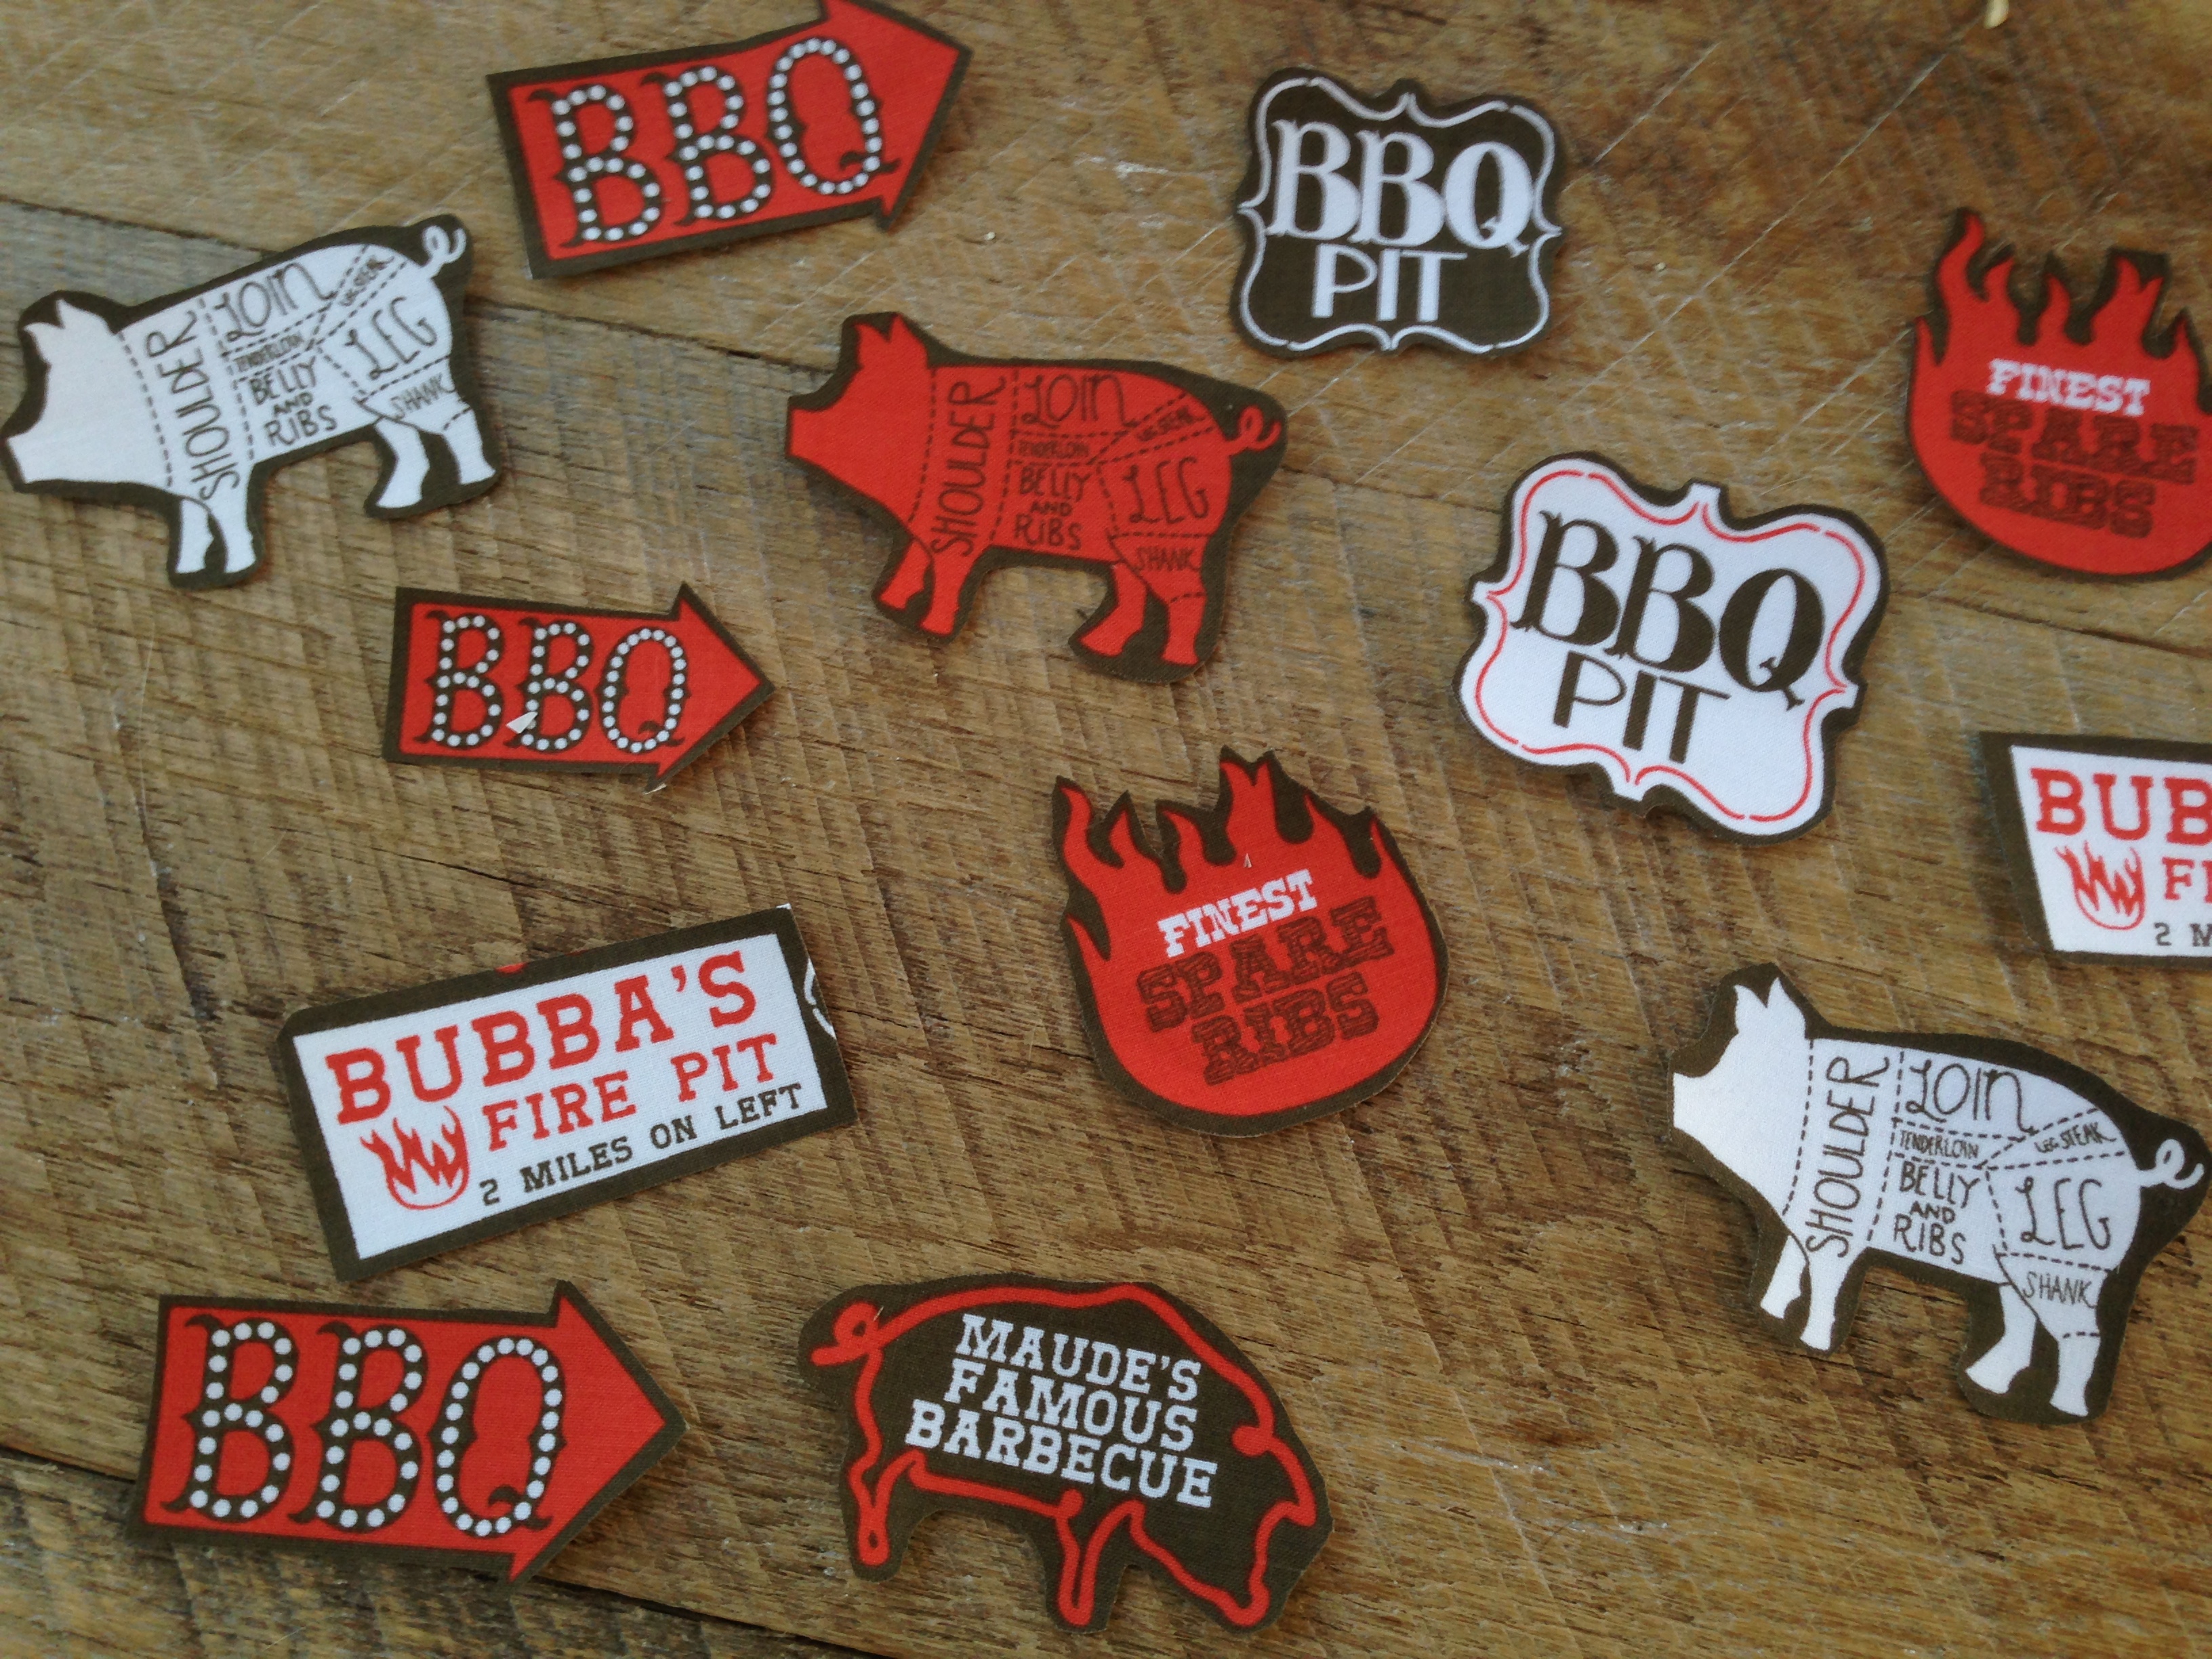
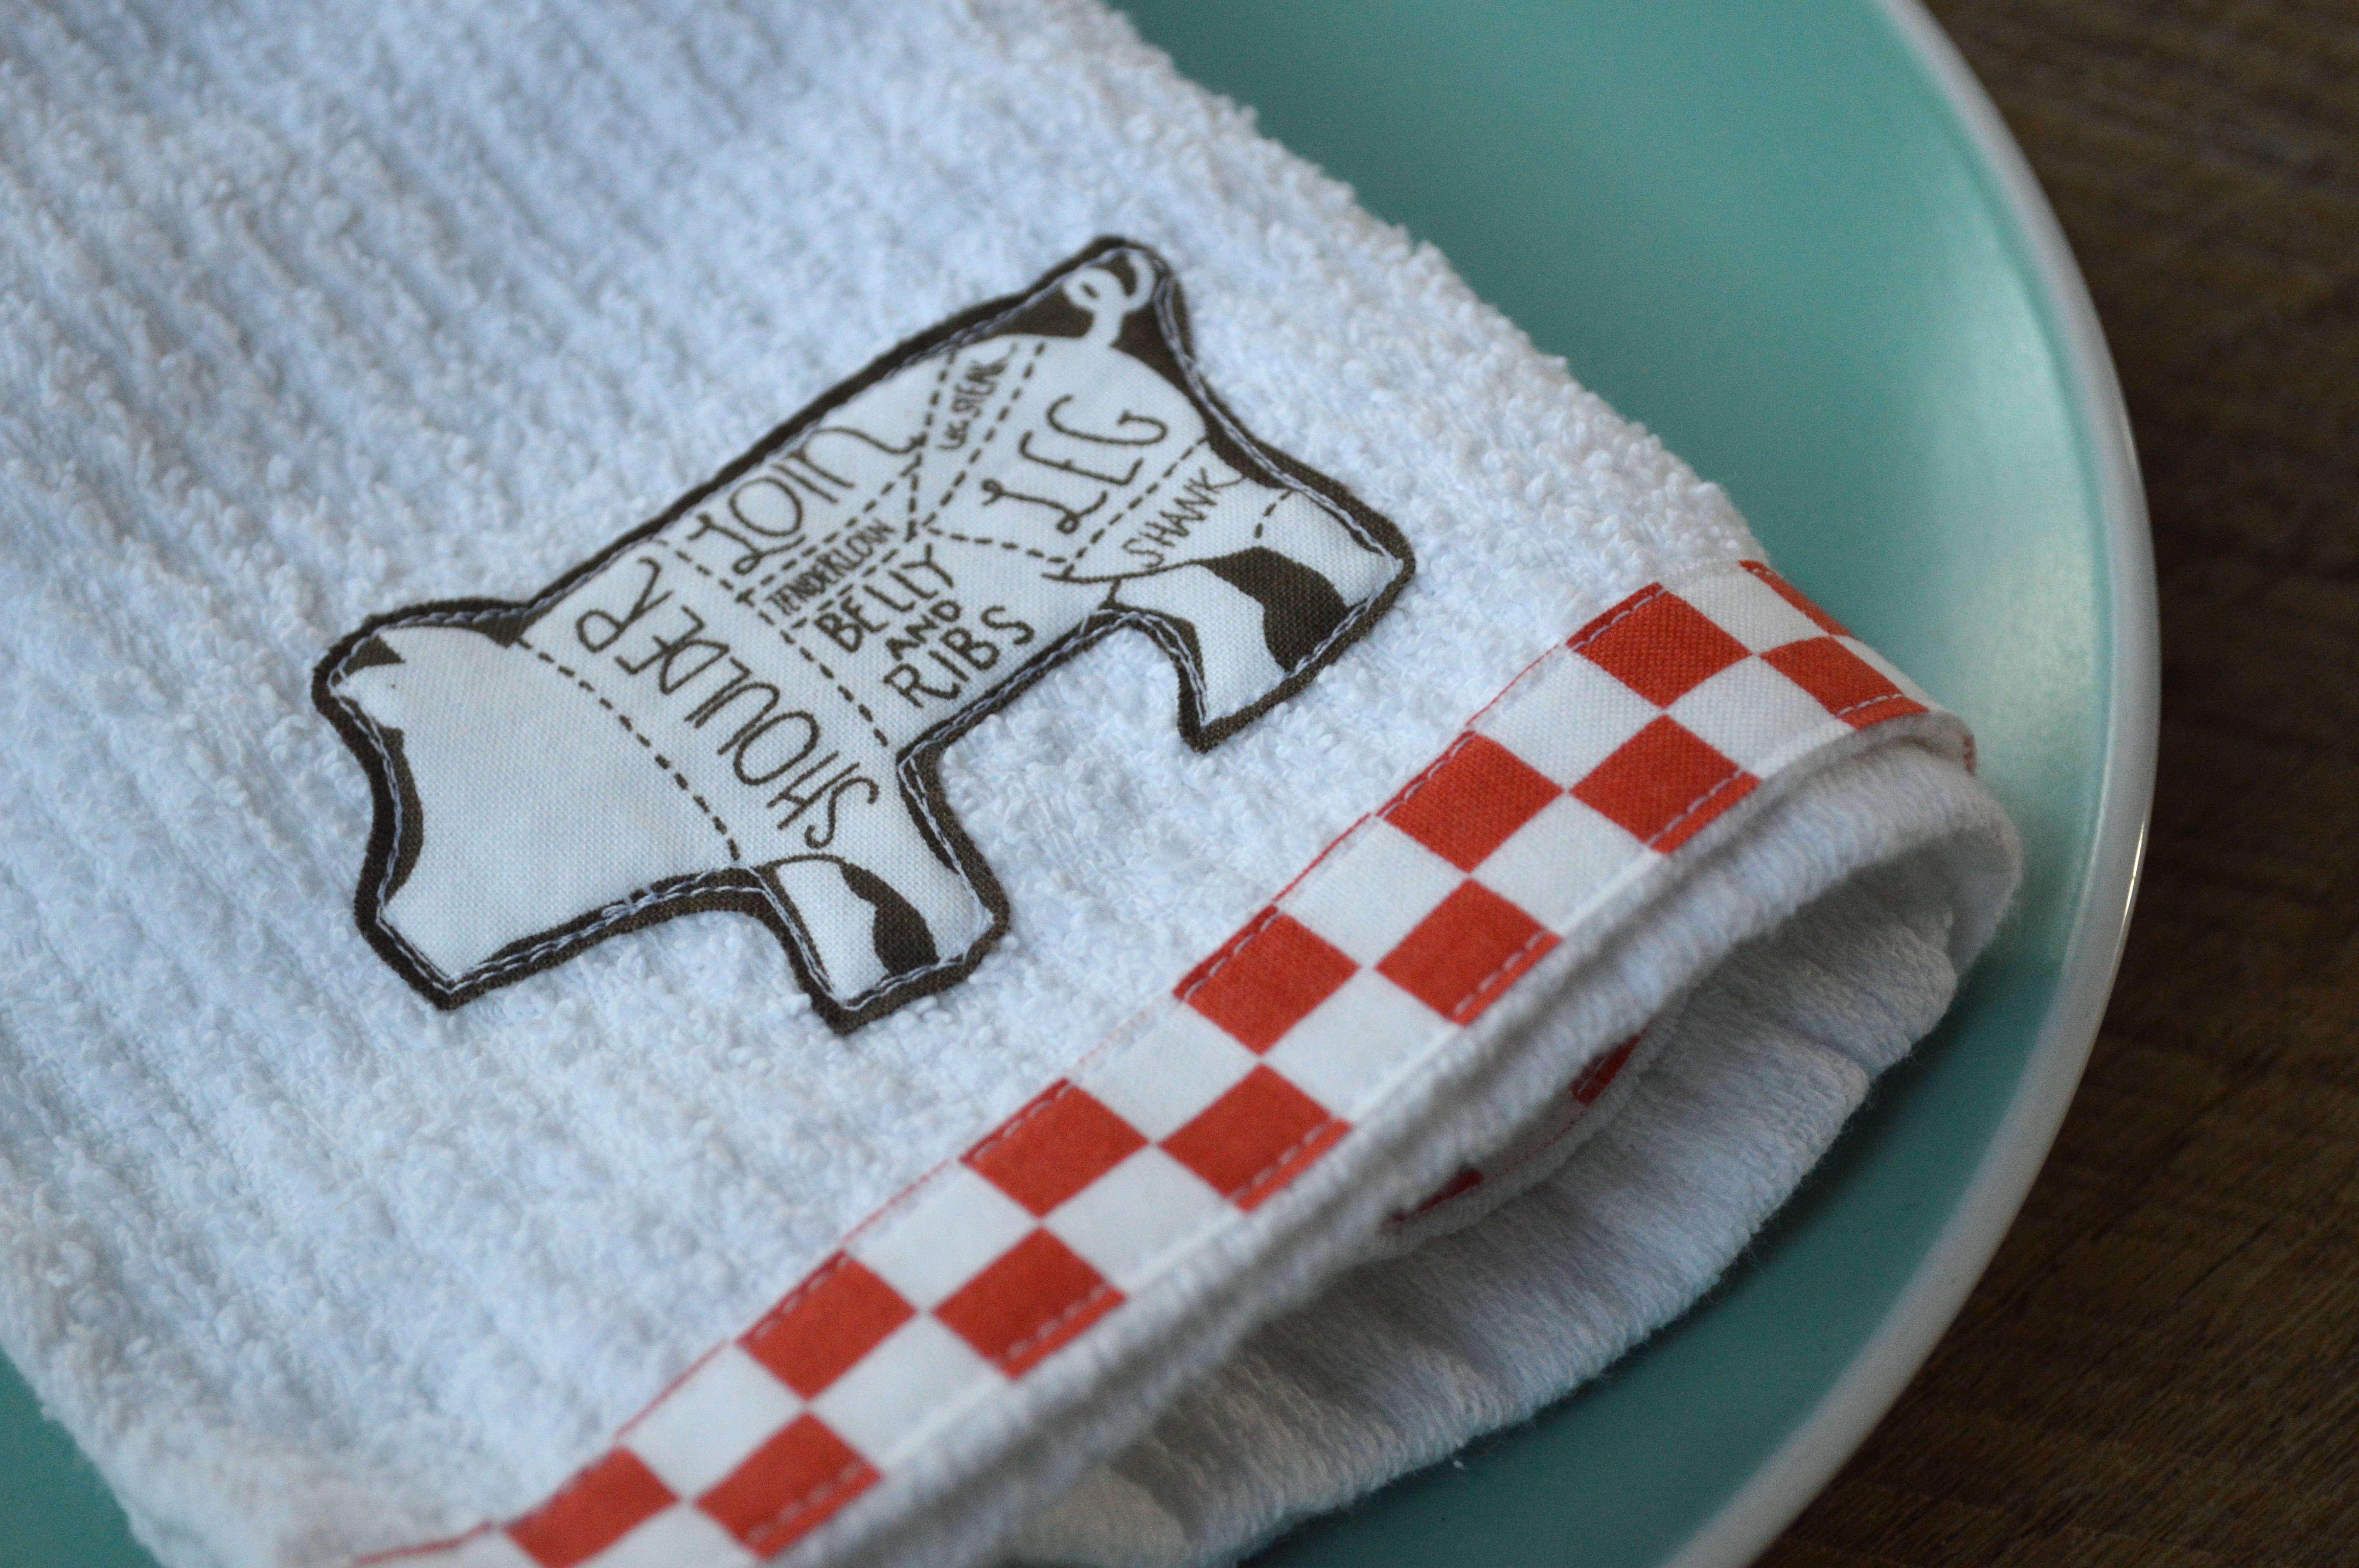
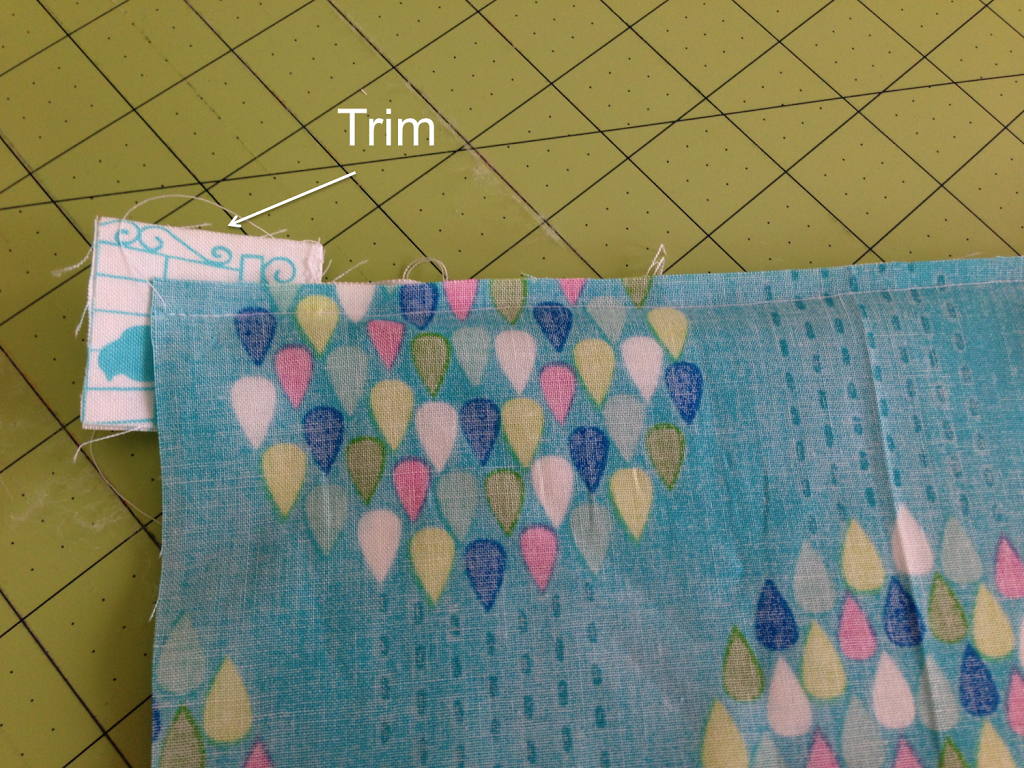
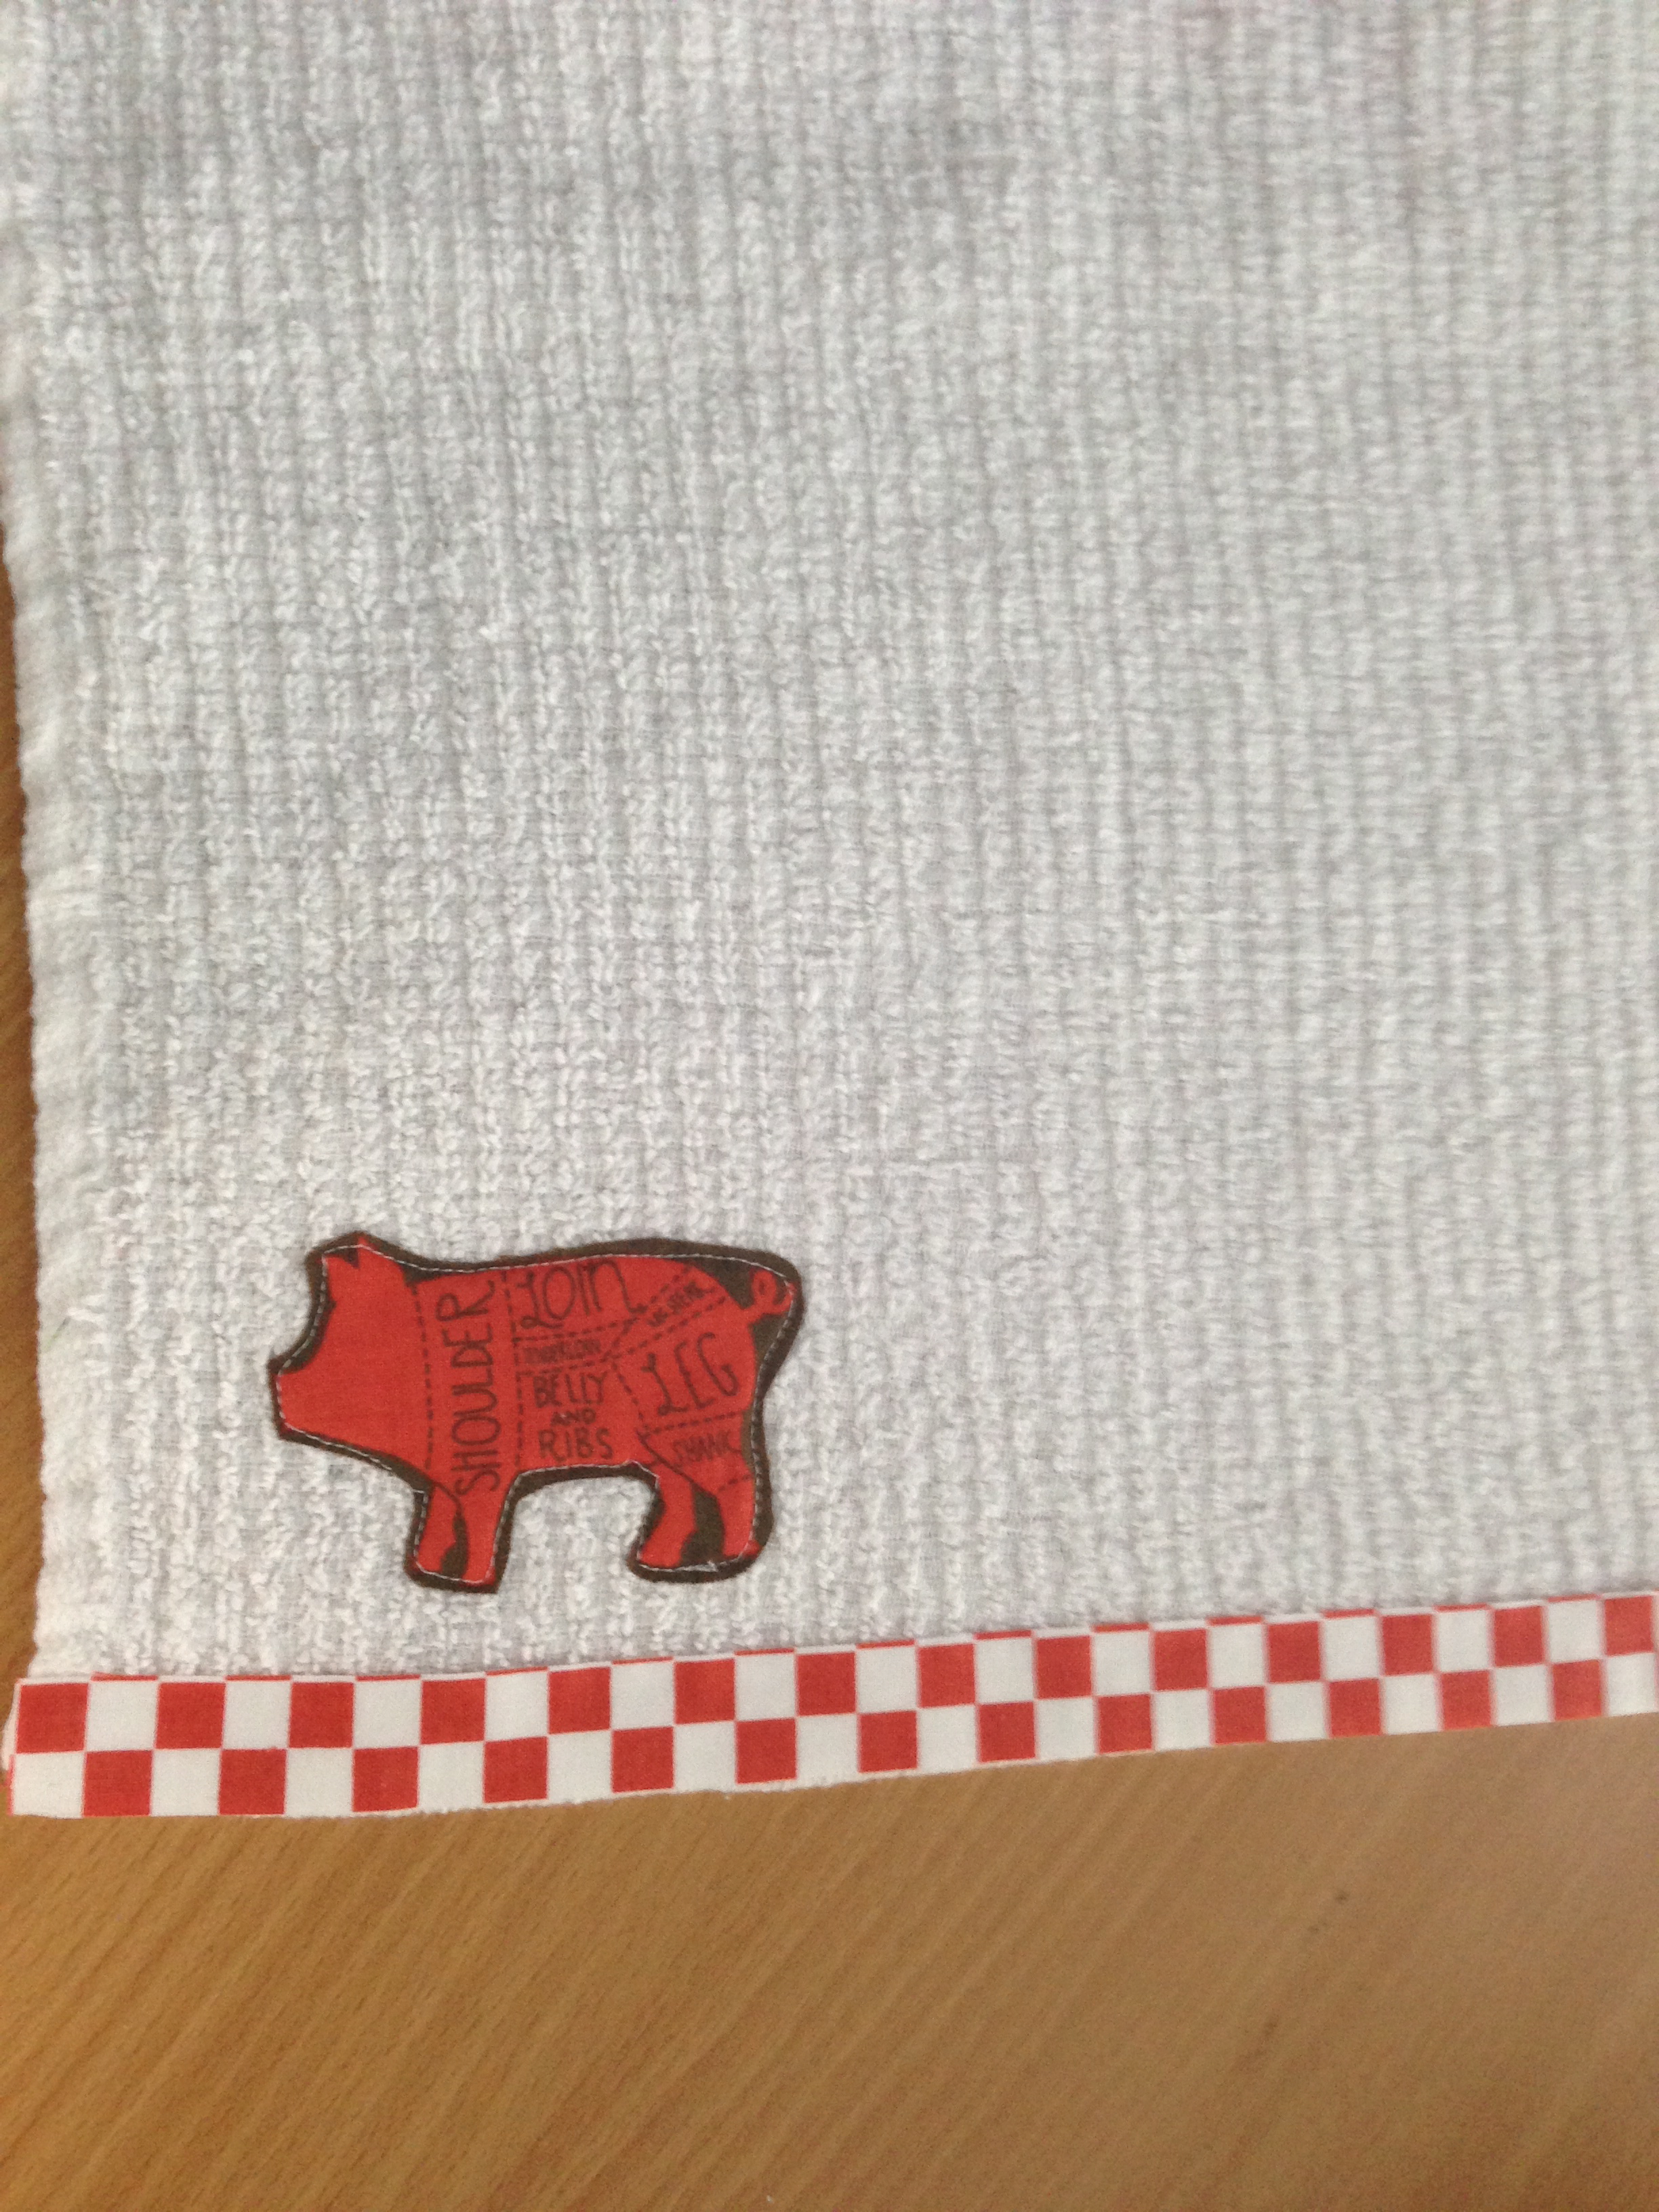
Cut around each image leaving a little bit of brown boarder.

father's day sewing tutorial napkin_3


Peel off the backing paper and iron it to the corner of the bar mop towel.  Keep in mind the heat n bond won’t permanently adhere to the fuzzy towel so it needs to be sewn on.  The Heat n Bond will hold the image in place temporarily and it will prevent fraying.father's day sewing tutorial napkin_4

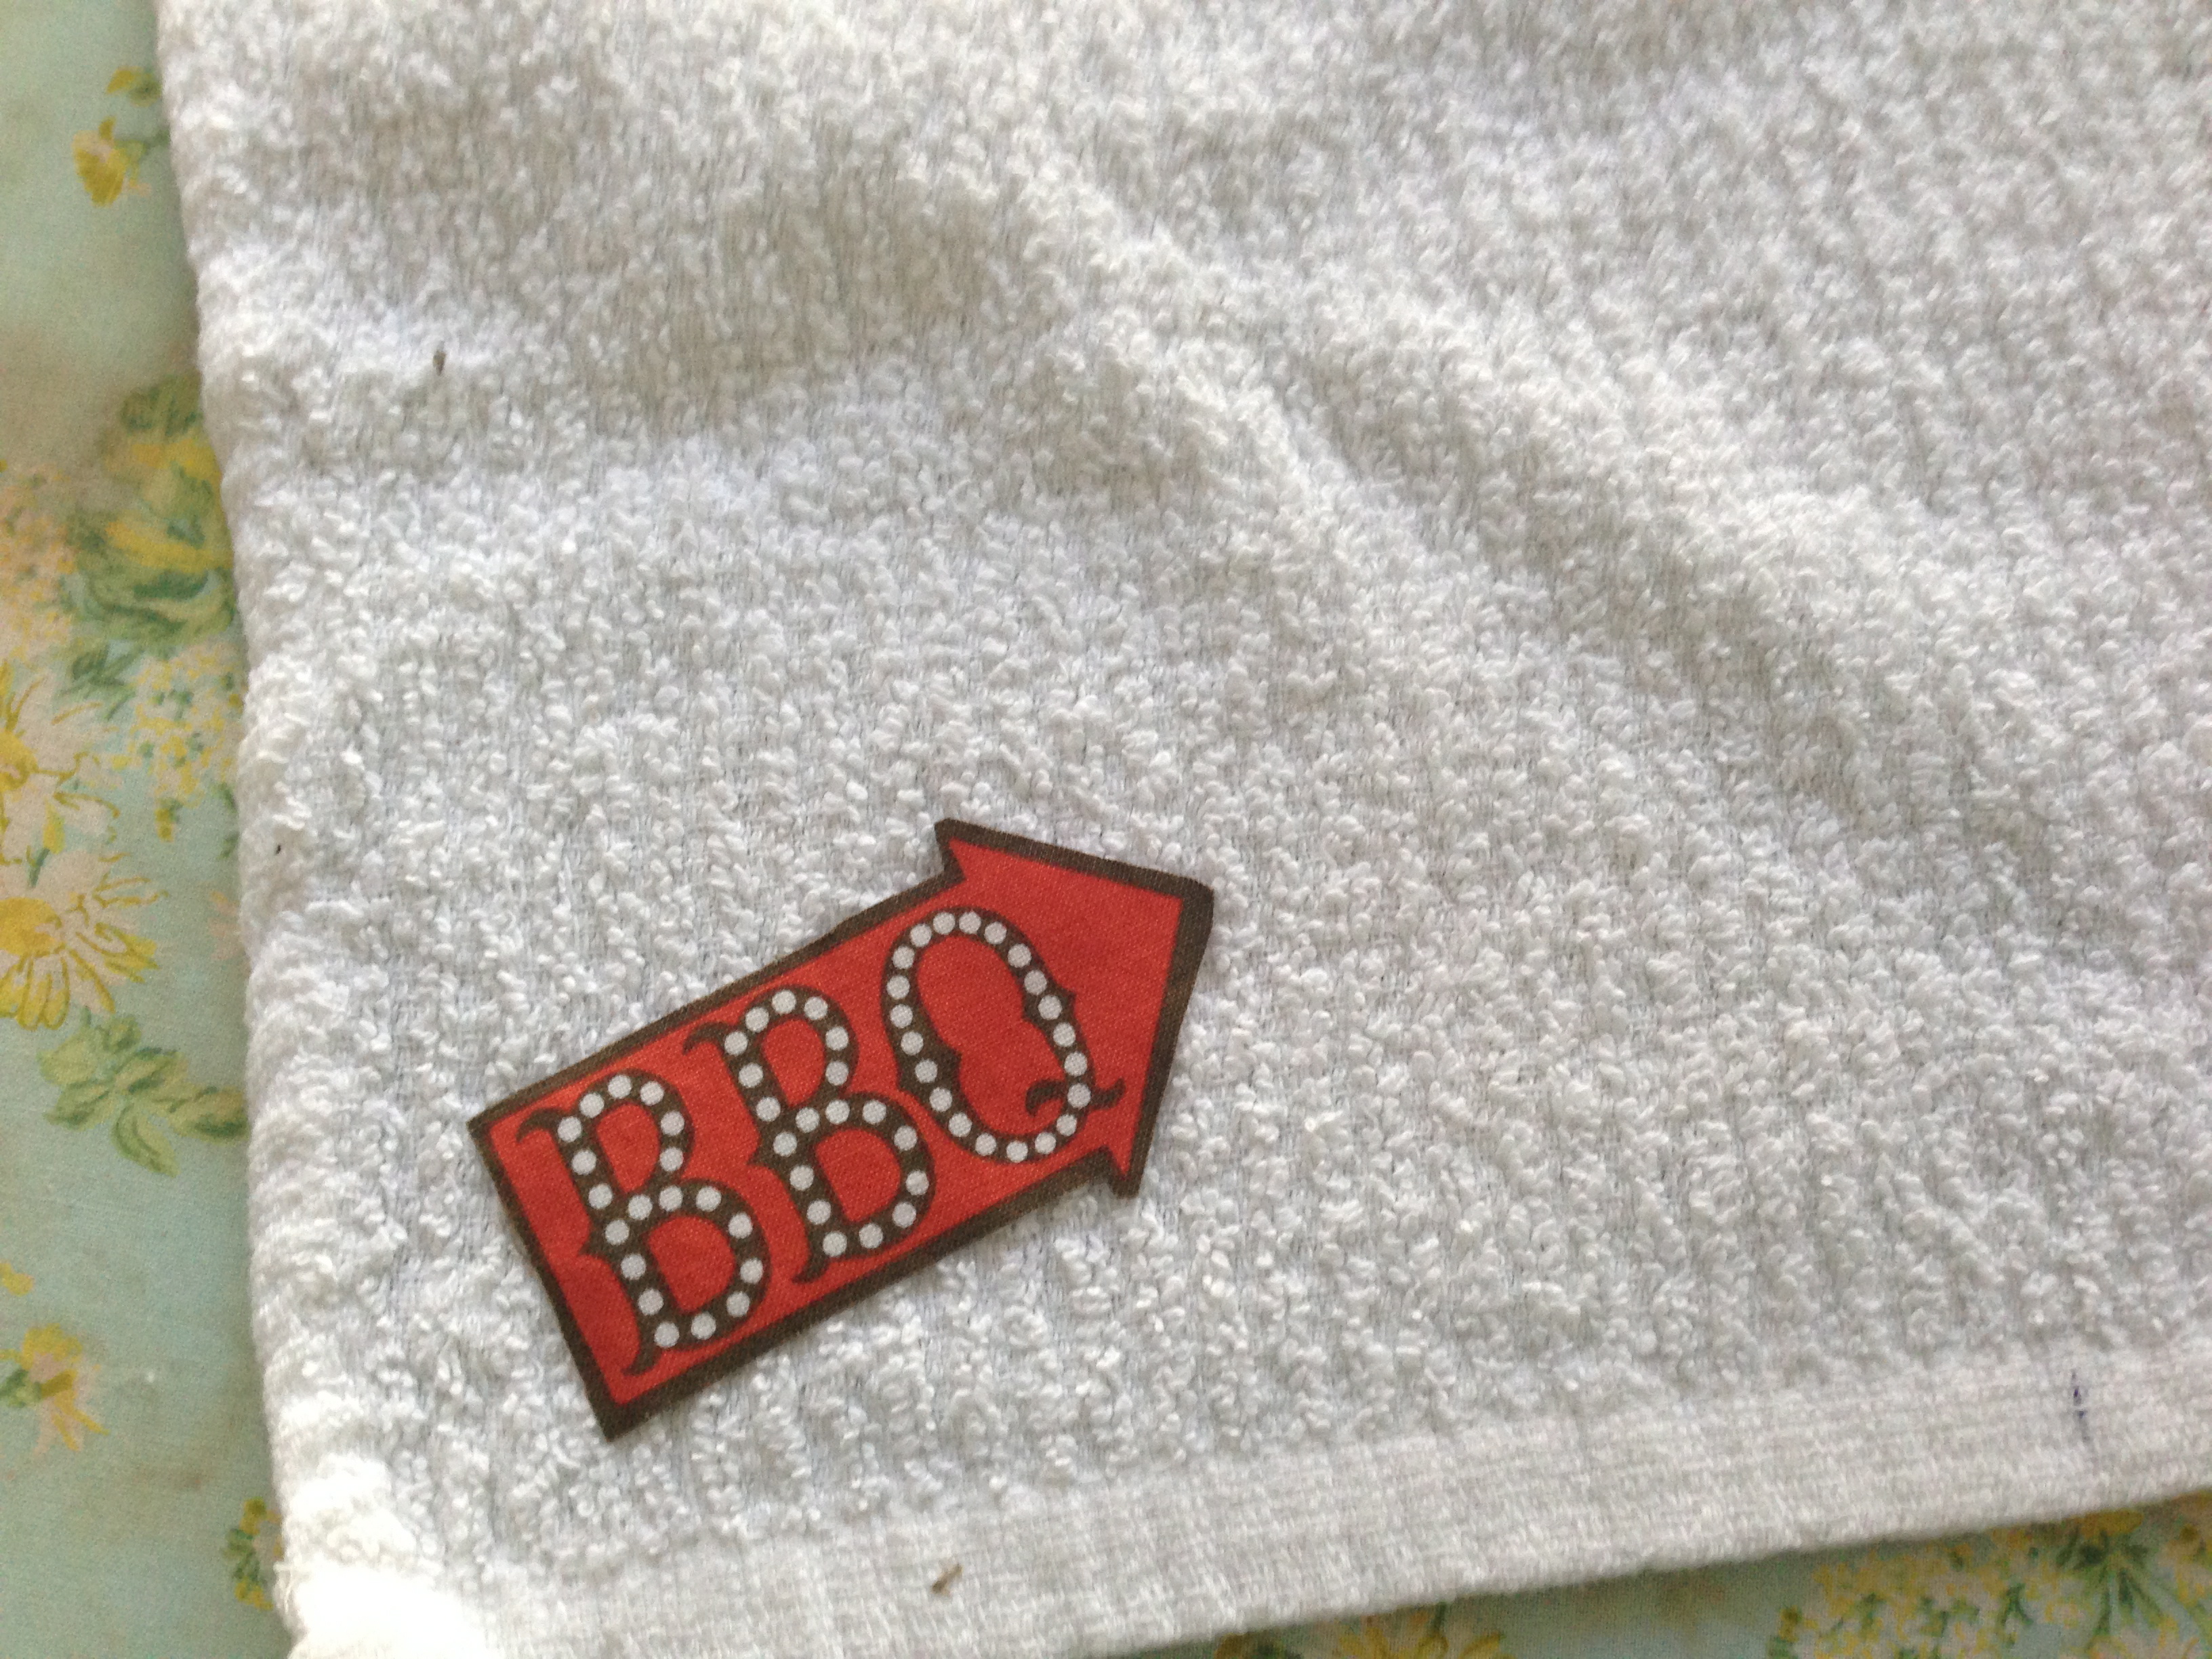
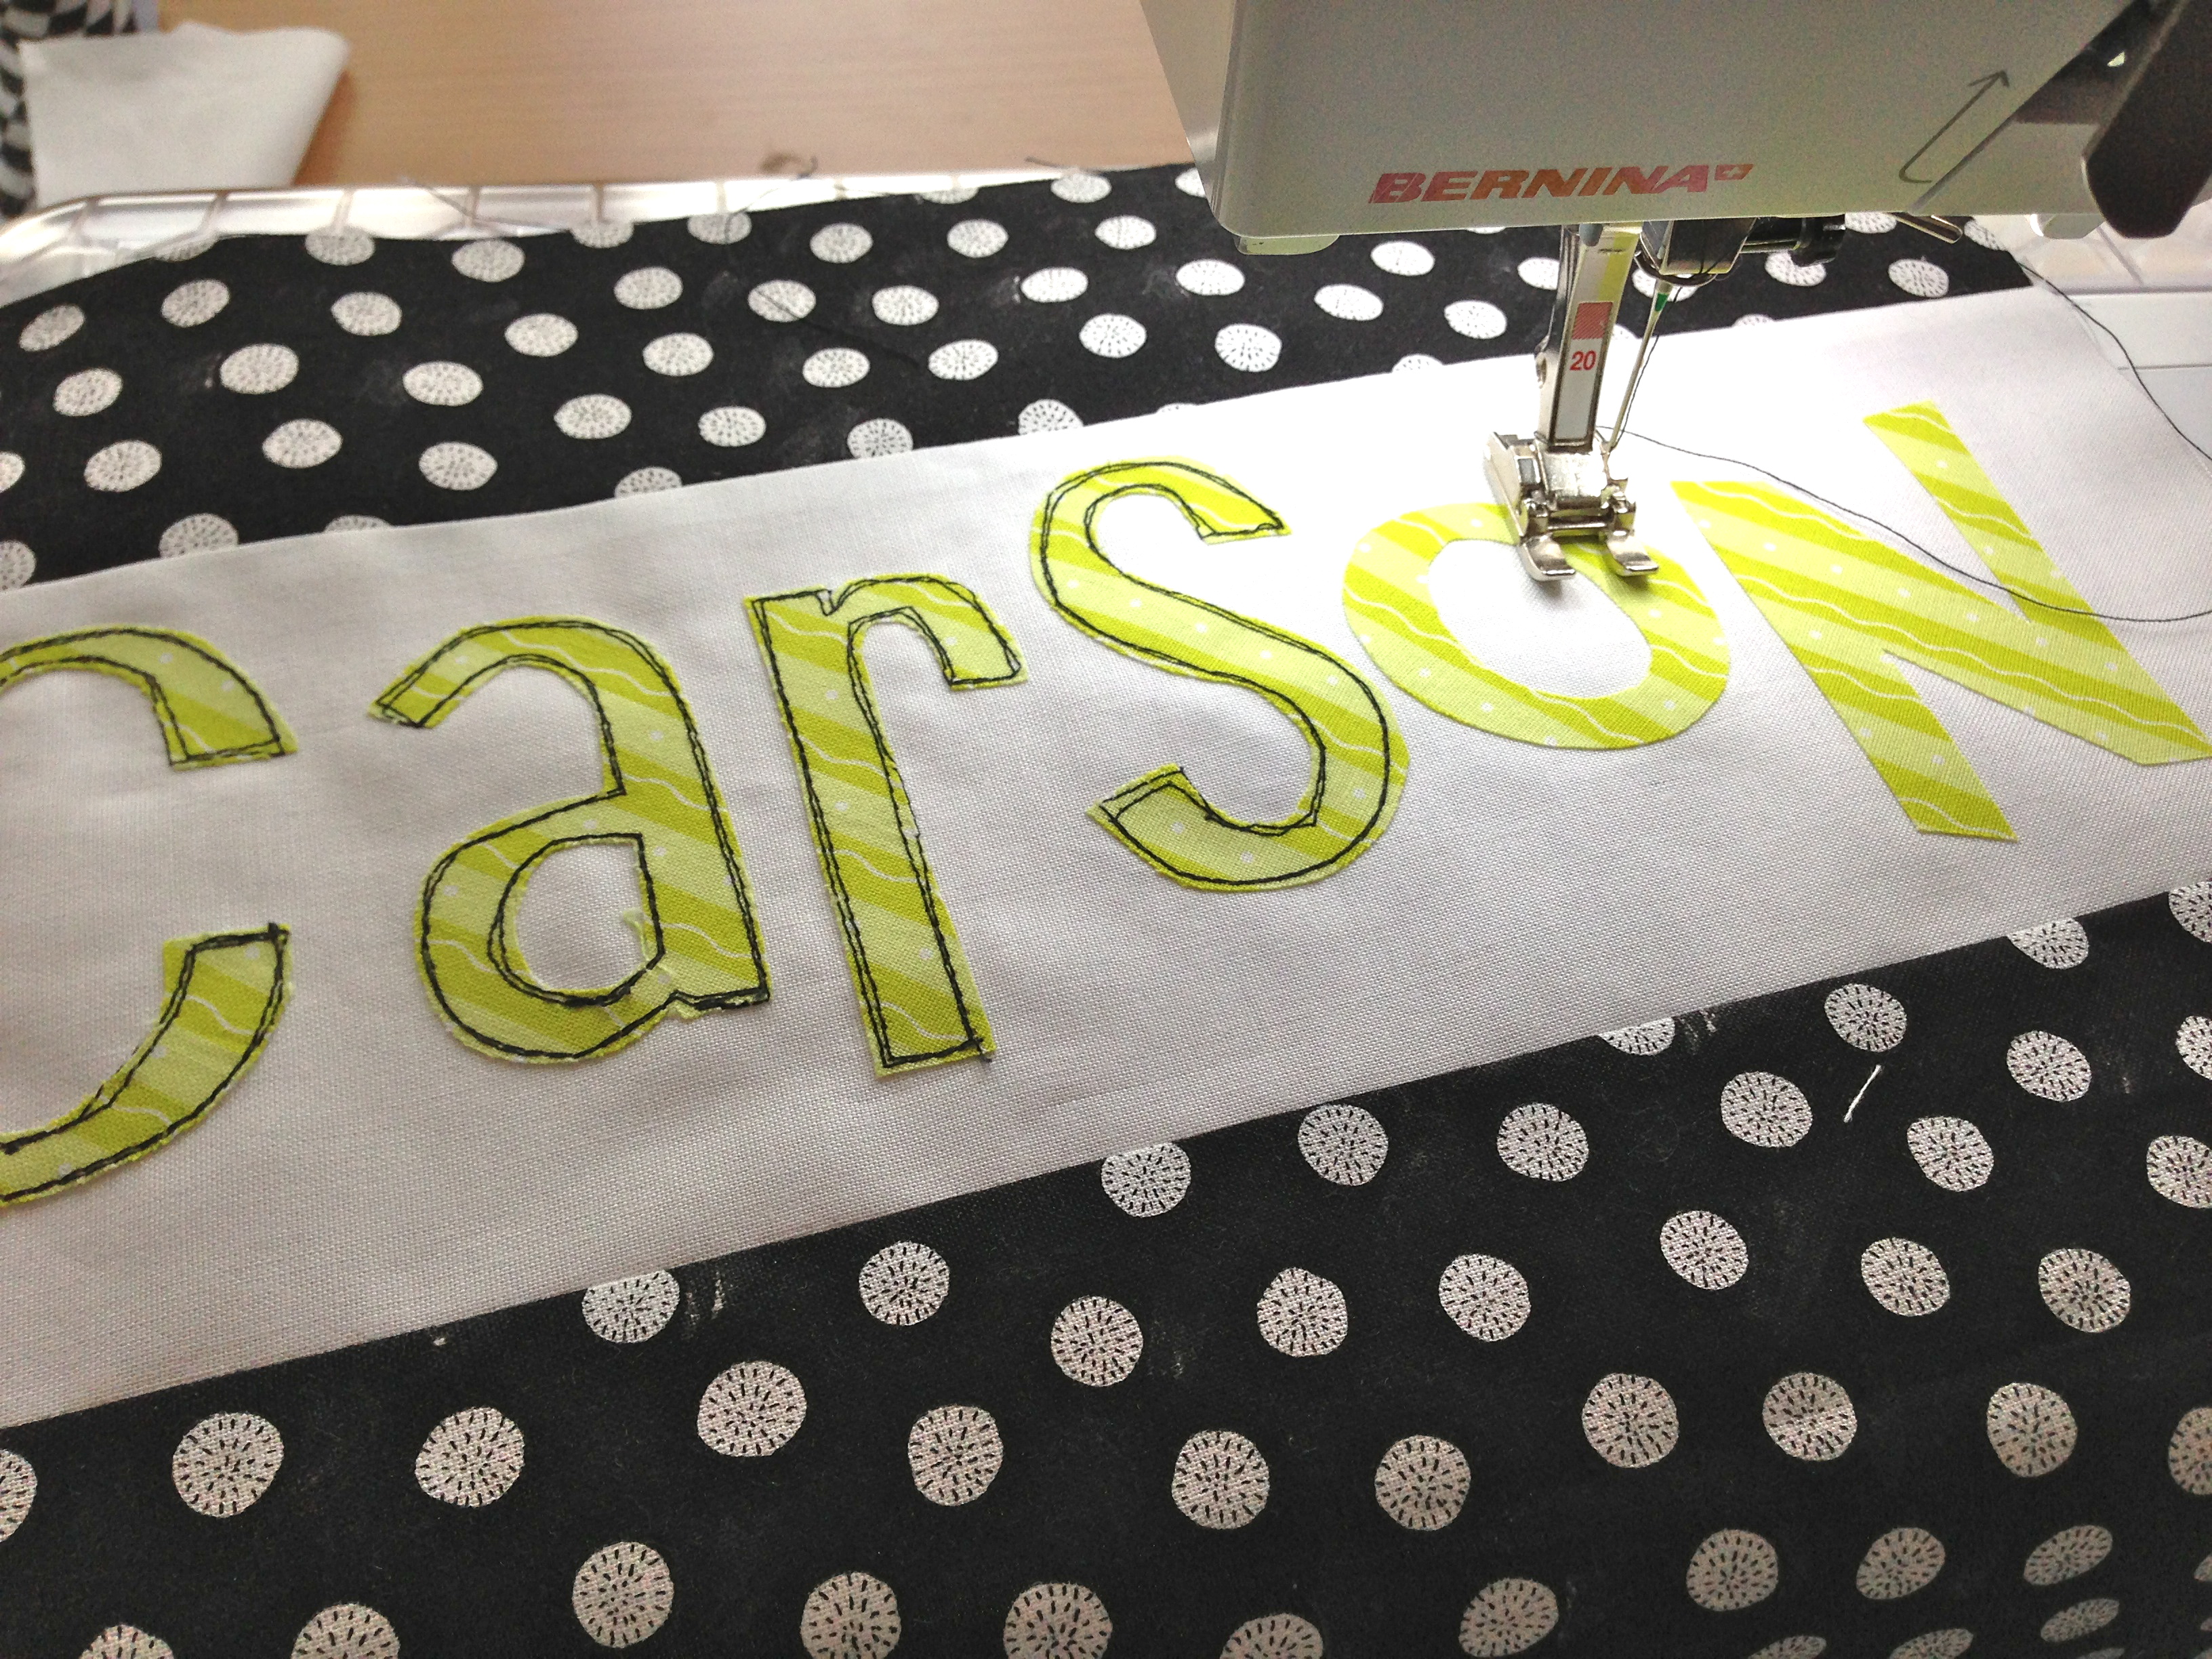
Sew around each image with a straight stitch.father's day sewing tutorial napkin_5

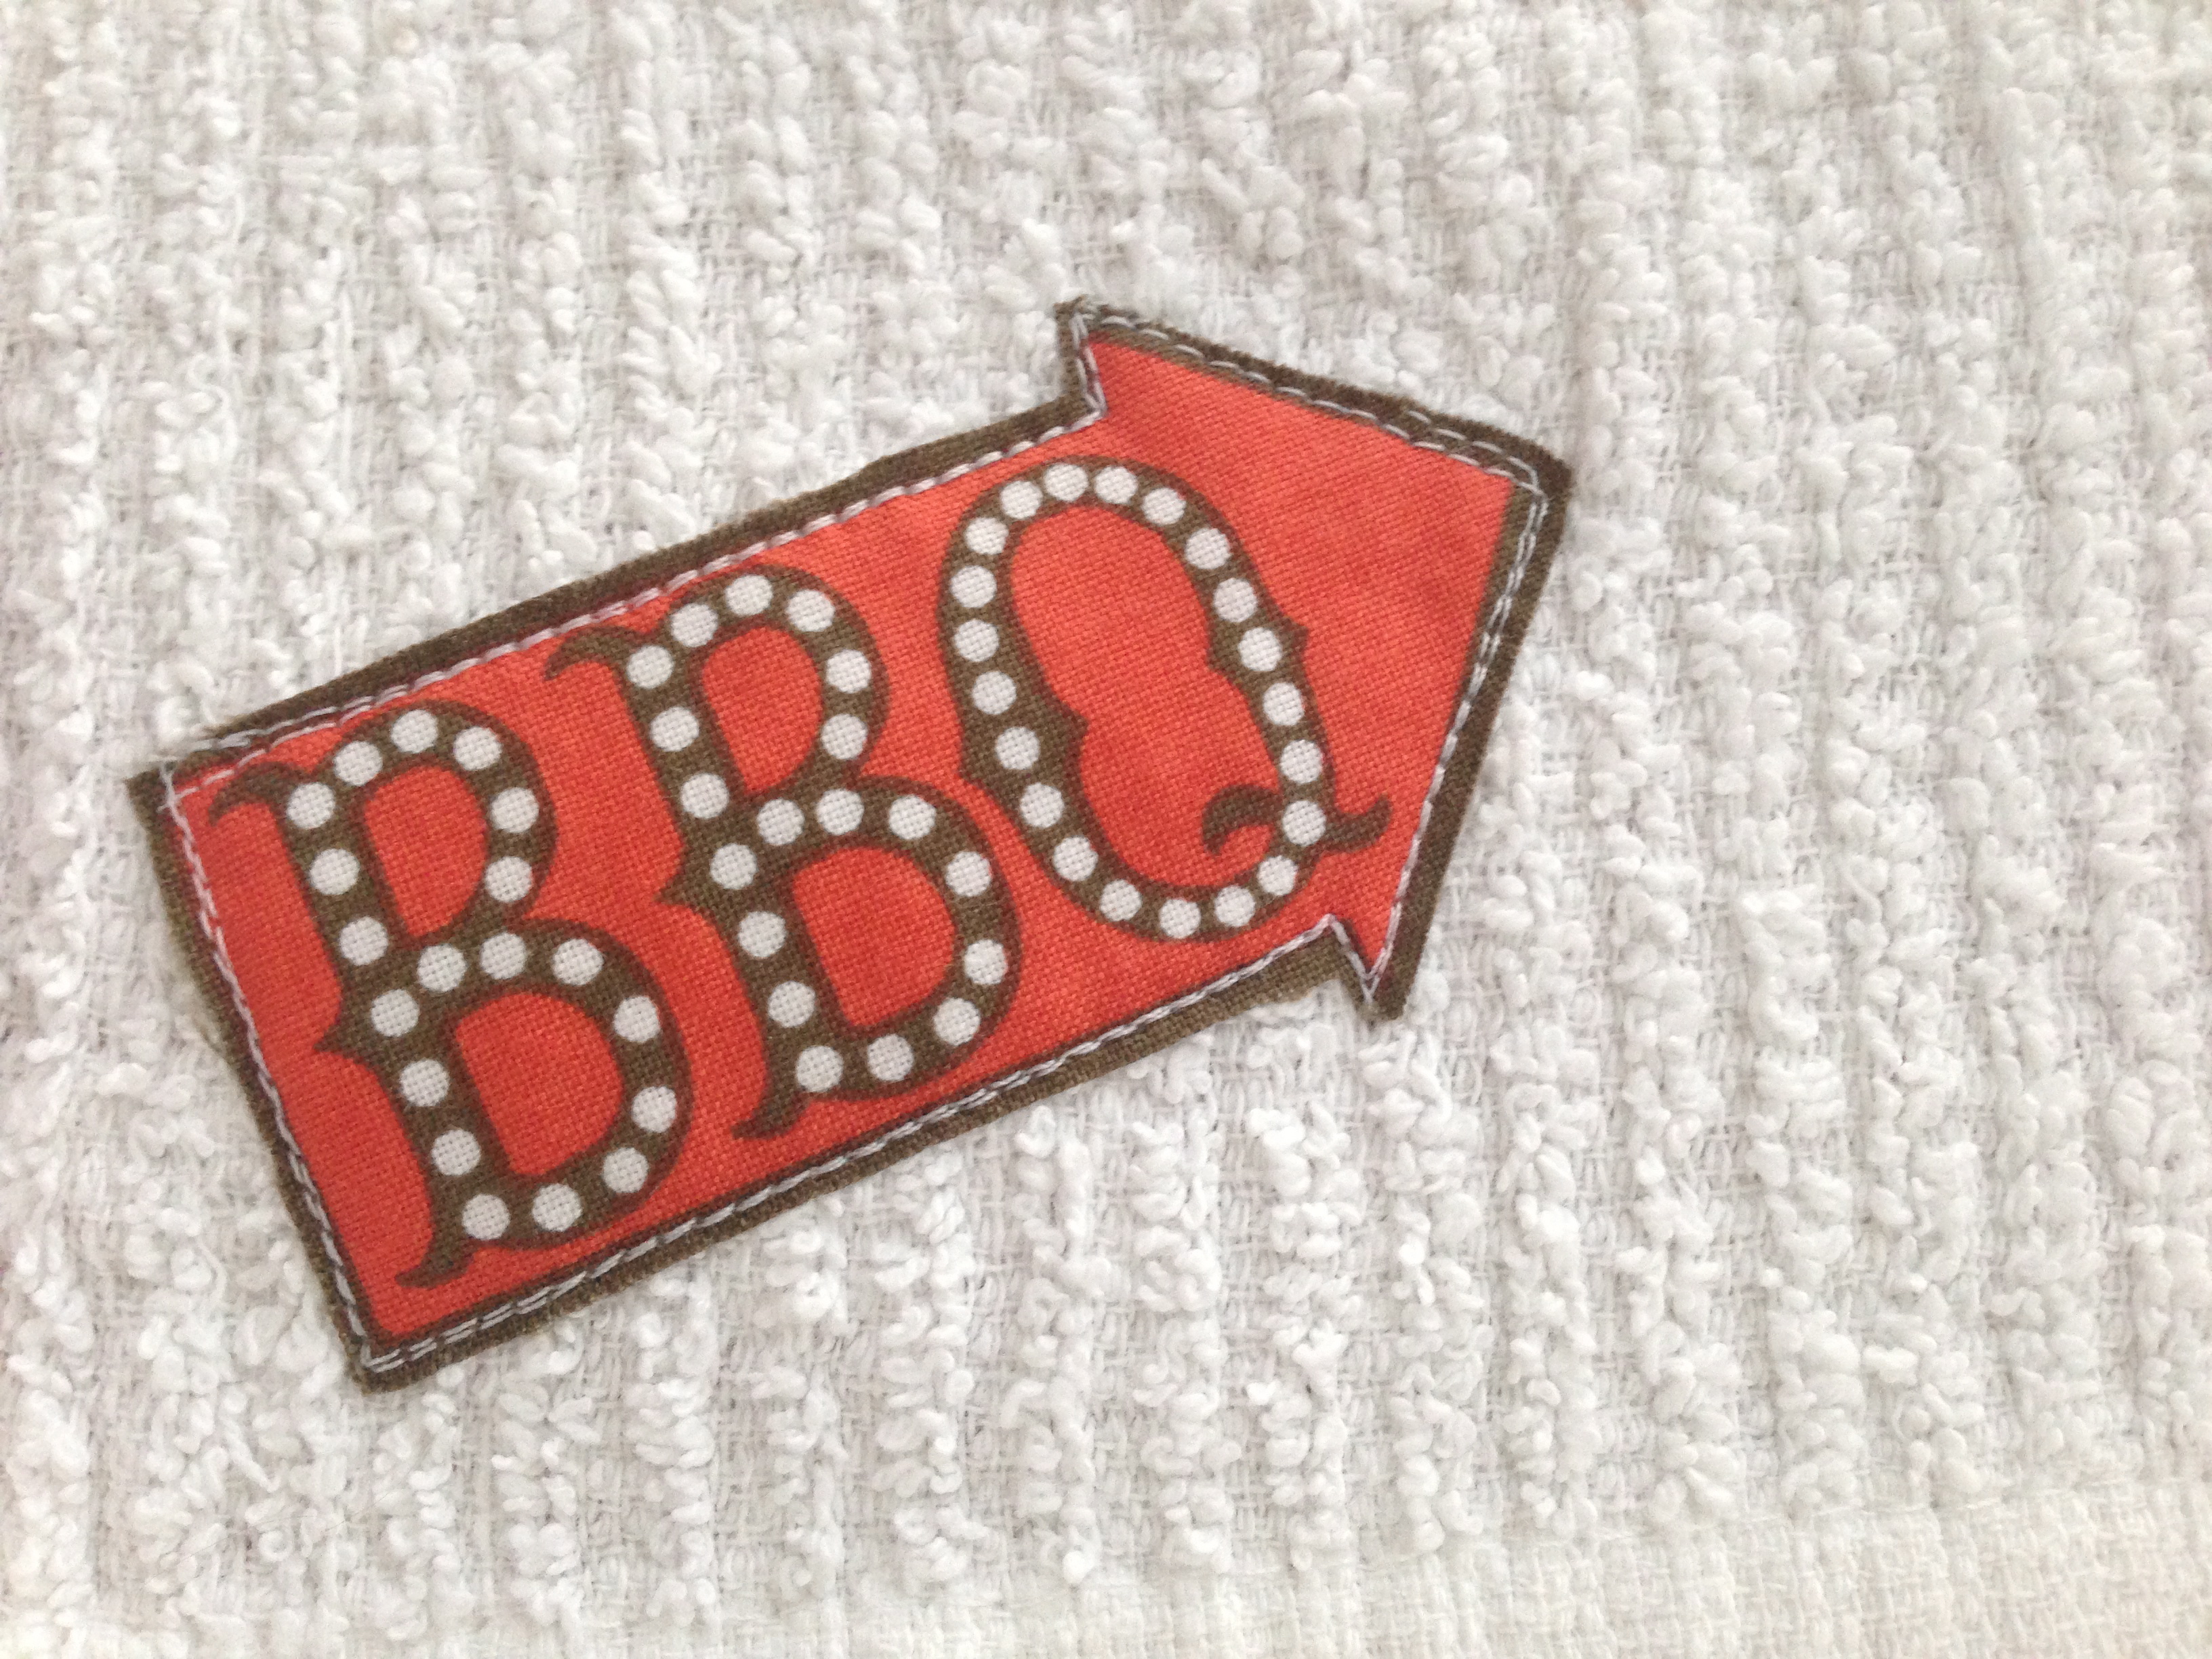
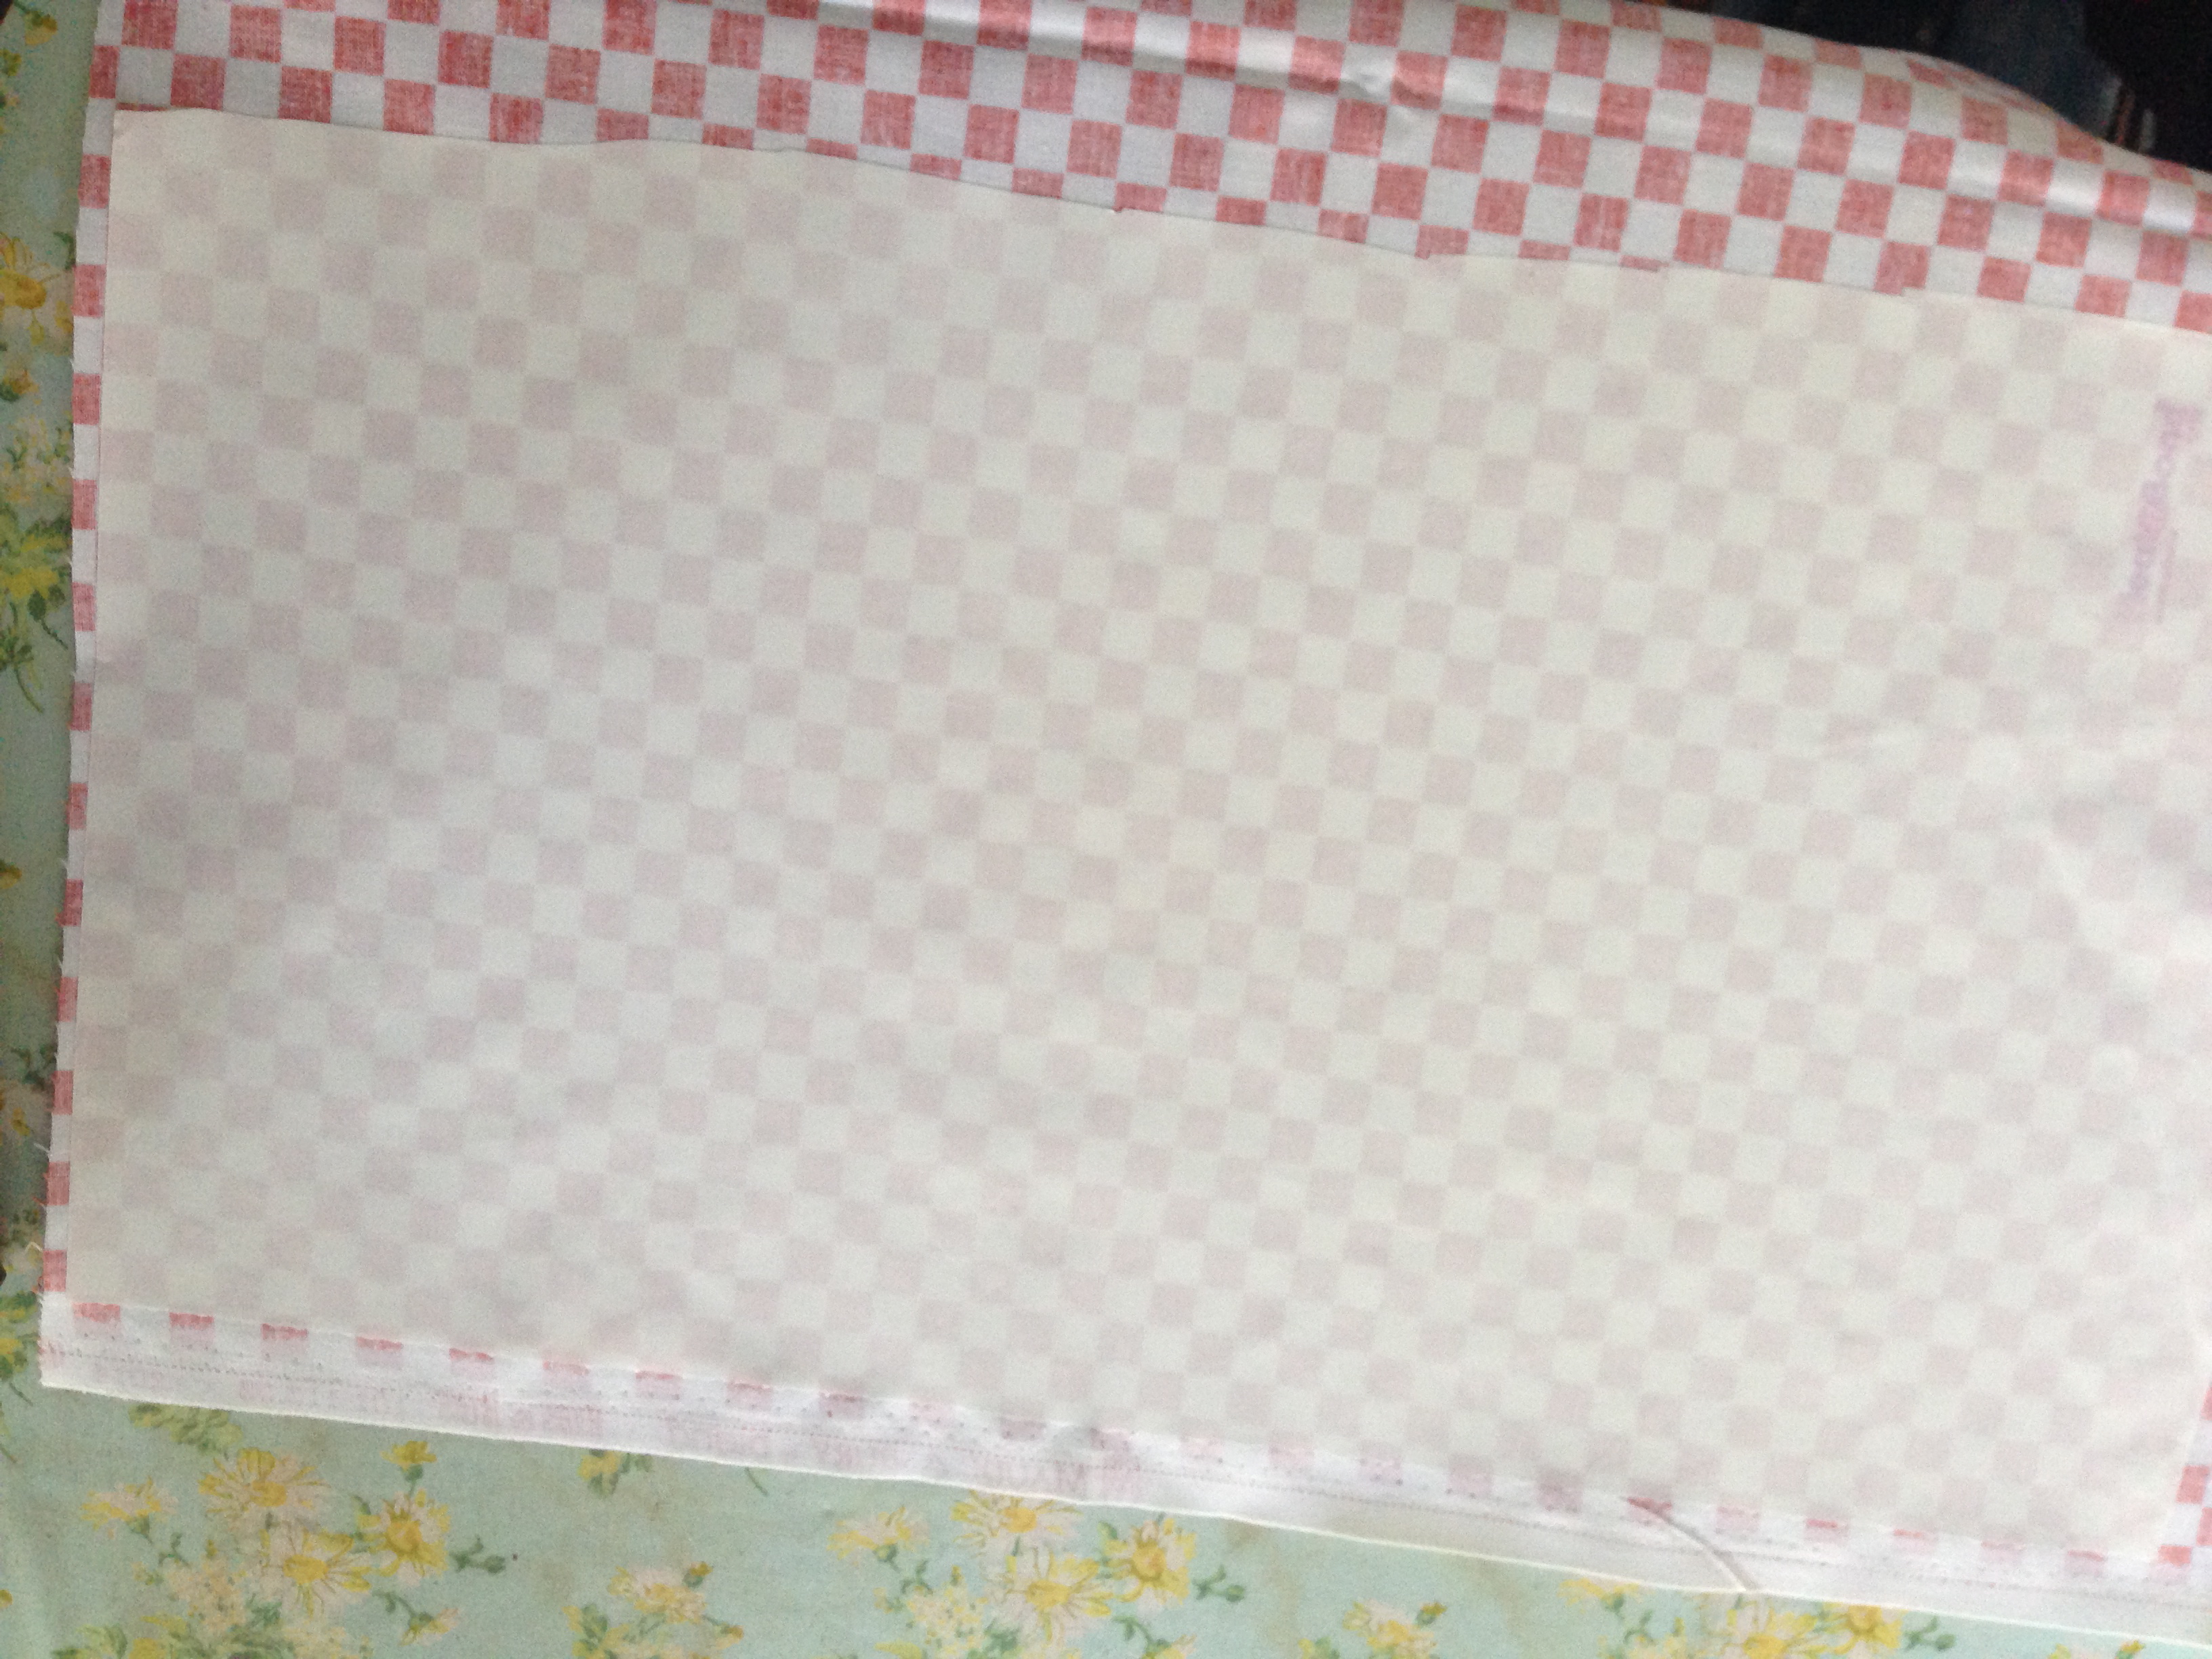
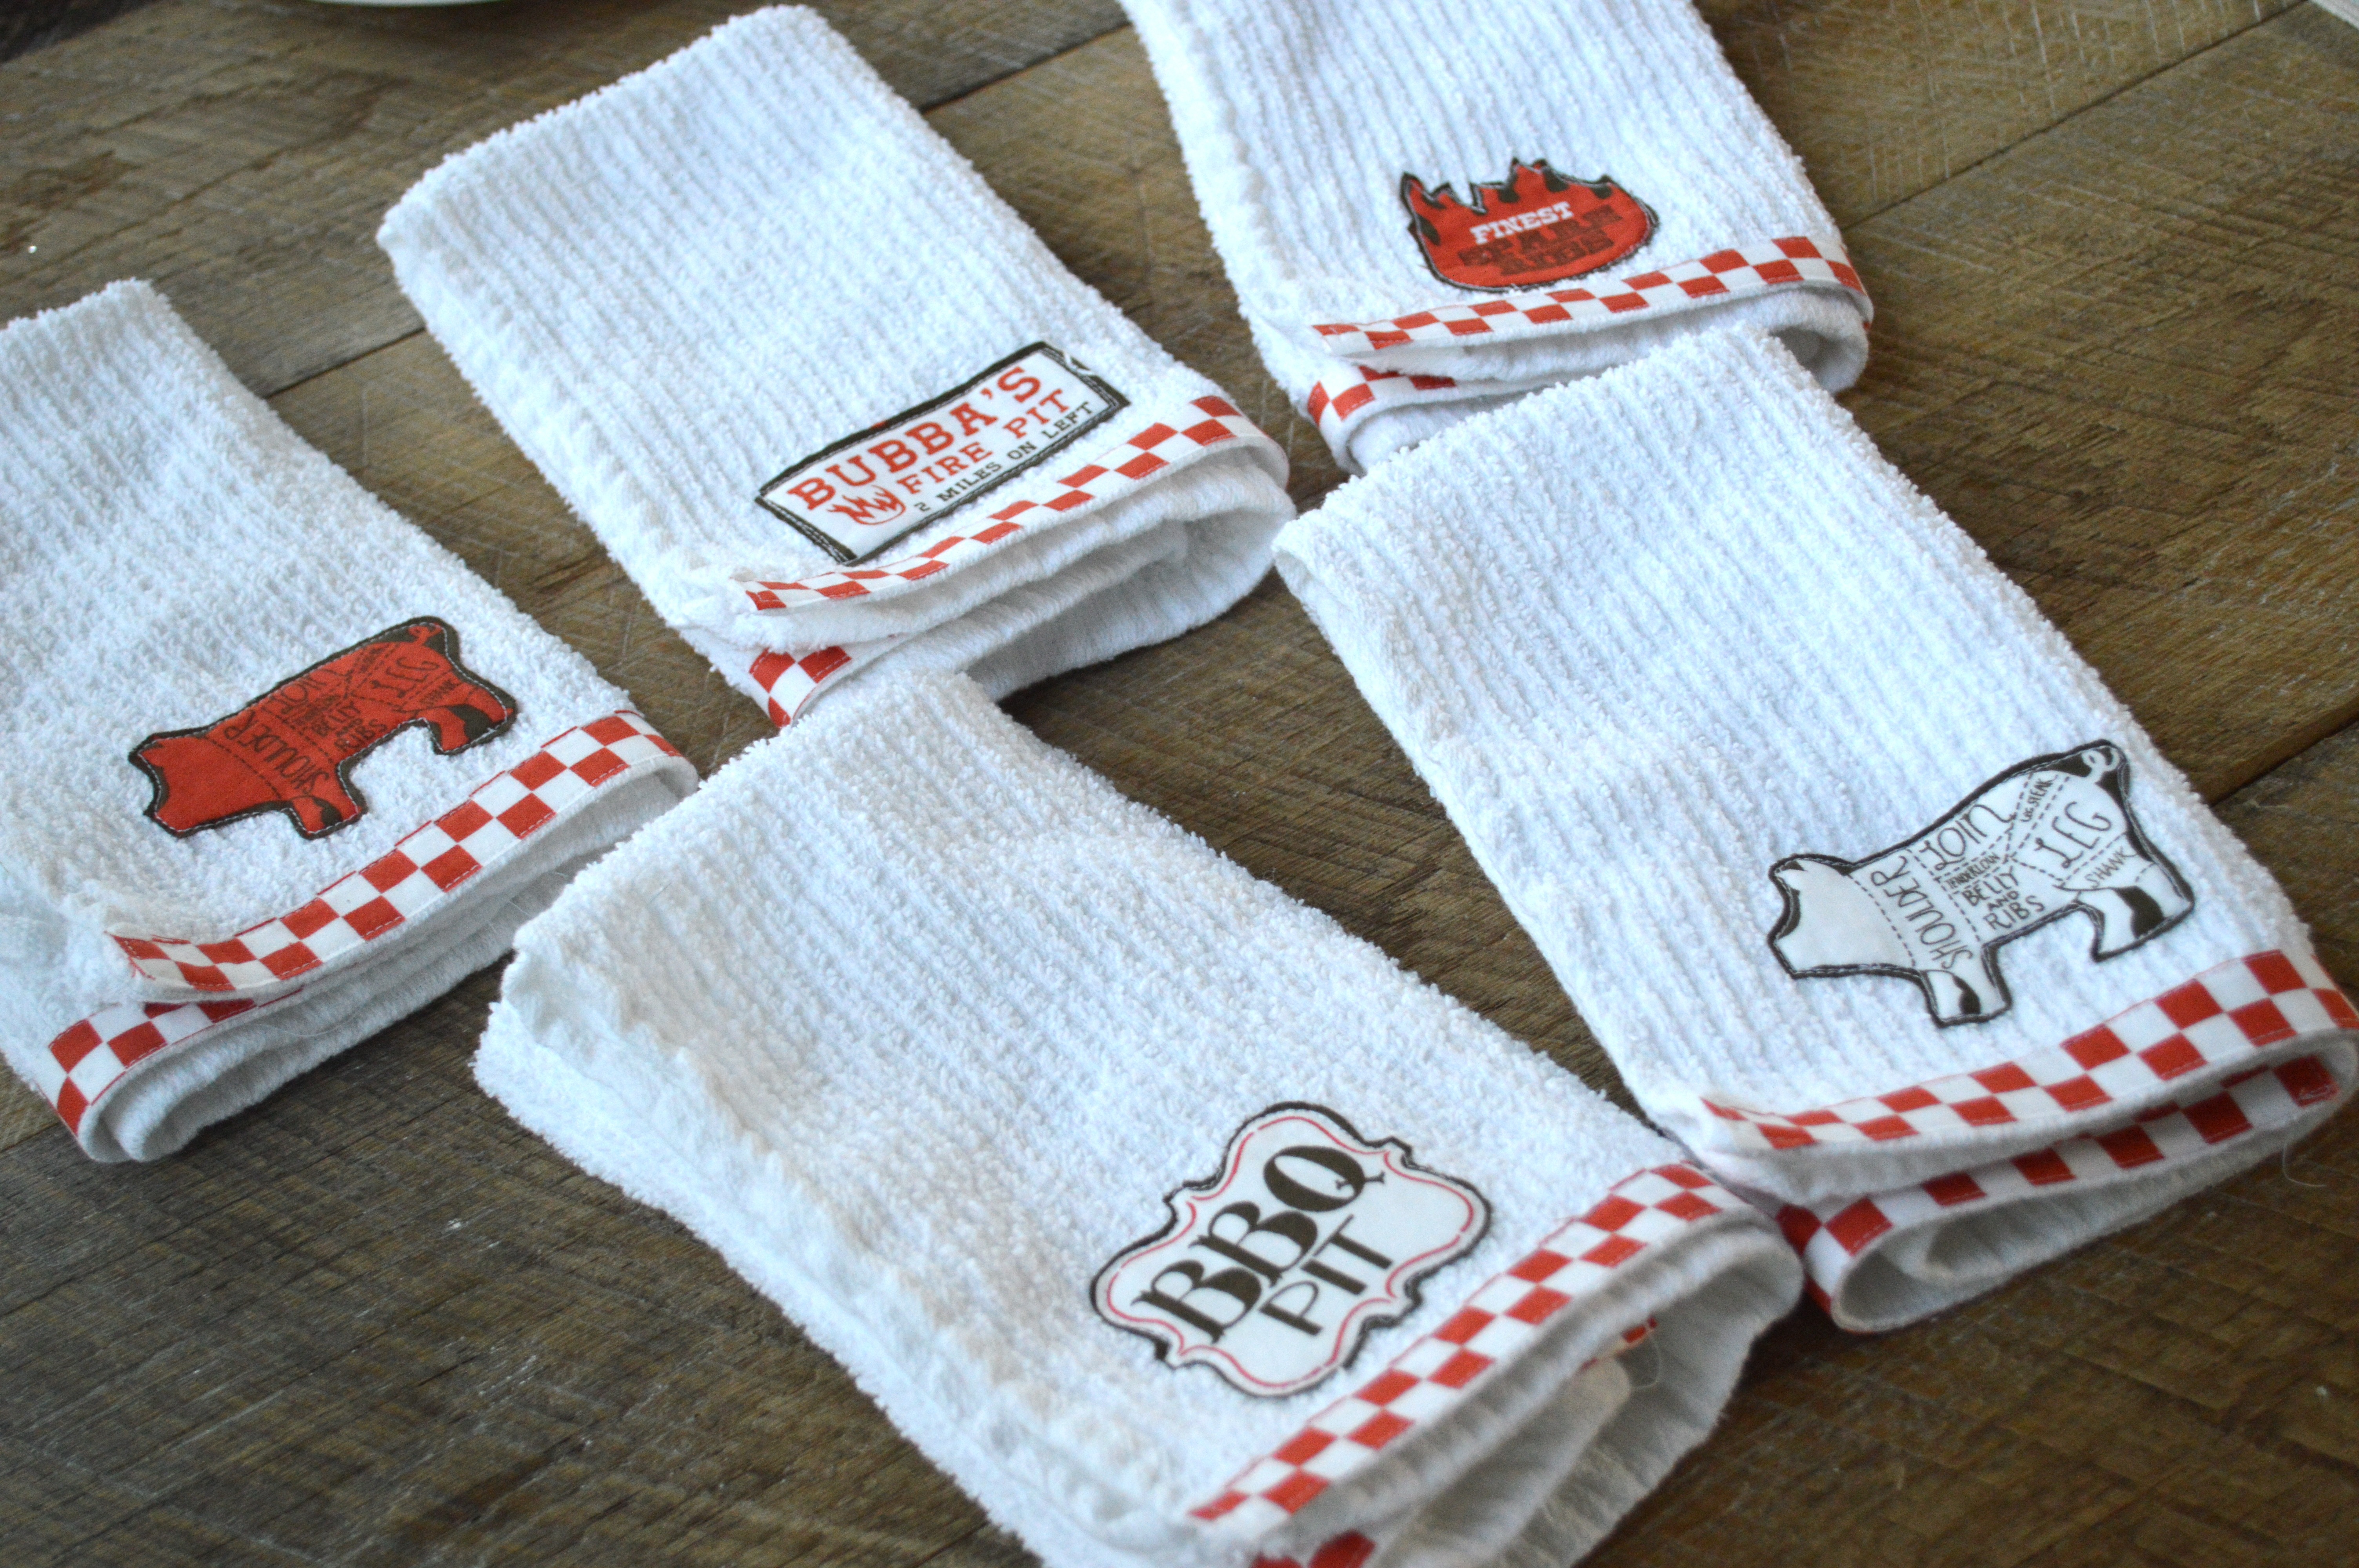
Iron another piece of Heat n Bond to the wrong side of the checker board fabric.  (This is a little bit of a “cheater” way to add an accent strip to the towel.)

father's day sewing tutorial napkin_6

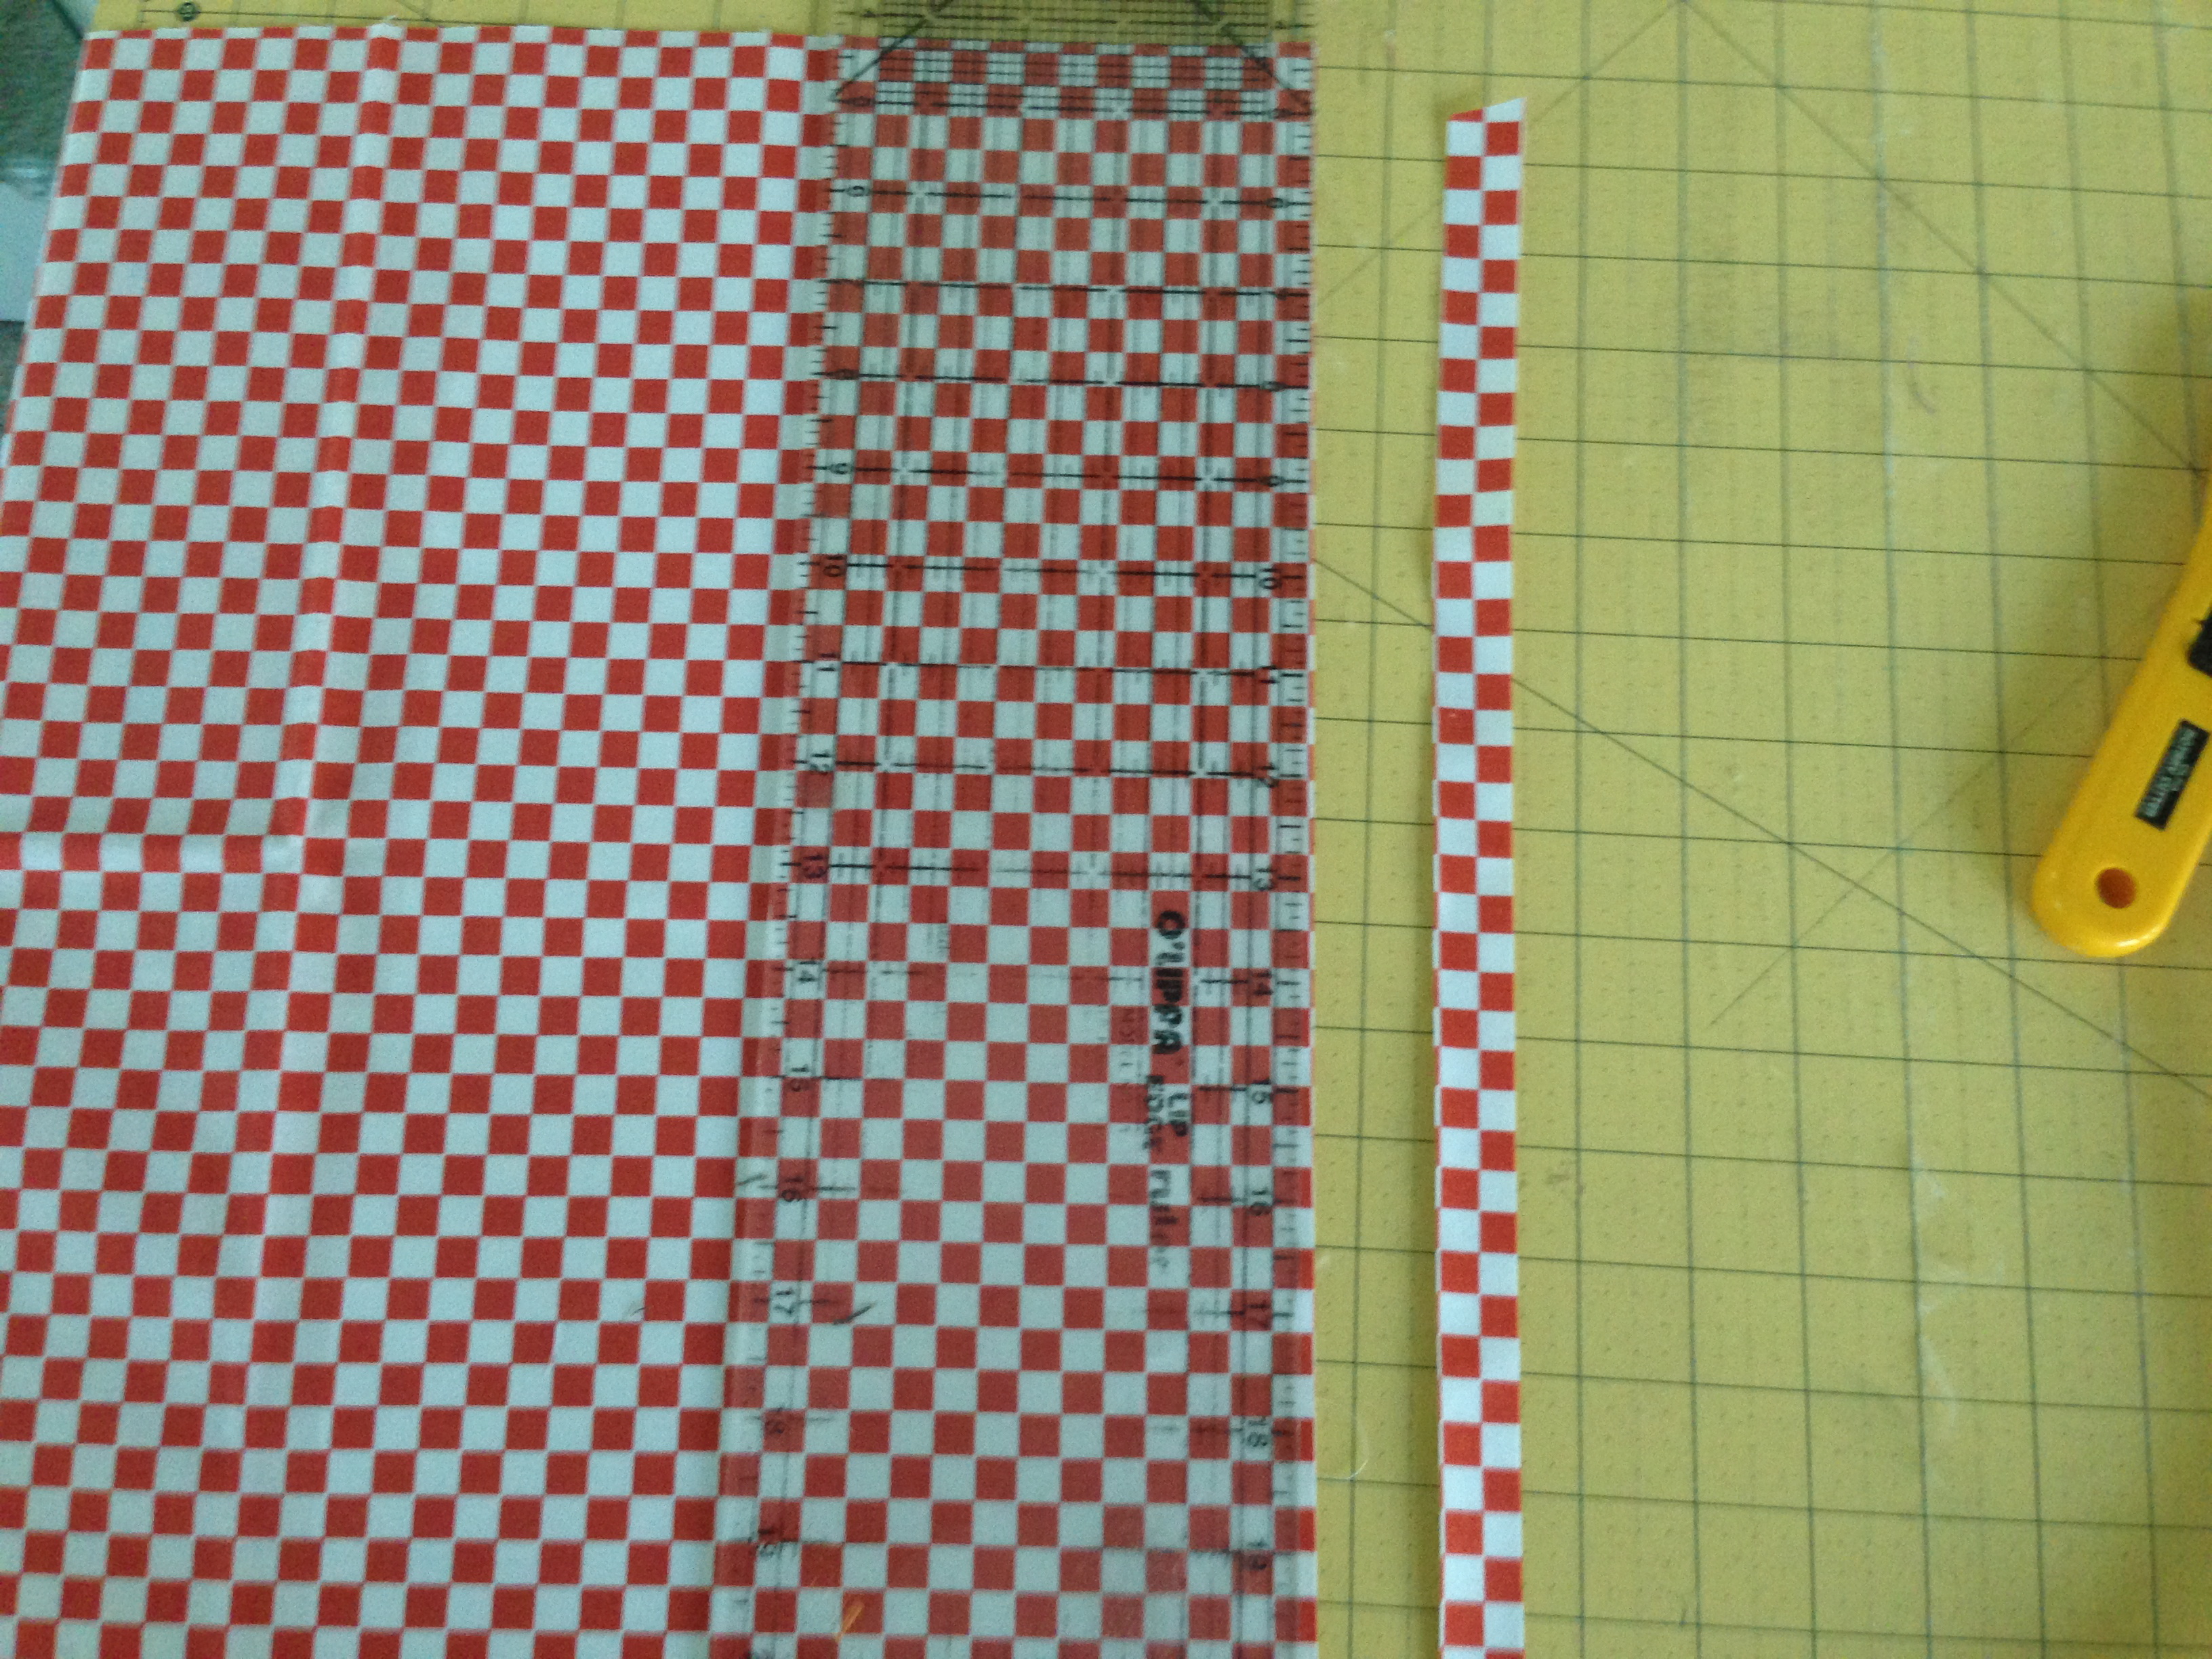
Cut strips of the checkerboard 2 squares wide.  Peel off the backing fabric.

father's day sewing tutorial napkin_7


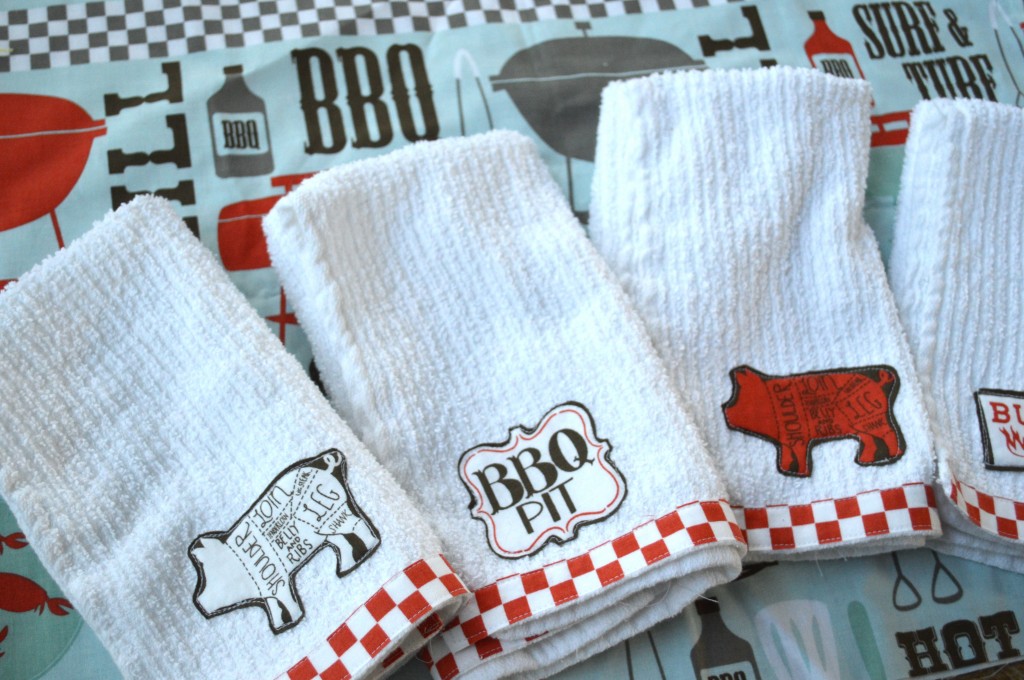
Iron it to the bottom of the towel and top stitch around the strip.  Now make enough for everyone coming to your Father’s Day BBQ!!father's day sewing tutorial napkin

father's day sewing tutorial napkin_12


father's day sewing tutorial napkin_9

father's day sewing tutorial napkin_14

Frozen Sketch Book Case

 My 14 year old and her friends are obsessed with the Frozen movie!  They have seen it 3 times, they spend all their time drawing images from the movie and listen to the songs over and over.  For Christmas I thought it would be cute to get them each a new sketch book and make a case for it out of Frozen fabric.  I am not big into “Character” fabric, but I really liked this print.

I used my Coupon Pouch Tutorial and changed the dimensions to 26″ x 15″.  Everything else is exactly the same!

They freaked out when they opened them today!

These are some of Ella’s latest drawings, I think they are so cute!

I kind of want one for myself 🙂

Amanda

Happy 1st Day of School

Today is our first day of Kindergarten!!  I made the teacher a quilted composition book out of apple fabric.  I love this fabric!  I also made her an apple keychain.
 

 I wrapped it up with 2 containers of sanitizing wipes.  I hope she likes it!!  I know I would 🙂

Amanda

Apple Keychain Tutorial

It’s that time of year again…..YIKES!!!  I can’t believe the children are headed back to school.  I am such a summer person!!!  I designed this keychain for Therm O Web.   They are super cute and easy to make – you can give them to your teachers or clip them on your child’s backpack!  Click HERE for the tutorial!

Amanda

9-Patch Big Block Quilt Tutorial

This has been such a fun week of quilt tutorials!  
 I made this quilt with lots and lots of love.  It’s for a friend who is battling cancer.  Sometimes only a hand-made quilt can express how you truly feel about a person.
I love this pattern because it showcases larger print fabrics which I am always drawn to!

 This quilt is made up of 9-patch blocks and plain blocks.
Quilt blocks measure 12″ finished
Make (10) 9-patch blocks
Cut (10) 12.5″ squares of theme print

Select your fabrics and lay them out how you want them in the 9-patch.  Cut them in strips of 4.5″x WOF

Sew them together in 3-strip sets: row 1, row 2, and row 3

 Press seams so they alternate for easy intersection pinning.  Cut in increments of 4.5″

 Do this with each of the strip sets until you have stacks that look like this:

Pin at seams
 
Here you can see how I did my pressing:

 Lay out your 9-patch blocks with your 12 1/2″ squares alternating.  Sew them in rows and join rows together.  This quilt is 4 squares across and 5 squares down.

I put flannel on the back and free-motion quilted it – it’s so cuddly!! 

Amanda

Monster Truck Baby Quilt

Modern Monster Truck Quilt

I came up with the idea for this quilt when I was invited to a baby shower for a friend who loves going to Monster Jam.  I wanted a cute, modern take on the monster truck and this what I came up with. To begin, select fat quarters  of various prints.  I choose gray, white, black and green.  You can choose any prints or patterns you like.  I only had 8 different fabrics, but I would have liked 12.IMG_1708

Next, cut your fabric into 12.5″ strips, then sub-cut into the following measurements:monster truck measurements
Do this with each of your fabrics.  Now mix up the pieces and sew the following 12″ (finished) block:  (quarter inch seams)monster truck quilt block
You want the top and bottom pieces to be the same fabric, and the center to be different.  Press the seams toward the 6.5″ piece.
I love personalizing quilts, especially if they are gifts.  To add a name to the quilt block, print the name using your favorite word processing program.  I tried several different fonts until I got the one I liked.  If you can, reverse the image when you print.  Take your Heat N Bond® Lite and trace the reversed name in pencil.  Iron the piece of Heat N Bond® with the name to the WRONG side of your fabric.  Then, cut the name out.  Peel the backing off and arrange the letters how you want on your quilt block.  Finally press to attach it.
I outlined the letters using a straight stitch.  I went around each letter twice to give it the “sketch” feel….which I love.
IMG_1743
  After you make 11 of these blocks, lay them out.  For the truck applique block, cut a white square 12.5″x 12.5″
  IMG_1709
Next,  follow the same technique using Heat N Bond® Lite to applique the monster truck to the quilt block.  Click HERE for the truck pattern.
To finish the quilt, sew the blocks together to form rows and sew the rows together.  Quilt as desiredIMG_1782
IMG_1783
IMG_1784
IMG_1787
Note: These are big blocks which help make this a fast, easy quilt to put together in a day.  If you would like the same look, but with smaller blocks here are the measurements:
For a 10″ finished block: cut pieces 10.5″ x 5.5″, 10.5″ x 2.25″, 10.5″ x 3.75″
For an 8″ finished block: cut pieces 4.5″ x 8.5″, 1.5″ x 8.5″, 3.5″ x 8.5″
Essentially the bottom strip is 1/2 the block size, the top strip is 1/3 the block size and the center strip is 1/6 the block size.
Here is a little peek of the baby shower – we centered the colors and theme around the quilt.  We even hung the quilt in the entry way so it was the first thing people saw as the entered.
IMG_1802
I love that we were able to get a stack of tires!!
Monster truck cupcakes – complete with “dirt” on the top.IMG_1805
IMG_1808


Amanda

Summer Hoodie Tutorial

Today I am a Contributor over at Ginger Snap Crafts!  I love Ginger’s blog – she has such great crafts, ideas, and tutorials.  I am sharing this fun tutorial for altering a Hoodie Sweatshirt.  They are so much fun to make!  Click HERE to go to the tutorial.

Amanda

A few more zipper pouches

My sister needed a few birthday gifts so I made here these.  I just can’t get enough of these little pouches.  {tutorial}

Amanda

My Favorite Zipper Pouch {tutorial}

I am excited to share the pattern for my “Favorite Zipper Pouch”.
I needed a few gifts and whipped up some zipper pouches.  I have made lots and lots of zipper bags.  This is the one I always go back to.  It holds a lot but isn’t huge.  I have probably made over 50 of these!


Are you ready??
Prepare the bag:


Iron the fusible fleece to the wrong side of the outer bag fabric.
Measure a 1 1/2″ square and cut a notch out of the bottom corners of the outer pieces and the lining pieces.  This will create the pleat in the bottom of the bag.
Prepare the zipper:
I like to put little tabs on my zipper so the zipper is not directly sewn into the seam of the bag.  It reduces bulk and helps it lay flat.  I always measure my tabs larger then cut them down.
As you can see, I like to buy larger zippers than I need.  You can always cut them down for smaller projects!
Cut off the metal ends of the zipper.
Sew one of the prepared tabs to the end of the zipper.  Backstitch several times over the zipper teeth.
Now measure over and sew the tab on the opposite end of the zipper.  There should be 1″ of tab on each side.  The excess will be cut off in a minute.
Use your zipper foot and sew along the zipper.


Now you do the same process to the other side of the zipper.  Place the zipper face down on the right side of the outer fabric.  Line up the edges.  Layer the lining on top right side down. (pictured below)
Sew the zipper using the zipper foot.
Finish the bag:
Top stitch about 1/8″ next to both sides of the zipper.  This will hold the fabric in place and it won’t catch in the zipper.


Make sure the bag is unzipped!!!


Turn the bag right side out.


Stuff the lining down in the bag and press the bag as needed.  Done!!!


Amanda

Zipper Pouches

 I LOVE zippers!  Do you?  I spent so much of mu life avoiding zippers, I feel I am making up for it now.  (Like the time in my life I didn’t eat cheese….such a shame!)  I love going to the fabric district in LA and buying my zippers for 25 cents each – any length!!

I just finished these cute pouches.  My girls wanted to give them to their friends & teachers on the last day of school.  We really want to keep them all…..but happy to be giving them away 🙂  I am working on a tutorial so you can make some too!!!

Amanda