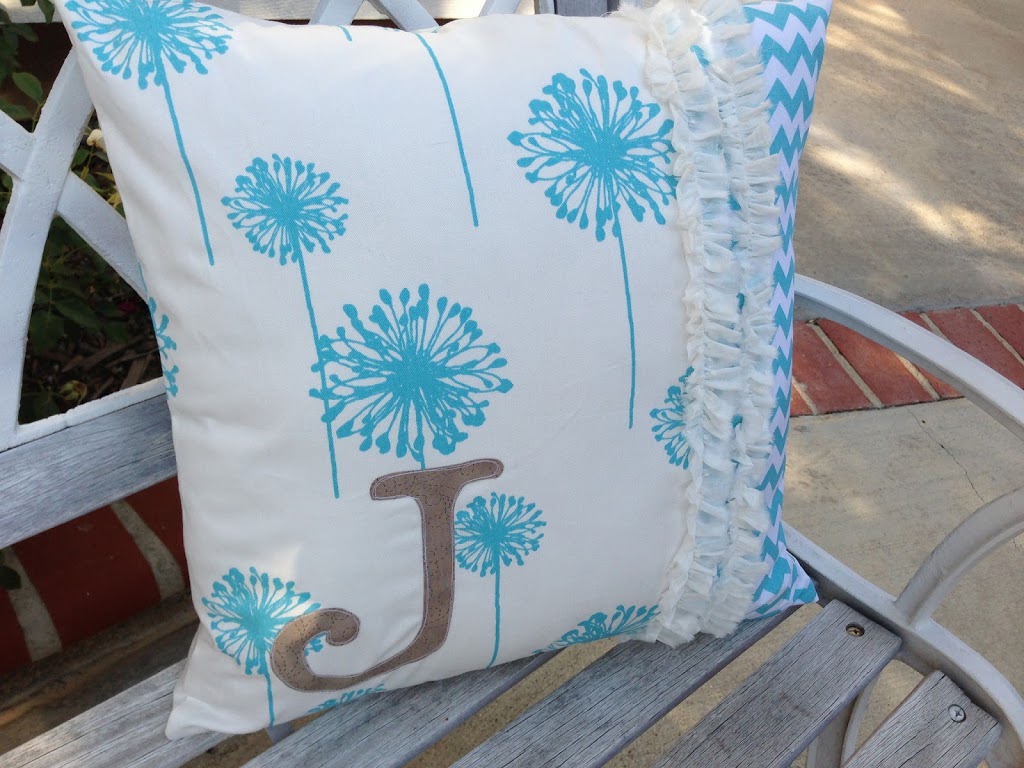
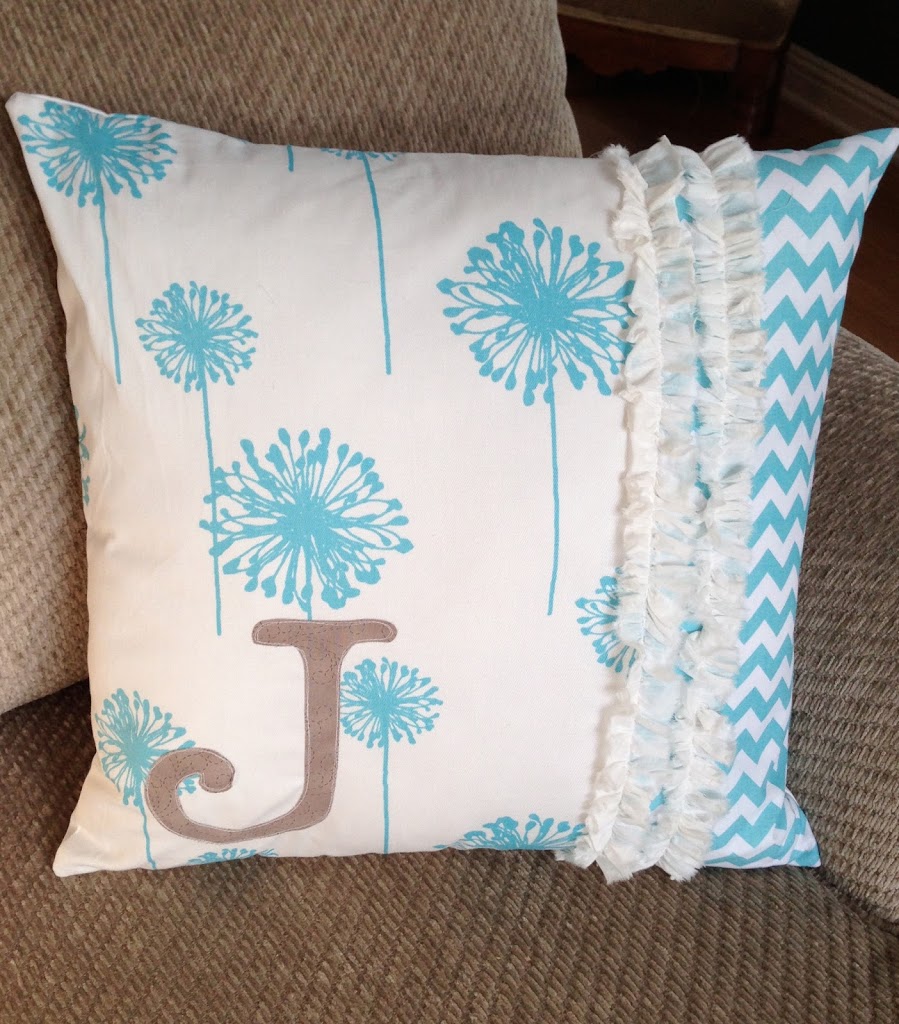
I am still not over my throw pillow obsession!! Lately I have been giving them as bridal shower gifts. I love making personalize gifts!! This one was for a friend who loves aqua!!
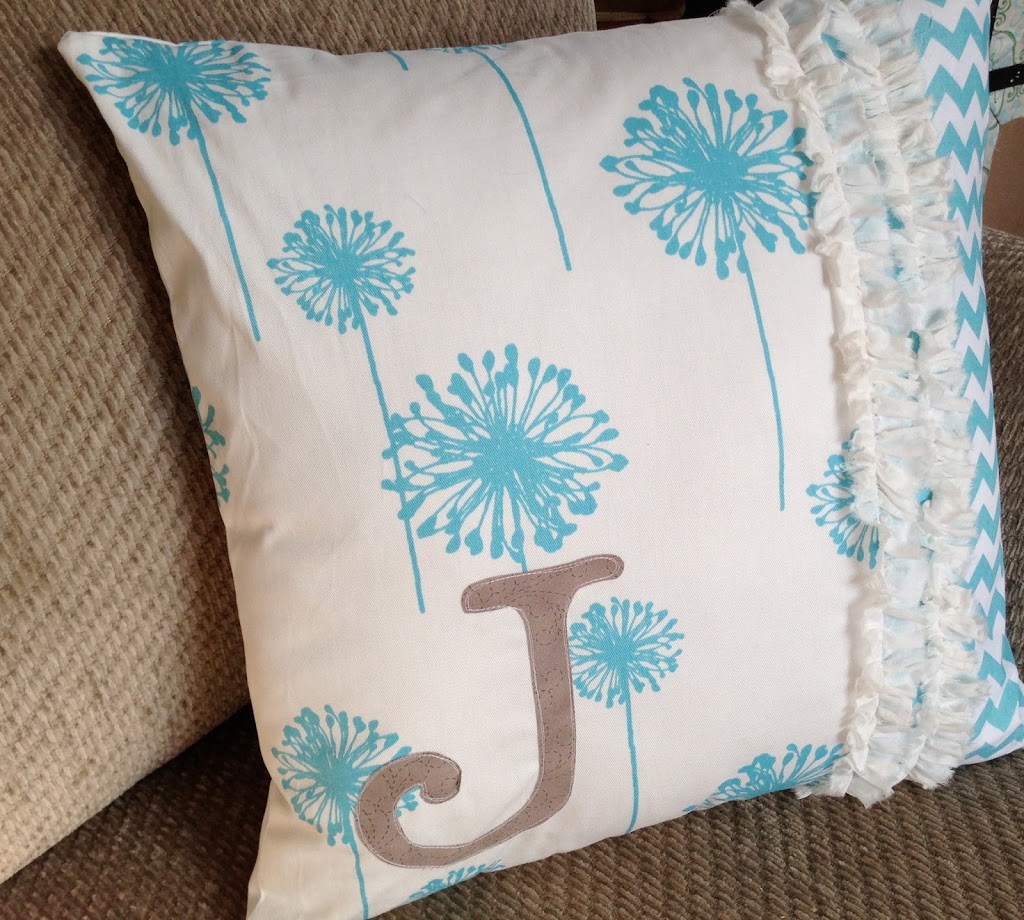
It turned out cute & she loved it!!

Saving the universe one project at a time!
I am still not over my throw pillow obsession!! Lately I have been giving them as bridal shower gifts. I love making personalize gifts!! This one was for a friend who loves aqua!!
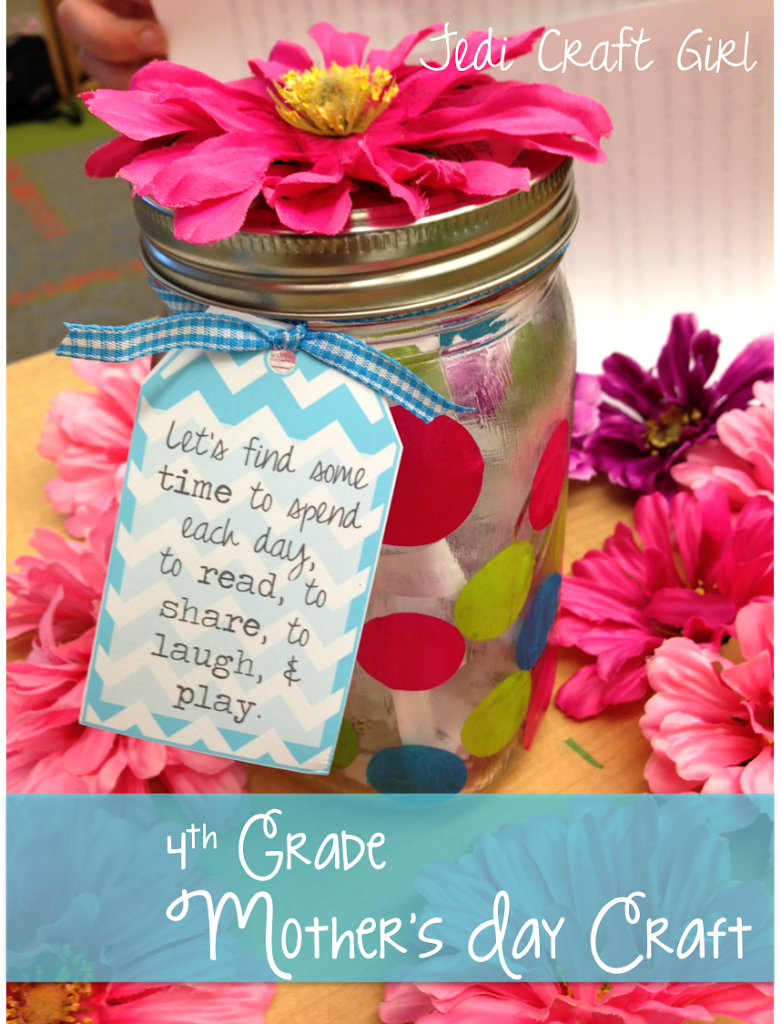
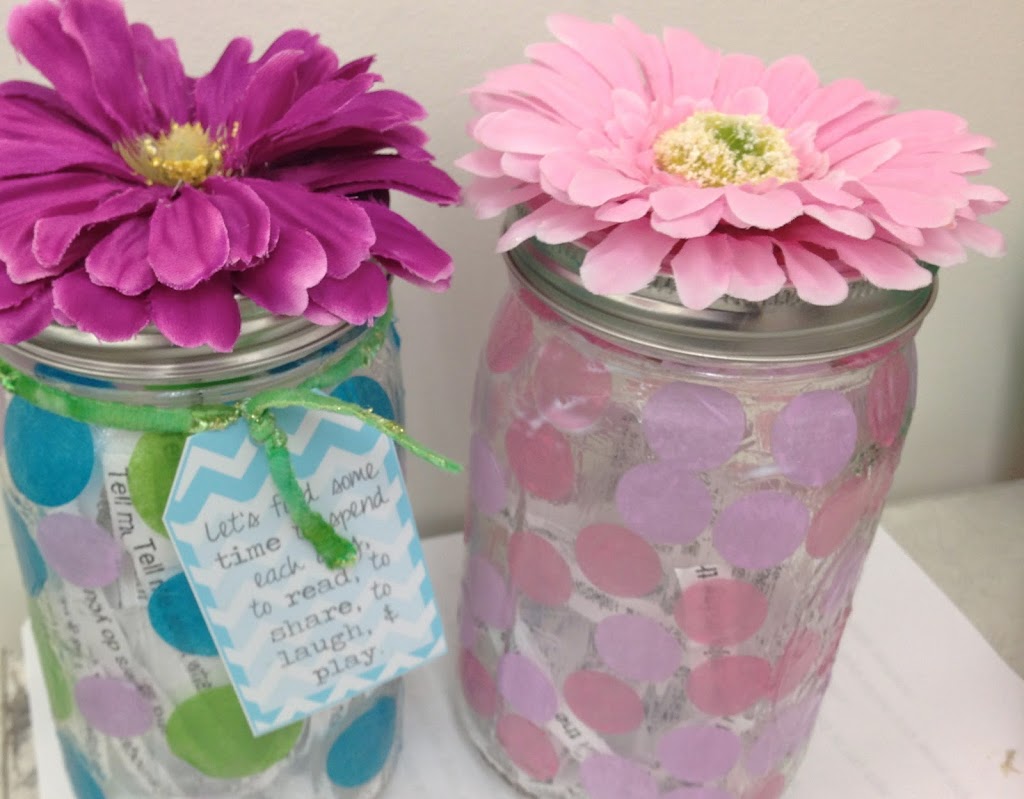
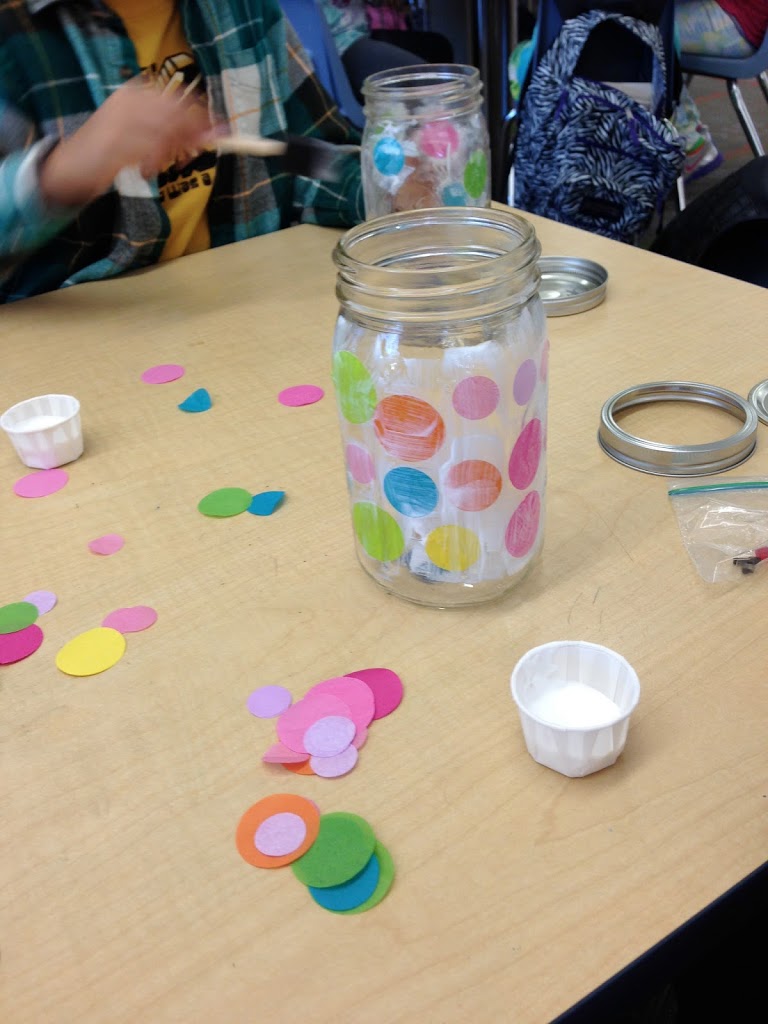
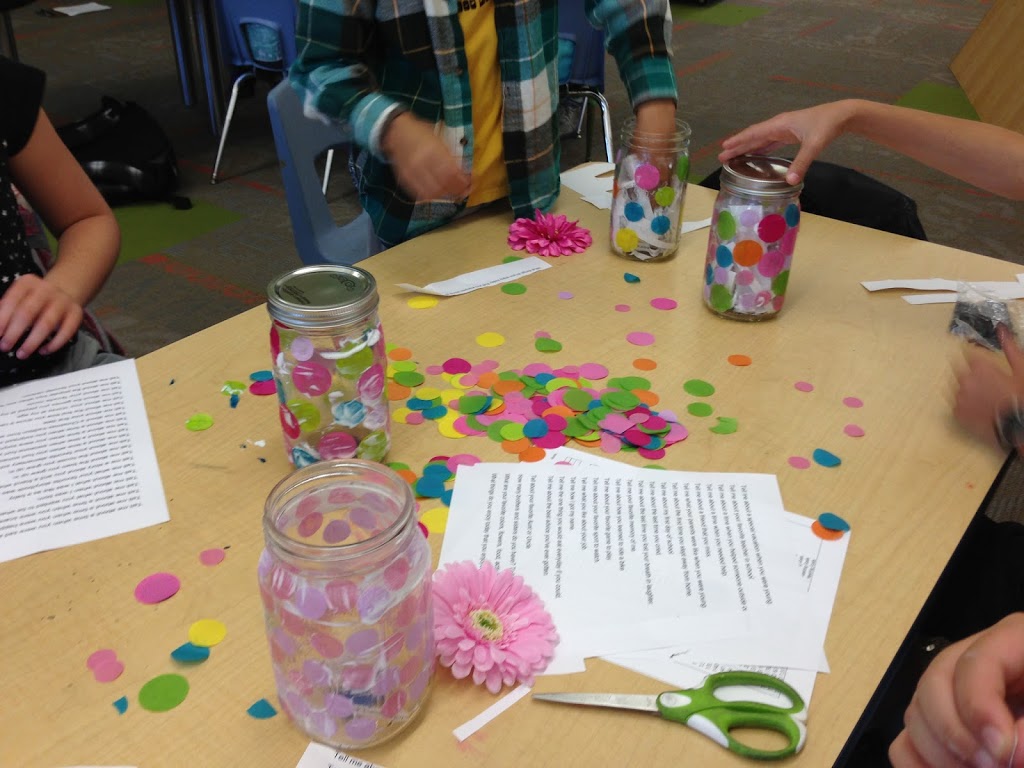
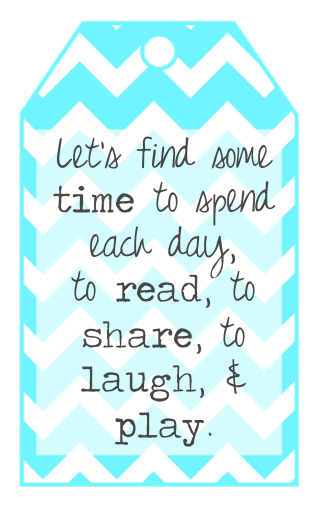
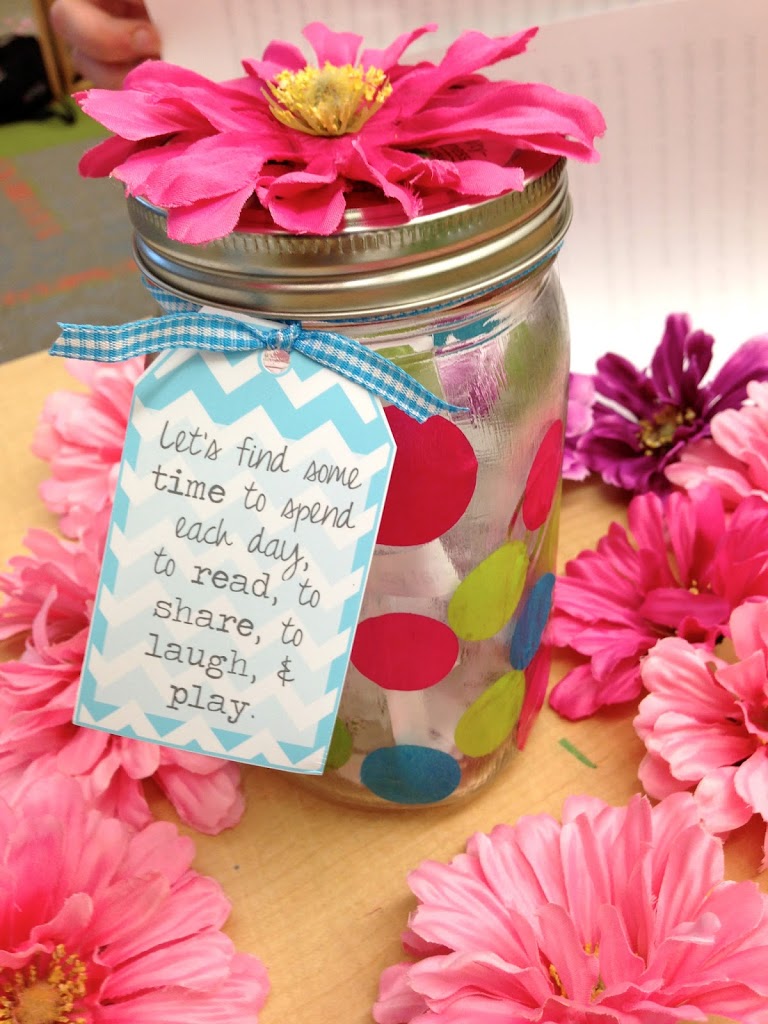
The idea is that each day, or once a week, or when ever, the child and mother pick a paper out of the jar and have a little conversation about something they might not normally think to talk about – and hopefully learn a little more about each other. I think it is fun!
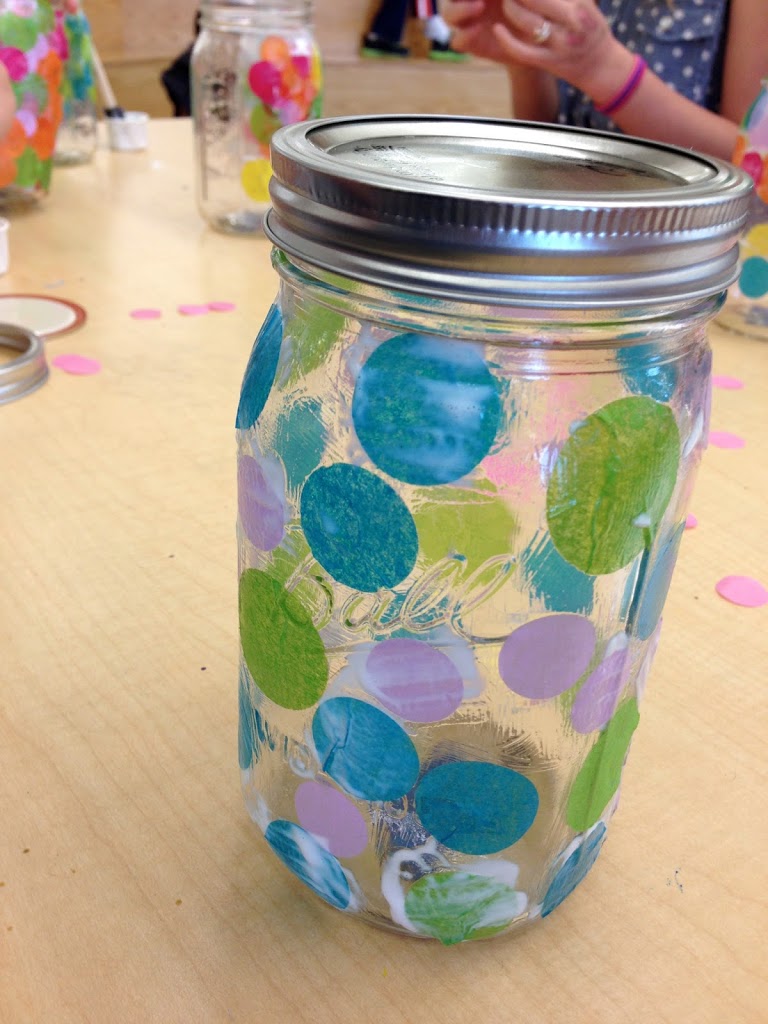
When they were all done with the jars, we hot glued a flower to the top of the jar.
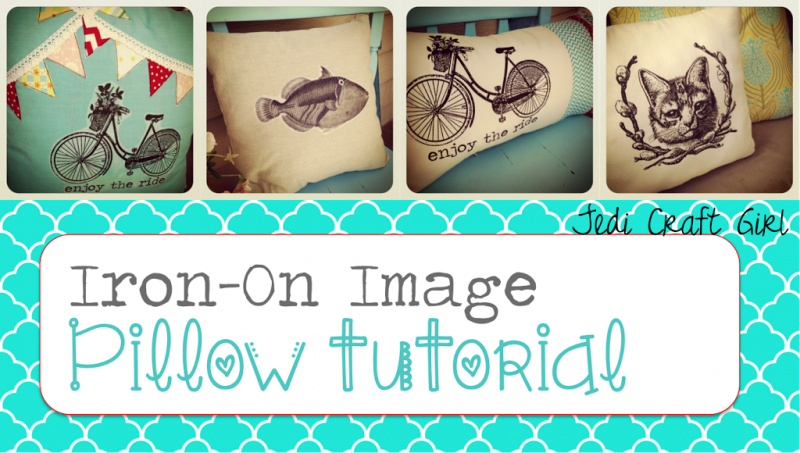
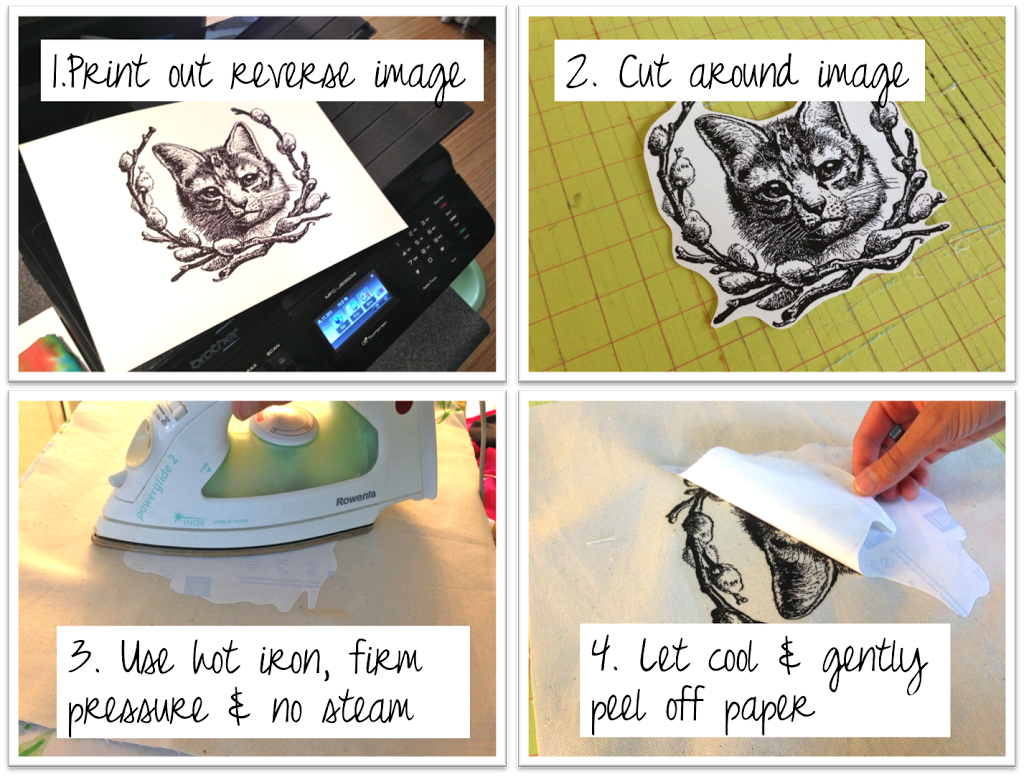
I love these graphic pillows I see everywhere!! They are super fast and easy to make! Here is what you do: The first item of business is to find a graphic you like. I went to Etsy and typed “pillow download” in the search field. Literally hundreds of fun images came up to purchase and download. Most are only $1.00 each! You can use any graphic you have or find.
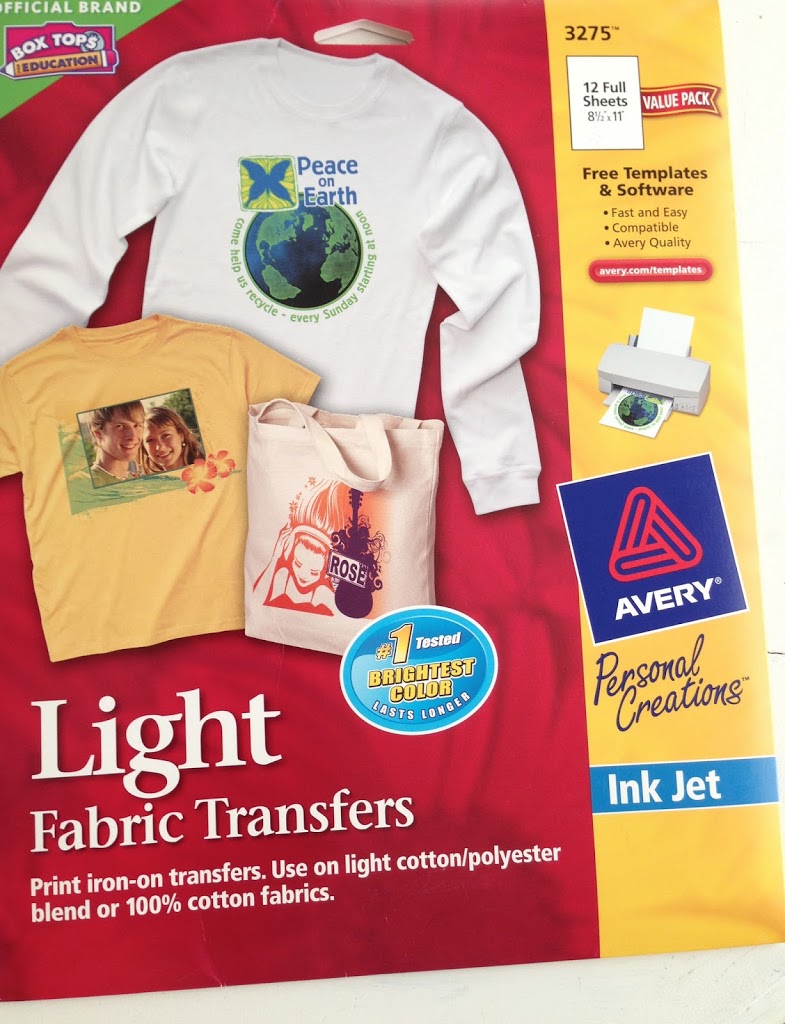
Next you need to get some kind of fabric transfer. This is the one I used from Avery:
 Ta-Da!!
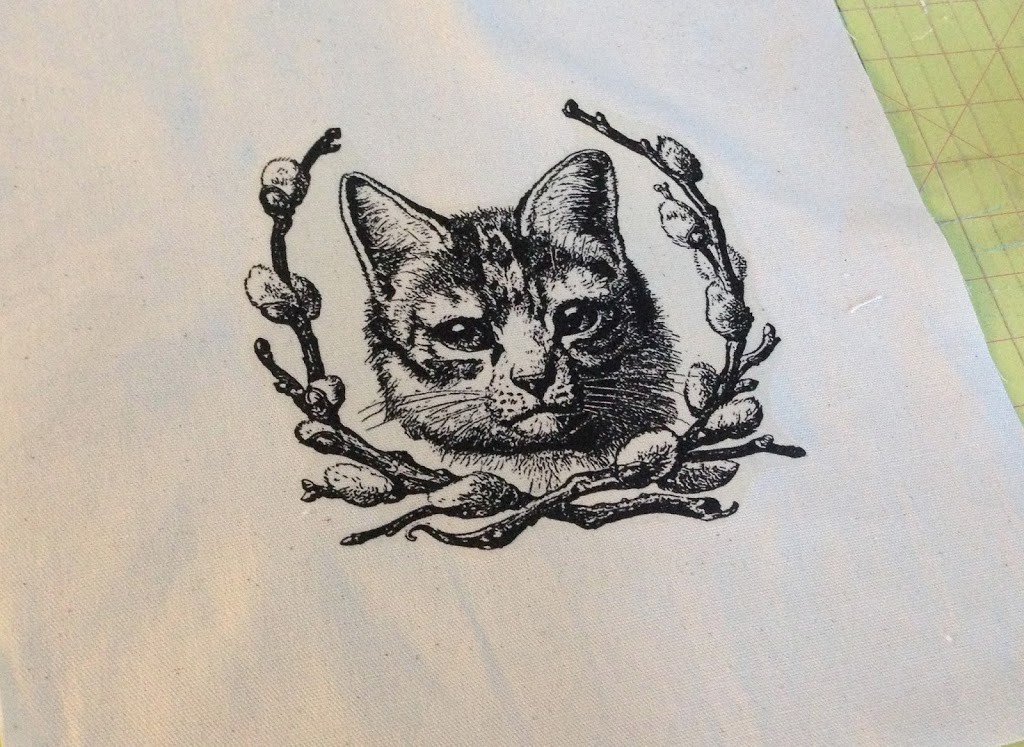
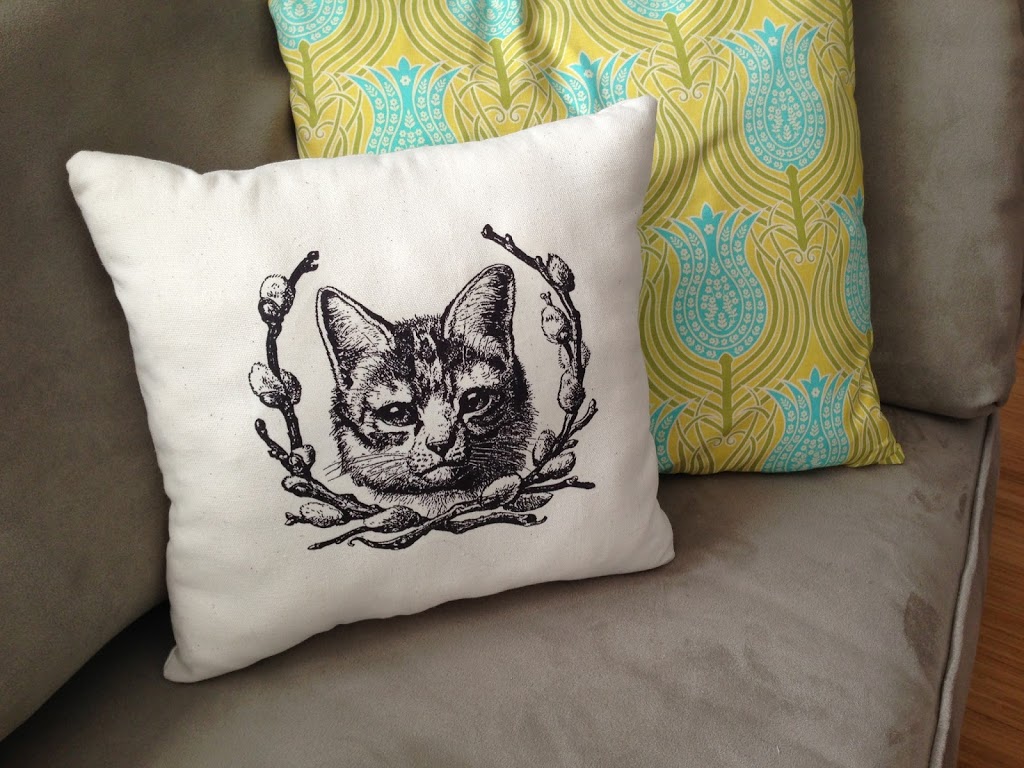
Pillow #1 – Antique Kitty:
This was the quickest pillow to make. Two squares 12″ each. Sew, turn, and stuff with fiber-fill. Hand stitch opening closed.
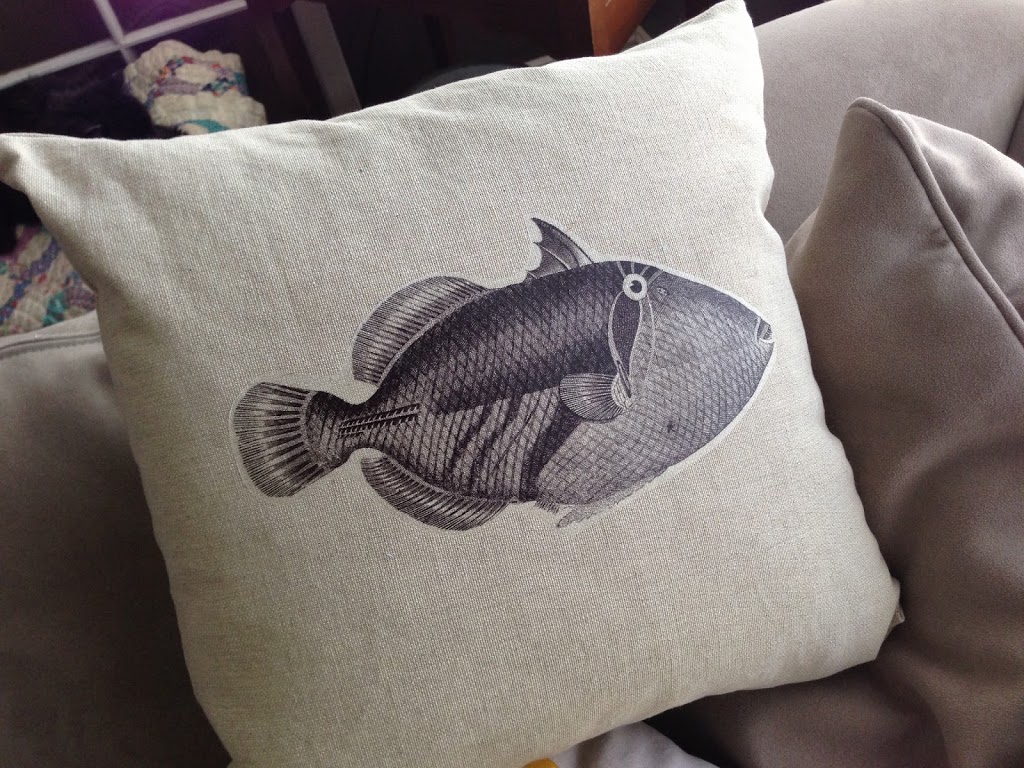
Pillow #2 Huma Huma Antique Tropical Fish Pillow
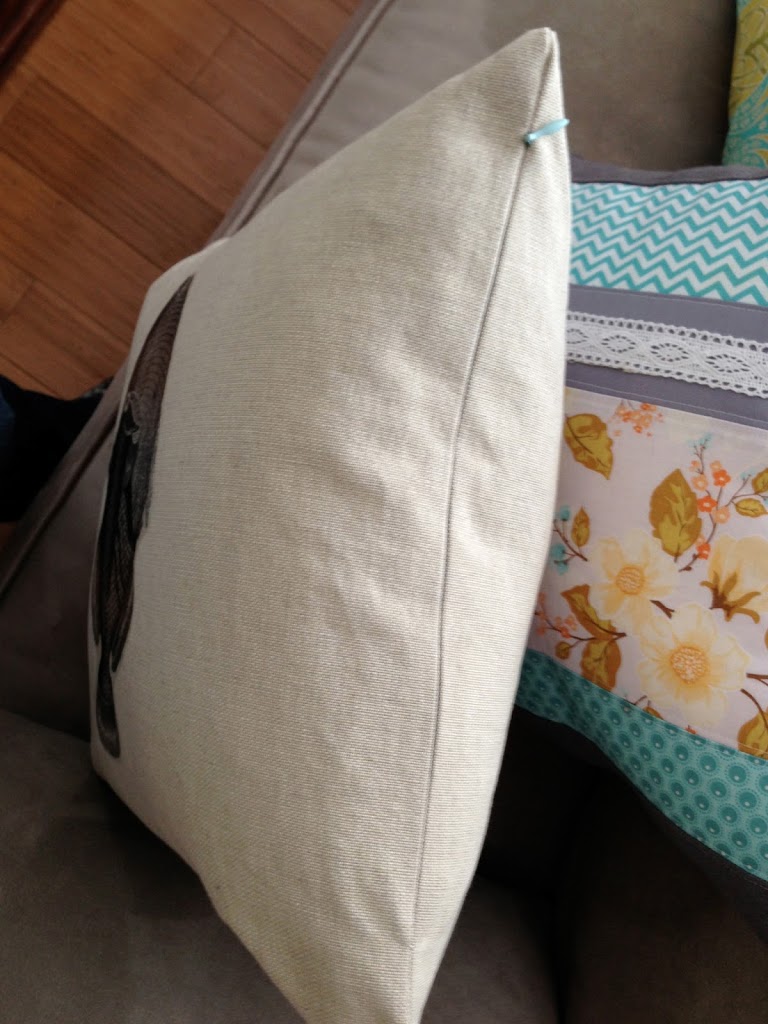
This was similar to the kitty pillow, only it measures 18″ and I inserted an invisible zipper in the bottom seam to insert the pillow form. Click HERE for my invisible zipper tutorial.
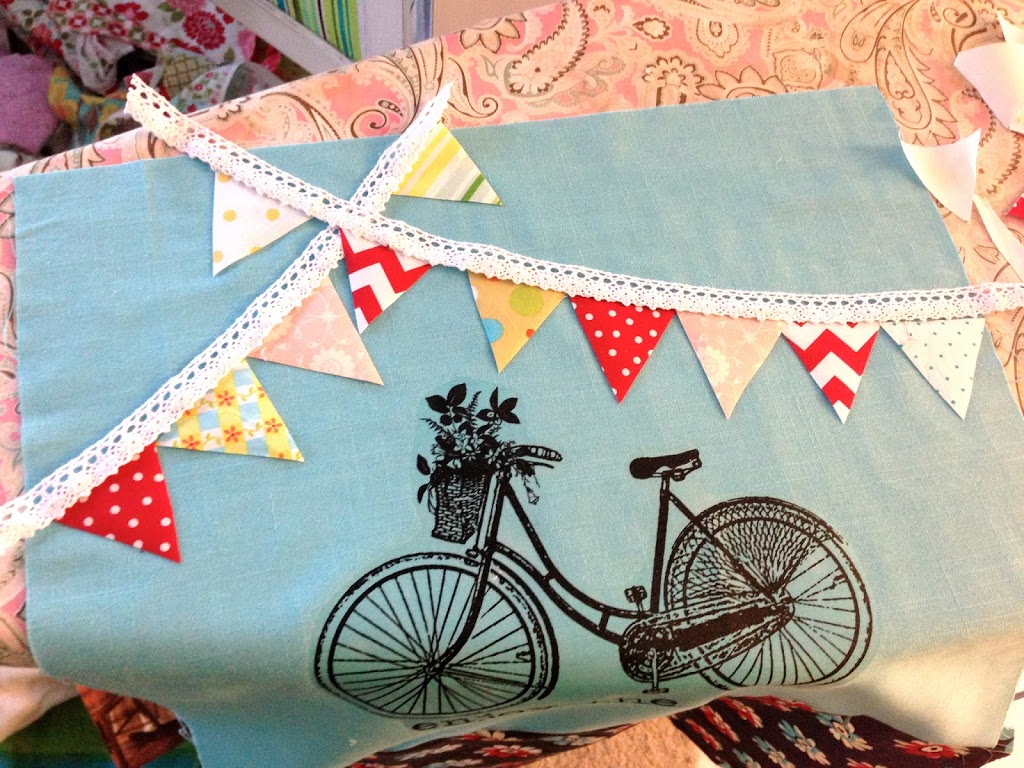
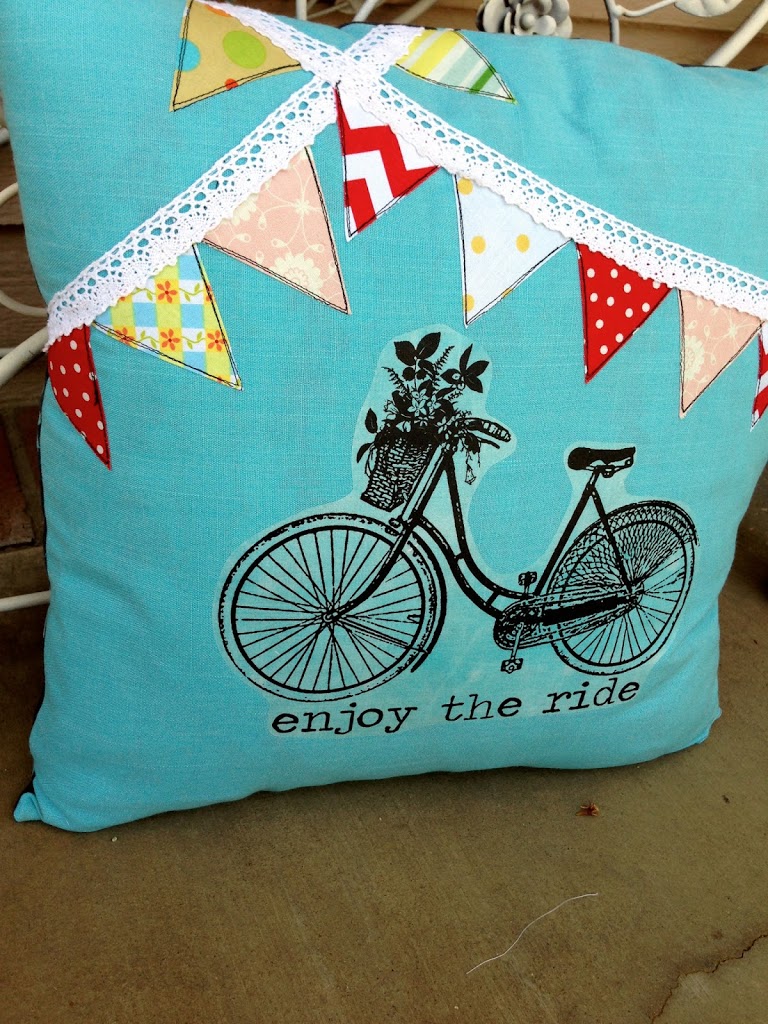
#3 Enjoy The Ride Banner Pillow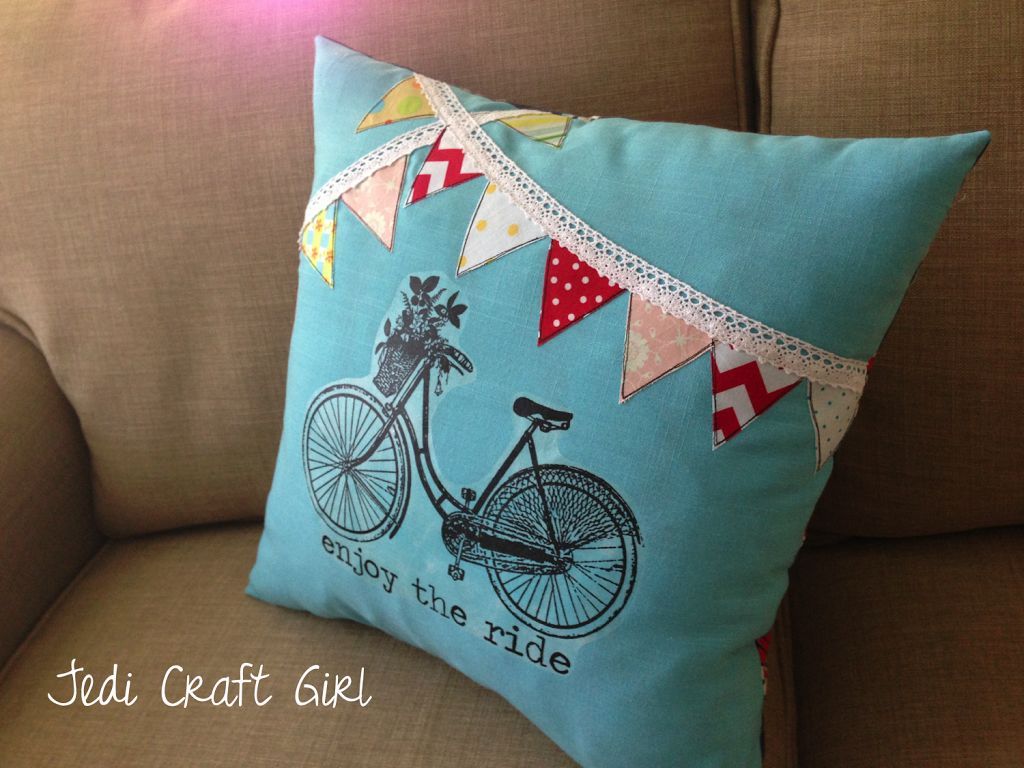
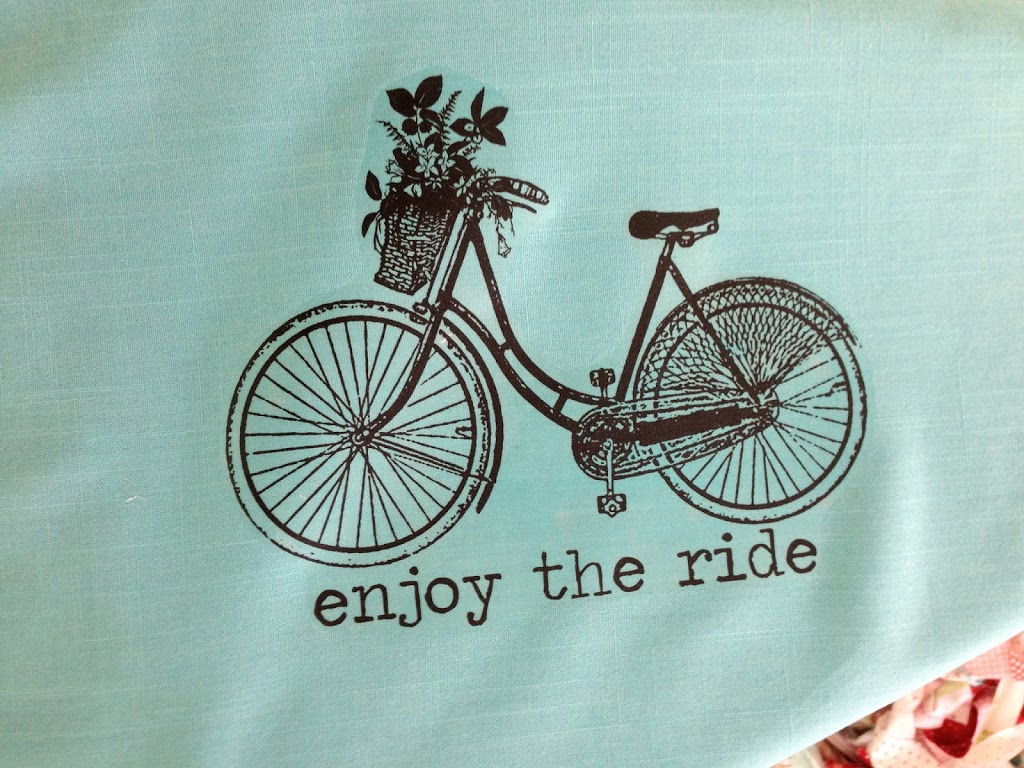
I added the text to the bottom of the bike graphic I purchased from Etsy. I choose to use turquoise linen for this pillow. Looking back, I should have kept with more neutral tones. You can kind of see the edge of the iron-on material. Live and learn!
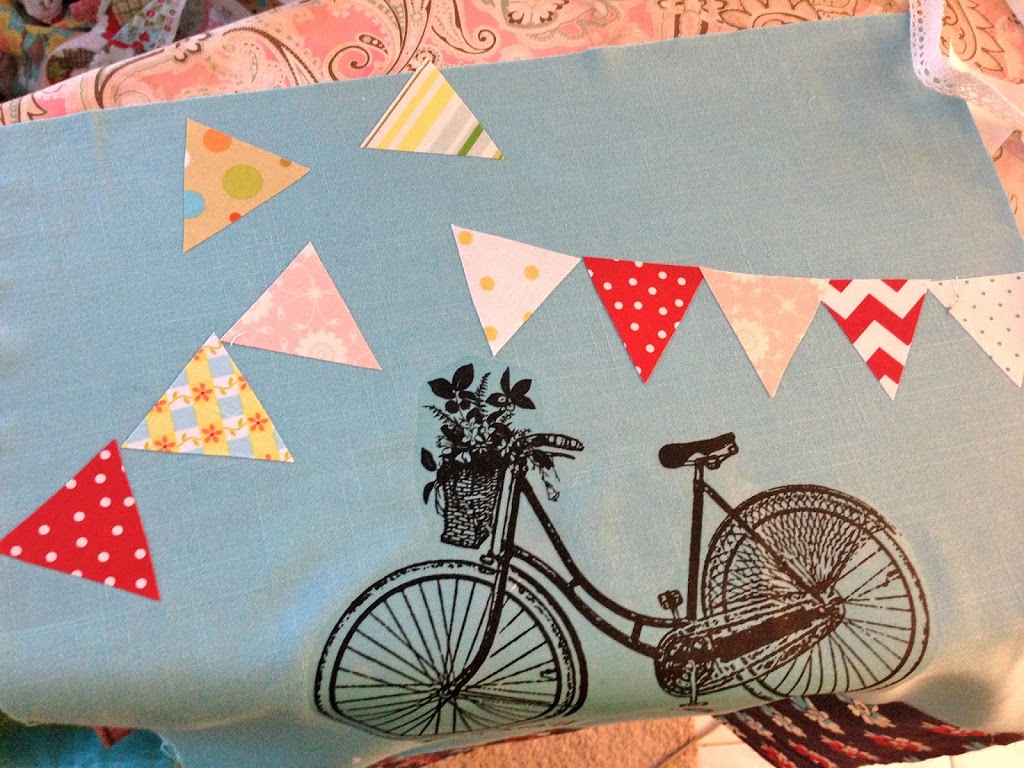
My pillow form is 16″ so I cut two 17″ squares. Iron on your graphic.
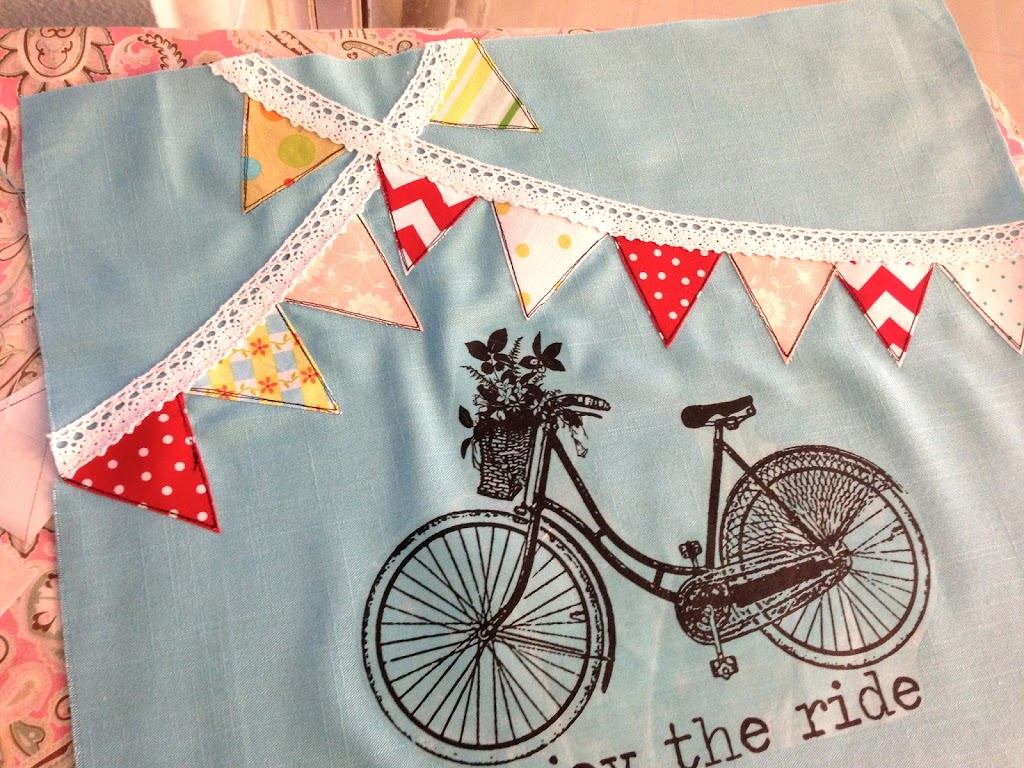
Cut little triangles out of Heat N Bond Lite and iron them to the wrong sides of your banner fabrics. Cut out your triangles, peel off the back, and they are ready to be ironed into place.
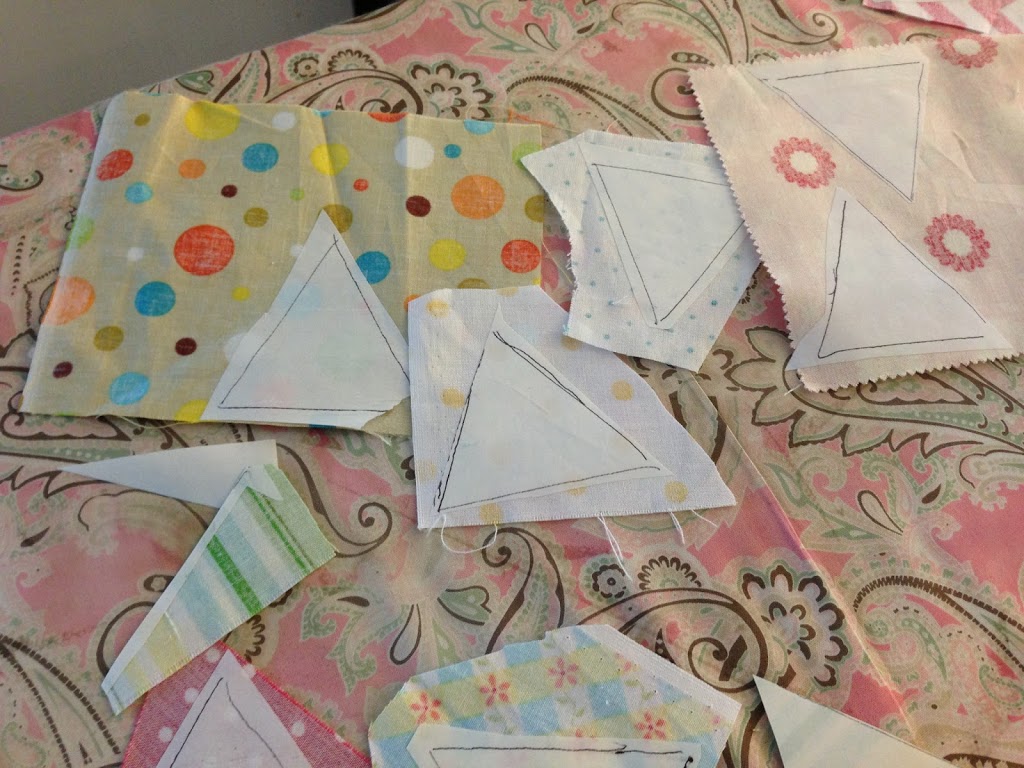
This is how I laid out mine. I used some crochet lace for the banner.
Remove the lace and iron on the triangles. Be careful not to move them.
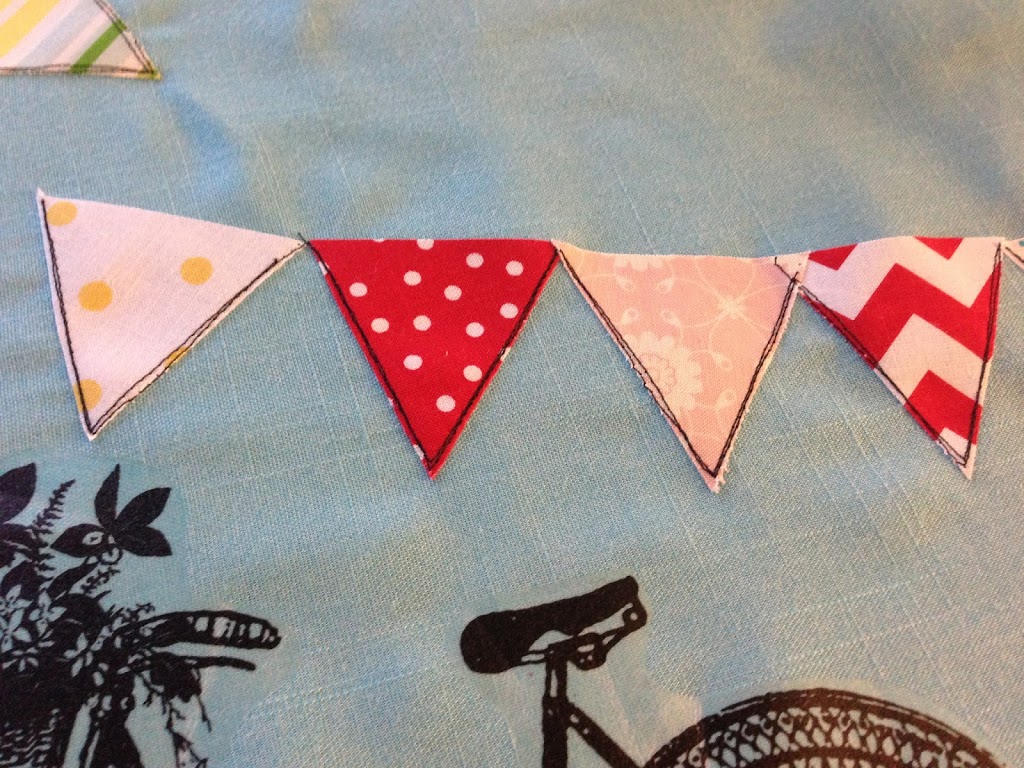
I used black thread to accent stitch around the triangles. I stitched them twice so they look “sketchy”. I didn’t bother stitching the top as the lace will cover them.
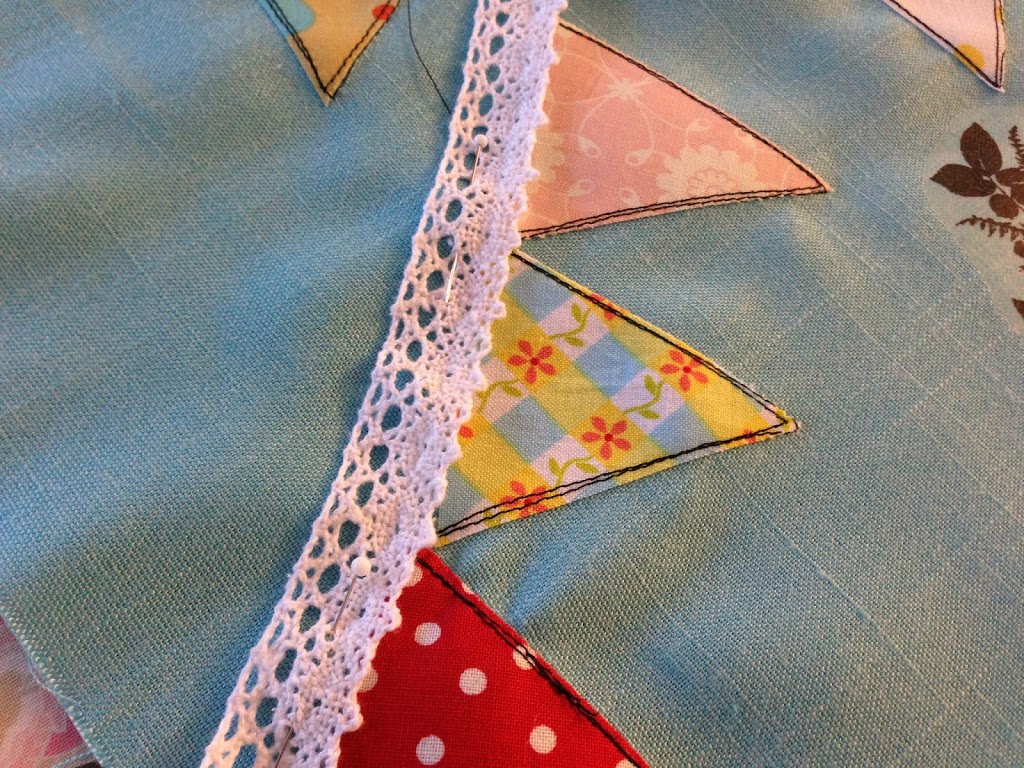
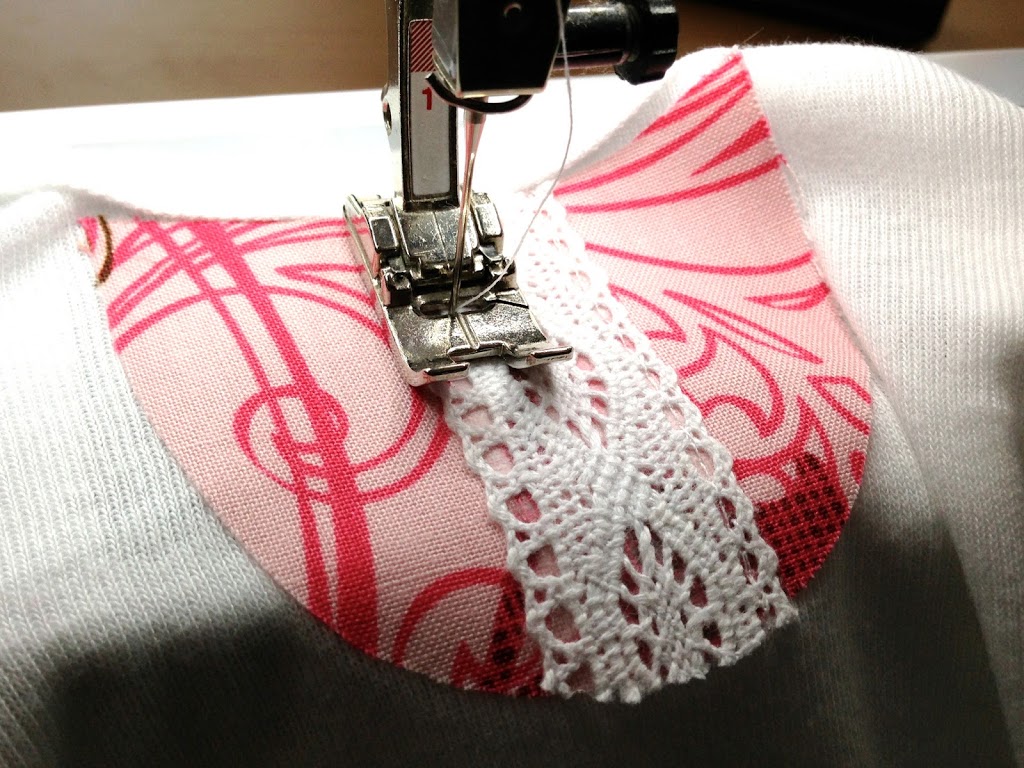
Now pin your lace on and sew along the top and bottom of the lace in matching thread.
Now it is ready to finish into a pillow! I used an invisible zipper on the bottom to insert the pillow form. You can finish the pillow the way you like best. You can even just sew and stuff it!
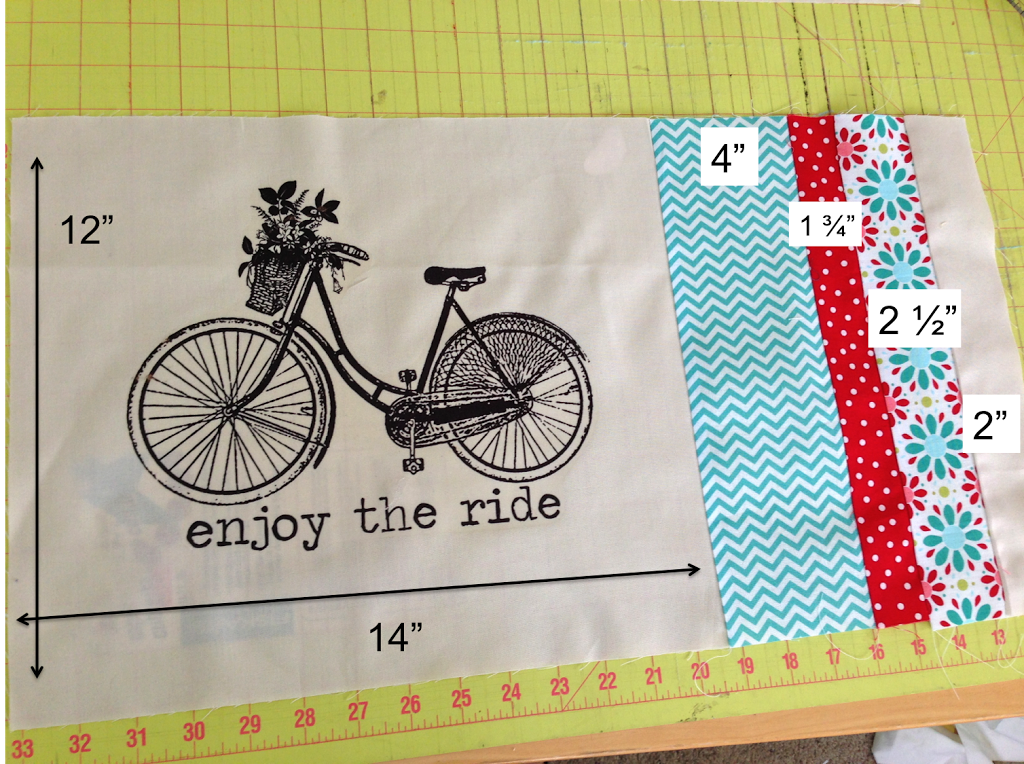
Cut the back piece 12″ x 22″
Use 1/4″ seams in your piecing. After you piece the strips on, press the seams to one side. BE CAREFUL not to touch the iron on your iron-on image – it will melt!!
Sew the front to the back with right sides together. Leave a small opening in the bottom seam to turn and stuff. Hand stitch closed. Done!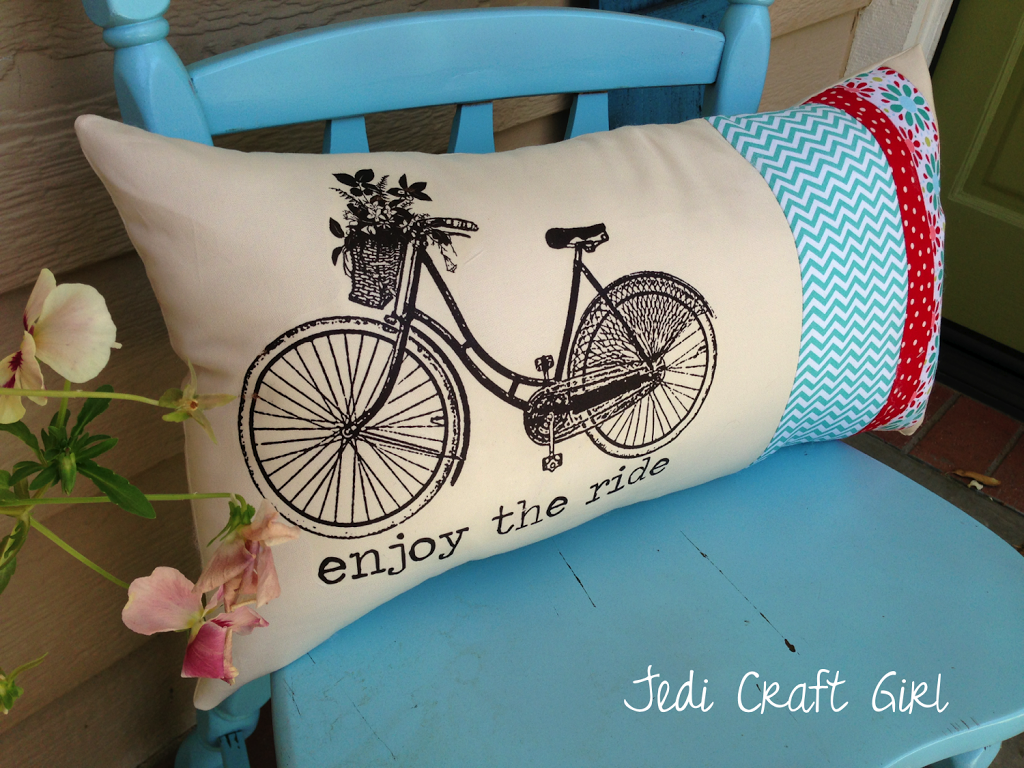
The possibilities are endless using iron-on images. I hope you come up with something fun!!
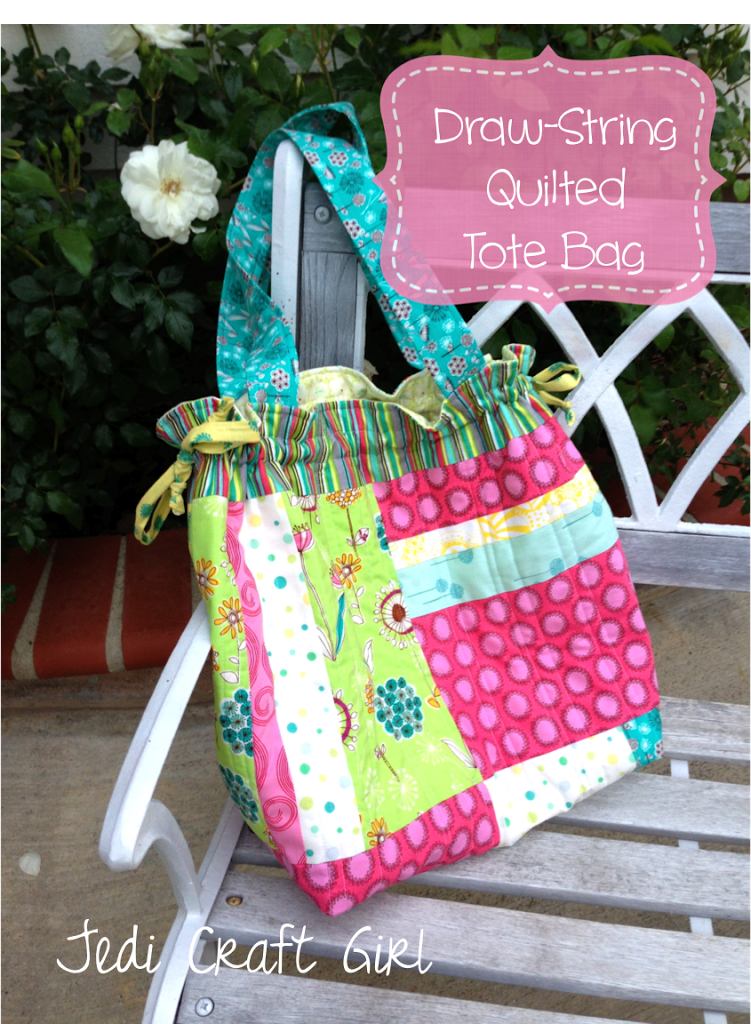
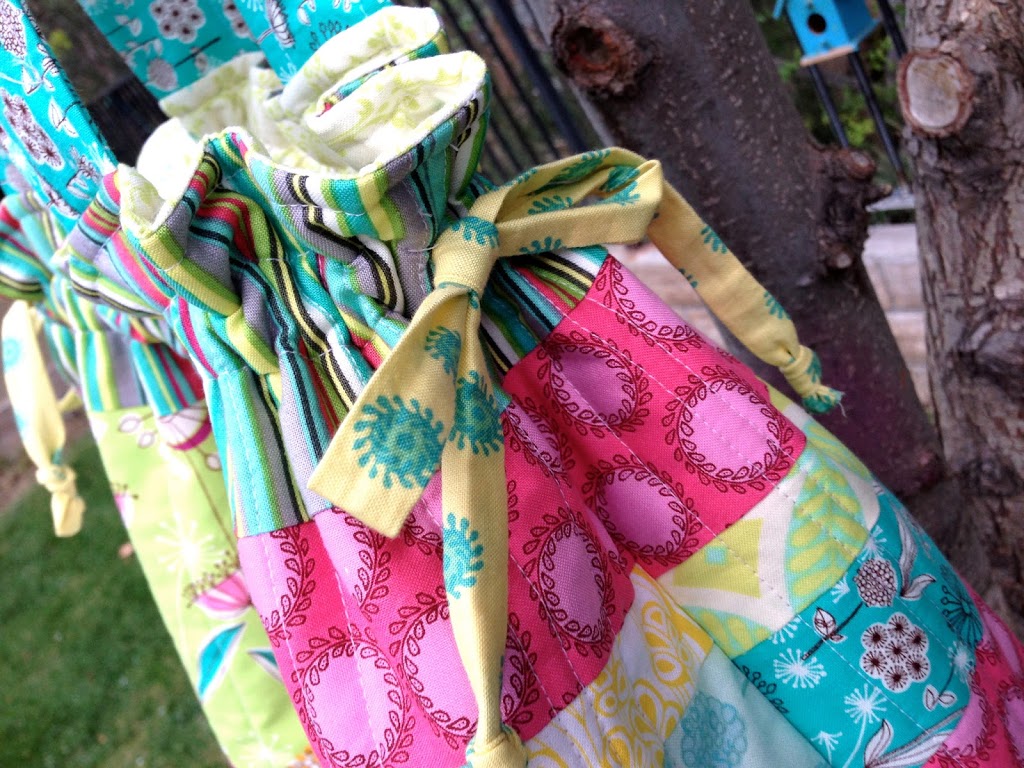
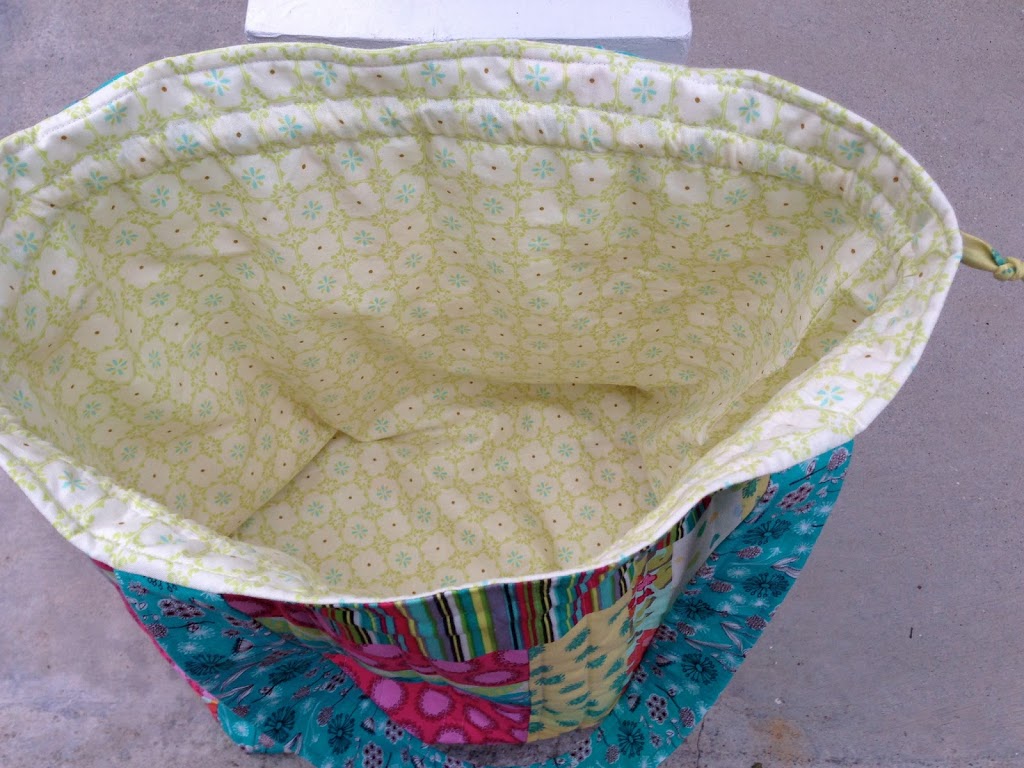
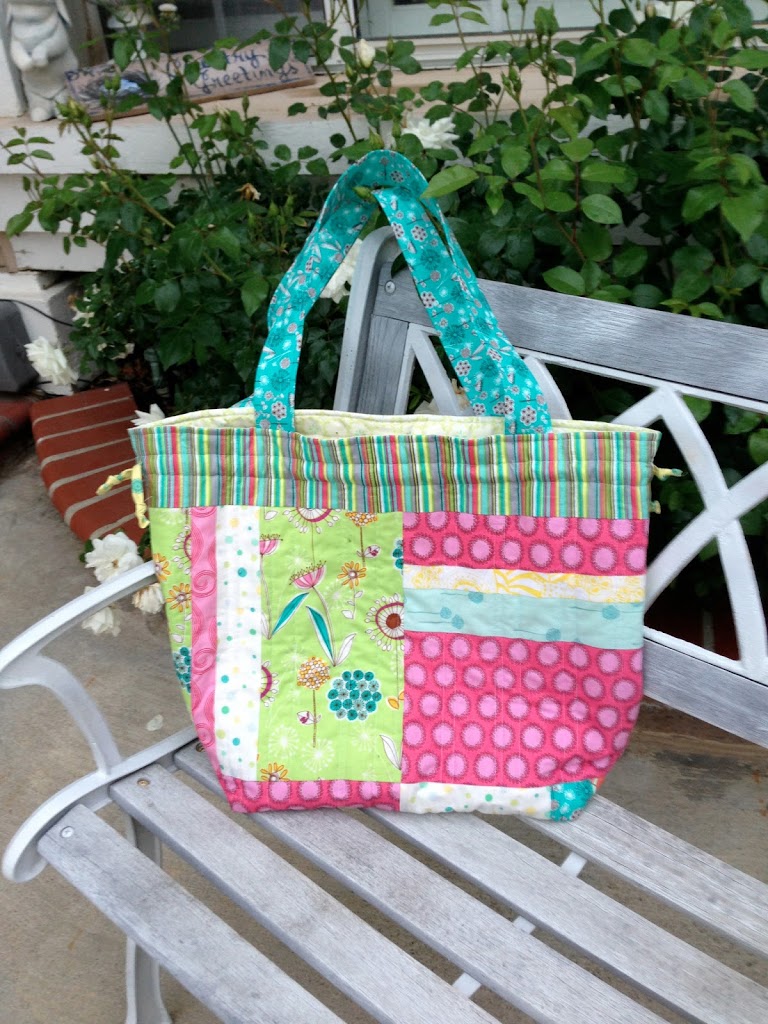
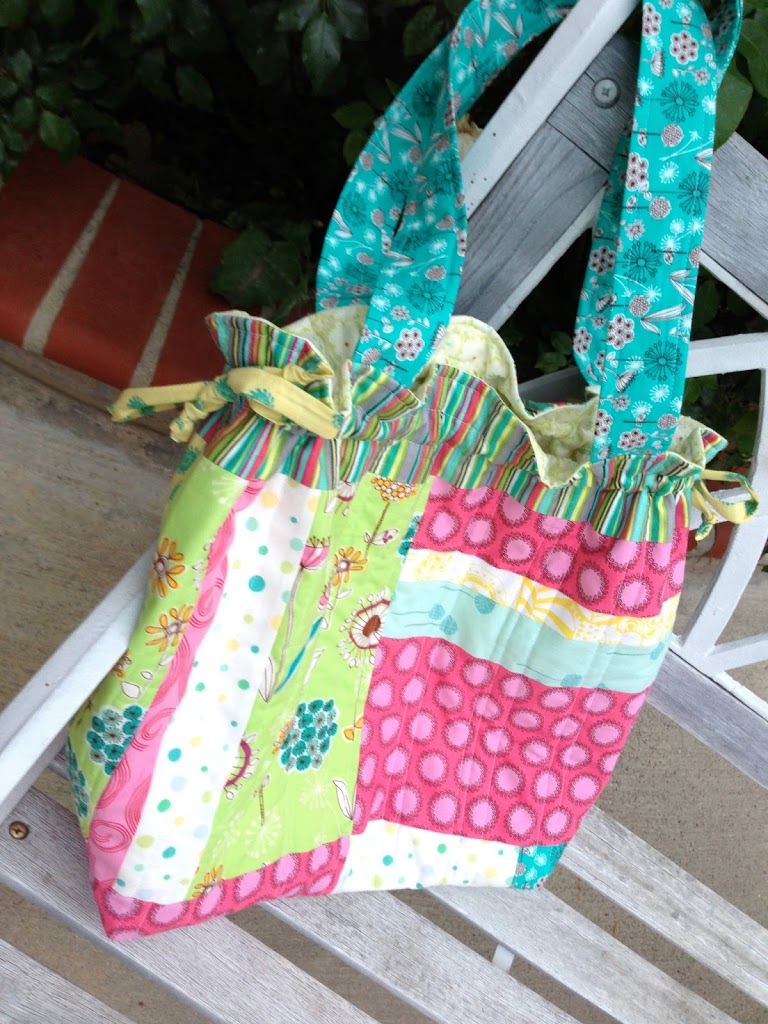
It has darling draw strings which cinch this bag and make it look all ruffly at the top.
It opens up to be a large tote – big enough for a day at the beach, a day at the park, or a day at your favorite place. I can just imagine stuffing towels, sweatshirts, and snacks in the bag and cinching it up!
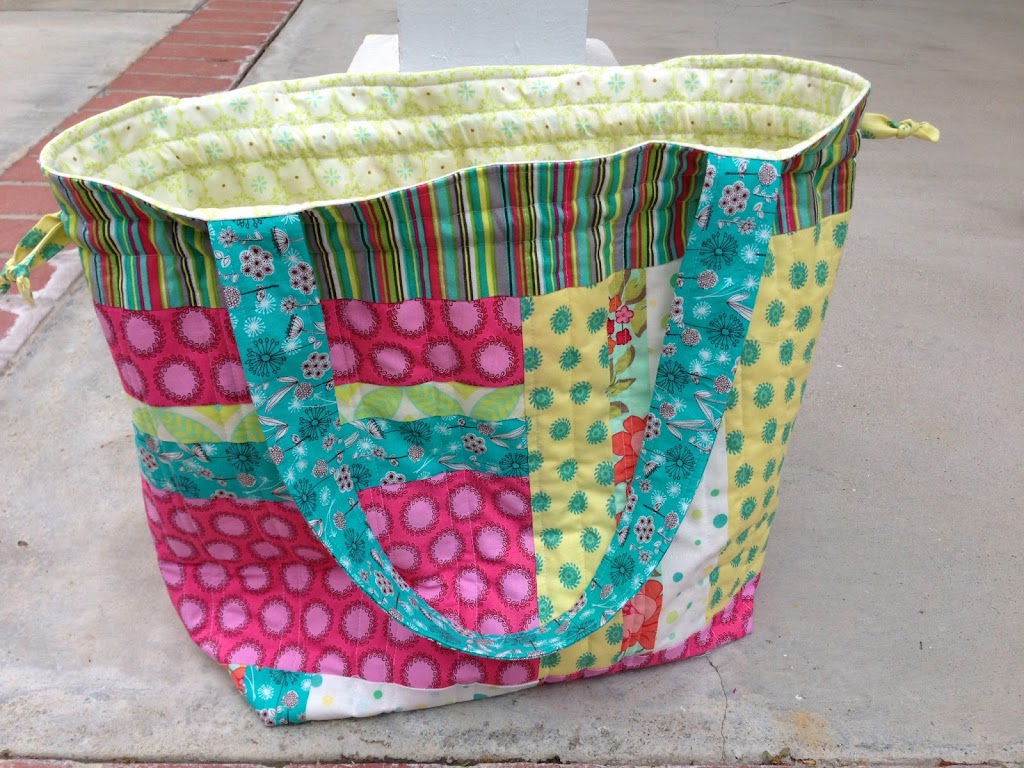
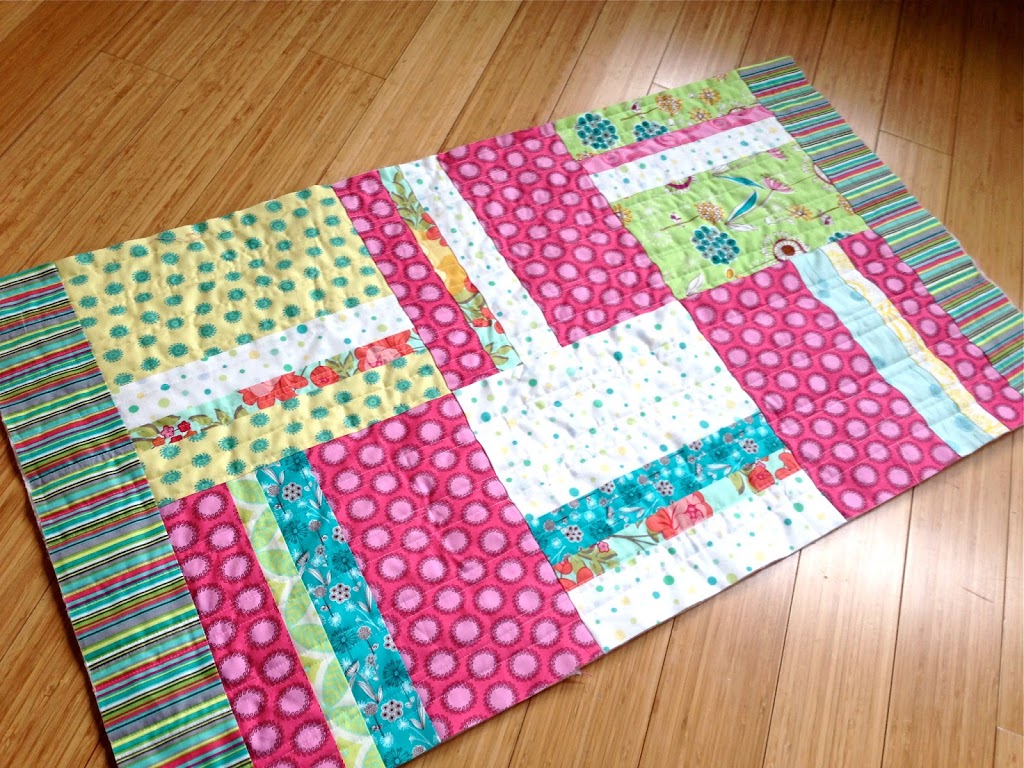
I love that it is quilted because it stands up by itself without being stiff and it feels soft and cuddly….and bonus – super easy to wash!!
The bag measures 20″ wide by 15″ tall and 7″ deep.
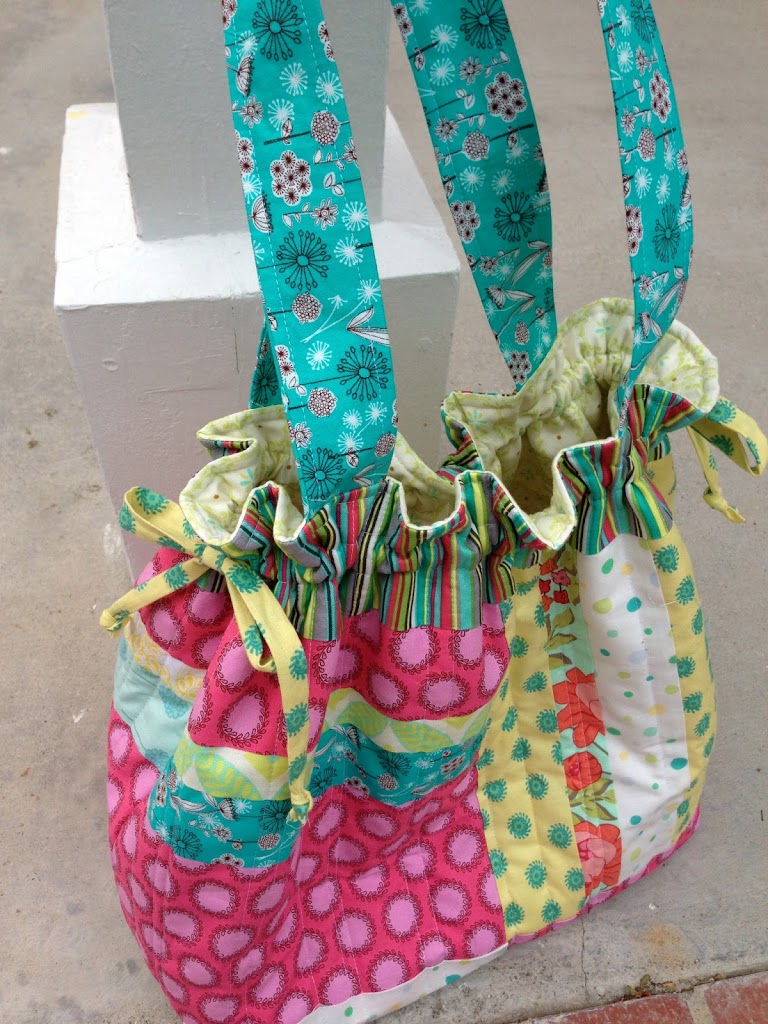
Melle, I hope you love your bag!! It was sewn with love 🙂
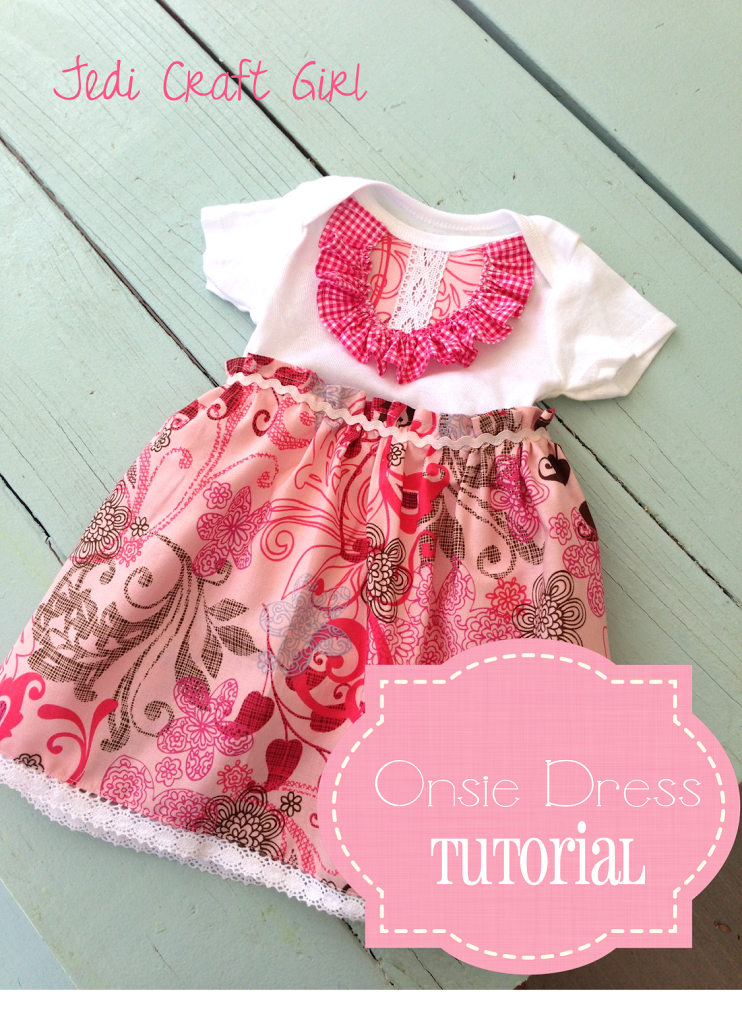
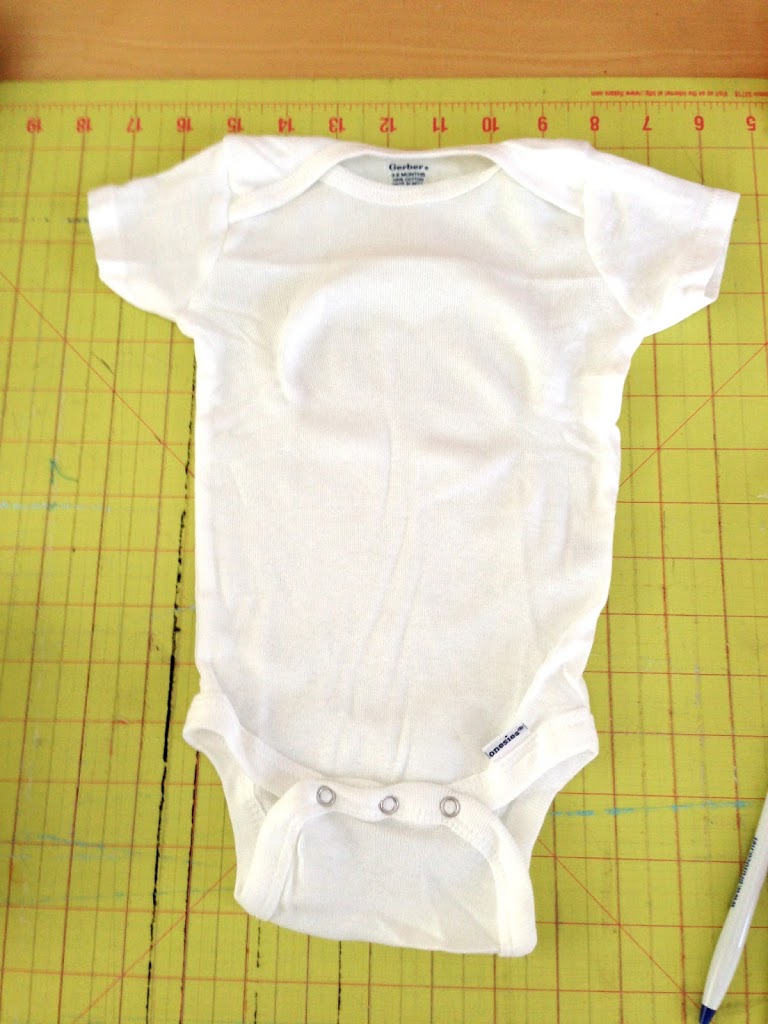
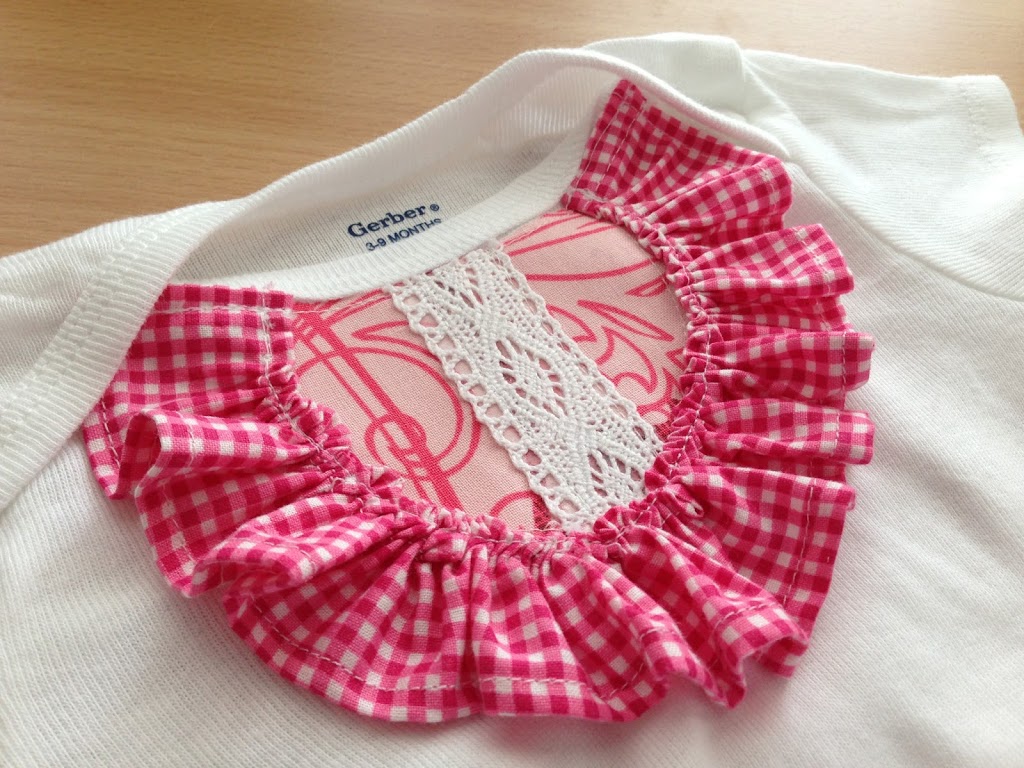
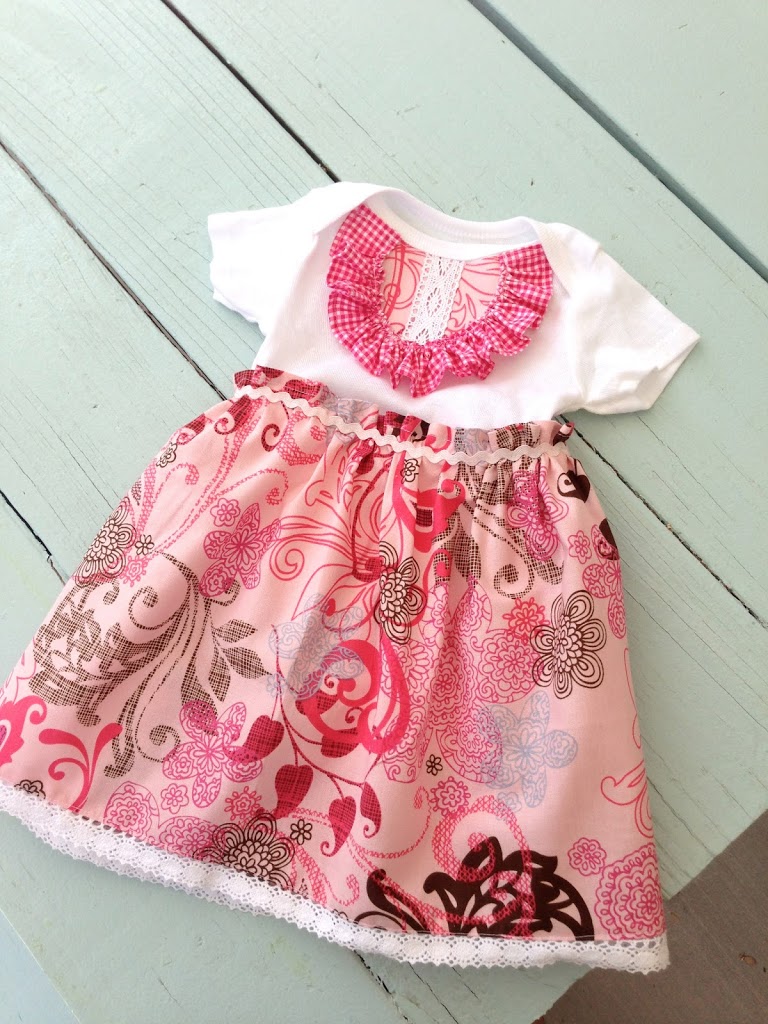
My friend mailed me this “blank” onsie for a baby shower. It’s a cute idea. Everyone invited to the shower gets a onsie and they have to decorate/embellish it and bring it to the shower. I think they are having prizes or something. That’s a lot of pressure, “Here is a plain onsie, you write a craft blog, so this better be amazing!!” Is how I felt 🙂 So this is what I came up with. (I am sure there are lots of tutorials out there with the same idea – this is my take on it.)
Part 1 Bib construction
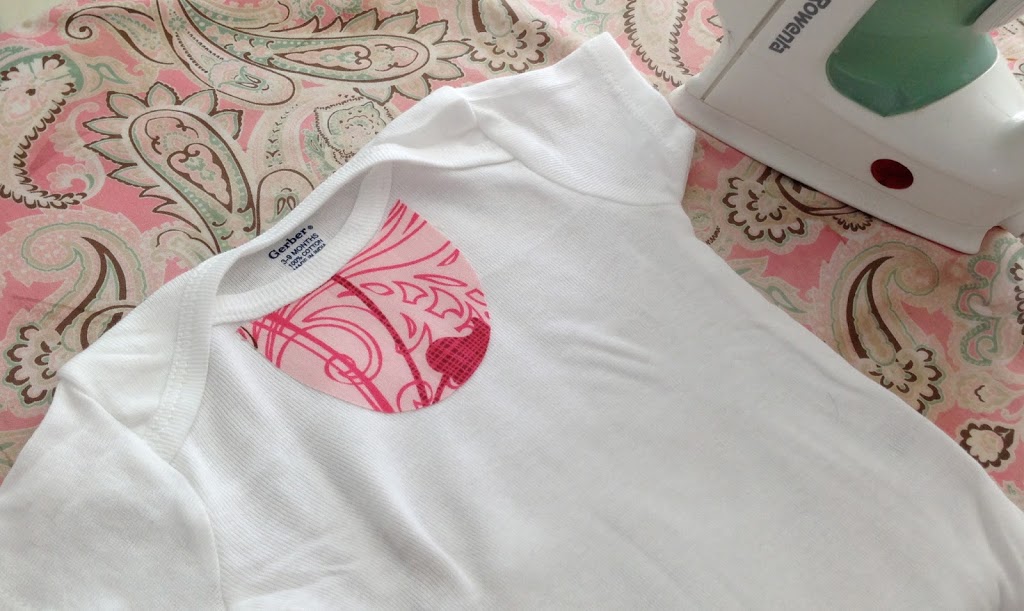
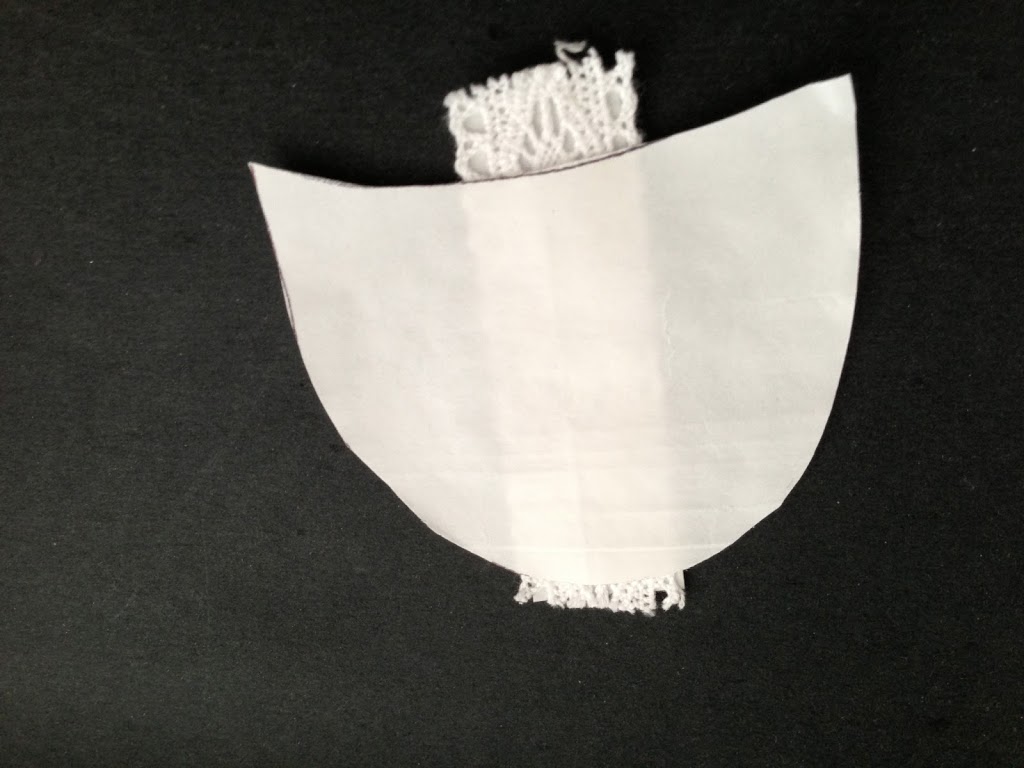
Draw a “bib” shape on Heat N Bond Lite Fusable Web. I curved the top of it to match the curve of the onsie neck. I didn’t include a pattern because each onsie is slightly different. You can do it – draw your own!! Iron it on the wrong side of your fabric. Then cut along your line and peel off the back and iron it right on your onsie.

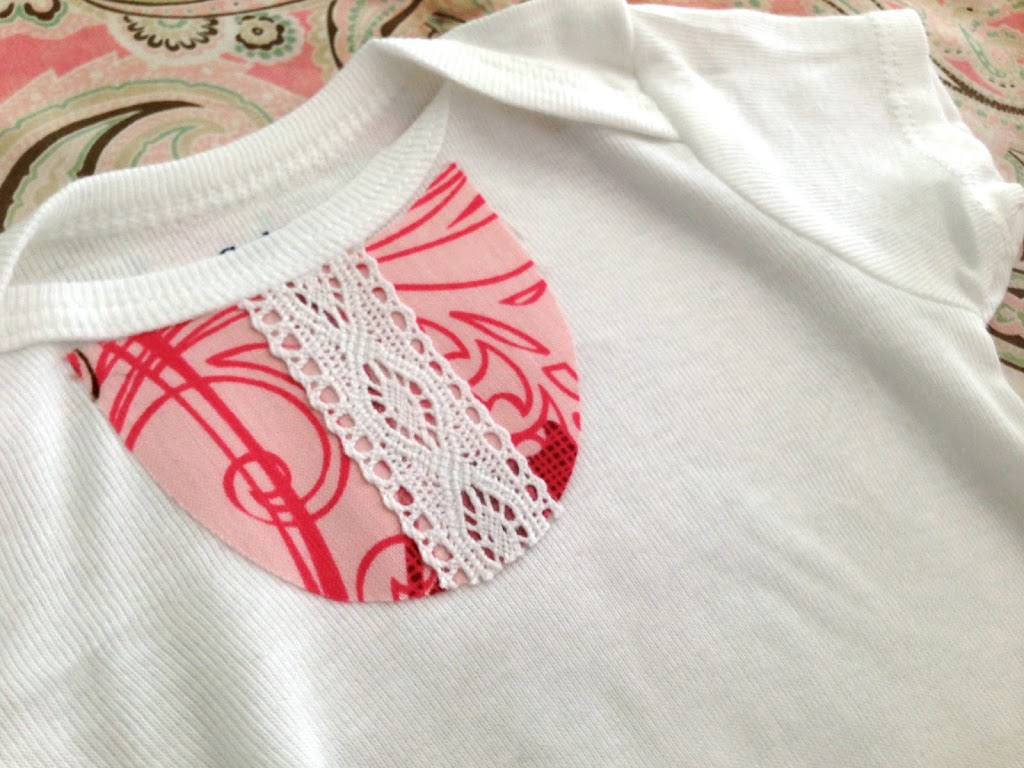
Cut your piece of lace and a matching piece of Heat N Bond. Iron it to the lace. Then cut the lace so it matches the curve of the bib. Iron the lace to the bib piece.
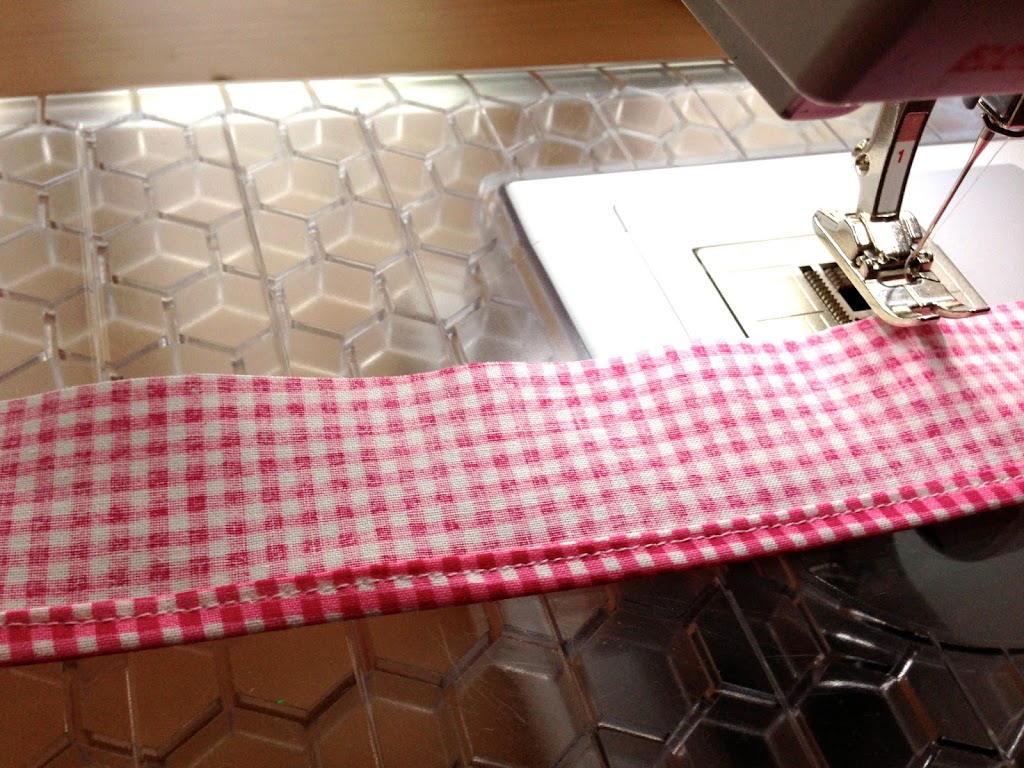

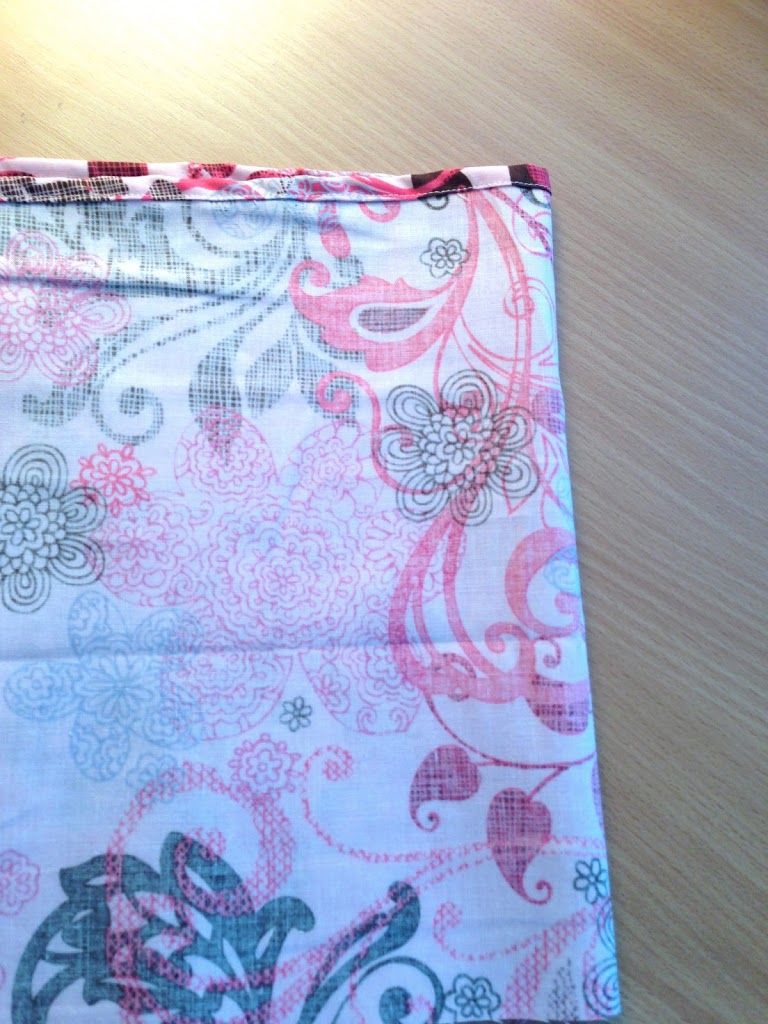
Now, because I am not using a serger, I zigzagged the opposite side of the fabric so it won’t fray. (above)

Then roll the edges in and hem.
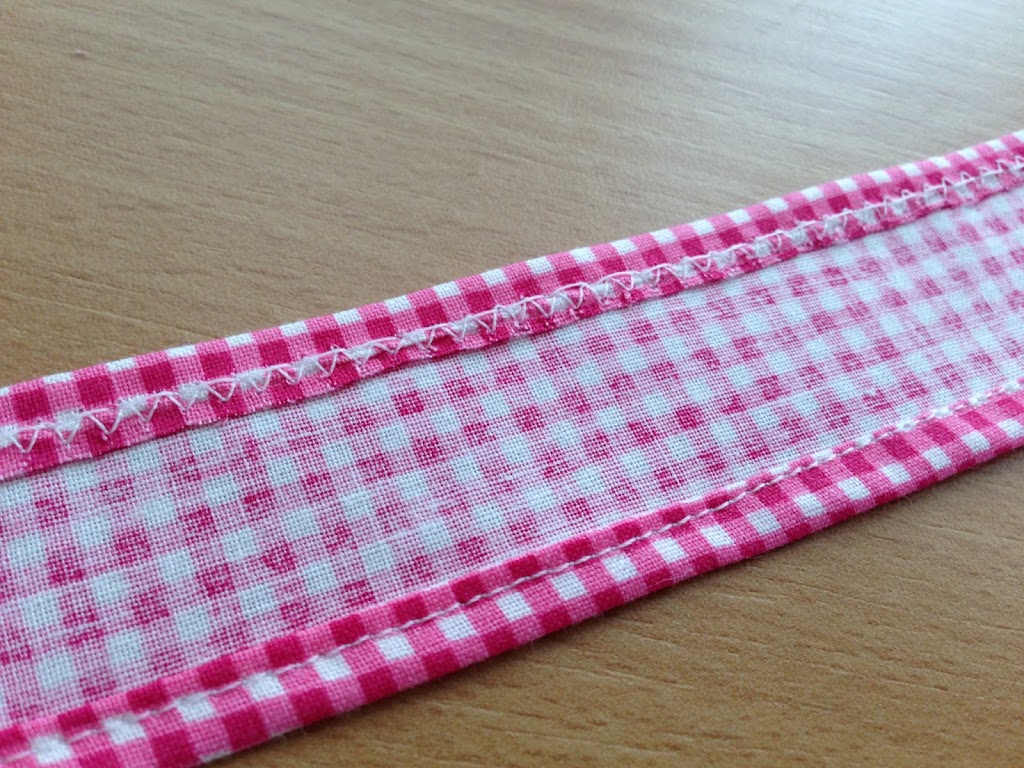
Now roll your zigzagged edge over and stitch in place. I used the zigzag because I will be gathering it and I wanted to reduce the bulk. Sew a gathering stitch along the edge of the zigzag hem and gather. It should look like this:
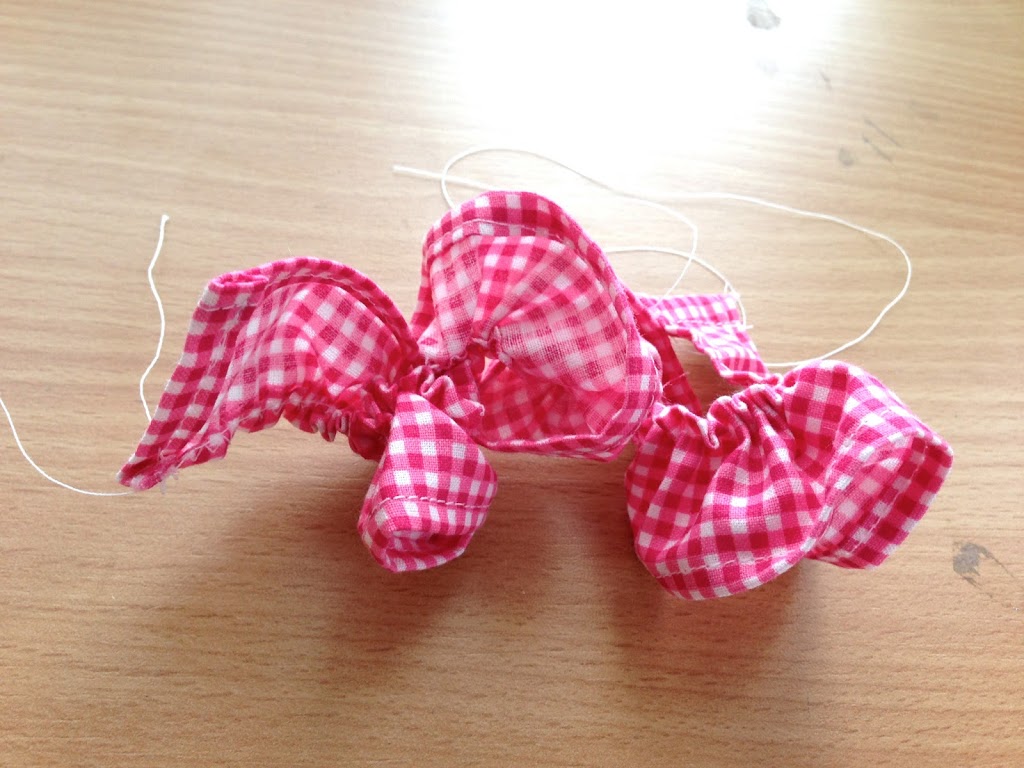
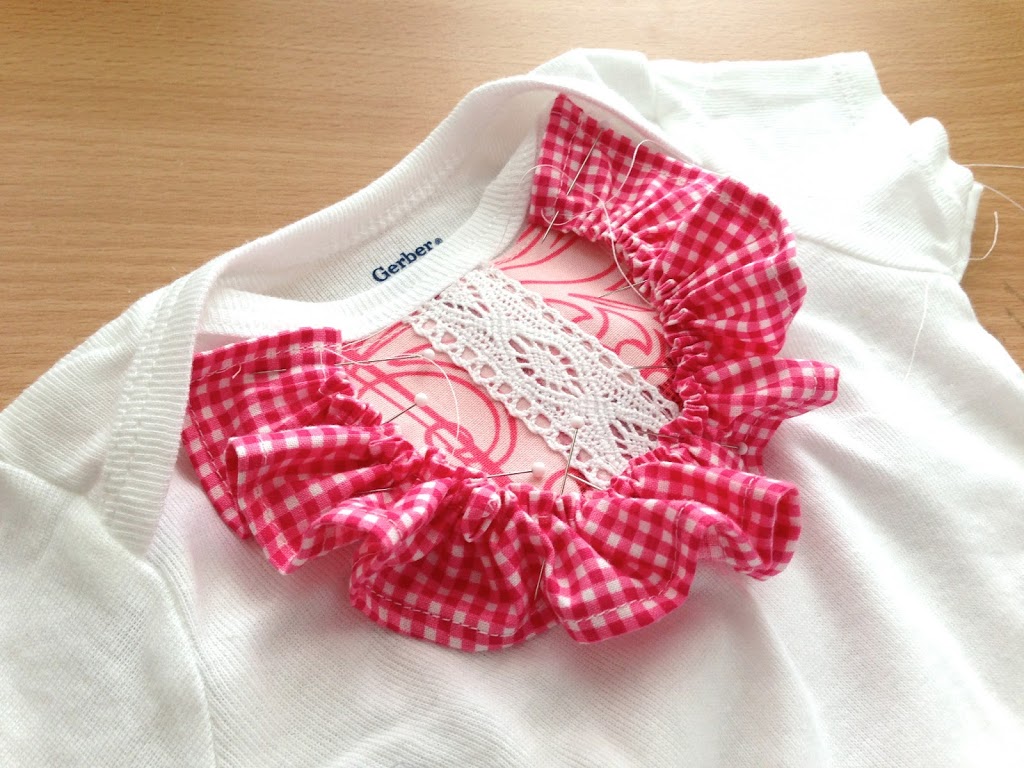
Sew the ruffle along your gathering stitch.
You could add buttons along the lace – but I was worried about putting buttons on something for a baby.
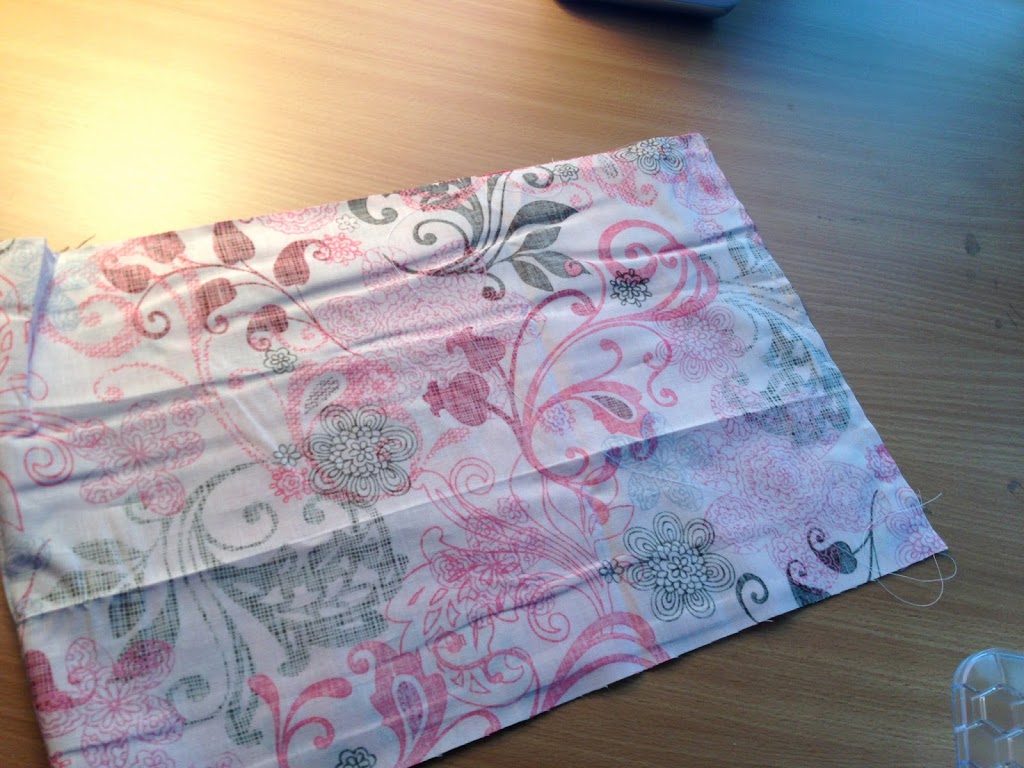
Part 2 – Skirt Construction
You can tell from the photos it is getting later and later and I am getting tired-er. My photos aren’t the best. Essentially you are making a little gathered skirt and sewing it to the onsie.
Cut your skirt fabric 11 1/2″x 34″.
My onsie is size 3 to 9 months. (That’s a new size to me. My youngest is 5 and I never had onsies made that size!) If your onsie is larger I would add a little to both measurements.
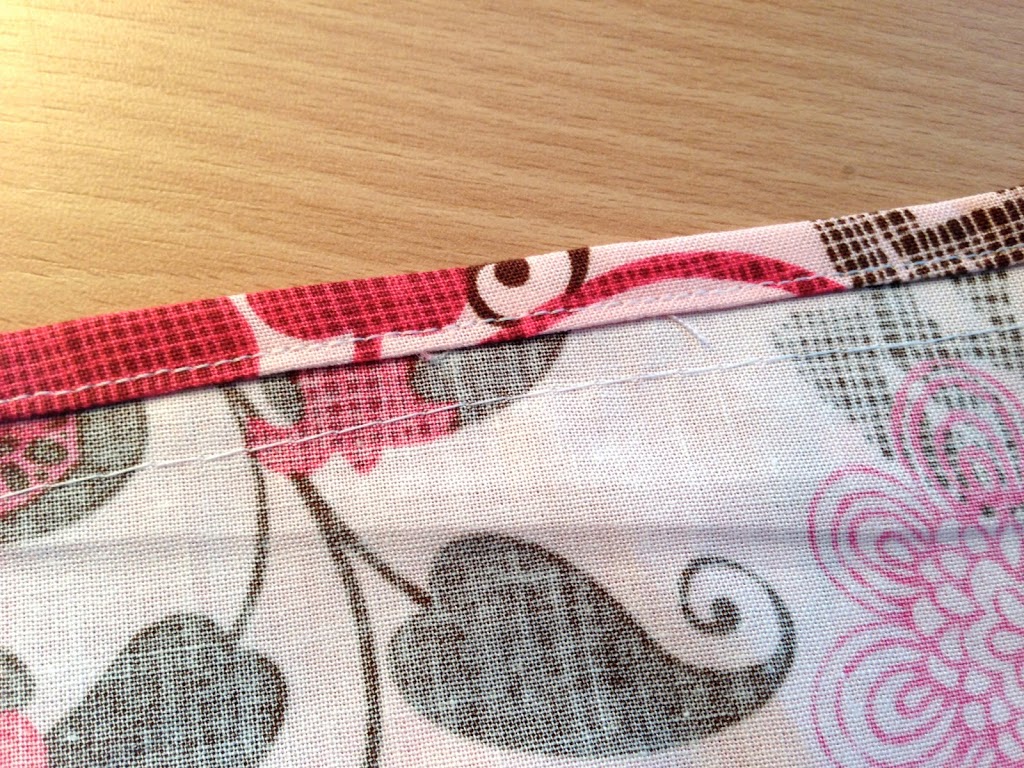
With right sides together, sew the two edges together to form the back seam. You will have a continuous piece. Press the seams open or zigzag the edges. My seam allowance was a generous quarter inch. It doesn’t really matter on this project.
(Maybe I should iron my fabric!!) The skirt is top-stitched to the onsie (you could cut the onsie apart and sew it to the shirt portion like a T-shirt dress, but then you wouldn’t have the onsie diaper cover which is what I love about this dress.) Because it is a top-stitched skirt, you need a rolled hem on the top of the skirt piece so it doesn’t fray.
Gather your skirt and ease it around the waist of the onsie. You can choose where you want this. Mine was 2 1/2″ below the armpit. I drew a light line in pencil so I could see where to pin the skirt. Pin your ruffled skirt following your line making sure to evenly distribute the ruffles. When you are happy with how it looks, sew it along your gathering stitch. I covered my seam by sewing ric rac. You could sew ribbon or lace or your favorite trim….or not. It doesn’t look that bad with just the seam.
Dress Hem: You can hem the dress how ever you like. I was going to sew a small ruffle along the hem in coordinating fabric but I ran out of time. So I did a lace hem. I sewed the lace and pressed it out and top stitched it down. You could use ric rac, or other decorative trim, or you can sew a regular hem.
Here it is!! I also sewed a matching flower for the baby’s head – but I finished it on my way out the door to mail it – so no photo 🙁


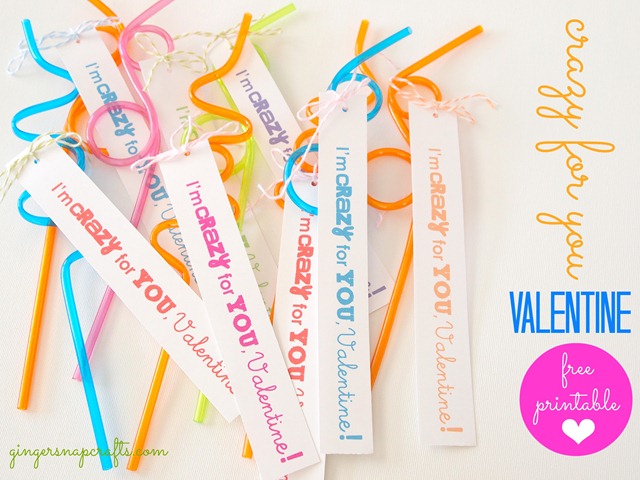
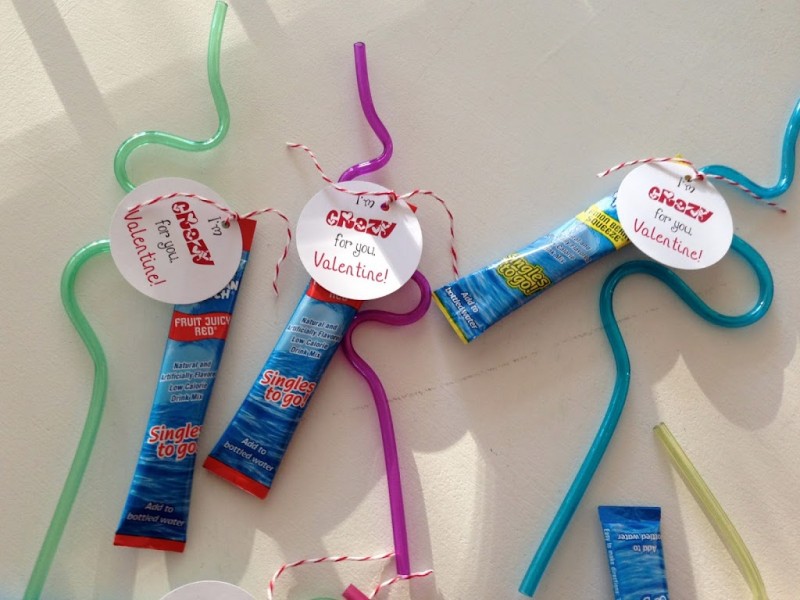
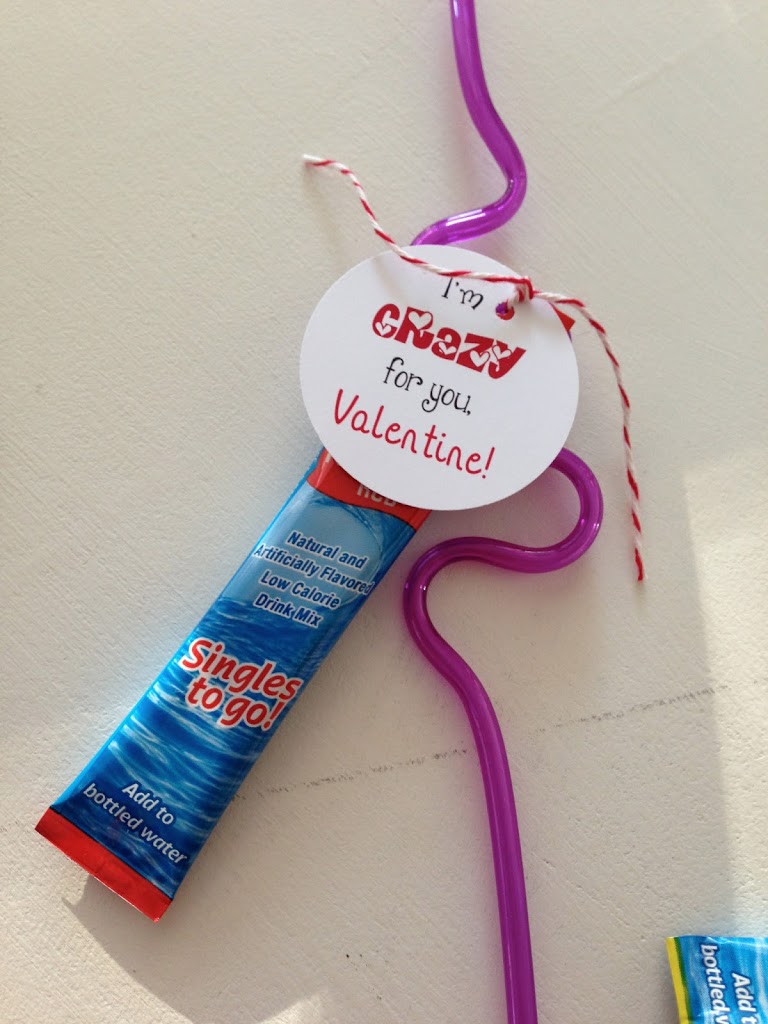
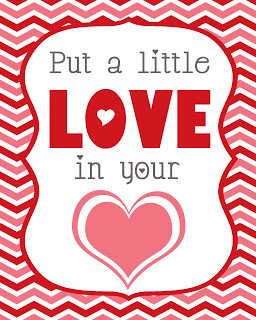
I found this cute printable from Lizzie Jane Baby and sized it down to use as a tag for my daughter’s Valentines.
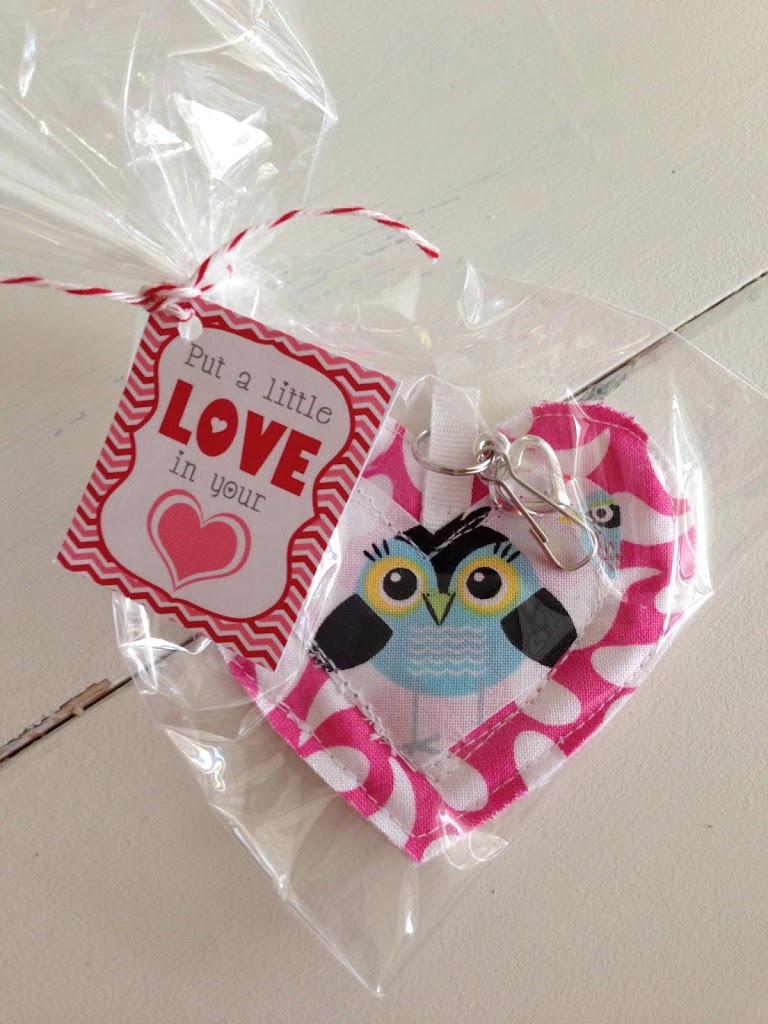
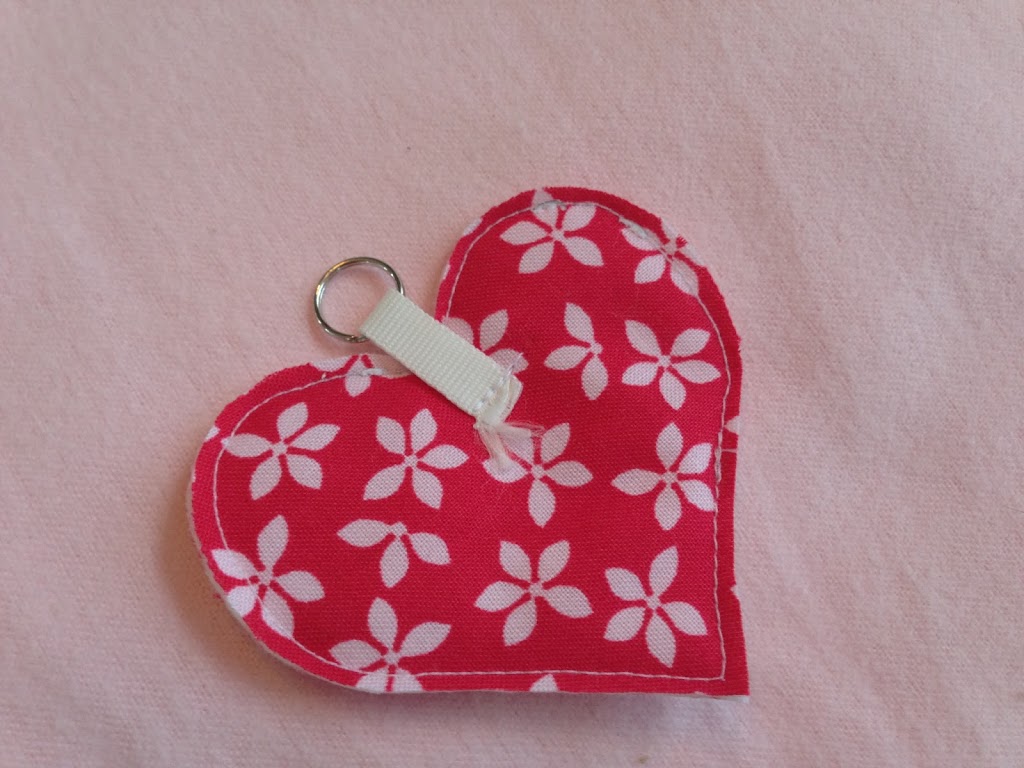
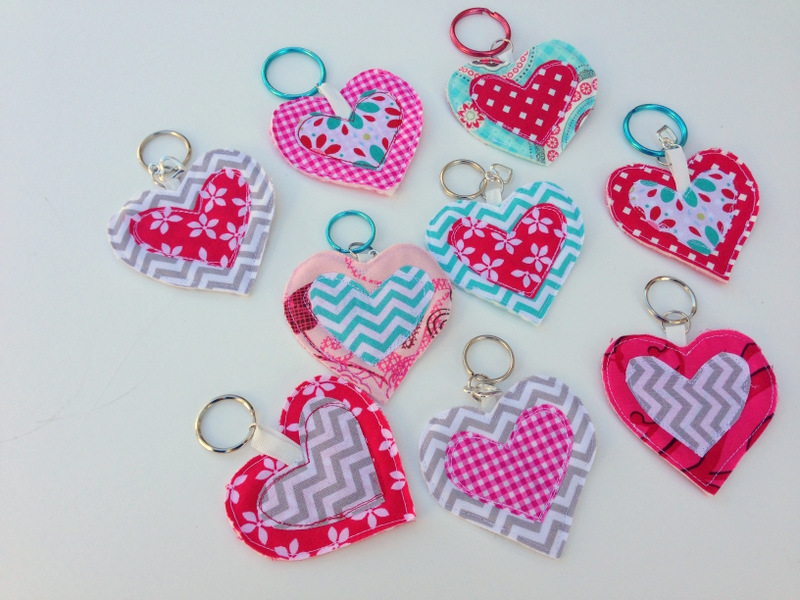
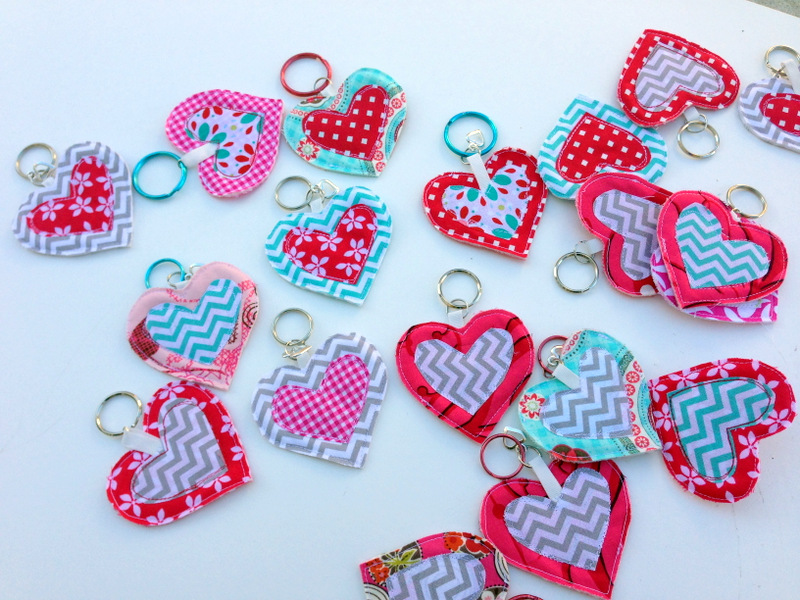
My daughter made the quilted valentine keychains for her friends. She fussy cut images of birds and fish and owls! She is the cutest 13 year old ever 🙂
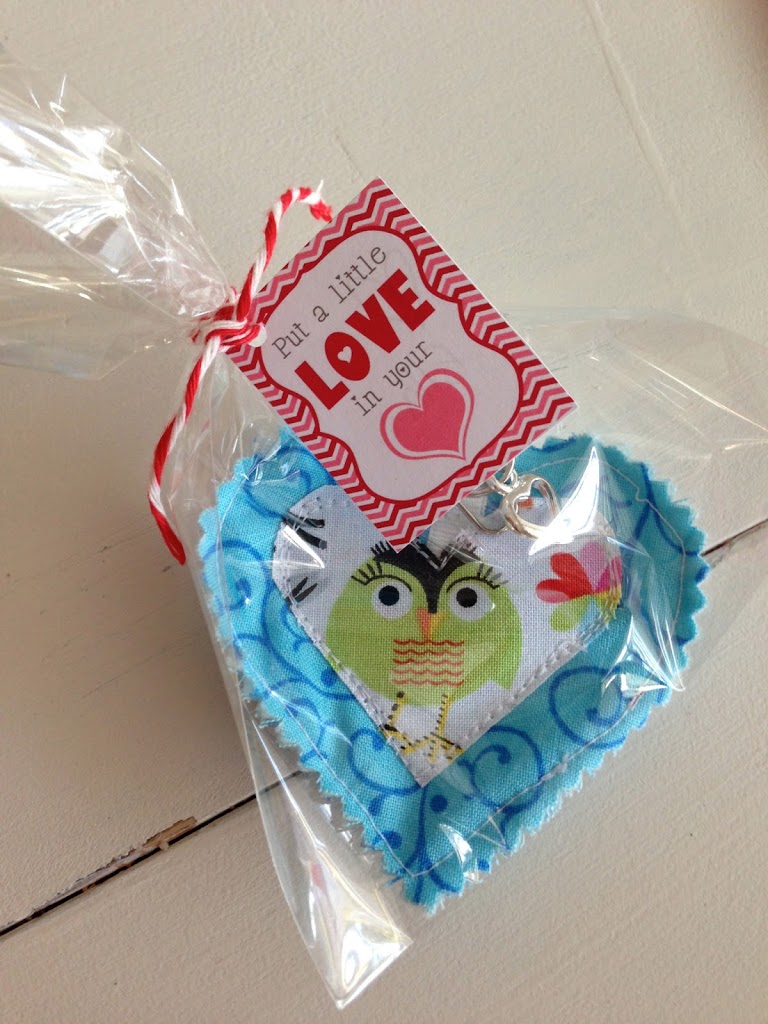
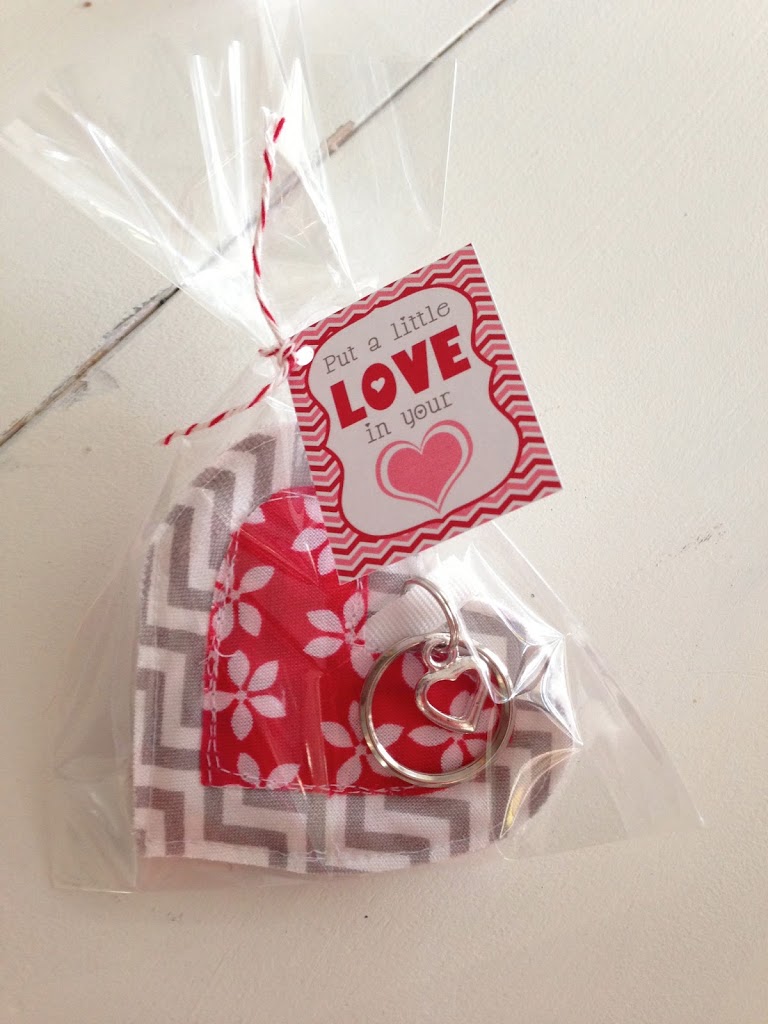
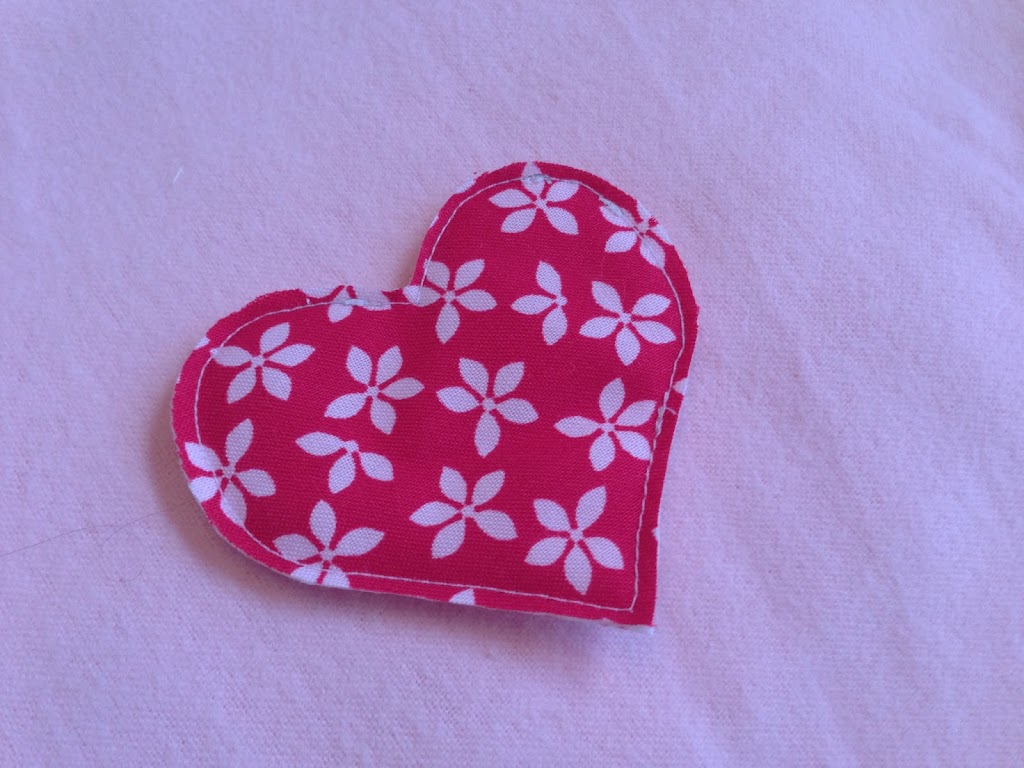
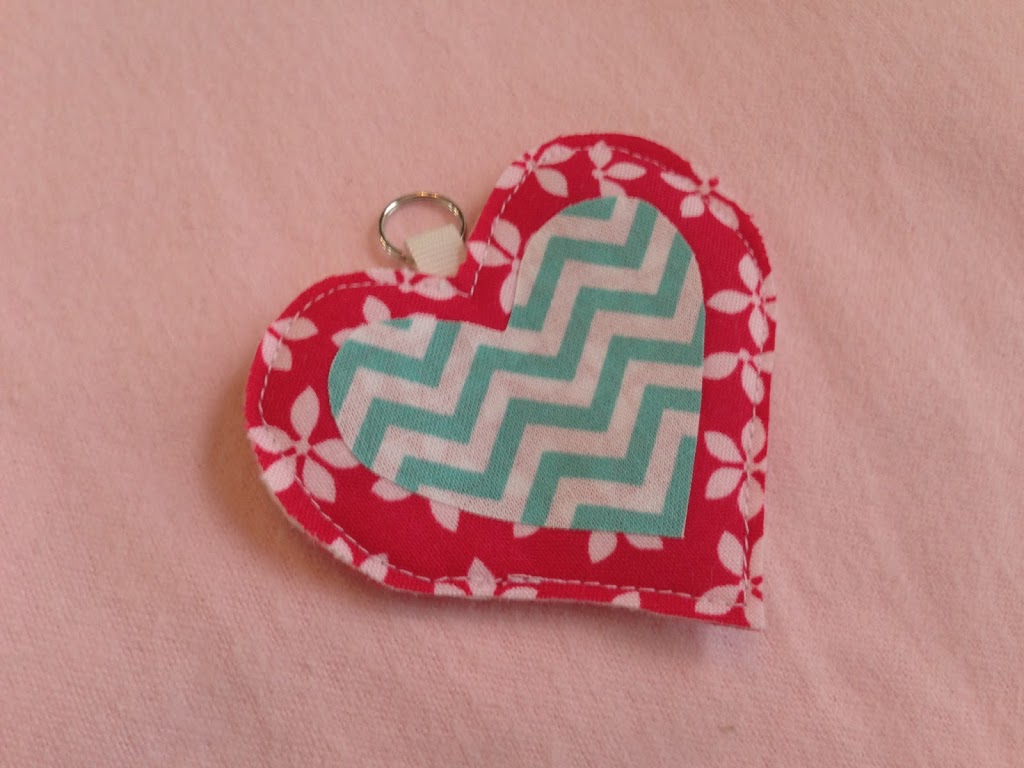
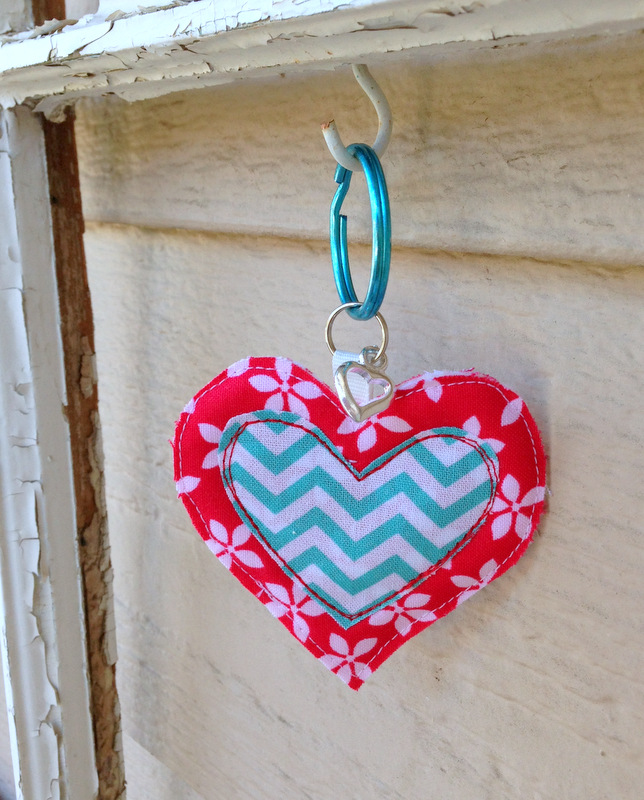
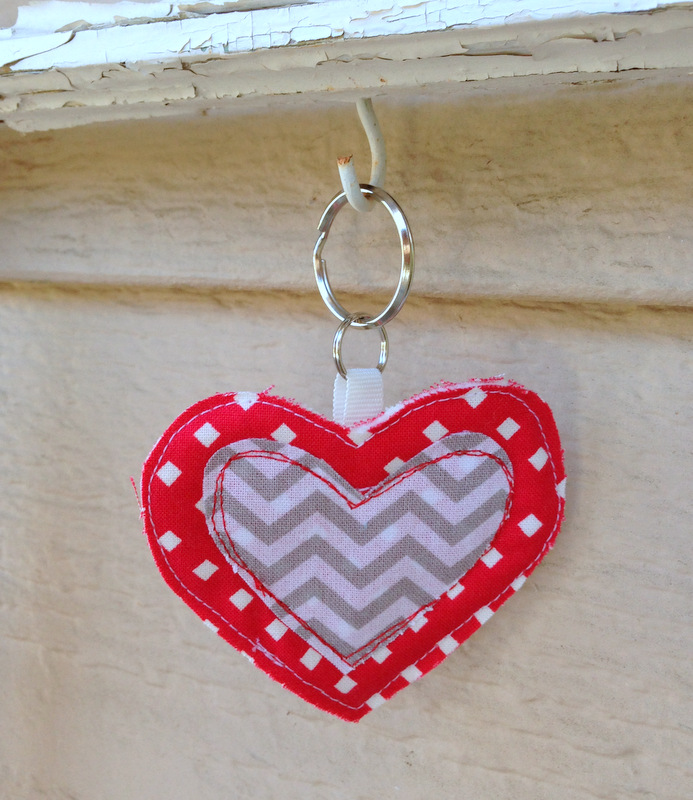
Every Valentine’s Day I like to make a little item to give my friends. And so the Quilted Heart Key chain idea was born 🙂 I love this project because it is a total scrap buster!! Here is how you can make one:
Supplies:
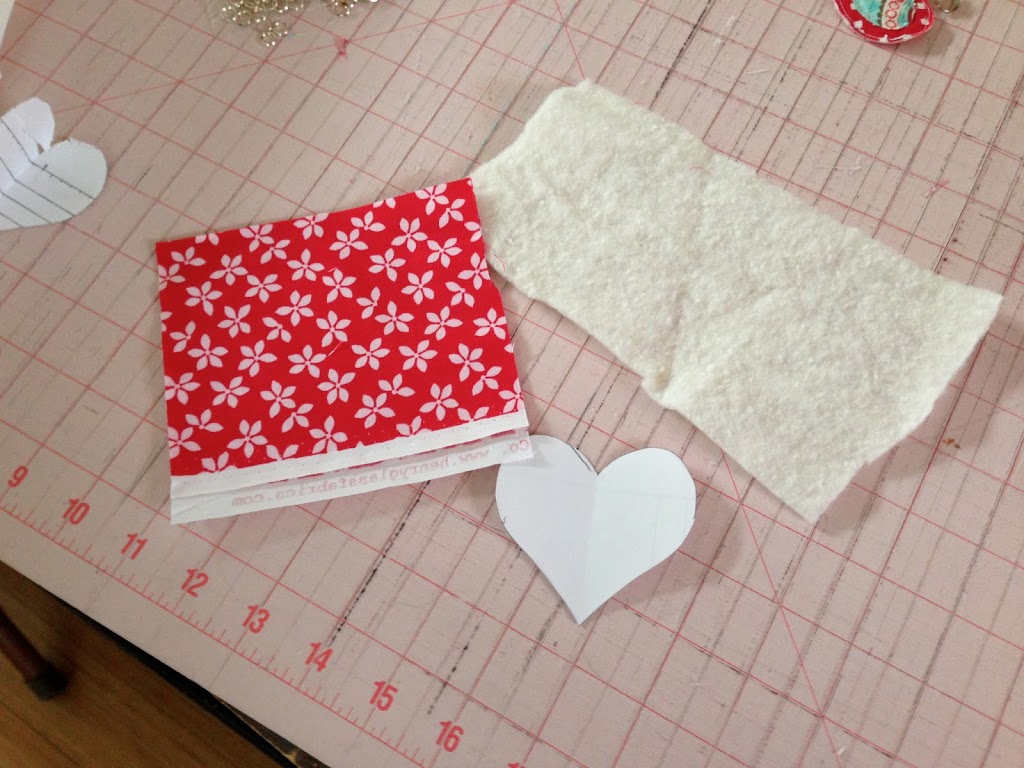
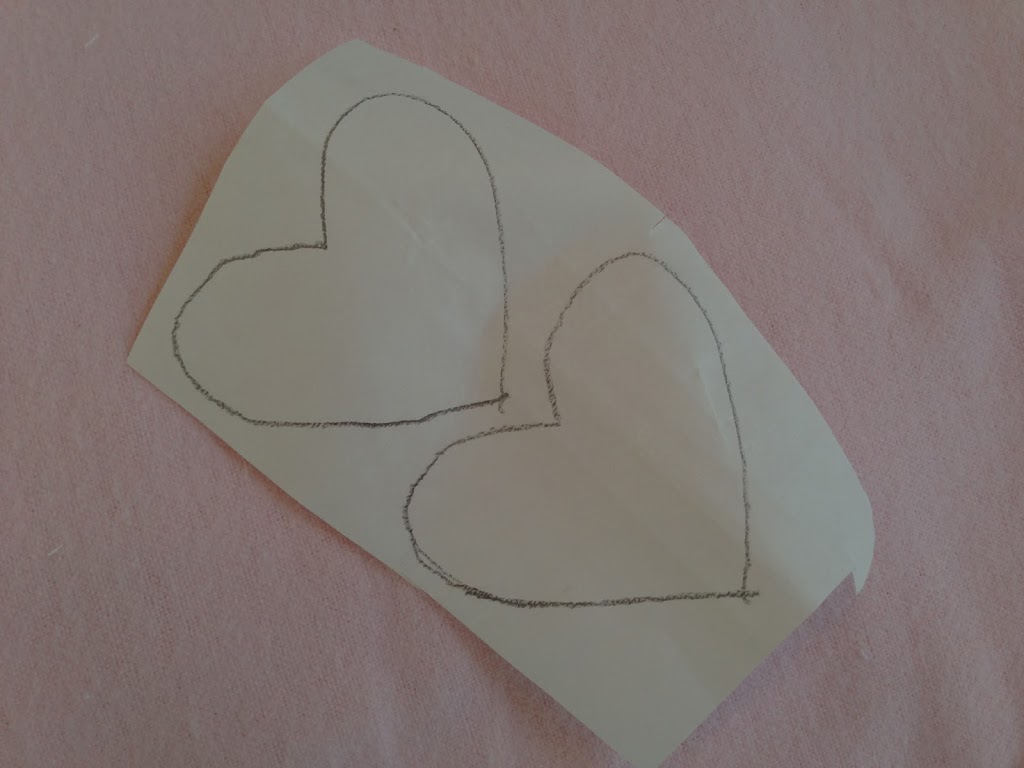
Step 1
Cut your main heart fabric into 2 squares about 4″ each. Also cut your batting that size – this measurement can be very rough.

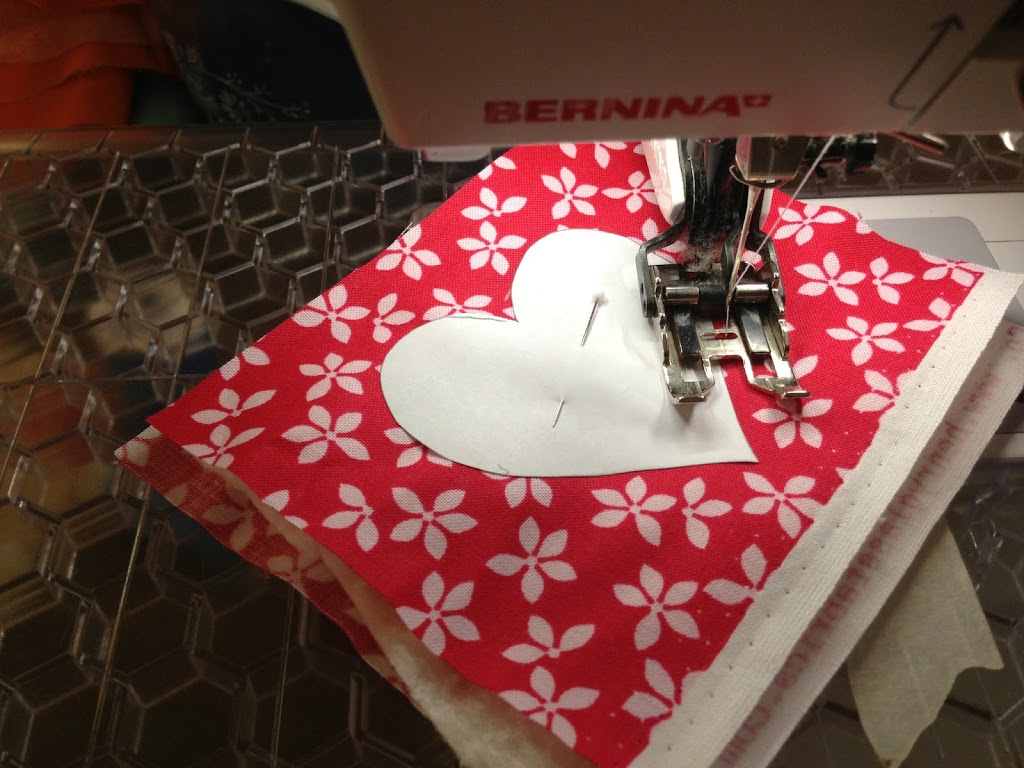

Step 4
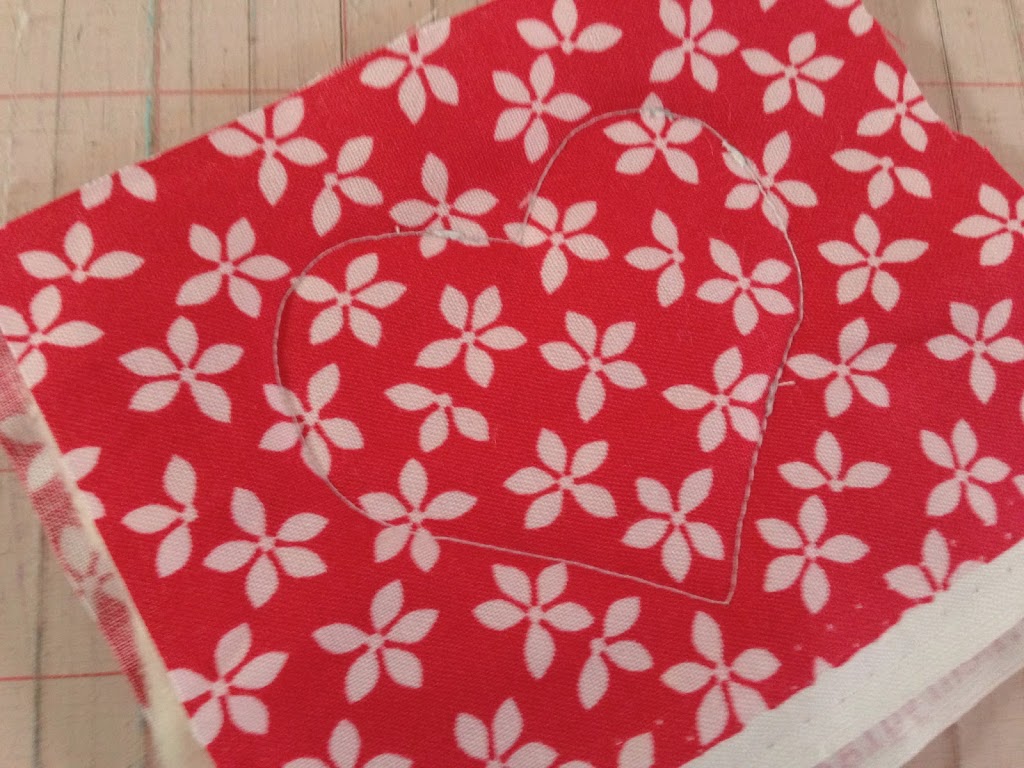
Trim close to your sewn edge.
Step 6
Trace your smaller heart onto your fusible web (trace 2). Iron it to the wrong side of the fabric.
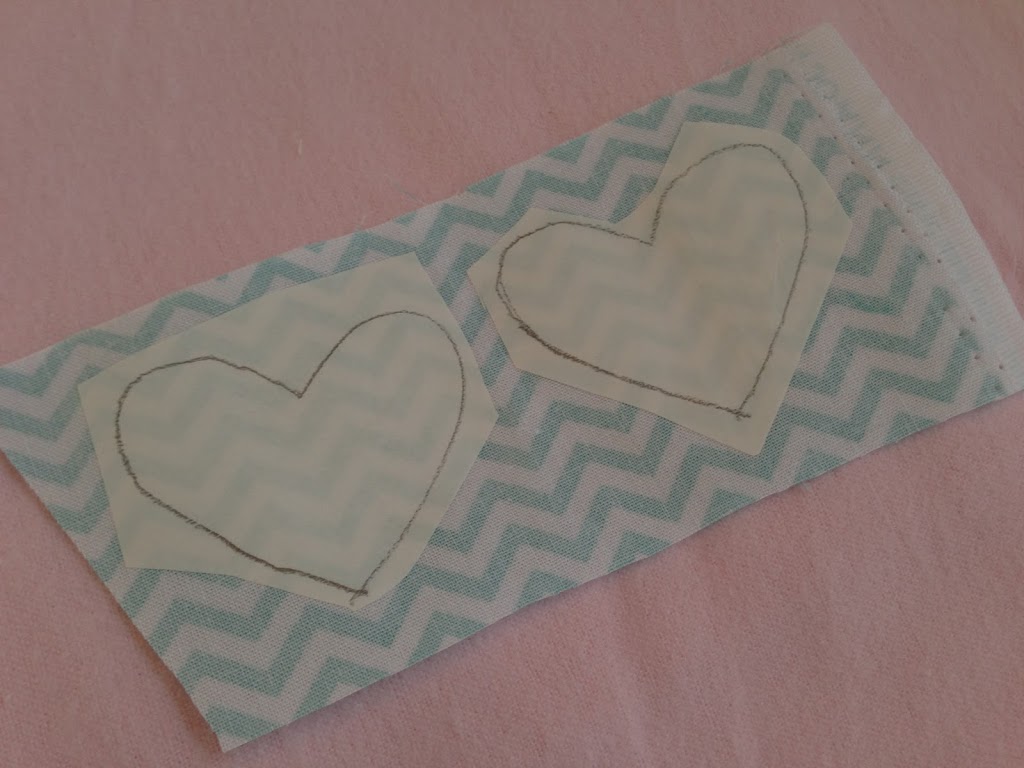
Cut the hearts out on the line and iron them to both sides of the heart trying to center them the best you can.

If you are joining me from the Blogger’s Quilt Festival – welcome! My name is Amanda and I am the Jedi Craft Girl. I love crafting, sewing, and of course quilting!! Thanks for taking the time to view my quilt.
Category: Baby Quilt Entry #625
What makes quilting so rewarding is being able to give the finished quilt to someone I care about. Quilting takes a lot of time – from choosing the fabrics, deciding on a pattern, and then putting it all together. When I am making a quilt for someone I am thinking about the recipient through the whole process. I think giving a quilt is truly a gift that comes from the heart and a quilt is my favorite gift to give.
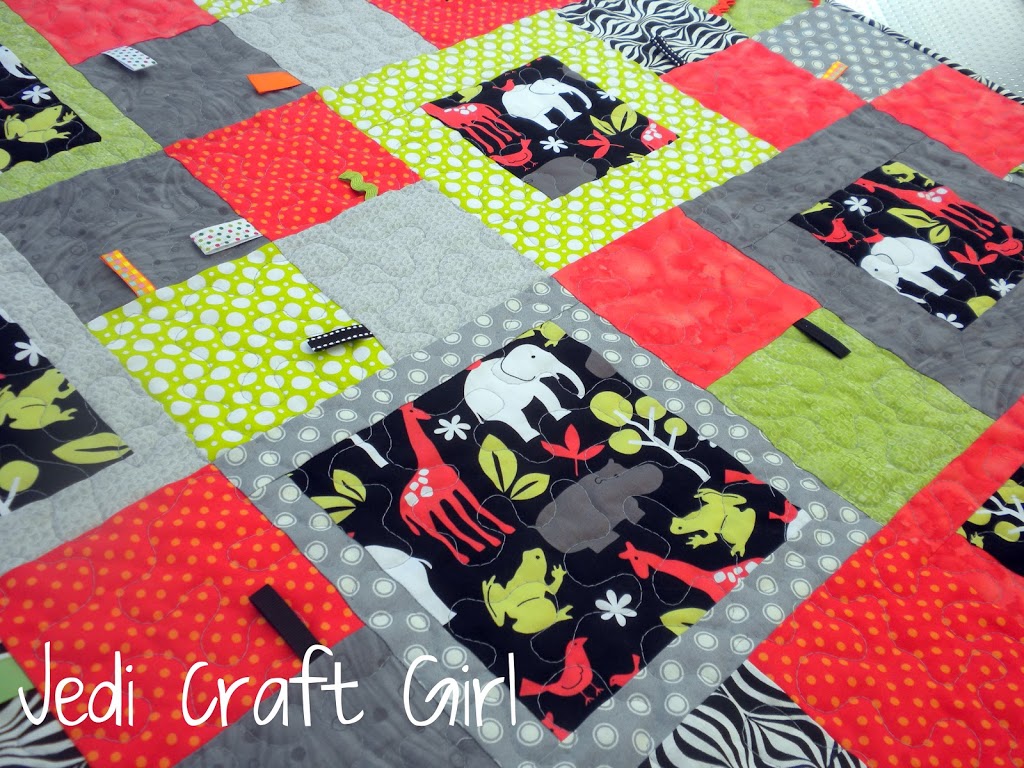
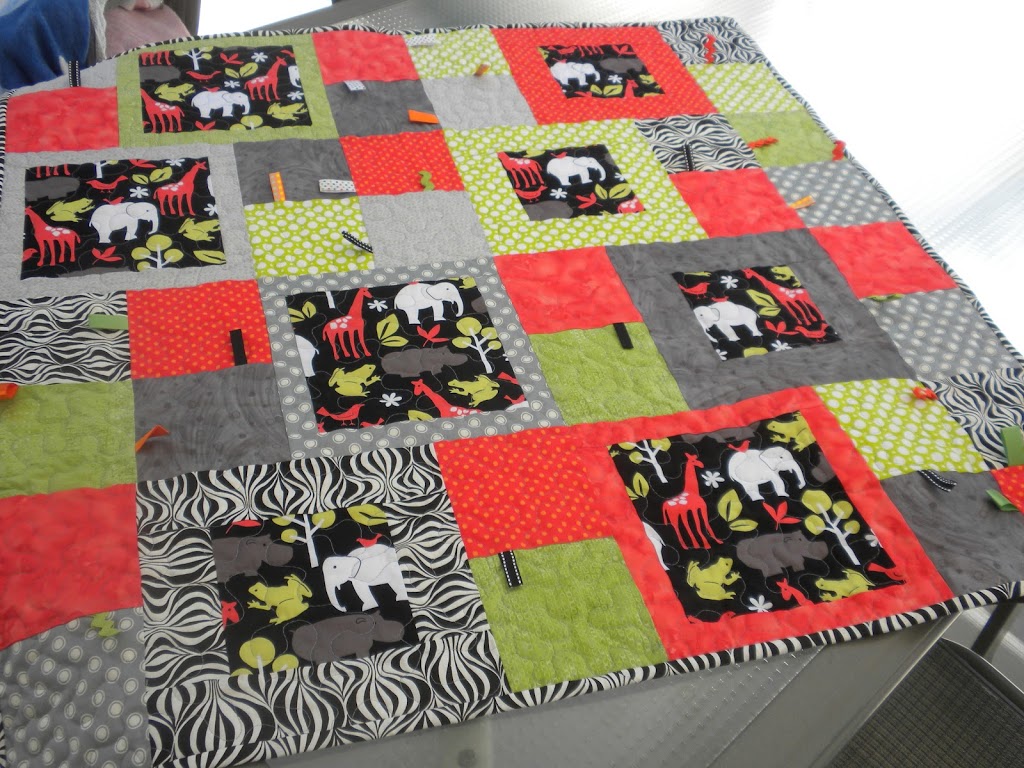
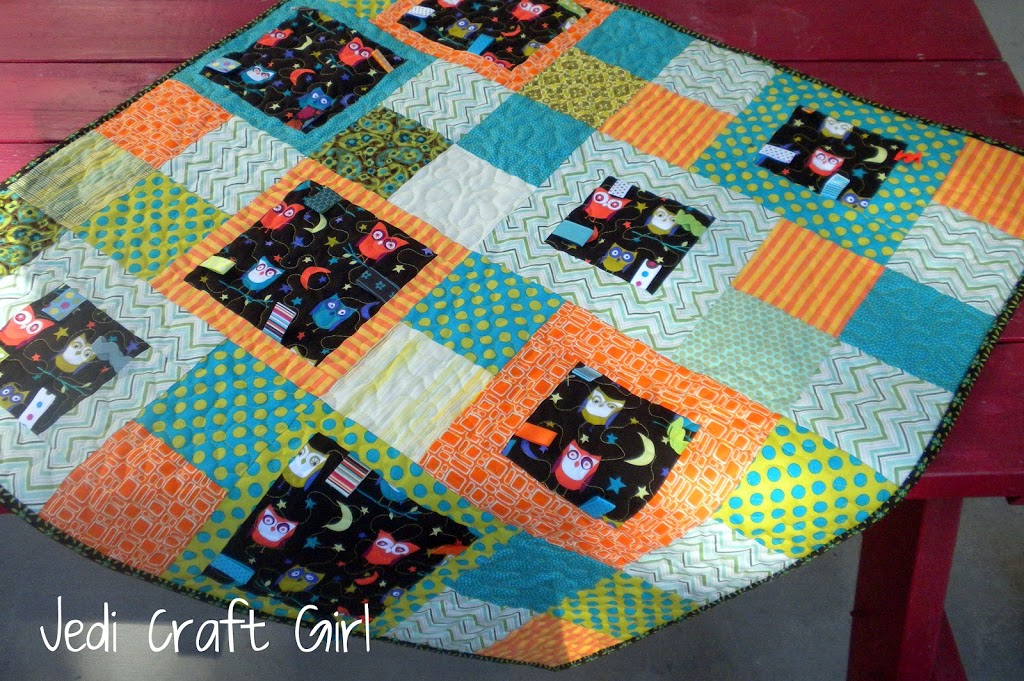
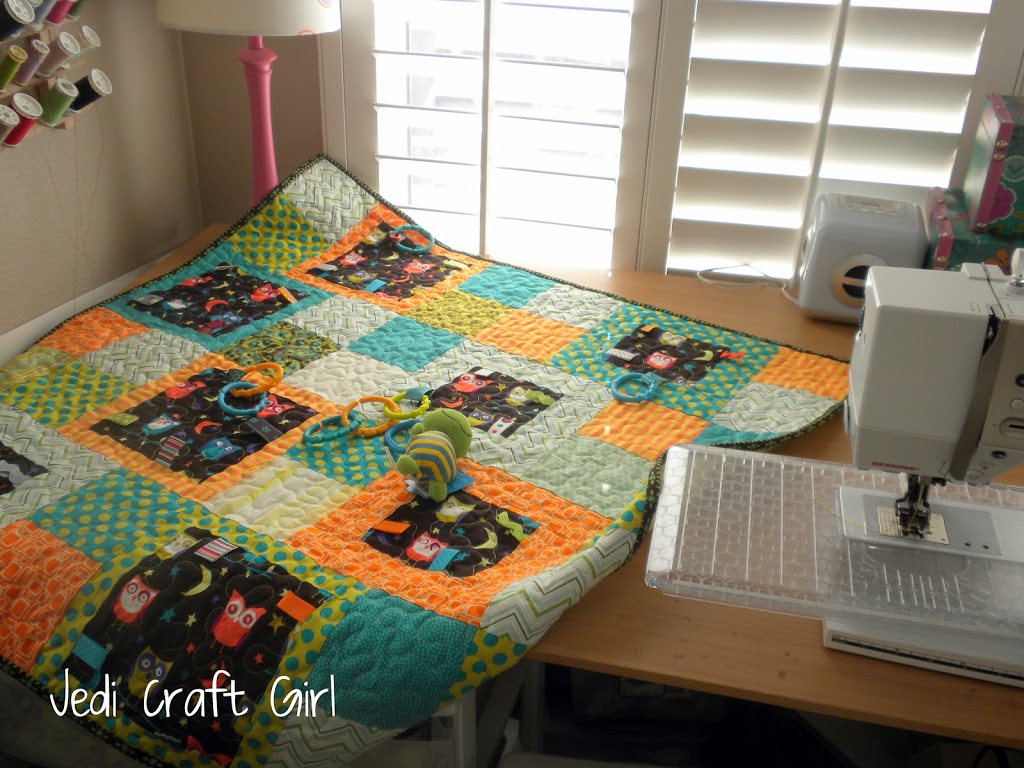
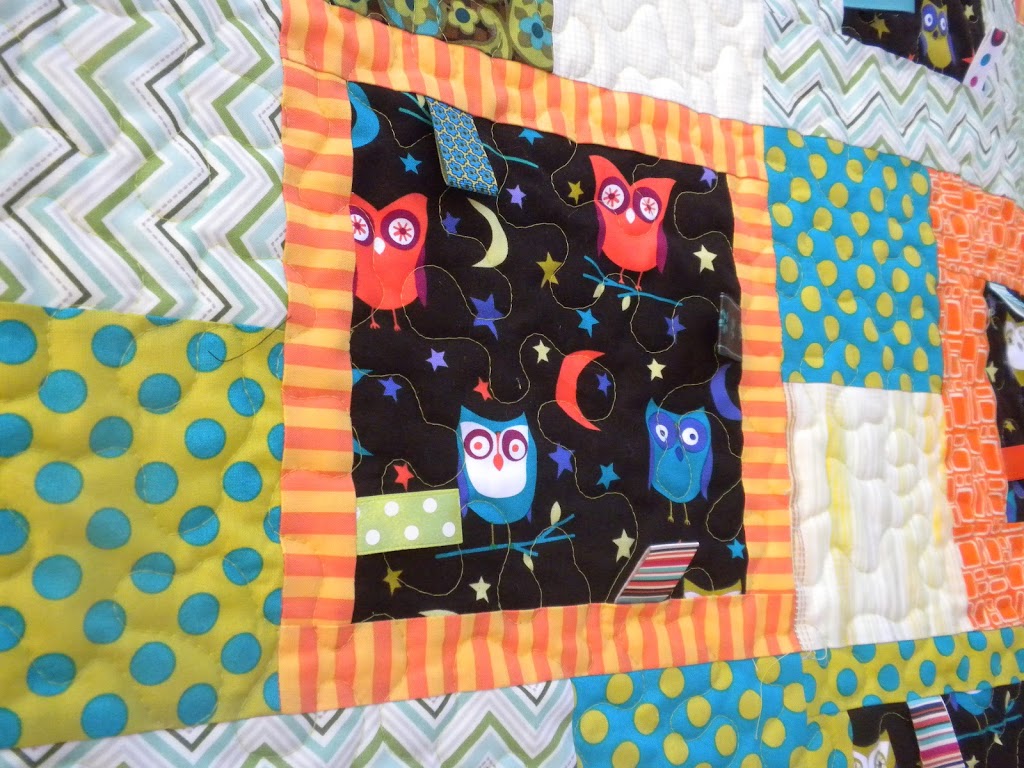
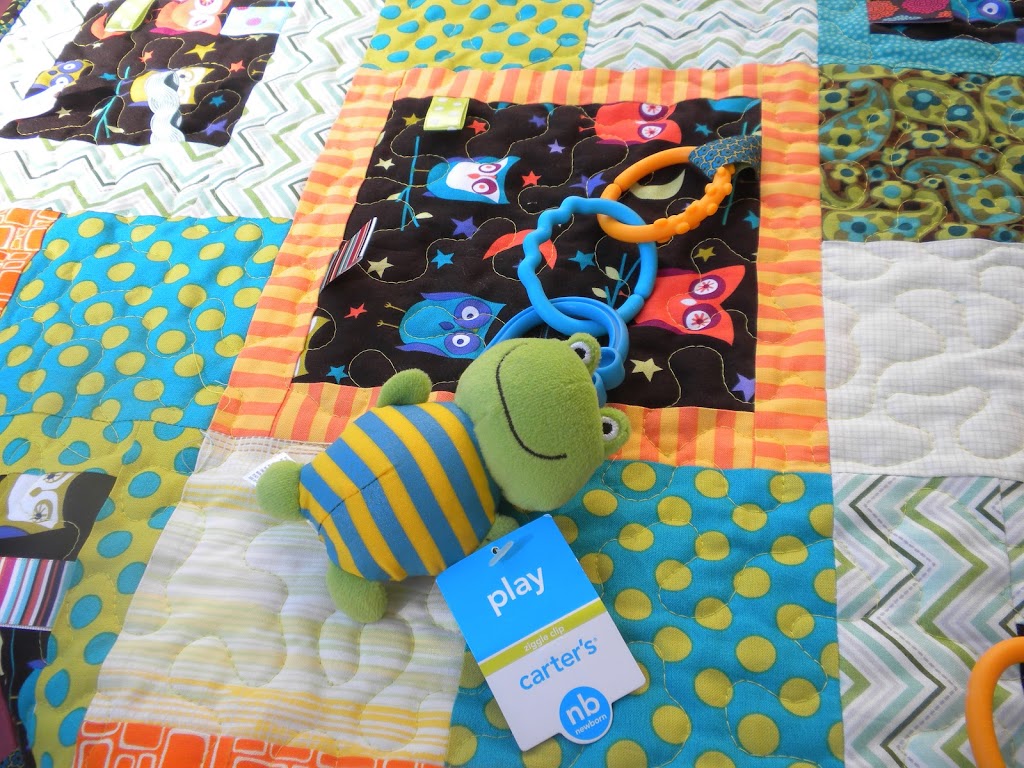
I was able to sew this quilt for a dear friend who just had her fifth baby boy. I love the colors in this quilt – they are a nice change from the traditional baby blue. What is also special about this quilt is there are little “tags” sewn into the seams. This is fun for baby to play with or chew on. You can also clip toys to the little loops or even use the loops to clip the quilt to a stroller so the quilt won’t fall on the ground.
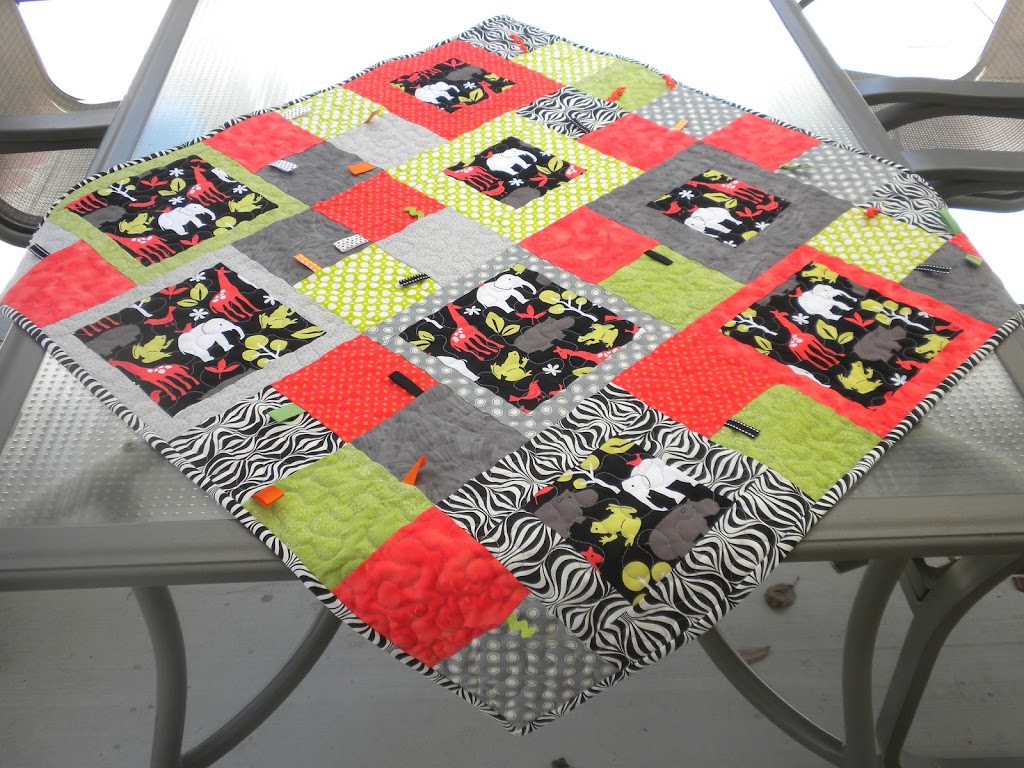
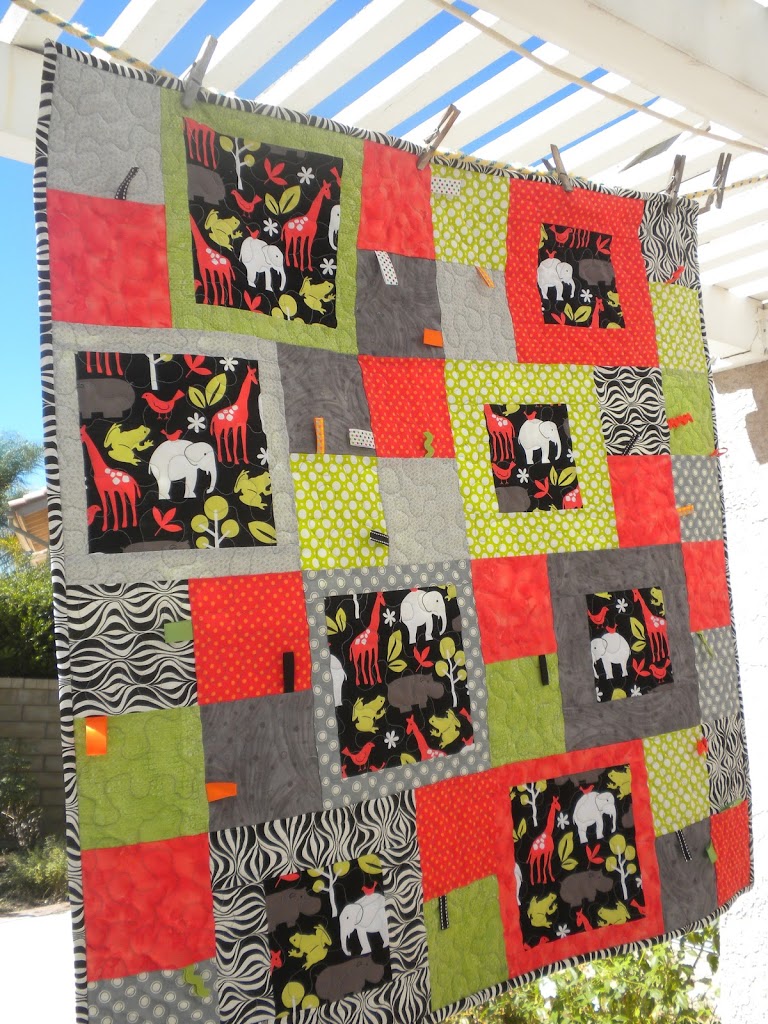
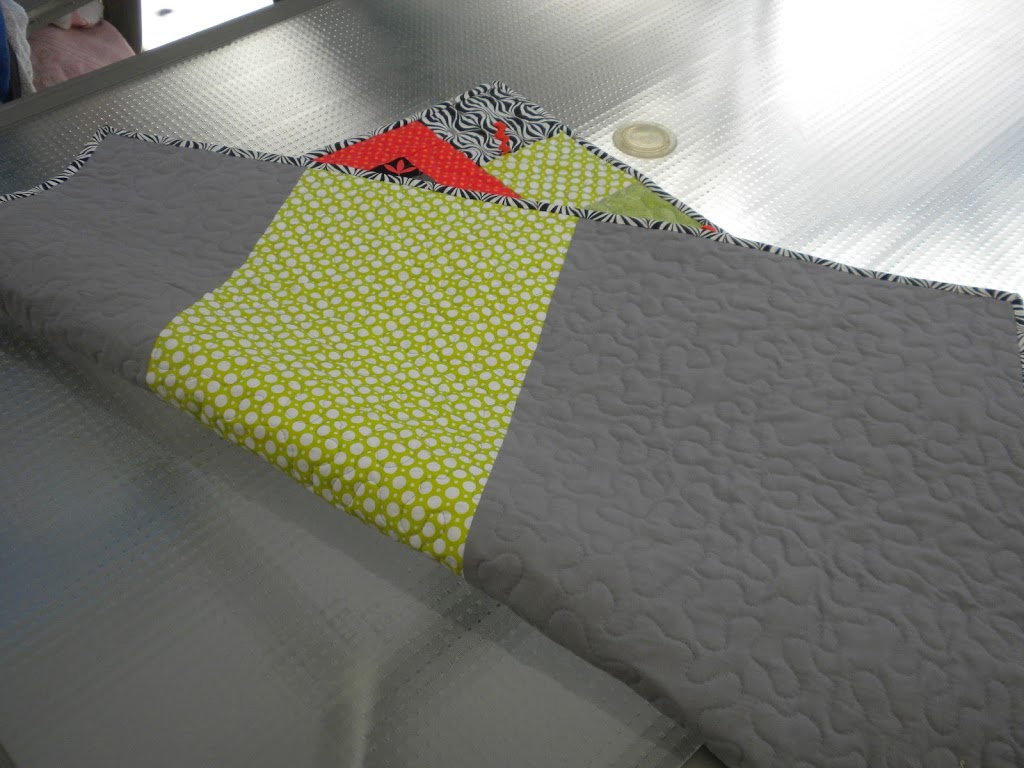
This quilt measures 40″ square. It was machine quilted by me in a stippeling pattern.
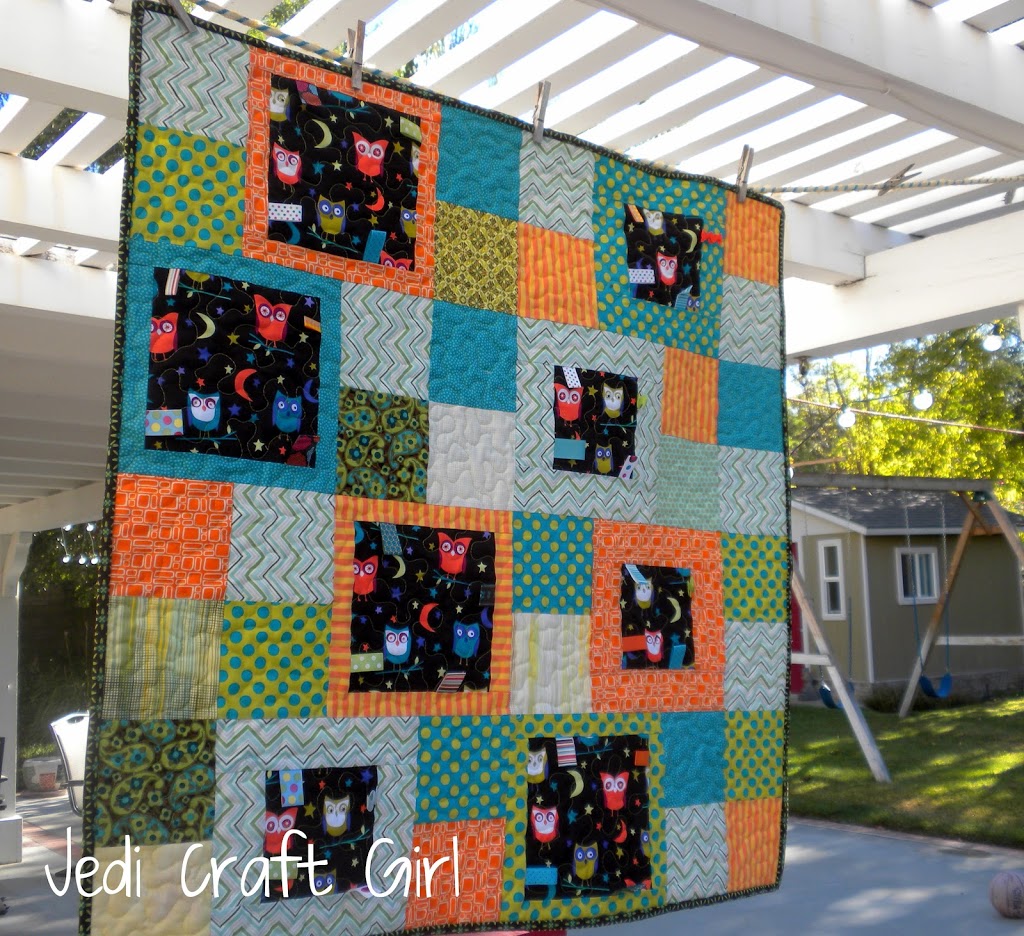
I just made this baby quilt for a friend. It’s a new pattern I found. Each of the owl blocks has “taggies” sewn into the seams – little loops of ribbon or ric rac for baby to play with. This is my new favorite baby quilt!!! I also love the teal, orange and green in this quilt – super cute!


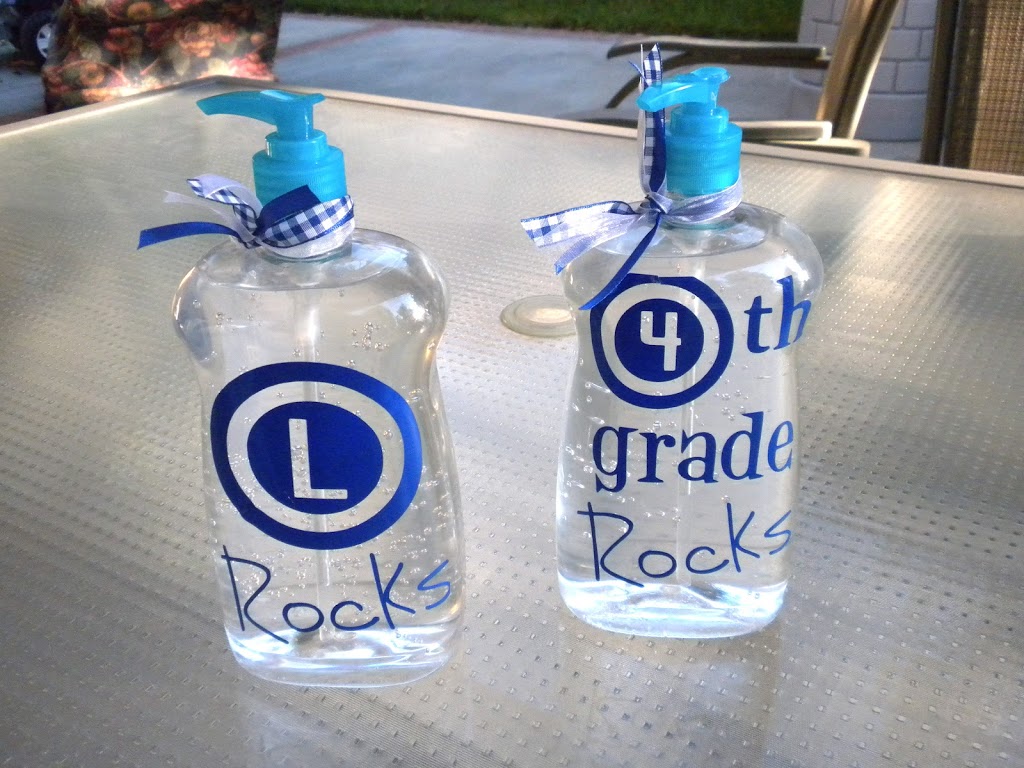
I vinyl-ed these sanitizer bottles to give the teachers on the first day of school. Both teachers are boys – so can’t get too cutesy! The hardest part of this craft is getting the label off the Germ-X bottle!!!


