October Stars Quilt Pattern

october-stars-quilt-pattern-3

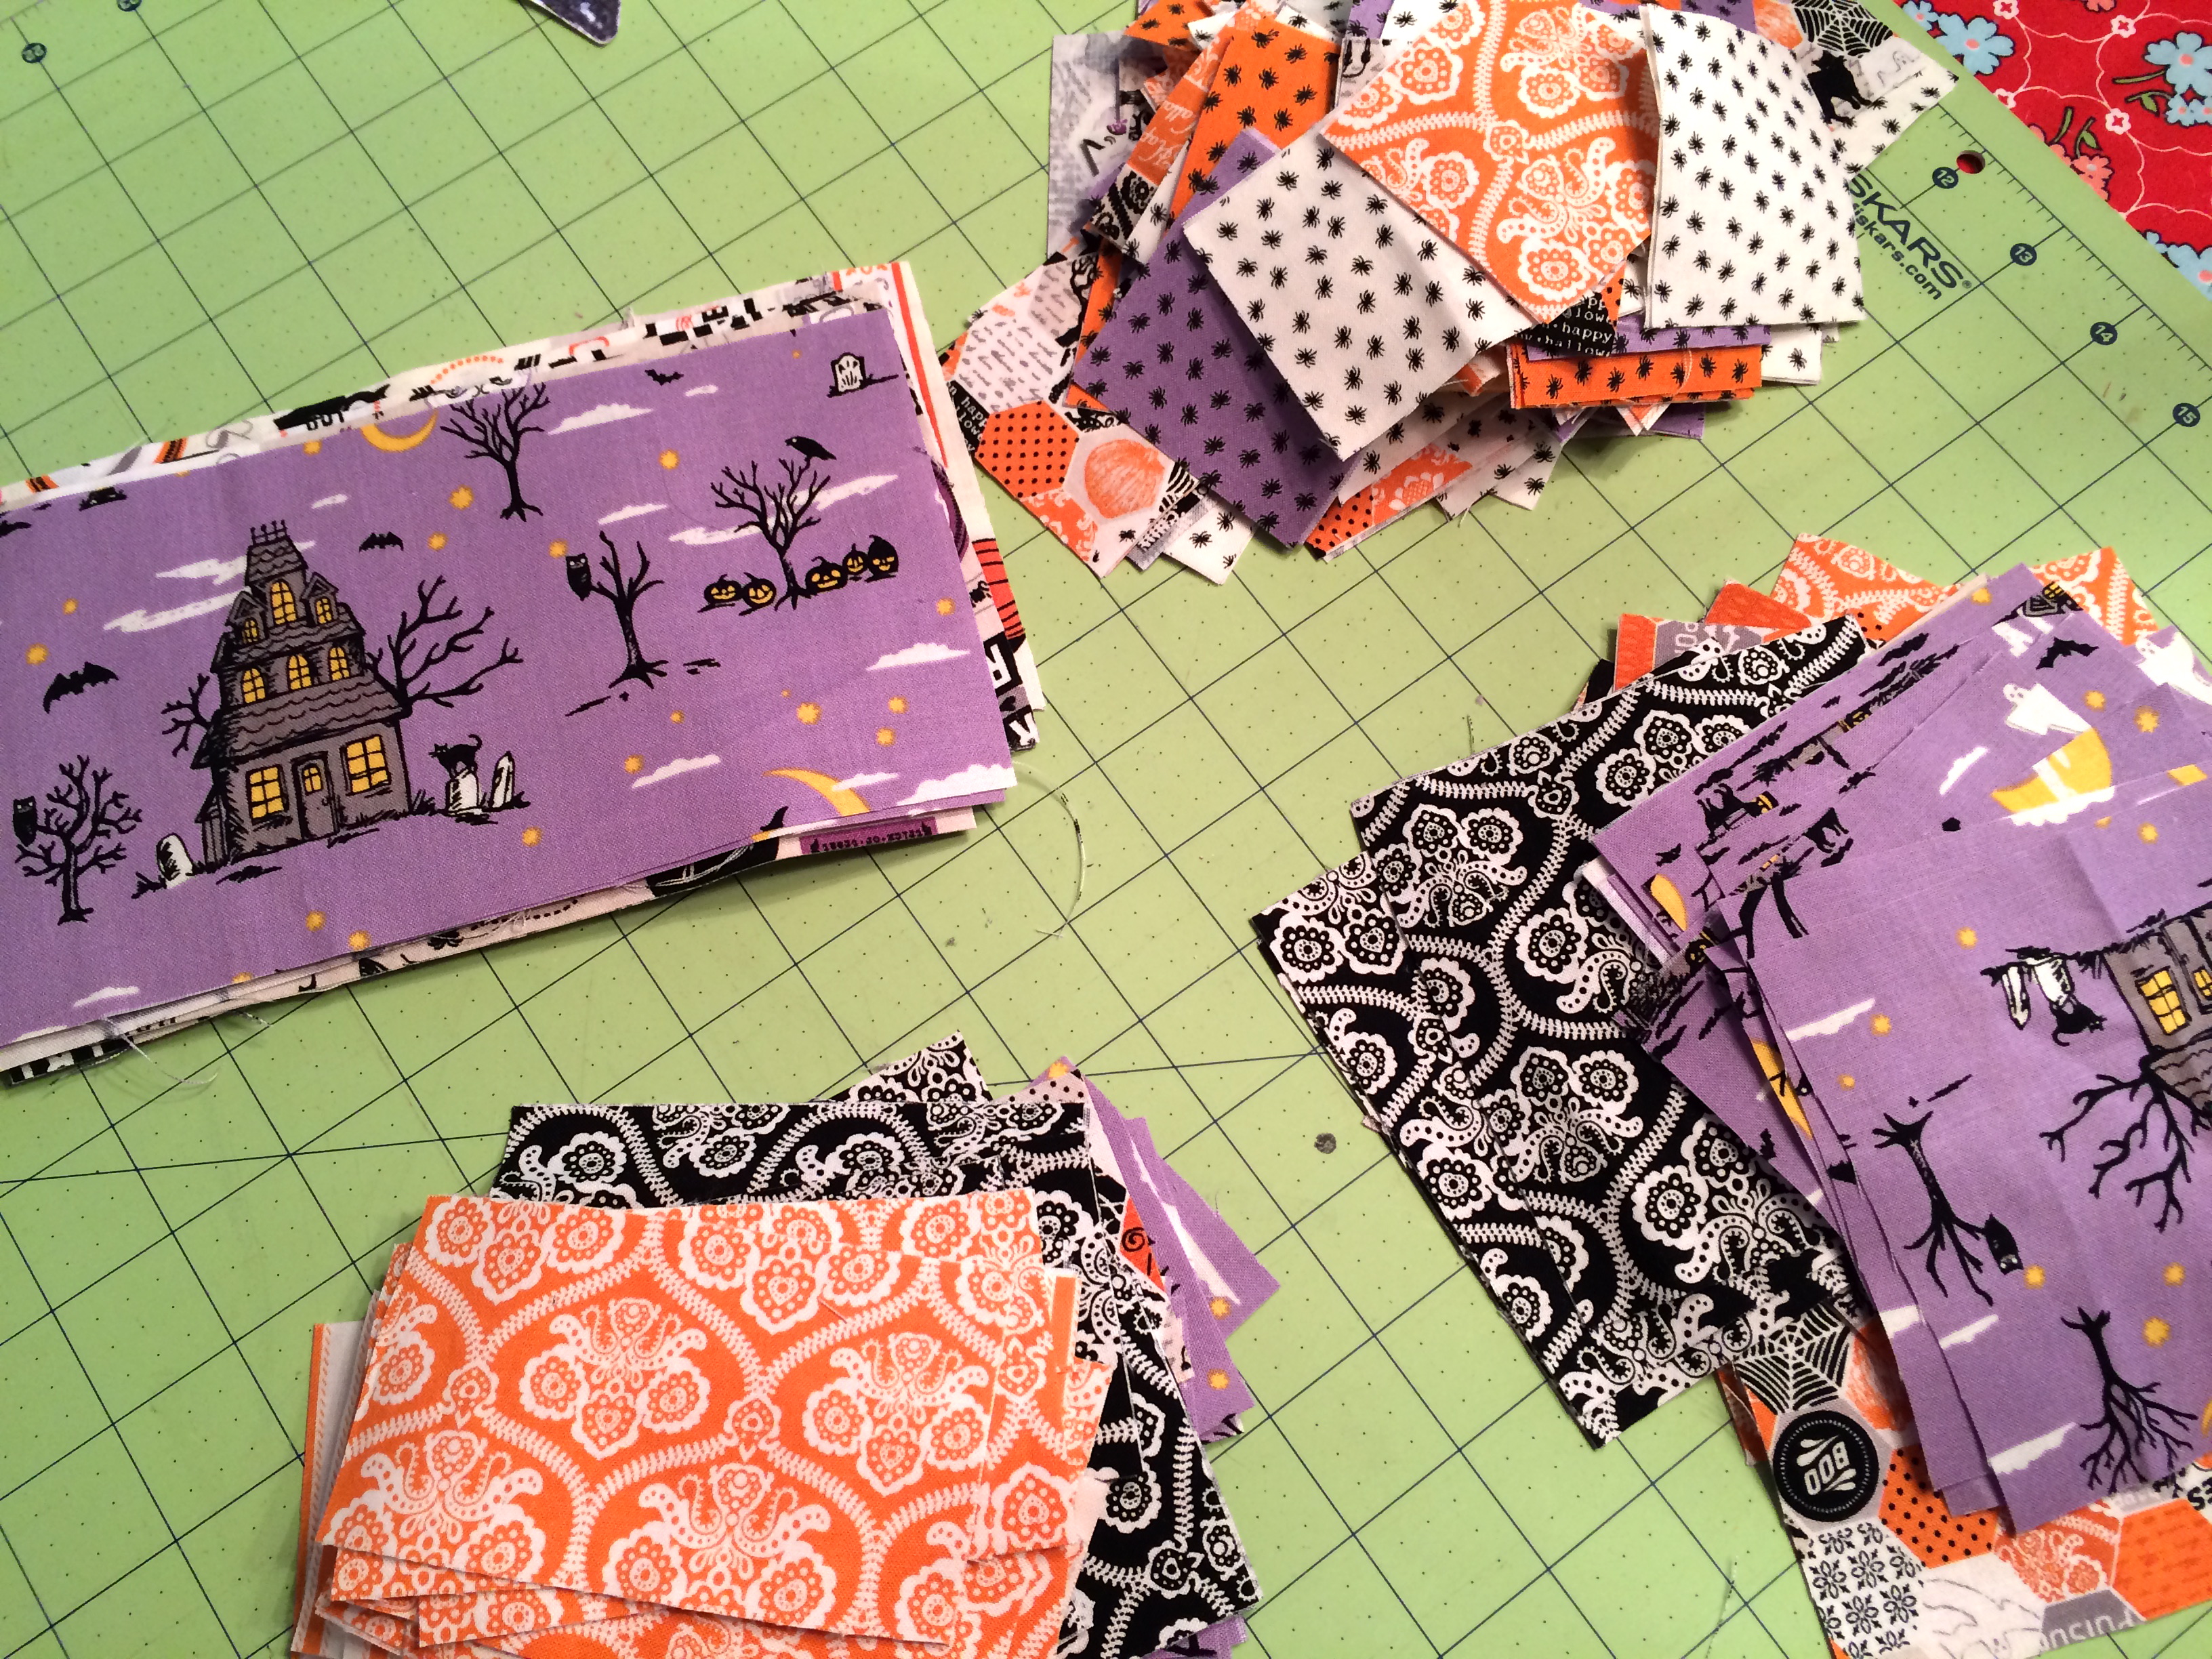
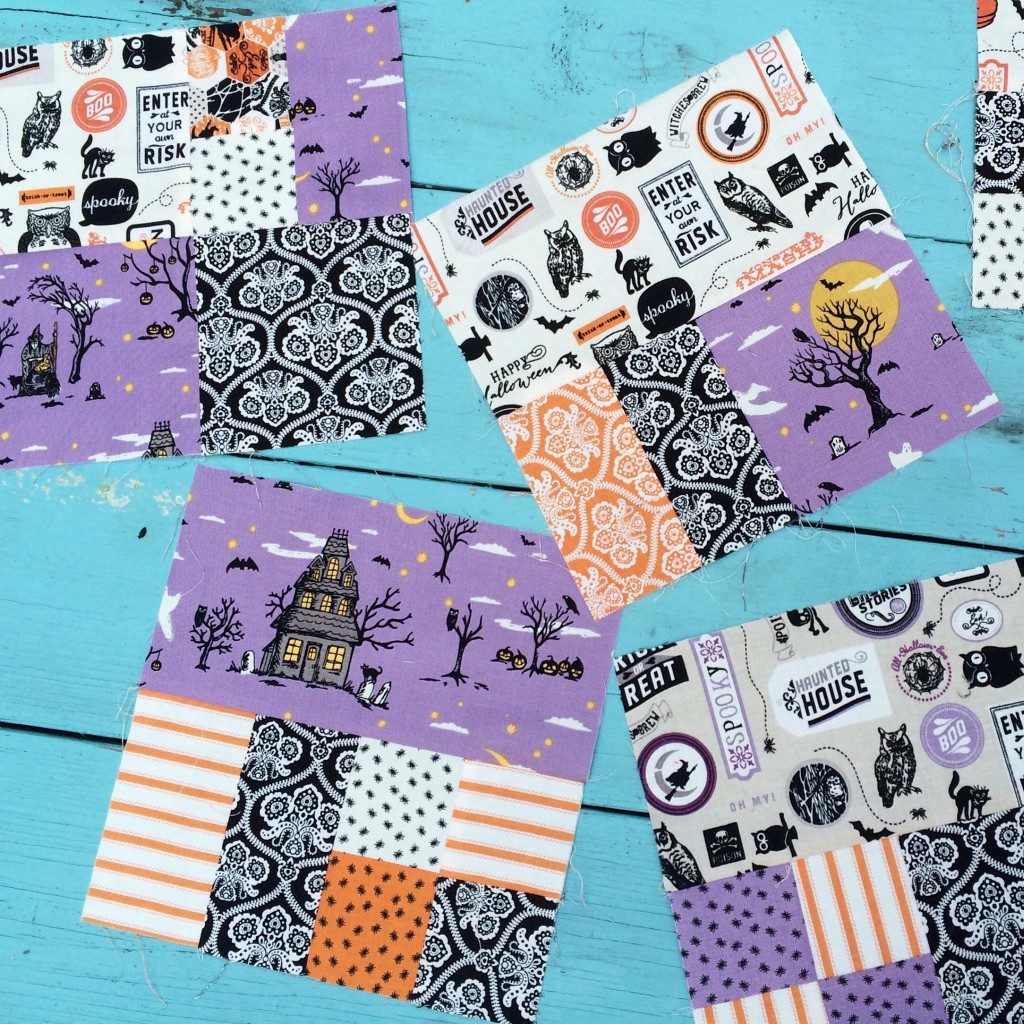
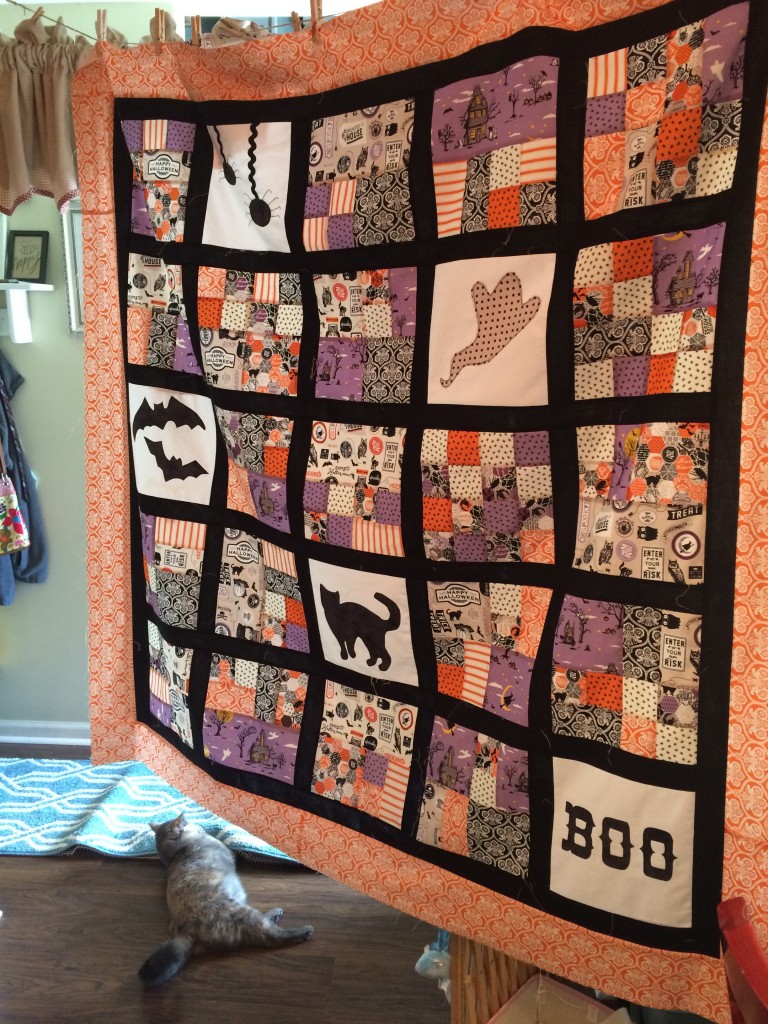
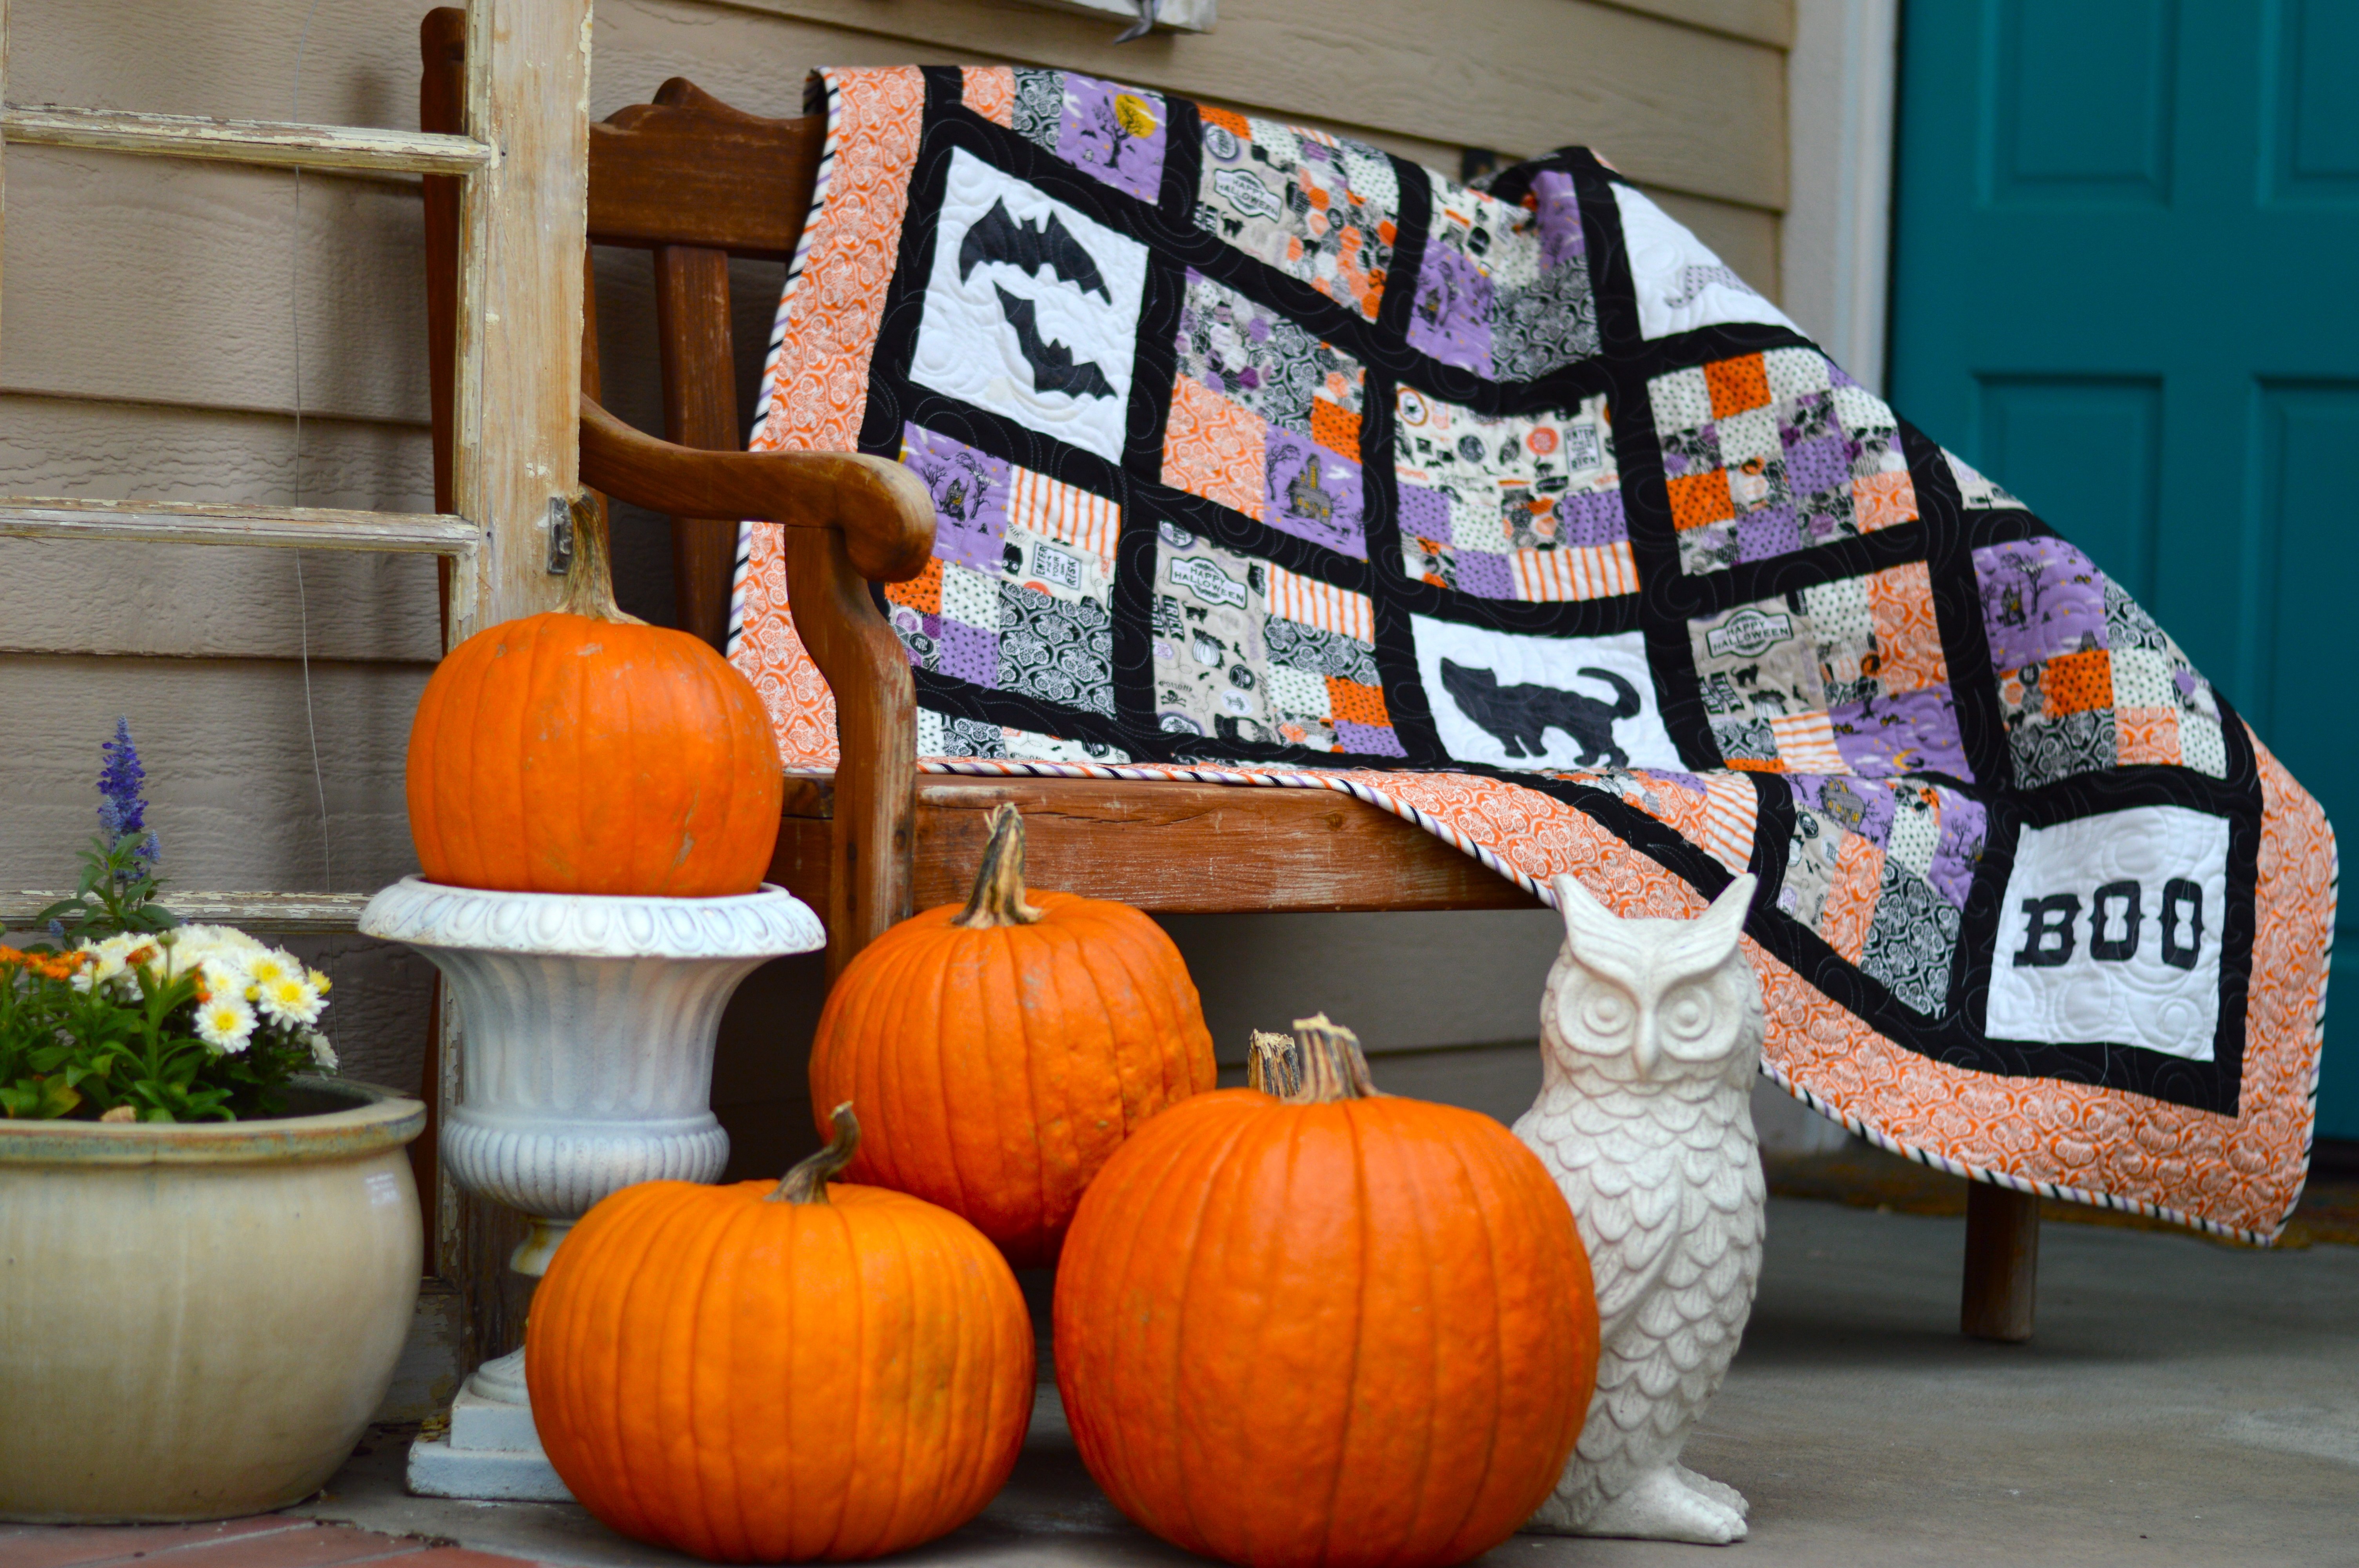
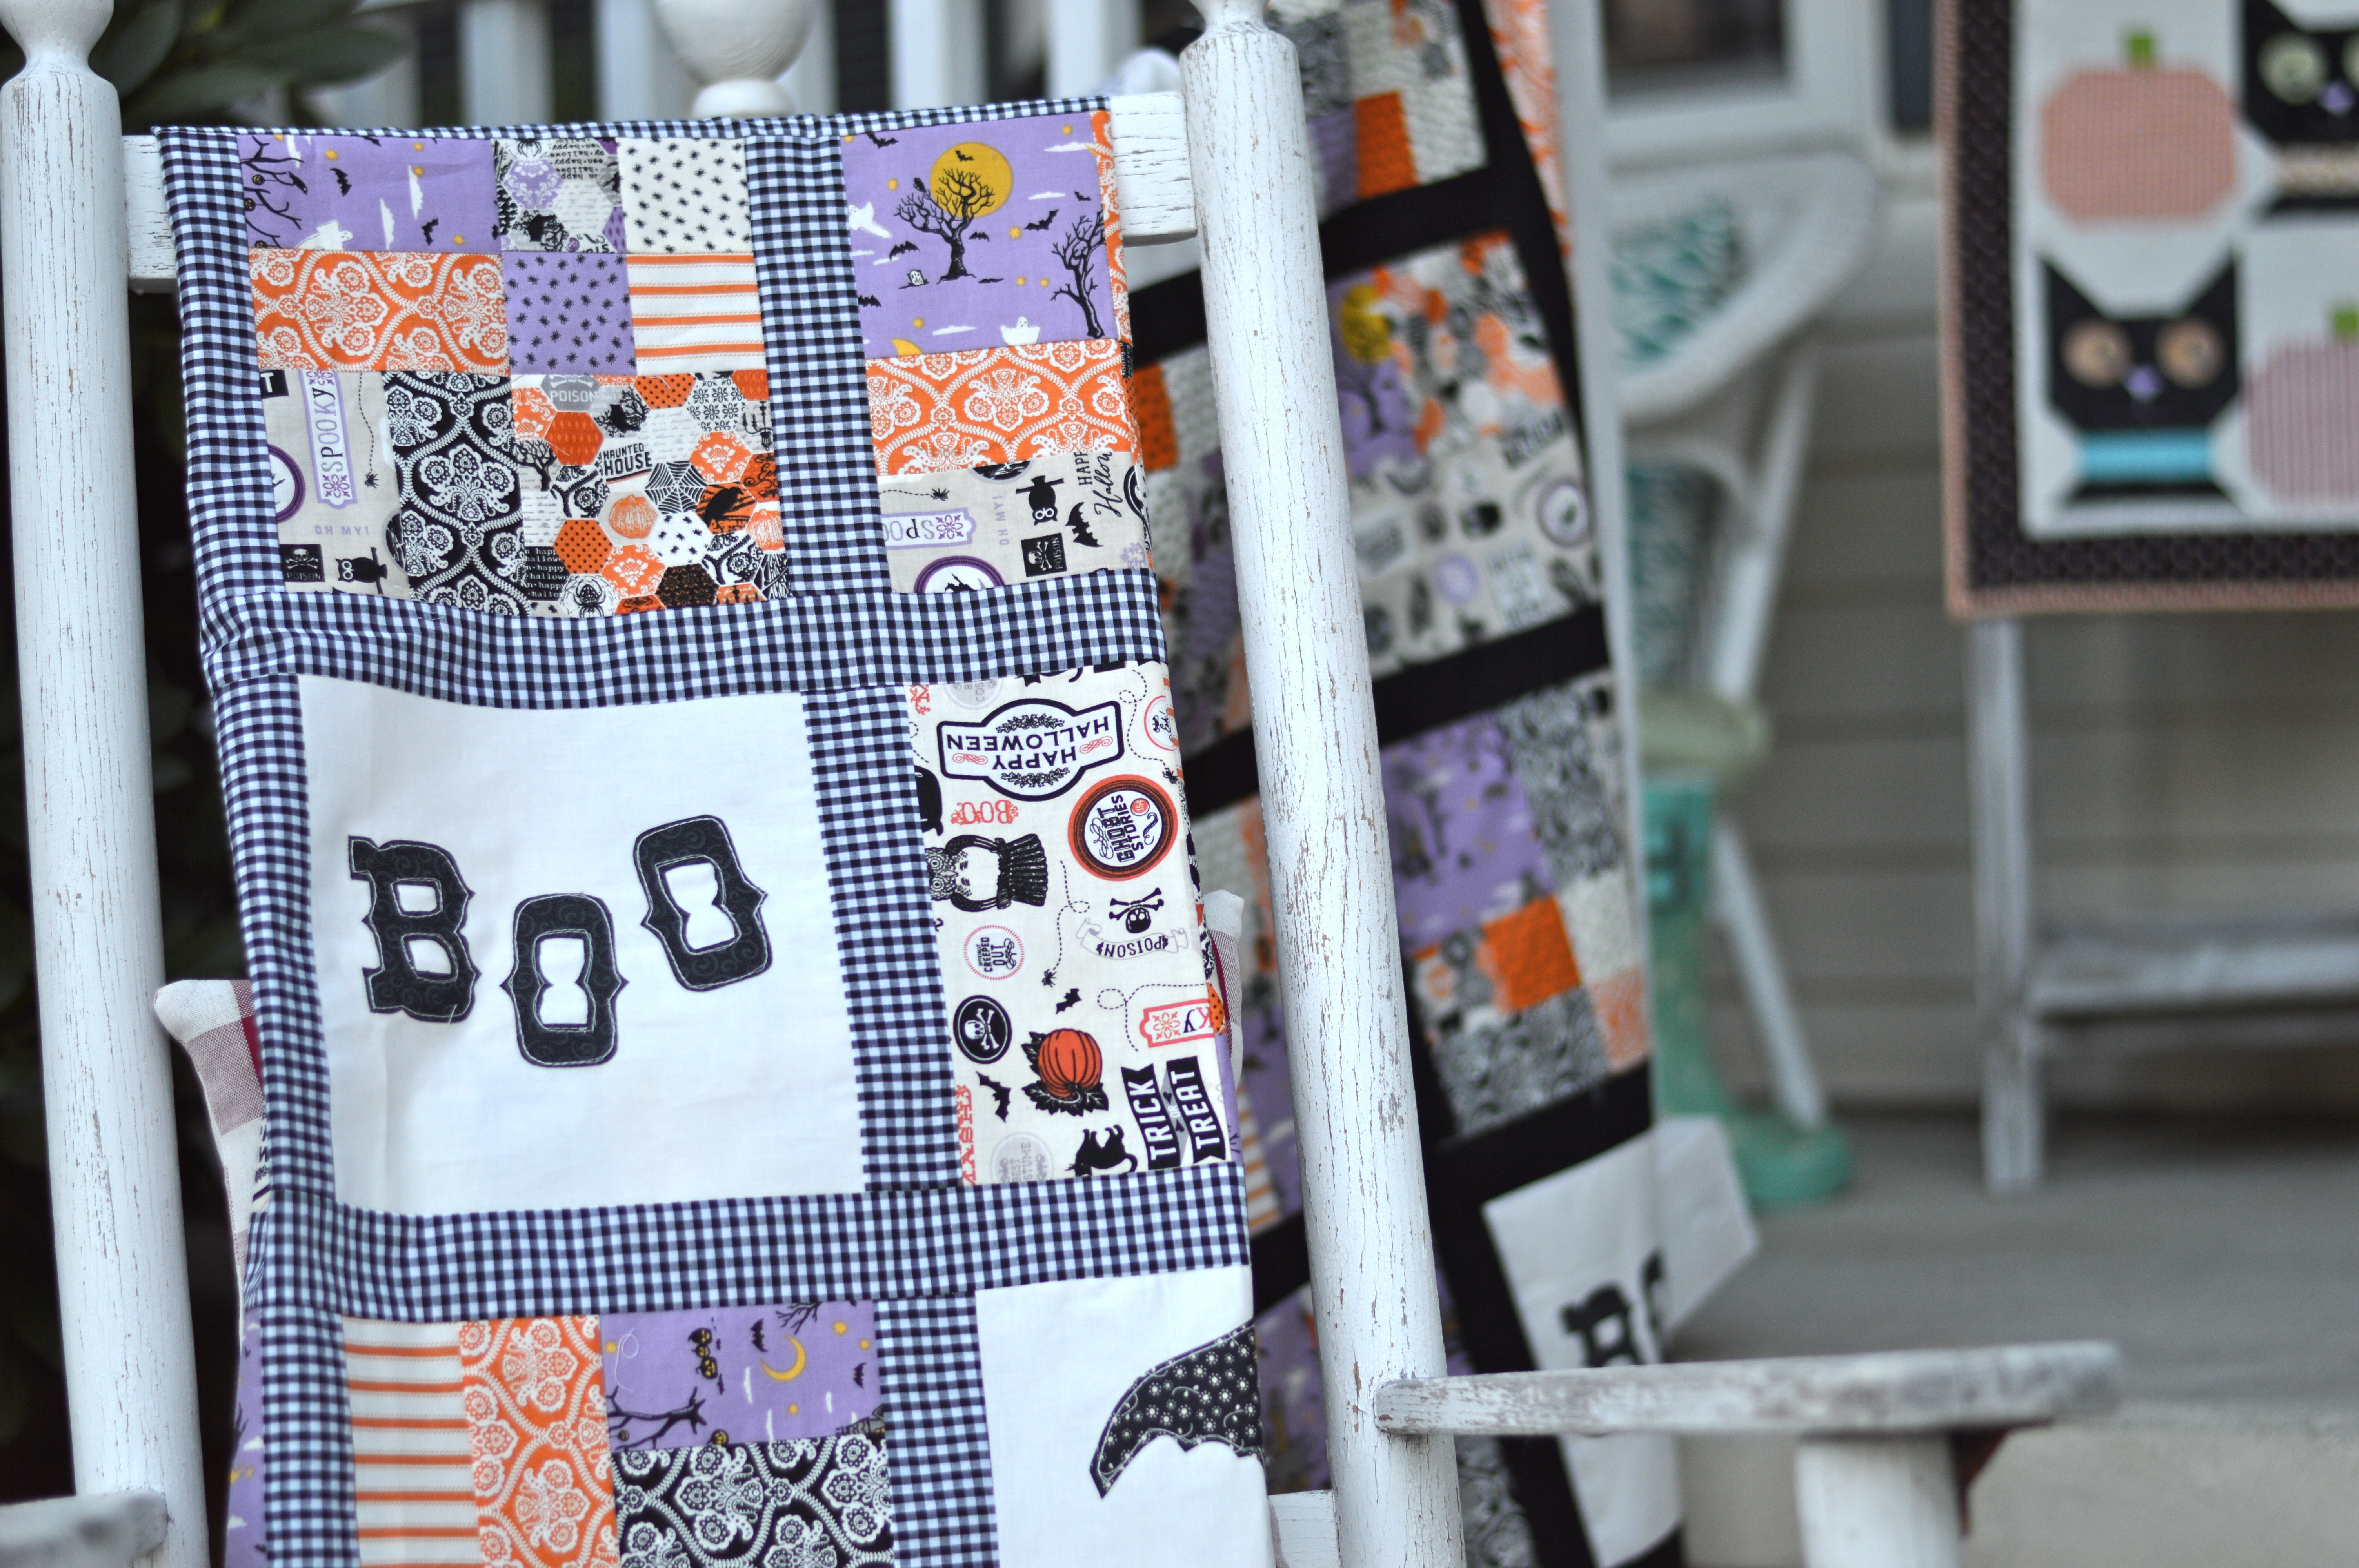
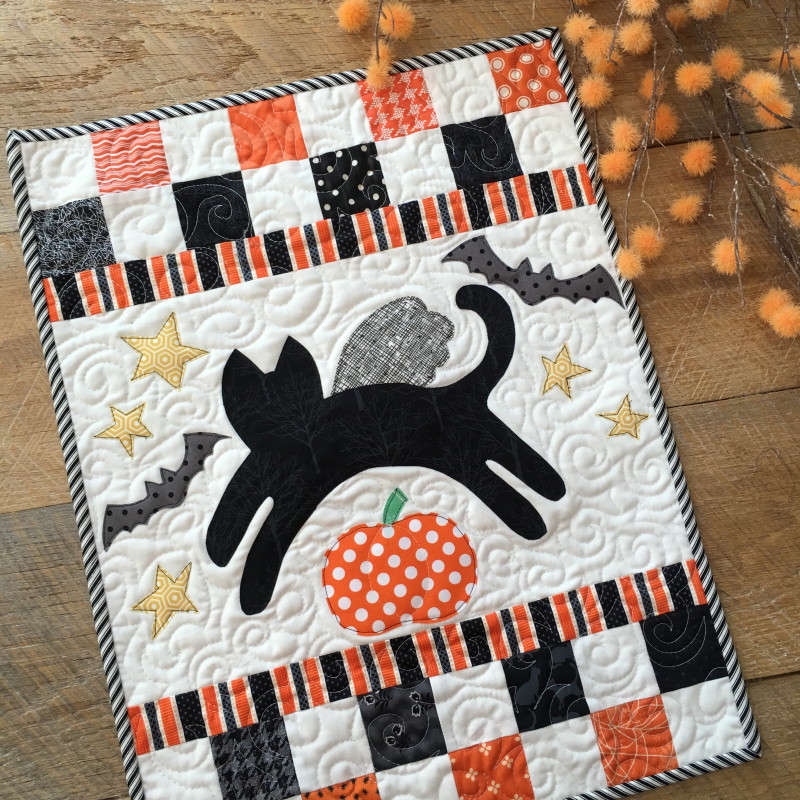
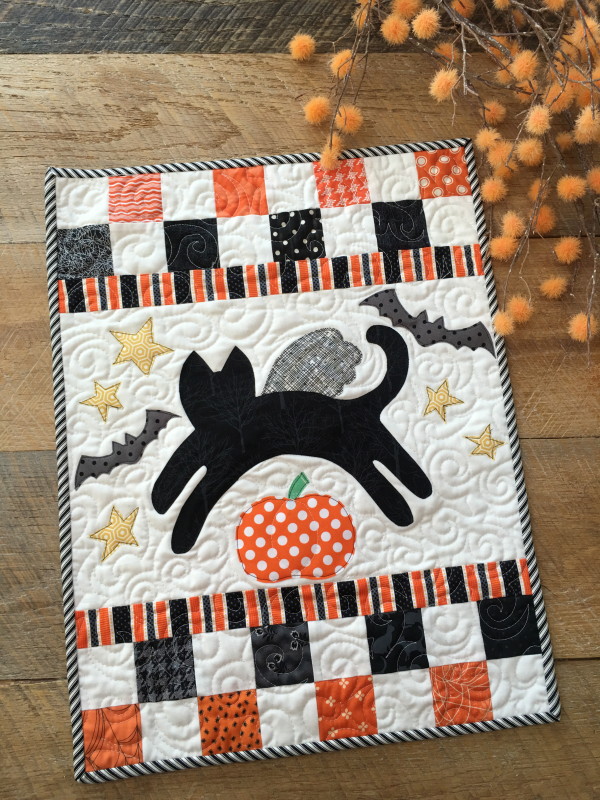
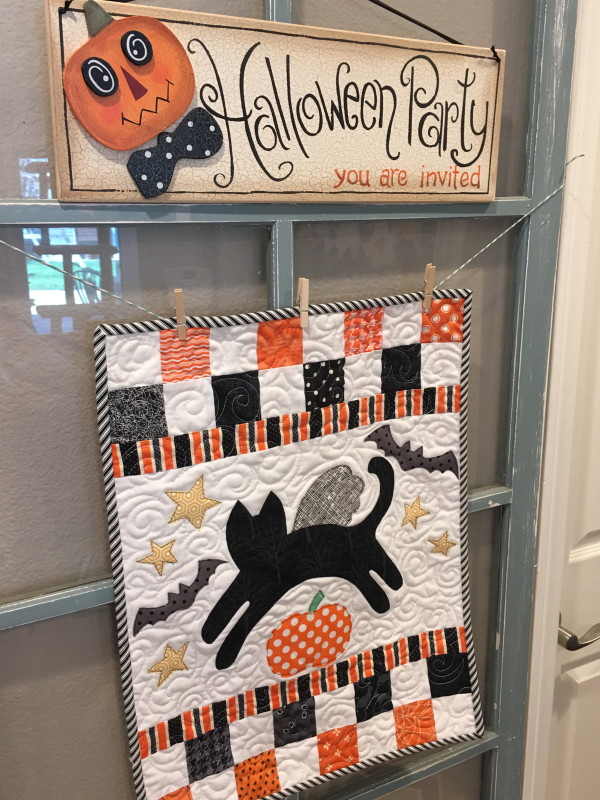
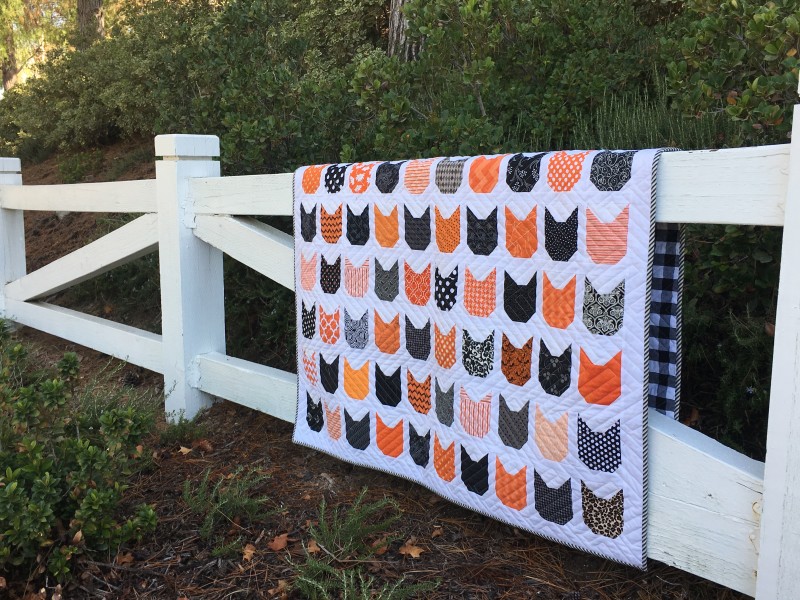
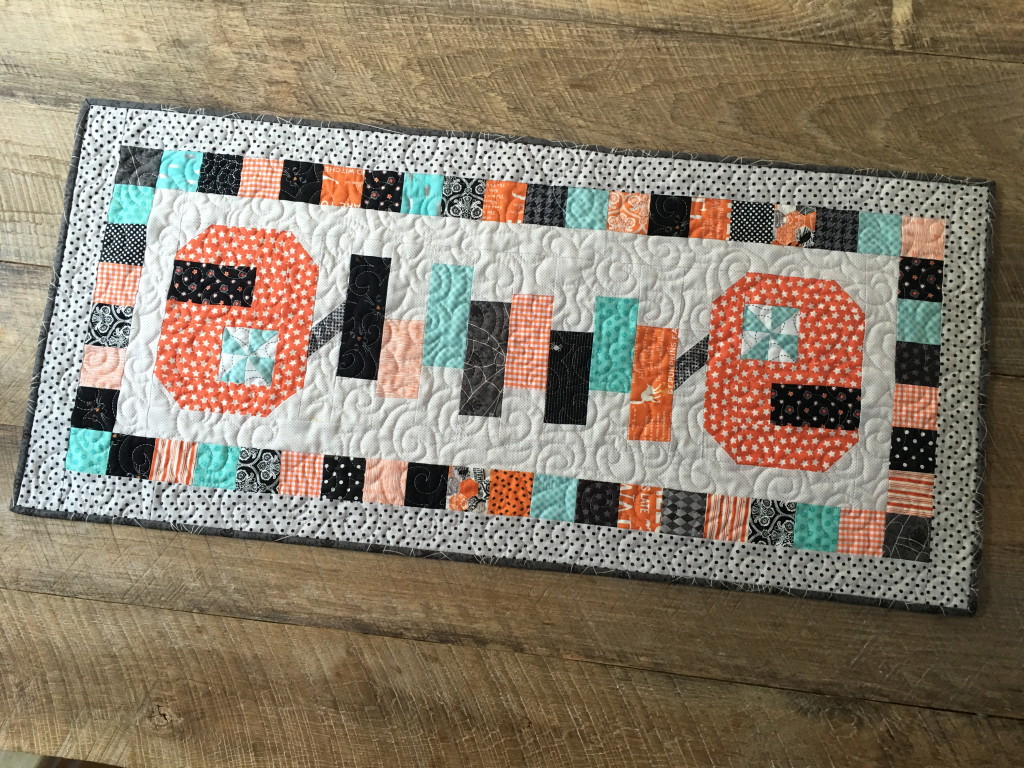
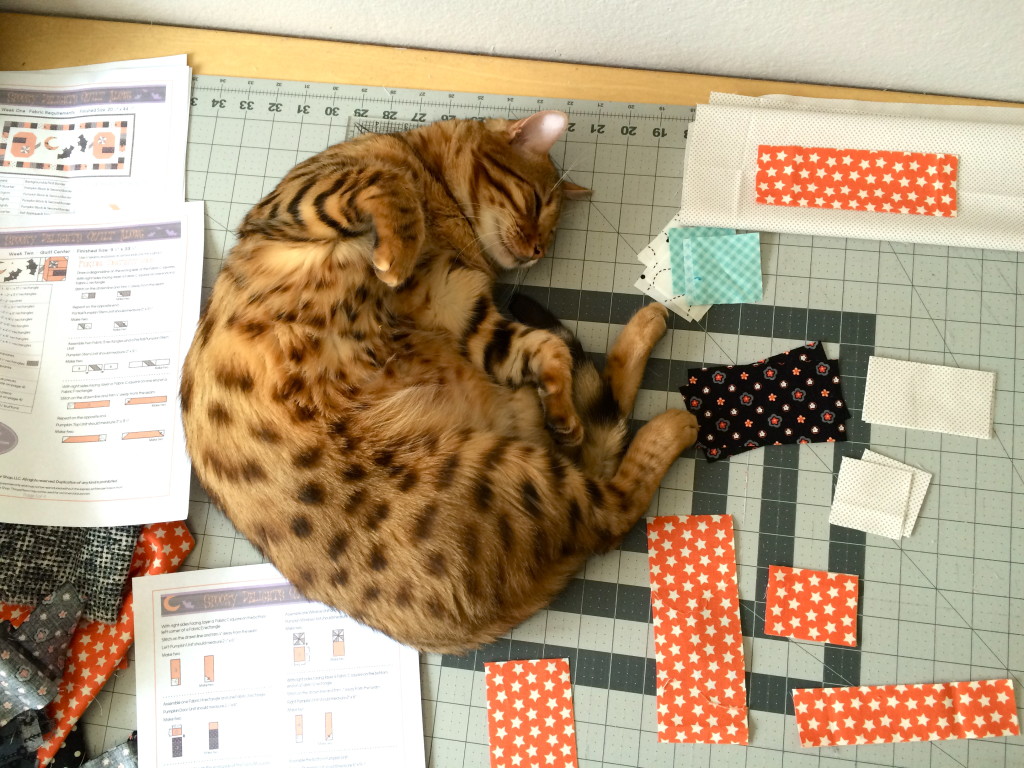
It’s almost October and I can’t get enough Orange & Black sewing!  I love traditional Halloween colors!  Meet October Stars, my newest quilt pattern!  It’s available in my Etsy shop and I love everything about this quilt!  october-stars-cover

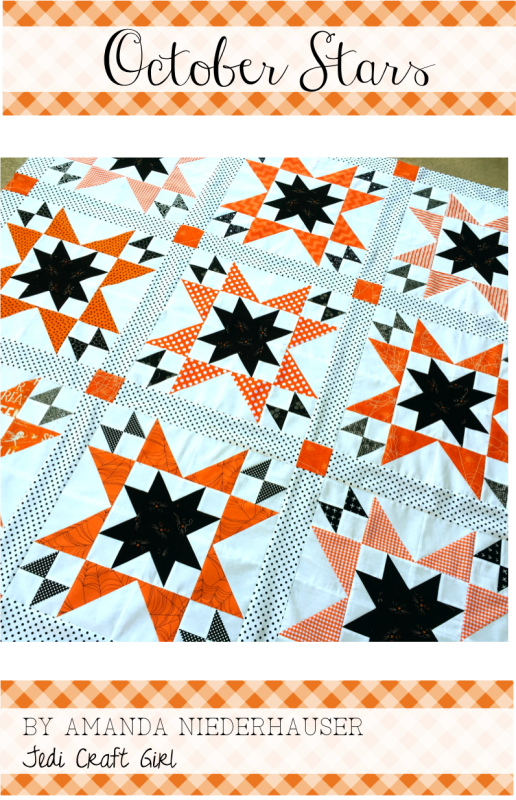
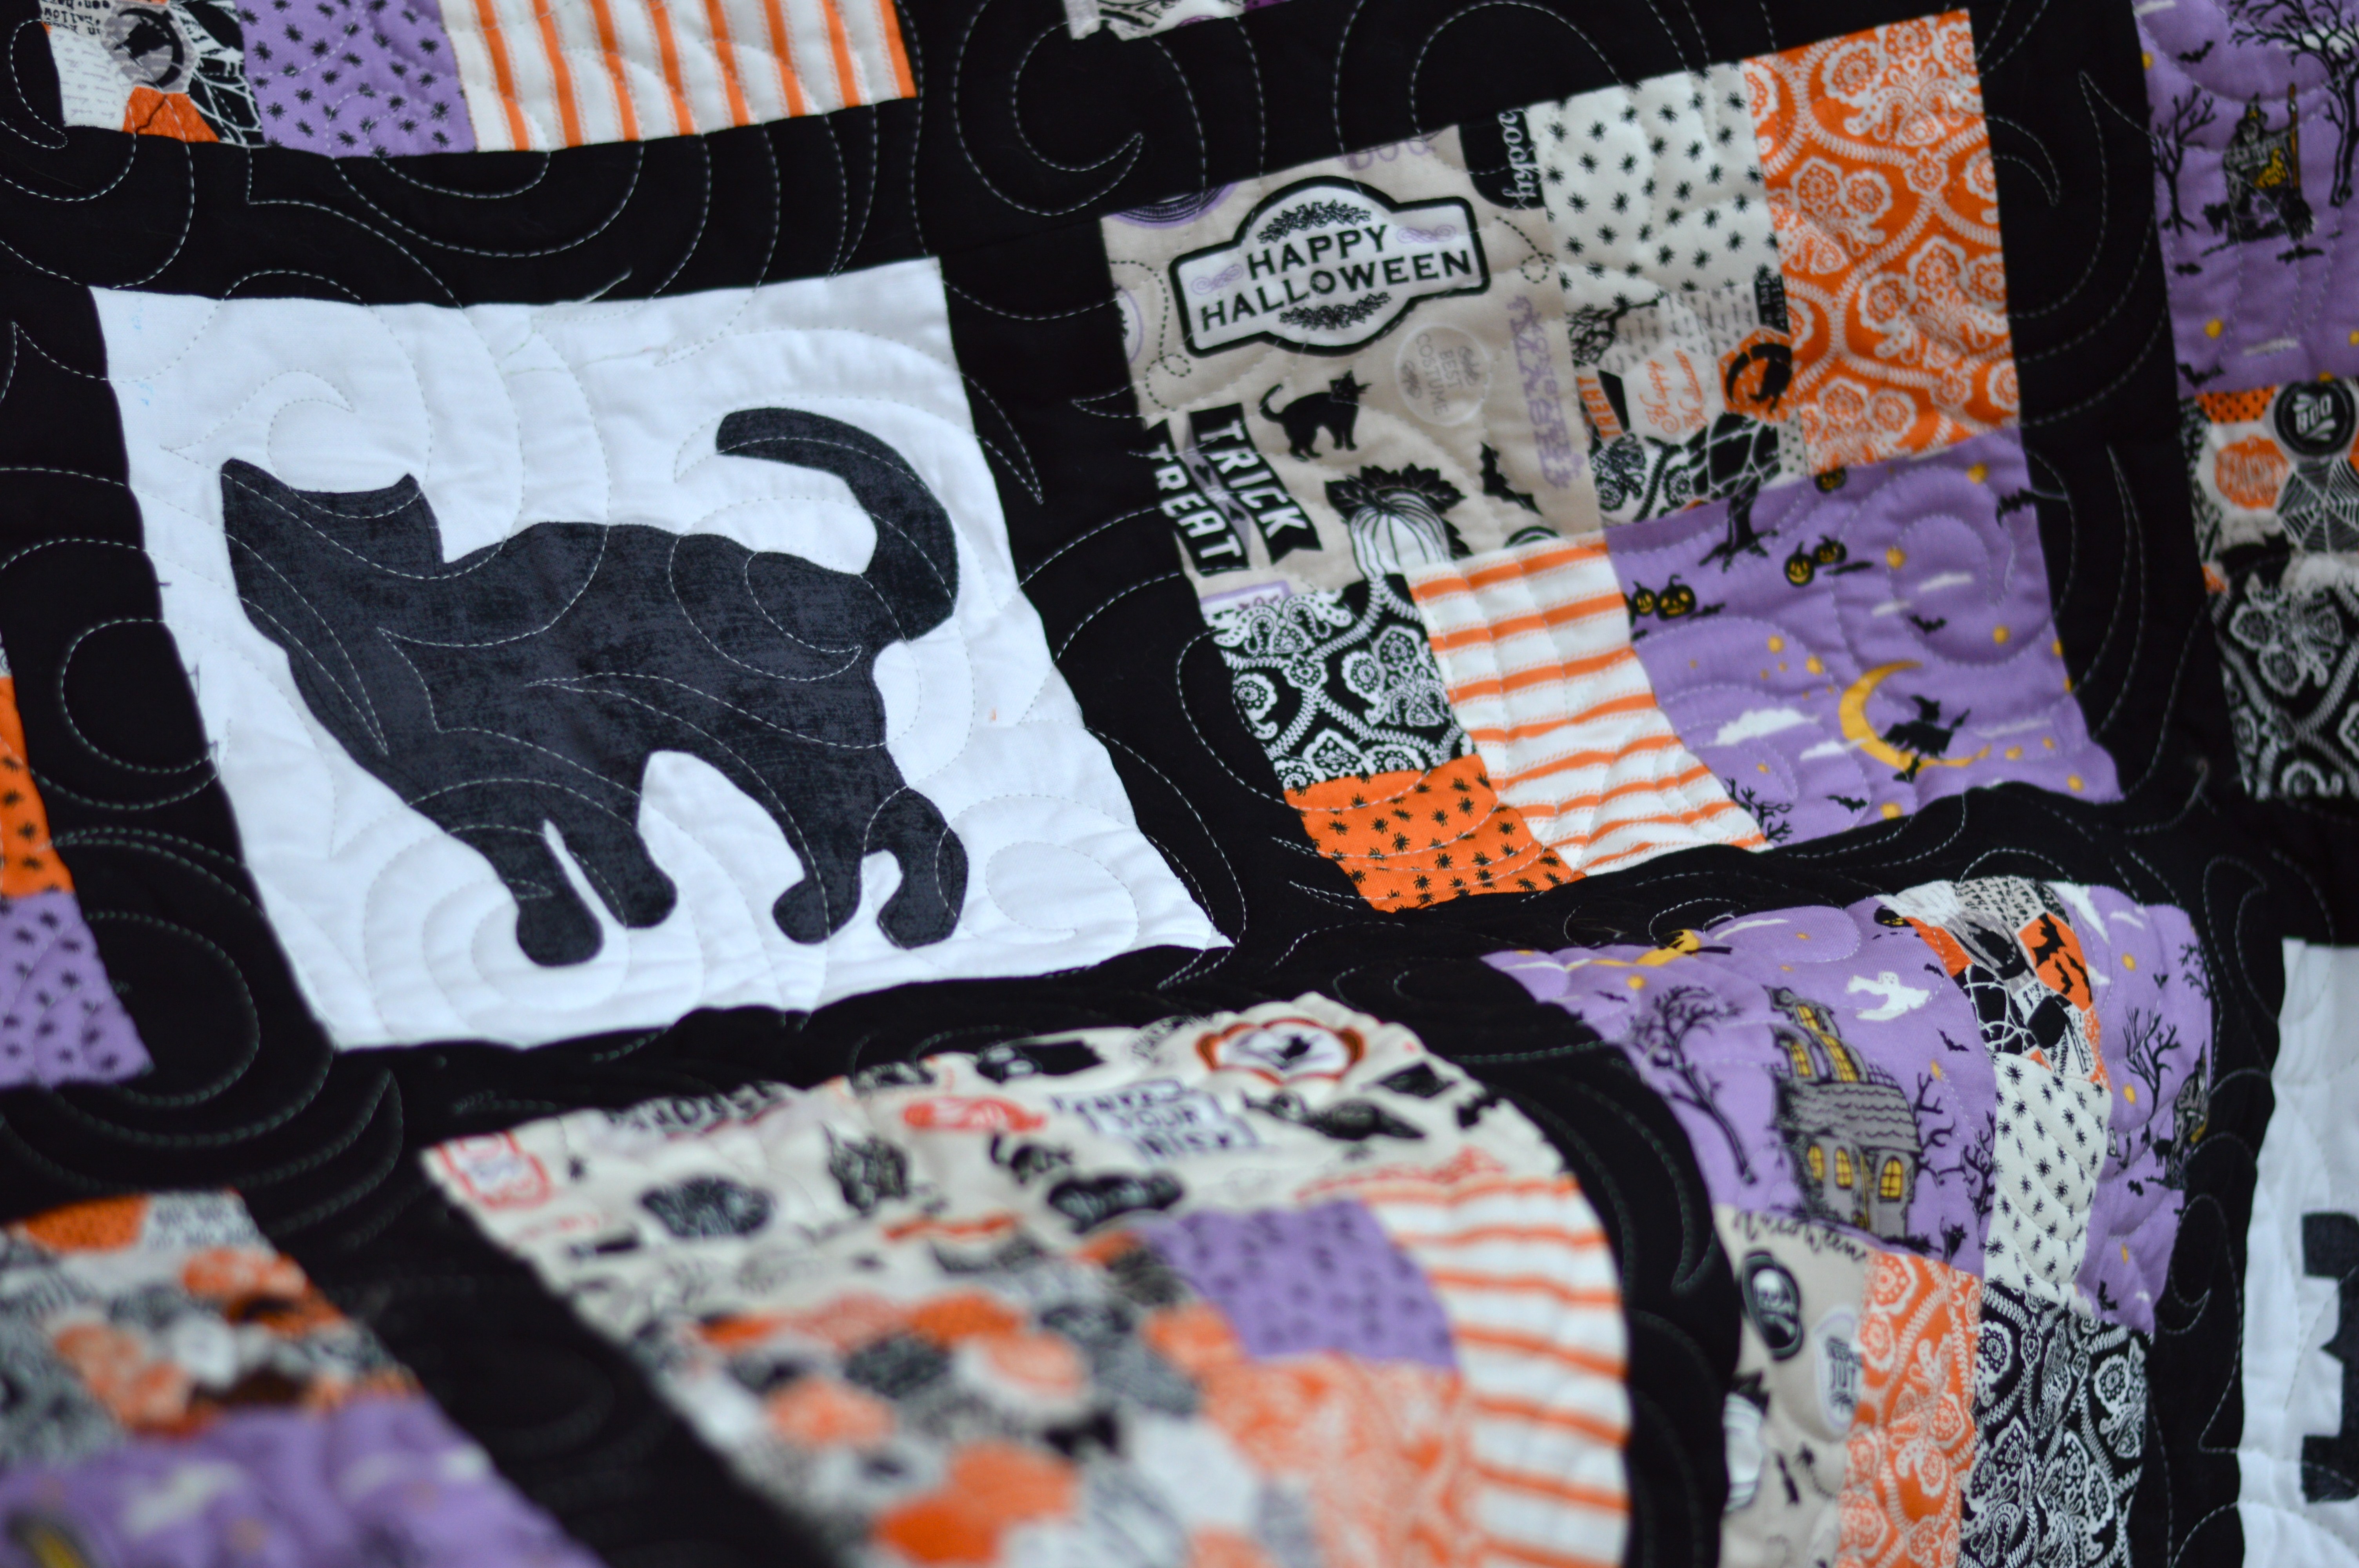
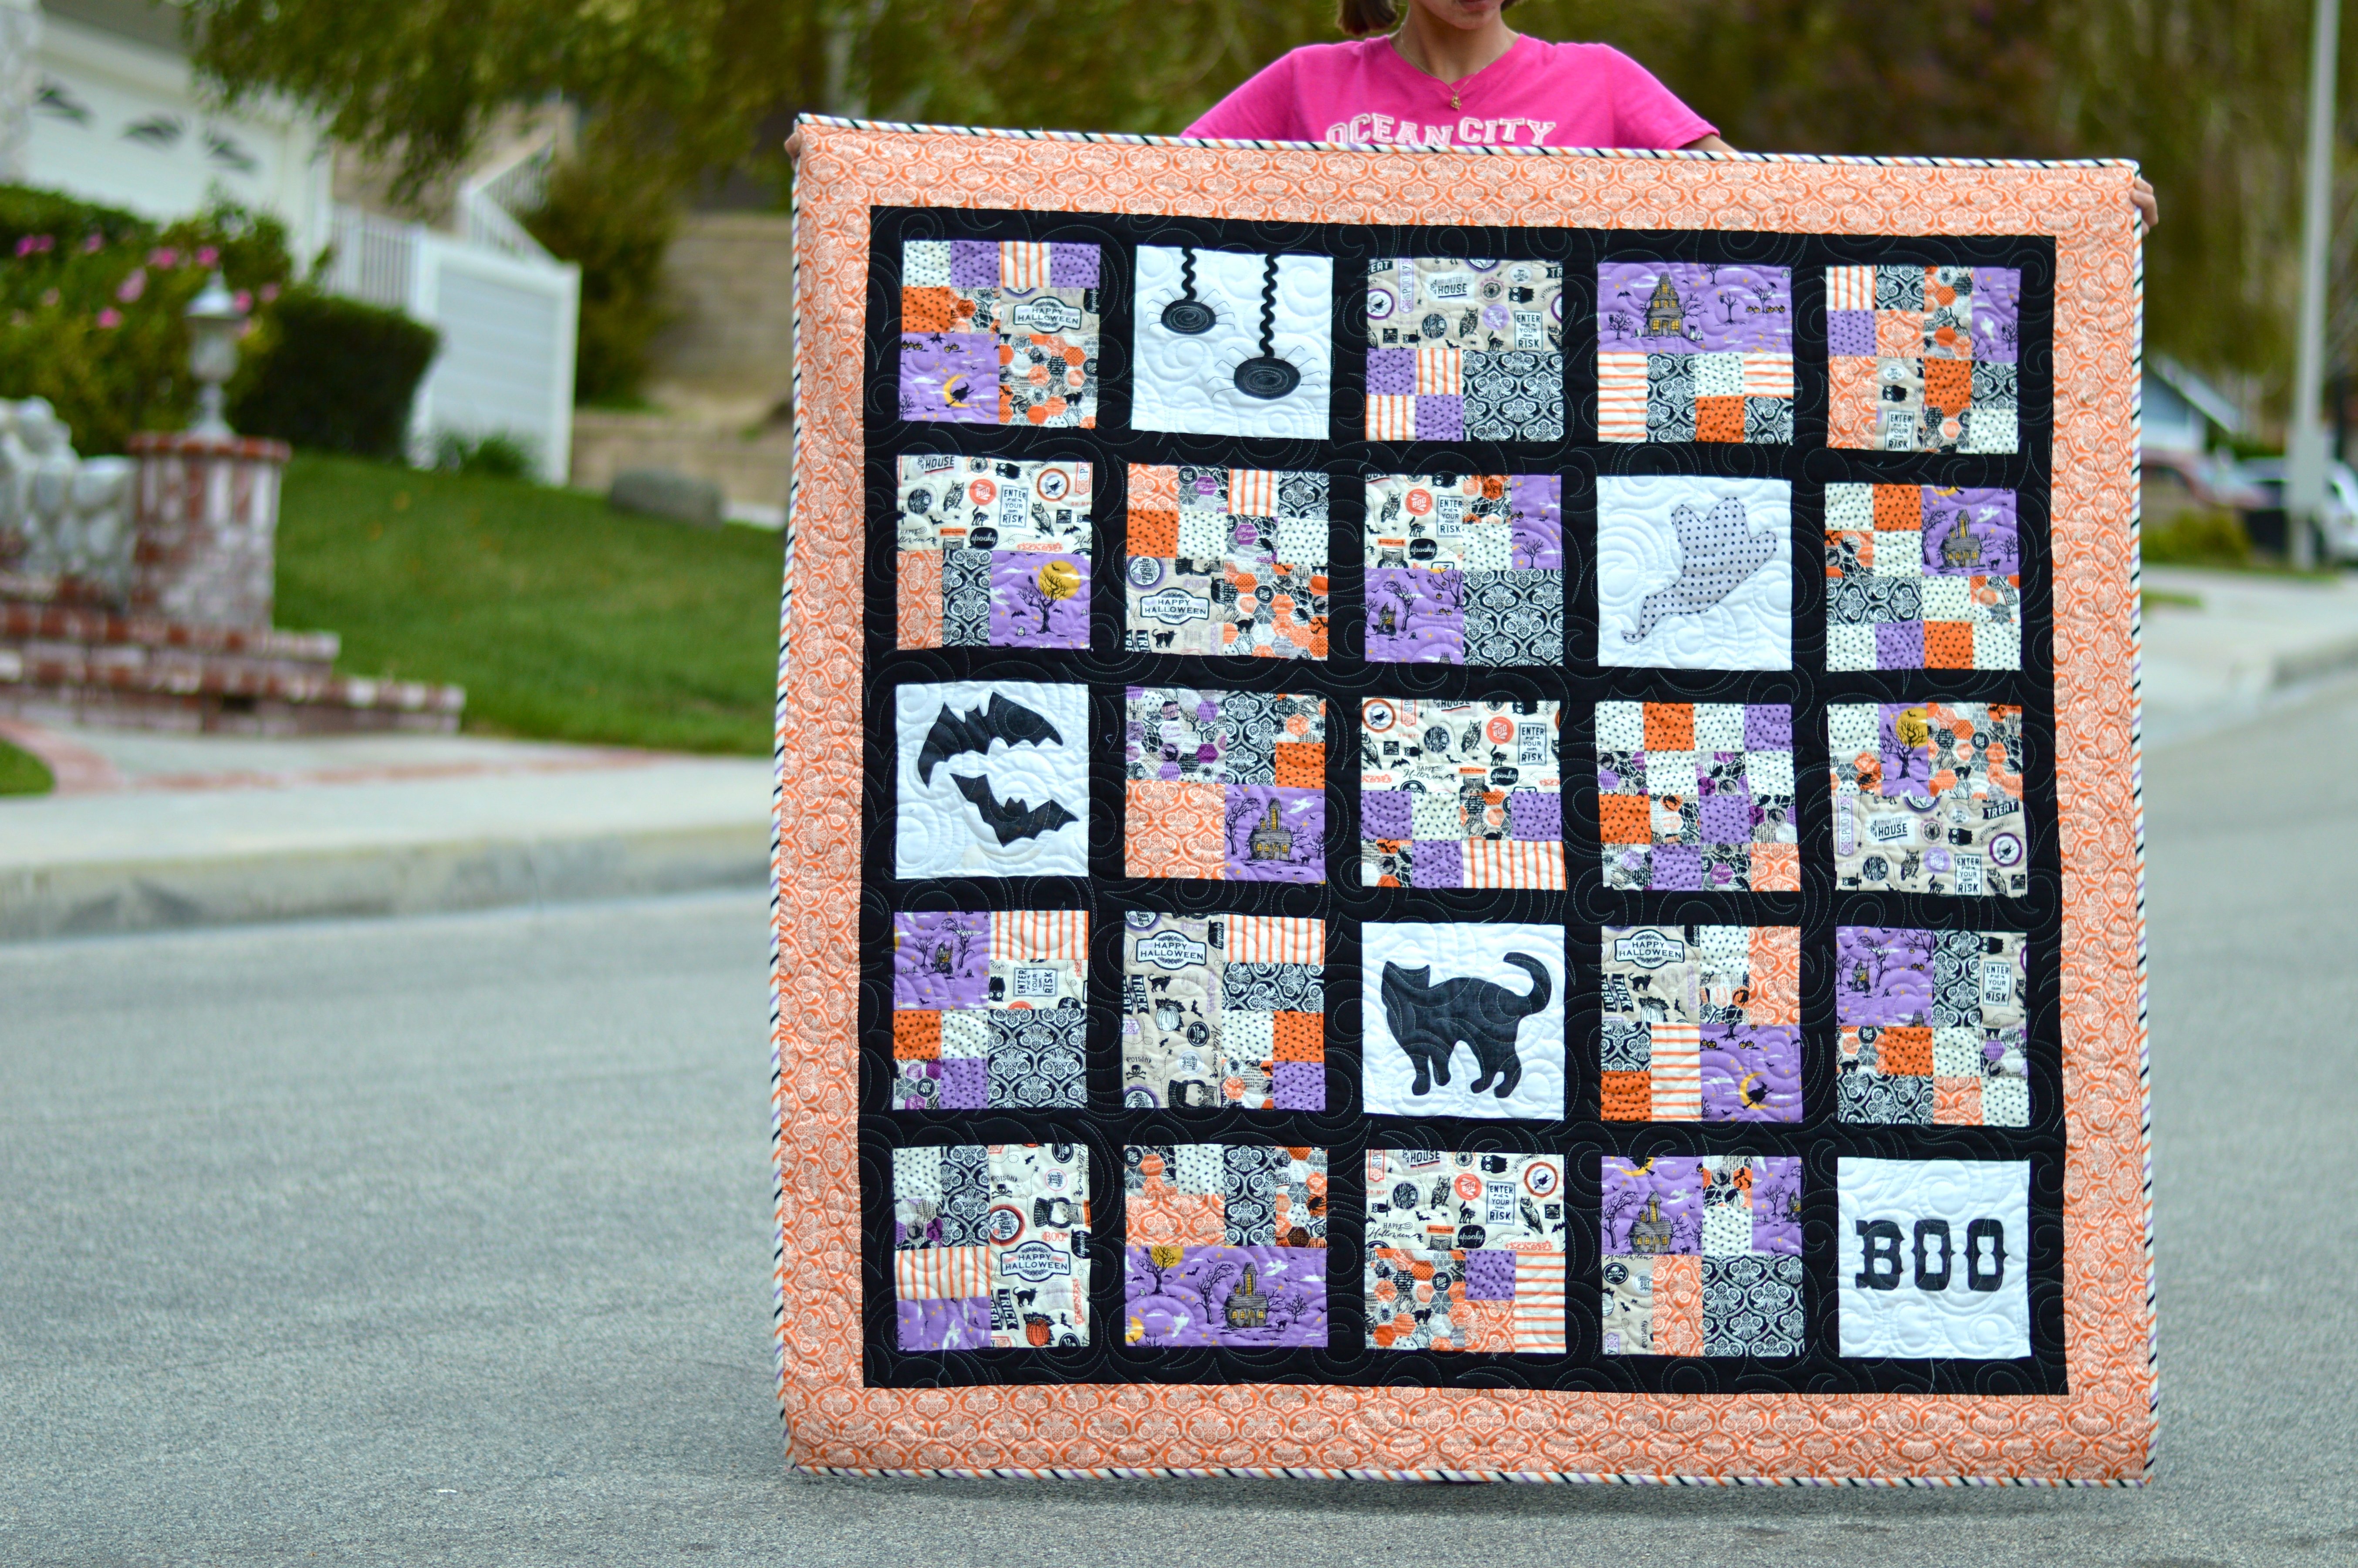
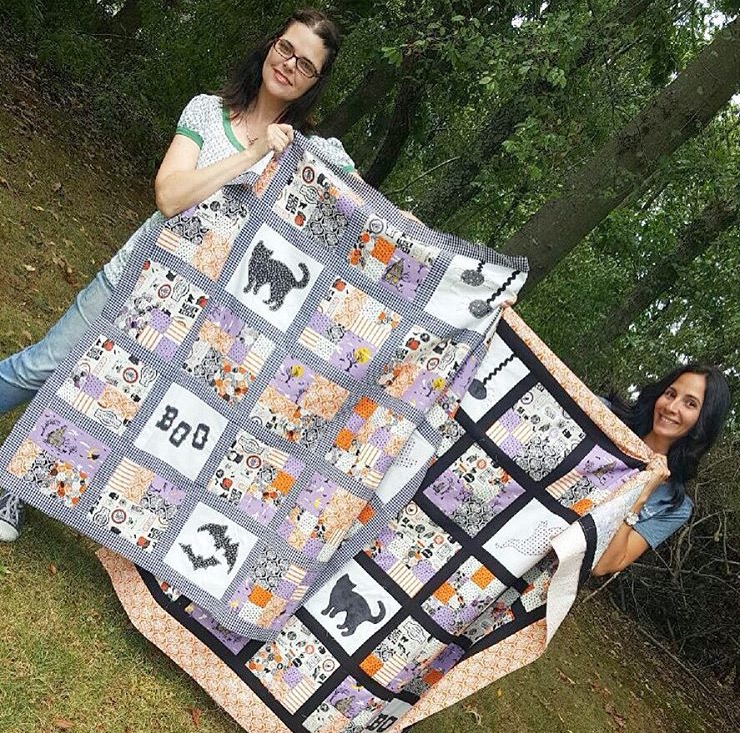
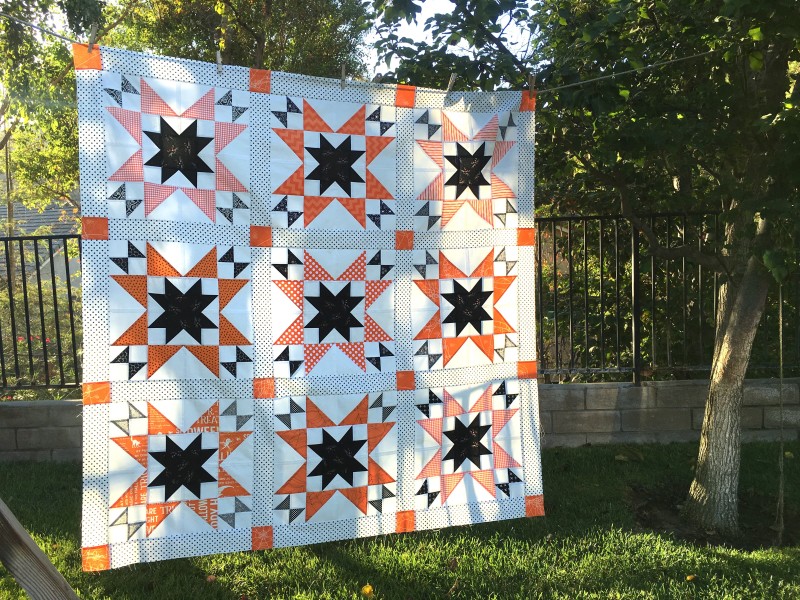
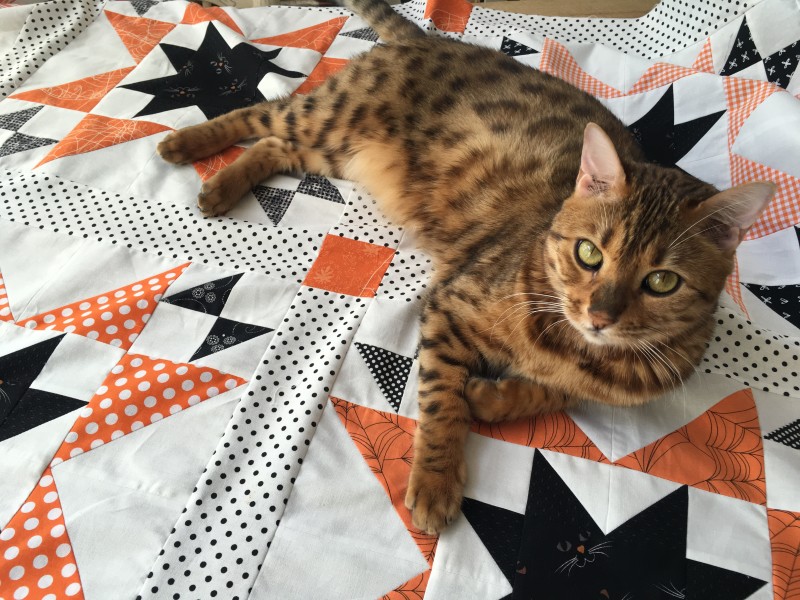
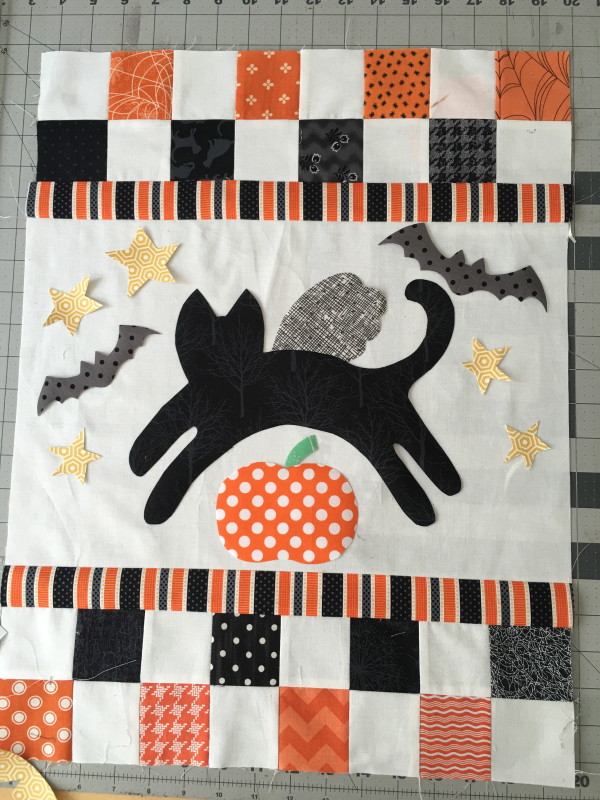
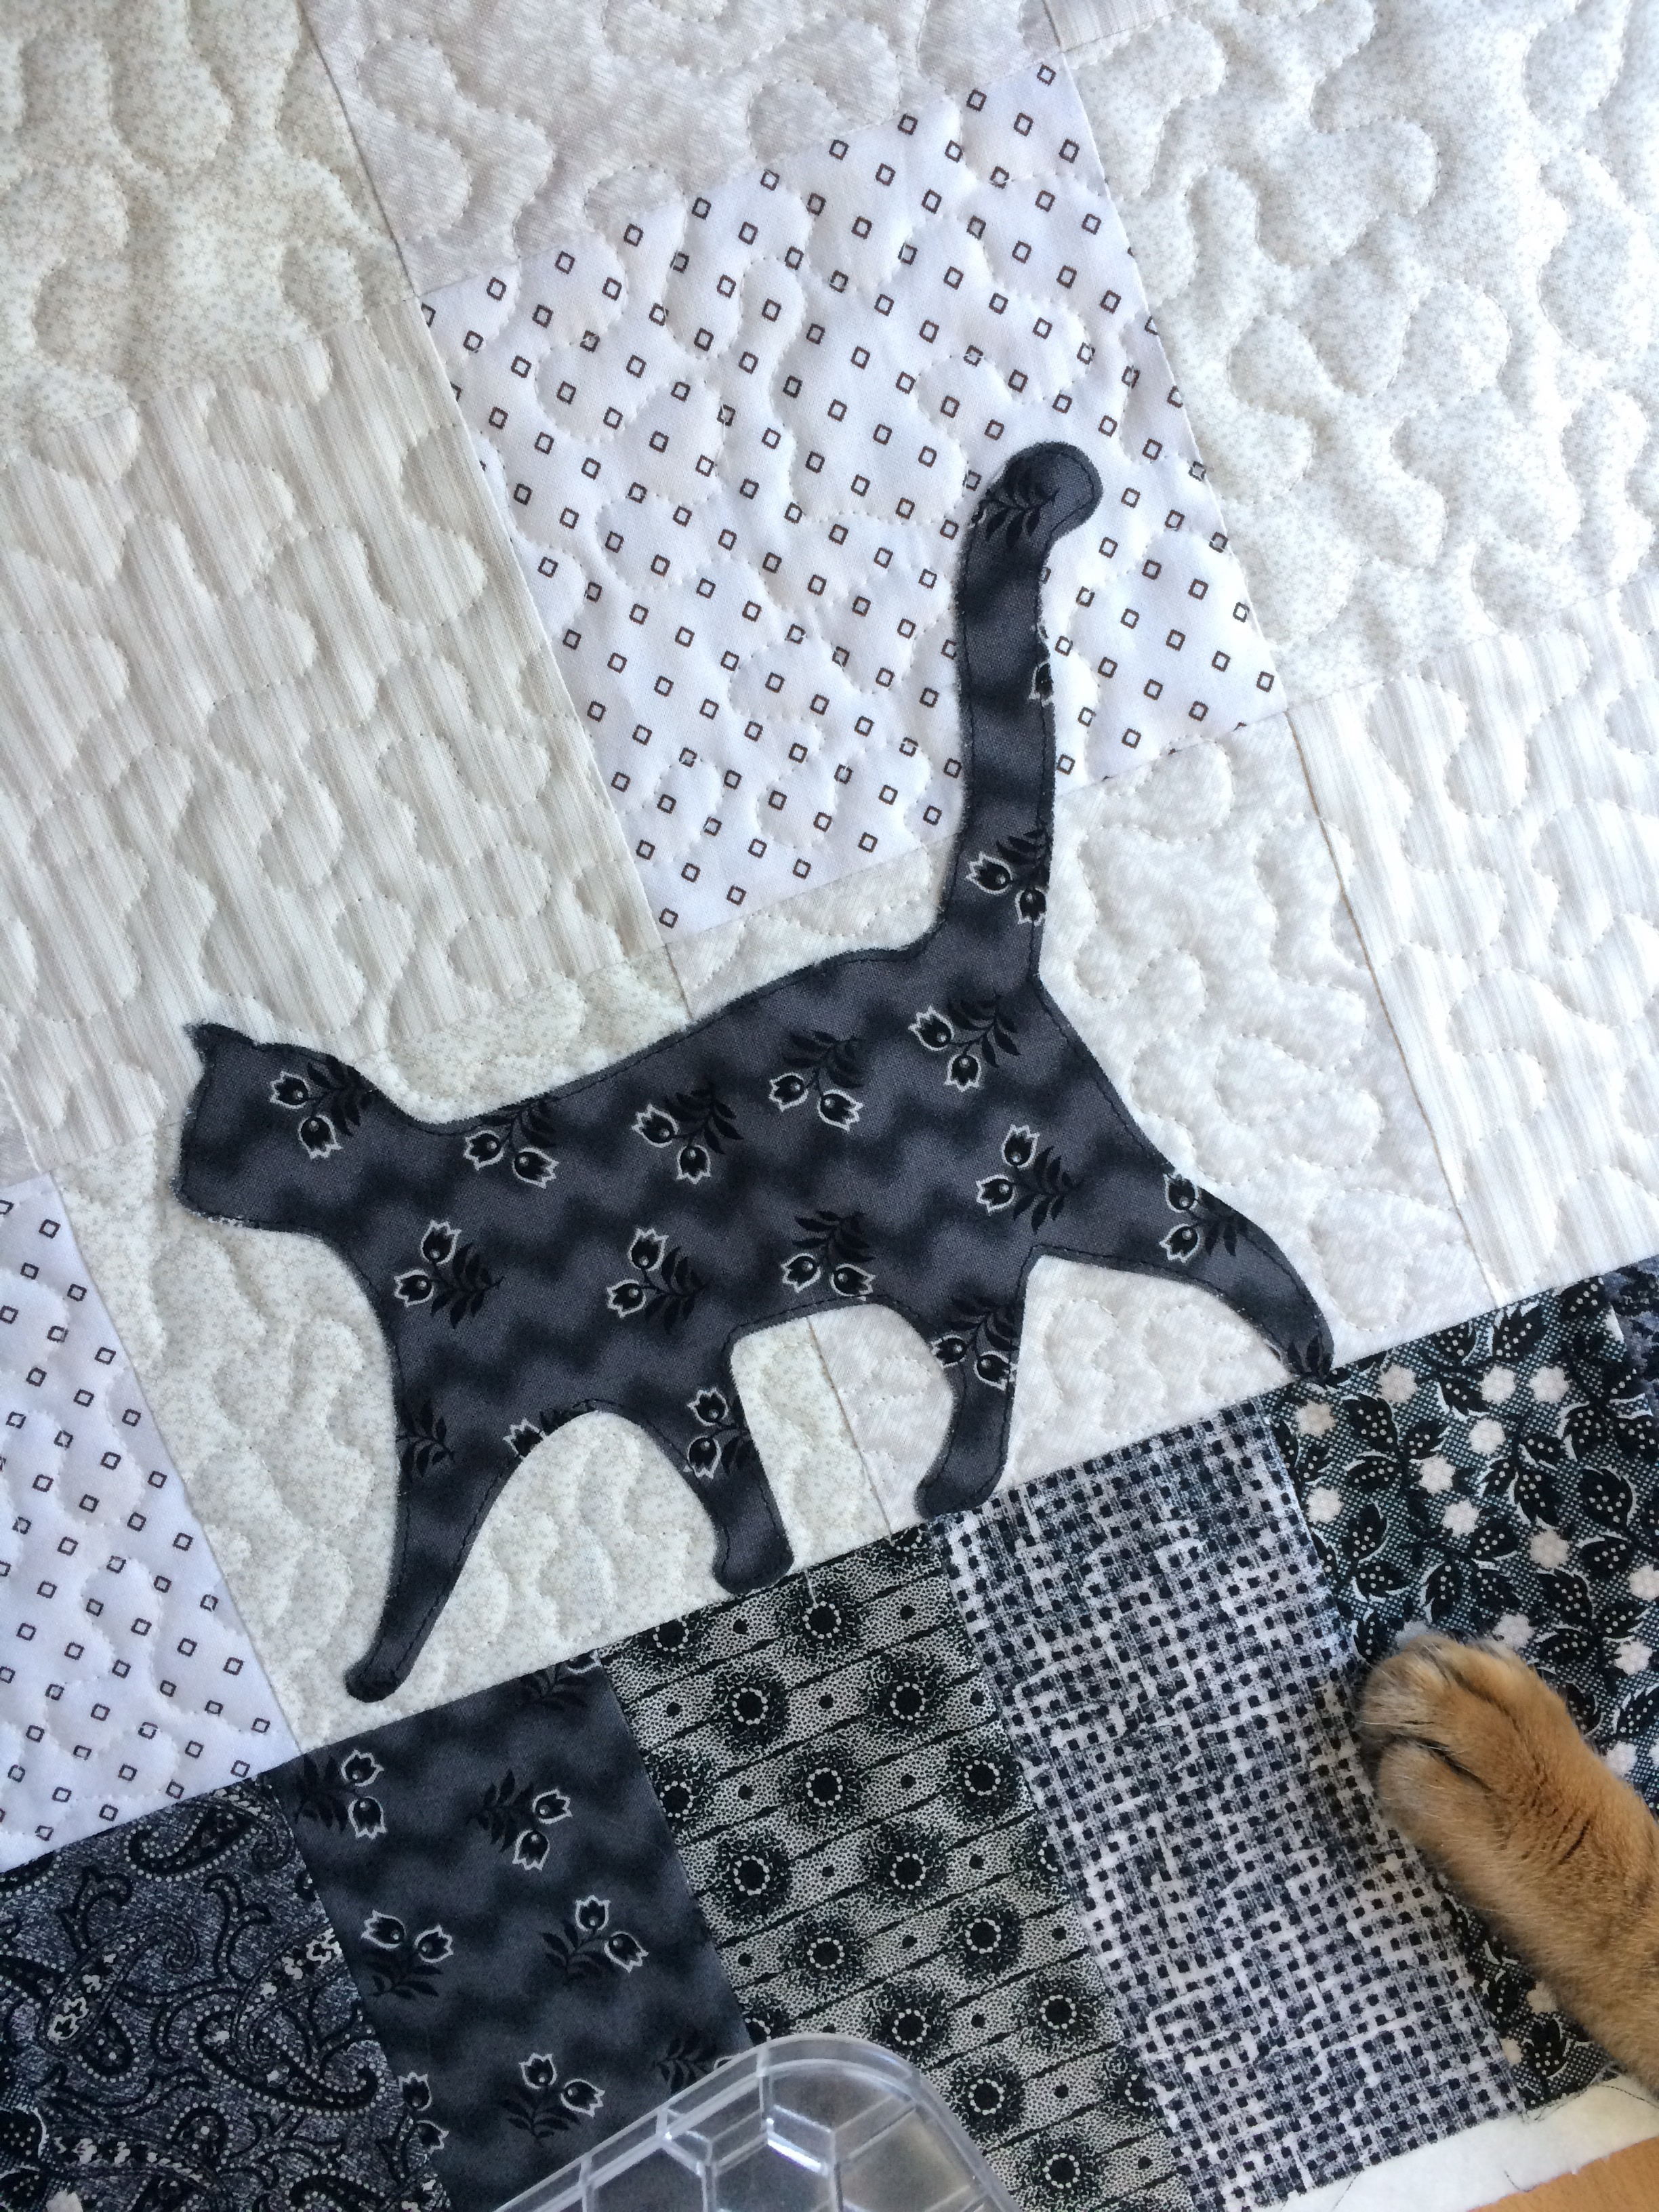
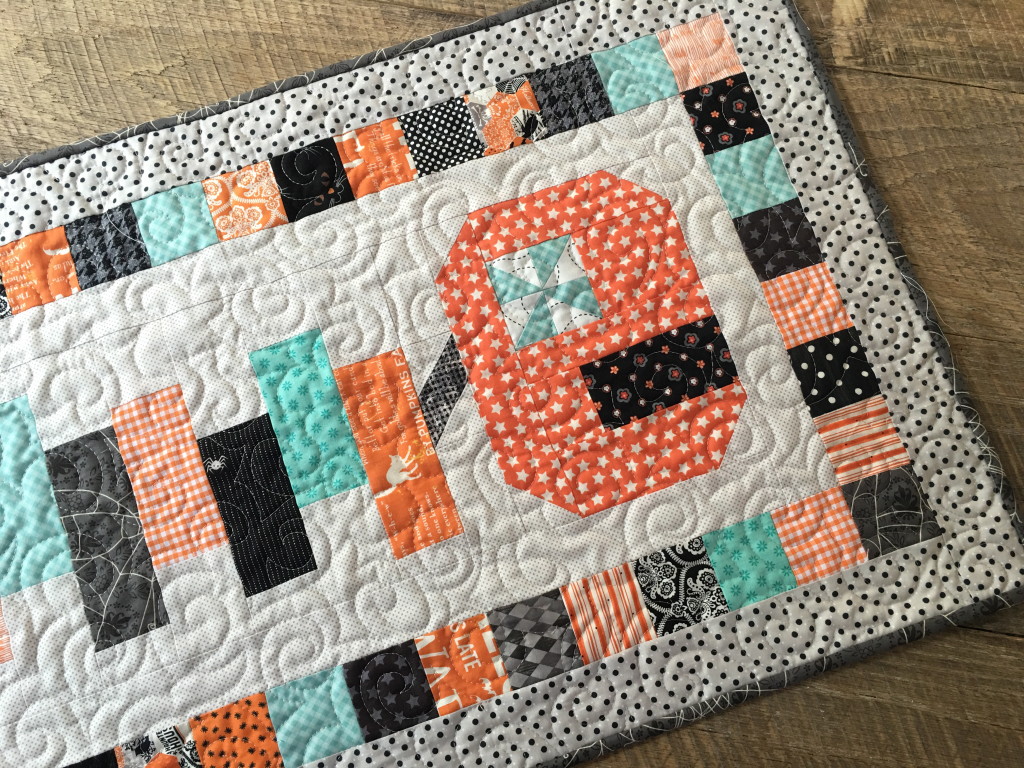
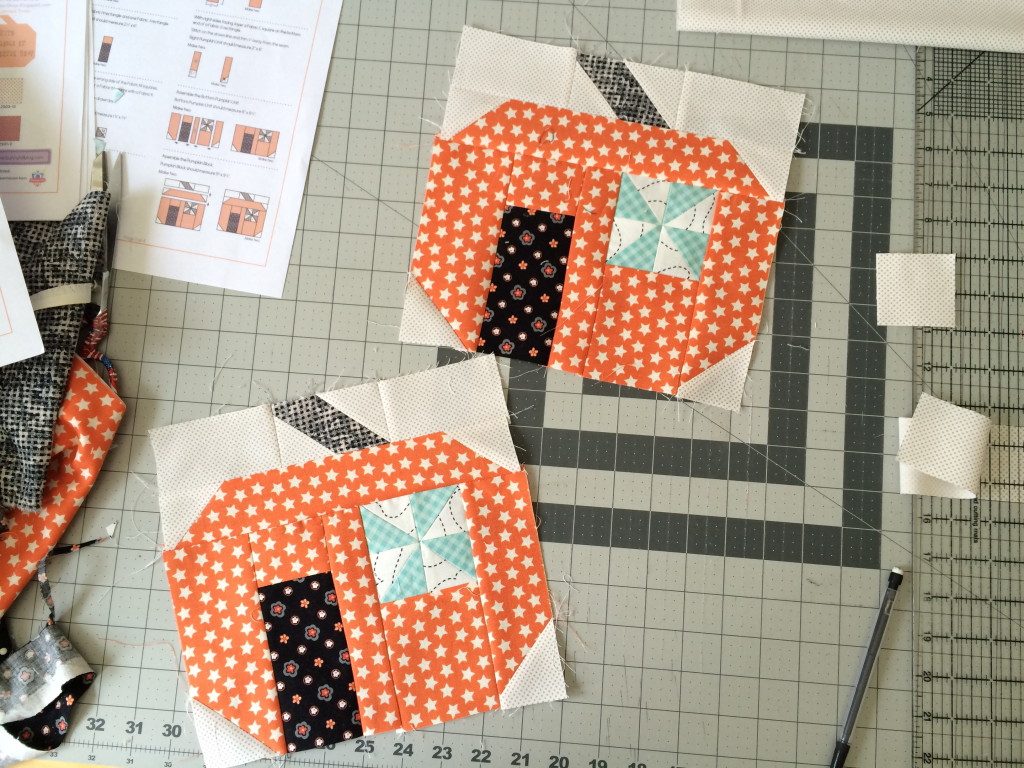
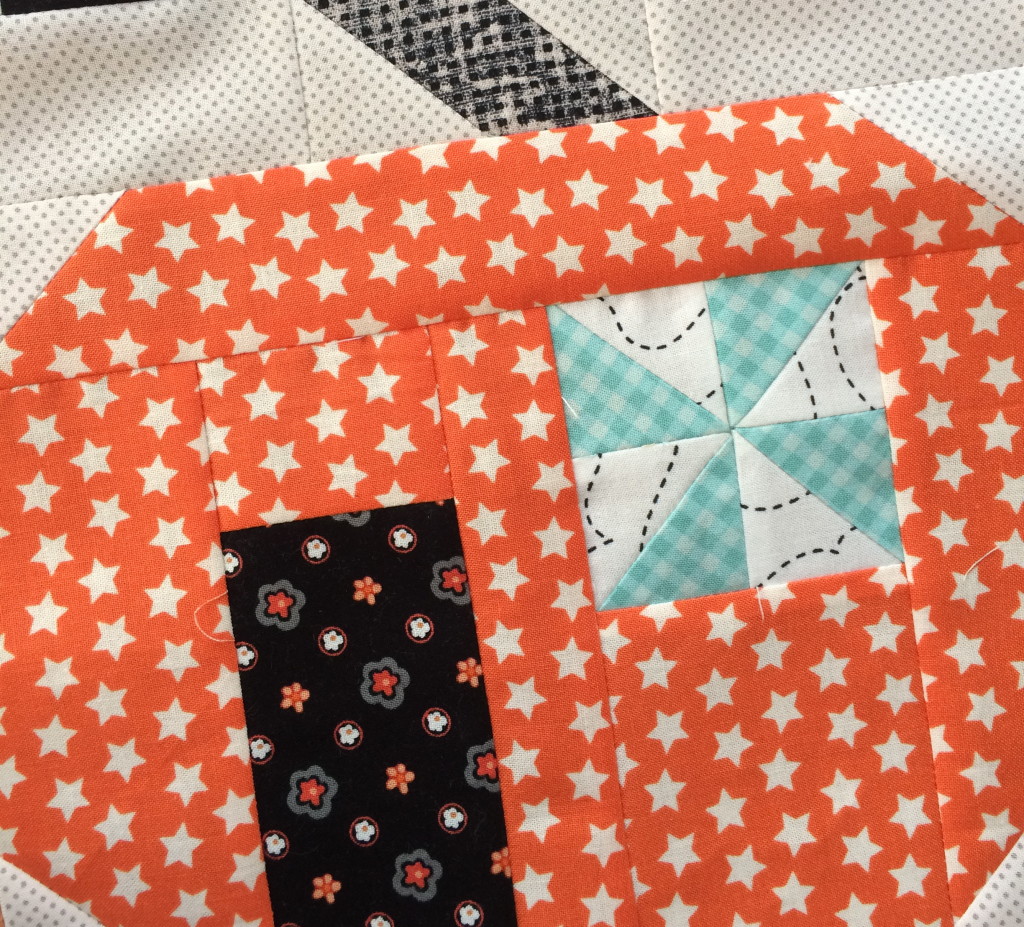
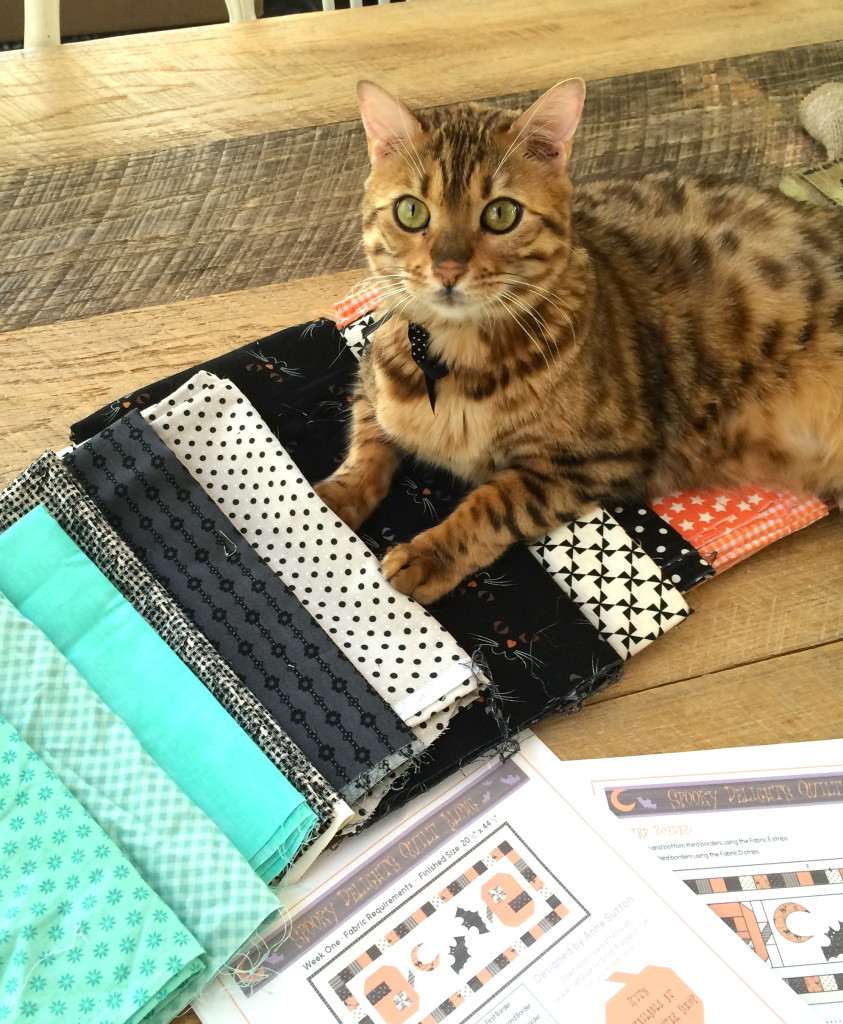
The quilt is made up of 9 large star blocks.  The center fabric of each of the small black stars has kitty faces on it!

october-stars-quilt-pattern-8

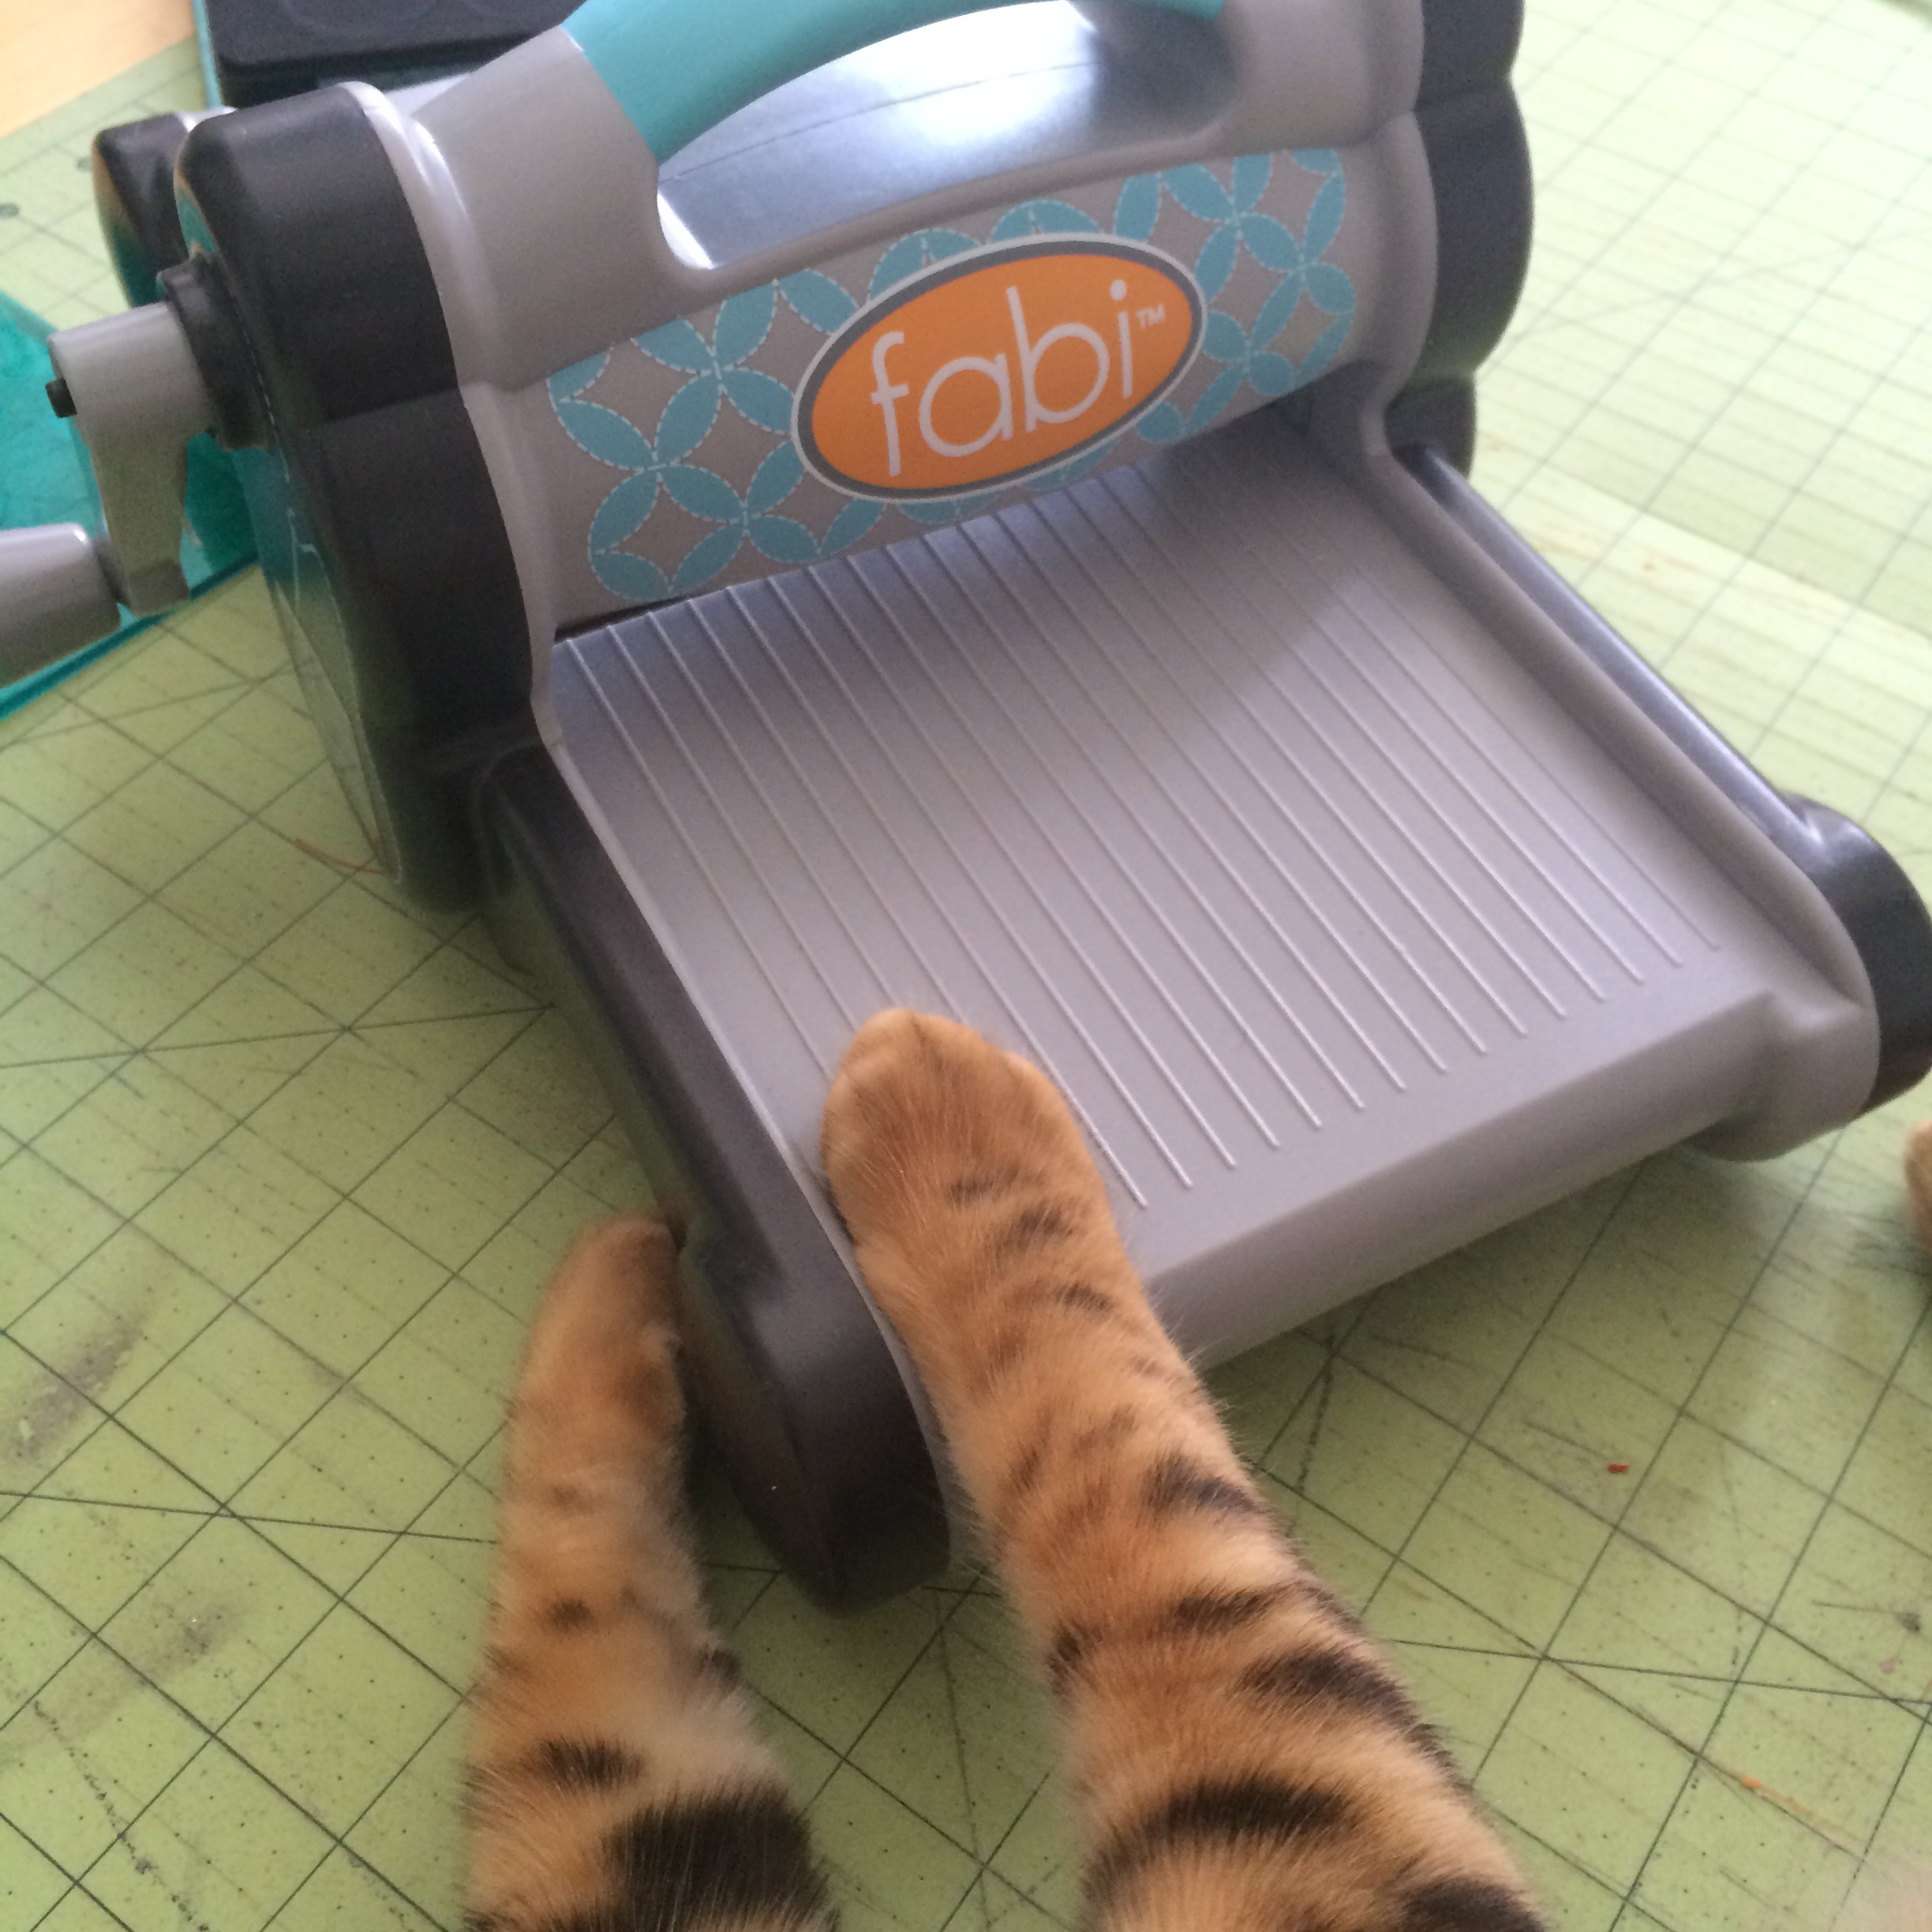
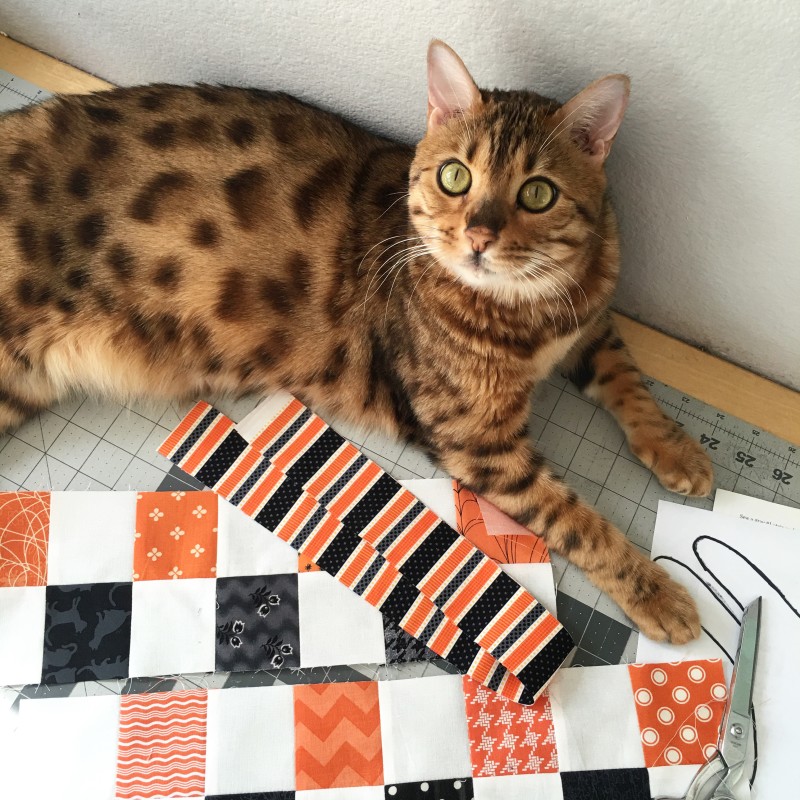
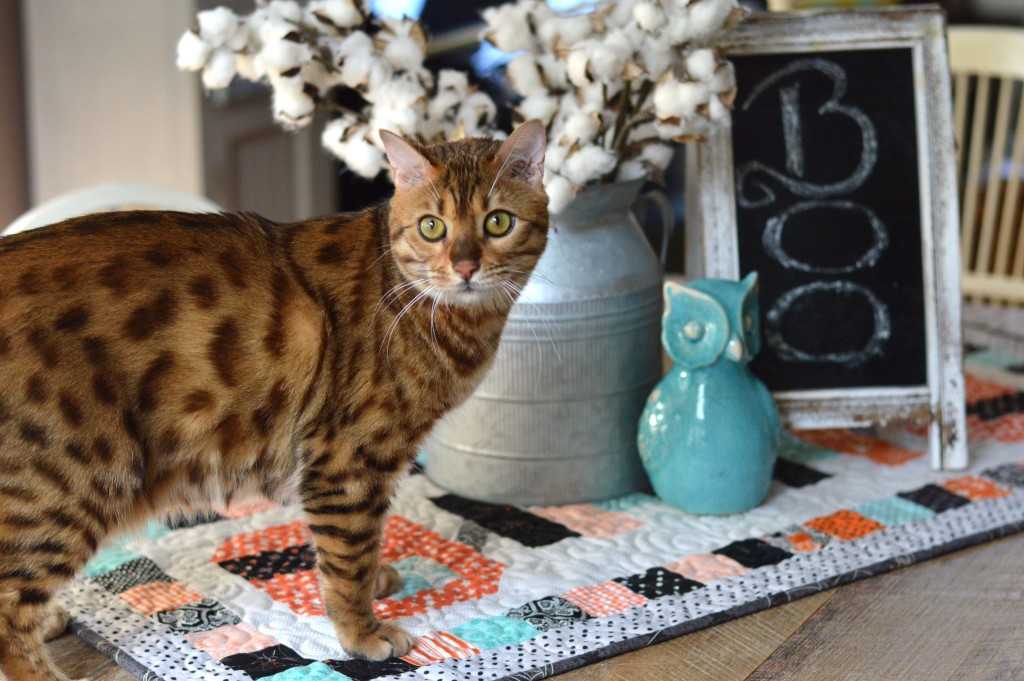
Mufasa totally approves!!

october-stars-quilt-pattern-10

img_3872

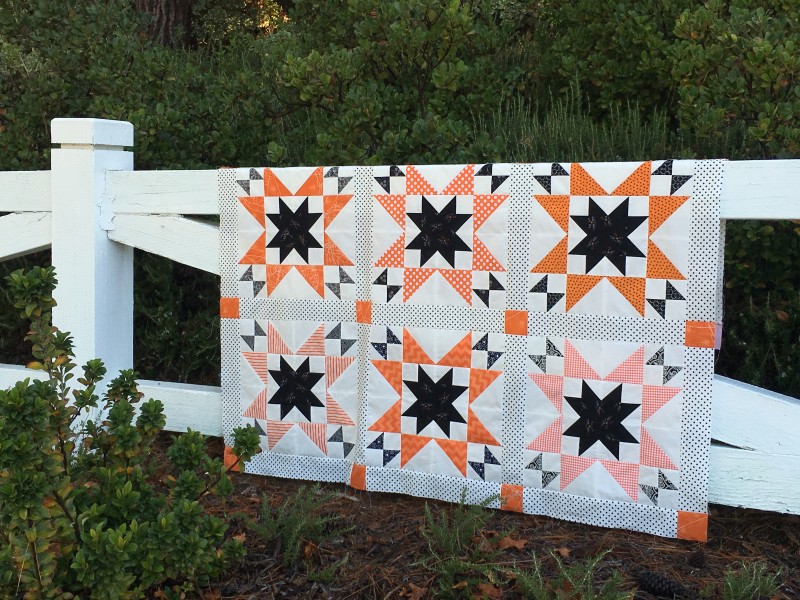
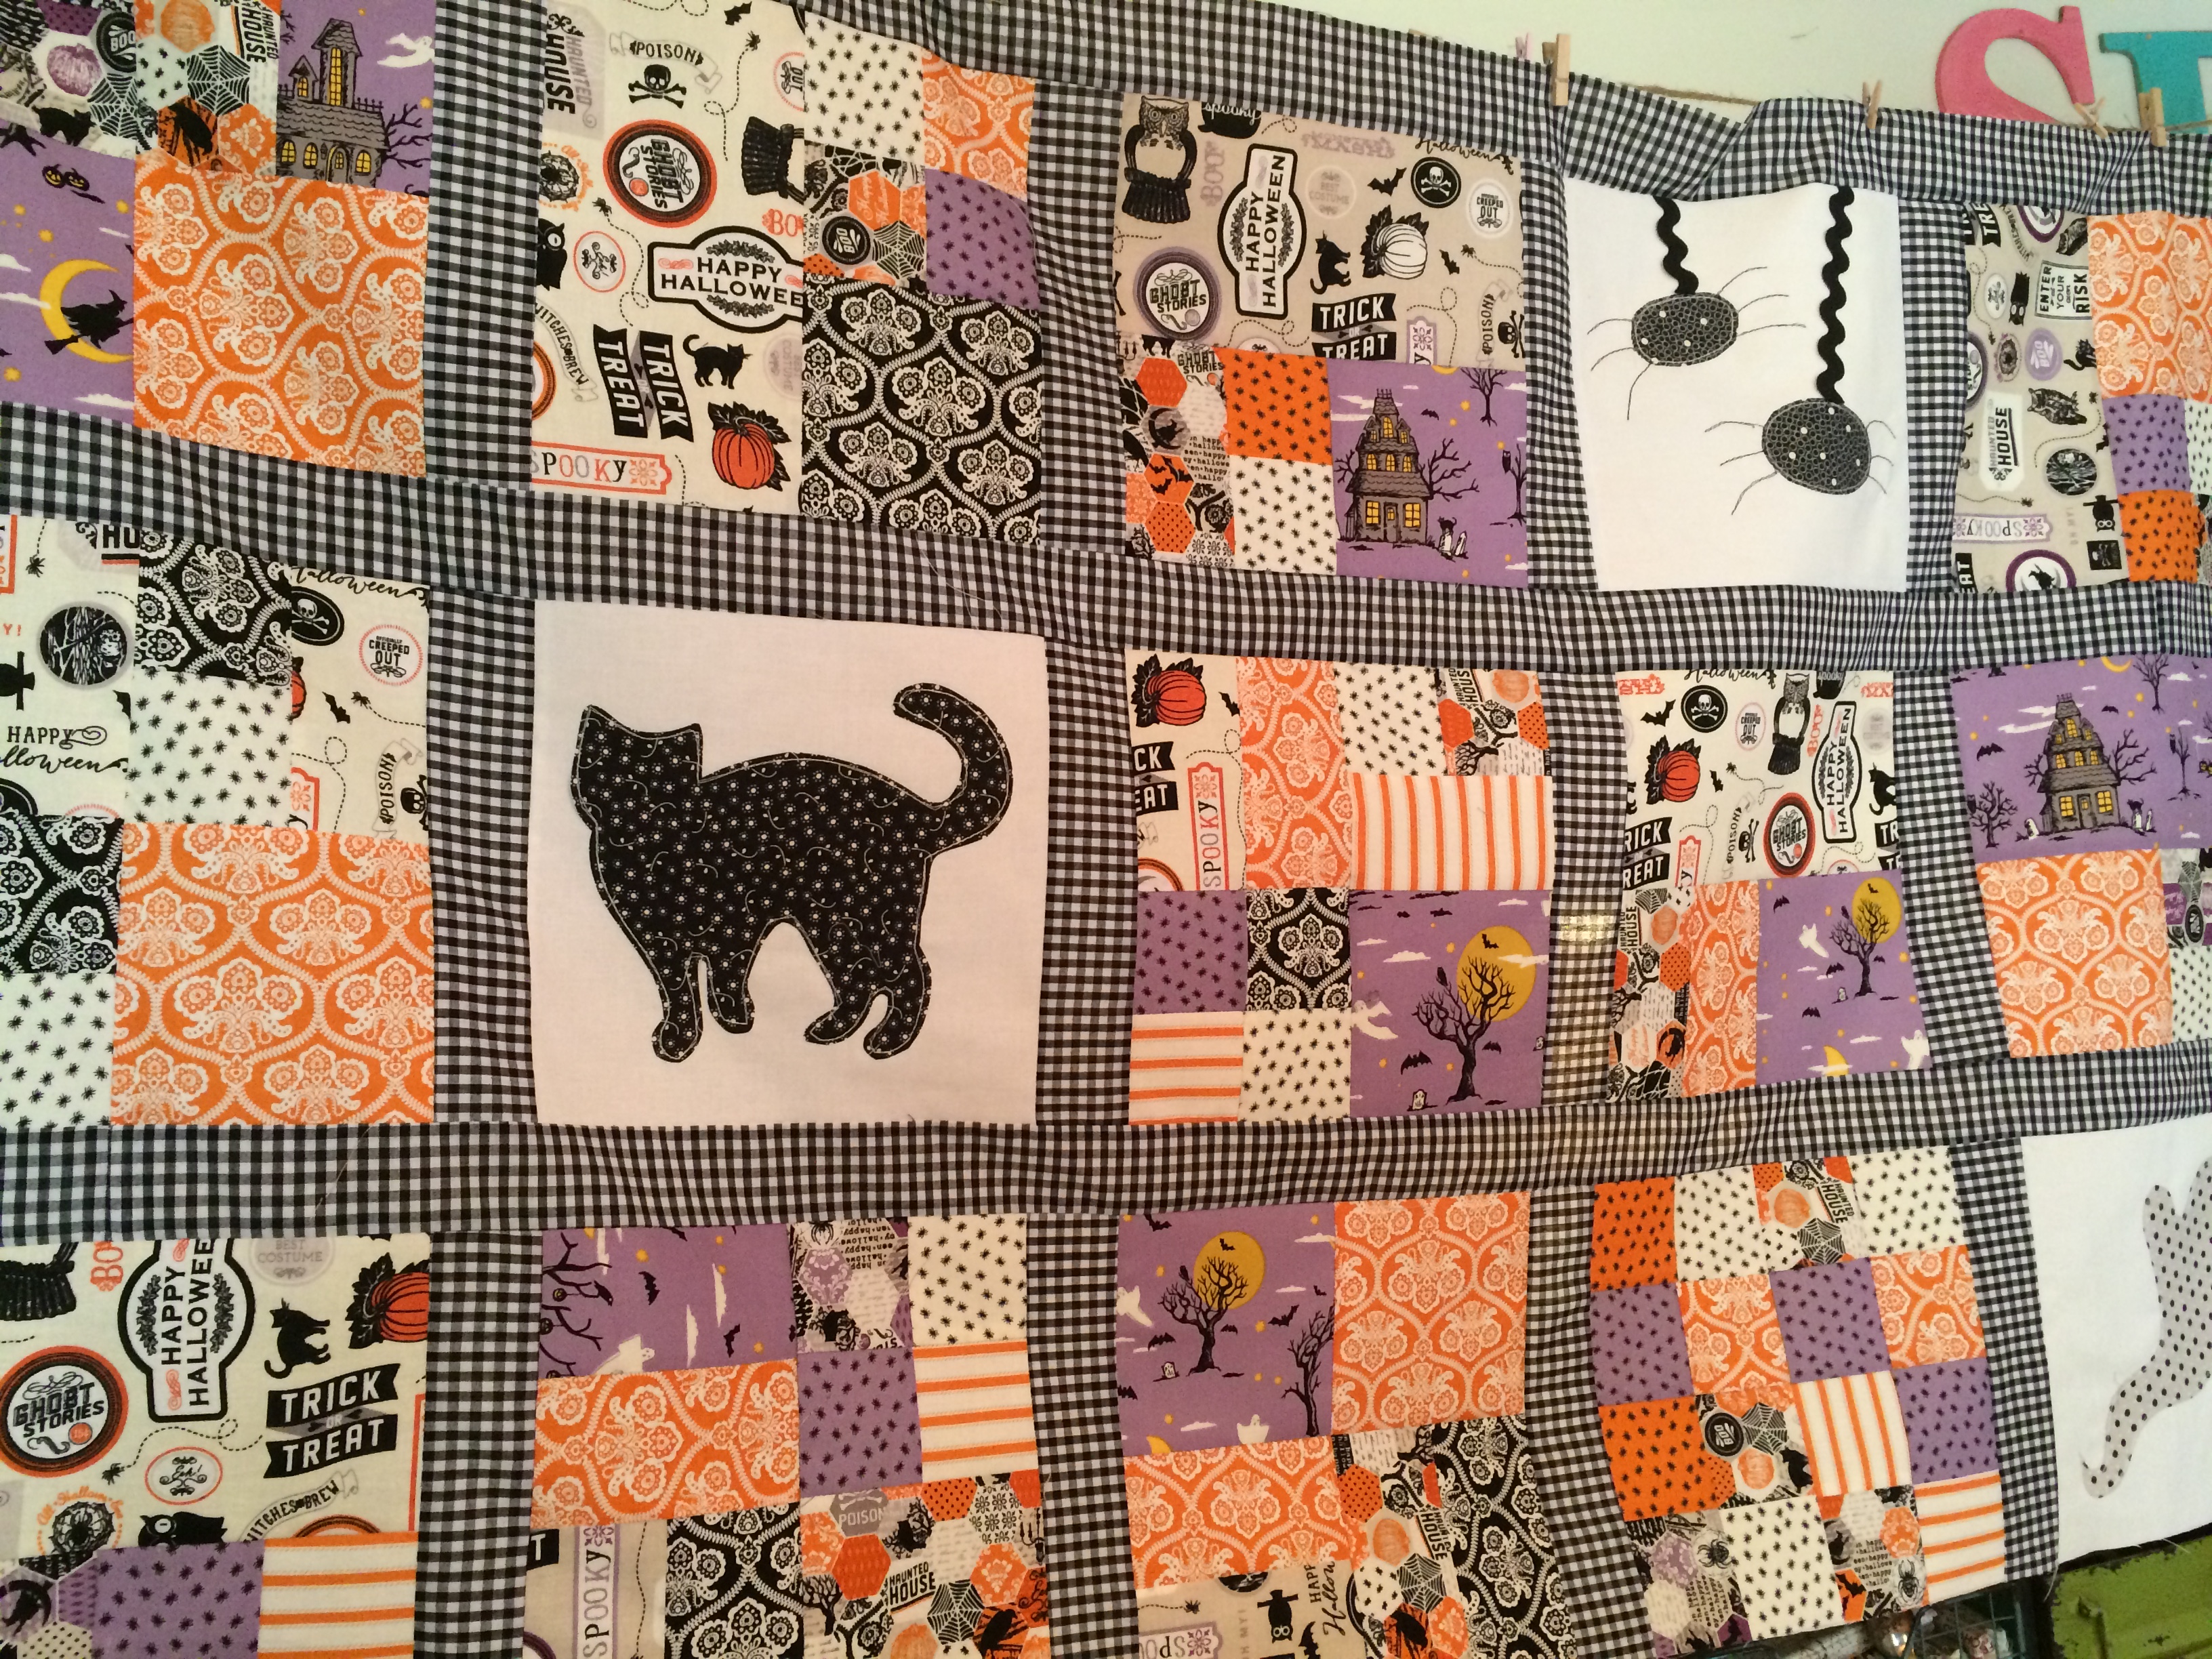
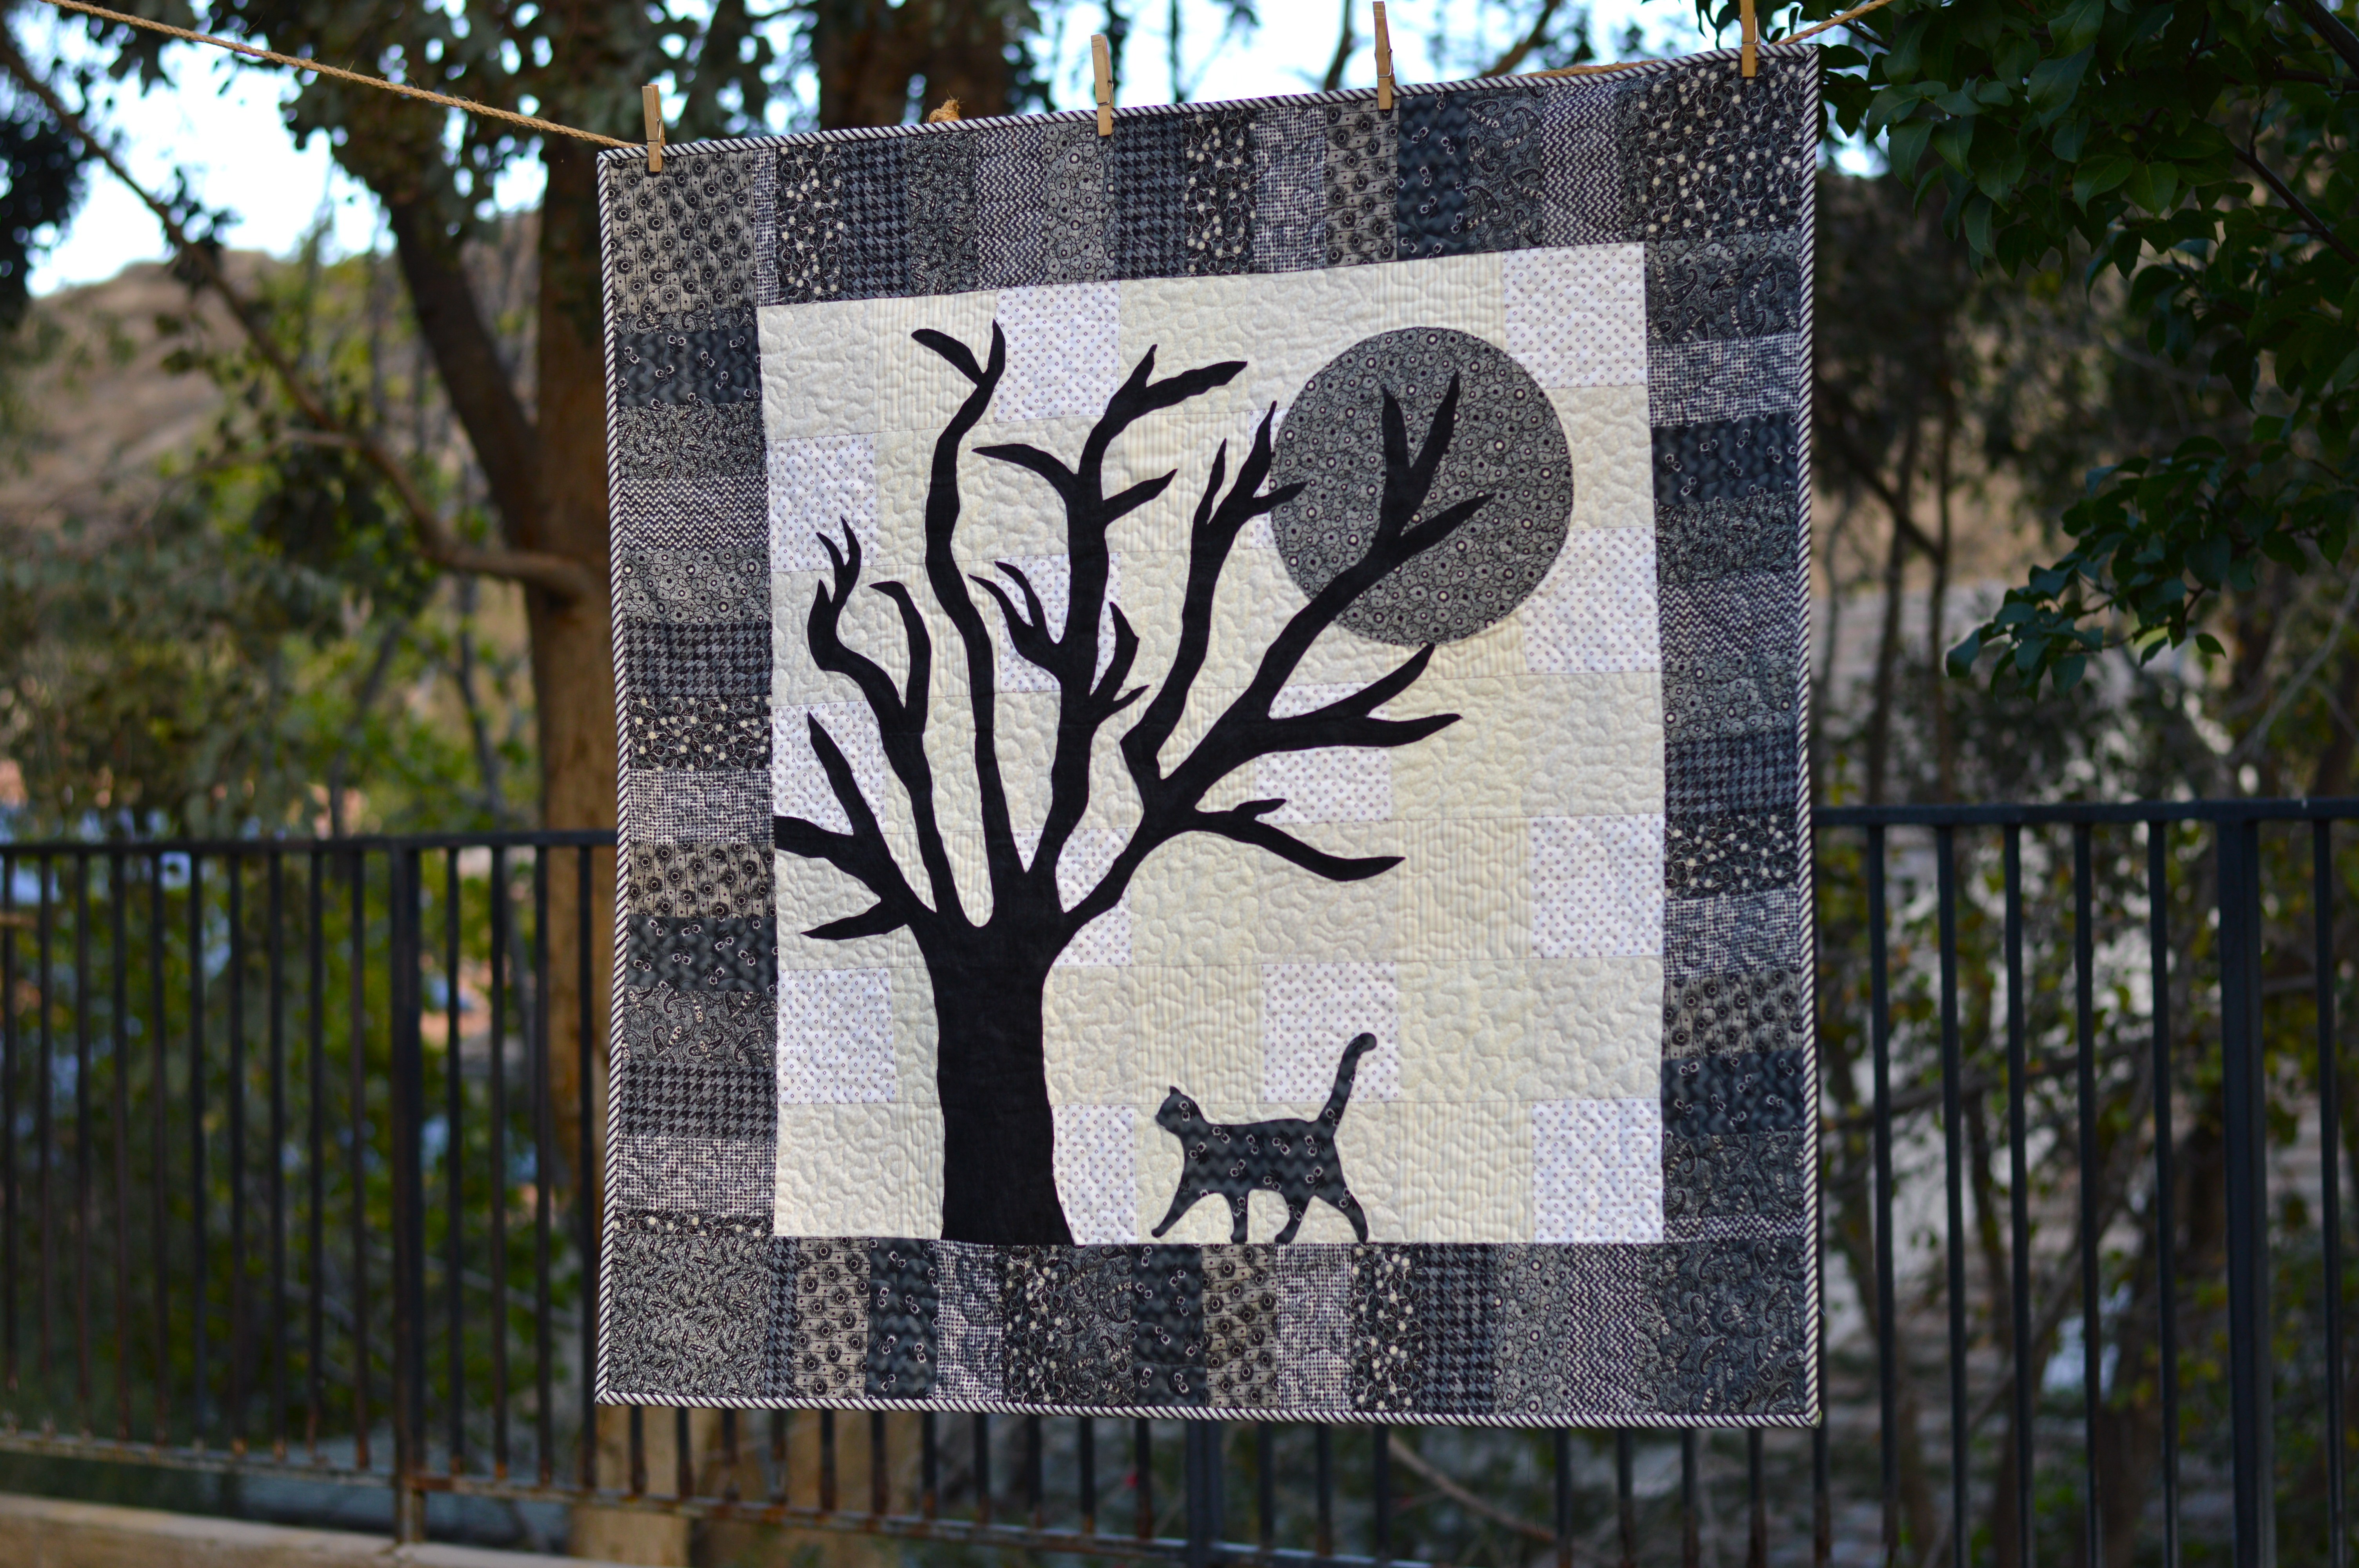
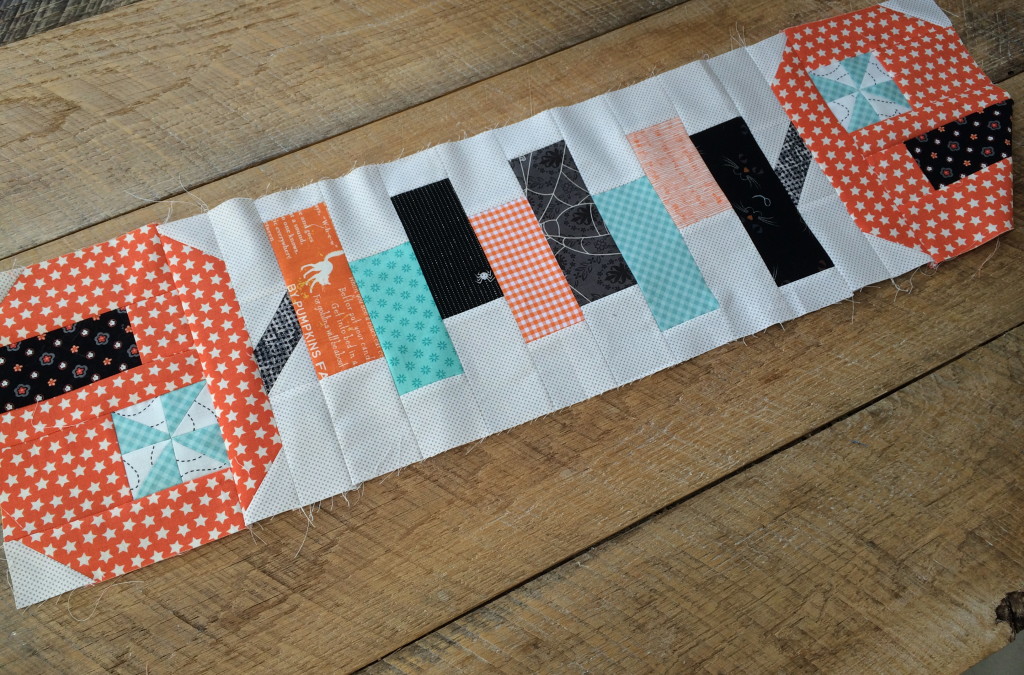
The quilt measures 58″ square which is such a great throw size.

october-stars-quilt-pattern2

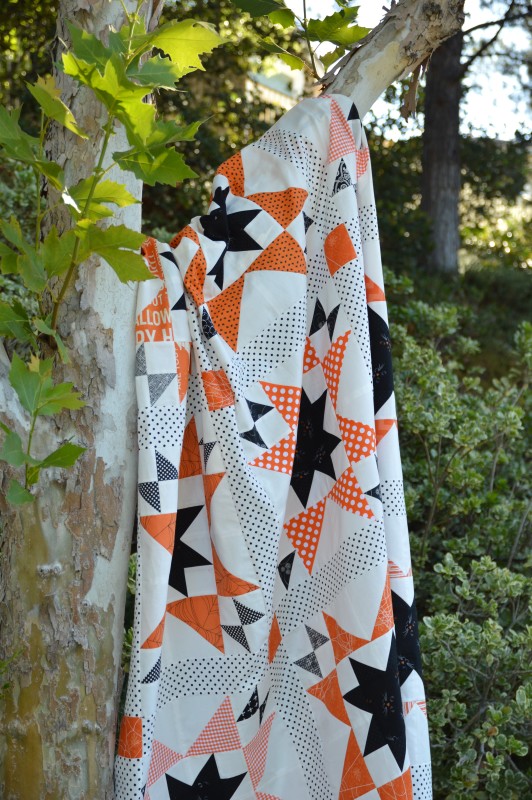
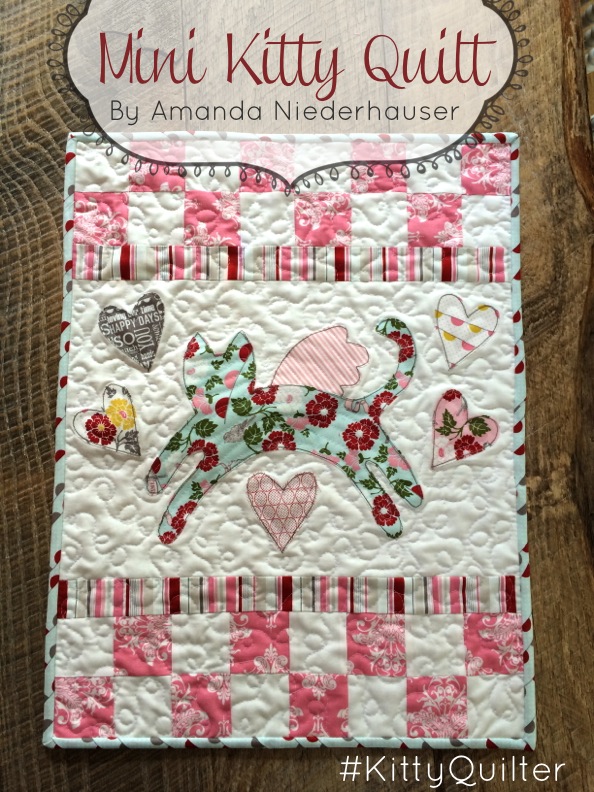
This would also be fun to make in Christmas colors as well!

october-stars-quilt-pattern-4-6

I hope you love it!

Mini Kitty Halloween Quilt Pattern

img_3710

It’s a little SPOOKY around here!  Mini Kitty is getting a Halloween makeover!  I love this little pattern so much and wanted to give it a little pop for the fall.  Mini Kitty is now leaping over a pumpkin with bats and stars in the background.  If you’ve already purchased the pattern you can download the Halloween applique shapes for free HERE.  The Halloween PDF is also included with each Mini Kitty pattern purchase in my Etsy shop.

mini-kitty-cover

The original Mini Kitty pattern was created as a gift for a friend after the loss of a sweet kitten.  You can read more about it HEREimg_3688

Instead of using only 2 colors for the checkerboard border, I used 8 different oranges and 8 different blacks.  I really love the polka dot pumpkin!

img_3686

Mufasa was very helpful on this project and choose the colors all by himself 🙂

img_3706

I love how it turned out and I have the purrrrfect place to hang it!  img_3714

All Hallow’s Eve Quilt

 halloweenIt’s feeling a little like fall and that means time to break out the fall decor!  I made this quilt last year and it’s one of my favorites!  I decorate my dining/living room with a more neutral pallet and I love using black and gray to decorate for Halloween.  The family room and kitchen are bright orange, black, and turquoise 🙂  I used a variety of neutrals and gray/blacks from Penny Rose Fabrics. You can download the details of the pattern HERE.

Quilt measures 42″ square.

spooky halloween quilt 30Most of the black/gray fabrics are from the Civil War Times fabric line. I love the variety! The rest of the fabrics are from Penny Rose Classics.Screen Shot 2015-10-21 at 9.03.17 PMIMG_3614I love black and metallic pumpkins on vintage candlesticks!

spooky halloween quilt 22I first made the background by sewing 5″ squares together in 7 rows of 7. Then the applique comes next. You could totally add ghosts and bats, I wanted to keep it simple.

spooky halloween quilt 26The moon is made by tracing a pie plate.

spooky halloween quilt 28Here is a little close up of the quilting, with Mufasa’s permission 🙂 spooky halloween quilt 6I love striped binding cut on the bias – it’s my absolute FAVORITE!!!! The backing is from Penny Rose’s mensware line – I love houndstooth!!!Ok, so this is totally my new favorite Halloween Quilt!

IMG_3612

spooky halloween quilt 9

Black and Orange Cat Quilt {Halloween Cats}

FullSizeRender

I am so excited to share the finish of this quilt that has been in the works for the last year!

IMG_3433

I started it last summer, finished piecing the top this last spring, had it quilted in May and just finished the binding!  It is one of my all time FAVORITE quilts!!!!!

IMG_3444
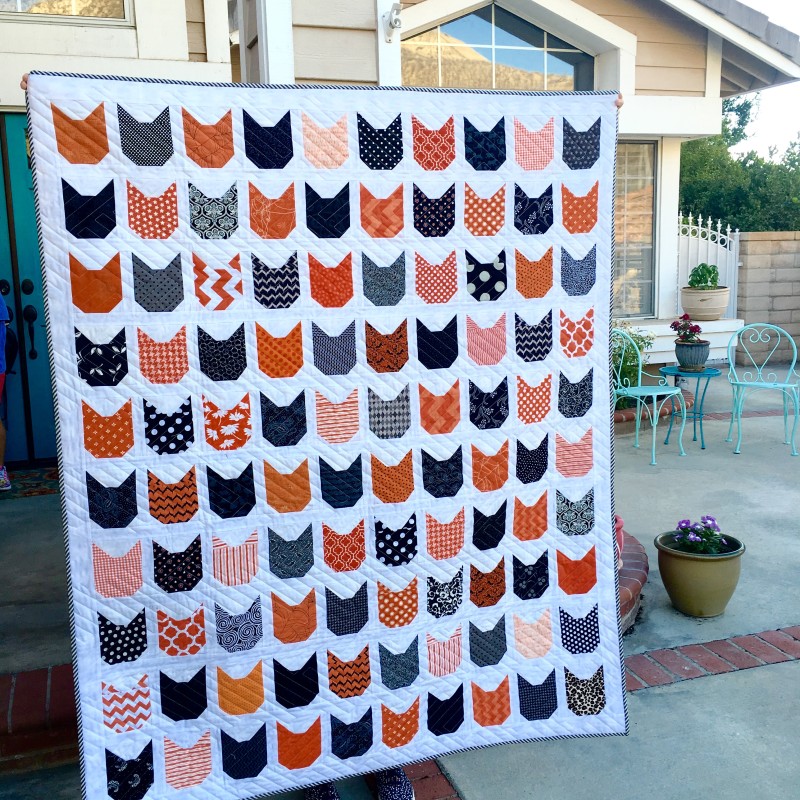
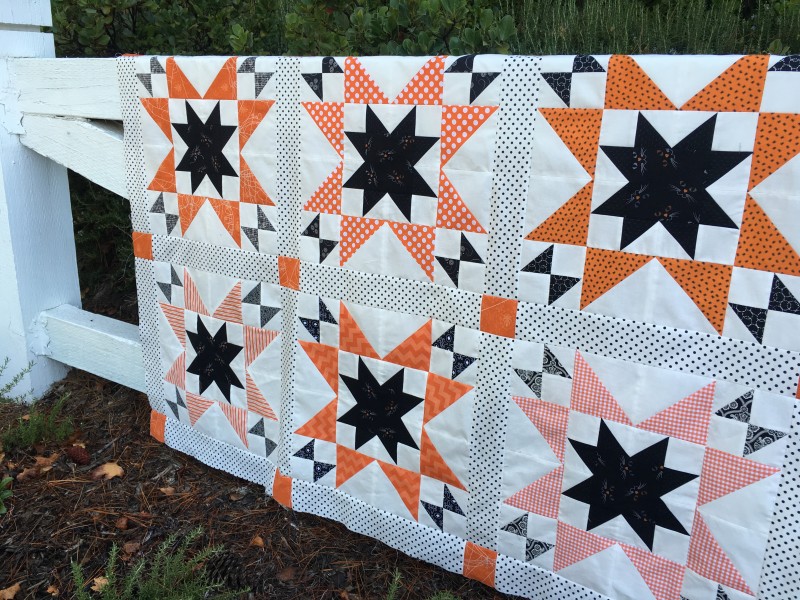
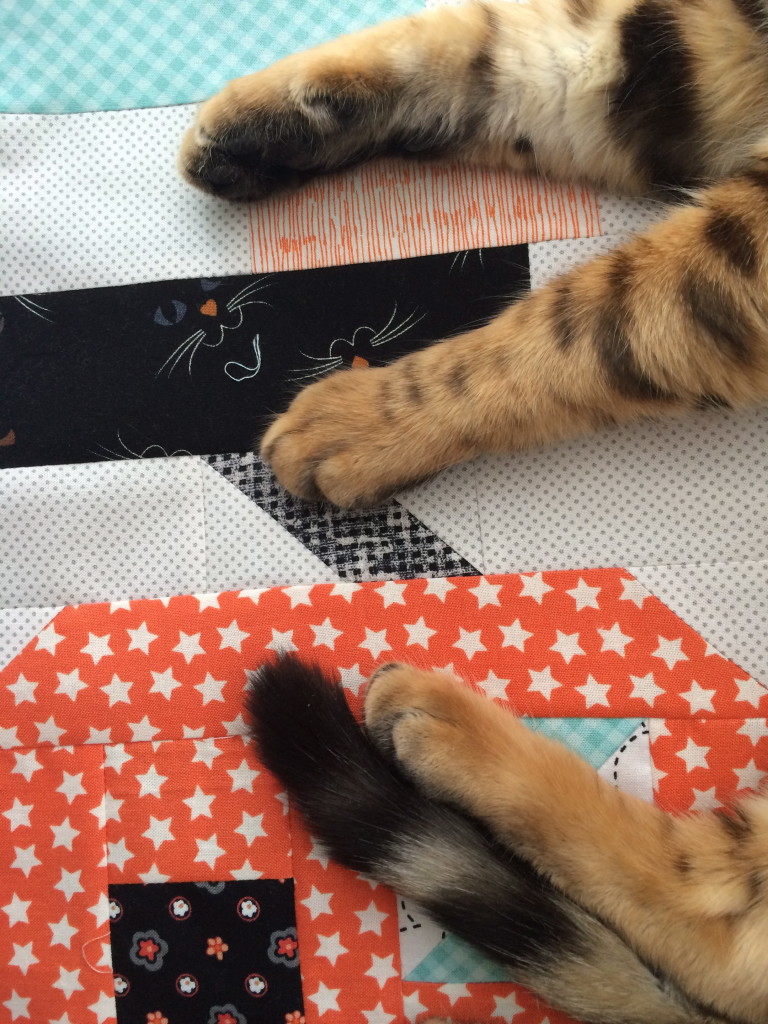
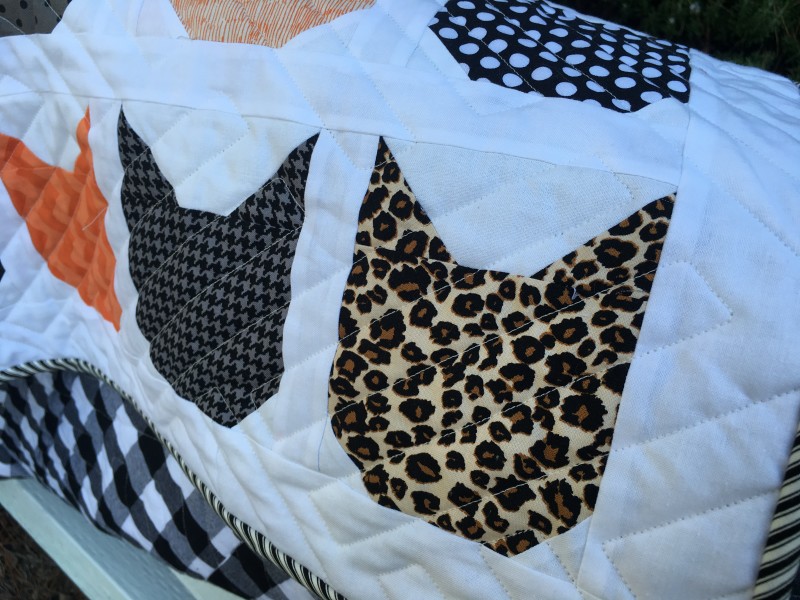
Each cat head is either black or orange print with the exception of the bottom right corner – it’s Mufasa!!!!

IMG_3431

I used Elizabeth Hartman’s cat head block pattern (here).  They are so much fun to sew!!

IMG_3436

Here you can see the fun geometric quilting that Nicole from Kwilt It quilted.  I LOVE it!  I also adore the gingham backing!!!

IMG_3434  
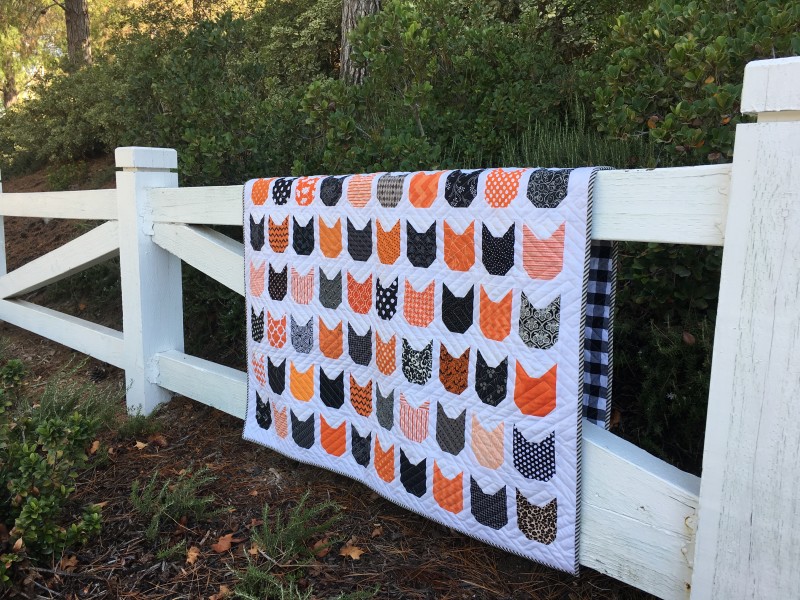
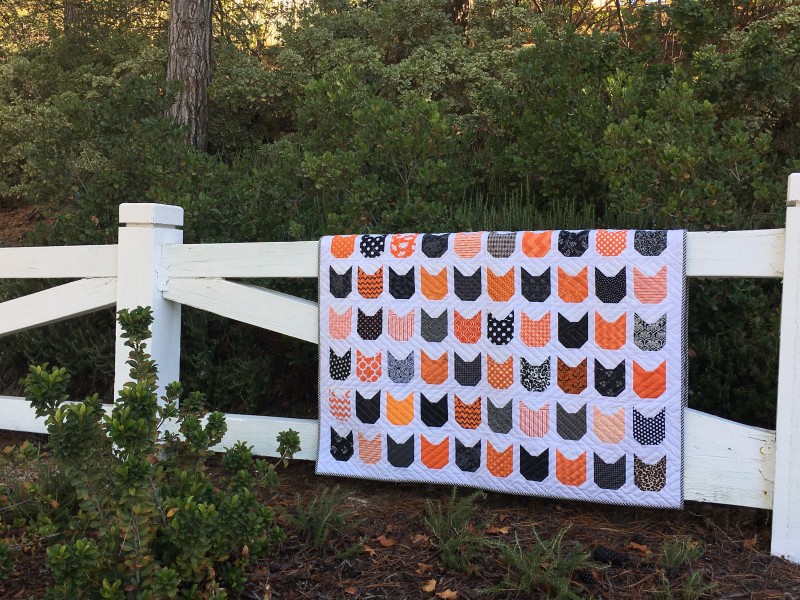
Oh my gosh – it’s too cute!!!!!  100 cat heads!!!

IMG_3429

Spooky Delights Table Runner Finish

SpookyDelights-SM2

Today is the final day of the Spooky Delights Table Runner from Fat Quarter Shop!  I love how mine turned out!  It was such a fun little quilt to put together.  My favorite part of the whole quilt is the patchy border.  I just love it!  You can download the final instructions from Fat Quarter Shop HERE. spooky delights table runner 2

I am so happy to have this finished!  I can tuck it away for a few months and when I get it out in October I will be like opening a present just for me!

IMG_7250

I quilted it with swirls – I wanted it to look spooky 🙂

spooky delights table runner 3

Mufasa the quilt model is thrilled with it 🙂IMG_7252 
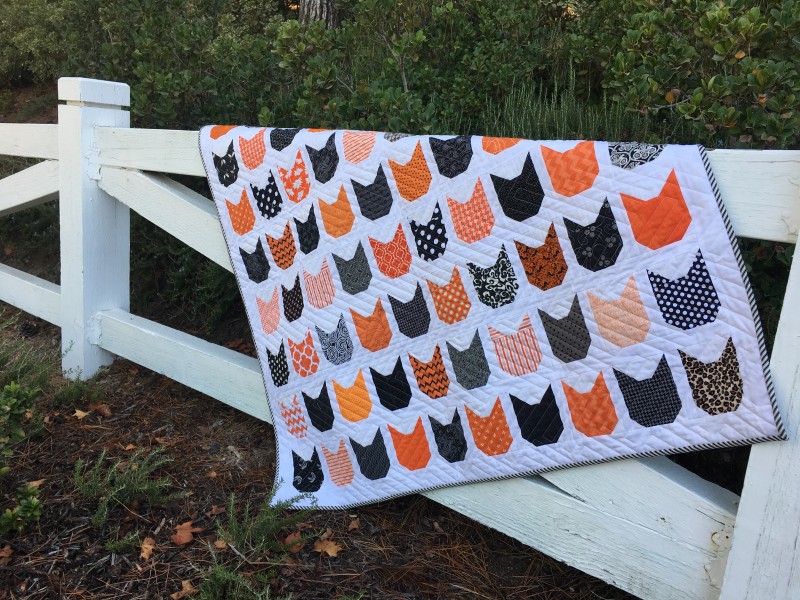
Now it’s your turn – get sewing!!!

Spooky Delights Quilt Along Part 2

SpookyDelights-Header

It’s week 2 of the Spooky Delights Quilt Along by Fat Quarter Shop!  This week it’s time to construct the center portion of the table runner!  You can find the pattern by clicking HERE.

IMG_6636

As soon as I got all my pieces cut out, Mufasa decided it was the purrrrrfect napping spot!

I love how these little pumpkins have a pinwheel and a door!

IMG_6675

And then it was time for another nap!!!

IMG_6681

Instead of appliquéing the center portion, I added 2.5″ strips that are off-set, keeping the center measurements the same so the borders will fit.

IMG_6680

This is so much fun and I love getting holiday items sewn early!!!

SpookyDelights-SM

Spooky Delights Quilt Along from Fat Quarter Shop

SpookyDelights-Header

Whose ready for a super fun quilt-along!!!  I am!!!  I am totally excited for this FREE Spooky Delights Quilt Along from Fat Quarter Shop!  October is such a busy month that I never have time to sew anything fun for Halloween.  I love sewing holiday projects early so I can look forward to using them.  This Spooky Delights table runner is perfect for a dining table, a coffee table, a buffet, or even folded over the arm of a chair or a couch!

SpookyDelights-SM2

Best of all this little project is divided up into 3 manageable tasks:

SpookyDelights-Schedule

You can download the Fabric Requirements right now by clicking HERE.

IMG_6547

The fabrics I choose are traditional black prints and orange prints with a touch of light teal tossed in for fun.  I can’t wait to get started!

IMG_6558

Of course I always consult Mufasa for all my fabric selections.  If he lays on them it means he approves!!

So join in the fun – all you have to do today is download the fabric requirements and choose your fabrics!  Super easy – you’ll be so happy you made this come October 1st!SpookyDelights-SM

Sizzix Quilted Deco Foil Pumpkin Pillow

sizzix pumpkin pillow deco foil 2I am in love with gold polka dot pumpkins!  I created a smaller version of this pillow on the Therm O Web blog.  This version is a 20″ pillow and it’s actually quilted!  Have you used Deco Foils before?  They are a great way to add a little pop and pizzaz to a project.  To get perfect polka dots I used my Sizzix Fabi and a circle die.  Of course I needed a little help from Mufasa who is totally obsessed with the Sizzix Fabi!

sizzix pumpkin pillow deco foil 4

Using the Fabi you can cut circles in a snap!  I used the Therm O Web Hot Melt Sheets and die cut them.IMG_1595

Draw a pumpkin on a white piece of fabric using a disappearing ink pen.  Position the circles all over the pumpkin including partially off the edge of the pumpkin.  You can use this pumpkin pattern, I enlarged it a bit so it fit the 20″ pillow.  Press using medium heat.  Let cool completely.  Peel off papers.IMG_1607
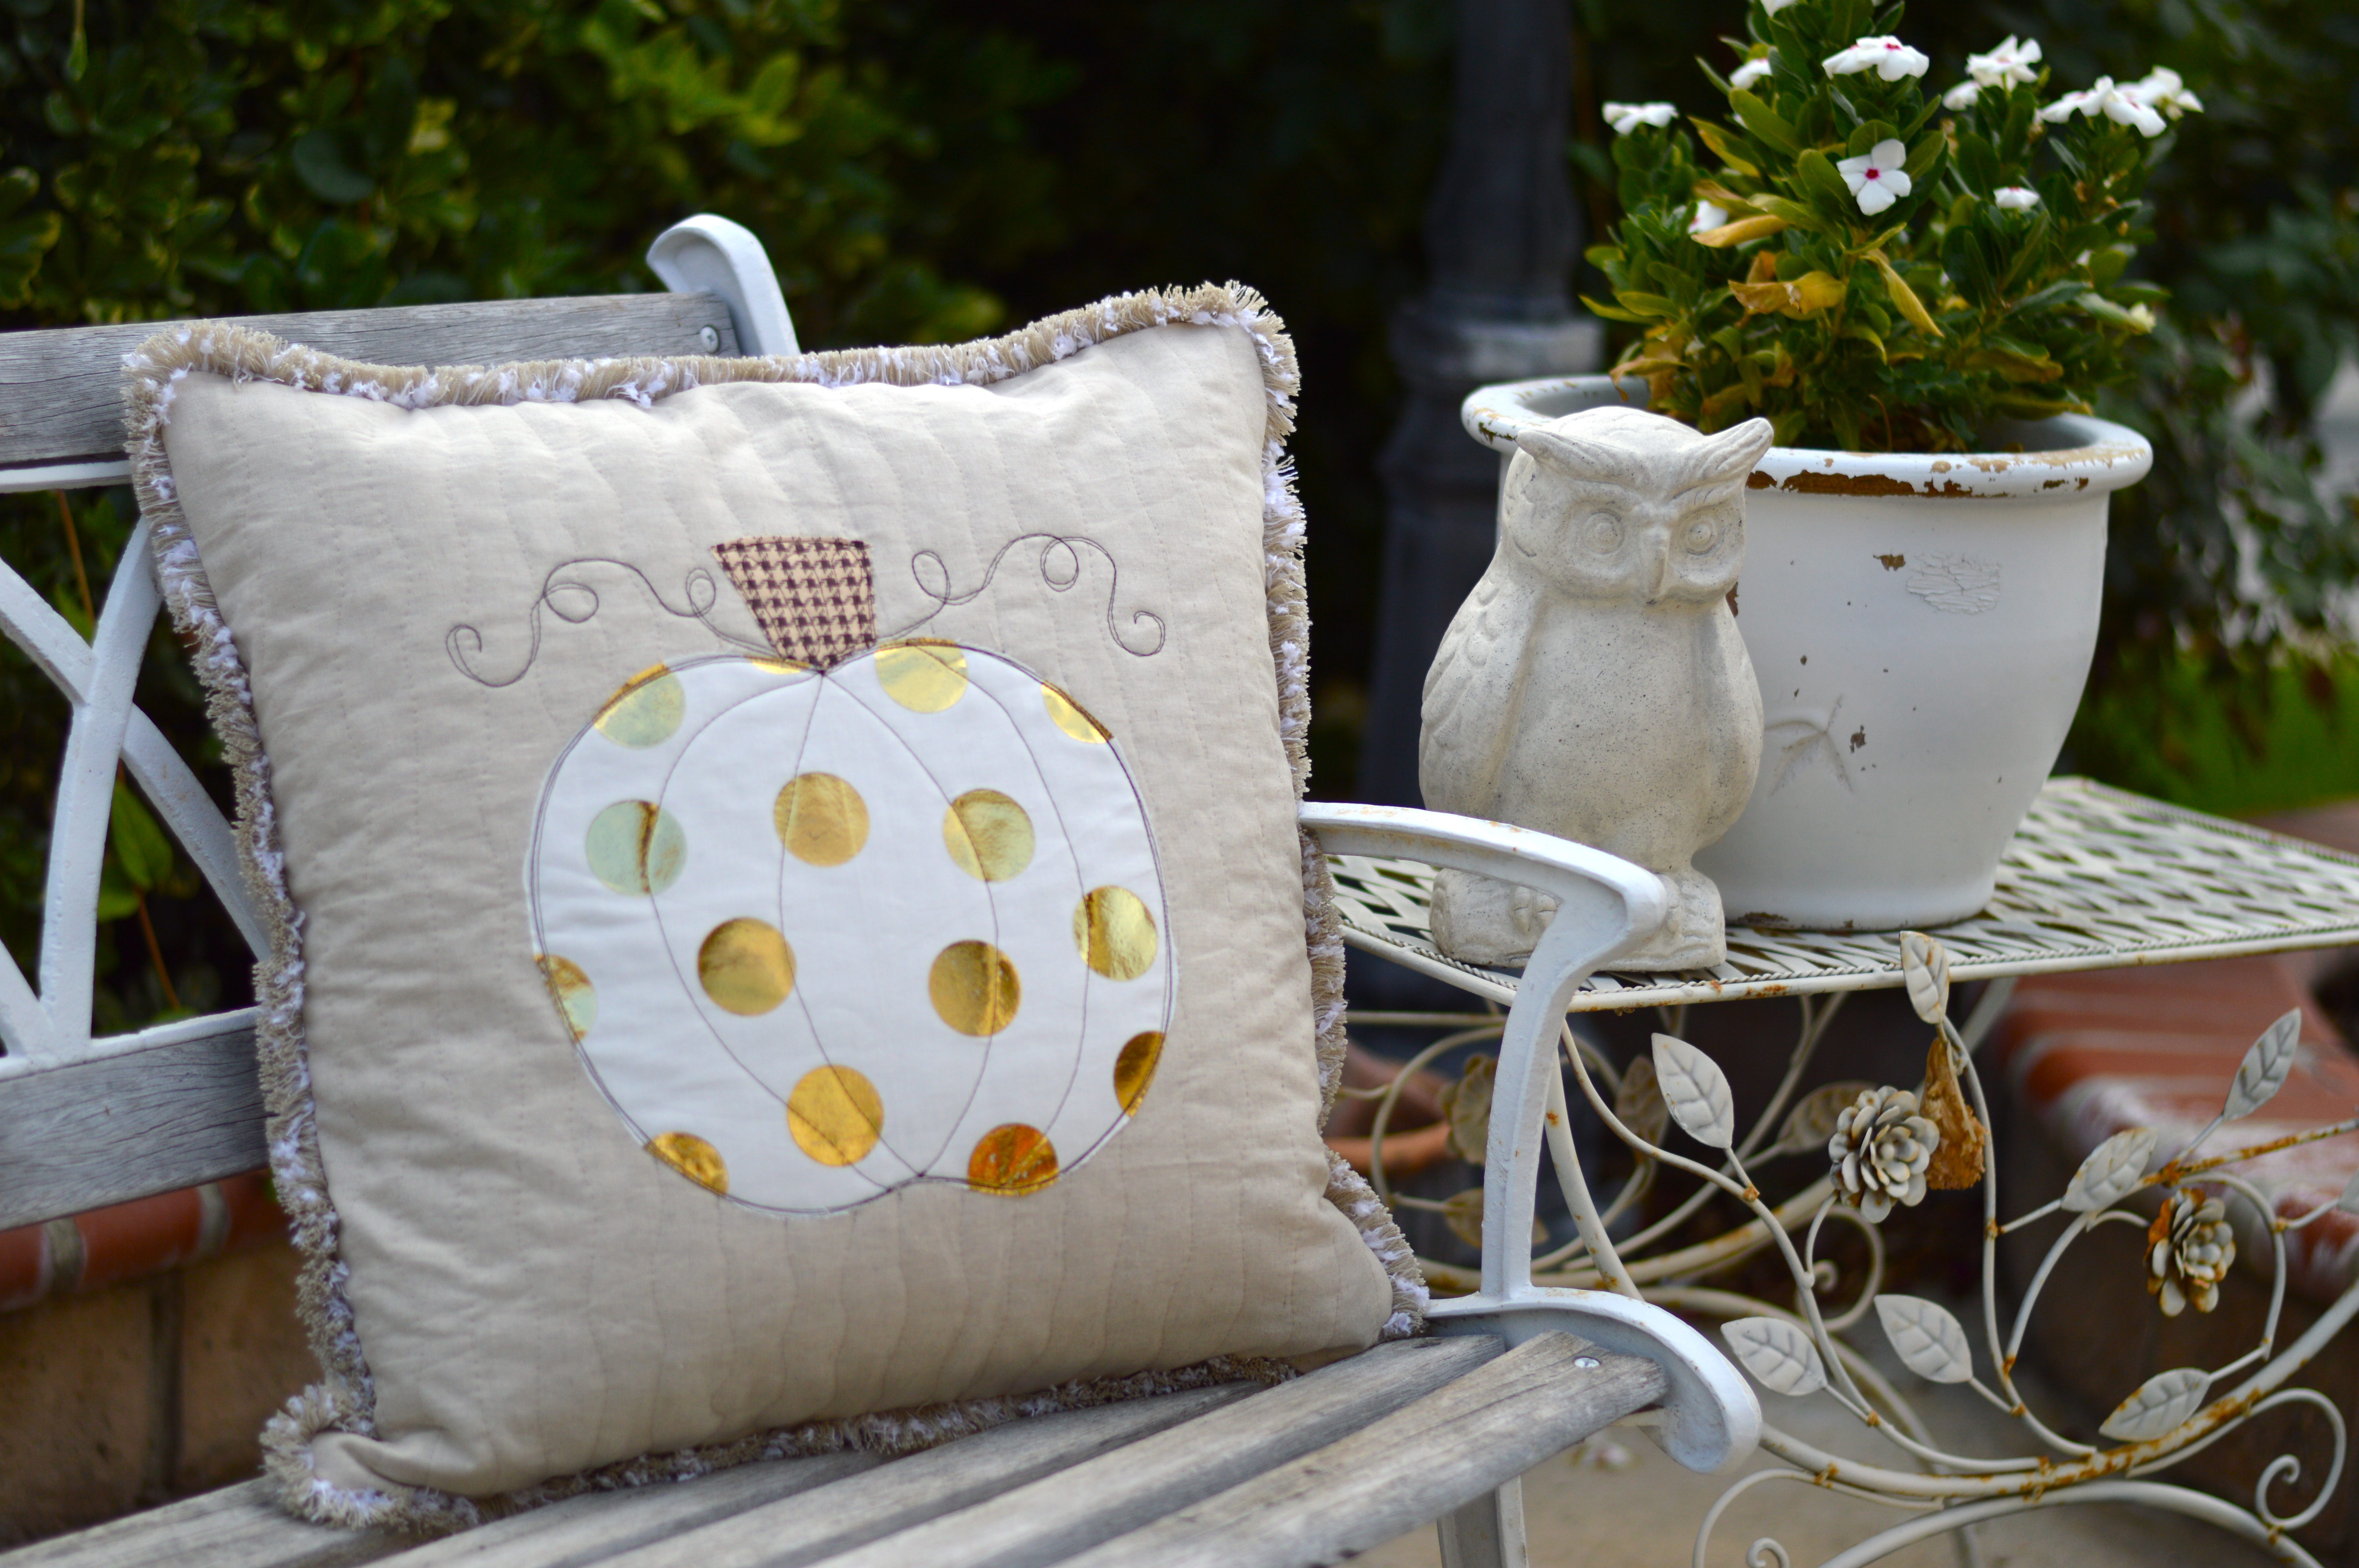
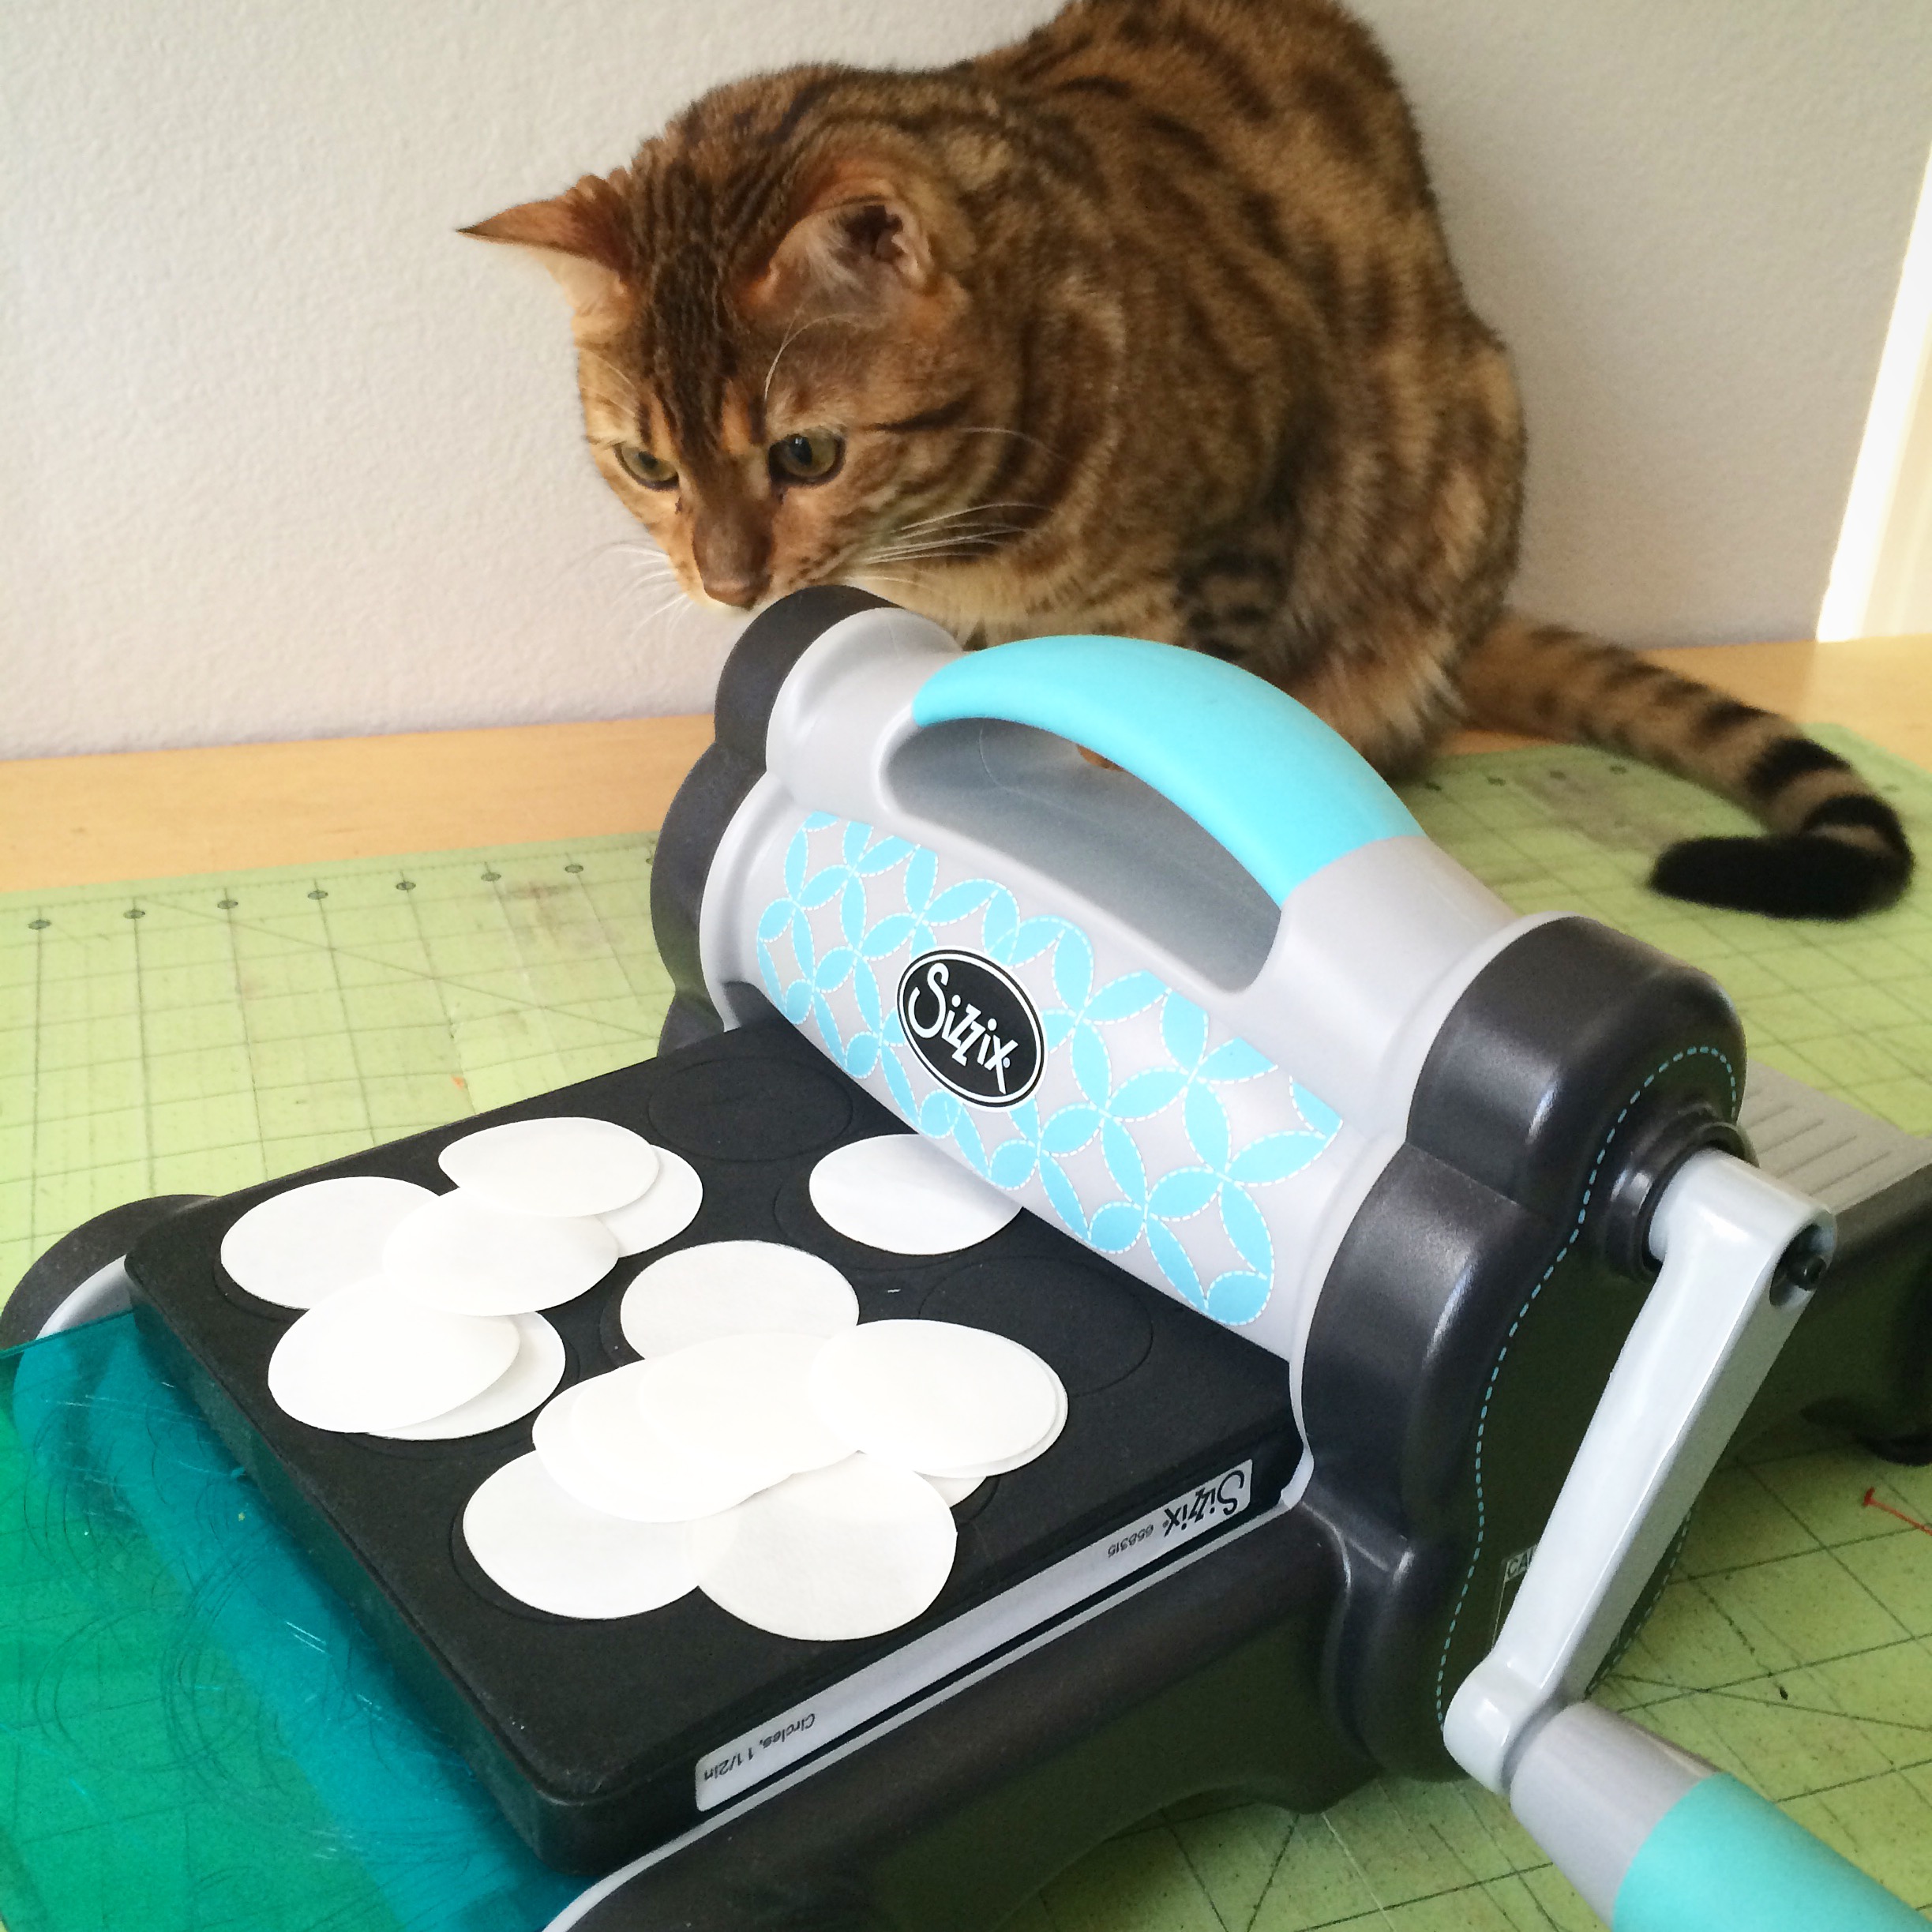
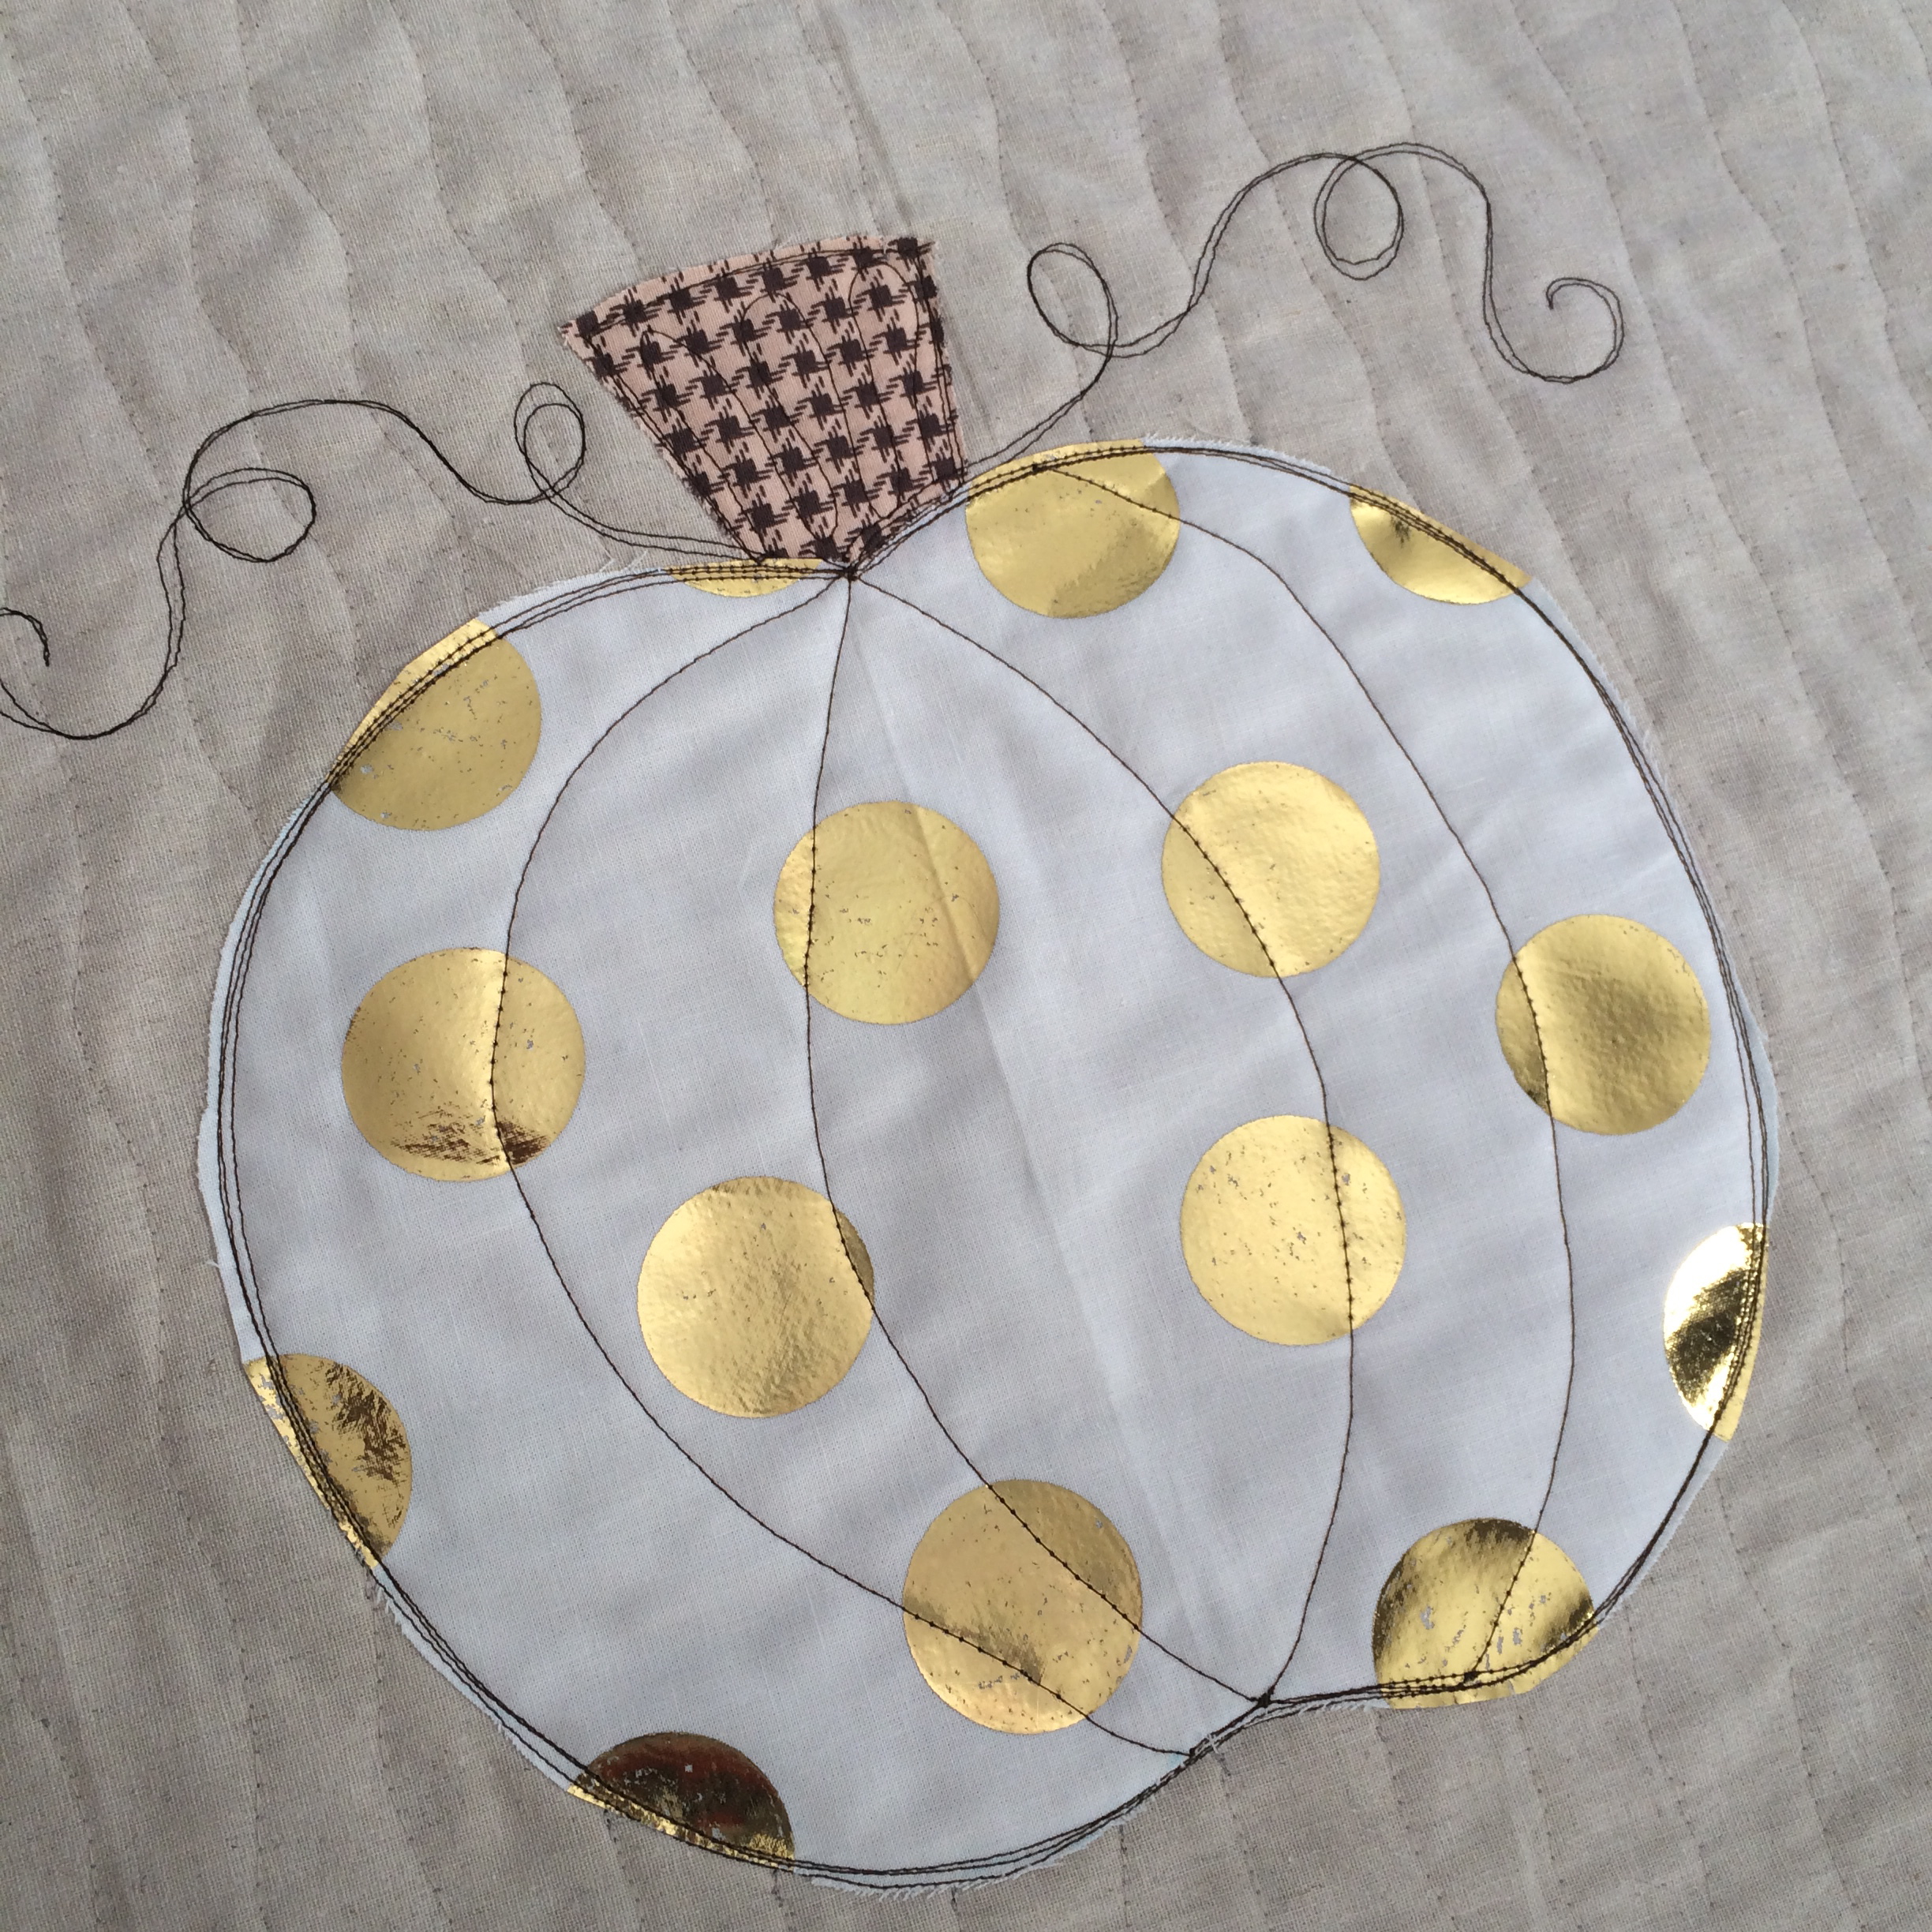
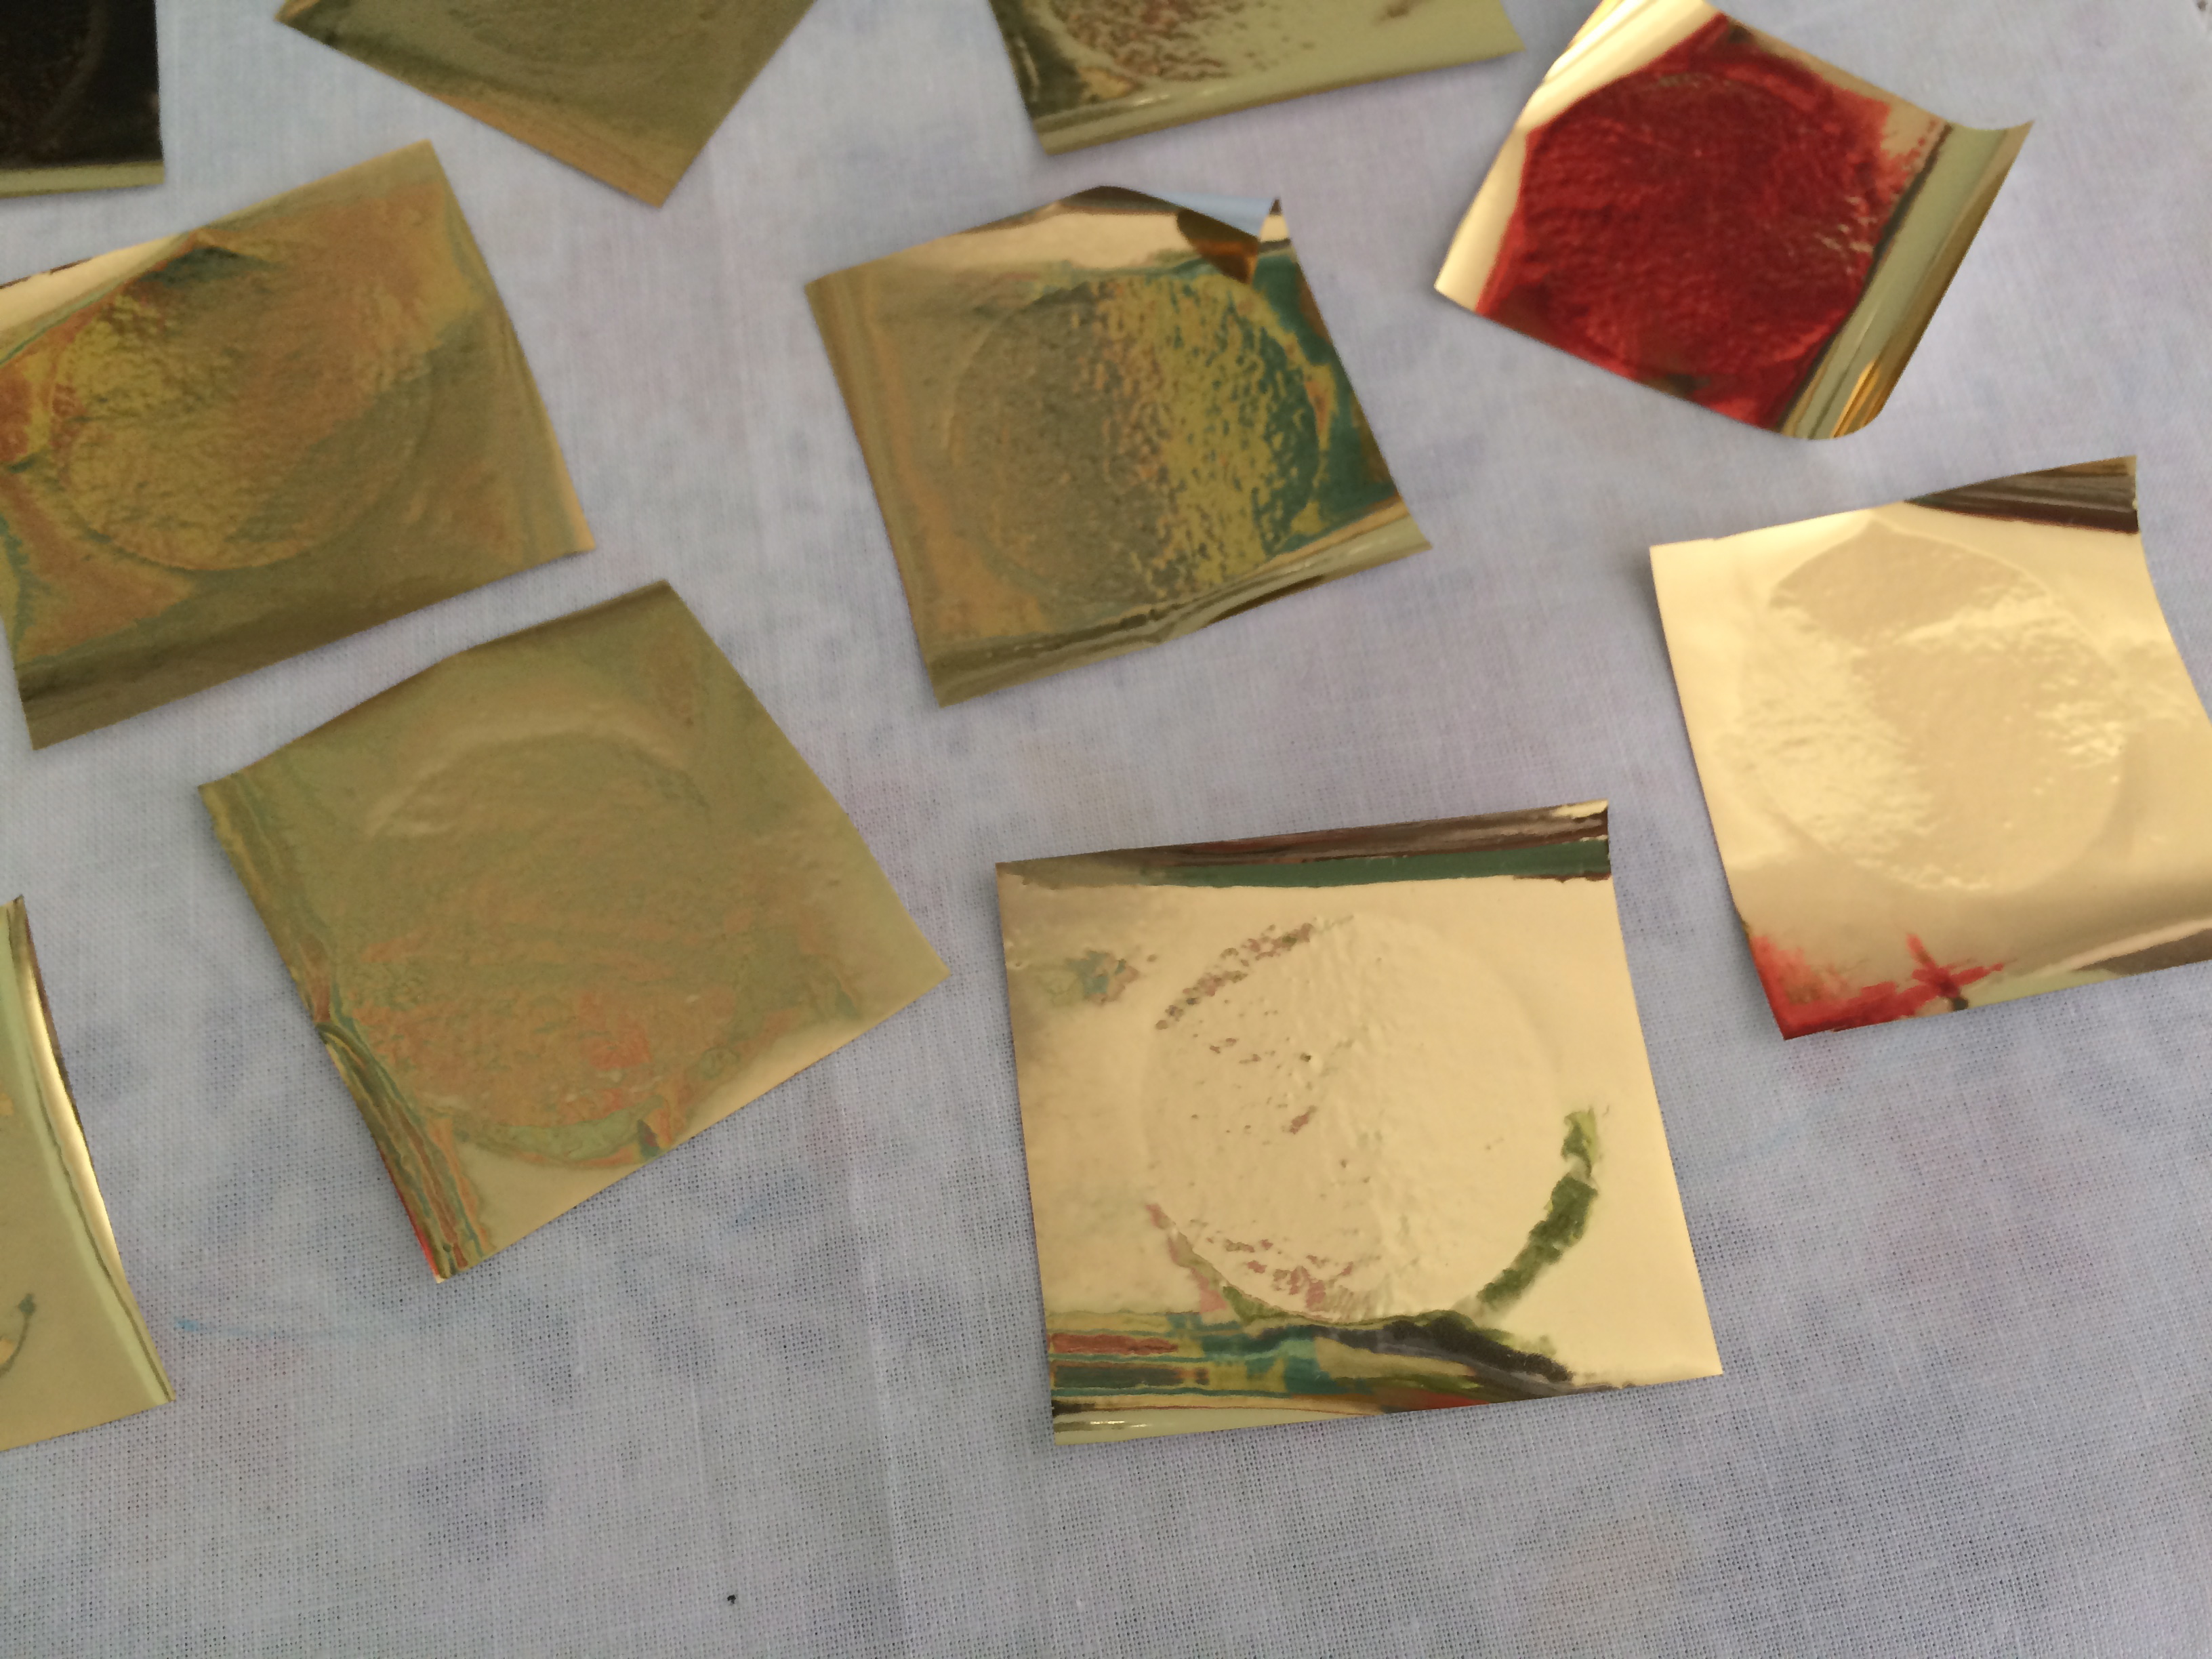
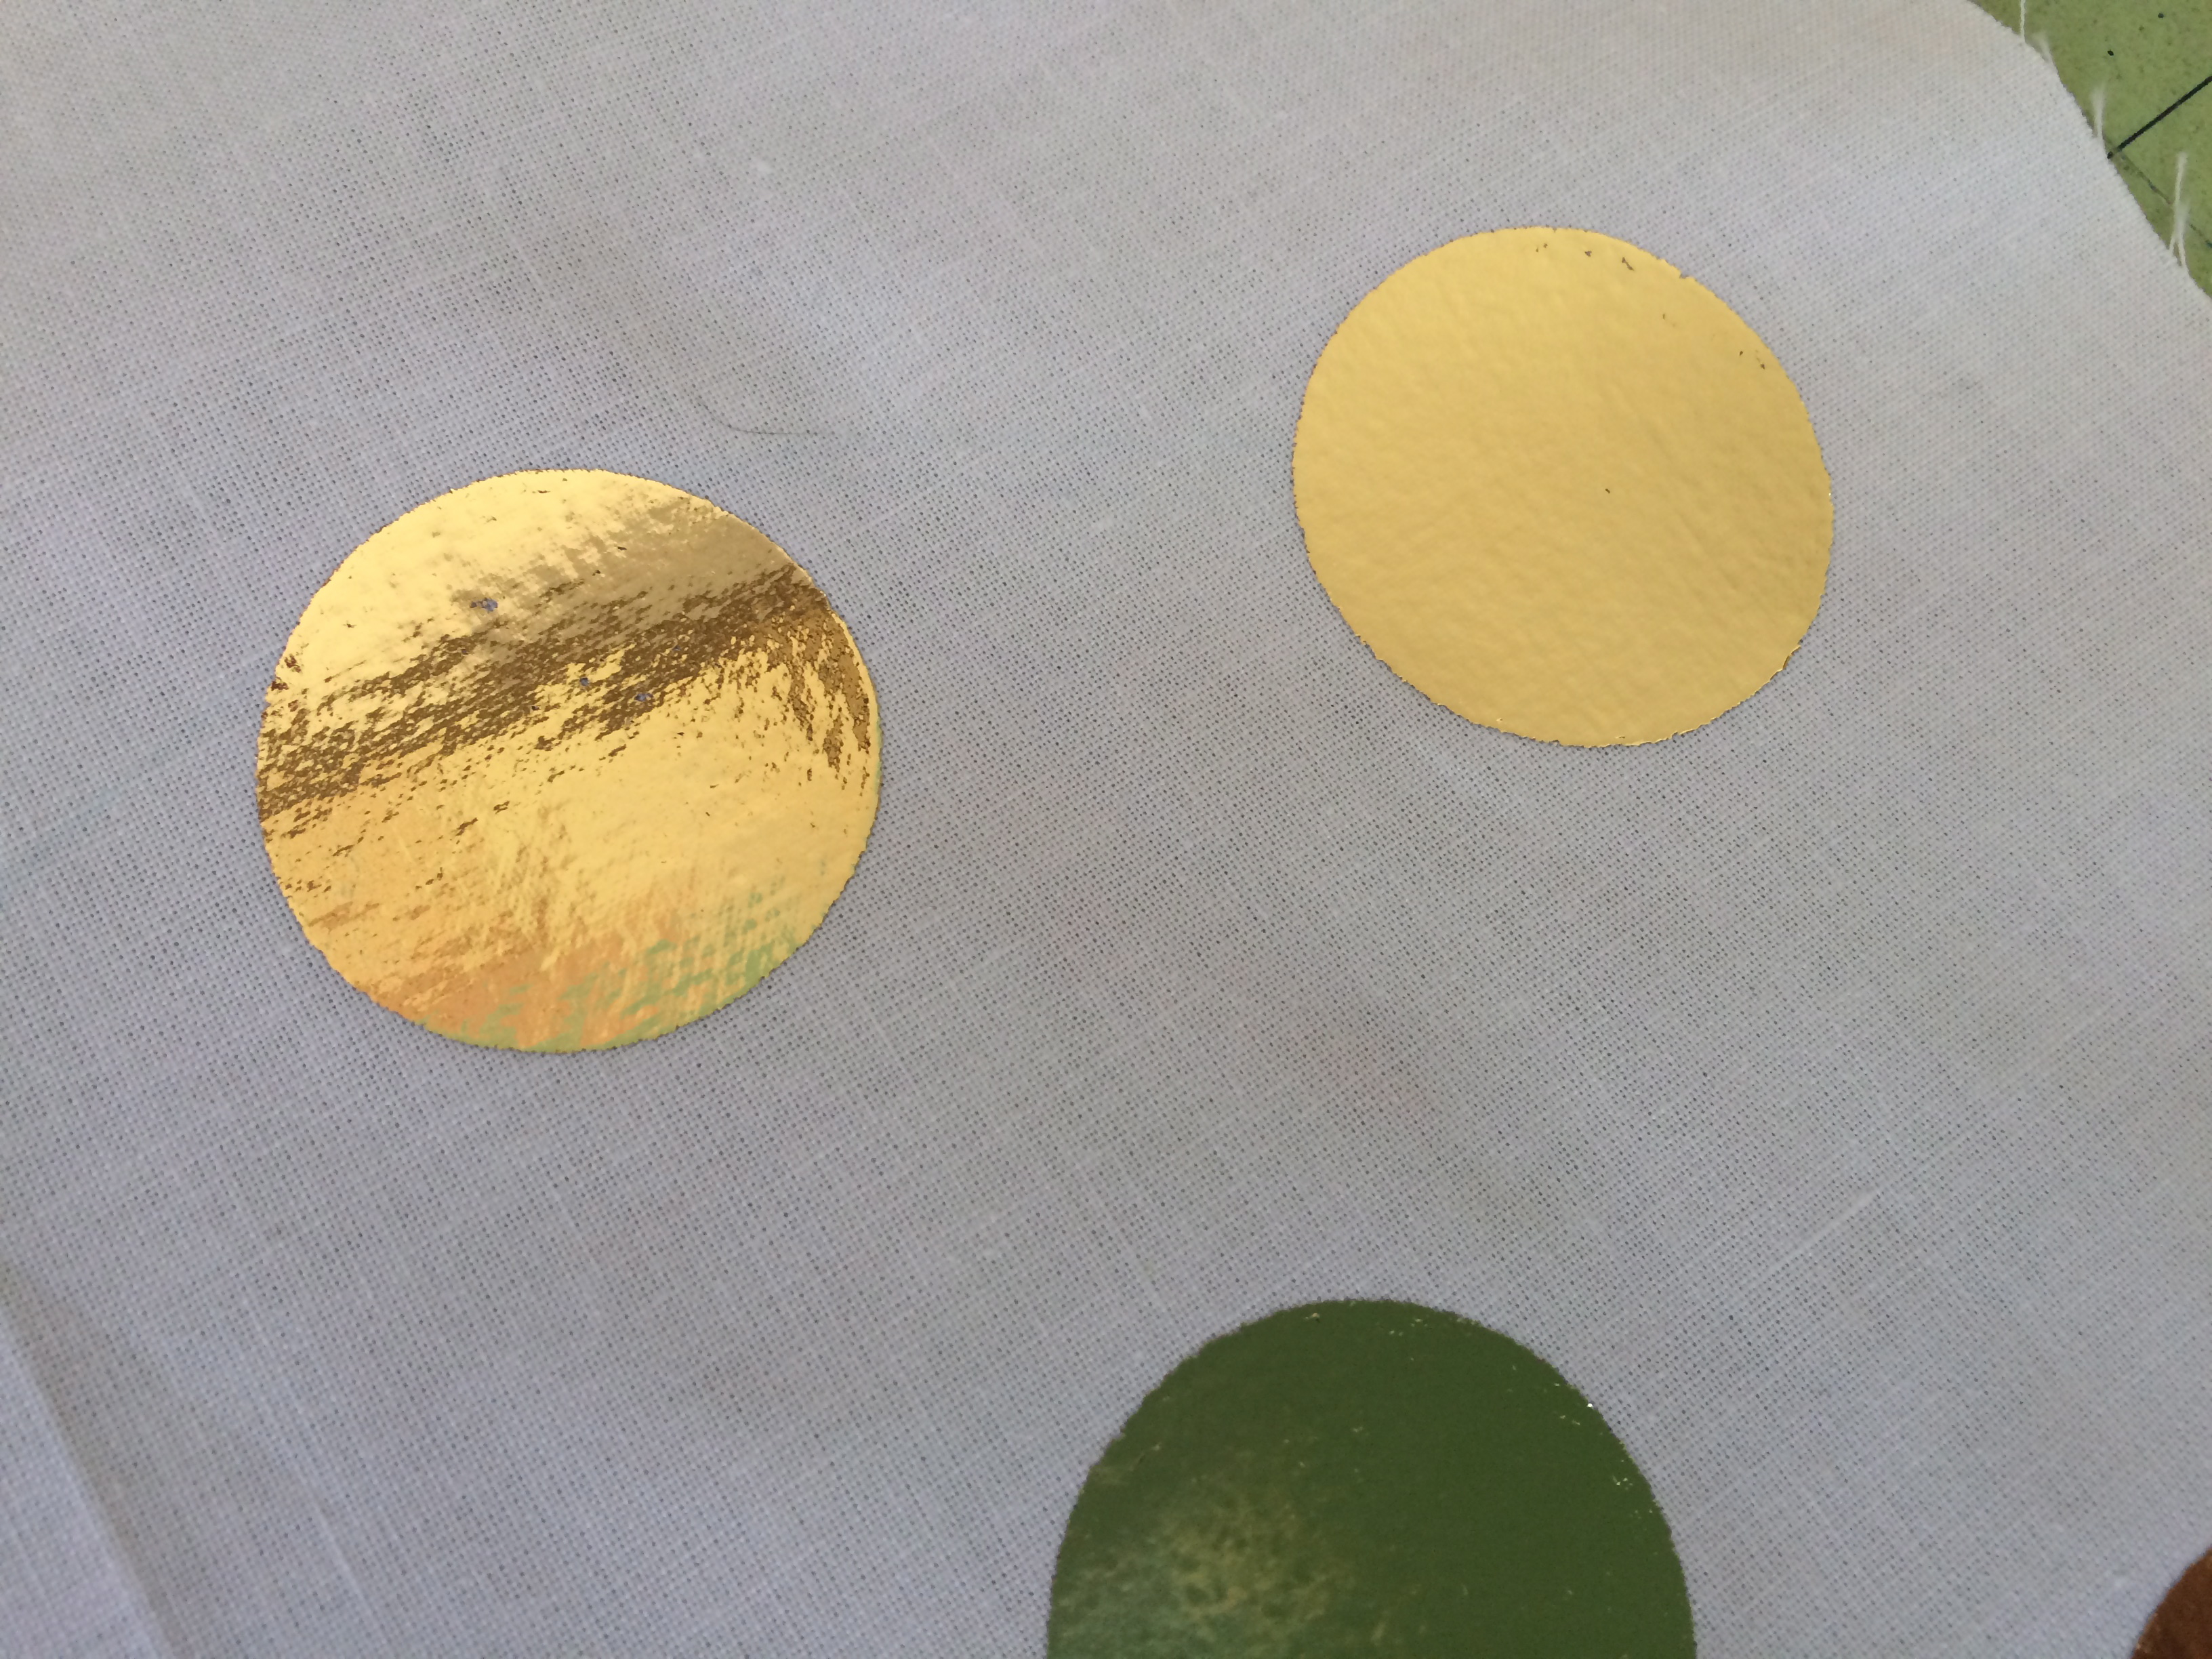
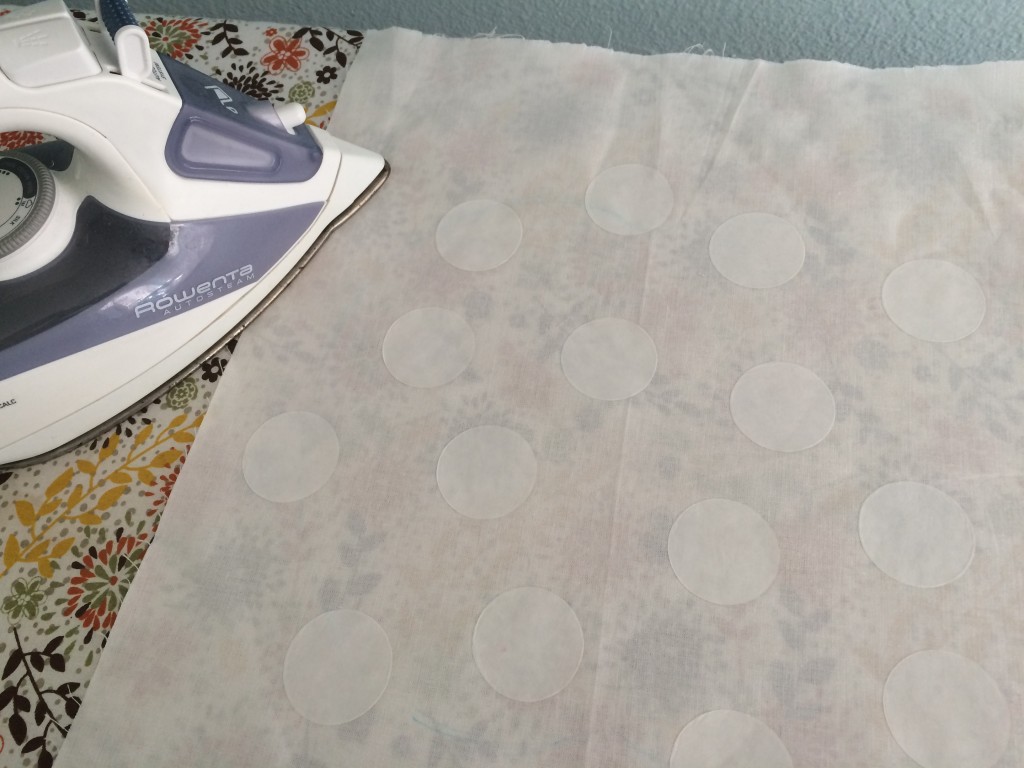
Cut the Deco Foil into squares that are slightly larger than the circles.  Place on top of each hot melt circle.  Cover with a pressing paper and press for about 15-25 seconds using medium heat.  If I use the highest heat setting it singes the foil.

sizzix pumpkin pillow deco foil 7

sizzix pumpkin pillow deco foil 8Let cool completely.

sizzix pumpkin pillow deco foil 10Carefully peel off excess foil leaving gold circles!  Yes!  It’s magical!!!

sizzix pumpkin pillow deco foil 12Cut the pumpkin out.  Cut the stem out.

sizzix pumpkin pillow deco foil 13Cut (2) natural linen/cotton squares for the pillow.  Using Spray n Bond basting spray, adhere the pumpkin and stem to the square.

sizzix pumpkin pillow deco foil 14Using more basting spray, baste the square onto a piece of batting.

sizzix pumpkin pillow deco foil 15Sew around the stem and the pumpking 3 times in dark brown thread.  Add some swirly vines.  Then have some fun with the quilting!  I added detail to the pumpkin.  I also quilted wavy lines in the background.  I really like how it turned out.

sizzix pumpkin pillow deco foil 18
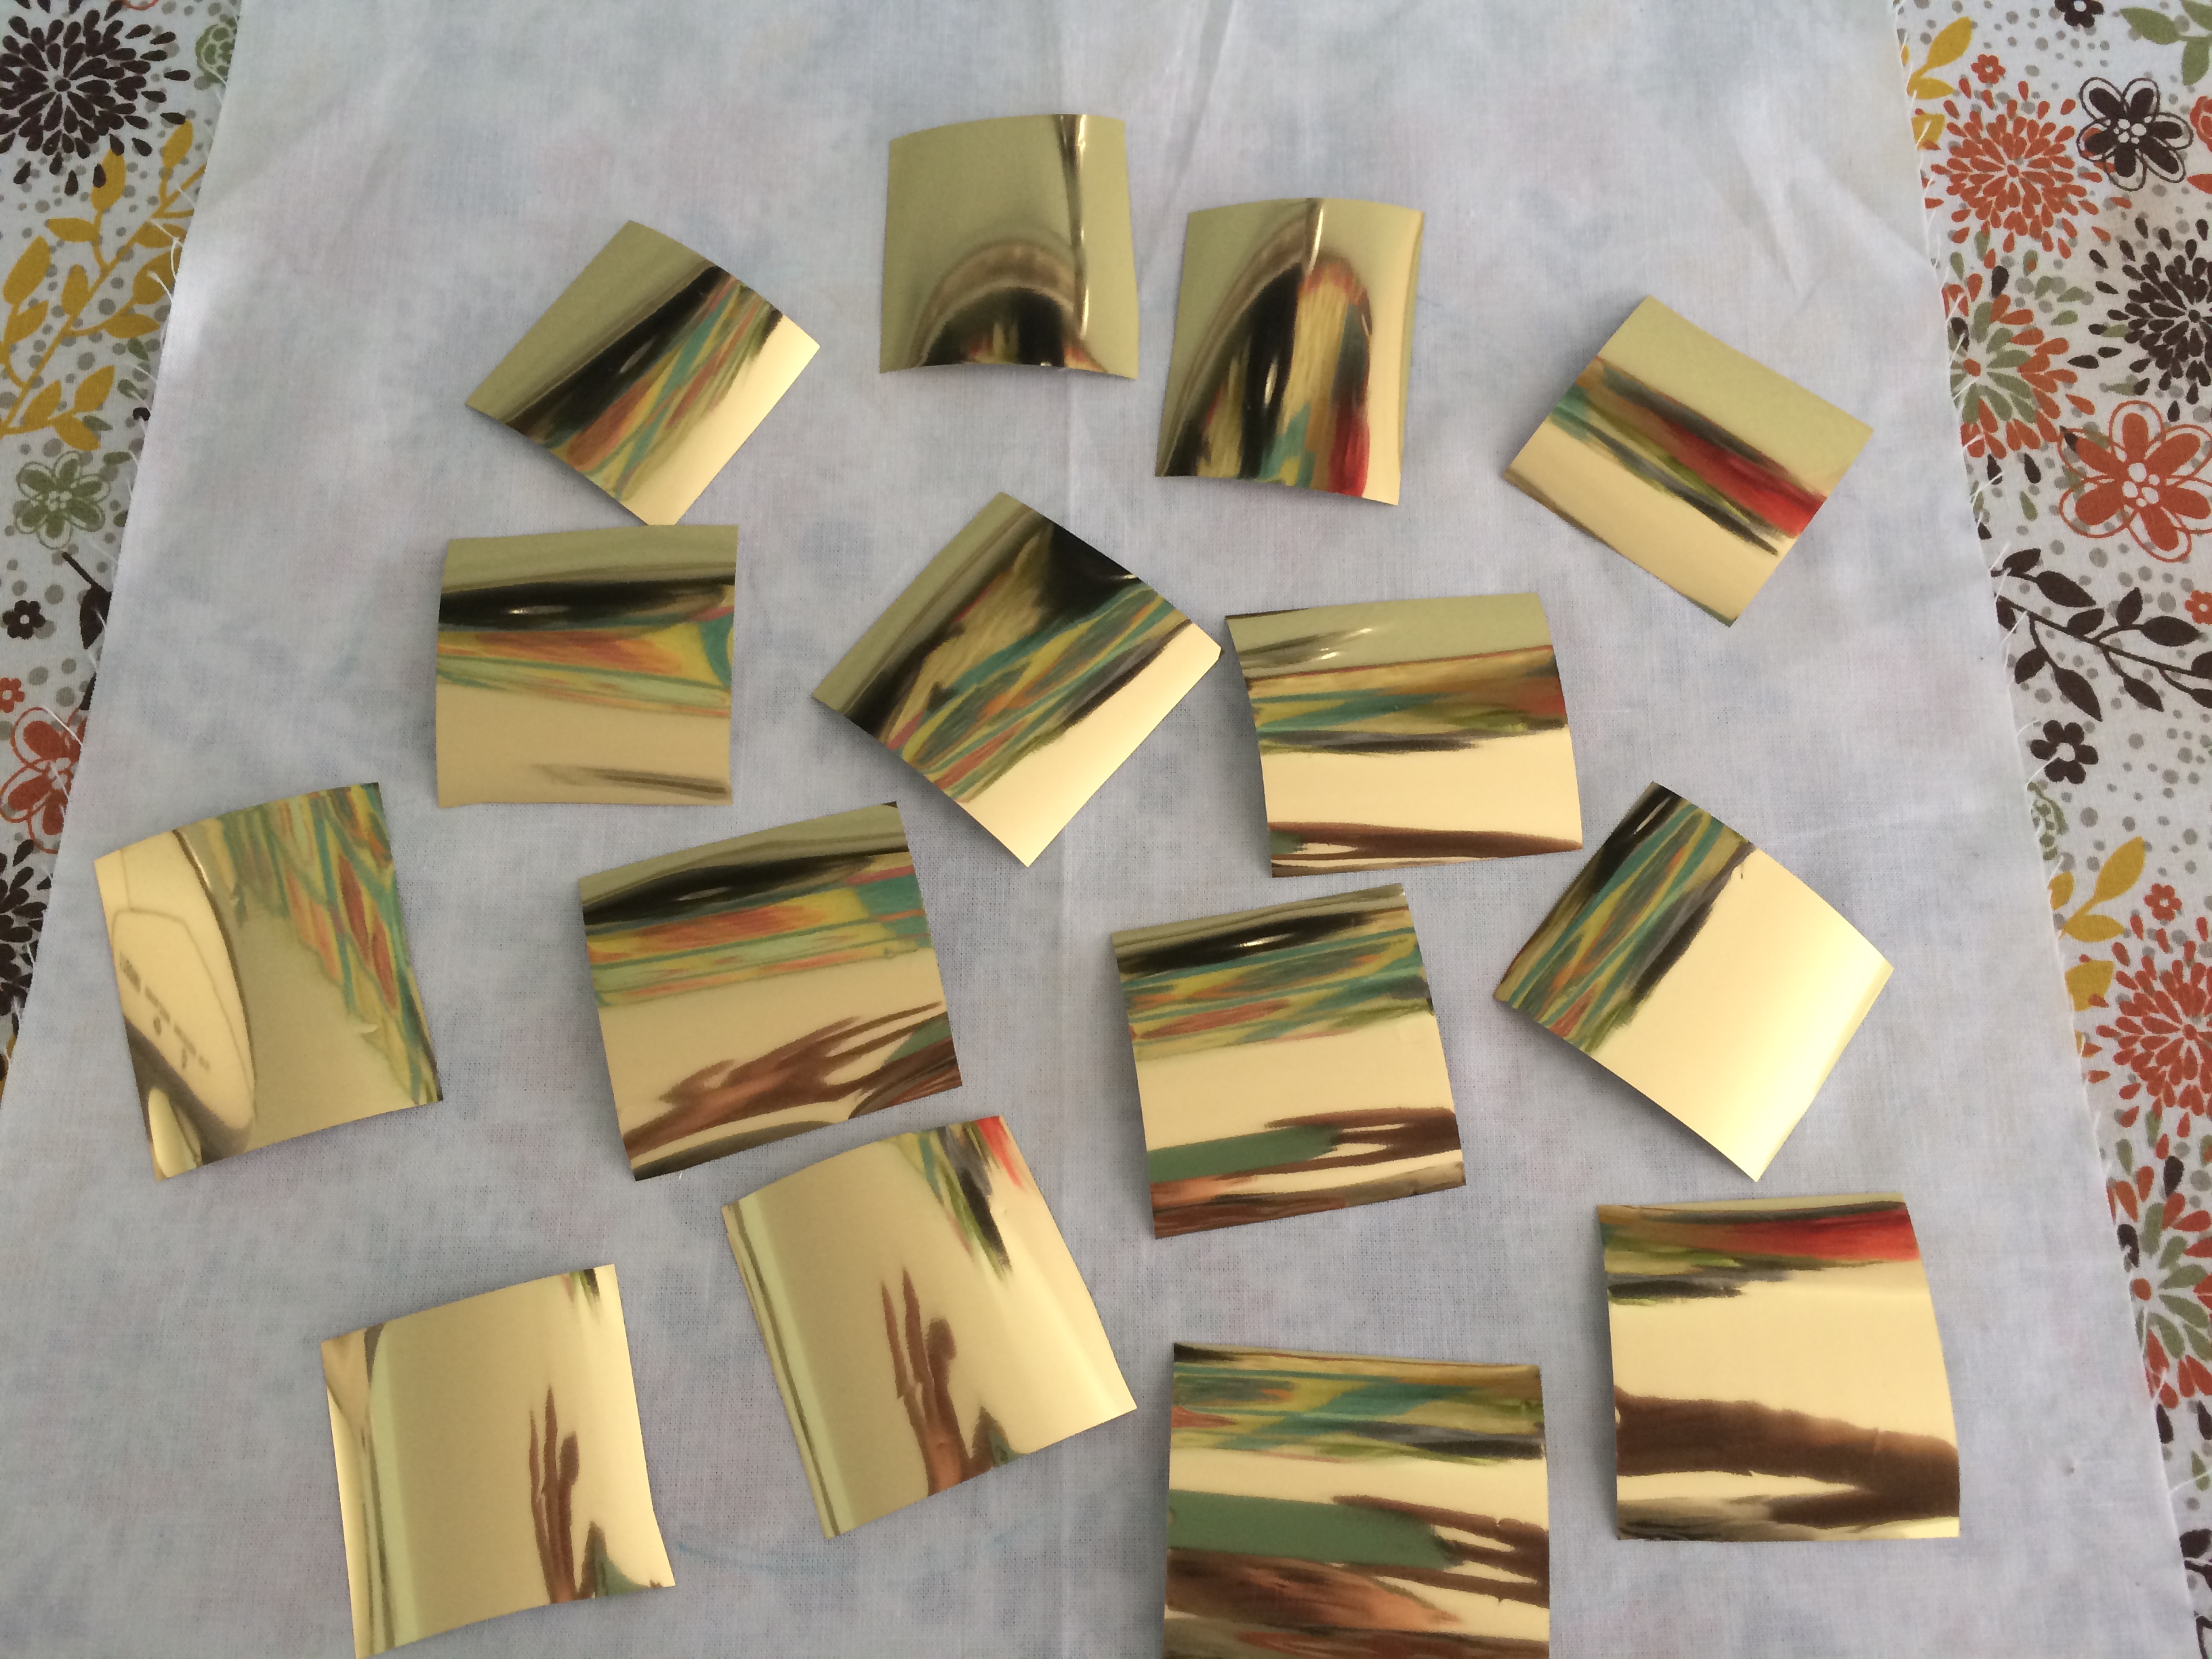
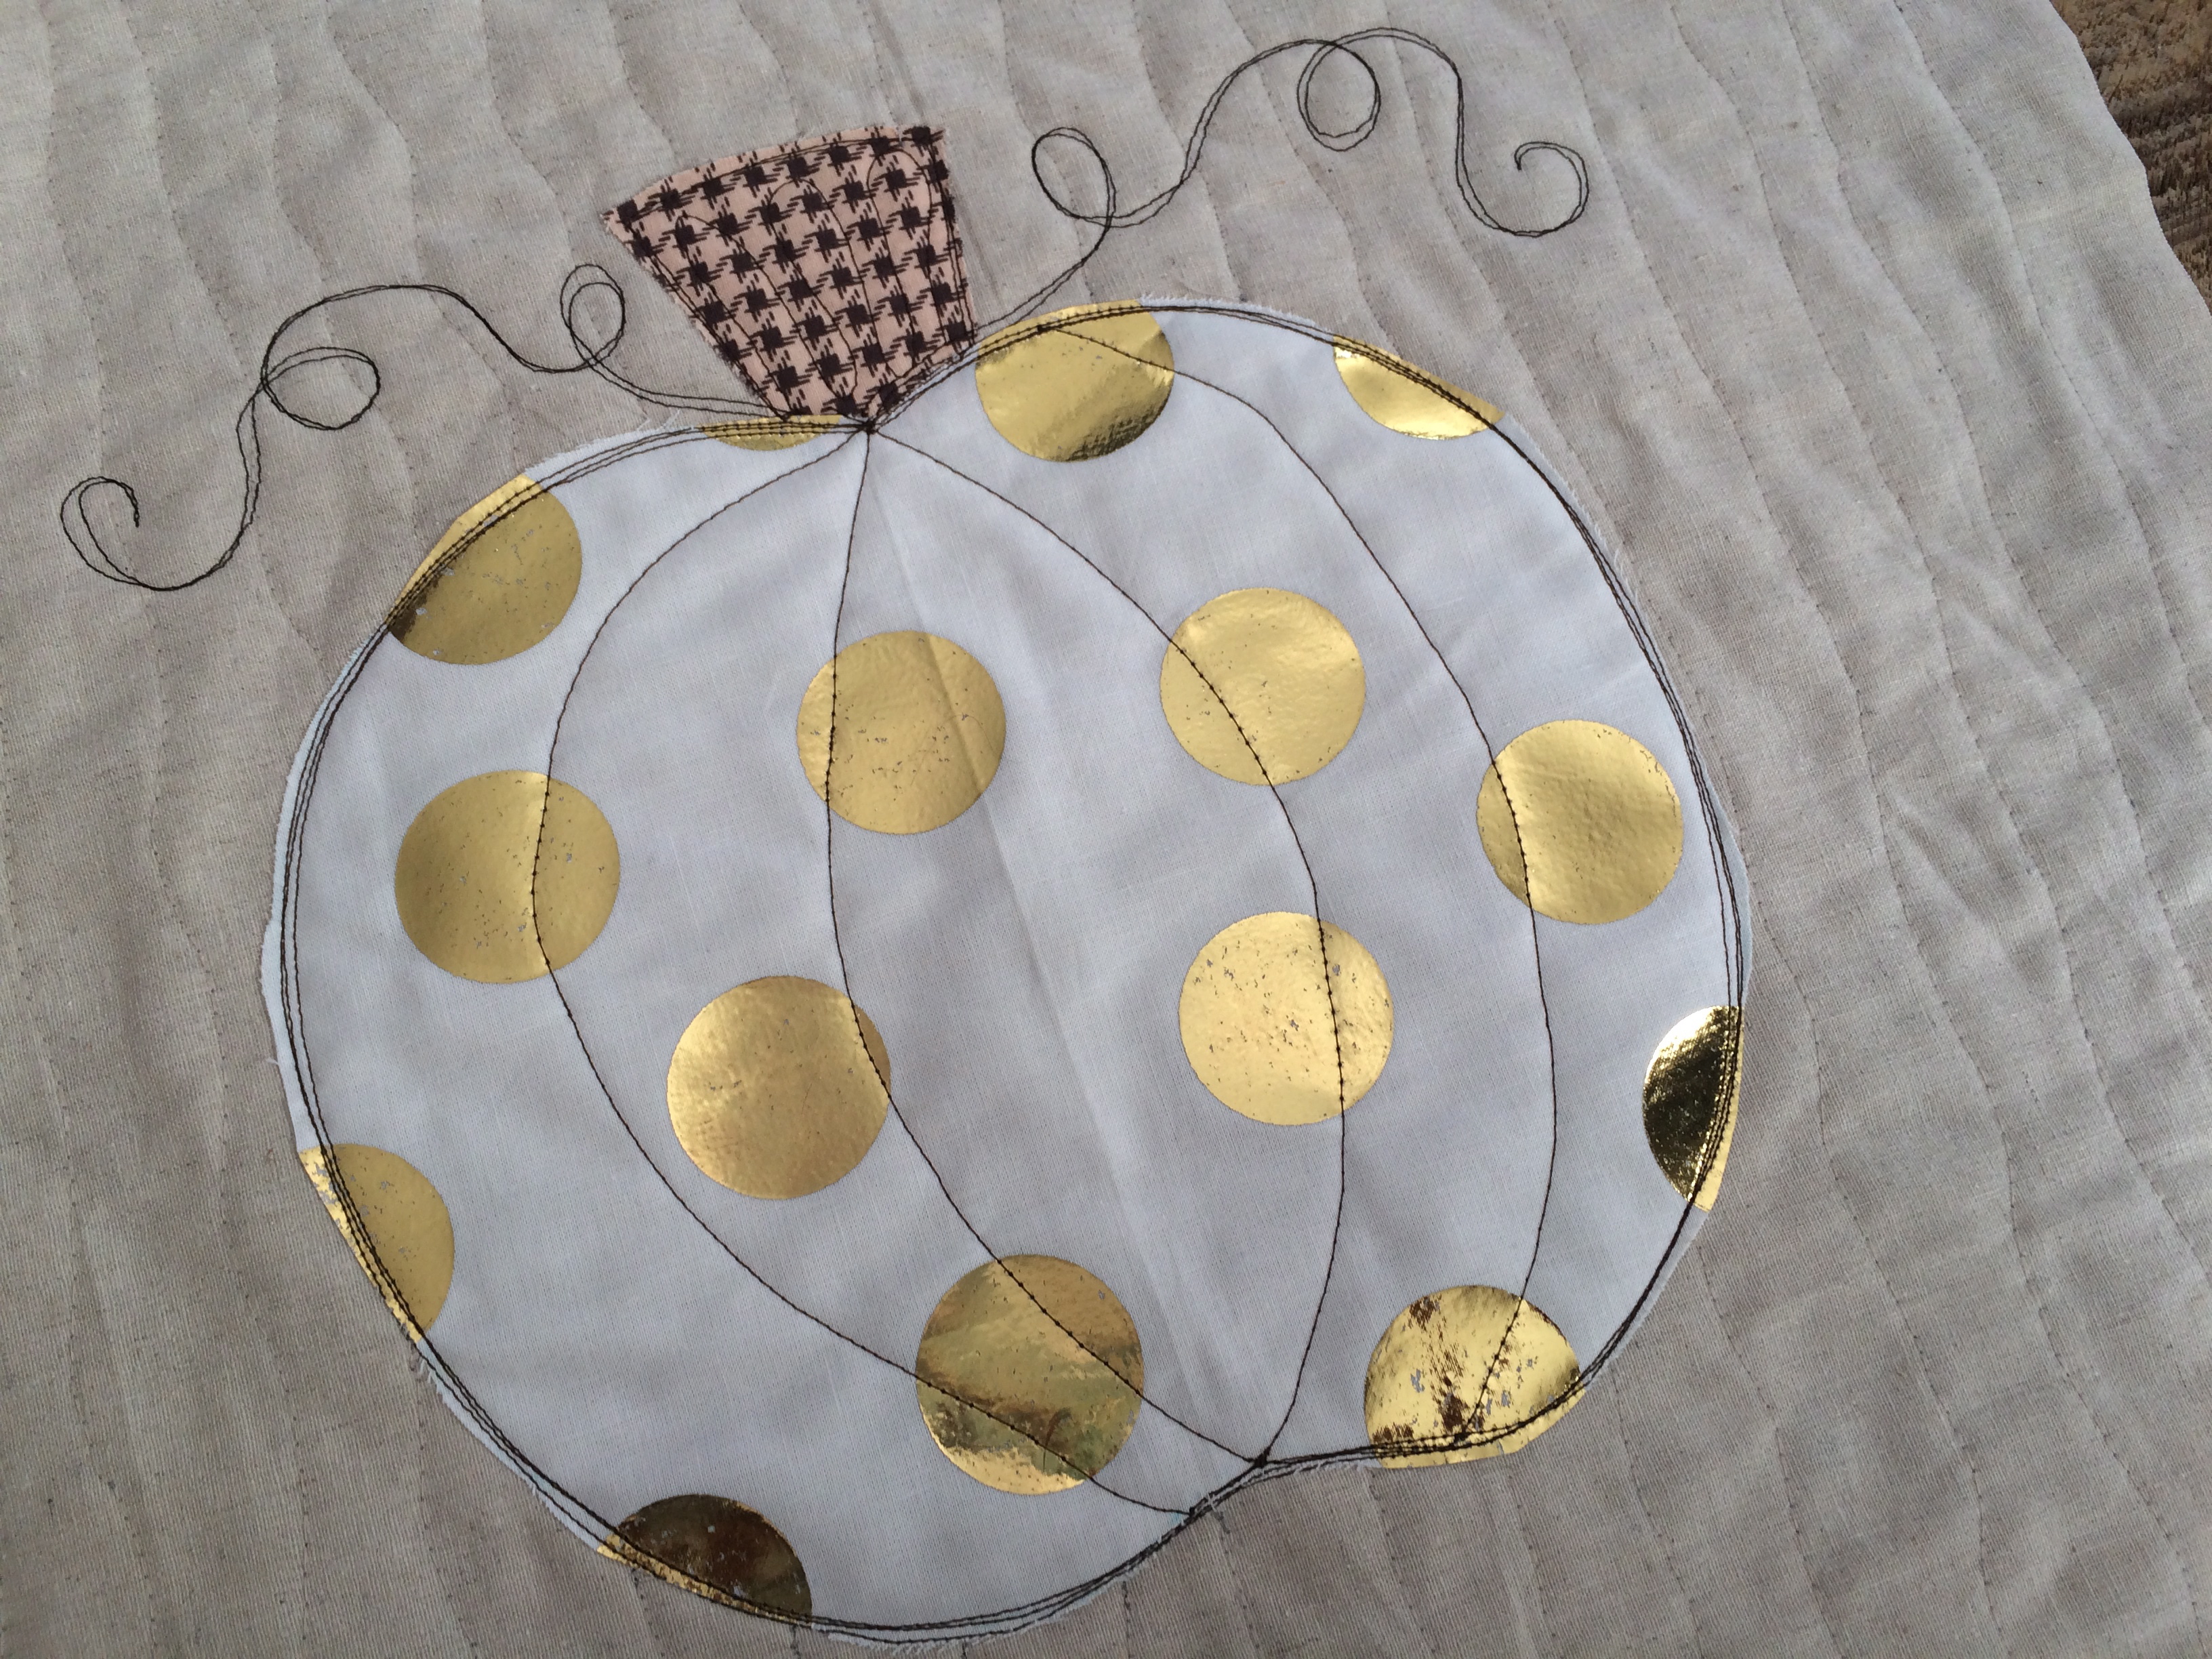
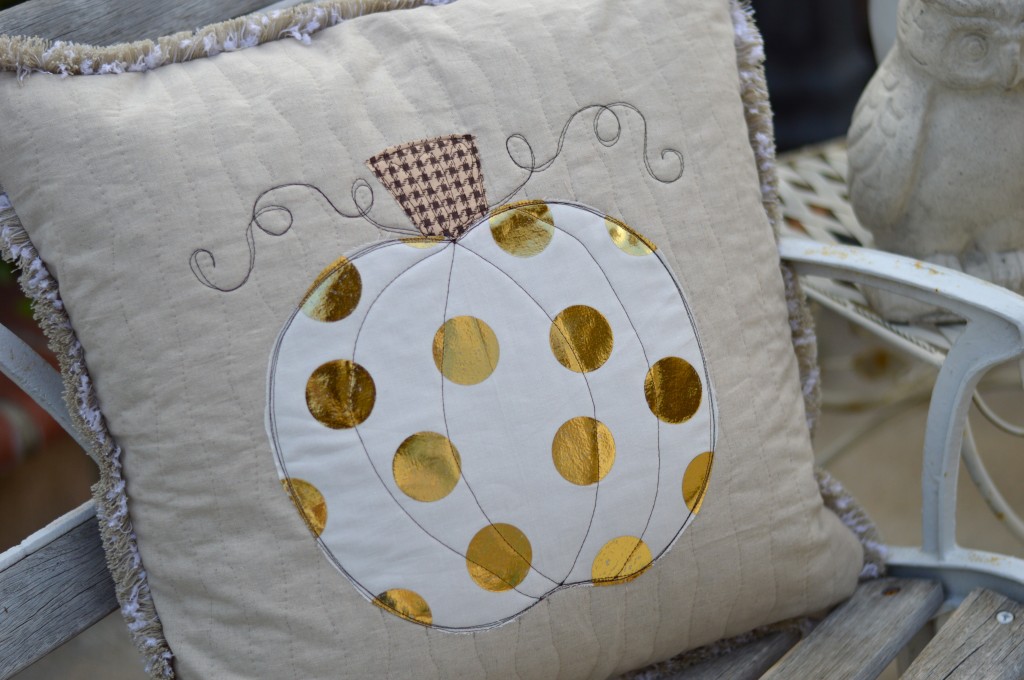
To finish the pumpkin, add a zipper in the back 20″ square.  Baste in trim, and sew the pillow using 1/2″ seams.

sizzix pumpkin pillow deco foil 16

sizzix pumpkin pillow deco foil 3Mufasa needs to be a Sizzix model 🙂


All Hallow’s Eve Wall Quilt featuring Penny Rose Fabrics

halloweenIt’s finally feeling like fall here in Southern California!  Yippee!!!!!  I love decorating for Halloween and I totally needed a new spooky wall hanging in my living room.  I like to decorate with spooky neutrals in my living room/dining room.  The family room and kitchen get a brighter treatment 🙂  When I saw the huge variety of neutrals and gray/blacks from Penny Rose Fabrics I knew exactly what I wanted to make!  I love that this is more subtle Halloween and not so obvious.  I hope you love it too!  You can download the details of the pattern HERE.

Quilt measures 42″ square.

spooky halloween quilt 30Most of the black/gray fabrics are from the Civil War Times fabric line.  I love the variety!  The rest of the fabrics are from Penny Rose Classics.Screen Shot 2015-10-21 at 9.03.17 PM

spooky halloween quilt 10Here is the finished quilt hanging above the piano.  I’m a little giddy right now 🙂

spooky halloween quilt 22I first made the background by sewing 5″ squares together in 7 rows of 7.  Then the applique comes next.  You could totally add ghosts and bats, I wanted to keep it simple.

spooky halloween quilt 26The moon is made by tracing a pie plate.

spooky halloween quilt 28Here is a little close up of the quilting, with Mufasa’s permission 🙂  spooky halloween quilt 6I love striped binding cut on the bias – it’s my absolute FAVORITE!!!!  The backing is from Penny Rose’s mensware line – I love houndstooth!!!spooky halloween quilt 8Ok, so this is totally my new favorite Halloween Quilt!

spooky halloween quilt 9

Happy Haunting Halloween Quilt

happy haunting halloween quilt coverIsn’t Halloween the best time of year for quilting?  I get so excited over orange and black and cats and bats!  I can’t have enough quilts!  I am so in love with this line from Deena Rutter called Happy Haunting by Riley Blake Designs.  It is everything Halloween should be!

happy haunting halloween quilt 2This quilt sews together fast and YOU get to pick the layout of each block.

happy haunting halloween quilt 21This quilt is also best put together with a friend.  Tina from @emilyannskloset and I got together this summer for a Coast to Coast Kitty Quilter Retreat where we sewed about 15 hours each day for 4 days!

happy haunting halloween quilt 26  Let’s get started!

Finished Quilt 55″ x 55″

Supplies:

fat quarters or quarter yard cuts of Halloween prints

1 yard sashing

3/4 yard outer boarder

fat quarters for applique

1/3 yard for background blocks for applique

Heat n Bond Lite or Heat n Bond Lite EZ Print Sheets

Applique pattern, click HERE

1/2 yard binding

3 yards backing

FOR THE BLOCKS

Begin by cutting the fabric into the following categories:

2.5″ squares

2.5″ x 4.5″ rectangles

4.5″ squares

4.5″ x 8.5″ rectangles

just keep cutting from a variety of fabrics until you have a sizable amount.

happy haunting halloween quilt 24Now the fun begins – don’t lay it out!  Just be totally random!  The goal here is to create 8.5″ blocks by using a combination of 4 patches, strip sets, and larger rectangles.  Below are a few examples, the combinations are endless!  Just be creative!

happy haunting halloween quilt 30

Each time we finished a block we hung it up on a clothes line and said “No, THIS is the cutest block!”

happy haunting halloween quilt 25For the finished quilt you will need 20 total pieced blocks and 5 applique blocks.  We even made a block that was all 2.5″ squares!

happy haunting halloween quilt 3 APPLIQUE

For the applique background squares, cut (5) 8.5″ white squares.  Trace the applique onto heat n bond lite or use the Heat n Bond EZ print sheets.  Iron the heat n bond to the wrong side of the fabrics and cut out the shapes.  Peel off the backing paper then press in place on the white squares.  The spiders have ric rac stitched onto the block and the legs are stitched with black thread. Top stitch around each image.happy haunting halloween quilt 29

Once all the blocks are finished it’s time to sash.  I love that Tina choose black and white gingham to sash her quilt – it gives it a cozy country look!

FOR THE SASHING

Cut (20) 2″ x 8.5″ strips

you will need to piece the next sashing strips to give you the following measurements

(6) 2″ x 46.5″ strips for the horizontal rows

(2) 2″x 49.5 strips for the sides

Sew the 8.5″ sashing strips in between the blocks forming horizontal rows.  Then add the horizontal strips along the top, middle rows, and bottom.  Press.  Finish by adding the 2 side strips.

happy haunting halloween quilt 28

OUTER BOARDER
After sashing add the outer boarder.  I don’t measure at this point – do you?  Cut (6) 3.5″ x WOF strips for the outer boarder.  You will need to sew them together end to end to have enough length.  Sew the side strips on, square up, press and then sew the top and bottom strips on.

happy haunting halloween quilt 10I had my friend use her long arm quilter to sew swirls all over the quilt, even through the applique.  I LOVE it!happy haunting halloween quilt 8   I am totally in love with this quilt.  I cut the striped fabric on the bias for the binding.  Striped binding is my absolute FAVORITE!!!!happy haunting halloween quilt 4   happy haunting halloween quiltI had such a wonderful time putting this quilt together with my friend Tina.  Isn’t it fun to sew with friends and family!!!

IMG_1088