Deco Foil Sizzix Snowflake Pillow

sizzix snowflake pillow

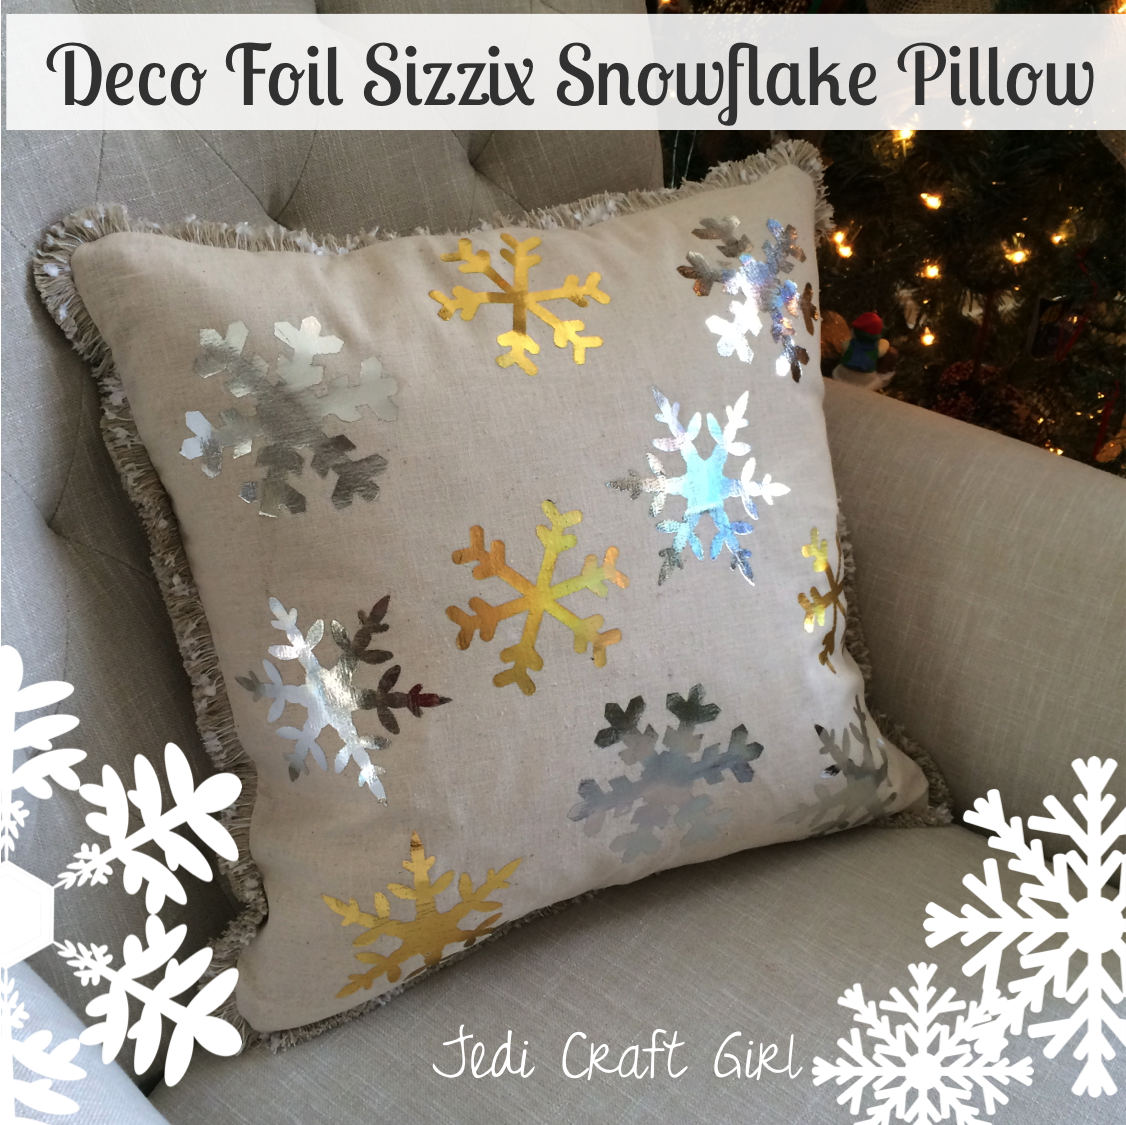
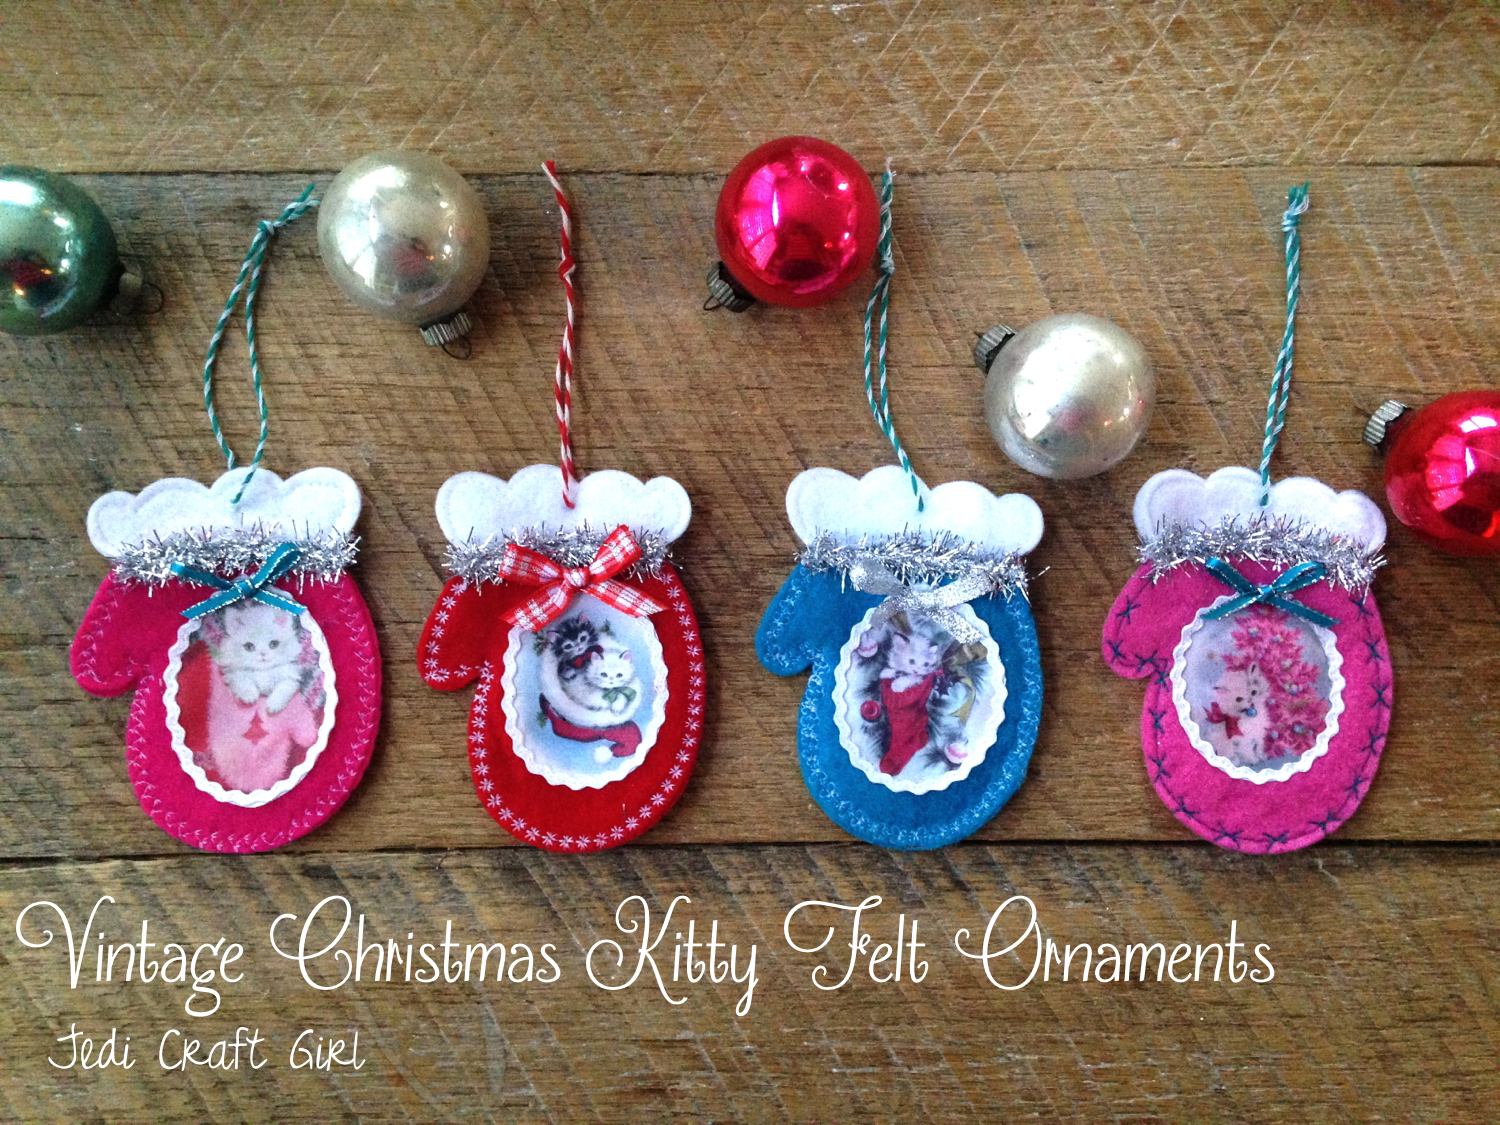
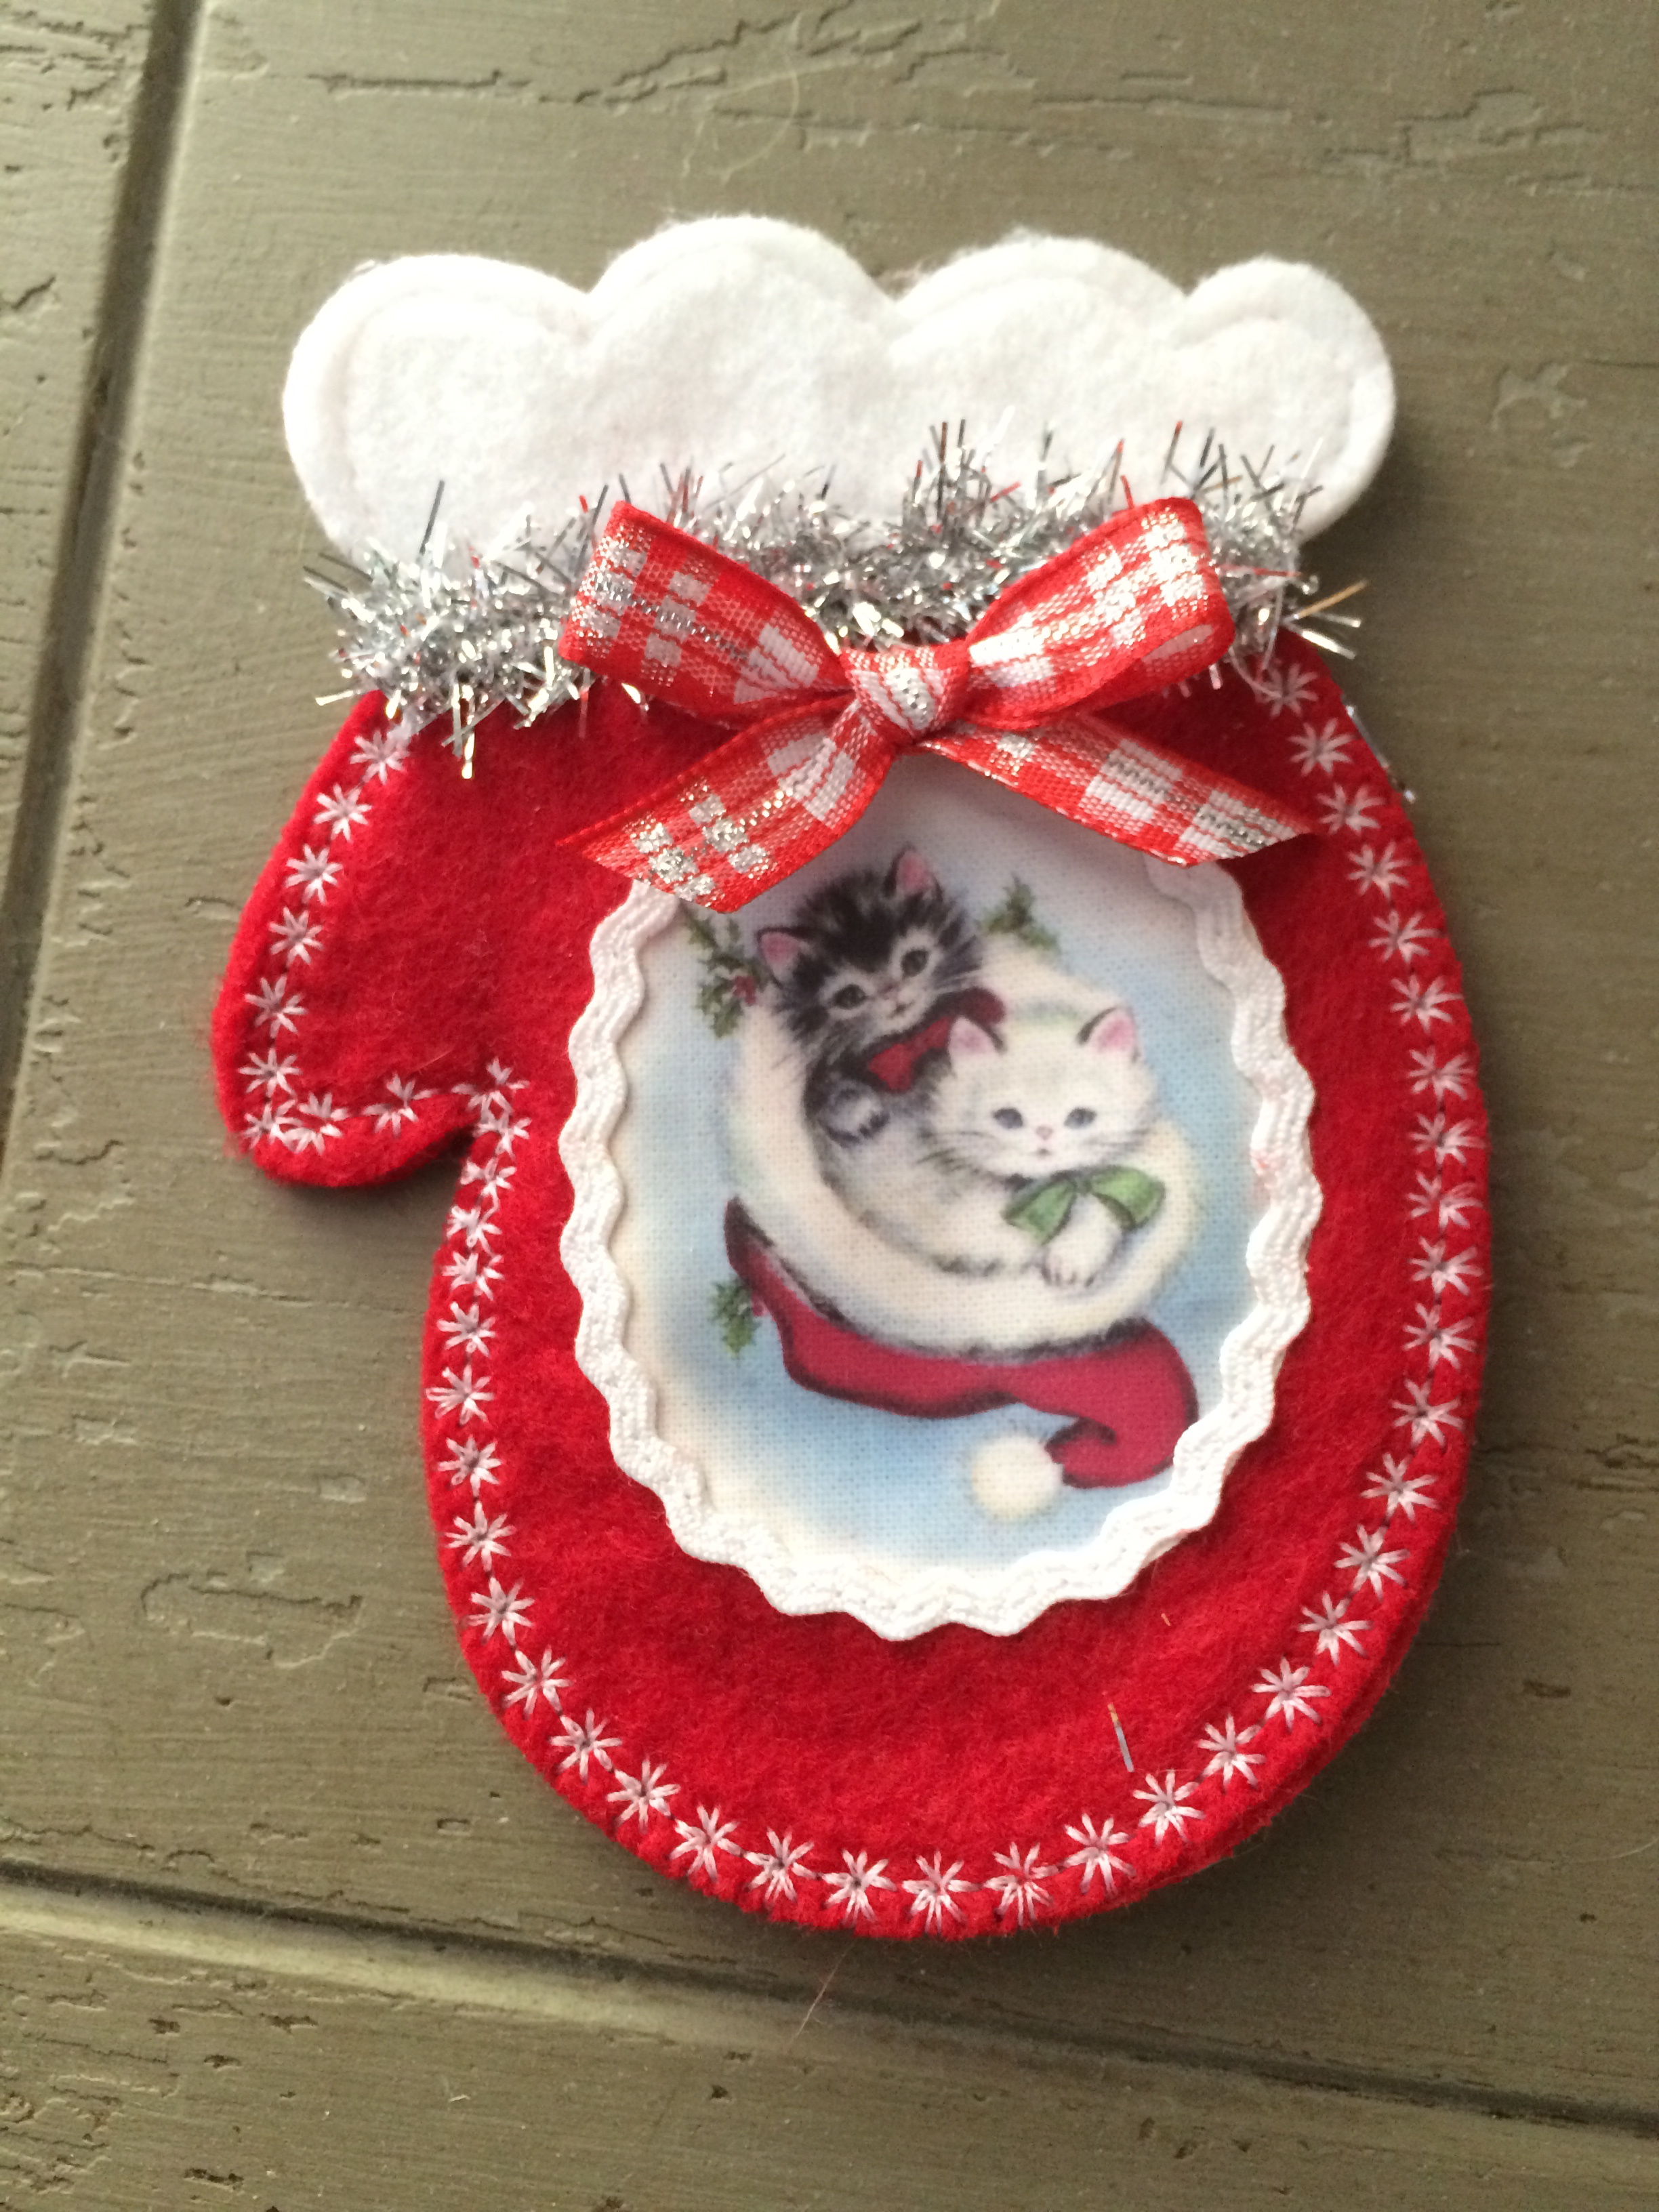
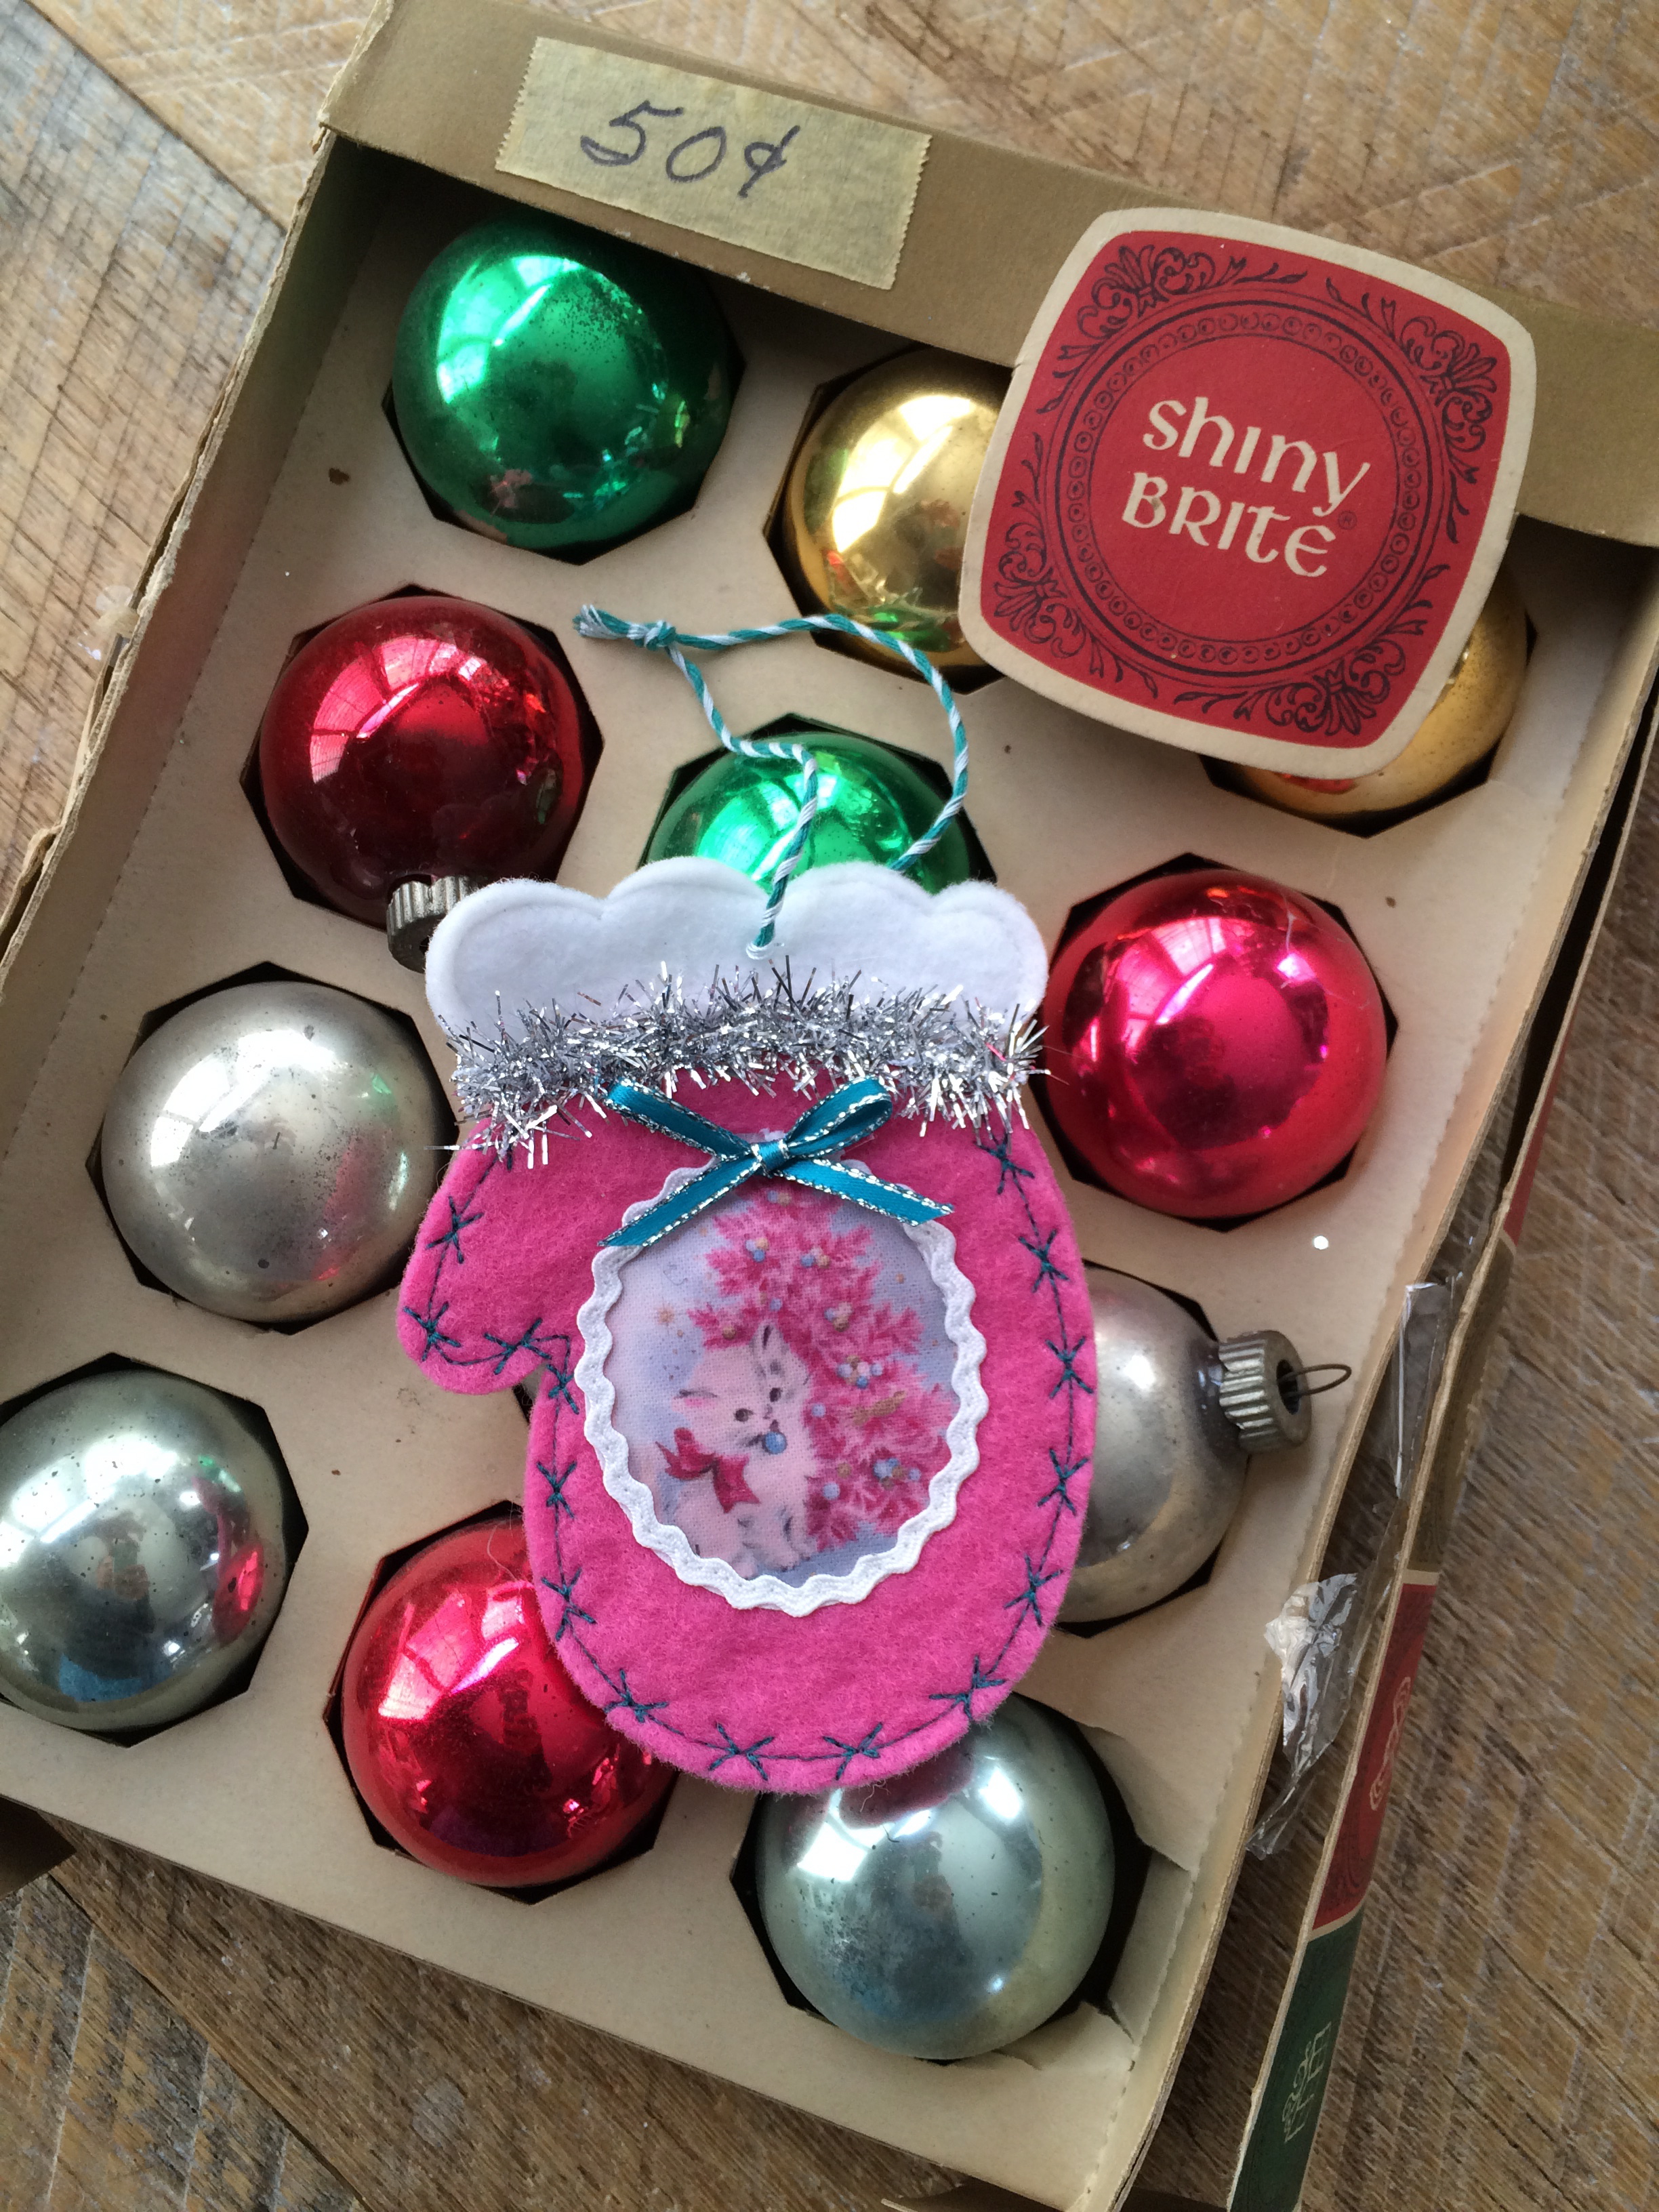
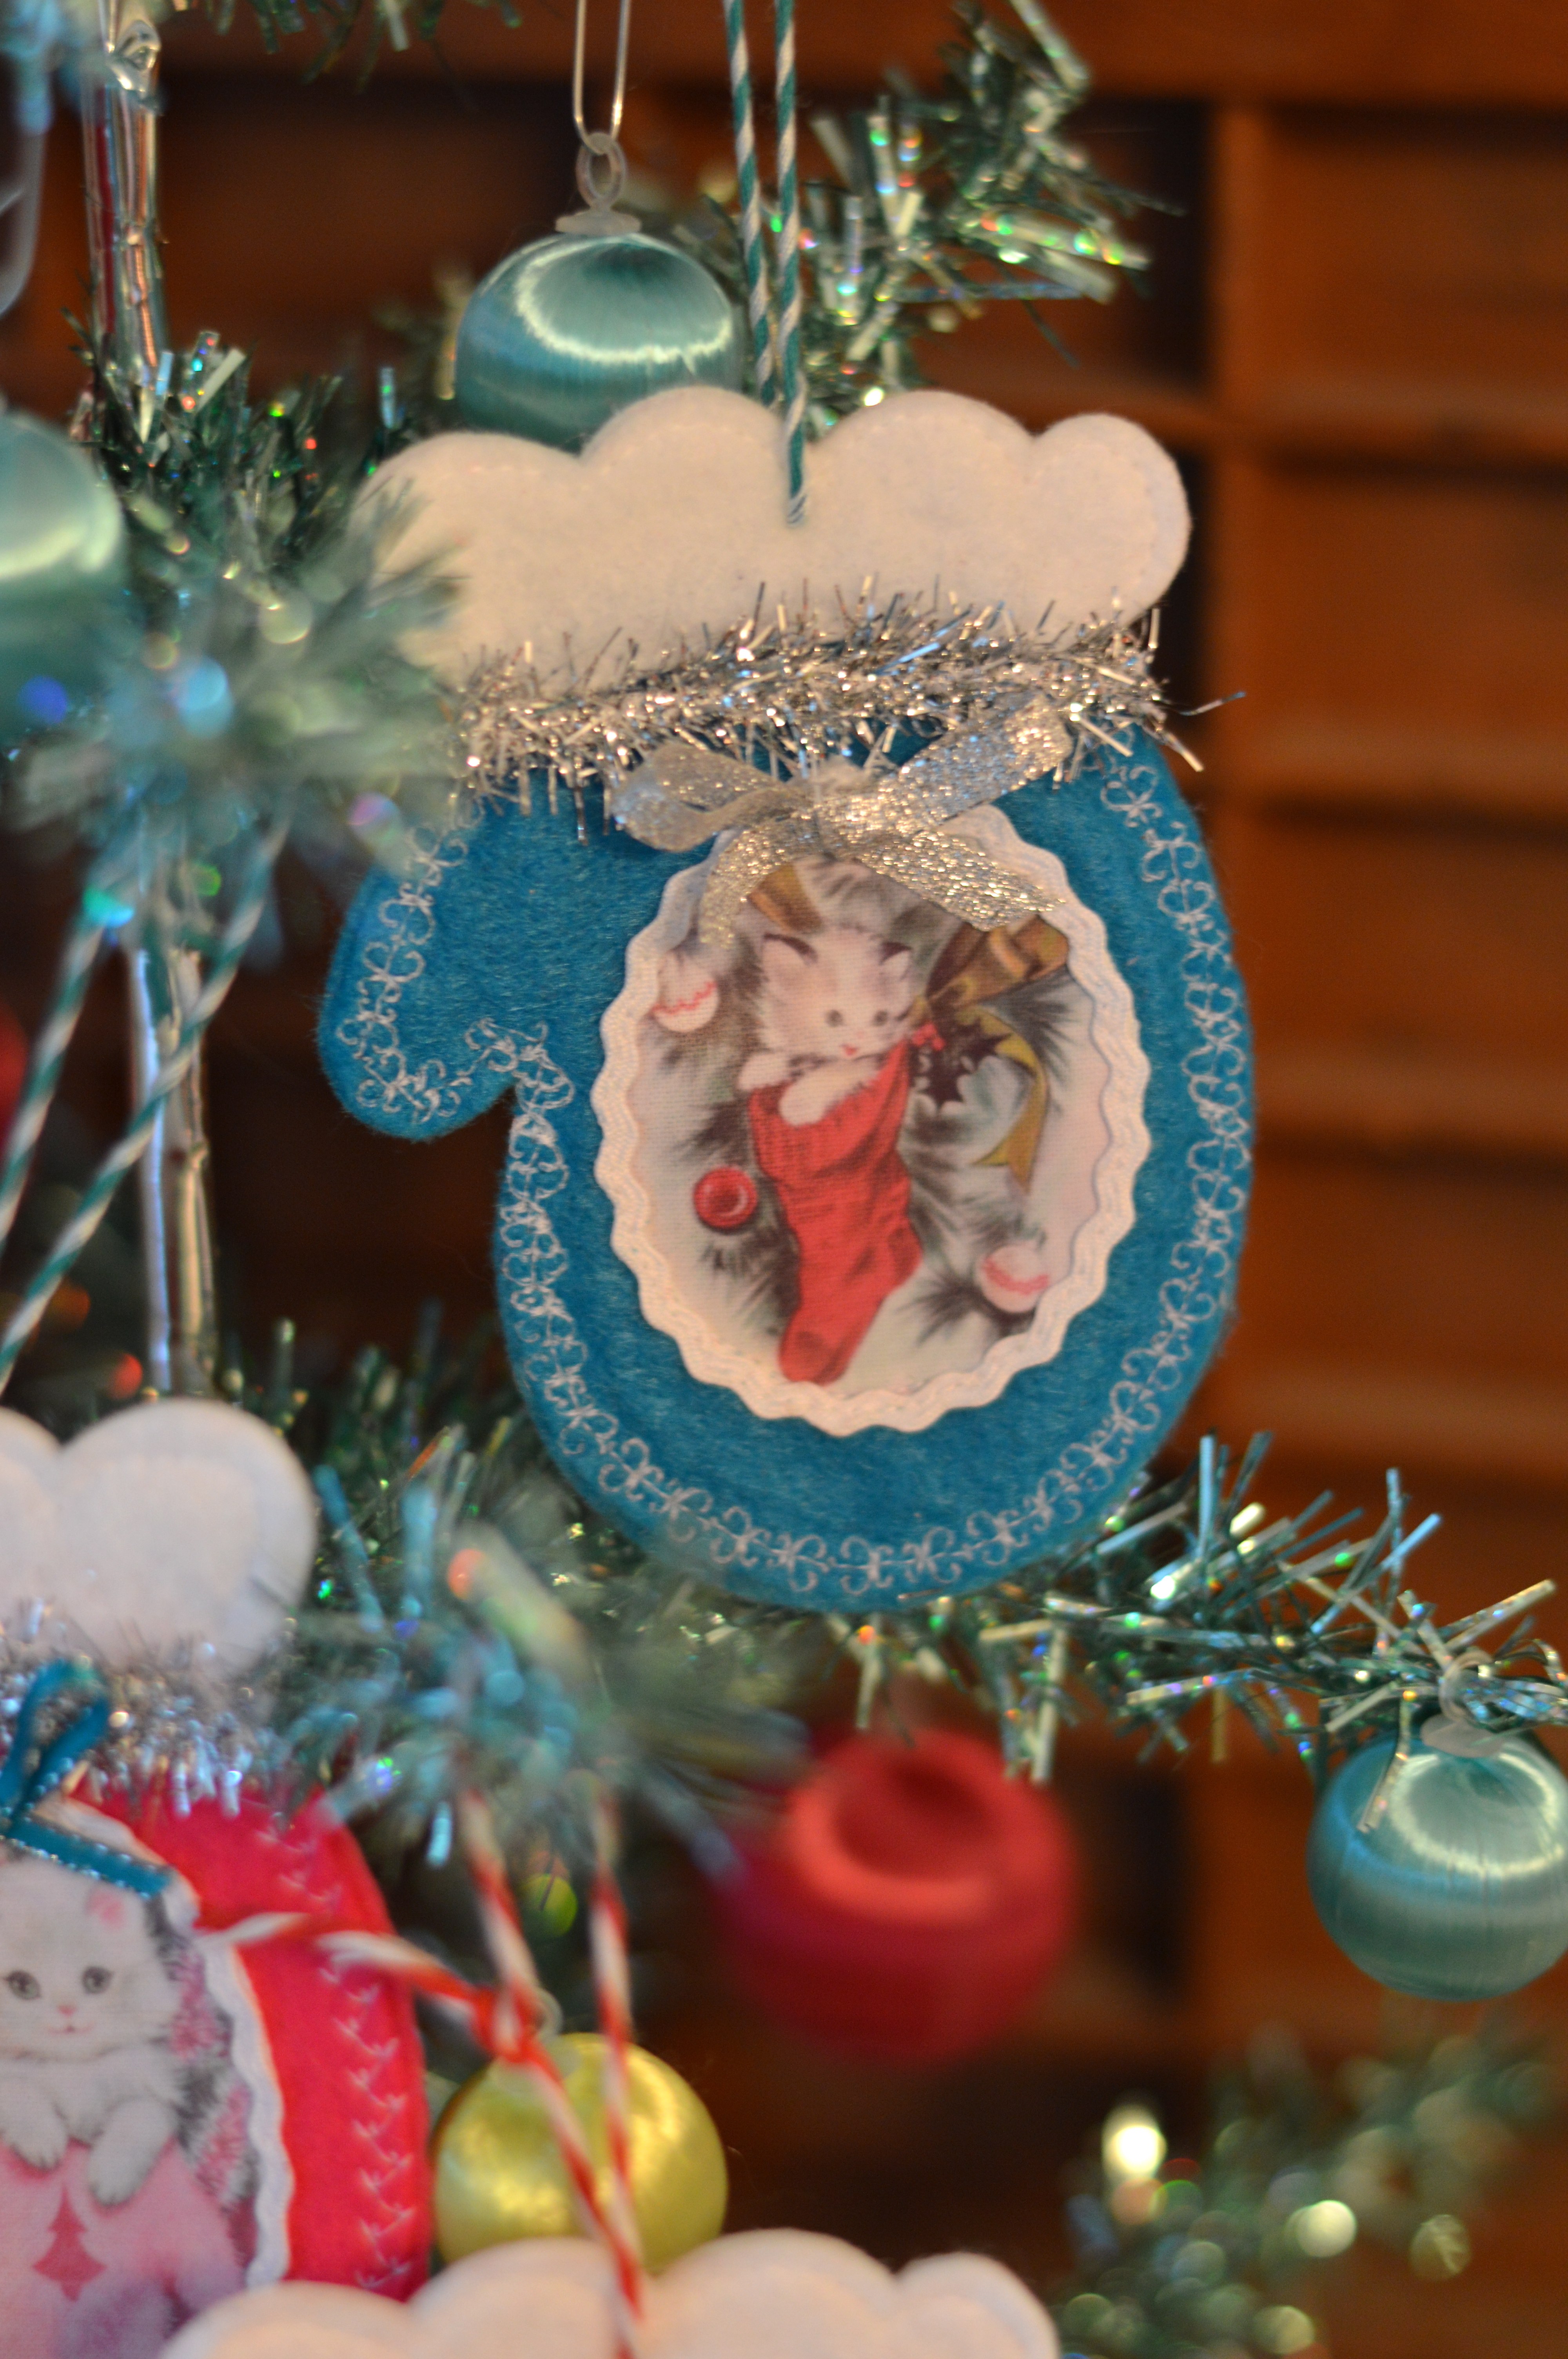
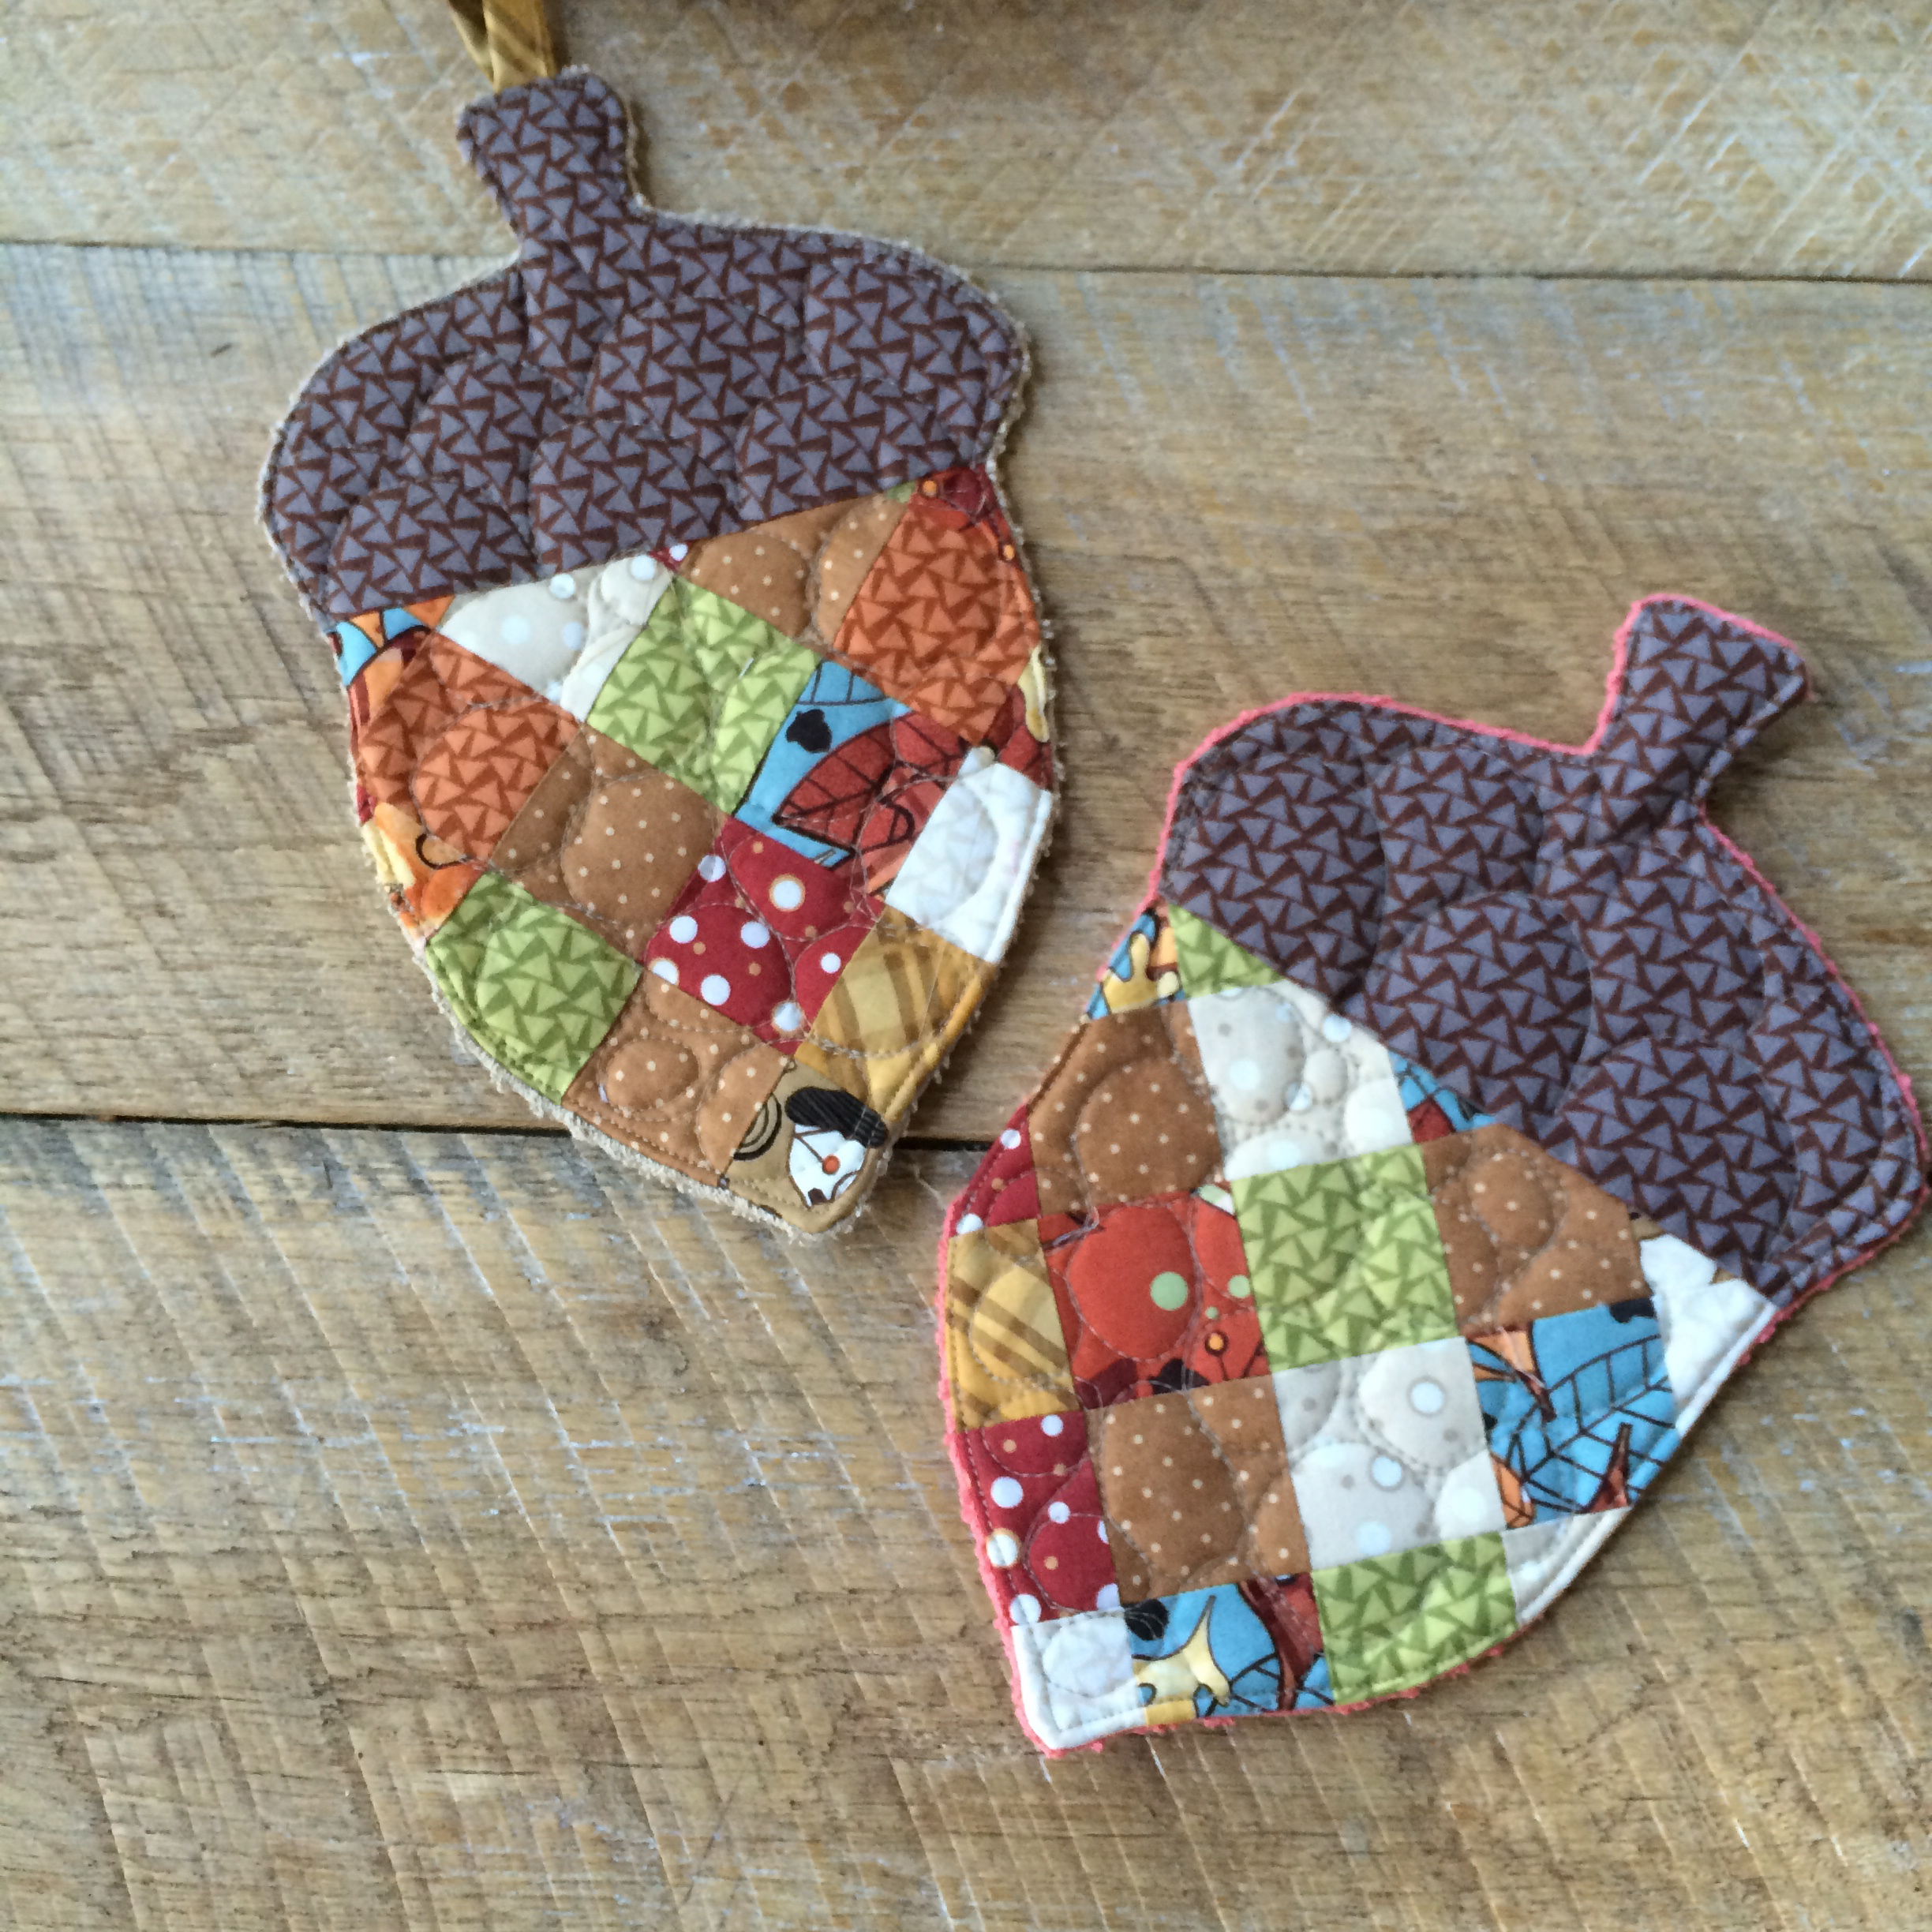
Merry Christmas!  I can’t believe how fast December flew by!  I still have a stack of projects I was hoping to get to!  There is still time to whip up this quick snowflake pillow before Christmas.   I used 3 different Sizzix snowflake dies and Deco Foil in Silver and Gold – just like the song!

deco foil snowflake sizzix pillow
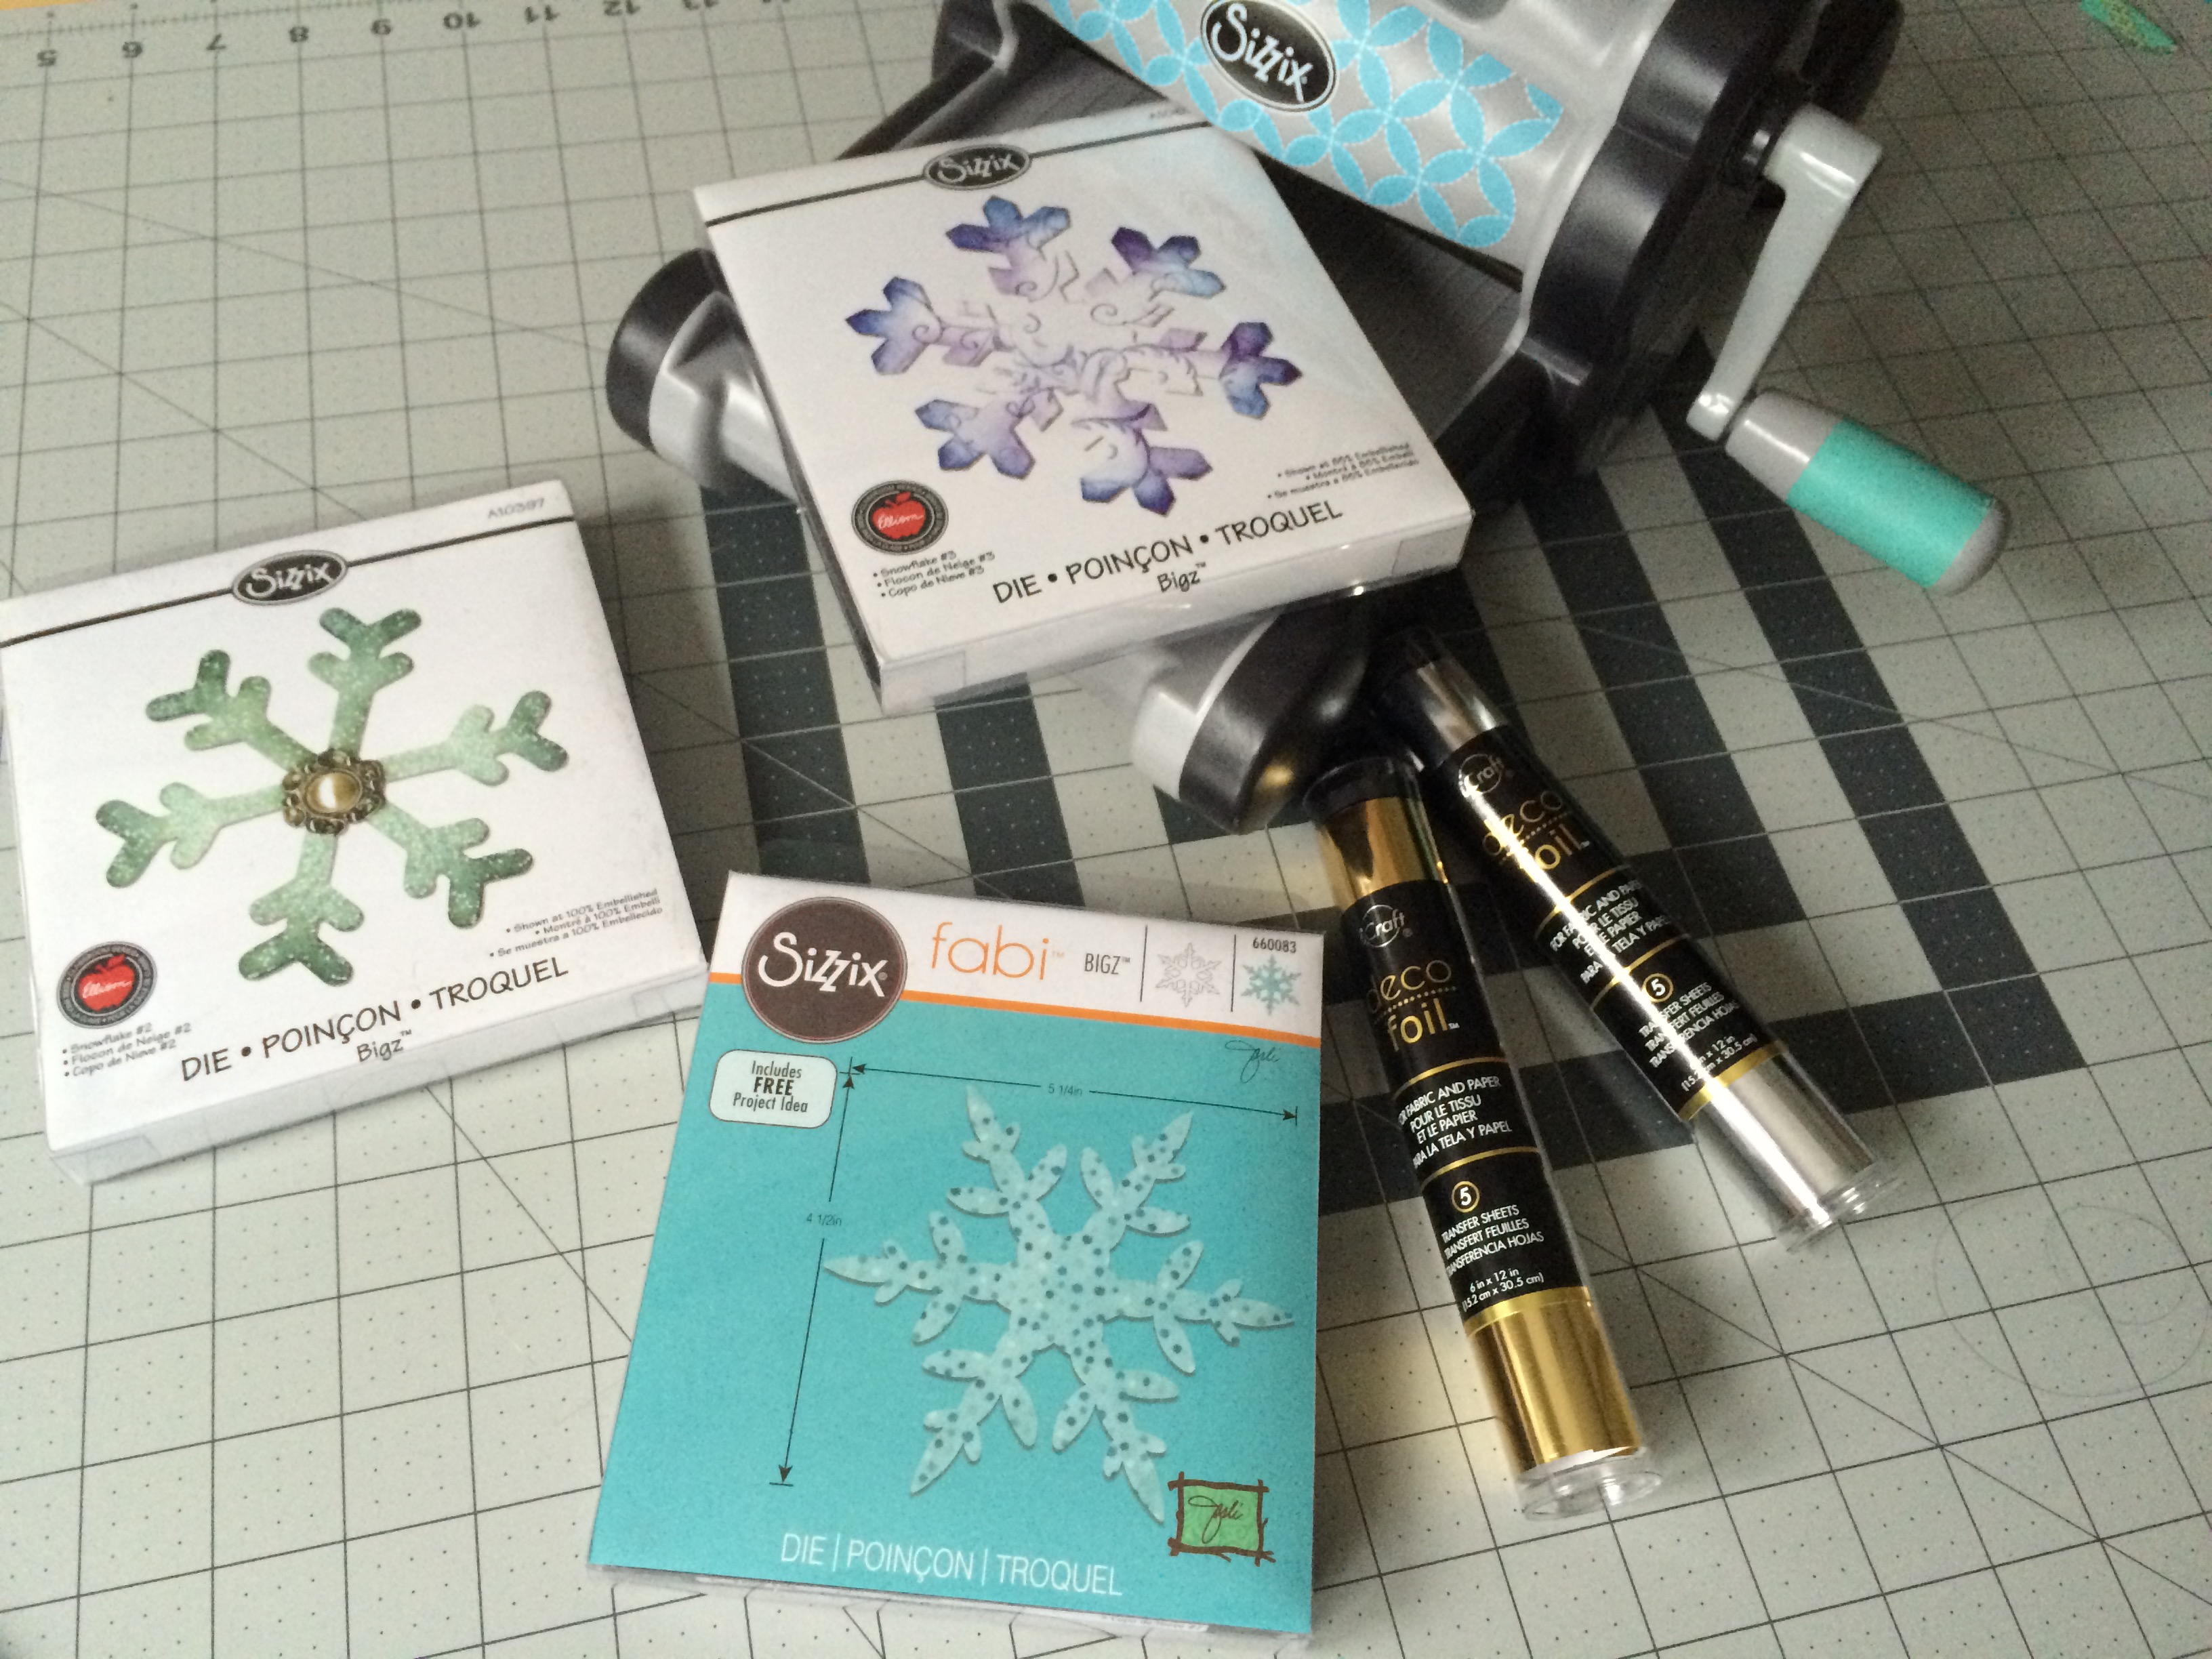
Gather your supplies and let’s get started!

deco foil snowflake sizzix pillow 2The Hot Melt Sheets are what allow the Deco Foil to adhere to the fabric.  Cut the Hot Melt Sheets the size of the Siizix die.

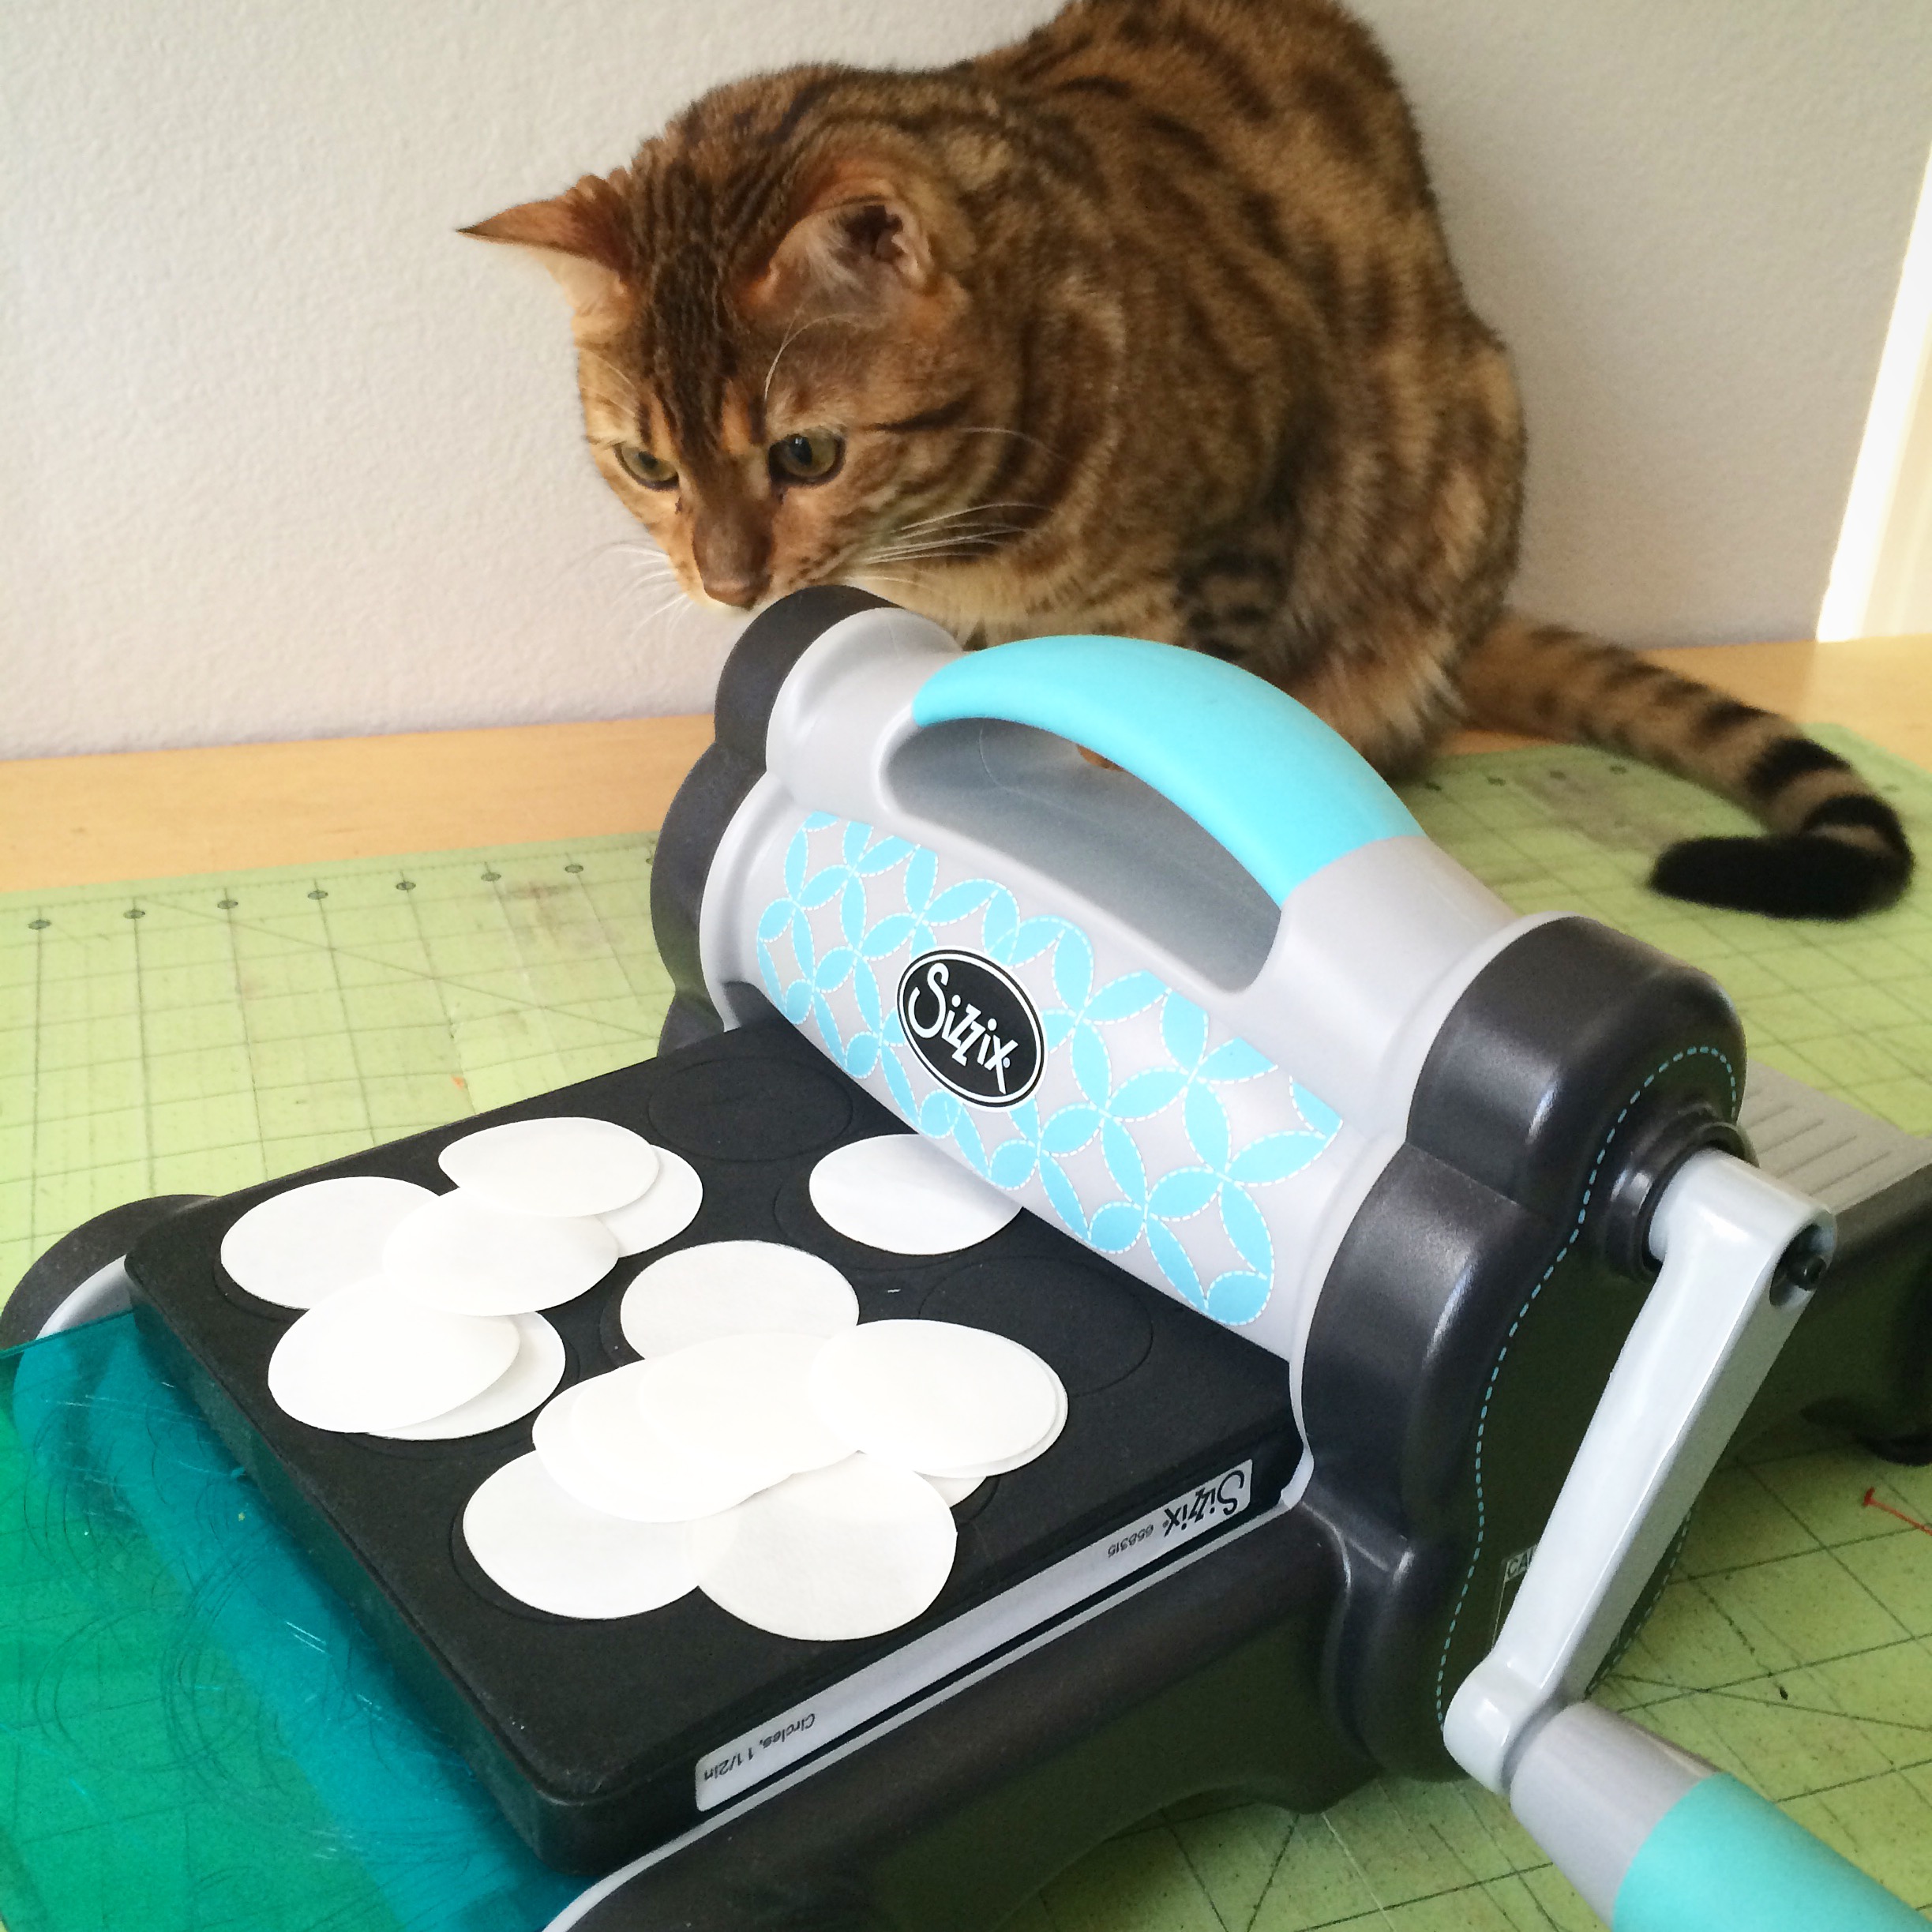
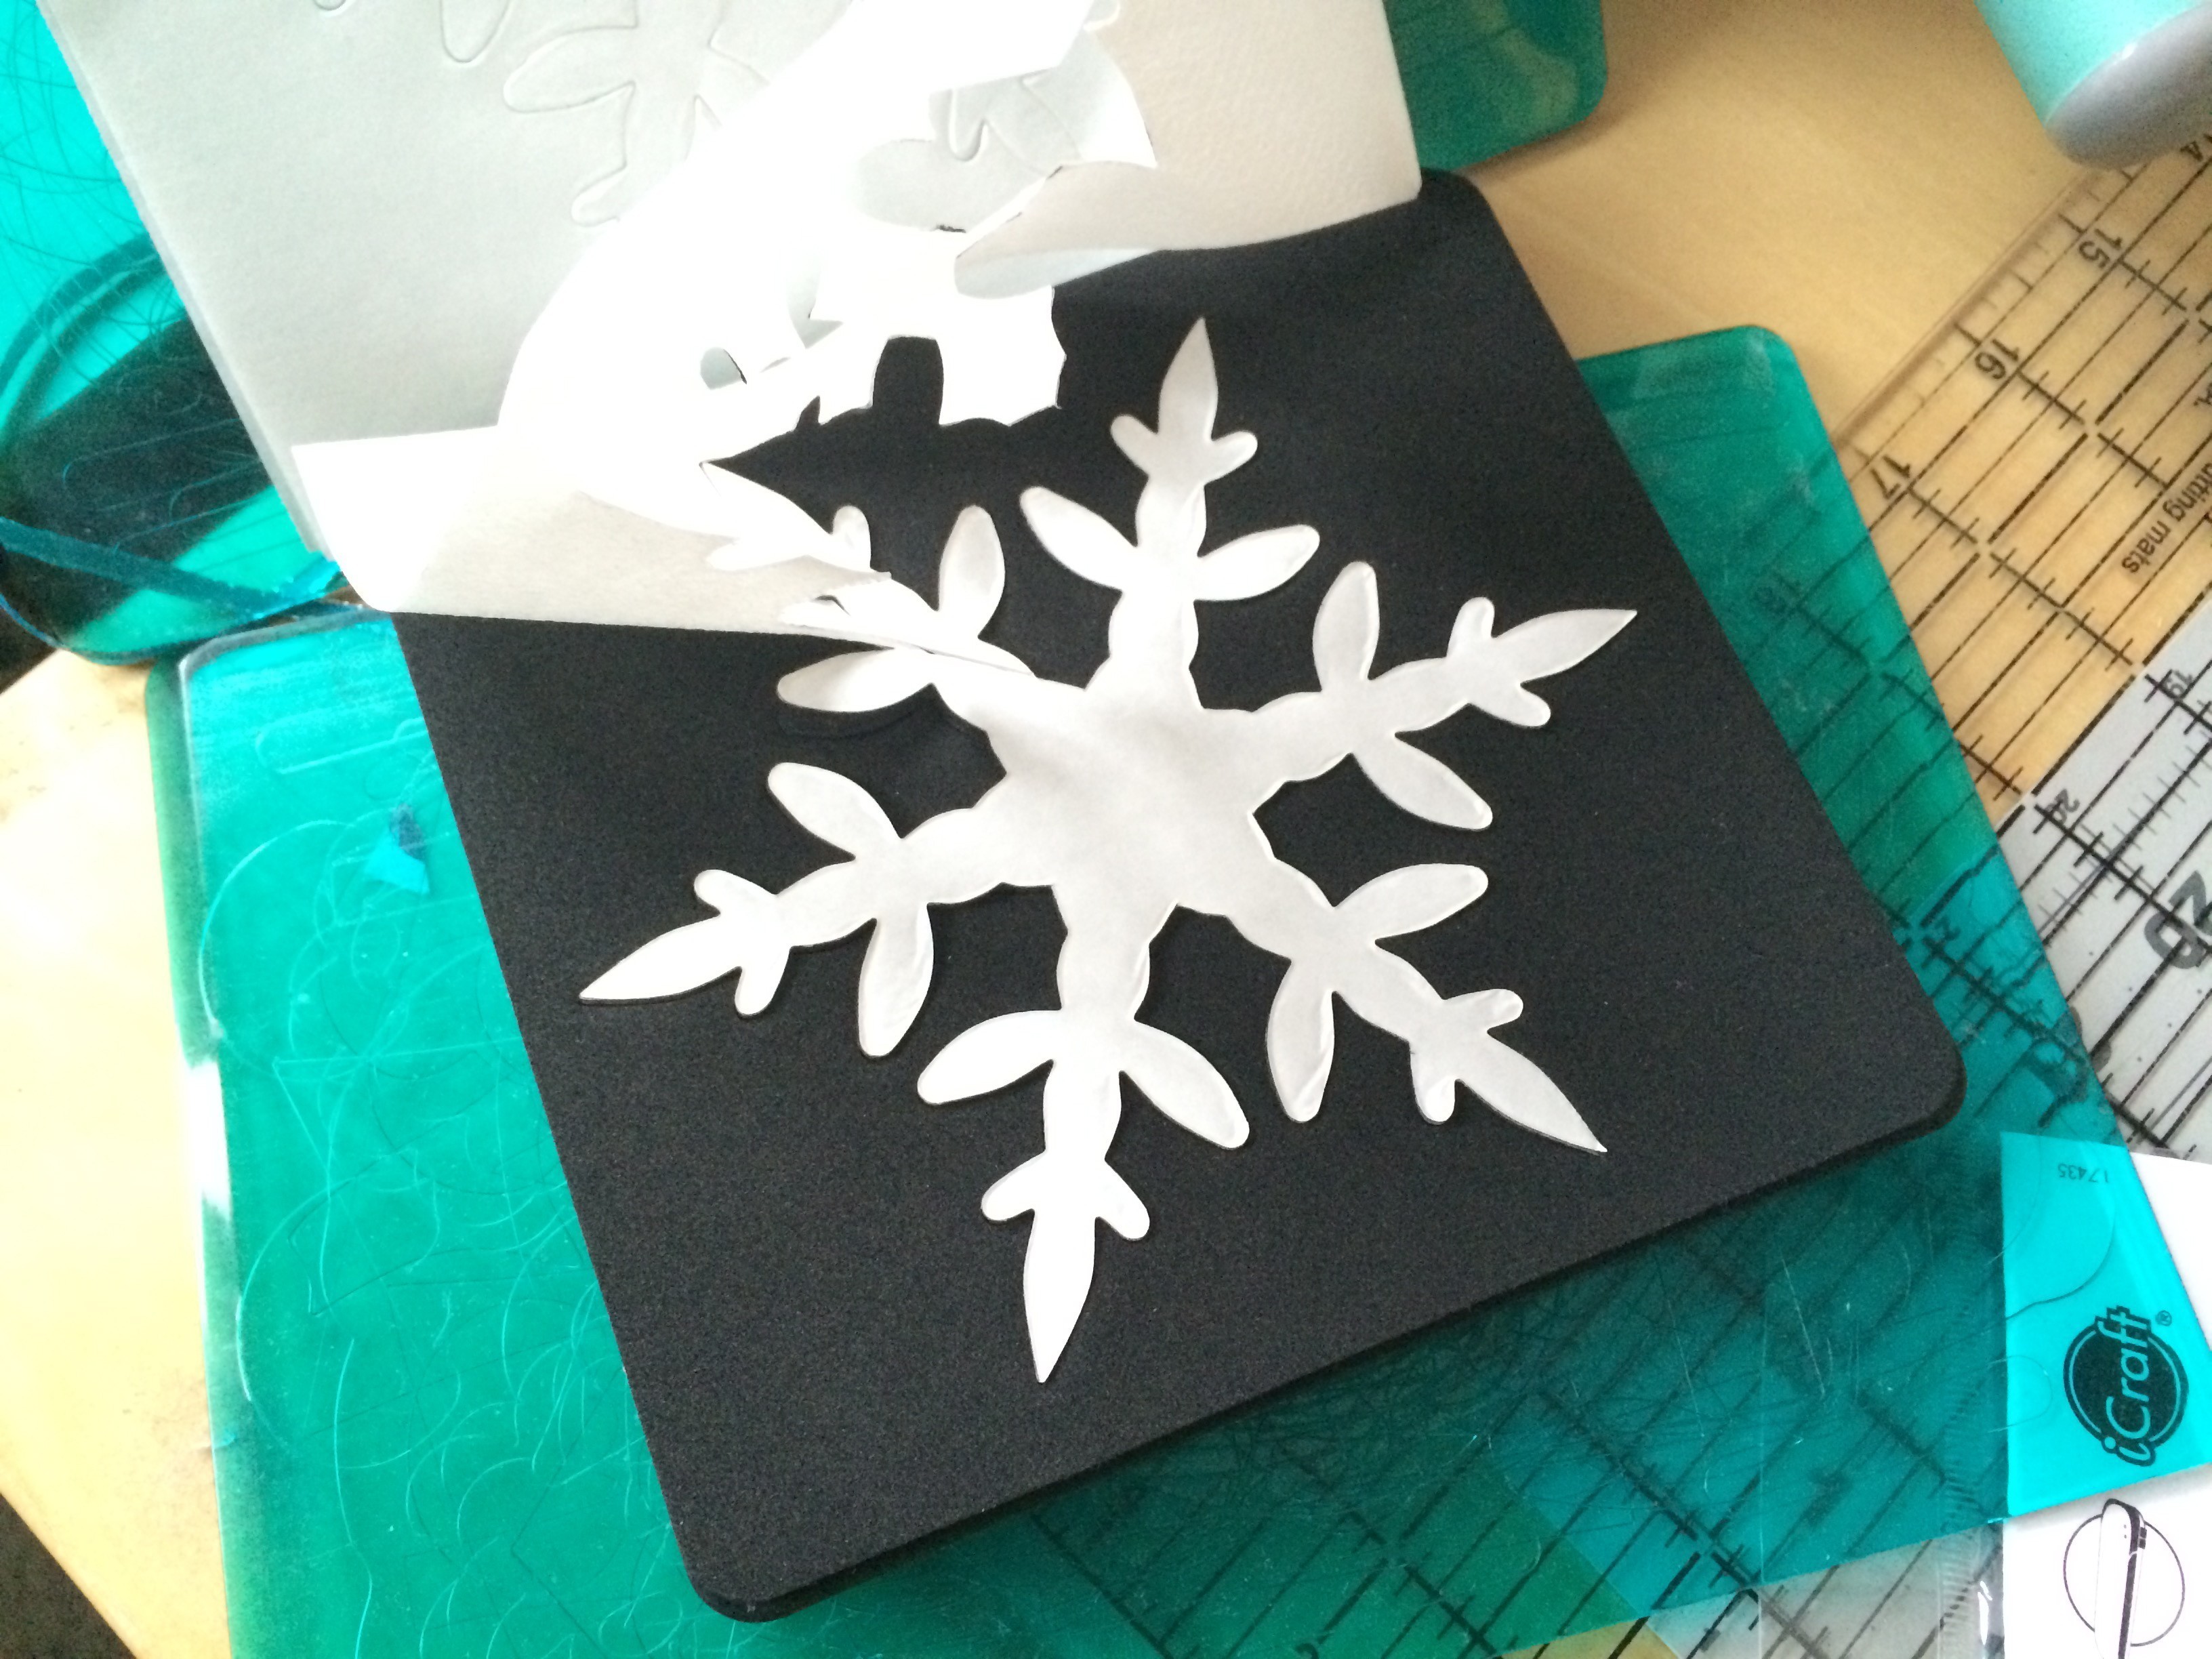
Use only one layer of the Hot Melt Sheets at a time.  I tried cutting multiple and it cuts great but the hot melt sheets end up sticking together.

deco foil snowflake sizzix pillow 6
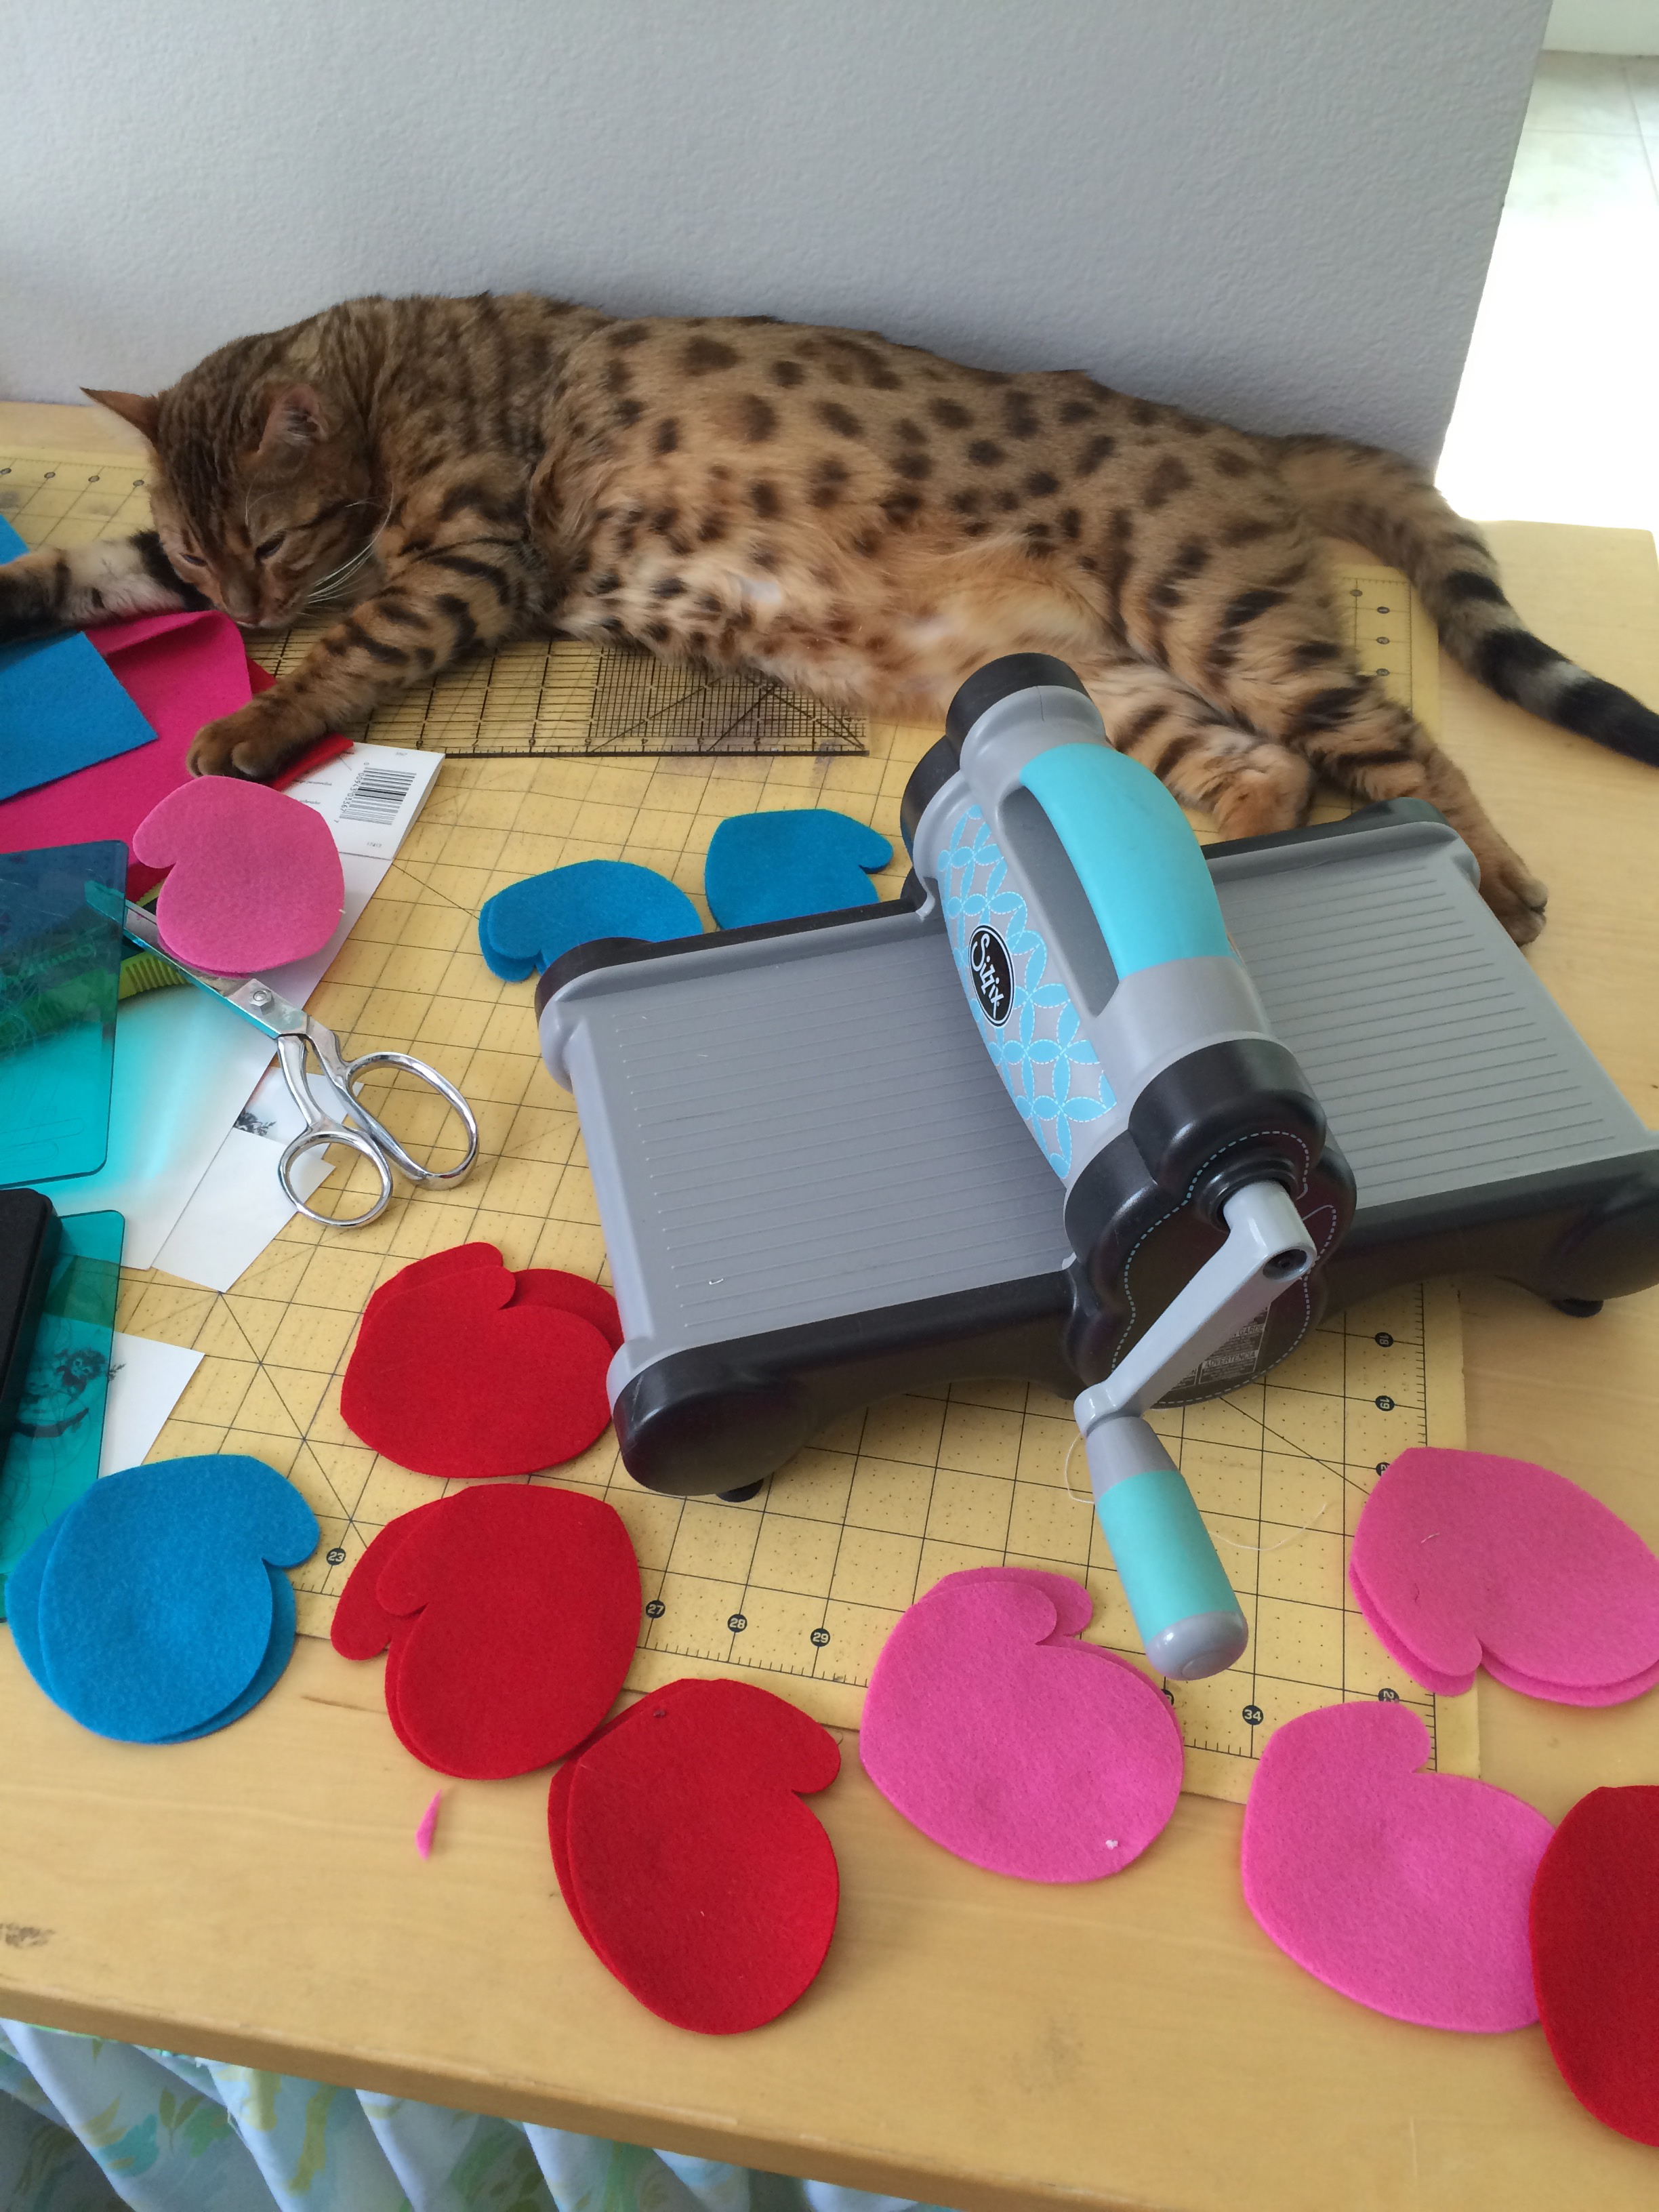
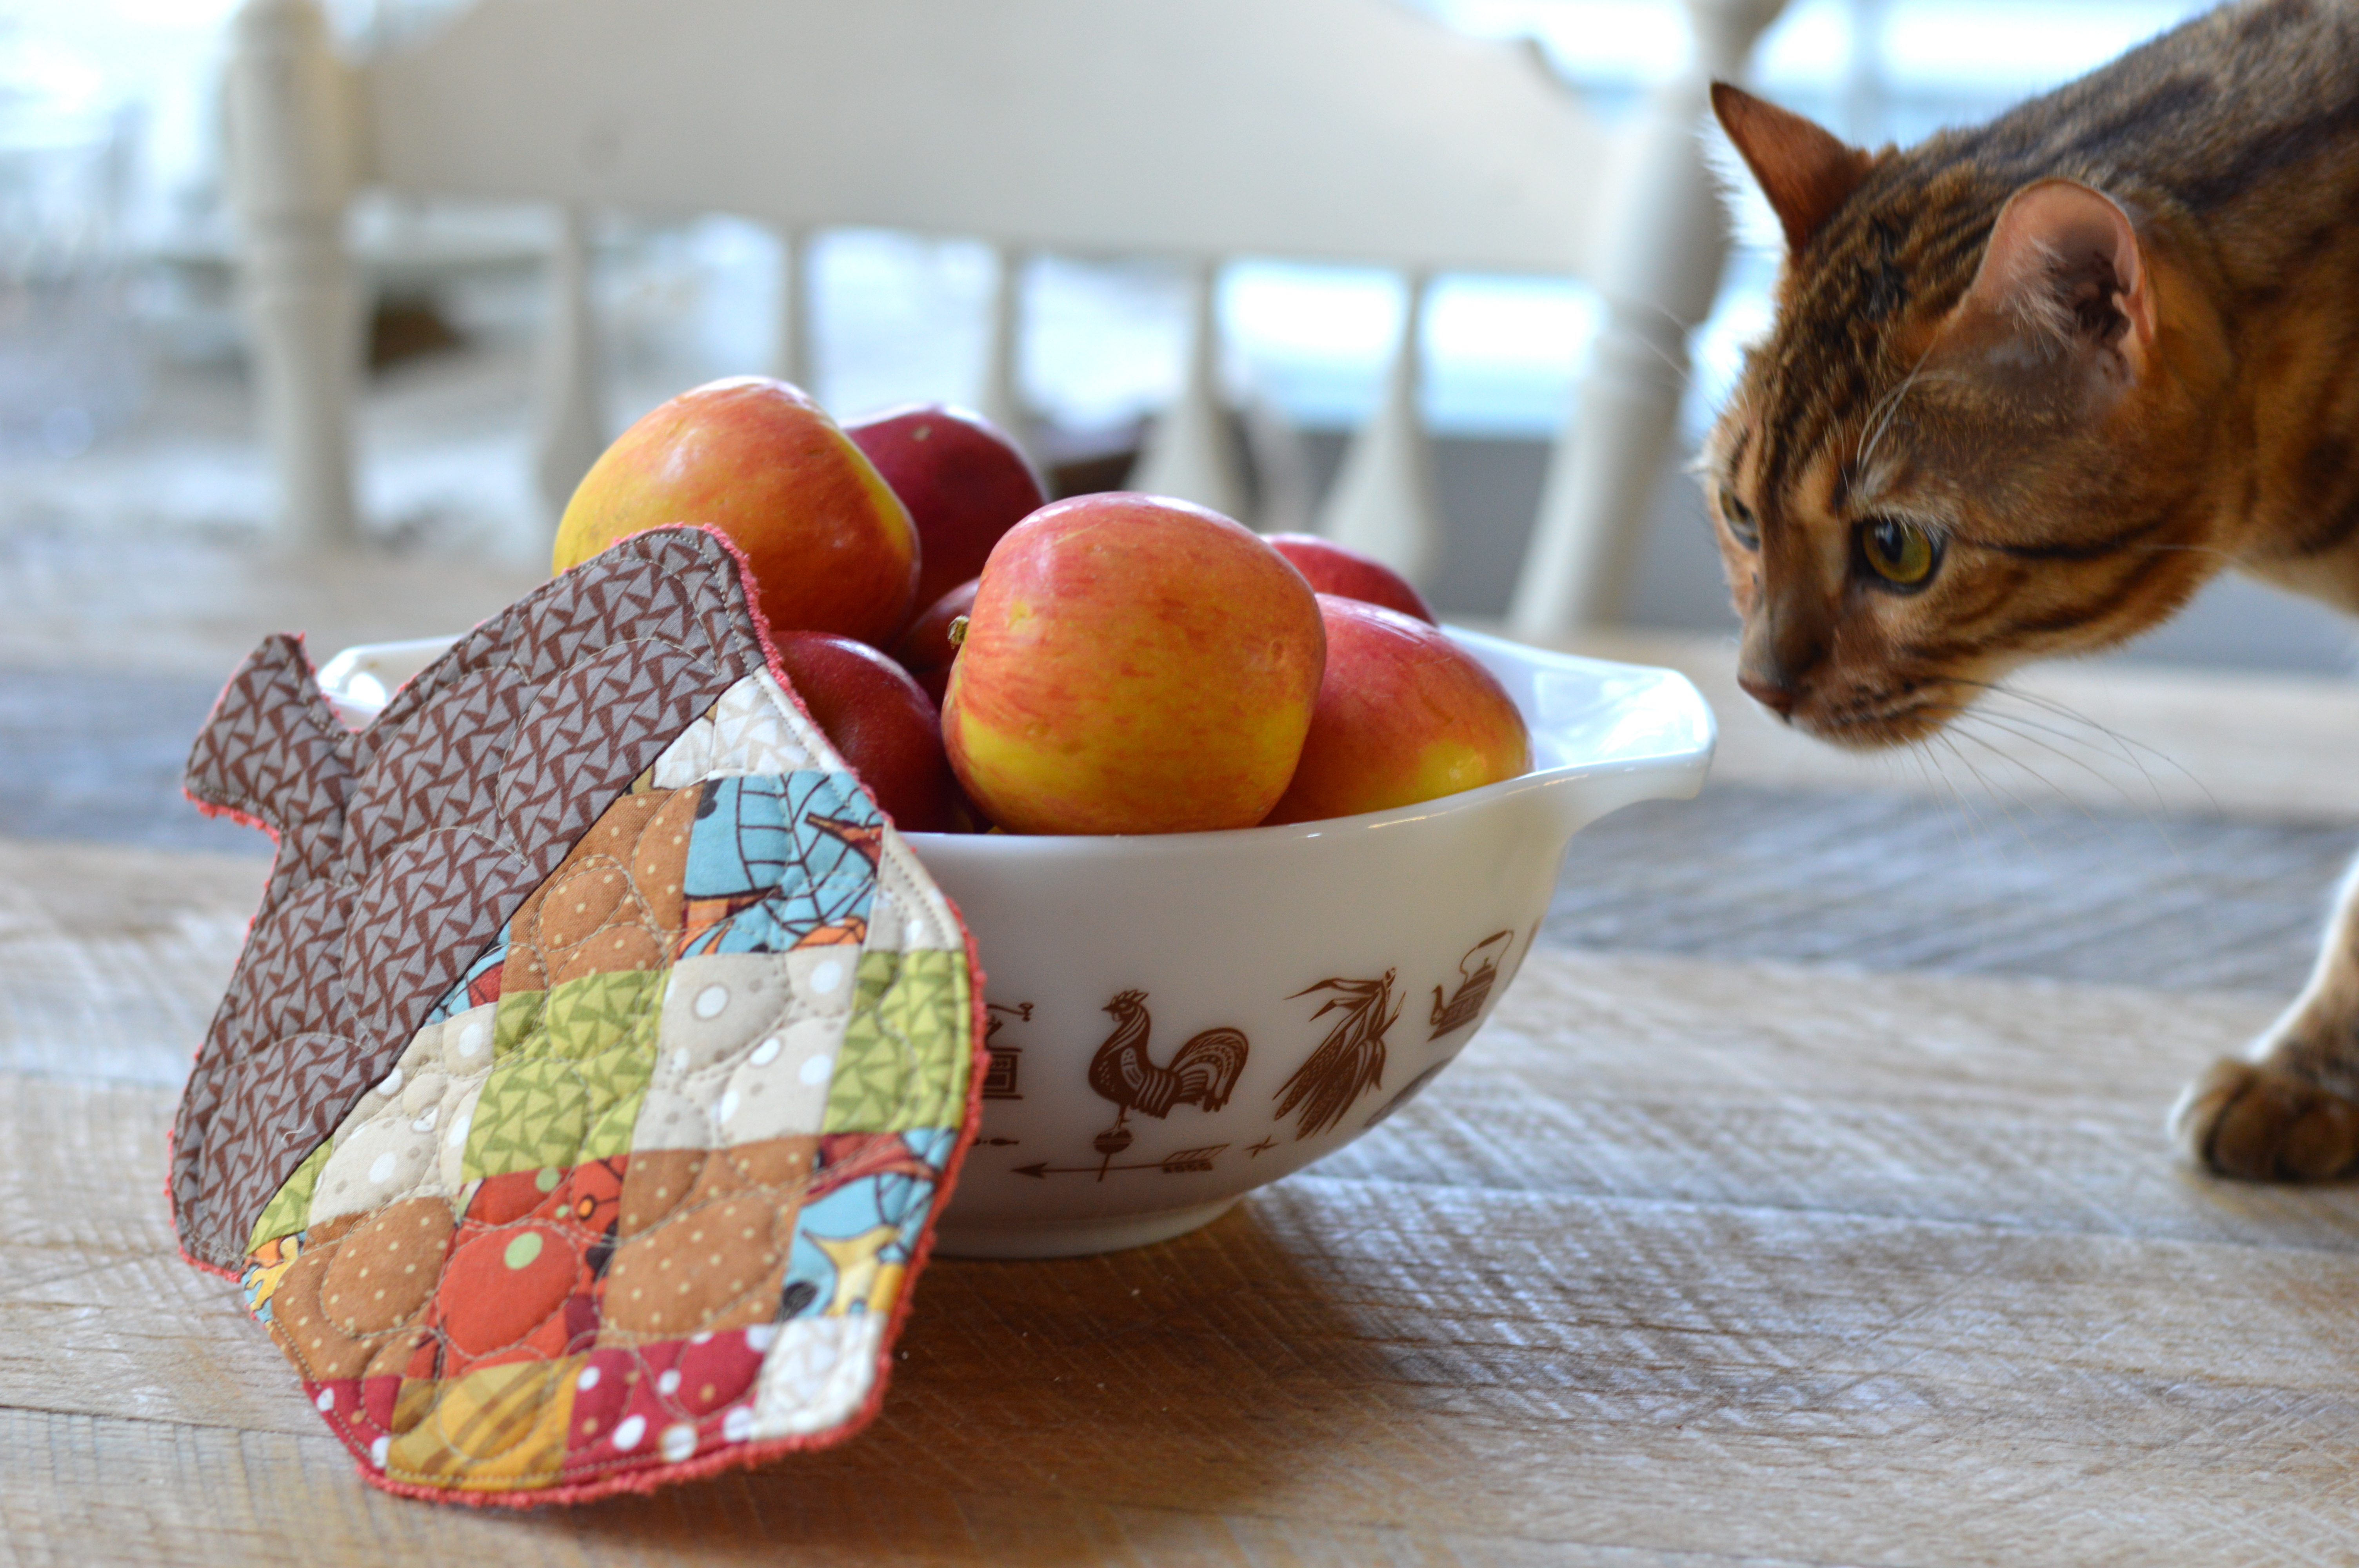
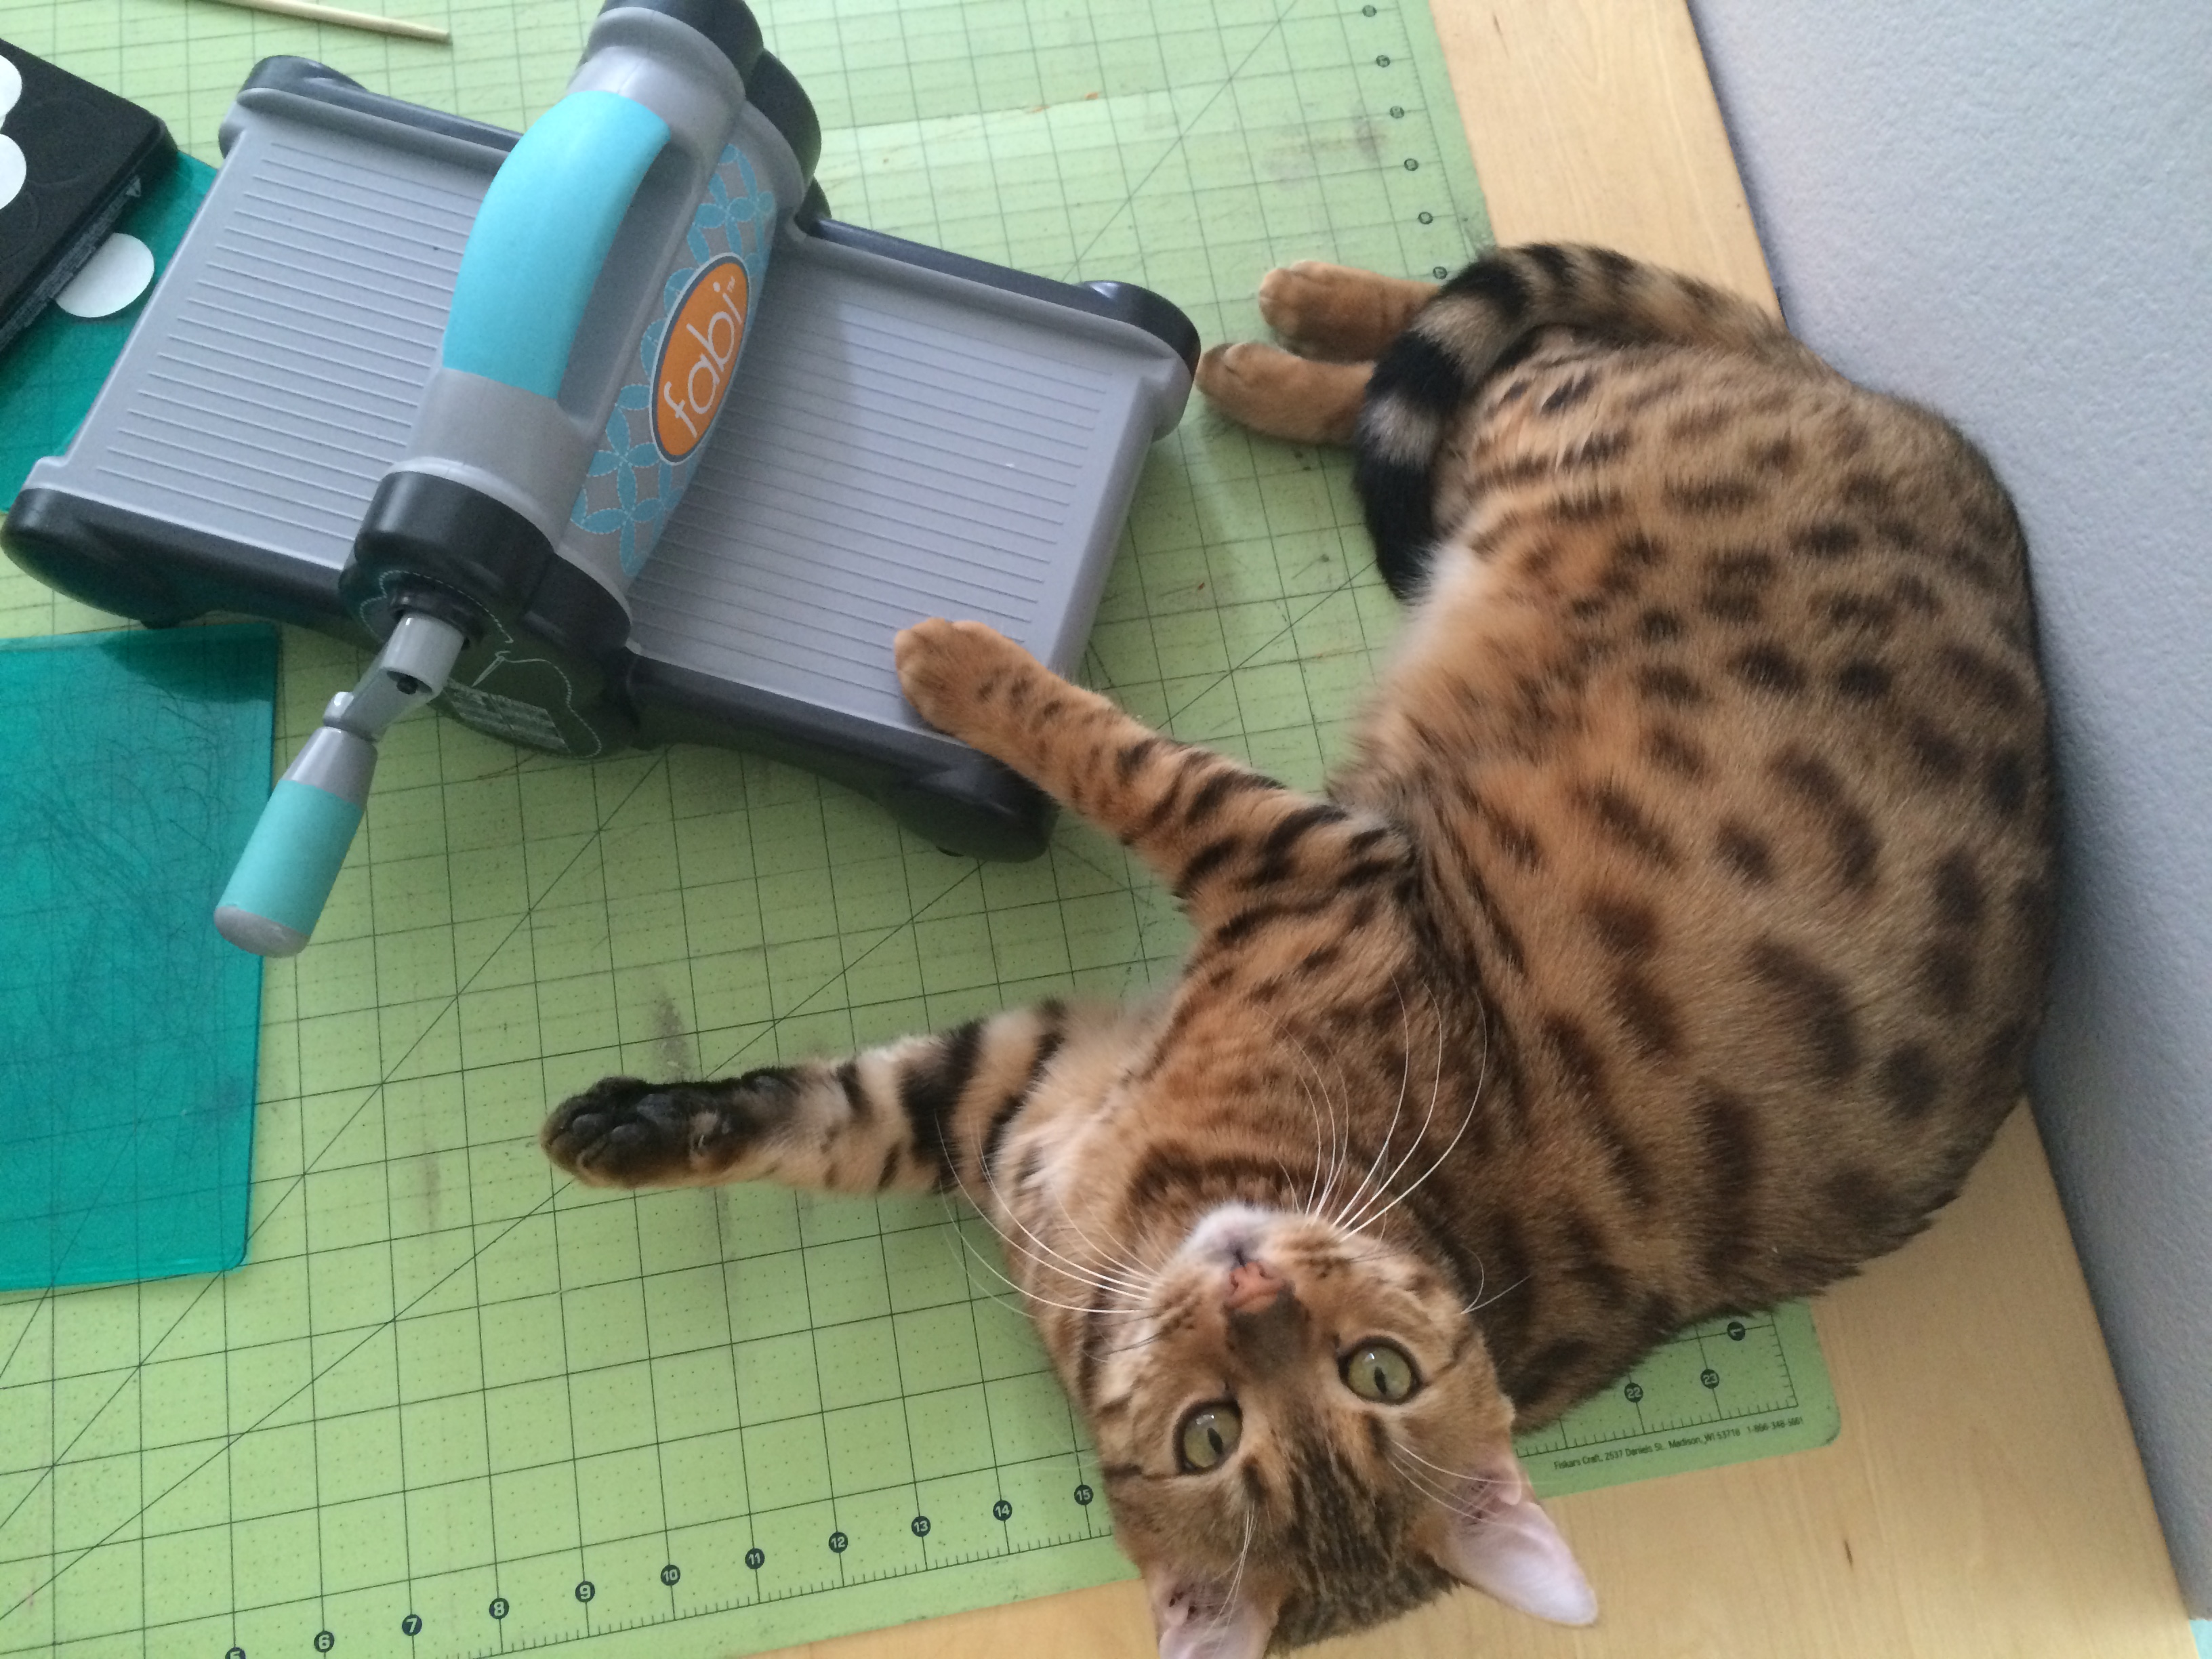
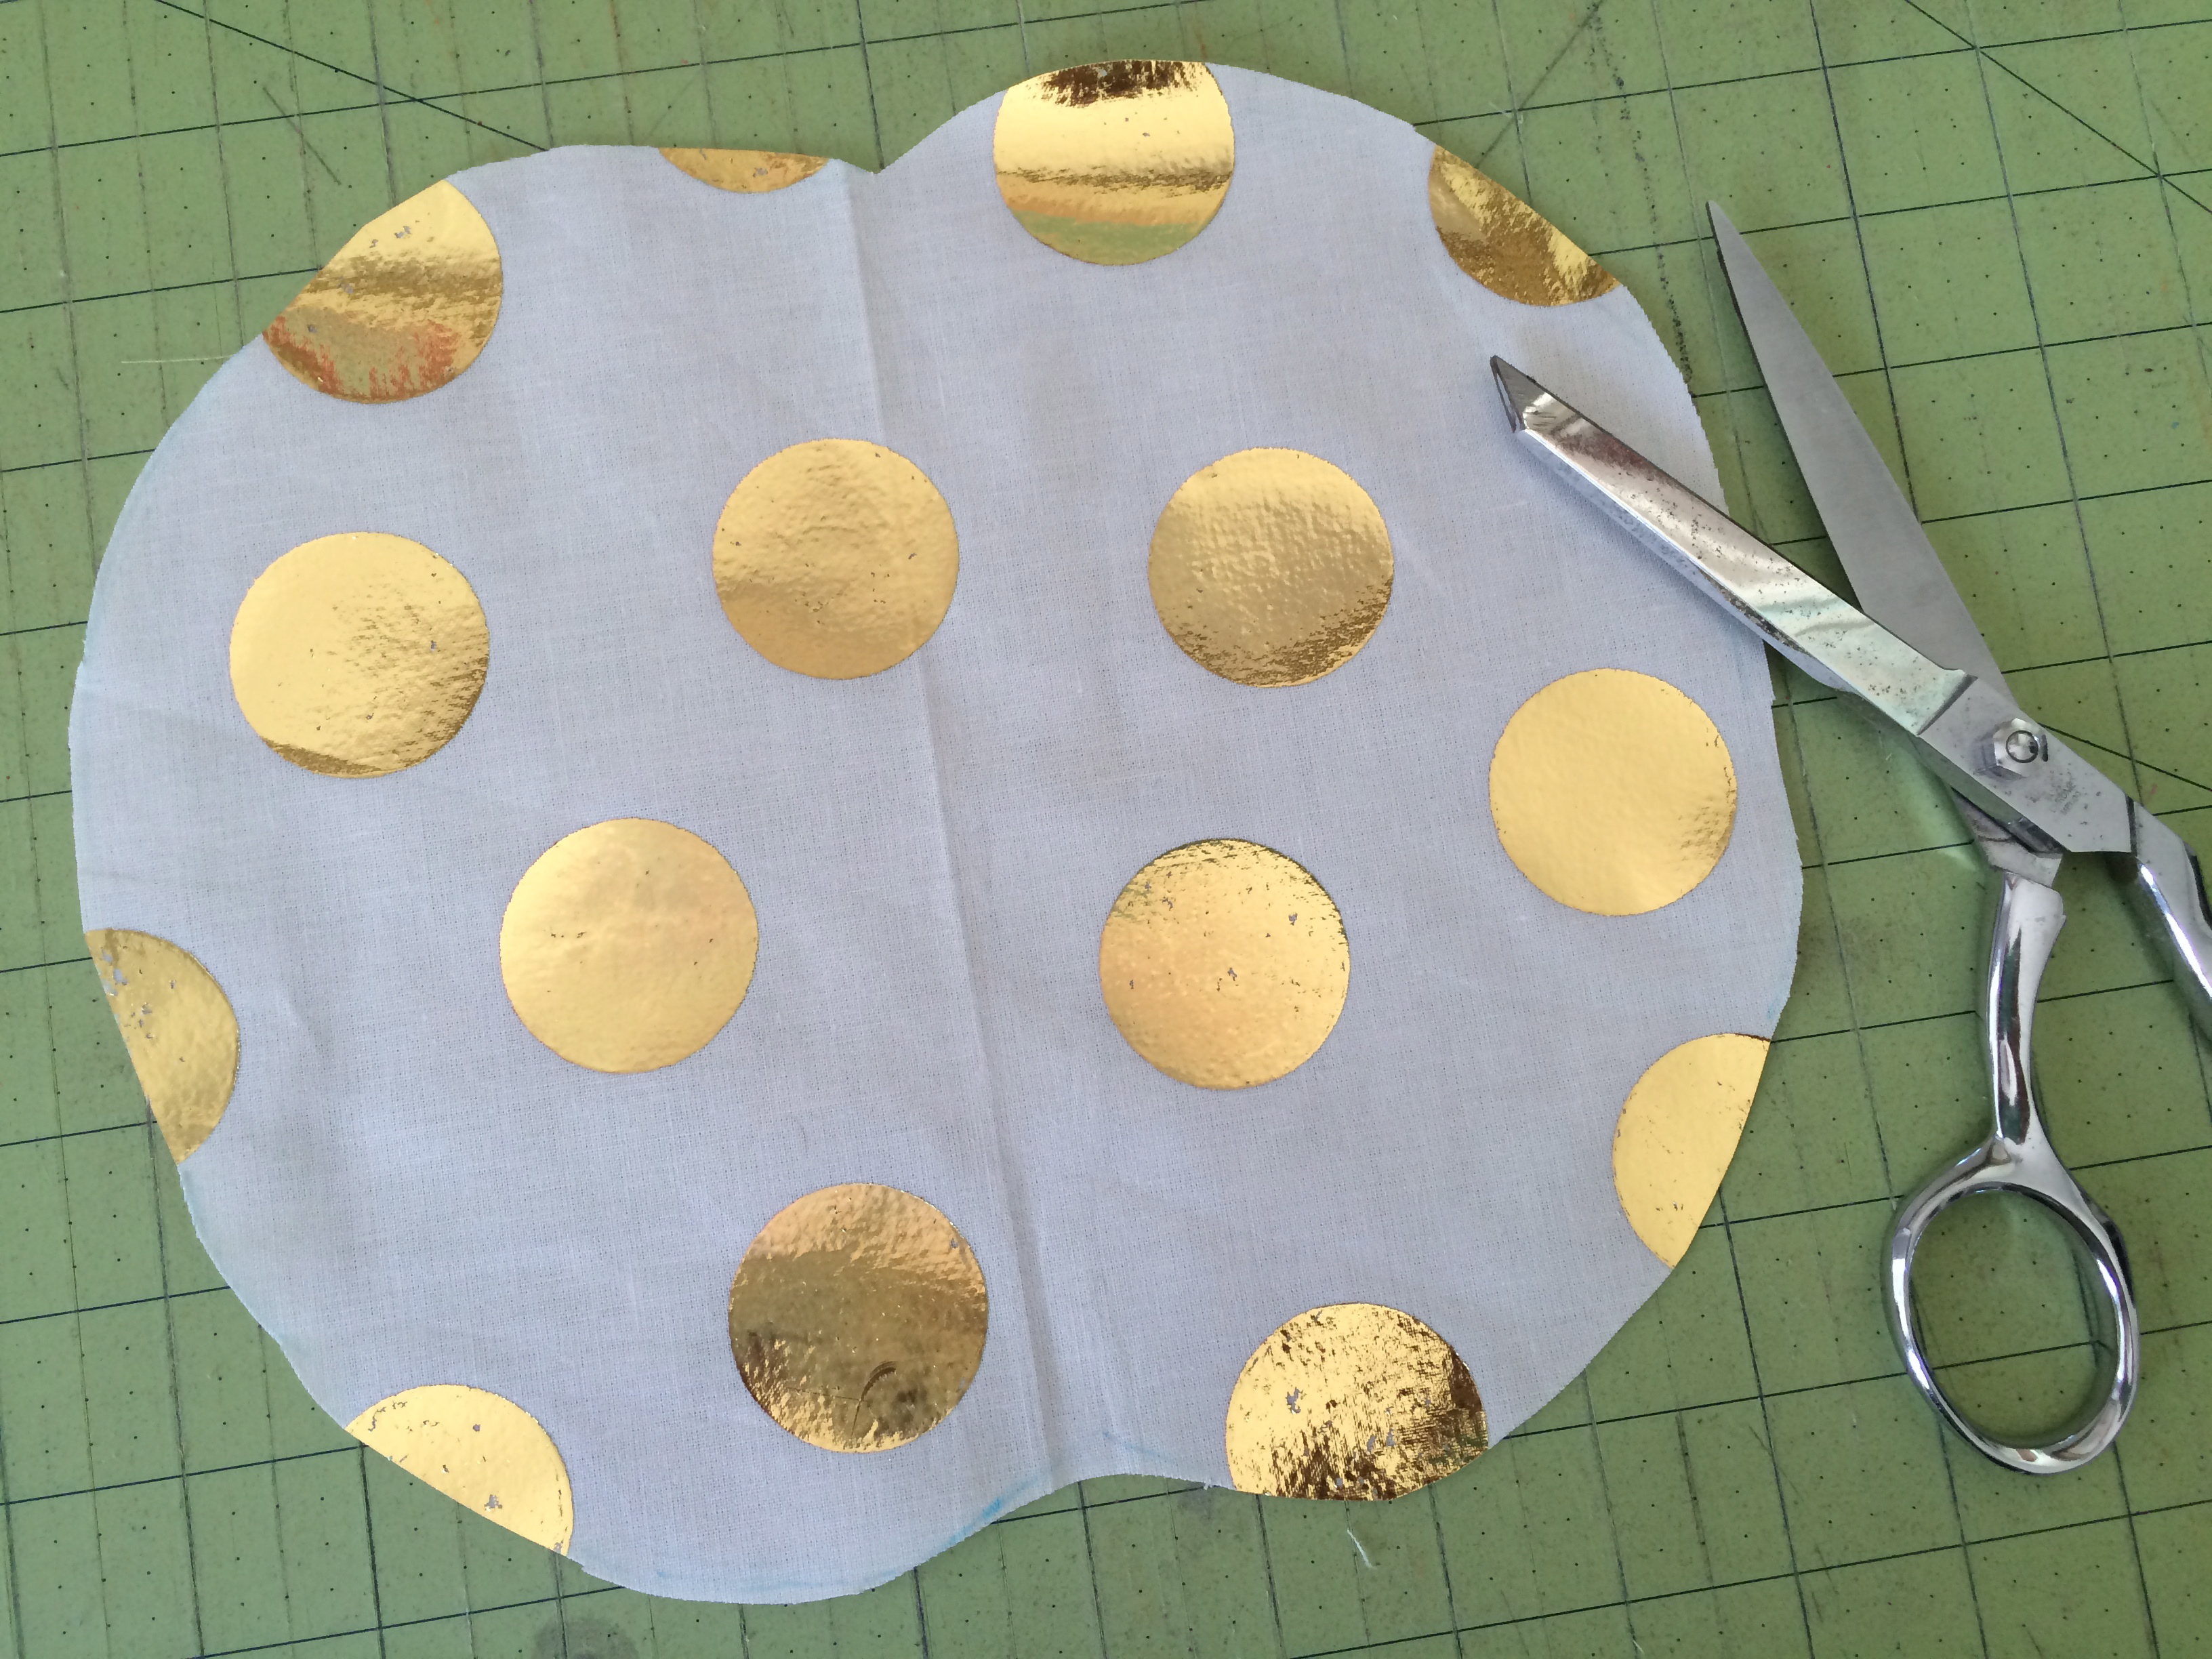
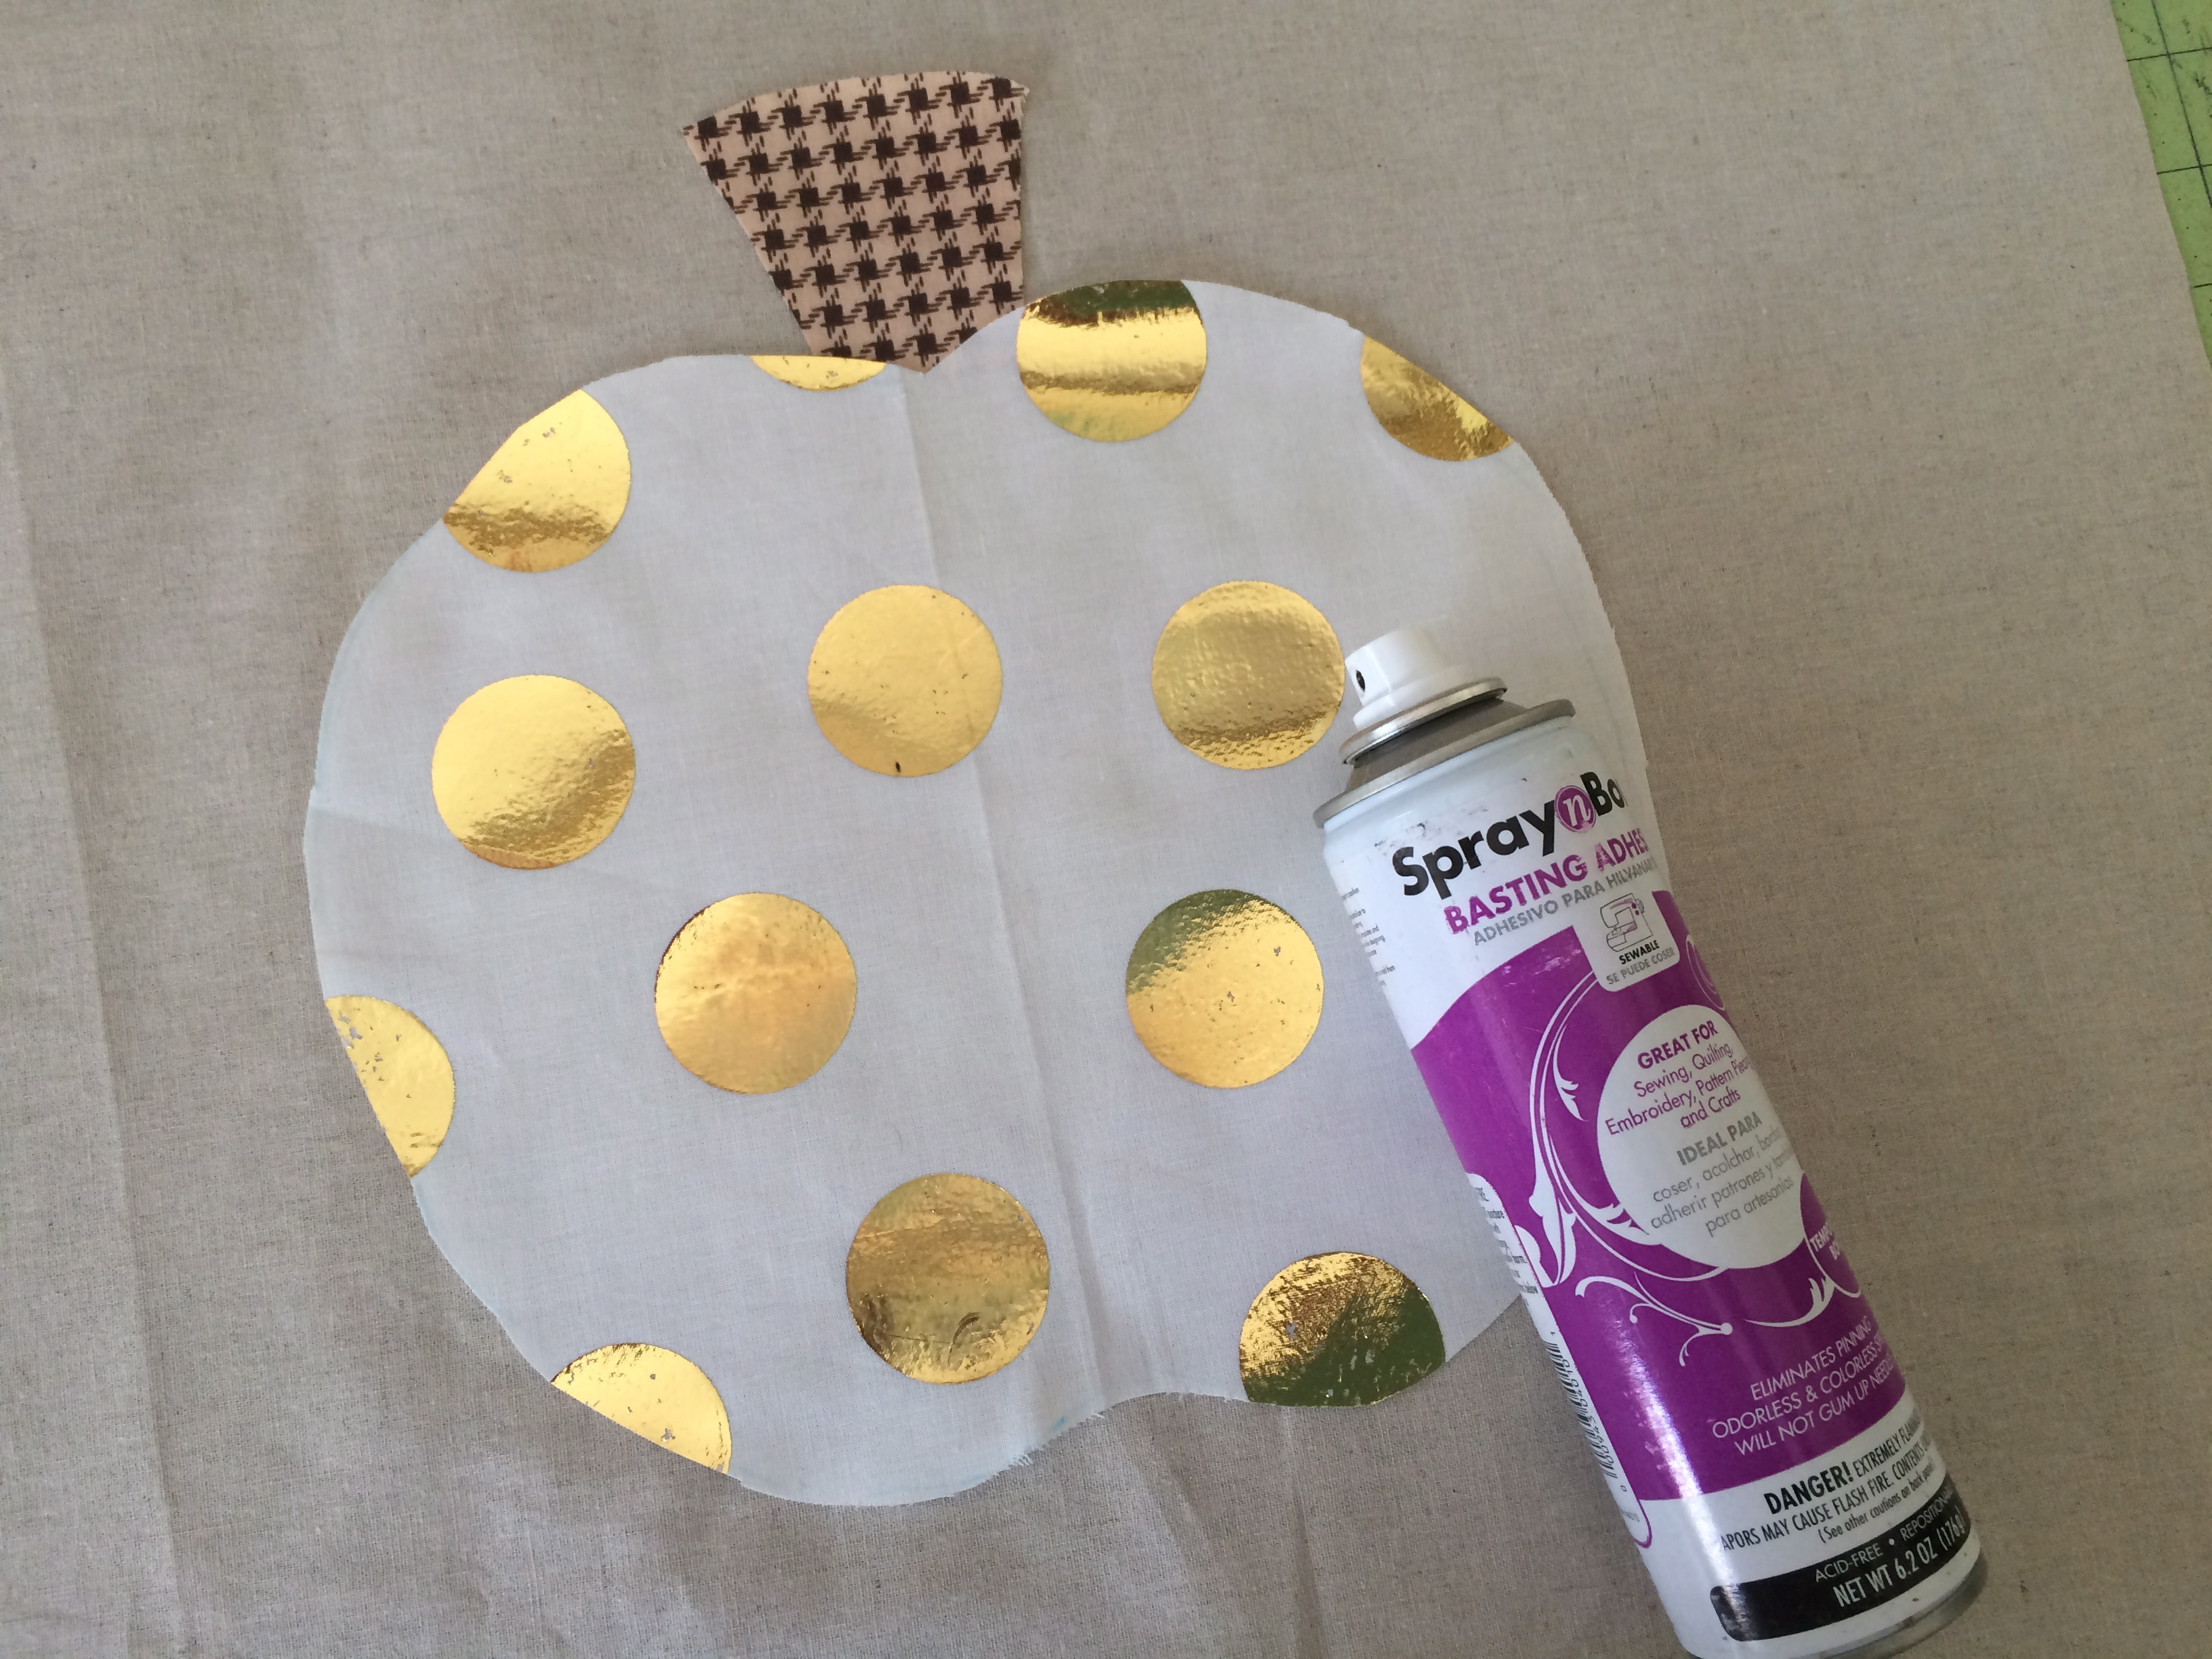
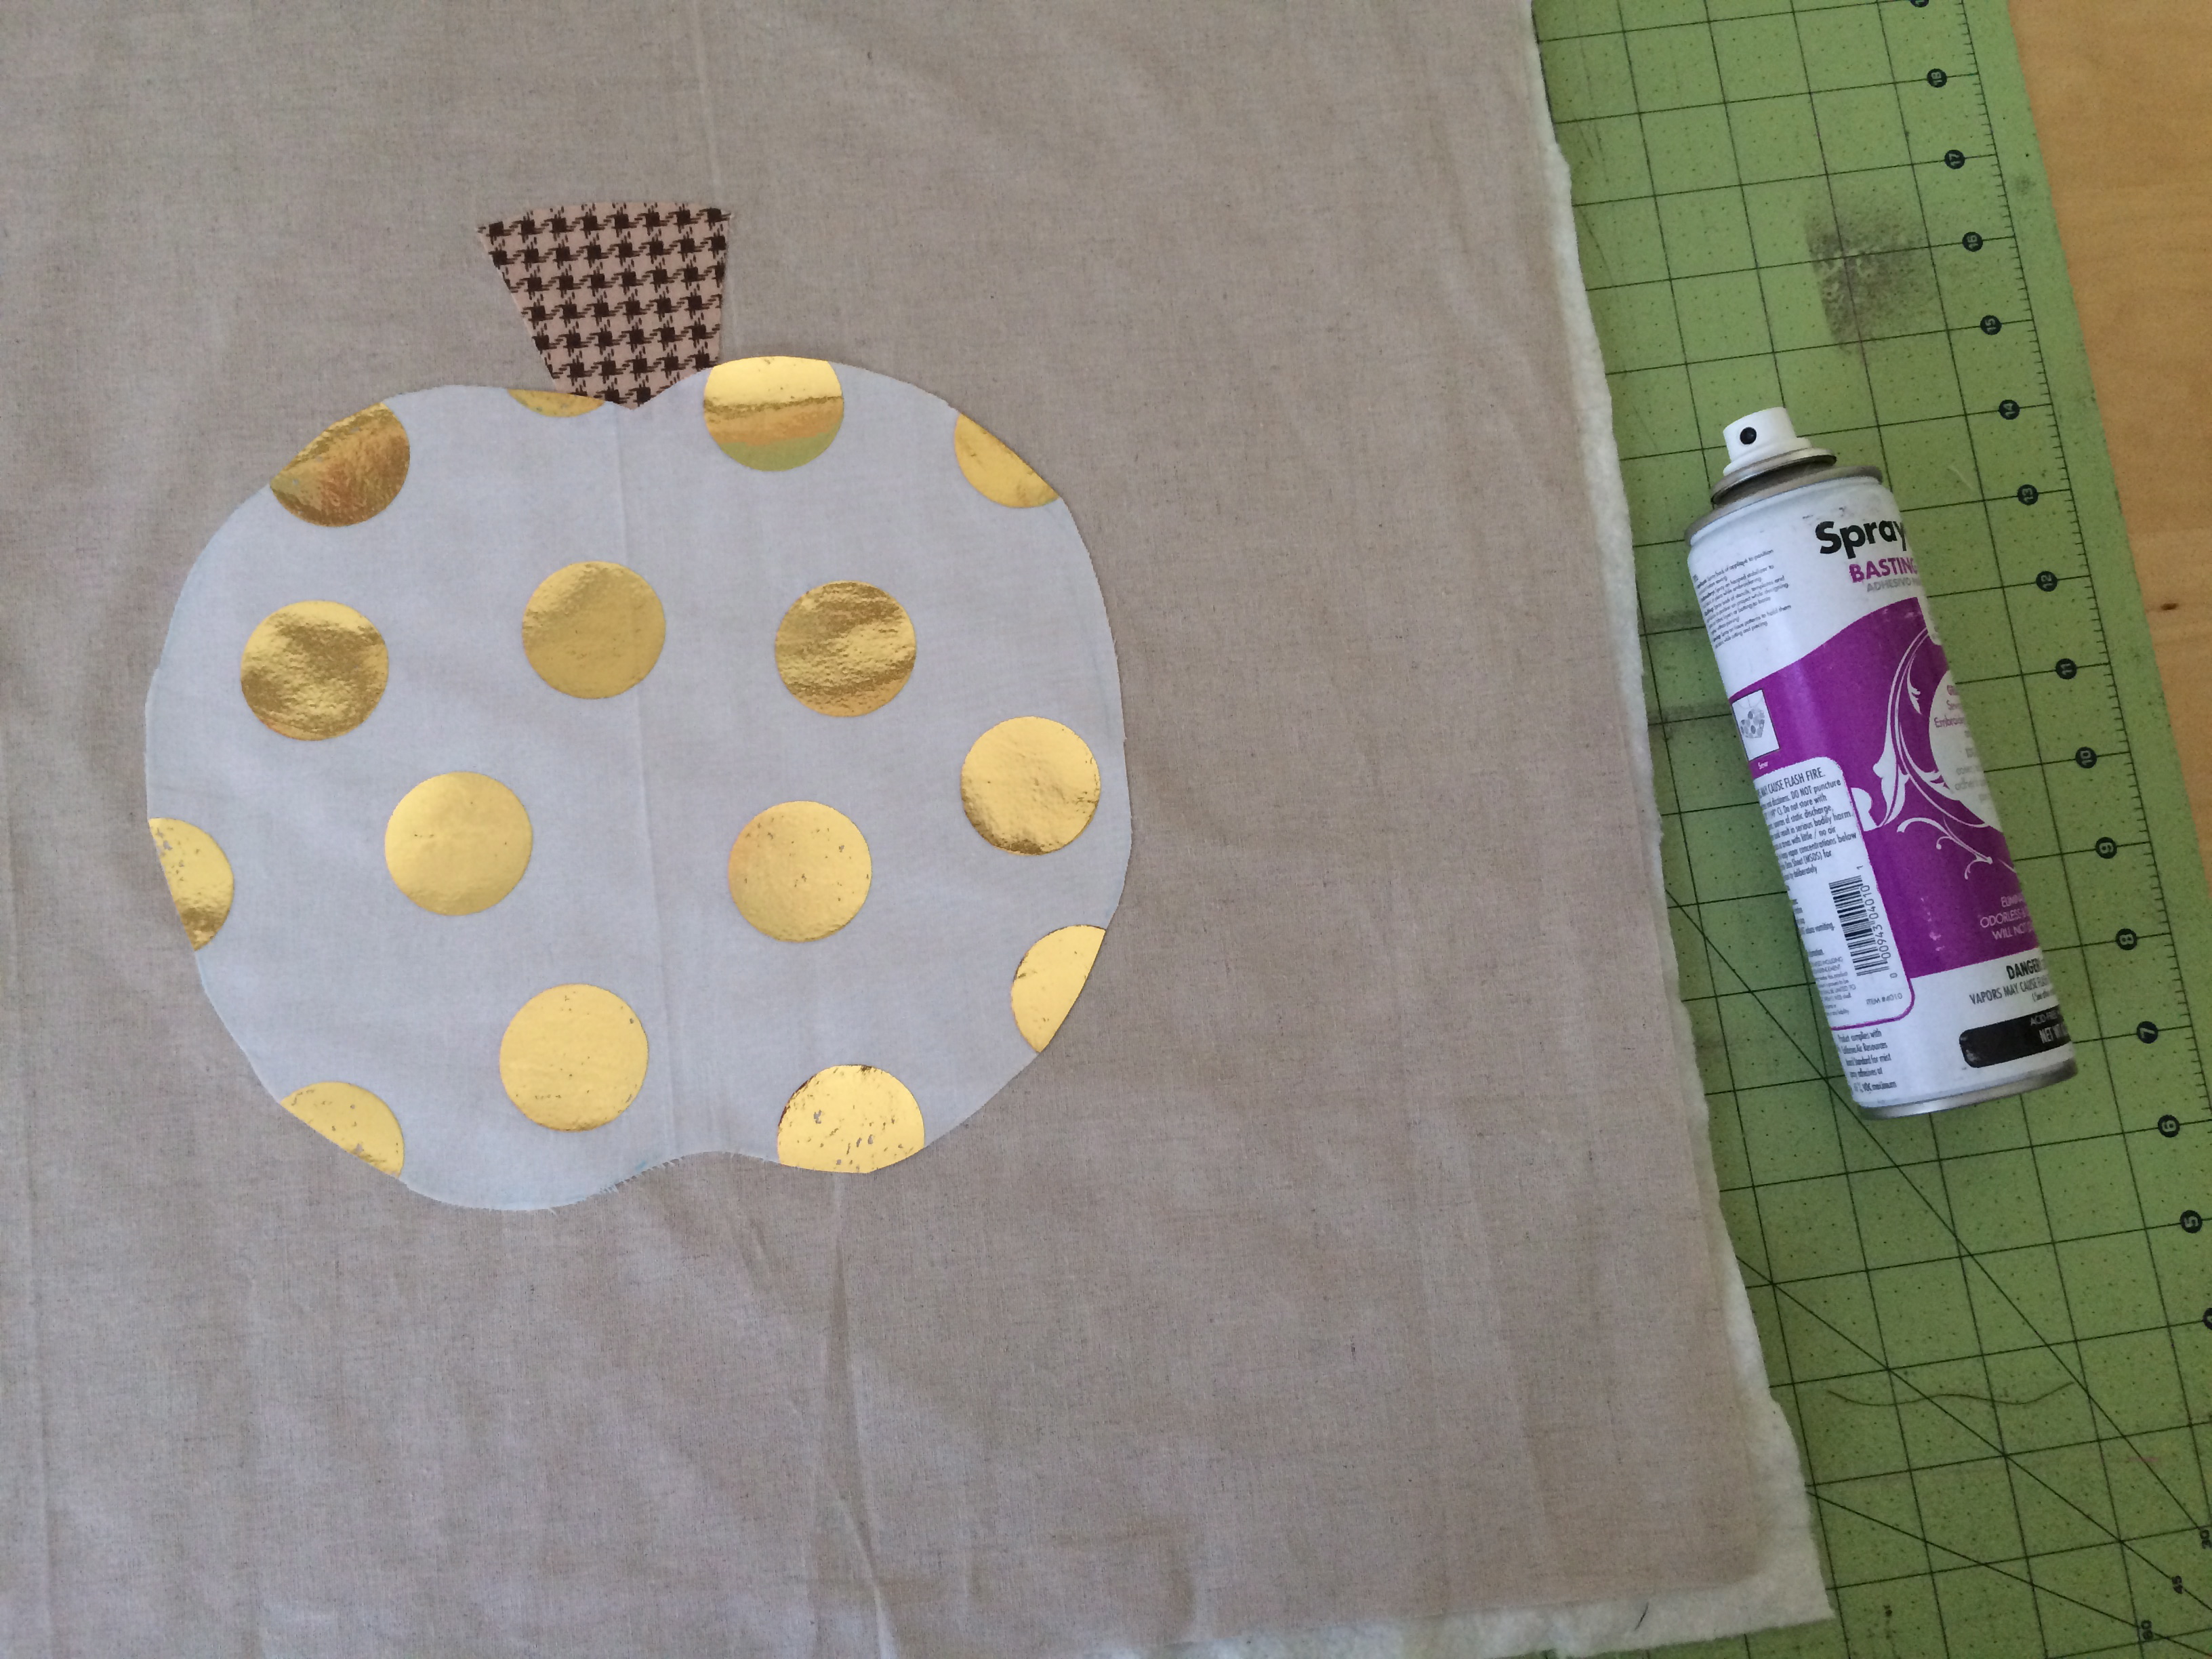
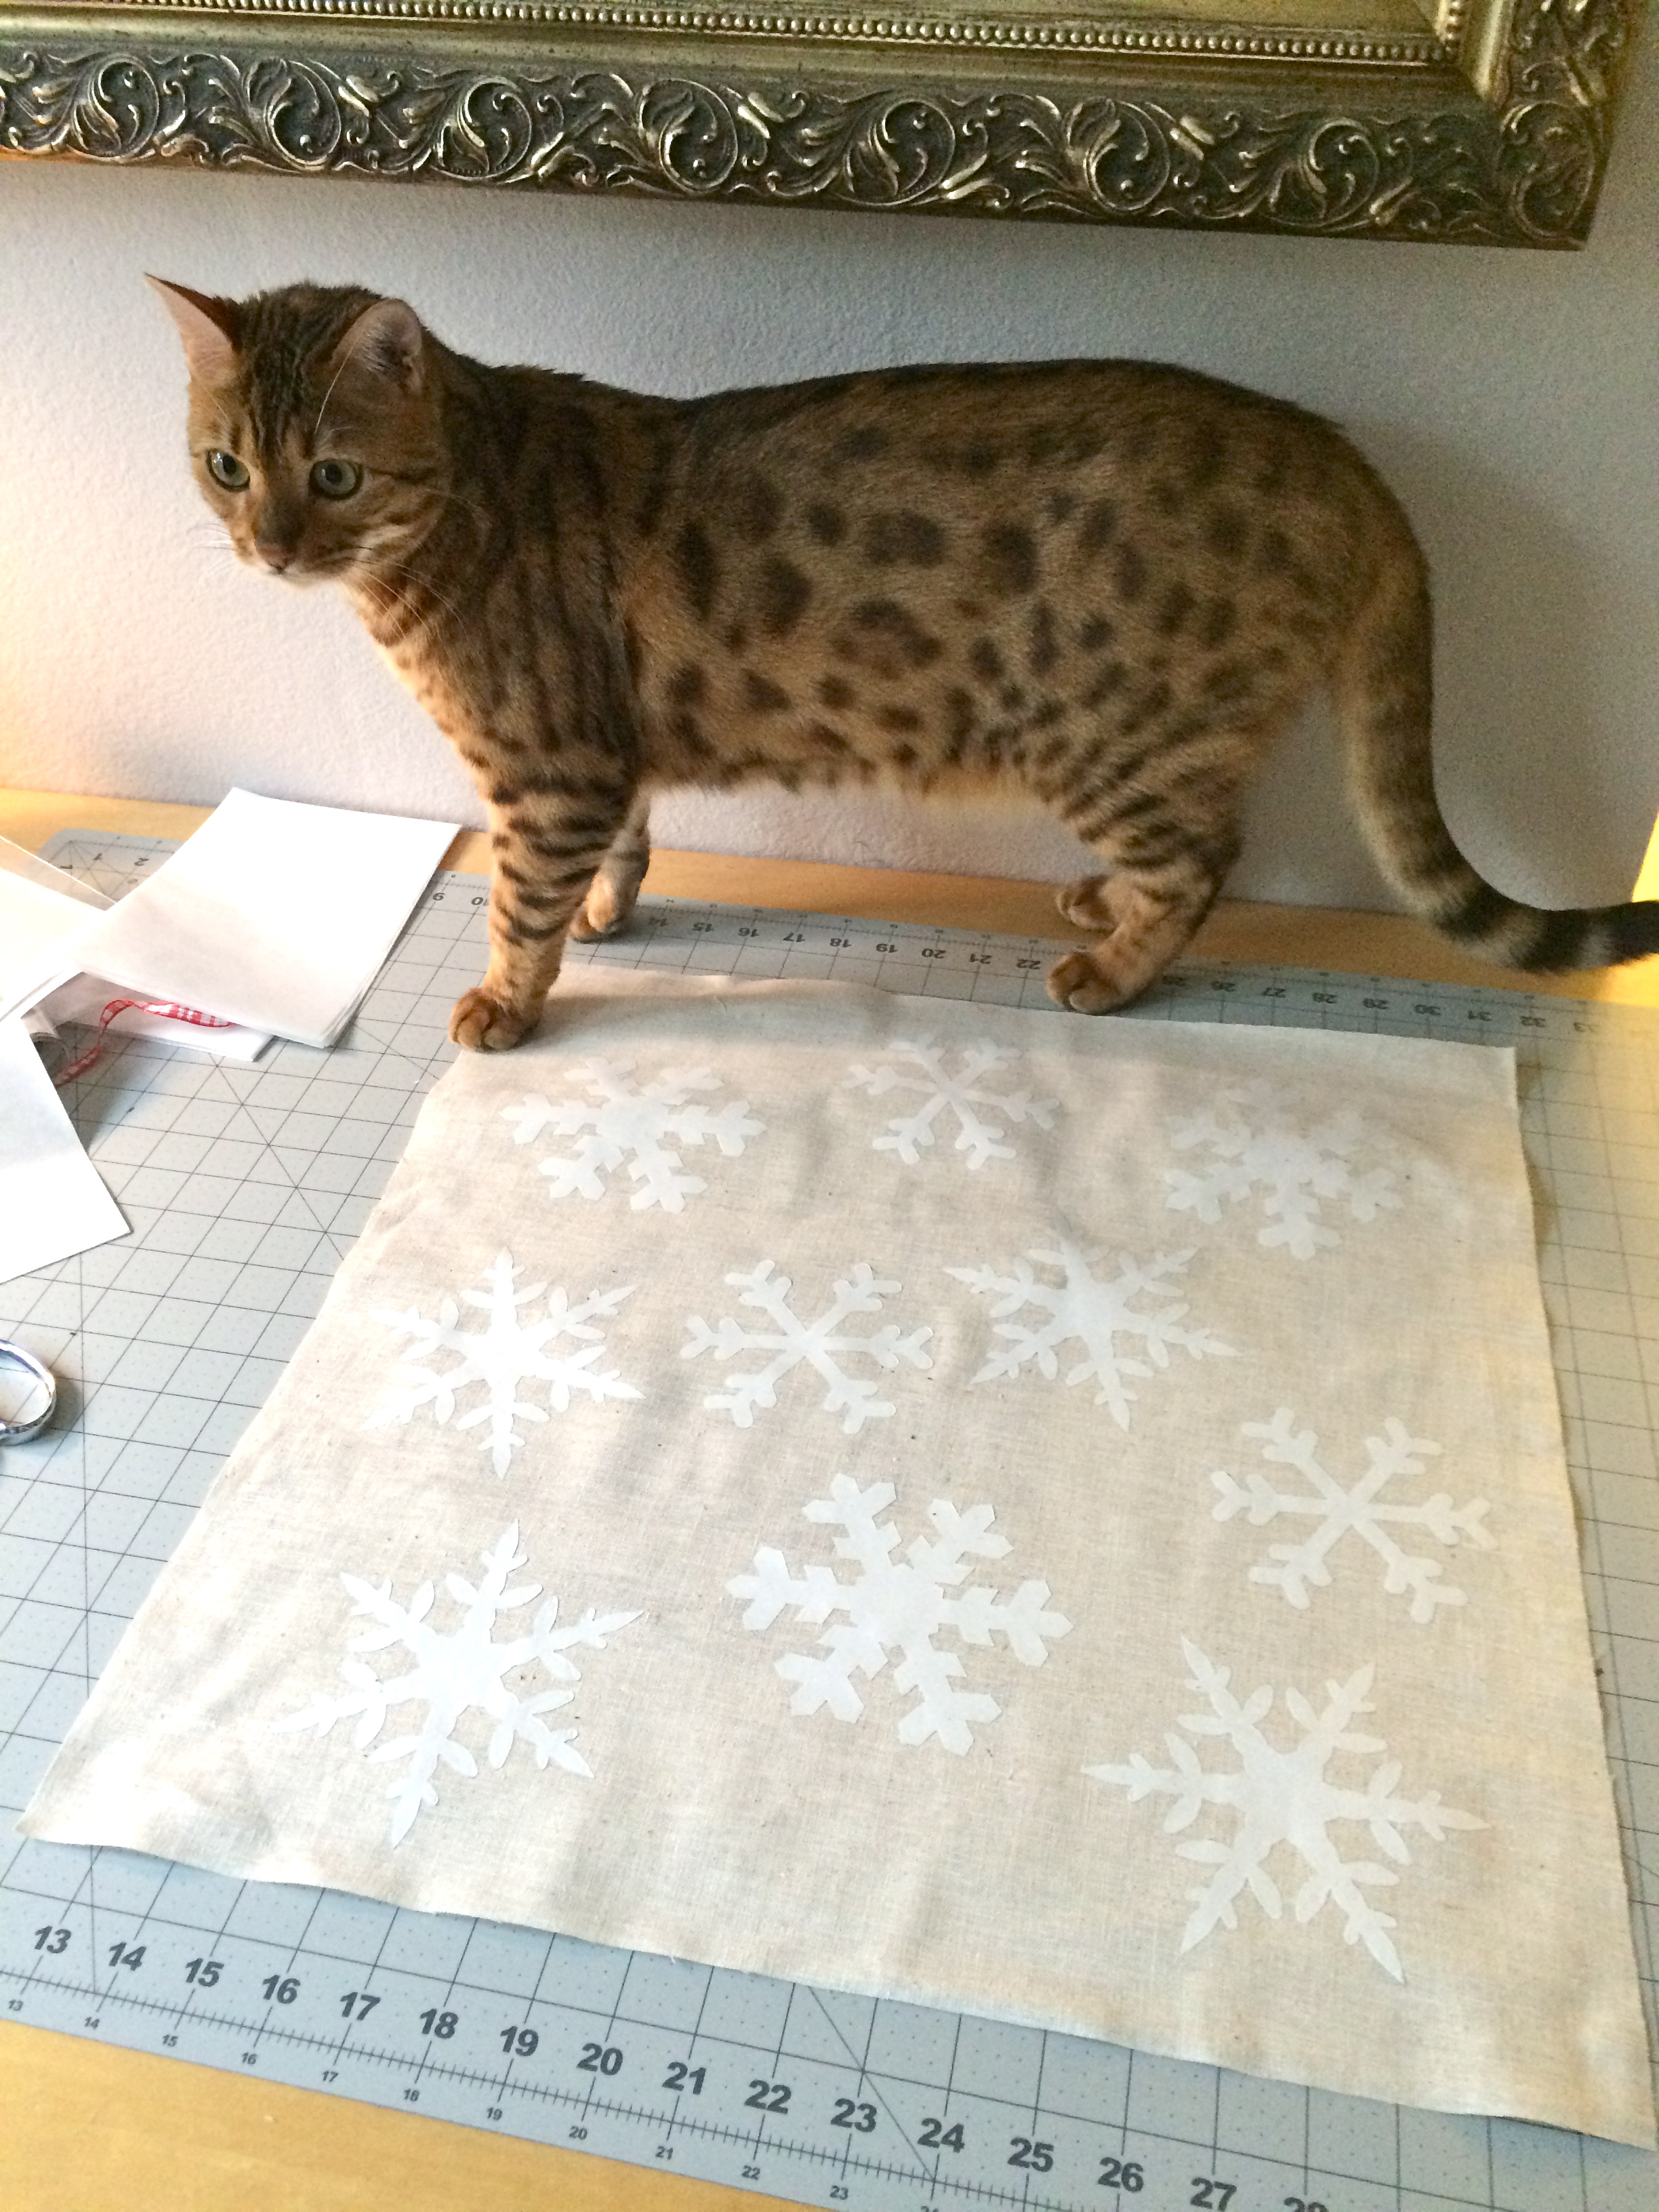
Cut (2) squares the size of your pillow.  I always use 20″ pillow so I can swap pillow covers out in a jiffy.  I used a heavy natural muslin.  Mine is cut 20″ square.  Have your cat help you position the snowflakes randomly all over the pillow front.  You can also position in three rows for a linear look.  Once you have the snowflakes placed just so, press them into place using a medium-hot dry iron.  Let cool completely.

deco foil snowflake sizzix pillow 7
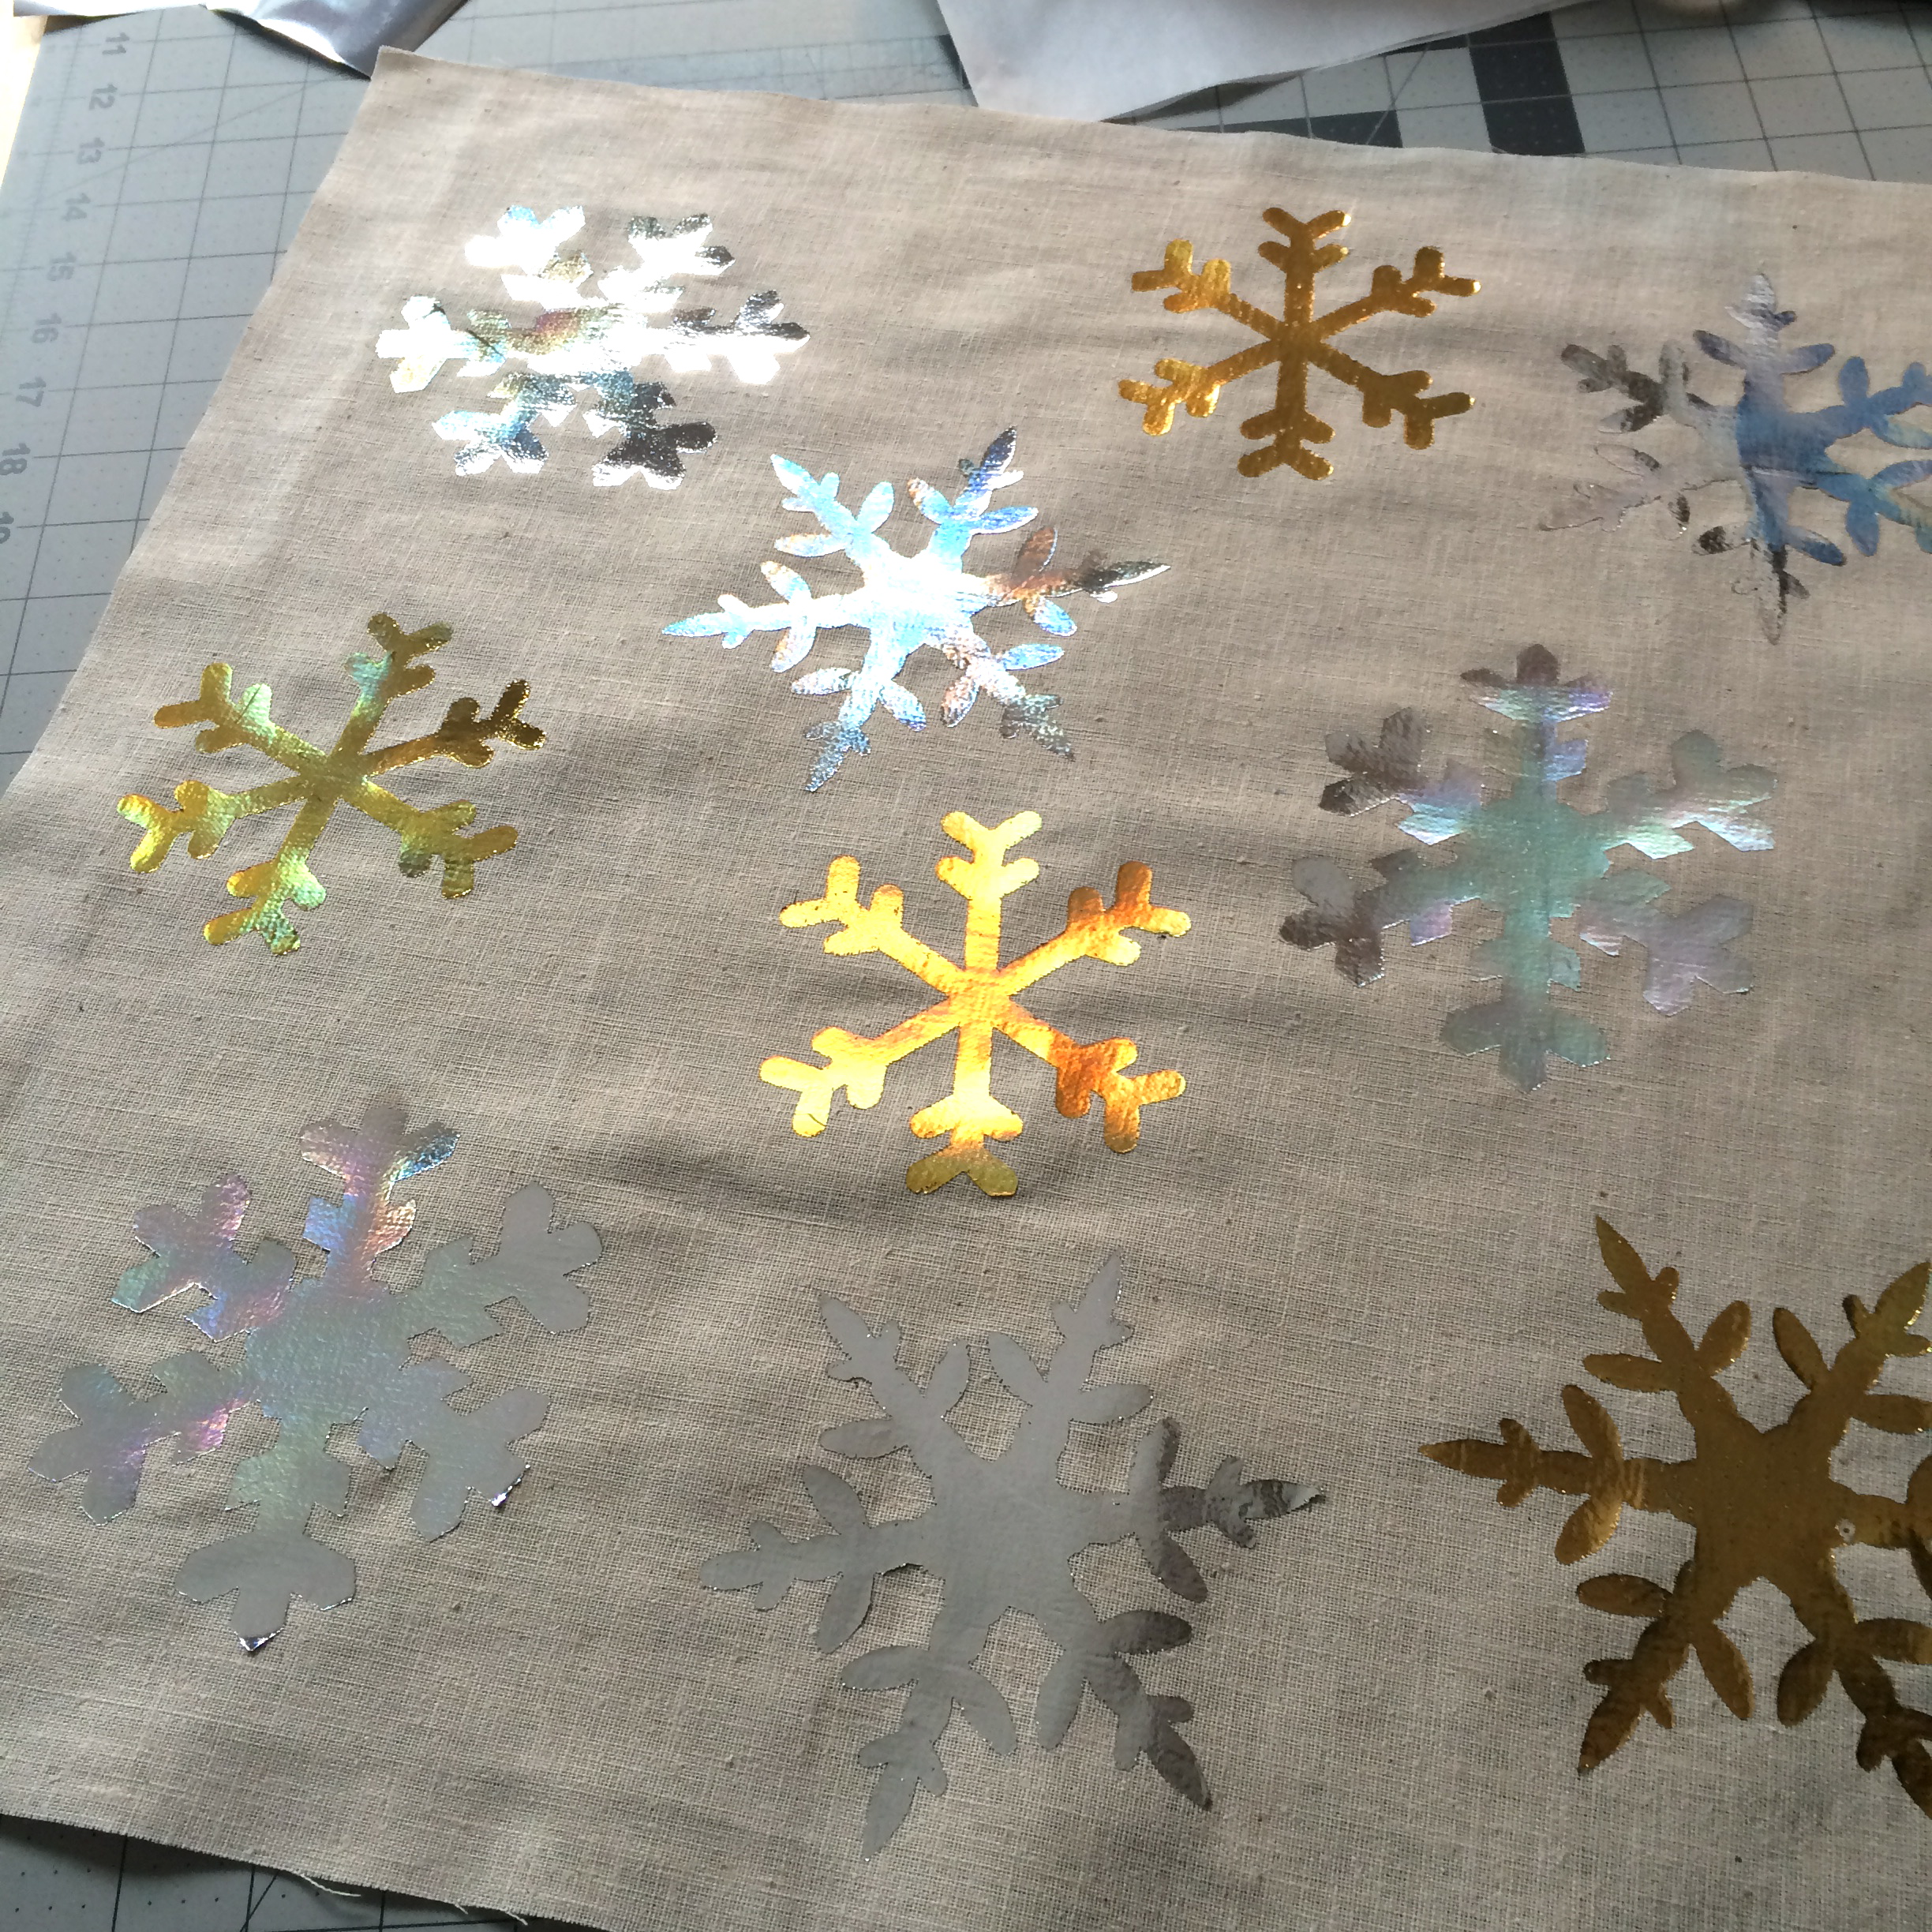
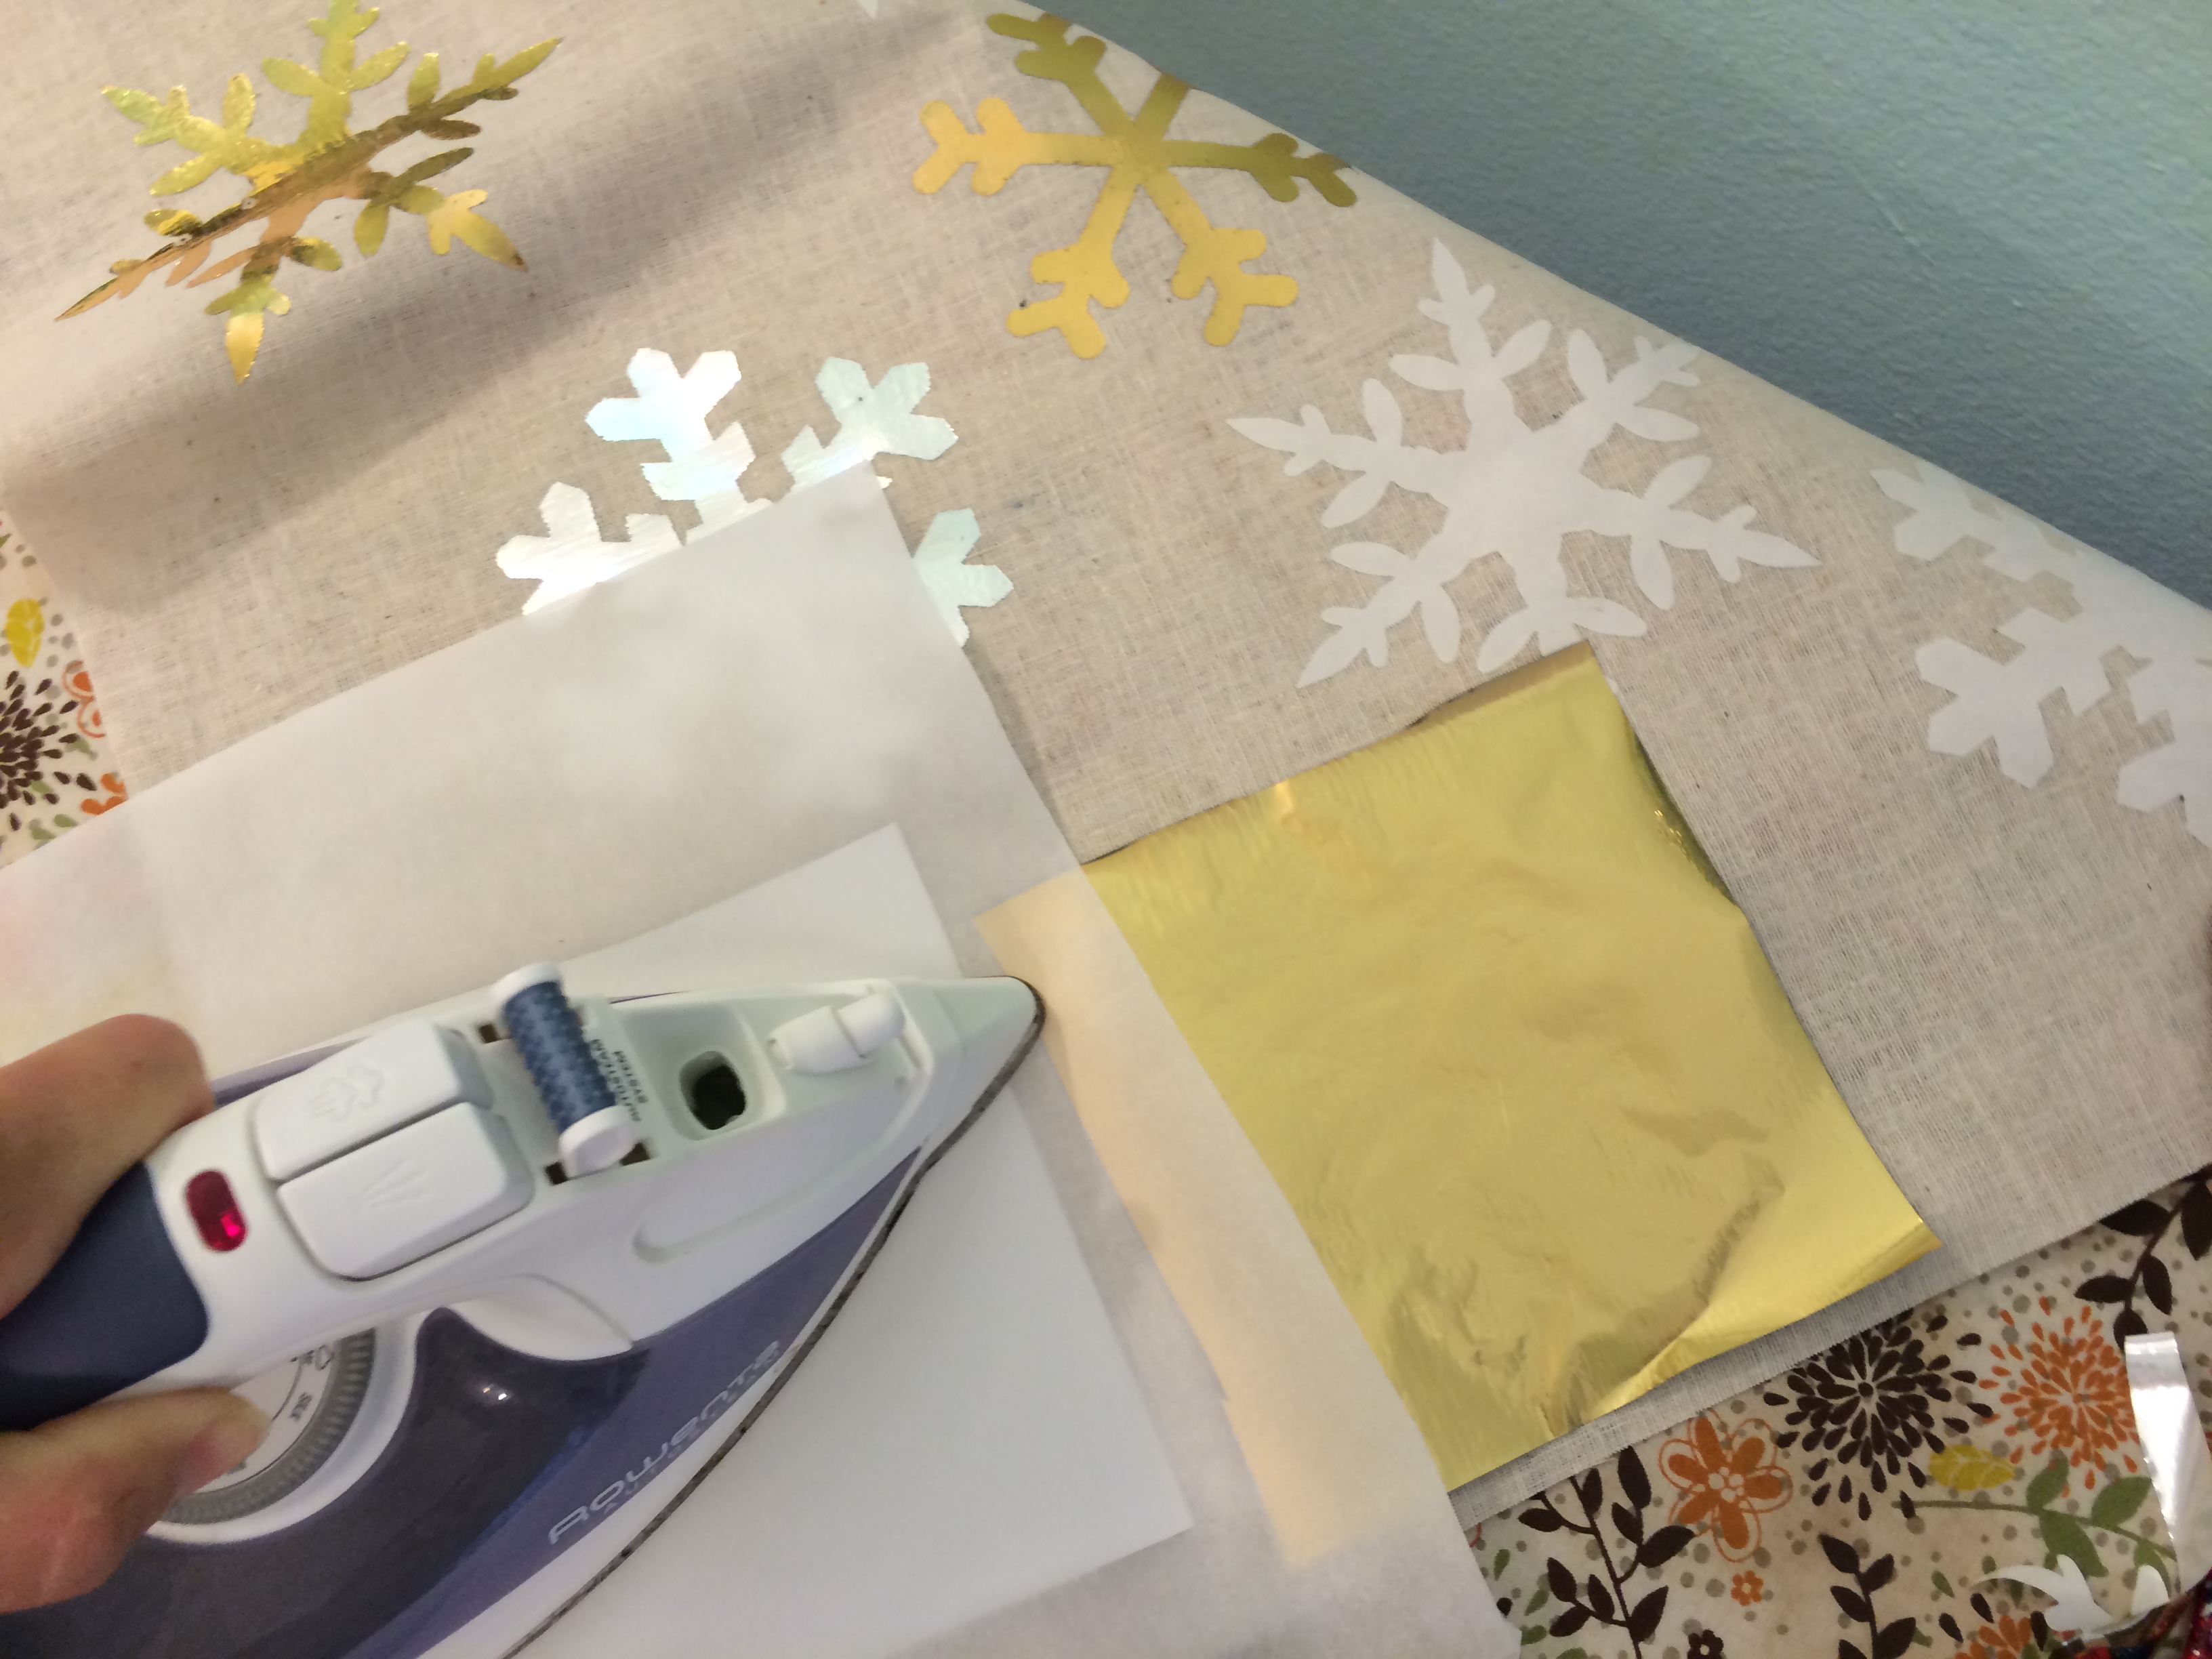
Don’t peel the backing paper off all the snowflakes at once.  Begin in the center and peel off as you add foil to protect the adhesive from the iron.  Peel off the center snowflake’s paper and place a piece of Deco Foil over.  Place the pressing sheet (it comes with the Hot Melt Sheets) over the foil.  USING A MEDIUM HEAT DRY IRON press for about 20 seconds.  I found that if my iron was set on the cotton/linen setting it would scorch the foil.  If this is your first time, test this on a piece of scrap fabric to make sure it works.  Once you’ve pressed the foil let it cool completely.

IMG_3286
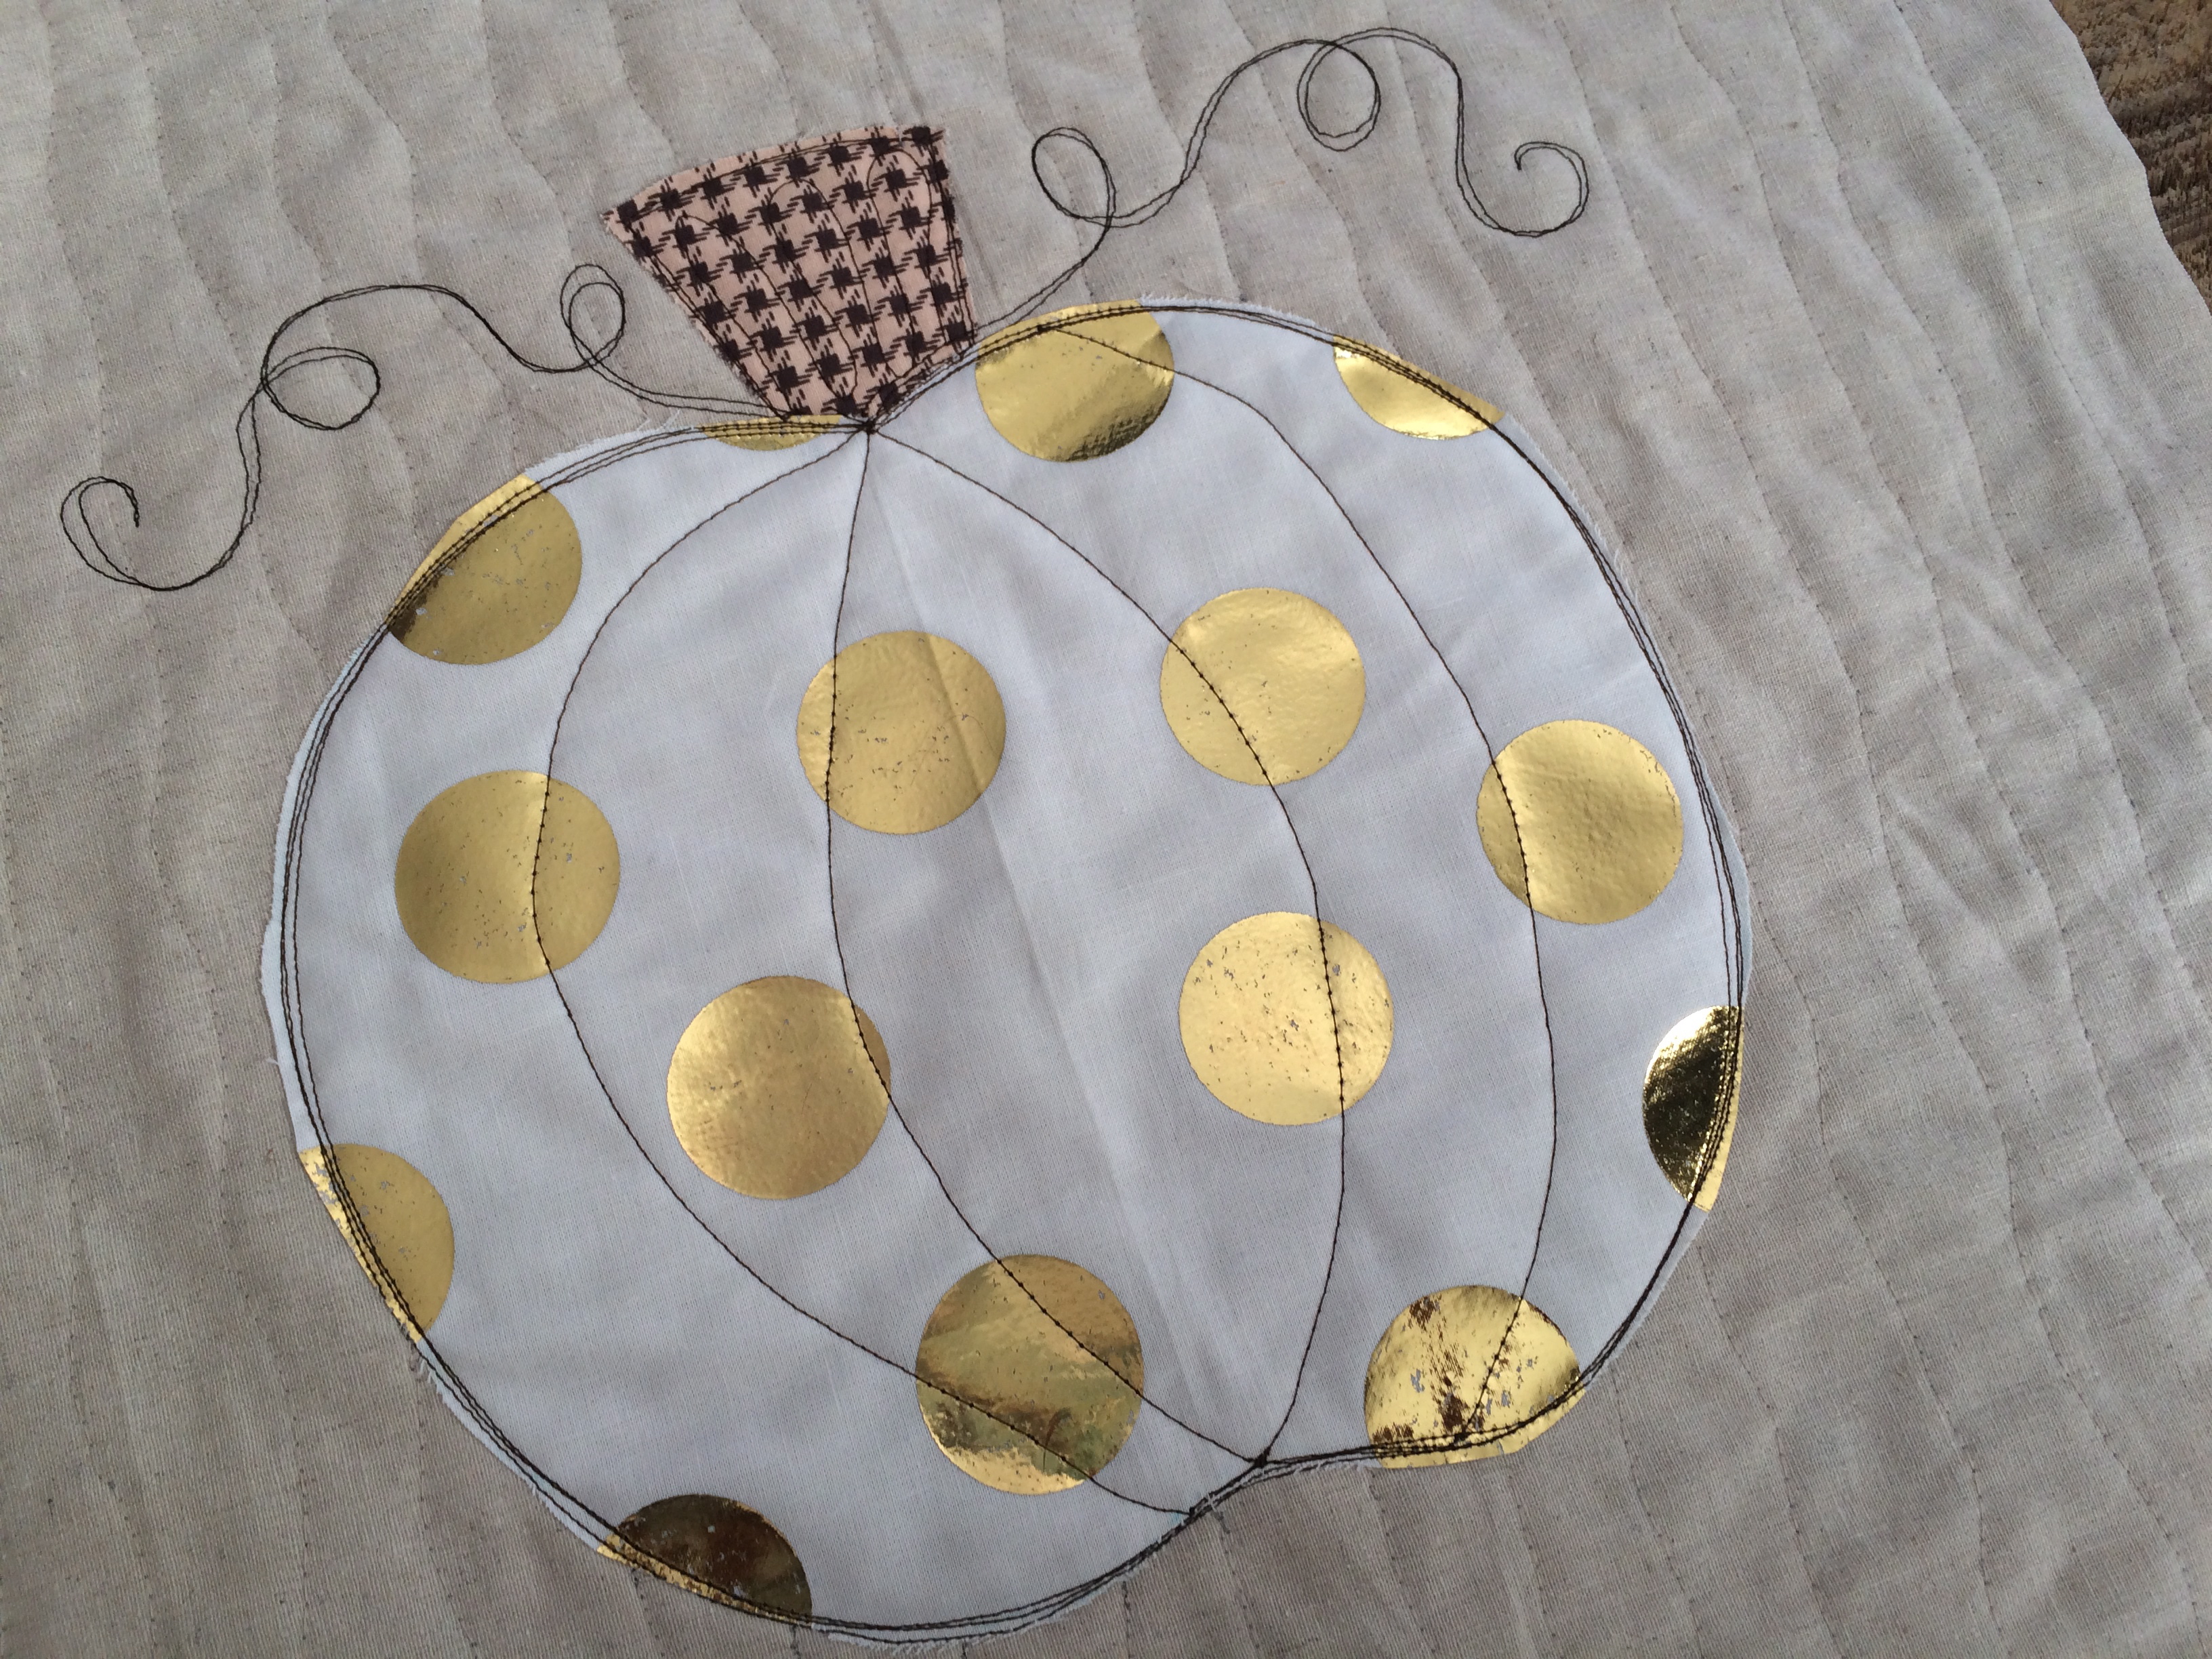
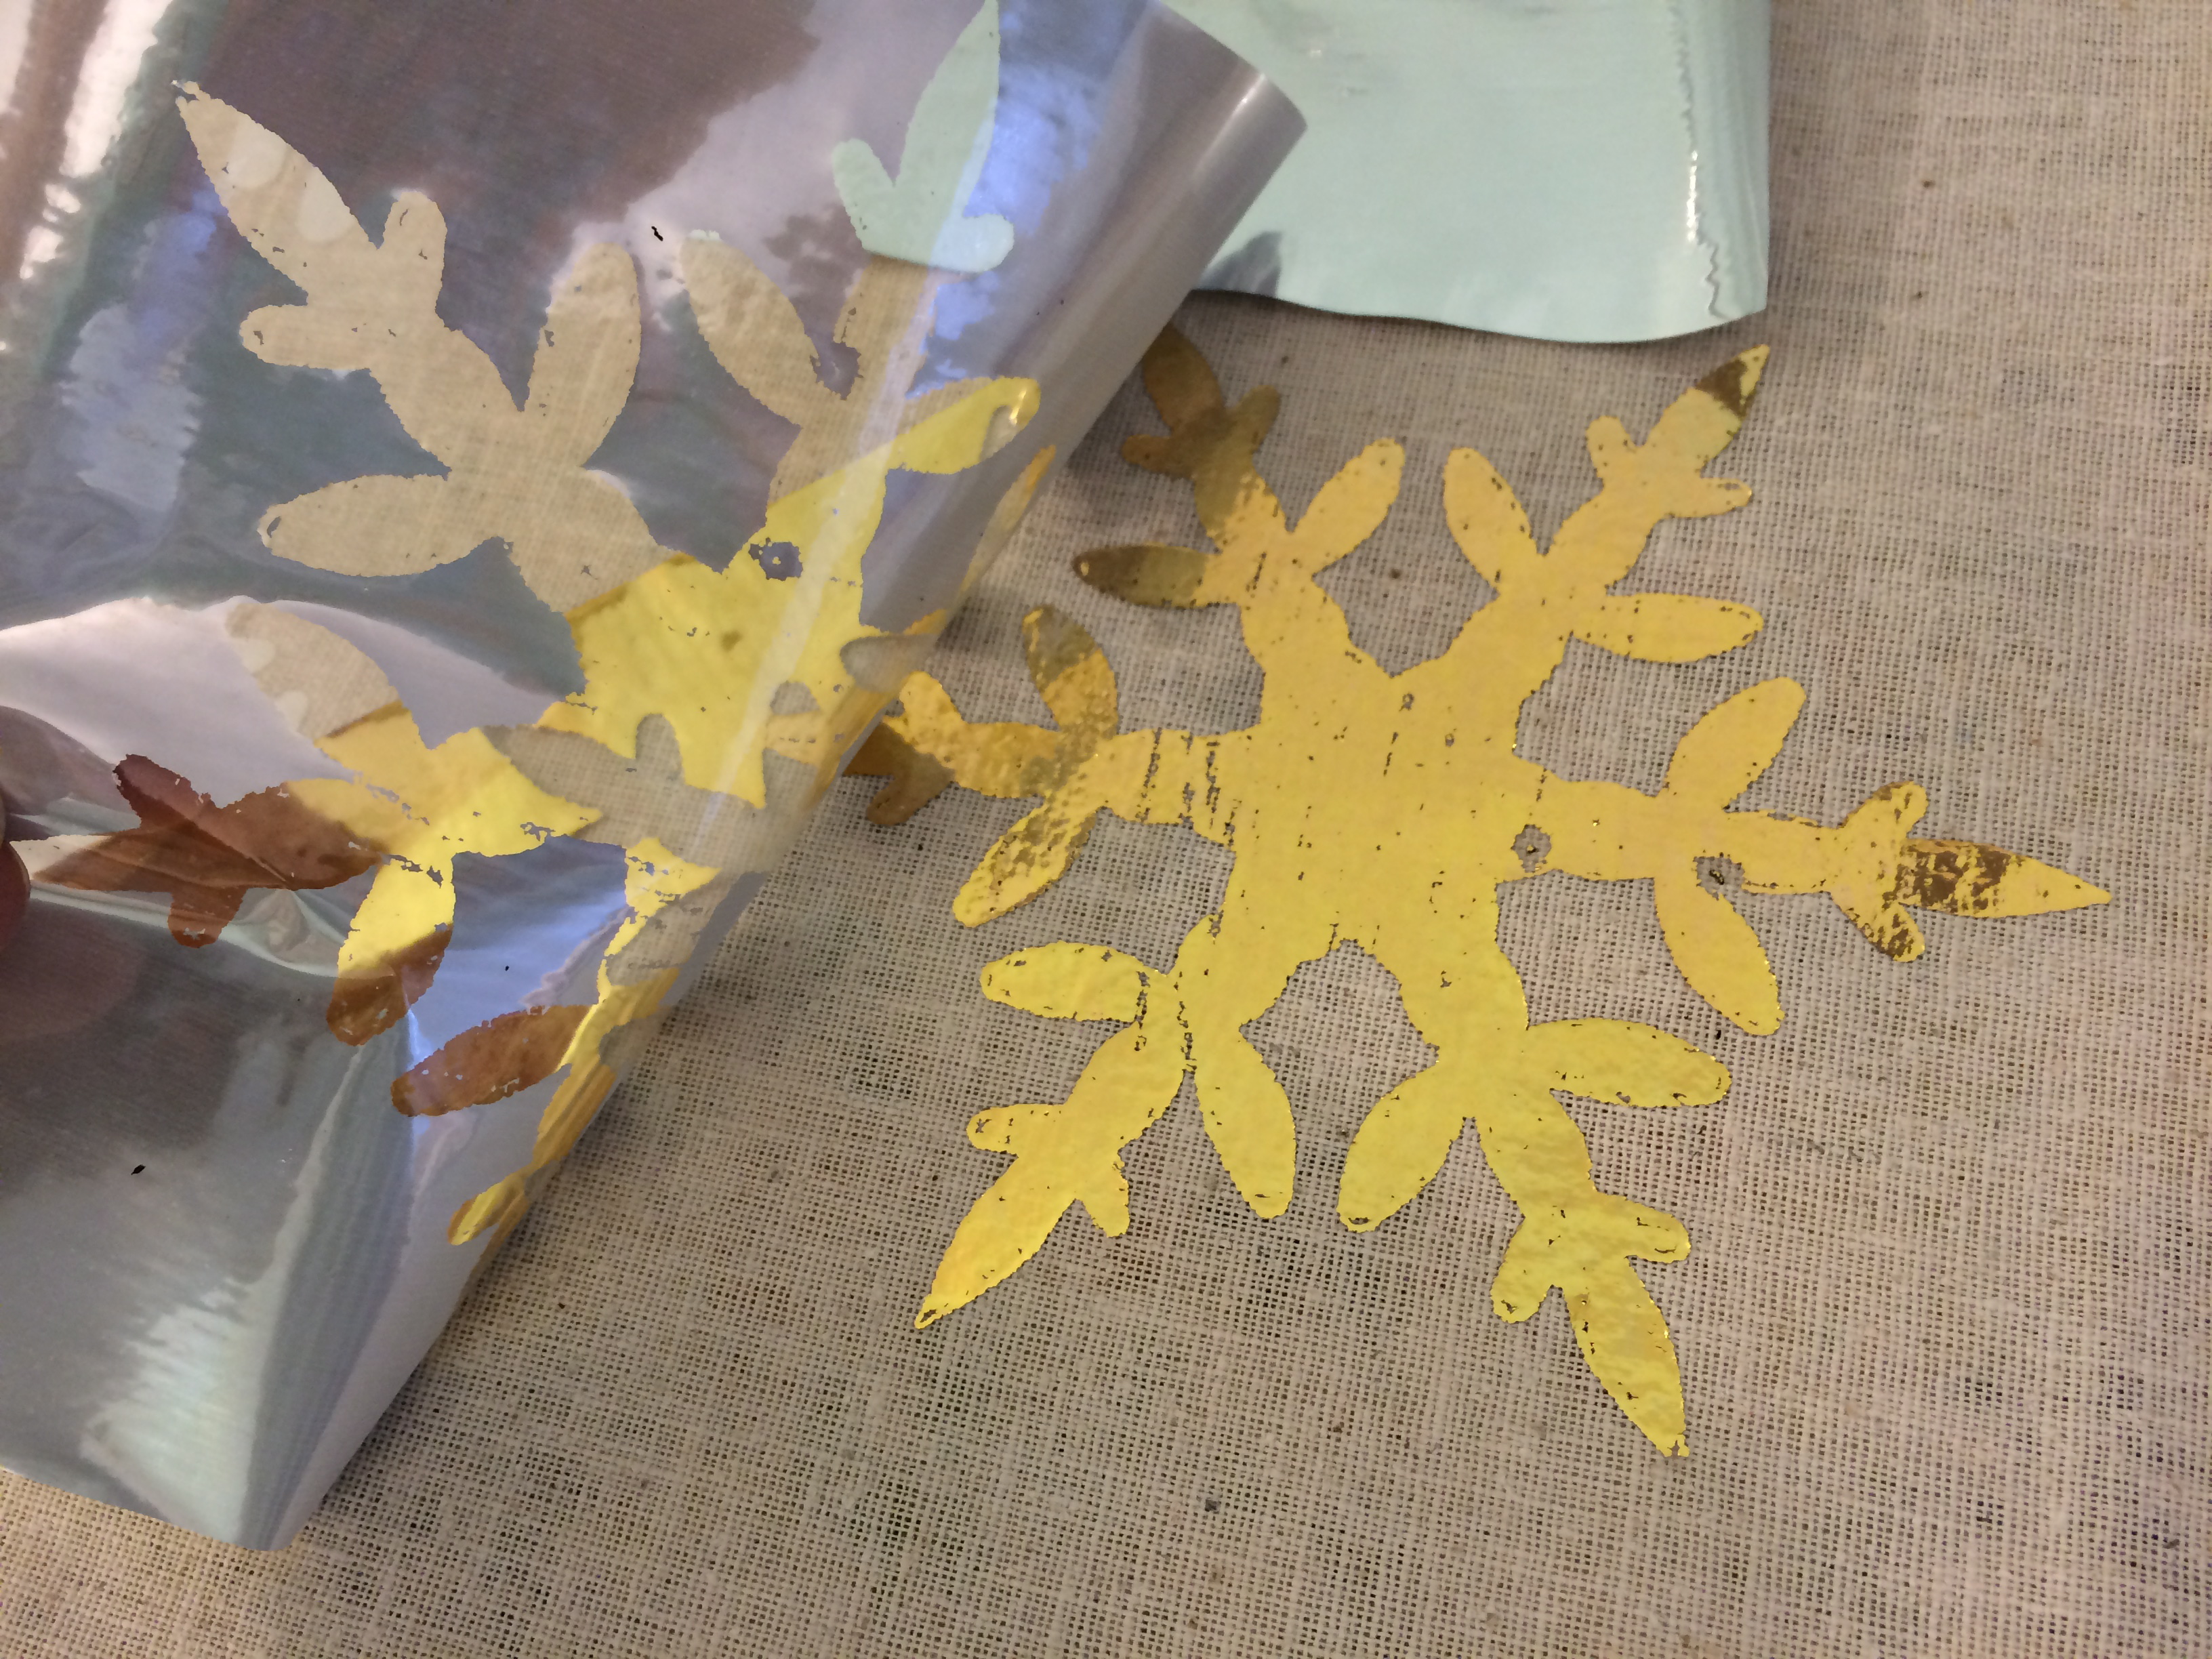
Once the foil has cooled, gently peel away the foil sheet.  It will leave a perfect snowflake!  Continue this process.

deco foil snowflake sizzix pillow 8 
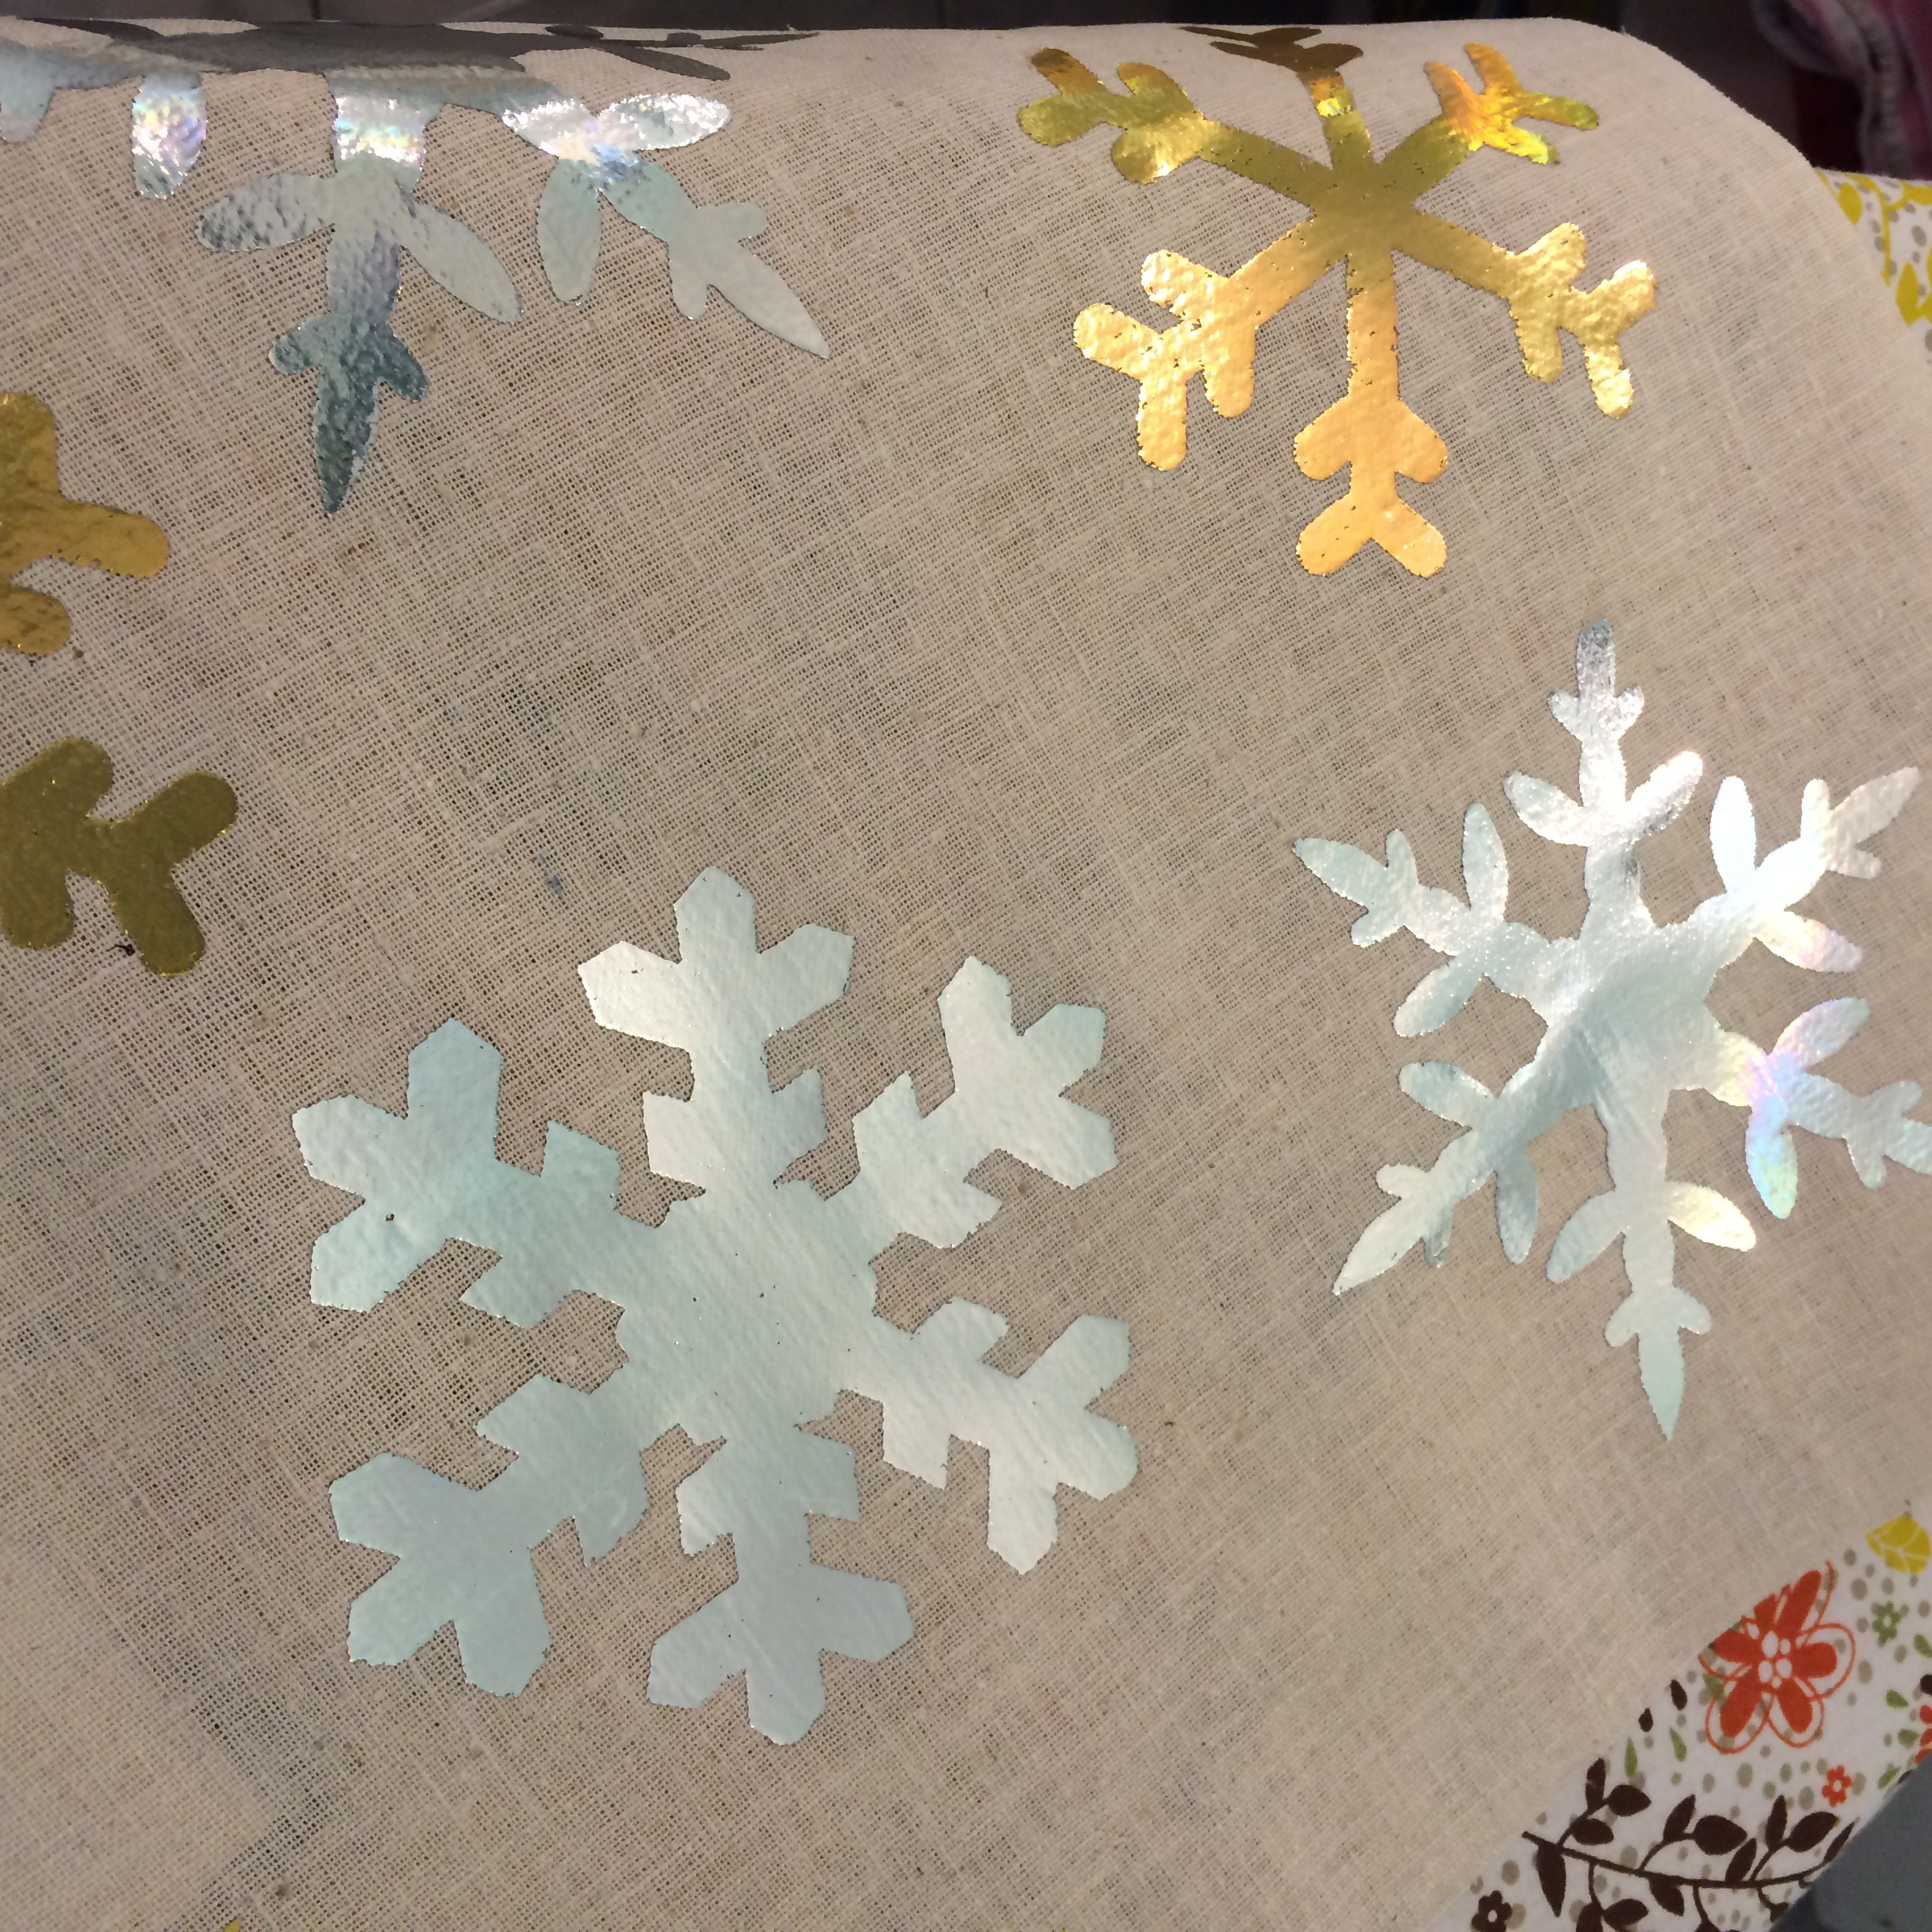
Be mindful not to touch the iron to the completed snowflakes.

deco foil snowflake sizzix pillow 9
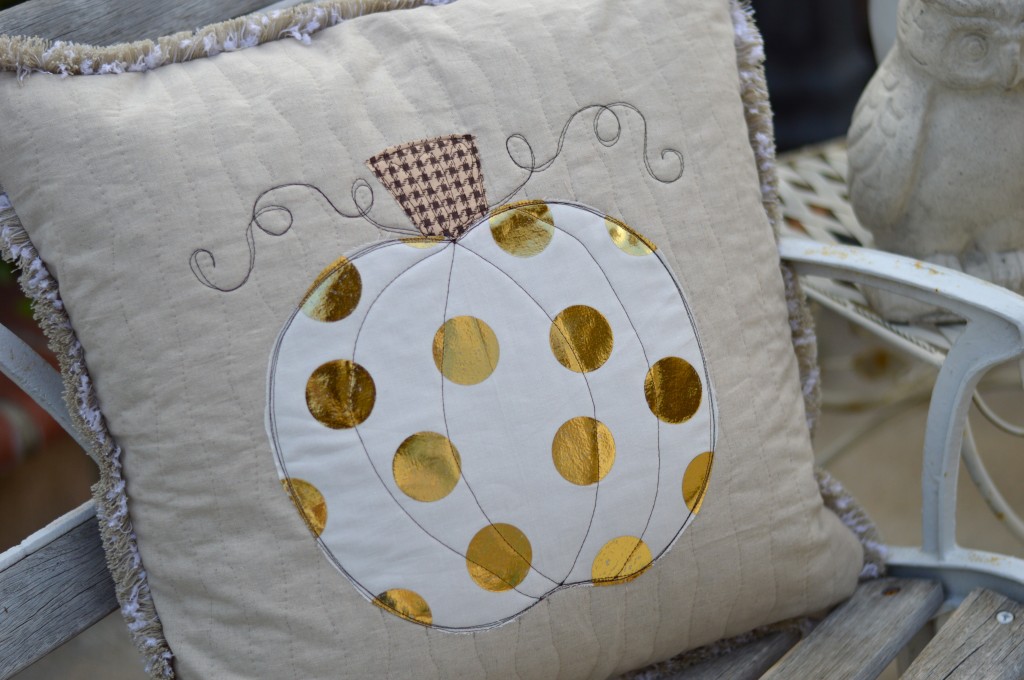
They are so shiny and pretty!!  Once all the snowflakes are finished you can turn it into a pillow!  I always put a zipper in my pillow back.  I also added some decorative fringe.  For more instructions on how to finish the pillow, you can check out this tutorial.

deco foil snowflake sizzix pillow 3

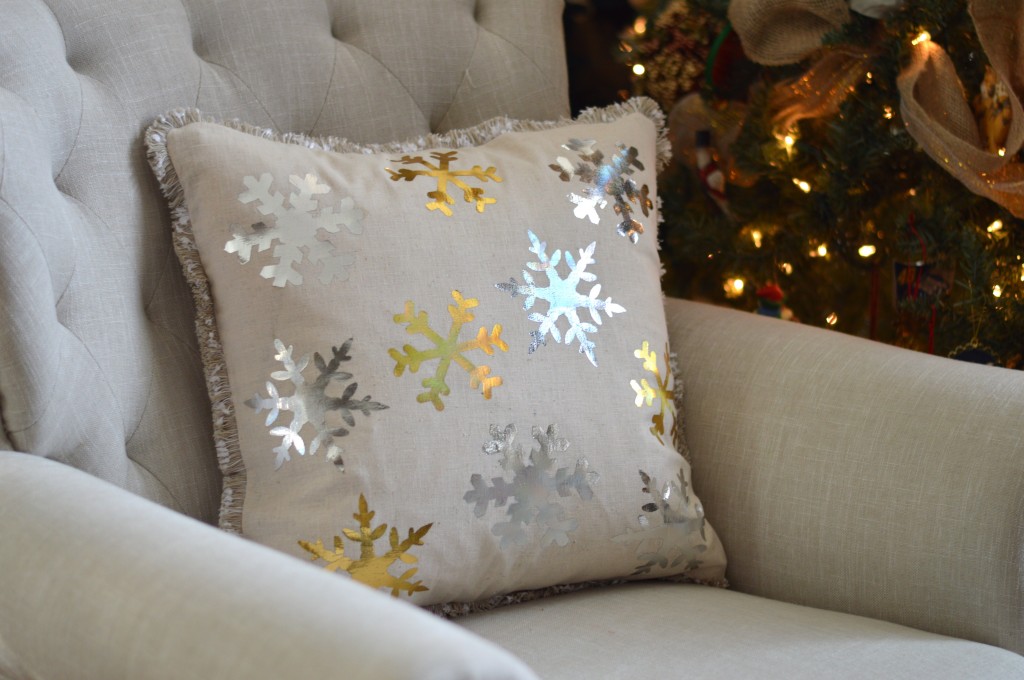
I love how this pillow looks in my sparkly living room!
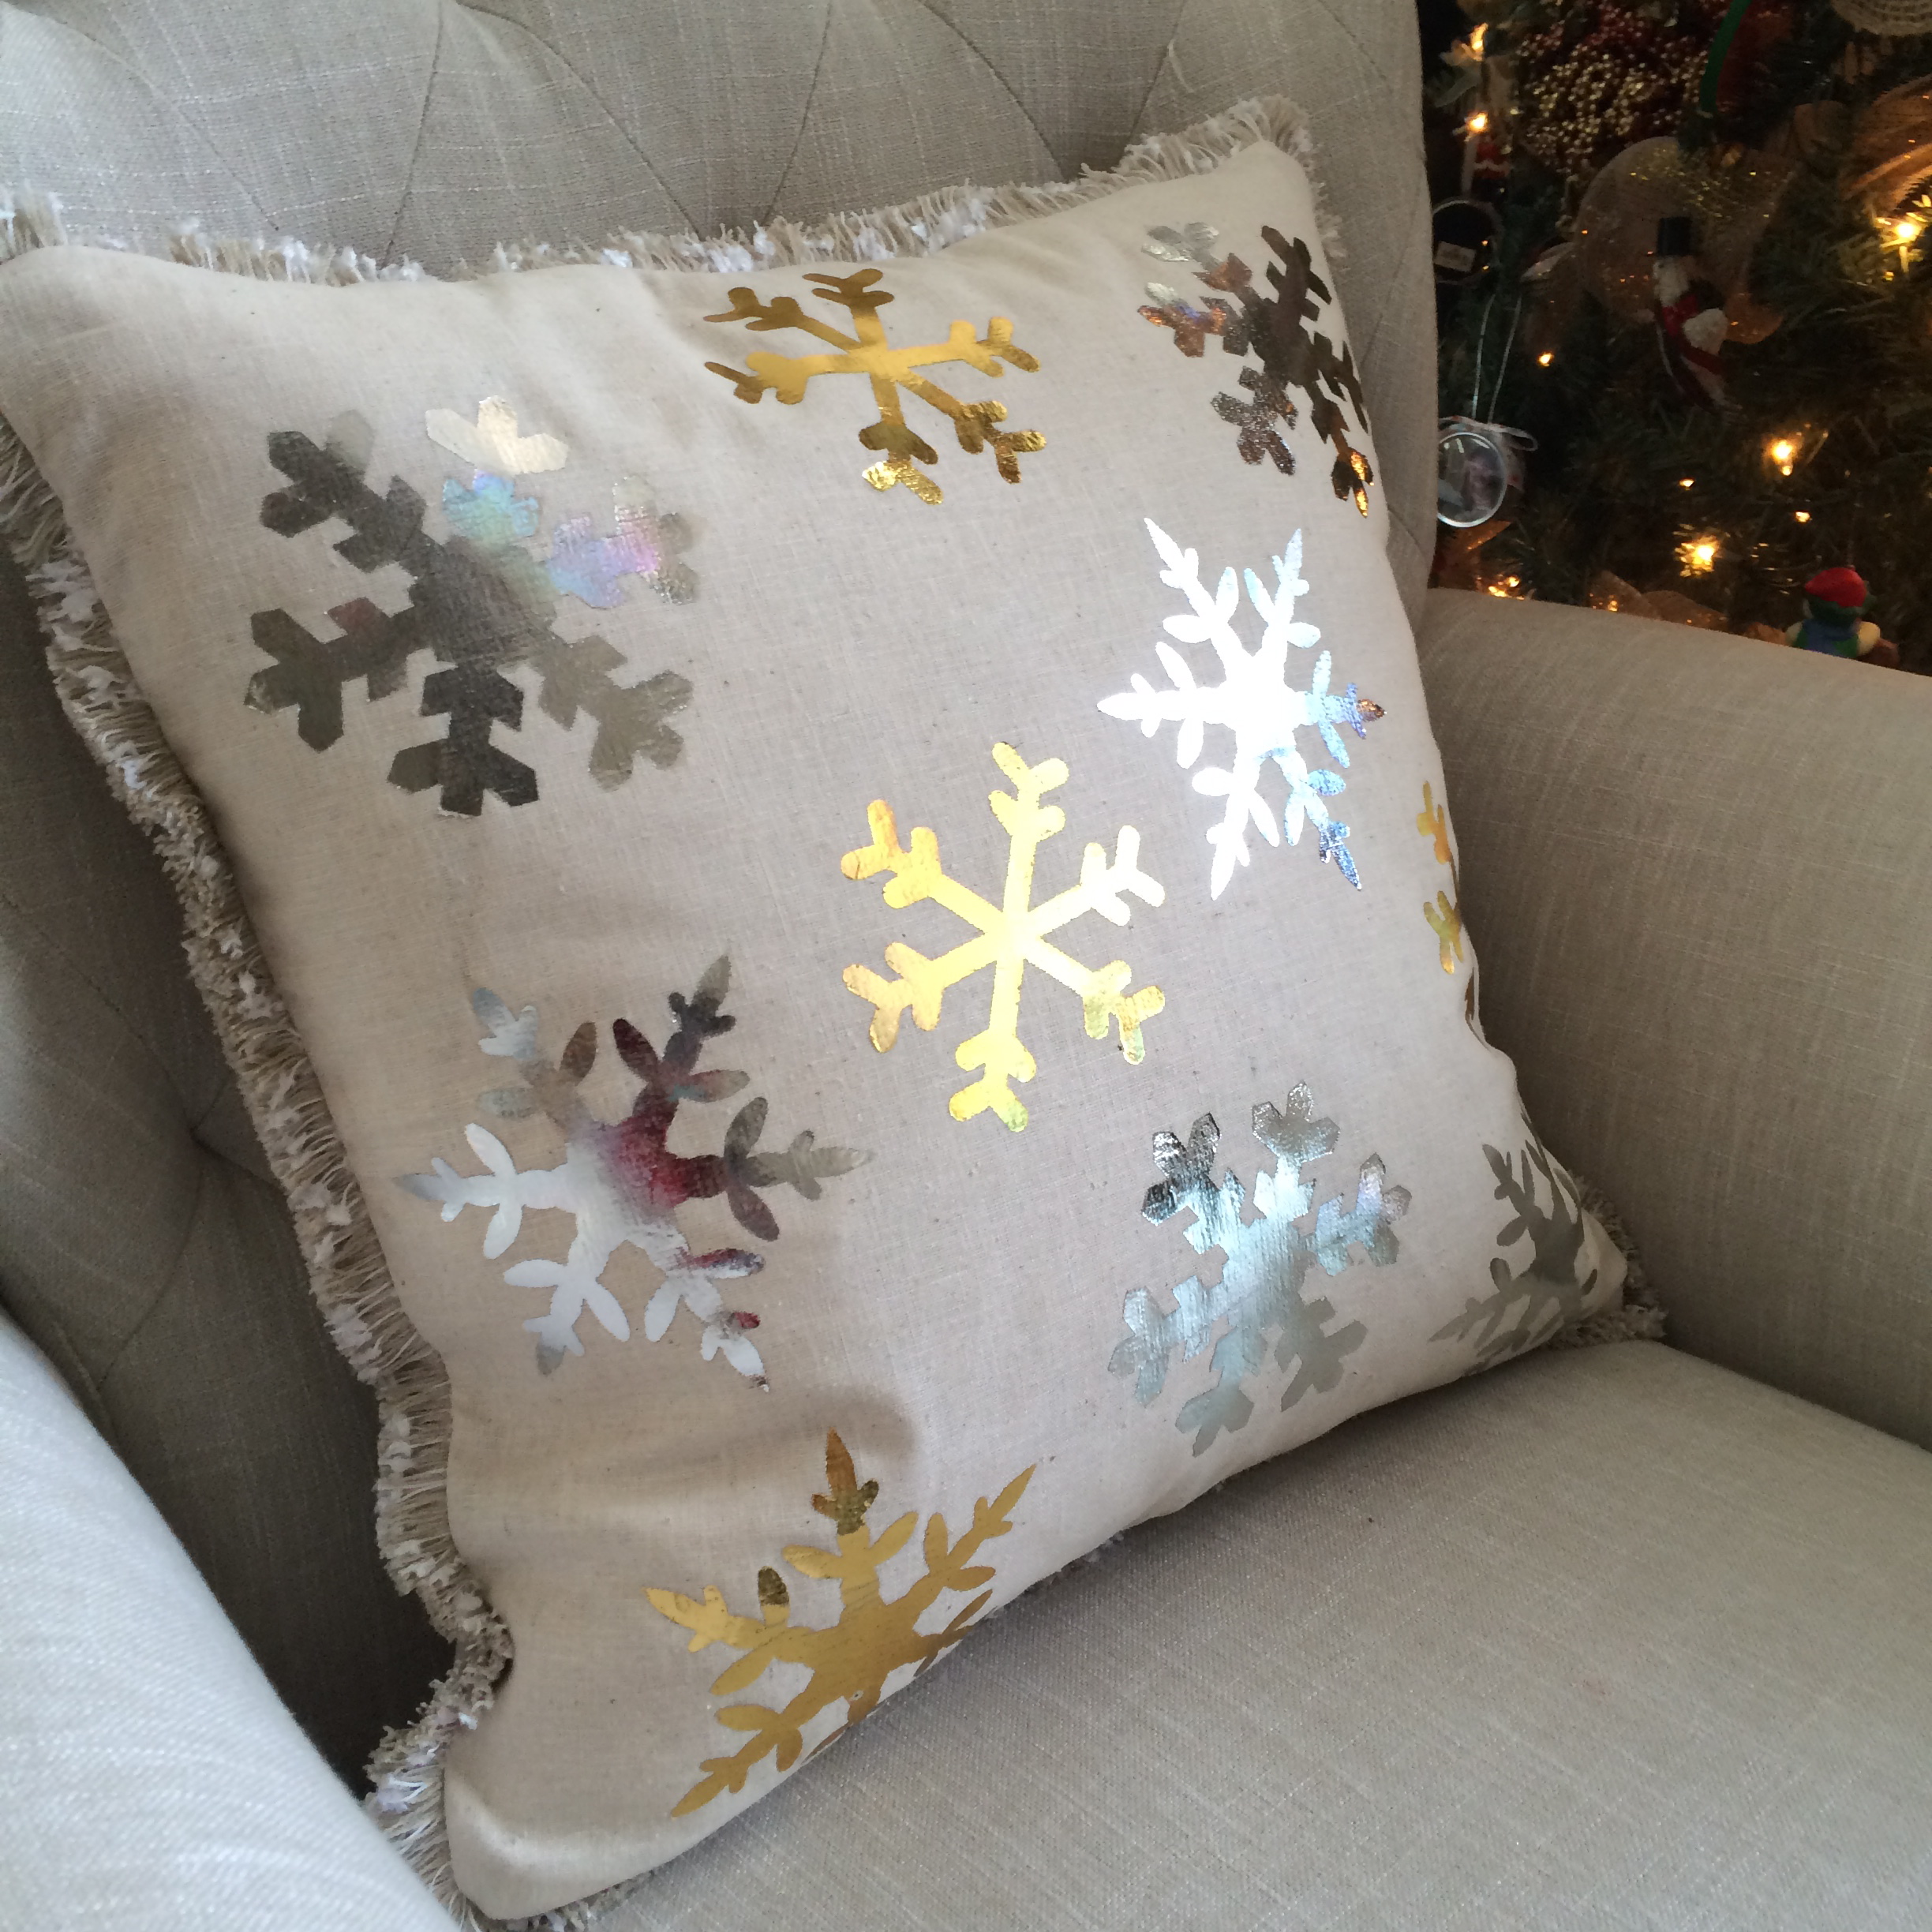
          deco foil snowflake sizzix pillow 11 Supplies:

2/3 yard heavy muslin for pillow

Sizzix Snowflake Dies

Therm O Web Hot Melt Sheets

Therm O Web Deco Foil in silver and gold

2.5 yards decorative fringe

22″ zipper, optional

Valentine Tote Bag

valentine tote

I am so in love with Milk Sugar Flower fabric from Penny Rose for Valentine’s Day!  It just screams vintage valentine!  I thought Sally needed a cute tote bag to carry her valentines in when she has her Valentine Party!  This tote bag is the perfect size for so many things!  Library books, piano books, car trips, stuffed animals, and dolls!  Sally will be using it as her piano book bag when Valentine’s Day is over.  The bag gets its stability from Therm o Web Fusible Medium Weight Stabilizer.  You can totally sew it in an hour!  Yippee!!

valentine tote bag 5

I have to pay her to model you know 🙂valentine tote bag


valentine tote bag 35

valentine tote bagNote: The seam allowances very as noted in the directions

Supplies for project:

1/3 yard main fabric

1/4 yard white accent

1/3 yard blue accent & handles

1/3 yard lining

HeatnBond® Lite Fusible Adhesive

2 yards HeatnBond® medium weight fusible stabilizer

valentine tote bag 8

Cut the following:

White (2) 4.5″ x 16″ accent strip main bag

Blue (2) 2″ x 16″ accent strip main bag

Pink (2) 10.5″ x 16″ main bag

Blue handles 6″ x WOF

Lining (2) 16″ squares

Sew the strips together in that order using 1/4″ seam allowances.  You should have (2) 16″ squares for the outer bag.

valentine tote bag 12Draw a heart on the Heat n Bond® Lite and iron it to the wrong side of the red fabric.

valentine tote bag 10 Cut around the heart and peel off the backing paper.  Position the heart as pictured above.  Make sure to leave plenty of room for the bag bottom.  Press into place and top stitch around the heart.

valentine tote bag 13Cut the HeatnBond® Interfacing/stabilizer into (4) 16″ squares.

valentine tote bag 14Cut the lining pieces (2) 16″ squares.

Fuse the HeatnBond® interfacing onto the wrong side of both the outer bag pieces and both of the lining pieces.

valentine tote bag 16Match both outer bag pieces right sides together and pin all the way around.  Do the same for the lining pieces.  Sew around the sides and the bottom using 1/2″ seam.  Leave a 3″ opening (for turning) on one of the sides of the lining.

valentine tote bag 20Cut a 2″ square notch out of the bottom corners of the outer bag and the lining.

valentine tote bag 21Open the notch and match the side seam and the bottom seam.  Pin.  Do this to each of the notched corners.

valentine tote bag 25Sew along this edge using 1/4″ seam.

valentine tote bag 23It’s starting to look like a bag!

valentine tote bag 29Press the 6″ handle strip in half lengthwise, then fold the edges into the center, the handle strip should be pressed into equal sections of four.

valentine tote bag 30Press the handles and top stitch along both long sides.  Trim off selvage.  Cut the handle strip in half creating 2 handles.

valentine tote bag 31Turn the outer bag right side out and pin the handles into place.  Measure 3.5″ from the side of the bag to position the handle.  Baste the edge of each handle 1/8″ from the edge.

valentine tote bag 32Place the right side out outer bag inside the inside out lining (that wasn’t confusing at all!)  The above picture is how it should look.  Essentially the lining and the outer bag are right sides together.  Match the side seams.  Pin all the way around the bag.  Sew 1/4″ along the edge all the way around the bag.  Turn the bag right side out through the opening of the lining.  Top stitch the opening closed.  Press the lining of the bag so you can’t see any lining on the front of the bag.  Top stitch 1/8″ seam all the way around the top of the bag.

valentine tote bag 34I love how it turned out and so does Sally!  It just screams Sweet Valentine!

valentine tote bag 33Time to get working on our valentines!

valentine tote bag 5

Noel Mini Quilt

noel cover

Hello, my name is Amanda and I am addicted to gingerbread cookies and Christmas sewing!  I love this time of year!!!  It’s so happy and magical and joyful!  I can’t stop listening to Christmas music, baking cookies, or sewing with this Little Joys Fabric from Penny Rose!  I created this little quilt pattern using Therm o Web’s EZ print sheets.  All you have to do is print the applique pieces from your computer and you’re already on your way to making this quilt!  noel quilt 3

Mufasa was very helpful in the creation of this quilt as you can see.noel quilt 4The pattern is over on the Therm O Web blog today!  Hop on over to download the pattern and get the cutting instructions!!

noel quilt 5This quilt is perfect to hang on a wall, put on a table, or give as a gift to someone special.

noel quilt 13Because most of this quilt is applique, I didn’t want the applique pieces to puff out from the quilt so I quilted over the entire top.

noel quilt 11Merry Christmas!!


12 Days of Meow-y Christmas {Day 1}

vintage kitty sizzix ornament

meowychristmasHi, my name is Amanda and I am a crazy cat lady – there I said it!!  There is something about Christmas and cats that it so much fun!  Whether the cat is climbing the tree and batting ornaments around the house, clawing at the wrapping paper on the gifts, or drinking the milk for Santa, Christmas and Cats were made to go together!  Each day December 1-12 we will have a Christmas Cat themed project for you to make!  I say “we” because I have teamed up with some talented ladies for some feline fun!  Tina from @emilyannskloset, Melissa from the Polka Dot Chair, Bev from Flamingo Toes, Tasha  from a Little Sweetness, Kerri from Sew Dearly Loved, and Lucy from Lucy Blaire Handmade will be joining in the festivities!

vintage kitty ornament sizzix

vintage cat ornament 12Today I am showing you how to make these vintage inspired cat ornaments.  I LOVE vintage prints especially if they involve cats.  Let’s get started!

Supplies

Sizzix Mitten Die

Small Ric Rac

White fabric

Tinsel

Felt, 2 colors

Heat n Bond EZ Print Transfer Sheets

Spray n Bond

Ribbon

Bakers Twine

vintage cat ornament 5Begin by printing the cat images (click here to download) in REVERSE onto the Transfer Sheets.

vintage cat ornament

Roughly cut out the image and place it face down onto white cotton fabric.

vintage cat ornament 6Place the pressing sheet over the image and press with a hot, dry iron for 20 seconds.  (Read the instructions from the manufacturer just to be safe).  Let cool completely and then peel off the backing paper.  Cut out with scissors.

vintage cat ornament 11Mufasa my Kitty Helper was sleeping on the job!!!  For the mittens, die cut the felt using the Sizzix mitten die.

Screen Shot 2015-11-30 at 9.02.43 PM

You can die cut up to 4 at a time.   You will need (2) mittens and (2) mitten tops per ornament.

vintage cat ornament 2Using Spray n Bond, spray the back of the kitty image and position on the top of one of the mittens.  Spray the back of the small ric rac also, and position it around the kitty image.  Start and stop the Ric Rac at the top of the image.  The Spray n Bond keeps all the pieces firmly set so they don’t move during sewing.  Sew on top of the ric rac.

vintage cat ornament 14

vintage cat ornament 3Using the basting spray, spray the wrong side of one of the mittens and stick the 2 mittens together.  Choose a decorative stitch and sew around the mitten.  Start and stop at the top.

vintage cat ornament 15Spray the (2) white mitten tops with basting spray and position them on opposite sides of the mitten.  Top stitch around the mitten top in white thread.  Cut a piece of narrow tinsel by the yard and zig zag it along the mitten cuff.

vintage cat ornament 9Thread a piece of baking twine on a needle and add a loop at the top of the mitten.  Hot glue a little bow at the top of the ric rac.vintage cat ornament 4

Hang on your vintage tree!!!   vintage cat ornament 8       These are so fun and easy to make!  They would be purrrrfect tied on top of a gift, tied on a plate of cookies, or simply tucked into a Christmas card 🙂vintage cat ornamentvintage kitty ornament sizzix 3

vintage kitty ornament sizzix 2

Patchwork Acorns

patchwork acorn potholdersI’m sharing my Patchwork Acorn Potholder tutorial over on the Therm O Web Blog.  You can download the pattern and read the instructions!!patchwork acorn potholder

These are cute to use as potholders or as decorations in the kitchen!  I used a kitchen towel for the backing and the inside is fusible fleece.

patchwork acorn potholder 22

I also used the same pattern for the acorn and appliqued it onto burlap for a quick fall pillow!IMG_1846

To make the pillow, use spray an bond basting spray to hold the acorn in place.  Top stitch a few times around the acorn.  Then sew a 1″ seam all the way around the pillow leaving an opening for stuffing.  Stuff, then sew closed.  Fray the edges of the burlap as desired.IMG_1836

Sizzix Quilted Deco Foil Pumpkin Pillow

sizzix pumpkin pillow deco foil 2I am in love with gold polka dot pumpkins!  I created a smaller version of this pillow on the Therm O Web blog.  This version is a 20″ pillow and it’s actually quilted!  Have you used Deco Foils before?  They are a great way to add a little pop and pizzaz to a project.  To get perfect polka dots I used my Sizzix Fabi and a circle die.  Of course I needed a little help from Mufasa who is totally obsessed with the Sizzix Fabi!

sizzix pumpkin pillow deco foil 4

Using the Fabi you can cut circles in a snap!  I used the Therm O Web Hot Melt Sheets and die cut them.IMG_1595

Draw a pumpkin on a white piece of fabric using a disappearing ink pen.  Position the circles all over the pumpkin including partially off the edge of the pumpkin.  You can use this pumpkin pattern, I enlarged it a bit so it fit the 20″ pillow.  Press using medium heat.  Let cool completely.  Peel off papers.IMG_1607
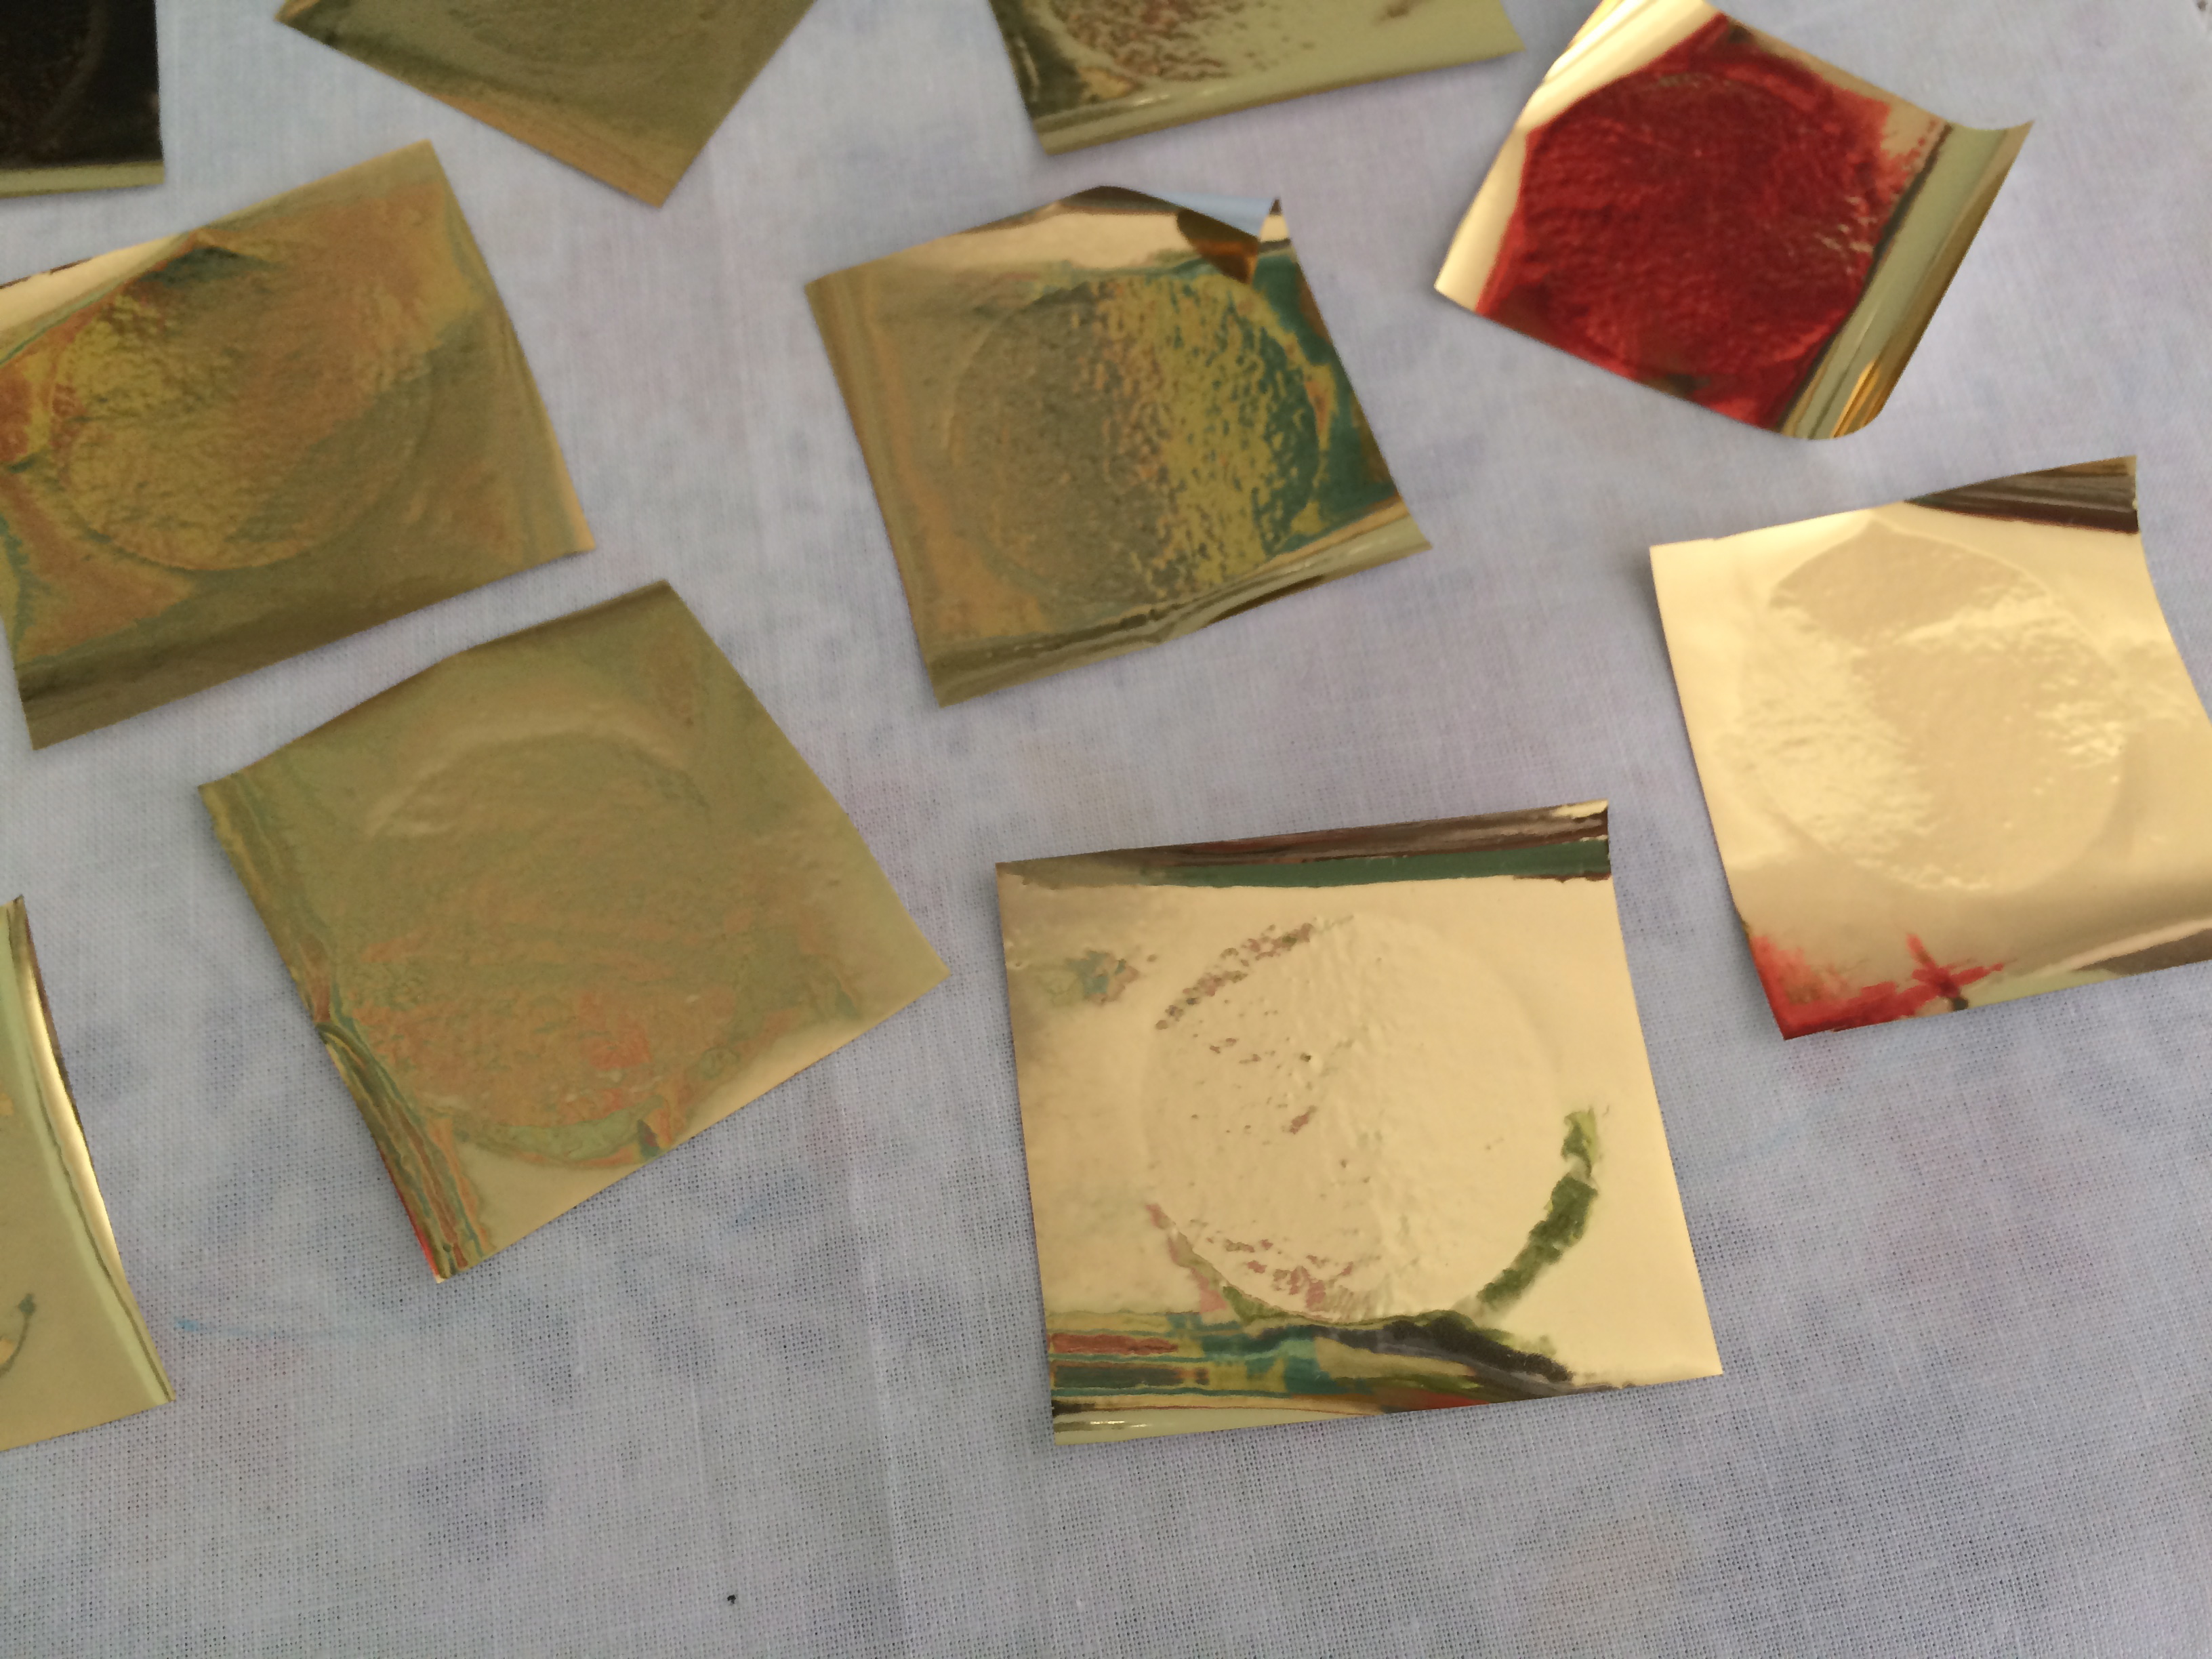
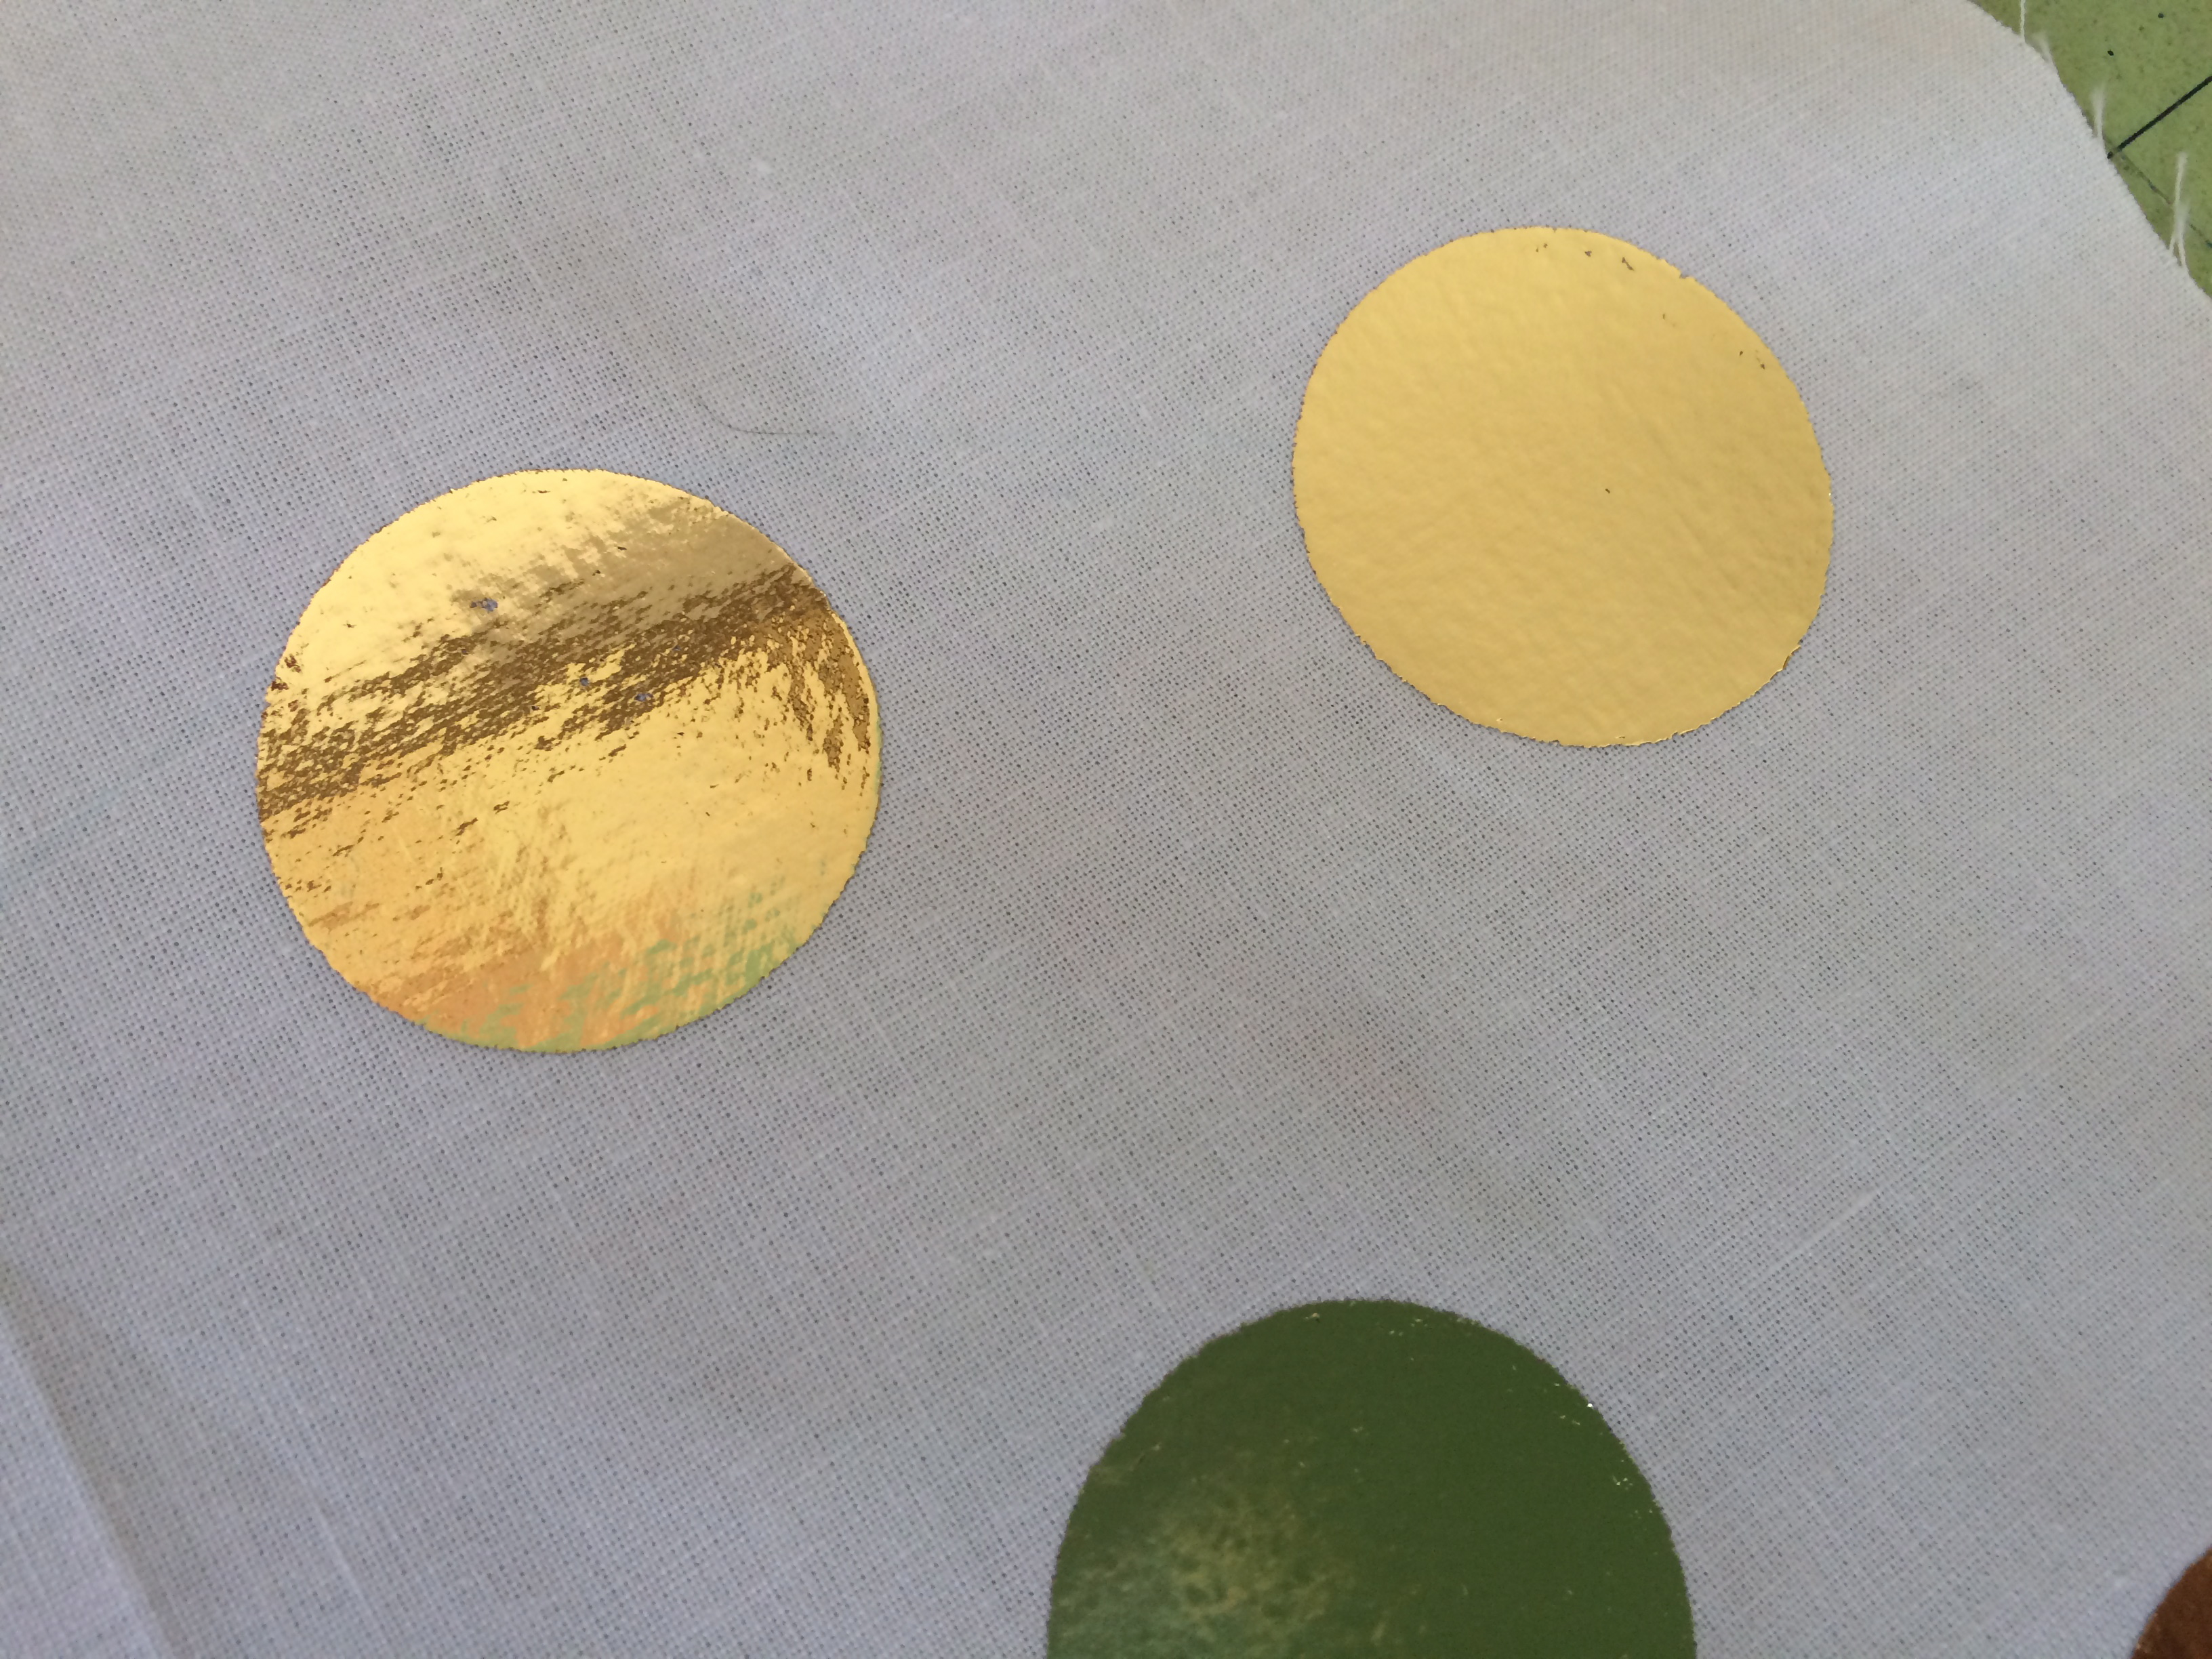
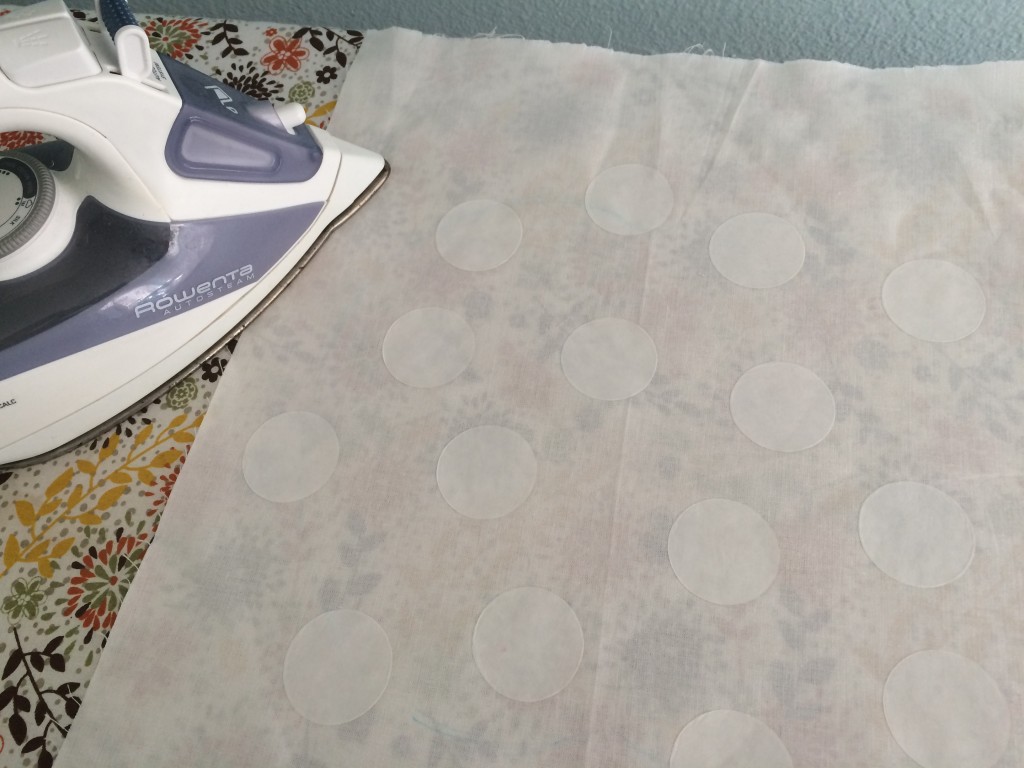
Cut the Deco Foil into squares that are slightly larger than the circles.  Place on top of each hot melt circle.  Cover with a pressing paper and press for about 15-25 seconds using medium heat.  If I use the highest heat setting it singes the foil.

sizzix pumpkin pillow deco foil 7

sizzix pumpkin pillow deco foil 8Let cool completely.

sizzix pumpkin pillow deco foil 10Carefully peel off excess foil leaving gold circles!  Yes!  It’s magical!!!

sizzix pumpkin pillow deco foil 12Cut the pumpkin out.  Cut the stem out.

sizzix pumpkin pillow deco foil 13Cut (2) natural linen/cotton squares for the pillow.  Using Spray n Bond basting spray, adhere the pumpkin and stem to the square.

sizzix pumpkin pillow deco foil 14Using more basting spray, baste the square onto a piece of batting.

sizzix pumpkin pillow deco foil 15Sew around the stem and the pumpking 3 times in dark brown thread.  Add some swirly vines.  Then have some fun with the quilting!  I added detail to the pumpkin.  I also quilted wavy lines in the background.  I really like how it turned out.

sizzix pumpkin pillow deco foil 18
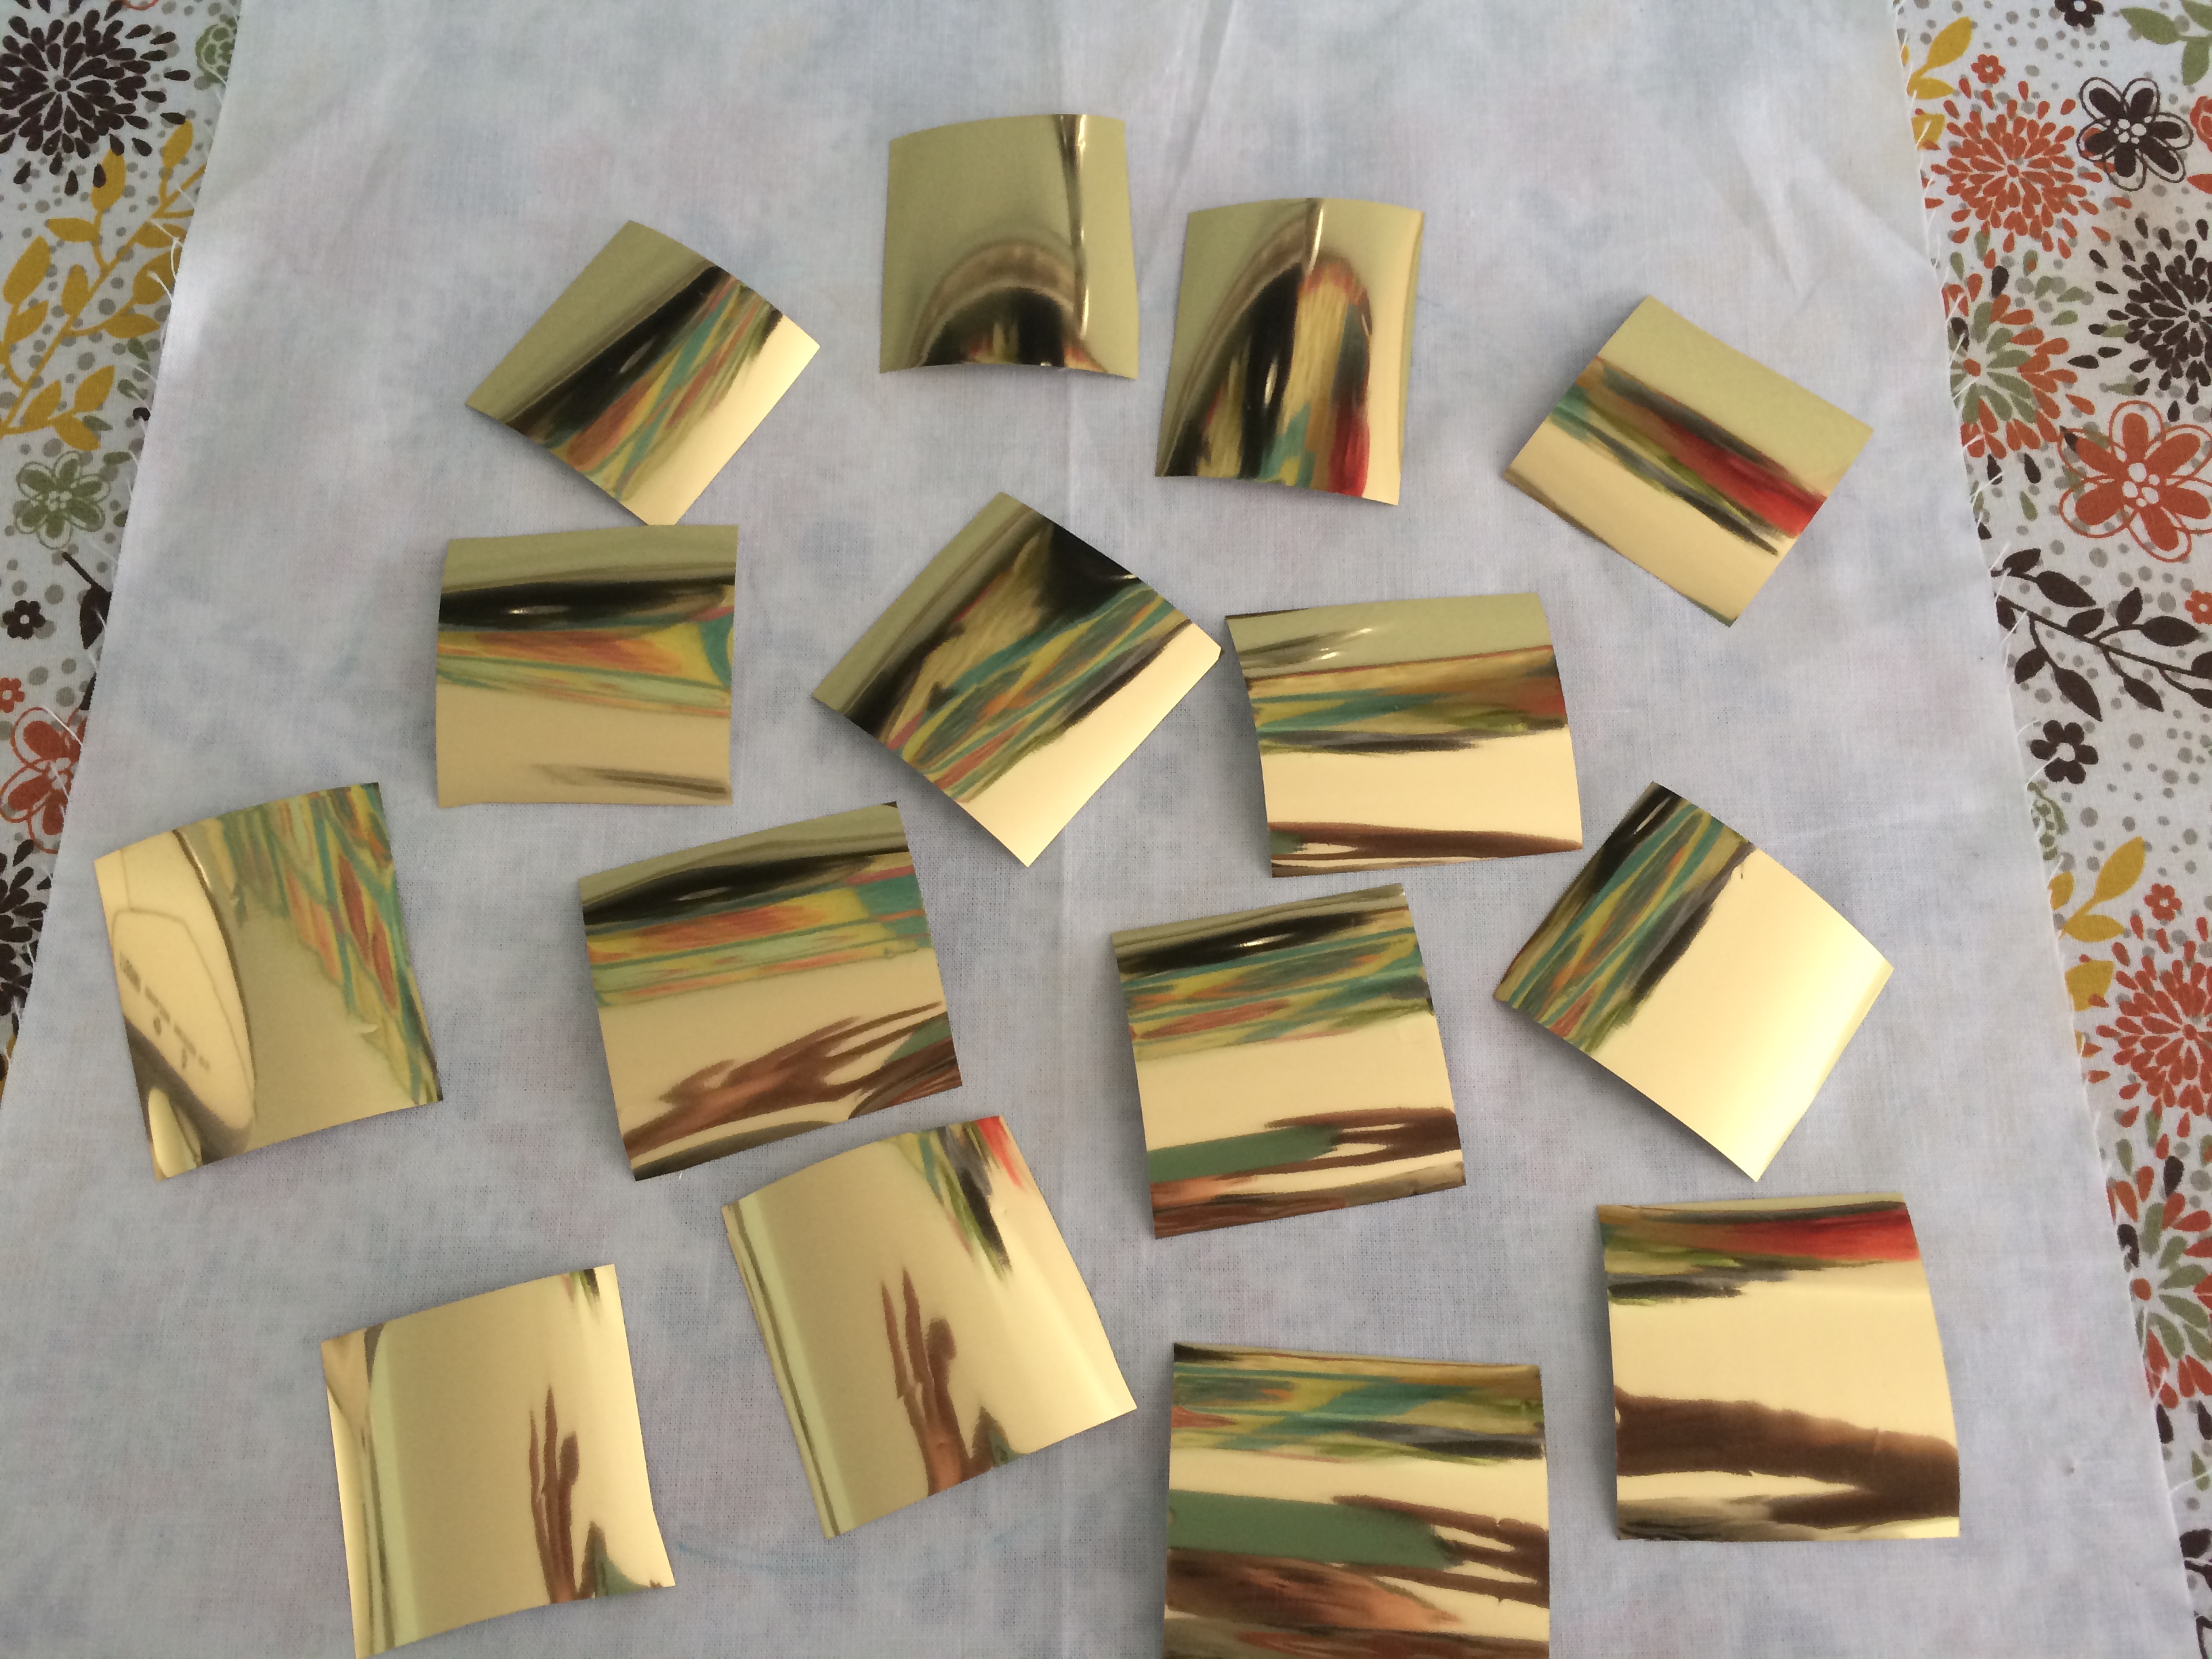
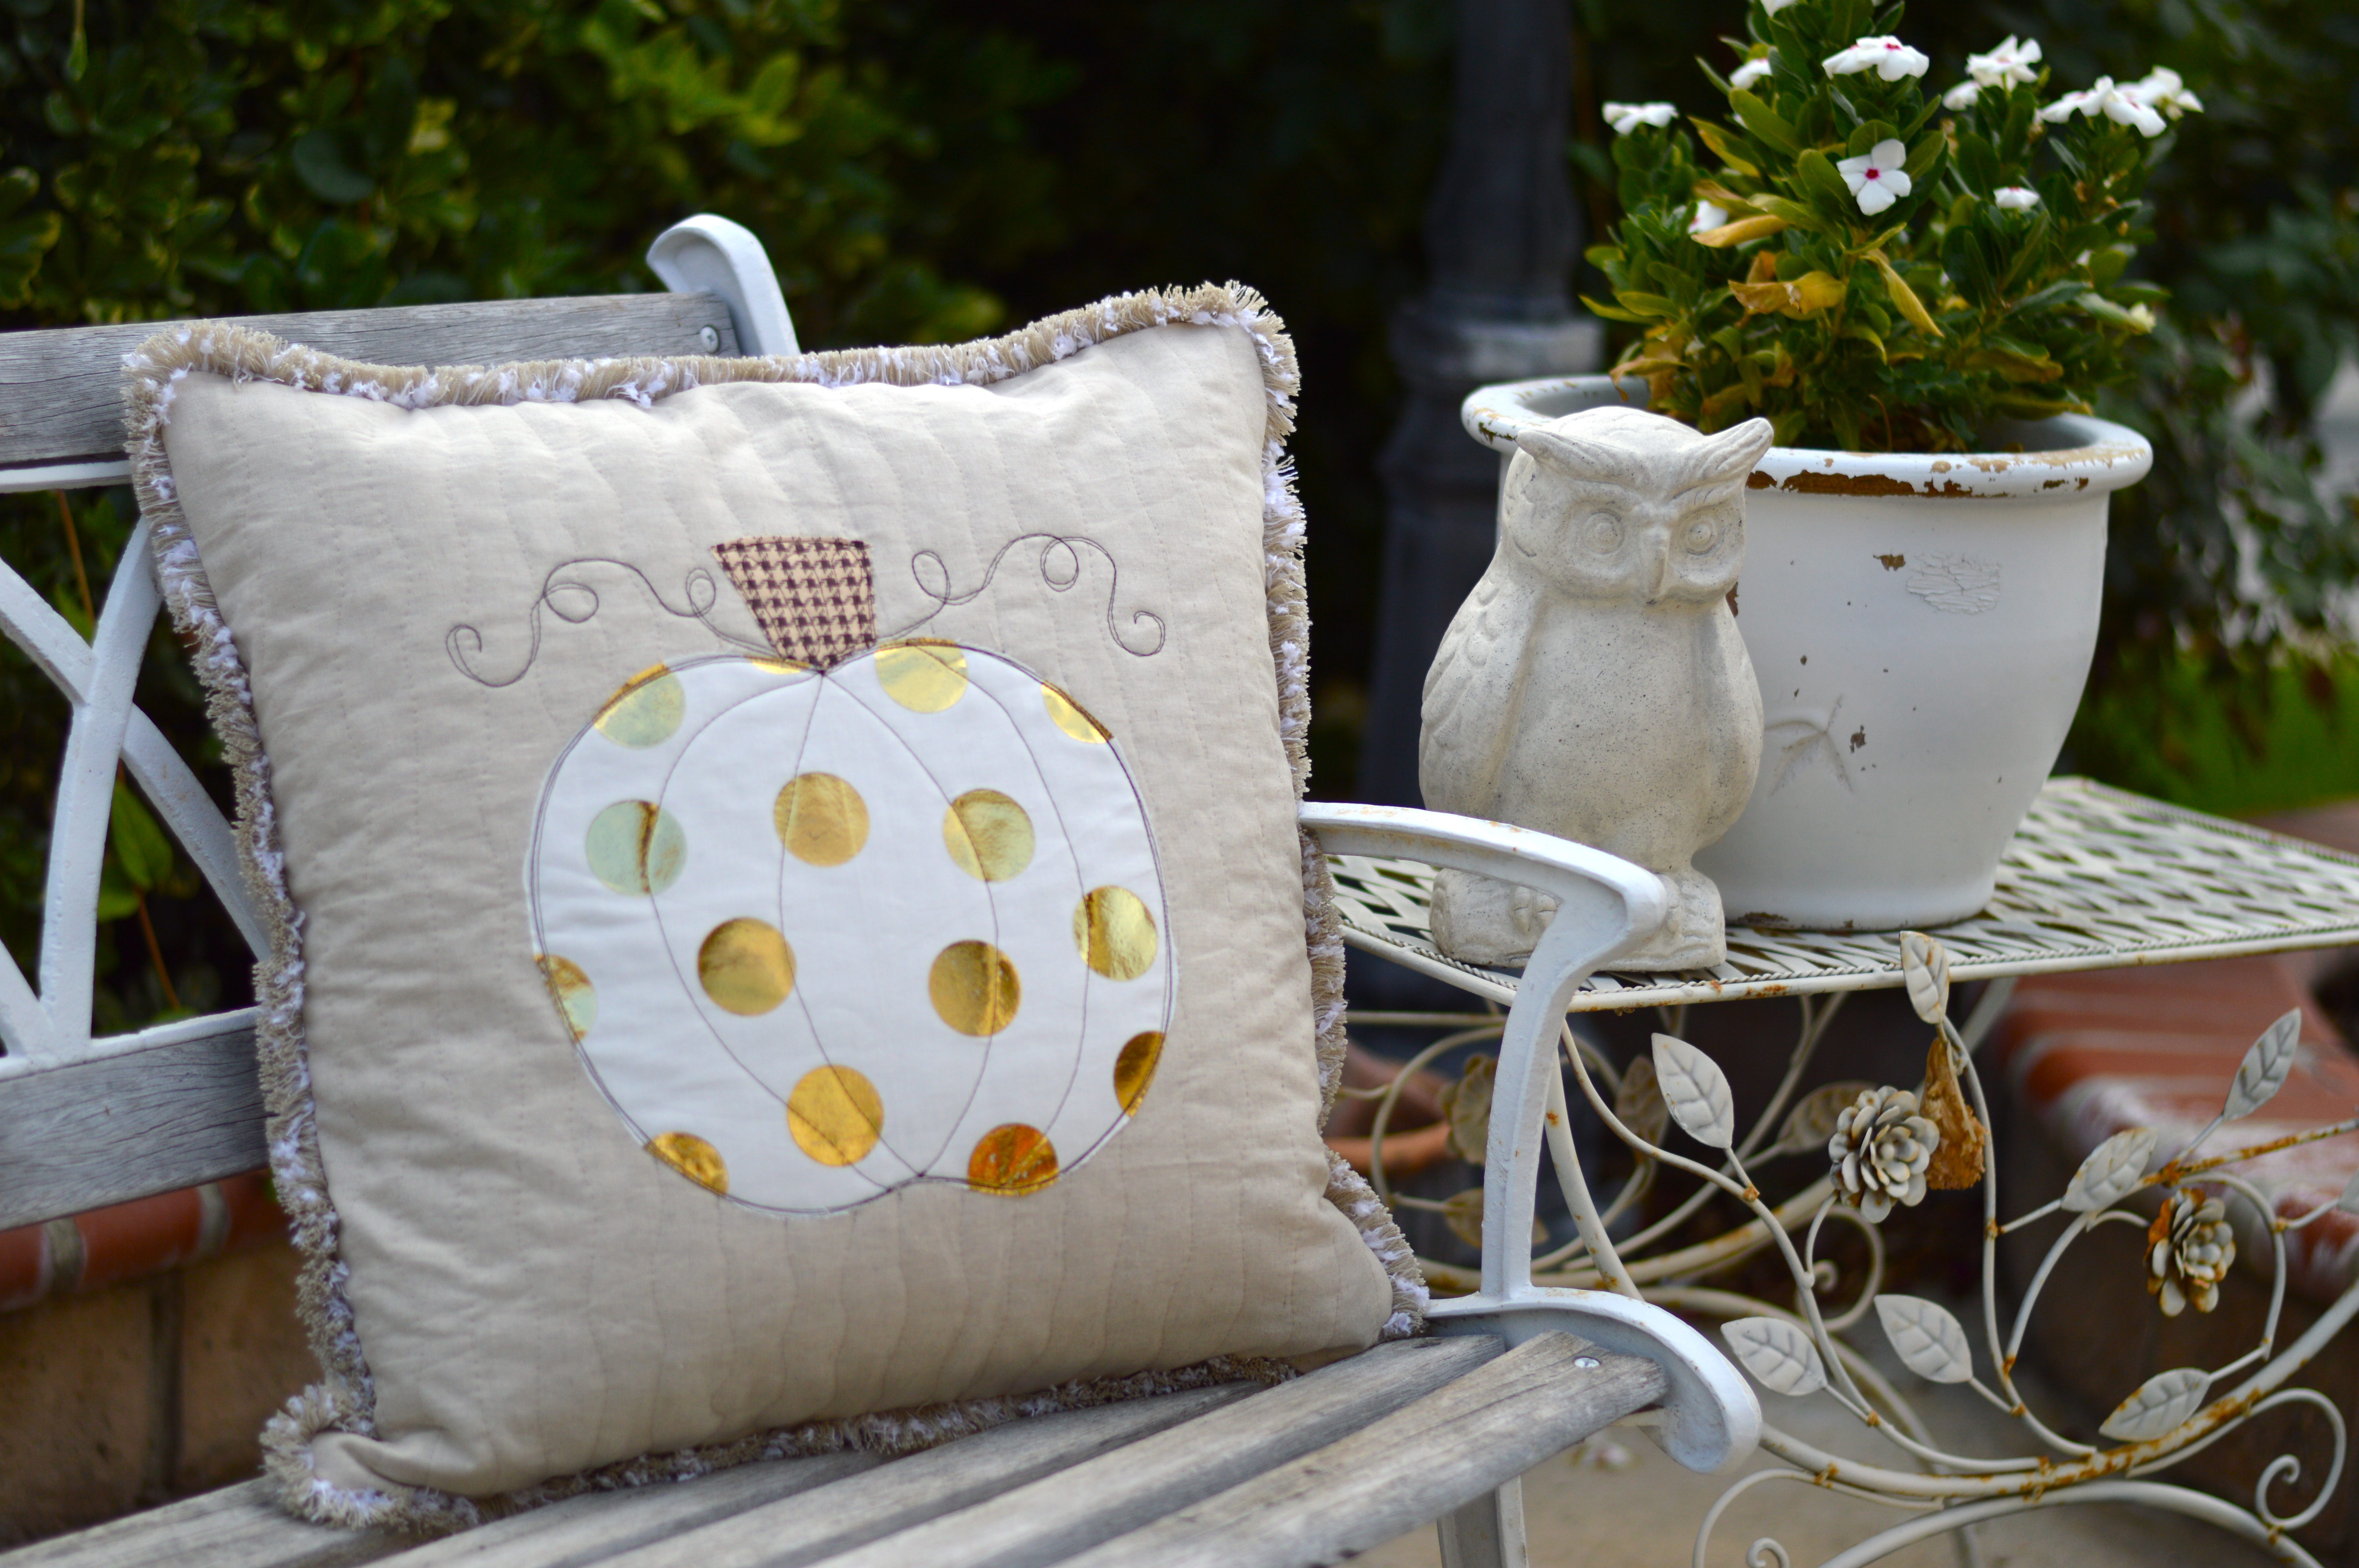
To finish the pumpkin, add a zipper in the back 20″ square.  Baste in trim, and sew the pillow using 1/2″ seams.

sizzix pumpkin pillow deco foil 16

sizzix pumpkin pillow deco foil 3Mufasa needs to be a Sizzix model 🙂


All Hallow’s Eve Wall Quilt featuring Penny Rose Fabrics

halloweenIt’s finally feeling like fall here in Southern California!  Yippee!!!!!  I love decorating for Halloween and I totally needed a new spooky wall hanging in my living room.  I like to decorate with spooky neutrals in my living room/dining room.  The family room and kitchen get a brighter treatment 🙂  When I saw the huge variety of neutrals and gray/blacks from Penny Rose Fabrics I knew exactly what I wanted to make!  I love that this is more subtle Halloween and not so obvious.  I hope you love it too!  You can download the details of the pattern HERE.

Quilt measures 42″ square.

spooky halloween quilt 30Most of the black/gray fabrics are from the Civil War Times fabric line.  I love the variety!  The rest of the fabrics are from Penny Rose Classics.Screen Shot 2015-10-21 at 9.03.17 PM

spooky halloween quilt 10Here is the finished quilt hanging above the piano.  I’m a little giddy right now 🙂

spooky halloween quilt 22I first made the background by sewing 5″ squares together in 7 rows of 7.  Then the applique comes next.  You could totally add ghosts and bats, I wanted to keep it simple.

spooky halloween quilt 26The moon is made by tracing a pie plate.

spooky halloween quilt 28Here is a little close up of the quilting, with Mufasa’s permission 🙂  spooky halloween quilt 6I love striped binding cut on the bias – it’s my absolute FAVORITE!!!!  The backing is from Penny Rose’s mensware line – I love houndstooth!!!spooky halloween quilt 8Ok, so this is totally my new favorite Halloween Quilt!

spooky halloween quilt 9

Happy Haunting Halloween Quilt

happy haunting halloween quilt coverIsn’t Halloween the best time of year for quilting?  I get so excited over orange and black and cats and bats!  I can’t have enough quilts!  I am so in love with this line from Deena Rutter called Happy Haunting by Riley Blake Designs.  It is everything Halloween should be!

happy haunting halloween quilt 2This quilt sews together fast and YOU get to pick the layout of each block.

happy haunting halloween quilt 21This quilt is also best put together with a friend.  Tina from @emilyannskloset and I got together this summer for a Coast to Coast Kitty Quilter Retreat where we sewed about 15 hours each day for 4 days!

happy haunting halloween quilt 26  Let’s get started!

Finished Quilt 55″ x 55″

Supplies:

fat quarters or quarter yard cuts of Halloween prints

1 yard sashing

3/4 yard outer boarder

fat quarters for applique

1/3 yard for background blocks for applique

Heat n Bond Lite or Heat n Bond Lite EZ Print Sheets

Applique pattern, click HERE

1/2 yard binding

3 yards backing

FOR THE BLOCKS

Begin by cutting the fabric into the following categories:

2.5″ squares

2.5″ x 4.5″ rectangles

4.5″ squares

4.5″ x 8.5″ rectangles

just keep cutting from a variety of fabrics until you have a sizable amount.

happy haunting halloween quilt 24Now the fun begins – don’t lay it out!  Just be totally random!  The goal here is to create 8.5″ blocks by using a combination of 4 patches, strip sets, and larger rectangles.  Below are a few examples, the combinations are endless!  Just be creative!

happy haunting halloween quilt 30

Each time we finished a block we hung it up on a clothes line and said “No, THIS is the cutest block!”

happy haunting halloween quilt 25For the finished quilt you will need 20 total pieced blocks and 5 applique blocks.  We even made a block that was all 2.5″ squares!

happy haunting halloween quilt 3 APPLIQUE

For the applique background squares, cut (5) 8.5″ white squares.  Trace the applique onto heat n bond lite or use the Heat n Bond EZ print sheets.  Iron the heat n bond to the wrong side of the fabrics and cut out the shapes.  Peel off the backing paper then press in place on the white squares.  The spiders have ric rac stitched onto the block and the legs are stitched with black thread. Top stitch around each image.happy haunting halloween quilt 29

Once all the blocks are finished it’s time to sash.  I love that Tina choose black and white gingham to sash her quilt – it gives it a cozy country look!

FOR THE SASHING

Cut (20) 2″ x 8.5″ strips

you will need to piece the next sashing strips to give you the following measurements

(6) 2″ x 46.5″ strips for the horizontal rows

(2) 2″x 49.5 strips for the sides

Sew the 8.5″ sashing strips in between the blocks forming horizontal rows.  Then add the horizontal strips along the top, middle rows, and bottom.  Press.  Finish by adding the 2 side strips.

happy haunting halloween quilt 28

OUTER BOARDER
After sashing add the outer boarder.  I don’t measure at this point – do you?  Cut (6) 3.5″ x WOF strips for the outer boarder.  You will need to sew them together end to end to have enough length.  Sew the side strips on, square up, press and then sew the top and bottom strips on.

happy haunting halloween quilt 10I had my friend use her long arm quilter to sew swirls all over the quilt, even through the applique.  I LOVE it!happy haunting halloween quilt 8   I am totally in love with this quilt.  I cut the striped fabric on the bias for the binding.  Striped binding is my absolute FAVORITE!!!!happy haunting halloween quilt 4   happy haunting halloween quiltI had such a wonderful time putting this quilt together with my friend Tina.  Isn’t it fun to sew with friends and family!!!

IMG_1088

Caturday Sew Along October

caturday octoberWelcome to the Caturday Sew Along!  I love cats and sewing!!!  I know a lot of you love sewing with your fur babies too!    Each month I will post a cat themed quilting project that we can sew together.  Post your progress on Instagram and tag it with #caturdaysewalong.  For October choose any variation of these three projects that use a cat silhouette and SPOOKY applique.  Click the links for the patterns.

spooky mini quilt tutorialThis Spooky mini quilt measures 20″ square and uses 2.5″ squares to complete.  It’s such a fun way to use up those Halloween scraps you’ve been saving!!  Click HERE for the tutorial.

spooky_quilt_tutorialThis larger version measures 44″ x 60″ and it uses 5″ charm squares for the center.  It’s my favorite Halloween quilt.  Click HERE for the tutorial.

Halloween_quilt_tutorial_1

spooky Halloween pillow_10If you find yourself pressed for time but still want to sew something SPOOKY, try this quick pillow tutorial!  Click HERE

Spooky Mini Quilt

spooky mini quilt tutorialI love Spooky Sewing!  Halloween is such a fun time of year and the fabrics are so amazing!  This mini quilt pattern is inspired from a larger pattern I created.   You can find the pattern for the large version on the Riley Blake Designs website.  The fabrics are from last years and this years Riley Blake Designs Halloween fabrics.  They are purrrrfect for Halloween!Screen Shot 2015-09-30 at 2.46.16 PMSupplies:

scraps of Halloween prints

fat quarter or equivalent for applique

2/3 yard for backing

1/4 yard for binding

batting

Heat n Bond Lite EZ print sheets

This small version measures about 20″ square.  It would make a great pillow too!  Begin by rummaging through all your scraps and cut 2.5″ squares.  You need 100 total.  There are 10 rows of 10.  I did mine totally random.  I just grabbed 2 fabrics and sewed them together.

spooky mini quilt I paired all the fabrics then sewed those pairs with other pairs, leaving 10 pairs out.  Once you sew the 2 sets of 2, you have strips with 4 squares.  Pair those up to give you 10 sets of 8 squares.  Then add the reserved pairs to the ends.  This was the fastest way I found.  I lined up the rows the best I could.  I tried to avoid having 2 like fabrics touching.  Press all seams.spooky mini quilt 3

To add the cat applique, click HERE for the cat and HERE for the Spooky.  Print them in reverse.  I like to use Heat n Bond EZ print sheets – no tracing!!!  Once you’ve got your applique ready, iron it into place and stitch around it with black thread.

spooky mini quilt 2All that’s left is the quilting!  I quilted orange swirls.

IMG_0813Add the binding and its done!  This might take a while if your cat decides to have a nap on it!!!  spooky mini quilt 4
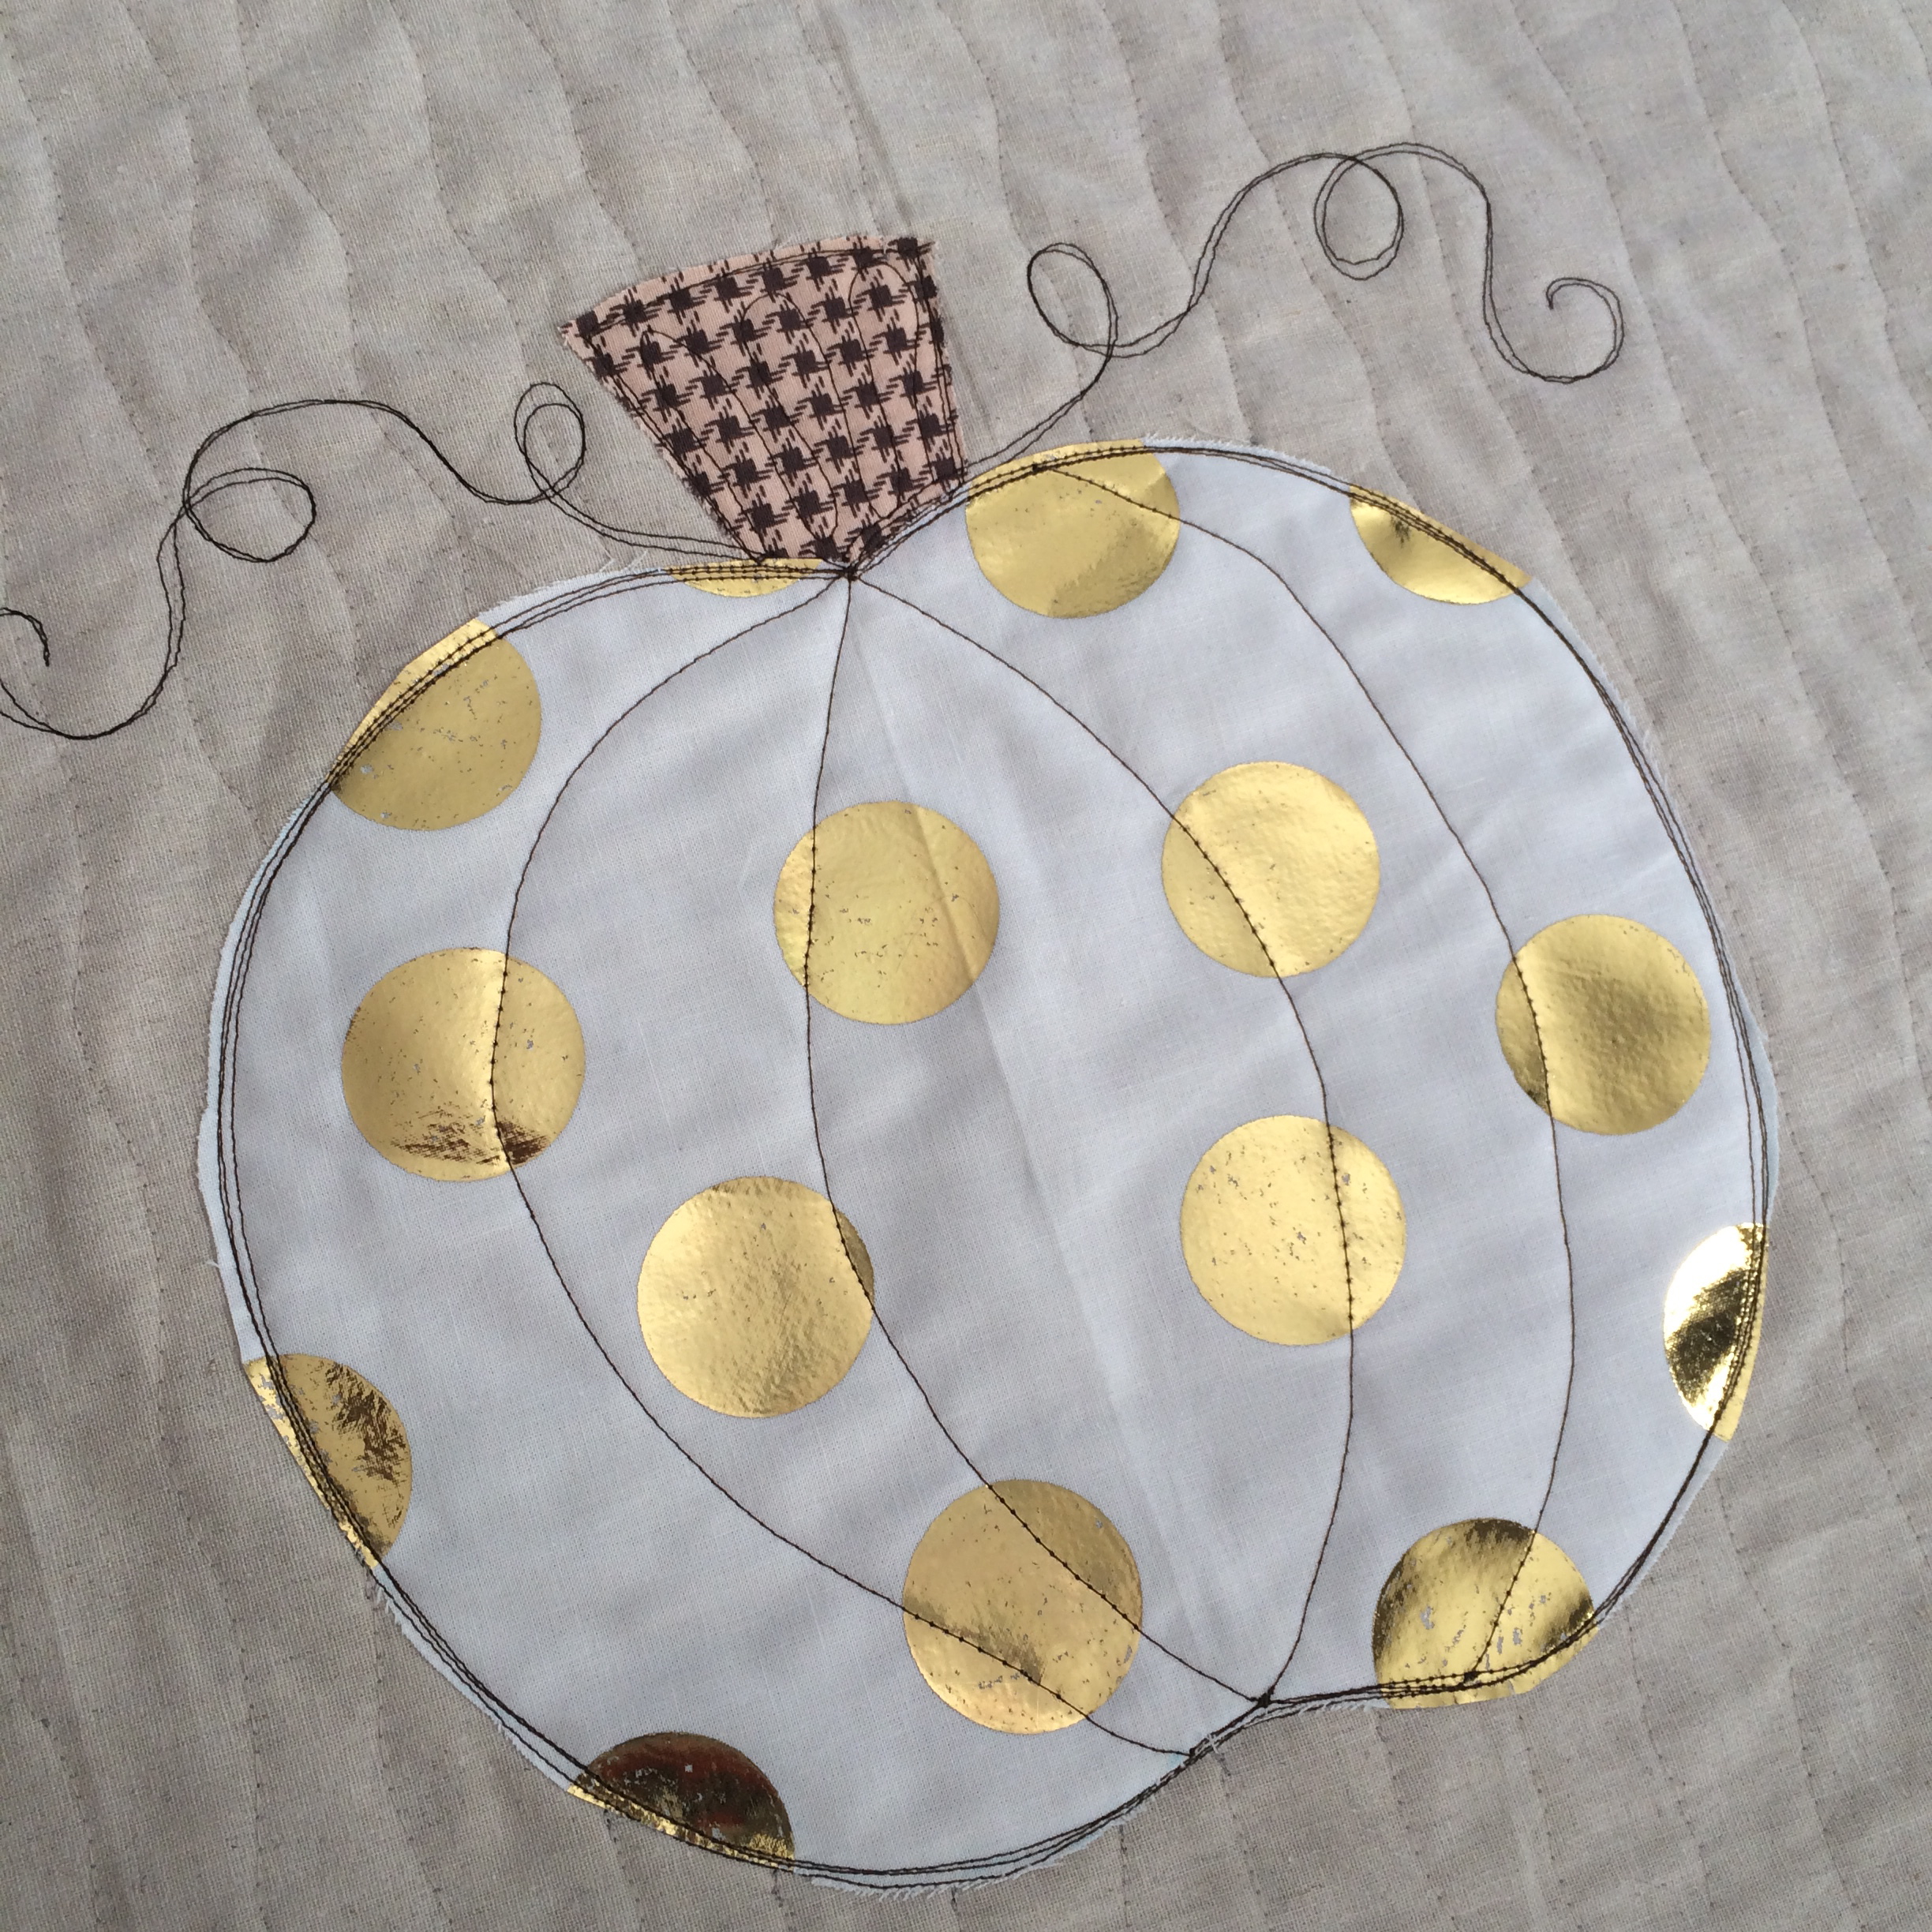
I love it so much!!!!

spooky mini quilt 5