Mommy & Me Aprons

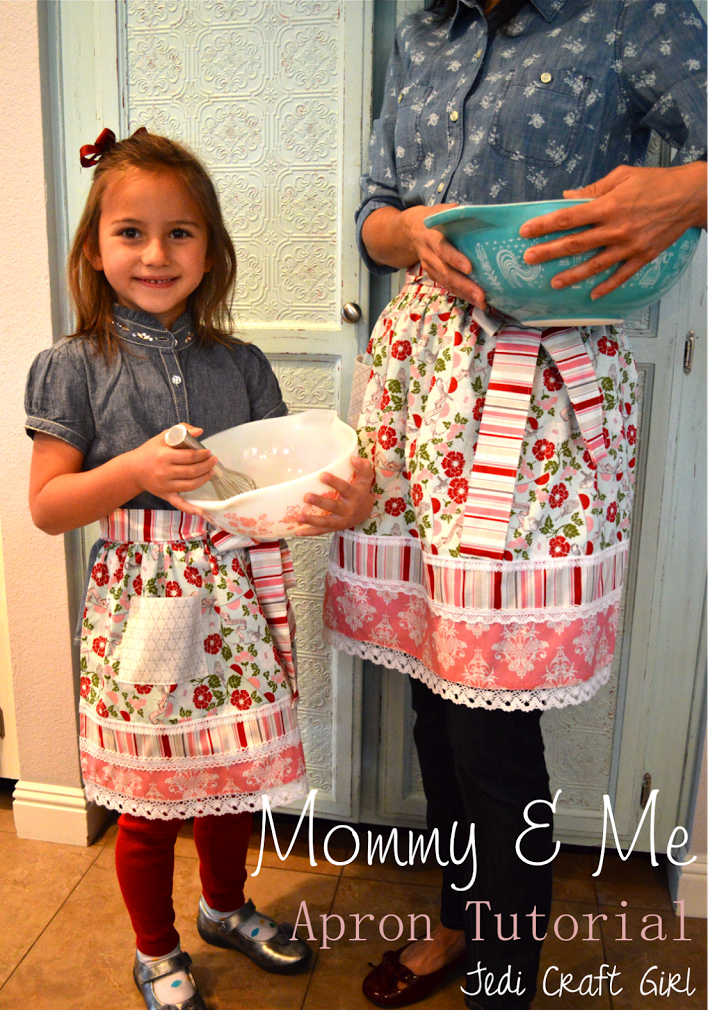
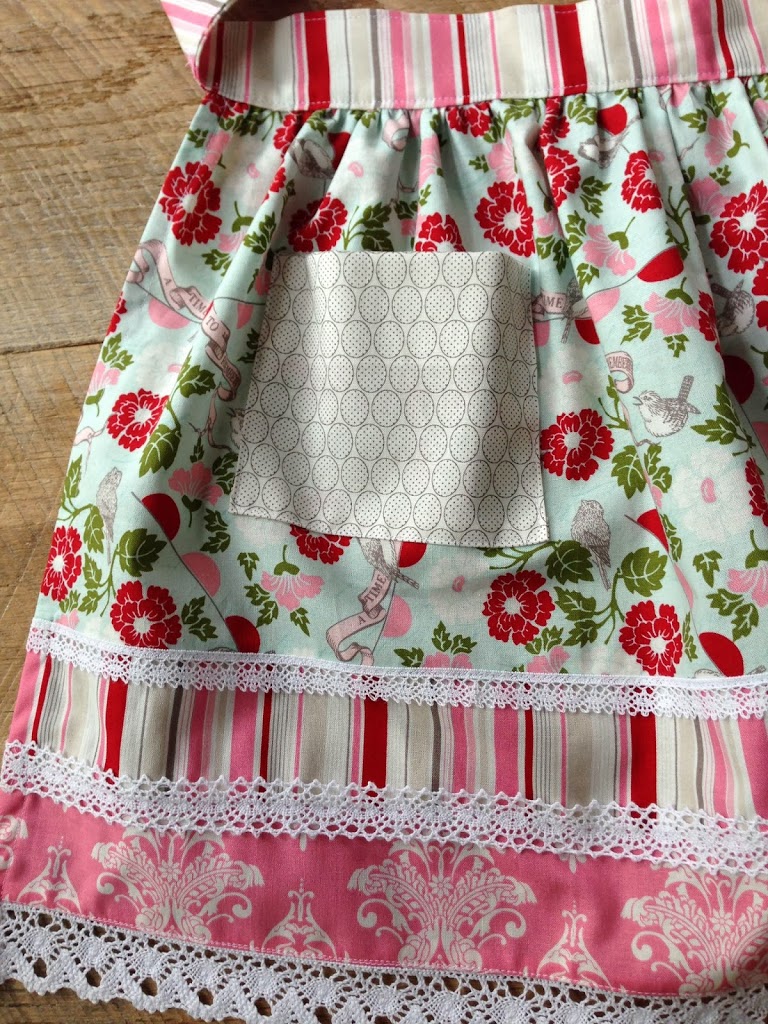
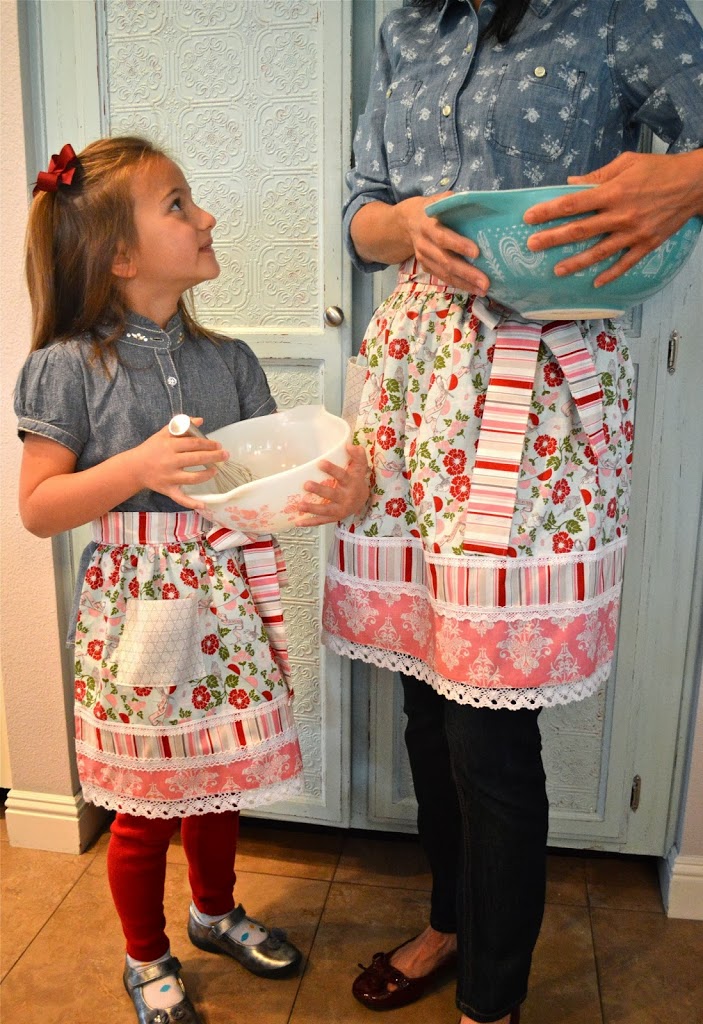
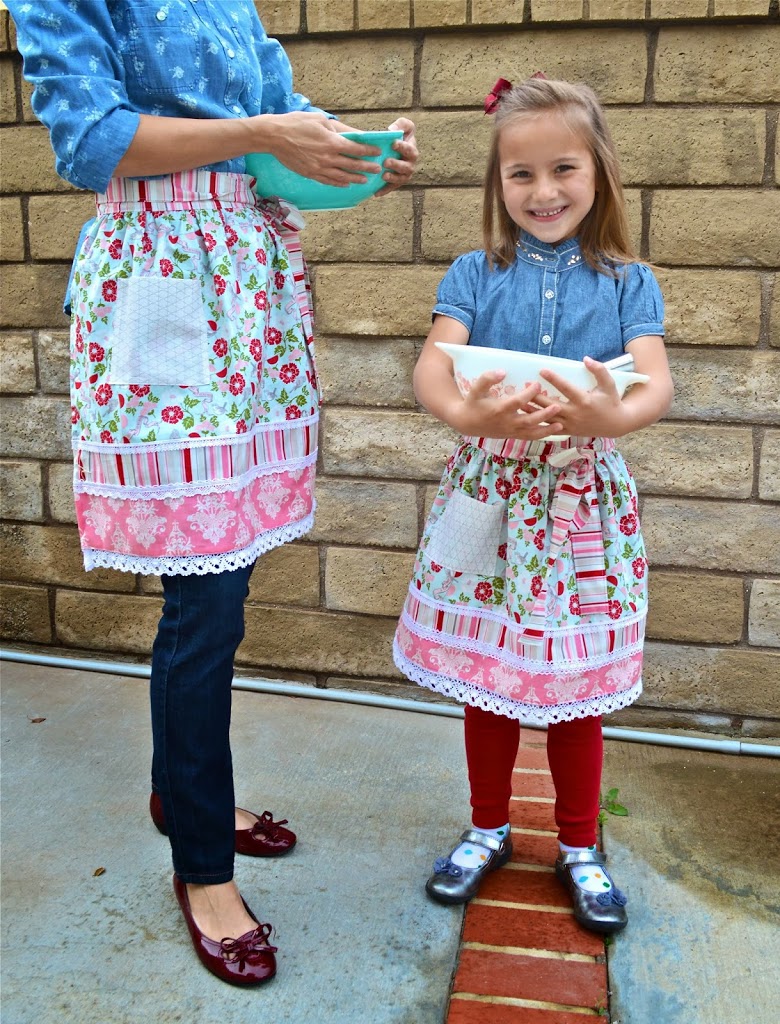
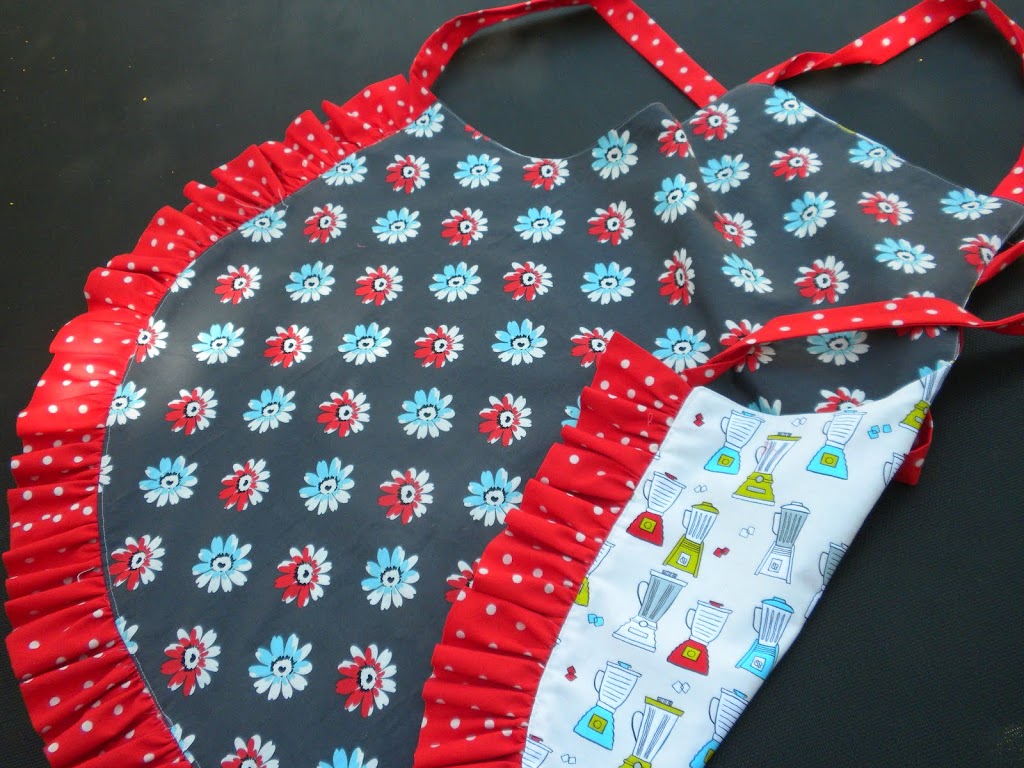
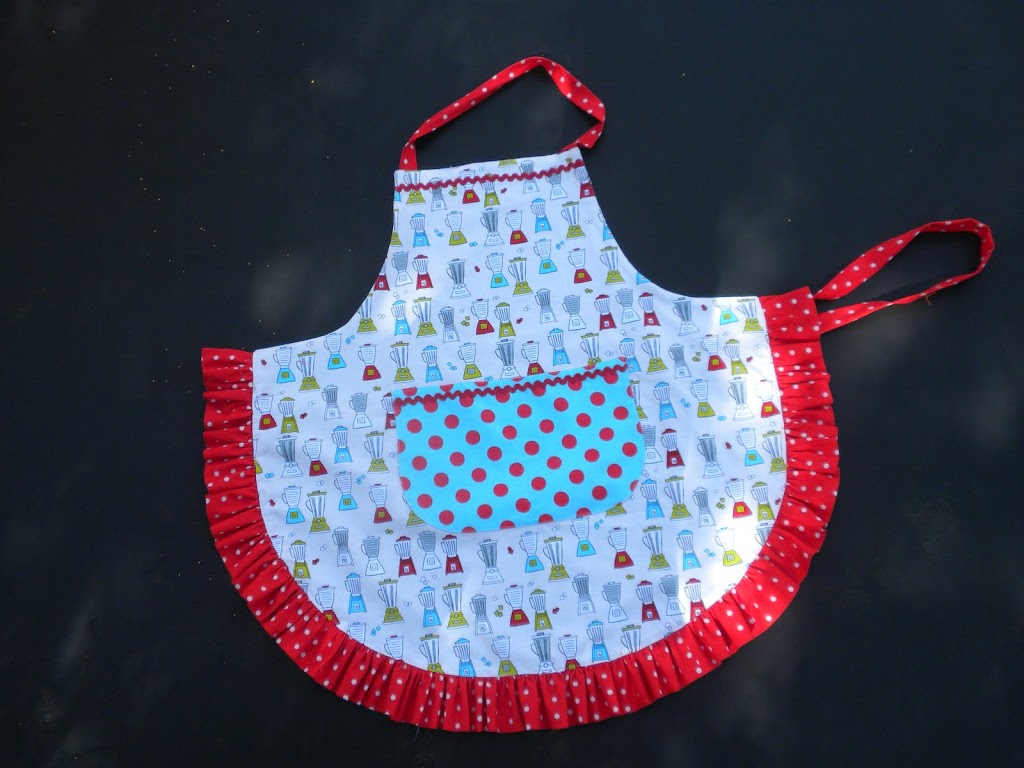
Sally has been begging me for a half-apron for quite some time.  I fell in love with the Remember fabric line designed by Carina Gardner, who I had the privilege of meeting at Sewing Summit!  Her Riley Blake Fabrics are so beautiful.  I love the vintage feel of this fabric line – it’s perfect to go in my vintage-inspired kitchen.  The aprons are pretty simple to make.  Here’s what you need:

Supplies:
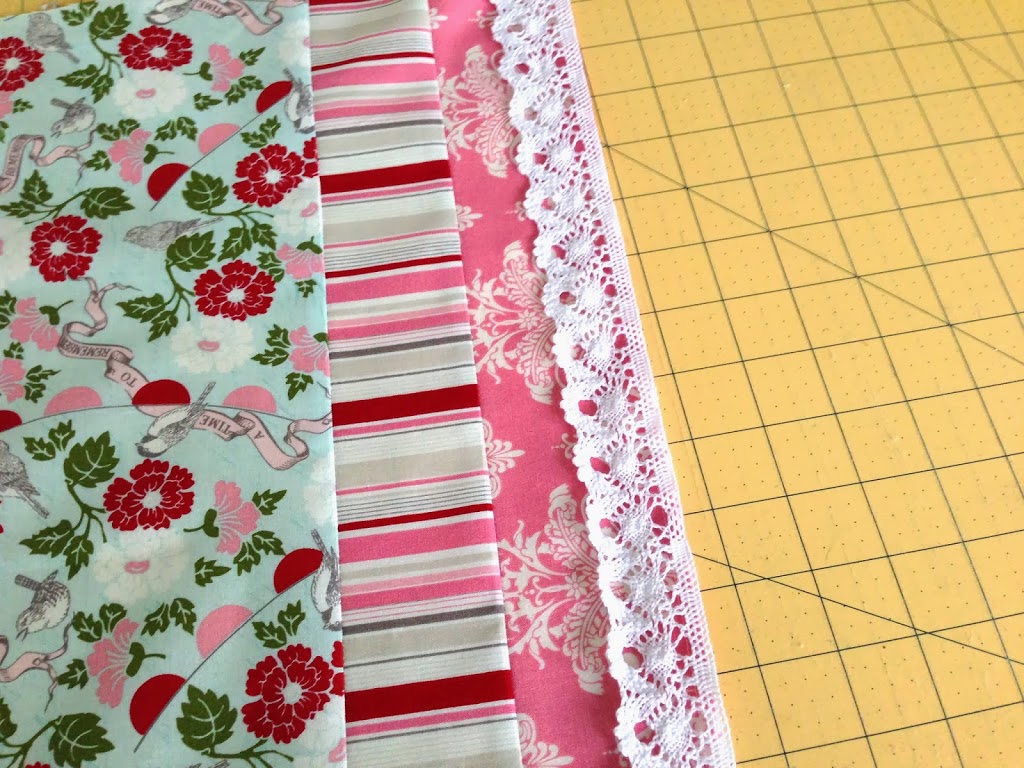
3/4 yard main fabric
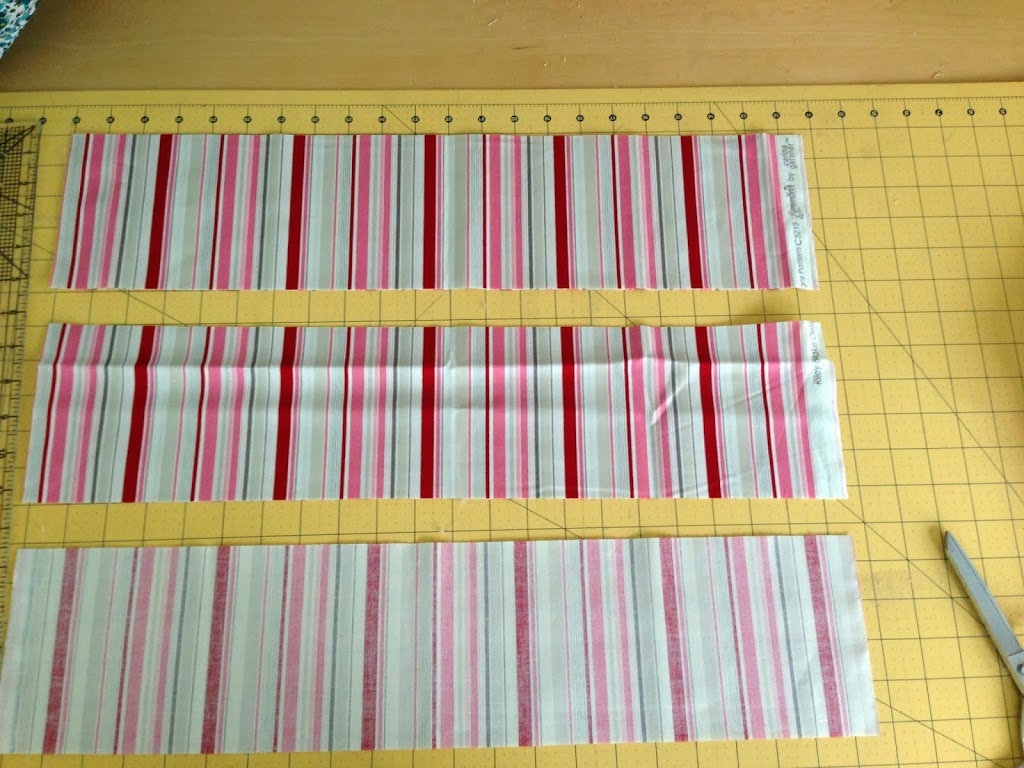
1 yard stripe fabric
1/4 yard pink fabric
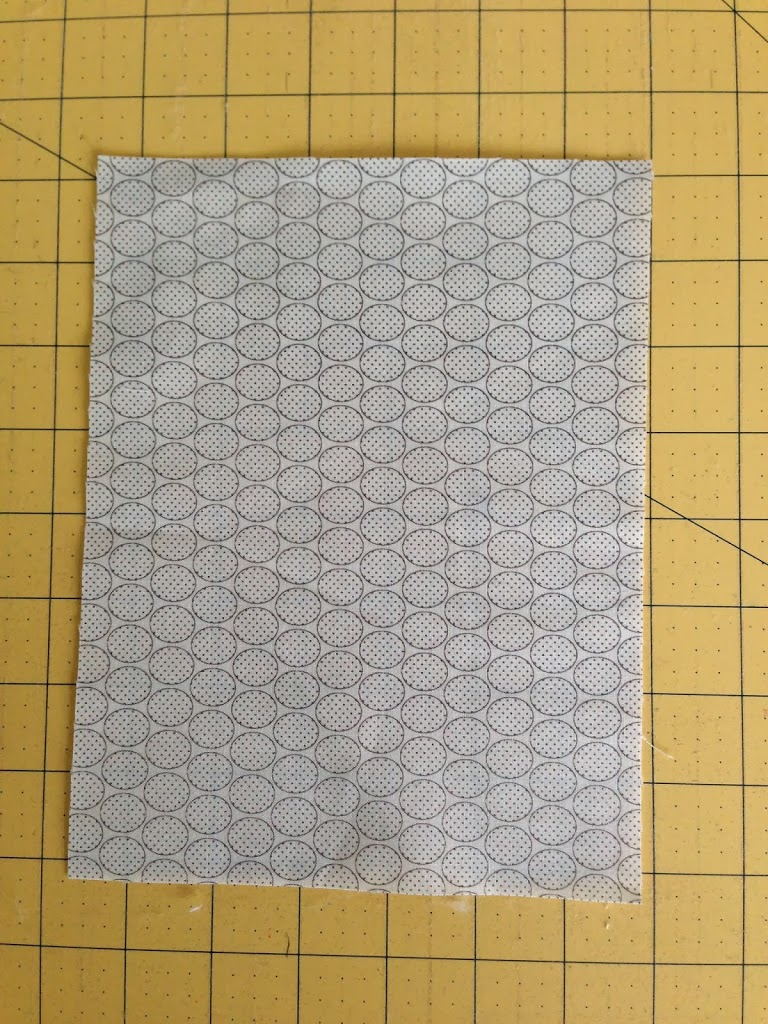
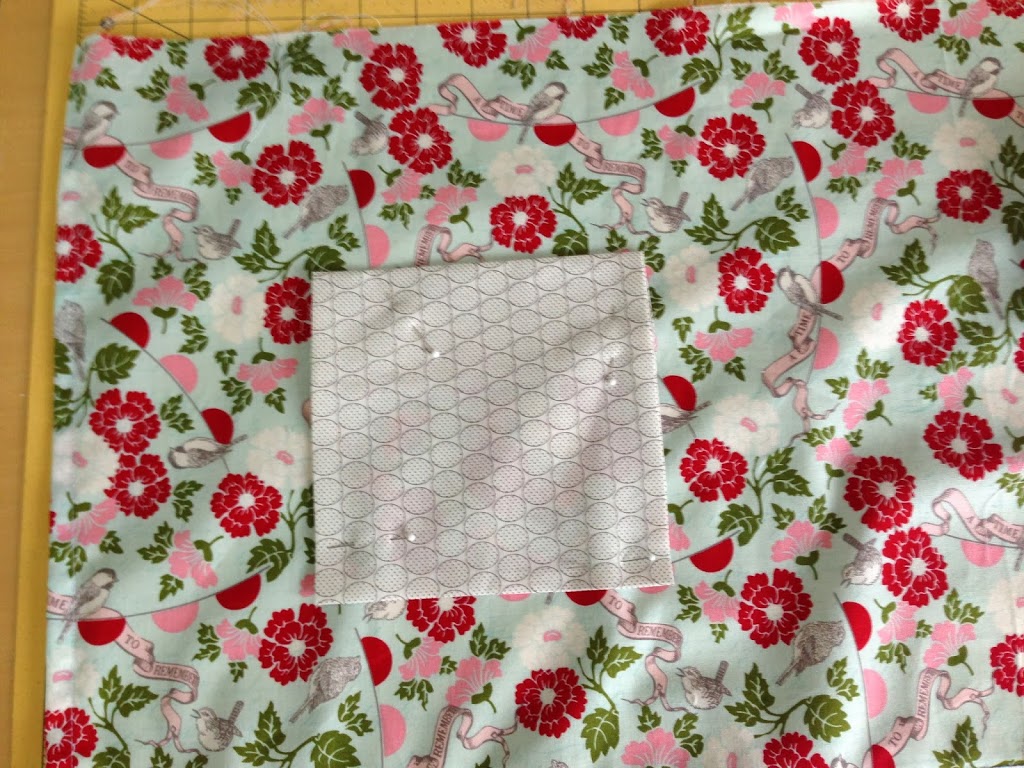
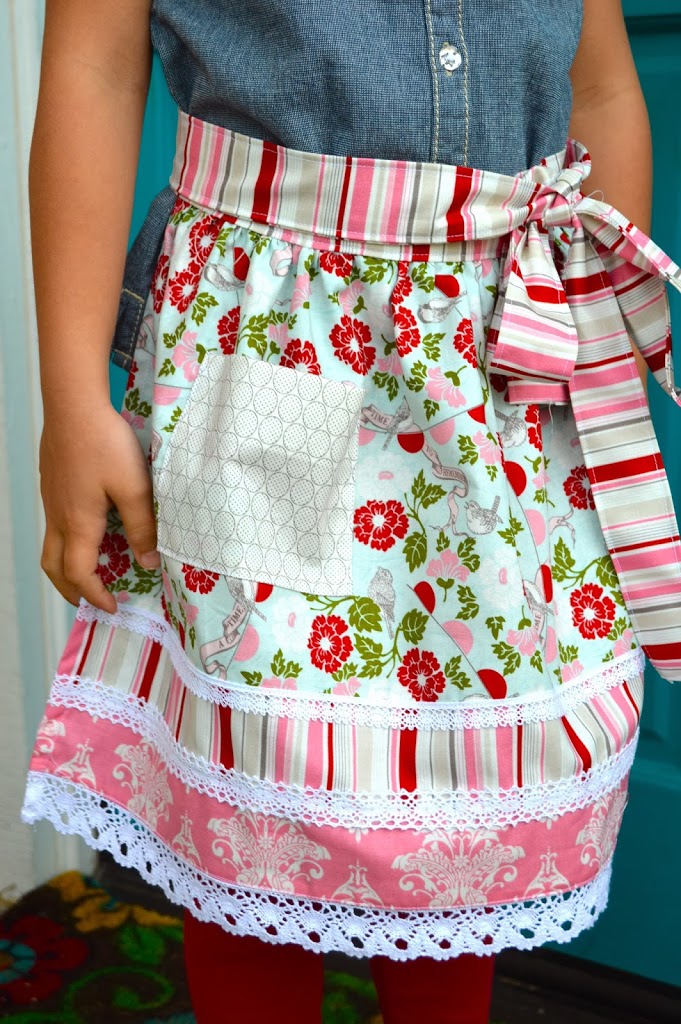
1/4 yard pocket fabric
2 yards wide lace
2 yards medium lace
2 yards small lace

For Adult Apron:
Cut main fabric 13.5″ x 36″
Cut stripe fabric 3″ x 36″
Cut pink fabric 4.5″ x 36
For Child Apron:
Cut main fabric 9.5″ x 30″
Cut stripe fabric 2.5″ x 30″
Cut pink fabric 3″ x 30″

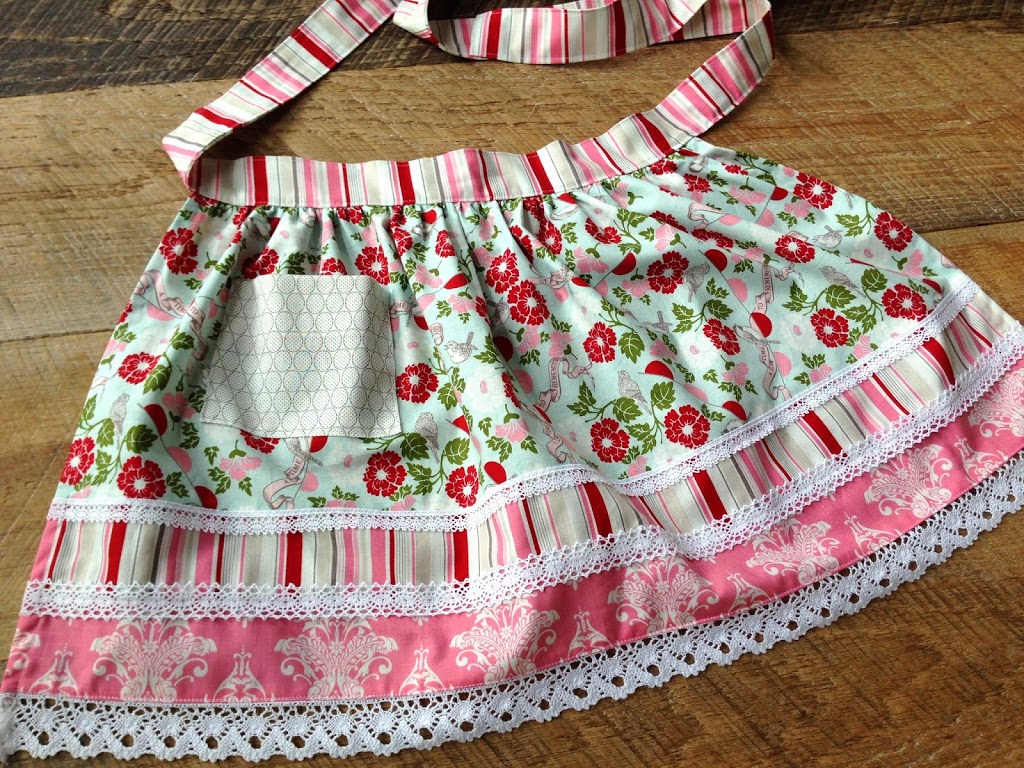
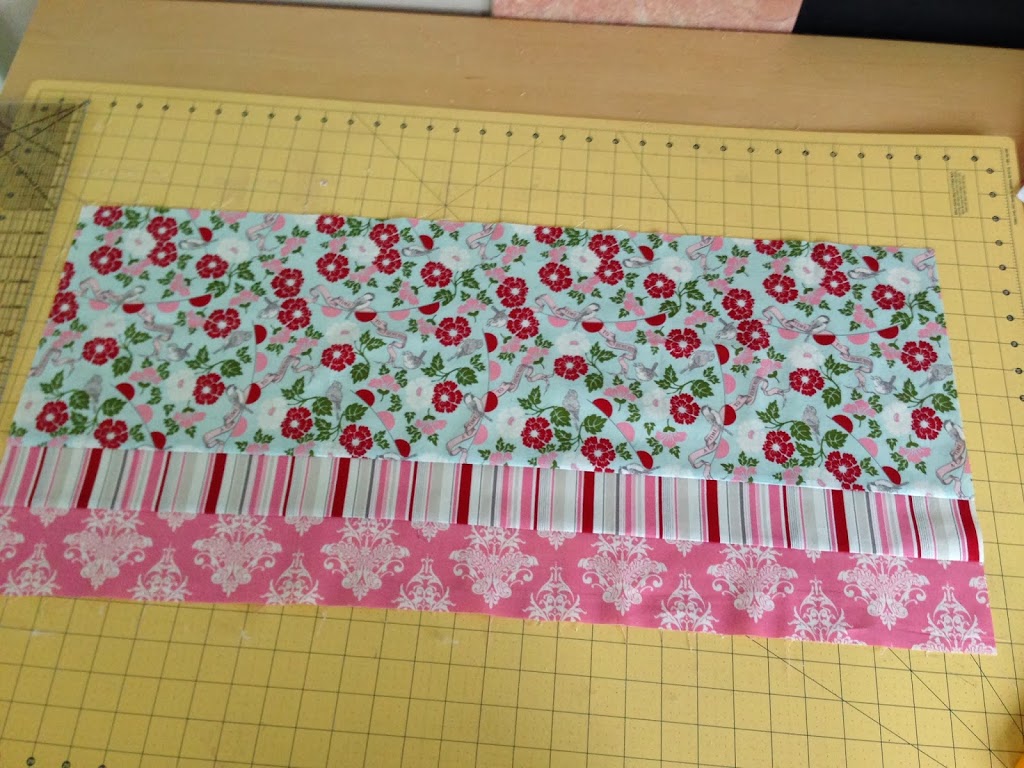
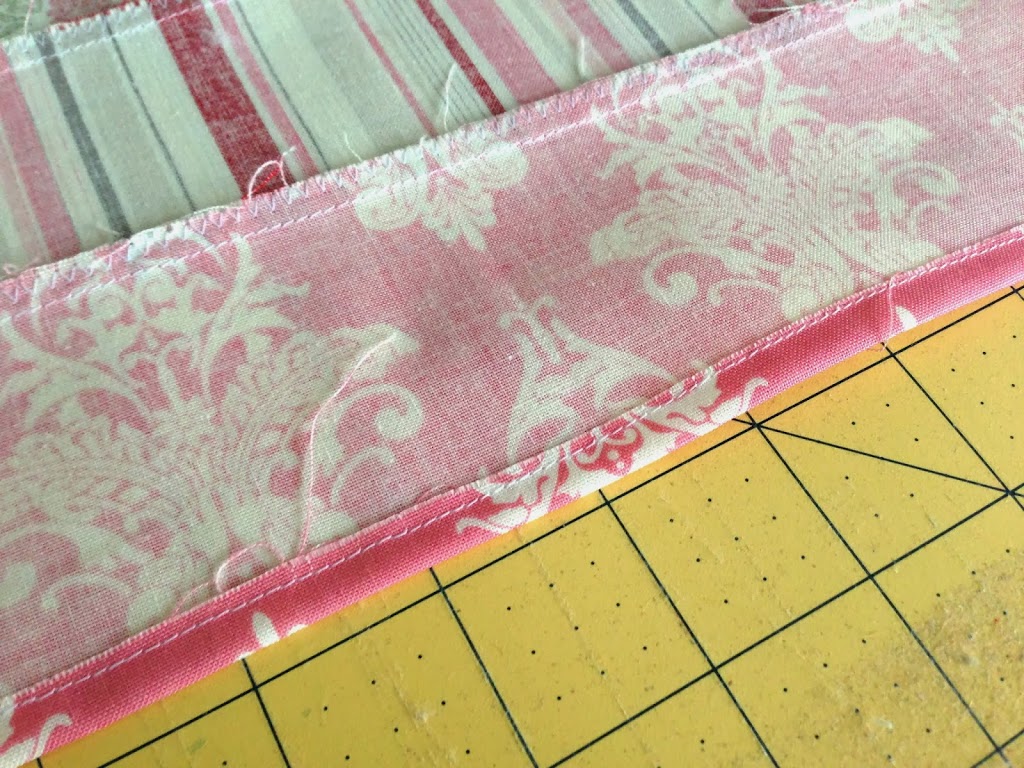
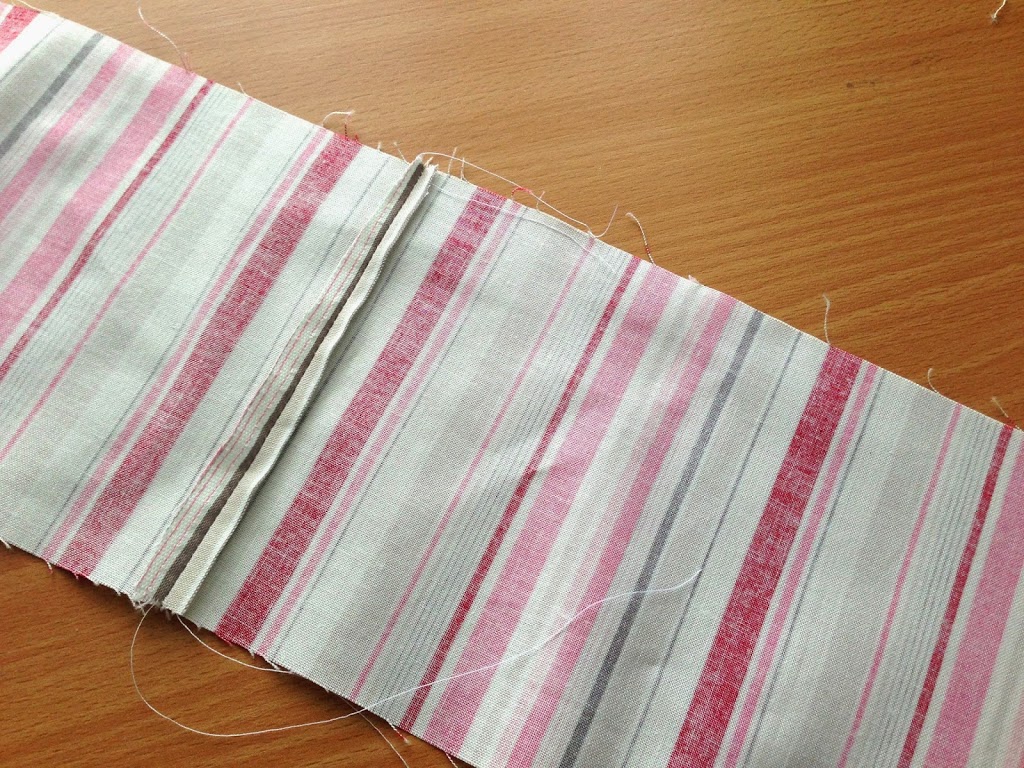
Sew the strip sets together using 1/4″ seams in this order.  Zig zag each seam to prevent fraying.

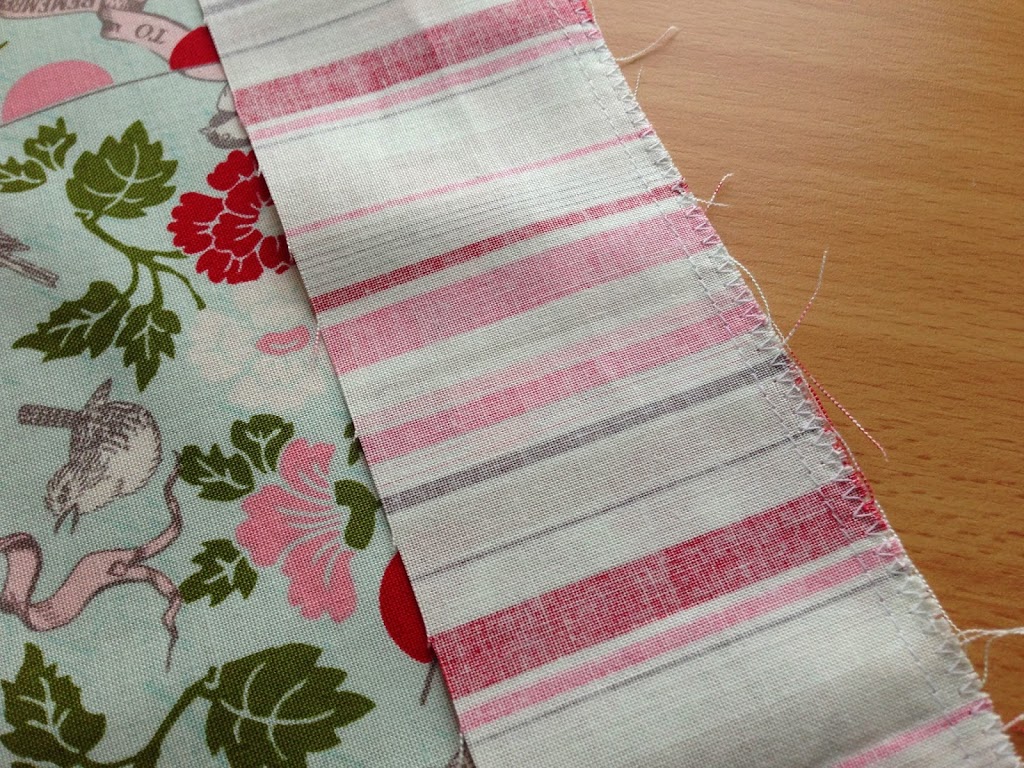
Press seams in one direction.

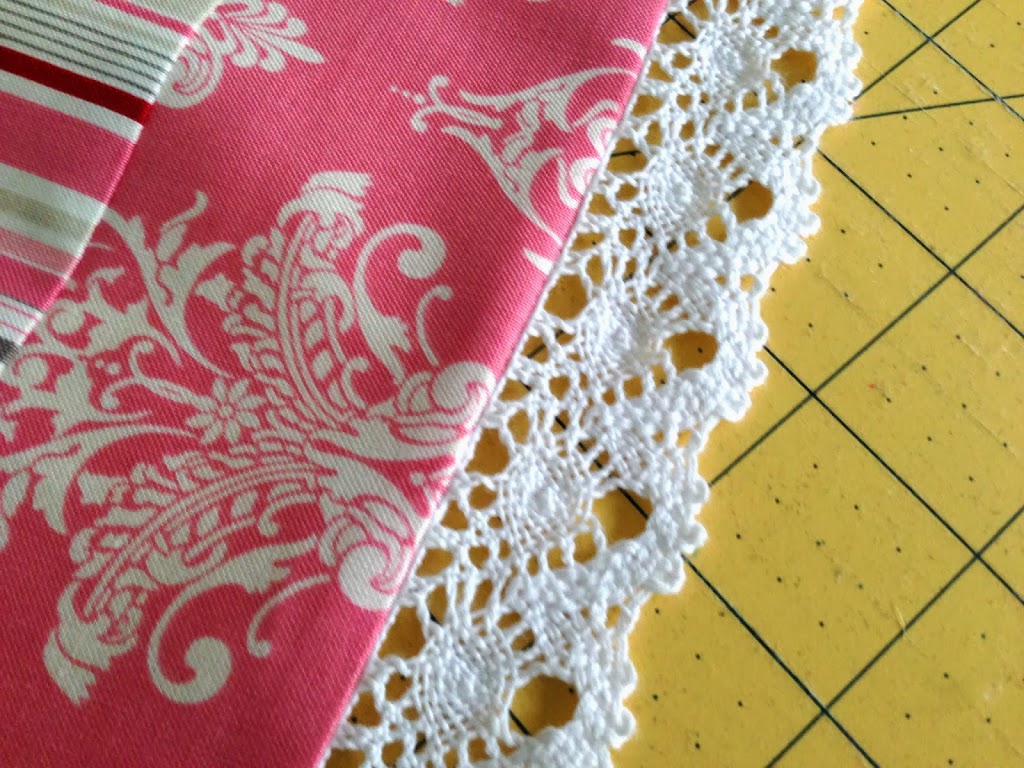
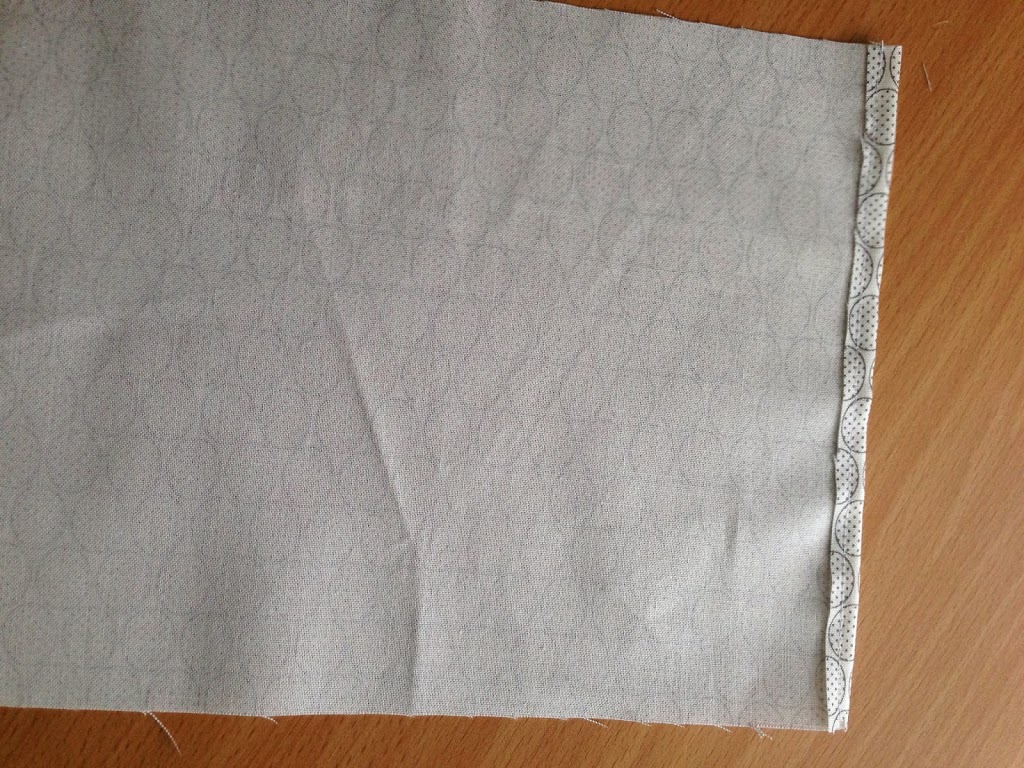
Fold pink raw edge (hem) under 1/4″ and sew.

Lay the wide lace with right sides together along the hem.  Sew along the edge of the lace about 1/4″ depending on the lace pattern.

Fold under and press.  Top stitch in place.

Next place the medium and small lace along the seams of the fabric strips.  Top stitch in place.

To finish the sides, fold raw edges in 1/4″ and sew, then fold in 1/4″ again.  Back stitch at the start and stop.  This should also secure the raw edge of the lace and keep it from fraying.
Prepare the pocket…cut:
Adult pocket: 8.5″x 6.5″
Child pocket 6.5″ x 5.5″
Fold the top edge in 1/4″ and sew.

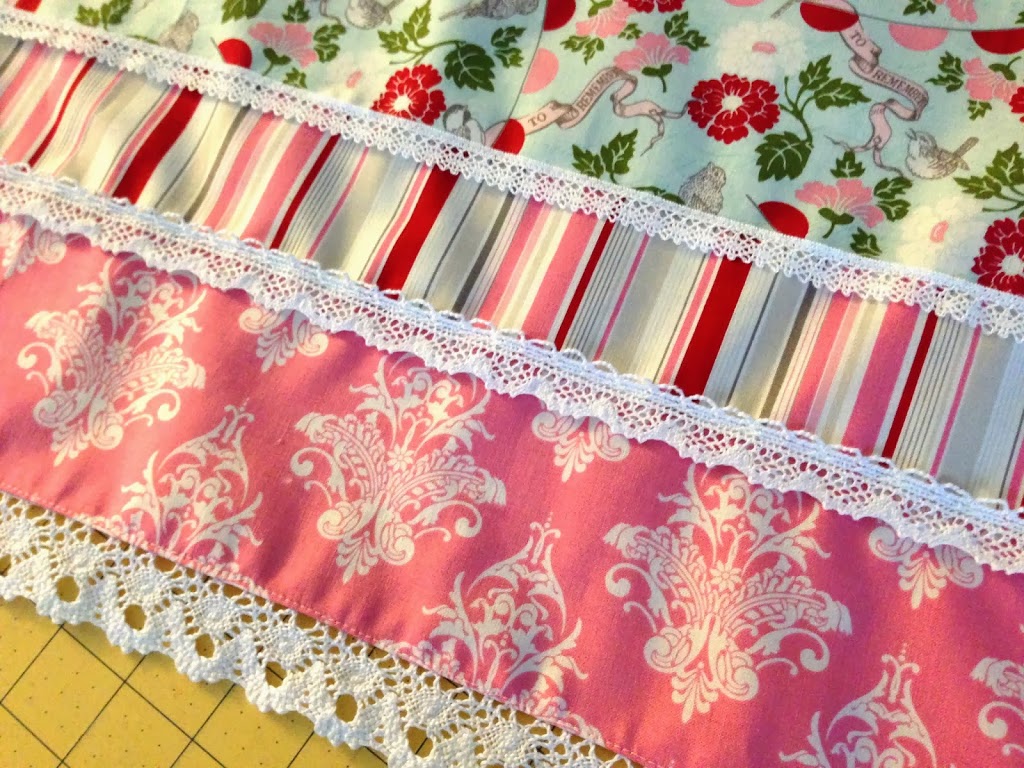
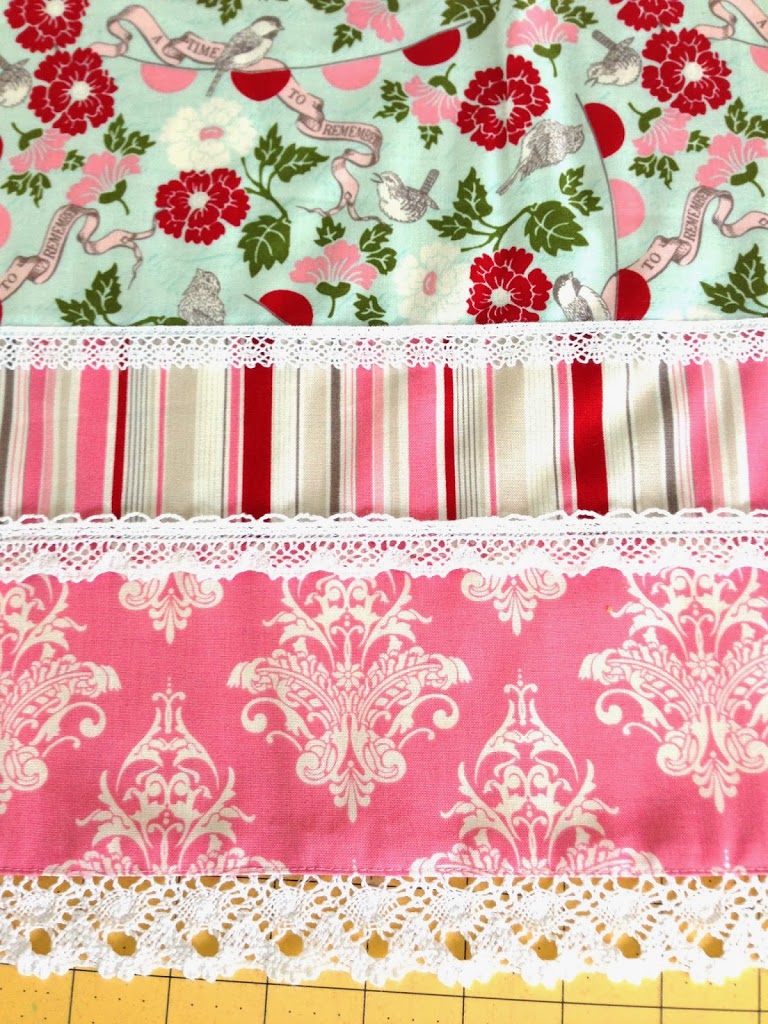
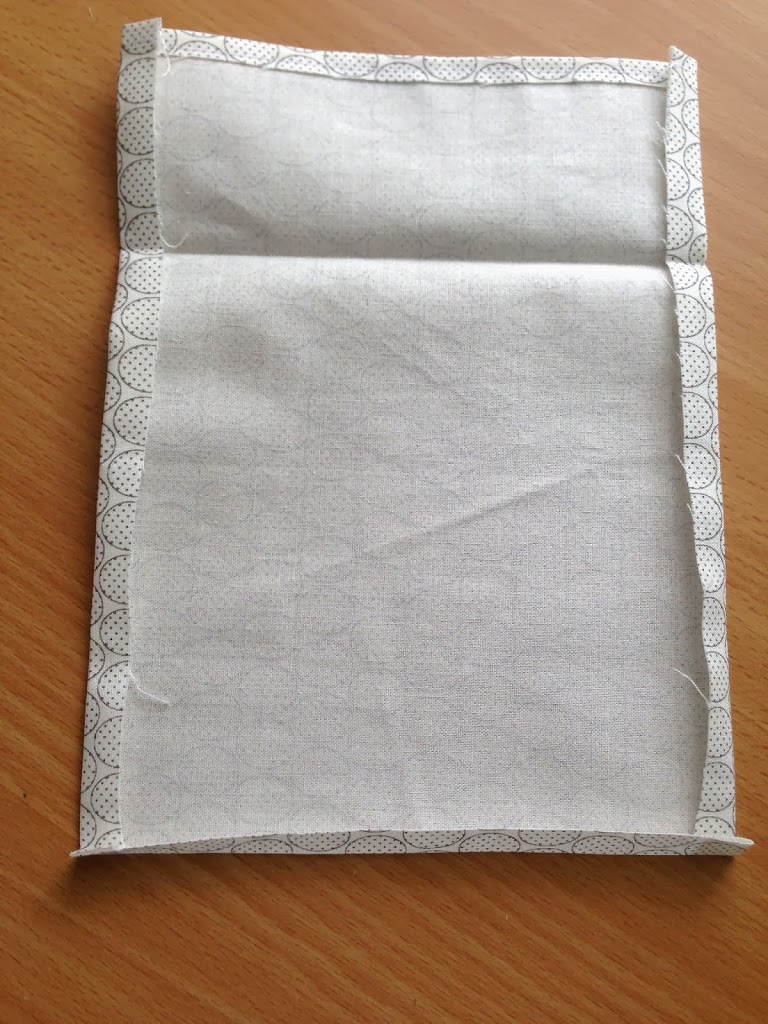
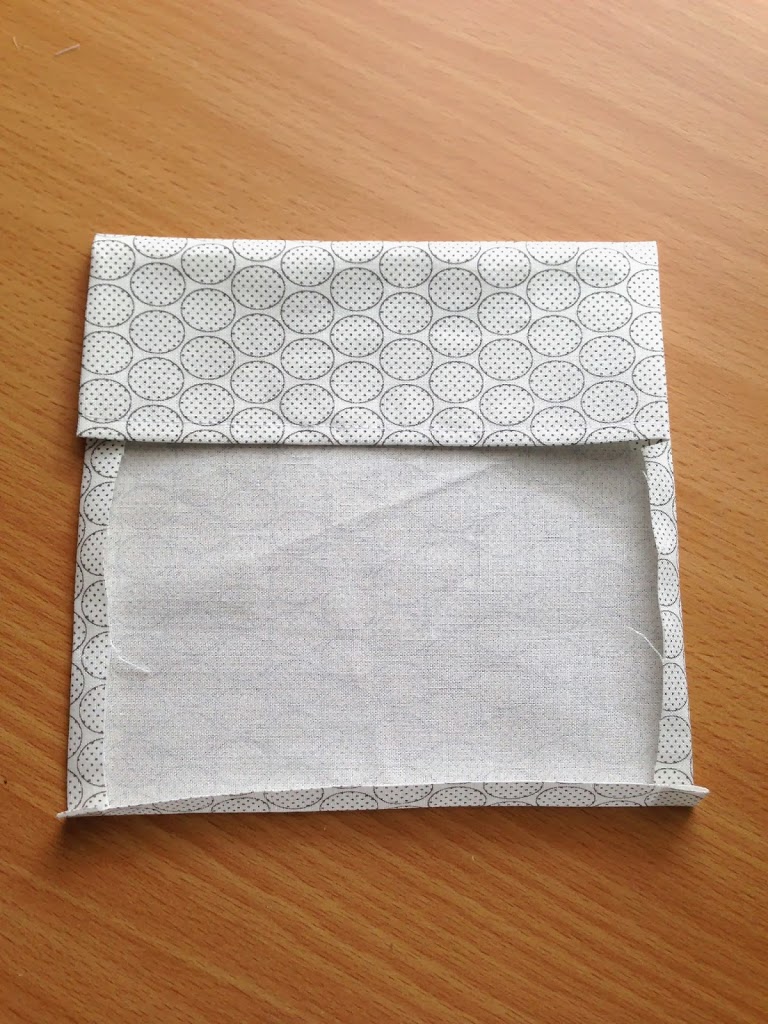
Press sides in 1/4″ and bottom 1/4″.  Fold the top down about 2.5″ or to your liking.

It should look like this:

Pin the pocket into place.  Of course you can sew 2 pockets or change up the shape.  I am right handed so I put the pocket on the right side of the apron.  Pin in place and topstitch leaving the top open. 
Prepare the waistband:

Adult apron cut (2) 5″ x WOF and (1) 5″ x 21″
Child apron cut (2) 4″ x 38″ and (1) 4″ x 18″ – you can adjust the length depending on how long you want the ties.

The idea is to have a waistband portion (the shorter piece) in the center and two ties (the longer pieces) on each side.

Sew the waist band pieces end to end with the shortest piece in the center.  Press seams open.

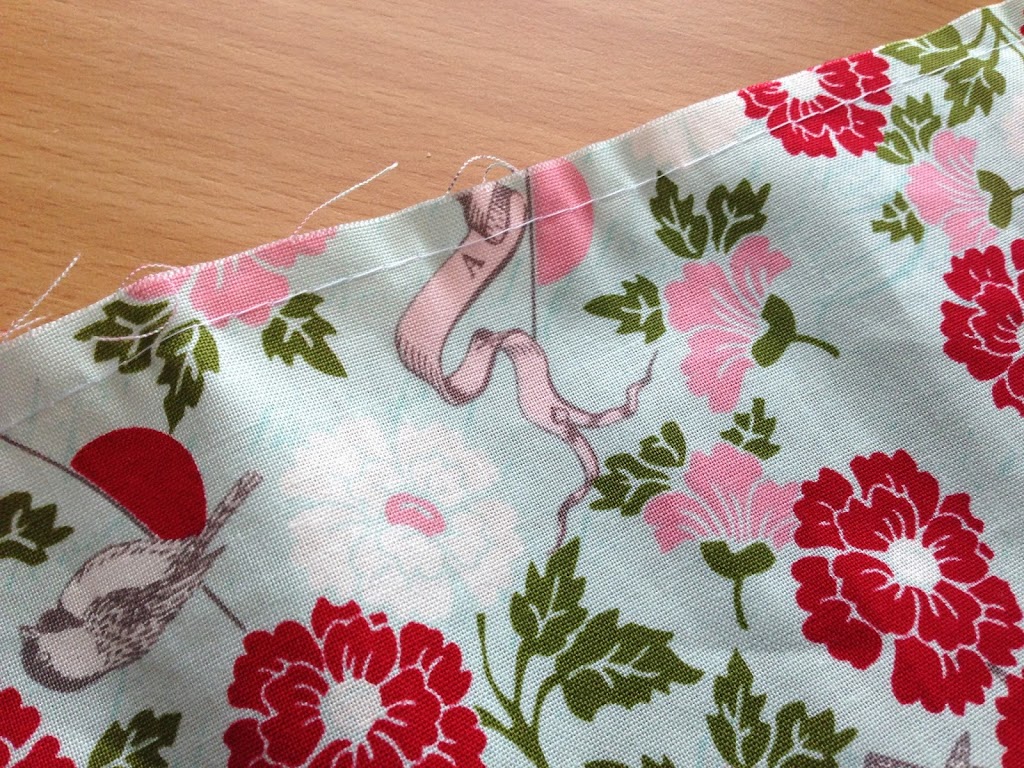
Sew a 1/4″ gathering stitch along the top of the aprons.  Pull up threads to gather.

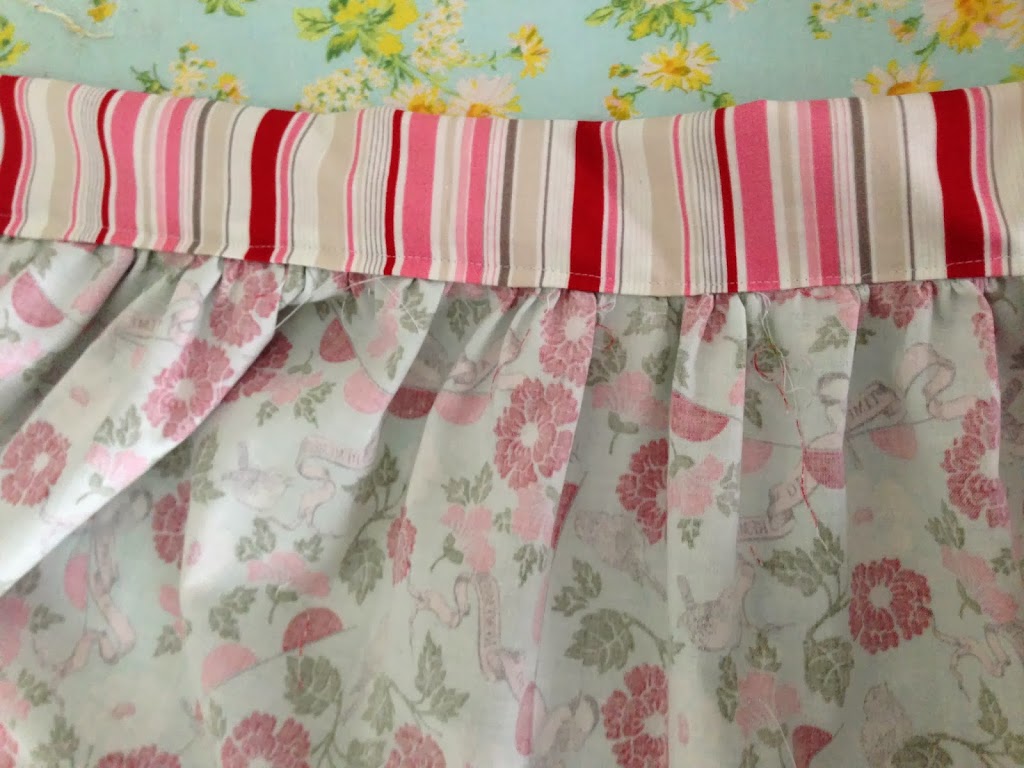
Lay the gathered piece along the waistband piece like this – making sure to align centers.  Notice right sides are together.

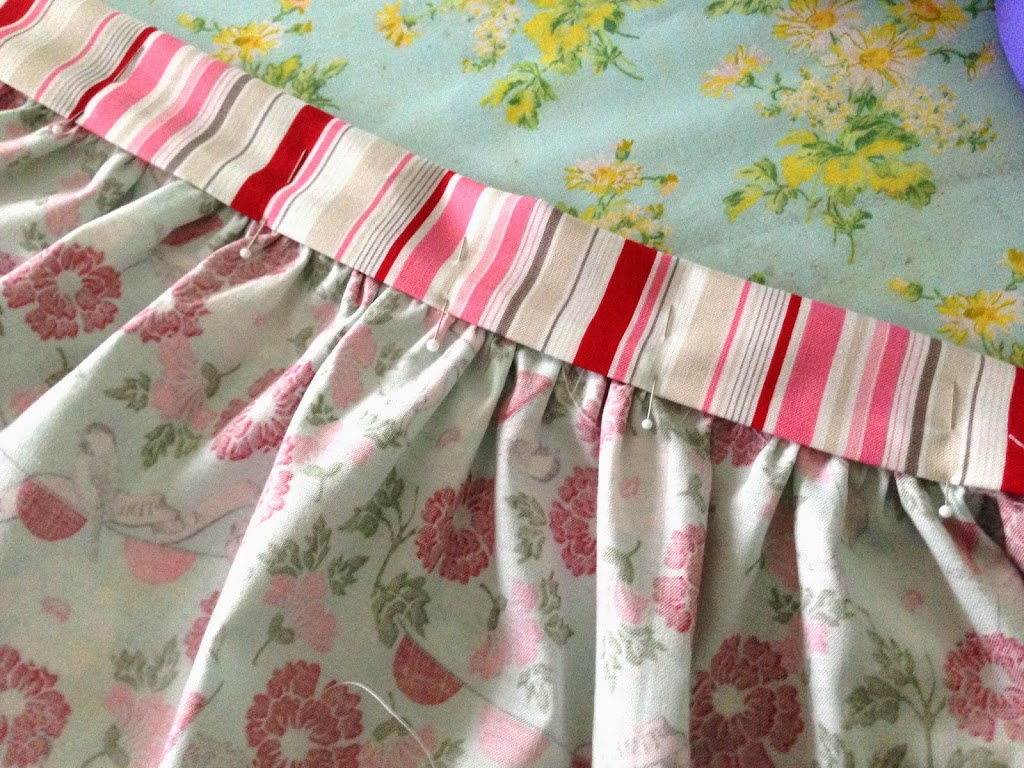
Pin into place.  Sew just this portion sewing over the gathering stitch.

Press the entire waistband under 1/4″ – all the way around, like this:

Fold the waistband over so folded edges align.

Pin into place.  I leave my pins in and turn the apron over and sew using the front of the waistband as my guide.  That way the front of the apron looks perfect.  The seam catches the back of the waistband just fine. Continue sewing the entire way around the waistband with a 1/8″ seam.

Done!!

I think they are so cute!!  We’ve already made a batch of orange rolls today!!

Amanda

Sprinkles, Sprinkles & More Sprinkles


Don’t laugh at me, but the state of my “Sprinkle” organization has been bothering me for quite some time.  I don’t have a fancy remodeled kitchen like in my dreams.  I have builder-grade cabinets from 1989 which I have painted twice.  Do any of you have this small little cabinet above the hood in your kitchen with the vent occupying most of the space?  This is what mine looked like:

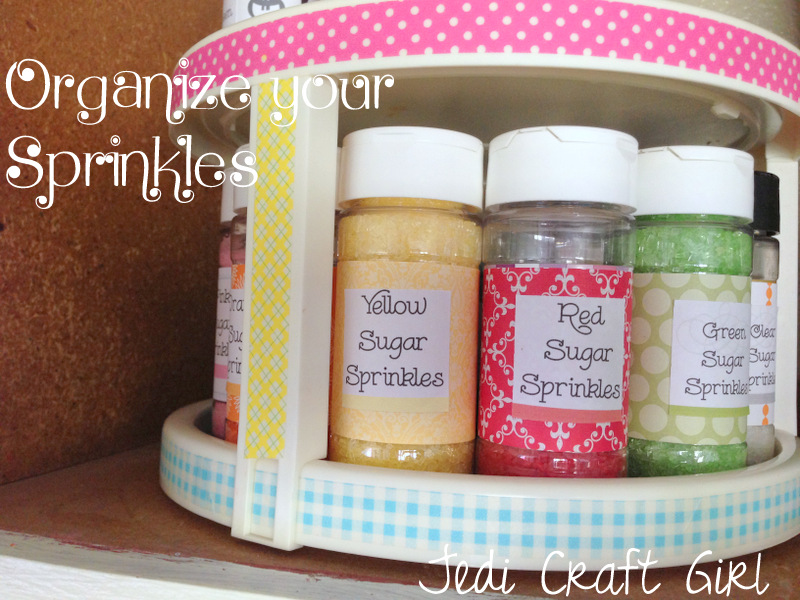
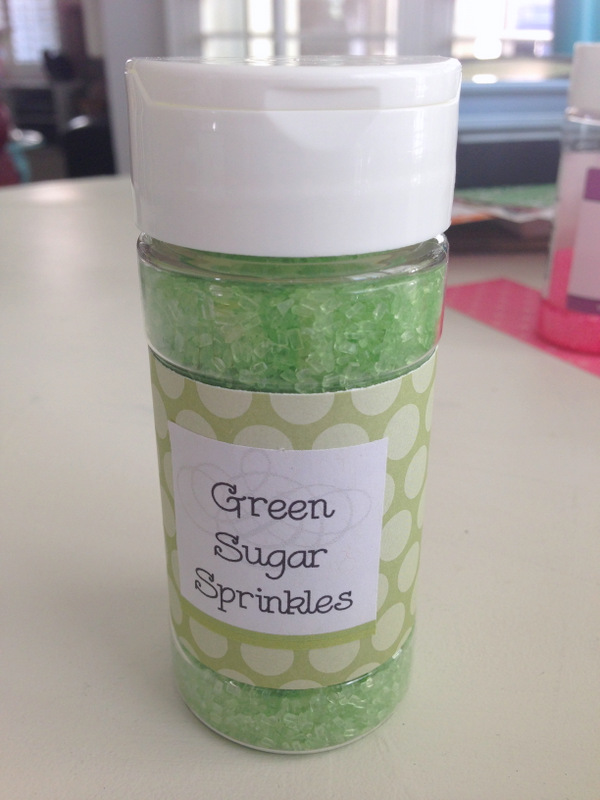
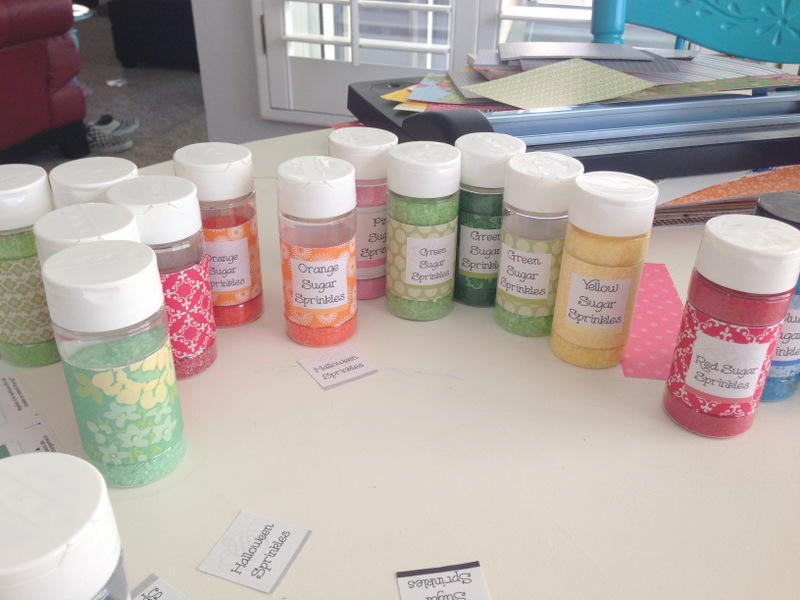
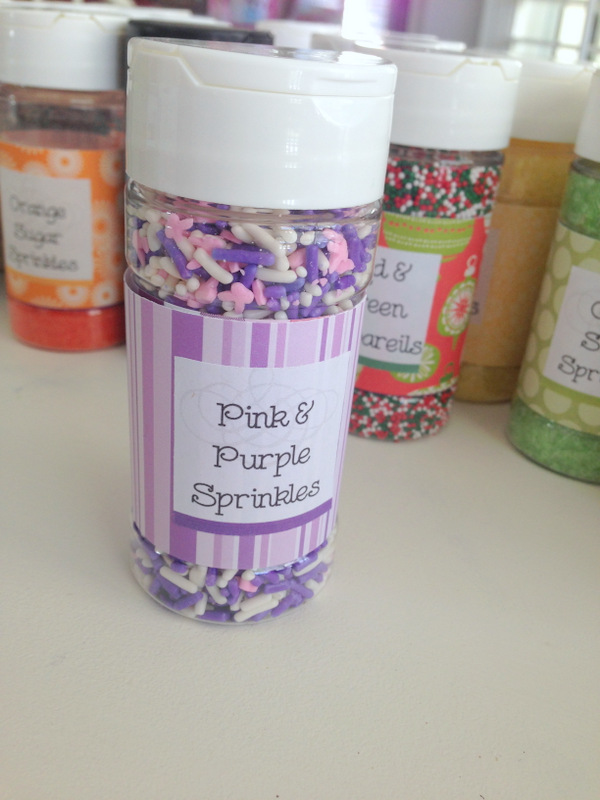
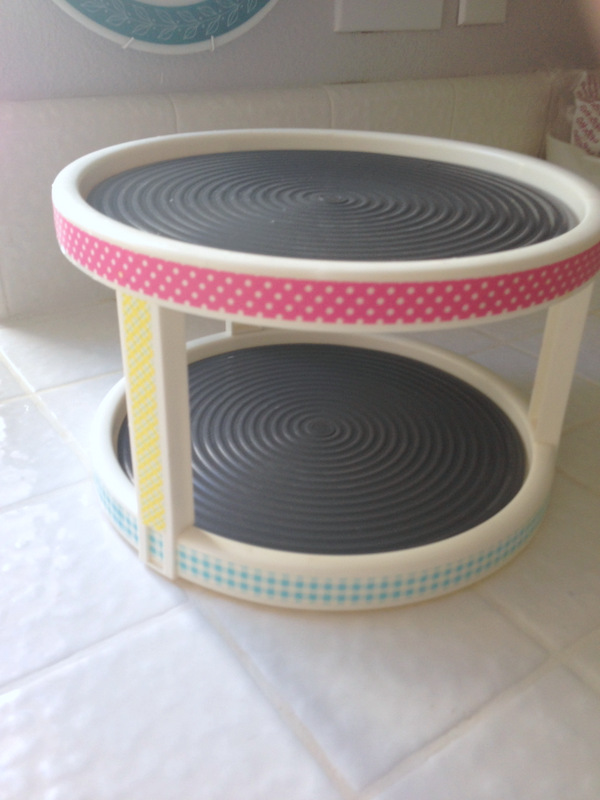
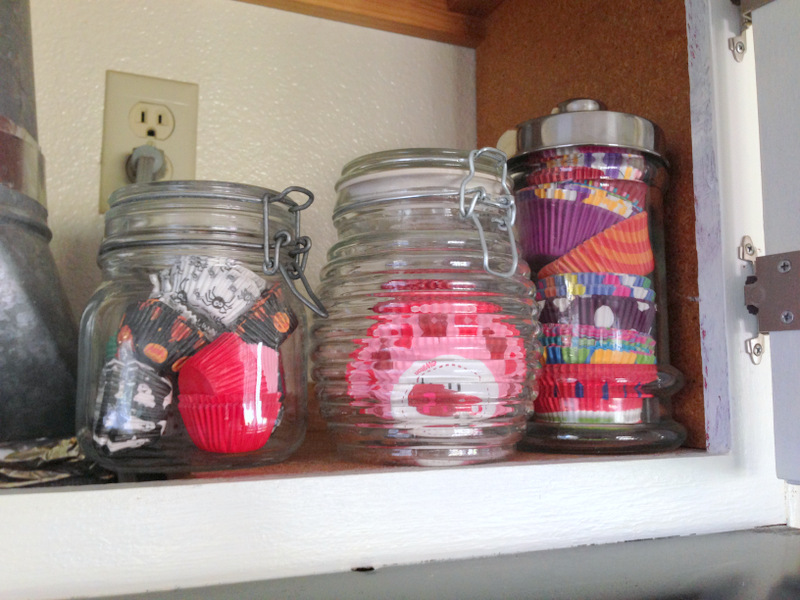
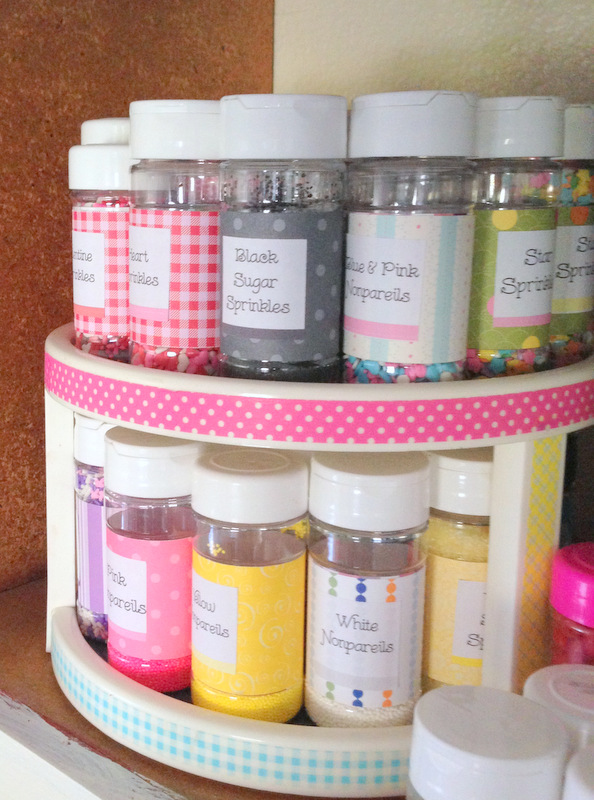
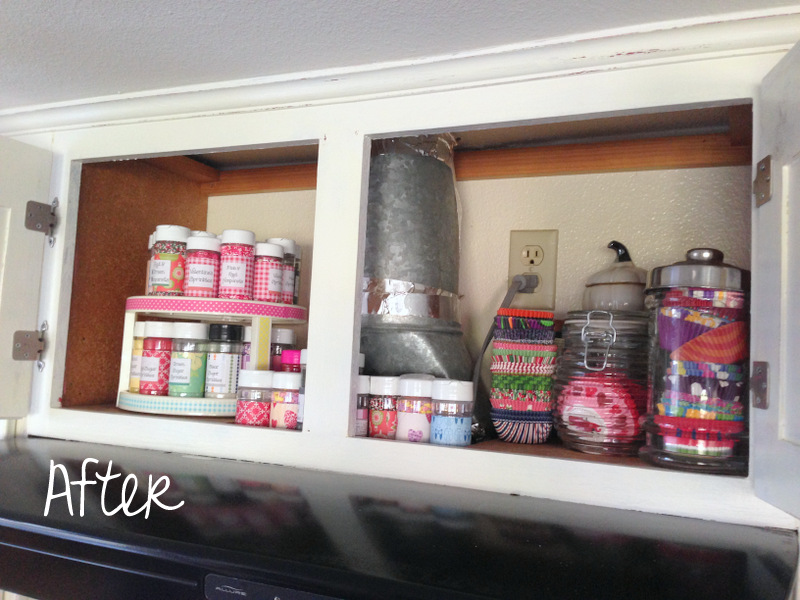
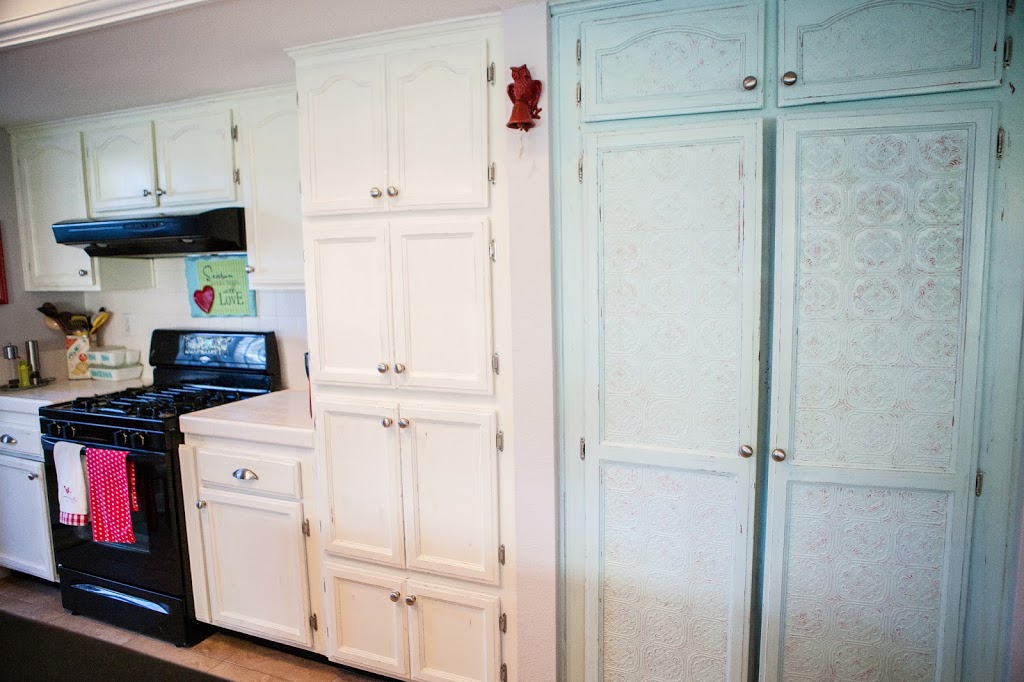
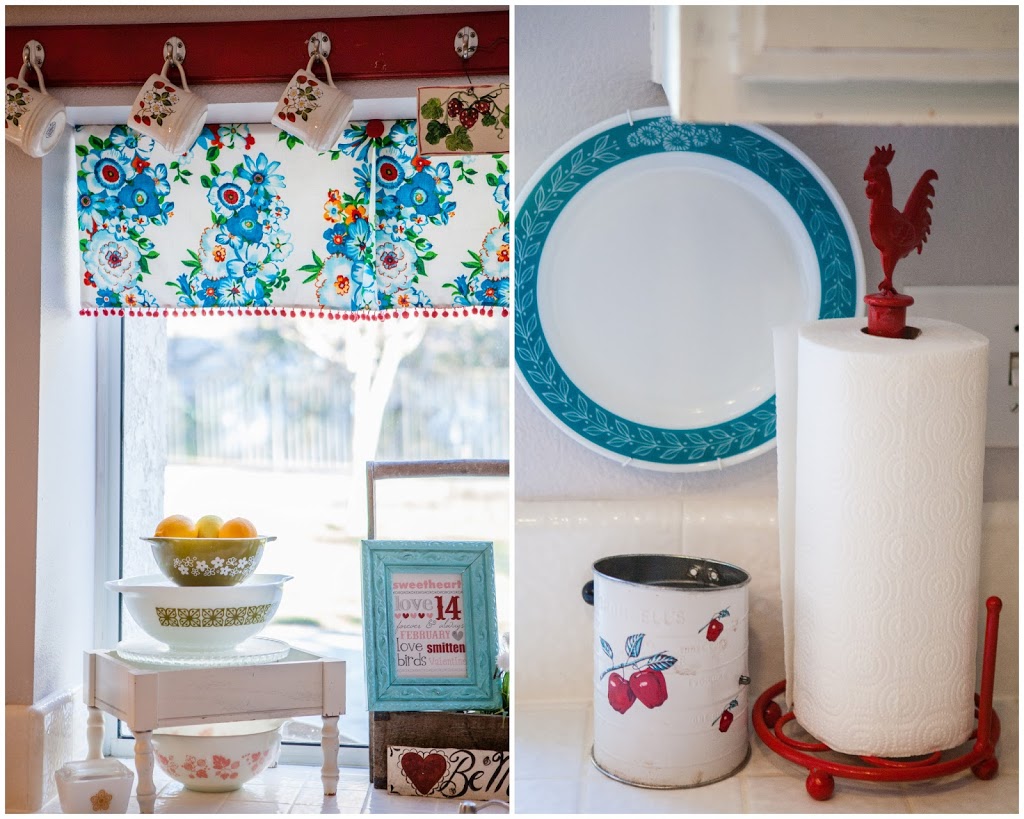
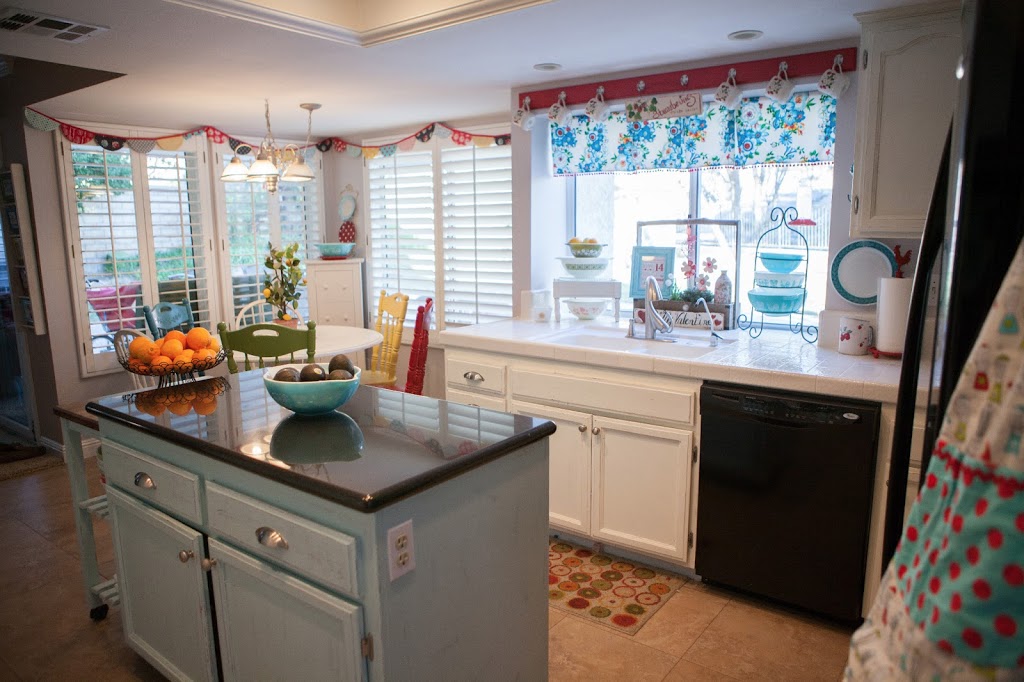
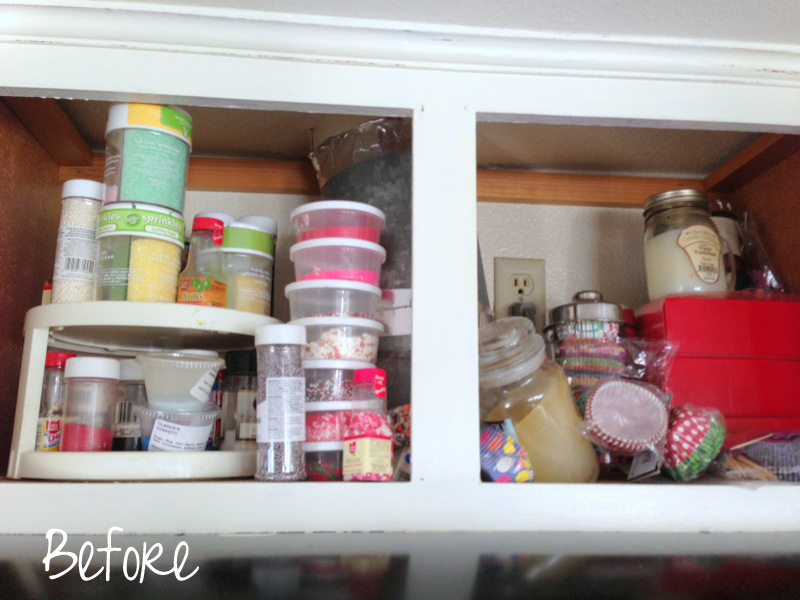
Often times I would open the cabinet and sprinkles would actually fall onto my head.  (By the way I love sprinkles and I pride myself on having a selection fitting every holiday.)
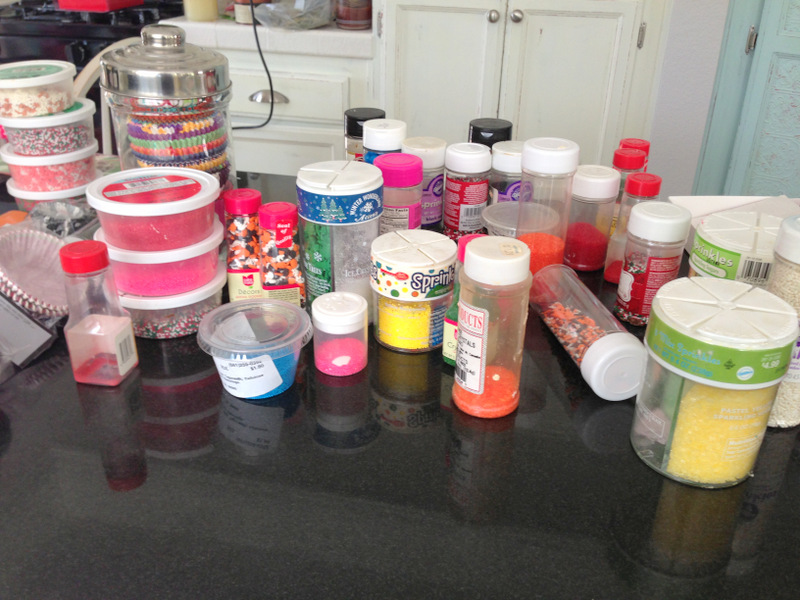
 I emptied the contents to my counter:
 I have sprinkles in every possible container, tub, or shaker thing-a-ma-jig.  My friend gave me all these empty shaker bottles and I knew that was my answer.  All the sprinkles needed to fit into like-sized containers…and so the process (a day’s work) began.
 

 I emptied all my sprinkles into their own same-sized bottle and tossed the original packaging.

 The only problem was all the labels on the new containers were all different and I wasn’t going to spend a week removing them.  Enter in scrapbook paper and sticky strip.

 I cut a 2″ x 6″ strip out of paper that matched the sprinkles in the bottle.  I didn’t want all the bottles to look the same with fancy Martha Stewart labels.  I like that look, but when it comes to sprinkles I need to grab and go!  Color coded bottles were just the answer!  Green sprinkles get green paper, etc.

I went to the Avery label website and printed off custom labels to attach to each bottle.

 It is starting to look happy in here!!!

 I planned on returning my sprinkles to my double-decker Lazy Susan.  Only it needed a bit of sprucing up.  Enter in Washi Tape.  In a matter of seconds I transformed a very boring item into something bright and cheerful!

 Next, all the cupcake papers needed homes and one jar was not enough.  I could have bought all matching jars, but I didn’t want to make a trip to the store so I used what I had.  It works.

 (The inside of the cabinet is not the cutest – yes, that is the actual wall you see inside the cupboard – QUALITY!!)

 I grouped the sprinkles by color, then by holiday.  That should work for now.  It won’t make the cover of a magazine or anything, but it makes me feel happy when I peek in there…..and it makes me want to bake something yummy!!


Amanda

My Red Kitchen Has Got To Go!!


Welcome to the Jedi Craft Girl blog!  I am entering this post in the Creating with the Stars contest from East Coast Creative.  It’s such an exciting contest and there are so many amazing applicants!!
  
I have lived in my Southern California tract home built in 1989 for the past 9 years.  When we moved in I painted my kitchen red – Tomato Red to be exact.  Lots of things change in nearly a decade and the kitchen had to go.  Unfortunately, living in California is not cheap and neither are renovations.  It was left to me, my paint brush, and thrifty mind to fix this place up.
This is the after.  Ahhhhhh… just a sigh of happiness when I look at this photo! 
It’s amazing how big the kitchen feels now just by changing the colors.

 I removed all the cupboard doors, sanded, primed, and painted and painted and painted white.  Then I sanded and distressed the doors and frames so some of the red would show through.

For the pantry doors, I applied paintable textured wallpaper to the insets and painted them red then aqua.  A light sanding and you can see how the red shows through the detail of the wallpaper – love it!!!  (Click Here for the full details of that project)

 
I found this kitchen table on Craig’s List for $25. Whoo Hoo! It was honey oak.  I did a chalk paint treatment in white (click here for those details).   The chairs were given to me by a friend.  Four cans of spray paint in four different colors = HAPPY!!
Next up, a rolling cart I found on the side of the road.  I wheeled it home a half mile while on a walk.  Several coats of paint, distress, electric sander to the top and some custom mixed stain and now I have the perfect place for my Pyrex collection!
I love my big kitchen window.  I found this vintage looking fabric and sewed a pleated curtain with red pom-pom trim.  I nail-gunned it to a board then to the ceiling.   It gives it the perfect airy look.  I hung the custom hook board above and now I can display my vintage Strawberry mugs.


Sometimes I think my kitchen is too cheerful and colorful – like there should be a birthday party going on everyday in there!  But then I think – “What could be better!!”

Amanda

Kitchen Table Re-Do

I bought this kitchen table (and 4 chairs which will be used in a different project) on Craig’s List for $25!  I was so excited for a new project.

 Right away I got to sanding it.

 Then I primed it with a dark primer.

 I painted it black.

 Then I painted over the black with white paint.  I used the same chalk paint method as I used on my coffee table.  The technique comes from I Heart Naptime.  I mixed 5 tablespoons of Plaster of Paris with 2 Tablespoons water.  Then added 2 cups of white paint.

My plan was to have the white paint look aged & like it’s chipping off with the black showing through.  Only I got so excited to paint I forgot to add Vaseline to parts of the table to make the paint scrape off easier.  I would definitely not forget this step!!

 Anyway, I painted 3 coats of white paint to the table.

 Next I sanded the edges so the black paint would show through & the table would look aged.  This is where the Vaseline would have been nice.  I didn’t get the big chunky paint chips that I wanted.  I am sure they will come over time!!

This Minwax Finishing Wax is my favorite stuff!!!  It gives such an amazing feel to your furniture – different then polyurethane.  You rub the wax on and then in 20 minutes you buff it out with a clean cloth.  It makes the paint feel like it’s been there for a long time!!  I even used it on my table top.  It won’t protect it as good as polyurethane, but I want the table to age naturally.

 This is our first meal at the table.  I love how it fits the space in my kitchen better than my rectangular table.

 Yea!  Now what can I paint next??

DIY Grout Disaster

 I have been reading about ways to renew or refresh tile grout.  After reading several tutorials and seeing successful results, I decided to try it for myself.  I have a 1989 kitchen with 1989 tile – I don’t need to go into any more detail – you get the picture!  I bought this “Grout Refresh” at Lowes.  It is grout colorant and sealer.  I read the directions 3 times and started it.  You put a little bead of the stuff on the grout & rub it in with a toothbrush.

 This part was very successful!

( This is the old grout pictured below)

 After painting the stuff on

 The next step is to let it sit for 30 to 60 minutes.  Then spray it with water and clean off the tiles.  Here lies the disaster!  When I started cleaning off the tile, it pealed the color sealer right out of the grout!  DISASTER!!!  There was no options left other than scraping it ALL OFF!!!  YIKES!!!!!  Here is the garbage can with much of the stuff scraped out.

 On to plan B (which I never knew I even had!)  Scrape out the existing grout & re-grout.  My lesson learned is to just do this process first – it is not really that bad. 

 It’s now 9:30 at night and I have enlisted the help of Handy Hubby!!  We got all the grout scraped out.

 We re-grouted all the counters.  Now I just have to seal them.  So, my 1 hour project turned into a 2-day project.  I should really know better!!

Petal Placemats

I am submitting this in Ellison Lane Quilts’ Summer Sewing Contest!

 I just finished these placemats! I have been looking for new placemats for a long time now.  It’s either I can’t find the right color/pattern or they are too expensive.  I found this pattern in “Quilt Almanac 2012” and I knew these were the placemats for me!  It’s such a fun project – you only need small pieces of fabric for each petal so it’s a great “stash” project.  It is also perfect to use up all those small pieces of batting I save!!

 I love that the placemats are more like fabric chargers and really set off the dishes.  Yes – I really like polka-dots!!  And I think I am a colorful person 🙂

 Thanks for stopping by!  Want to join me for lunch?  The table is all set 🙂

Kitchen Towel Makeover


 I made these kitchen towels to go in my newly updated kitchen.  They are so much fun to make.  I love quick sewing projects like this because I get a “fabric fix” without a lot of mess!

I made these towels using “bar mop” towels from Target – they are $4 for a set of 4.  I recommend washing them – they turn all different kinds of shapes in the dryer!


I sewed a band of fabric with Ric Rac edges to the bottom.  I folded the raw edge in at the sides of the towel and top stitched the whole thing.  The top loop I made with ribbon and Velcro – that way I can get them on and off the handle of the oven.   I sewed an accent square out of a charm square (5″) in the corner to hide the ribbon ends.  Easy Peasy!!


A New Apron for Me


I have been collecting apron patterns and tutorials. I found this darling retro blender fabric and knew it was destined to be an apron. So instead of getting out one of my many new apron patterns, I dig out an old one – McCalls M5505

The pattern has you hem all the edges and there are so many raw seams especially with the ruffle. I cut another apron front out and used it as the back. I sewed it and turned it and now there are no exposed seams! I love that!

Kitchen Banner


I took down all the window treatments by the kitchen table. It looked quite bare. I wanted something smaller and lighter yet full of color. With the all white kitchen finished, it is screaming for color now. I decided on a fabric banner. I traced a circle and folded it in half, sewed the curvy part then turned it right side out. Then, just use double fold bias tape to sew all the scallops together.