Captain America Child’s Apron

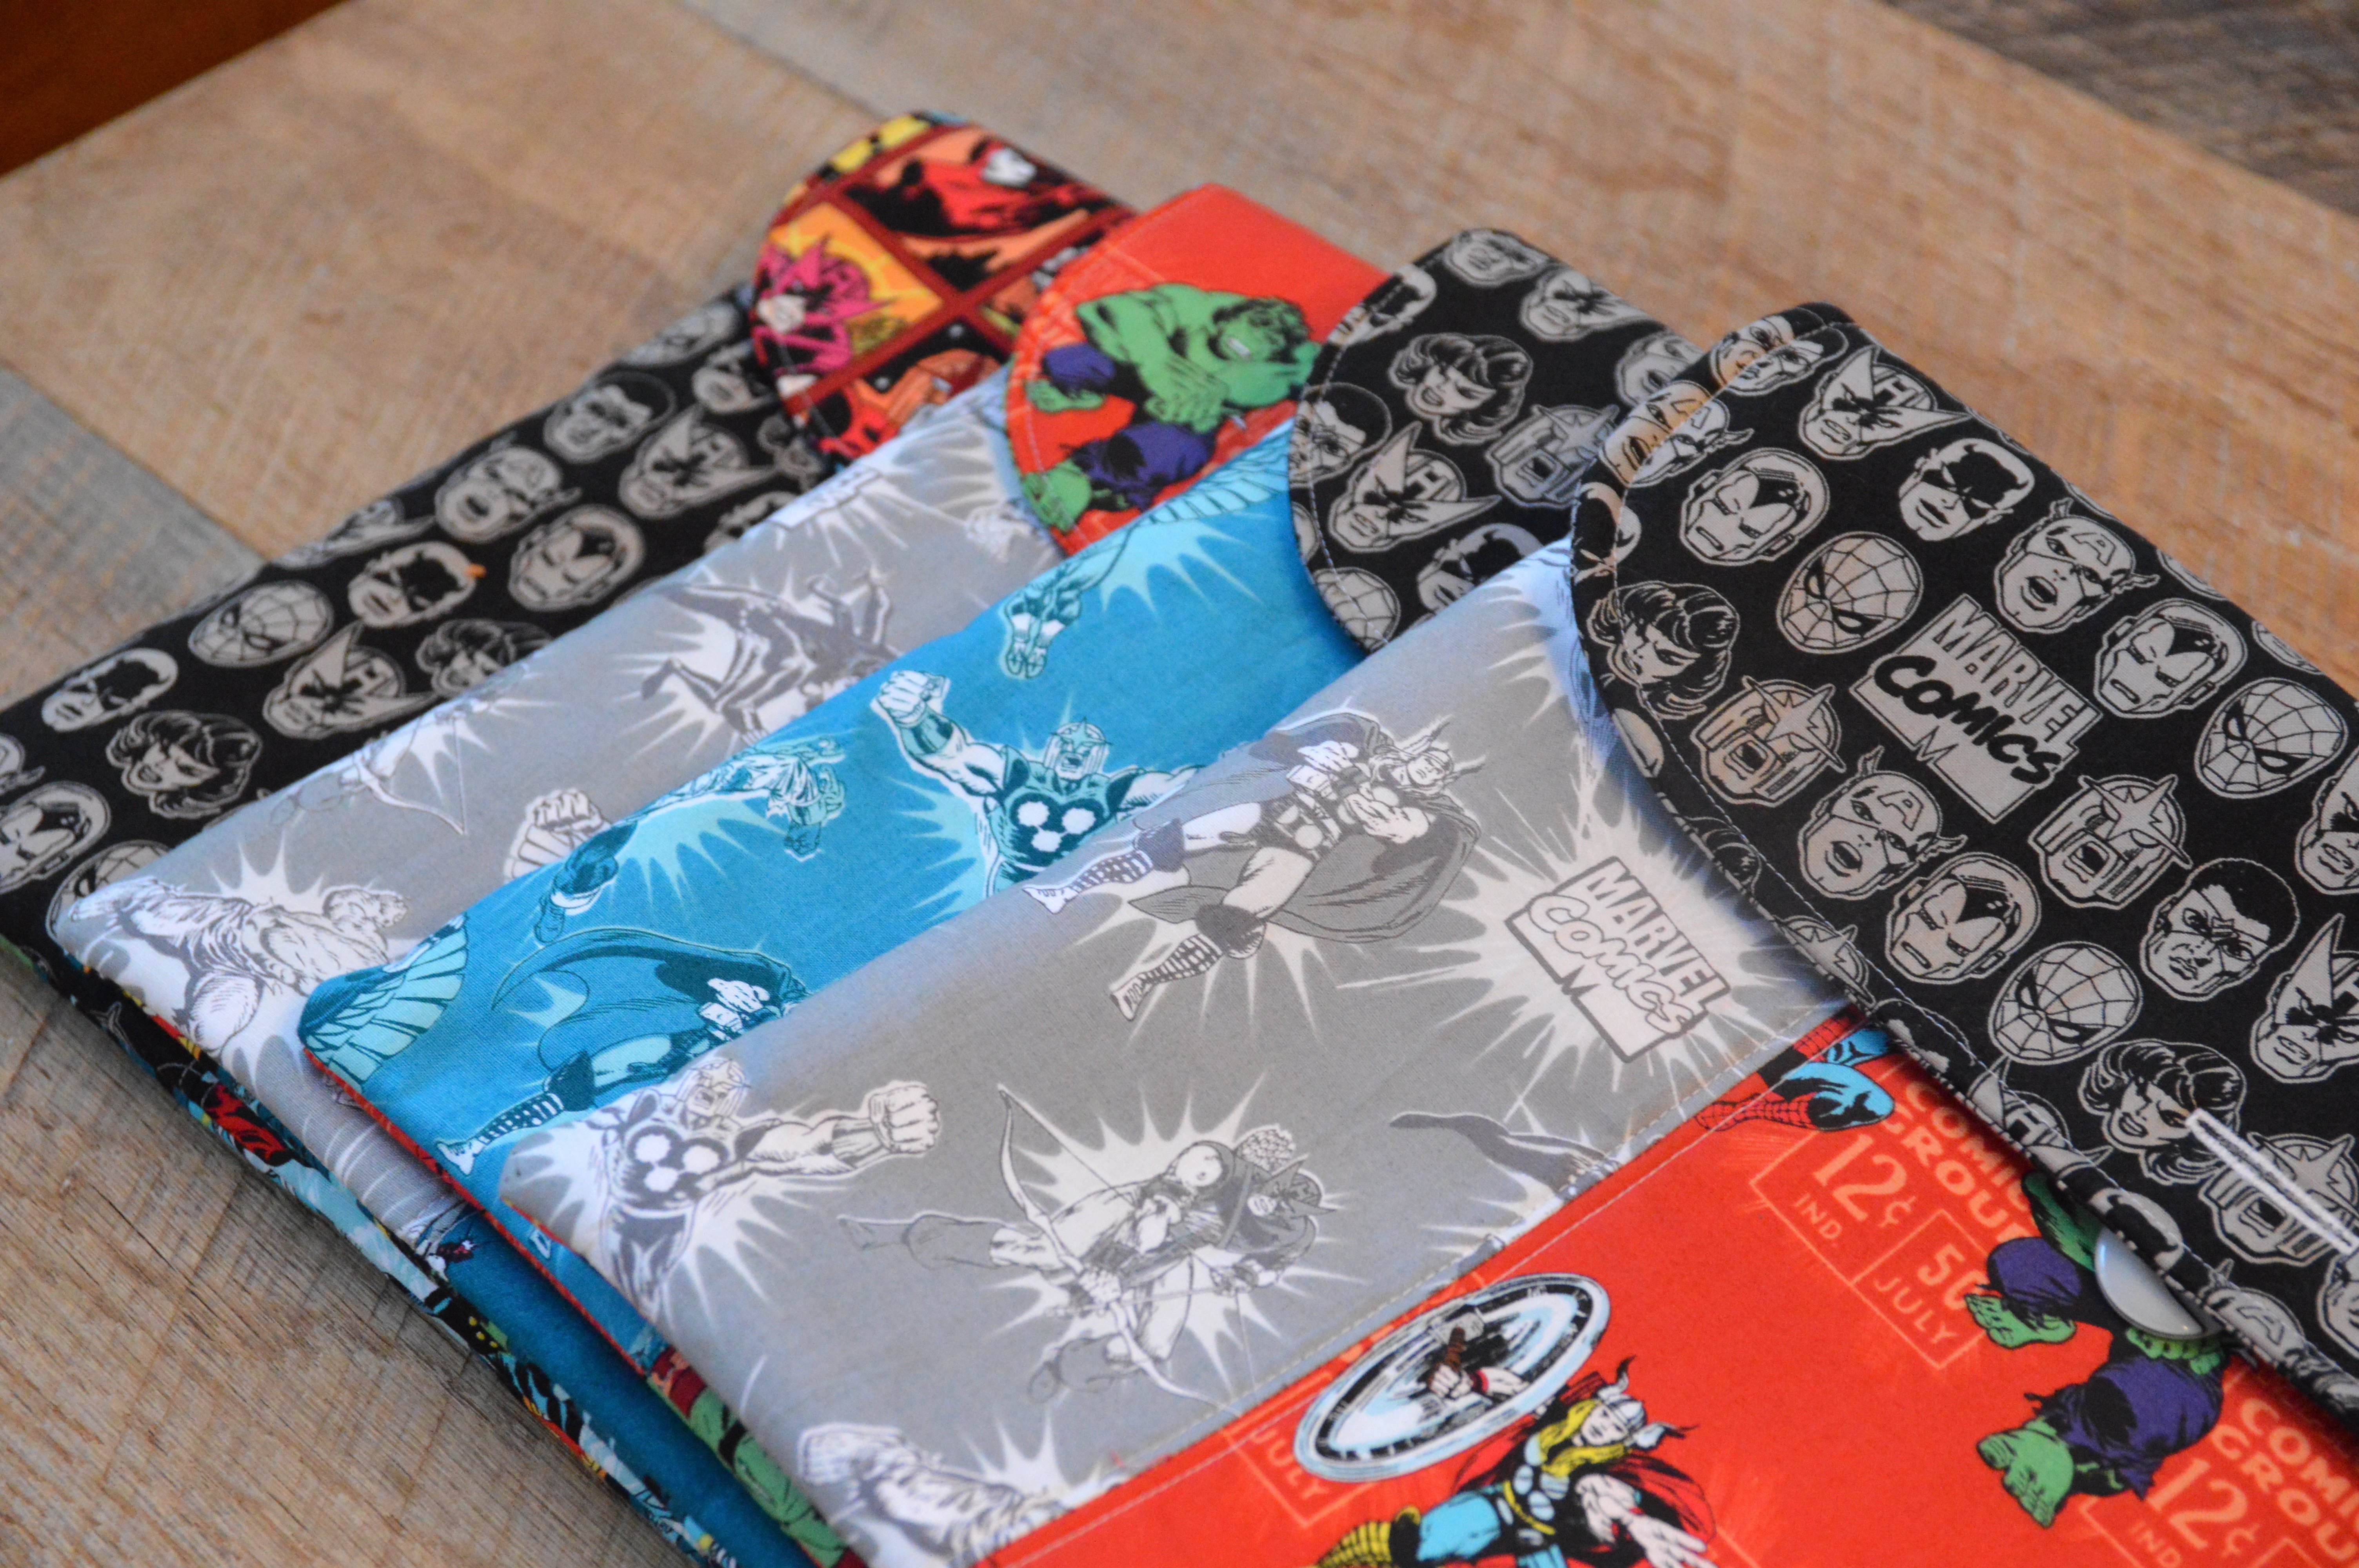
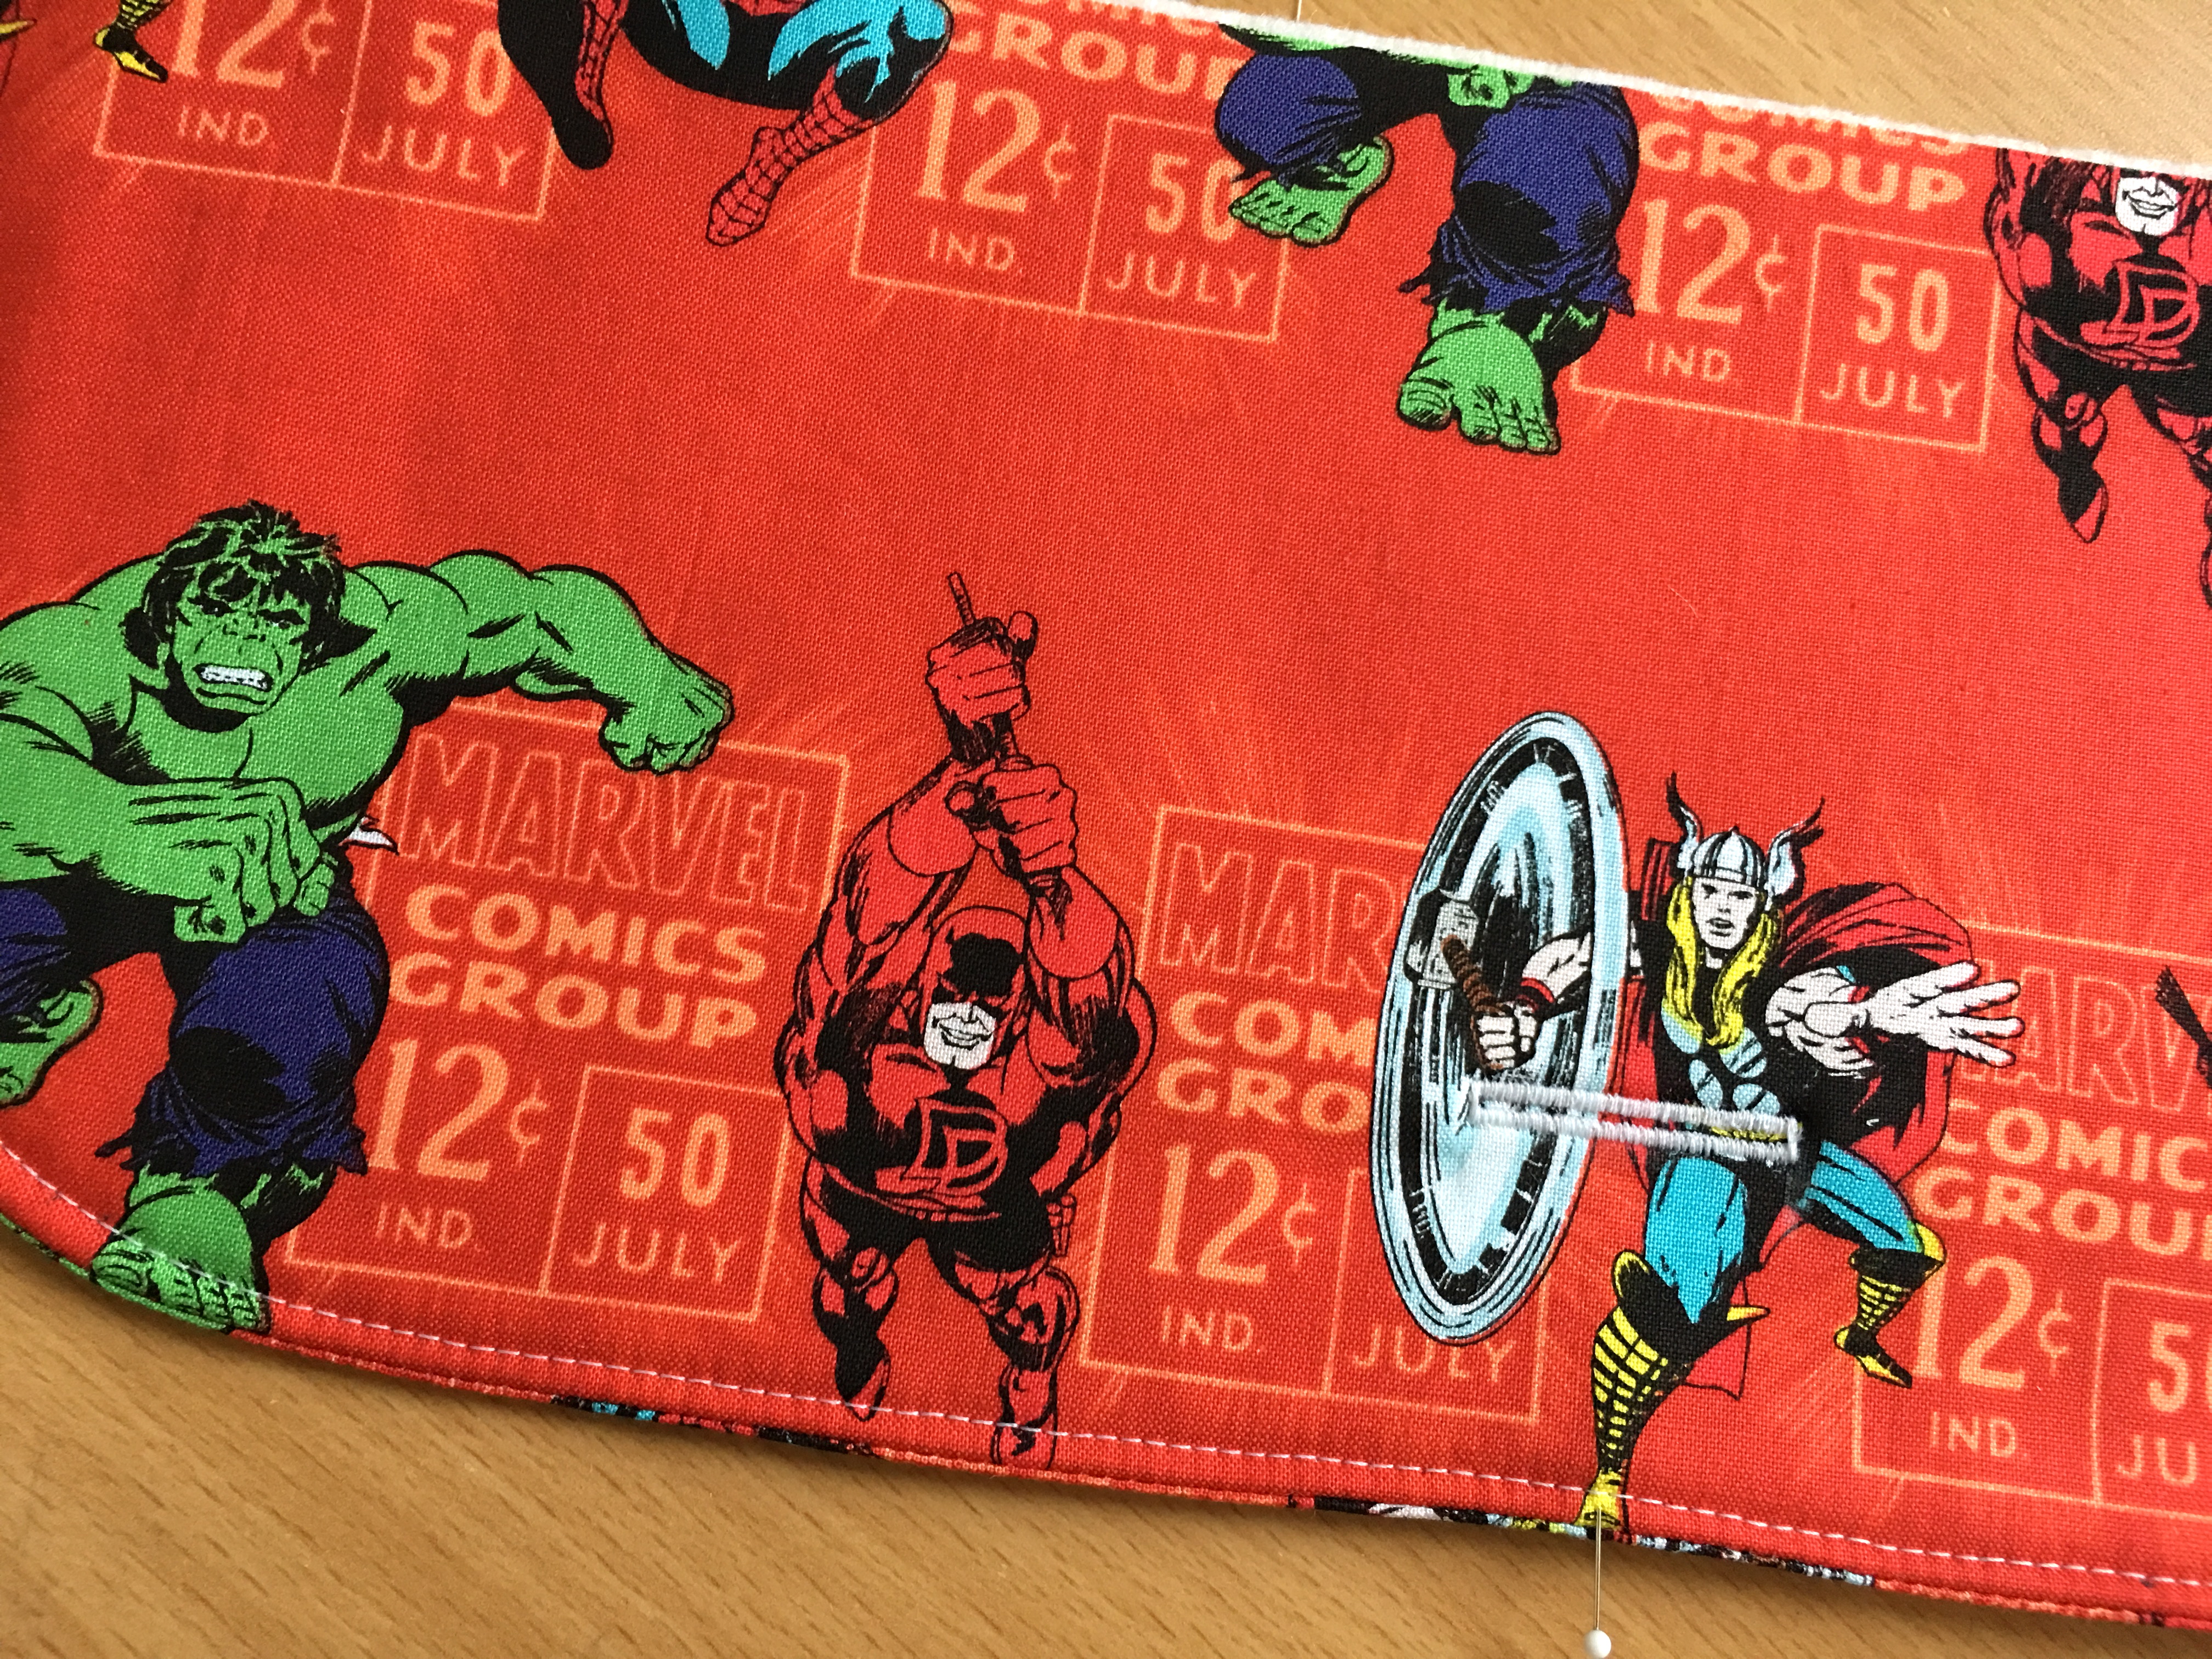
Do you have a little kitchen helper at your house?  Sally bakes everything with me!!  At 8 years old she has a few recipes she can make all by herself!  For Christmas I thought she needed her own measuring cups and spoons and Captain America Apron!!!  This is a basic pattern that can be made in 30 minutes.  You can get creative and add a pocket, ruffle, or fabric accent.  I kept it simple because its all about “Cap” for Sally.  This is a big kids size – would fit from a 6X up to a kids 12.

apron-pattern

img_7948

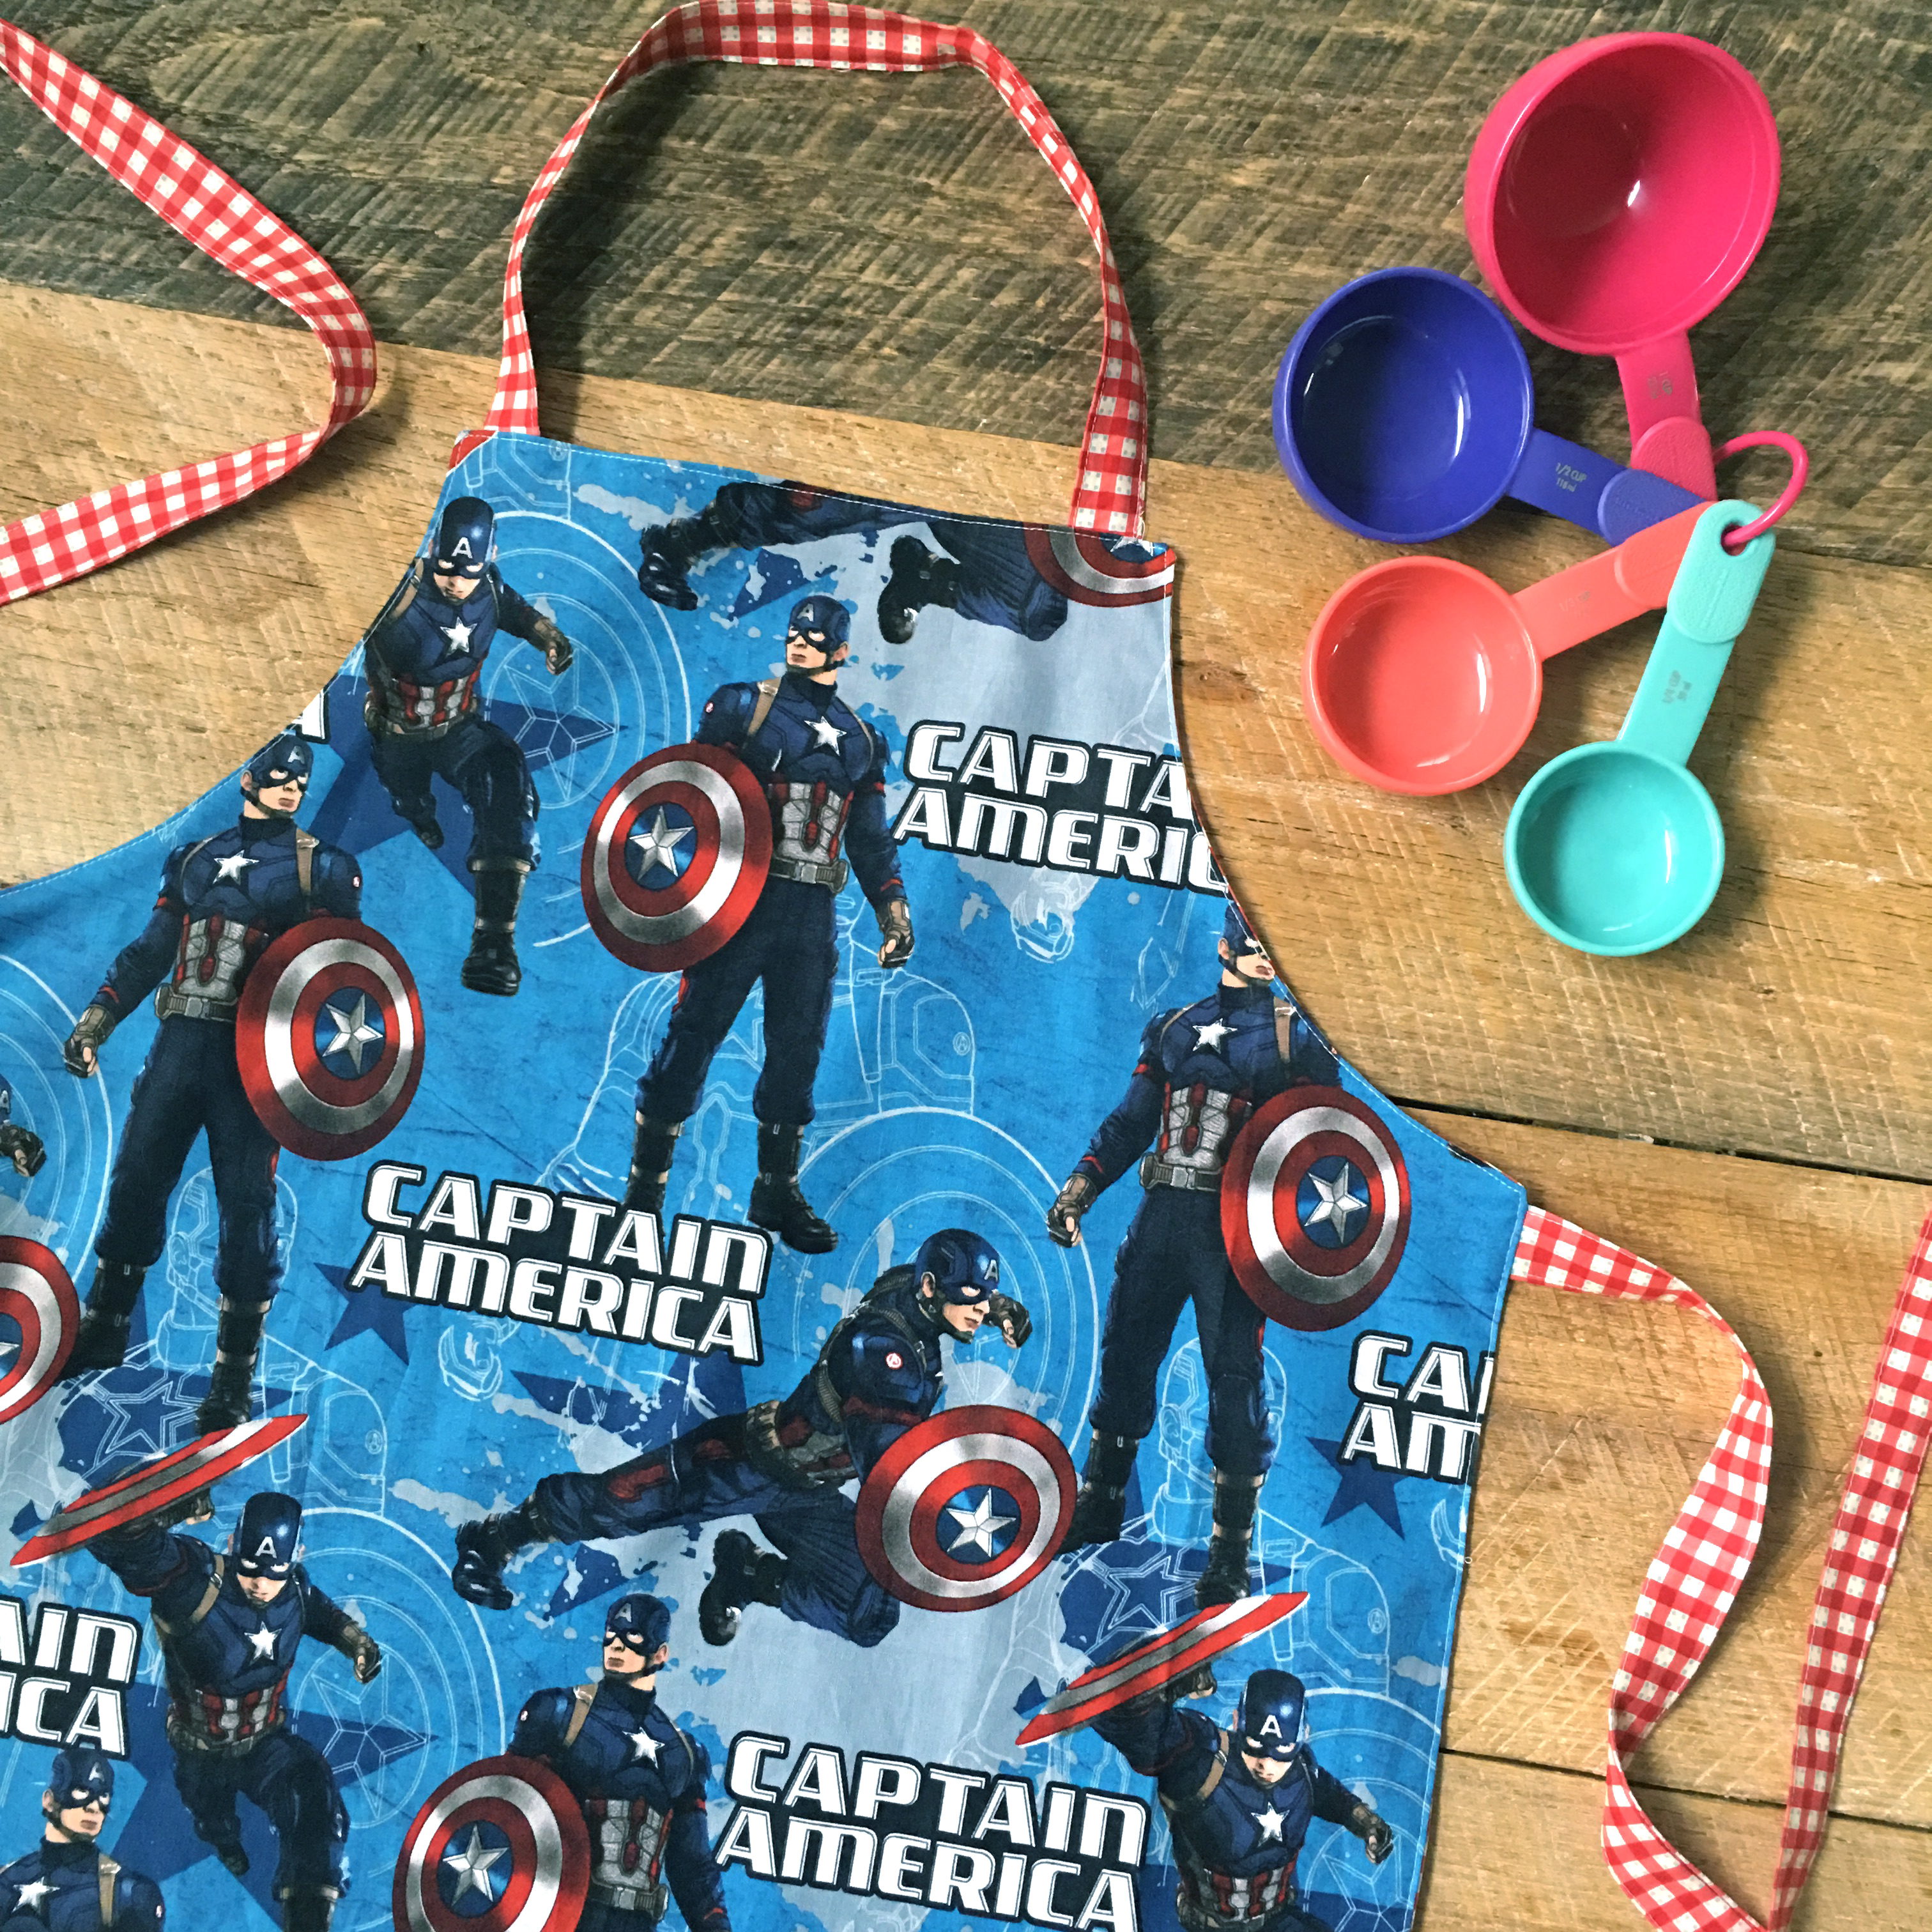
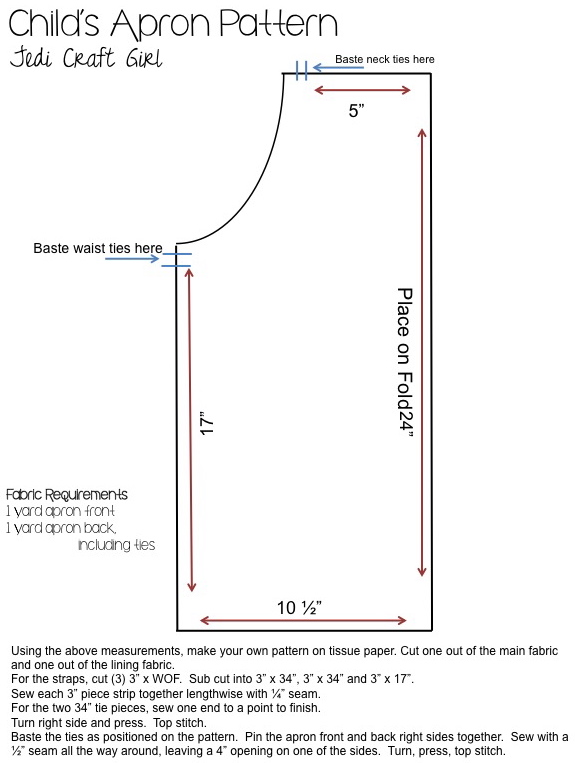
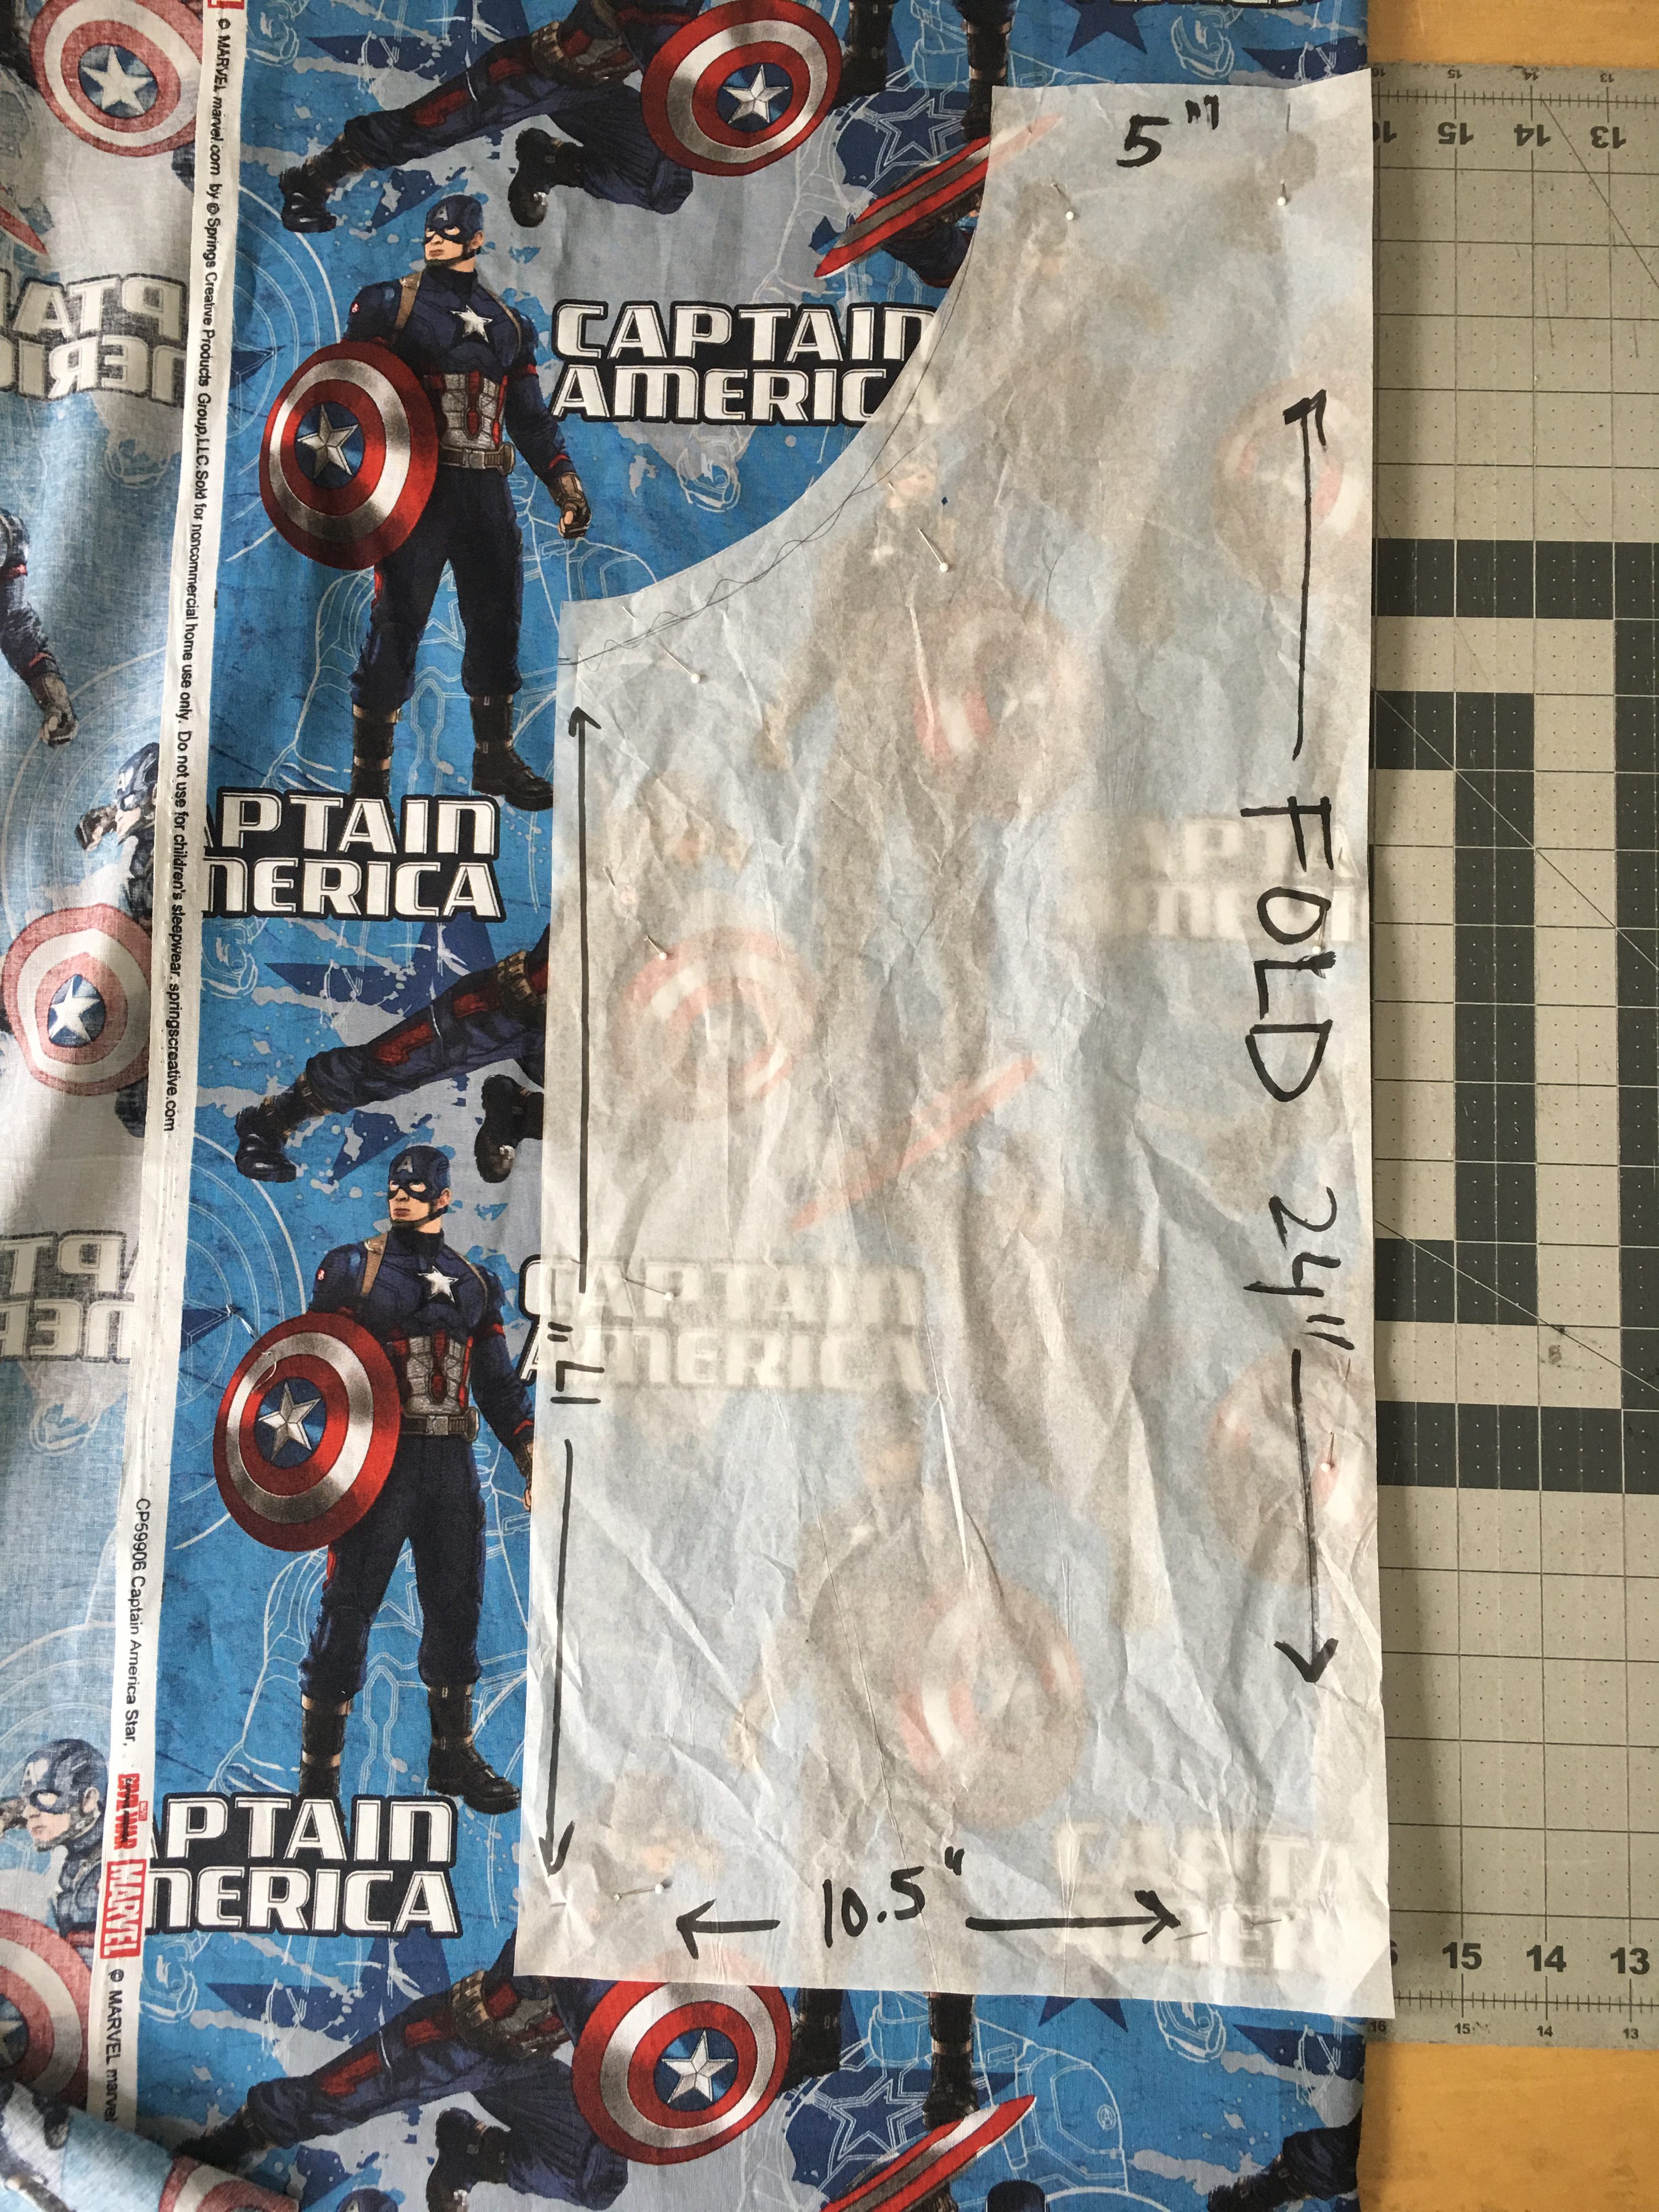
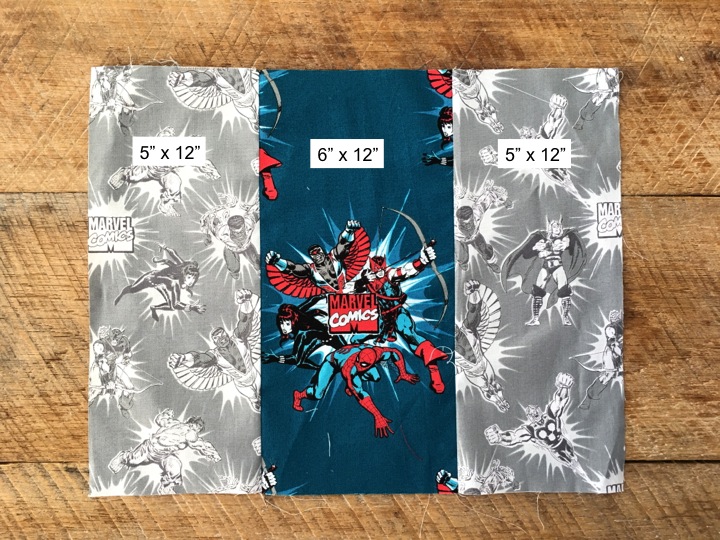
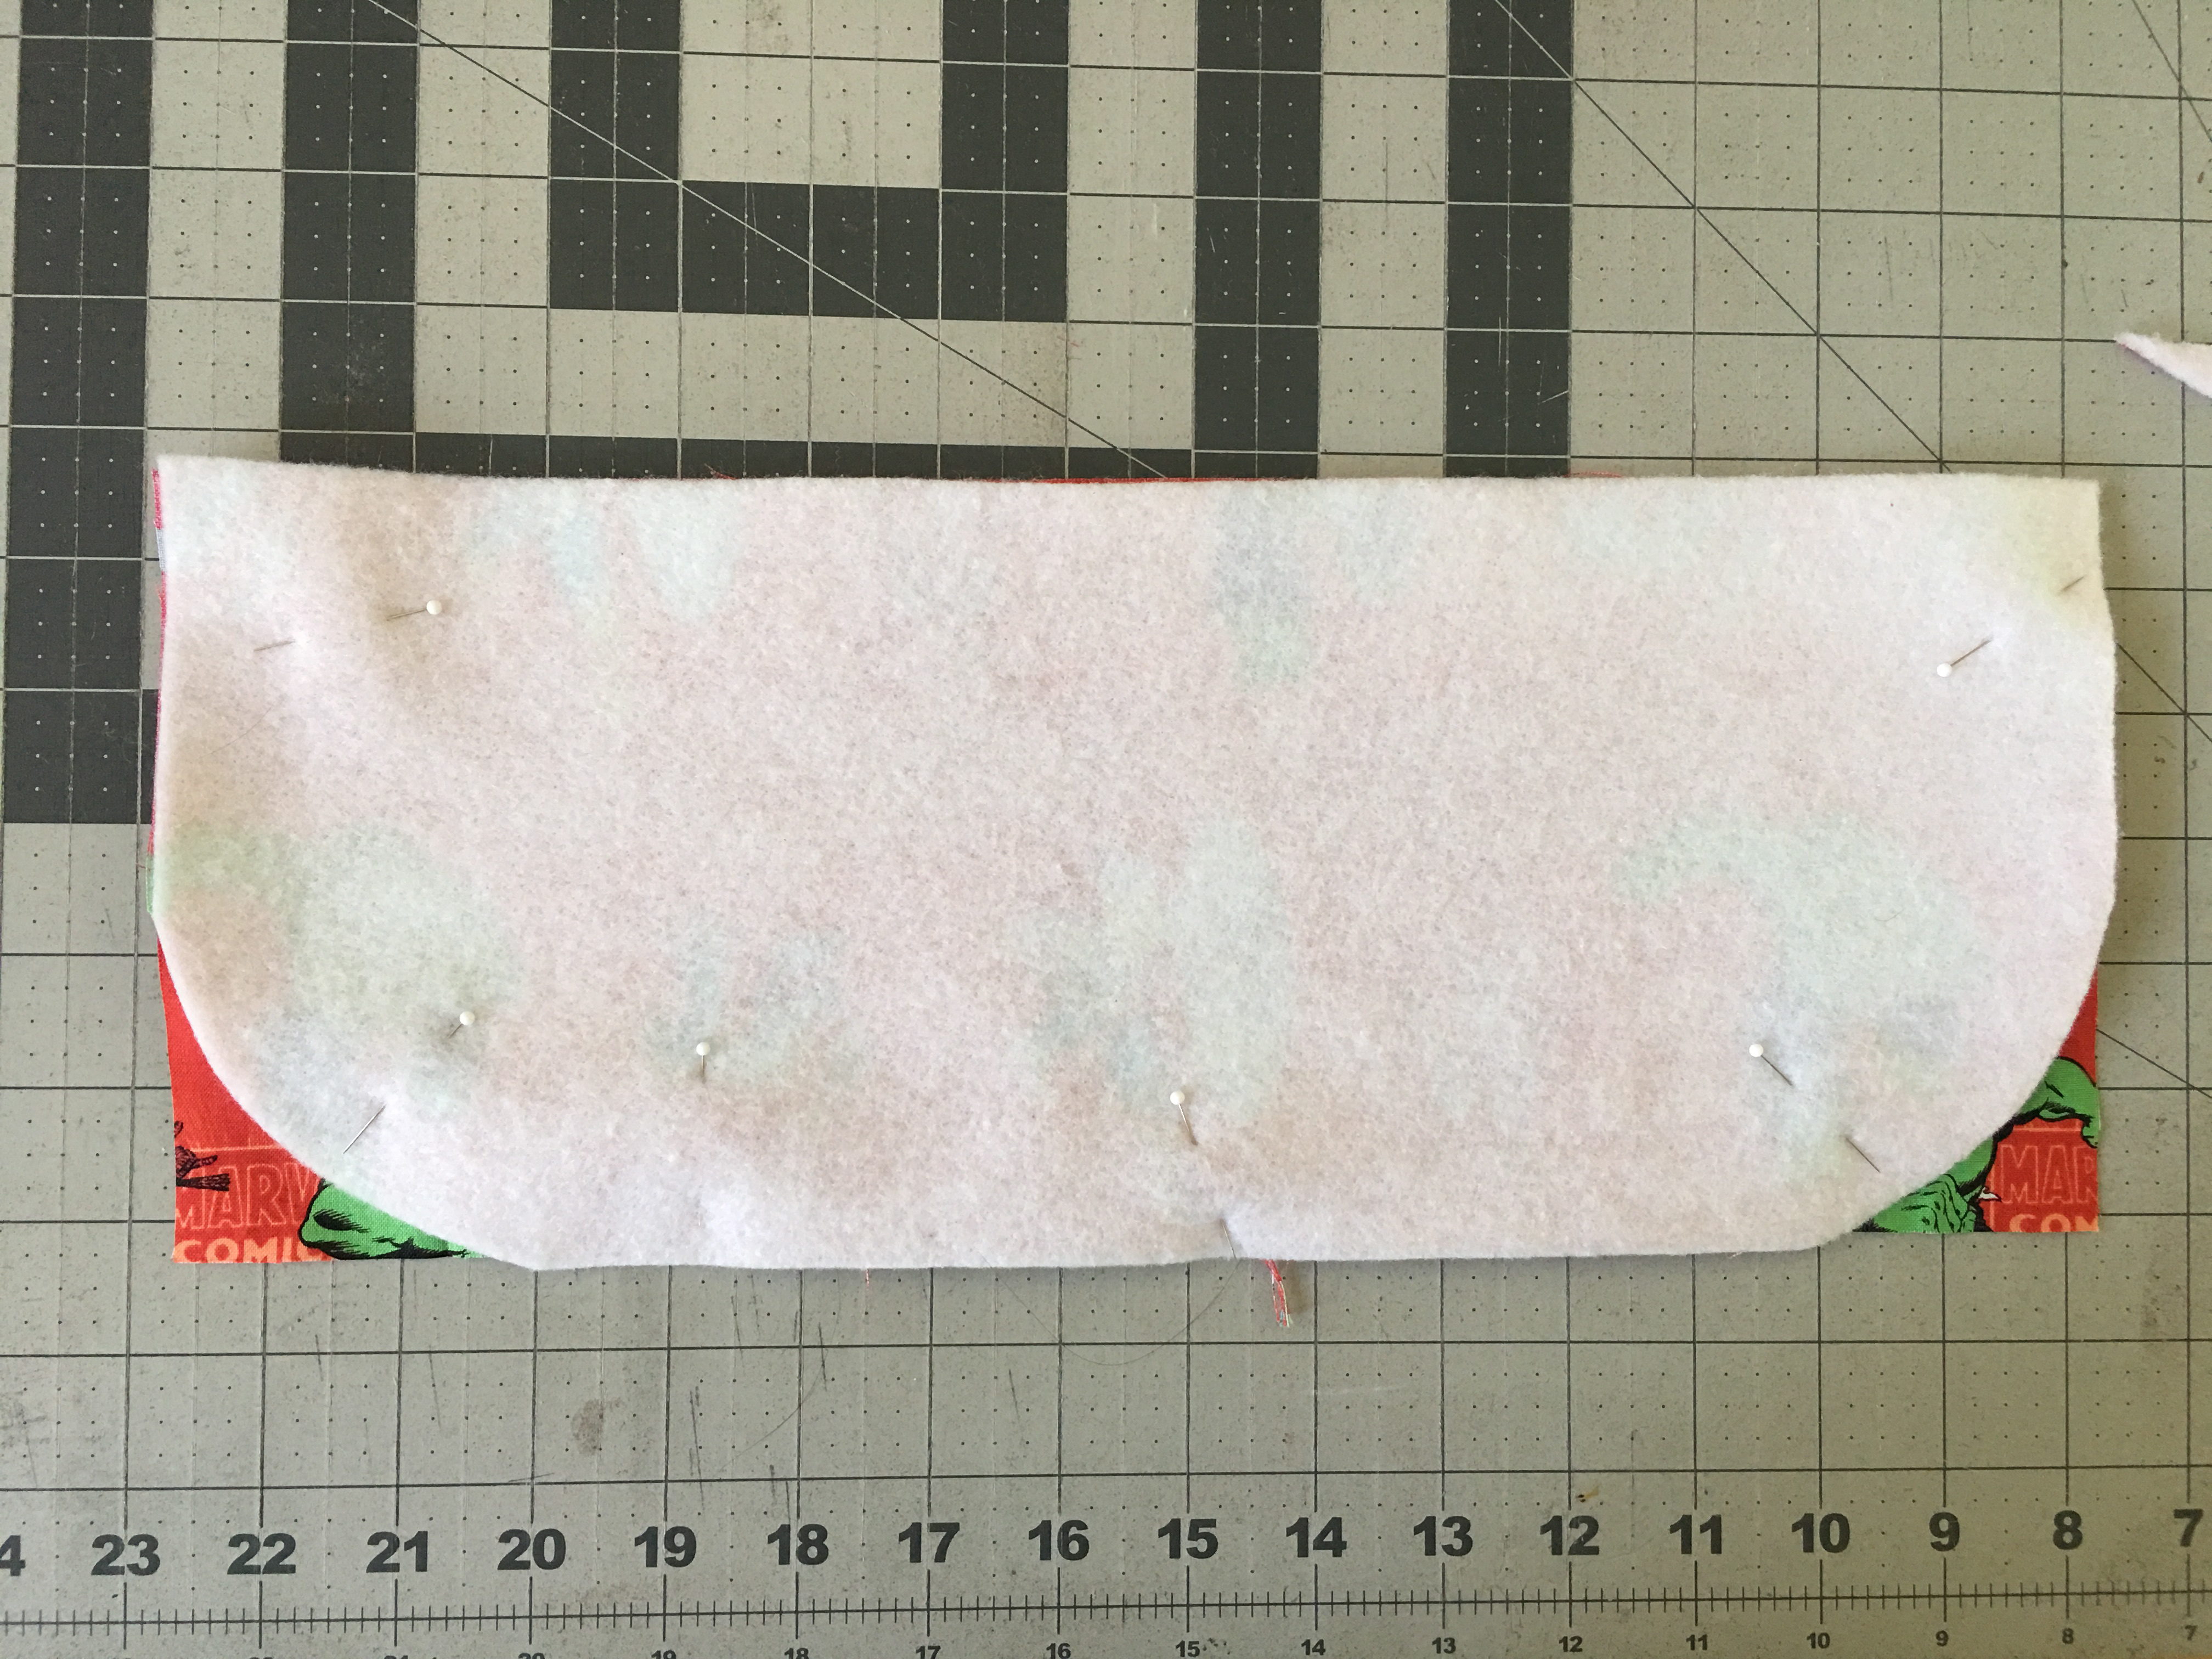
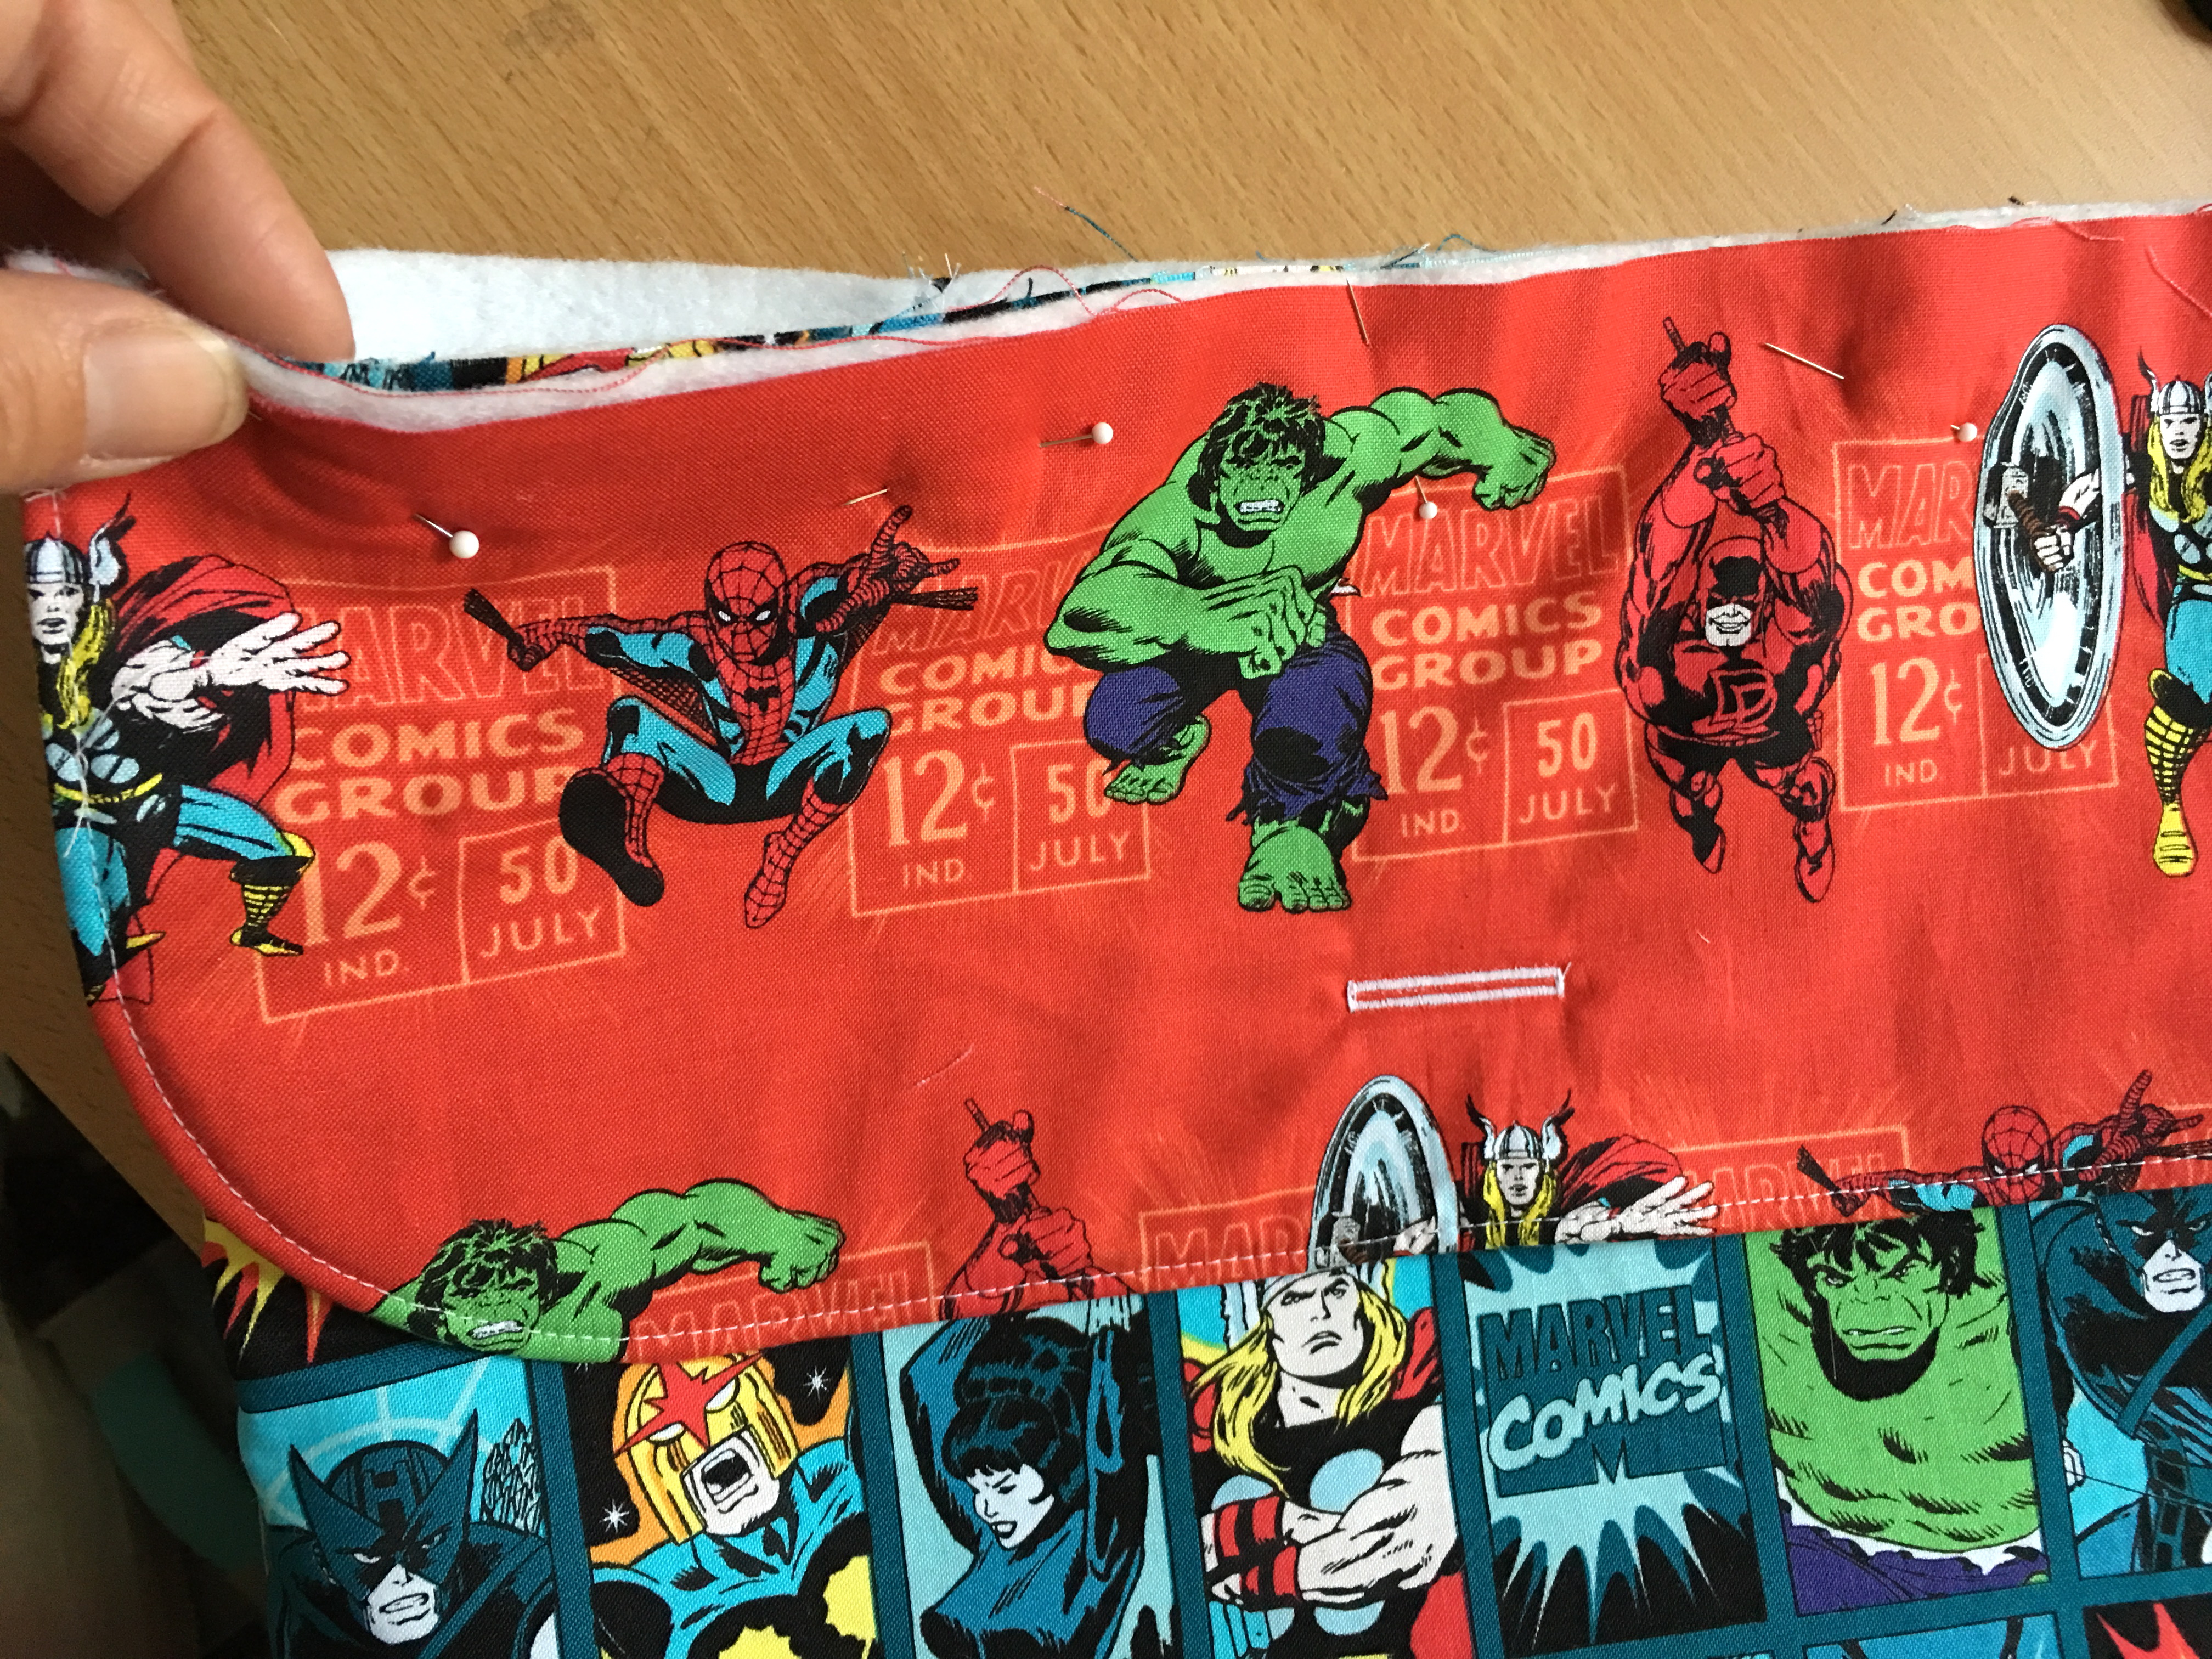
Place the pattern on the fold – I made sure to center the Cap 🙂  Cut one front and one lining.fullsizerender2
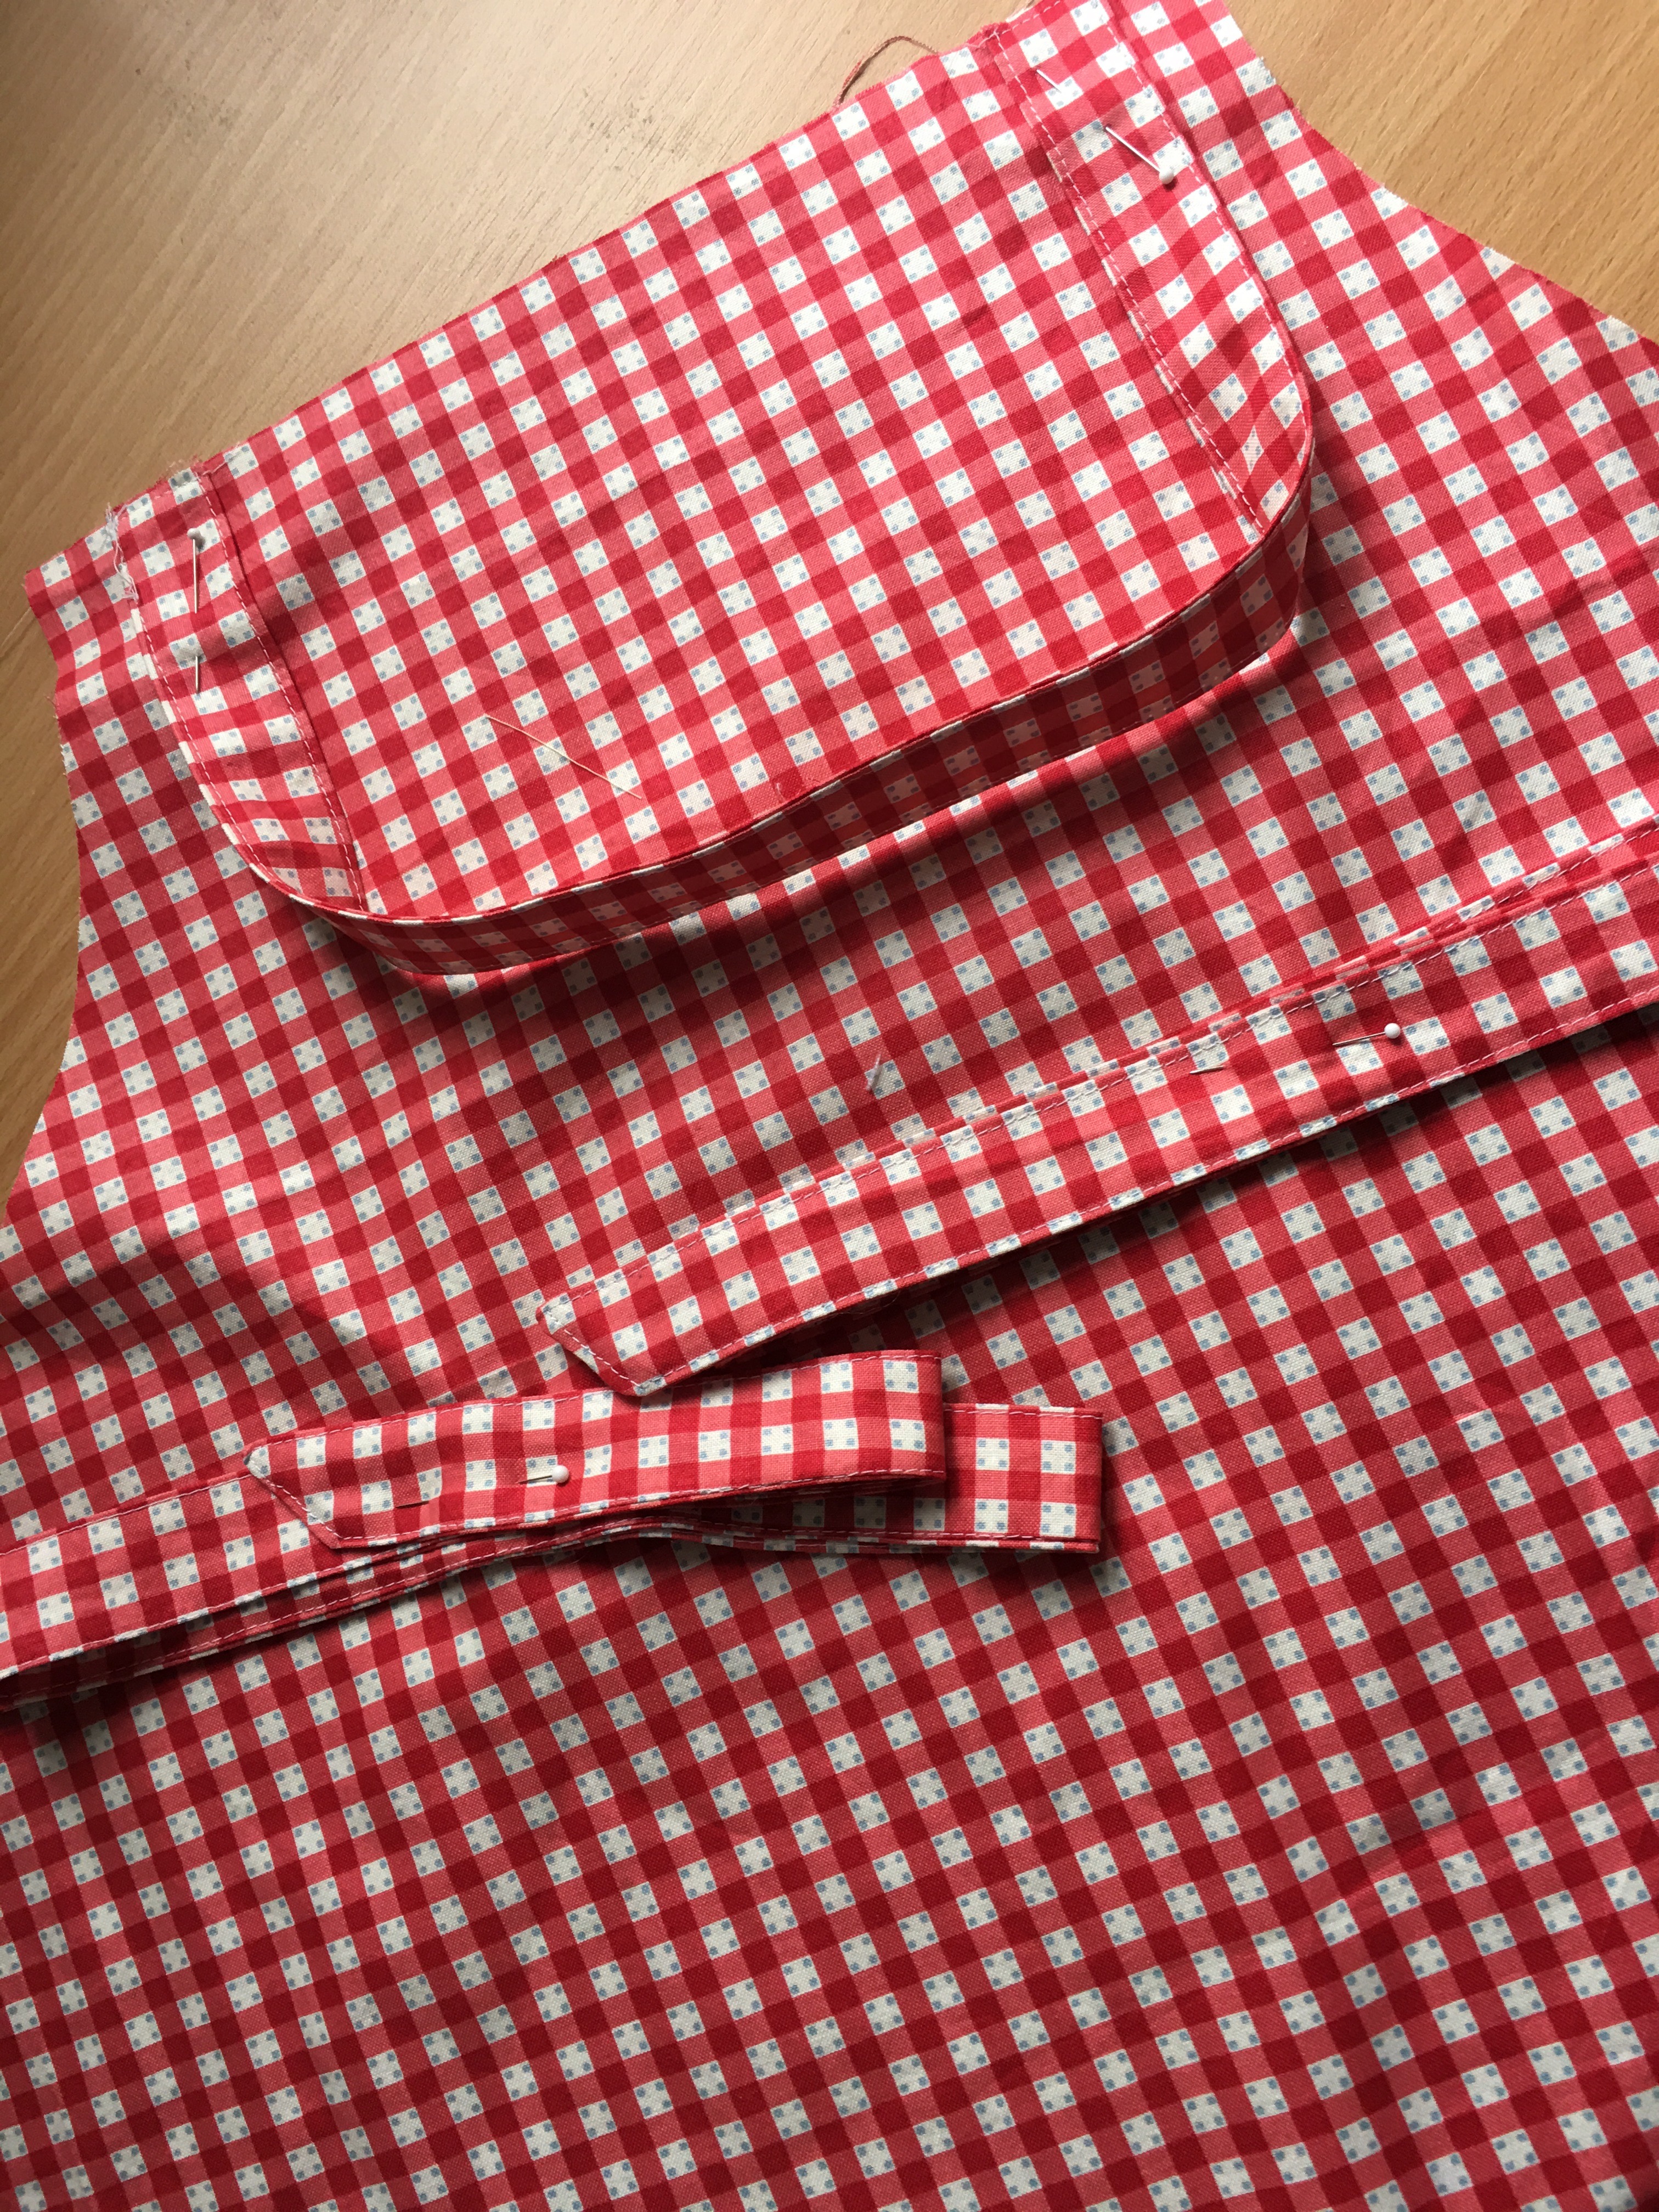
Once you make the straps, baste them according to the pattern.  Then pin them to keep them from getting in the way of the apron seam.

fullsizerender1

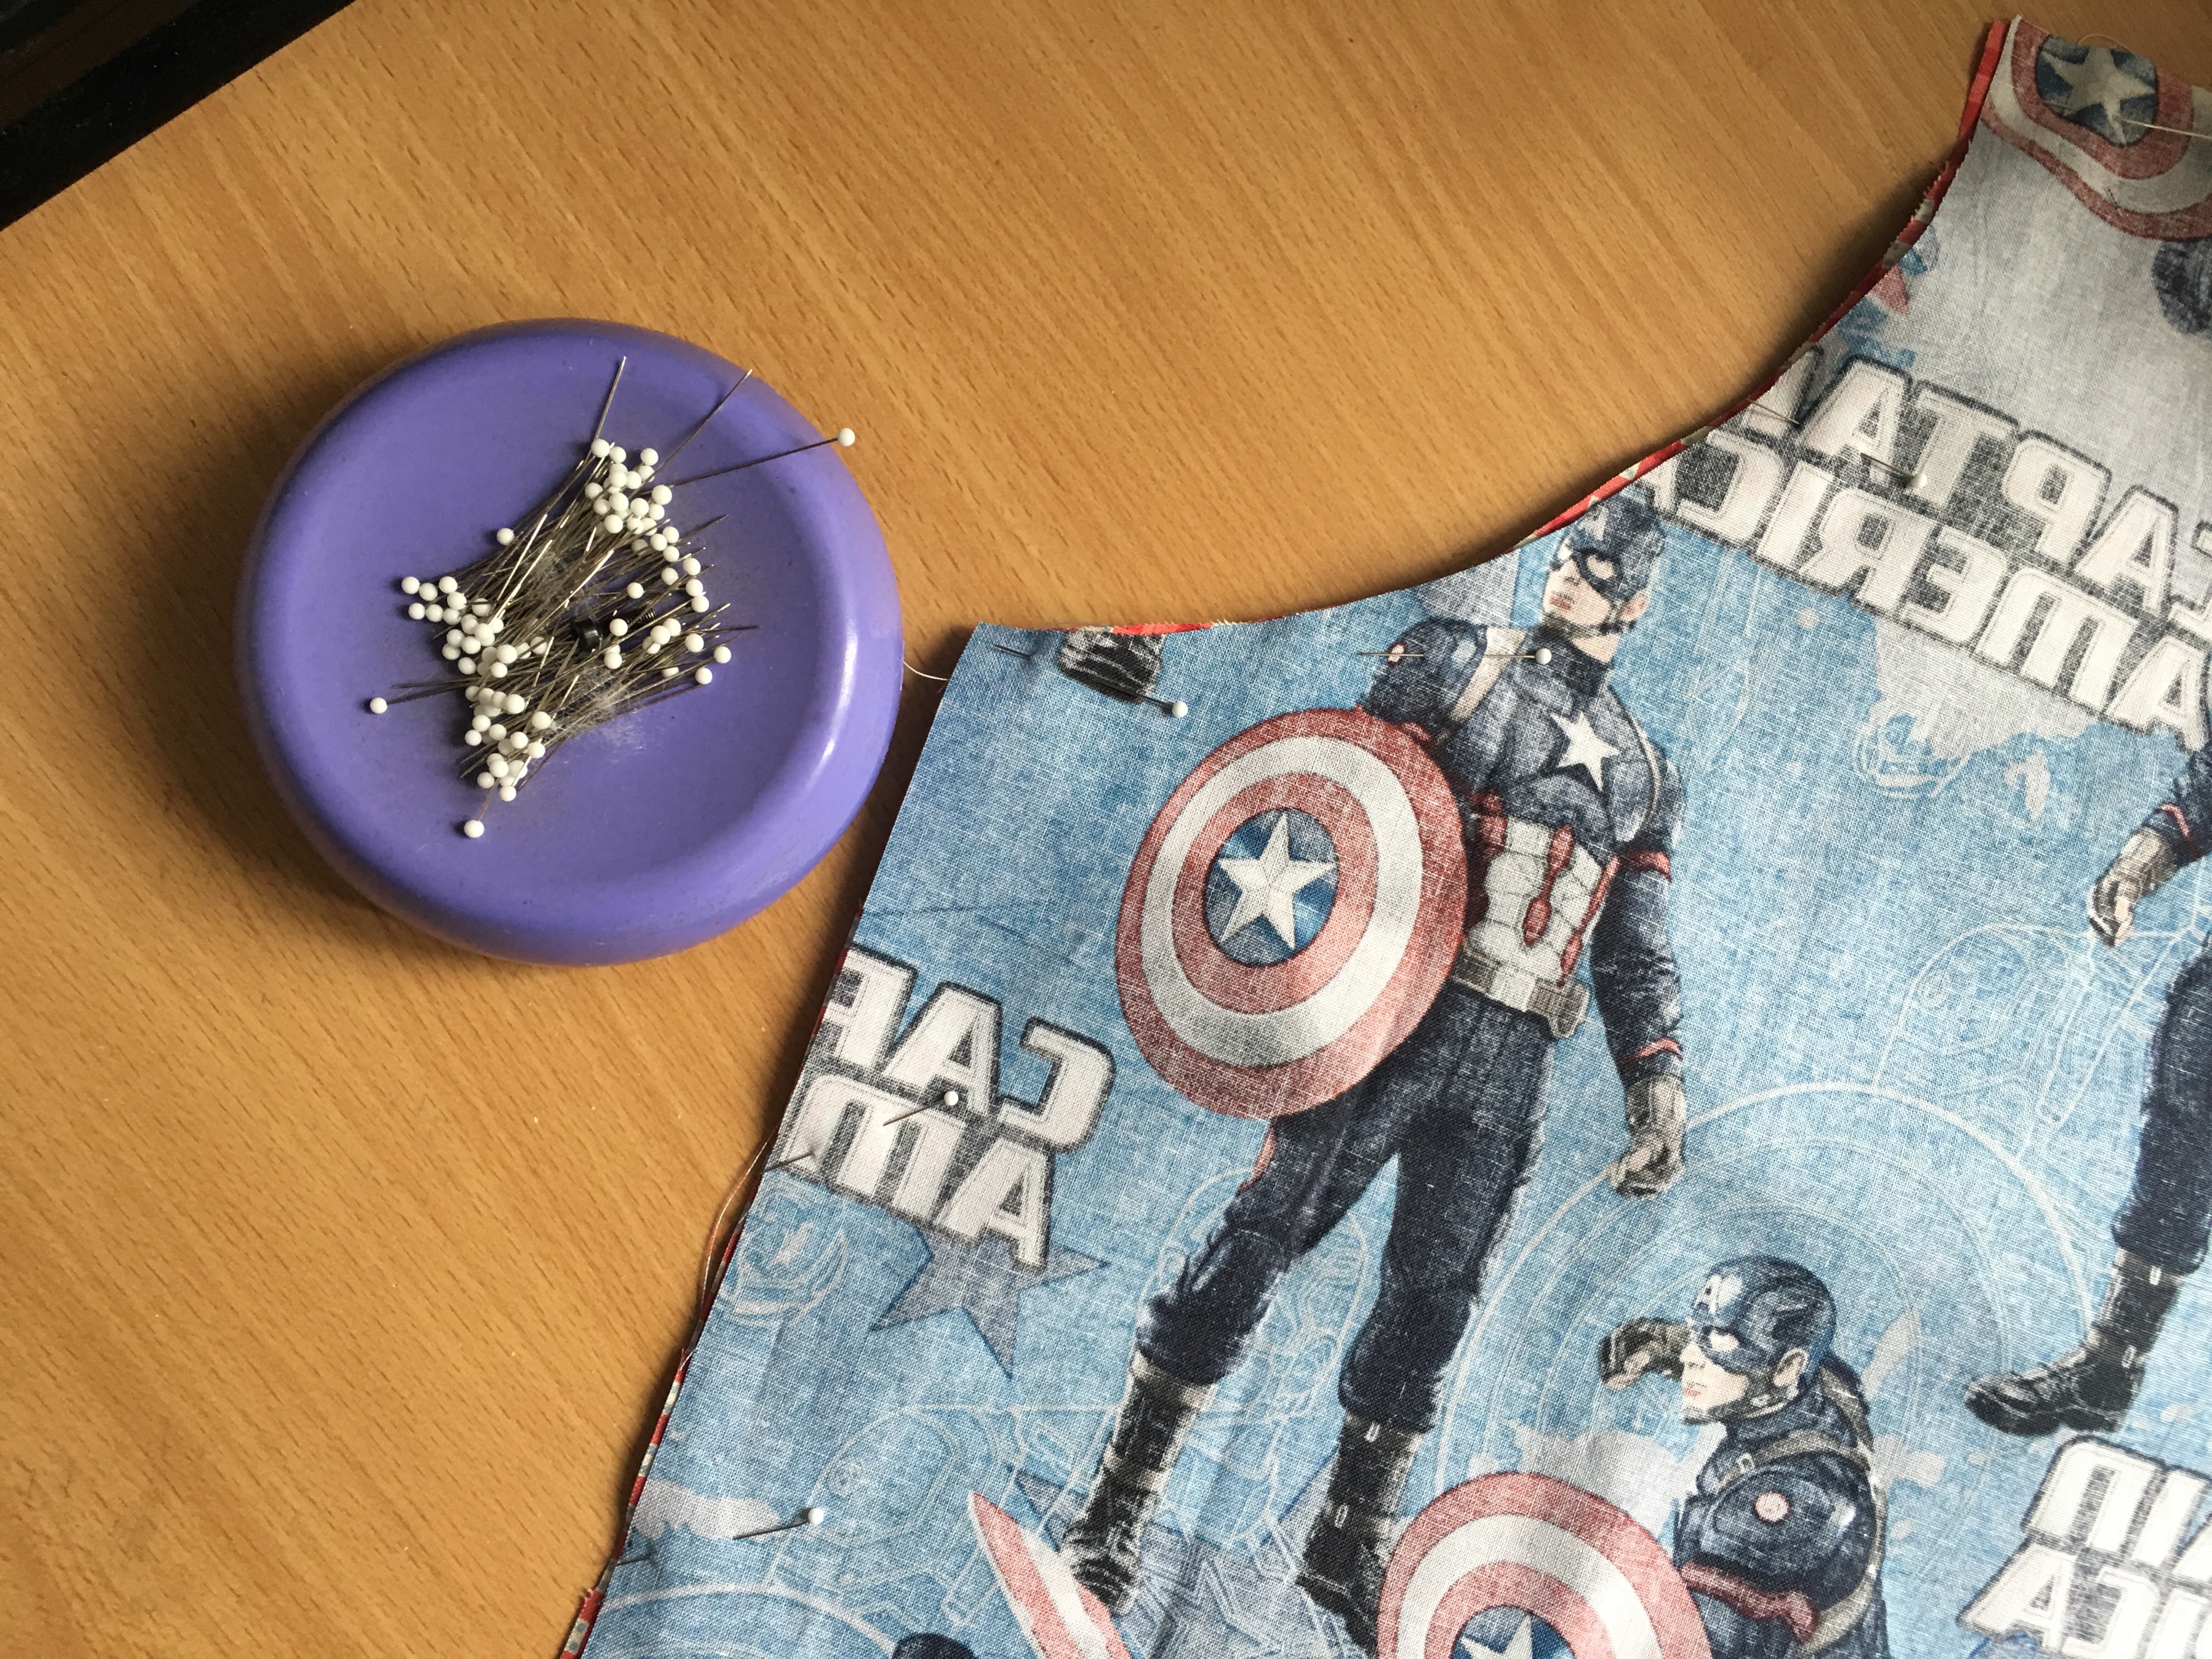
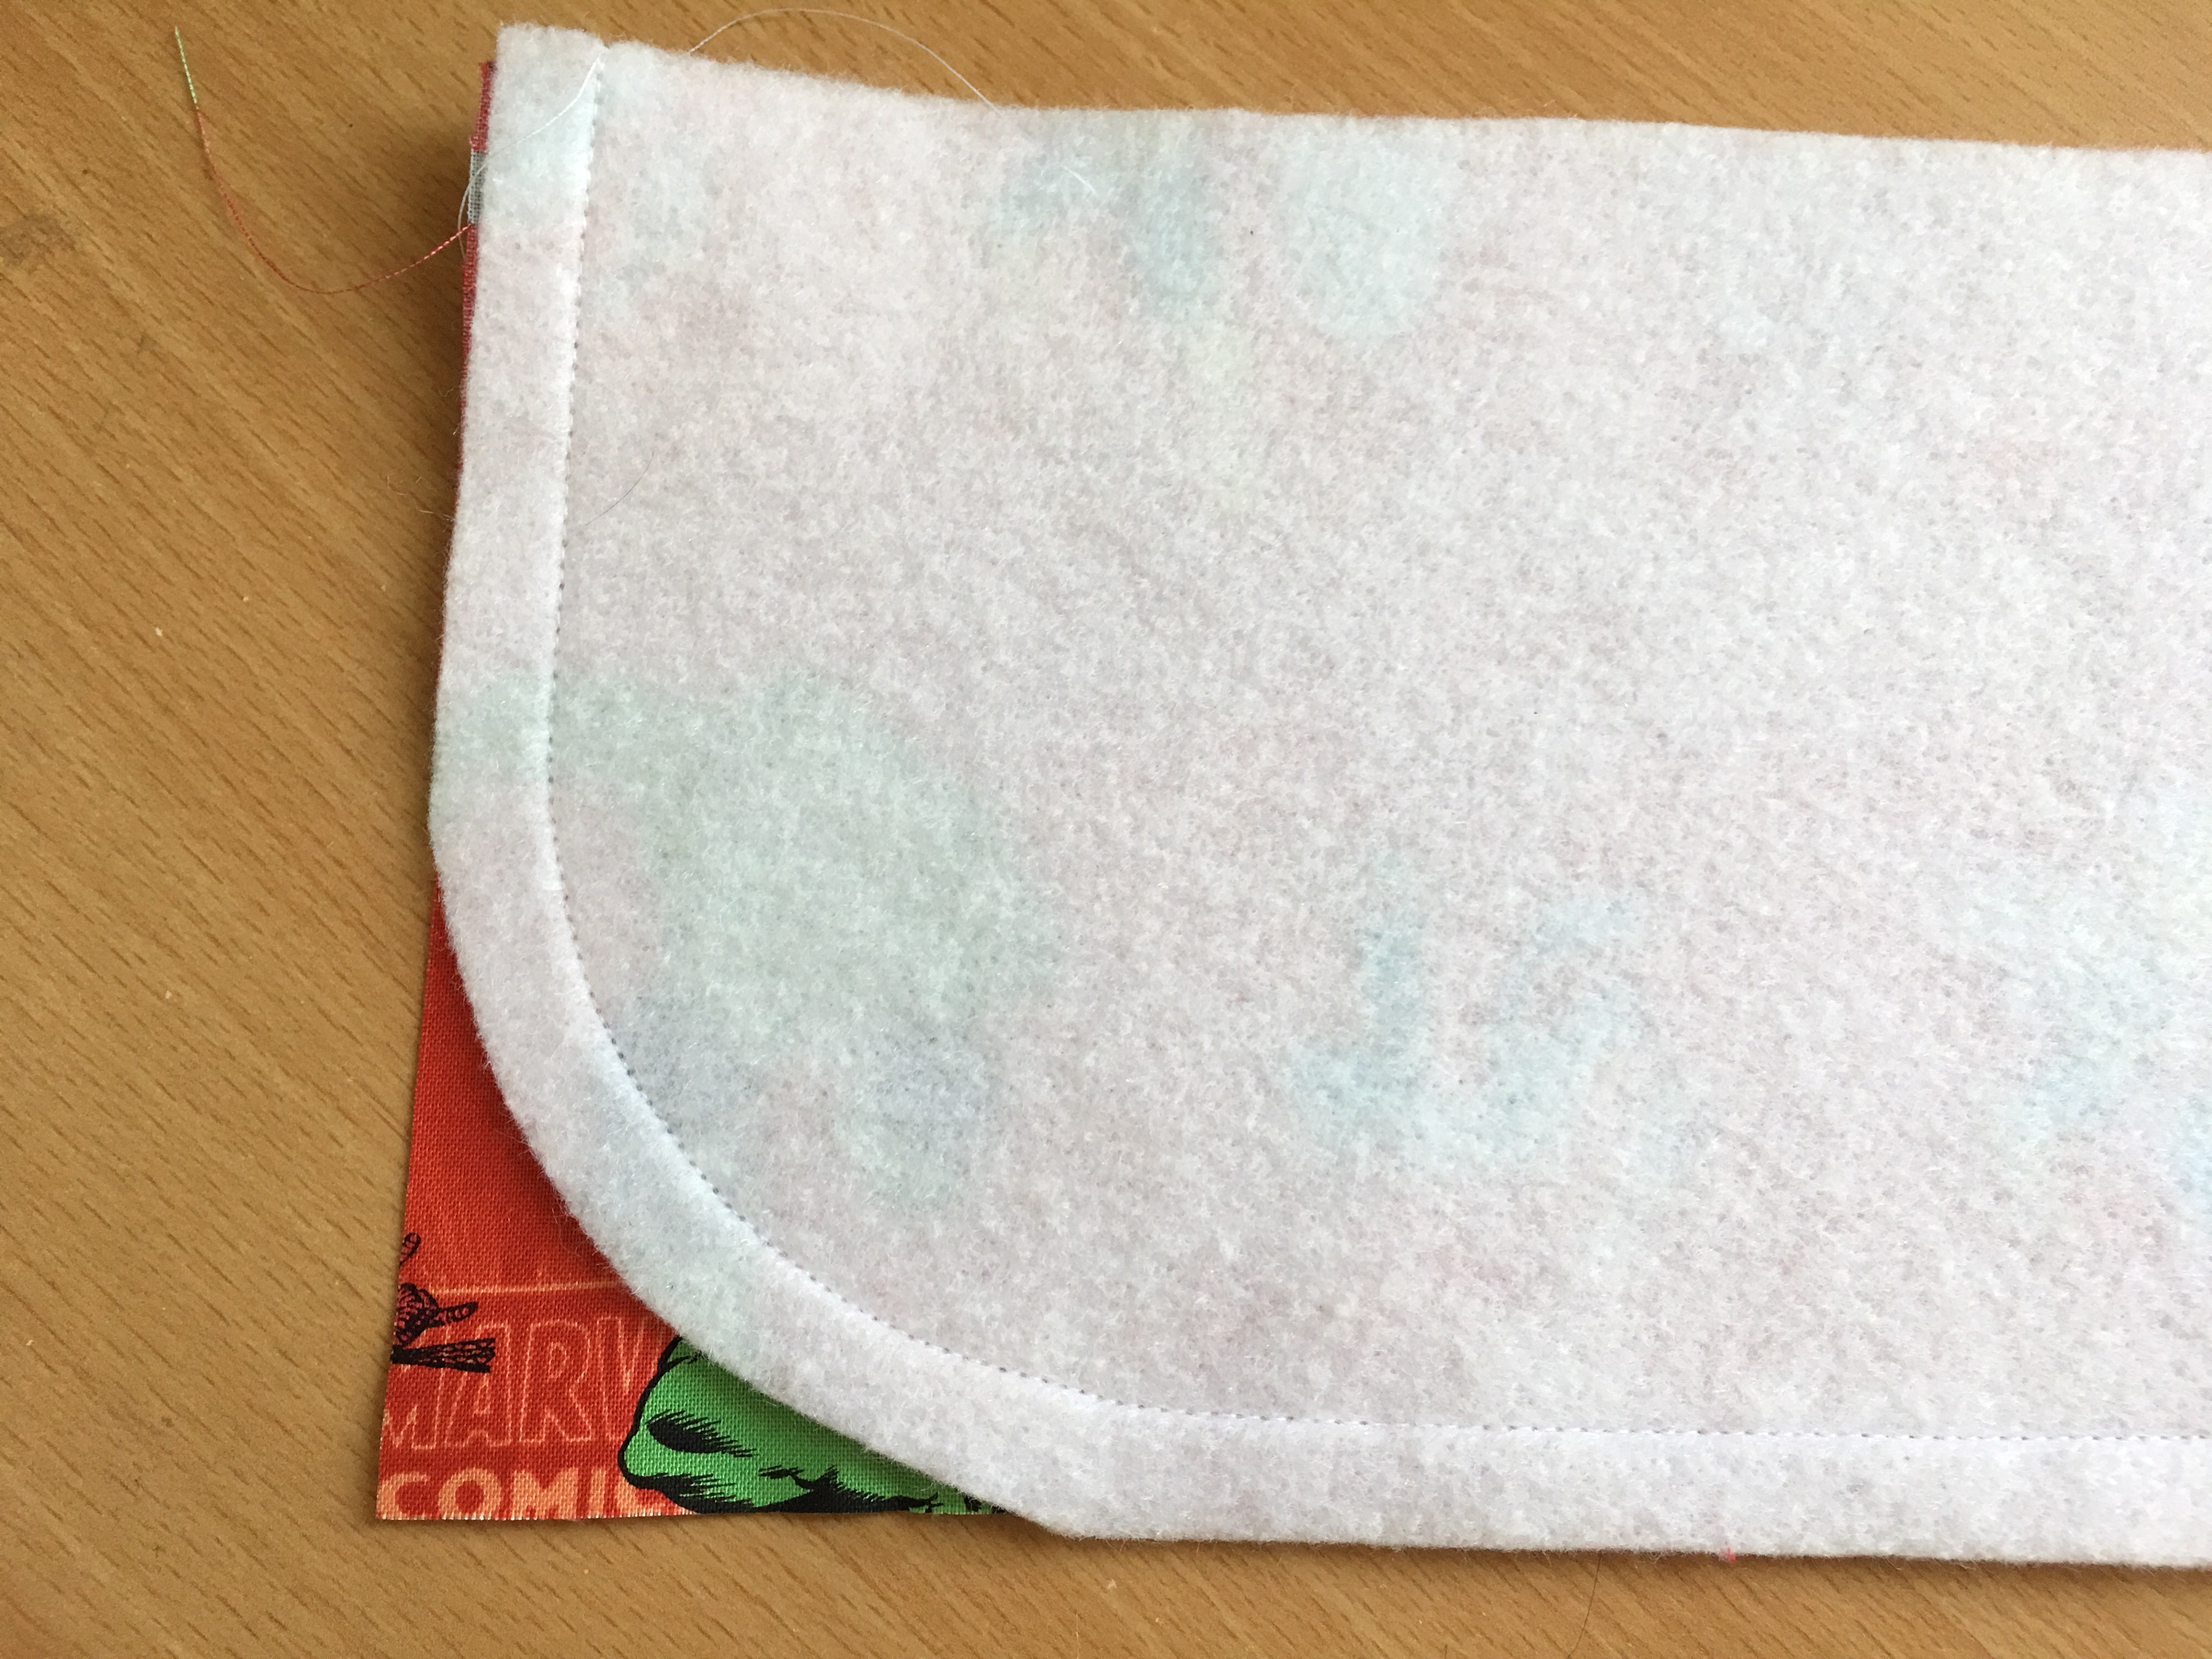
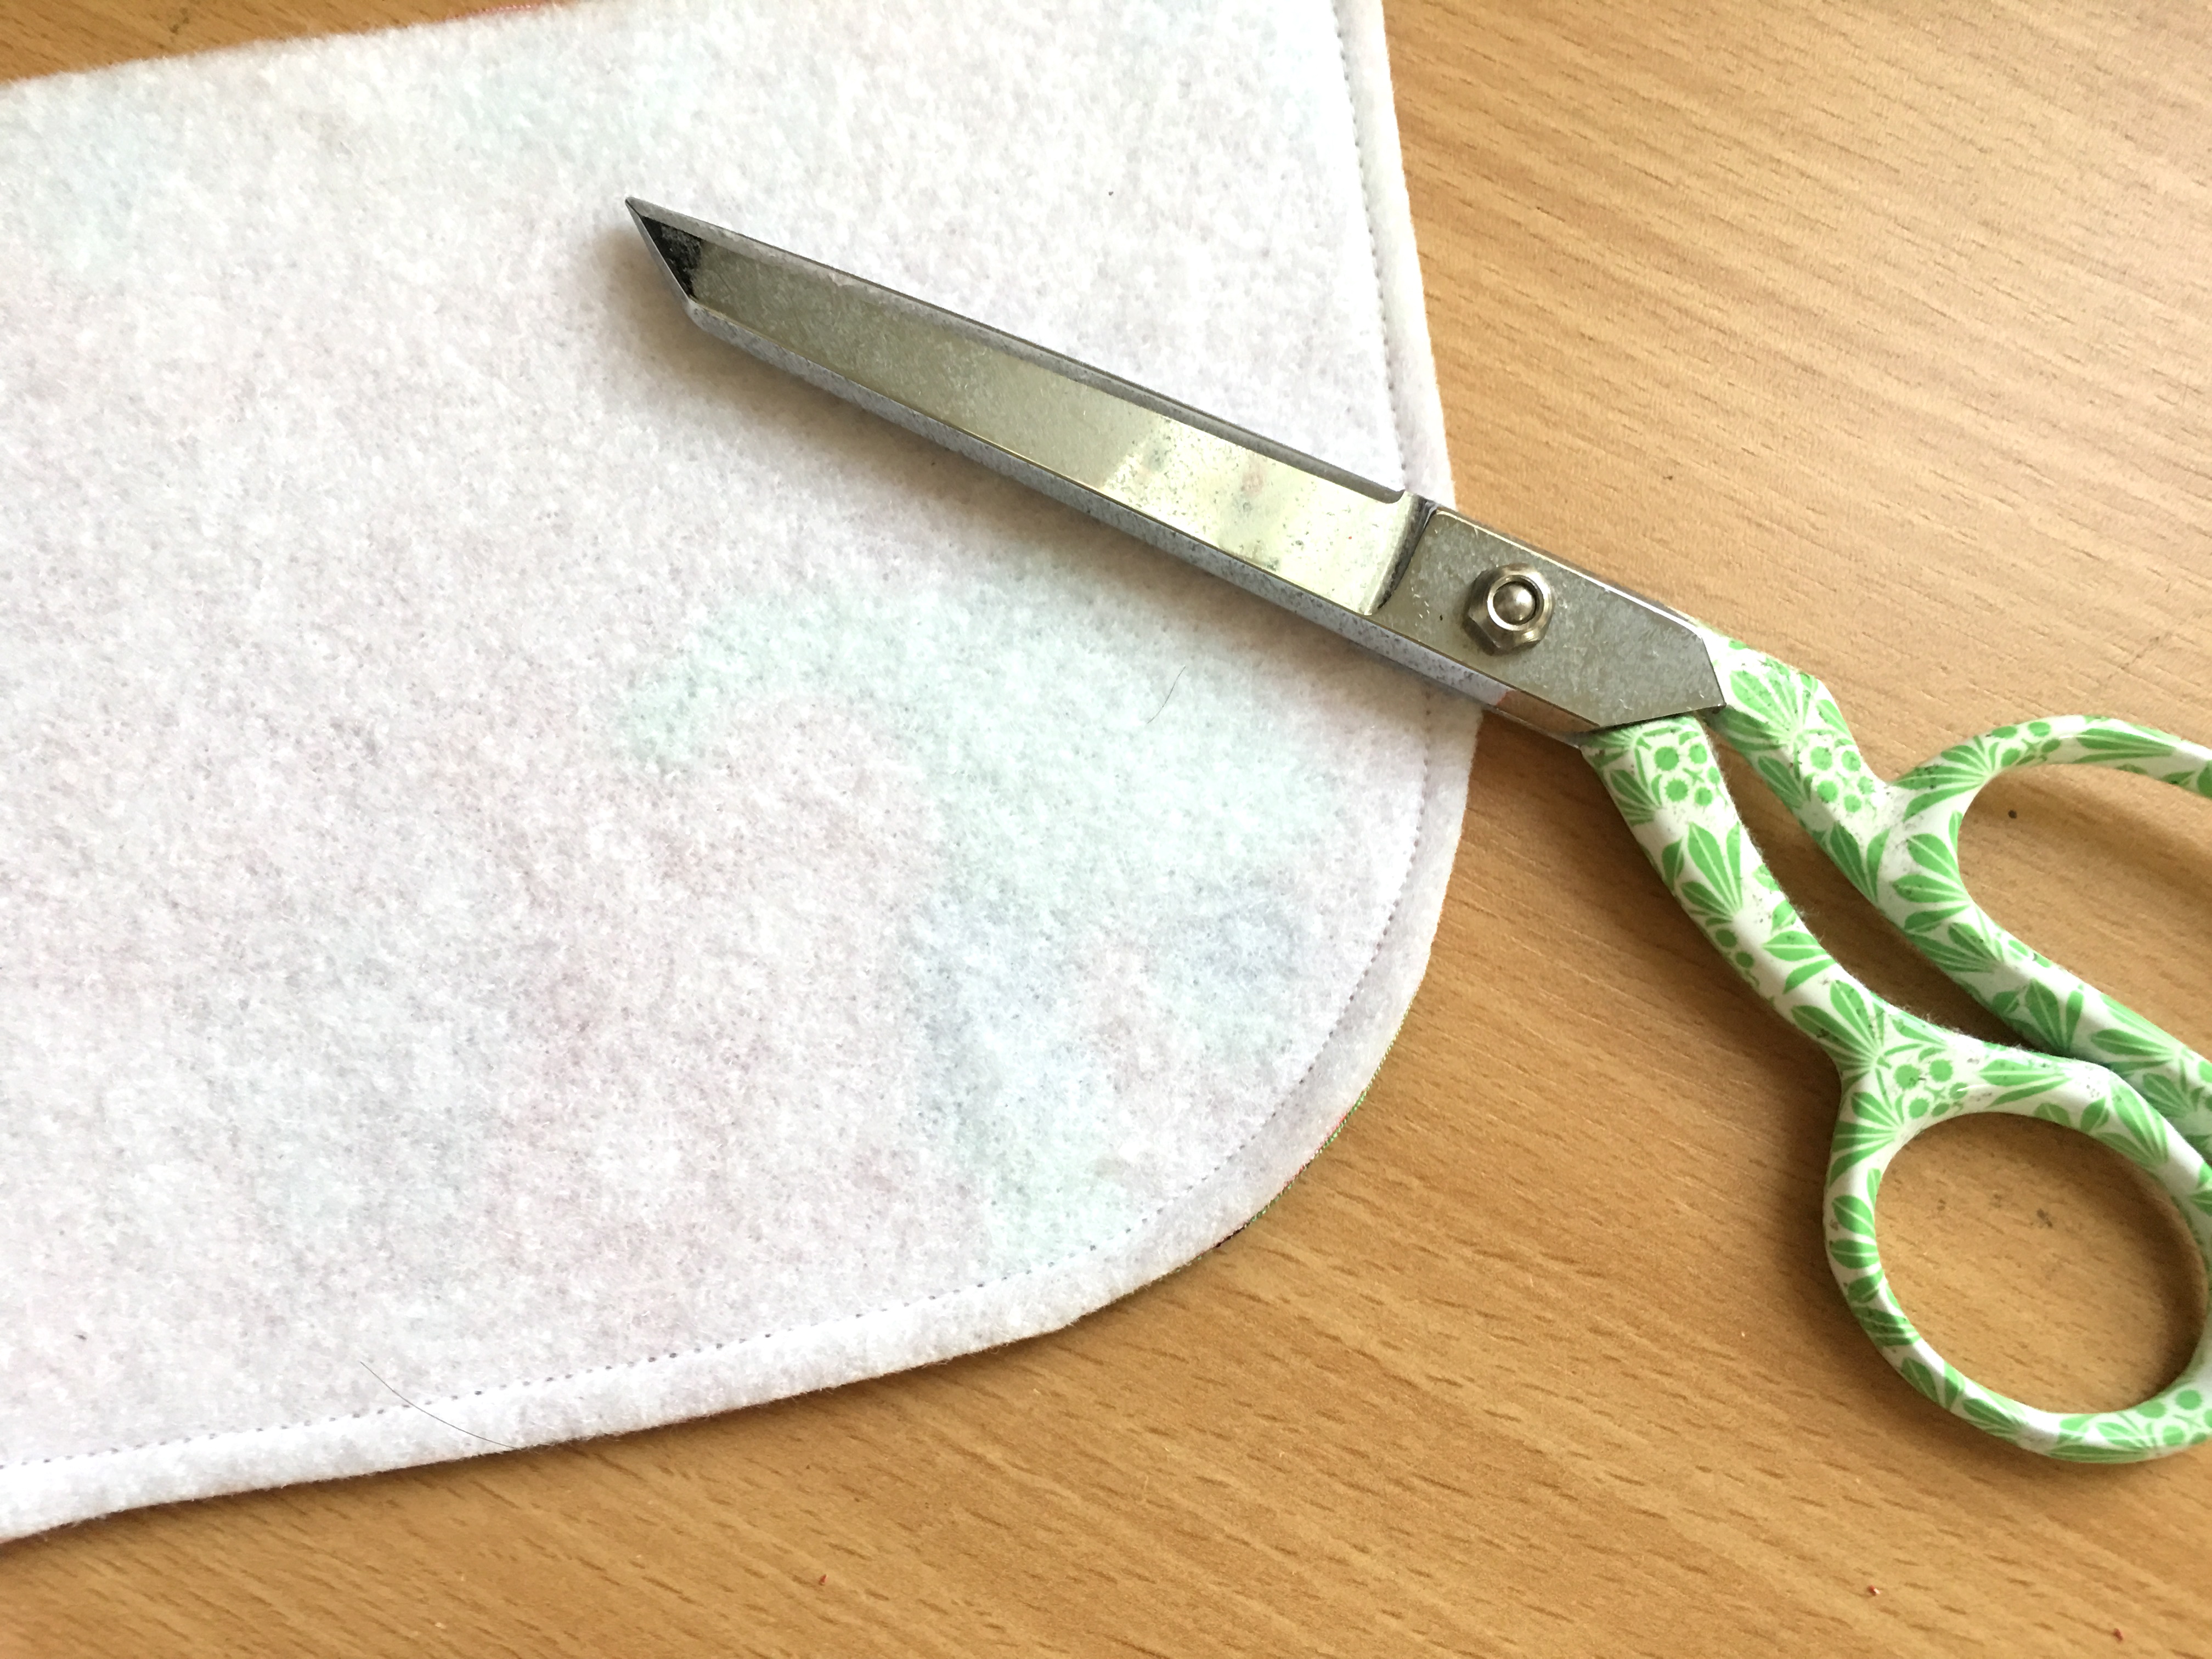
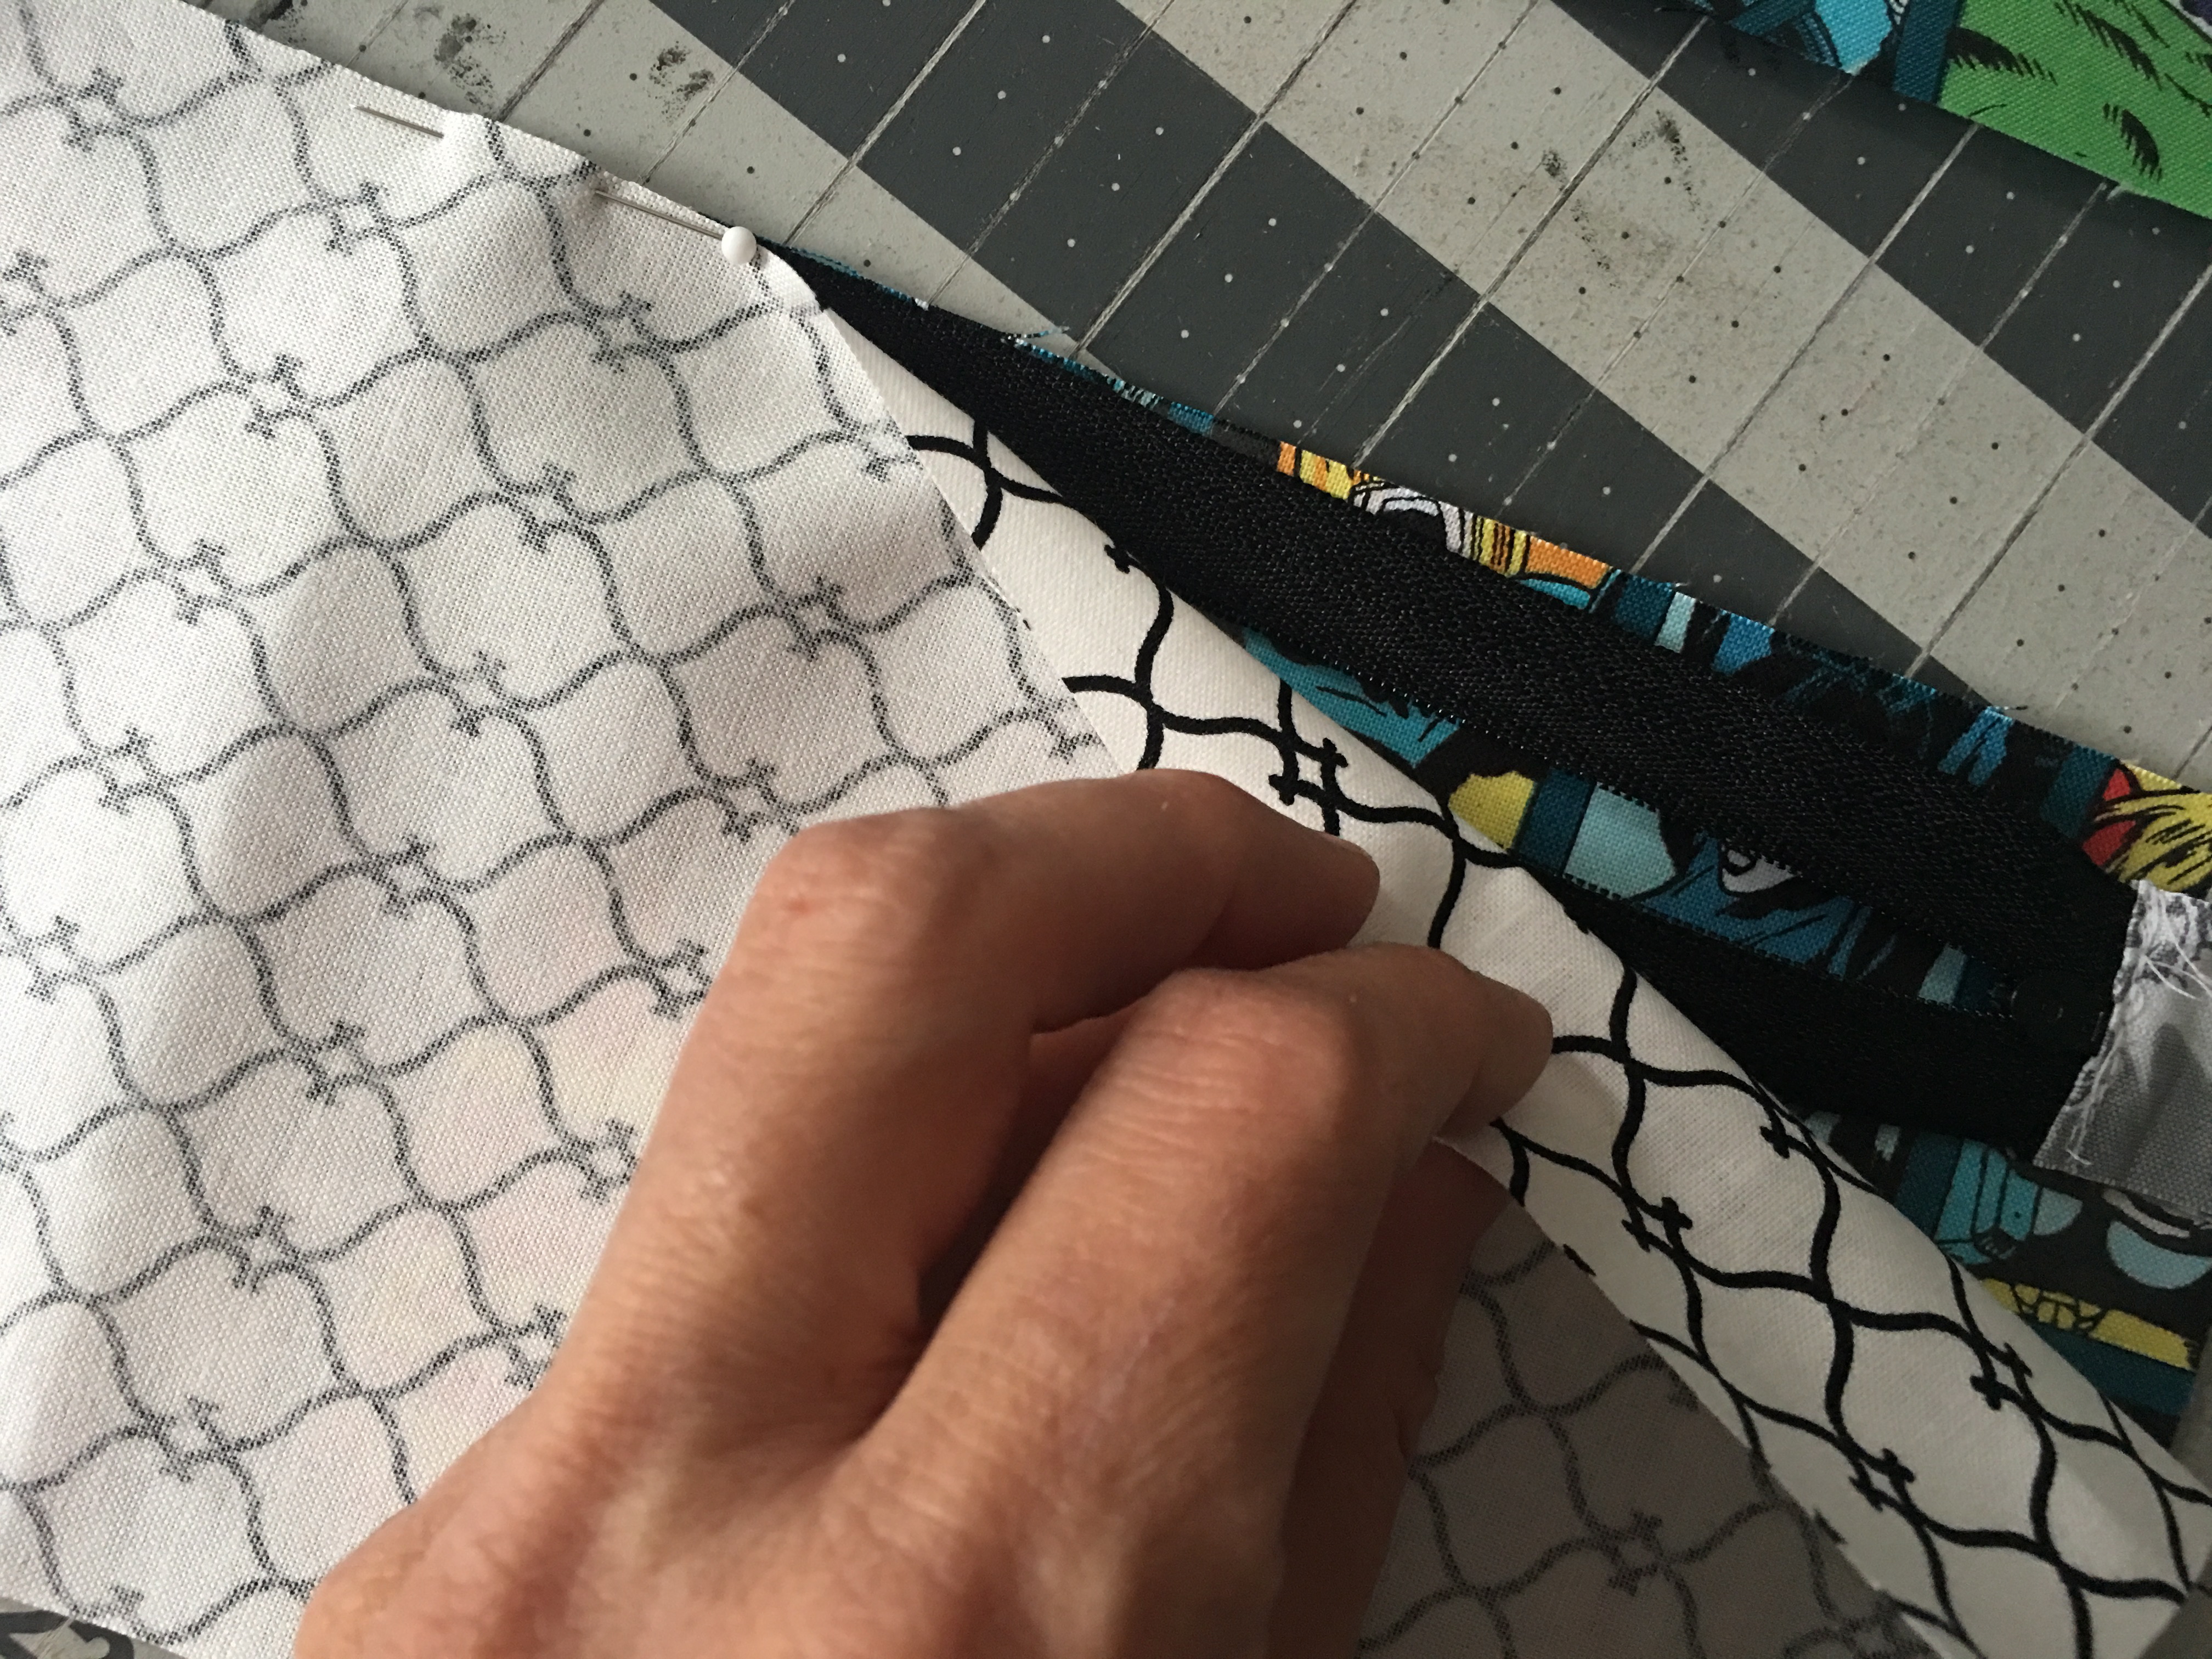
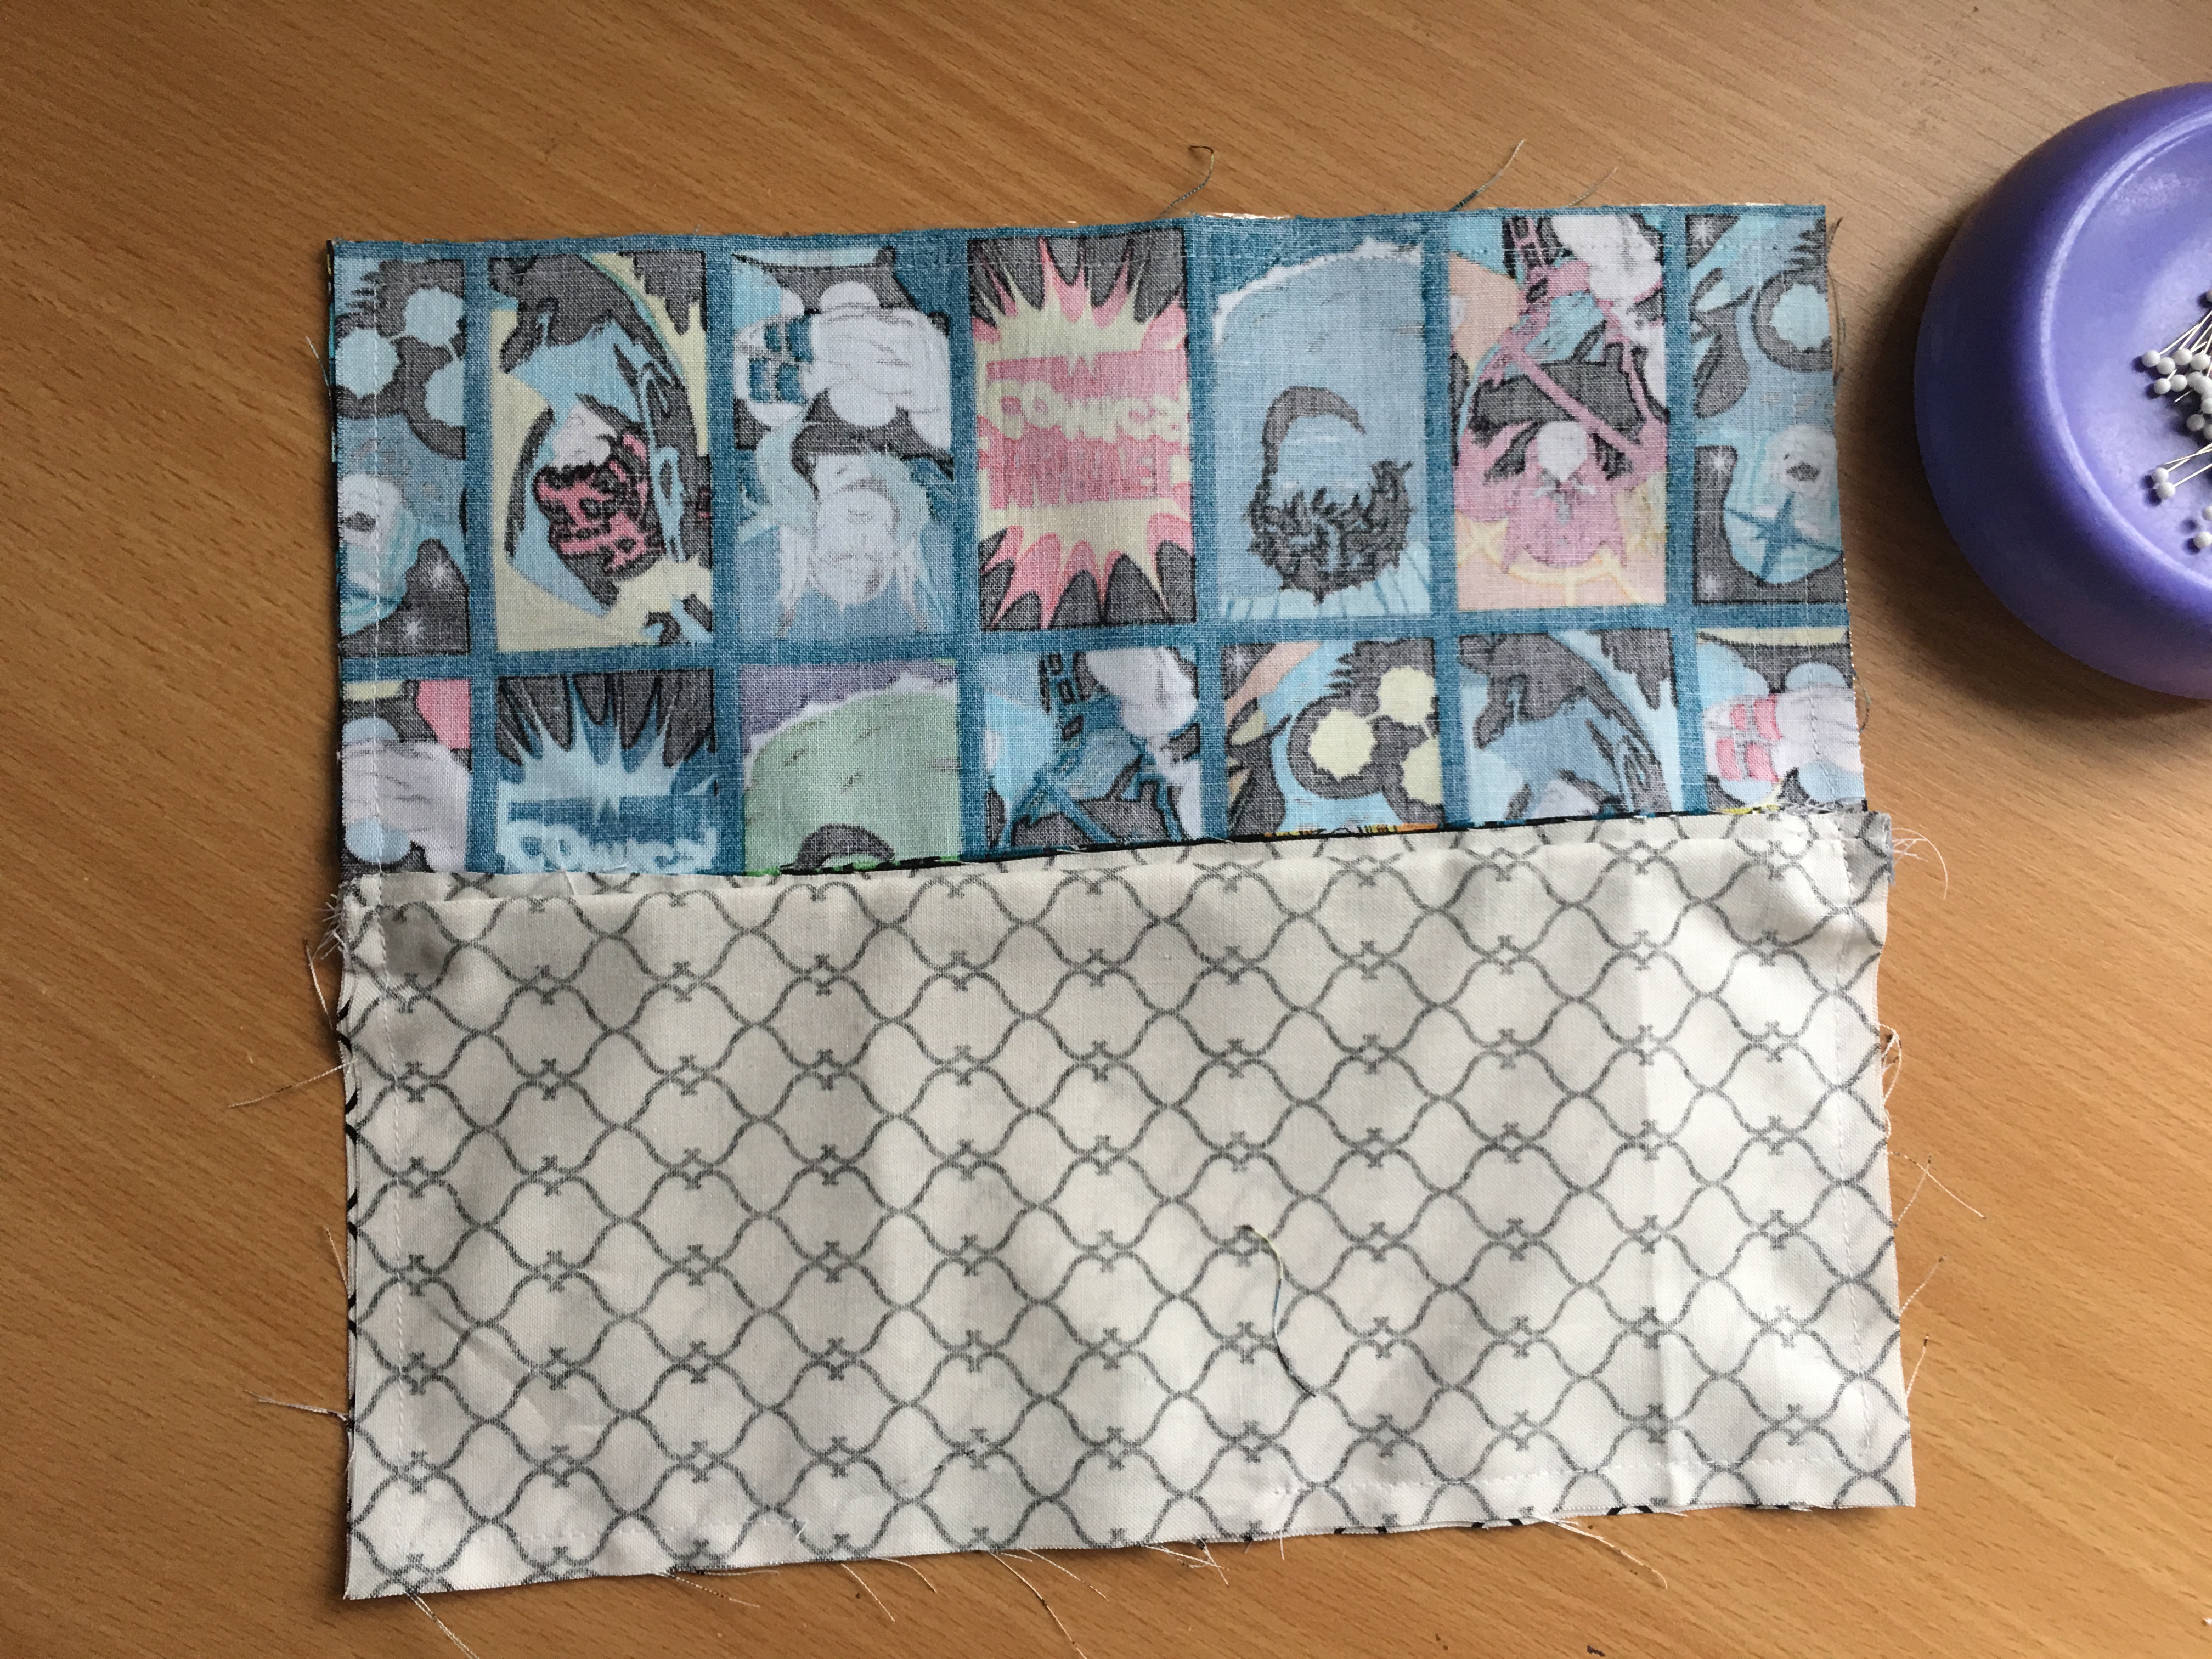
Pin right sides together and make sure to leave a 3″-4″ opening on the side for turning.

img_8130

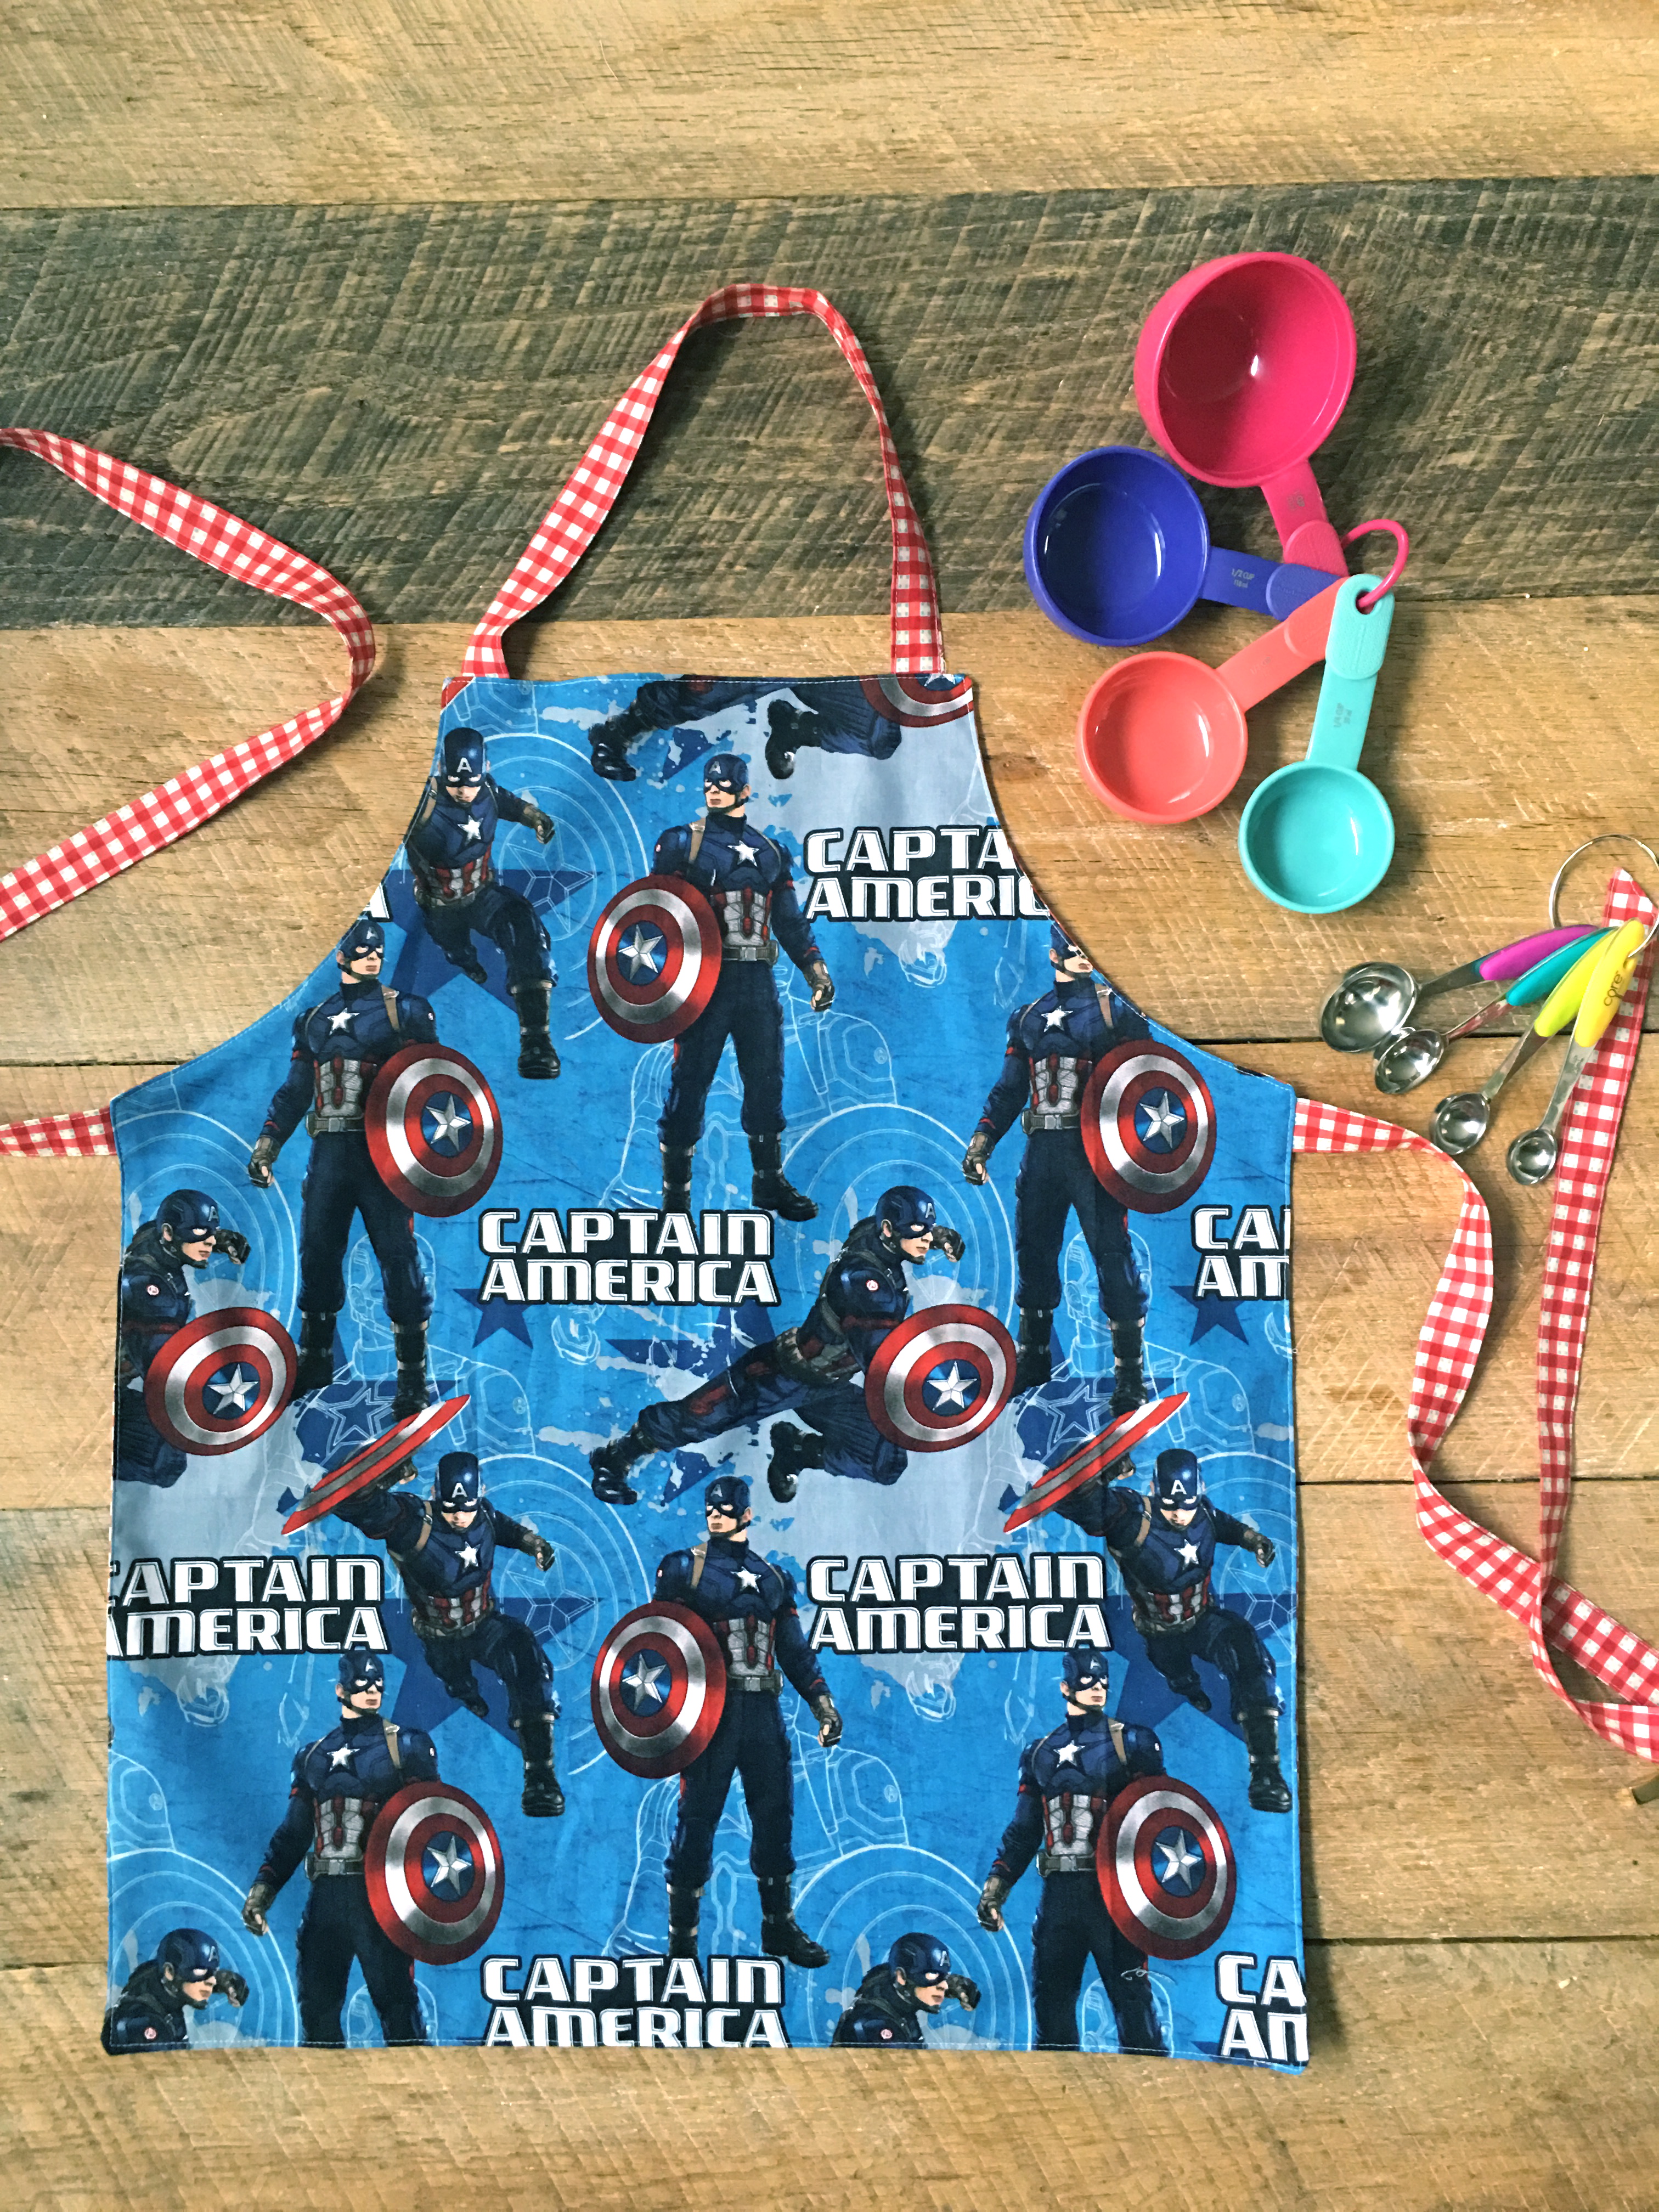
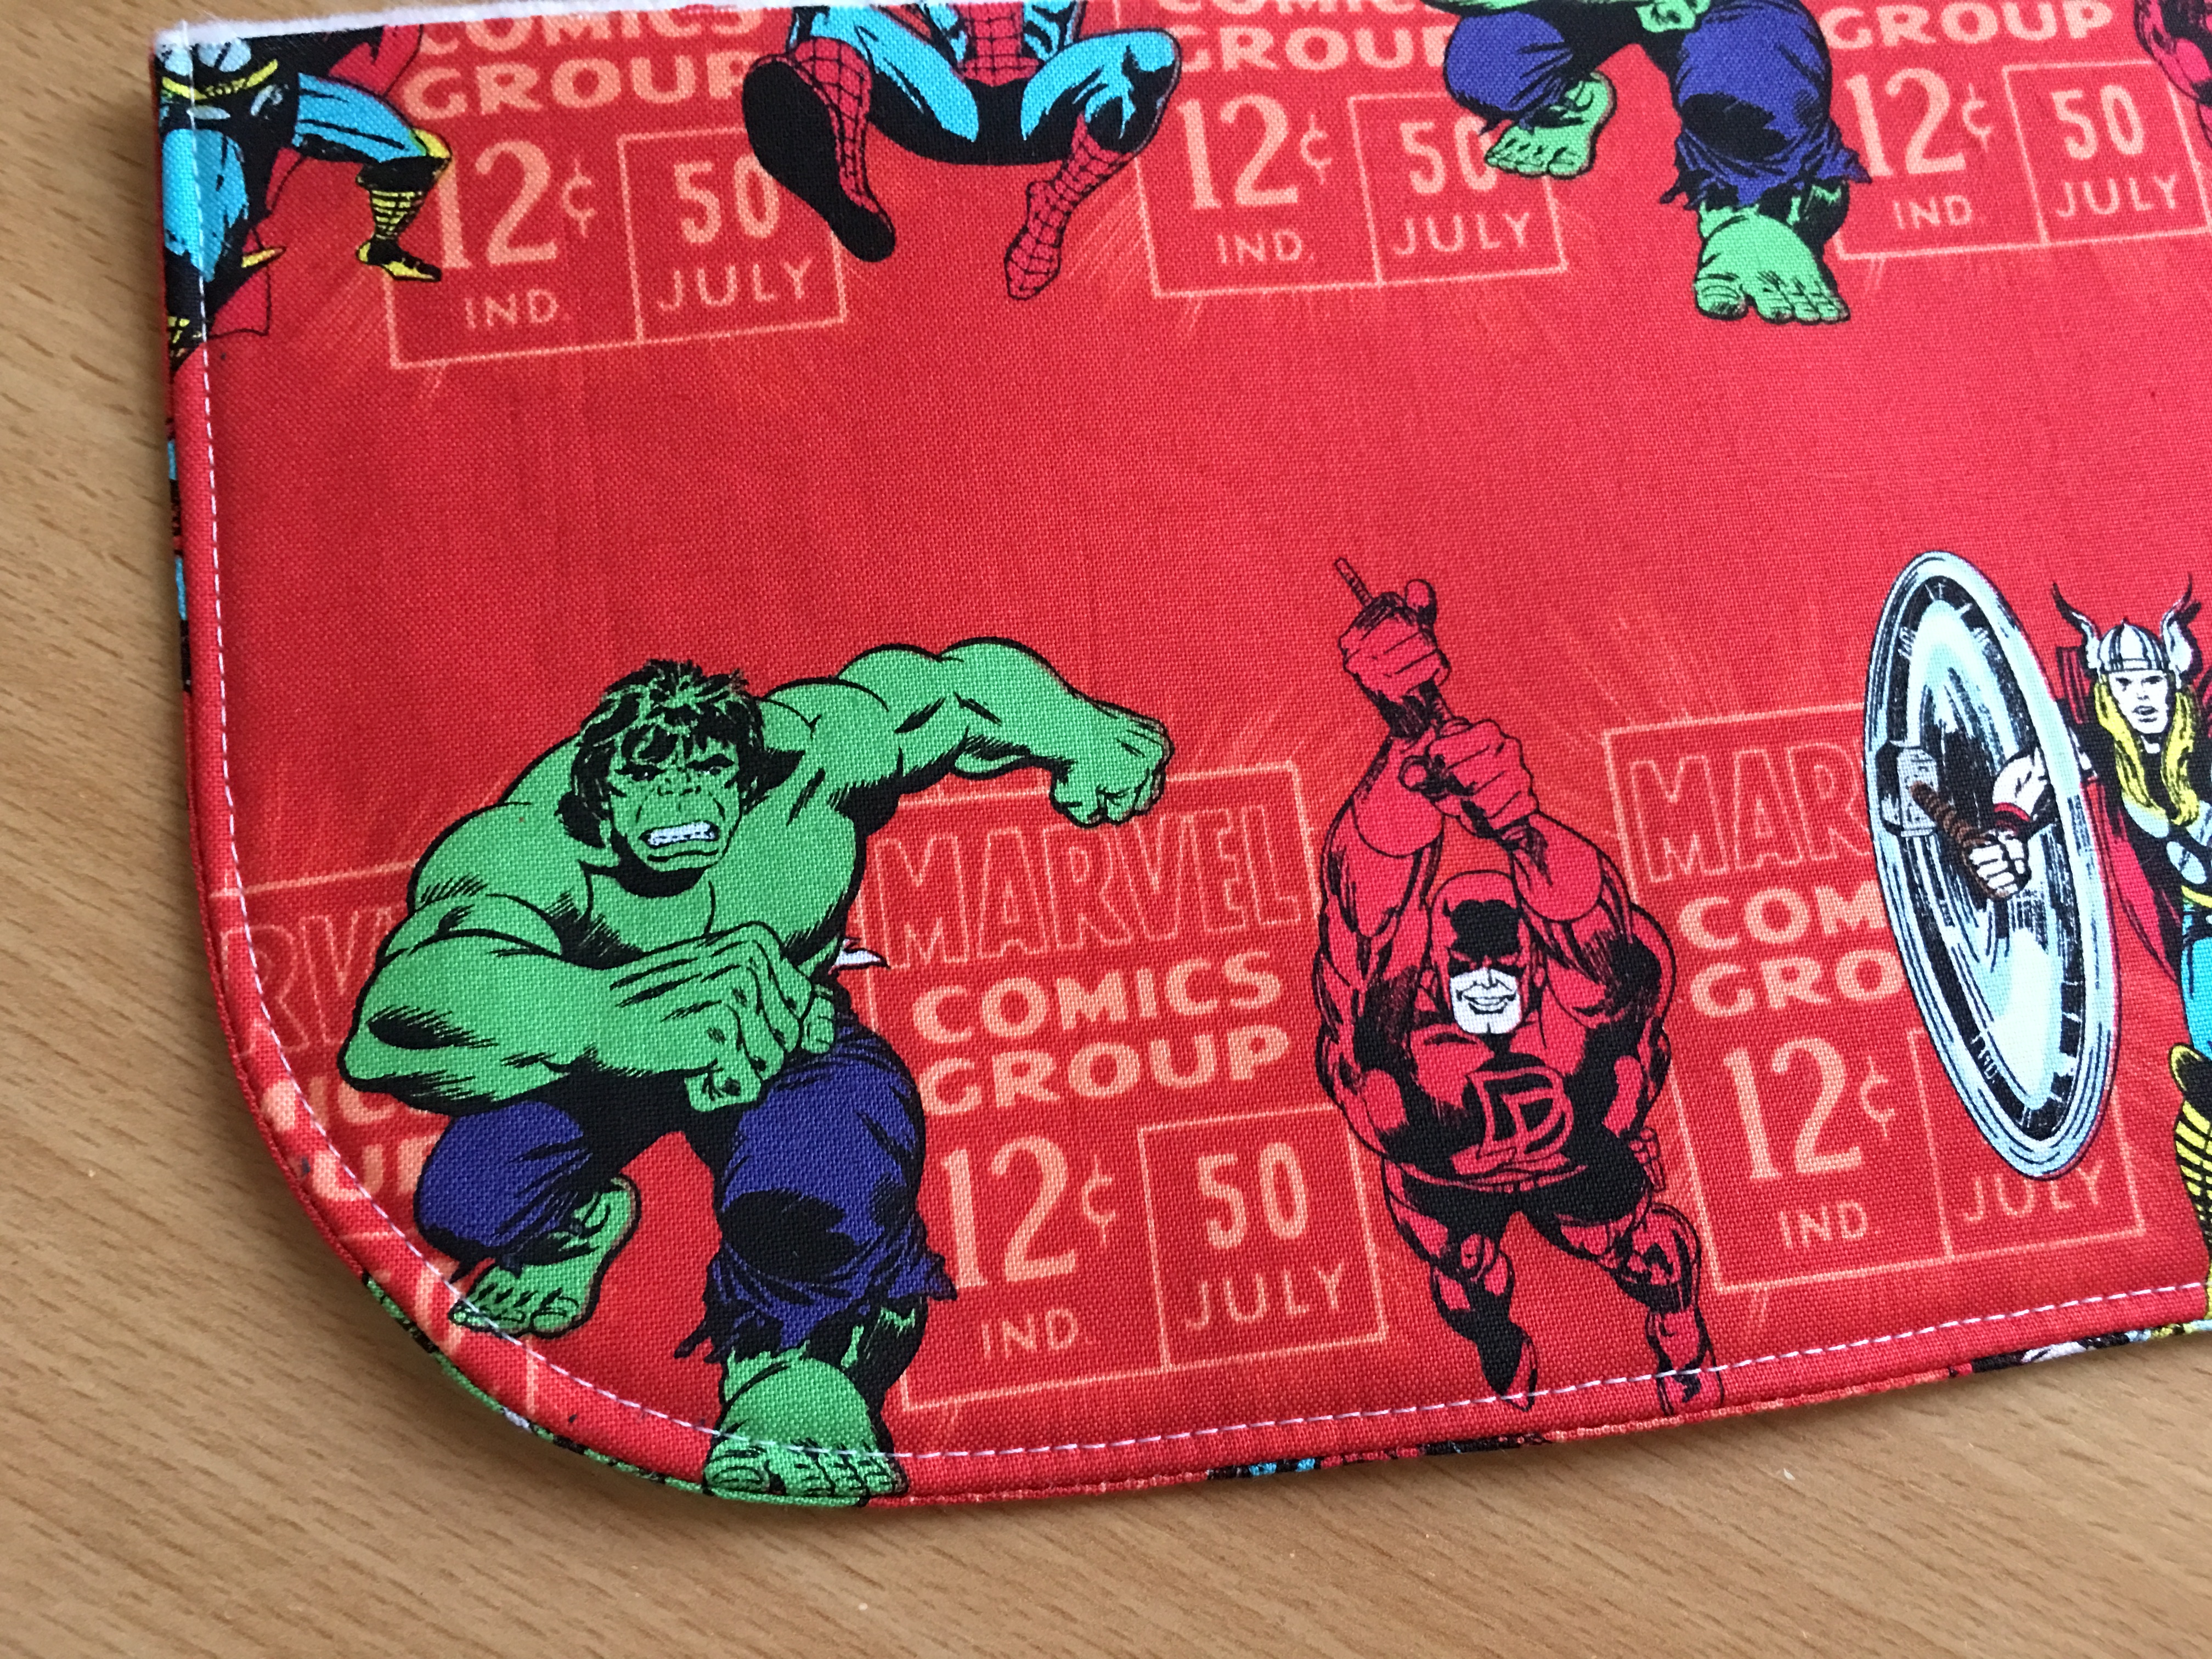
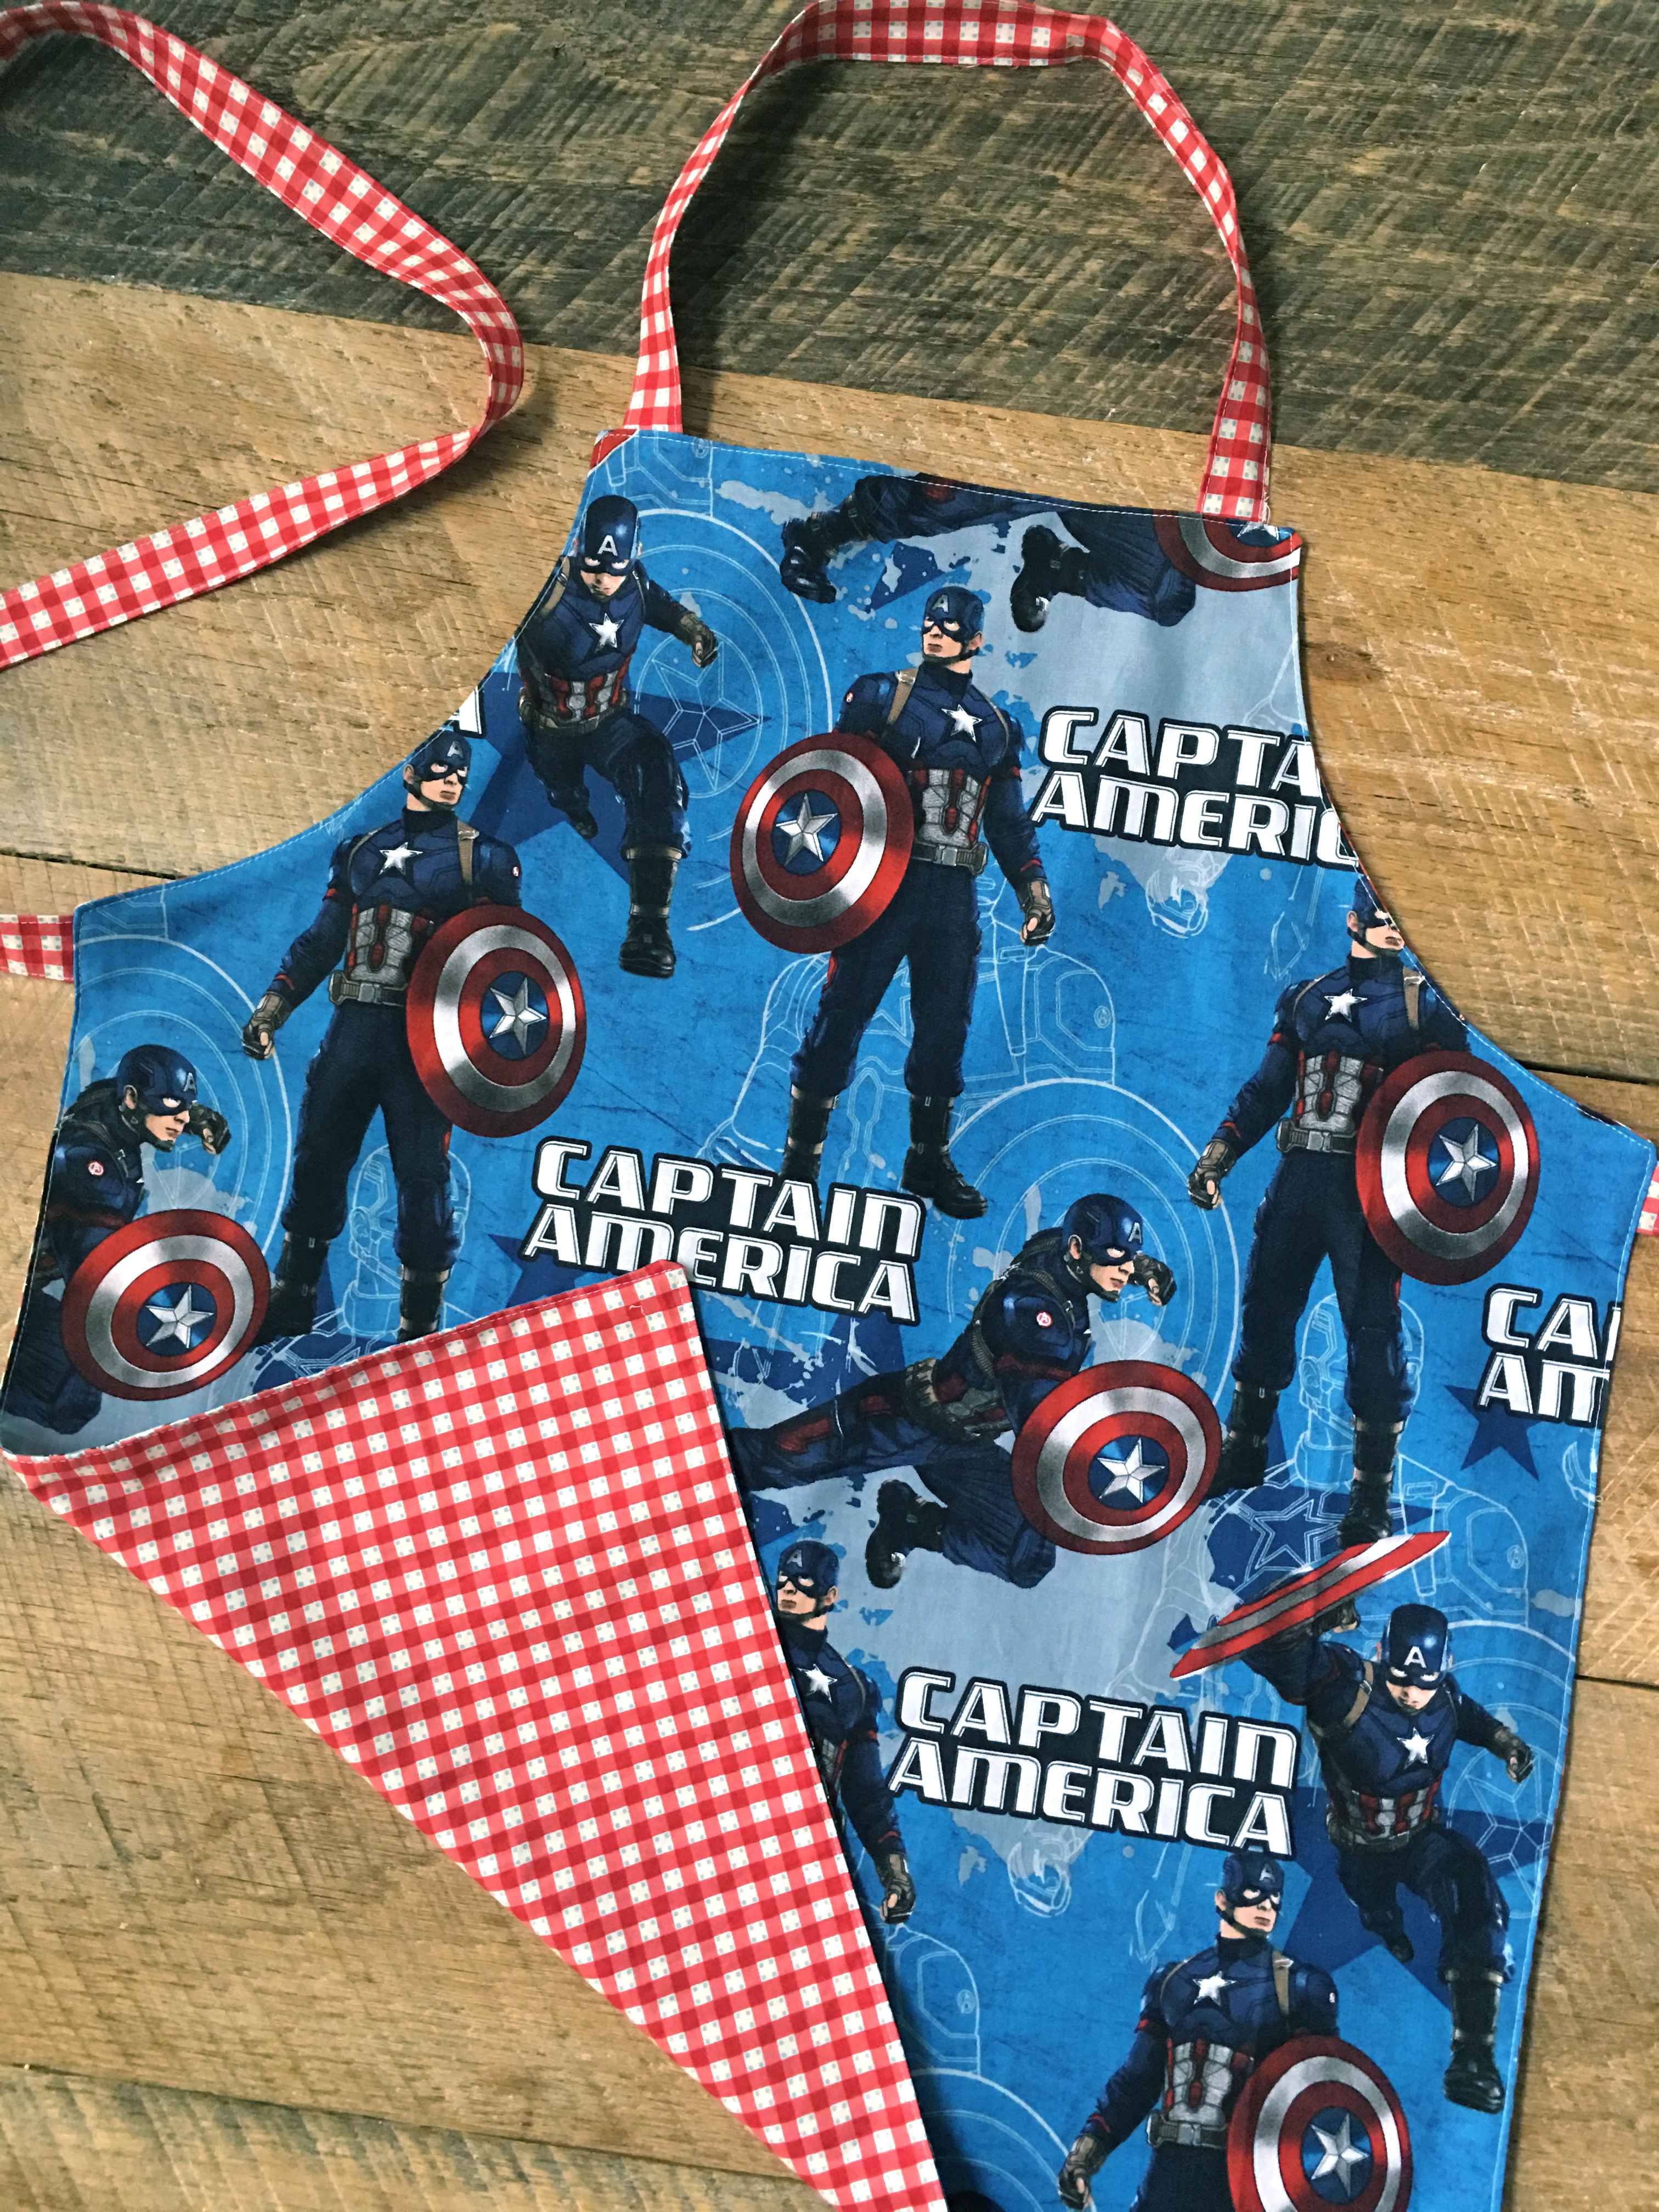
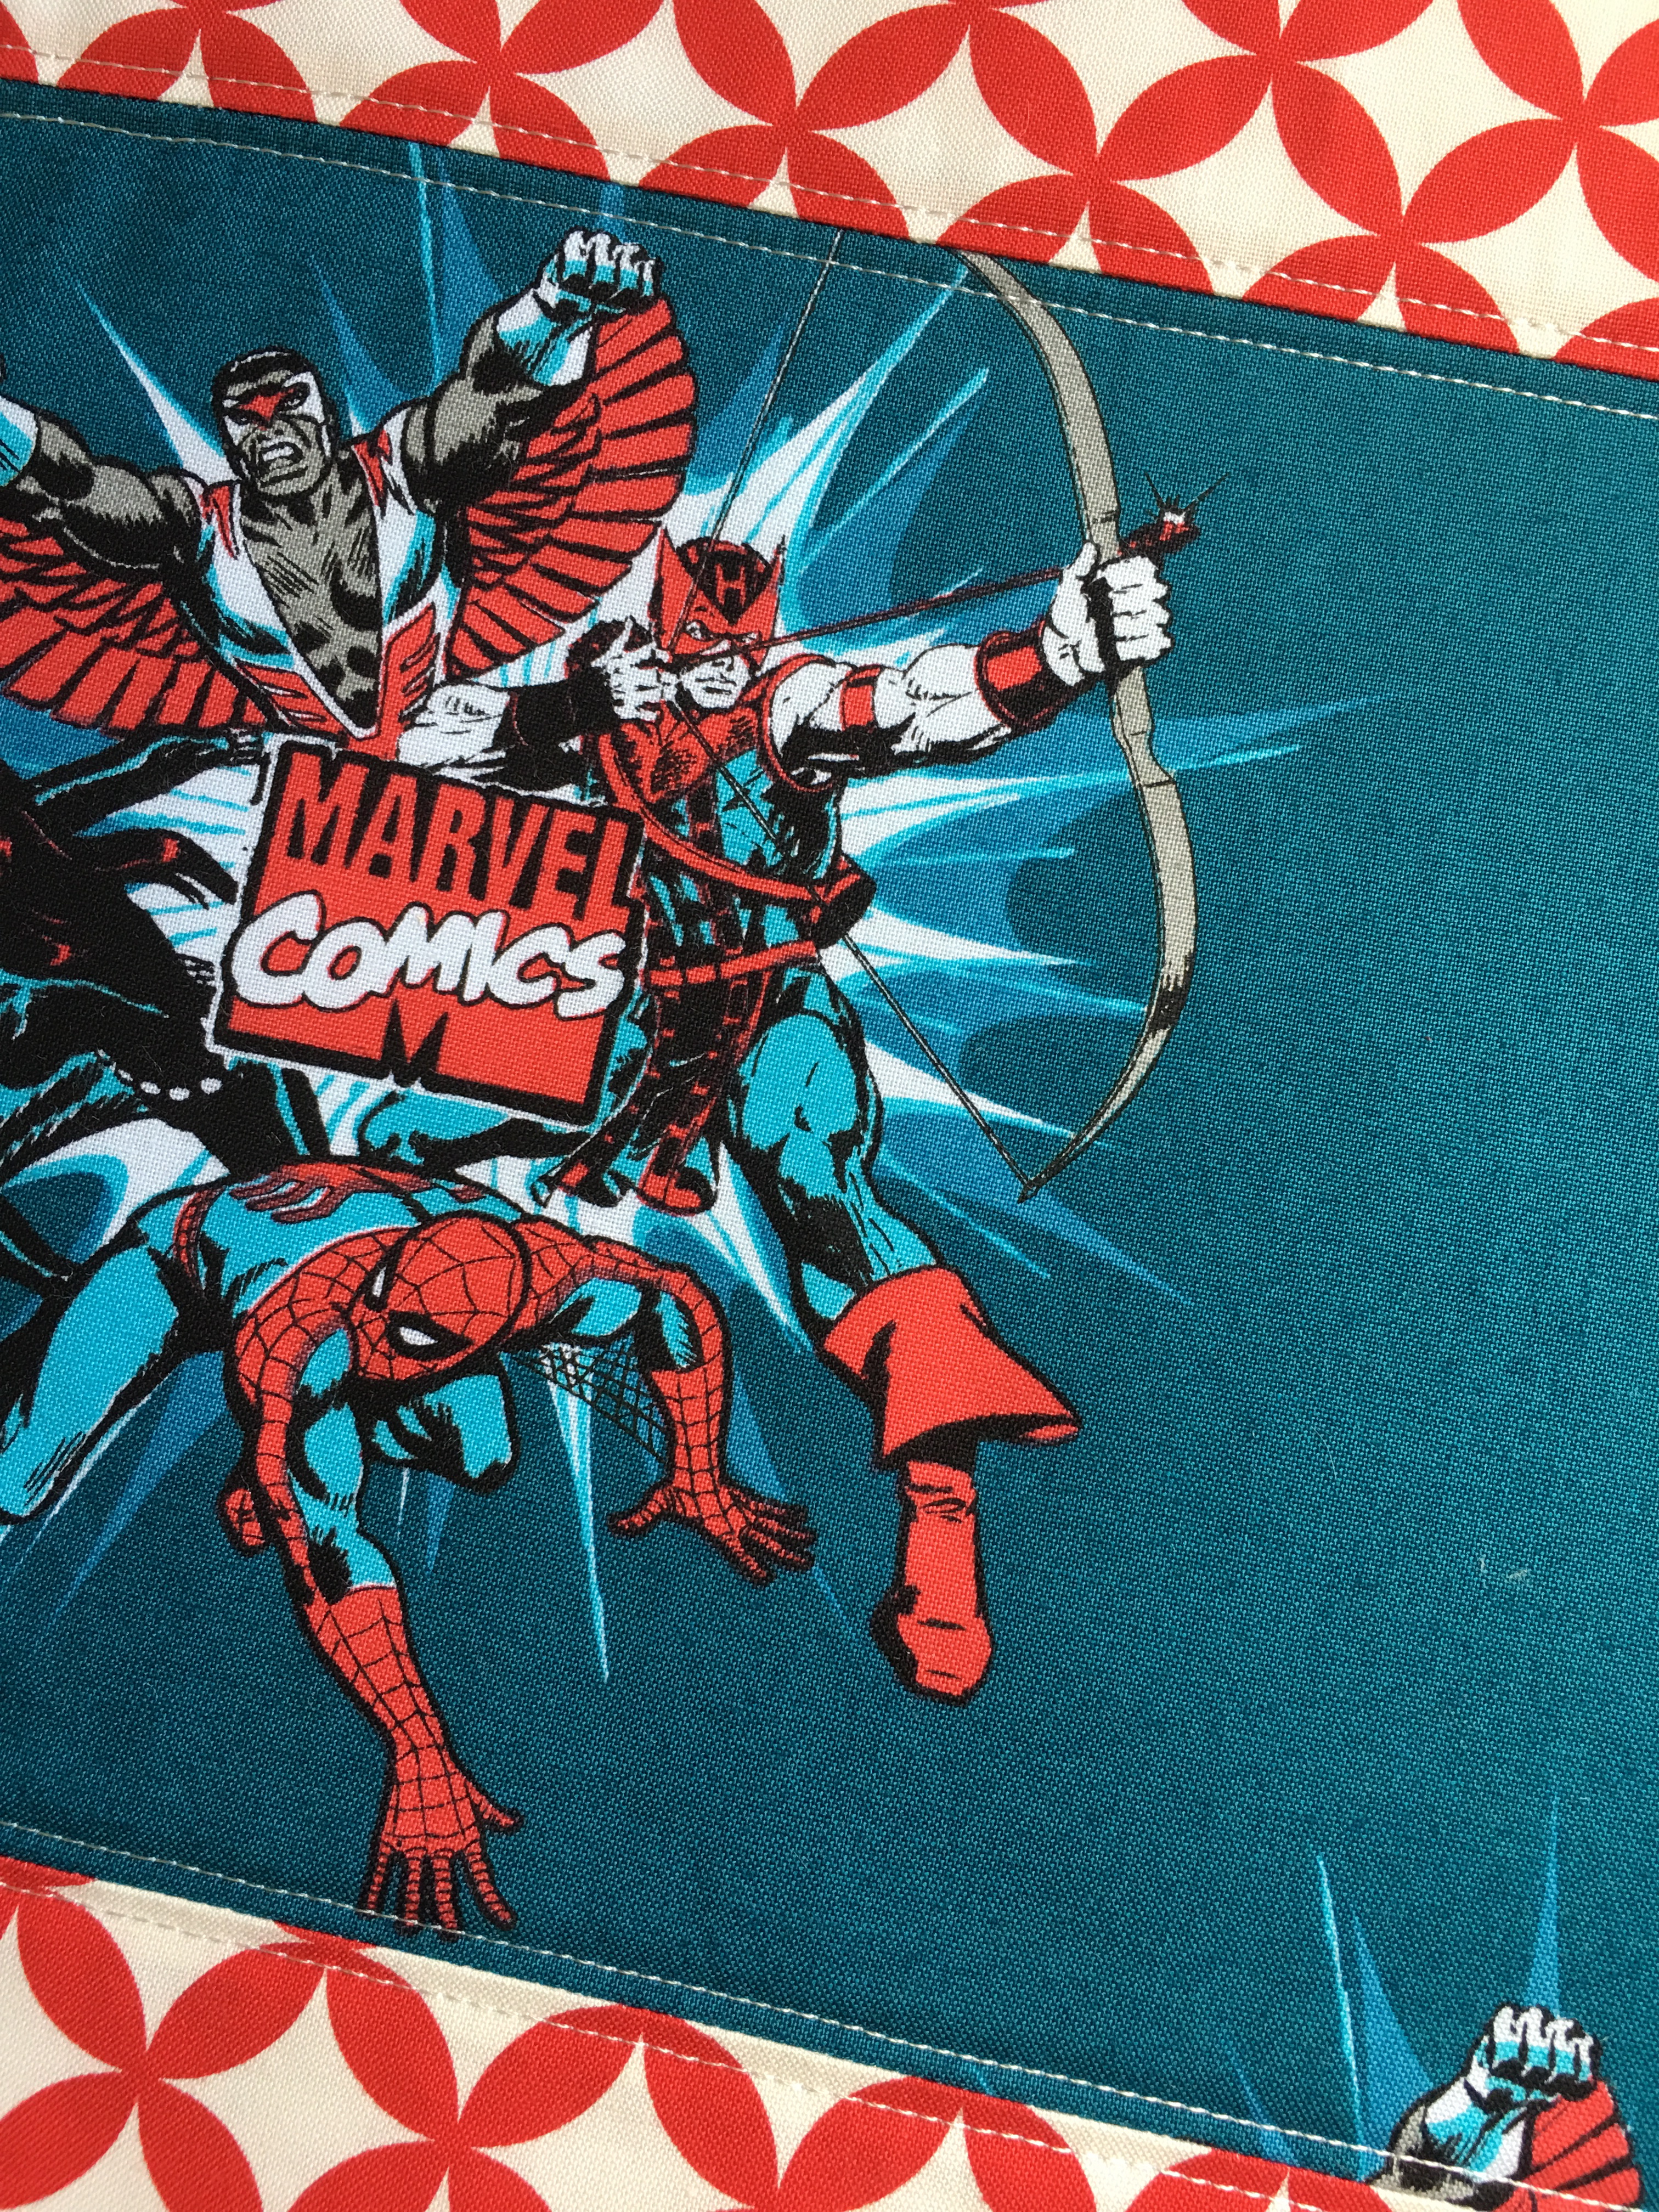
I love how it turned out – and it’s reversible!!!

img_8135

Save

Vinyl Covered Fabric Pencil Pouch Tutorial

vinyl-pencil-pouch-tutorial

I love sewing zipper pouches!  This one is the perfect size to keep pens, pencils, and art supplies in.  What’s even more fun is I used Heat n Bond Vinyl to make the outside of the zipper pouch waterproof – it kind of has the look of oil cloth!  The kids were so excited!  They each choose a Marvel fabric for their pouch.  They literally stood by the sewing machine waiting for me to finish them!  These are such great gifts and are so useful!!

marvel-zipper-pouch-tutorial

They go great with my Marvel composition book and Marvel key fob!!  Here’s how you can make one:

Supplies

1/4 yard outer bag

1/4 yard lining

zipper, at least 12″ long

Heat n Bond Vinyl

Instructions:

Cut the following:

(2) 5″ x 10.5″ for outer bag Marvel fabric

(2) 5″ x 10.5″ for lining

(2) 2.5″ x 2″ for zipper tabs

(2) 5″ x 10.5″ Heat n Bond Vinyl

img_7958_2

Cut the outer bag and lining pieces.

img_7959

Cut the vinyl pieces.img_7960

Peel off the vinyl and place the sticky side to the right side of the outer bag pieces.  Cover the vinyl with the paper that was just removed and heat set (on medium heat) according to manufacturers instructions, about 8 seconds then flip over and press for 4 seconds.

img_7963_2 
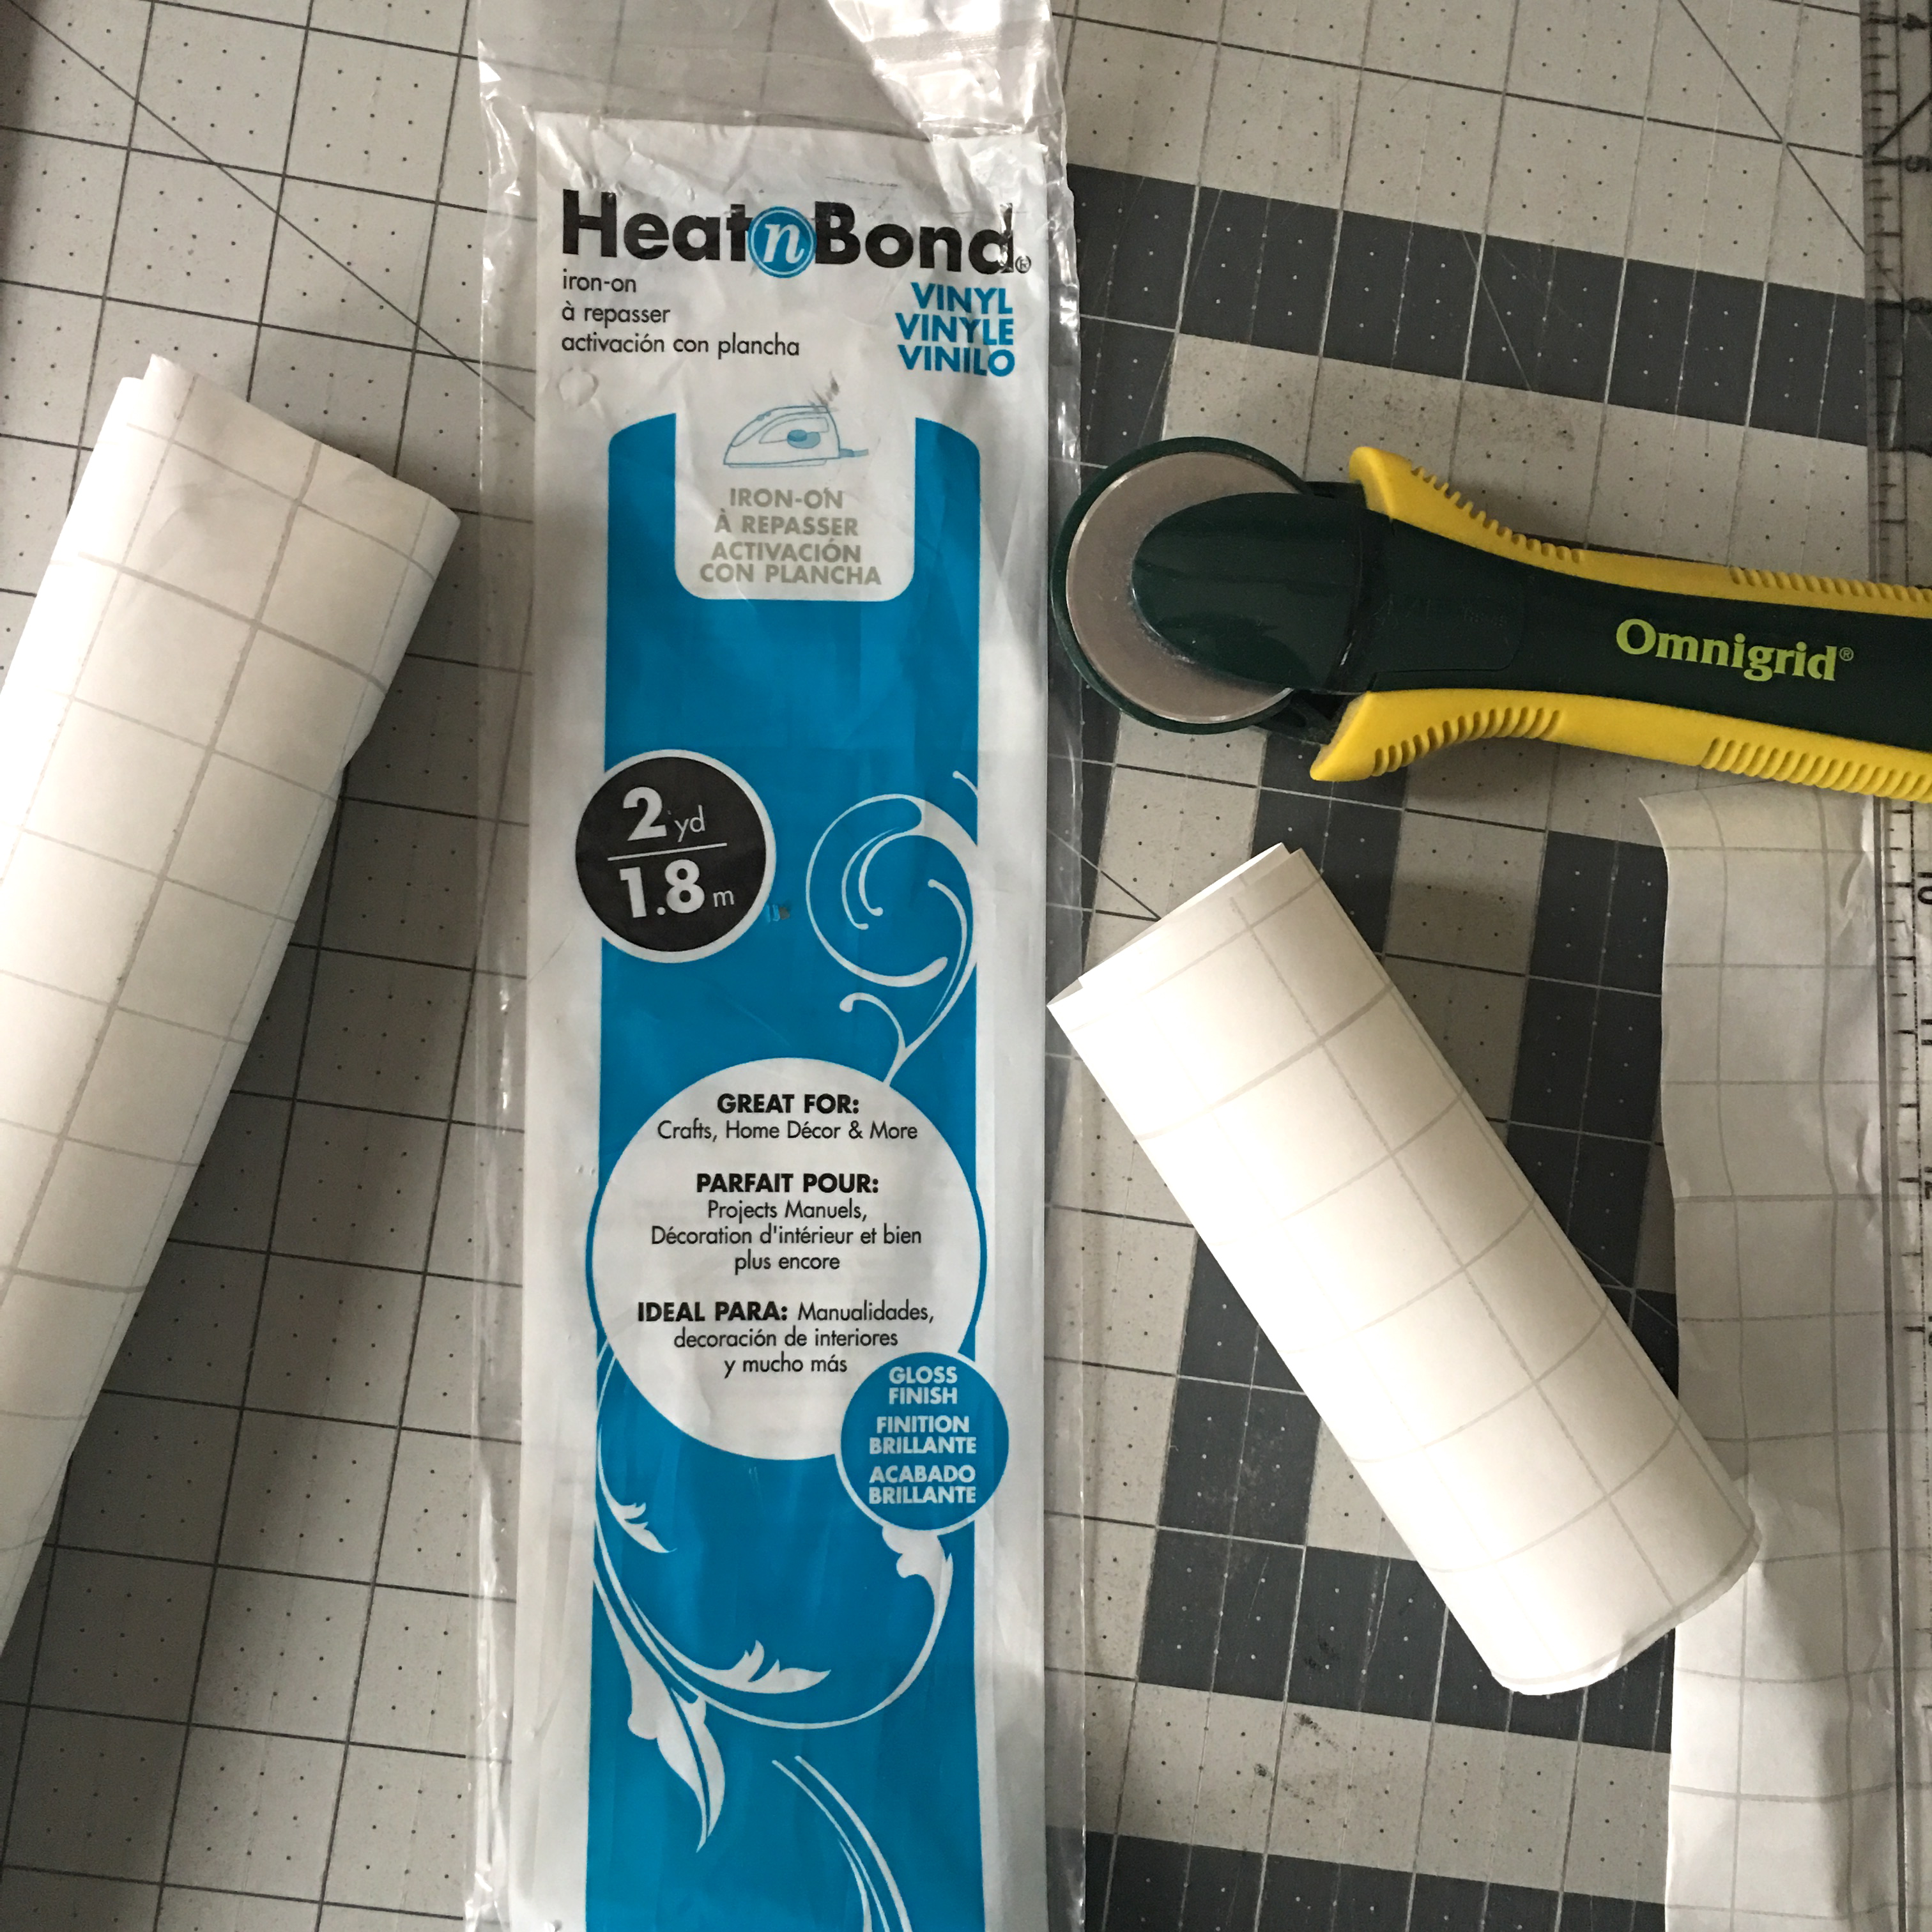
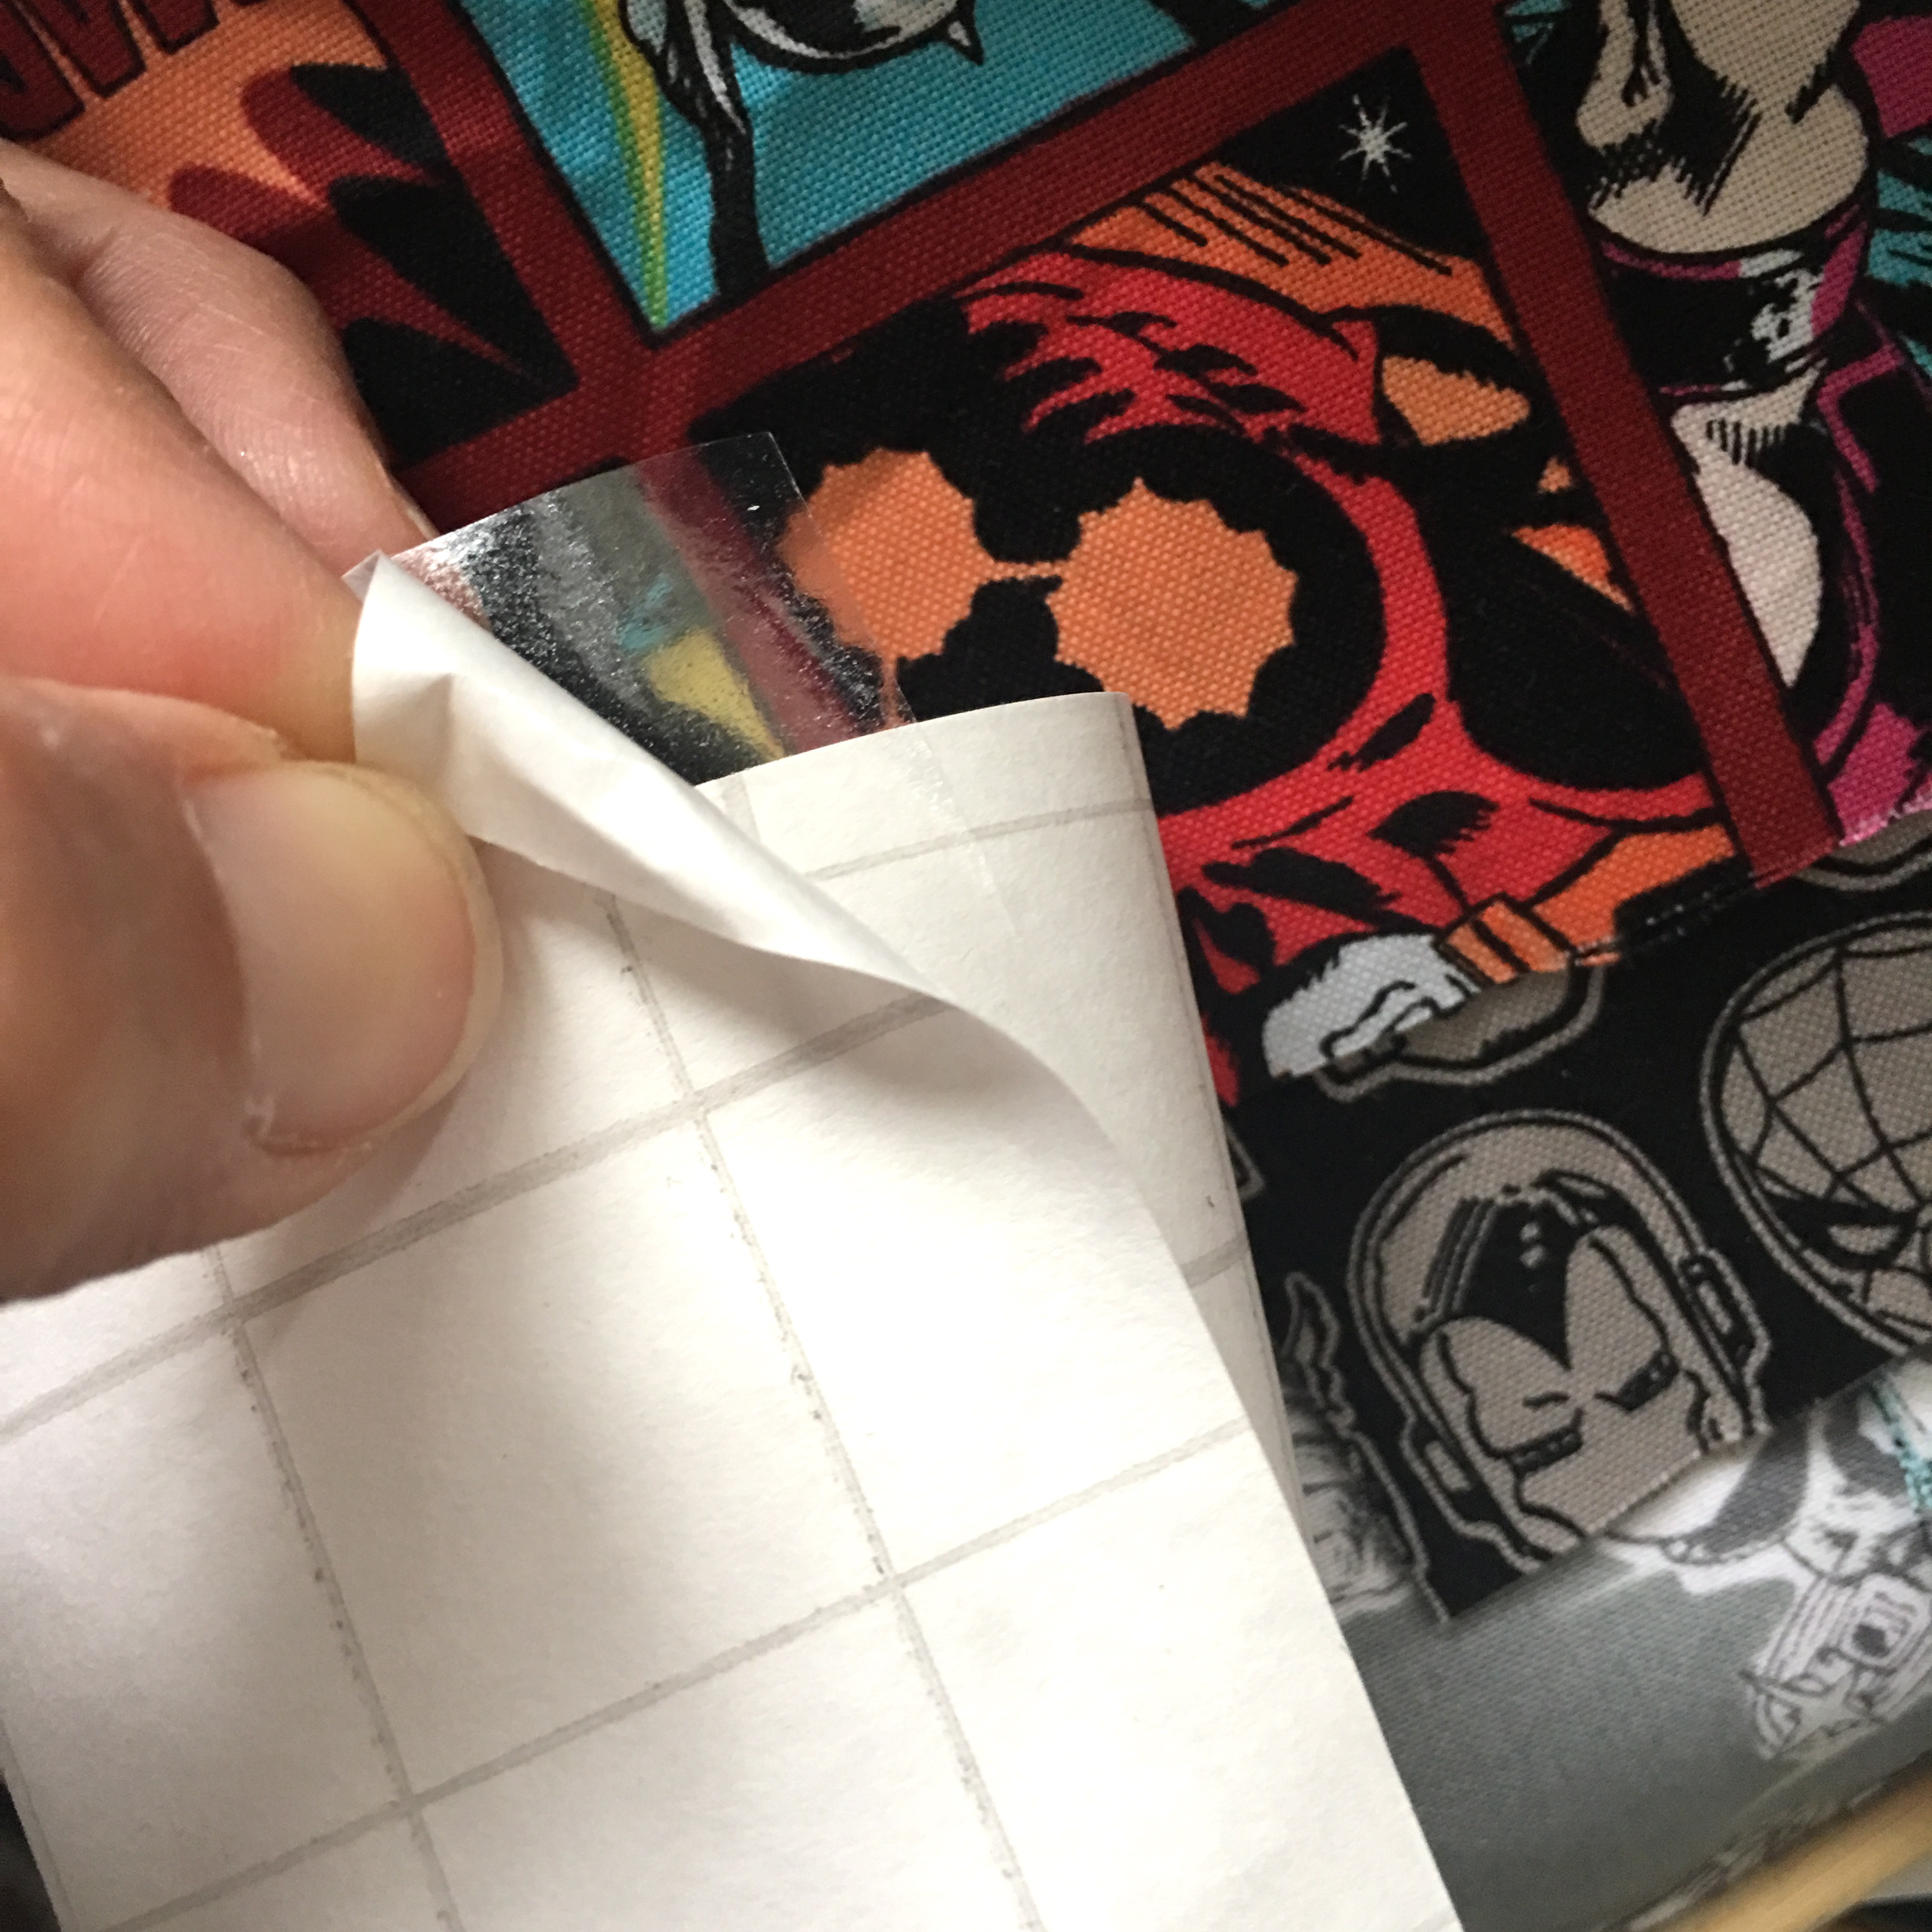
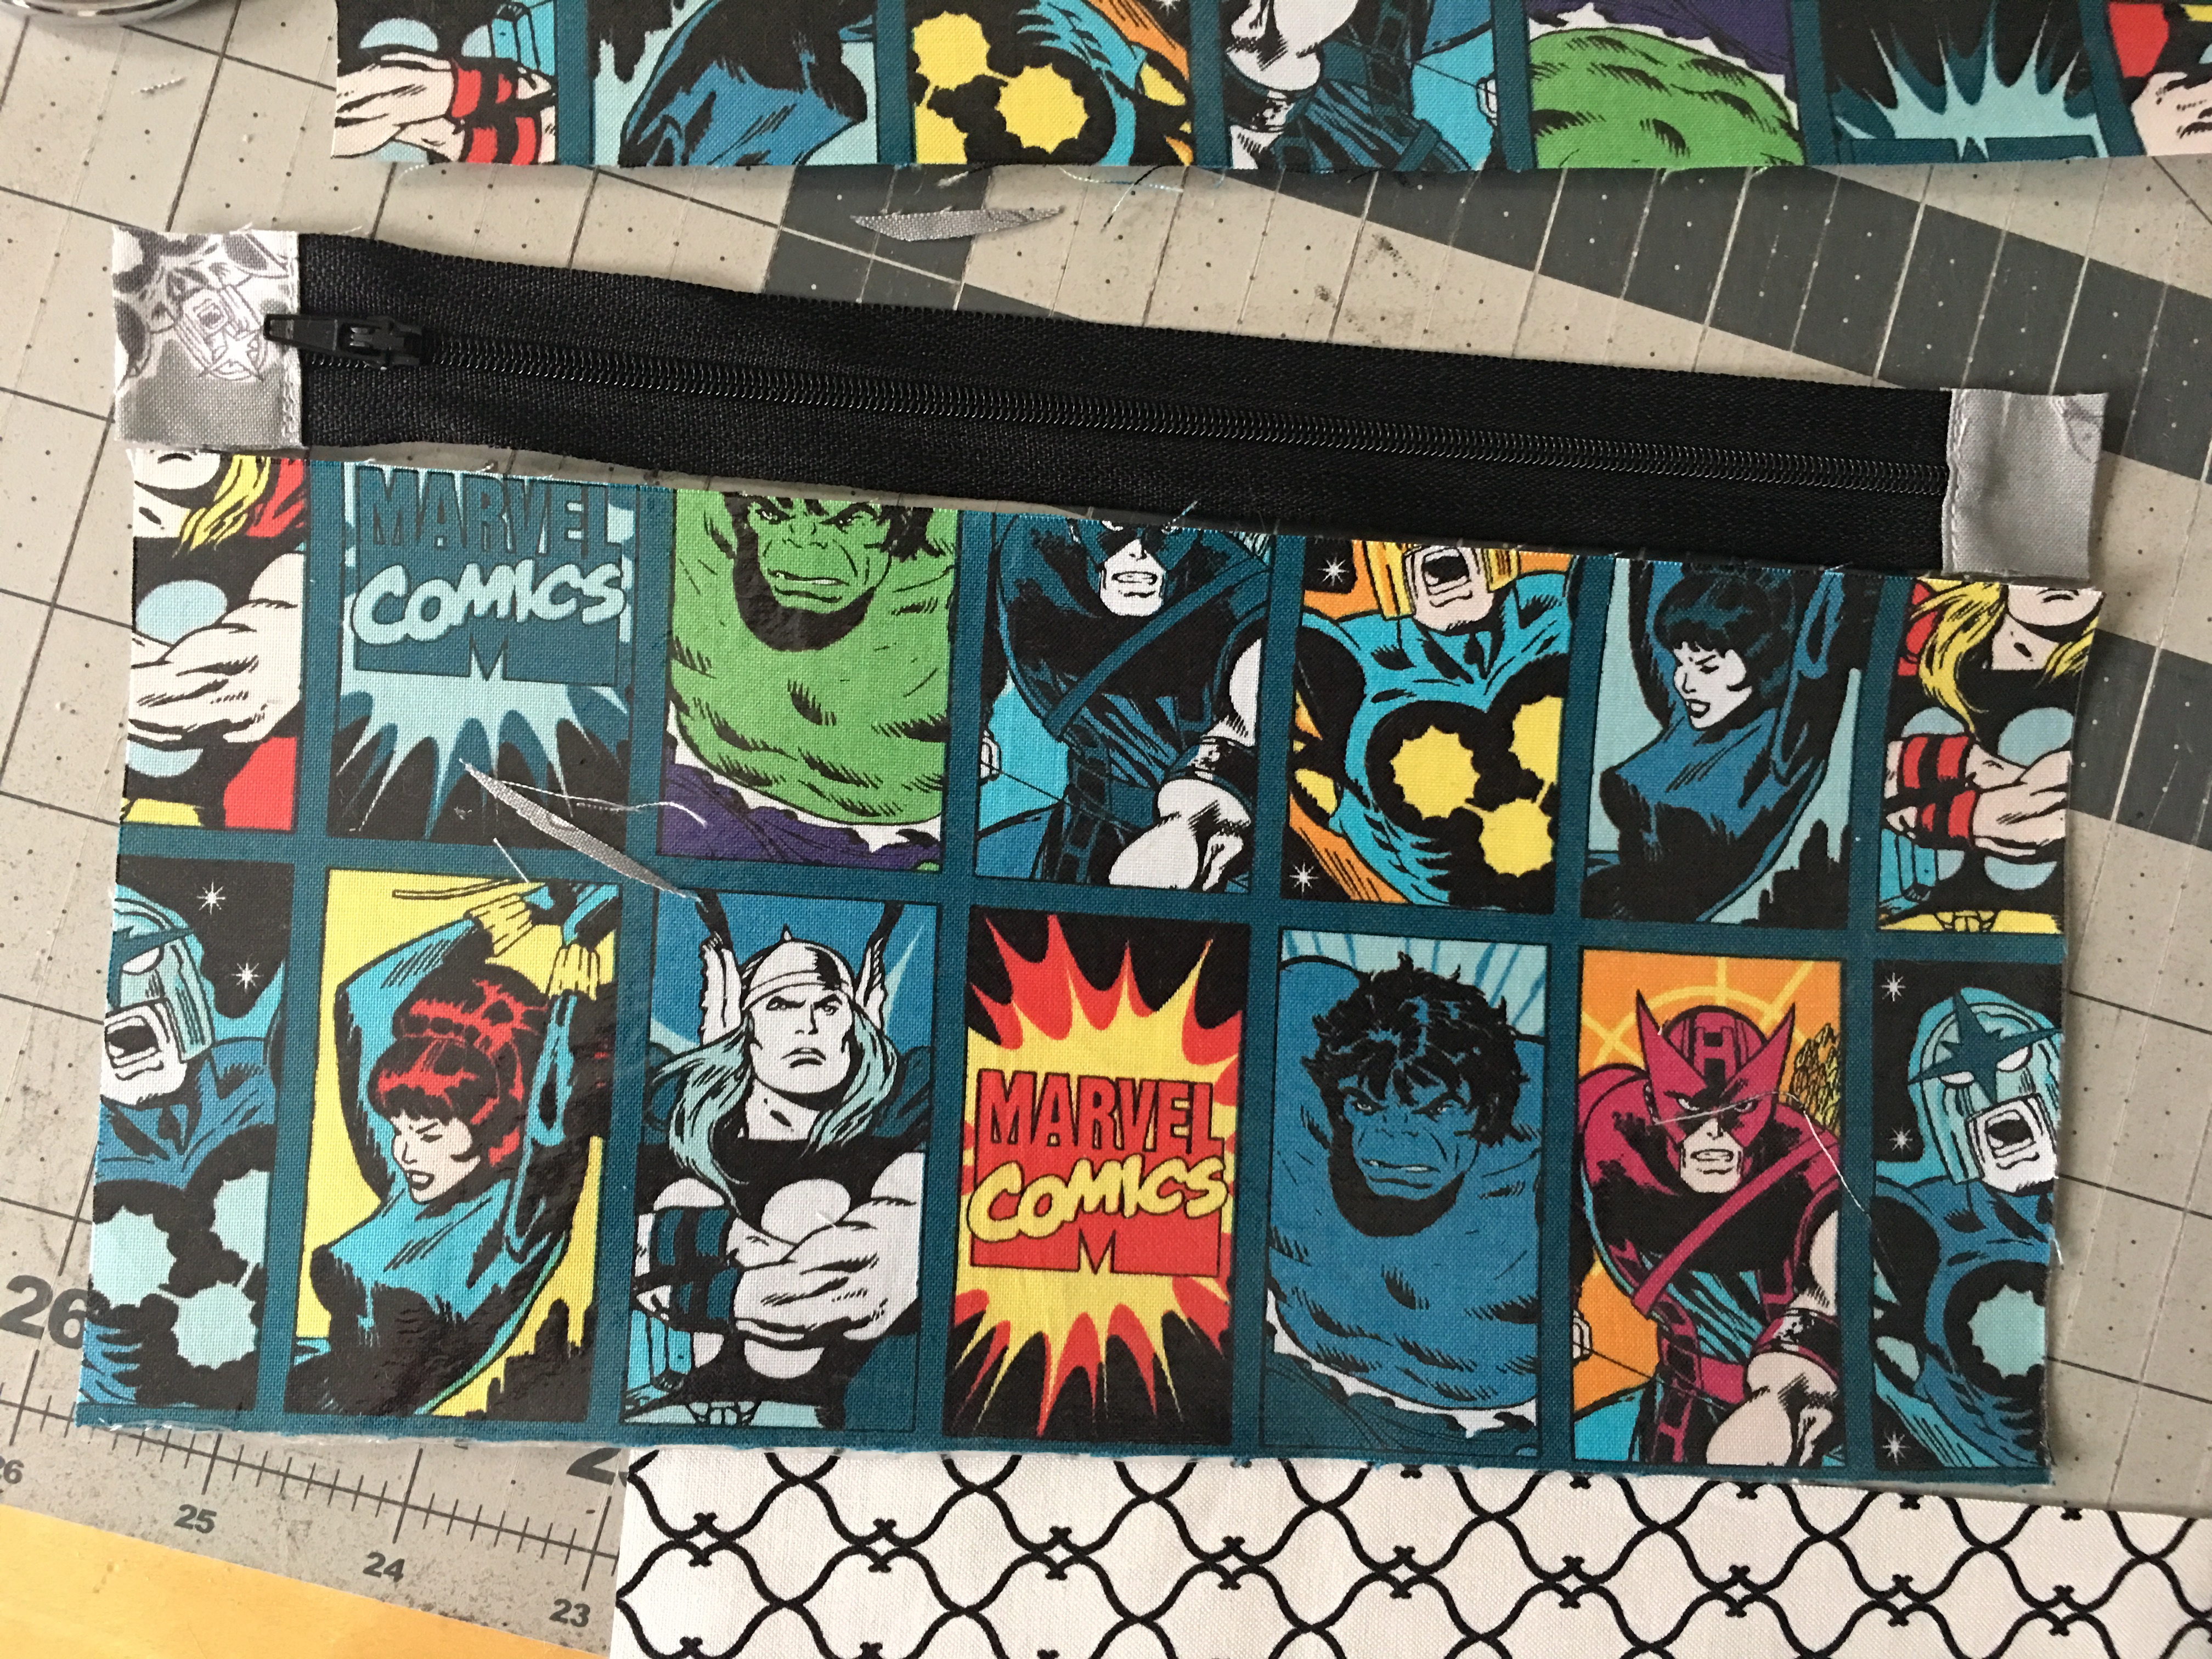
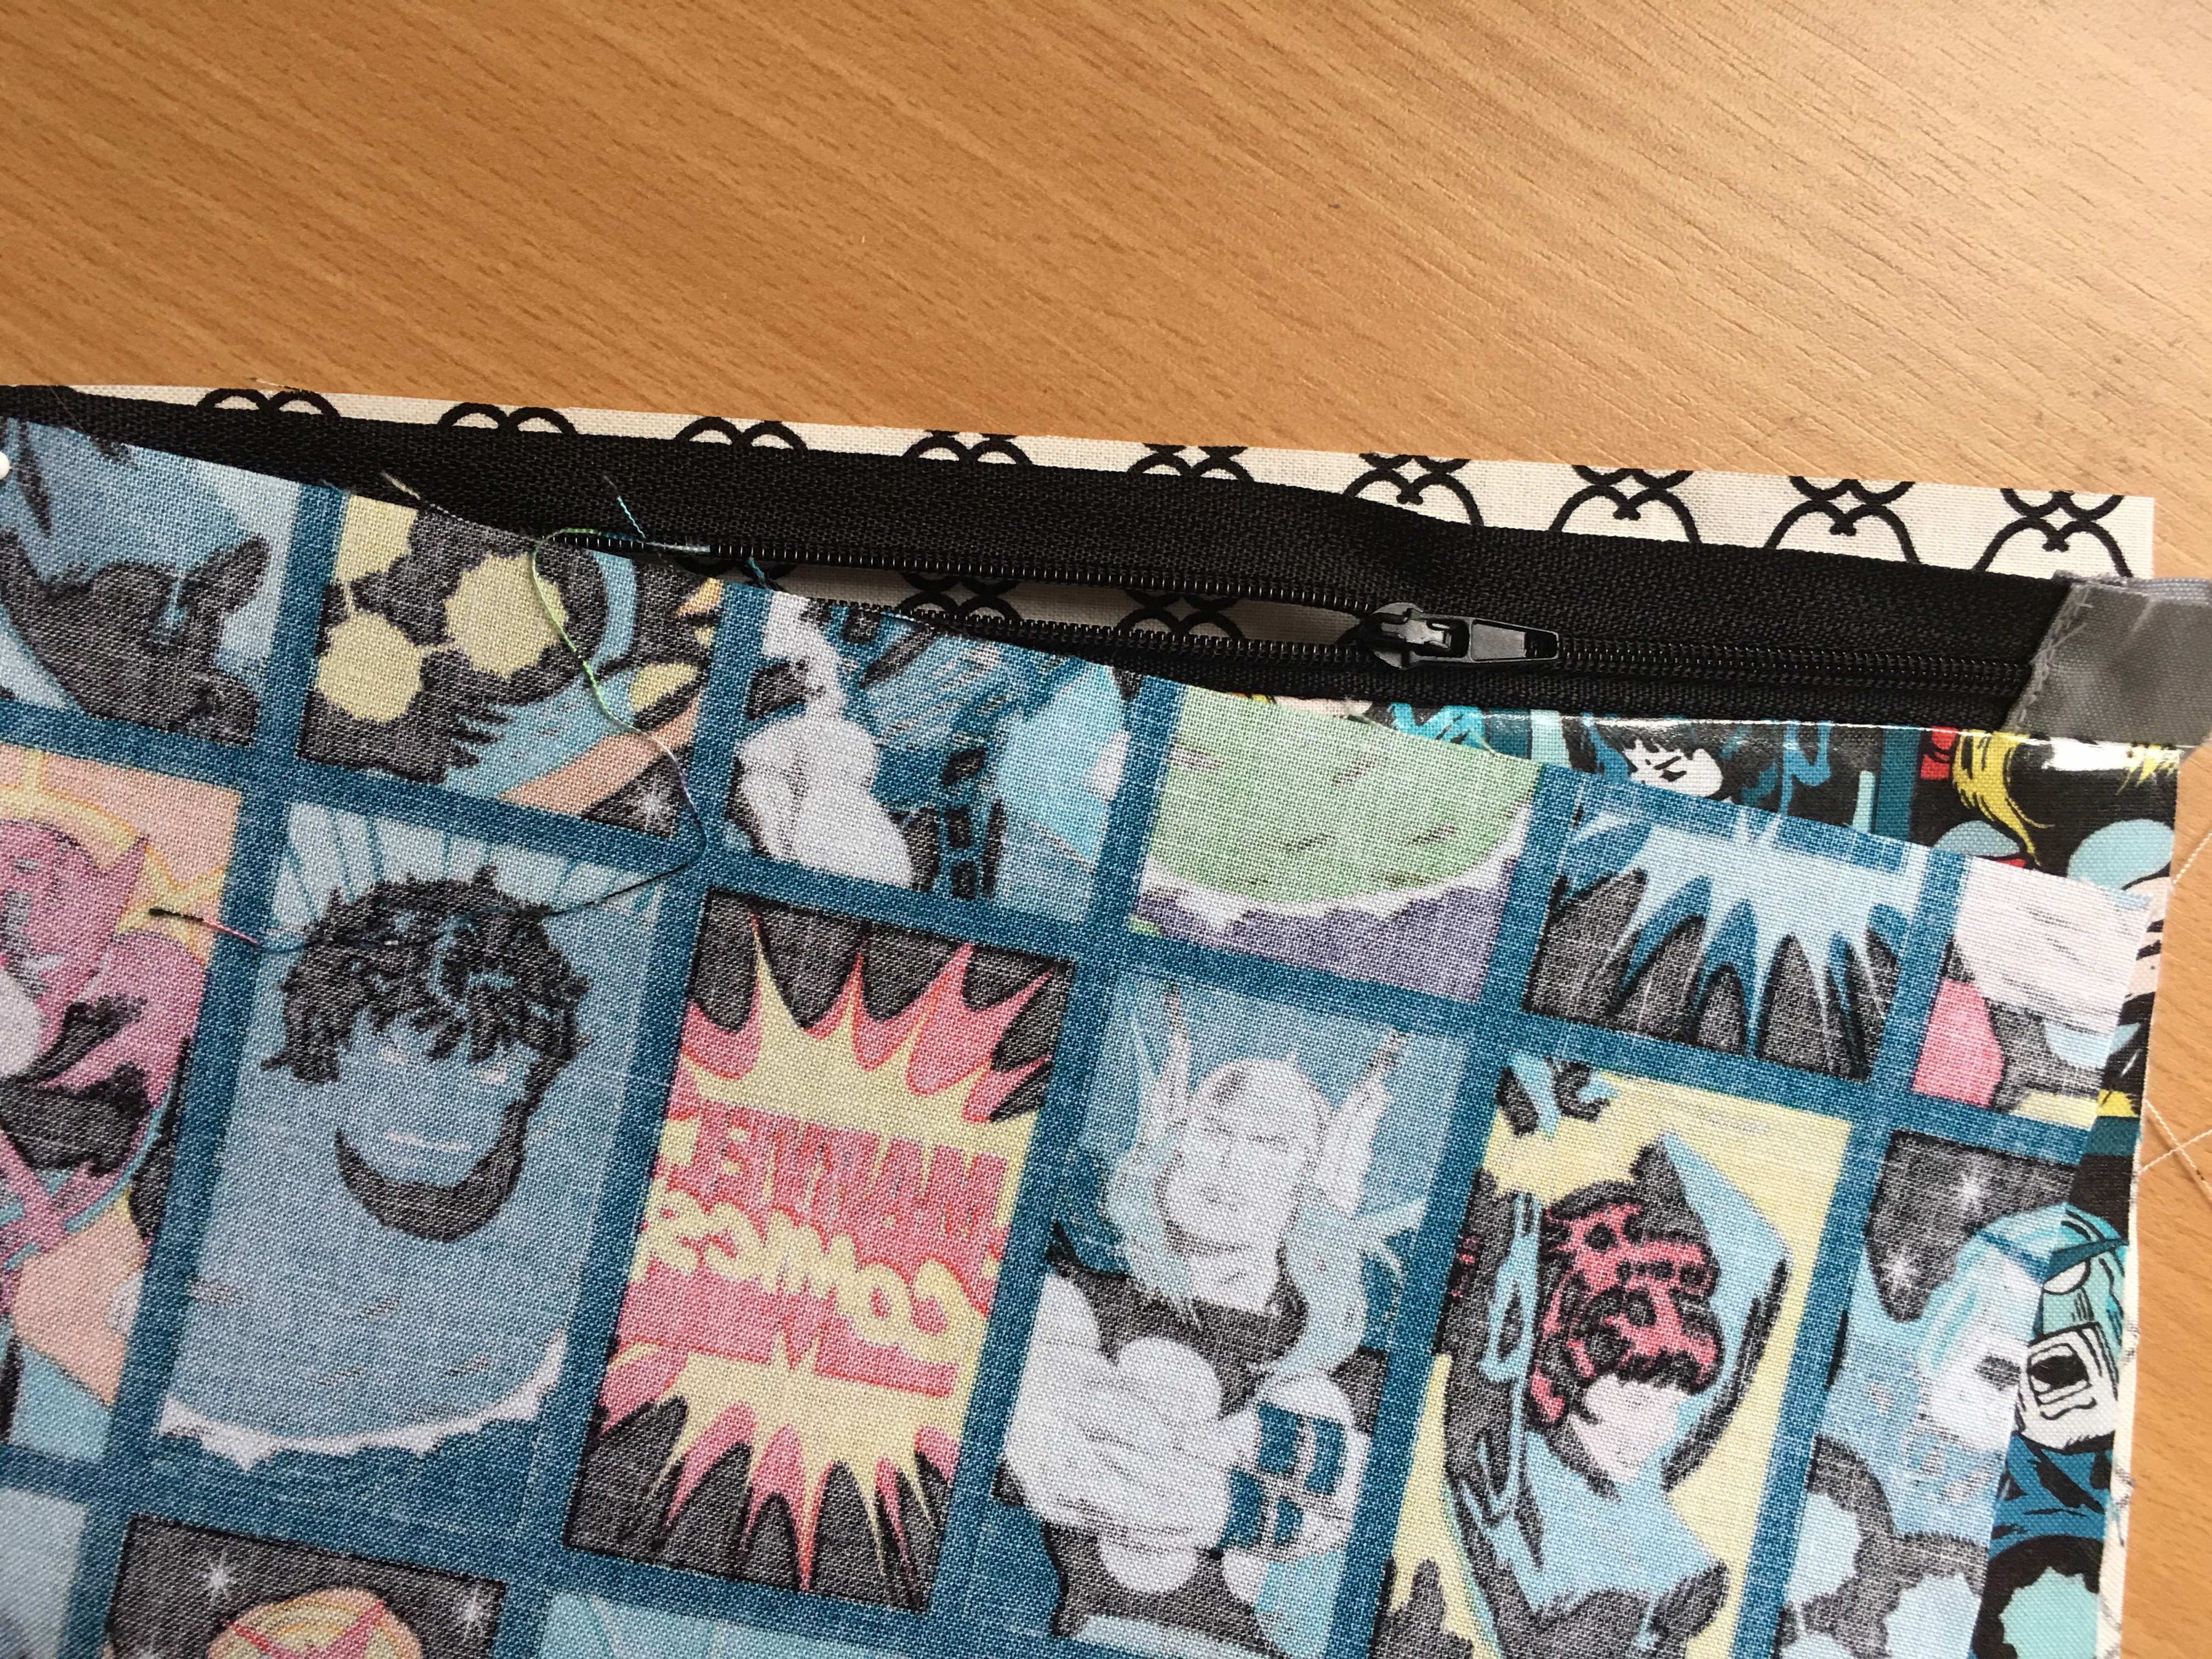
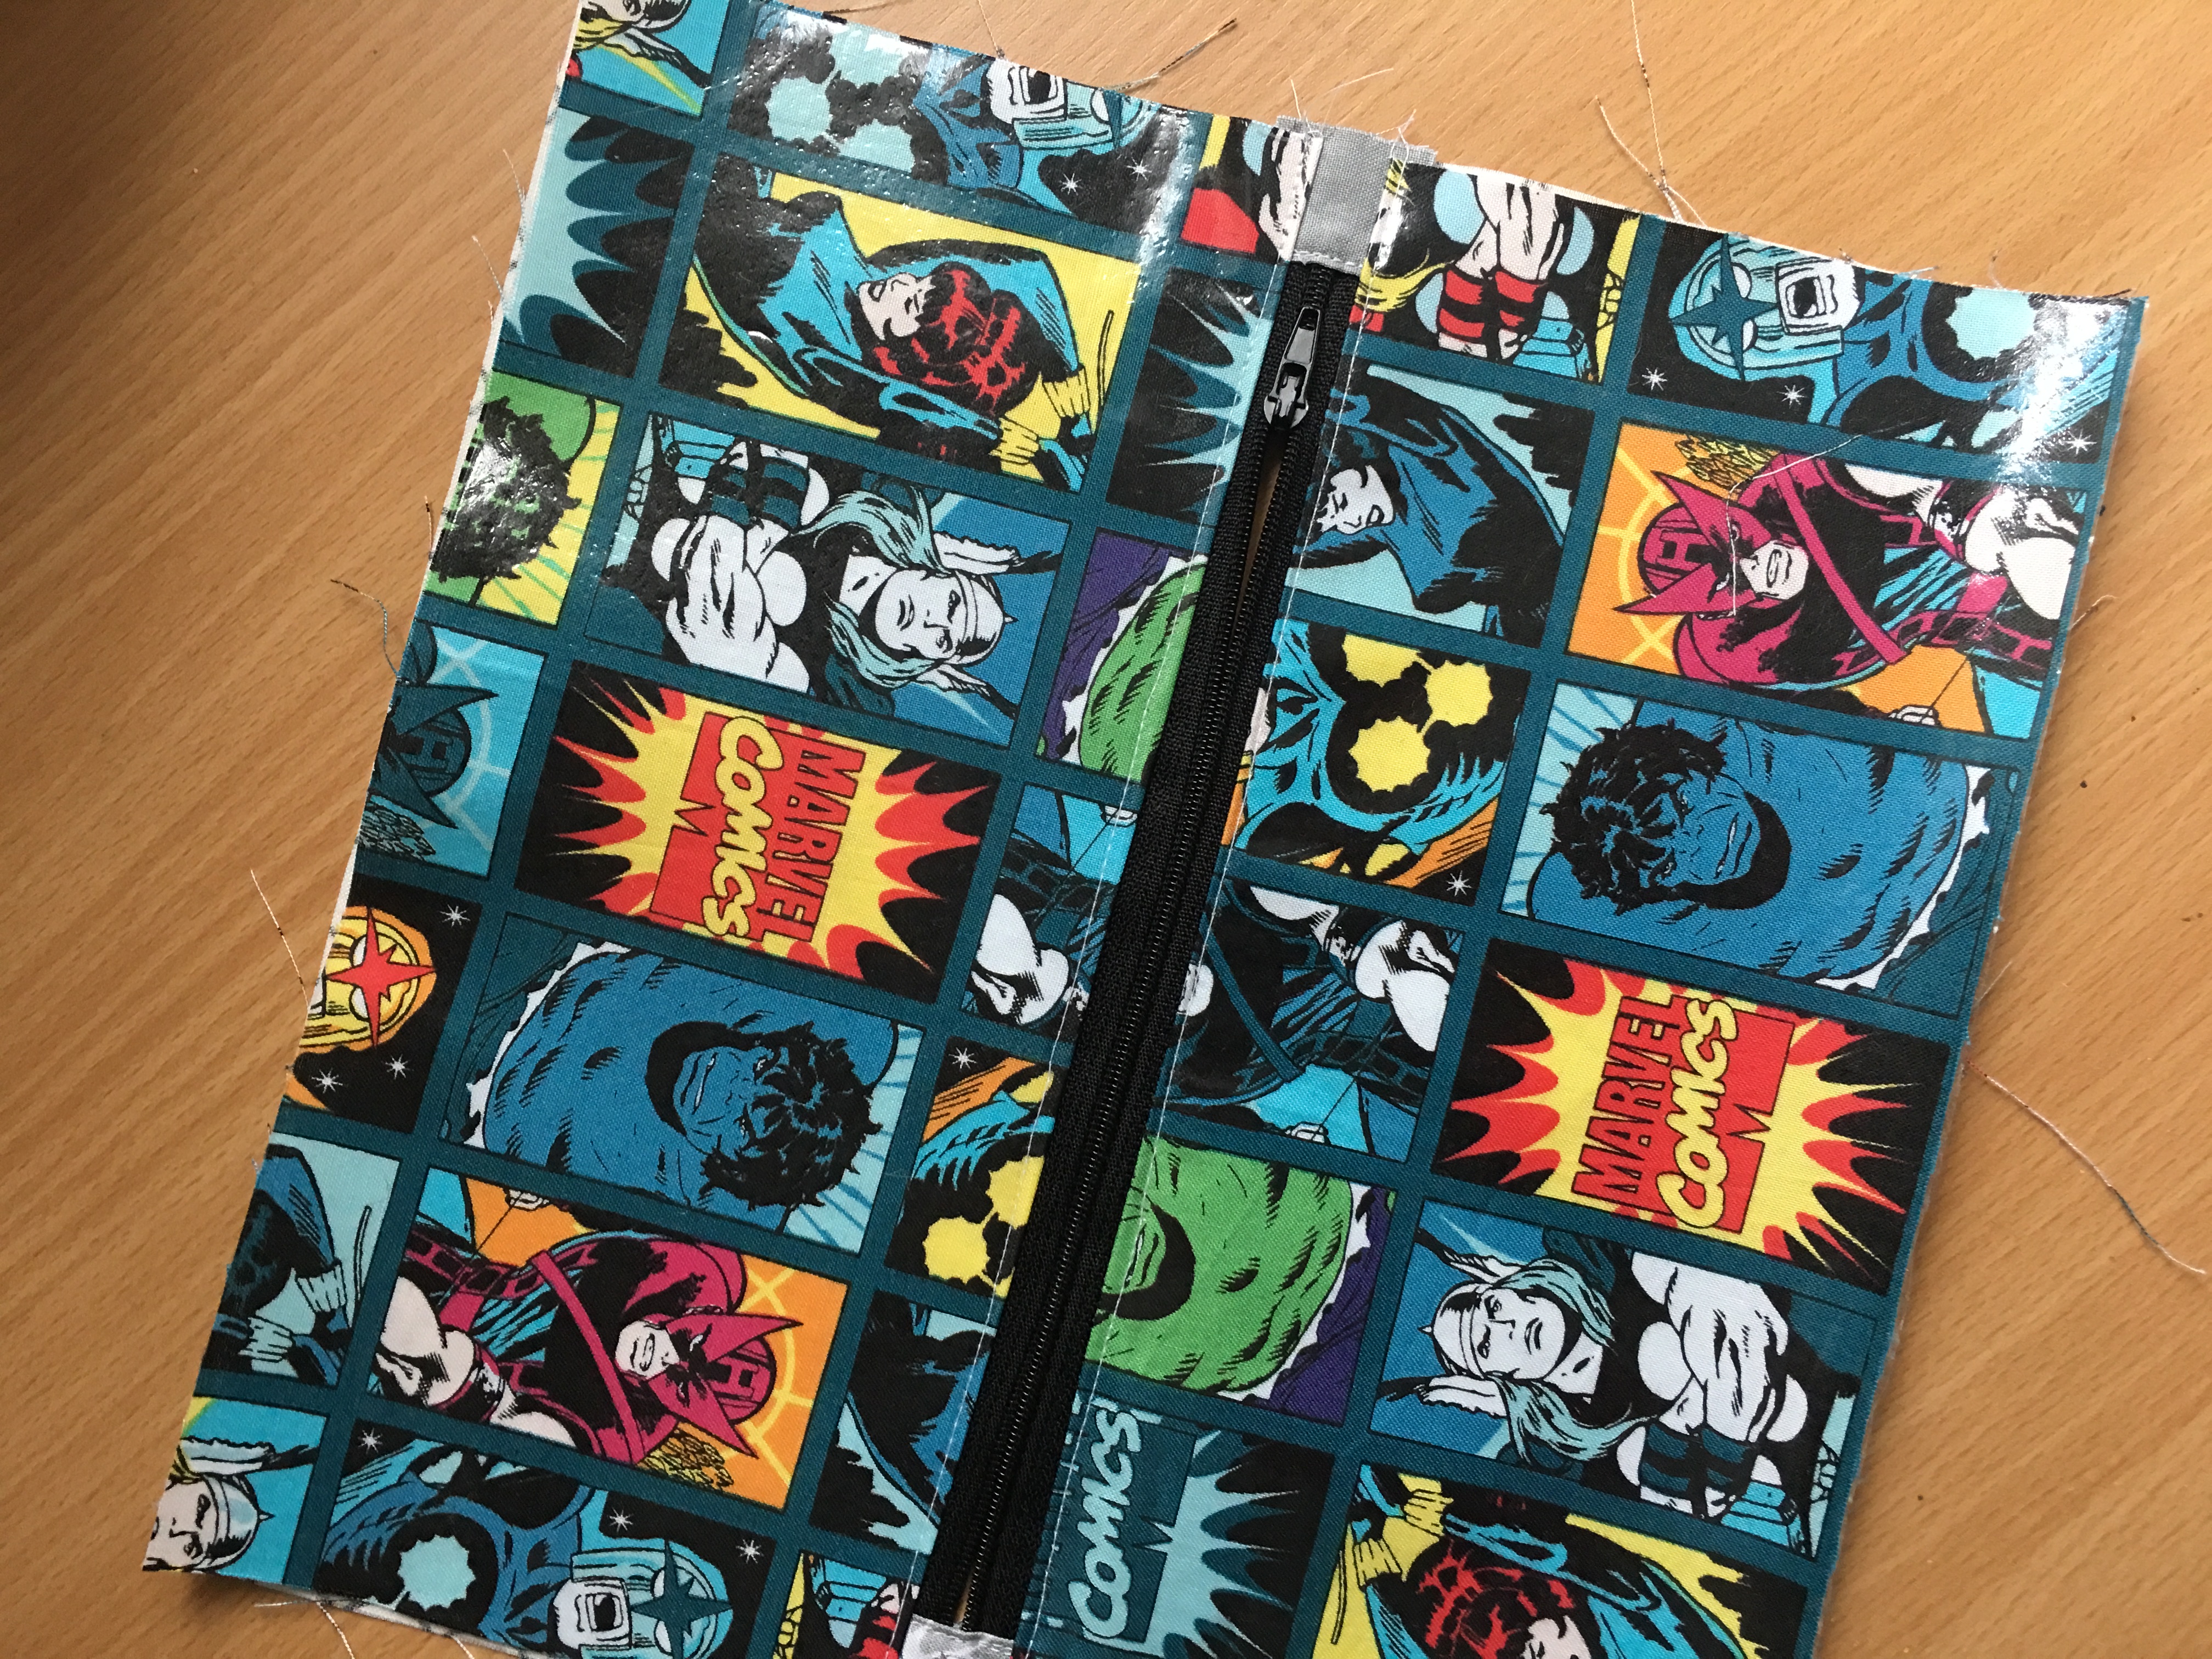
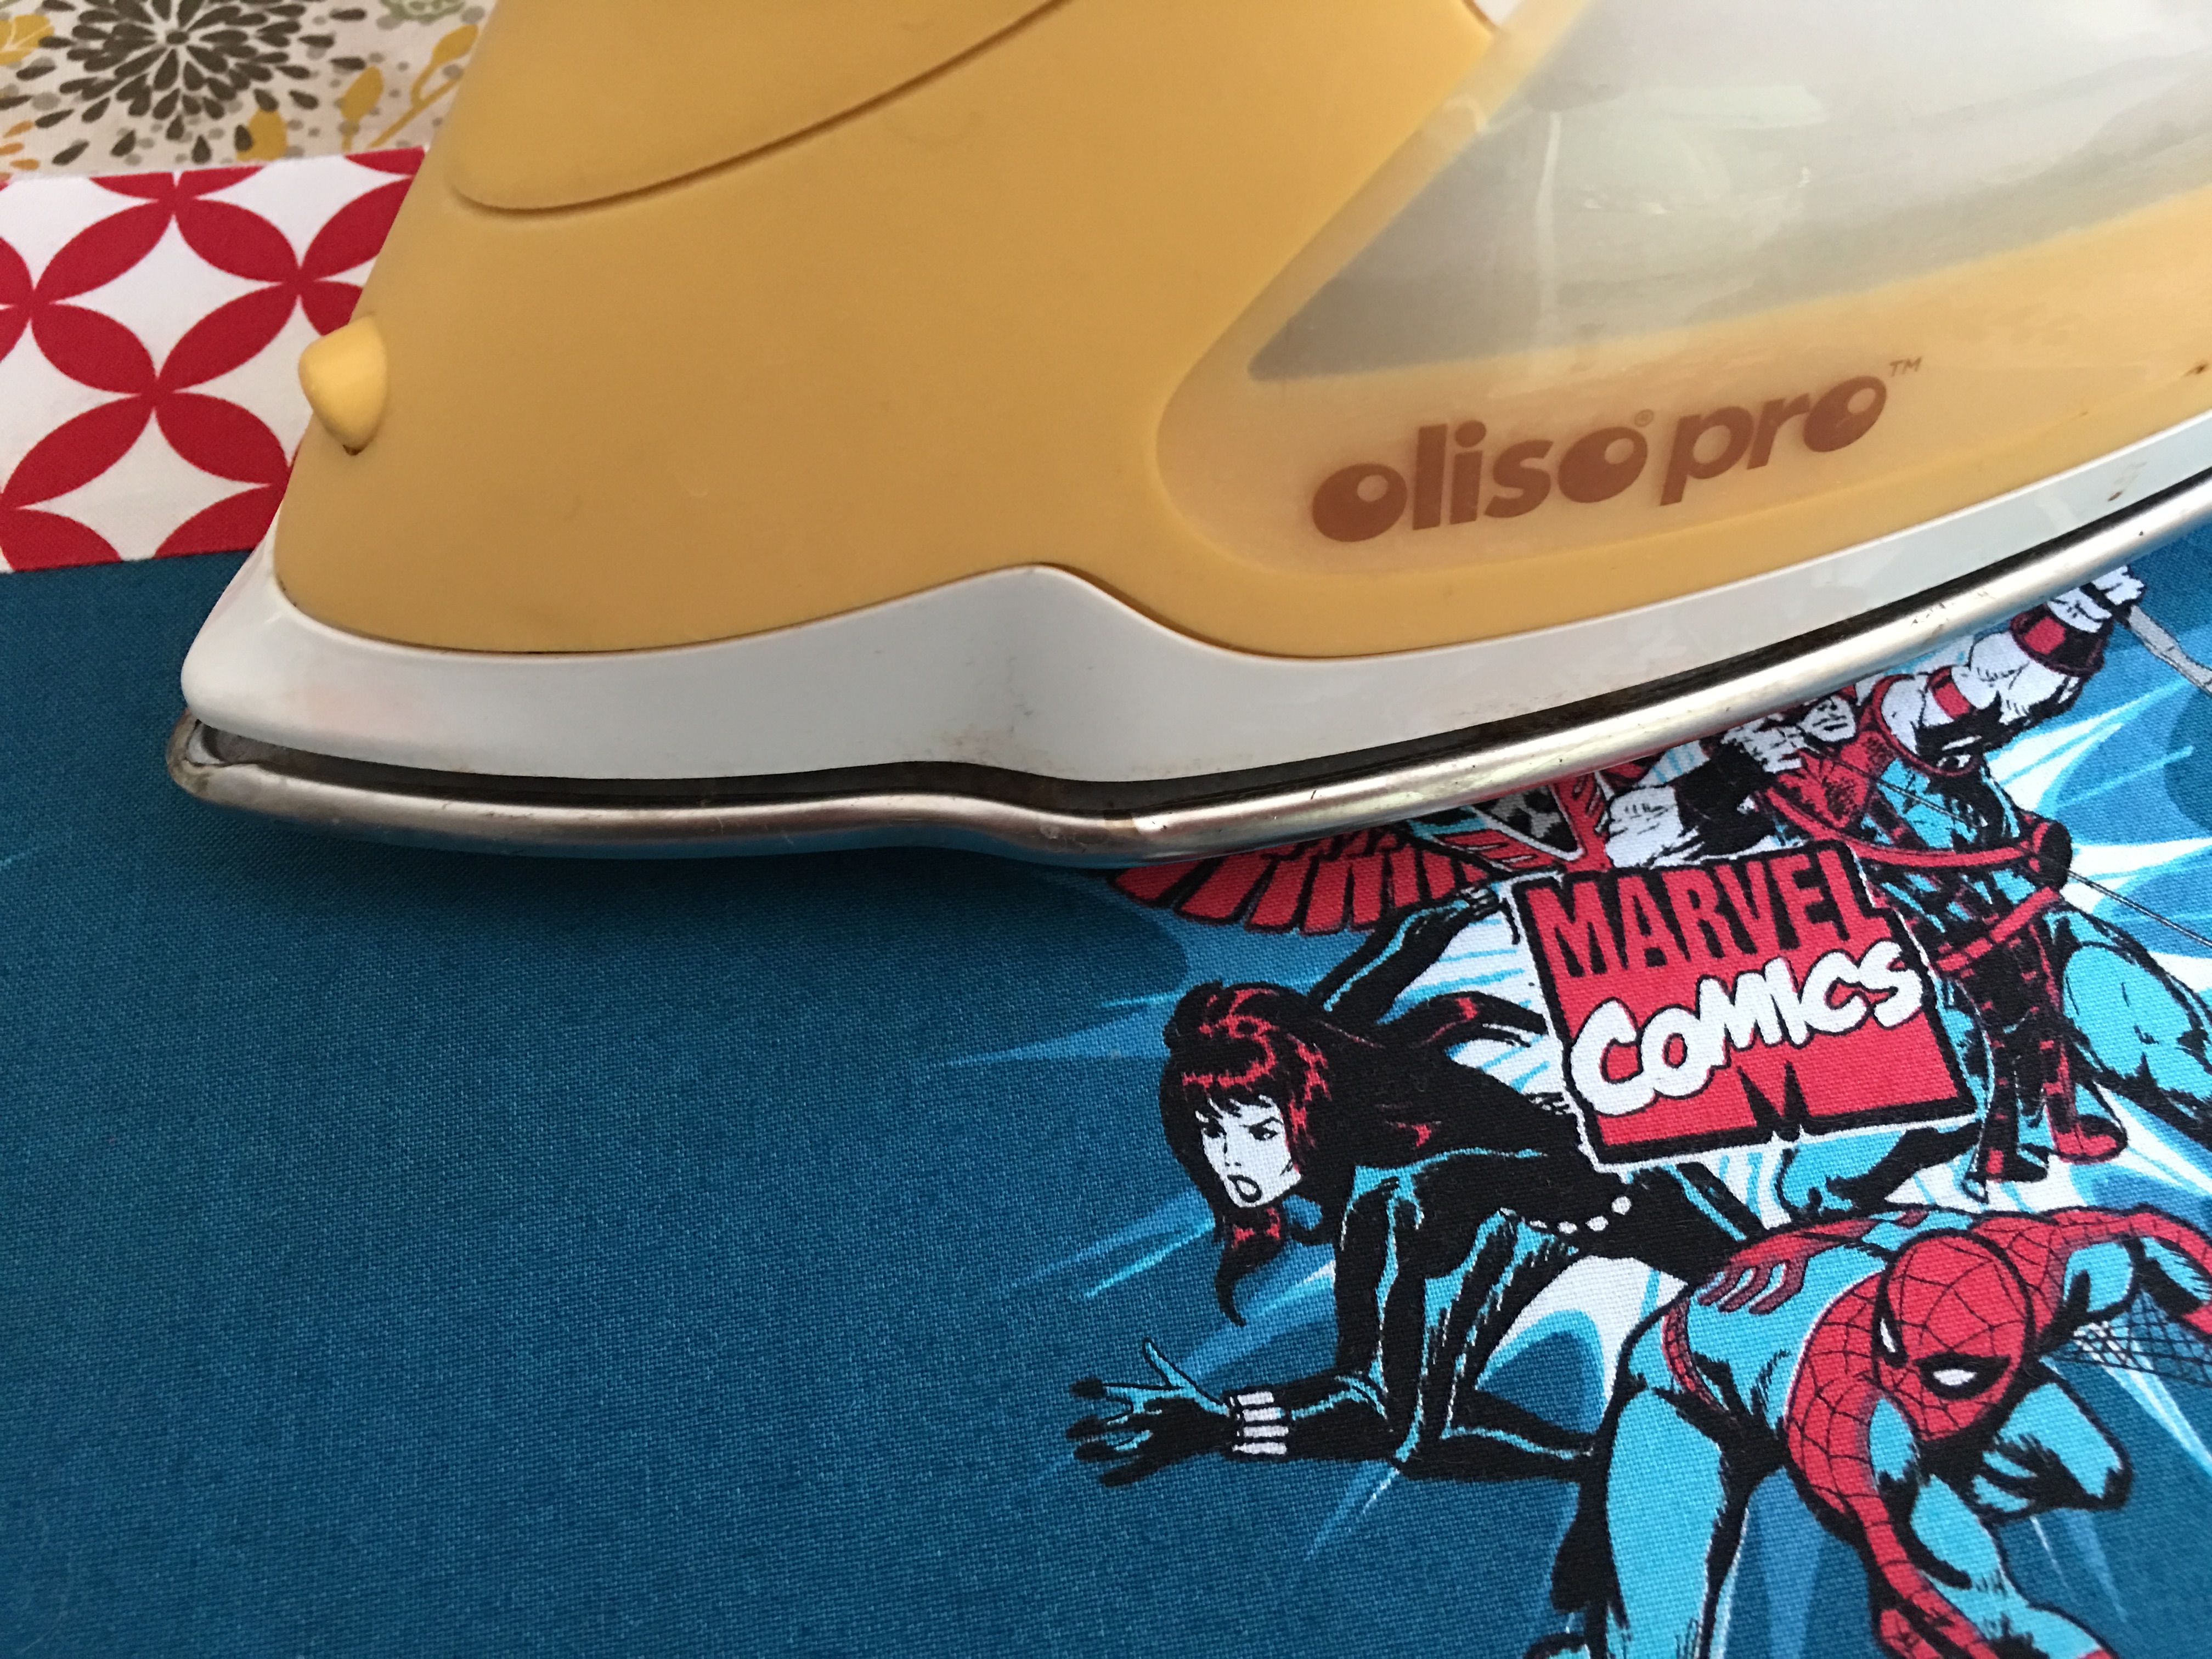
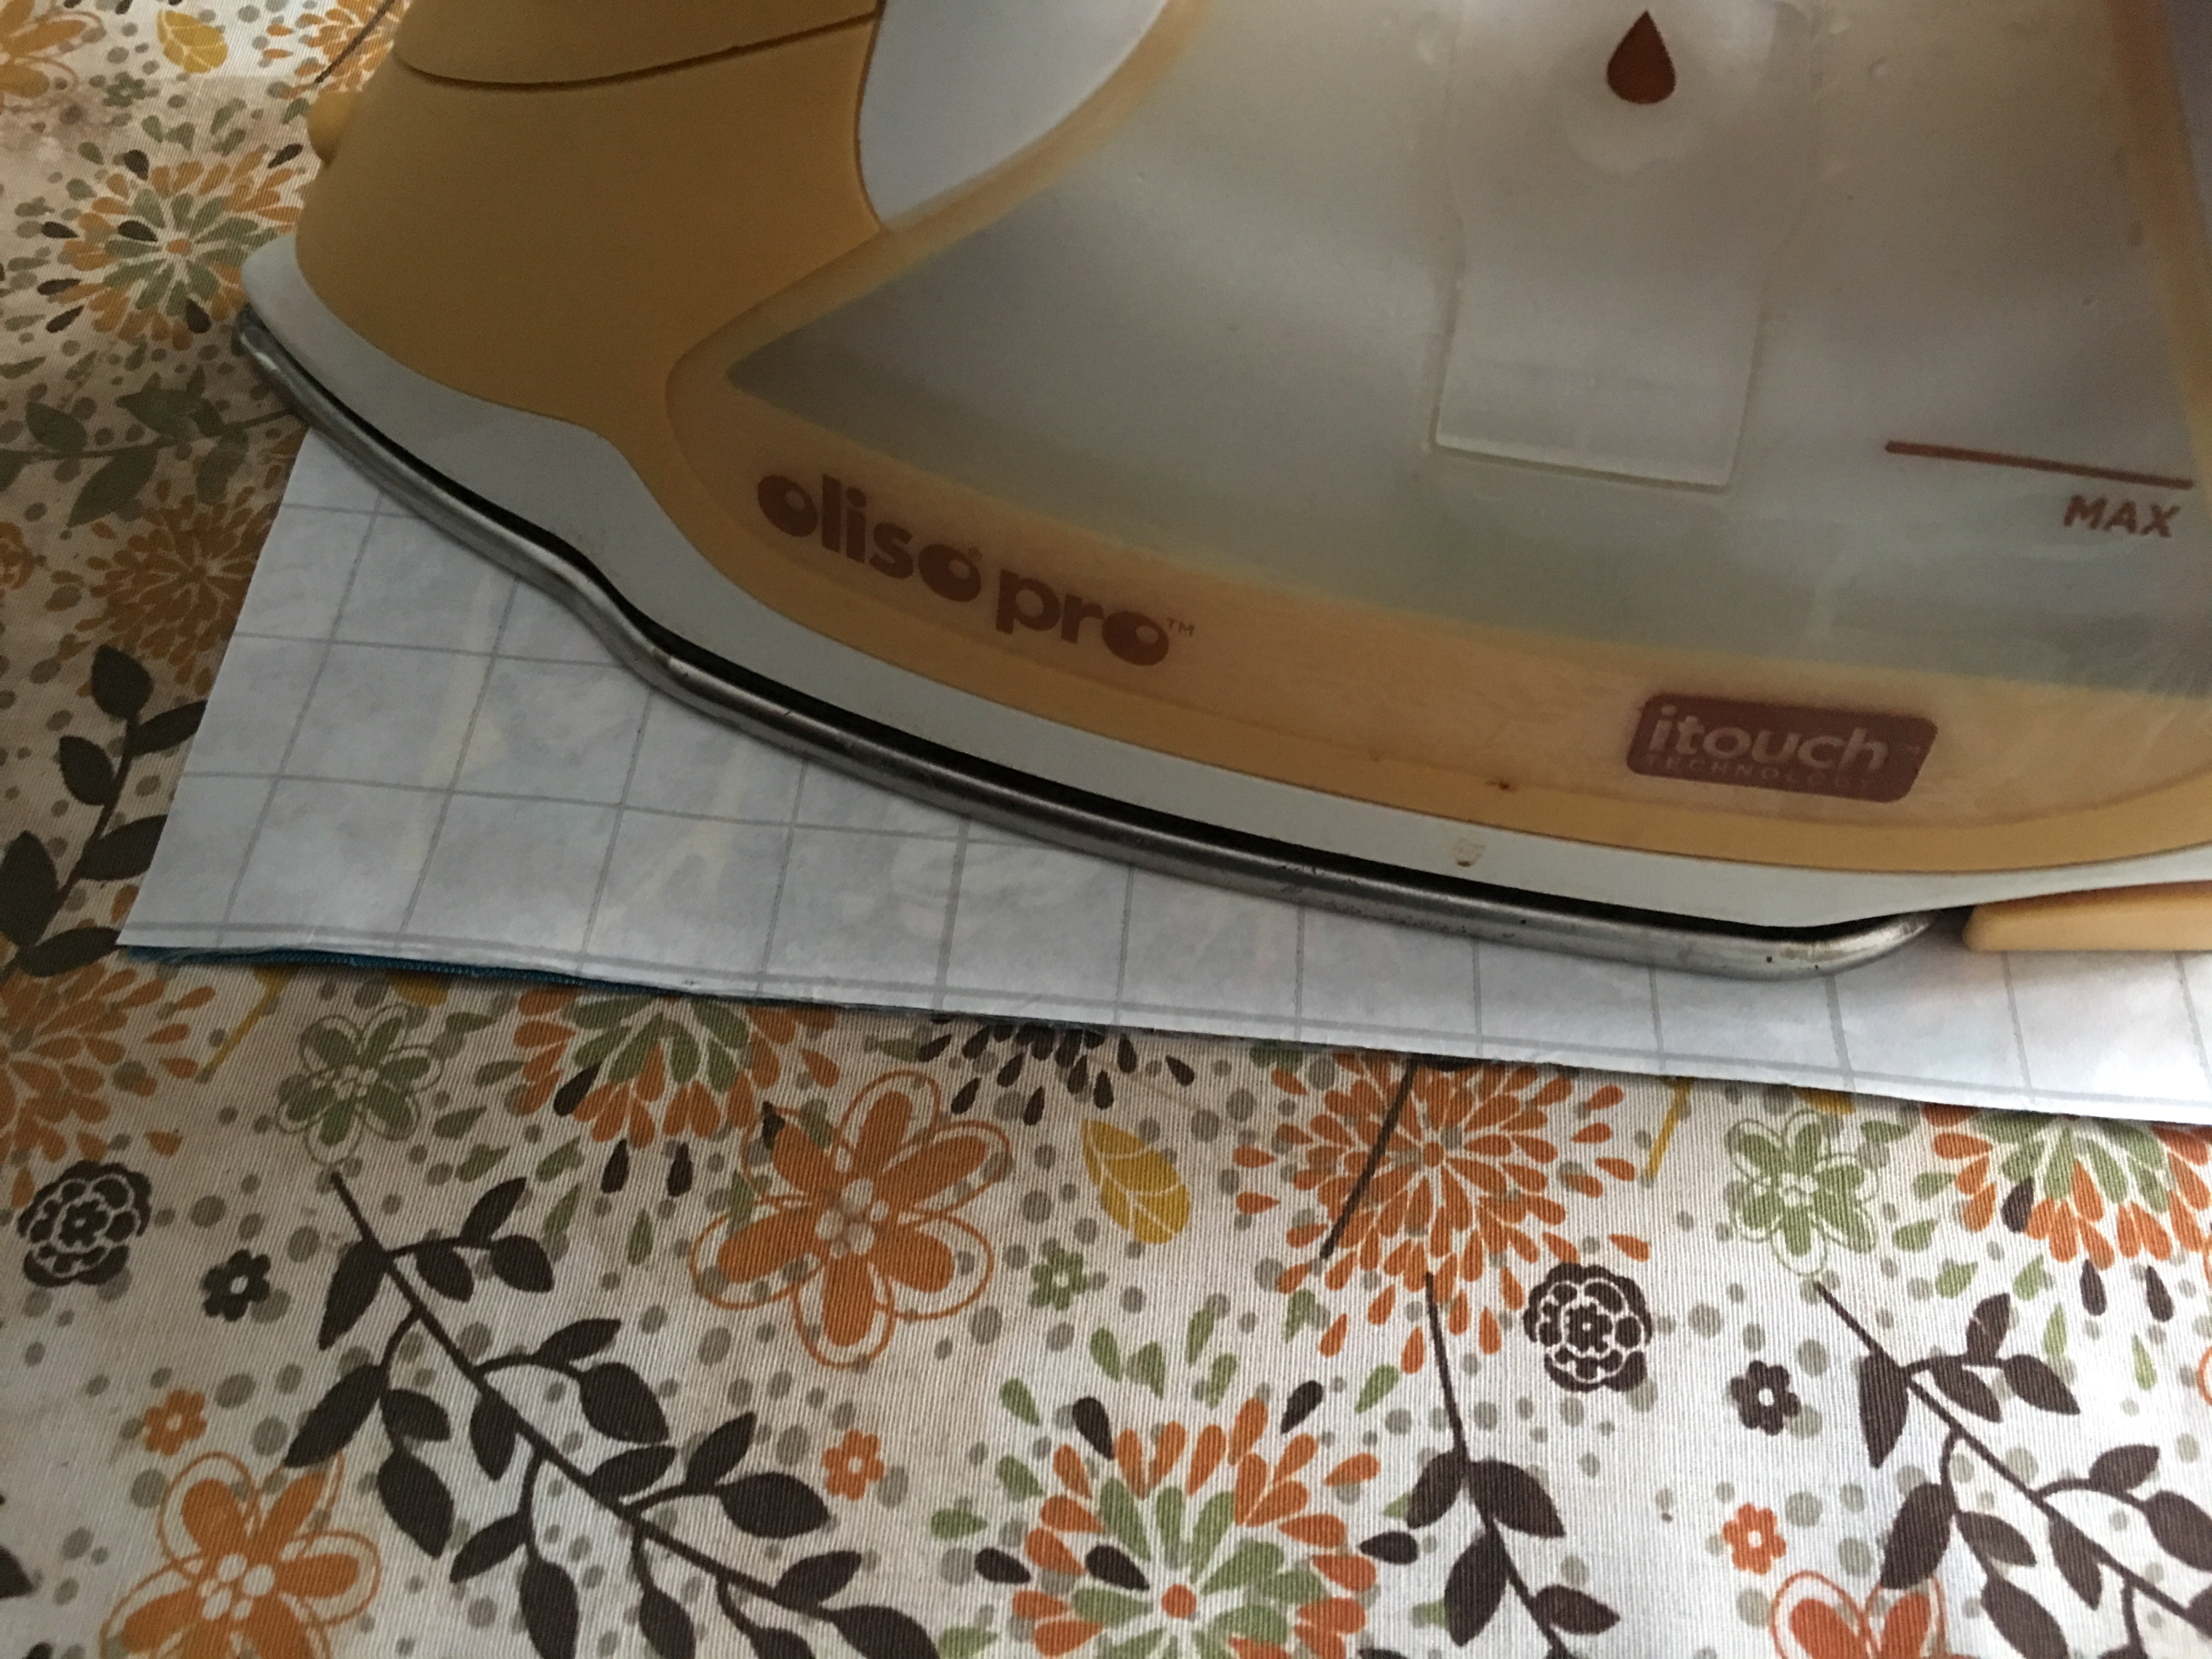
DO NOT touch iron directly onto vinyl.  If you need to press, cover with the paper first.img_7967_2

The outer pieces are now covered in vinyl and have a whole new look!!!  It’s so much fun!!!!

Now it’s time to sew in the zipper.

Press the zipper tabs 1/4″ in on the top and bottom and then press in half:

img_7969

Trim the metal end off the zipper and insert the end into one of the tabs.  Sew 2 seams along the edge:

img_7971

Cut open the zipper tab and cut out the zipper.  Trim the zipper tab to be the same width as the zipper.img_7972

Now measure the zipper to the zipper pouch.  You need to have 1″ of zipper tab on each side.  Measure the zipper and cut the other end off to where it needs to be.  Sew the second zipper tab on.  Make sure not to cut the zipper pull off 🙂    Cut open the zipper tab and cut out the excess zipper.img_7974

Lay the zipper right side on top of the Marvel piece.  Lay the Lining piece on top of that right side down.  Match all the raw edges.  See photo below:

img_7975

Using a zipper foot, sew the zipper in.  Finger press.img_7976

Now position the second Marvel piece right side down and the lining piece on the bottom, right side facing up, like this:img_7977

Basically you are making sure each piece is right sides together with it’s matching piece.  Line up all the raw edges and sew using the zipper foot.  Finger press.img_7978

Sew 1/8″ along both sides of the zipper.img_7979

With the zipper partially open, match the Marvel pieces right sides together and the lining pieces right sides together.  Pin all the way around.  Sew using 1/4″ seam all the way around leaving a 3 inch opening in the bottom of the lining.  Clip corners and turn right side out.  Top stitch the opening closed.  The vinyl gets a little scrunched while turning, so place the pressing paper on top of the vinyl and lightly press out the wrinkles.

dsc_0531

Ta Da!!  Now go sew up a bunch of these!!!!

With Save

Save

Marvel Covered Composition Book

composition-book-cover

If you know me at all you know I LOVE Composition Books!  I use one for everything: sewing notes, Christmas planning, Young Women Camp Planning, Journals, Gospel study notes, To Do Lists, and on and on!  I love sewing covers for these fun books to give them personality and also add durability!  I am loving the latest Marvel Fabrics from Camelot Fabrics available at Fat Quarter Shop.  These would make great Christmas or Birthday gifts! img_8037

Cut Center piece 7″ x 16.5″

Cut (2) accent pieces 2.5″ x 16.5″

Cut Lining 11″ x 16.5″

Cut flap pieces (2) 10″ x 11″

Heat n Bond Fusible Fleece 11″ x 16.5″

To make the outer book cover, using 1/4″ seams, sew the top and bottom pieces to the center Marvel piece.  Press seams.

img_8038

Fuse the Heat n Bond Fusible Fleece to the wrong side of the fabric according to the manufacturer instructions.

img_8039

Sew accent stitching 1/8″ along both sides of the seam.

img_8040

To finish the composition book cover,  follow this tutorial.  I omitted the button closure.

dsc_0507

The book tucks easily inside the cover.

dsc_0504

It’s the perfect addition to my collection of Marvel fabric items!!!

Save

Save

Marvel Padded Sketchbook Case Tutorial

sketch-book-case-tutorial
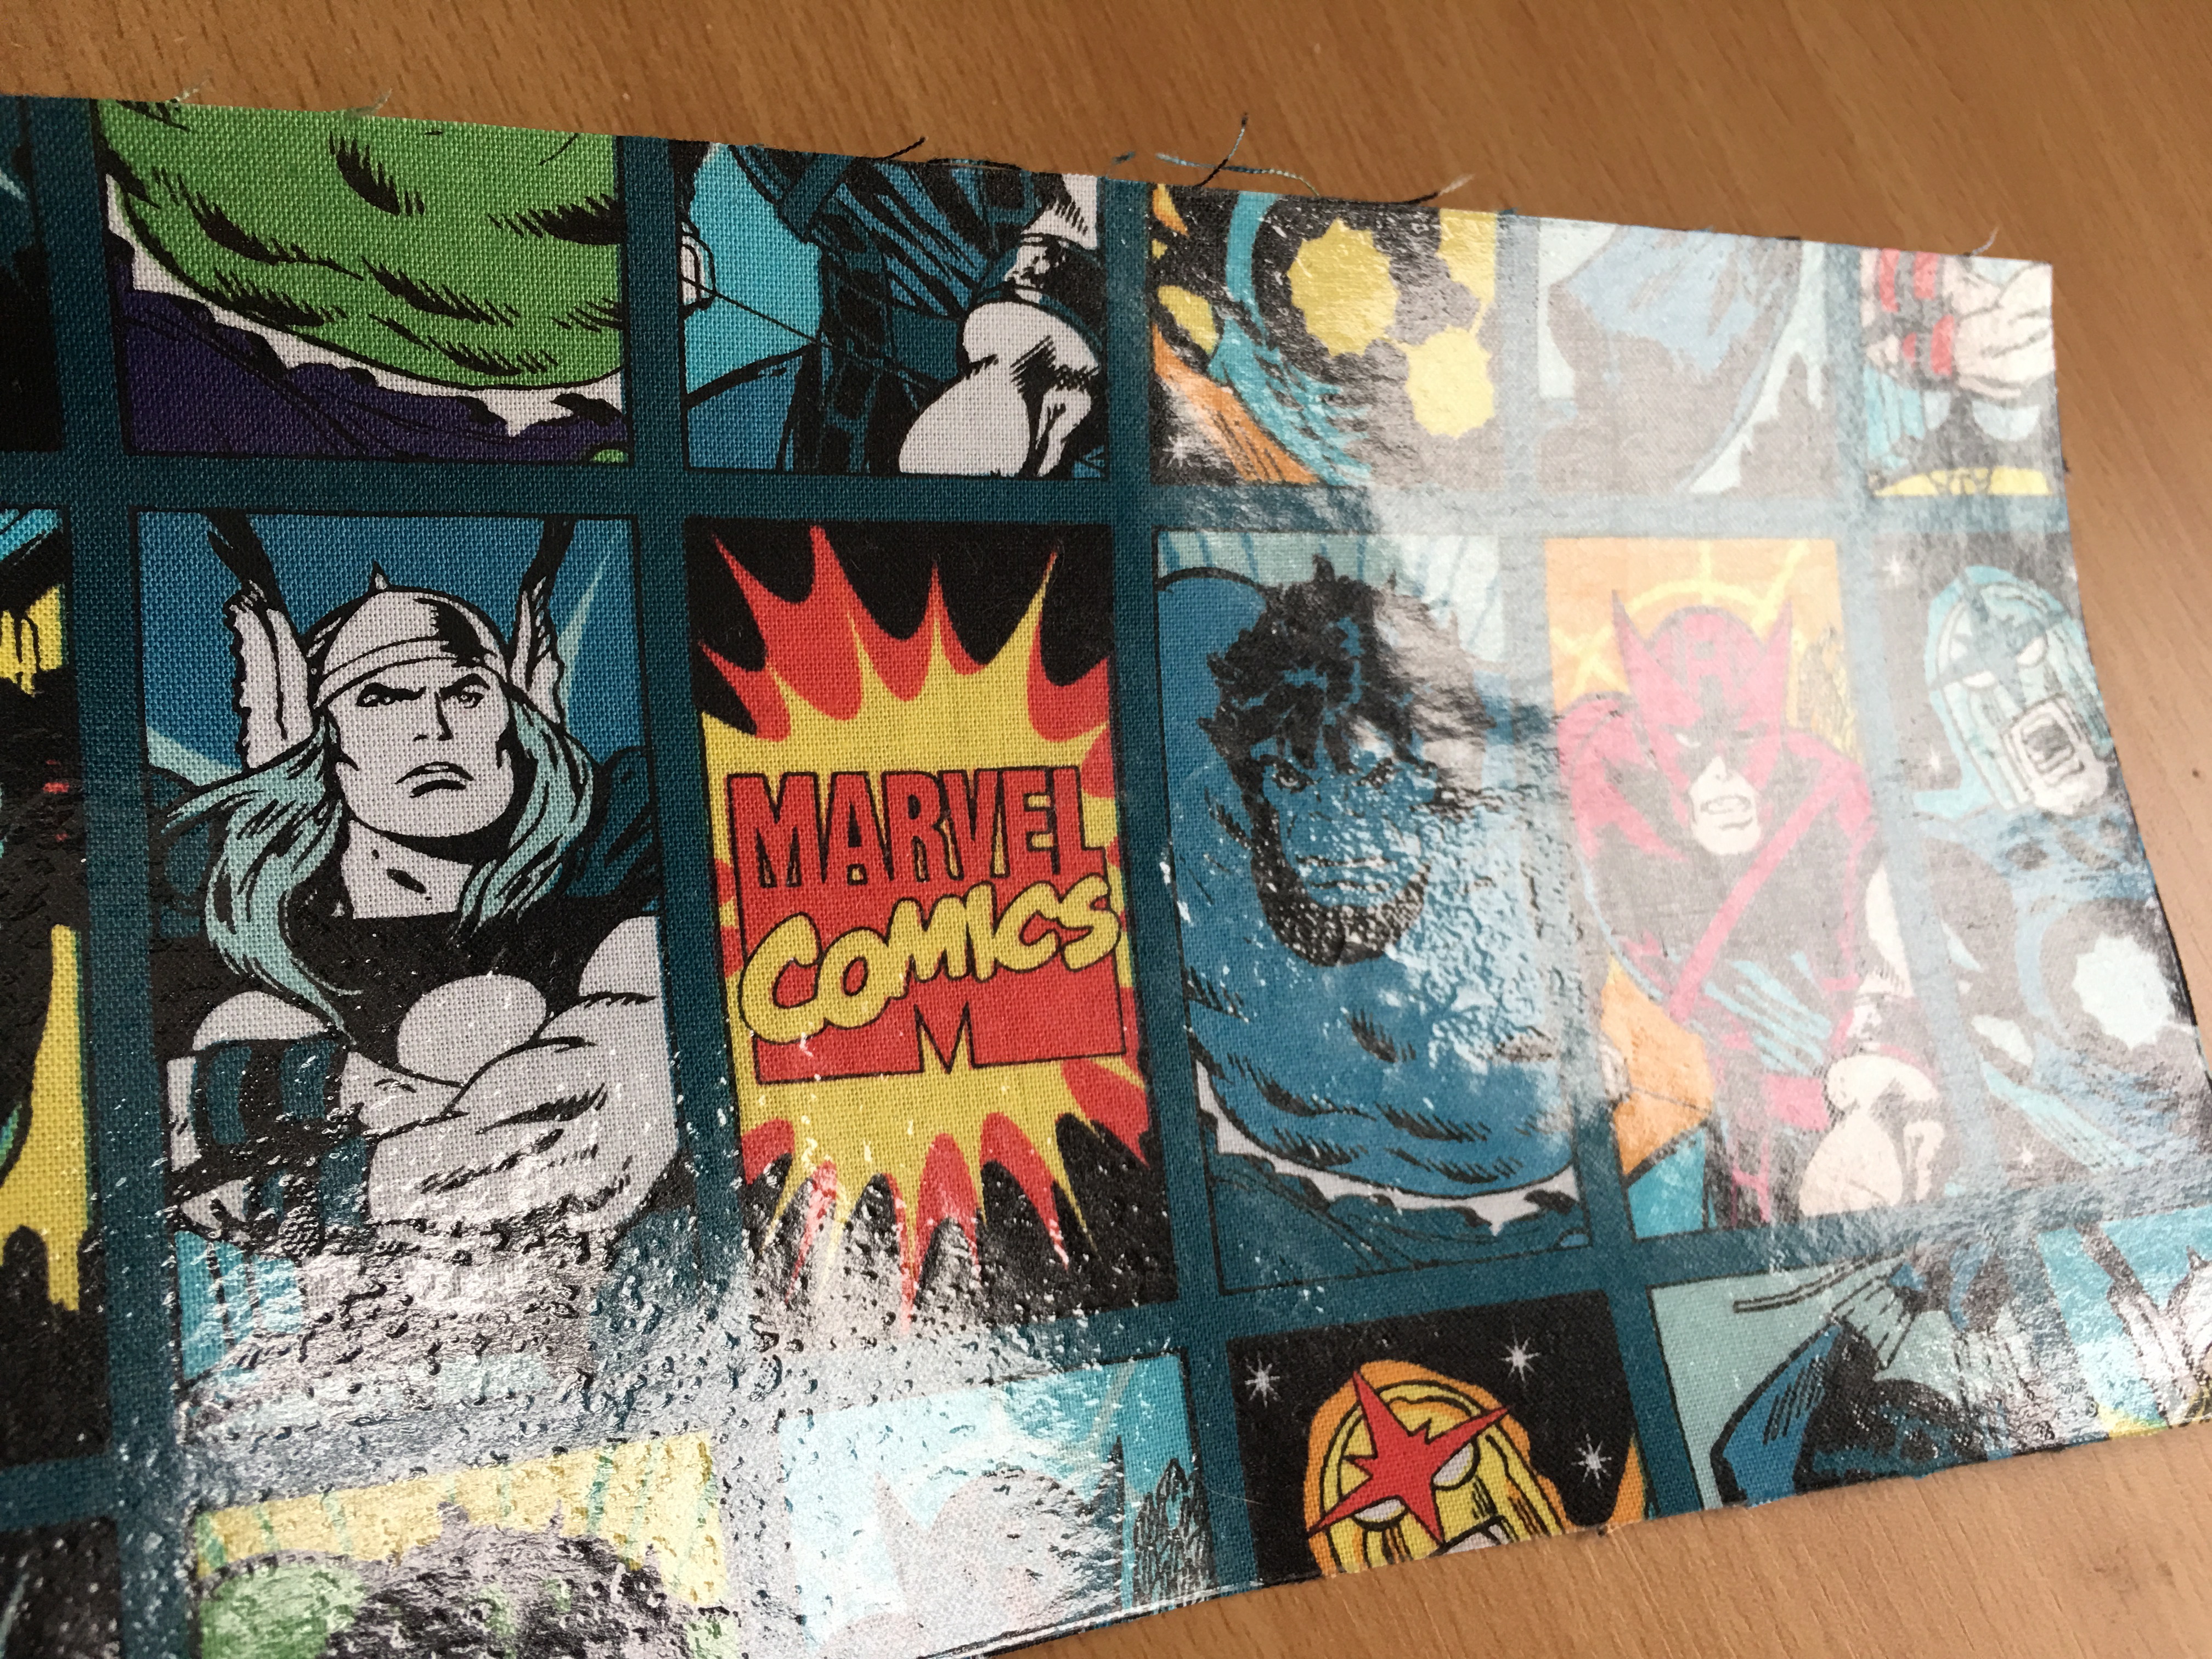
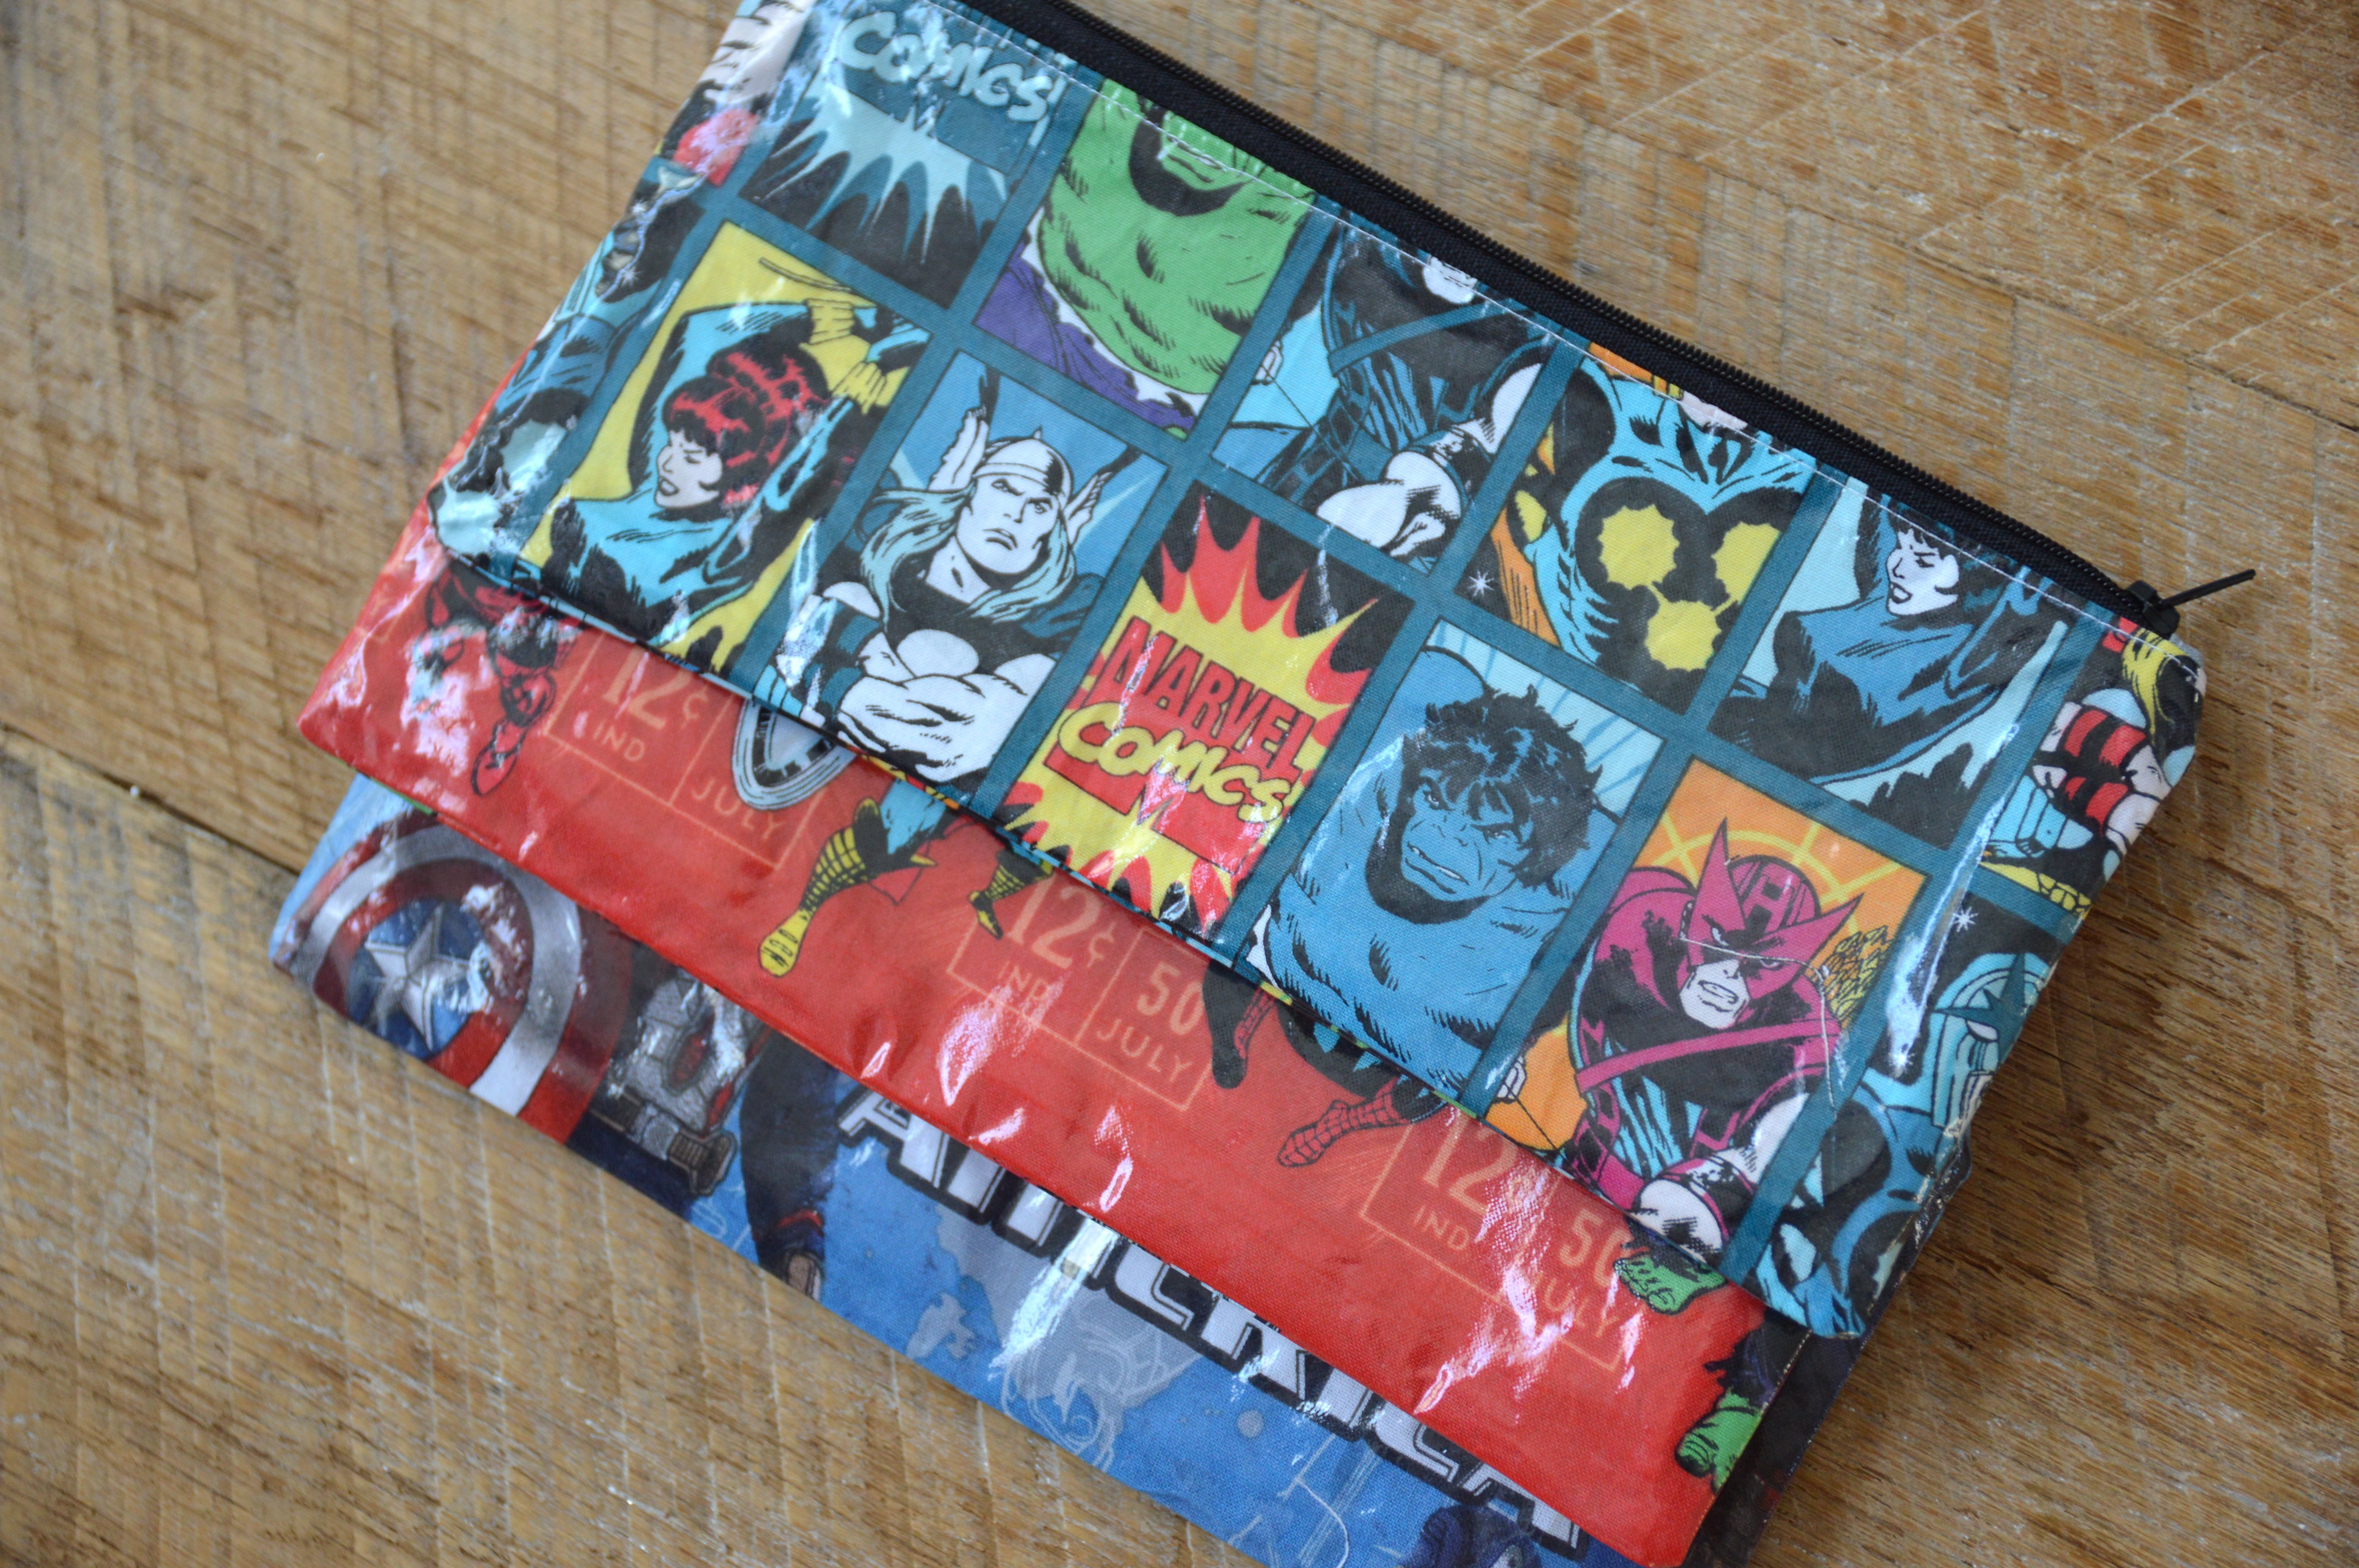
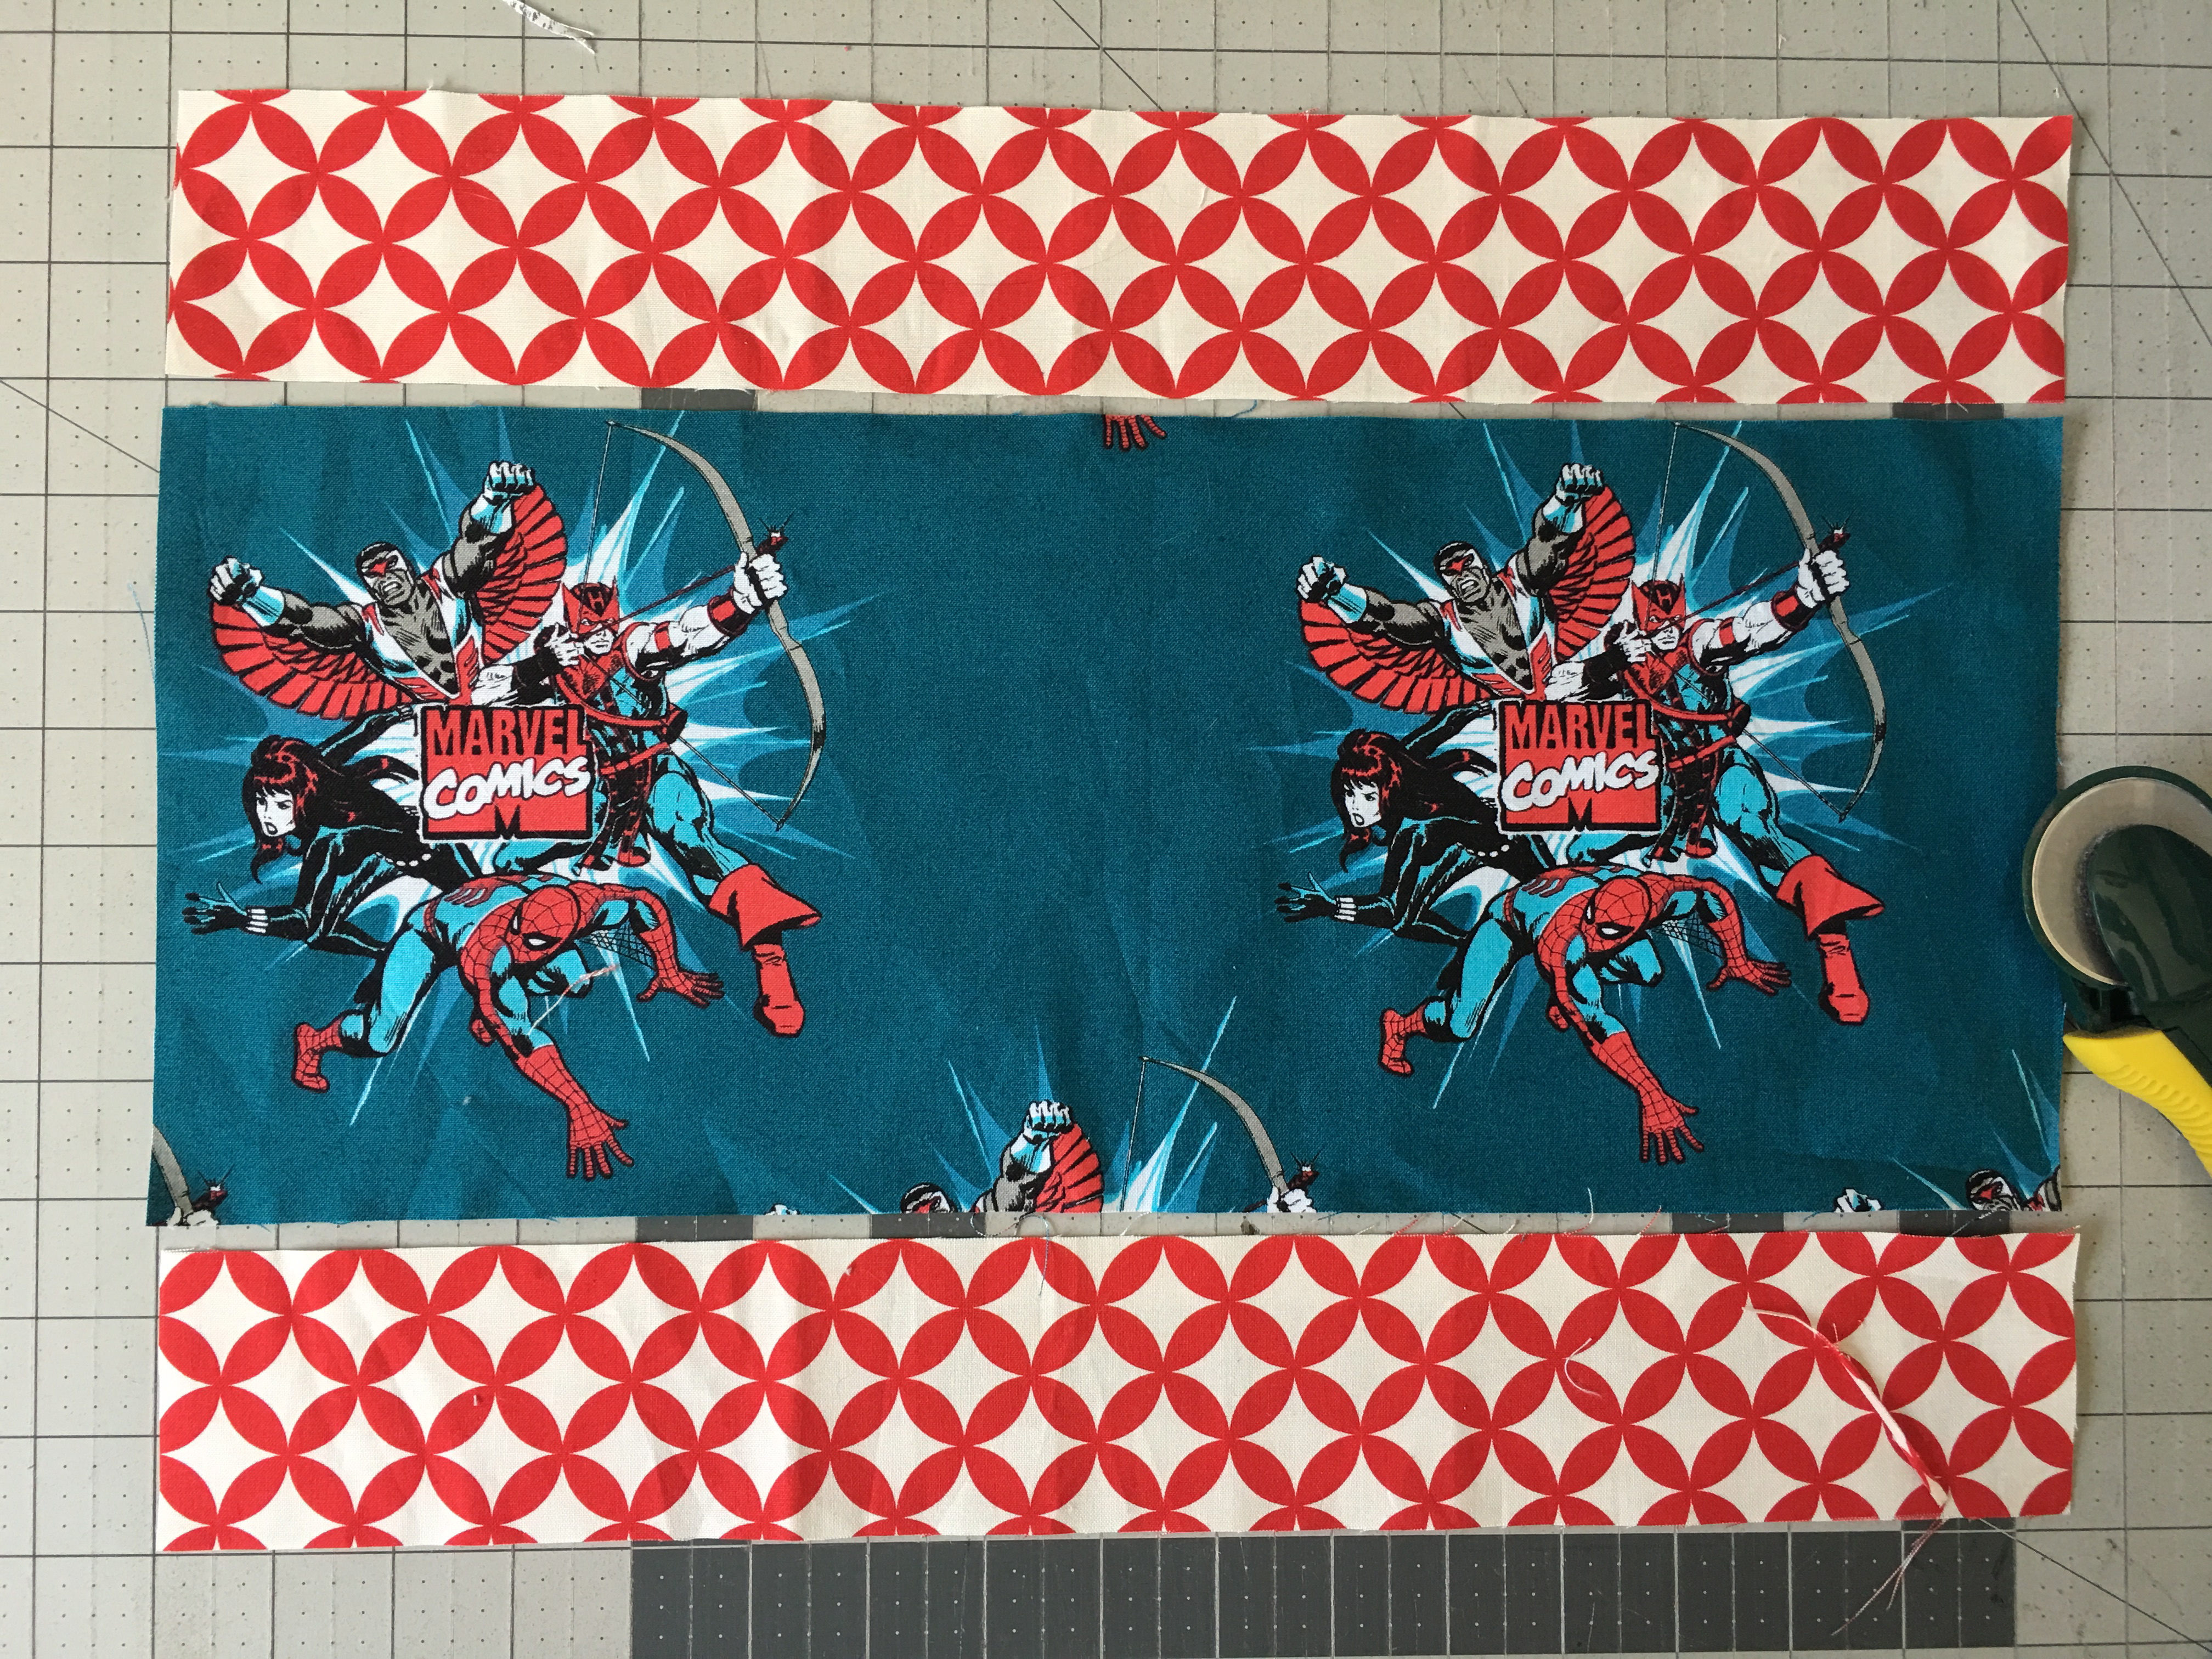
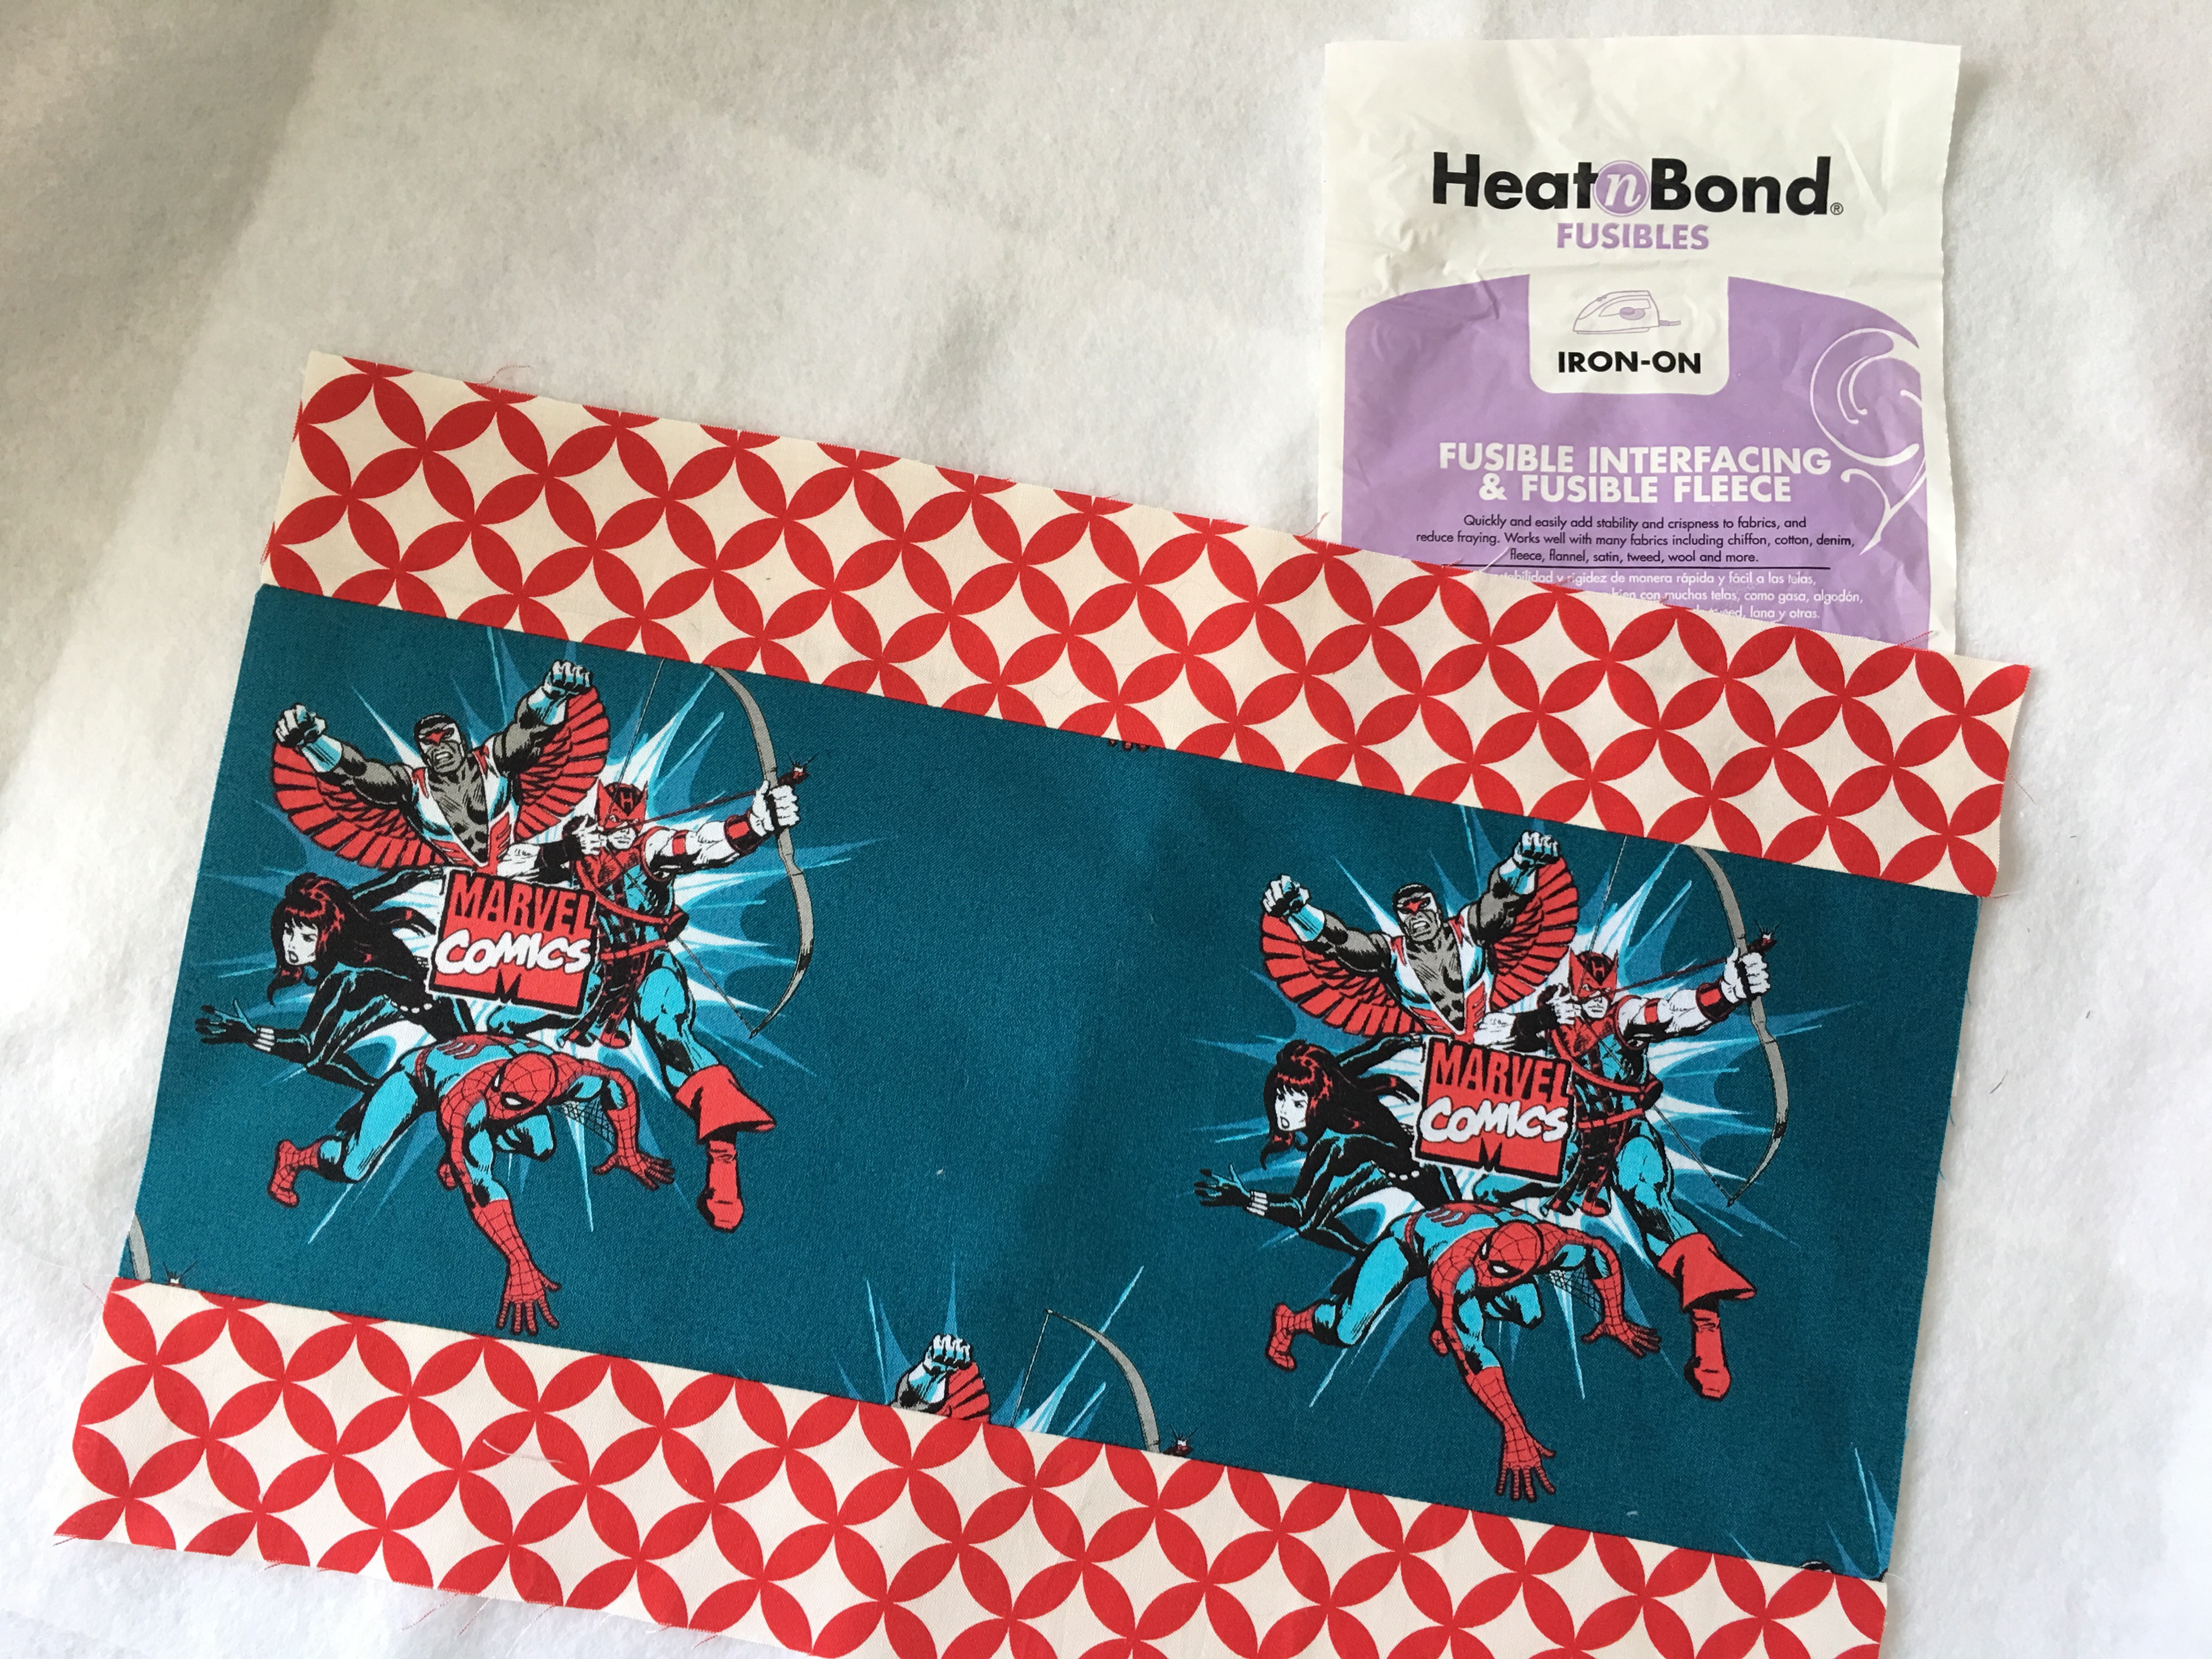
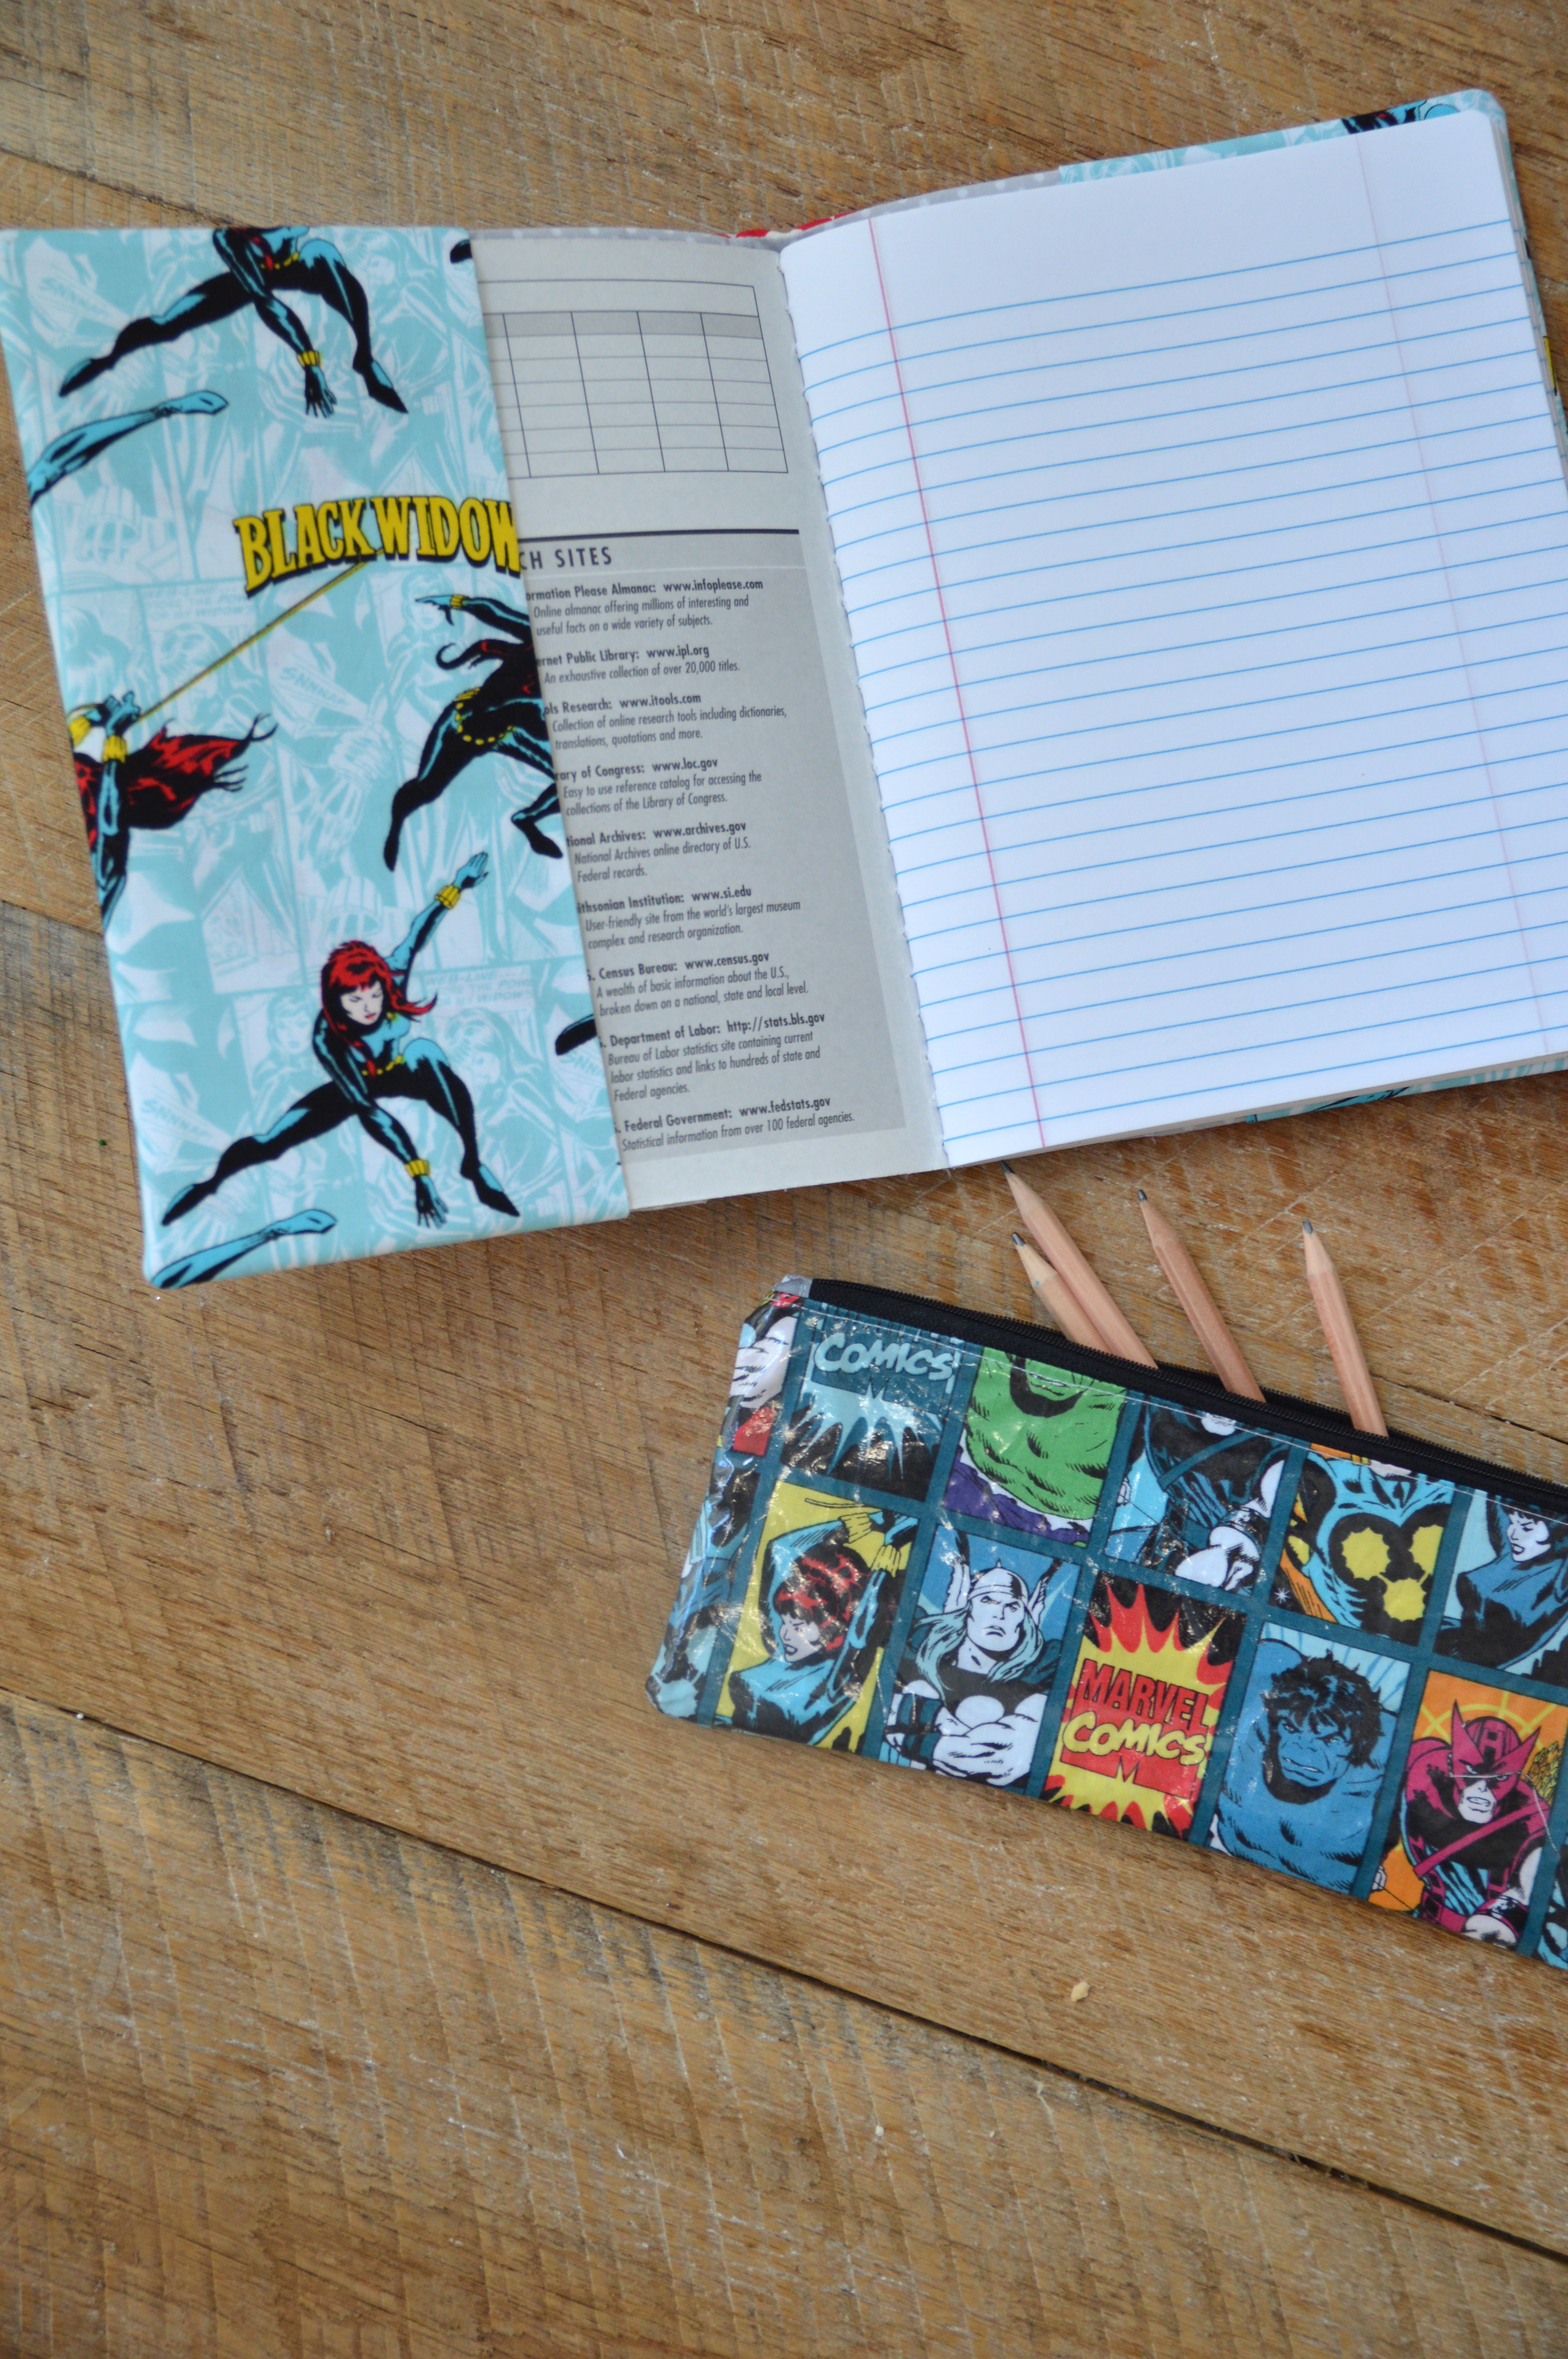
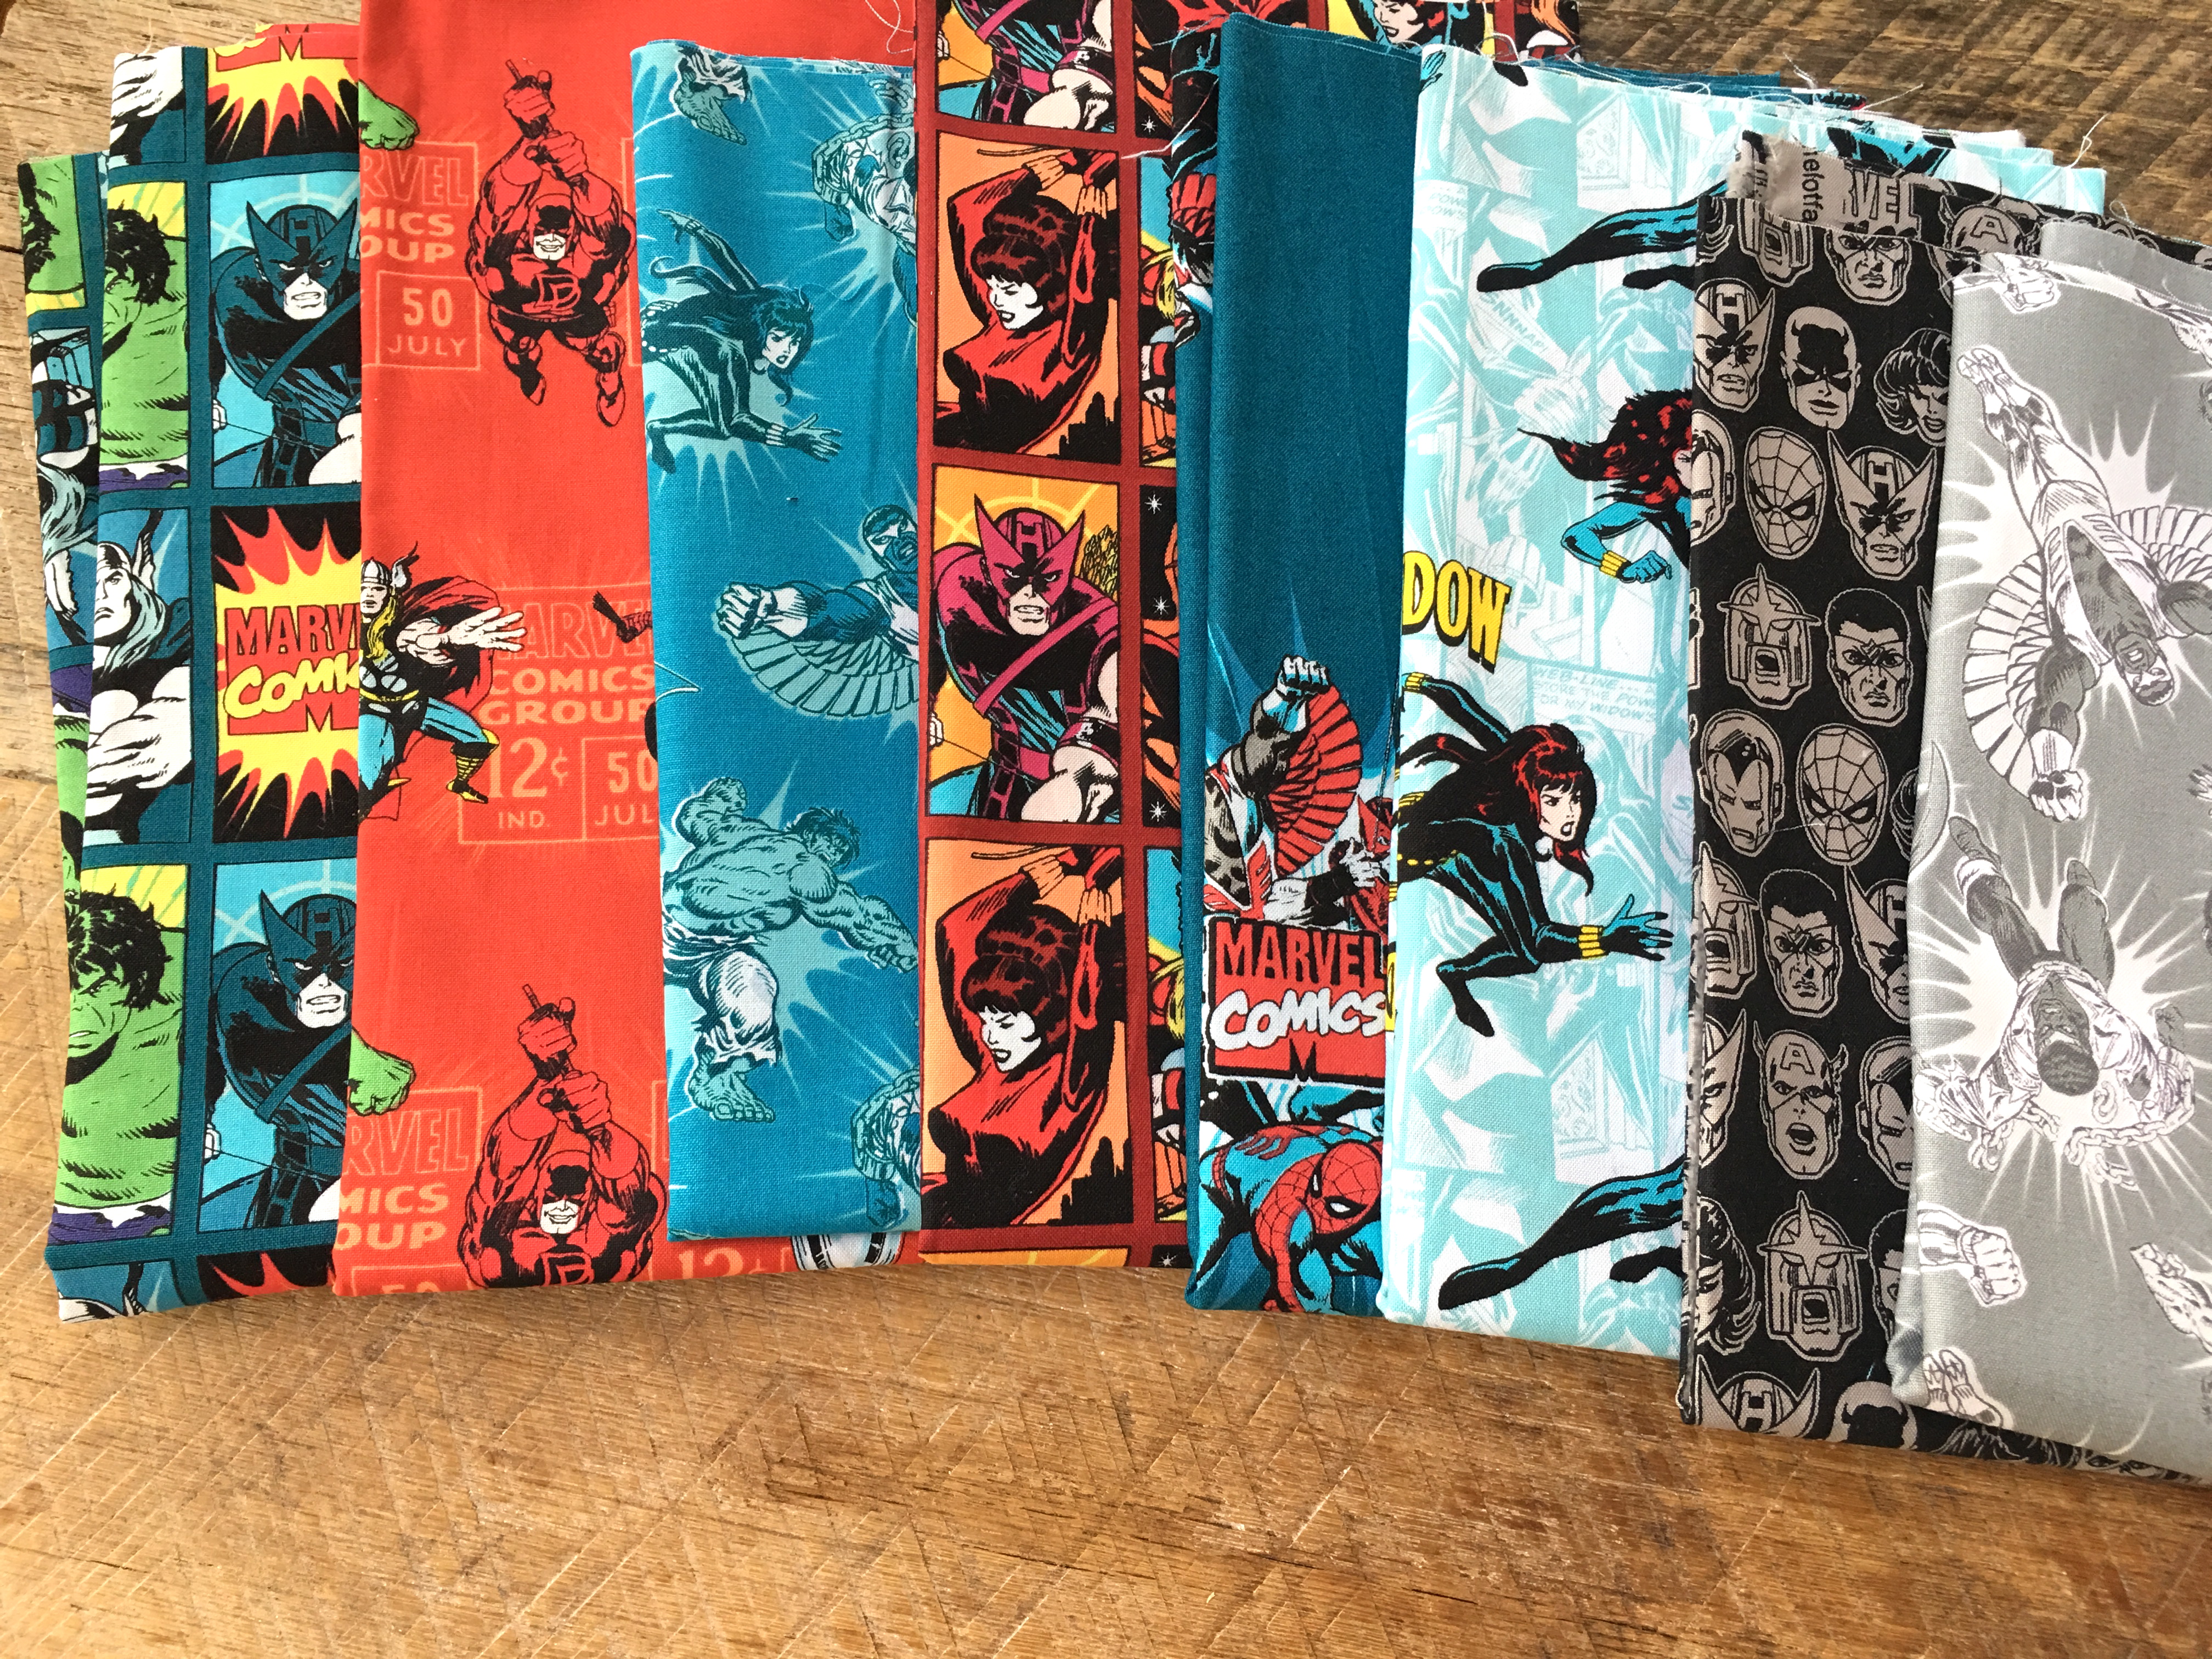
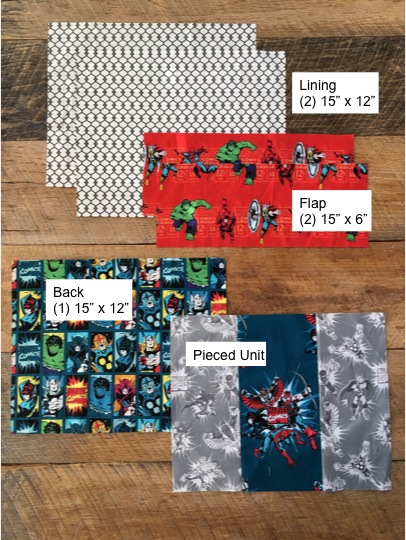
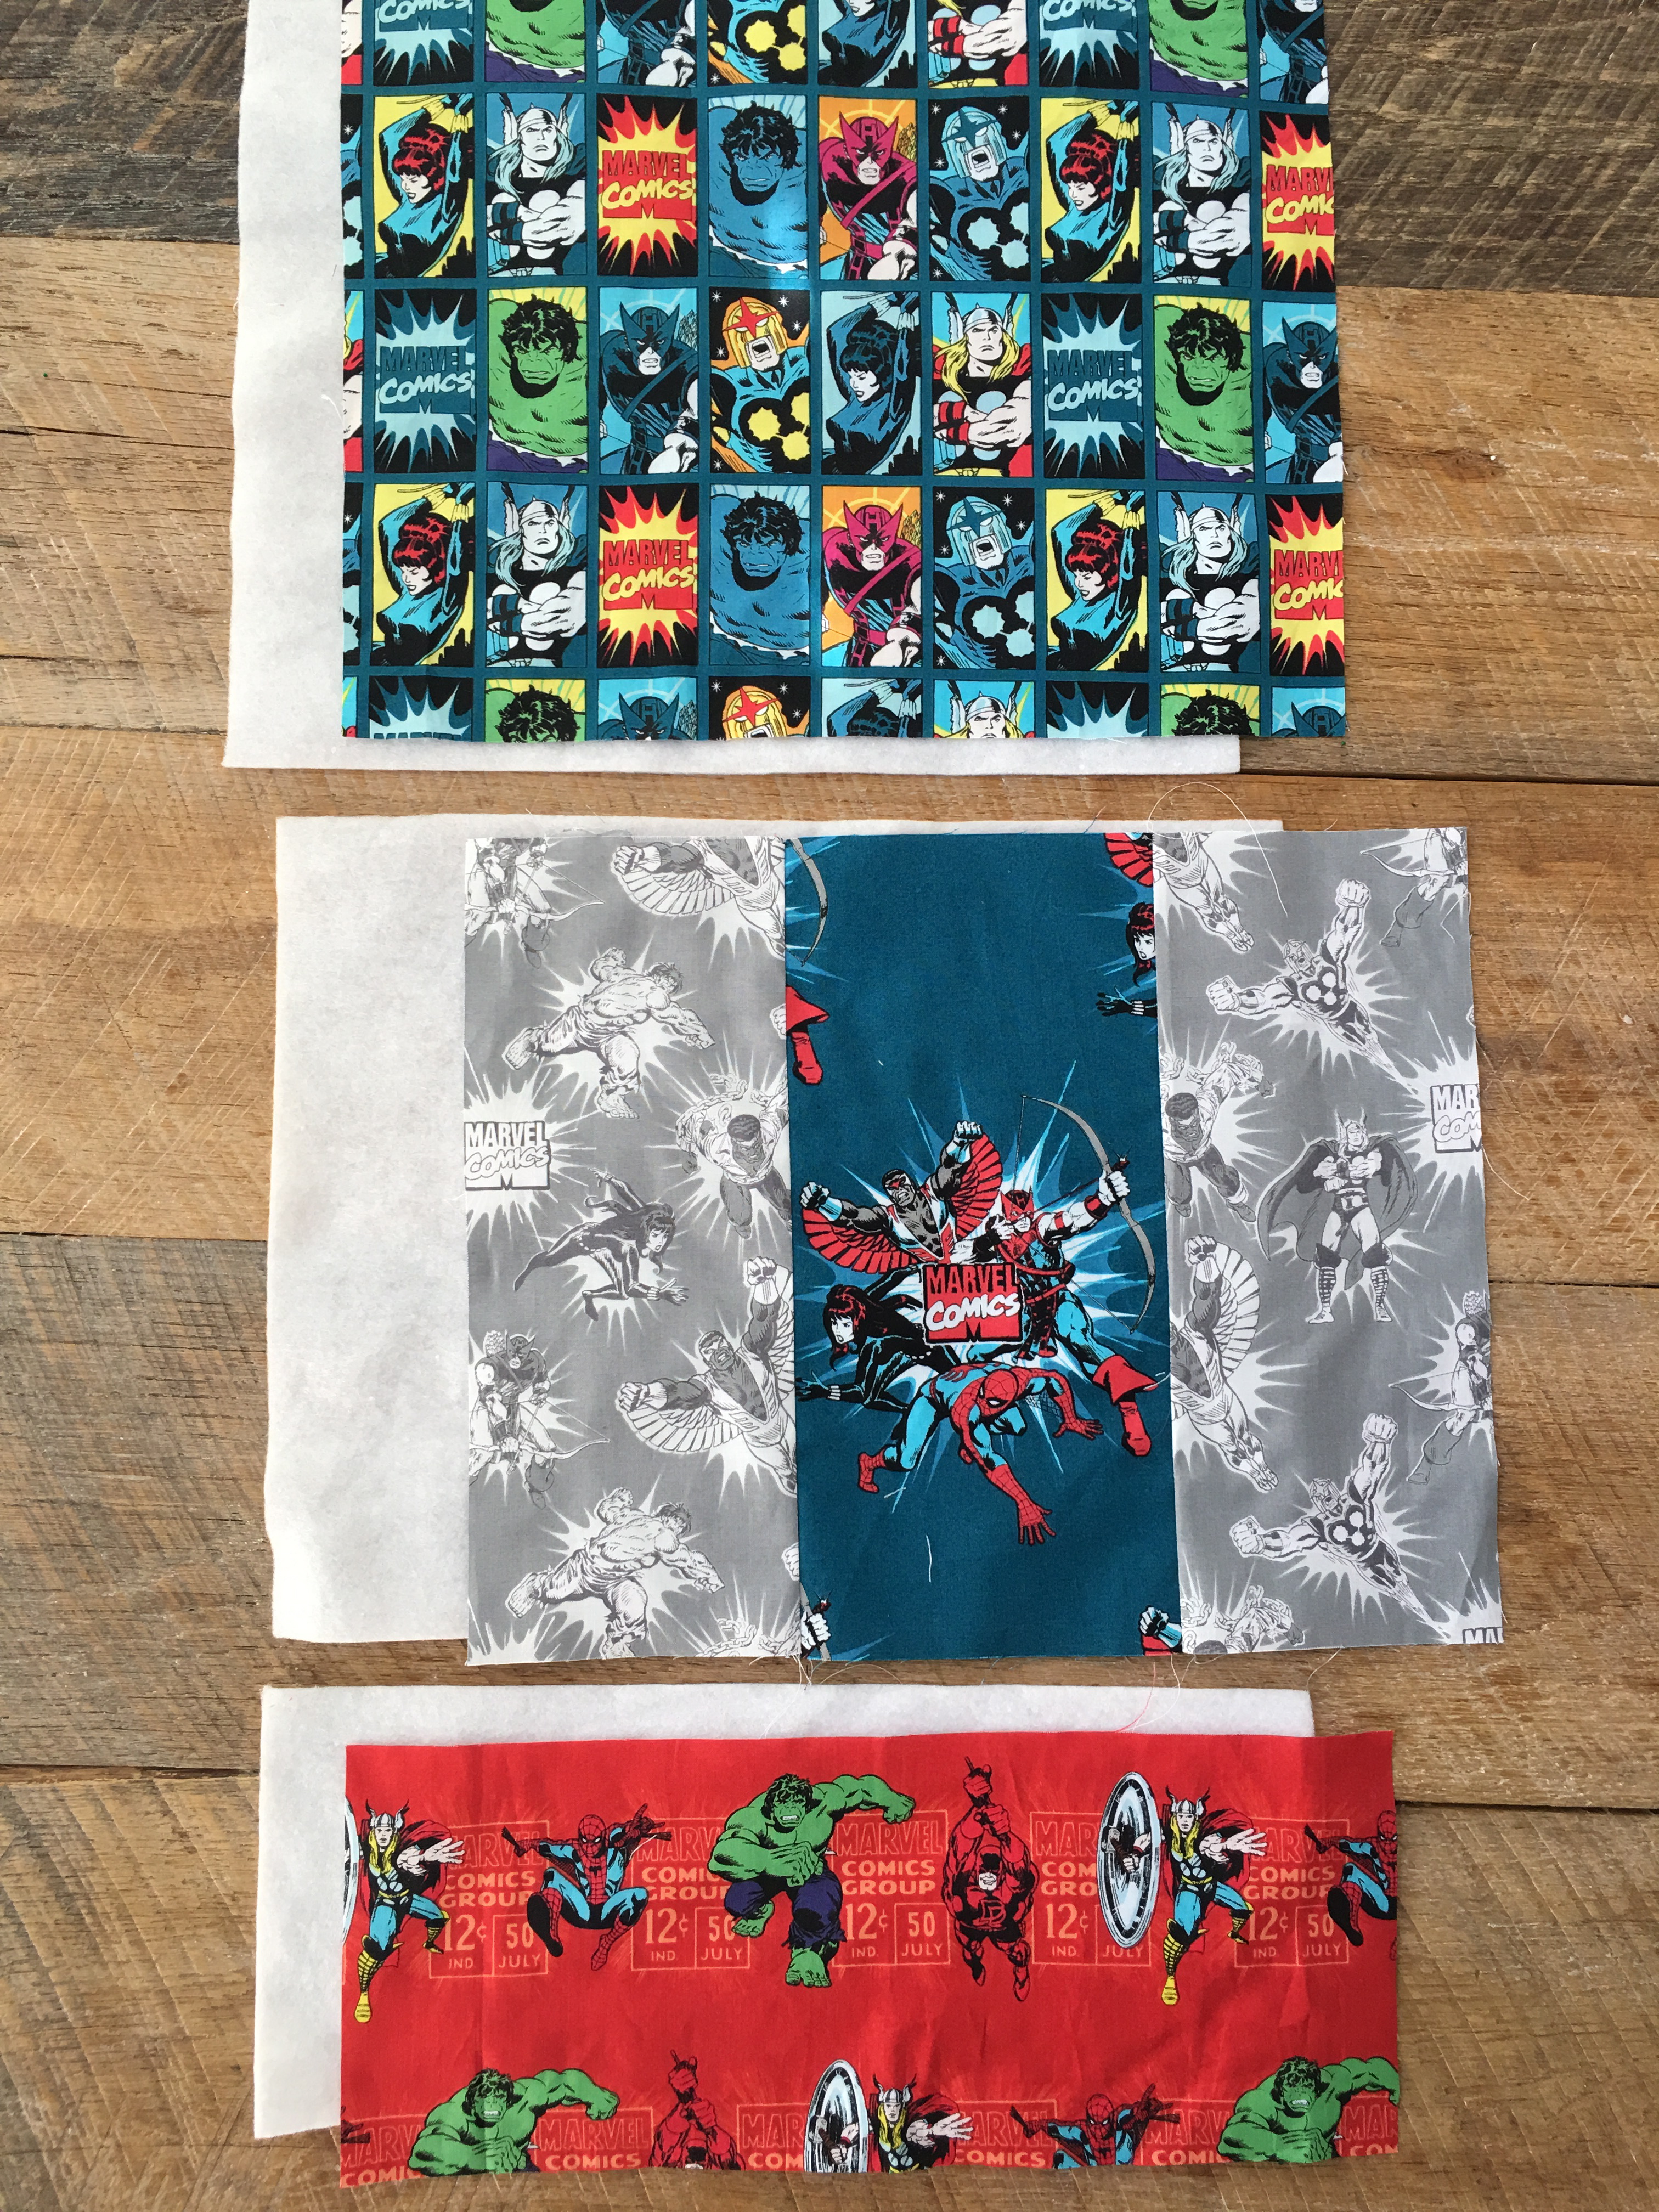
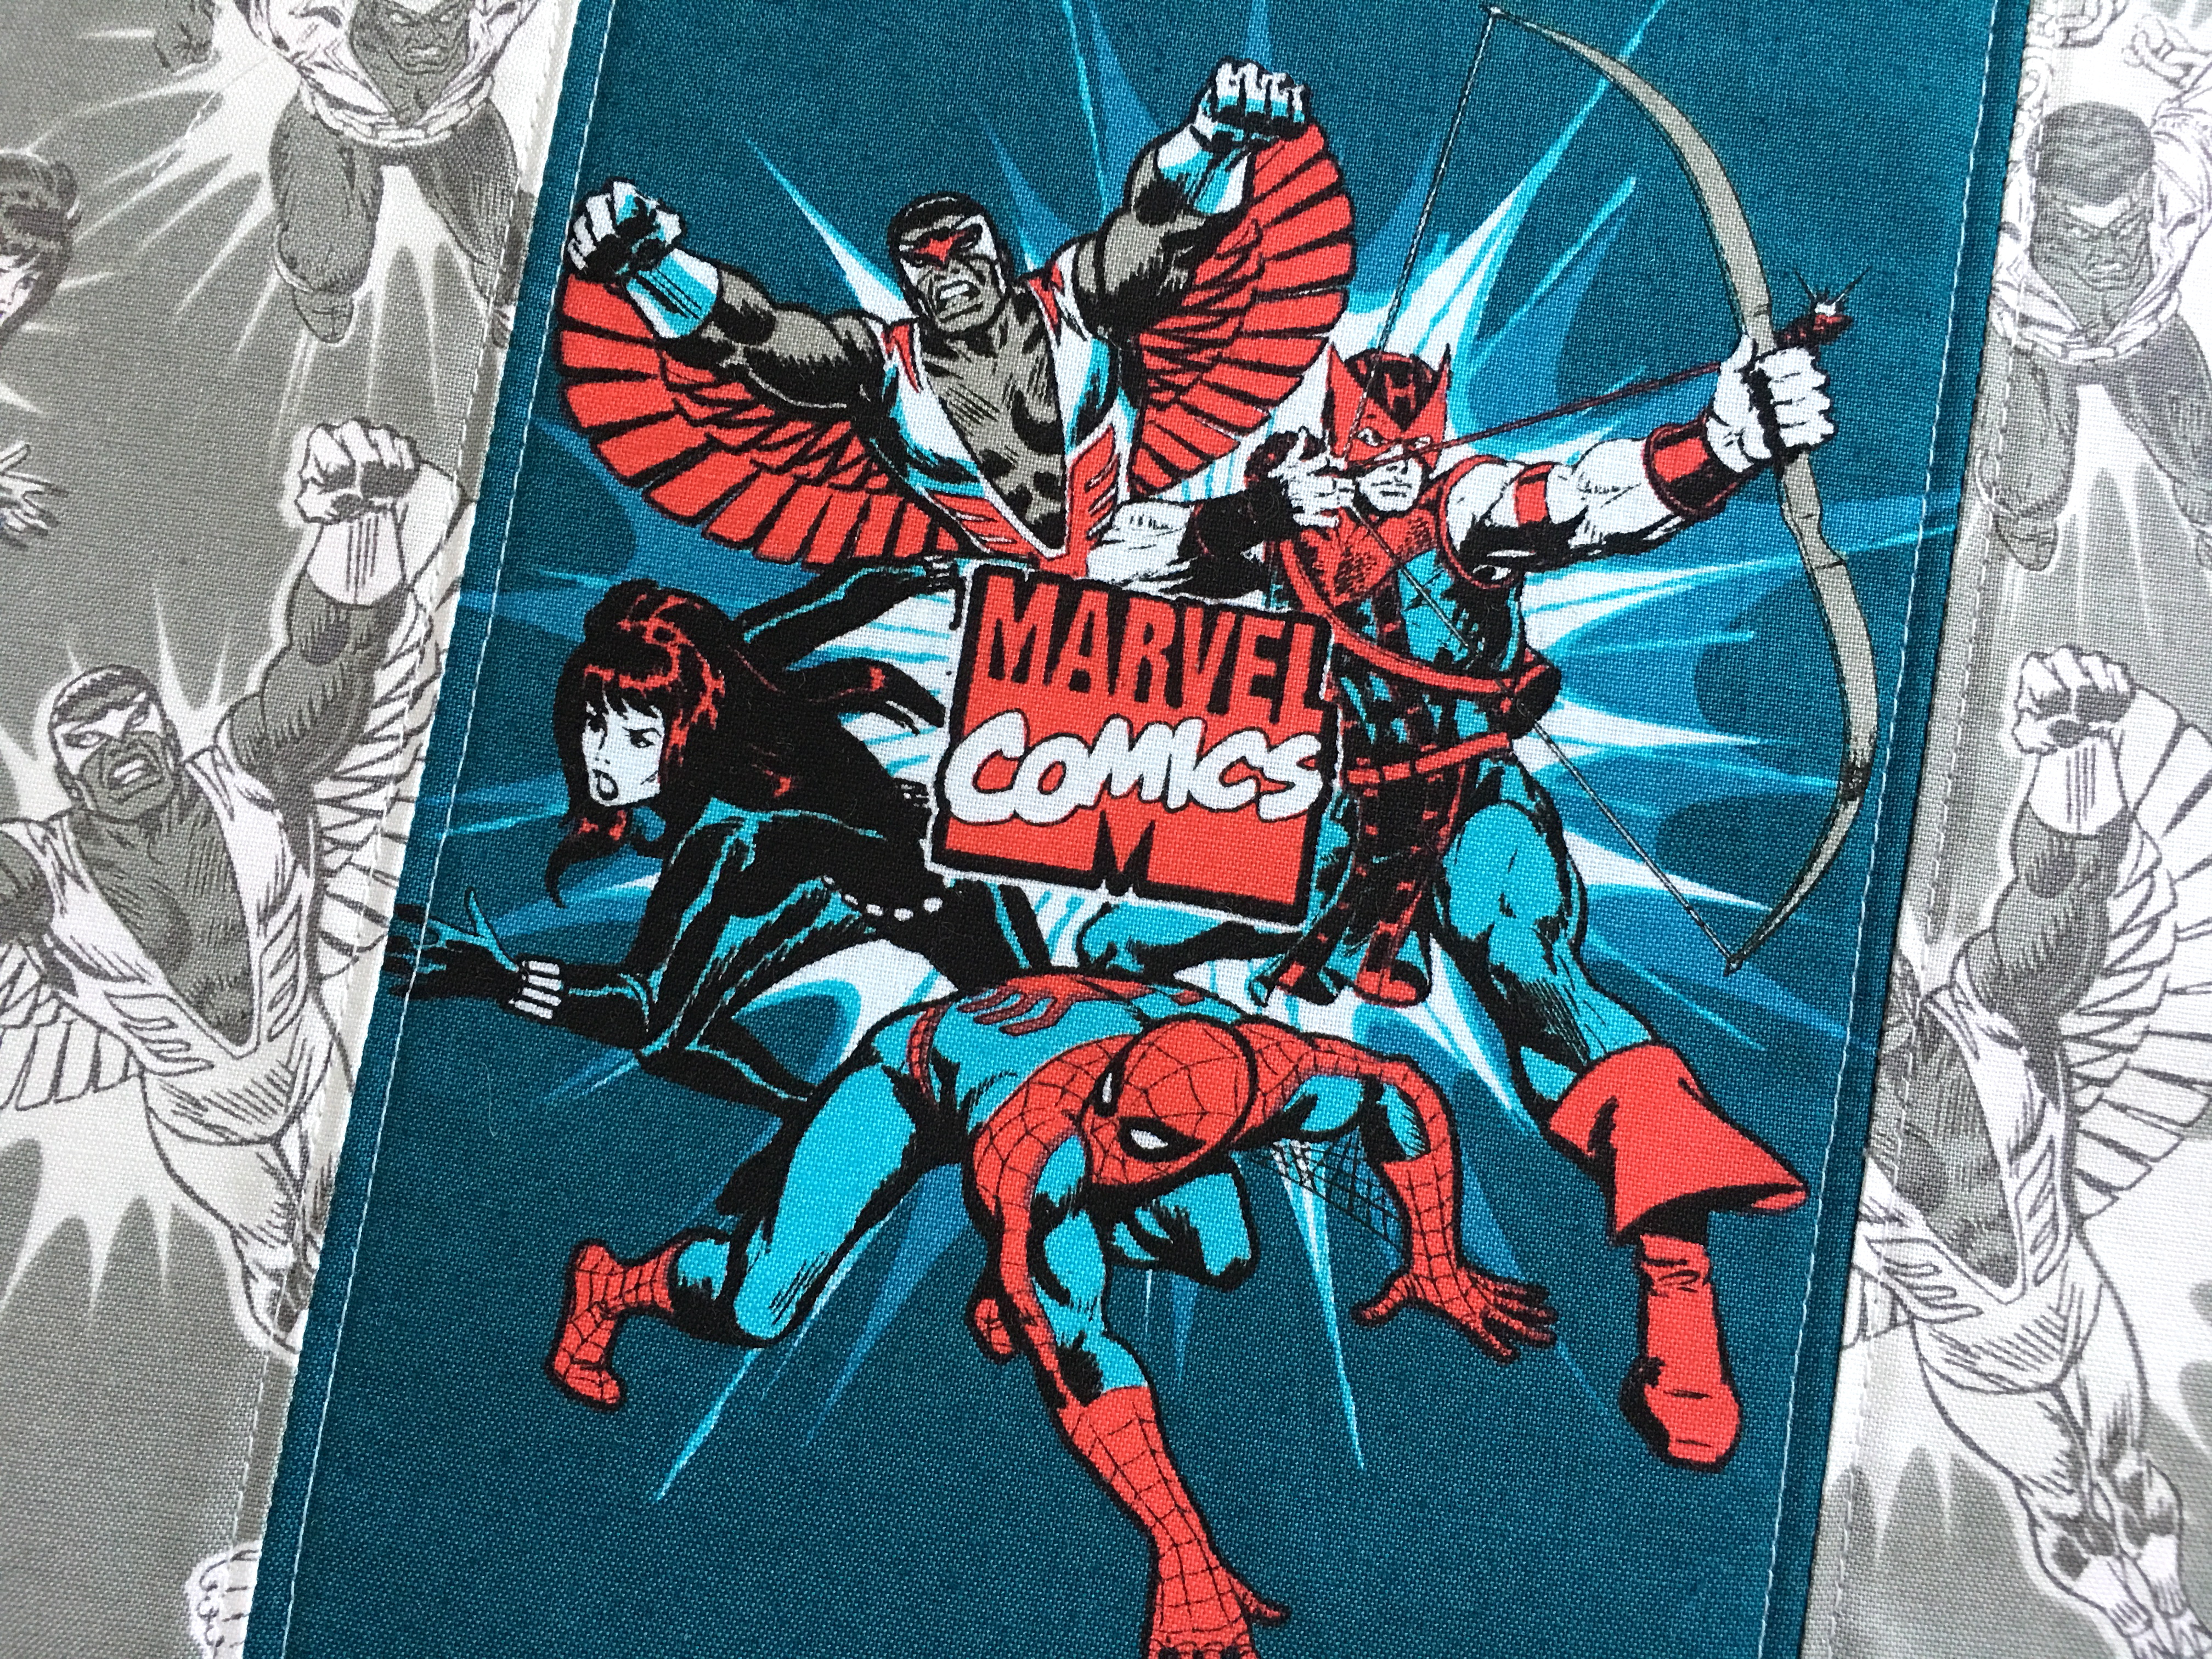
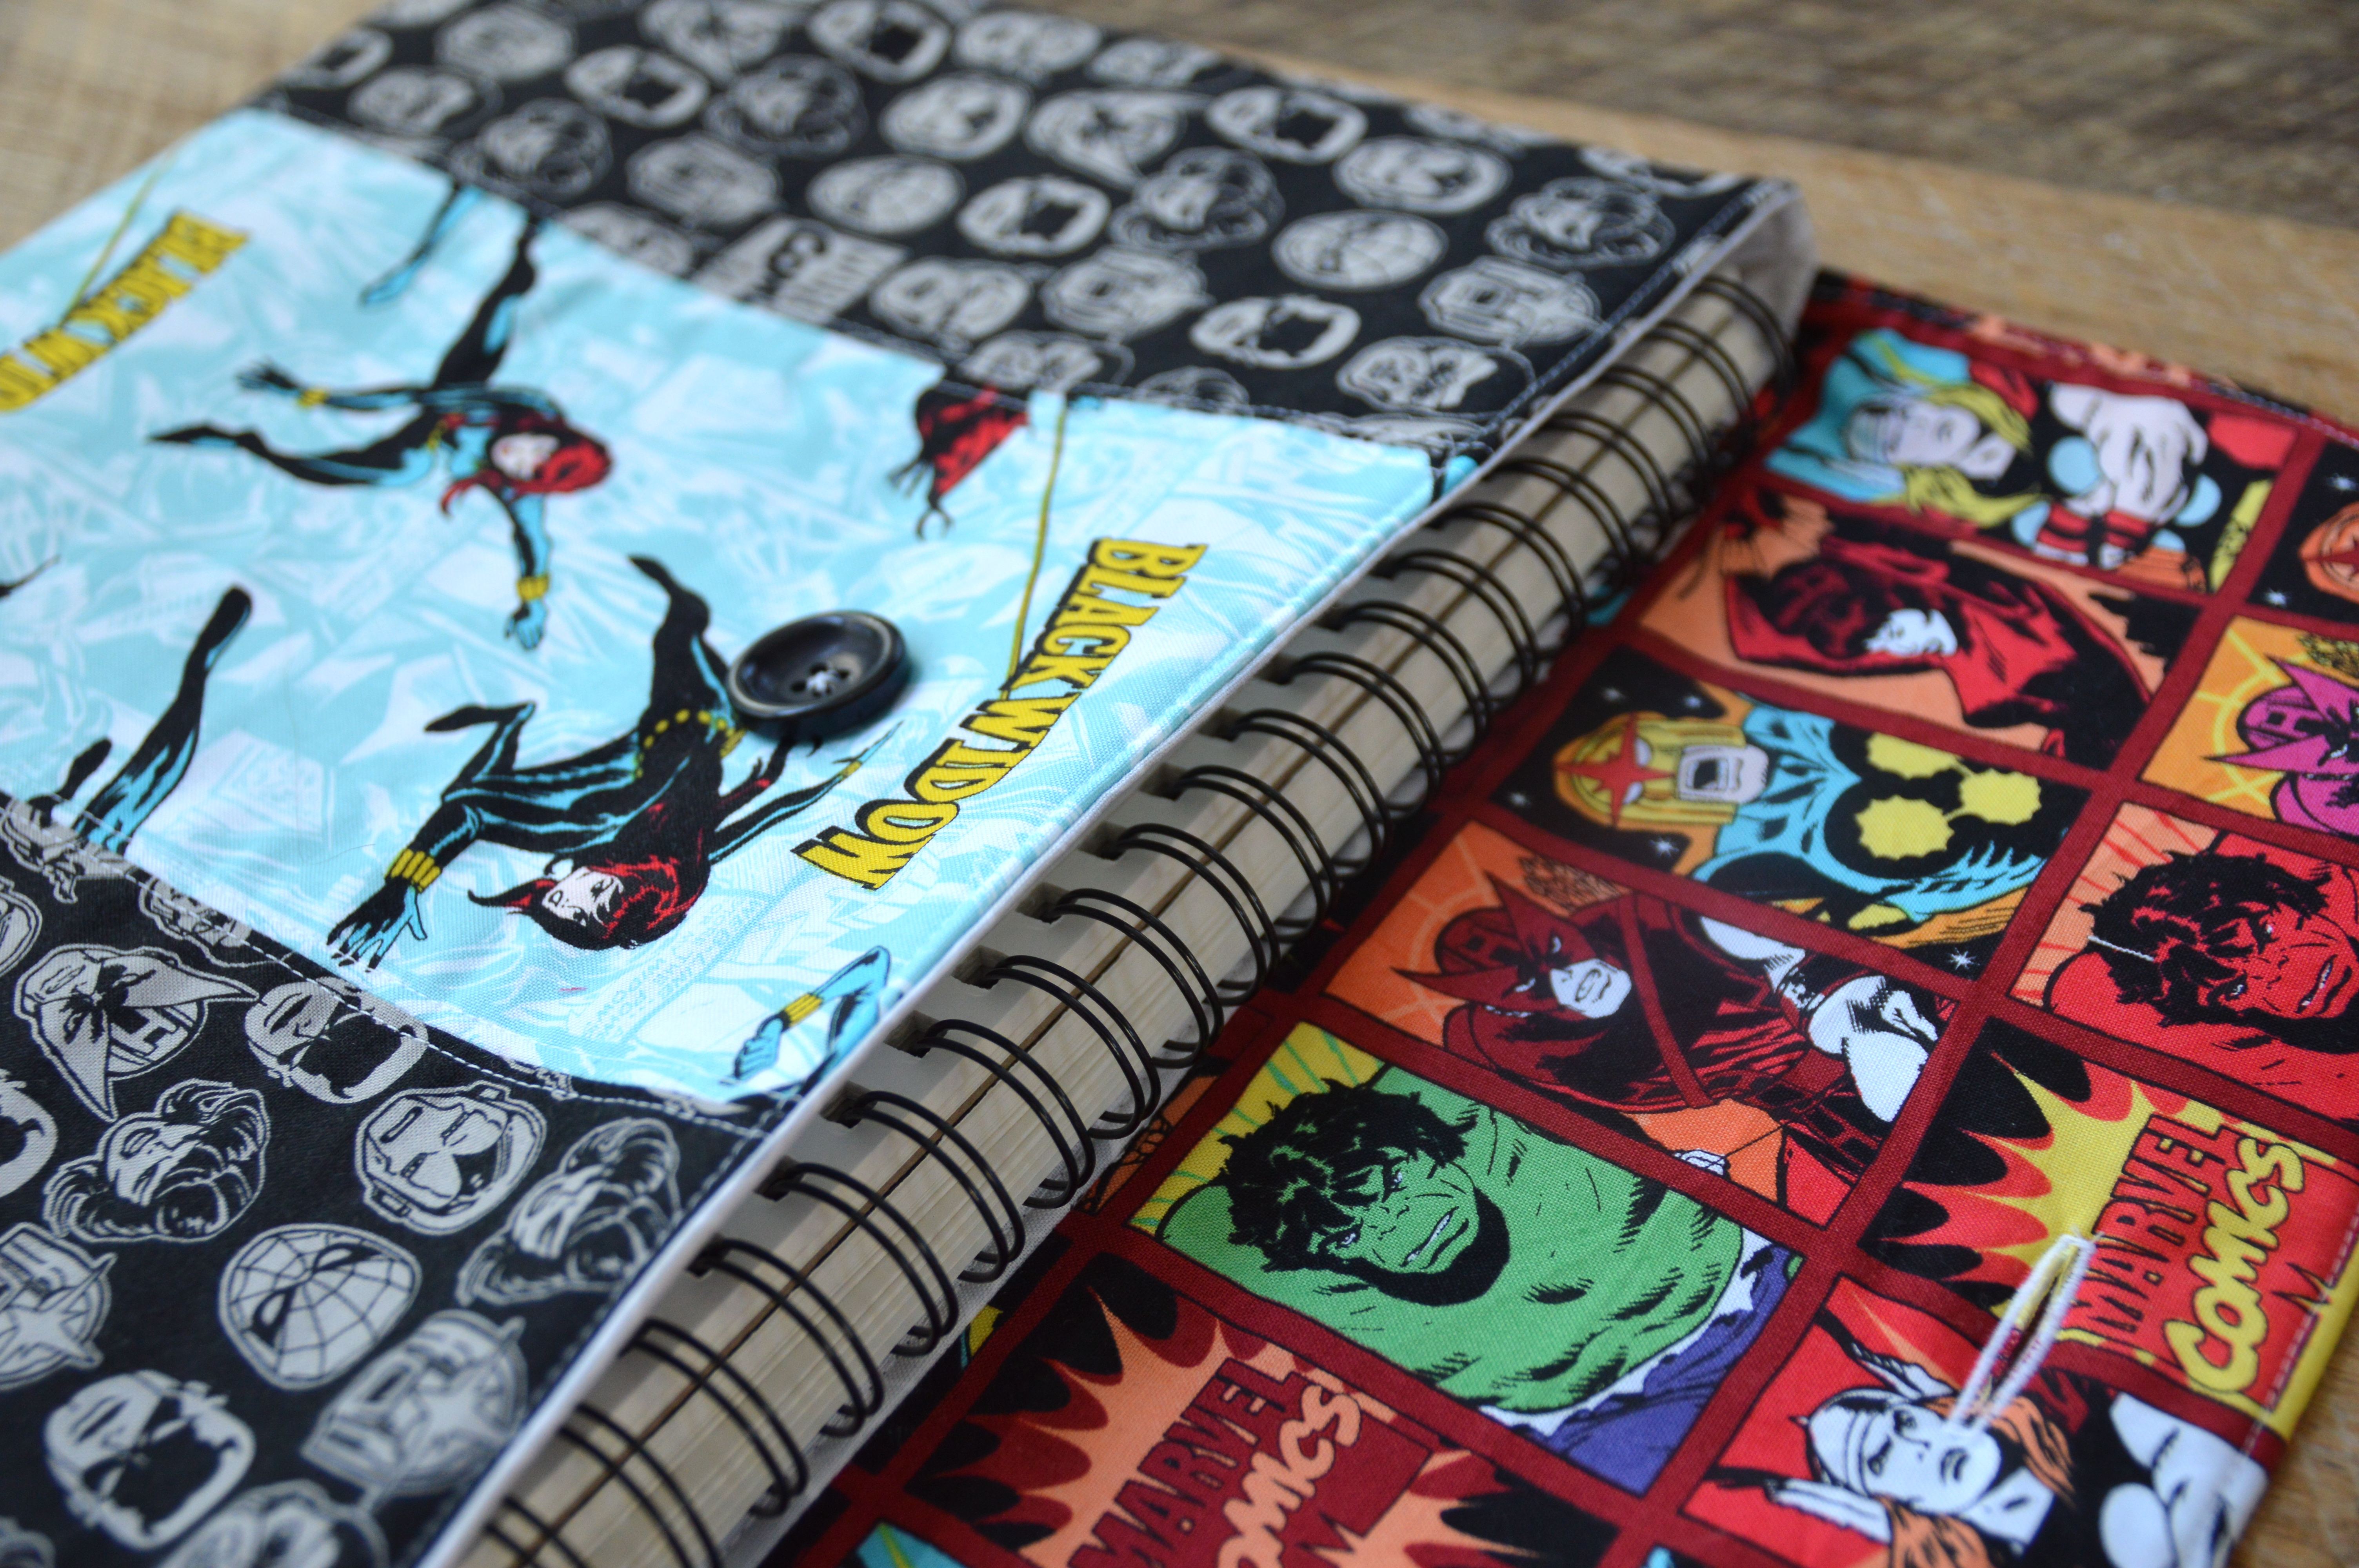
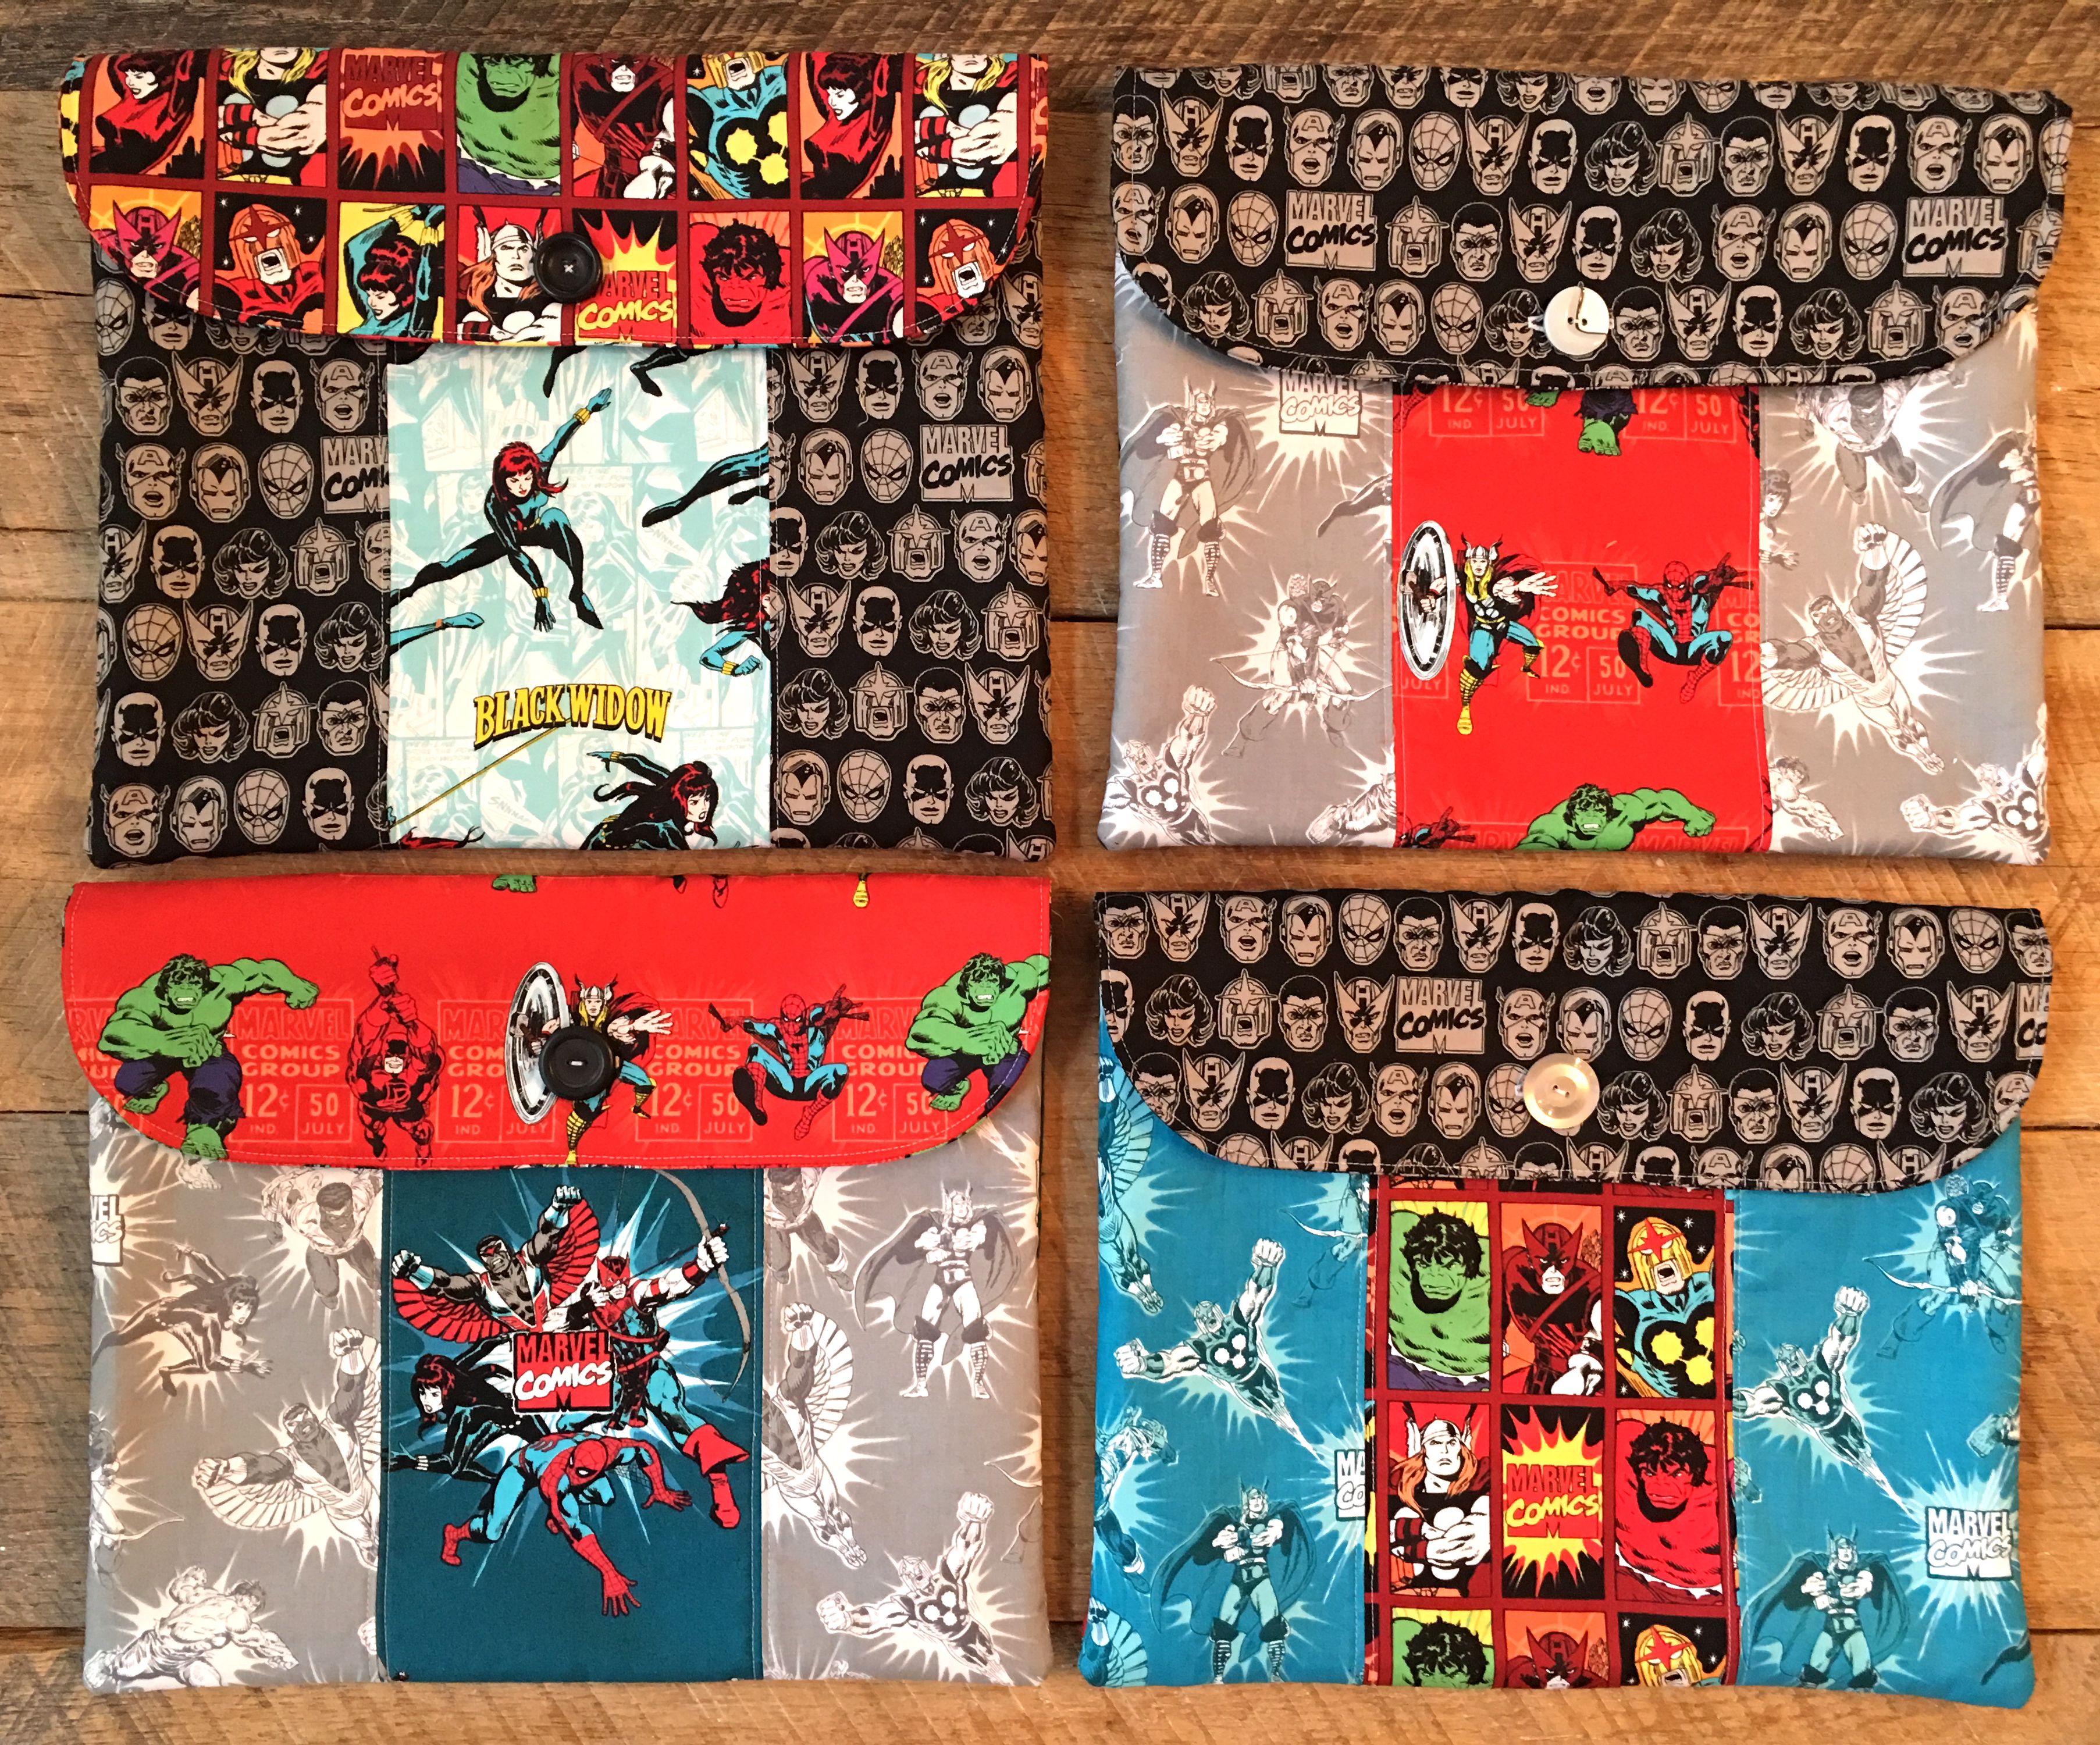
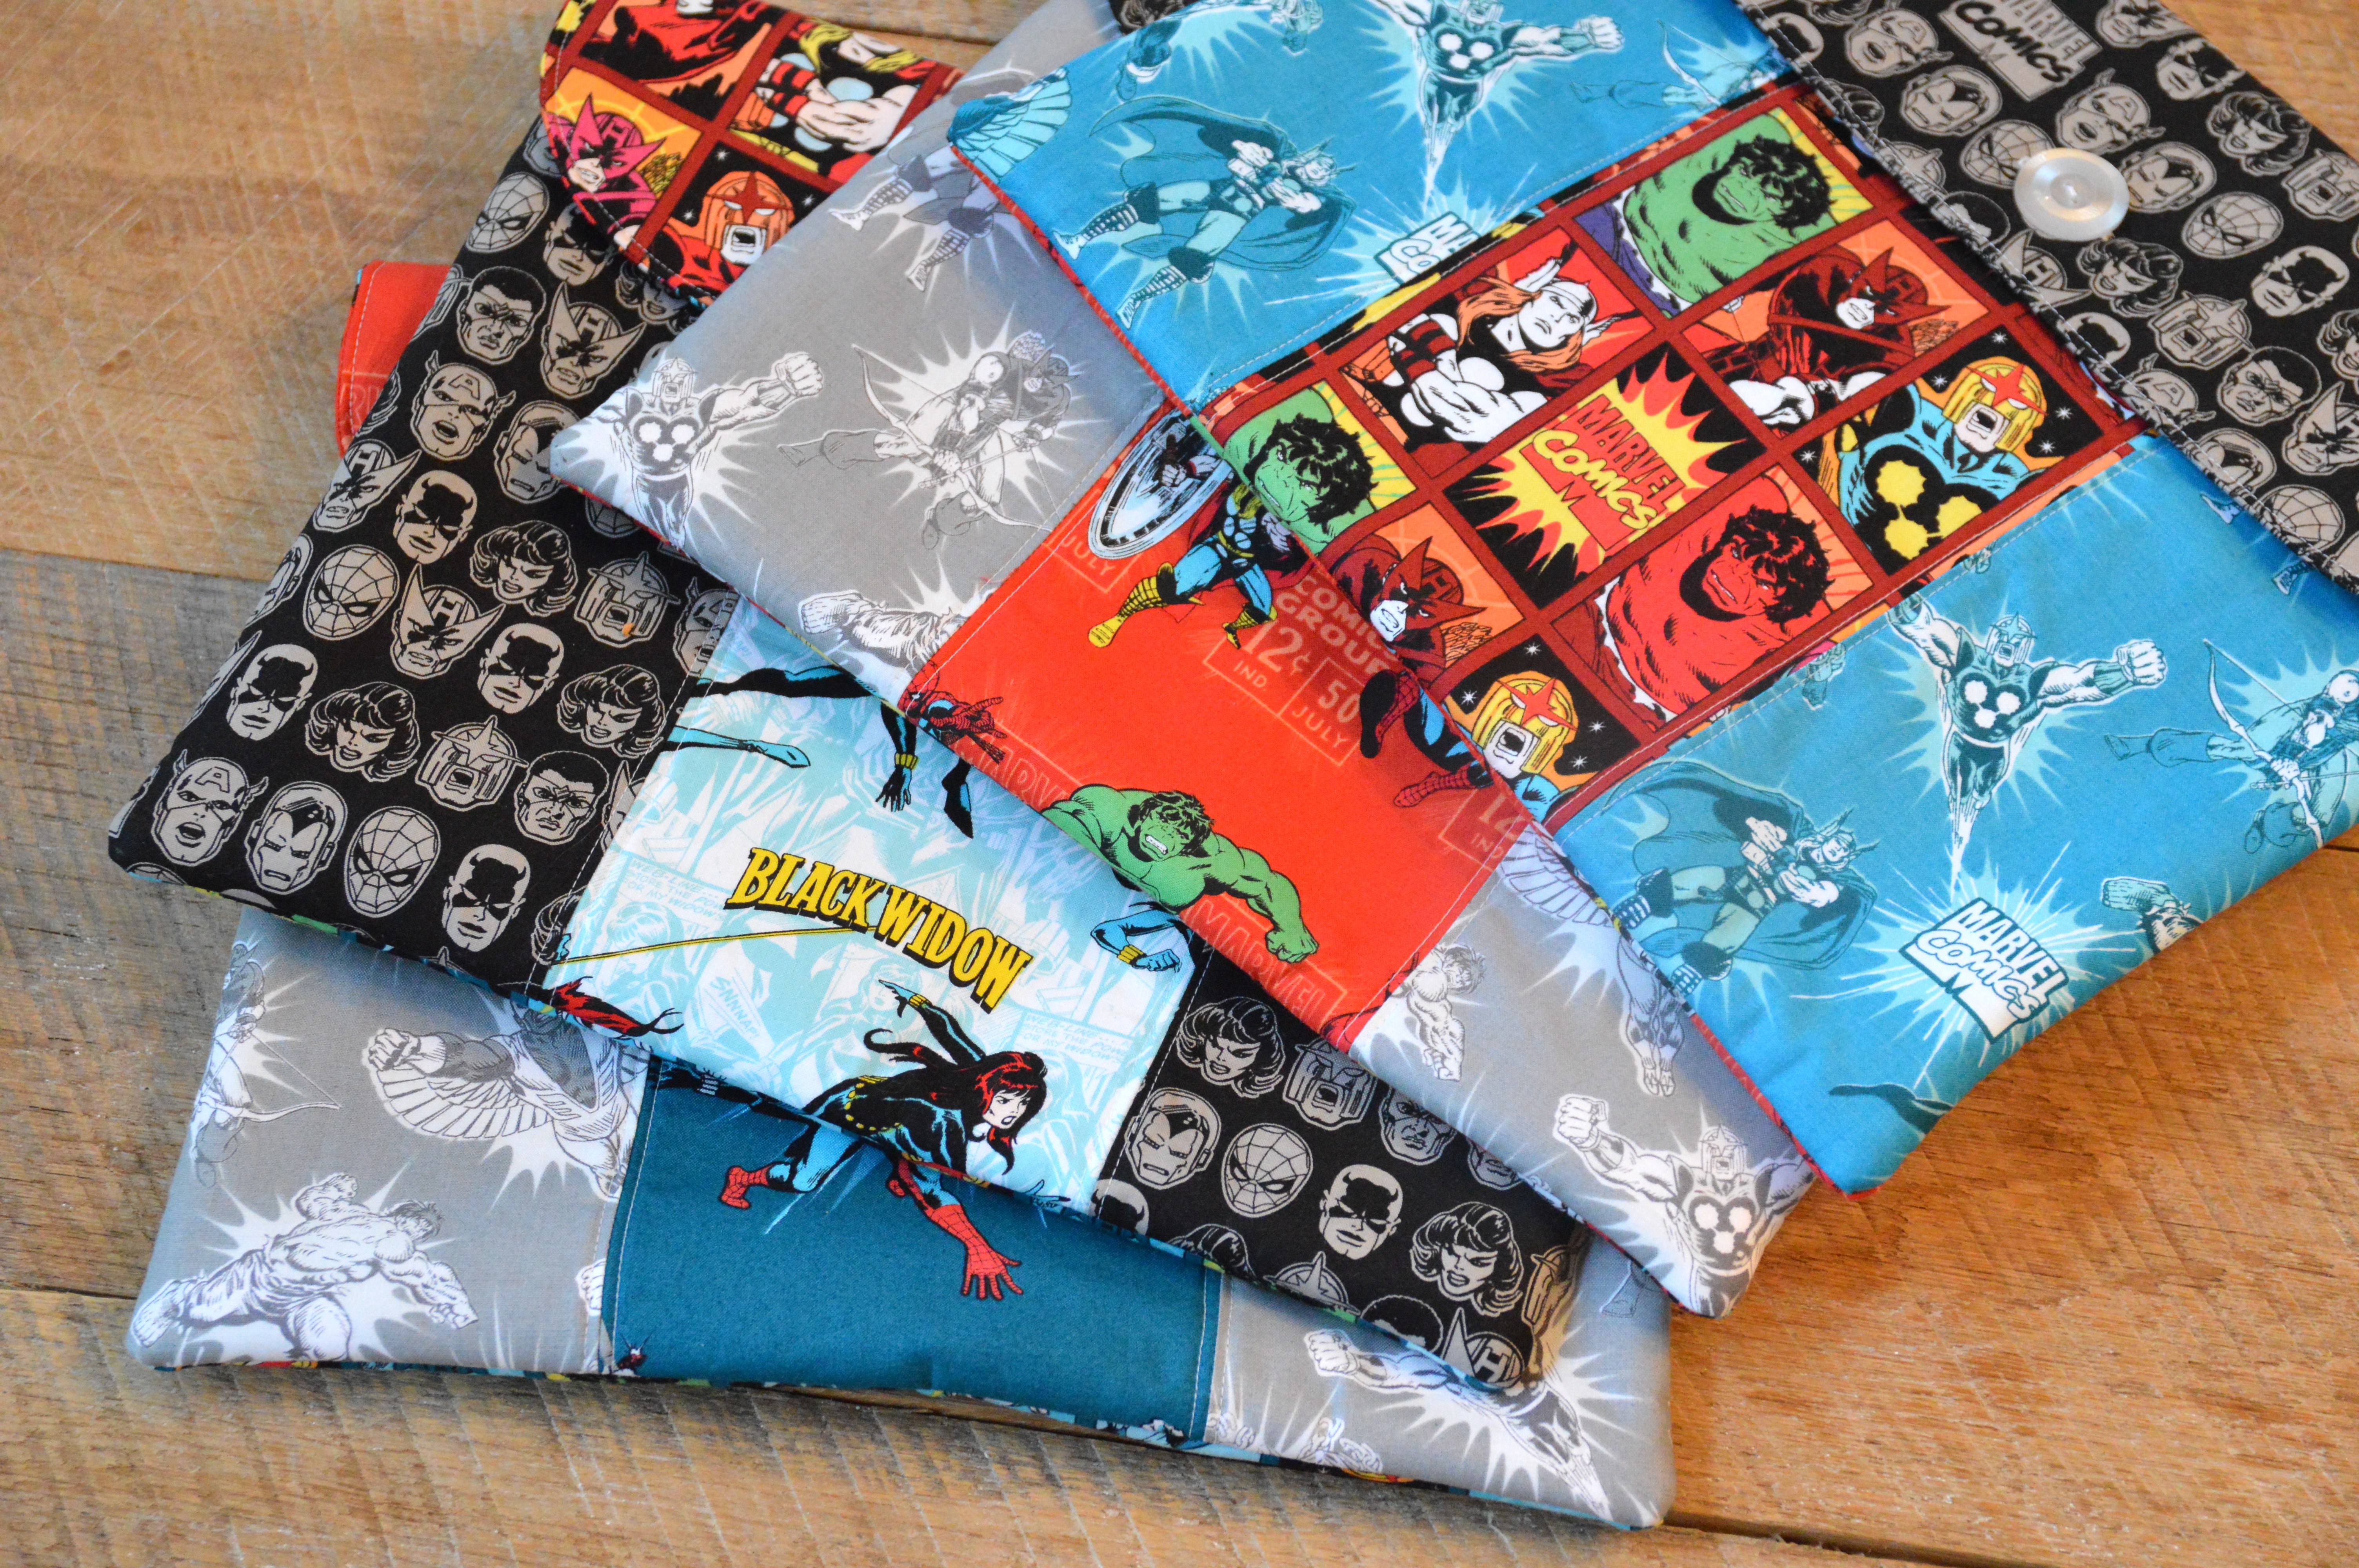
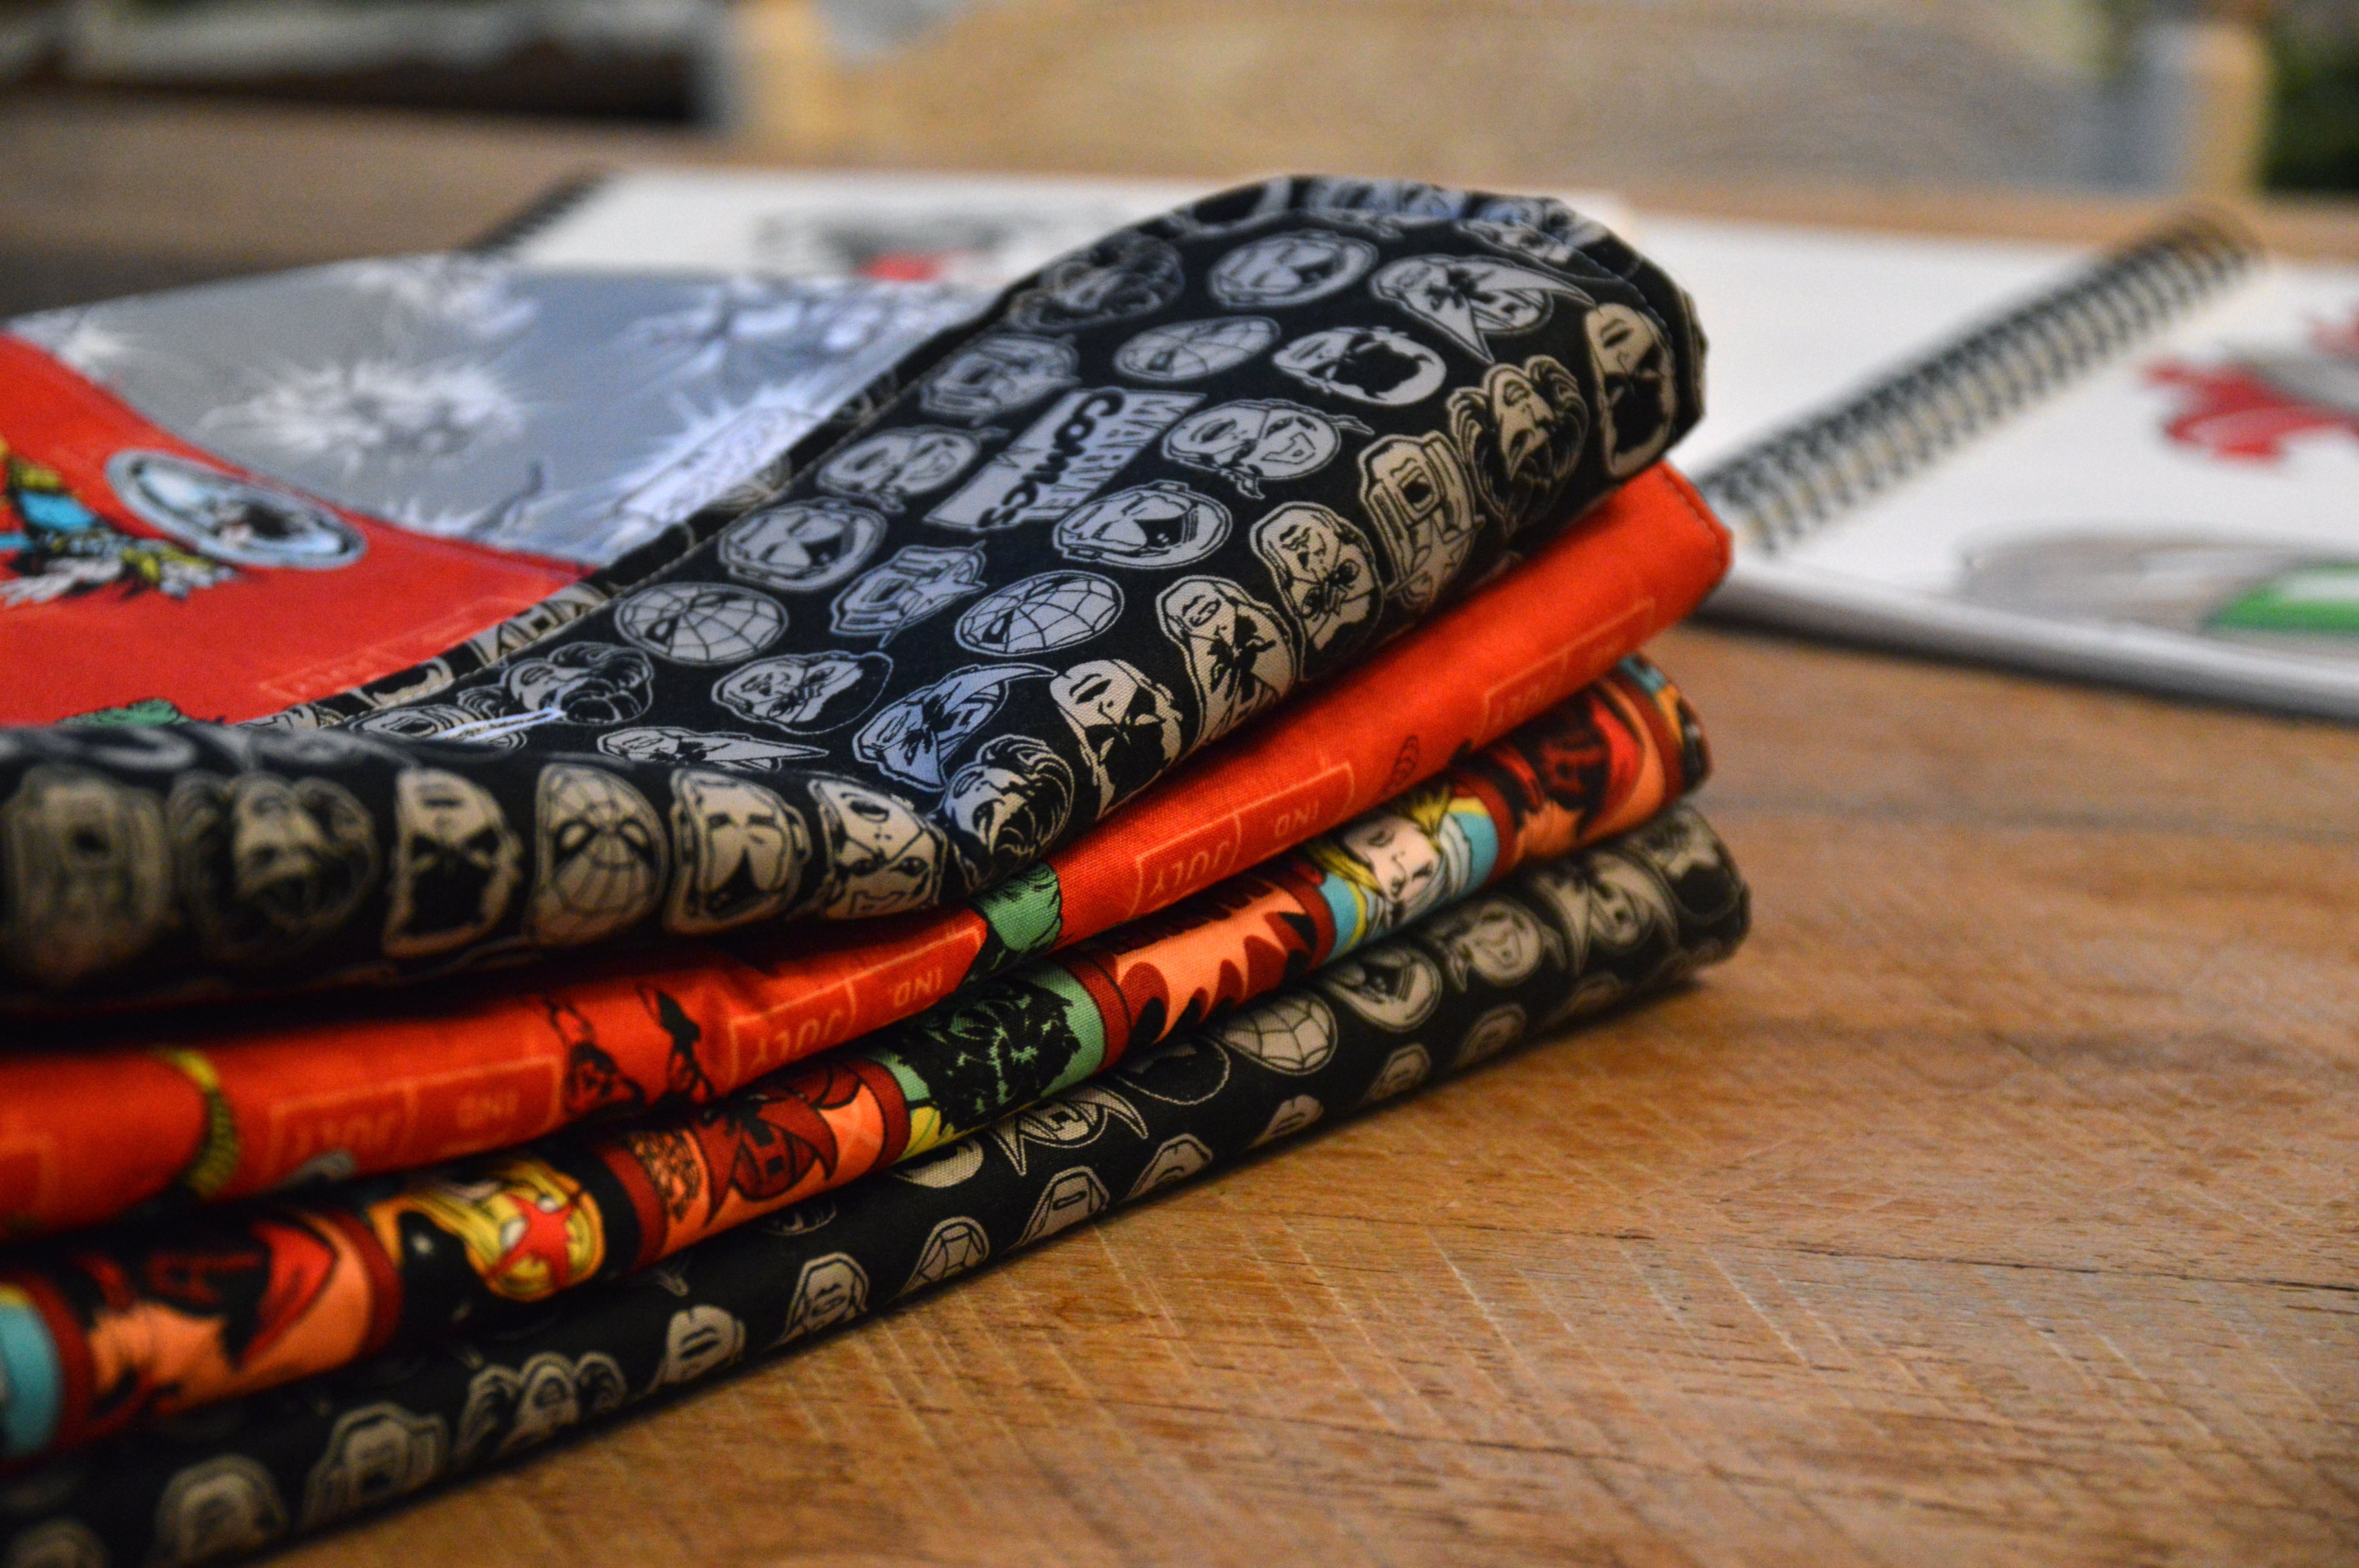
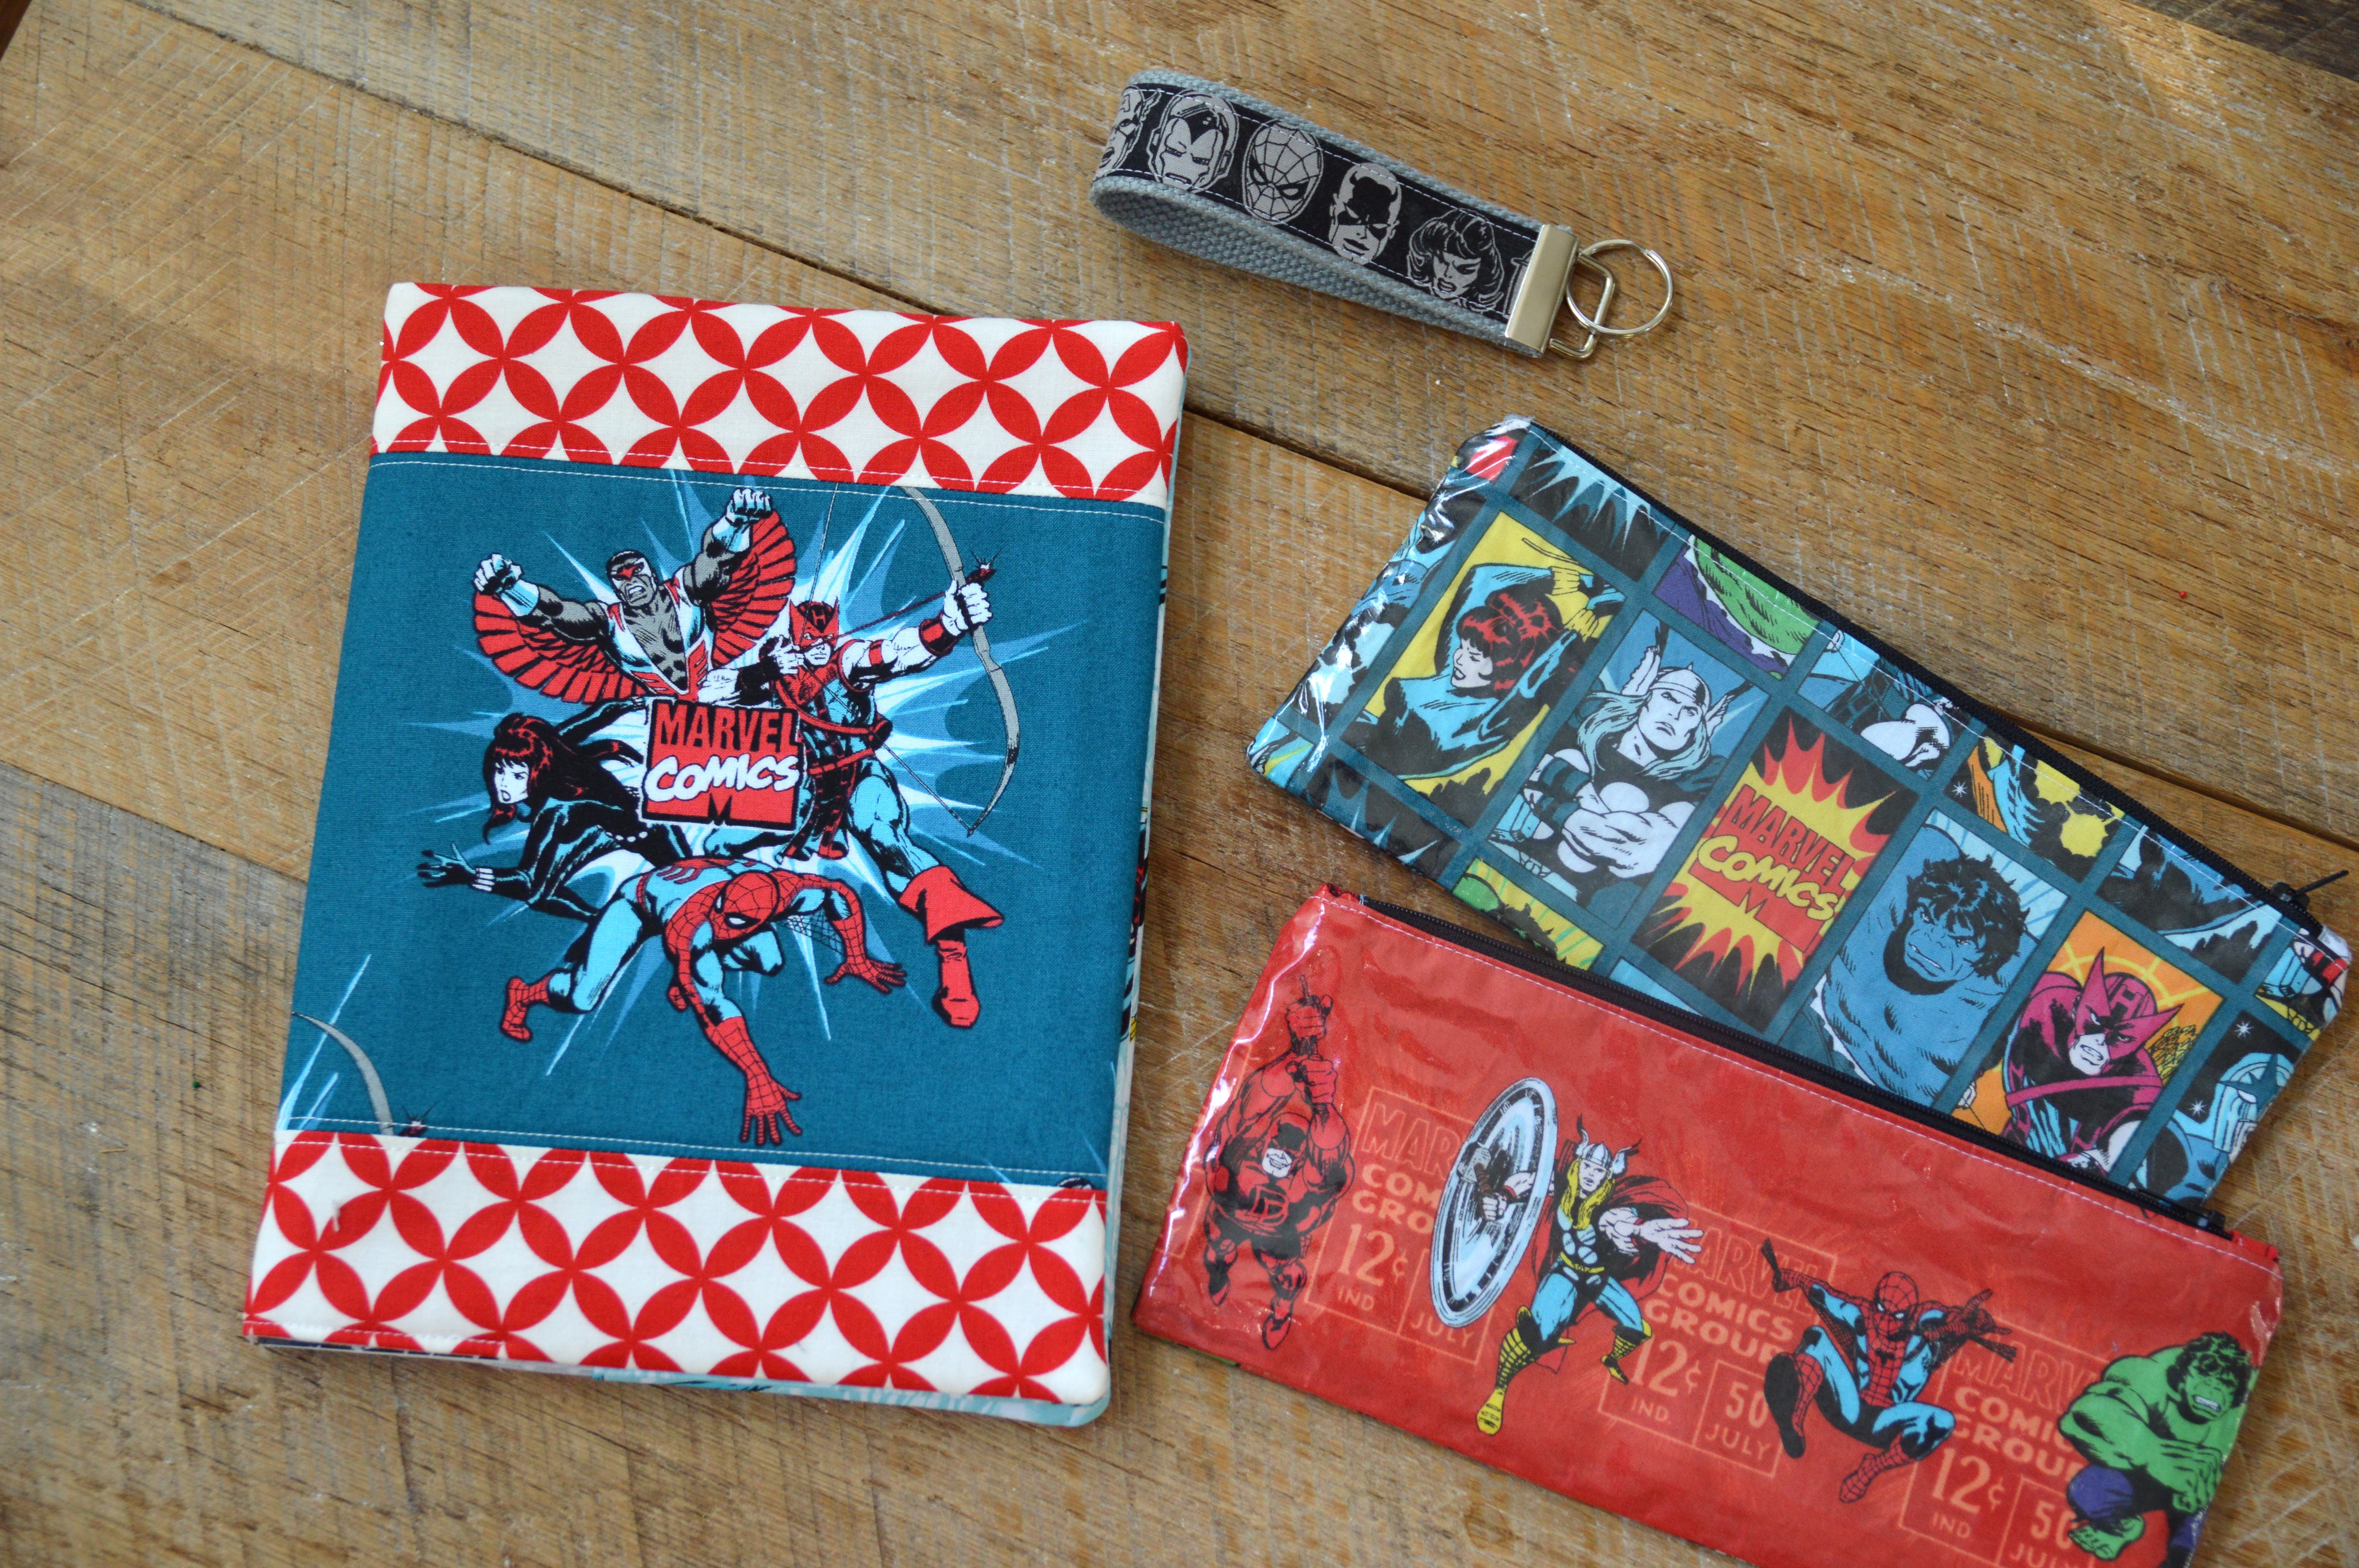
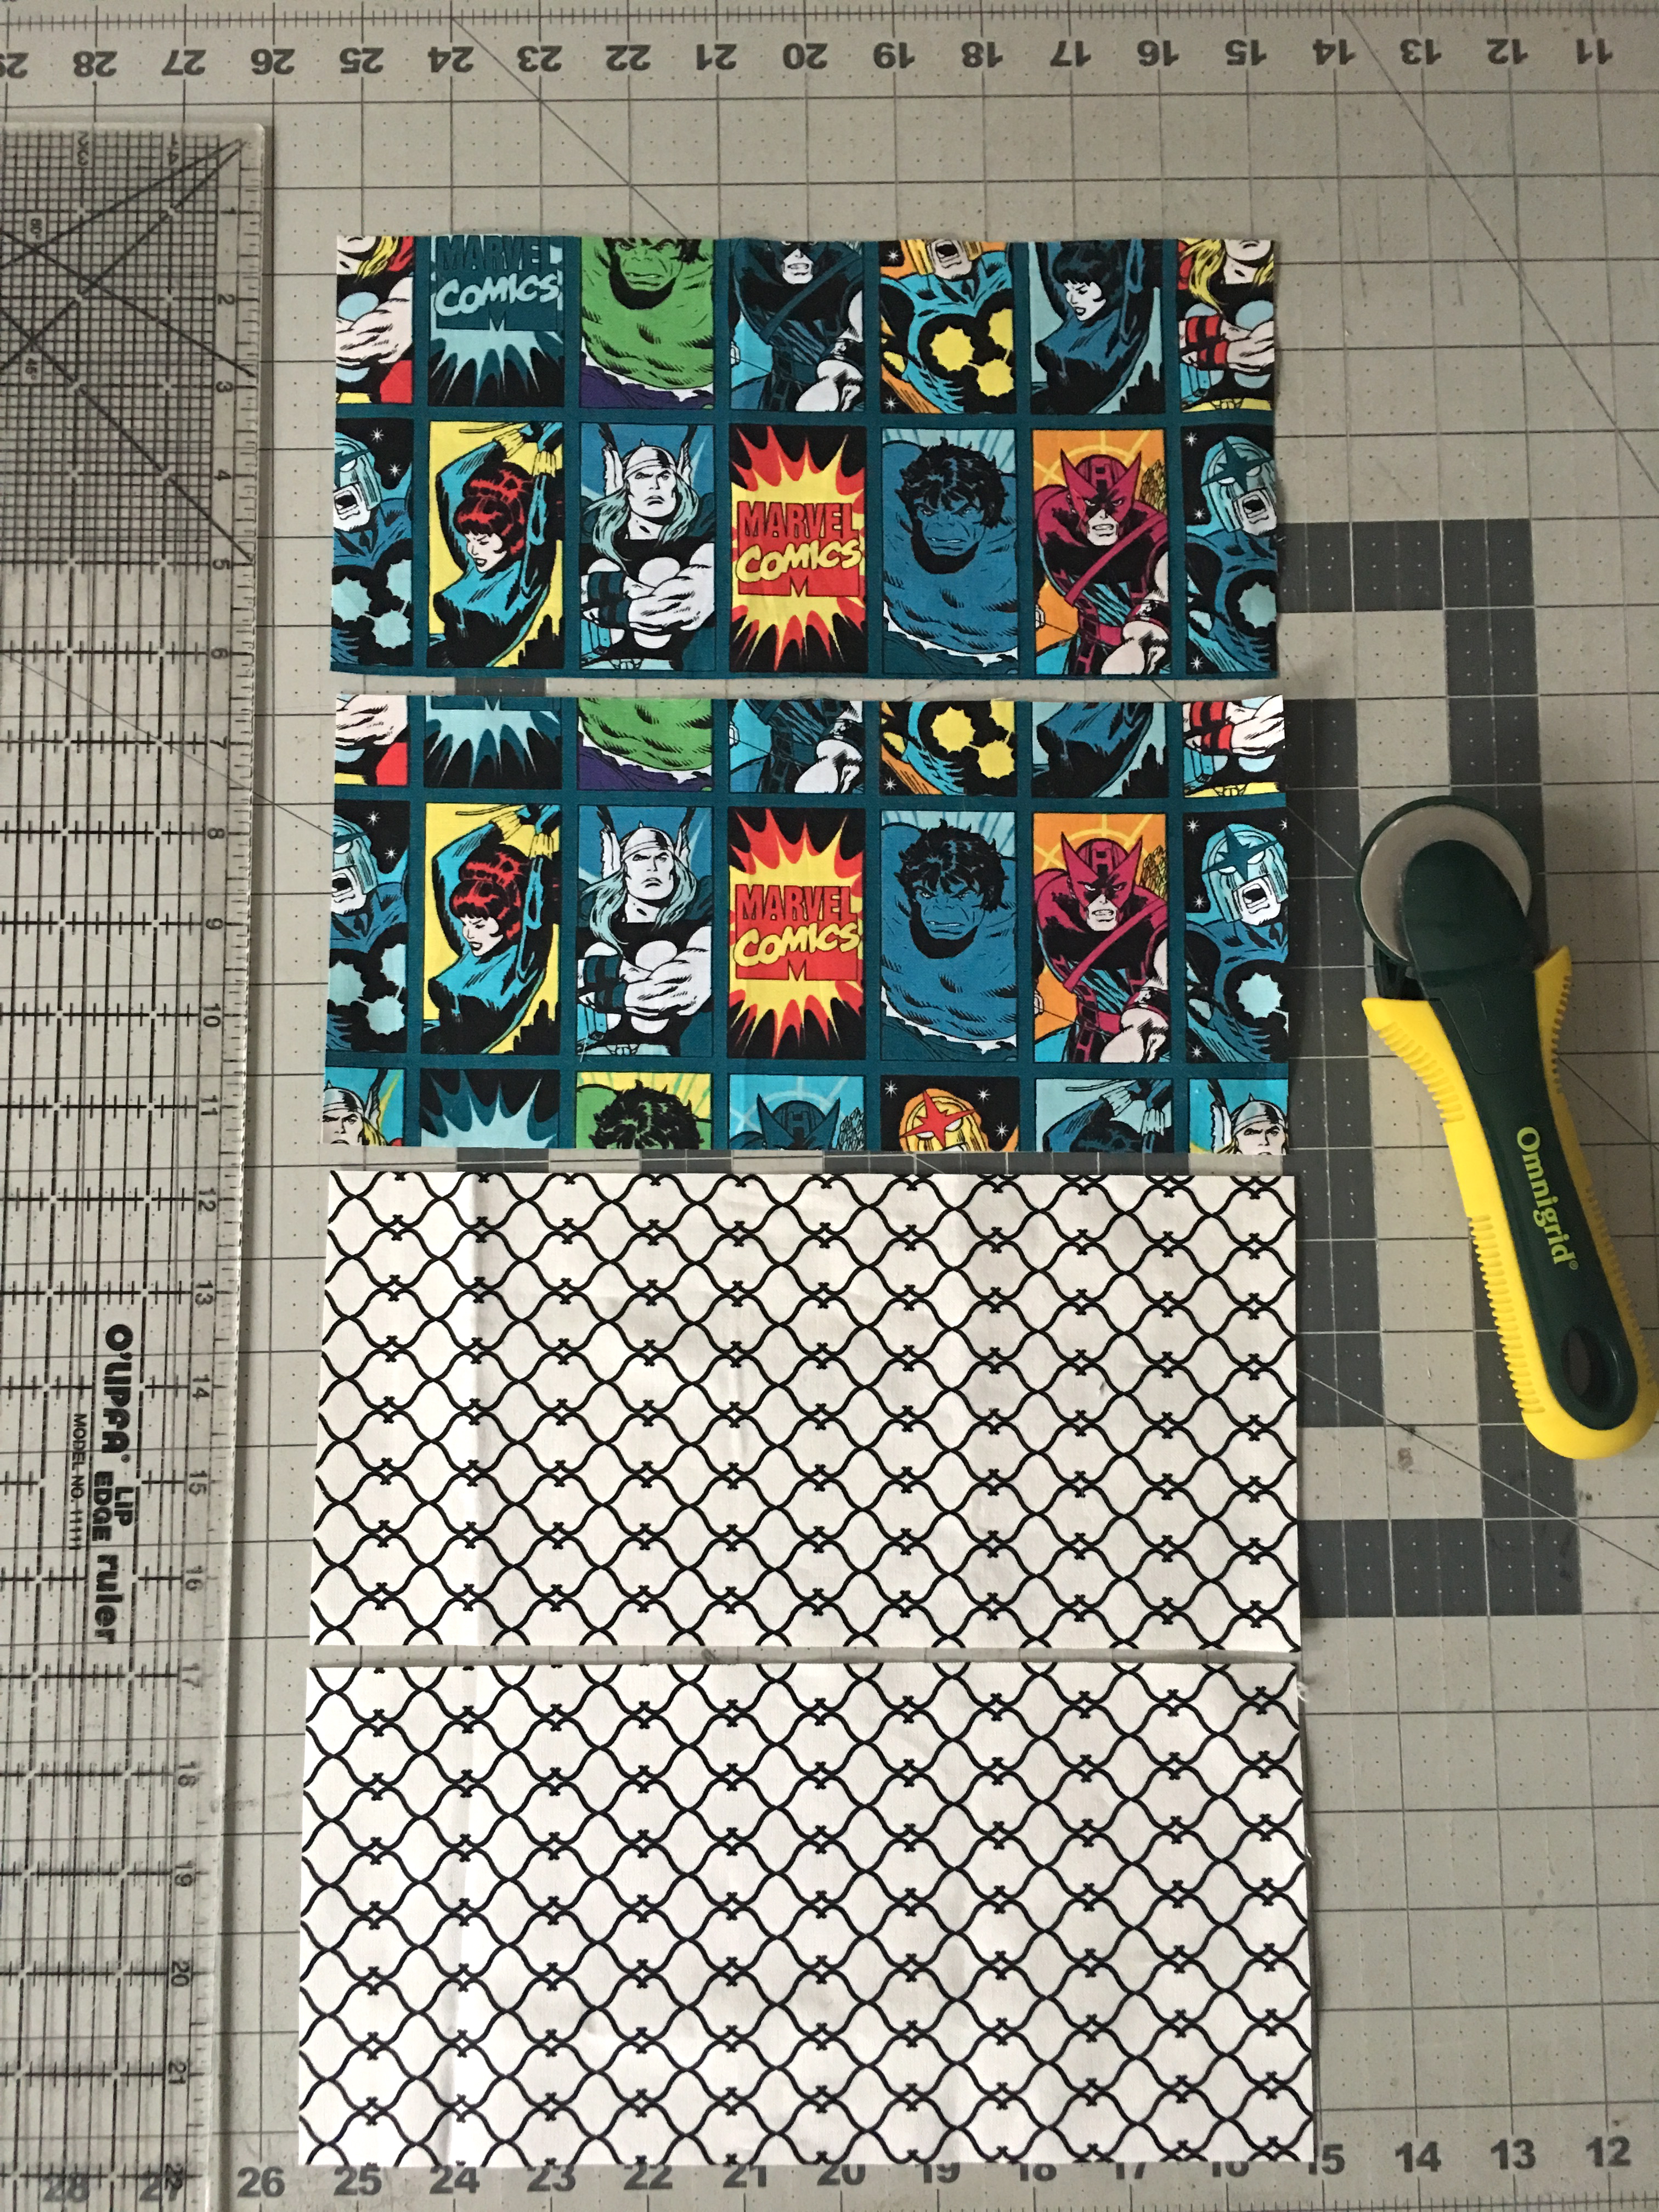
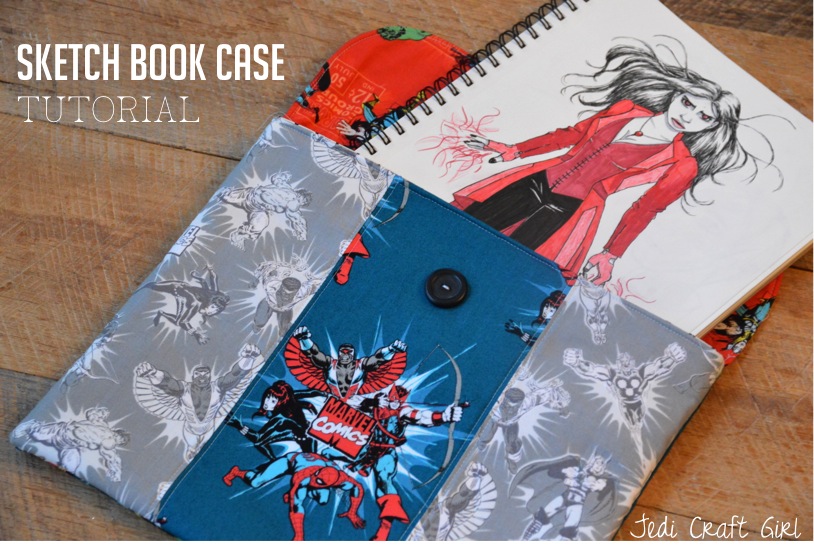
I love sewing for my kids!!!!  They are totally into Marvel right now so I’m so excited for this new line from Camelot Fabrics available at Fat Quarter Shop!!  This fun project is for a padded sketch book case with button closure (Sketch book measuring 9″x12″).  This case is also great for coloring books, journals, music books, and magazines.  The Heat n Bond Fusible Fleece gives it soft stability.  You can whip one up in about 30 minutes!  So it’s a great gift.img_7893

marvel-sketch-book-cover-3

I made four Sketch Book Cases for my daughter’s artsy friends.  The four of them sketch all day and nerd out at lunch with their sketchbooks.  They were thrilled to receive them!!img_8001

Let’s get started!

Supplies
1/2 yard lining fabric

fat quarter backing

fat quarter flap fabric

fat quarter front sides

fat quarter front center

1 yard Heat n Bond Fusible Fleece

Button

img_7914

First have your cat sleep on all the fabric so it needs ironing when you are ready 🙂

sketch-book-cutting-instructions

Cut the front side pieces (2) 5″ x 12″ and center 6″ x 12″.

Sew together as pictured above with 1/4″ seams and press.

cutting-guide

Cut the back 15″ x 12″

Cut the flap (2) 15″ x 6″

Cut the lining (2) 15″ x 12″

heat-n-bond

Cut the Fusible Fleece (2) 15″ x 12″ and (1) 15″ x 6″

img_7927

Match up the Marvel pieces with the fleece pieces and fuse to the wrong side of the fabric, according to manufacturers instructions. (only fuse one of the flap pieces)

img_7934

Sew accent stitching 1/8″ along both sides of the seams.

Prepare the flap:

img_7931

Take the fused flap piece and round the corners of the bottom two corners by tracing a small plate.  Cut with scissors.

Lay the rounded flap piece on top of the second 6″ x 15″ piece and pin, right sides together.  Sew 1/2″ seam around the side, bottom, and side.  Leaving the top open.

img_7935

img_7936

Trim down the seam allowance and clip the curves.

img_7938

Turn right side out, press and top stitch along seam 1/8″.

img_7940

Find the center of the flap and mark.  Sew a button hole that matches the size of your button.  Sew the button hole 2″ above the seam.

img_7941

Place the front pouch piece on top of the back pouch piece right sides together.  Pin the sides and the bottom.  Sew the sides and bottom using a 1/2″ seam.  Clip corners and turn right side out.

img_7933

Pin the sides and bottom of the lining pieces in the same manner.  Sew 1/2″ seam along the sides and bottom.

img_7942

Pin the flap to the back of the pouch, matching raw edges.  Make sure to center on the back piece.  Baste 1/8″ along flap .

img_7945

Place the outer pouch inside the lining, right sides together.  Match at side seams and pin all the way around.  Sew using a 1/4″ seam all the way around.

Unstitch a 3″ section on one of the sides of the lining.  Turn right side out.  Top stitch the lining closed.  Press lining down inside the pouch.  Top stitch using a 1/8″ seam around the “mouth” of the case.  Hand sew the button on.sketch-book-case-2

They were so much fun to make and the fabrics were fun to mix and match!  I can’t decide which is my favorite!

img_8017

sketch-book-case-5

marvel-sketch-book-cover

Save