12 Days of Meowy Christmas {Catch Up}

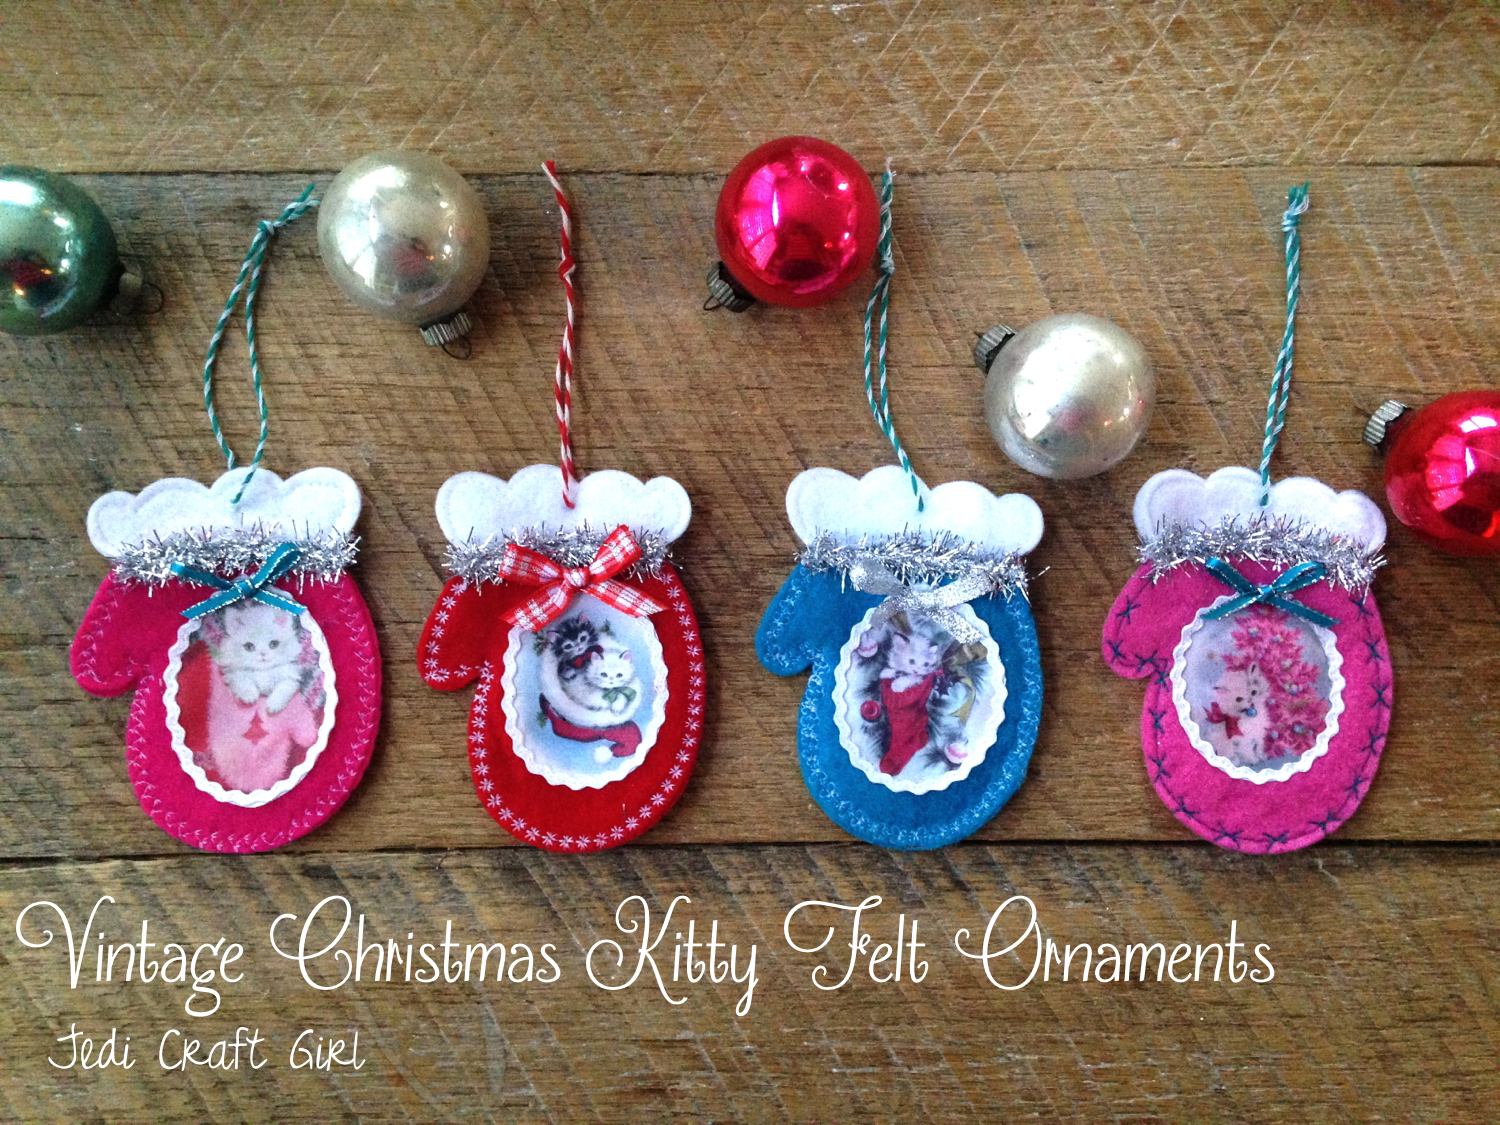
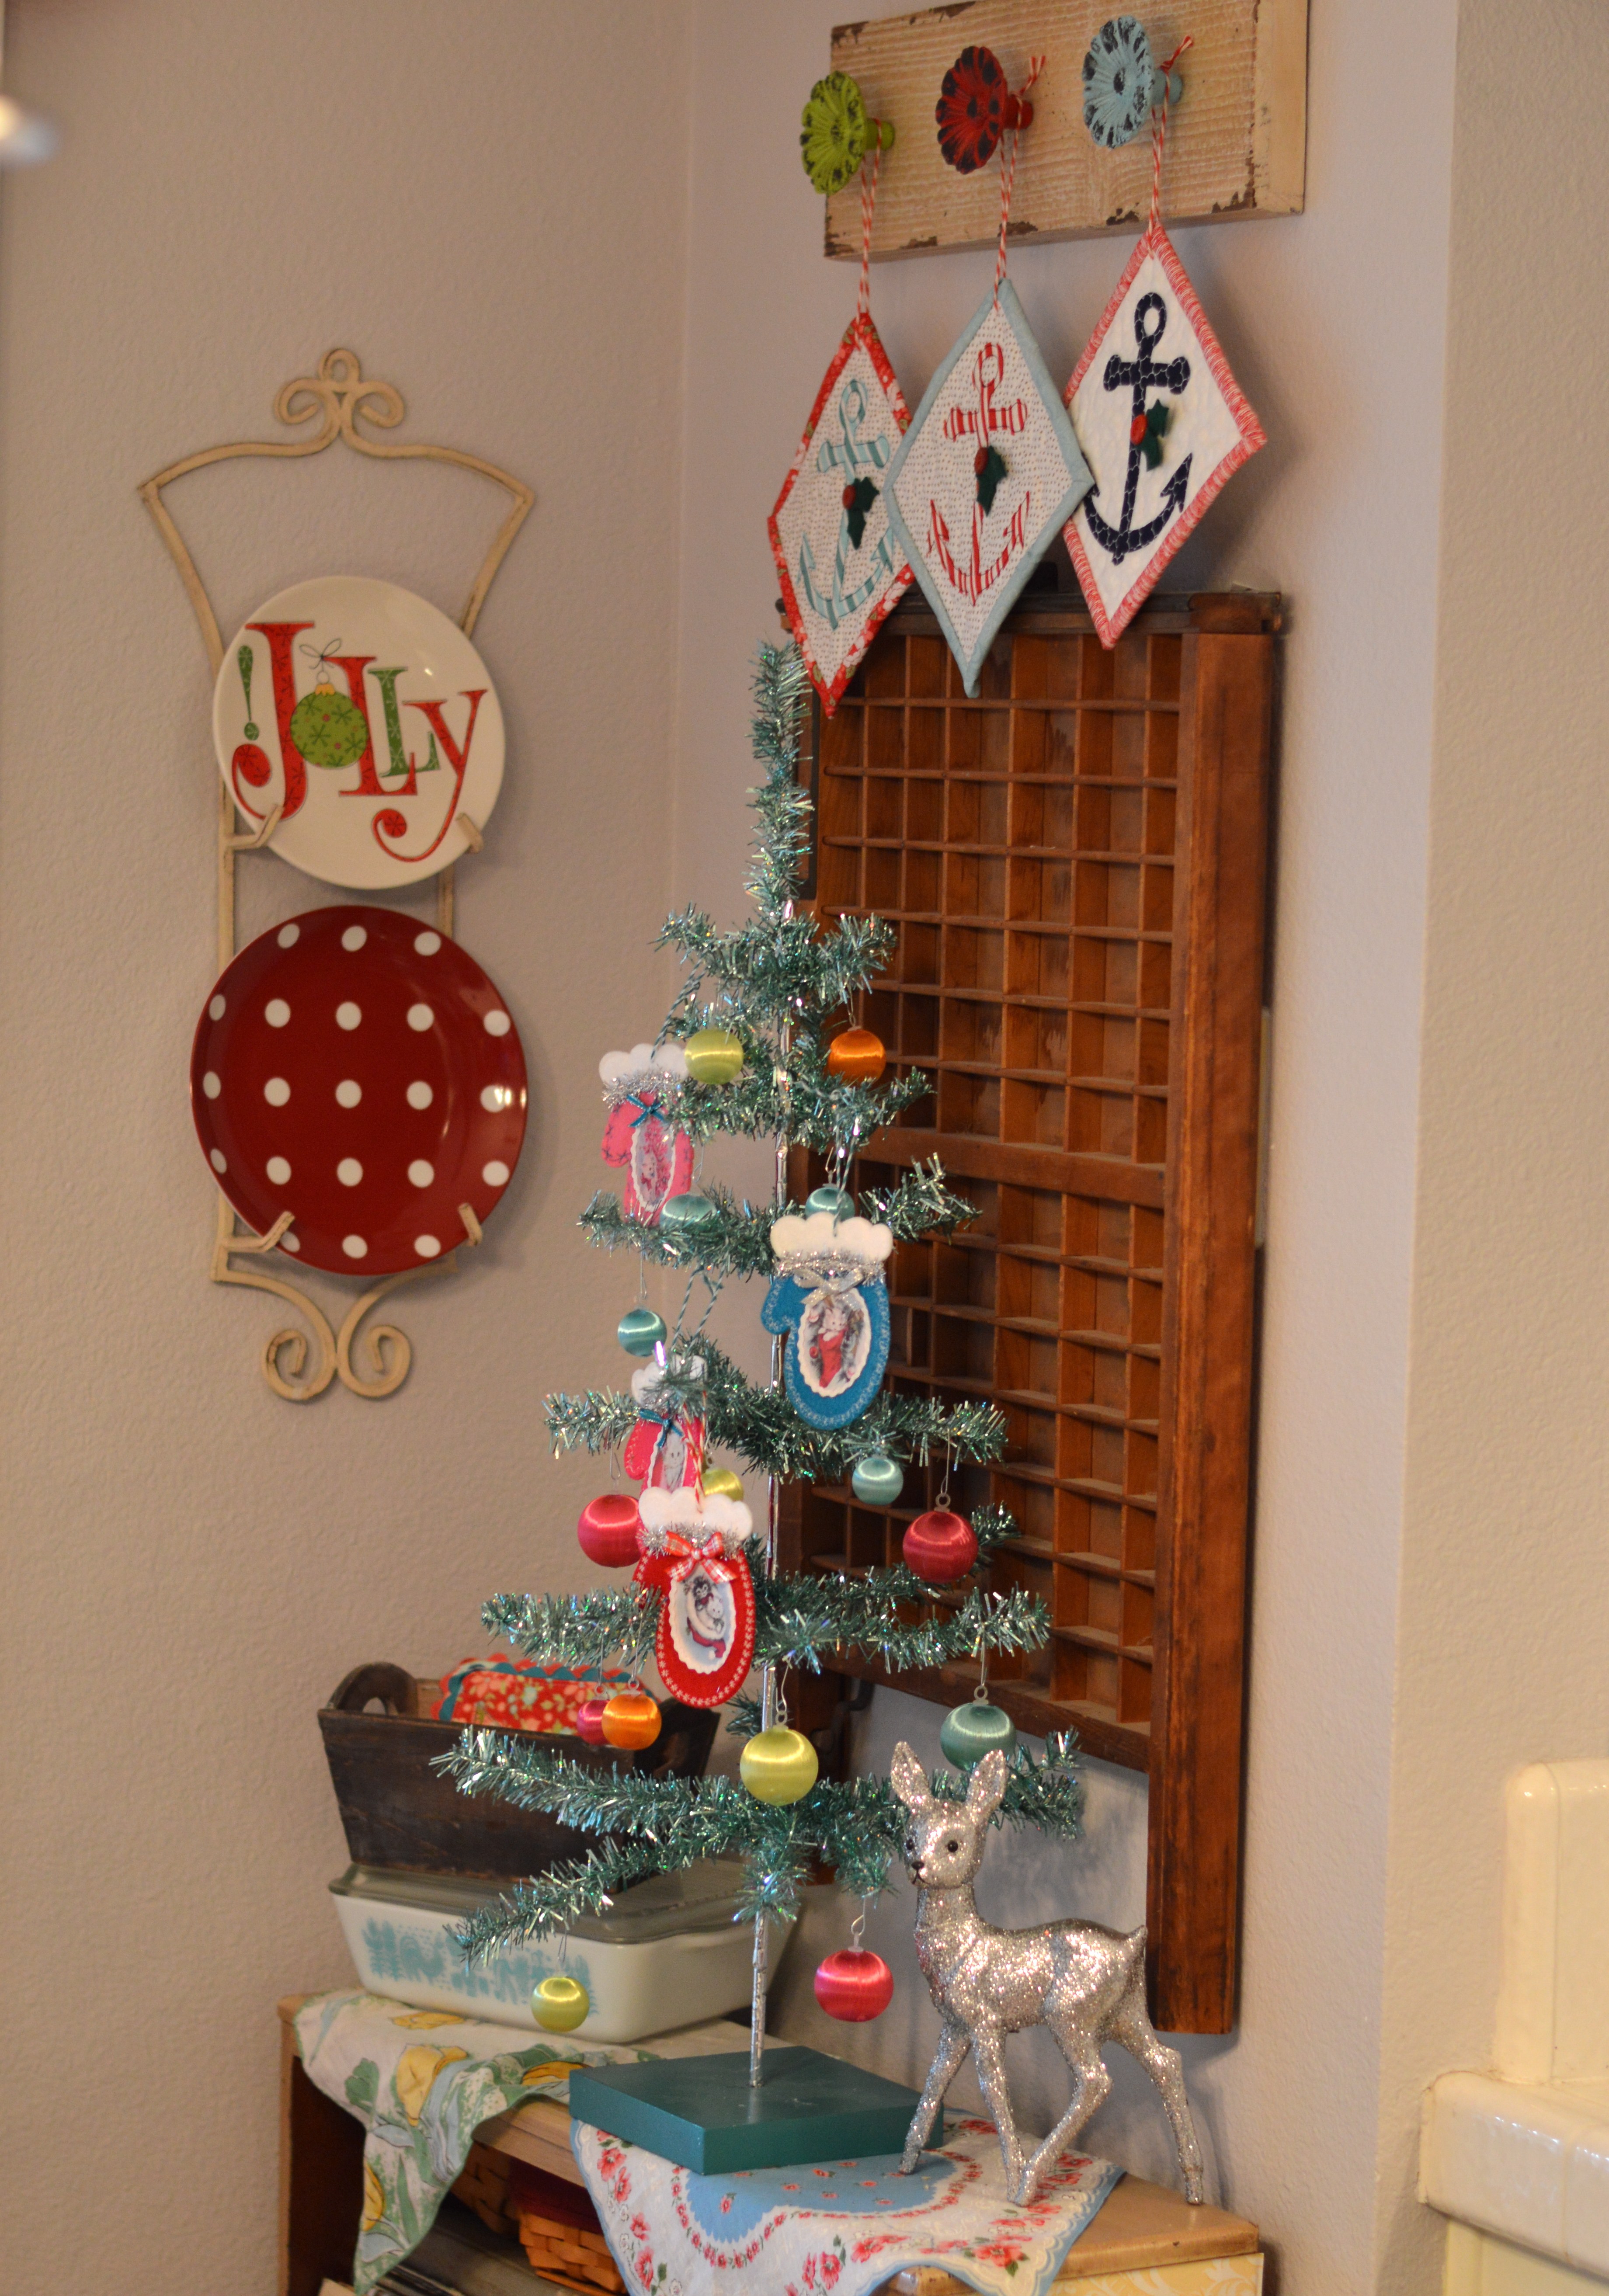
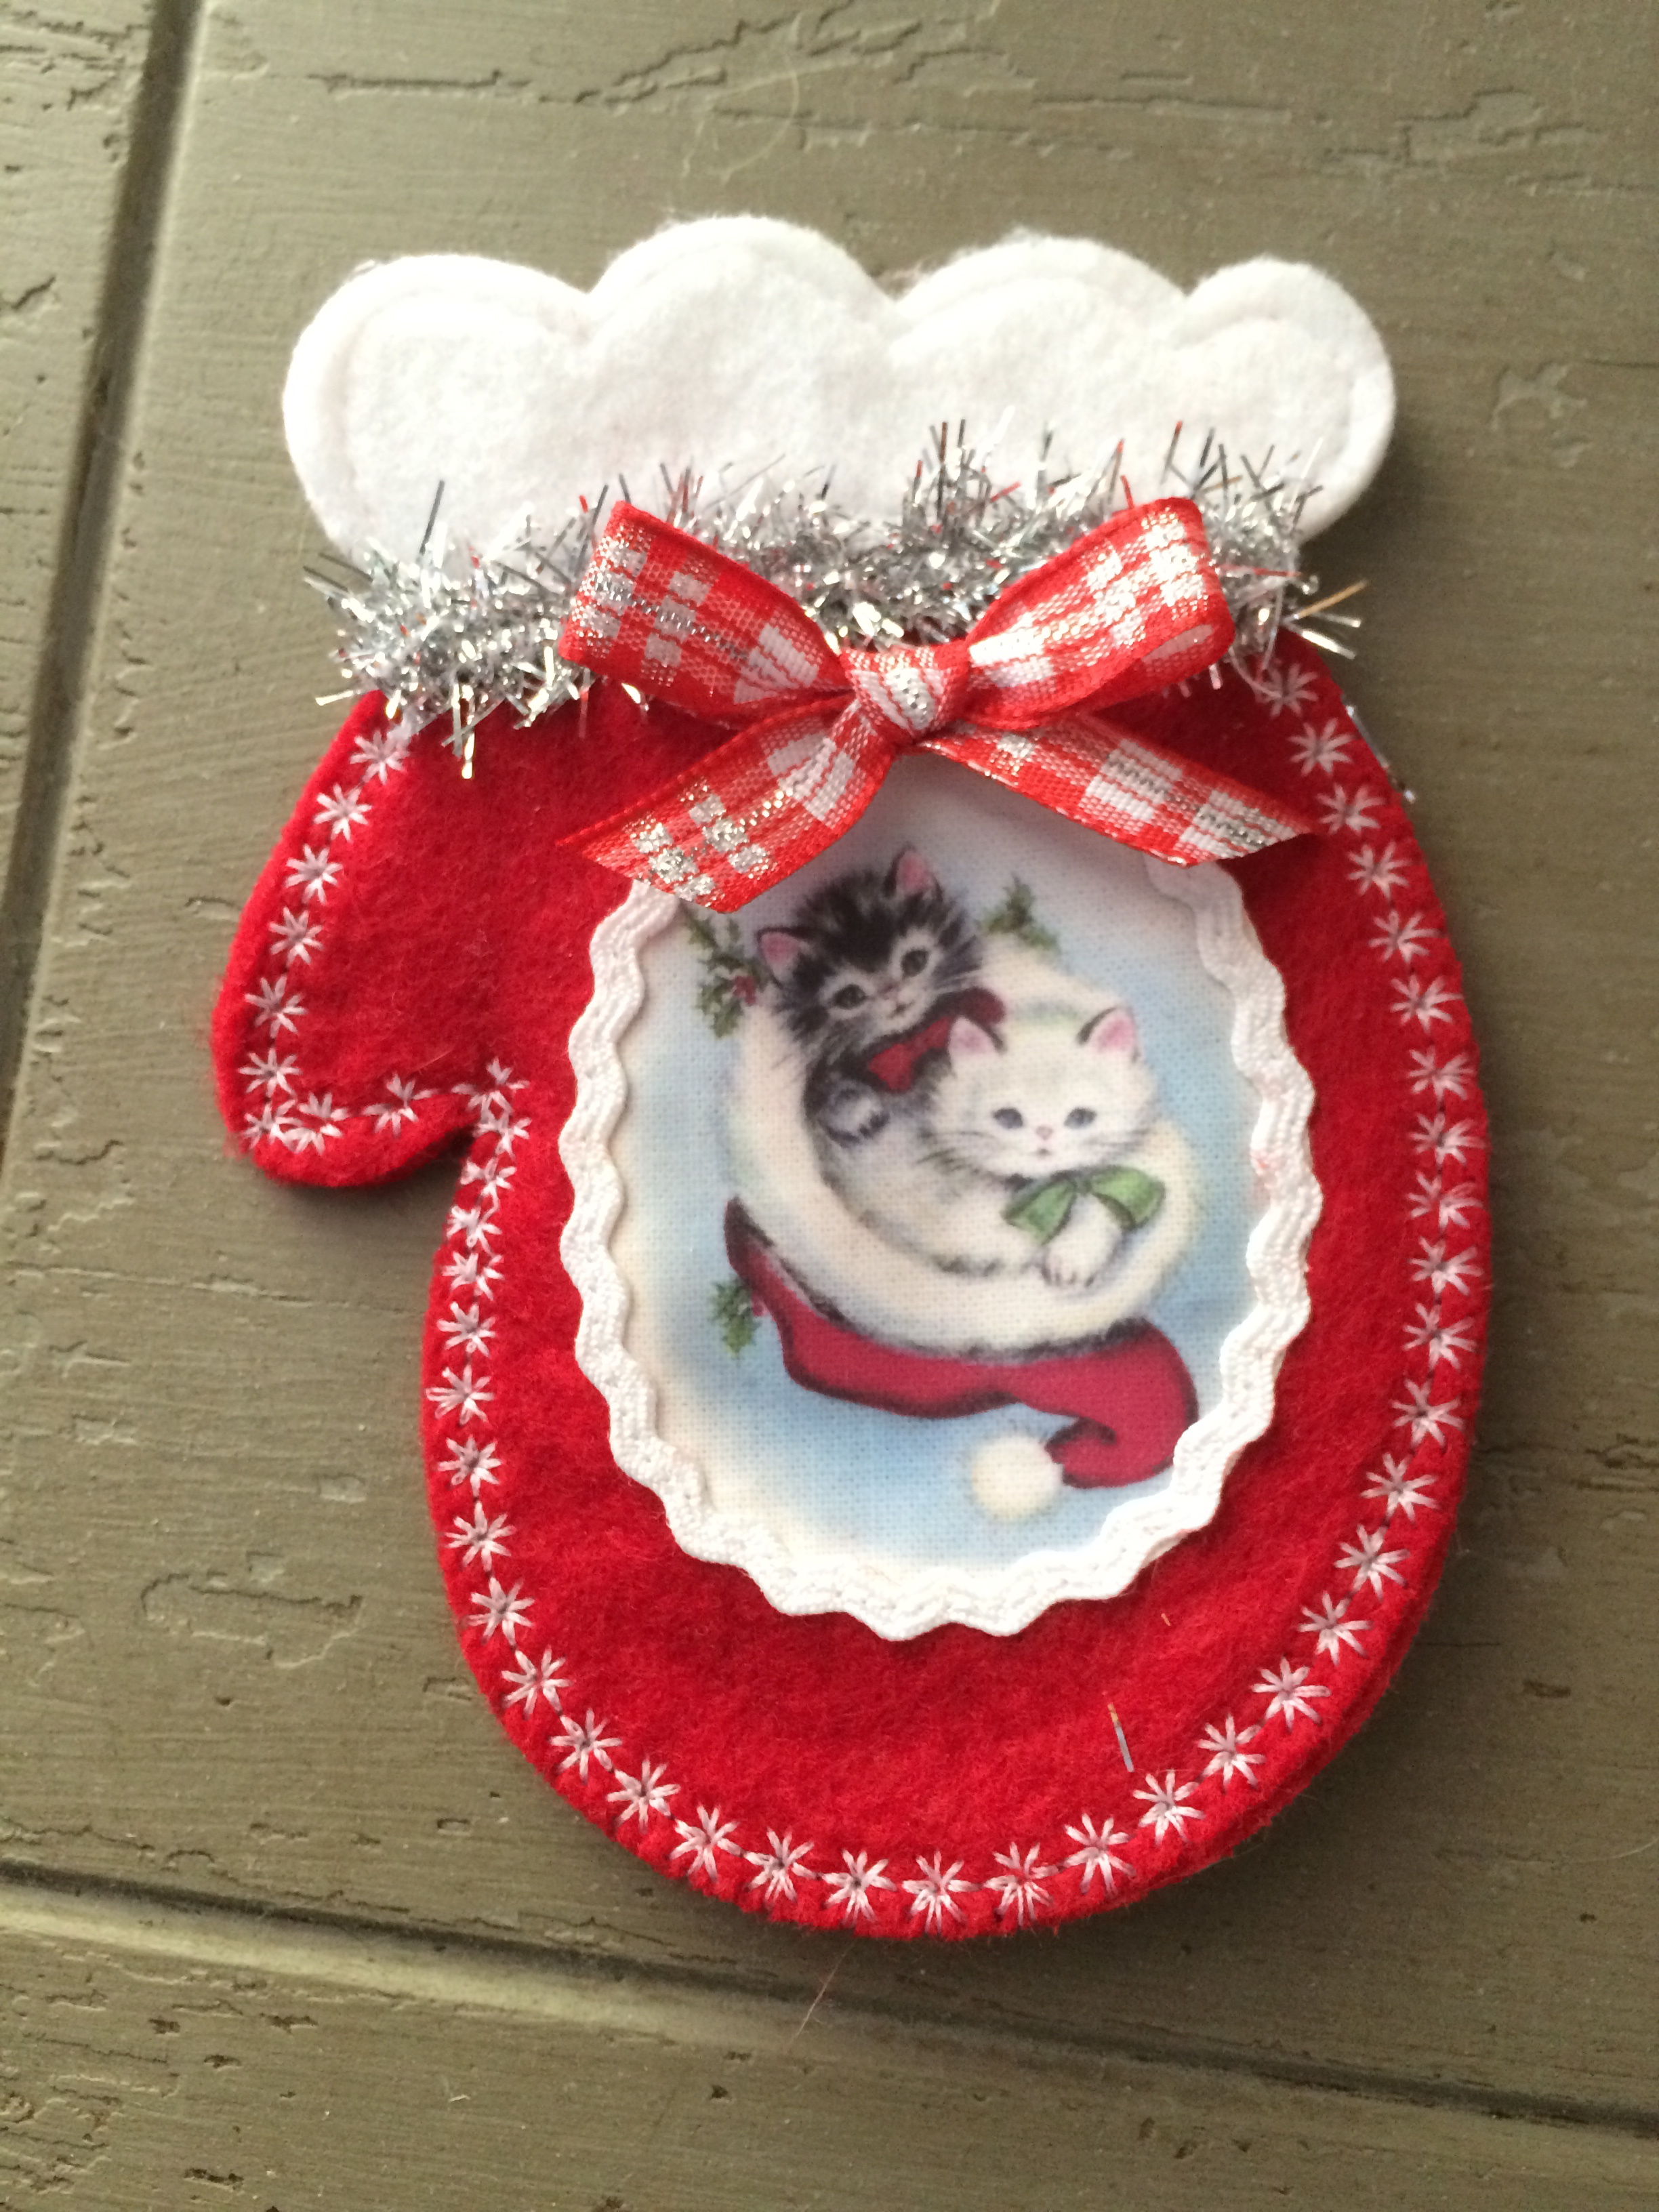
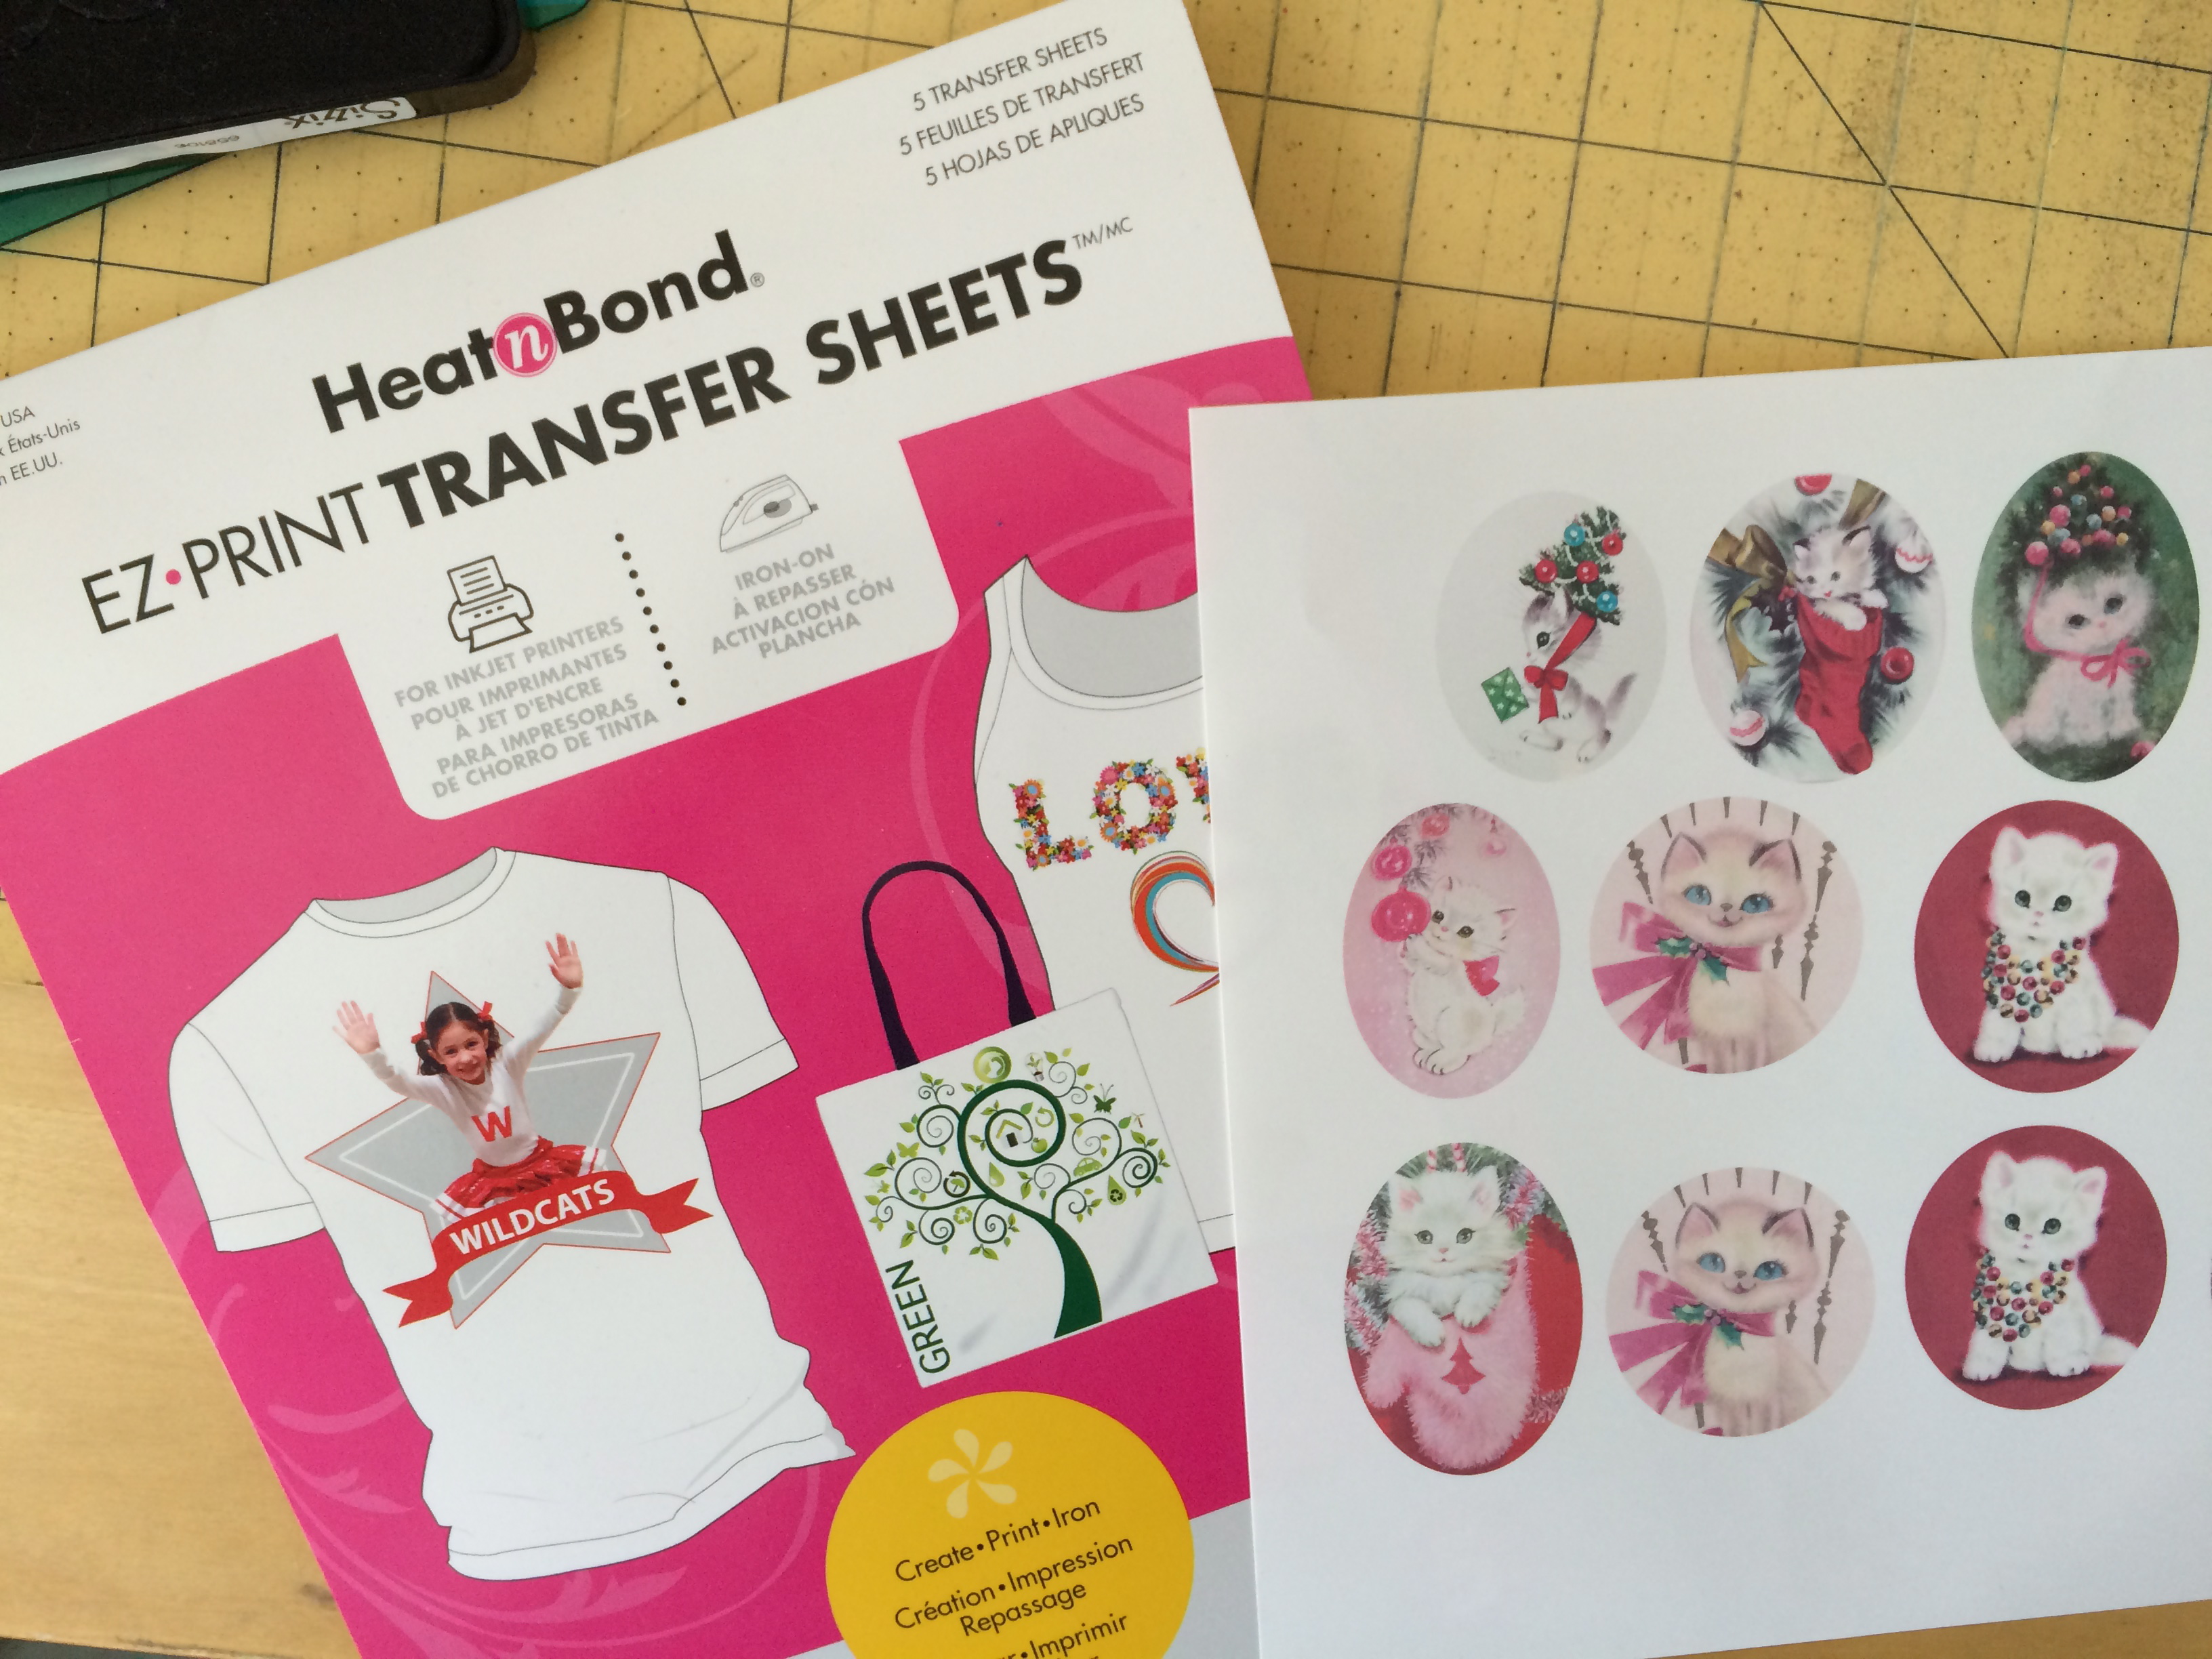
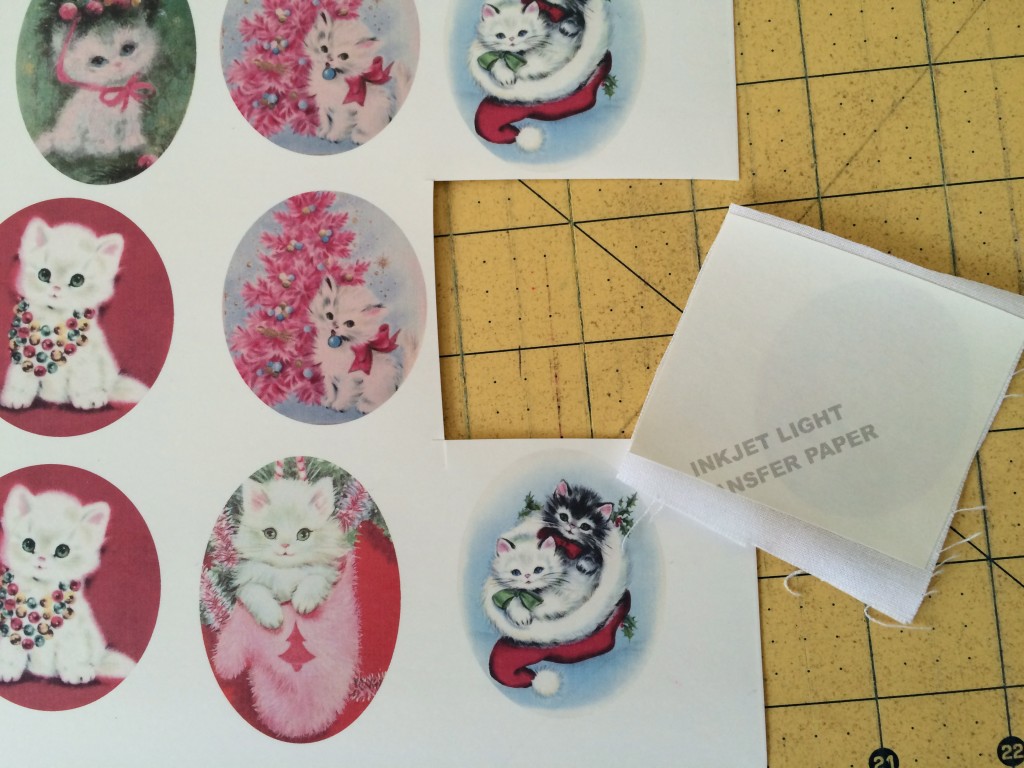
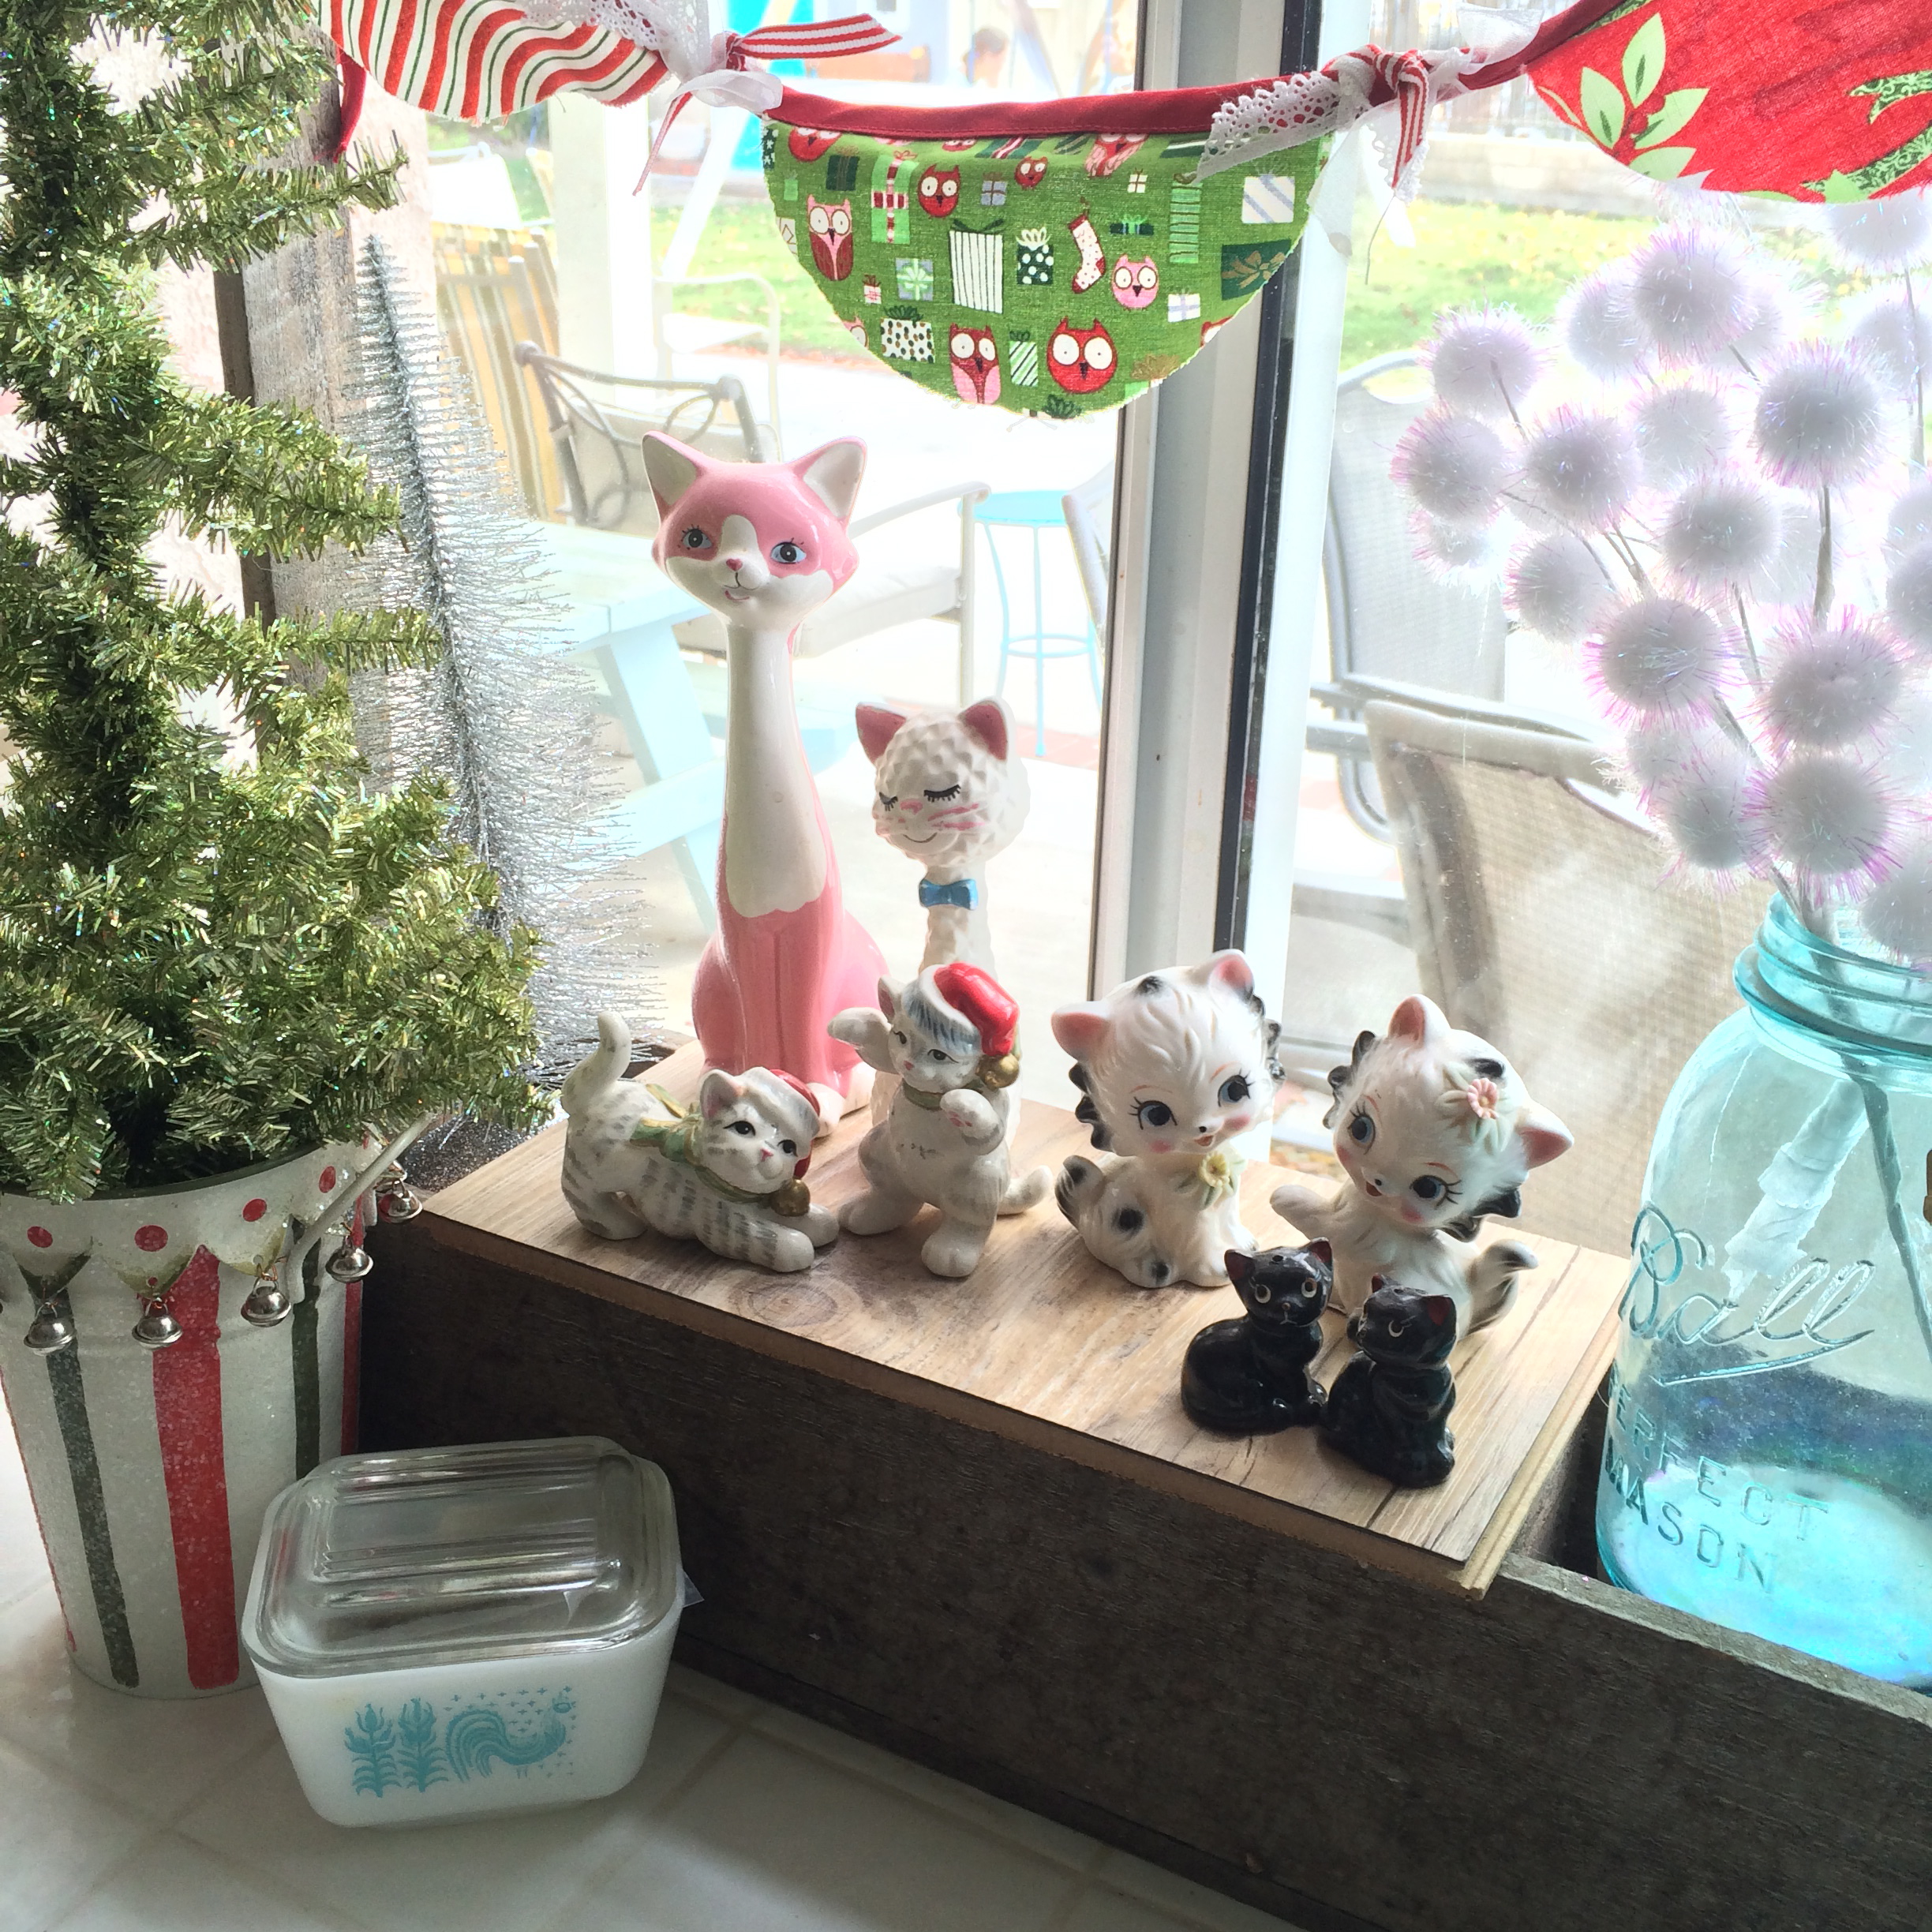
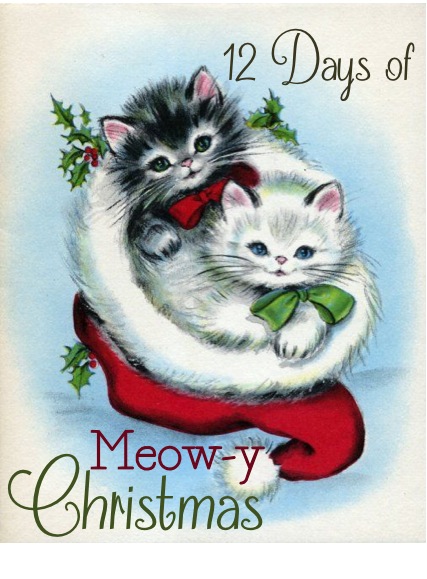
I’ve gotten a little behind with blogging about the 12 Days of Meowy Christmas!  I’m much better at keeping up on Instagram!  Here goes:

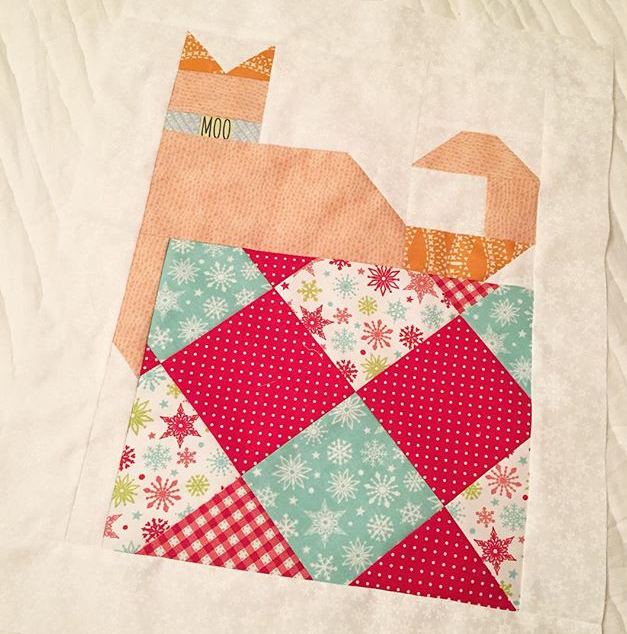
On the 7th day of Meowy Christmas my true love gave to me, a fun excuse to get quilty!  This adorable cat quilt pattern is free from Blend Fabrics.  You can download it here!  I think it would be so cute in Christmas fabrics!  I’m hoping to make it before Christmas 🙂Screen Shot 2015-12-09 at 8.20.54 AM

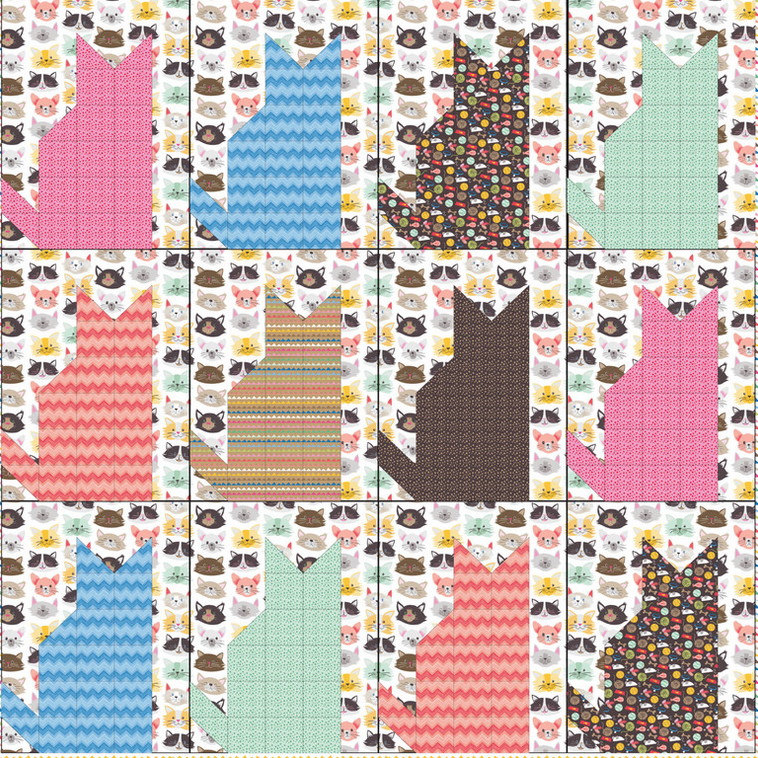
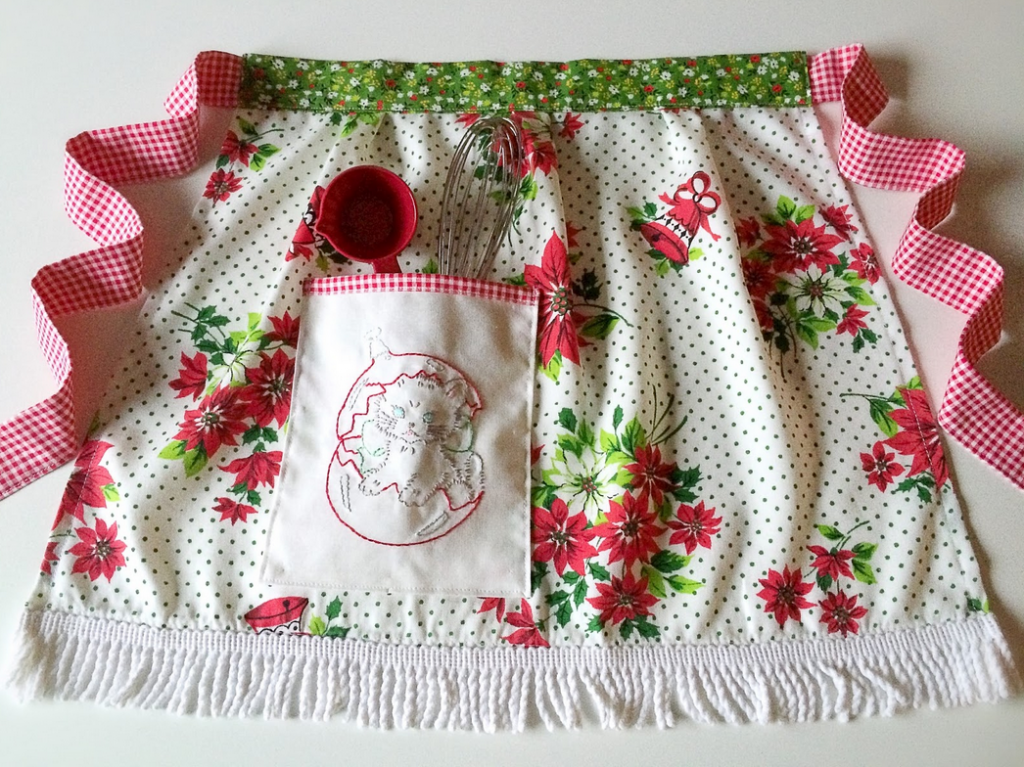
On the 8th day of Meowy Christmas my true love gave to me, an apron with a had stitched kitty!  Kerri from Sew Deerly Loved is sharing this darling tutorial for a vintage inspired apron with kitty embroidery!  Go check out her blog for full instructions and pattern!!

Screen Shot 2015-12-09 at 8.21.41 AM

On the 9th day of Meowy Christmas my true love gave to me a lion that is soft and cuddly!  Lucy from Lucy Blaire has created this pattern called Lyle the Lion.  You can purchase it on her blog or enter to win one today on Instagram!Screen Shot 2015-12-09 at 8.01.15 AM

12 Days of Meow-y Christmas {Day 6} Gingerbread Cookie Cats

IMG_2617

Today I’m taking a little break from the sewing machine and enjoying my FAVORITE gingerbread cookies – shaped like cats!  This recipe has been our family’s favorite since I was in Kindergarten!  It is super easy but the most flavorful gingerbread recipe you will ever have.  I just brought them to our church Christmas party and a few people were fighting over them 🙂

Amanda’s Famous Gingerbread Cookies

1/4 cup butter

1/2 cup brown sugar

1/2 cup molasses

1/3 cup water

3 cups flour

1 tsp. baking soda

1/2 tsp. ground cloves

1 tsp + cinnamon

2 tsp. ginger

1/2 tsp. salt

Cream the butter and brown sugar.  Add the molasses.  Next beat in the water. (it will look a little weird)

In a separate bowl, mix all the dry ingredients together.  Then add the dry ingredients to the wet ingredients and mix until incorporated.

On a floured surface roll out the dough 1/4″ thick and cut with cookie cutters.  If the dough seems a little sticky, just add more flour as you are rolling out.

Transfer to a parchment lined baking sheet and bake at 350 for 8 minutes.  Let cool.  Dip in dipping chocolate or pipe with royal icing.

IMG_2622


Gingerbread dipped in chocolate is one of the best flavor combinations in the whole world!!!IMG_2612I collect little vintage cats – they sit in my kitchen window and keep an eye on the baking!  IMG_2626I didn’t want to cover up the detail on the cats, so I just dipped their heads in chocolate 🙂

12 Days of Meow-y Christmas {Day 5} Kitten Softies

christmas cat softie 8These cute cat softies are ones my mom made in the early 80’s.  She is also a crazy cat lady, I think it is hereditary!  These cute little kittens can sew up in a snap and look darling tucked in a Christmas tree.  Download the pattern HERE.  I think I will make some in some updated fabrics!  Every tree needs kitties in it!!!

christmas cat softie 2I have a cat themed tree upstairs in the hallway.  Don’t worry, there are plenty of cat ornaments on all my other trees!!!christmas cat softie 3

christmas cat softie 6  I bought this Mufasa ornament when I was at the Farmers Market in New Jersey!christmas cat softie 5OK, I may have bought 2 Mufasa ornaments 🙂

IMG_2607Just a sampling of some of my favorite cat ornaments I’ve collected 🙂

christmas cat softie

12 Days of Meow-y Christmas {Day 4}

catnip pillow toy

For years my mother has purchased little catnip pillows at her veterinarian’s office and sent them to her grand-cats.  My cats have actually worn the pillows out because they love them so much.  They are super simple just a square stuffed with fiberfill and catnip!  They are purrrrfect little stocking stuffers for your furbabies!

catnip pillow toy 9

This is the old one – not even made with cute fabric!

Let’s make some Christmas ones!

Supplies:

Bright cheery Christmas fabric, mine is from Riley Blake Designs

Fiberfill

Catnip

a word about catnip…..for years I have grown catnip.  It grows easy and doesn’t need a lot of care.  In fact if you start growing it you might find it growing in other parts of the yard.  However, if there are any cats in the neighborhood or if your cats roam outside, they will find the catnip, roll in it, sleep in it, eat it and ruin it!  You can purchase dried catnip at pet supply stores.  You should definitely give your cat fresh catnip sometime just to see their reaction! 

catnip pillow toy 6

Cut (2) 3.5″ squares for each pillow.  Mine were a touch smaller then the ones my mom sent.  I think they were cut 4″.

catnip pillow toy 2Sew  using 1/4″ seams along 3 sides, back stitching to start and stop.

catnip pillow toy 3Turn them right side out.

catnip pillow toy 5

Fill with catnip and fiberfill.  I alternated so the catnip wasn’t just at the end.catnip pillow toy 4

catnip pillow toy 7Turn the raw edges under 1/4″ and top stitch closed.

catnip pillow toy 8It’s best if you sew them when your cat is not sleeping right behind the sewing machine.  The smell woke Mufasa and this is what happened!

catnip pillow toy 10Mufasa loves his new catnip pillow!catnip pillow toy 12        
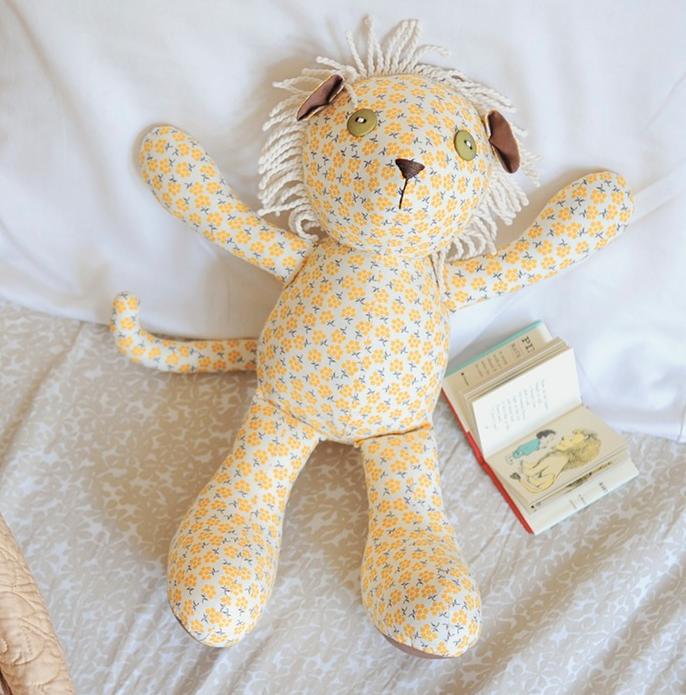
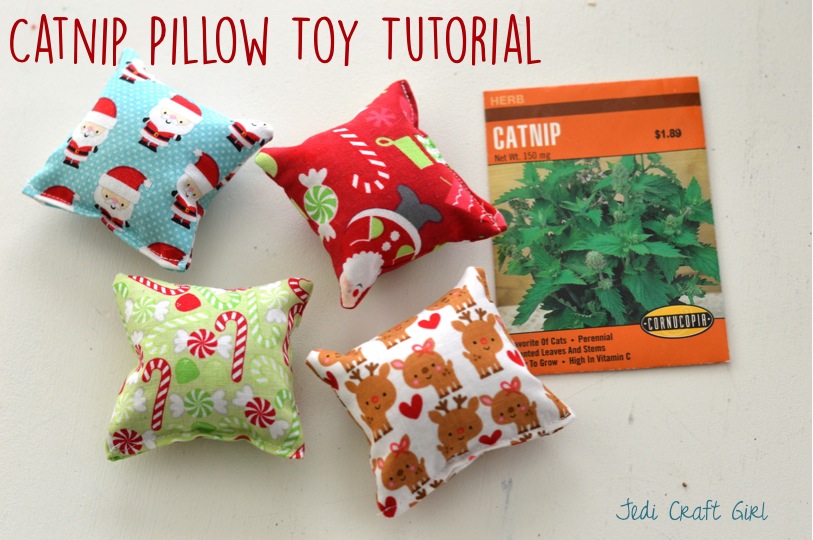
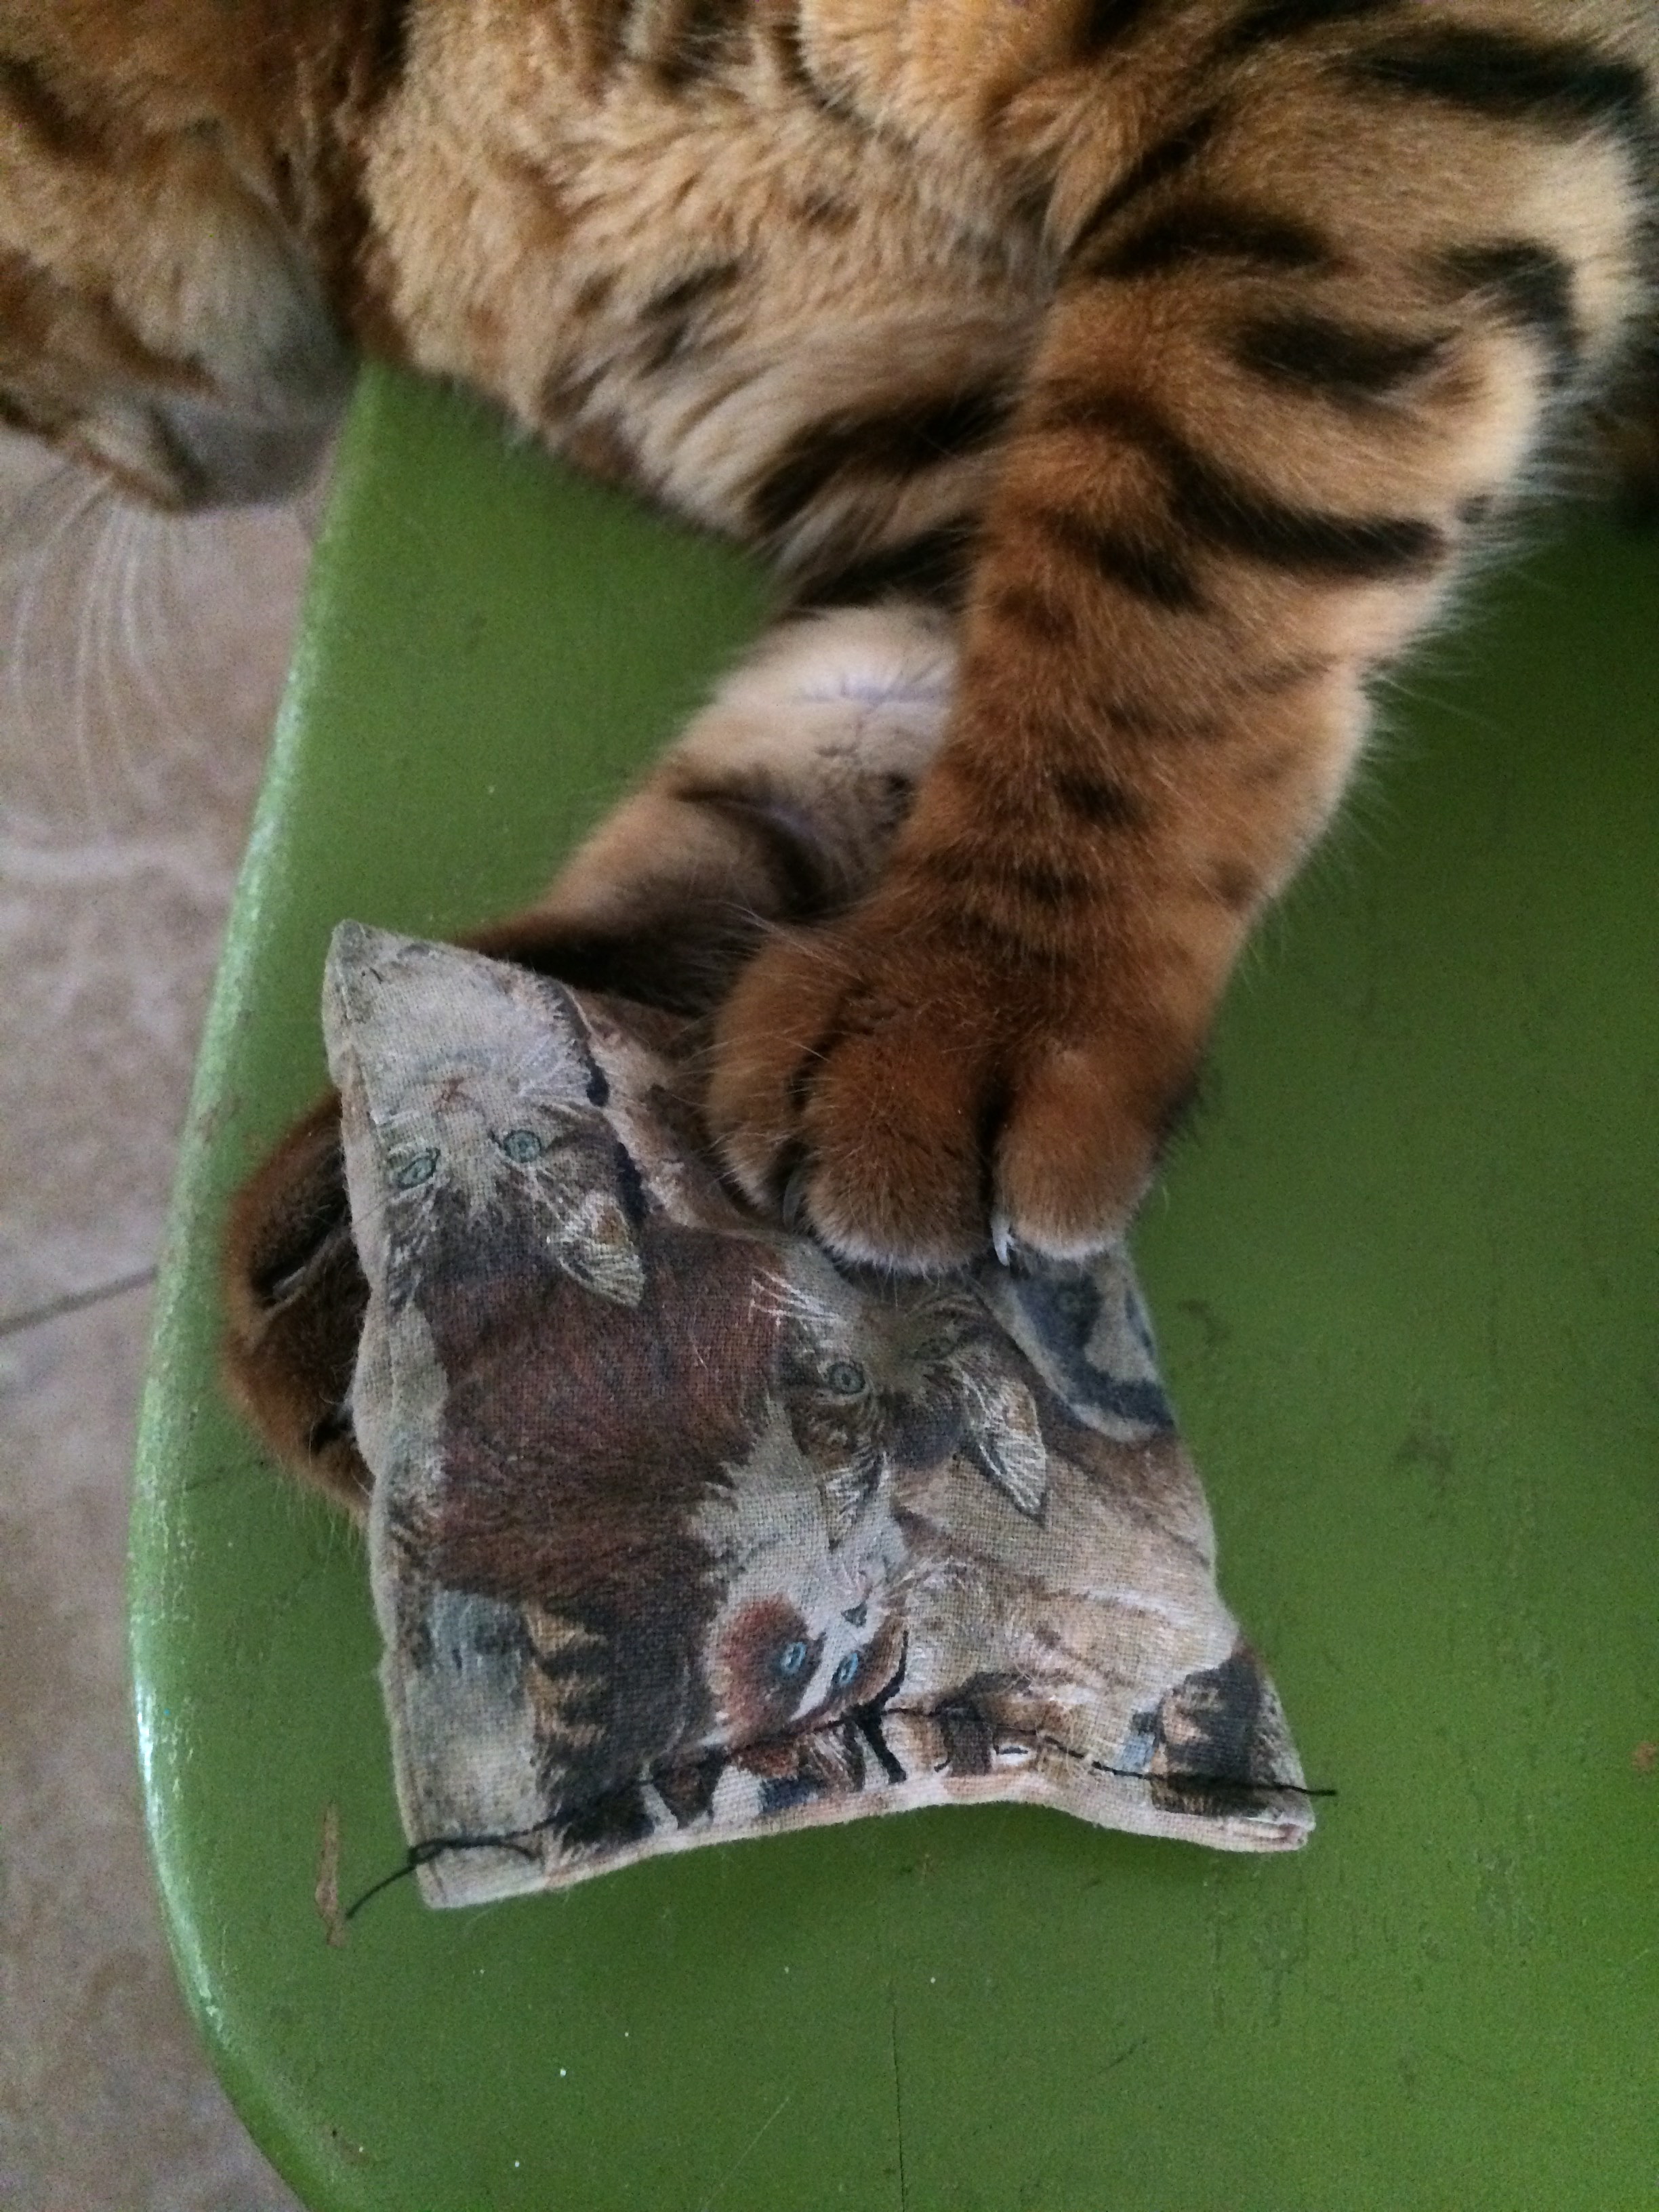
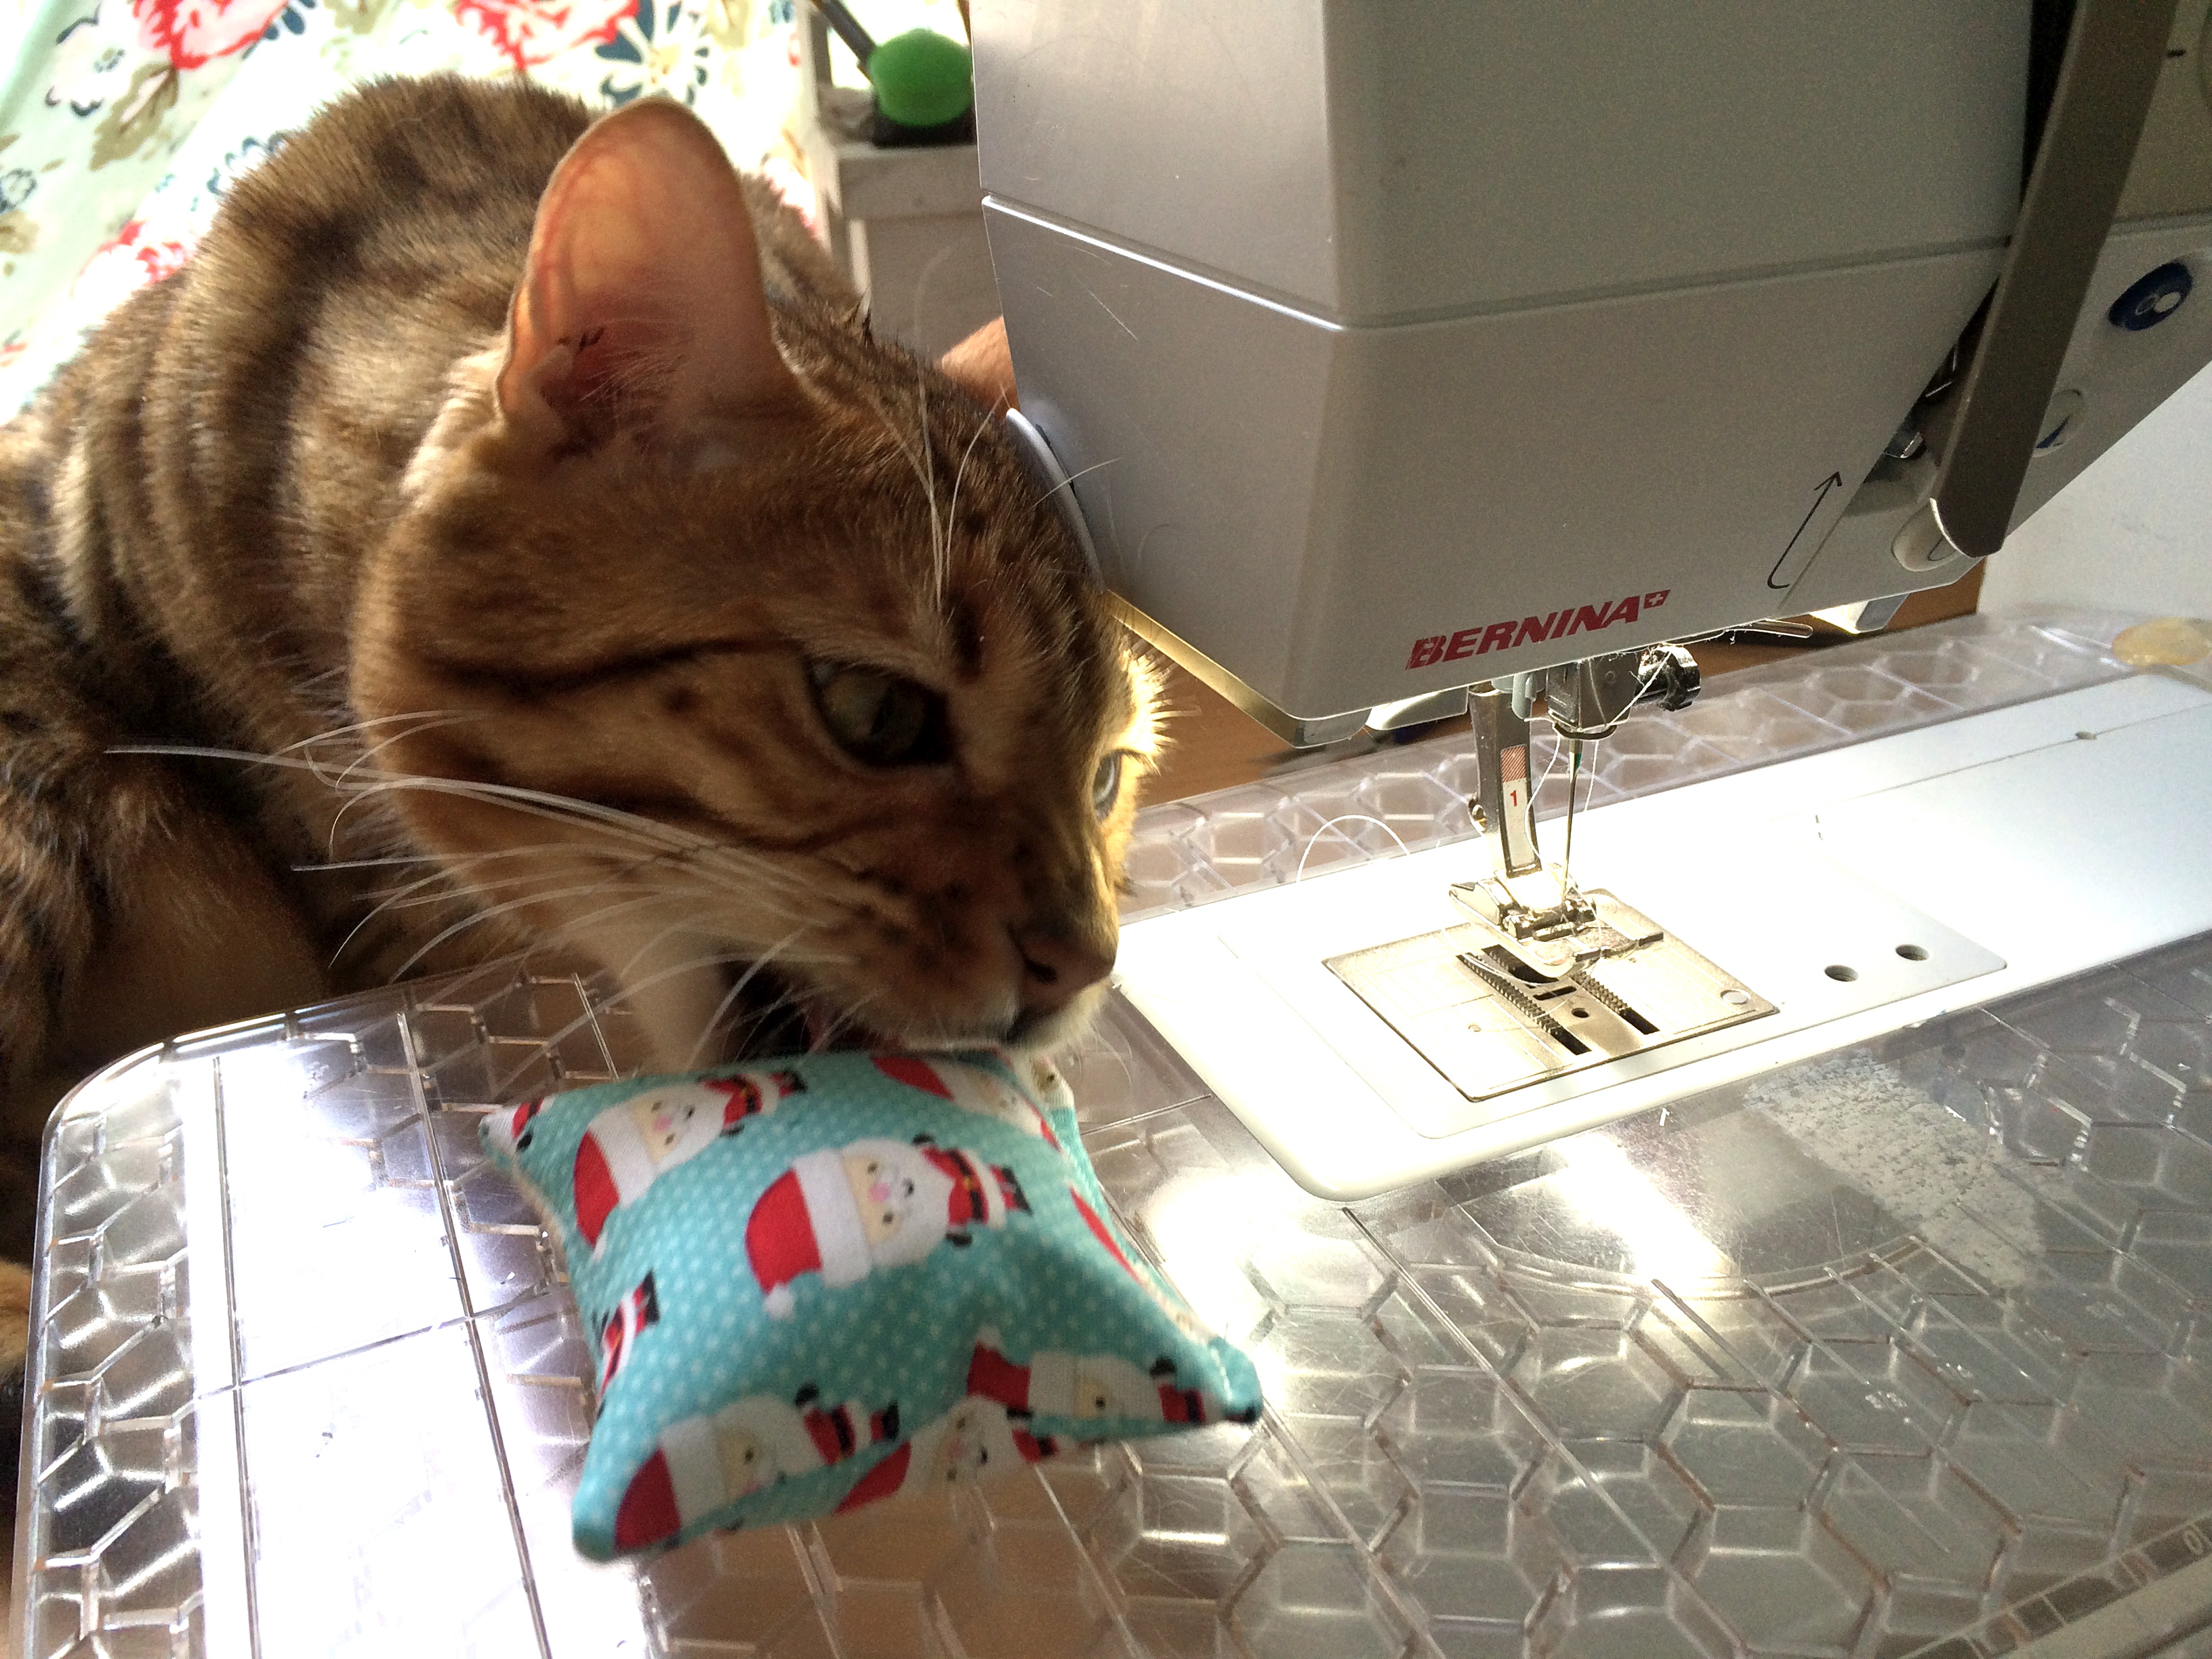
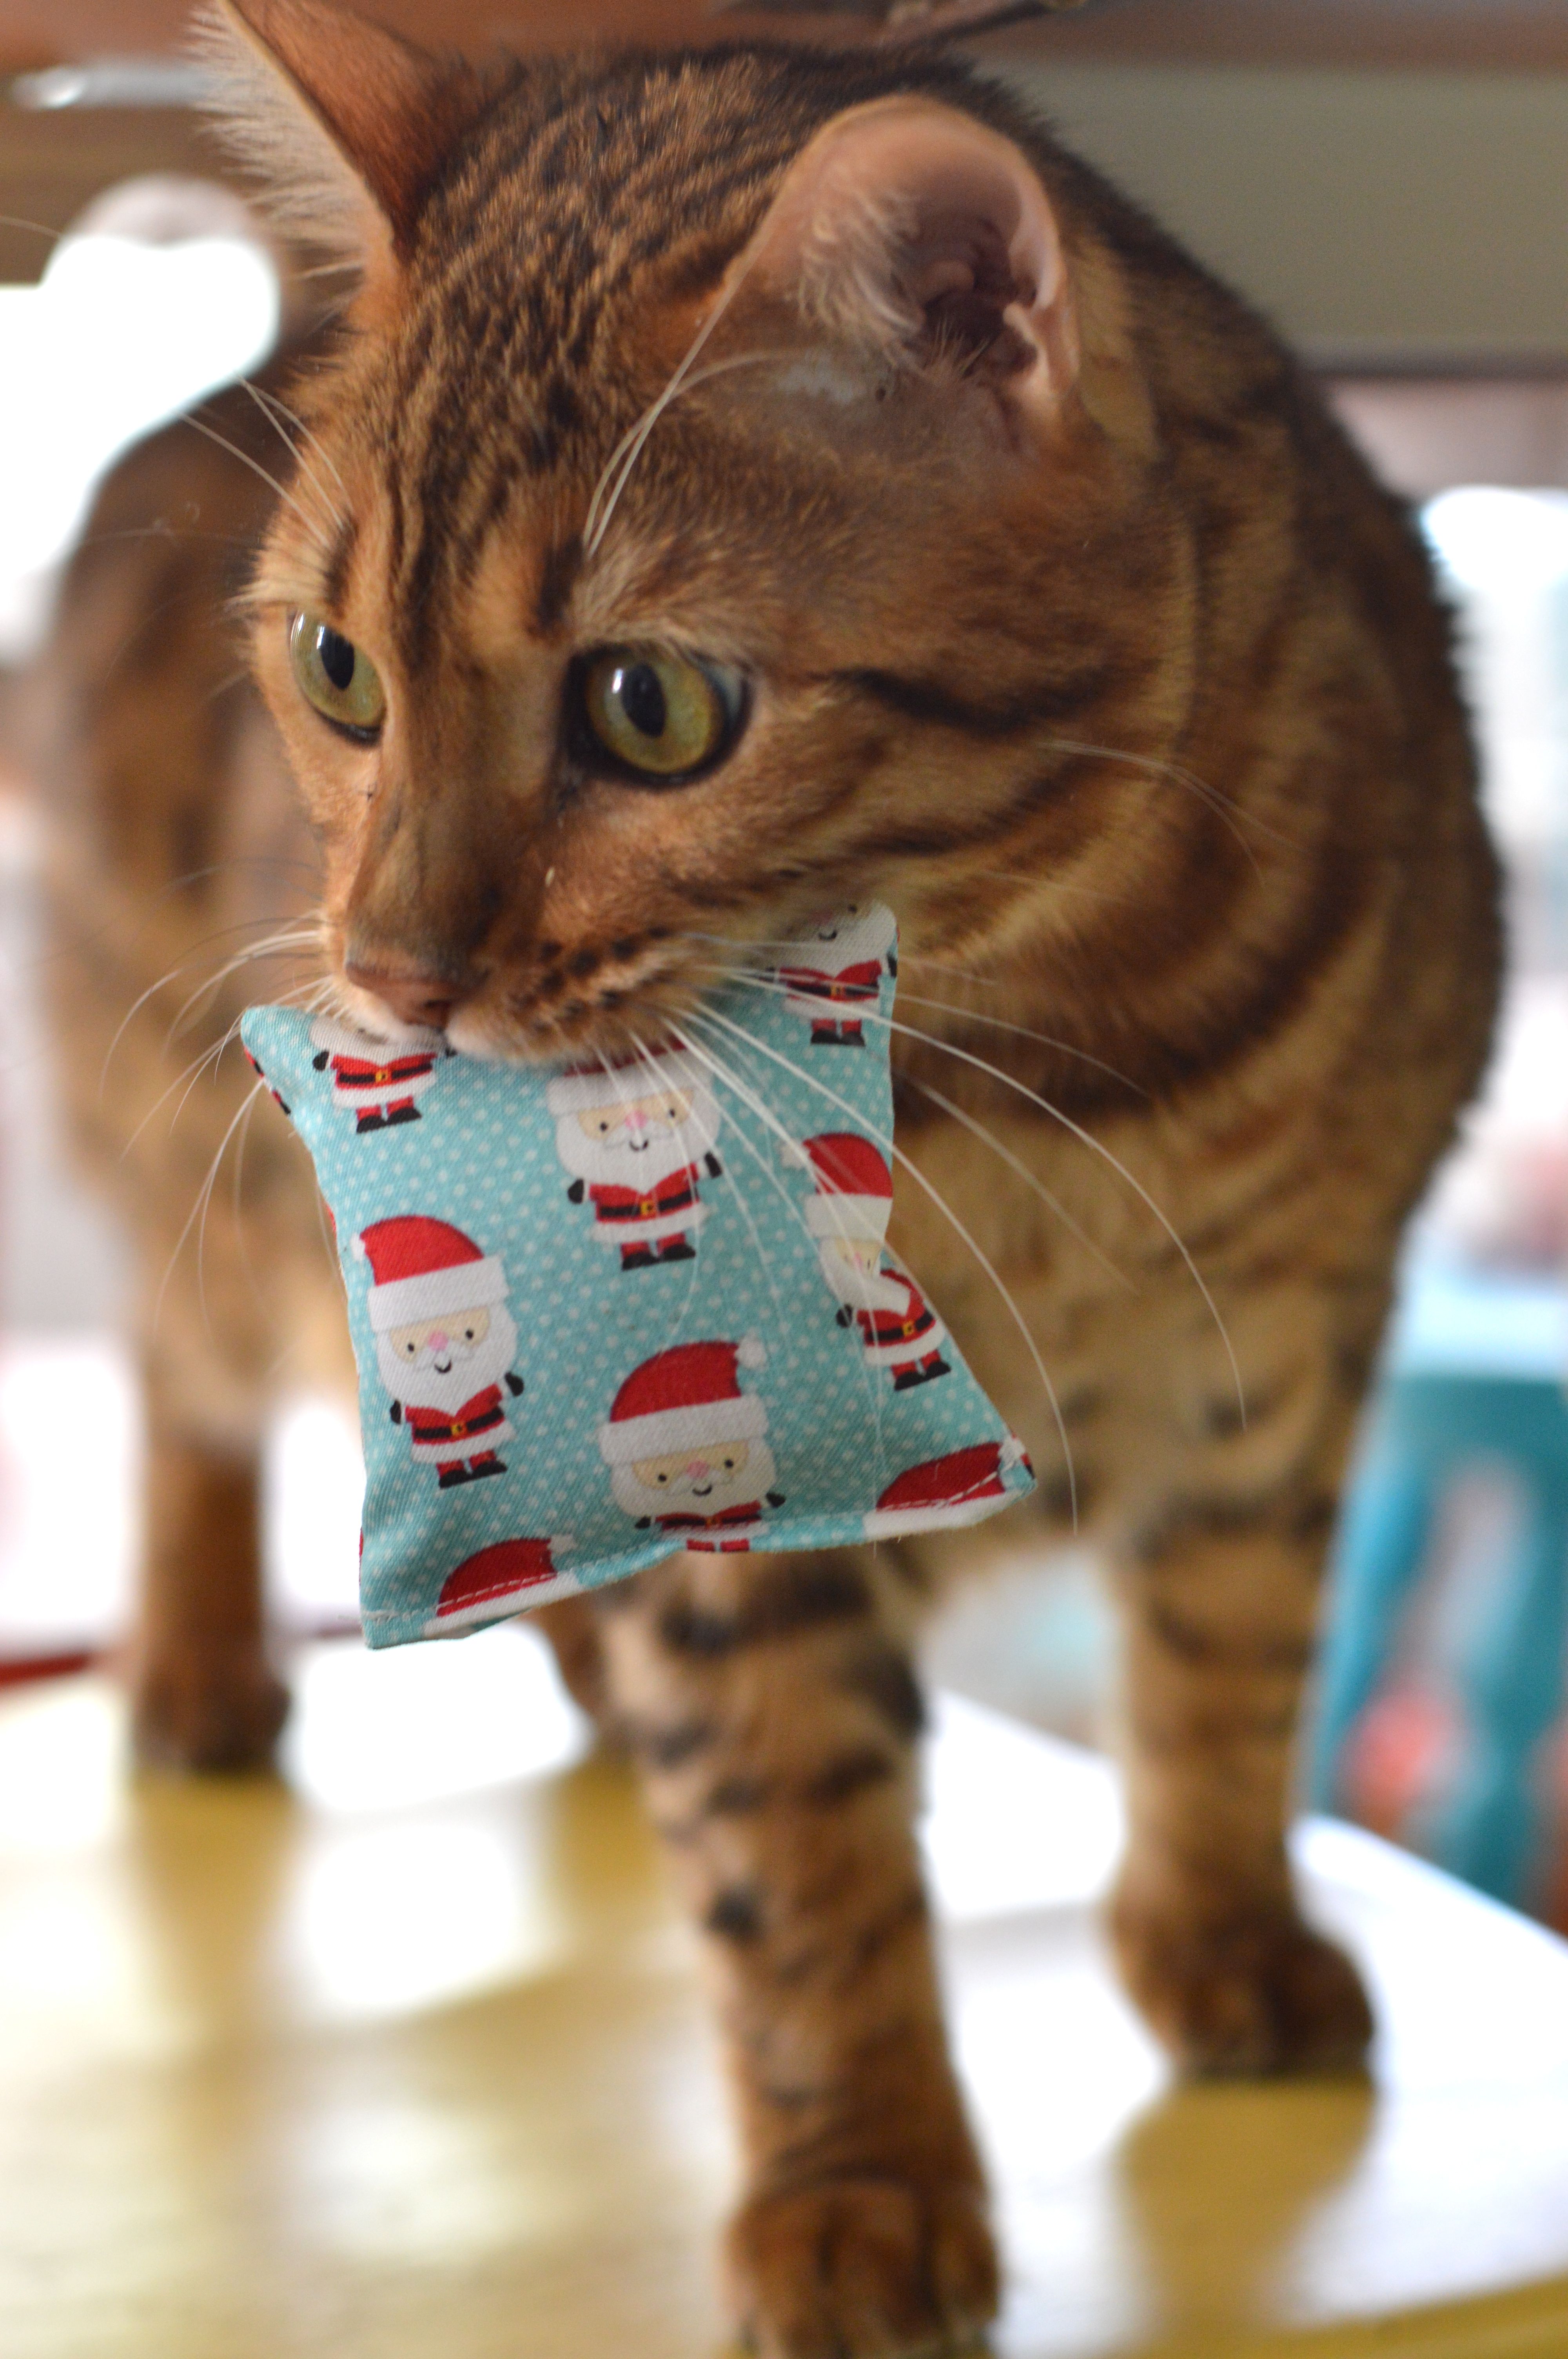
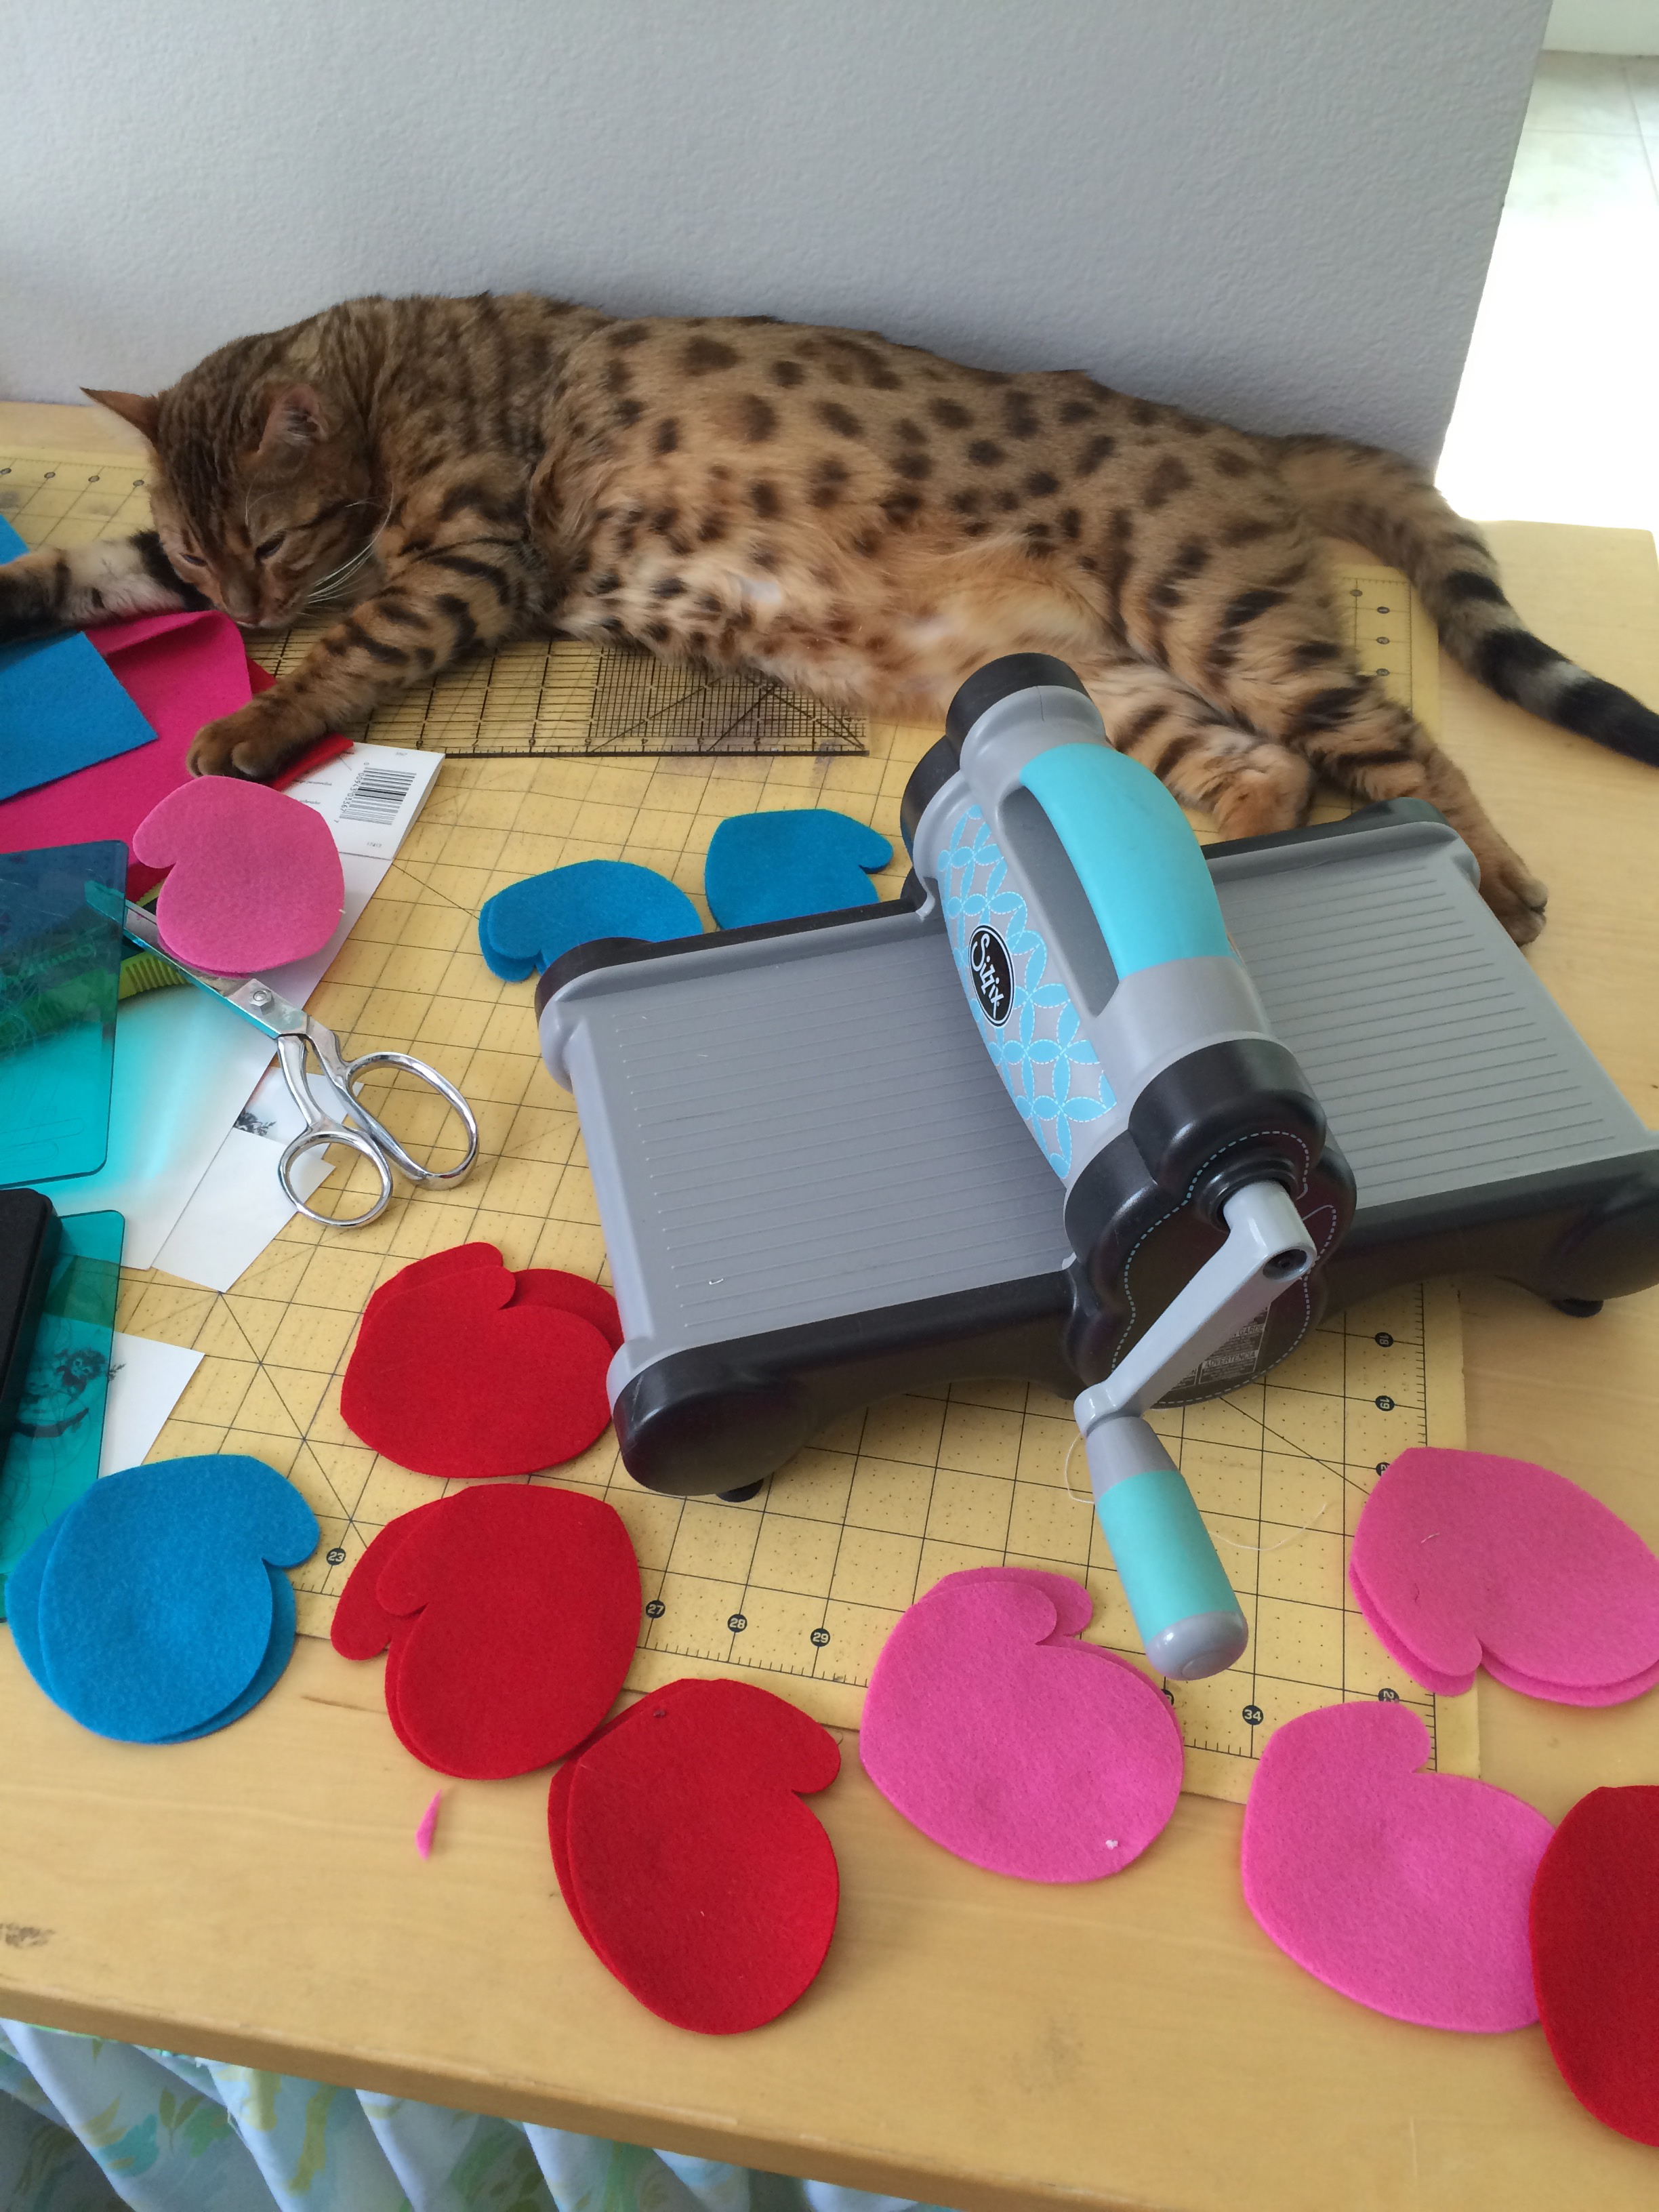
Don’t touch my pillow!

IMG_2531

12 Days of Meow-y Christmas {Day 3}

Today’s Kitty inspired Christmas project comes from Tina @emilyannskloset and One Little Pooh Blog.  She made this Christmas Cat and Quilt block and is giving a custom block away on Instagram today!

IMG_2465

The kitty quilt is part of The Snapshots Quilt Along and is available as a free download by clicking HERE.  How cute would this be as a Christmas pillow or a mini quilt!!!Snapshots+Banner

12 Days of Meow-y Christmas {Day 2}

meowychristmasBev from Flamingo Toes is hosting Day 2 of Meow-y Christmas!  She has the instructions for making this adorable embroidery hoop art.  It’s the purrrrrfect gift to the cat lover in your life, or for yourself 🙂  Hop on over to her blog for this cute project and tons of other inspiring gift ideas!  You can also follow her on Instagram @flamingotoes.All-You-Need-is-Love-Cat-Embroidery-and-Free-Pattern

12 Days of Meow-y Christmas {Day 1}

vintage kitty sizzix ornament

meowychristmasHi, my name is Amanda and I am a crazy cat lady – there I said it!!  There is something about Christmas and cats that it so much fun!  Whether the cat is climbing the tree and batting ornaments around the house, clawing at the wrapping paper on the gifts, or drinking the milk for Santa, Christmas and Cats were made to go together!  Each day December 1-12 we will have a Christmas Cat themed project for you to make!  I say “we” because I have teamed up with some talented ladies for some feline fun!  Tina from @emilyannskloset, Melissa from the Polka Dot Chair, Bev from Flamingo Toes, Tasha  from a Little Sweetness, Kerri from Sew Dearly Loved, and Lucy from Lucy Blaire Handmade will be joining in the festivities!

vintage kitty ornament sizzix

vintage cat ornament 12Today I am showing you how to make these vintage inspired cat ornaments.  I LOVE vintage prints especially if they involve cats.  Let’s get started!

Supplies

Sizzix Mitten Die

Small Ric Rac

White fabric

Tinsel

Felt, 2 colors

Heat n Bond EZ Print Transfer Sheets

Spray n Bond

Ribbon

Bakers Twine

vintage cat ornament 5Begin by printing the cat images (click here to download) in REVERSE onto the Transfer Sheets.

vintage cat ornament

Roughly cut out the image and place it face down onto white cotton fabric.

vintage cat ornament 6Place the pressing sheet over the image and press with a hot, dry iron for 20 seconds.  (Read the instructions from the manufacturer just to be safe).  Let cool completely and then peel off the backing paper.  Cut out with scissors.

vintage cat ornament 11Mufasa my Kitty Helper was sleeping on the job!!!  For the mittens, die cut the felt using the Sizzix mitten die.

Screen Shot 2015-11-30 at 9.02.43 PM

You can die cut up to 4 at a time.   You will need (2) mittens and (2) mitten tops per ornament.

vintage cat ornament 2Using Spray n Bond, spray the back of the kitty image and position on the top of one of the mittens.  Spray the back of the small ric rac also, and position it around the kitty image.  Start and stop the Ric Rac at the top of the image.  The Spray n Bond keeps all the pieces firmly set so they don’t move during sewing.  Sew on top of the ric rac.

vintage cat ornament 14

vintage cat ornament 3Using the basting spray, spray the wrong side of one of the mittens and stick the 2 mittens together.  Choose a decorative stitch and sew around the mitten.  Start and stop at the top.

vintage cat ornament 15Spray the (2) white mitten tops with basting spray and position them on opposite sides of the mitten.  Top stitch around the mitten top in white thread.  Cut a piece of narrow tinsel by the yard and zig zag it along the mitten cuff.

vintage cat ornament 9Thread a piece of baking twine on a needle and add a loop at the top of the mitten.  Hot glue a little bow at the top of the ric rac.vintage cat ornament 4

Hang on your vintage tree!!!   vintage cat ornament 8       These are so fun and easy to make!  They would be purrrrfect tied on top of a gift, tied on a plate of cookies, or simply tucked into a Christmas card 🙂vintage cat ornamentvintage kitty ornament sizzix 3

vintage kitty ornament sizzix 2