Come Sail Away With Me {pattern}

IMG_7534
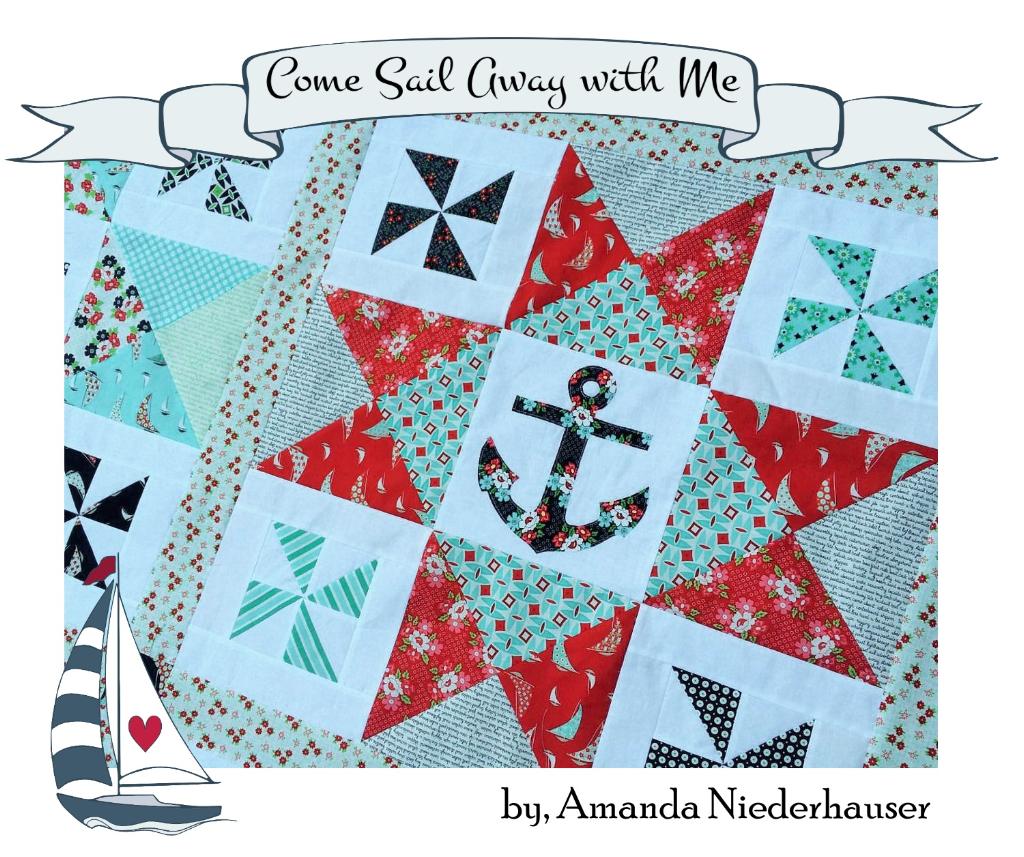
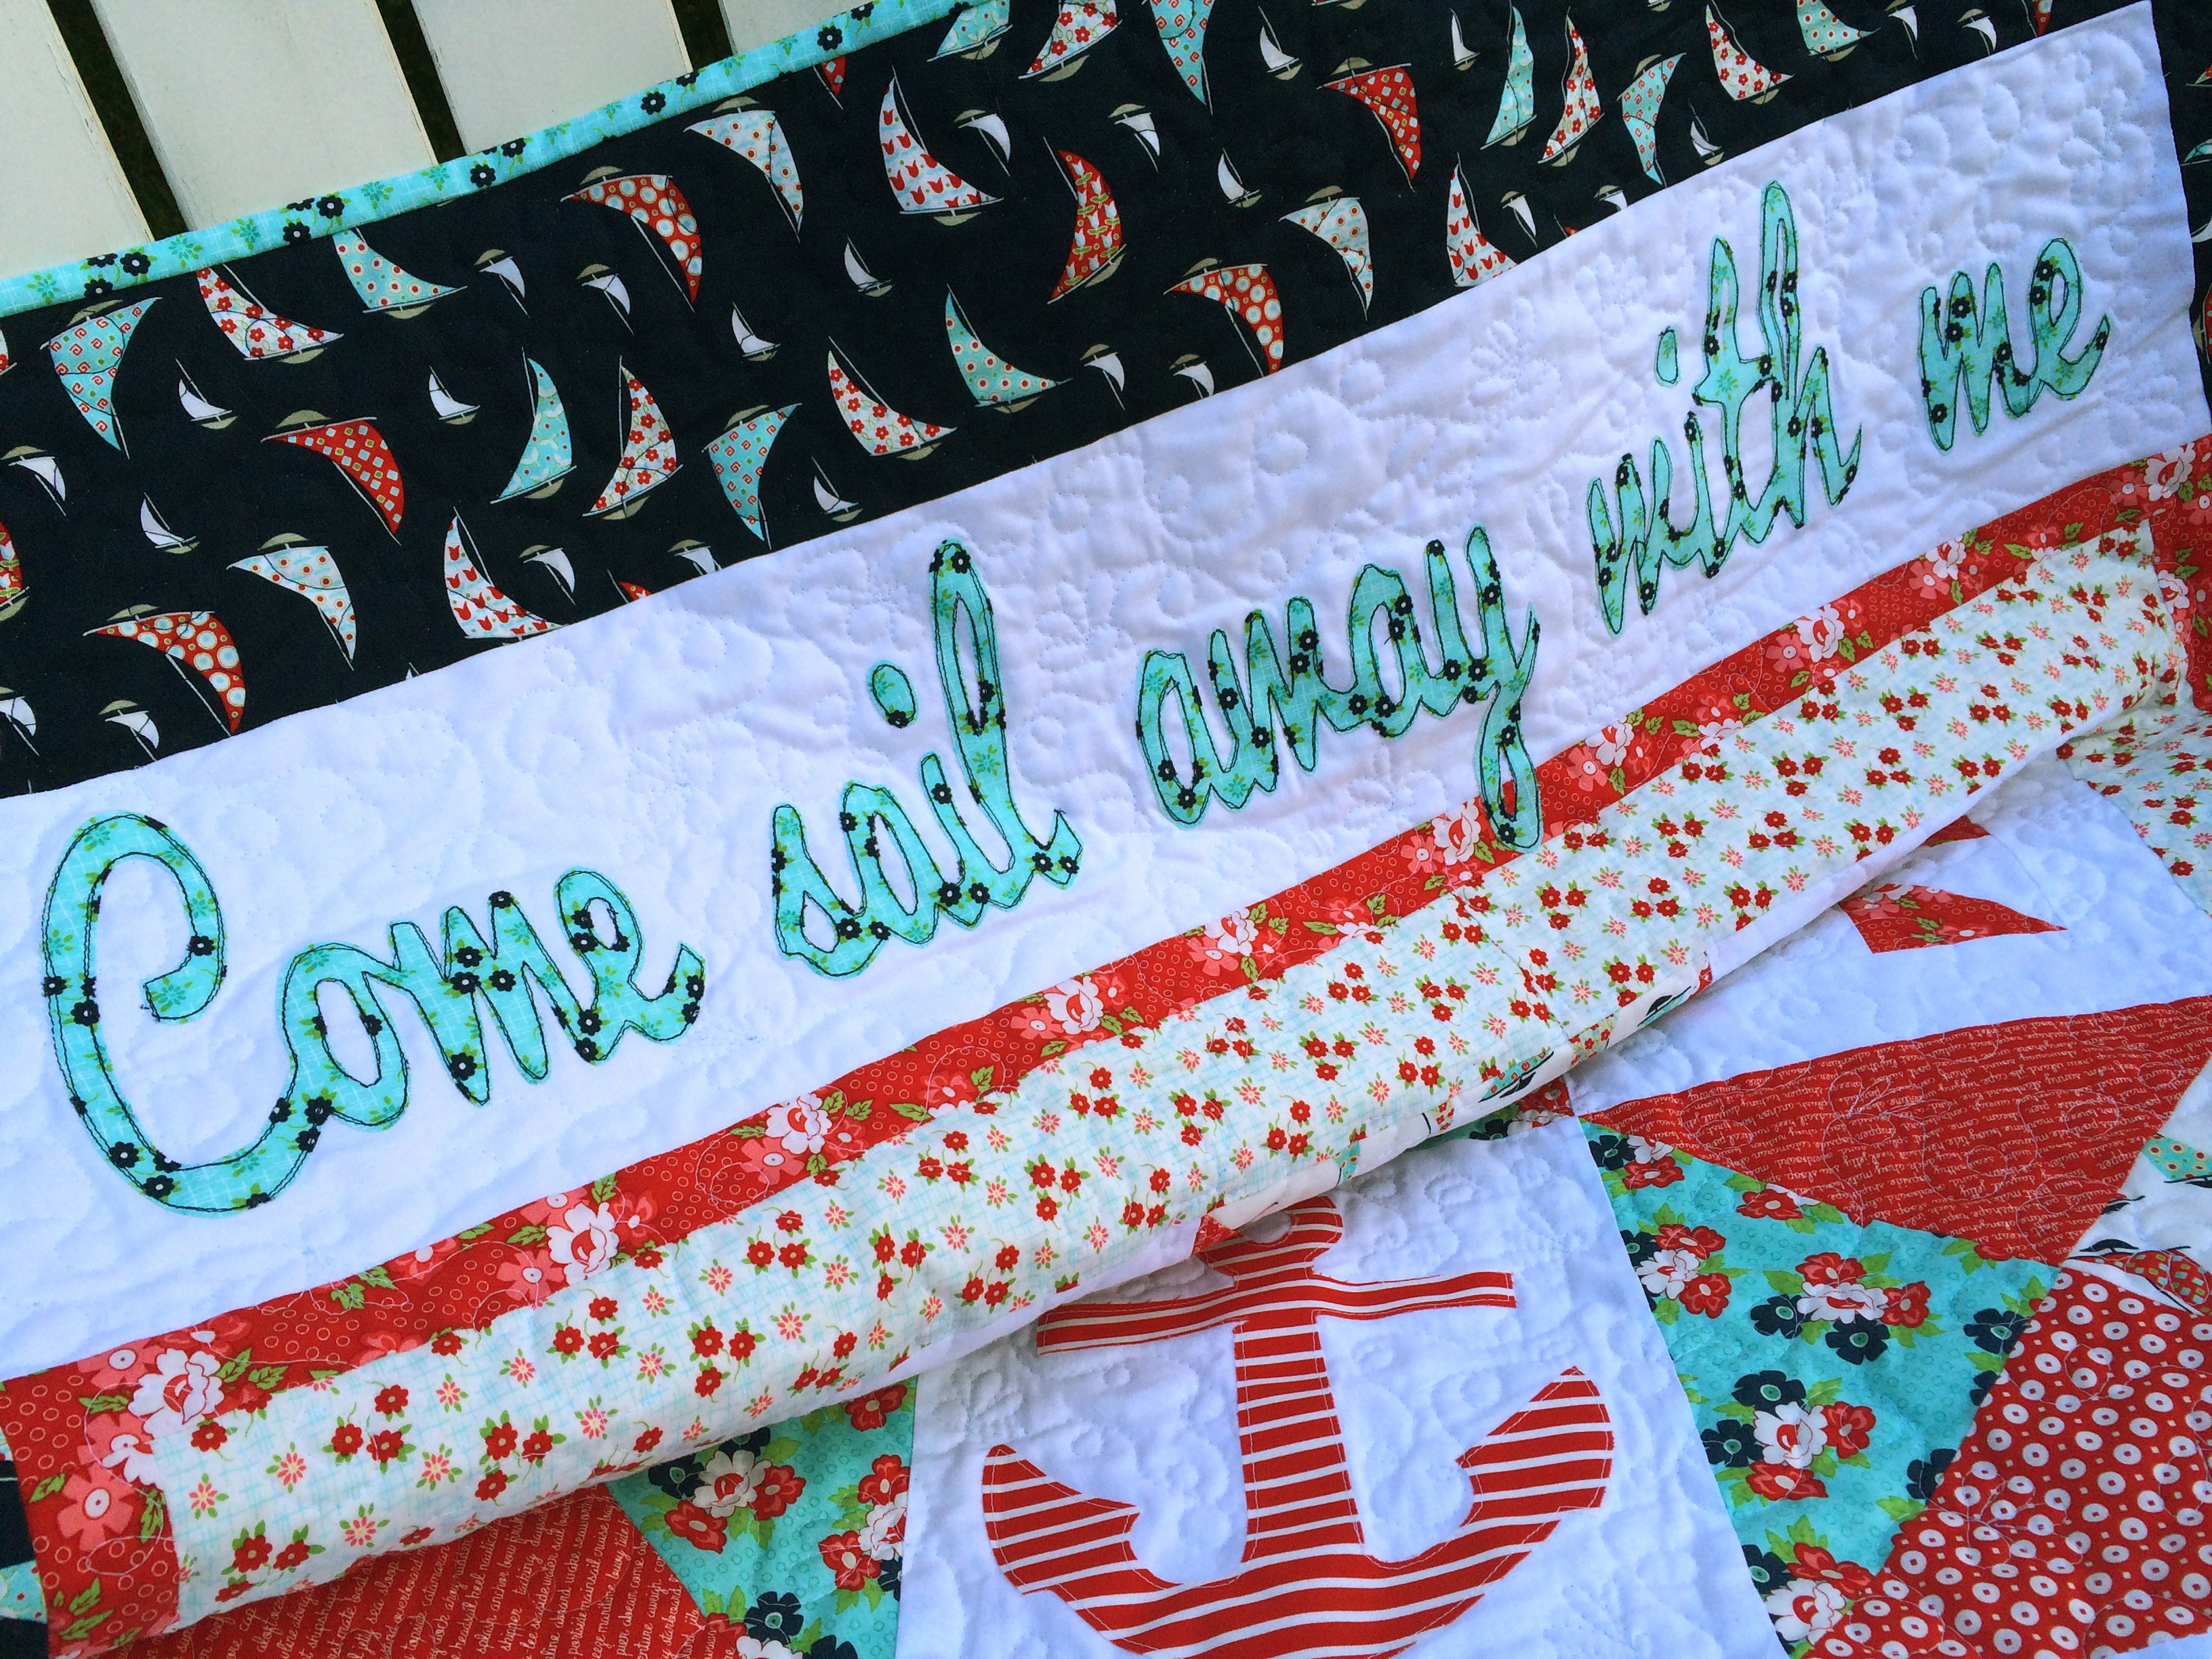
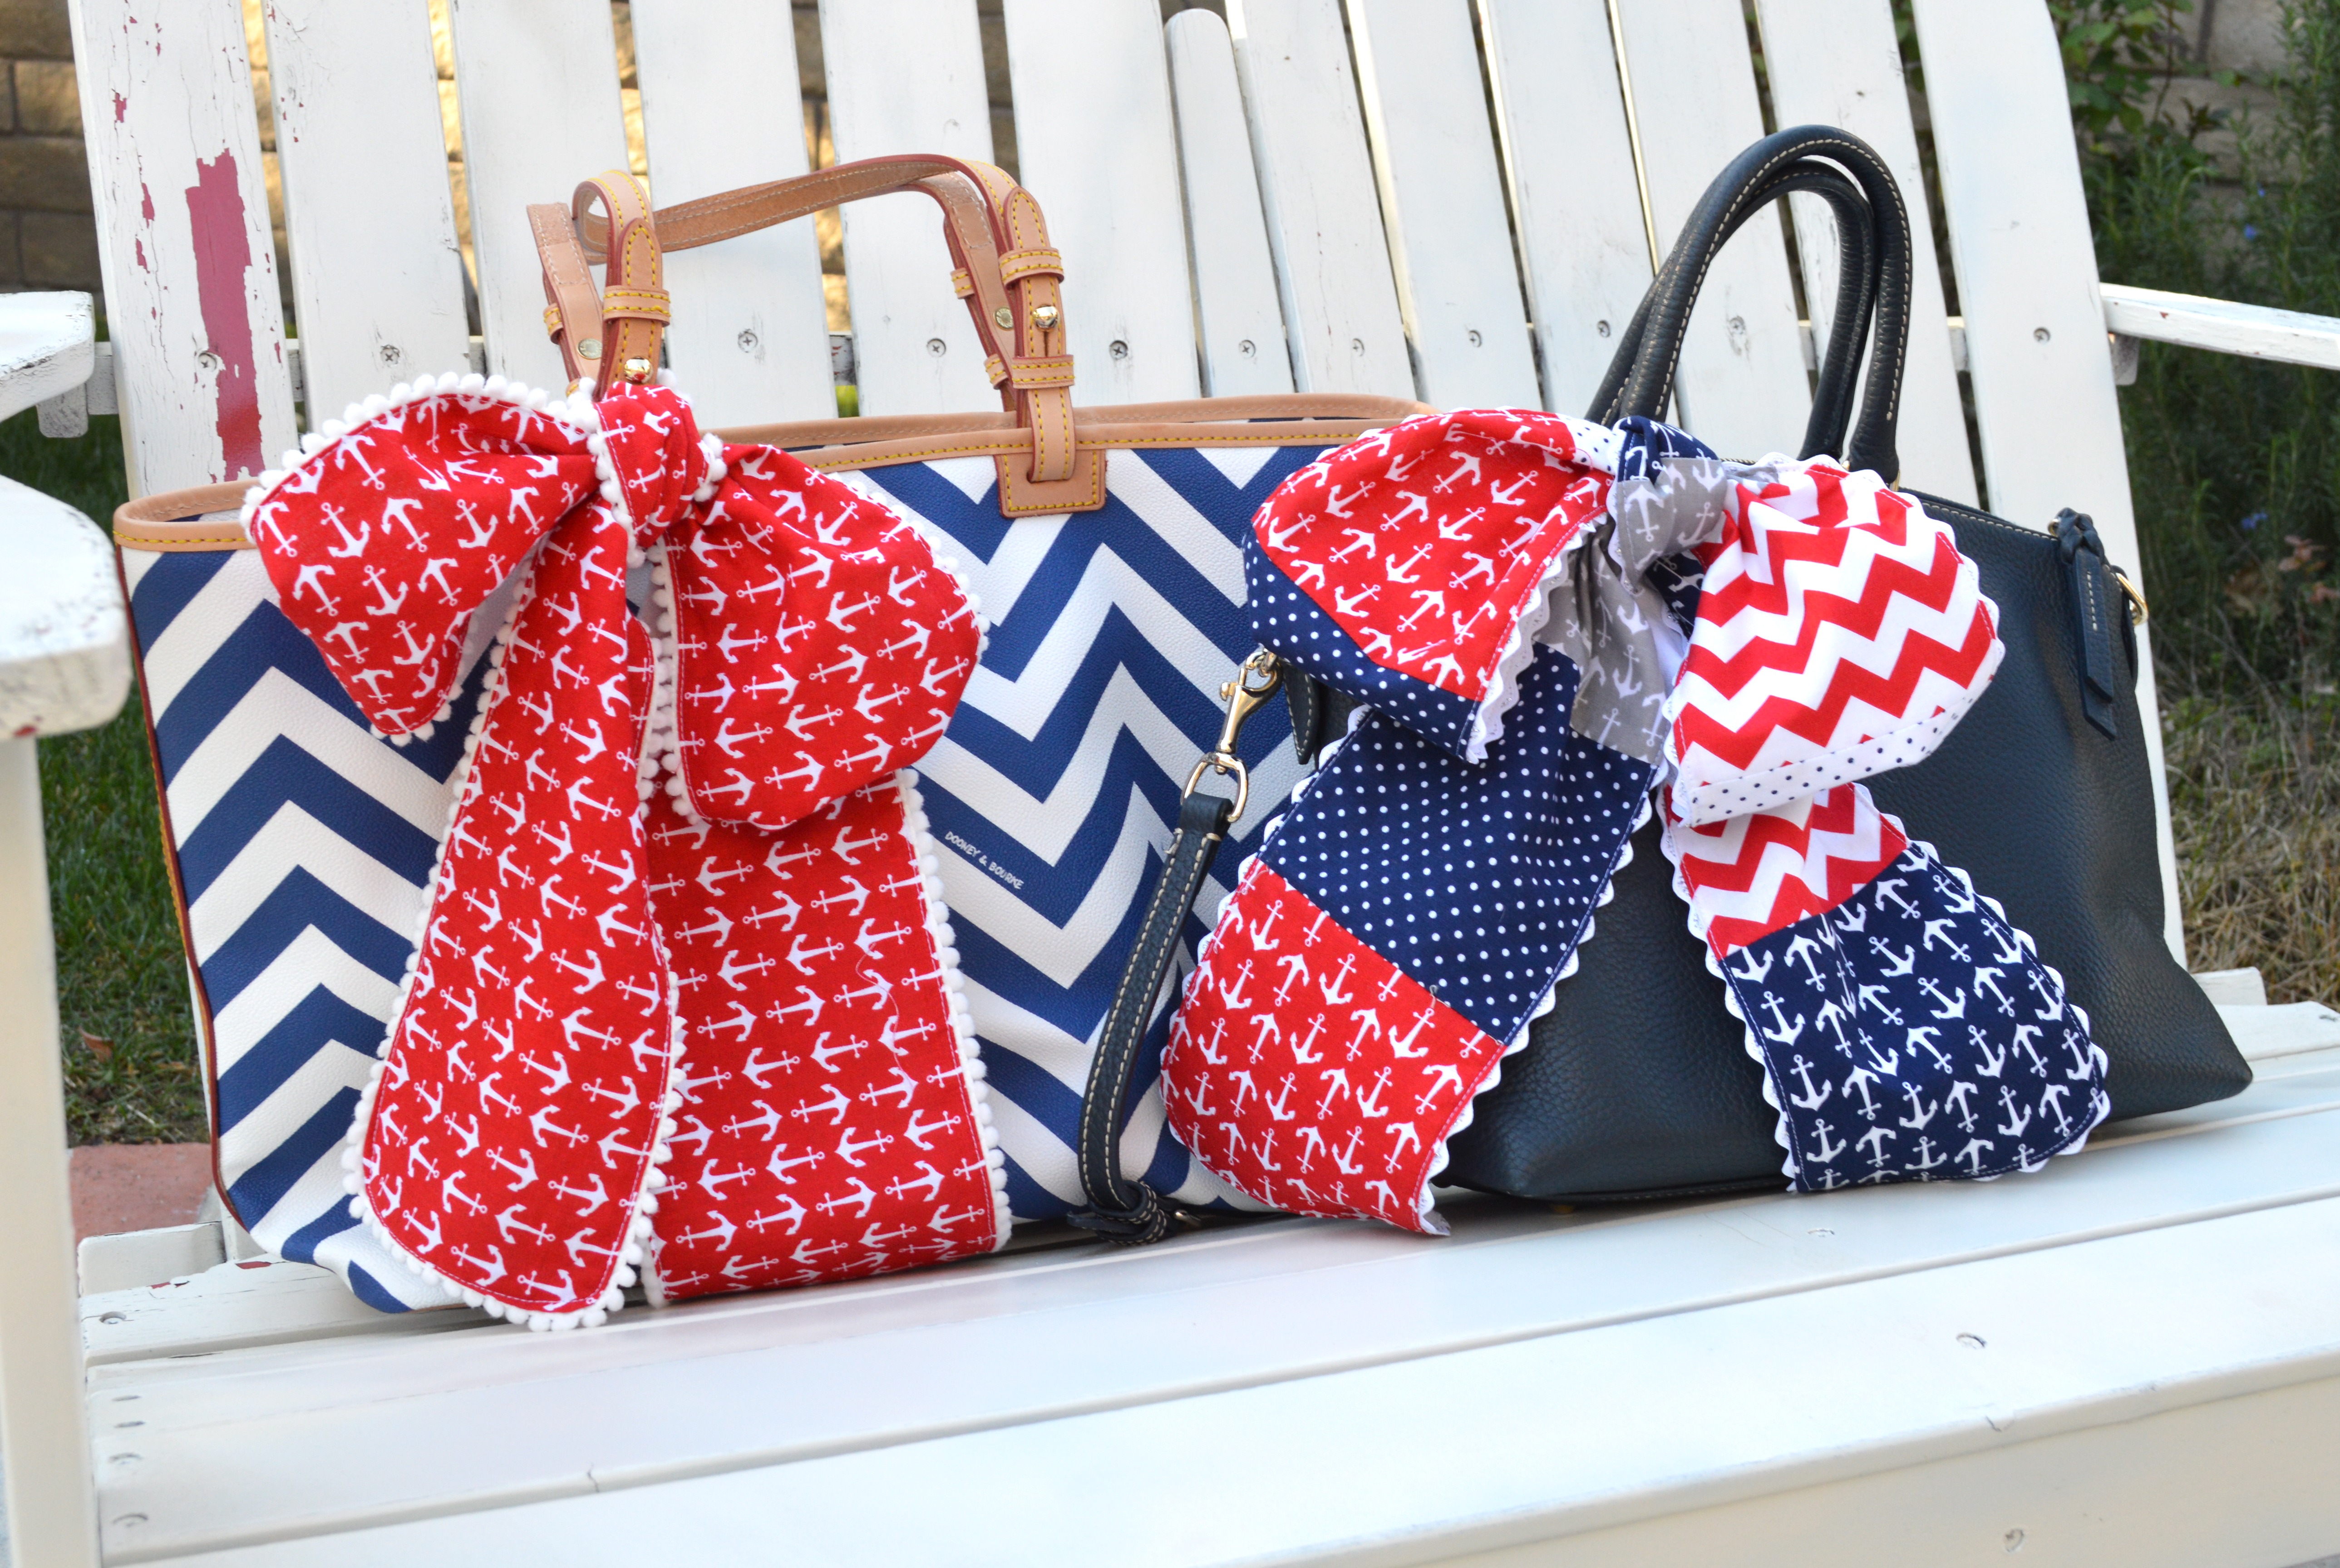
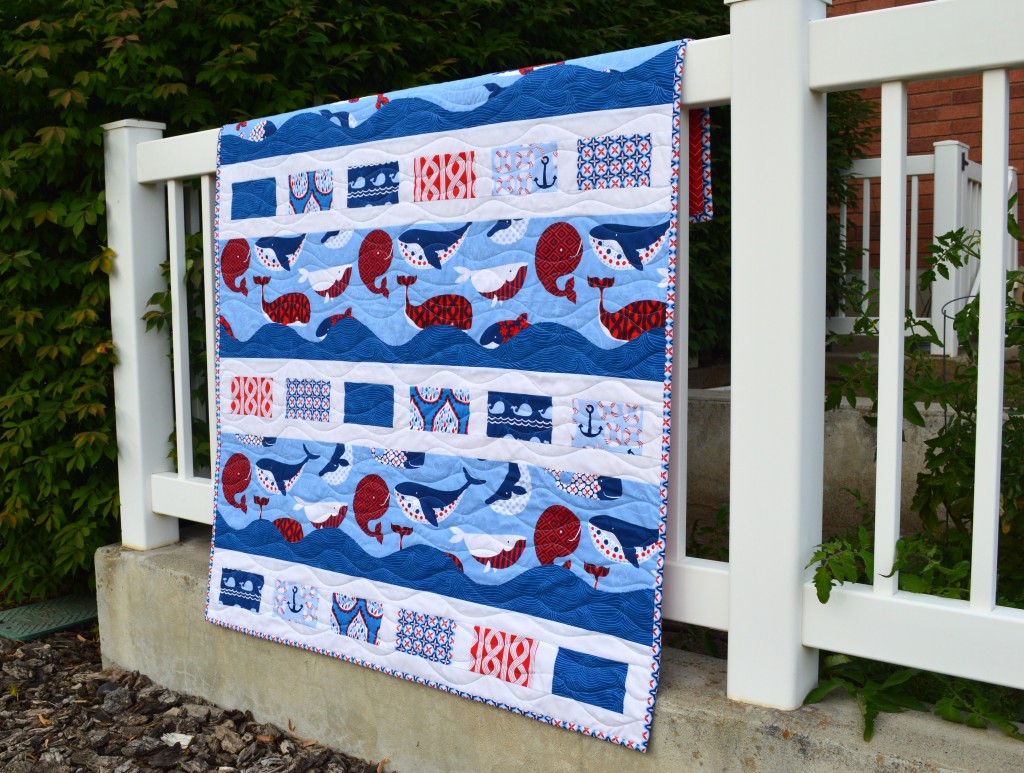
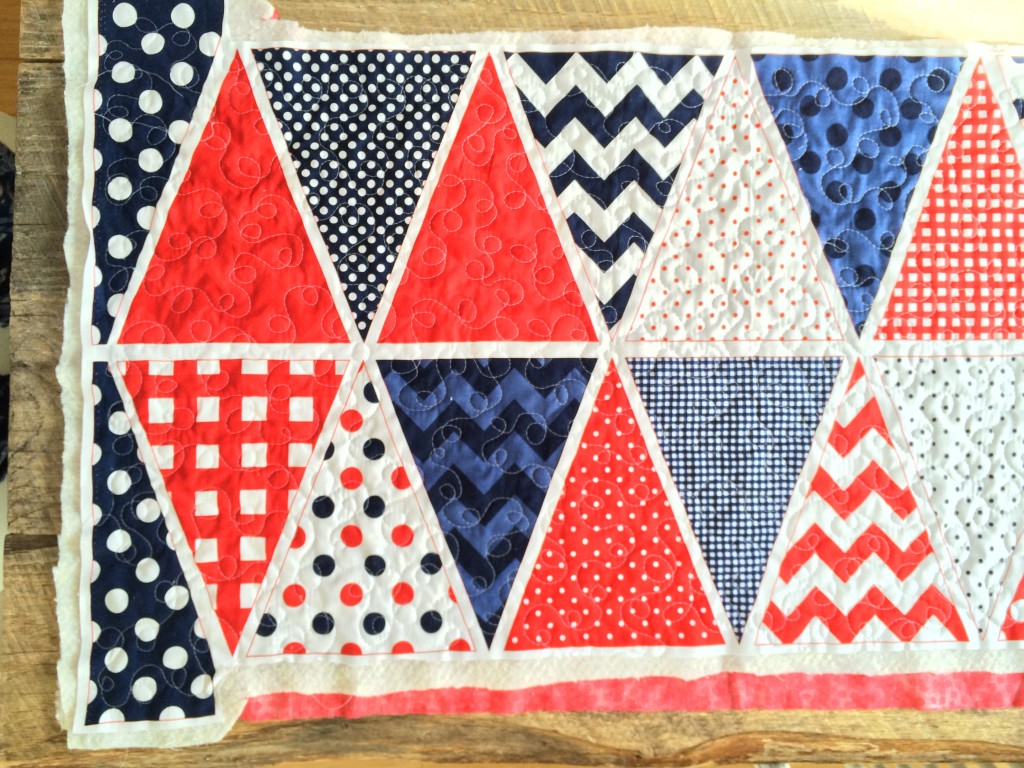
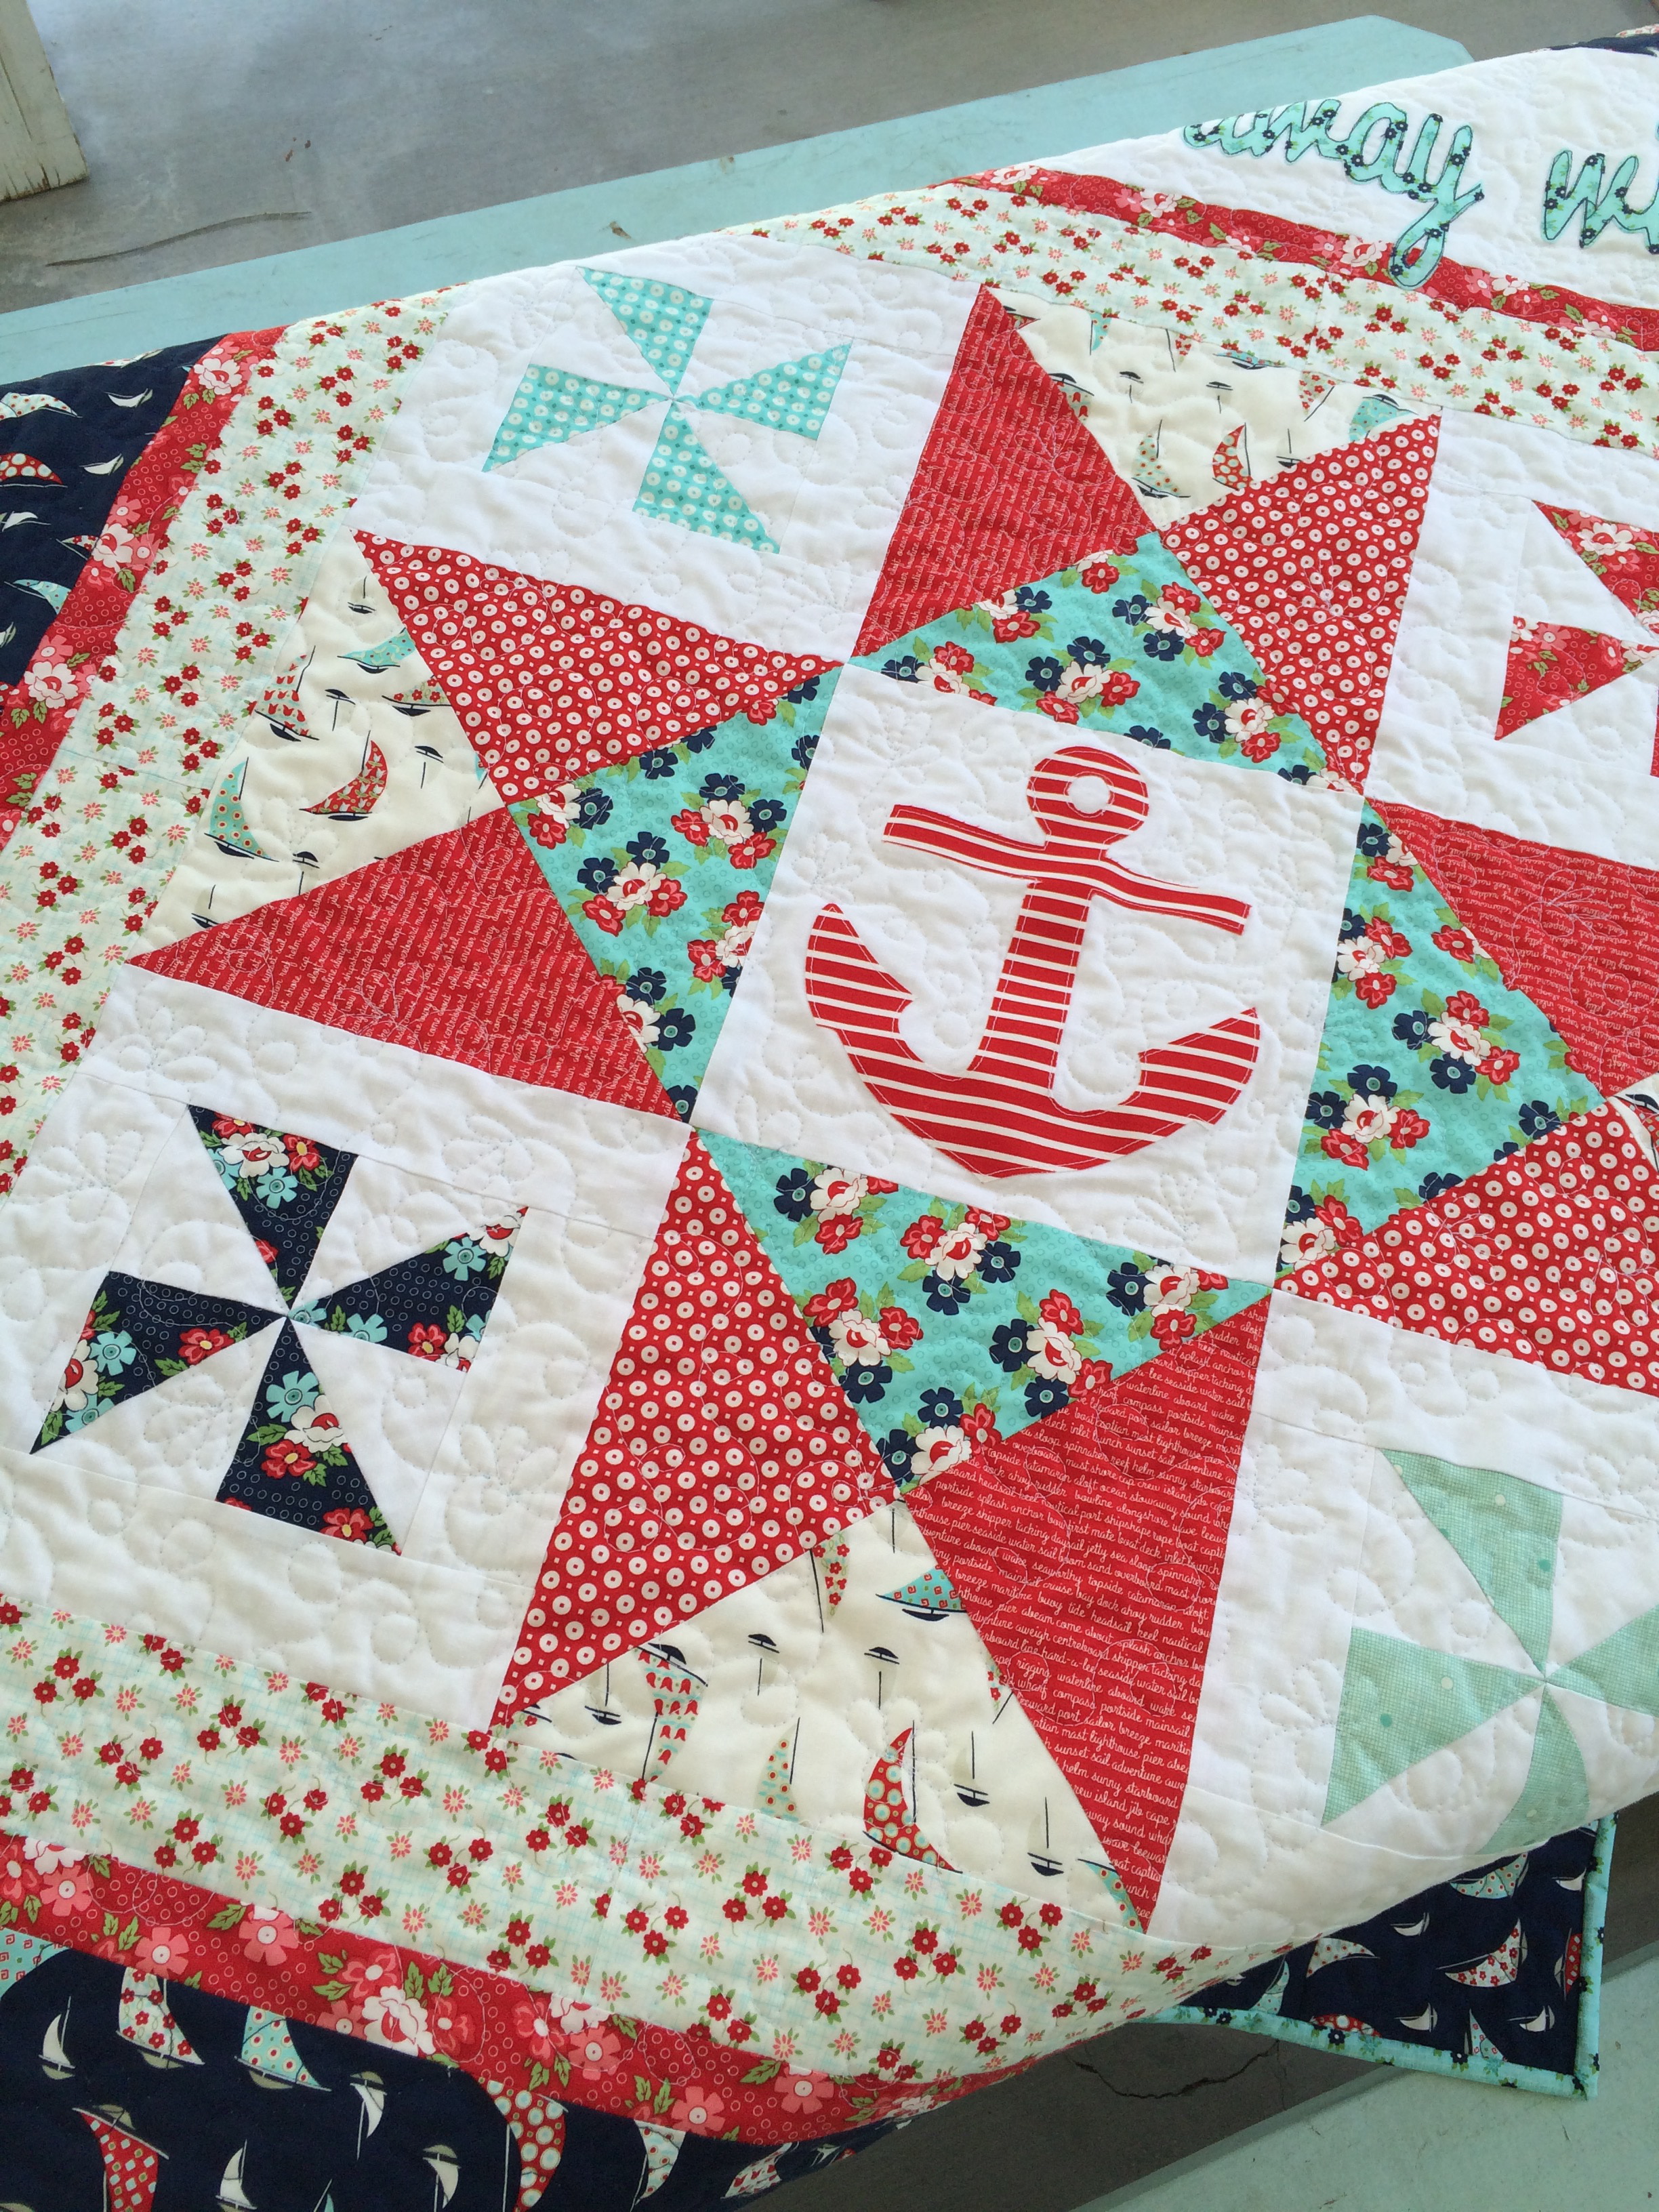
I am sooooo excited to announce the release of my new pattern!  I had so much fun creating it.  I was inspired by all the wonderful prints in the Day Sail fabric line by Moda.  The fabrics are AMAZING!  I didn’t want to cut it up into tiny pieces, I wanted the fabrics to shine!  I feel like they do in this quilt.  I love all things nautical and I NEEDED a nautical quilt!  So meet Come Sail Away With Me!!

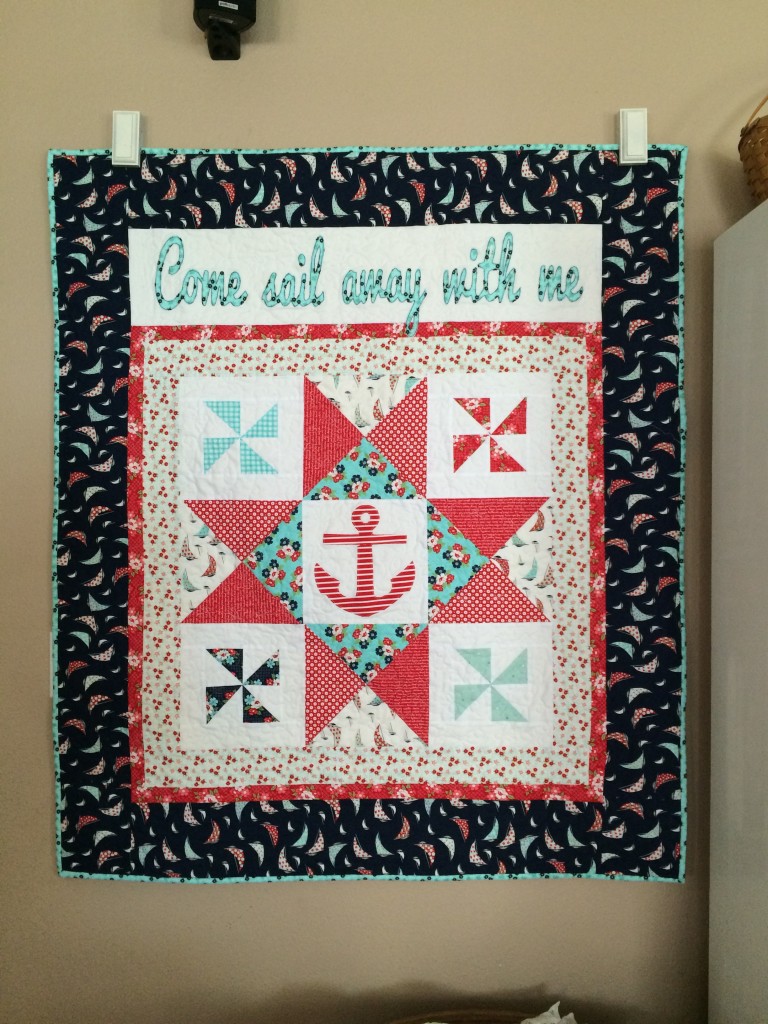
This pattern also includes a bonus wall quilt pattern.  The pattern is available to purchase HERE.

day sail nautical quilt
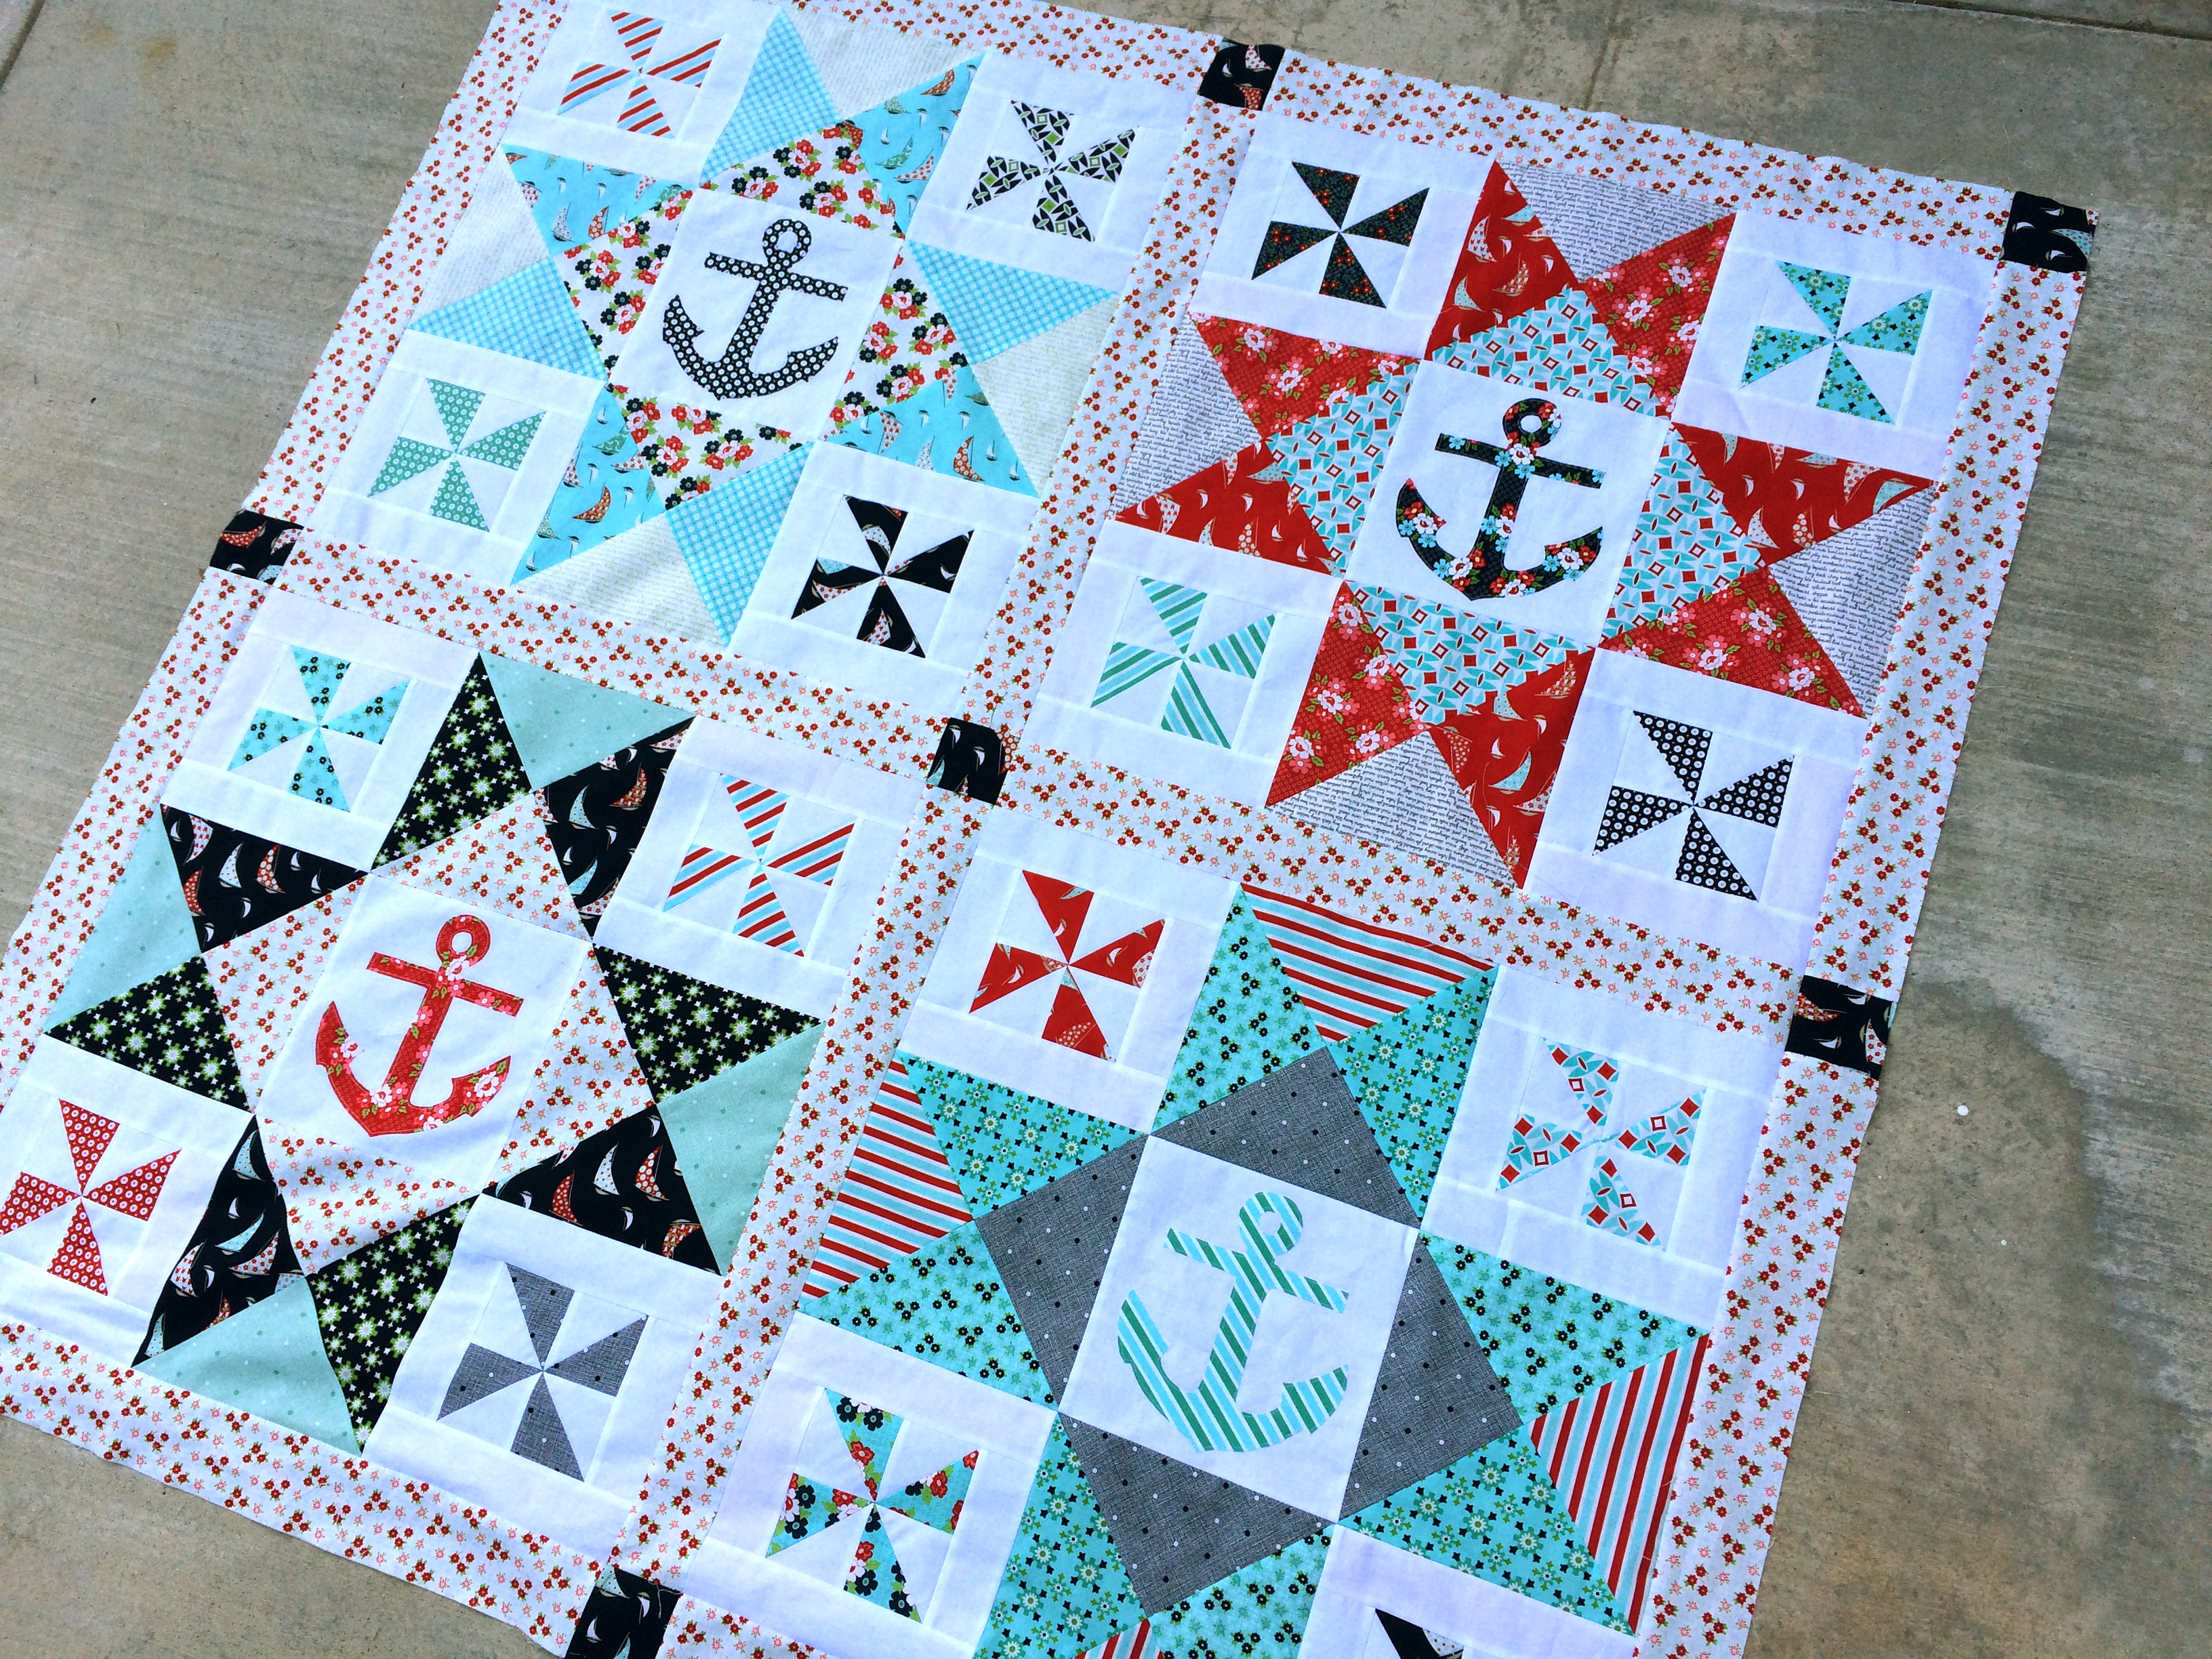
The large quilt measures 59″ square.  The perfect size for a picnic, day at the beach, or to take on your sail boat…..heehee I wish I had a sail boat!  day sail nautical quilt

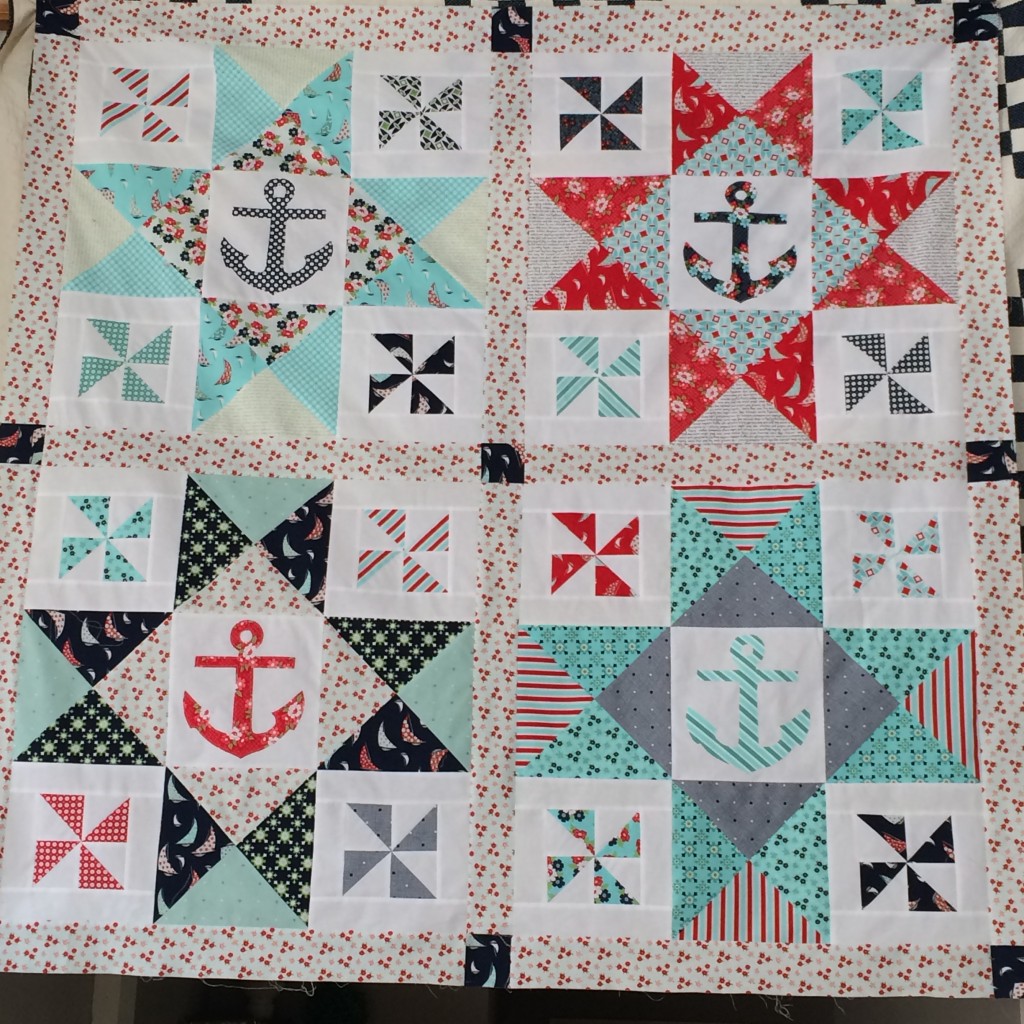
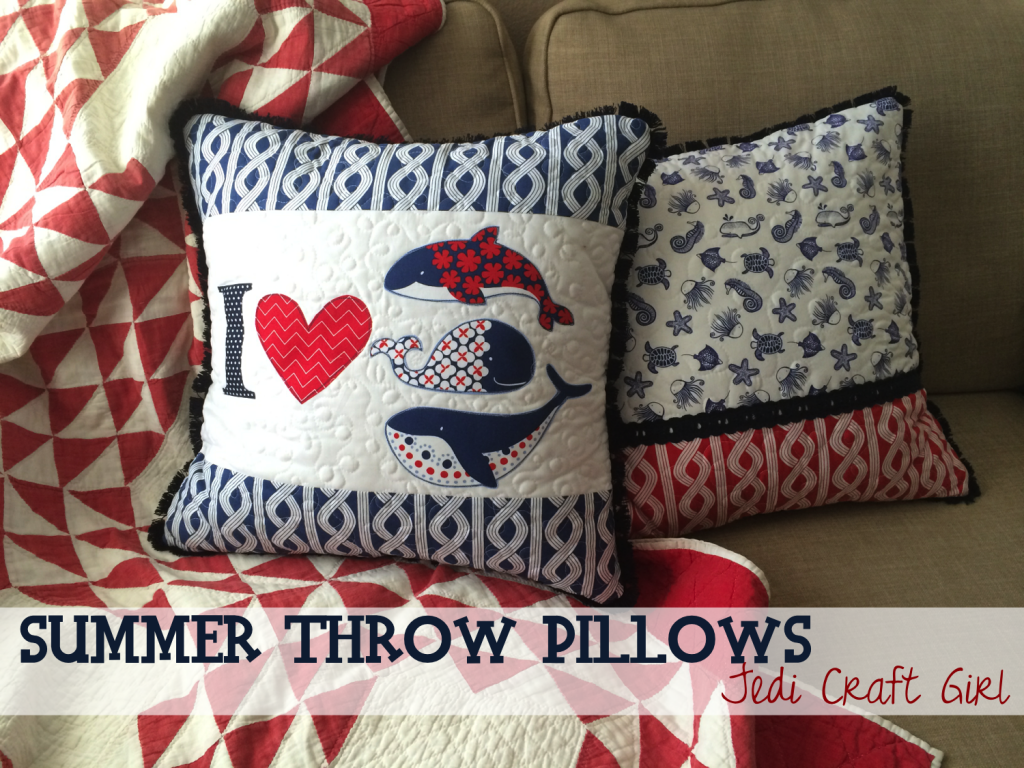
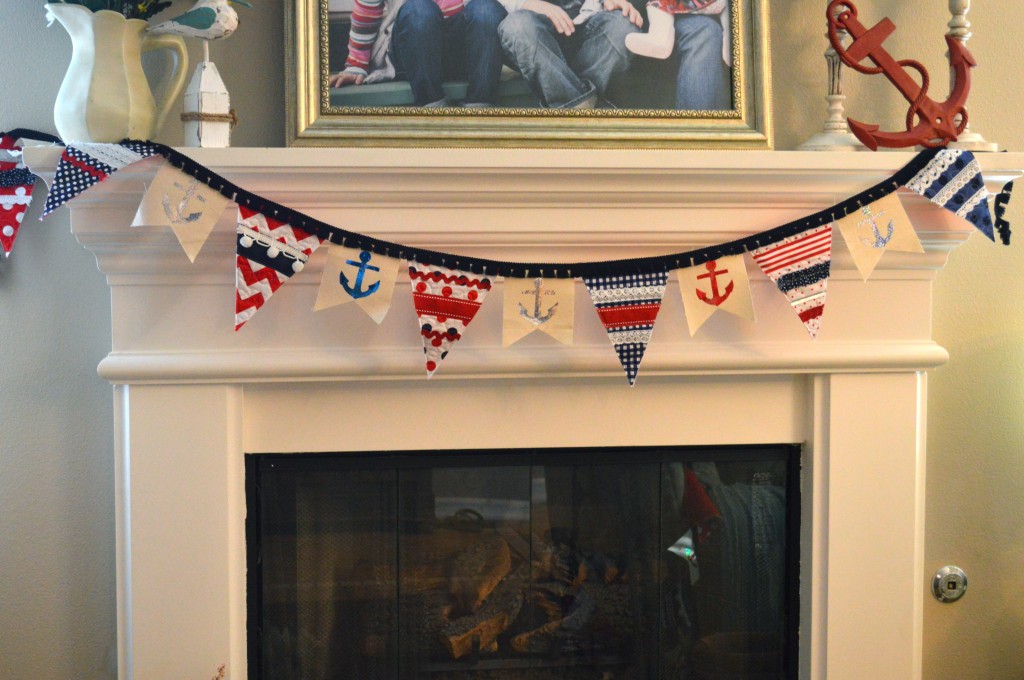
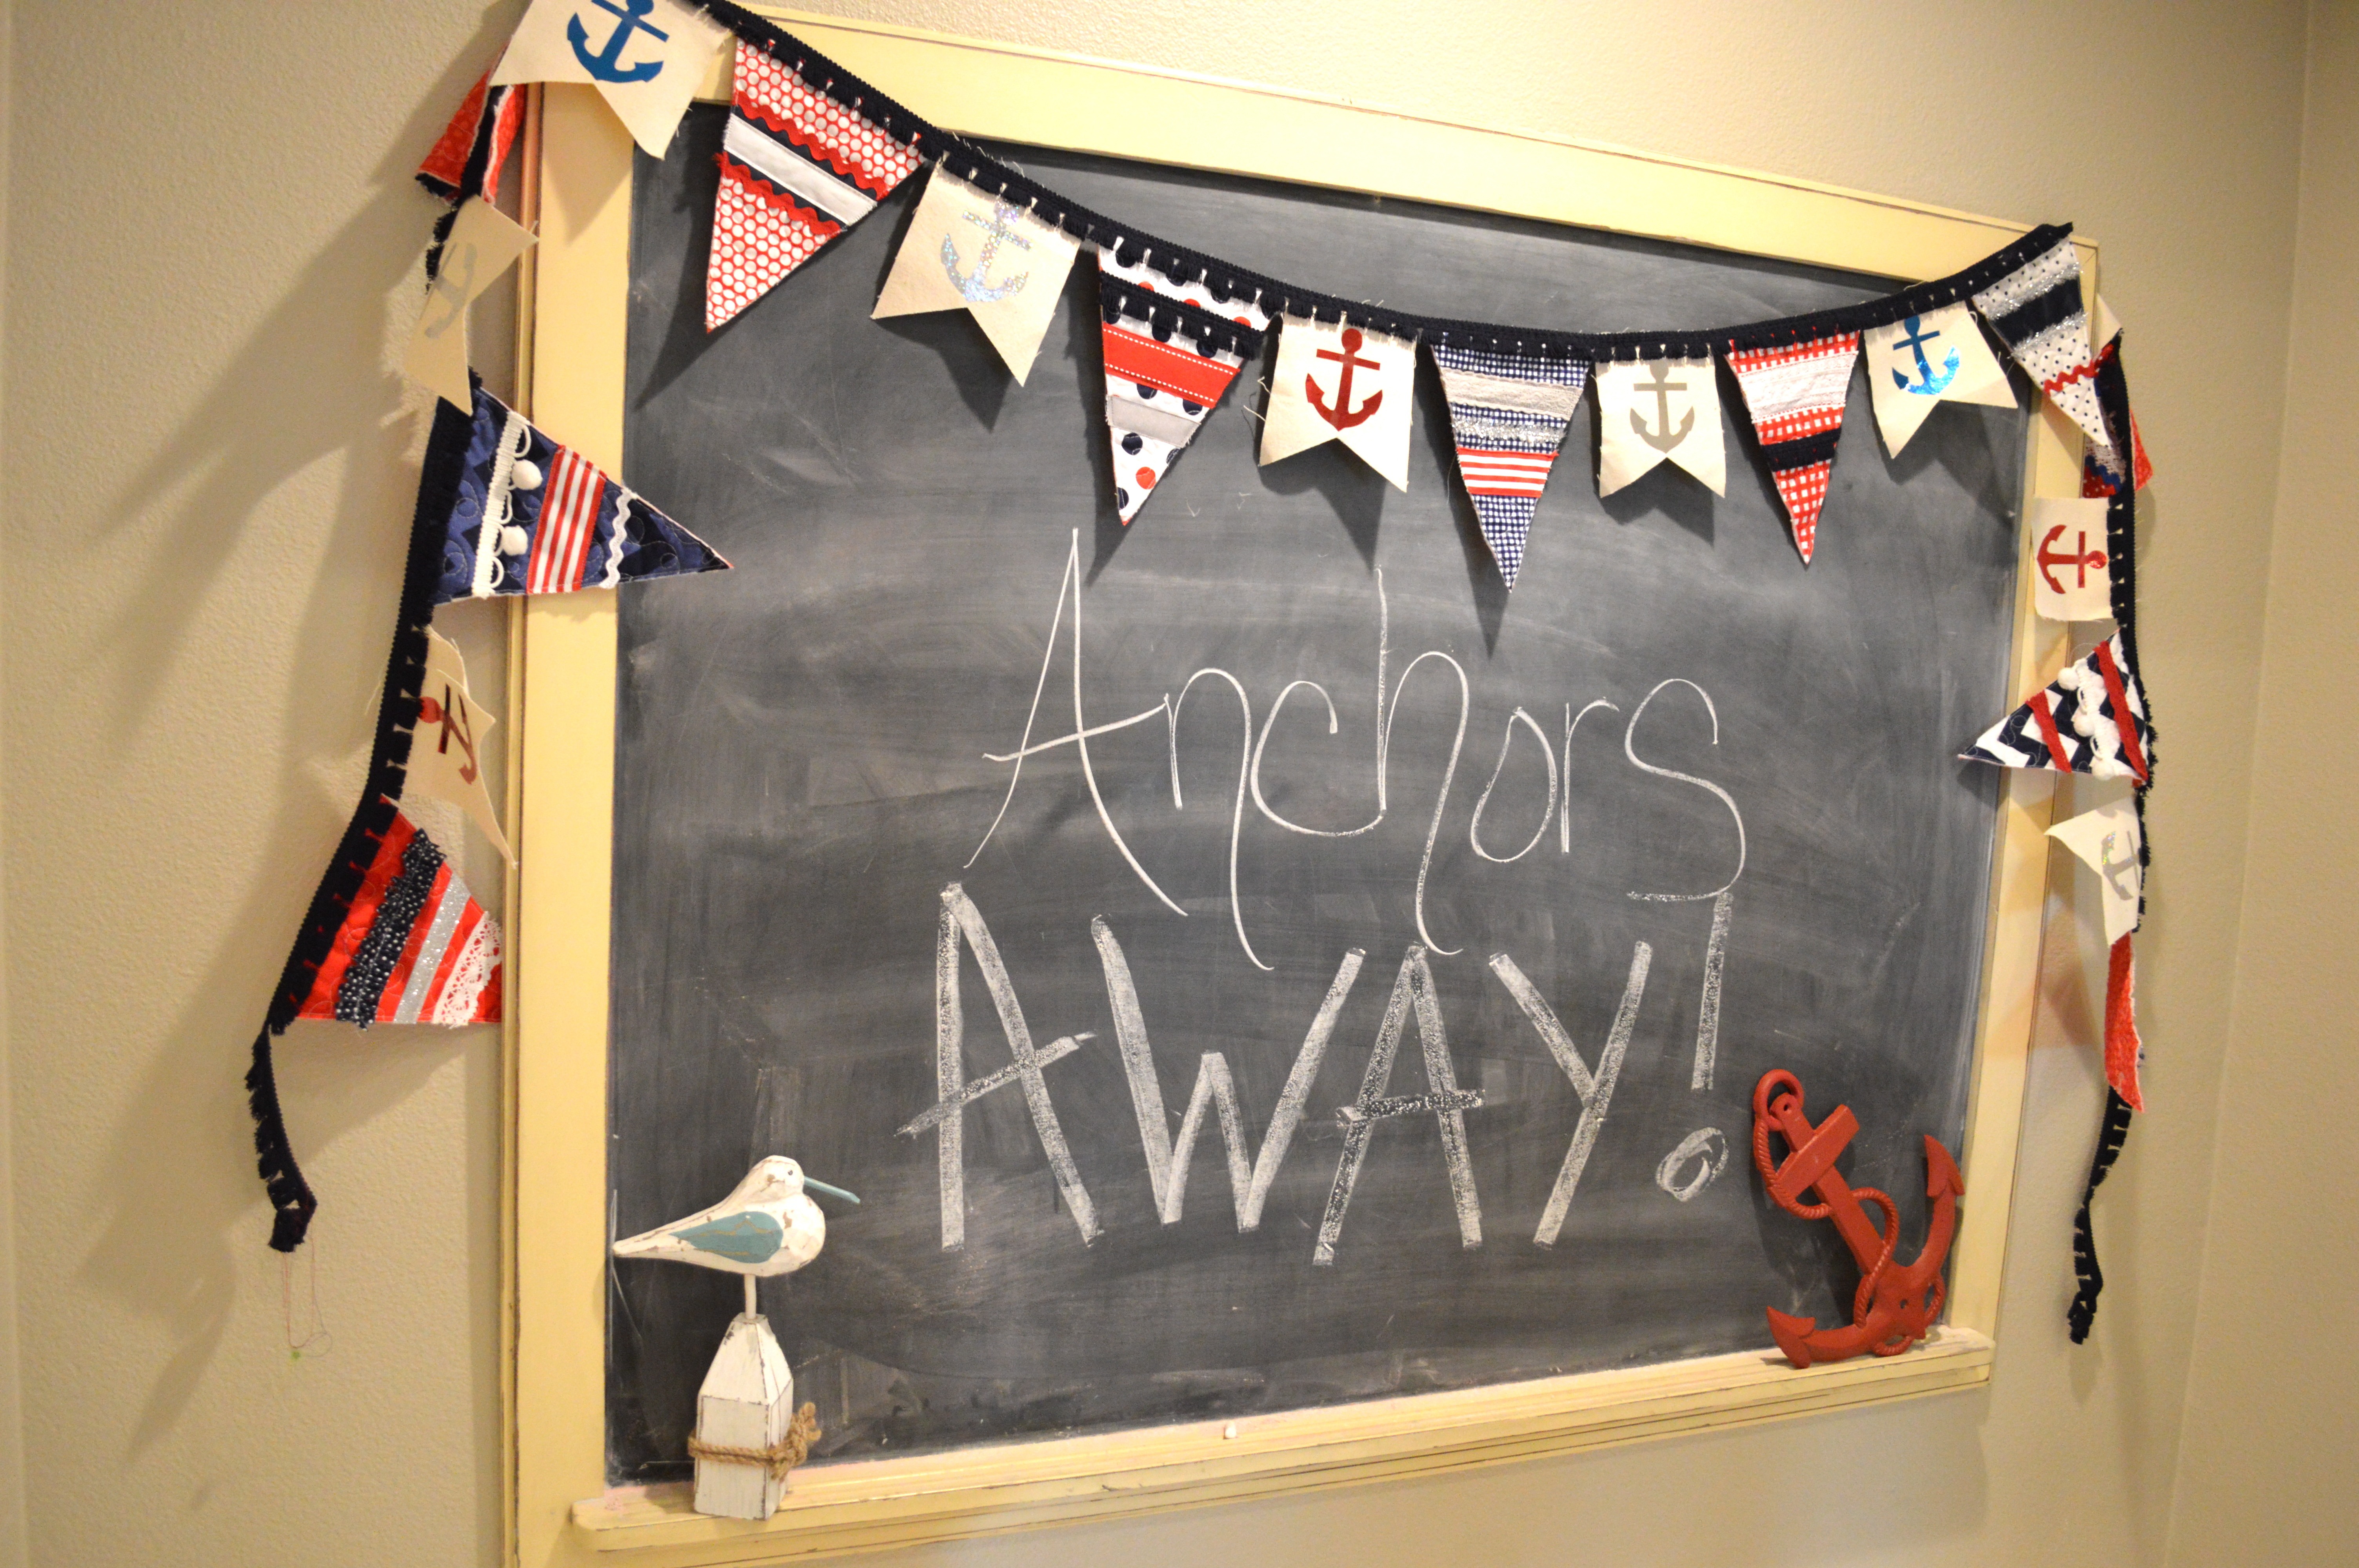
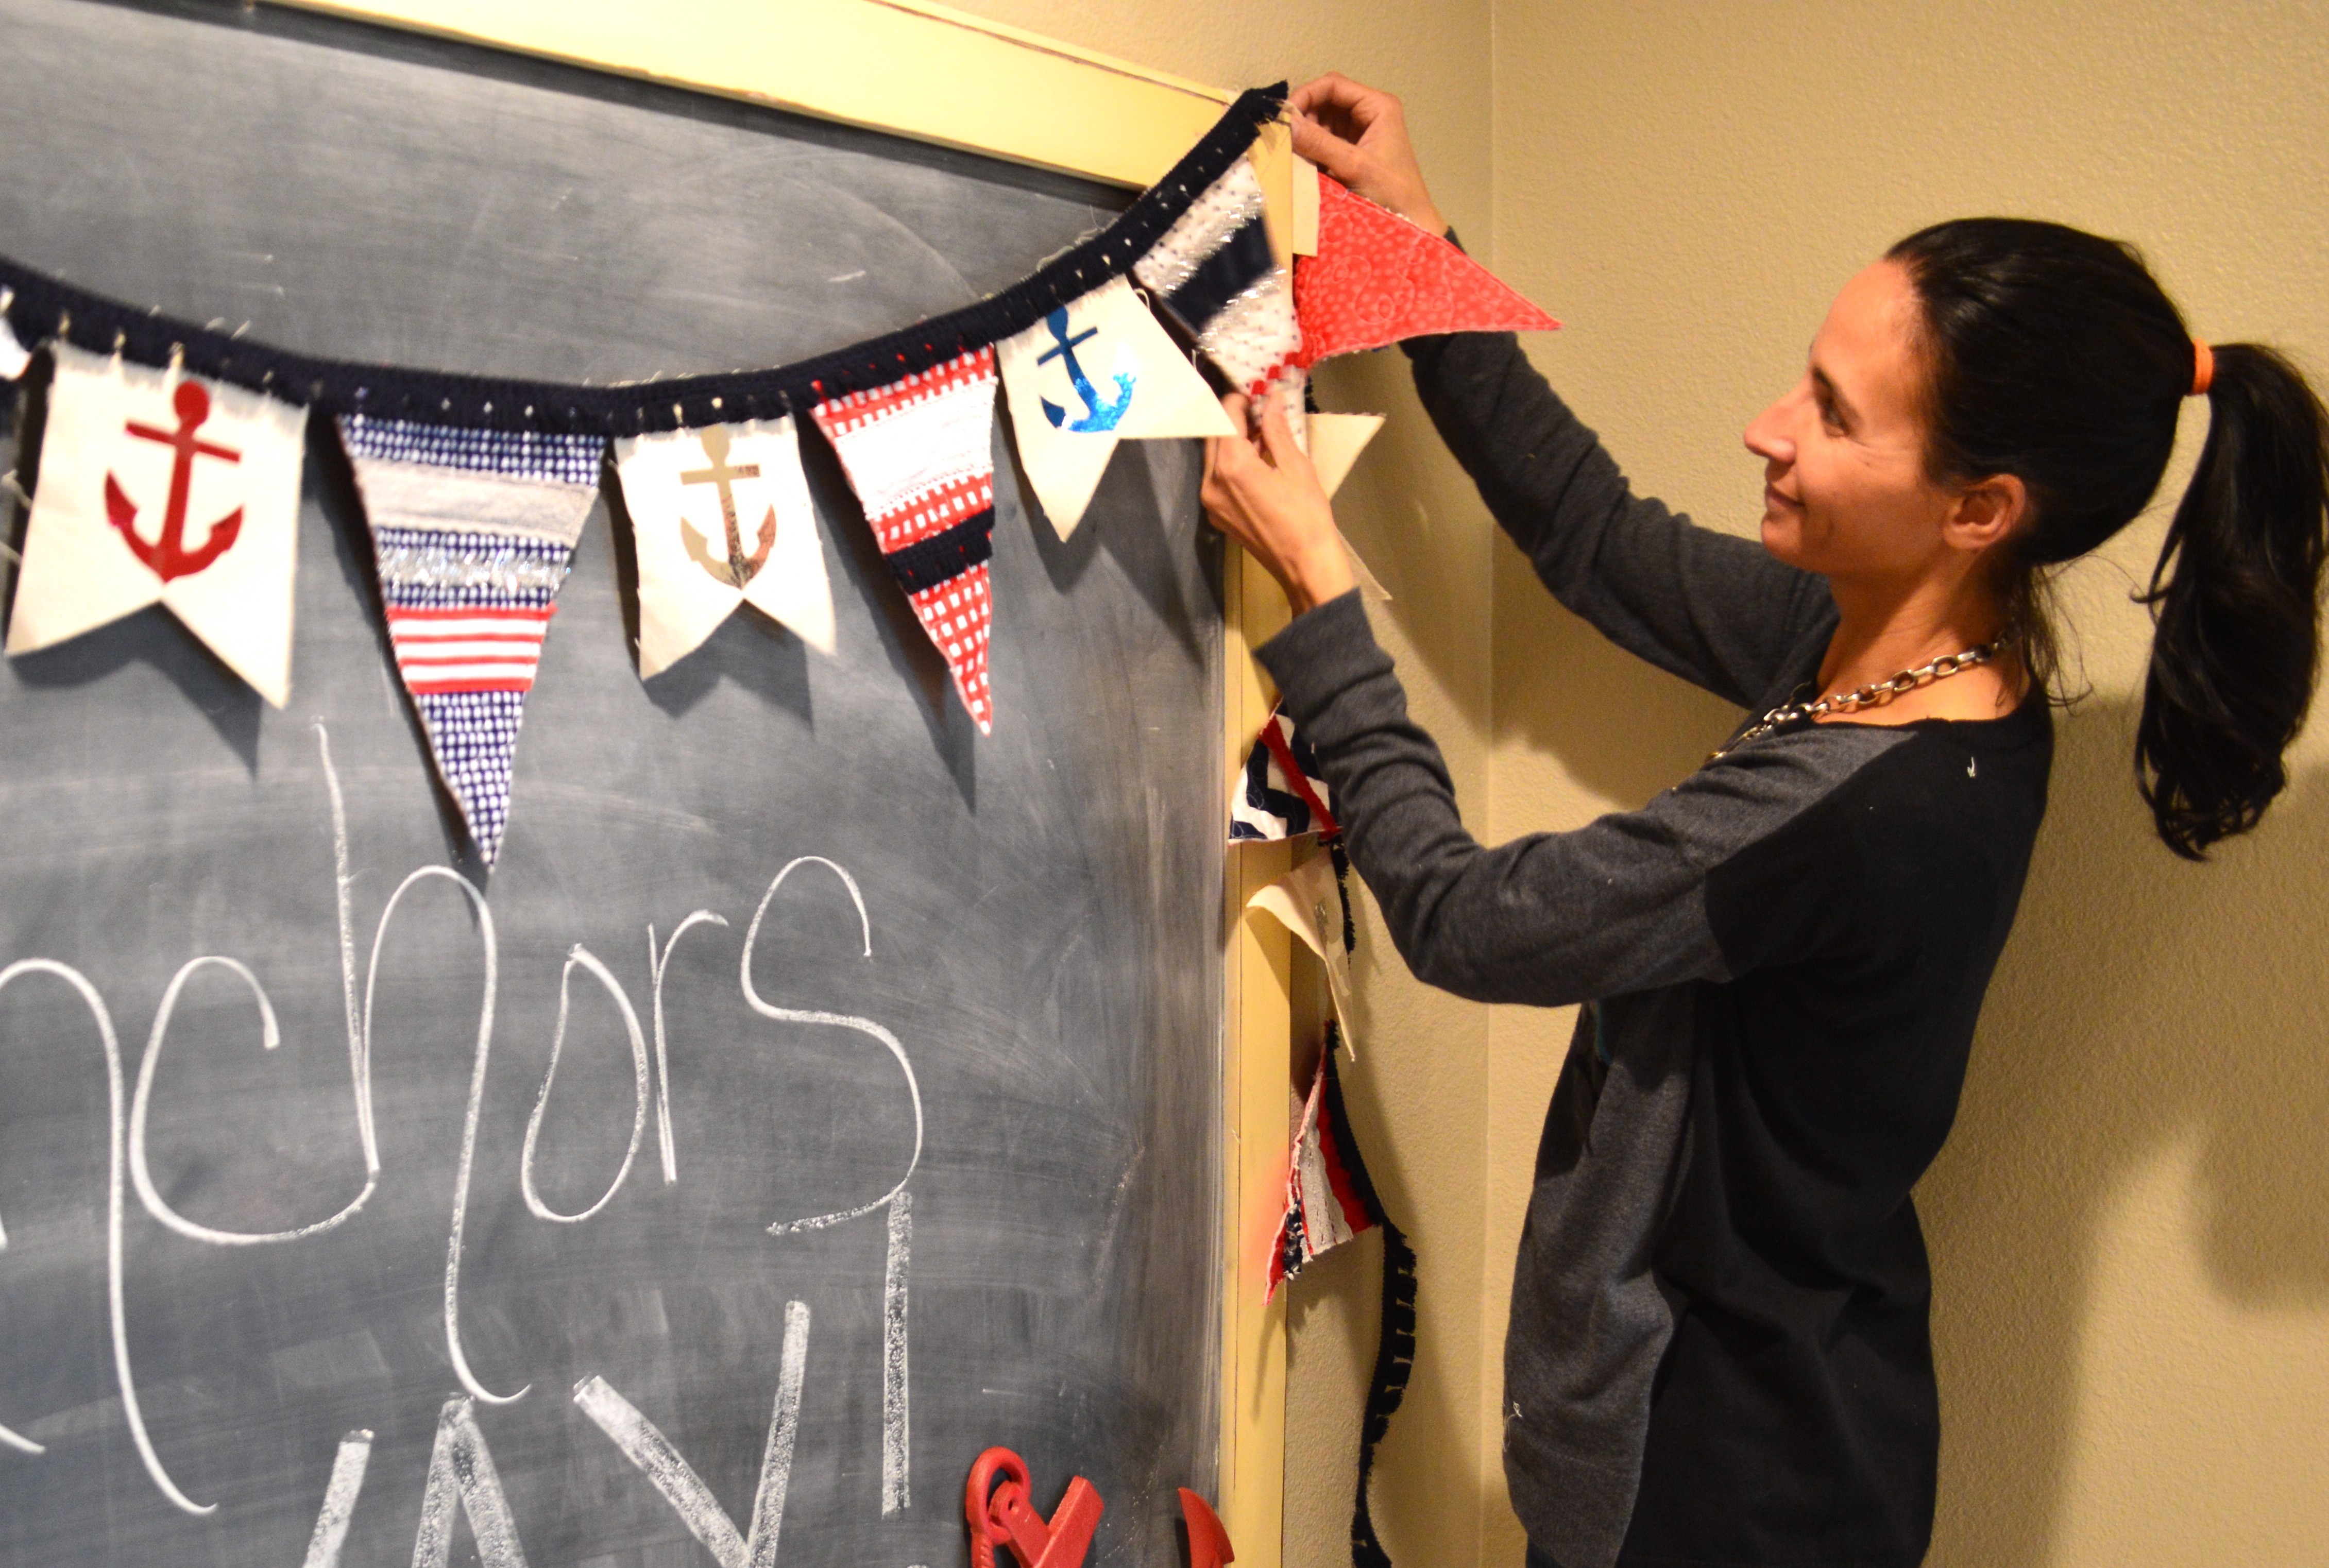
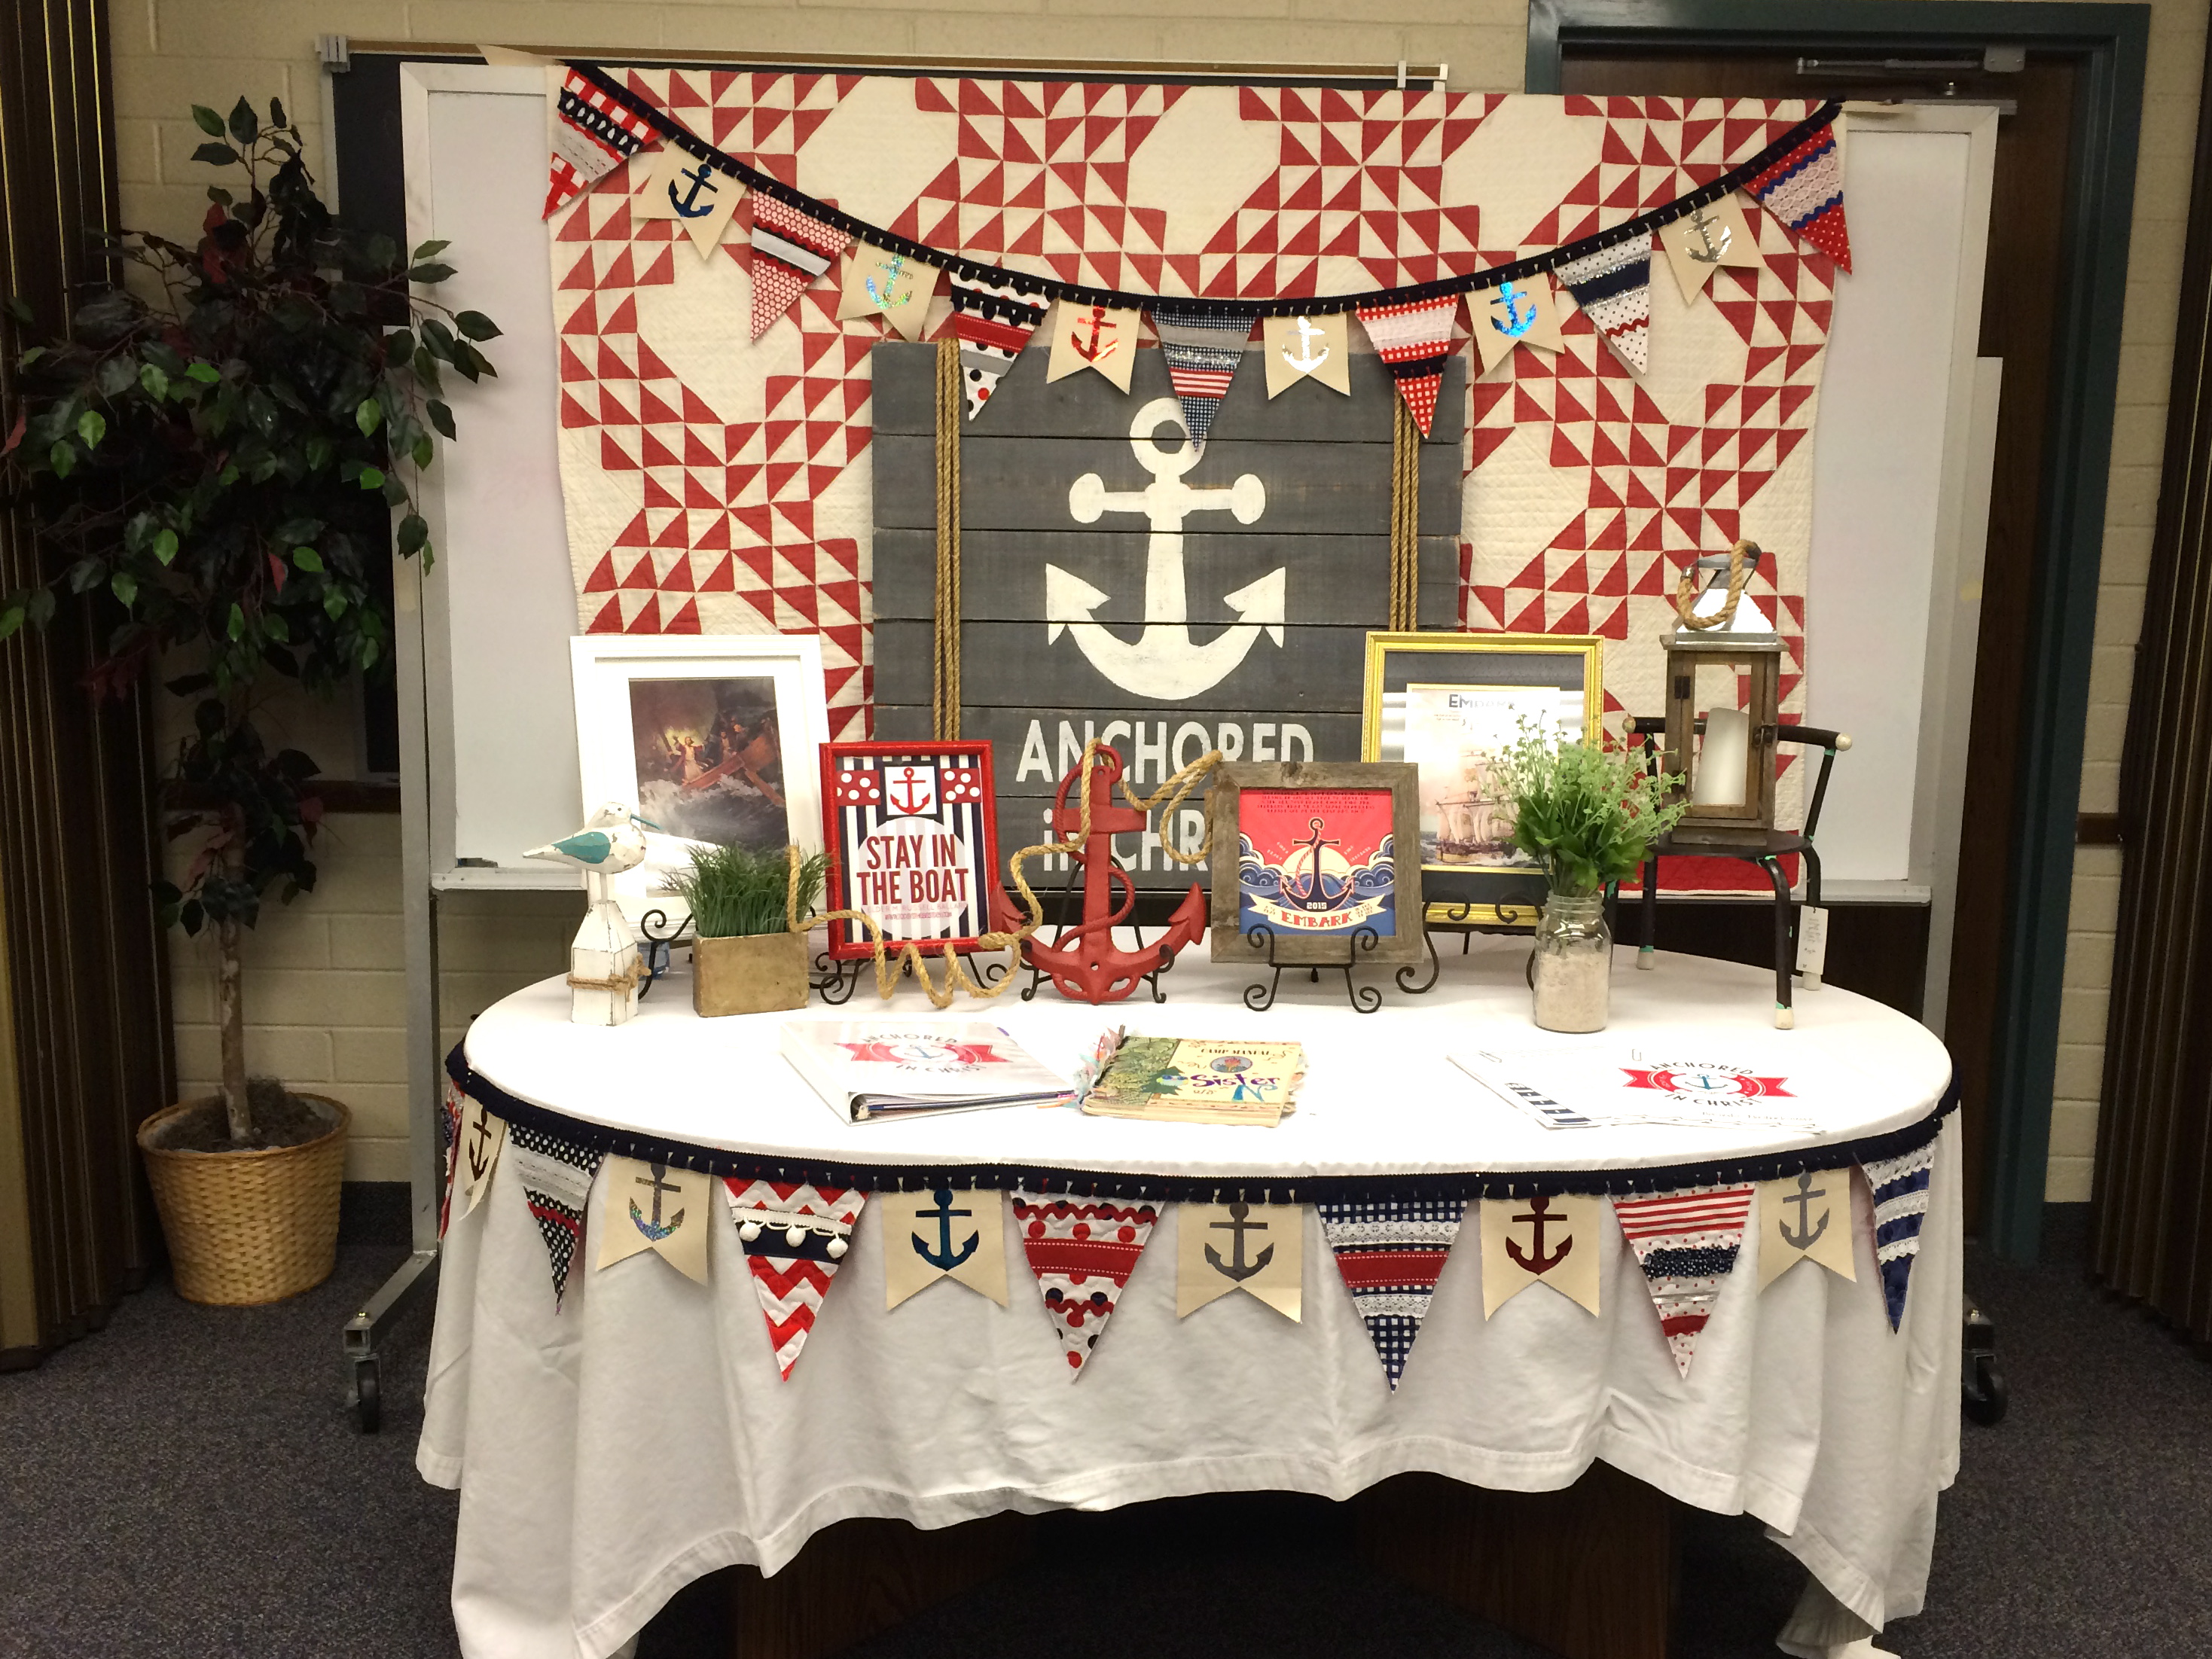
The Wall Quilt measures 41″ x 48″ – perfect to hang, fold over a couch or lay on a table.

daysail moda nautical quilt

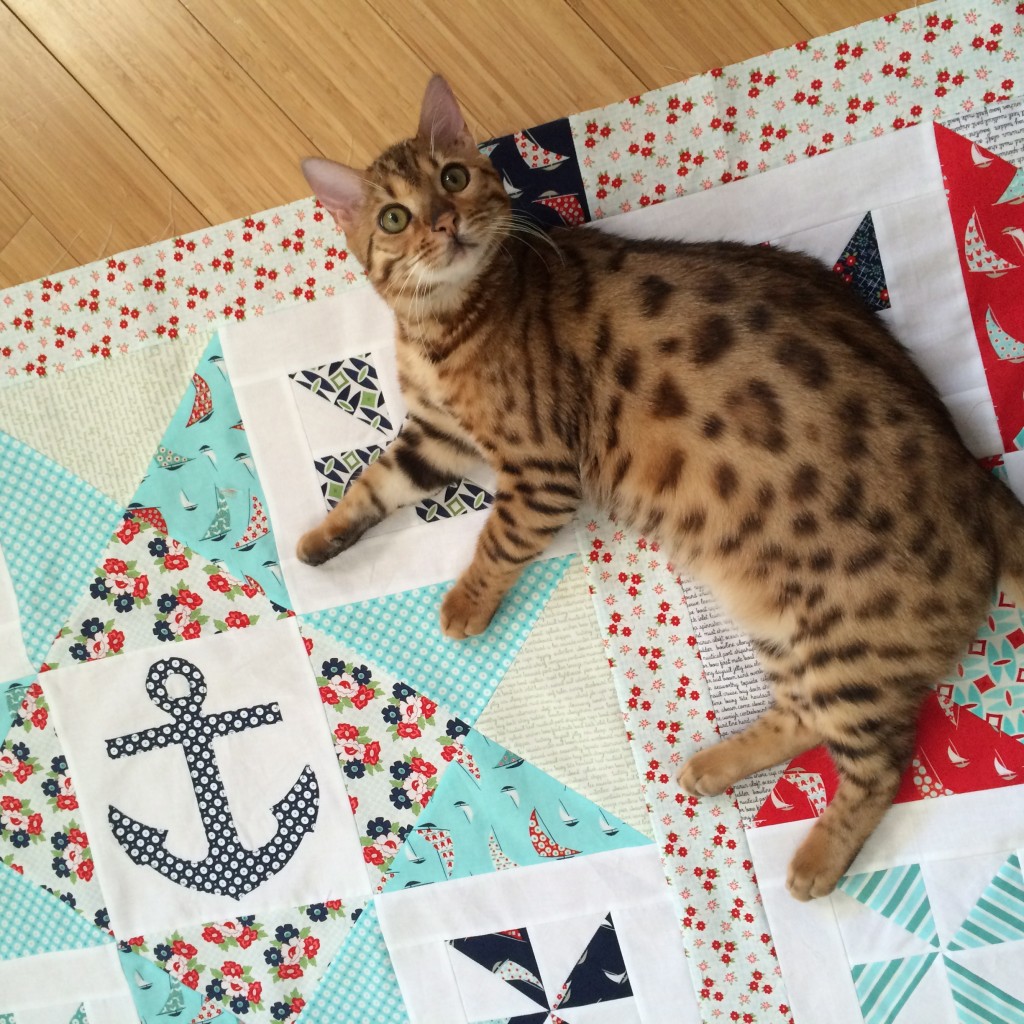
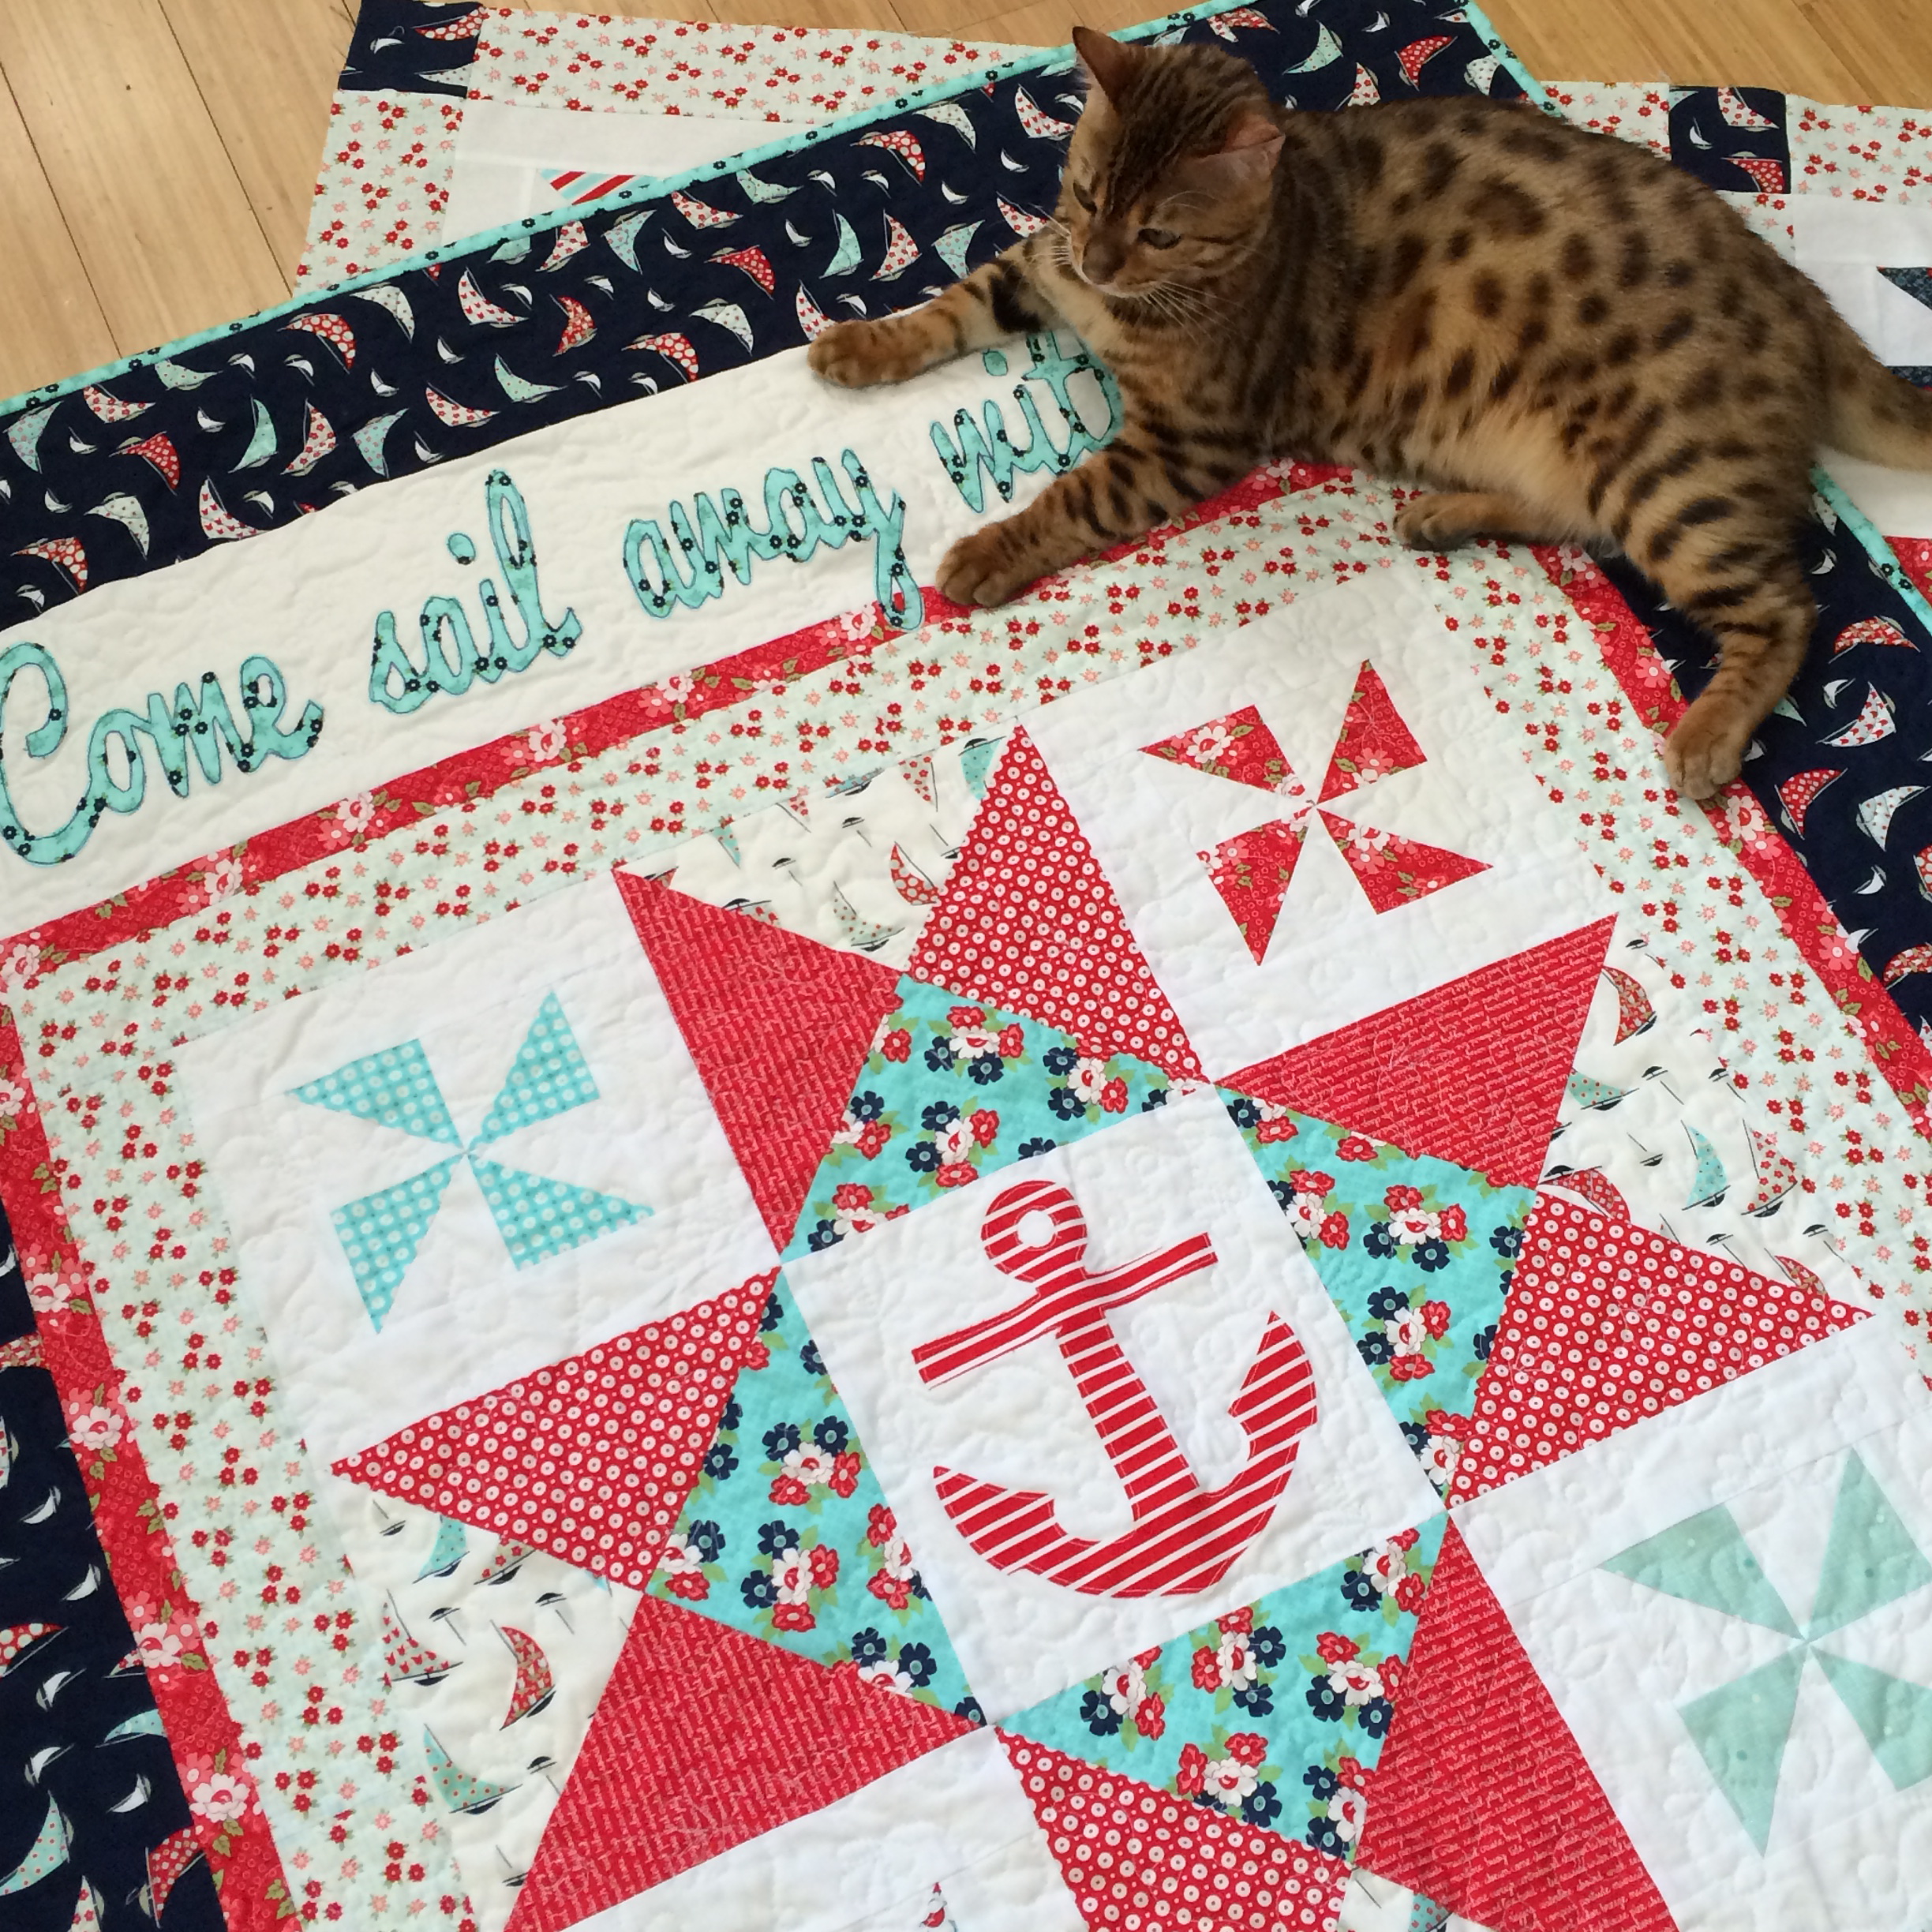
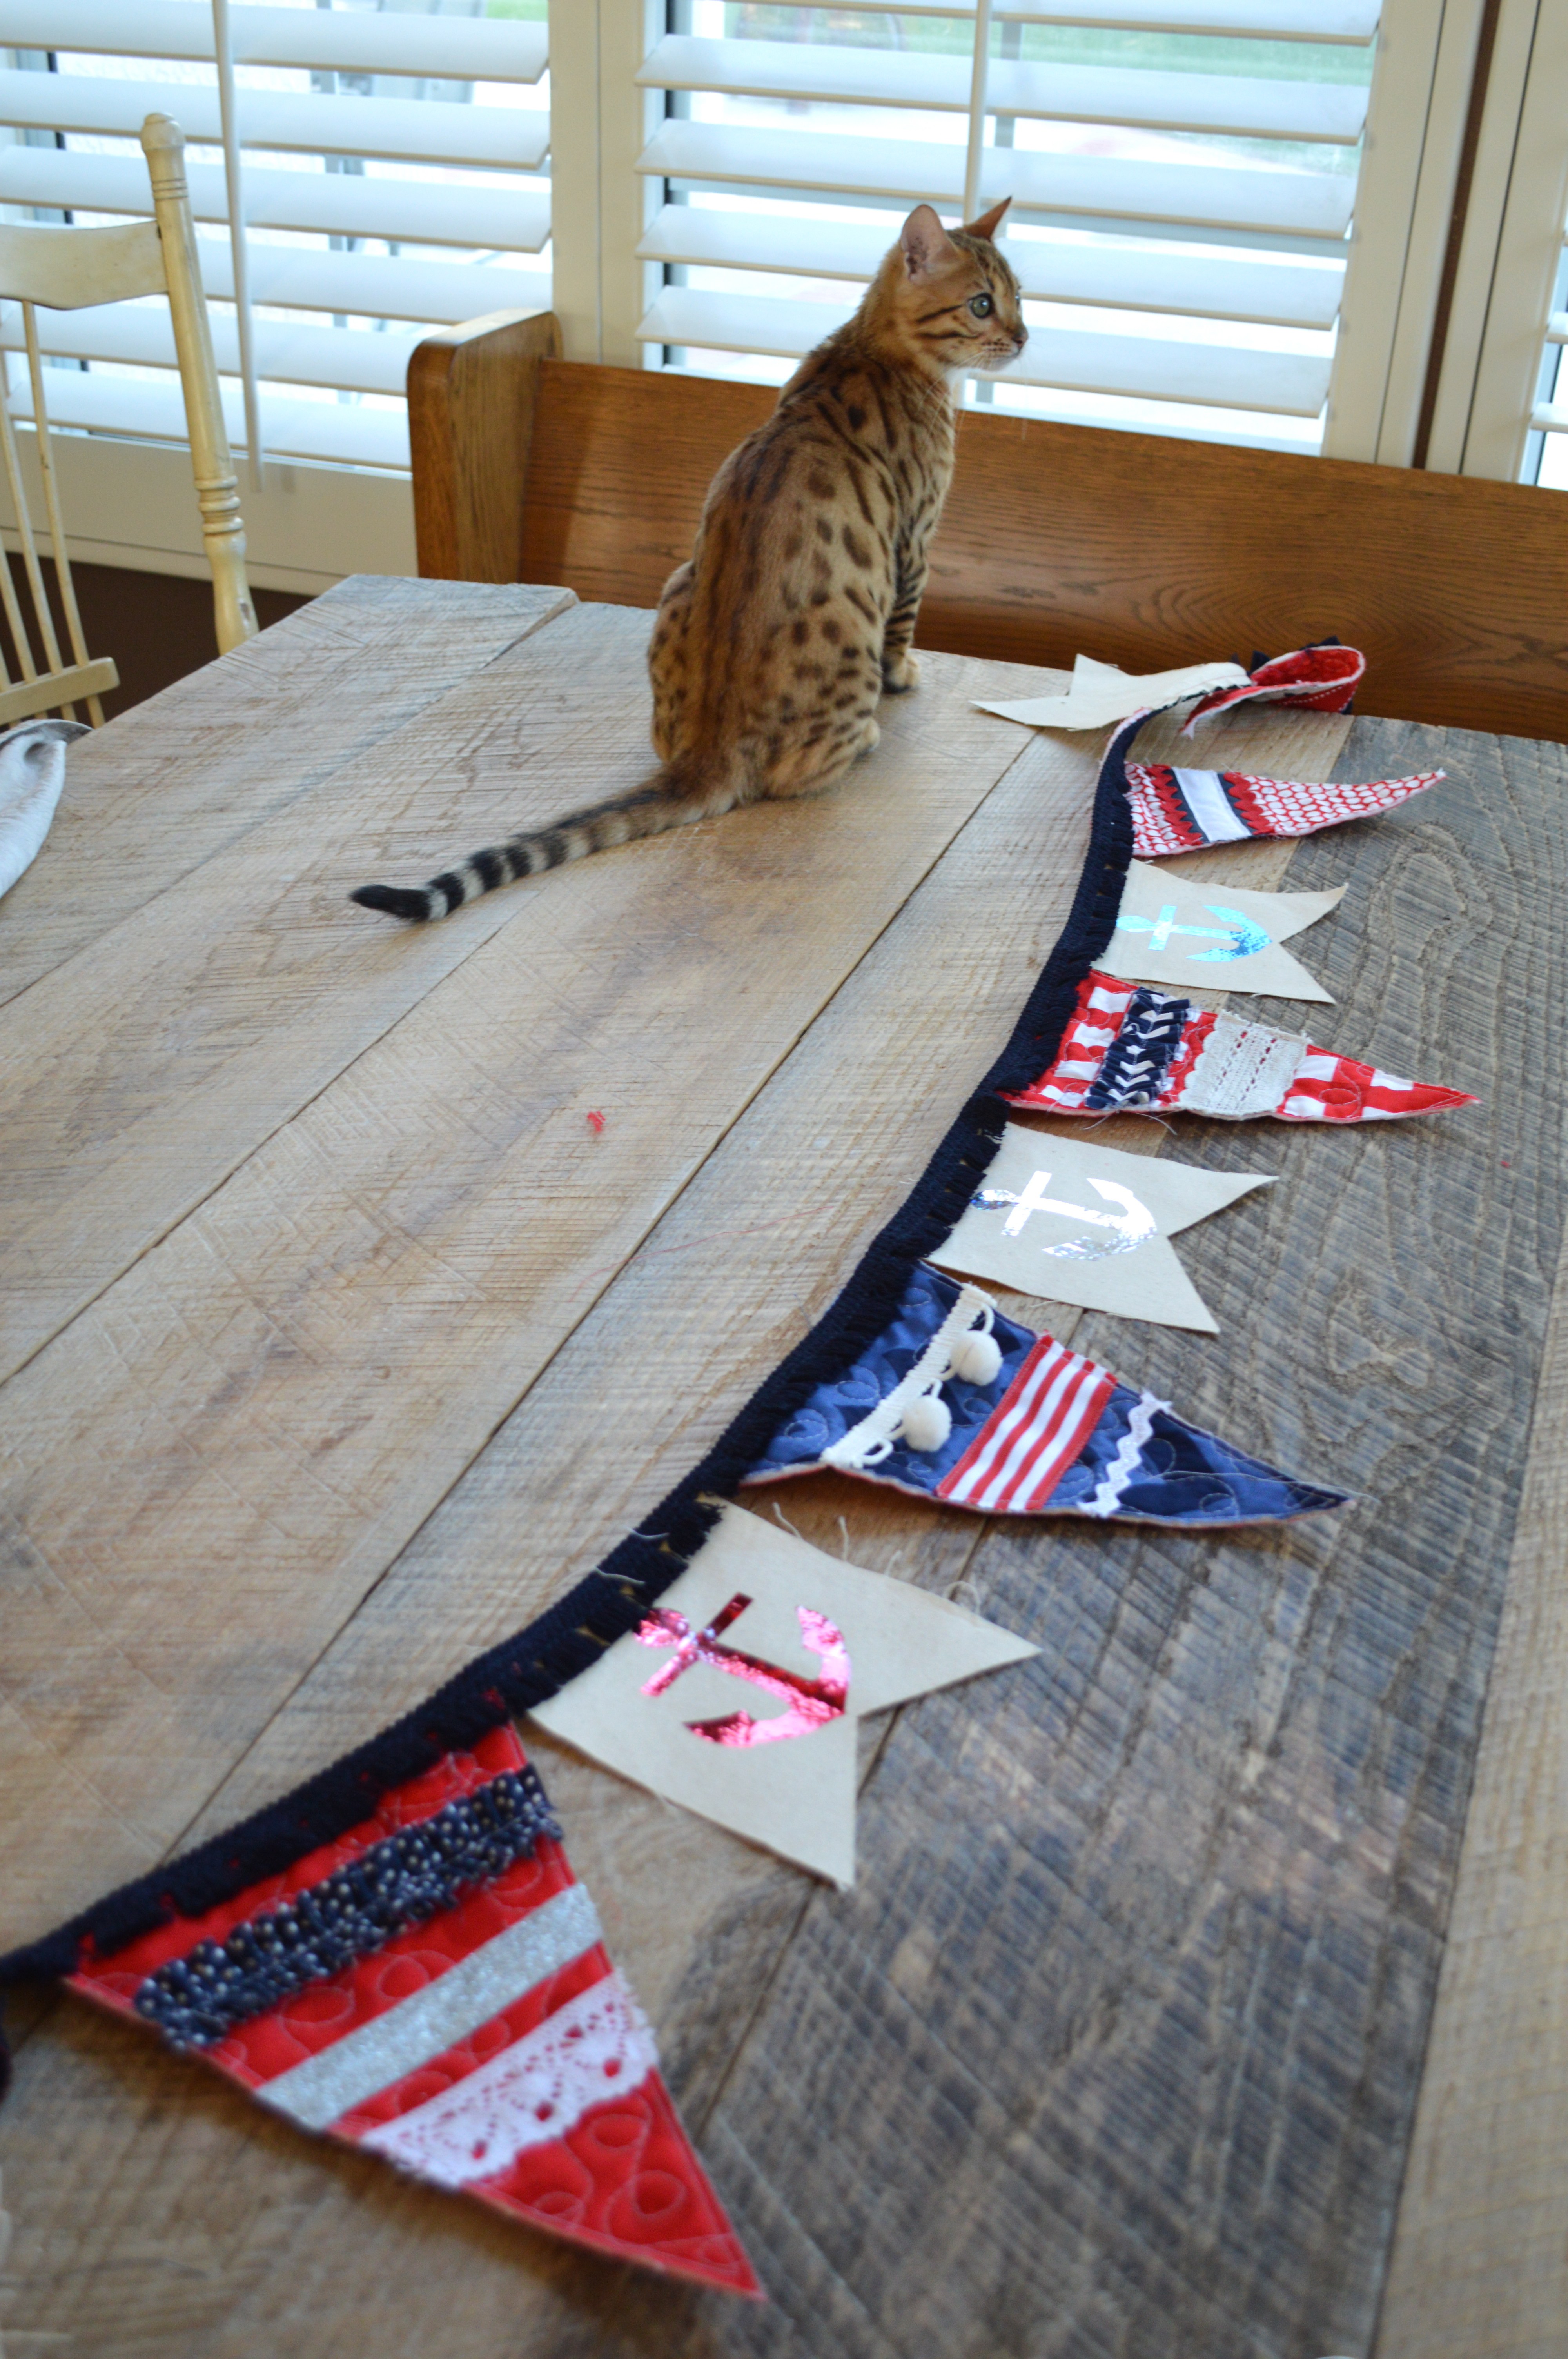
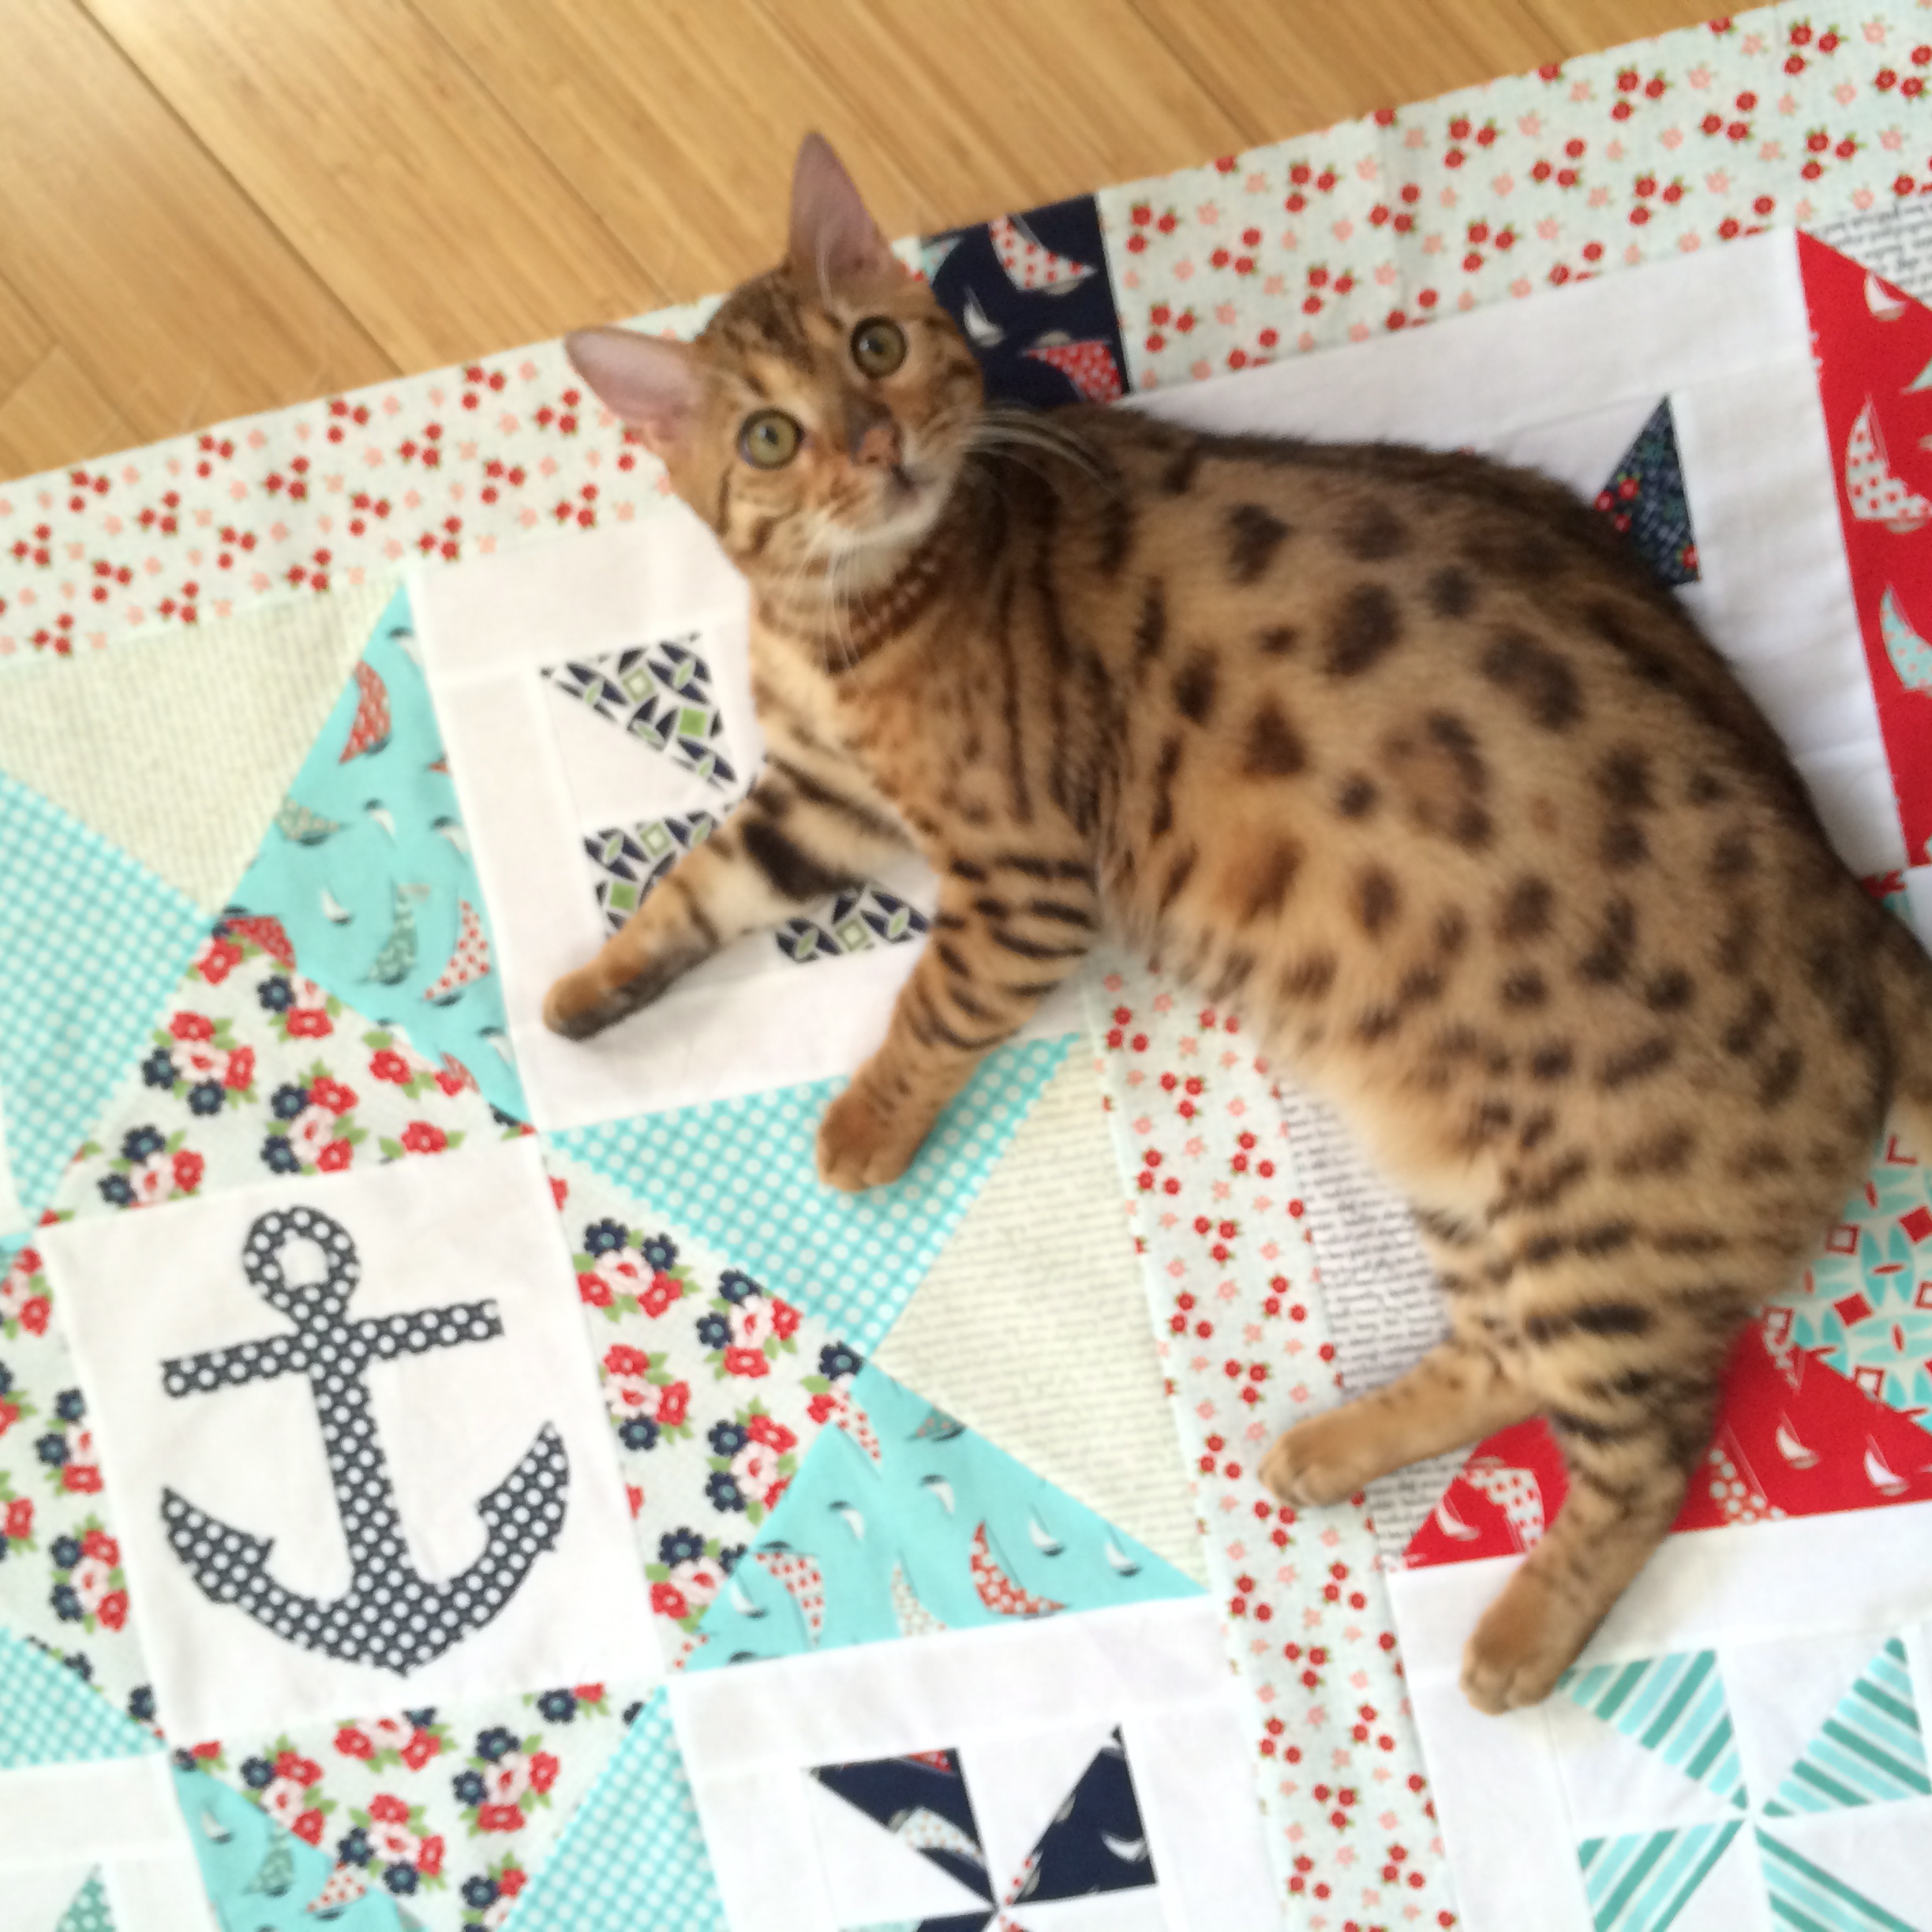
Baby Mufasa was very helpful in creating this quilt!!  #kittyquilter

IMG_7502


daysail by moda nautical quilt pattern
I hope you love these quilts as much as I do!  Thanks for stopping by!
Day Sail Moda Quilt Nautical

Day Sail Nautical Quilt patern

IMG_7535

Anchored In Christ Wood Sign {DIY}

wood anchor sign 9

I wanted to share with you how I made this fun wood nautical sign – for under $20!  I am our Stake Young Women Camp Director (for girls age 12-18).  This year our theme is Anchored in Christ. I wanted a large wood sign that I could use to promote our theme at all our planning meetings.  This sign can easily be changed to say was ever you want 🙂

I started by purchasing this cedar fencing at the home improvement store.  You only need 3 boards.wood anchor sign 7


Its cheap and rustic – just what I wanted!!wood anchor sign 8


We  (my husband cut and I watched) cut them into 3 foot pieces, 6 total.  We cut the little angled pieces off the end so they were all flush.IMG_7361

Then we cut (2) 1″x 2″ pieces of wood slightly shorter than the sign.  I put wood glue along the boards and then screwed the 1″ x 2″ boards in as pictured.  Let dry.

IMG_7360

I bought a dark gray stain and stained the front.  Because I can’t draw or write pretty, I cut the words on my vinyl cutter and made a stencil.  I stenciled the words in white paint. wood anchor sign

I found an anchor outline on the internet and blew it up really big.  I printed it off in sections and then taped it together.  Yes, pathetic – why can’t I just draw!

wood anchor sign 2

Once all the pieces were taped together, I cut out the anchor.wood anchor sign 3

Then I drew around it with white pencil.  All that was left was to paint in the lines (I can kind of do that) with white paint.

wood anchor sign 4I added some rope along the sides.  This was my display for our first leader meeting where we kicked off the theme.  I love all things Nautical, in case you were wondering 🙂

wood anchor sign 5

wood anchor sign 6


Fish Bubbles Apron and Runner Tutorial

sizzix fish apron
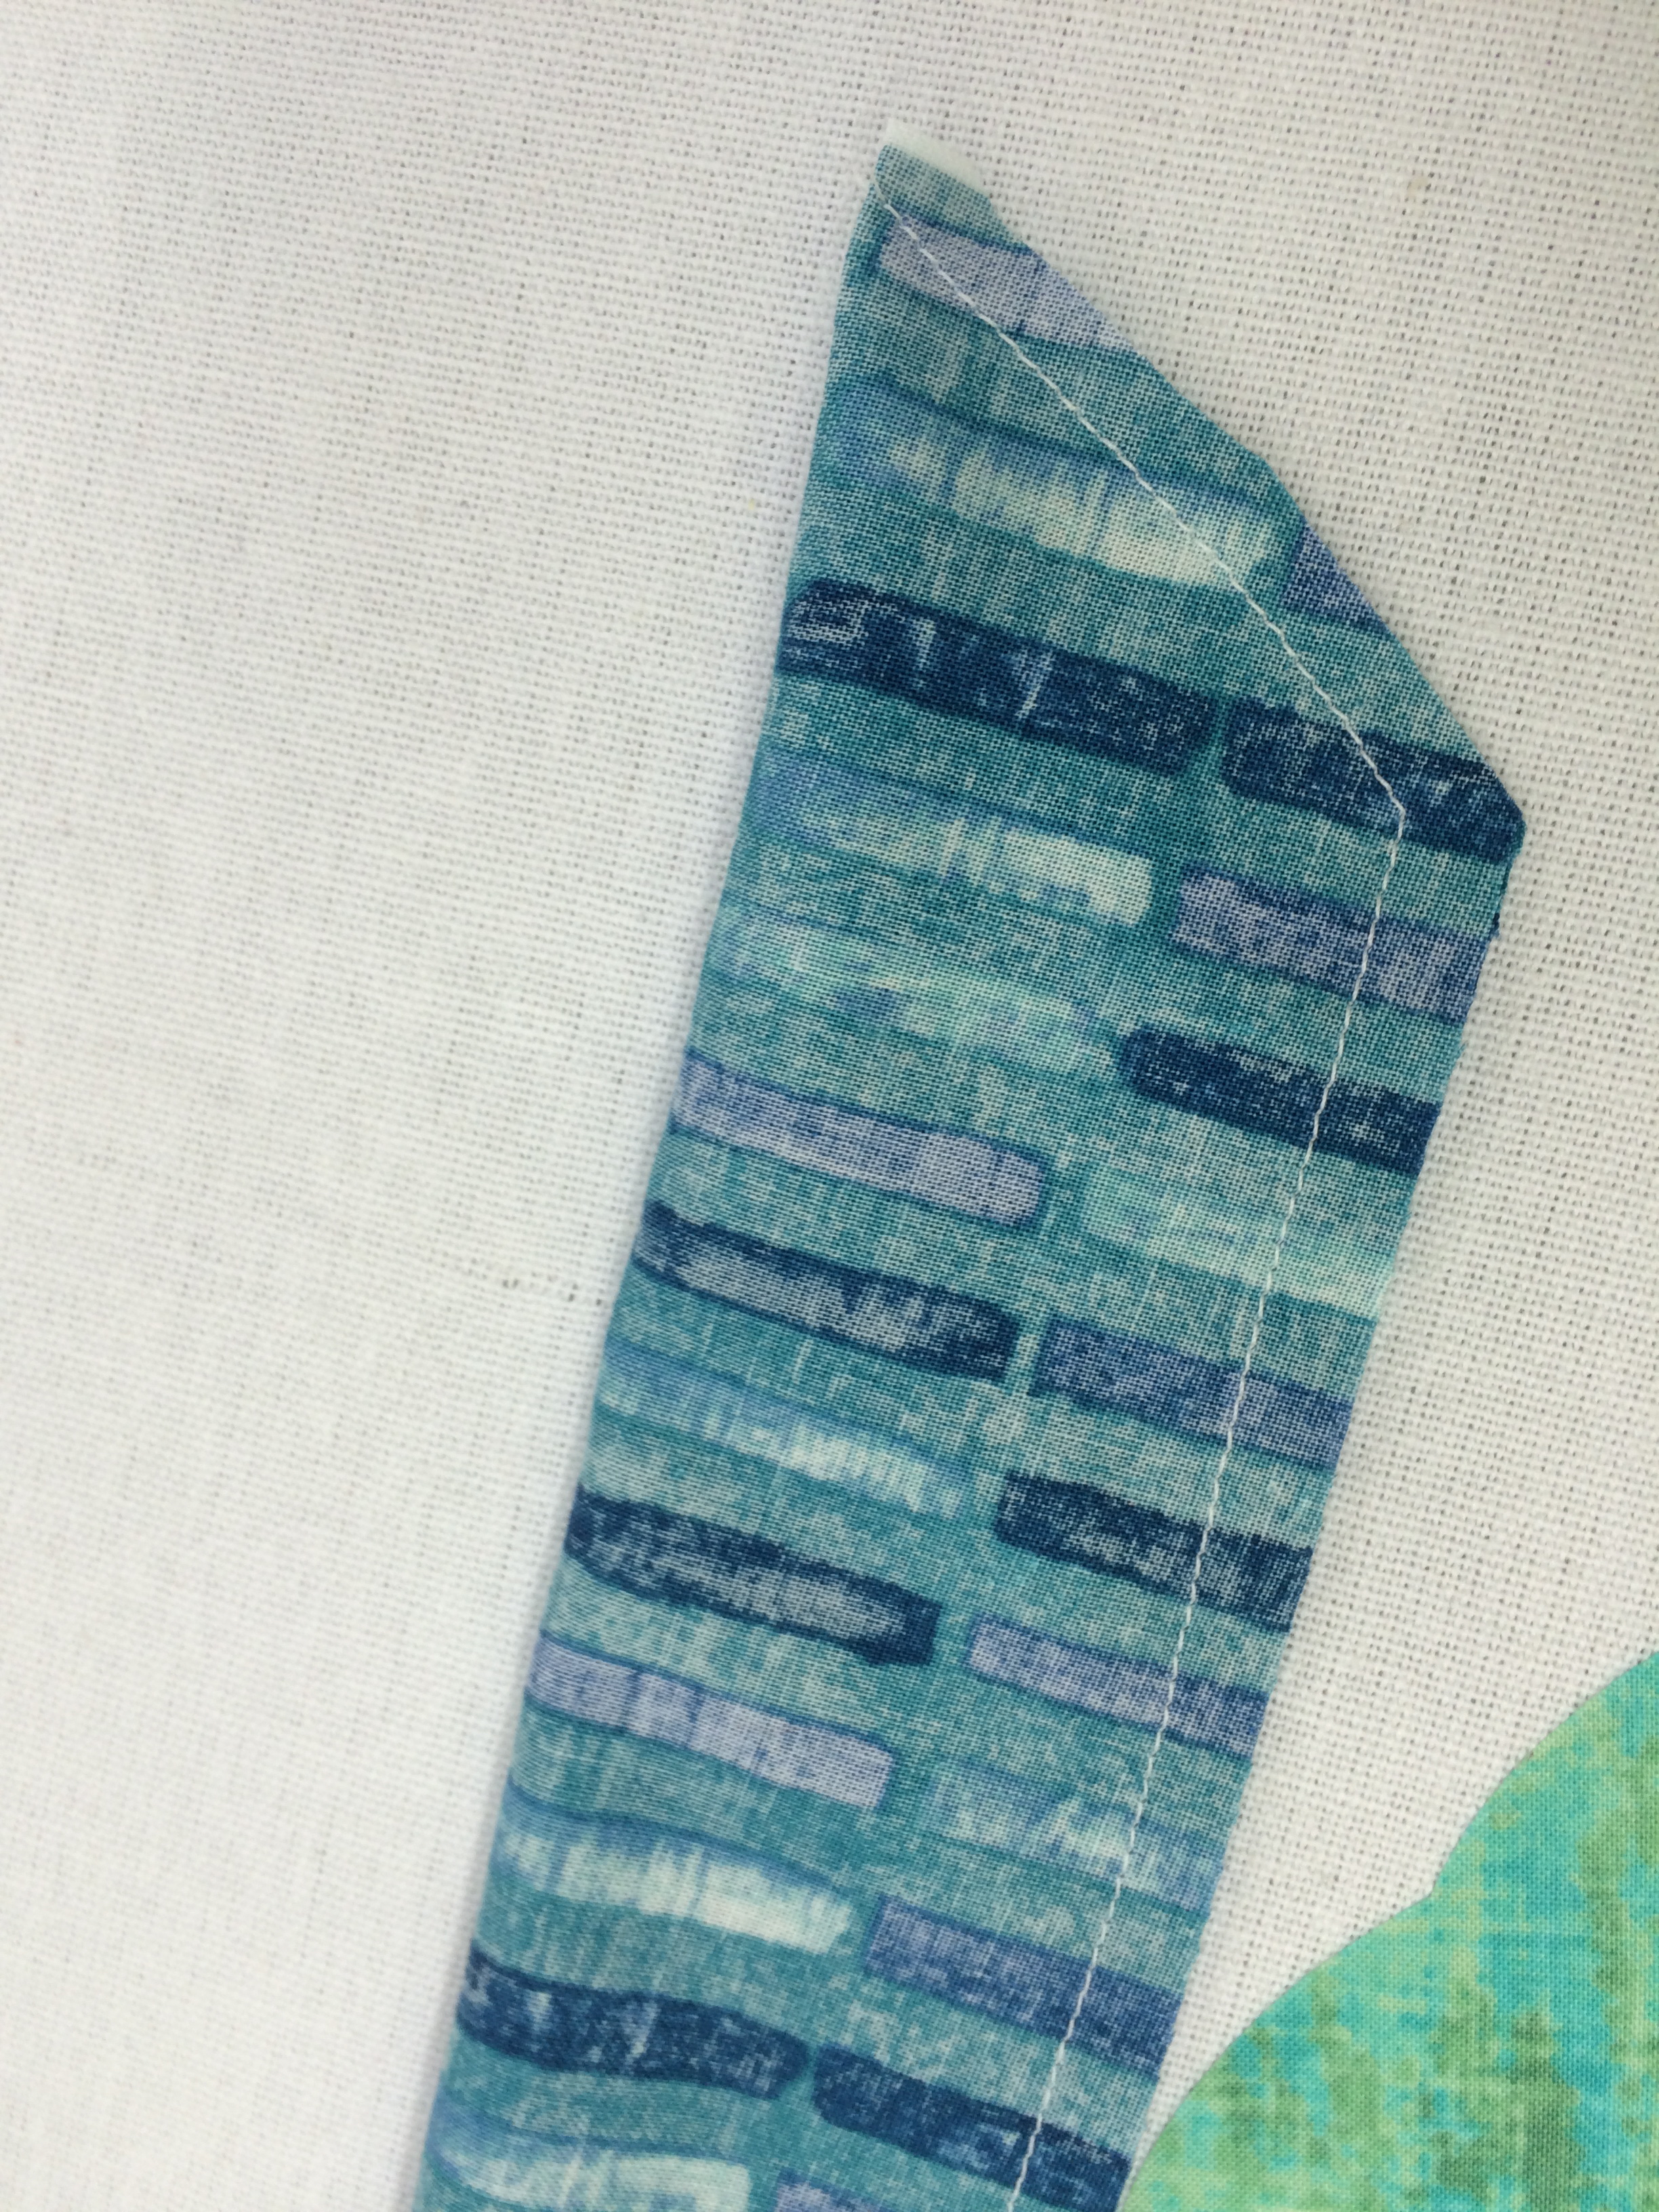
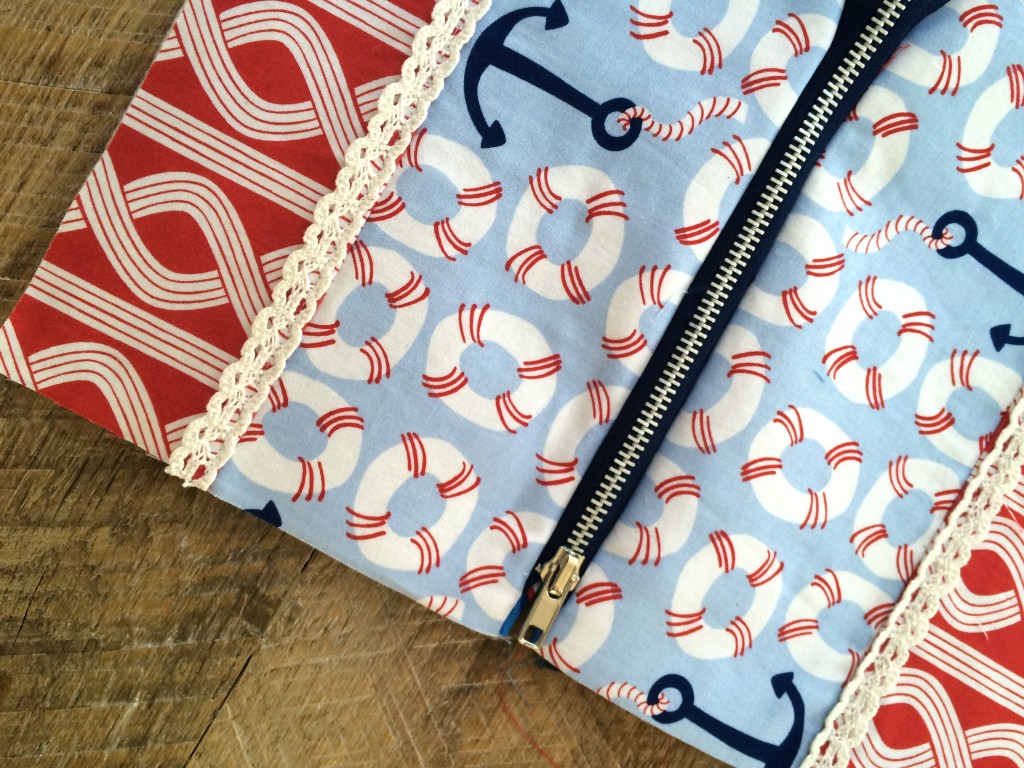
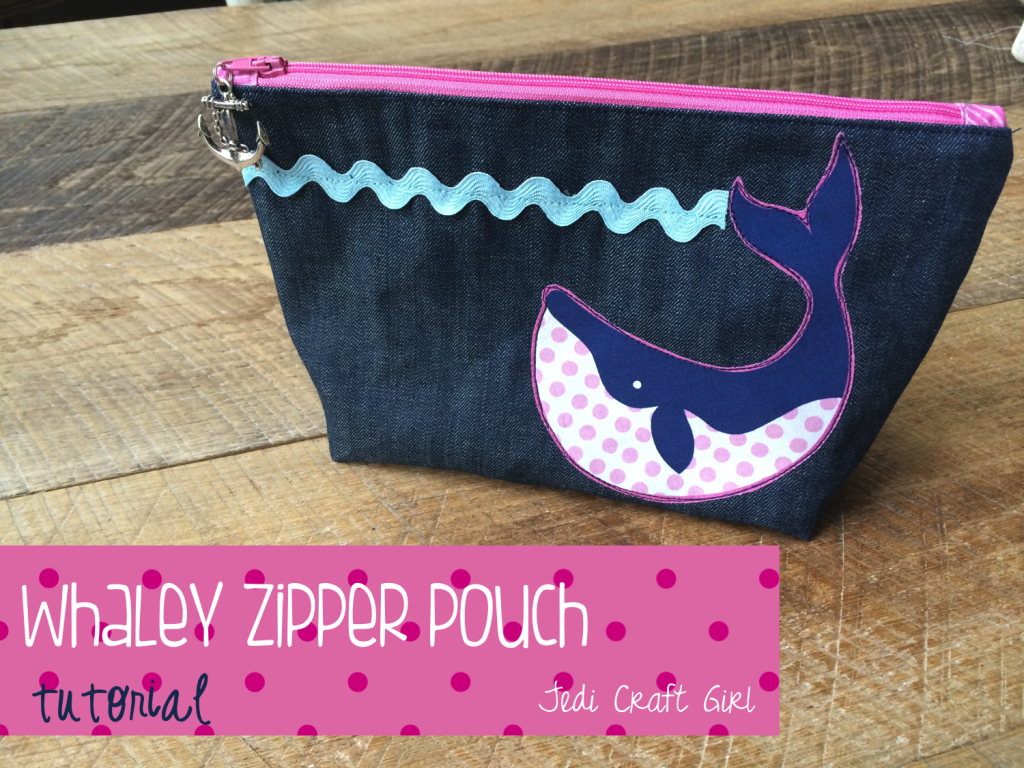
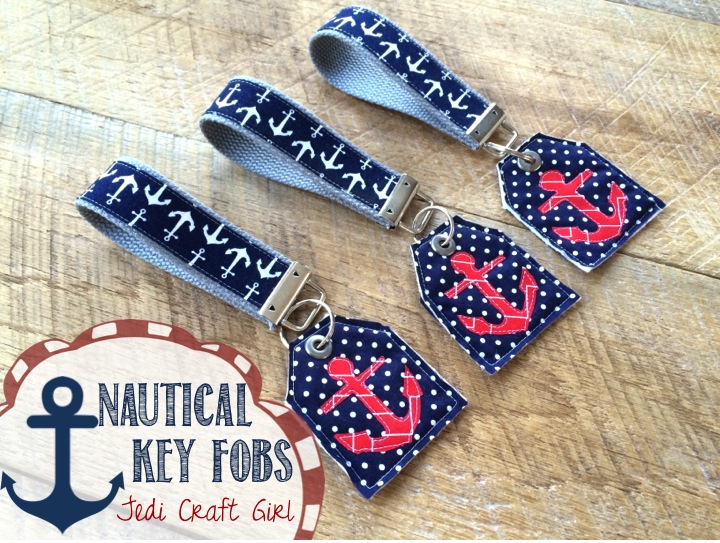
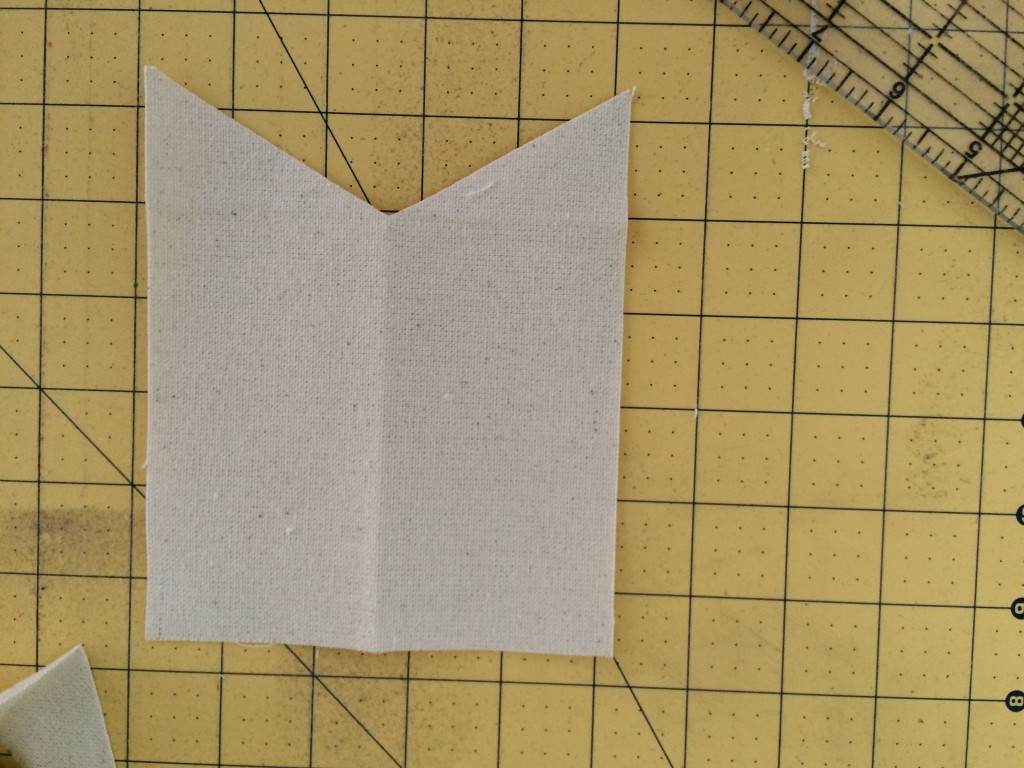
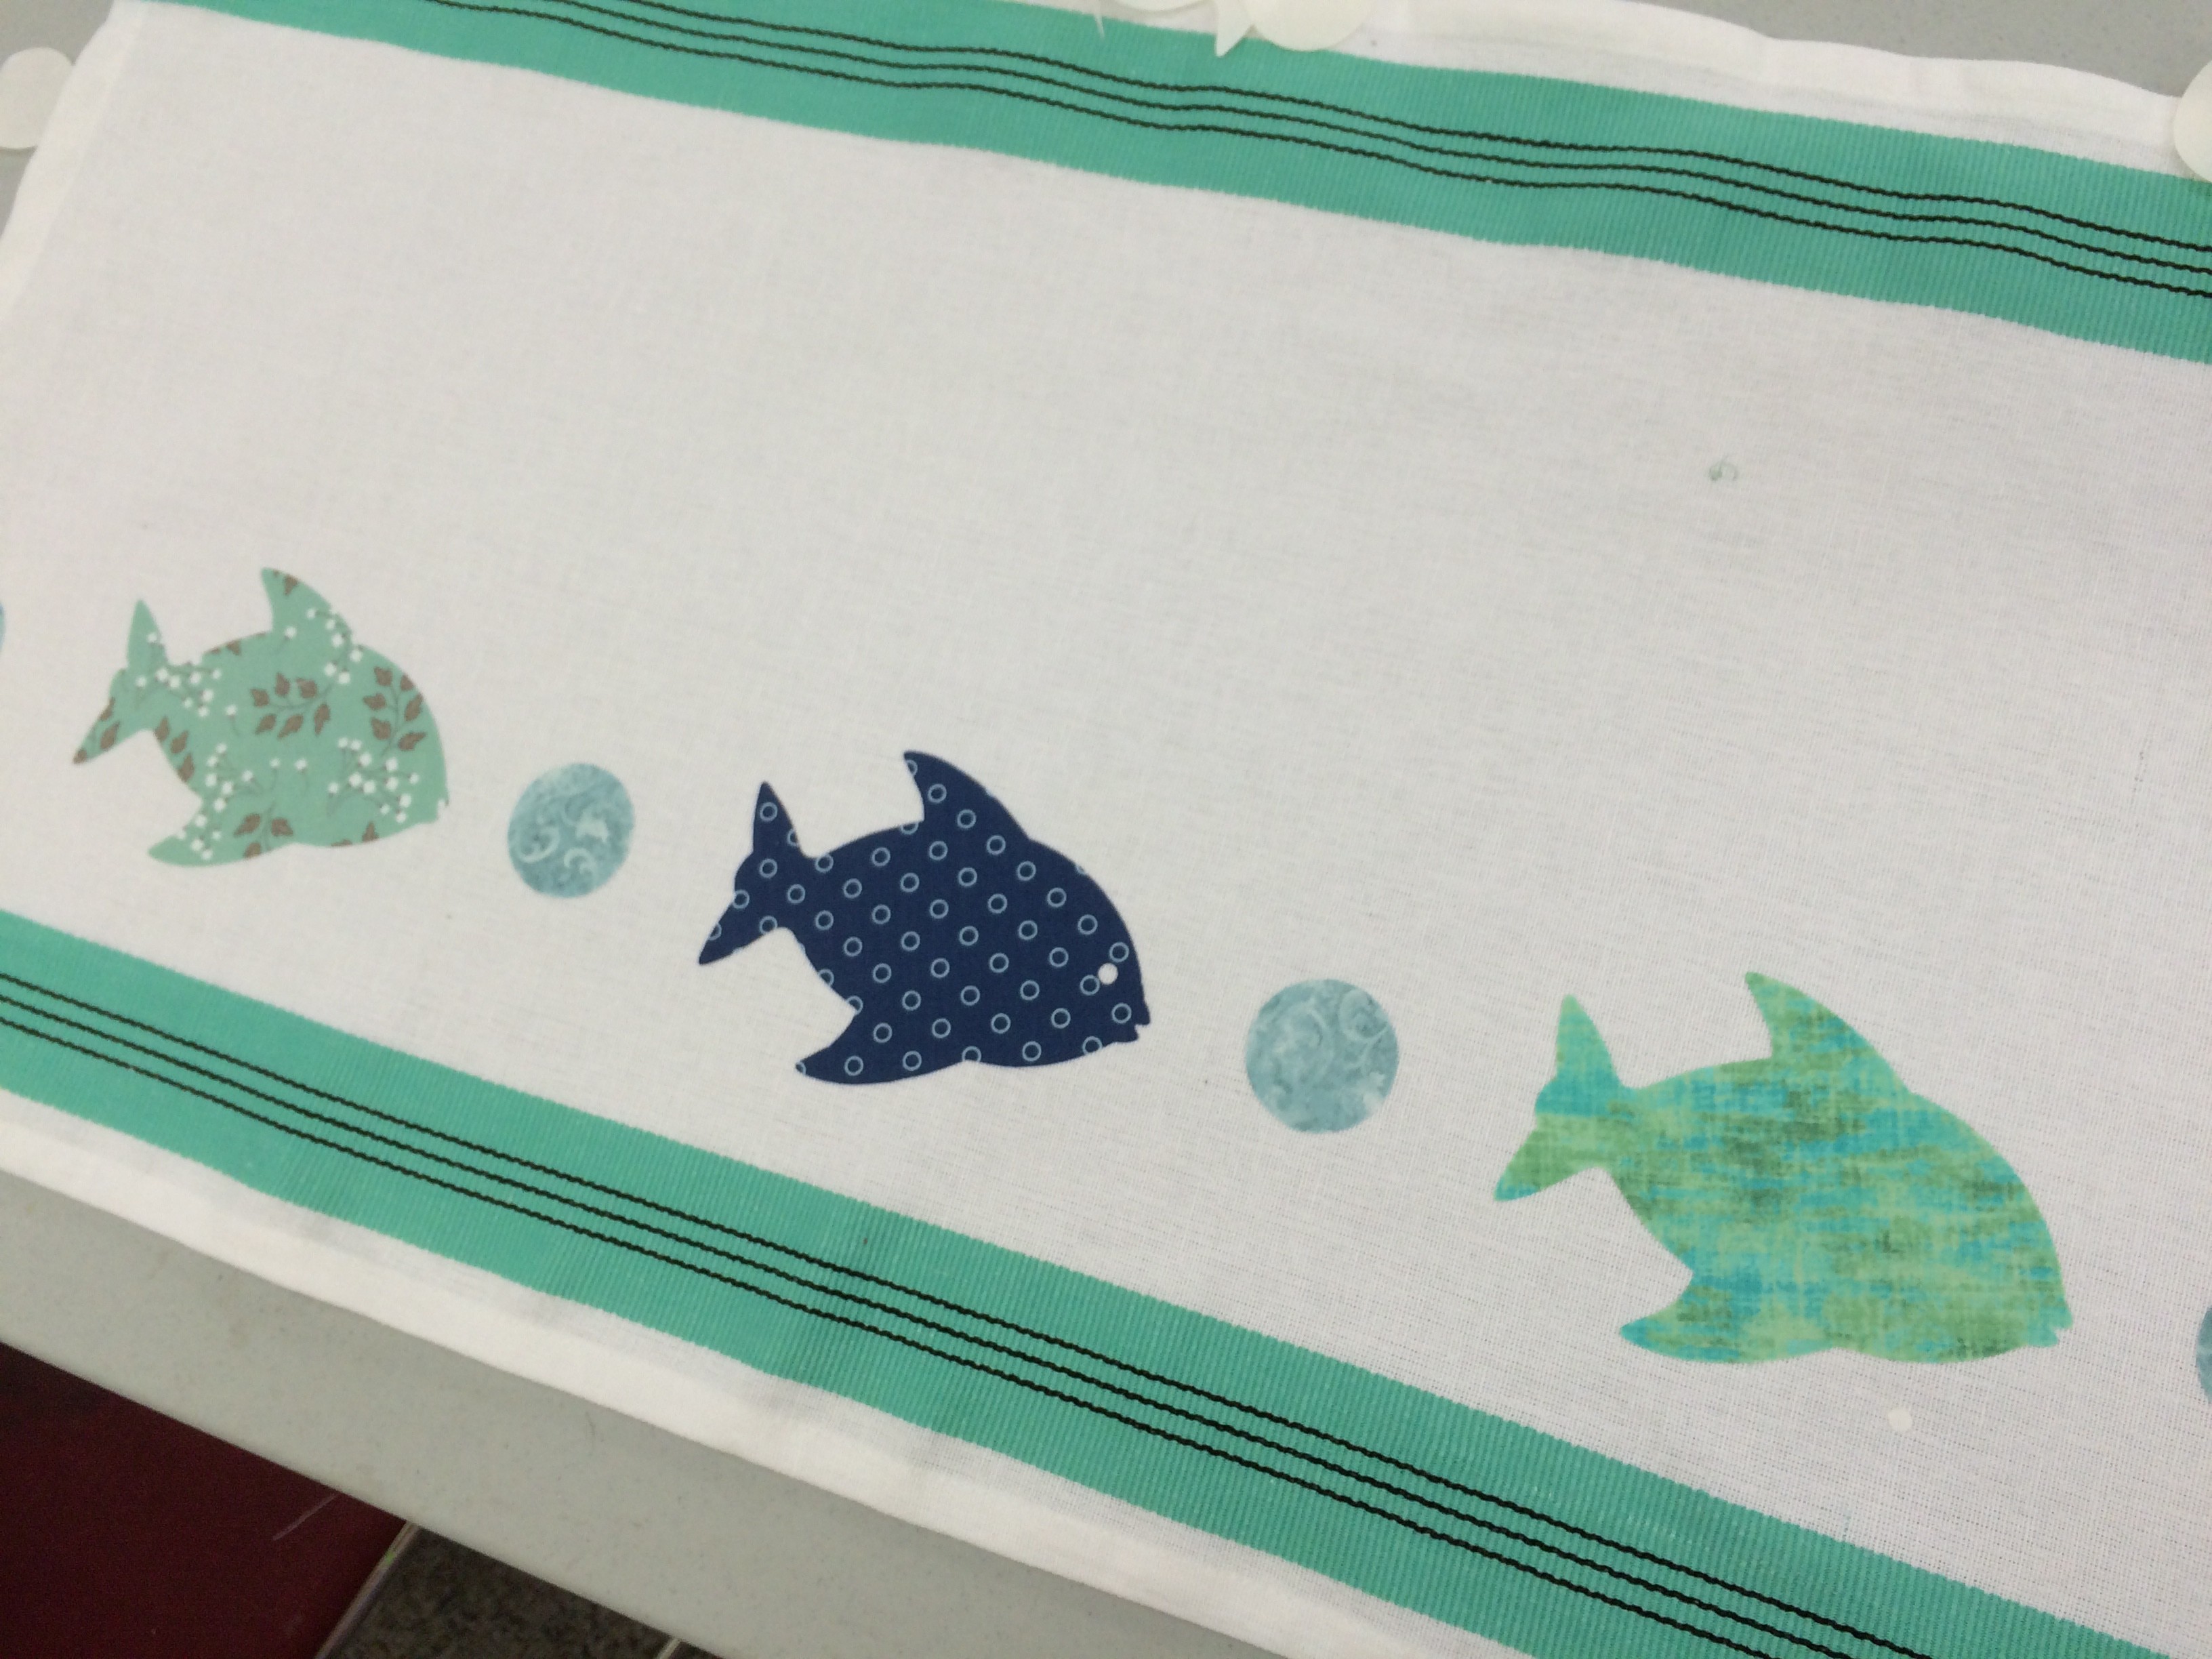
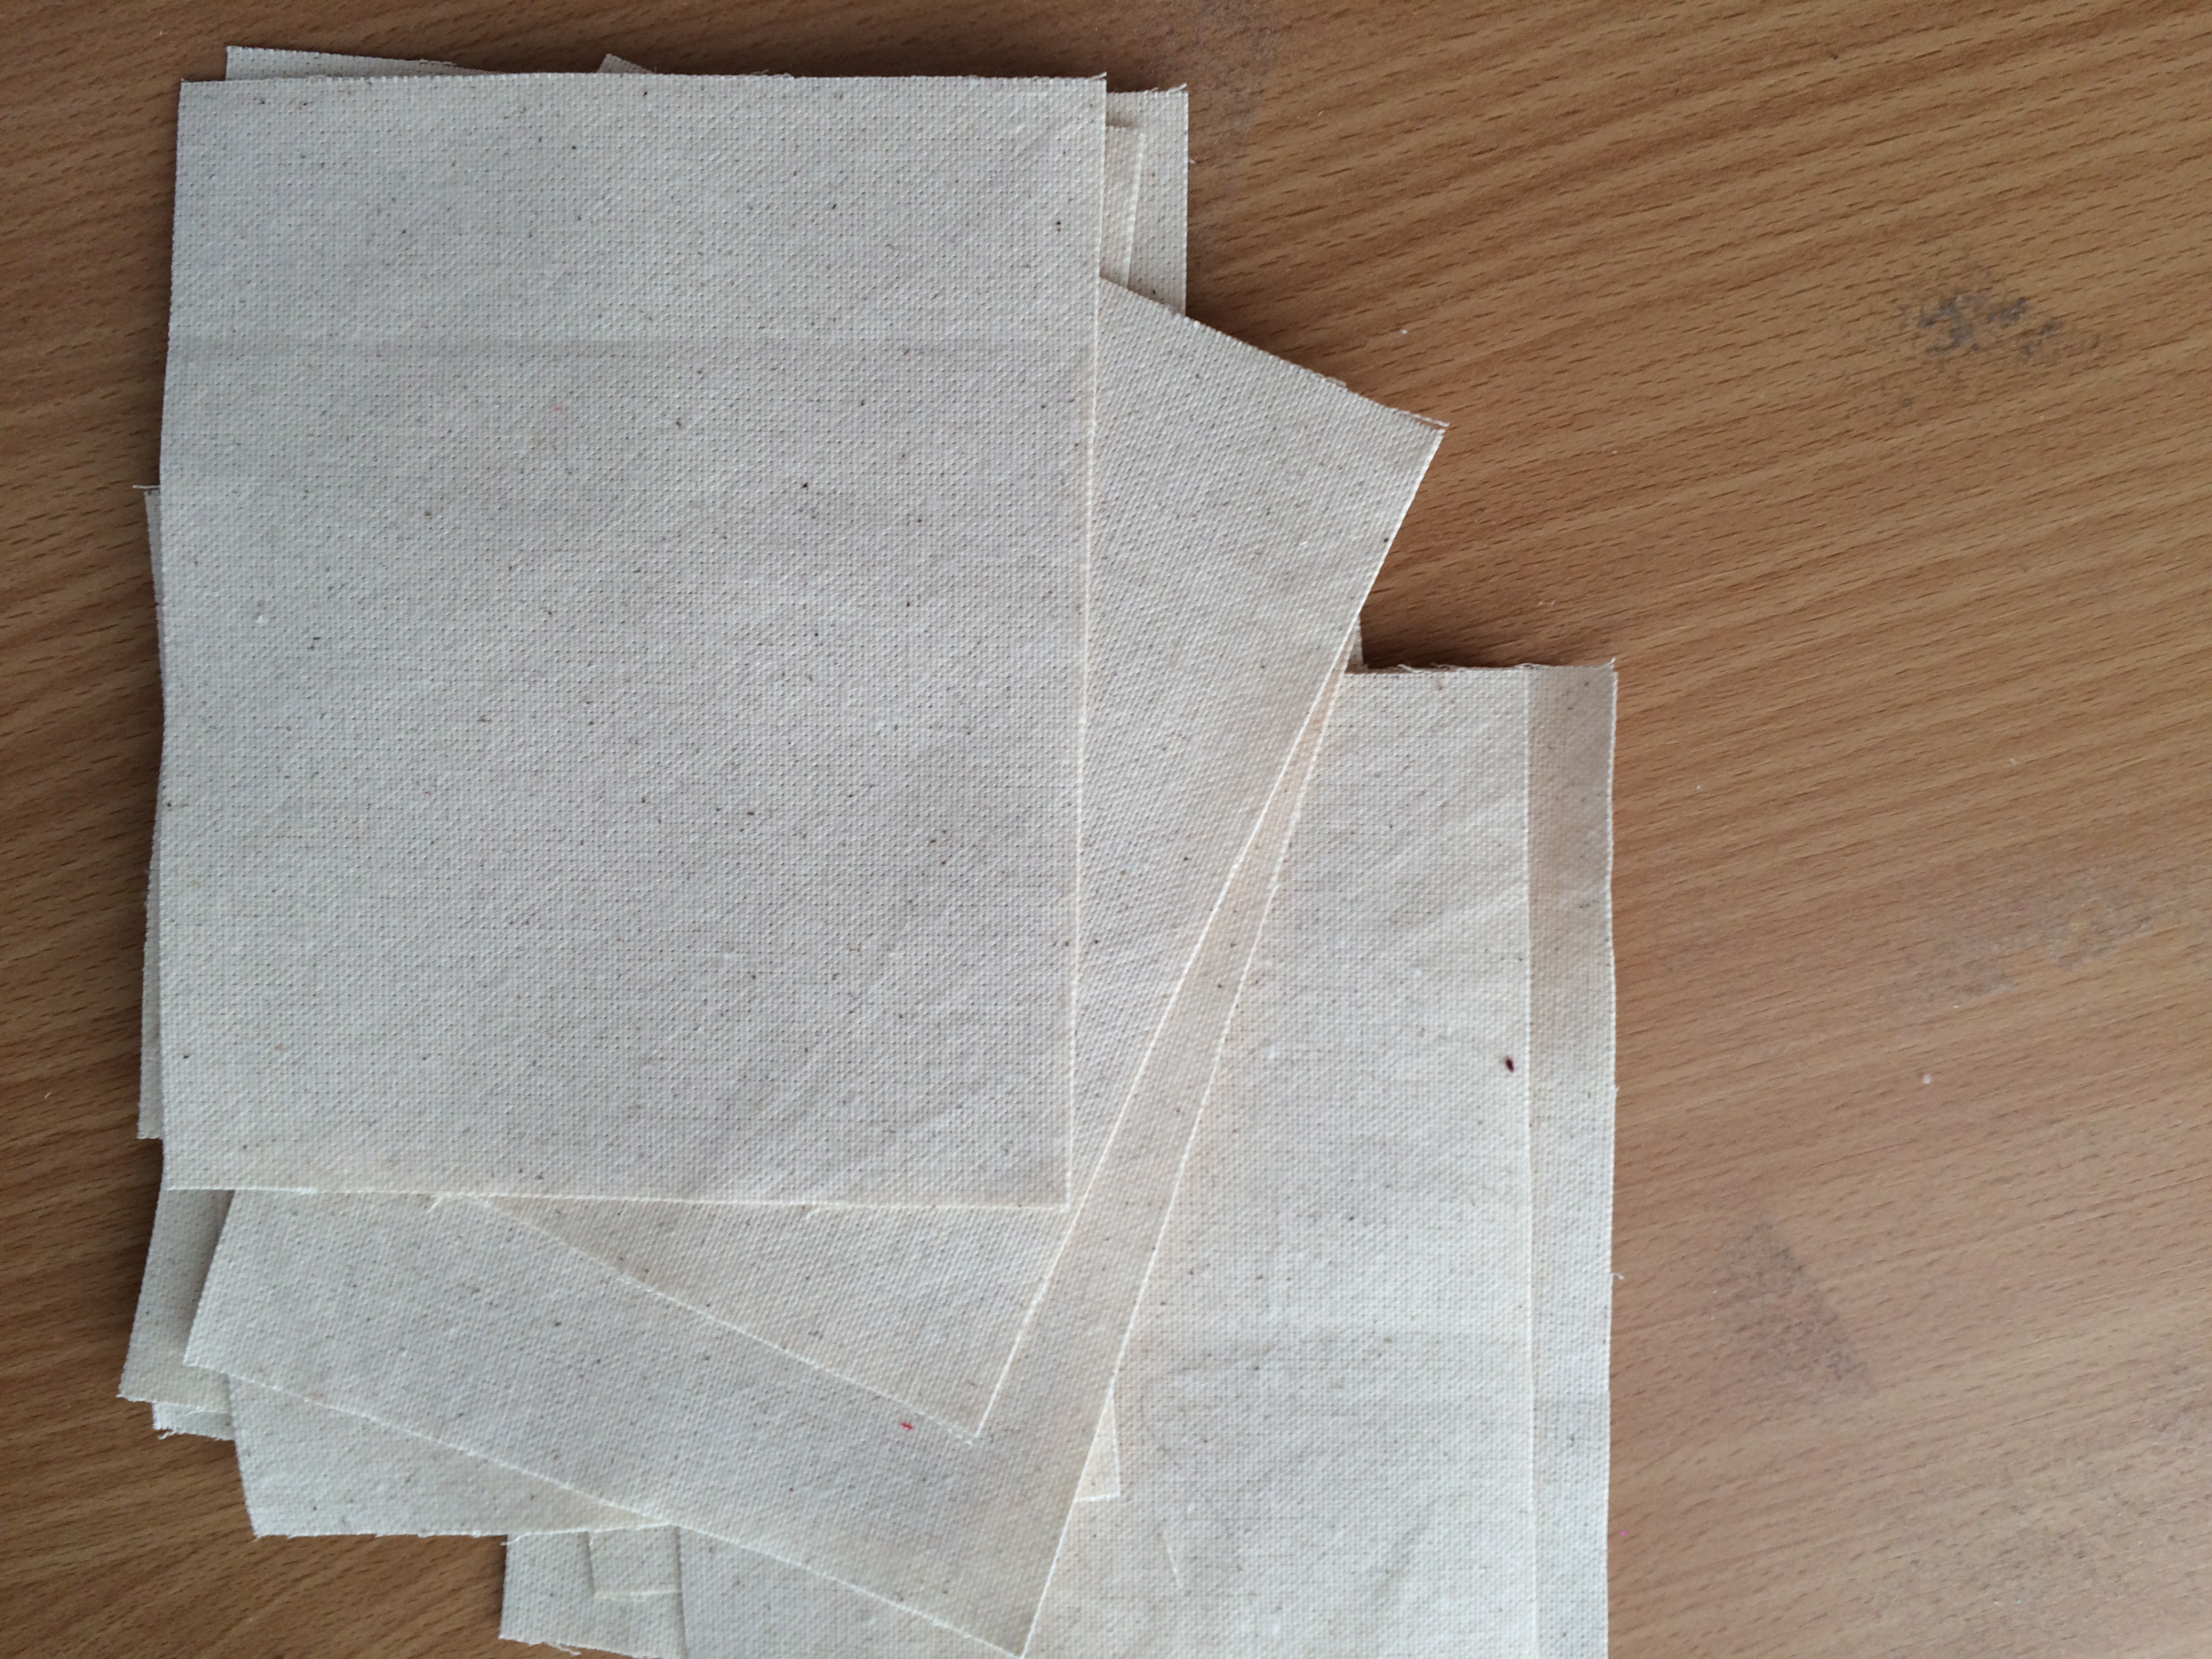
I had so much fun sewing my Fish Bubbles Pillow that I wanted to make more Fish Bubbles projects!  Have you seen the toweling by the yard?  It is amazing!  It is hemmed on both edges and it comes in a variety of colors and patterns.  I thought it would be fun to make an apron with it and a table runner.  Here’s how you can make one.

Supplies:

1.5 yards of toweling

Sizzix Fish Die

Sizzix Circles 1 1/2″ Die

Heat n Bond Lite if you want to sew the appliqué or Heat n Bond Ultra if you want “no-sew”

1/2 yard for waist band

Cut the toweling to 1.5 yards.
fish apron 3
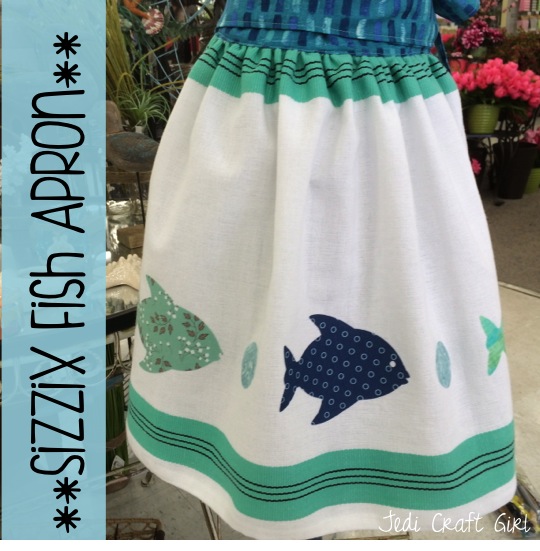
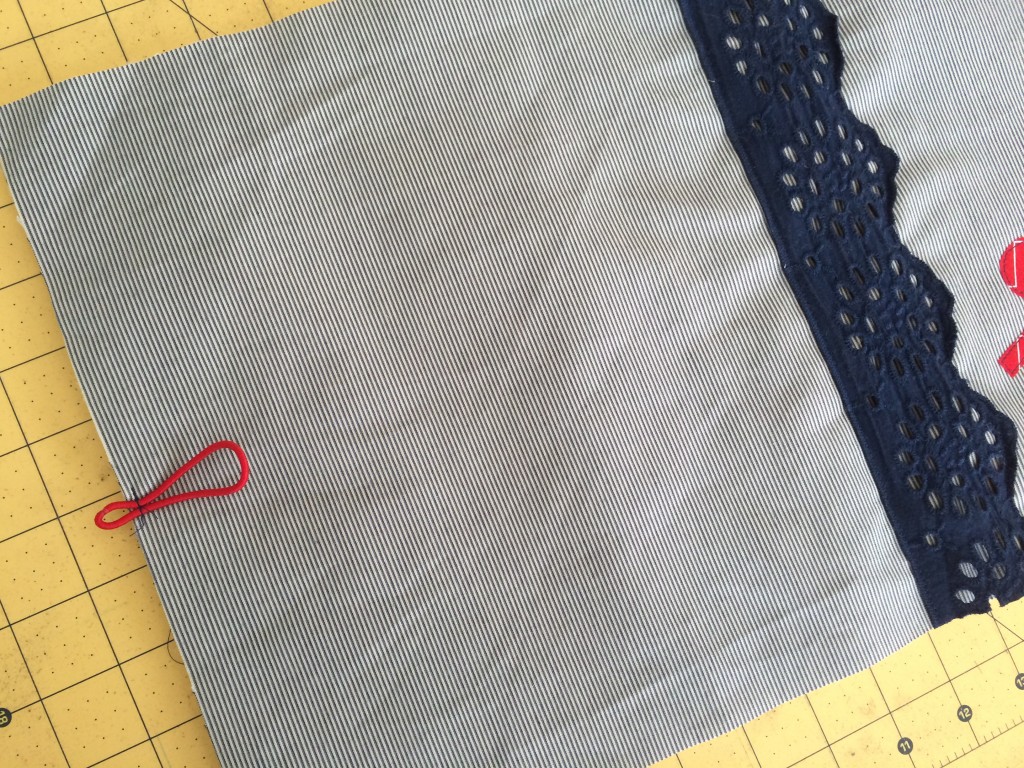
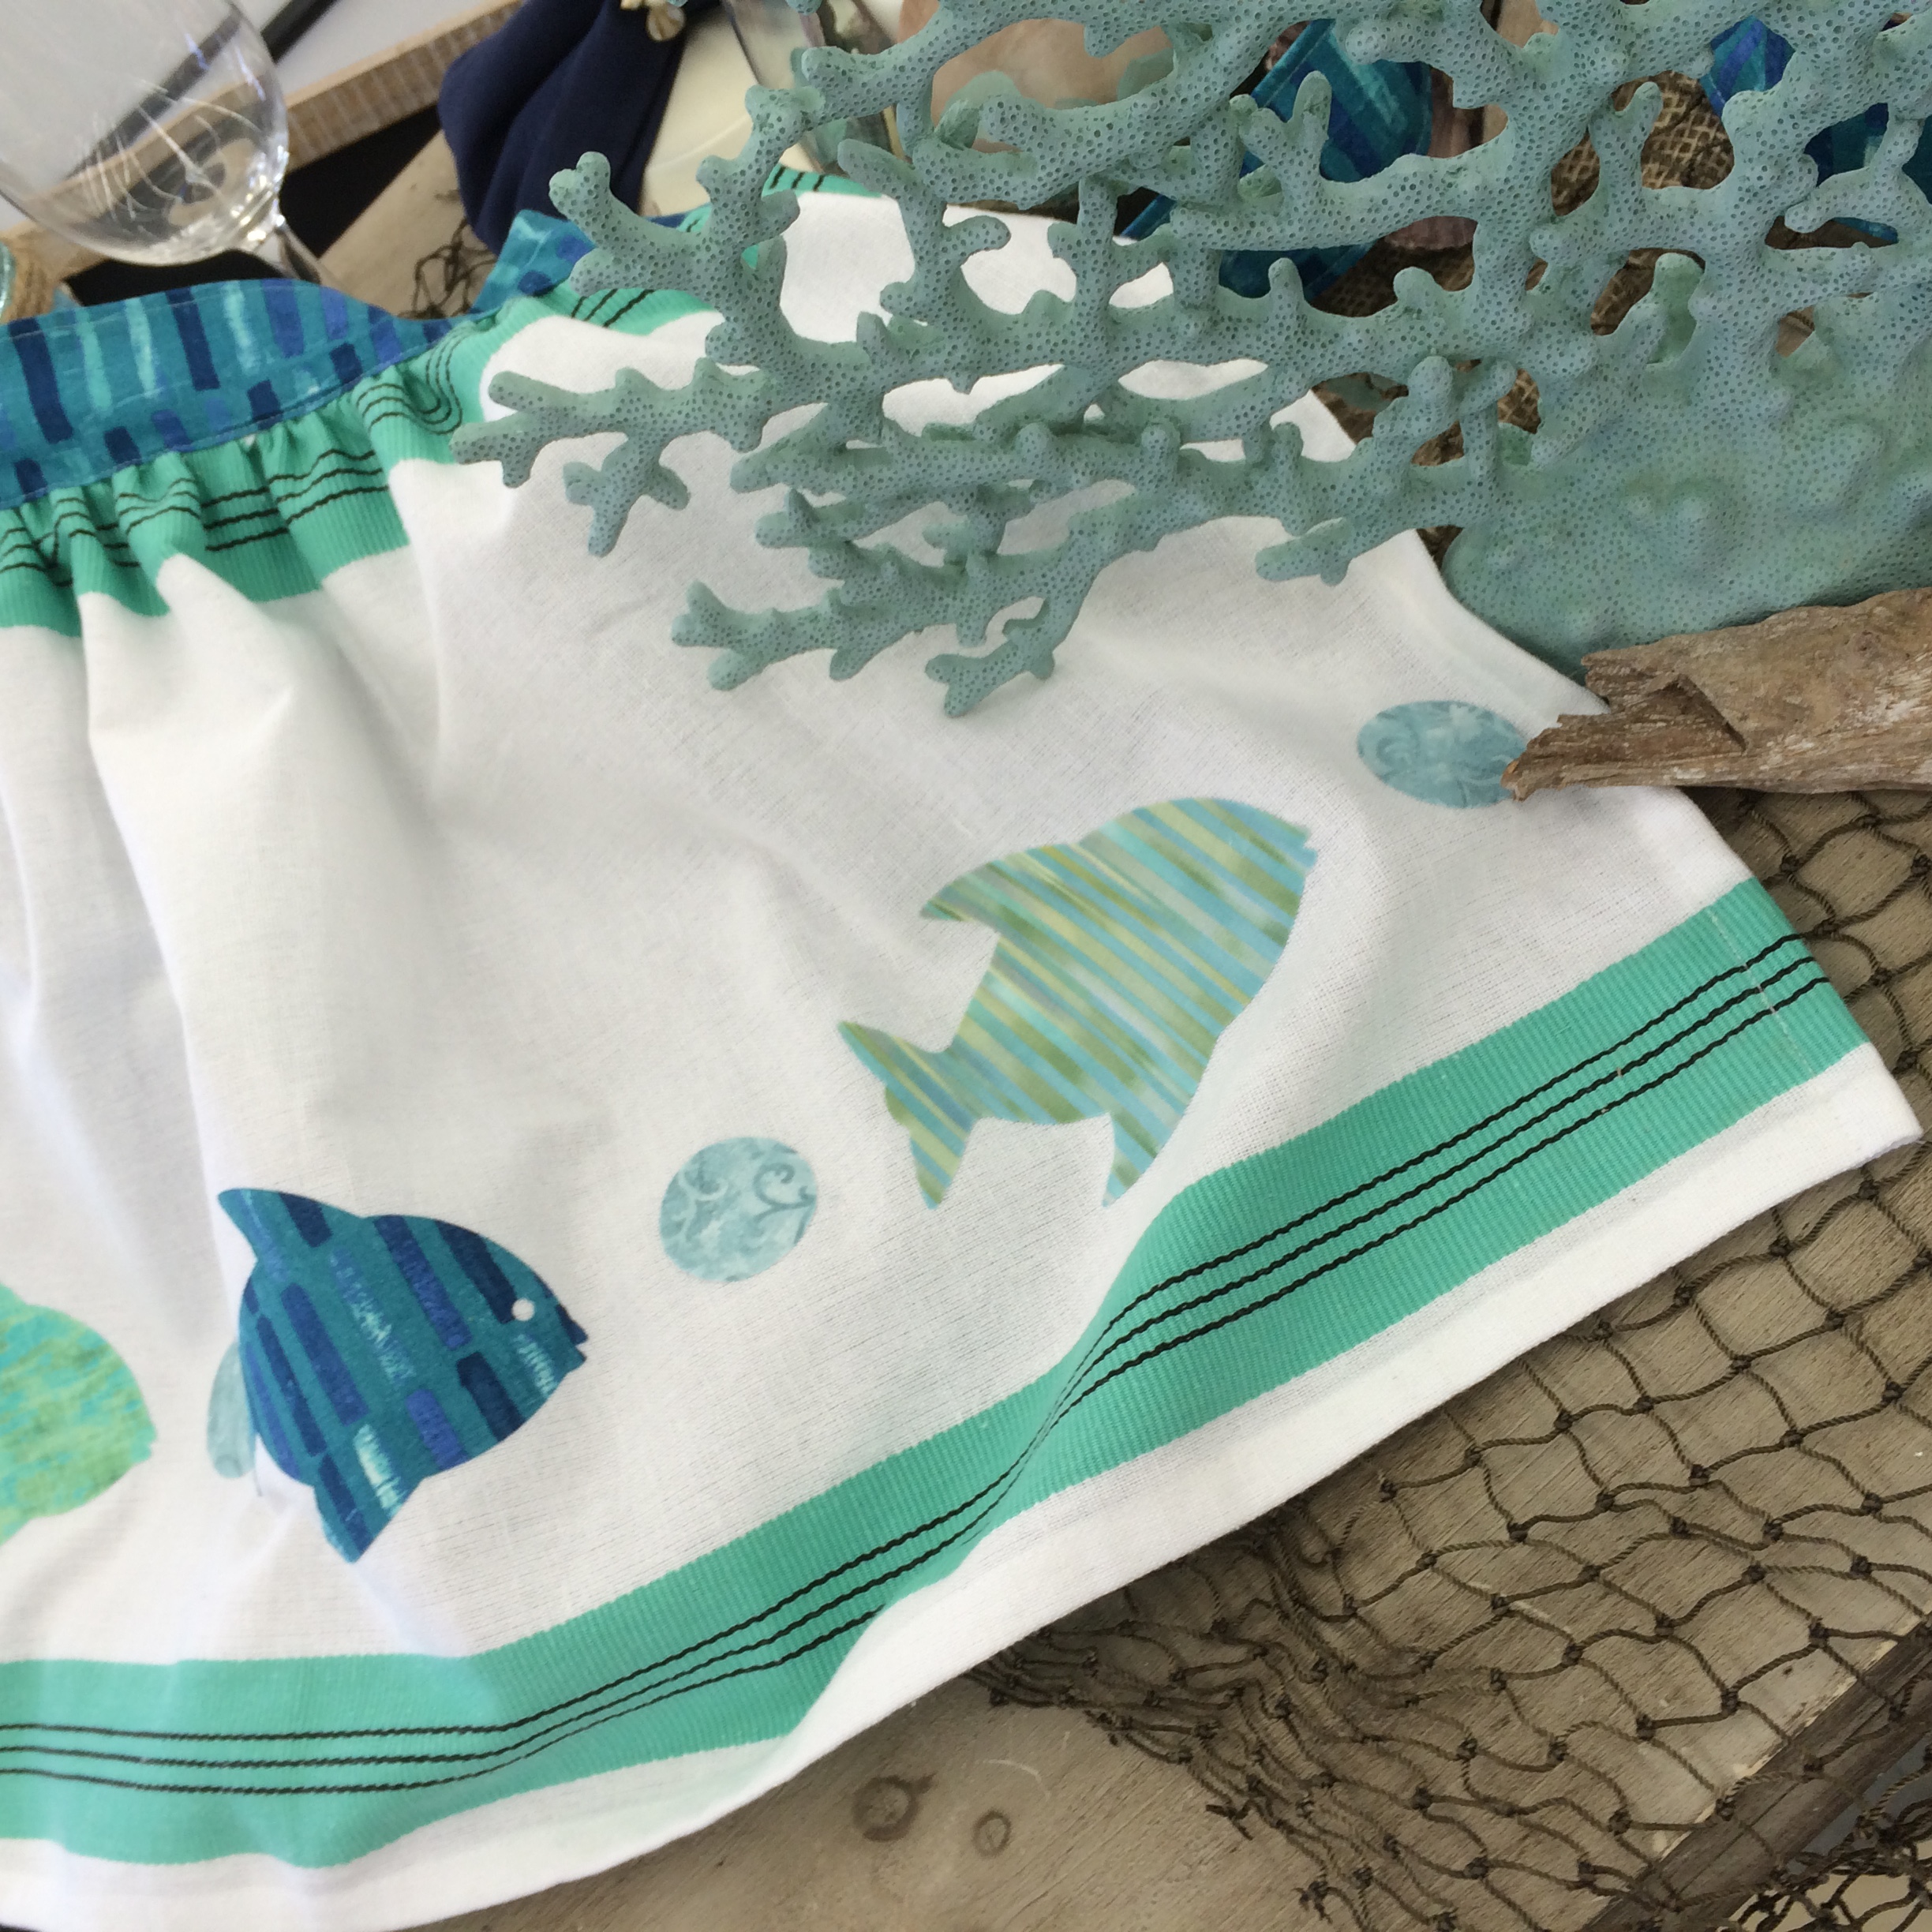
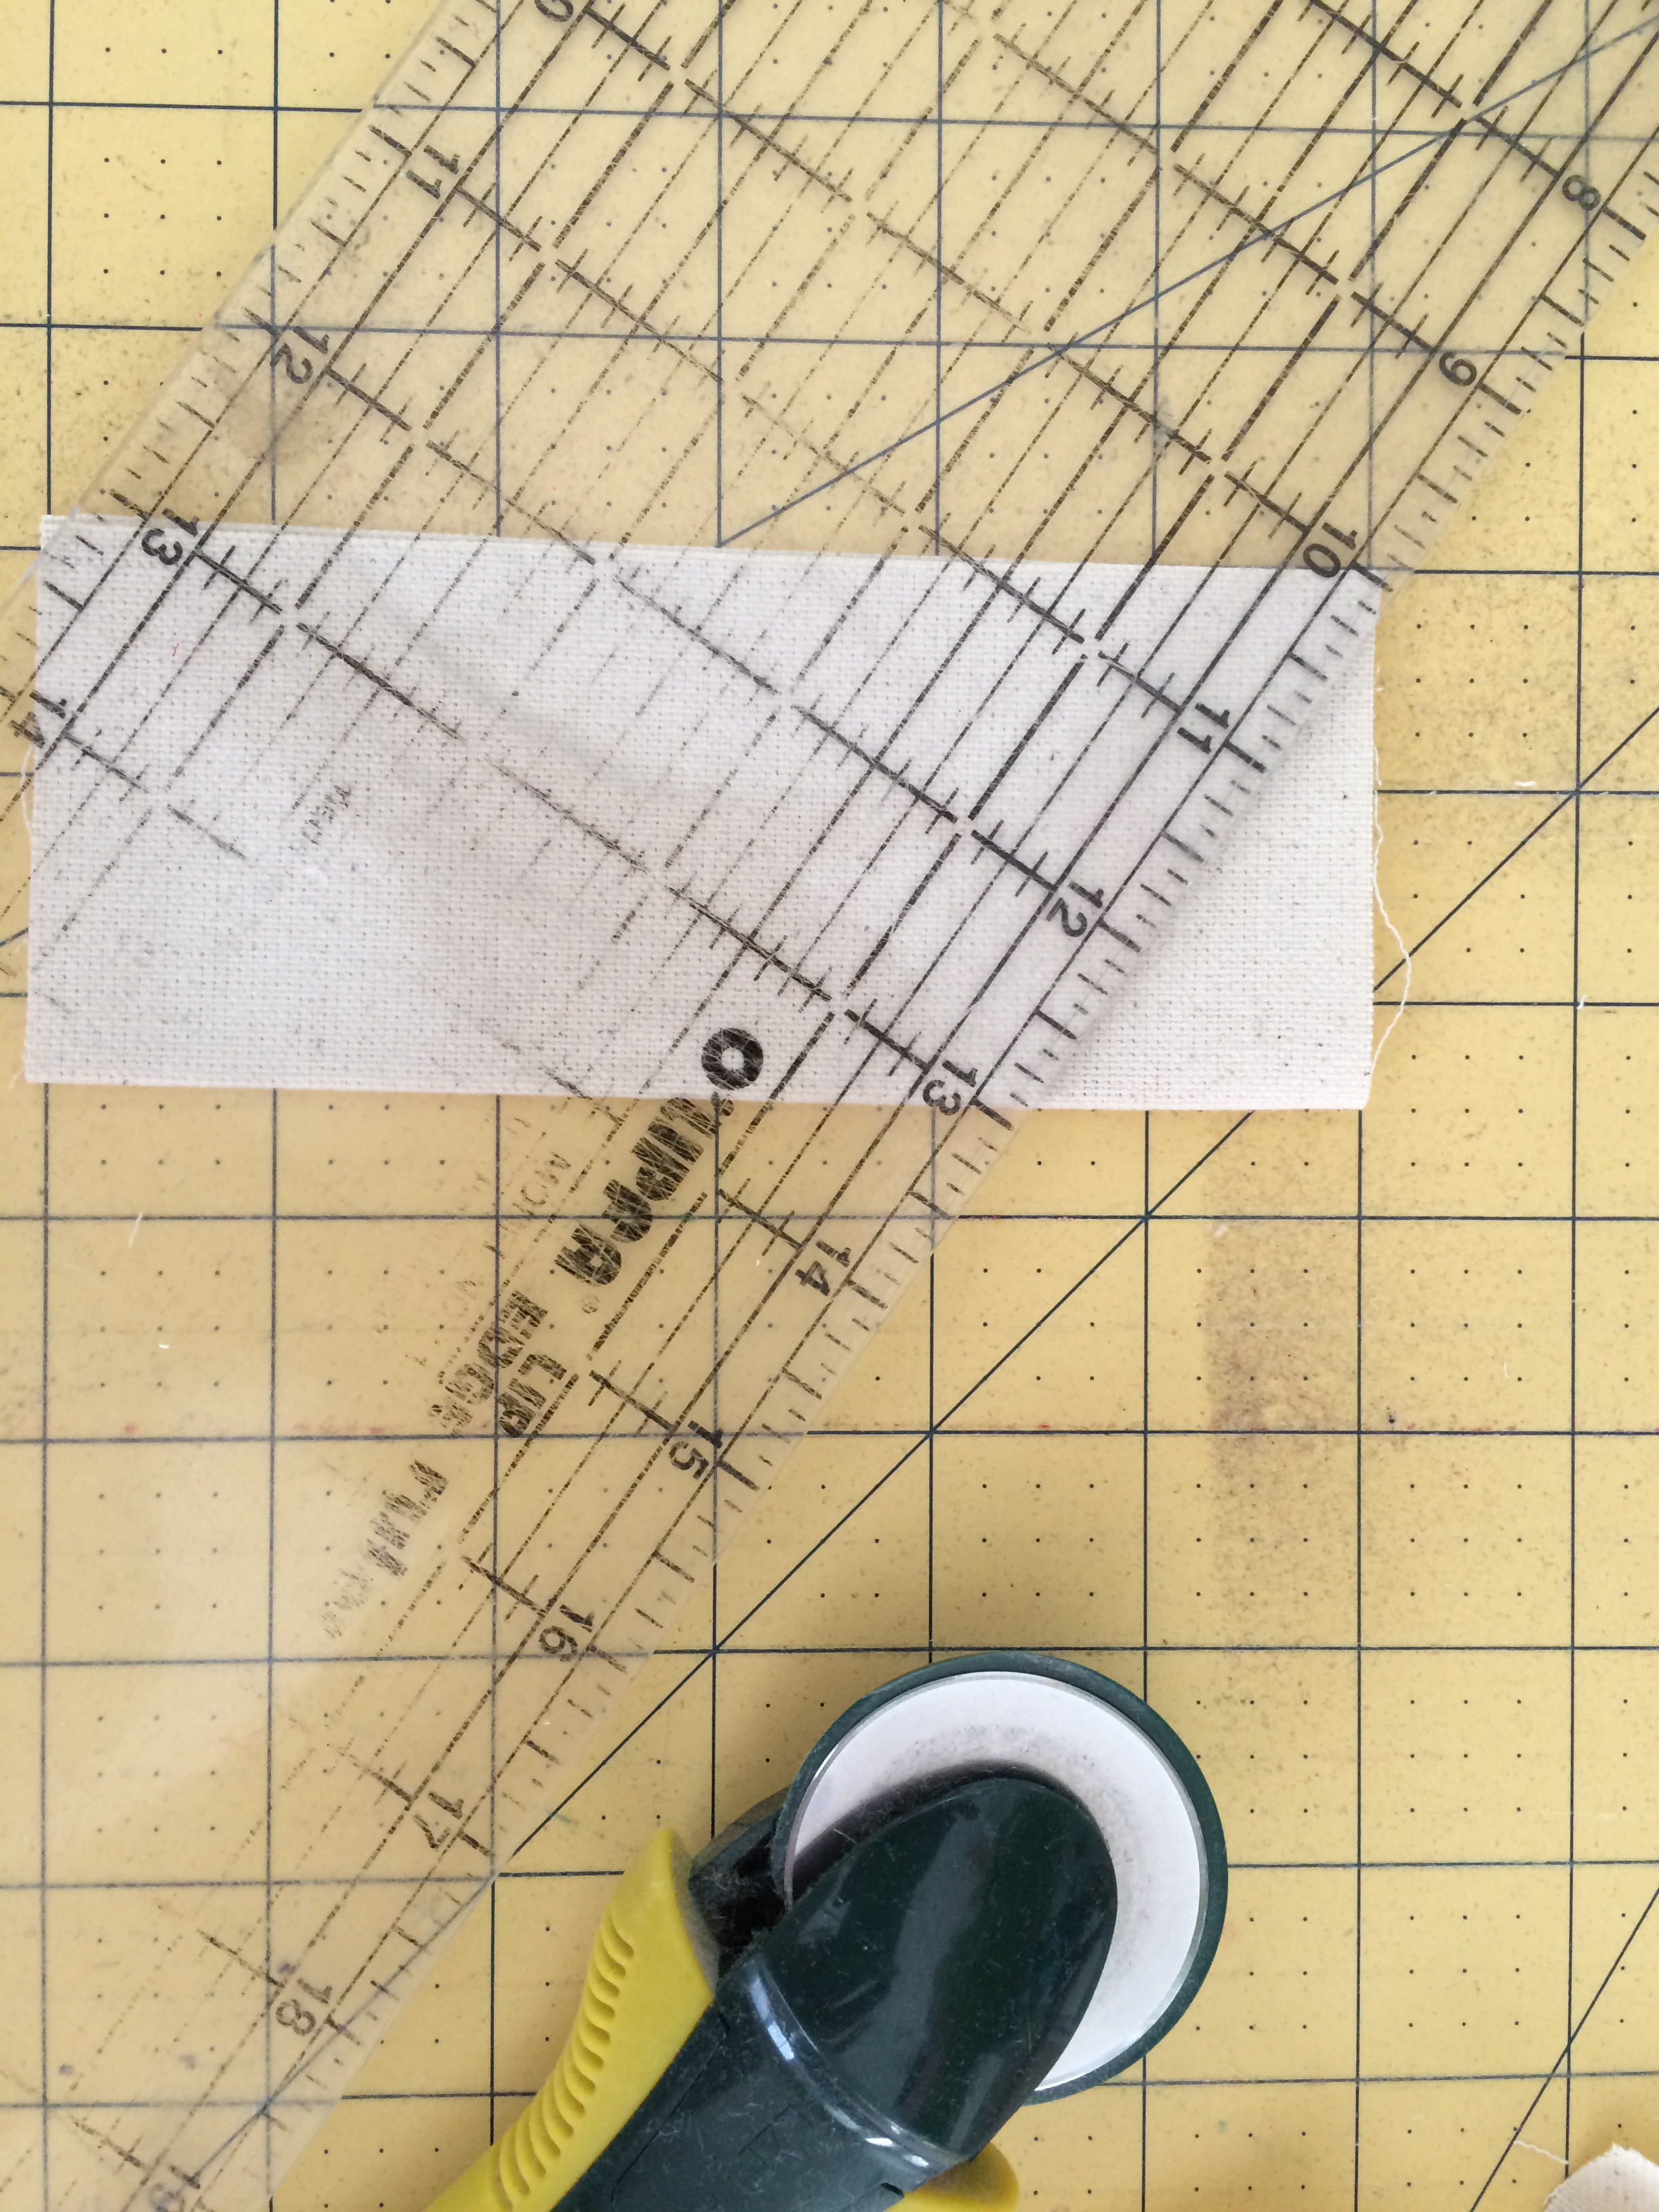
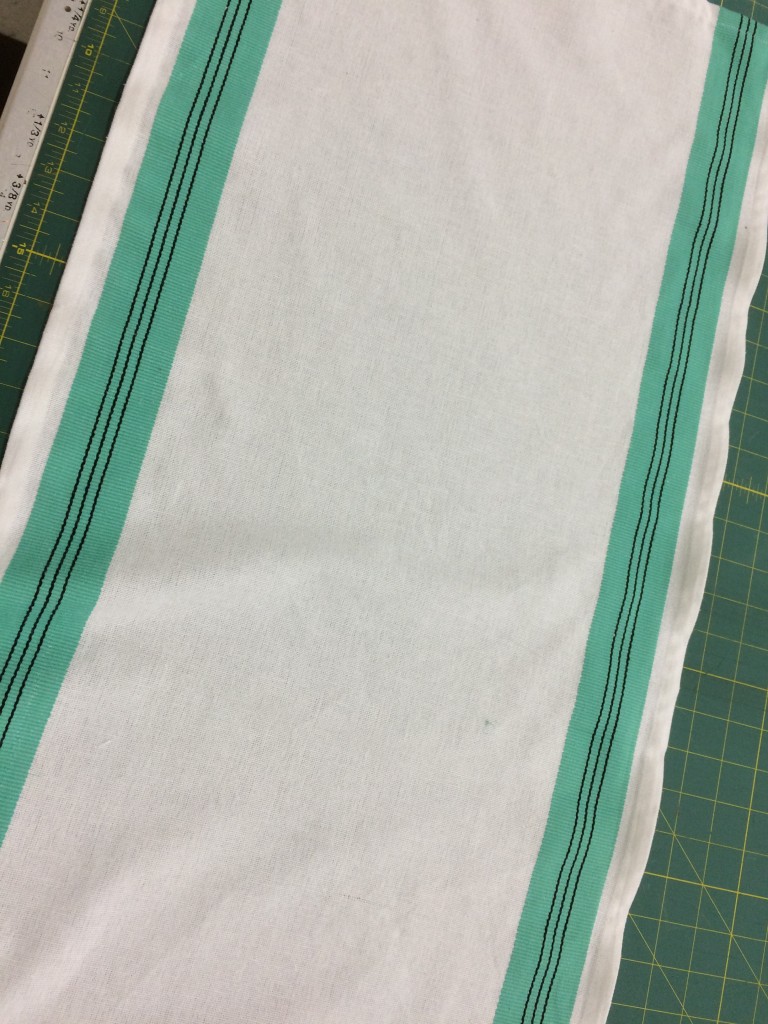
Hem the cut sides of the toweling by turing under 1/2″ and again 1/2″ and sewing close to the fold.

fish apron 4


Choose some fun fabrics and iron the Heat n Bond to the wrong side of the fabric.  Heat n Bond Lite is a great light weight fusible appliqué but is best if you sew around it to secure.  Heat n Bond
Ultra requires no sewing.  I used Heat n Bond Ultra for this.  Once you have fused the appliqué medium to the wrong side of the fabric, run it through the Sizzix Fabi.

fish bubbles pillow 4 
I appliquéd 4 fish and 5 bubbles.

Now all you have to do is make the apron waist band.  Cut (3) 5″ x WOF strips from the waist band fabric.  From one of those pieces cut it down to 24″ x 5″  The two long pieces will be the ties and the 24″ piece will be the waist band.

fish apron 5

Fold the ties in half lengthwise and sew, leaving one end open, and angling the other end to form a point like this:  Turn right side out, press, and top stitch along both sides 1/8″ from the edge.
fish apron 7

Cut the top hem of the toweling off to reduce bulk while gathering (I tried it with the hem and it was way too thick.)  Run a zig zag stitch along the top edge to cut down on the fraying.fish apron 9

We a gathering stitch along this top edge about 1/4″ from the top.  Pull up the threads to gather.  Pin the gathers to a WRONG edge of the 24″ waist band strip, pinning 1″ from the edge of the strip on both sides.  Sew along the gathering stitch.fish apron 12

Press the other edge of the waist band under a generous 1/4″, then fold it over to the front to cover the gathering stitch.  Top stitch to secure, leaving the edges open.  Take those ends and fold them in 1/2″.  Tuck the ends of the ties in the side openings and sew where the pin is in the photo below:
fish apron 13

Apron is finished!  I love, it’s the cutest ever!!!fish apron 14

fish apron 18

To make the table runner, you need about 5 minutes!  Cut the toweling to the desired length of your table.  Hem the edges by rolling under 1/2″ then another 1/2″.  Sew to secure.

fish apron 2
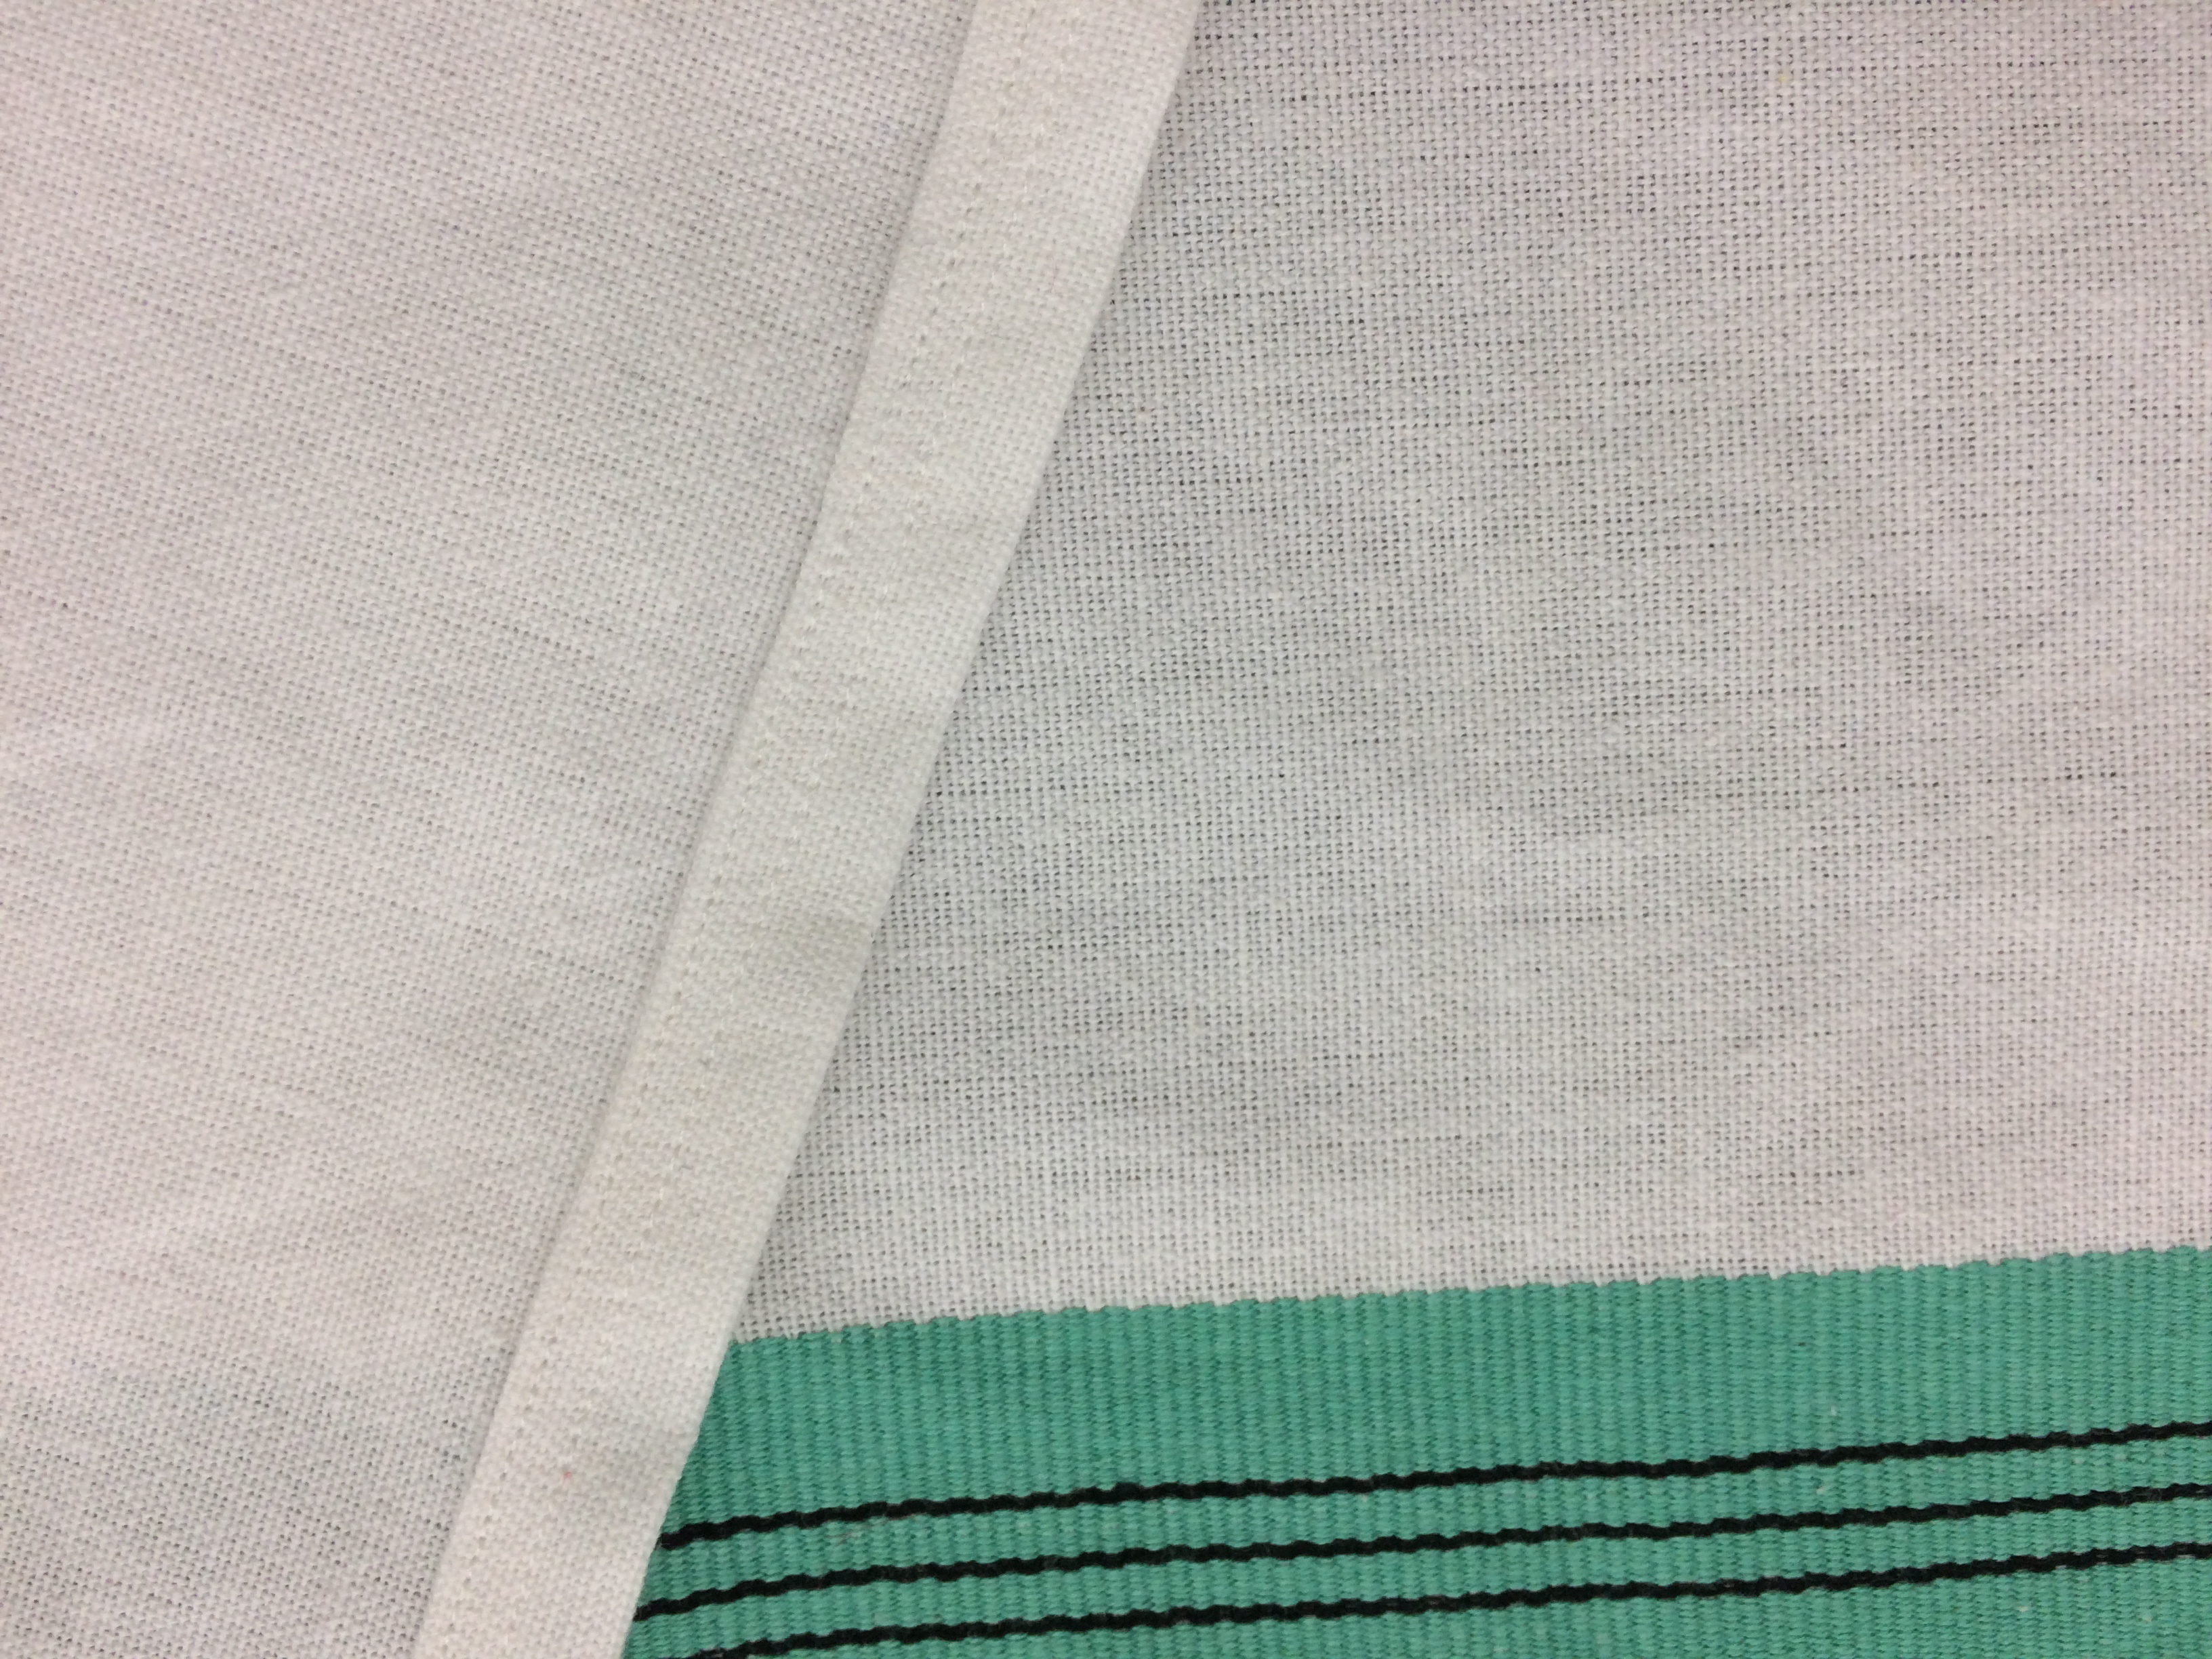
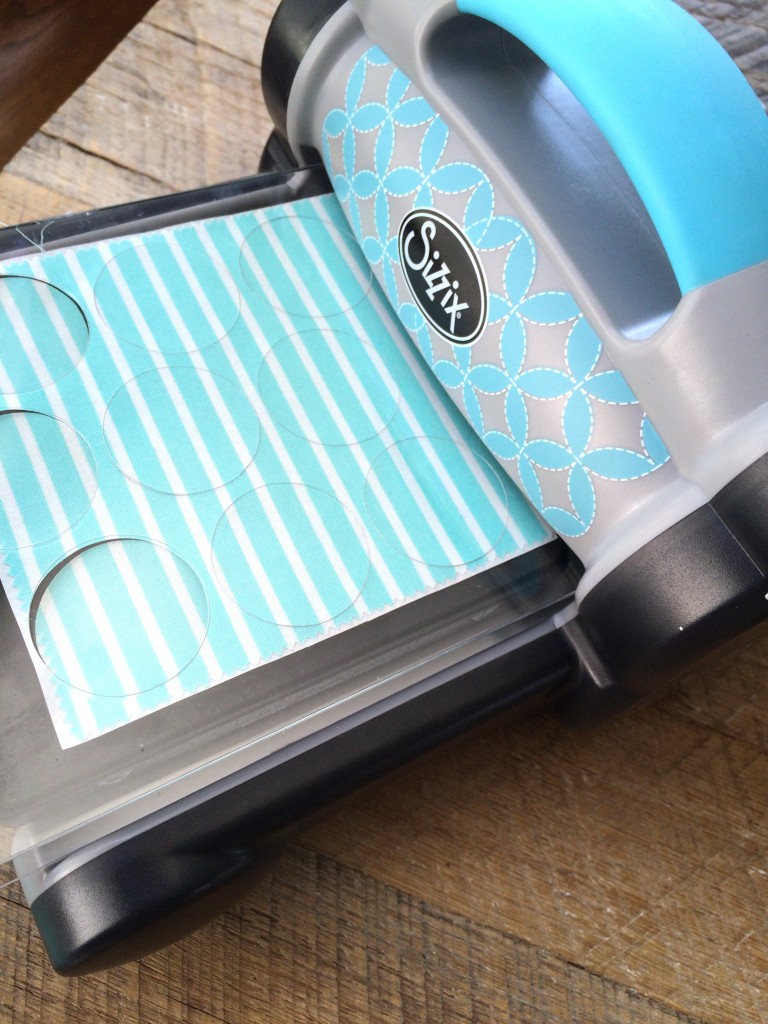
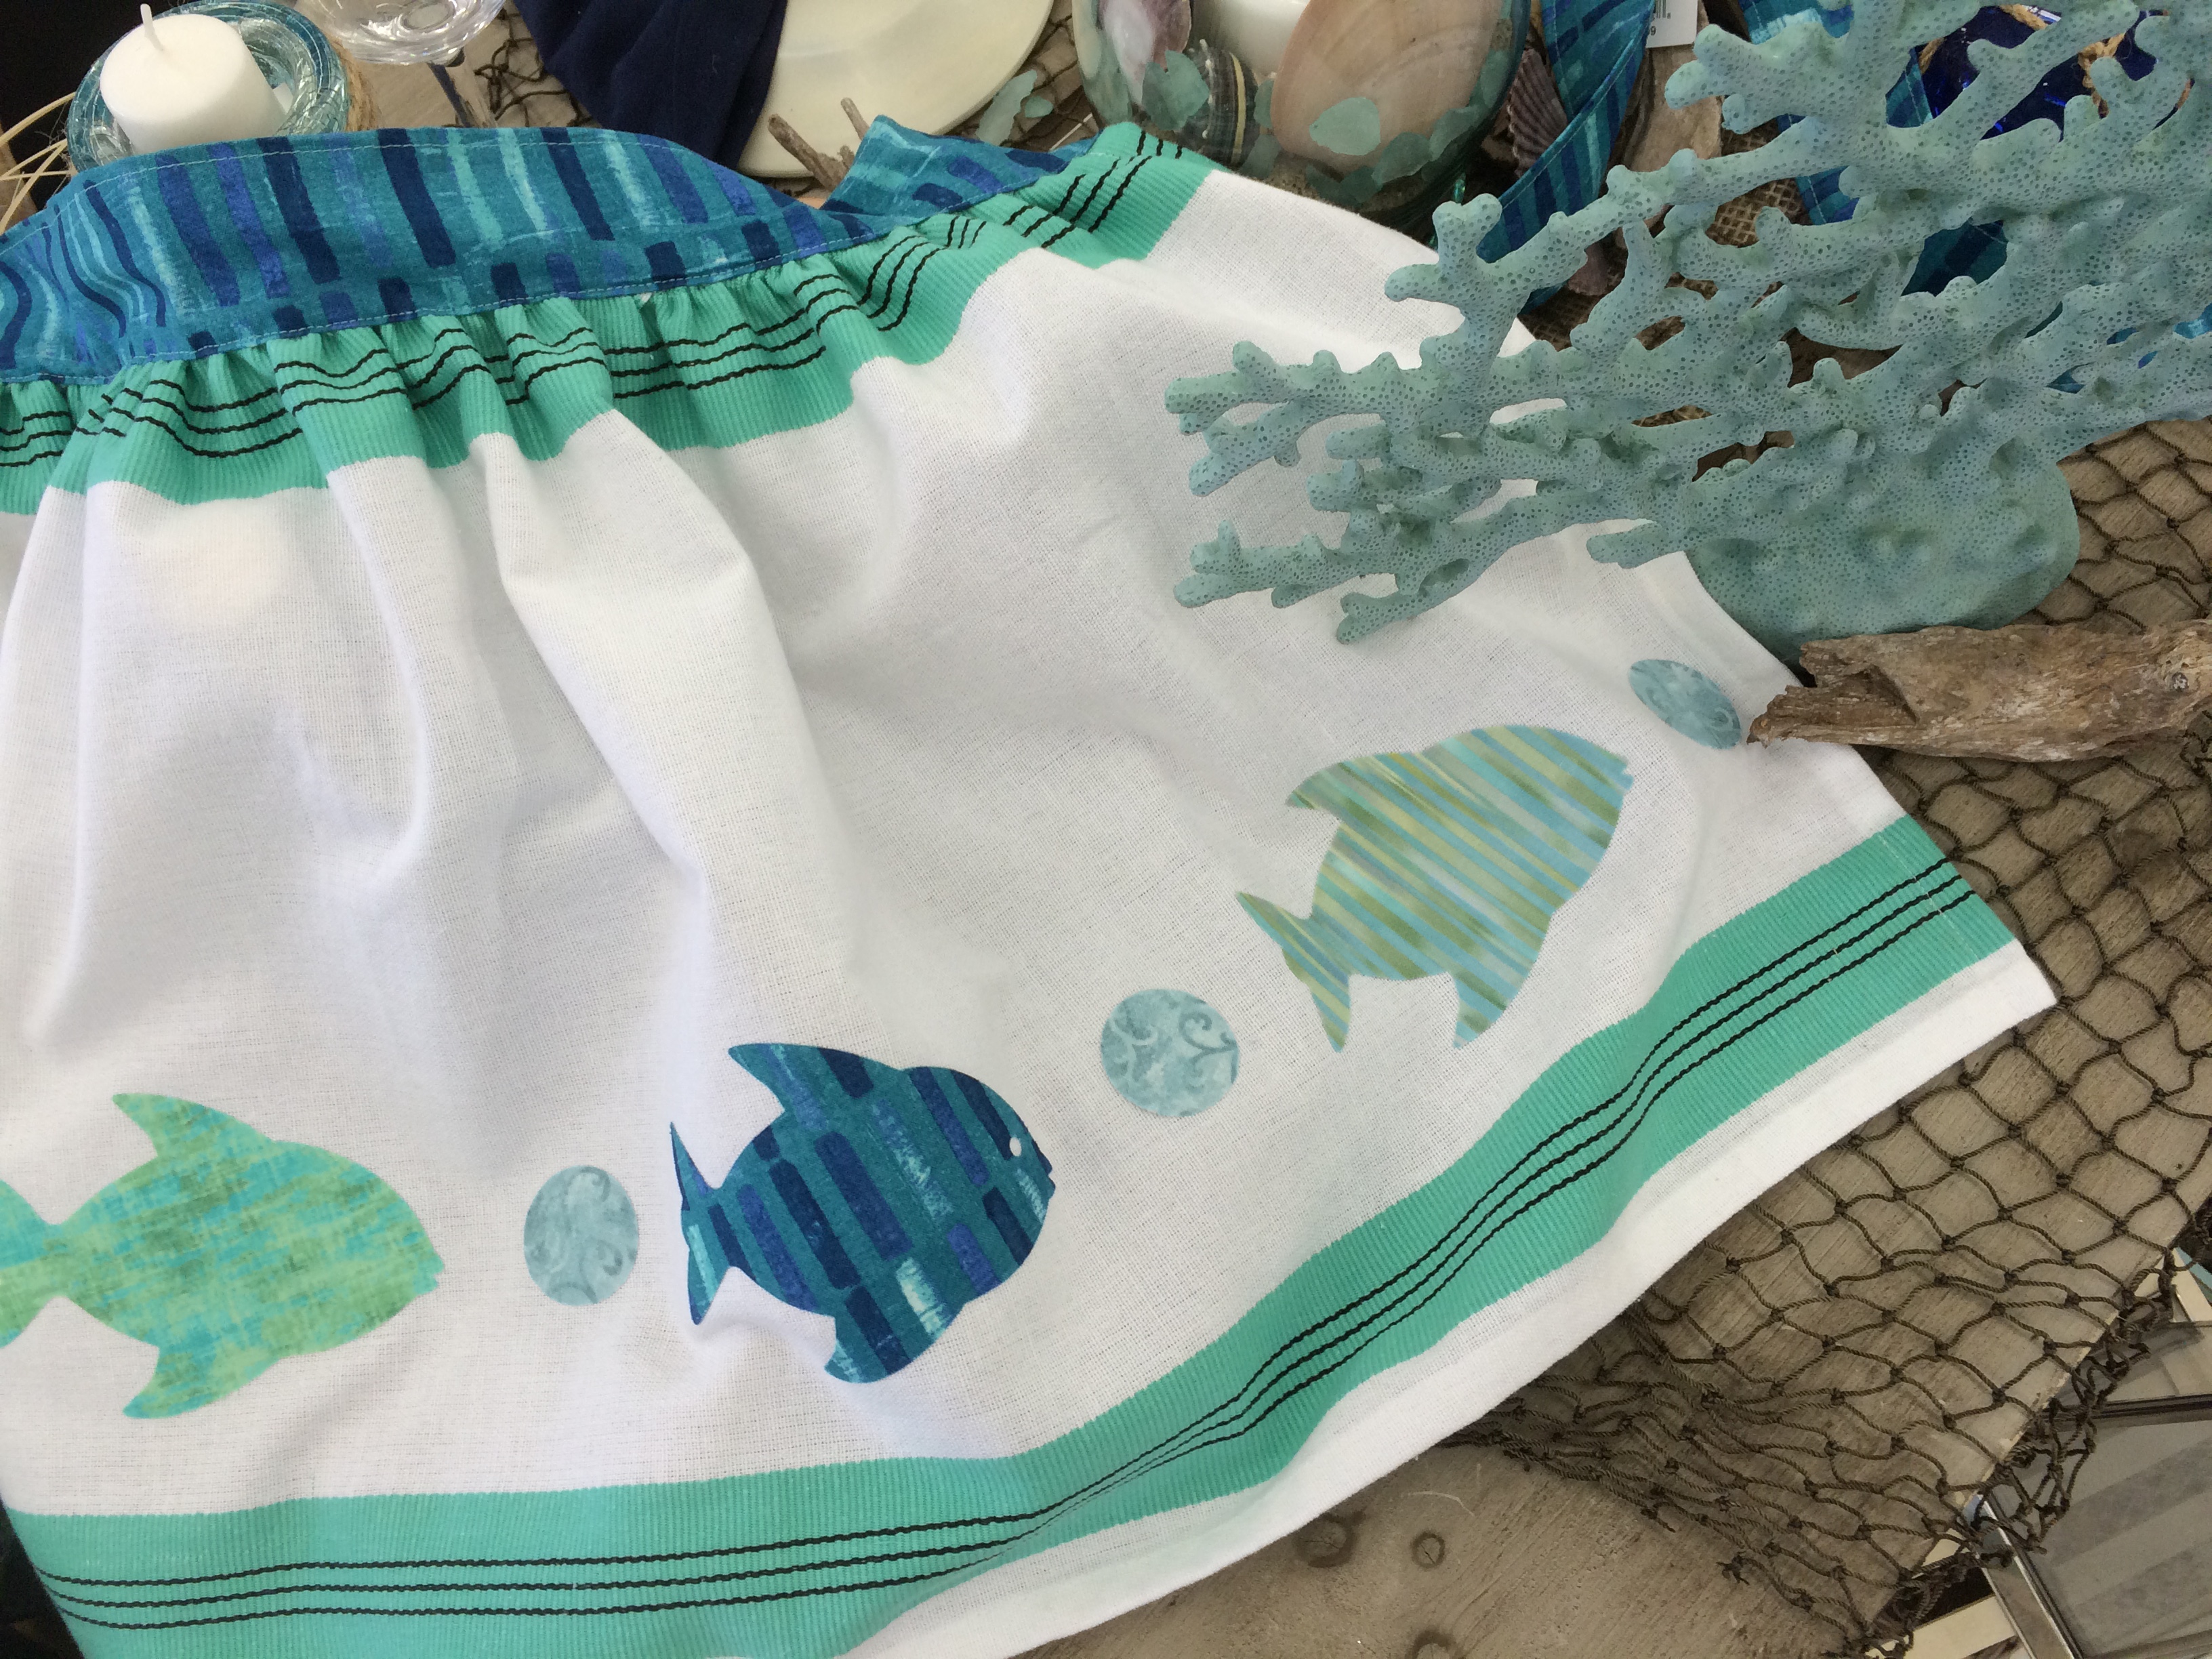
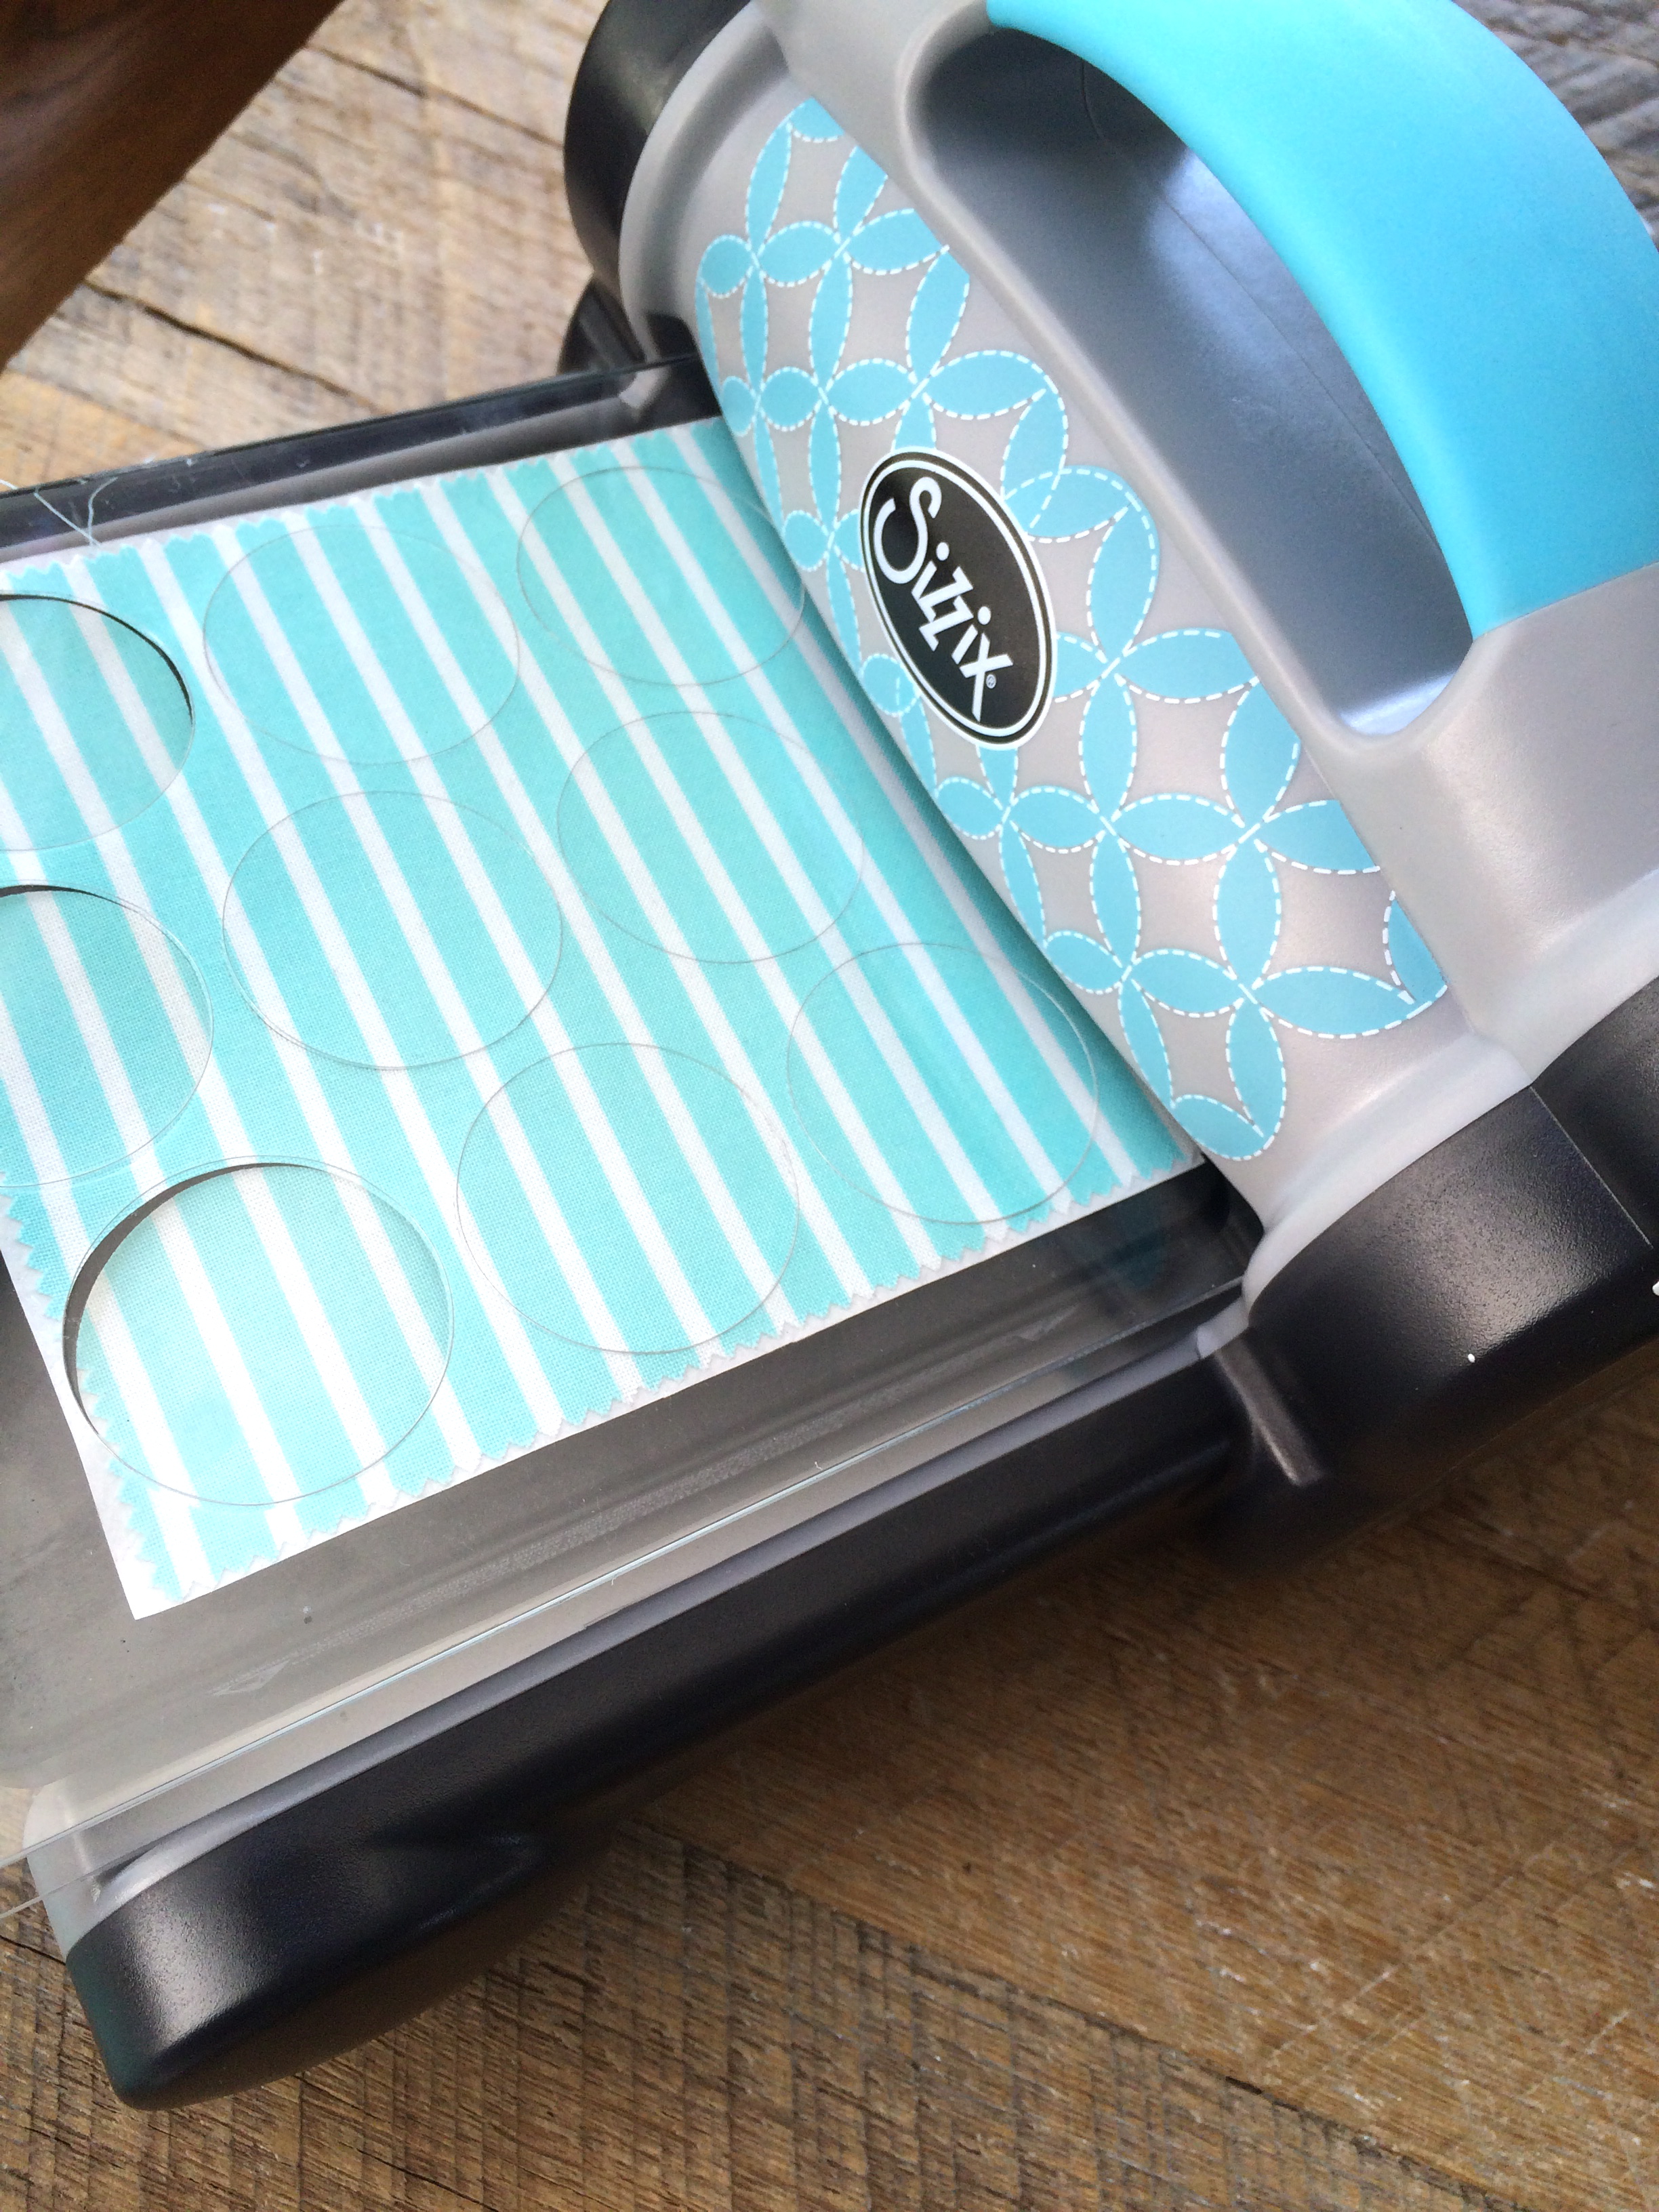
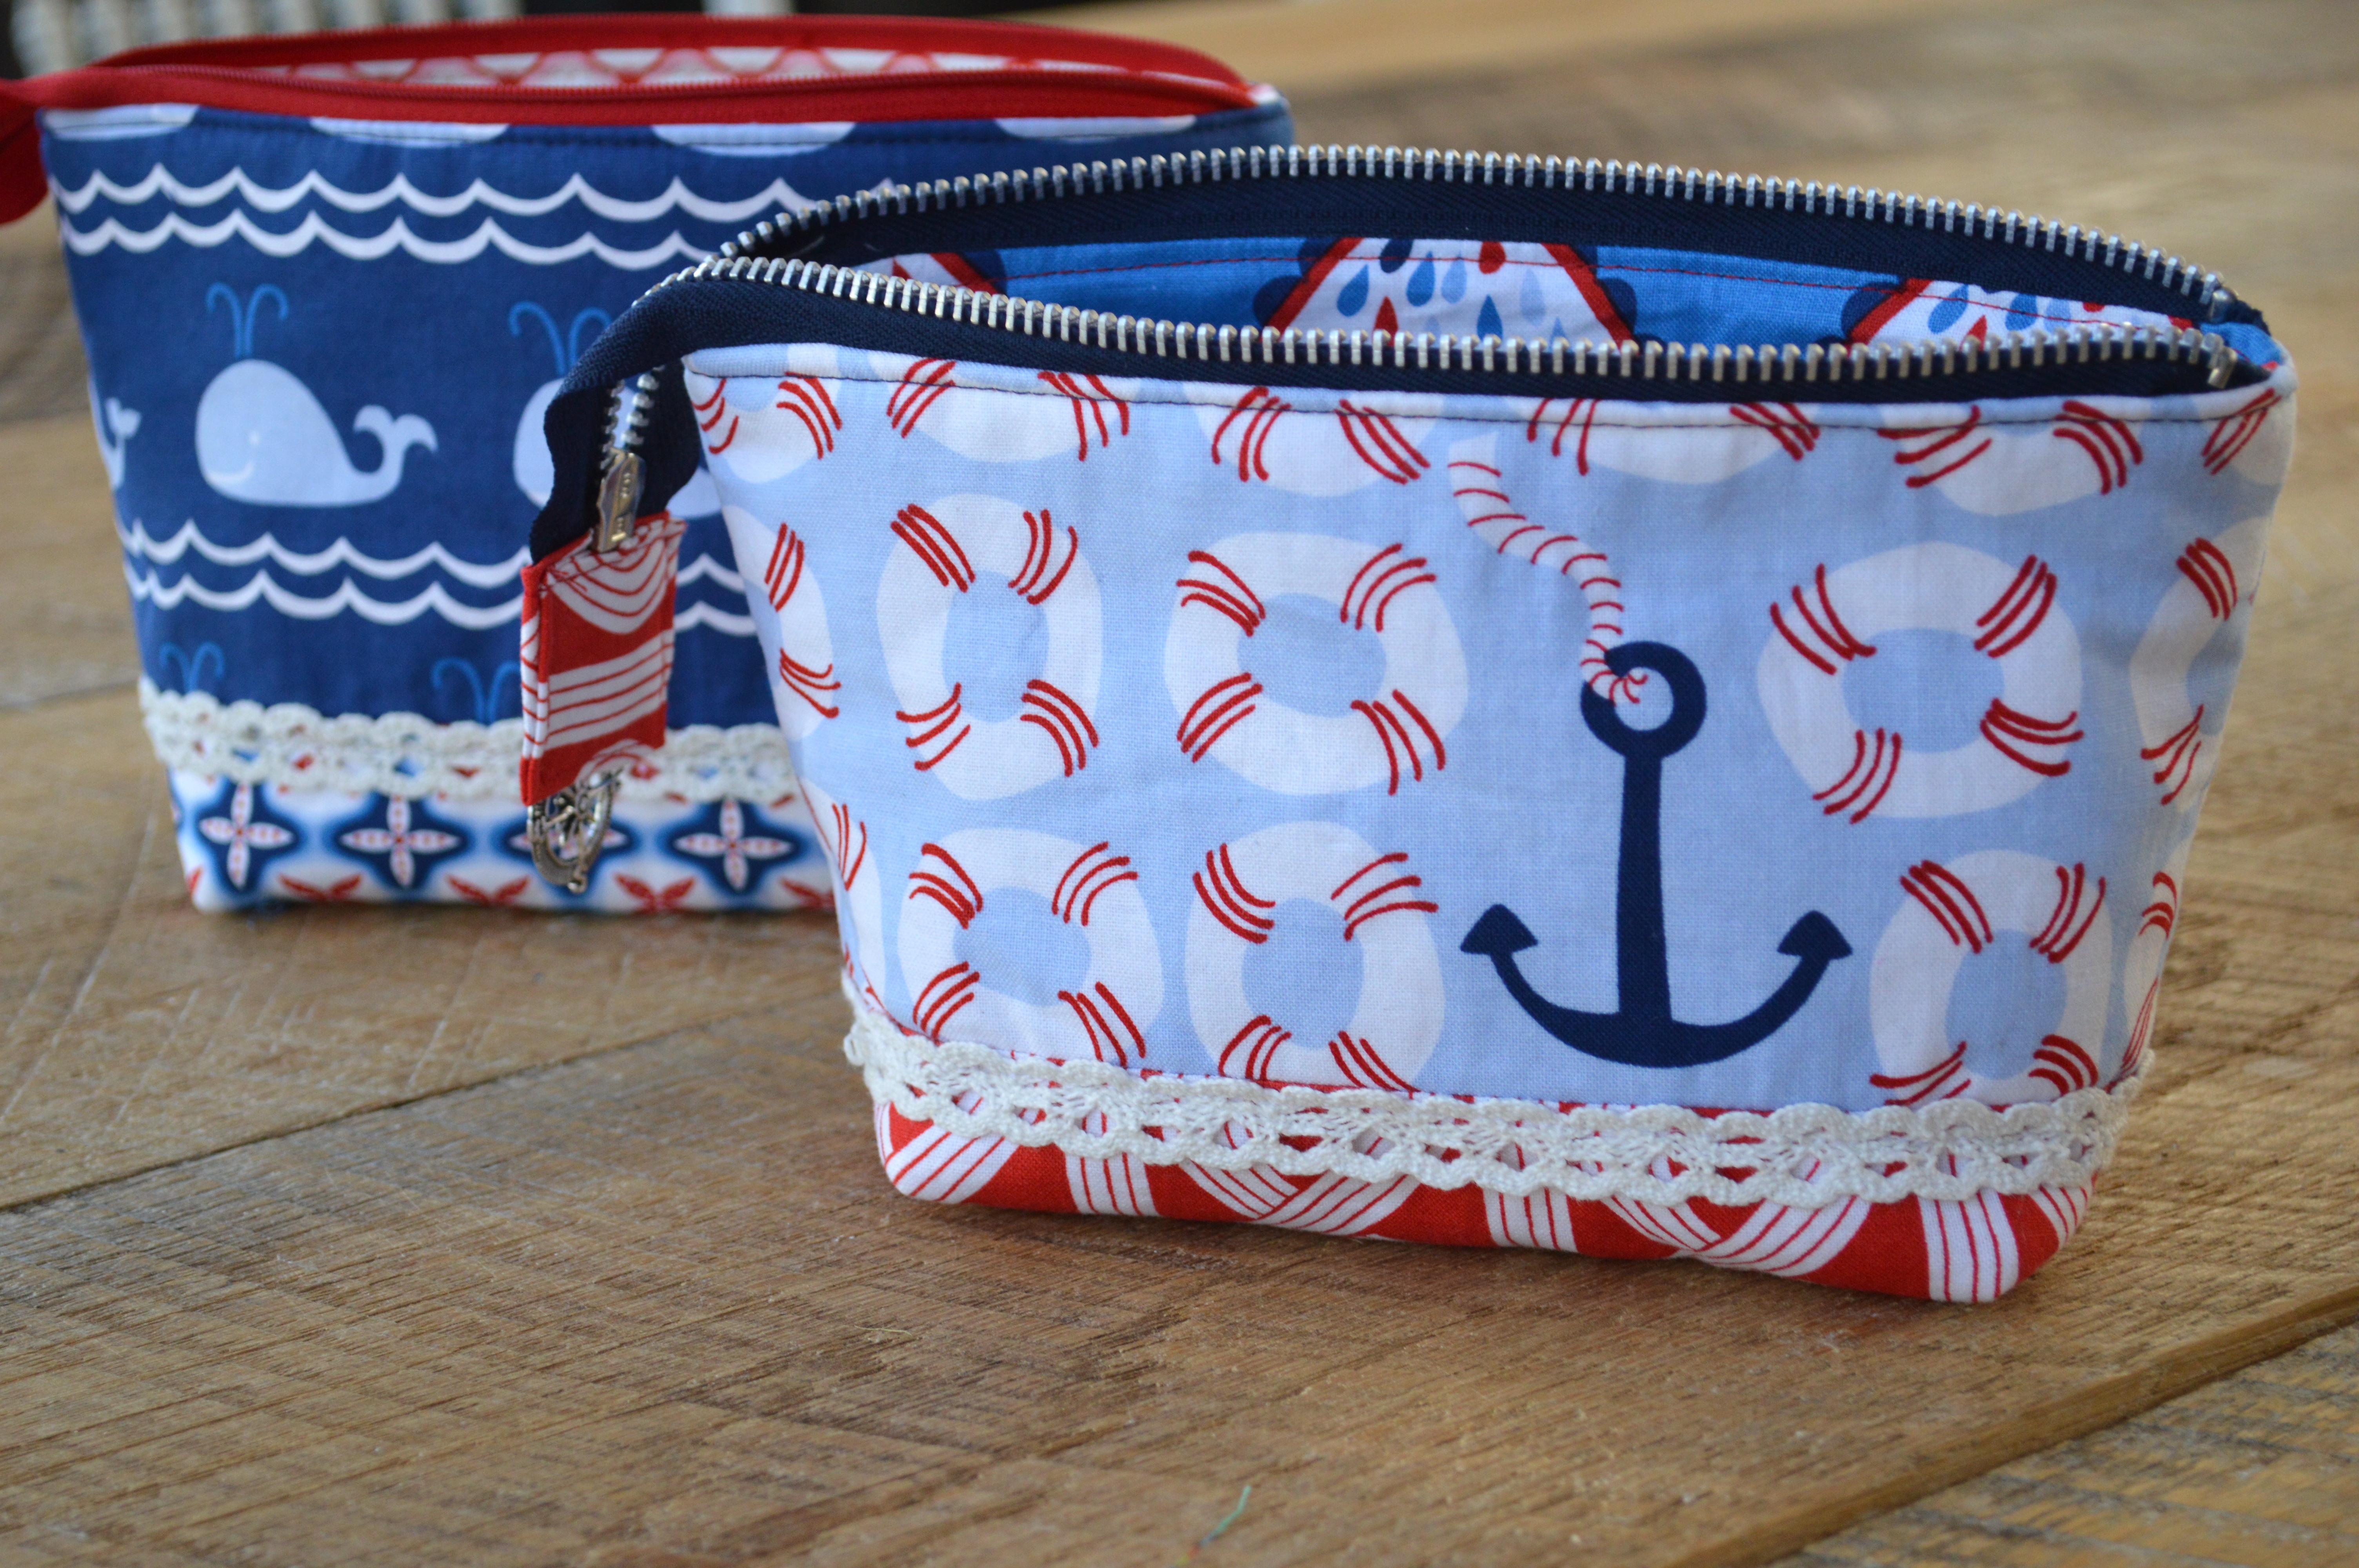
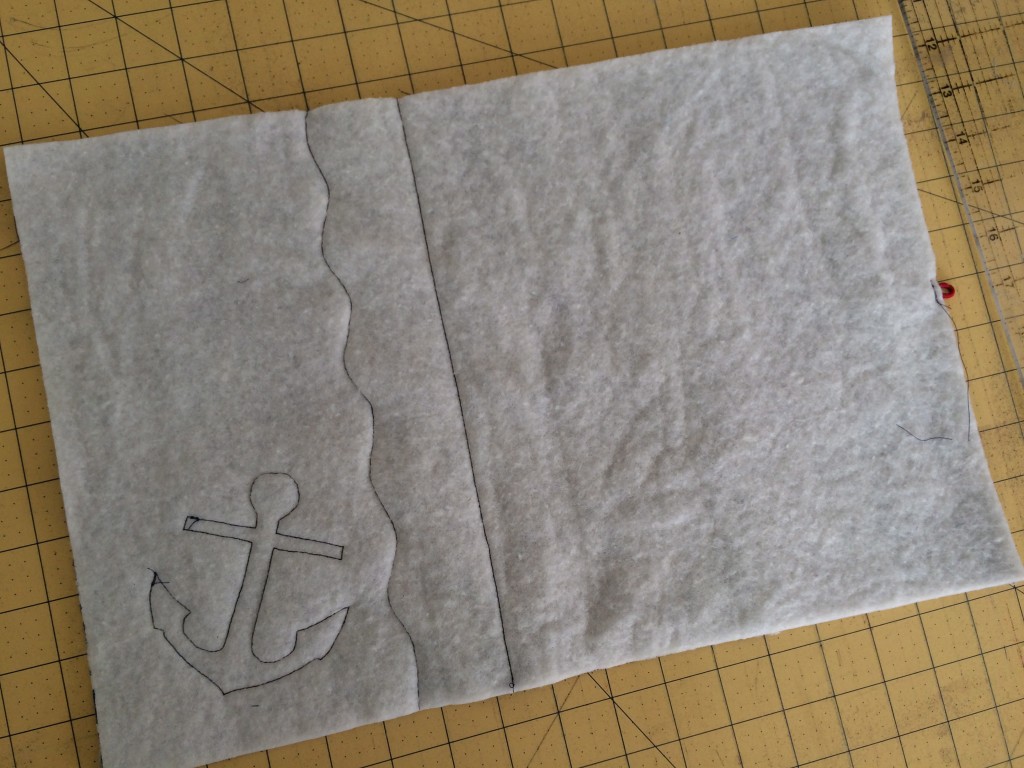
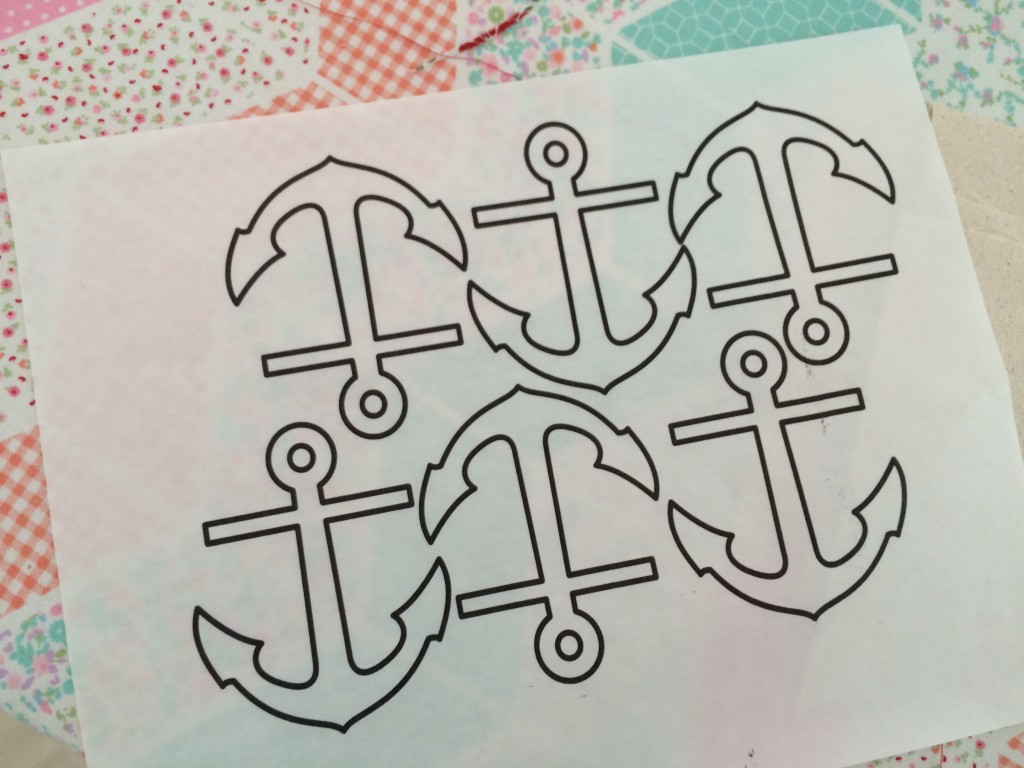
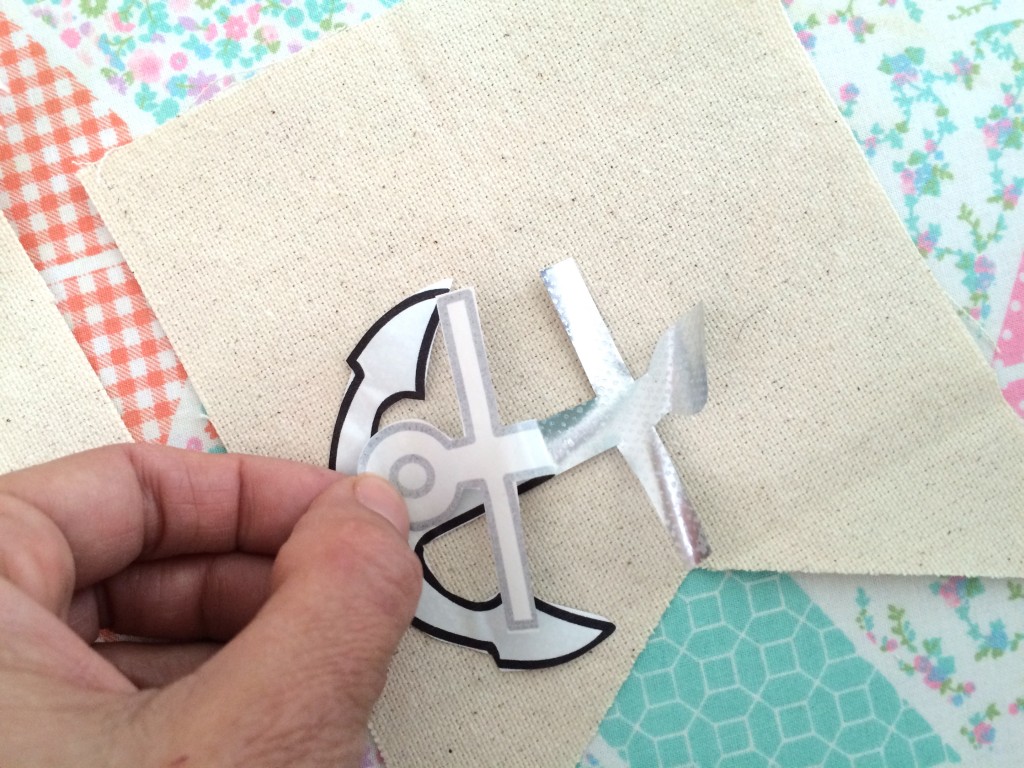
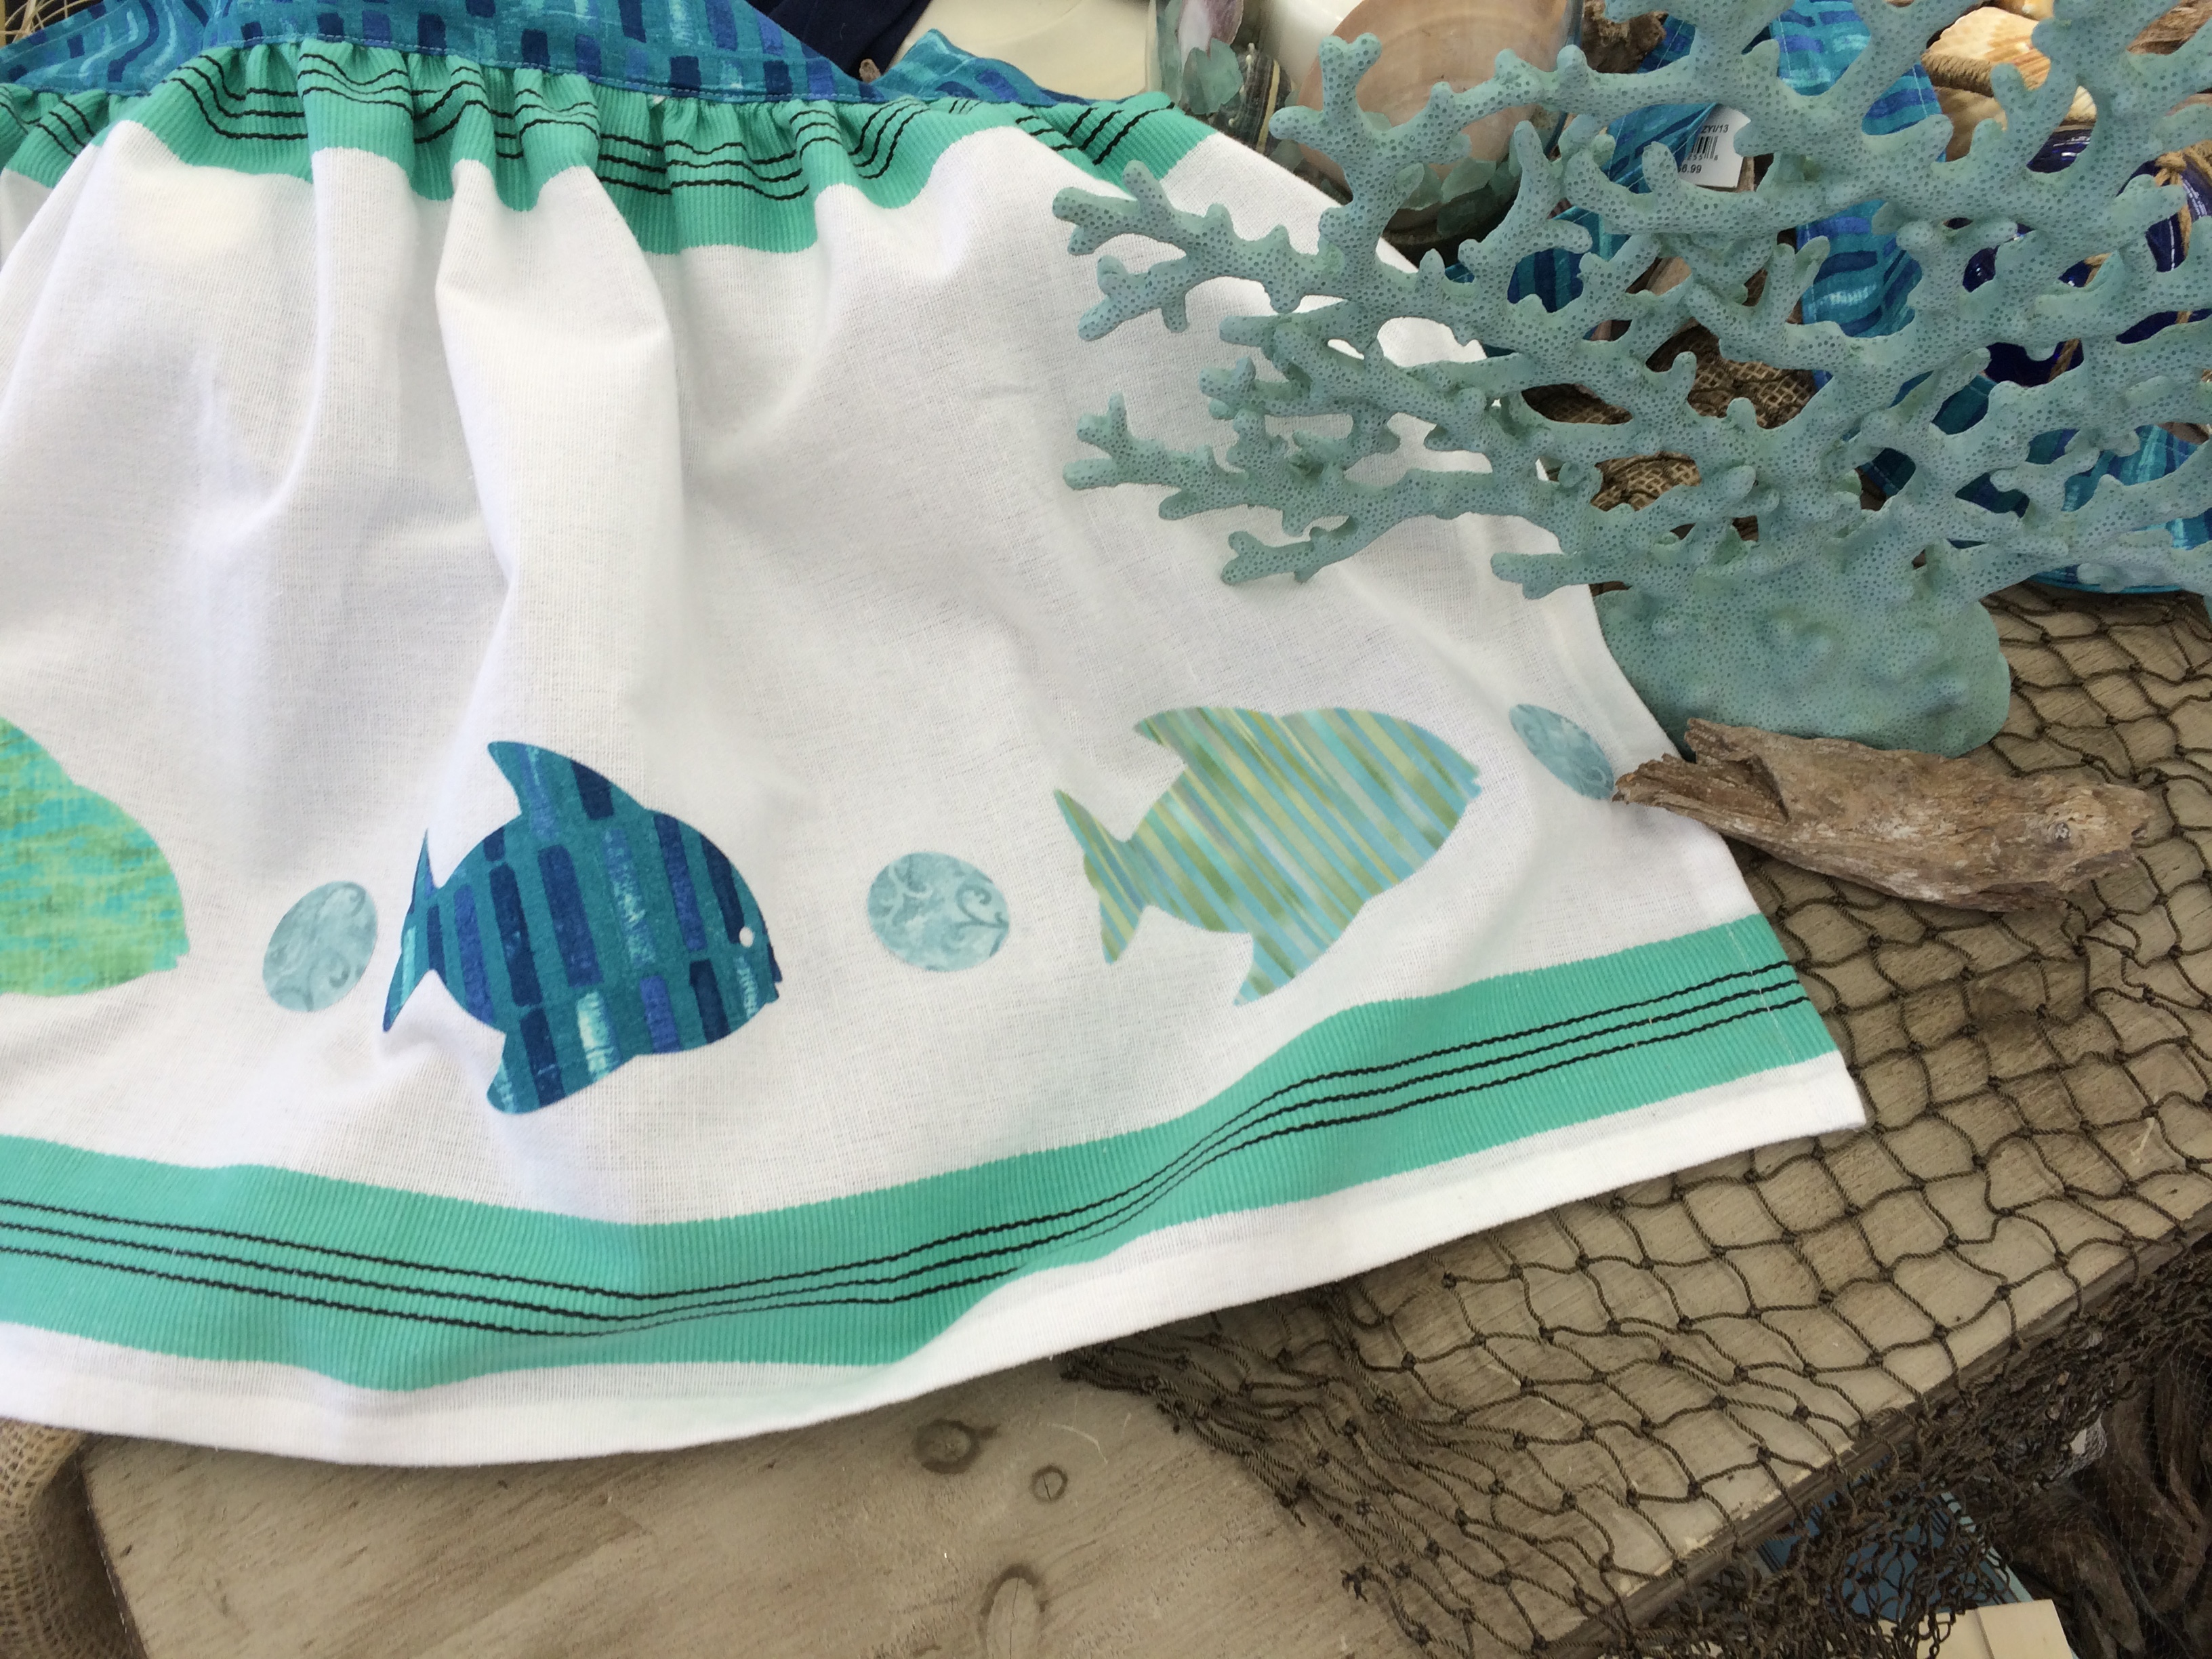
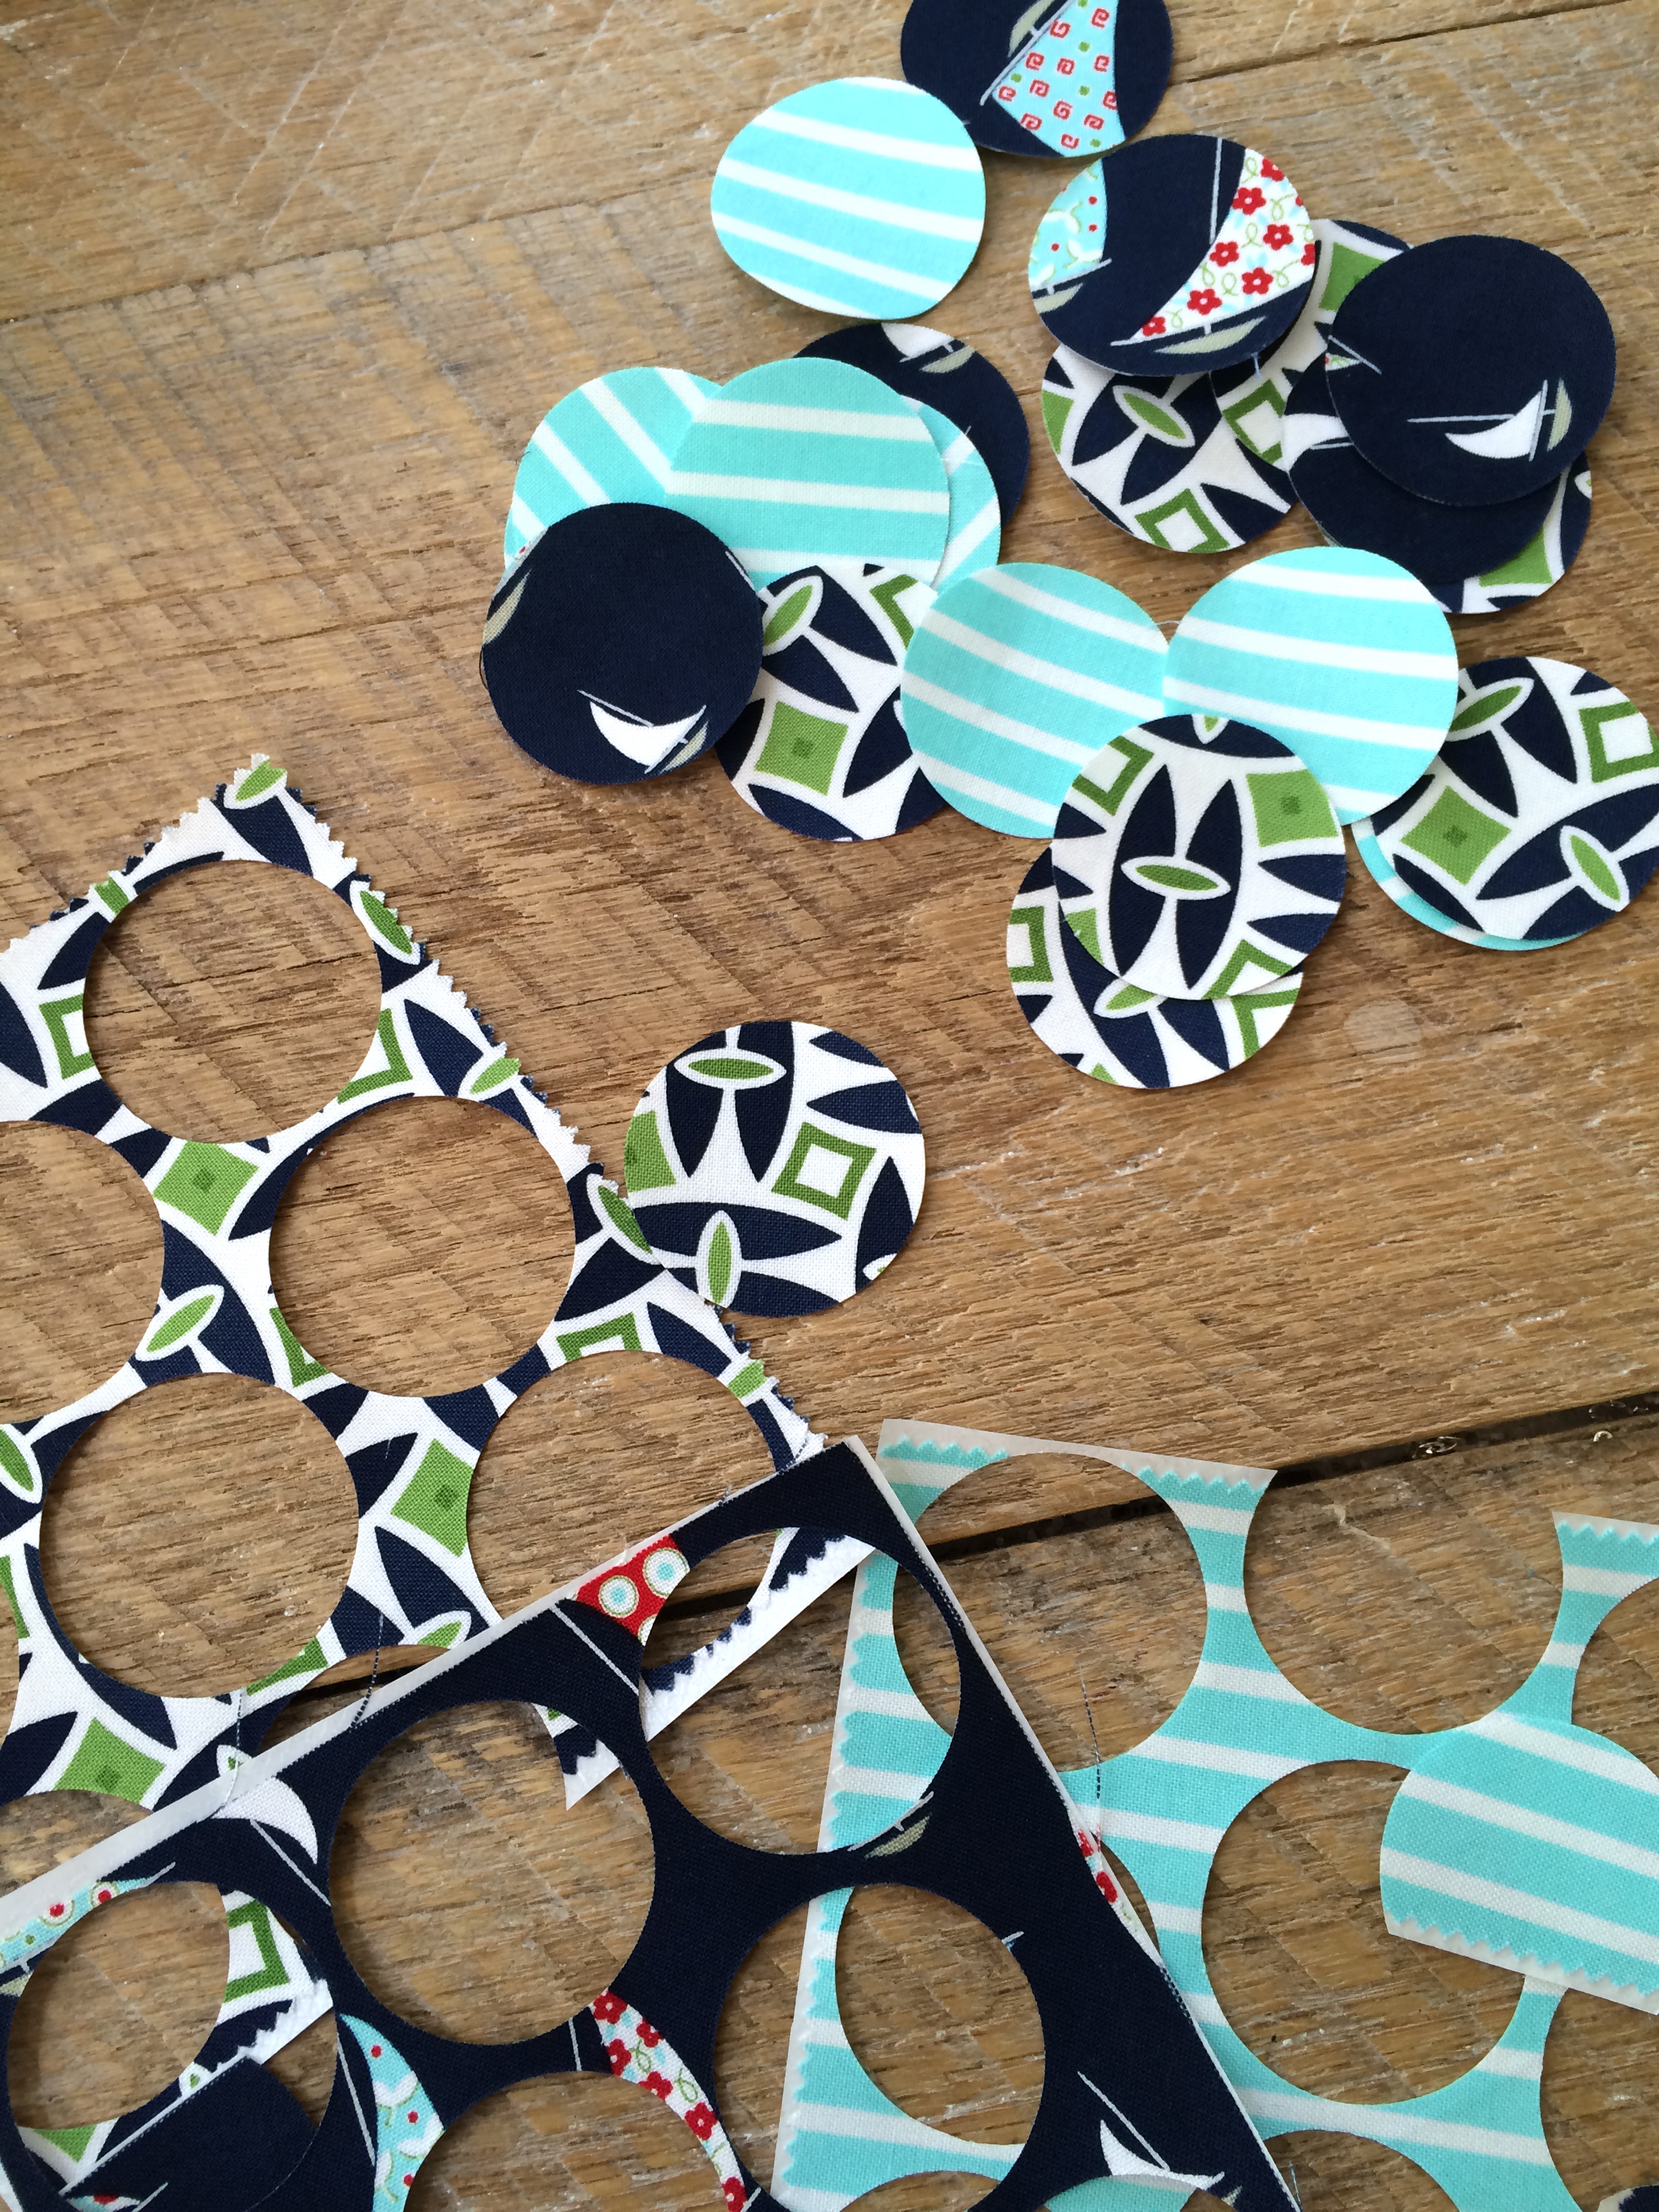
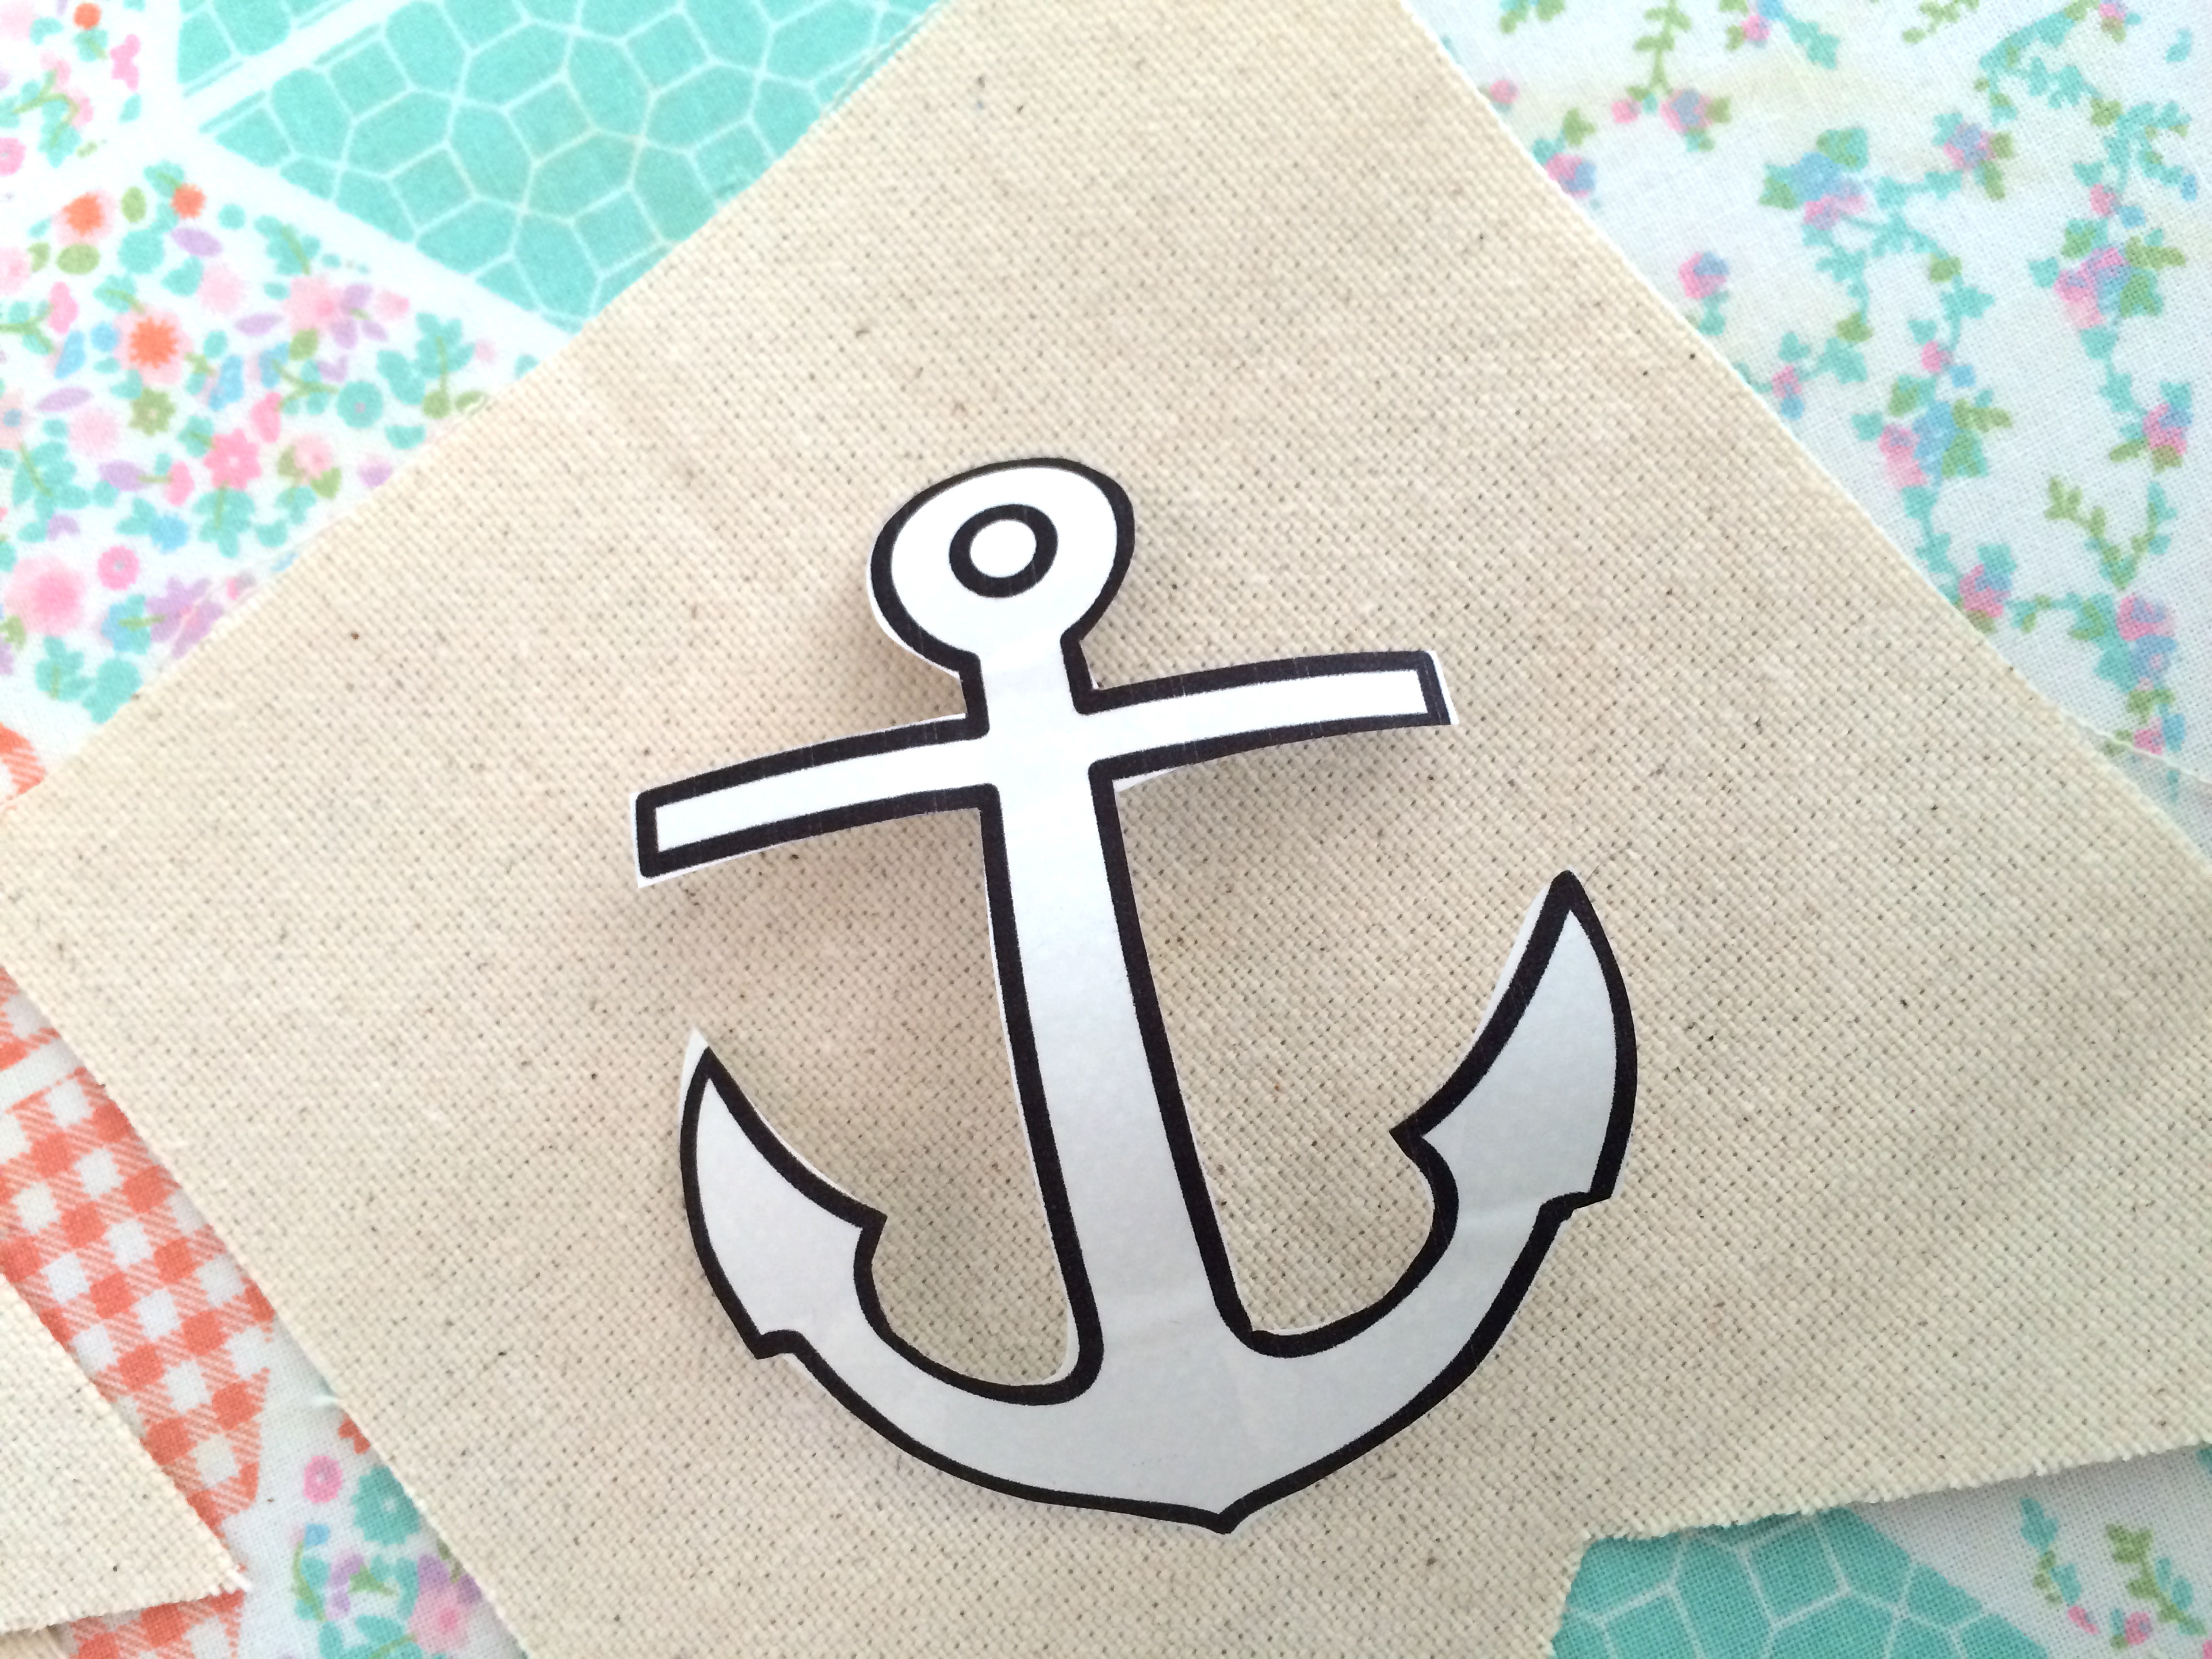
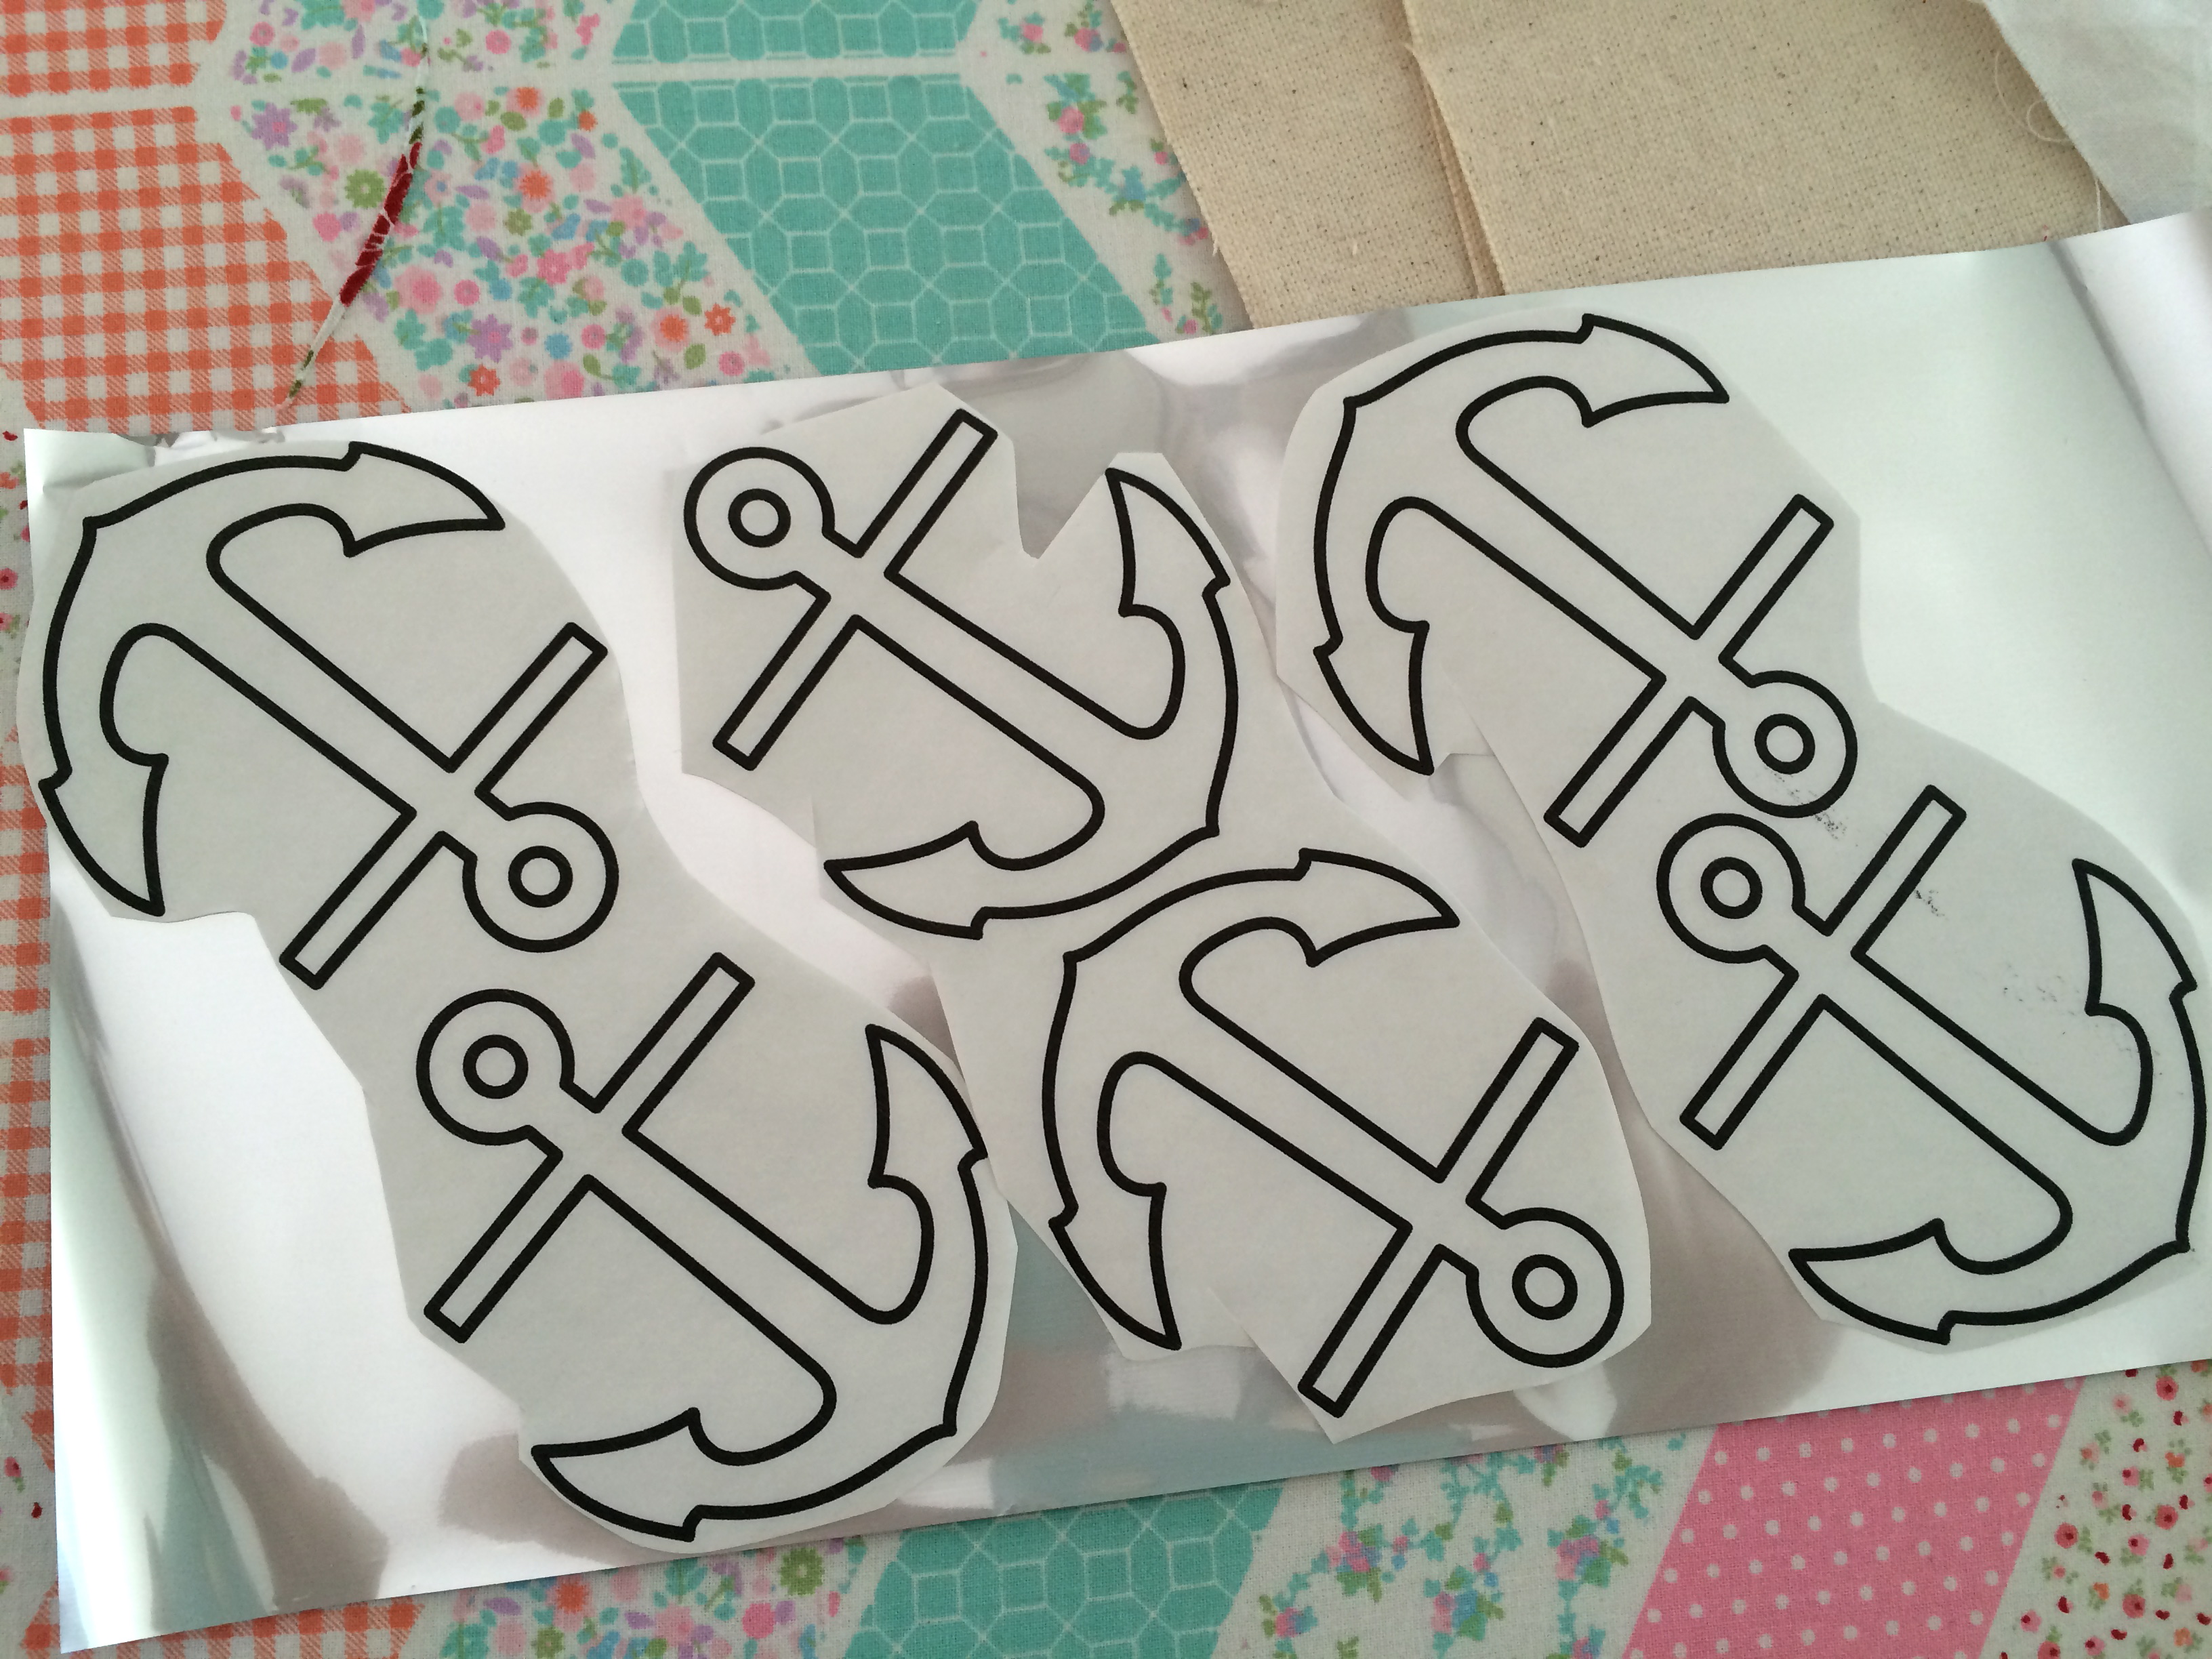
Cut the fish and circles using the Sizzix Fabi with Ultra Hold.  Then Iron the fish and bubbles in place!  This project is great because it adds a nice pop of color and doesn’t take much time at all!!fish apron 19


Sizzix Fish Bubbles Pillow

fish bubbles intro

I am super excited to share my Fish Bubbles Pillow Tutorial – It’s over on the Sizzix Blog today!  Did you know I love all things Nautical?  (hee hee)fish bubbles pillow

I choose to use Day Sail from Moda – I love this fabric line!!!  Add some Therm O Web Heat n Bond and run it though the Sizzix Fabi and you’ve got yourself a cute fish pillow!
fish bubbles pillow 4

I love that I can cut so many perfect circles at once!!!  Now more hand cutting circles – yippie!!!!daysail fish bubbles pillow 18

This pillow makes me think of Summer!  I wish it was July!!!!daysail fish bubbles pillow 20

The back is even cute 🙂  Hop on over to the Sizzix Blog for the full set of instructions so you can make one for YOU!!!!

The Nautical Brooklyn Bag

brooklyn bag
I am happy to be participating in the Crossroads Denim Blog Tour!  If you are new to the Jedi Craft Girl blog WELCOME!!!!  The blog tour is highlighting Amy Barickman’s AMAZING new line of denim.
Crossroadsfabriclogo
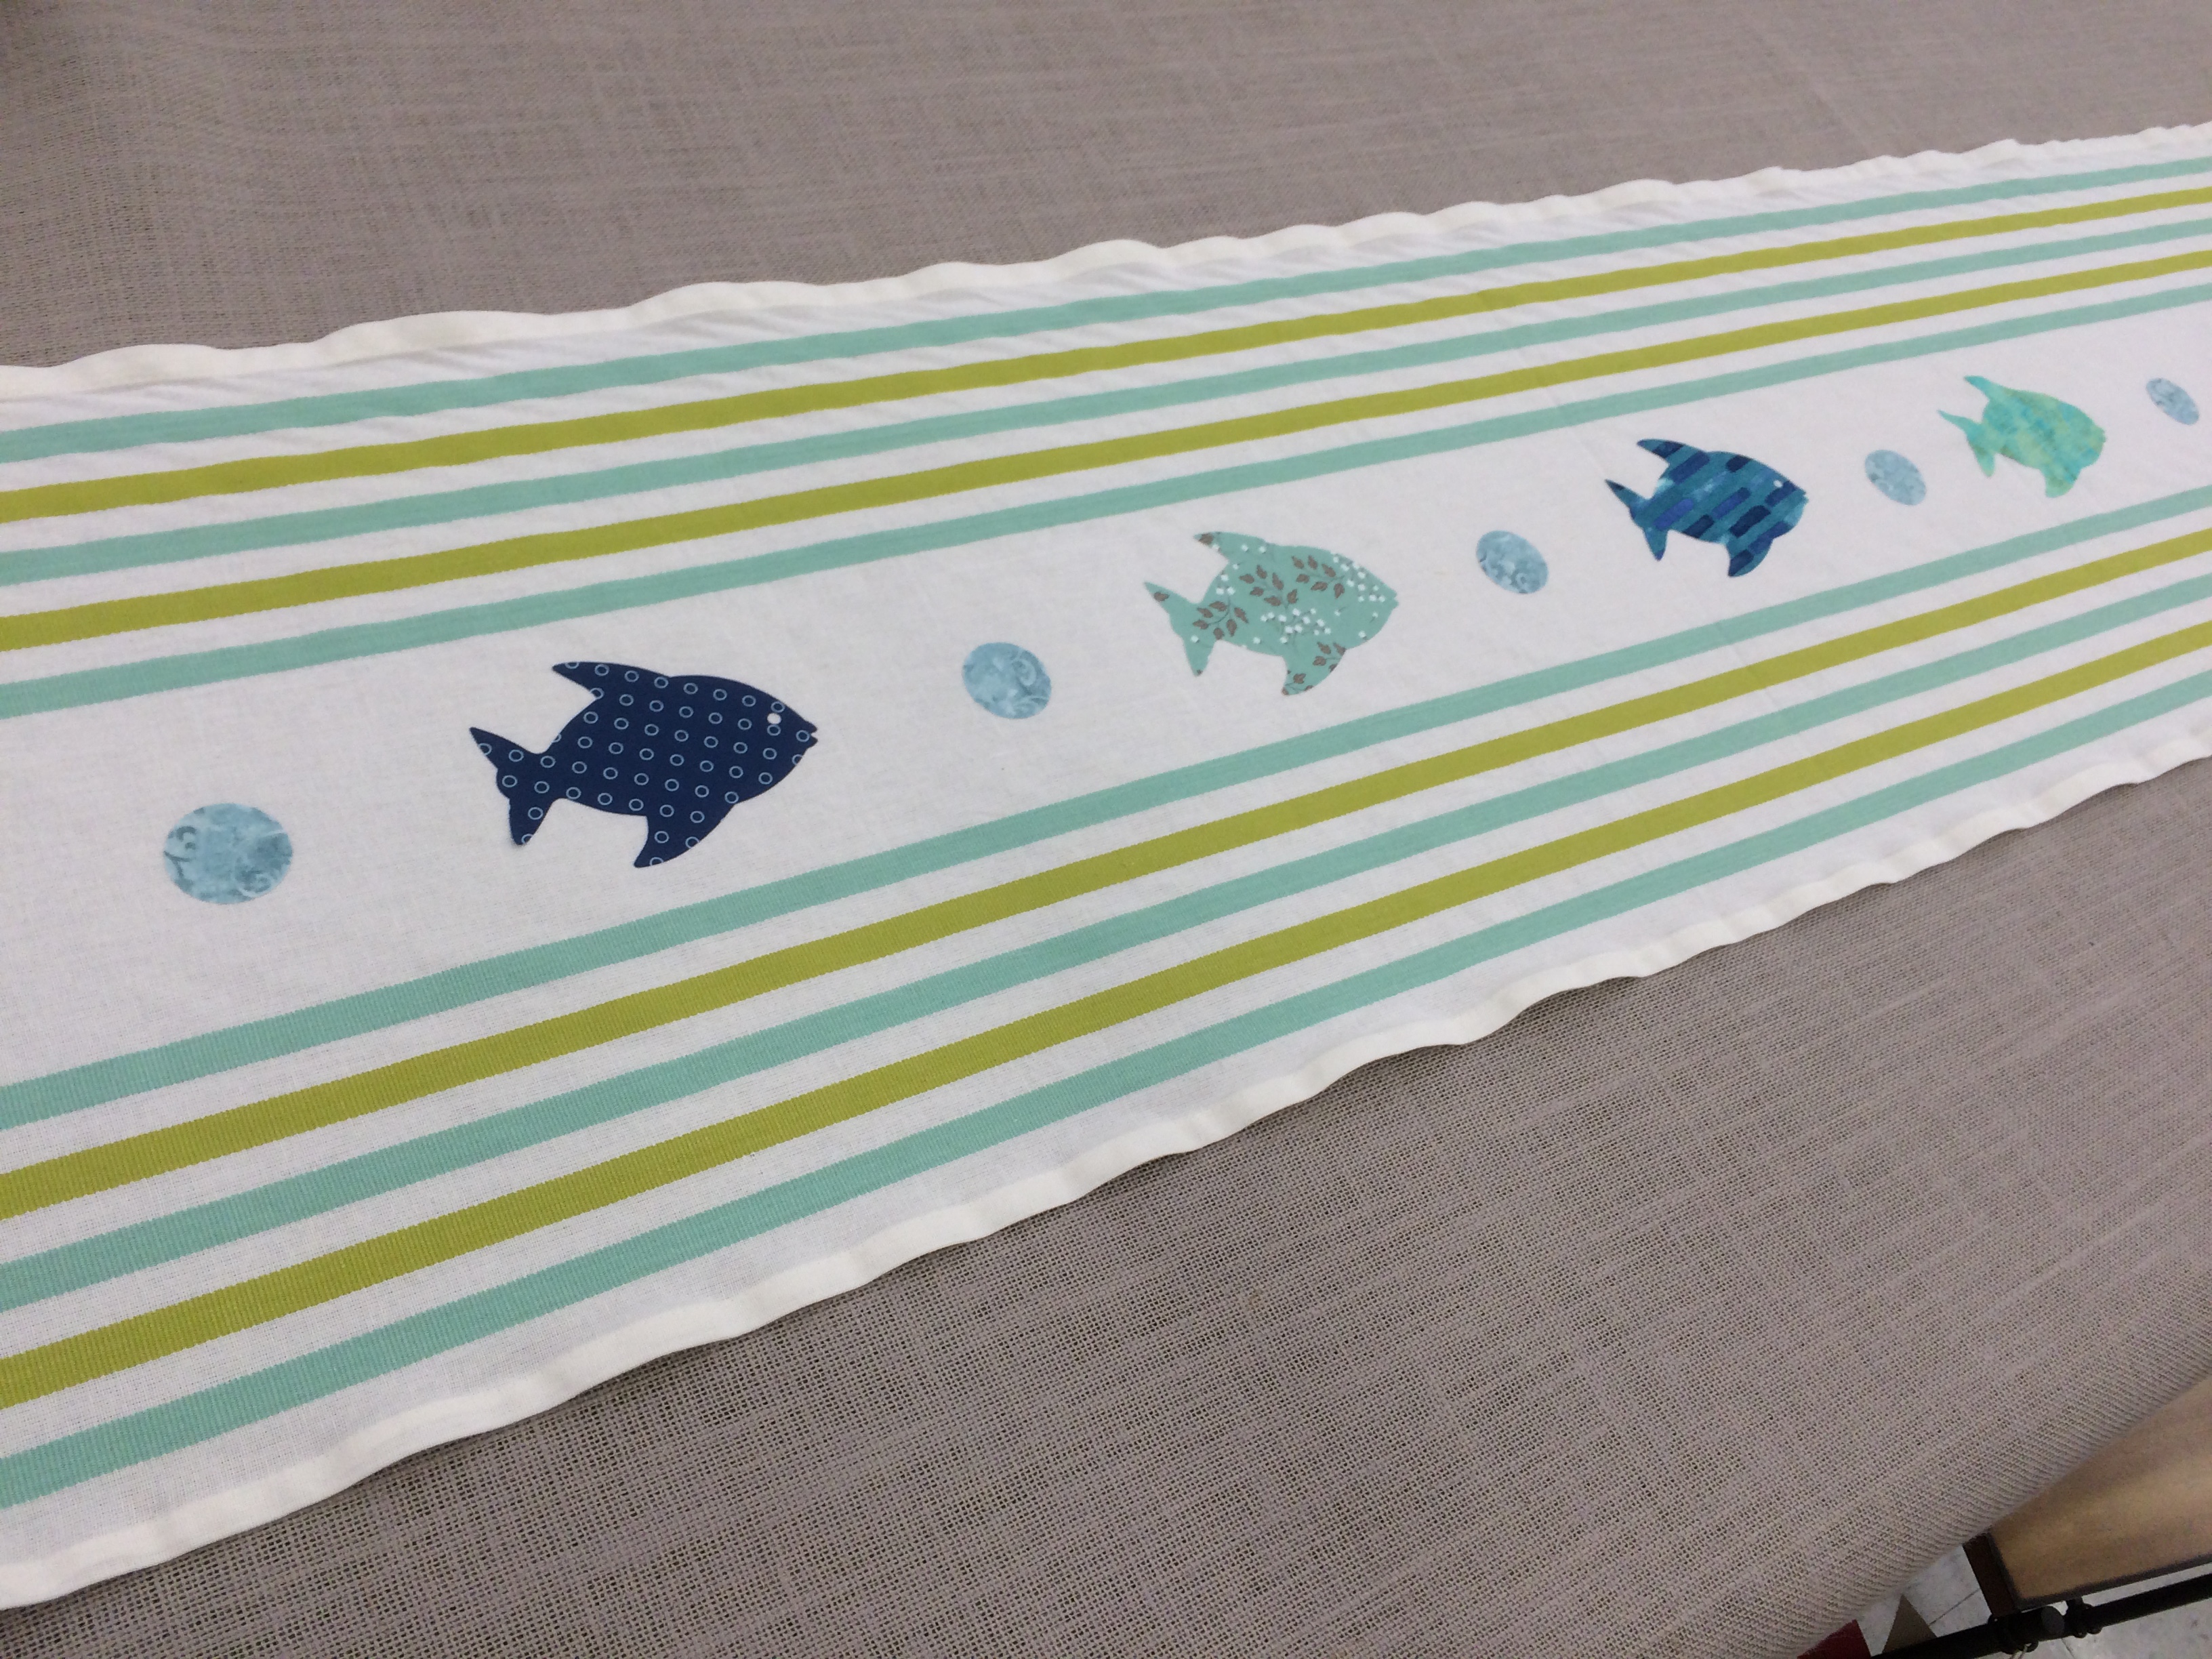
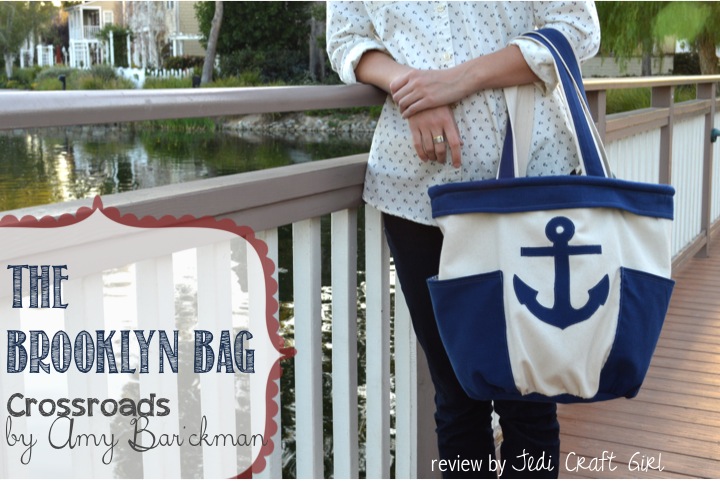
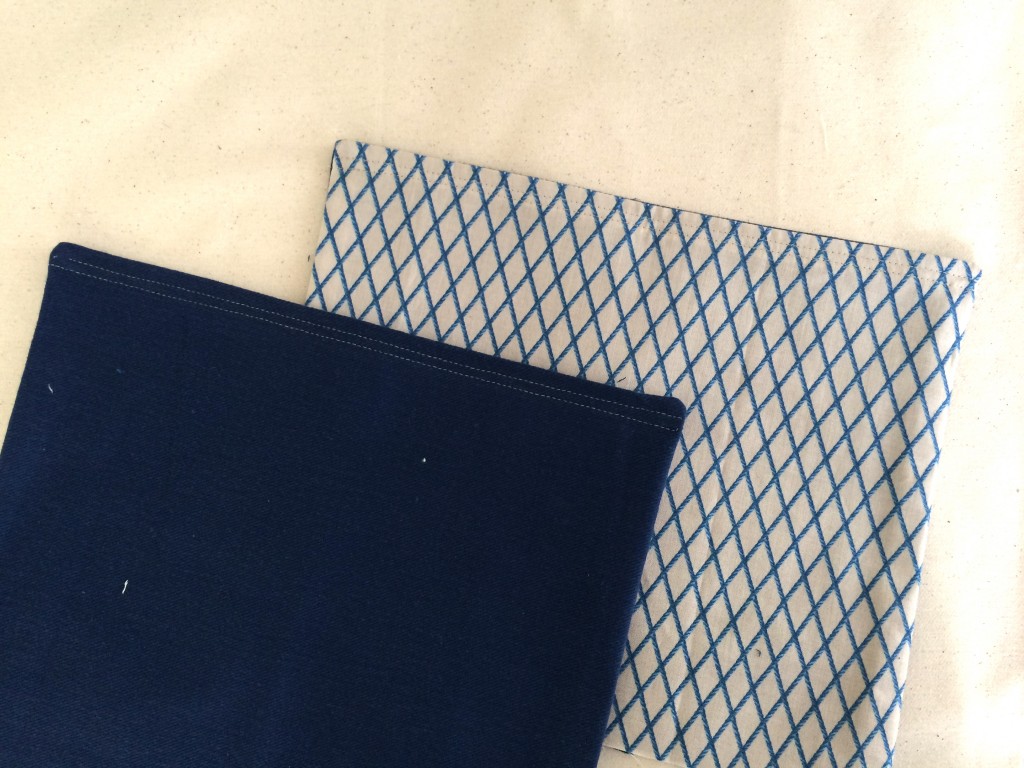
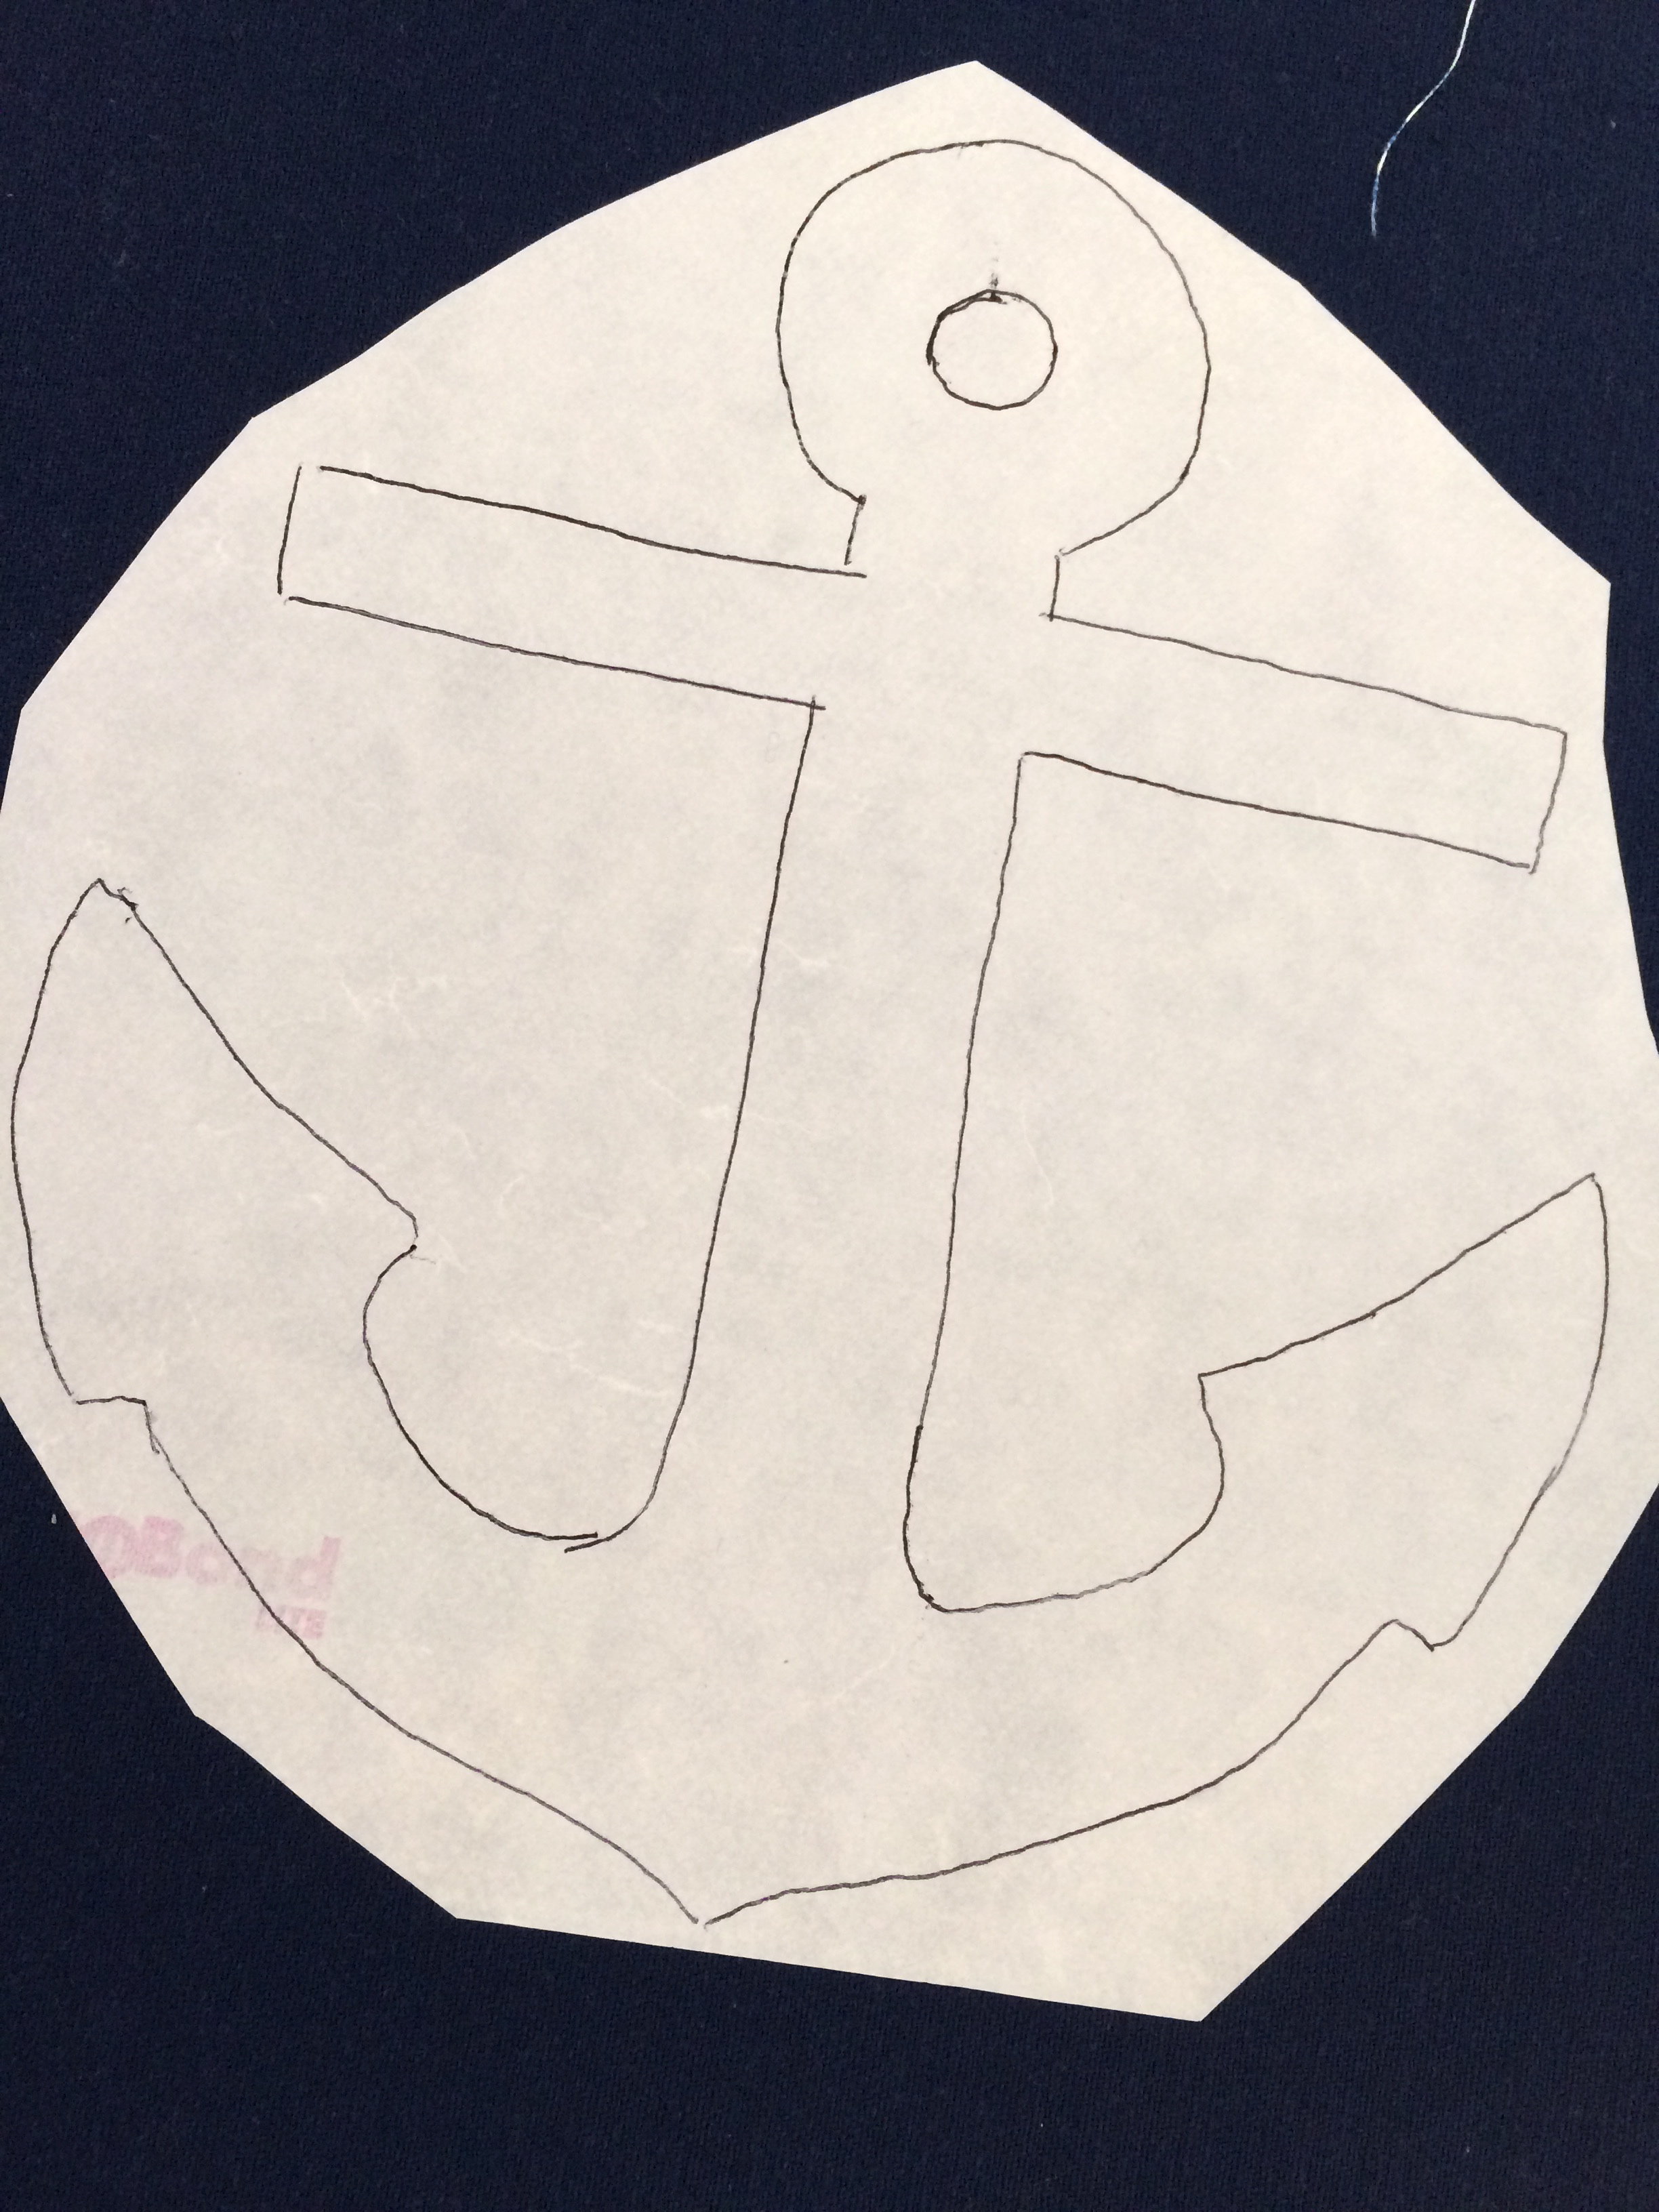
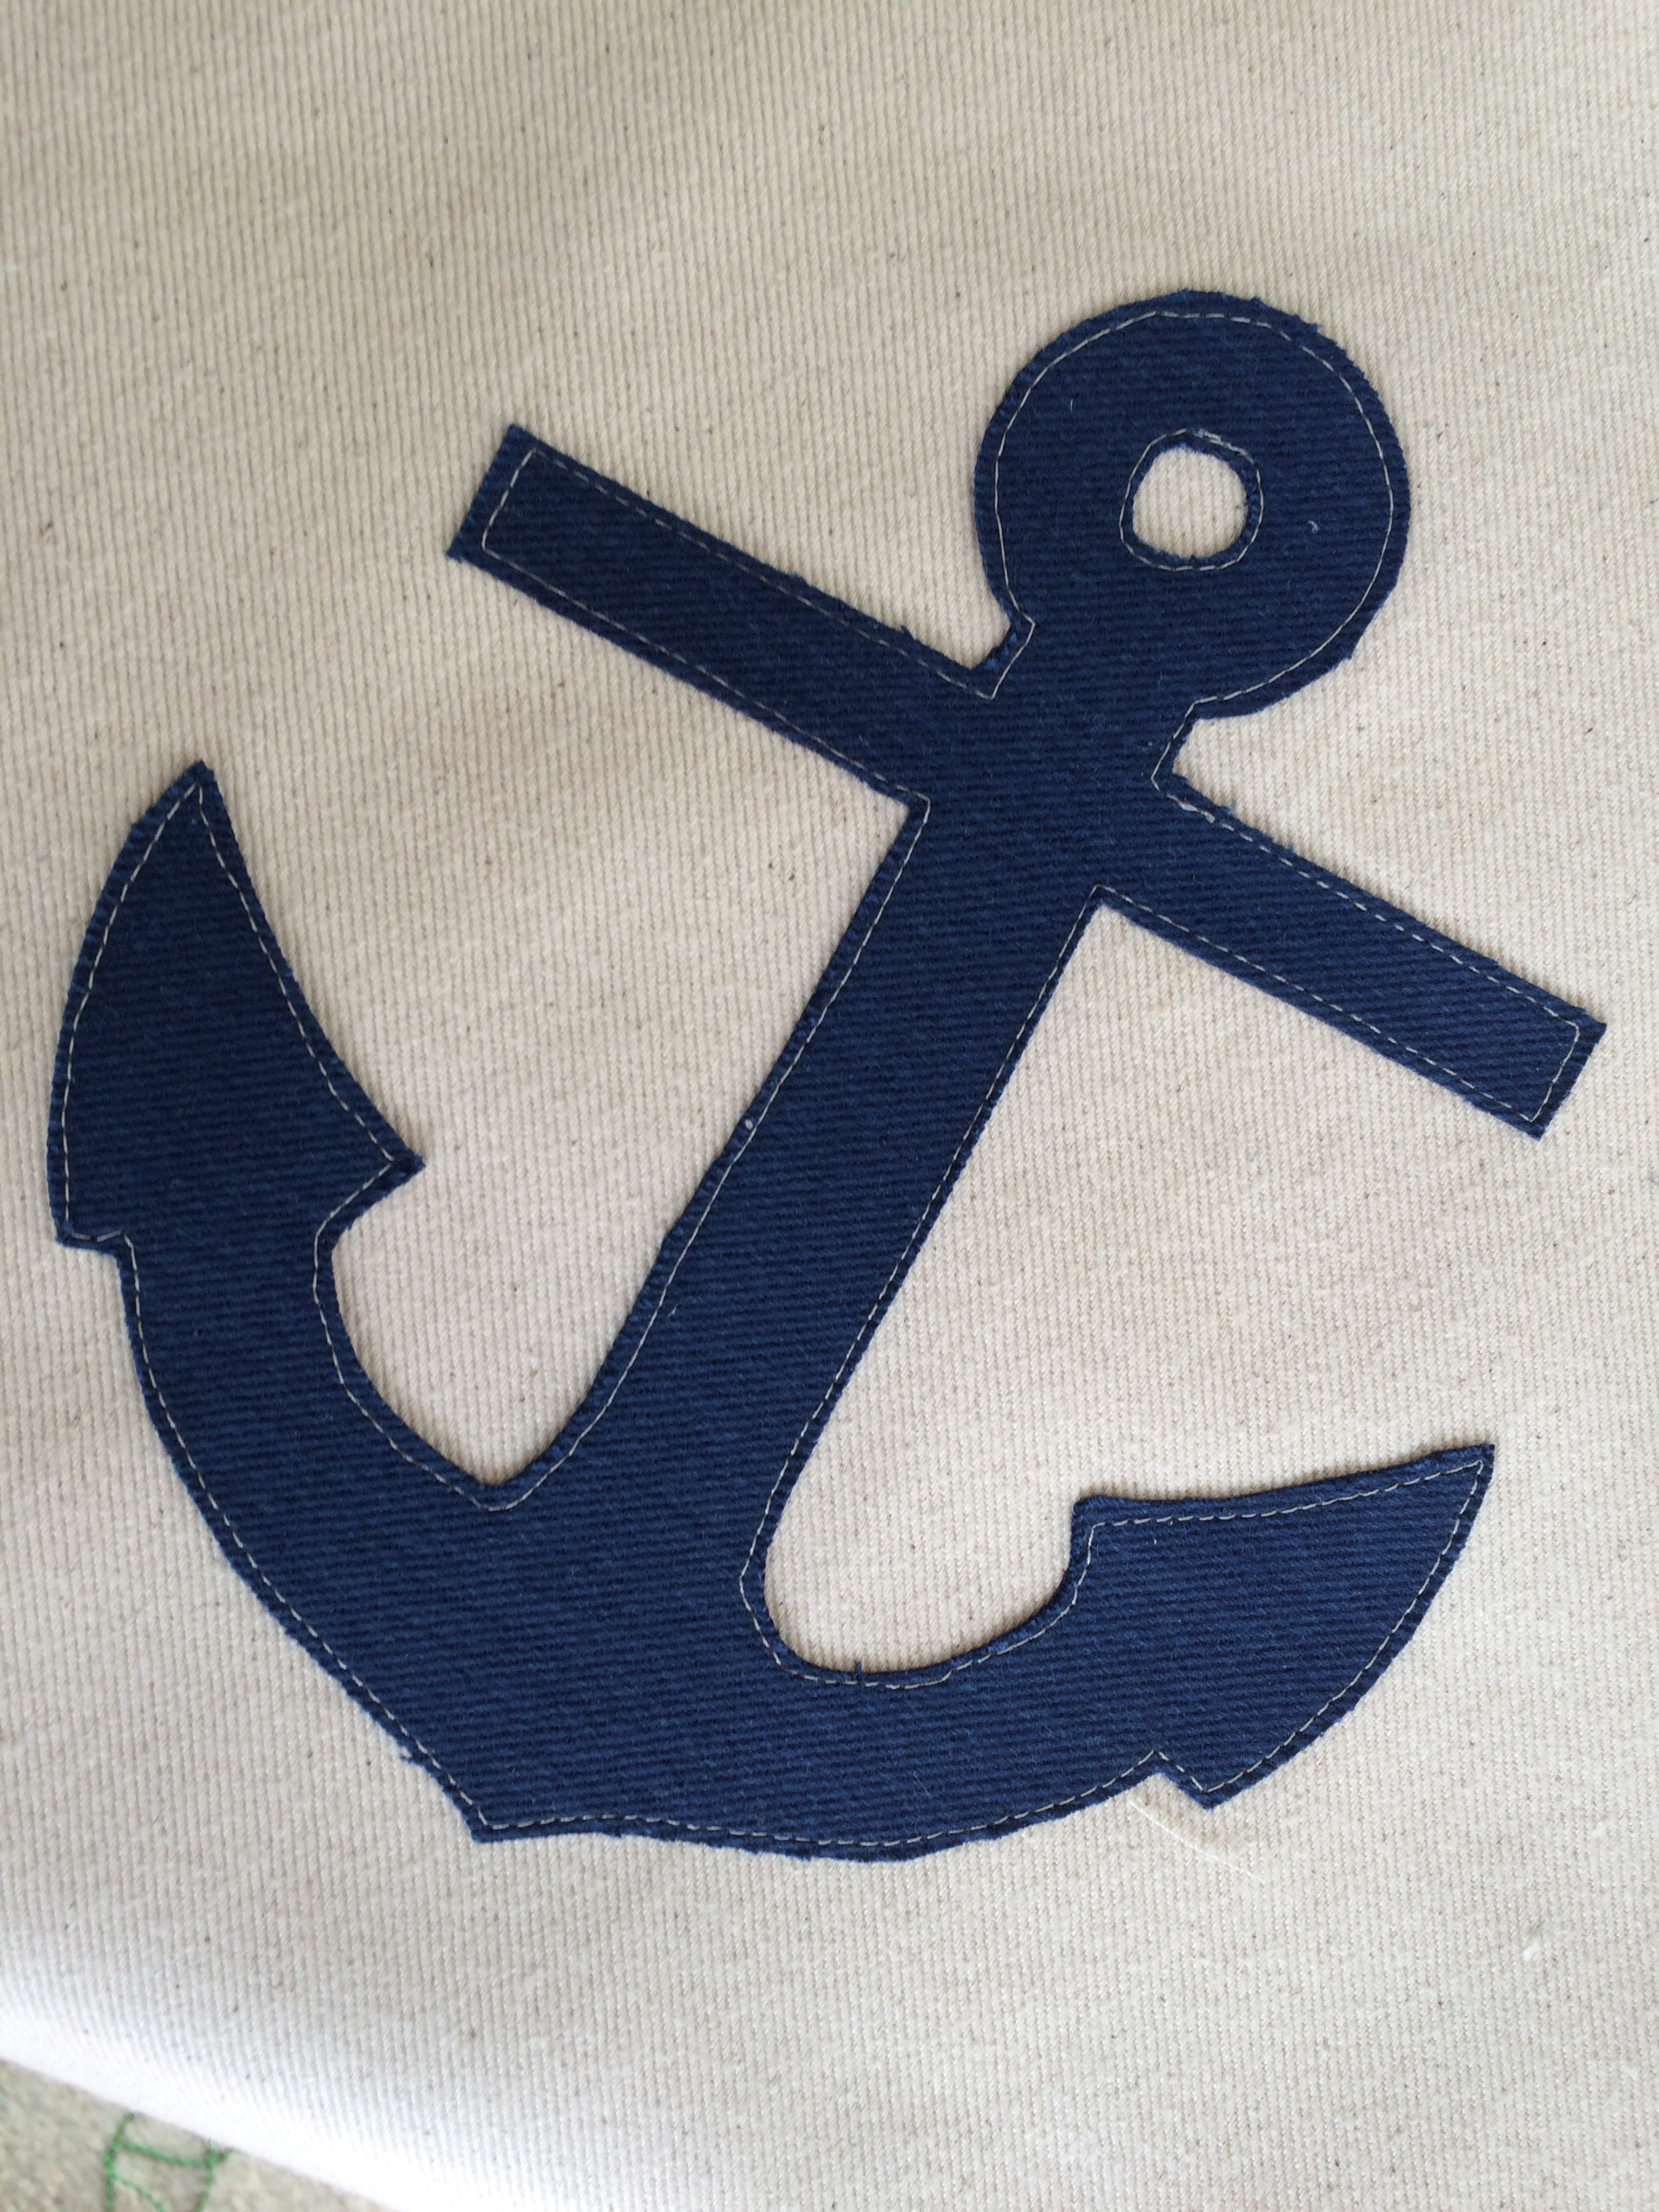
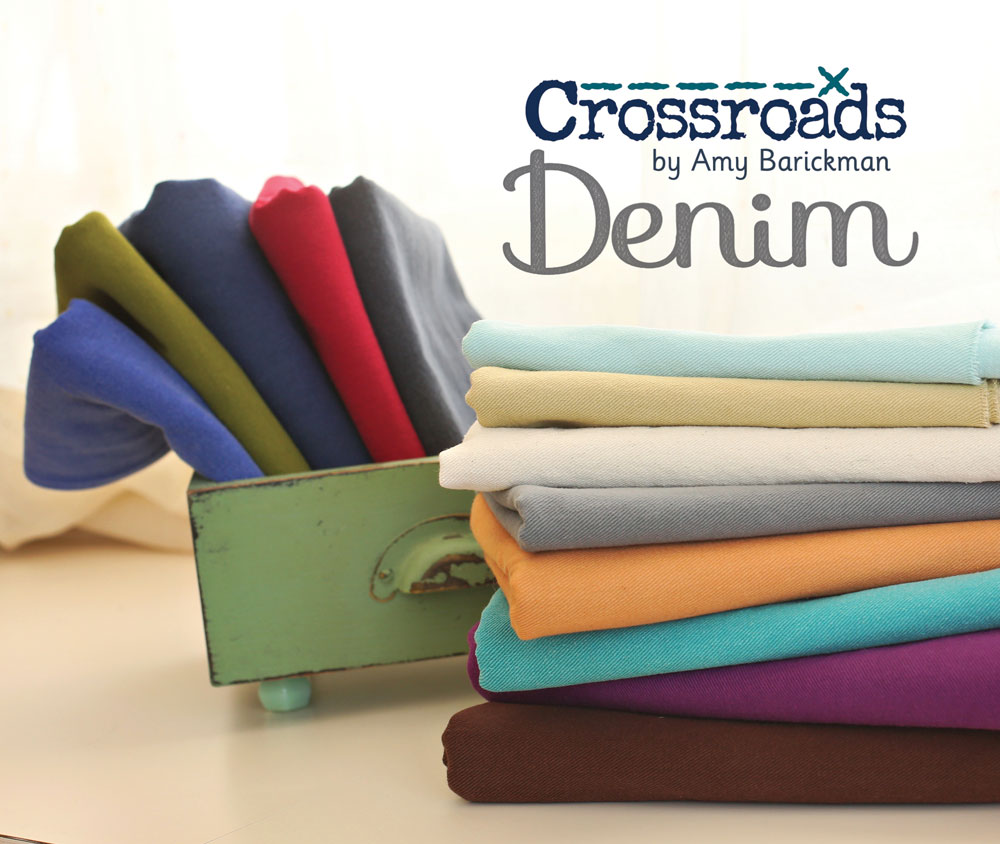
Scroll down to see a complete list of all the fabulous bloggers making wonderful projects with this soft & cozy denim.  I have loved getting my hands the Crossroads denim and can’t wait to make a skirt, zipper pouch, and throw pillow next!  It is the softest denim I have ever sewn with and it comes in so many wonderful colors!  The possibilities are endless!  When I met The Brooklyn Bag pattern I knew I wanted to give it a little Nautical flair –  I am obsessed with all things Nautical if you haven’t noticed 🙂
anchor bag 16
PIJ975CR-2T
This bag is perfect for taking on a day trip, as a large diaper bag, as a catch all bag, as a park bag, as a throw everything in it bag and as I want 100 of these bag!!!  The construction is straight forward and the pattern instructions were easy to follow.  I love the added touch of the rope at the top to act as a piping – gives it such a casual fee.
anchor bag 26
I followed the pattern pretty closely and added my own appliqué.  You can download the pattern here.  I traced it on Heat n Bond Lite and ironed it to the center of the bag.  I used cream thread for all the stitching including around the anchor.
anchor bag 20
anchor bag 21
You can really have fun with the bag lining.  I chose this dot pattern from Riley Blake Designs.  Here you can see how I divided up the inside pocket.
anchor bag 22
It’s so cute on the inside!
anchor bag 8
I also added a little rope fabric accent to the inside of the outer pockets.
anchor bag 18
I like that the handles are not sewn and then turned, rather there is 4 layers of denim for extra stability.  The pattern calls for batting for the main body of the bag and for the handles.  Since the denim was sturdy, I did not use the batting.  I did find it a bit challenging to gather the outer portion of the bag bottom.  With the denim and the pockets, it was pretty thick and my normal thread kept breaking.  I suggest strong thread for this part.
anchor bag 13
anchor bag 9
I’m ready to go on vacation!!  Maybe sailing?
anchor bag 12

AB_crossroads colors

All in all I love this pattern and I can’t wait to sew up a few more!!!  If you want to check out all the other amazing projects on the Crossroad Blog Tour, here is the schedule.  Also, you can get 20% off your purchase at Indygo Junction by entering xroads20 at checkout.
3/23 Sulky

Nautical Purse Scarf Tutorial


purse scarf tutorial

purse scarf 11
I think Nautical Week turned into Nautical Life!  I guess there are many more Nautical-inspired projects to come!  I love wearing scarves on my purses, I should first say I love buying purses!!  Sometimes the scarves you buy are too bulky for a purse handle.  I wanted to add a little “home sewn” feel to my handbag so I came up with these scarves.  They can easily be sewn in under 30 minutes which means you can make as many as you want to coordinate with your look or the season, or in my case, obsession 🙂  I love these basics from Riley Blake Designs.

purse scarf 2

Supplies:

(13) 5″ squares for patchwork scarf

5″ x 60″ light weight fabric such as gauze, raised swiss dot, etc

(2) 5″ x WOF for solid scarf

4 yards trim, I used small pom pom and ric rac

Begin by cutting (13) 5″ squares

purse scarf 7

Sew them end to end with 1/4″ seams and press seams to one side.  Consider placement.  If you are making the solid scarf, sew the (2) 5″ strips together and cut to make 60″ in length.  Center the seam in the center so it does not show up on the bow.  Bast the trim around the edge.  Place right sides together and sew along the basting stitch.  Leave an opening in the center of the scarf about 3″ for turning.  I curved the corners slightly.  Turn right side out and press.

purse scarf


Top stitch all the way around.  This will close the opening.
purse scarf 6


Tie on your favorite bag!!!purse scarf 3

purse scarf 5

purse scarf 12

purse scarf tutorial

Nautical Zipper Pouch

anchor zipper pouch

You knew it was coming!  Of course I need a Nautical Zipper pouch to go along with my Sailboat skirt!!  I love these fabrics and I am down to only scraps in my stash.  It’s called True Blue by Blend Fabrics.


nautical zipper pouch blend

This is a modified version of my original My Favorite Zipper Pouch Pattern version 1.0 and version 2.0.  If you would like to make your own zipper pouches here are the instructions:

CUT:

Outer bag anchor print (2) 4″ x 9″

Outer bag red accent (2) 3″ x 9″

Lining (2) 6.5″ x 9″

Heat n Bond Fusible Fleece (2) 6.5″ x 9″

(2) pieces of lace 9″ each

nautical zipper pouch blend 6

Sew the red fabric to the anchor fabric using 1/4″ seams.  Press toward the red.  Press these two units to the Heat n Bond Fusible Fleece.  Then sew the lace on.

nautical zipper pouch blend 7

To insert the zipper, follow THIS tutorial.  It is from my friend Jennifer.  I keep thinking I should write my own, but hers is so perfect.  I go to it every time I sew an “open wide” zipper pouch because I can never remember the measurements!  Insert the zipper just like she instructs.  Once you’re done, it should look like this:

nautical zipper pouch blend 9

Open the zipper, and place right sides of the outer bag together, and right sides of the lining together, make sure to tuck the end of the zipper in.  Match the side seams.  Pin all the way around.  Sew all the way around using 1/4″ seams, leaving a 3″ opening at the bottom of the lining.  Notch all the corners with a 1.5″ square:

nautical zipper pouch blend 8

Fold out the corners and match the seams.  Sew using a scant 1/4″ seam.  For more details, visit my post here.  Then turn right side out, and top stitch the opening closed.  Top stitch all the way around the zipper pouch 1/8″ away from the zipper.  To finish the zipper end, cut it at the desired length.  Cut a piece of accent fabric 2.5″ x 3″.  Fold it like this and press:

nautical zipper pouch blend 13

You kind of fold it around the zipper and press.  Then insert the zipper in and sew around the seams.  Careful on the metal zipper!!  Here you can see what it looks like.  I added a little compass zipper pull.  My anchor charms haven’t arrived in the mail yet 🙁

nautical zipper pouch blend 5

nautical zipper pouch blend 2
I just love them!!!
nautical zipper pouch blend 3
Here are a few other of my True Blue Projects:

whale zipper pouch true blue blend fabrics covered composition book tutorial whales true blue blend fabric whale skirt whale skirt whale shirt true blue_9

i love whales pillow tutorialsummer throw pillow tutorial

whale quilt Blend True Blue 21


Nautical Key Fob Tutorial

nautical key fobsI like to make a statement with my key chains.  For Christmas I enjoyed jingling everywhere I went with this keychain.  Now that it’s spring, I definitely need to be saying “I love everything Nautcial” with my keychain.  These make great gifts and you can sew one in about 20 minutes.  I used Riley Blake’s Anchor print for the fabric on the key fob.  The gray cotton twill tape I ordered from Everything Ribbons on Etsy.  The twill tape and hardware are 1.25″ wide and are available at that shop in a wide variety of colors.

Follow my tutorial here to complete the key fob portion.

To make the anchor tag, you need a few scraps of fabric, cotton batting, and some Therm O Web Heat n Bond Lite EZ print sheets.  I used an antique metal grommet to attach it to the key ring.
Cut a piece of navy dot fabric 2.5″ x 3″.  Fold in half and cut off an angle like this:

anchor keychainDownload the anchor pattern here and print it on the EZ print sheets.  Cut out around the anchor, iron it to the wrong side of the anchor fabric.  Cut out the anchor and peel off the backing paper.

Cut another piece of navy dot fabric 2.5″ x 3″ but don’t cut the angles.  Layer them together like a quilt and sew all the way around the tag shape.  Then sew around the anchor.

anchor keychain 2Cut the excess off around the tag.anchor keychain 3Attach the grommet and put a split ring on.anchor keychain 4Attach it to the key fob.
anchor keychain 6Let me know if you like this project!  I love to give handmade gifts and this is a great one to whip up in a short amount of time.

Ahoy! Nautical Composition Book Tutorial

nautical anchor composition book tutorial

I am having so much fun with my nautical projects – I hope you are enjoying them.  I ready to buy a sailboat!!! (haha)  I take a covered composition book with me everywhere I go.  I have one in my purse for daily notes, lists, etc.  I have one I take to church and keep inspirational thoughts in.  I have one as a gratitude journal.  I have one for my sewing journal where I write down everything I sew, measurements, etc.  I know it’s totally old school – but I love notebooks!!!  You can see my other composition book tutorials here, here, and here.  I change them up each time I make one.  This one has lace, an appliqué anchor and writing that I foiled with Deco Foil!

Here’s how you can make one:

Supplies:

1/3 yard fabric for outside cover

1/3 yard for lining

piece of cotton batting

scrap for applique

11″ piece of navy lace trim

Deco Foil in Red

Deco Foil Transfer Adhesive

Heat n Bond Lite EZ Print Sheets

Anchor pattern, click here

Hair Elastic

Button

cutting instruct

cover batting

You can pin to hold in place, or add a little Spray n Bond basting spray.  (You can see my I cut my batting with scissors, I will square it up in a minute.)  Fold the cover in half and position the lace as pictured.  Use the basting spray or pin to secure.  Sew in matching thread along both sides of the lace.

nautical composition book applique 3

For the anchor, print it on the EZ print sheets, or trace to fusible appliqué paper.  Cut out the anchor and iron in place.

nautical composition book applique

Top stitch around the anchor.  Cut off any excess batting.  Find the center of the left side of the cover.  Mark and baste the hair elastic in place:

nautical composition book applique 4

flaps

Lay the flaps on the lining fabric, lining up raw edges.  The fold of the flaps should be toward the center.

nautical composition book applique 2

Place the cover on top of the lining/flap piece, right sides together.  Pin all the way around.  Sew, using 1/4″ seams all the way around.  Leave a 3″ opening at the bottom center.  Turn right side out and press.  Tuck the opening in, press, and top stitch to secure.

nautical composition book applique 5

Mark where the button should go and sew the button by hand, careful not to catch the flap.  Mufasa was trying his hardest to bite off the button!!

anchor composition book applique 2

Take the Deco Foil Transfer Adhesive and write Ahoy (or any word you want).  This totally brought back memories of cheerleading days in the 90’s – we rocked the puffy paint!!!  I was bad at writing with it then, and I’m still not that great at it!  Let the adhesive dry until completely clear.  I let mine sit for a few hours.

anchor composition book applique 6
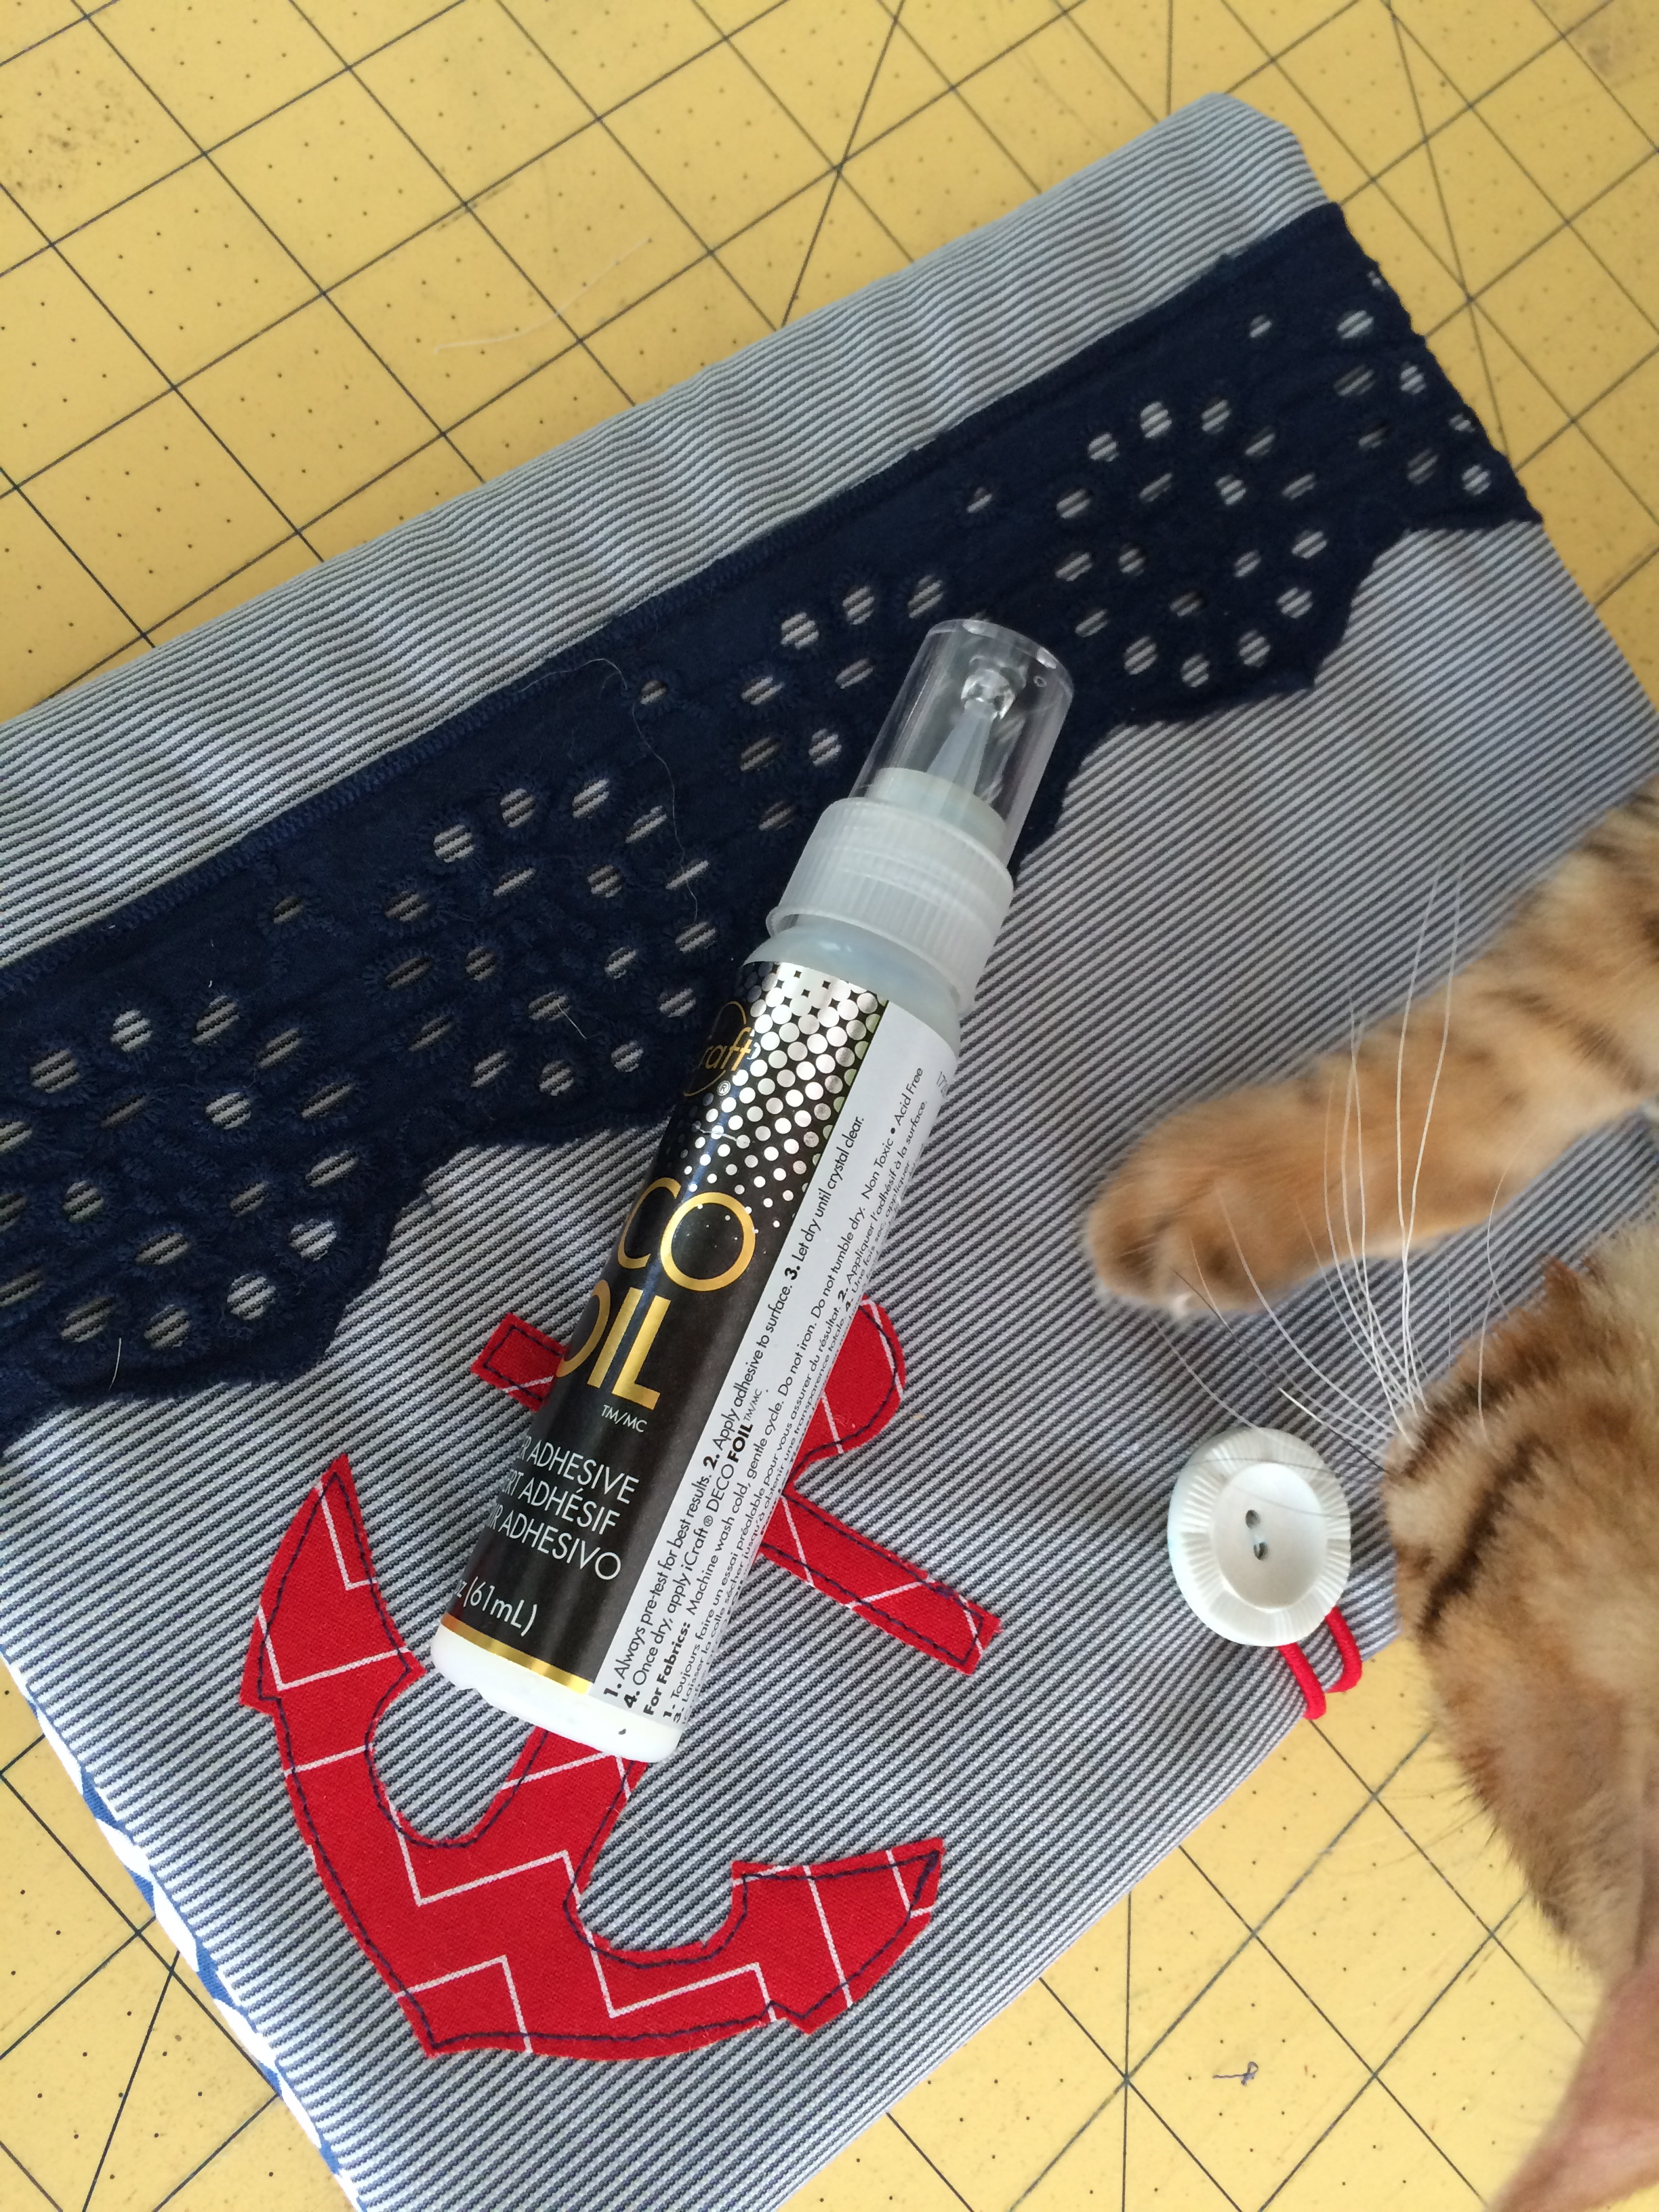
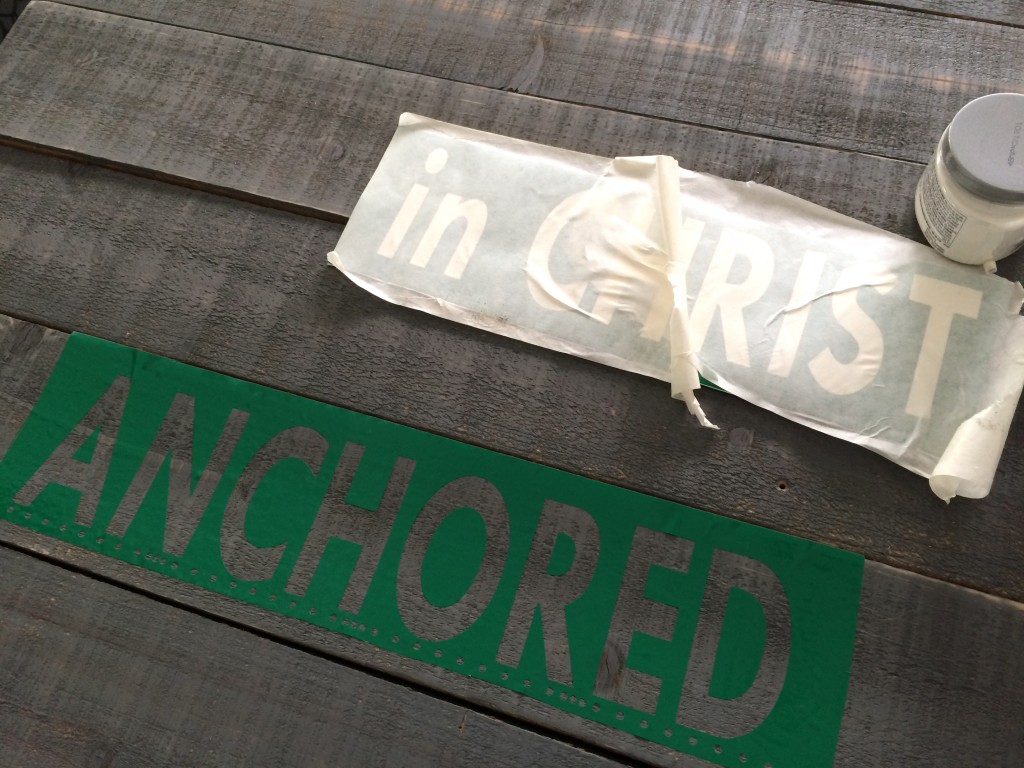
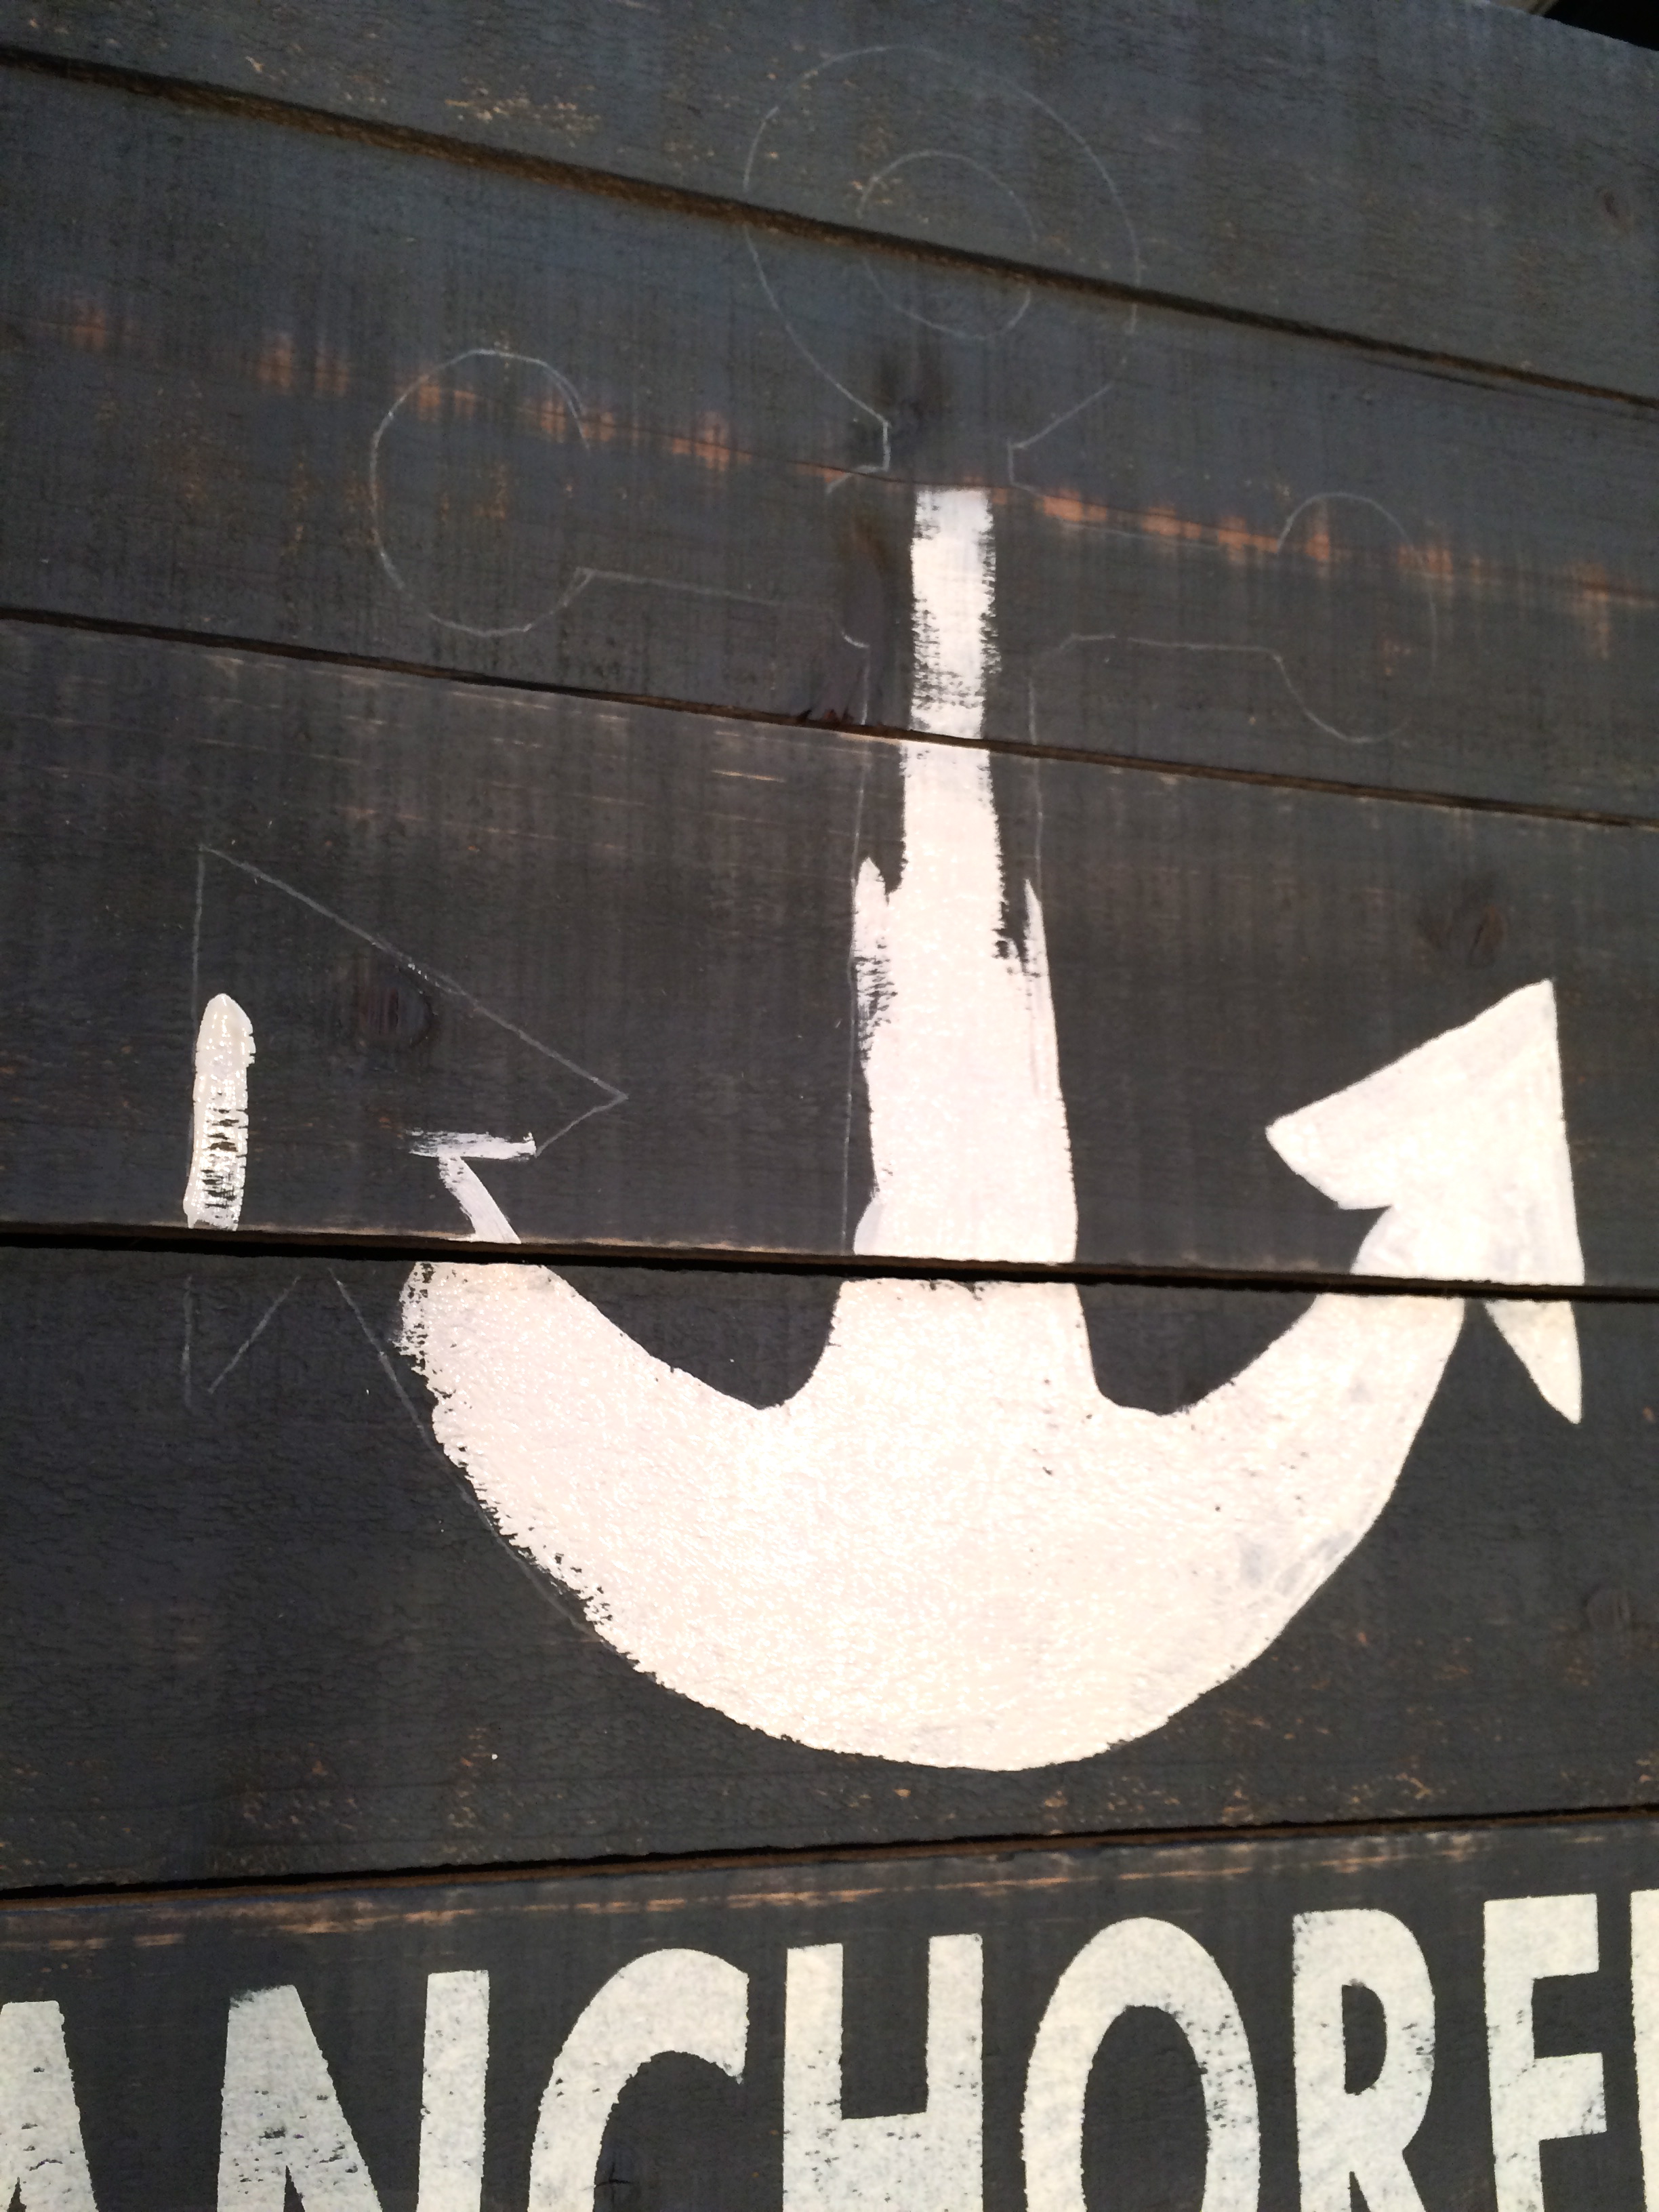
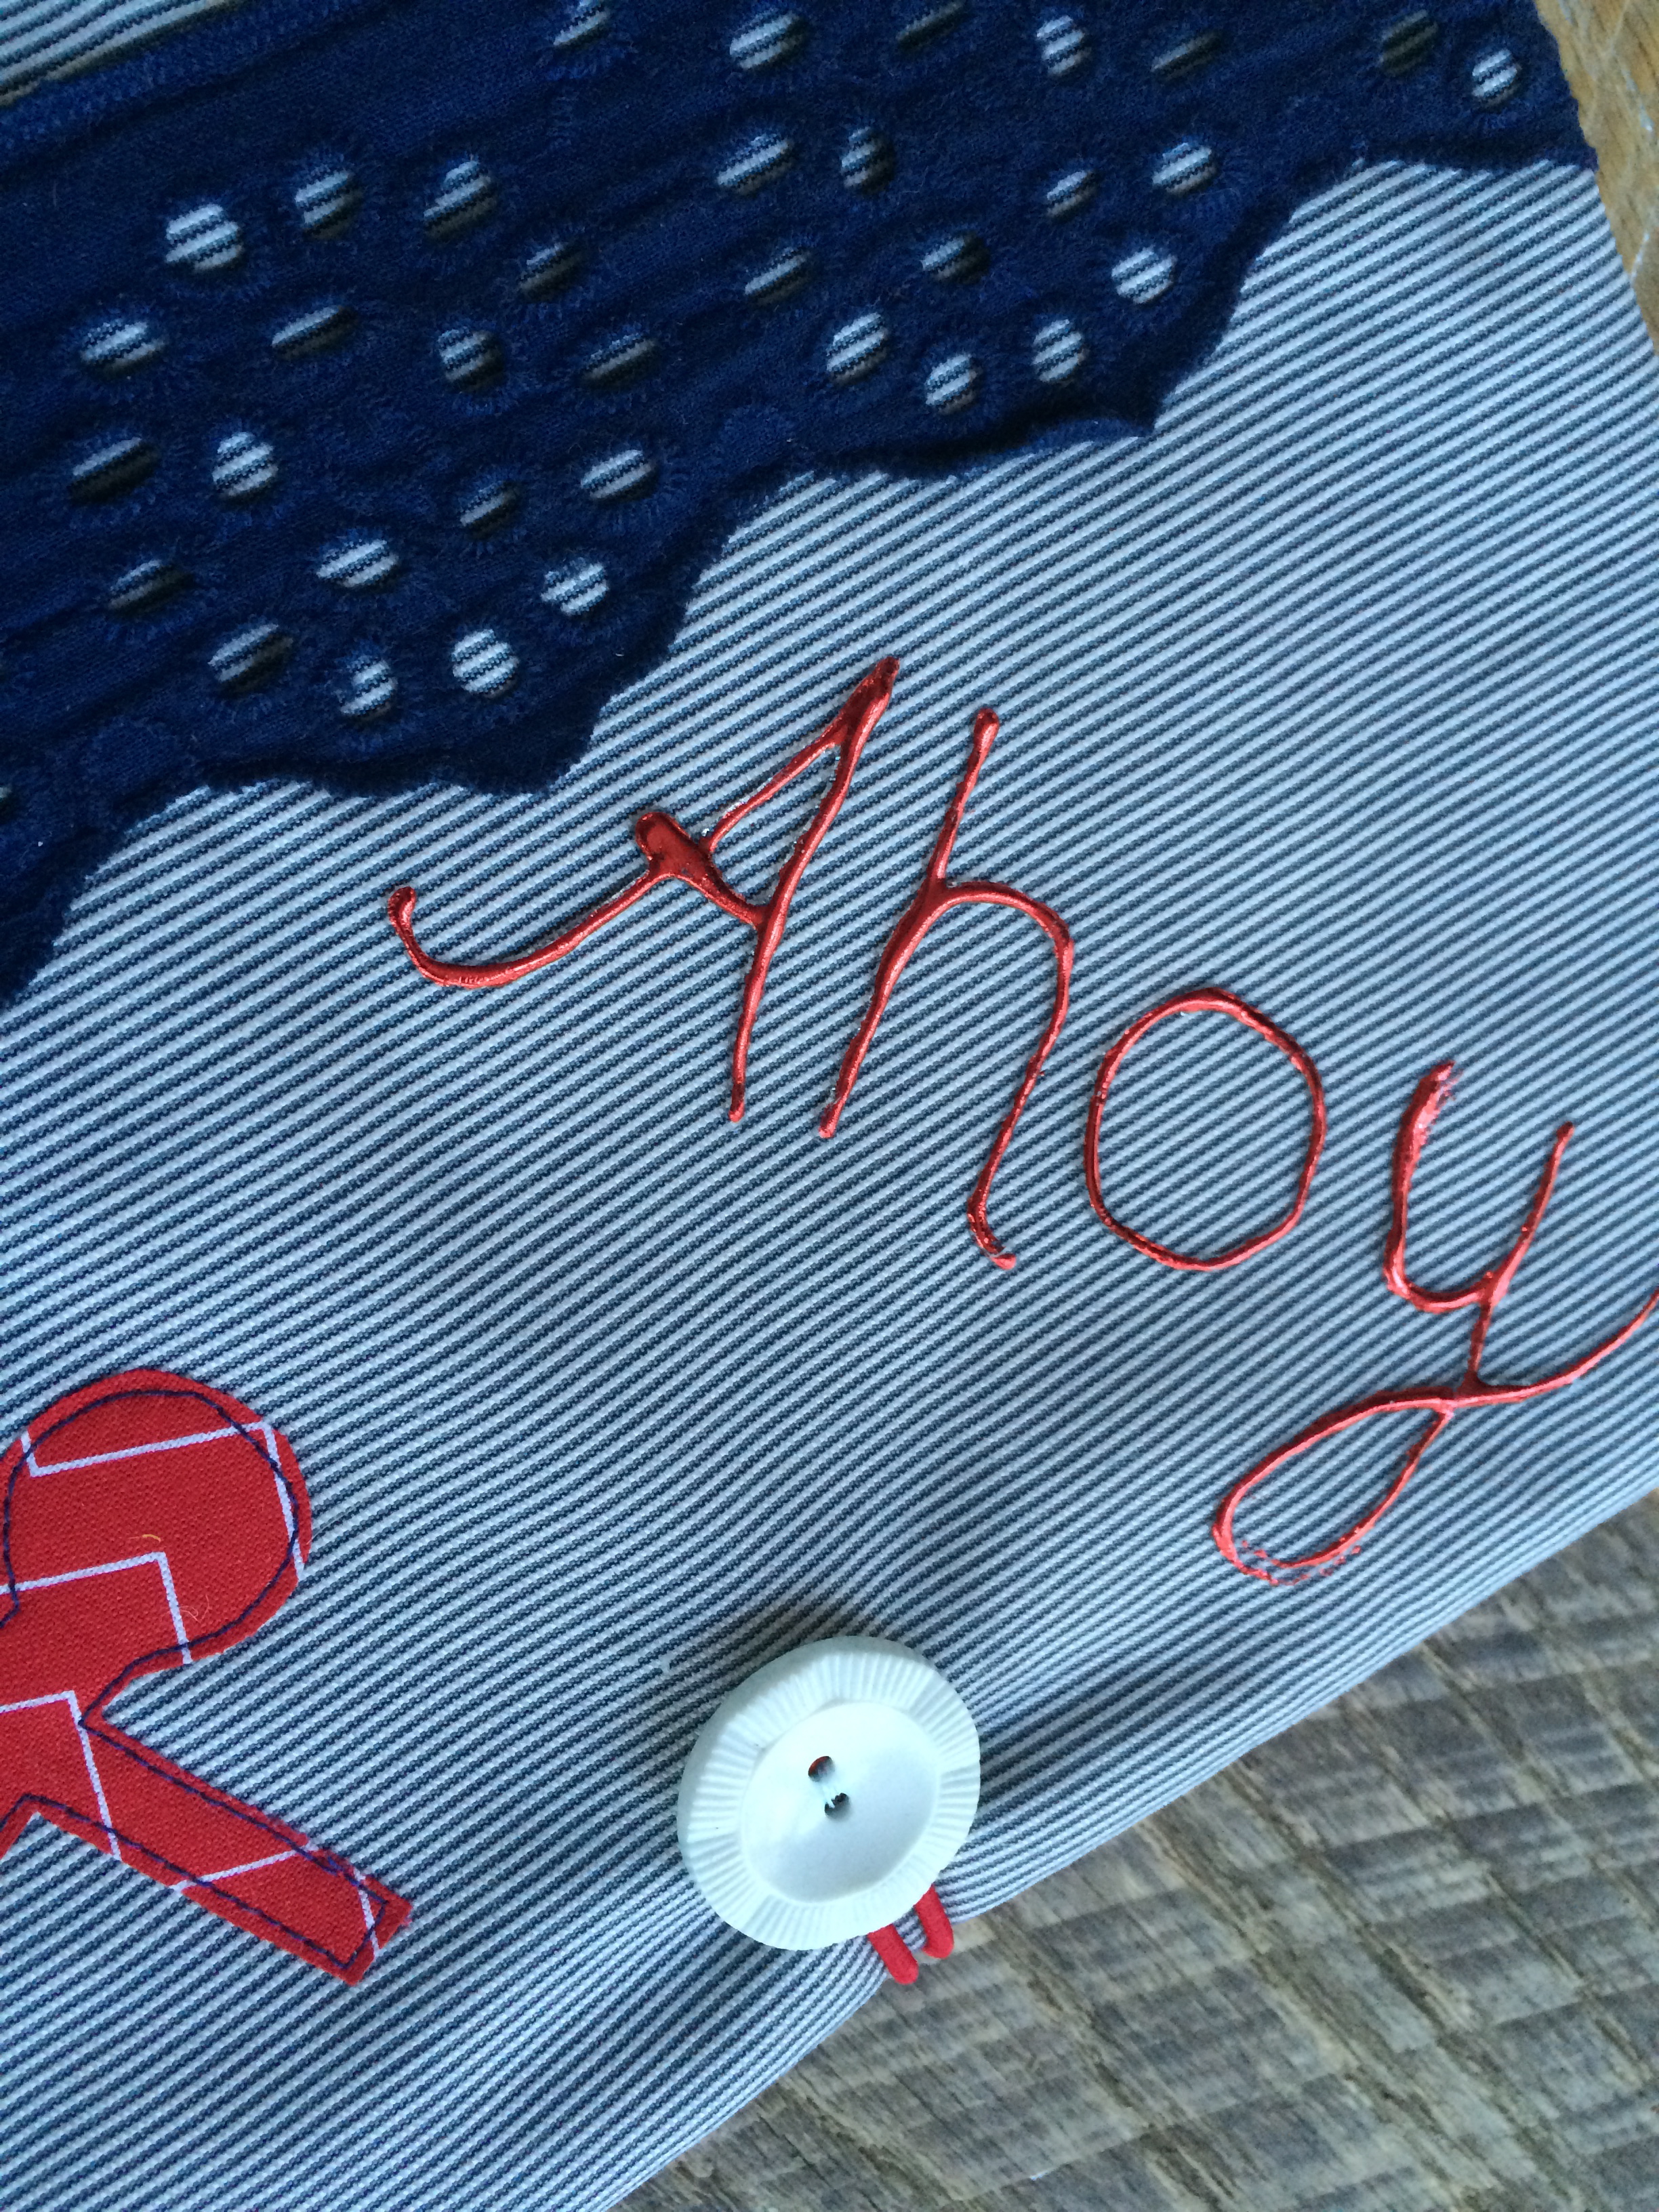
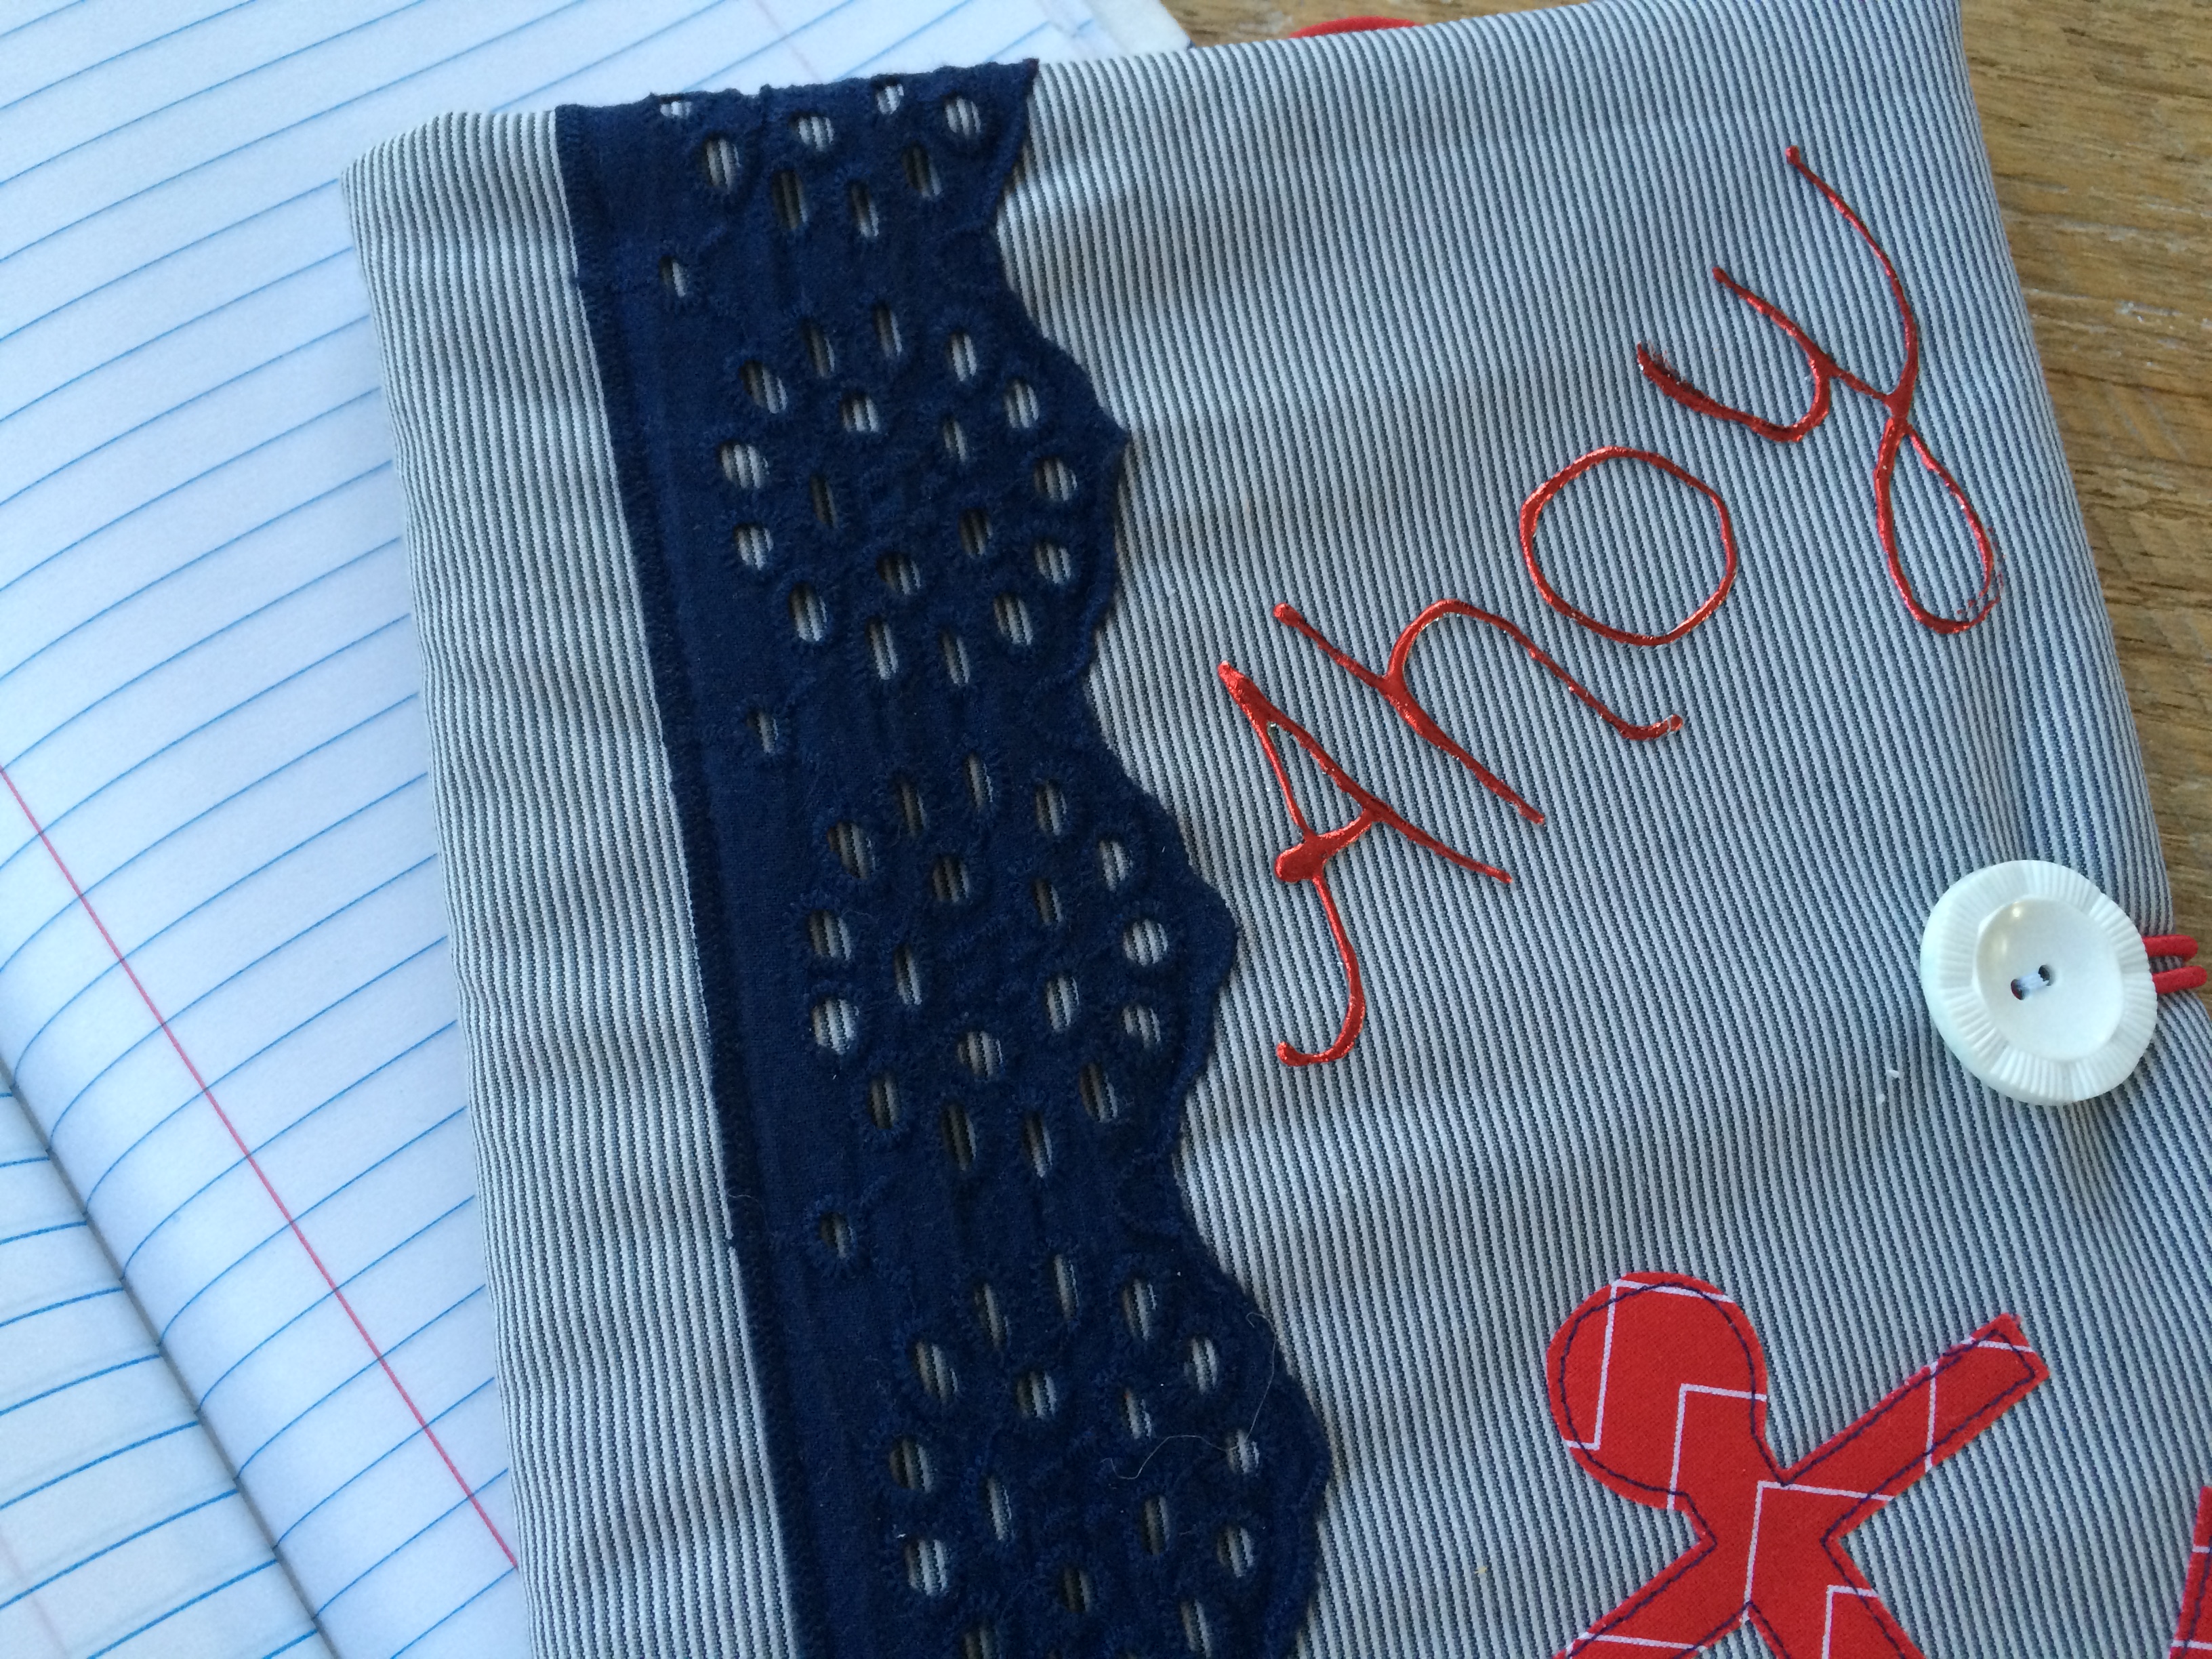
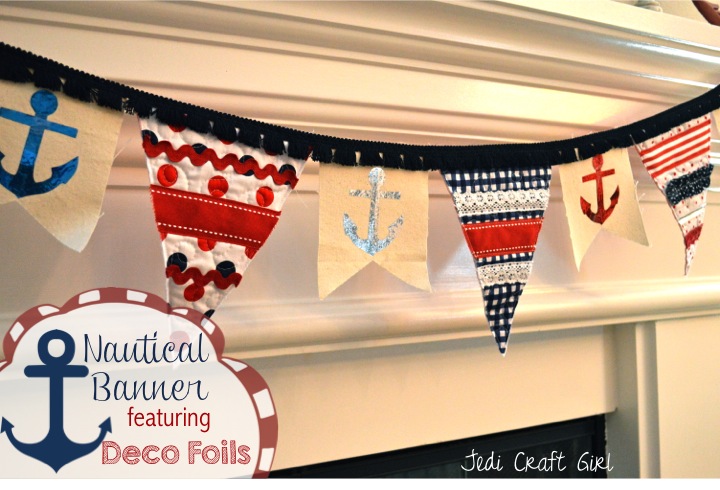
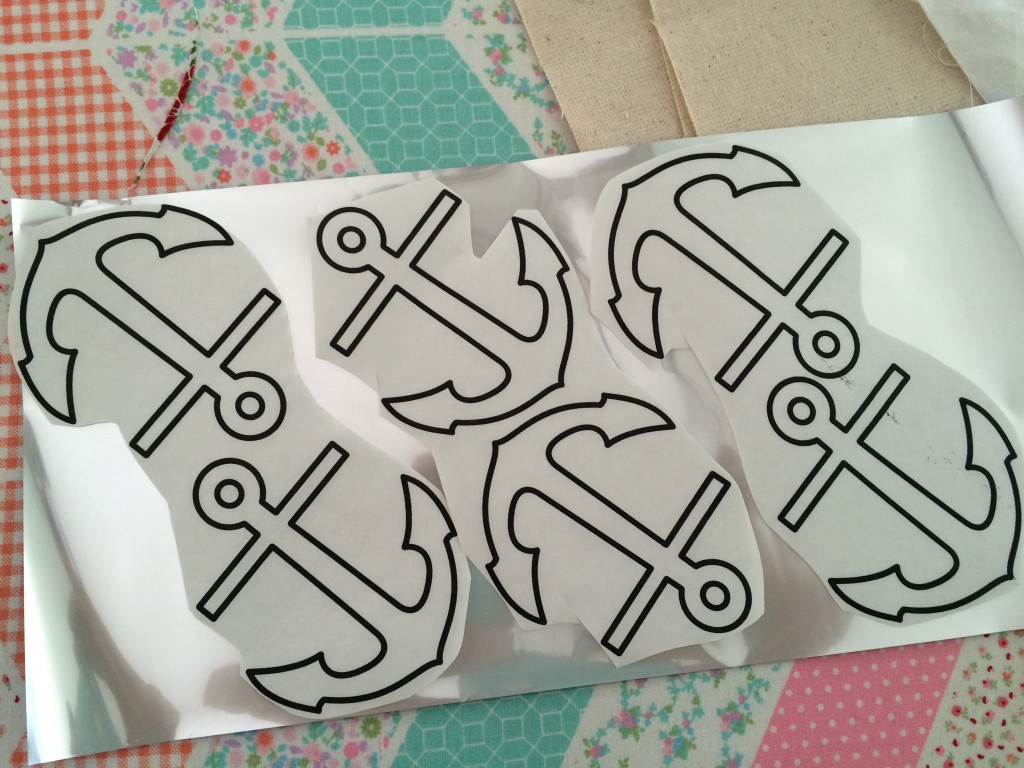
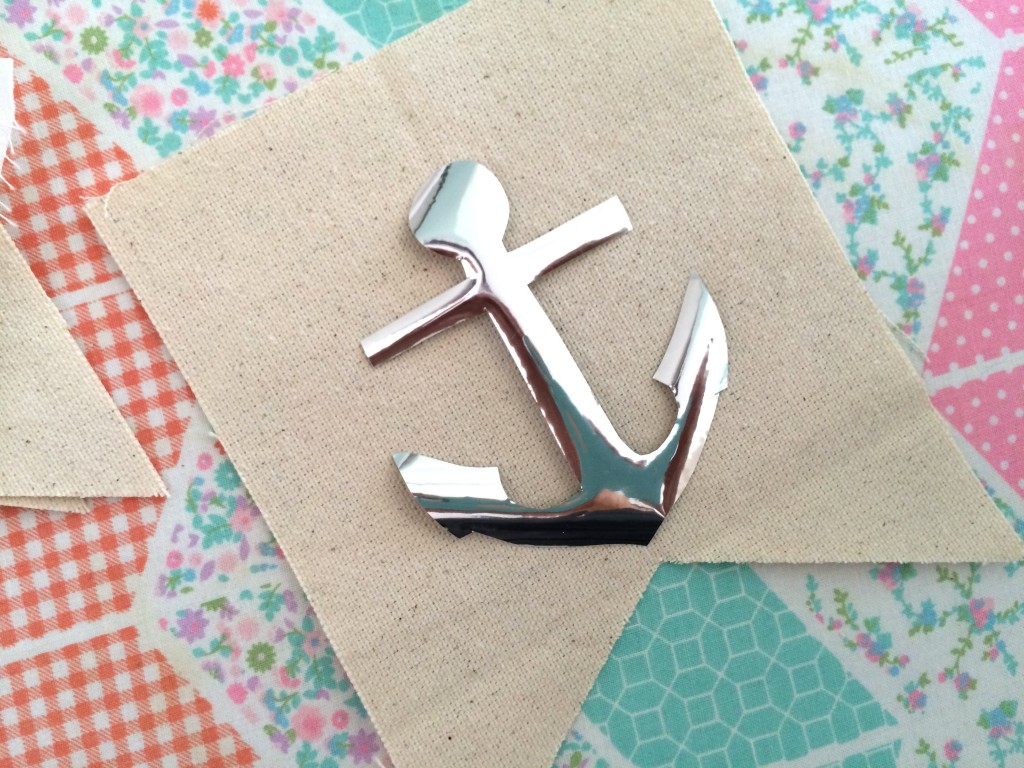
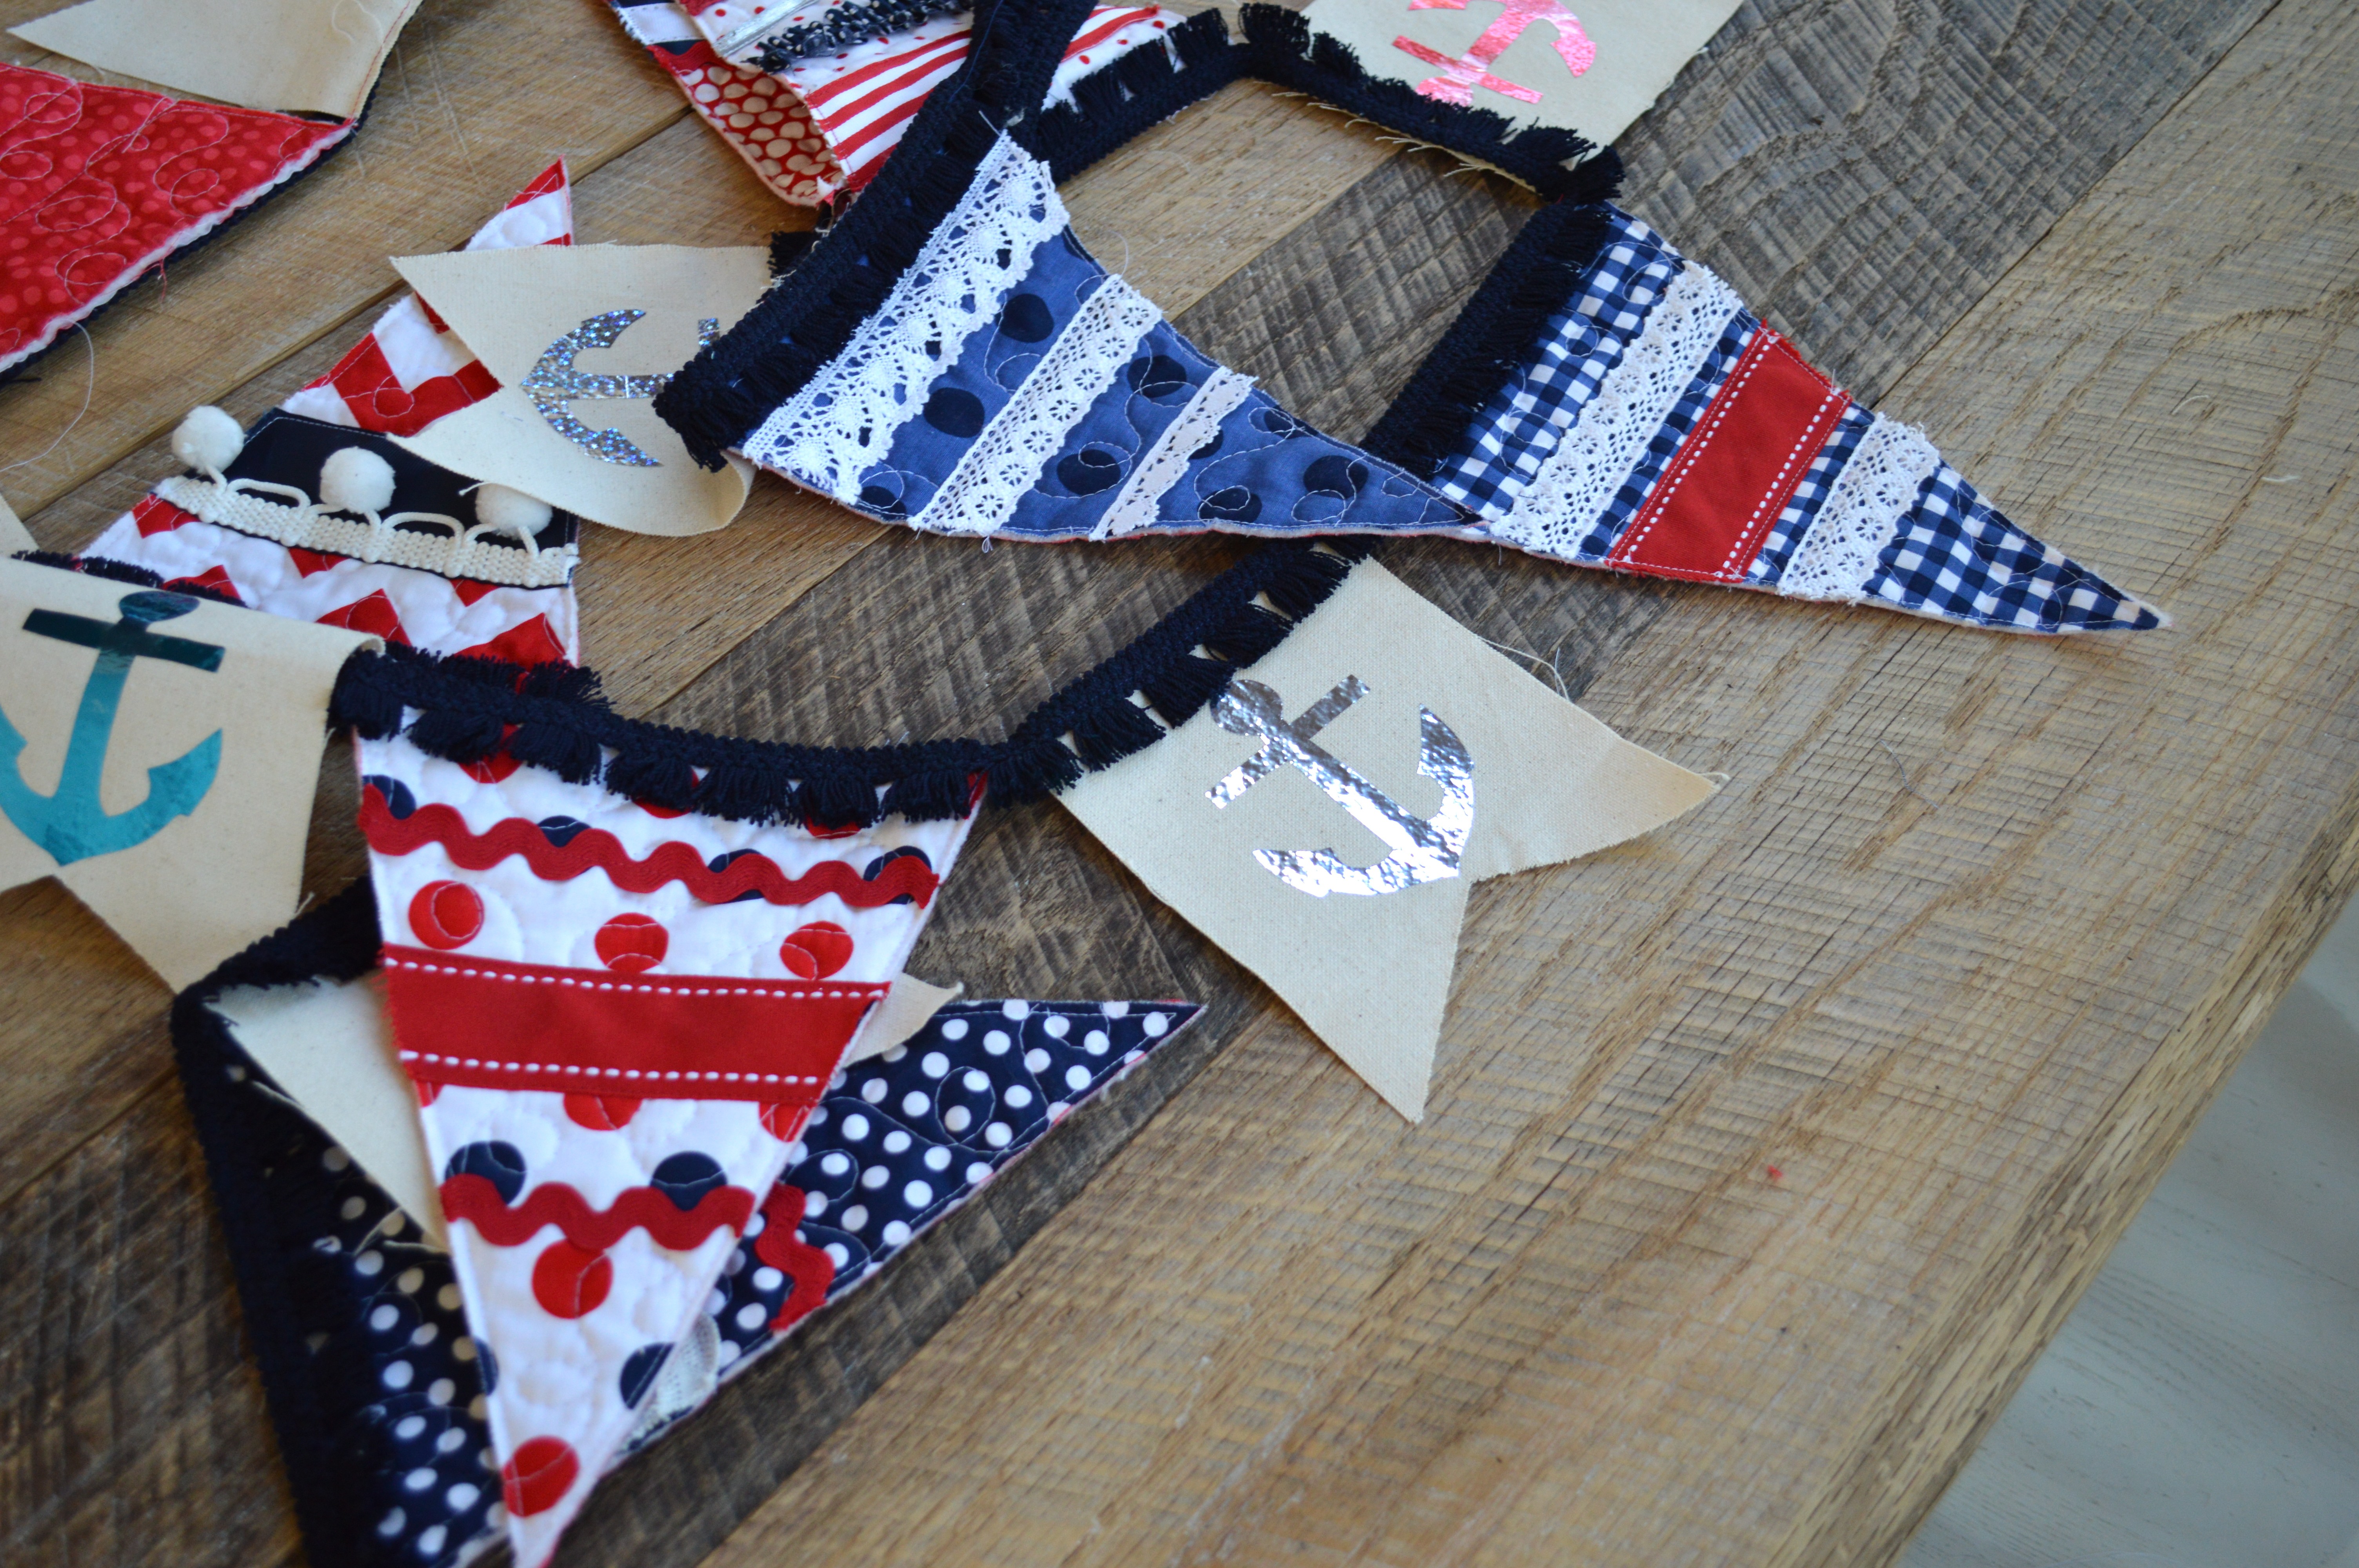
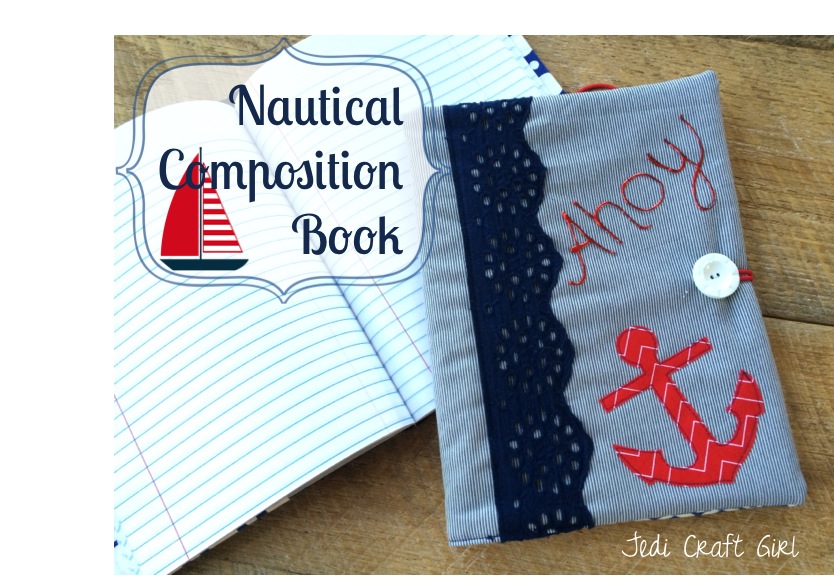
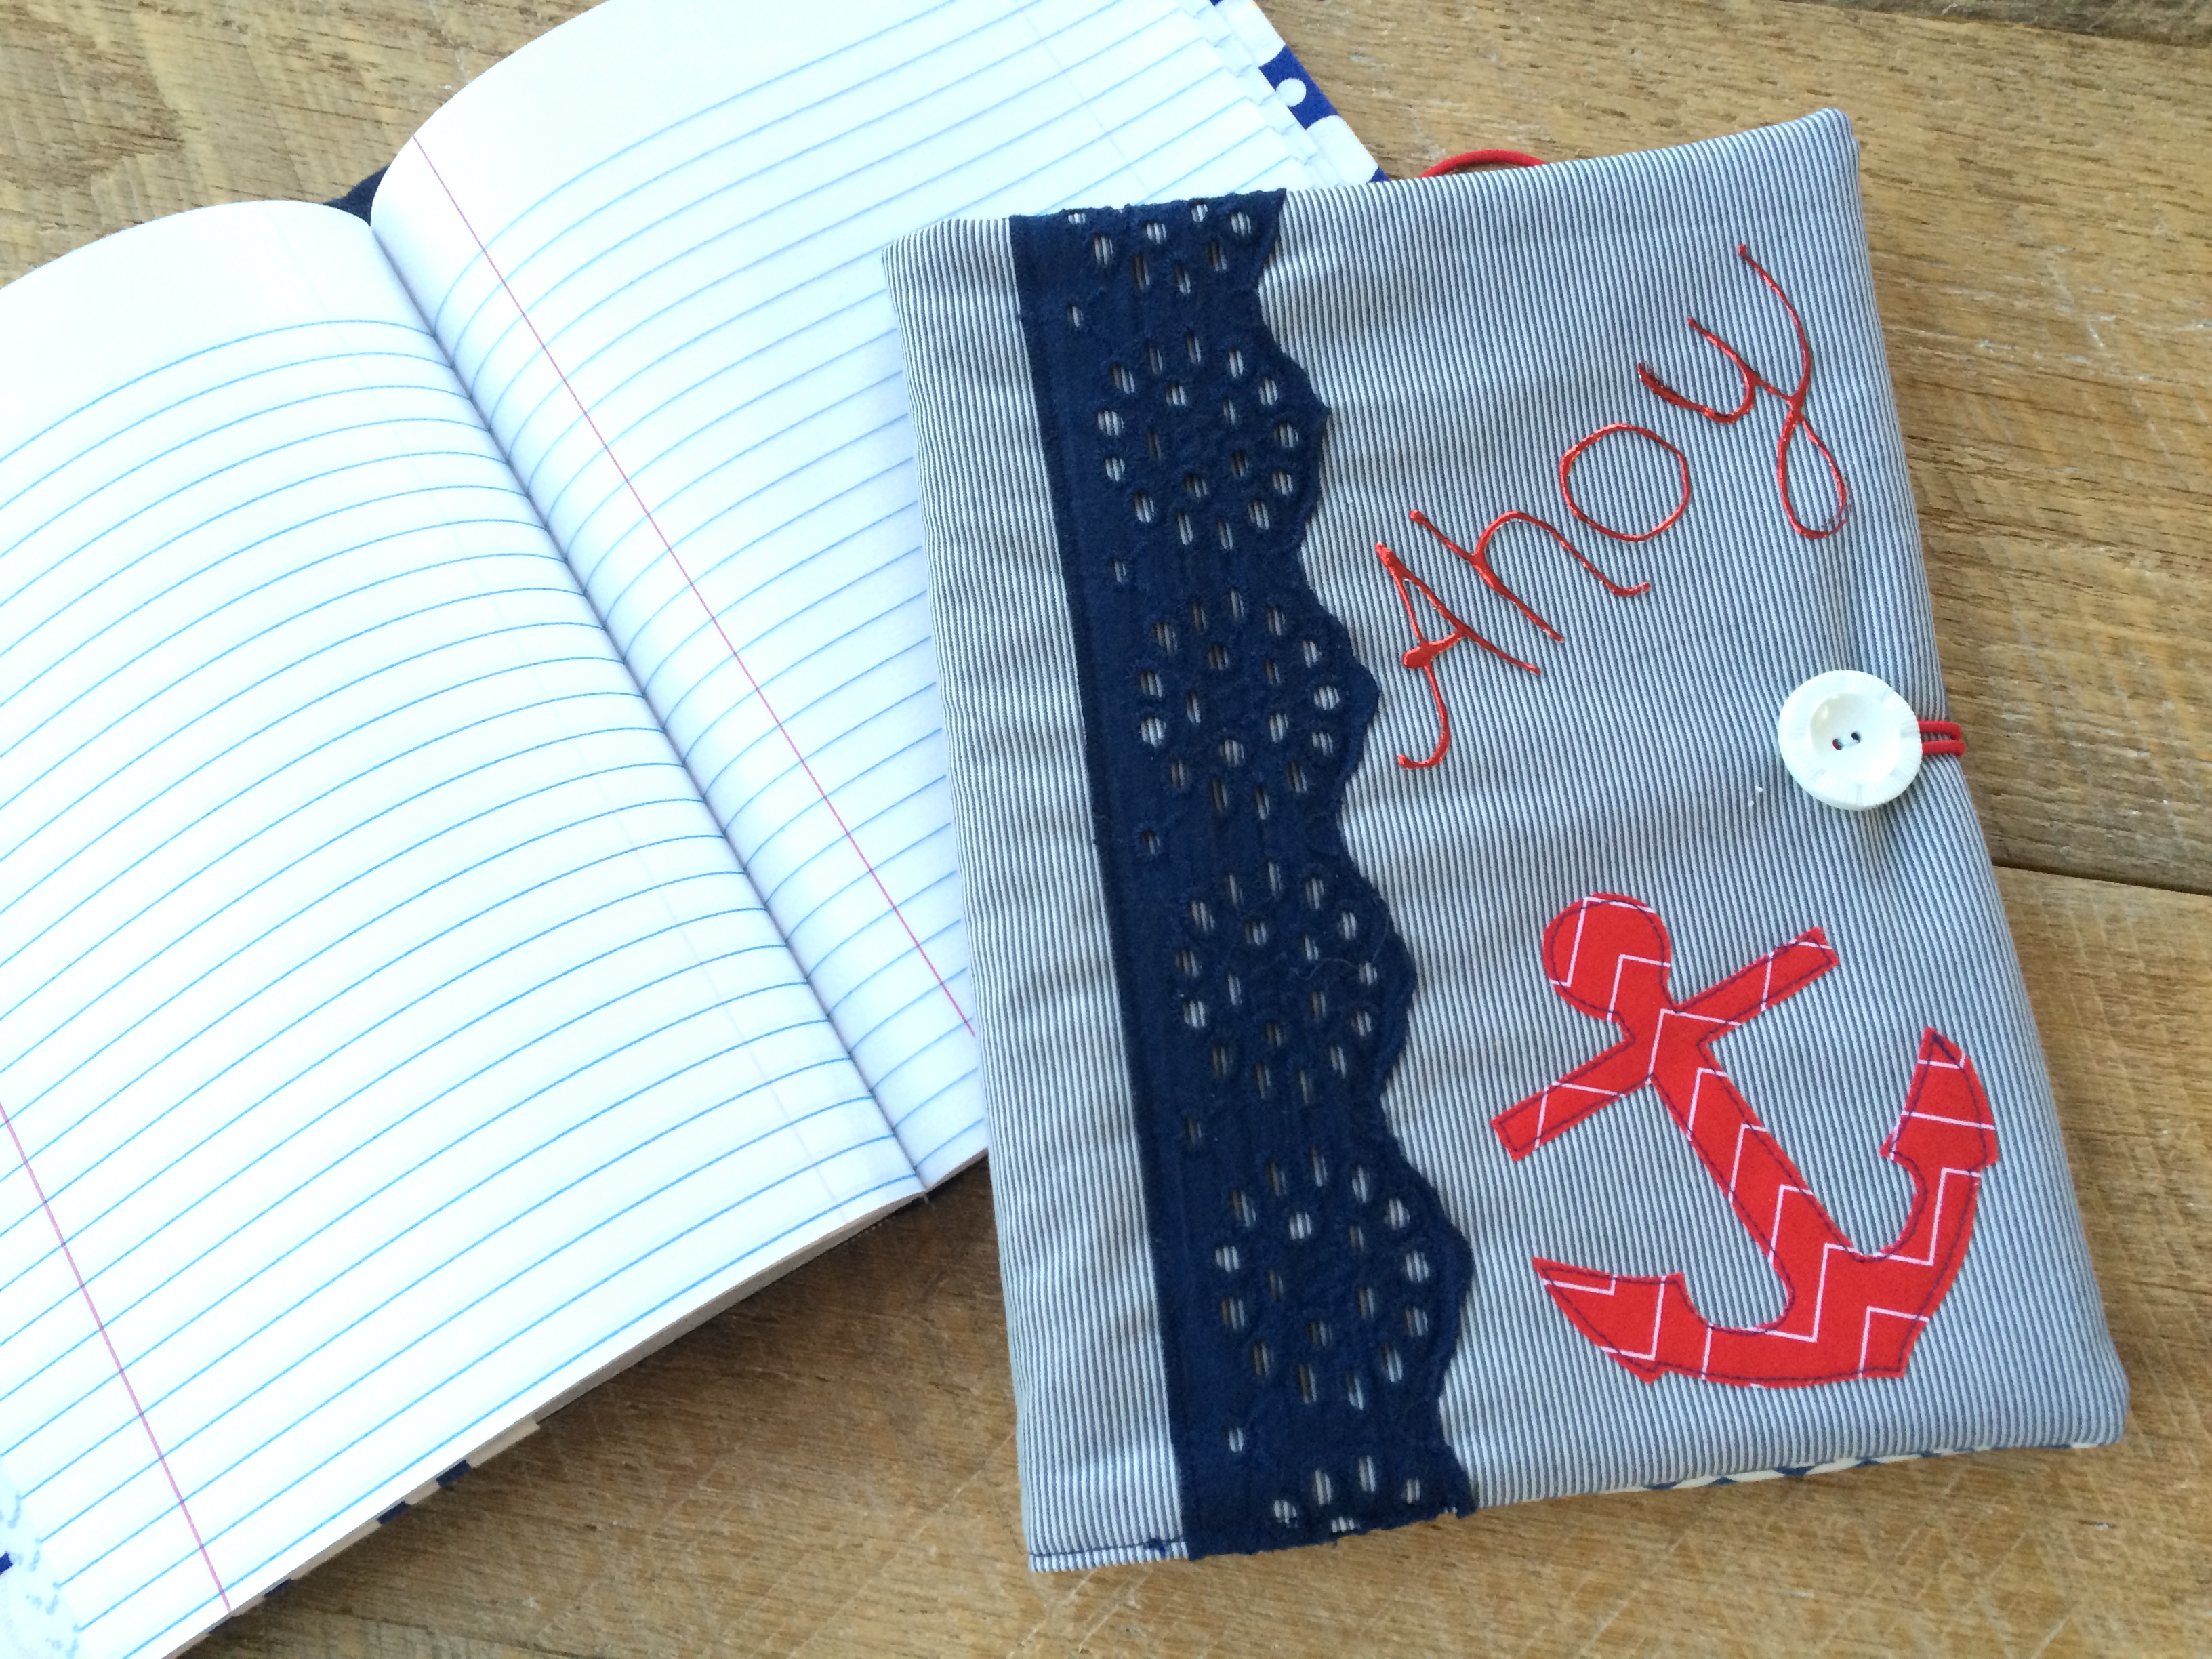
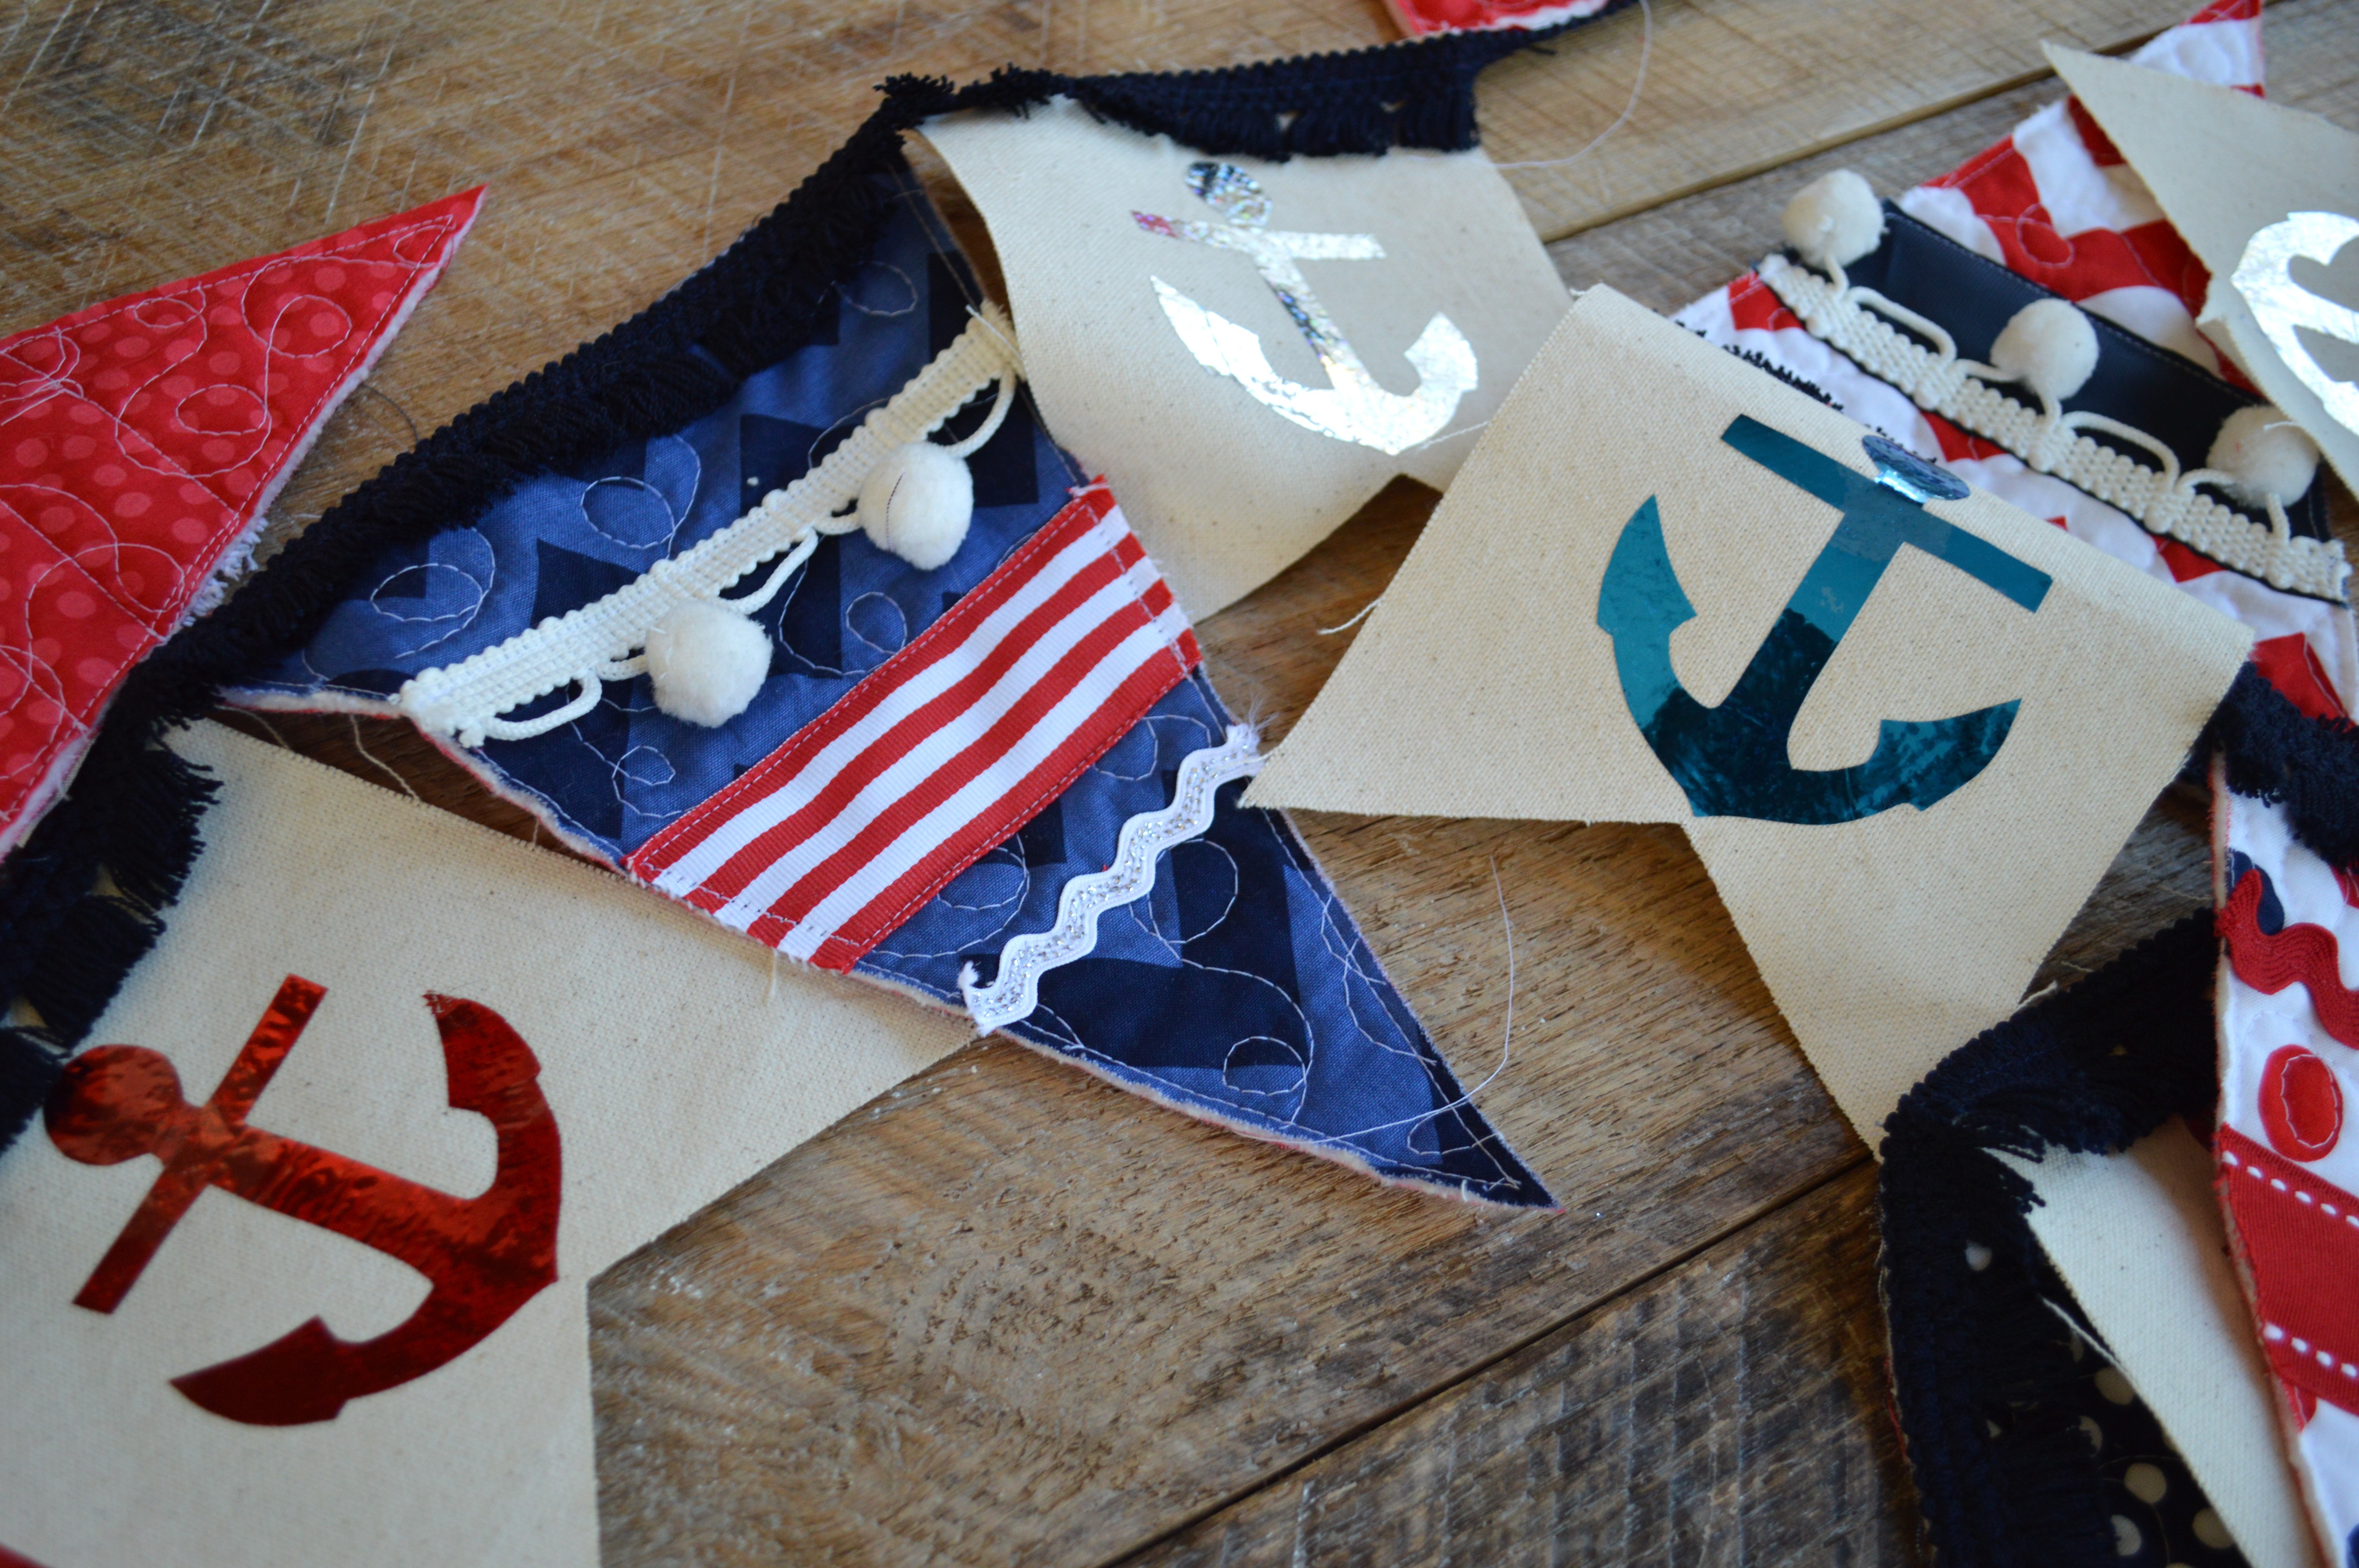
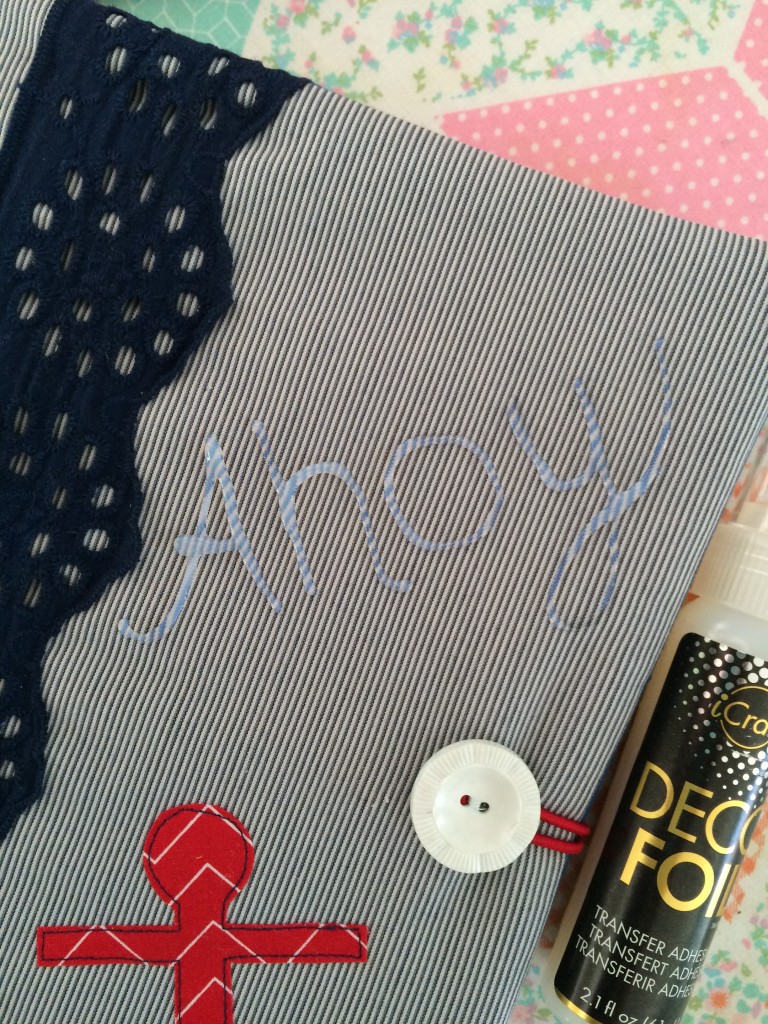
Once the adhesive is dry, rub the wrong side of the foil on the letters.  This part feels super magical!!  The foil sticks to the adhesive only!  This stuff is awesome!!!
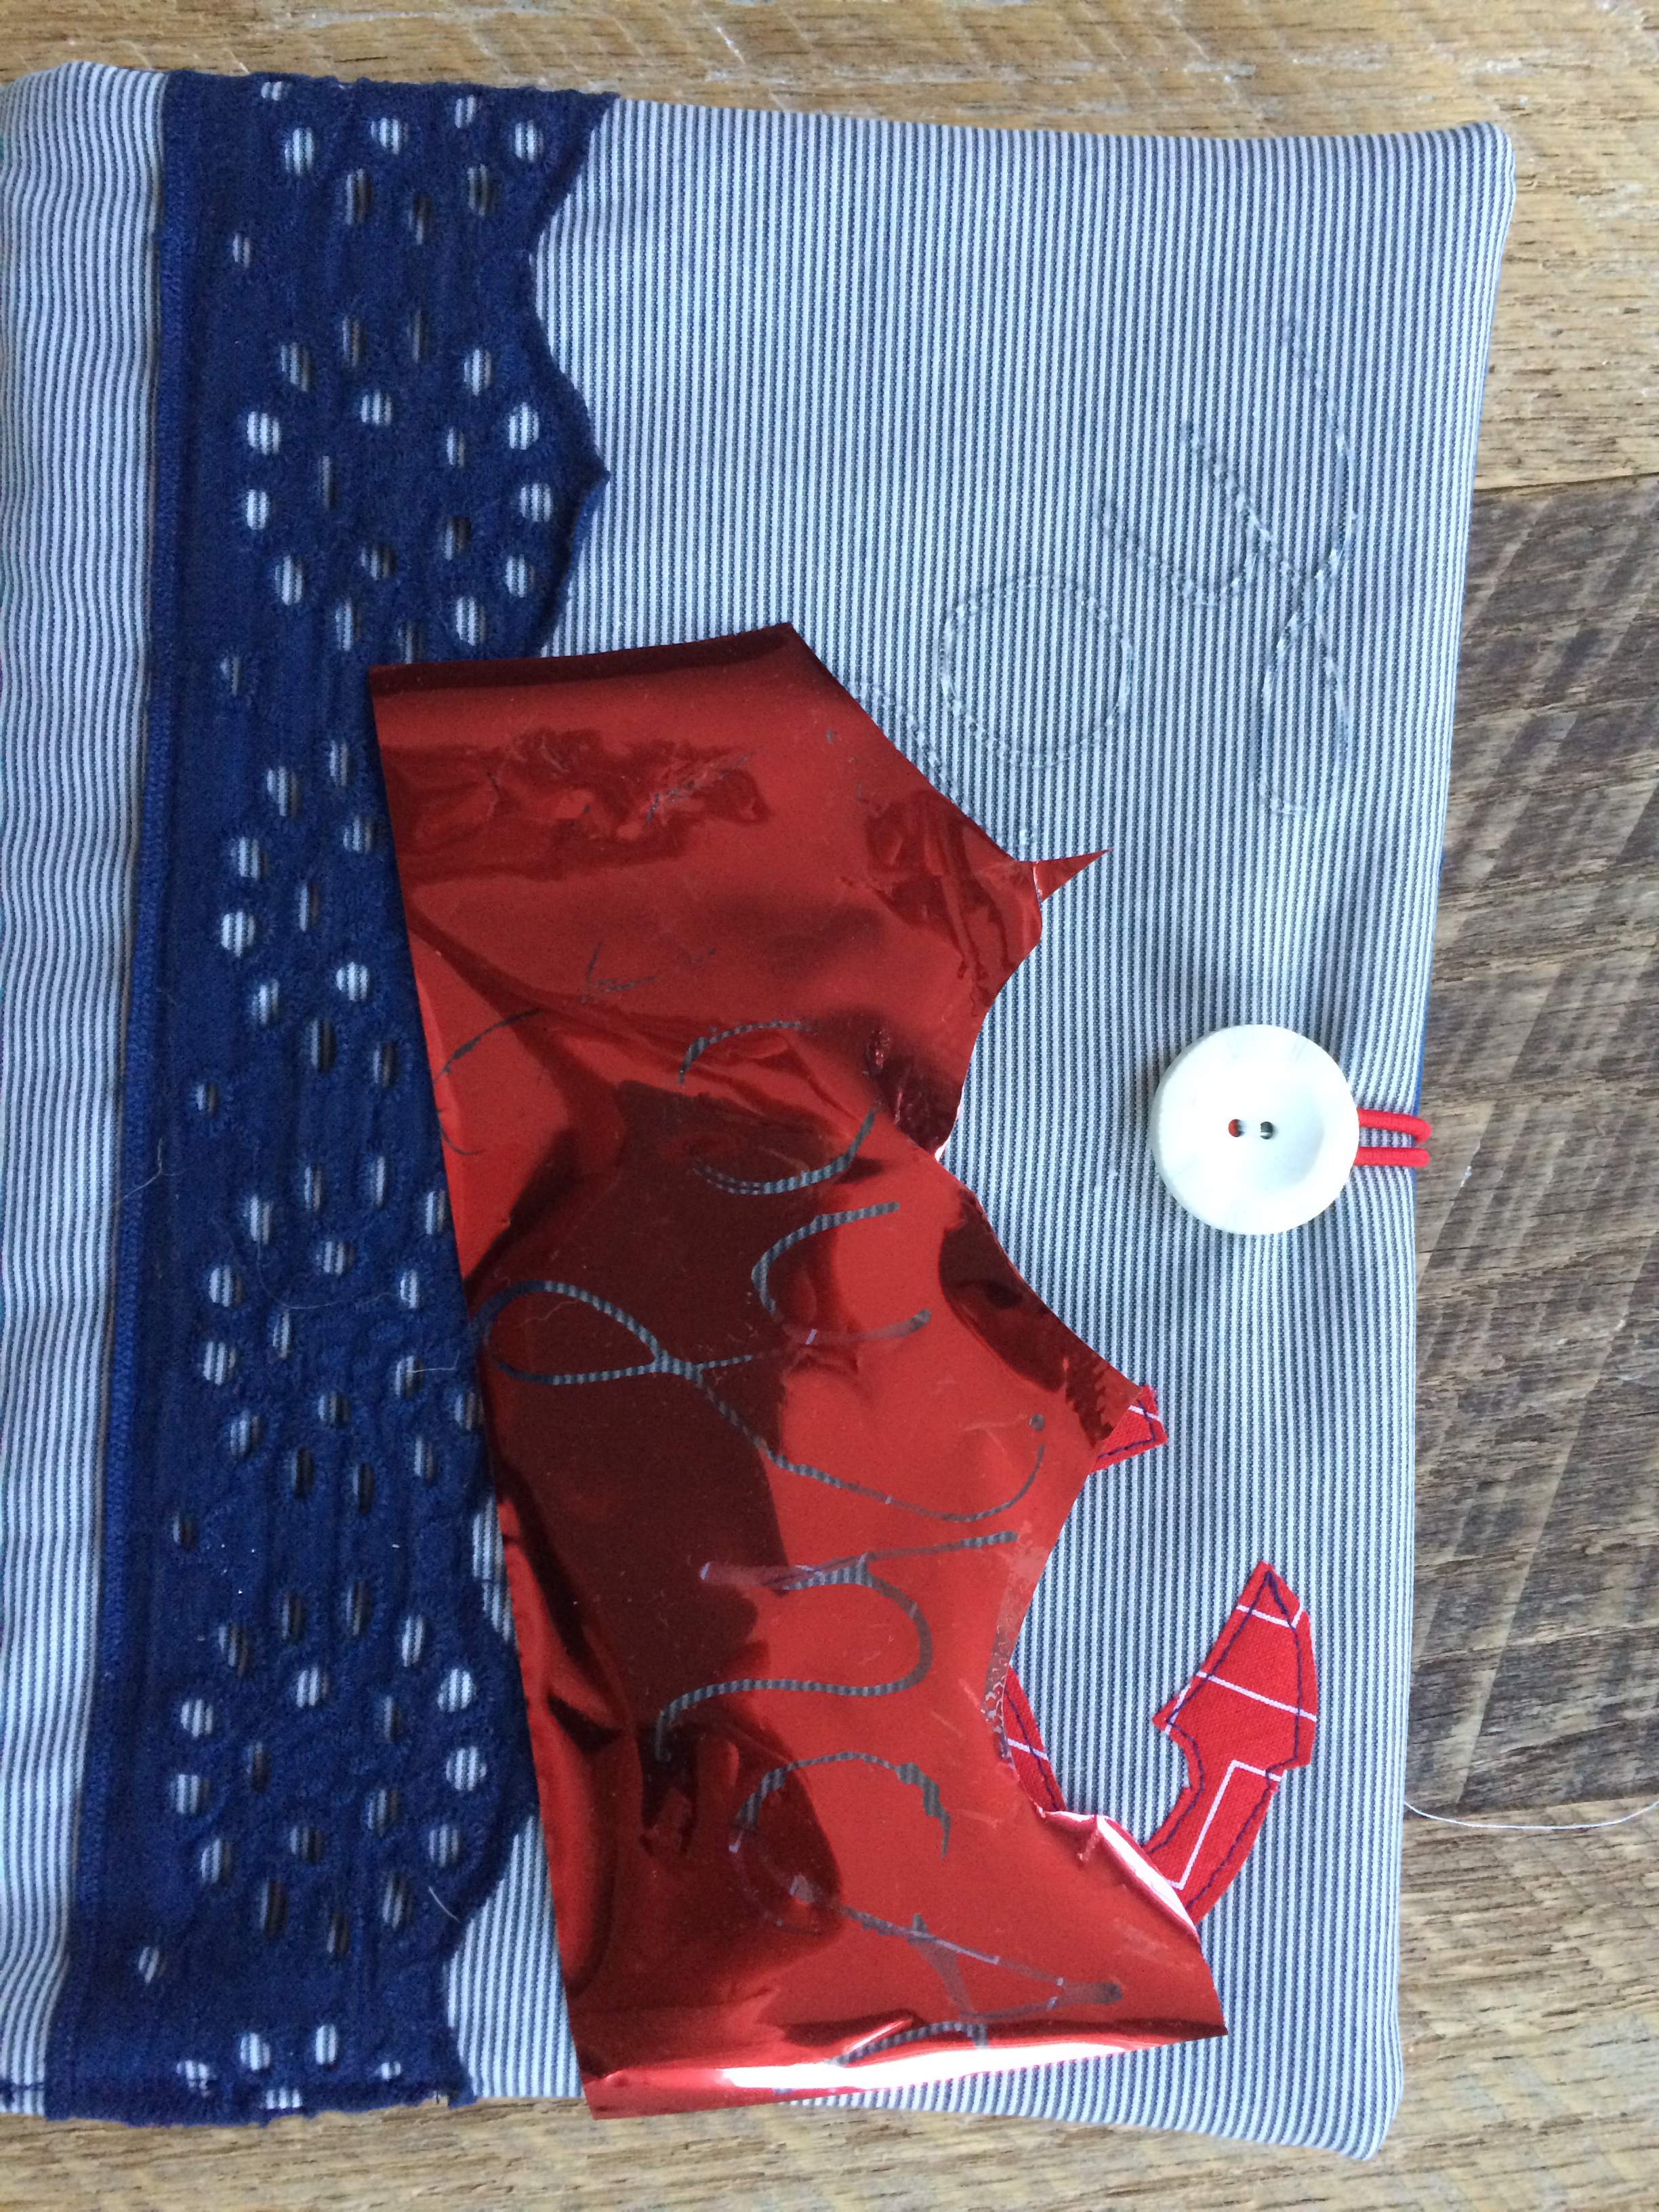
anchor composition book applique 7Now I am left with shiny foil letters!!

nautical composition book applique 9

nautical composition book applique 10

Make more than one and give them to your friends!!  I will be giving one away on Instagram later in the week 🙂nautical composition book applique 11

Nautical Banner Tutorial

nautical week 2nautical banner

It wouldn’t be Nautical Week without a banner!  I LOVE Riley Blake Designs.  They have come up with the brilliant idea of printing banner triangles on a panel of fabric.  For one panel you get 18 triangles – each one a totally different print!  You can cut them up and sew them together or you can embellish them.  I added a canvas flag with Therm O Web Deco Foil anchors in-between each triangle.

riley blake nautical banner deco foils 2

riley blake nautical banner deco foils 01

Here’s how you can make one:

Supplies:

Riley Blake Designs banner panal or red white and blue patterned fabric
3/4 yard backing fabric
cotton batting
iCraft® Deco Foil™  – Silver, Red, Silver Star and Blue
Natural canvas
Navy fringe trim
Anchor pattern, click HERE
Spray n Bond®
Scraps of ribbon, lace, ric rac, pom poms and any trim you can round up!


Begin by quilting the banner panel – I quilted mine with loop-de loos.

riley blake nautical banner deco foils 02

After quilting the pane, cut the triangles out on the line and top stitch 1/8″ from the edge to prevent the quilting from unraveling.

riley blake nautical banner deco foils 001

Now comes the fun part.  Run around your house and gather every bit of ribbon, trim, lace, etc. in red, white, blue, gray, and silver.  I even ruffled a few pieces of fabric. Use Spray n Bond® to position the trim in place and top stitch on the triangles.  This takes a while – I didn’t want any of mine to be the same.

riley blake nautical banner deco foils 09

riley blake nautical banner deco foils 004

Once the triangles are completed, move on to the flag portion of the banner.

Begin by cutting (16) canvas rectangles in 5.5″ x 6″.  Fold the rectangles in half and cut a diagonal line by angling the ruler from the corner to the 1.5″ mark:

riley blake nautical banner deco foils 08

riley blake nautical banner deco foils 06

Print out the anchors on the EZ print sheets.

riley blake nautical banner deco foils 006

Then cut around the anchors and position them on the back of the Deco Foil.  Six fit on one piece of foil.  Cover with a piece of cotton fabric and press to set.  It only takes seconds.

riley blake nautical banner deco foils 103

Cut around the anchor and peel off the backing paper.

riley blake nautical banner deco foils 100

Position the foil side up, cover with a piece of cotton and press.

riley blake nautical banner deco foils 101

Lay out the banner and use navy blue fringe trim to sew the flags together.  This mades a long banner – I divided it in half and made two separate ones.  It helps if your kitty assists in this process 🙂

riley blake nautical banner deco foils 13

Hang around your home and enjoy!!
riley blake nautical banner deco foils 4

riley blake nautical banner deco foils 7

riley blake nautical banner deco foils 8
Here are a few photos of different segments to give you an idea of the different trims and fabrics.  It was too long to photograph all together.
riley blake nautical banner deco foils 10

riley blake nautical banner deco foils 11
riley blake nautical banner deco foils 15

riley blake nautical banner deco foils 16
I am the Young Women Camp Director at my church and our theme is Anchored in Christ.  The banner was a perfect addition to my table scape for our leader meeting!
riley blake nautical banner deco foils 104
riley blake nautical banner deco foils 105