My Favorite Beach Quilt {Blend Sun-sational}

my favorite beach quilt        
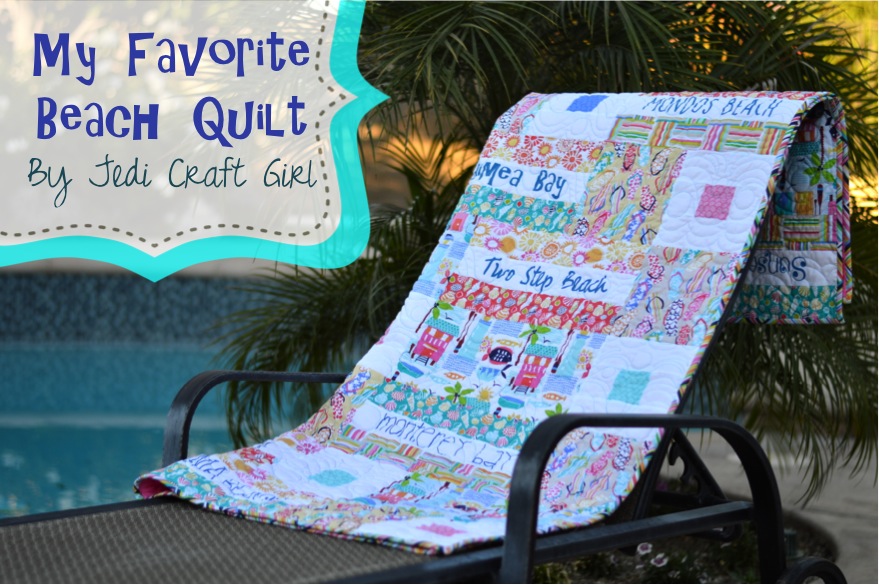
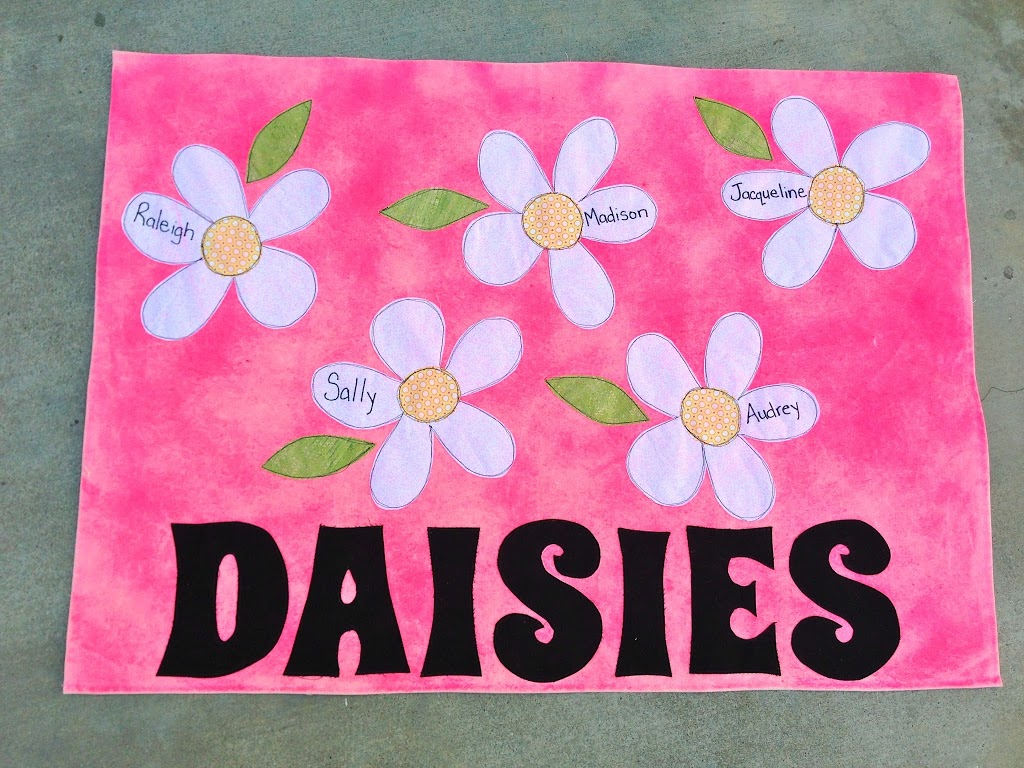
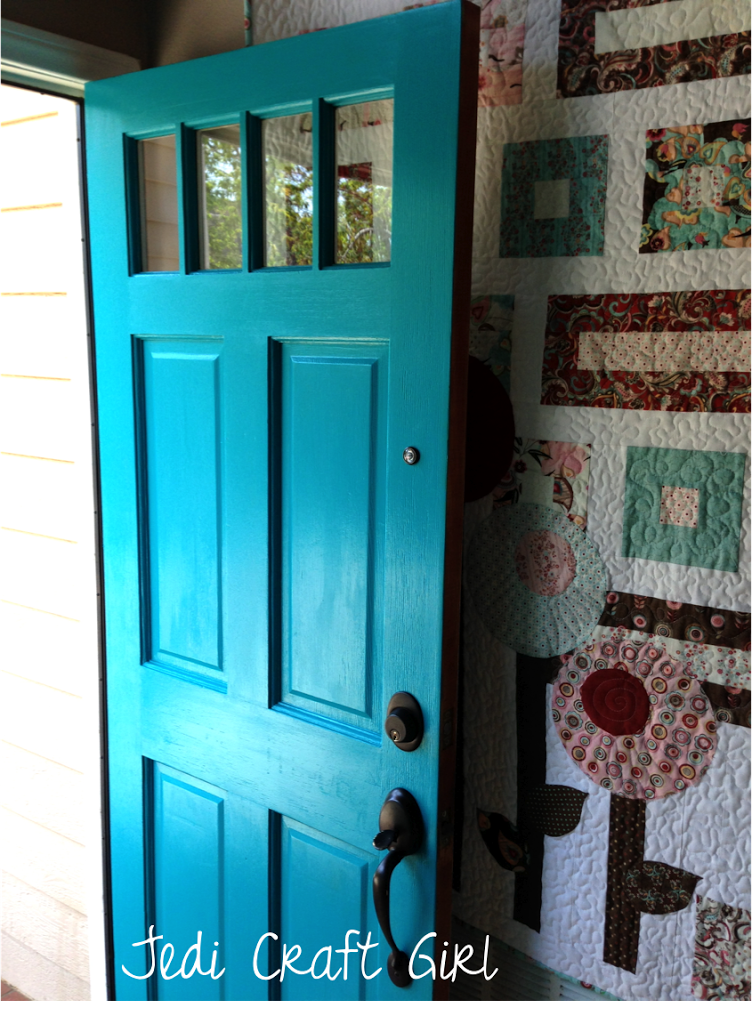
It’s still August and I am going to enjoy every last minute of summer!  I love the Sun-sational fabric line from Blend Fabrics.  Just looking at them makes me feel like I’m enjoying summer at the beach.  I am a California girl who was raised loving the beach.  Through the years my family has come to love many beaches.  I thought it would be great to include the names of these beaches in the quilt.

my favorite beach quilt blend fabrics 108 
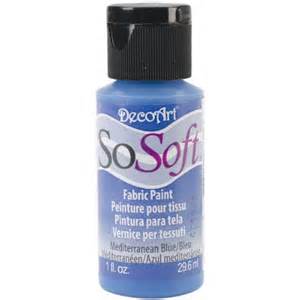
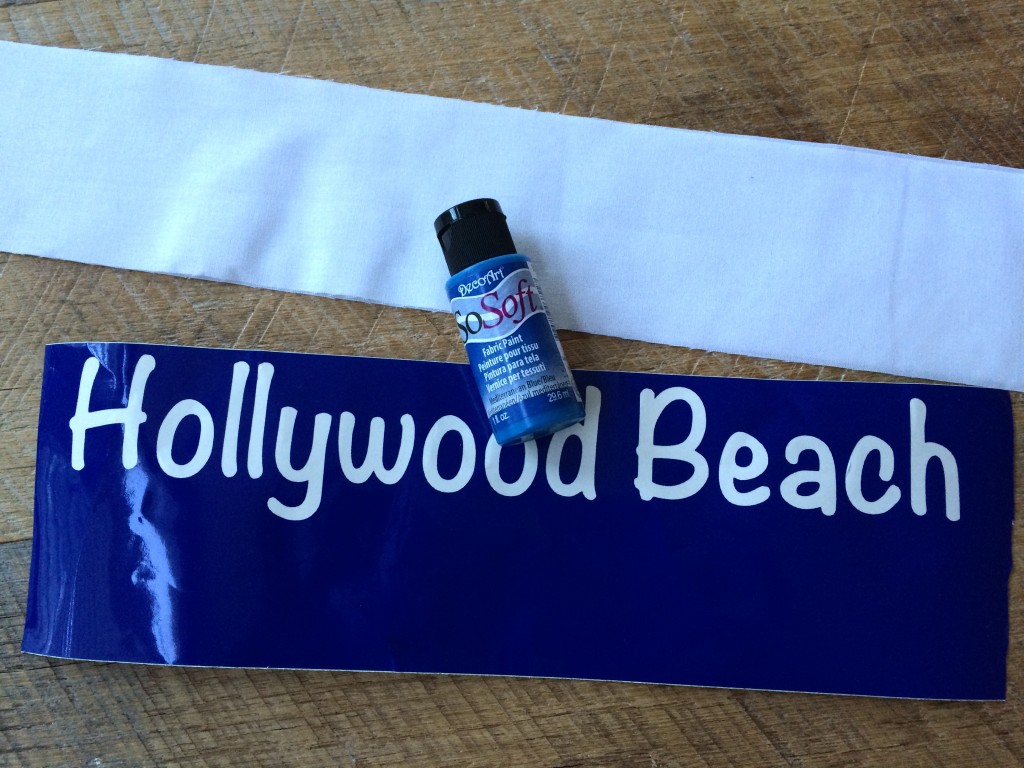
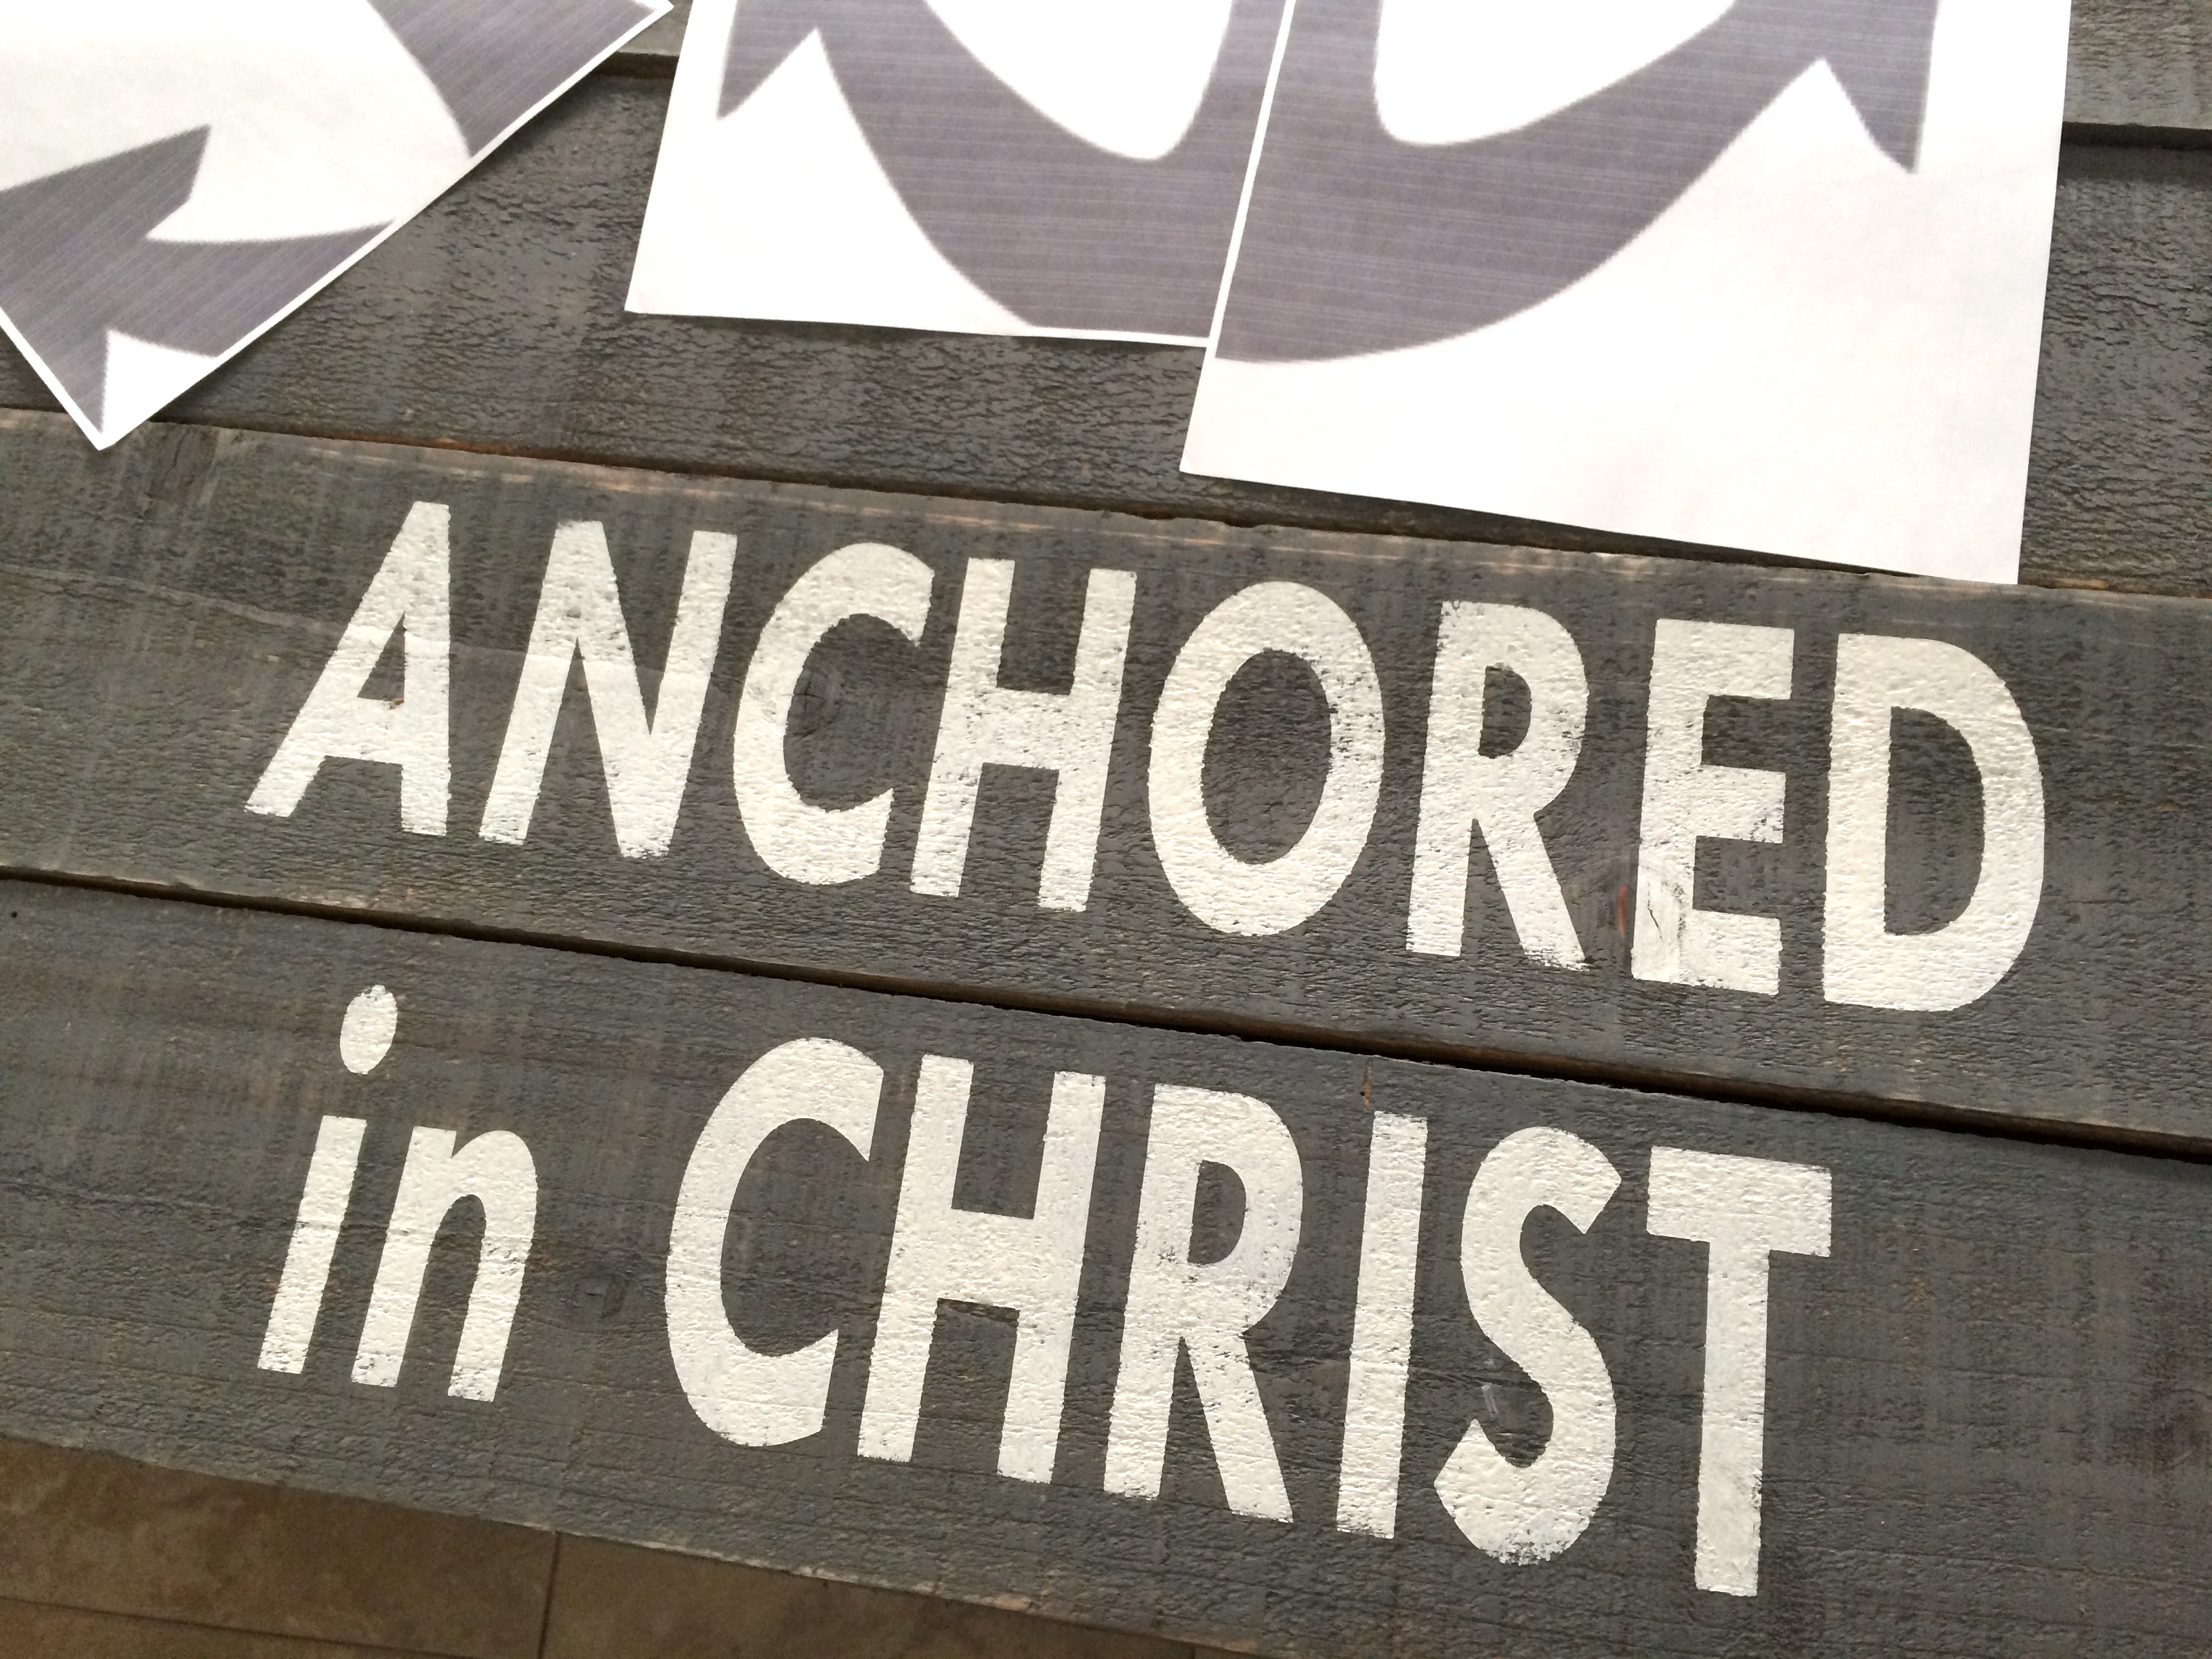
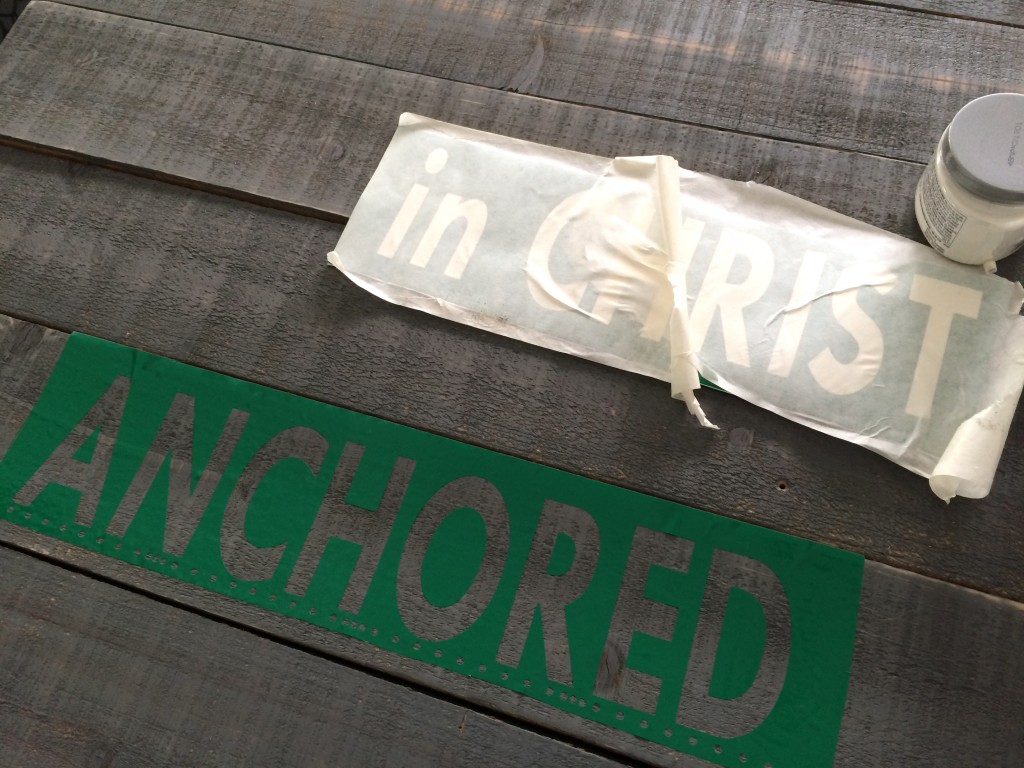
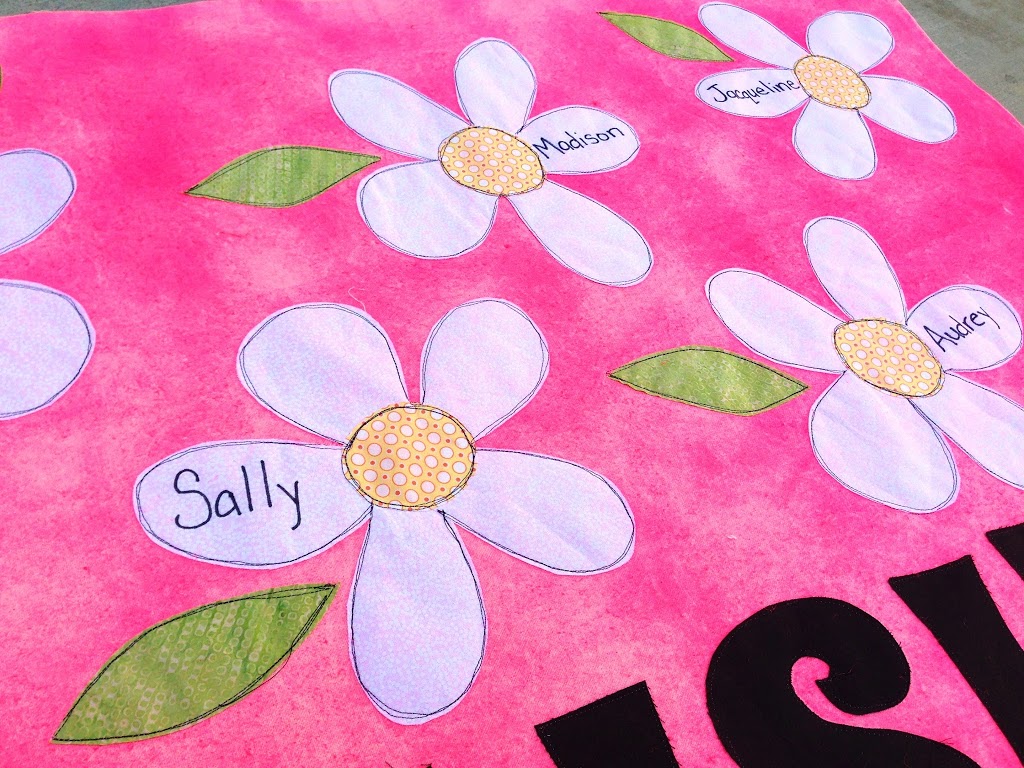
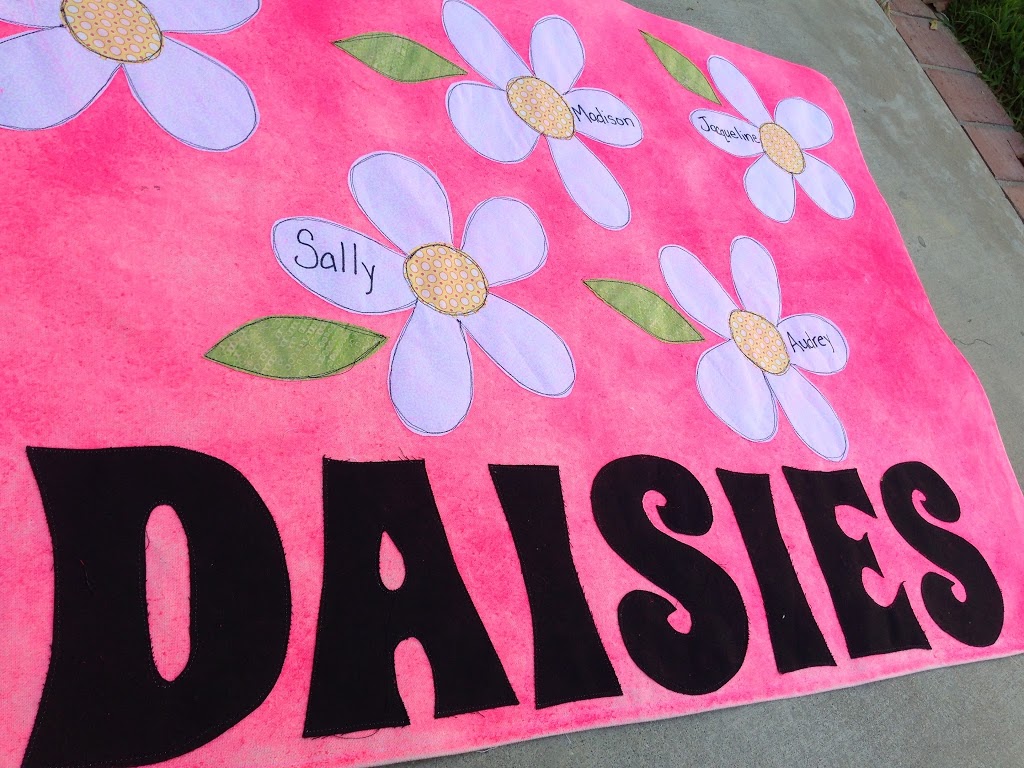
It makes it so personal!  I used SoSoft Fabric Paint by DecoArt.  I purchased at my local Beverly’s Fabric and Craft store.  I’ve painted on T-shirts and fabric before with acrylic paint.  It kind of leaves a rough texture after it dries.  I wanted something soft that would blend nice with the fabric.  This totally did the trick!  After it dried I could hardly feel it was paint – it just felt like the fabric!

decoart sosoft paintHere is how you can make this quilt:

51″ x 64″ Finished quilt

Supplies:

Fat quarters of assorted beach prints

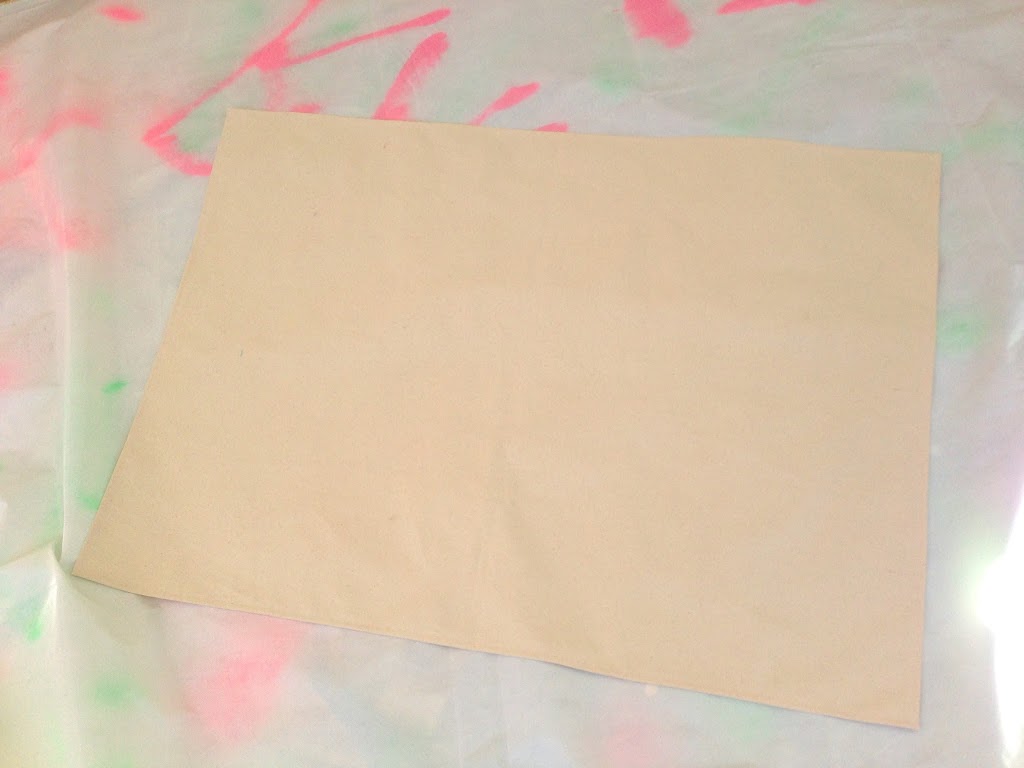
1.5 yards white cotton fabric

1/2 yard for binding

3 yards backing

So Soft fabric paint
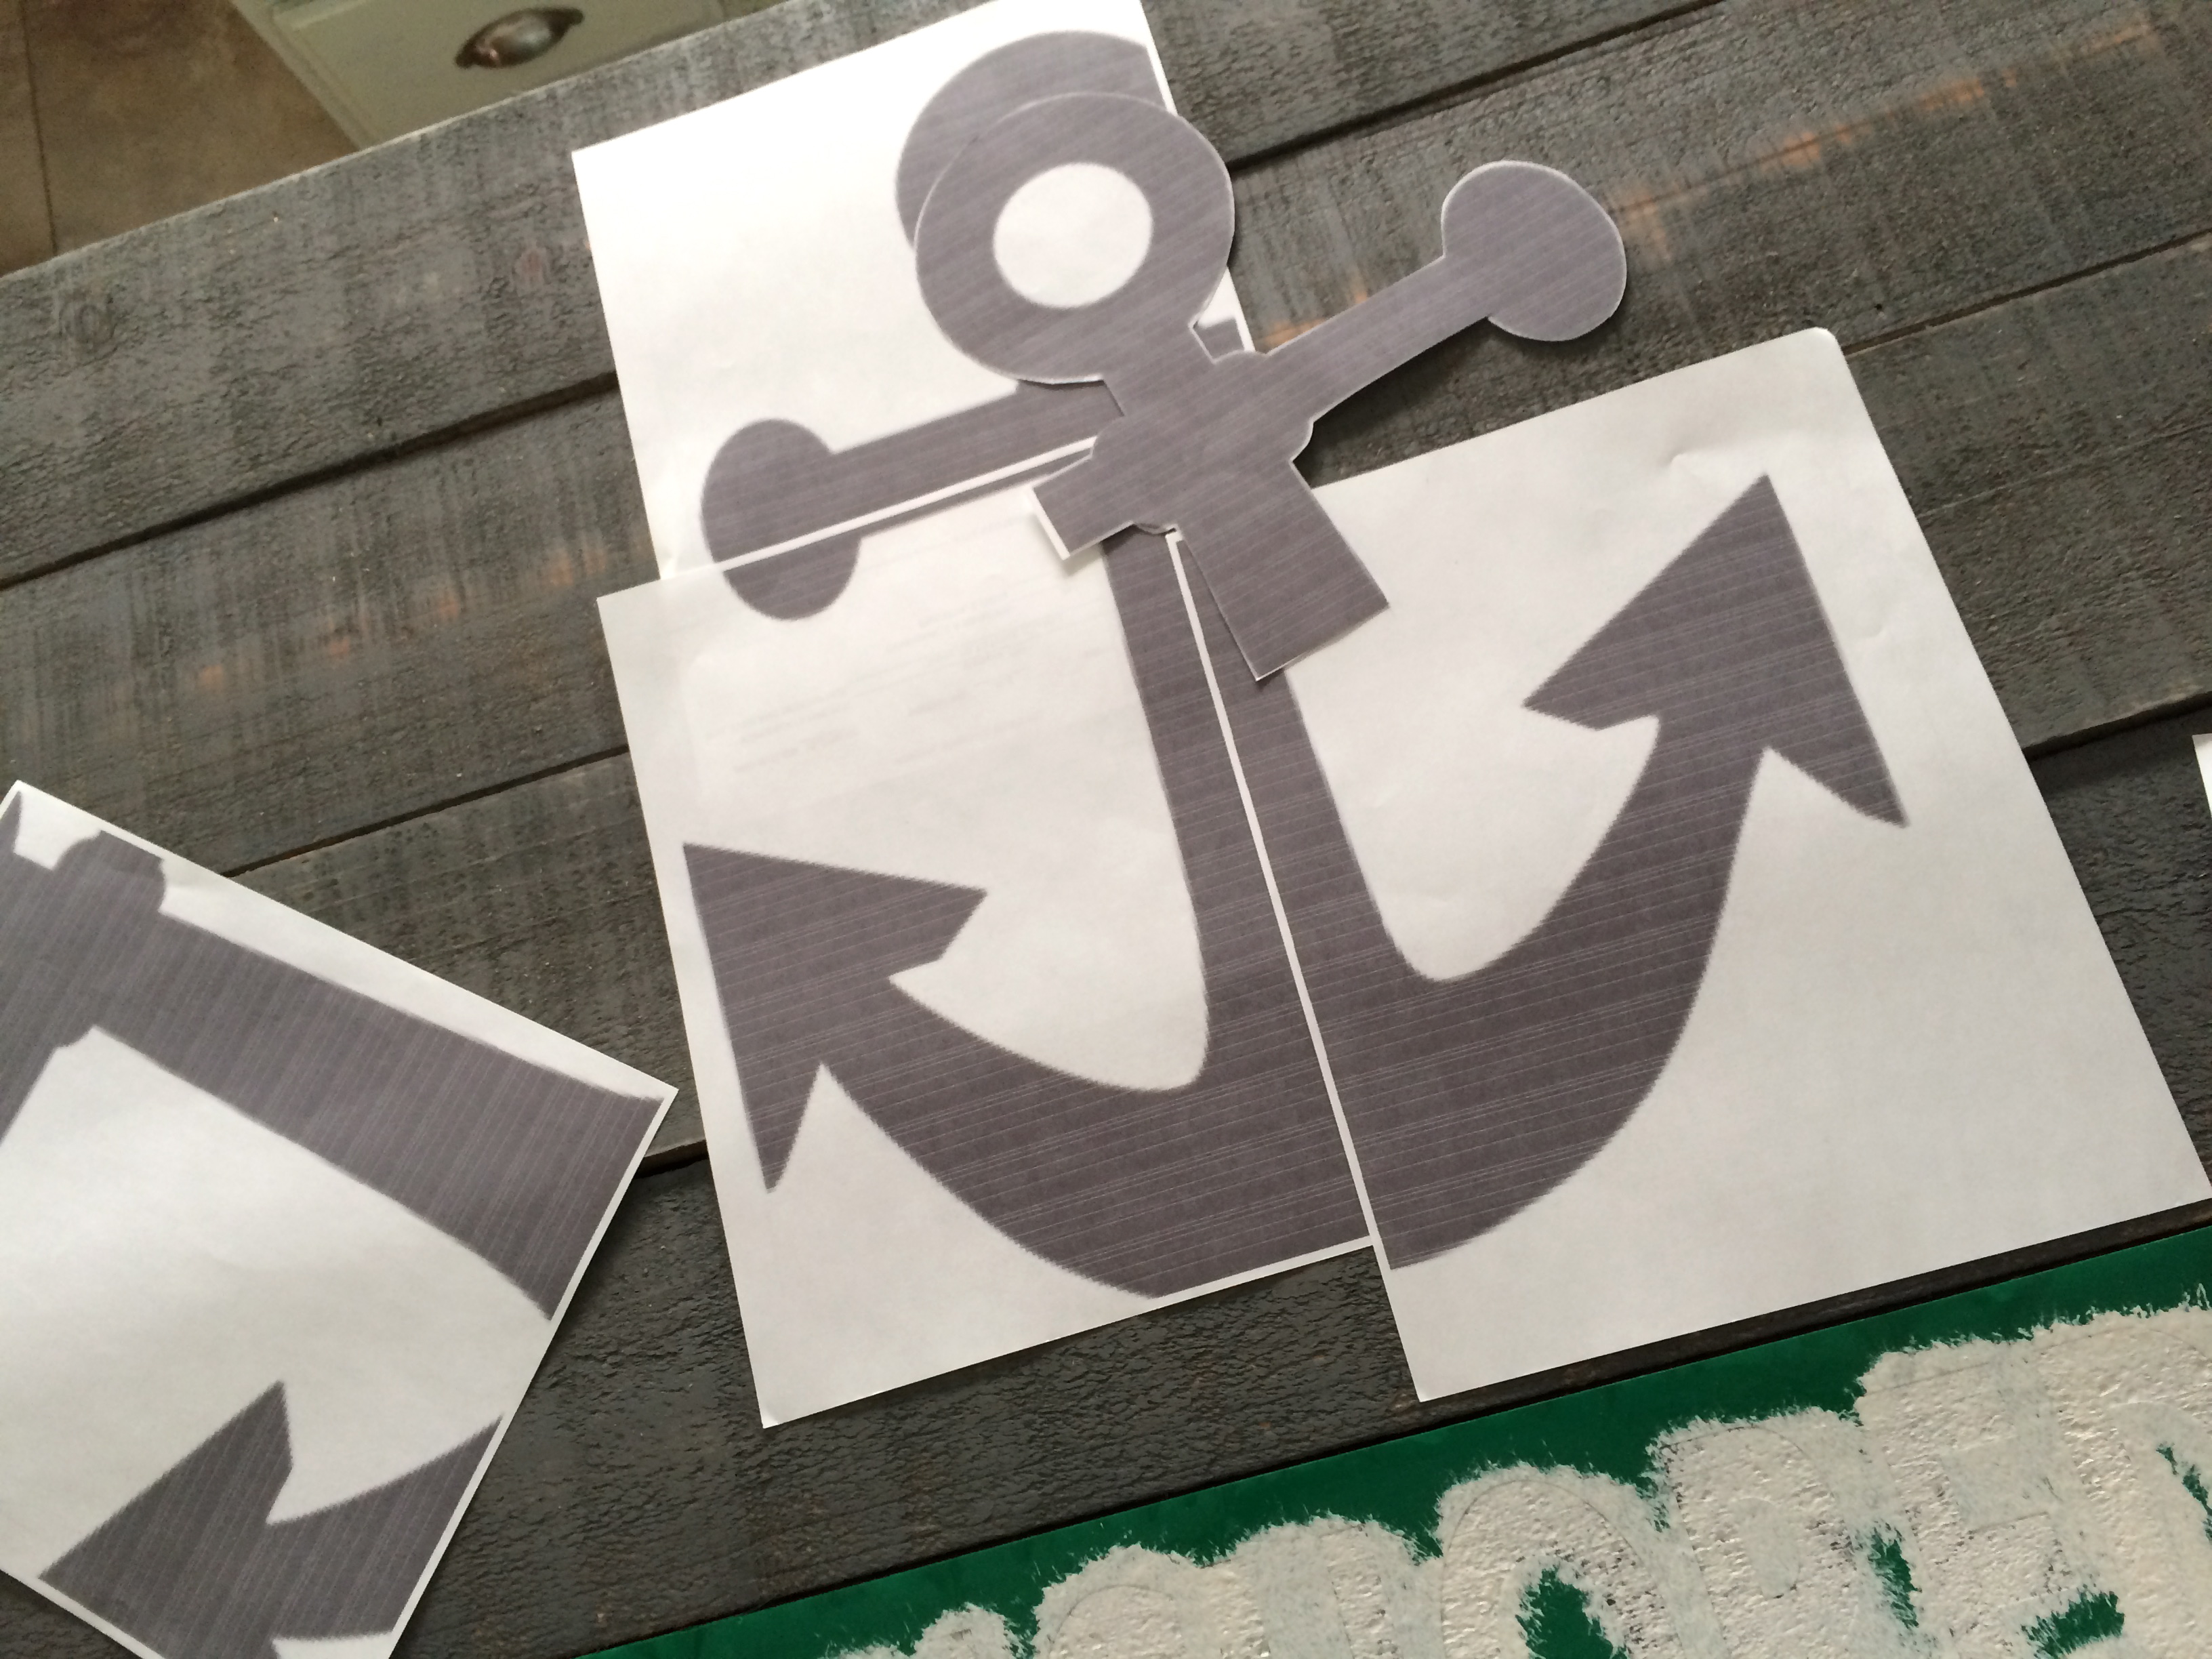
Vinyl stencils

This quilt is made of up 4 “blocks”.  Two are rectangles and two are squares.  Below is the cutting instructions for each block.  You can make this quilt larger or smaller, or mix up the blocks to create a totally different pattern!

You will need:

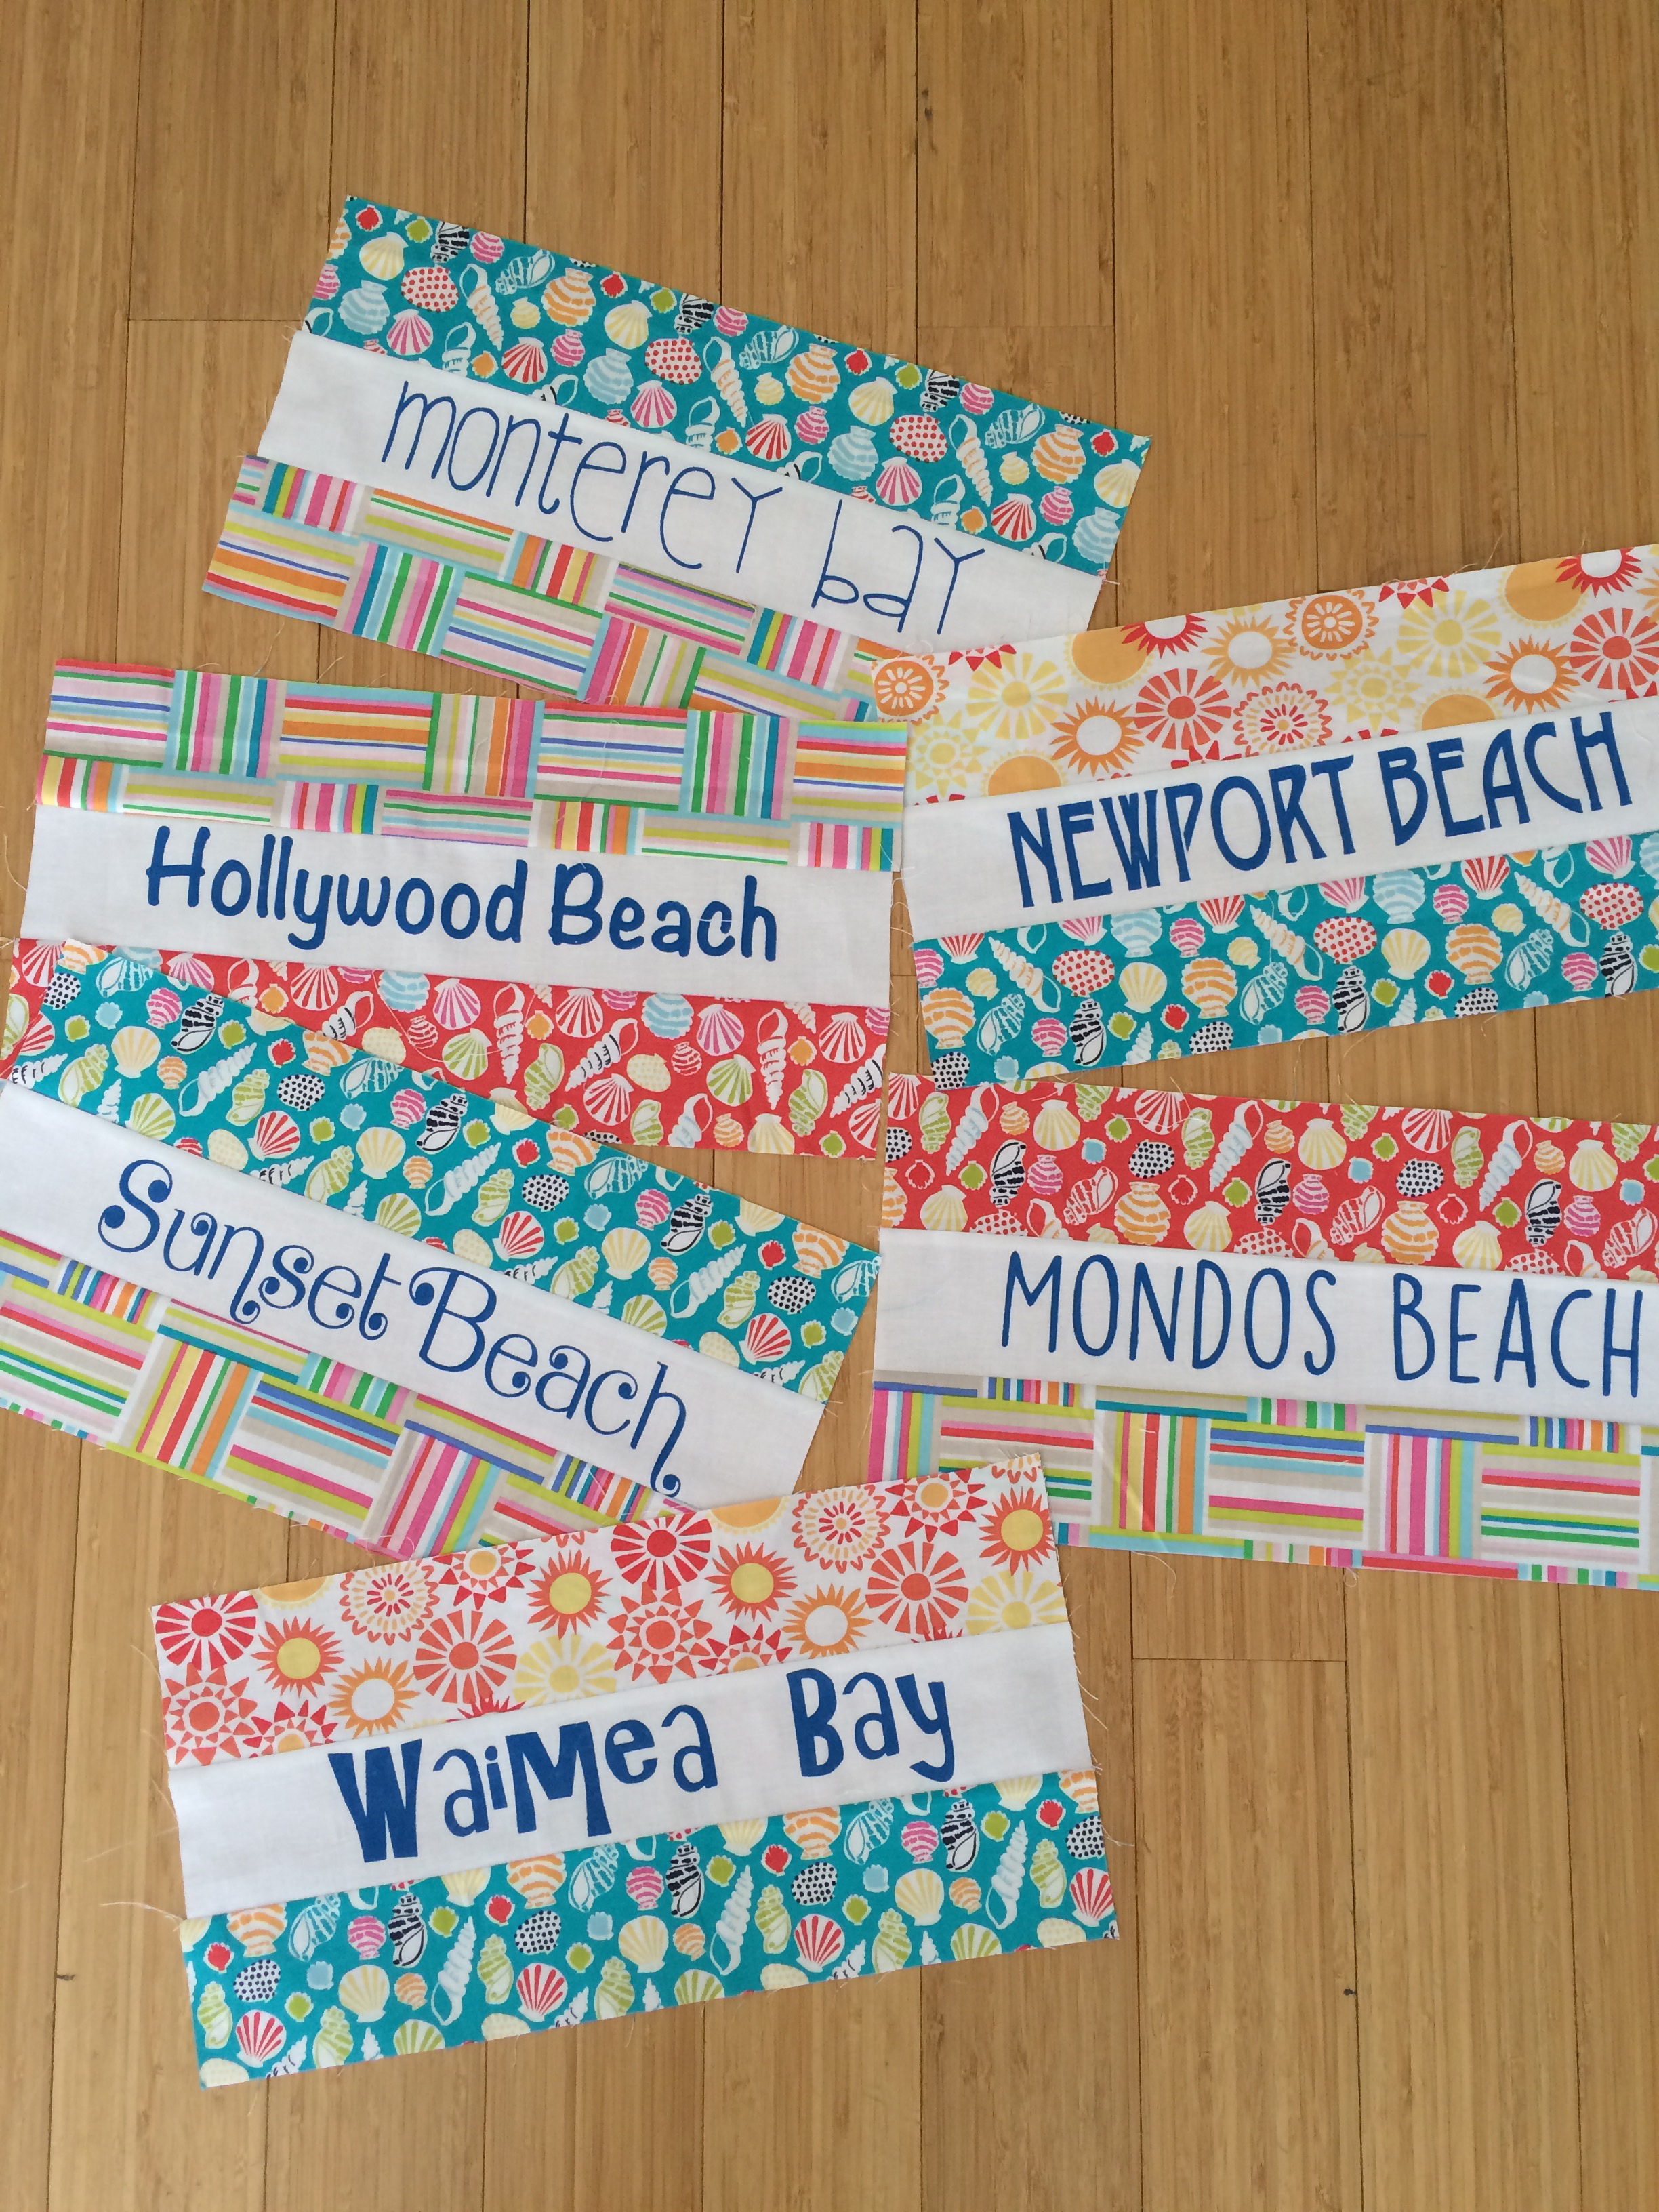
(11) Beach Name Blocks
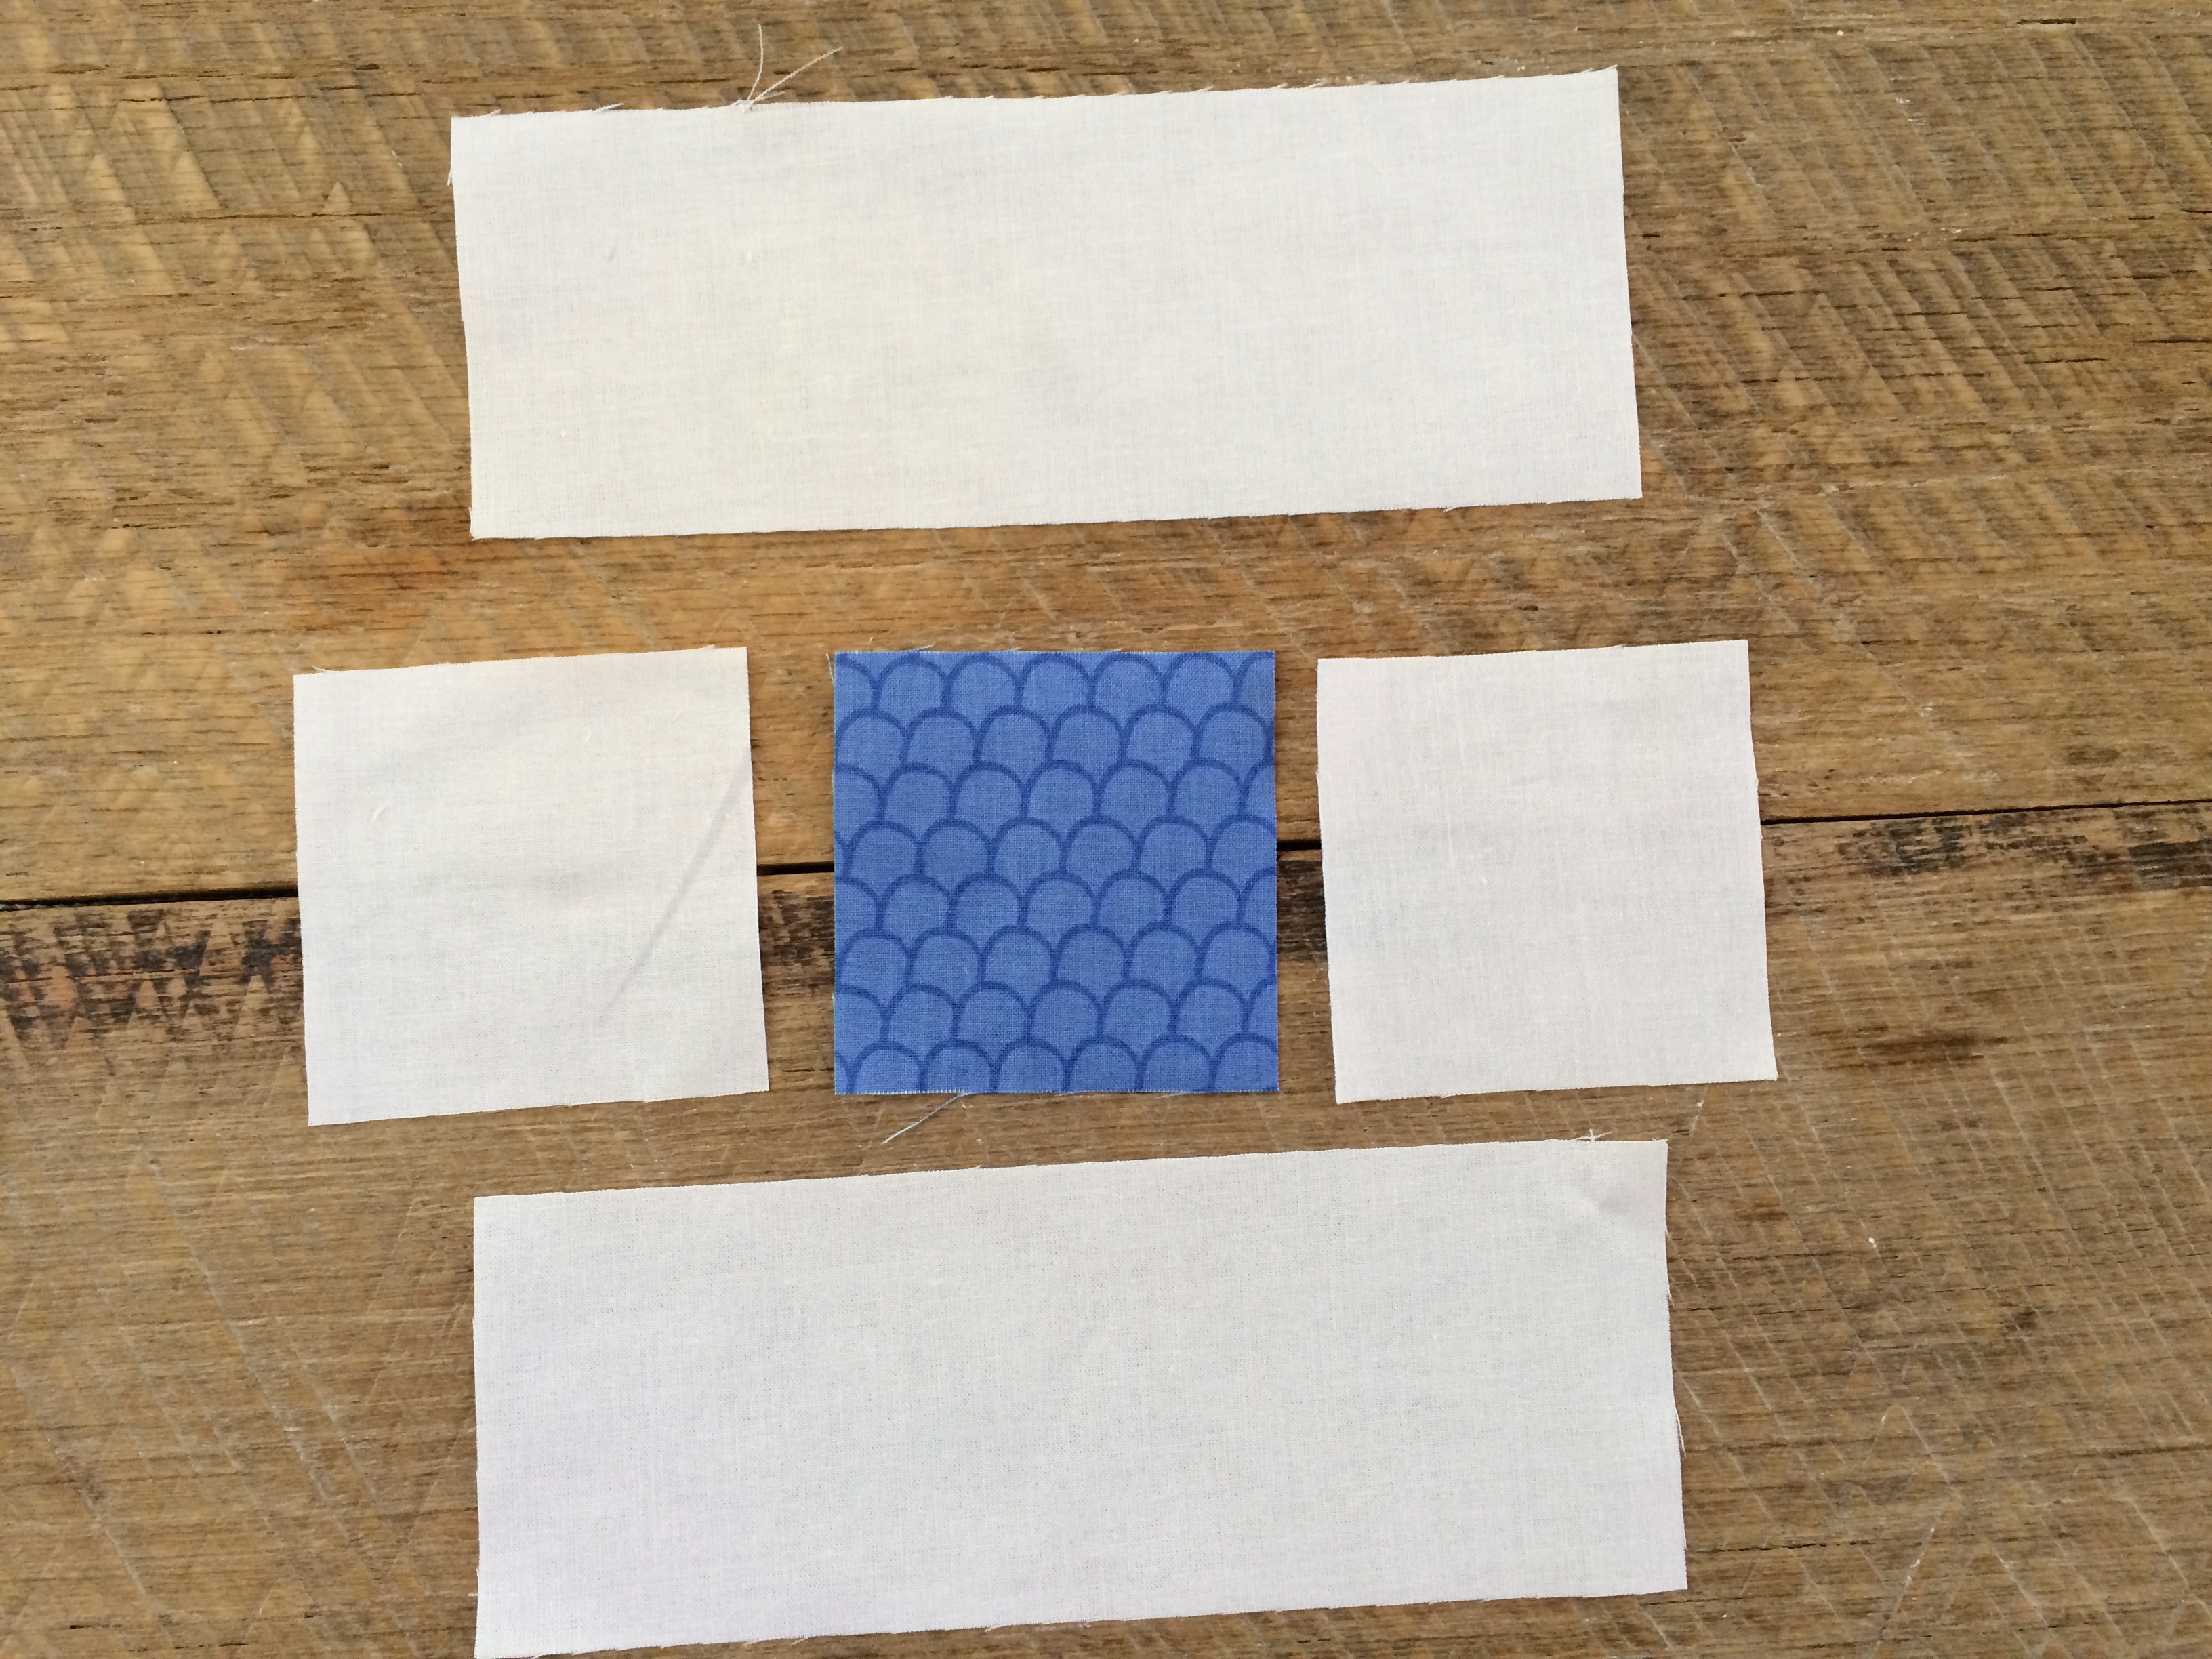
(15) Squared Blocks

(9) 8″ square theme print blocks

(8) 8″ x 15.5″ theme print rectangles

cutting instructions beach quilt

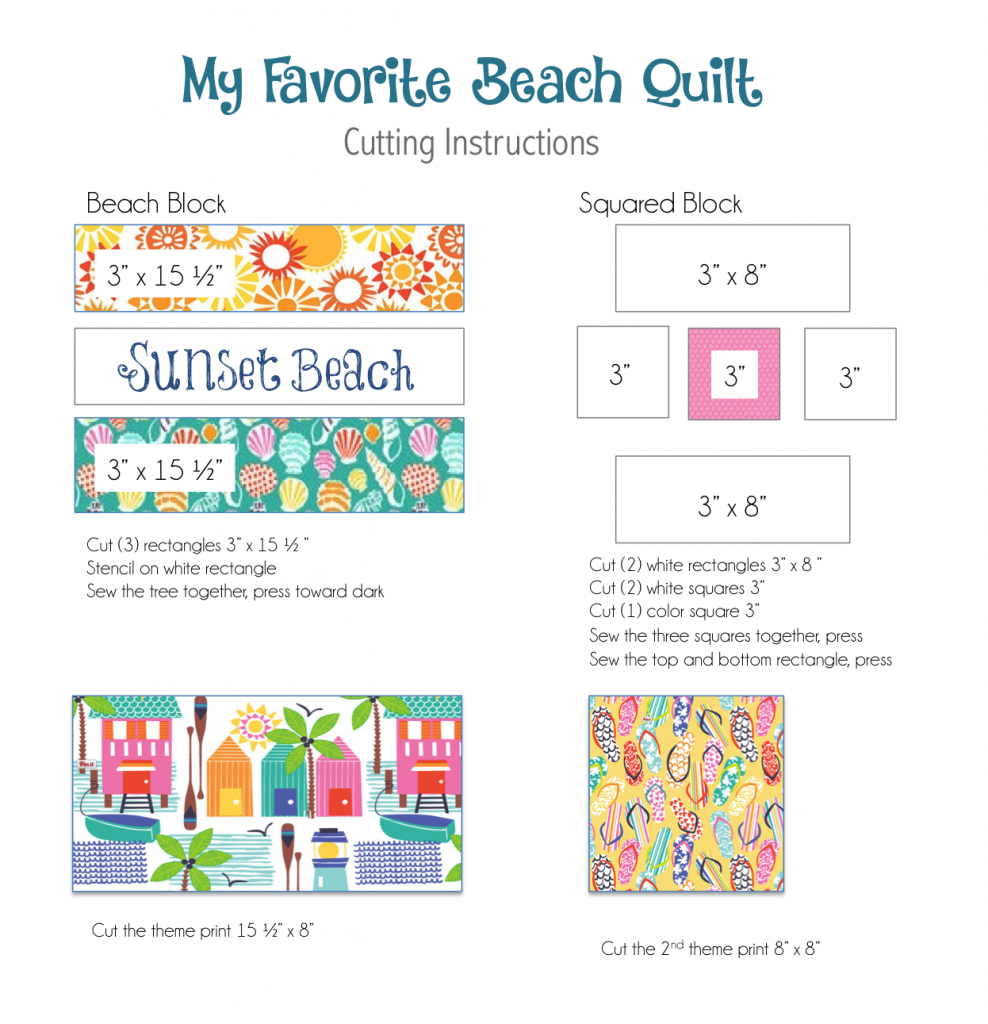
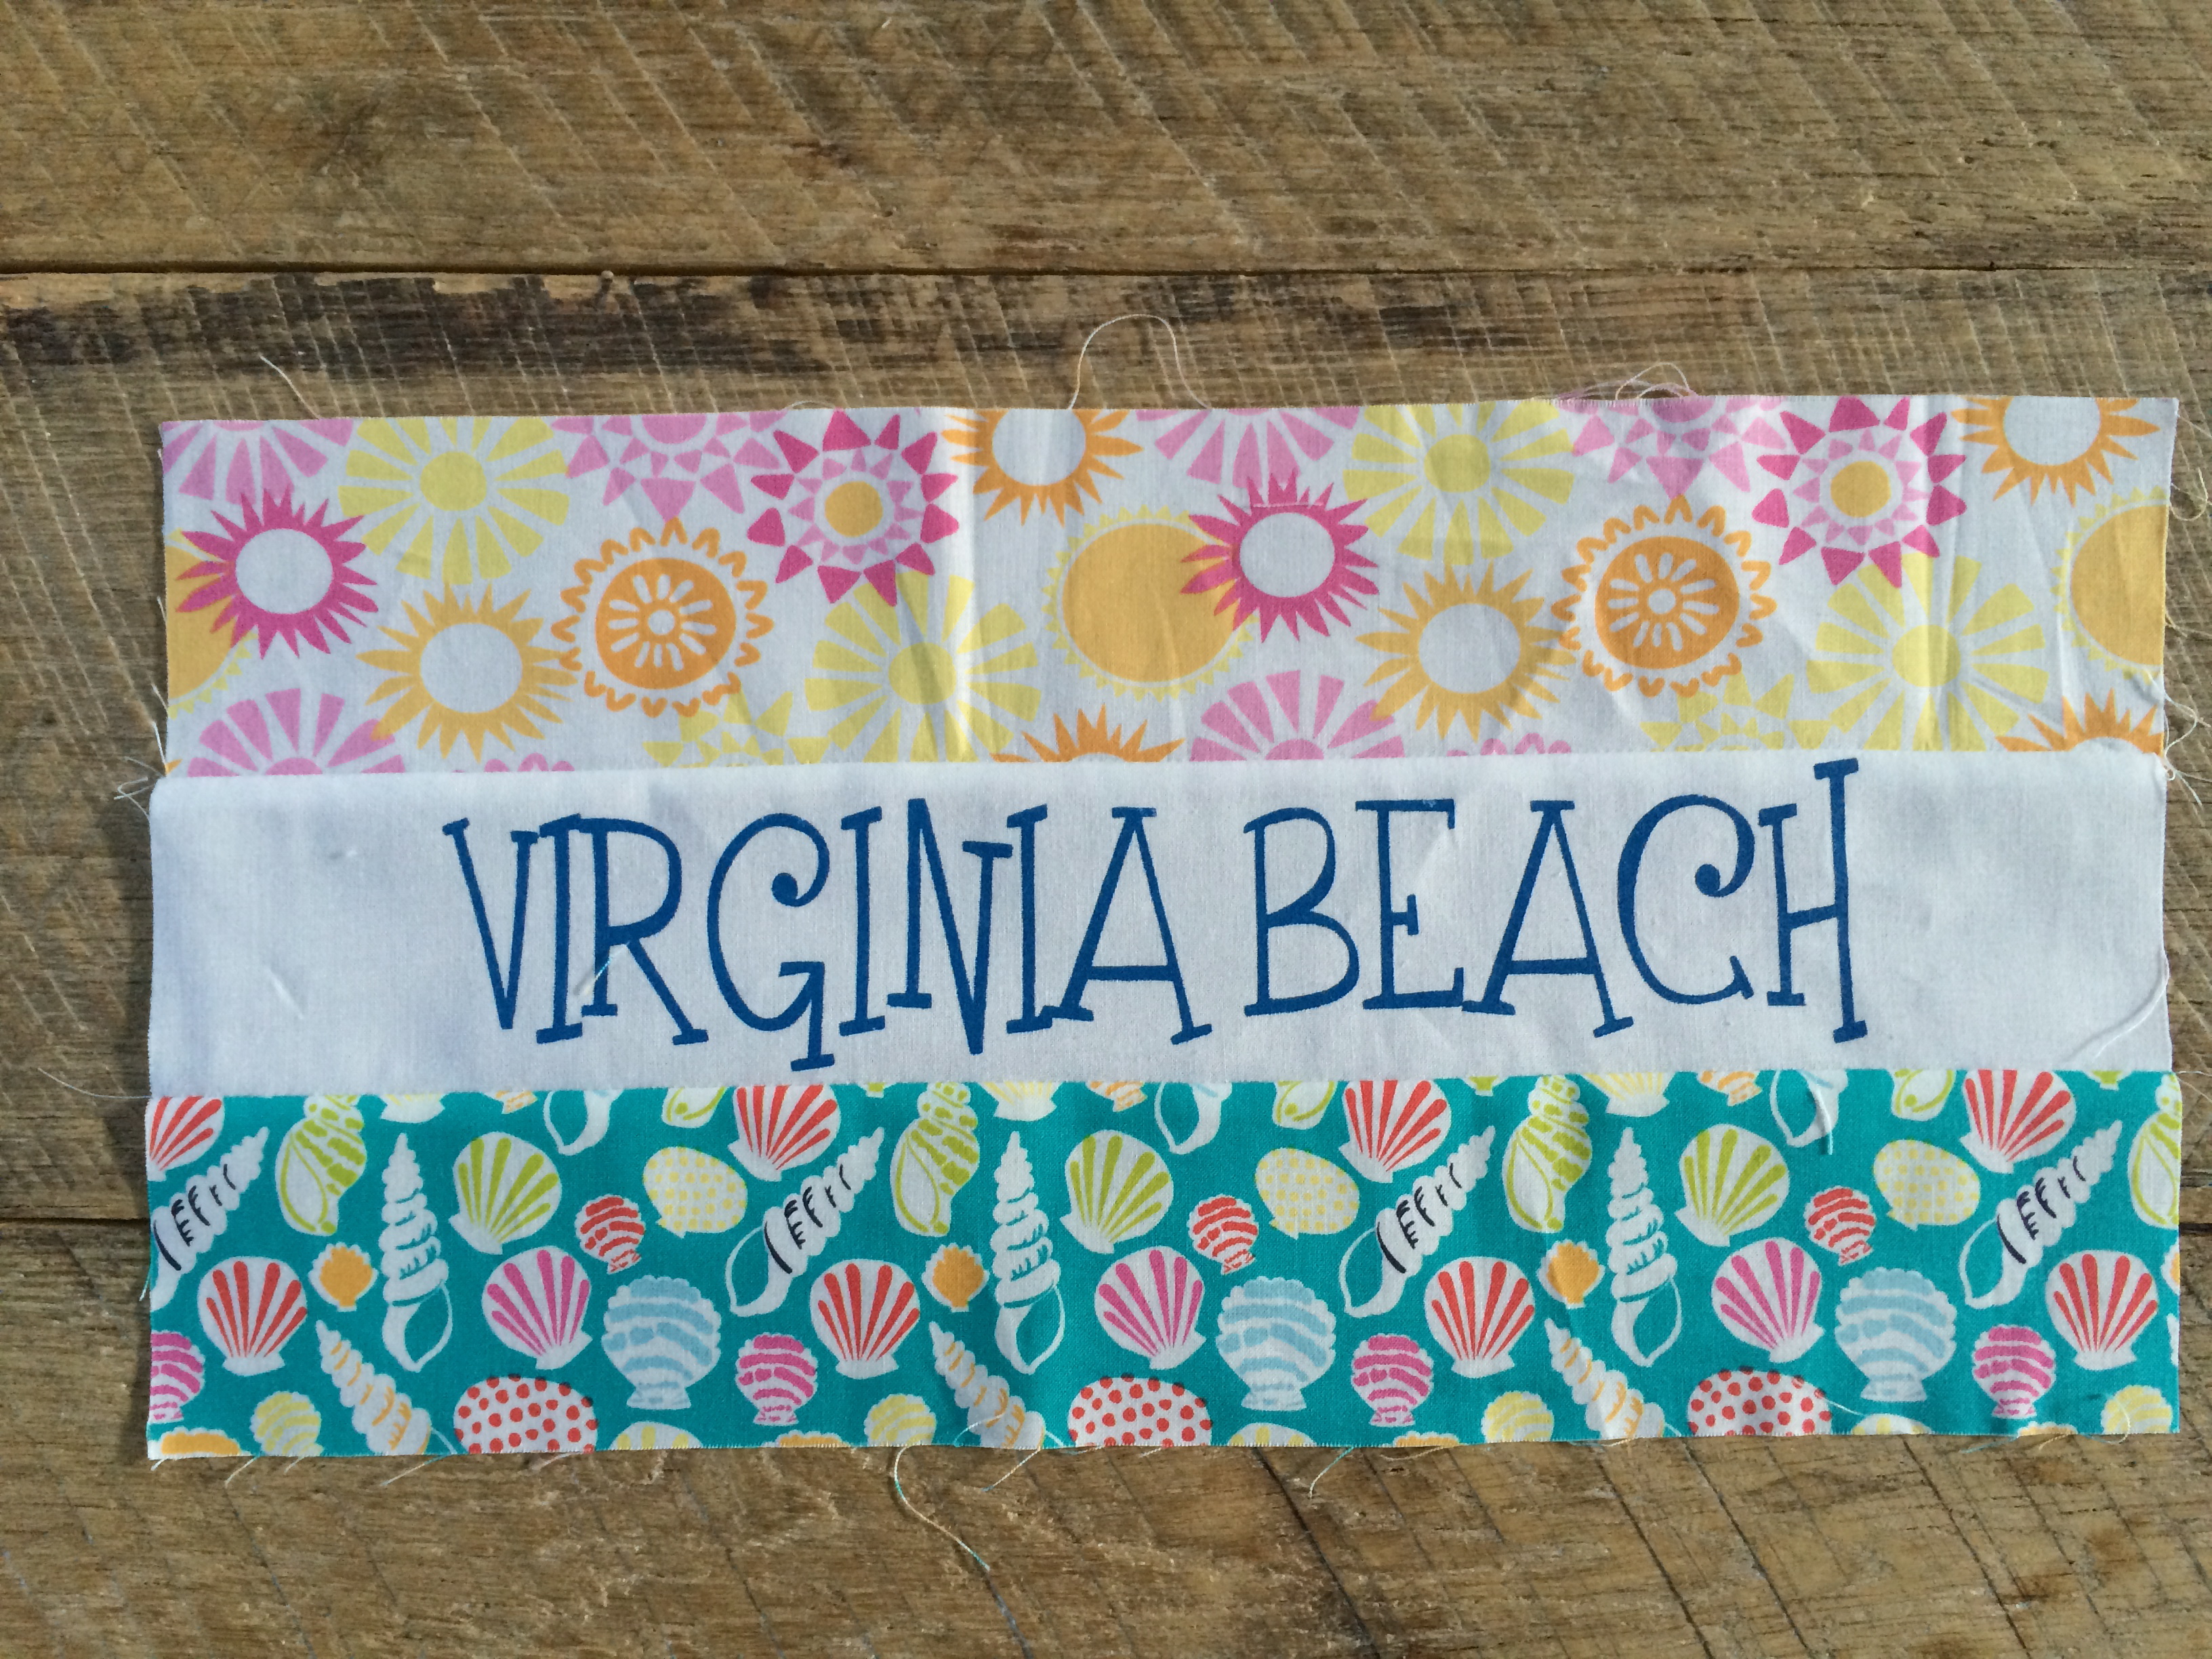
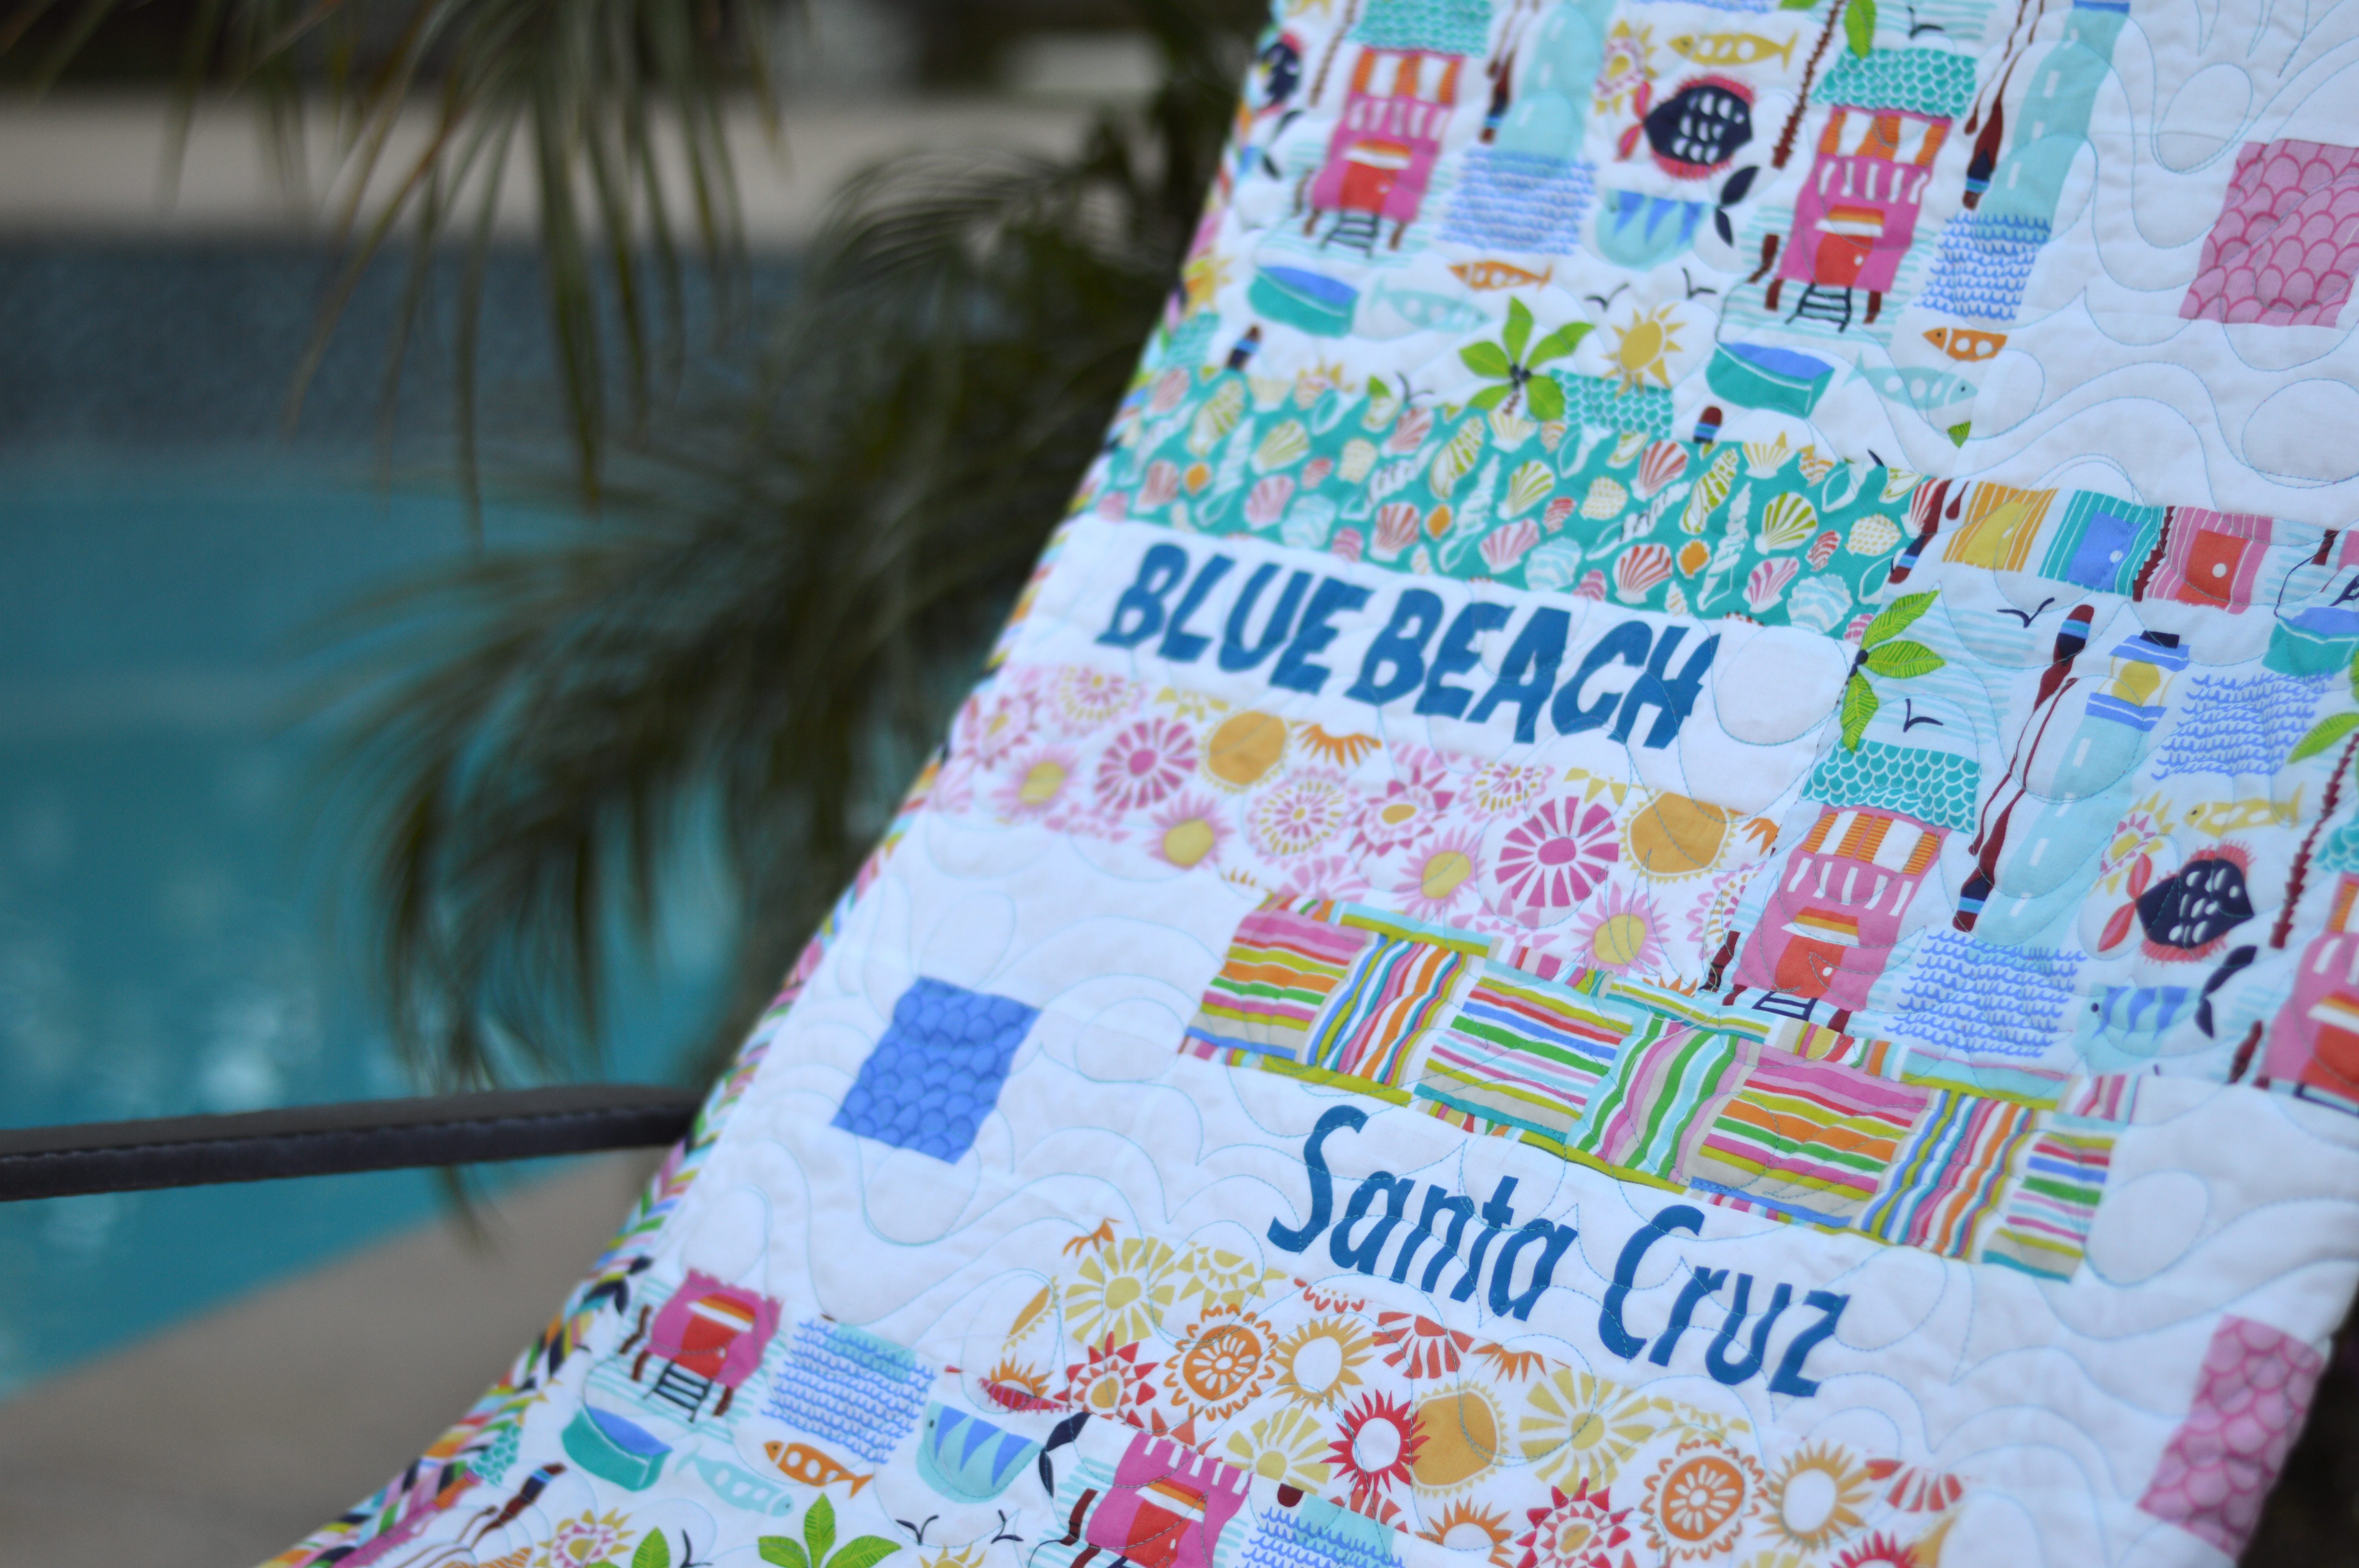
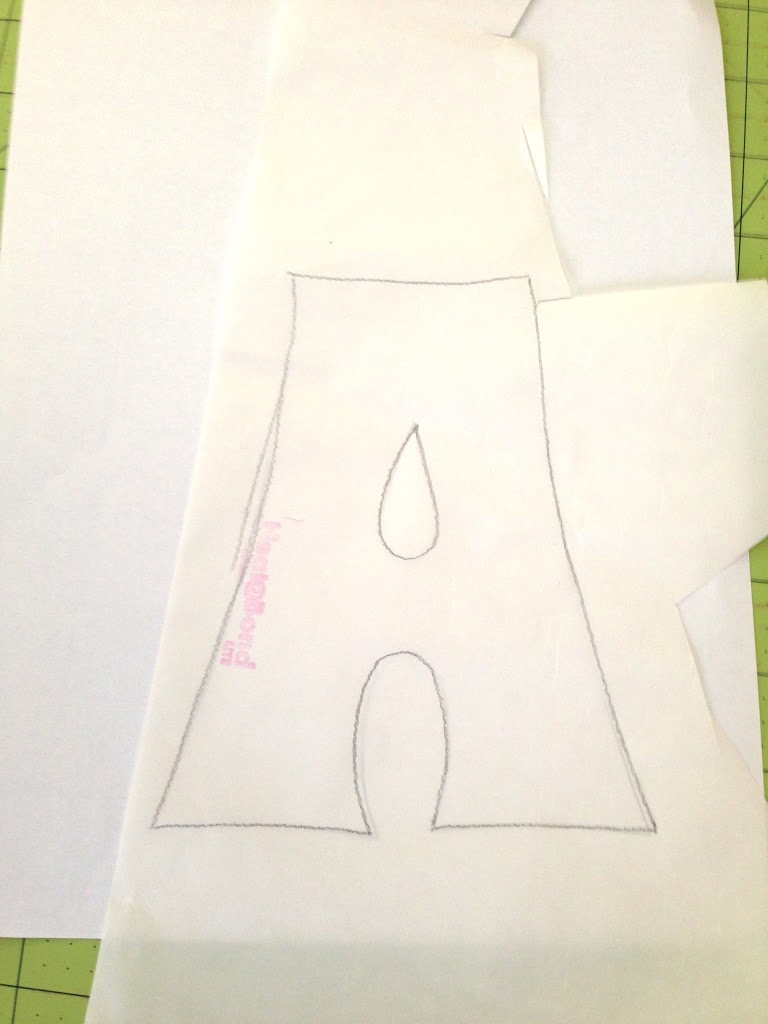
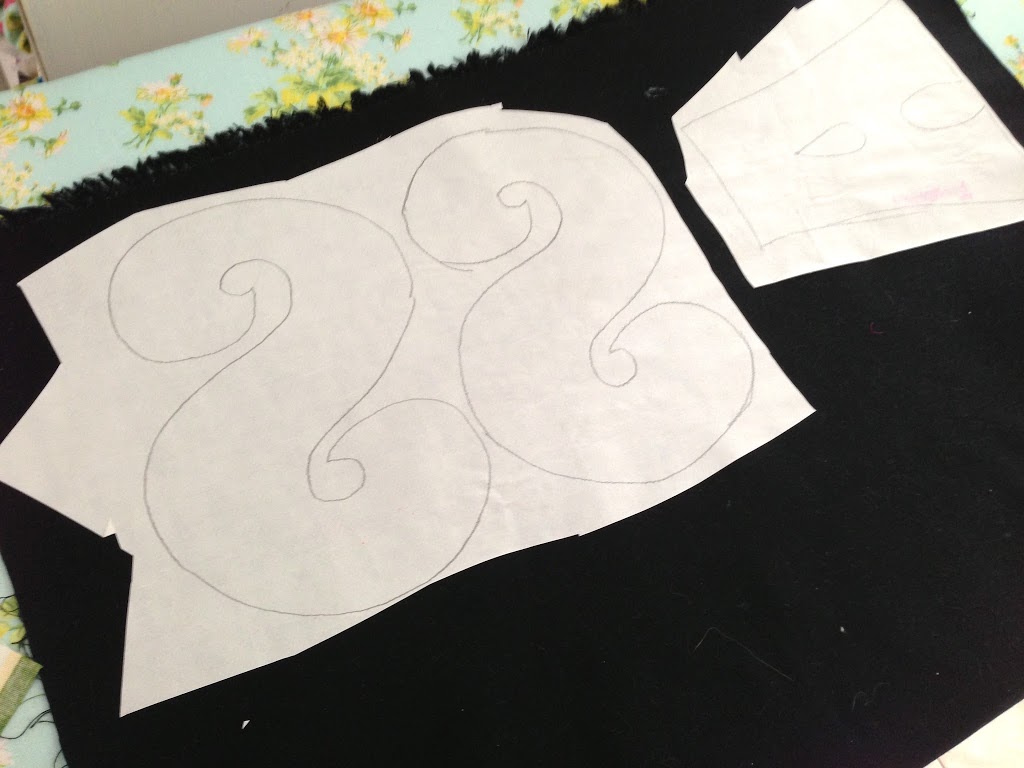
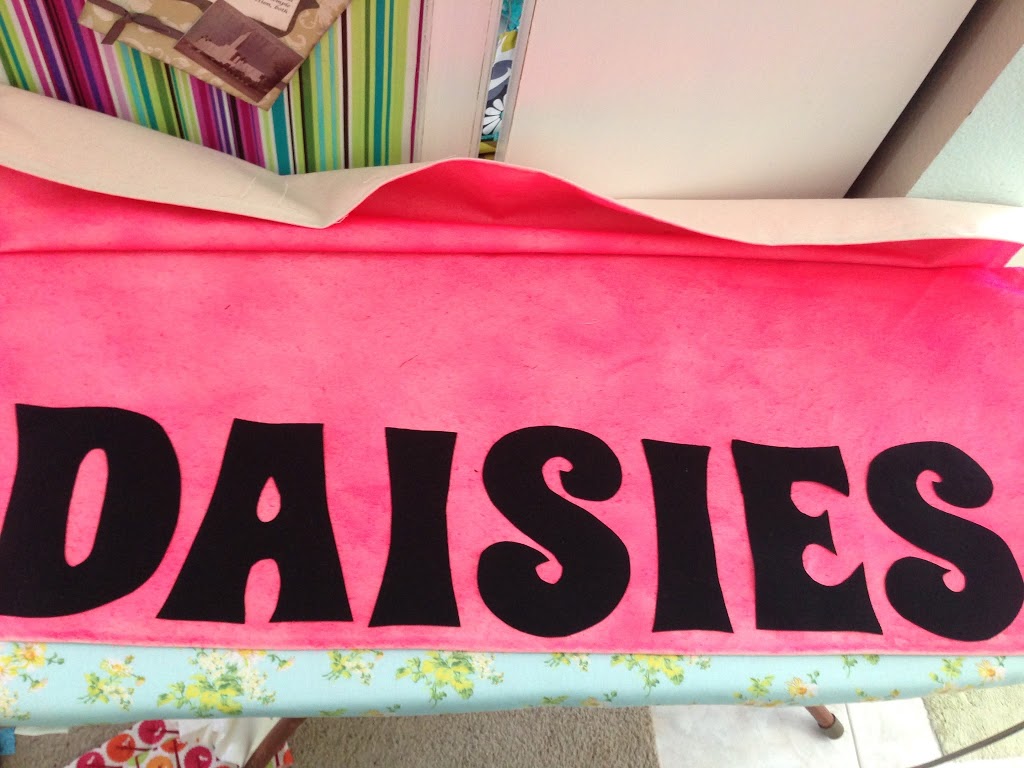
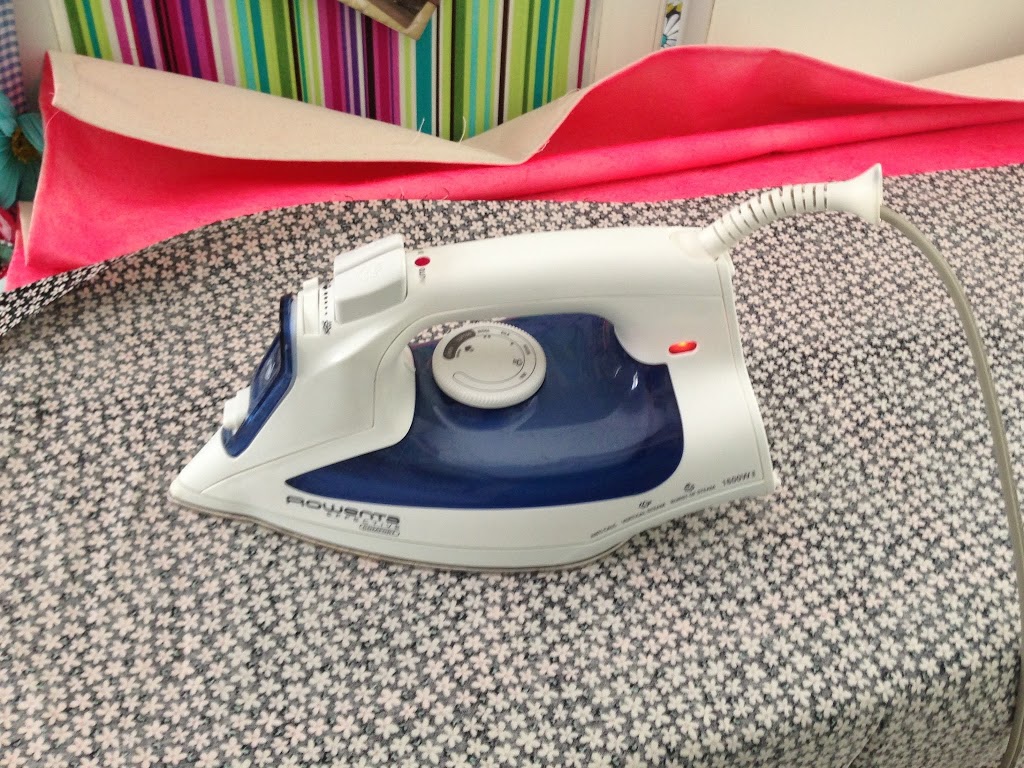
Once everything is cut prepare the stencil for the beach names.  I cut vinyl on my Cricut and peeled out the inside of the letters to leave a vinyl stencil.  Each beach name is a different font.  I put the vinyl on the 3″ x 15.5″ white strip and stenciled using the SoSoft paint.  I let dry completely then removed the vinyl.  I made sure to heat set the paint while I was pressing the block.

sunsational beach quilt blend fabrics 2

Once the paint is dry, sew the beach name block together. 1/4″ seams throughout.

sunsational beach quilt blend fabrics 6
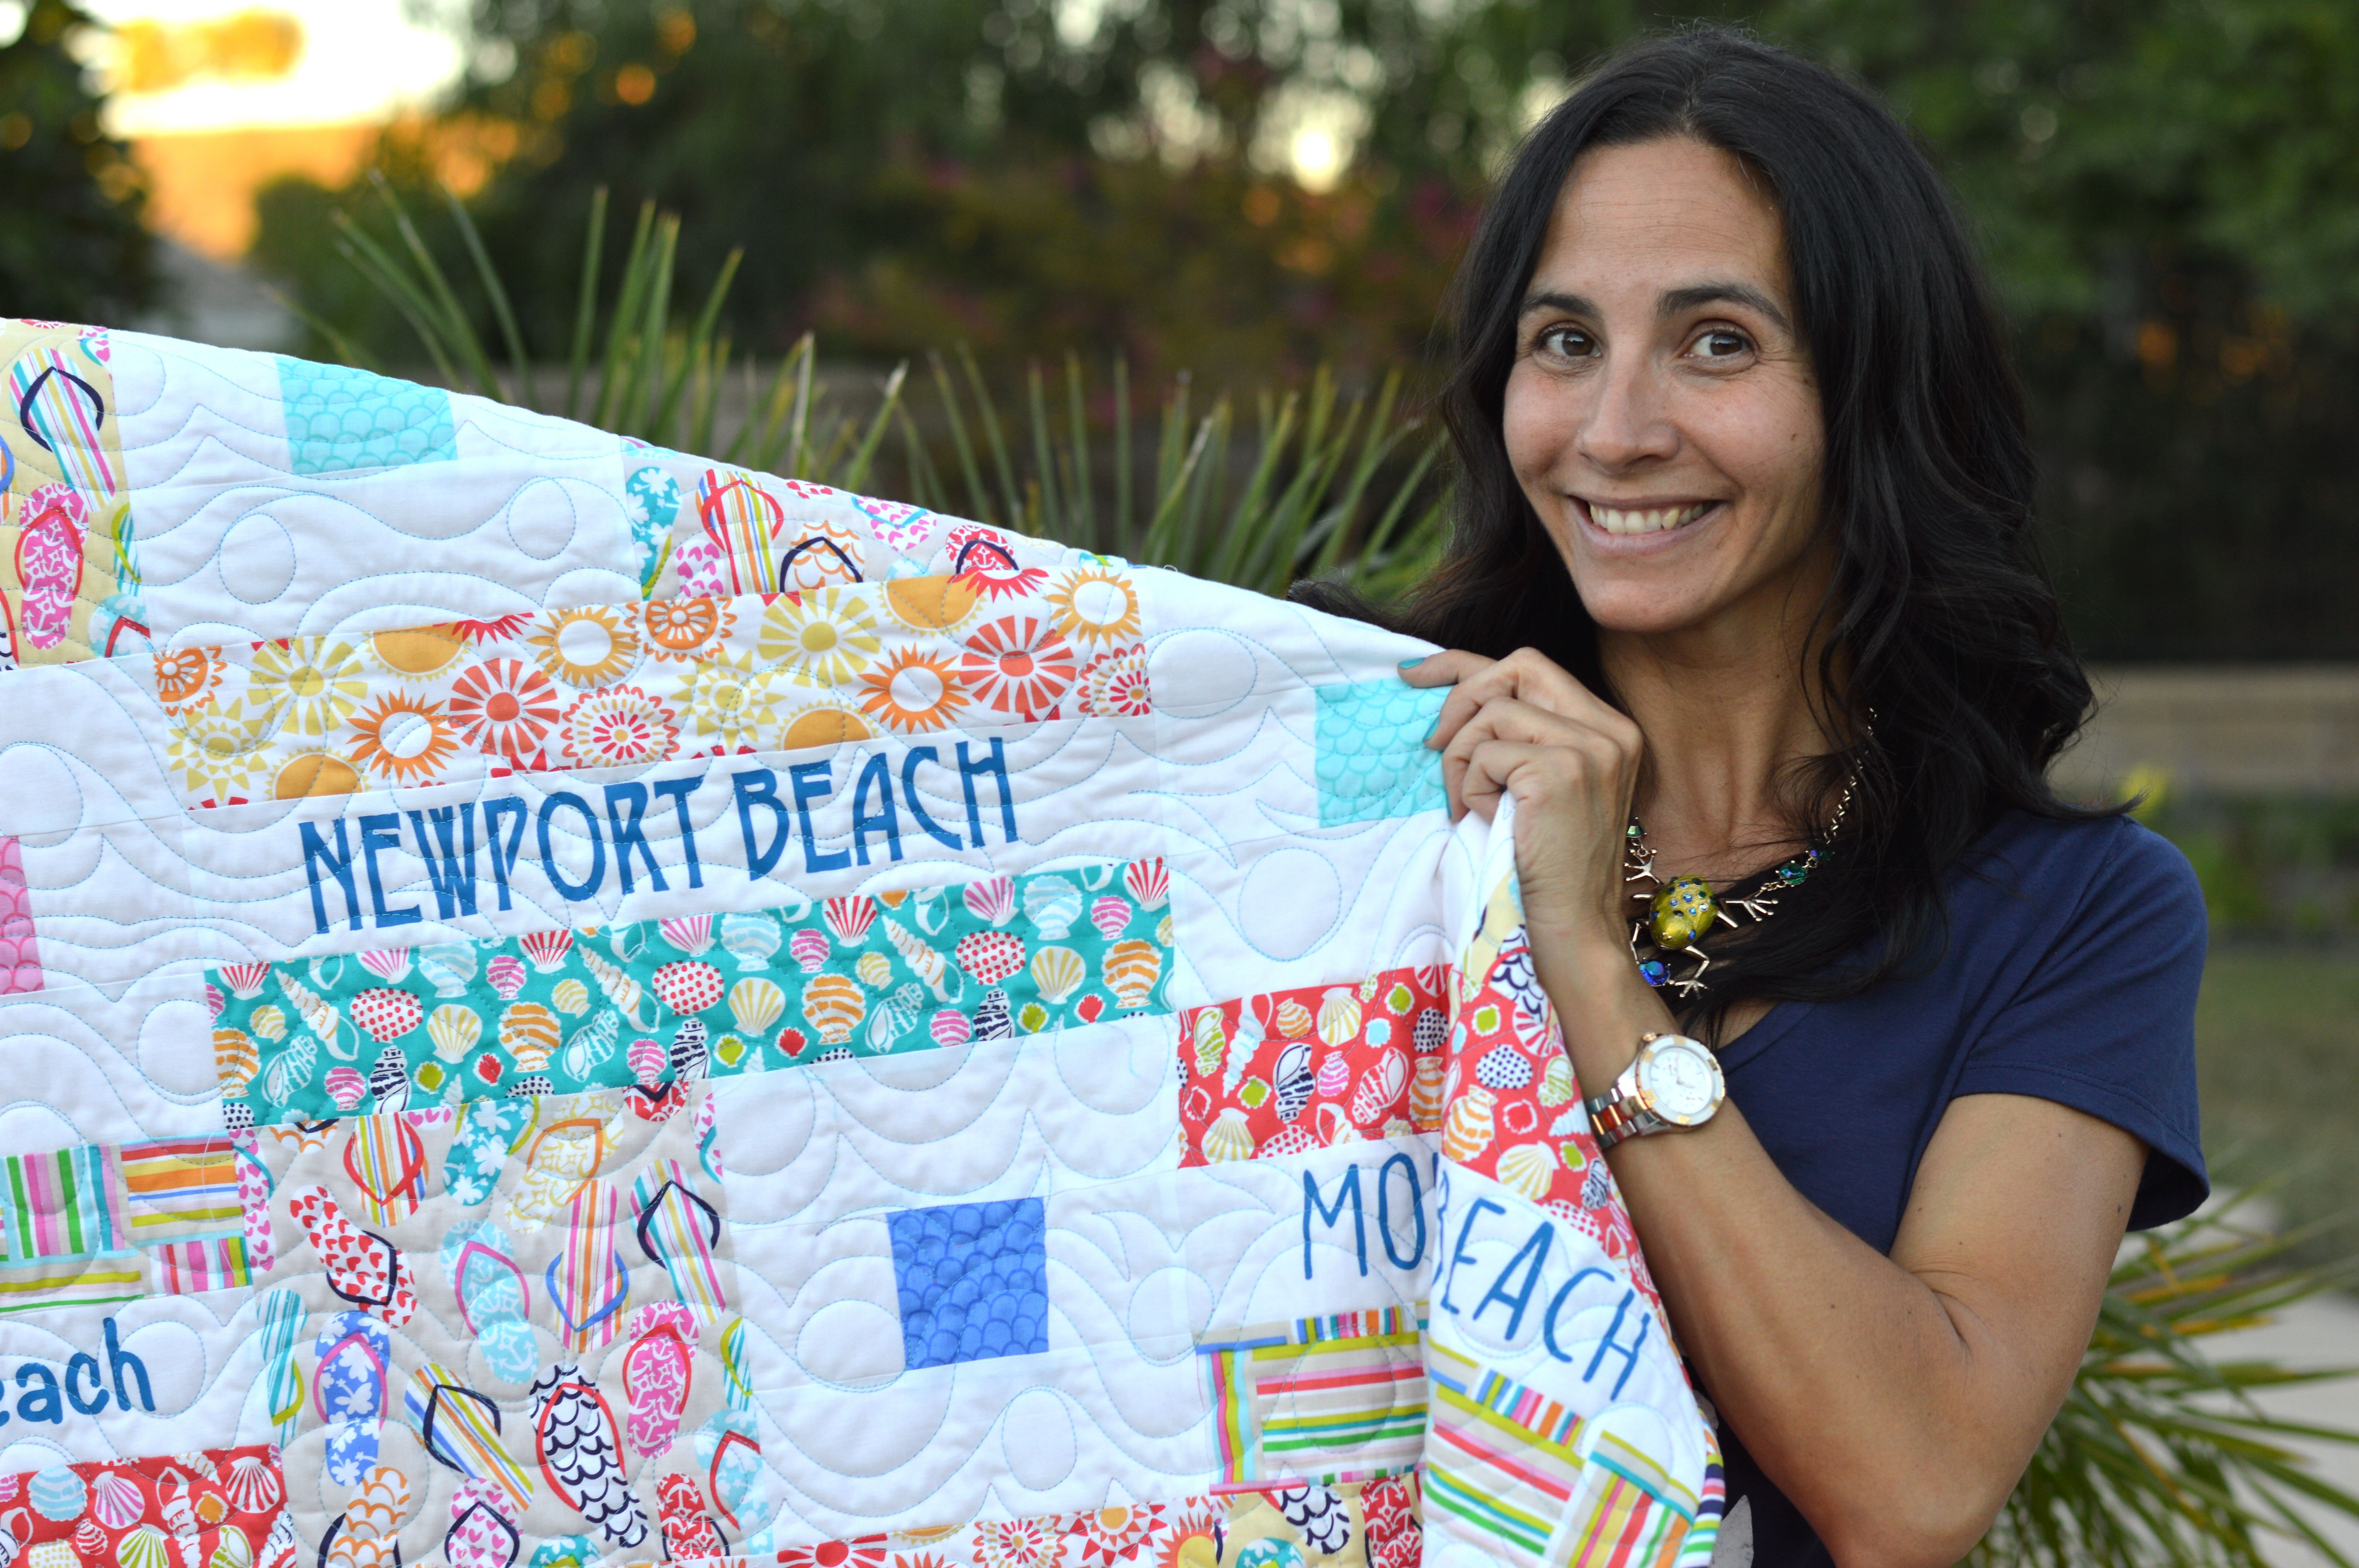
I love how they turned out!  Do you have any of the same favorite beaches as we do?

sunsational beach quilt blend fabrics 4
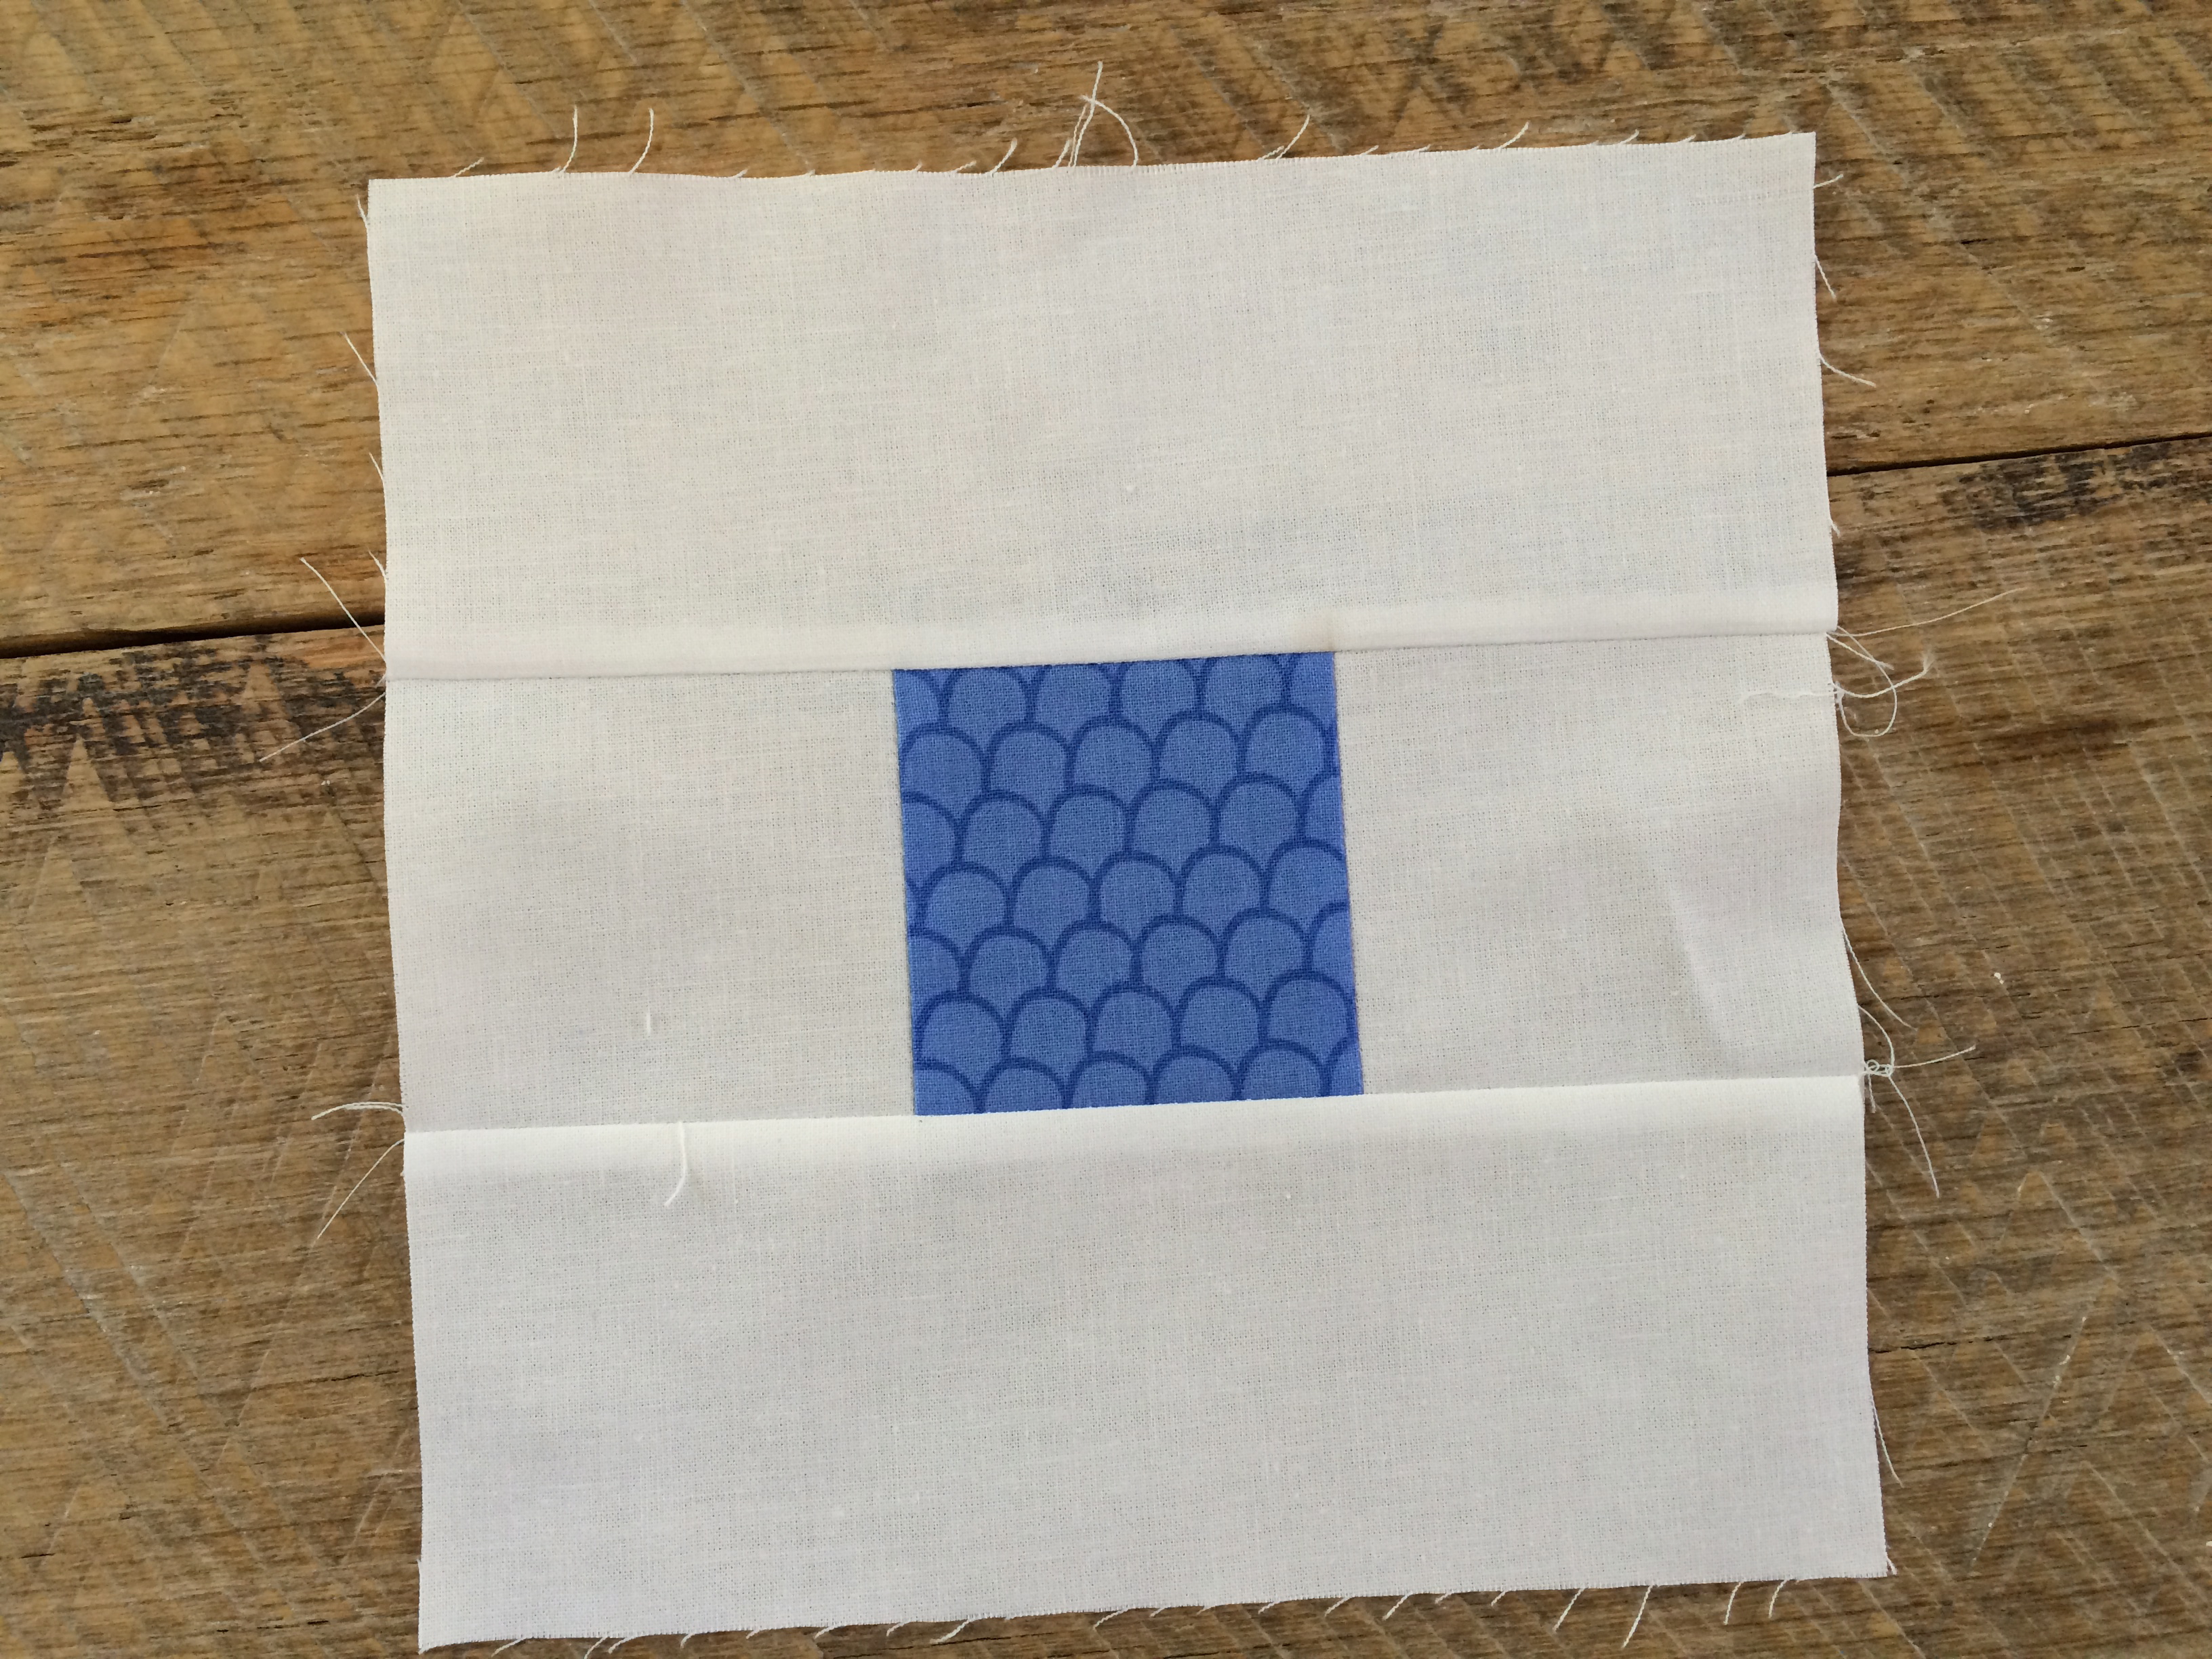
Sew the squared blocks together by sewing a white square to both sides of the center blue square.  Press.  Add the top and bottom rectangles, press.

sunsational beach quilt blend fabrics

sunsational beach quilt blend fabrics 3
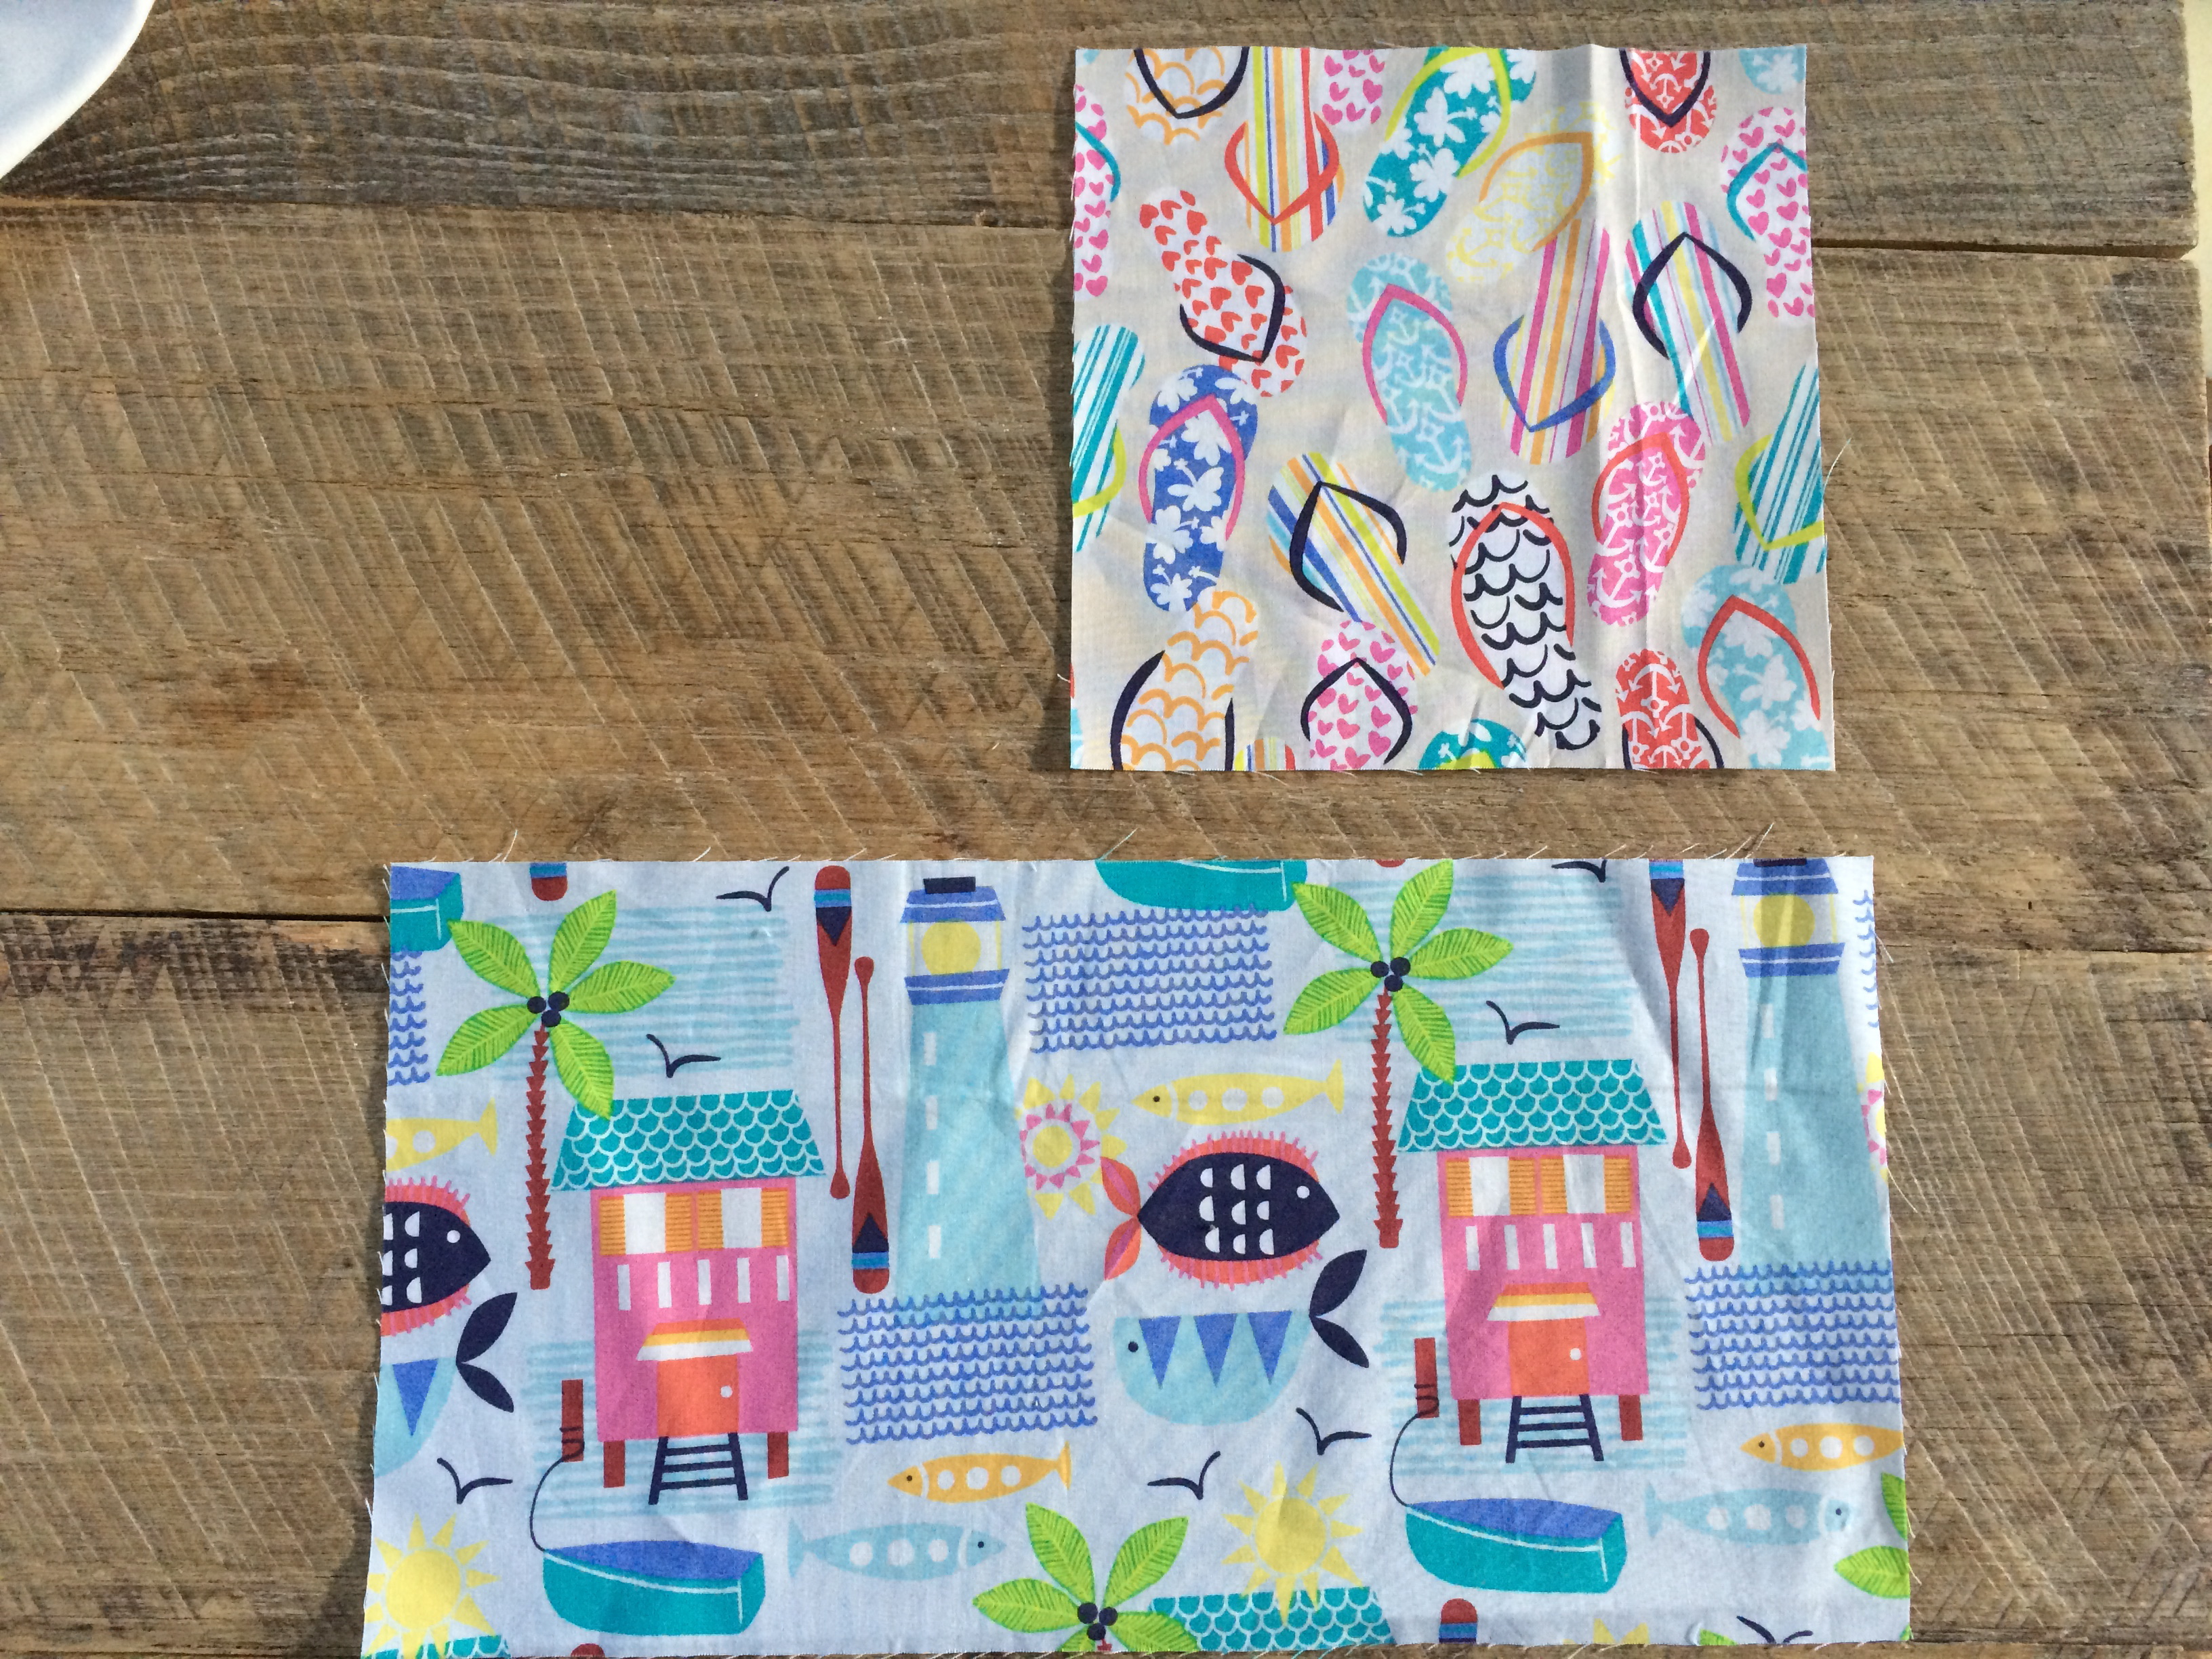
Cut the remaining theme print blocks, you can use as many theme prints as you want!

sunsational beach quilt blend fabrics 7  
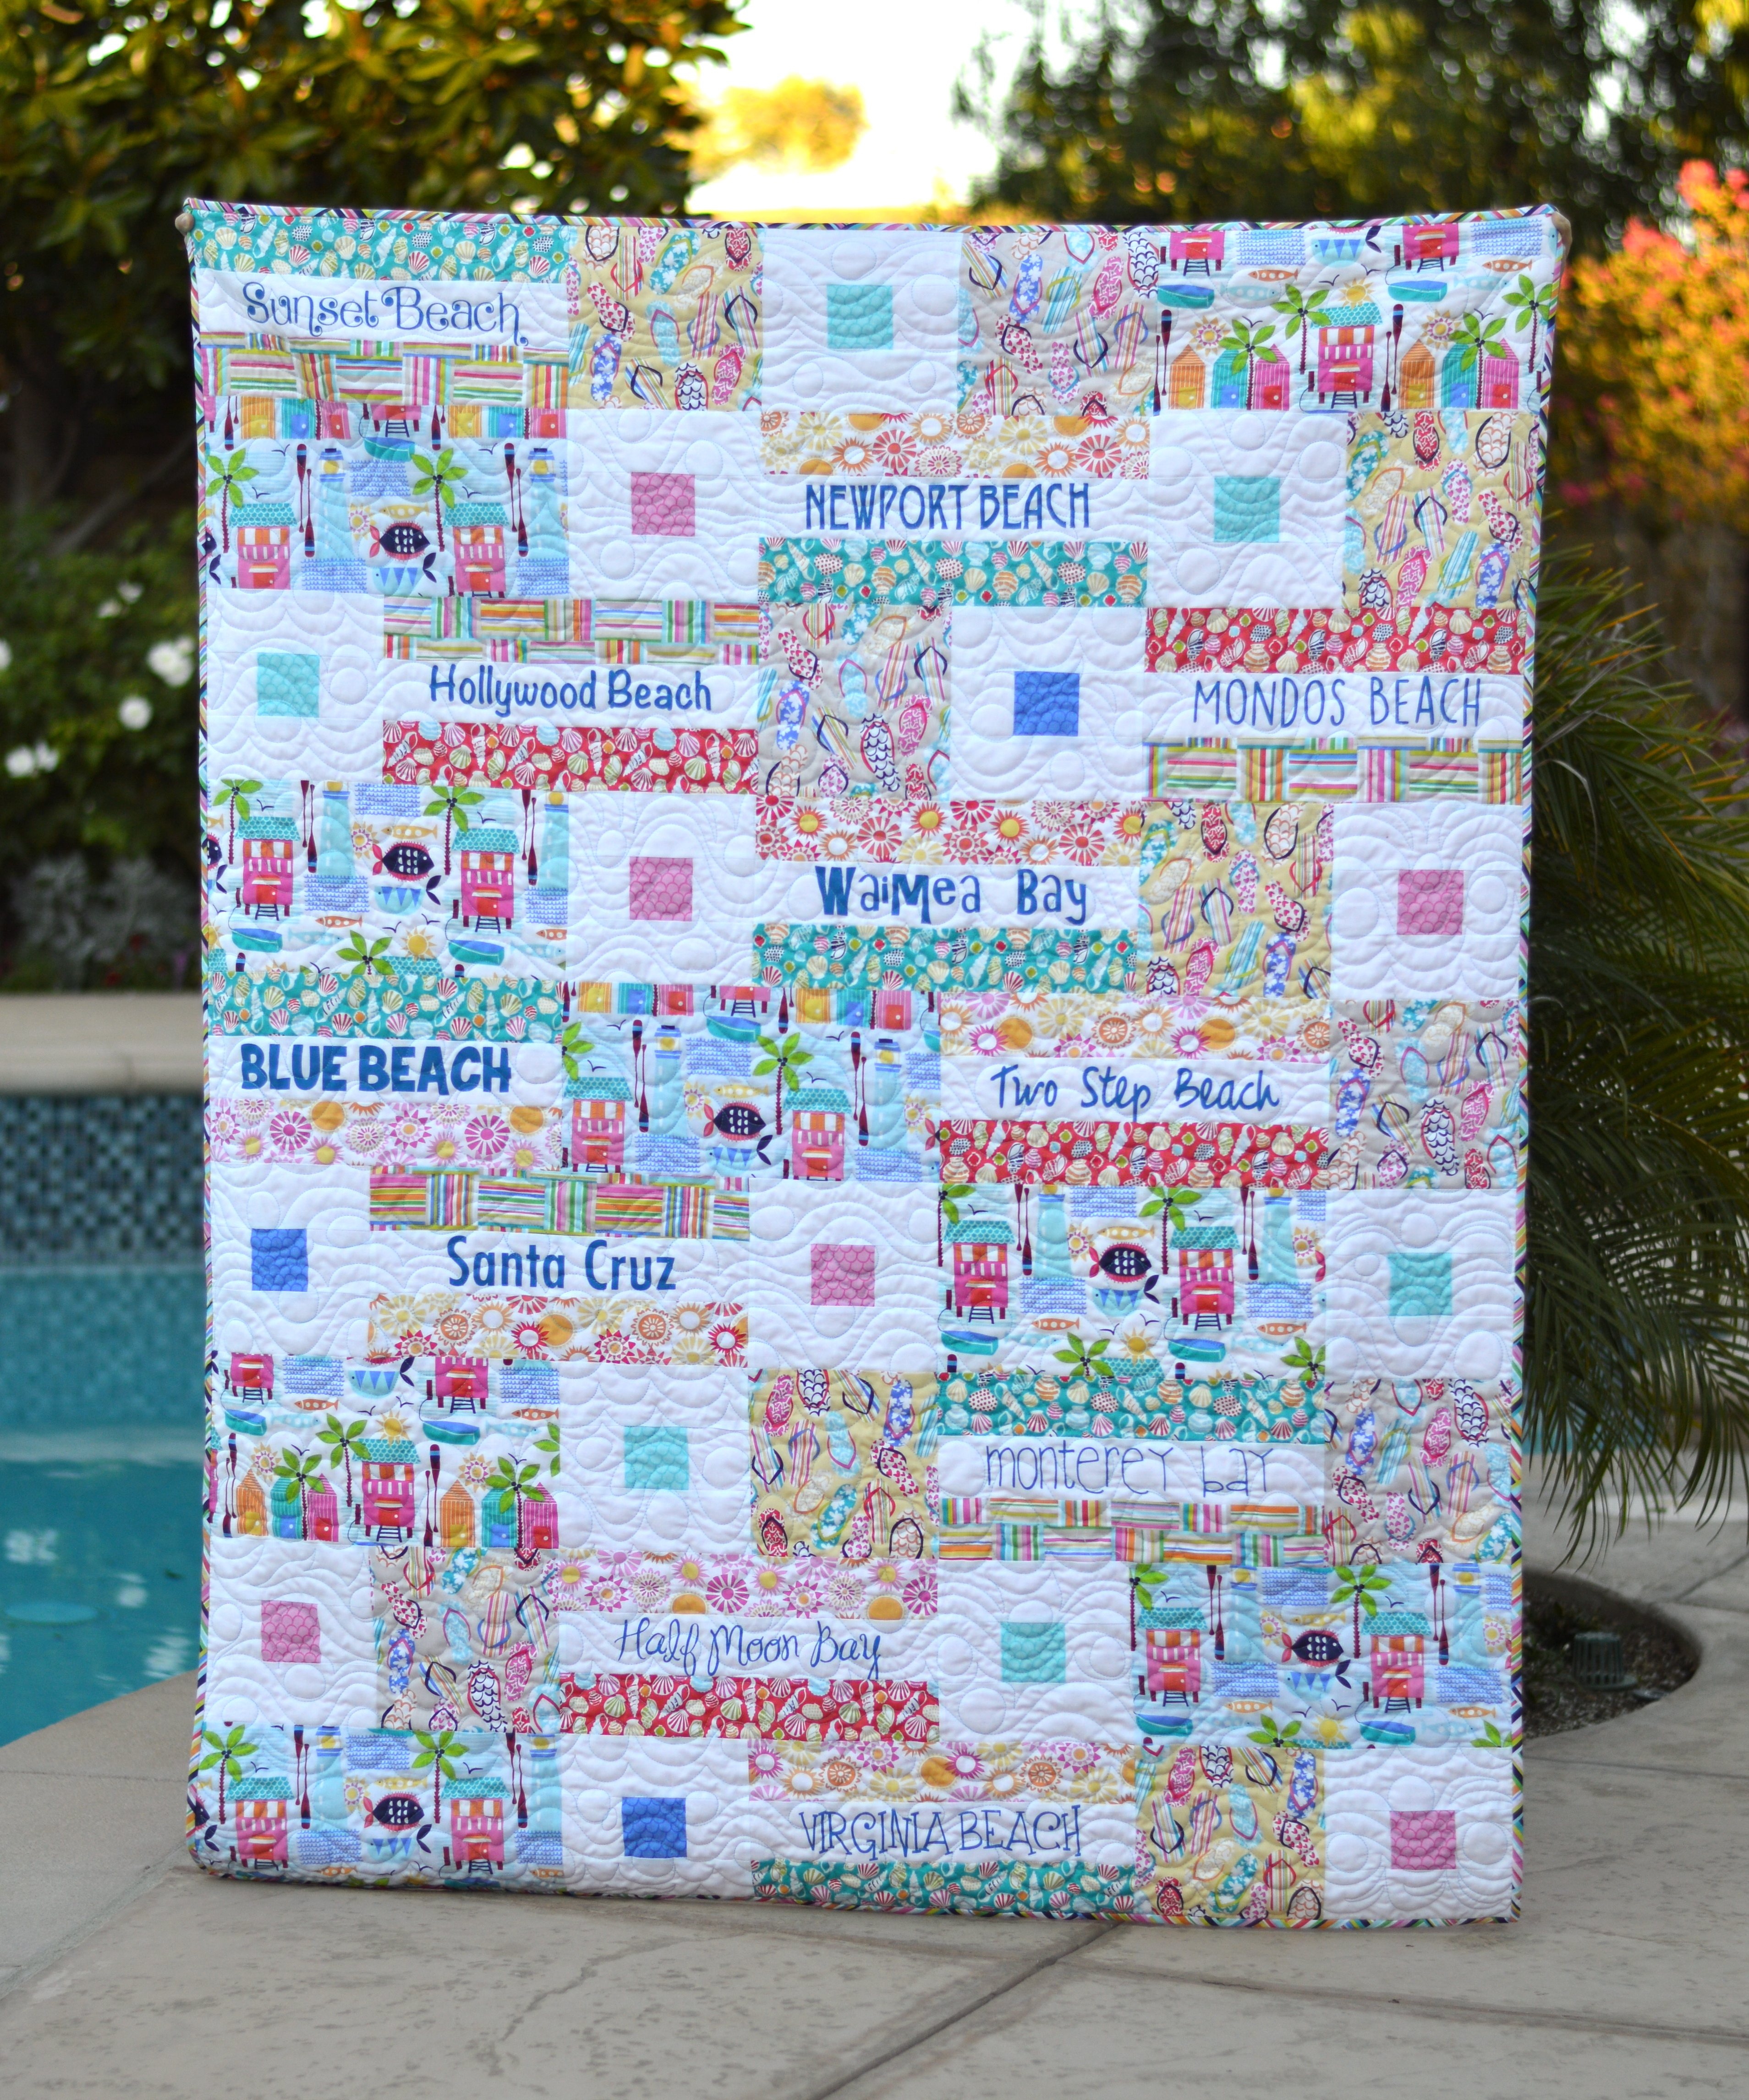
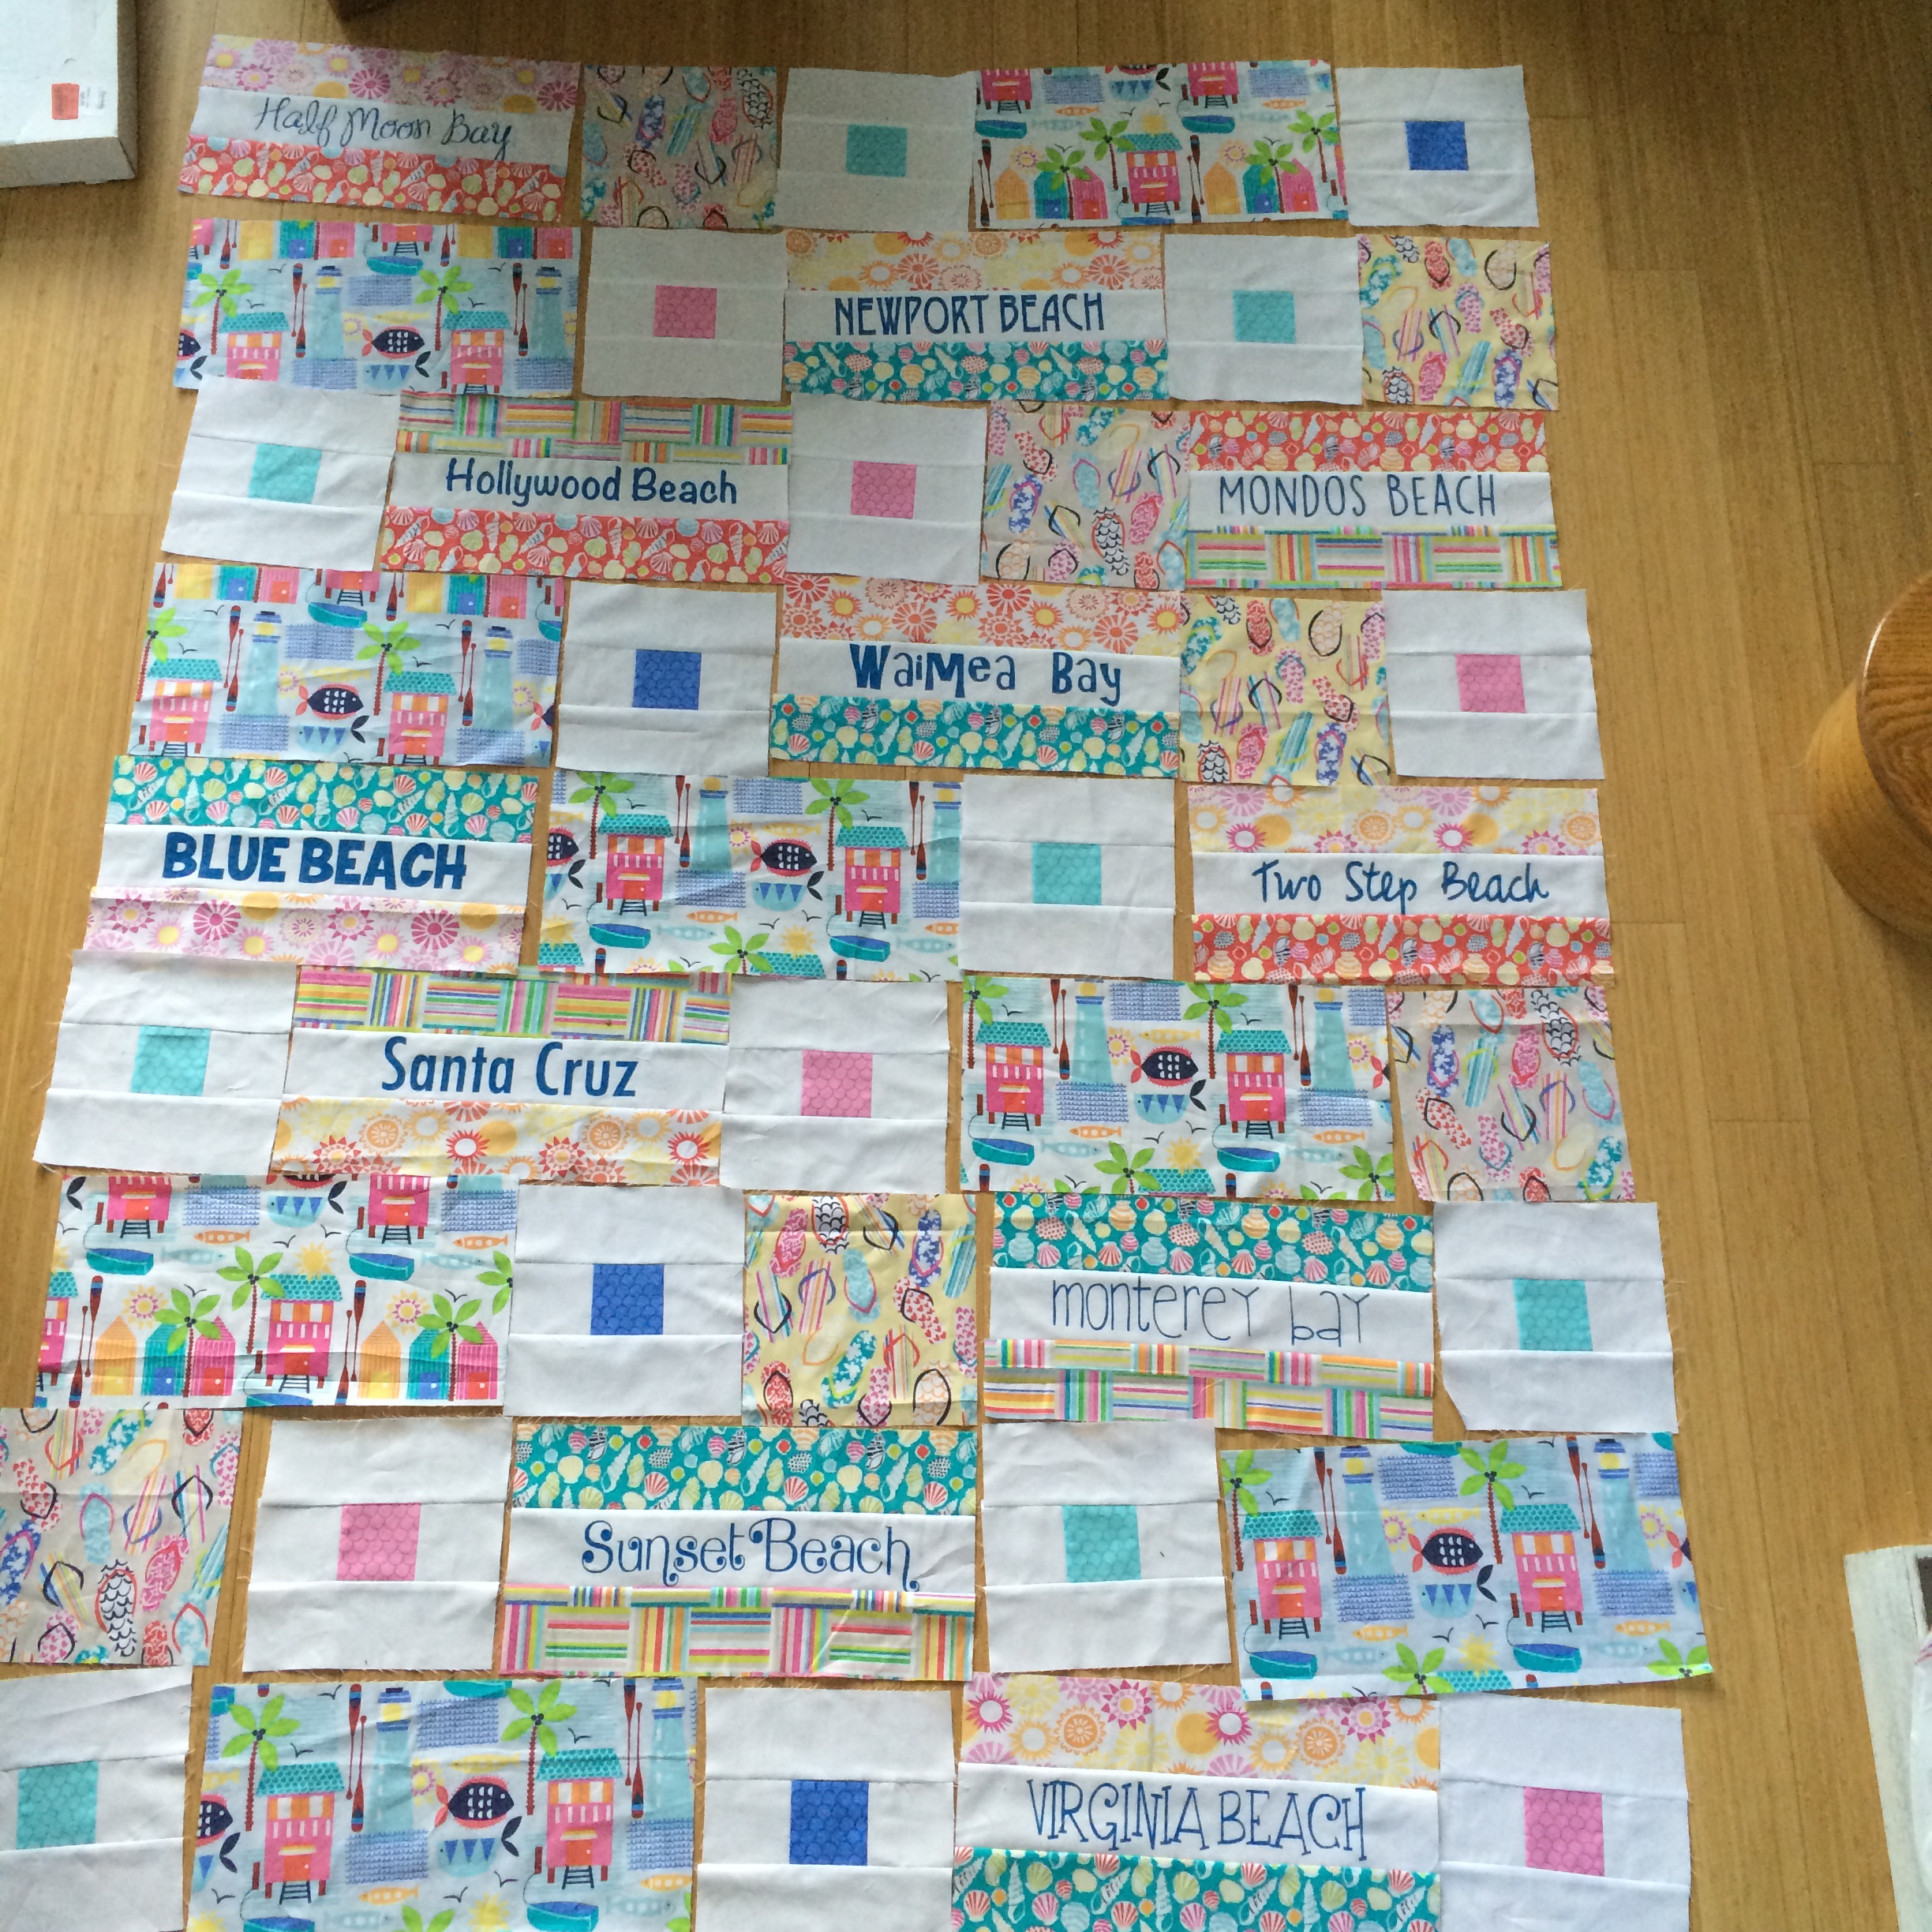
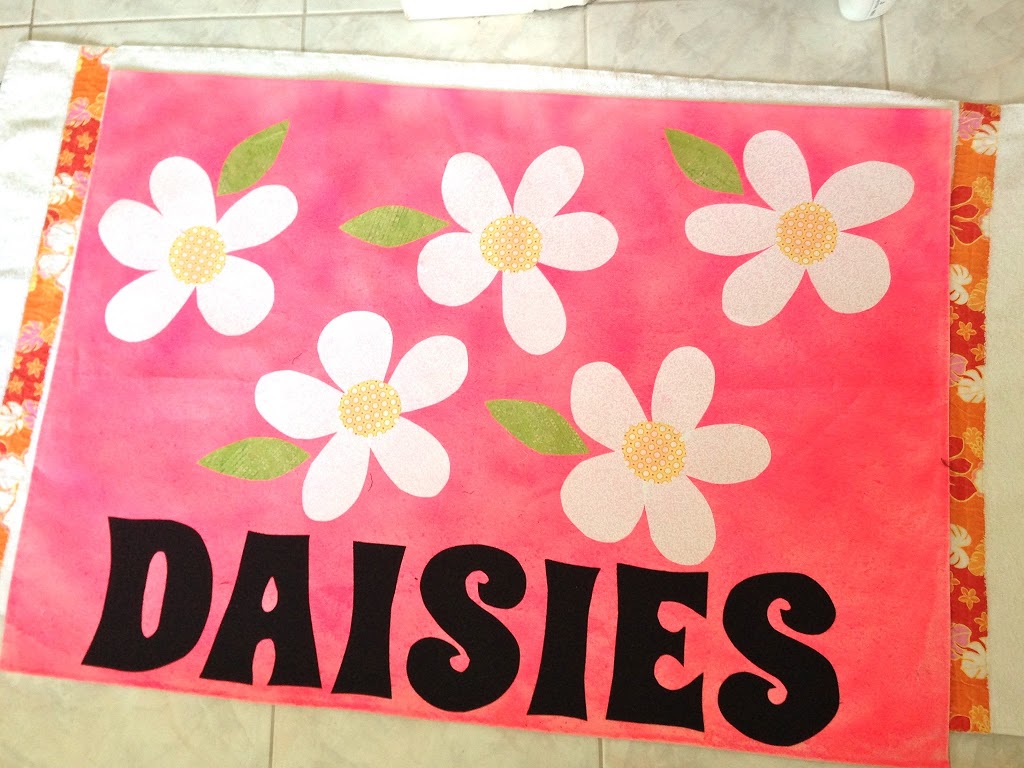
Next comes the fun part – laying it out.  I played with several different patterns until I decided on this one.  There is not really a pattern to it, kind of random 🙂

sunsational beach quilt blend fabrics 9  It’s always a good idea to photograph your quilt layout, especially if you have a #kittyquilter in your home!  Mufasa!!!!!sunsational beach quilt blend fabrics 10
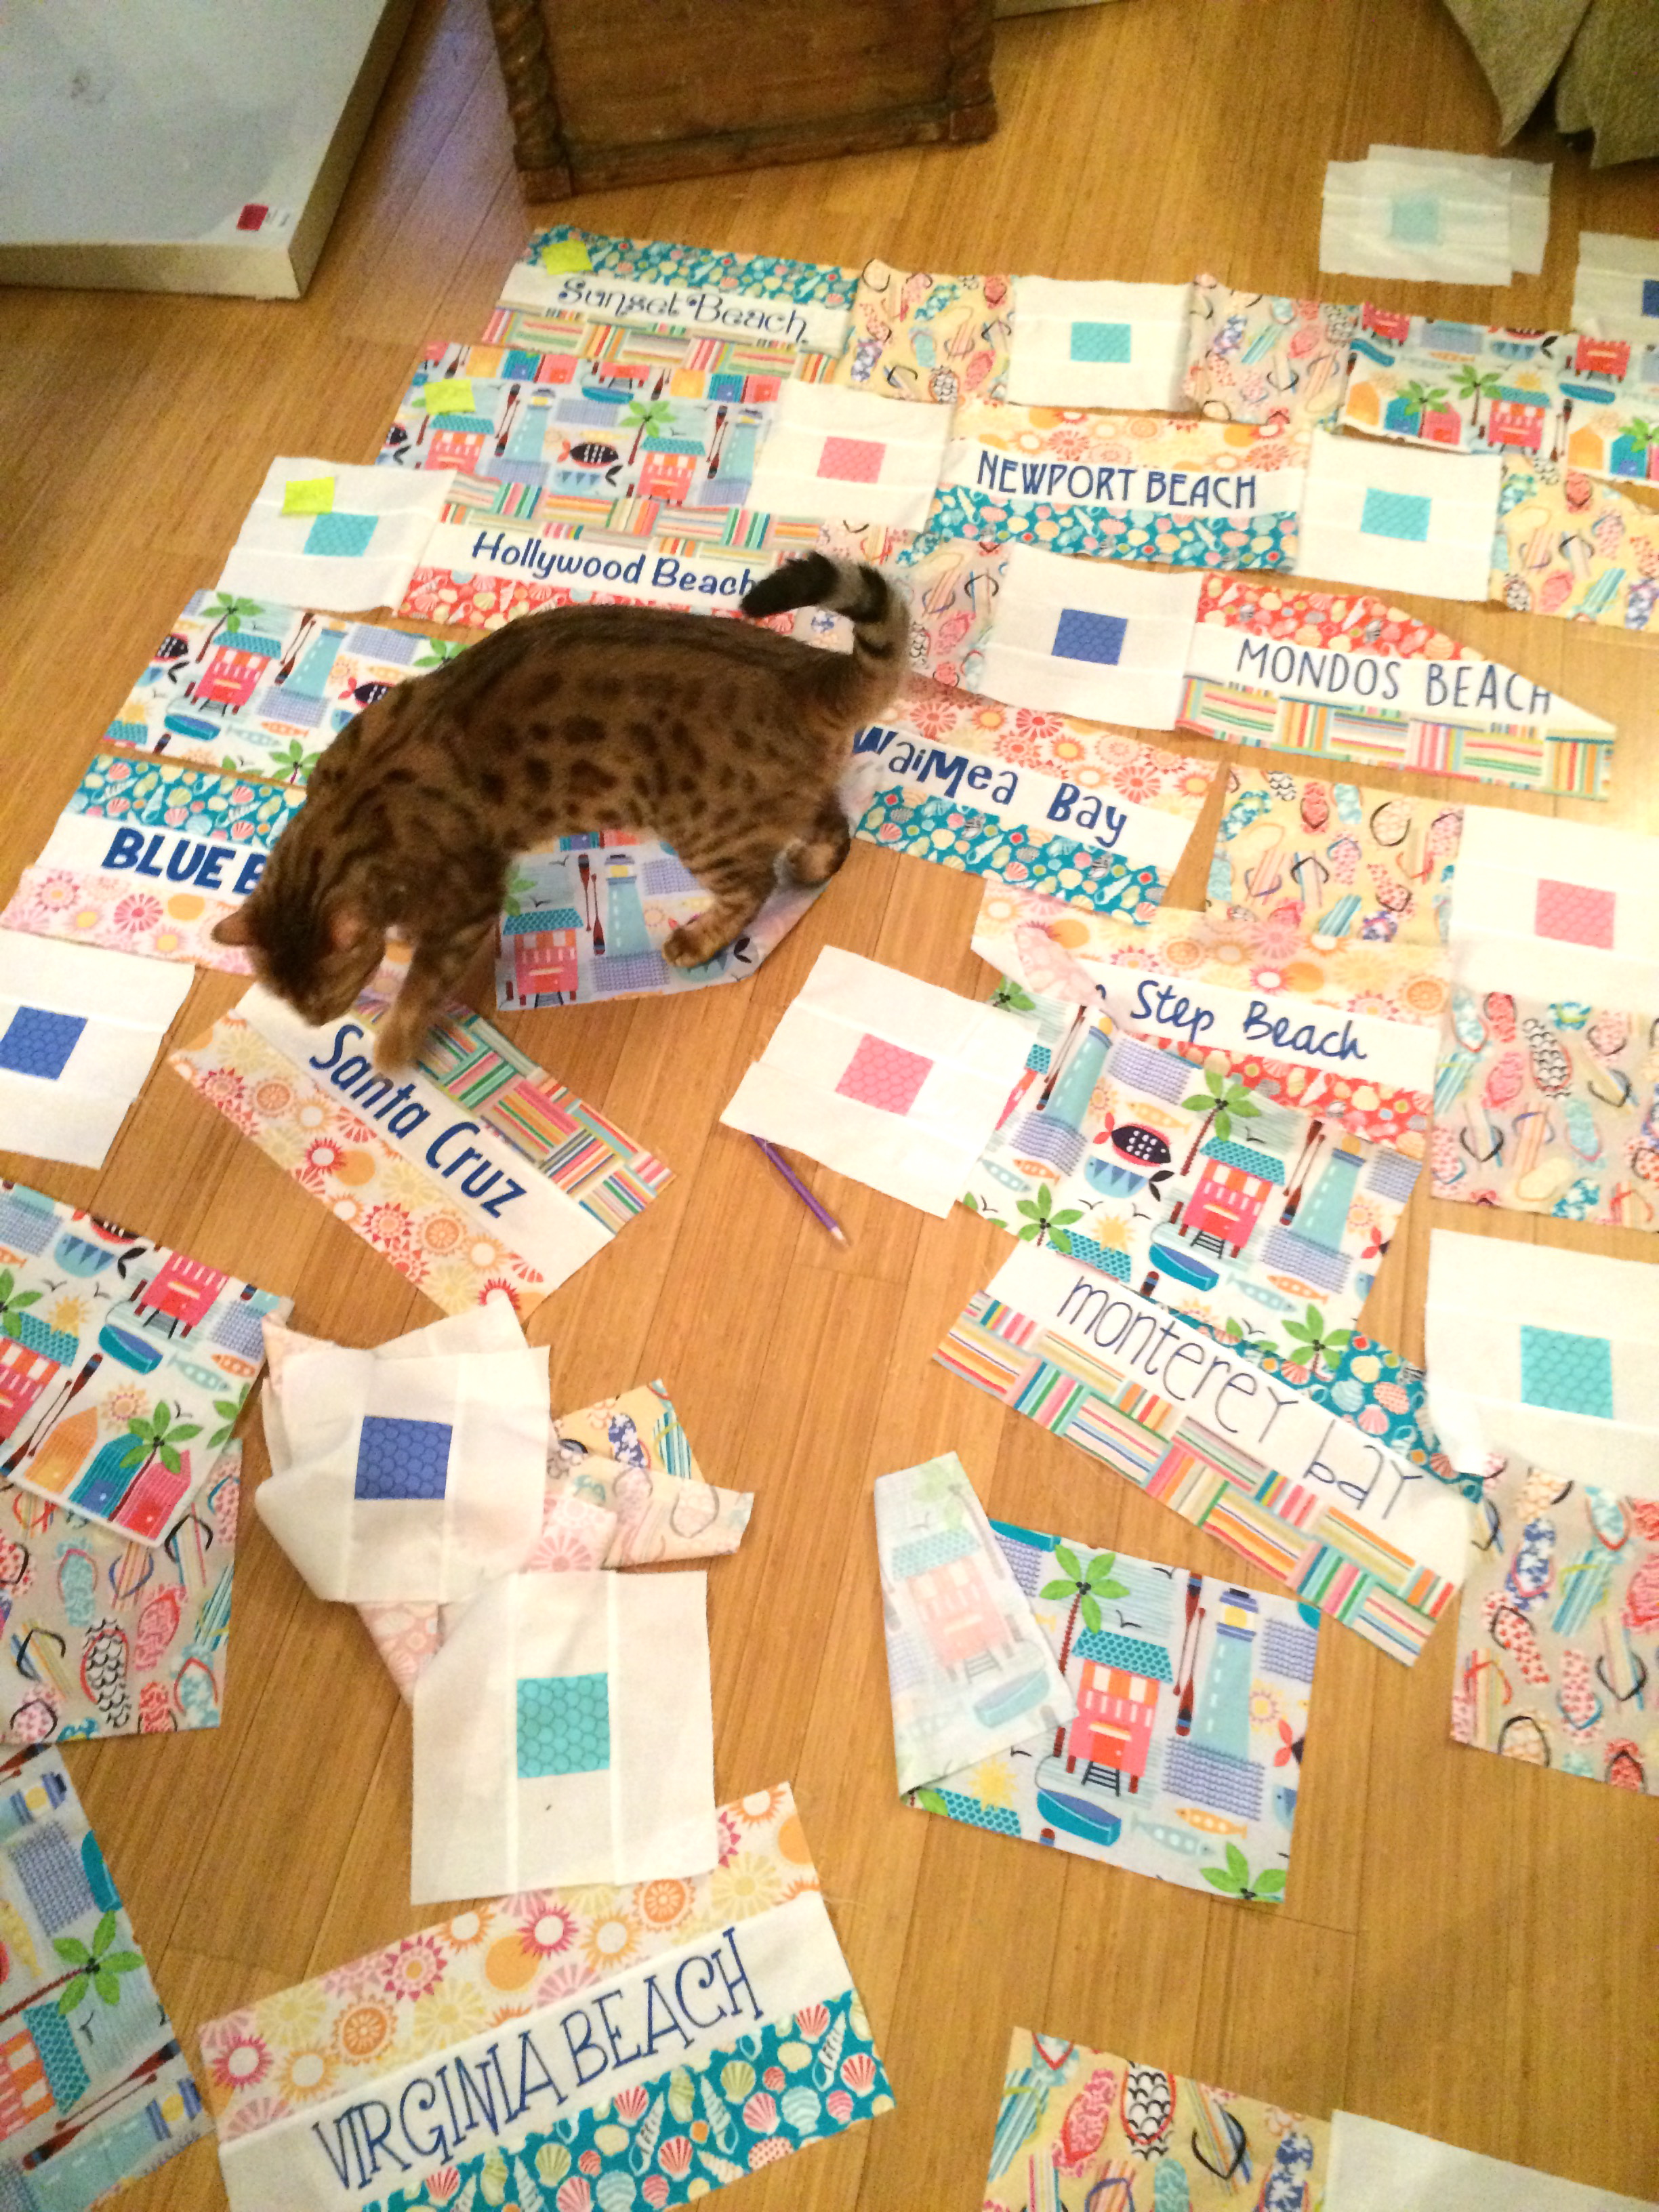
Sew the blocks together in rows and the rows together, matching seams that intersect.  Make sure #kittyquilter inspects all finished work!!  Quilt as desired.sunsational beach quilt blend fabrics 11
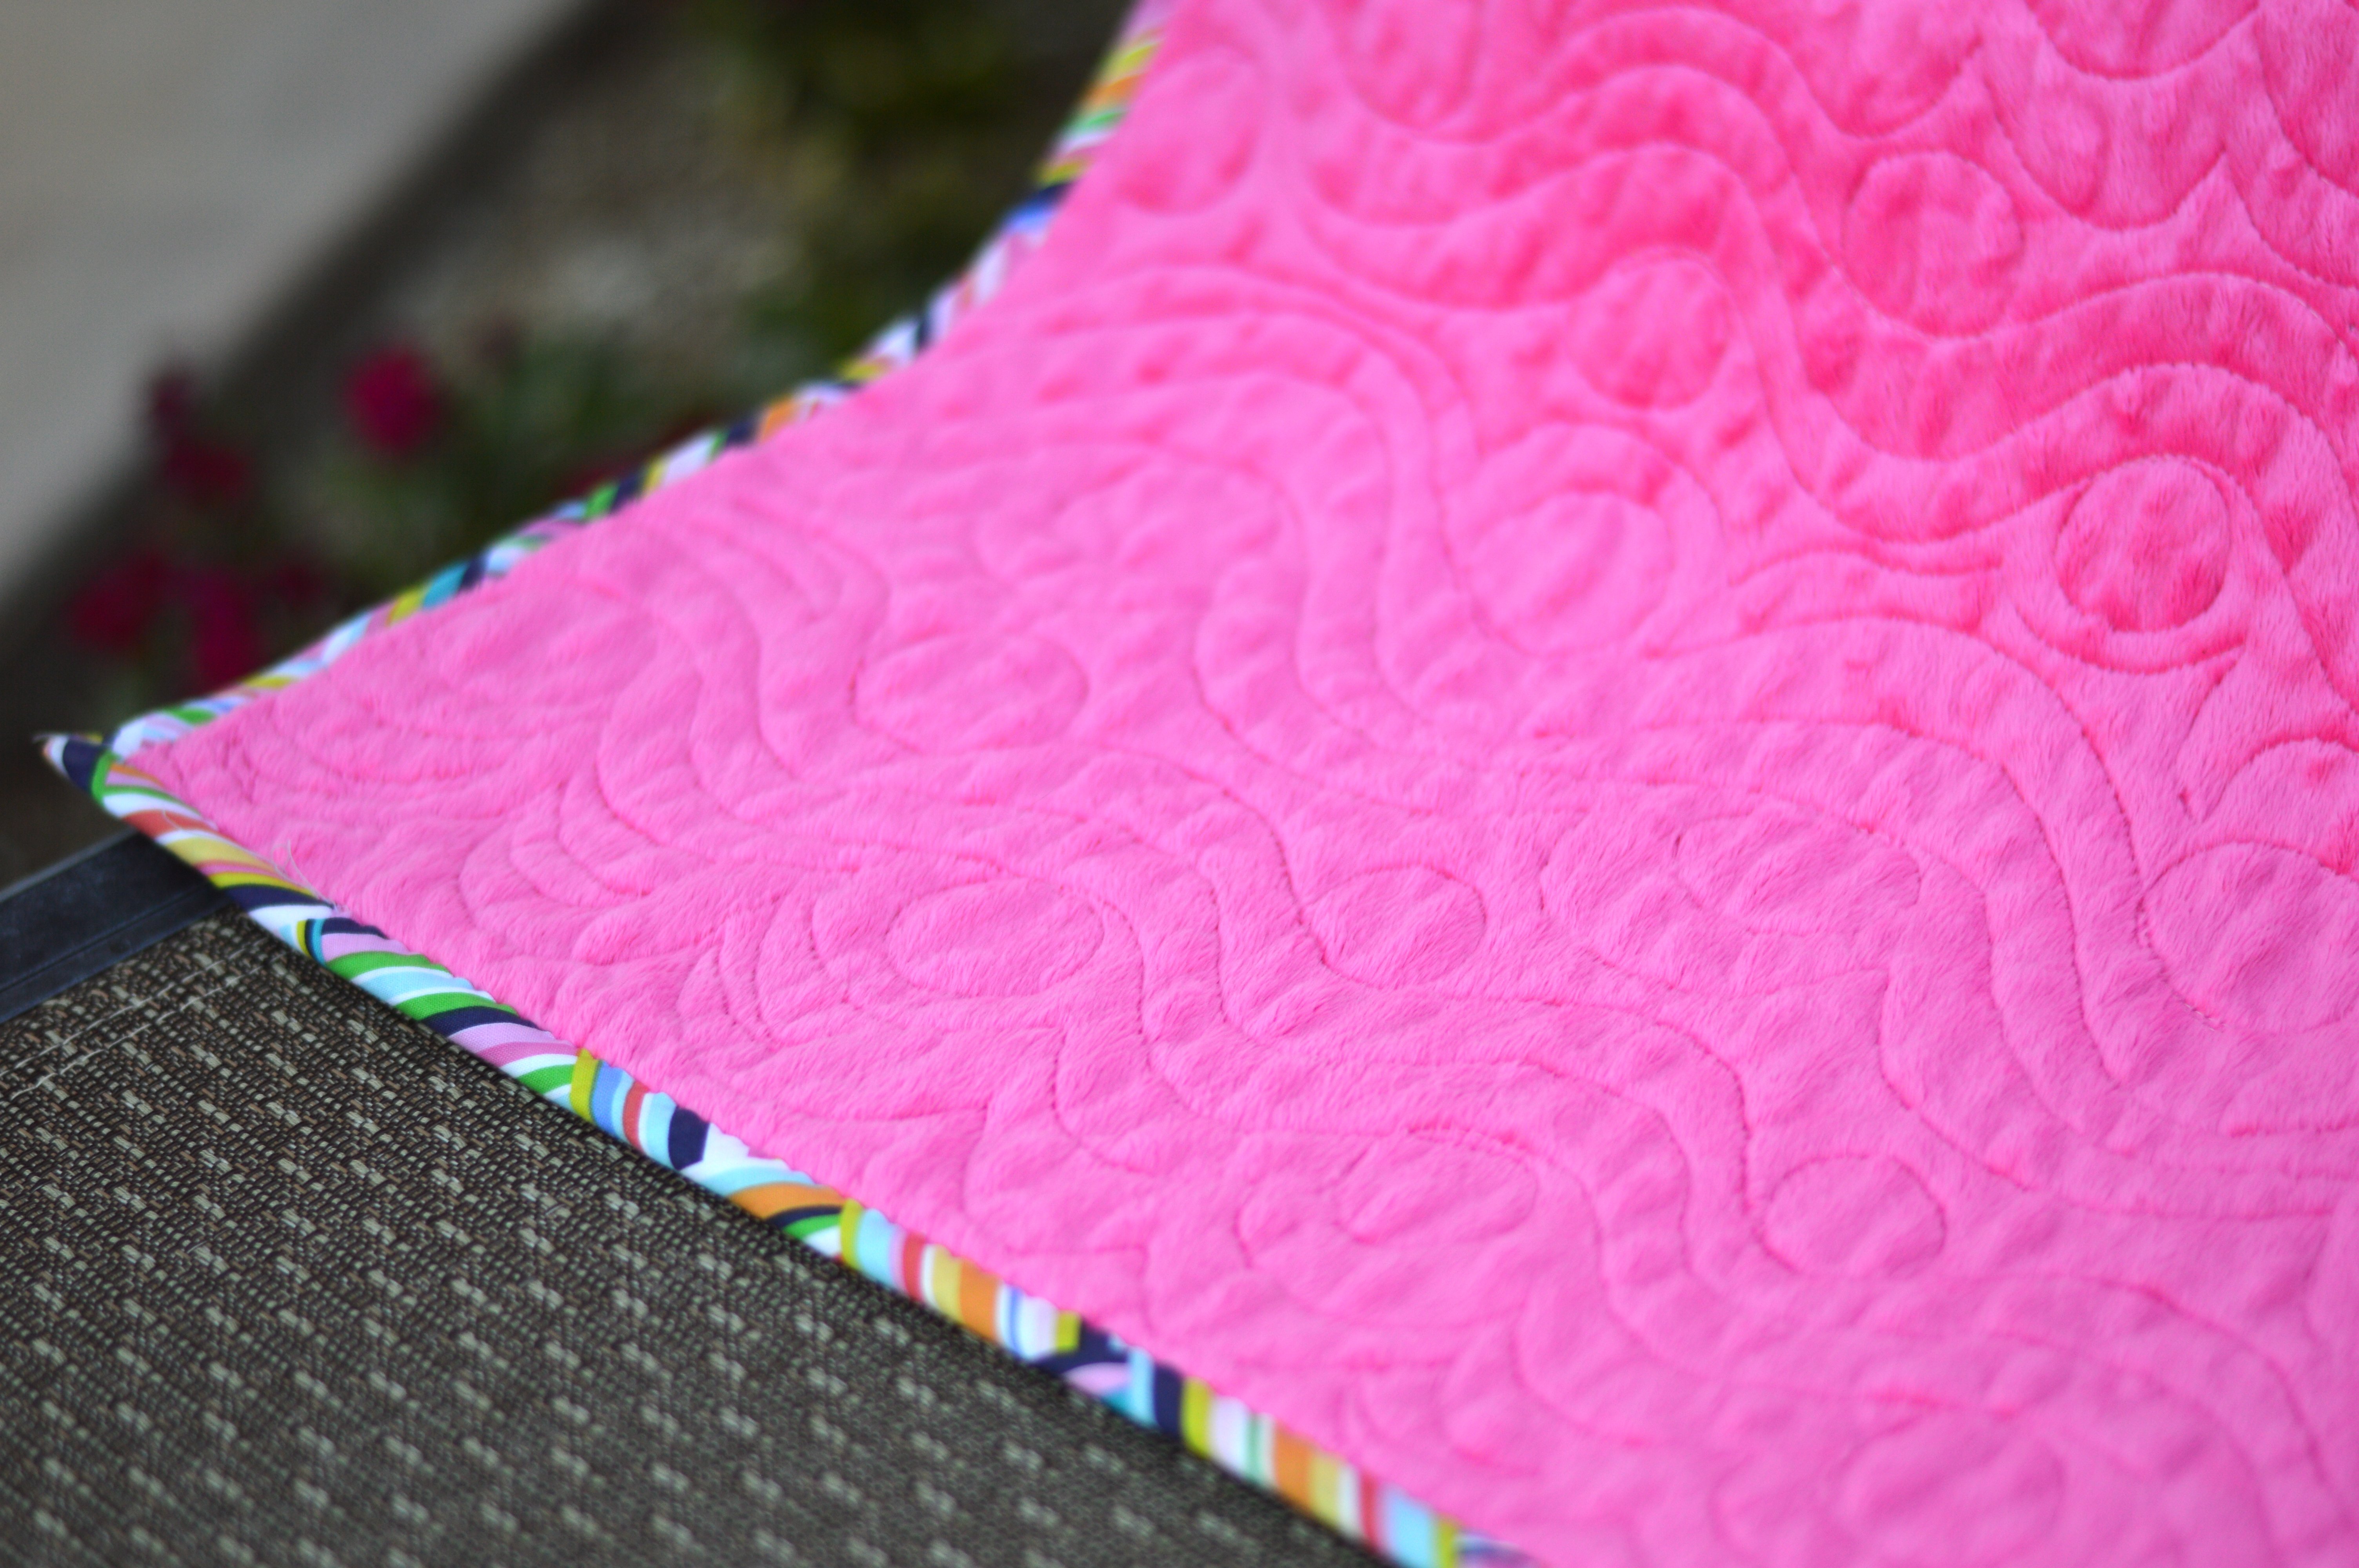
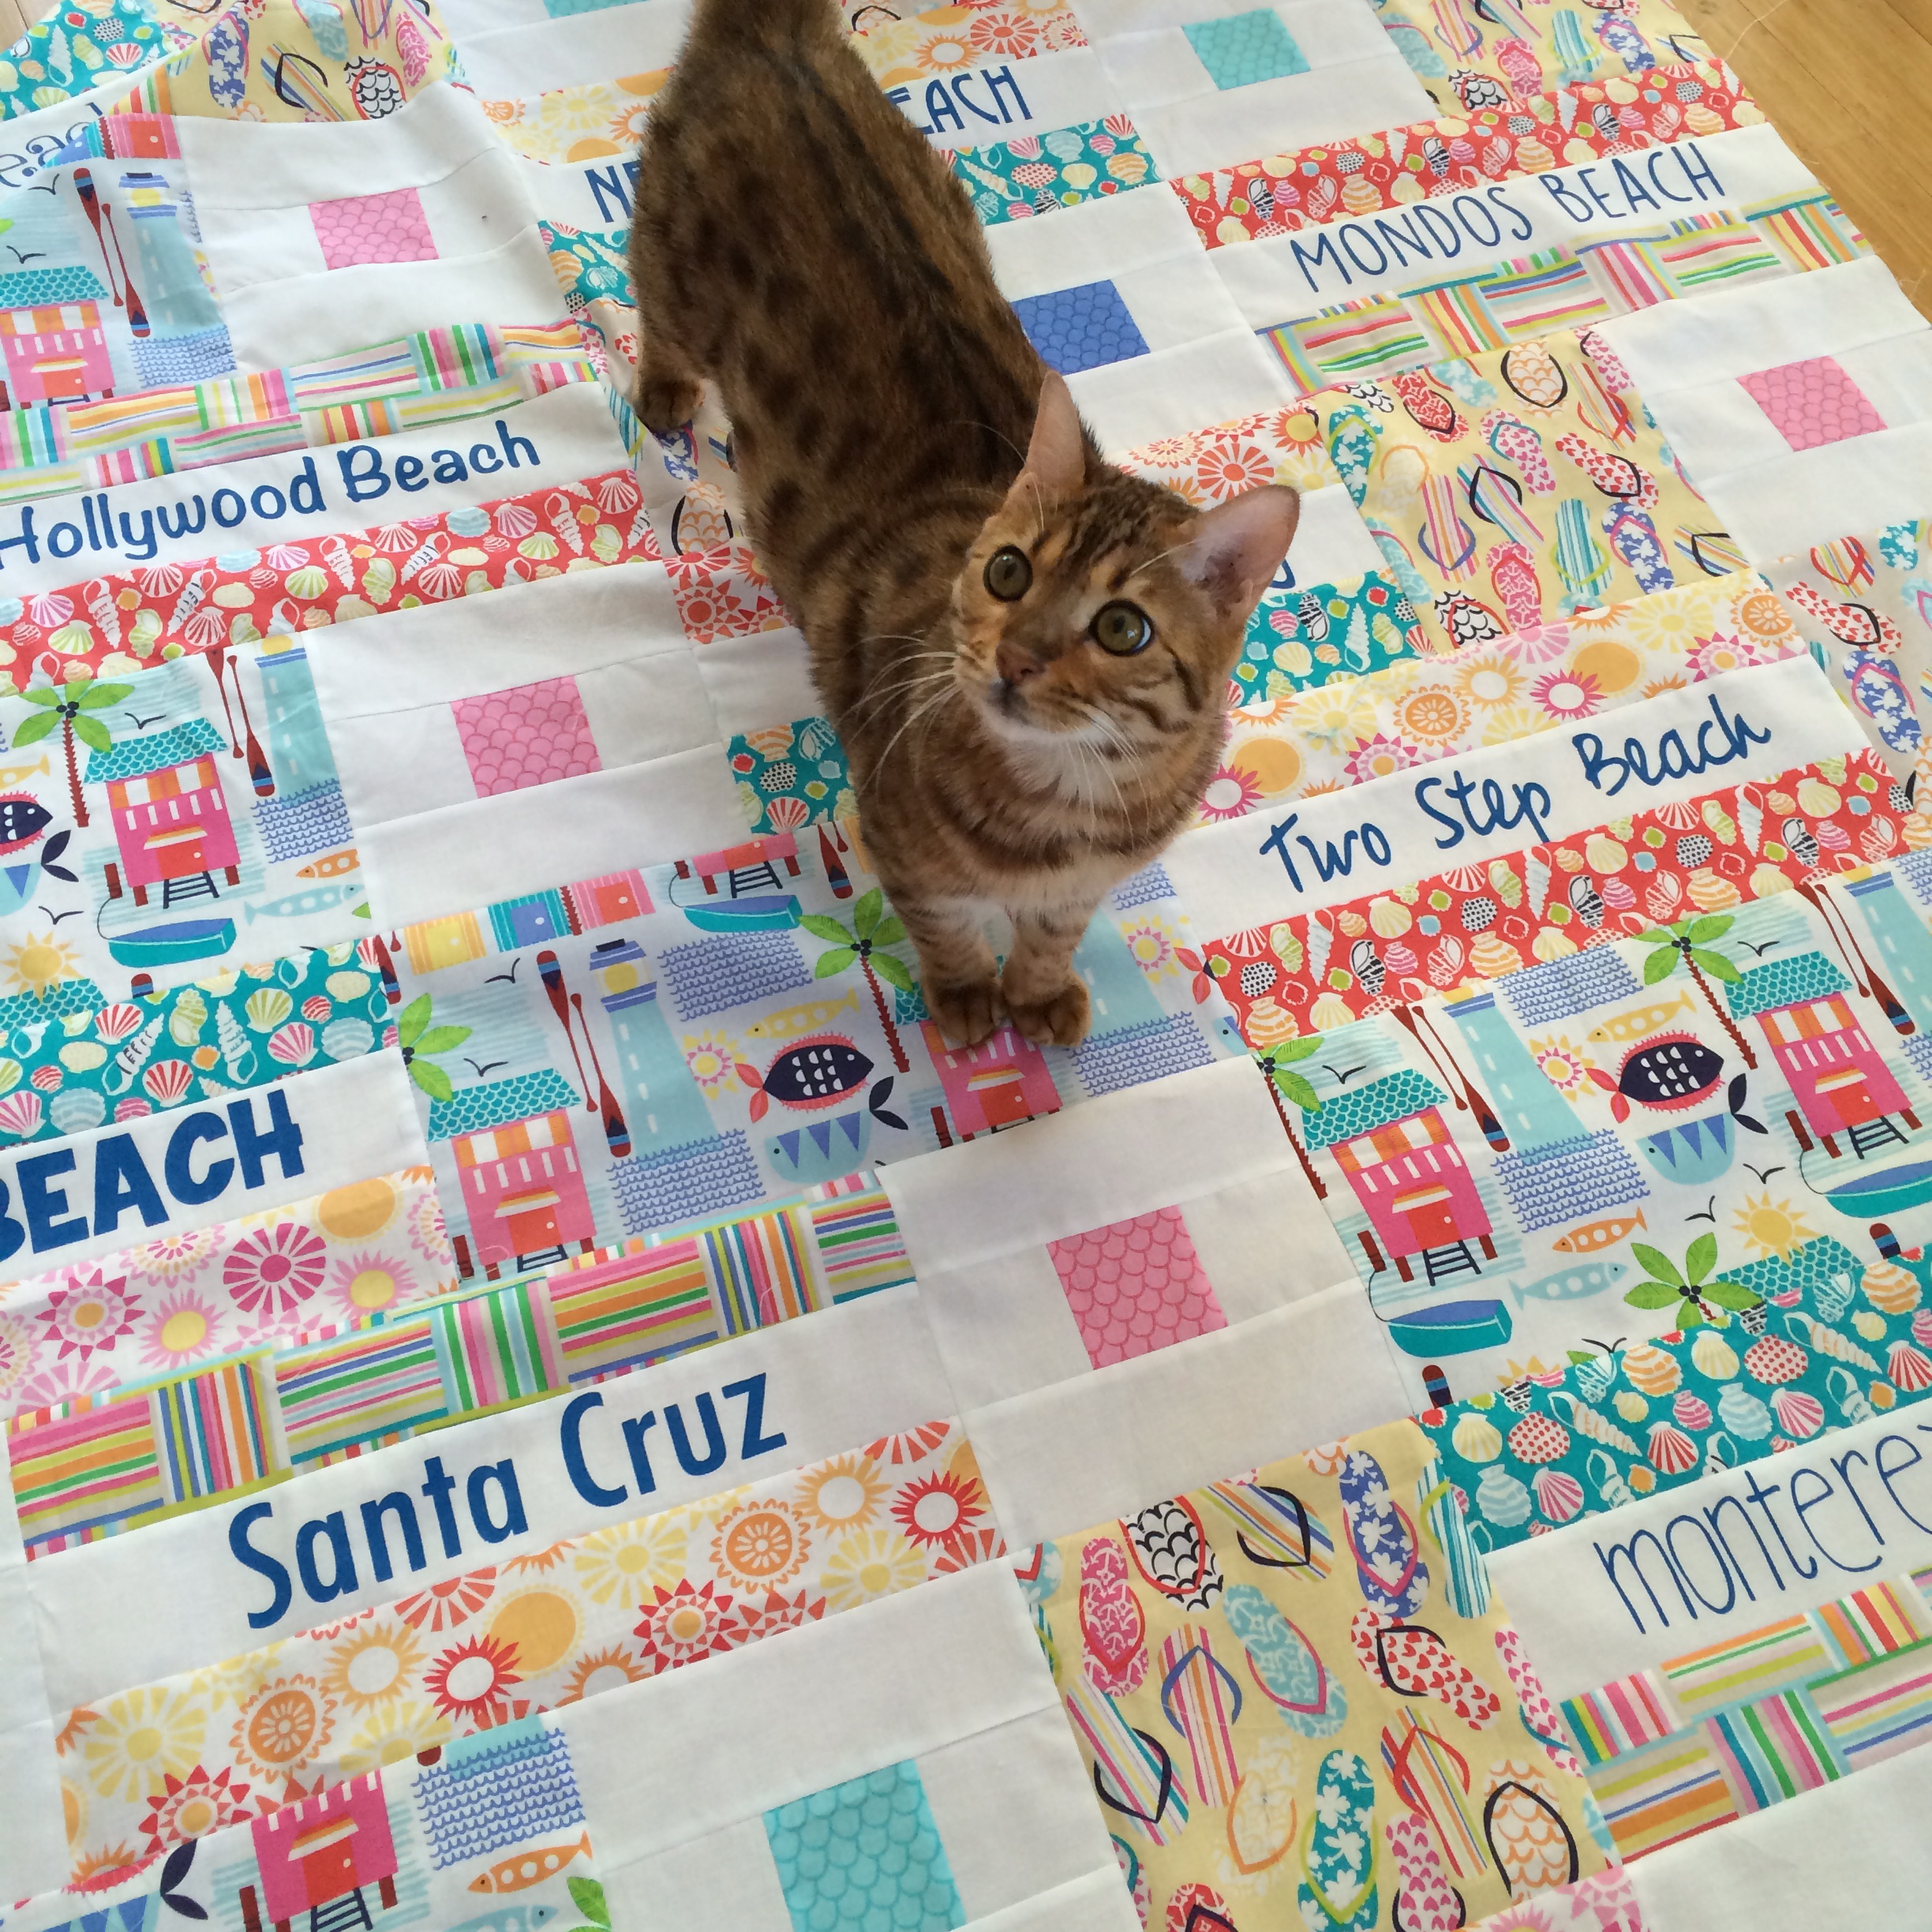
I put minky on the back and had my friend use her long arm quilting machine to quilt it.  I love the pattern she did!!

my favorite beach quilt blend fabrics 106
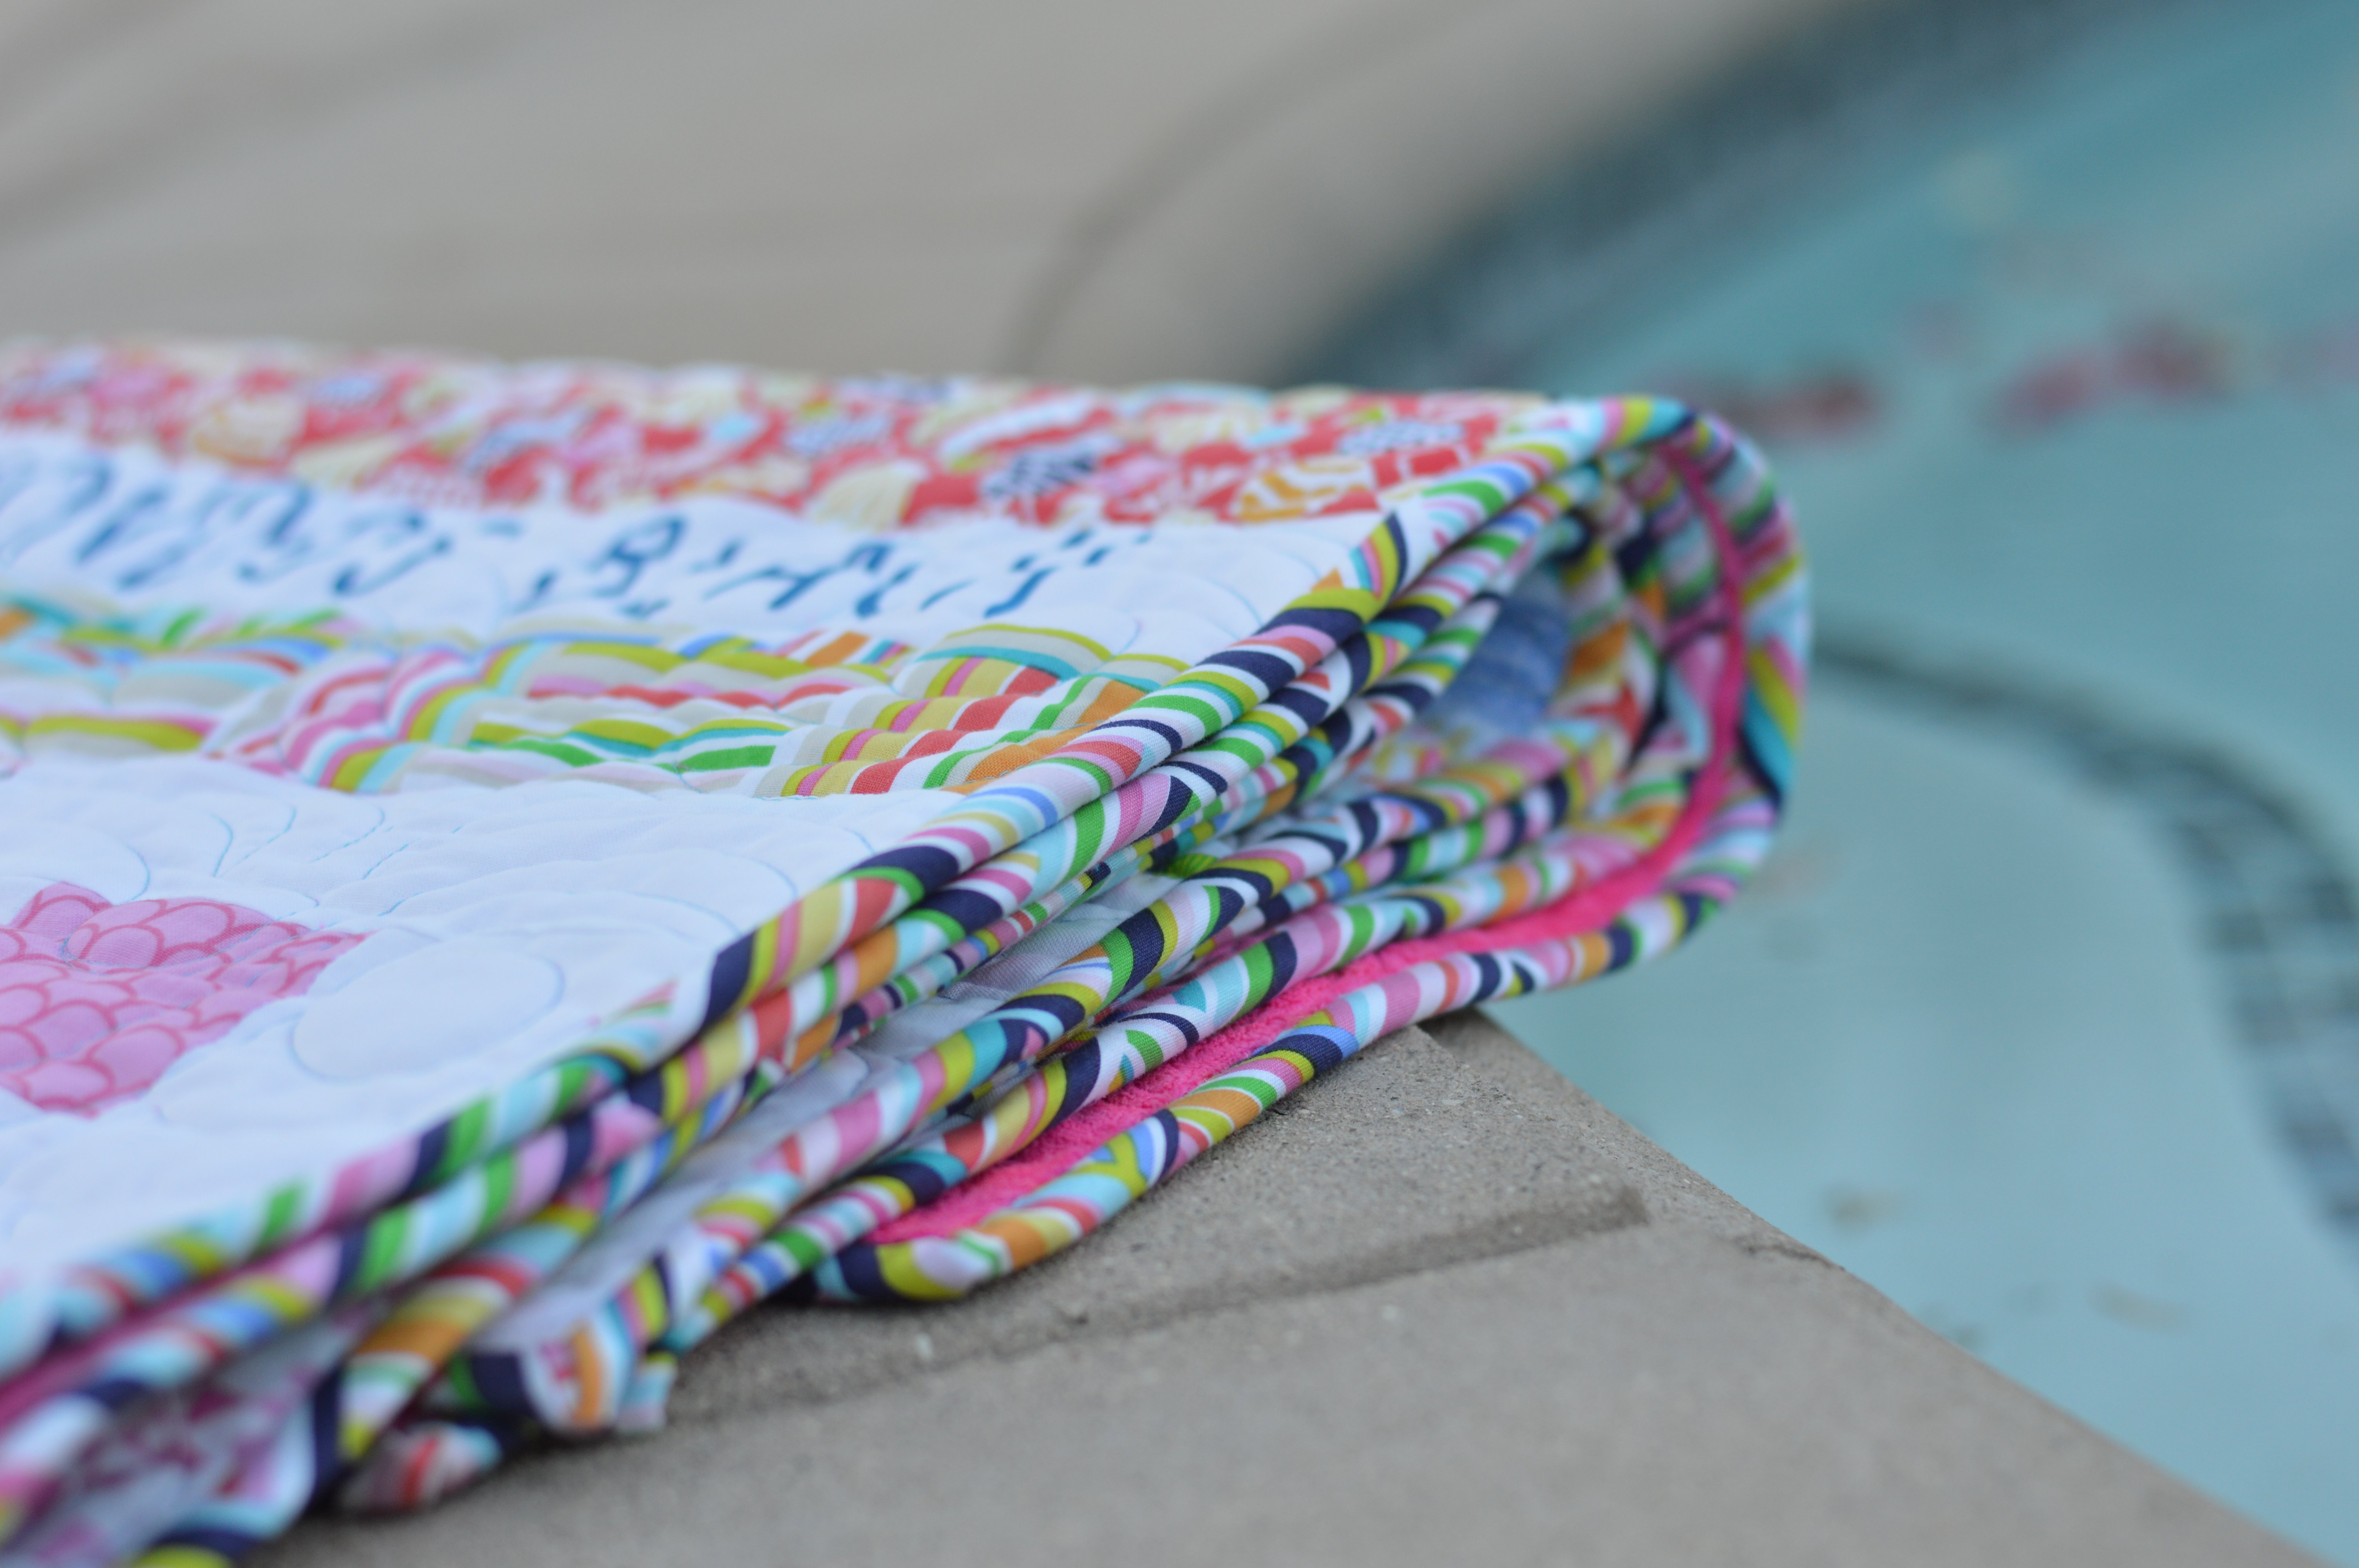
The binding is cut on the bias, my favorite way to make binding!!

my favorite beach quilt blend fabrics 100

my favorite beach quilt blend fabrics 104
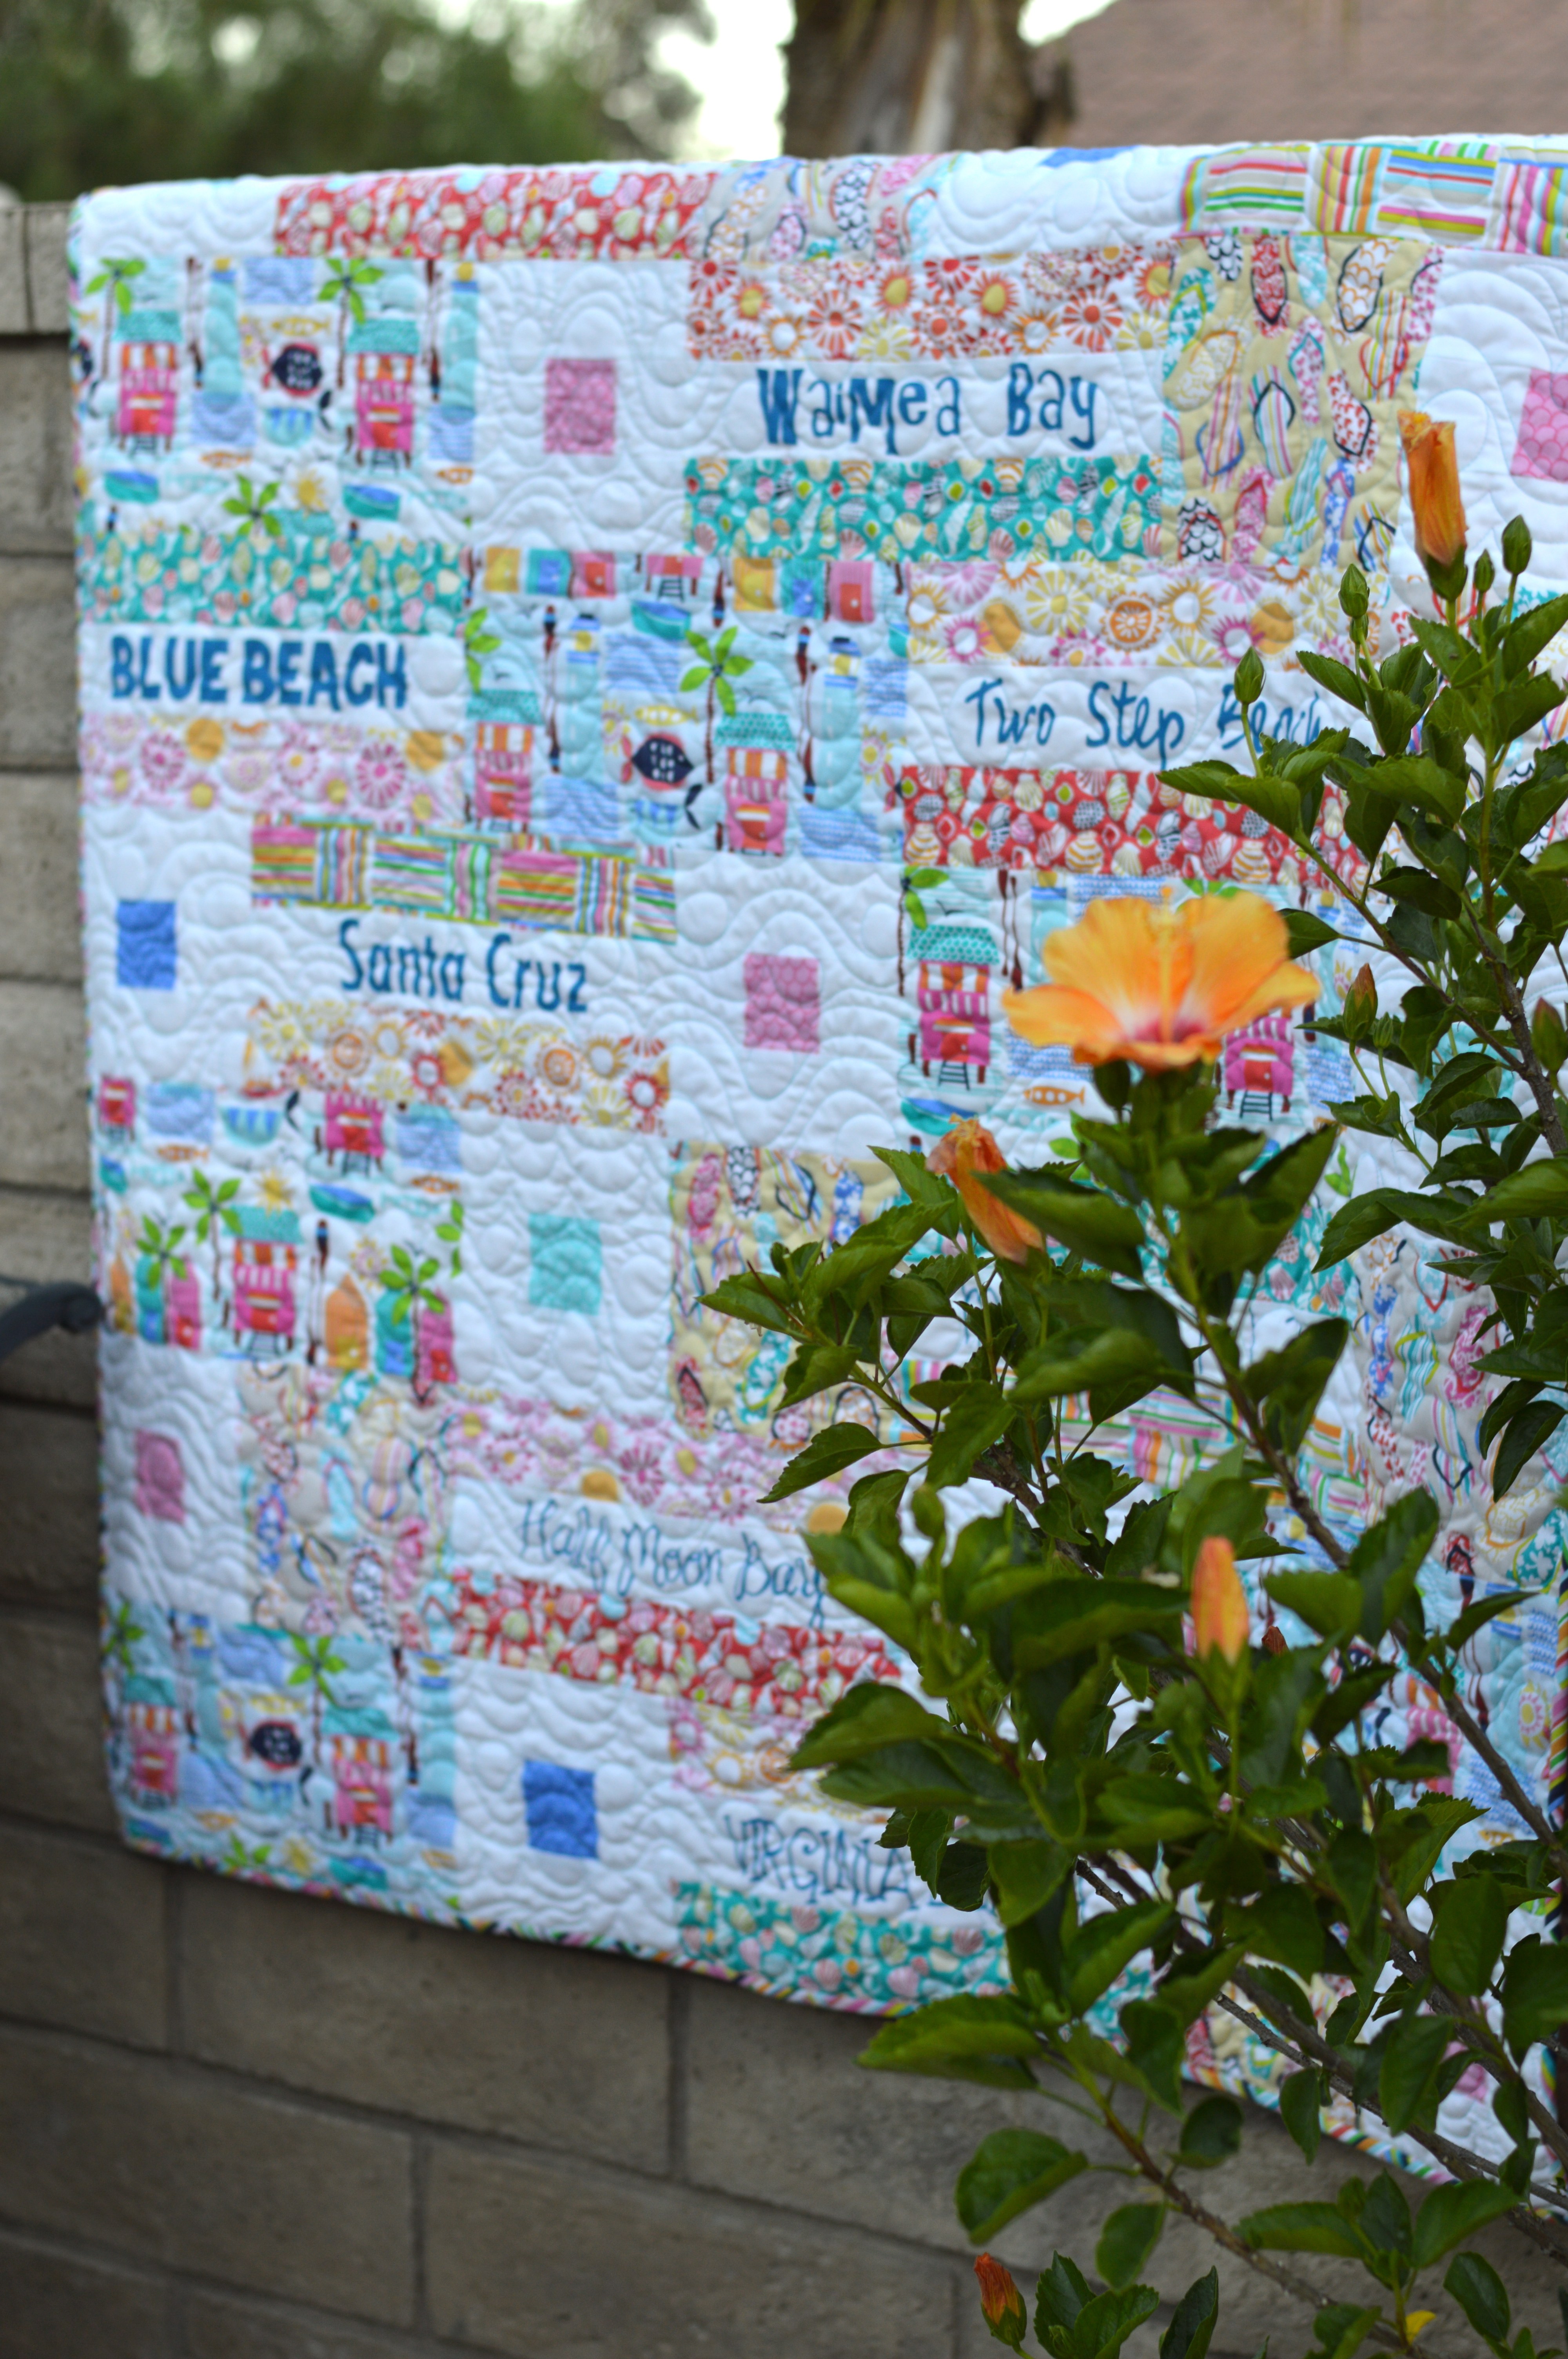
I’m so ready for a beach vacation now!!!

my favorite beach quilt blend fabrics 102

my favorite beach quilt blend fabrics 107Thanks for stopping by!!!  Surfs up!!!

my favorite beach quilt blend fabrics 105

Anchored In Christ Wood Sign {DIY}

wood anchor sign 9

I wanted to share with you how I made this fun wood nautical sign – for under $20!  I am our Stake Young Women Camp Director (for girls age 12-18).  This year our theme is Anchored in Christ. I wanted a large wood sign that I could use to promote our theme at all our planning meetings.  This sign can easily be changed to say was ever you want 🙂

I started by purchasing this cedar fencing at the home improvement store.  You only need 3 boards.wood anchor sign 7


Its cheap and rustic – just what I wanted!!wood anchor sign 8


We  (my husband cut and I watched) cut them into 3 foot pieces, 6 total.  We cut the little angled pieces off the end so they were all flush.IMG_7361

Then we cut (2) 1″x 2″ pieces of wood slightly shorter than the sign.  I put wood glue along the boards and then screwed the 1″ x 2″ boards in as pictured.  Let dry.

IMG_7360

I bought a dark gray stain and stained the front.  Because I can’t draw or write pretty, I cut the words on my vinyl cutter and made a stencil.  I stenciled the words in white paint. wood anchor sign

I found an anchor outline on the internet and blew it up really big.  I printed it off in sections and then taped it together.  Yes, pathetic – why can’t I just draw!

wood anchor sign 2

Once all the pieces were taped together, I cut out the anchor.wood anchor sign 3

Then I drew around it with white pencil.  All that was left was to paint in the lines (I can kind of do that) with white paint.

wood anchor sign 4I added some rope along the sides.  This was my display for our first leader meeting where we kicked off the theme.  I love all things Nautical, in case you were wondering 🙂

wood anchor sign 5

wood anchor sign 6


Garage Sale Halloween Wreath {DIY}


garage sale halloween wreath


I have two front doors and I never know what to hang on them.  Do I just hang one wreath?  Do I leave them plain?  Oh, and it can’t be anything heavy that will scratch the paint when the wind blows or the door opens.  And one more thing, I don’t want to spend a lot of money, because I like to spend all my money on fabric 🙂  That being said, I found these red berry wreaths at a garage sale for $1 each.  I actually think these might have really been my wreaths from 20 years ago 🙂  I knew they had some Halloween potential.Halloween Wreath 2

Black spray paint is your best Halloween decorating friend.  One coat of shiny black spray paint, some chevron ribbon left over from last year and a black crow…..It’s the perfect CHEAP Halloween wreath for my door.

halloween wreath diy craft

Halloween Wreath 1
And there are two of them!  Cheap, won’t scratch, and spooky!Halloween wreath 3 Halloween wreath 4


G

Gallery Wall Update

This is how my gallery wall used to look – I liked it, but I felt it needed some updating.  I took all the frames down and spray painted them Heirloom White.   It feels so clean and fresh!!  (The wall color is also different)


 The frames needed some distressing – I like how the black shows through.


Amanda

Outdoor Table Re-Do

My friend gave me her mother’s kitchen table.  It’s not your average kitchen table…..It’s HUGE and ROUND!!!  I think the table originally cost $$$$.  It was in bad shape when I got it.  The mom had caught a floral arrangement on fire and burned part of the table.  Then she cleaned it with some harsh cleaner and it reacted with the finish, turning it into a sticky mess!  Of course we’ll take the table!!!
I didn’t get a good before picture – but this is it after hubby took it apart.  I just love power tools!!!  We plained it down pretty good – it took the burn mark right.  Then finished with light sanding to get it really smooth.  I didn’t bother sanding the base – it is getting paint!
Meet my new favorite stain – Rust-Oleum’s “Driftwood”.  That’s exactly what it looks like!  It’s perfect for this project because it will be living outside!
That’s me!!  Of course I do all my DIY projects in tie-dye!!
We took out the rotten fake wood inlays and prepared the surface for tile!!
And here it is with super cute 1″ tiles.  It makes me think of the ocean!!  Don’t you love the Lazy Suzan on top!  My kids LOVE this – we’ve never had one before!
I sealed it with Rust-Oleum’s Ultimate Spar Varnish.  It has maximum weather protection!!
I love that it can seat 10 people comfortably!

I couldn’t resist painting the base a bright turquoise color!  Spray paint, of course!!

It’s pretty bright, but the outdoors can handle it!!


I love how it turned out – it’s totally me!!

Amanda

DIY Soccer Banner Tutorial

This is my first soccer banner ever!  I had no idea what I was doing and I was determined to use only materials I had on hand.  This is what I came up with! We are the Daisies (white) and there are 5 girls on our team.  So – 5 daisies on the banner!  Not too hard!!

Start with canvas or duck cloth.  I was happy I had bought this in the fabric district for $2 a yard!  Only it was a tan/cream color – not very 5 year old!  Luckily I had just purchased NEON pink spray paint!  I hemmed the edge of the canvas then spray painted it with the neon pink.

Neon pink does not photograph very well in bright sun.  I like how it finished kind of patchy, I have quilting fabric like this.  (it’s nice to know you can spray paint anything!!)

I got out my Therm O Web Heat n Bond and traced the block letters and daisies.

Iron the Heat n Bond to the wrong side of the fabric and cut out on the line.

Peel off the paper and lay out the words.

I was afraid to iron directly on the spray paint so I grabbed an old piece of fabric and laid it on top.  It took a few seconds to get the Heat n Bond to melt.

I put an old towel on the tile floor then laid out the rest of the banner.  I ironed it on the floor – I didn’t want to move it to the ironing board.

I sewed around all of the appliqué pieces in black thread.  On the daisies I sewed around 3 times.

If I would have time, I would have hand stitched the names, but I had 10 minutes left before team pictures, so a sharpie did the trick in putting the girls names on the flowers.

I love it!!!  The neon really makes it!

 My husband assembled a PVC pipe stand and we took it to our first game on Saturday!!

Amanda

DIY Lego Minifigure Storage Shelves Tutorial

 
Do you have little person living with you that is obsessed with Legos?  I do!!  We love the Lego Minifigures at our house!!!  I wanted to find a way to display and store them.  I think this works well and it has lots of room so we can buy more Legos!!!!
Supplies:
3/4″ wood (pine, MDF, etc.)
Lego building board (available at Lego store or Lego online)
utility knife
paint
Quick Hold E-6000 glue (or similar)
nail gun
Begin by cutting the 3/4″ wood into 1 1/4″ strips.  You can make as long you want.  Mine are 23 3/4″ long because that is what looked best on the wall.
Next cut the Lego board.  Using a utility knife, cut the Lego board every “3 circles”. 
Once they are cut, bend them a little bit to break them apart.
Paint the boards.
Glue the Lego strips down.  I used one and a half of the Lego strips on each board.

 Once everything is dry, measure the wall for placement.  Using a nail gun, nail the boards into the wall, making sure to hit studs.  Patch the nail holes and touch up the paint where the patches are.

My son made me this “Keith Urban” minifigure.

We just bought our series 11 Lego Minifigures today.  These are mine!  50″s girl and pretzel girl!!

Amanda

New Paint for my Front Door

 
Nothing makes me feel better than a new coat of paint!  (well maybe new fabric!!)   Two years ago I painted my front doors this apple green – which I liked.  Last Christmas, I thought it would be fun to put some vinyl lettering on my door.  It was cute until after Christmas I pealed it off and it pulled the paint and some of the wood off.  Get out the sander and a new color paint!!
Enter in Sherwin-Williams “Splashy”.  Only my new favorite paint color!!!


 I love how it turned out!  I definitely have the brightest doors on my street.  I love driving by my house and seeing my front doors.  Makes me feel happy!!


Amanda

Painted Mason Jars

I have seen painted mason jars all over the internet.  Google “Painted Mason Jars” and you will find hundreds of different photos!  I am not taking credit for the idea.  But I have been known to spray paint anything & everything!!   I had a lot of jars, a lot of spray paint, and about 5 minutes – that’s all you need!

I used spray paint to paint the outside of my jars.  I first turned them upside down and painted them, then after they were dry, I turned them right side up and painted them.  I lightly sanded the letters – you could really go crazy on the sanding if you wanted to!

I found this cute wood box at the thrift shop and gave it a coat of spray paint as well.  I love that 3 jars fit perfectly in the box!

Since this is to be an indoor decoration,  I didn’t want to plant a real plant….because, well, I am not the best with real plants!!  I found these cute little greenish plants at Joann’s. 

 You should spray paint some jars today!! 

Amanda

More about the Chalk Paint Piano

I have had so many sweet comments about this fun chalk paint piano.  Several people have wondered where to purchase real Chalk Paint.  So, here is a little info about Chalk Paint: 

 Chalk Paint is actually a registered trademark of the paint Annie Sloan created in 1990.  The term seems to be used more loosely now as people have ways to make your own and I believe other stores carry similar products.

What is Chalk Paint?  It is called Chalk Paint because of it’s velvety smooth matte texture.  It is NOT chalkboard paint 🙂

Chalk Paint goes on amazingly well and covers great.  It’s really hard to explain how fabulous it is unless you just try it.  (no I am not getting paid to say this!)

Where to buy?  In my town, one of the antique booths at my antique mall sells the Annie Sloan Chalk Paint products.  If you feel you don’t have access to the paint, you can go to their website and order it.  Go to THIS website and click to find a retailer near you.

After I painted the piano, we used Annie Sloan’s Soft Wax with wax brush.  This is similar to a finishing wax.  It makes the piece of furniture feel amazing!  The piano feels like it has looked like this for 100 years!


Amanda