Gallery Wall Start to Finish

I love putting together gallery walls.  This is the last project I did for my friend’s home in Virginia.  Here is a step by step tutorial for creating one from laying out the frames to how to properly hang the frames. (The wall paint is Home Depot’s Behr Paint in Dolphin Fin)
Step #1 Gather your frames and play around with the layout on the floor.  
For this gallery wall I wanted different sizes, different shapes and different texture frames.  The trick to getting a good layout is to either have it perfectly symmetrical and all frames matching and squared up, or in this case, having none of the frames align.  I was careful not to have the frames line up ant the top, bottom, or in the center.  This picture is not the final layout!  Once you get your layout how you want it – take a picture of it so you can remember!

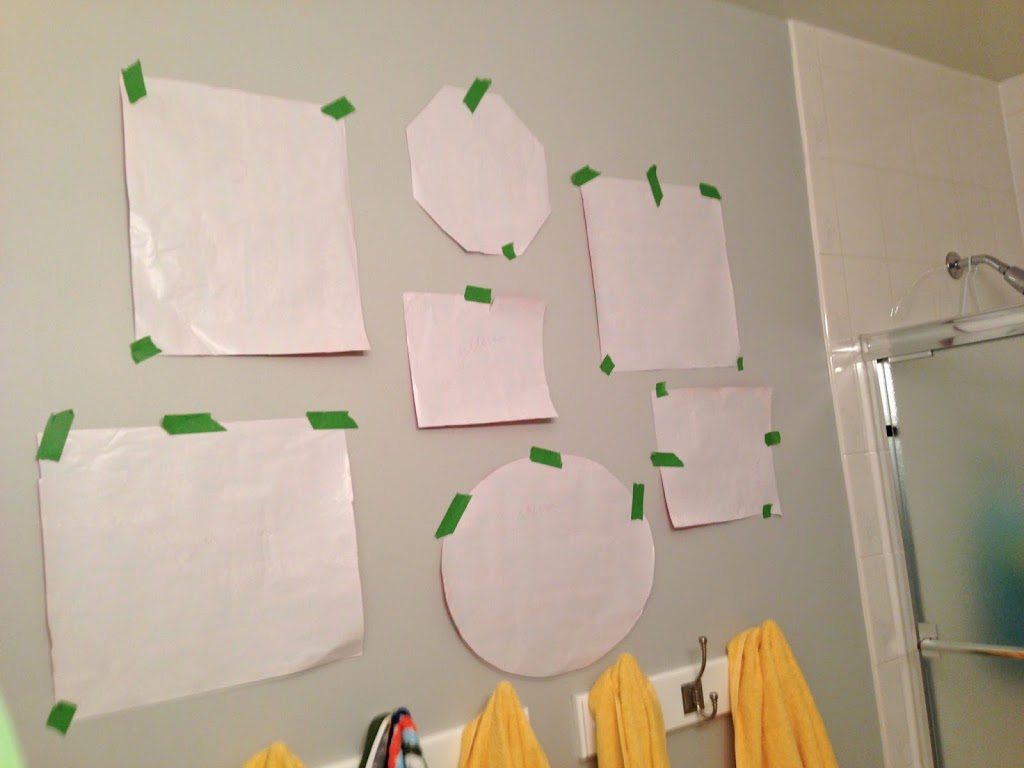
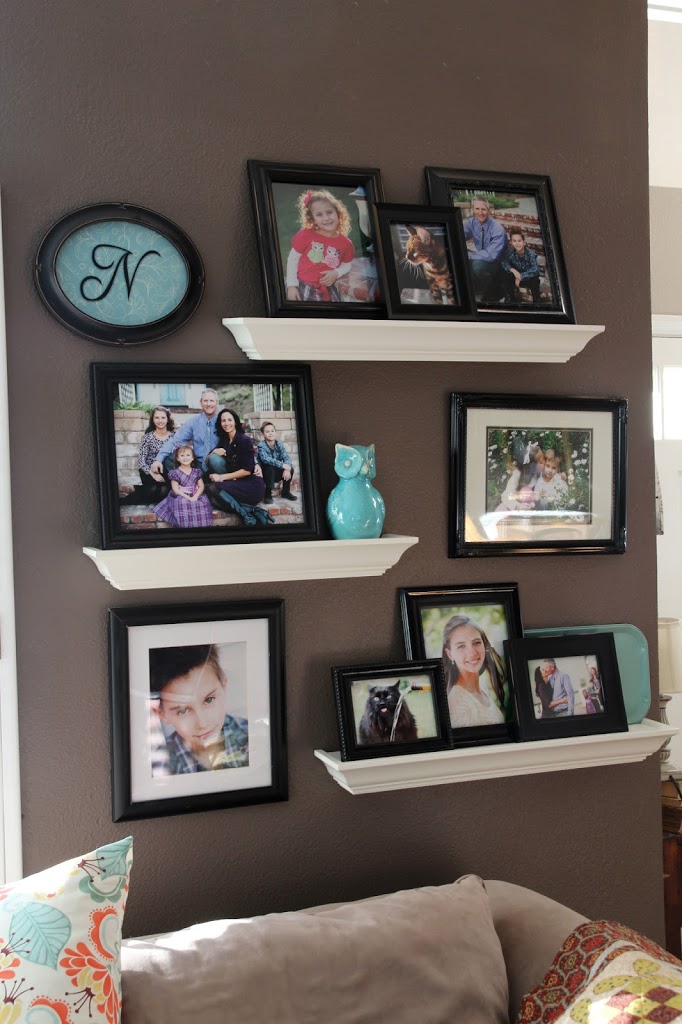
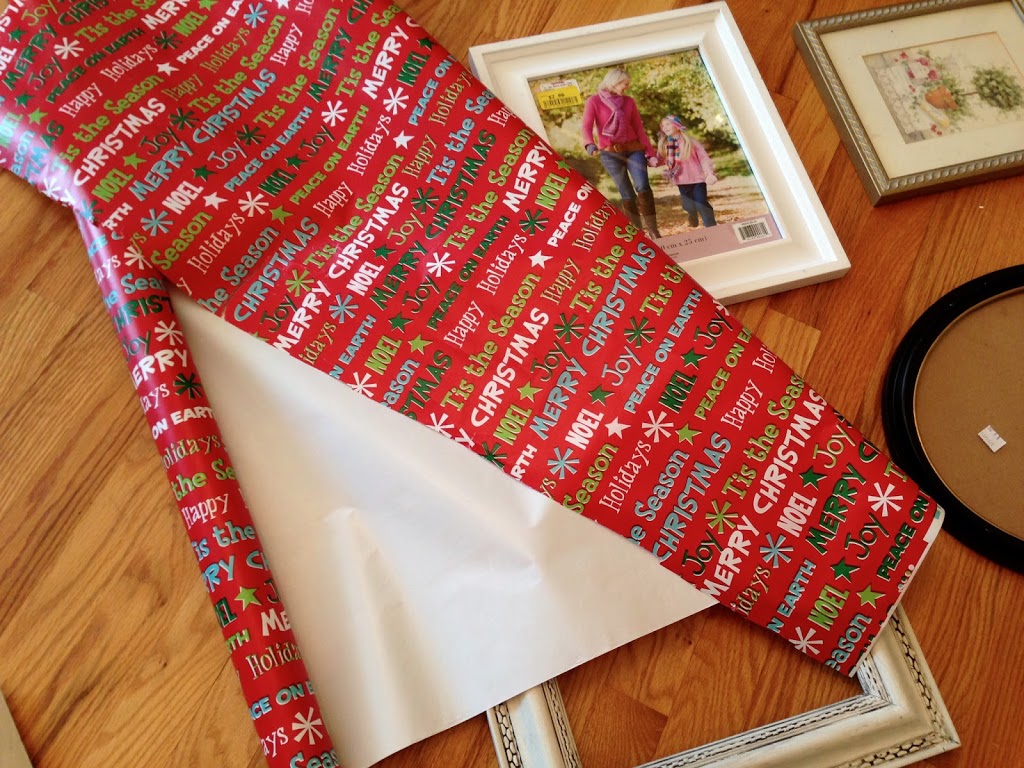
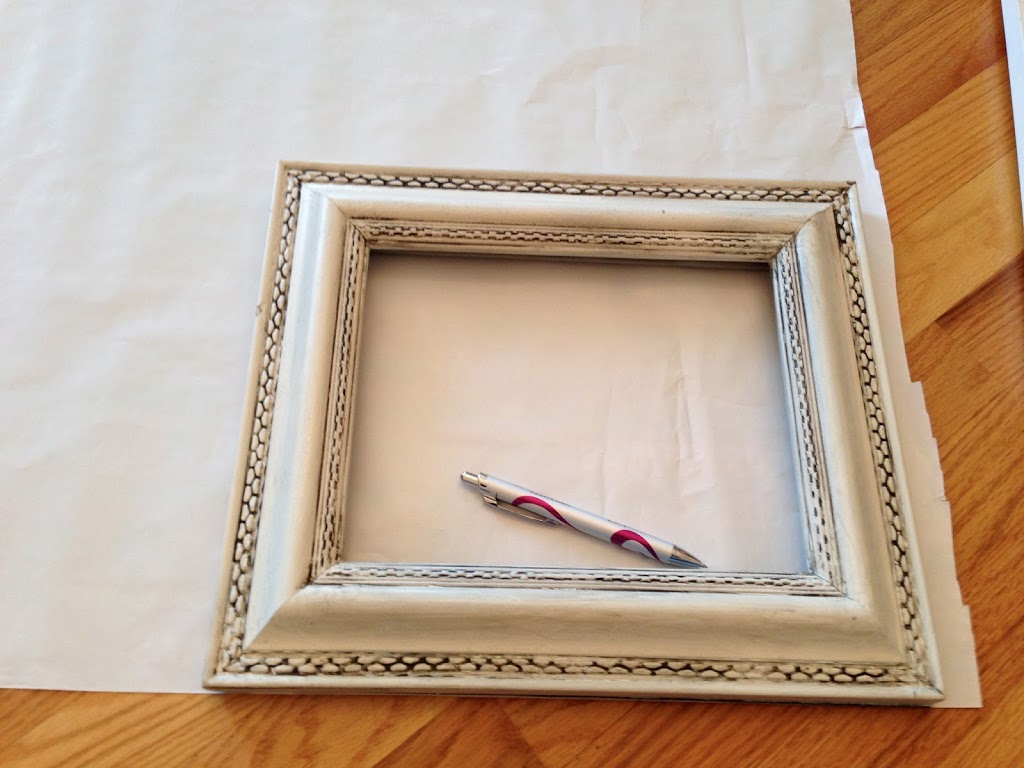
Step #2 Create Footprints
Get out your old wrapping paper and trace each frame to make a footprint to be arranged on the wall first.
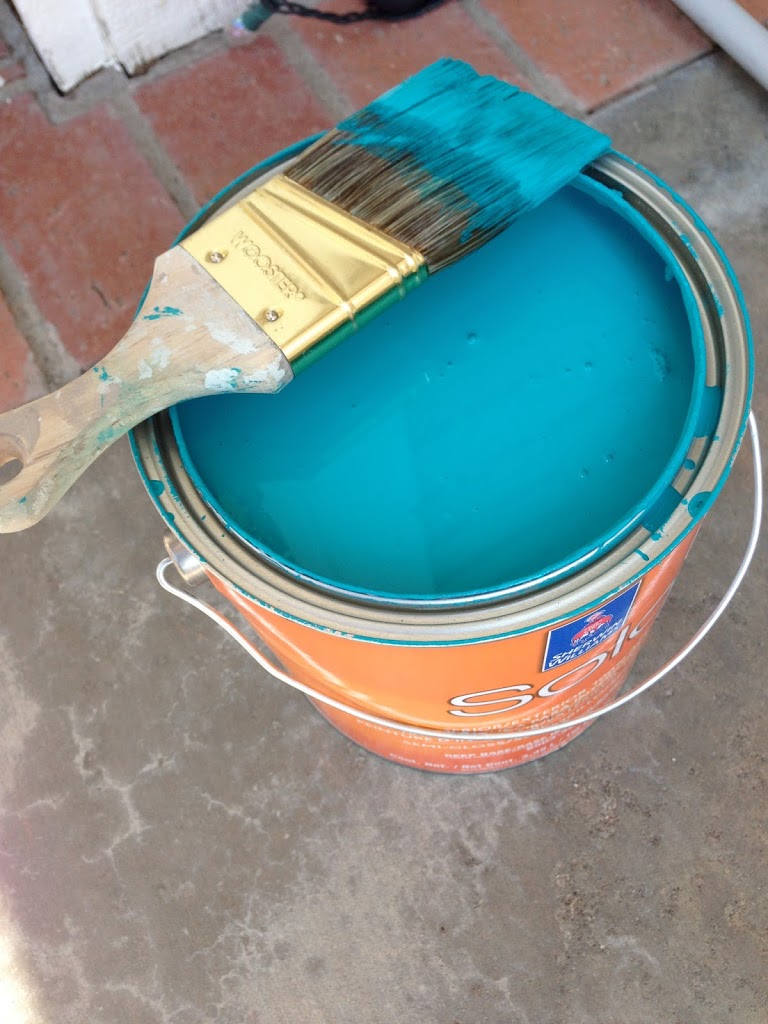
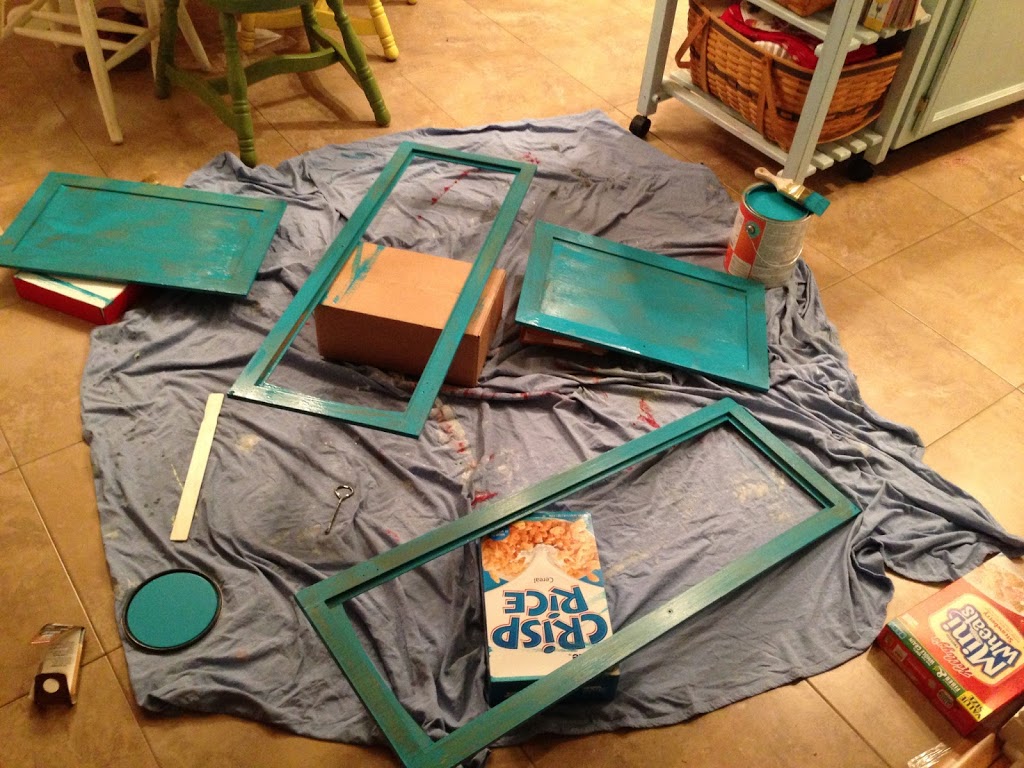
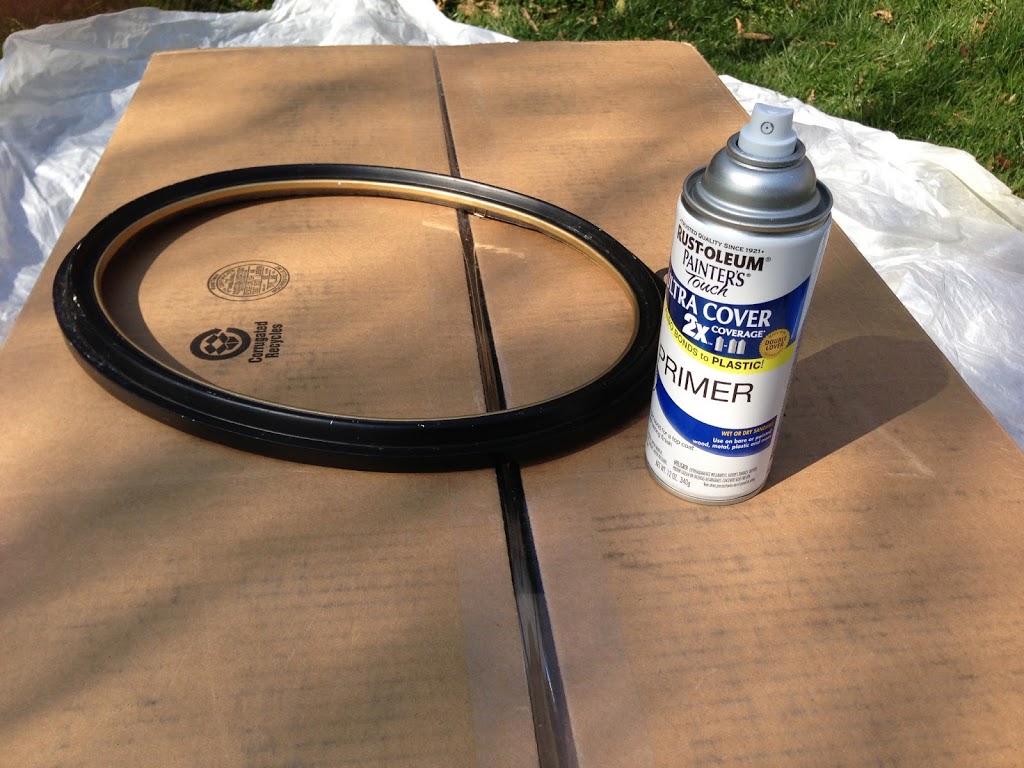
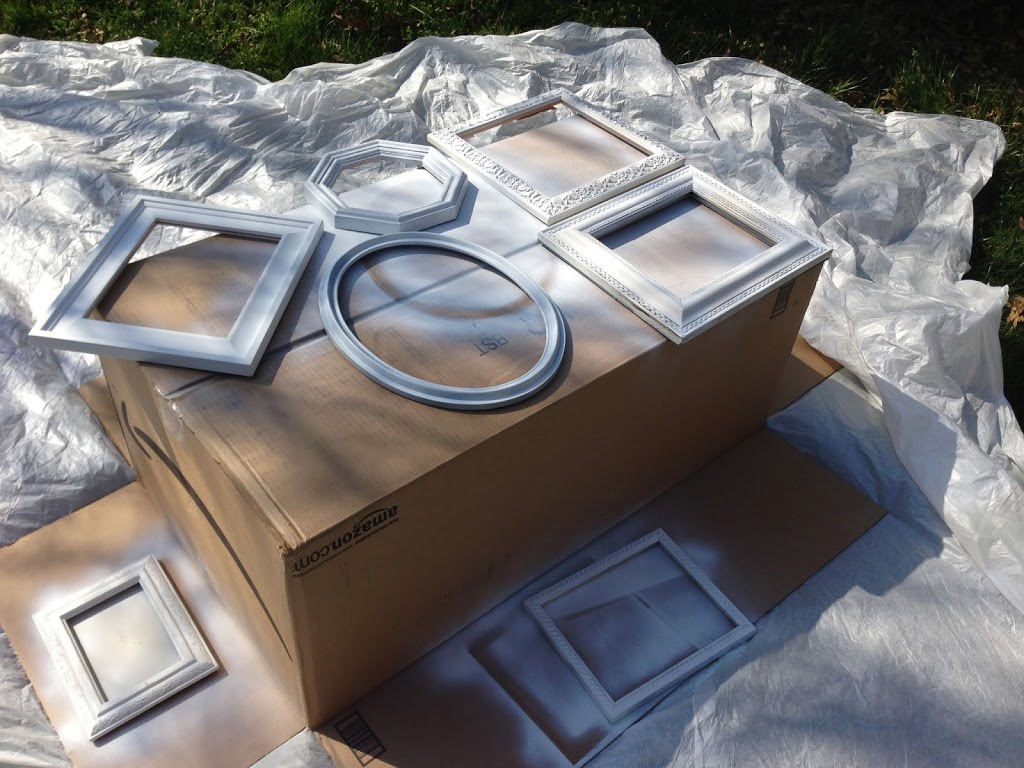
Step #3 Paint
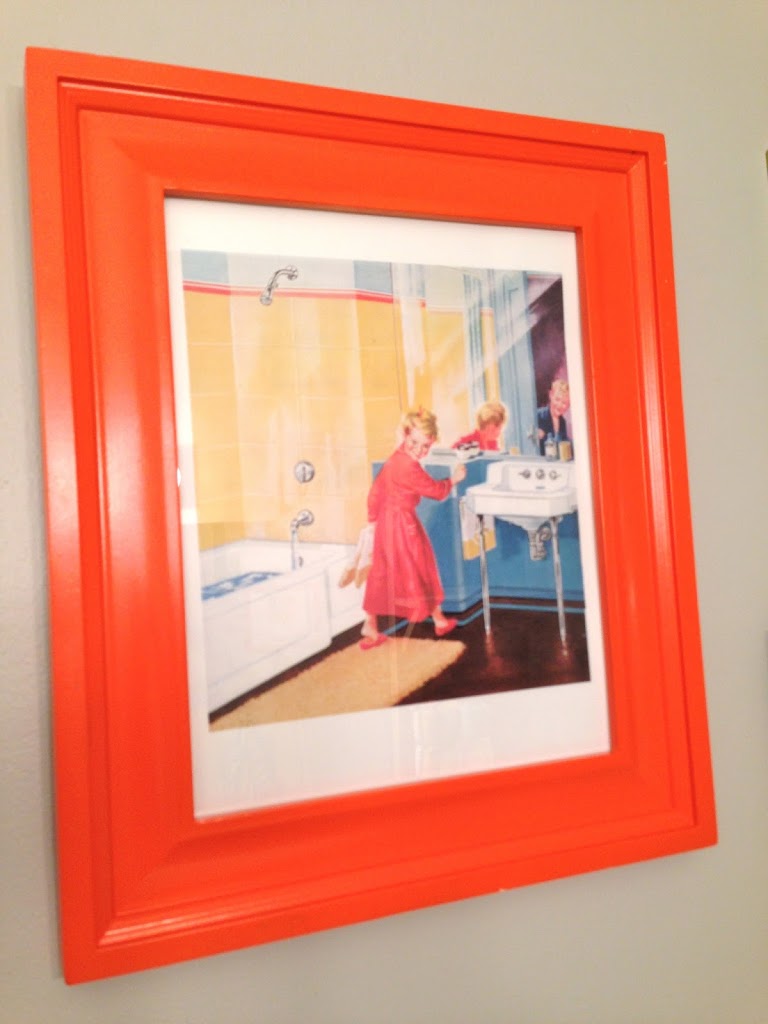
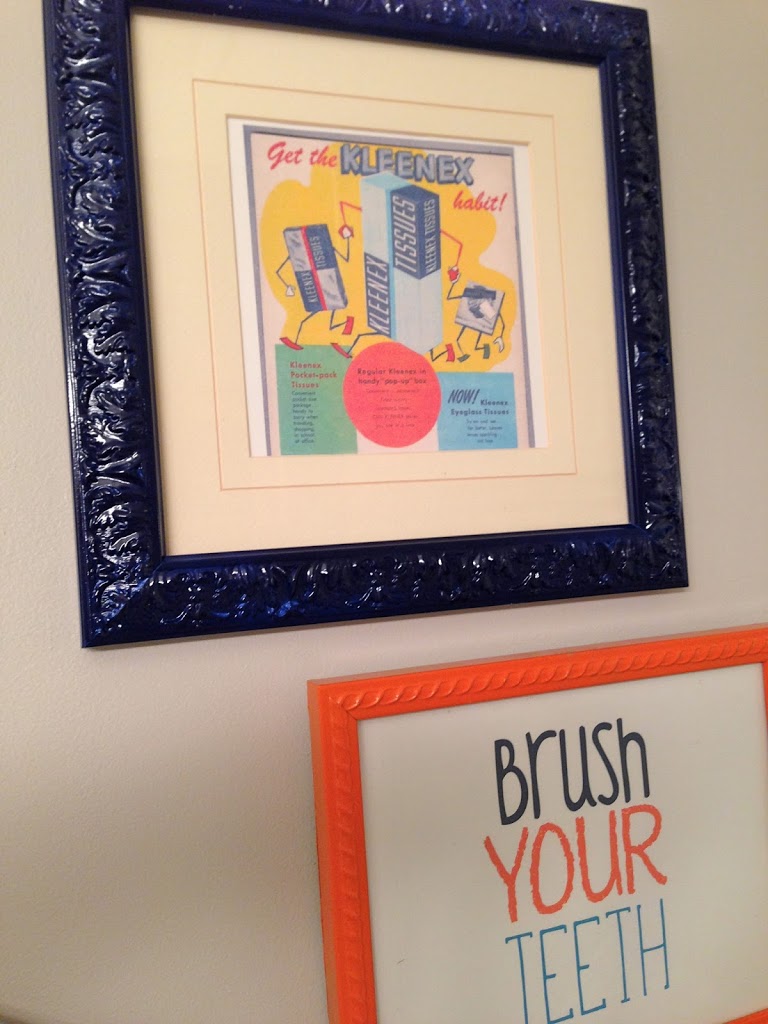
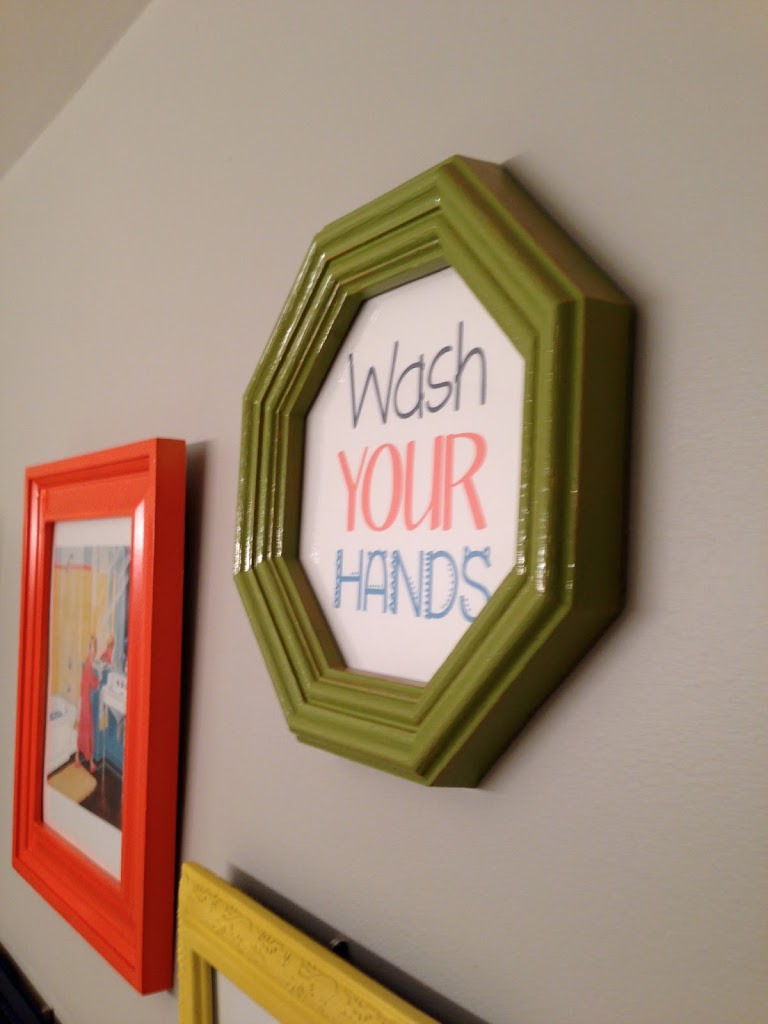
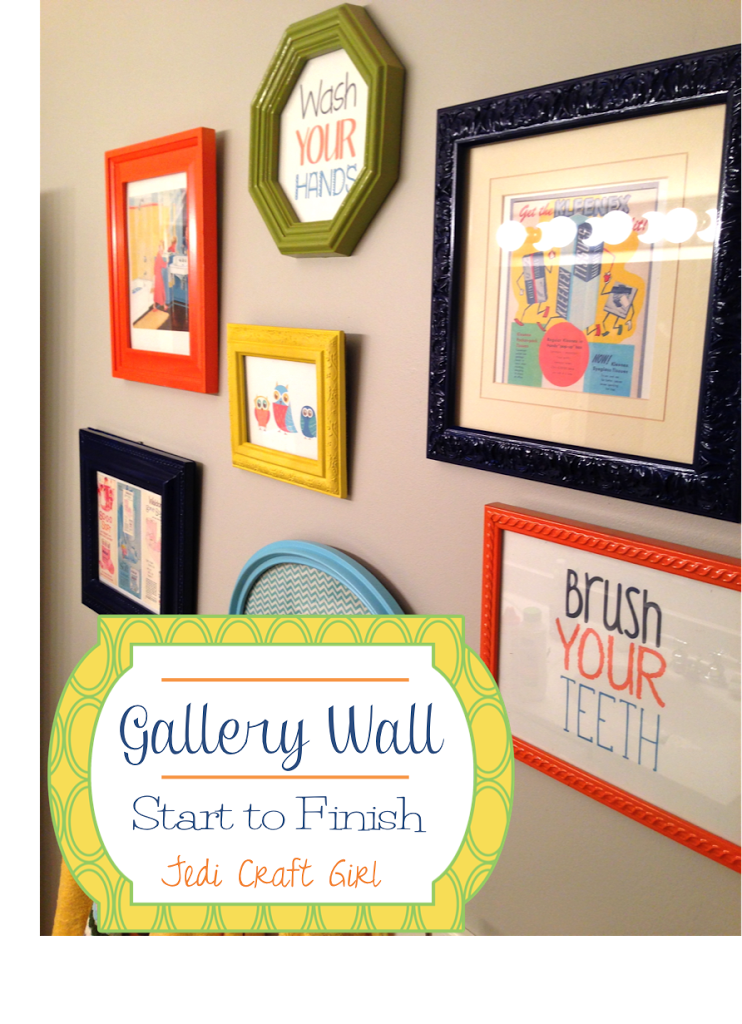
I get all my frames at garage sales and thrift shops.  For this bathroom, I had specific colors in mind to paint the frames: orange, green, navy, and yellow. I always use spray primer first.  It totally helps your paint go farther and cover better!

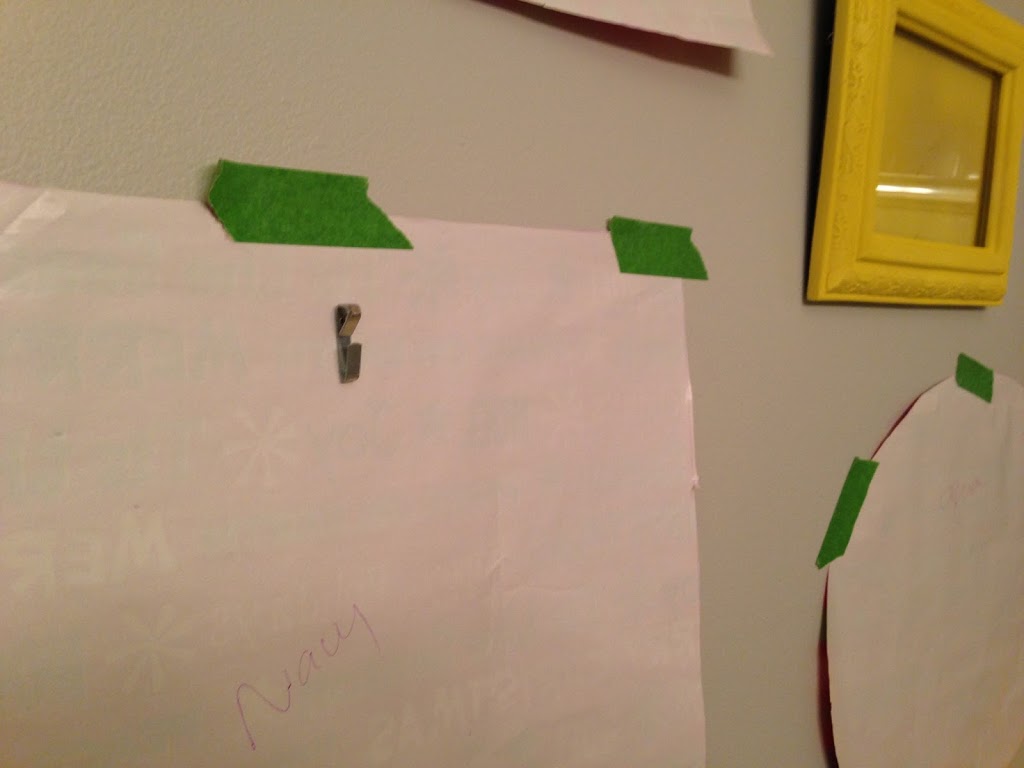
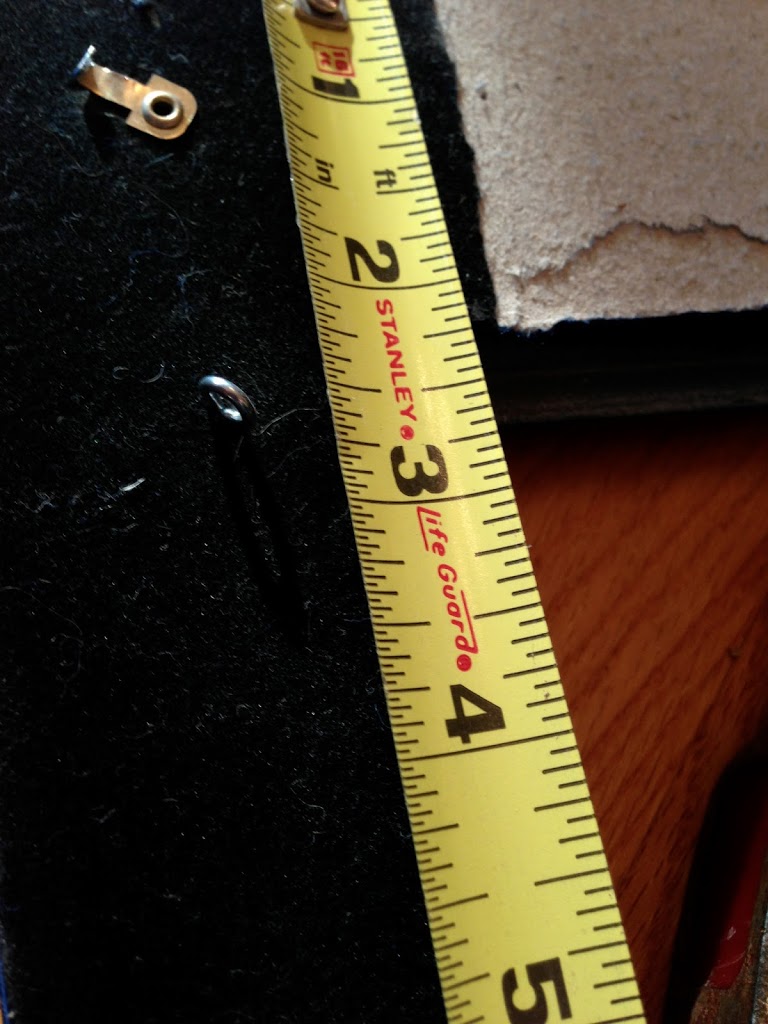
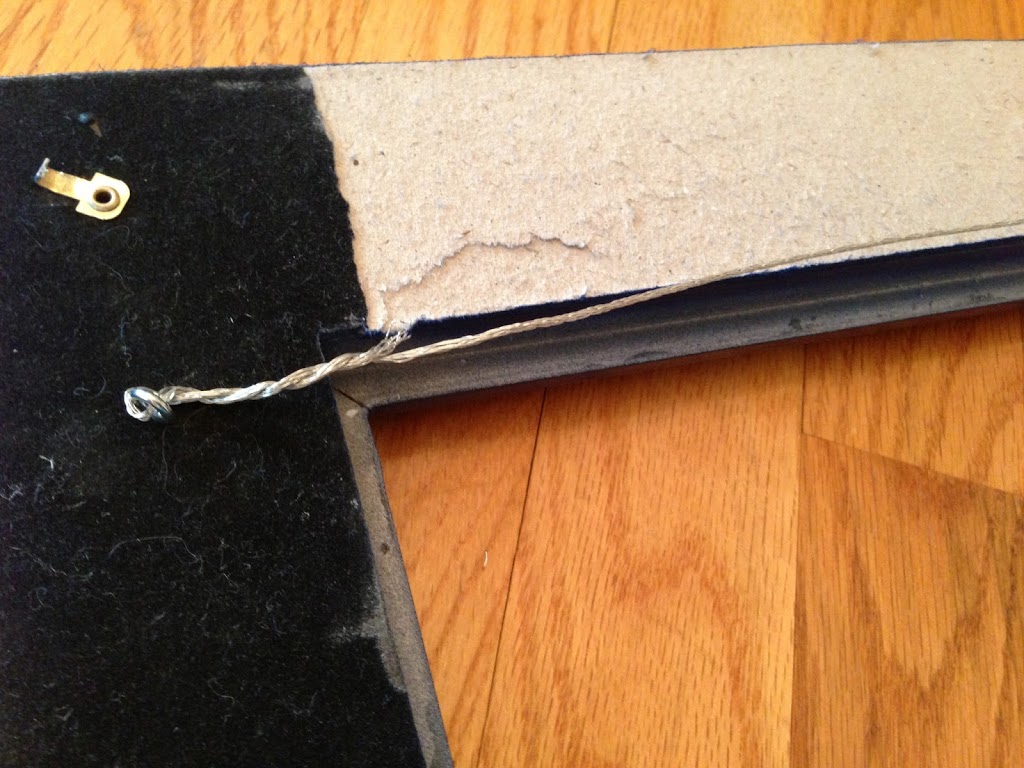
 Step #4 Attach Wire for Hanging
I took a picture framing class 14 years ago from a gal who framed art for the Smithsonian.  I have never forgot what I learned in that class!

It is best not to use this kind of hanger – it is too hard to get the picture to hang level.
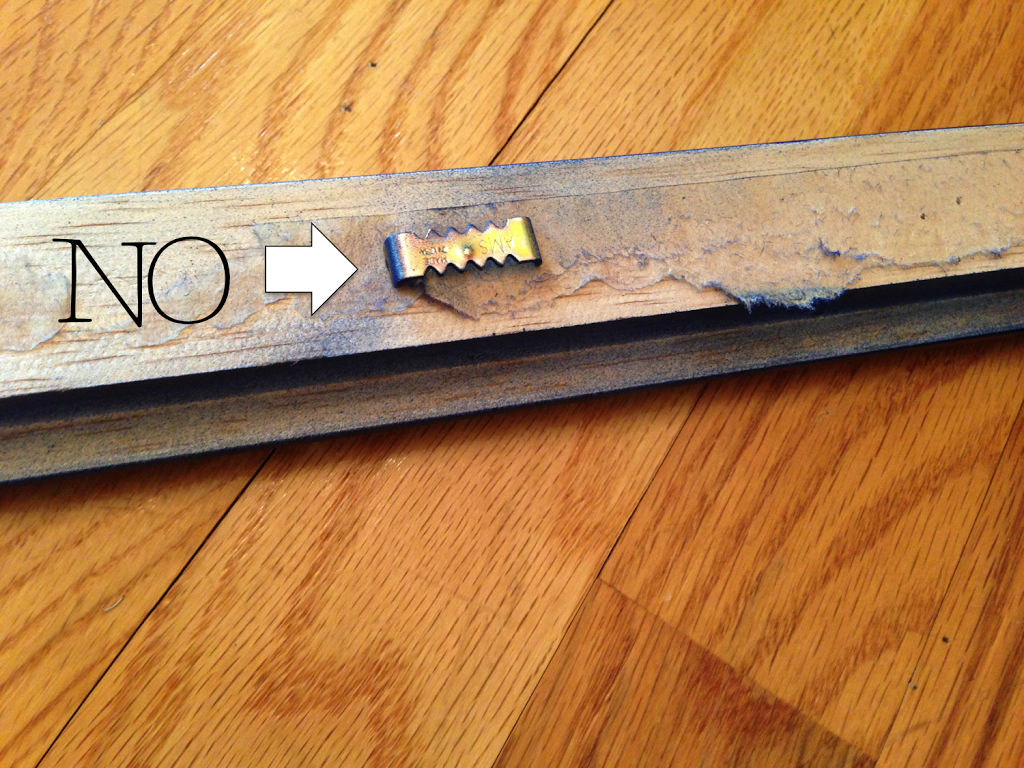
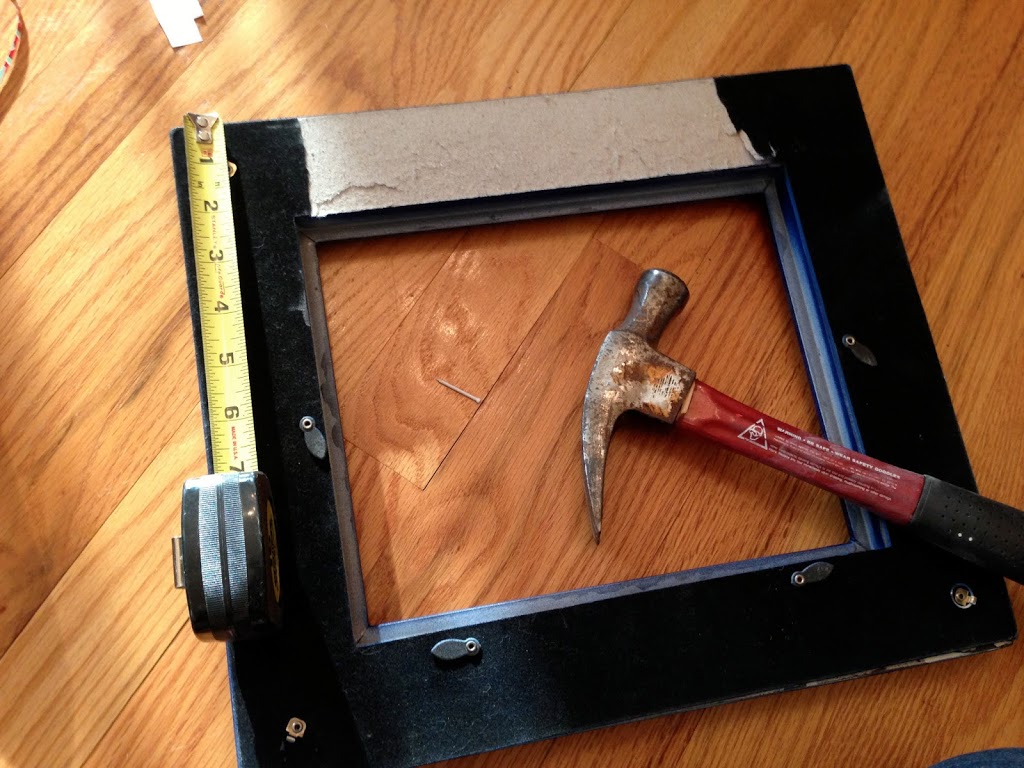
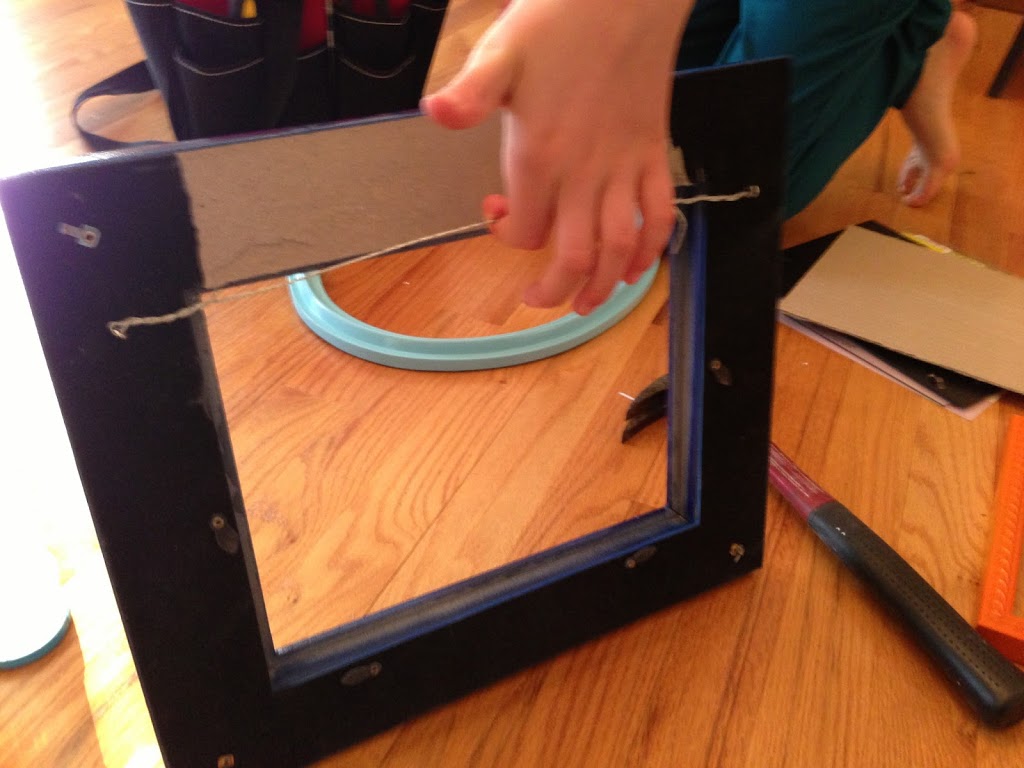
Instead, measure about 2.5″ to 3″ down (depending on the size of your frame) on both sides of frame.  Attach eye screws.  If it is hard to get the eye screws started, hammer a little nail hole first.

Cut a piece of picture hanging wire and loop it through both the eye screws, winding the excess around itself.
It’s ready to hang now!  What is nice about using wire is you can make adjustments to the height of your picture if you don’t get the nail in the right place and it will always hang level.

TIP
If your frame has a stand on the back, you must remove it or it will also hang funny because of an uneven weight distribution.  Take your pliers and rip the thing off!!
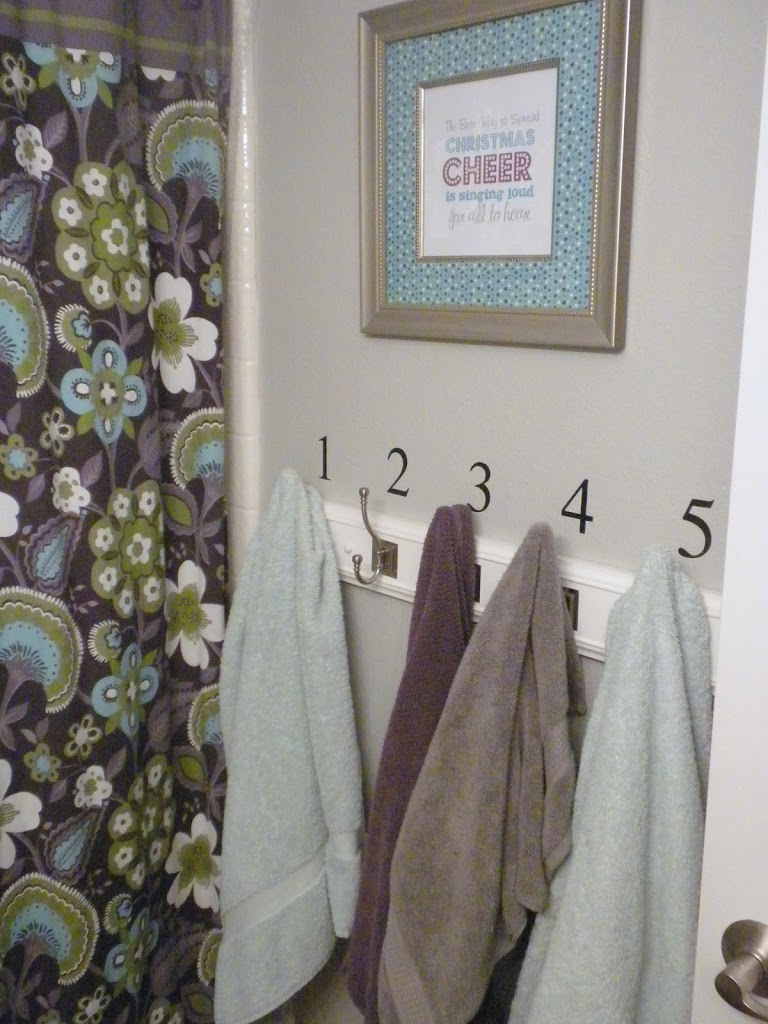
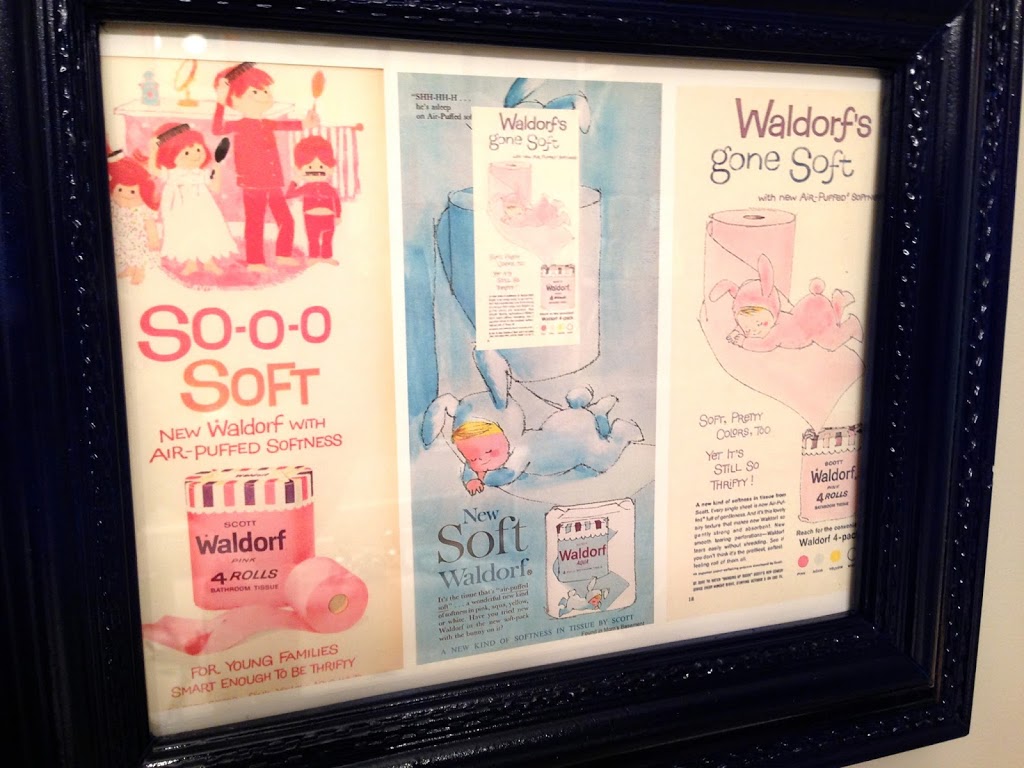
Step #5
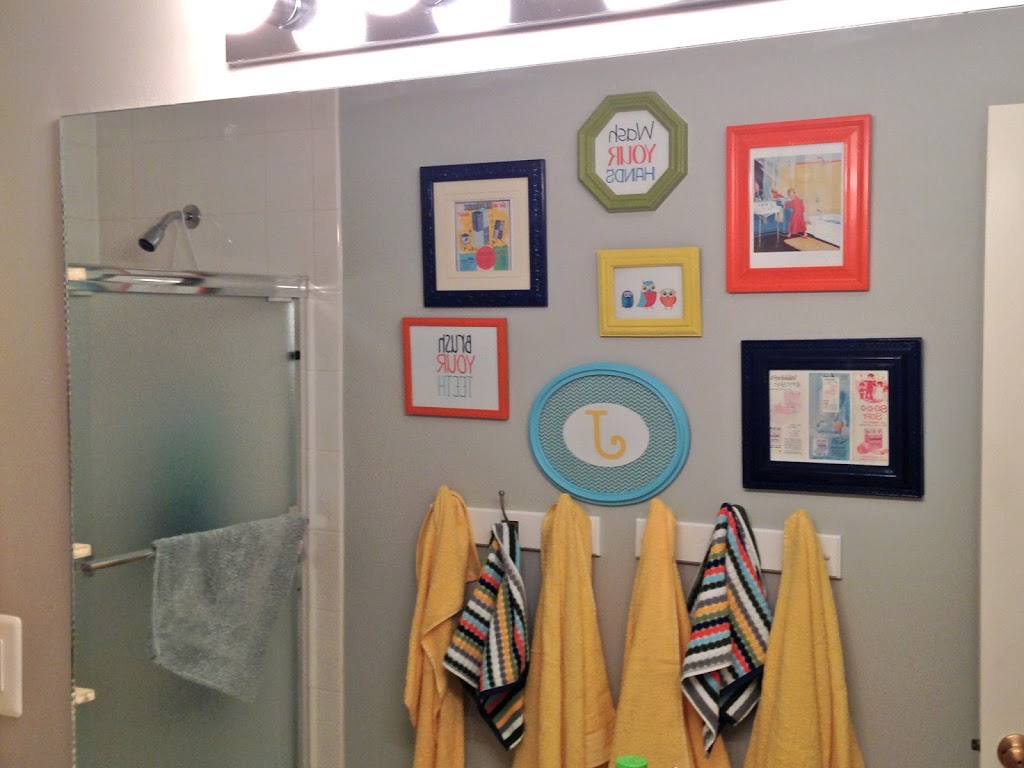
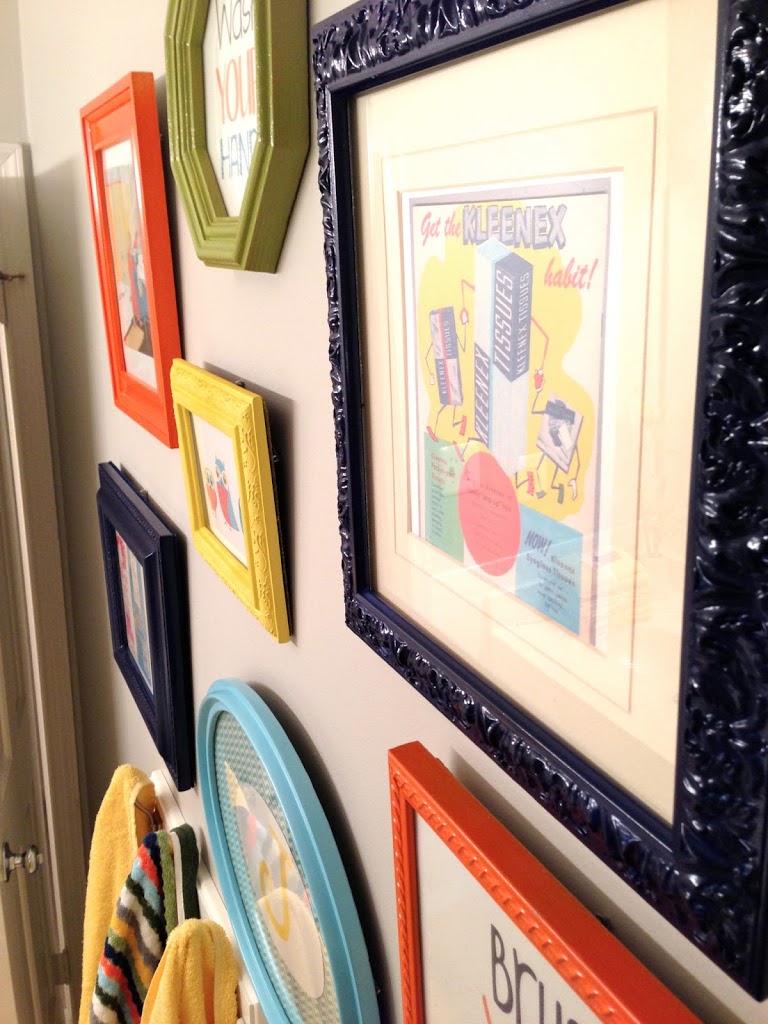
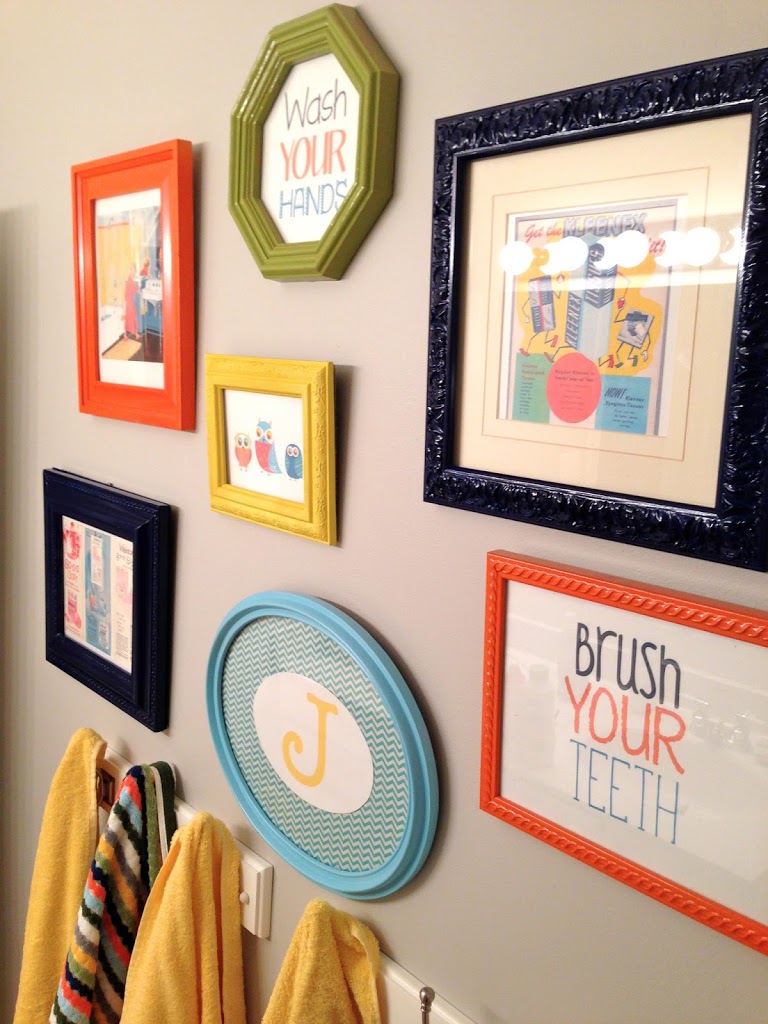
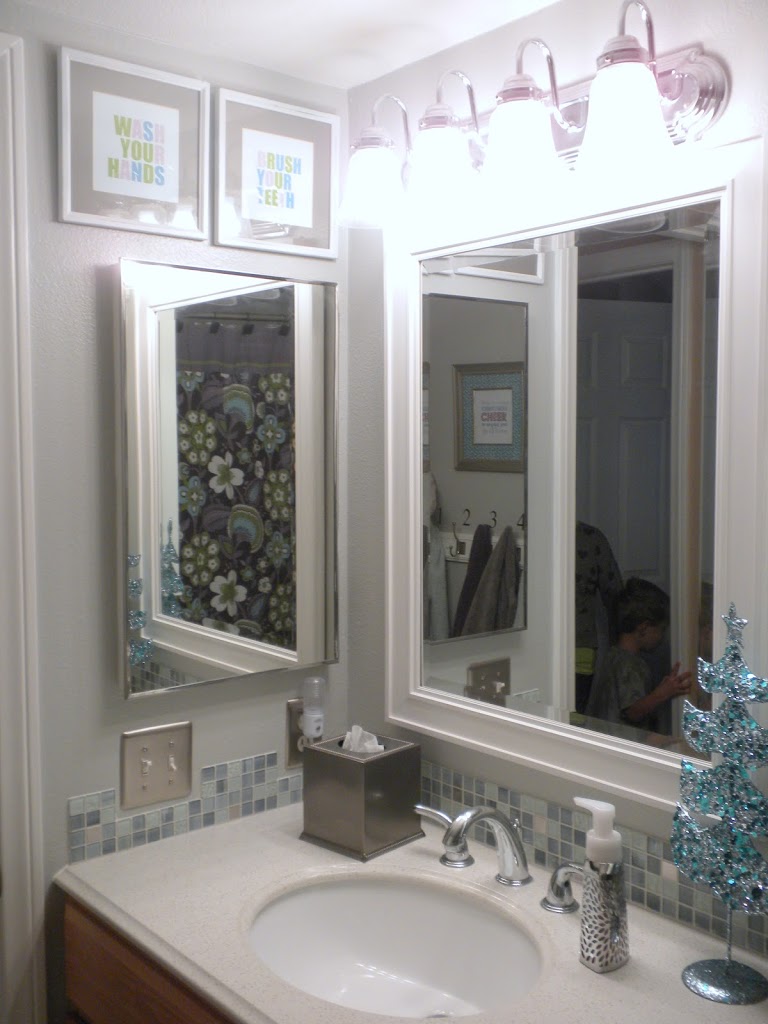
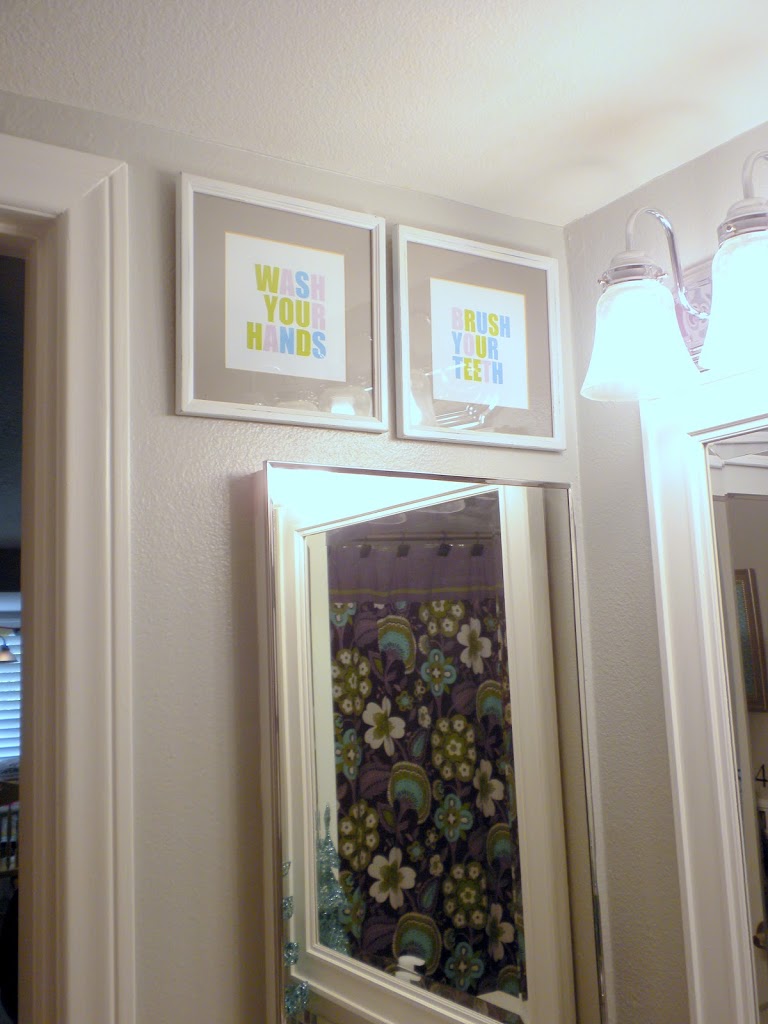
Clean the glass of each frame and place your art or photo in the frame.  For this gallery wall we choose some fun, retro bathroom prints.

This one is three Waldorf Toilet Paper Advertisements.

This one is a retro bathroom with a child brushing her teeth.

I found this retro Kleenex advertisement and it was in the colors of the bathroom!
Step #6 Tape the footprints to the wall with painters tape
This is important because you get a good feel of how it is going to look.  I actually ended up changing a few frames around from my original design.
Step #7 Use picture hanger nails
I hammered my picture hangers into the wall through the paper so I knew it would be perfect.
 
Step #8 – Hang your frames & admire!
You’re done!  I love how this one turned out!! 

Amanda

Chalk Paint Piano

 Have you seen those darling pictures of painted pianos on Pinterest?  I love how they look – but who in their right mind would paint their piano????  While I was visiting my friend out in Virginia she told me she wanted me to paint her piano….gasp!!!  All I could think about was how I was not going to get paint on the keys, in between the keys, and how was I going to paint around all the intricate parts of a piano.  The best way to deal with your fears is to face them.  And so I did!!!
Here is the piano before.  When she told me it was free, I started feeling better.  Like, even if I mess it up, she’s not really out much money!
The first choice in the right direction was using Annie Sloan Chalk Paint.  This made all the difference in this piece.  It goes on like a dream, you don’t need to prime, and it has that old look which we wanted on the piano.  This quart of paint was just enough for 2-3 coats on the piano.

 The piano needed 2 coats and a light third coat.  I did it in one day.  I brought in a fan to help the paint dry faster.  I didn’t tape anything off.  I used a really good edging brush and was careful not to get it on the keys or drip in between the keys.

Here is the finished product:  It completely changed the look and feel of the room!!


 I lightly sanded the edges so some of the dark color would show through a little.  I didn’t distress it too much.  When the paint was completely dry, I went over it with Annie Sloan Soft Wax and applied it with the wax brush.  The Soft Wax is amazing!  It gives furniture such a warn, homey feel.  It feels like the piano has looked like this for 100 years.  It is hard to explain how great the wax is, you just have to try it!

We had fun decorating the top of the piano.  I dug this old painting out of her basement that she bought for the frame.  I love it!  The two fancy ladies sitting around the piano – who has a painting like this these days!

 We added the yellow chair for a little pop of color.


What do you think?  Are you ready to paint your piano?


Amanda

Painted Armoire


 I bought this armoire on Craig’s List on Saturday.  I needed something for my 5 year old’s room – the mess is out of control in there!  I paid $125 for it – she originally wanted $200 so I felt like it was a pretty good deal.  (I am used to garage sale prices!!)  The armoire was from an antique store in Beverly Hills – sold!! 

I got it home and immediately sanded it and painted it…in the dark!  I might be the world’s most impatient person!
 
By Monday morning 3 coats of paint had been applied.

I decided to distress it a touch.  I like the “shabby” feel of it.  I love the detail of the flowers – perfect for the princess Rapunzel room!!

 When I was done with the distressing, I rubbed Minwax Finishing Paste on it – it’s my FAVORITE way to finish furniture.  I love the feel it gives it!


 It is hard to photograph in my daughter’s room – but we got it all moved in last night – yea!!!


Amanda

Paint Update

My painting is done!  I ended up painted half the downstairs.  It is hard to photograph paint so it shows up true to color.  This is pretty close.
The entry way (below) is Sherwin-Williams Perfect Greige.  (can you guess my next major project?  The staircase and banister….ugh!)
 More Perfect Greige

 The dining room/living room is Sherwin-Williams Garret Gray.  It is similar to what I had before, just a hint more toward the greige.


Amanda

Painted Tea Cabinet

 I have been wanting to paint this cabinet for quite some time.  I can’t believe I finally did it!

 This is how it looked before.  It was stained one color.  Enter in Sherwin-Williams “Splashy”.  Only my new favorite color!

I decided to tackle this project at 10pm Saturday night.  That’s just how I work.  I took the doors off the hinges and lightly sanded – I mean LIGHTLY sanded.  This piece does not get a lot of wear.  I didn’t even prime (gasp).  I wanted some wood showing through.
 (Do you like the cereal boxes used to hold the doors off the floor!)
After it was painted I rubbed a walnut stain on the painted parts and then quickly wiped it off.  It took the “Splashy” down a notch and made it look a little more vintage.


 I bought some glass knobs which give it just the right touch.

 I added wallpaper to the back of the cabinet.  I cut the wallpaper to fit the dimensions on my rotary cutter.  I followed the manufacturers instructions on adhering the wallpaper.  It was quick and easy.

 
Whose ready for a tea party?

Amanda

More painting with Marbles the Bengal Cat

 OK enough of the cat pictures….I know!  Today was one more painting day and Marbles was ever so fascinated with the ladder.  He would climb to the top and not know how to get down!  Hopefully I can get things put back together and take some pictures of the paint!

Amanda

Painting with a Bangle Cat

I have been painting my entry way and dining/living room.  I guess Marbles the Bangle cat likes paint or something because he won’t stay out of it!  He follows me around, puts his paws in the wet paint and tries to catch my paint brush!

Here he left a perfect paw print on the chair.  My kids begged me to leave it there!

 This looks like fun!  Oh – and Marbles loves to climb ladders!  I have scratch marks all down my neck from where he used me as an extension of the ladder to get in the tall window.  More painting today!!  I had to get hubby to help with the big giant ladder!

Amanda

3-Day Weekend

 What’s better than a 3-day weekend and 2 gallons of paint!!  Well, I am sure there are better things (I am thinking of a few right now and they all involve fabric).  I am just excited to paint my entry way after months of looking at paint samples.


I went with Sherwin-Williams Perfect Greige.  Right now if you go to their website there is a 25% of total purchase coupon!!  I feel like the color might be a cop-out and not super creative and different.  I have a lot going on in my house and I need the walls to be more of a backdrop.  We’ll see!!  Now I’m off to spackle!

Amanda

My Red Kitchen Has Got To Go!!


Welcome to the Jedi Craft Girl blog!  I am entering this post in the Creating with the Stars contest from East Coast Creative.  It’s such an exciting contest and there are so many amazing applicants!!
  
I have lived in my Southern California tract home built in 1989 for the past 9 years.  When we moved in I painted my kitchen red – Tomato Red to be exact.  Lots of things change in nearly a decade and the kitchen had to go.  Unfortunately, living in California is not cheap and neither are renovations.  It was left to me, my paint brush, and thrifty mind to fix this place up.
This is the after.  Ahhhhhh… just a sigh of happiness when I look at this photo! 
It’s amazing how big the kitchen feels now just by changing the colors.

 I removed all the cupboard doors, sanded, primed, and painted and painted and painted white.  Then I sanded and distressed the doors and frames so some of the red would show through.

For the pantry doors, I applied paintable textured wallpaper to the insets and painted them red then aqua.  A light sanding and you can see how the red shows through the detail of the wallpaper – love it!!!  (Click Here for the full details of that project)

 
I found this kitchen table on Craig’s List for $25. Whoo Hoo! It was honey oak.  I did a chalk paint treatment in white (click here for those details).   The chairs were given to me by a friend.  Four cans of spray paint in four different colors = HAPPY!!
Next up, a rolling cart I found on the side of the road.  I wheeled it home a half mile while on a walk.  Several coats of paint, distress, electric sander to the top and some custom mixed stain and now I have the perfect place for my Pyrex collection!
I love my big kitchen window.  I found this vintage looking fabric and sewed a pleated curtain with red pom-pom trim.  I nail-gunned it to a board then to the ceiling.   It gives it the perfect airy look.  I hung the custom hook board above and now I can display my vintage Strawberry mugs.


Sometimes I think my kitchen is too cheerful and colorful – like there should be a birthday party going on everyday in there!  But then I think – “What could be better!!”

Amanda

Guest Bathroom Finished!

 Welcome to my new guest bathroom!!  Finished moments before my whole family arrived for Thanksgiving!!!  It’s a small bathroom & hard to photograph 🙂

 The new vanity is Hickory.  We got rid of the 1989 banjo style vanity & counter top!  There was much celebration when that thing went in the garbage can!!

 I love the 1″ tile backspalsh.  There are different textures in the tile & every few often there is a stainless steel square!

 Of course I got to go shopping & get new towels!  That is the reward for all the hard work!

 I wanted something Christmas-y in the bathroom but I wanted to stay true to my new color pallet.  So I made this Elf saying picture – cute!

 The towel rack has been in the bathroom for years.  But I finally got smart and numbered them.  I hated not knowing whose towel was whose.  Now I know Ryan is #1 Sally choose #5 and guests are #3 and #4!!

 I purchased 5 different items to hang above the toilet.  A funky wire basket, a different shelf with doors, a big basket towel holder thing and this.  After holding them all up – I choose this mirrored cabinet from Lowe’s.

 I feel so happy every time I walk in there!!!