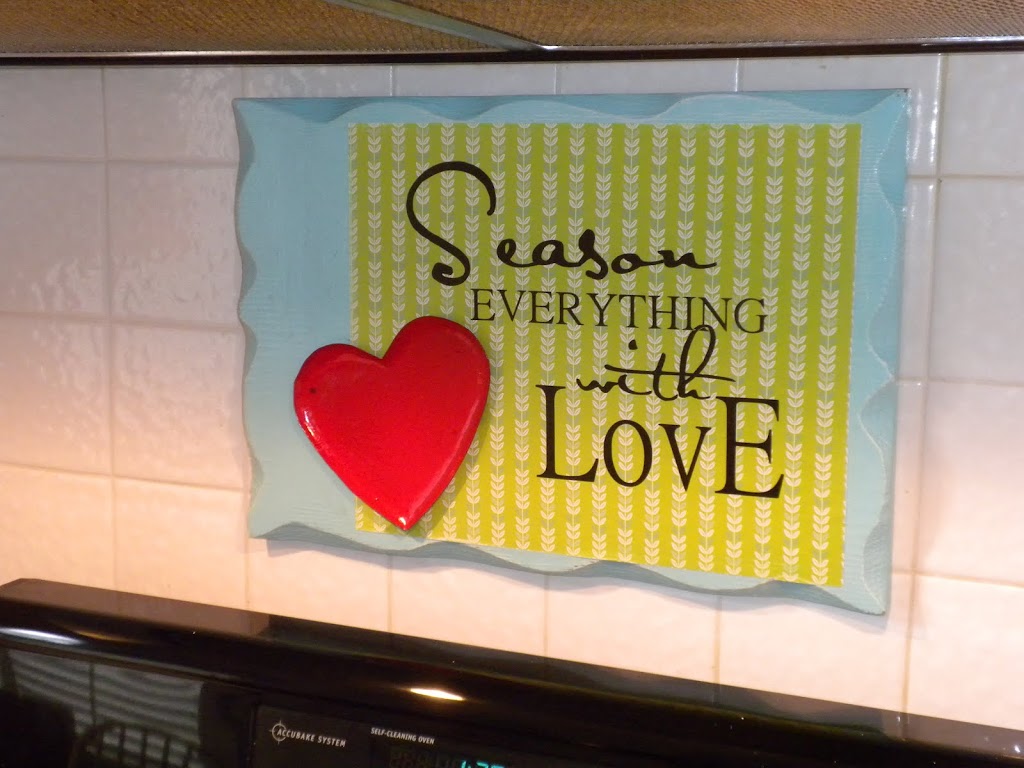
I needed something different to hang above my stove. It was cold and rainy and I didn’t want to go to the store – so I went shopping in my garage! This is what I came up with:
I bought this board at a garage sale for 50 cents. It was white and dirty. I cleaned it up and painted it aqua. I had some scrapbook paper, glued it on. The cricut was next. I love this font – it is actually Taylor Swift’s signature font! Cute! I found this metal heart in a box of junk. It was dark metal – from the days of rustic, dark metal things! Painted it apple red and epoxied it on! Yea! Happy! I love paint!