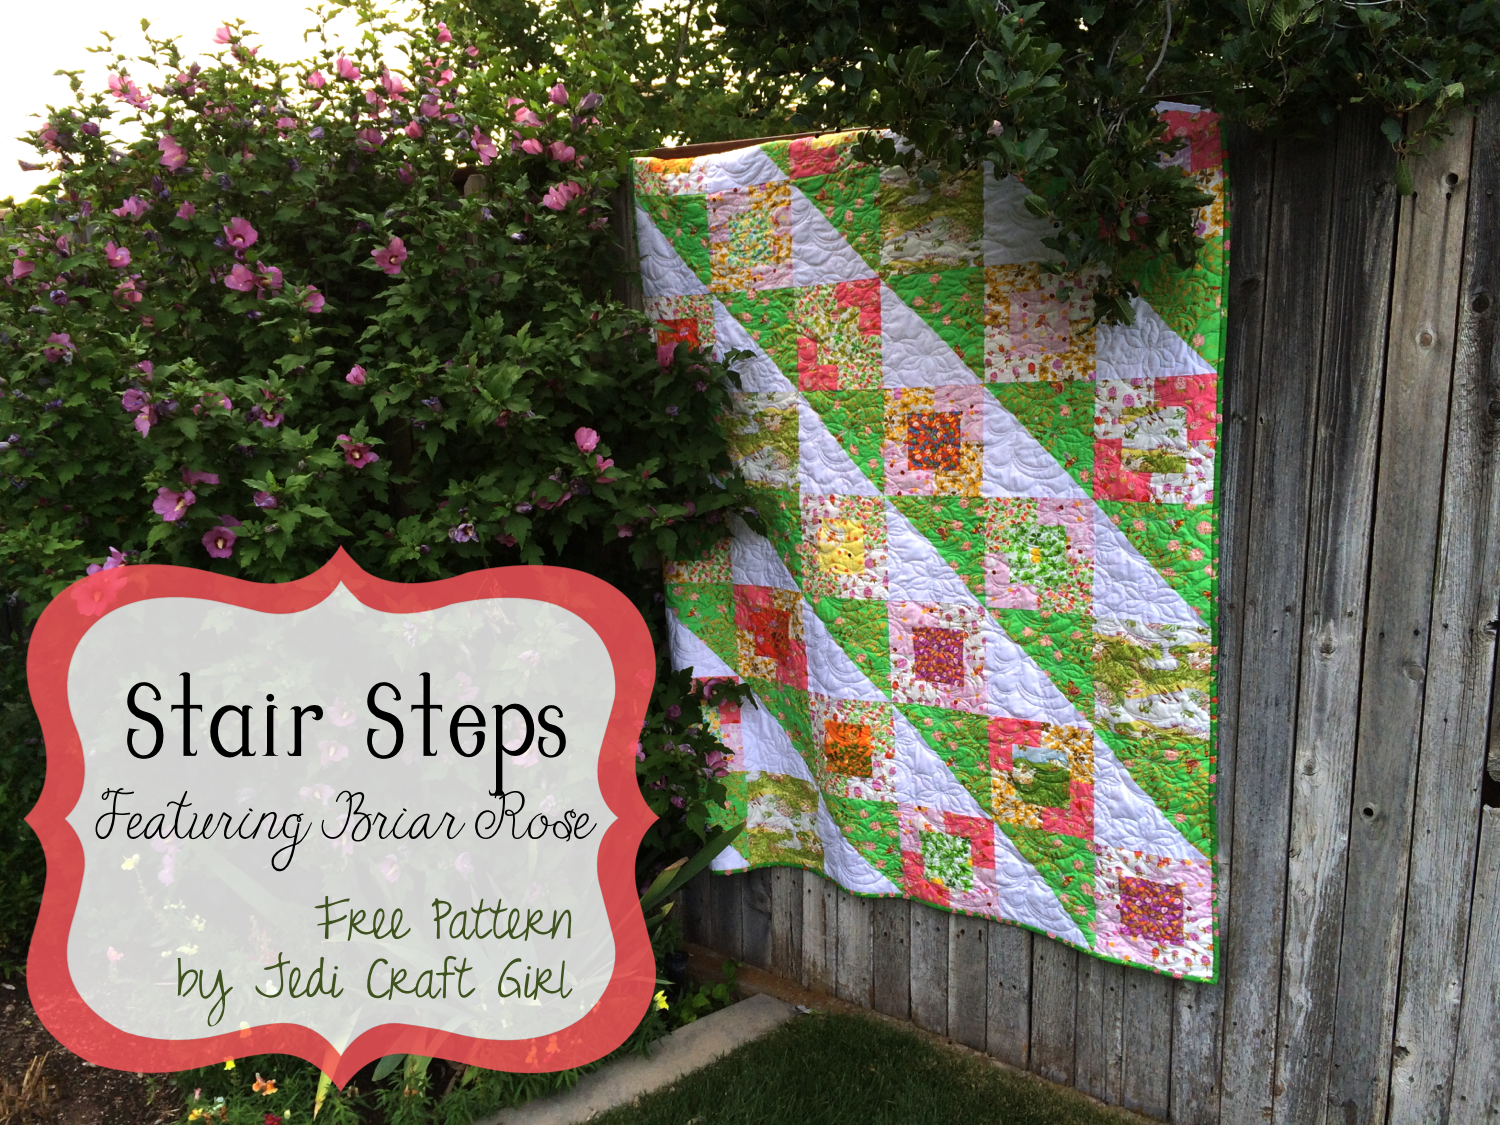
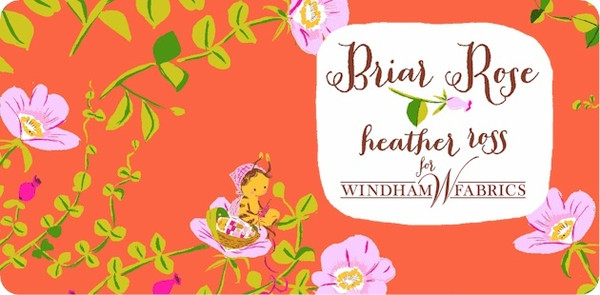
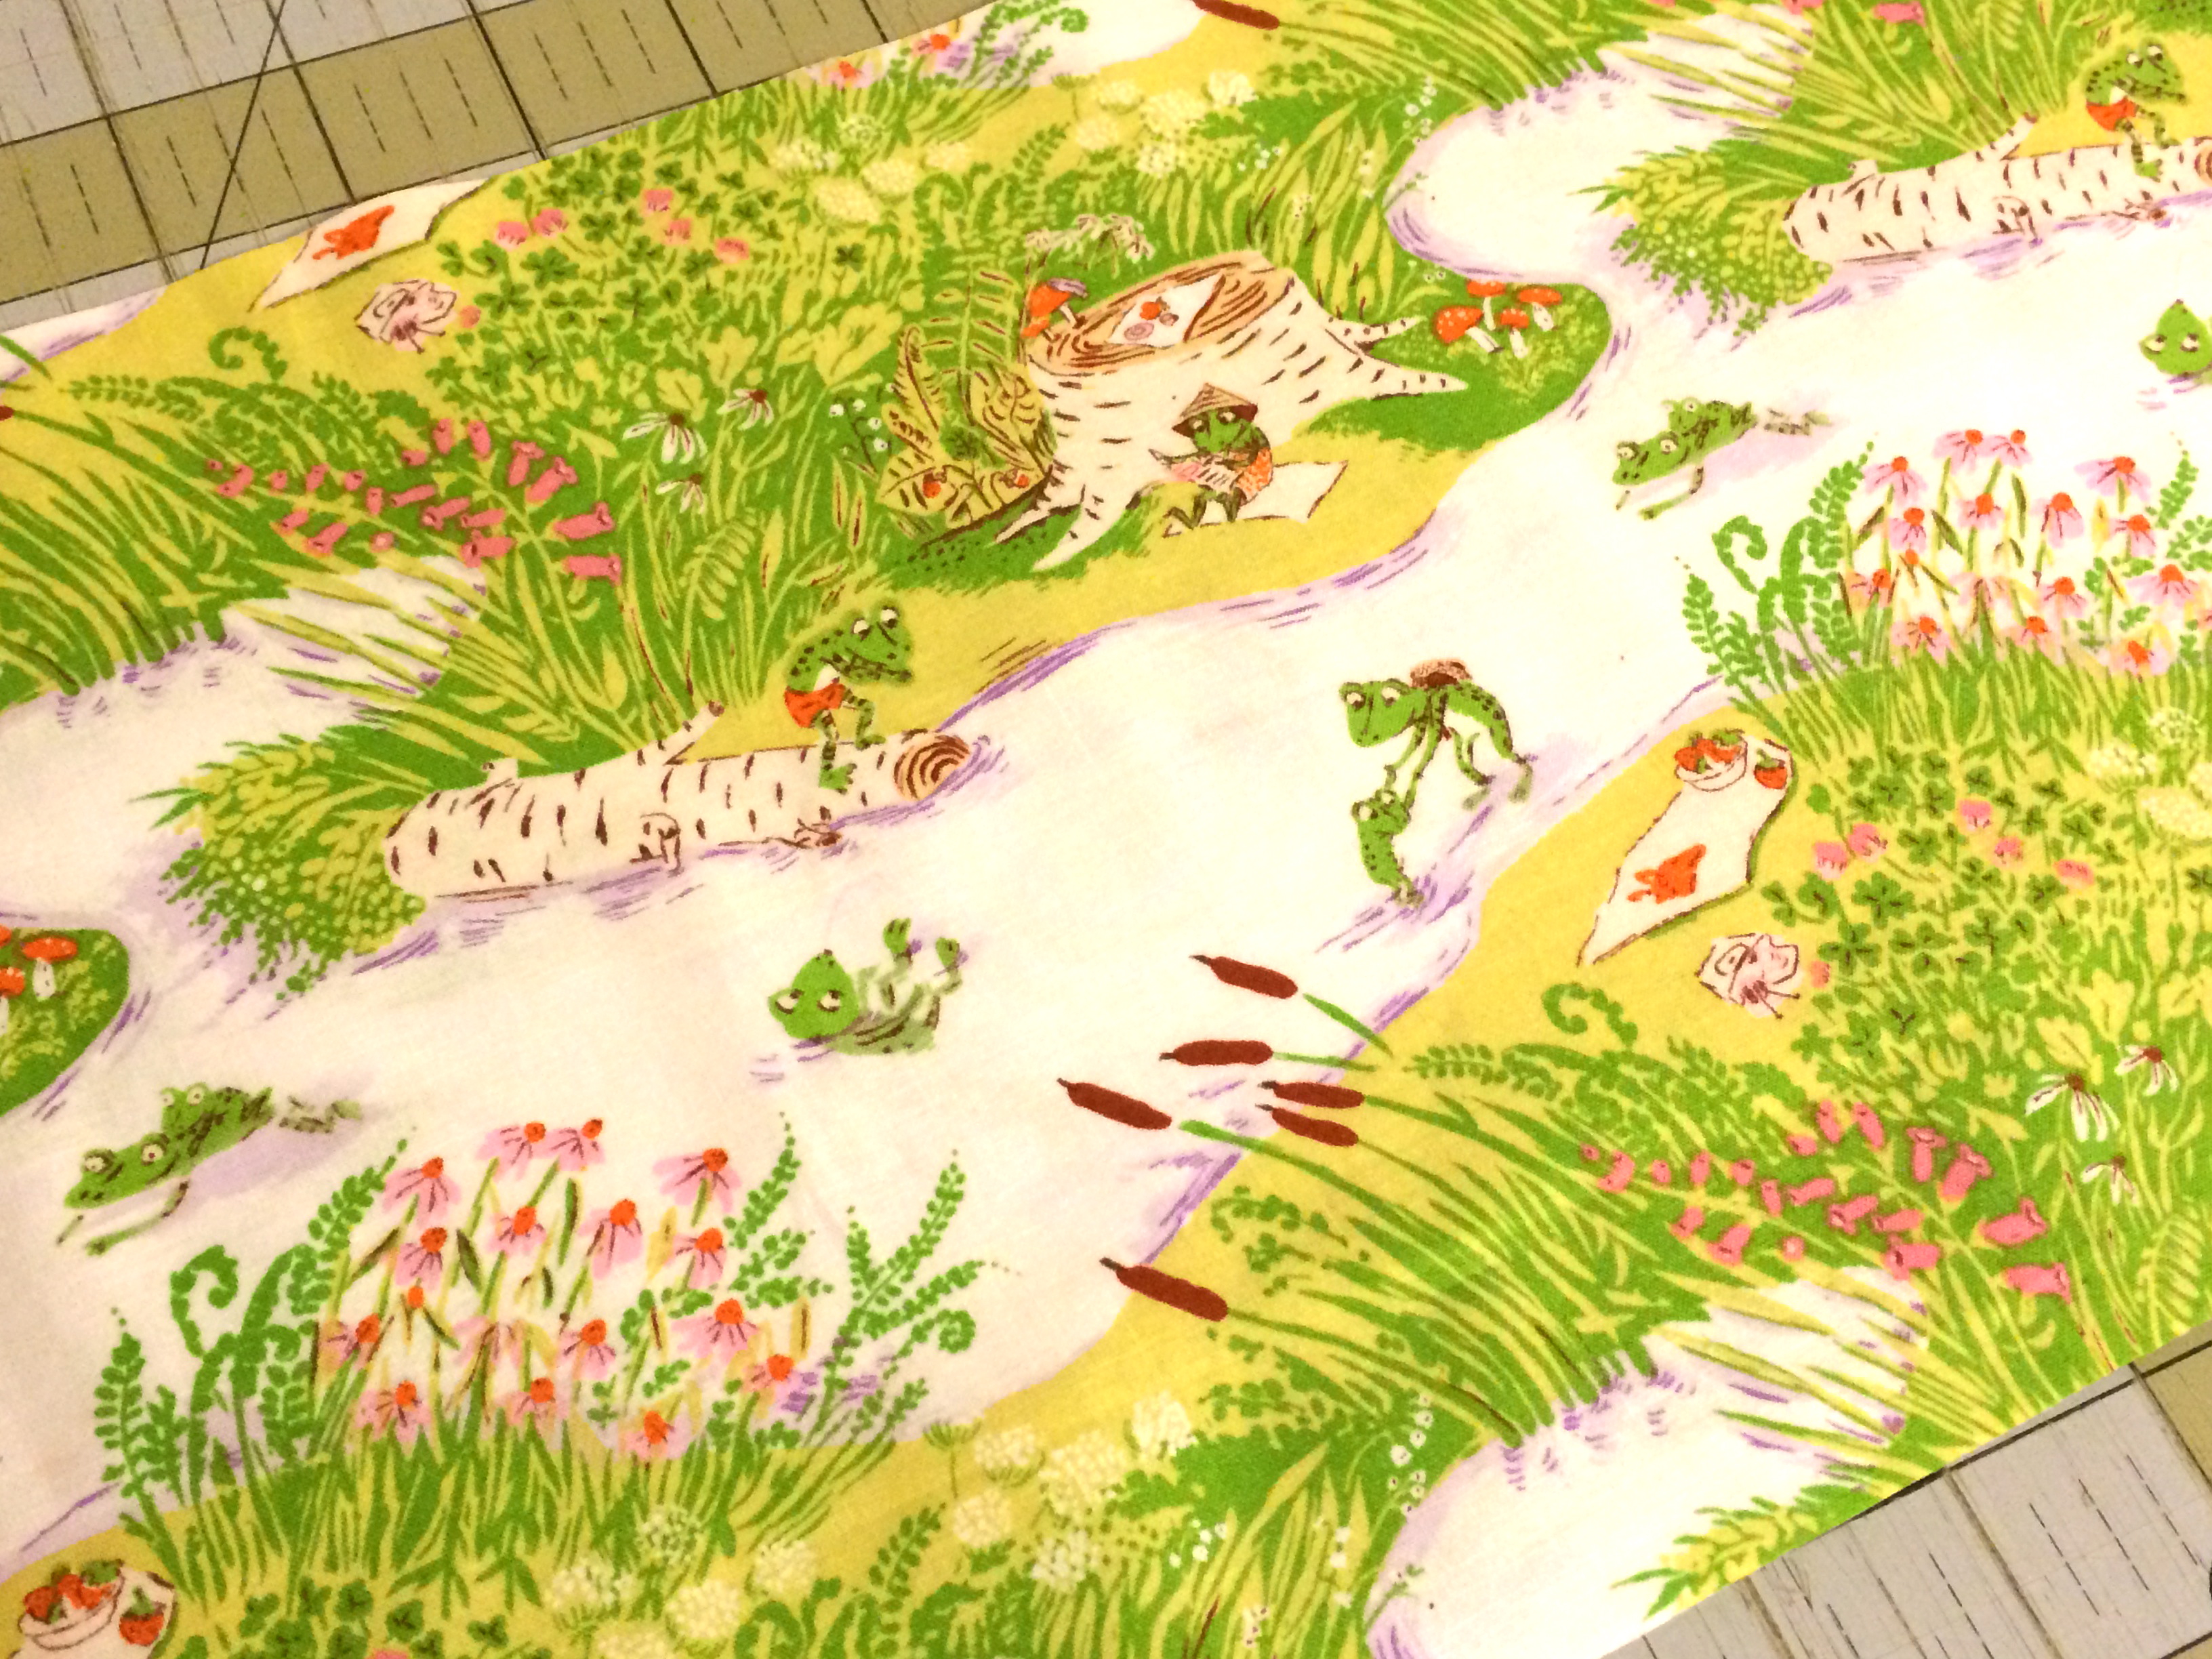
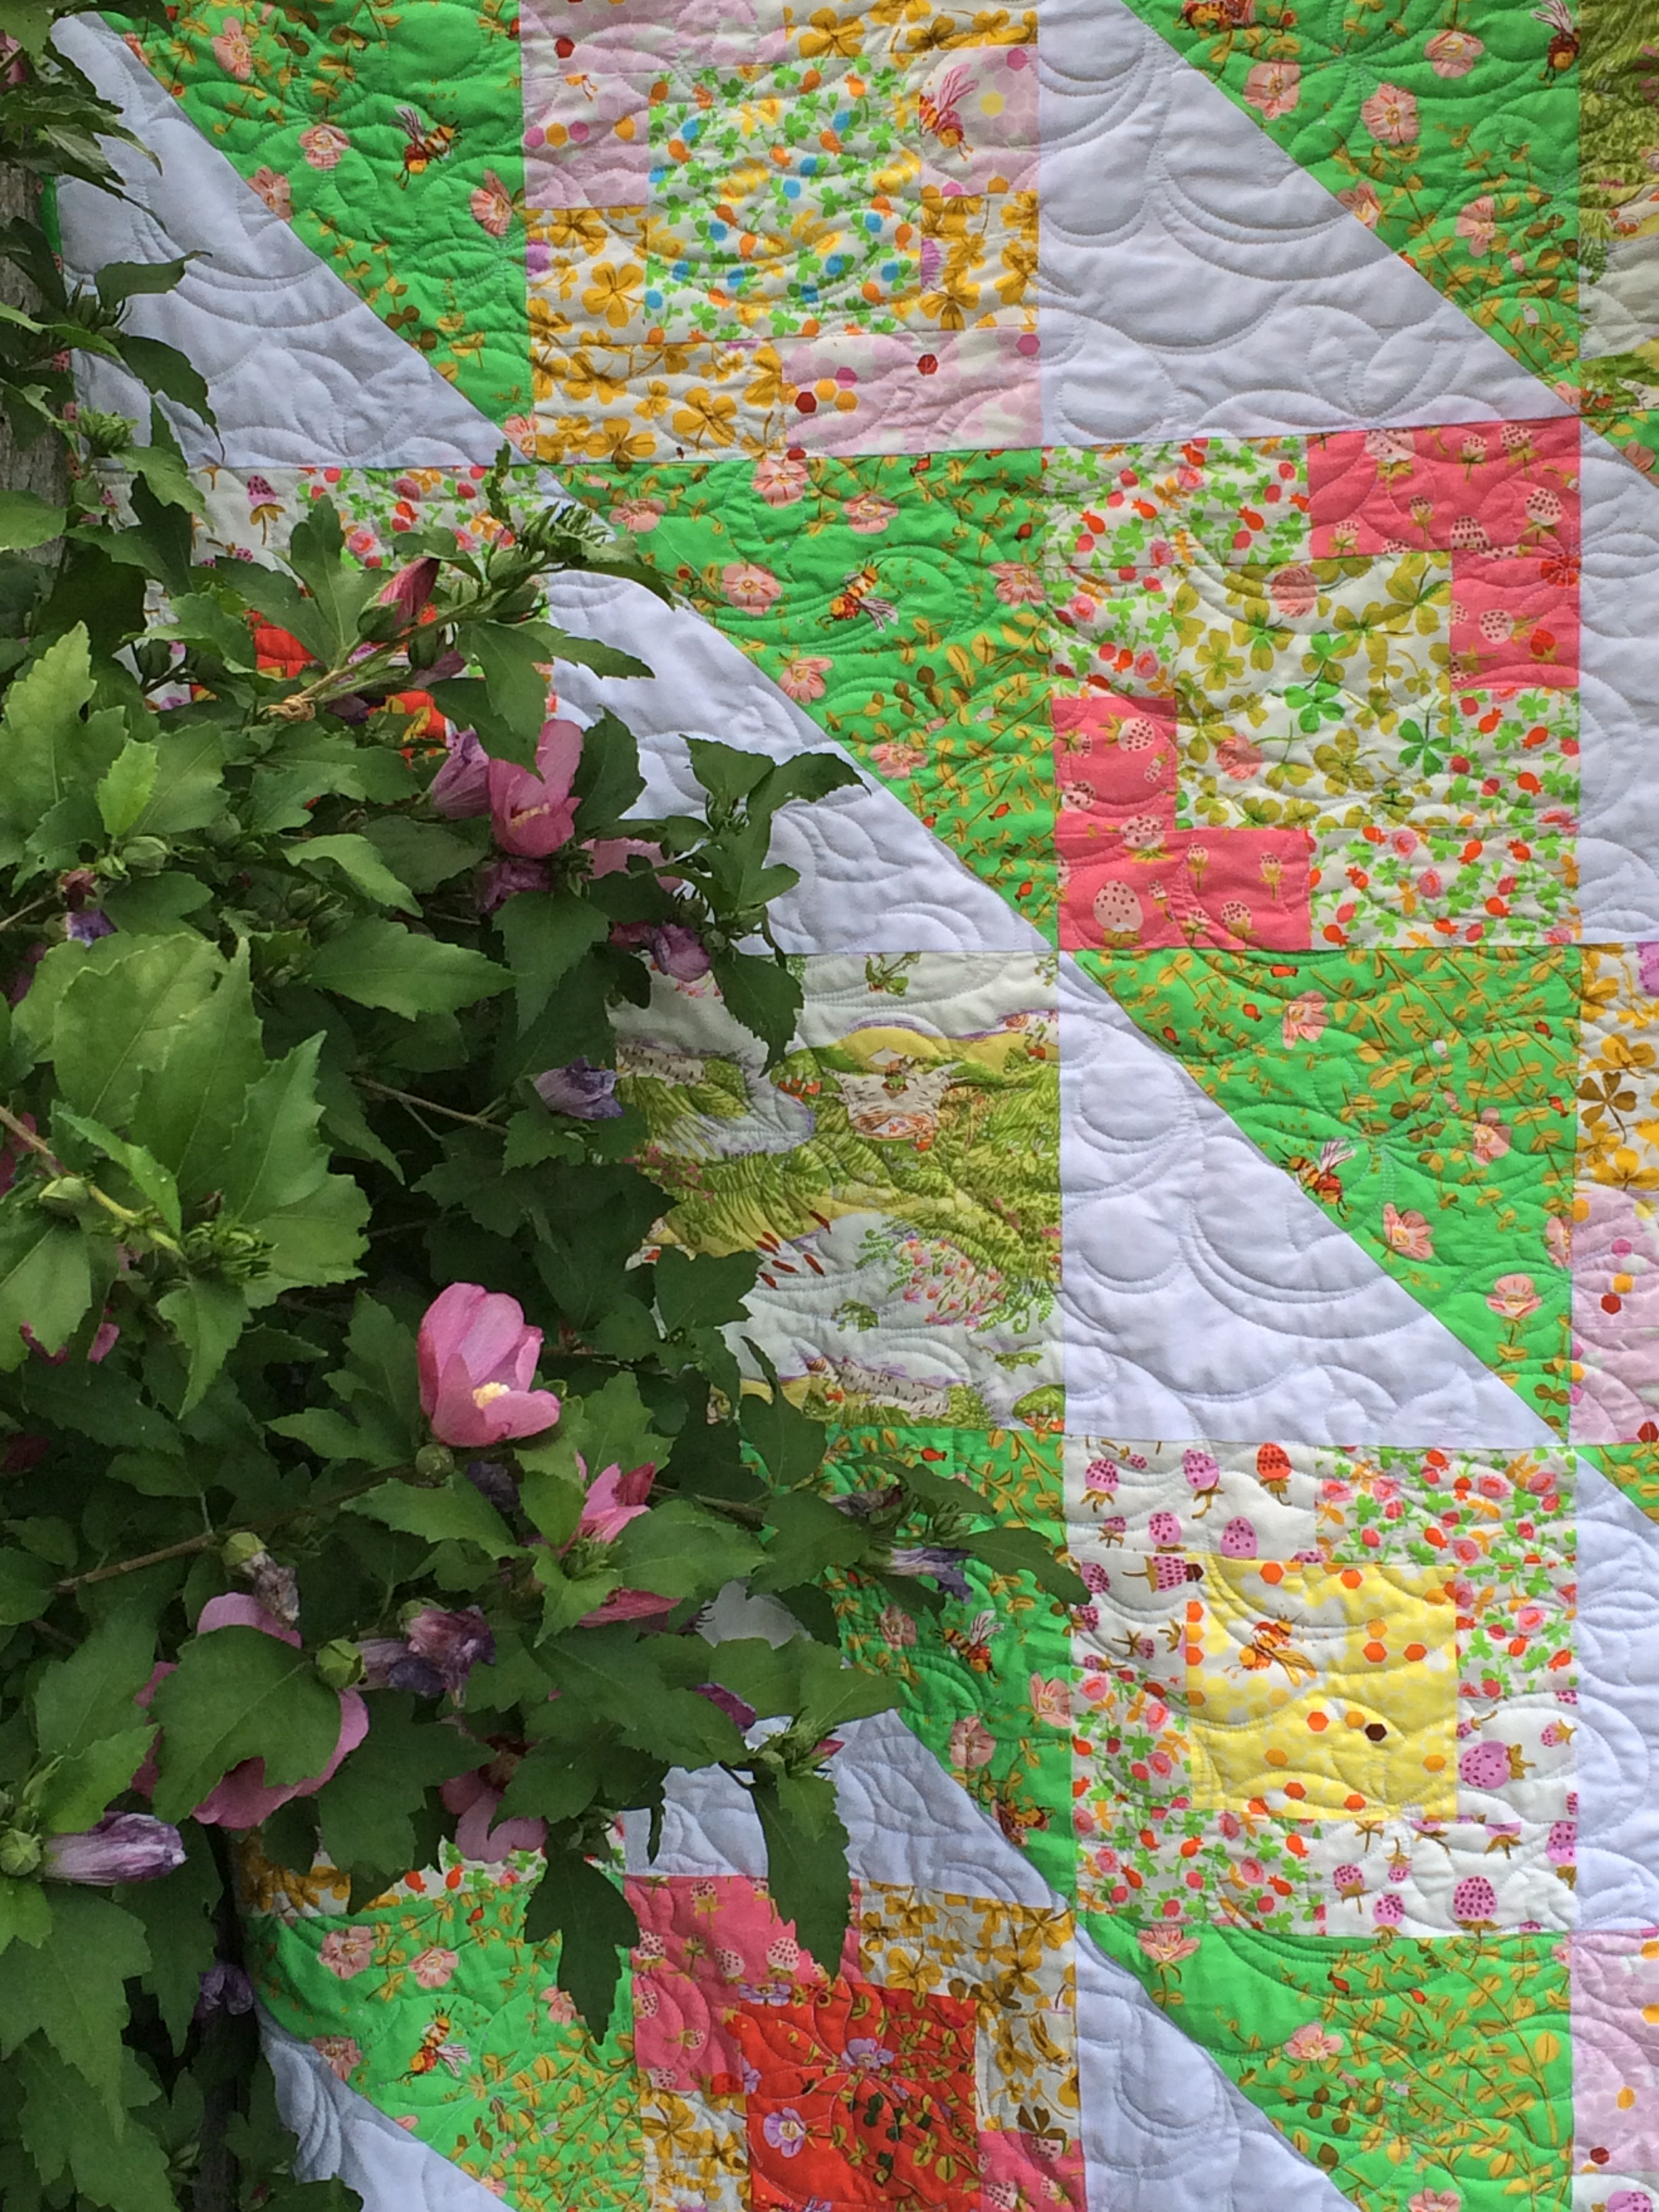
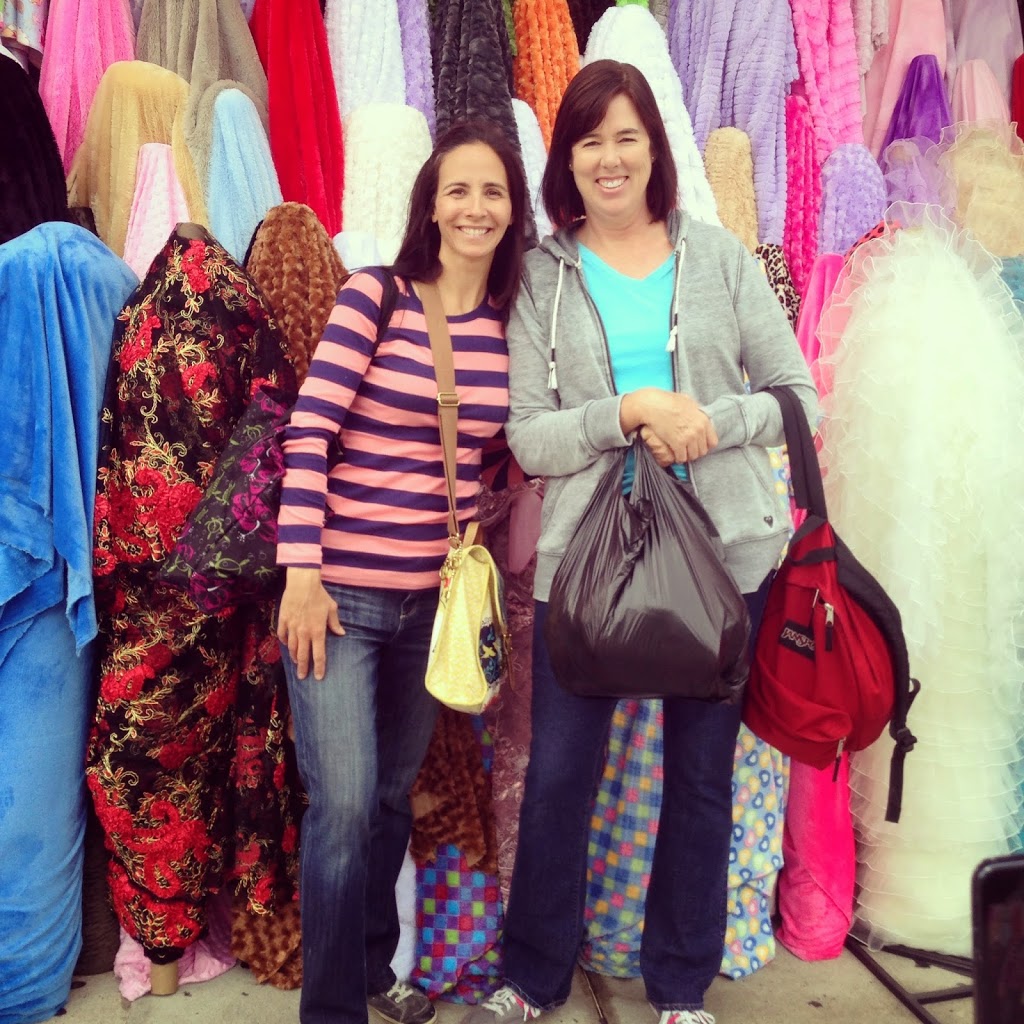
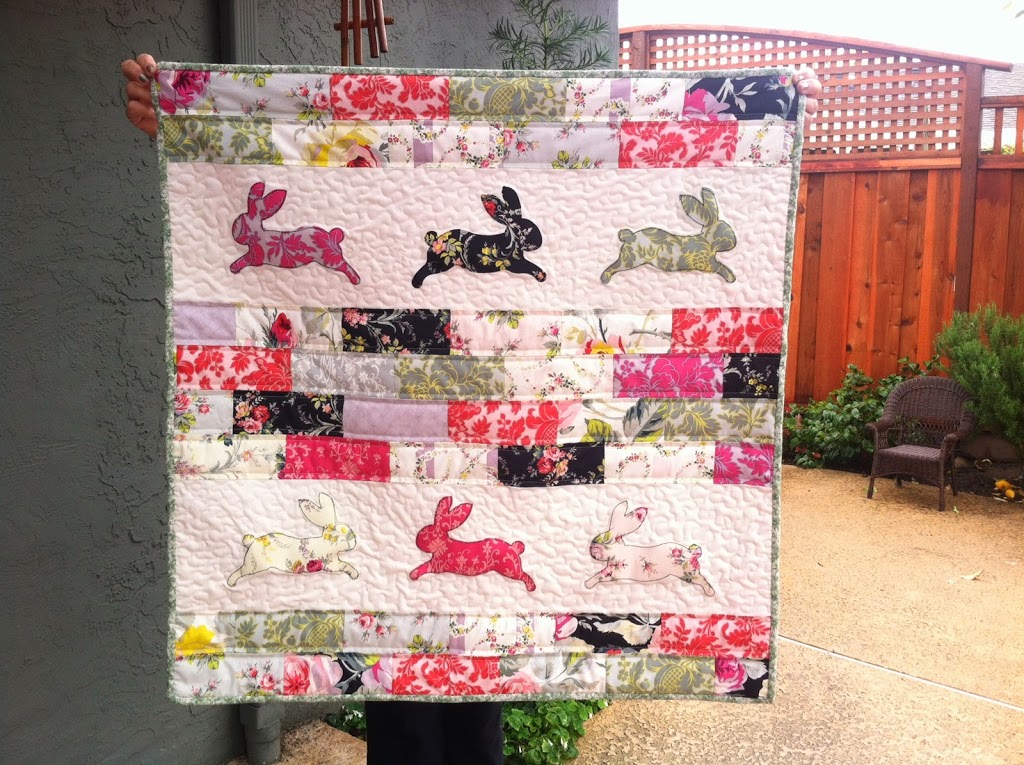
I am so excited to share my newest quilt pattern with you! Last year I went to Sewing Summit in Salt Lake City, Utah and I went on a “Bus Tour” of several quilt shops in the area. It was a blast. I picked up all these fabrics in the Briar Rose line from Heather Ross. Who wouldn’t love these adorable frogs, bees, & grasshoppers!
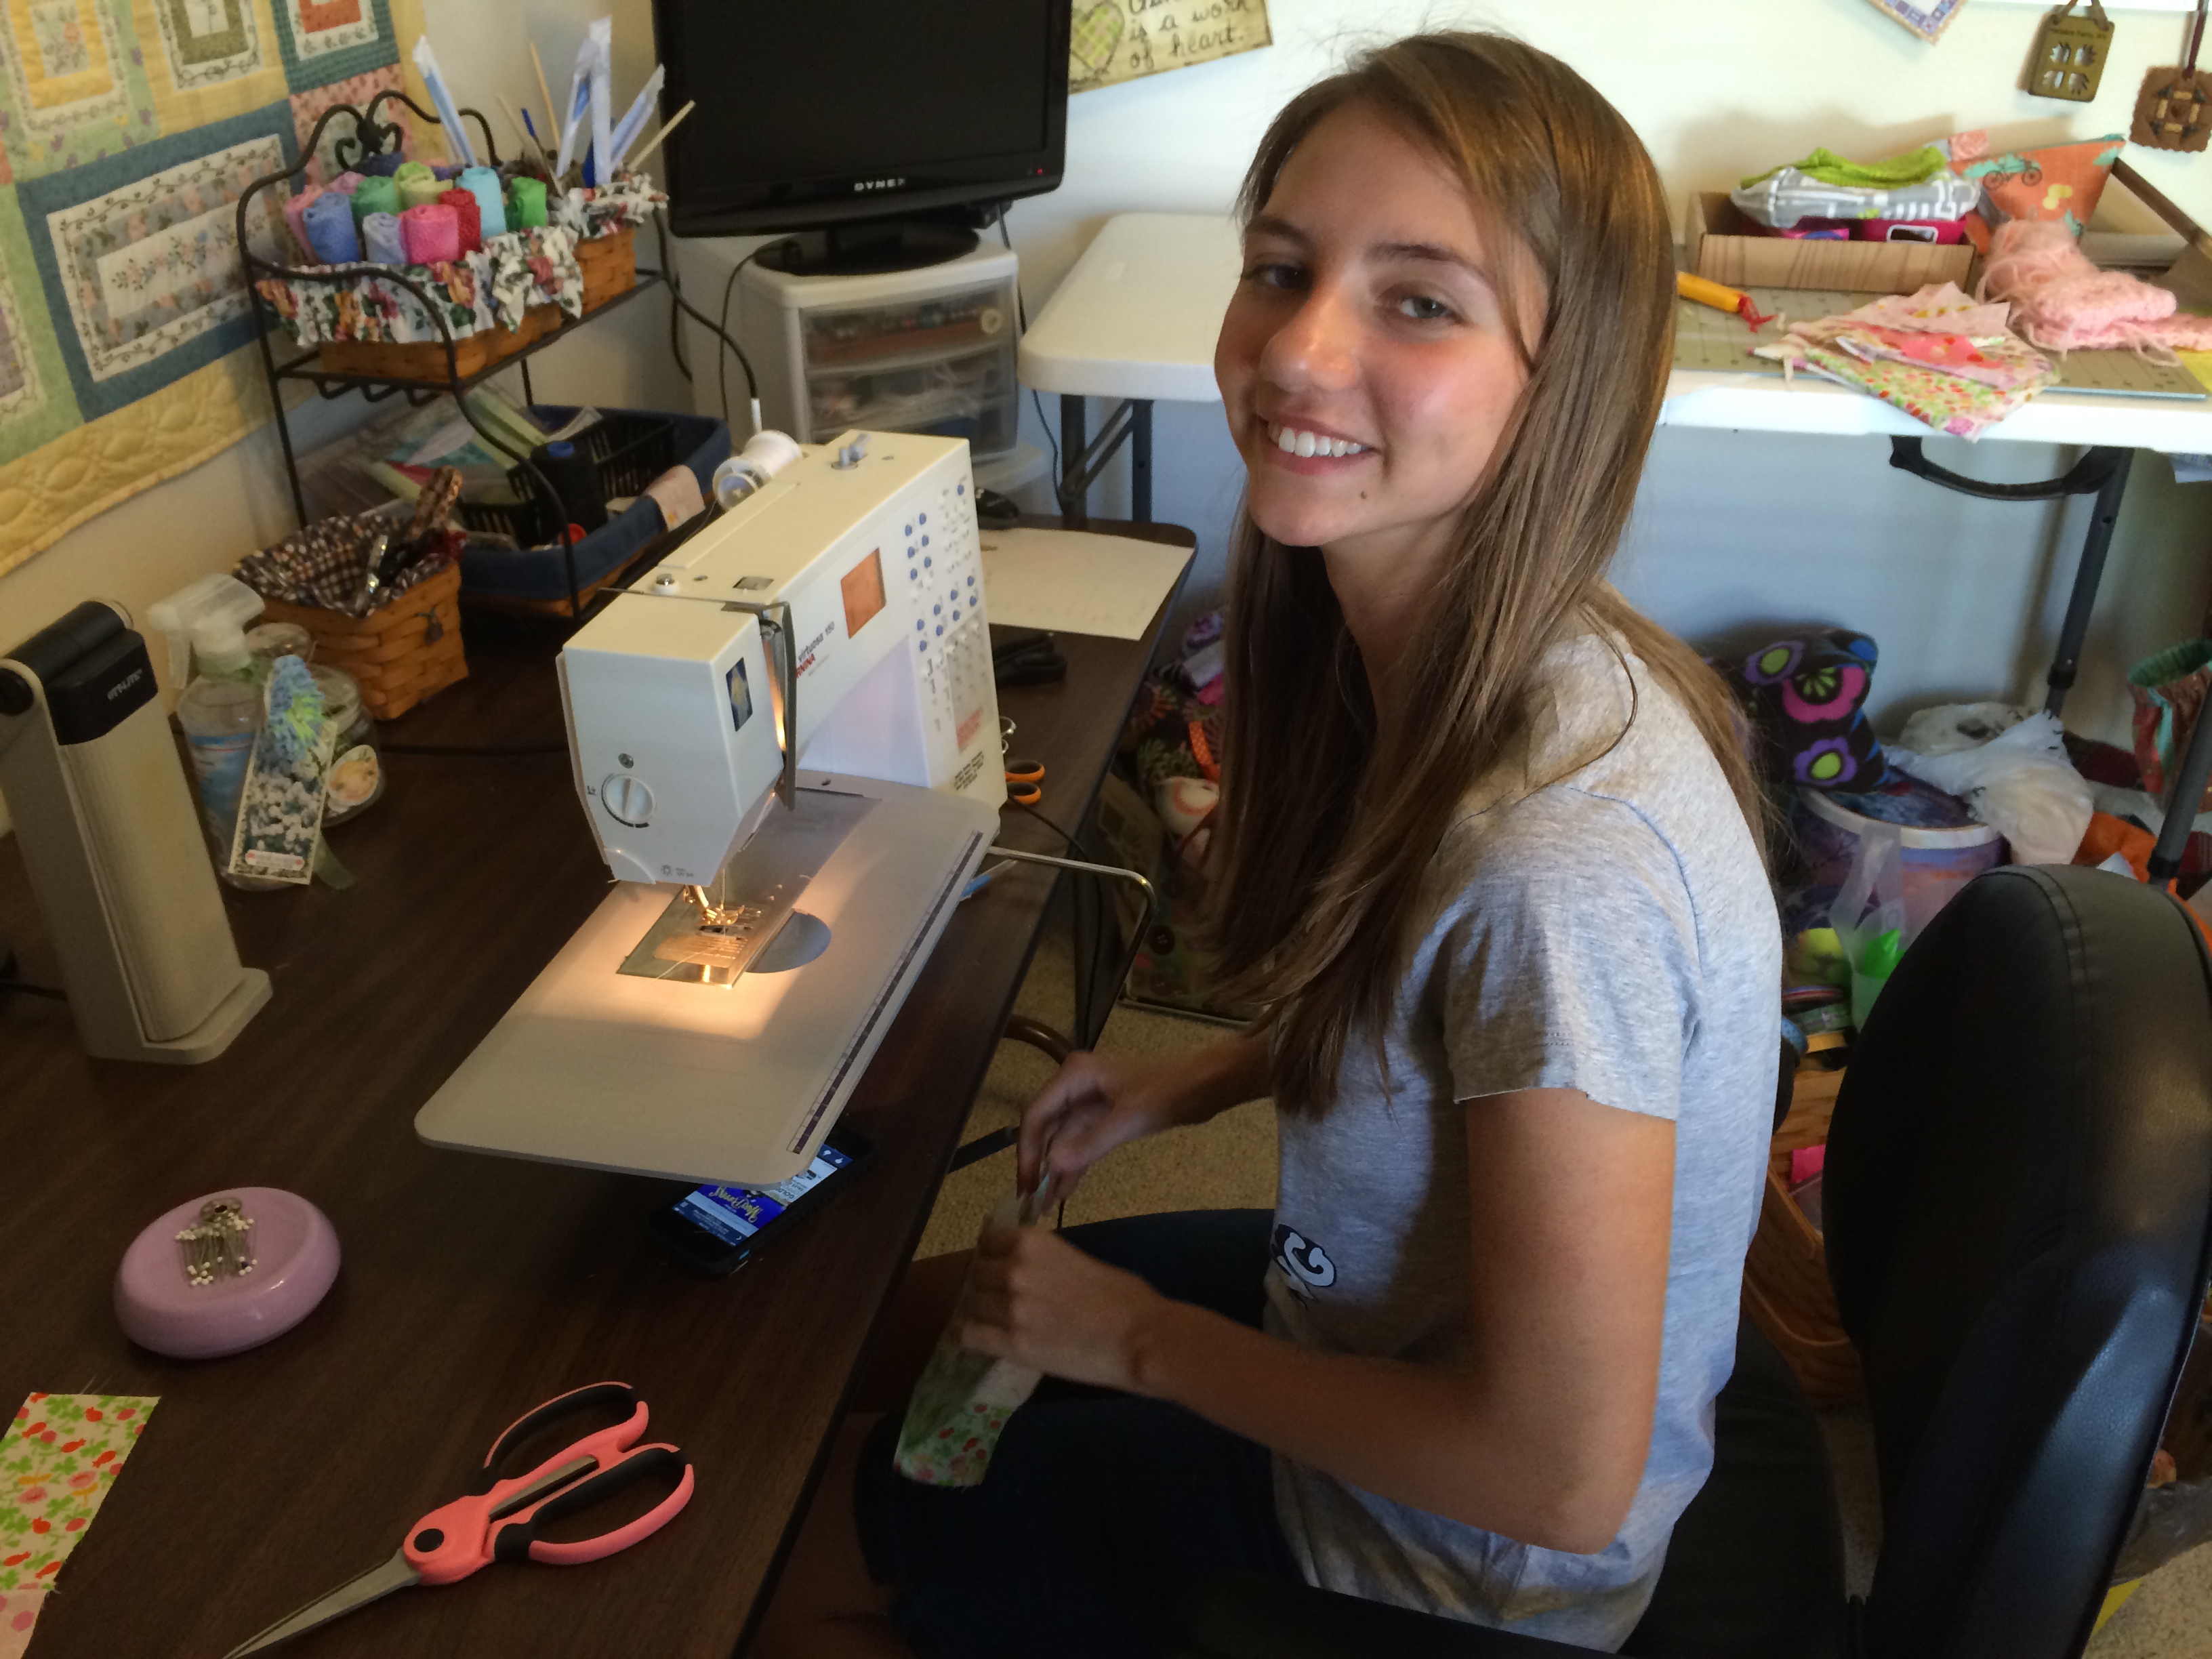
 When my daughter saw them she instantly declared they were hers! It’s almost been a year and she and I decided that this summer we would put a quilt together. We worked on the pattern design together and she sewed the entire quilt! I am so proud of her!
 I wanted a pattern that she could handle but that was more than just squares. This pattern has lots of elements that are great for beginners to learn. We also wanted a pattern that didn’t cut the fabric up too much – after all, the frogs are just too cute! So we added a few solid blocks of frogs here and there in the pattern. Here is how you can make one:
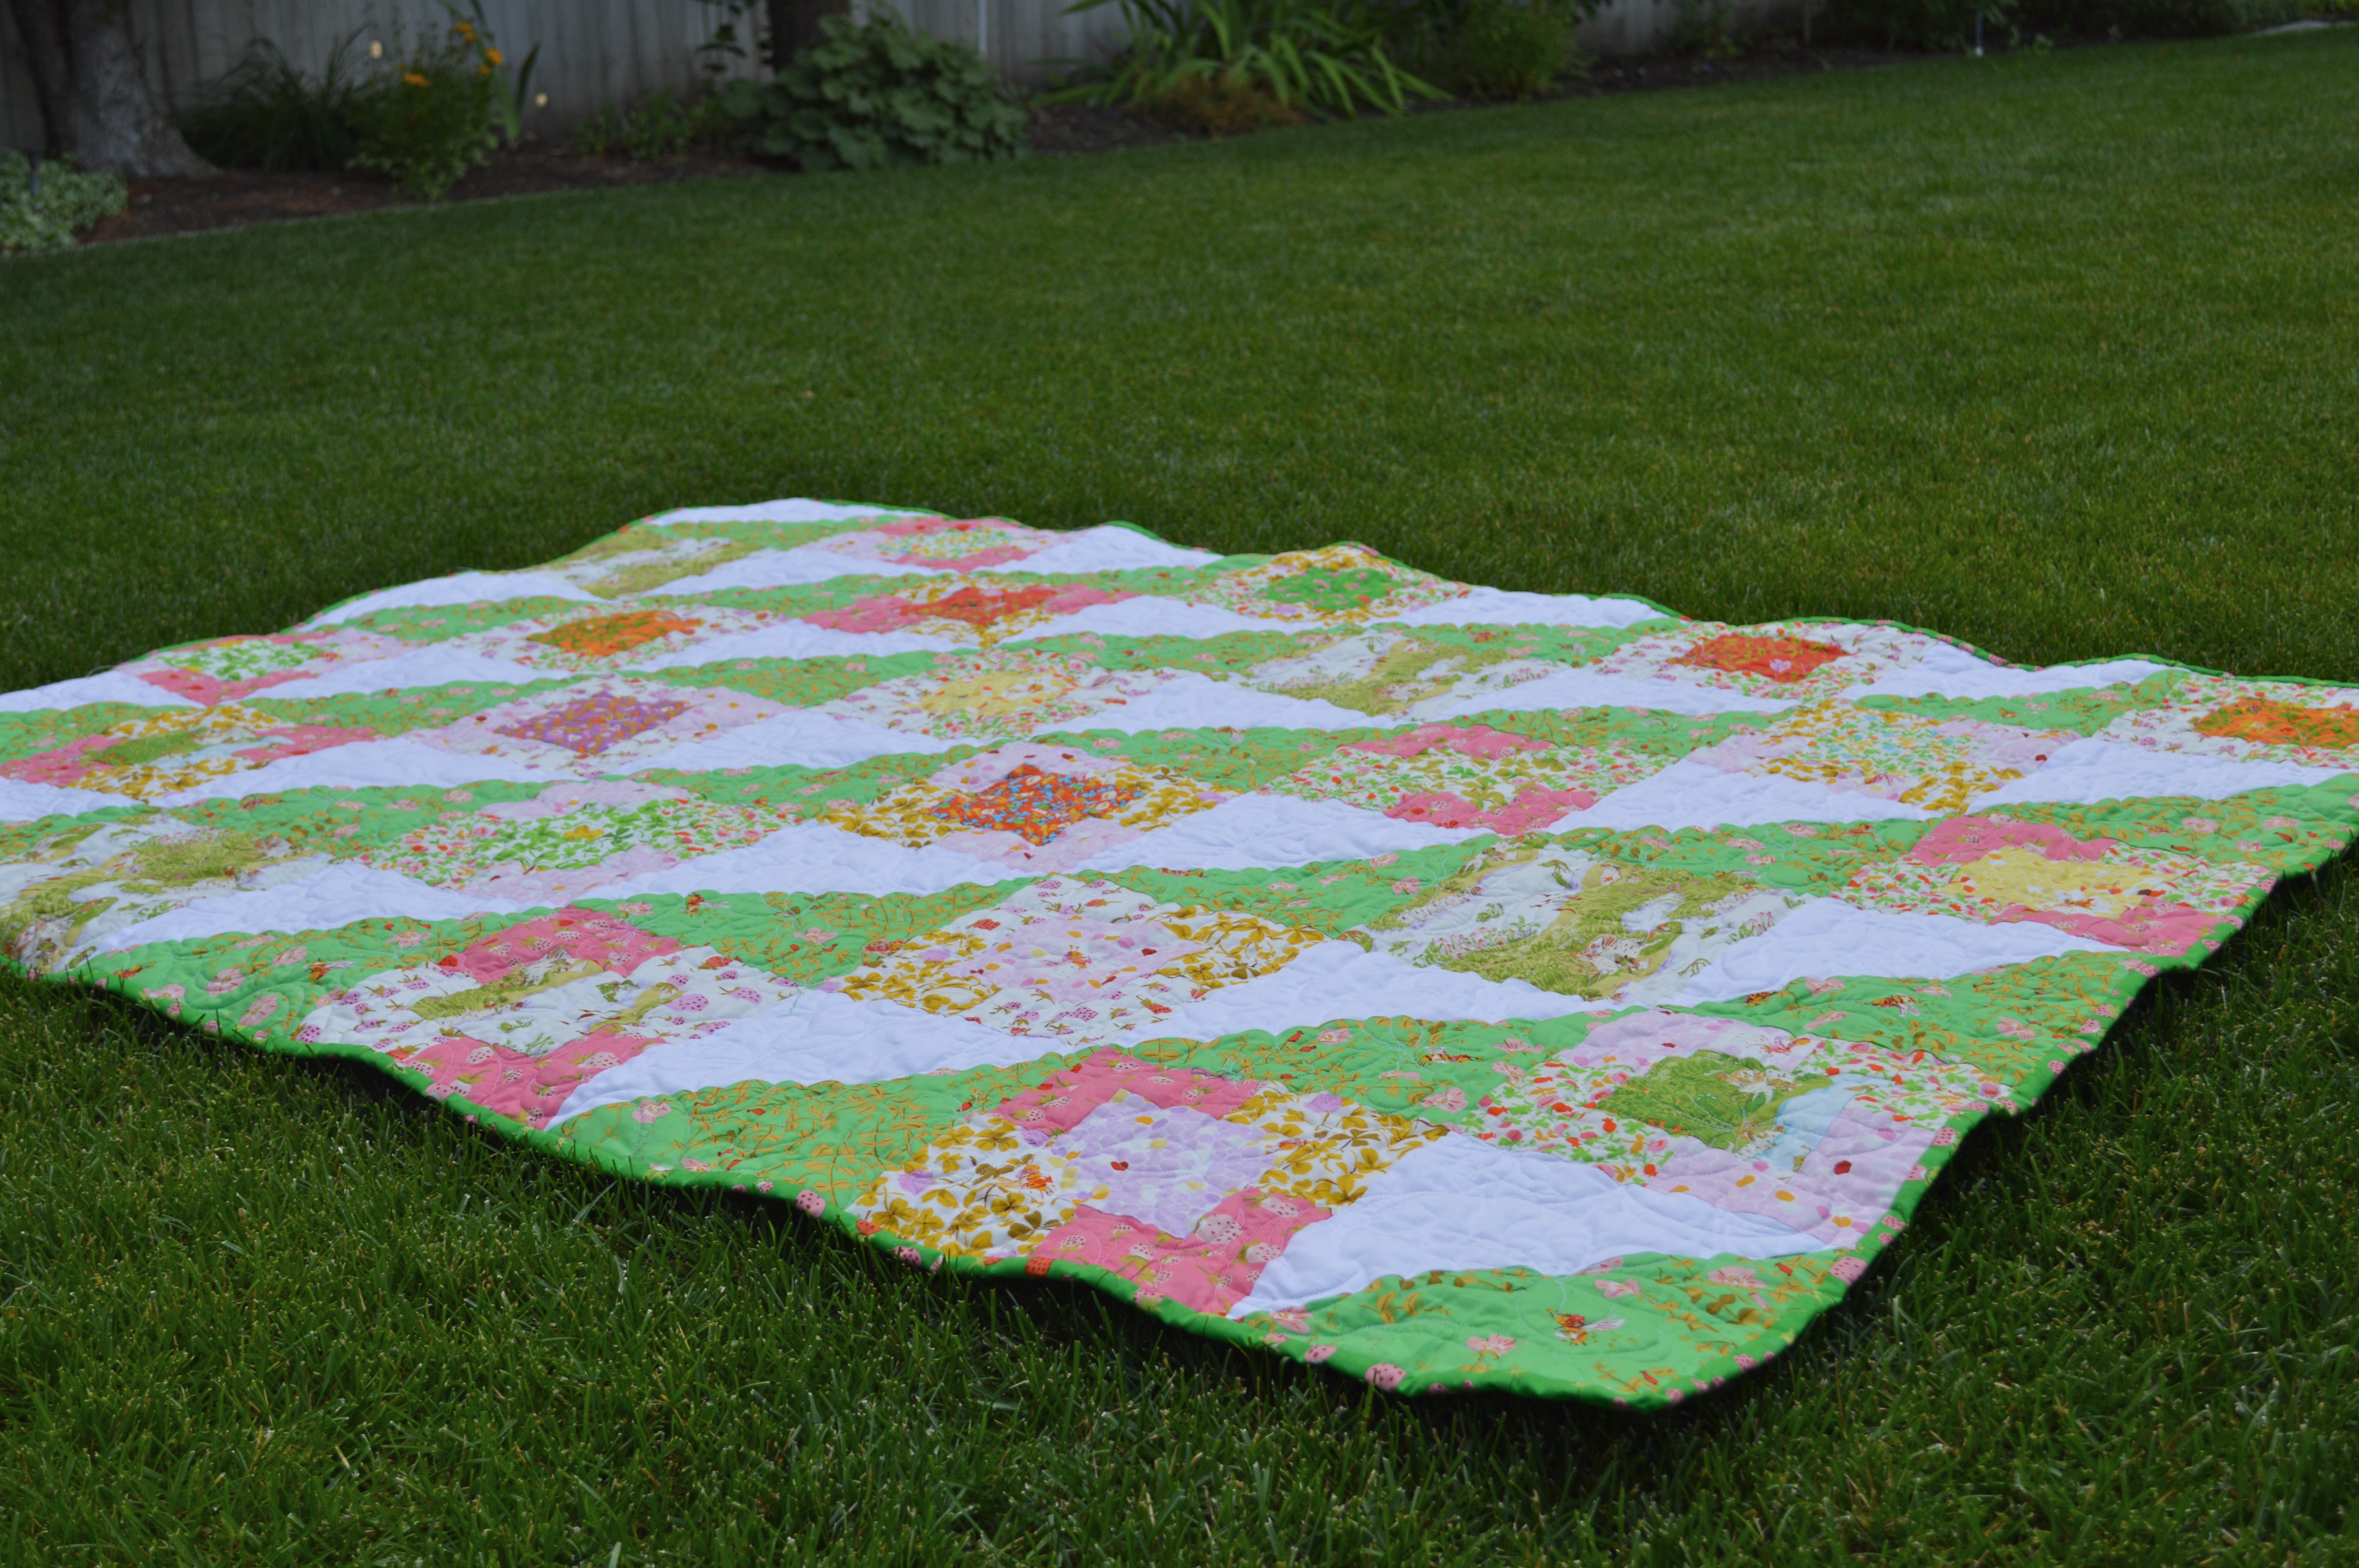
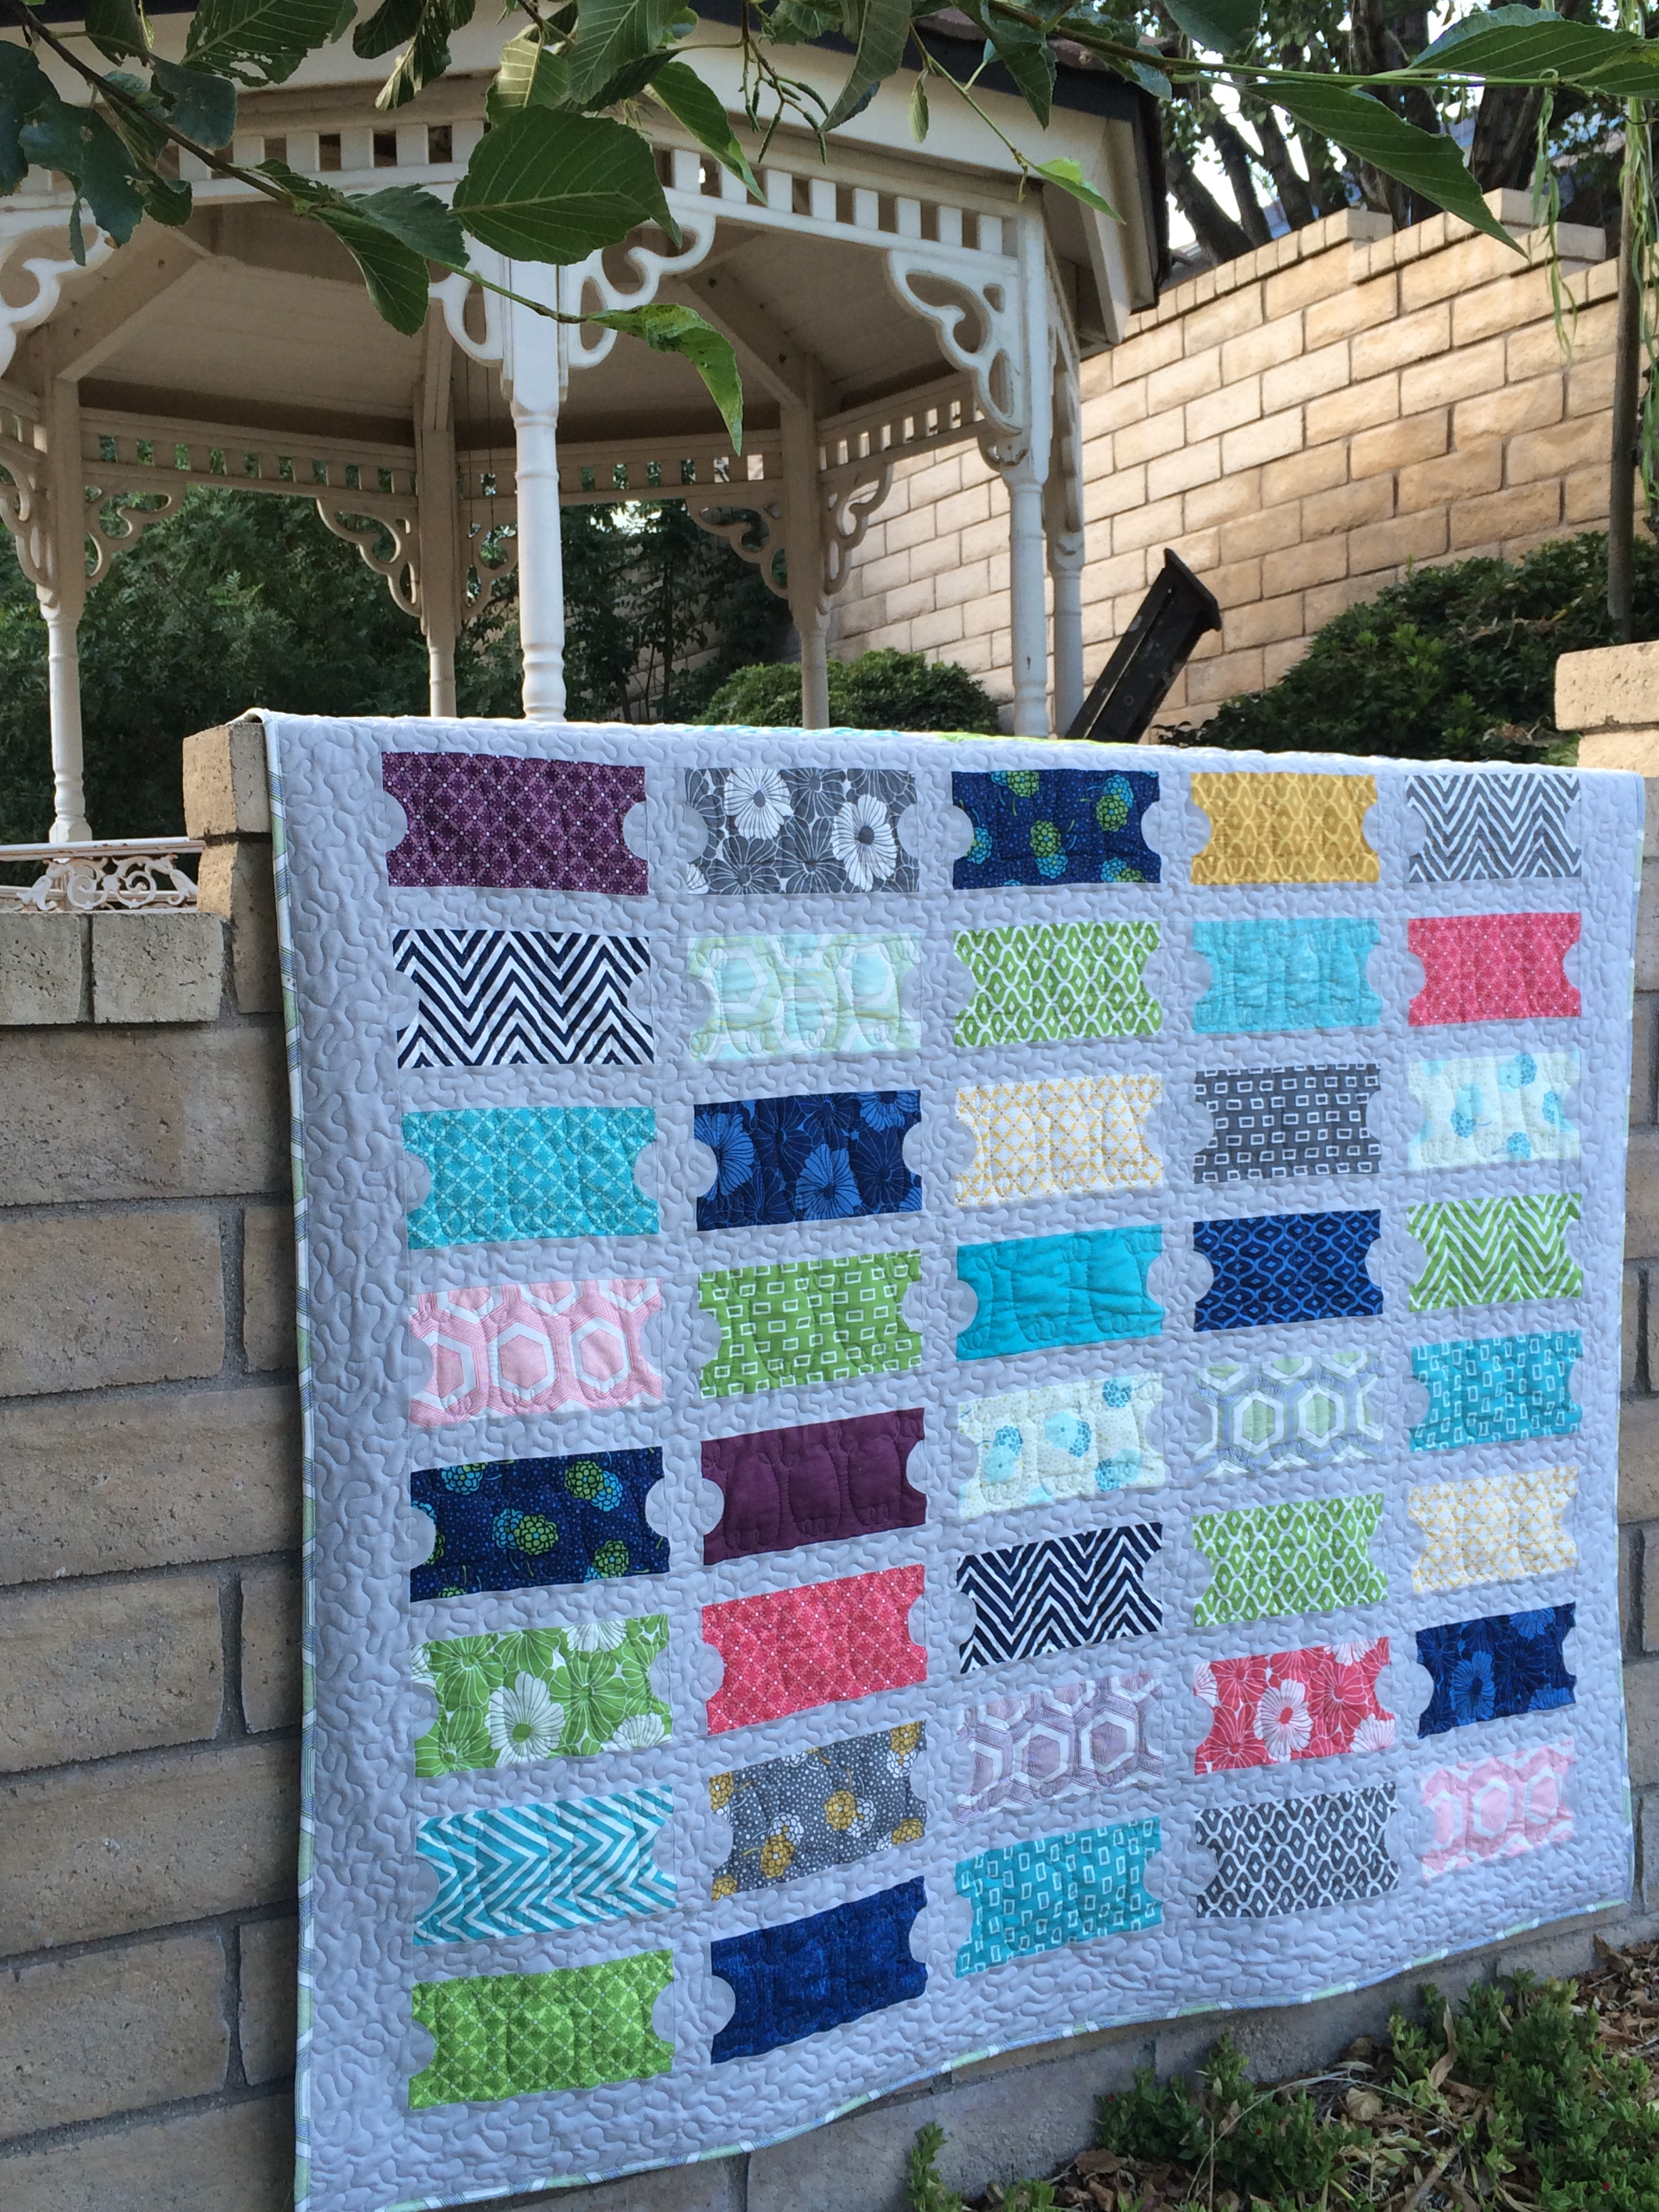
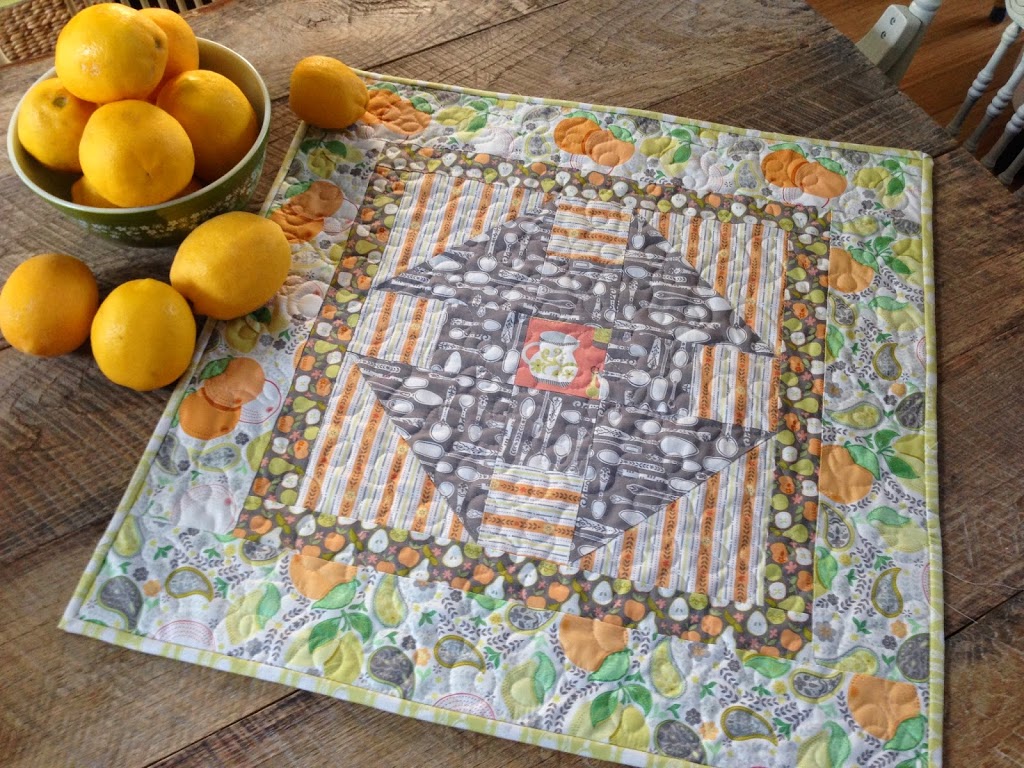
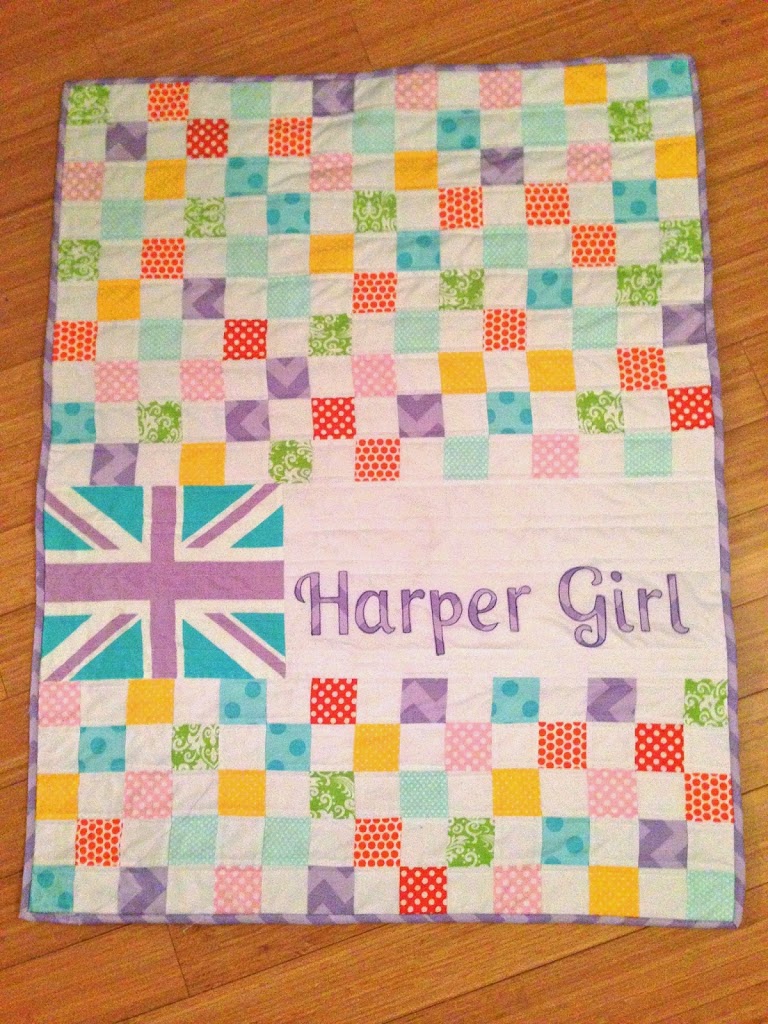
Finished quilt: 50″ x 65″
1/4″ seams throughout
Supplies:
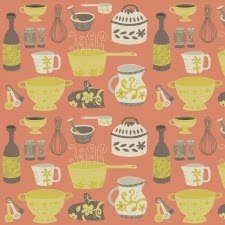
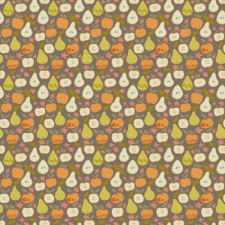
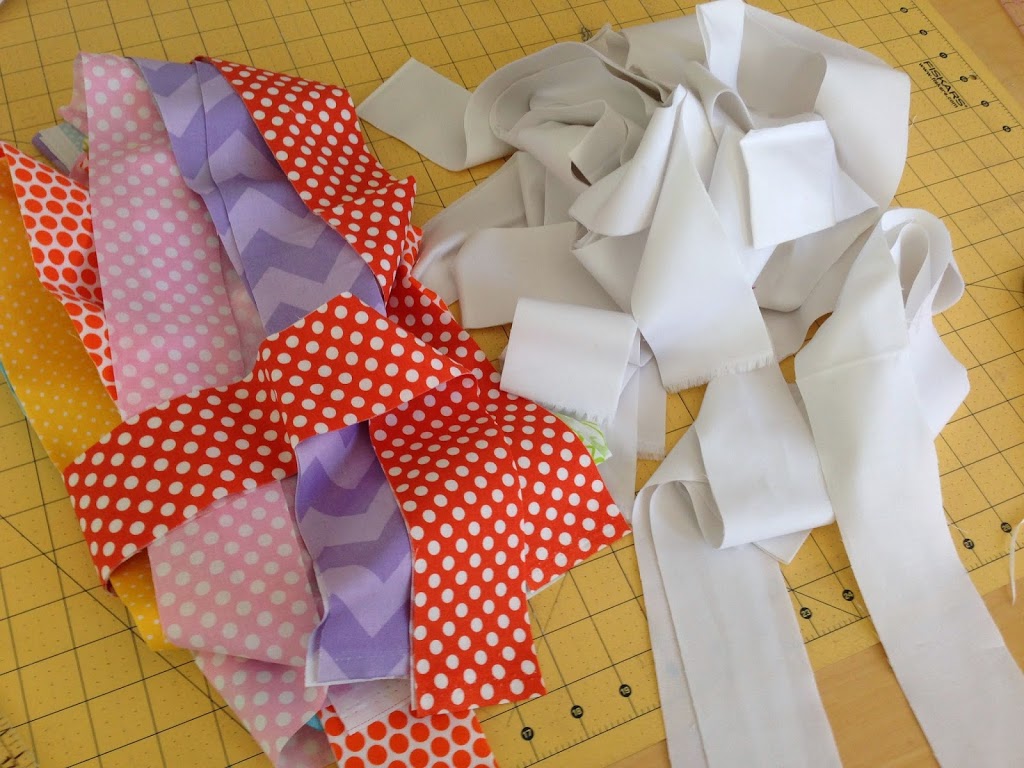
Assorted fat quarters or quarter yard cuts of 6 or more prints
(20) 5″ squares or charm squares
1 yard green print
1 yard white solid
1/2 yard binding
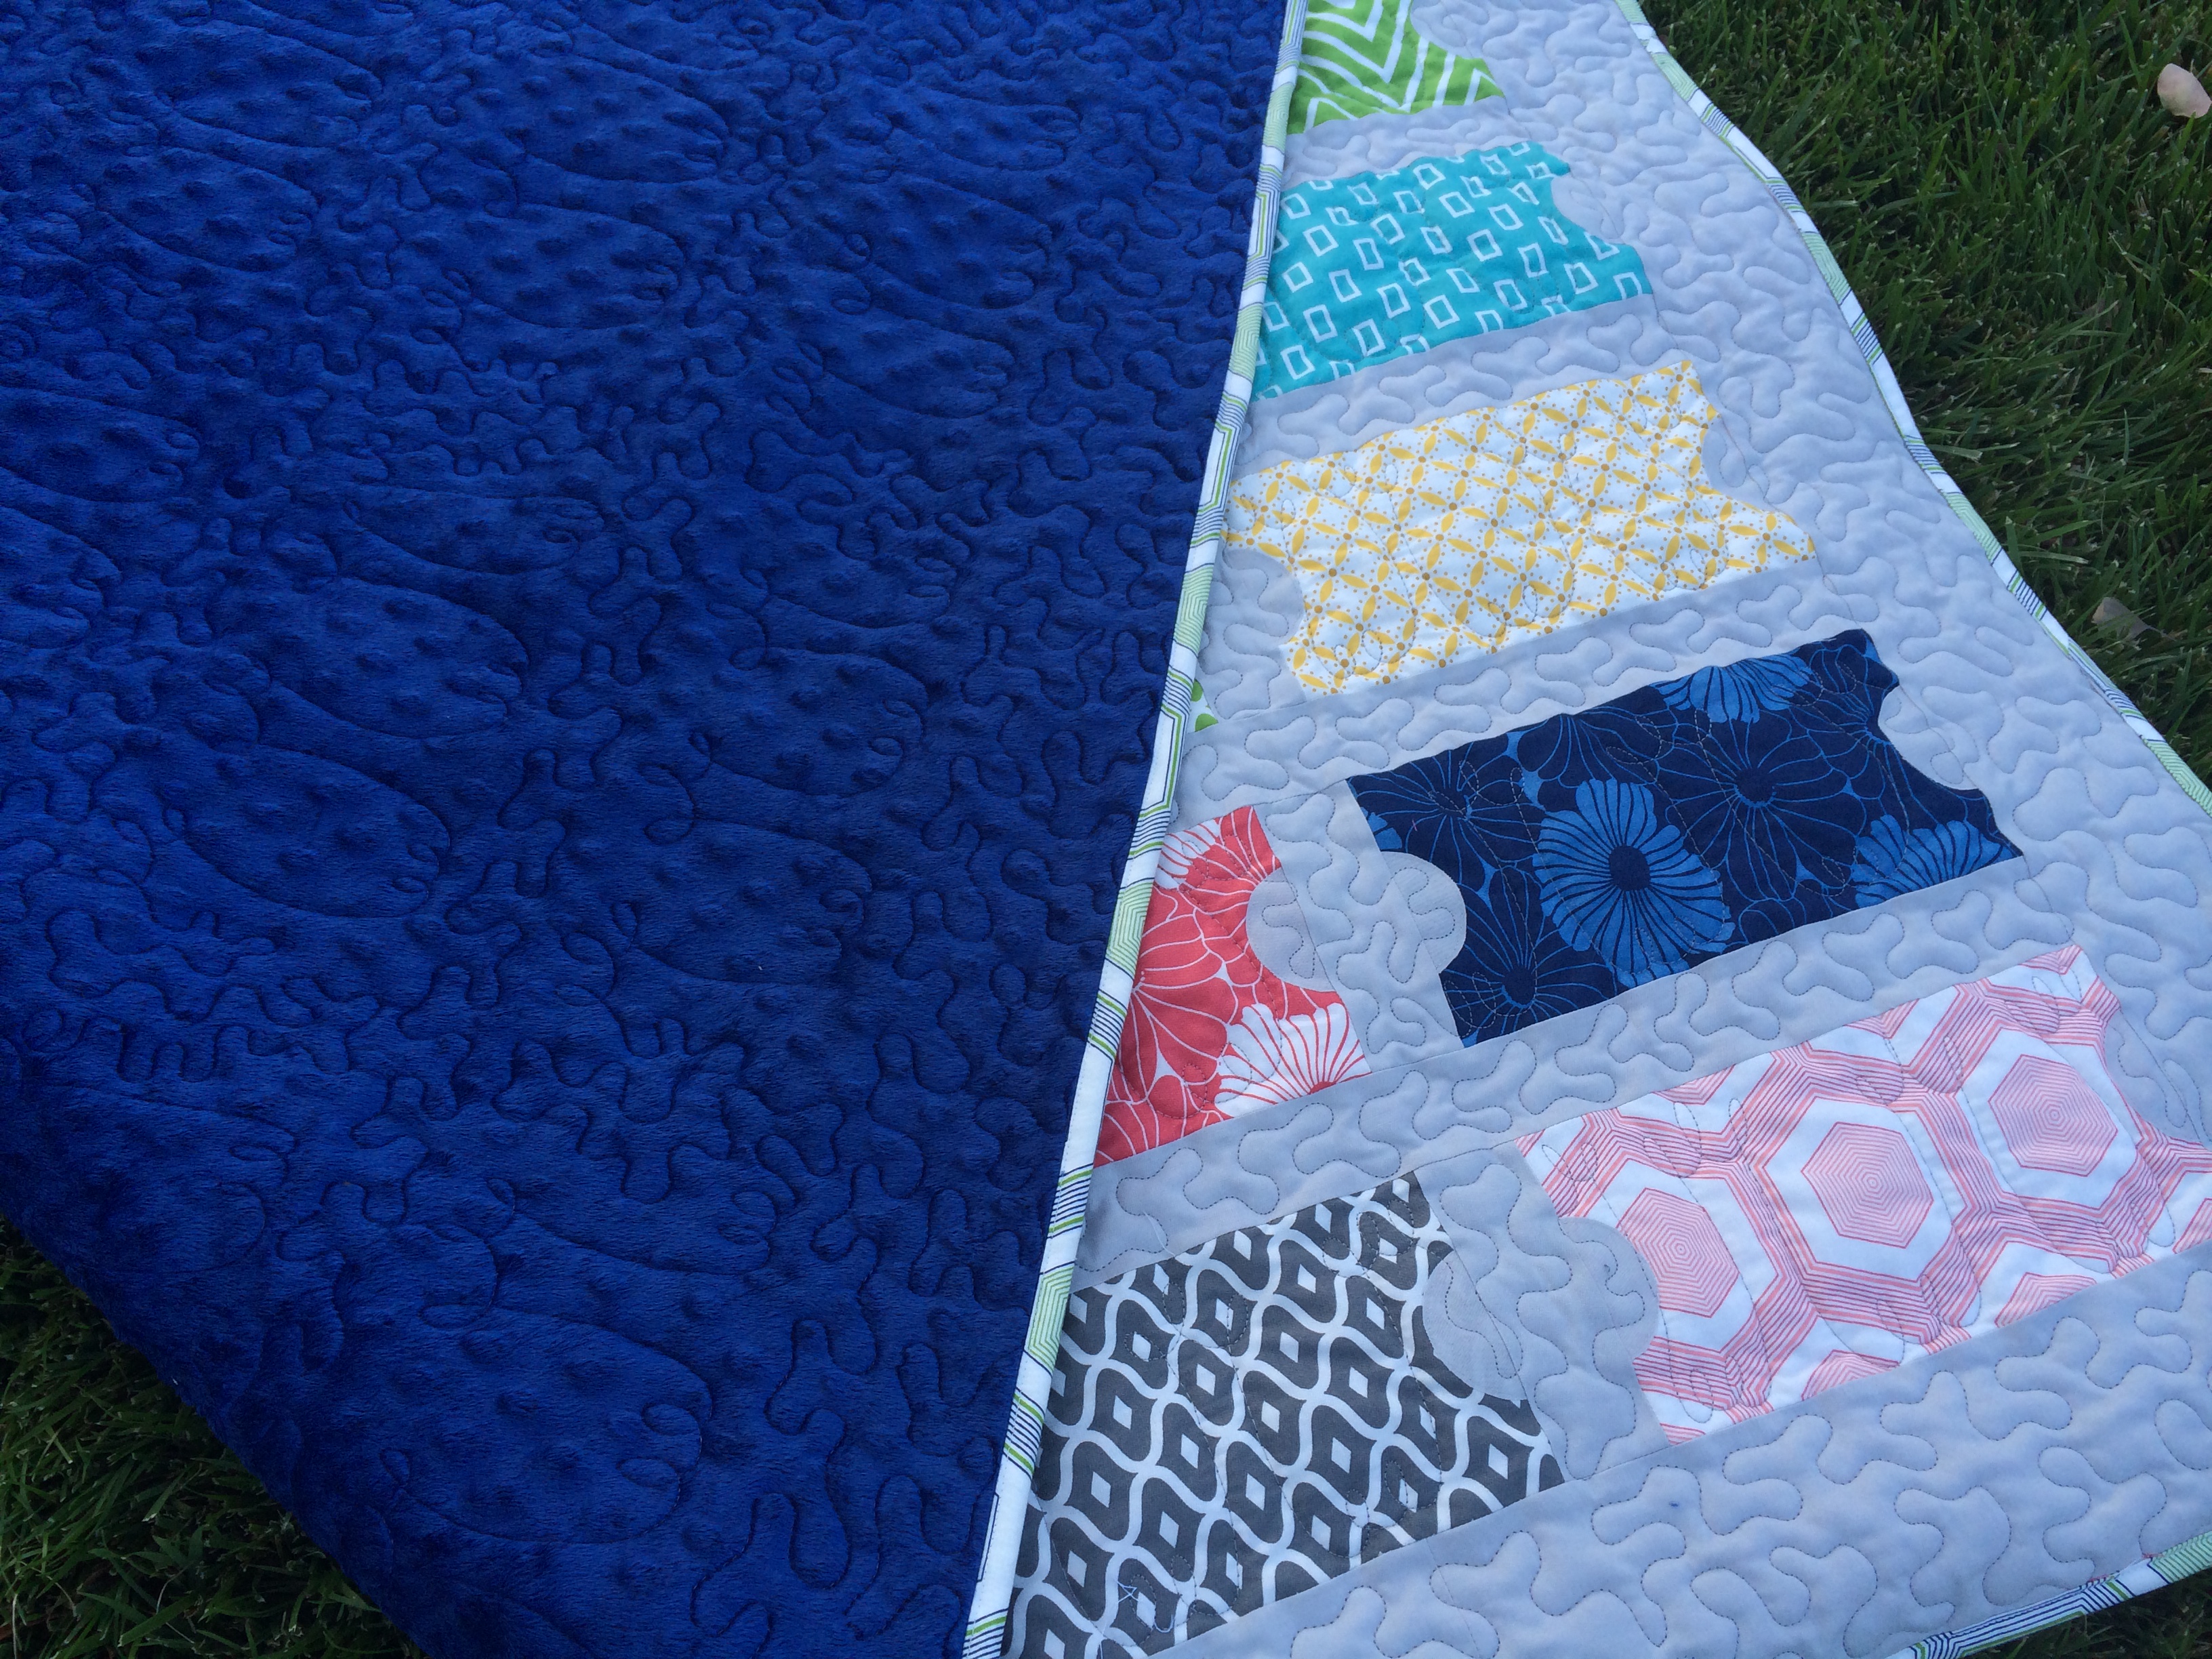
2.5 yards minky for the back
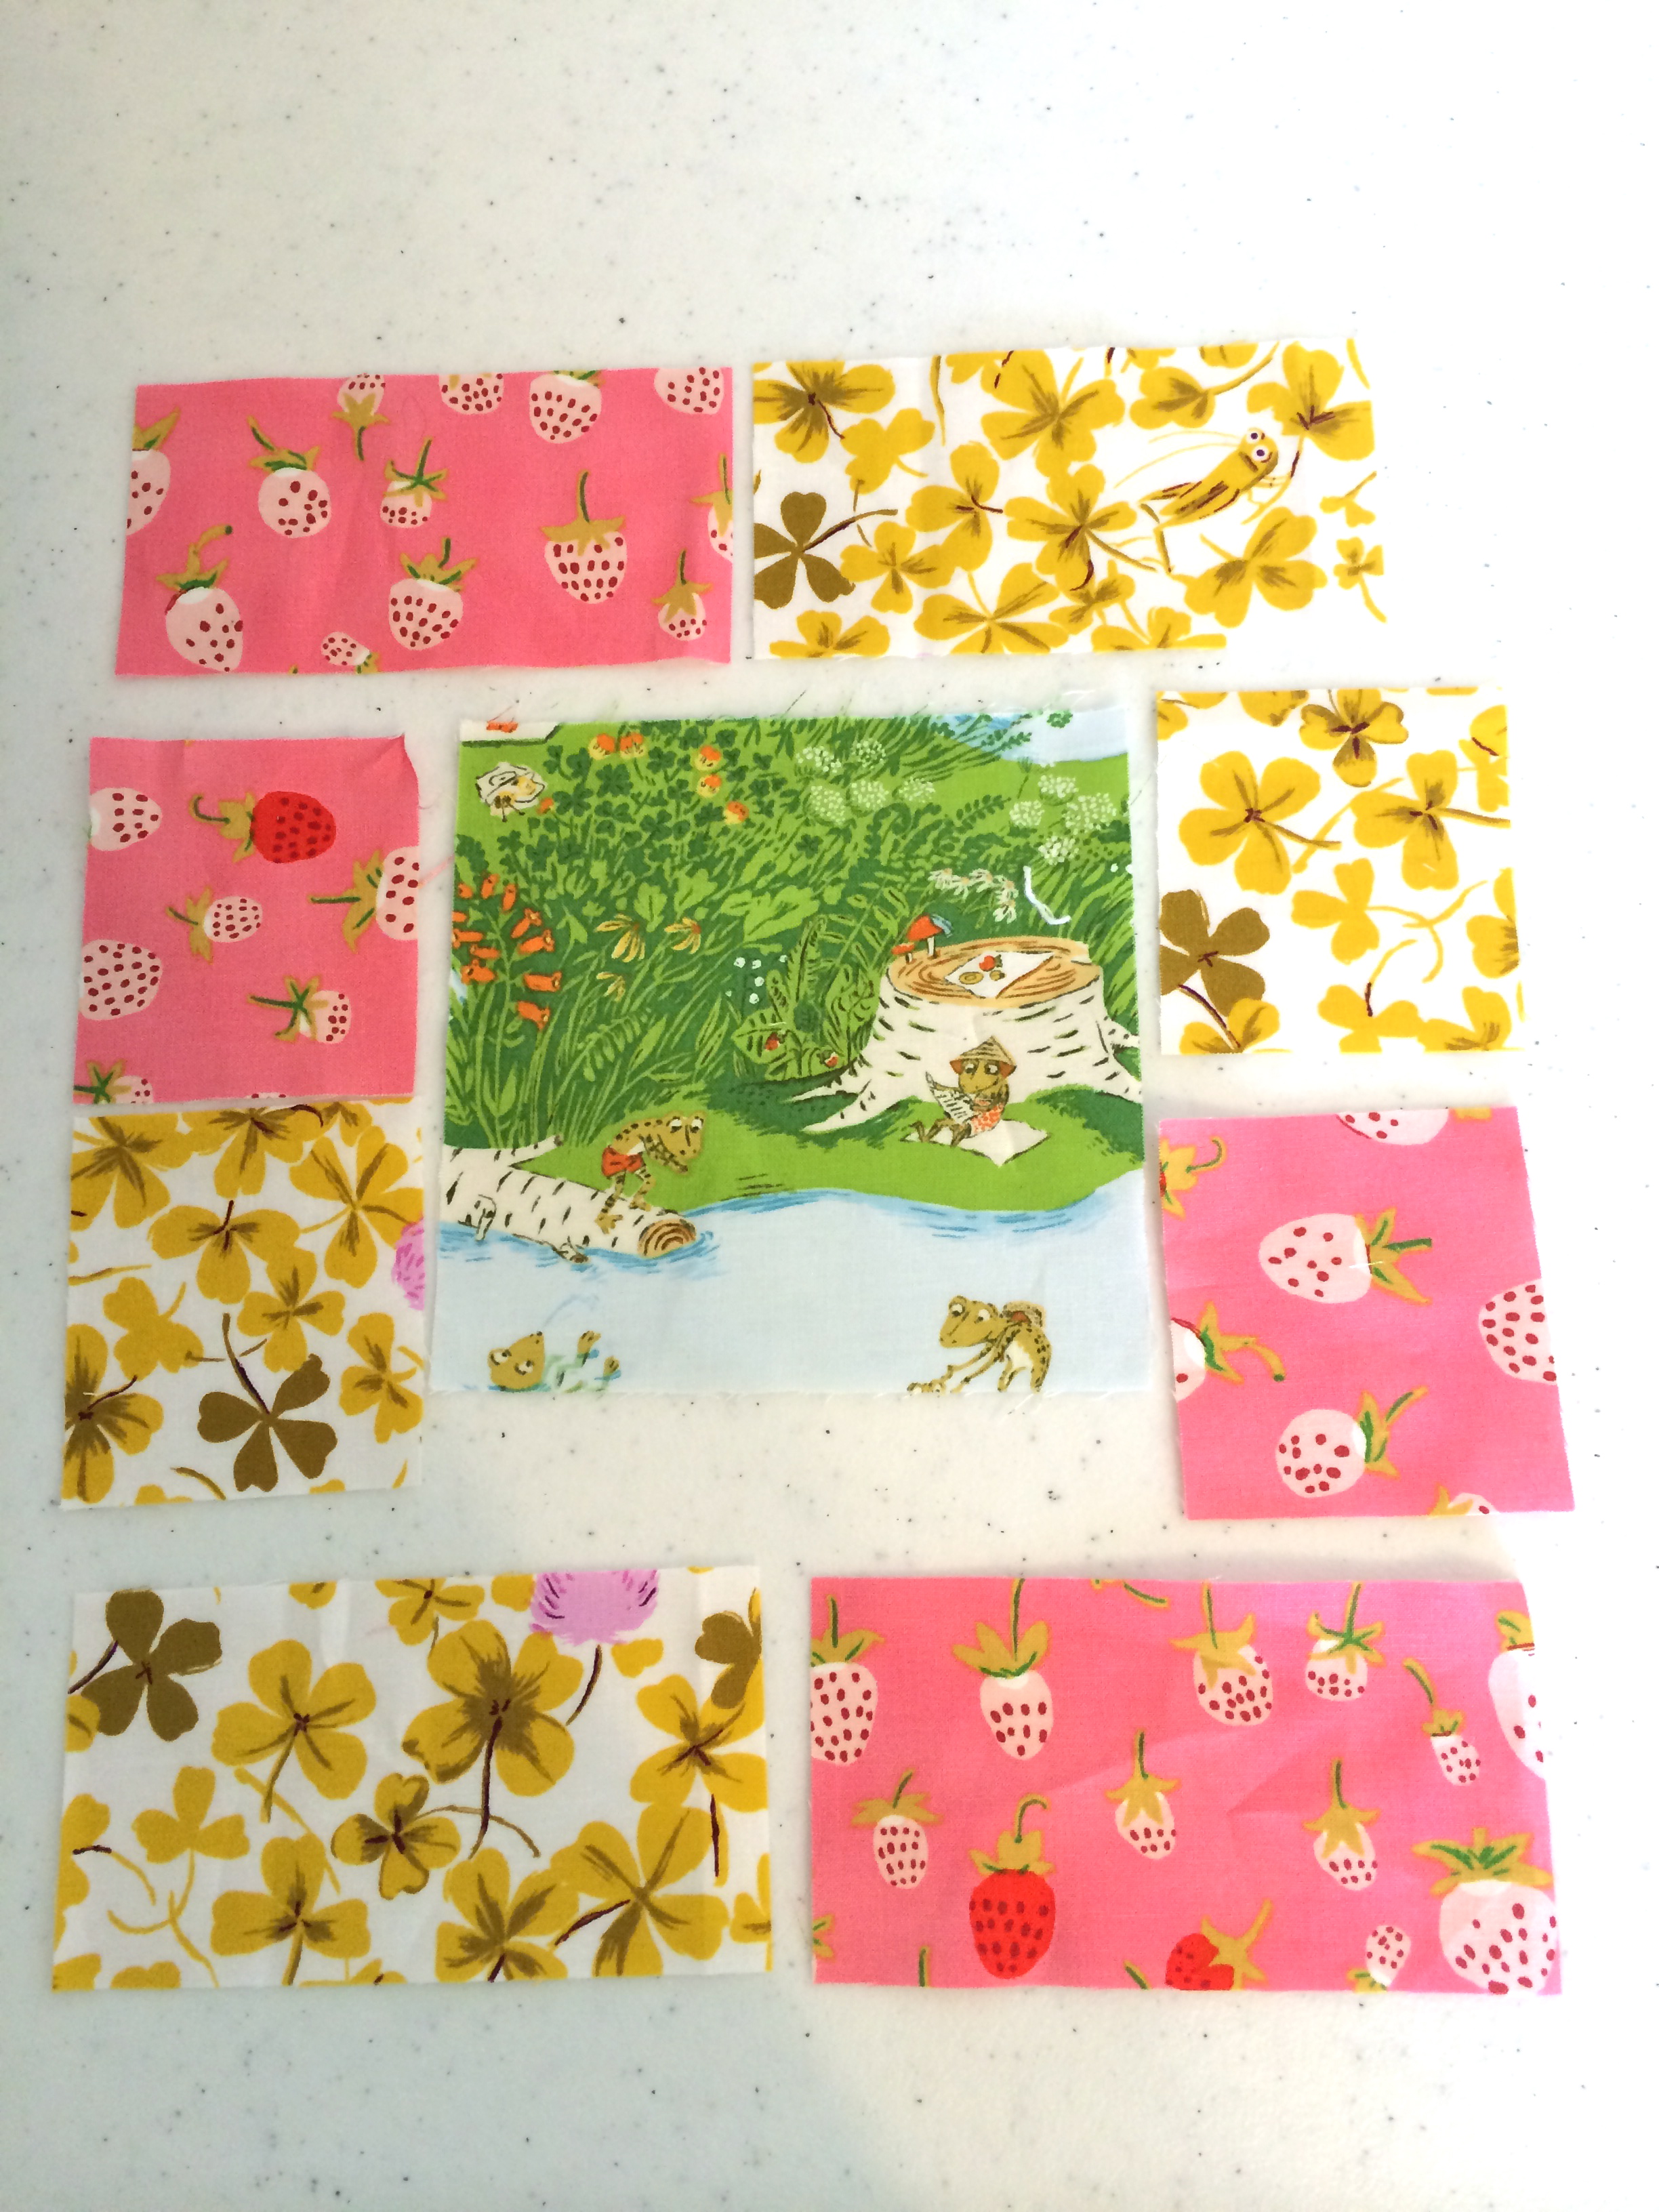
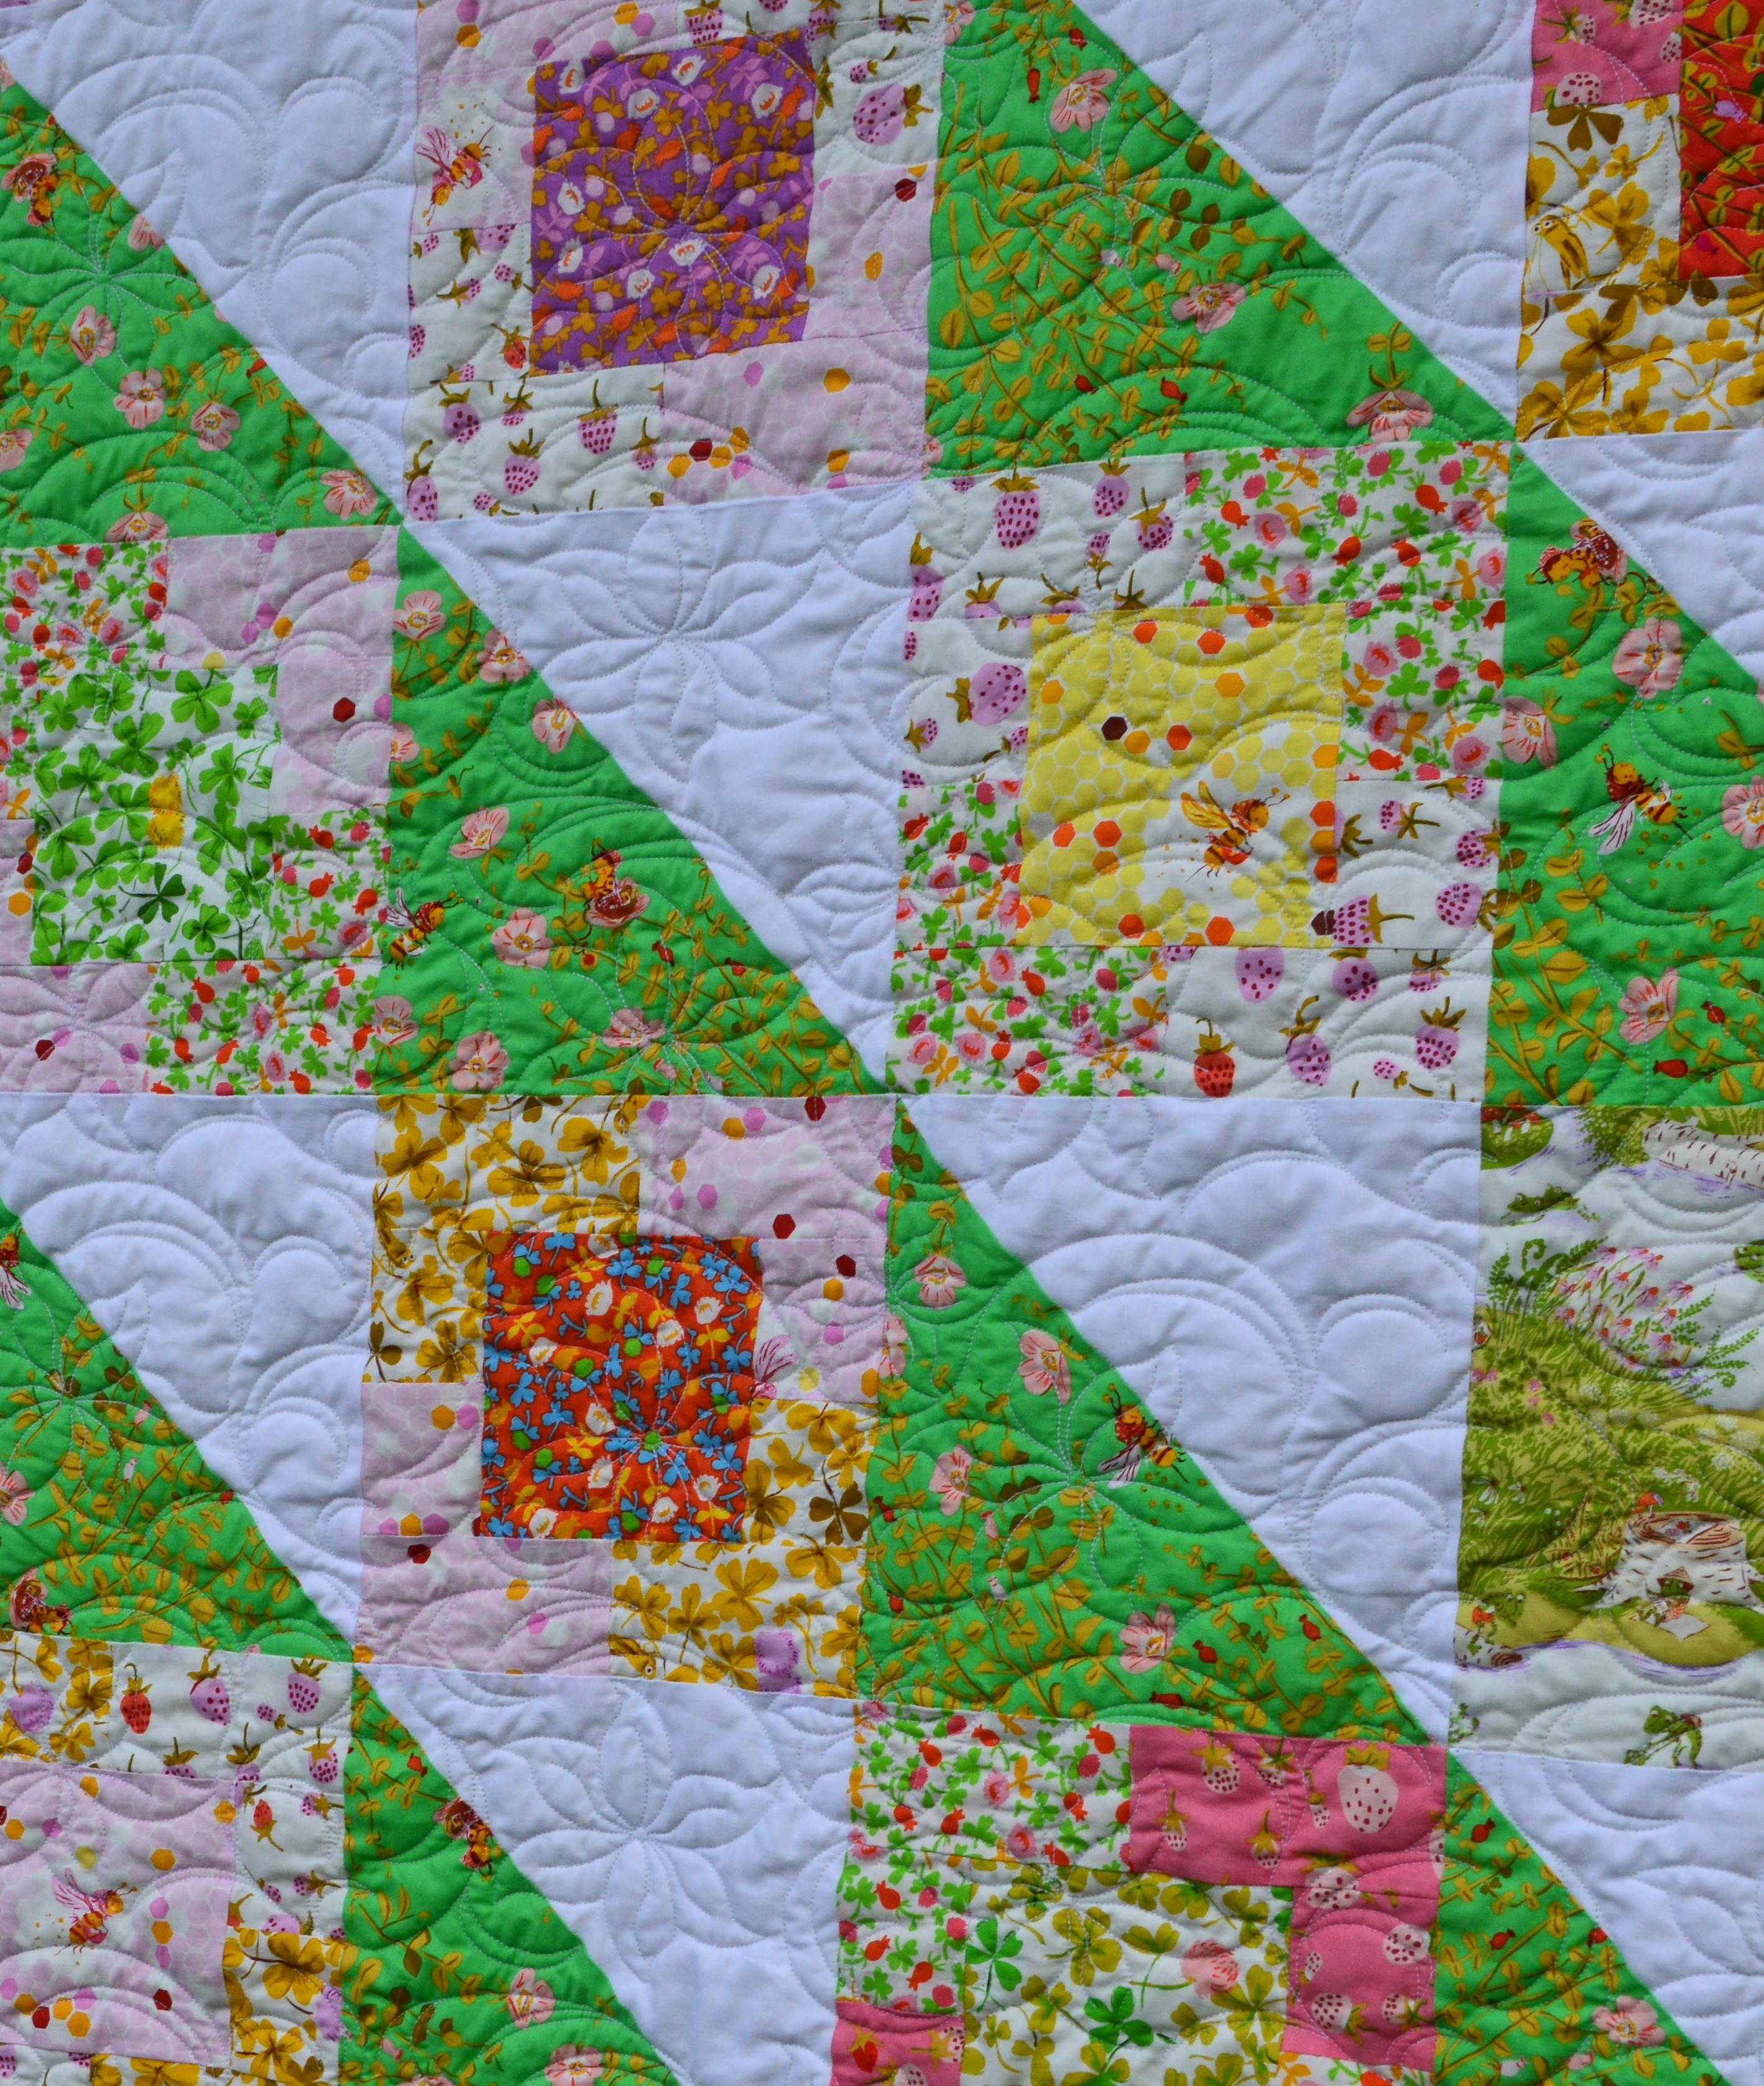
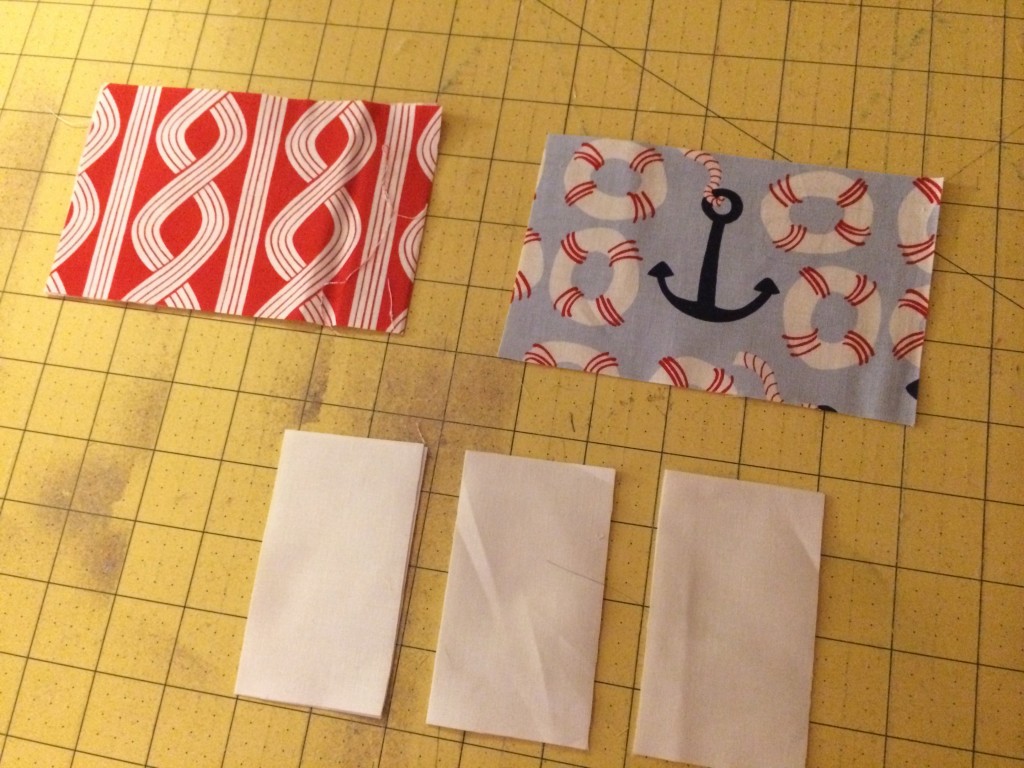
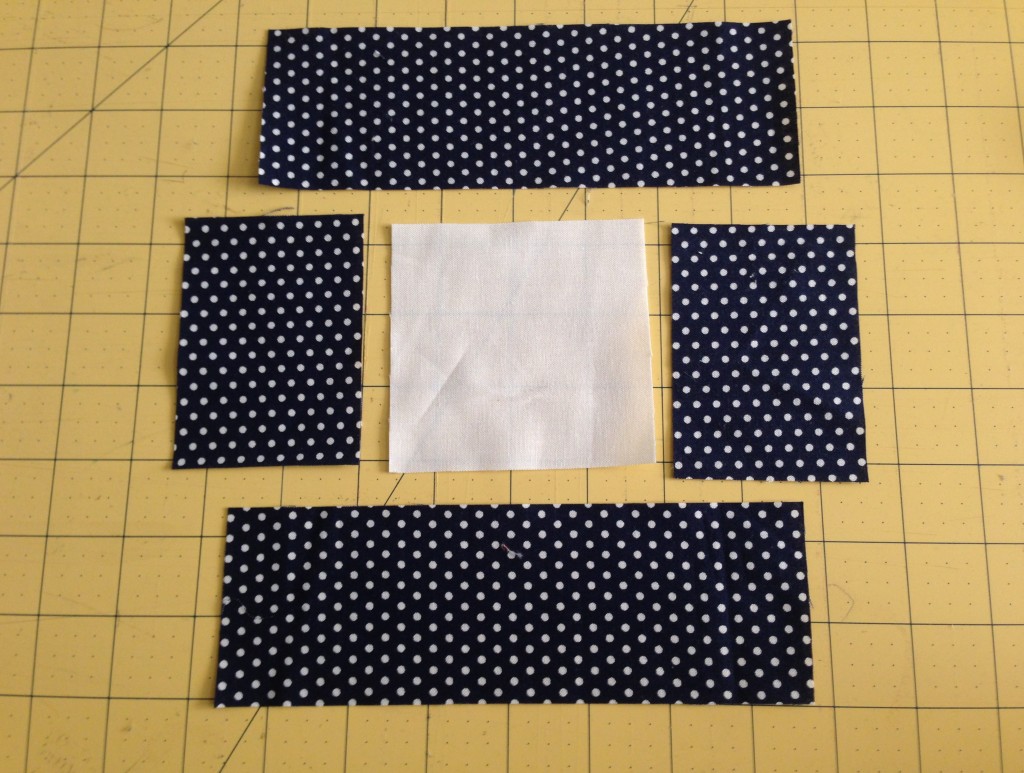
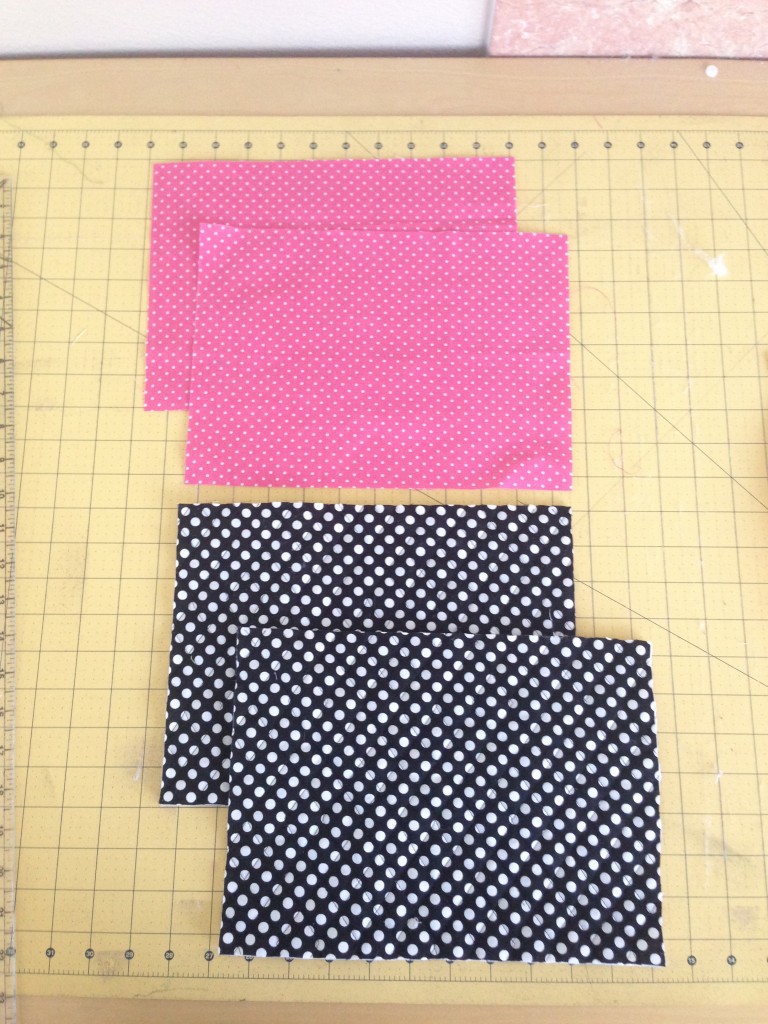
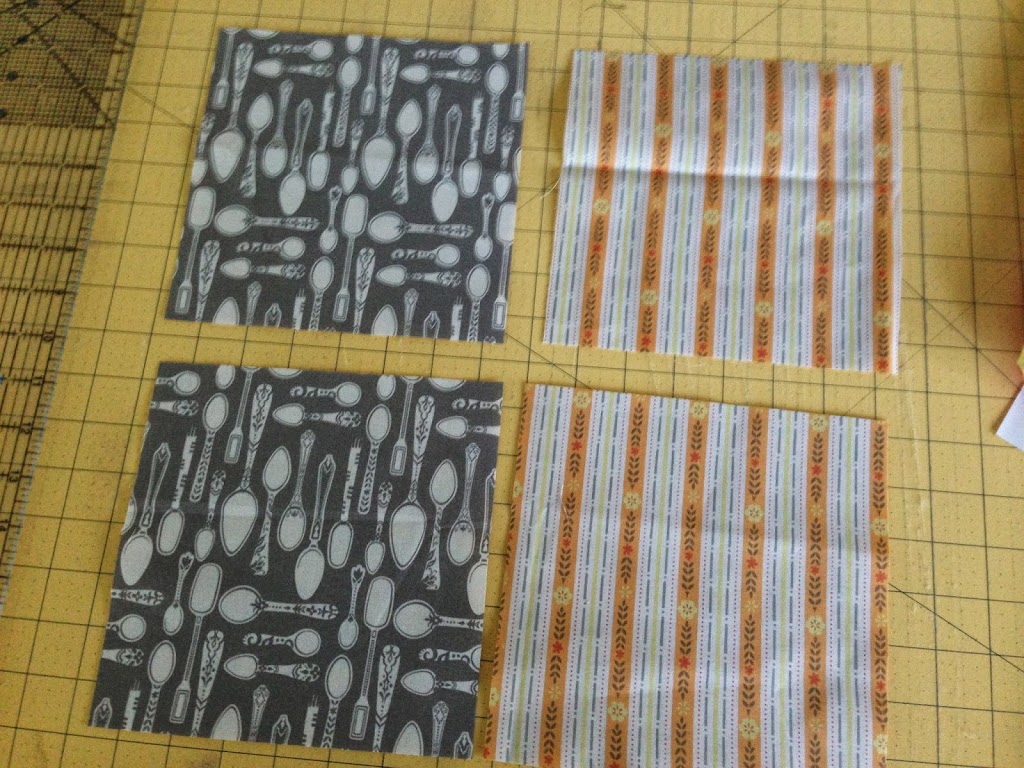
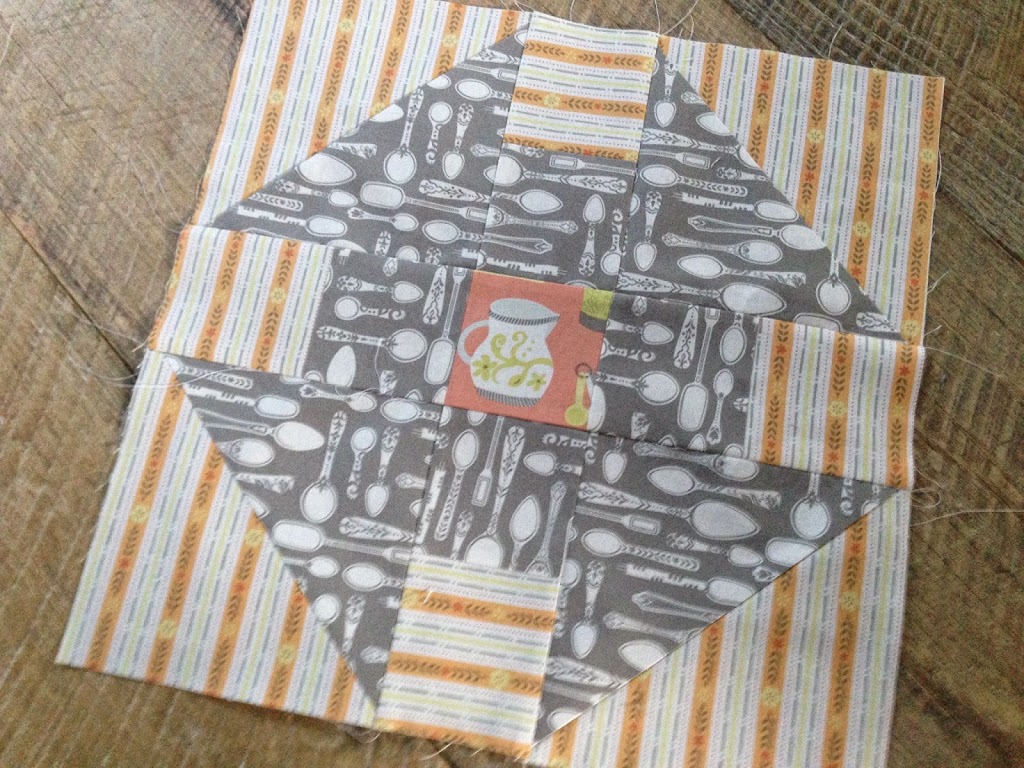
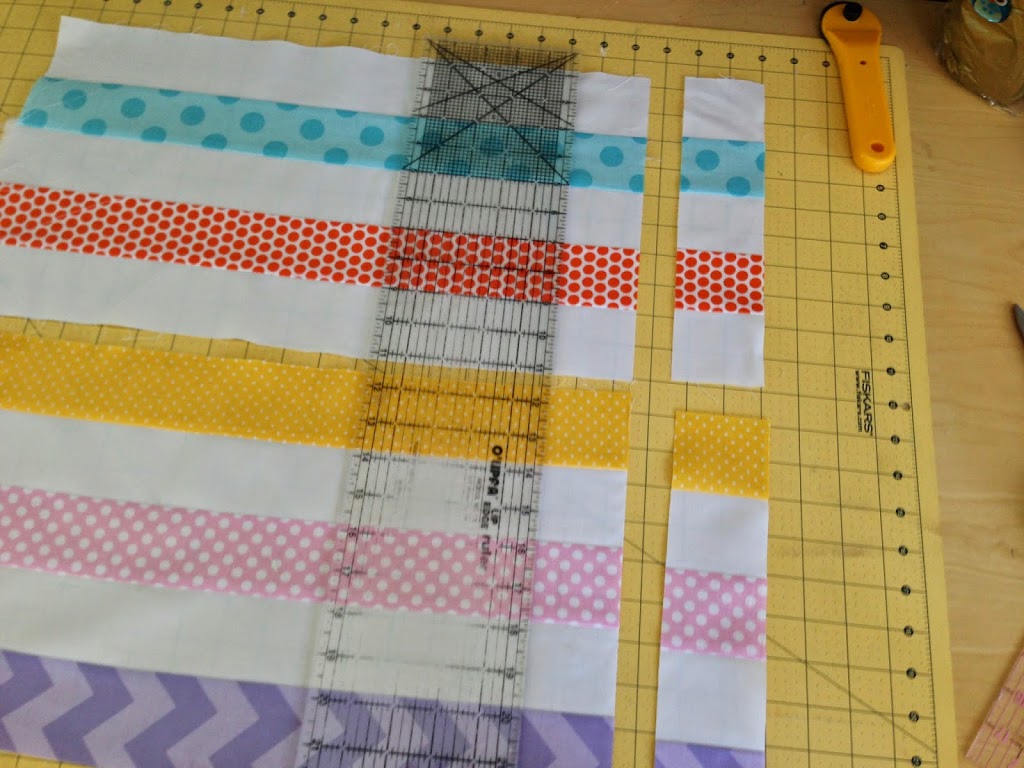
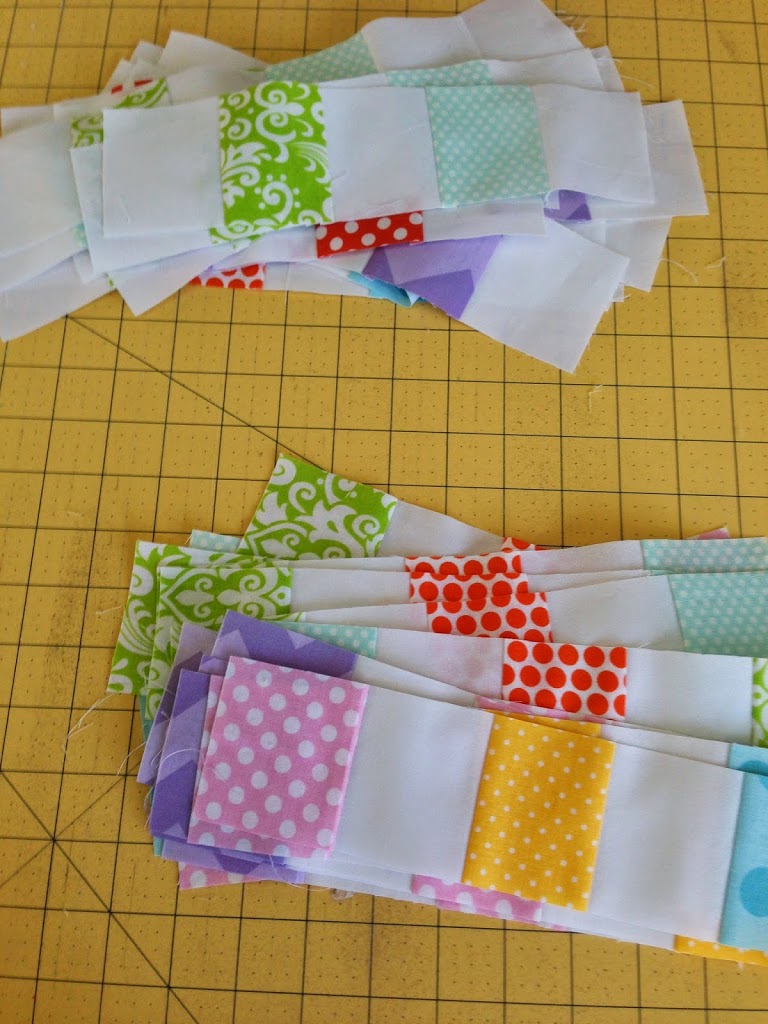
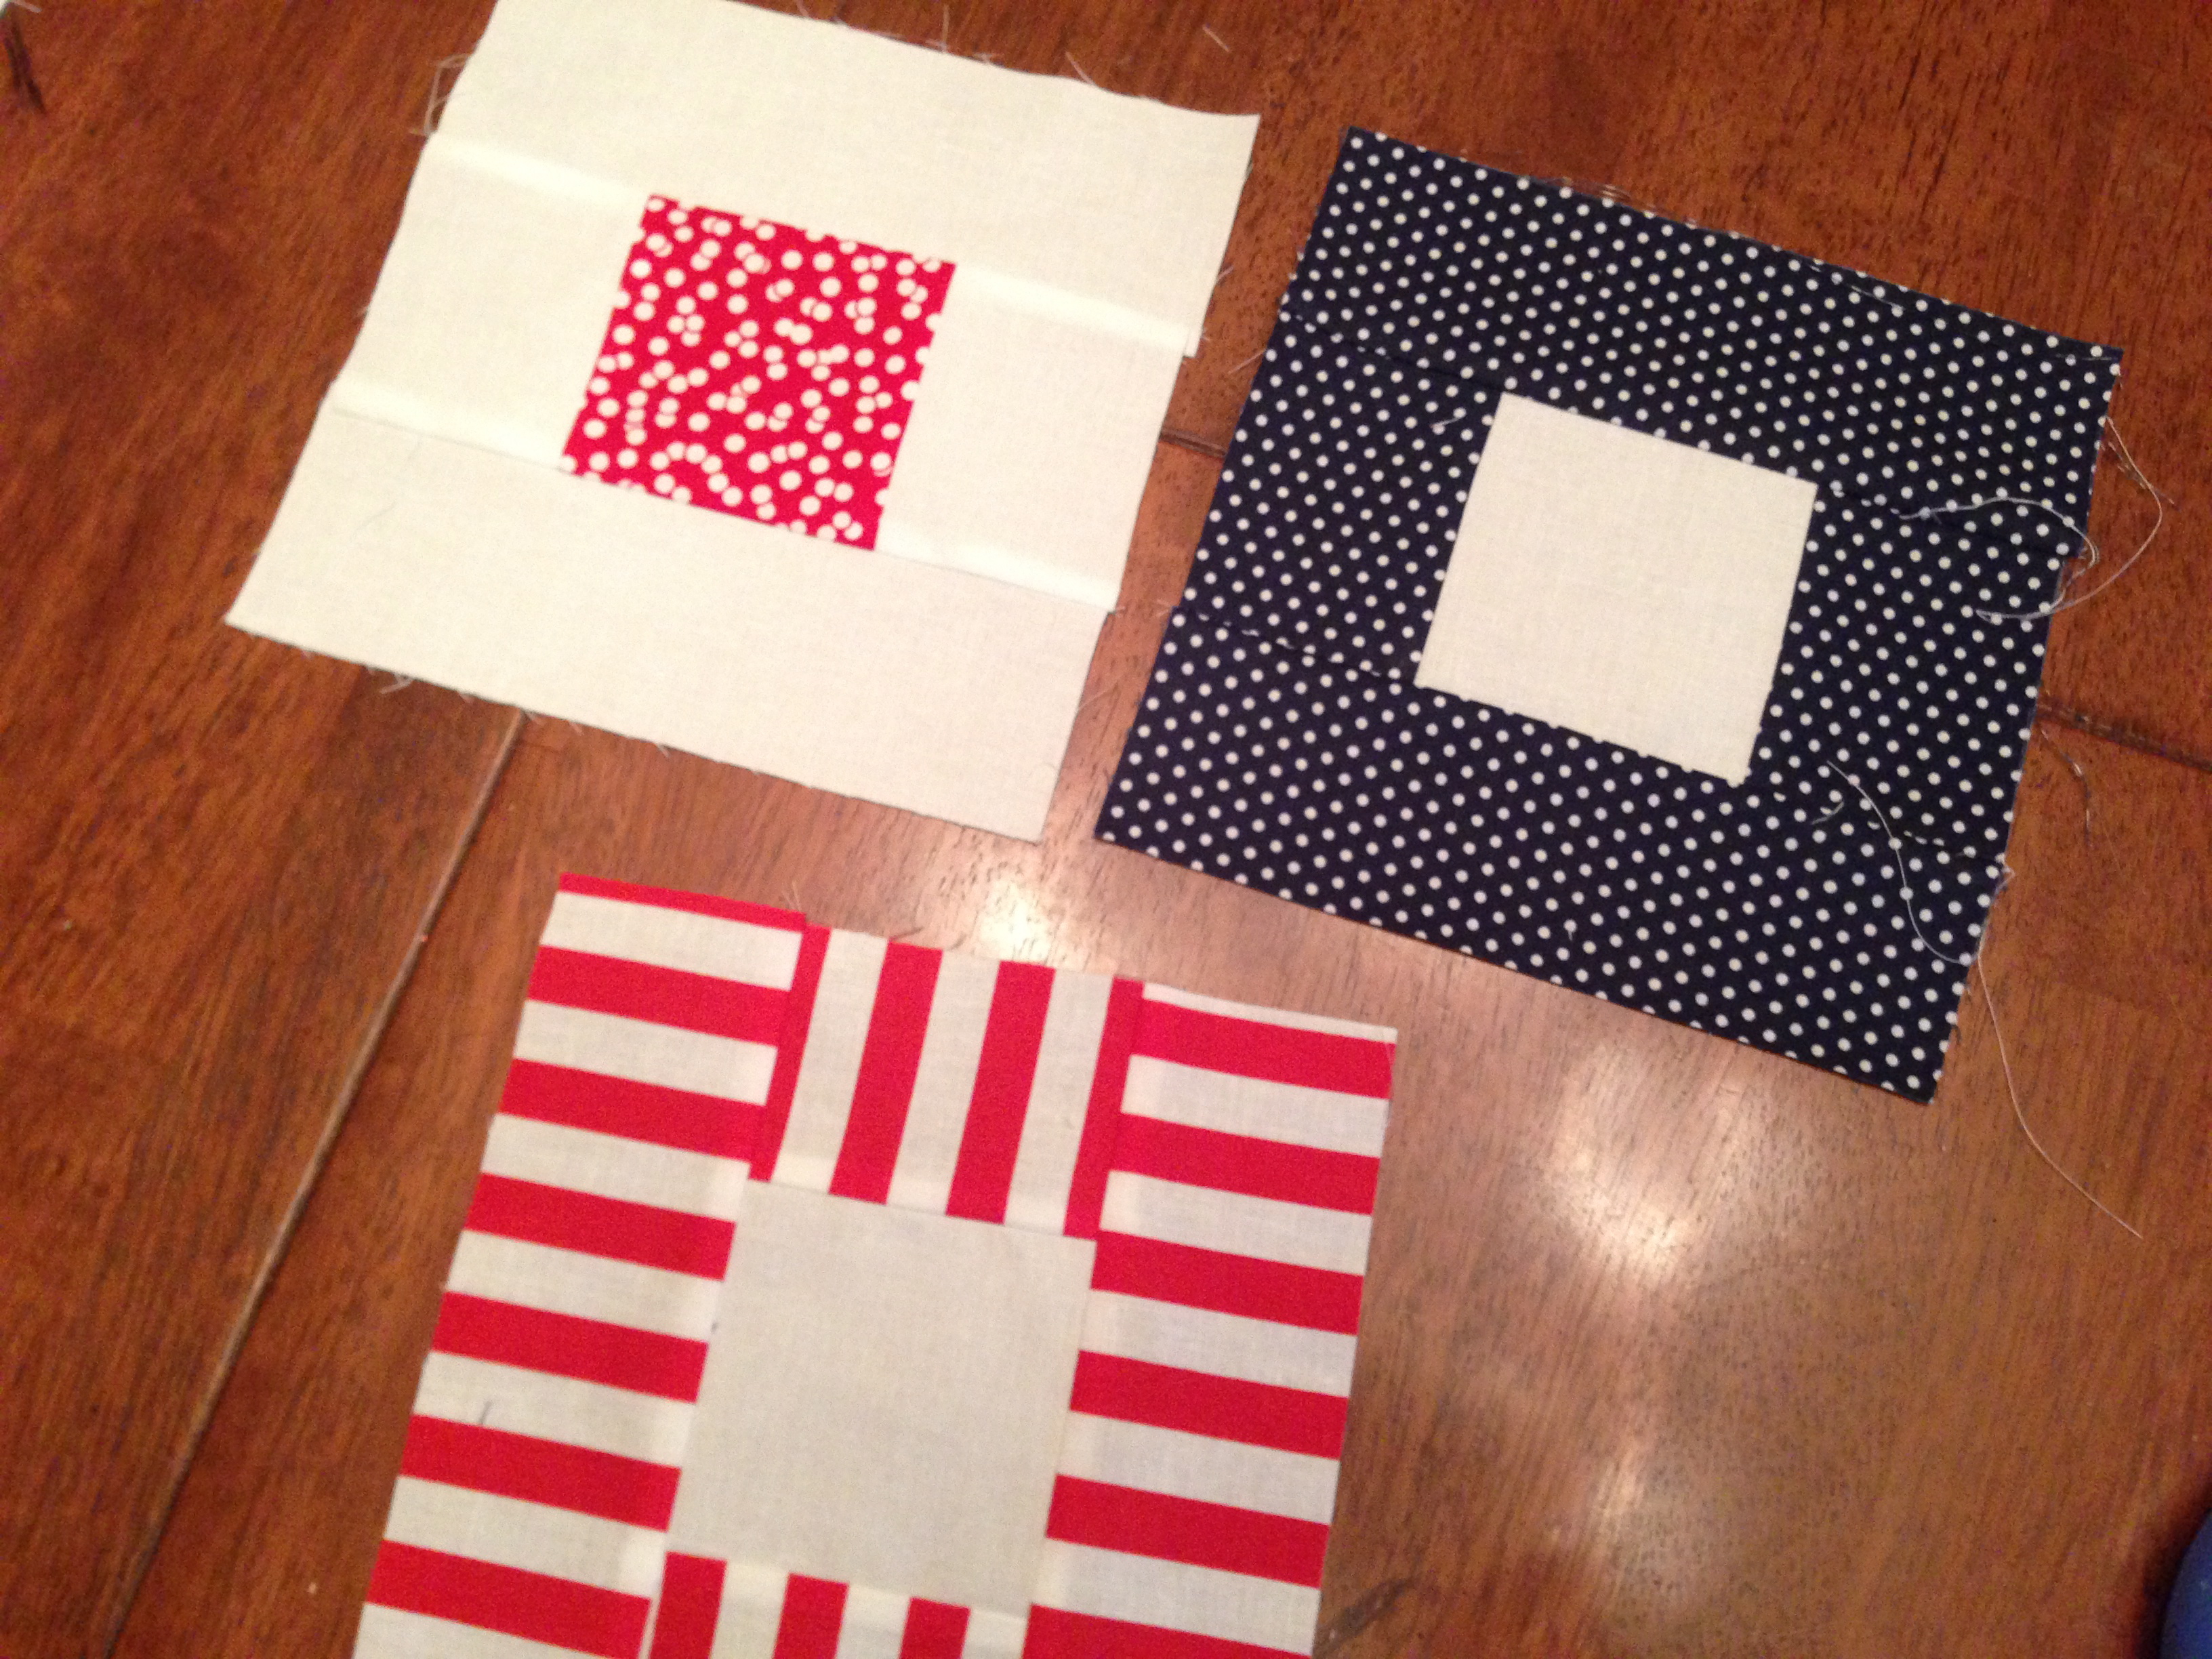
Begin by constructing (20) framed square blocks:
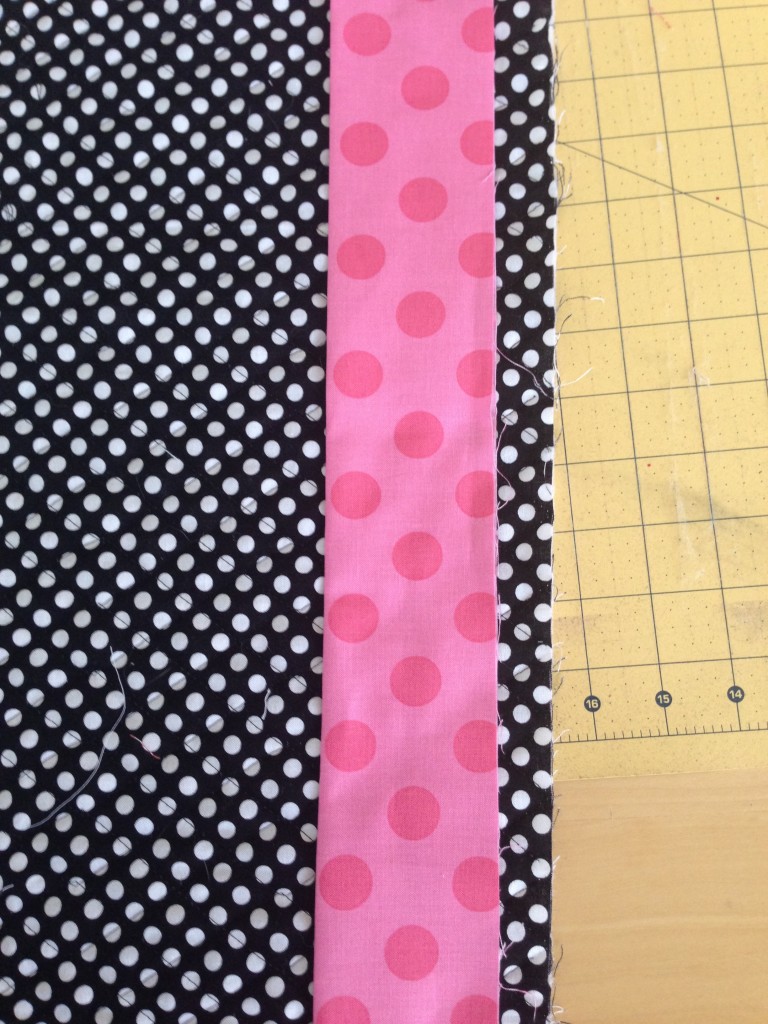
Pink frame (2) 2.5″ x 4.75″ and (2) 2.5″ x 2.75″
clover frame (2) 2.5″ x 4.75″ and (2) 2.5″ x 2.75″
center square 5″
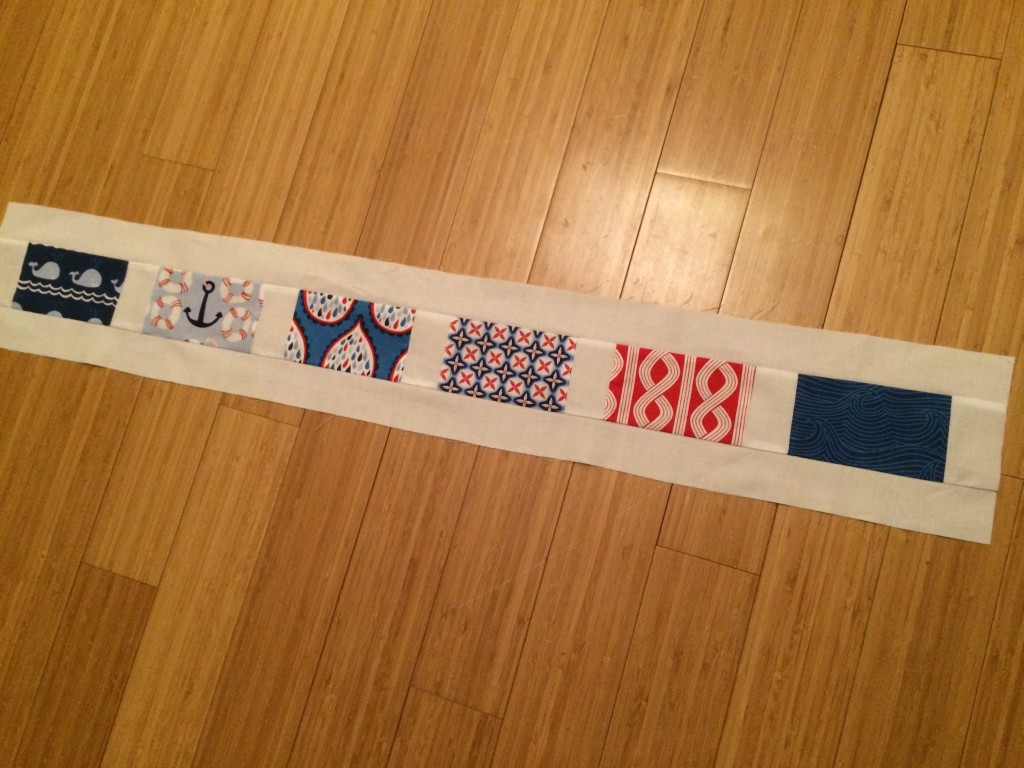
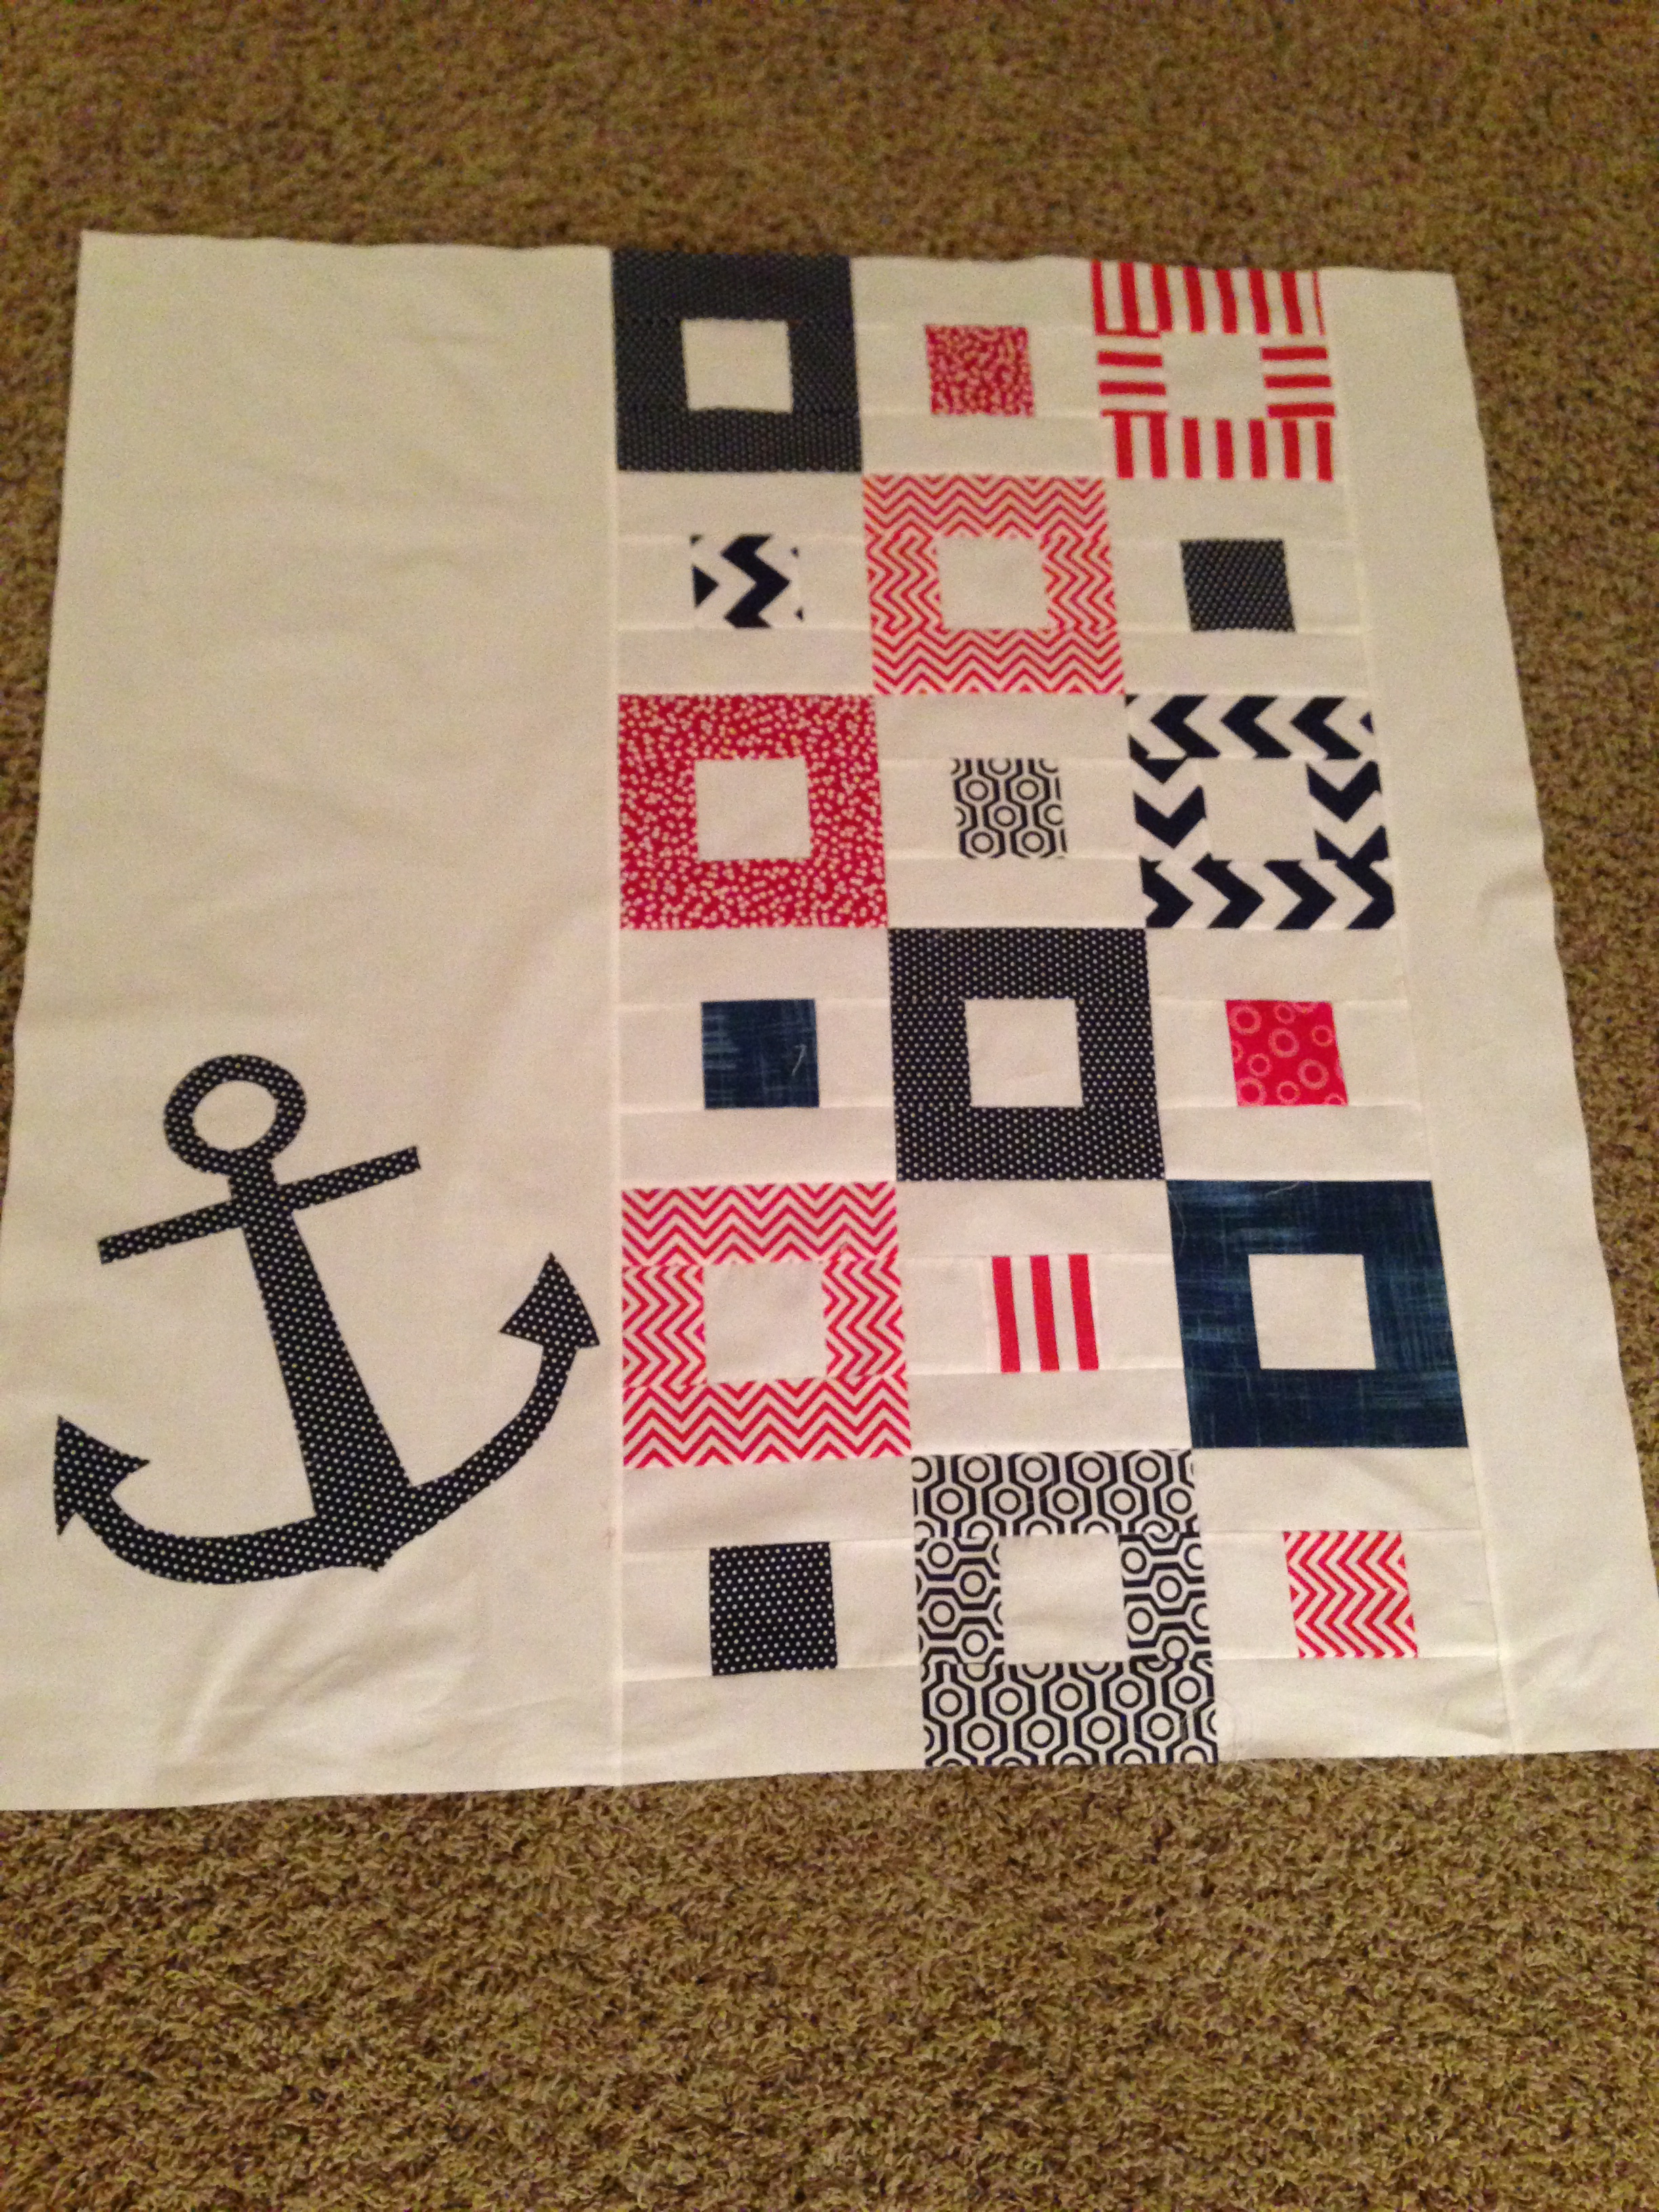
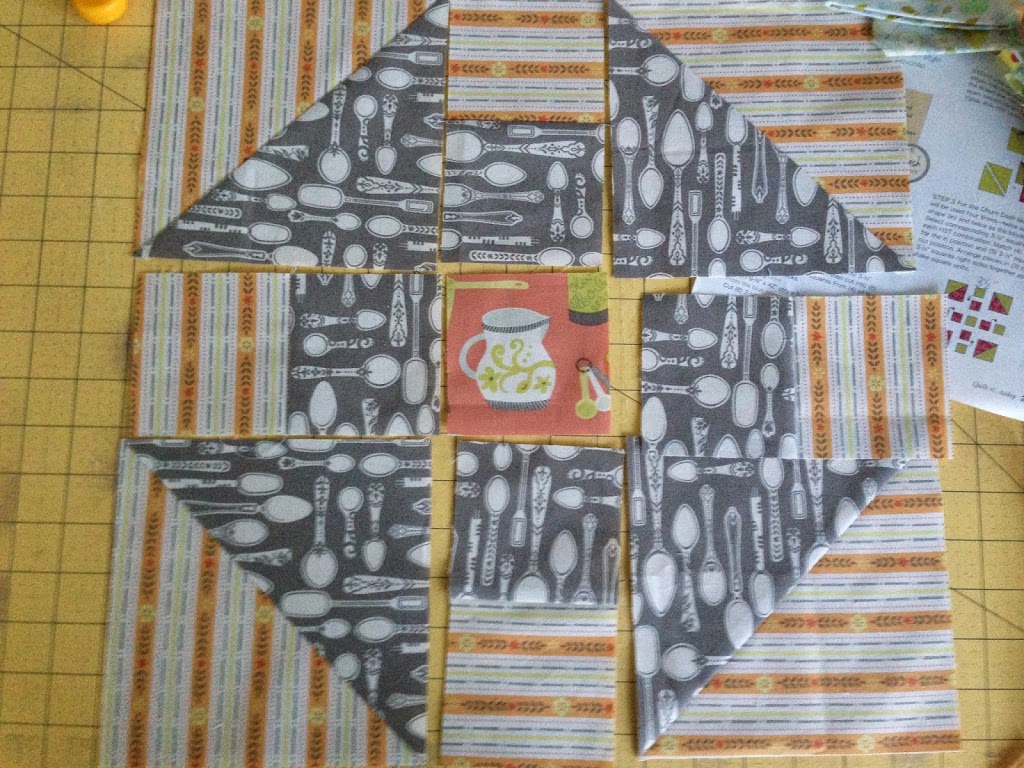
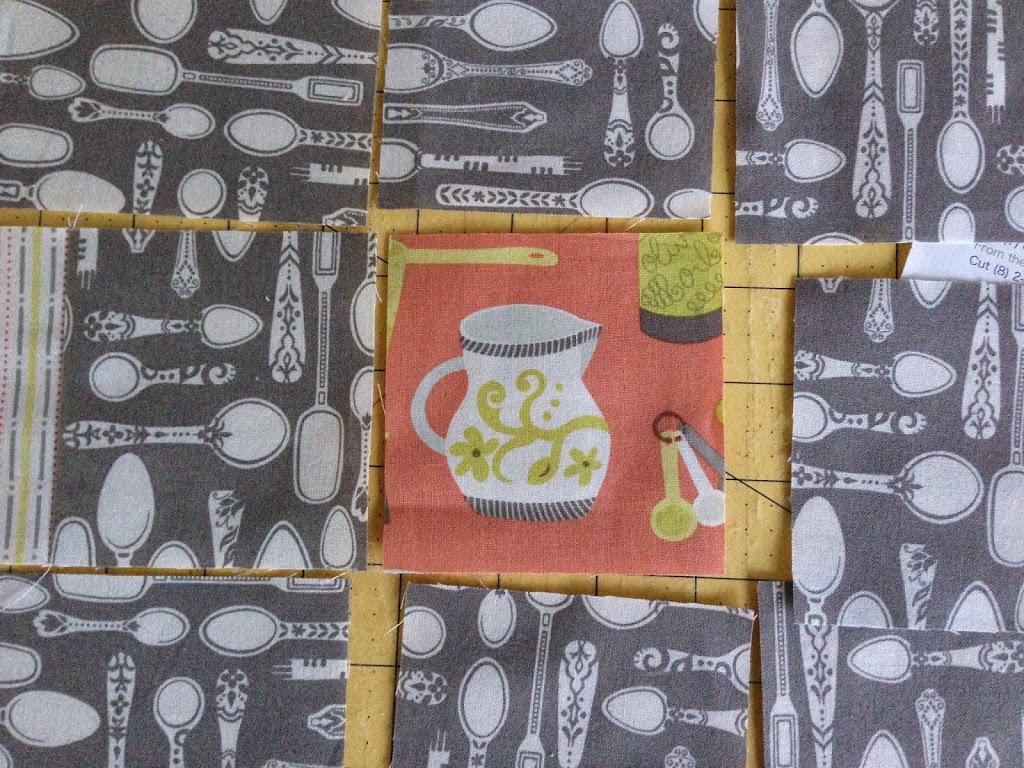
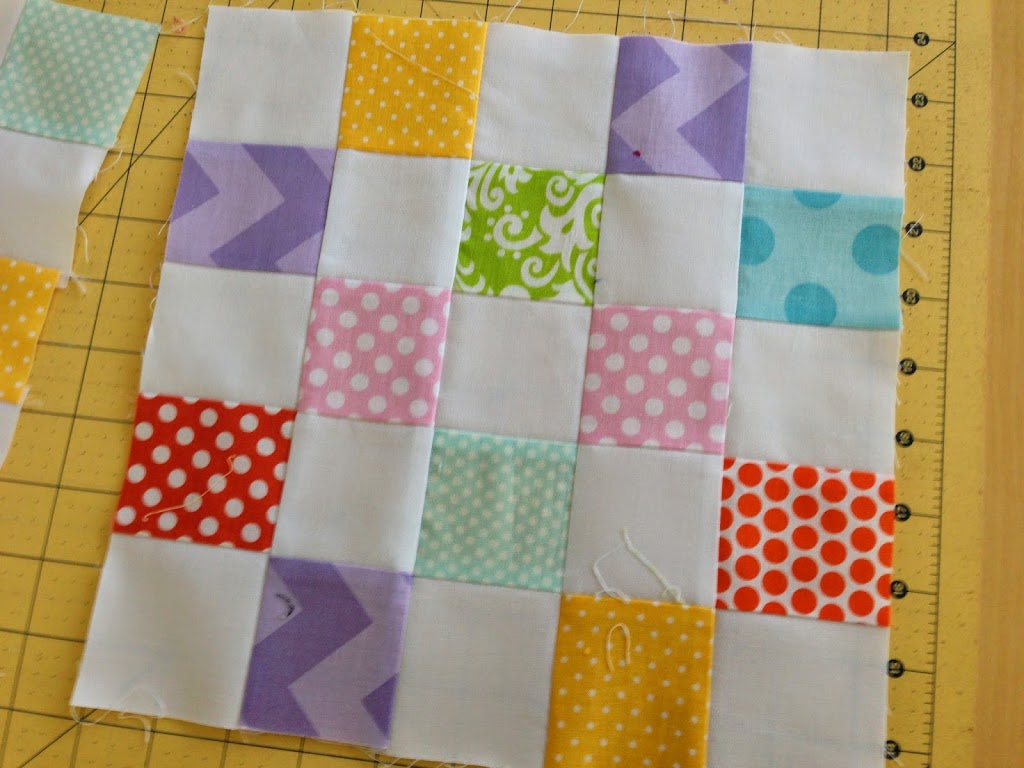
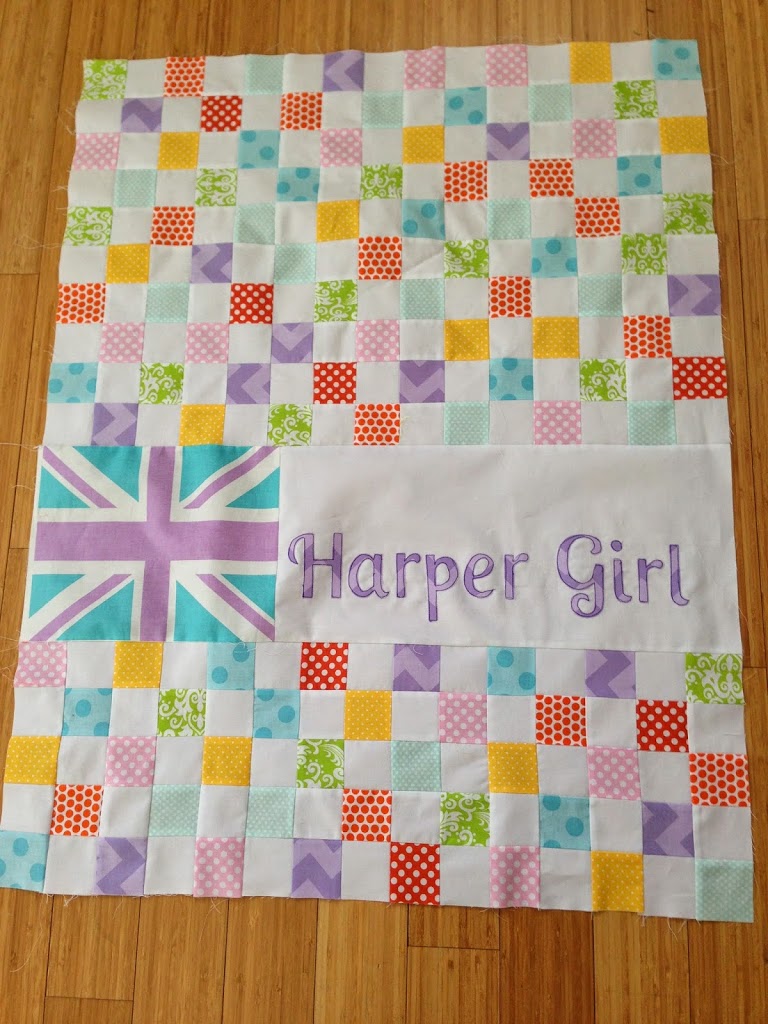
Ella laid all her blocks out to make sure the fabric patterns were evenly distributed. She is the best at laying out quilt pieces! 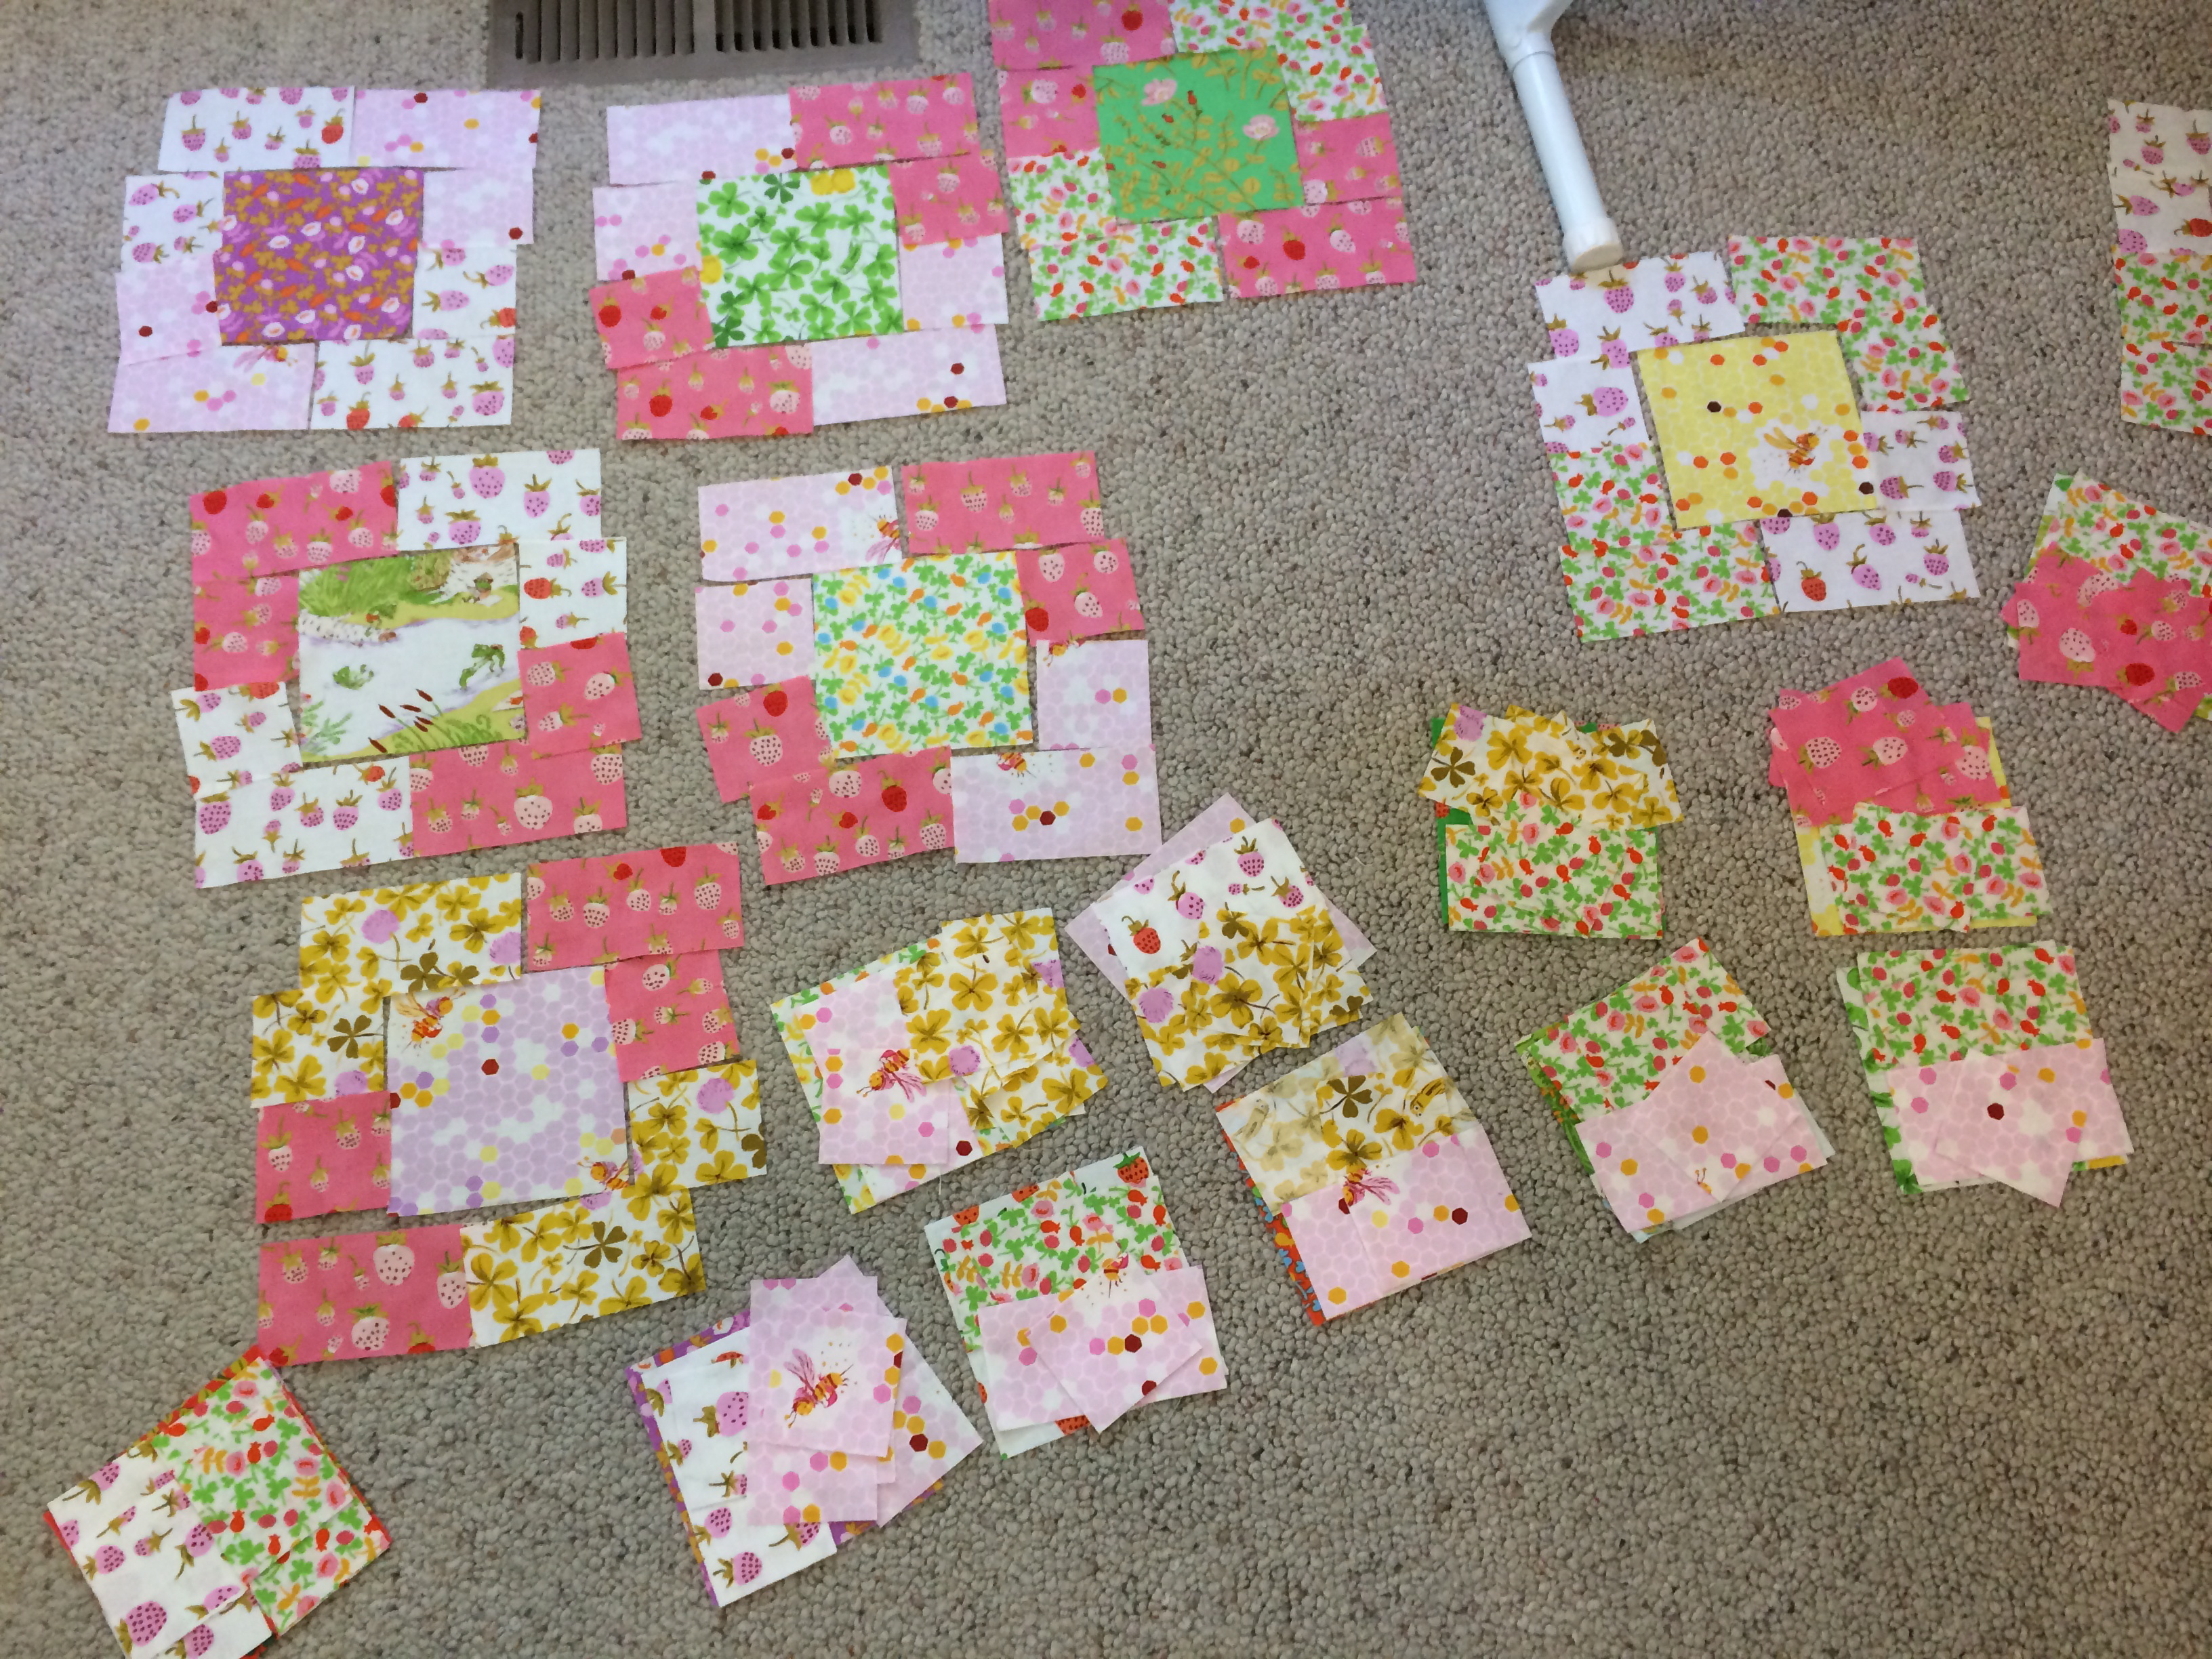
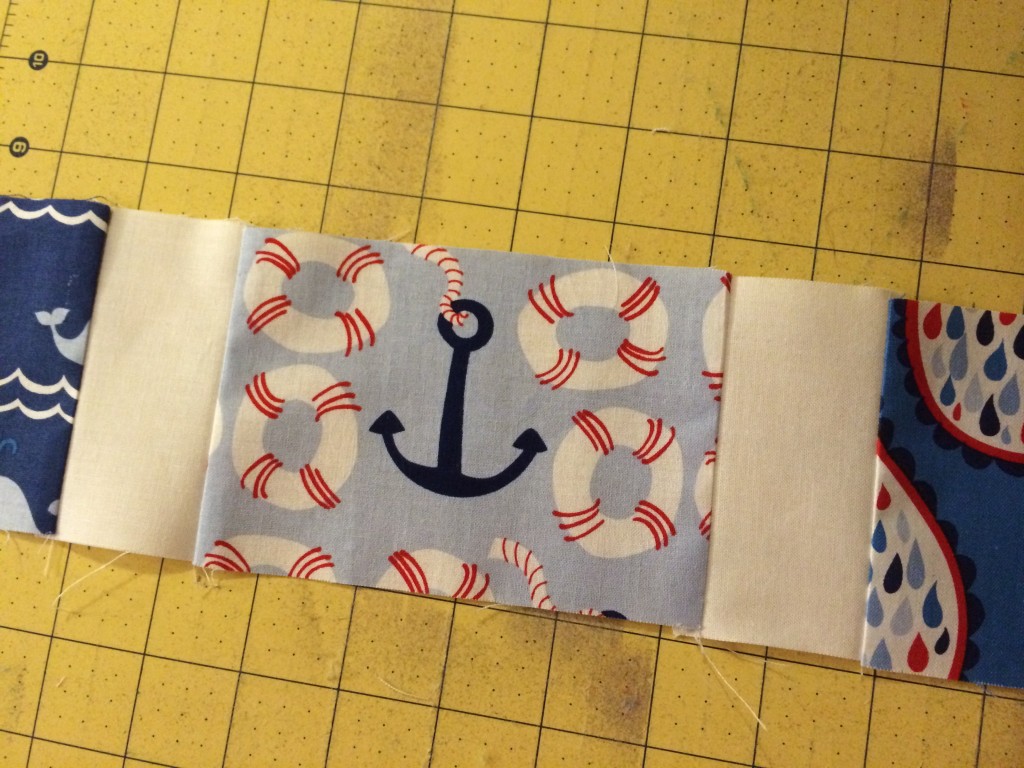
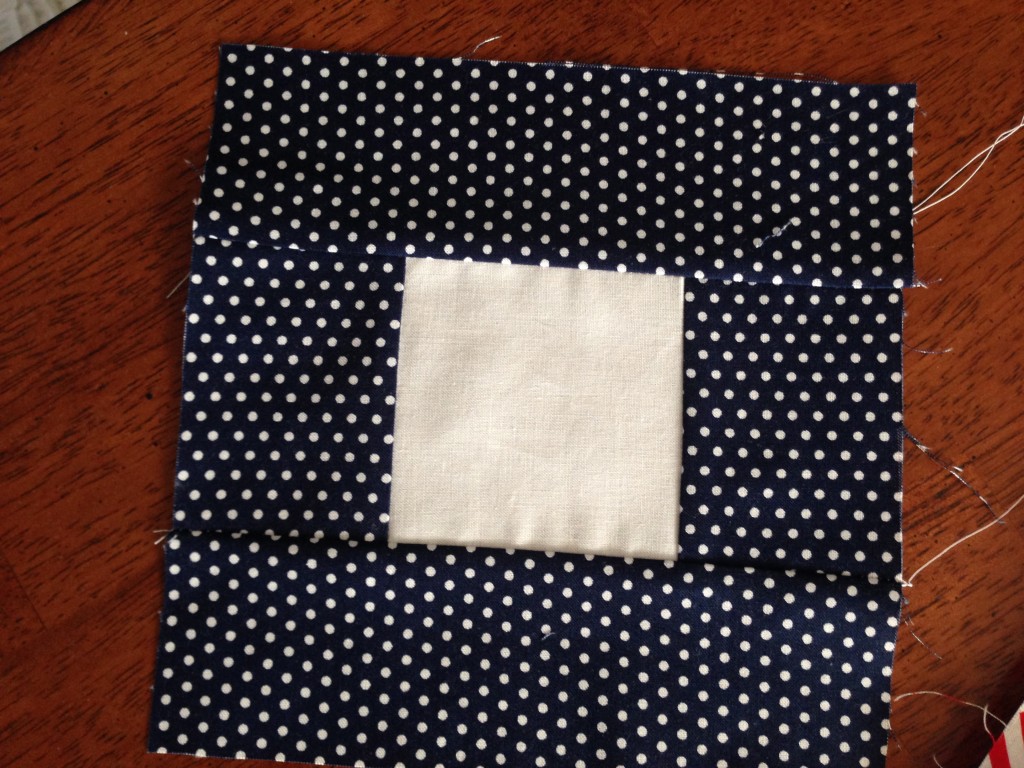
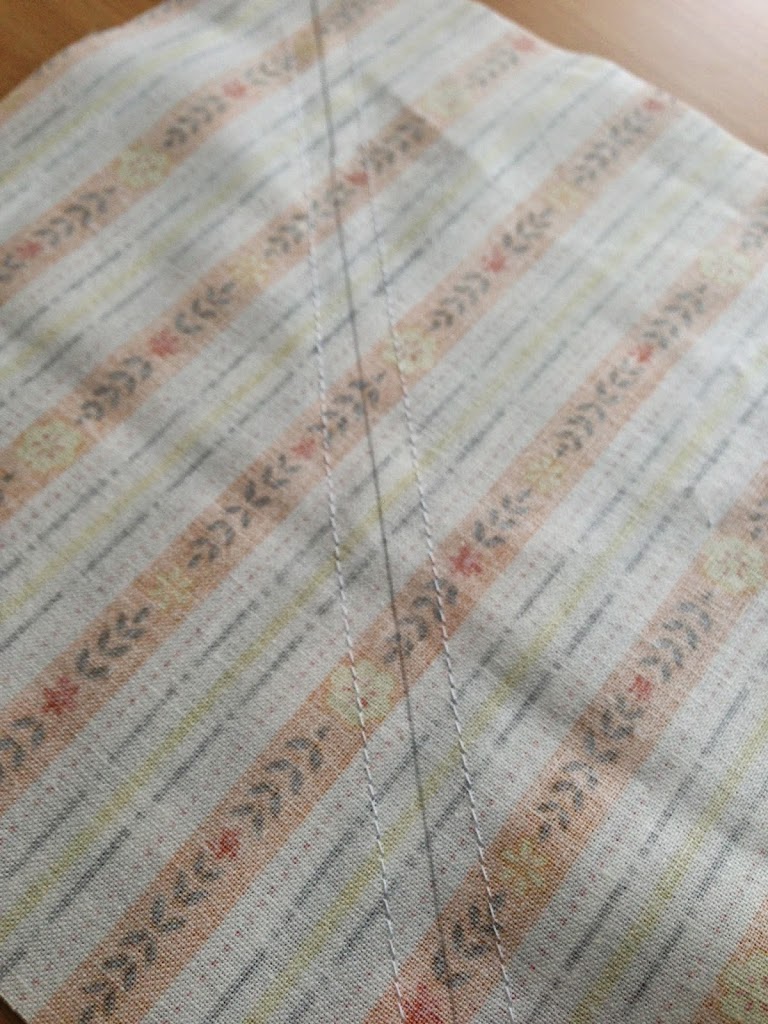
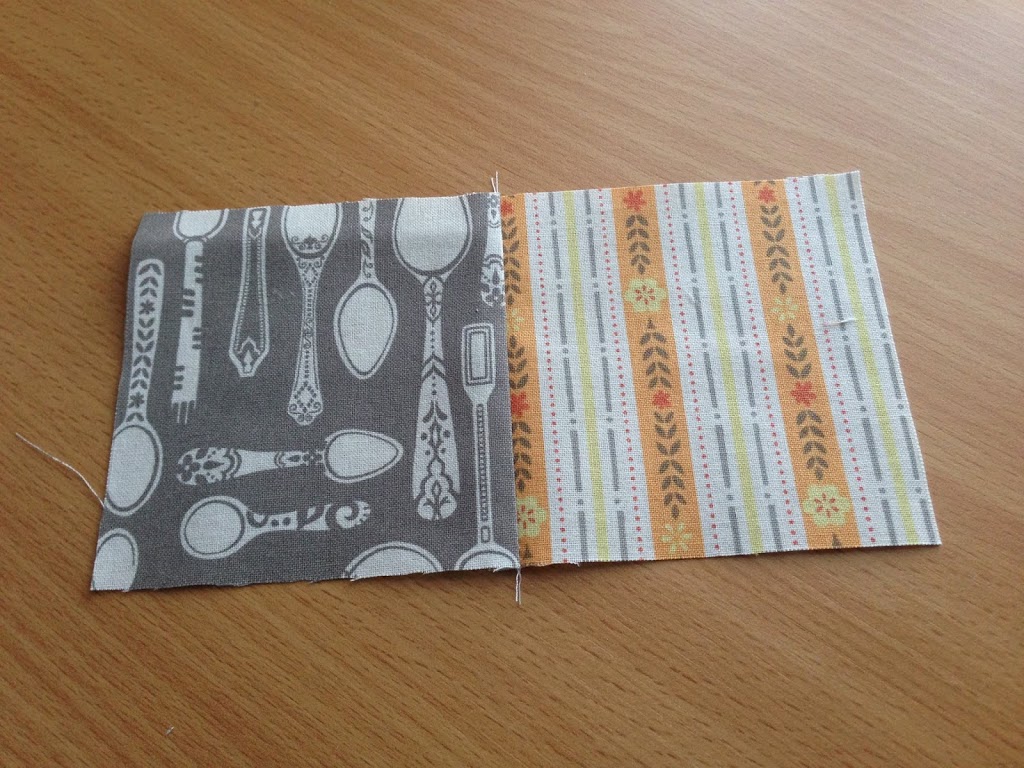
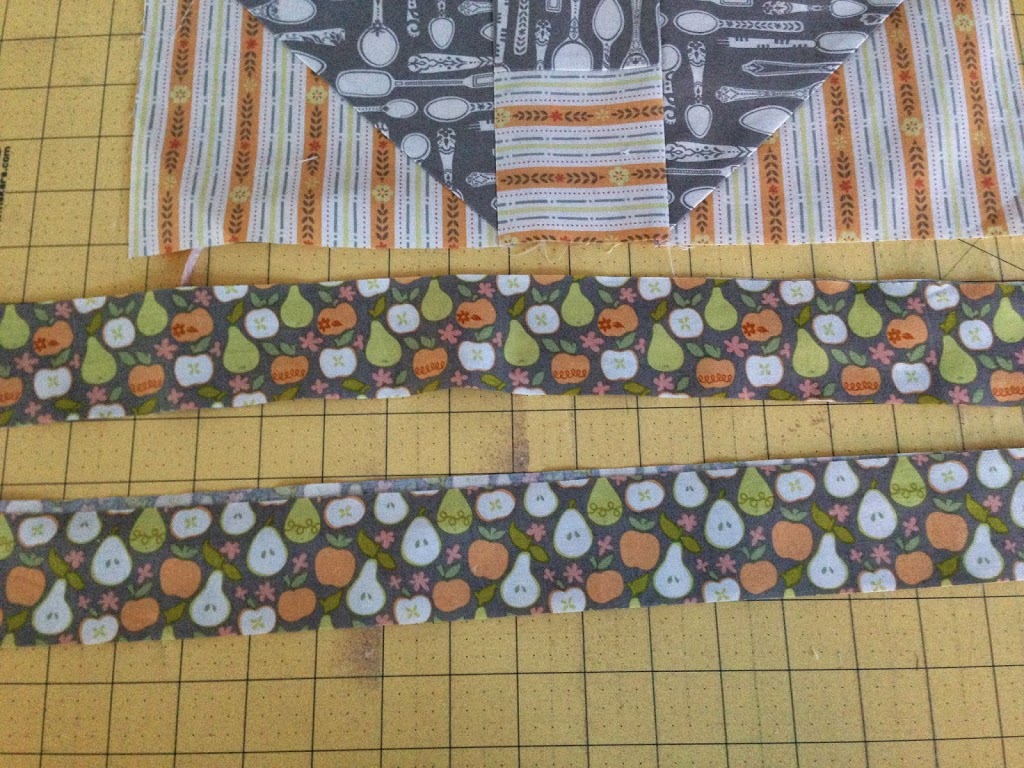
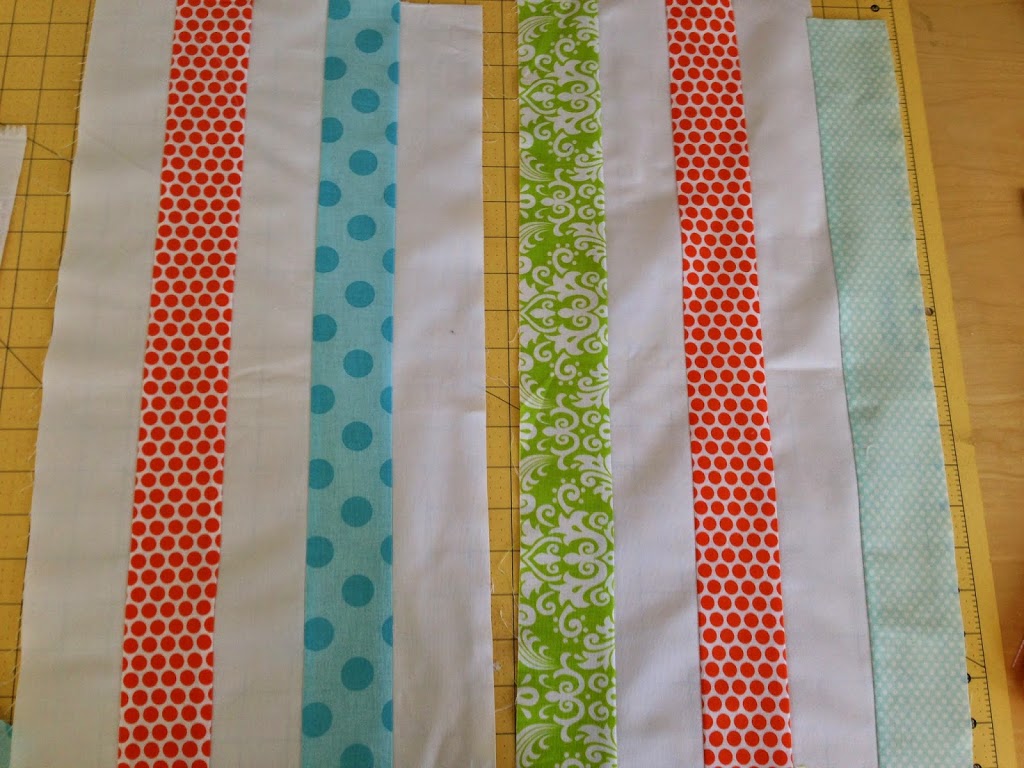
Sew the top two rectangles together, the side rectangles together and bottom rectangles together like this:
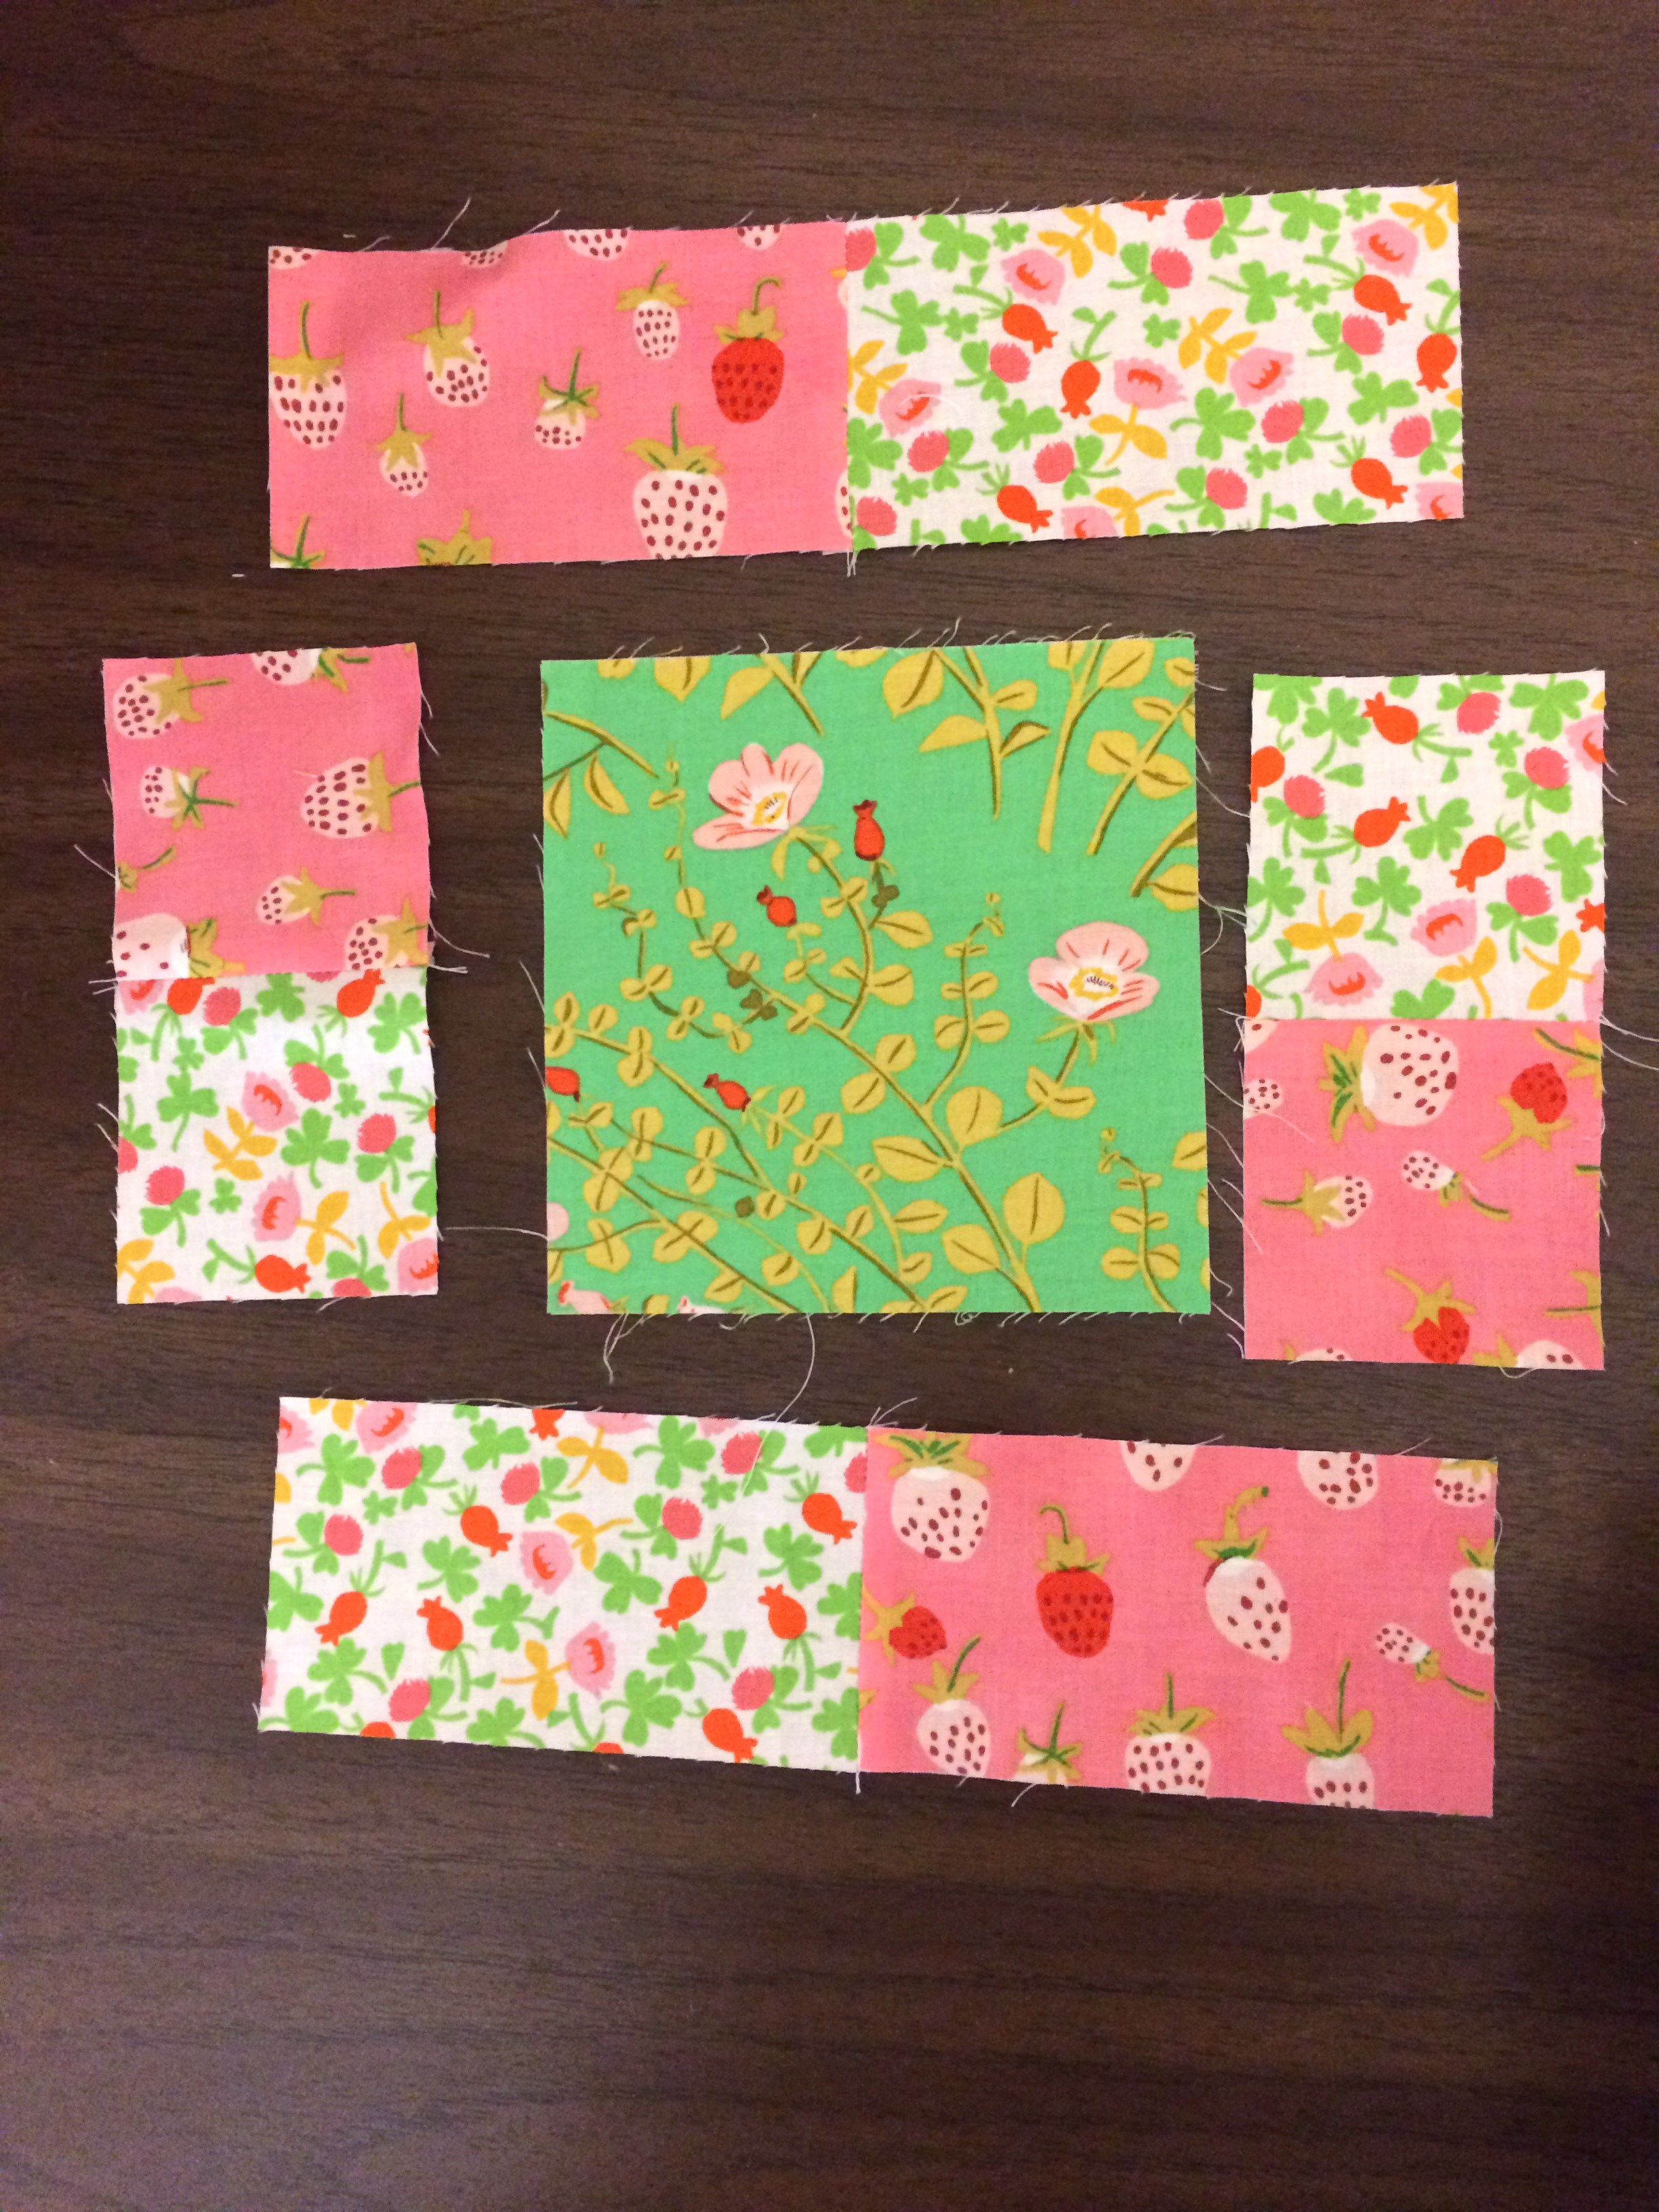 Press seams toward the dark.
Sew the side rectangle units to the center square. Press. Sew the top and bottom units to the square and press seams. (I forgot to take a picture of the finished block, but you can see it in the quilt below)
Construct (24) half square triangle blocks
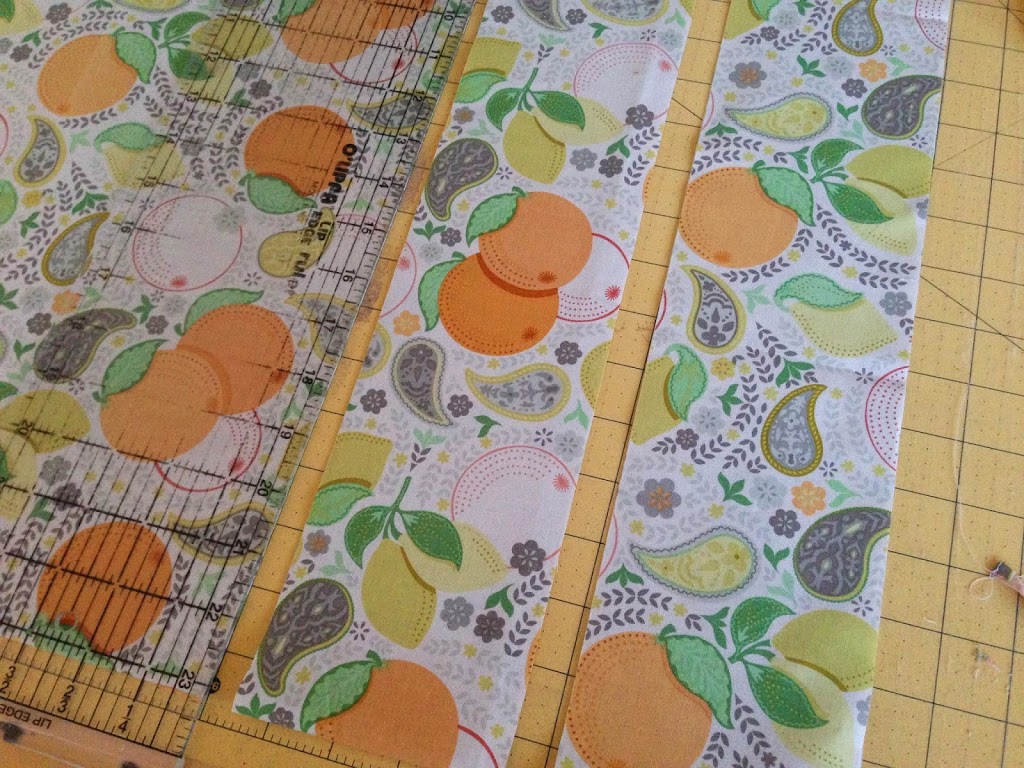
Cut (12) solid white and (12) green print 10″ squares
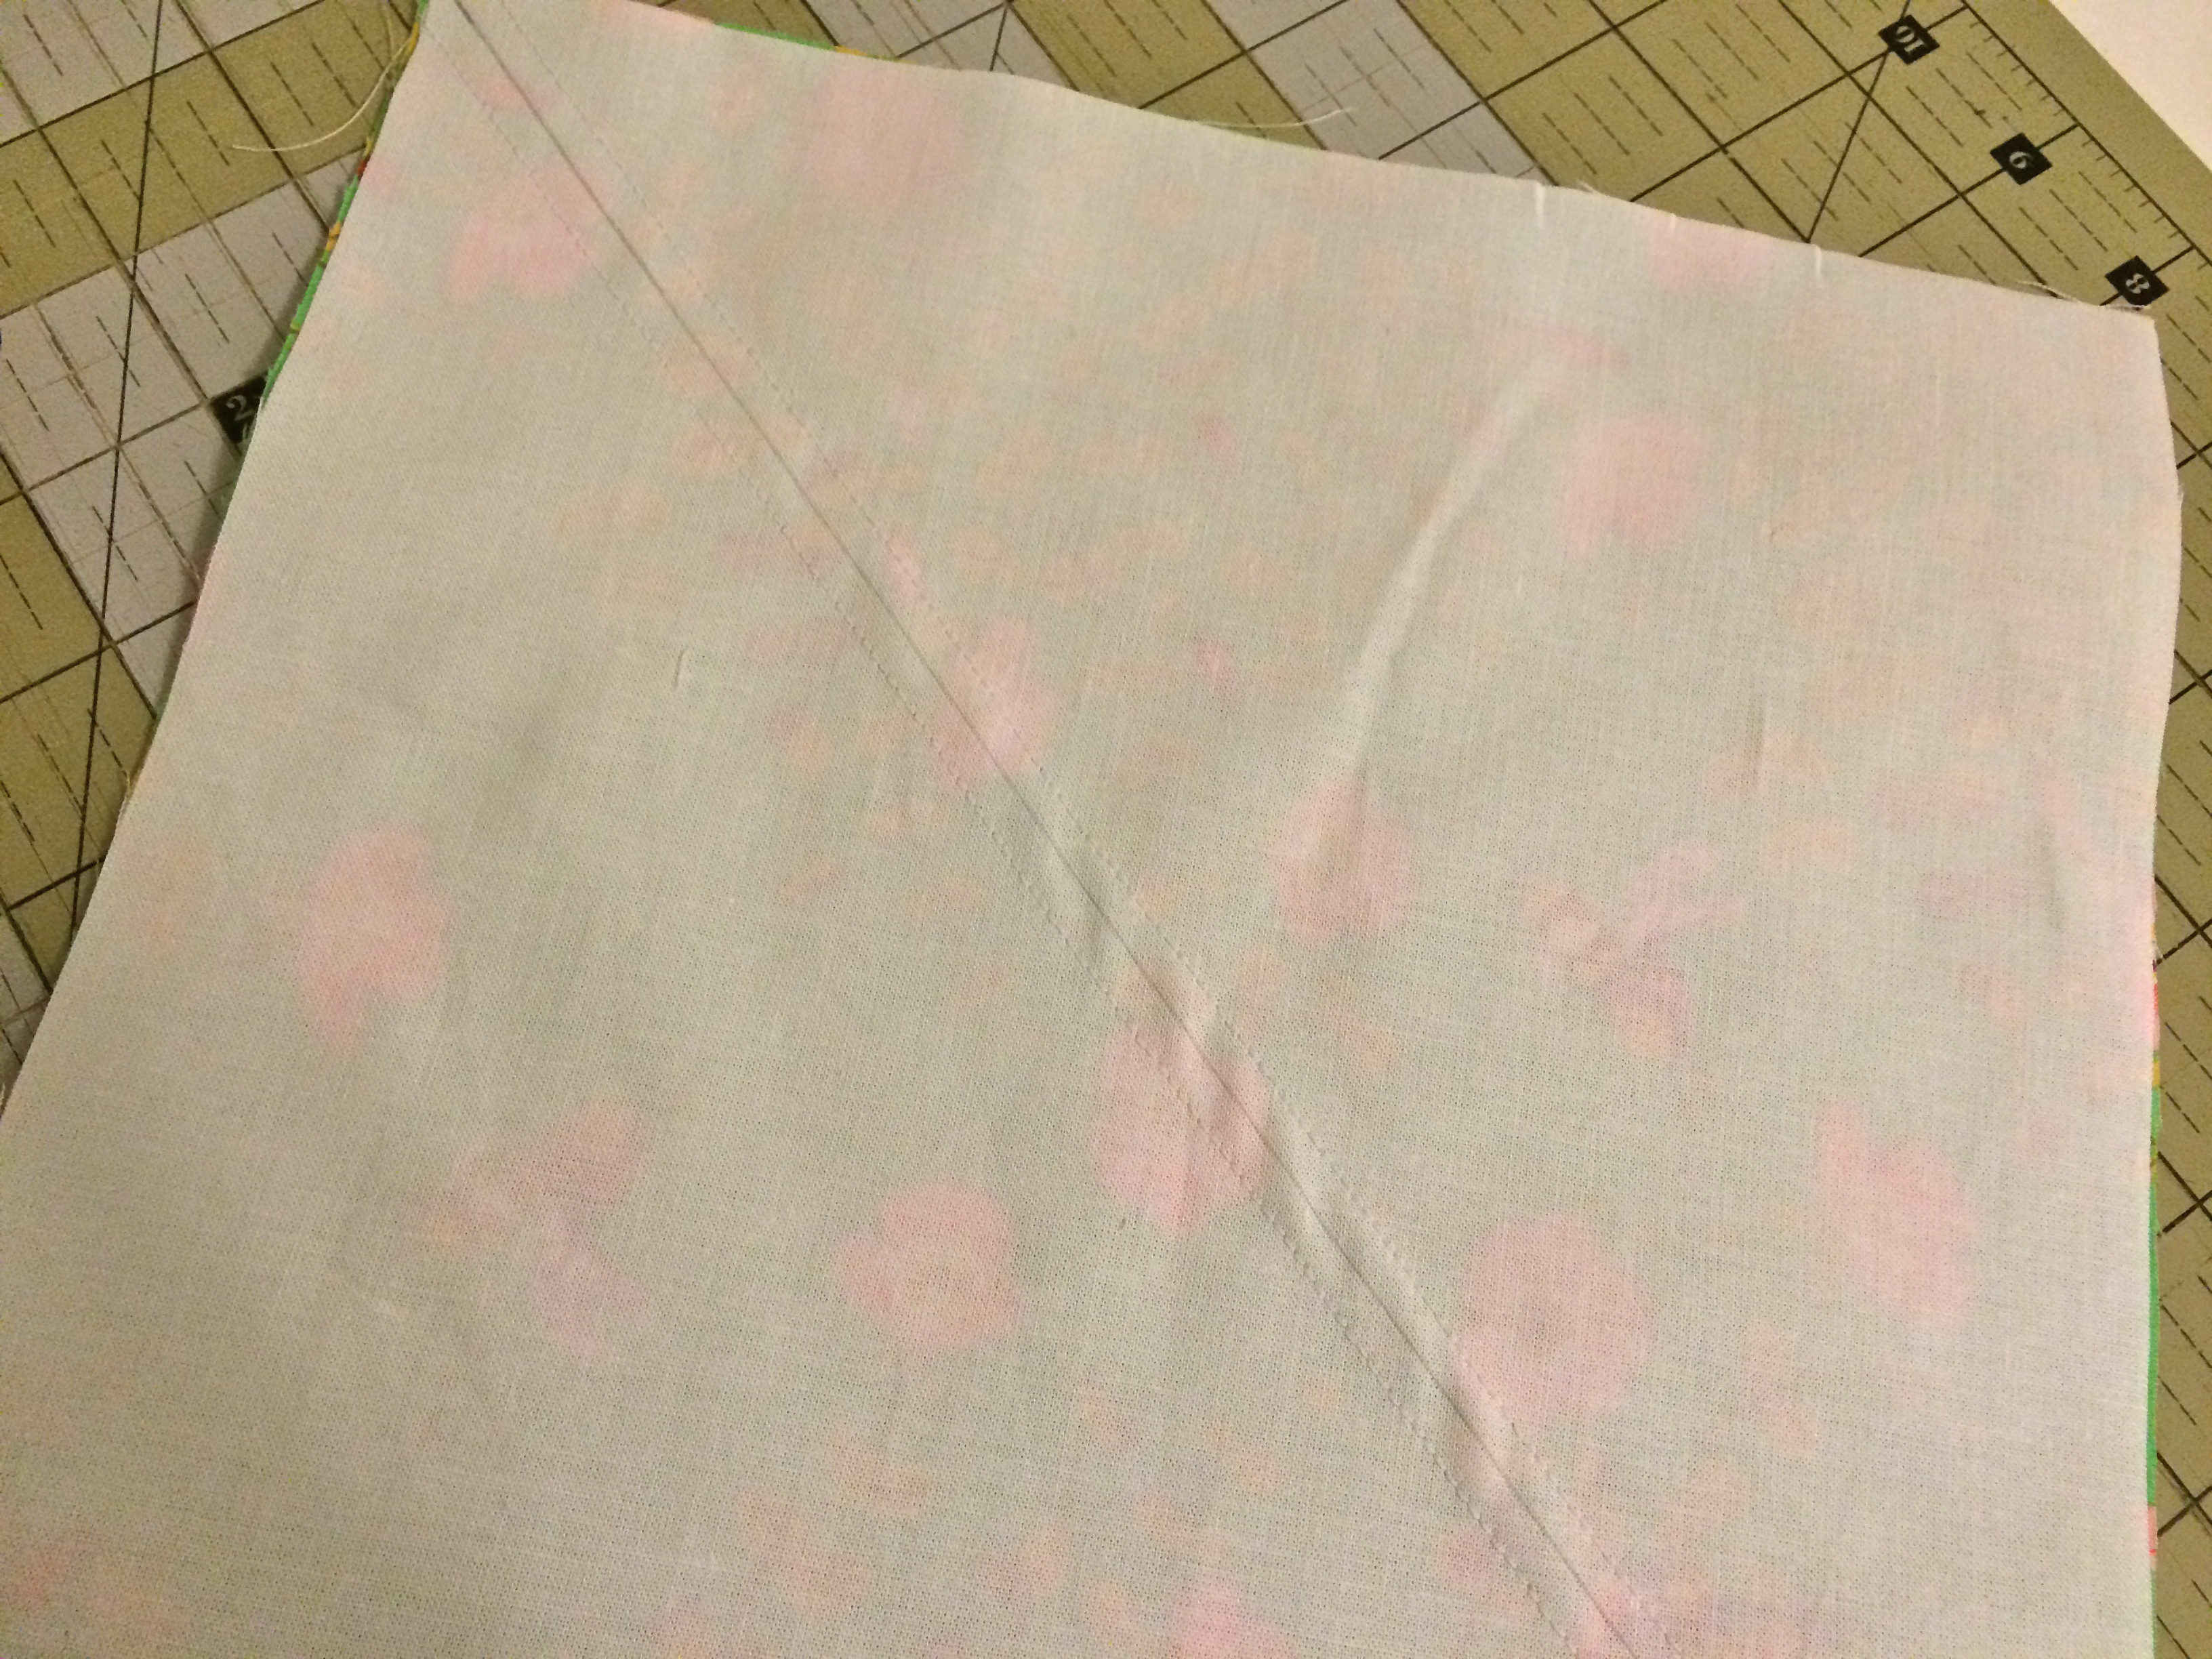
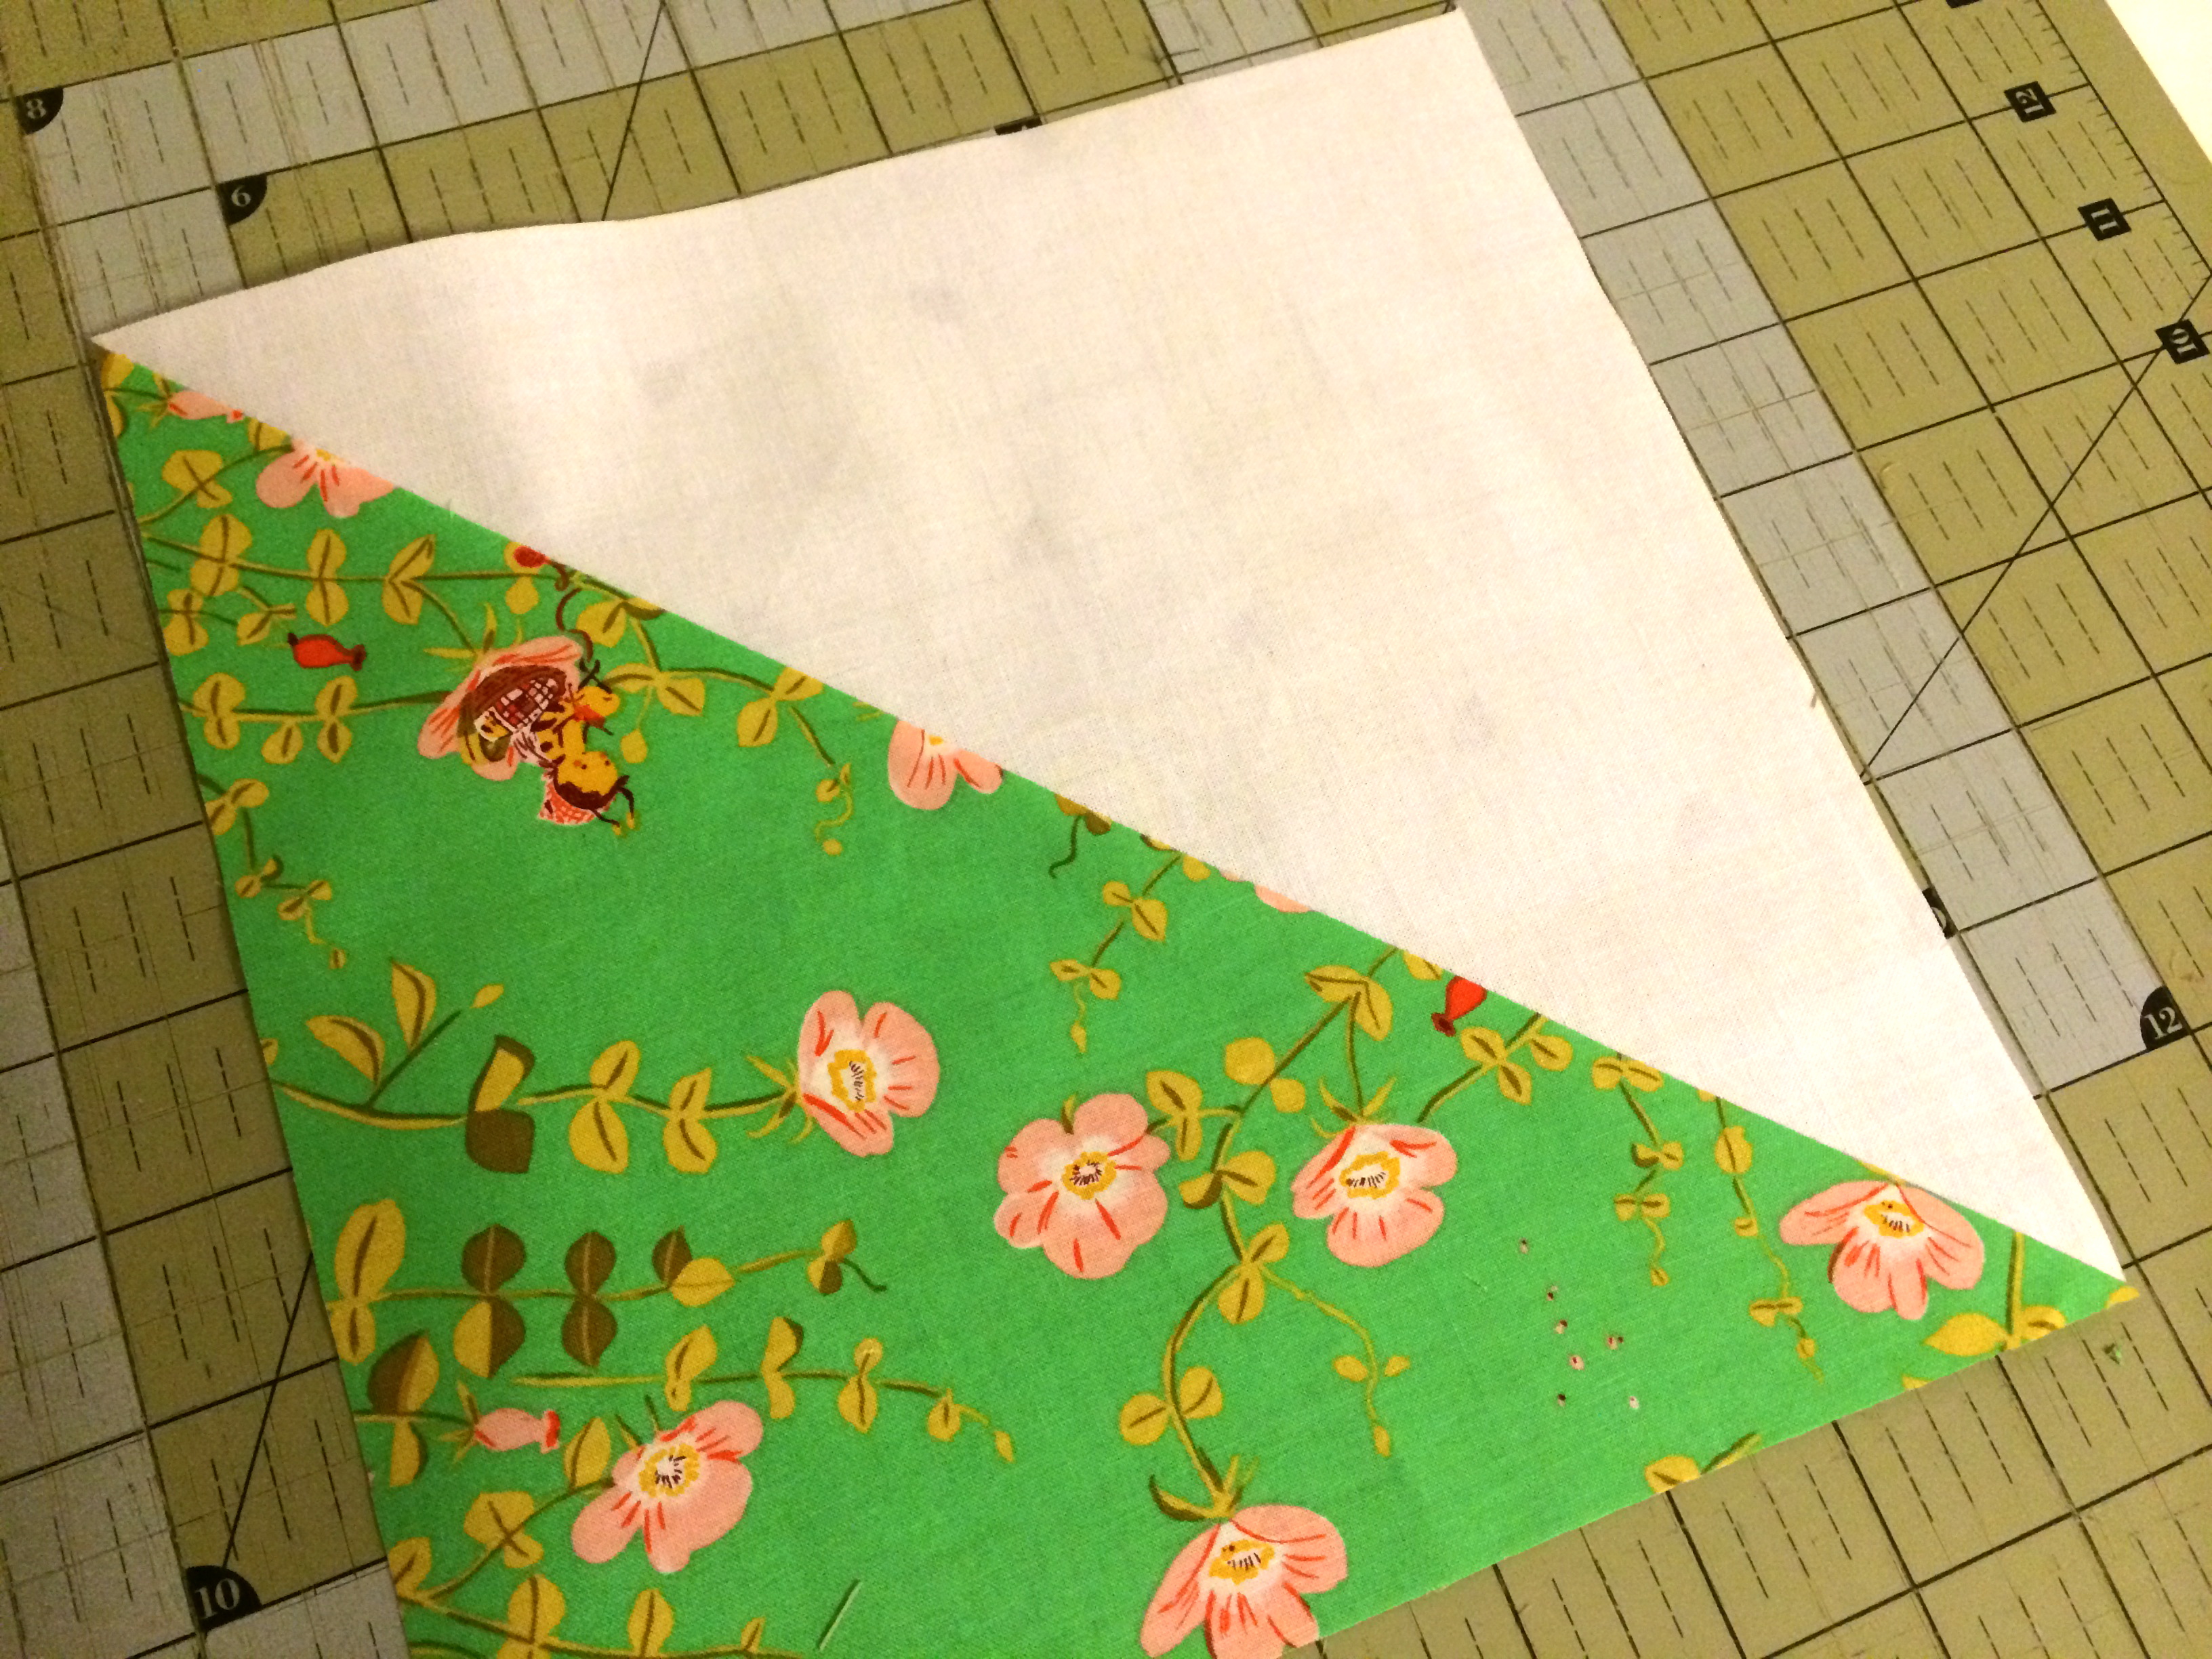
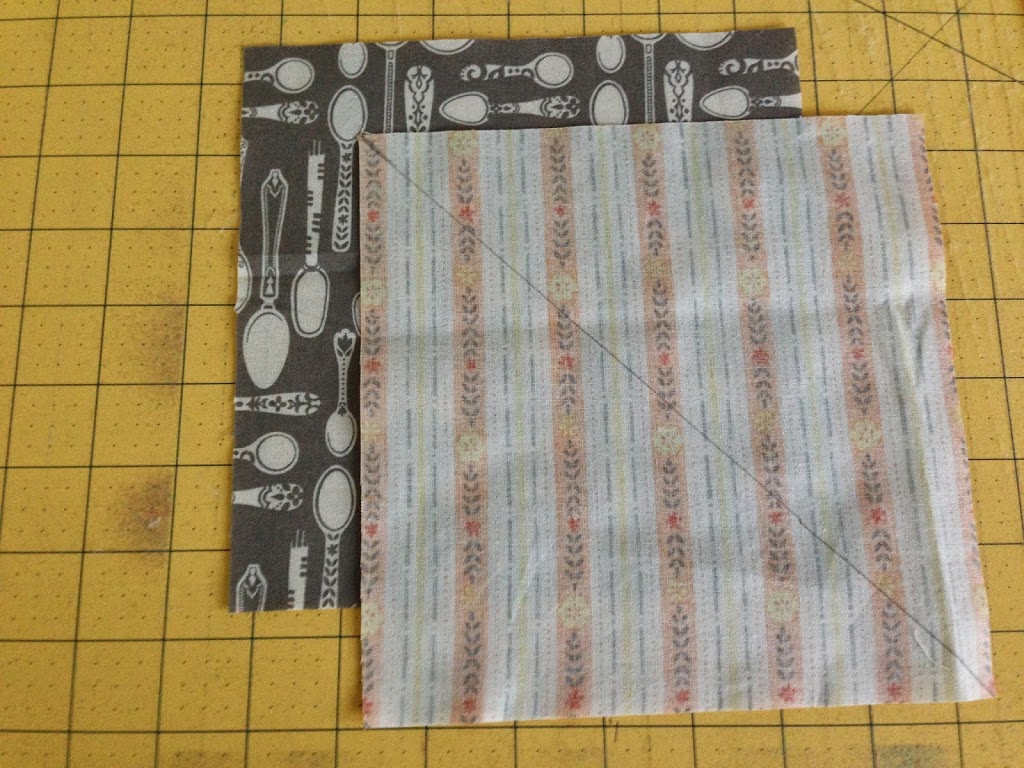
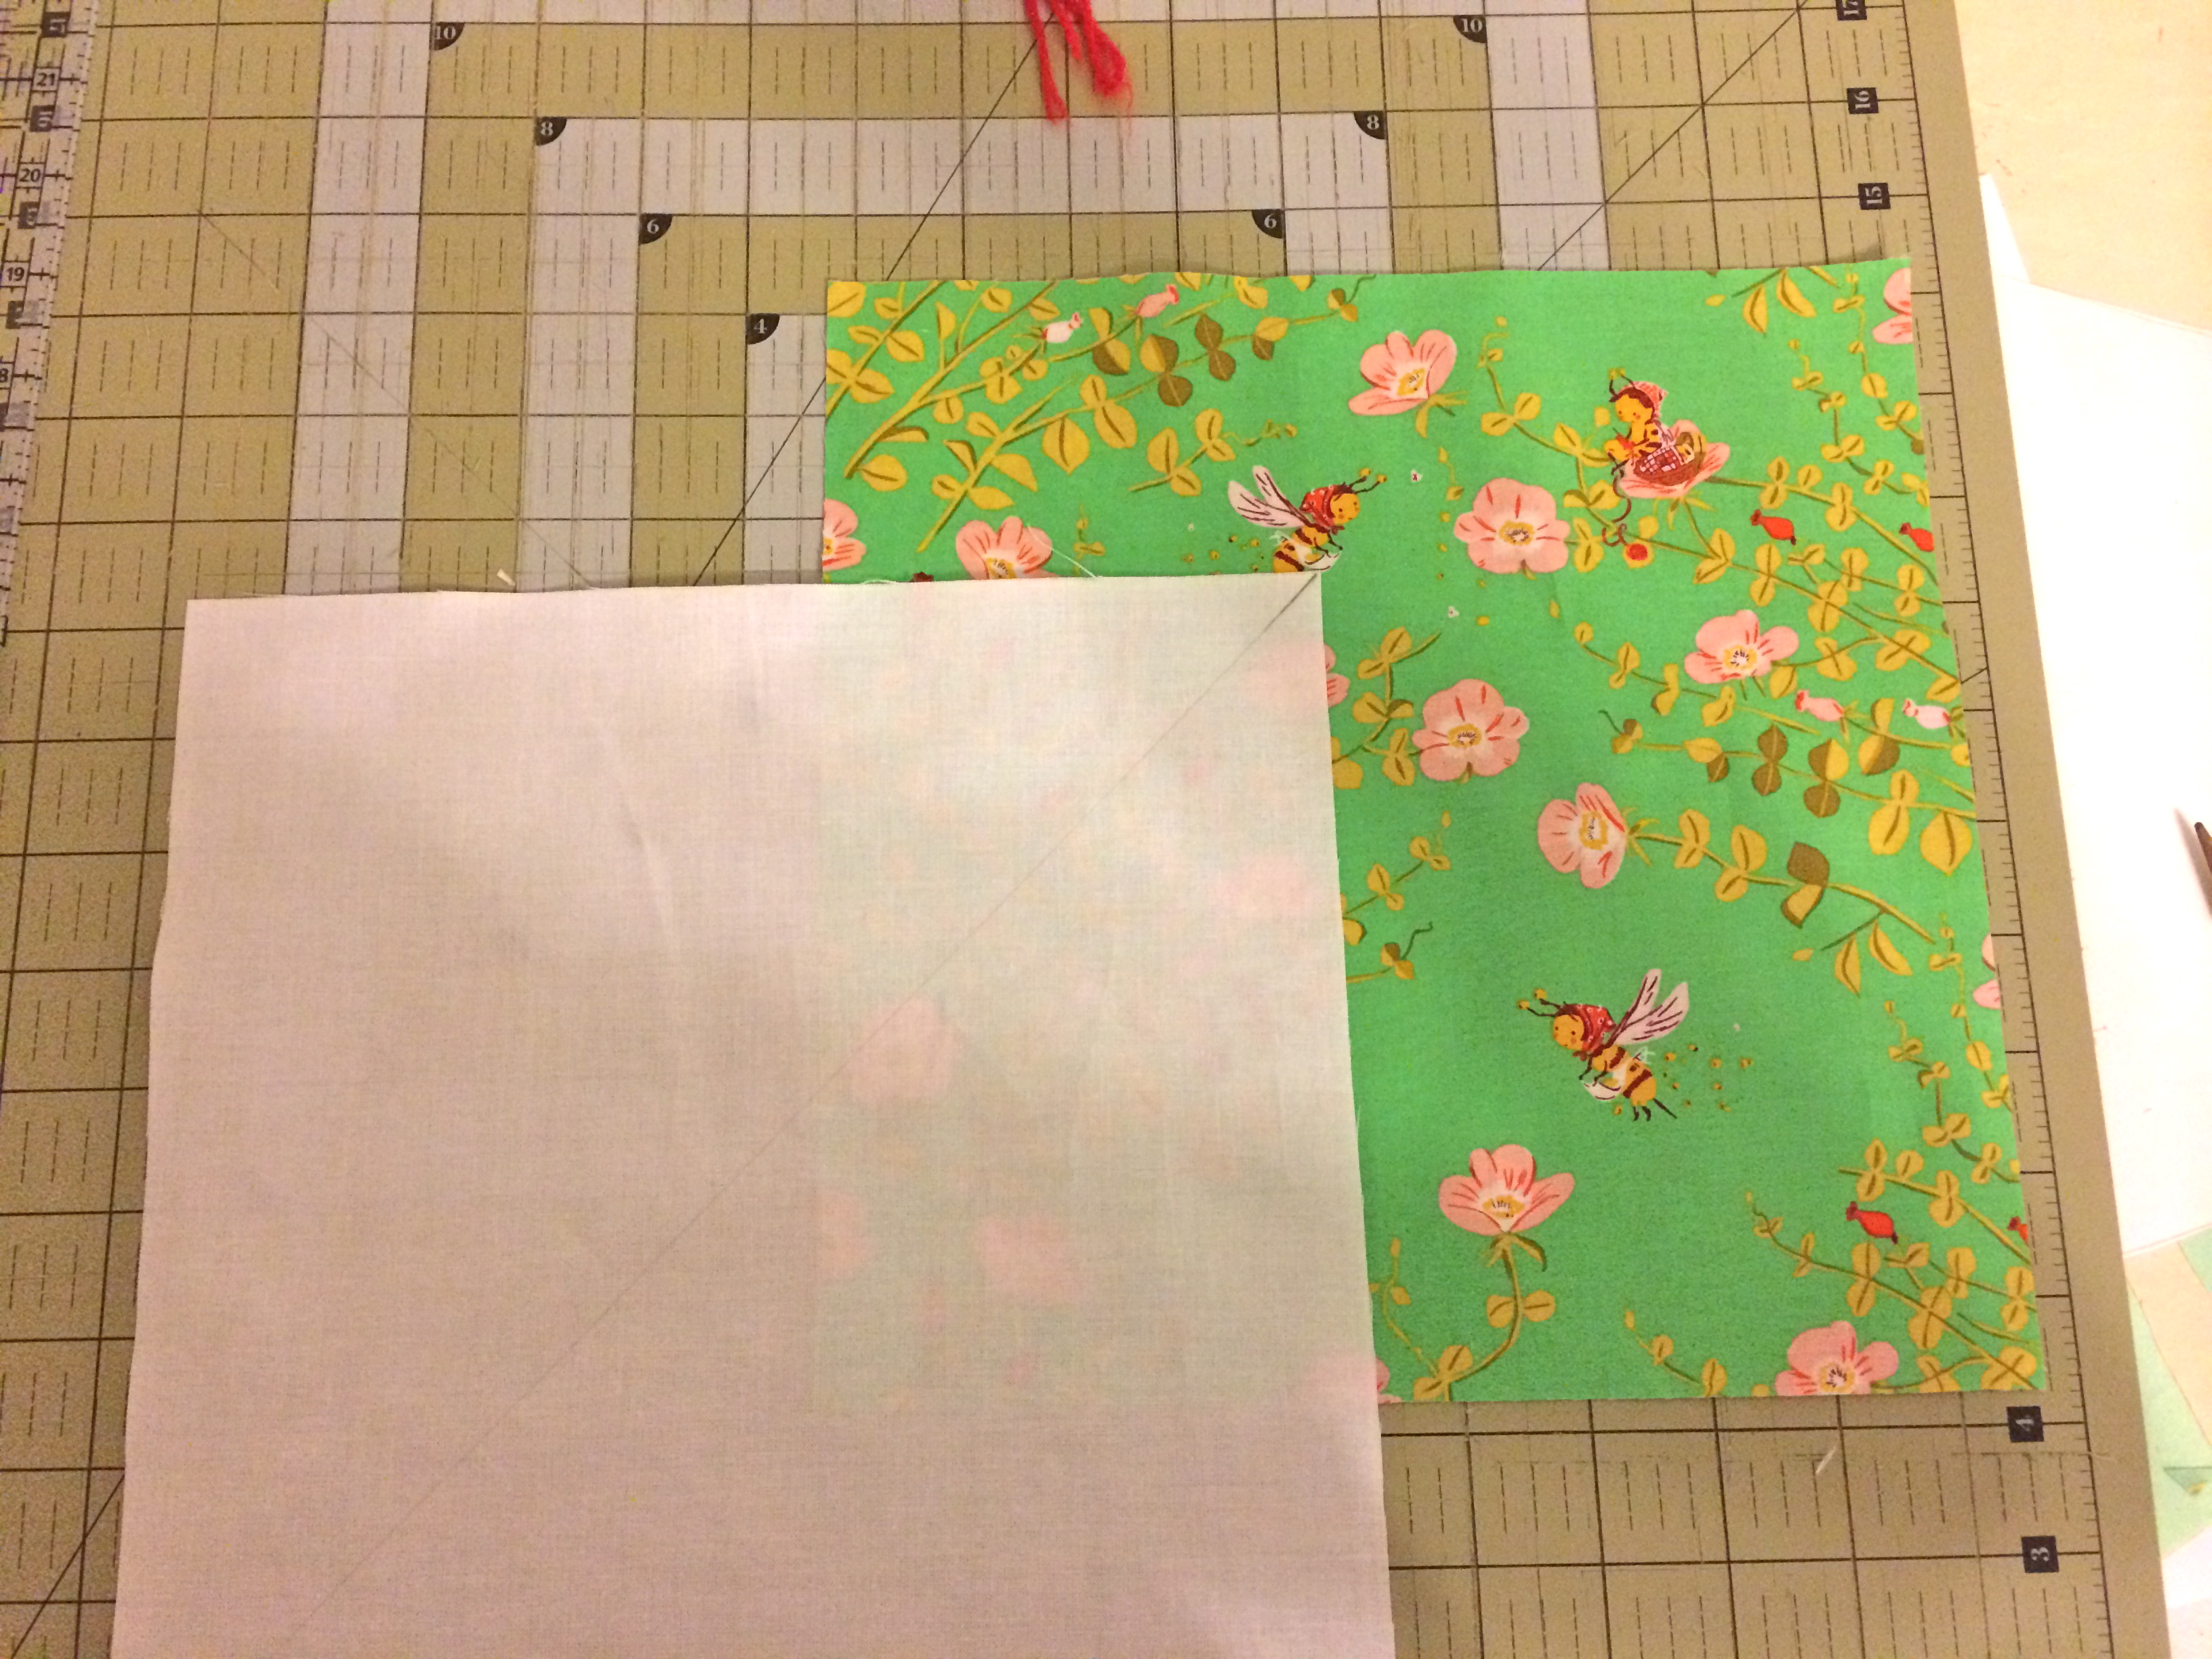 Draw a diagonal line from corner to corner on the wrong side of each white square. Put the green square and the white square together right sides facing. Sew 1/4″ along both sides of the pencil line. Cut along the pencil line and press toward the dark. Each square sew yields (2) half square triangle blocks.
Now you will need to square up the blocks. The blocks finish slightly larger which allows for some room in squaring up the blocks. Line up the diagonal seam with the diagonal line on your cutting mat and cut each square to be 9″.
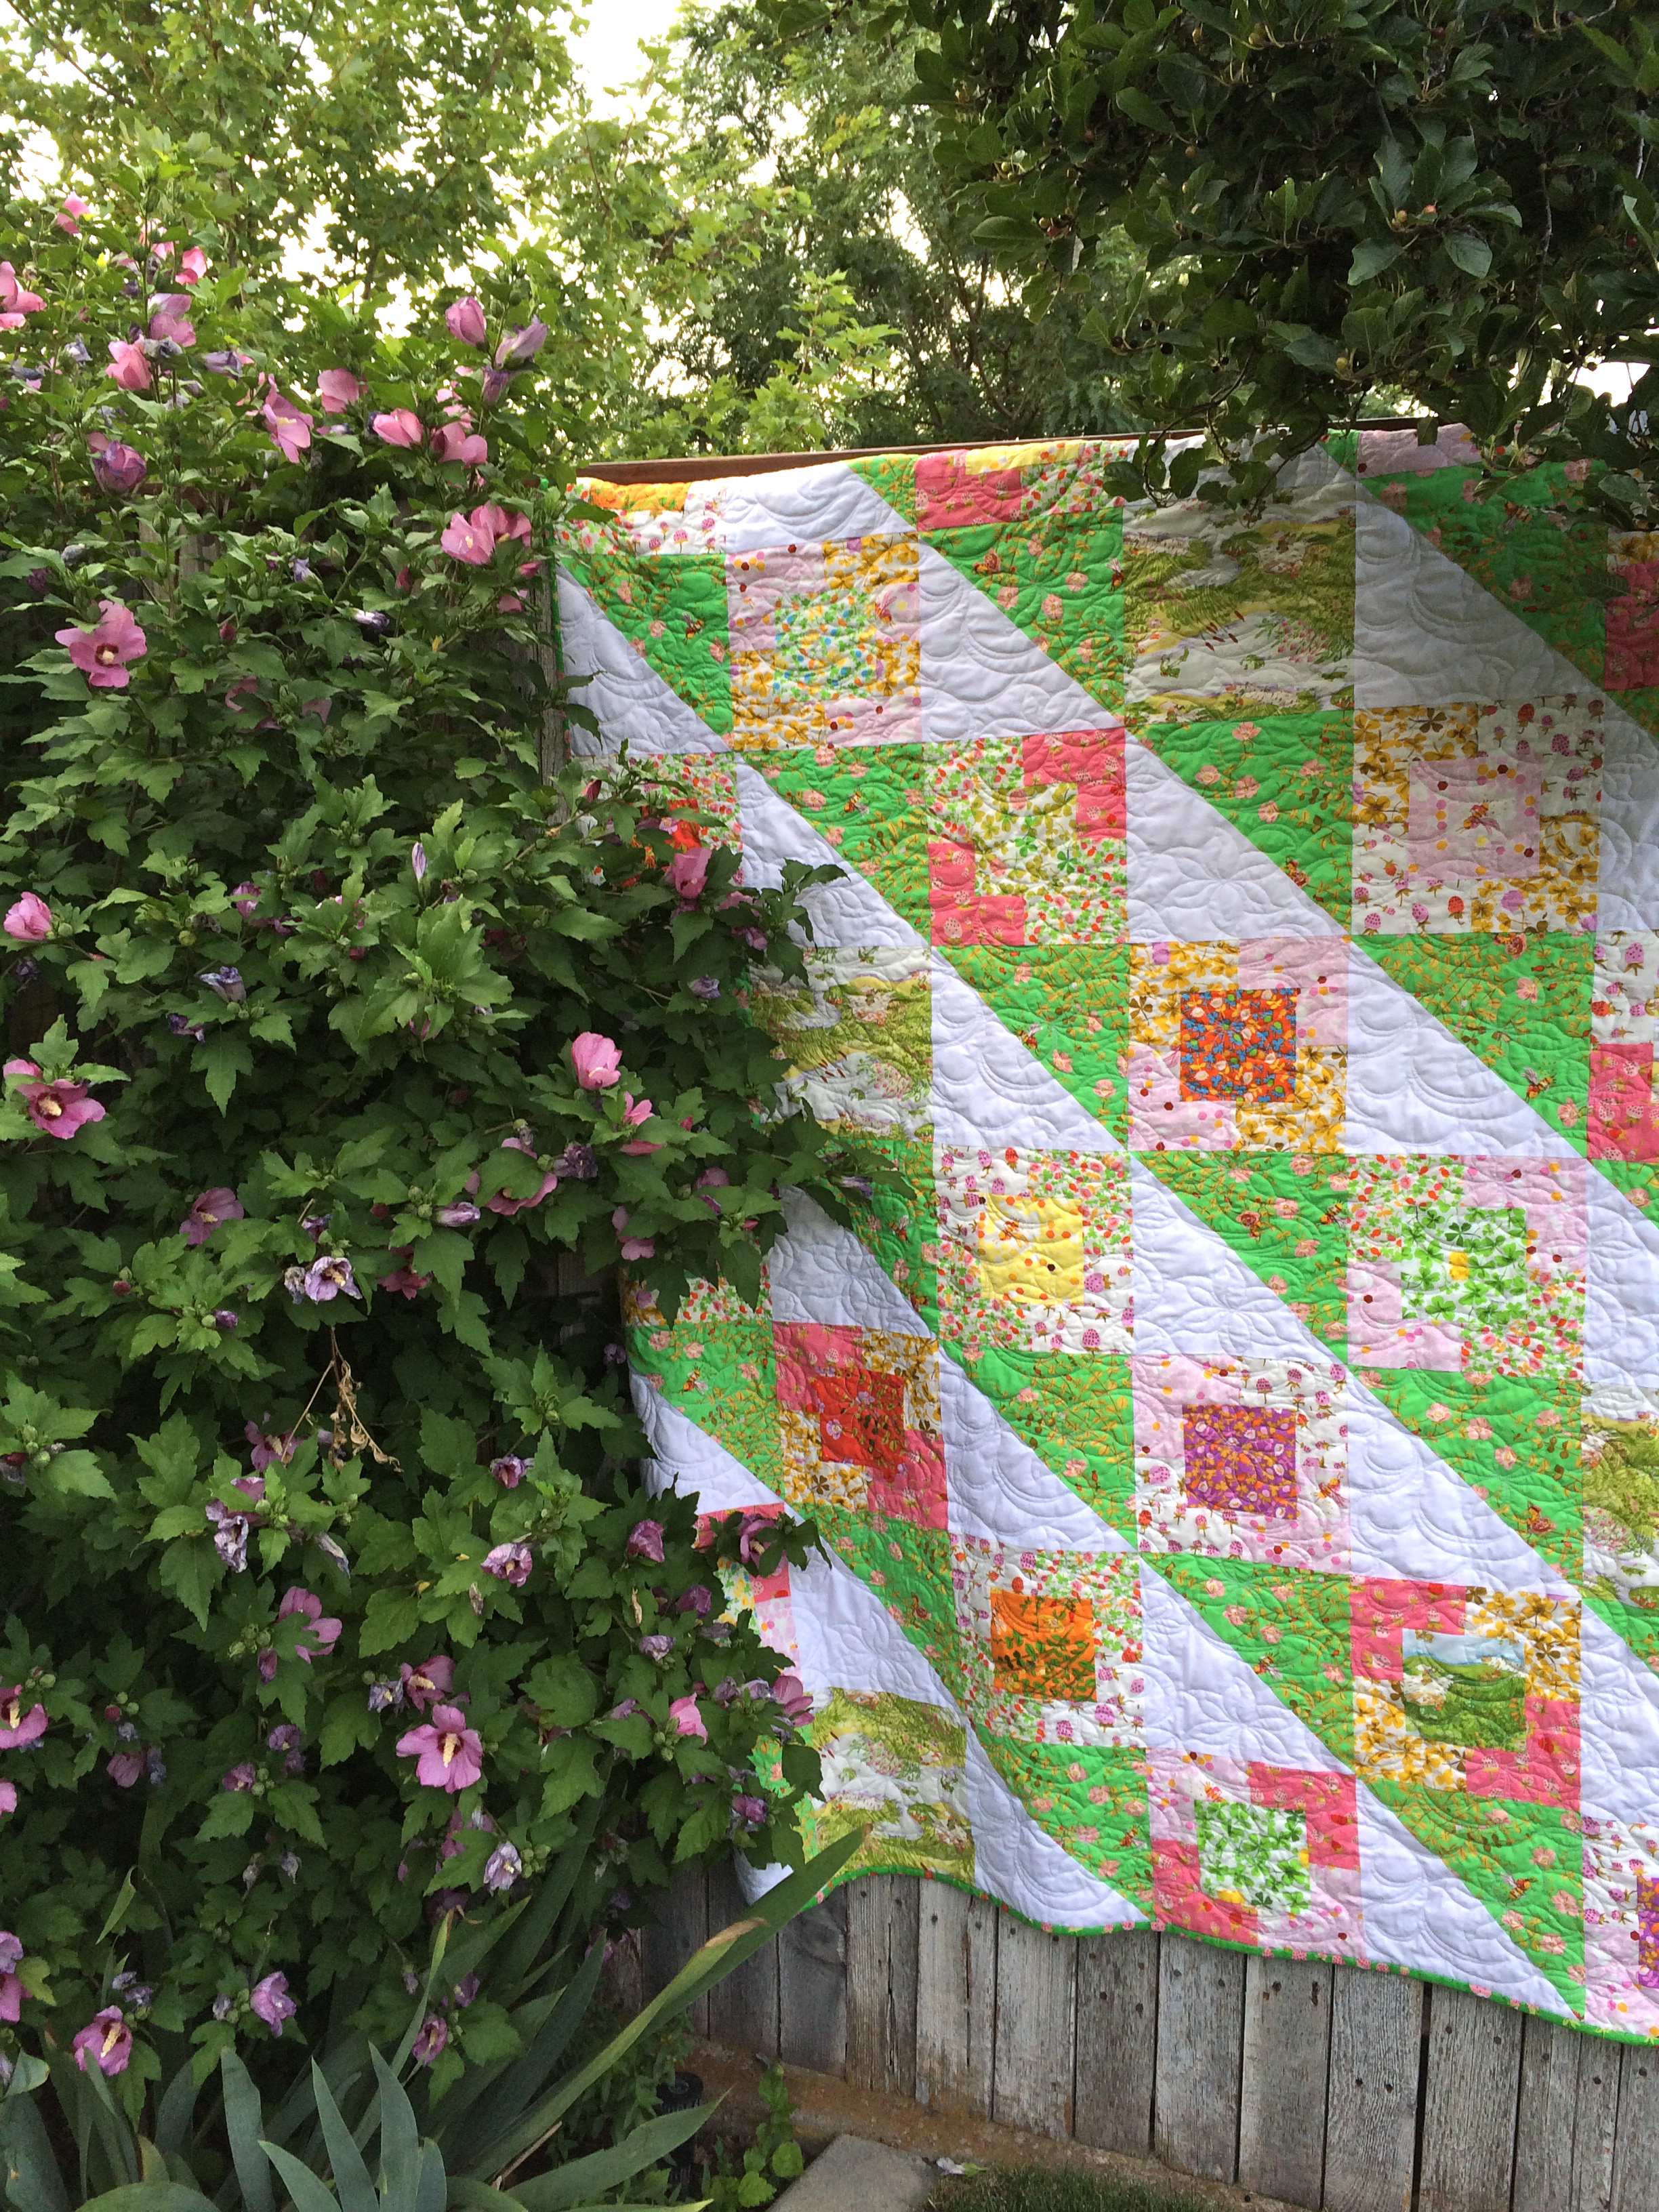
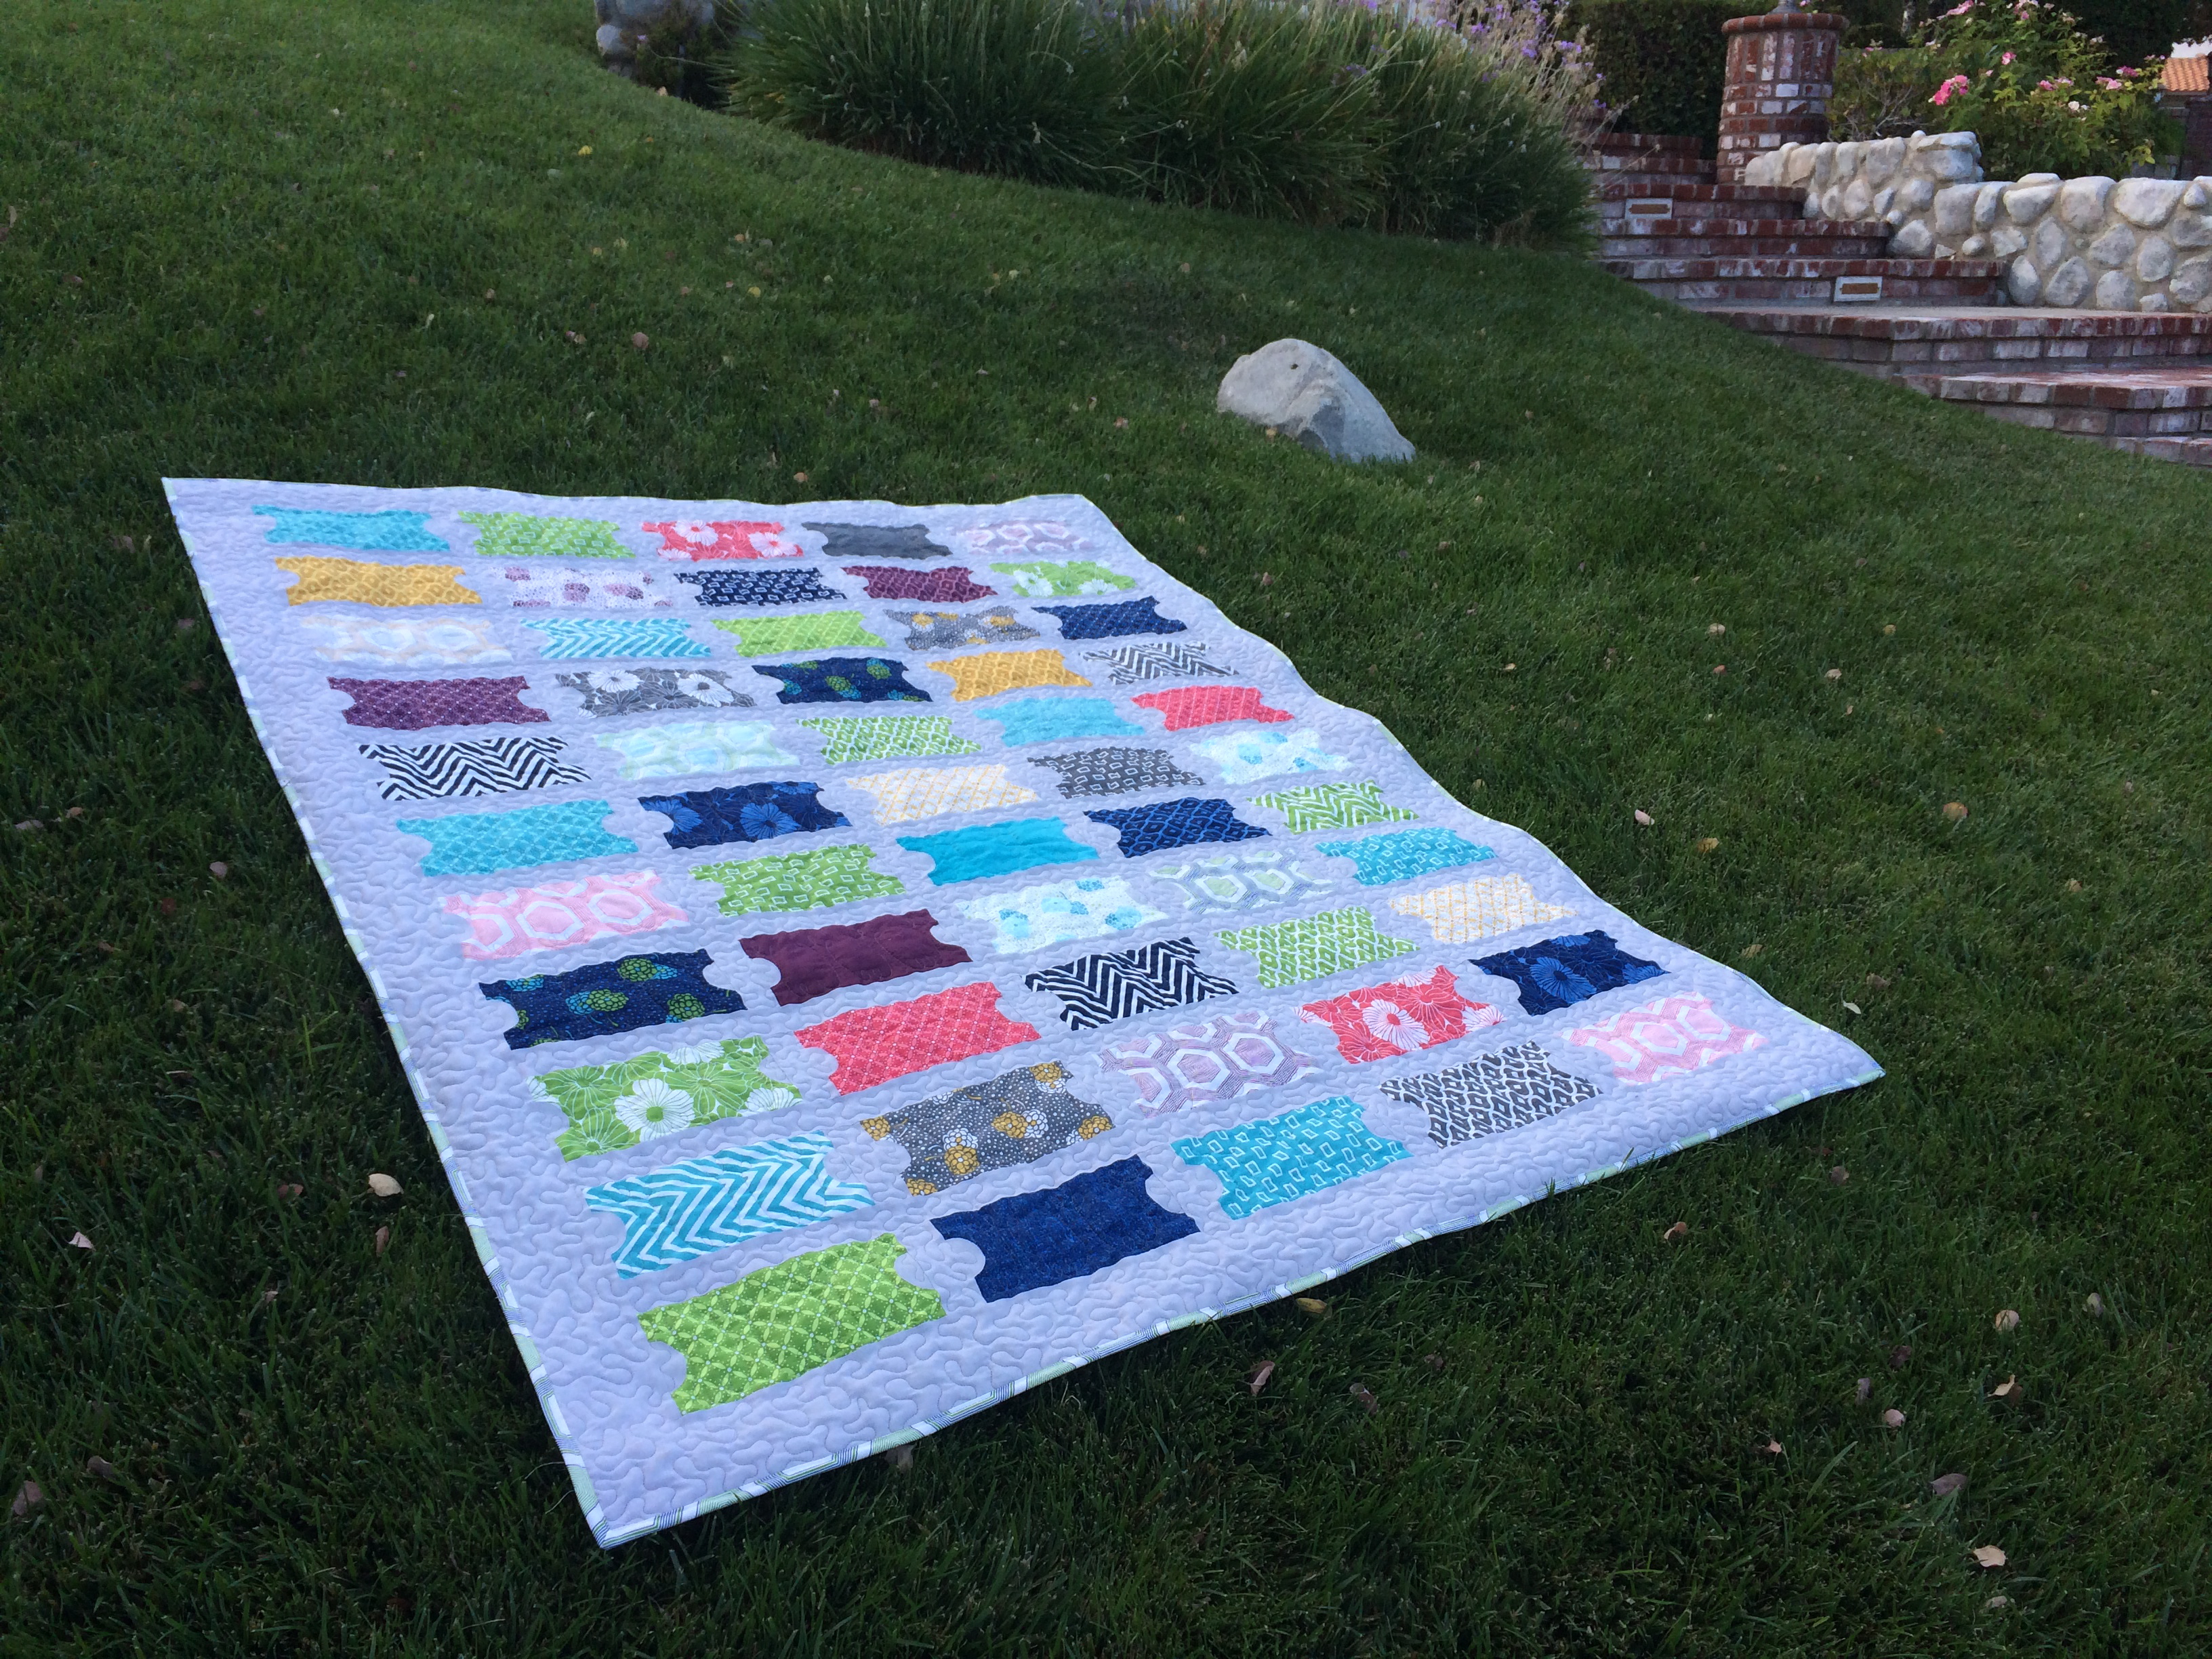
Cut (4) 9″ squares from the frog print to mix into the layout. This is how we laid ours out:
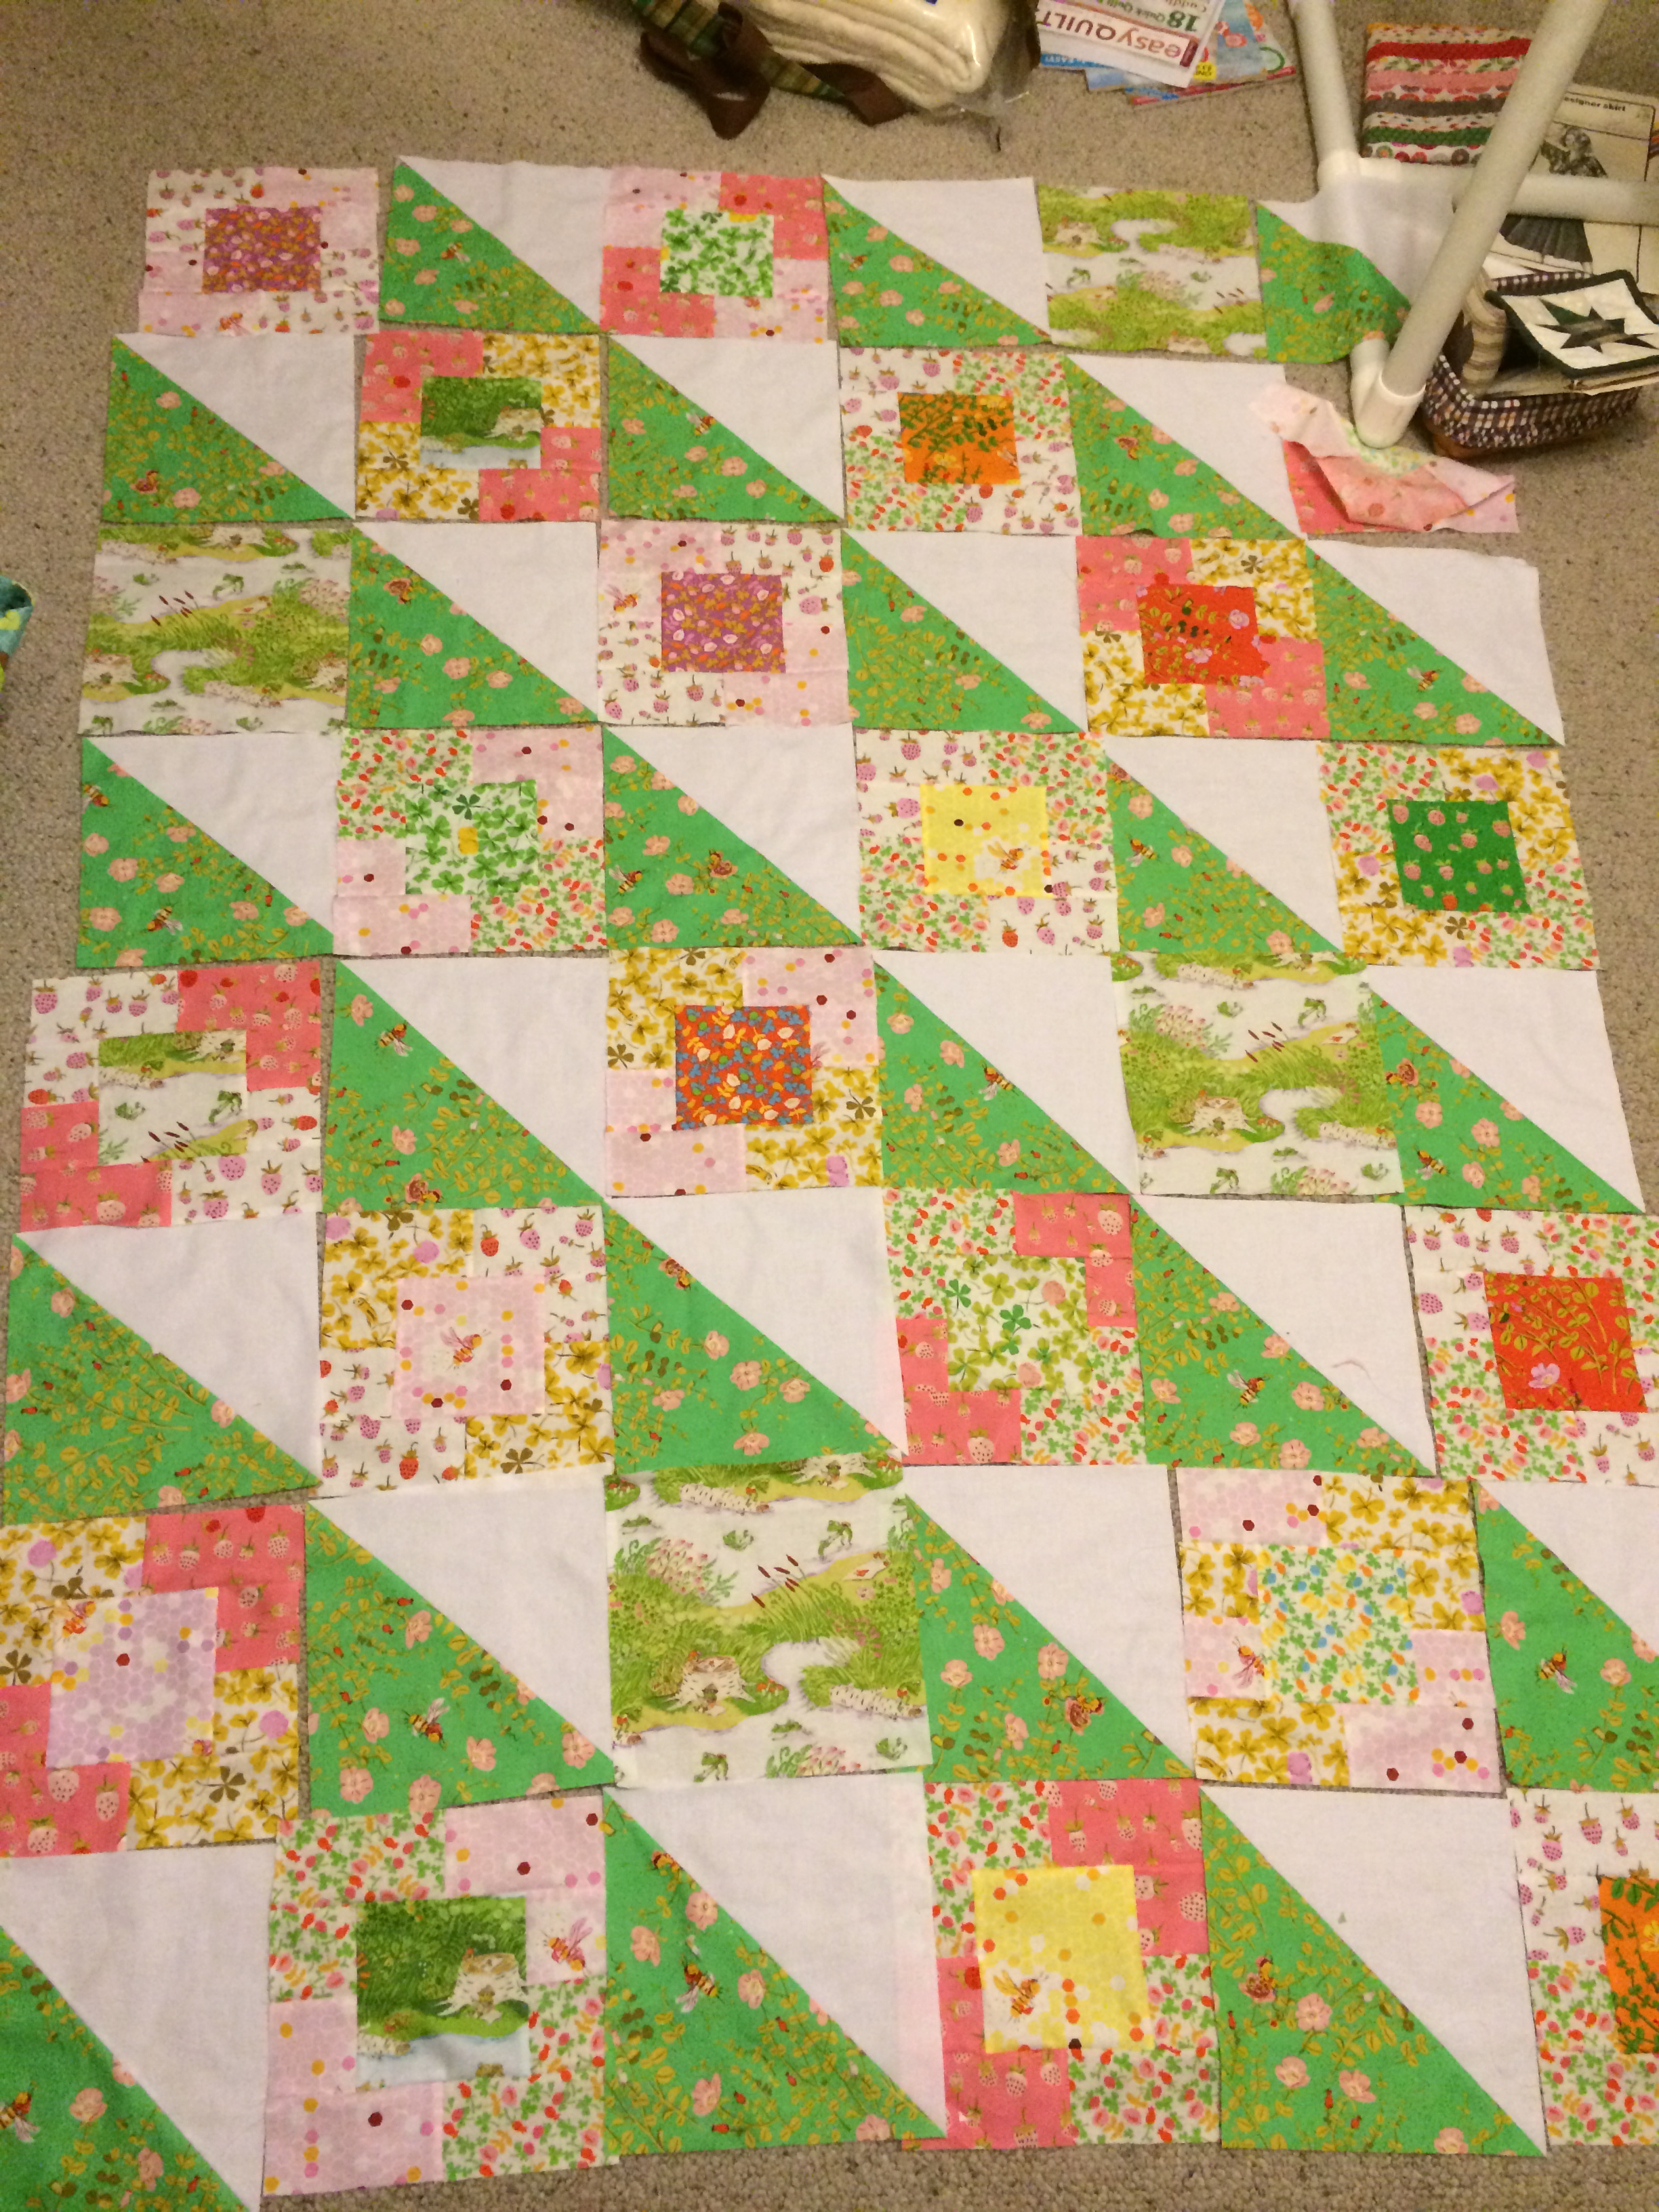
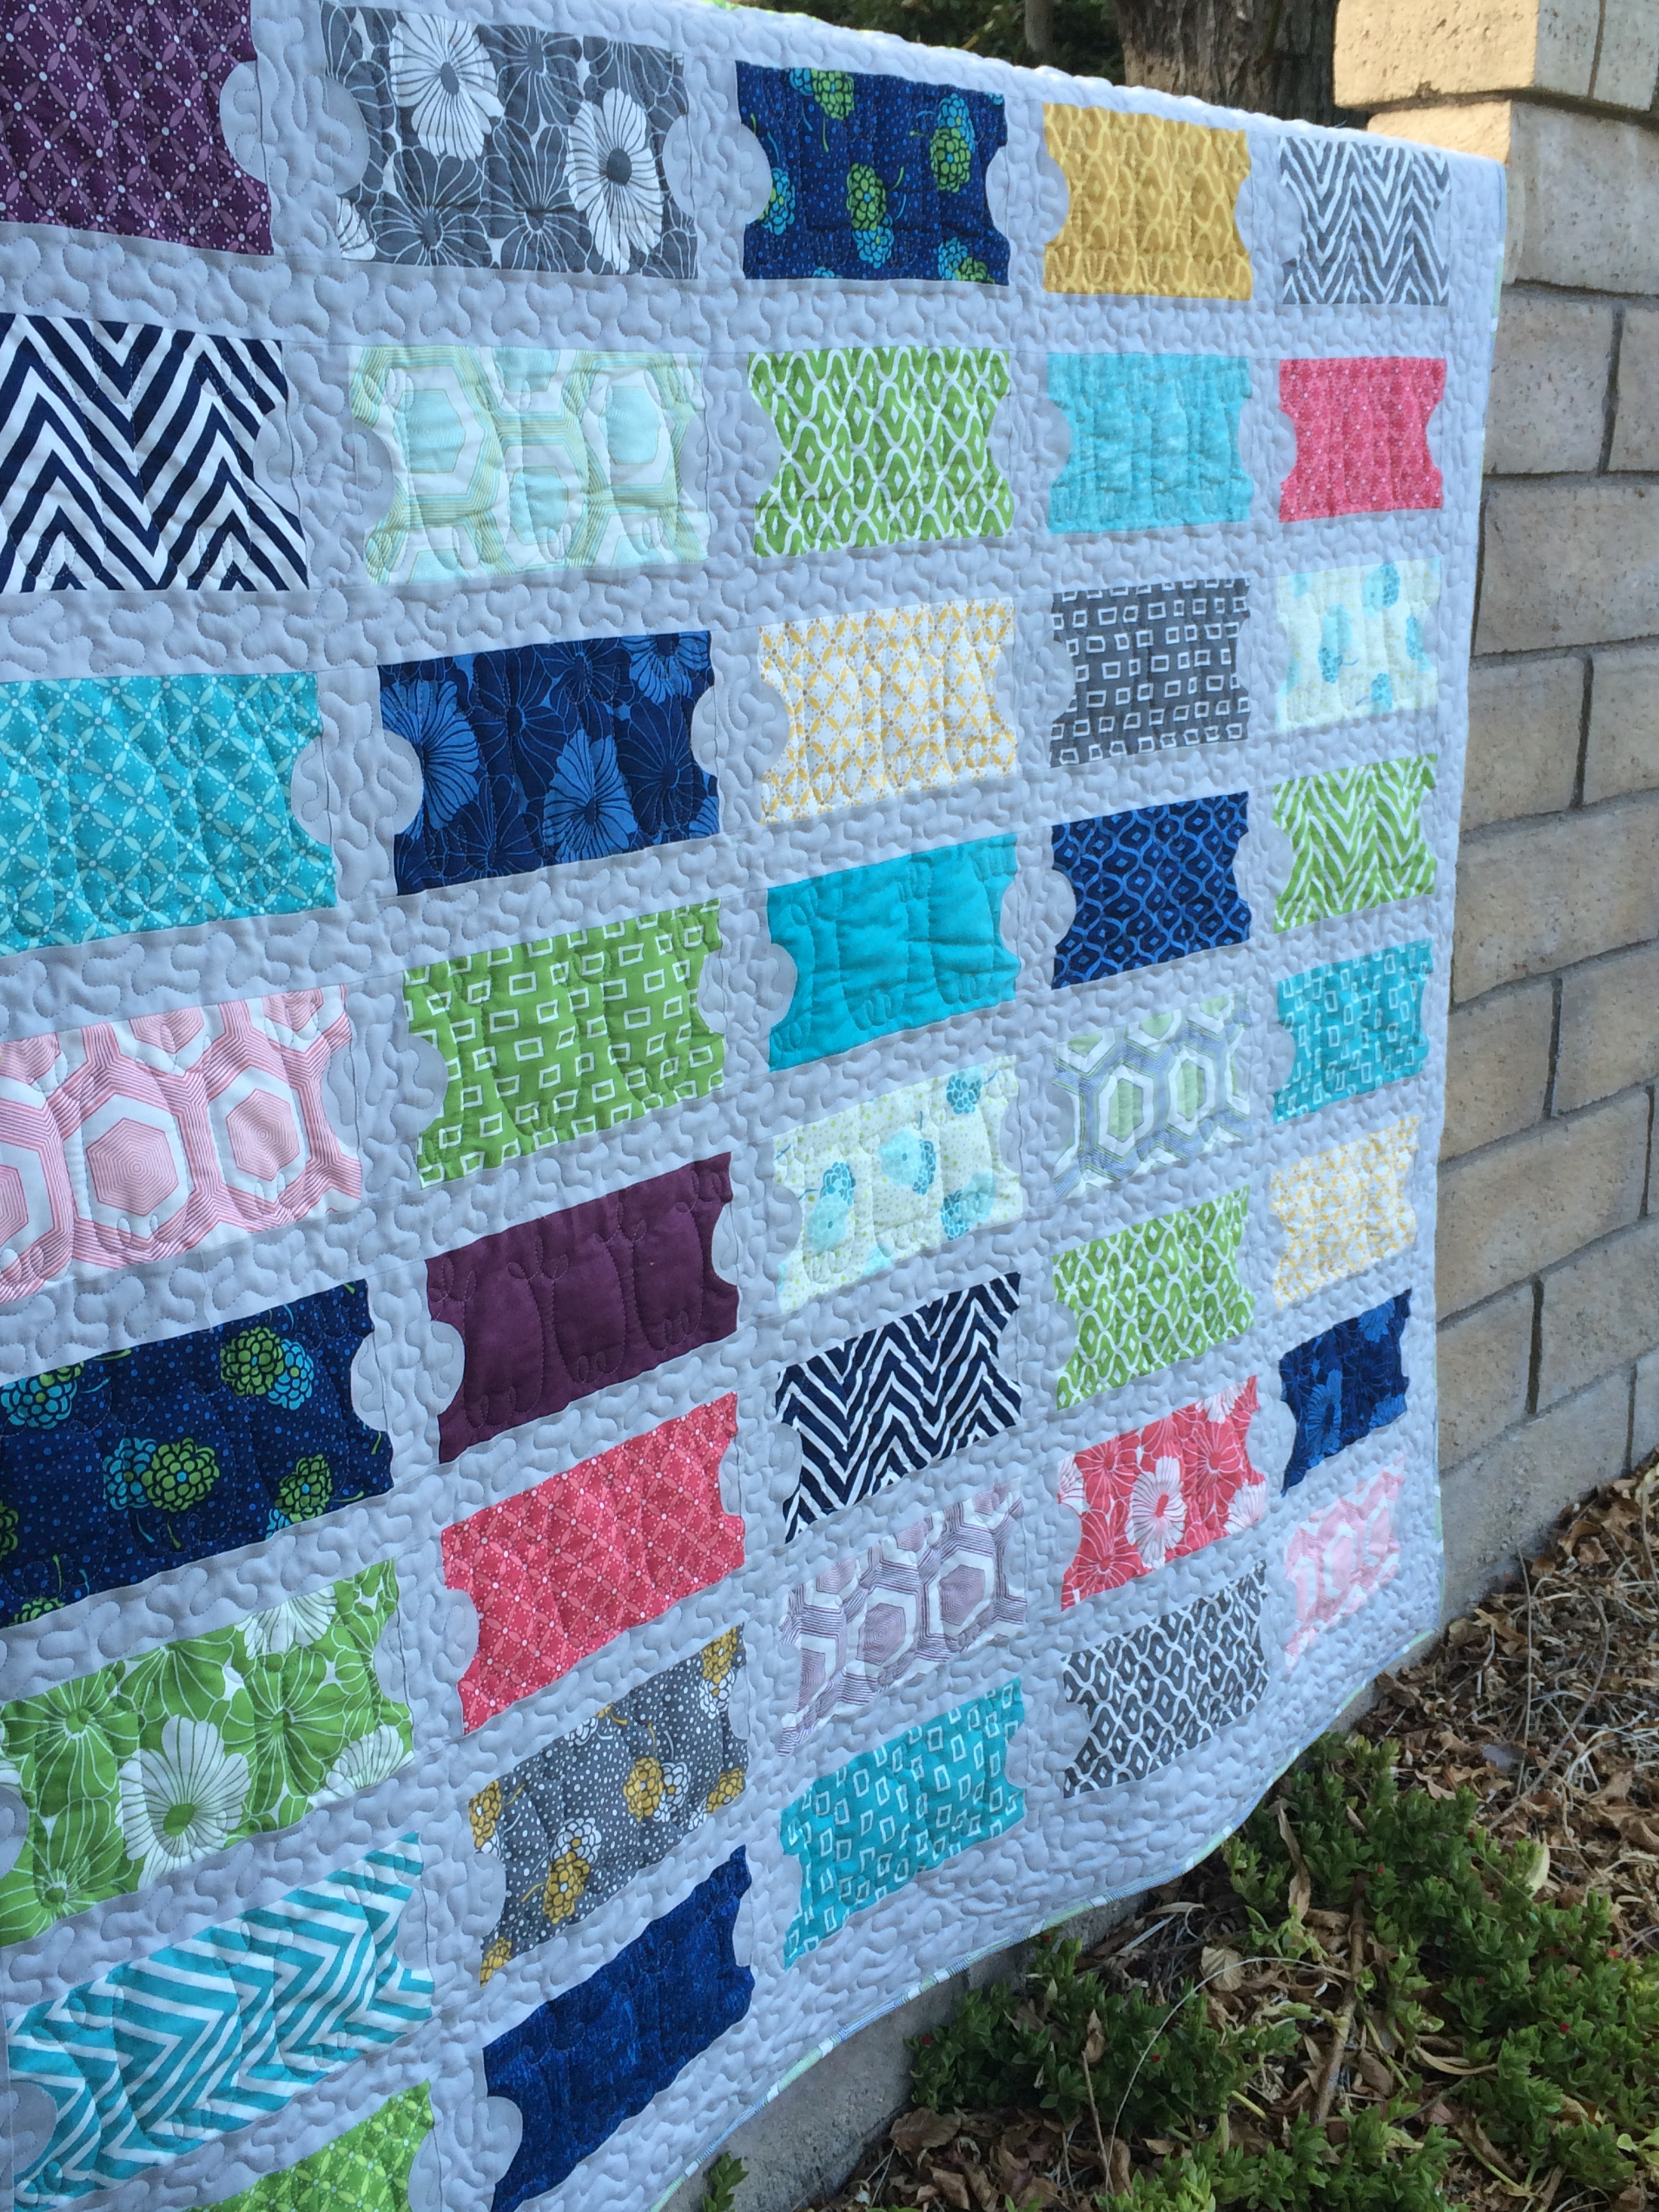
Sew the blocks together in rows and press the seams in each row in alternating directions, I always press toward the first block in each odd number row and away from the first block in each even row. Sew the rows together matching intersecting seams and being mindful of the triangle points.
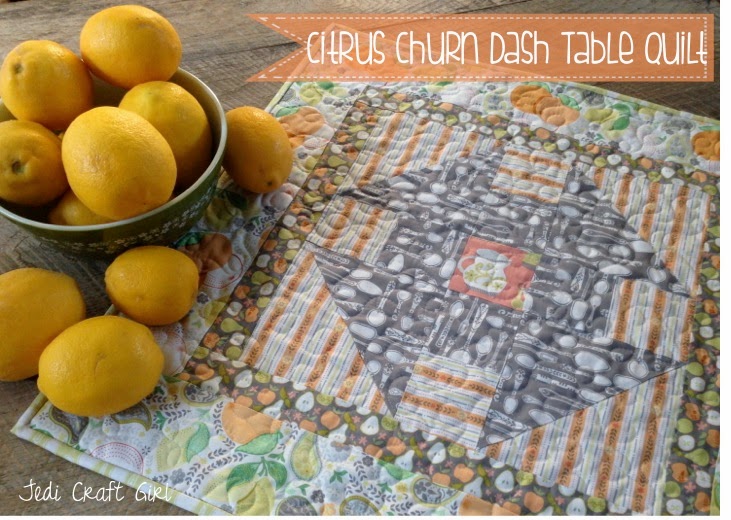
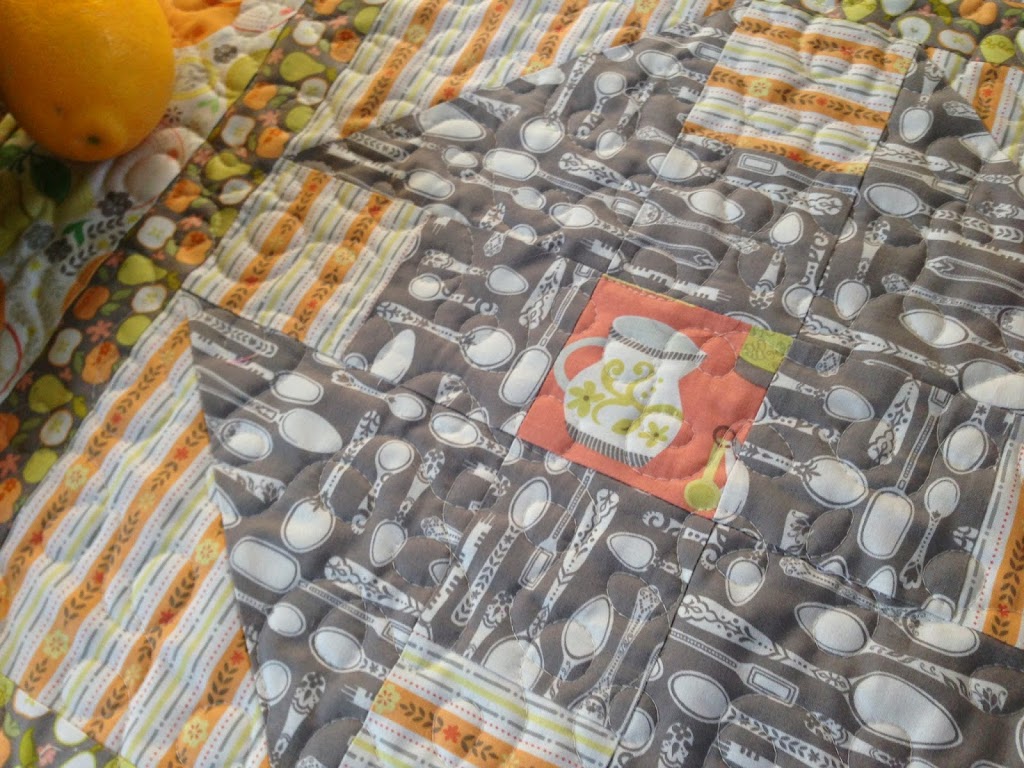
For the quilting…..
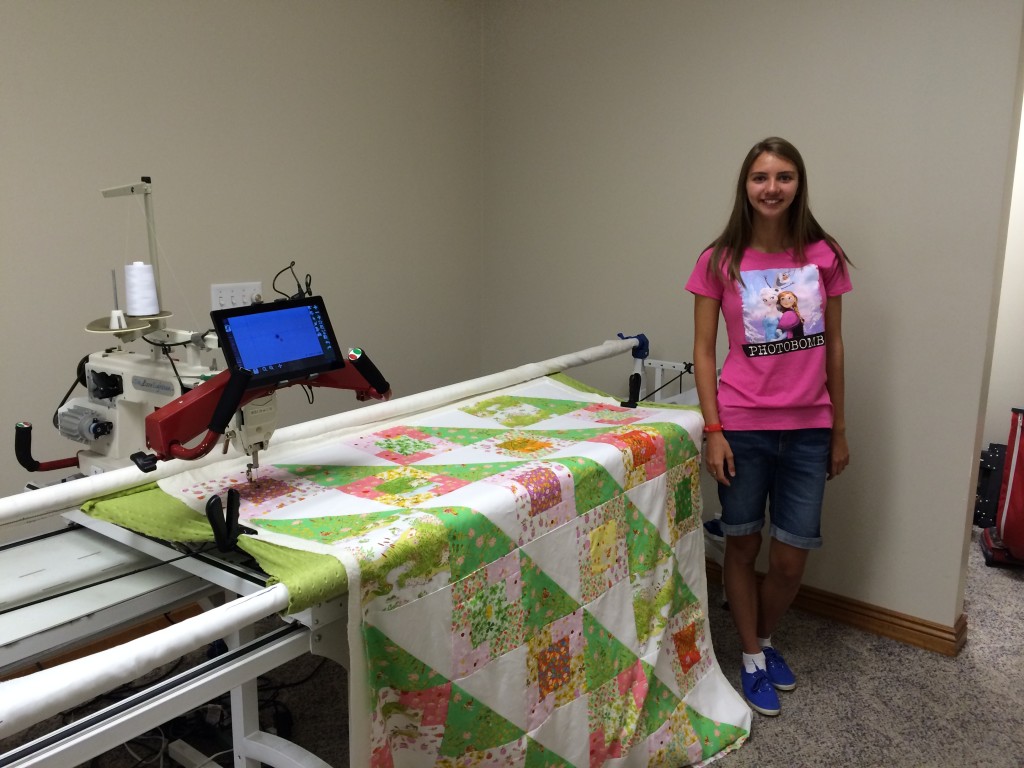
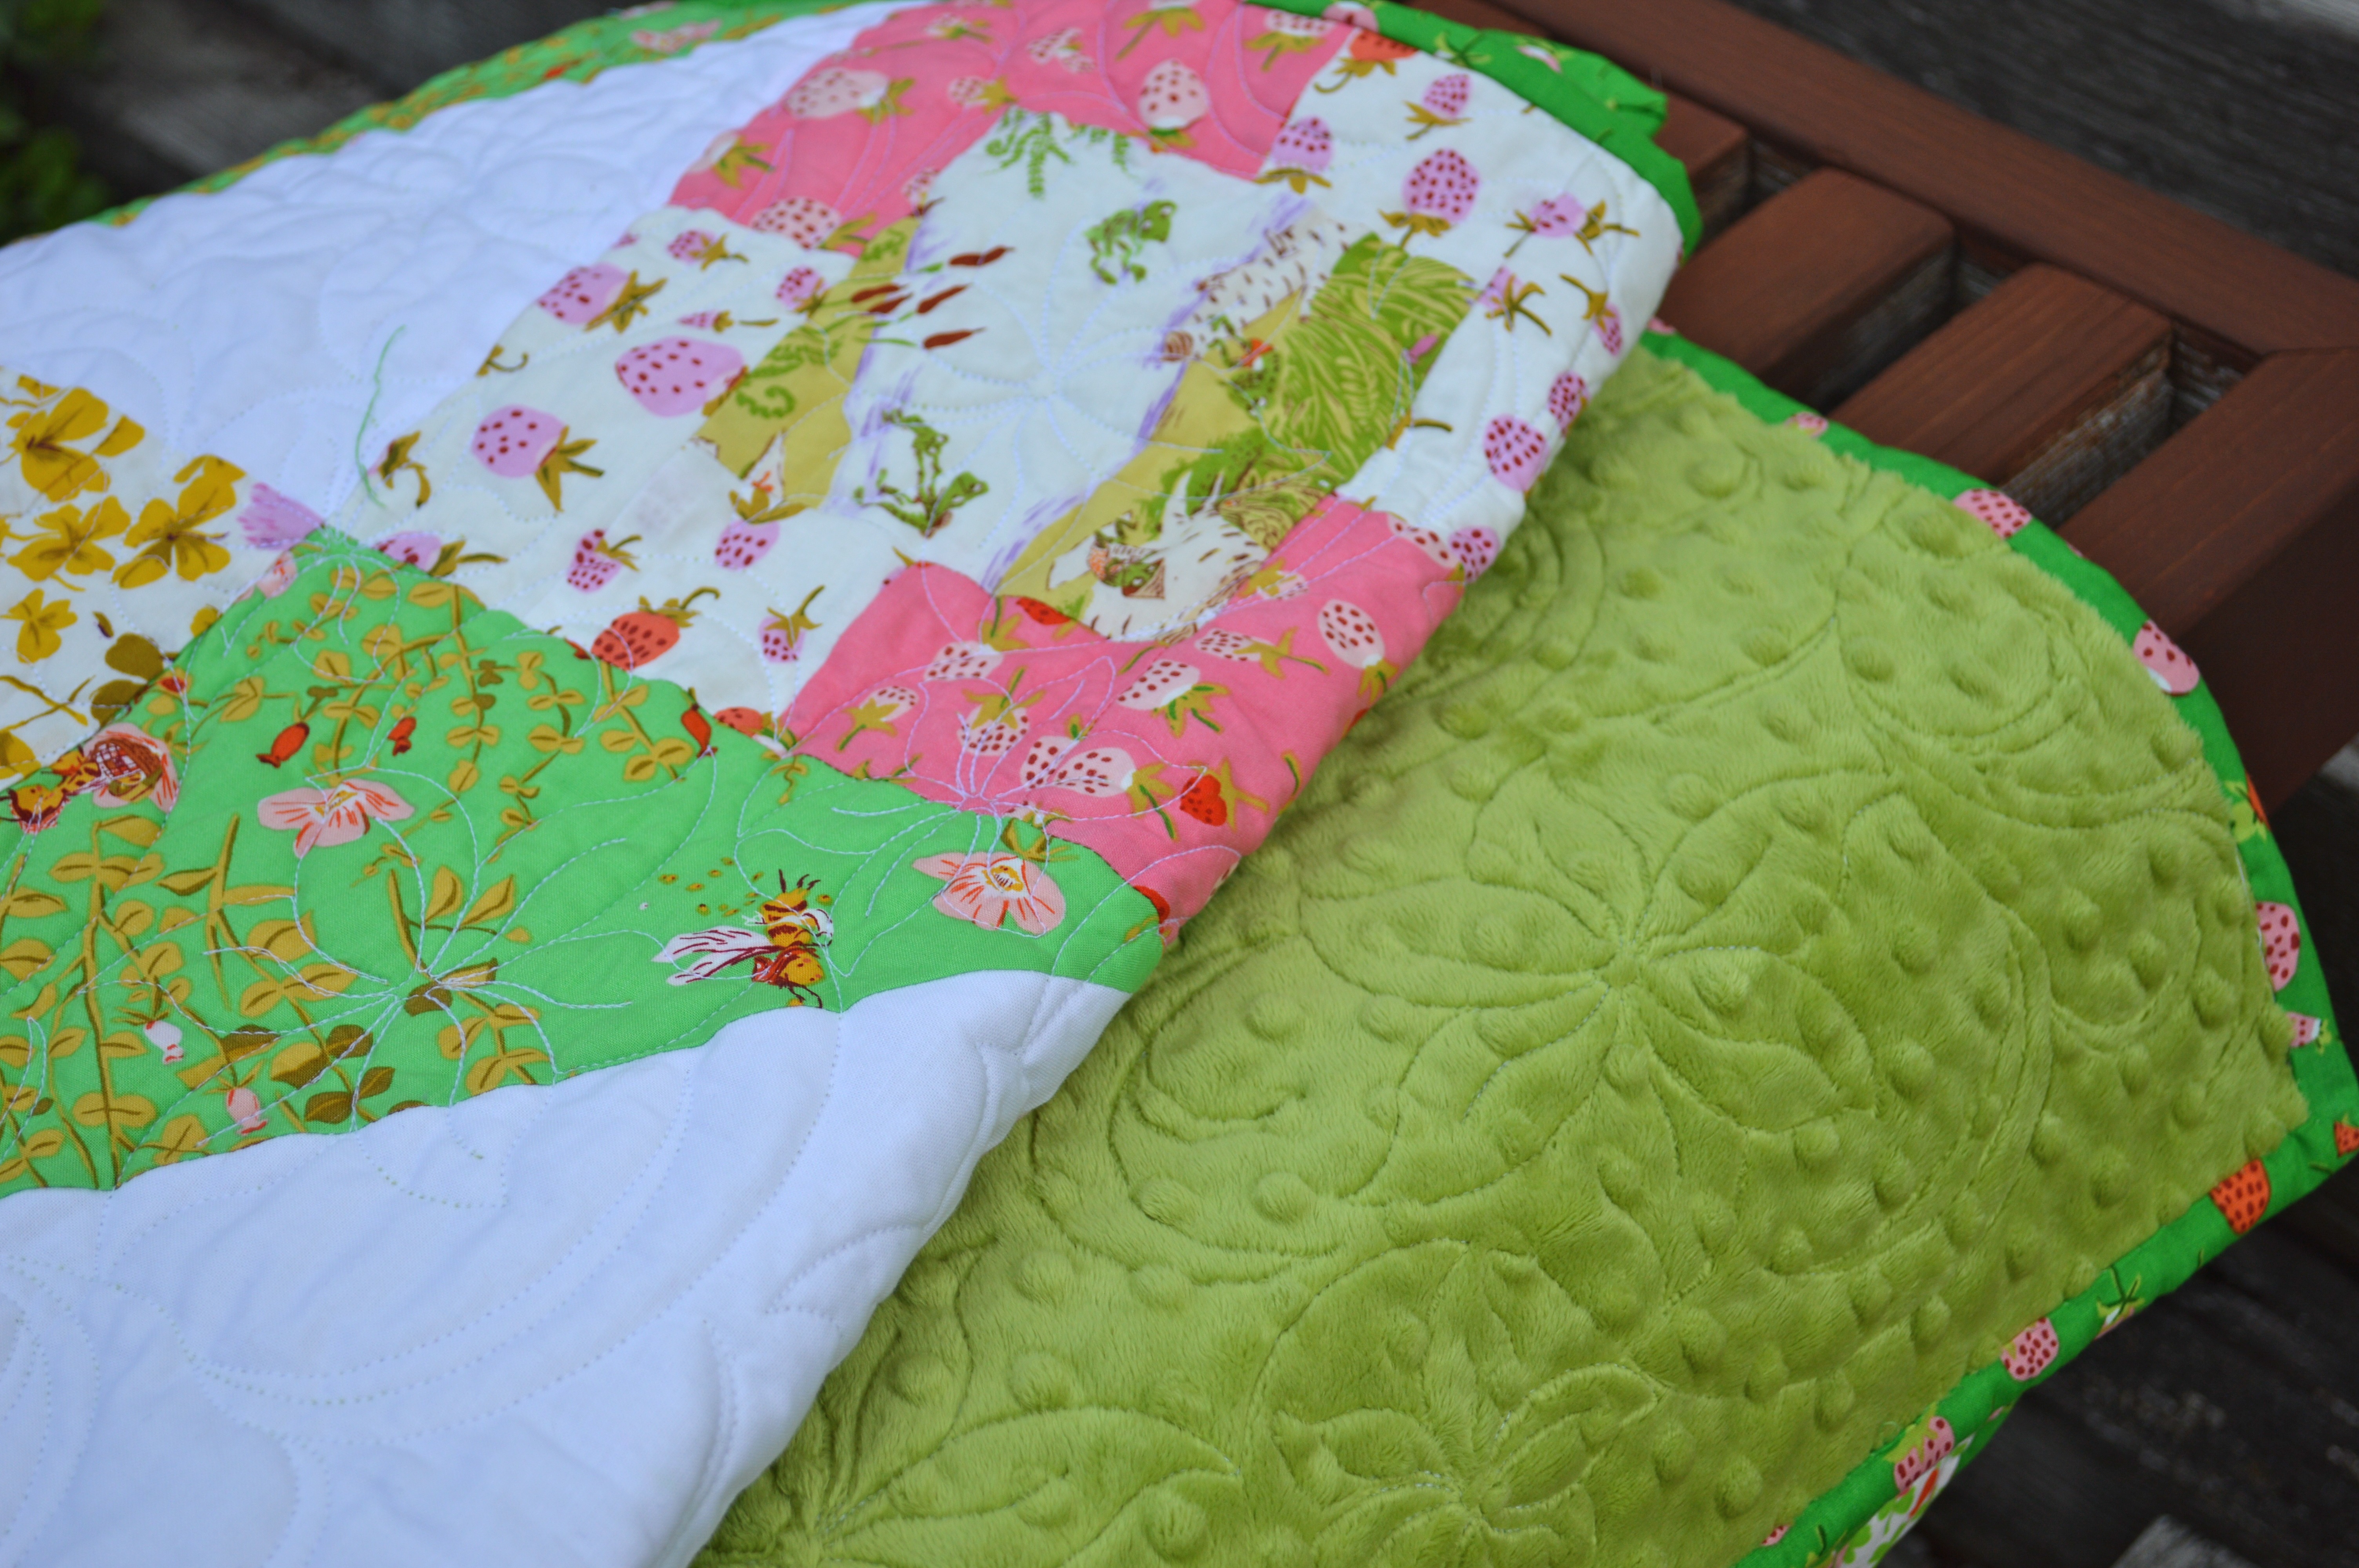
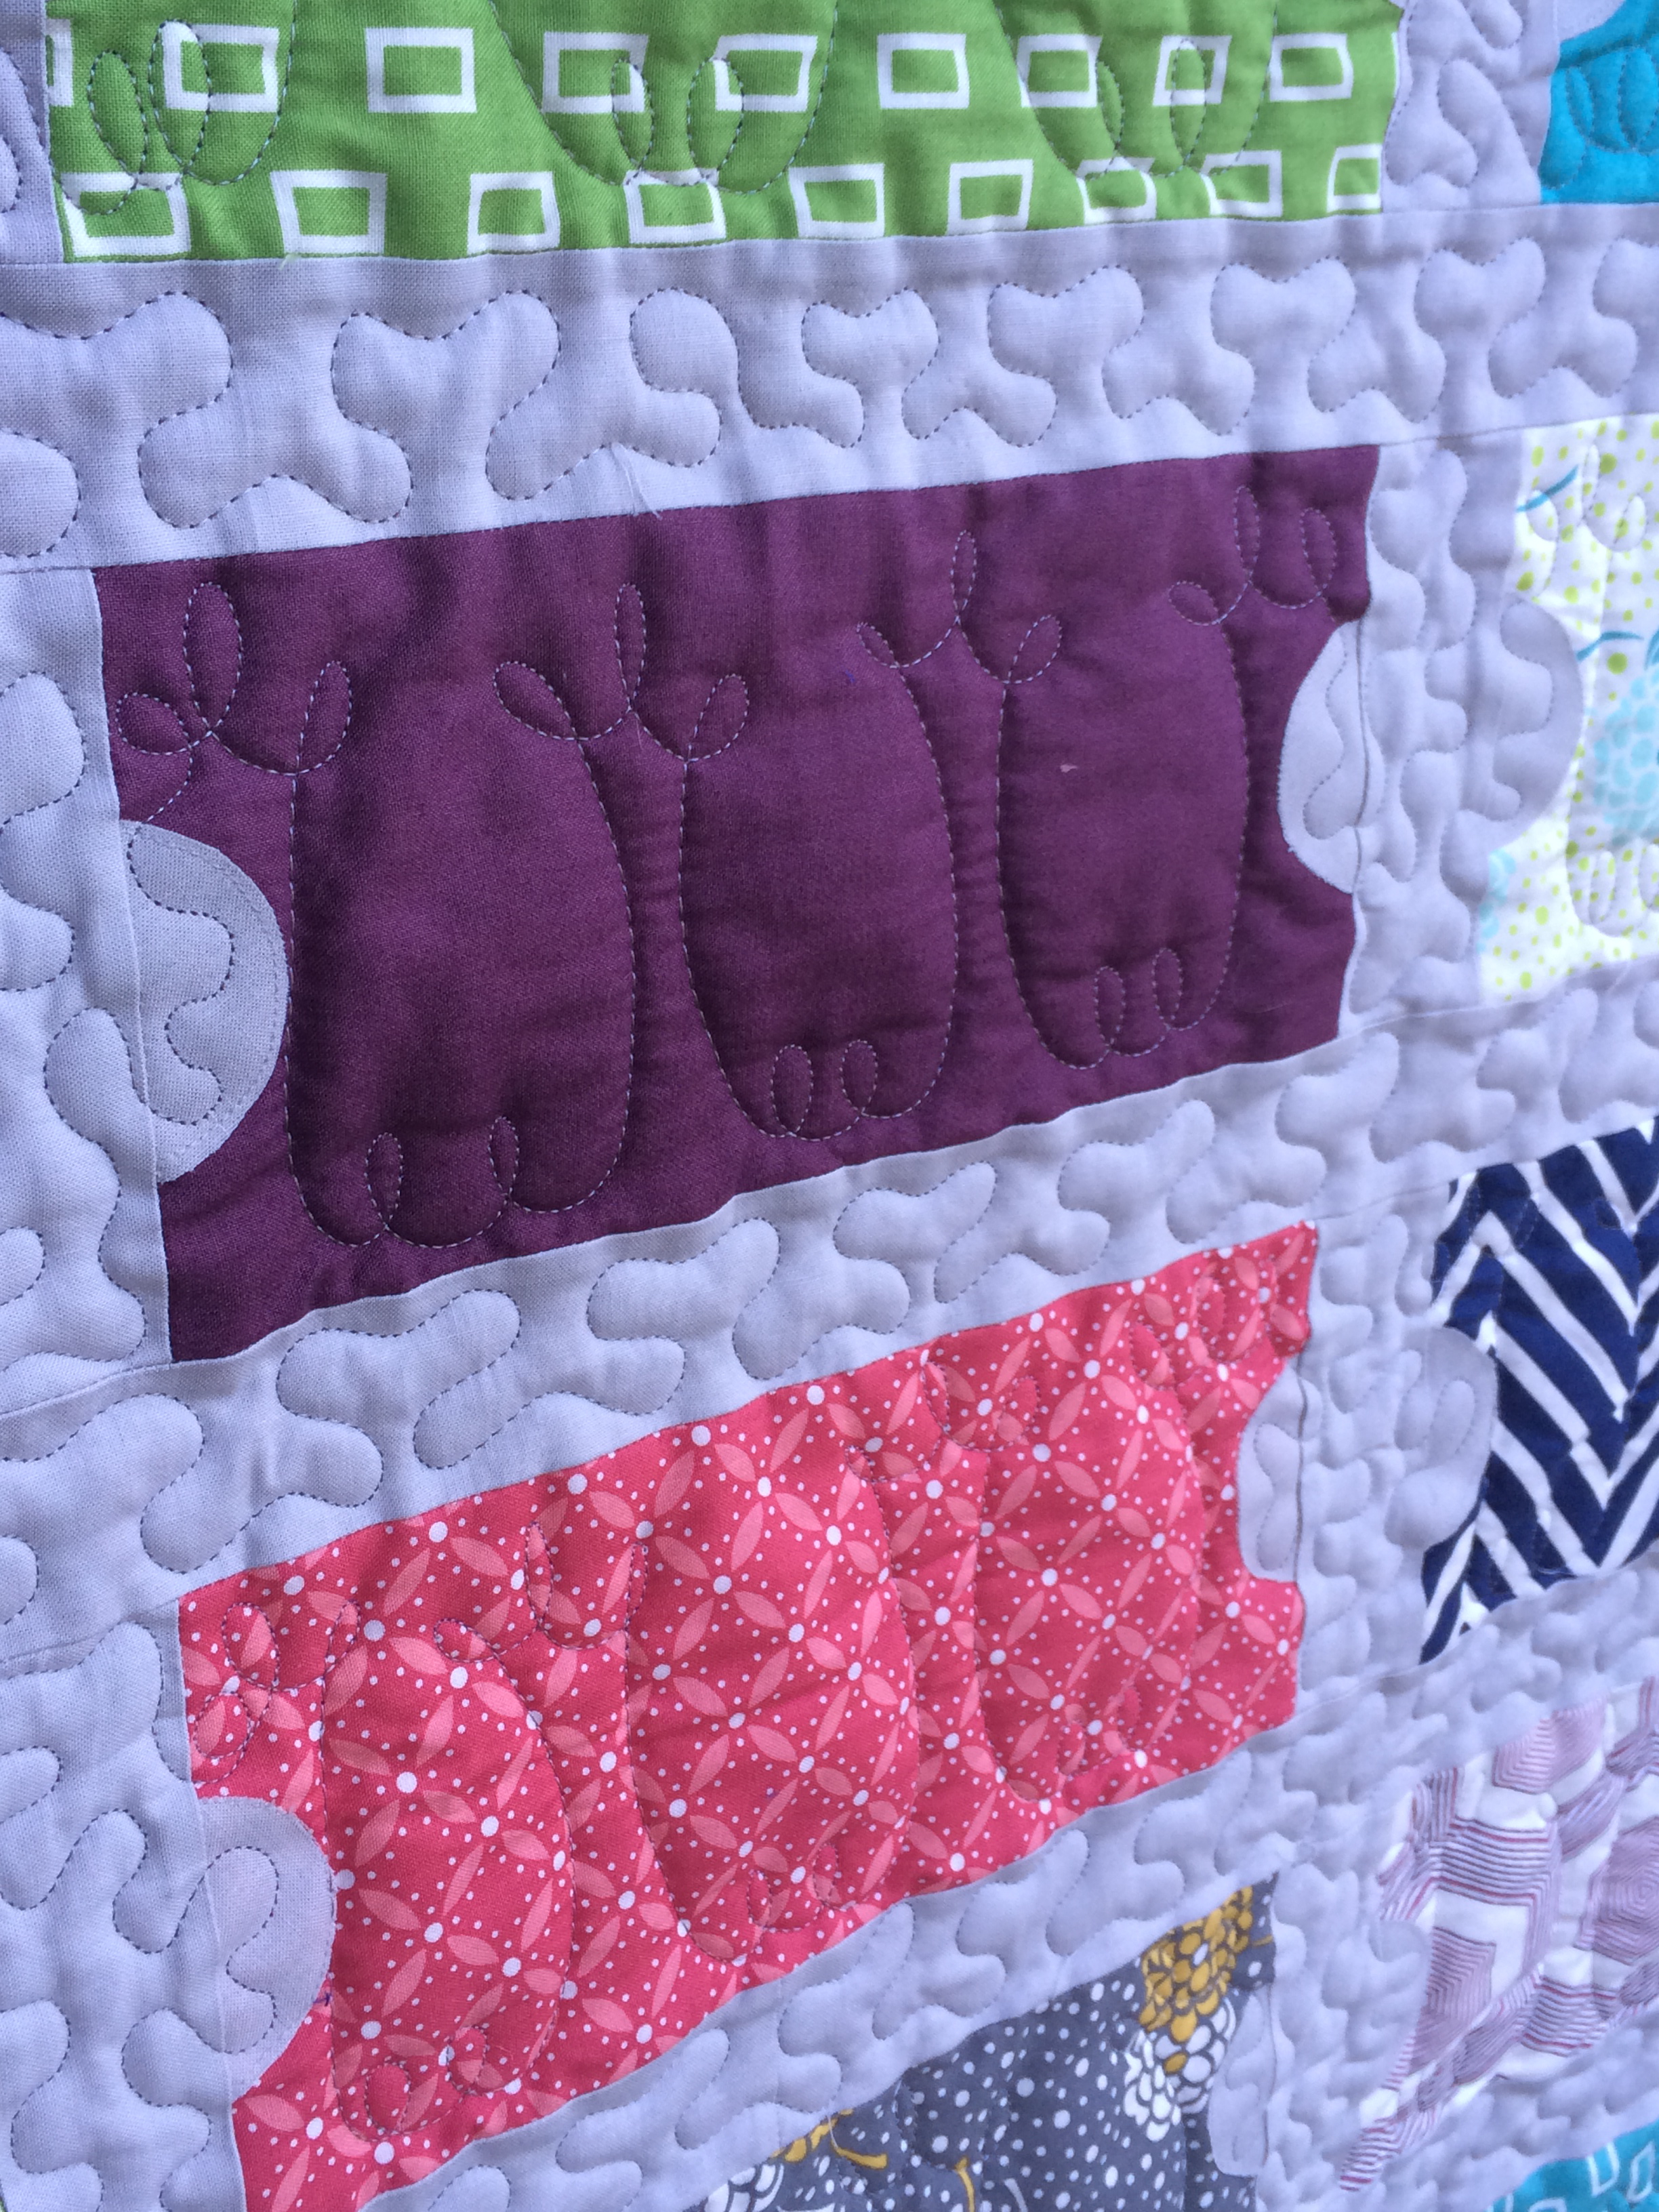
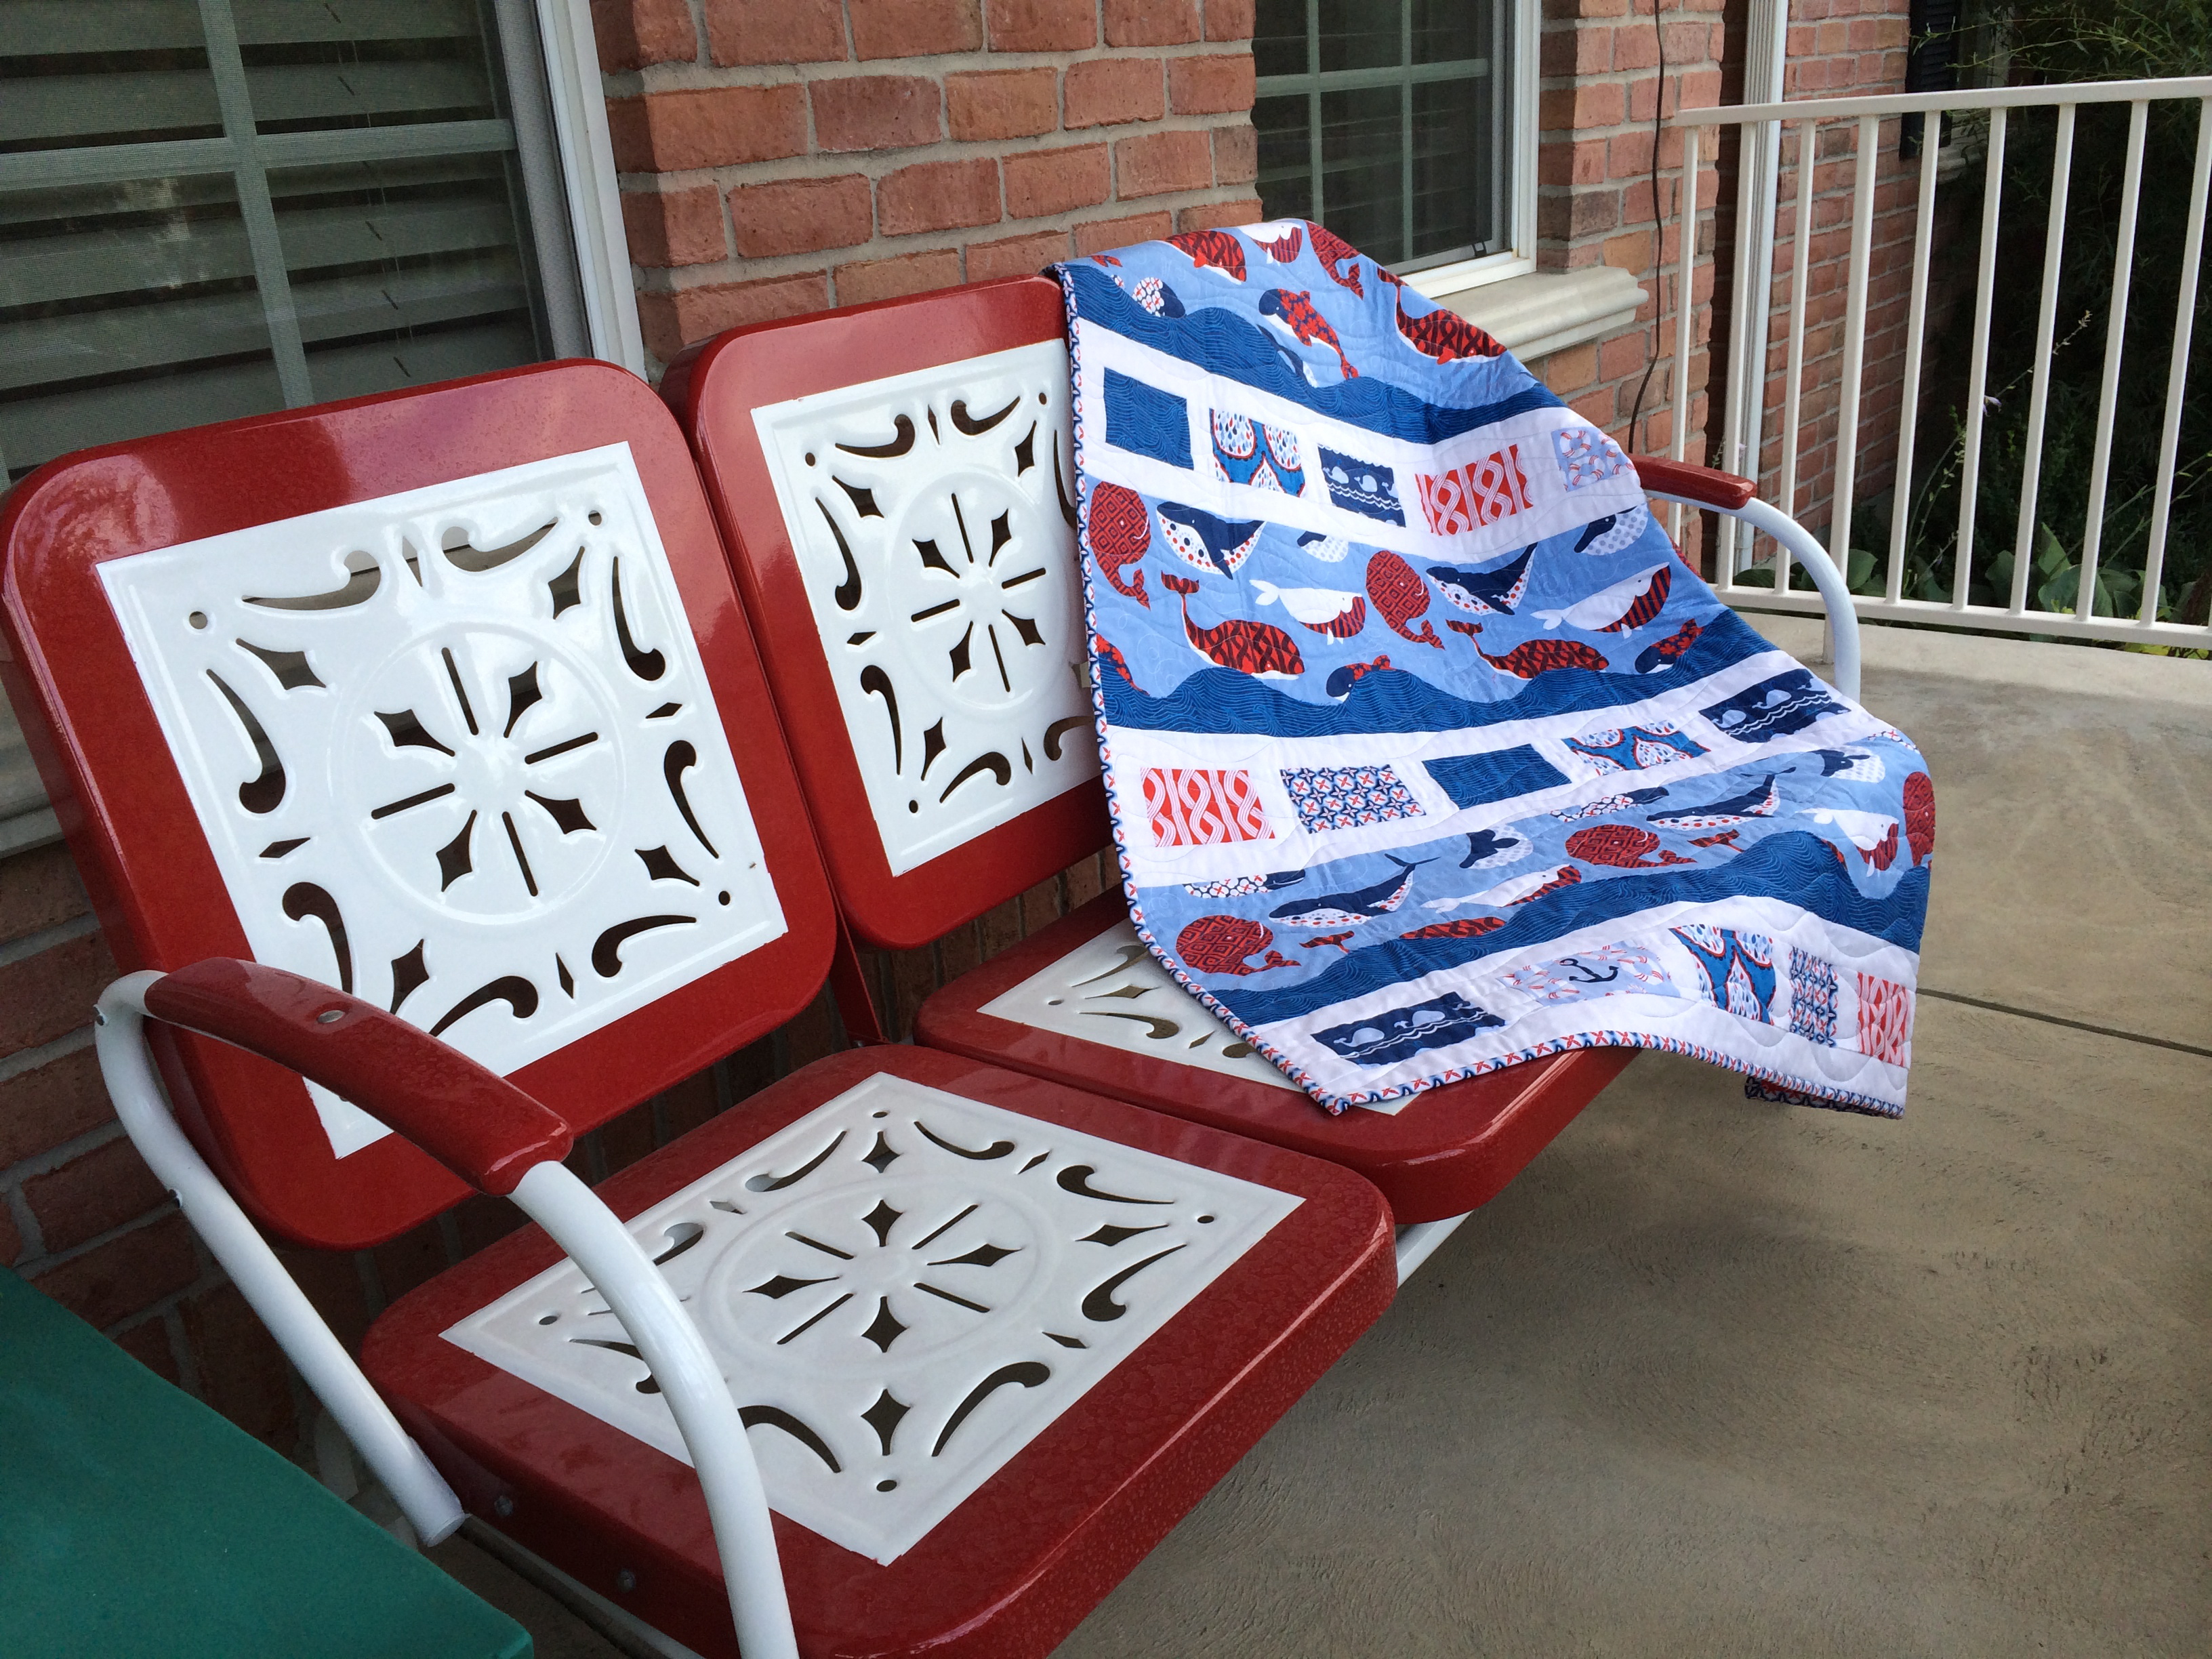
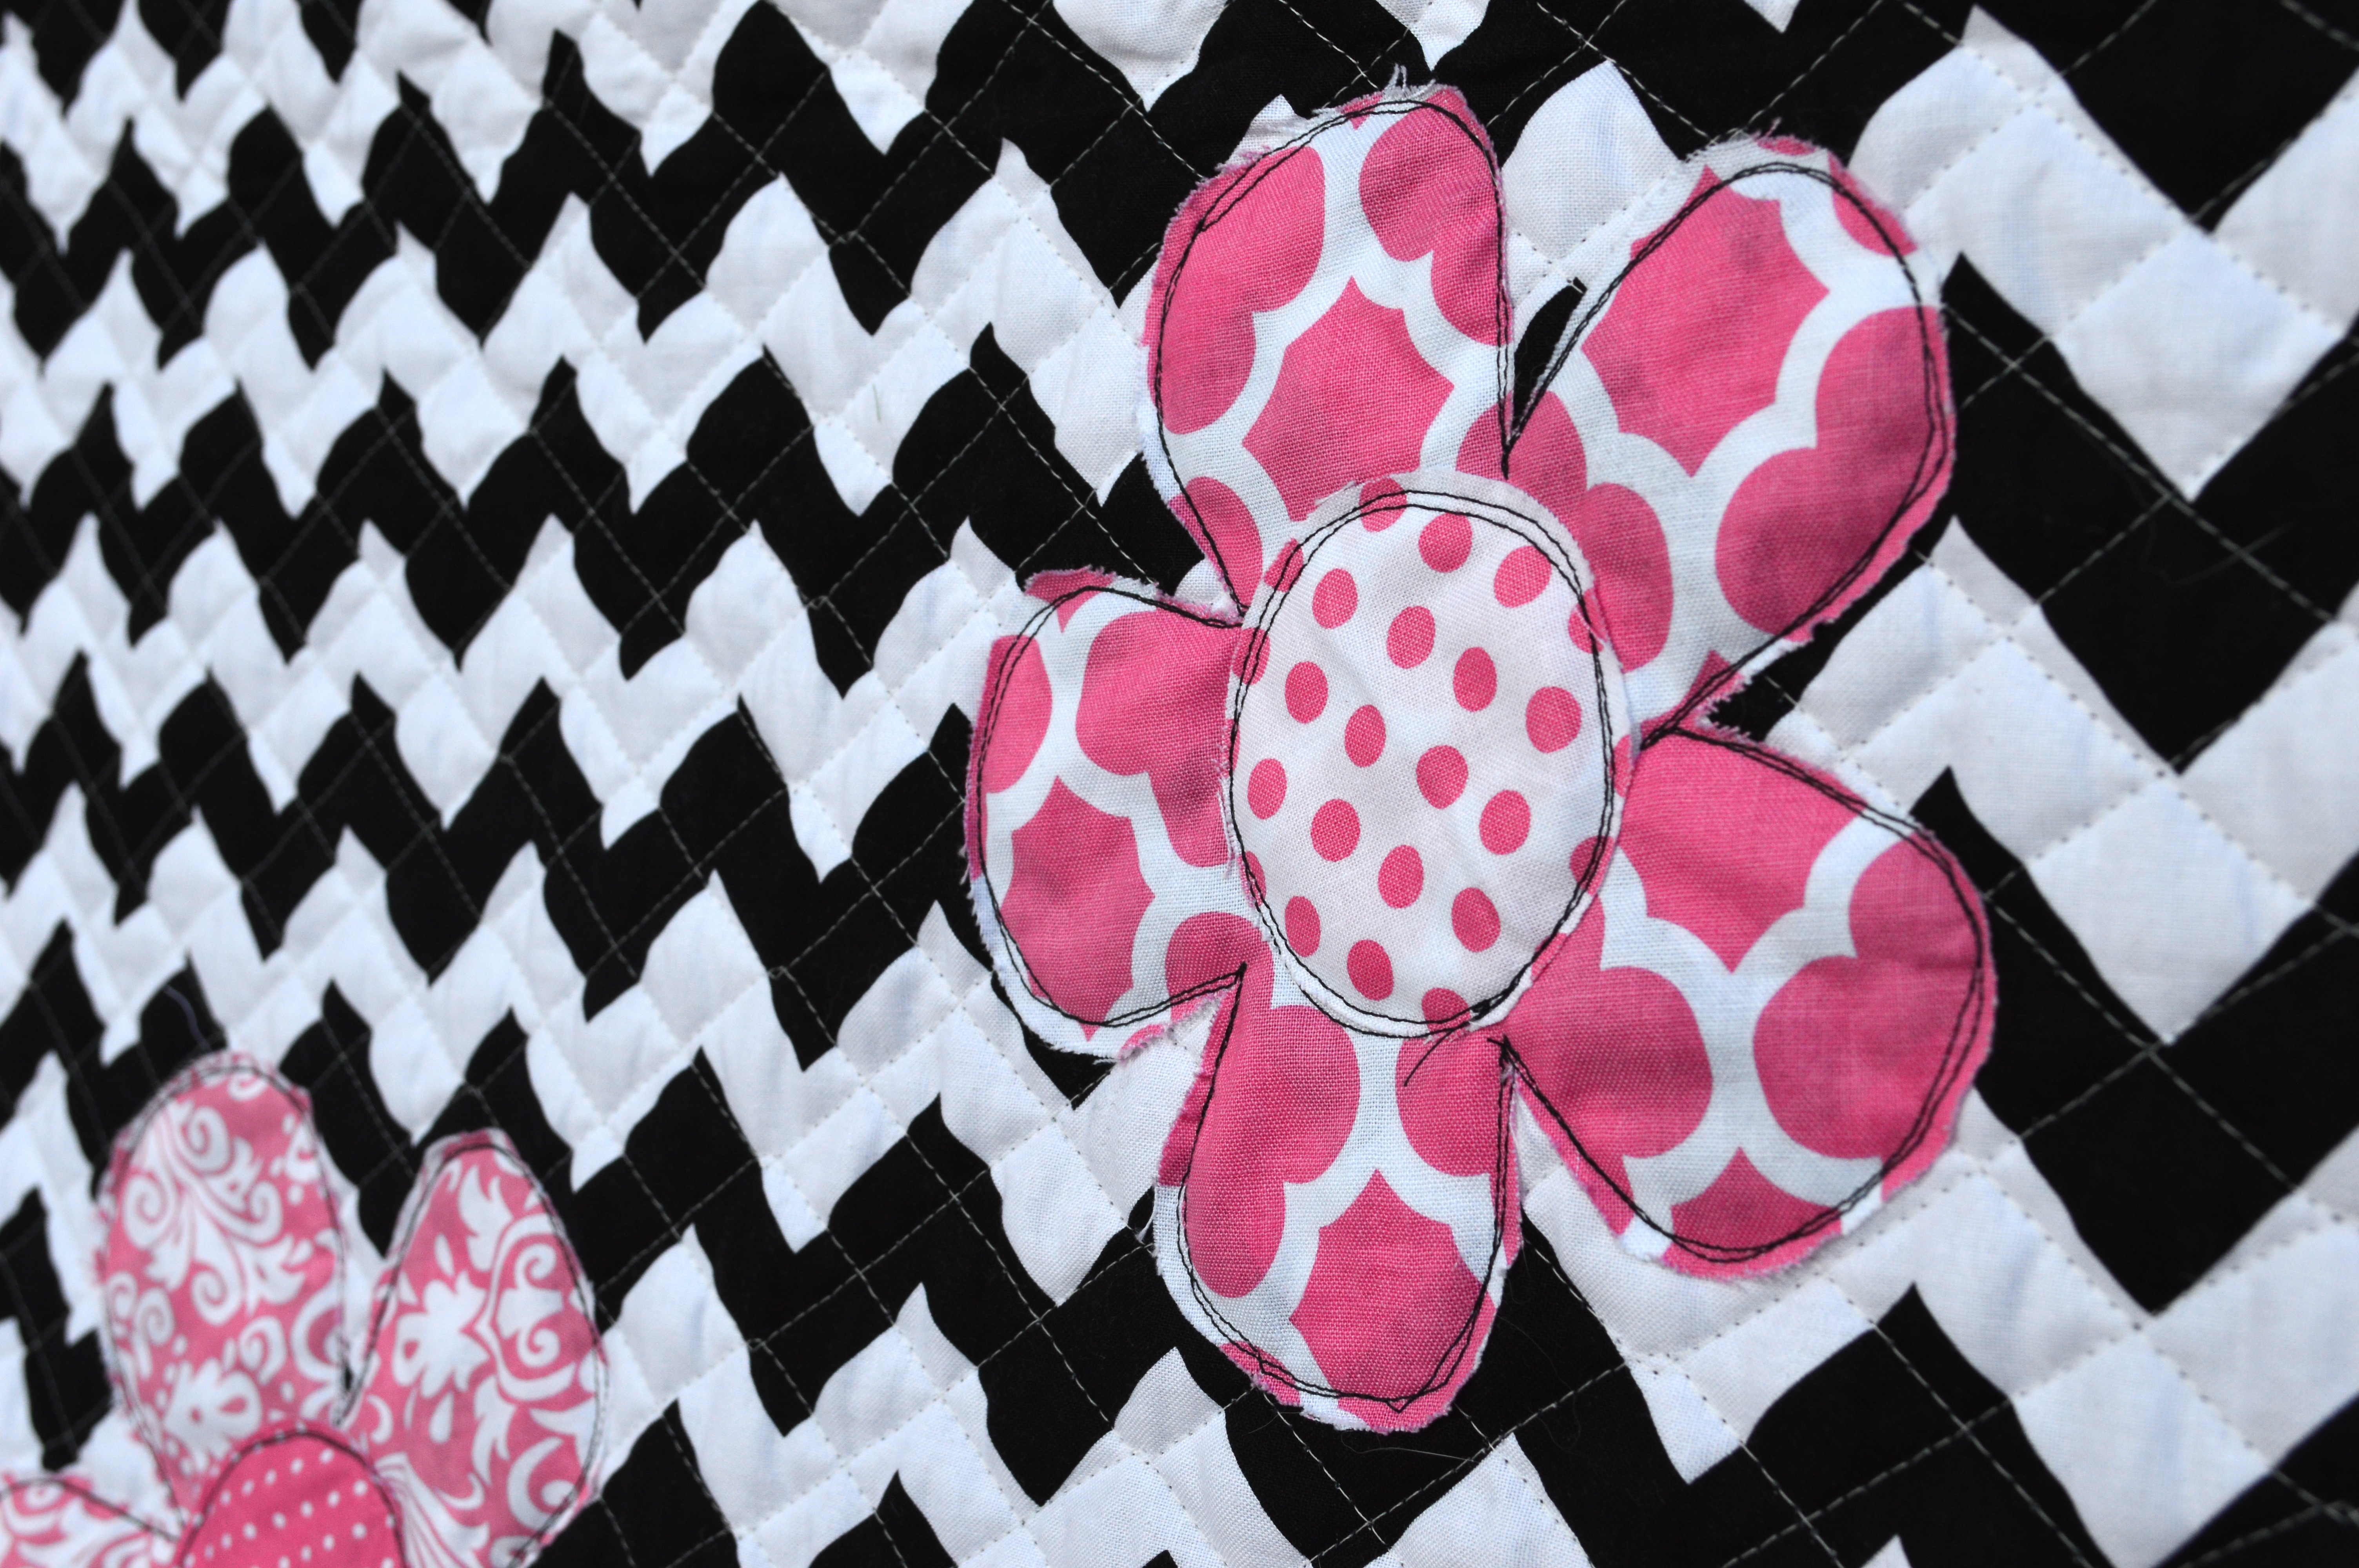
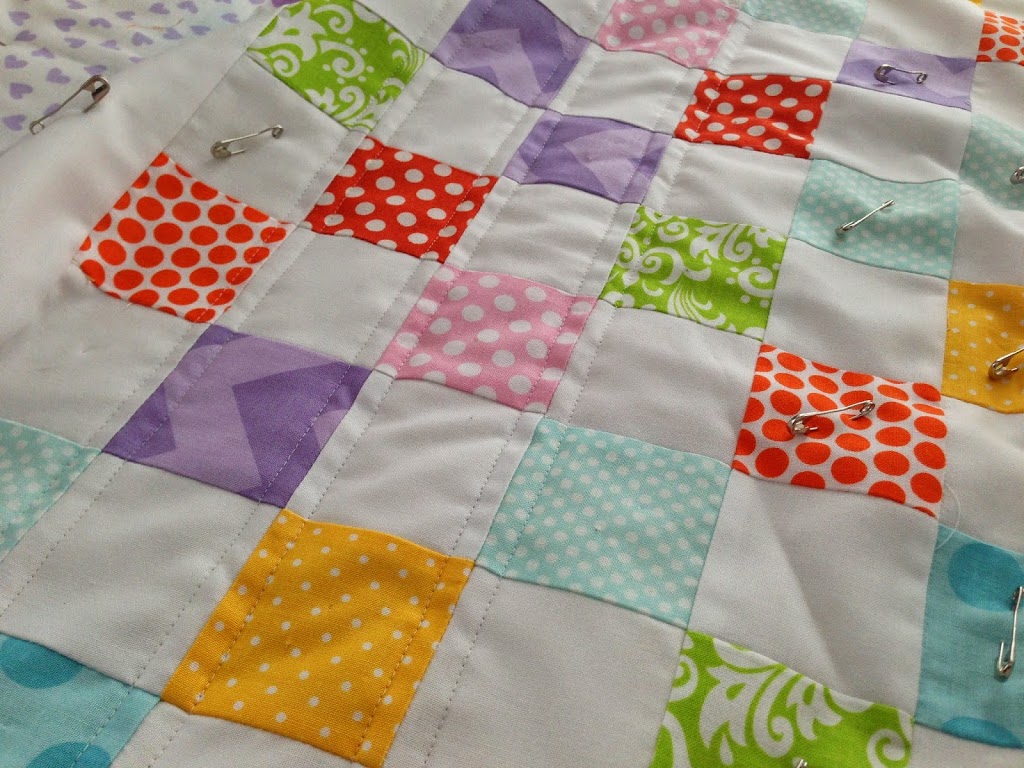
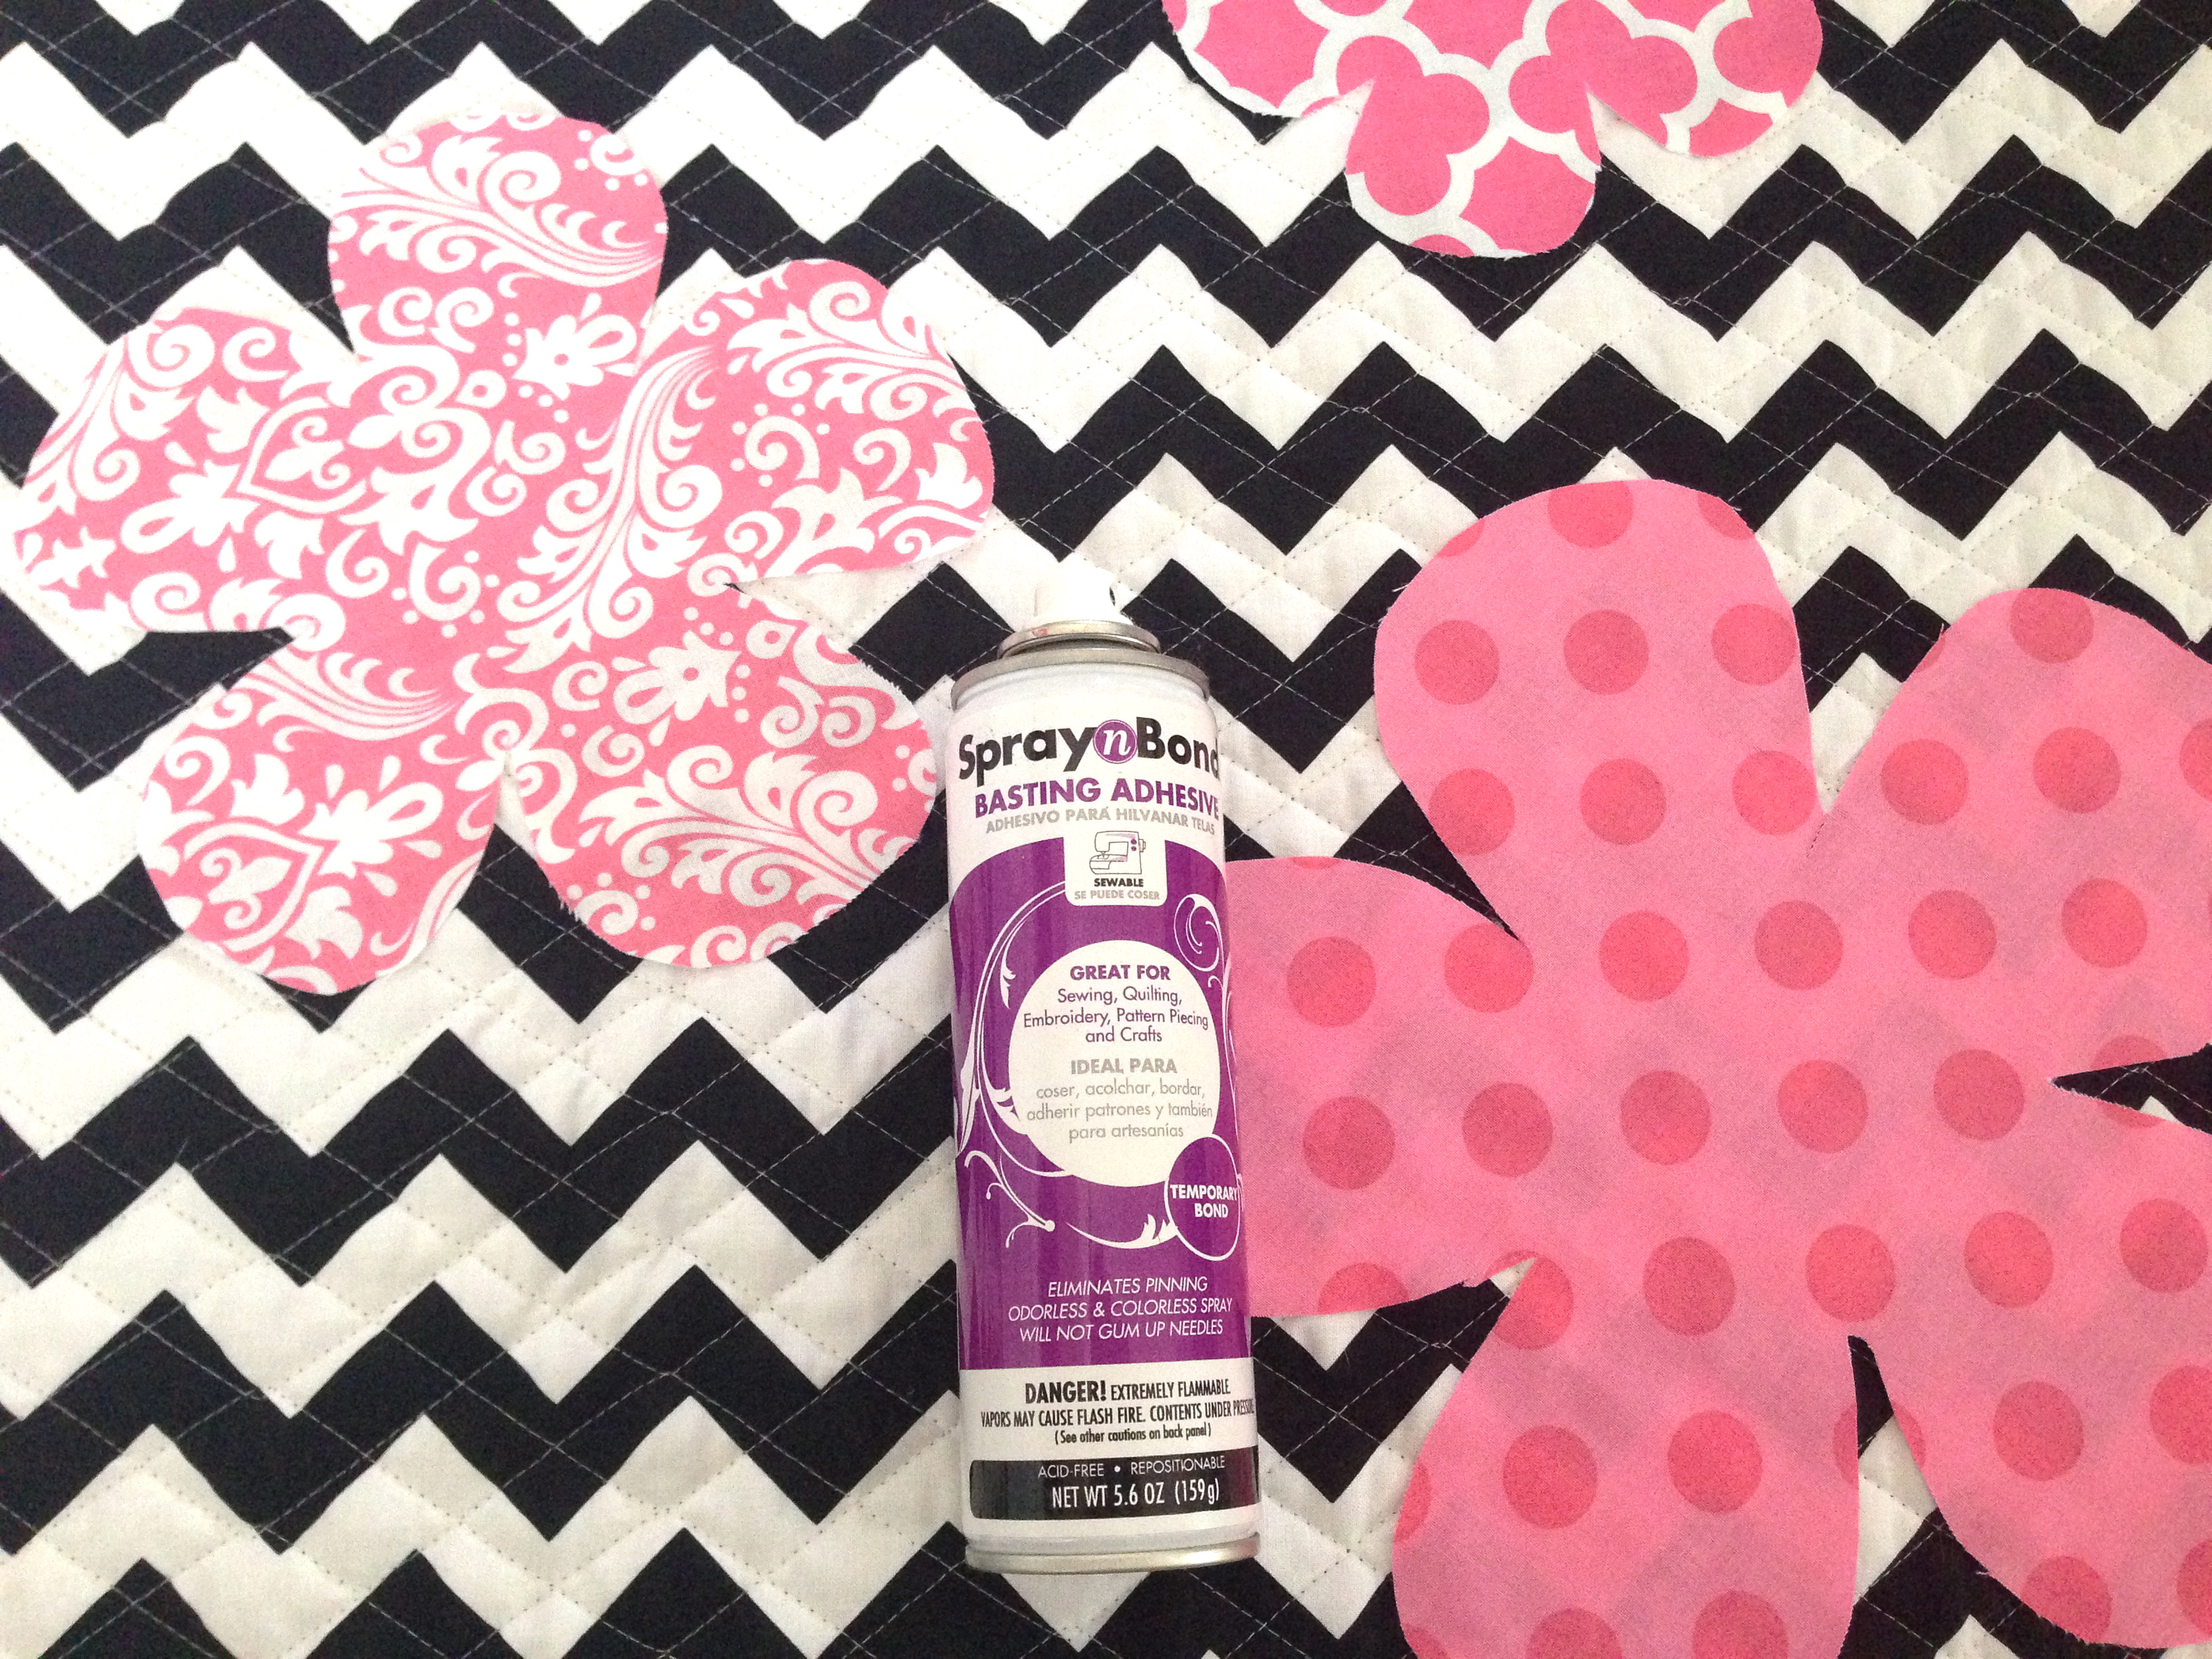
We got to go play with some fun long arm quilt machines. Our friends at Quilt EZ let us try out “The Butler” quilting robot which is a computer that attaches to any long arm quilt machine and it has hundreds of programmable quilting patterns. We selected a pattern, told it the size and hit “start” and it did this wonderful all over flower design. You do have to roll the quilt and start the machine up, but it remembers where it left off each time – genius!

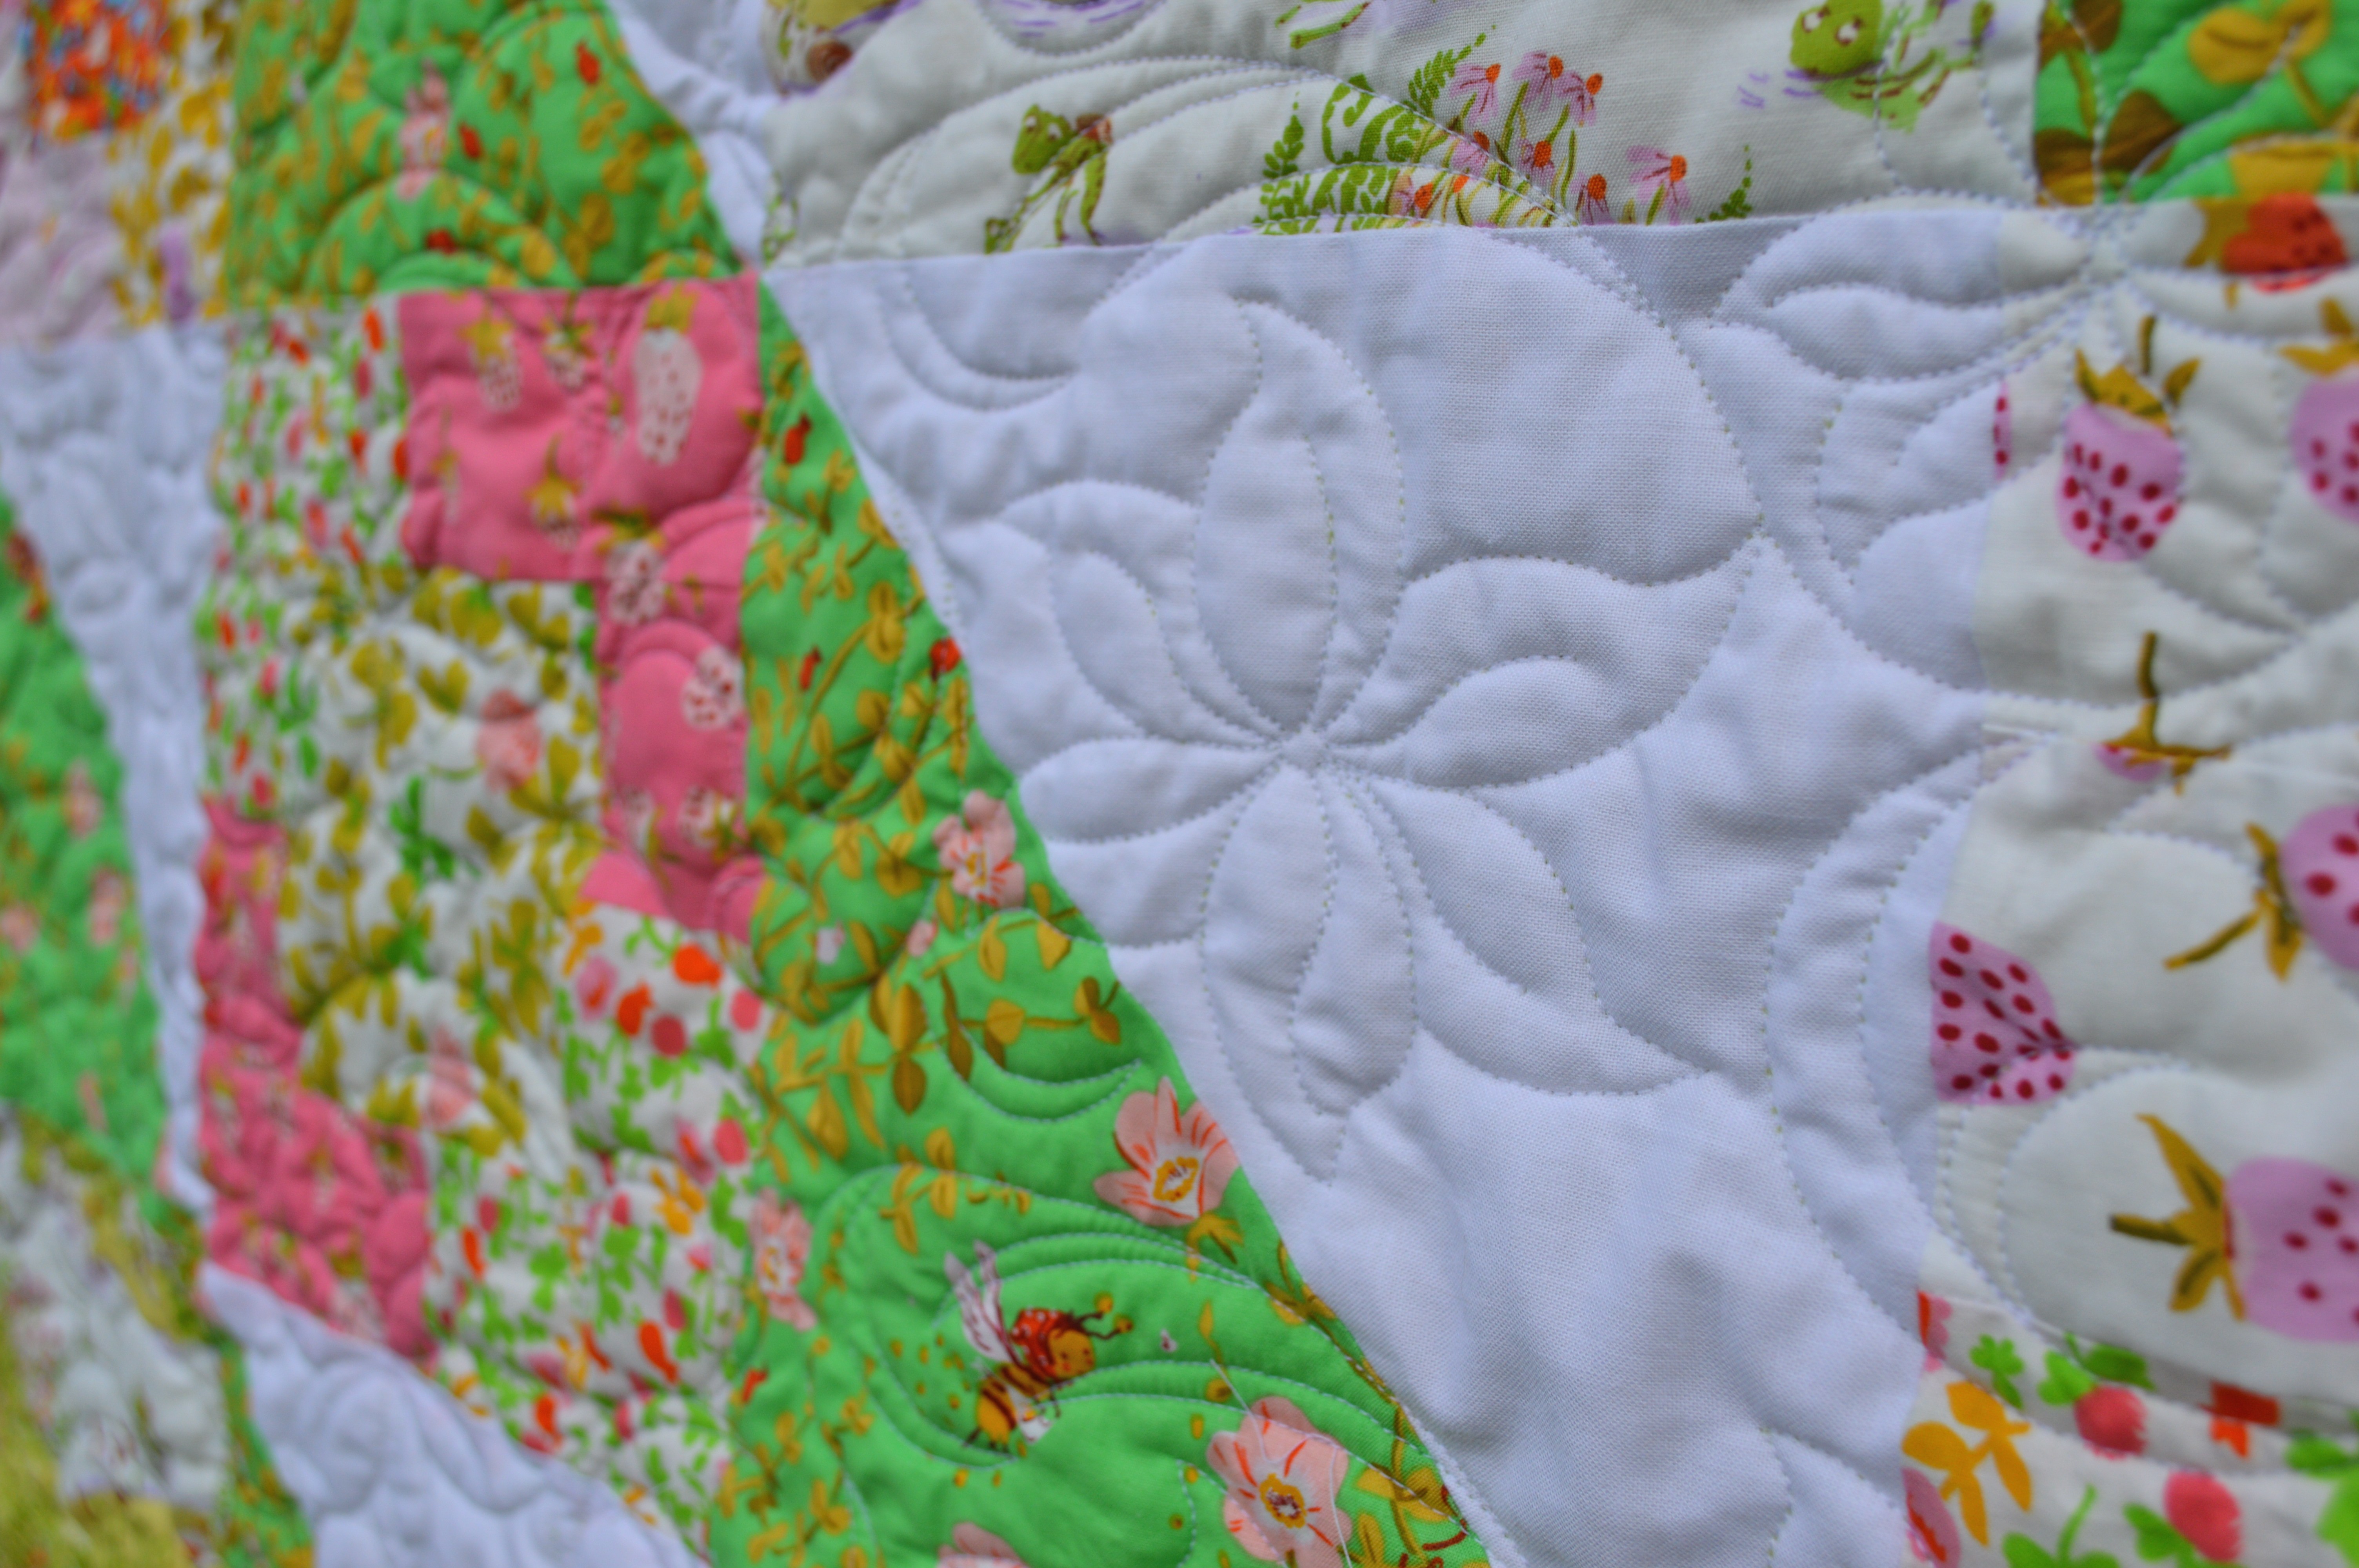
Here you can see the quilt design up close – I could not do this free hand!
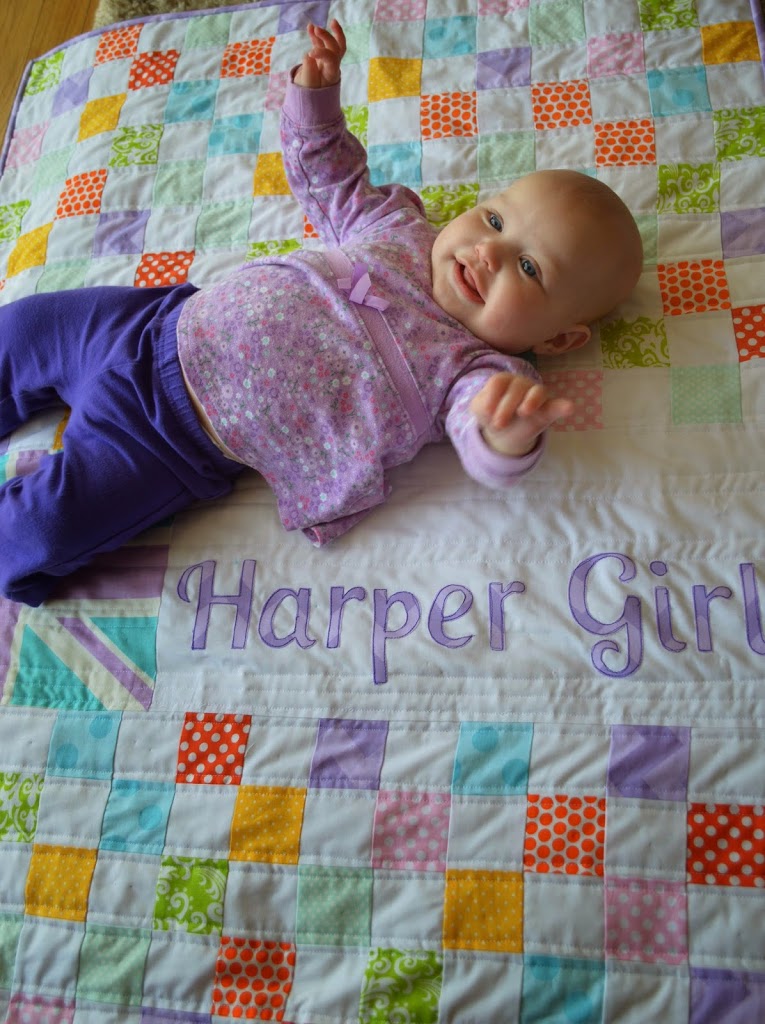
We got home from the quilter and added the binding – Two days from start to finish!! Not bad for a 14 year old 🙂
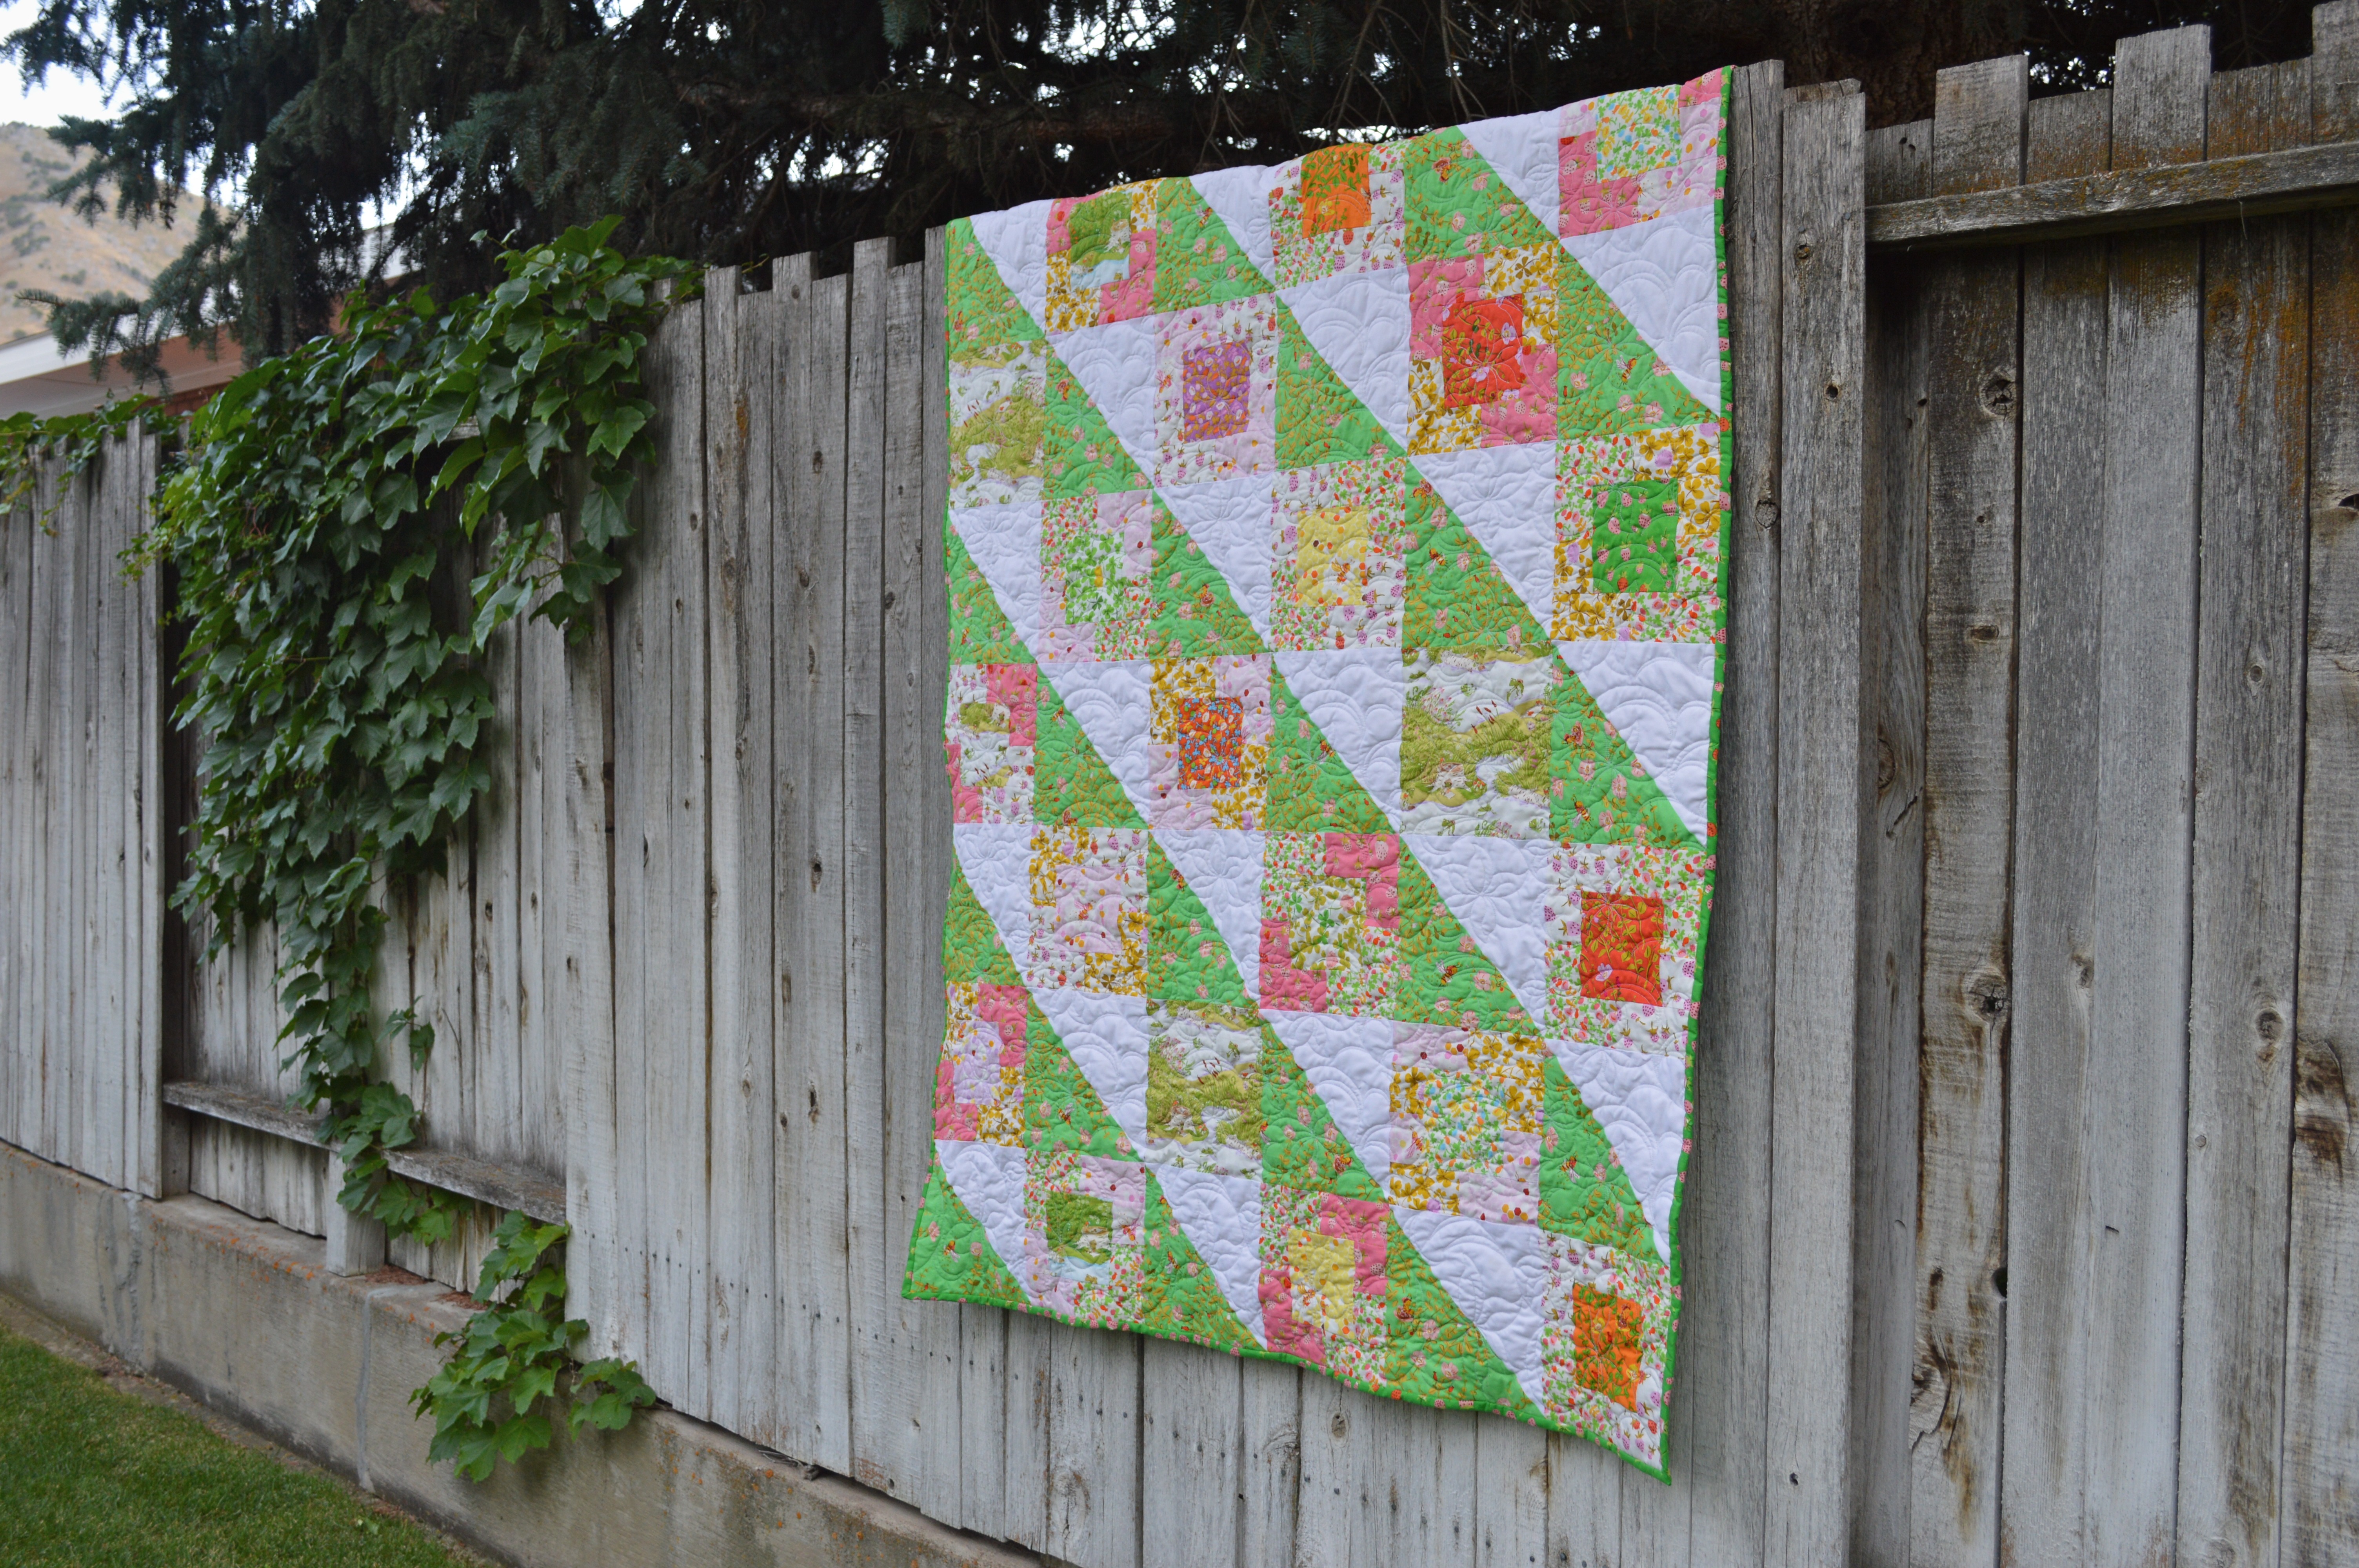
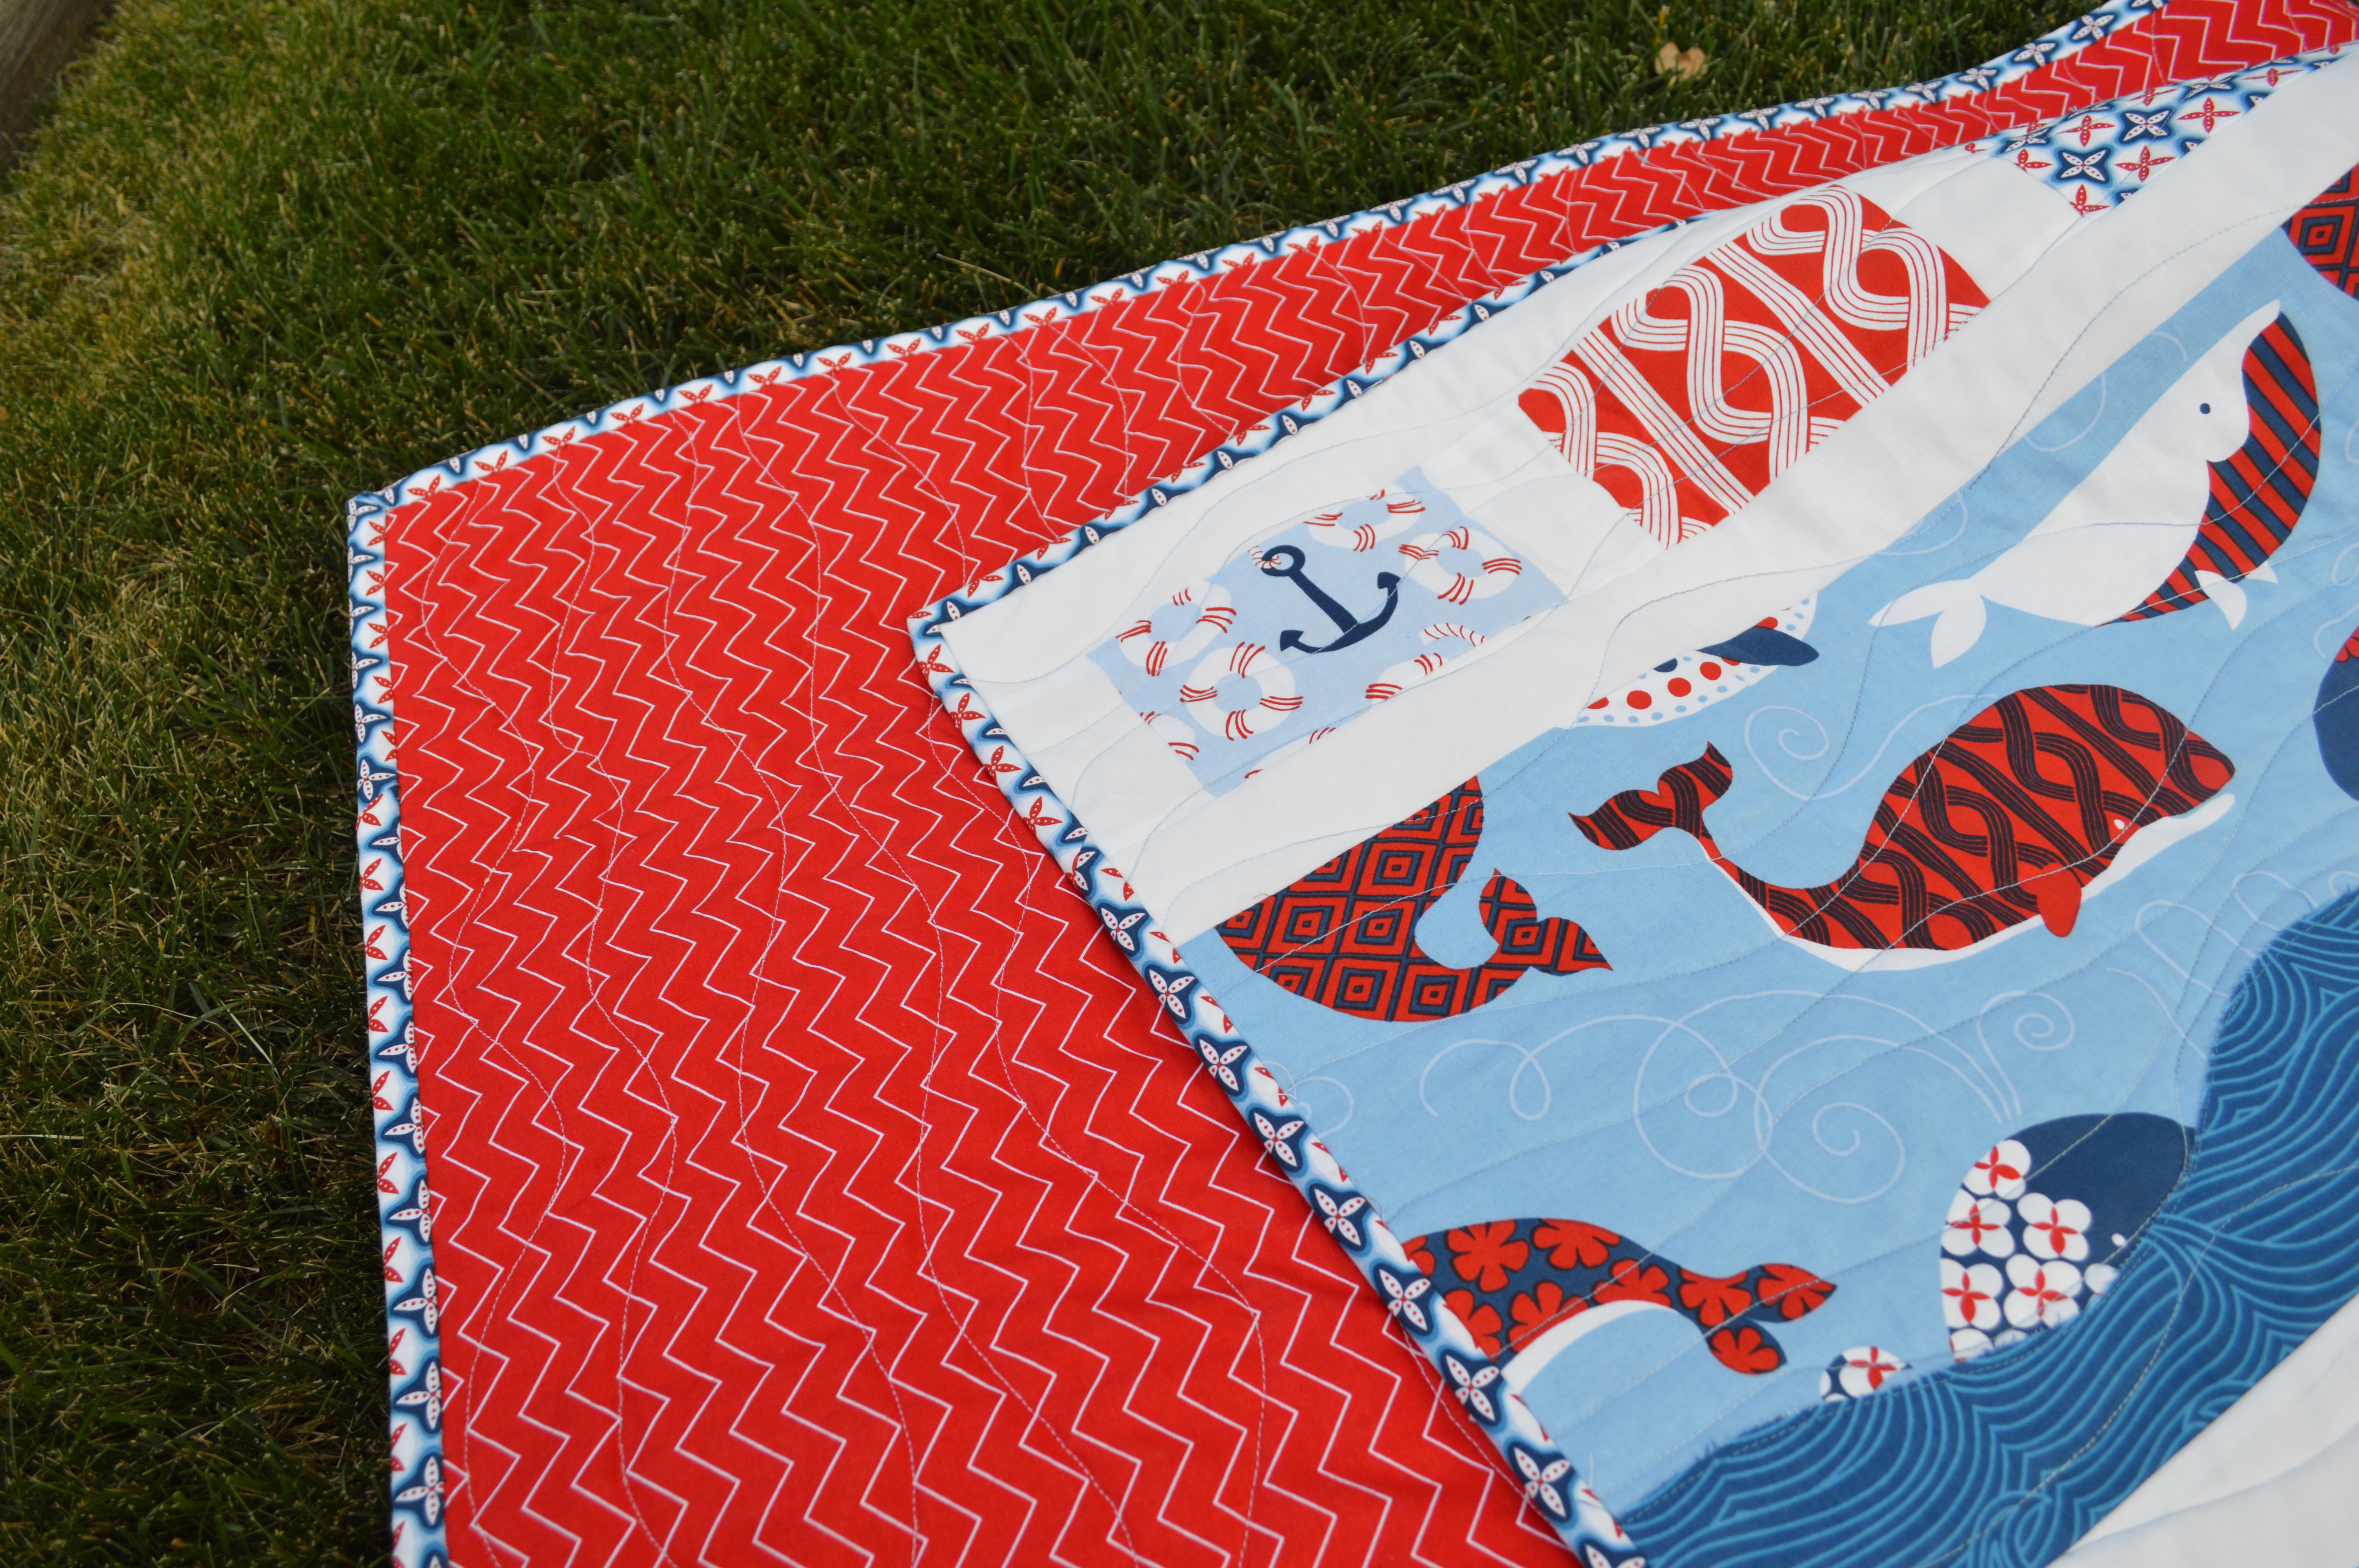
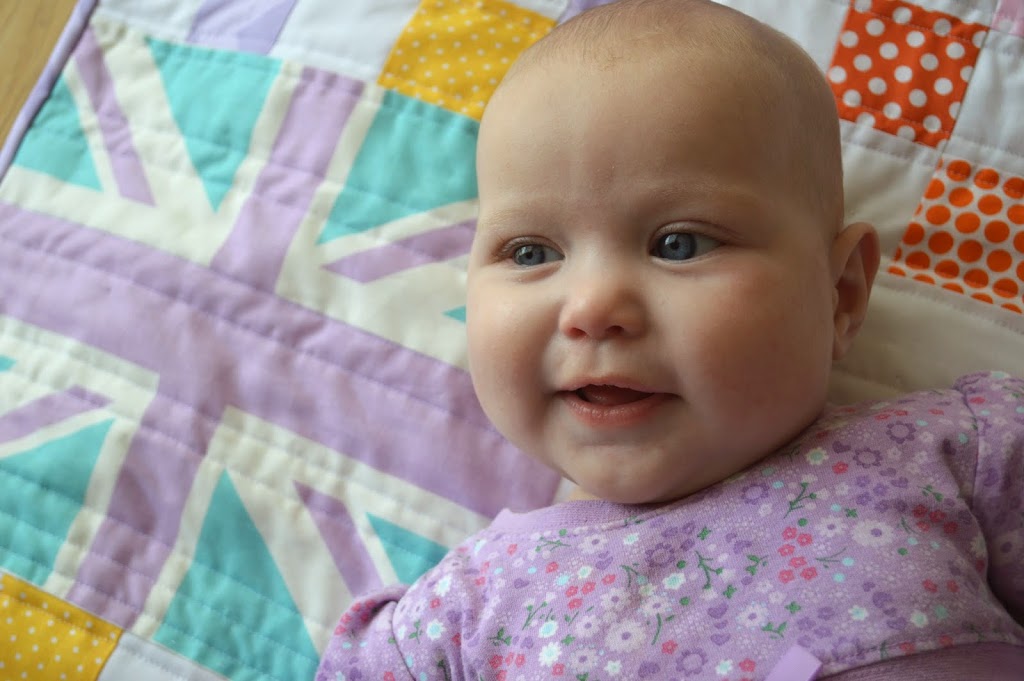
Of course Ella wanted minky on the back of the quilt – she is such a snugly person! Love the fun green color.
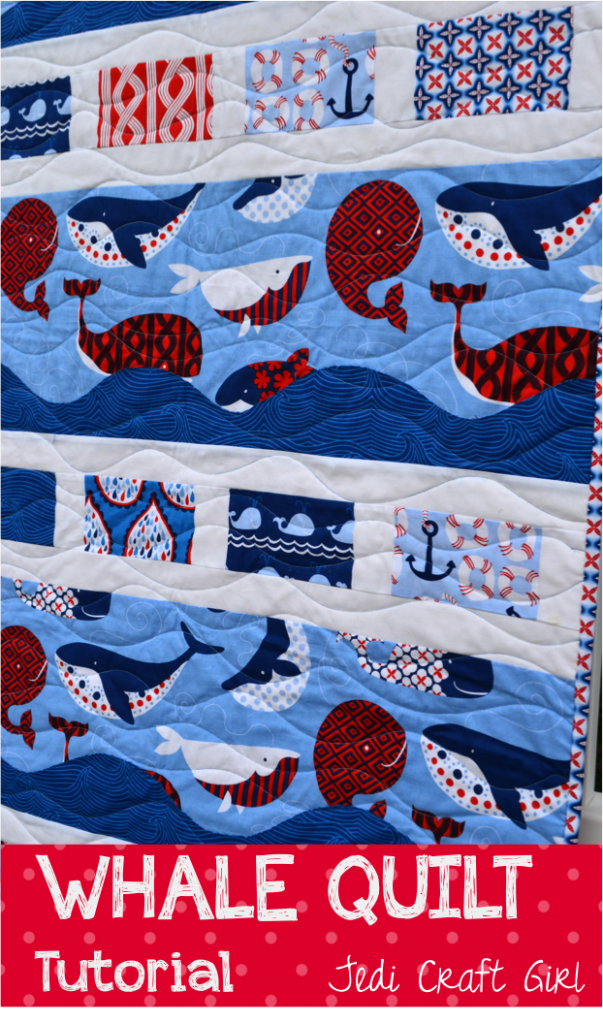
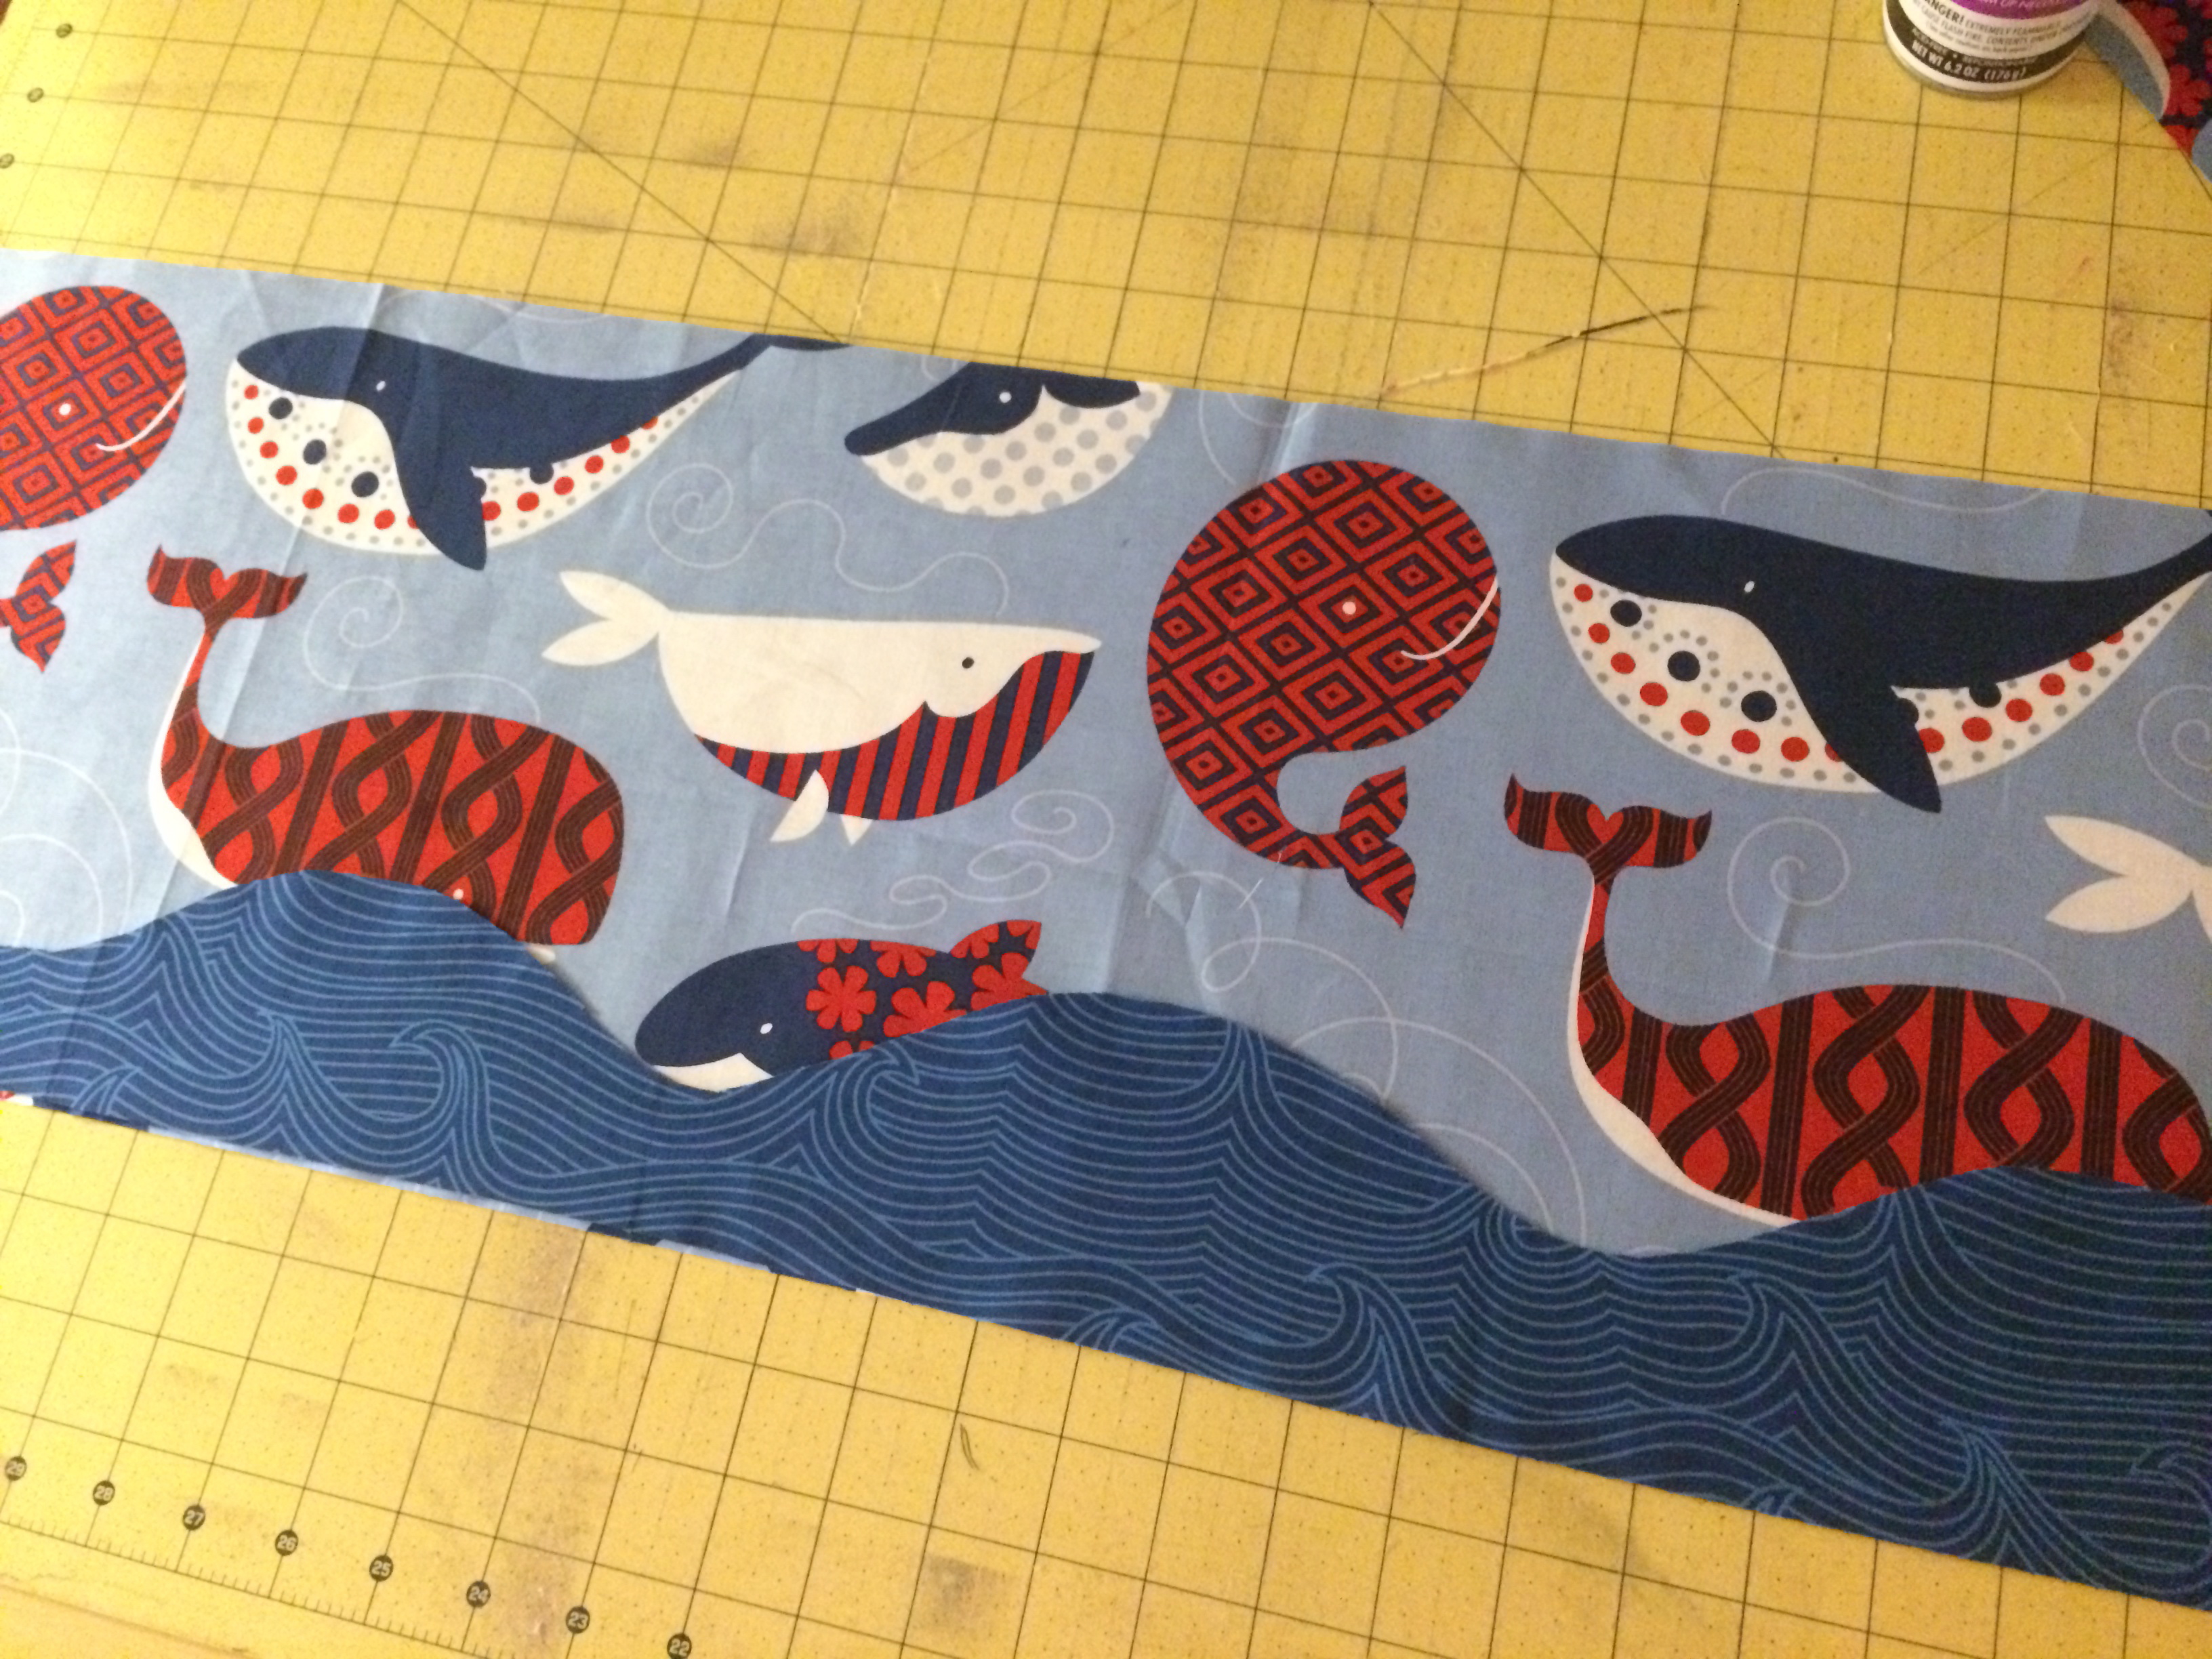
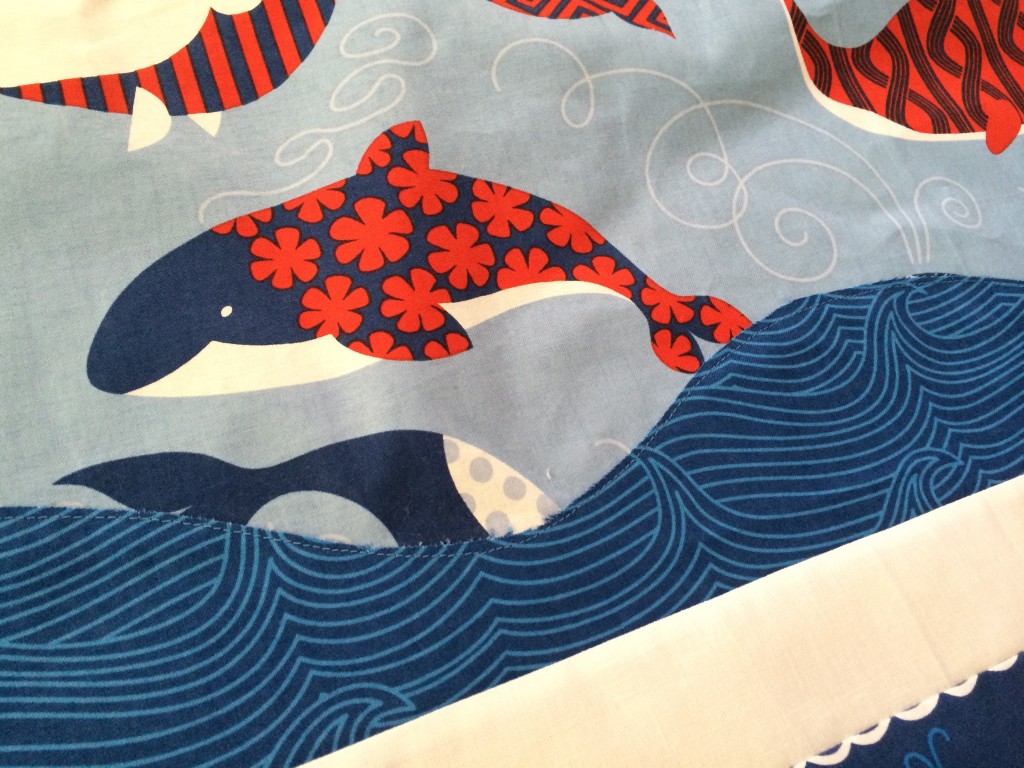
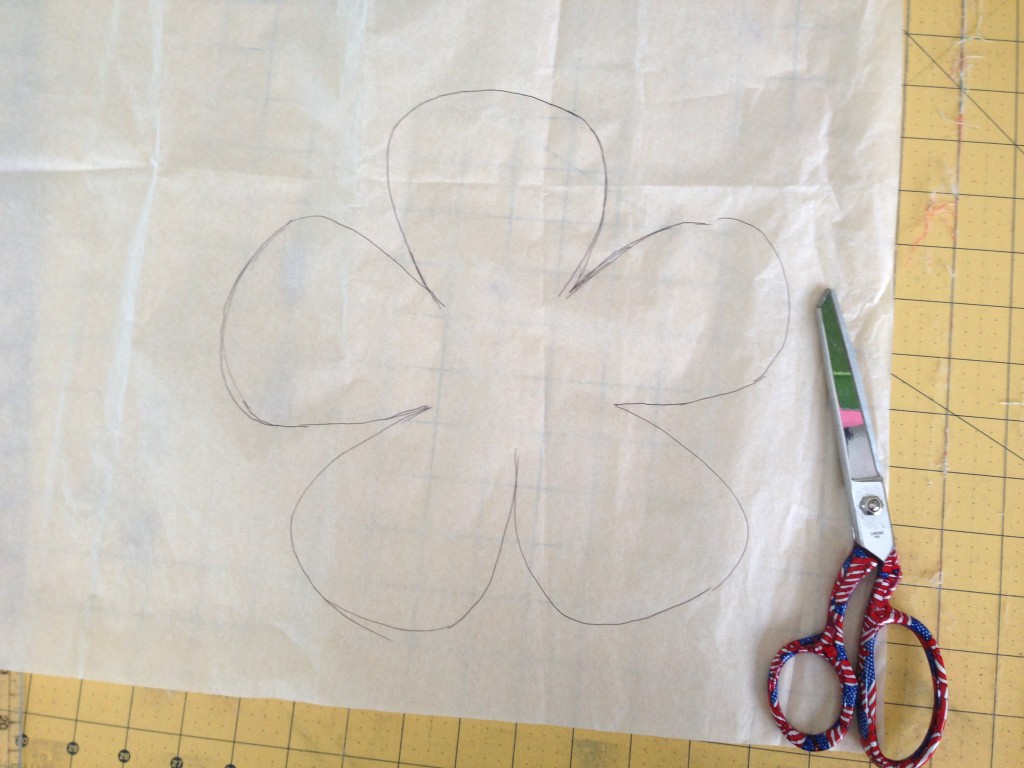
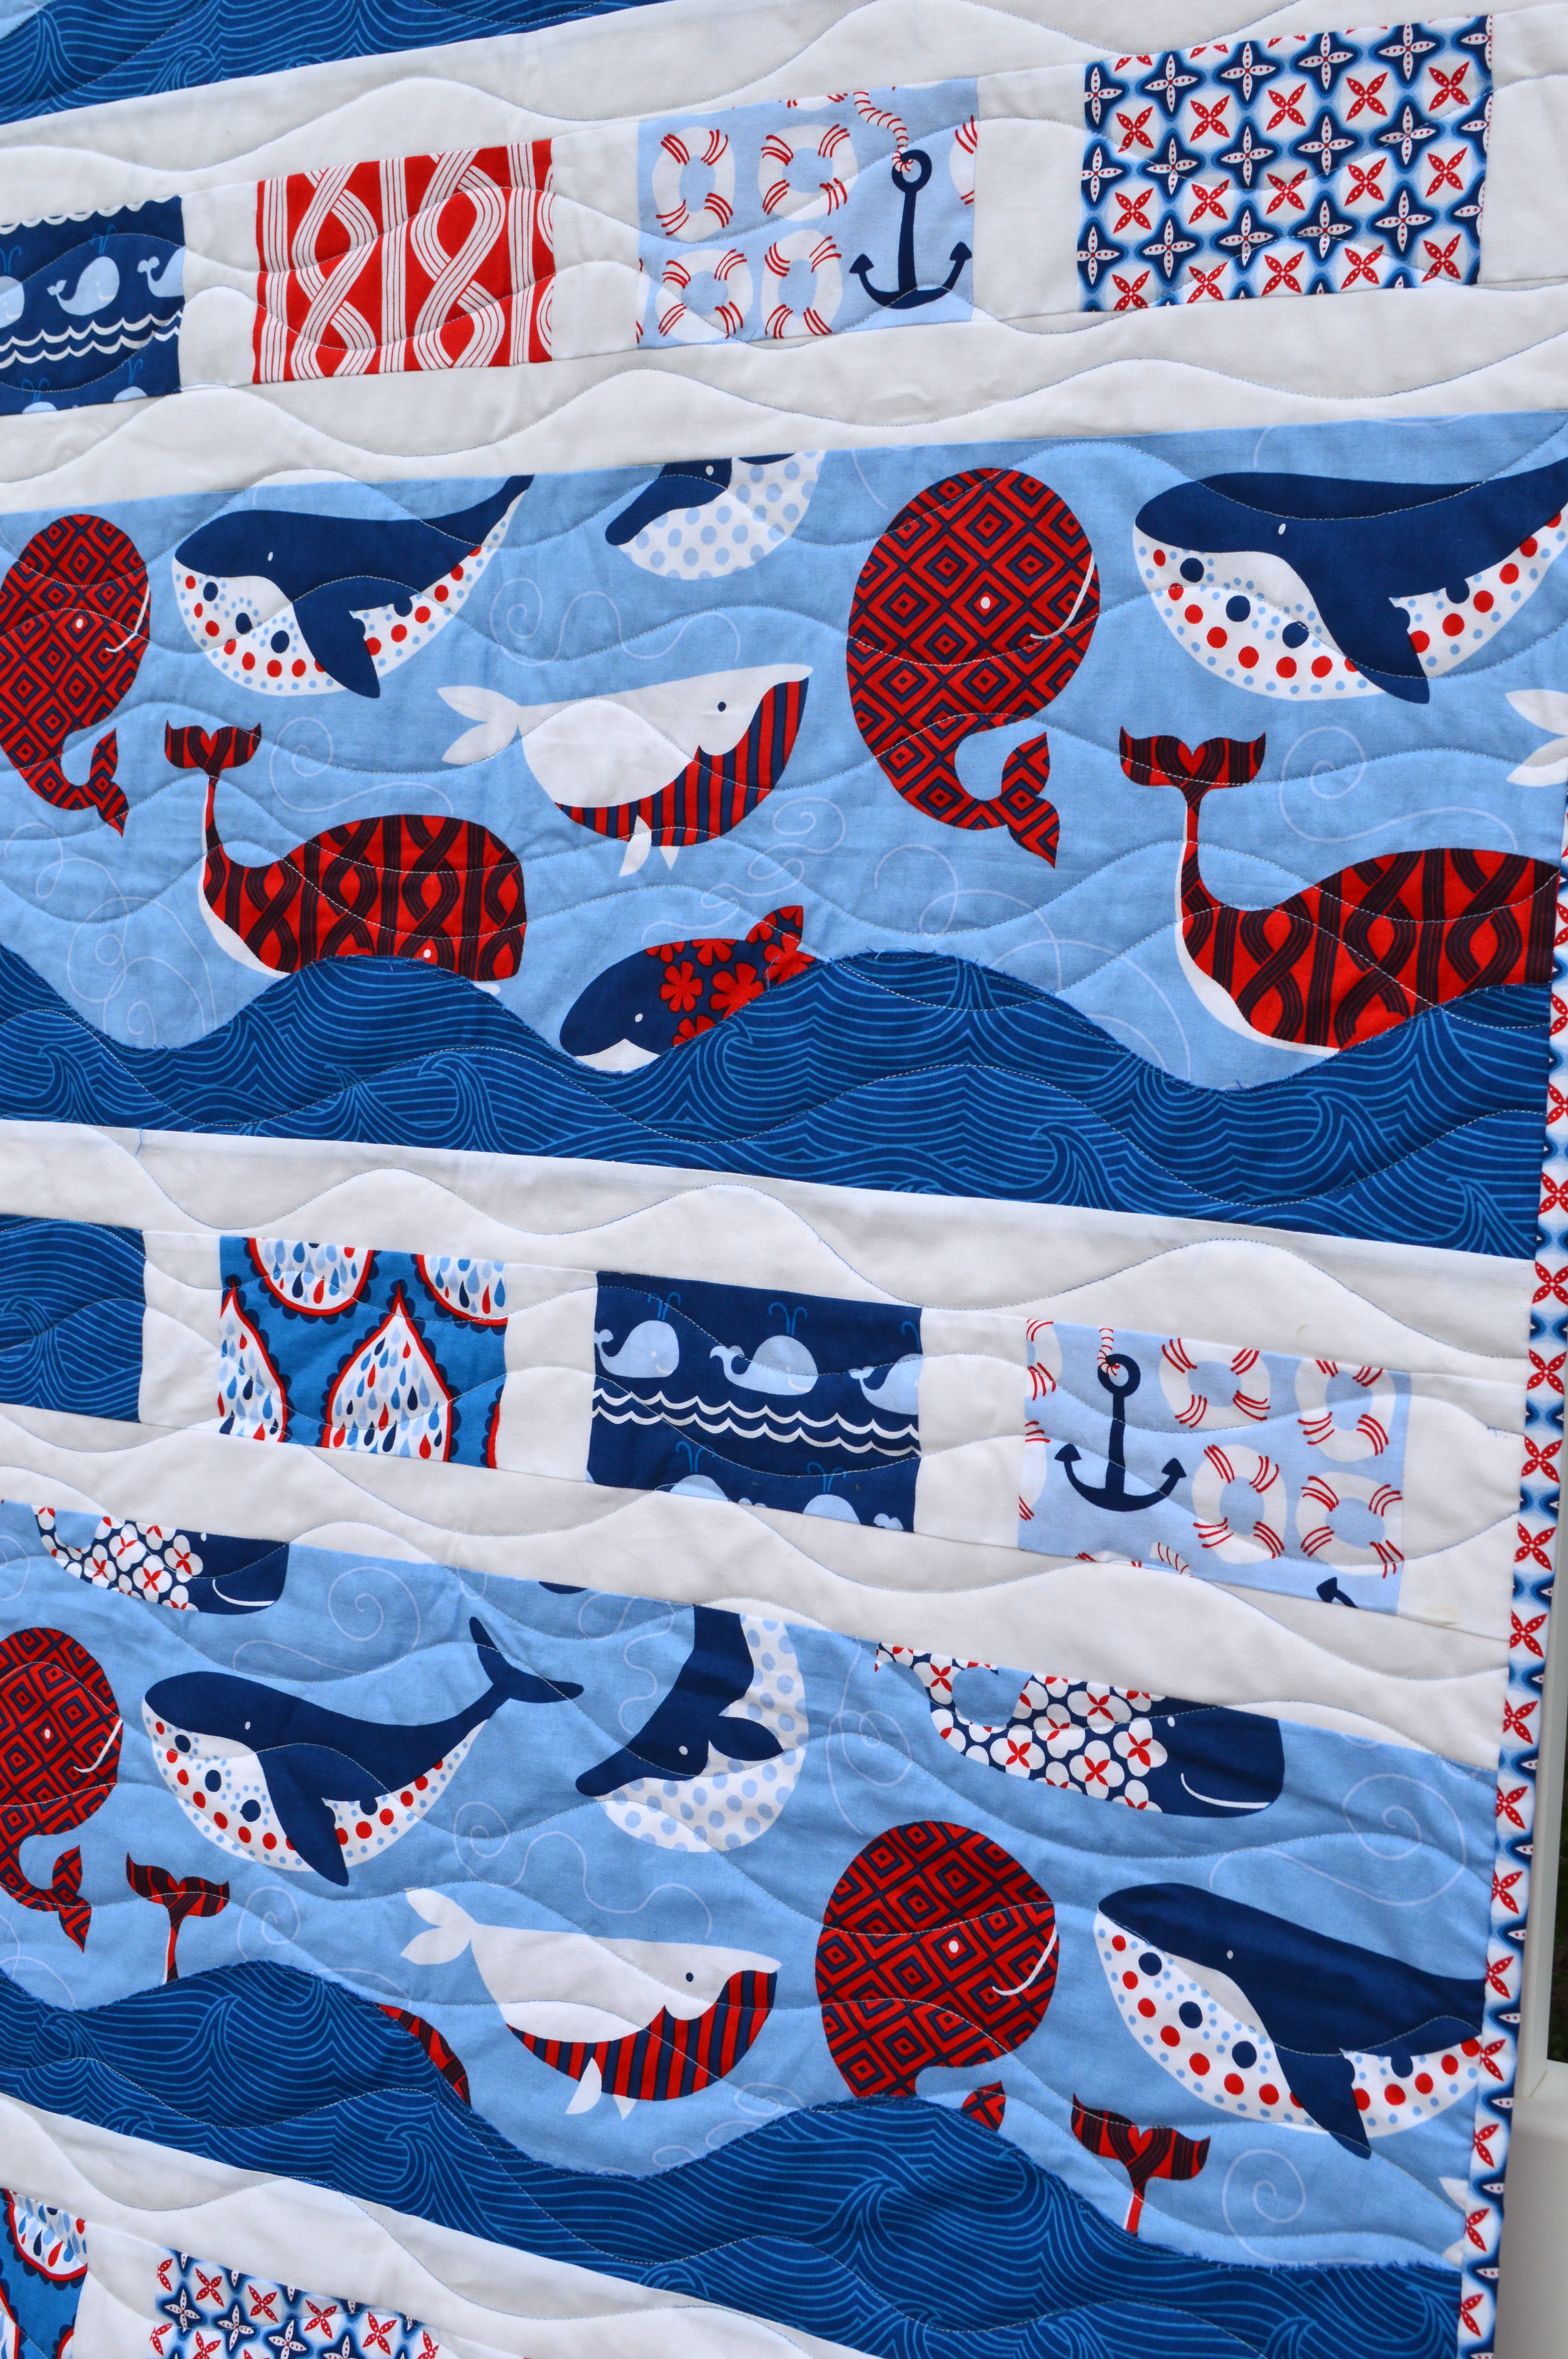
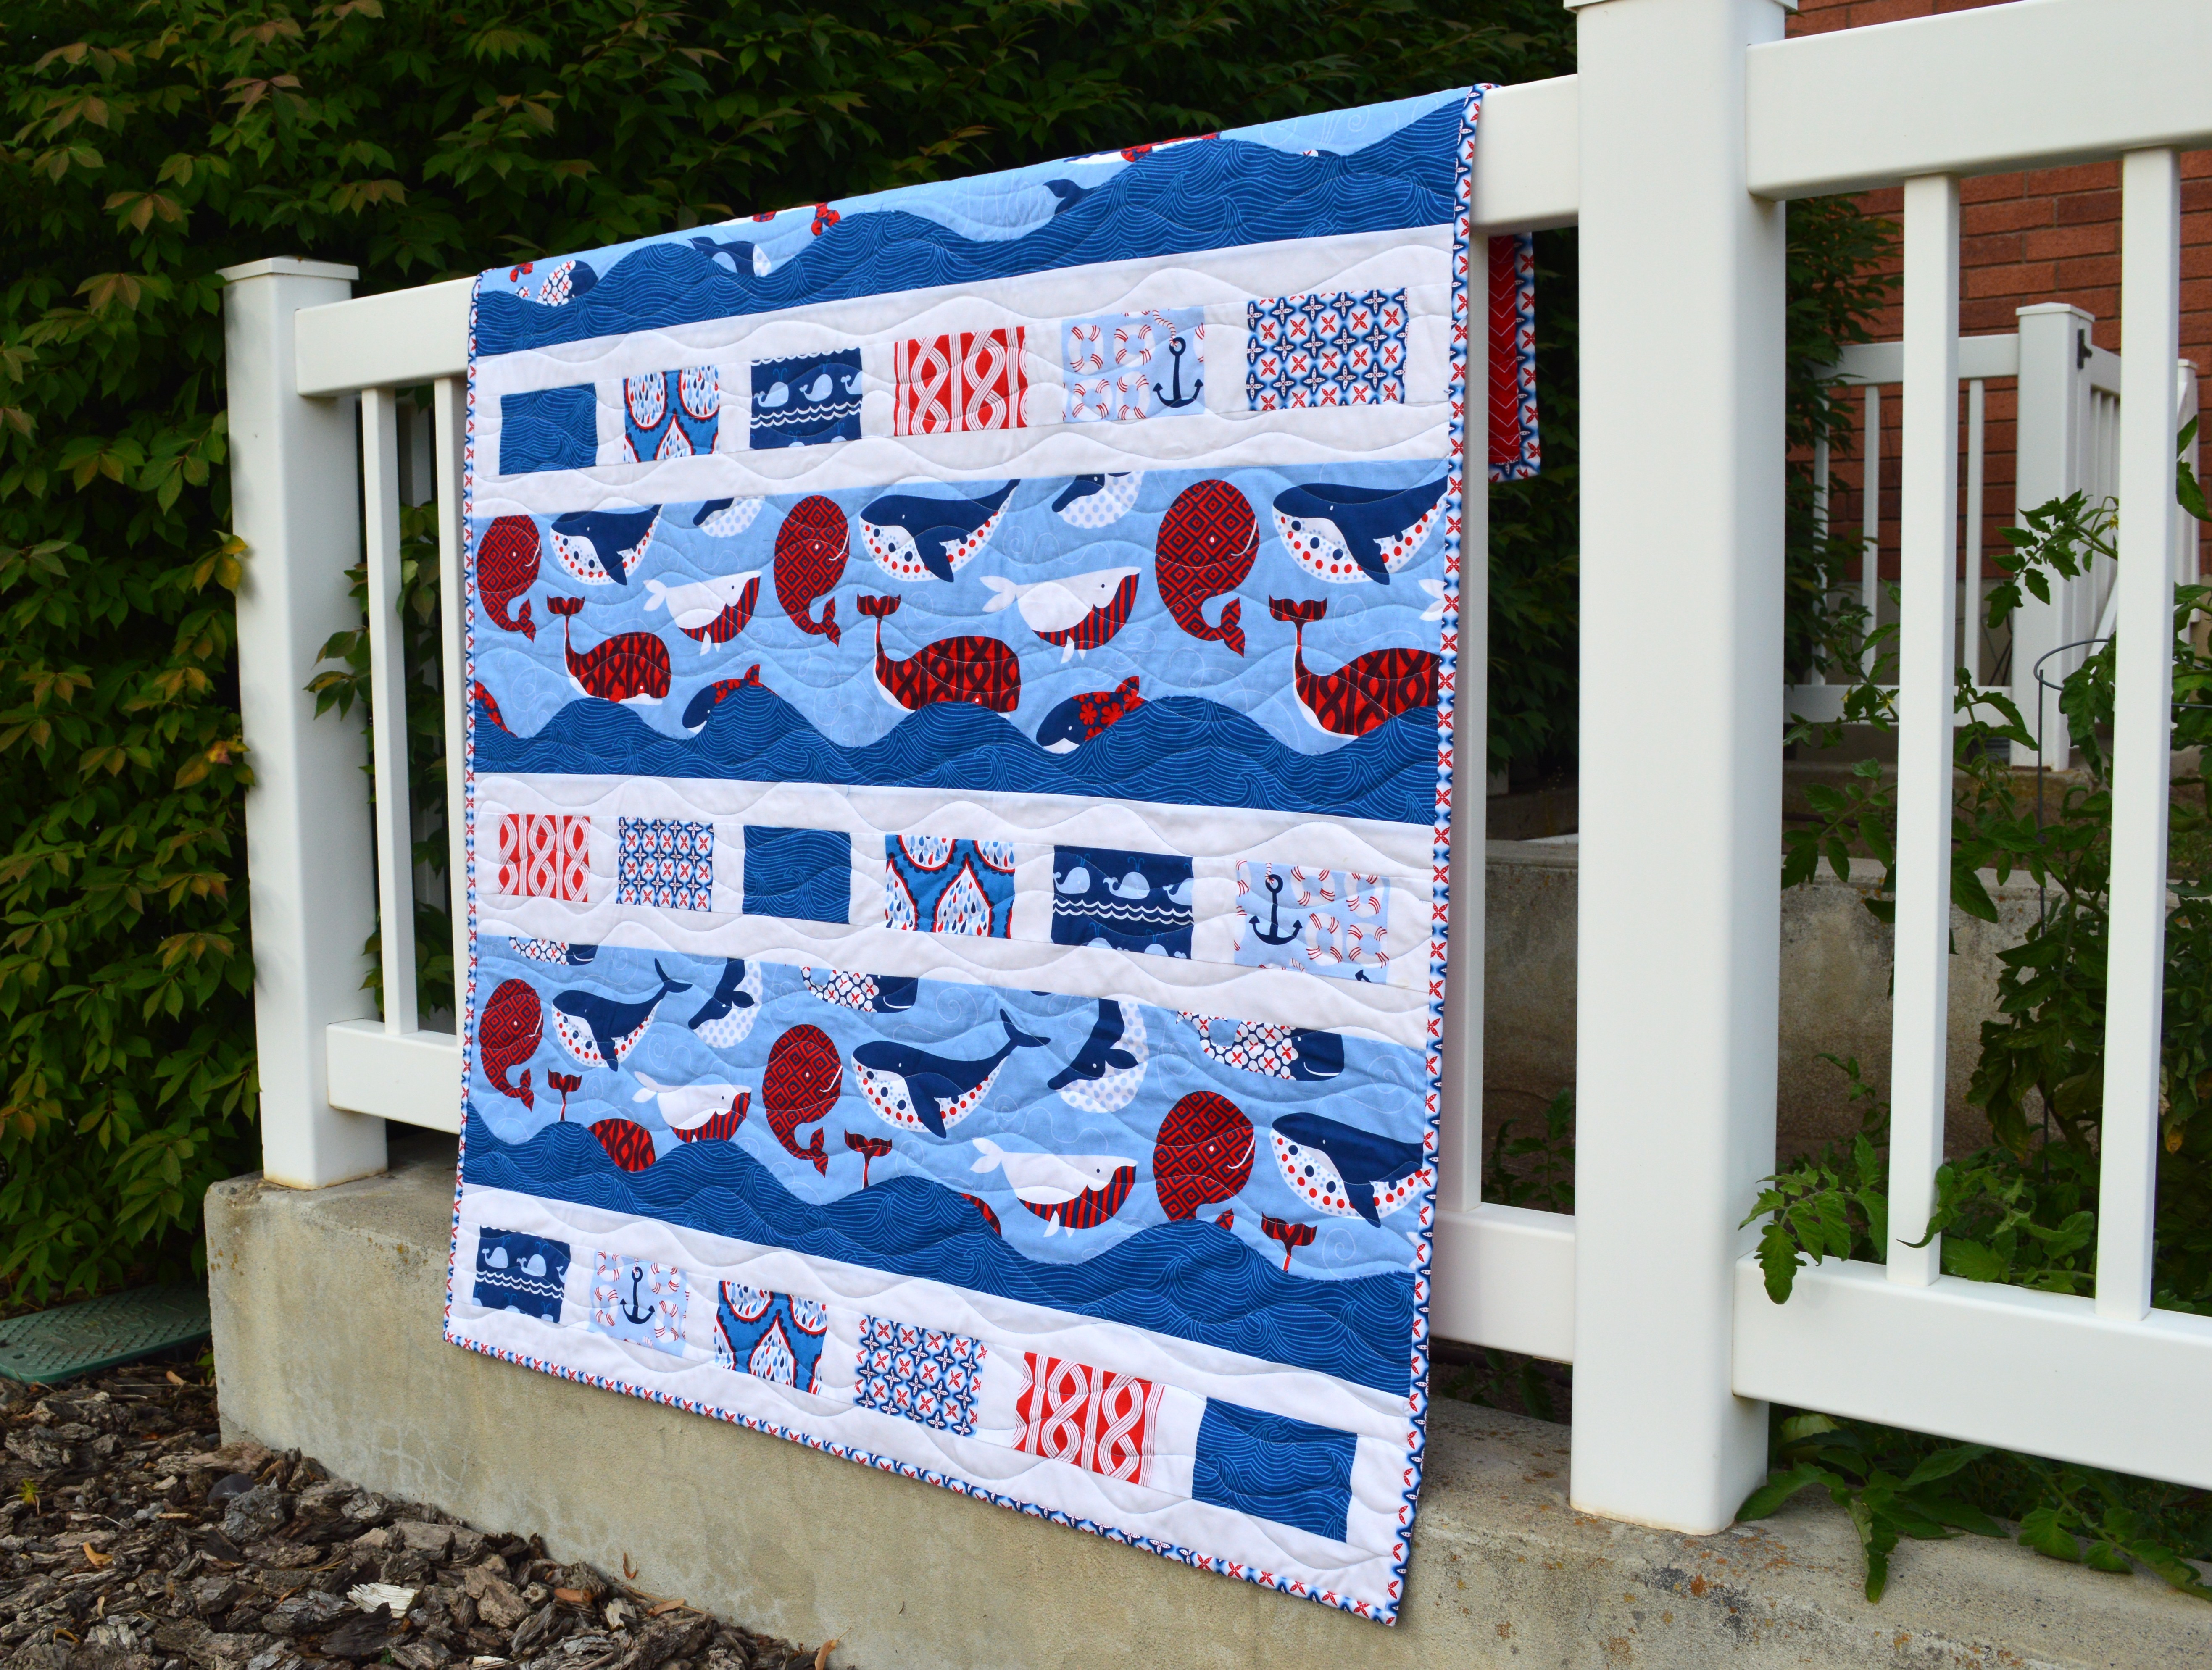
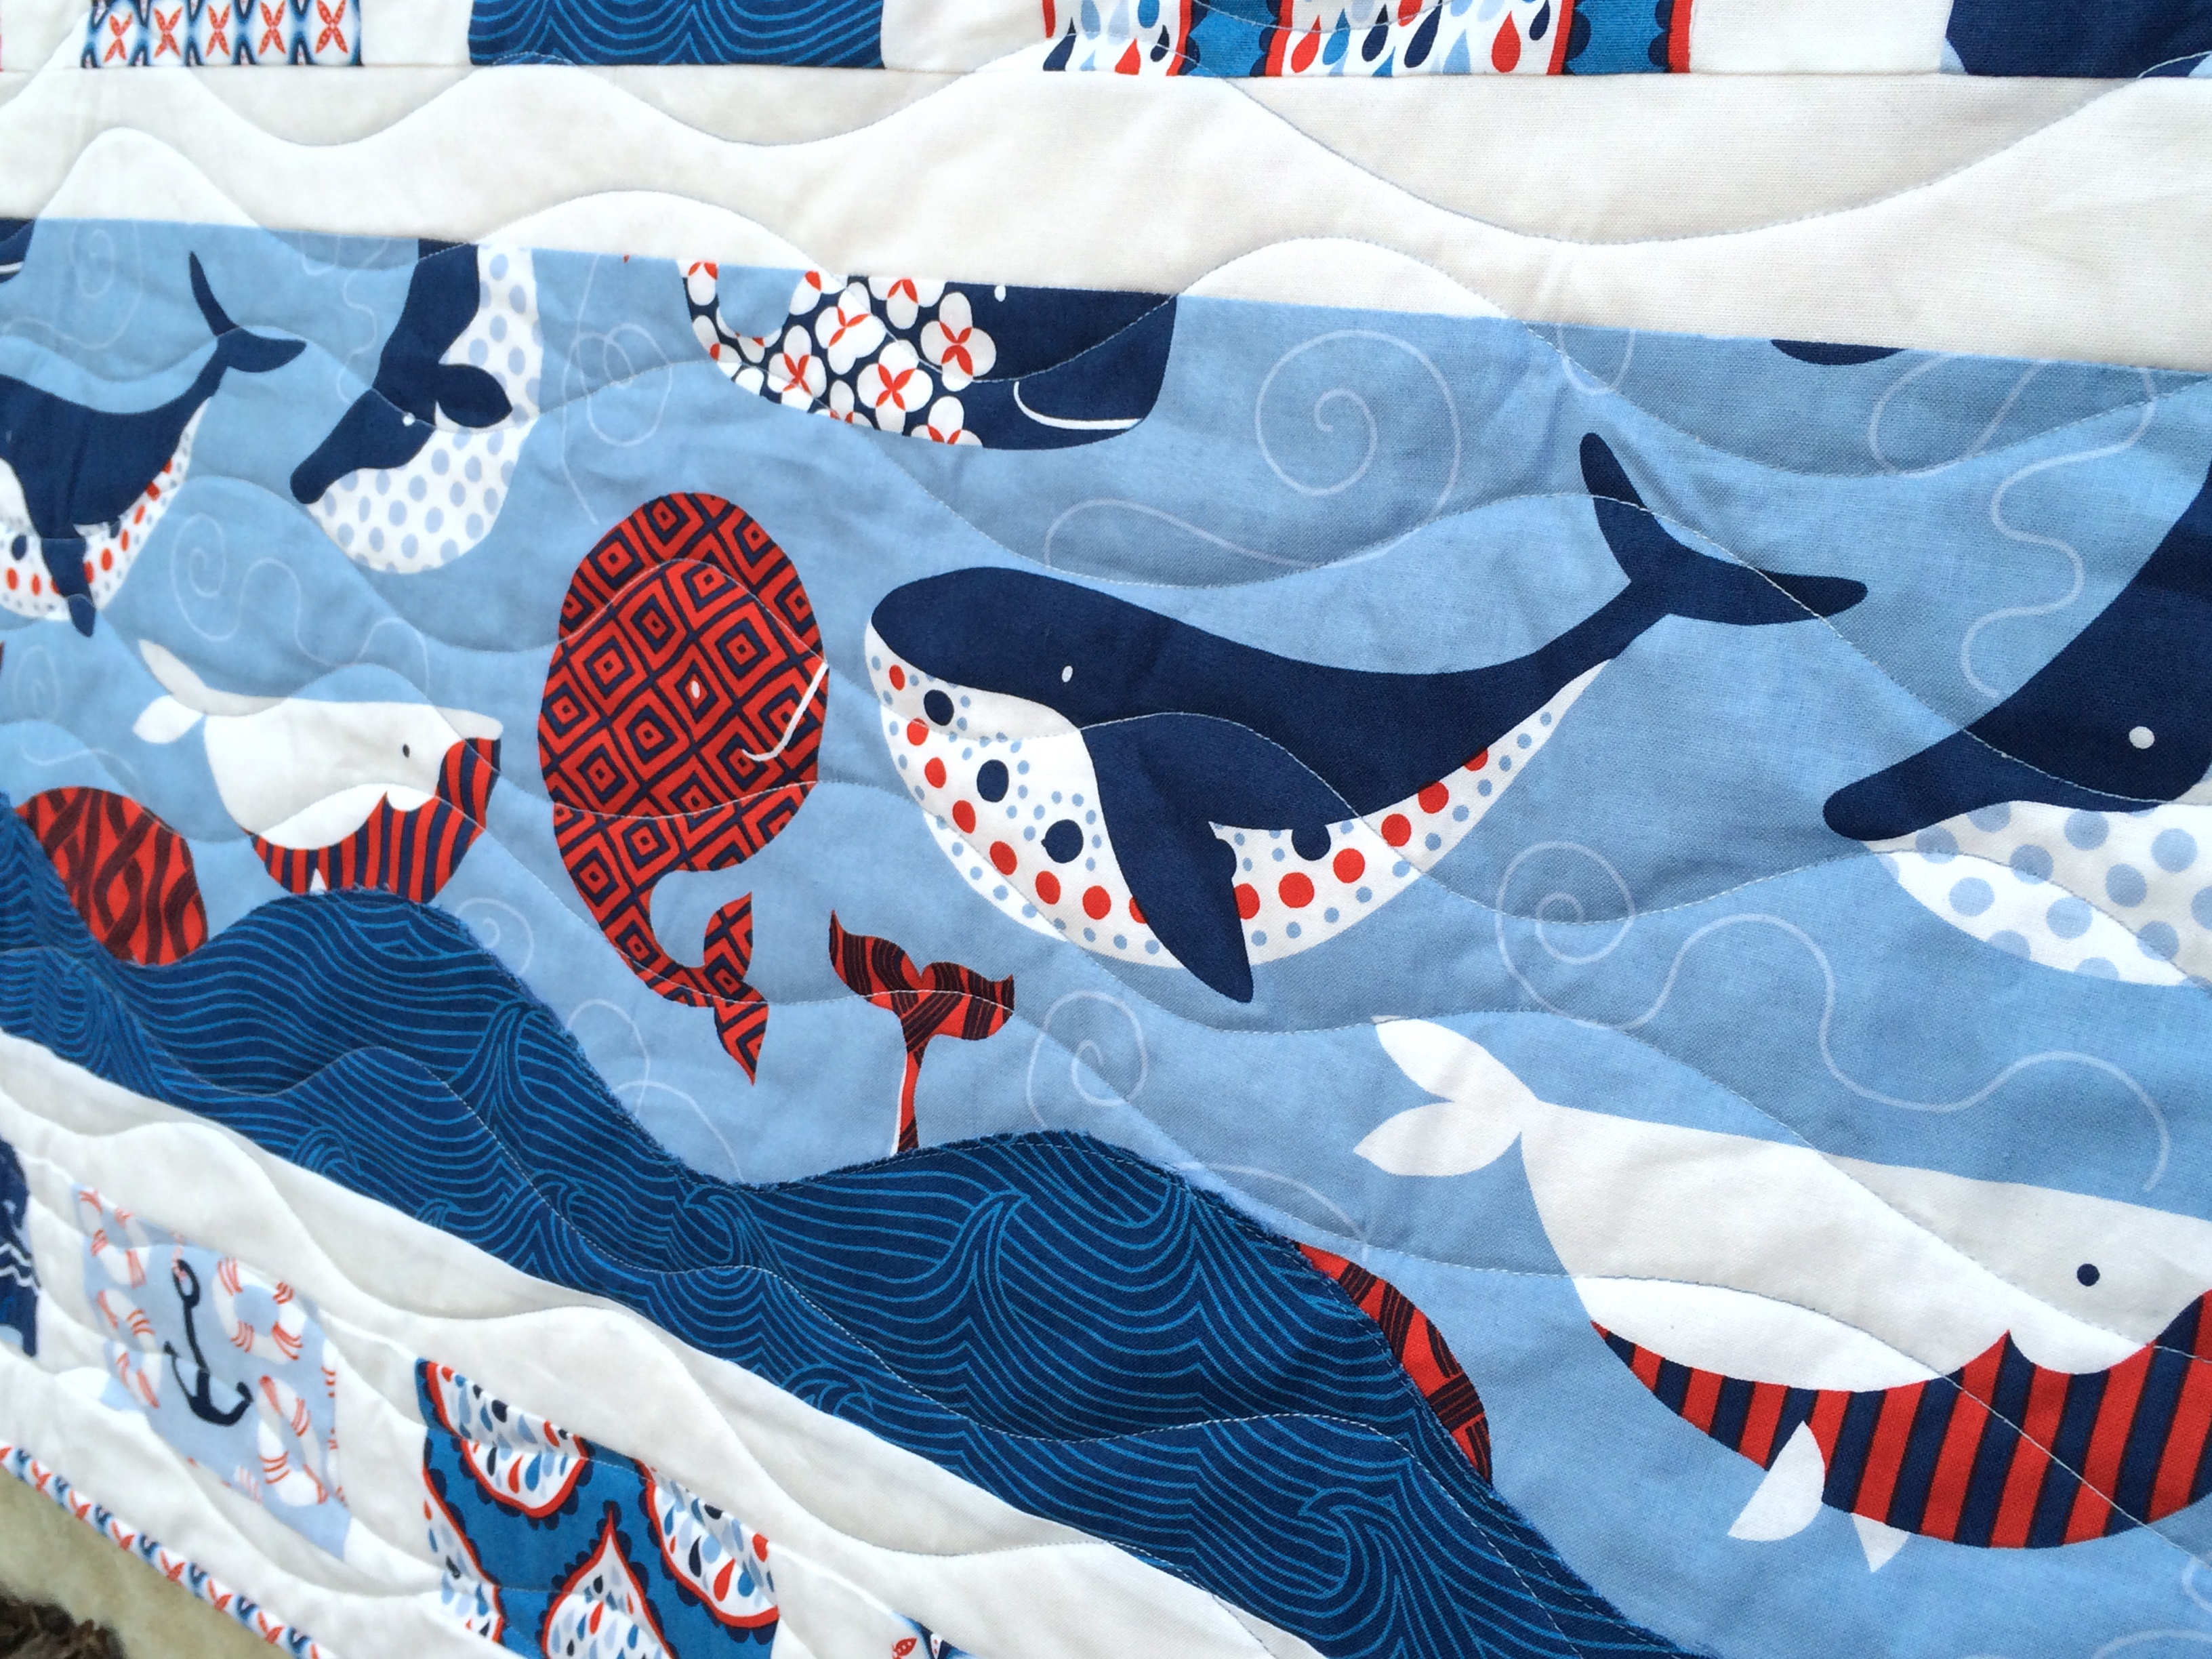
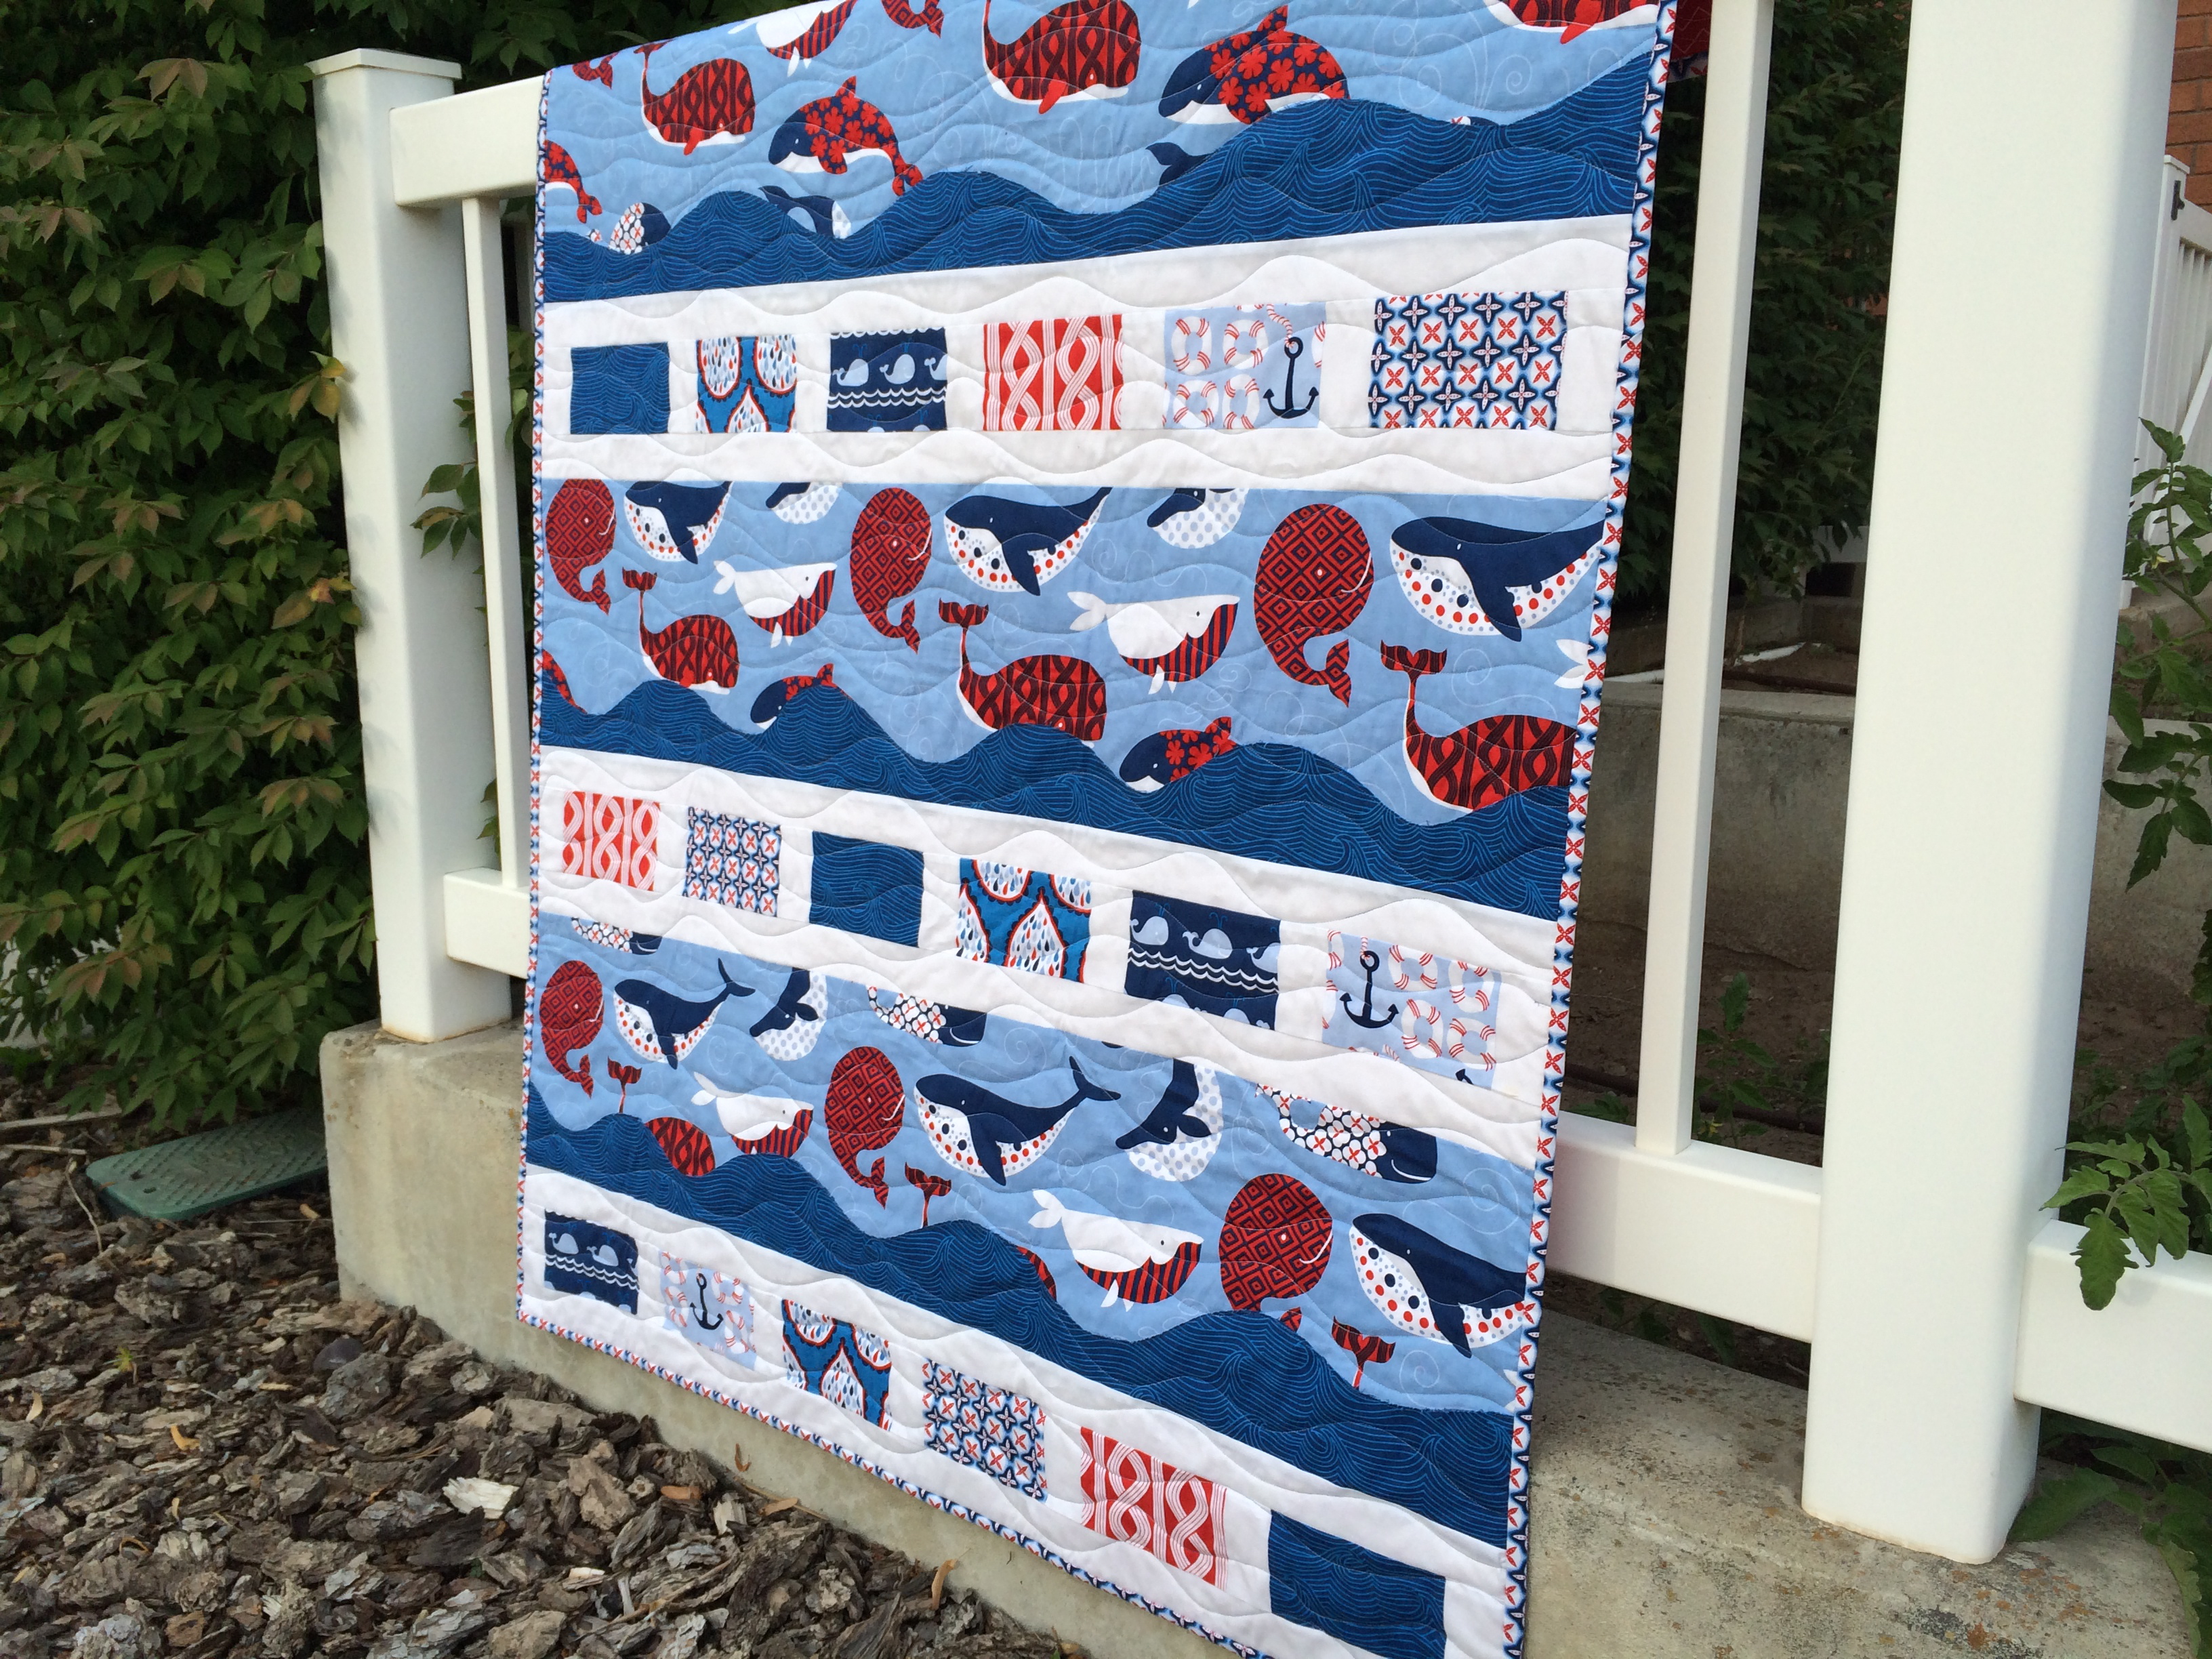
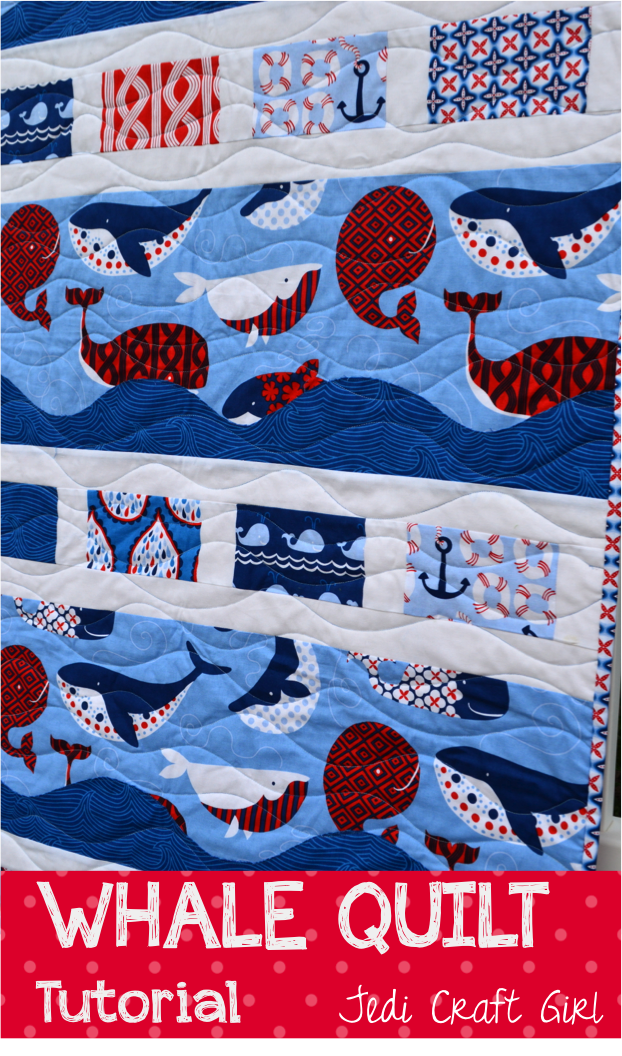
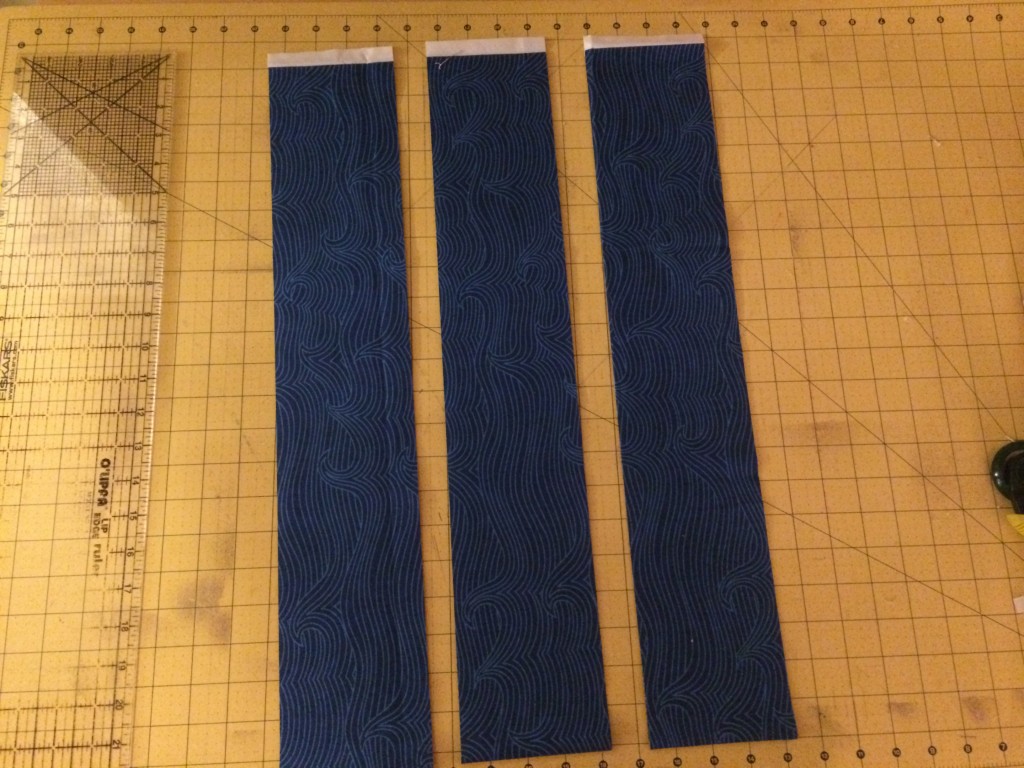 Free hand cut a wavy edge to each blue strip. You can do it!! Just let the scissors cut where they may. Mine are not perfect, but neither are real waves. Mine are all different heights and depths. Using the Spray n Bond, spray the wrong side of the blue waves and align with the bottom edge of the whale strips. Do this to each of the 3 whale and wave strips.
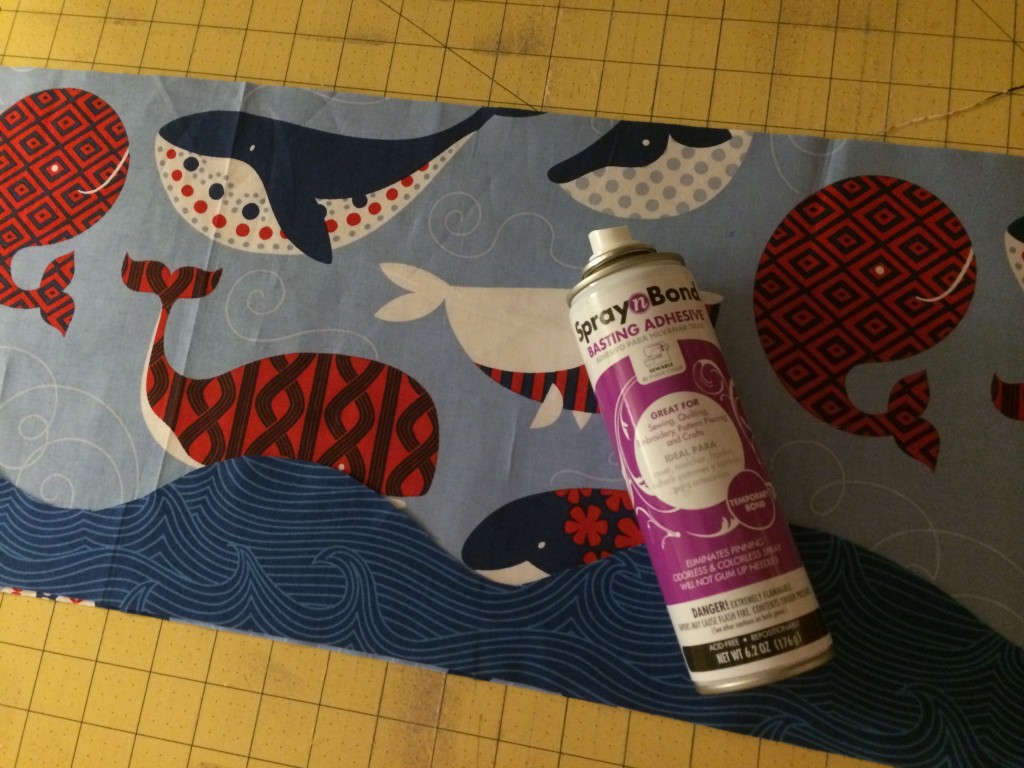
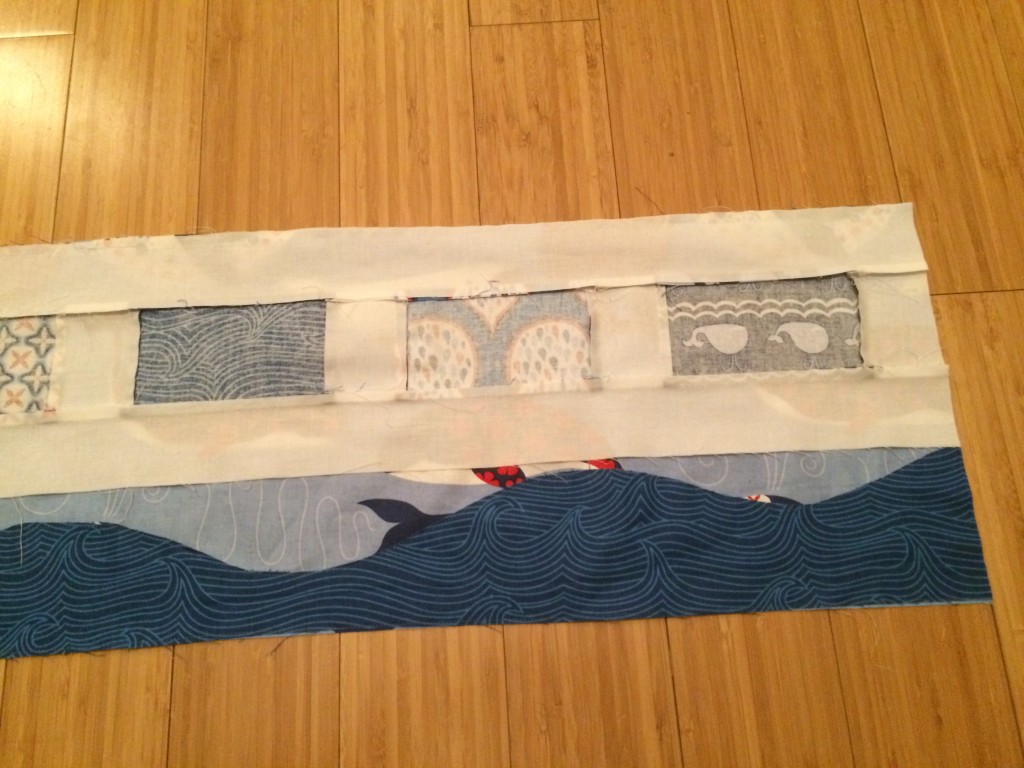
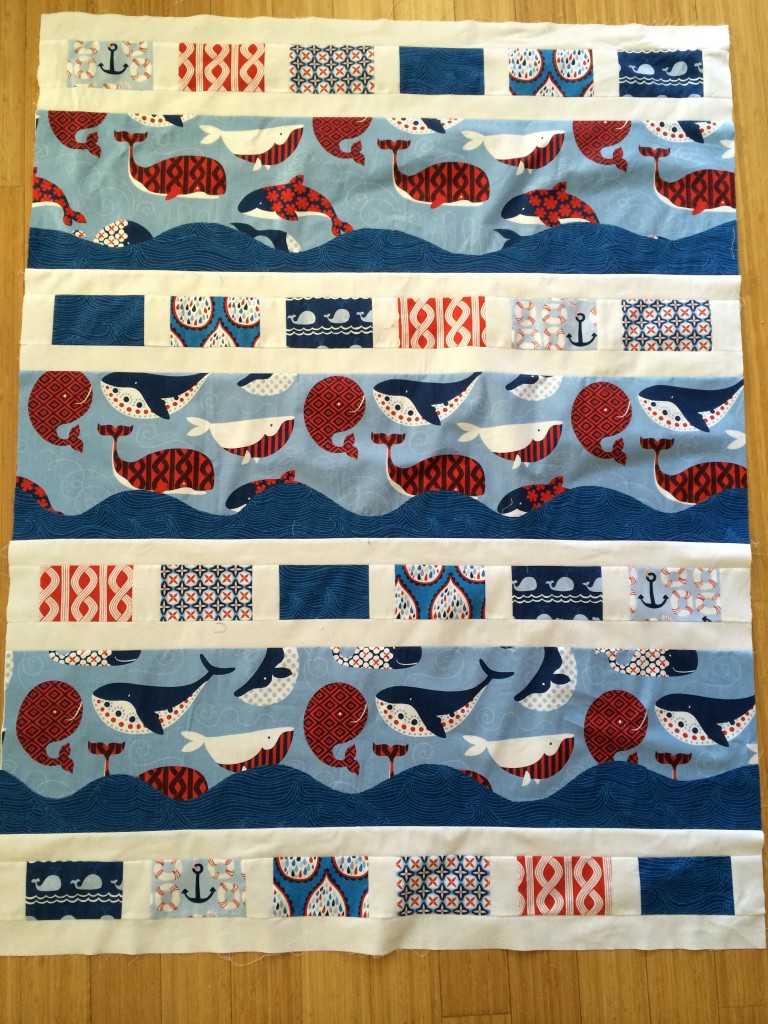

 Did I mention I love whales?
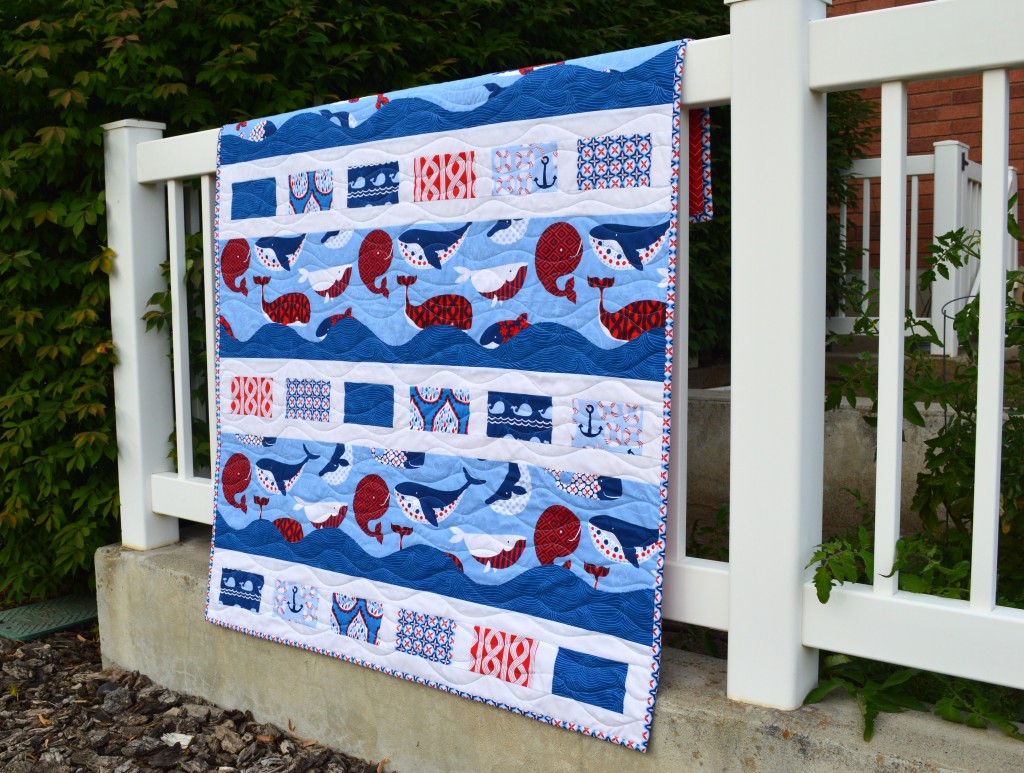


