Bunny Bricks Quilt Tutorial

I am so excited for spring and Easter and flowers and bunnies and sunshine!  I am a cat person by nature, but when spring rolls around my obsession with cats turns into an obsession with rabbits.   I have rabbit “nick-nacks” all over the house!!!  A new bunny wall quilt is long over due!  When I came across this amazing line of fabric from Anna Griffin, called Grace, I fell in love.  It feels like vintage spring!!!!  I paired the rectangle “bricks” with a bunny silhouete appliqué from Sizzix.  I’m in love!  

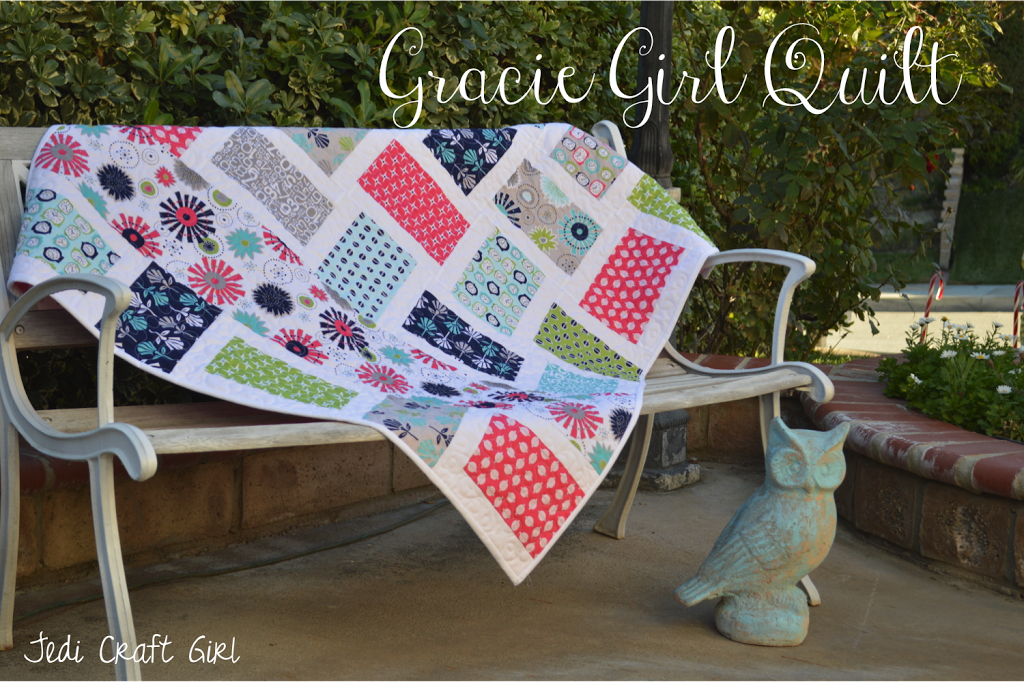
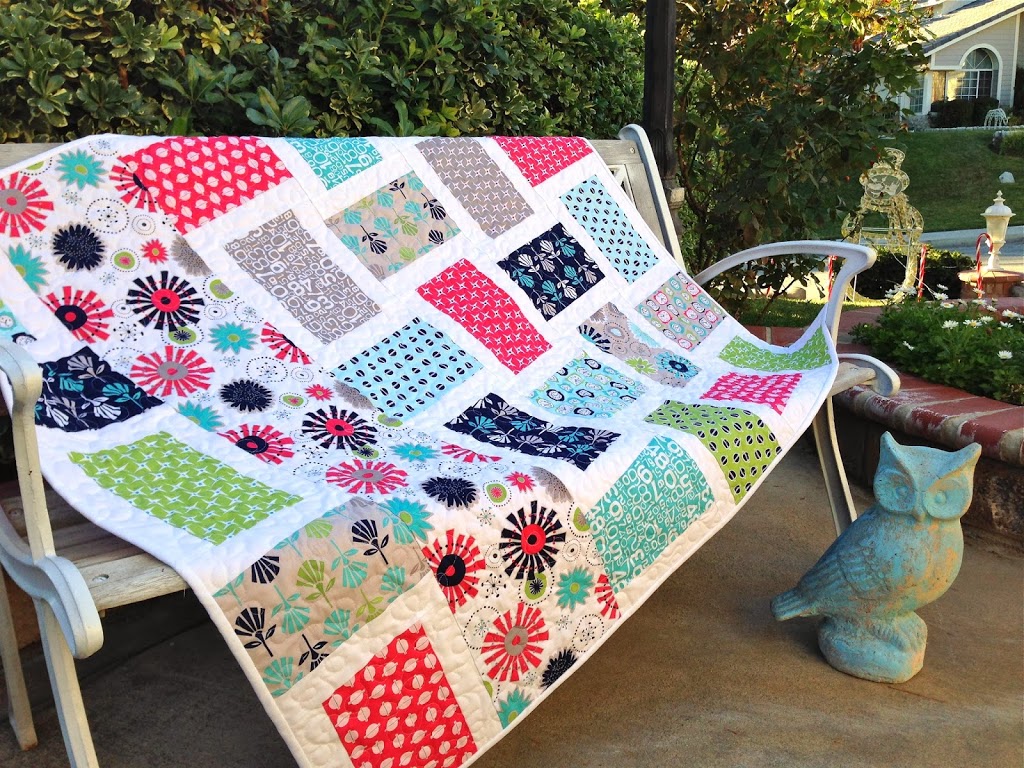
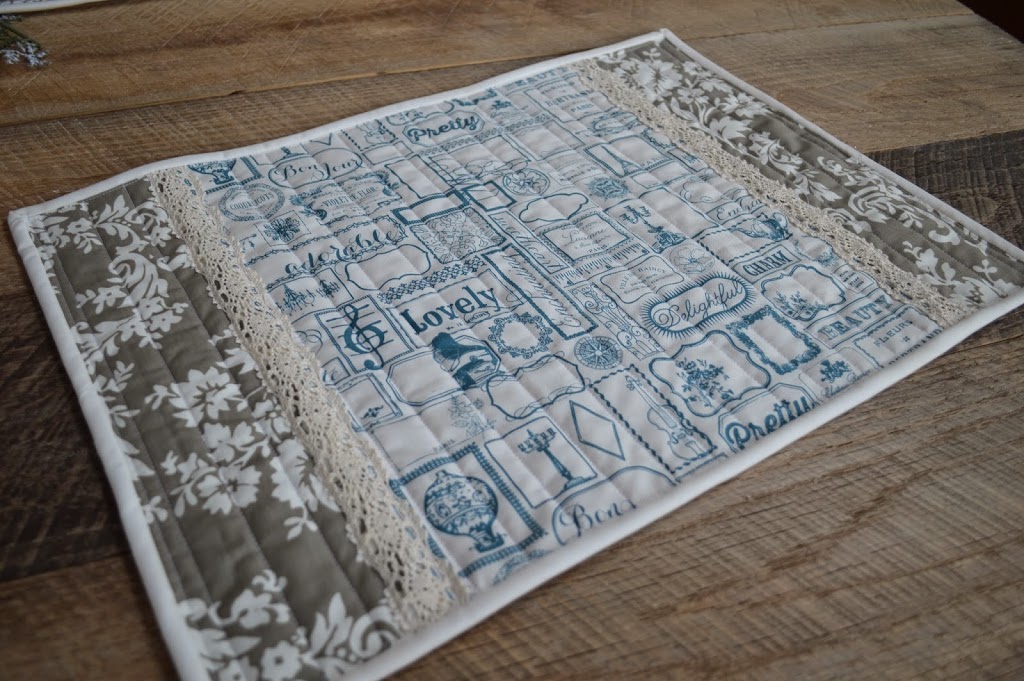
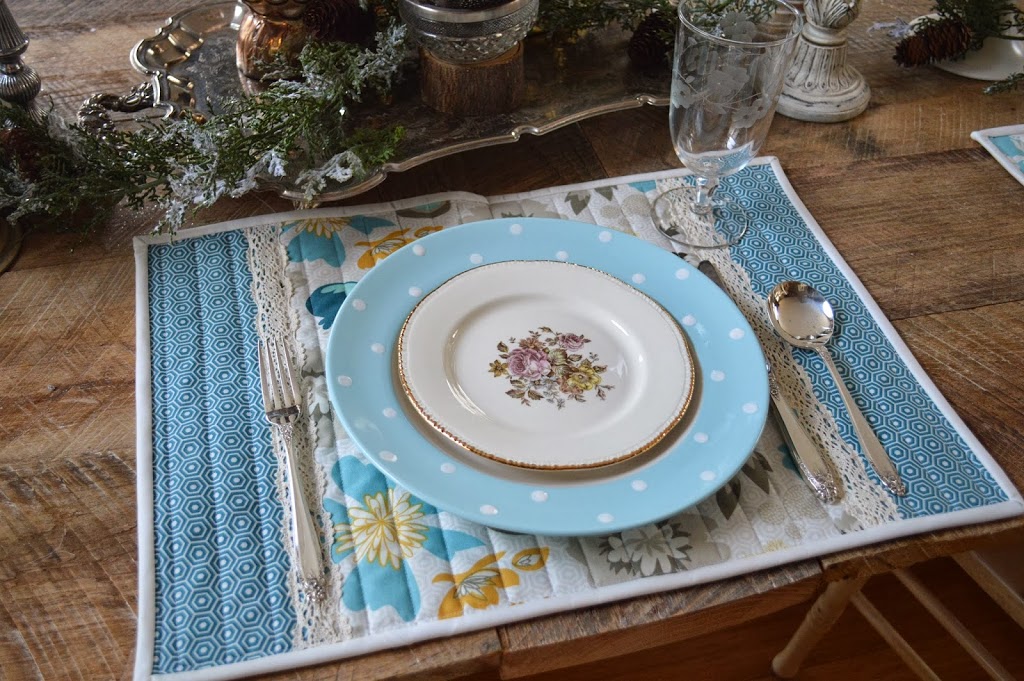
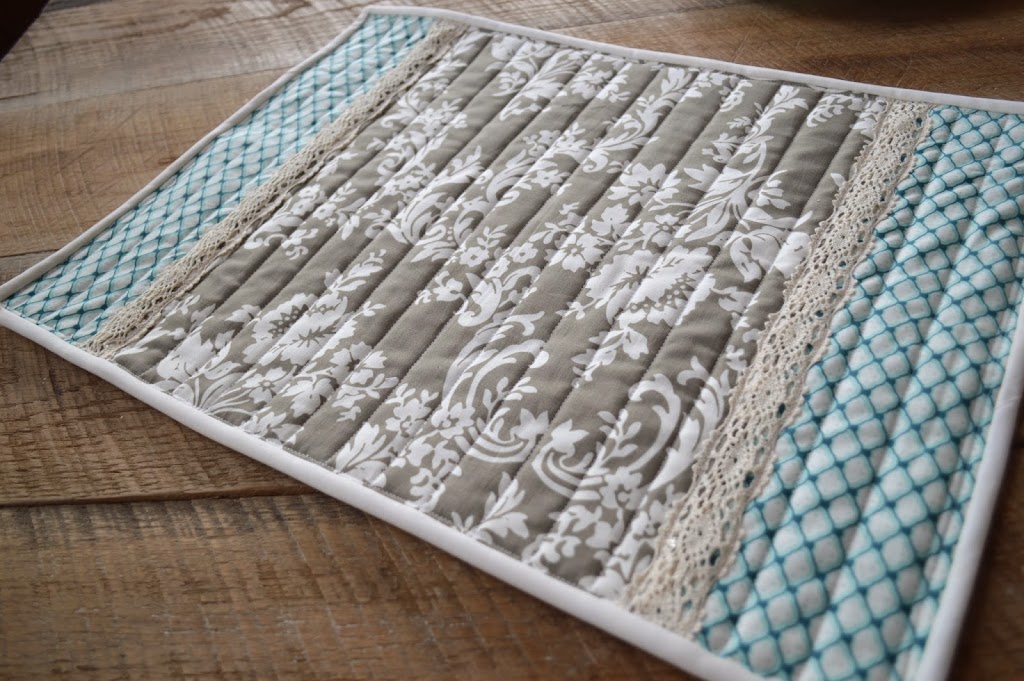
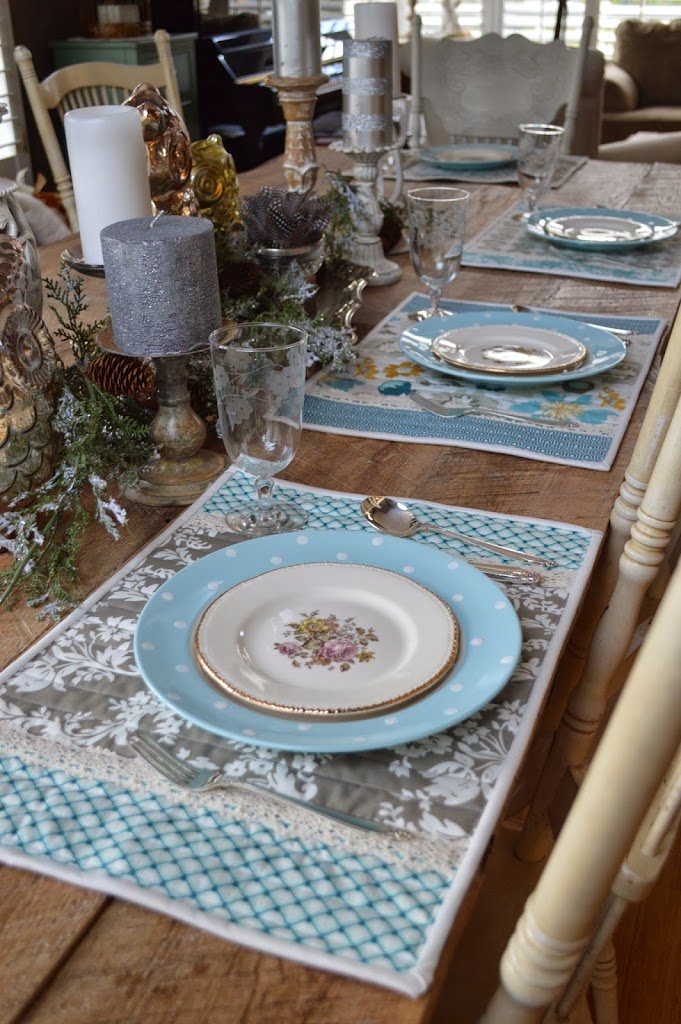
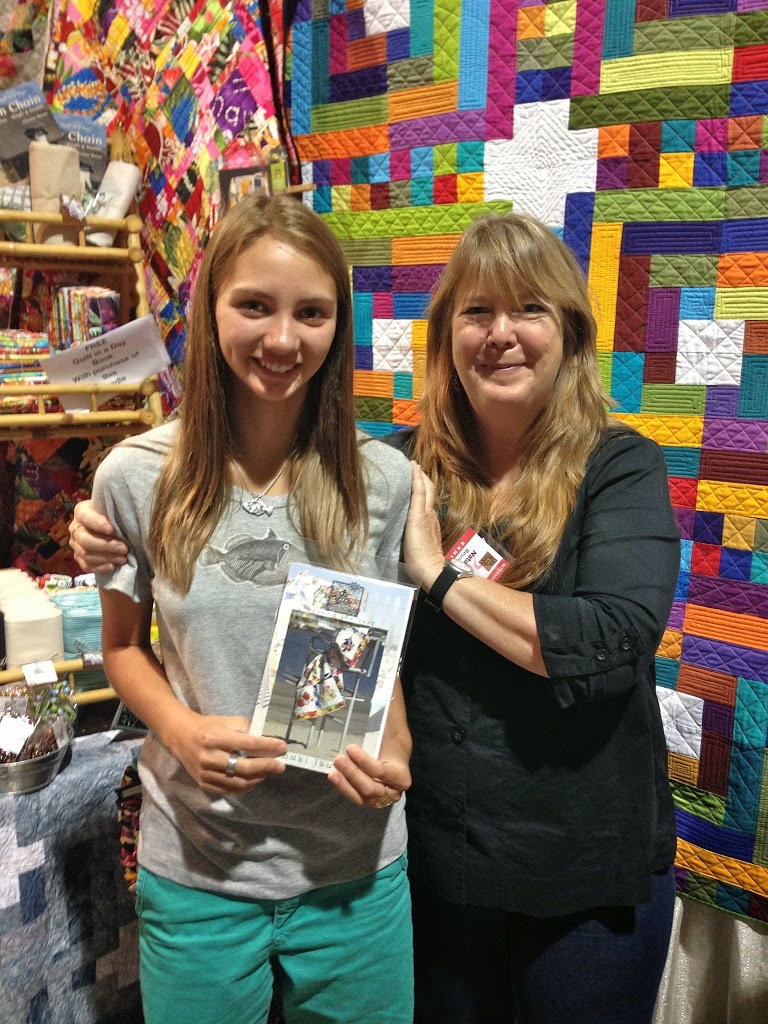
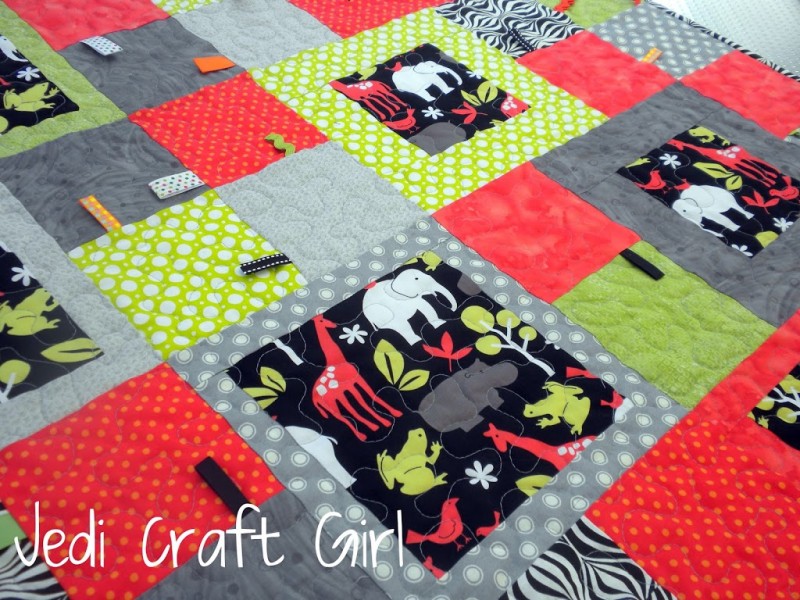
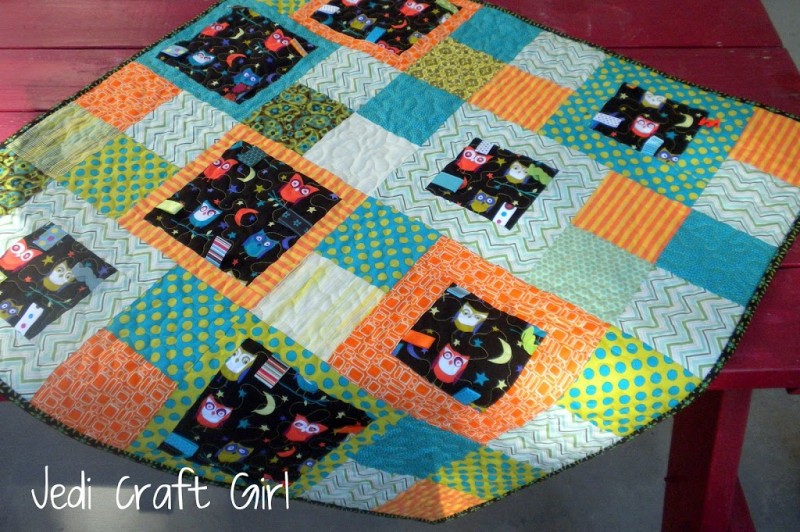
Here’s how you can make one:

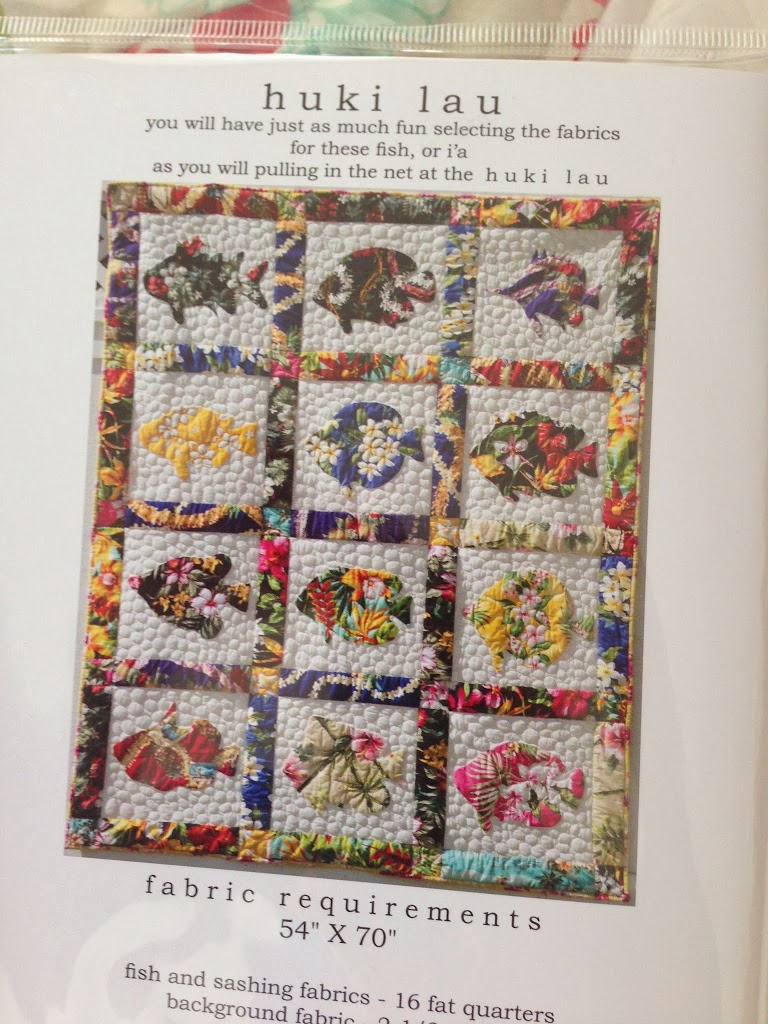
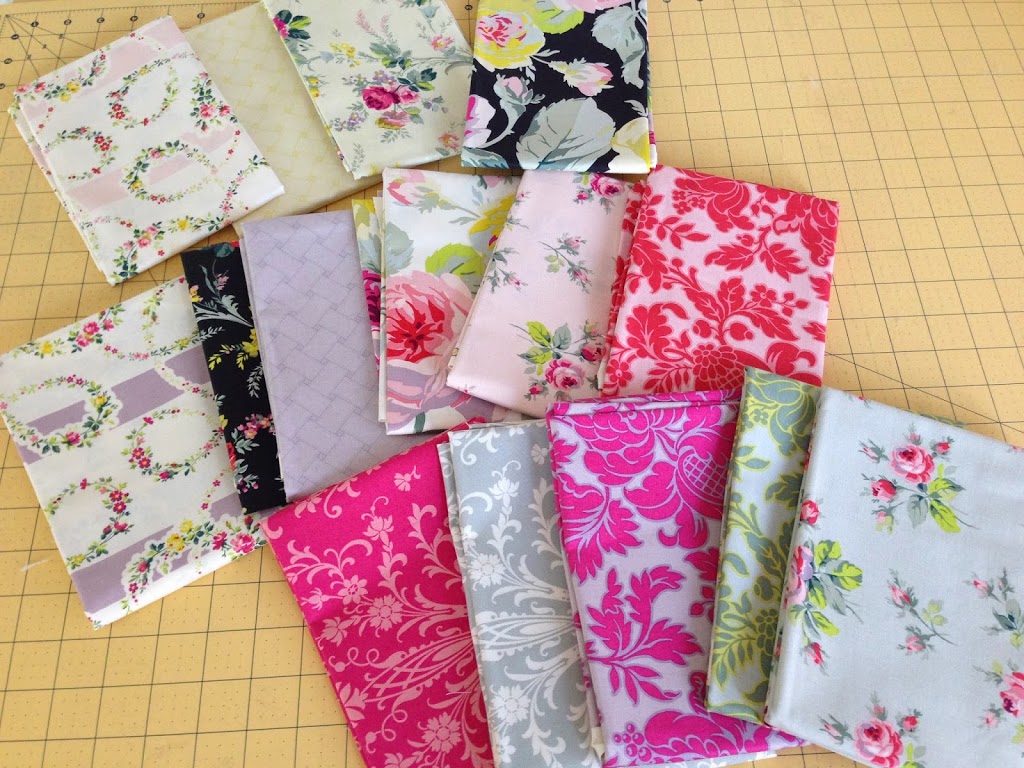
Supplies: 15 assorted prints, fat quarters or 1/4 yard cuts
1 yard of cream solid cotton
Heat n Bond Lite by Therm O Web for appliqué
1/2 yard fabric for binding
1 1/3 yard fabric for quilt back
cotton batting

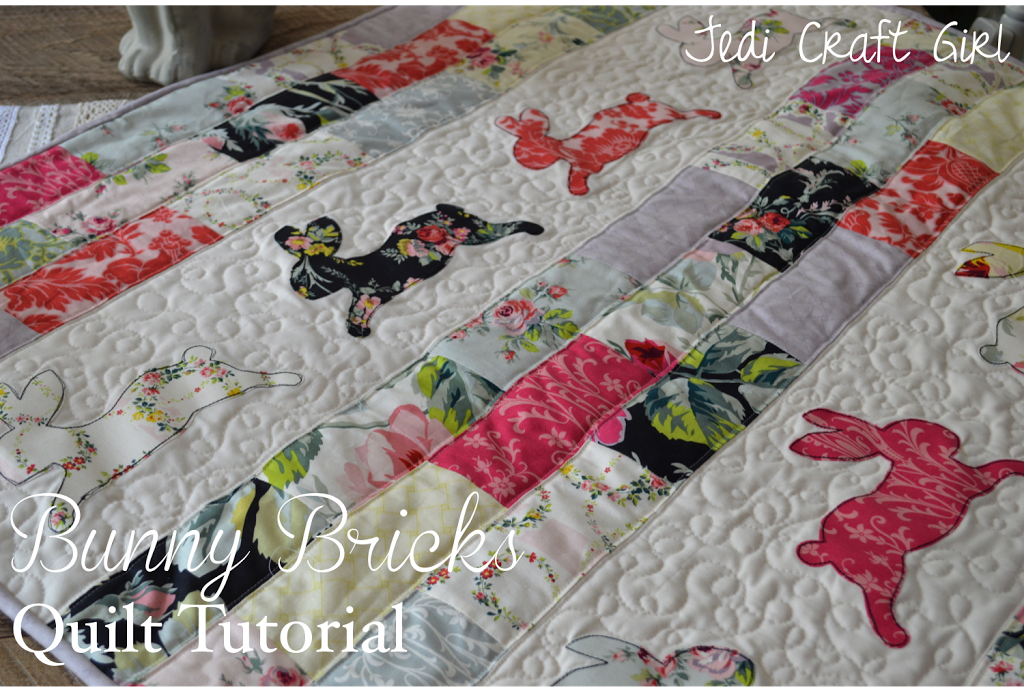
Assemble the Bricks:
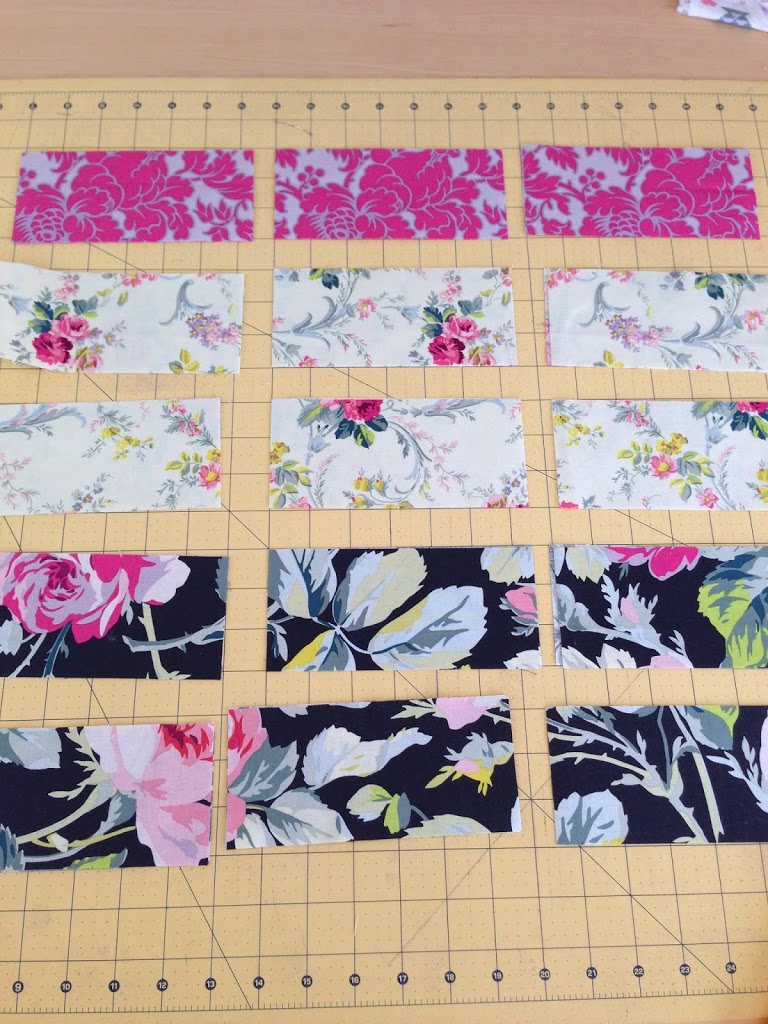
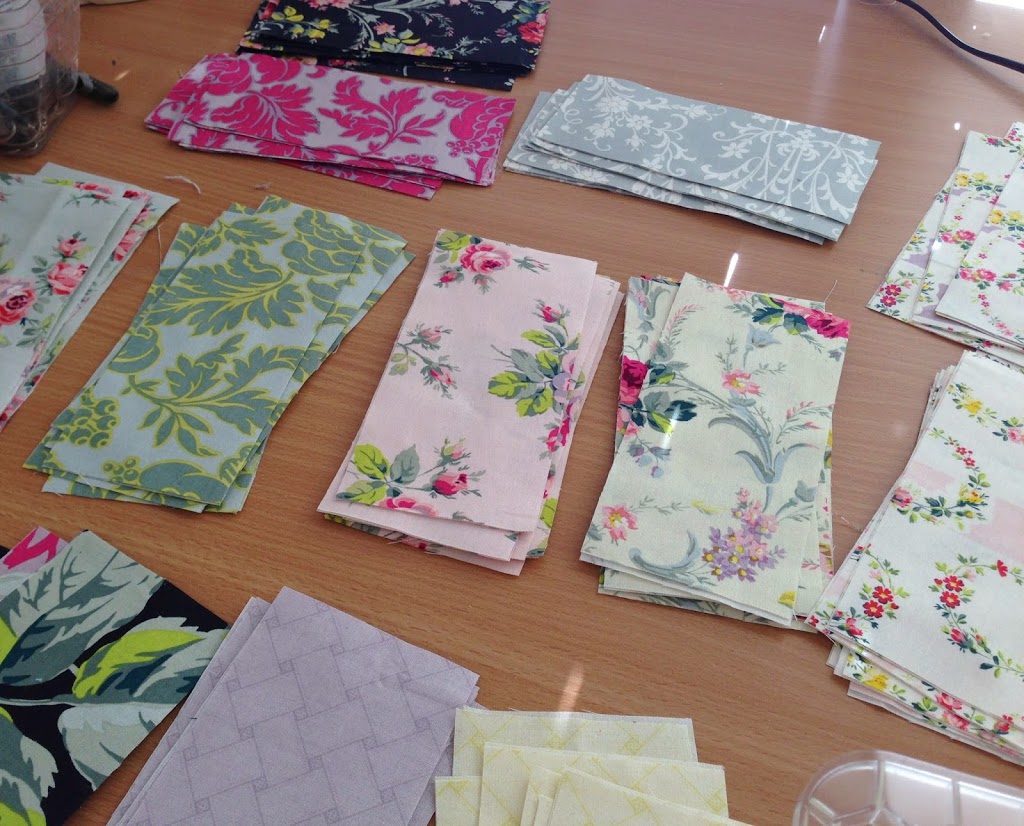
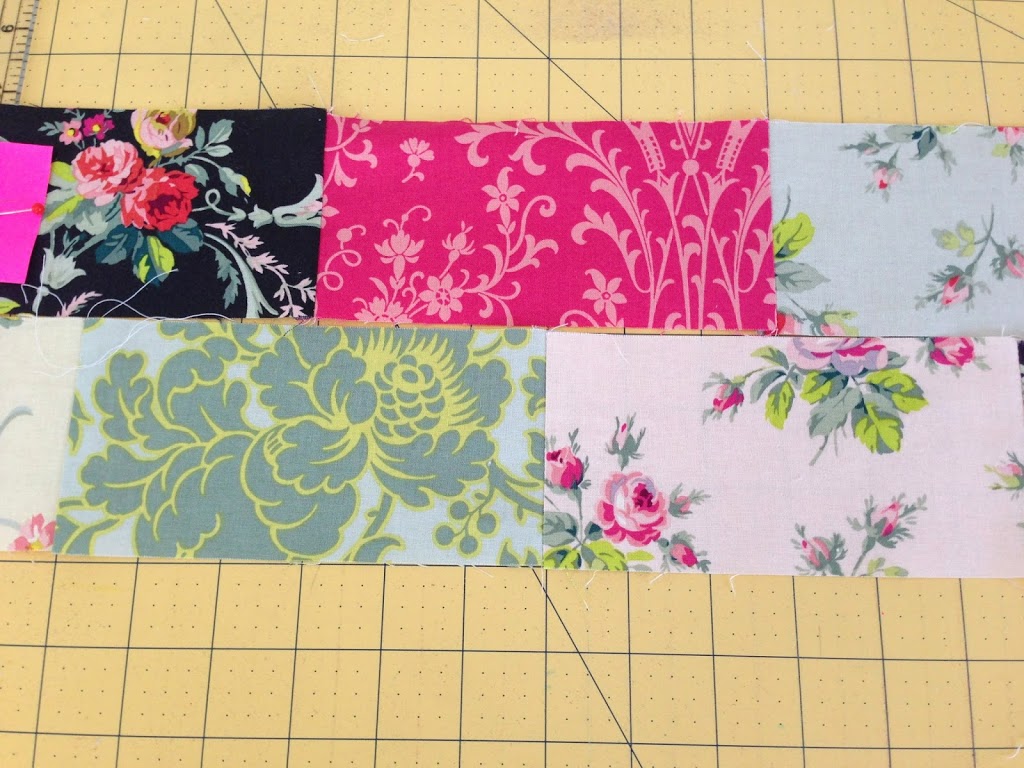
Cut the 15 assorted prints into 3″ strips x WOF
Sub cut the strips into 6.5″ bricks

The bricks measure 3″ x 6.5″ each.  Stack them into piles.

Begin making pairs out of the bricks and chain piecing them;  leave about 12 single bricks.  Pair up 12 of the pairs with 12 pairs, and so on.  The goal is to have 12 rows of 7 bricks.  I went pretty random and did not lay the pattern out ahead of time.

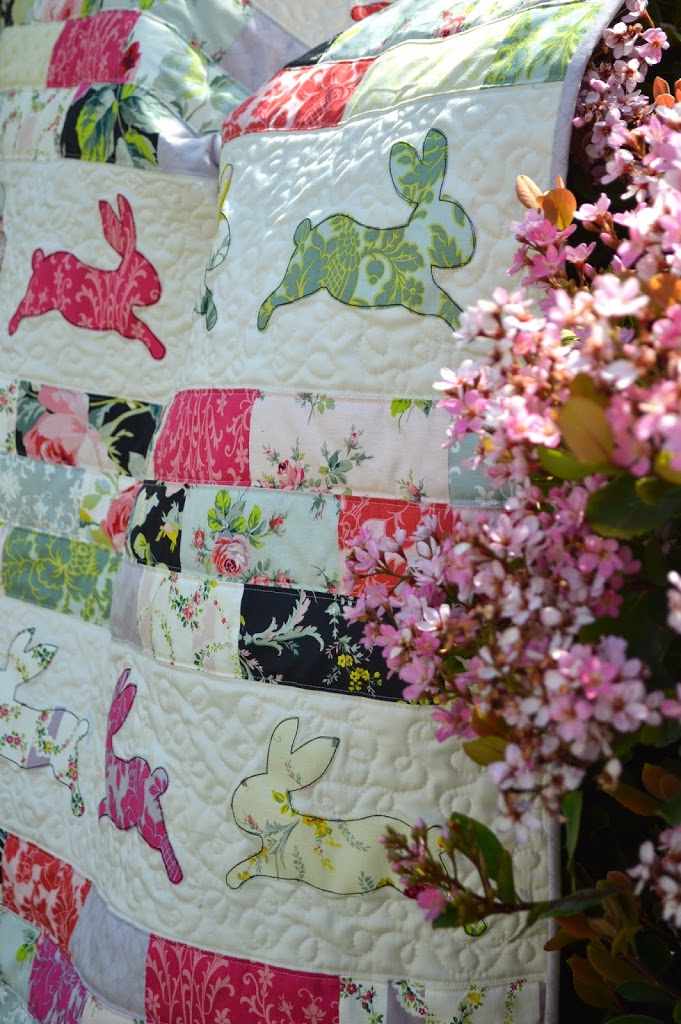
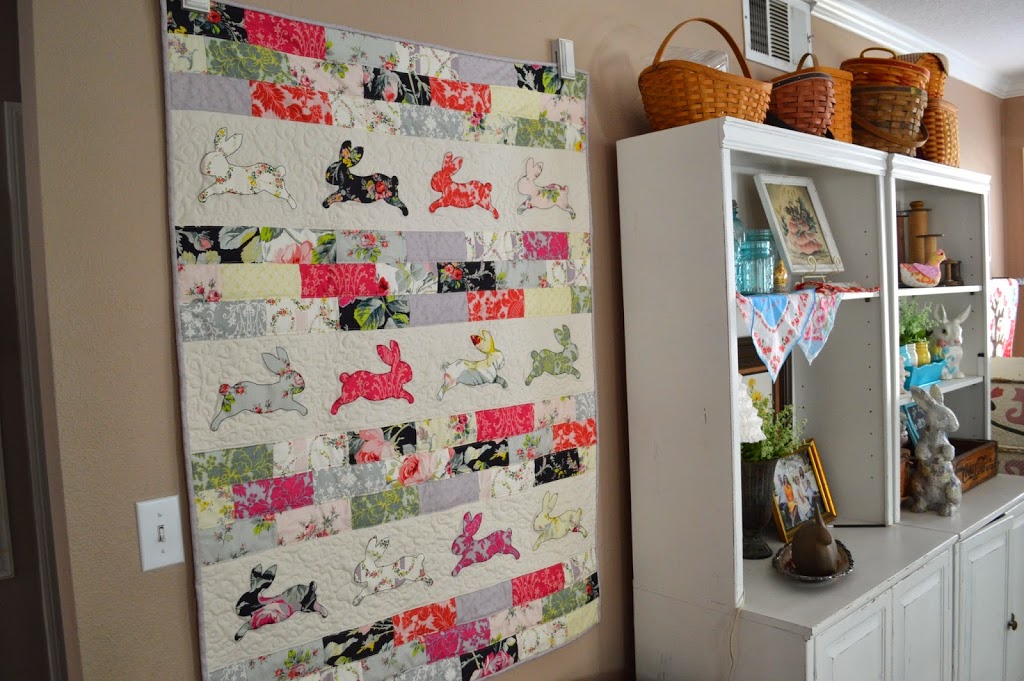
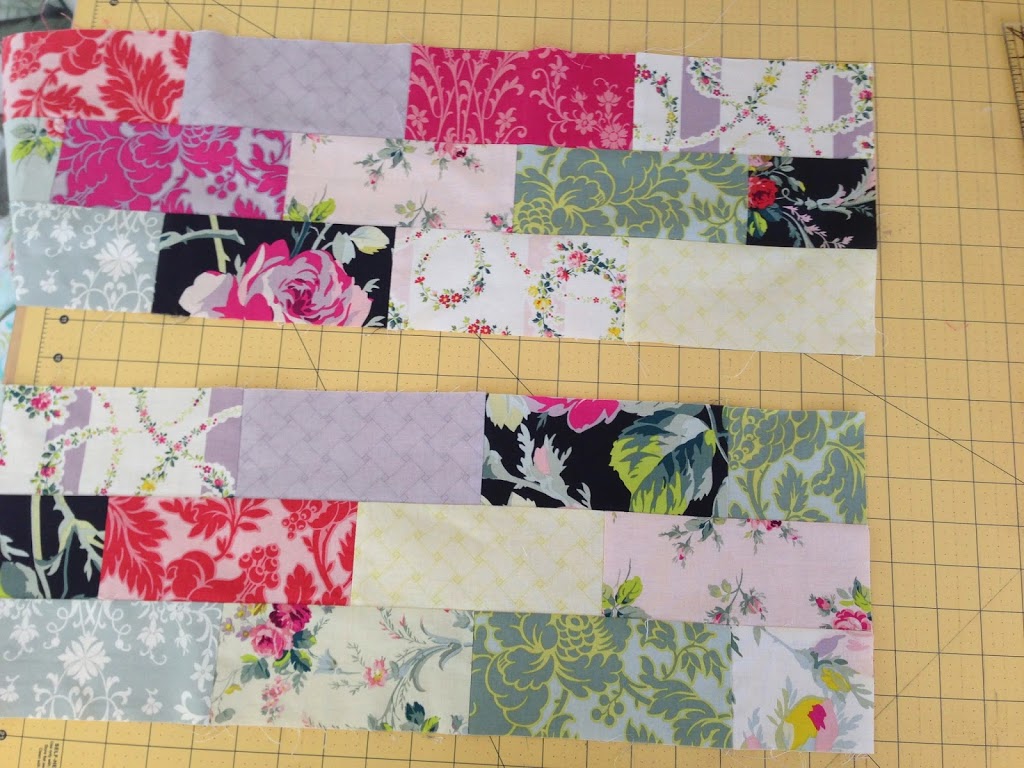
Here you can see my 12 rows.  The rows will be sewn into sets of 3’s.

Press the seams of the bricks to one side.  To sew the rows together the bricks need to be offset just like in real masonry work.  Align one of the rows on your cutting mat.  Each brick should measure 6″ (except for the end ones.)  Align both seams of the brick with the 6″ marks on the cutting mat.  Take the next row and align the seam along the 3″ mark which is the center of the first brick.  Put right sides together, pin, and sew using 1/4″ seams.

Continue sewing the rows together in sets of 3’s.  The ends of each row will be uneven because we are offsetting the rows.  Once the rows are sewn, press seams to one side and “square up” the edges (below).

Cut the cream cotton into (3) strips 8″ x 39.5″.  This will be the bunny appliqué pieces.
Prepare the appliqué:

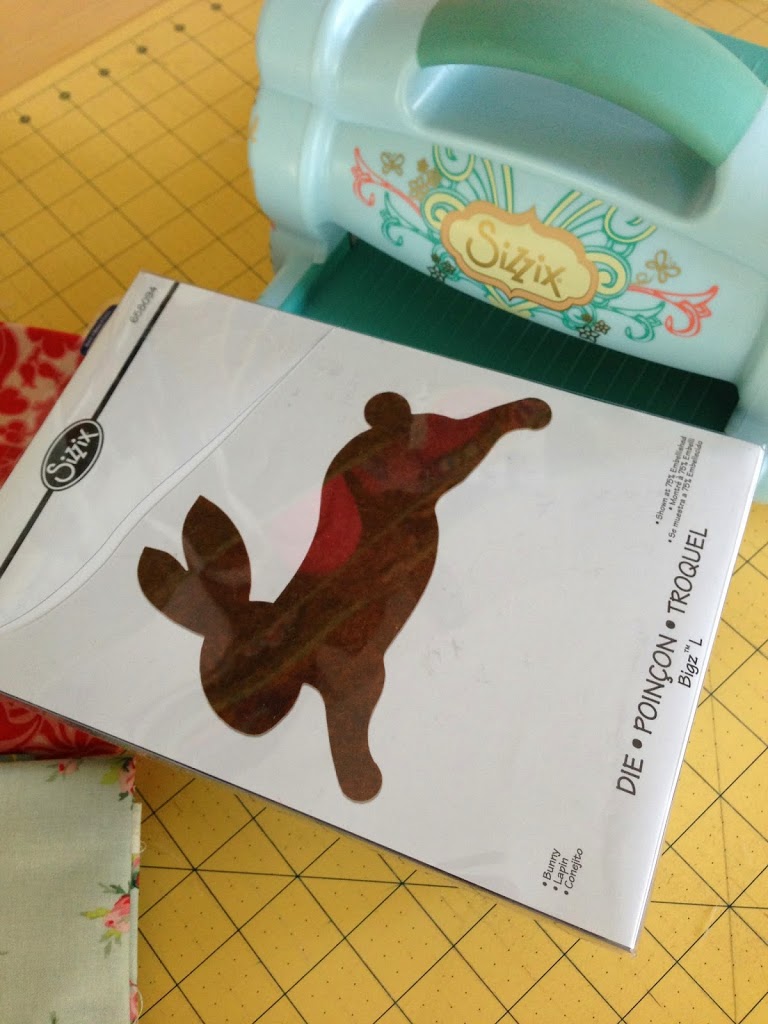
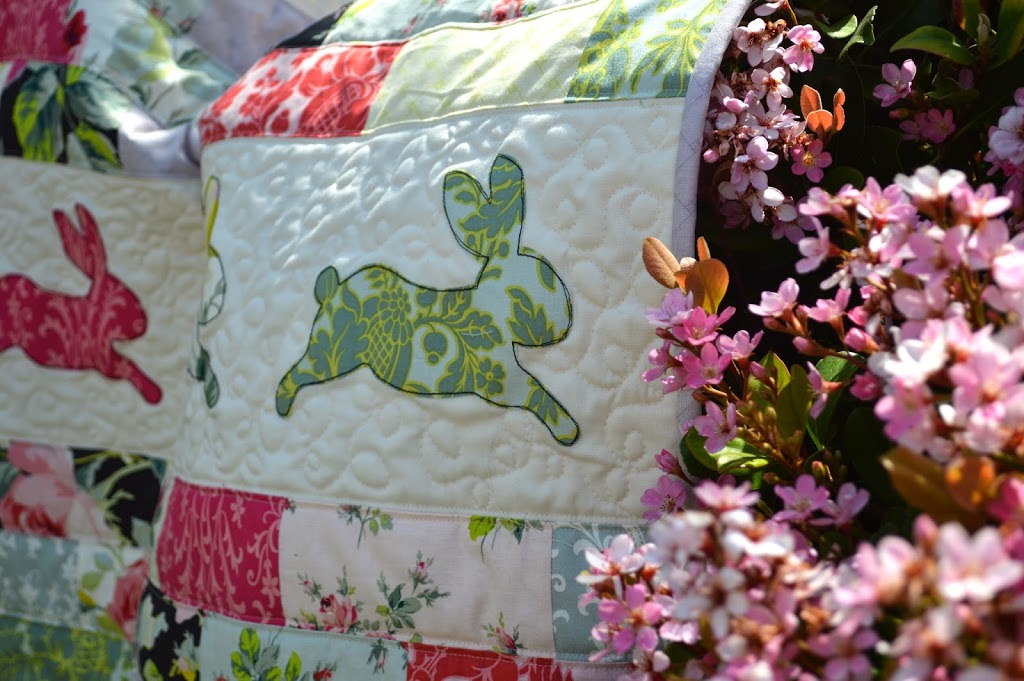
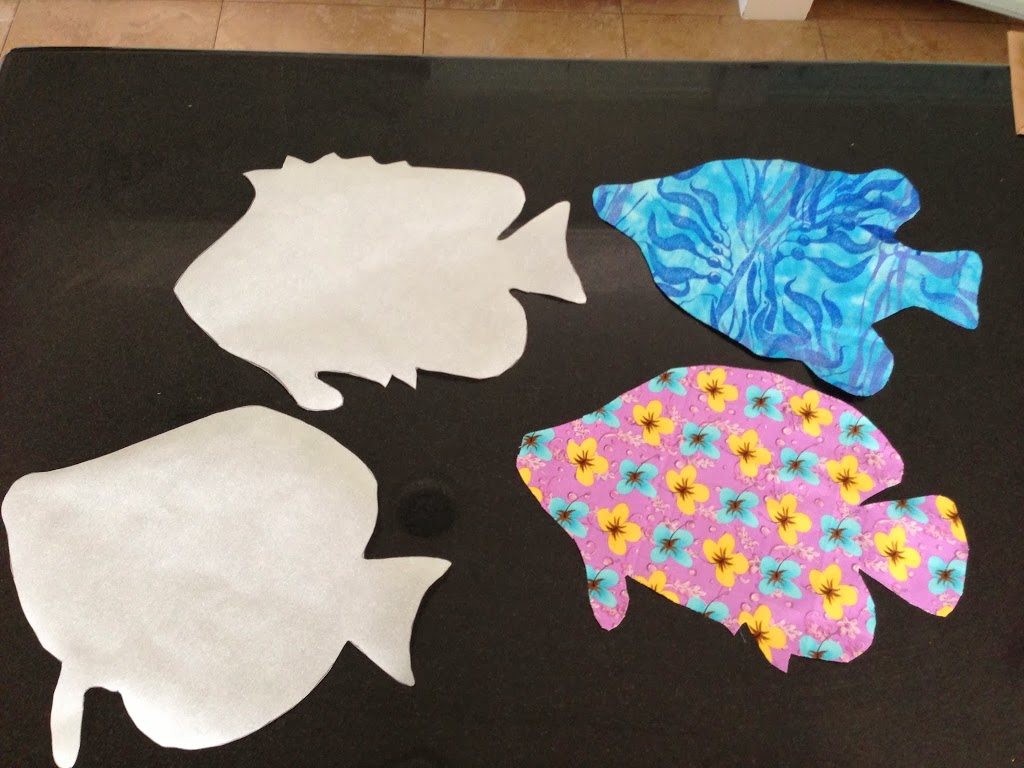
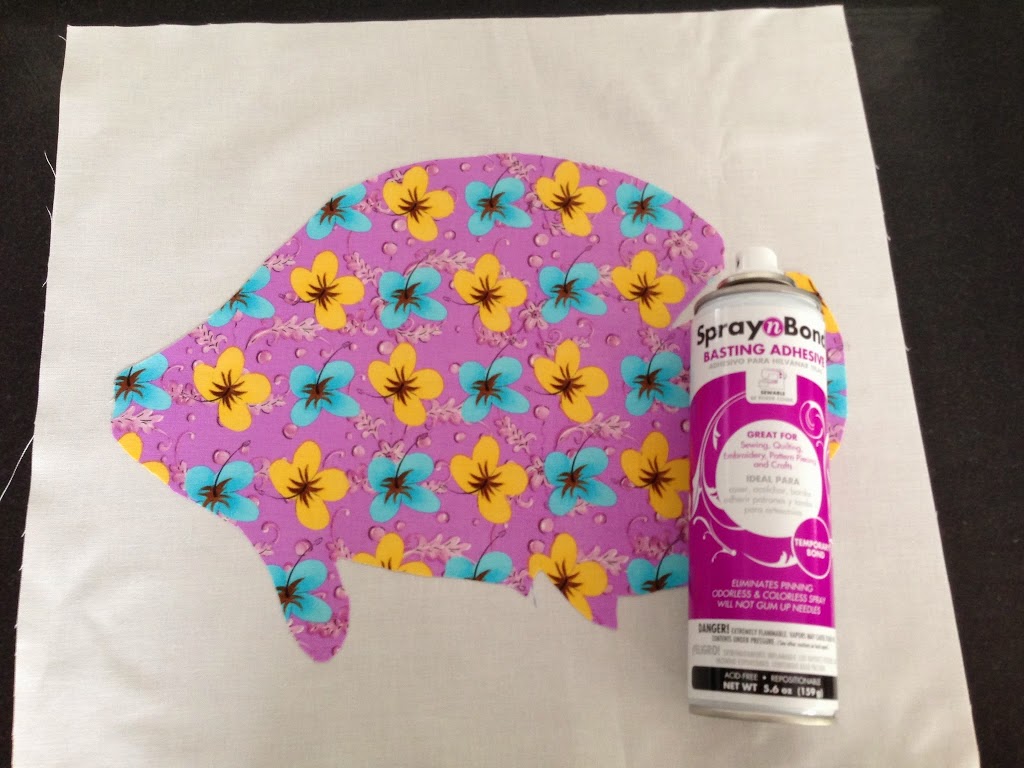
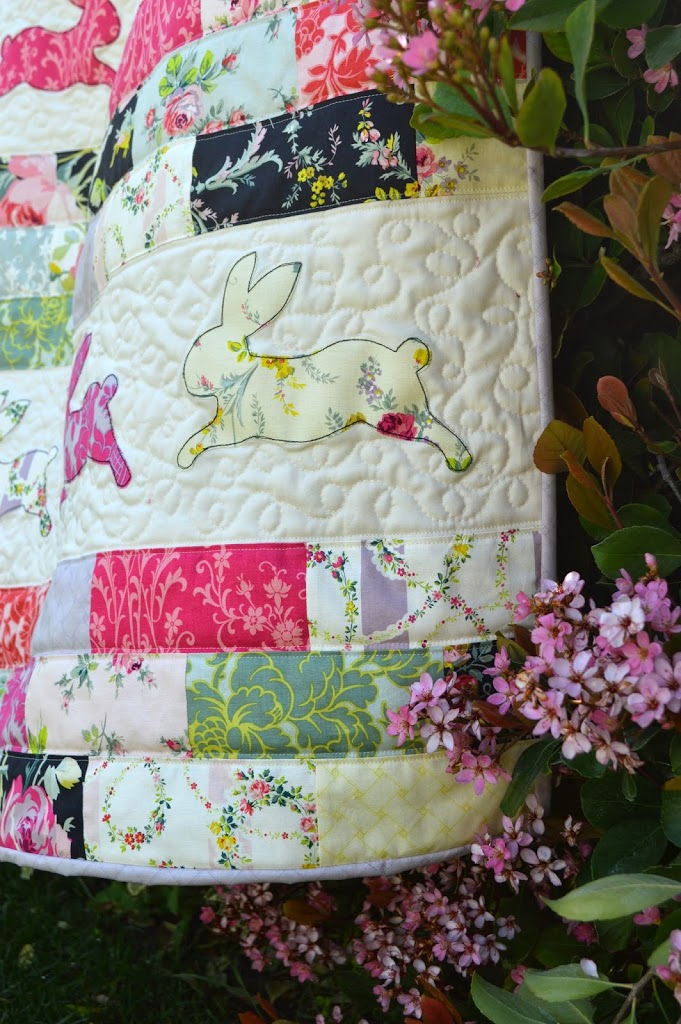
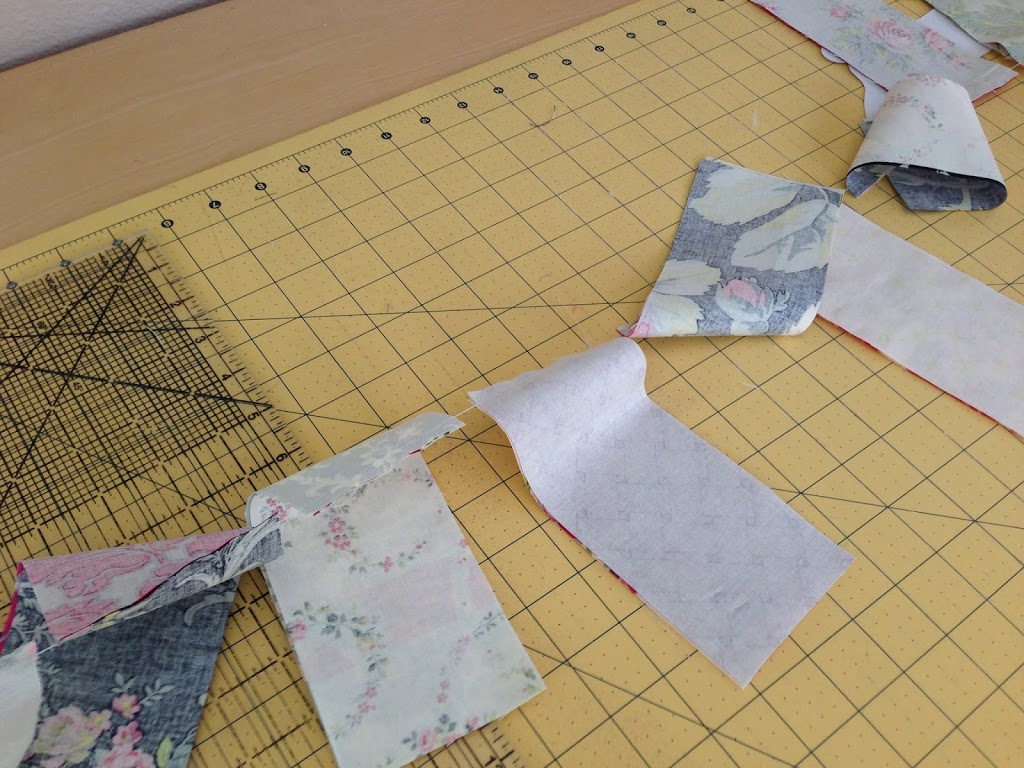
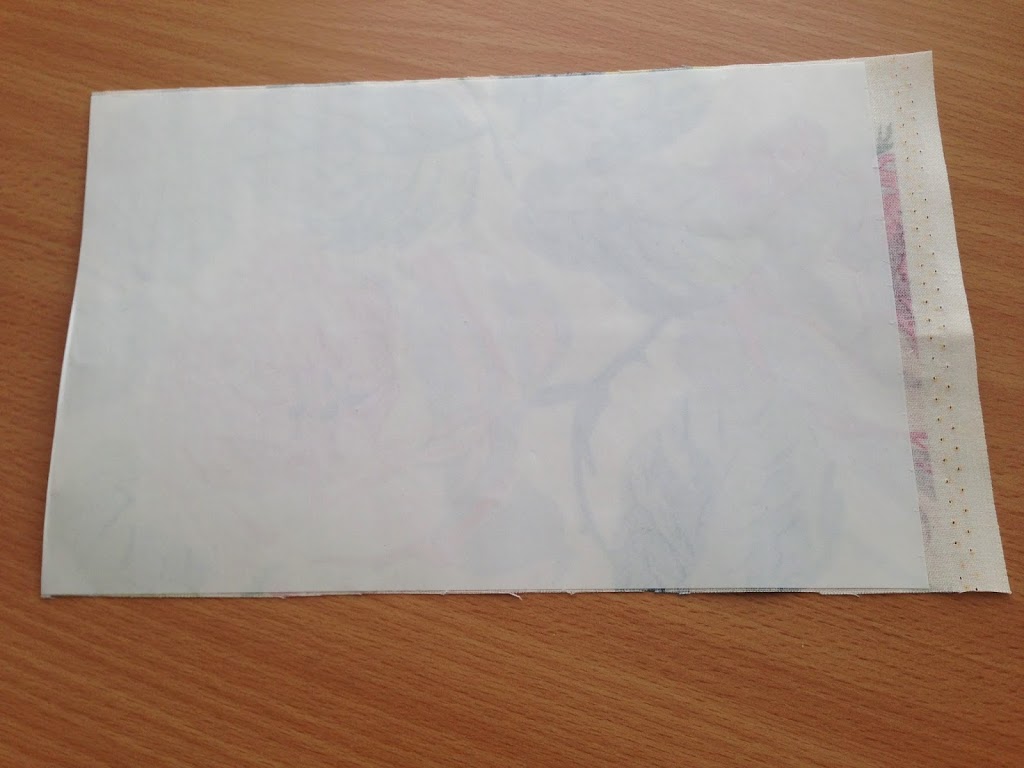
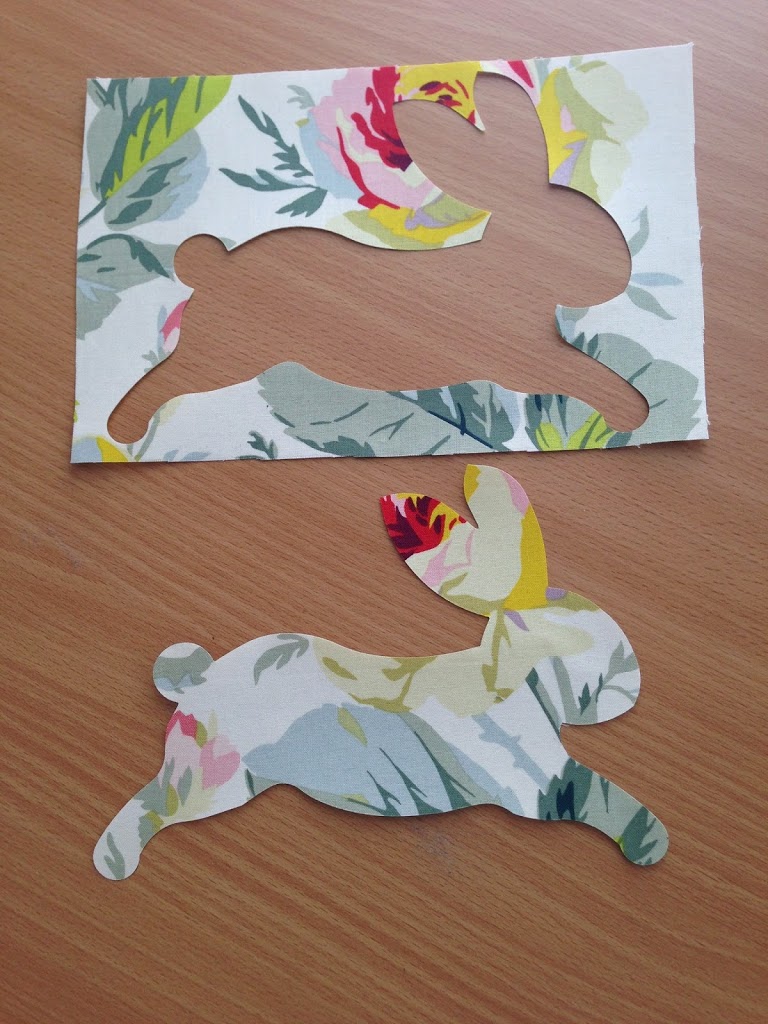
Cut the bunny fabric and Heat n Bond roughly the size of the Sizzix Die.  Iron Heat n Bond Lite to the wrong side of the fabric.  Run the fused piece through the Sizzix to cut the bunny.  I cut 2 at a time.

I was completely in love with each and every bunny that I cranked out!!

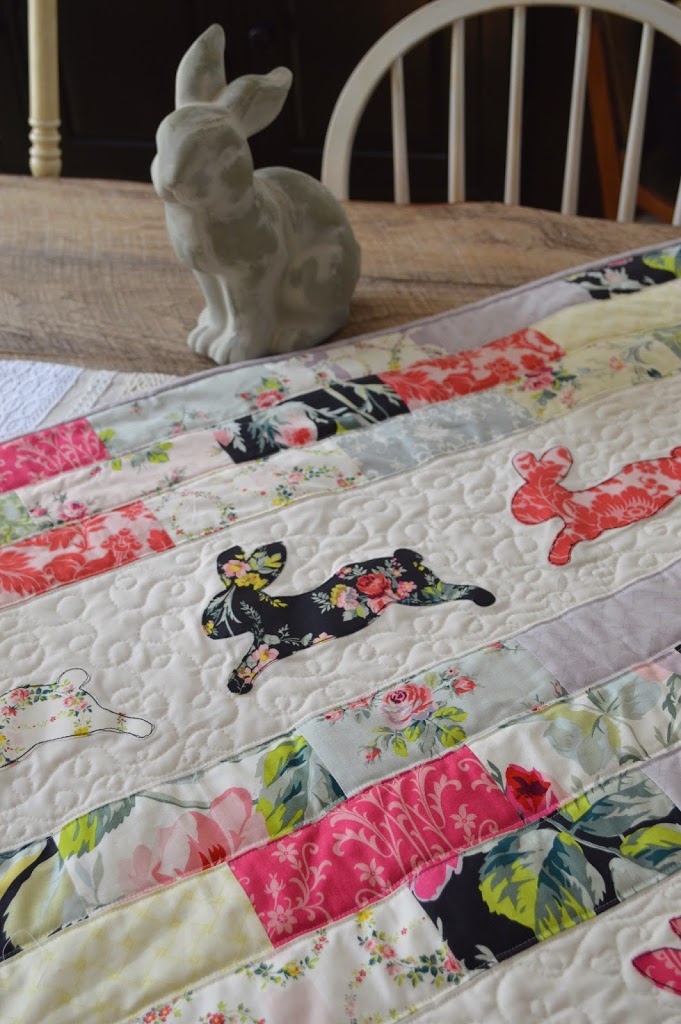
Peel the backing off the Heat n Bond Lite and position the bunnies as desired.  I alternated the direction of the bunnies in each row.

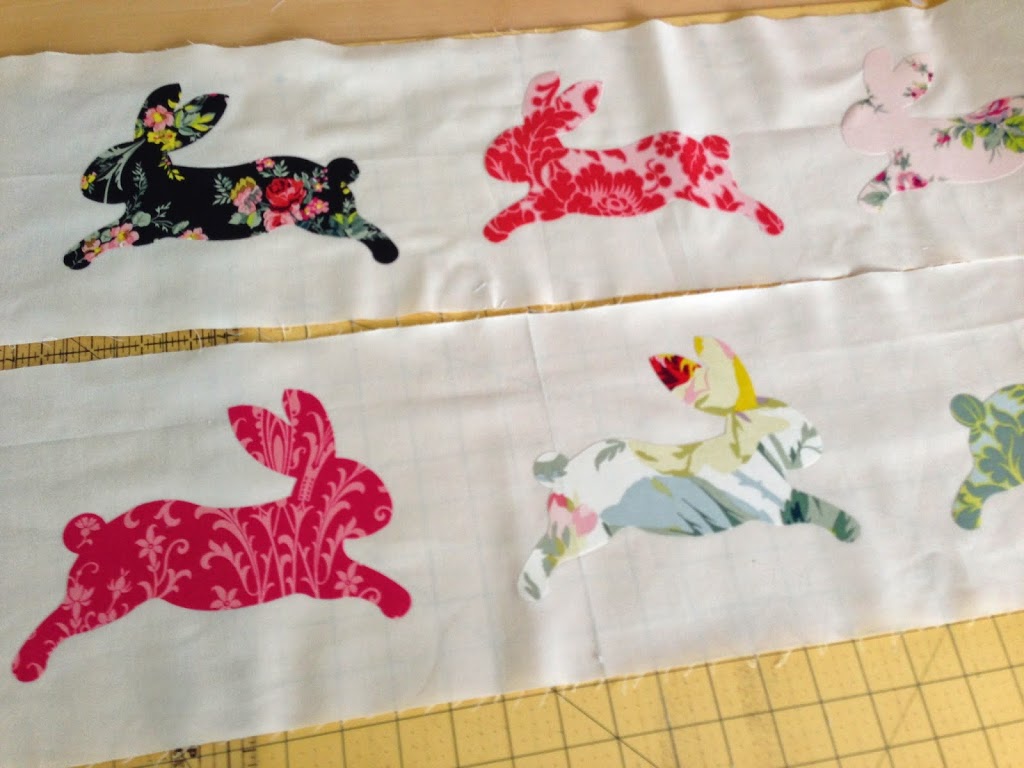
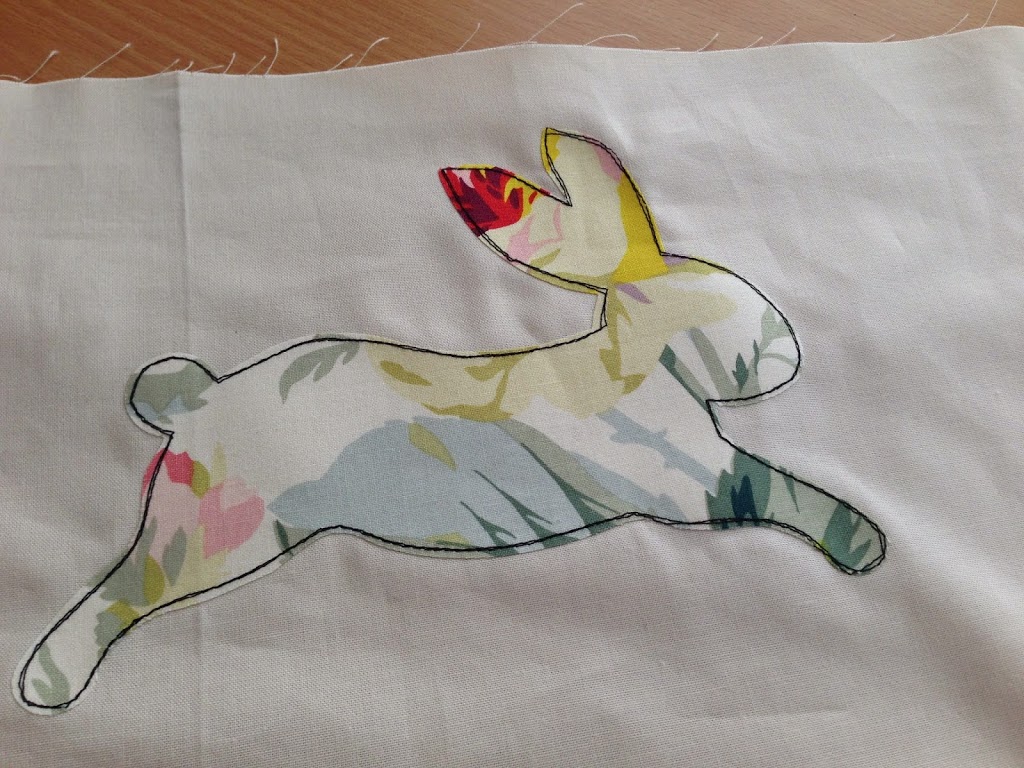
Iron the bunnies into place and top stitch twice around each bunny using black thread.

Once all the bunnies are finished, lay out the quilt and sew the rows together.  (I have little papers pinned to number my rows.)

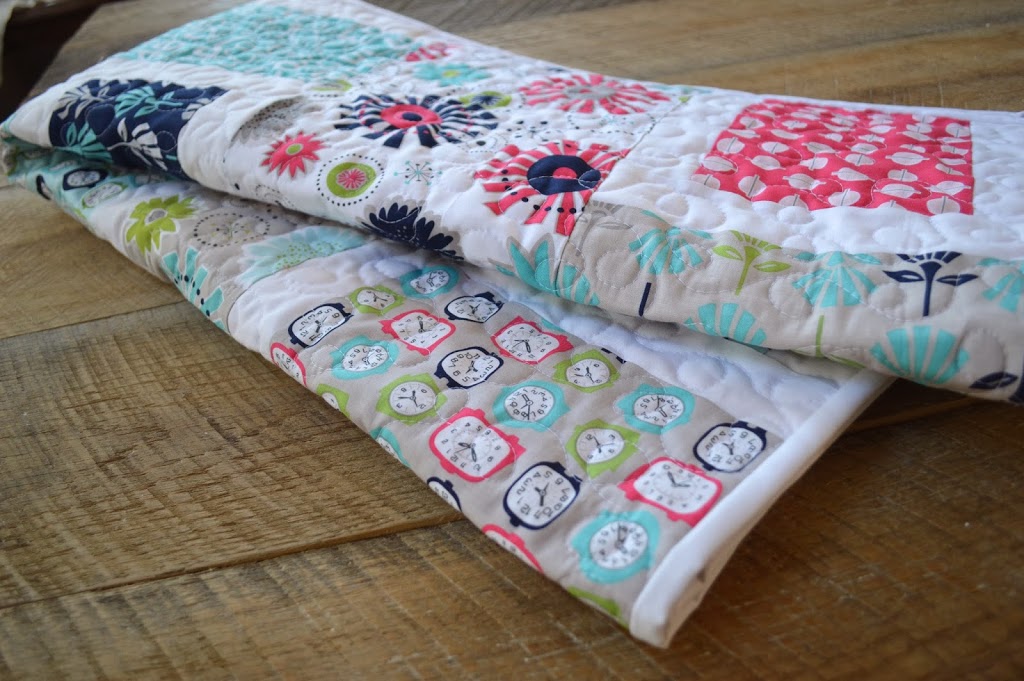
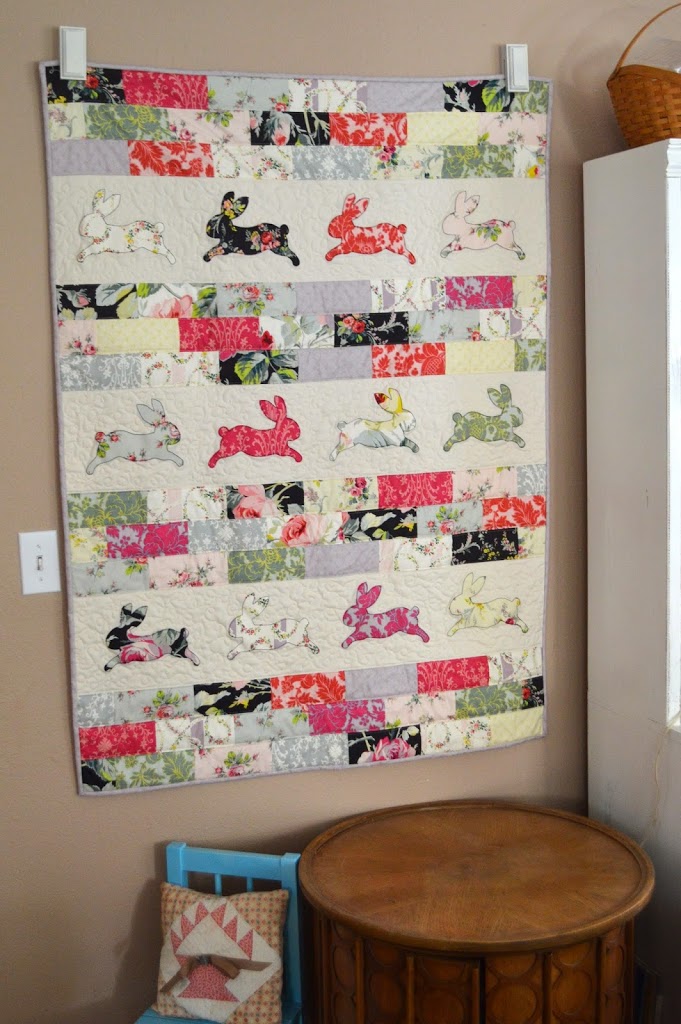
Now that the quilt top is finished, quilt as desired!  I quilted straight lines in the “brick” part and “loop-de-loos” in the bunny part.

I am so happy every time I see it!

Amanda

Gracie Girl Quilt Tutorial

These Gracie Girl fabrics from Riley Blake are the cutest!  I created this quilt to give to a dear friend who recently adopted a baby girl.  The quilt should really be called “Harper Girl” because that is the sweet baby’s name.  She is a doll.  The tutorial can be found on the Riley Blake Website.  It’s a super fun pattern and I love how it shows off the wonderful fabrics!

Amanda

Lost and Found 2 Placemat Tutorial

Today my placemat tutorial is being featured over at Riley Blake Designs.  It is featuring the Lost and Found 2 line of fabric that is absolutely delicious!  It is the perfect mix of vintage and trendy!  I am so thrilled to finally have placemats for my new table!  They are super easy to make and finish!

I wanted to show off the fabrics so I kept the design pretty simple.  I love the feeling the crochet lace adds!

Amanda

Charming & Thankful Holiday Table Quilt Tutorial

 I can’t believe it’s November 14th already!  I am sharing my tutorial for my Thankful Table Quilt over on the Therm O Web Blog today.  It’s a fun little project using just 1 charm pack and the word “Thankful” appliquéd.  It sews up really quick! I just love these fall colors!  The charm pack I used is Posh Pumpkins by Moda.

Amanda

Totally Boy Crazy {Baby Quilt}

AmysCreativeSide
I am entering this Totally Boy Crazy quilt in the Blogger’s Quilt Festival in the baby quilt catagory.    If you are new to my blog, welcome!   I love so many things about this quilt – the scrappy-ness of it, the yellow submarine, and of course the fabric!  This is an original pattern I created for Riley Blake Designs using their “Boy Crazy” line of fabric.  The pattern can be found here.  It measures 41″ x 48″. 
This quilt has piecing and appliqué.  I machine quilted the quilt on my Bernina.  

Amanda

Ella’s Fish Quilt

AmysCreativeSide
Hi, I am Ella!  My mom is Jedi Craft Girl.  Today I am writing a blog post about my fish quilt.  I am entering it in the Blogger’s Quilt Festival in the “Throw Quilt” Category.  Thanks for stopping by to look at my quilt.


I am 14 years old and I have been sewing since I was 8 years old.  I love fish!!  I just got back from Hawaii where I got to spend 2 weeks in the ocean.  I found this quilt pattern at the Long Beach Quilt Festival.  The pattern is called Huki Lau by Beyond the Reef.  I got to meet the designer, Natalie Barnes.  I loved this pattern because it uses tropical prints and batiks and the appliqué fish are actually outlines of real tropical fish!  The quilt measures 54″ x 70″.

I made patterns out of paper and hand cut each fish.

I used Spray n Bond to attach each fish to the background fabric.  Then I sewed around each fish.

I had my quilt professionally quilted.  I love how each fish is outlined by squiggles – it looks like real water!  This is my favorite quilt and I sleep with it every night.

Amanda

Totally Boy Crazy Quilt Riley Blake Tutorial

My quilt pattern is on the Riley Blake Cutting Corners Blog today!  I had so much fun making this quilt.  The Boy Crazy line is soooo cute!!!  I love the retro cars, rocket ships, and submarines in the theme print.  This fabric is great for little boys AND big boys! 

I couldn’t resist doing a little appliqué.  You gotta love the yellow submarine!

With the leftover scraps I made a few zipper pouches,  because I always need more zipper pouches!  This one is for my son to keep in his backpack.  It holds his Epi-Pen, inhaler, and tissues.  (Poor guy)

 This one is for me.  I am a big Beatles fan 🙂

Amanda

“Ziggy Baby” Baby Quilt

I LOVE this pattern, Ziggy Baby, from Cluck Cluck Sew!  It is so cute and it is FAST & EASY!!  I will be making this pattern again and again!!!  This is also a great beginner quilt – but it doesn’t look “beginner”…..I don’t think 🙂

I sewed this quilt for a friend’s baby shower this weekend.  I secretly wanted to keep it for myself! She loved it!!

Don’t you want to make one!!

Amanda

5″ Square Baby Quilt

 I just finished this baby quilt for a friend.  Sometimes the simplest patterns are the cutest!  I love that this quilt does not have a pattern and it’s kind of scrappy.  I cut assorted pink and orange fabrics 5″ and laid them out to look “random”.  This quilt is 9 rows across and 10 rows down.

Amanda

Baby Taggie Quilt Update

I have received many comments and questions about the pattern for these “Taggie” baby quilts. This is by far one of my favorite baby quilt patterns.   I am happy to say I found a free online version that you can download from Robert Kaufman!!  Click HERE to download the patern.


Animal Taggie Baby Quilt


Owl Taggie Baby Quilt

 
Amanda