Sew Happy Sewing Machine Cover Tutorial

Sew Happy Sewing Machine CoverI’m super excited to be part of Riley Blake Designs’ Paperdoll blog tour!  When I saw the delightful prints in the Paperdoll fabric line I knew I wanted to make something for my sewing studio!  I love the vintage dress patterns, pin cushions and buttons in the fabric!  IMG_2850 2

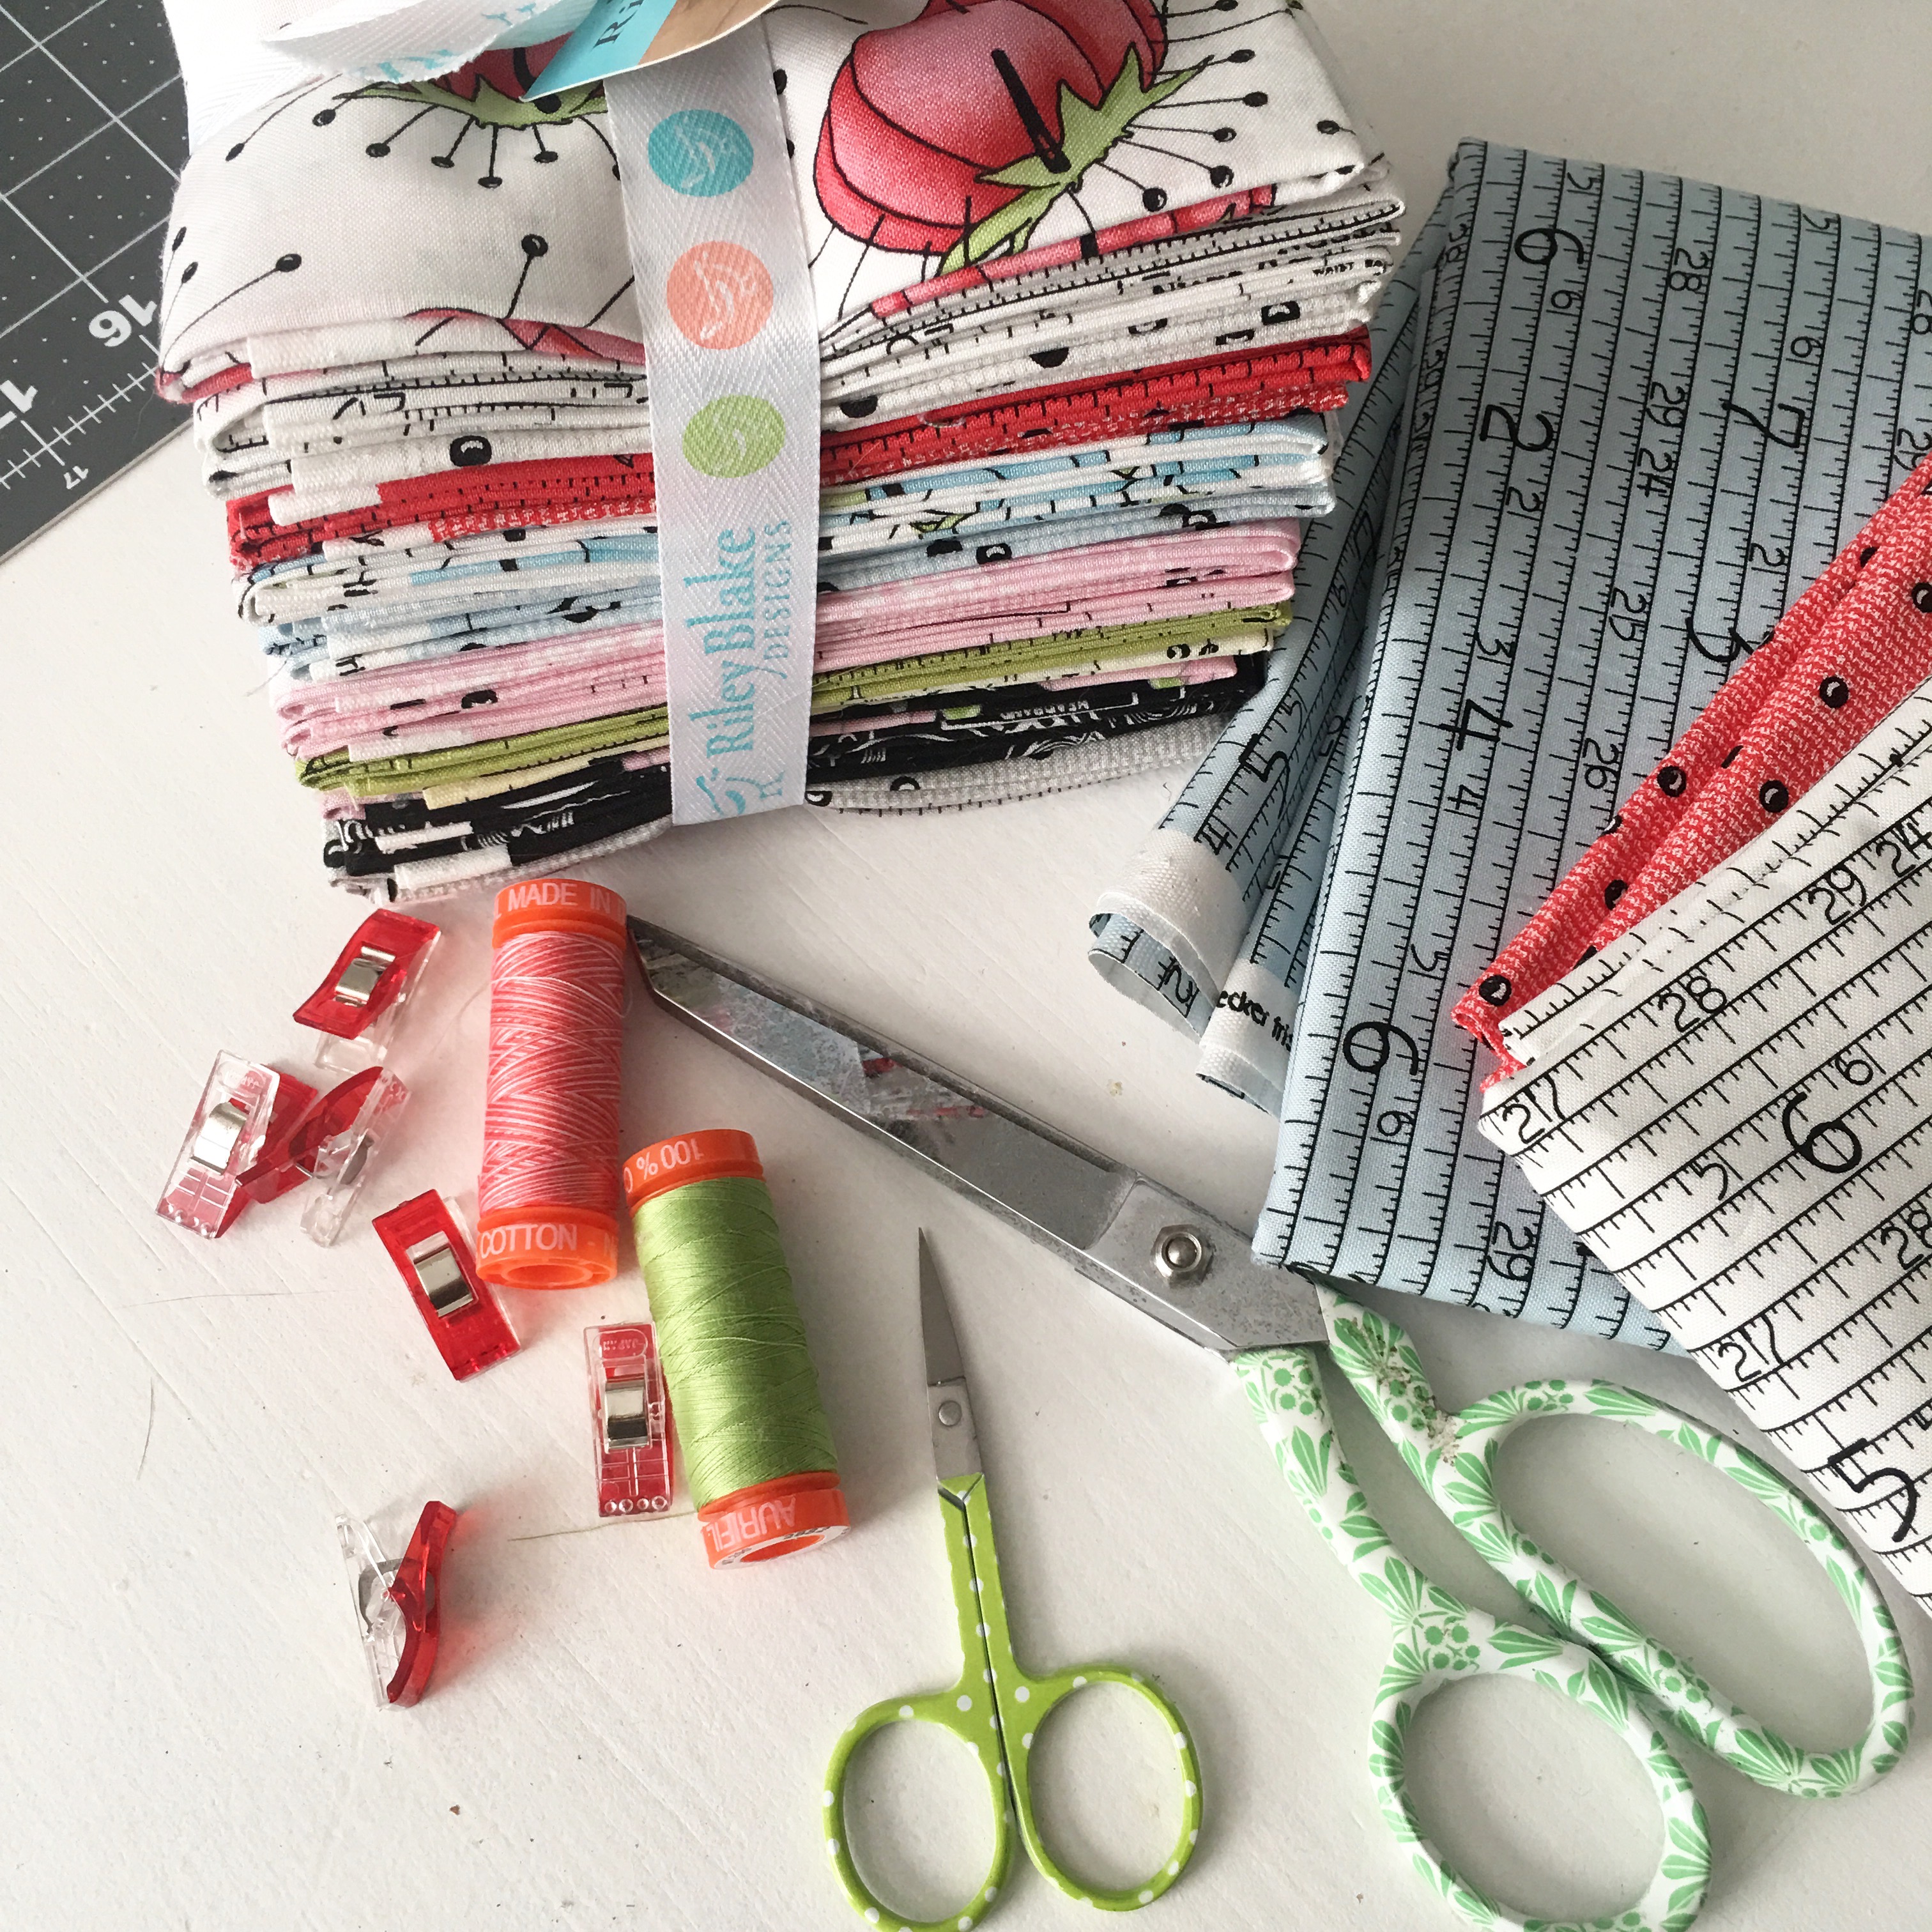
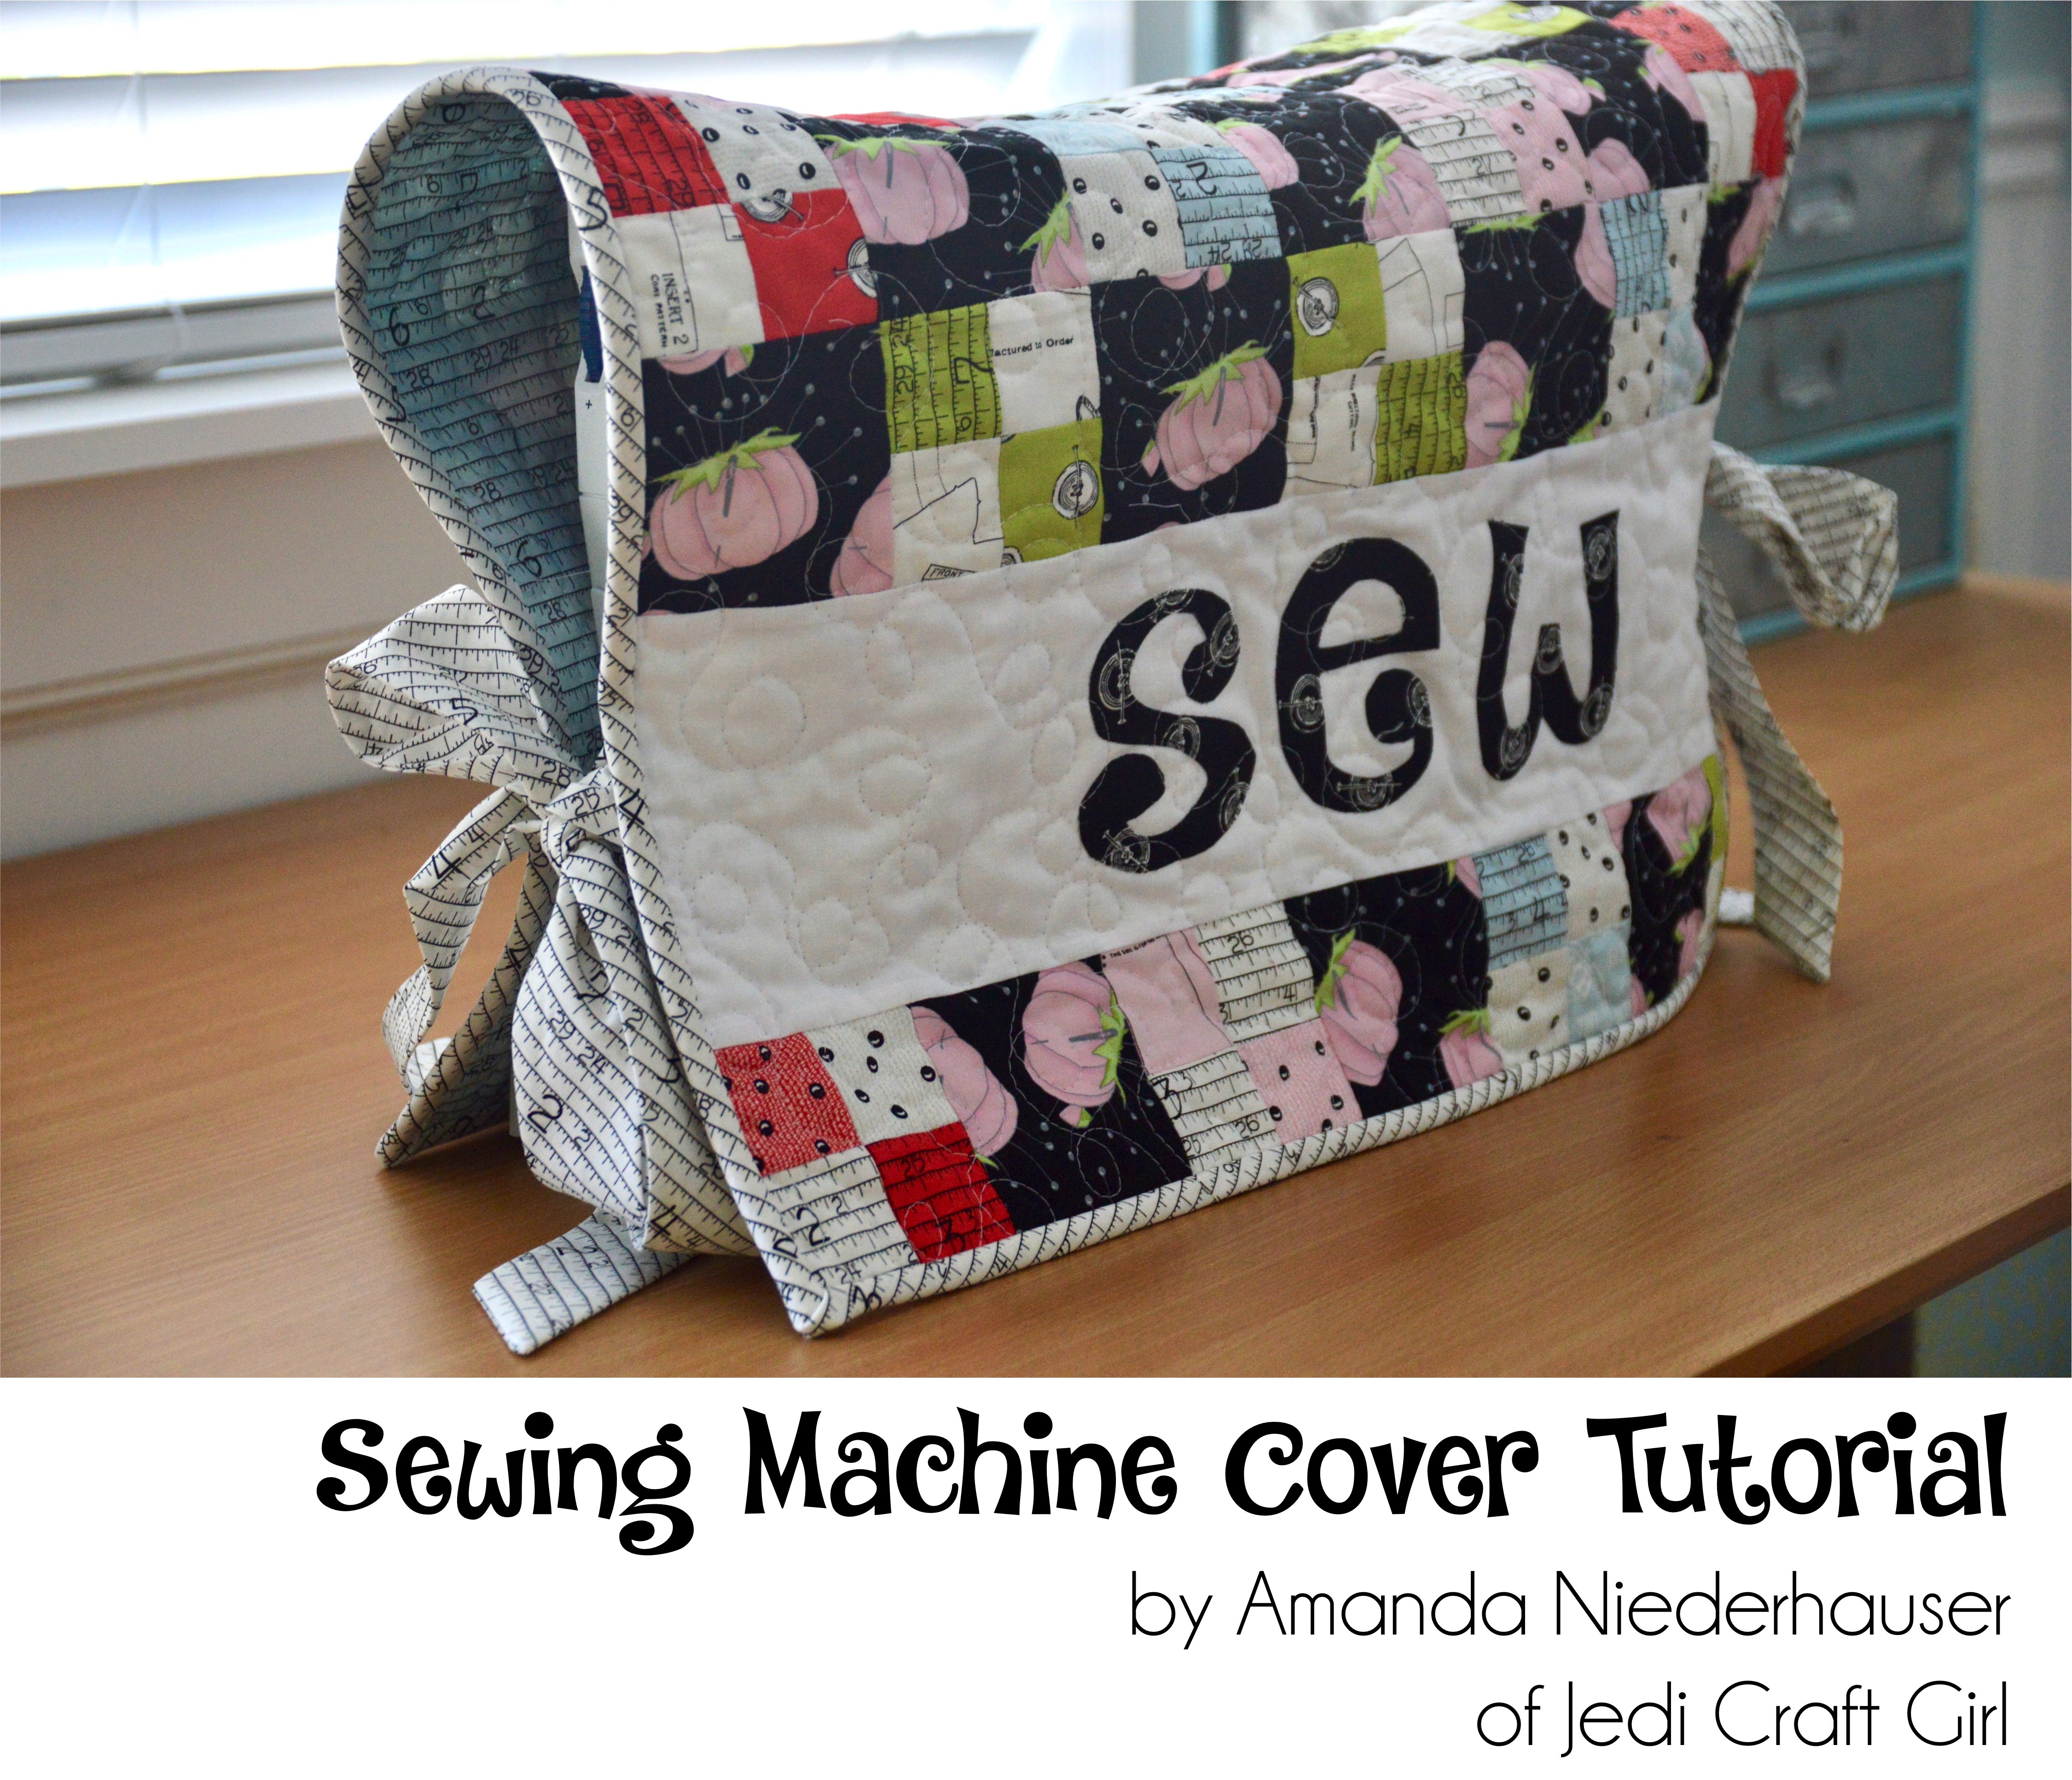
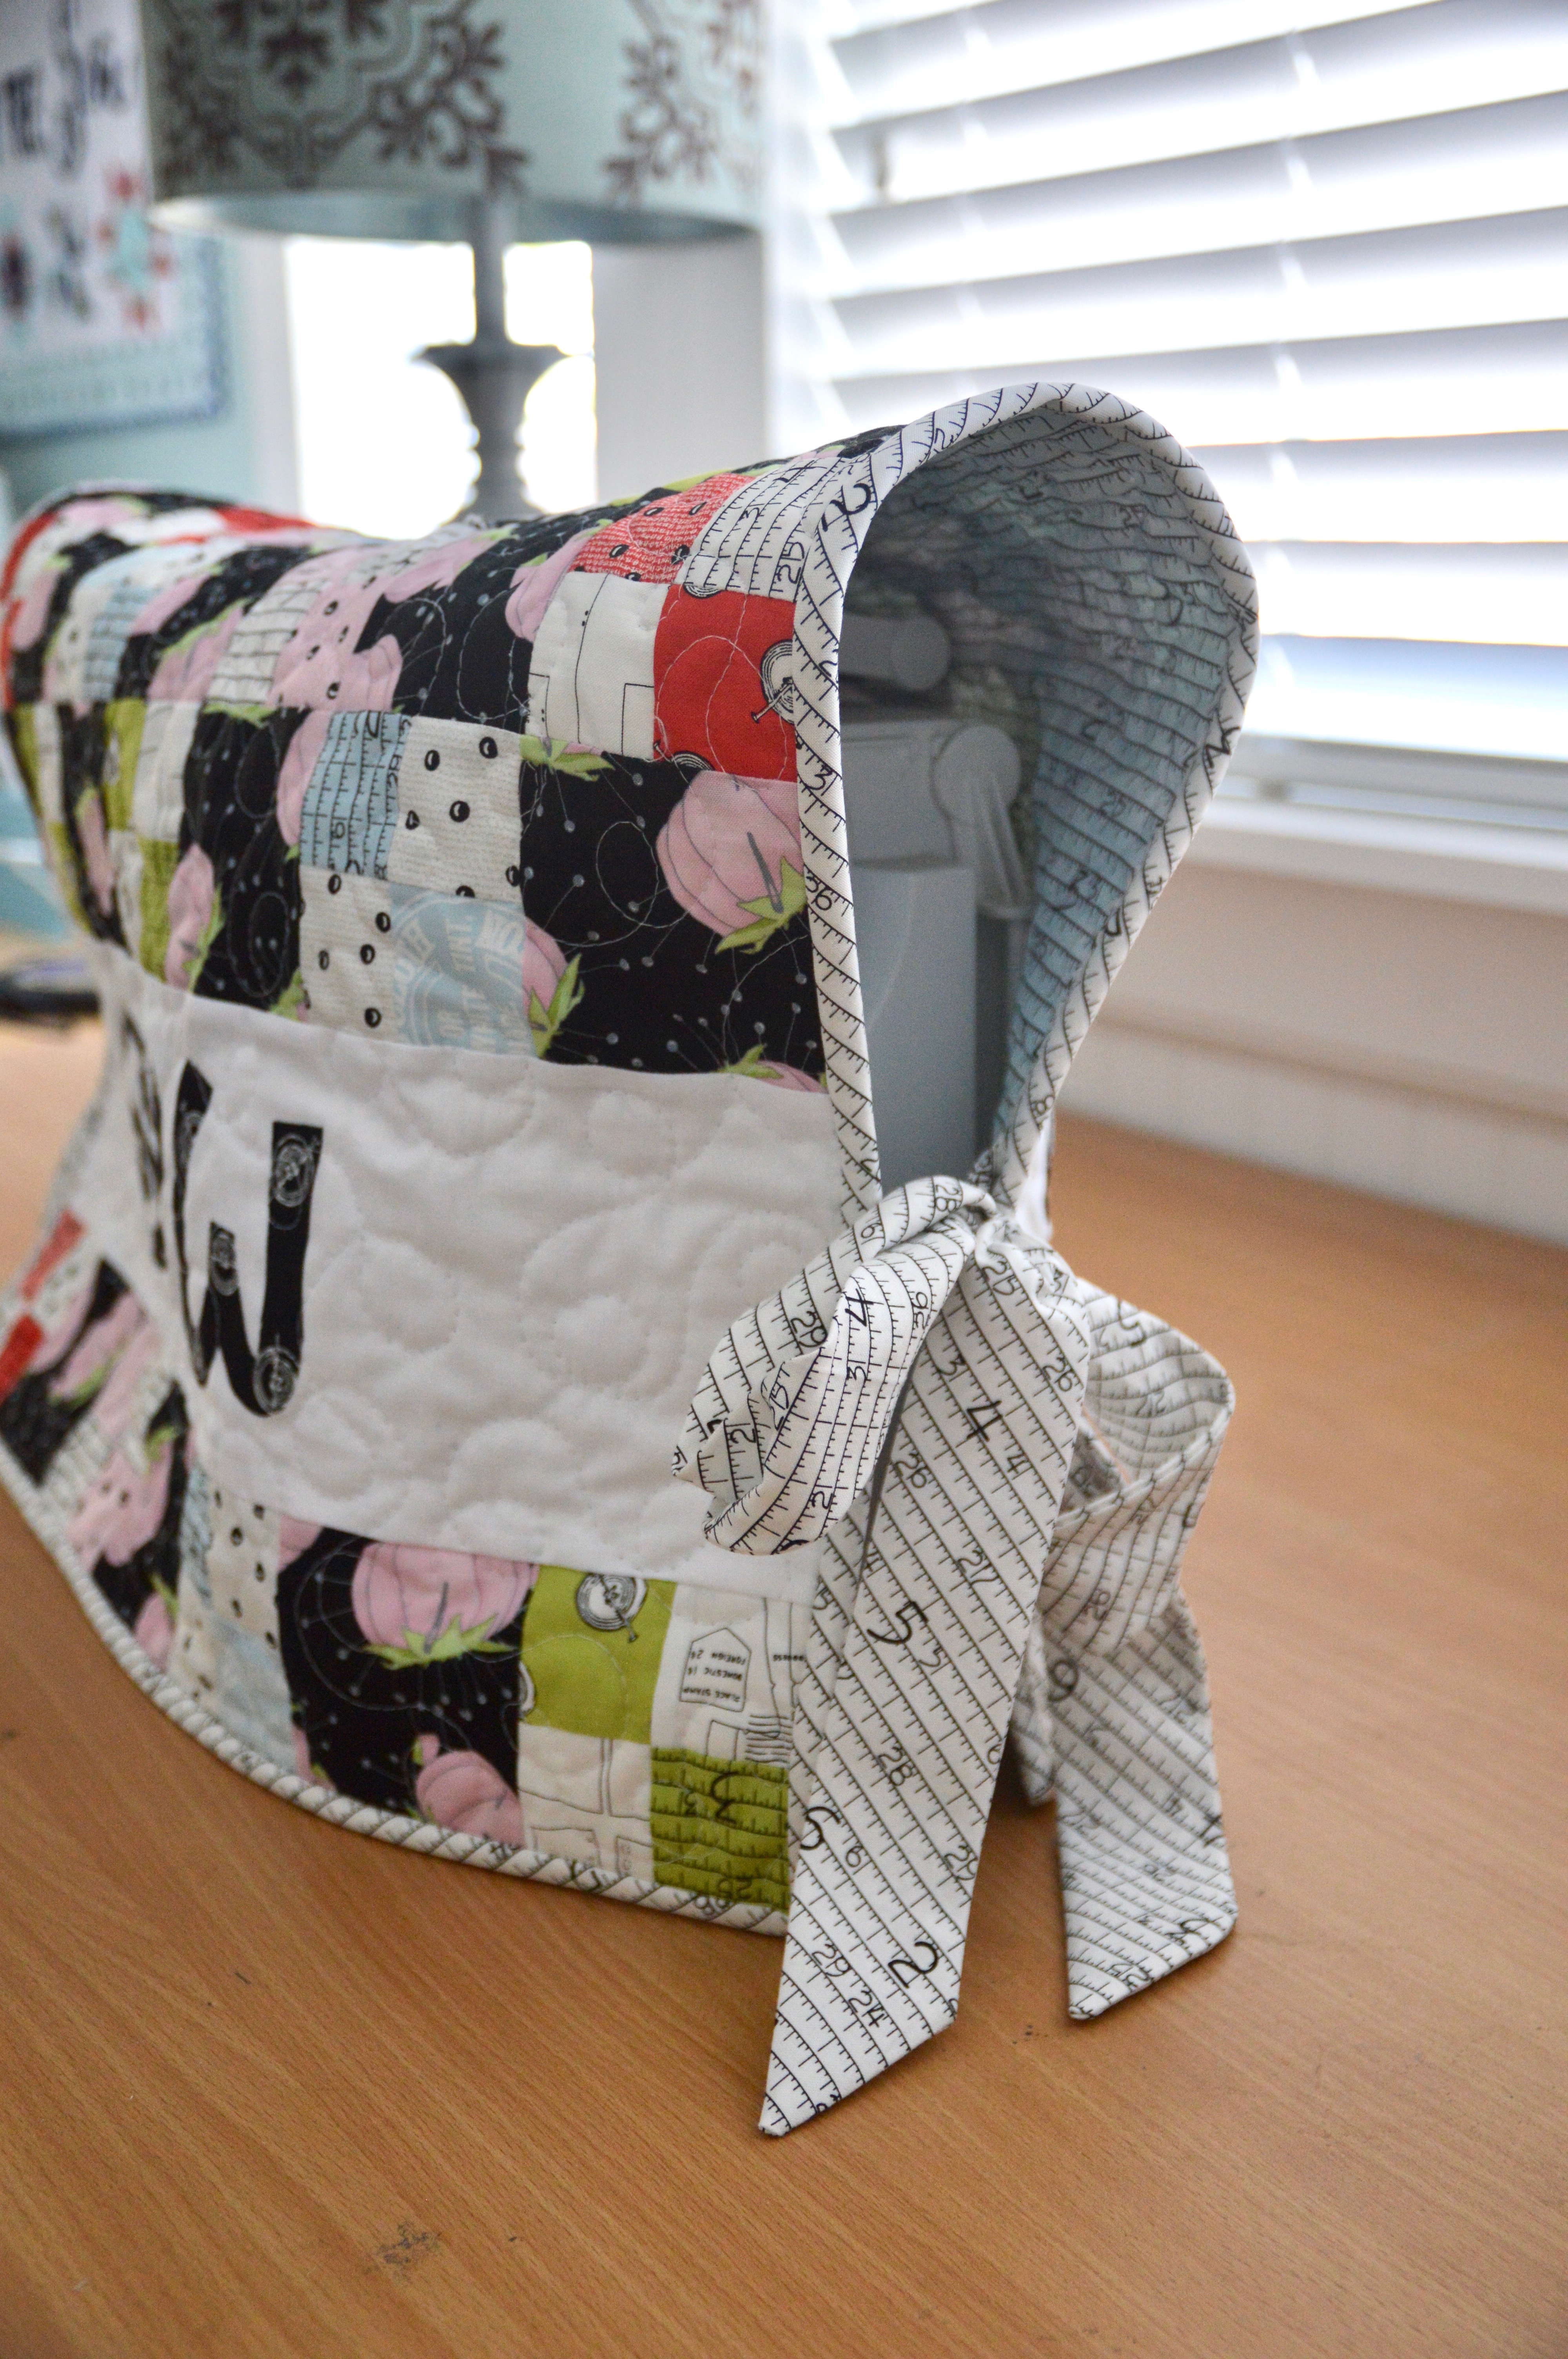
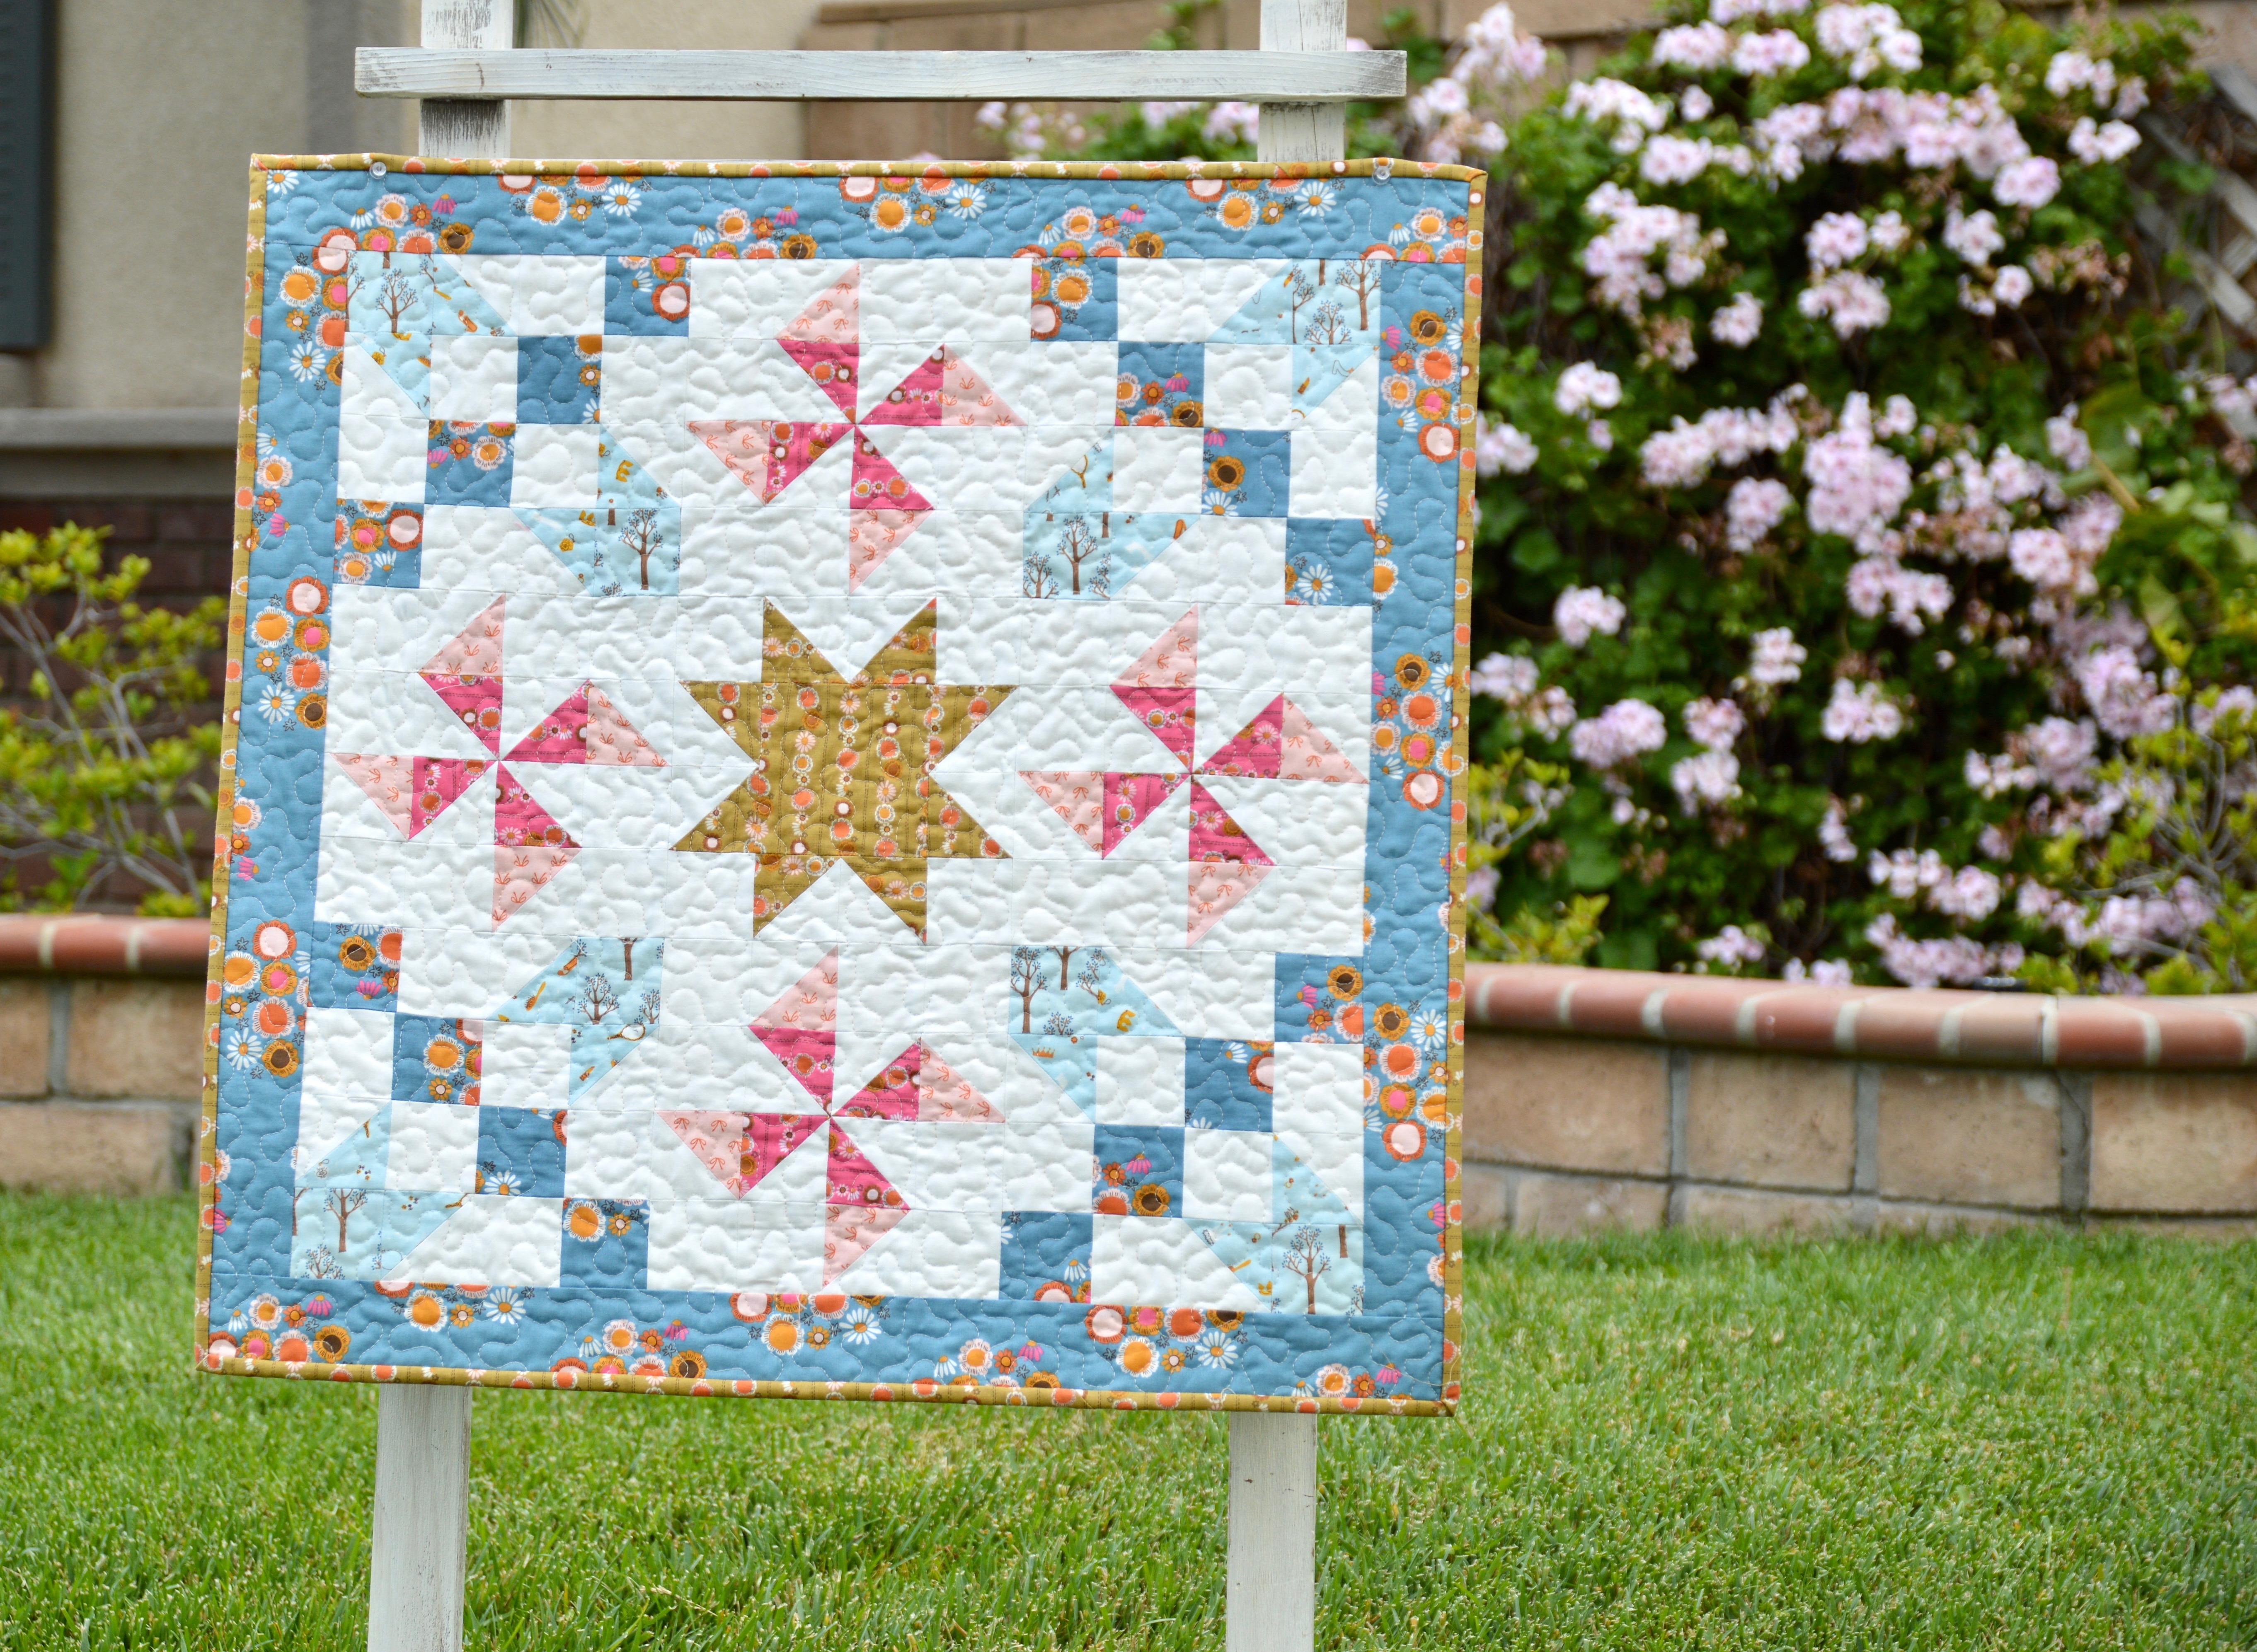
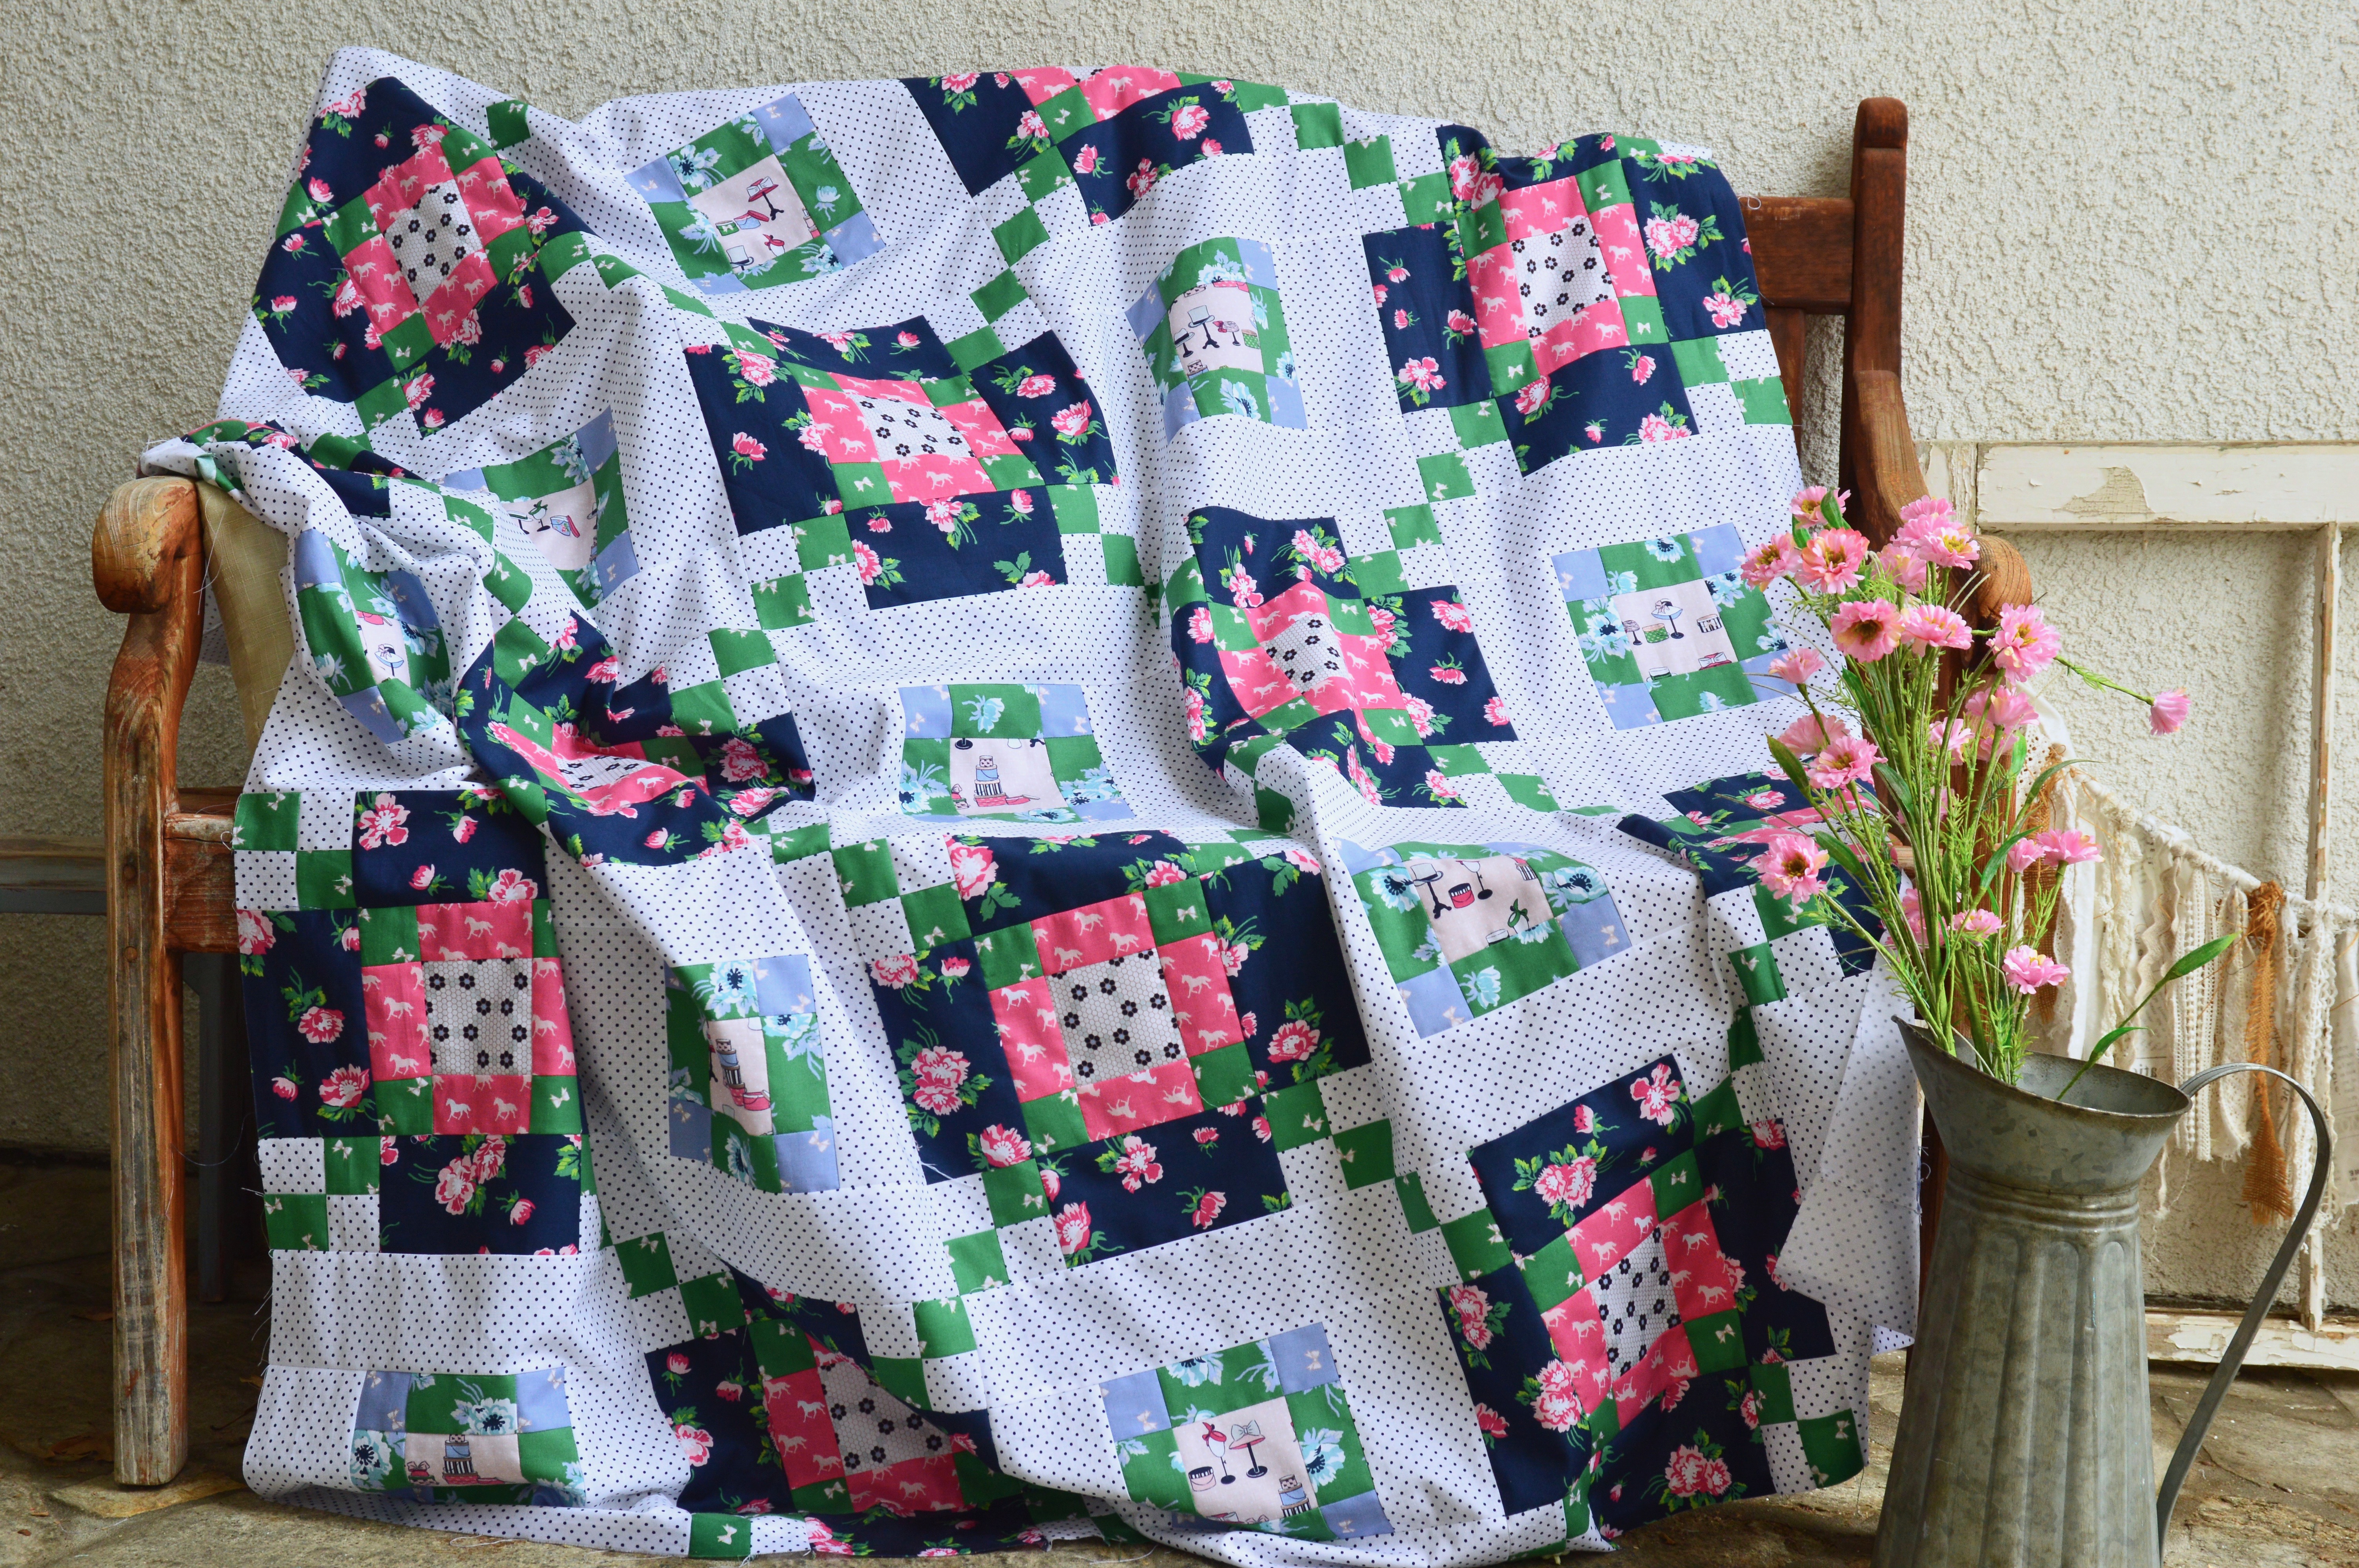
I have been wanting a quilt for my sewing machine!  Normally it’s in use everyday, but this new school year has been a rough one and I don’t find myself sewing as much.  So my trusty Bernina needs a quilt!

sewing machine cover. 1

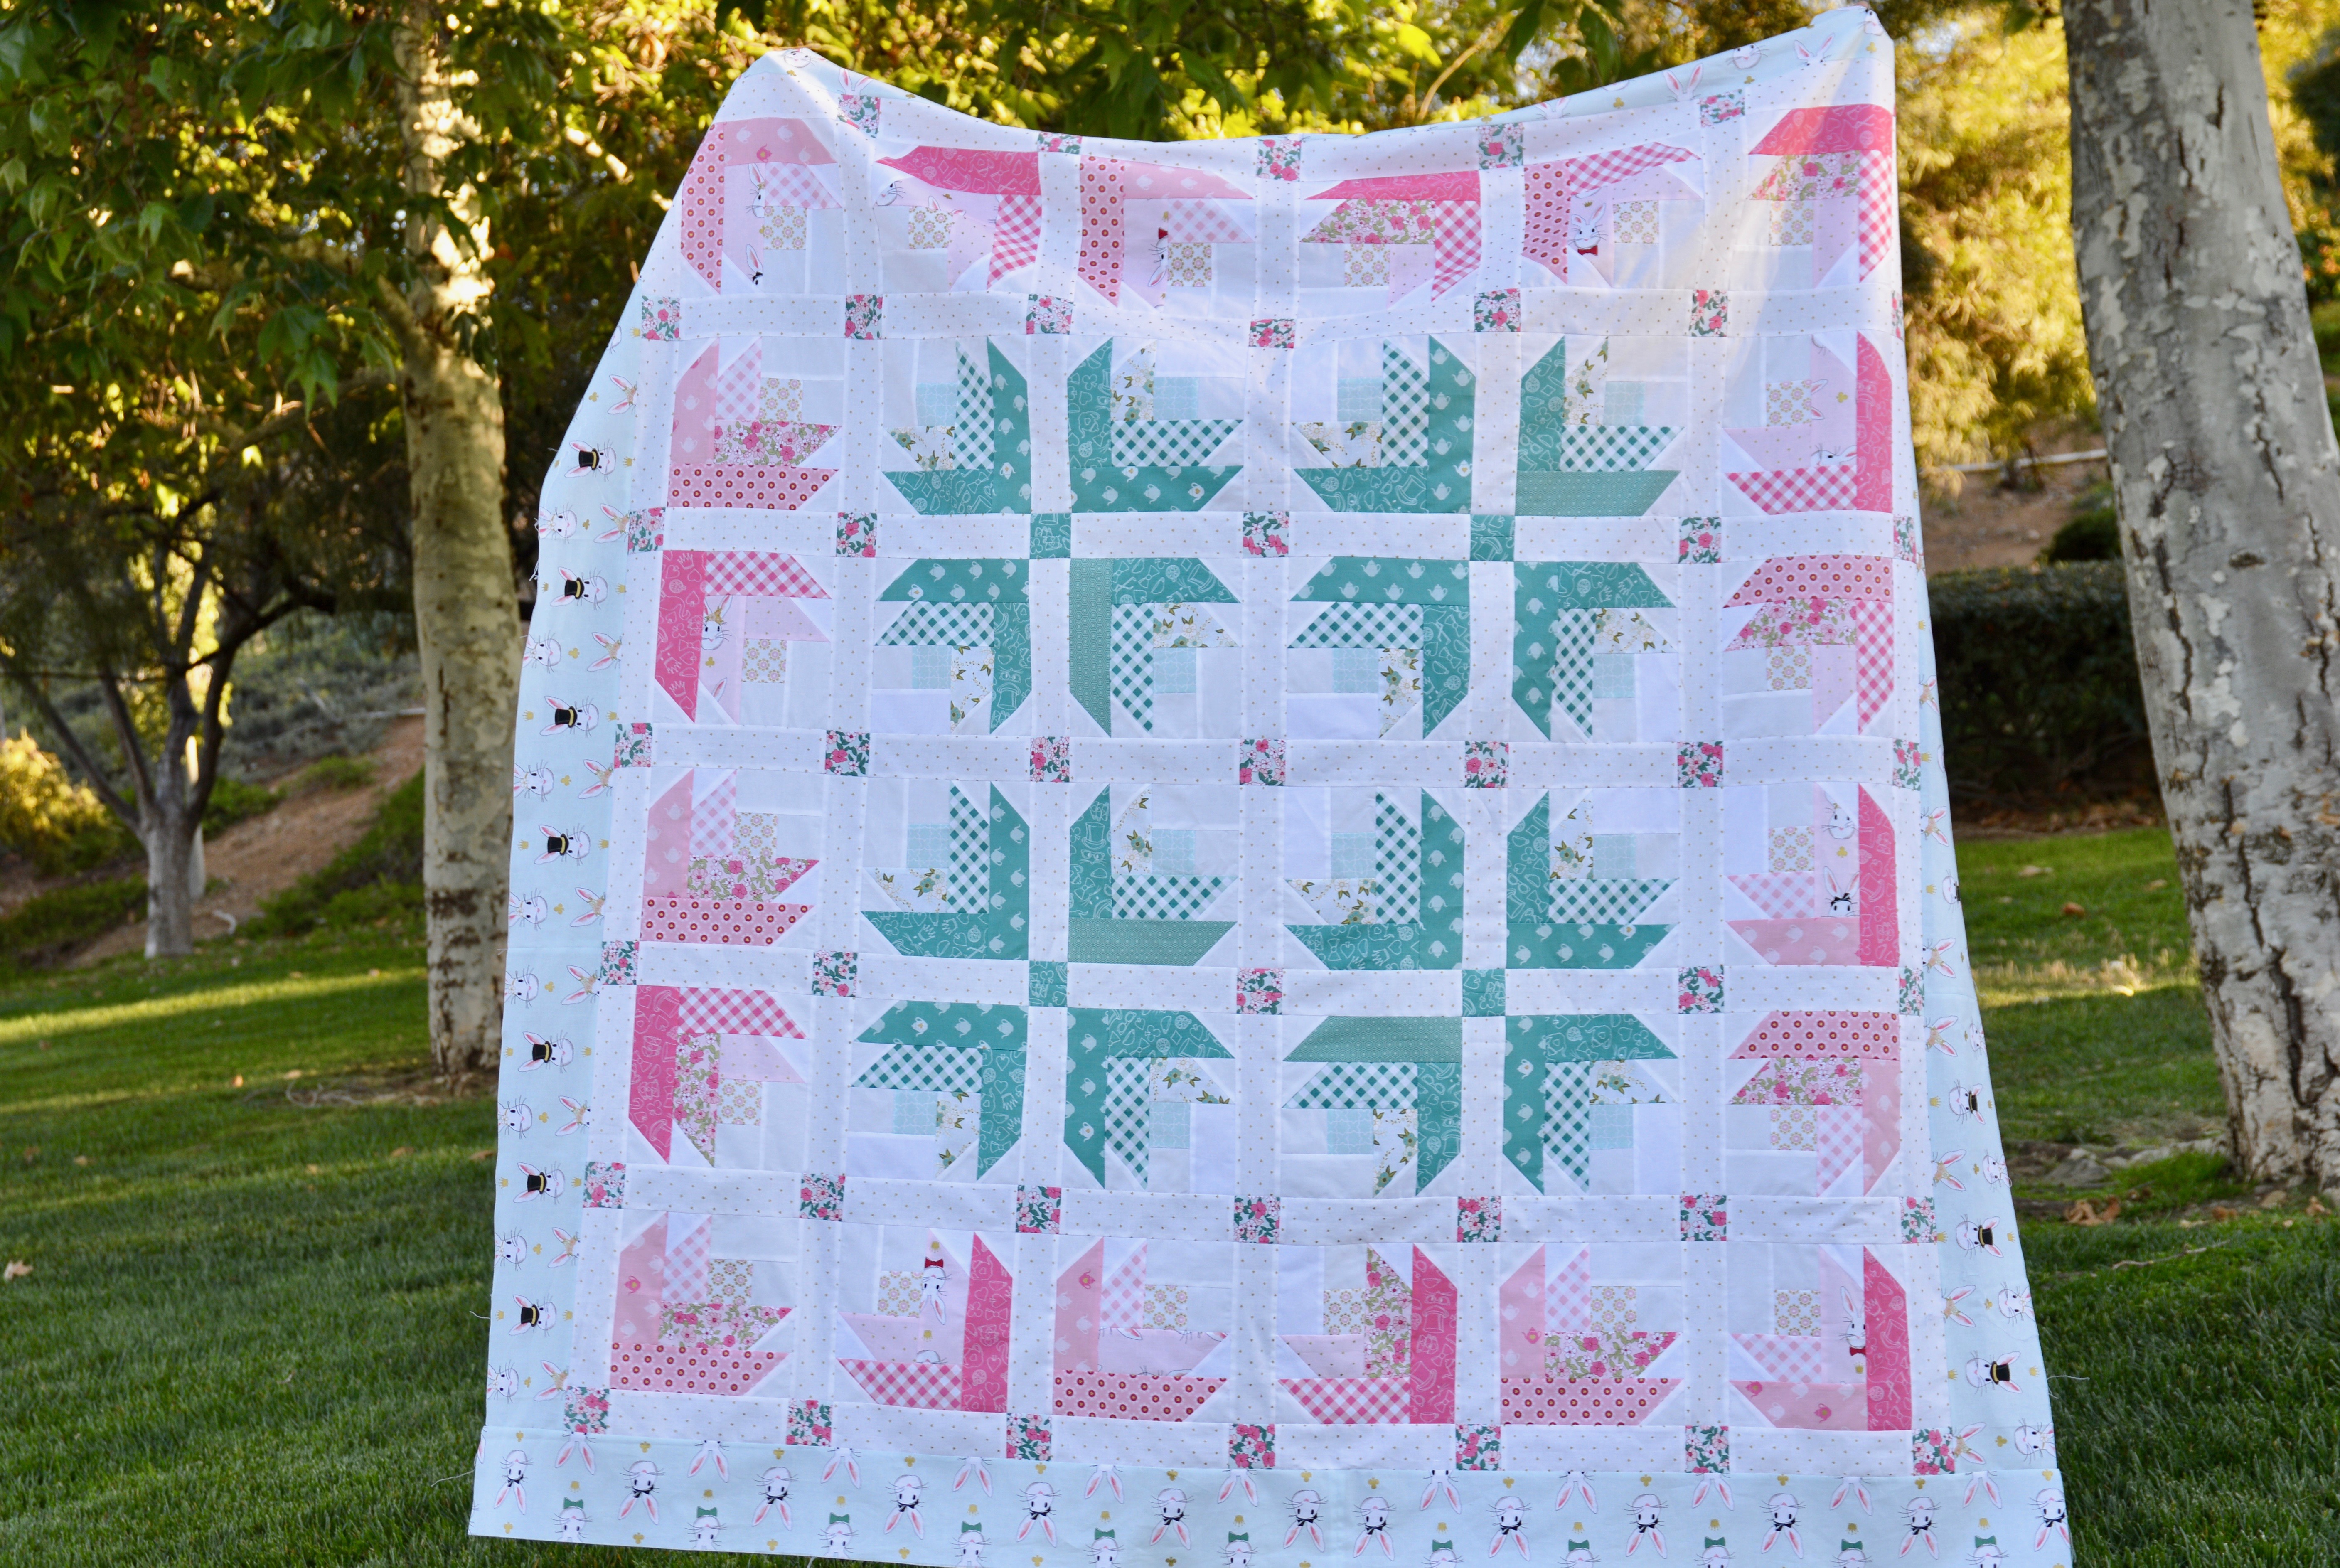
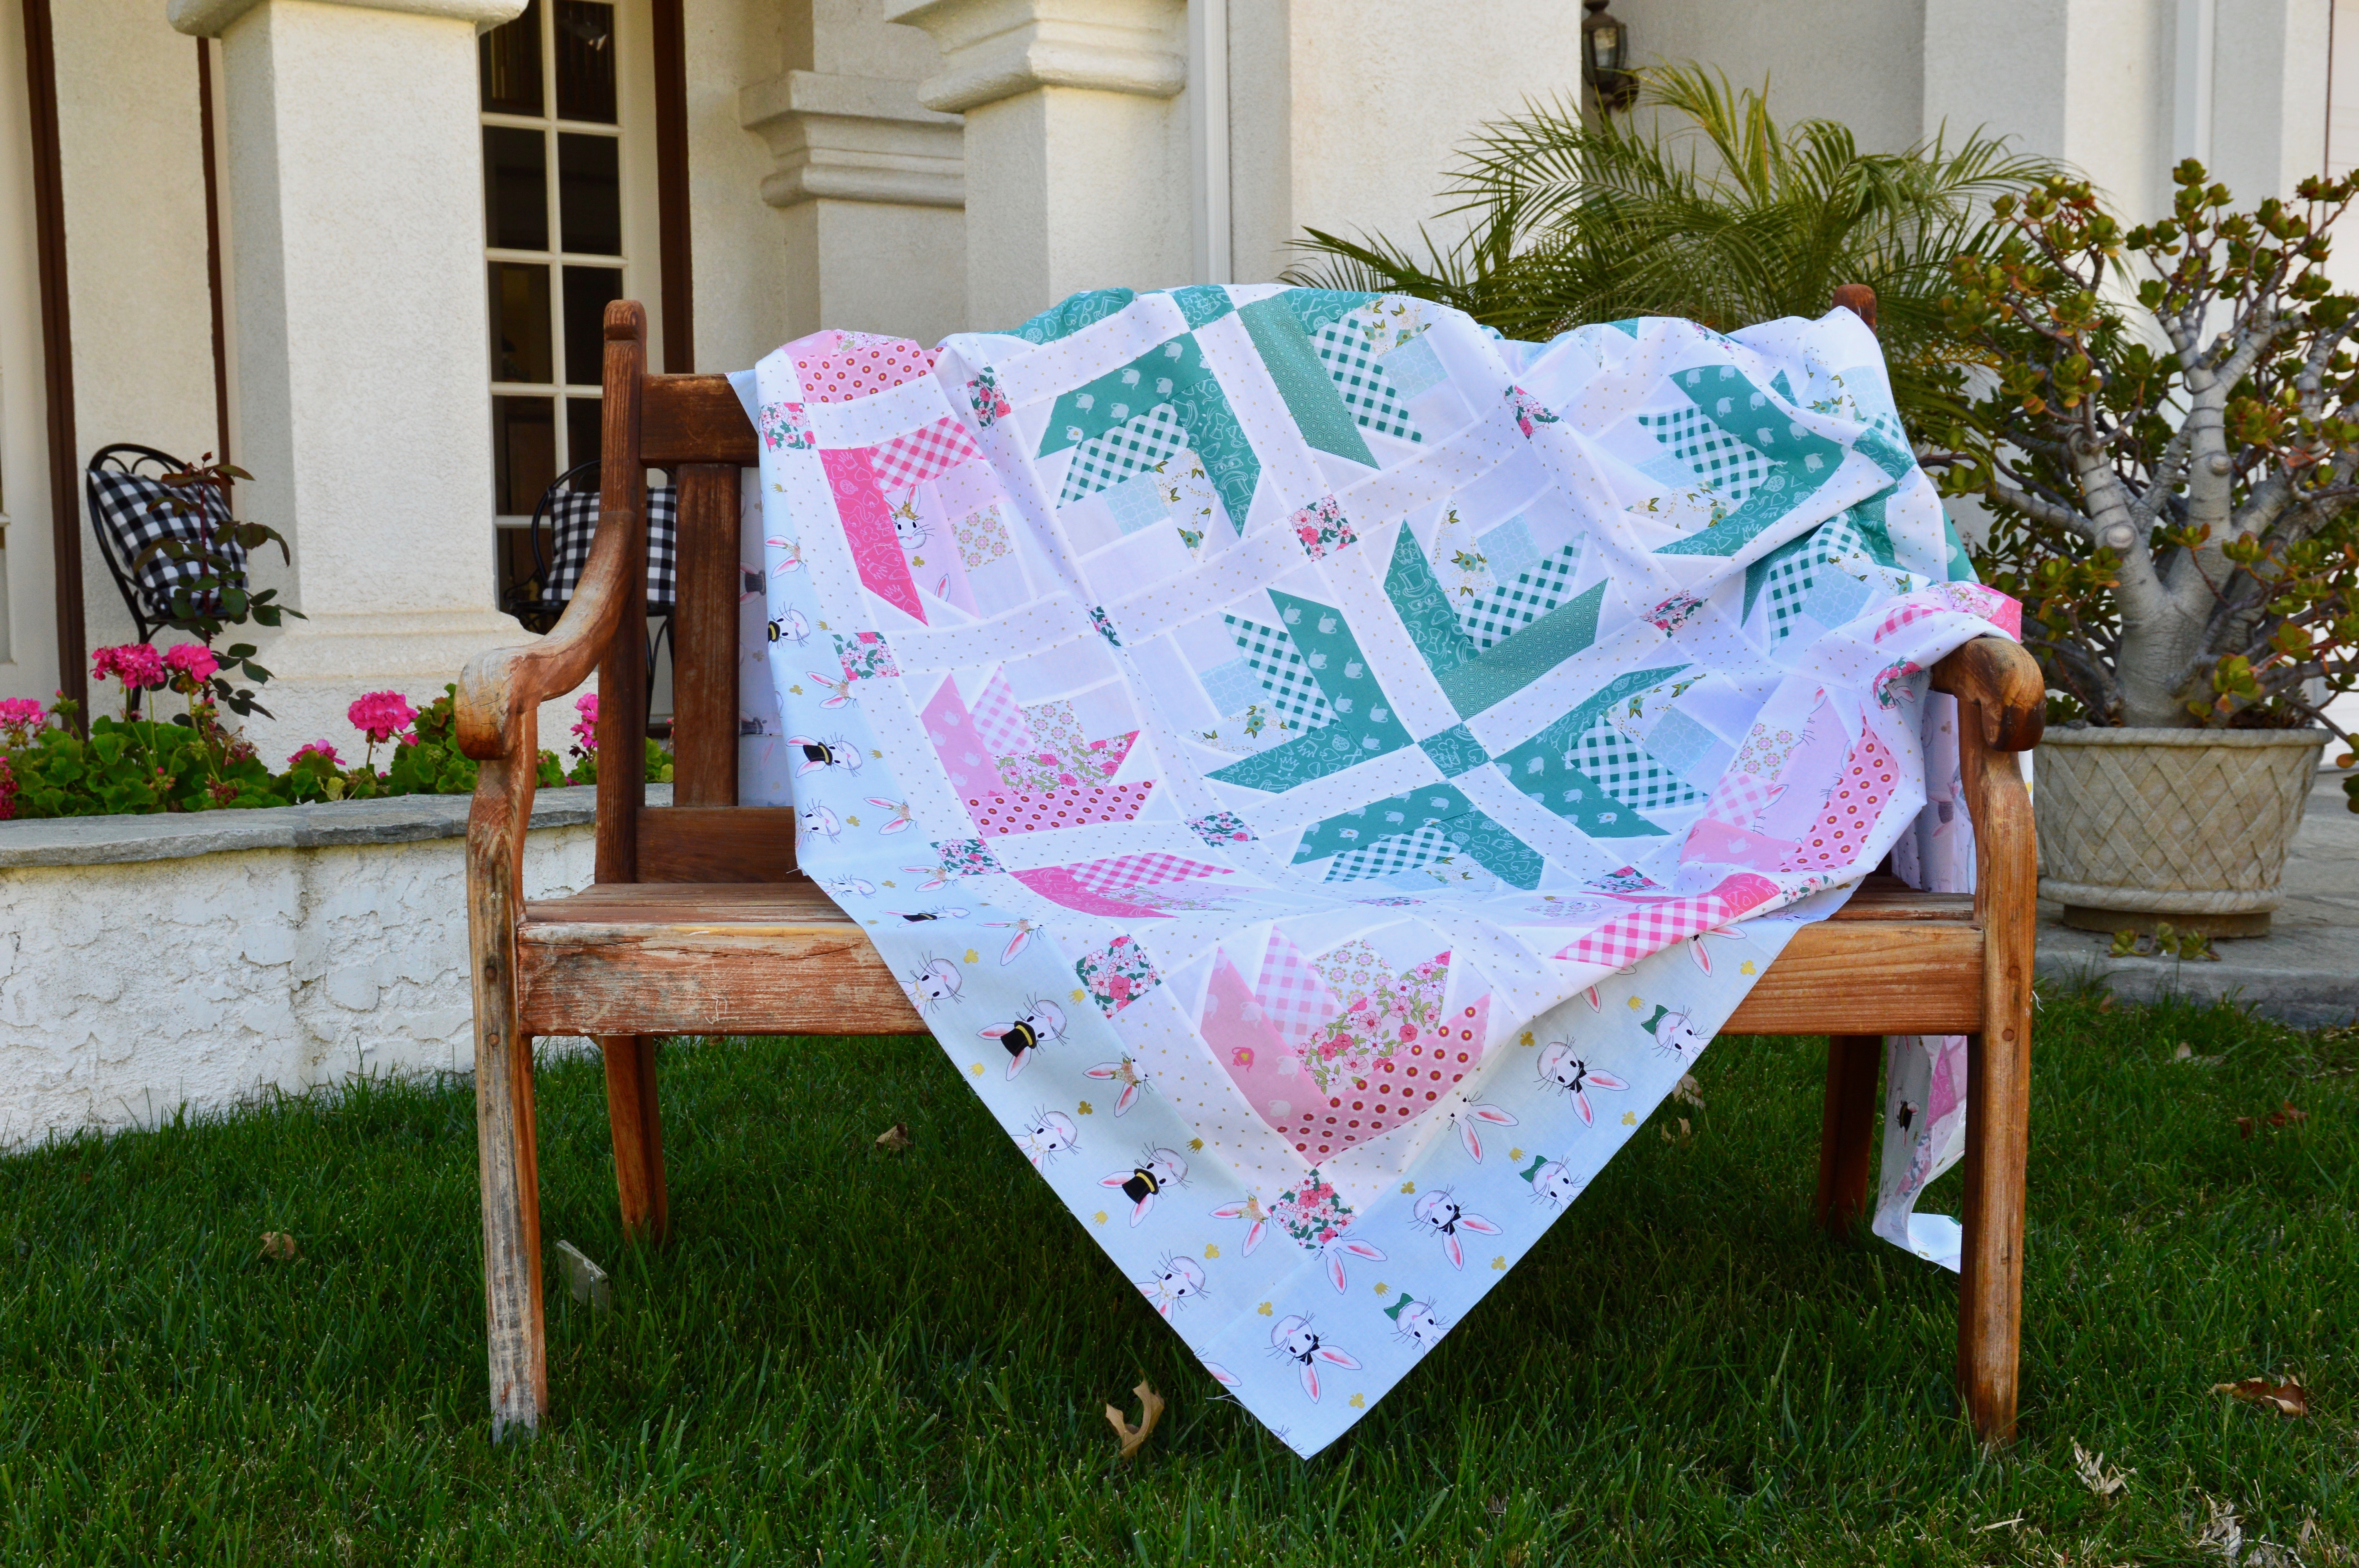
Essentially this is a shorter table runner with ties.  You can really choose any design! You can turn it so it says “SEW” or “Happy”.   I used a fat quarter bundle, 1/4 yard solid white, and 3/4 yard for binding and ties.

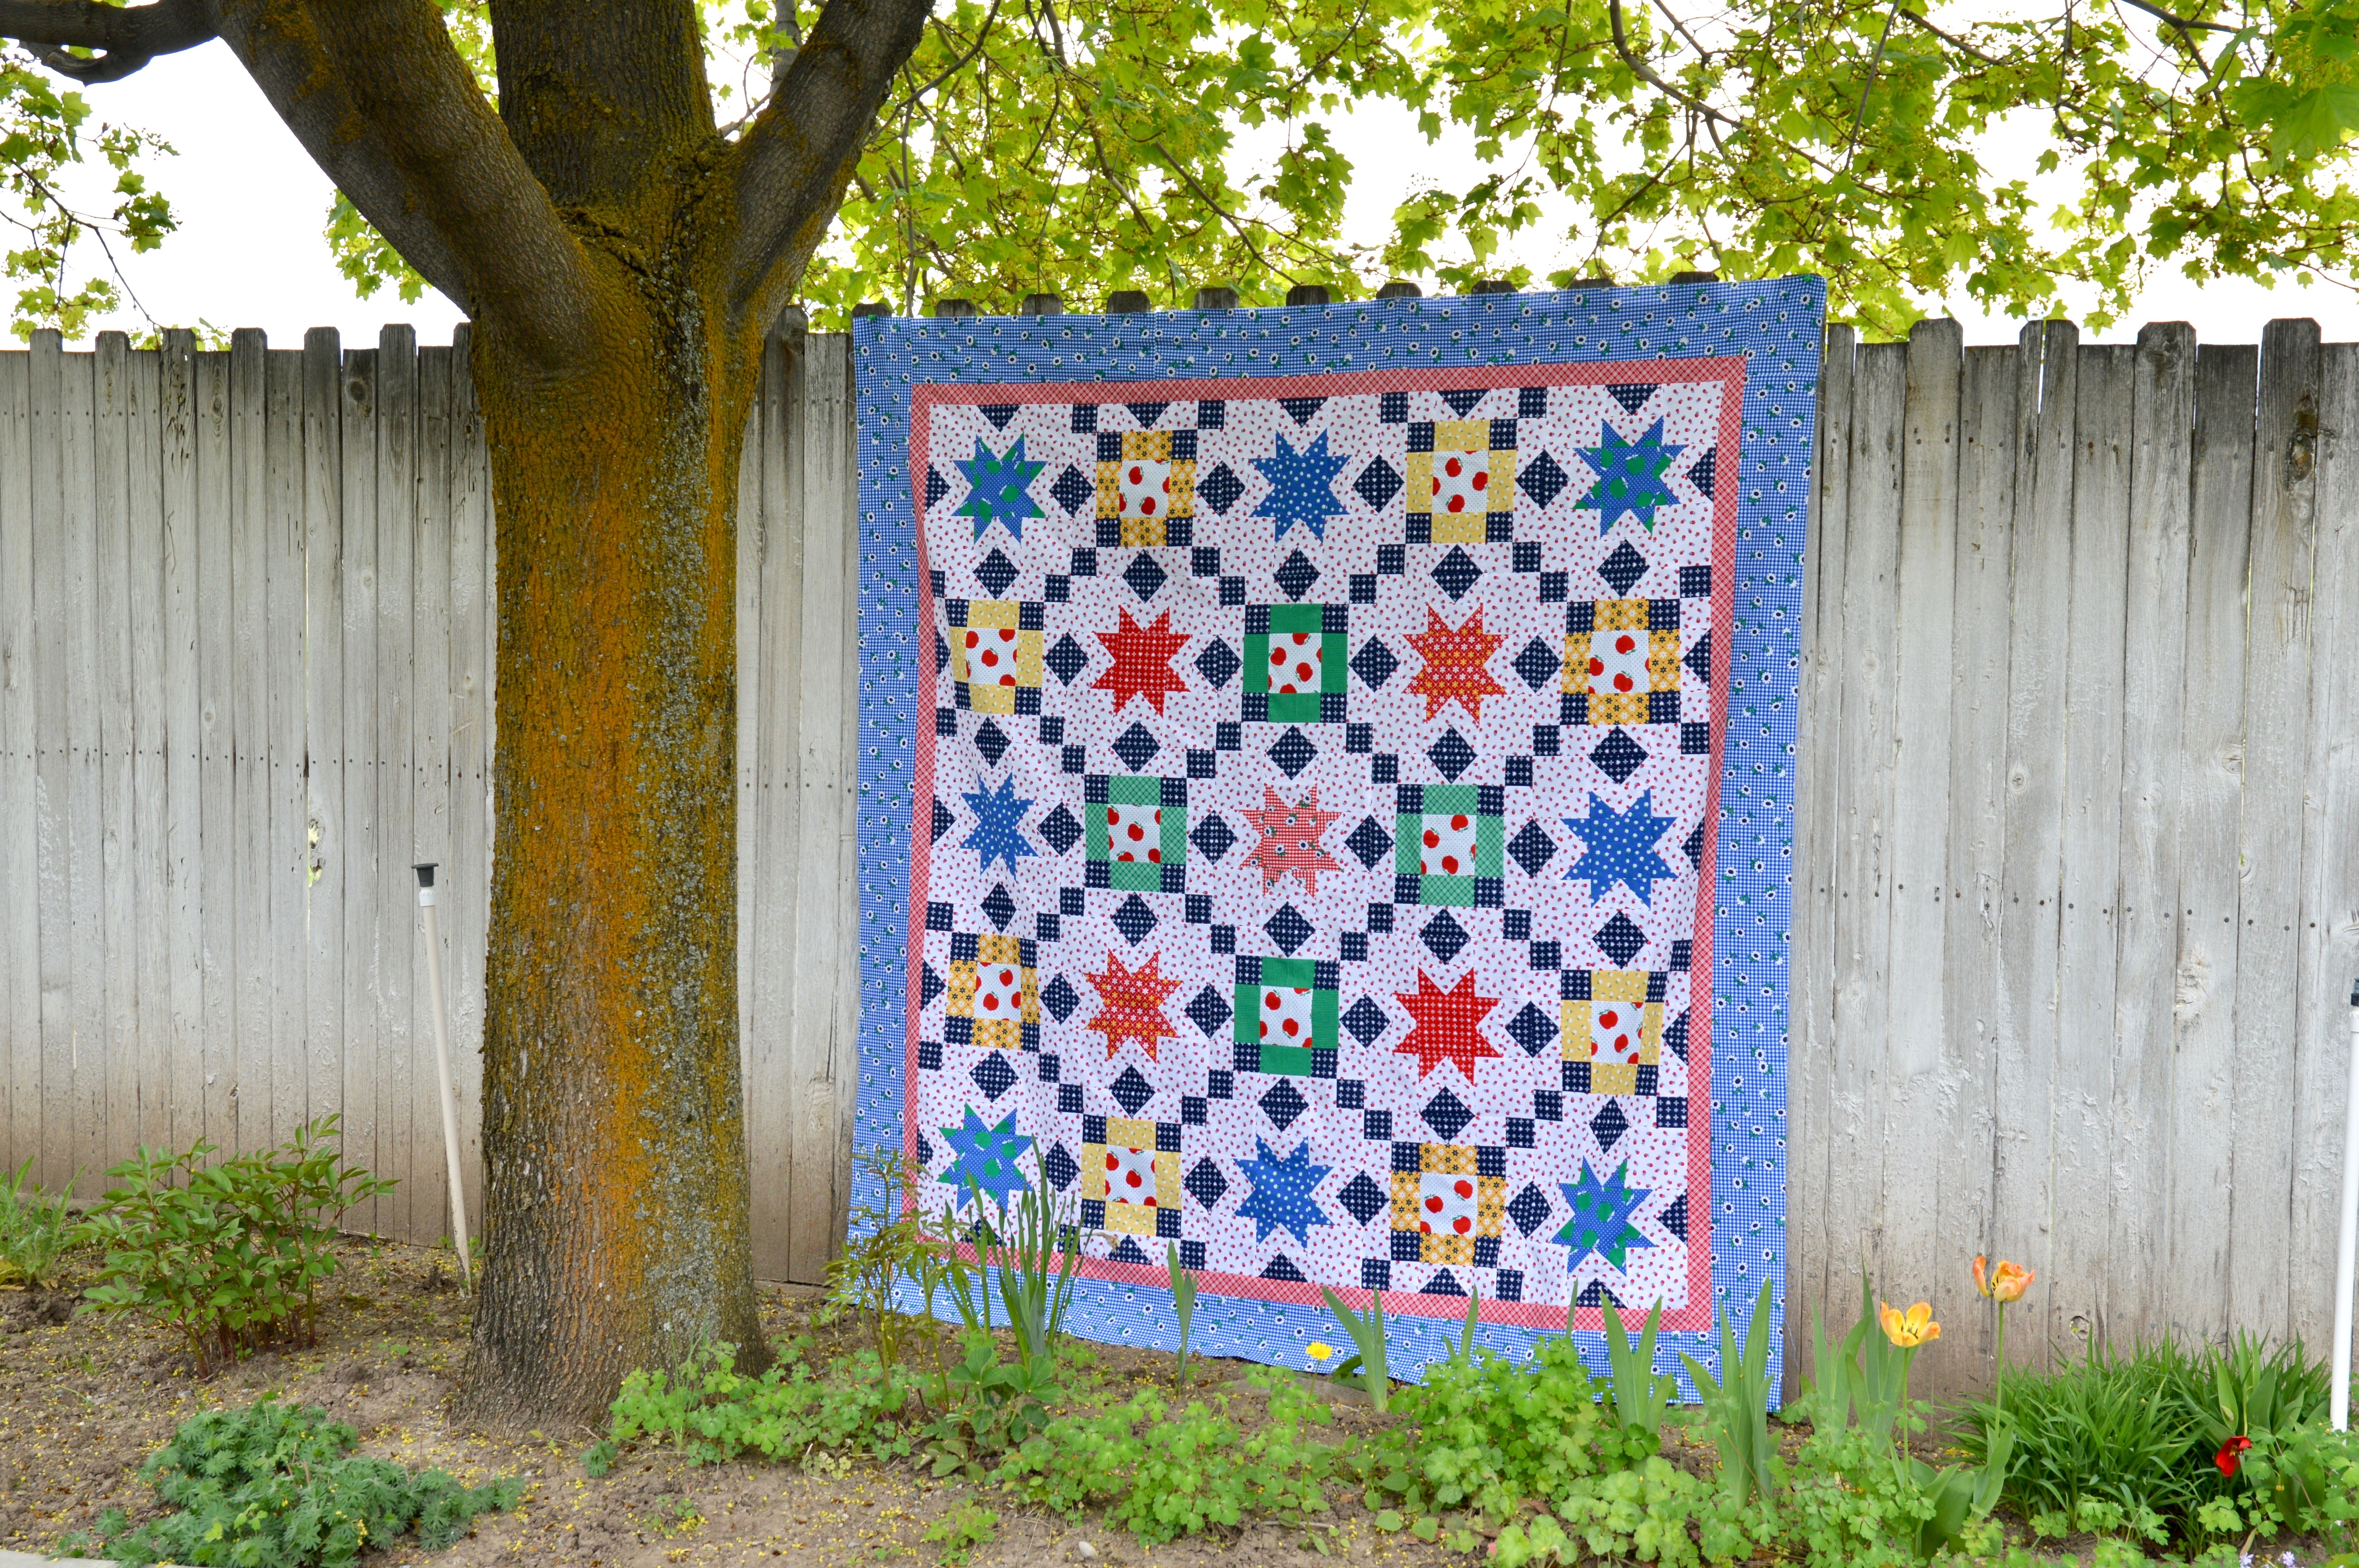
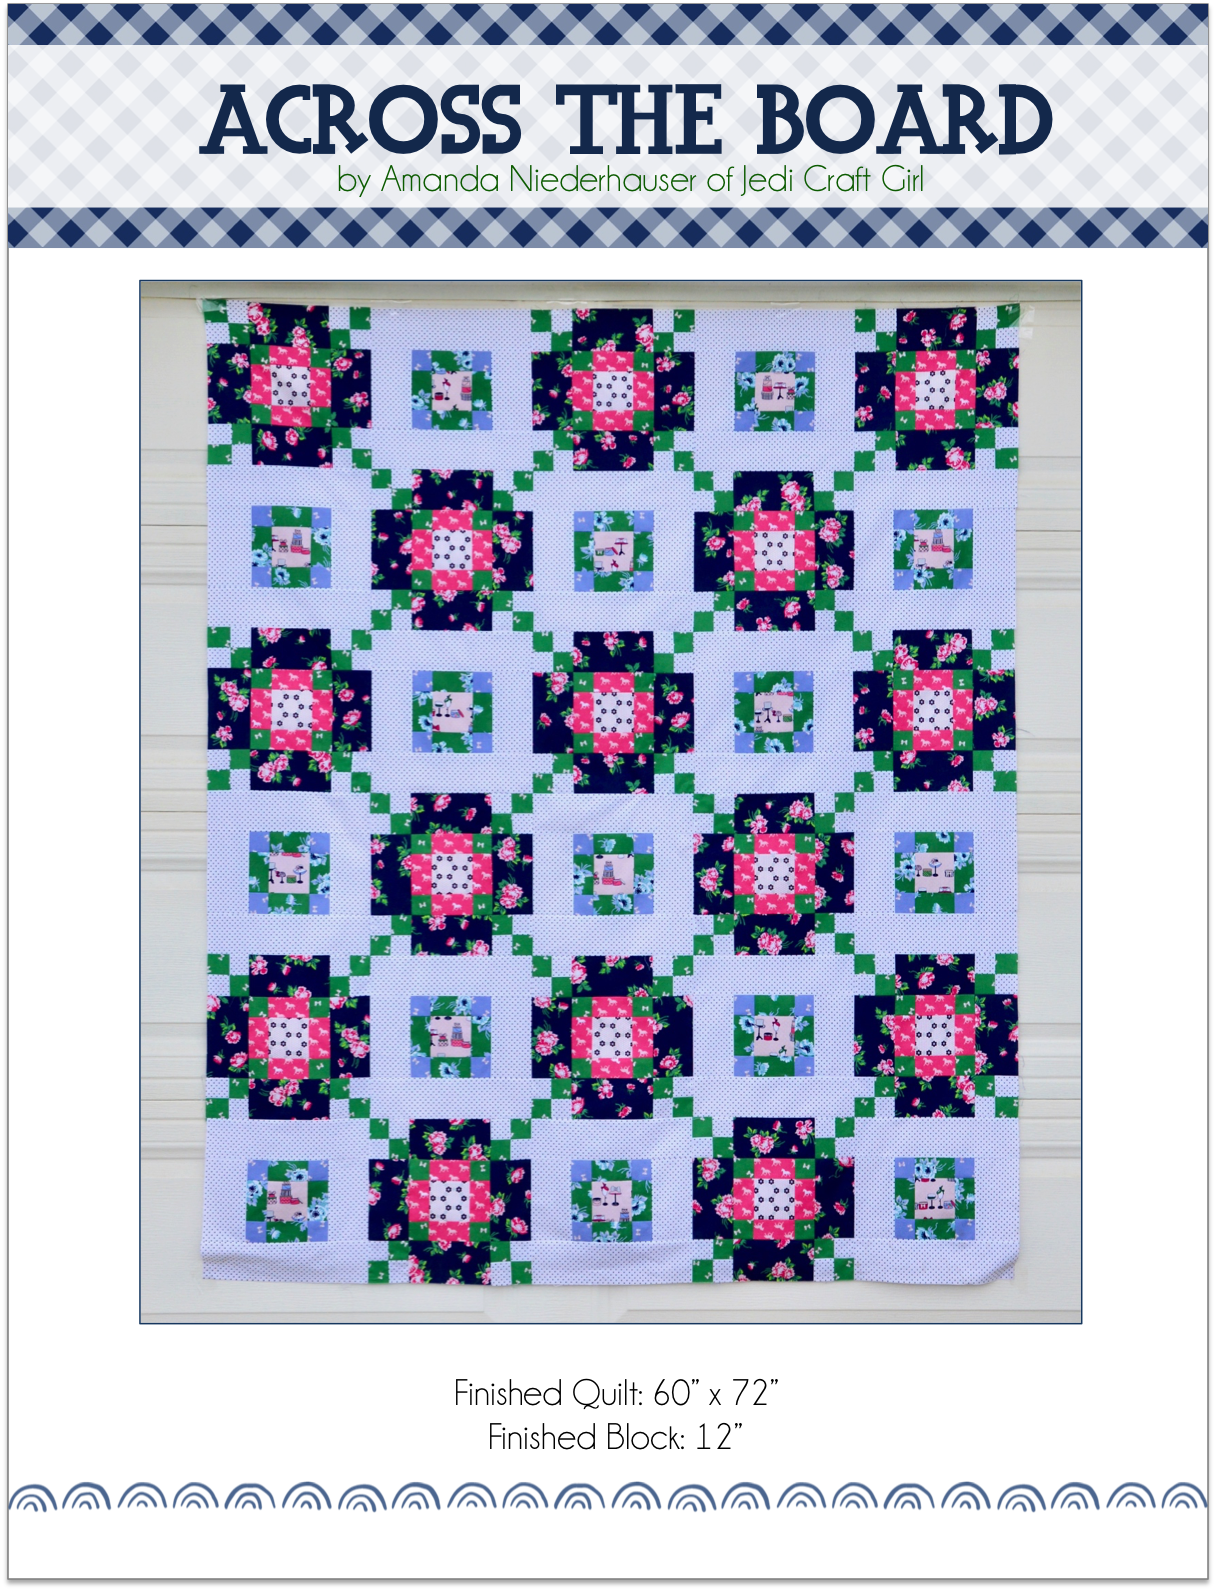
The finished quilt measures 21″ x 31″.

sew happy layout

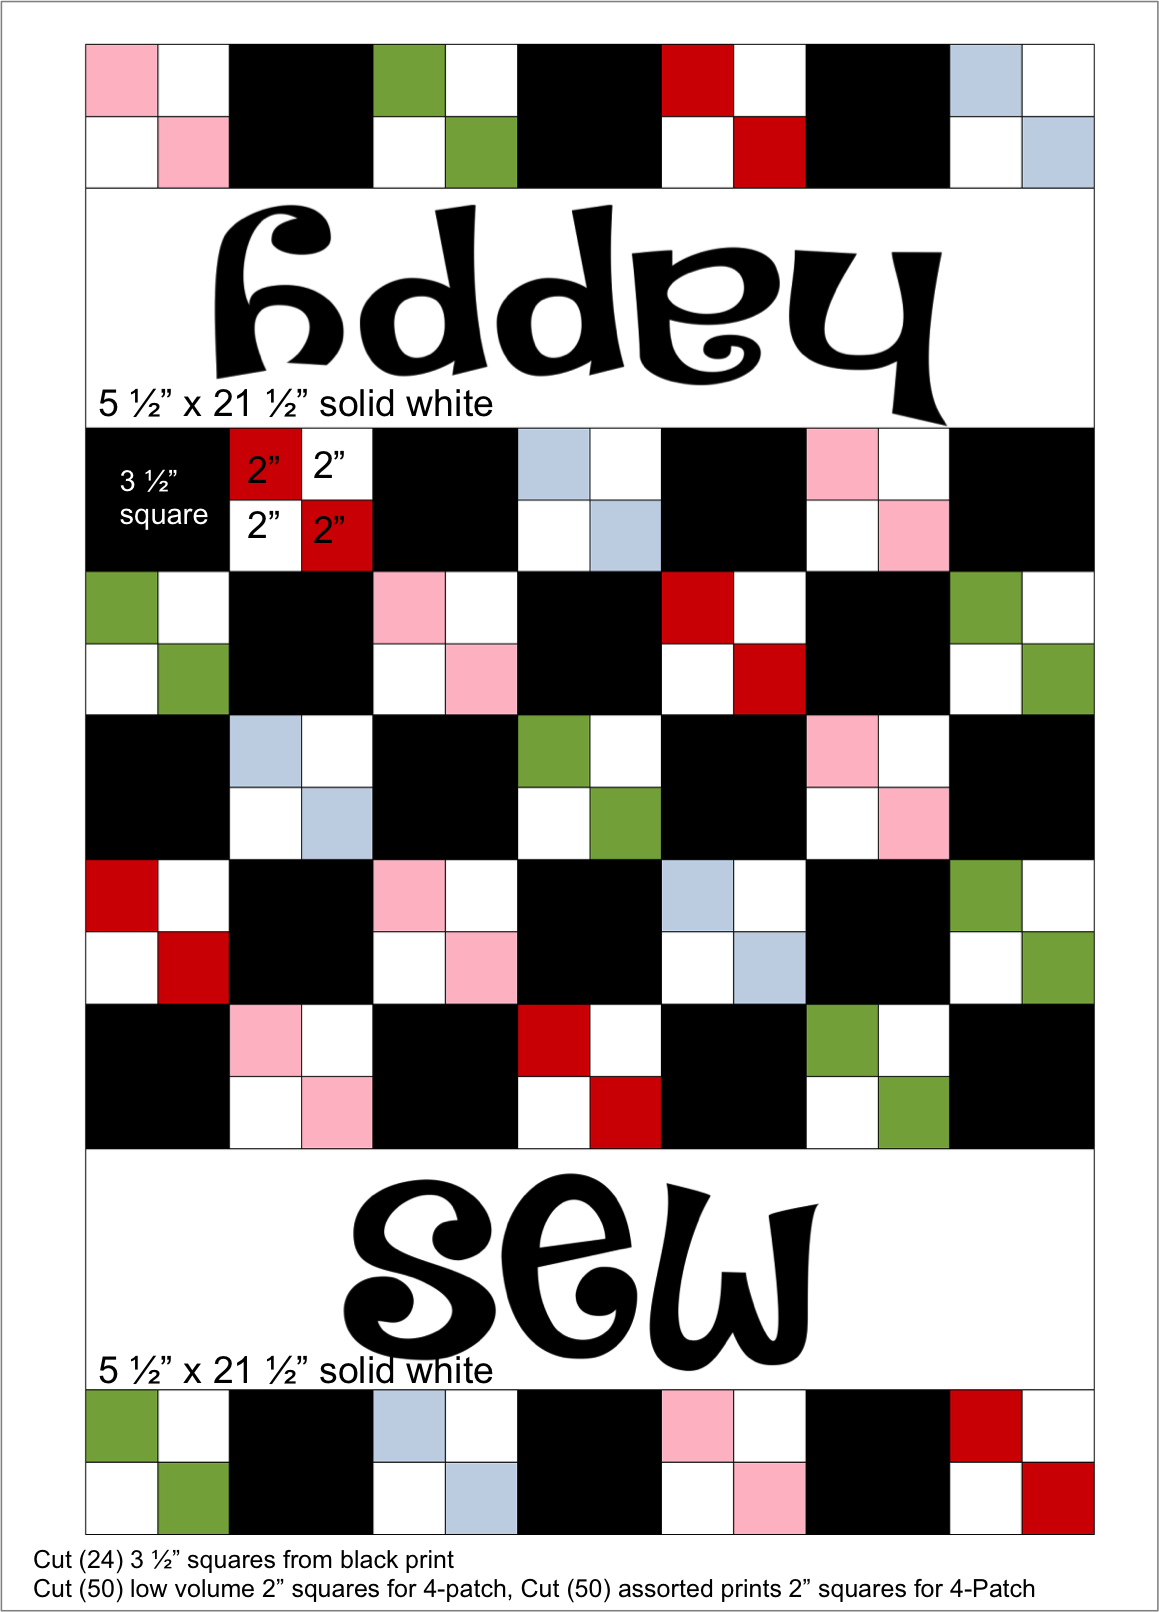
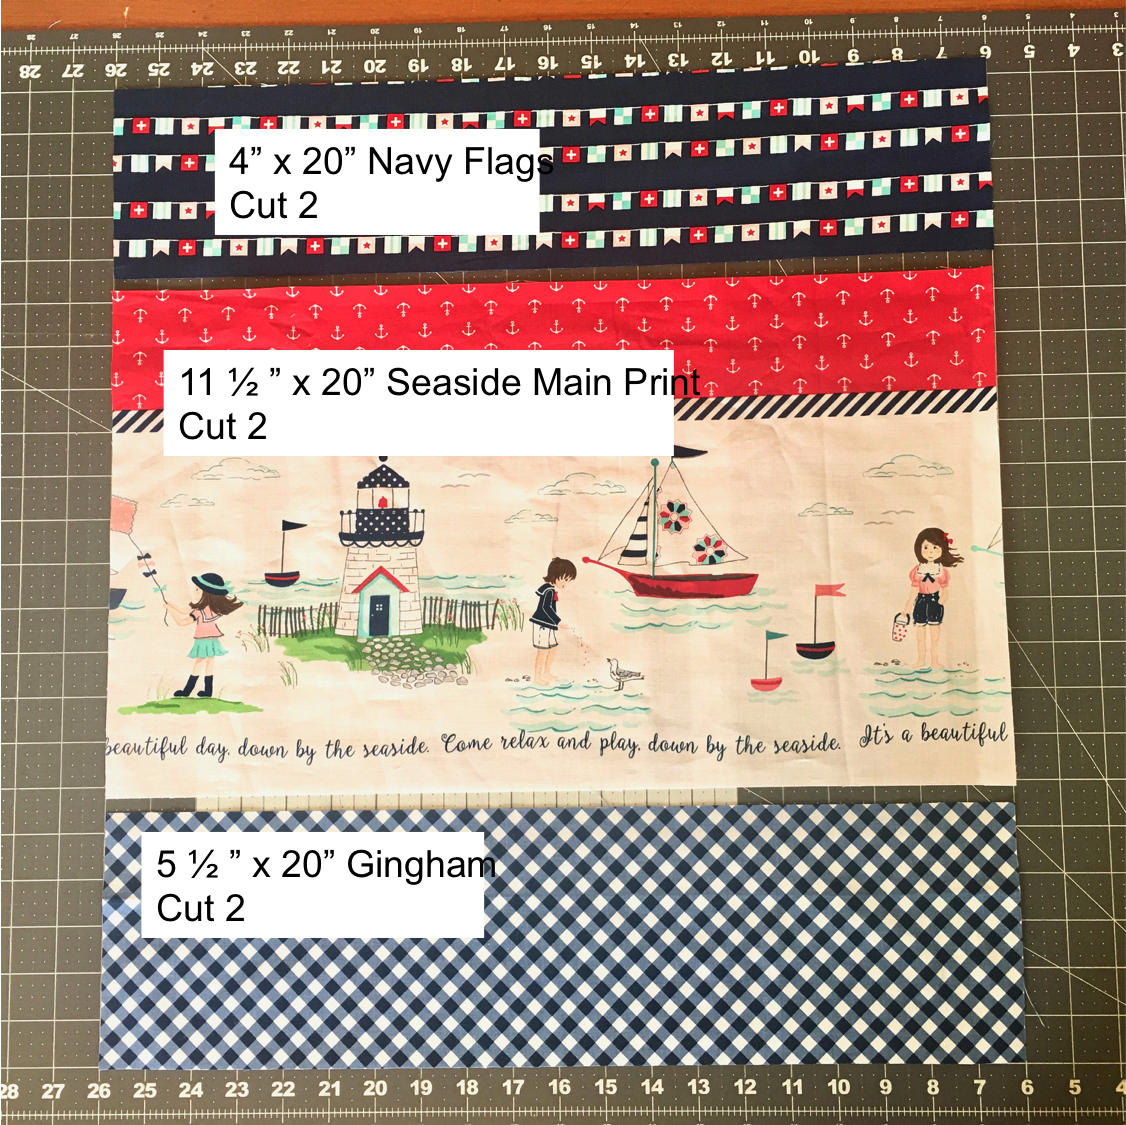
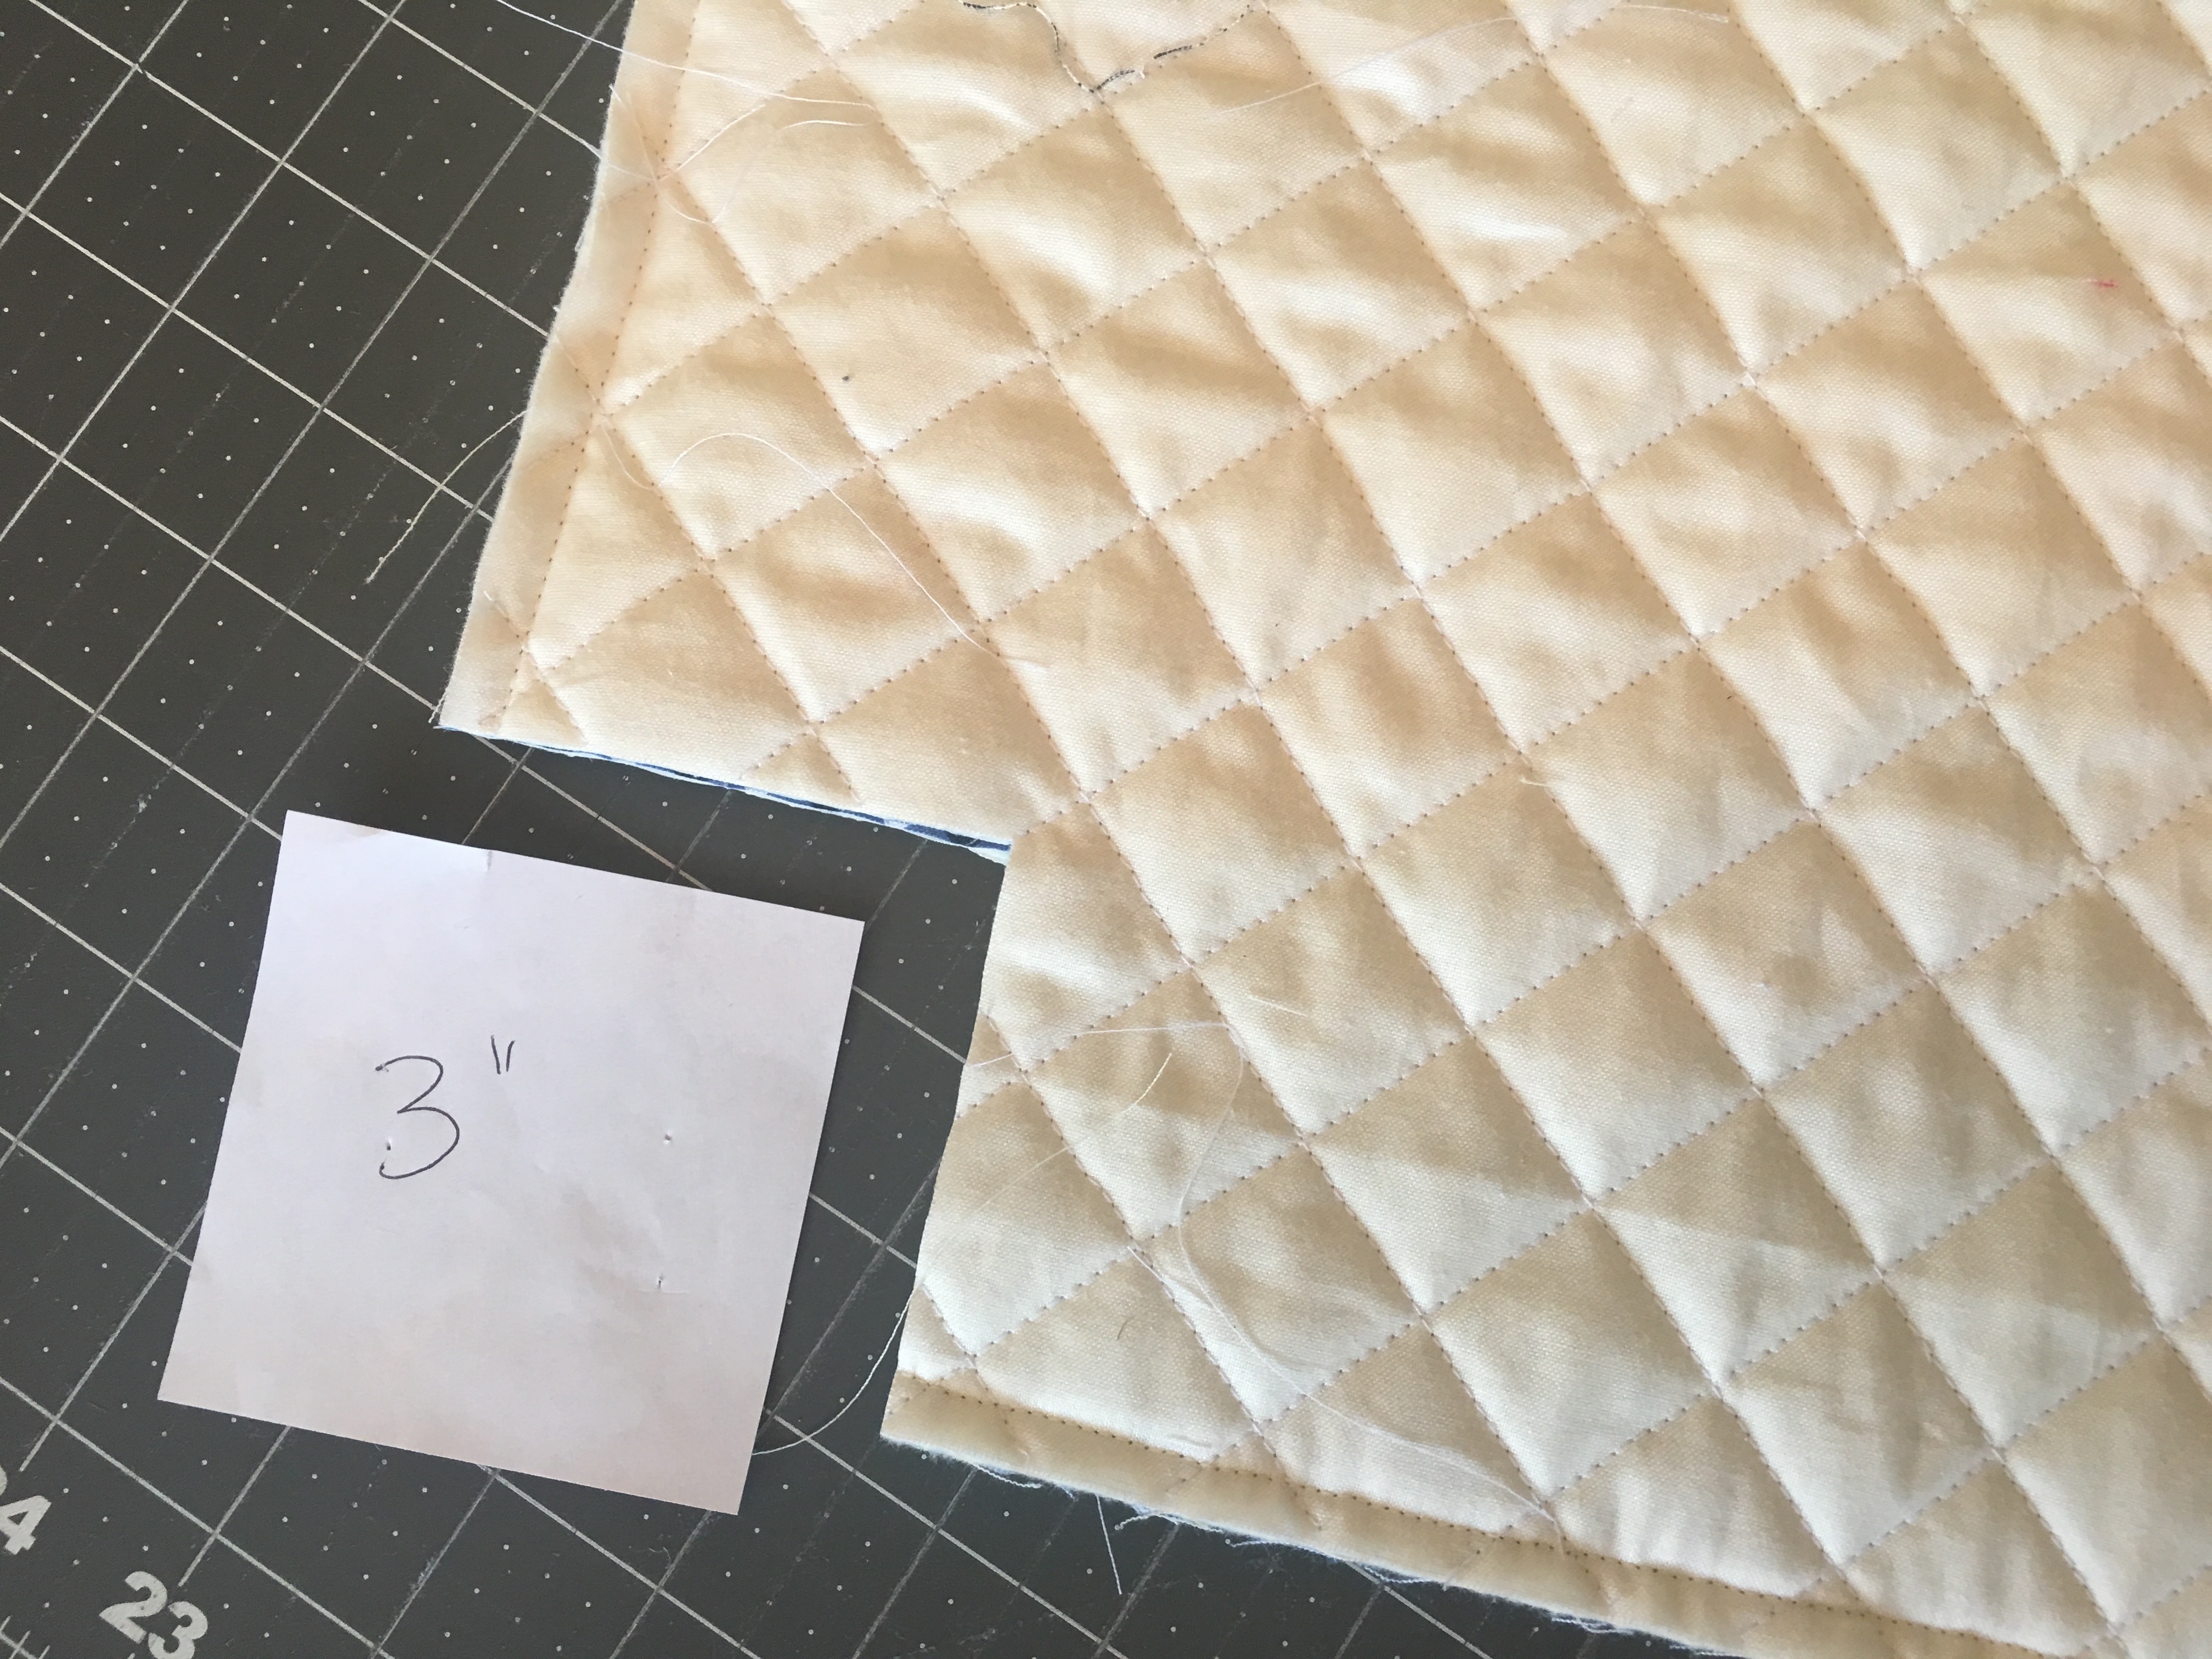
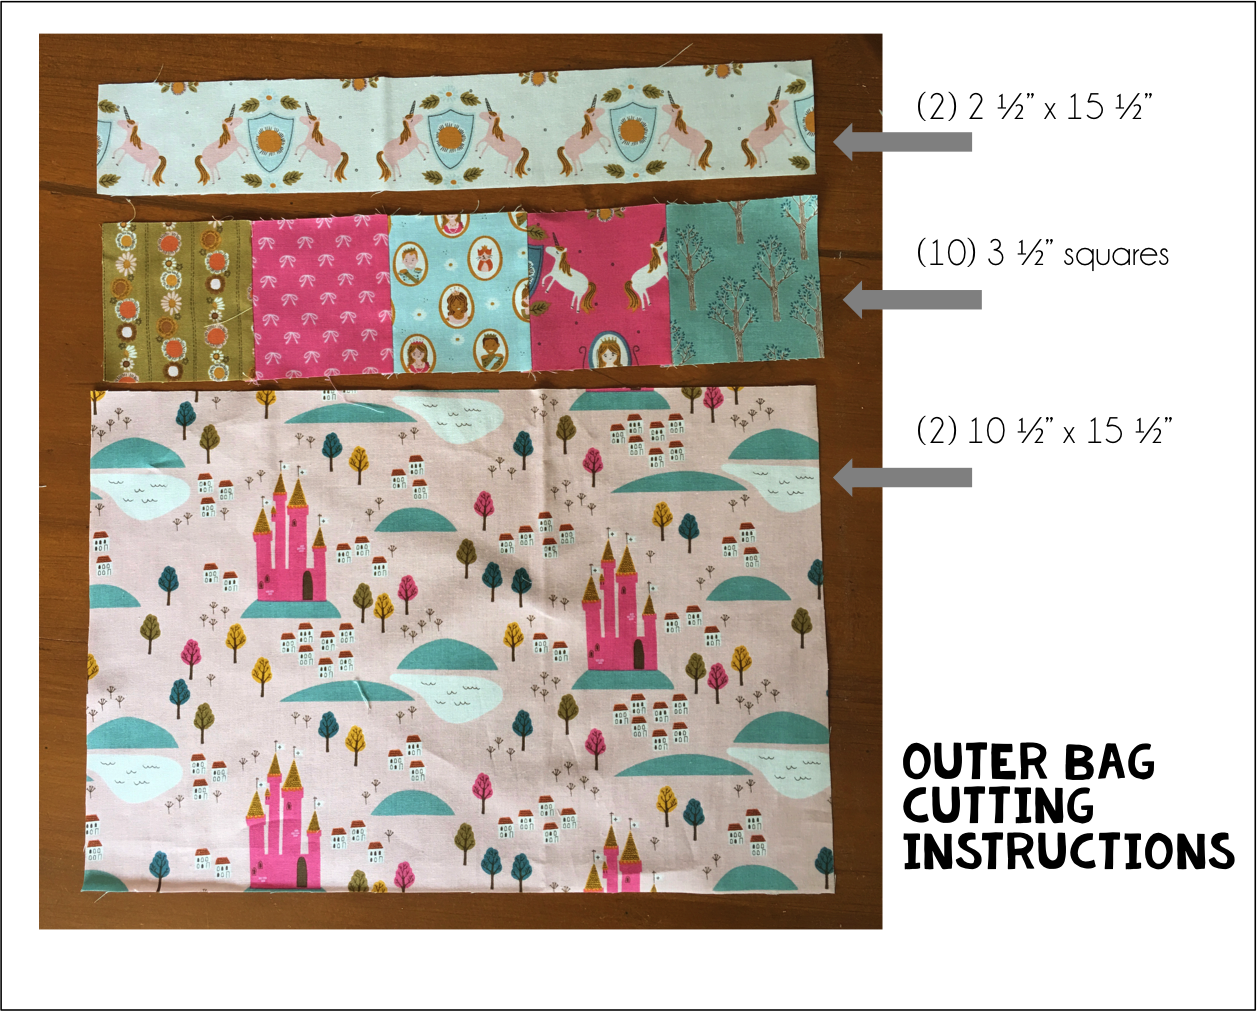
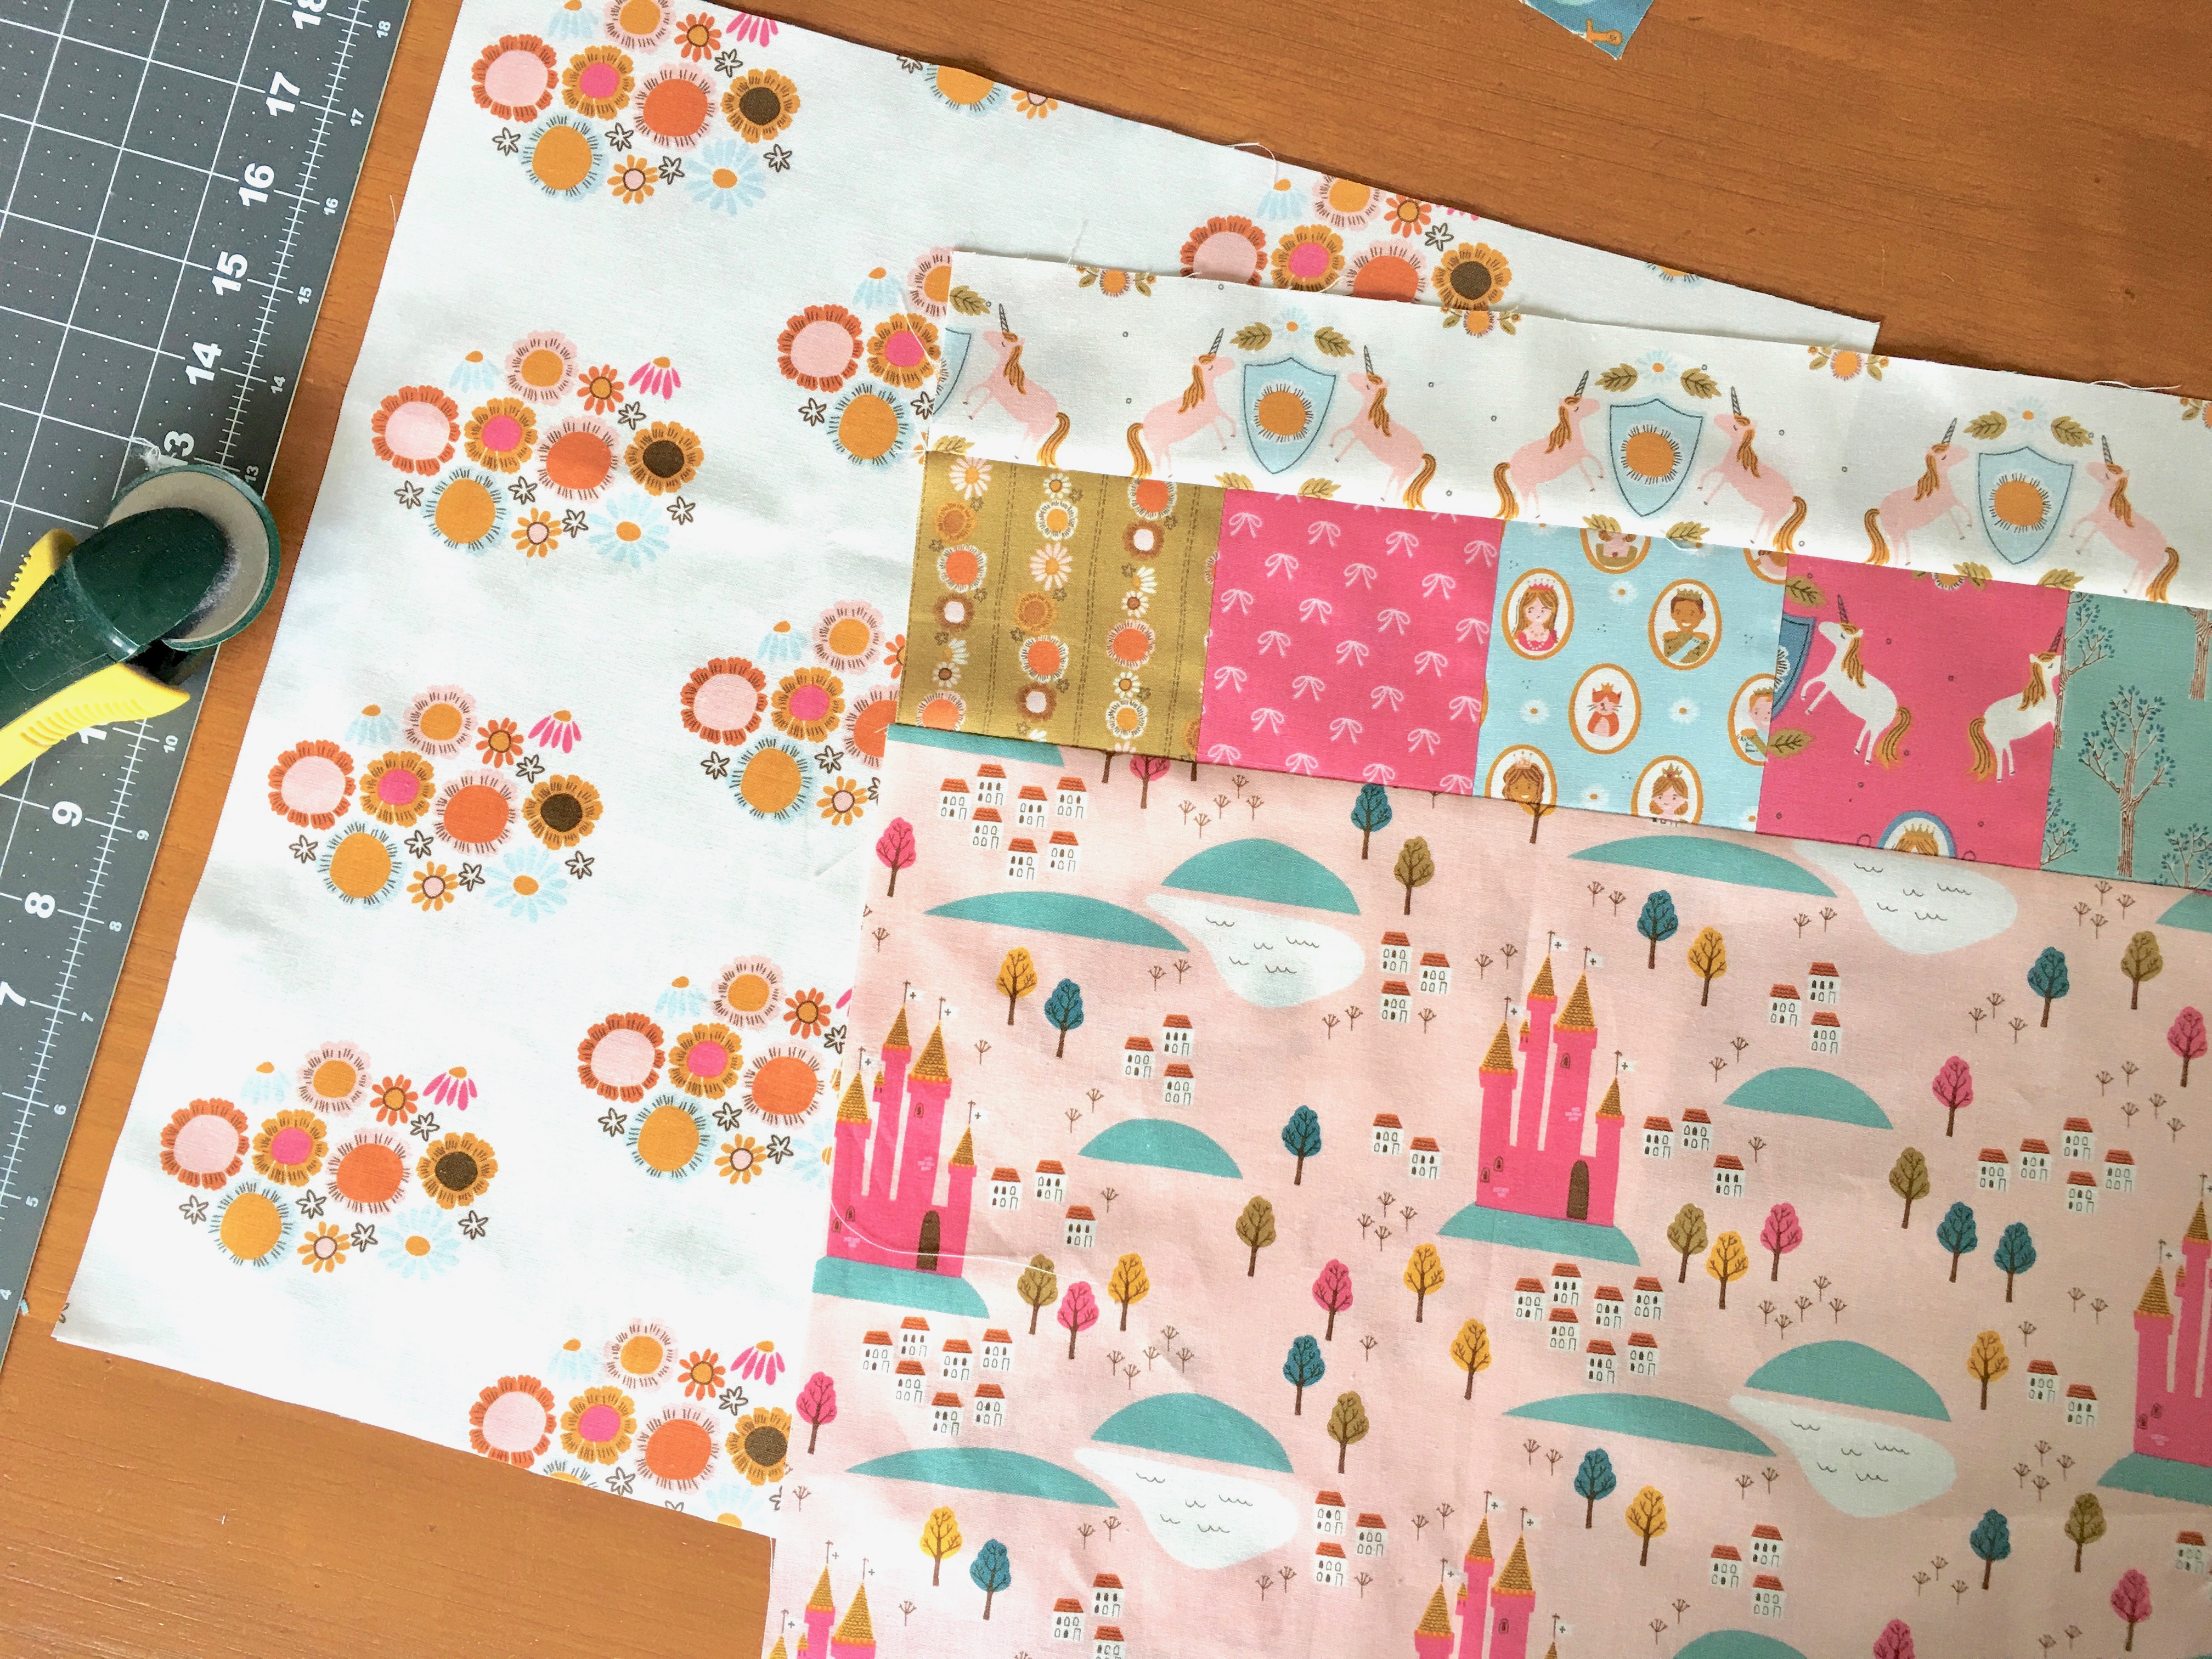
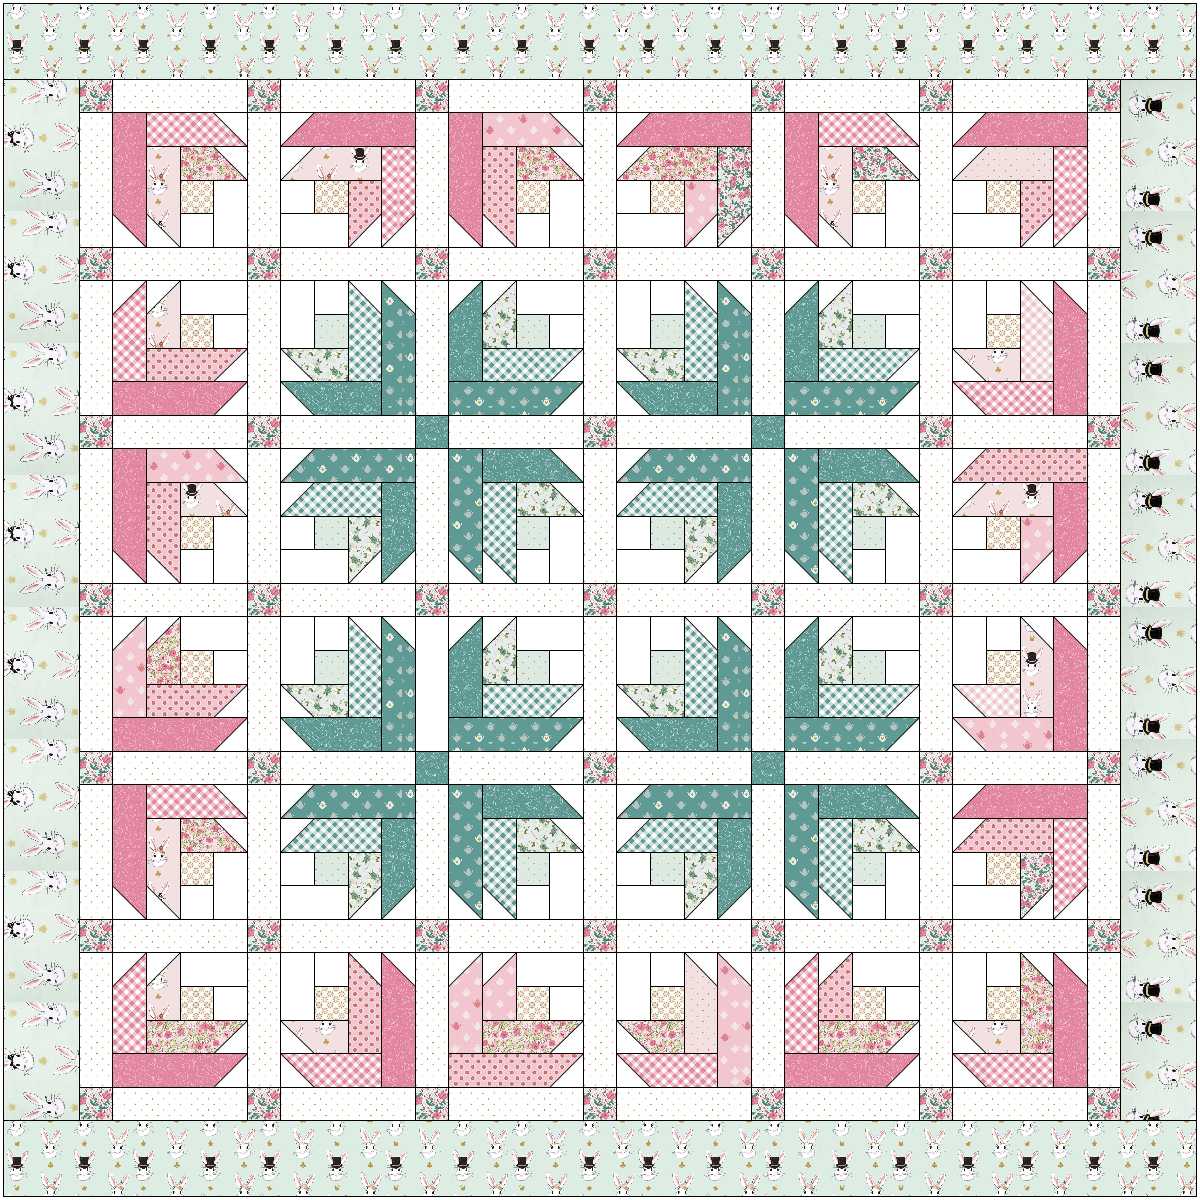
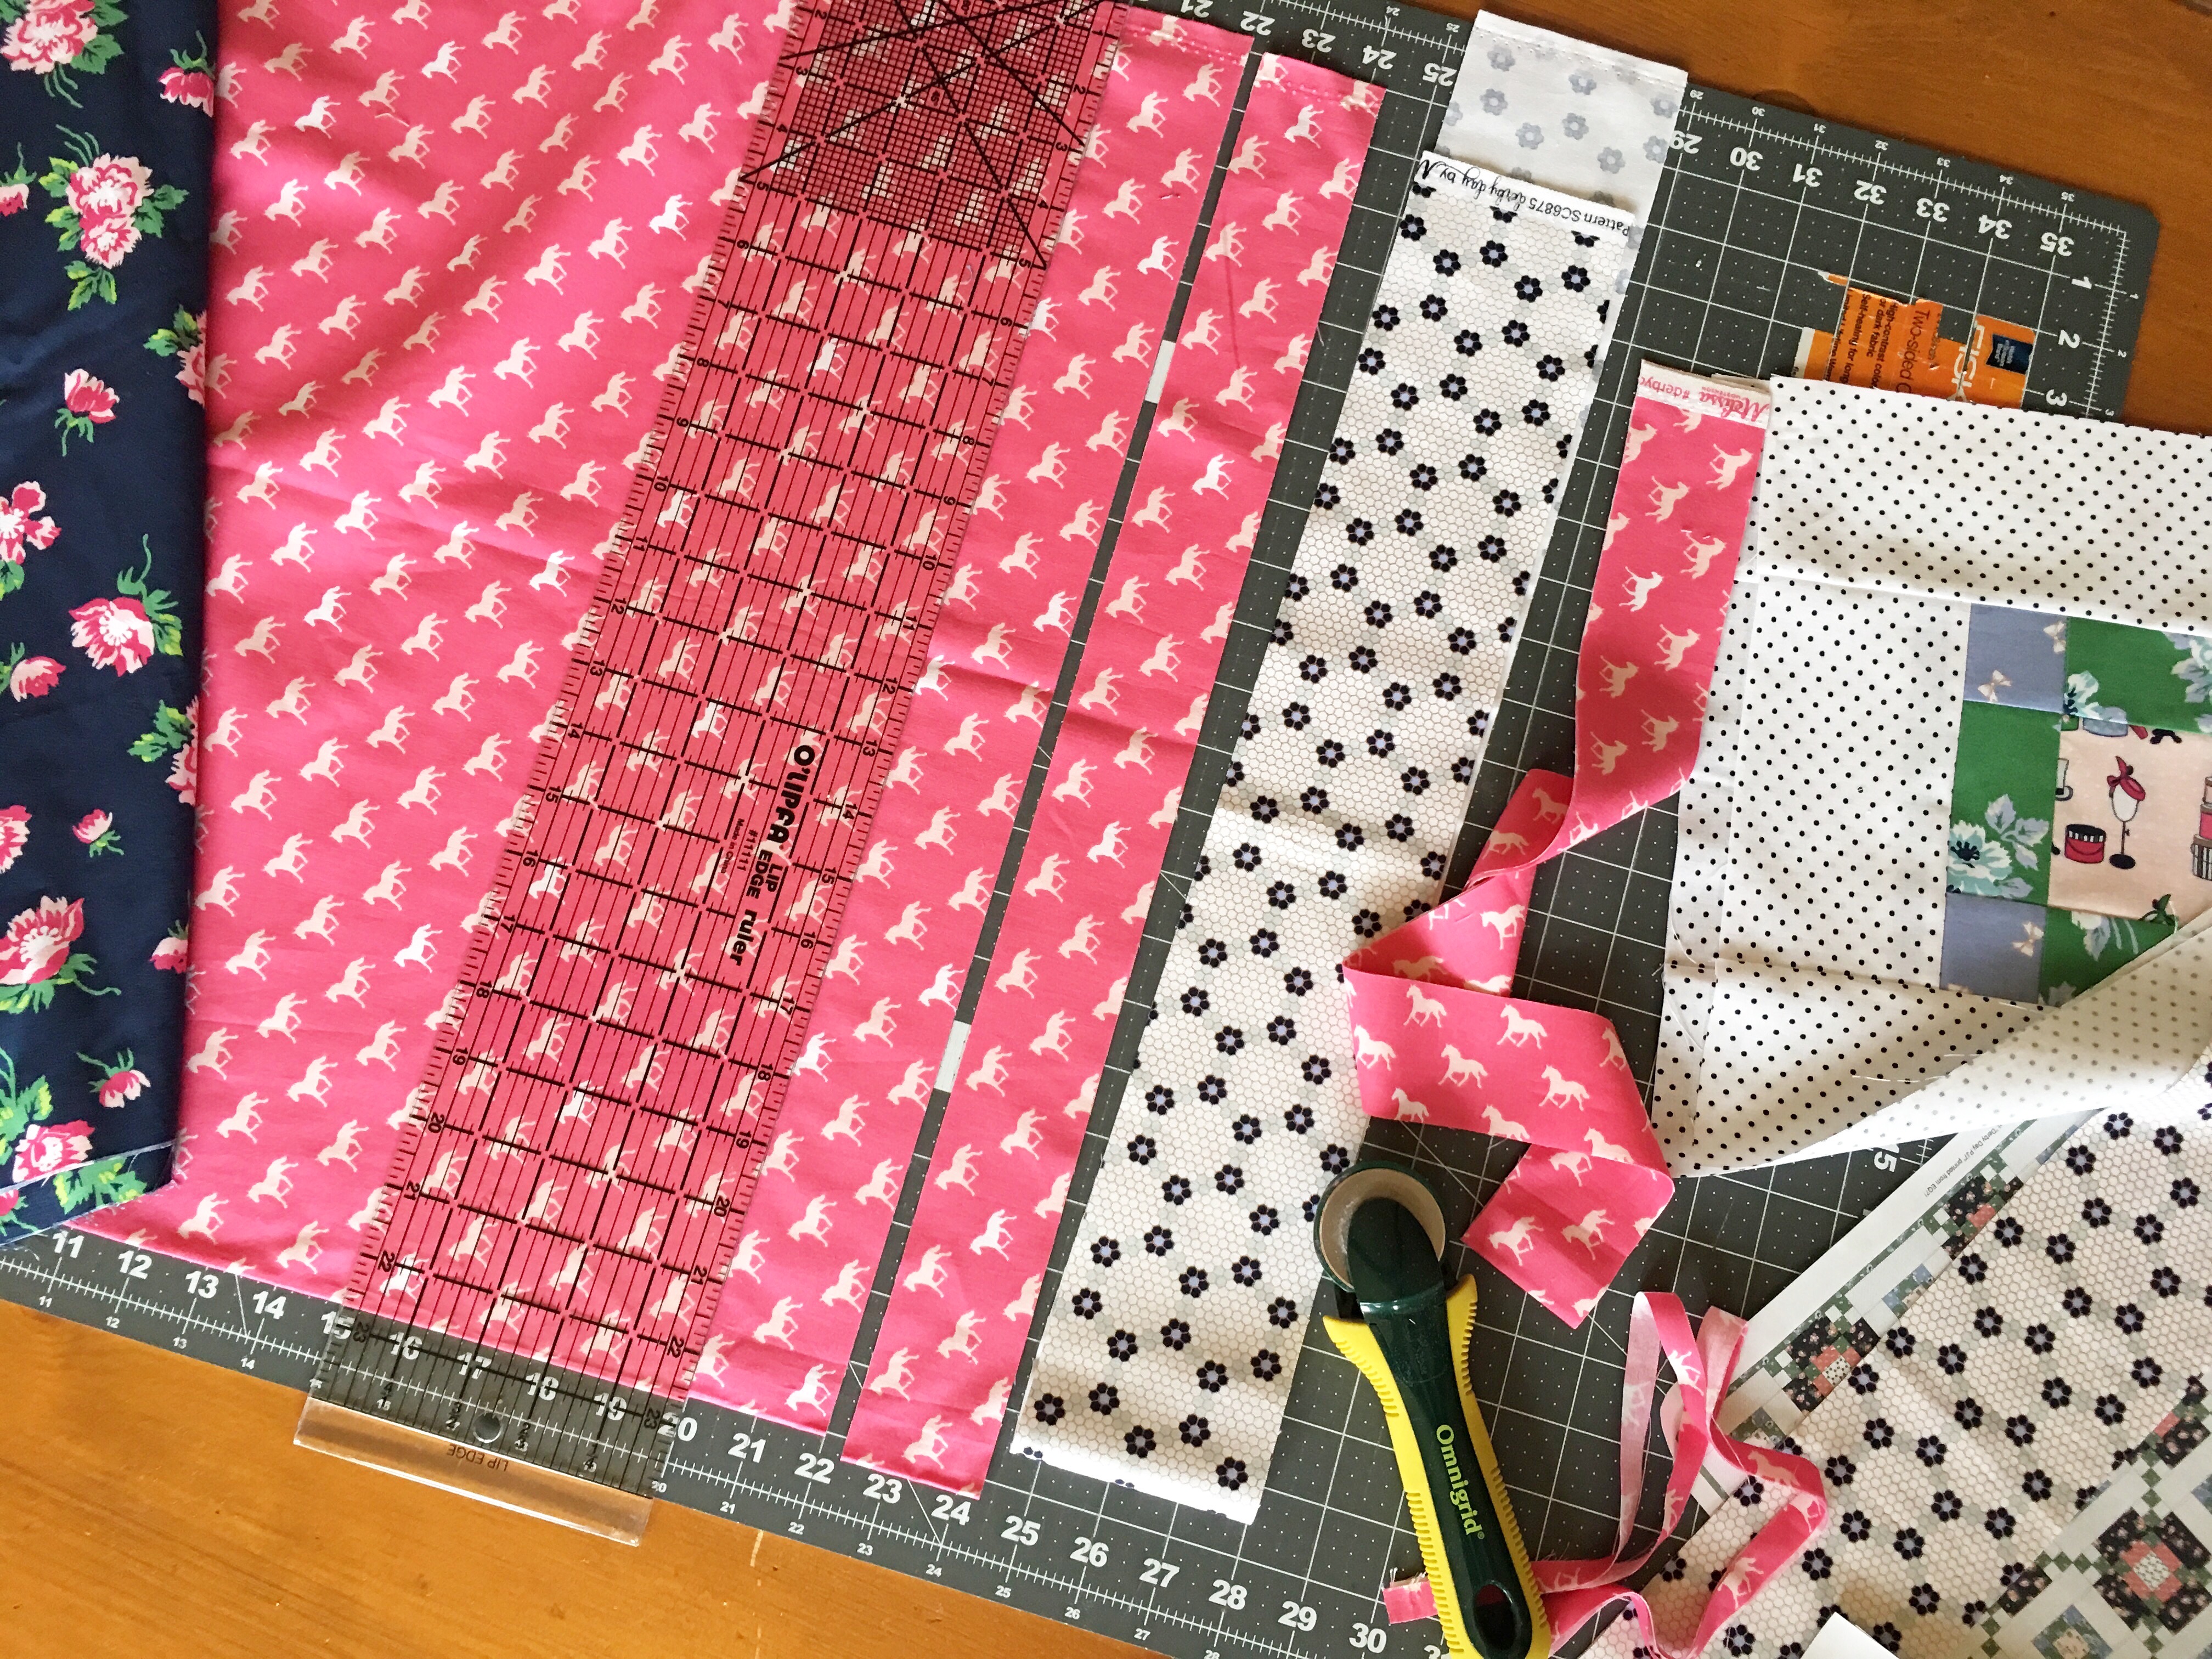
Cut the fabrics according to the measurements on the diagram above.

Sew the 2″ squares in 4-patch units, pressing toward the dark.  Make (25) 4-patch units.

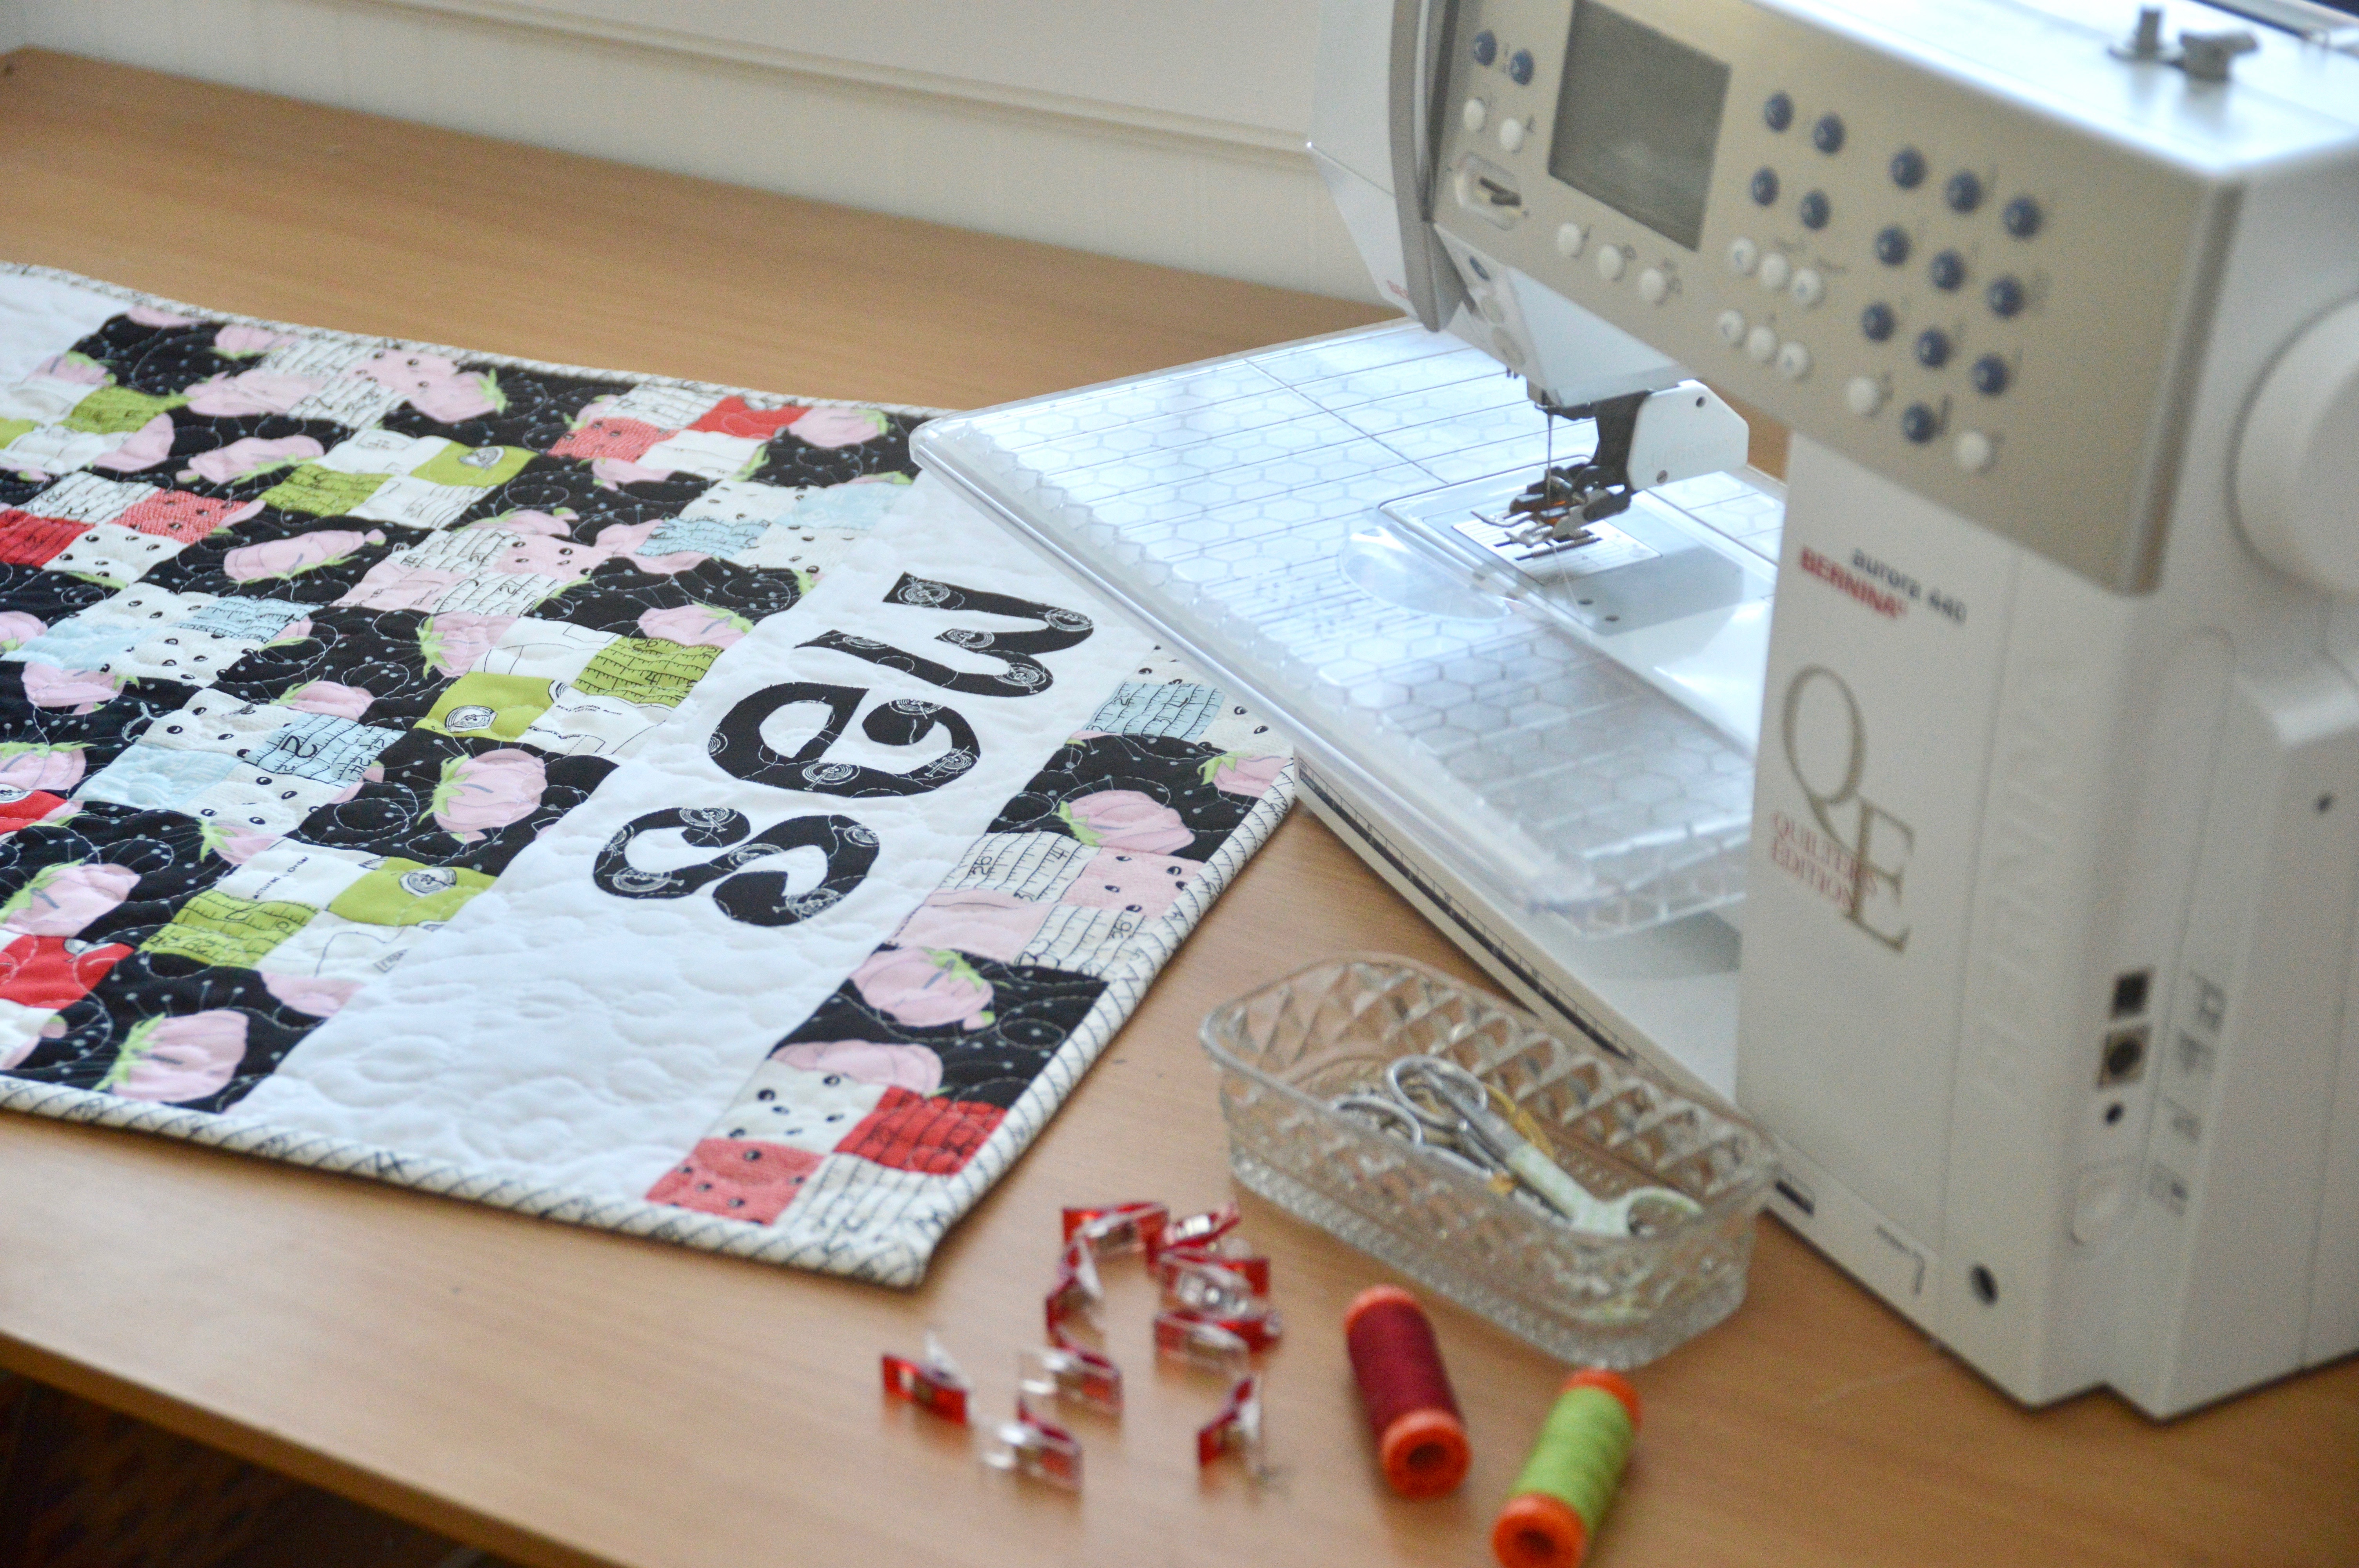
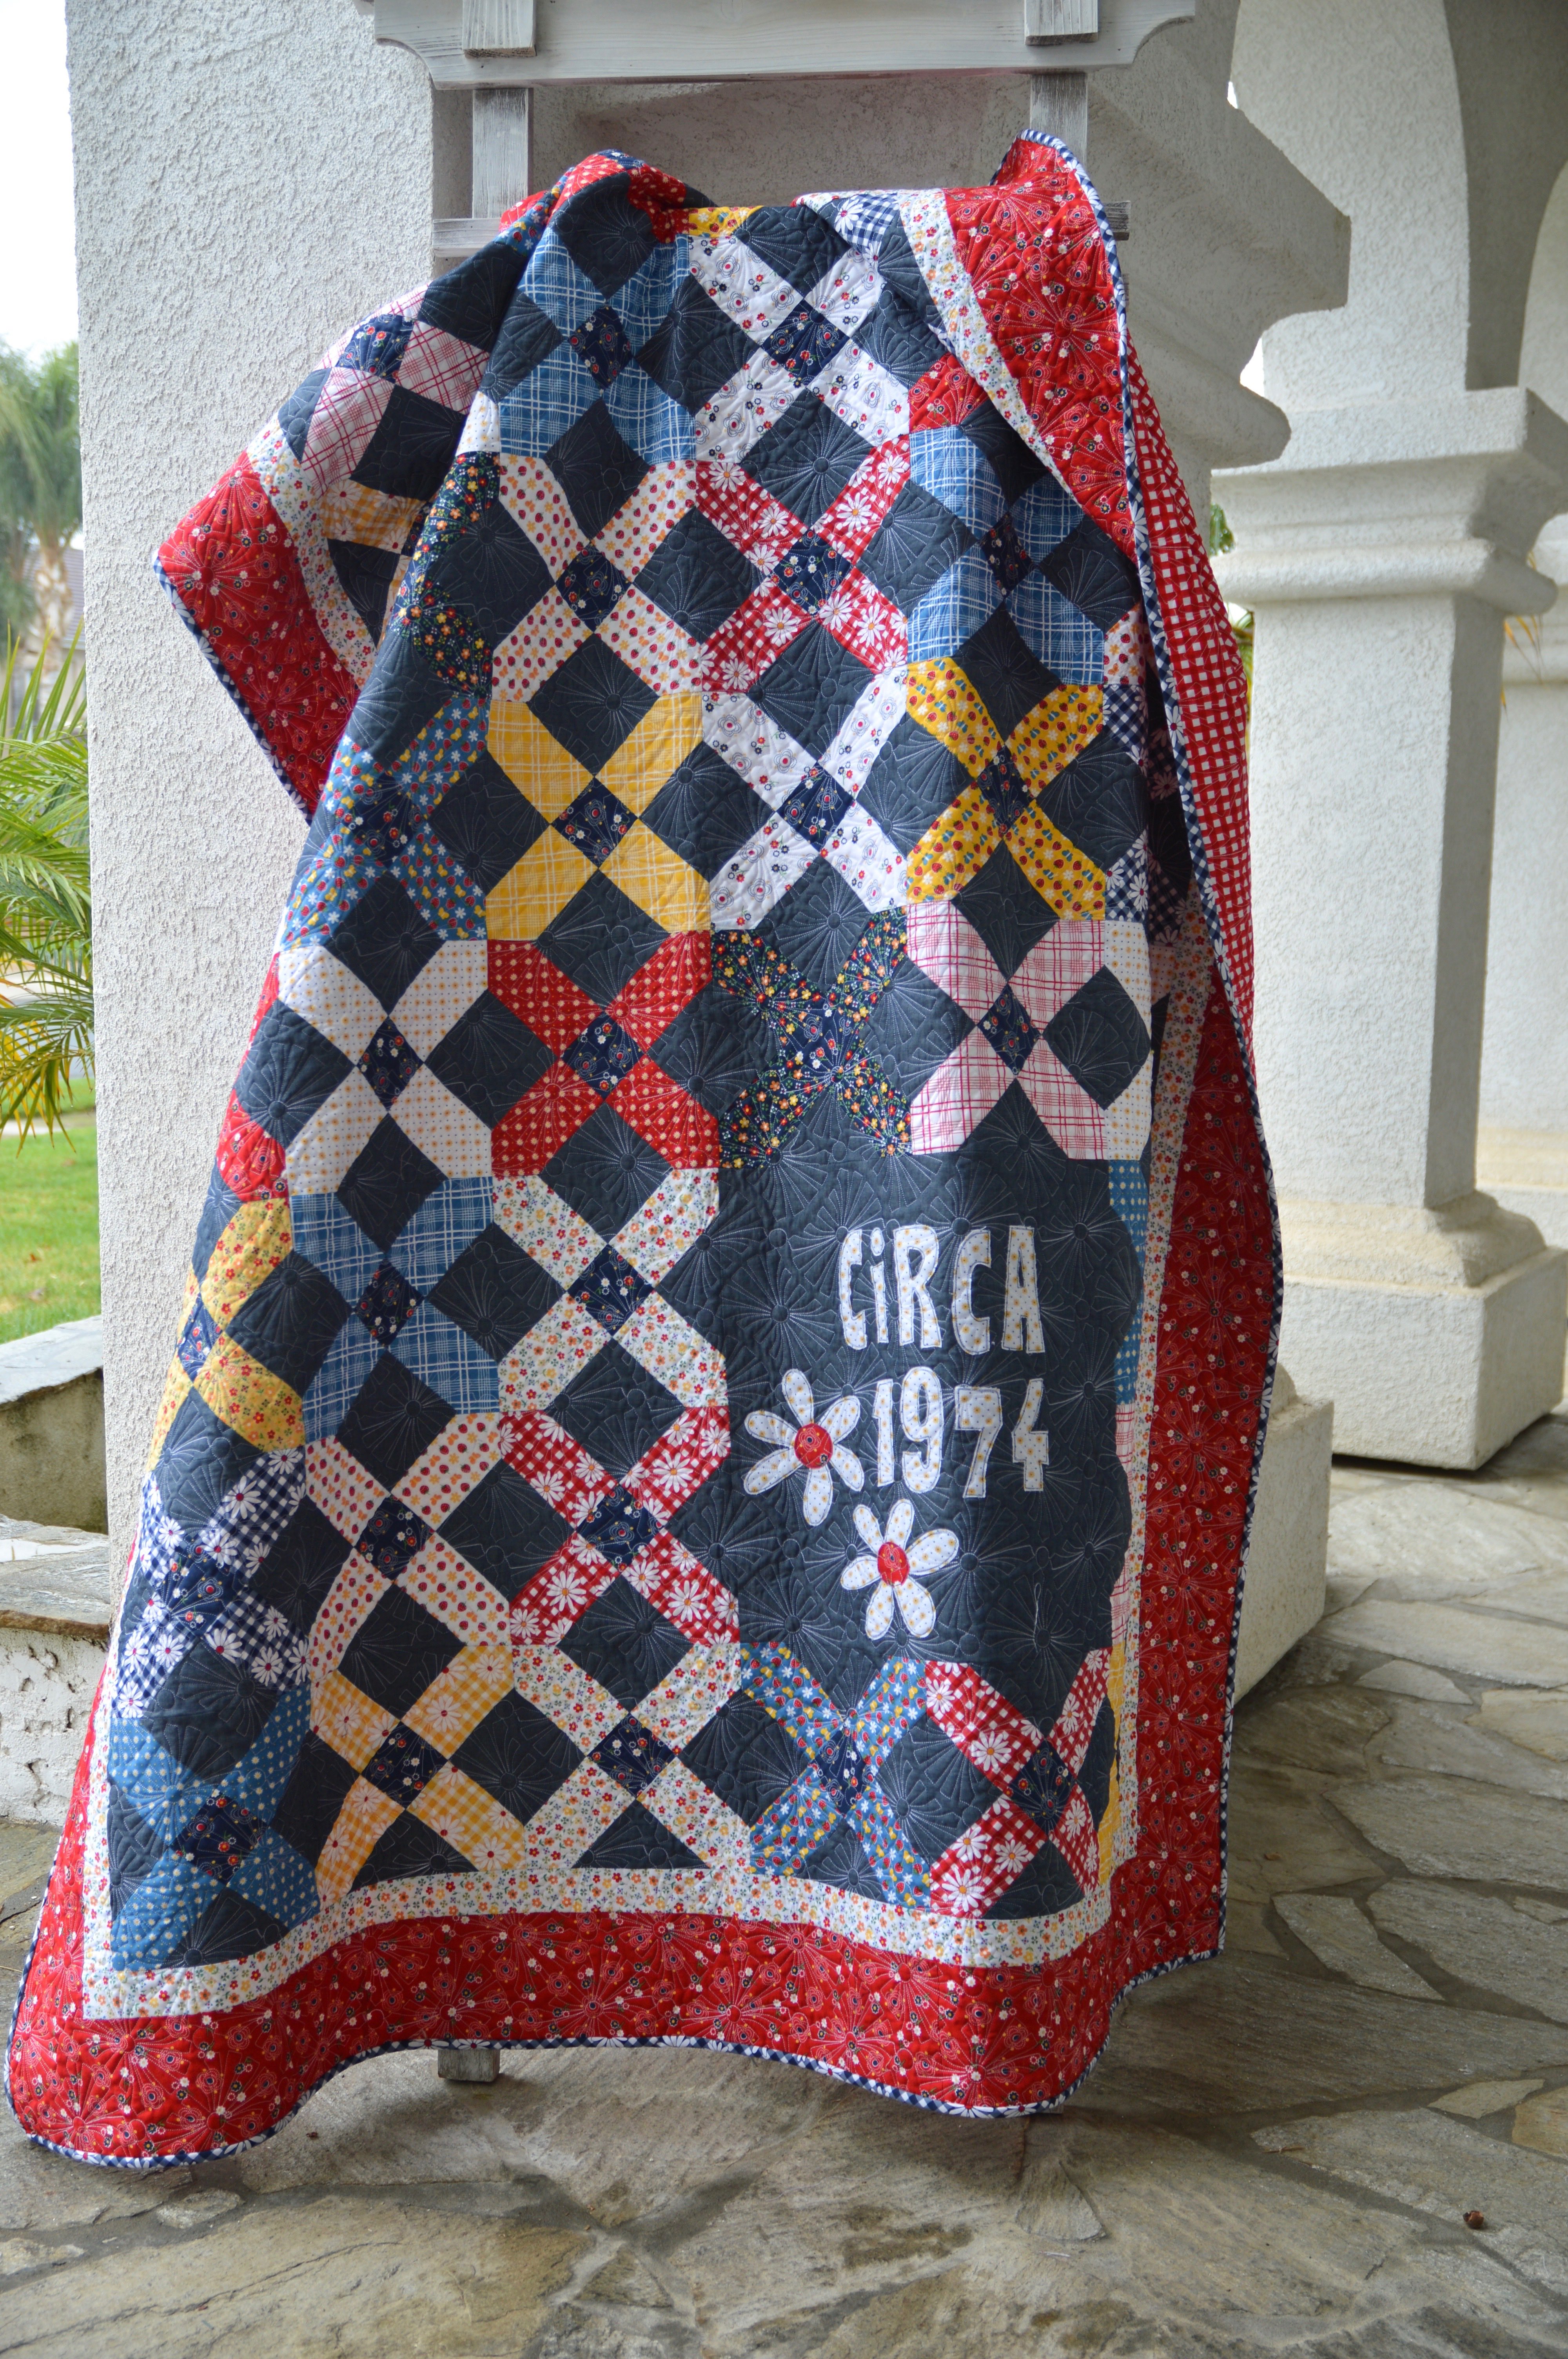
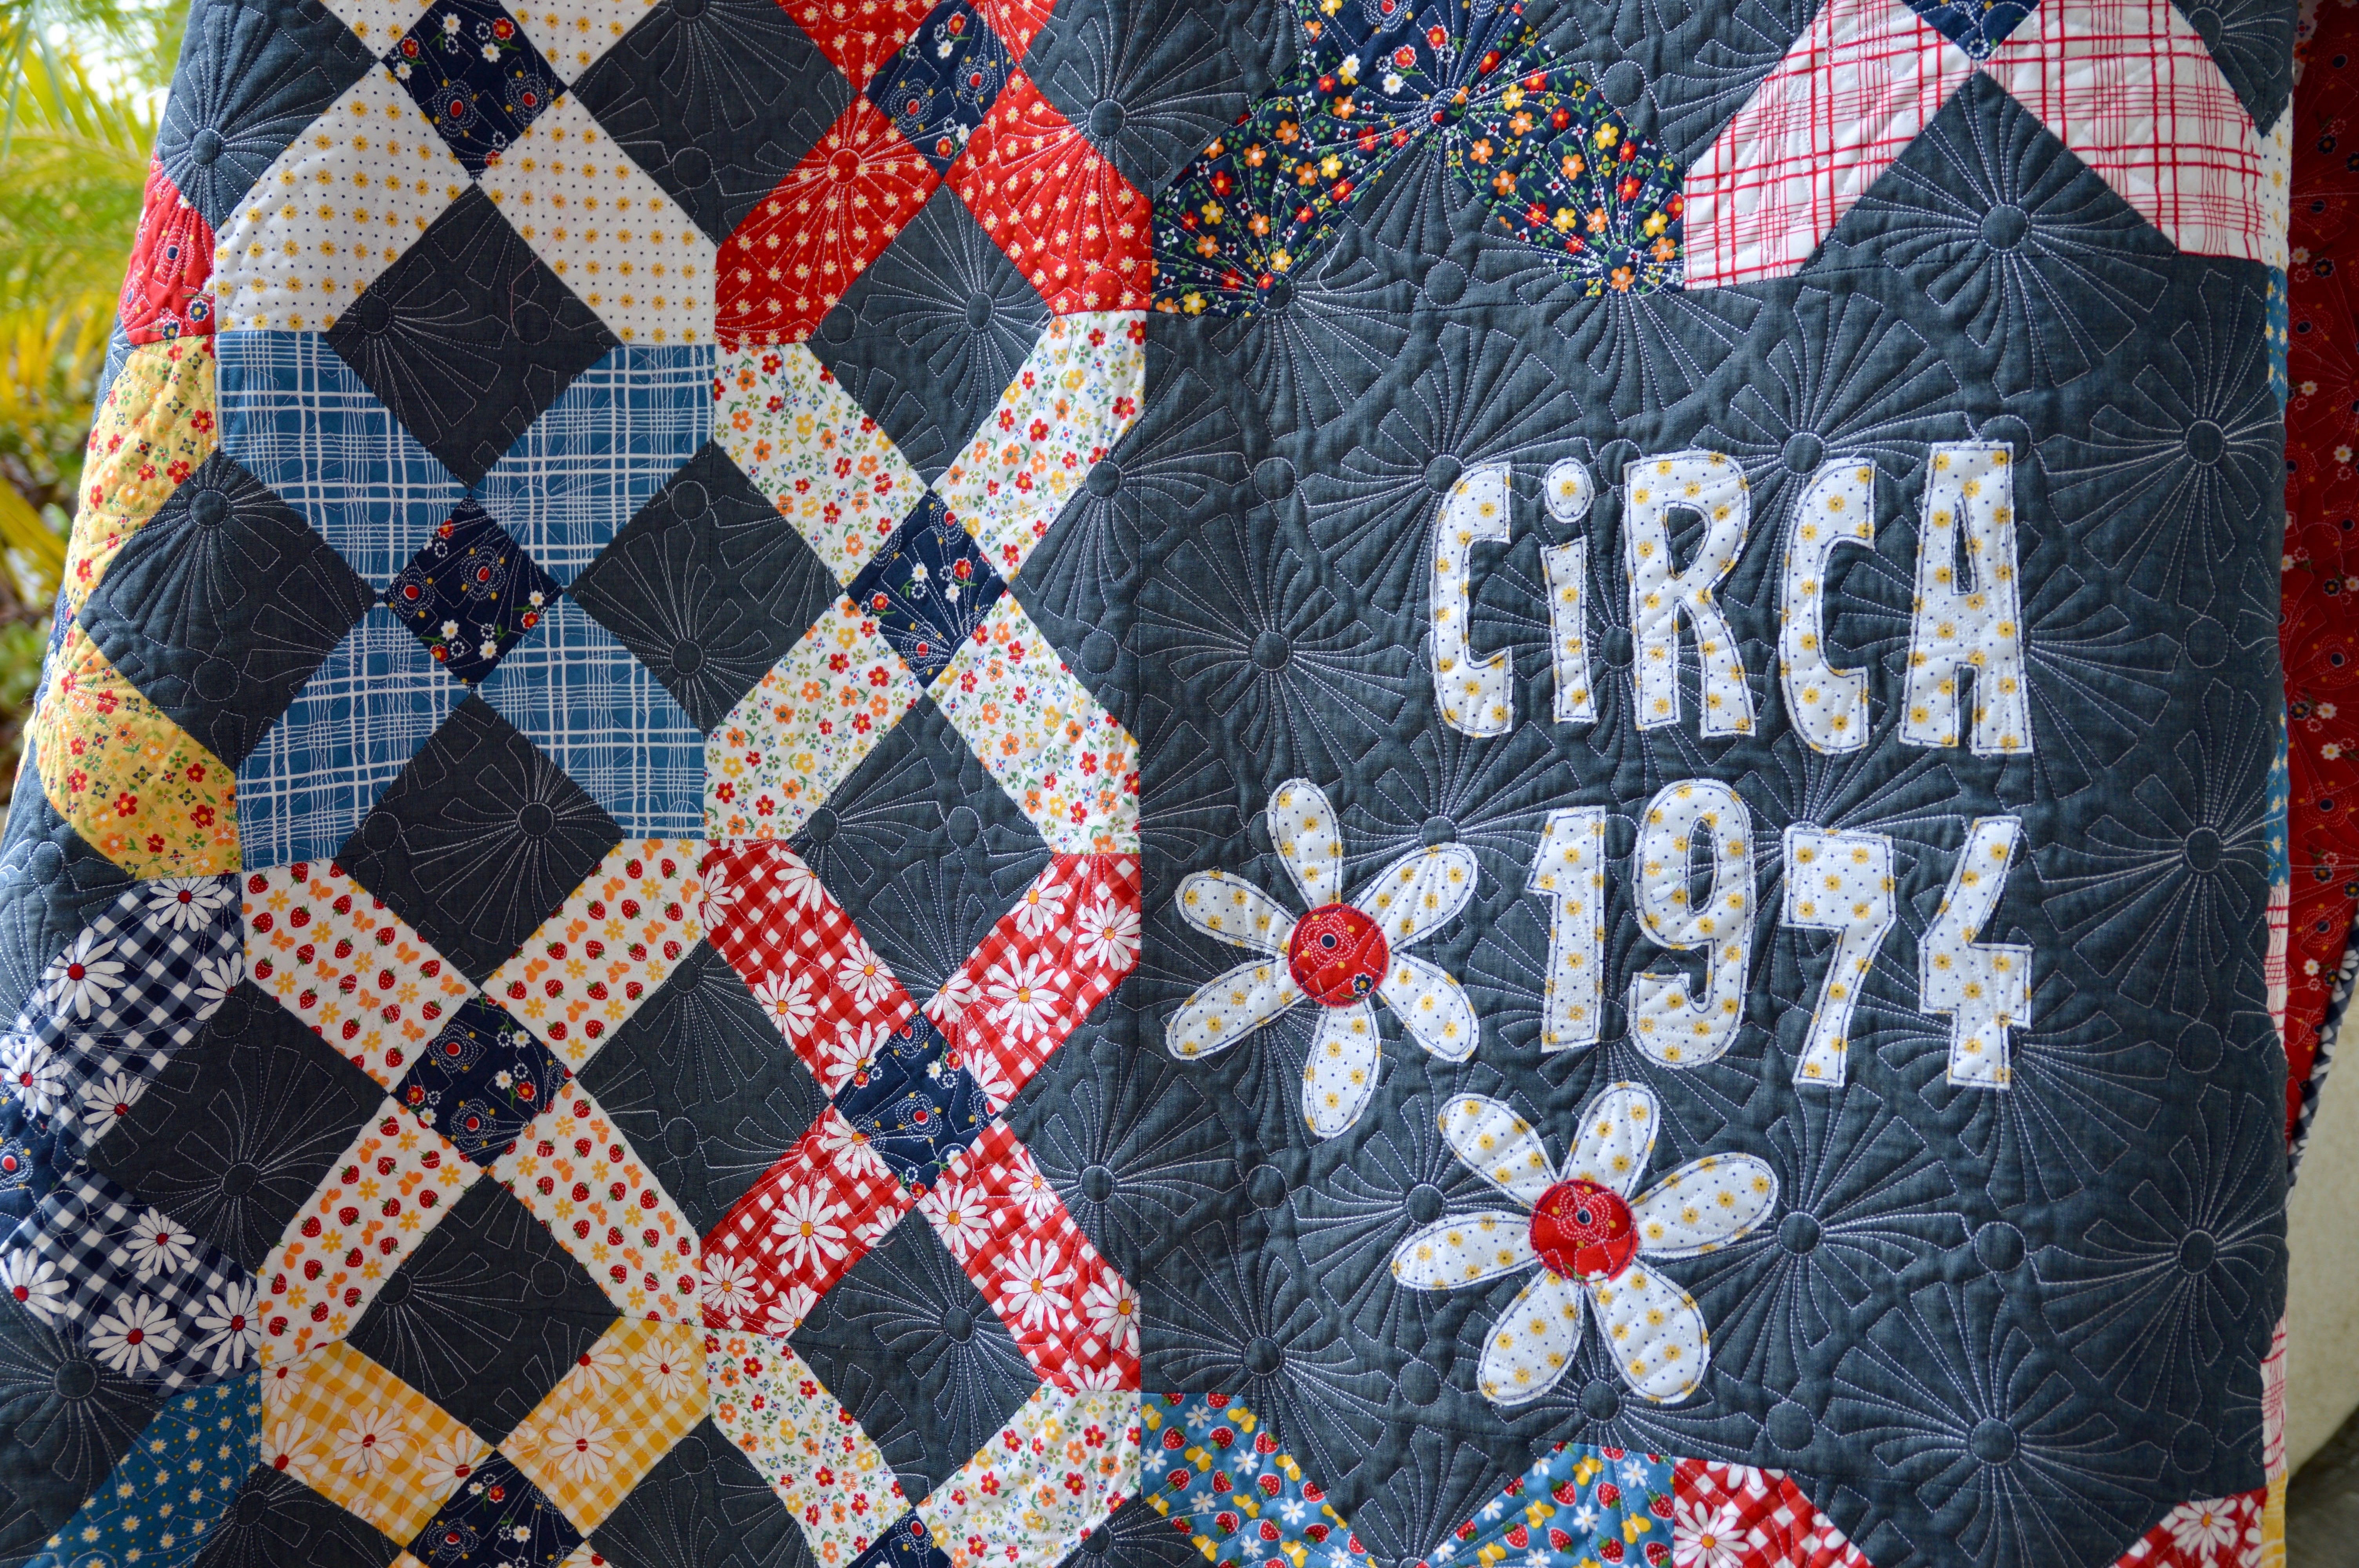
Download the letters by clicking HERE.  Trace the letters onto Heat n Bond Lite.  Cut out 1/4″ around each letter and place them on the wrong side of a black fat quarter.  Heat set in place.  Cut out the letters.  Peel off the backing paper.  Arrange them on the solid white rectangle and heat set in place.  Top stitch around each letter in black thread.
IMG_2854

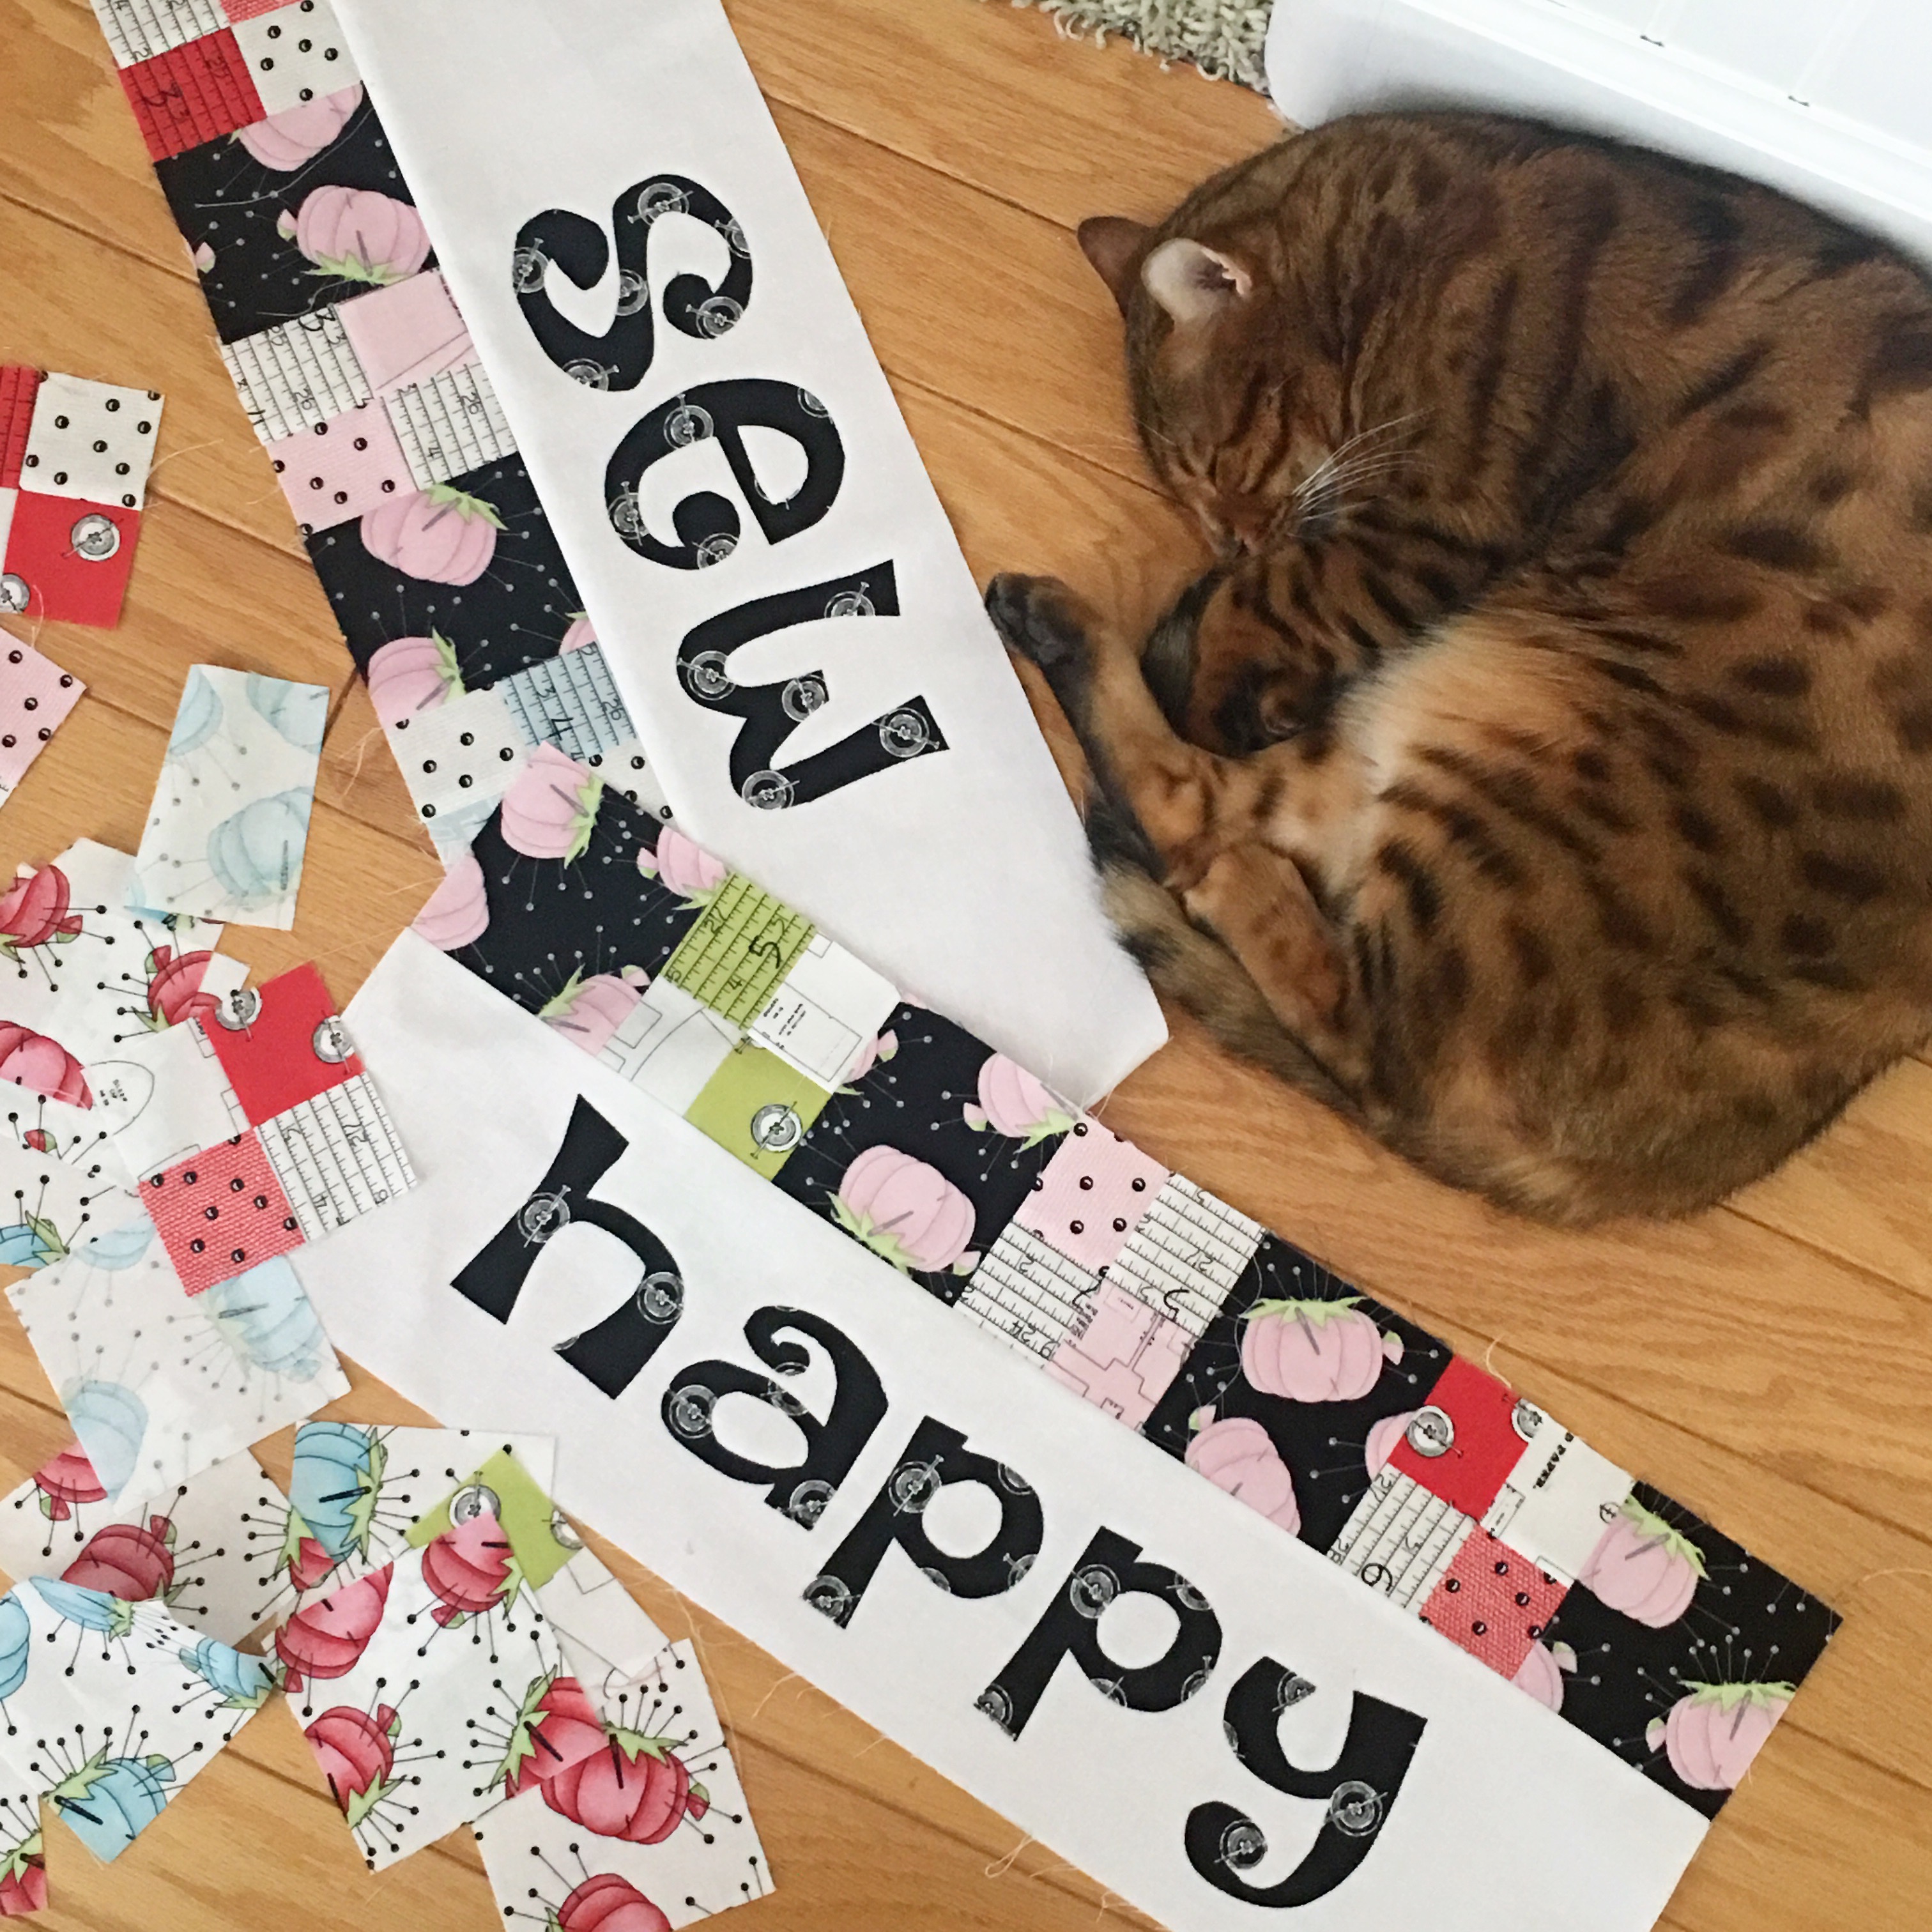
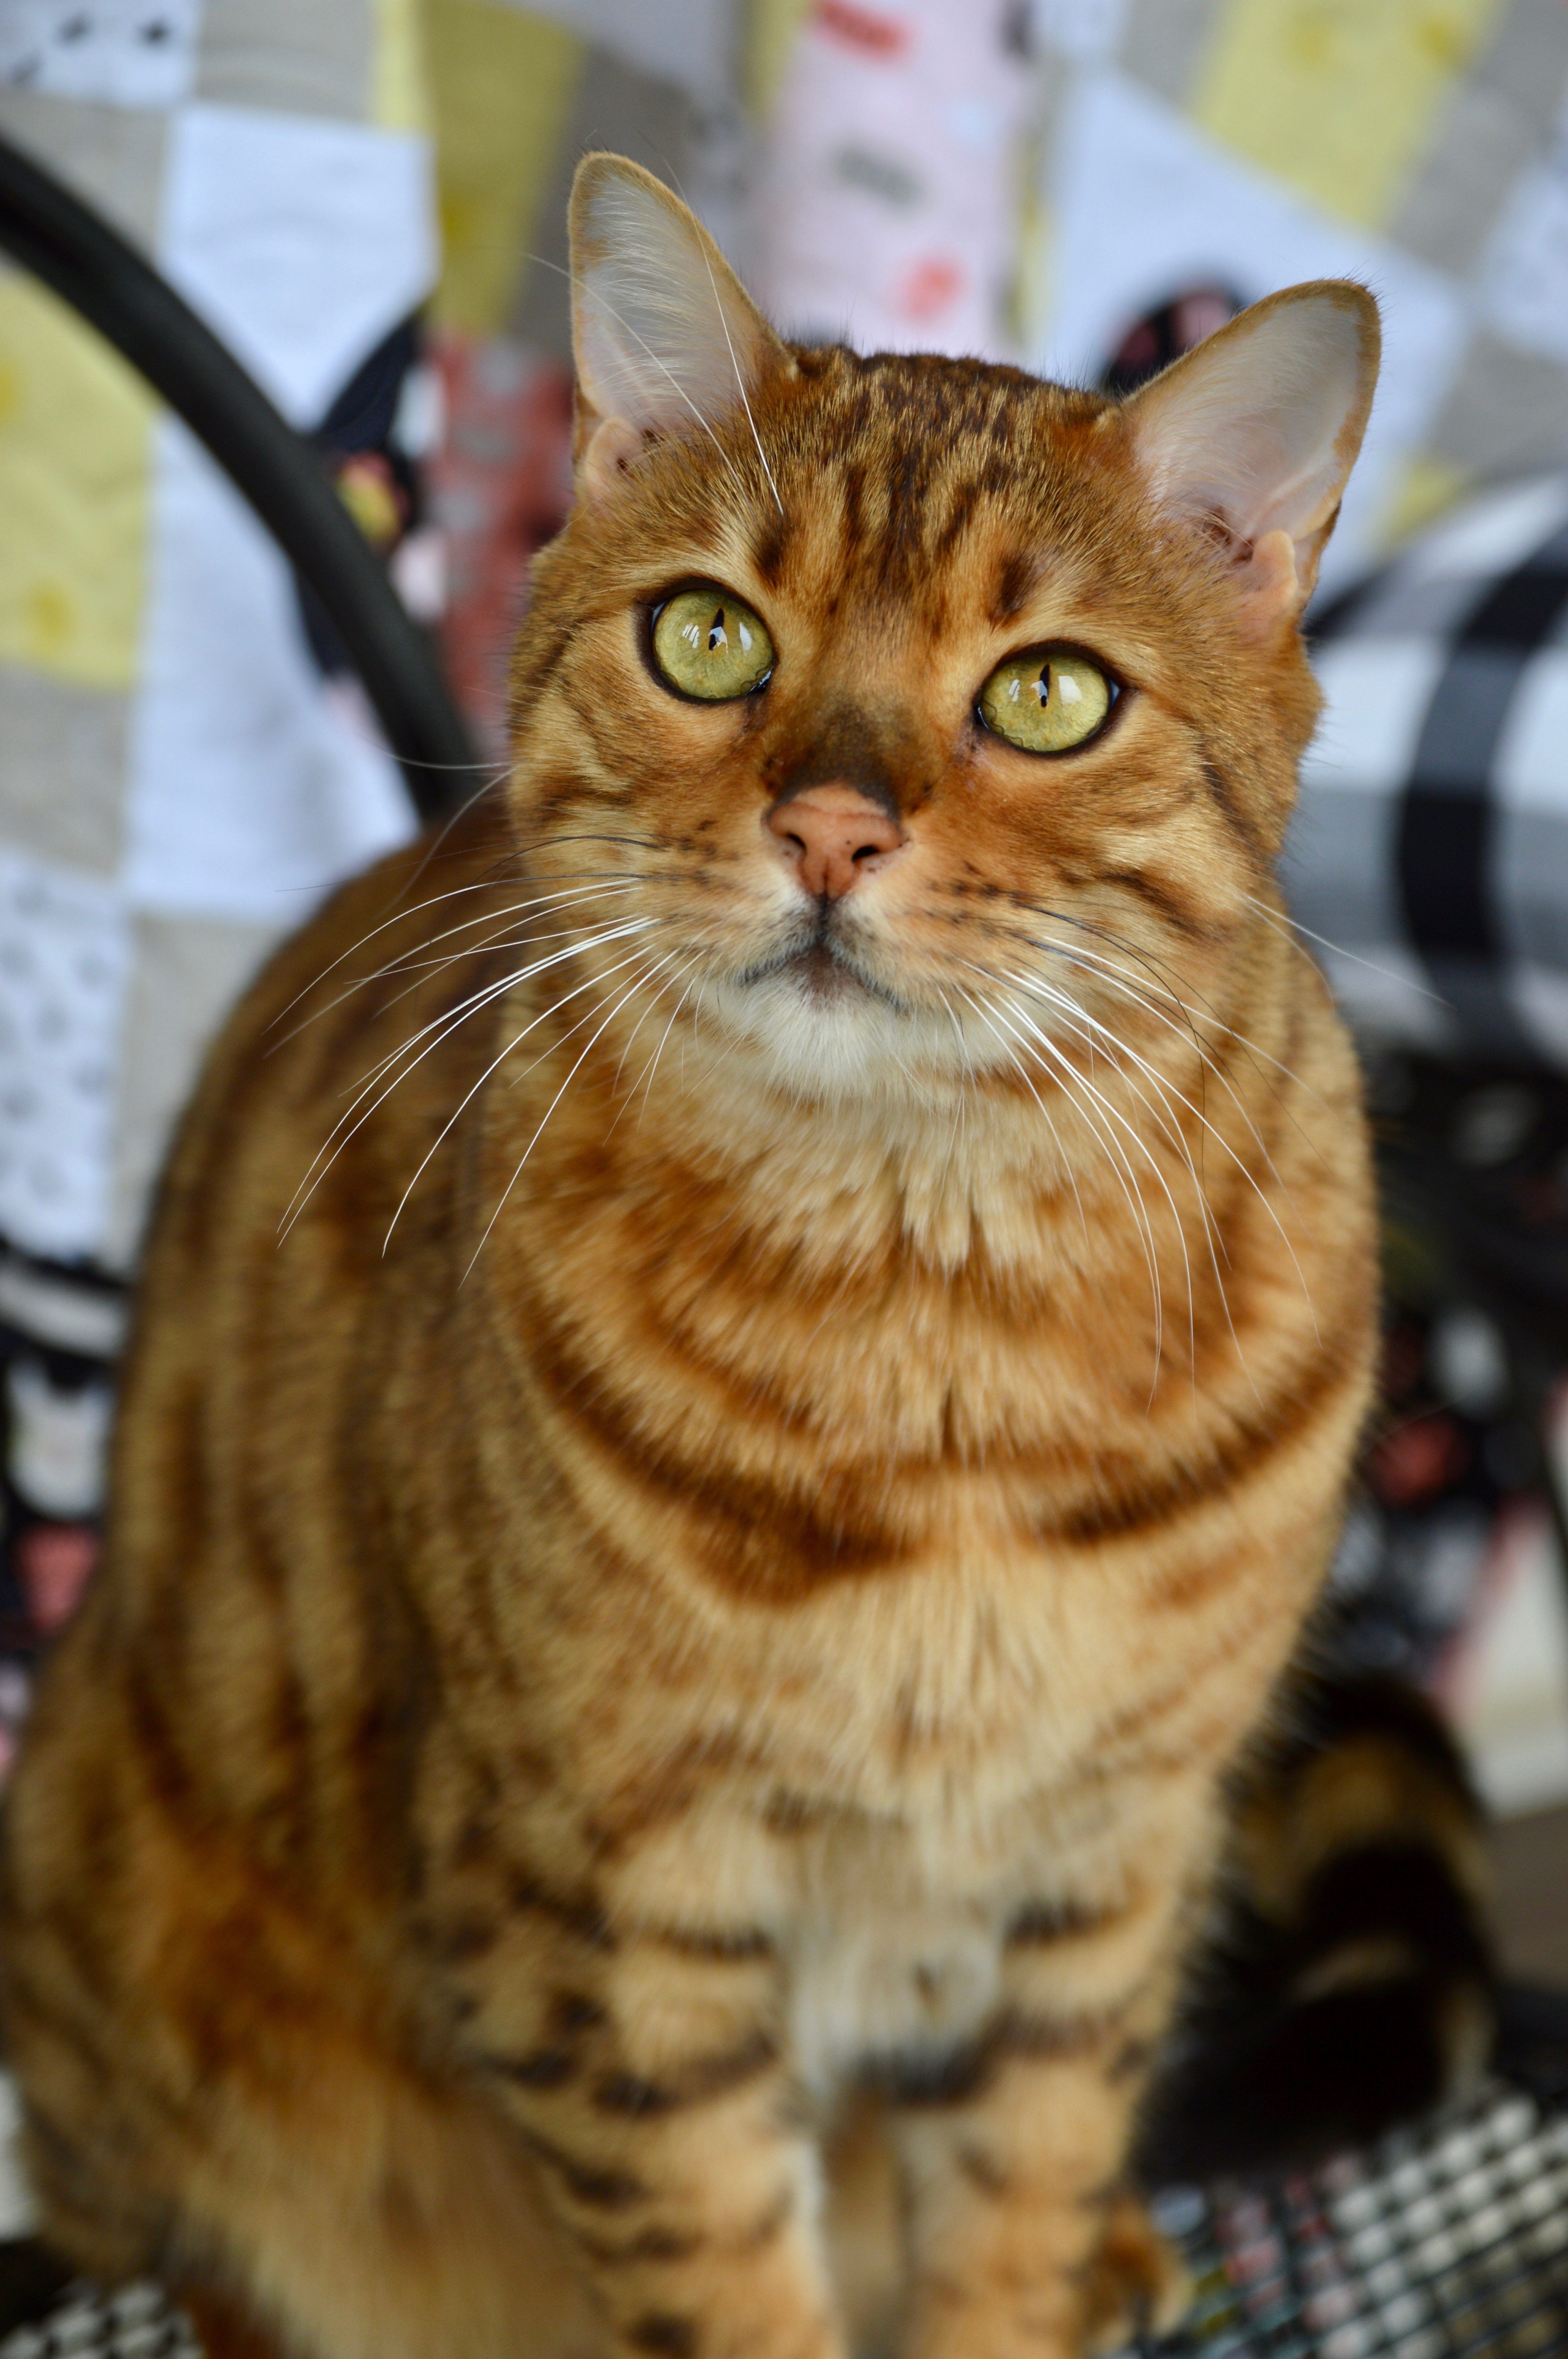
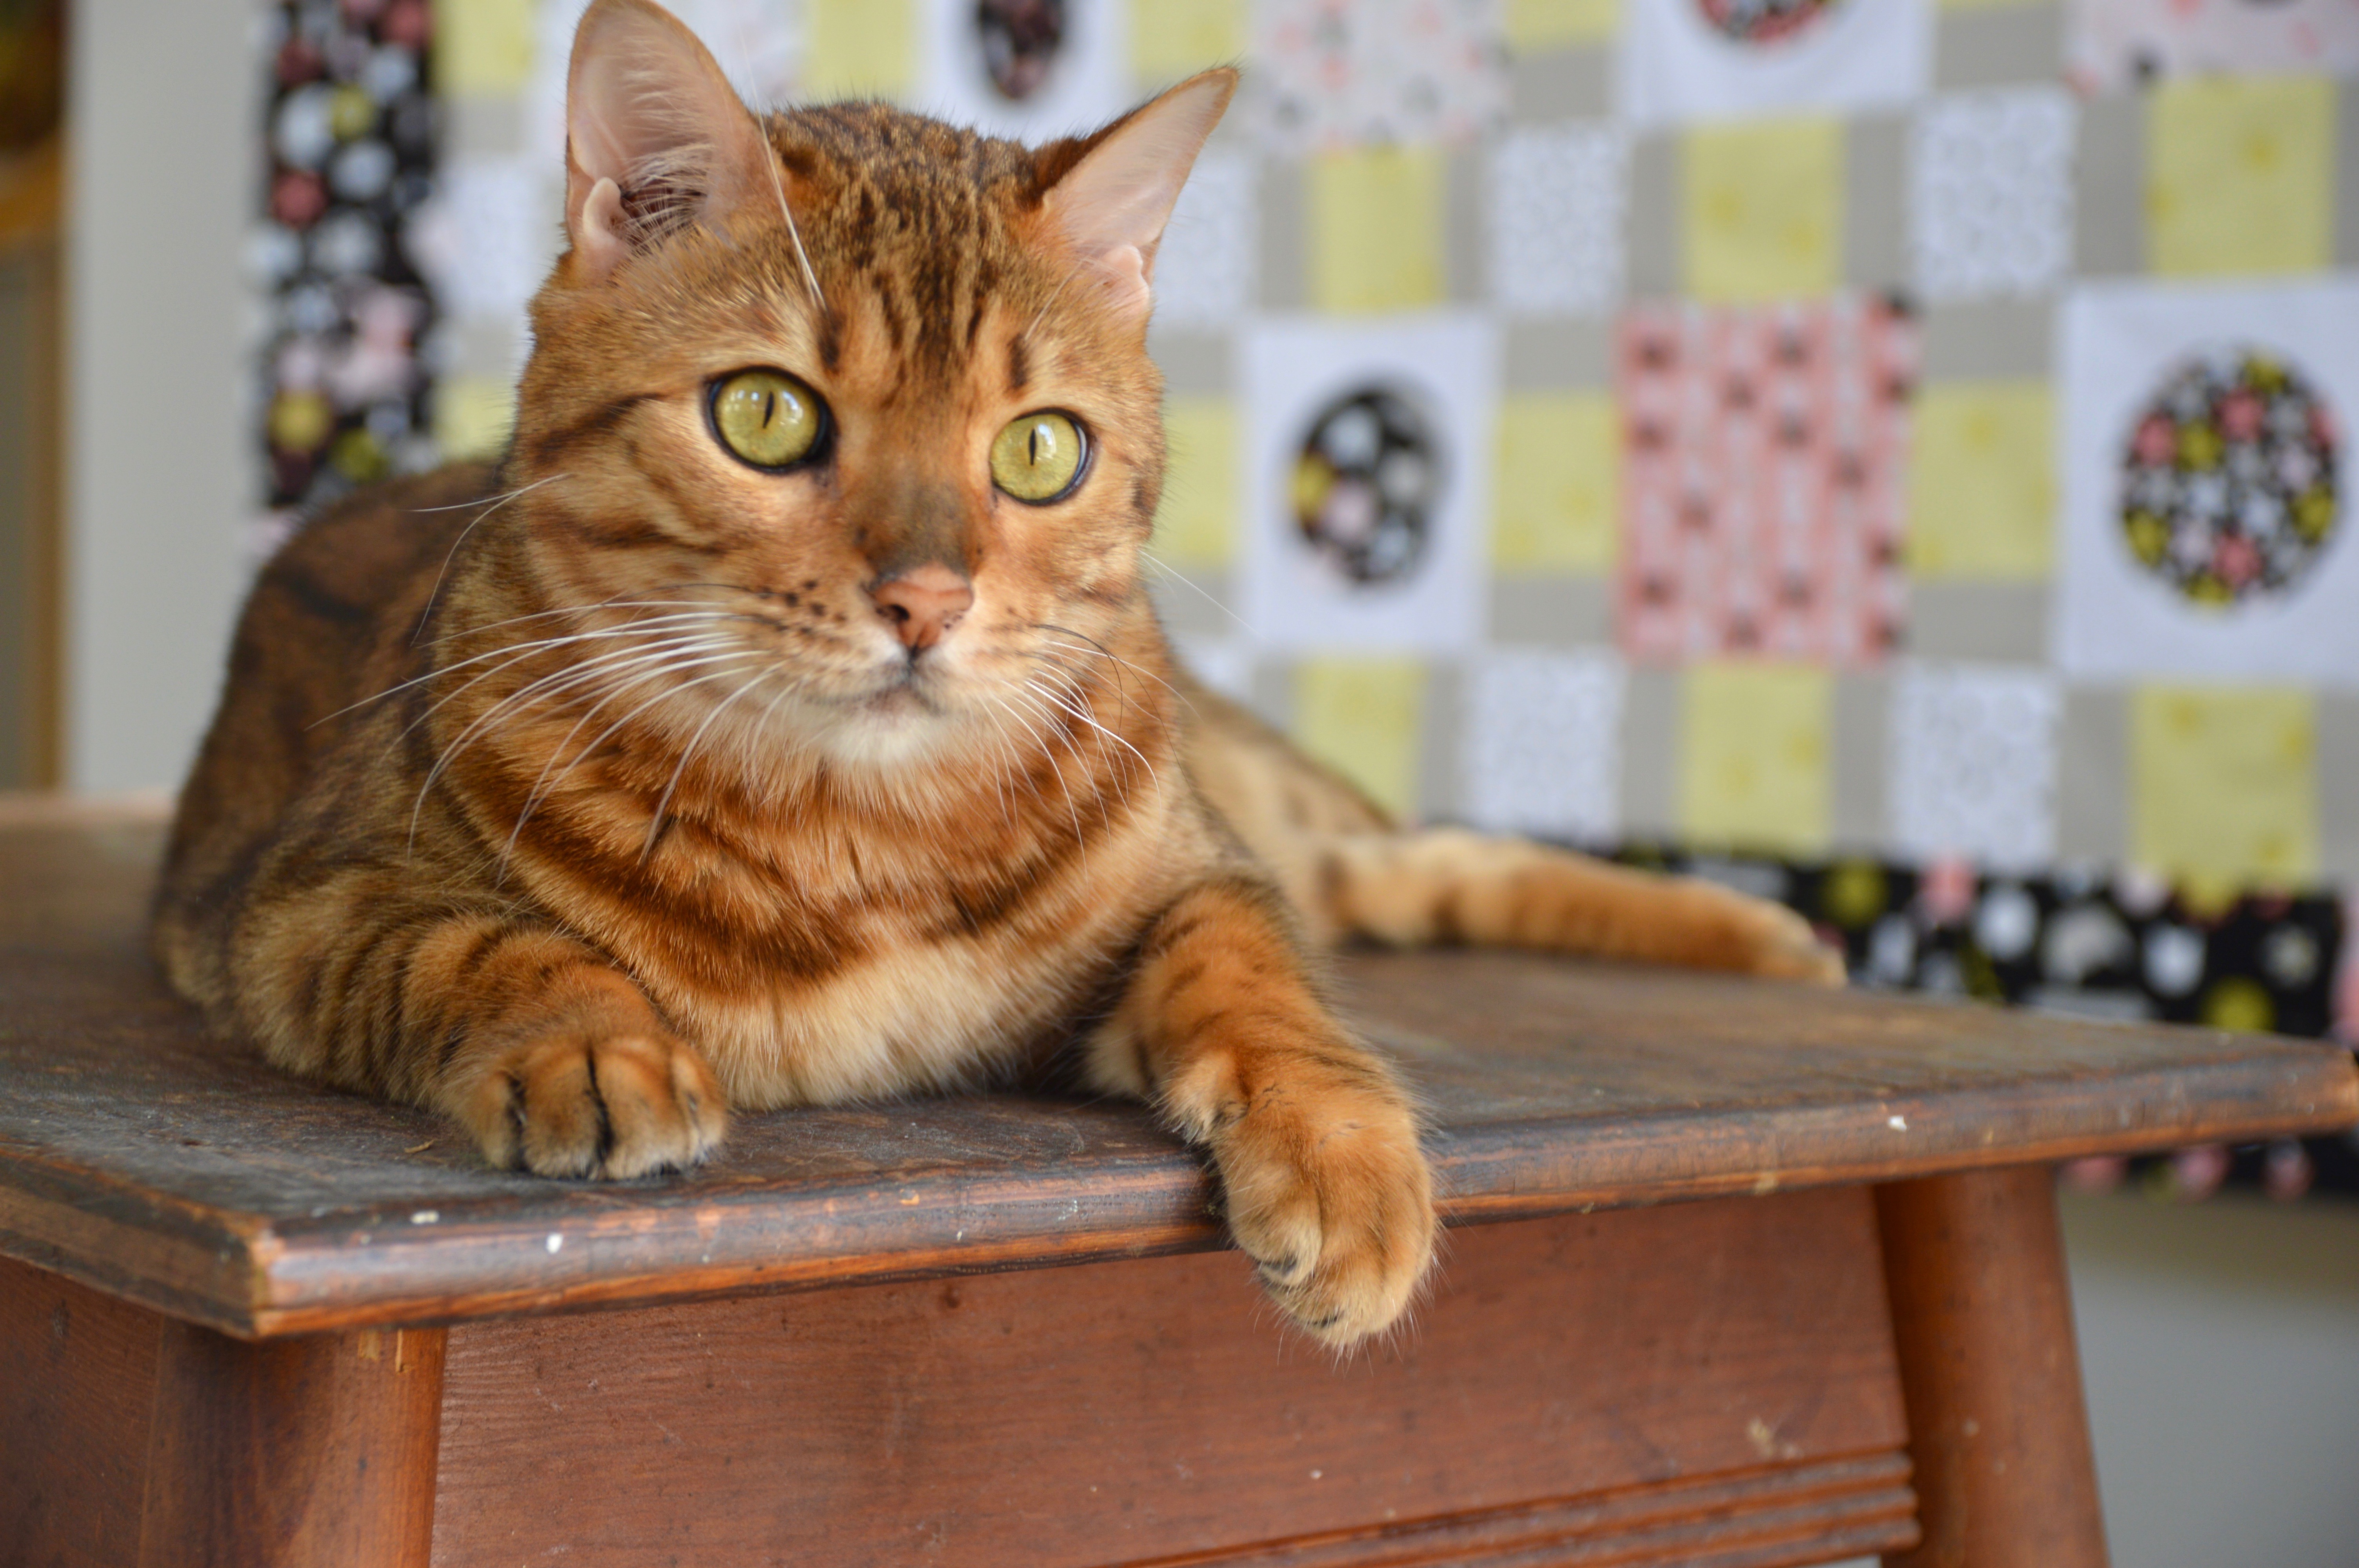
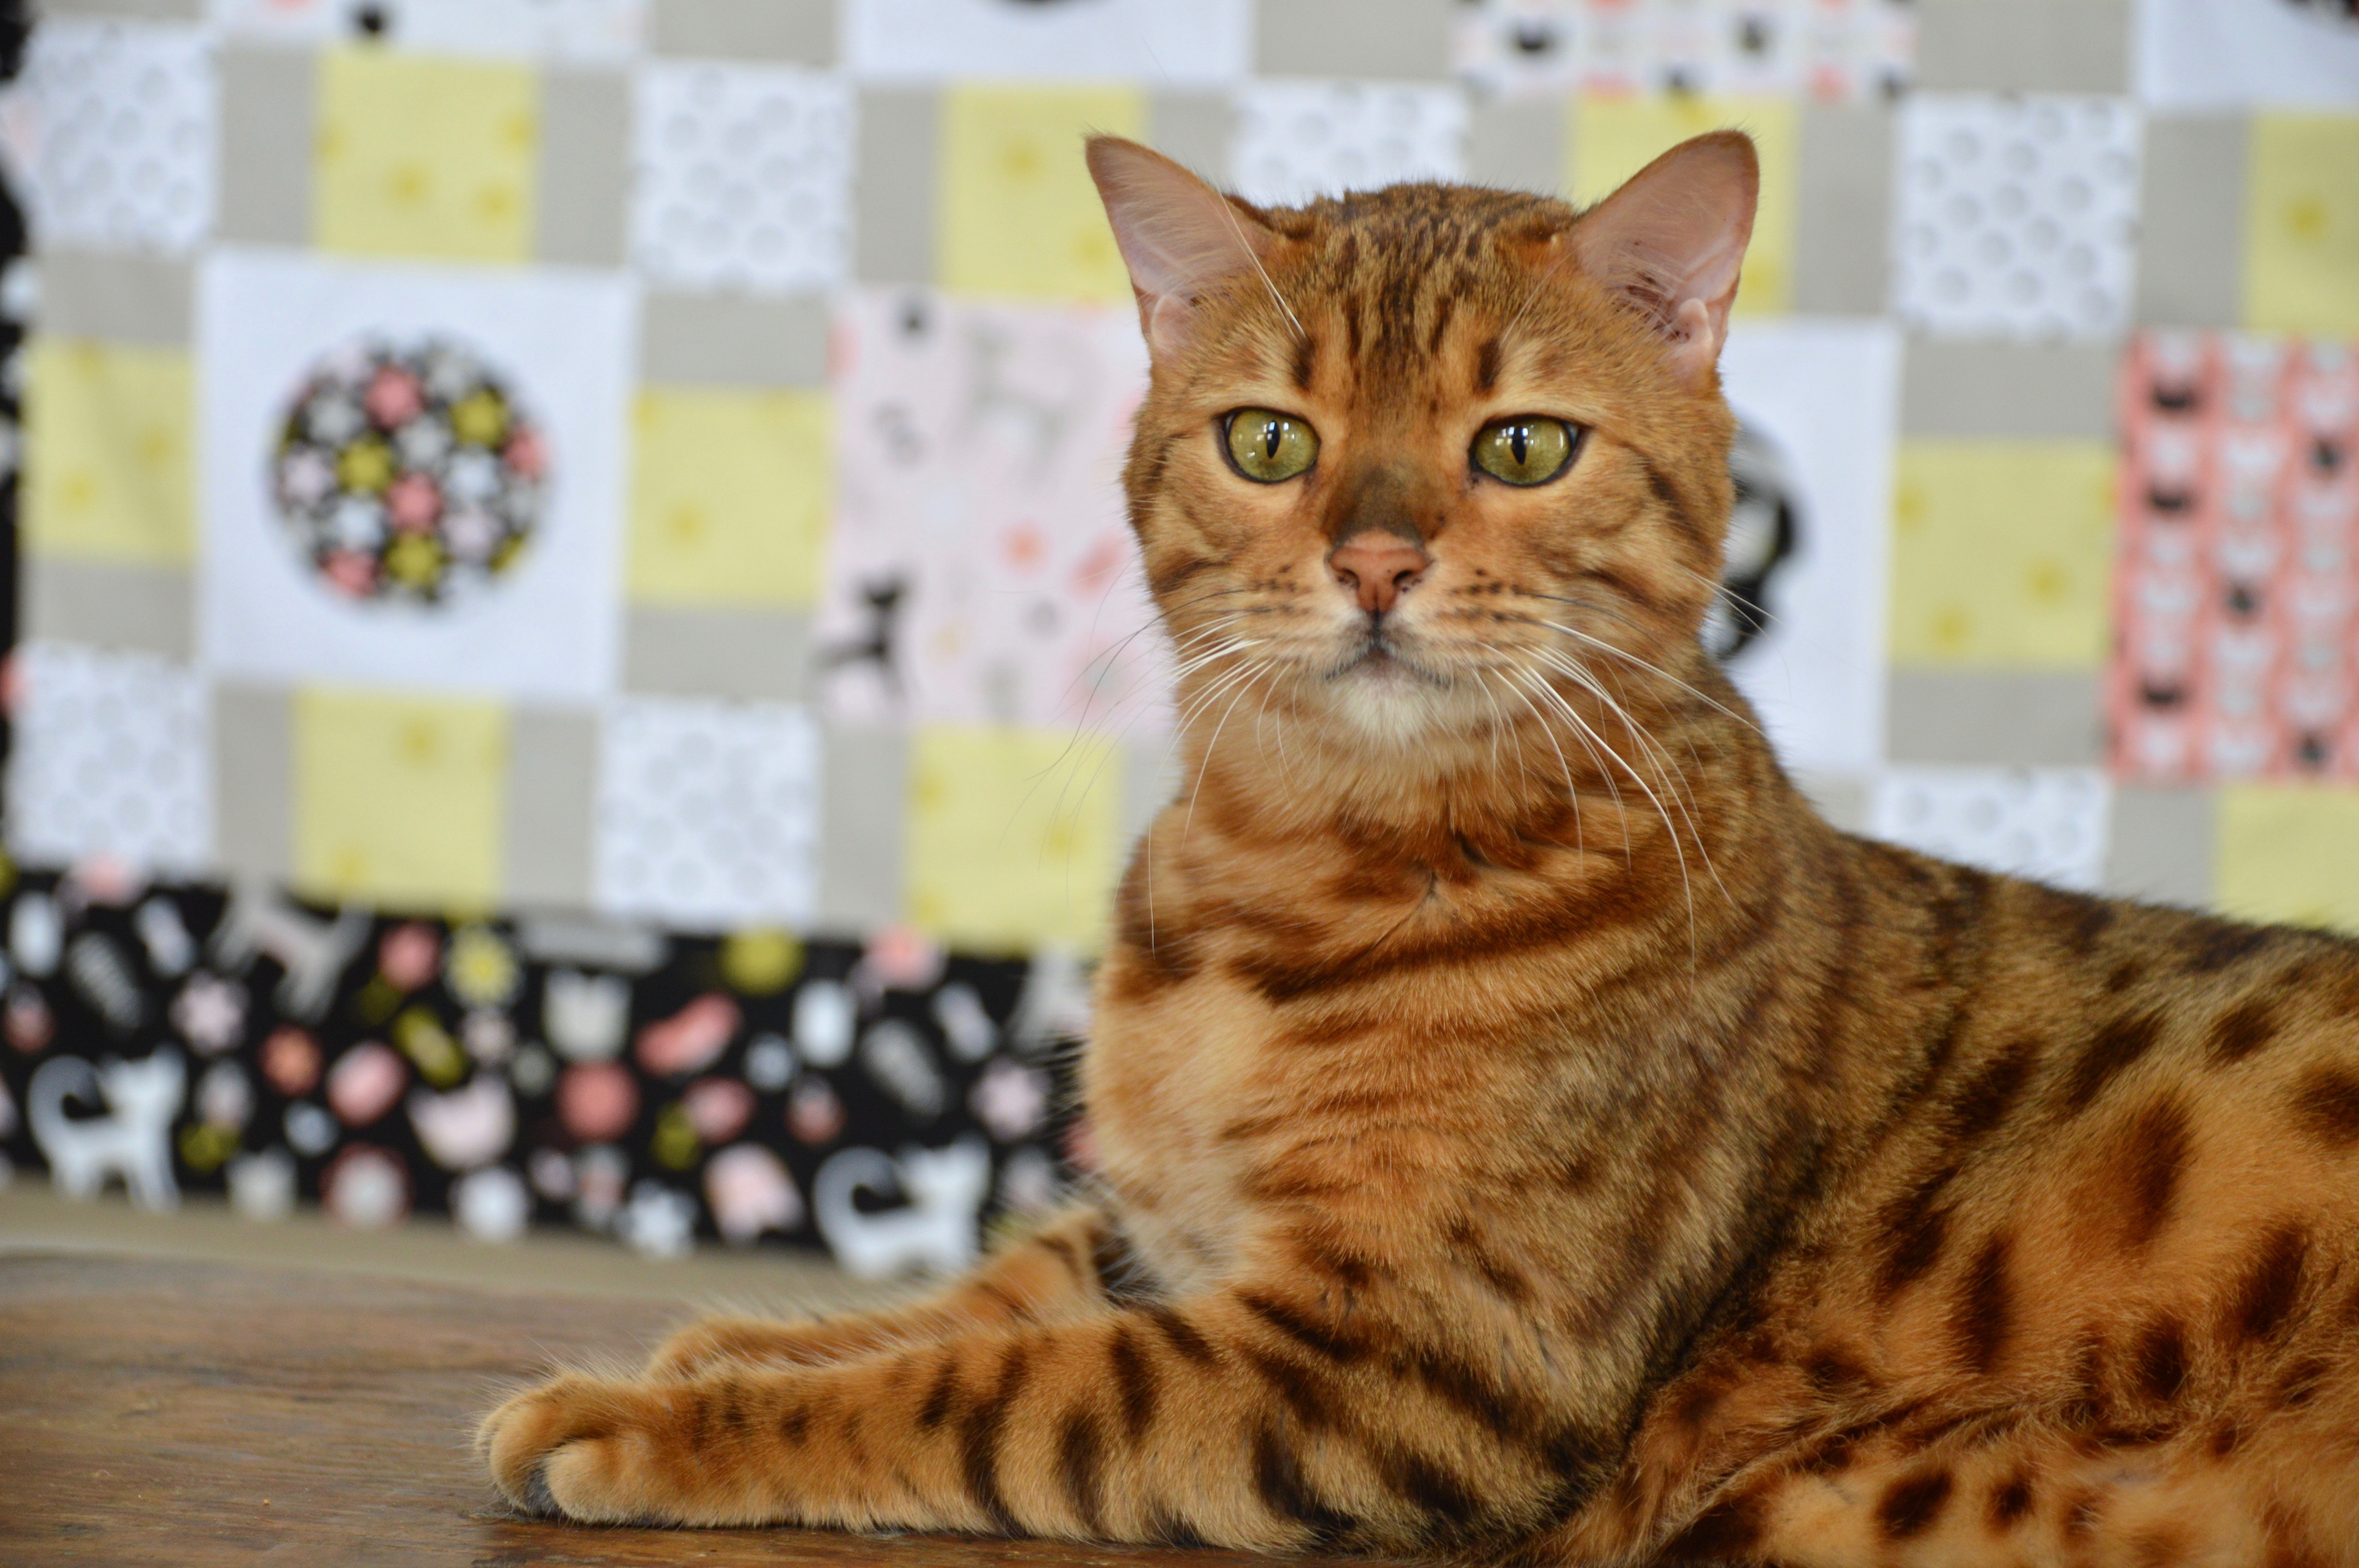
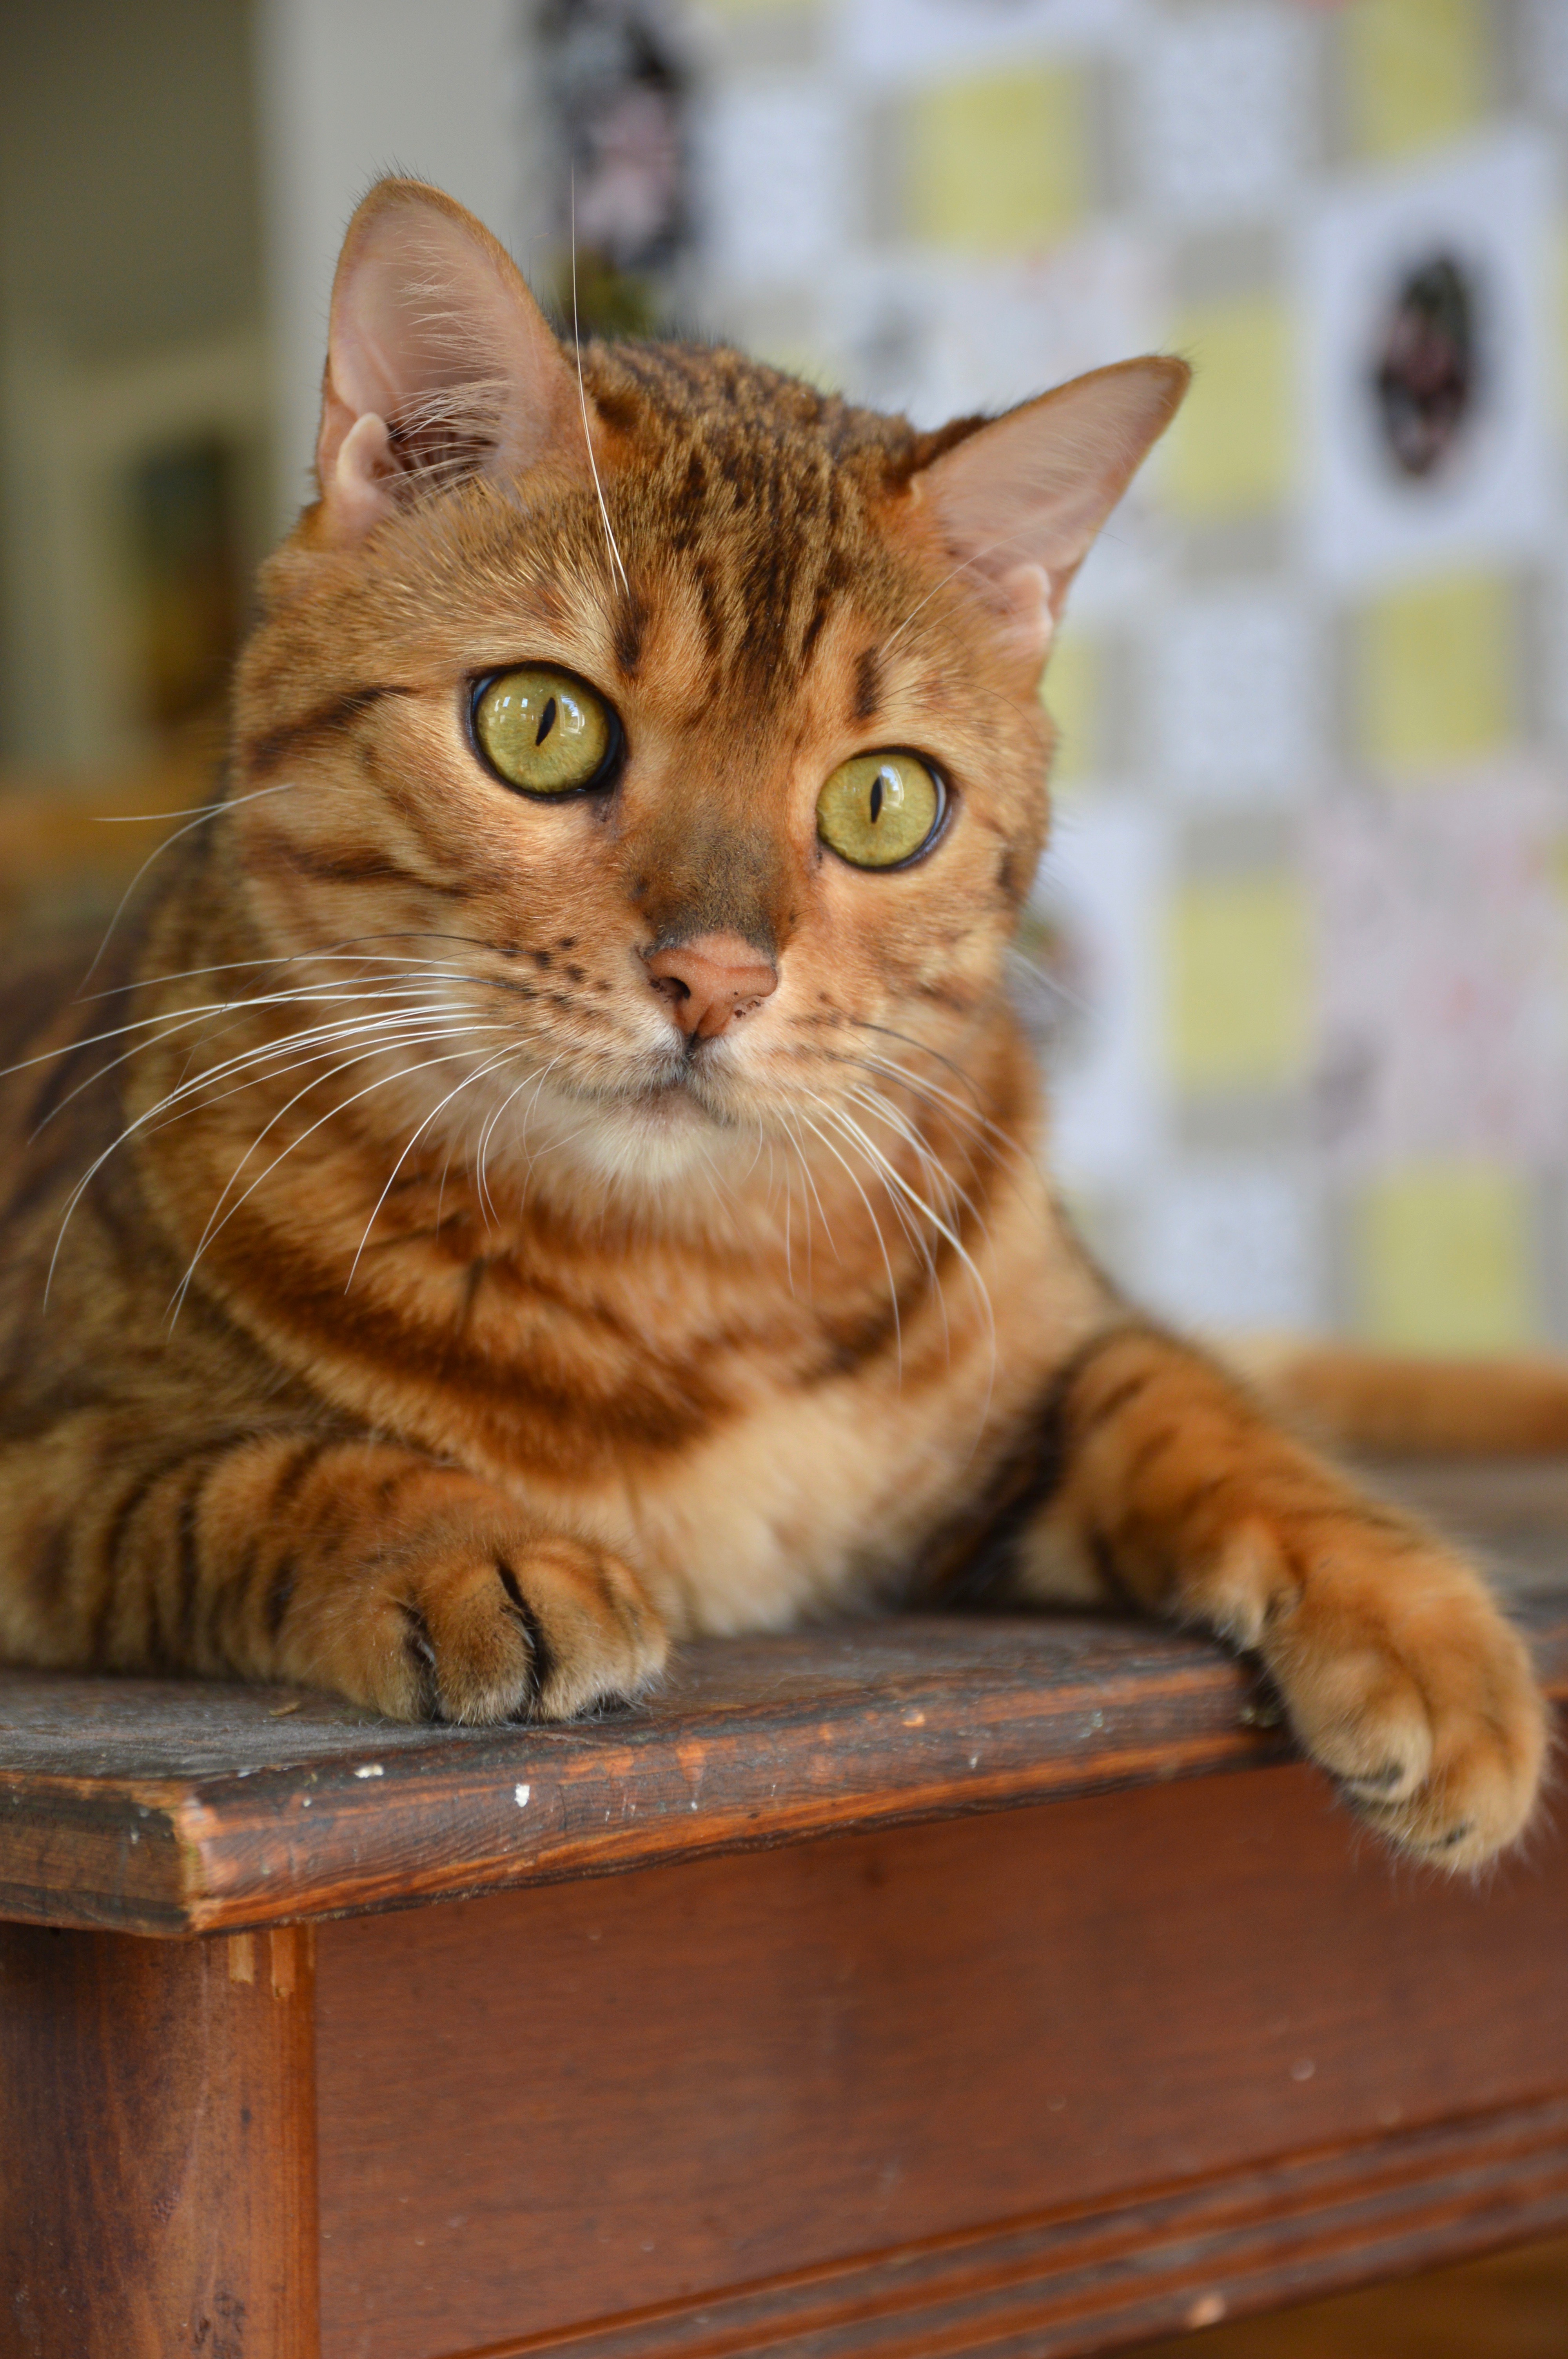
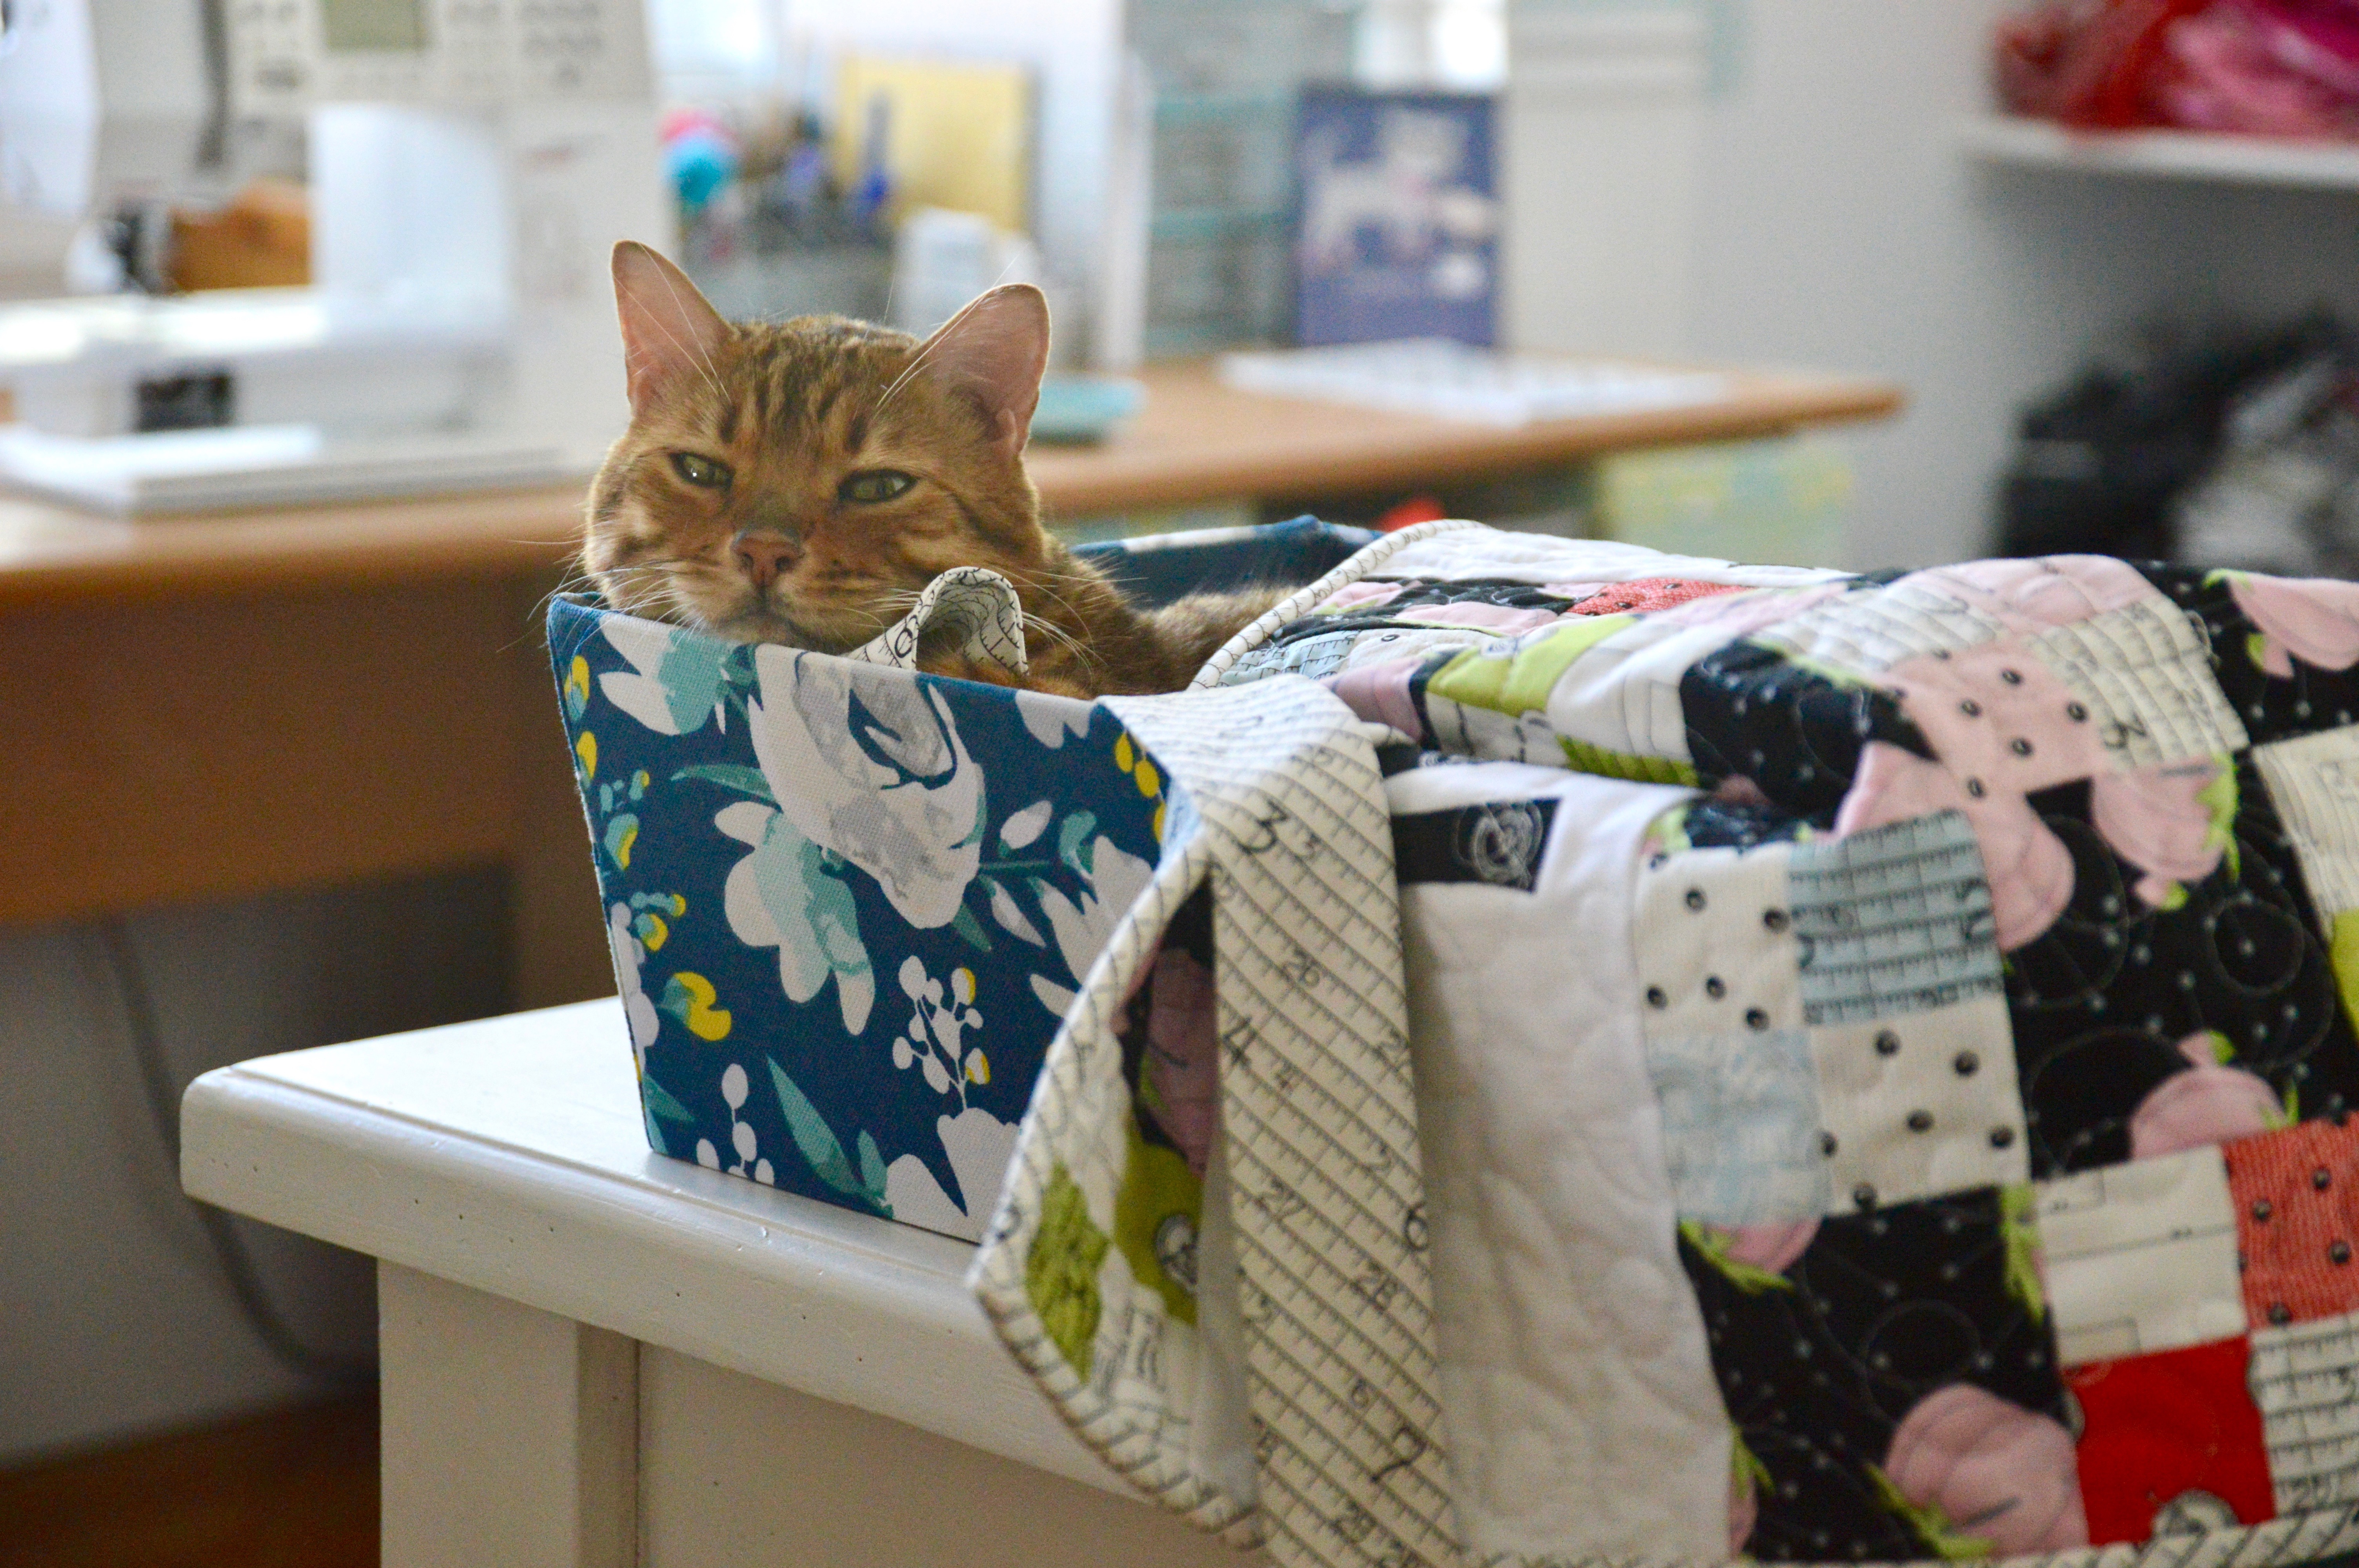
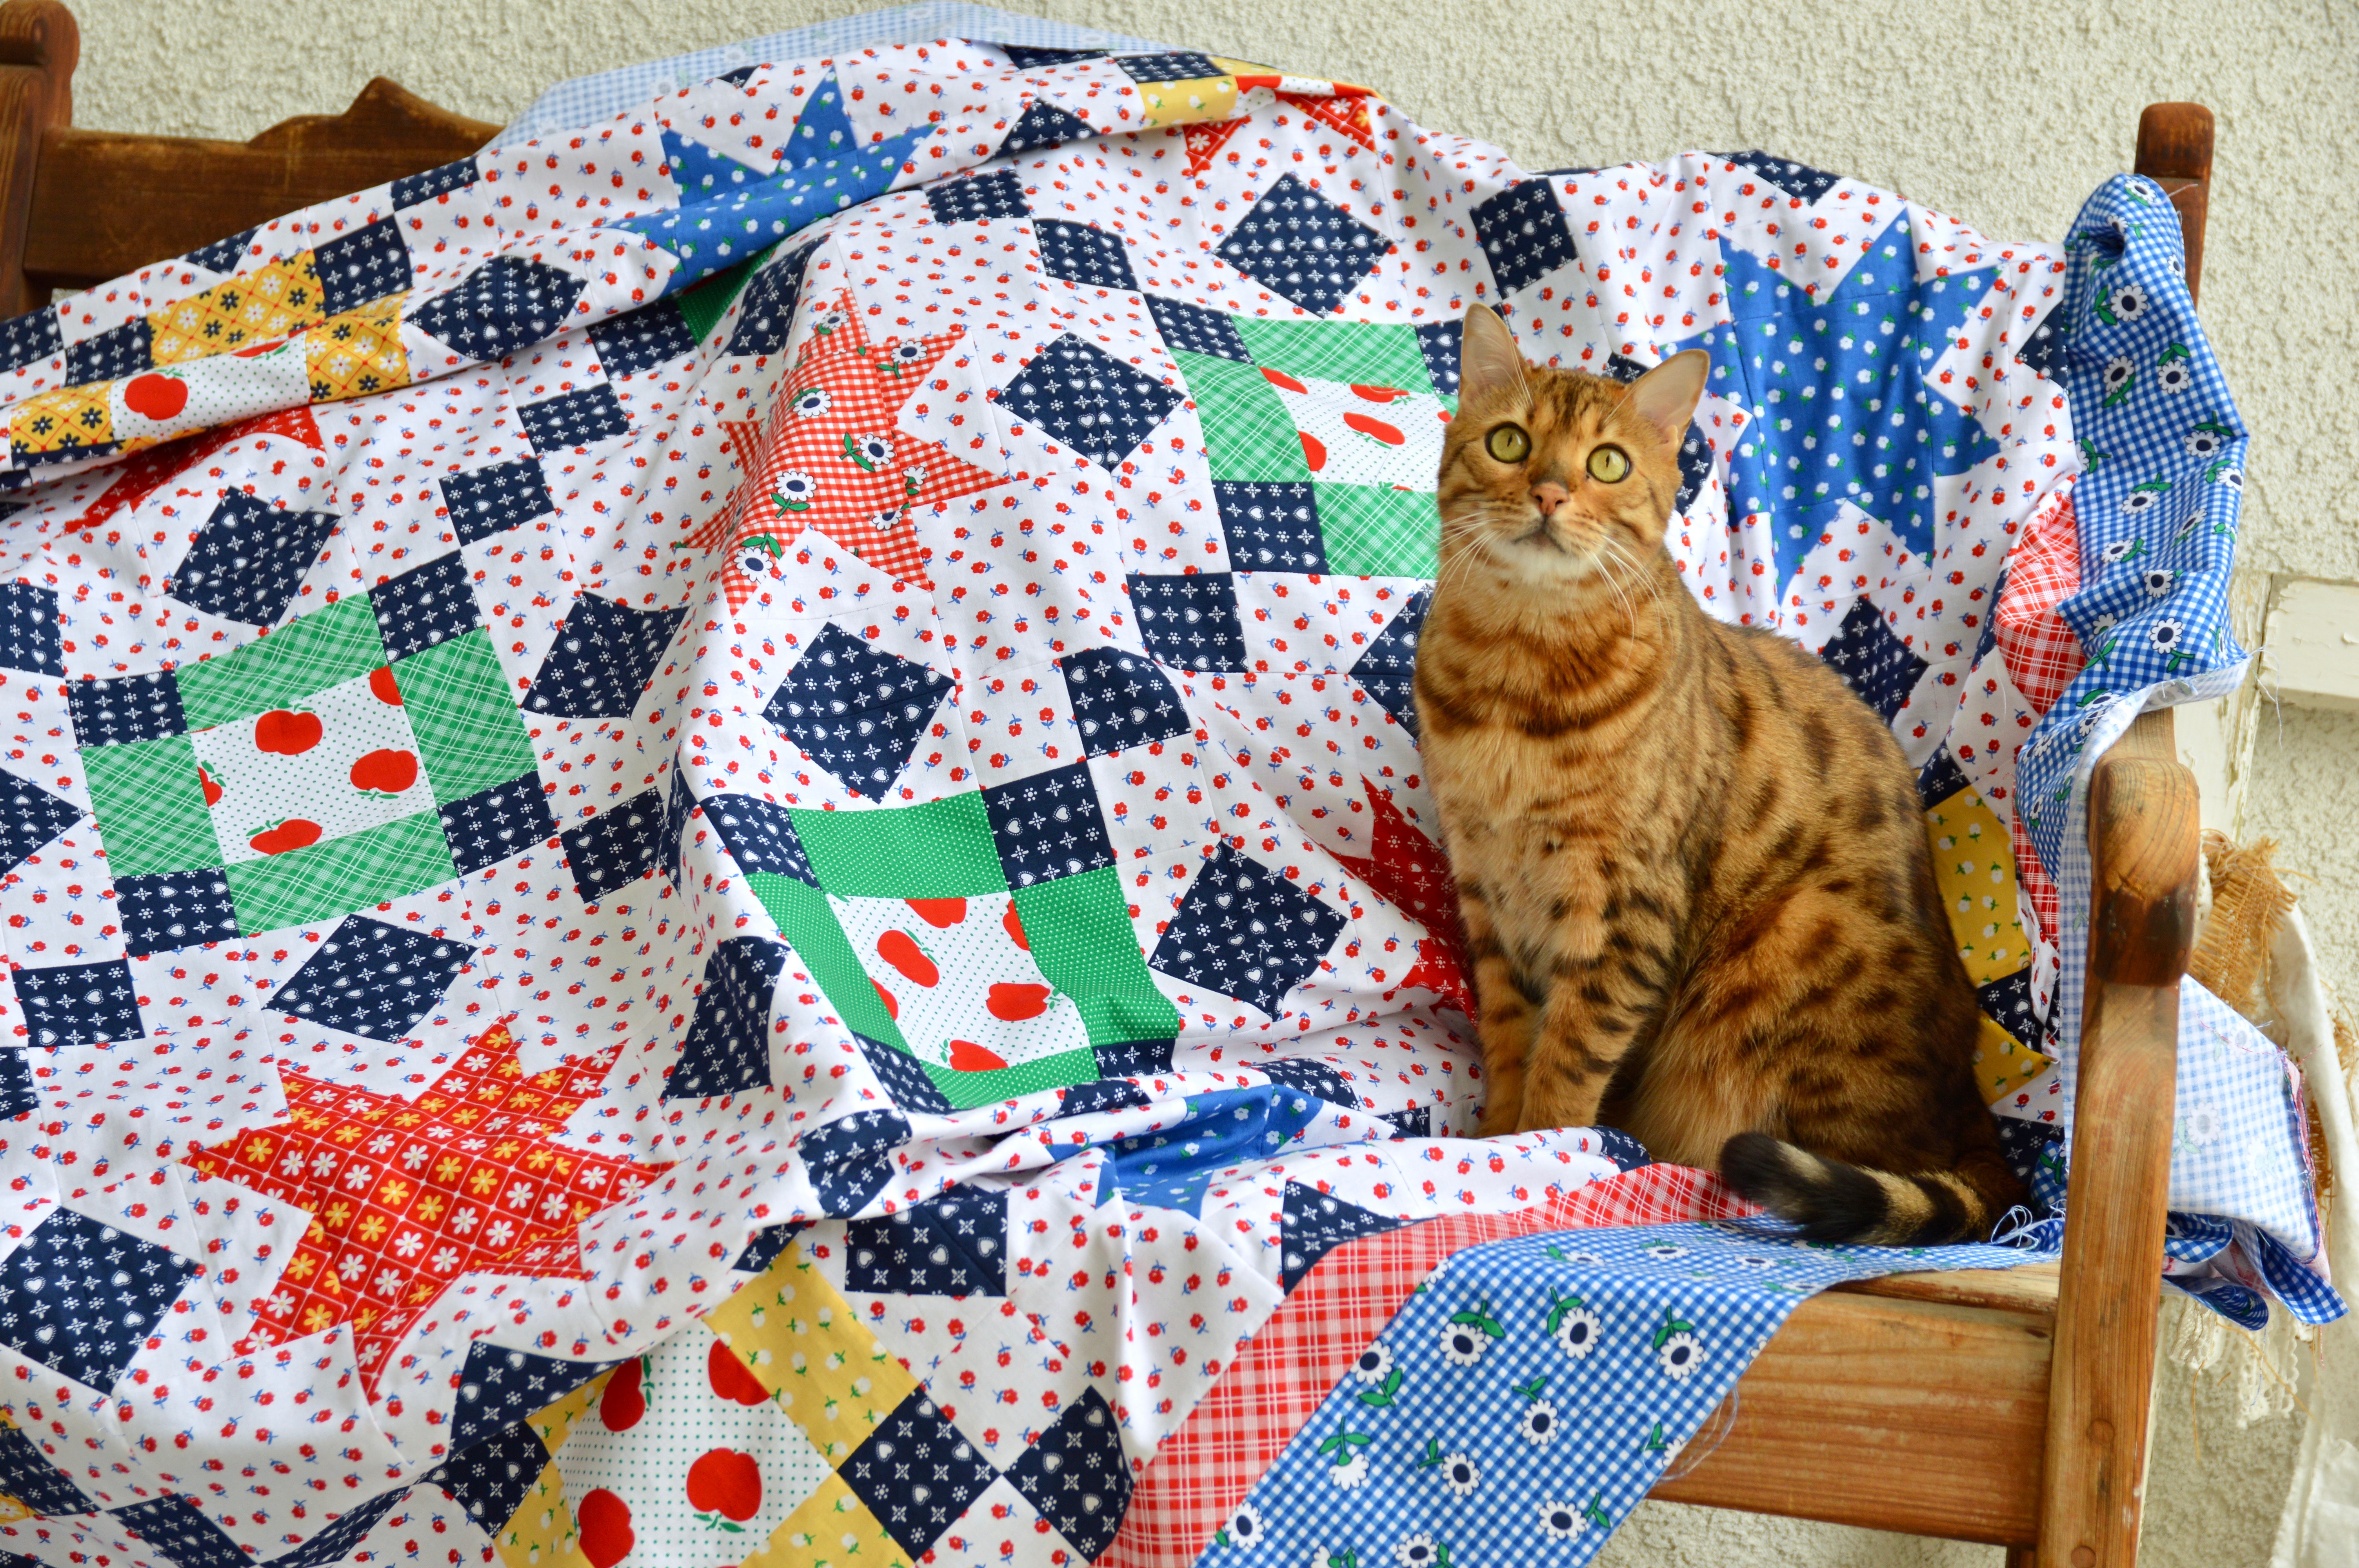
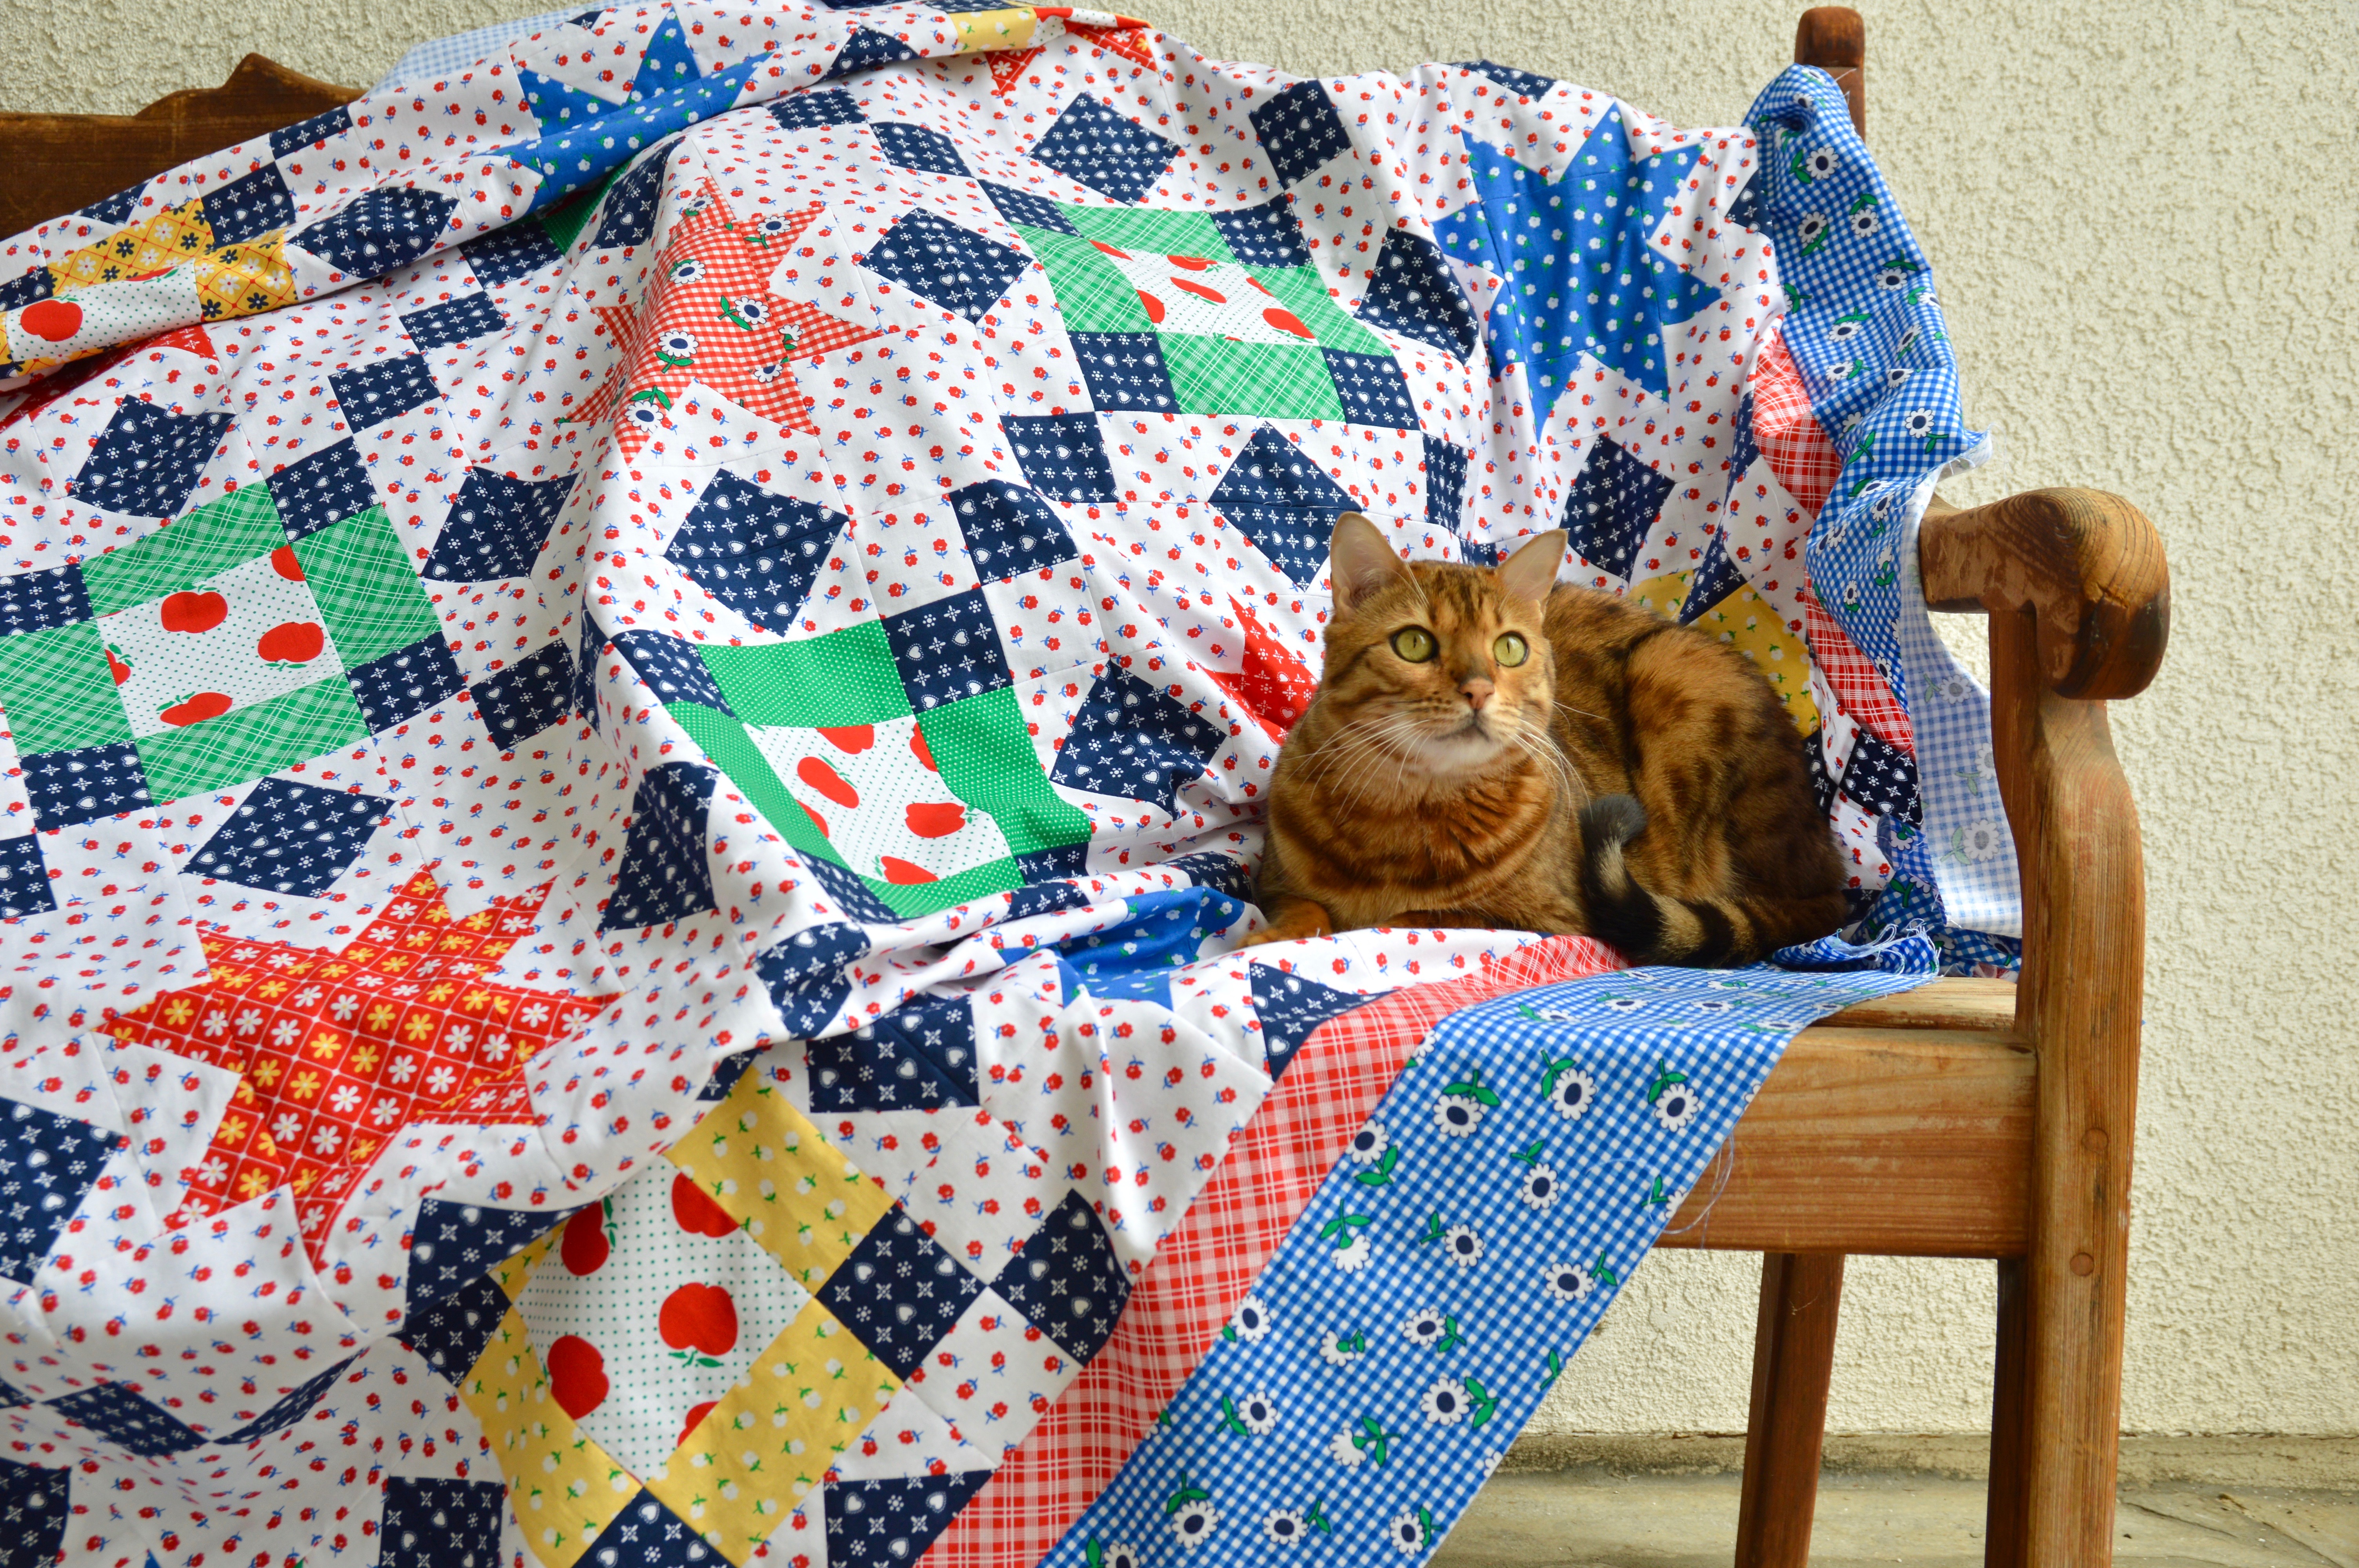
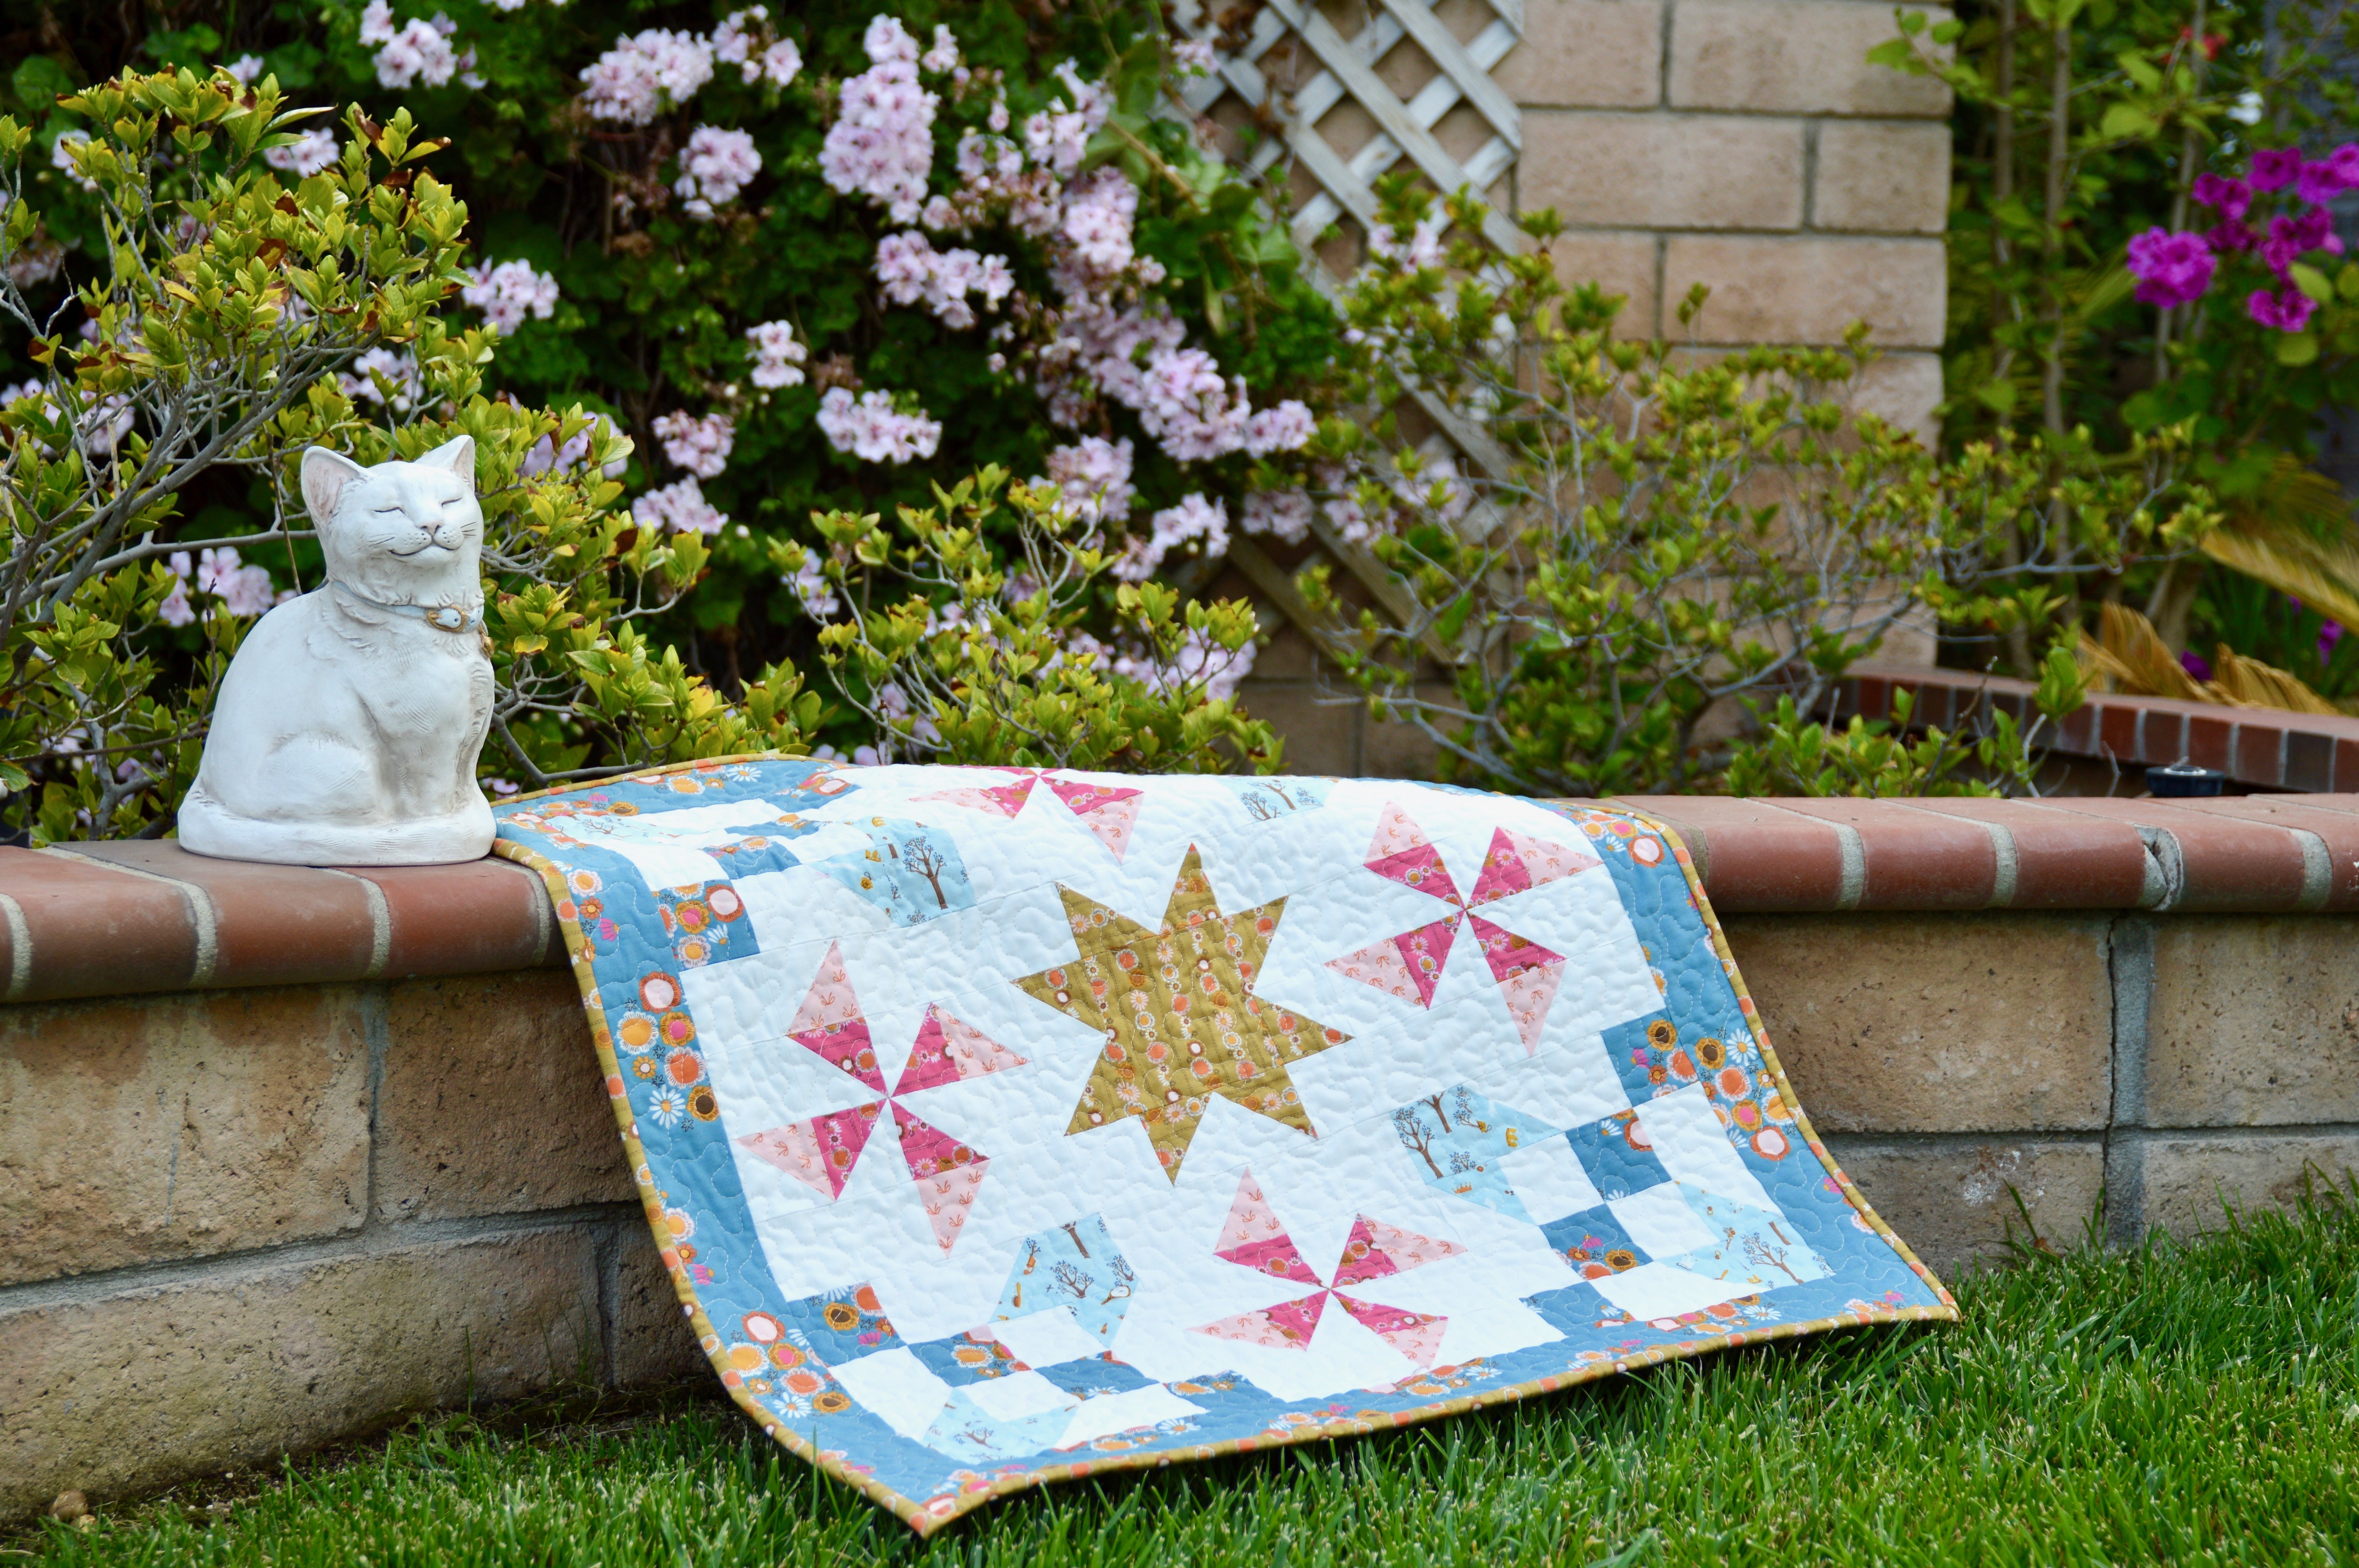
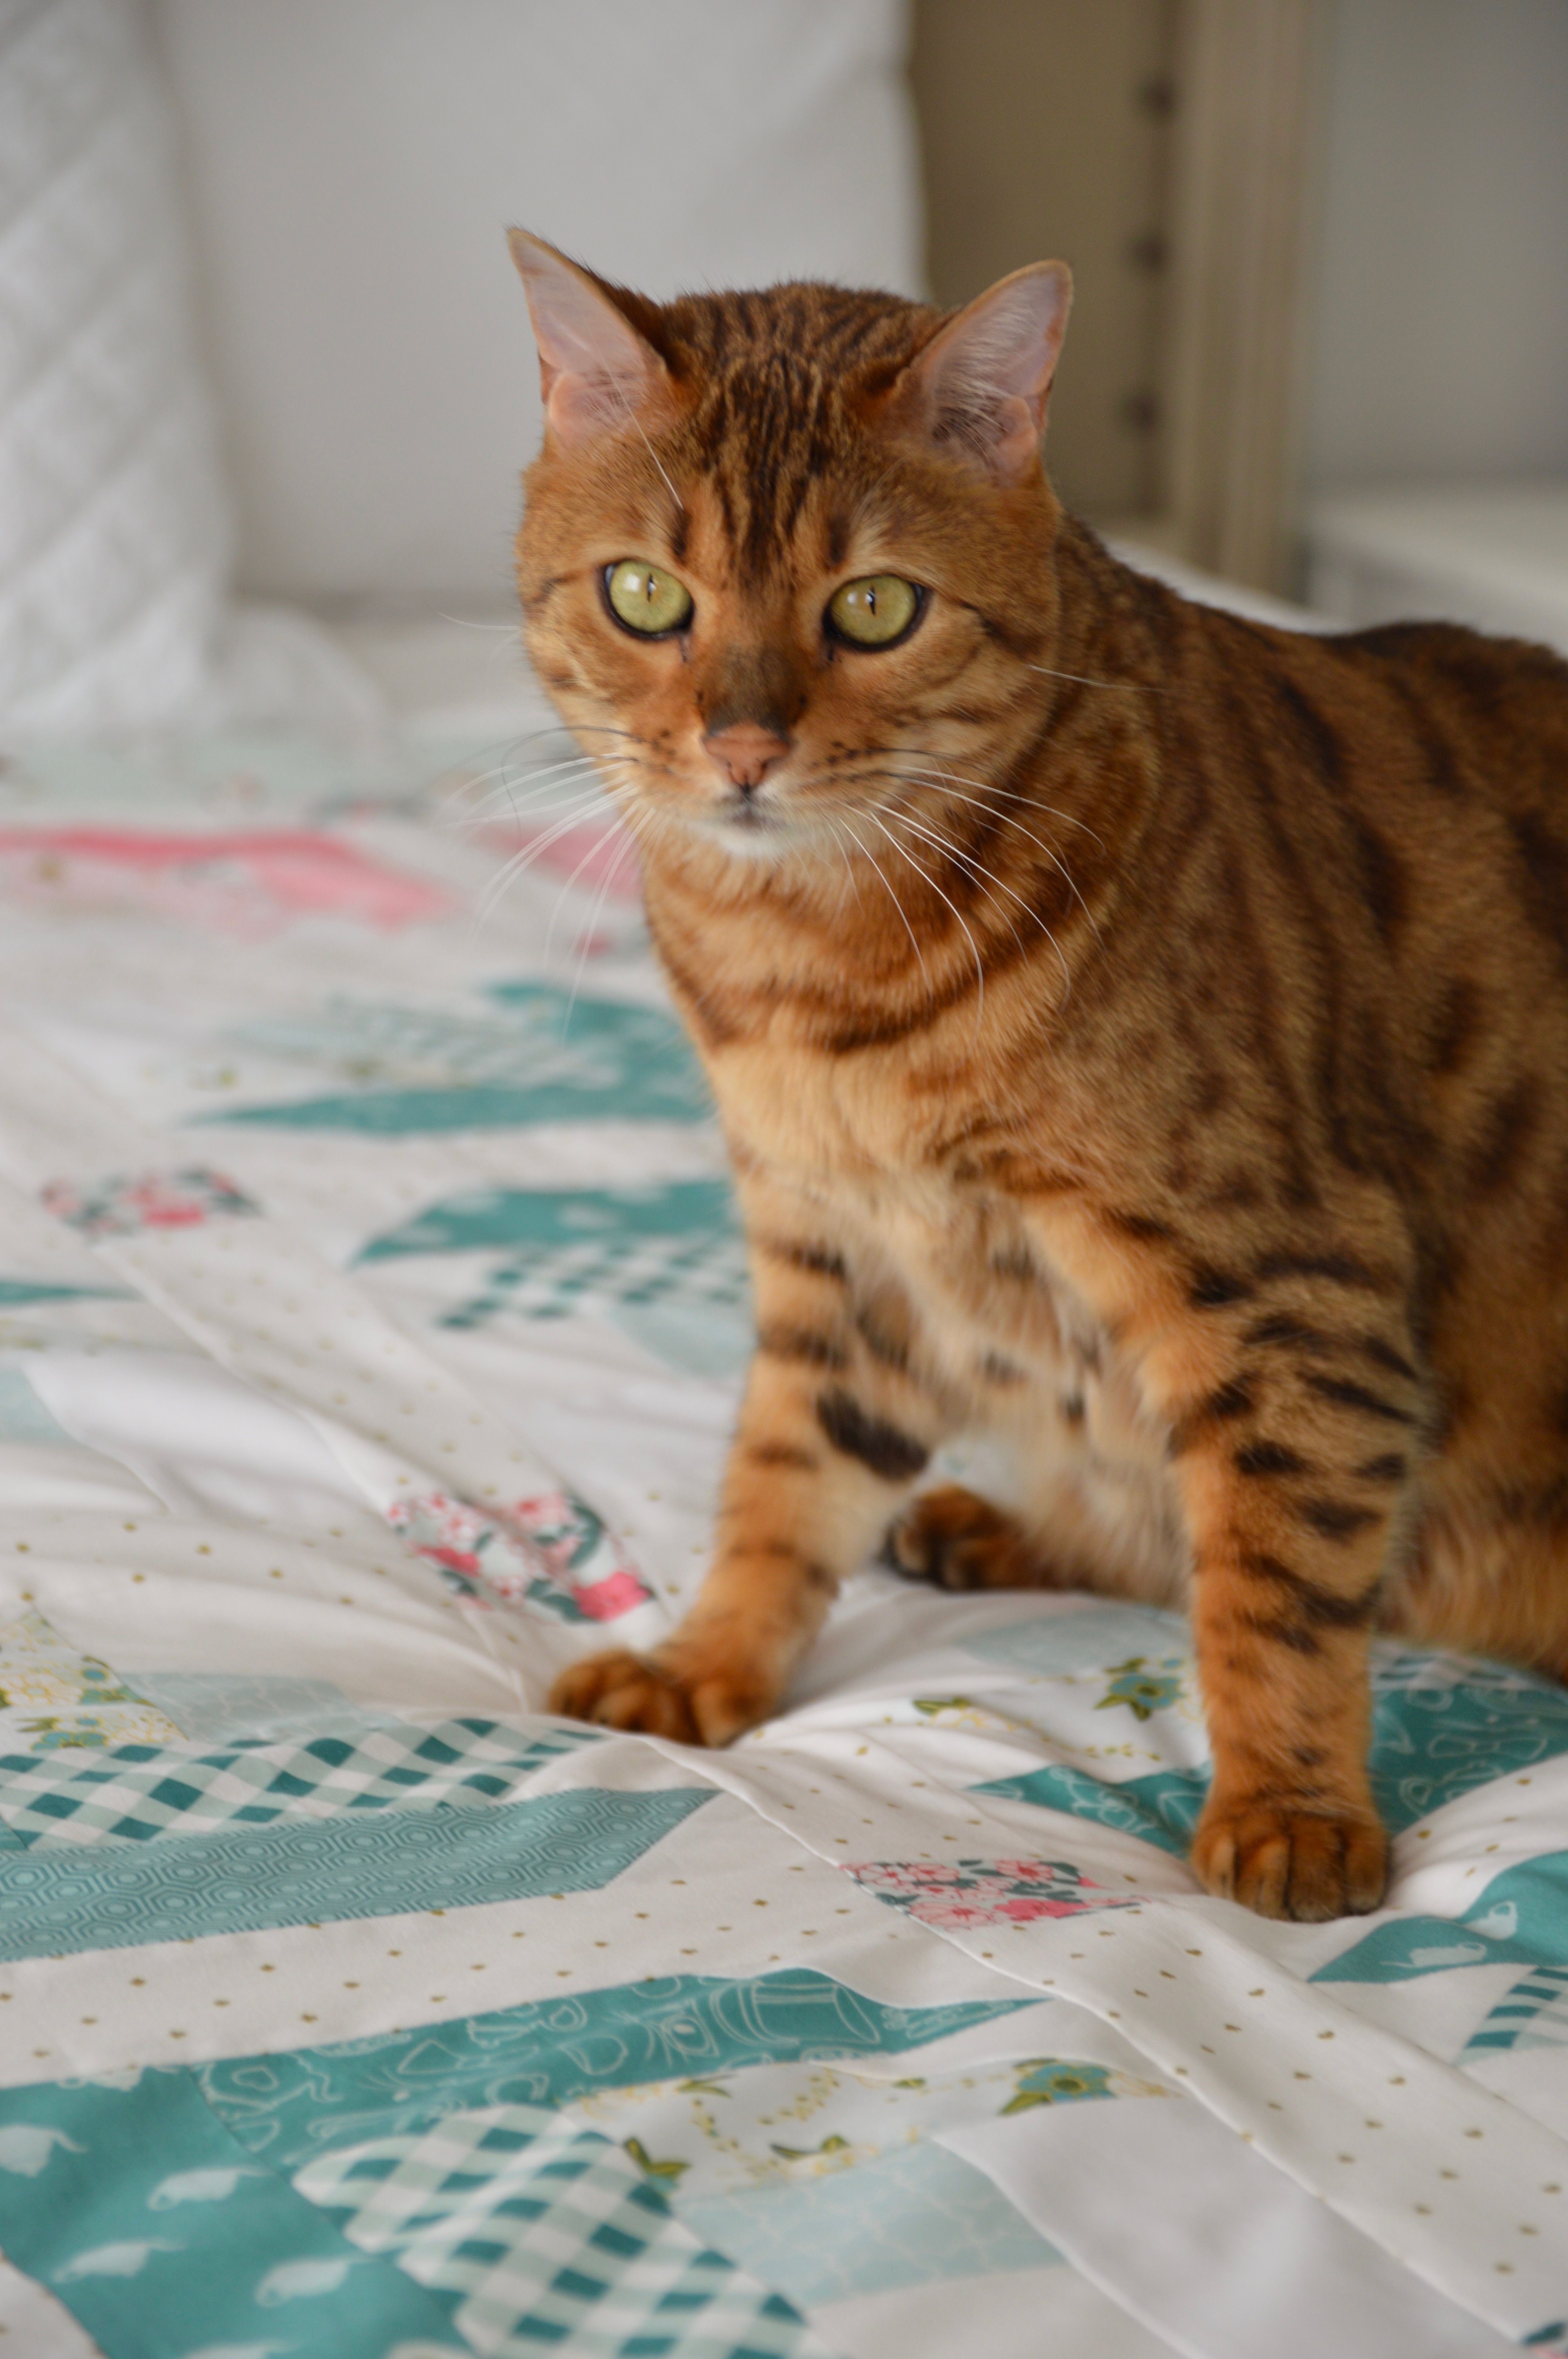
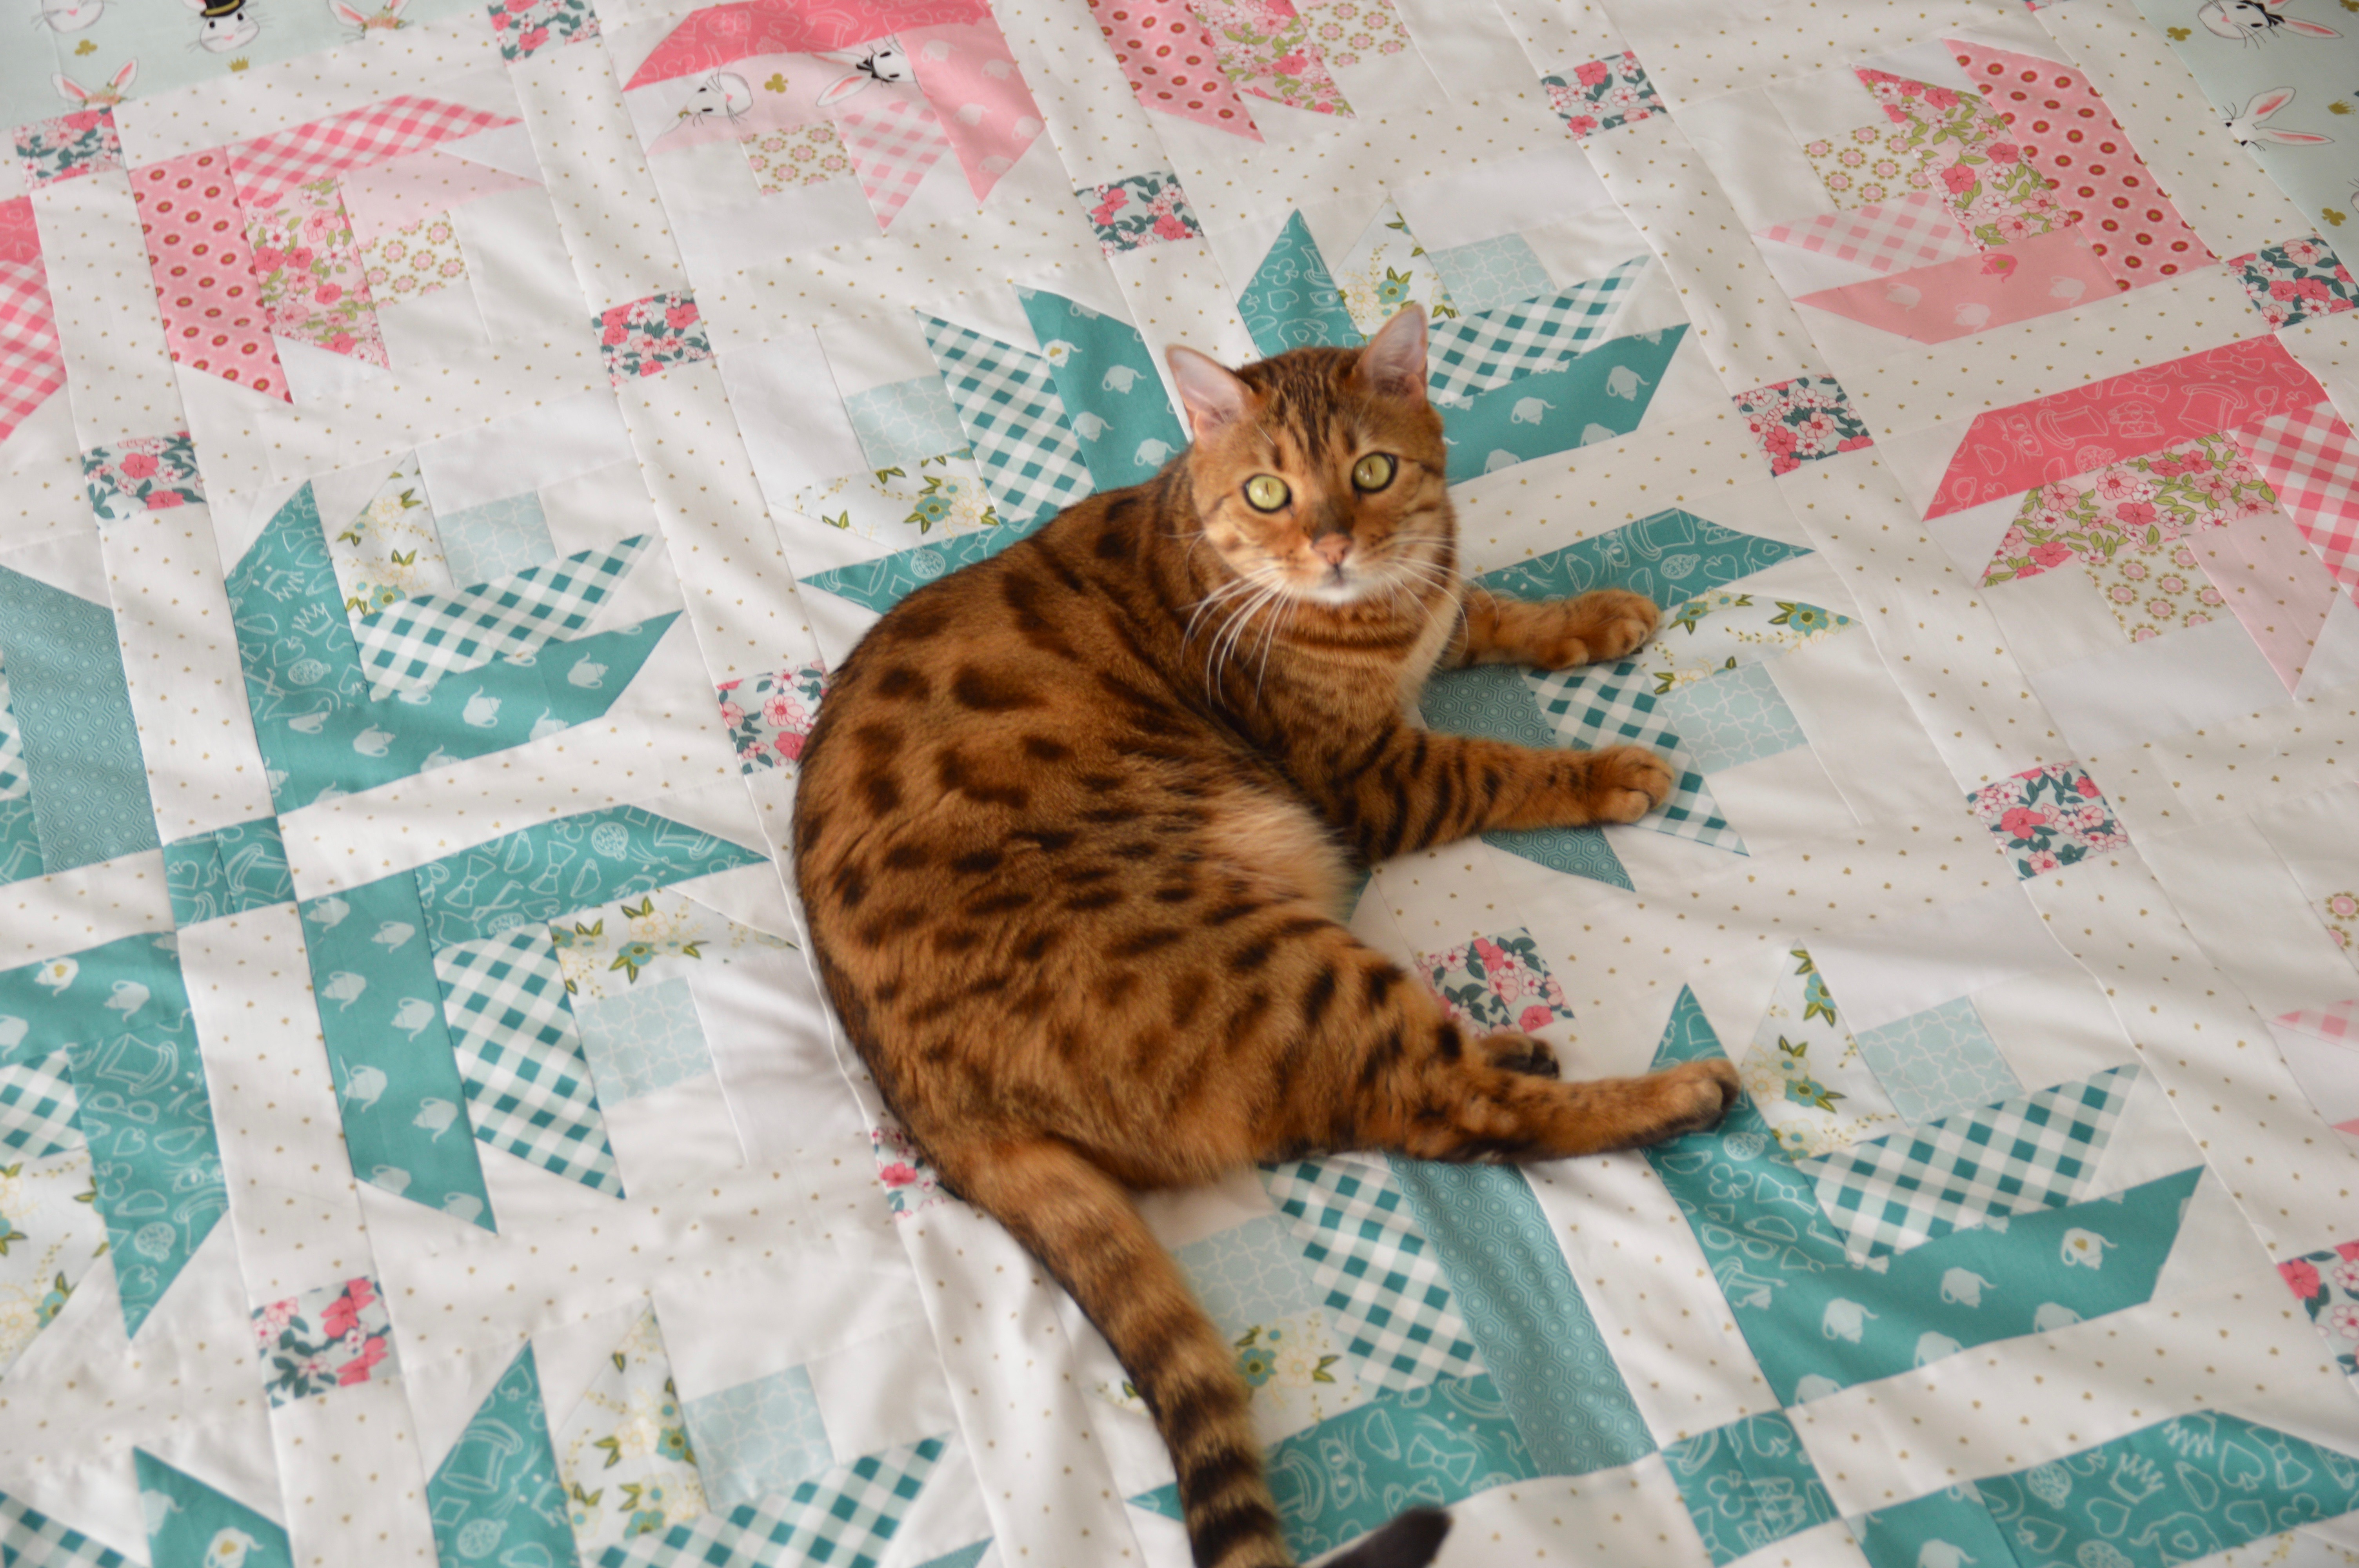
Mufasa loves to sleep while I sew!

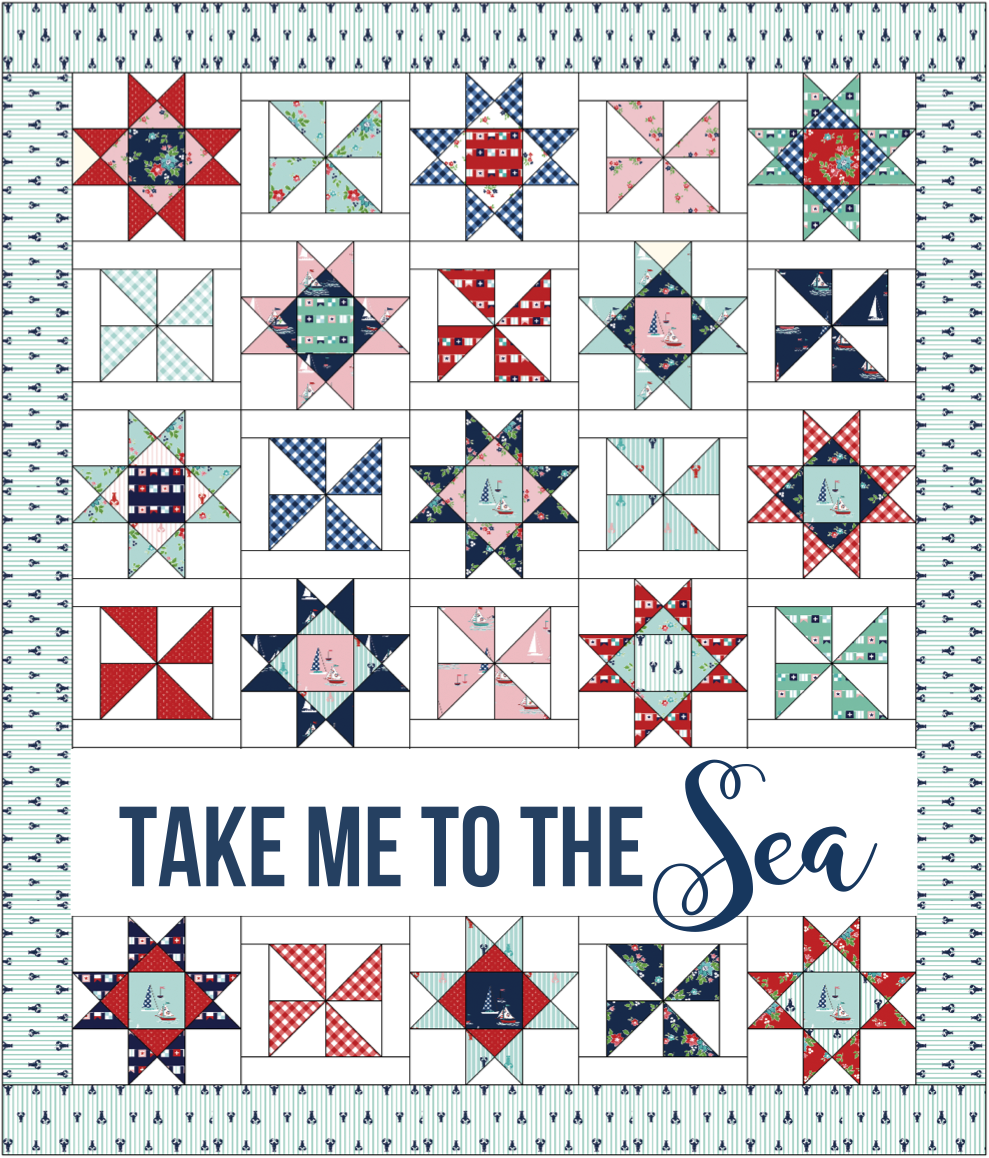
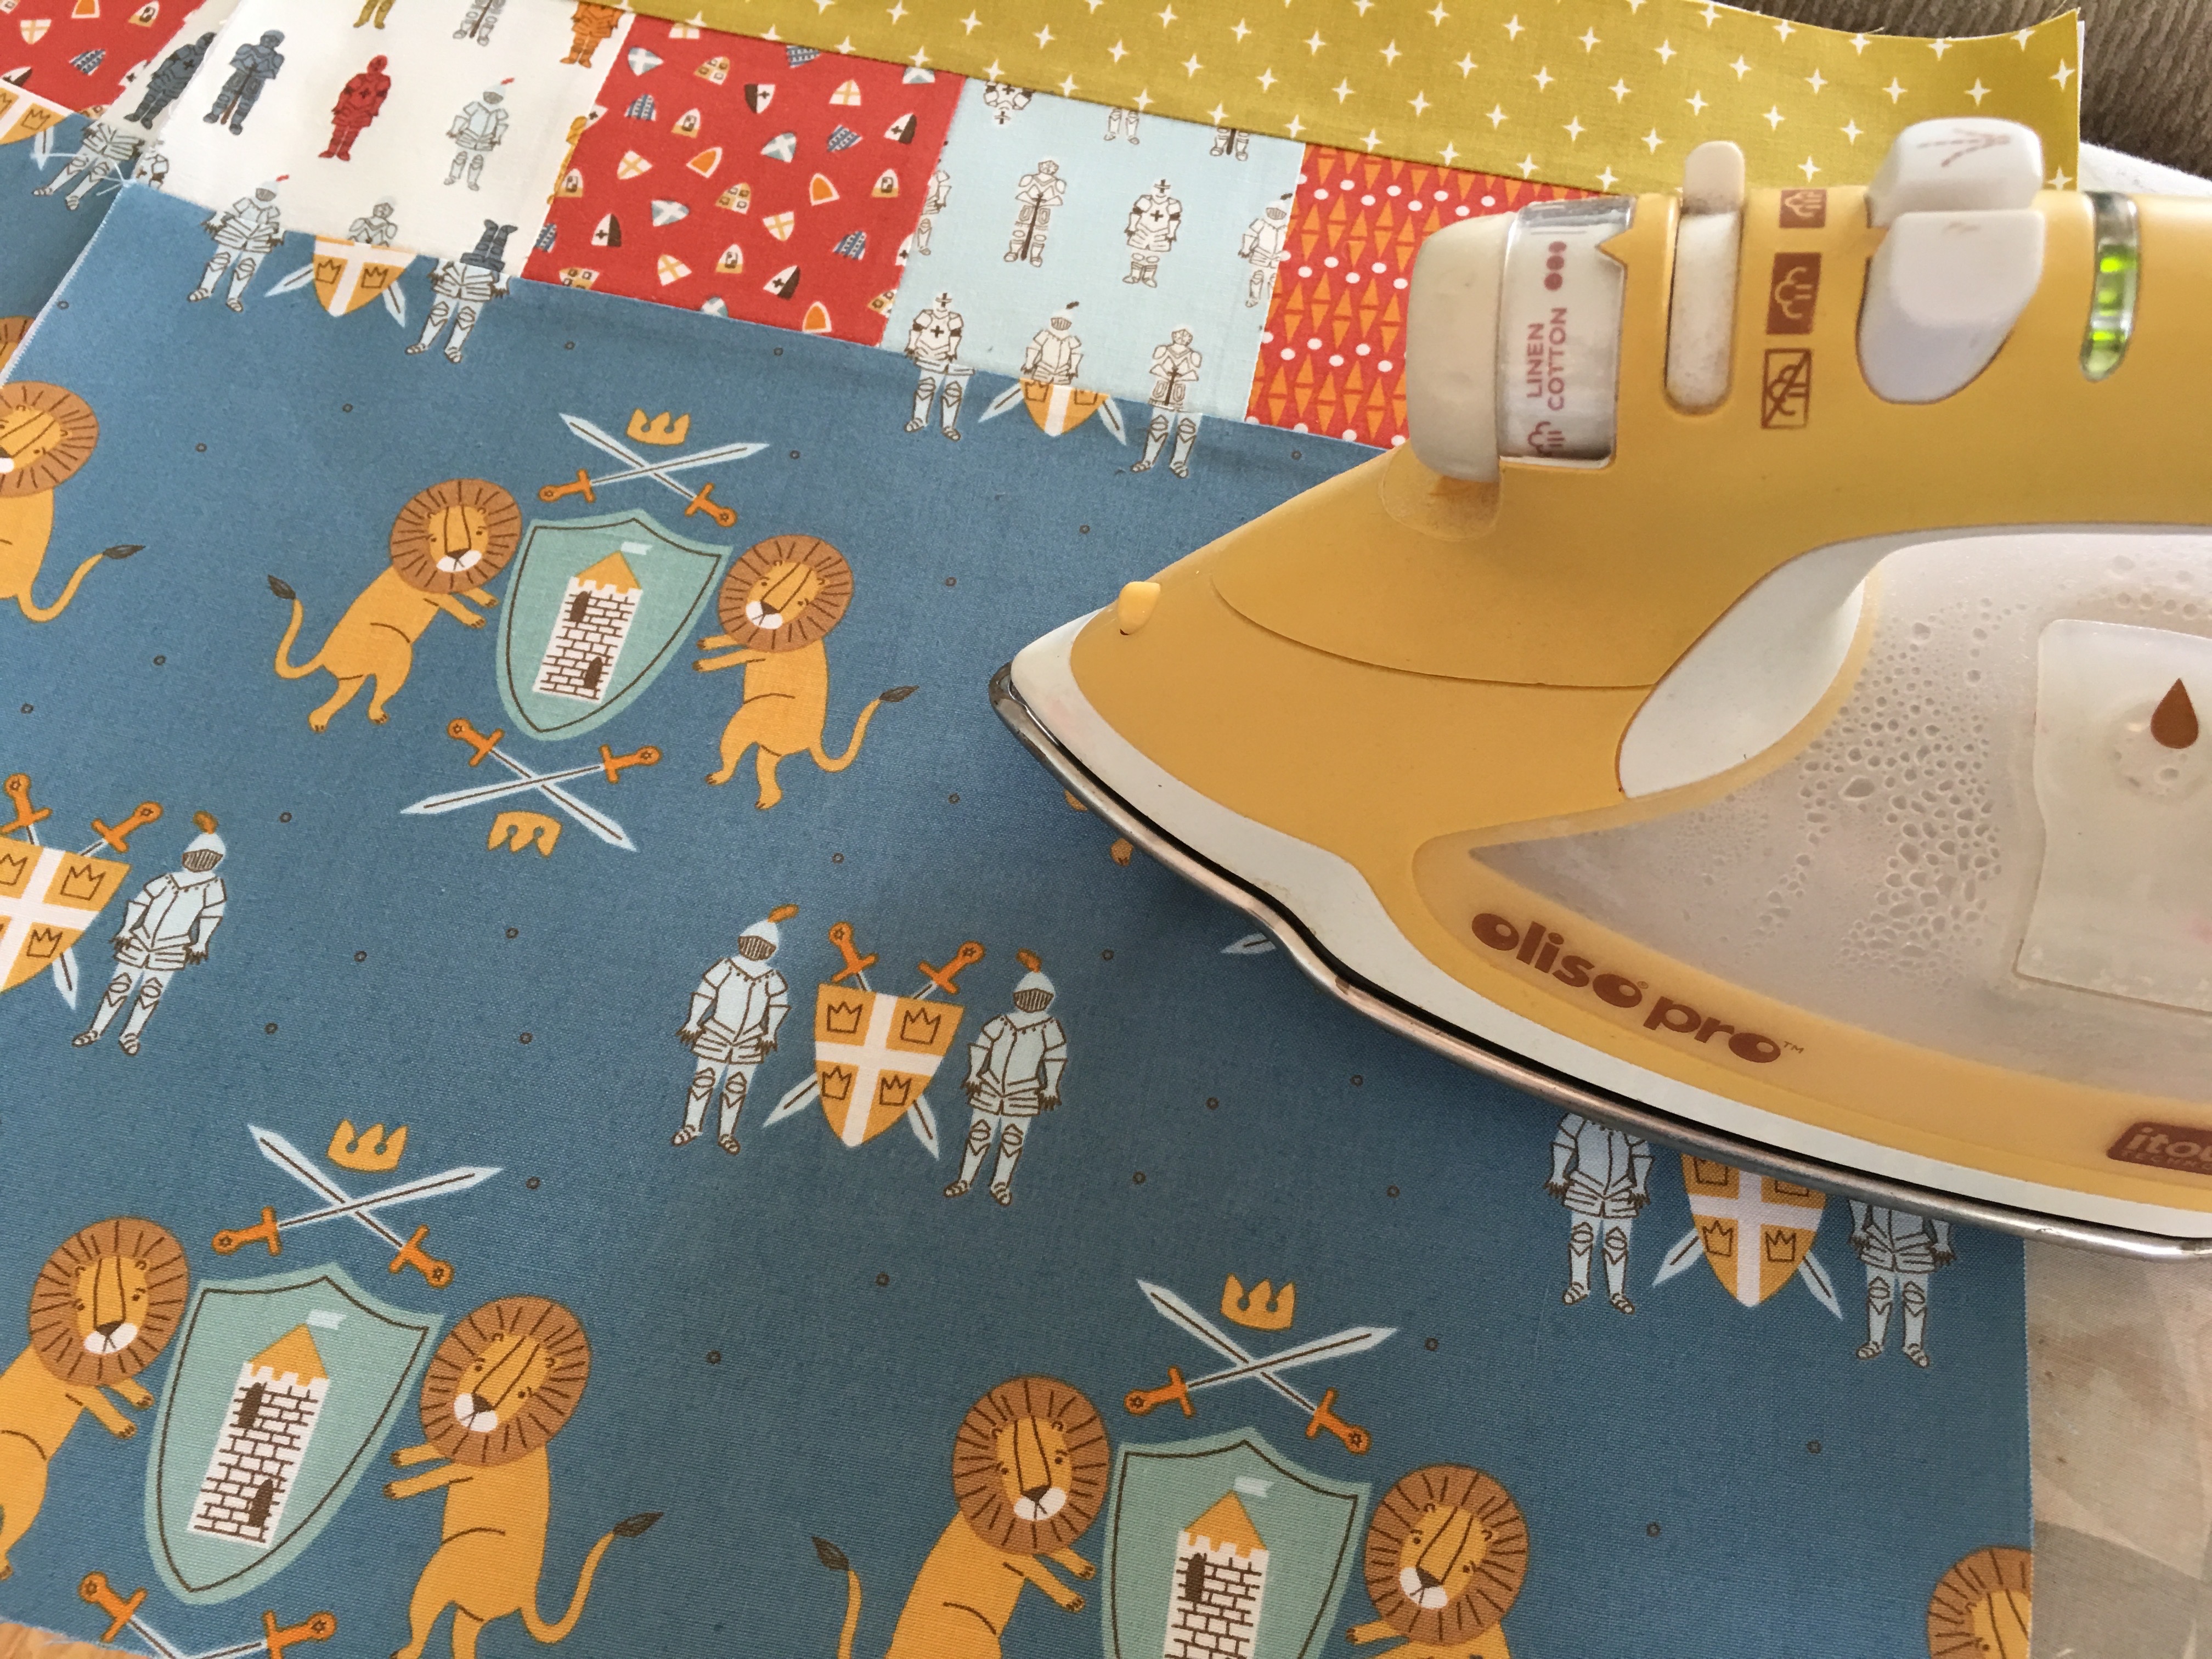
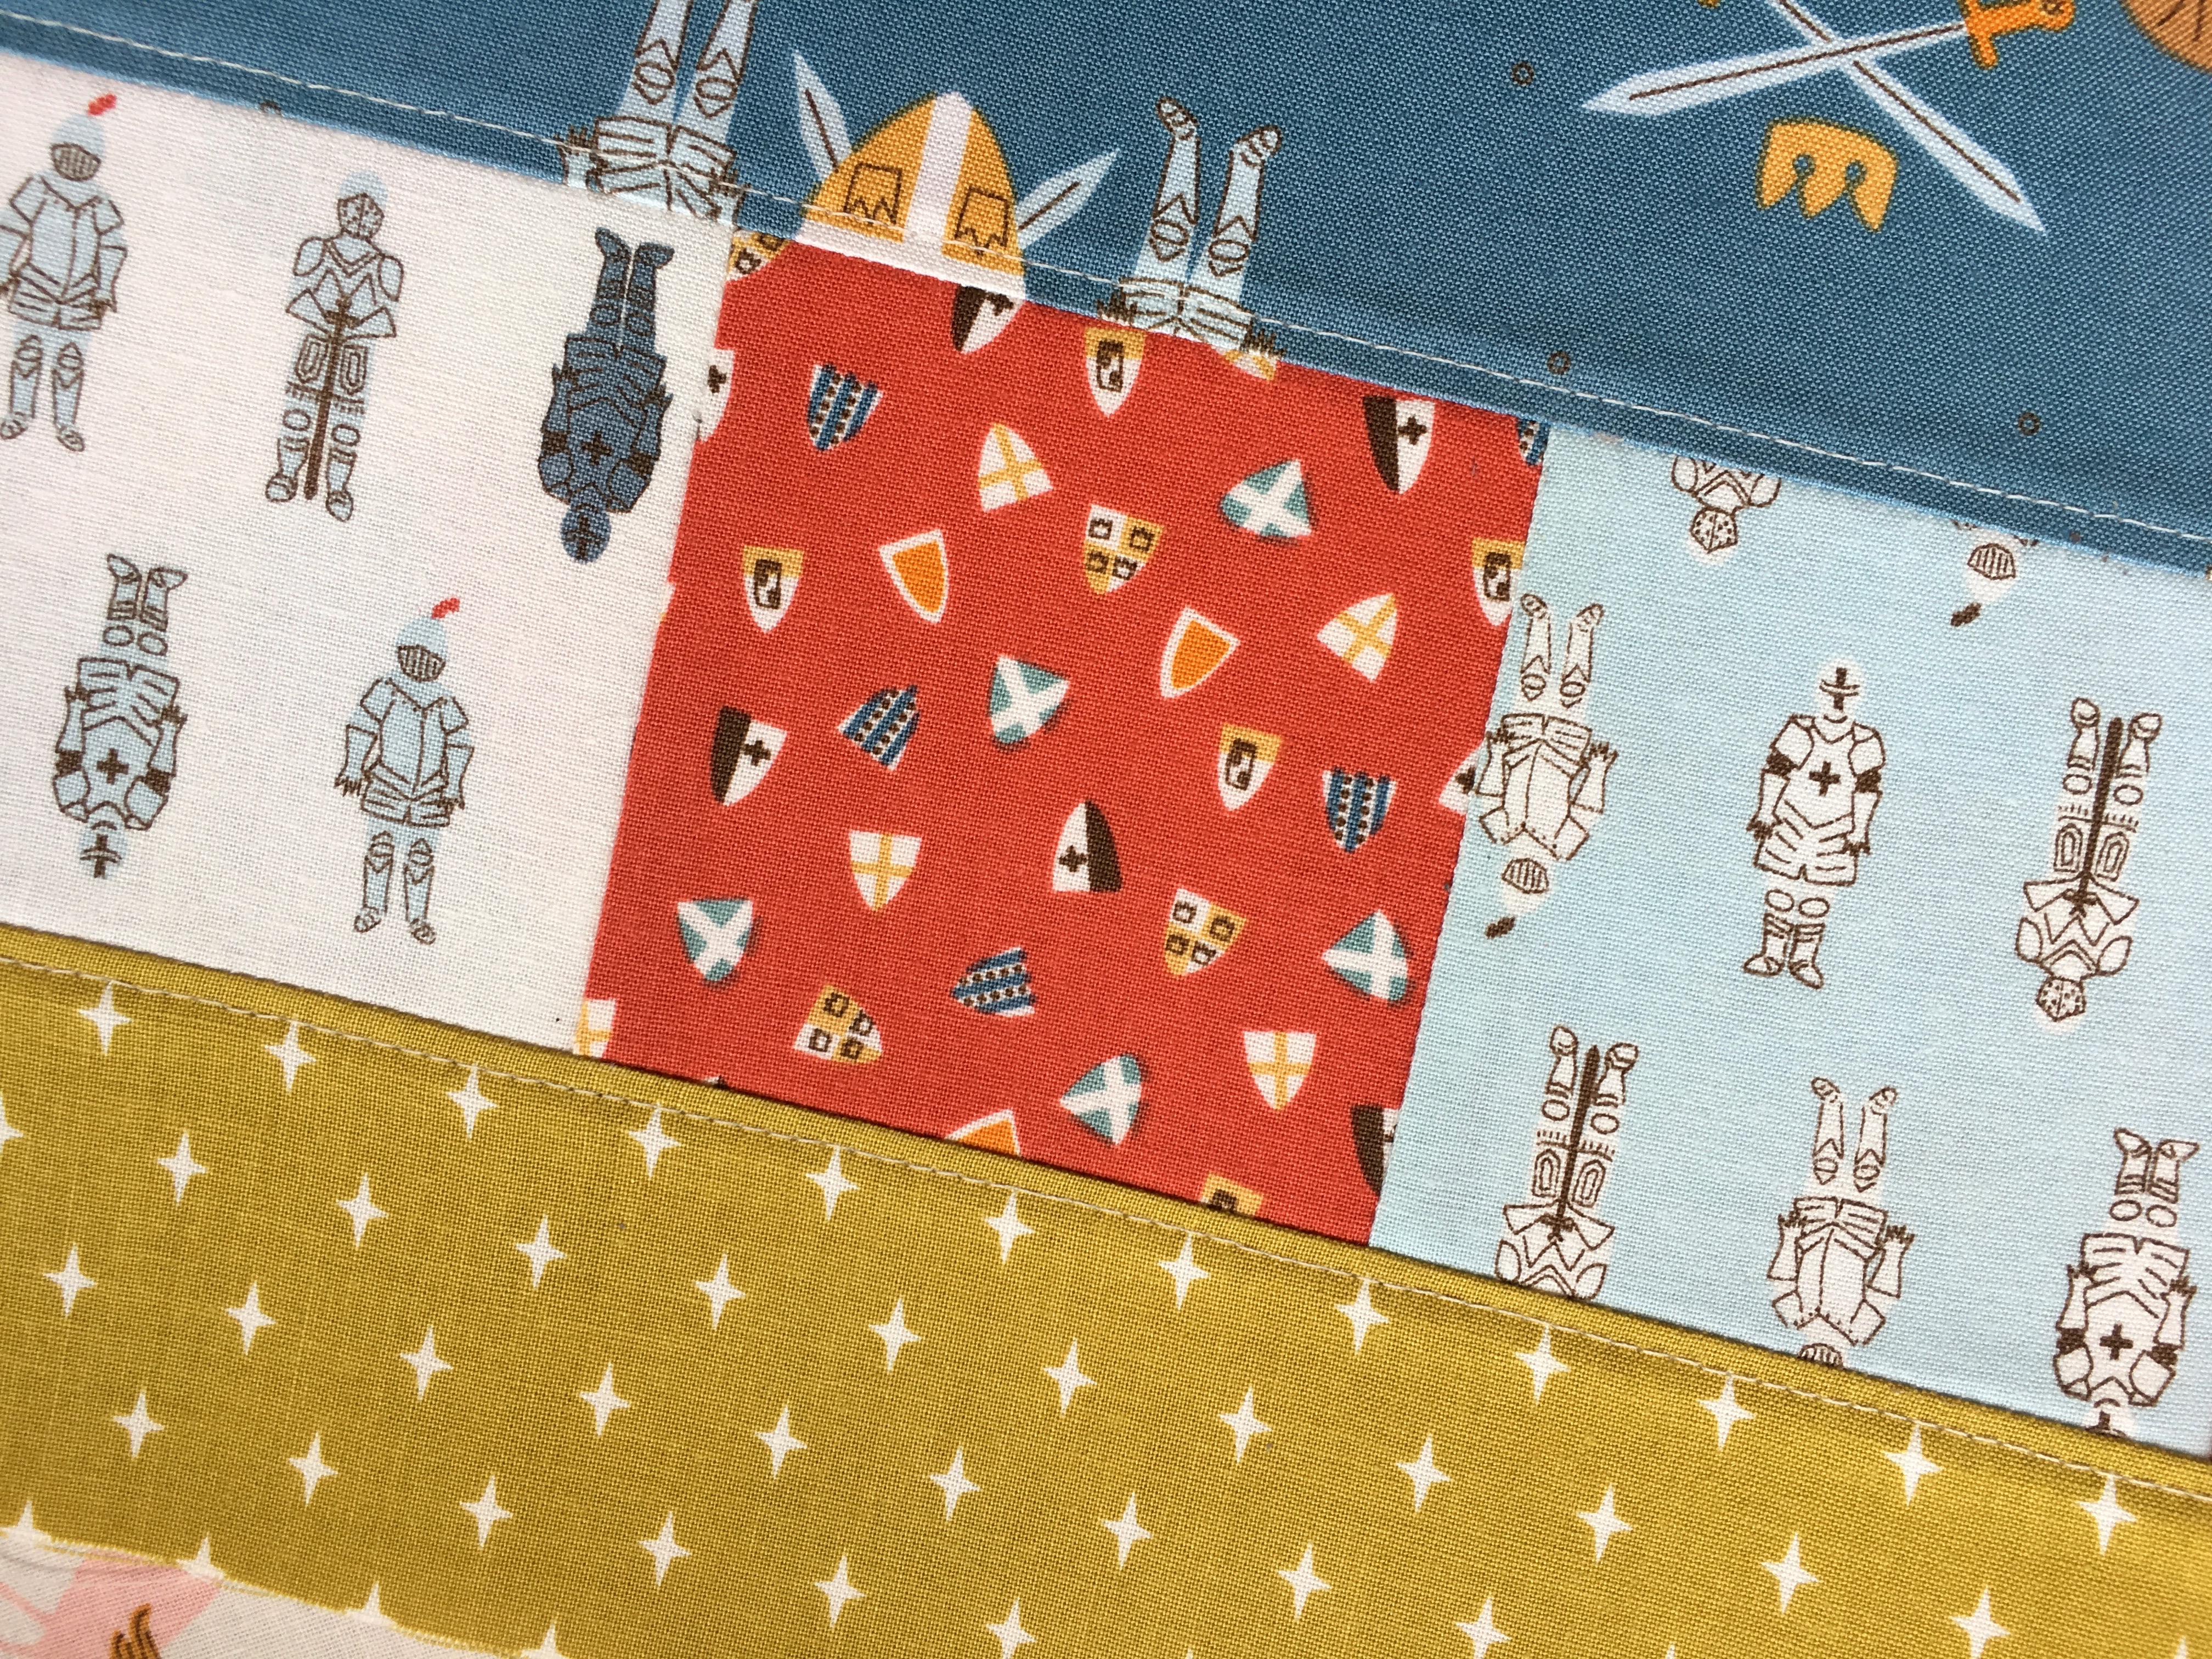
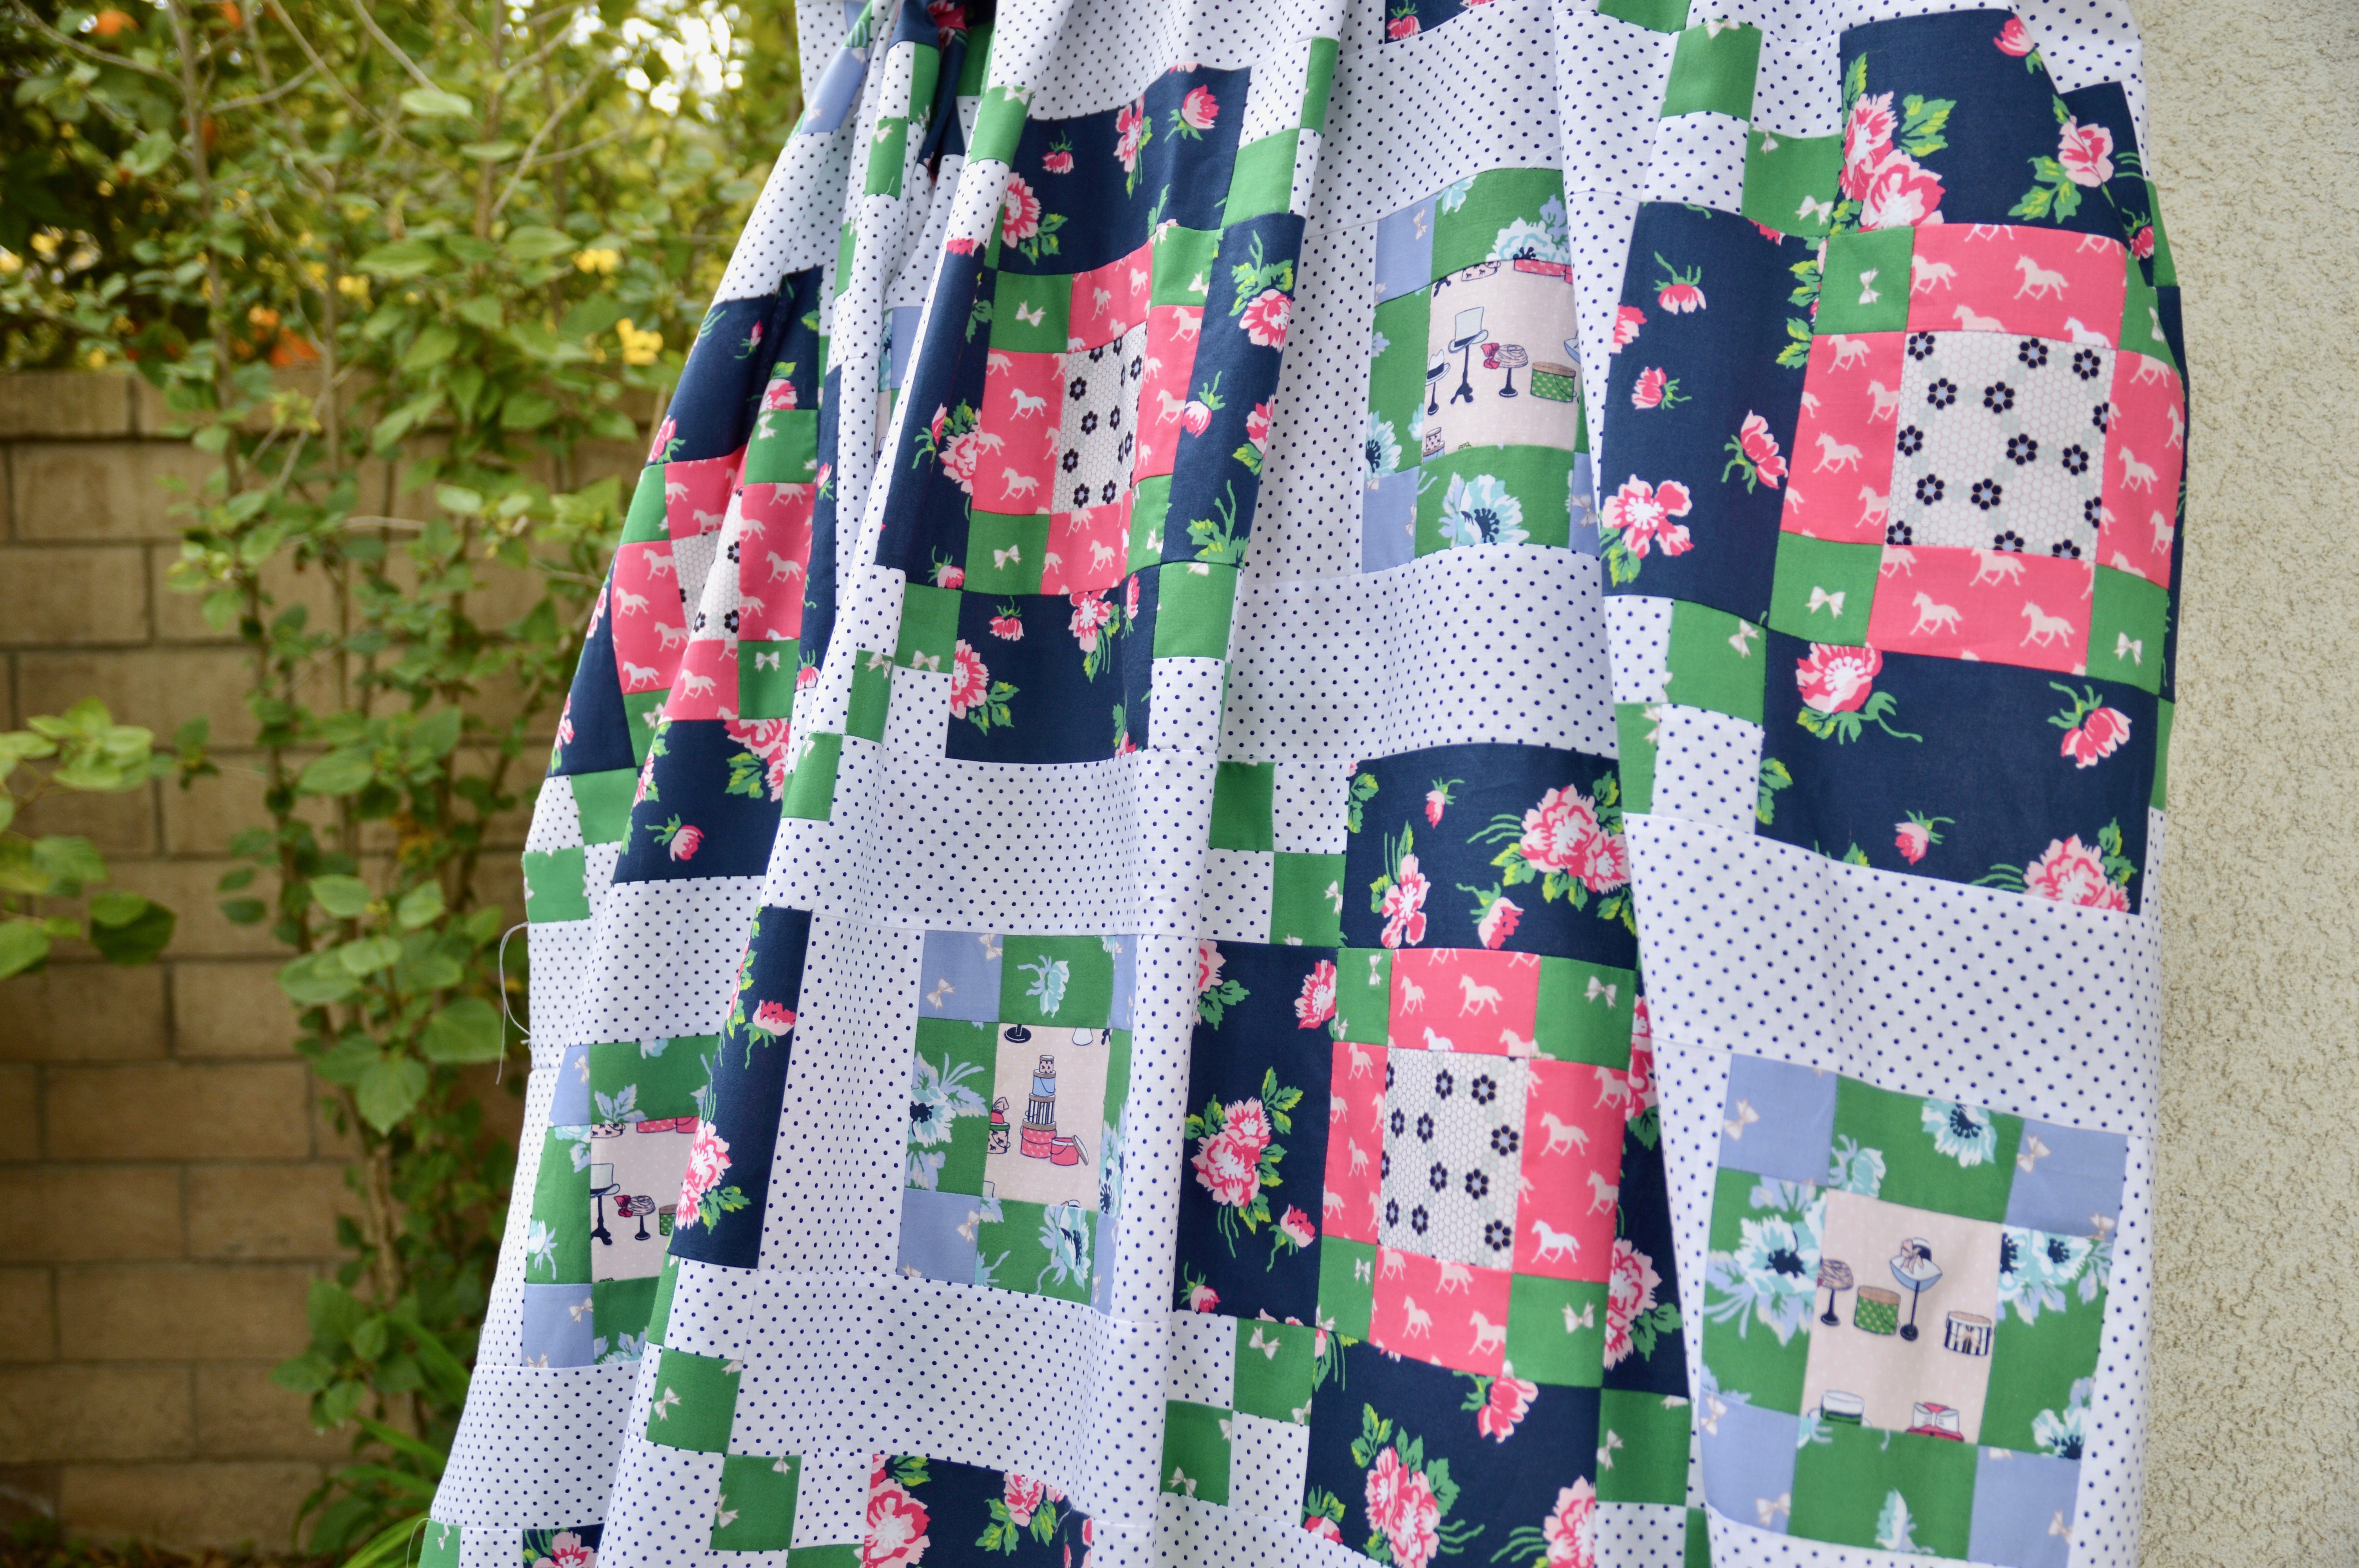
Once the letters are finished, lay out the quilt according to the diagram.  Sew together in rows, pressing toward the 3 1/2″ squares.

Sew the rows together, pressing in one direction.

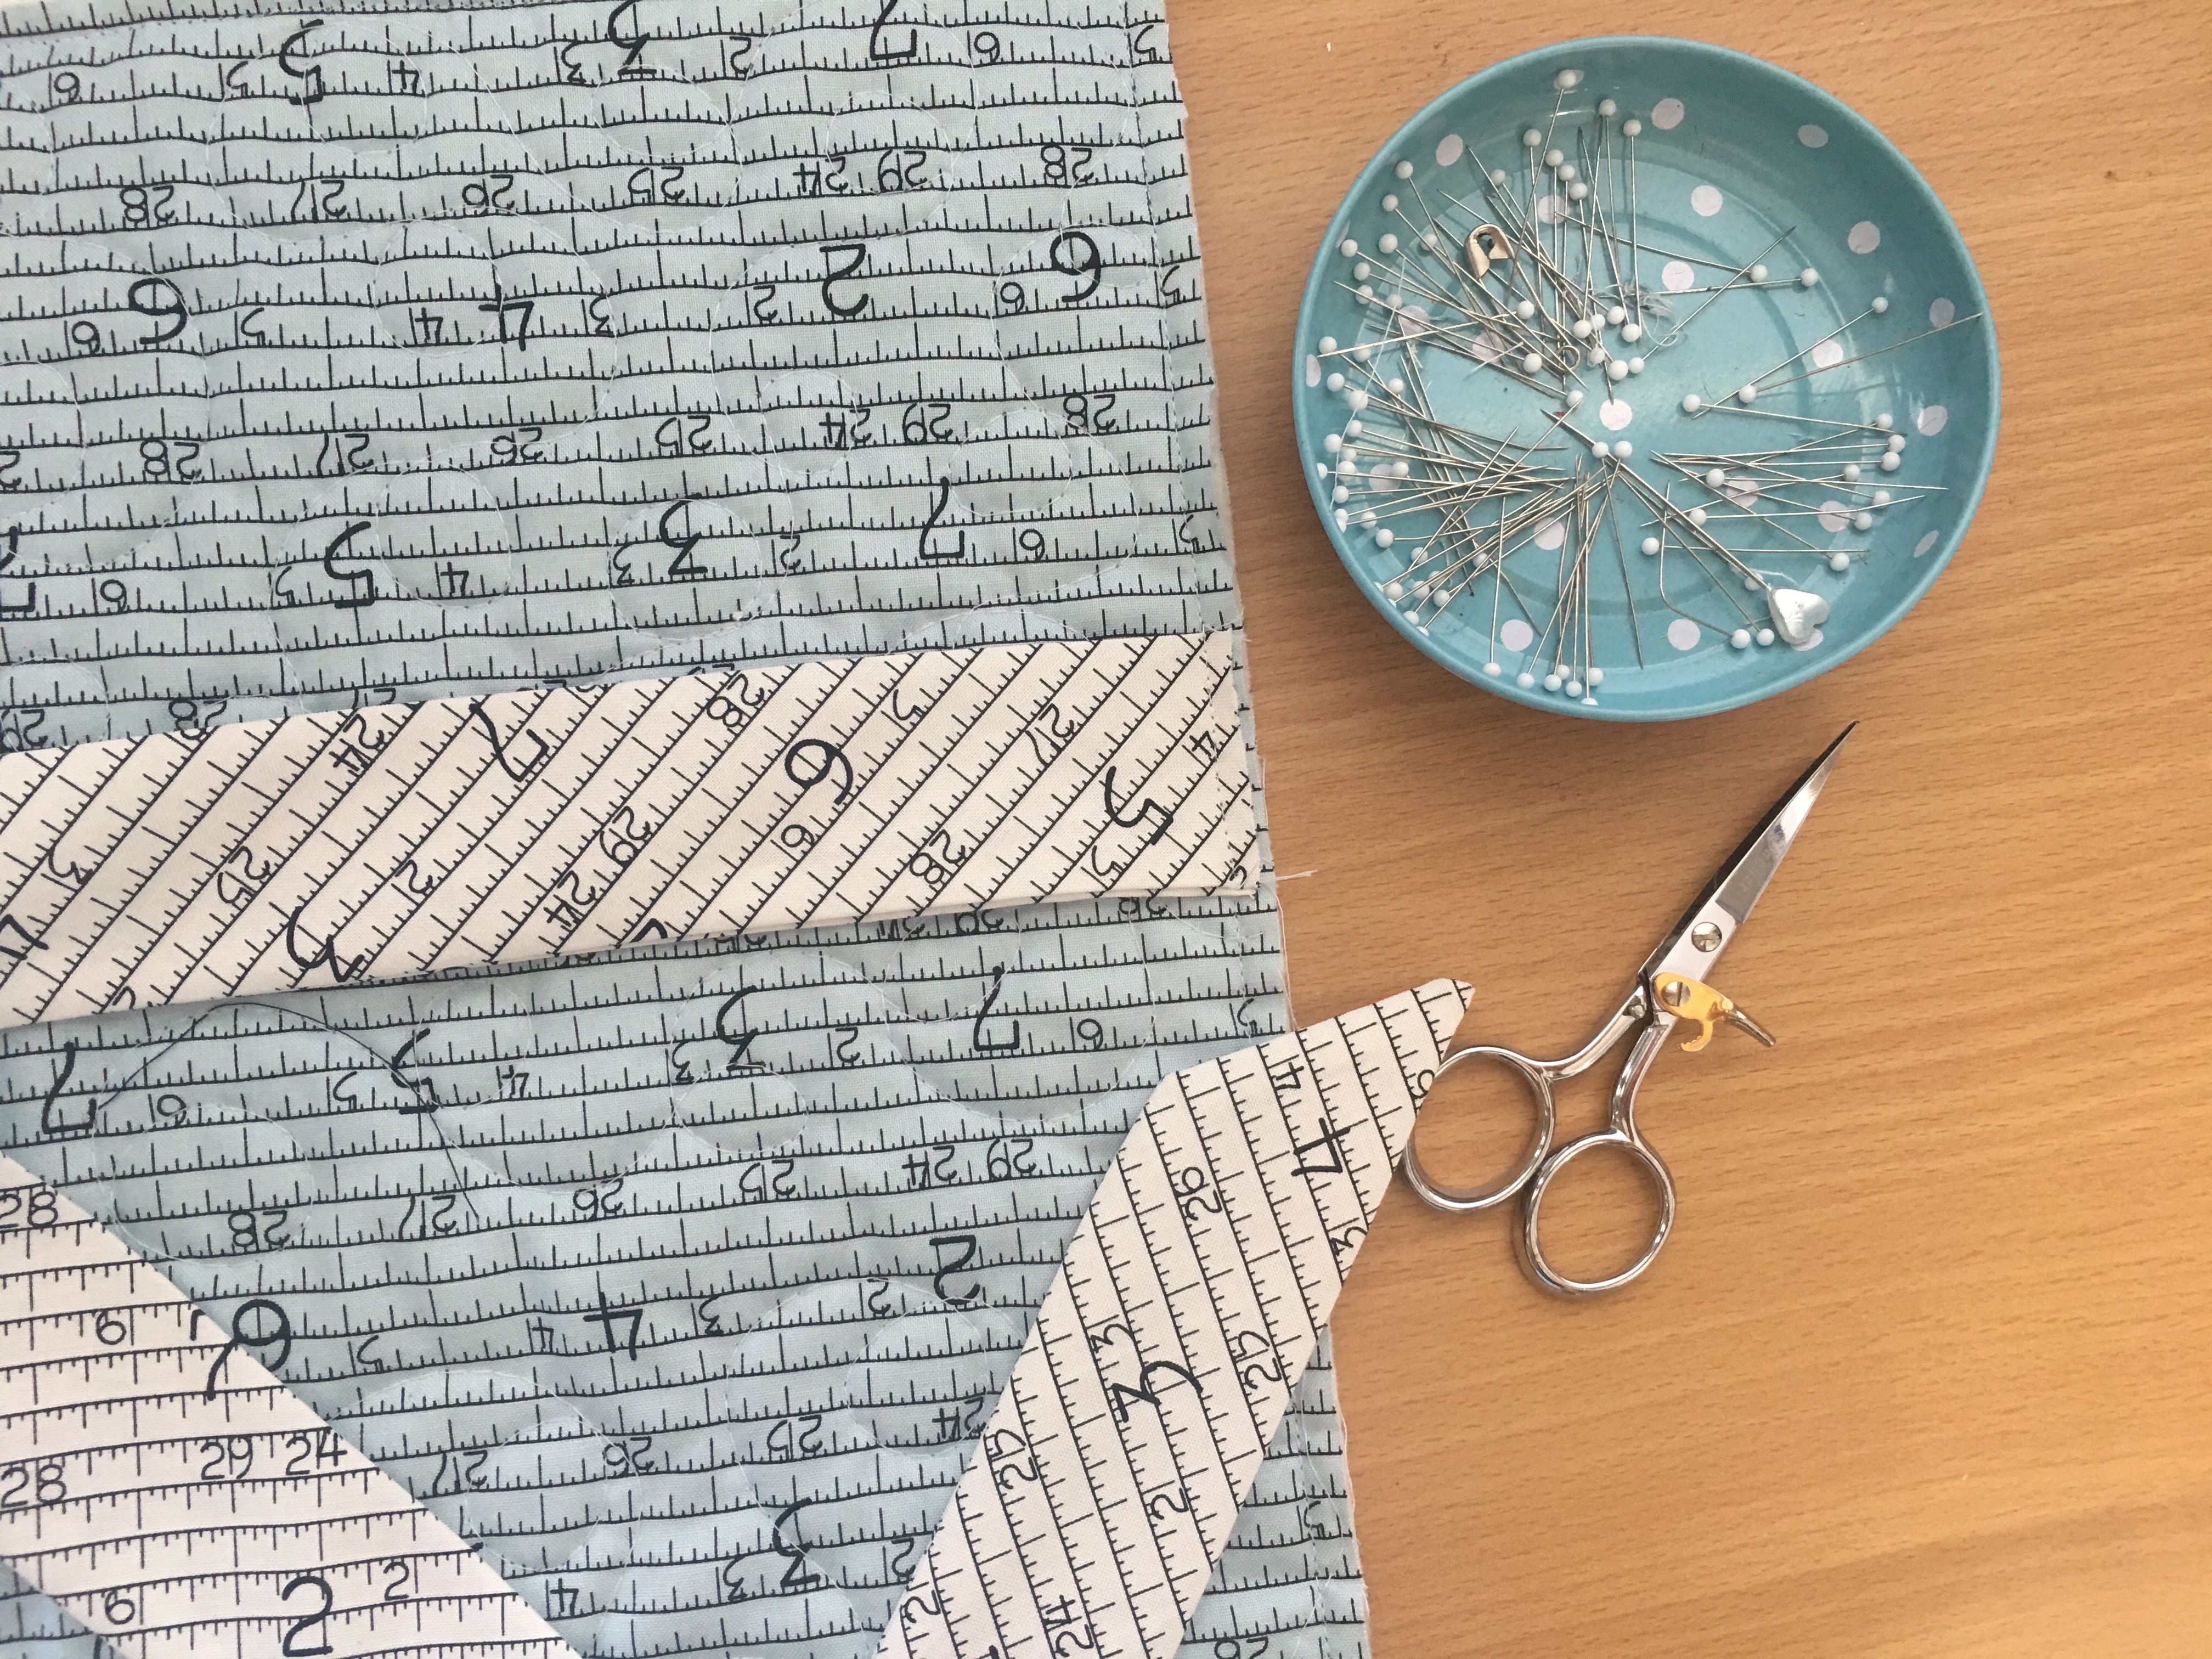
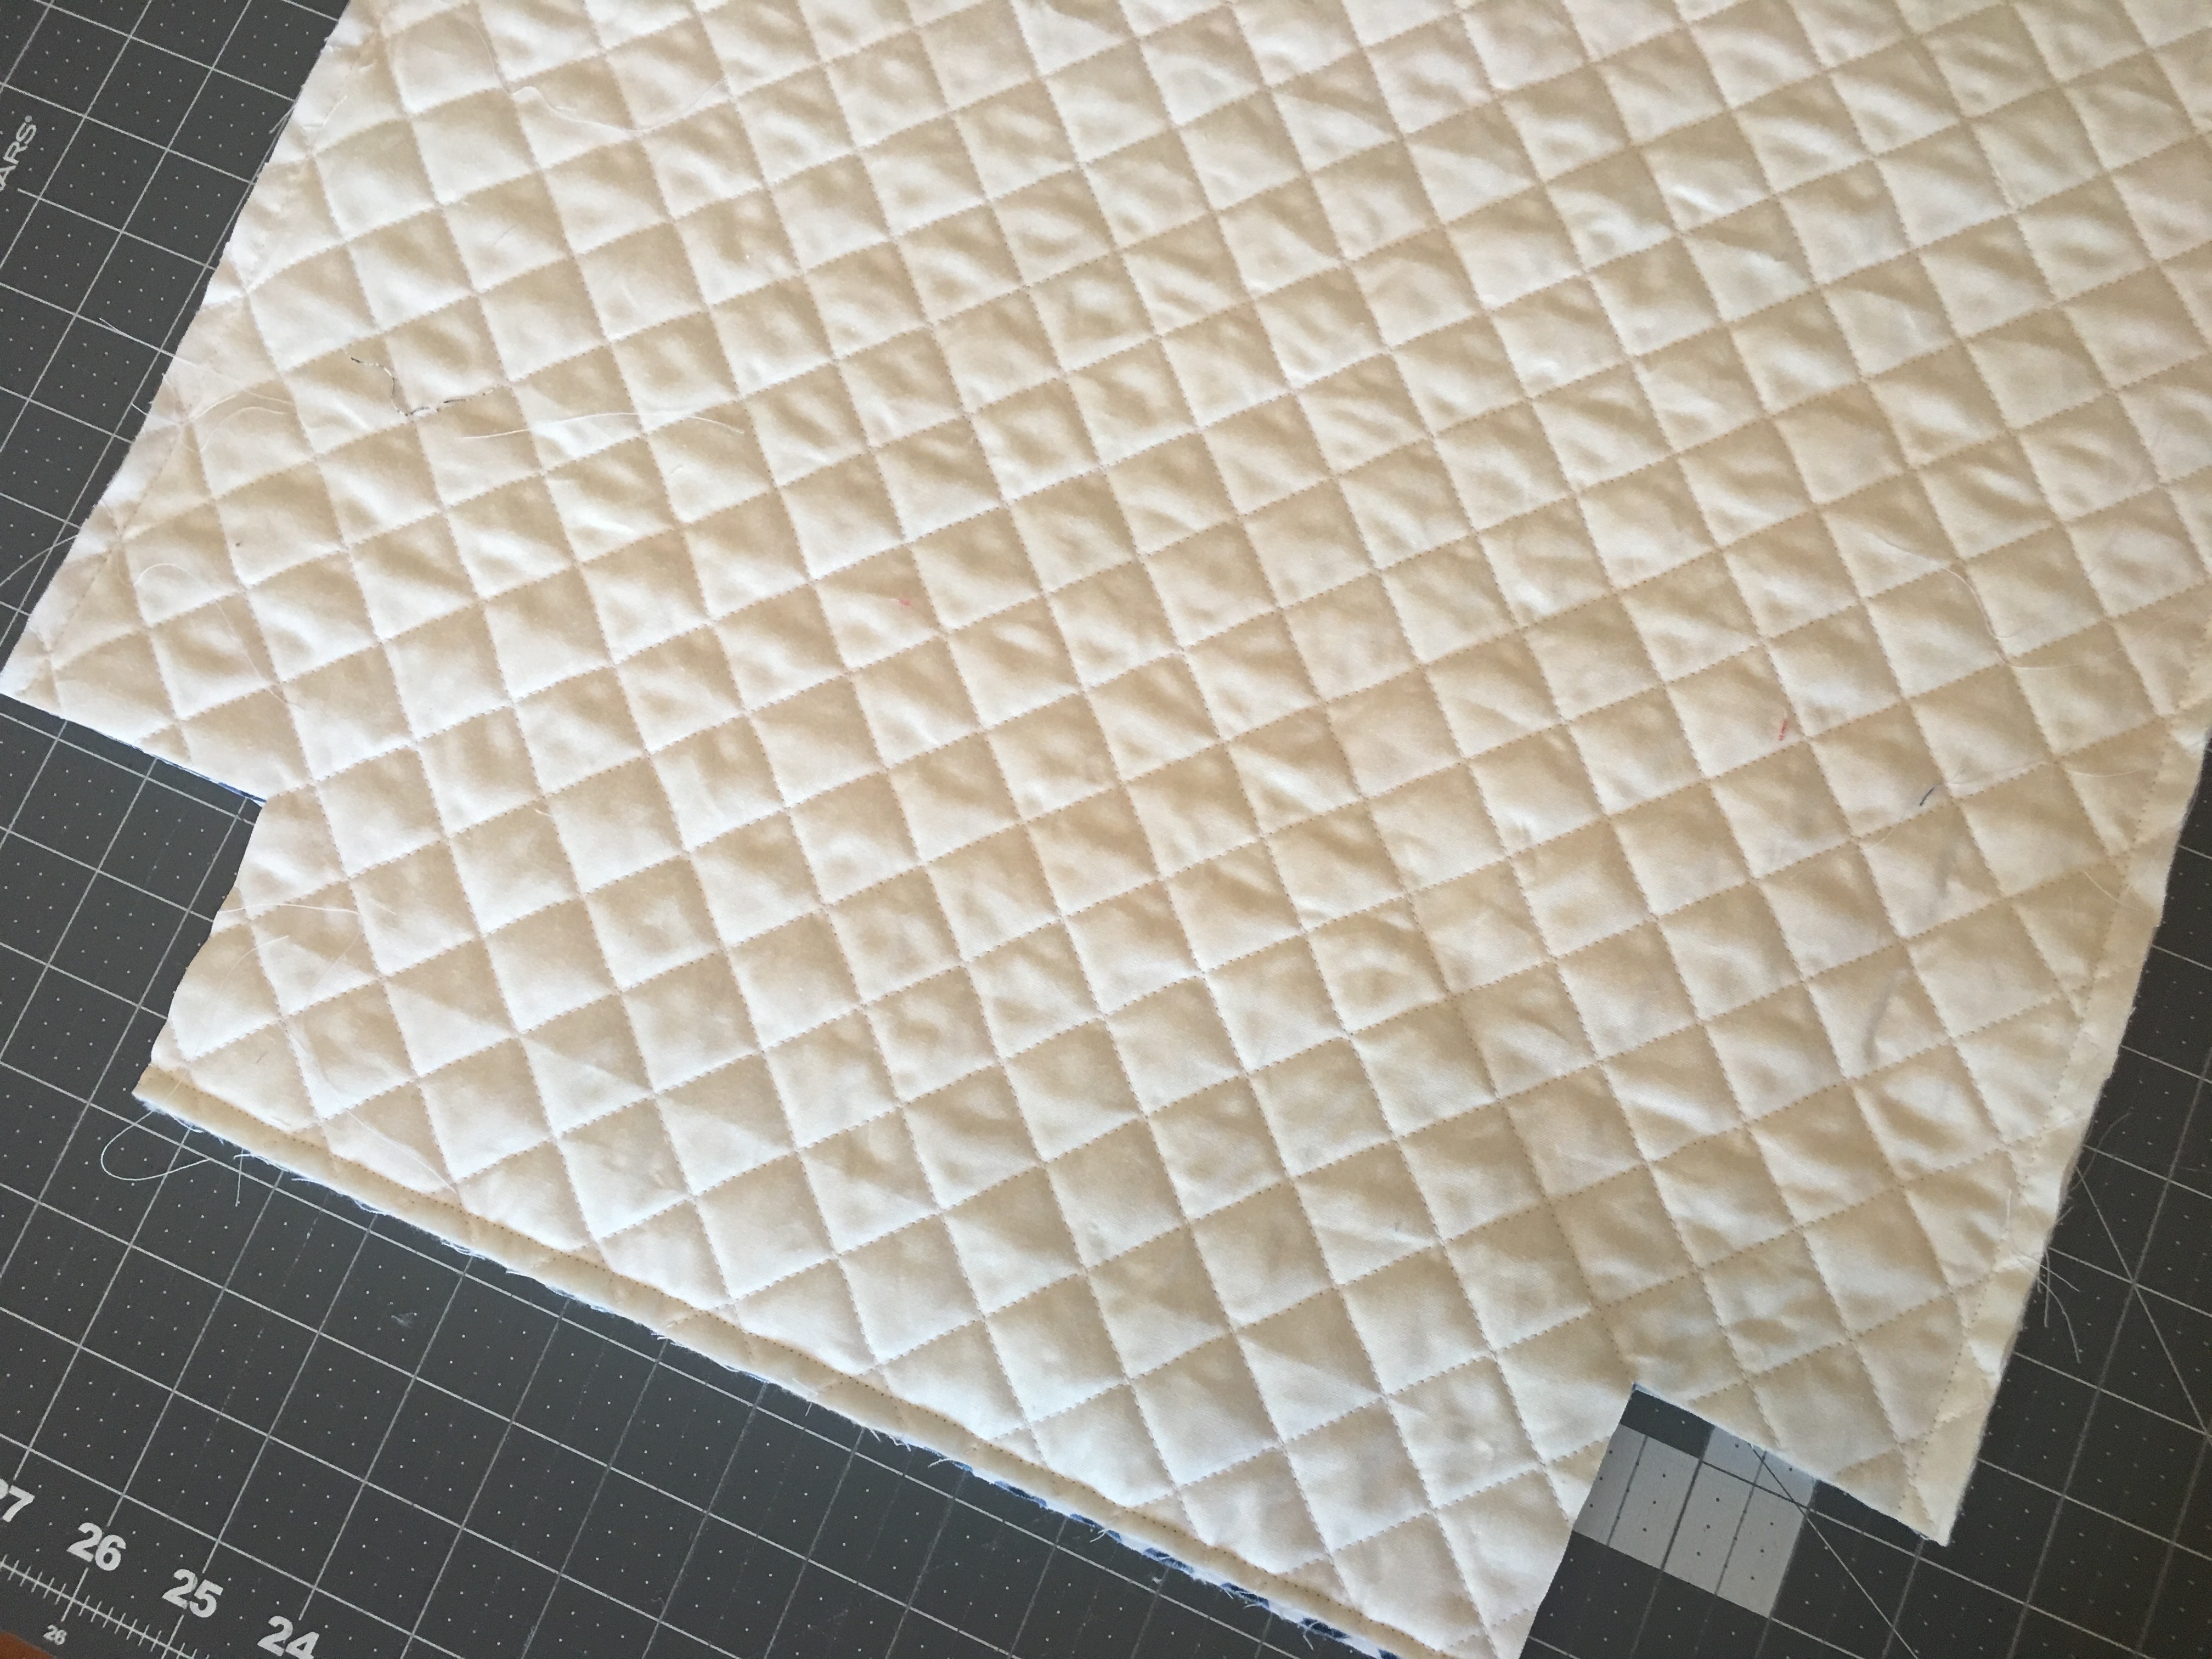
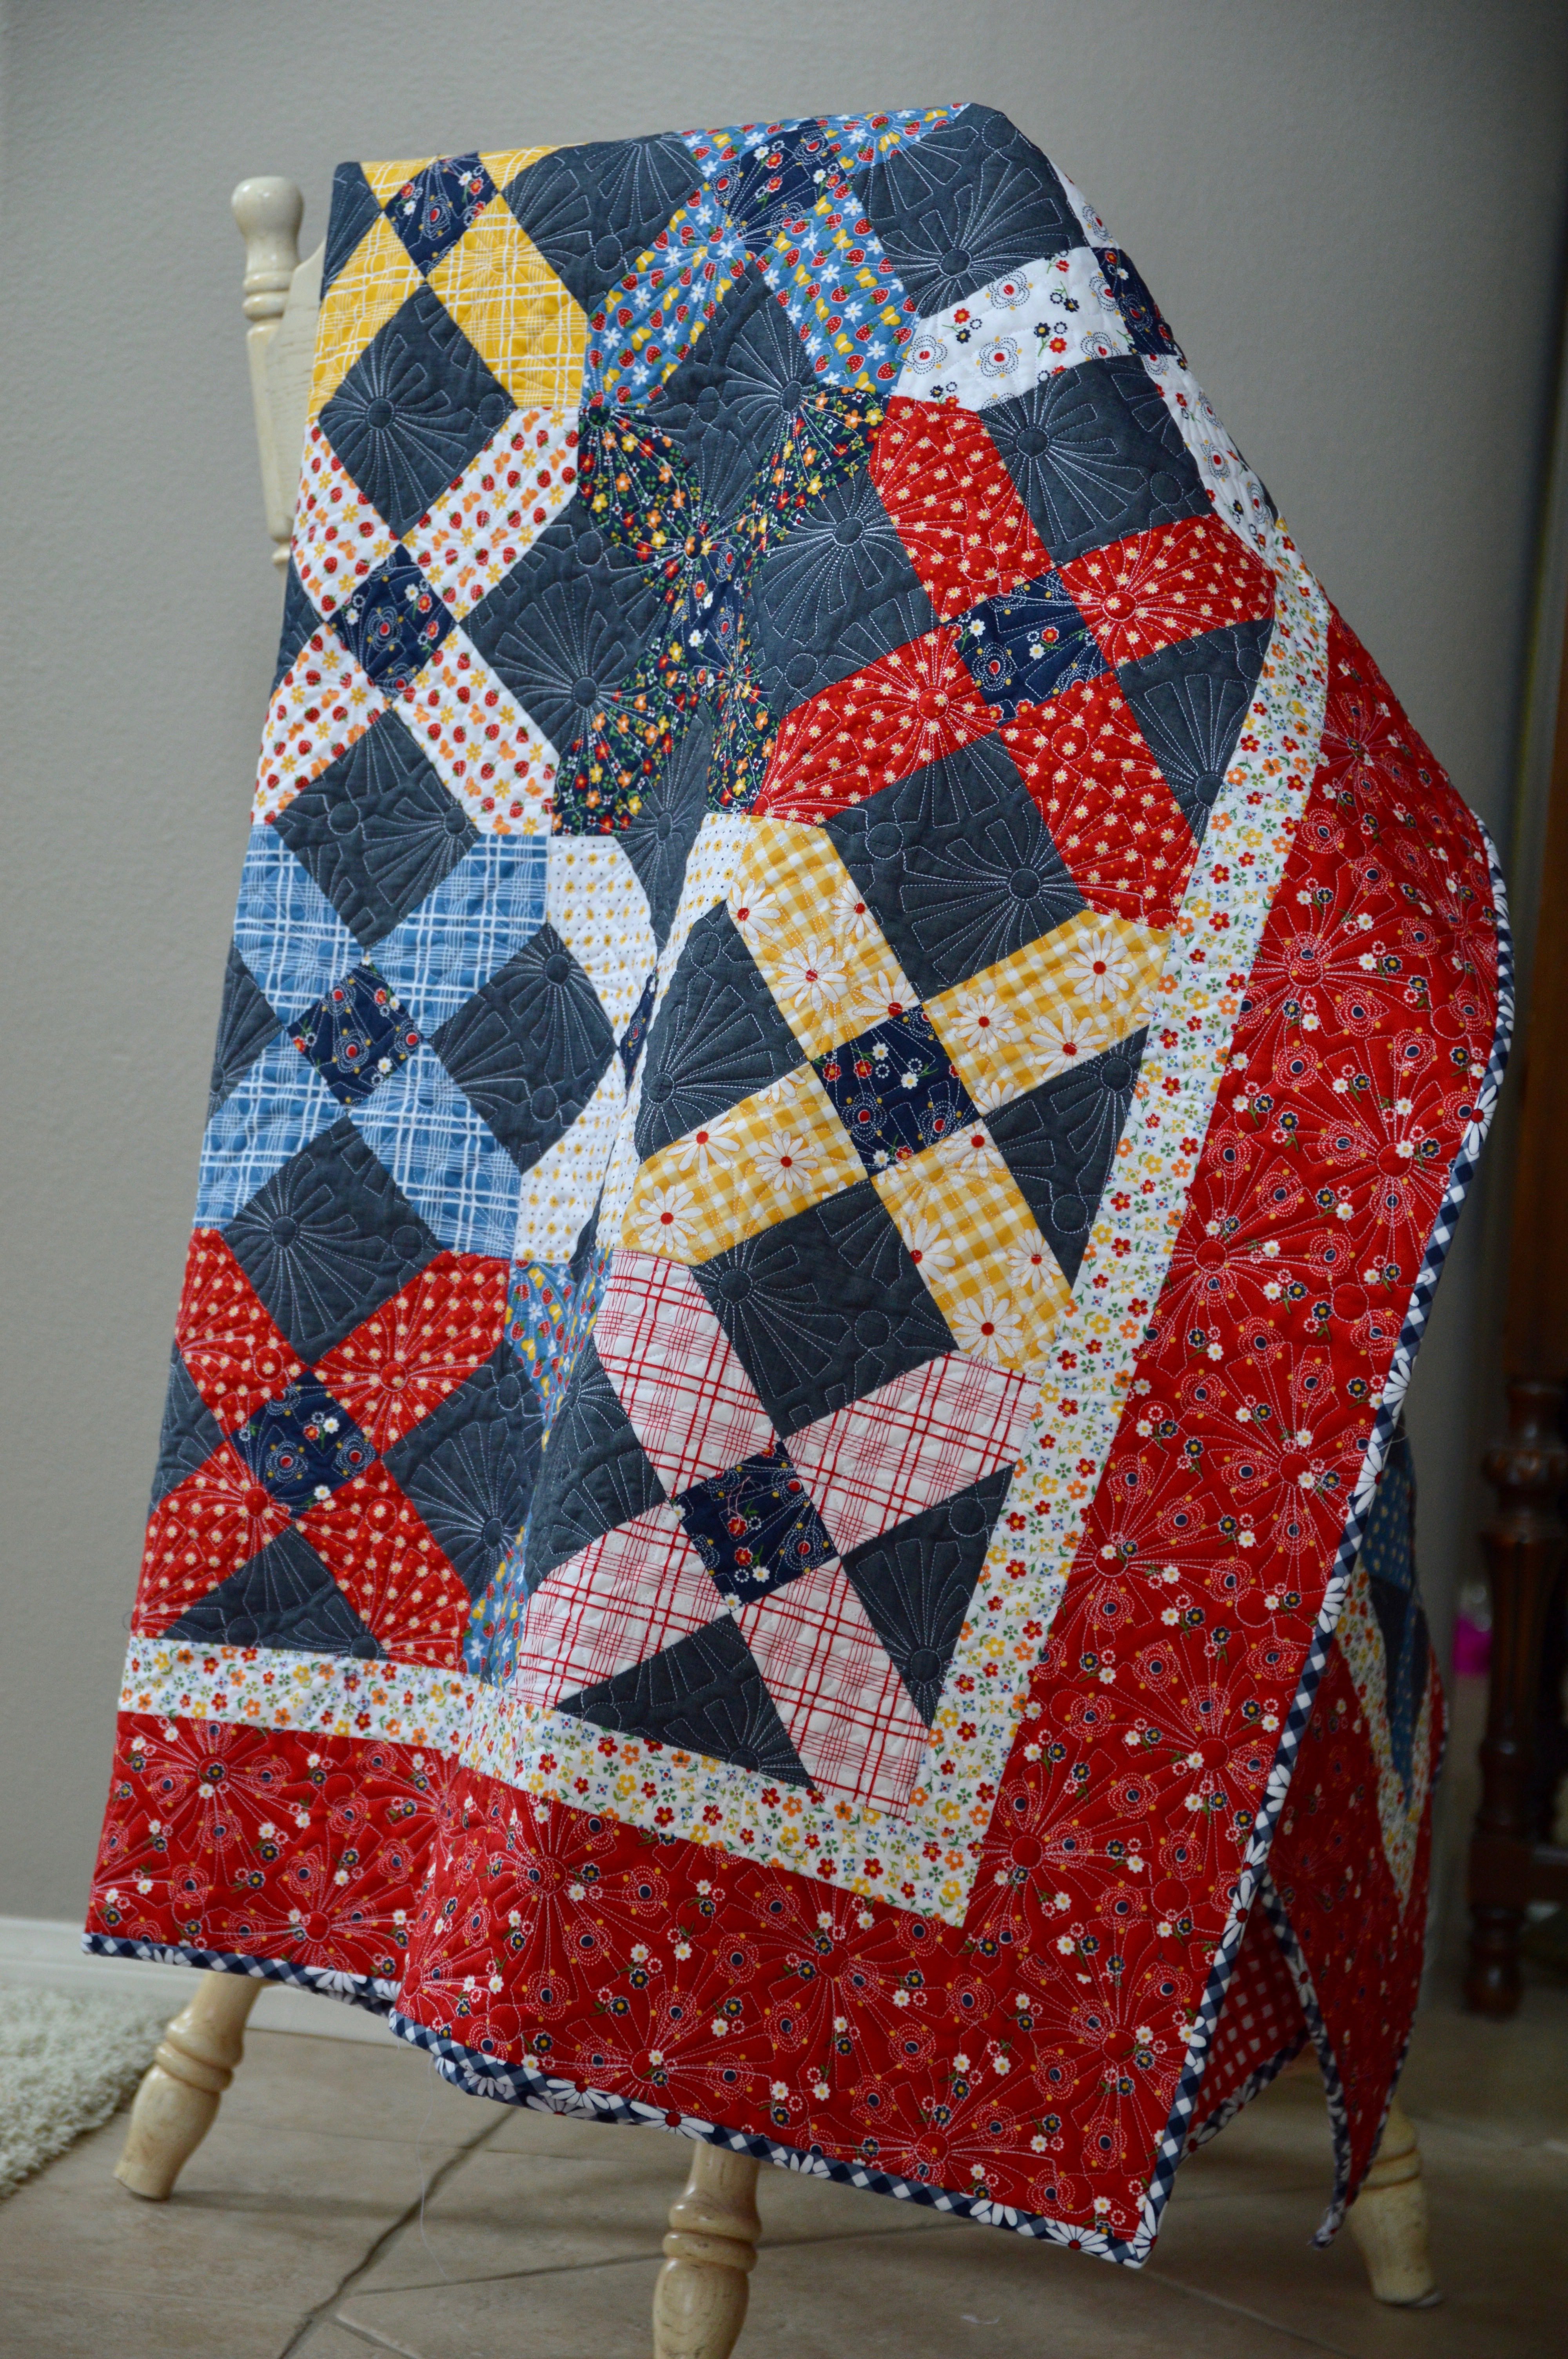
Baste and quilt as you would a normal quilt.  I quilted loops.

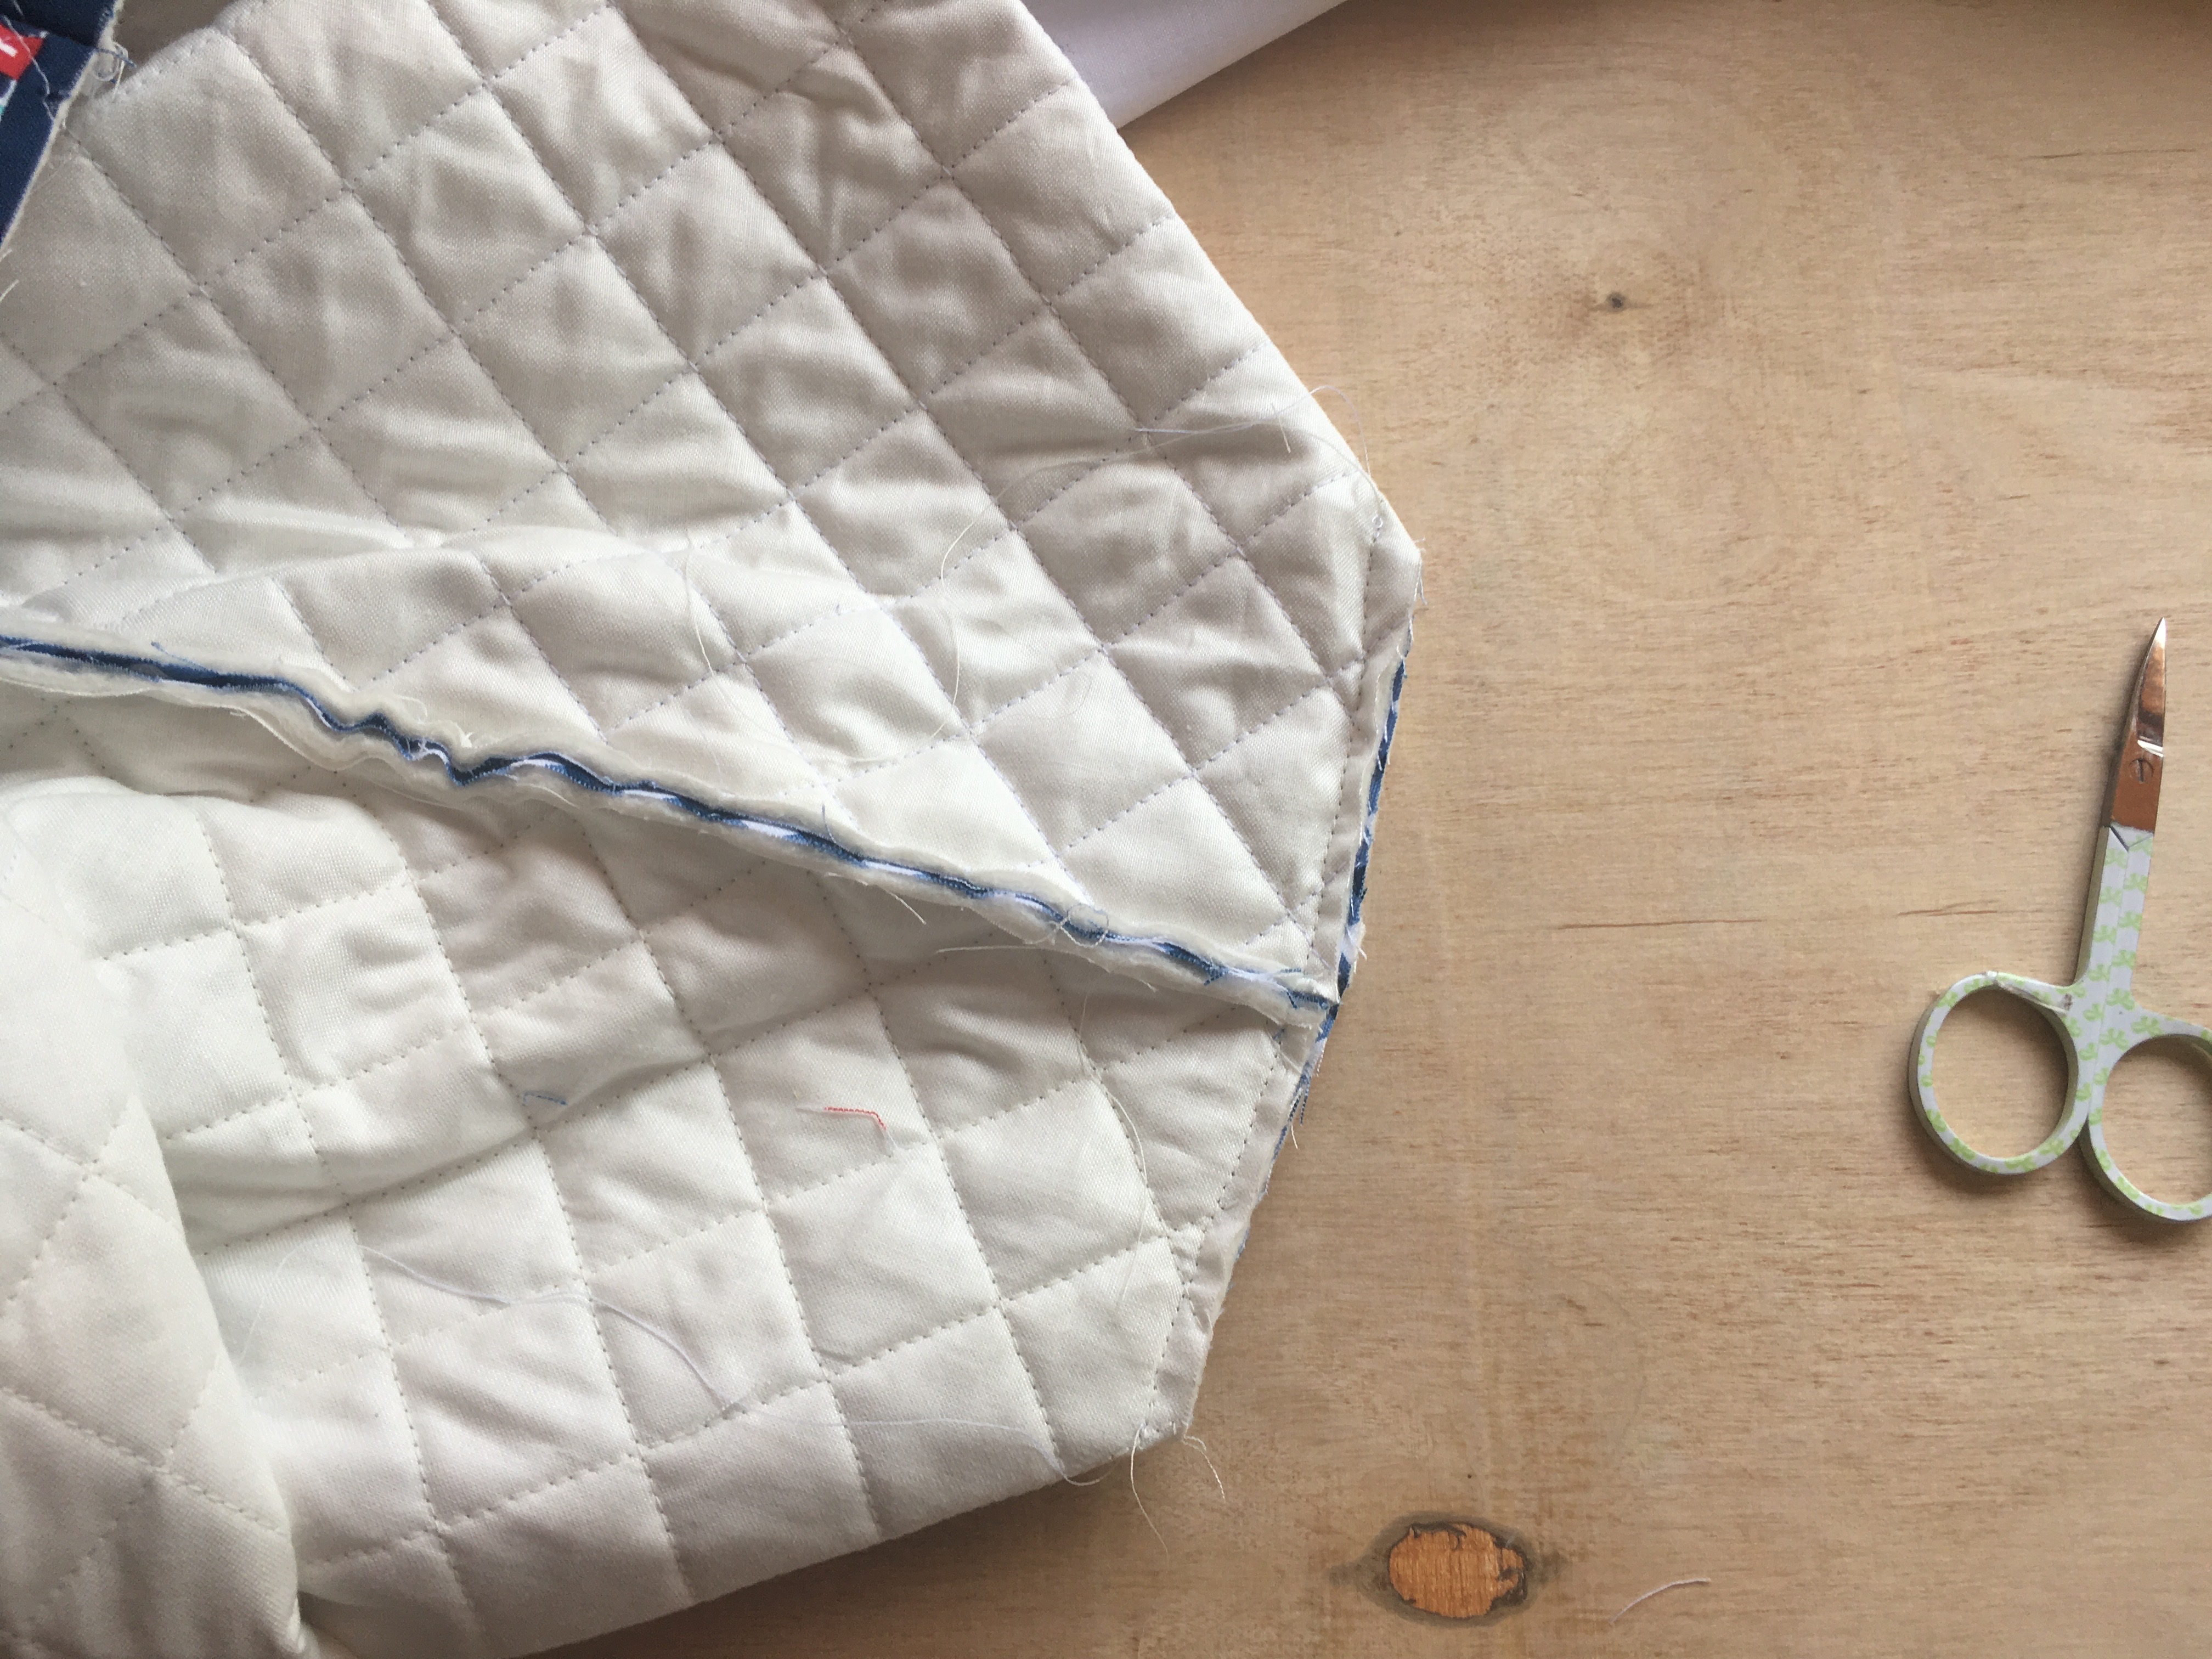
Cut (3) 2 1/2″ strips on the bias for the binding.  Piece end to end diagonally.  Press in half.  Sew the binding on as you would a quilt.

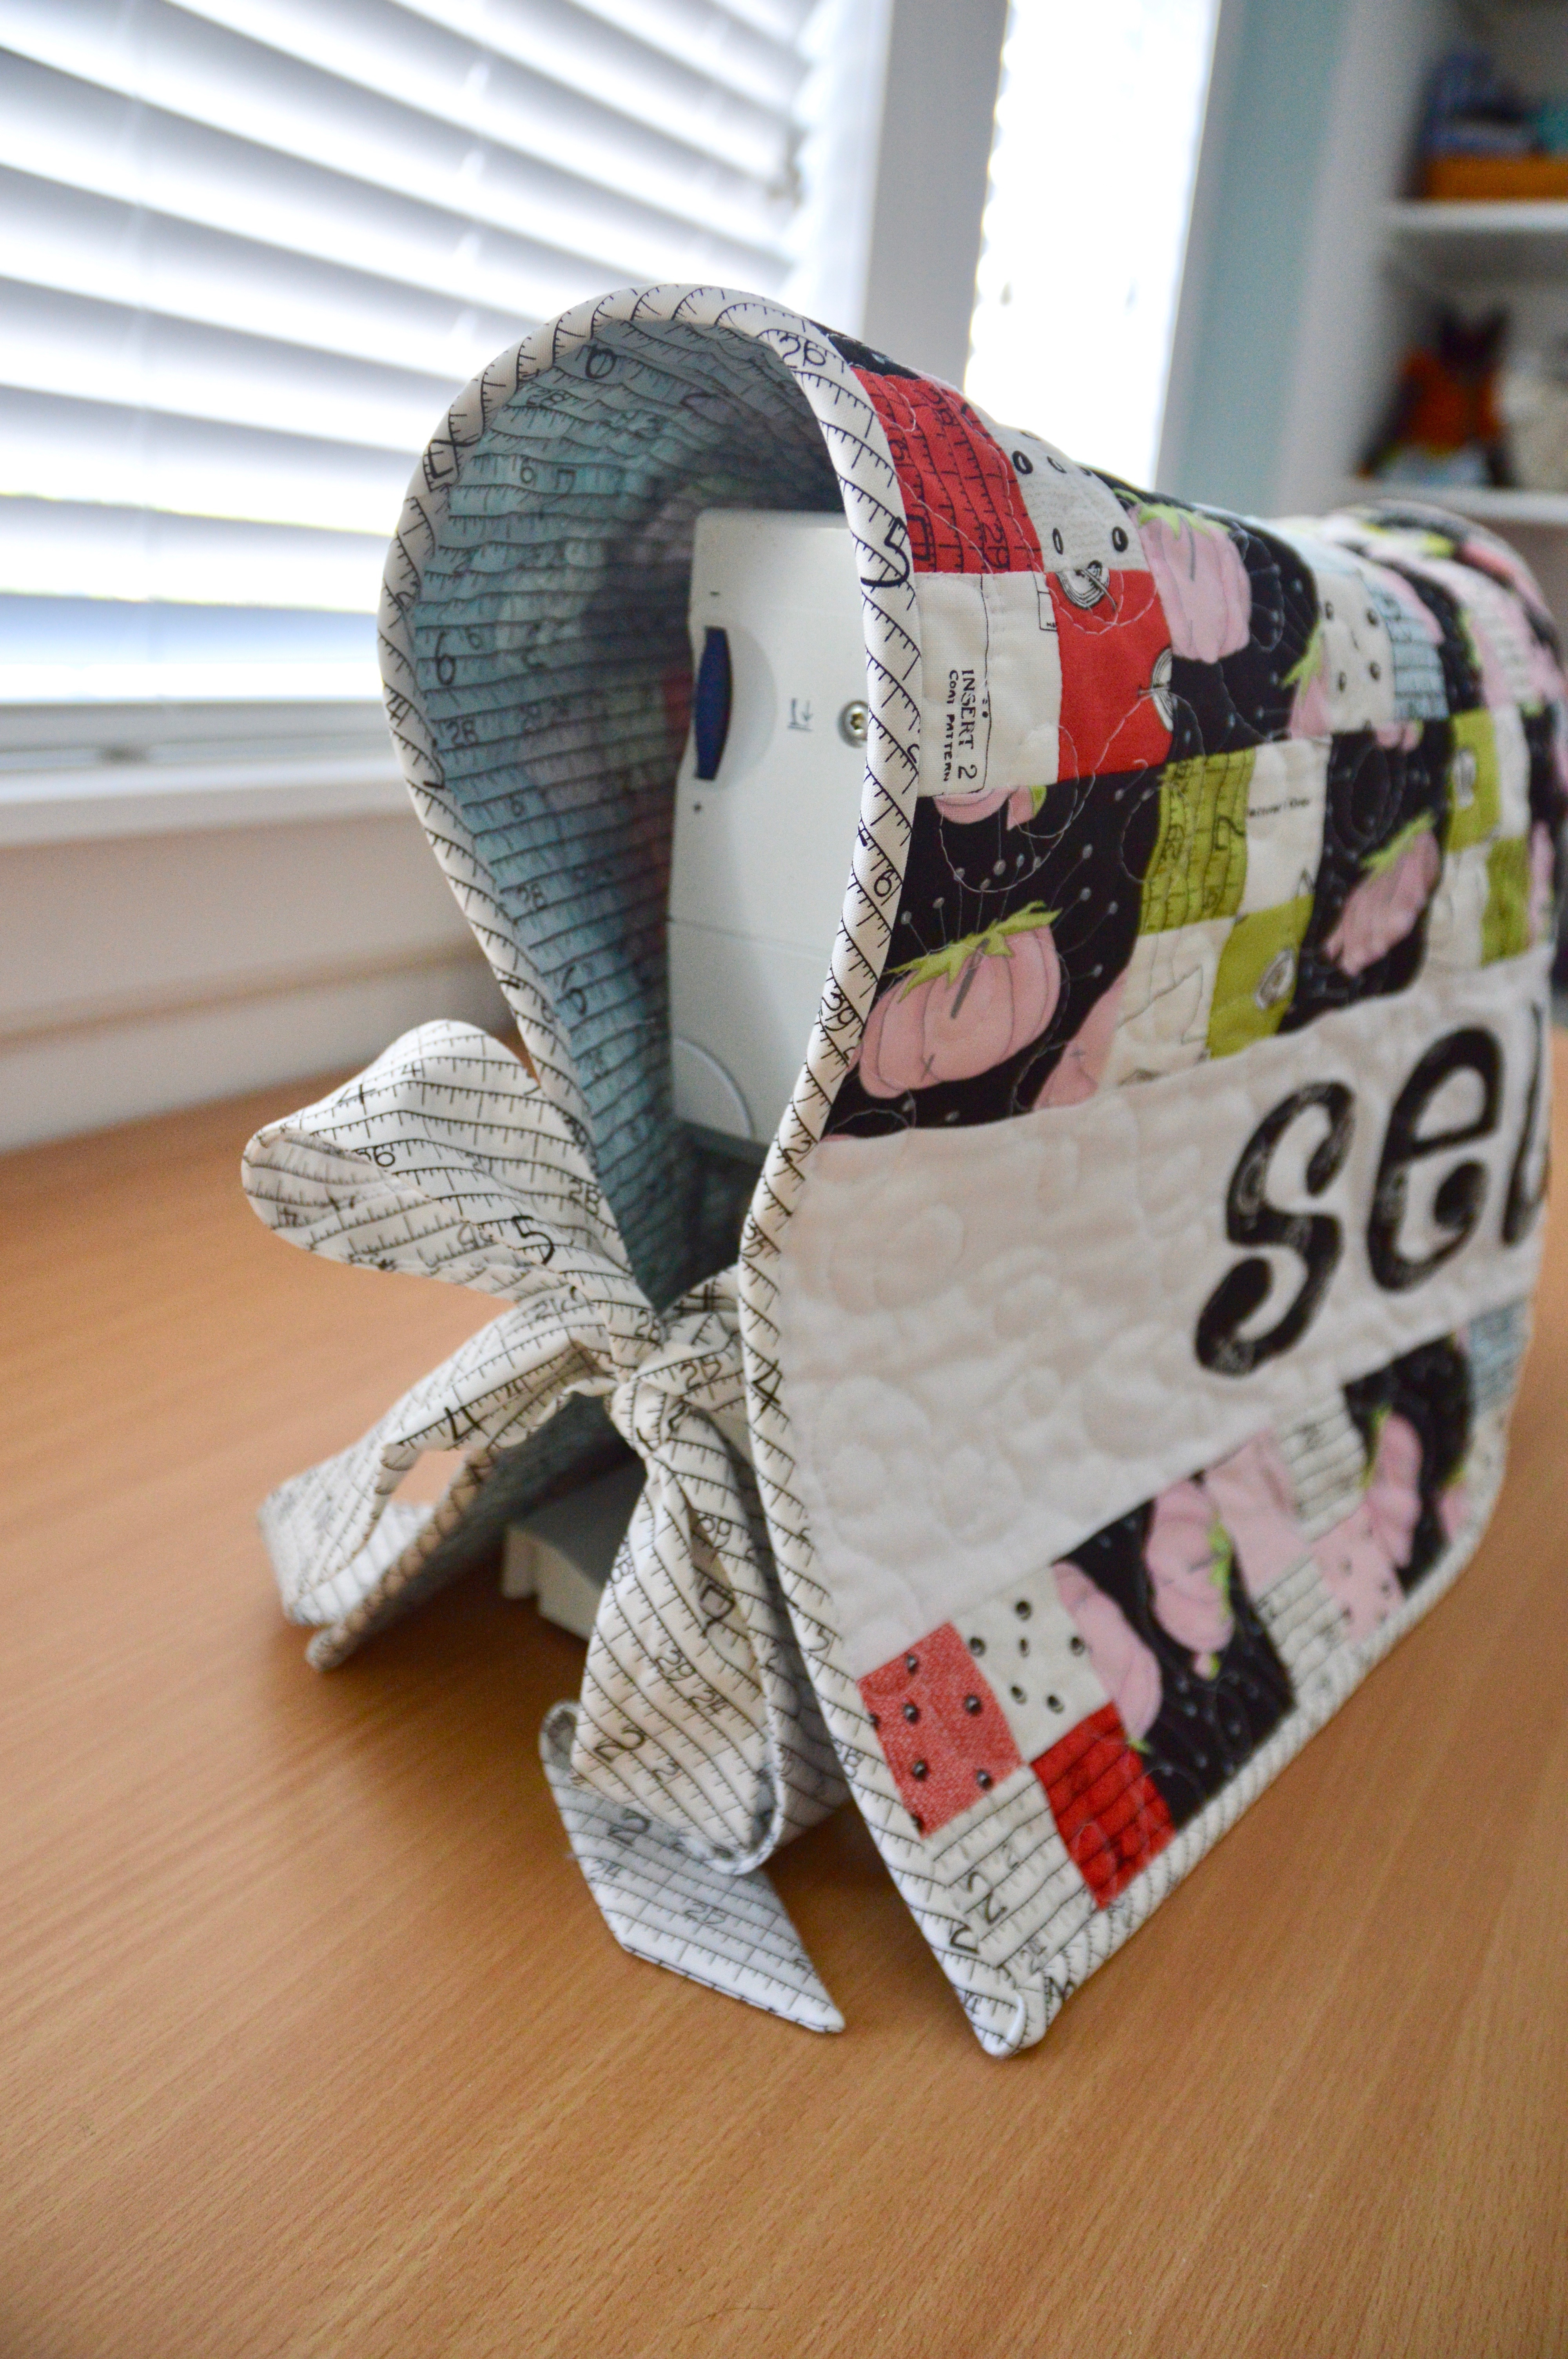
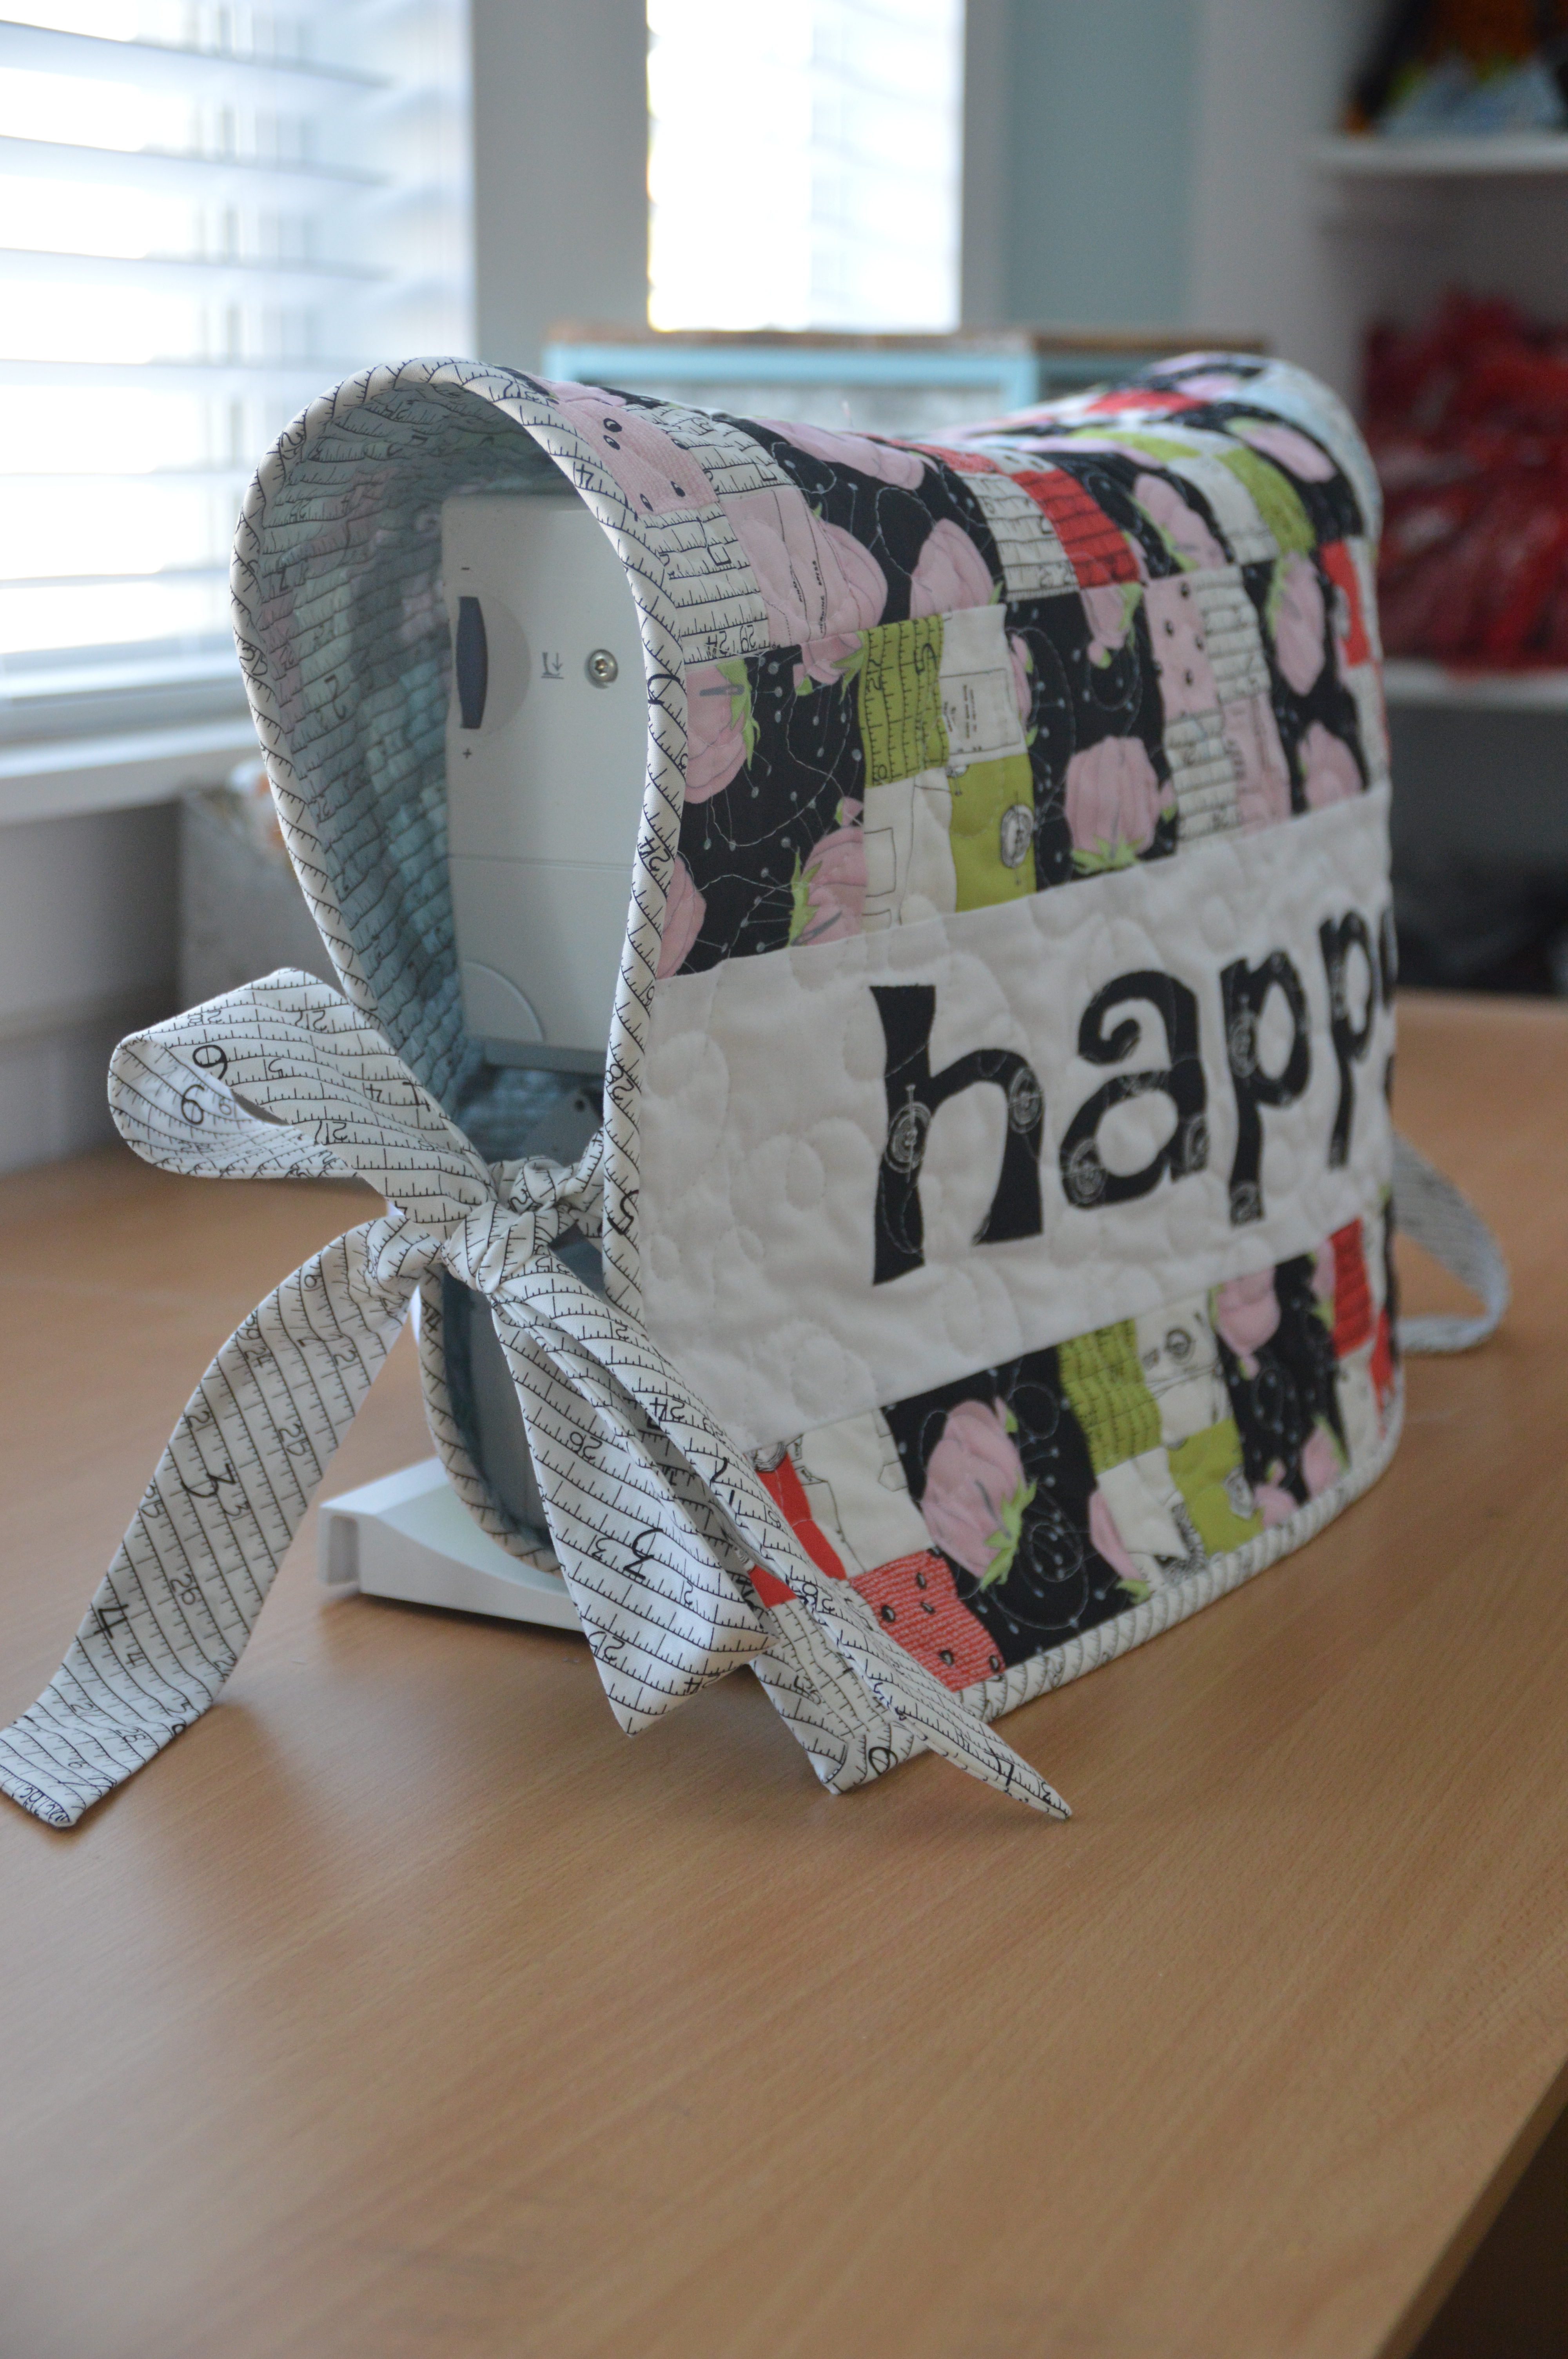
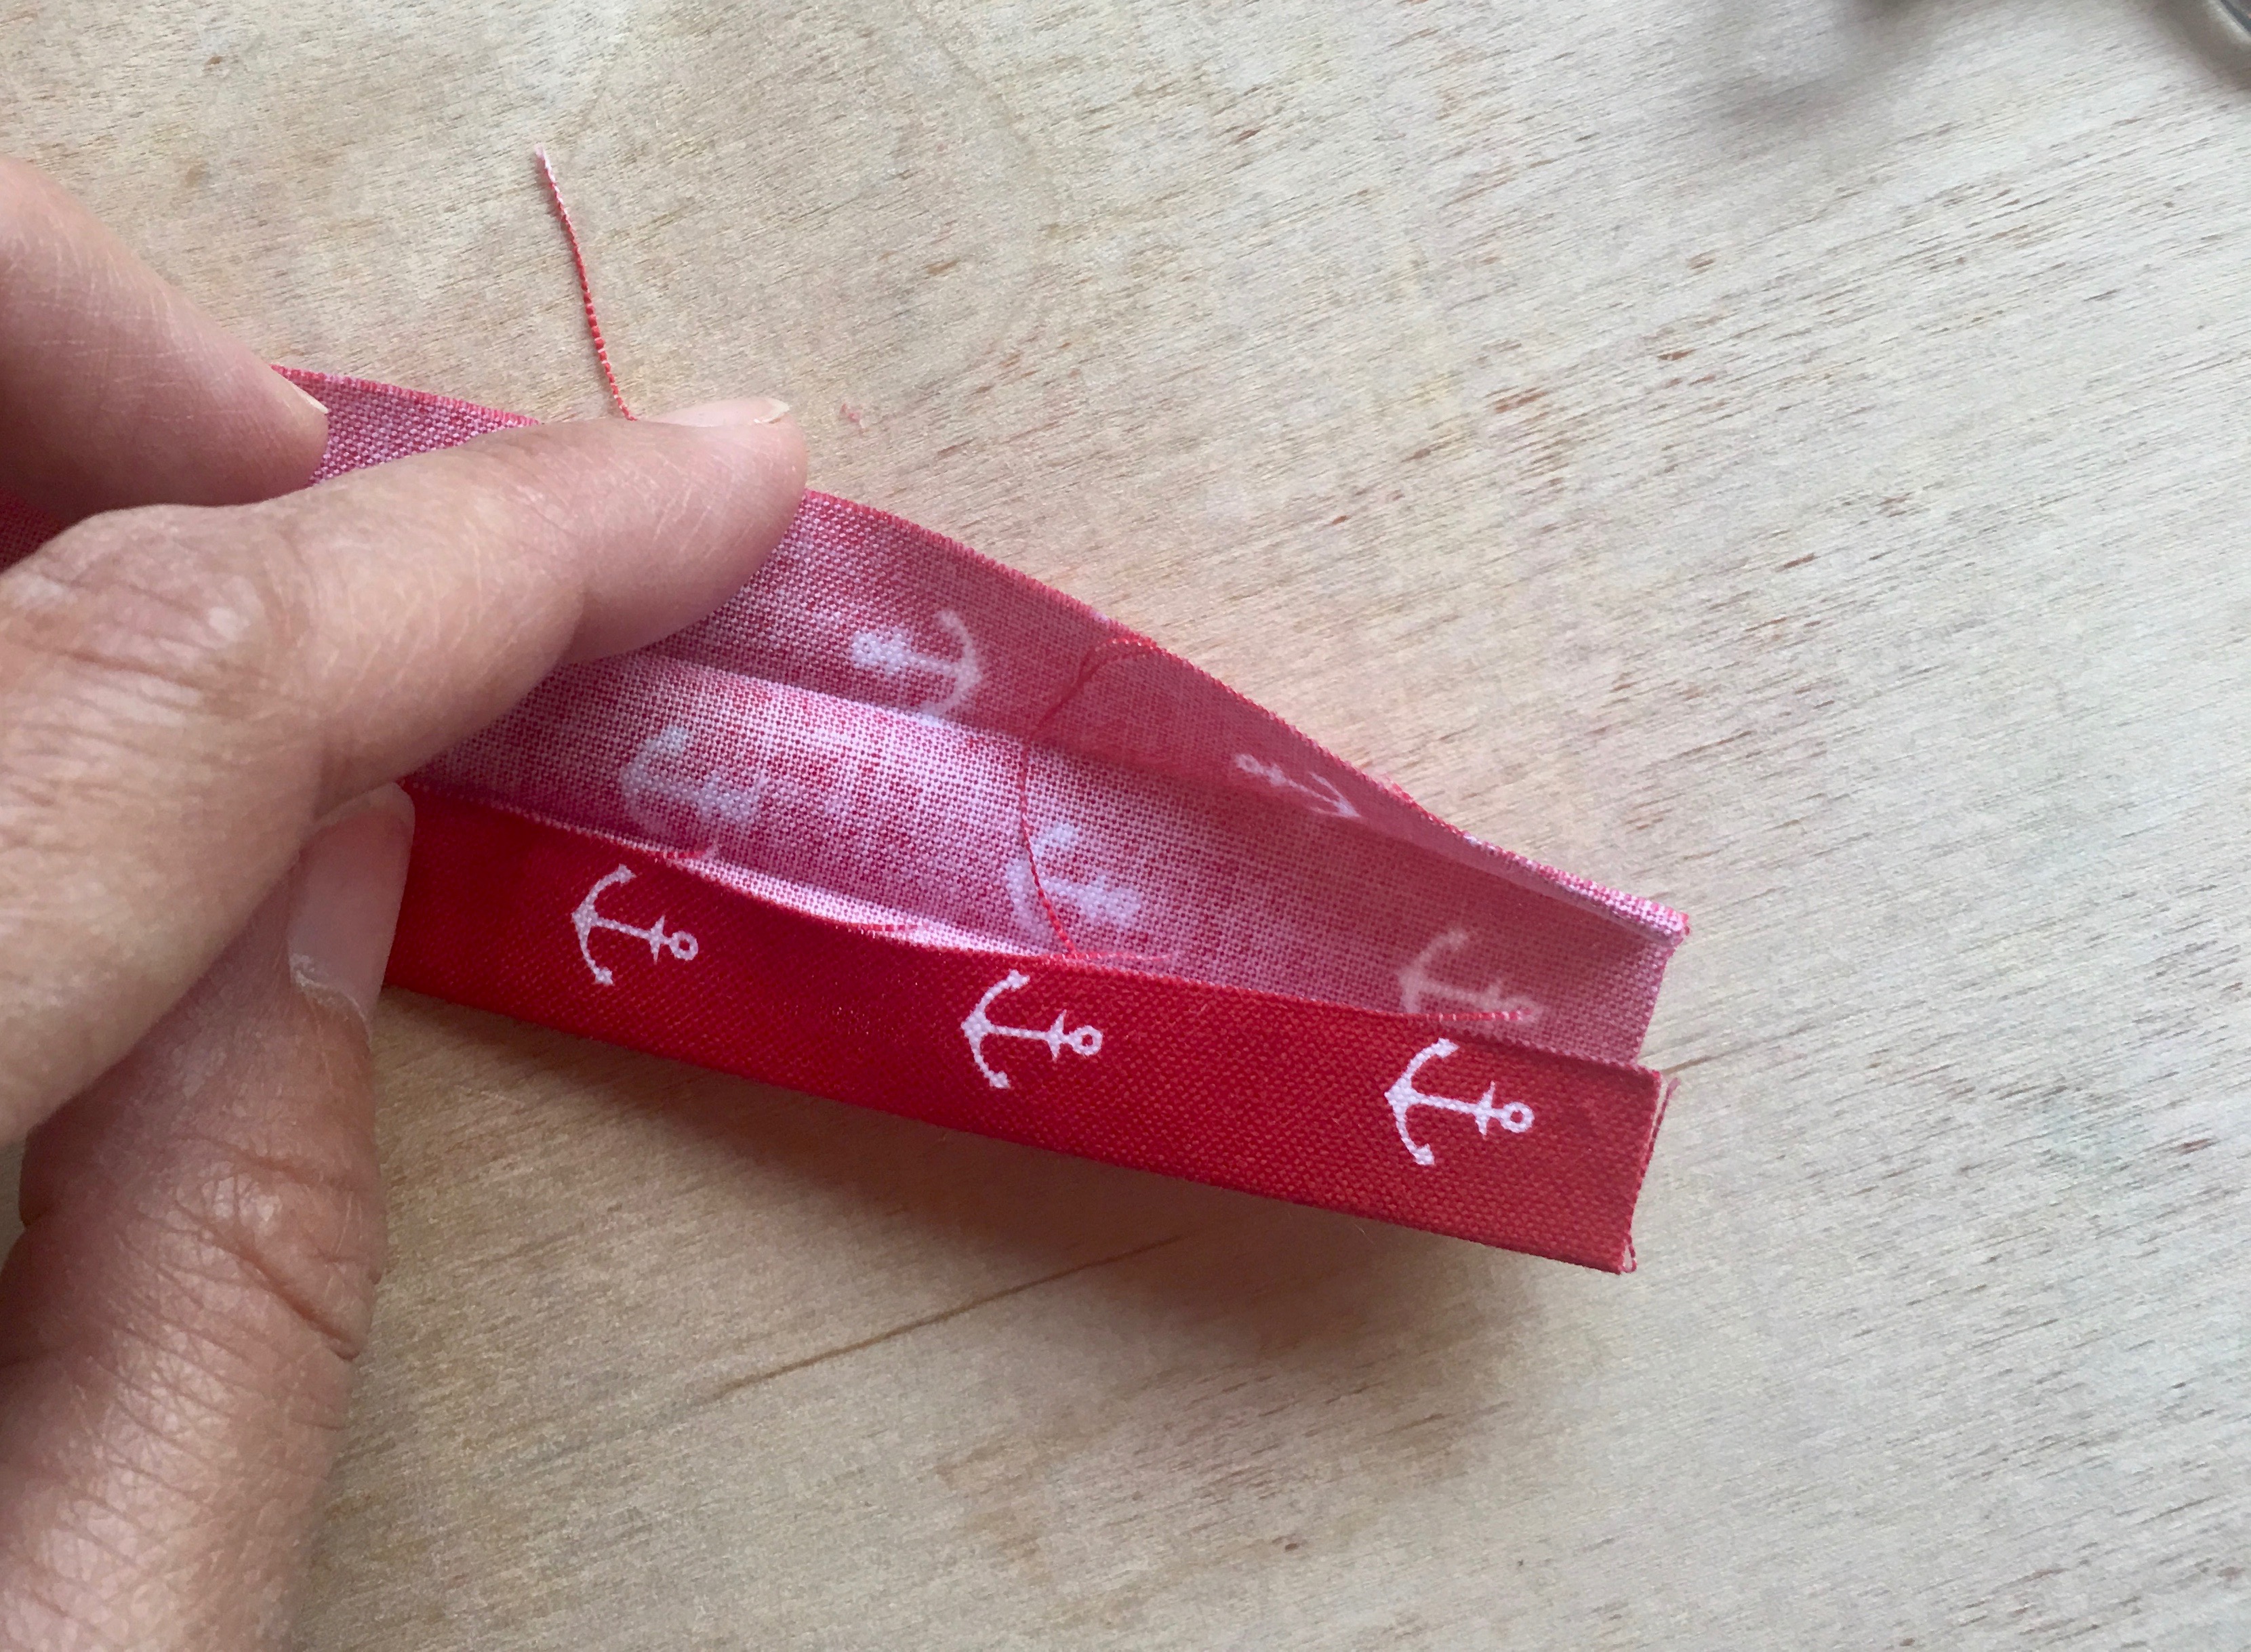
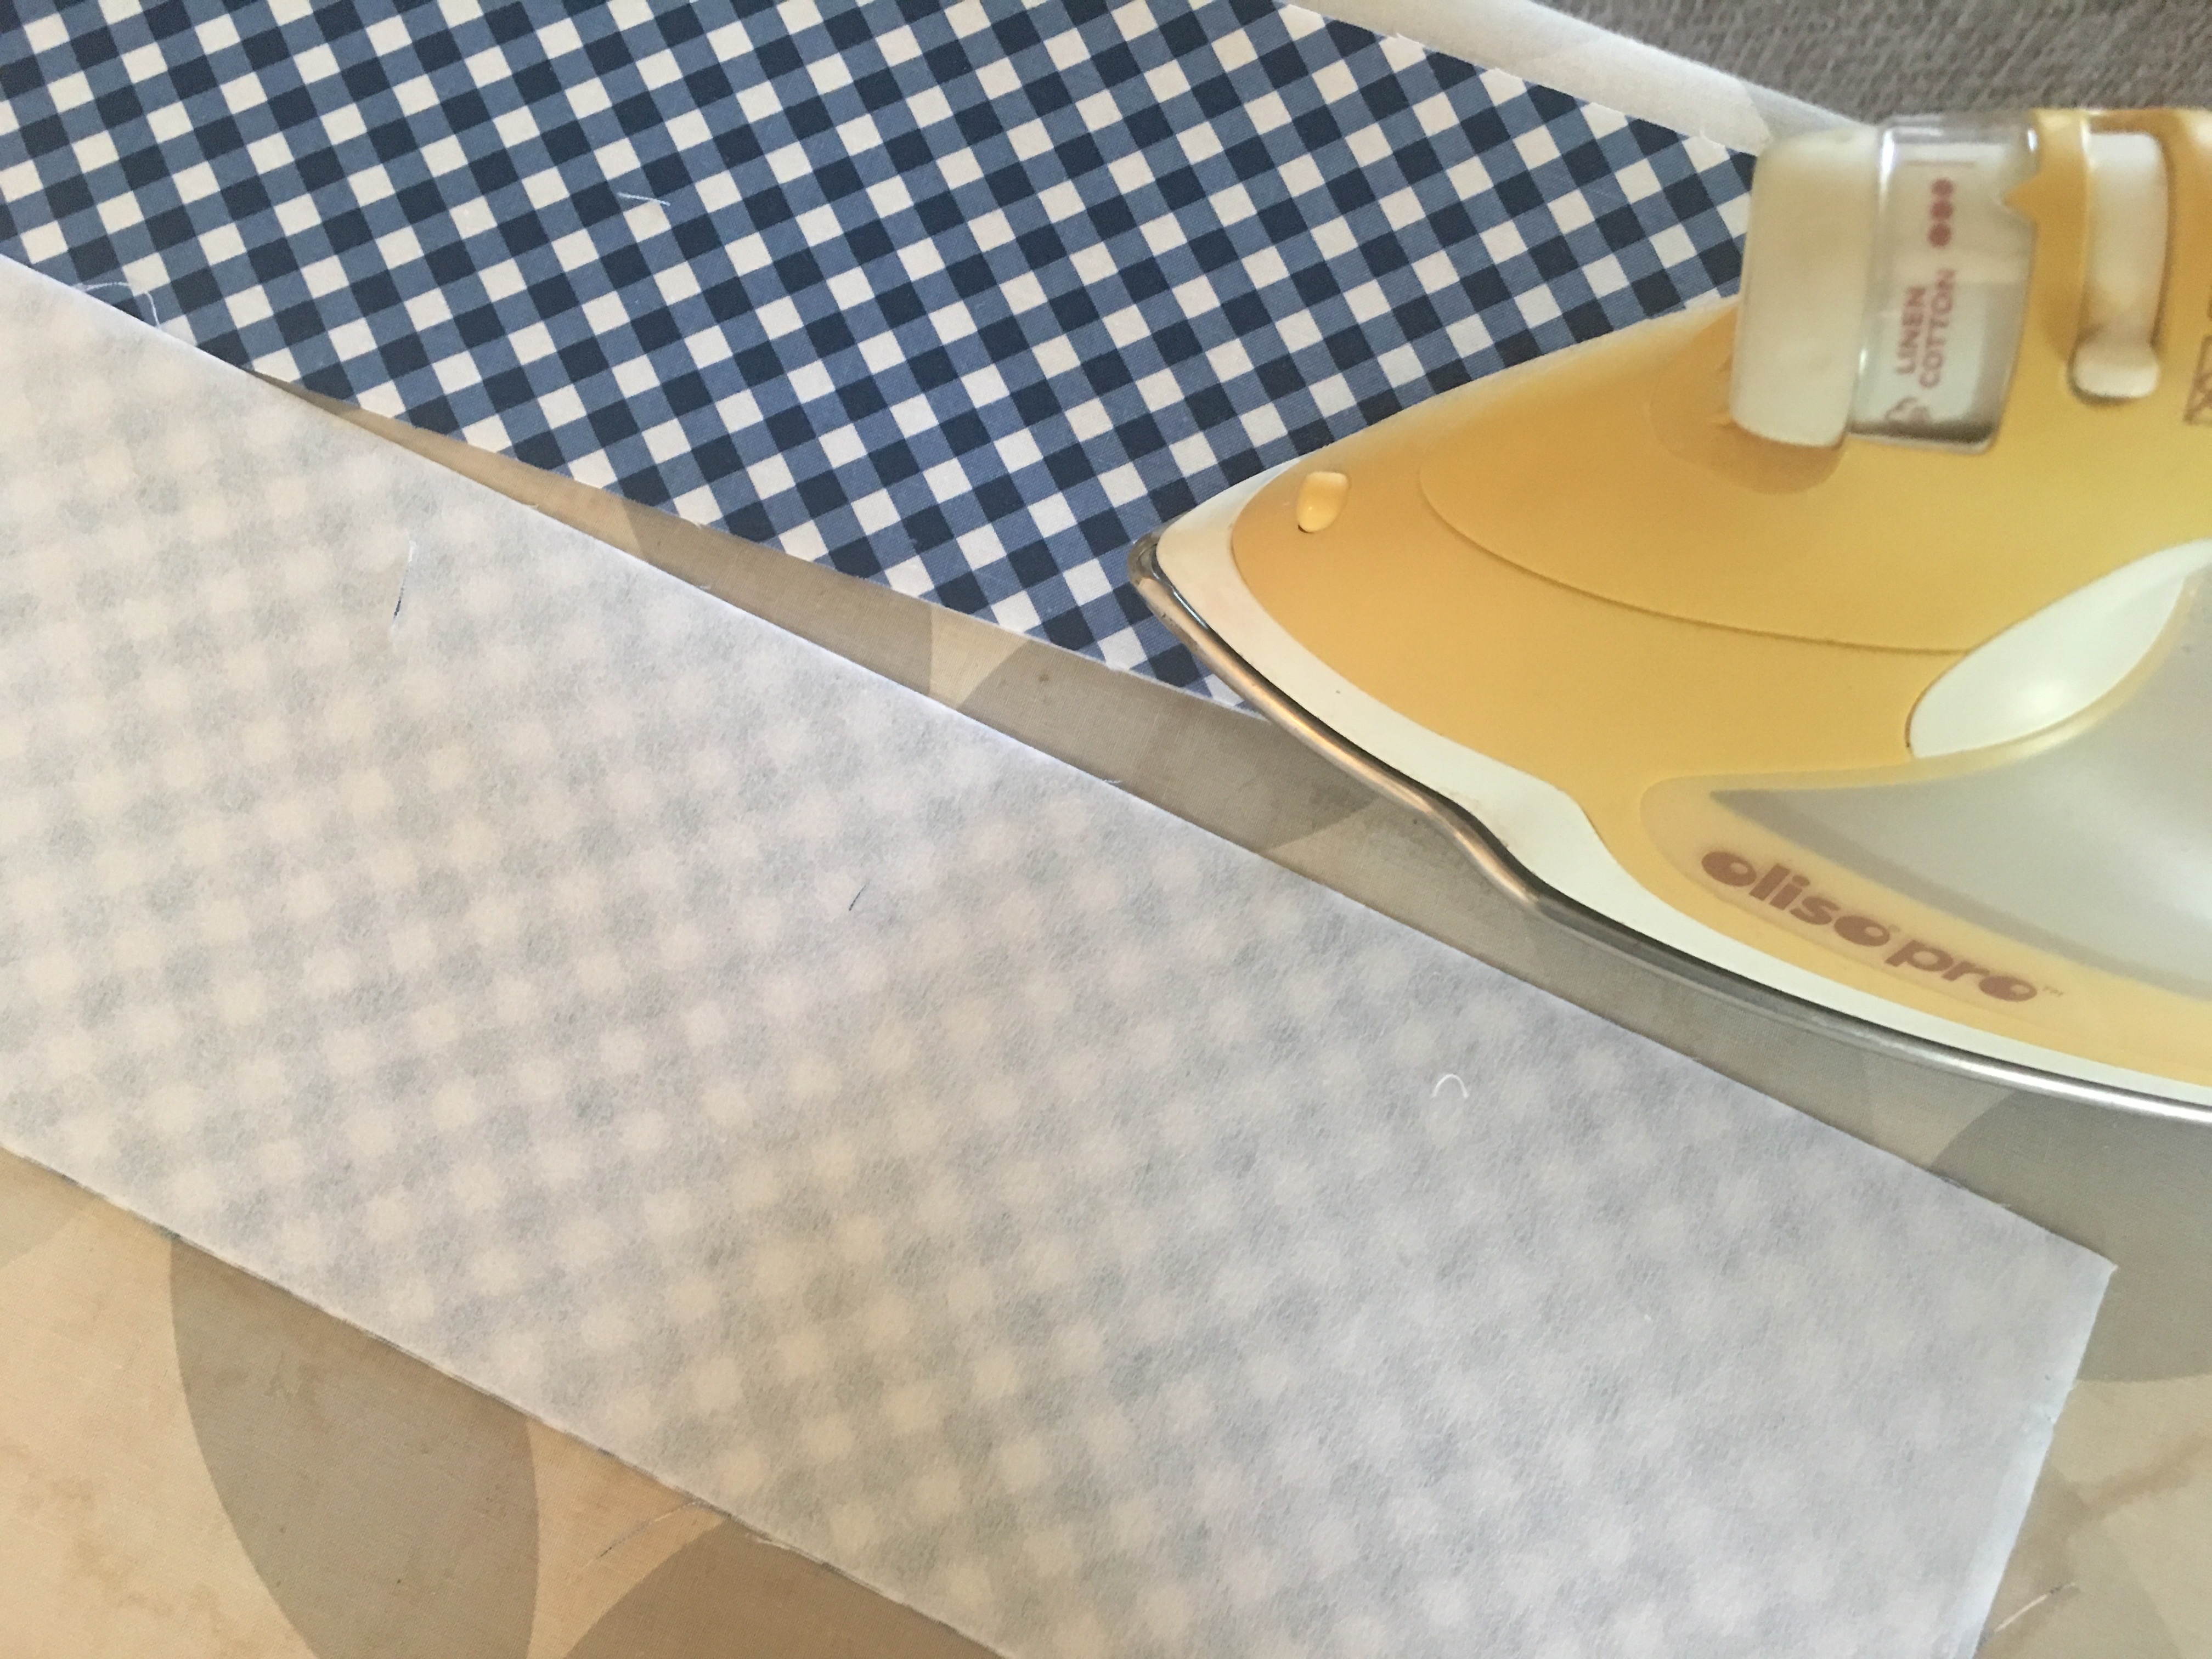
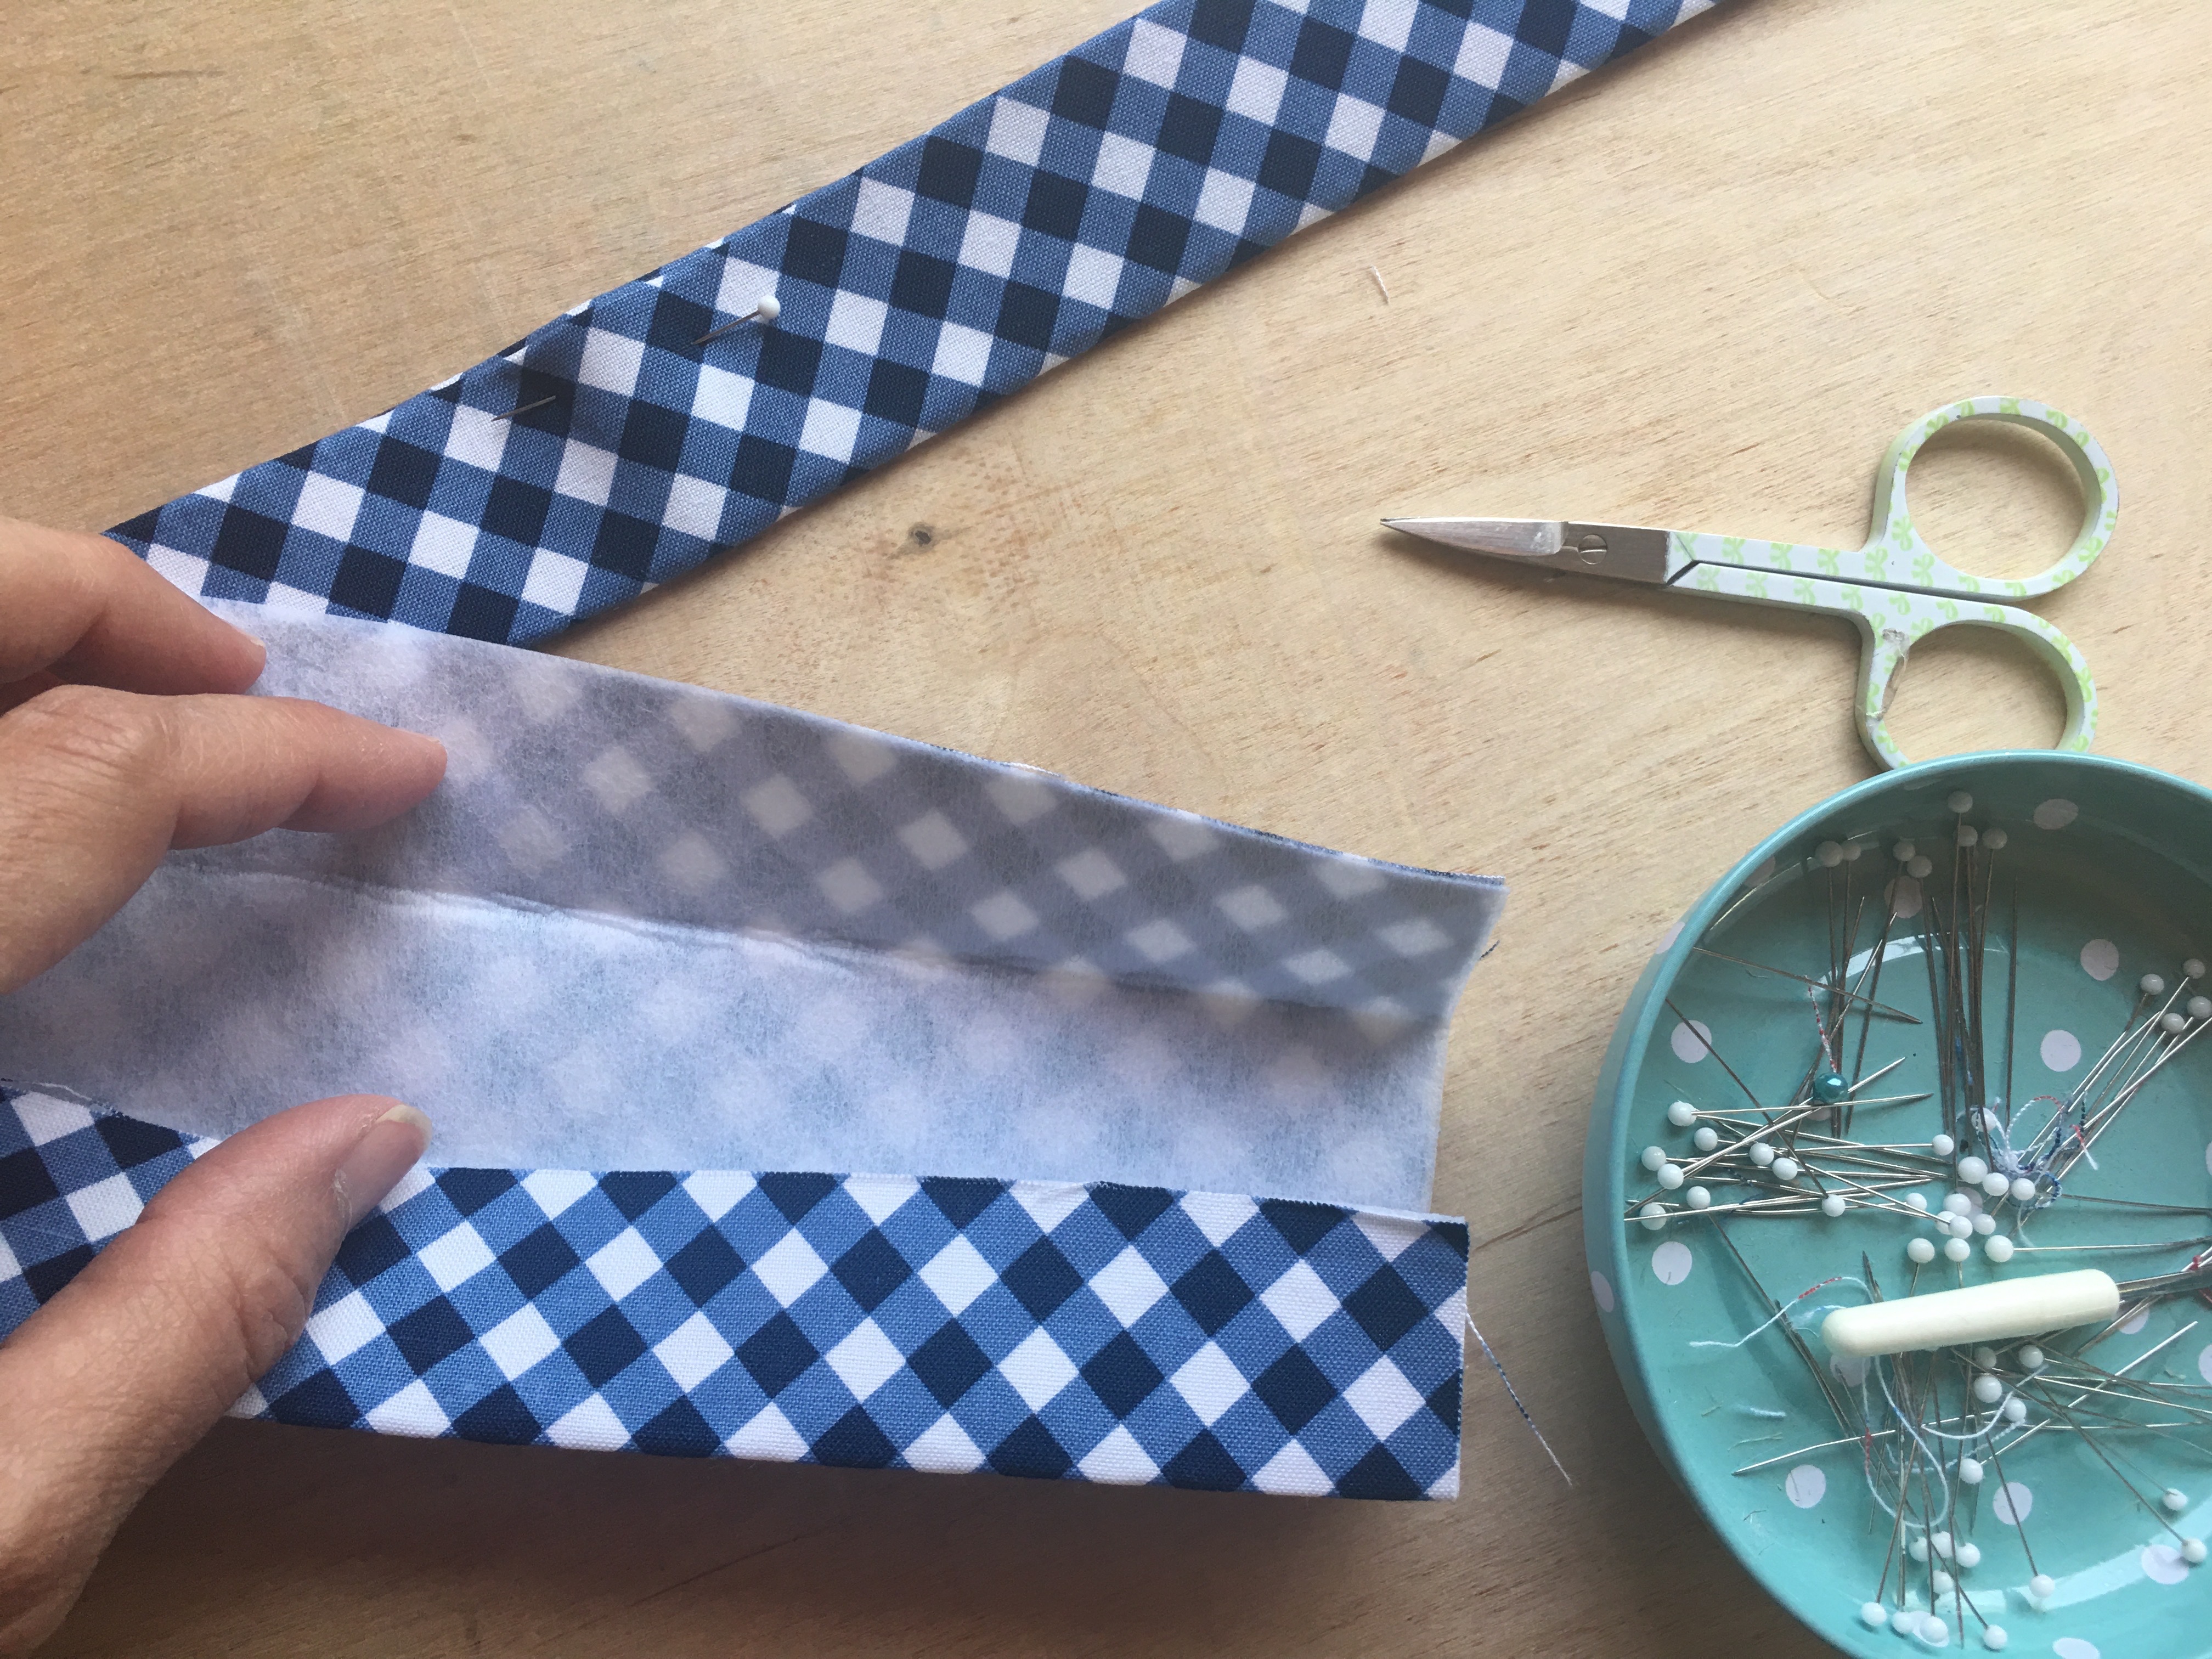
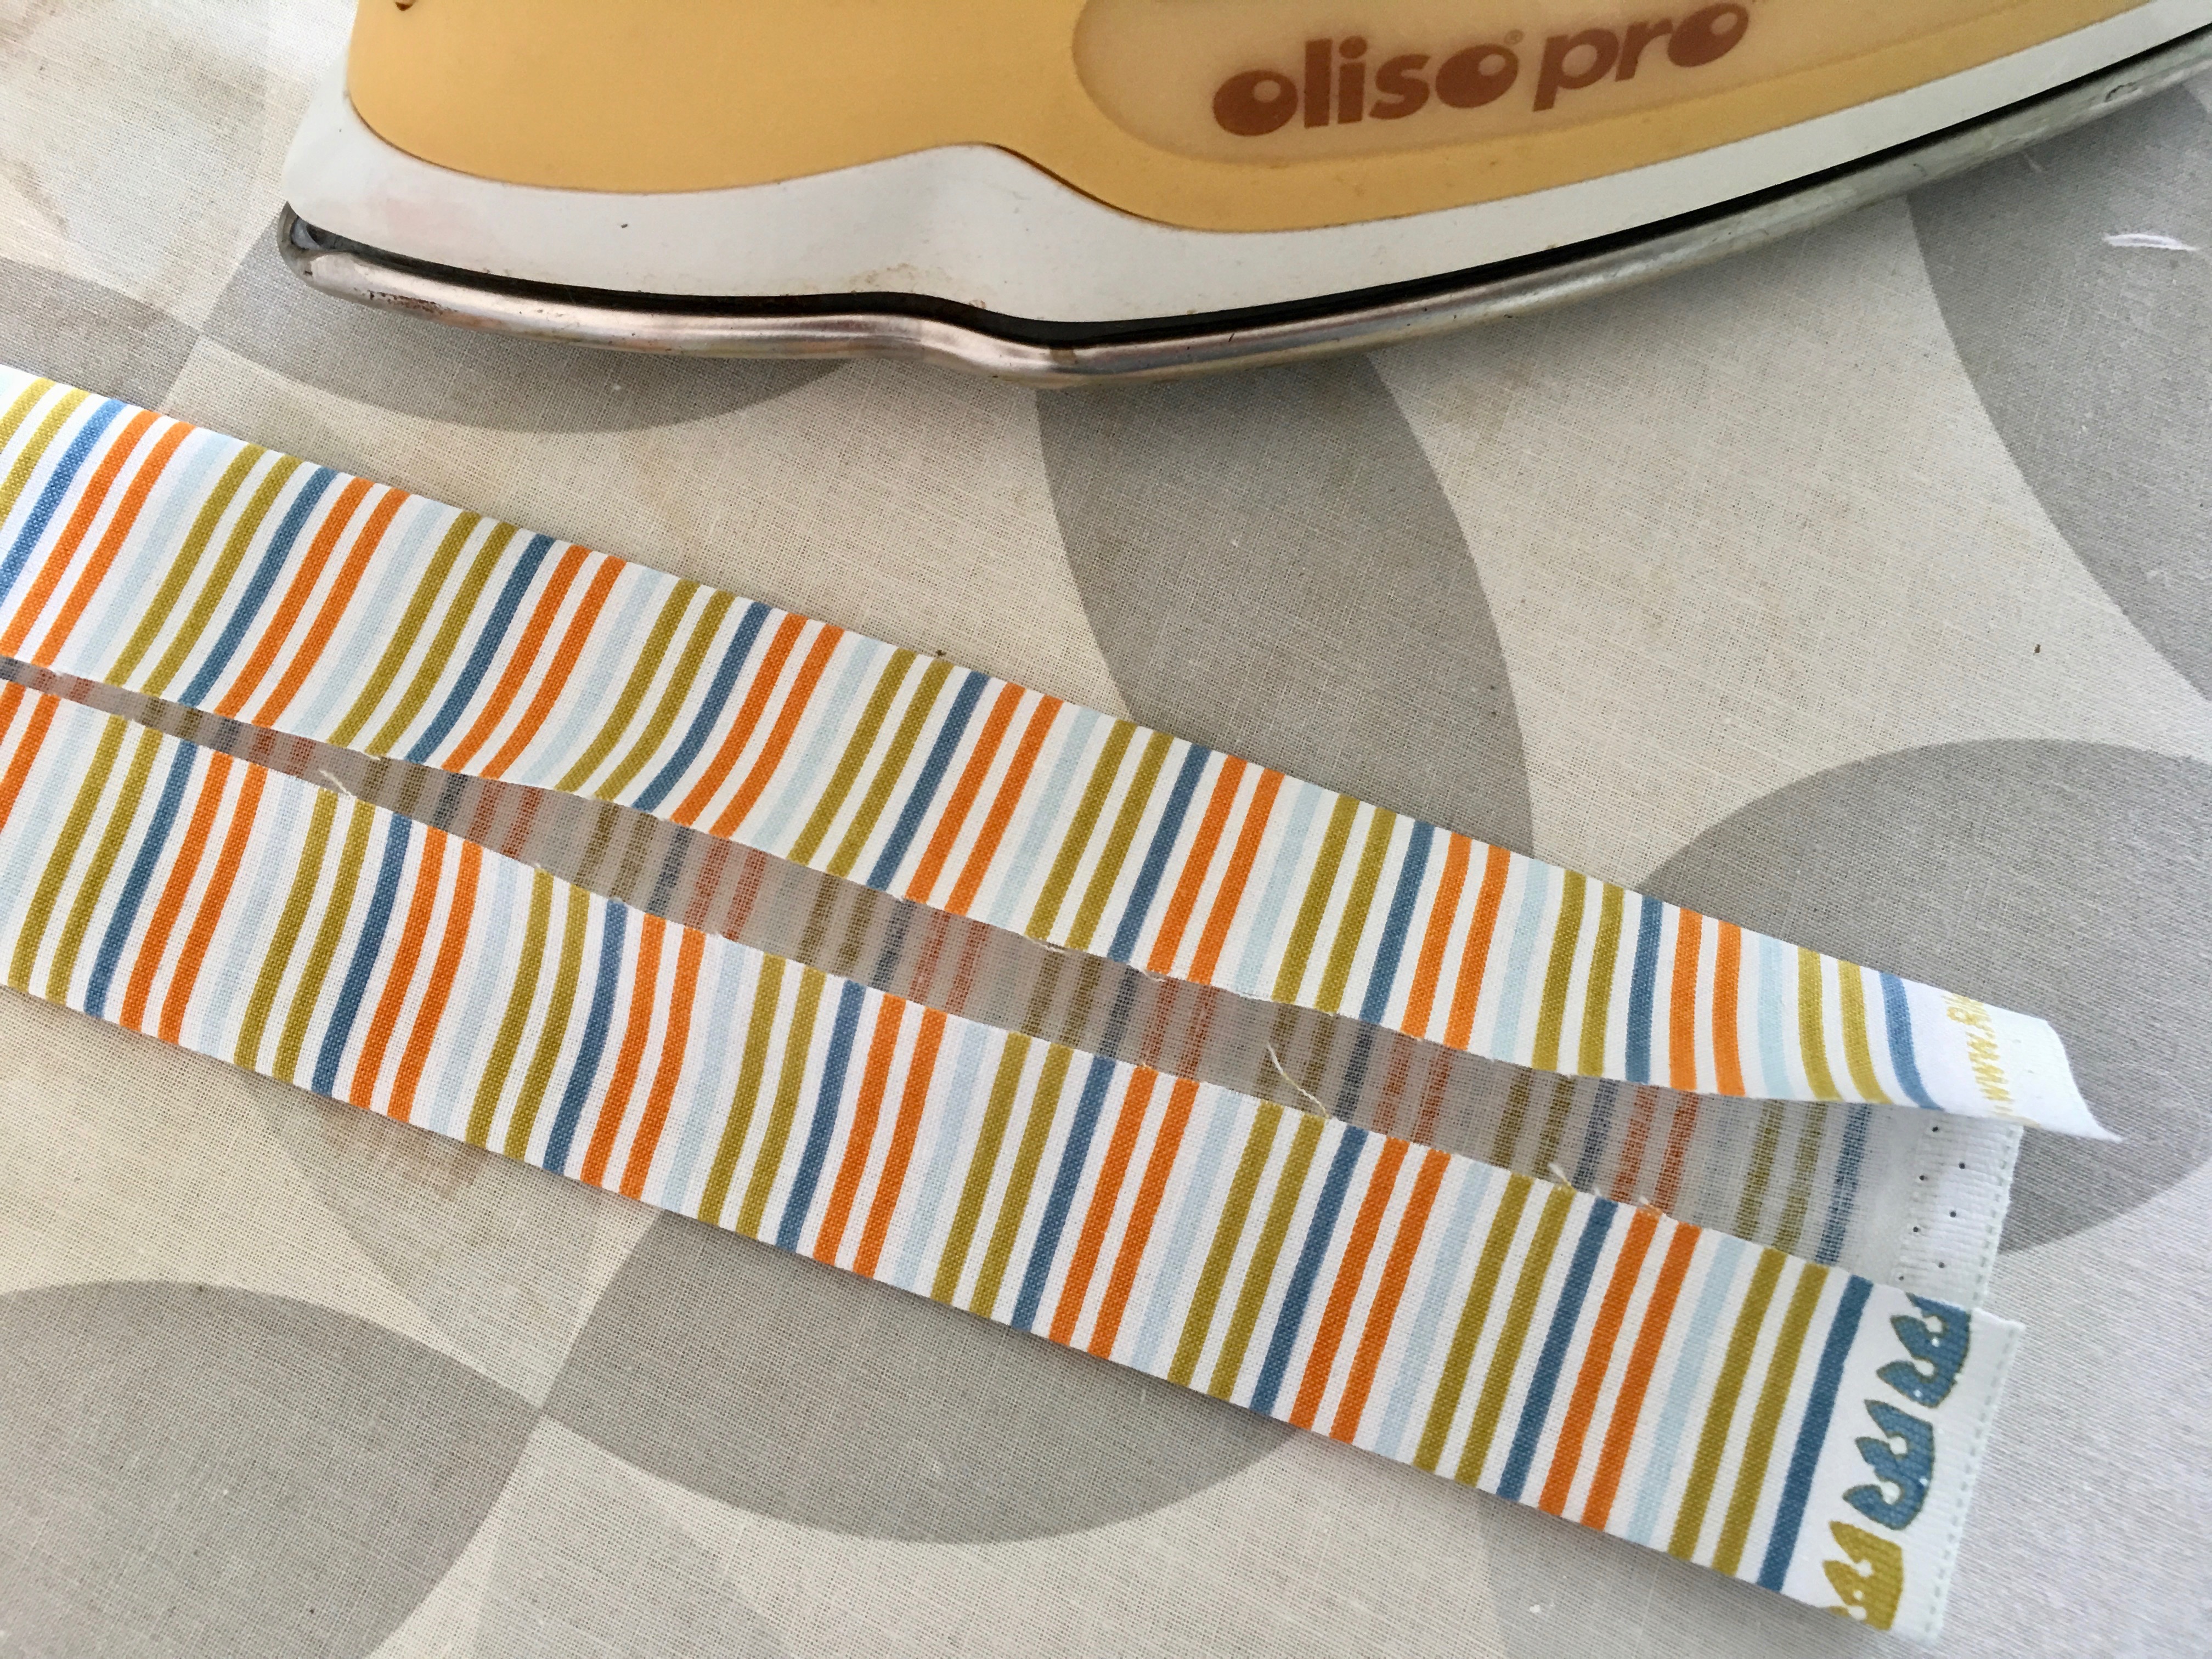
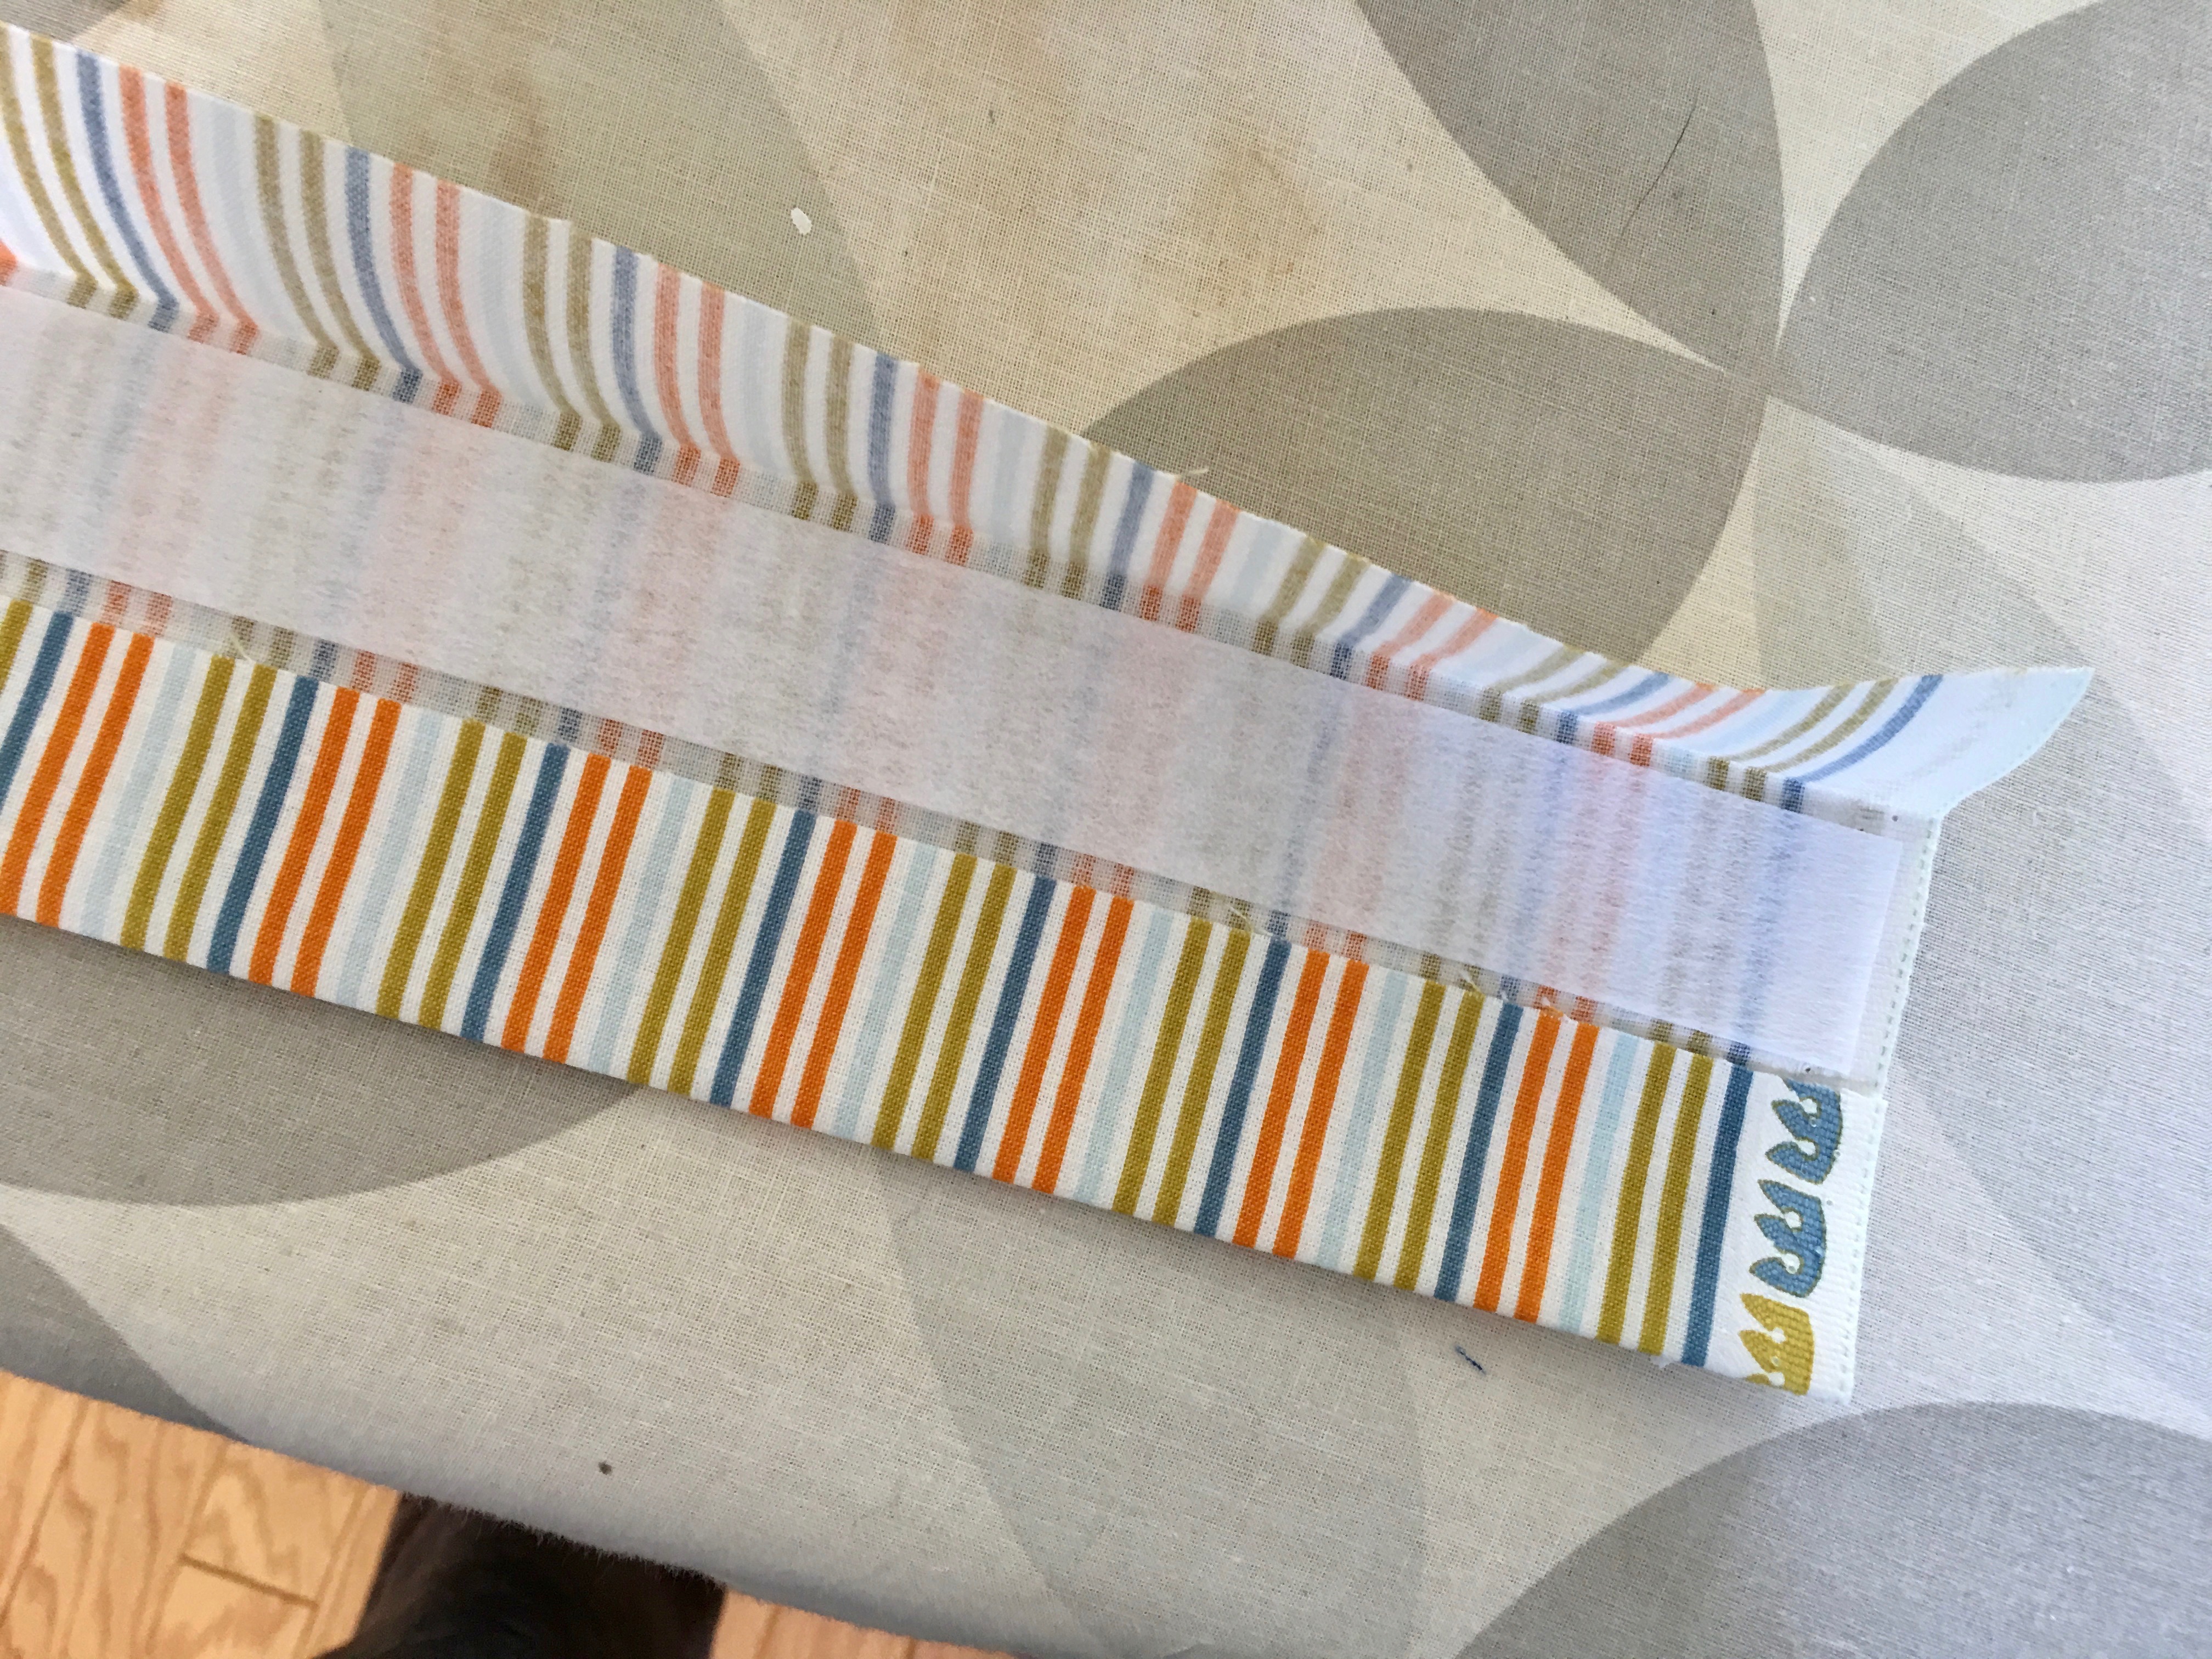
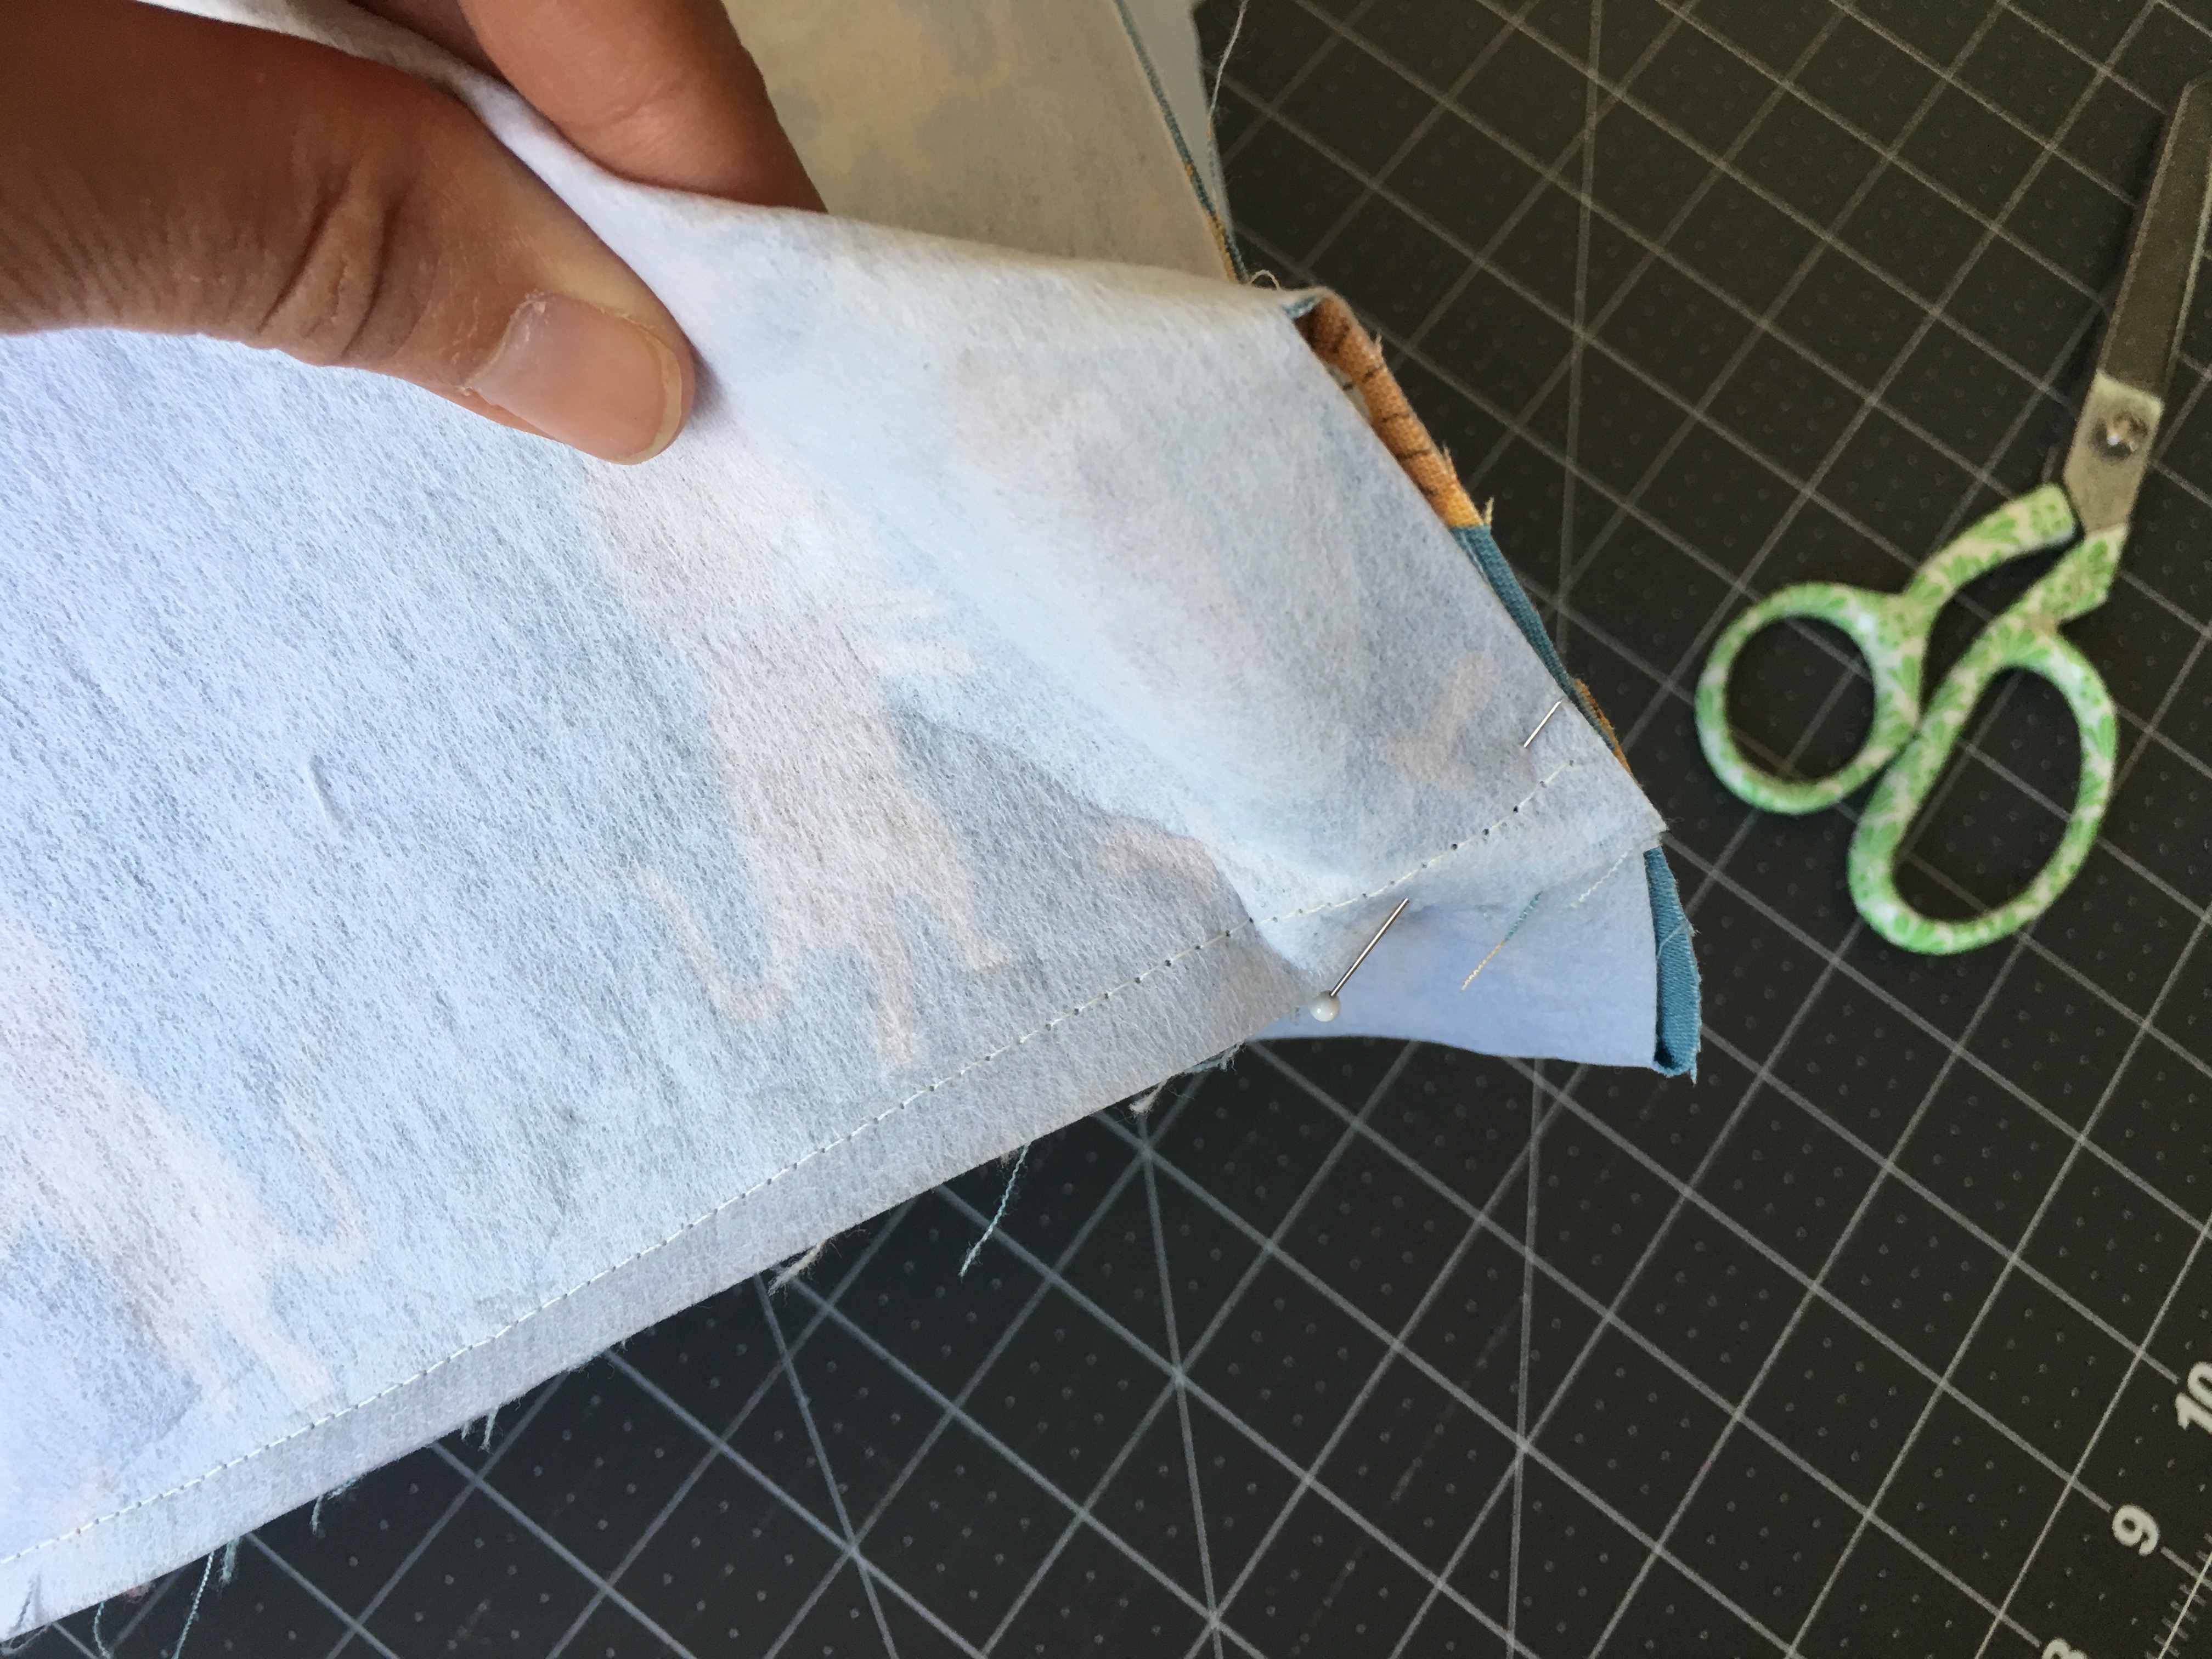
Prepare the ties by cutting (4) 4″x 24″ strips.  With right sides together, fold in half lengthwise and sew 1/4″ along the long edge, ending with a point (pictured below).  Turn the ties right side out and press.  Baste each tie in the seam of the binding.  (Place the quilt over your machine and mark where you want the ties, machines will vary).
IMG_2856

Hand bind as you would a normal quilt, continue stitching right over the ties (below).IMG_2857

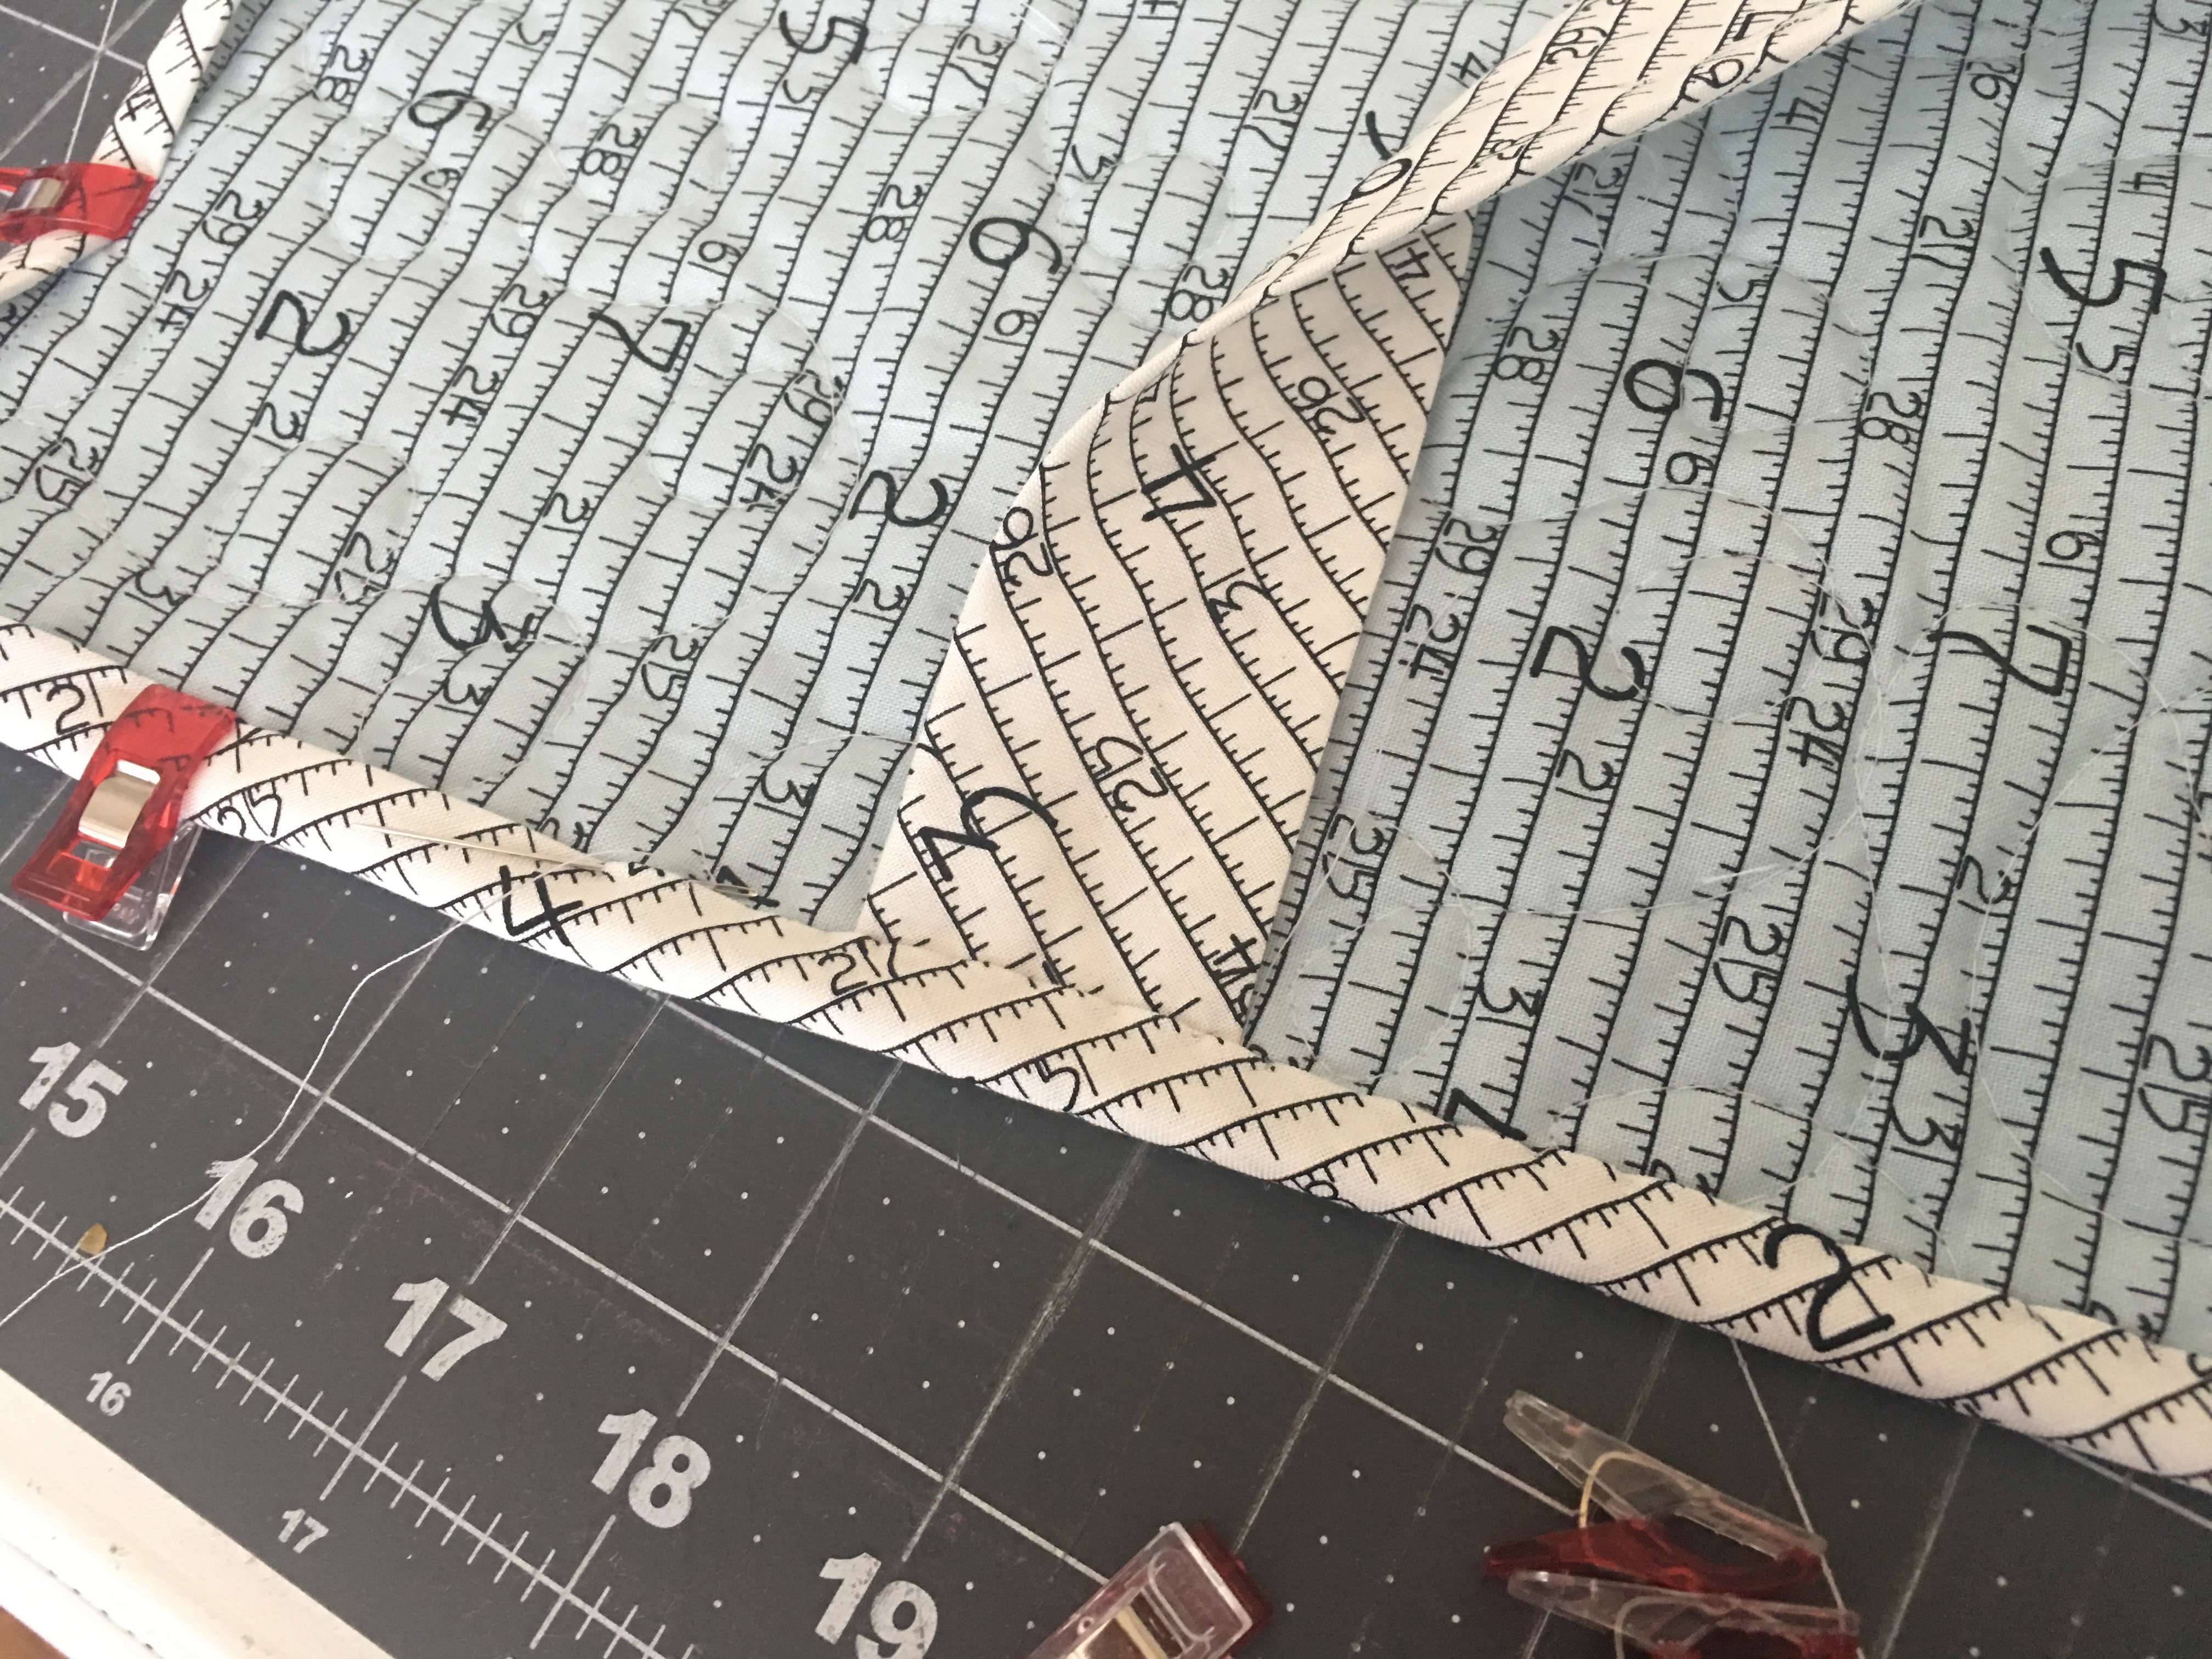
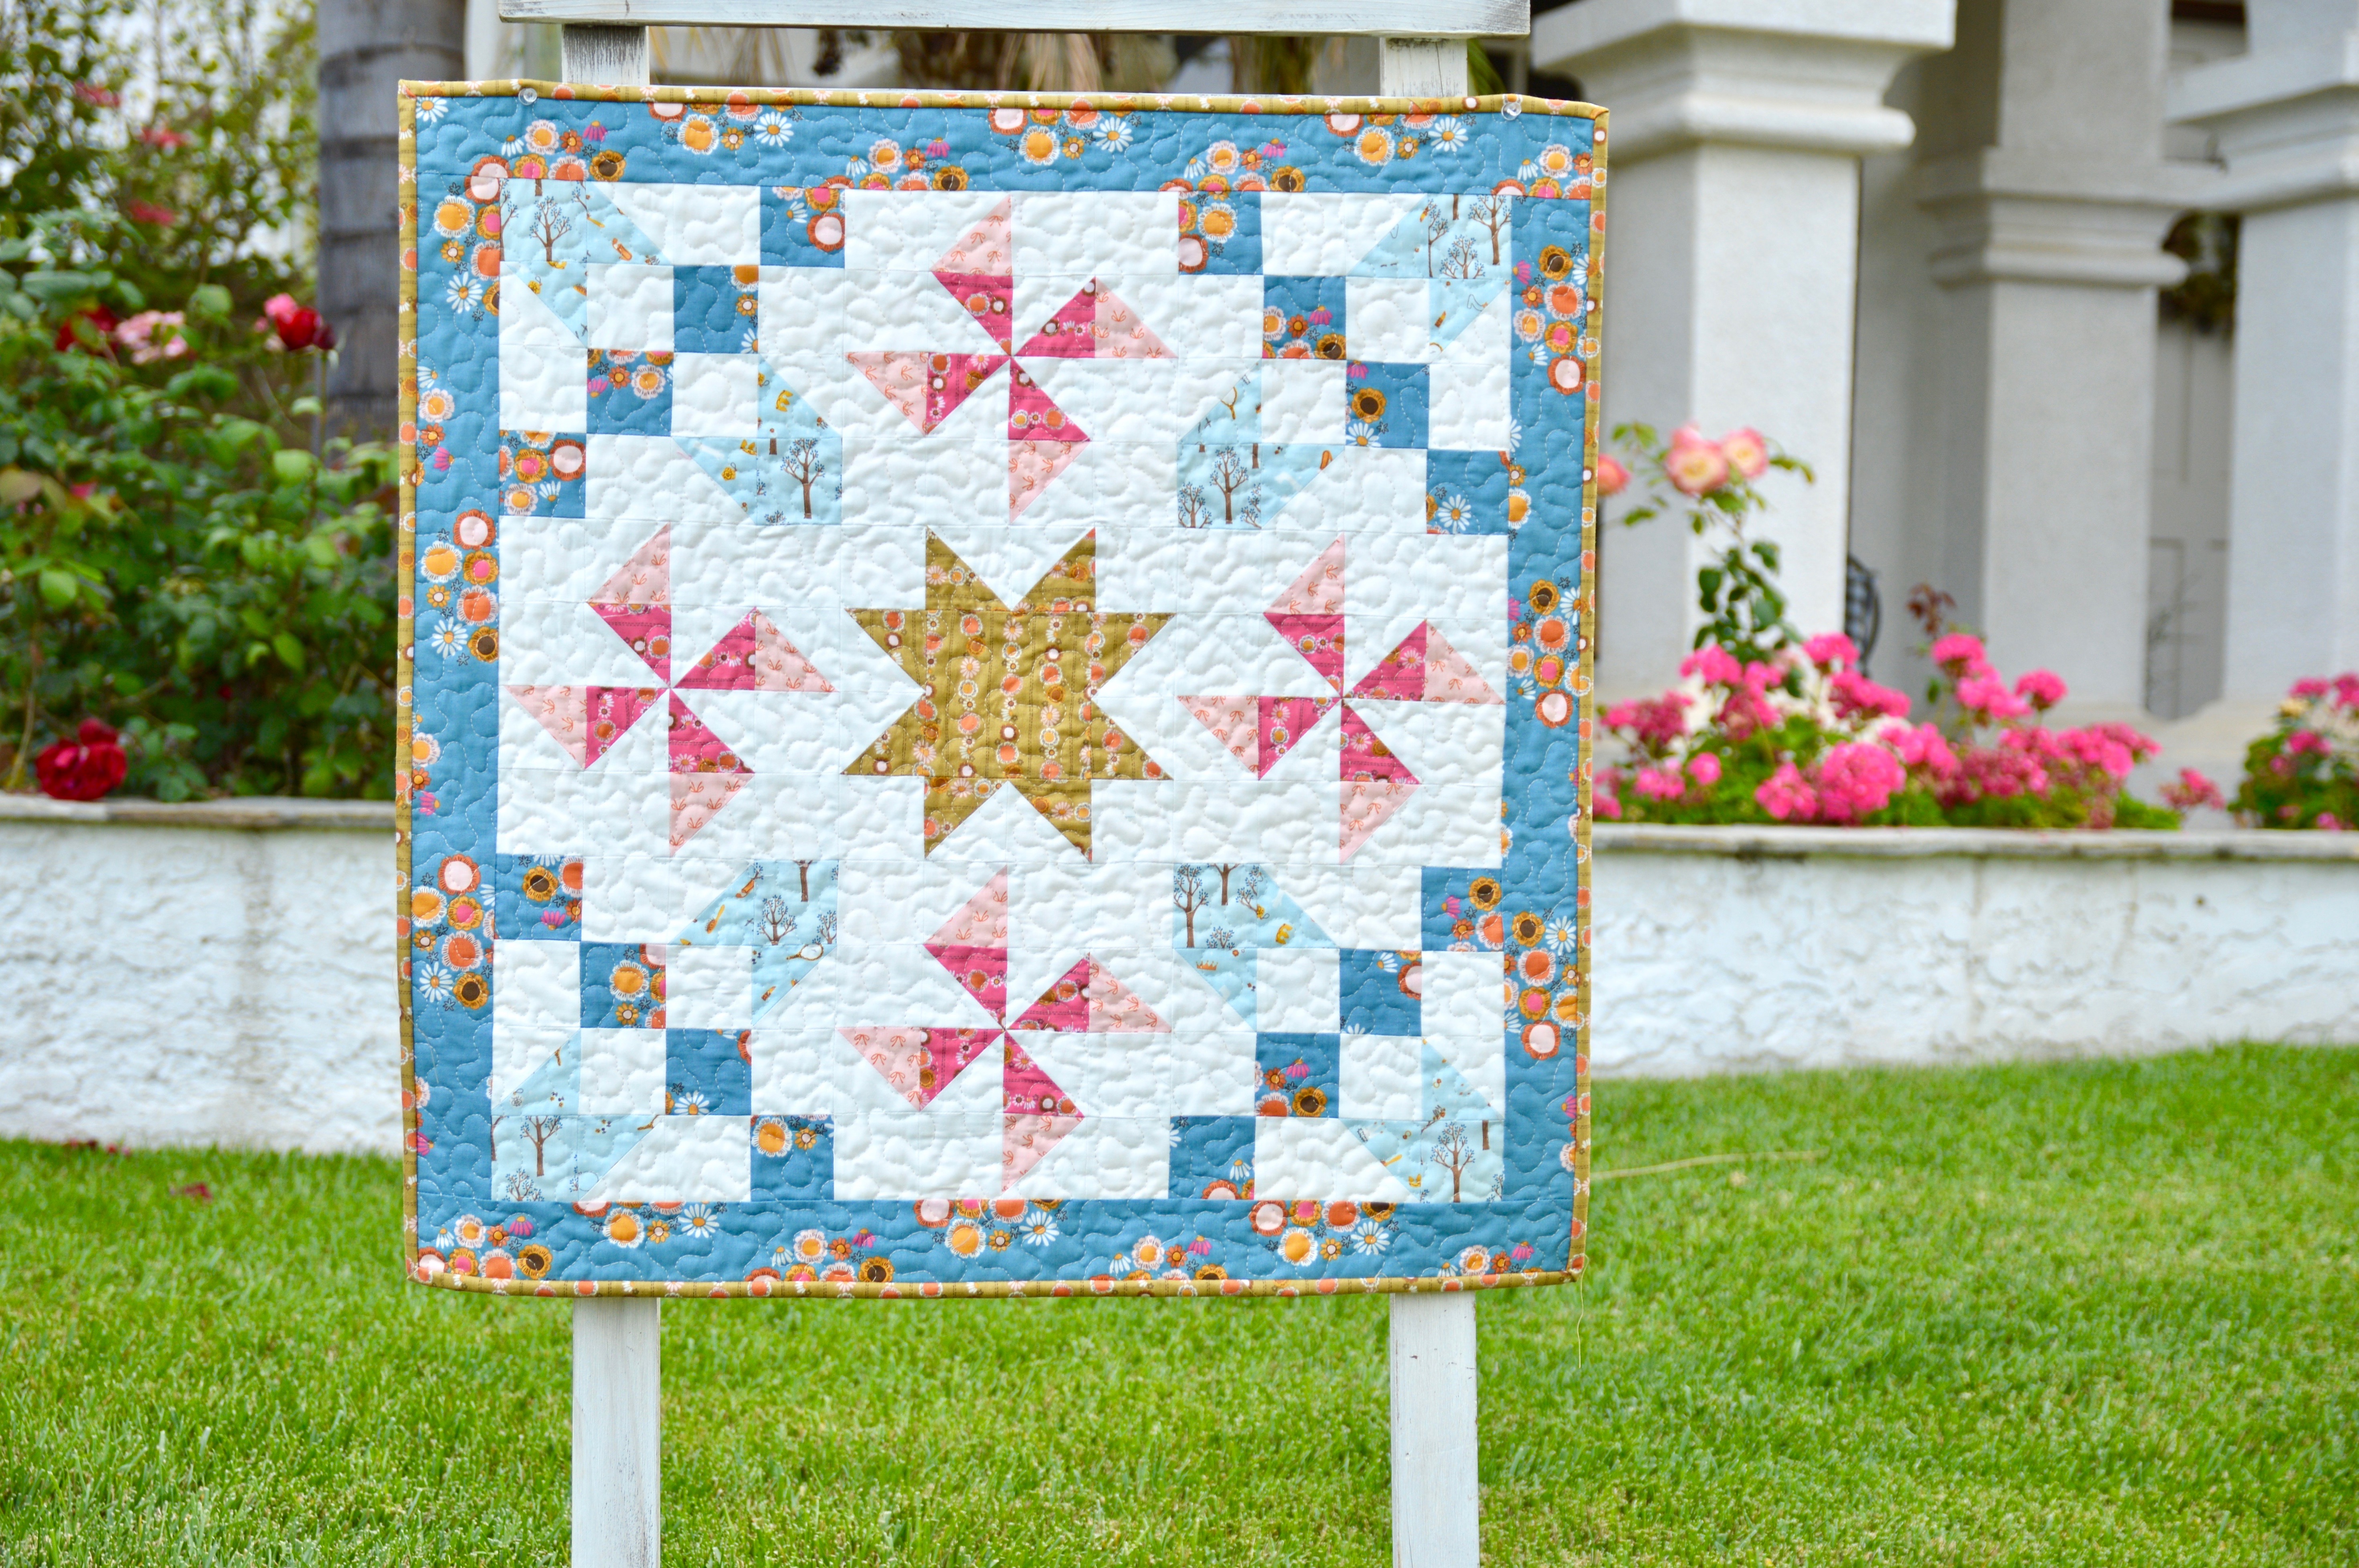
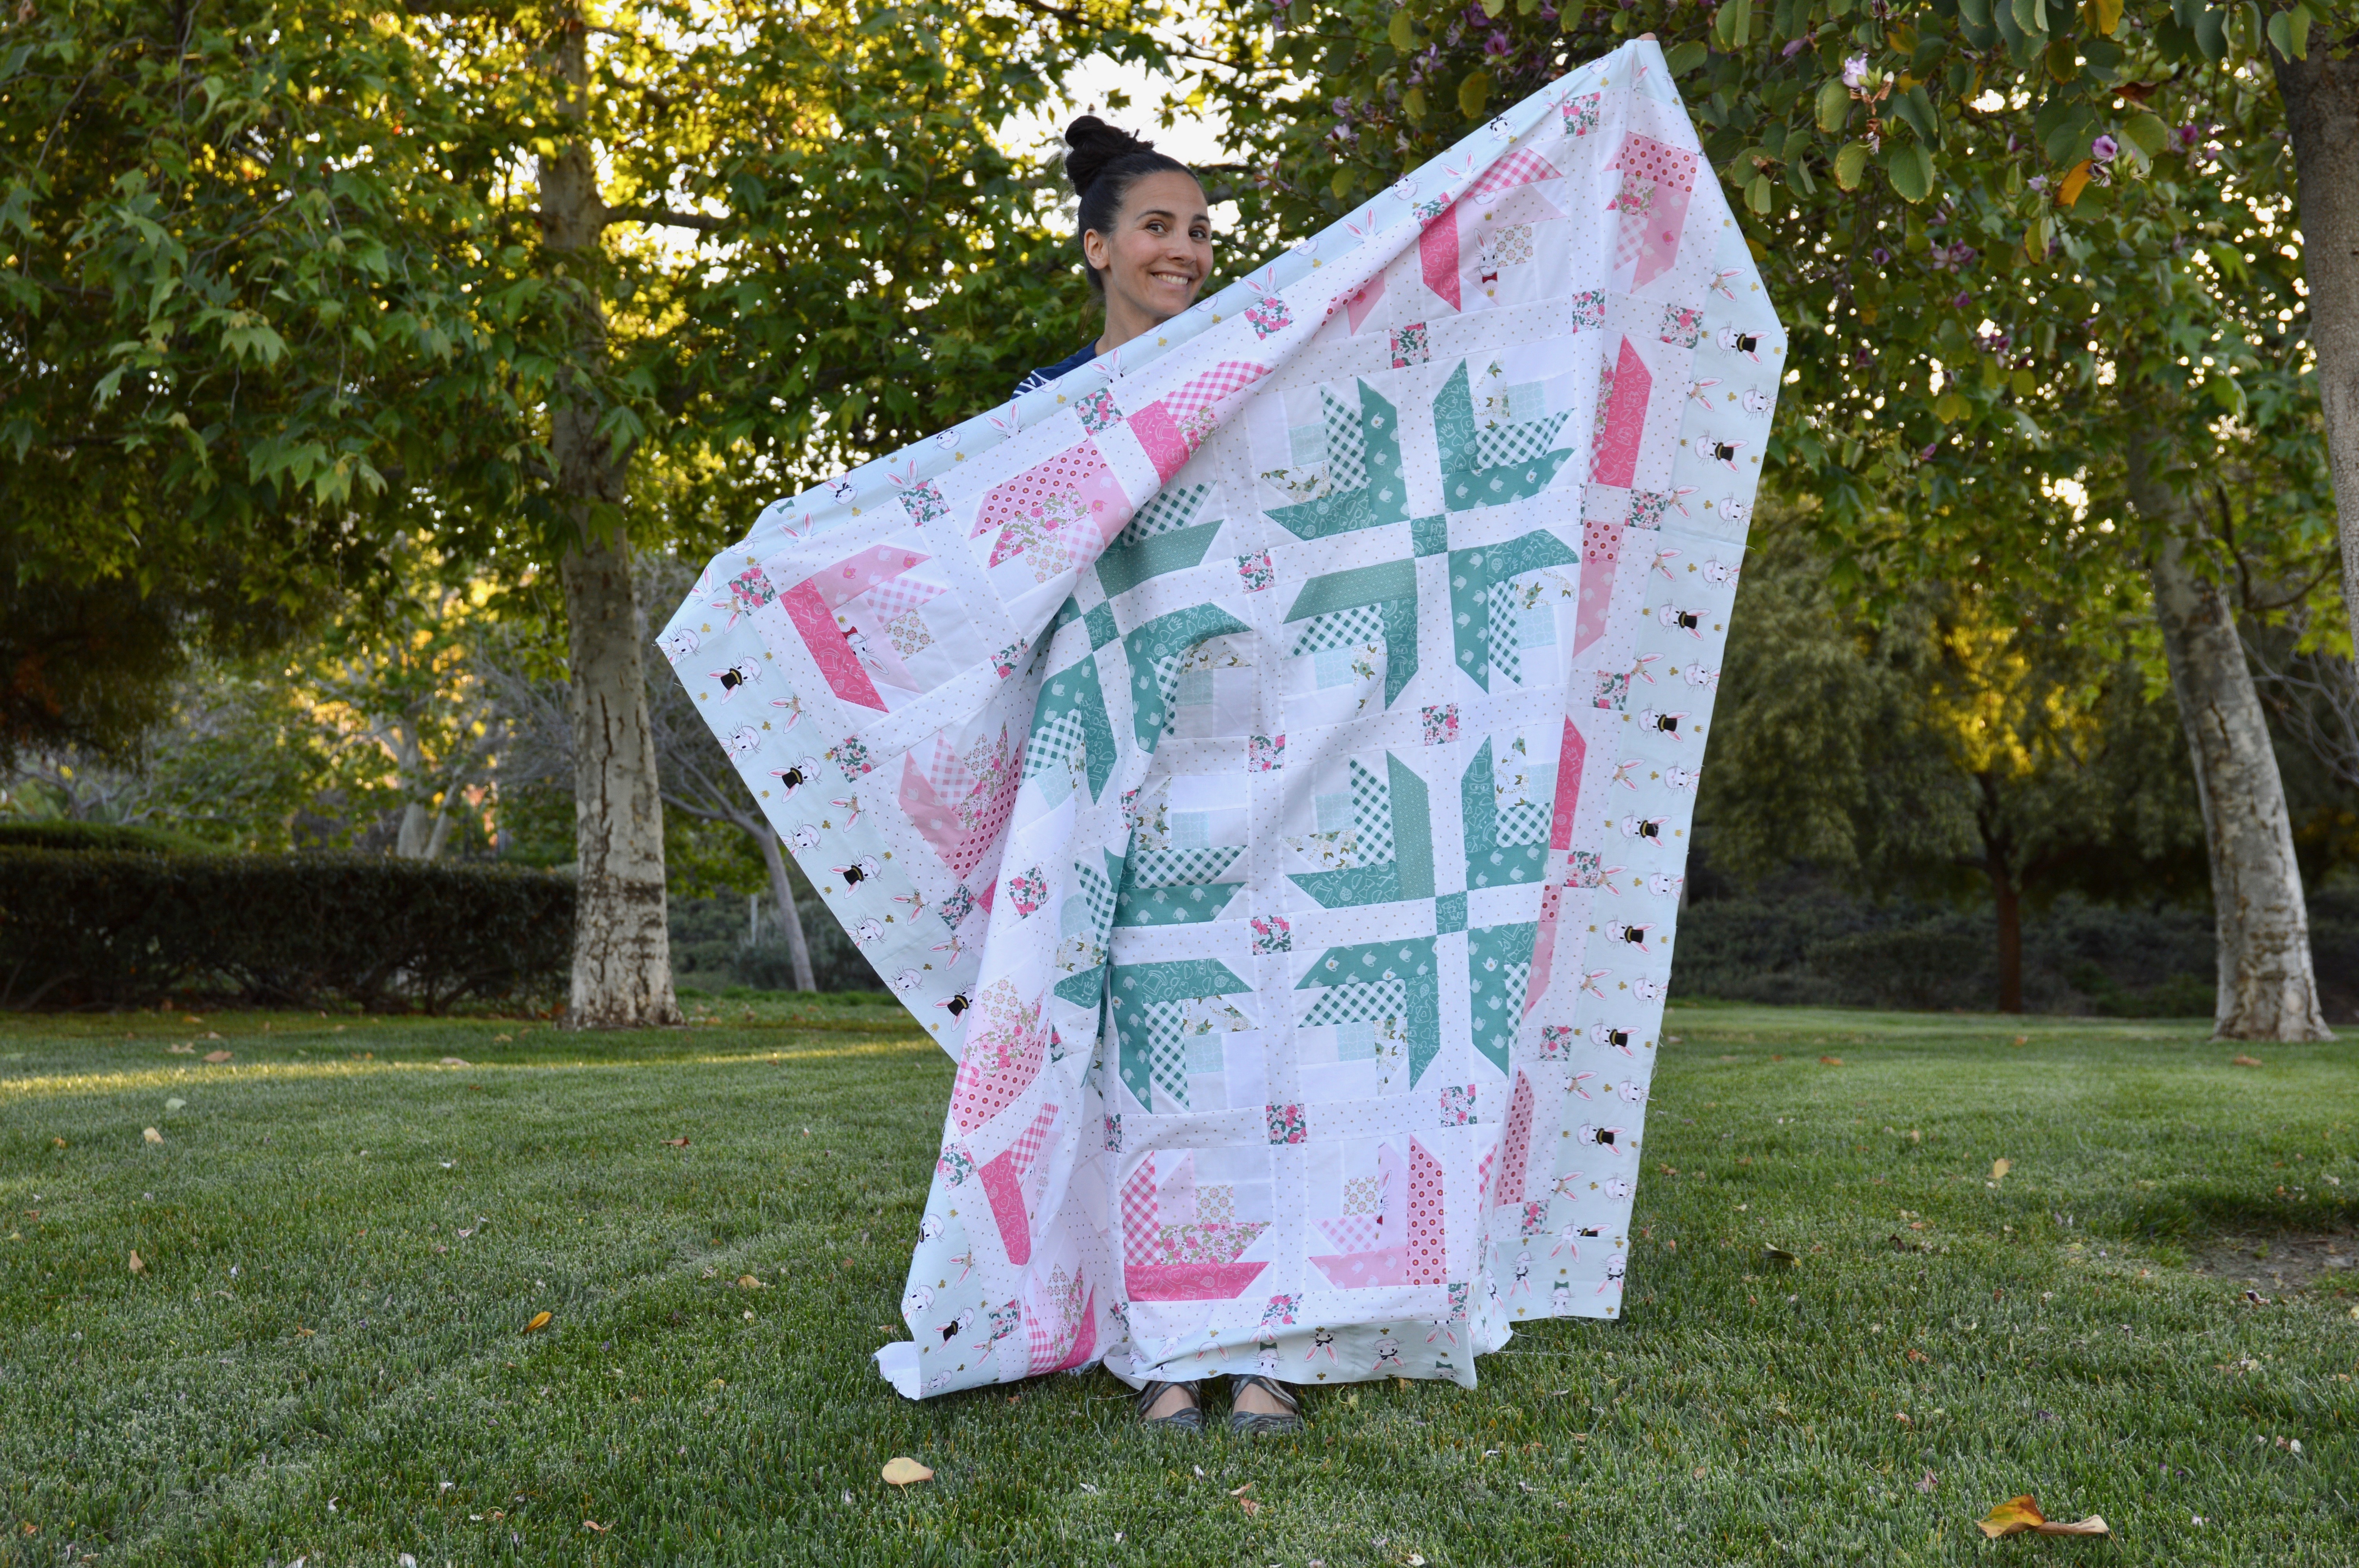
Once the binding is complete so is the sewing machine cover!  My sewing machine looks SEW HAPPY!!!!

sewing machine cover

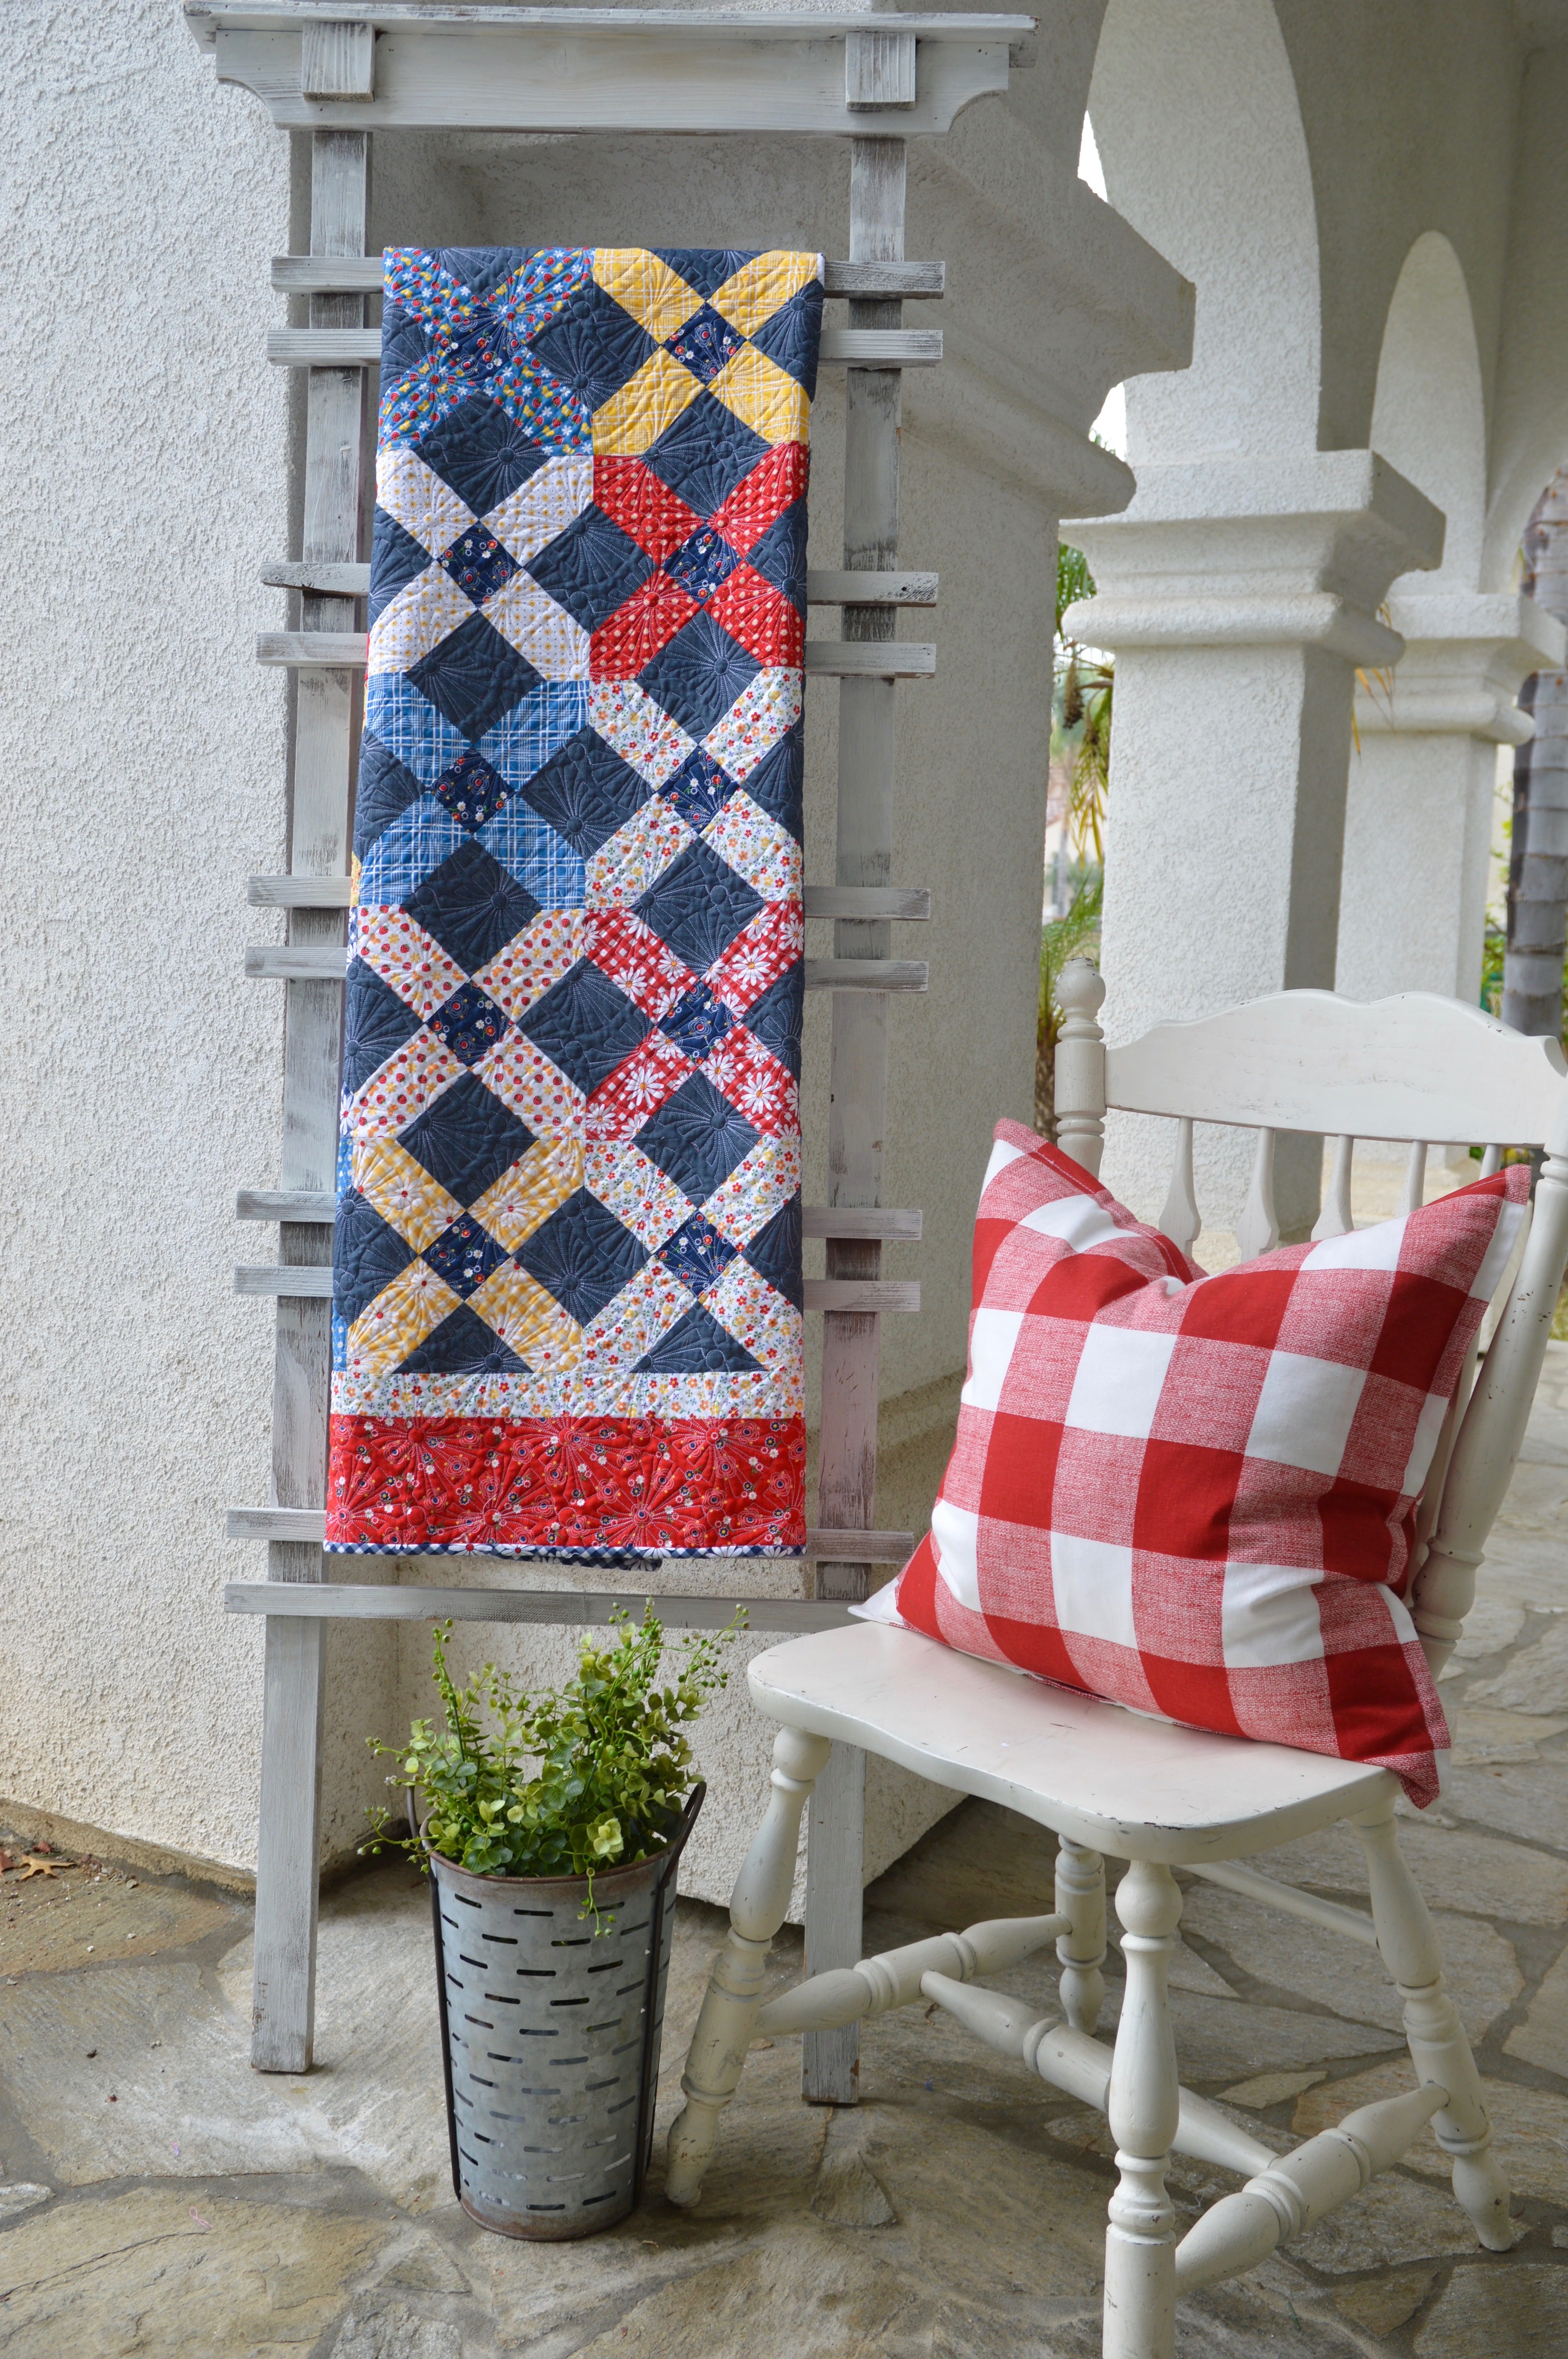
It also makes a cute sewing table runner if you don’t add the ties!

sewing machine cover. 4
And for the rest of the afternoon it served as a kitty nap time blanket!!!

DSC_0342

Take Me To The Sea Quilt Pattern featuring Seaside by Riley Blake Designs

nautical quilt pattern

Summer is my favorite season of all!  I could live in perpetual June-August!!

take me to the sea quilt pattern
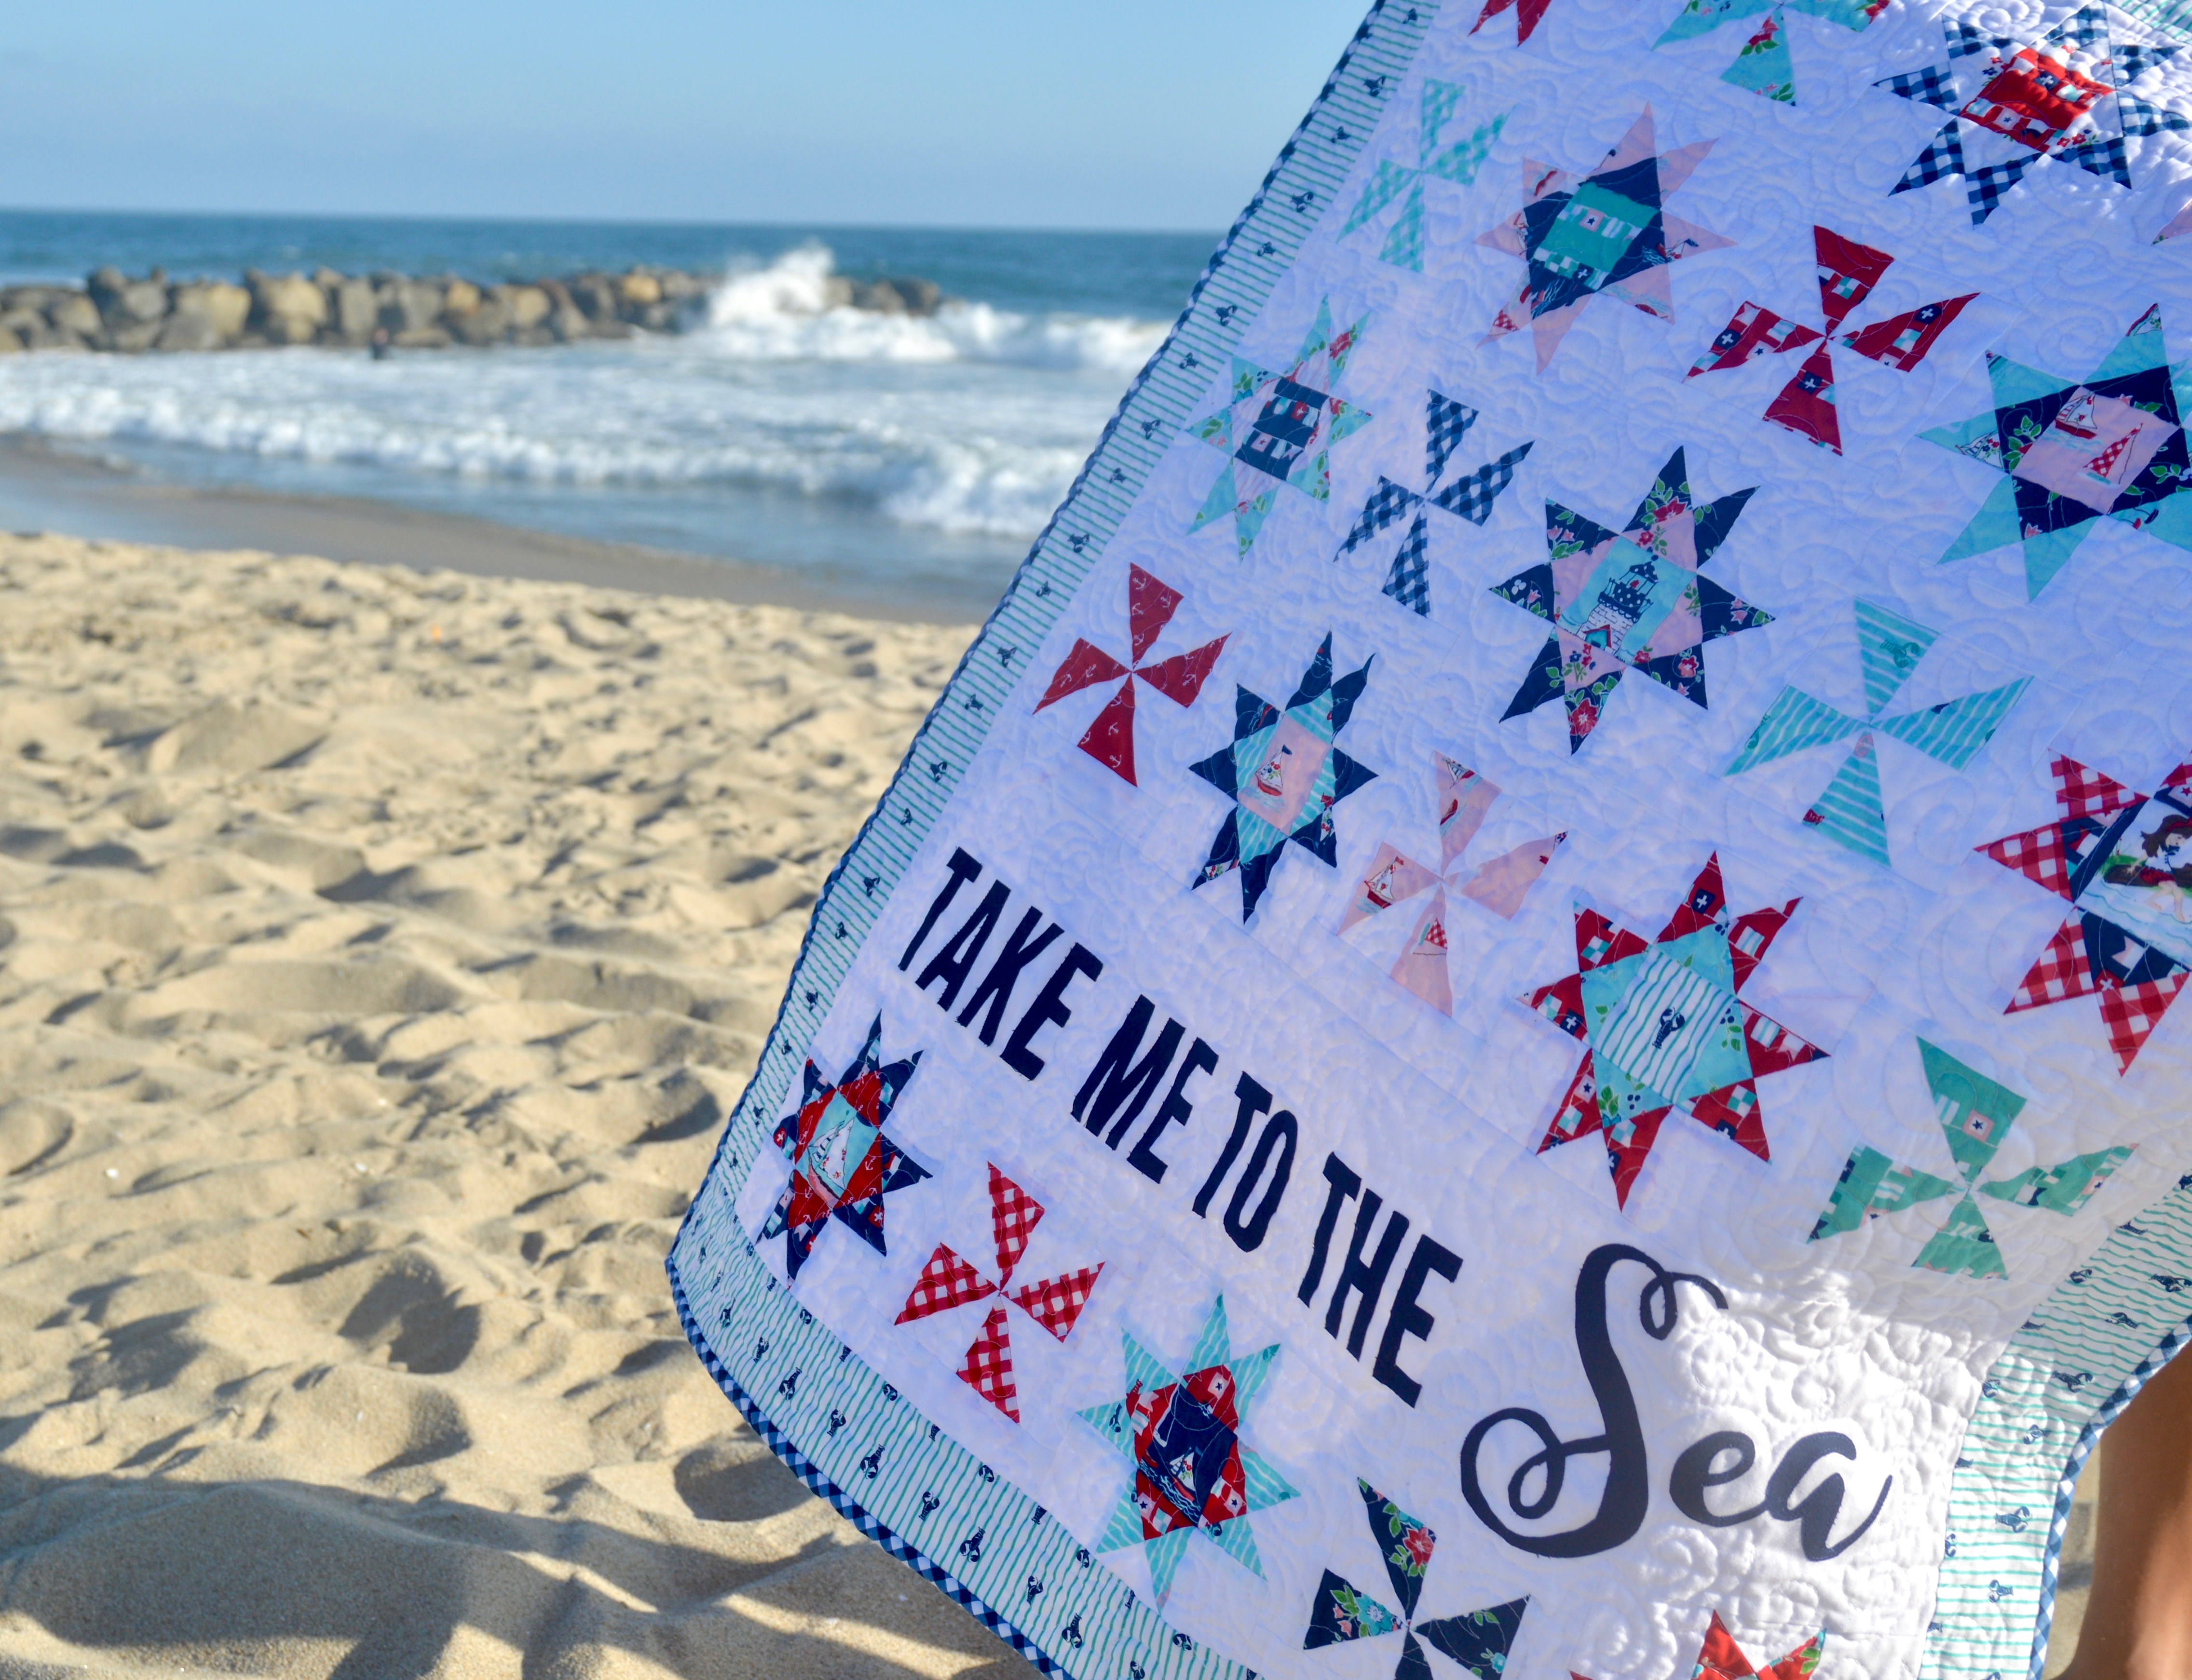
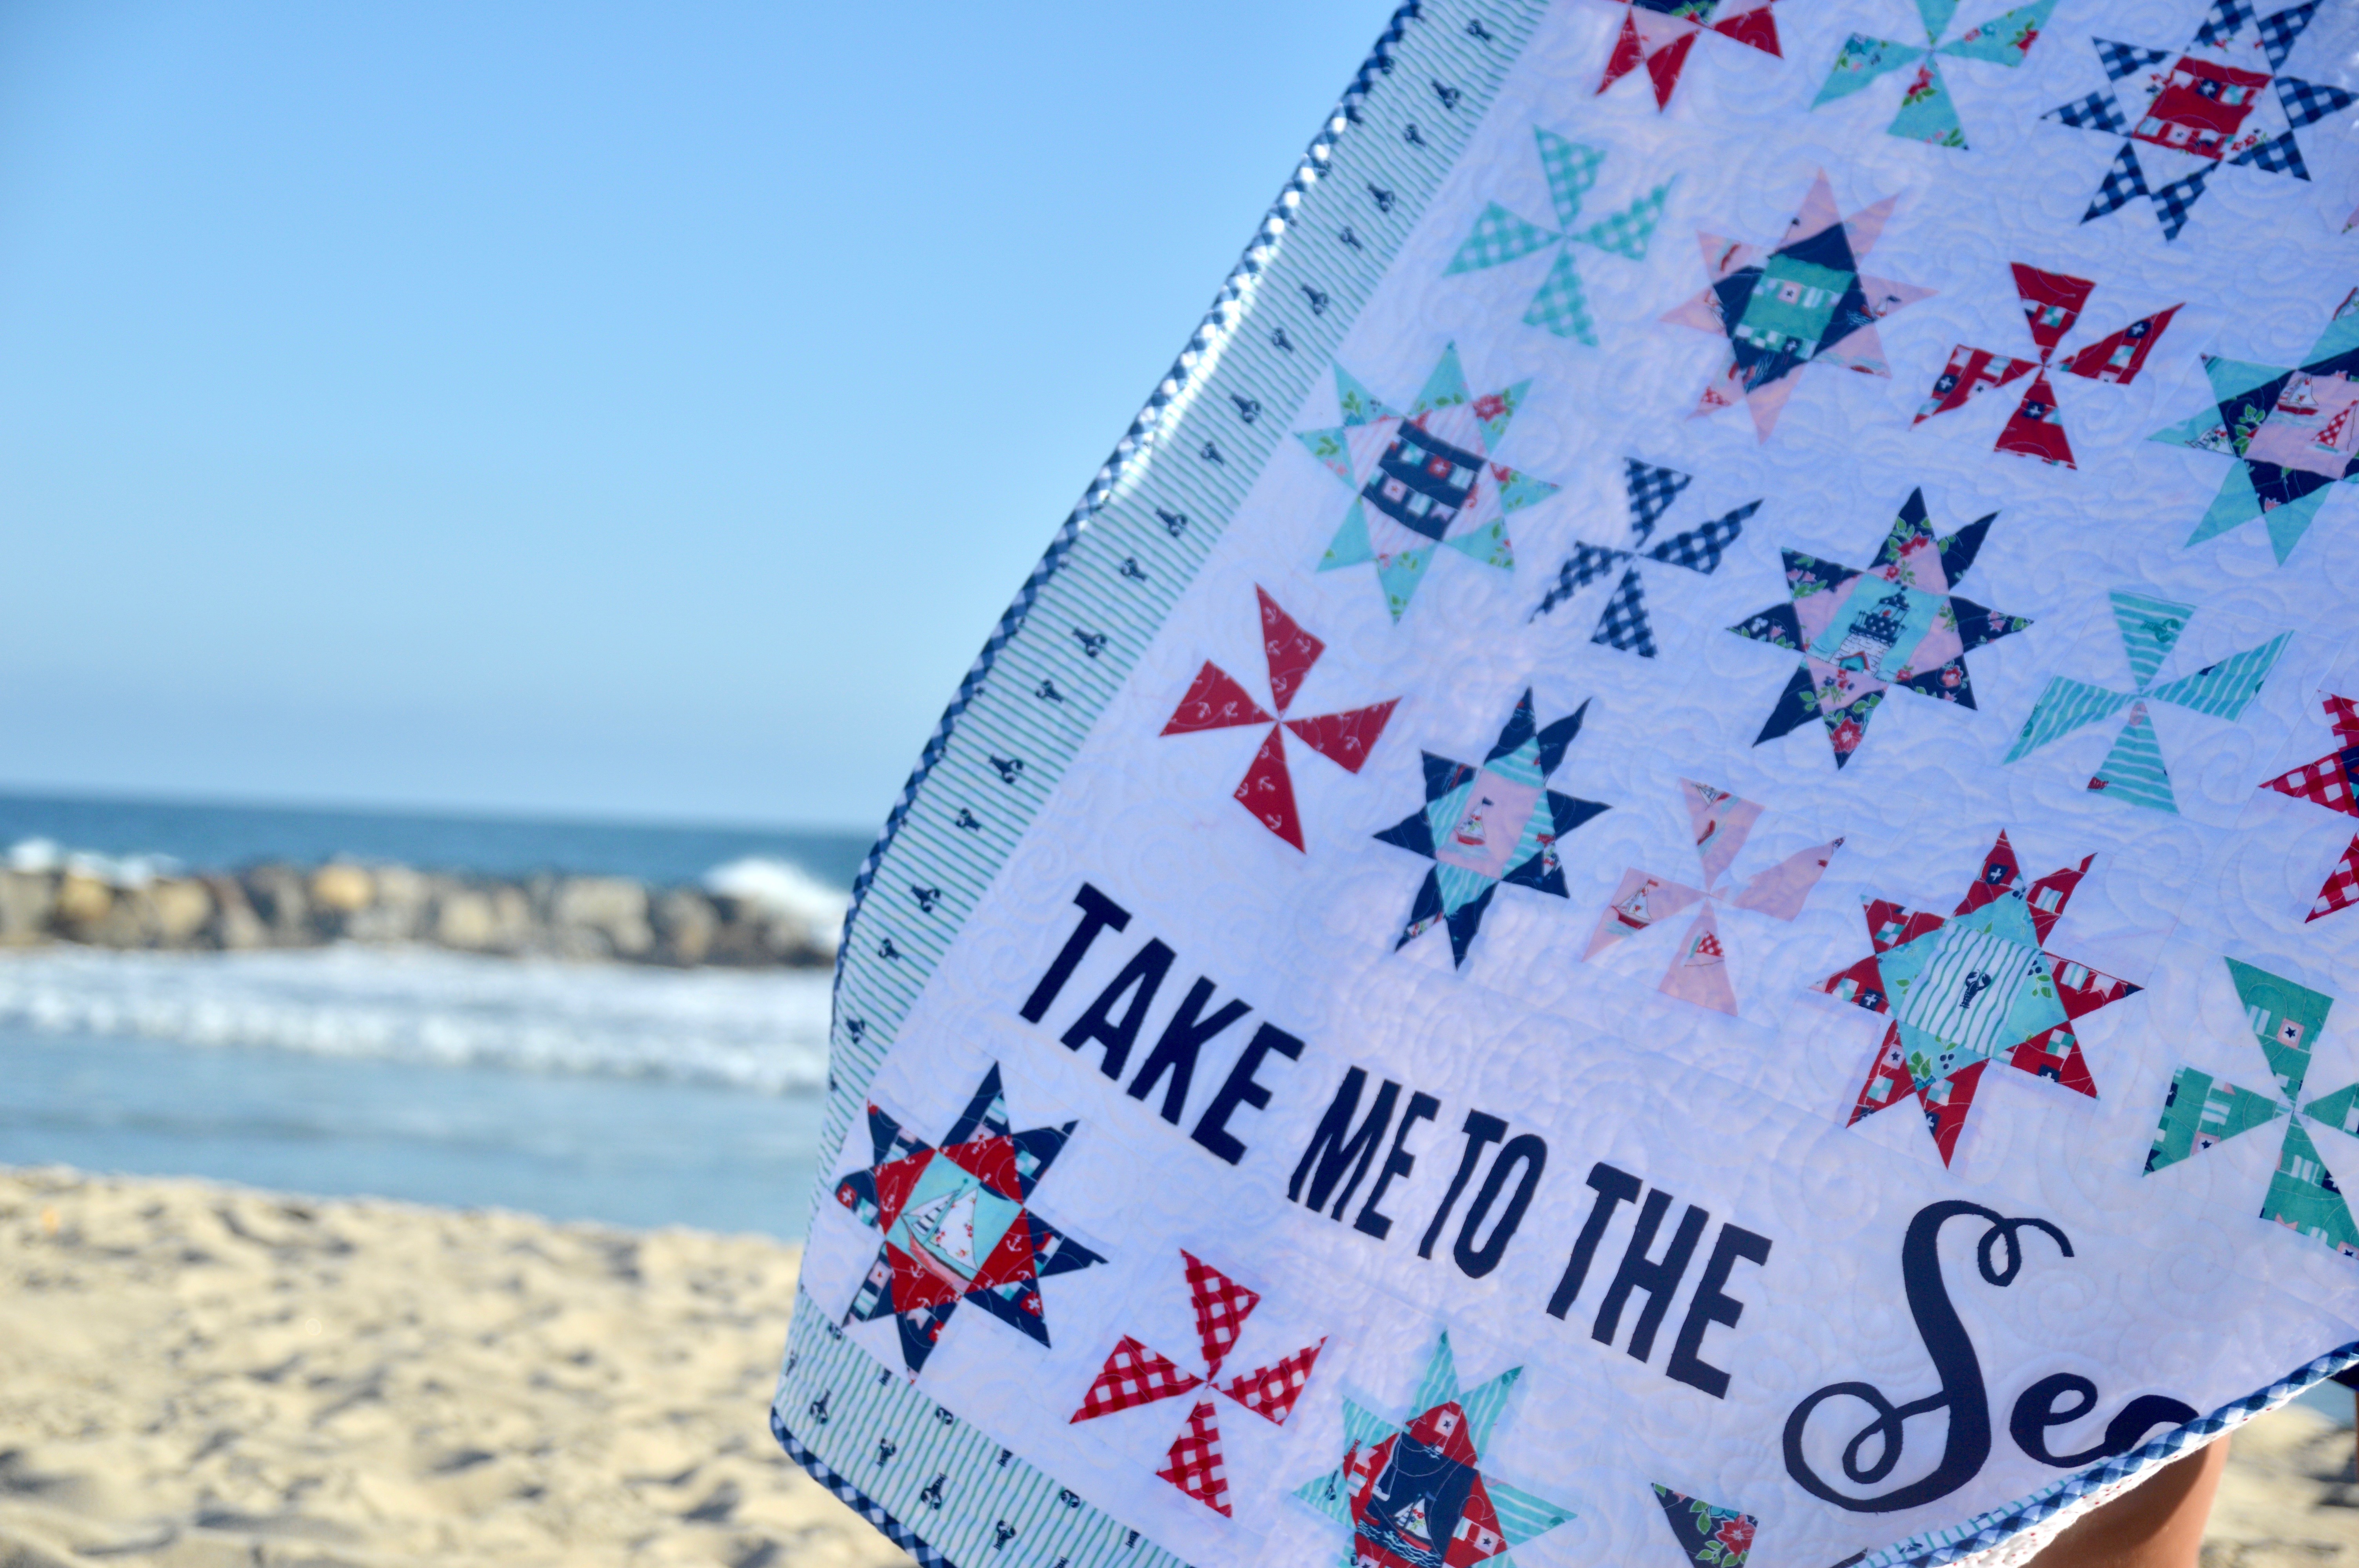
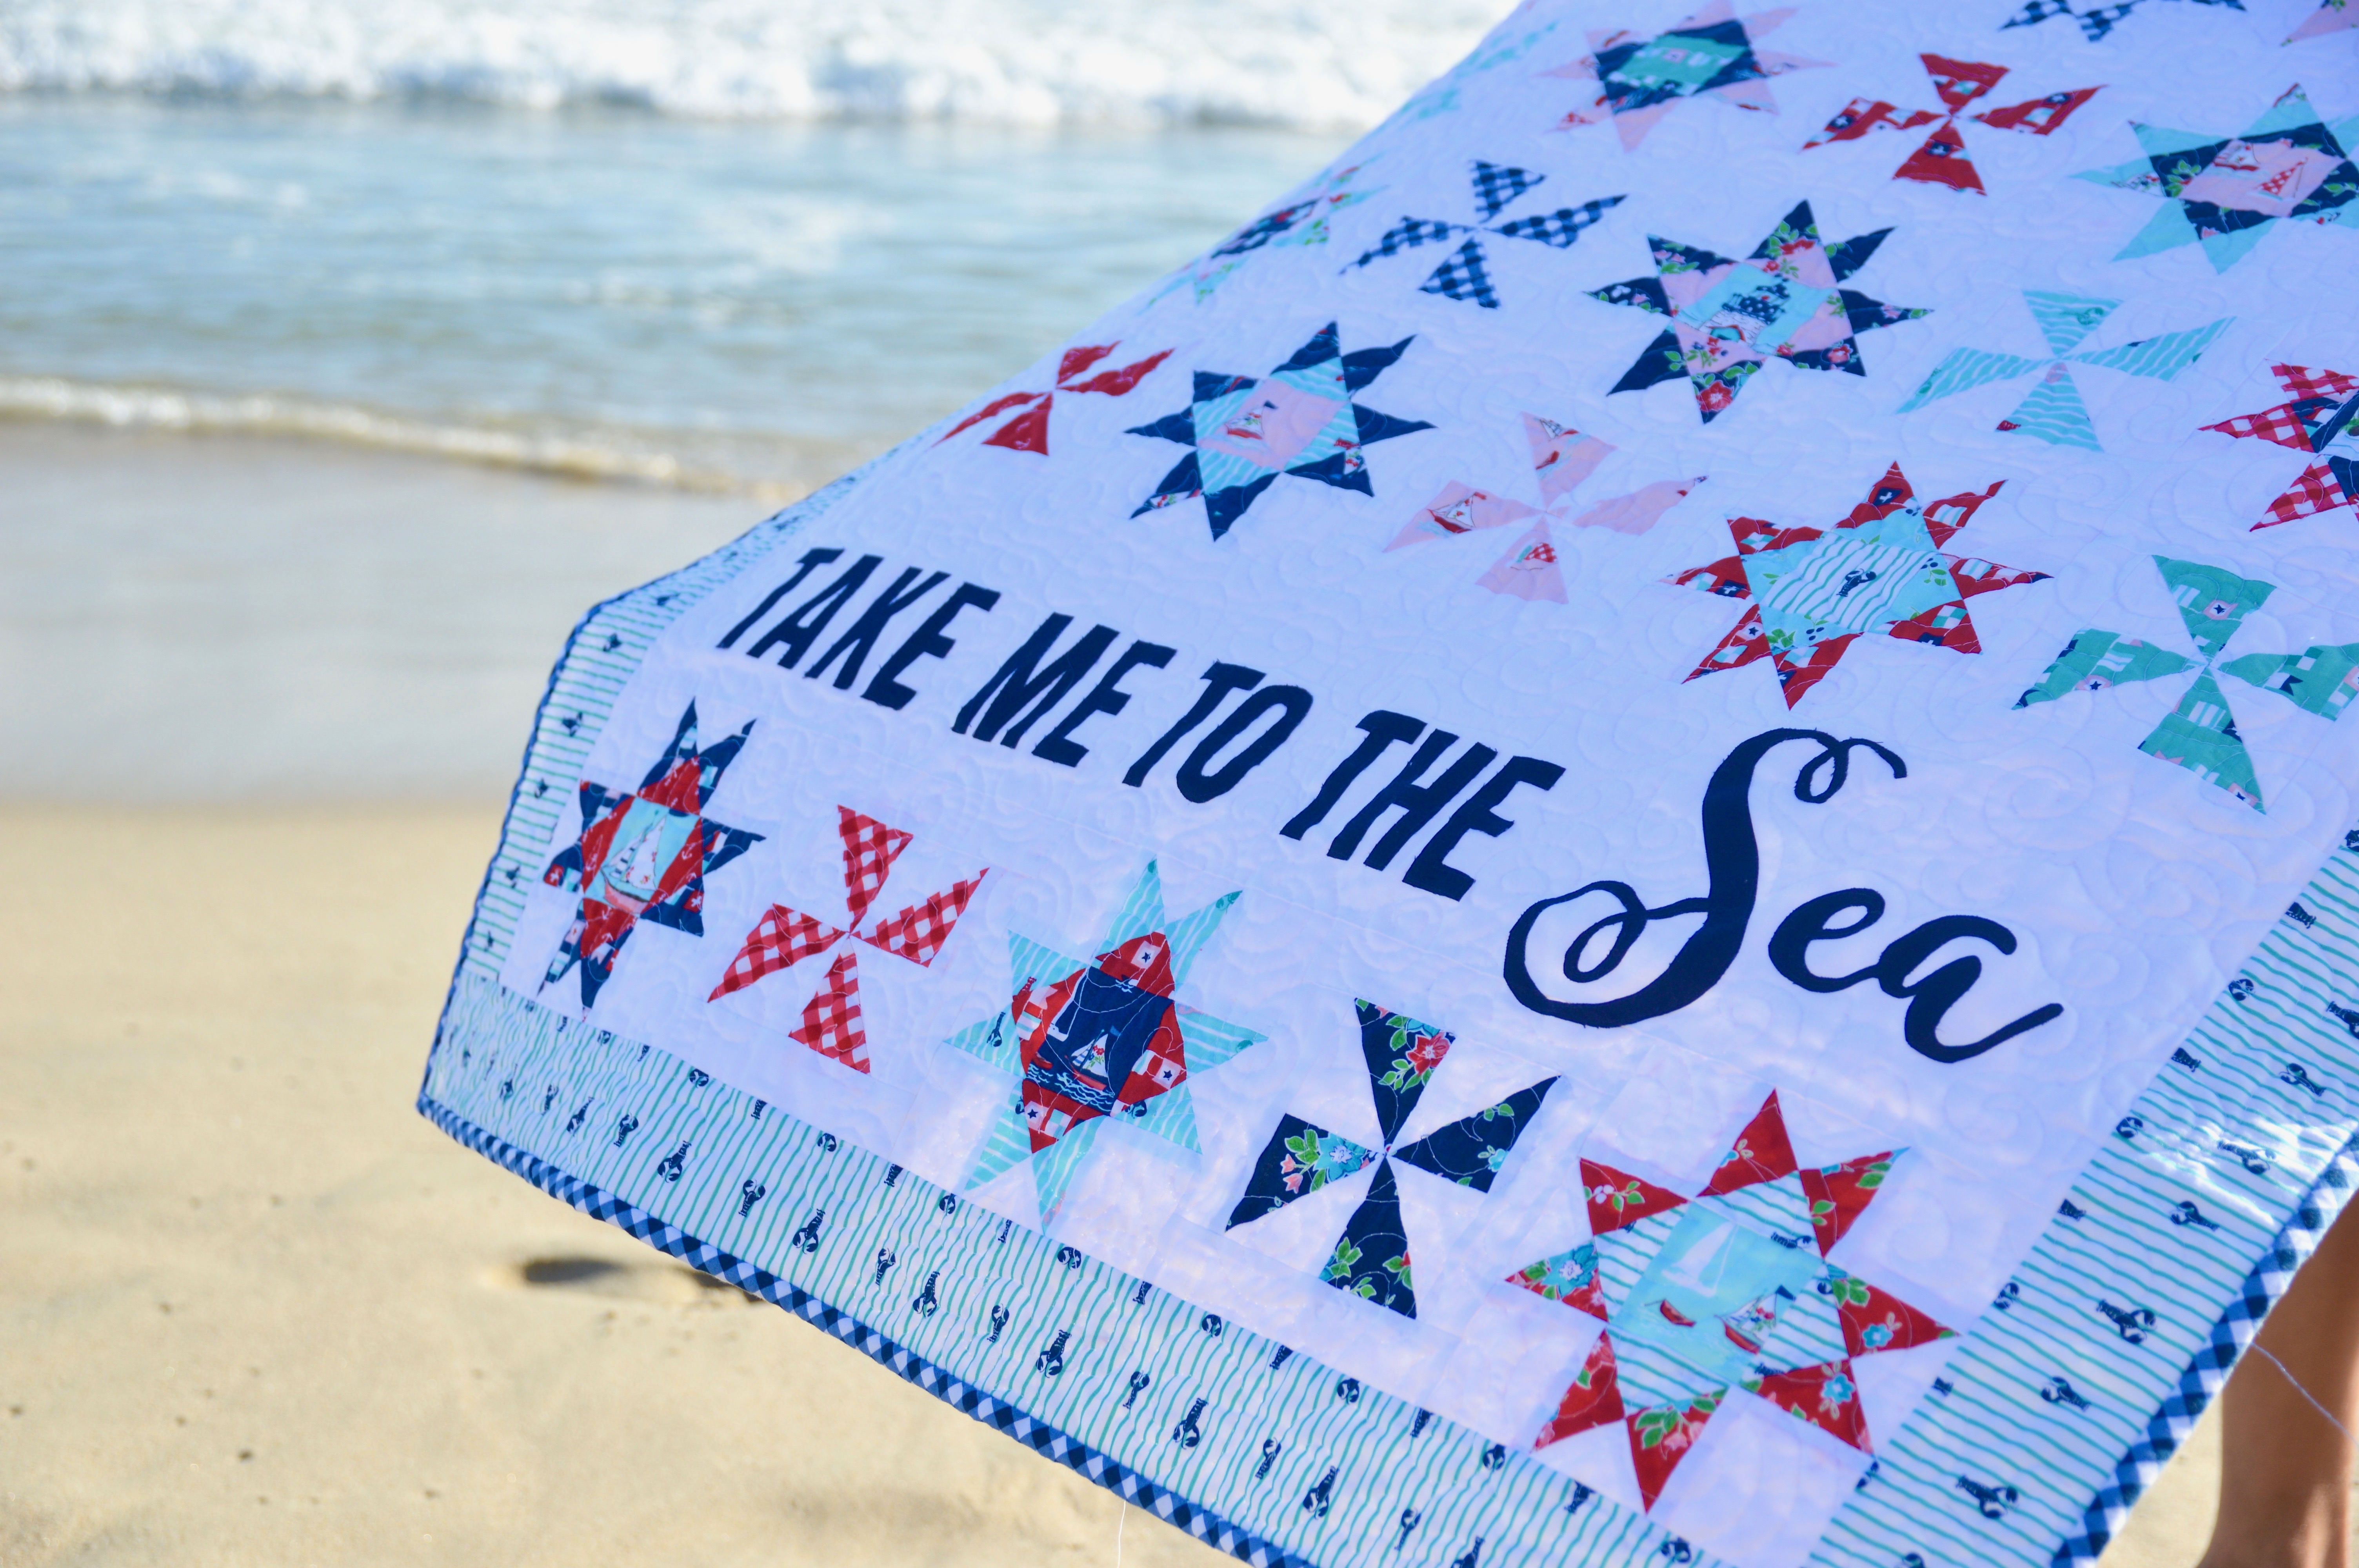
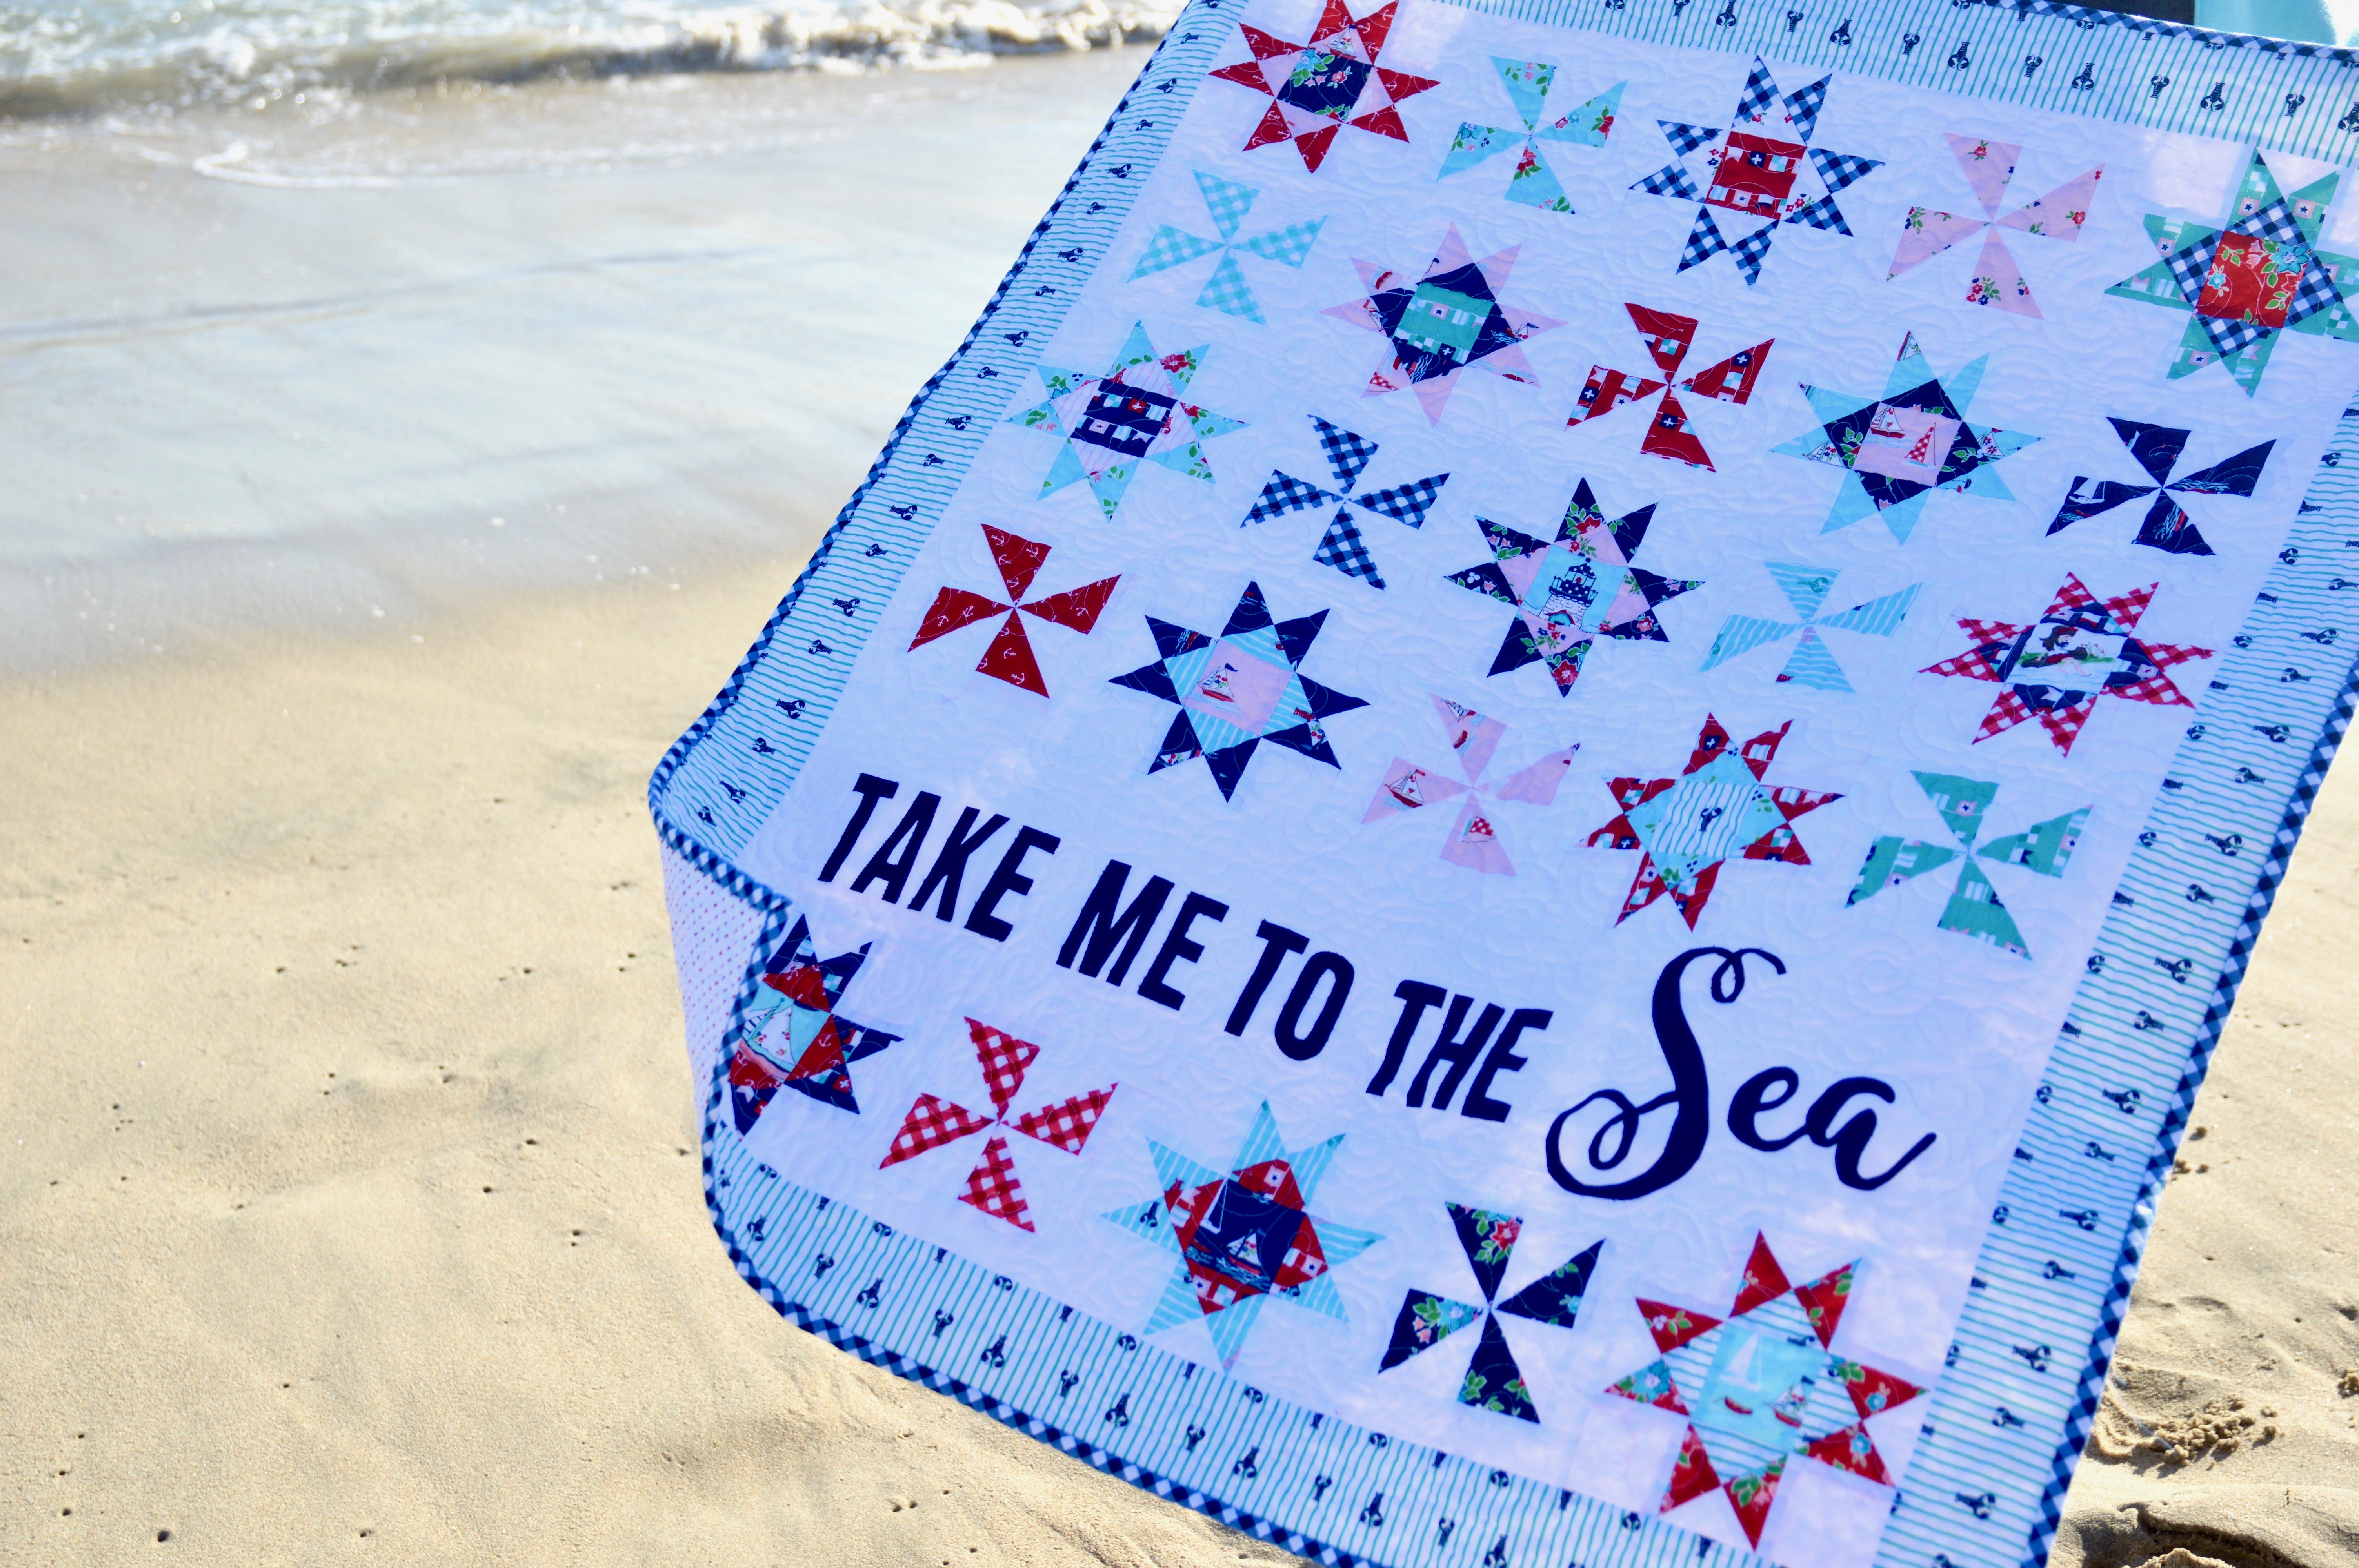
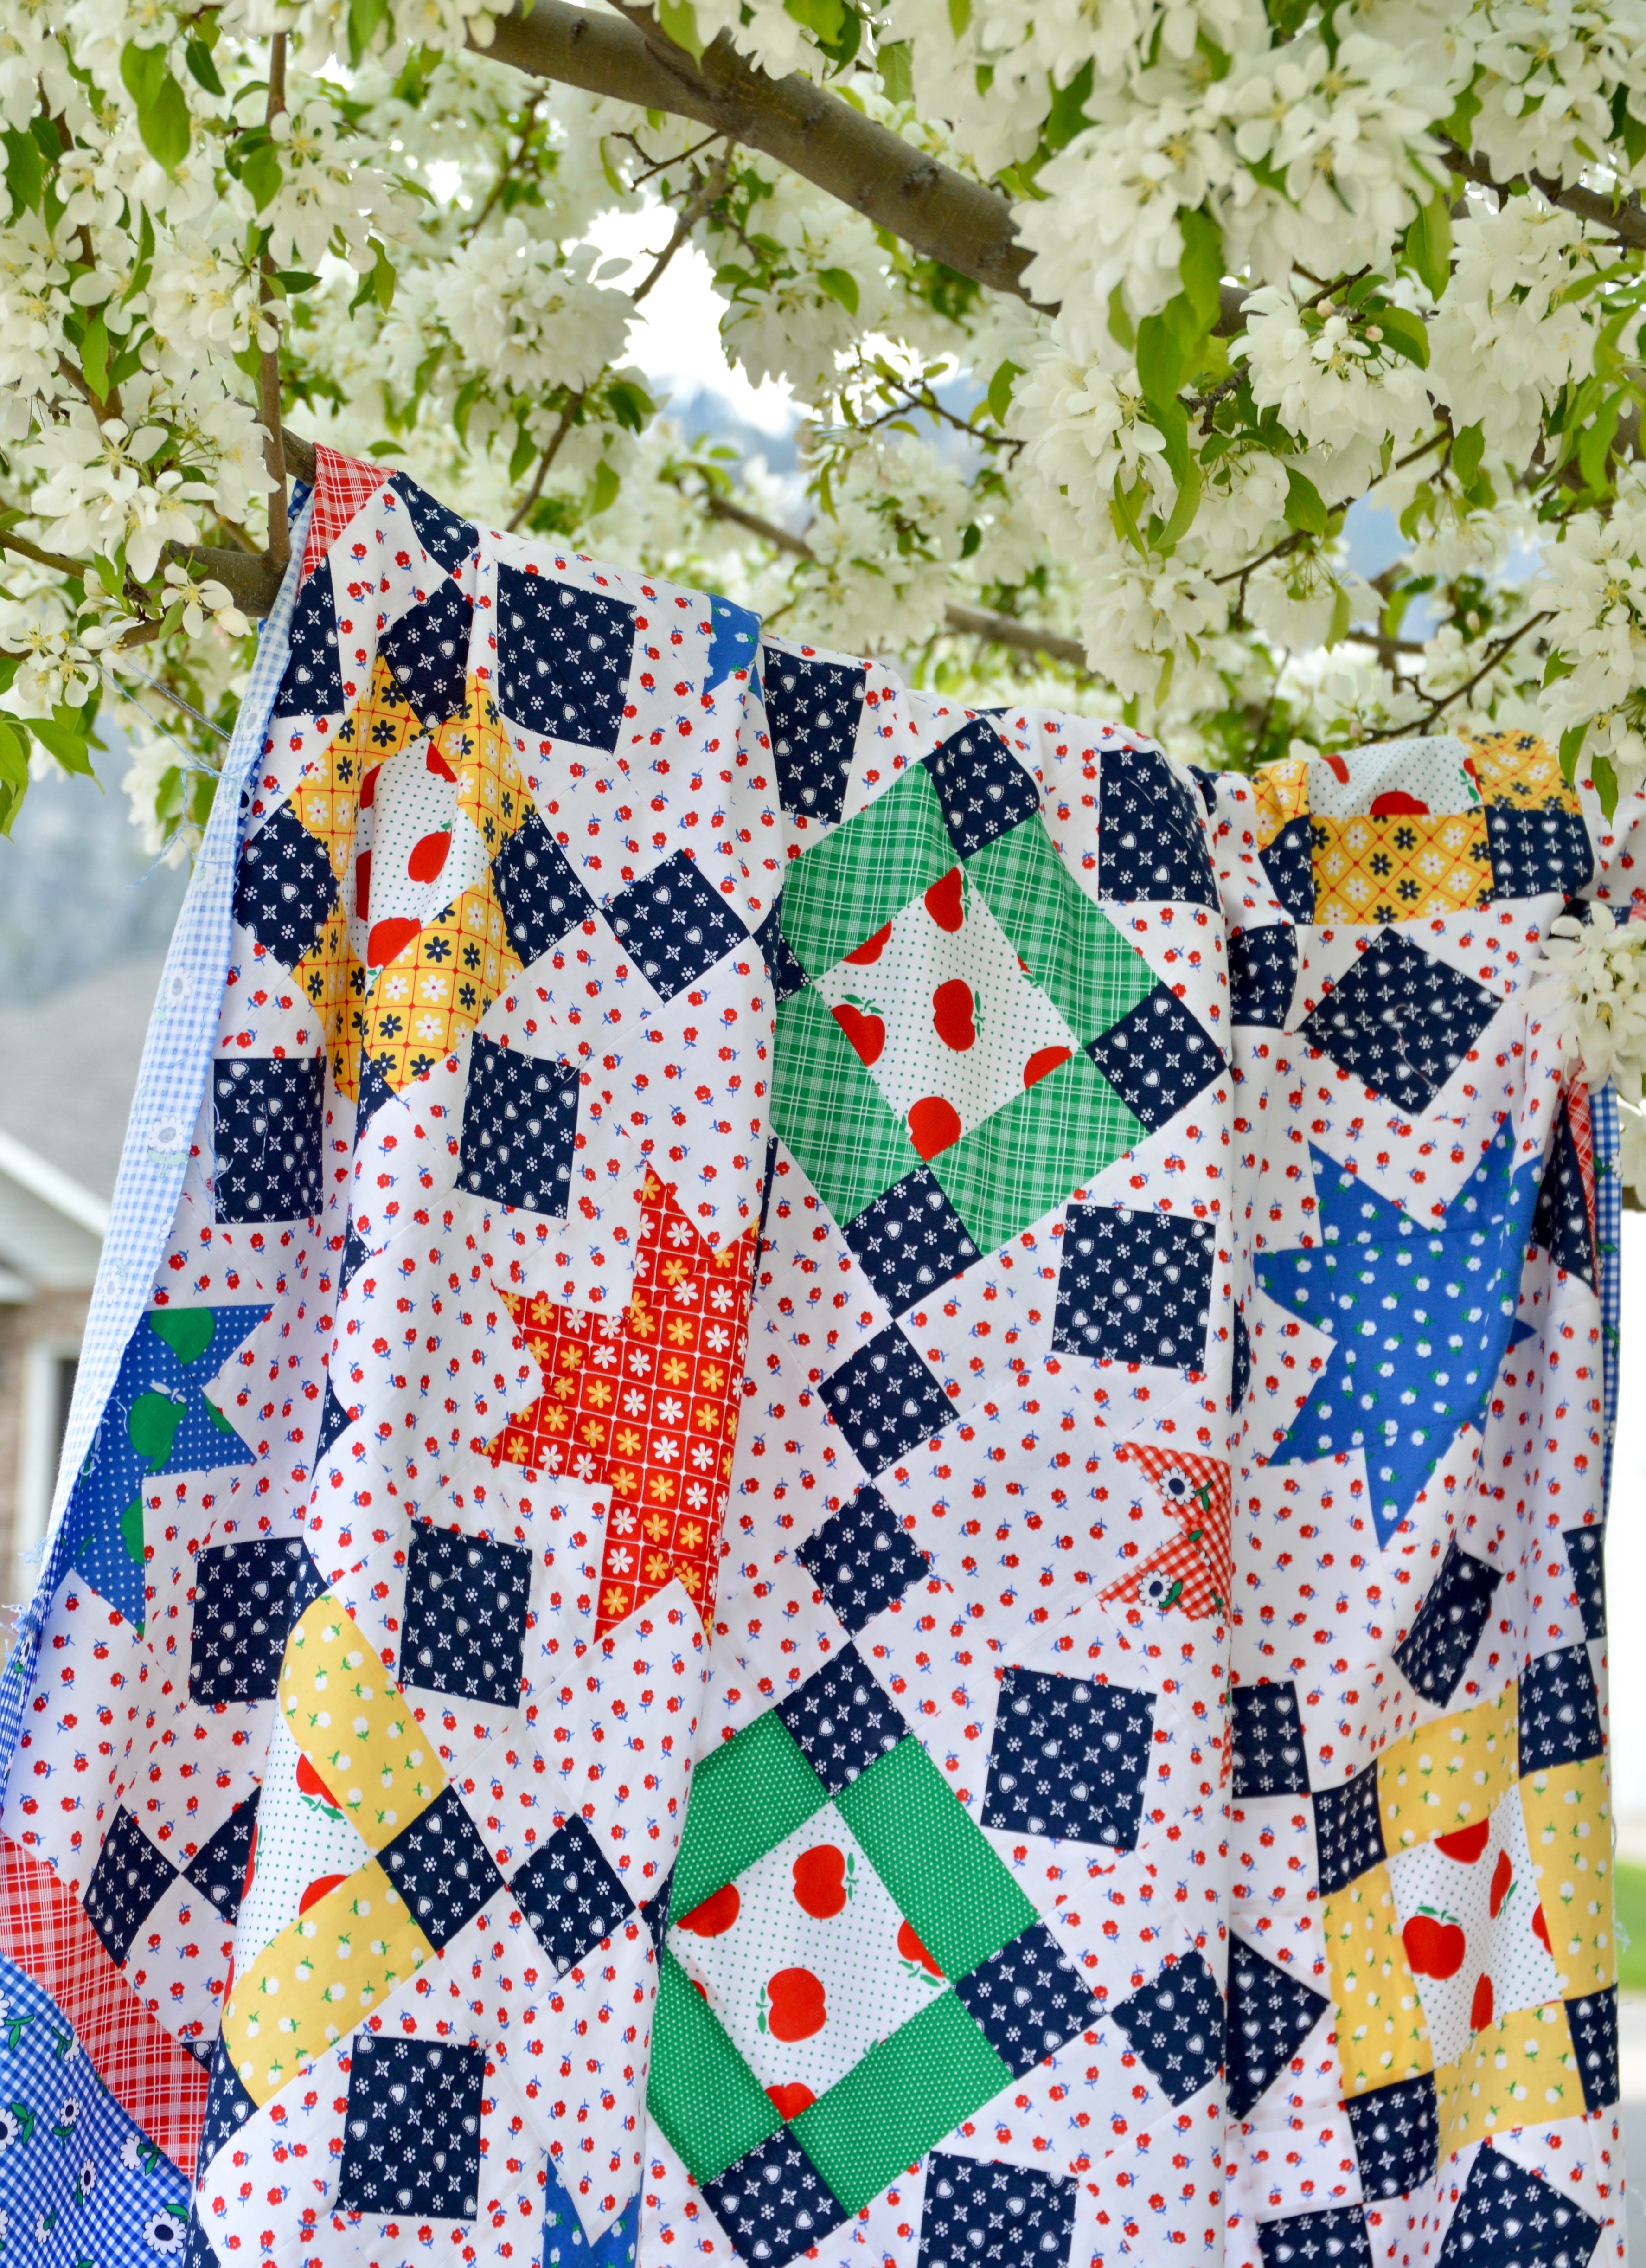
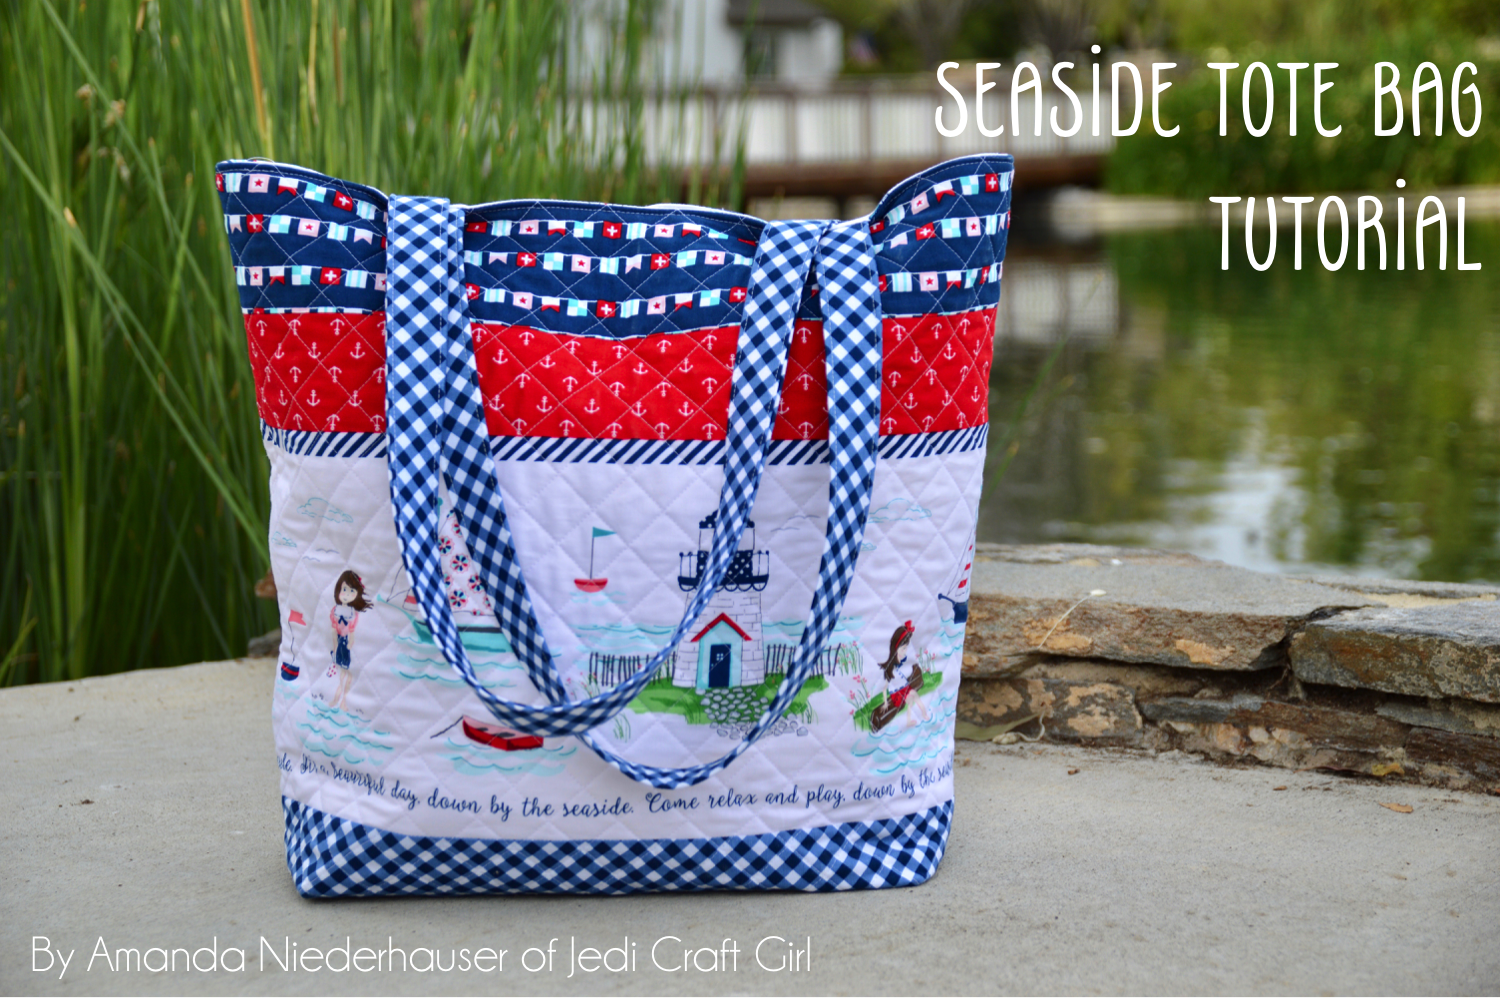
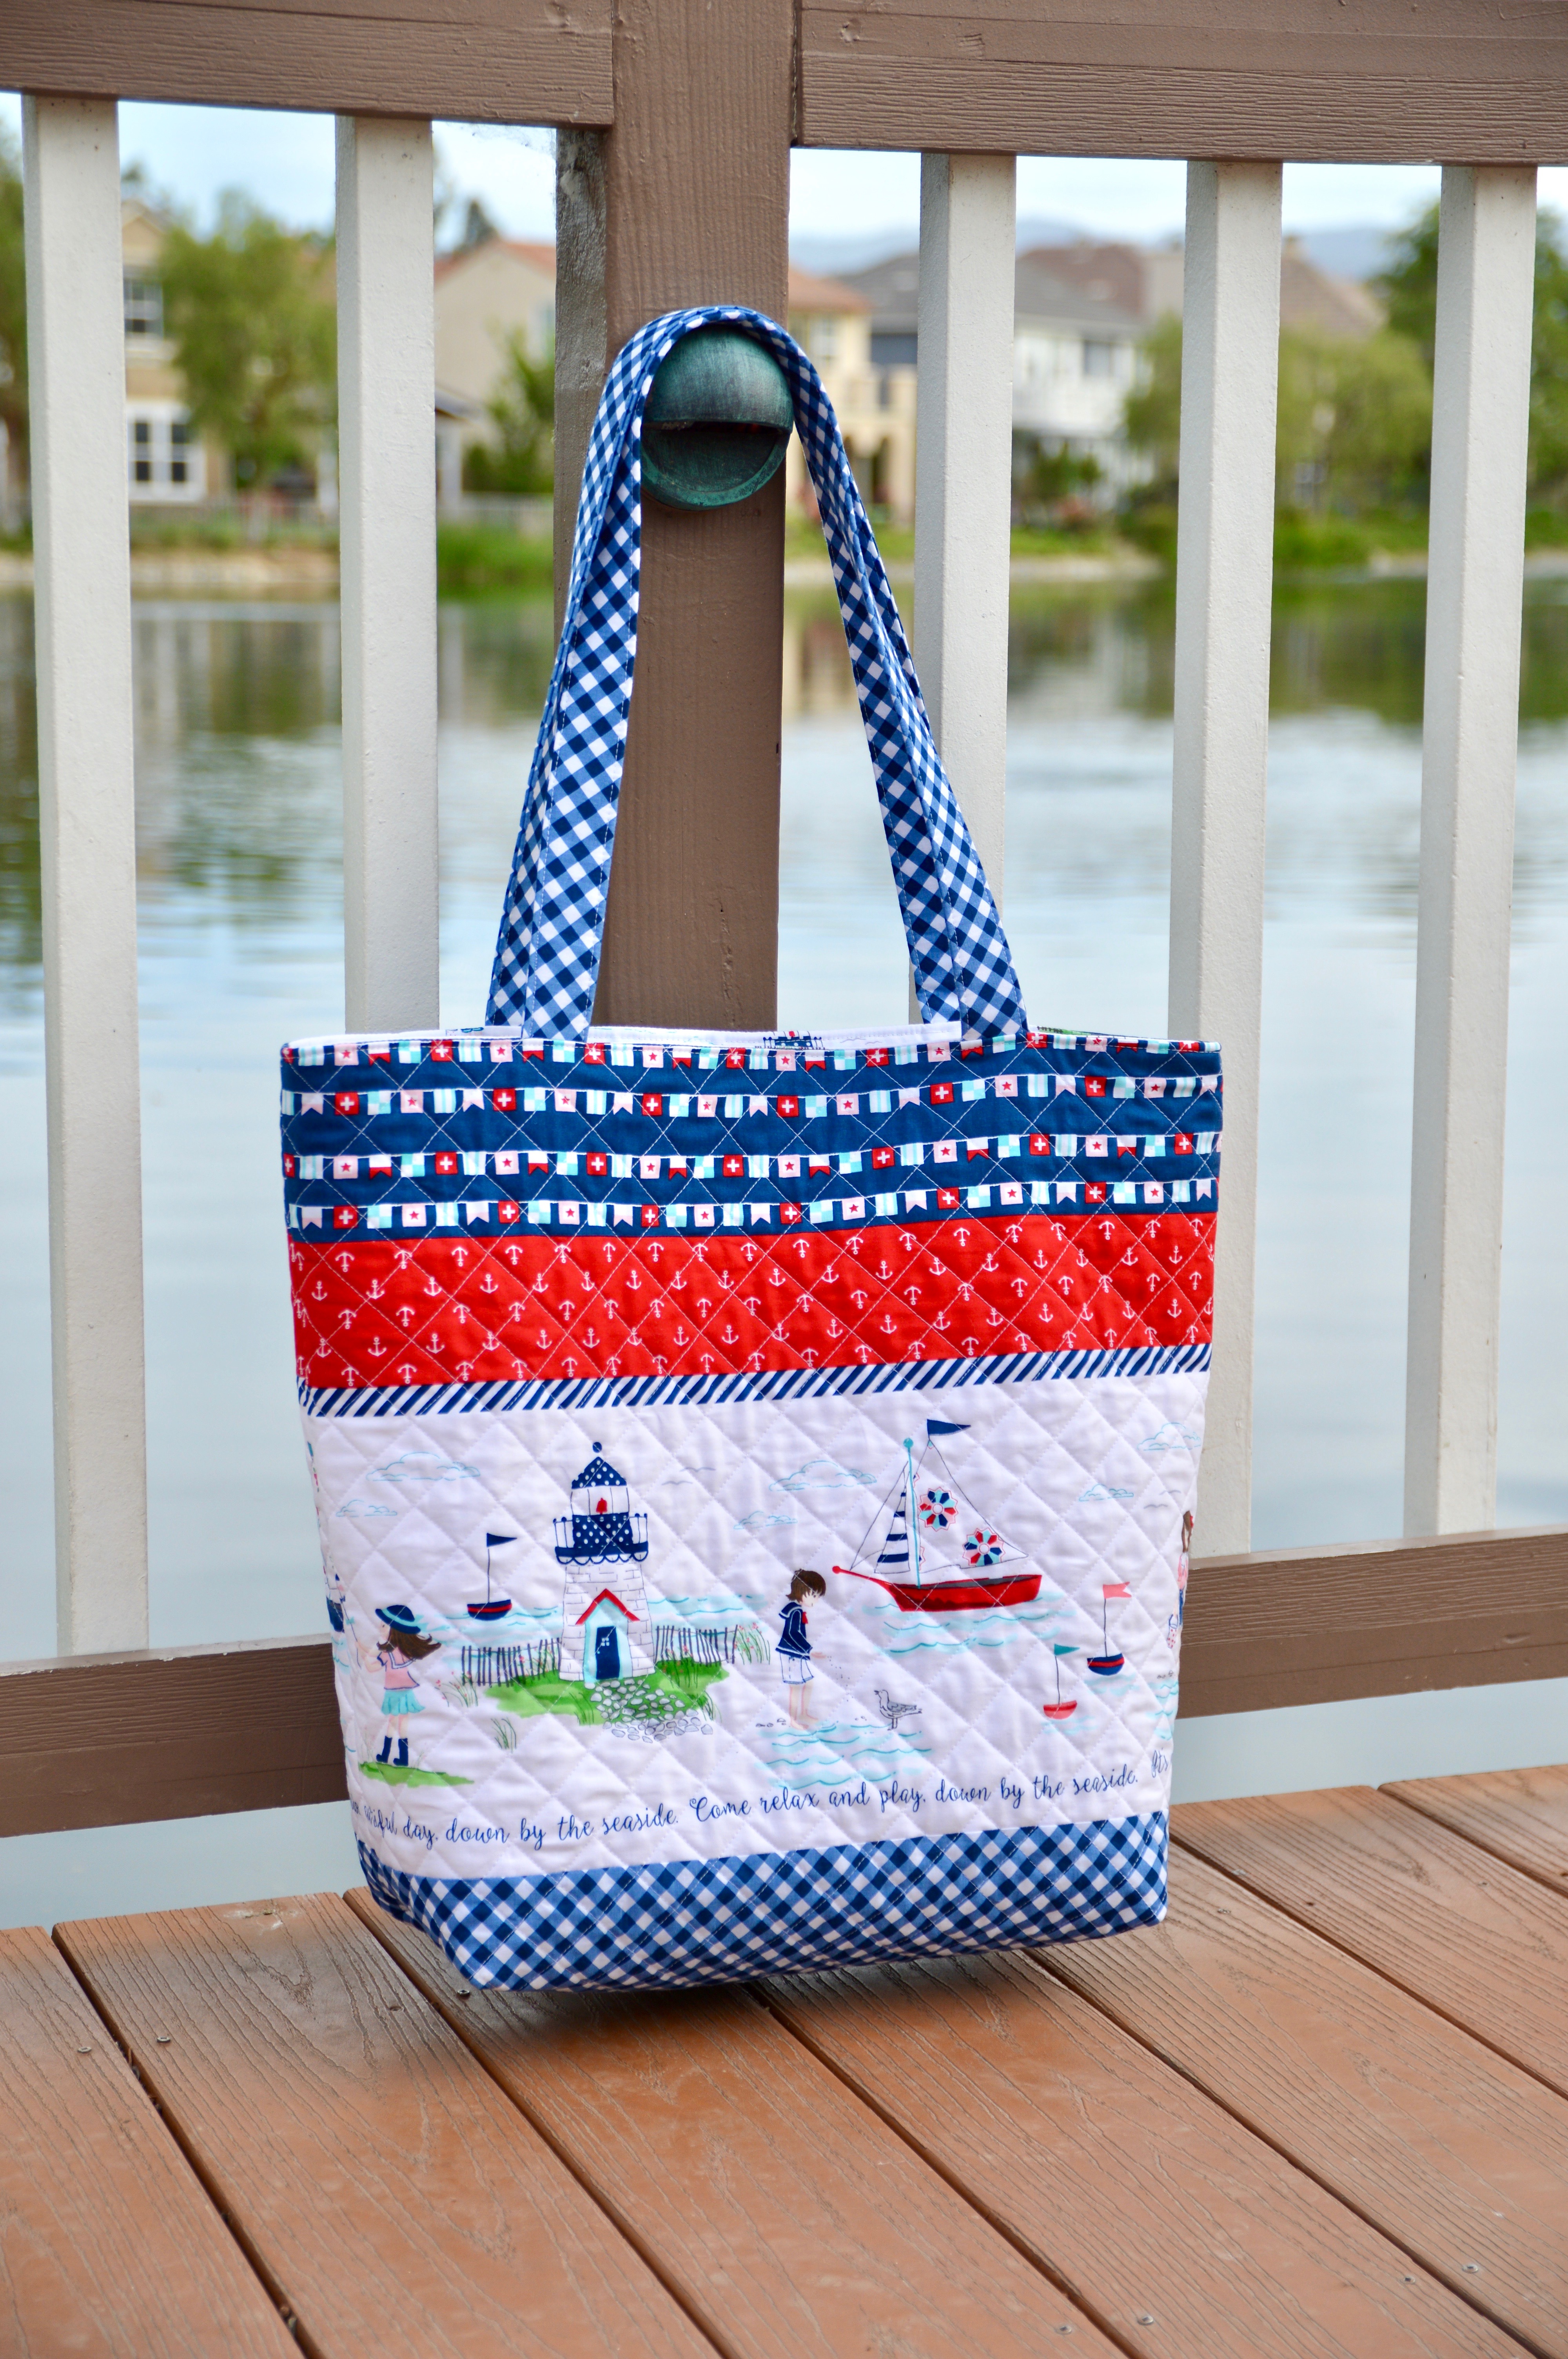
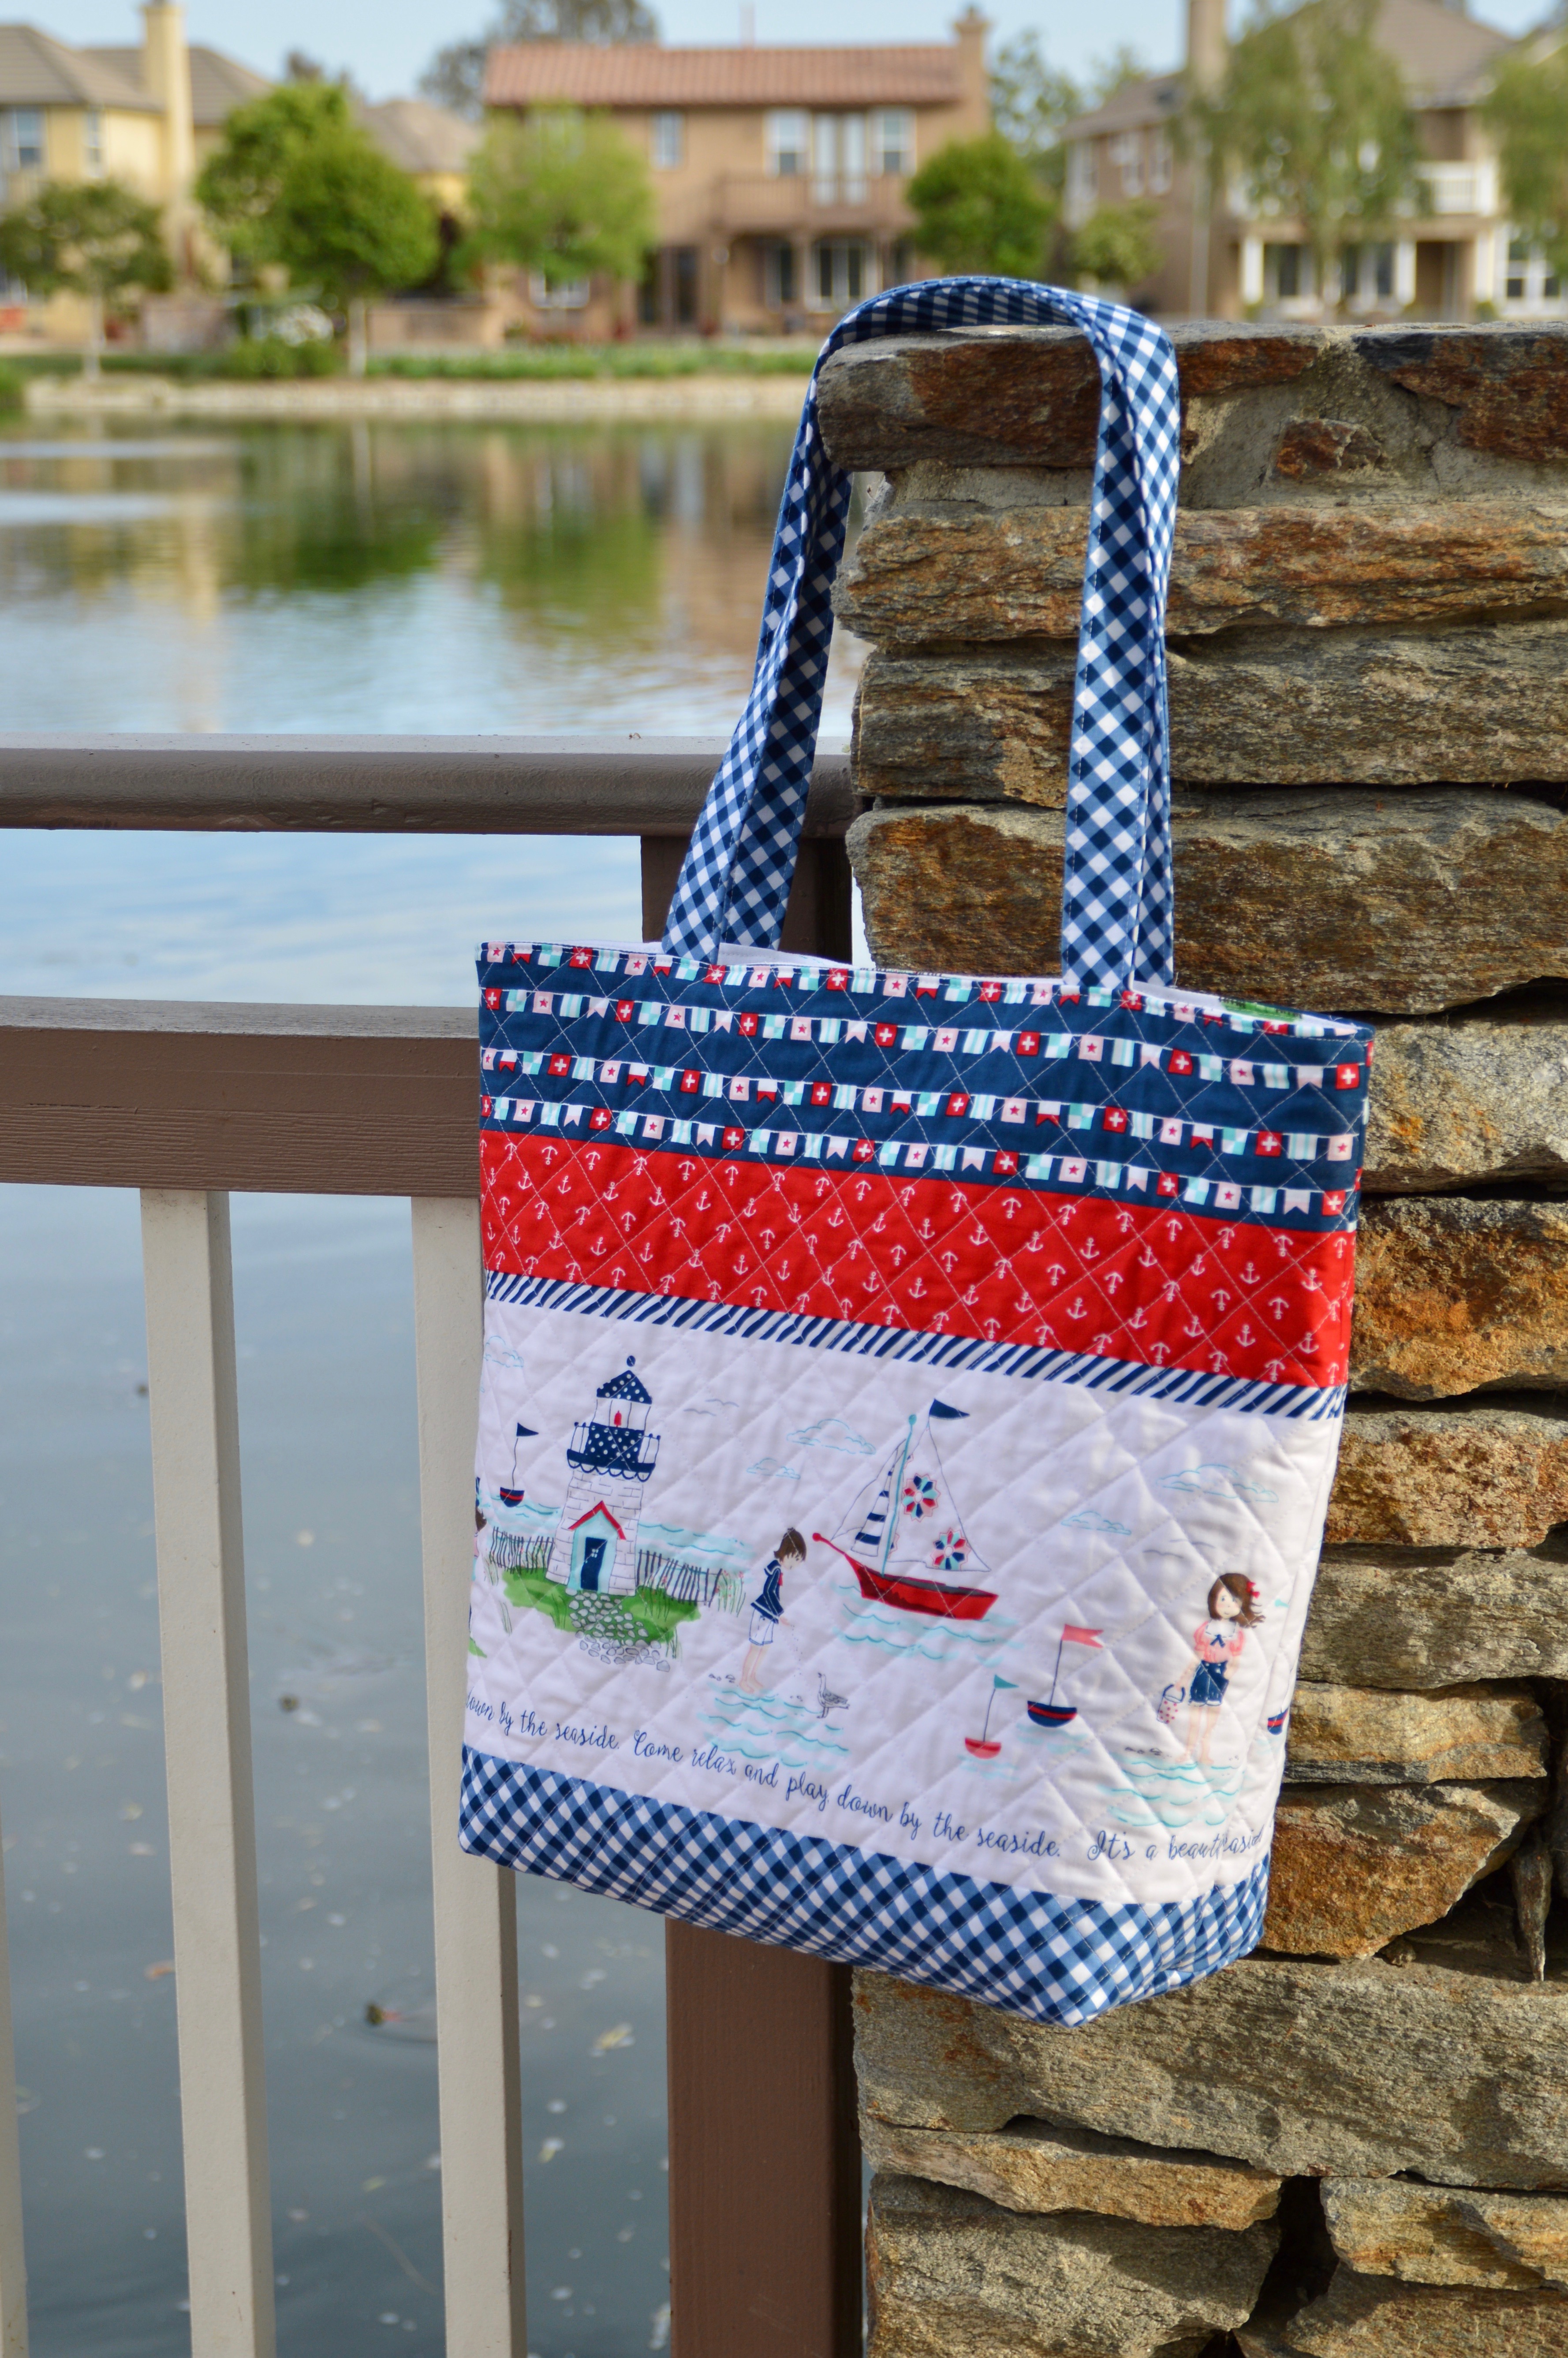
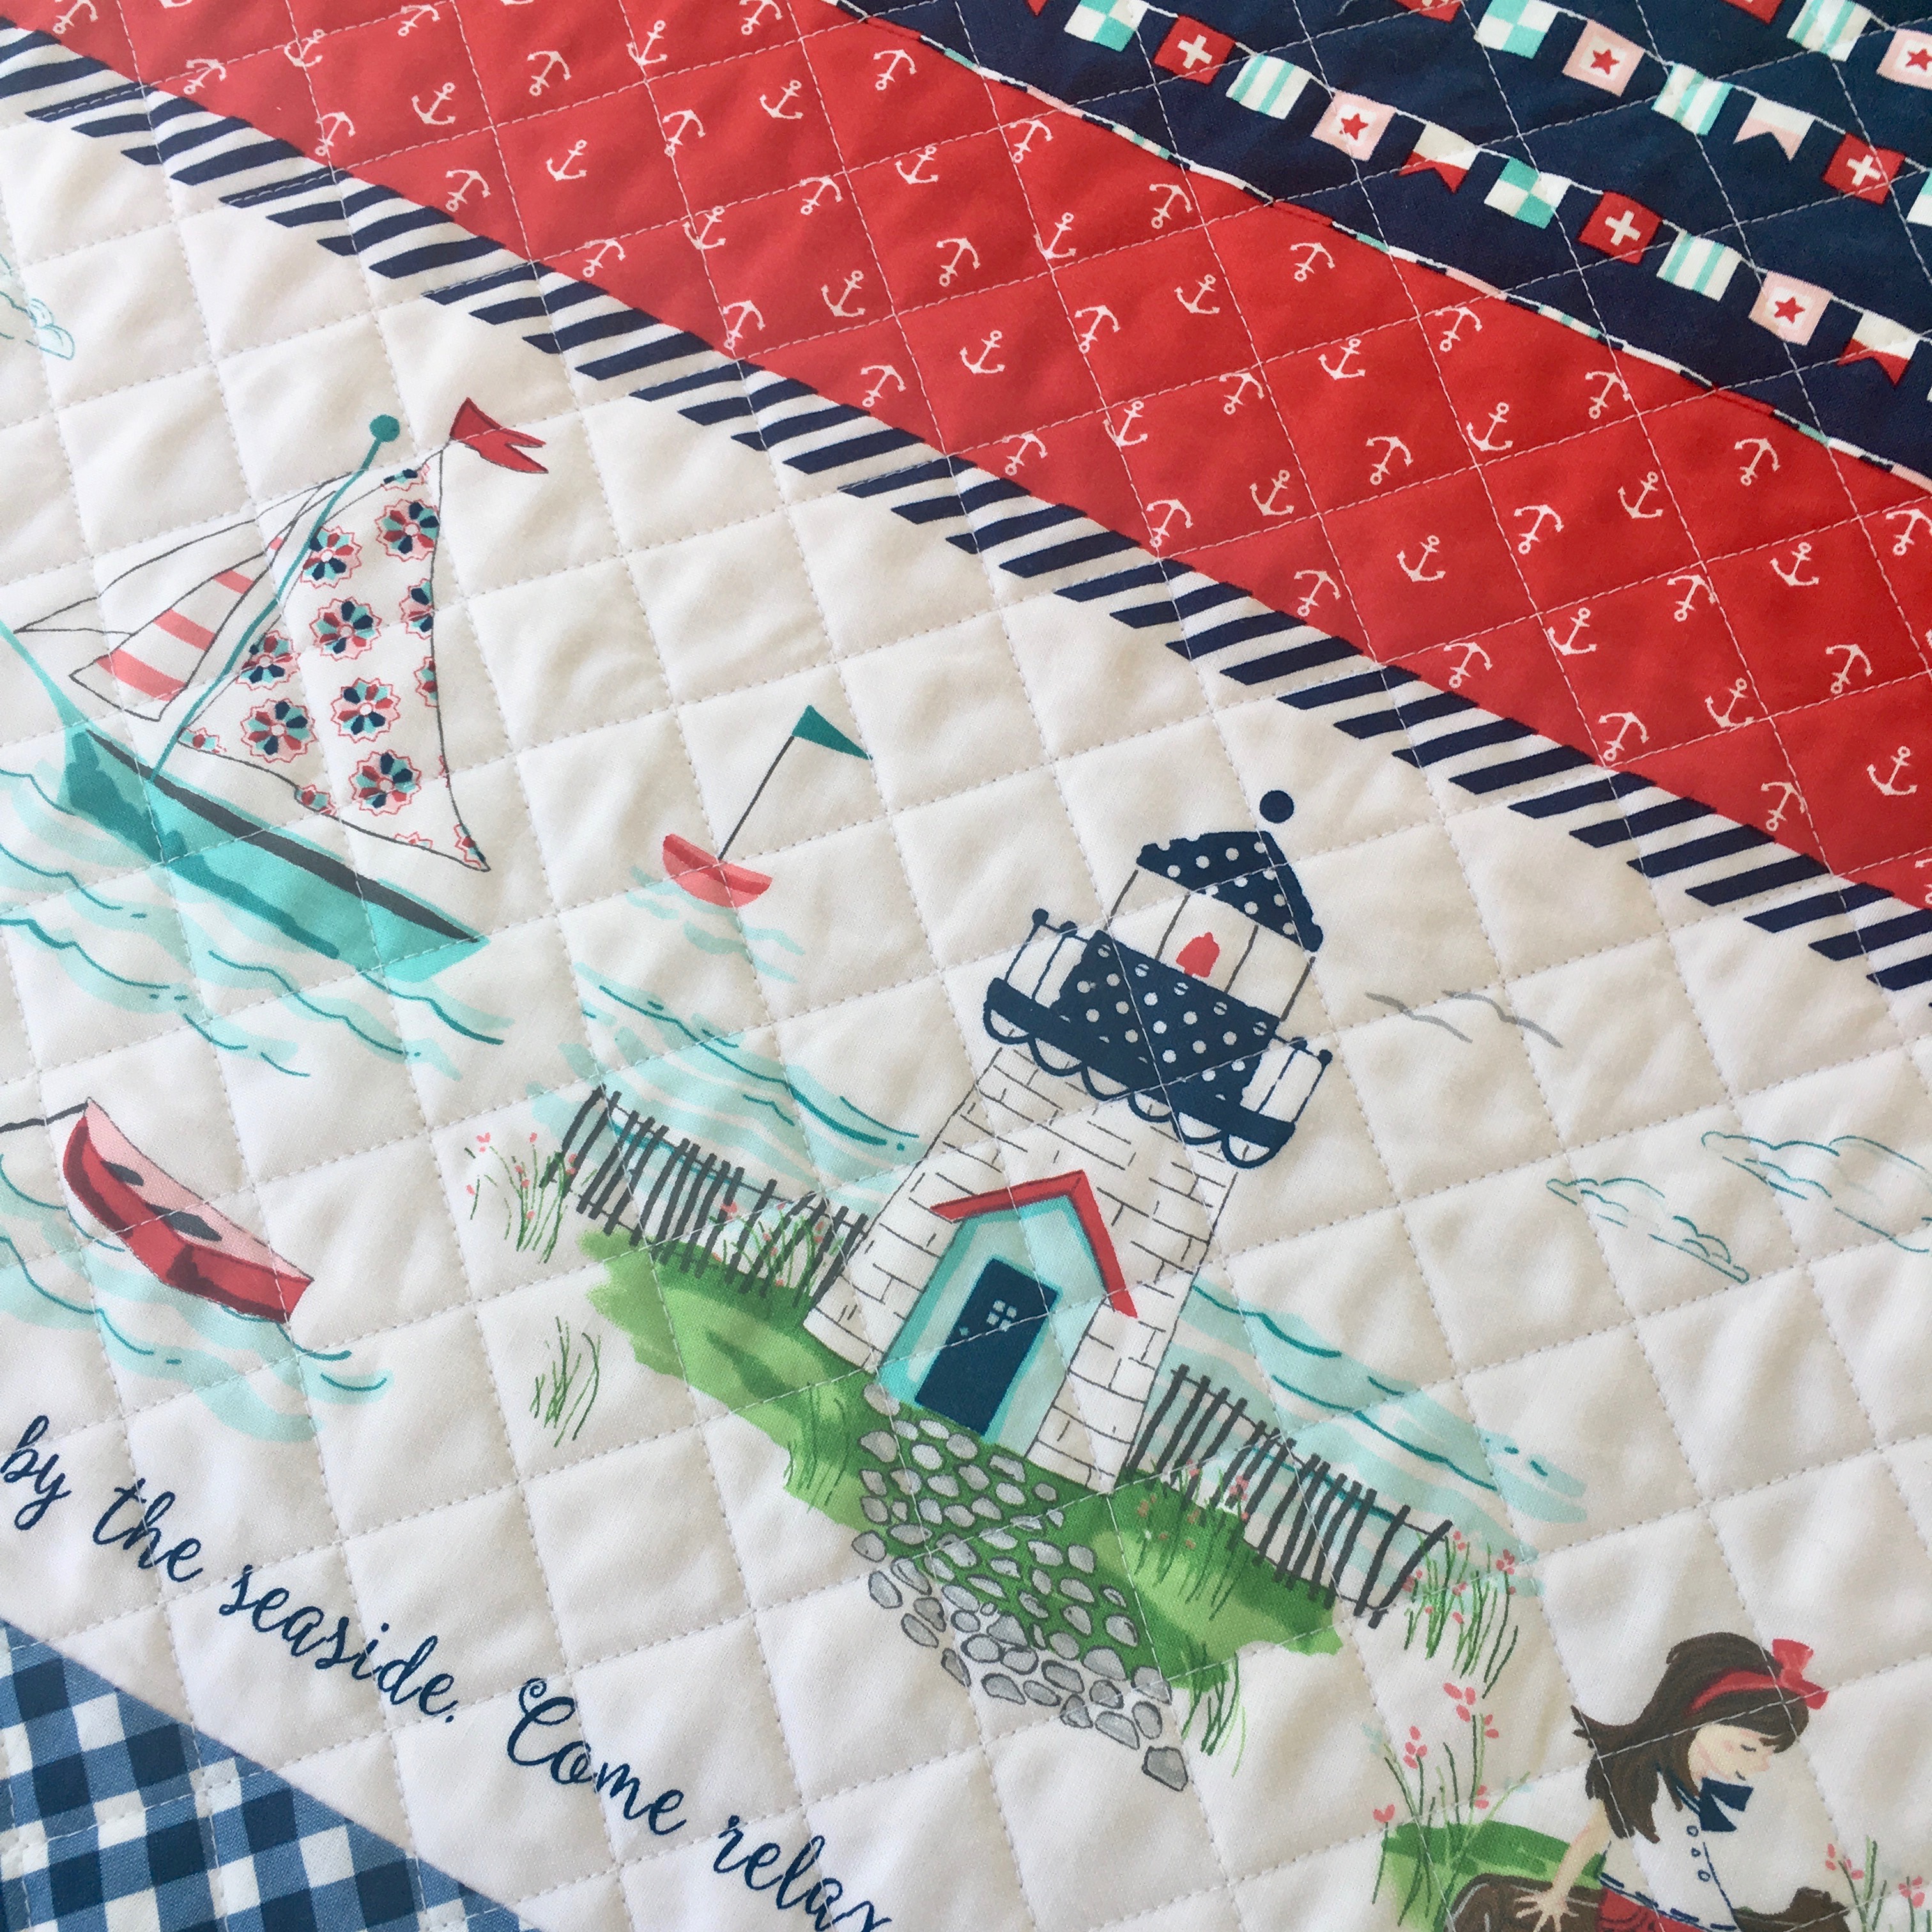
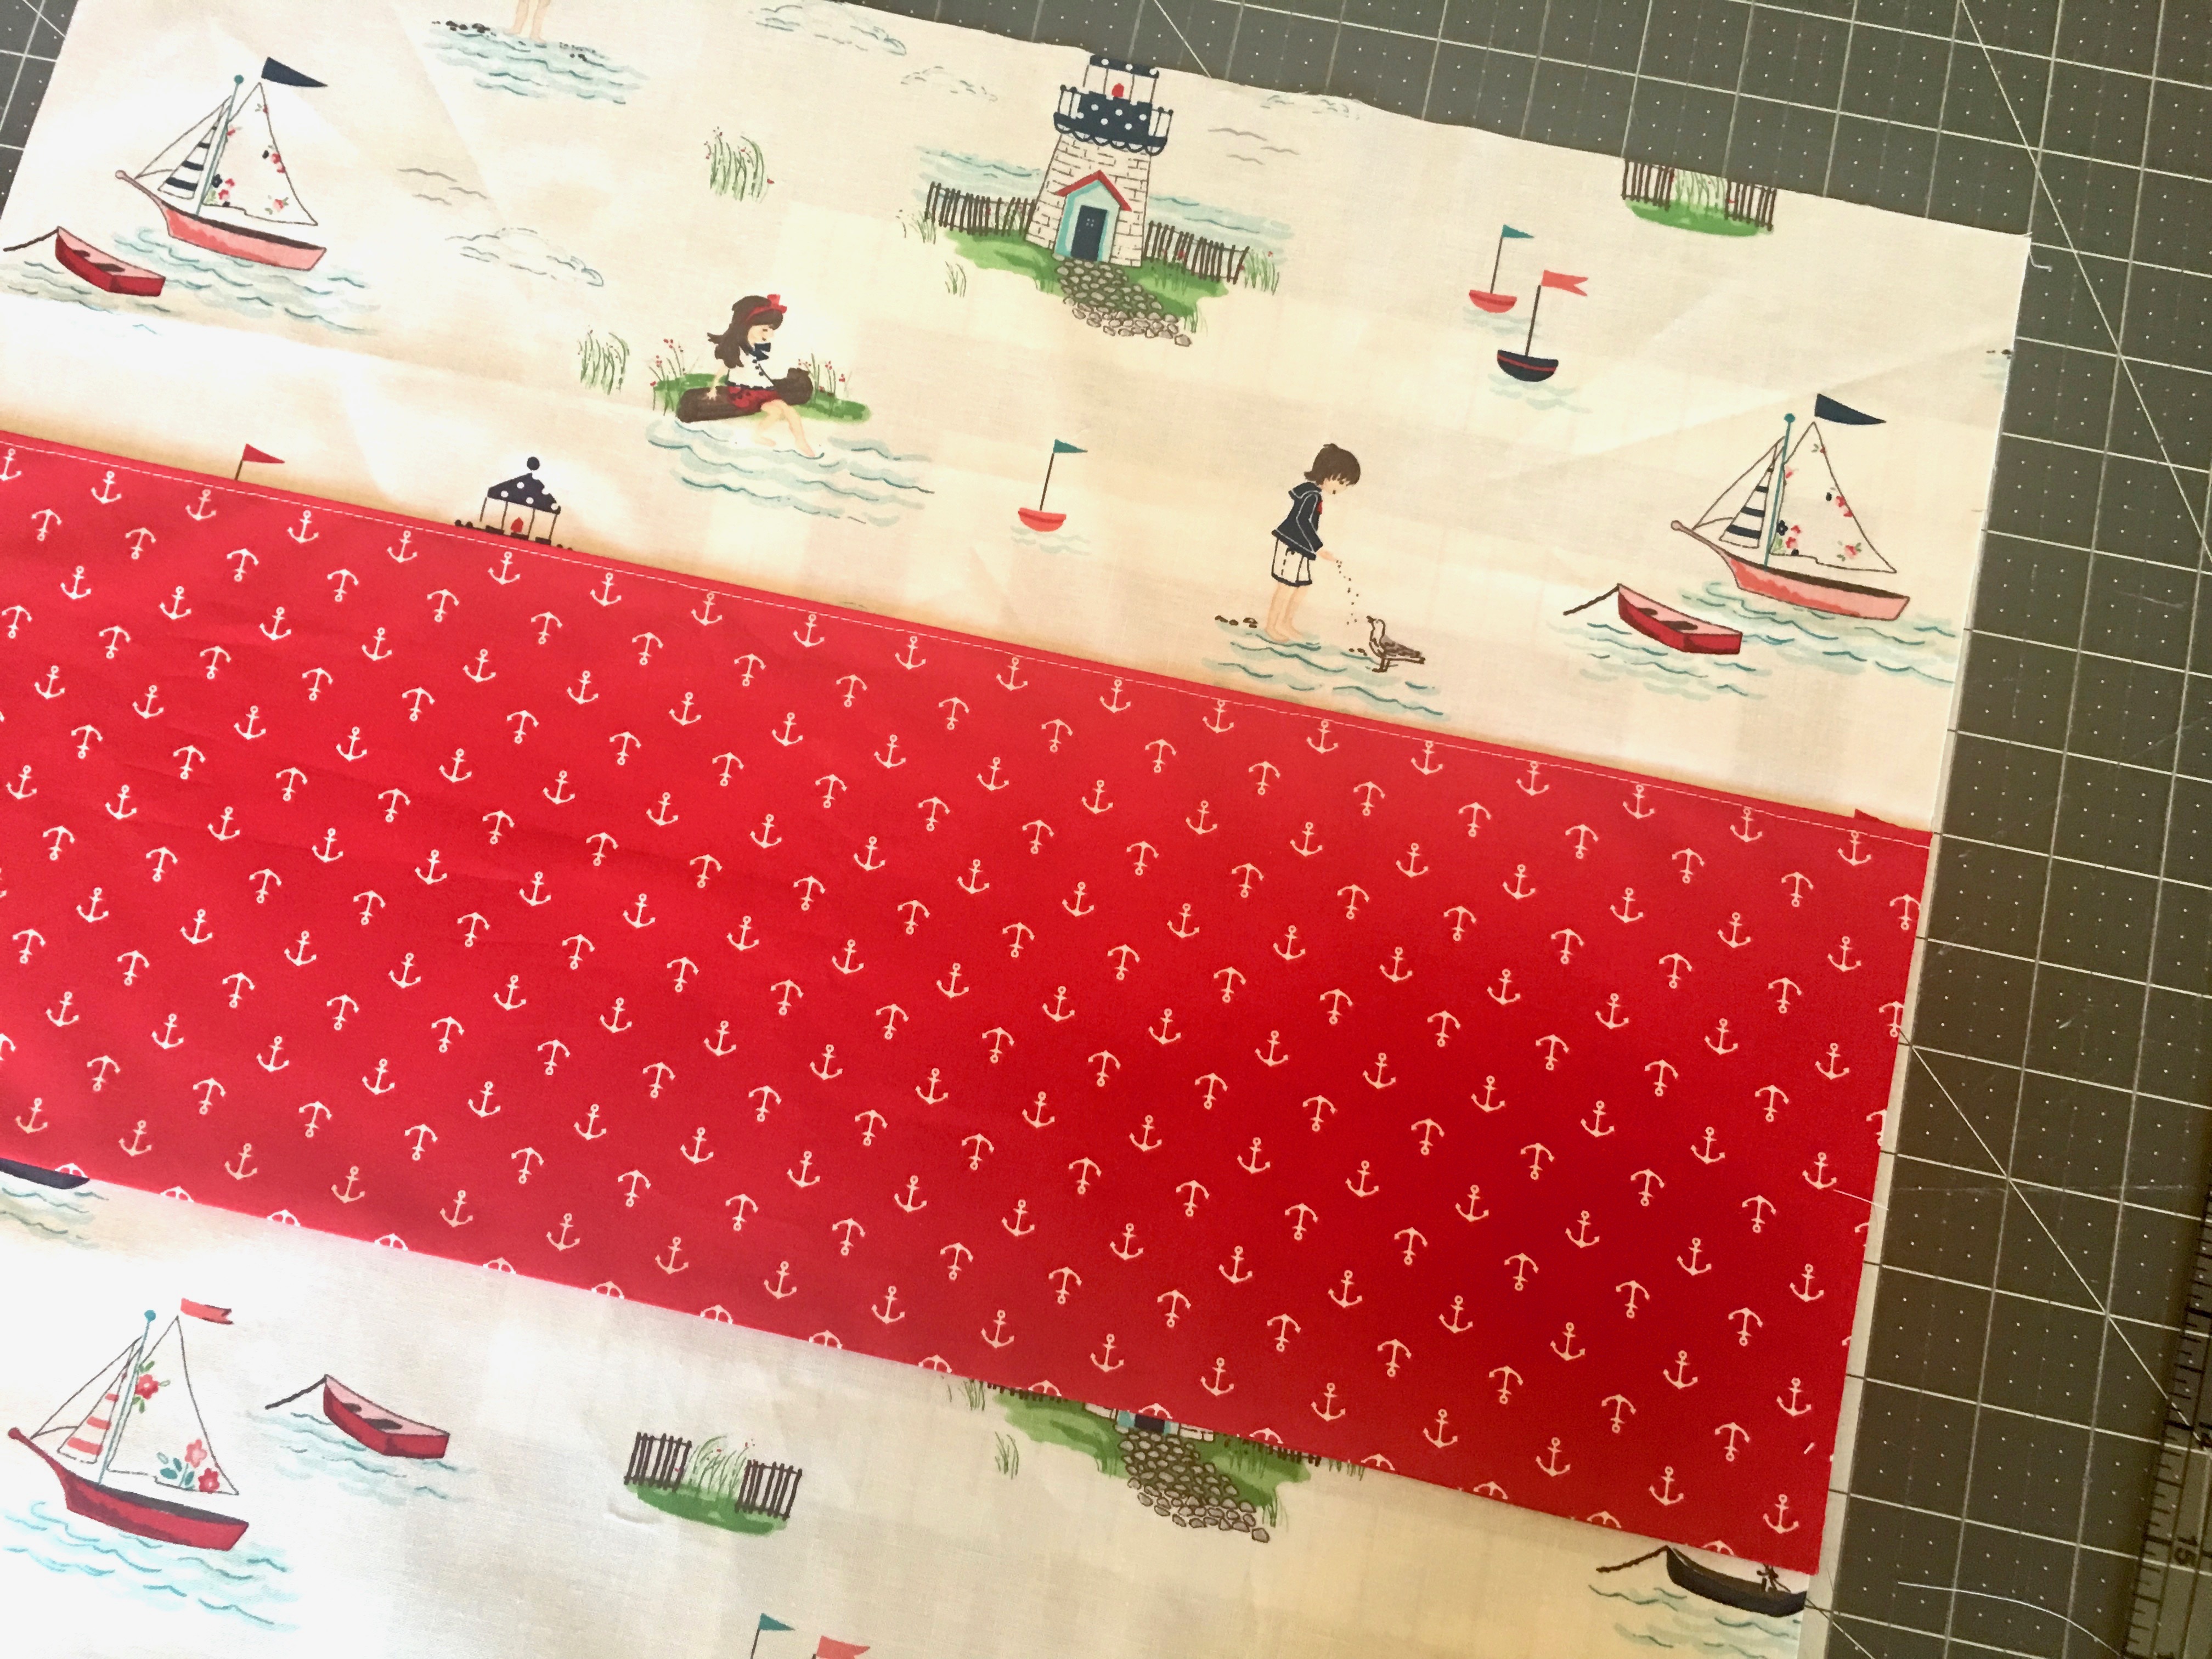
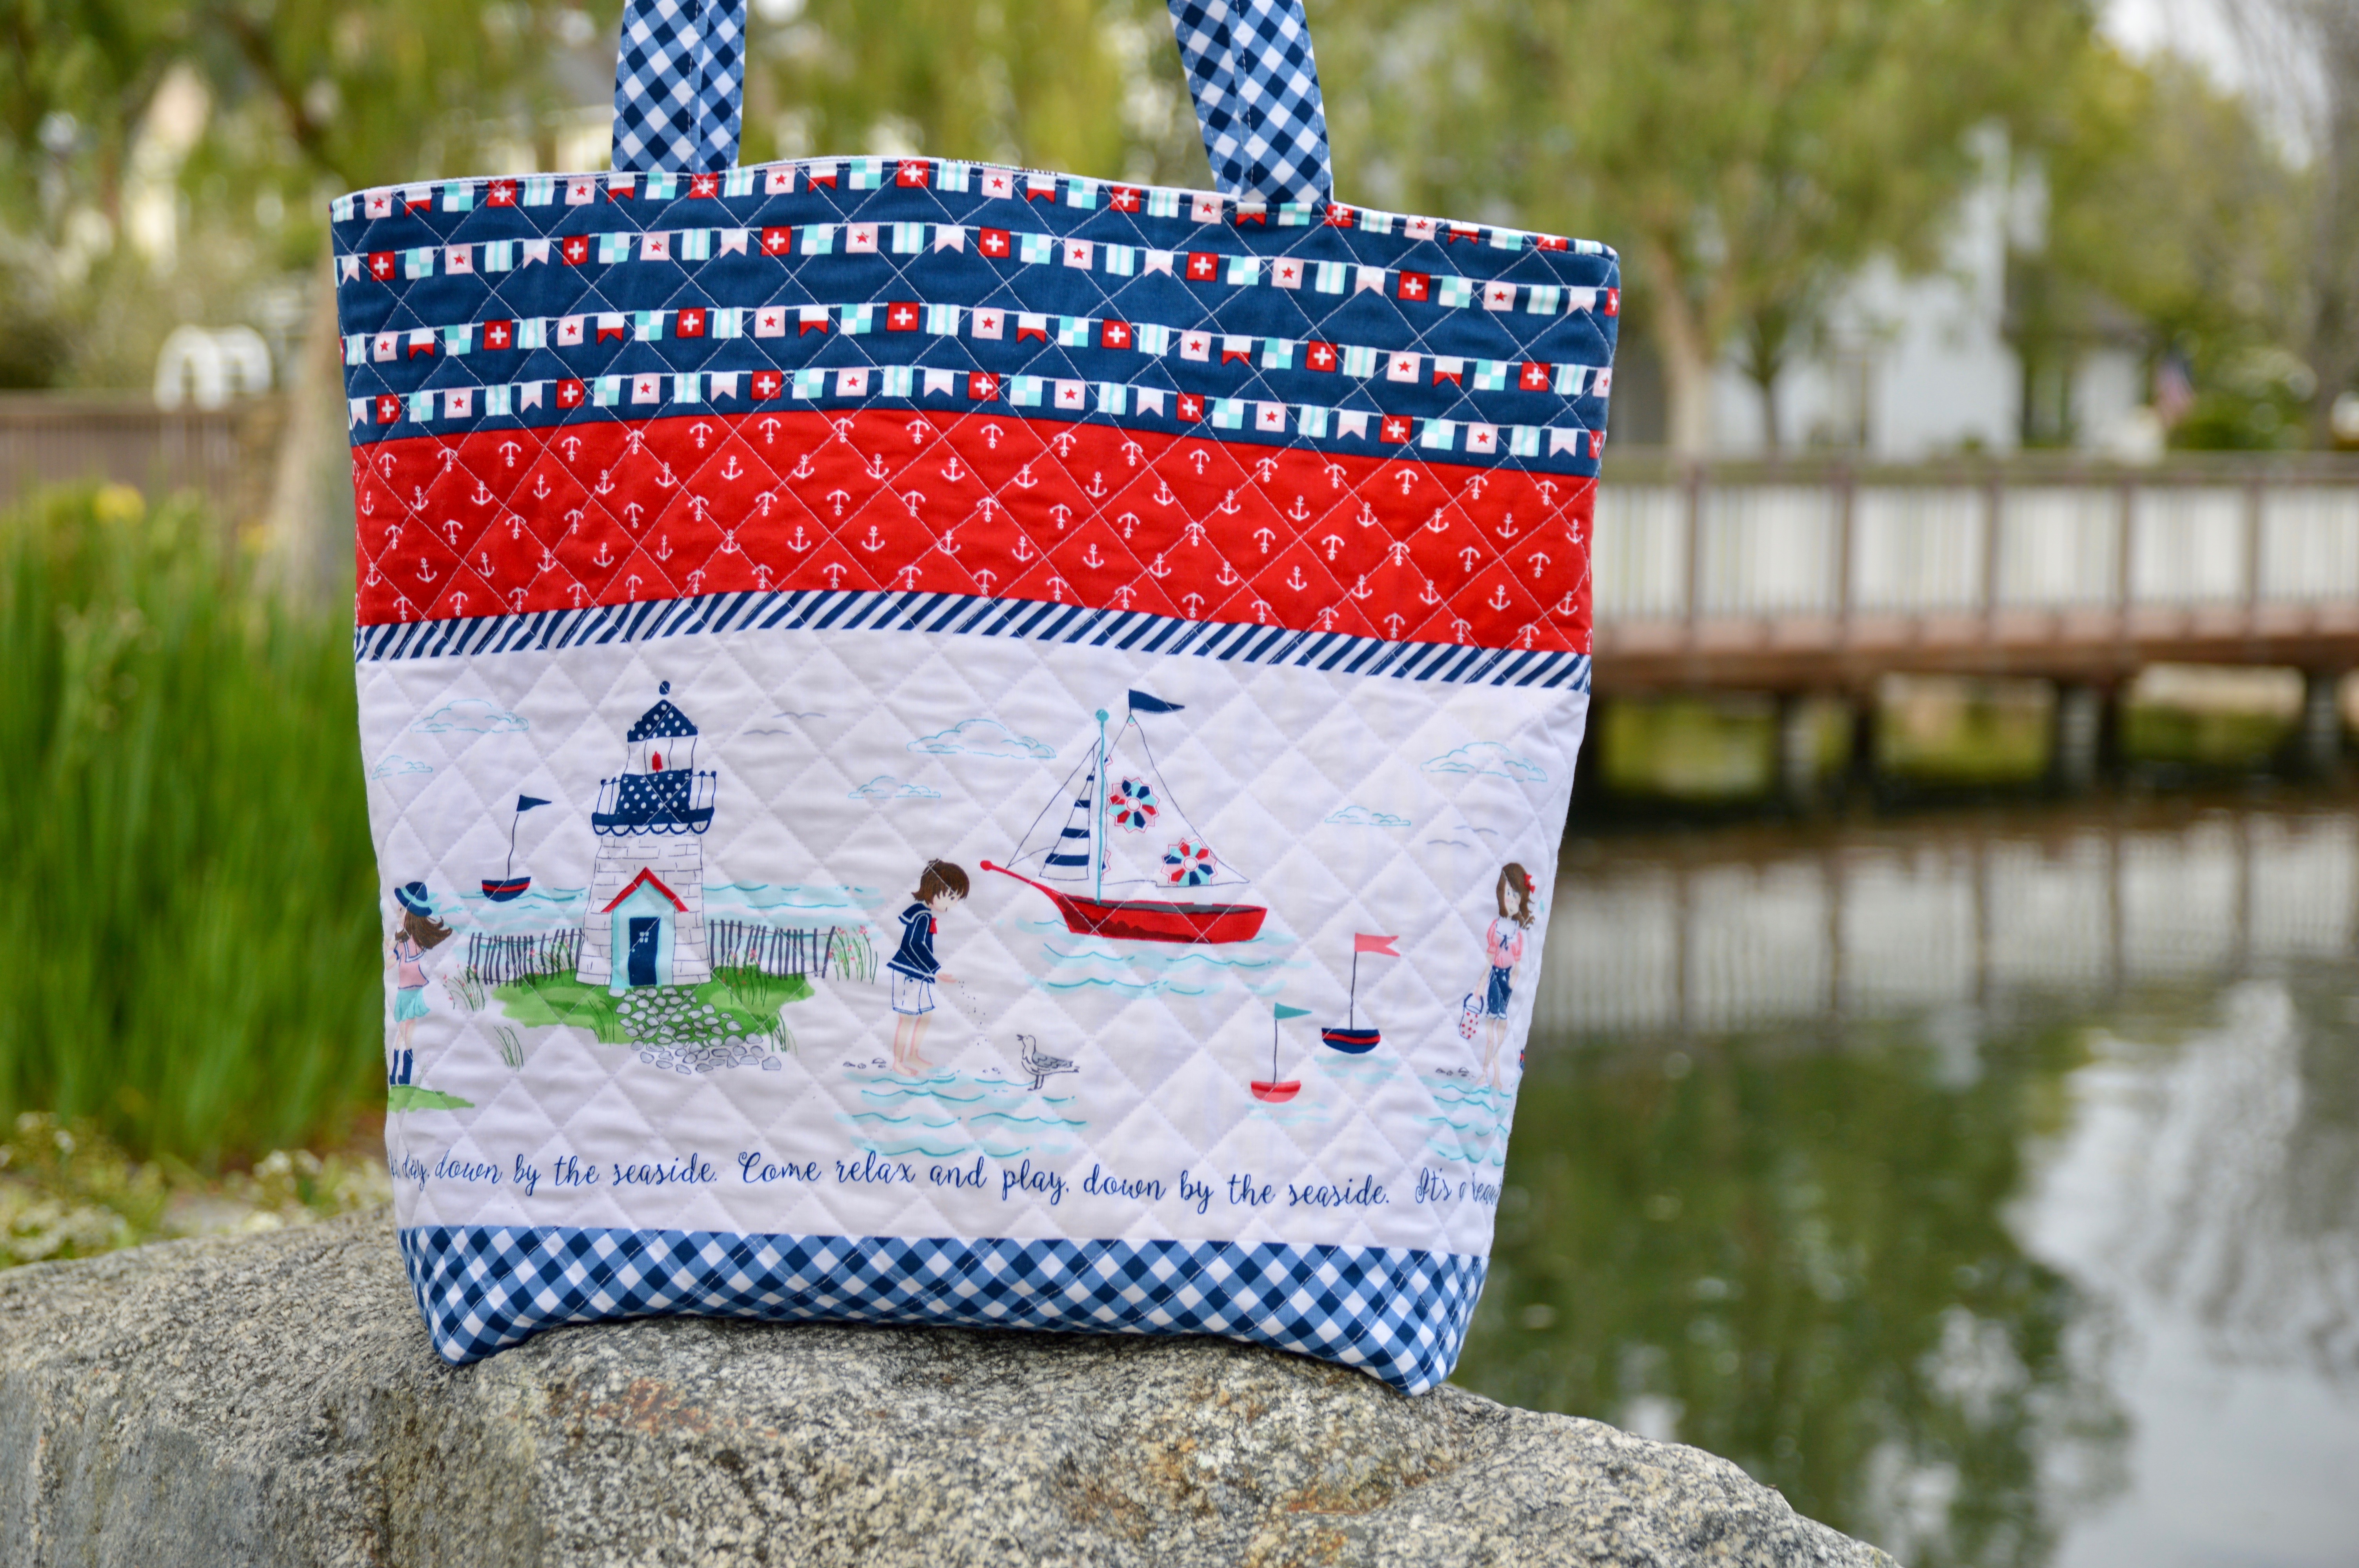
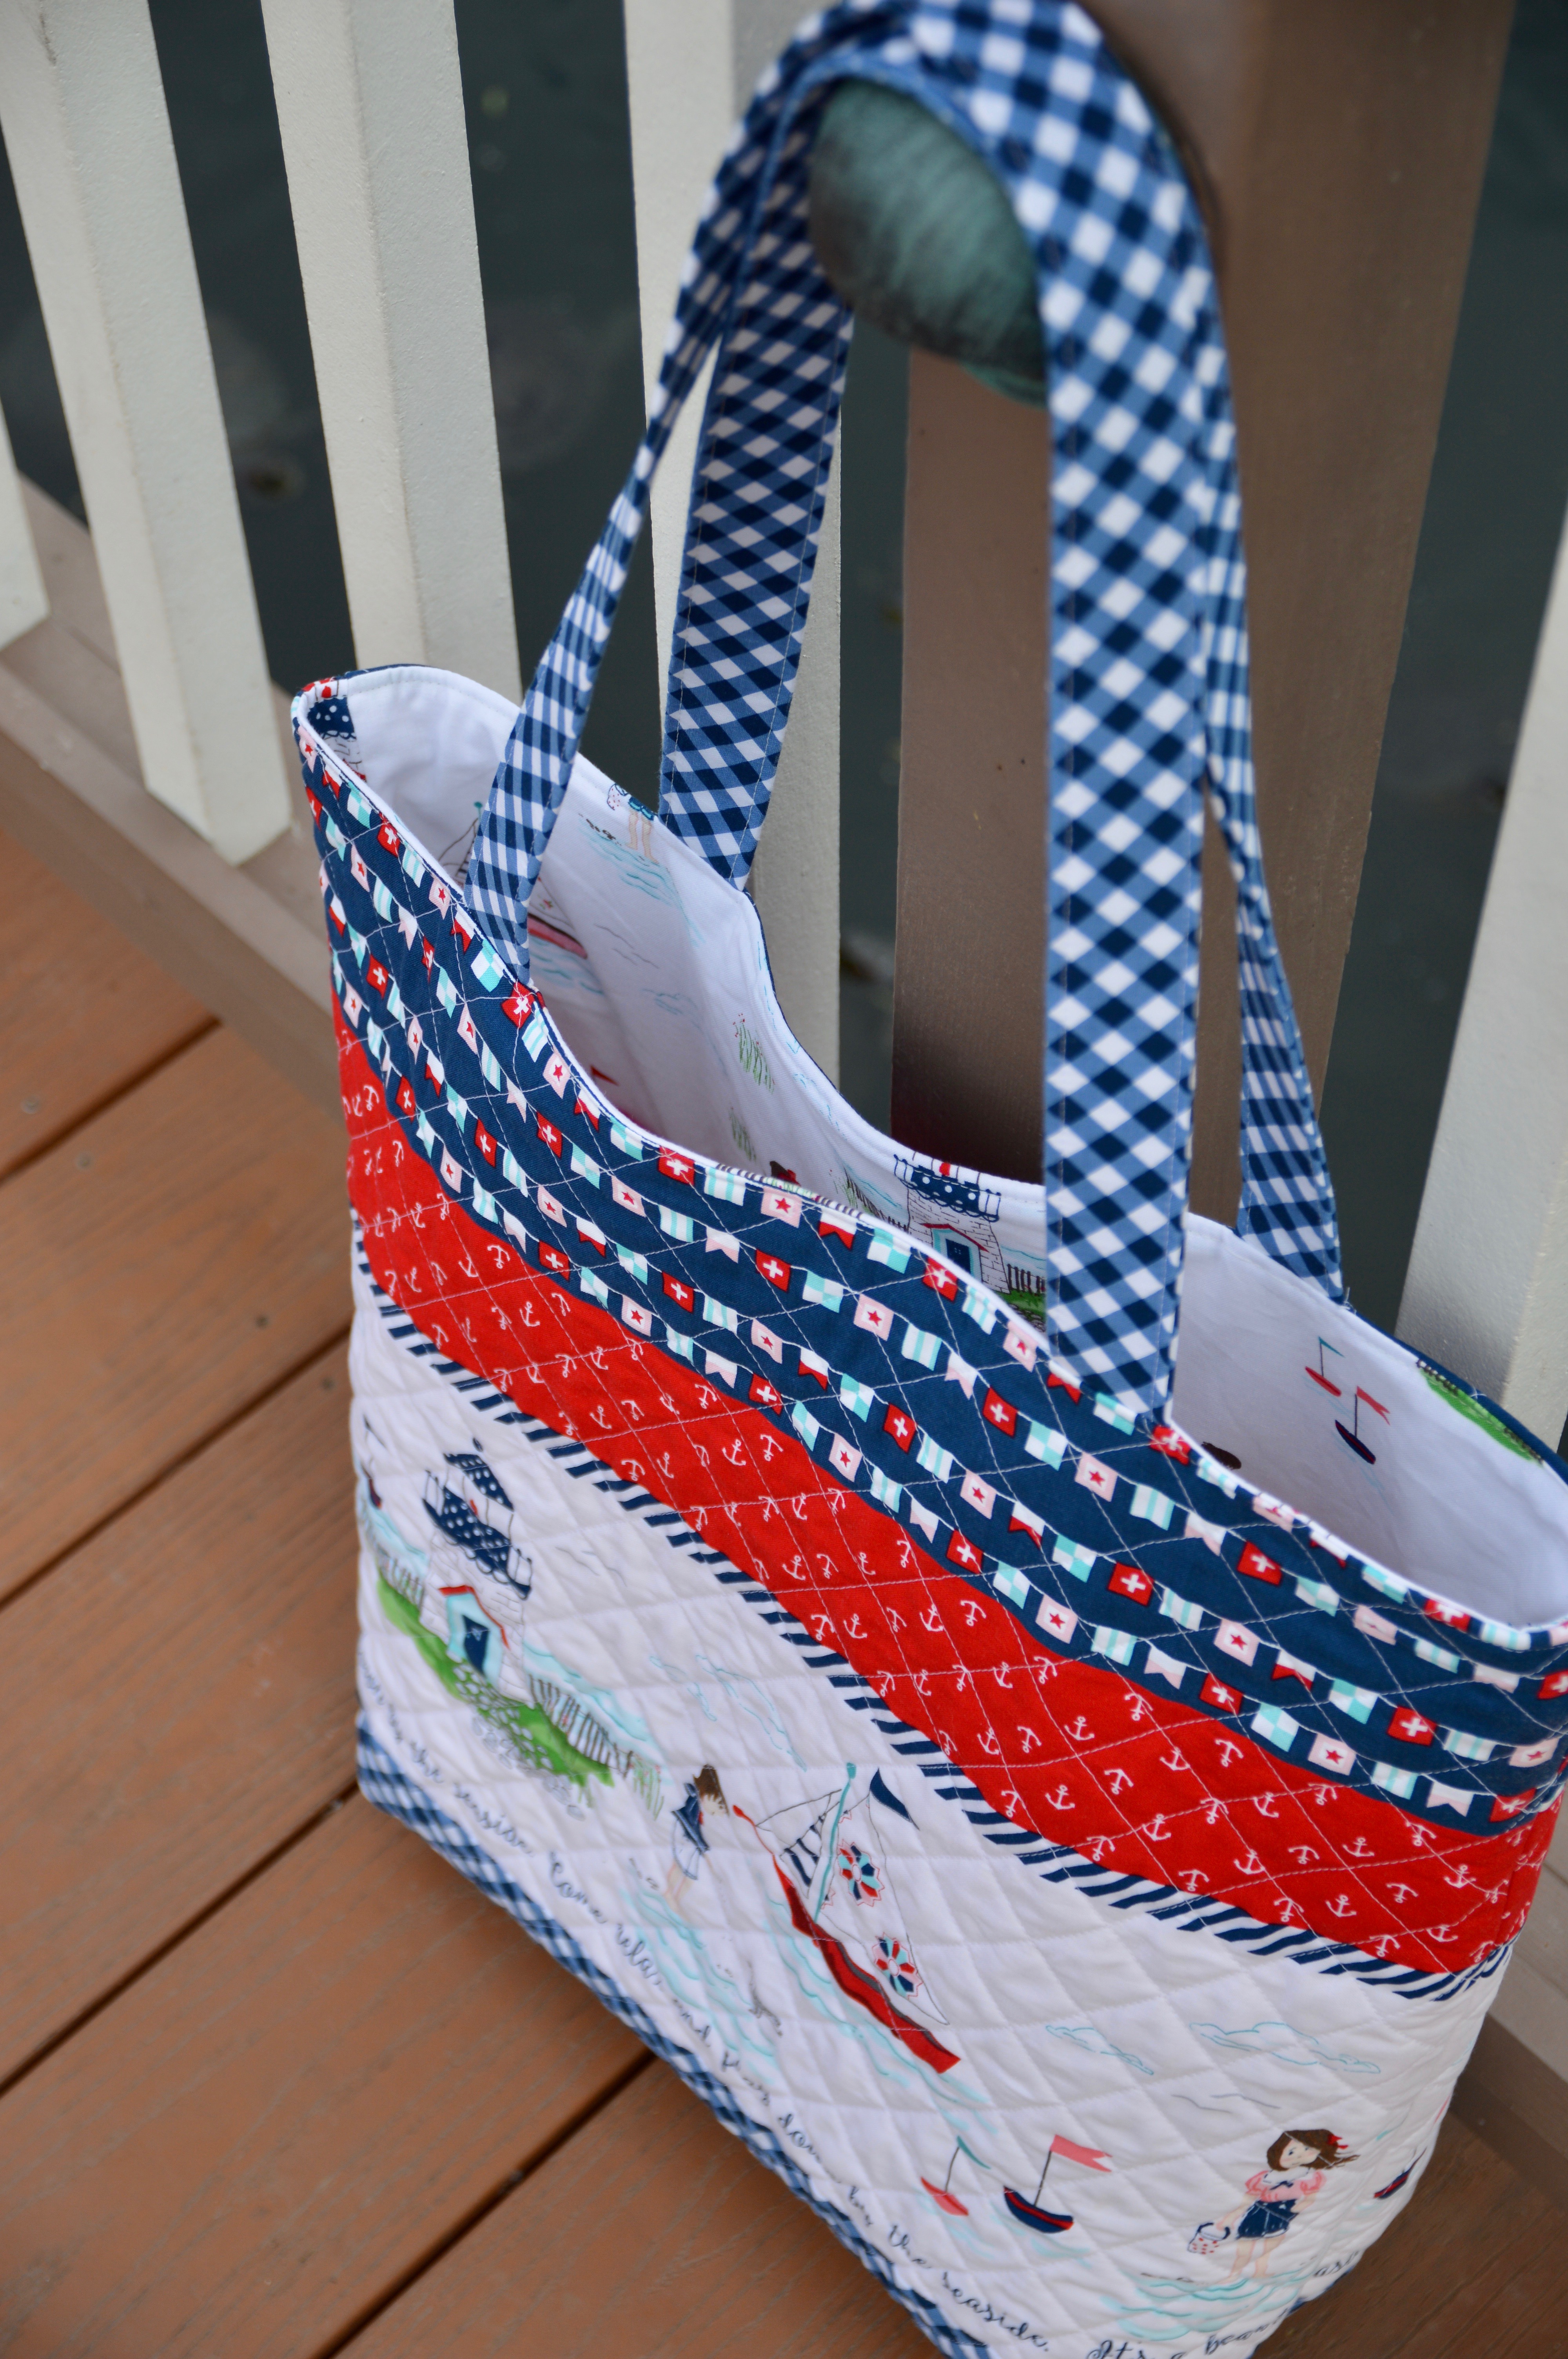
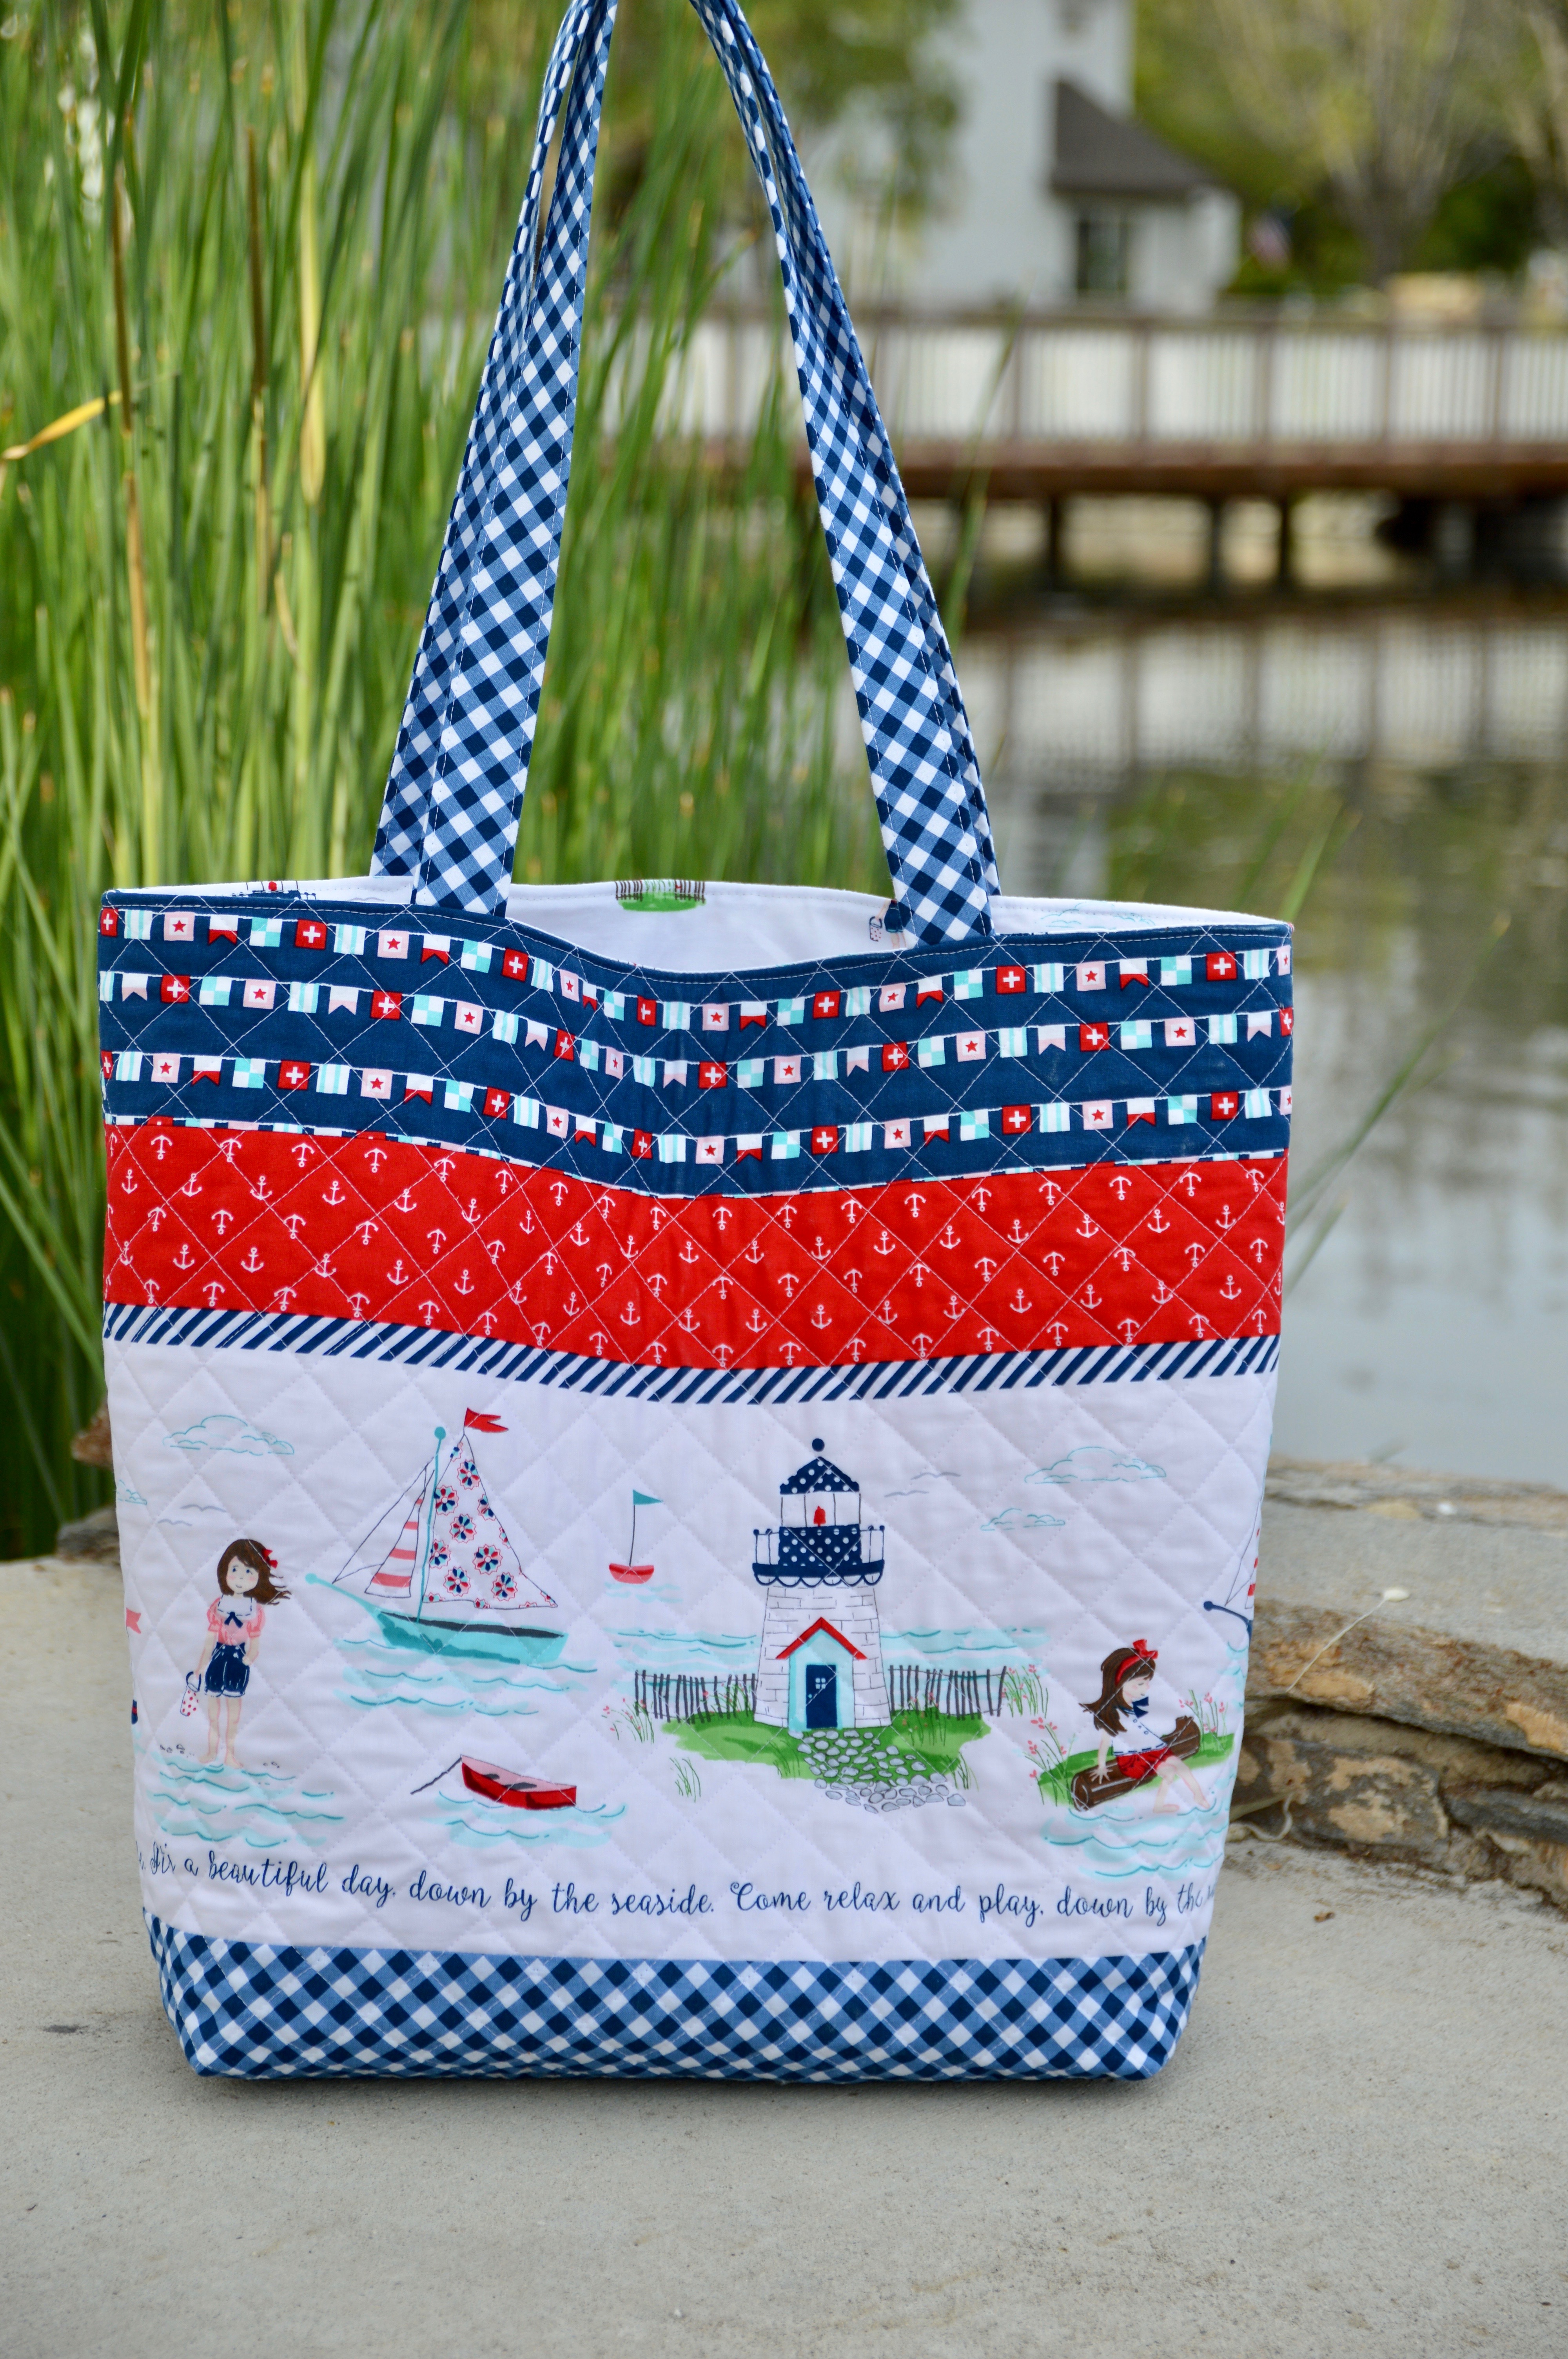
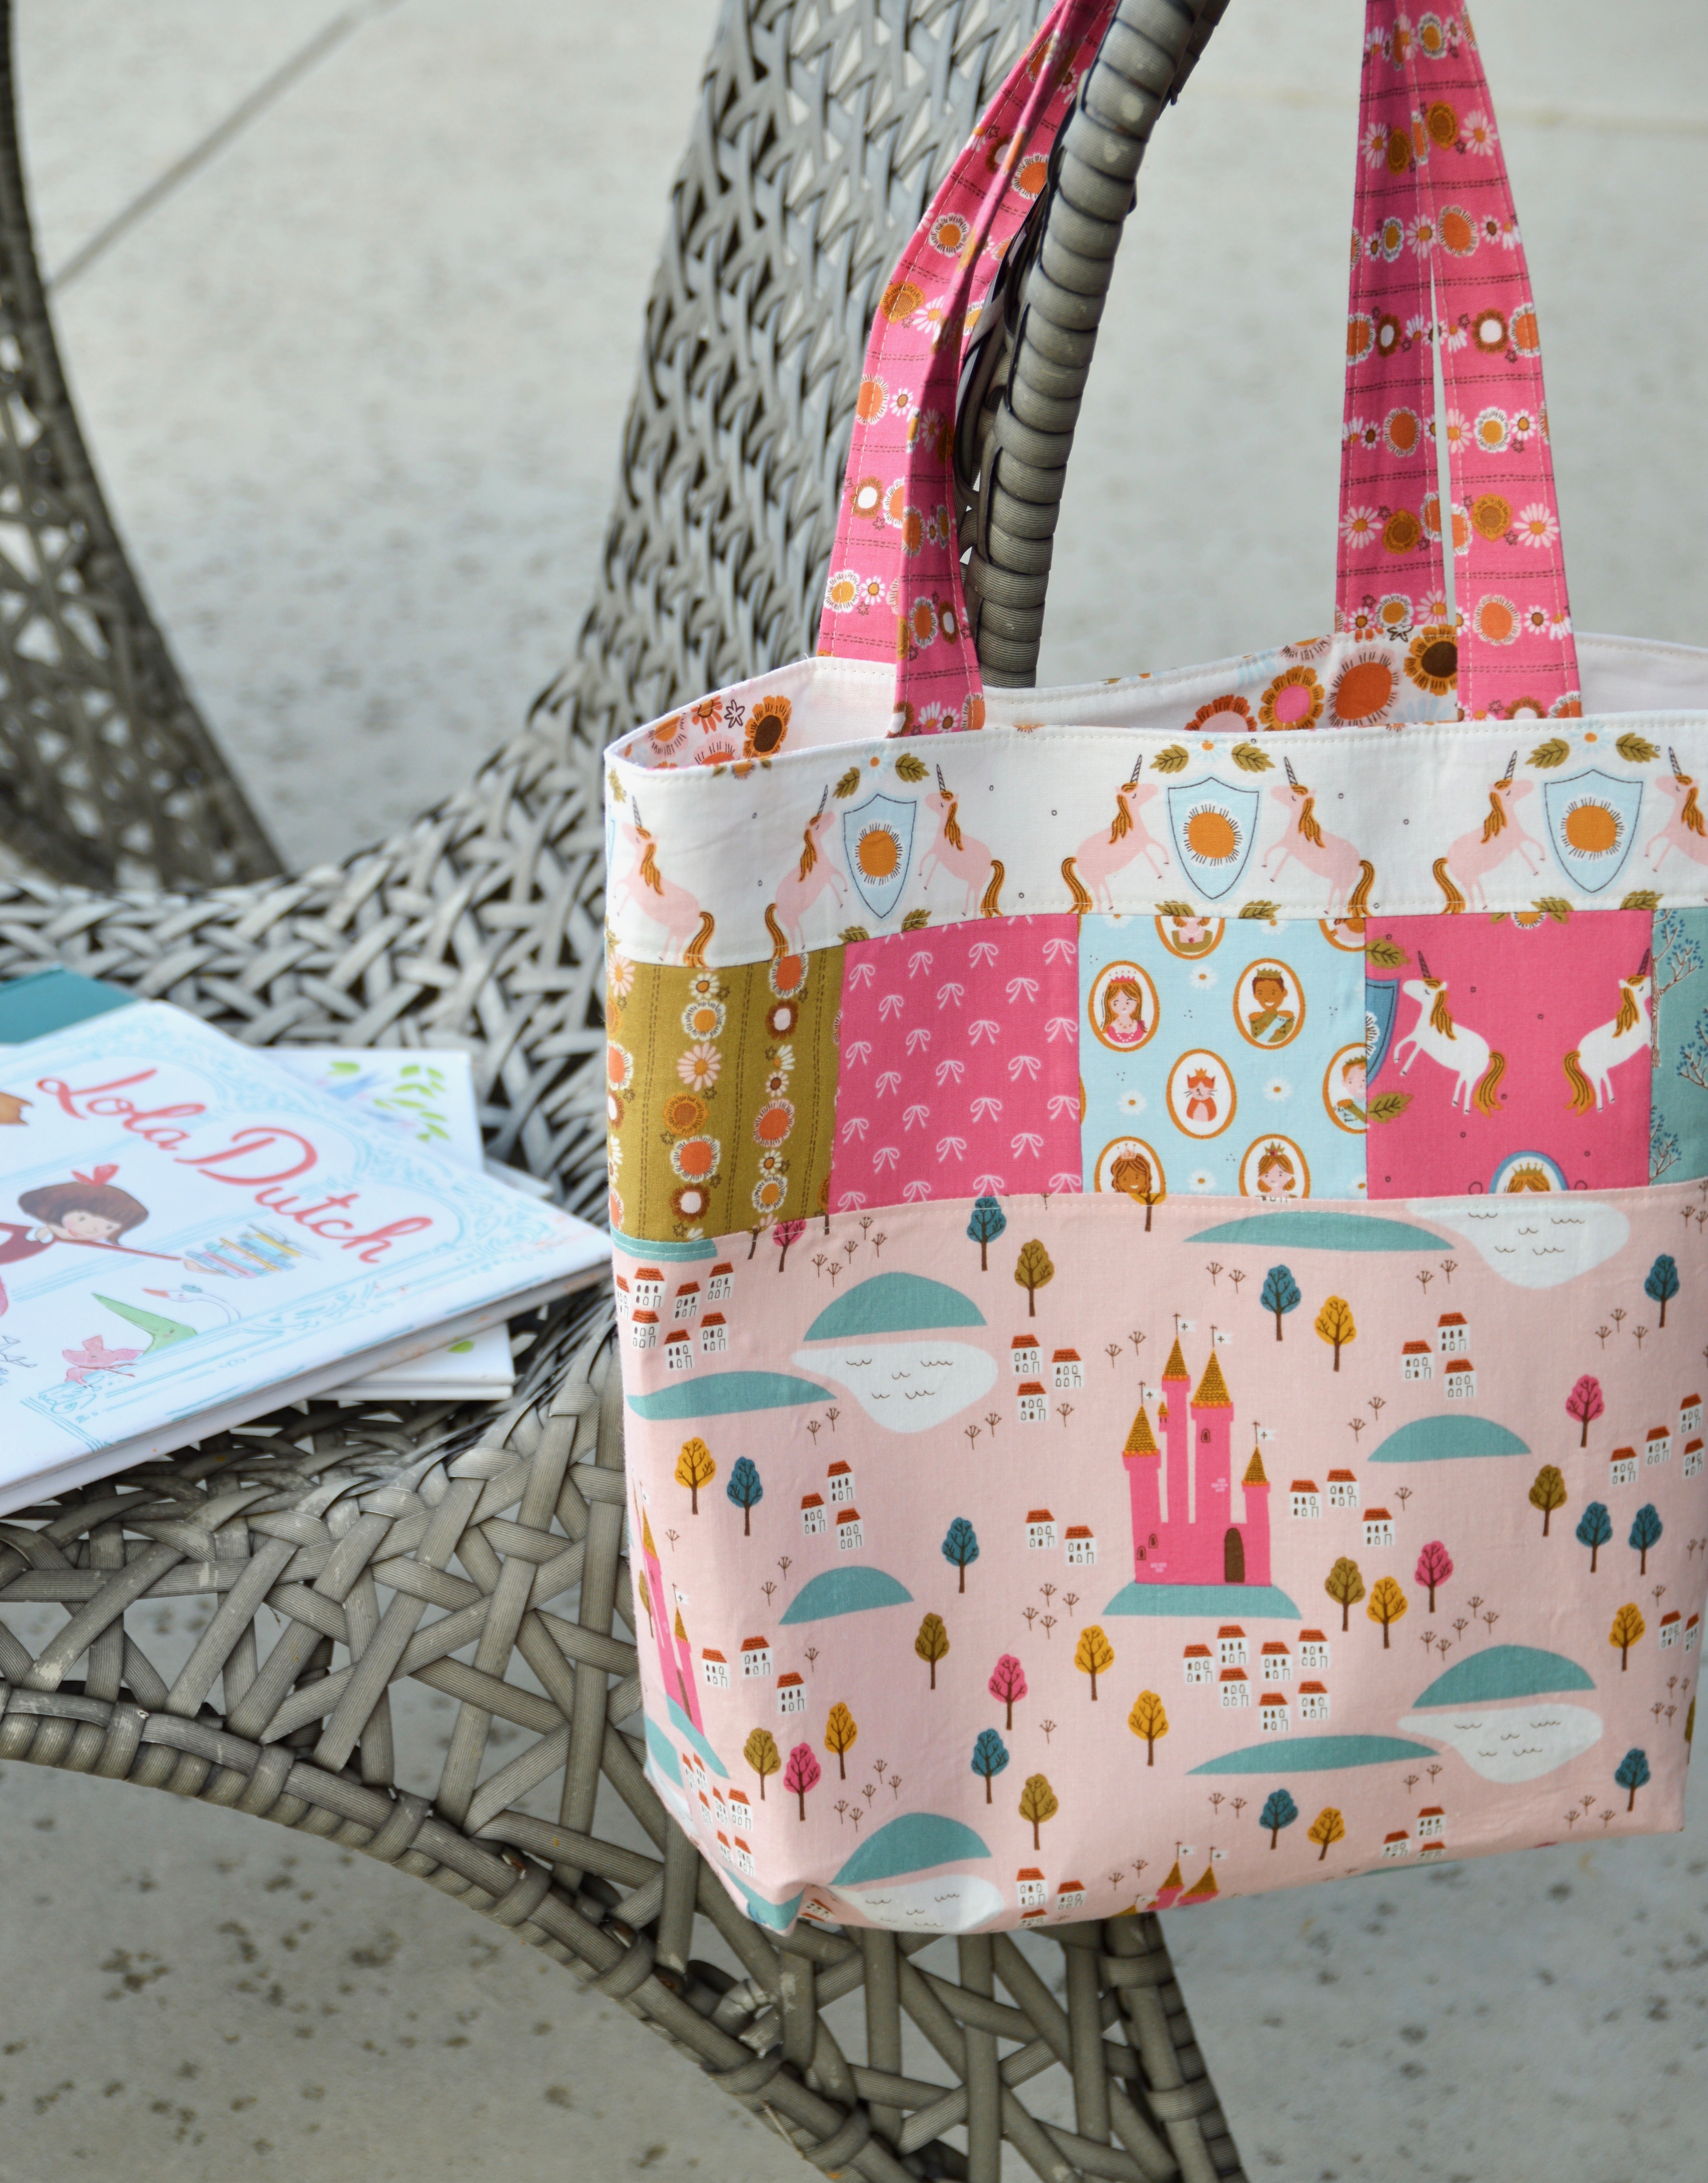
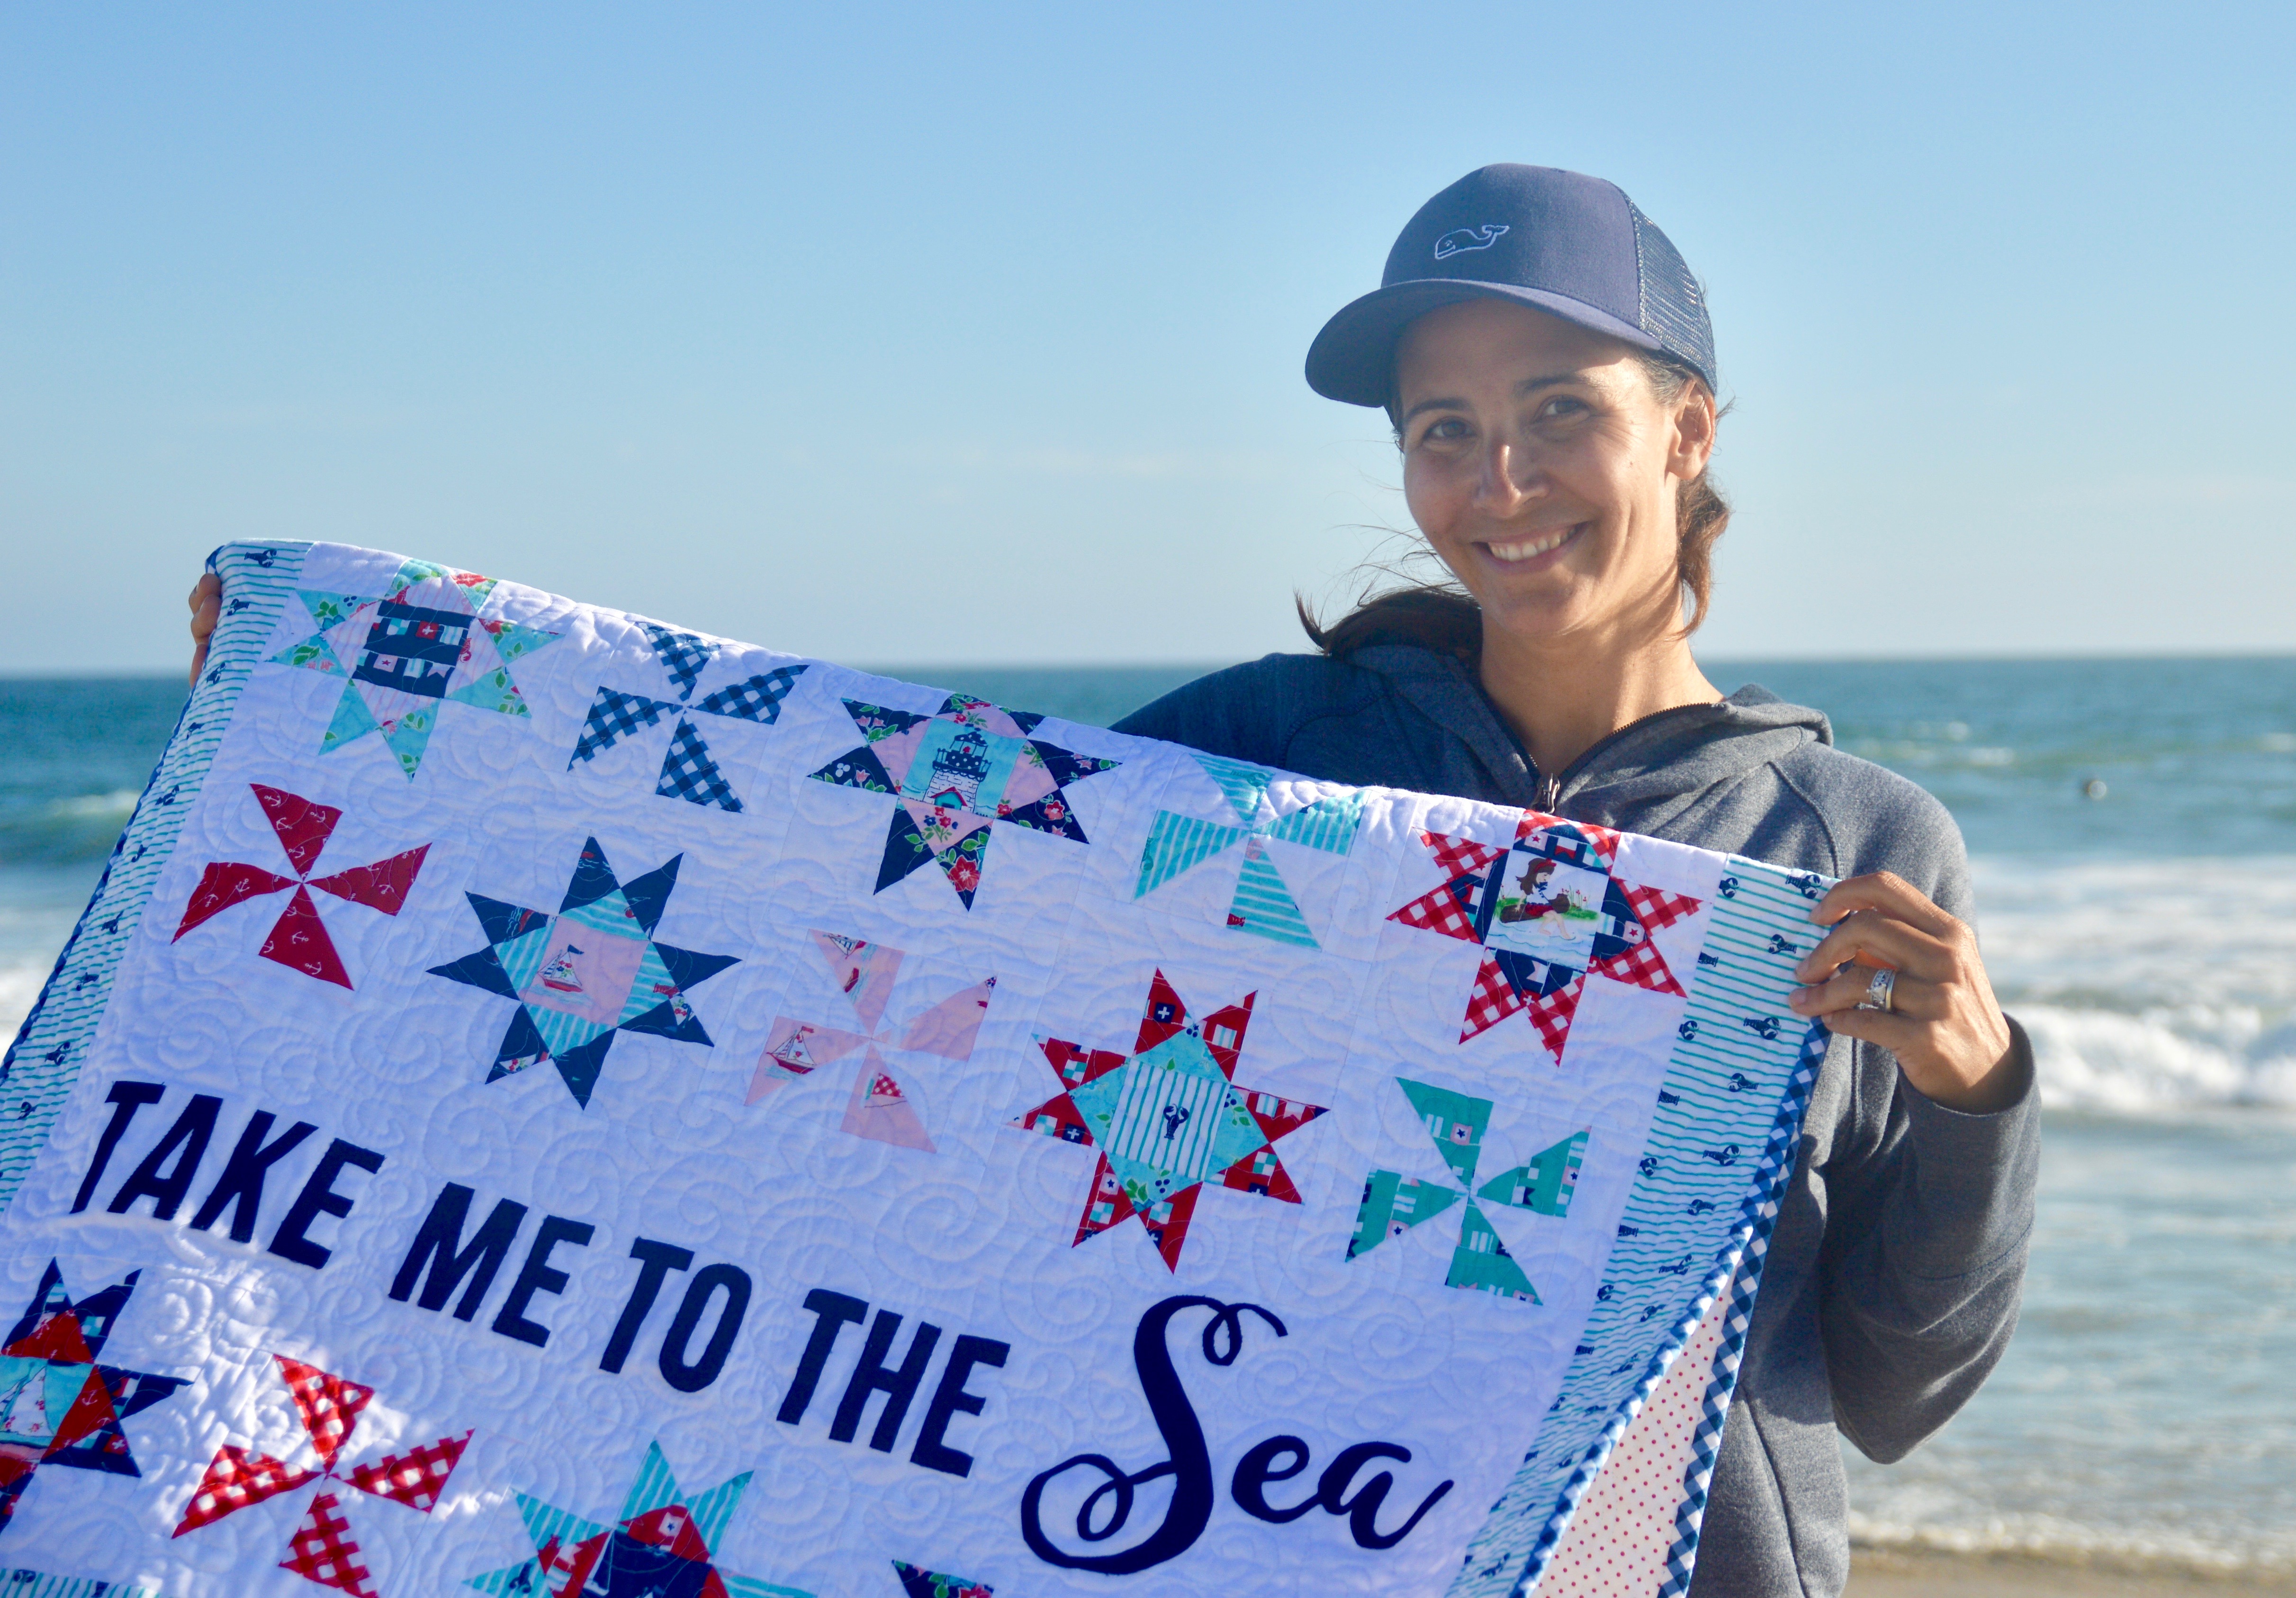
I think the reason I love summer the most is because we get to spend so much time at the beach!  We love whale watching, boogie boarding, diving through the waves, watching for dolphins and seals, getting Balboa Bars, going to Surf Shops, and relaxing!!! As soon as I saw Tasha Noel’s Seaside fabrics I knew they were for me!!  I designed this little quilt to show off all the adorable prints!!

seaside fabric by tasha noel

The quilt measures 35″ x 41″ with each block measuring 6″ square.  It’s perfect to hang on the wall of your beach house (I’m dreaming…..haha!). You can purchase it in my Etsy shop for instant PDF download!

The letters are machine appliquéd using Heat n Bond Lite.  Don’t worry, they don’t take too long to cut out by hand!!

take me to the sea quilt pattern 6

You will love that this quilt is written to accommodate layer cake (10″) squares.  In fact you only NEED 13 squares – but a few extra wouldn’t hurt to add a little variety!!

seaside quilt

I love that there is no sashing the blocks  because it’s built into the pinwheel block!

take me to the sea quilt diagram

It was hard to choose a border print because they are all so amazing!  I went with the lobsters!

seaside quilt pattern 2

You can see the quilting detail in this photos.  I quilted it myself and it always stresses me out!!  From far away it doesn’t look too bad!

take me to the sea quilt pattern 10

I love the surfer in the background of this photo!  We love to go to Newport Beach and watch them surf!!

seaside quilt pattern

I hope you have a great rest of your summer!!!

take me to the sea quilt pattern 8


Sunny Days Quilt Pattern

sunnyside avenue quilt

My friend Amy from Diary of a Quilter designed this adorable fabric called Sunnyside Avenue.  These 70’s retro colors and patterns stole my heart!  This quilt was totally inspired by the fabrics!  I am always so happy when the finished quilt is even better than it looked in my head!

sunny days quilt pattern 3

This quilt measure 72″ square with 12″ quilt blocks.  Its a perfect throw size! And a bonus – It’s made with fat quarters!  All the red, blue, green and yellow fabrics are fat quarters!  I love it because it’s made of 2 alternating blocks and no sashing which is a time saver!!!

sunny days quilt pattern 2

You can purchase the pattern in my Etsy shop for instant download by clicking here!!!sunnyside avenue fabric quilt 2

Mufasa loves it so I’m sure you will!!!
sunnyside avenue quilt 3

DSC_0954

Look at these fabrics!  They are so adorable!

sunnyside avenue quilt pattern

This pattern is versatile enough that any fabric collection would be cute!!!

sunny days quilt
Make sure to tag me in your photos and use the hashtag #sunnydaysquilt.
sunny days quilt pattern

I hope you love it!!!  Quilts make me so happy!!!!!

DSC_0895

Seaside Tote Bag Tutorial

seaside tote bag tutorial

I am super in love with Tasha Noel’s new fabric line Seaside!!!  It just totally captured my little nautical heart!!  I knew a beach bag was in order.  I love the theme print in the fabric line!!  The outer bag only has 3 fabric strips!  So it sews up totally fast!
seaside tote bag tutorial 2

This is my favorite size tote bag.  It’s not too big that it’s hard to use and it’s big enough to hold a towel, sunscreen, lunch, and some beach toys!  There is even a pocket and a key fob to hook your keys on so they don’t fall out and get lost in the sand!

seaside tote bag tutorial 5

You can totally switch up the fabrics and choose your favorites.

seaside tote bag tutorial 4

All seams 1/4″ unless otherwise stated

Supplies and Fabric Requirements

1 fat quarter Navy Flags – outer bag

40″ Seaside Main Print – outer bag

1 fat quarter Navy Gingham – outer bag

2/3 yard lining fabric

1/3 yard Navy Gingham for handles

1 fat quarter pocket fabric

Key Clasp

2/3 yard muslin or inside lining fabric

cotton batting

lightweight stabilizer

seaside tote bag tutorial 3

Cutting Instructions

seaside tote measurements

Cut the outer bag pieces according to the above photo.

Cut lining pieces (2) 19 1/2″ x 19 1/2″

Cut handles (2) 5″ x 28″

Cut Pocket 14″ x 19 1/2″

Cut Key Strap (1) 2″ x 10″

Sewing Instructions

Sew the three pieces of the out bag together and press seams in one direction.  Make a bag front and a bag back.
seaside tote bag

Baste each outer bag piece to batting and to a piece of muslin or light colored fabric. This gives the bag a little extra weight.

seaside tote bag. 2

Quilt each outer bag piece.  I quilted straight lines 1″ apart on the diagonal.  It took some time but it was worth it!

Square up each outer bag piece and measure. Mine shrunk 1/2″ so each piece measured 19 1/2″ square.

Cut (2) lining pieces the measurements of your outer bag (19 1/2″ x 19 1/2″).


Pocketseaside tote bag. 3

Cut the pocket 14″ x 19 1/2″

seaside tote bag. 4

Fold the pocket in half lengthwise, right sides together.

seaside tote bag. 5

Top stitch the top edge.

seaside tote bag. 10

Position the pocket 6″ from the top of one of the lining pieces.  Pin in place.

Sew along the bottom 1/8″ away from the fold.  Sew seams going down where you want the pockets – you can decide what size you want!

seaside tote bag. 7

Fold the 2″ x 10″ key strap in fourths lengthwise.

seaside tote bag. 8

Top stitch both edges 1/8″.

seaside tote bag. 9

Thread through the key clasp, fold under raw edge and sew pin place.

seaside tote bag. 11

Baste the raw edge of the key strap in place as pictured above.

seaside tote bag. 16

Place the outer bag pieces right sides together and sew the sides and bottom using a 1/4″ seam

Place the lining pieces right sides together and sew the sides and bottom using a slightly larger 1/4″ seam.  This makes the lining fit nicely inside the bag.

seaside tote bag. 15

Cut a 3″ square and use as a pattern.  Cut a 3″ notch out of the bottom corners of the outer bag and the lining.

seaside tote bag. 18

Match the seams of each corner, pin and sew 1/4″, backstitching to start and stop.

seaside tote bag. 12

If you would like to add stability to the handles, fuse a piece of light weight stabilizer the same size as the handle strips to the wrong side of the two handle strips.

seaside tote bag. 13

Press the handle strips in half lengthwise, then press the edges meeting in the center.  Fold in half again and press.  (The handles will be folded in 4ths)

seaside tote bag. 14

Top stitch 1/8″ along both sides of the handles.
seaside tote bag. 19

Measure 4 1/2″ in from each side seam and pin the handles into place.

Baste handles in place.

With the outer bag inside out and the lining right side out, place the lining inside the outer bag (so right sides are together).  Match and pin side seams and pin all the way around the bag.

Sew 1/4″ around the top of the bag.

Using a seam ripper, unstitch about 3″ on one of the side seams and turn the bag right side out.  Top stitch the opening closed.

Press lining down inside the bag and top stitch 1/8″ around the top of the bag.

seaside tote bag tutorial

You’re all done!  Time to hit the beach!  Or set sail on your boat!

seaside tote bag tutorial 6

seaside tote bag tutorial 8


Library Tote Bag Tutorial

library tote bag tutorial

I recently got to spend time with my friend and her darling children!!  I made them each a library tote bag using this tutorial and these new fabrics from Riley Blake Designs!  I love that there is a Lancelot and a Guinevere fabric line!  You can’t go wrong!  This tote bag is the perfect size for library books, music books, ballet clothes, a car ride to grandmas, or a trip to the pool!  It’s so versatile!!!

tote bag tutorial. 5

These fun little bags take about an hour to sew (that is if you are focused and not watching Netflix!). They make cute little birthday gifts!

tote bag tutorial 10

tote bag tutorial. 11
tote bag tutorial. 3

tote bag tutorial. 7
tote bag tutorial. 9
tote bag tutorial. 12

OK let’s get started!!
(In the photos I switch back and forth between the Guinevere and the Lancelot, just focus on the measurements and the process)

Fabric Requirements

1/3 yard outer bag main fabric

5 prints for accent piecing – 10 squares 3 1/2″ each

1/8 yard top band fabric

1/4 yard handle fabric

1/2 yard lining fabric

2/3 yard fusible medium weight stabilizer

Cutting Instructionscutting instructions

Follow the above instructions for cutting the outer bag pieces.

Cut (1) 5″ x width of fabric strip for handles

Cut (2) 15 1/2″ x 15 1/2″ squares of lining fabric

Cut (2) 15 1/2″ x 15 1/2″ squares of staibilizer

Begin by sewing (5) 3 1/2″ squares together in a horizontal row.  Press seams in one direction. Make two of these units.

IMG_9603

Sew the 2 1/2″ x 15 1/2″ rectangle to the top of the square strip.

Sew the 10 1/2″ x 15 1/2″ bottom piece to the bottom of the square strip.  Press away from the square unit.

Repeat this step so you have two identical units for the front and the back of the bag.
IMG_9605

These are the lining fabrics I choose!  So cute!!!IMG_9606

Fuse the stabilizer to the wrong side of the two outer bag pieces.IMG_9607

Add a little top stitching accent along the square strip.

IMG_9608

For the handles, press the 5″ strip in half lengthwise.  Open and press the edges in to meet the center crease.  Press.IMG_9609

I fused a 1″ piece of stabilizer inside the handle along the entire length.  This is totally optional.
IMG_9610

Fold the handle in half again (now it is folded in 4ths) and press.IMG_9611
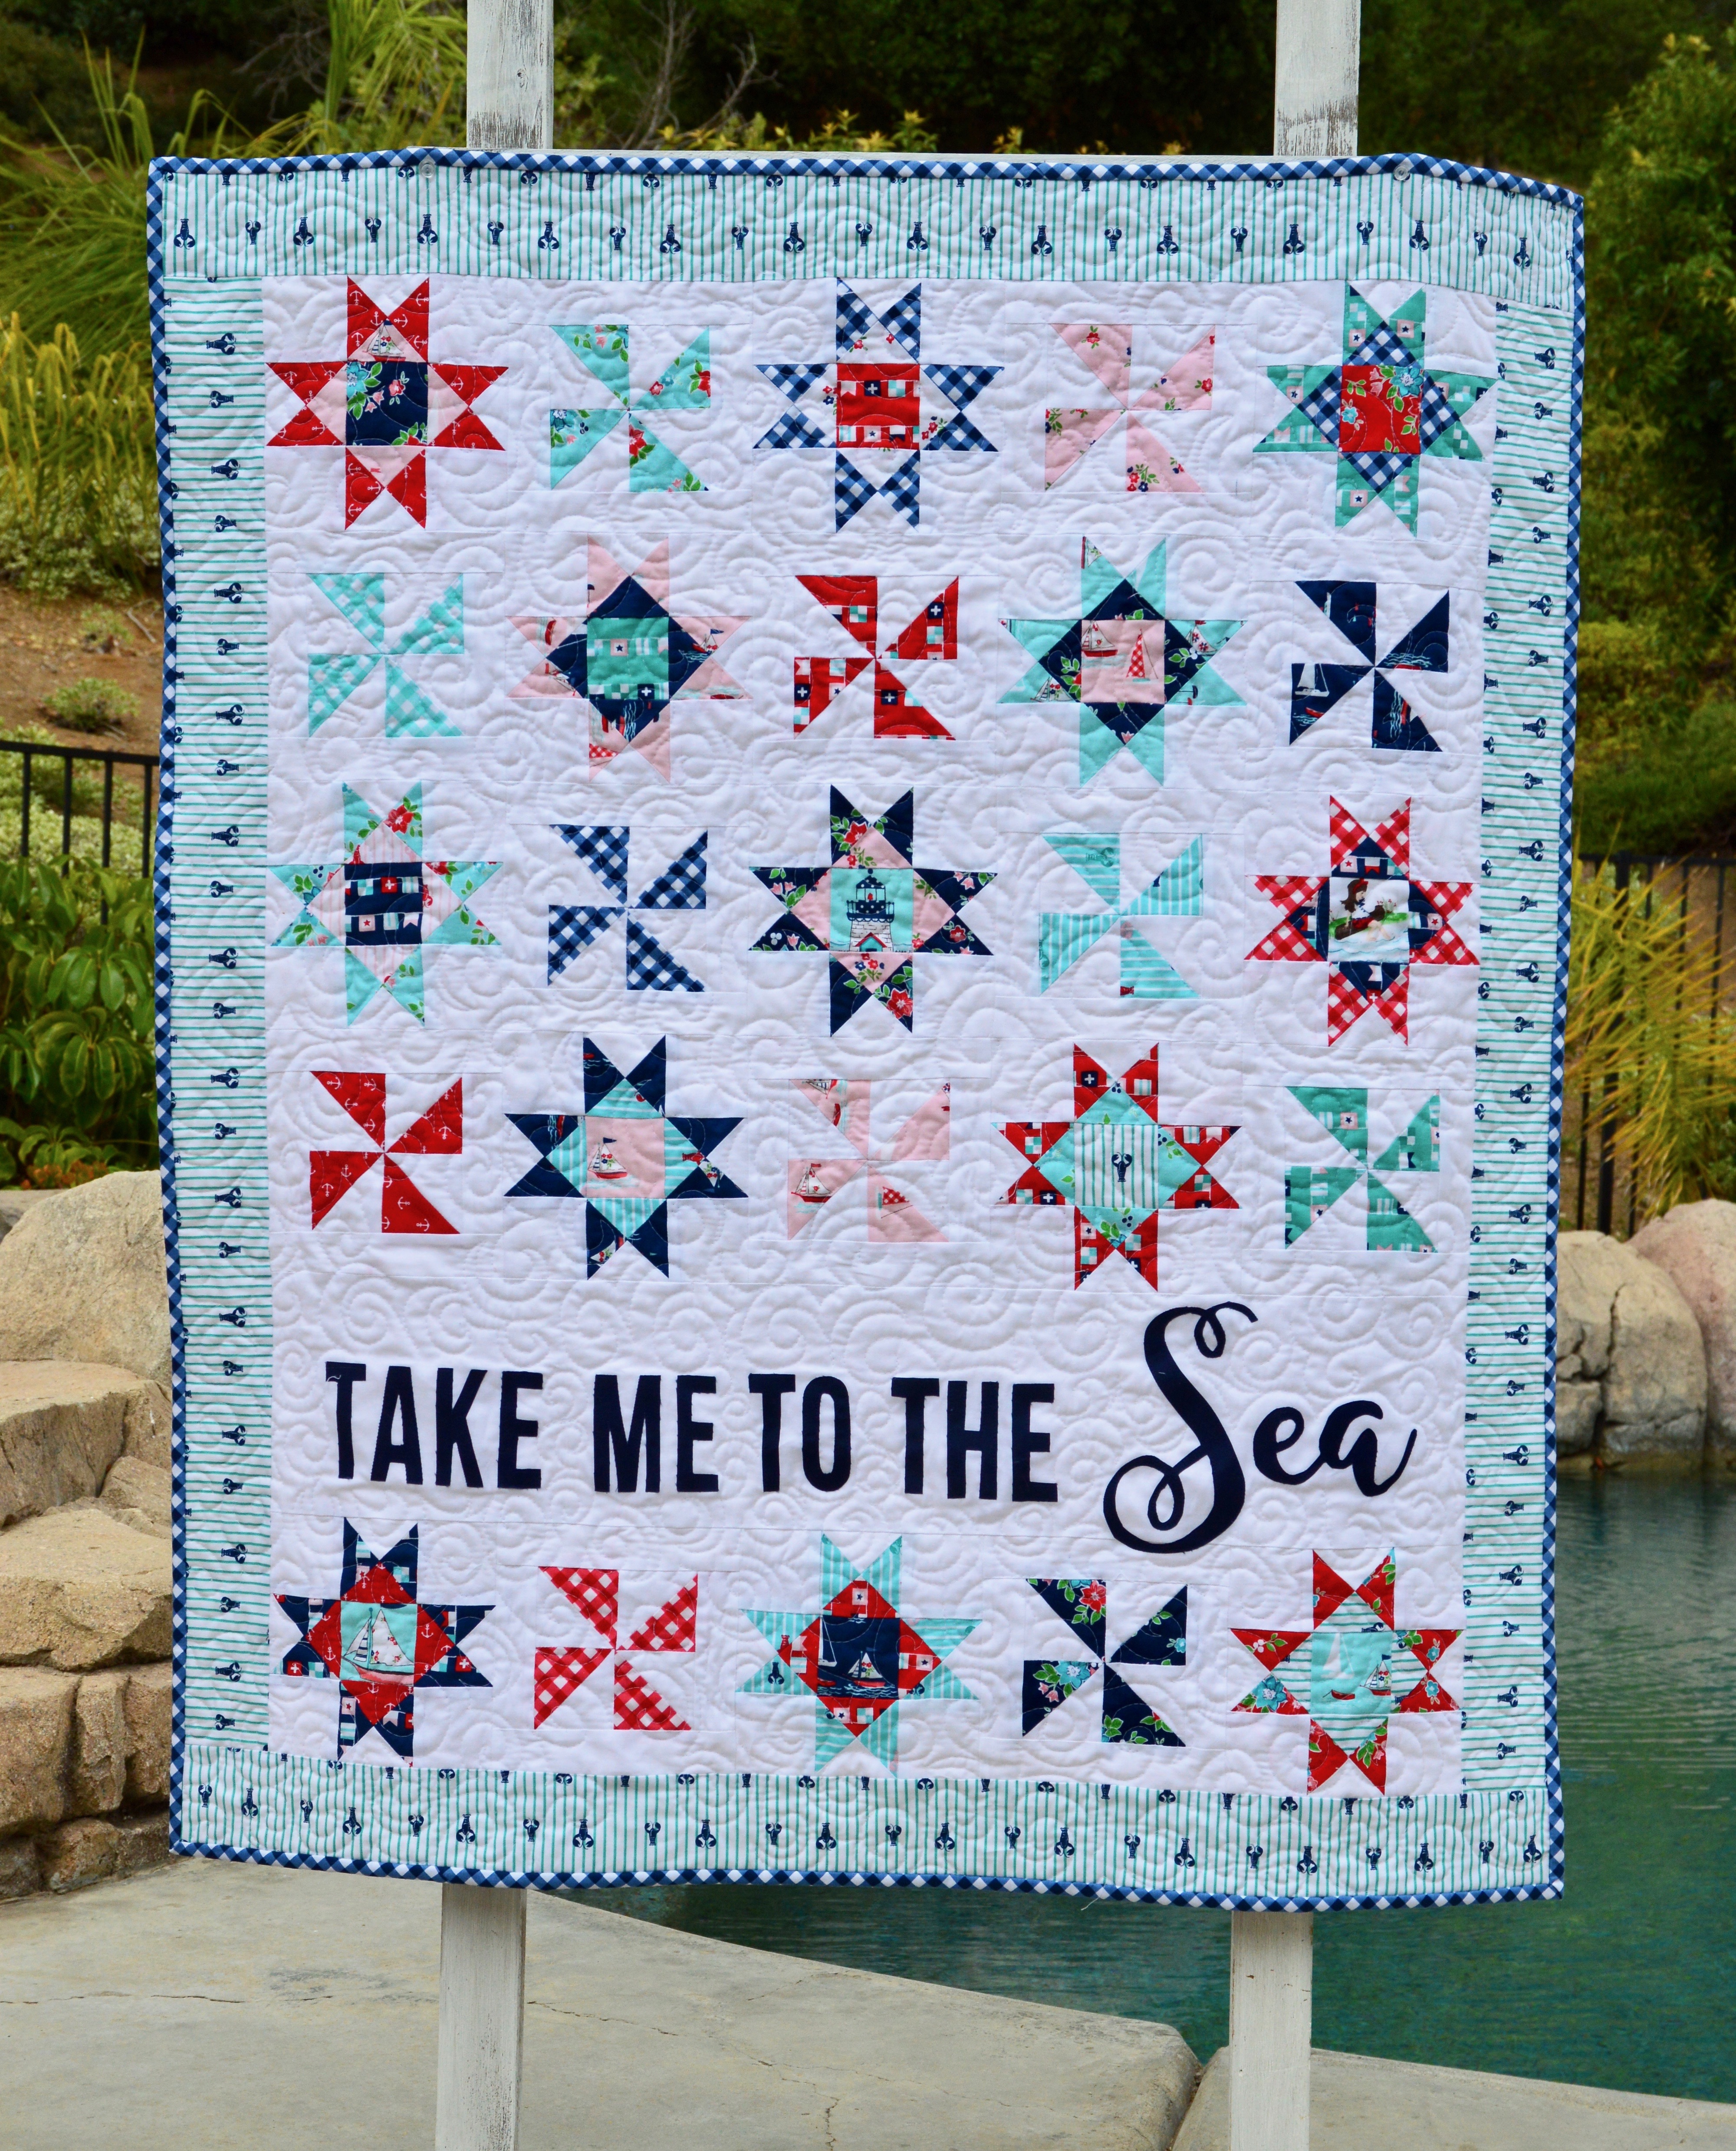
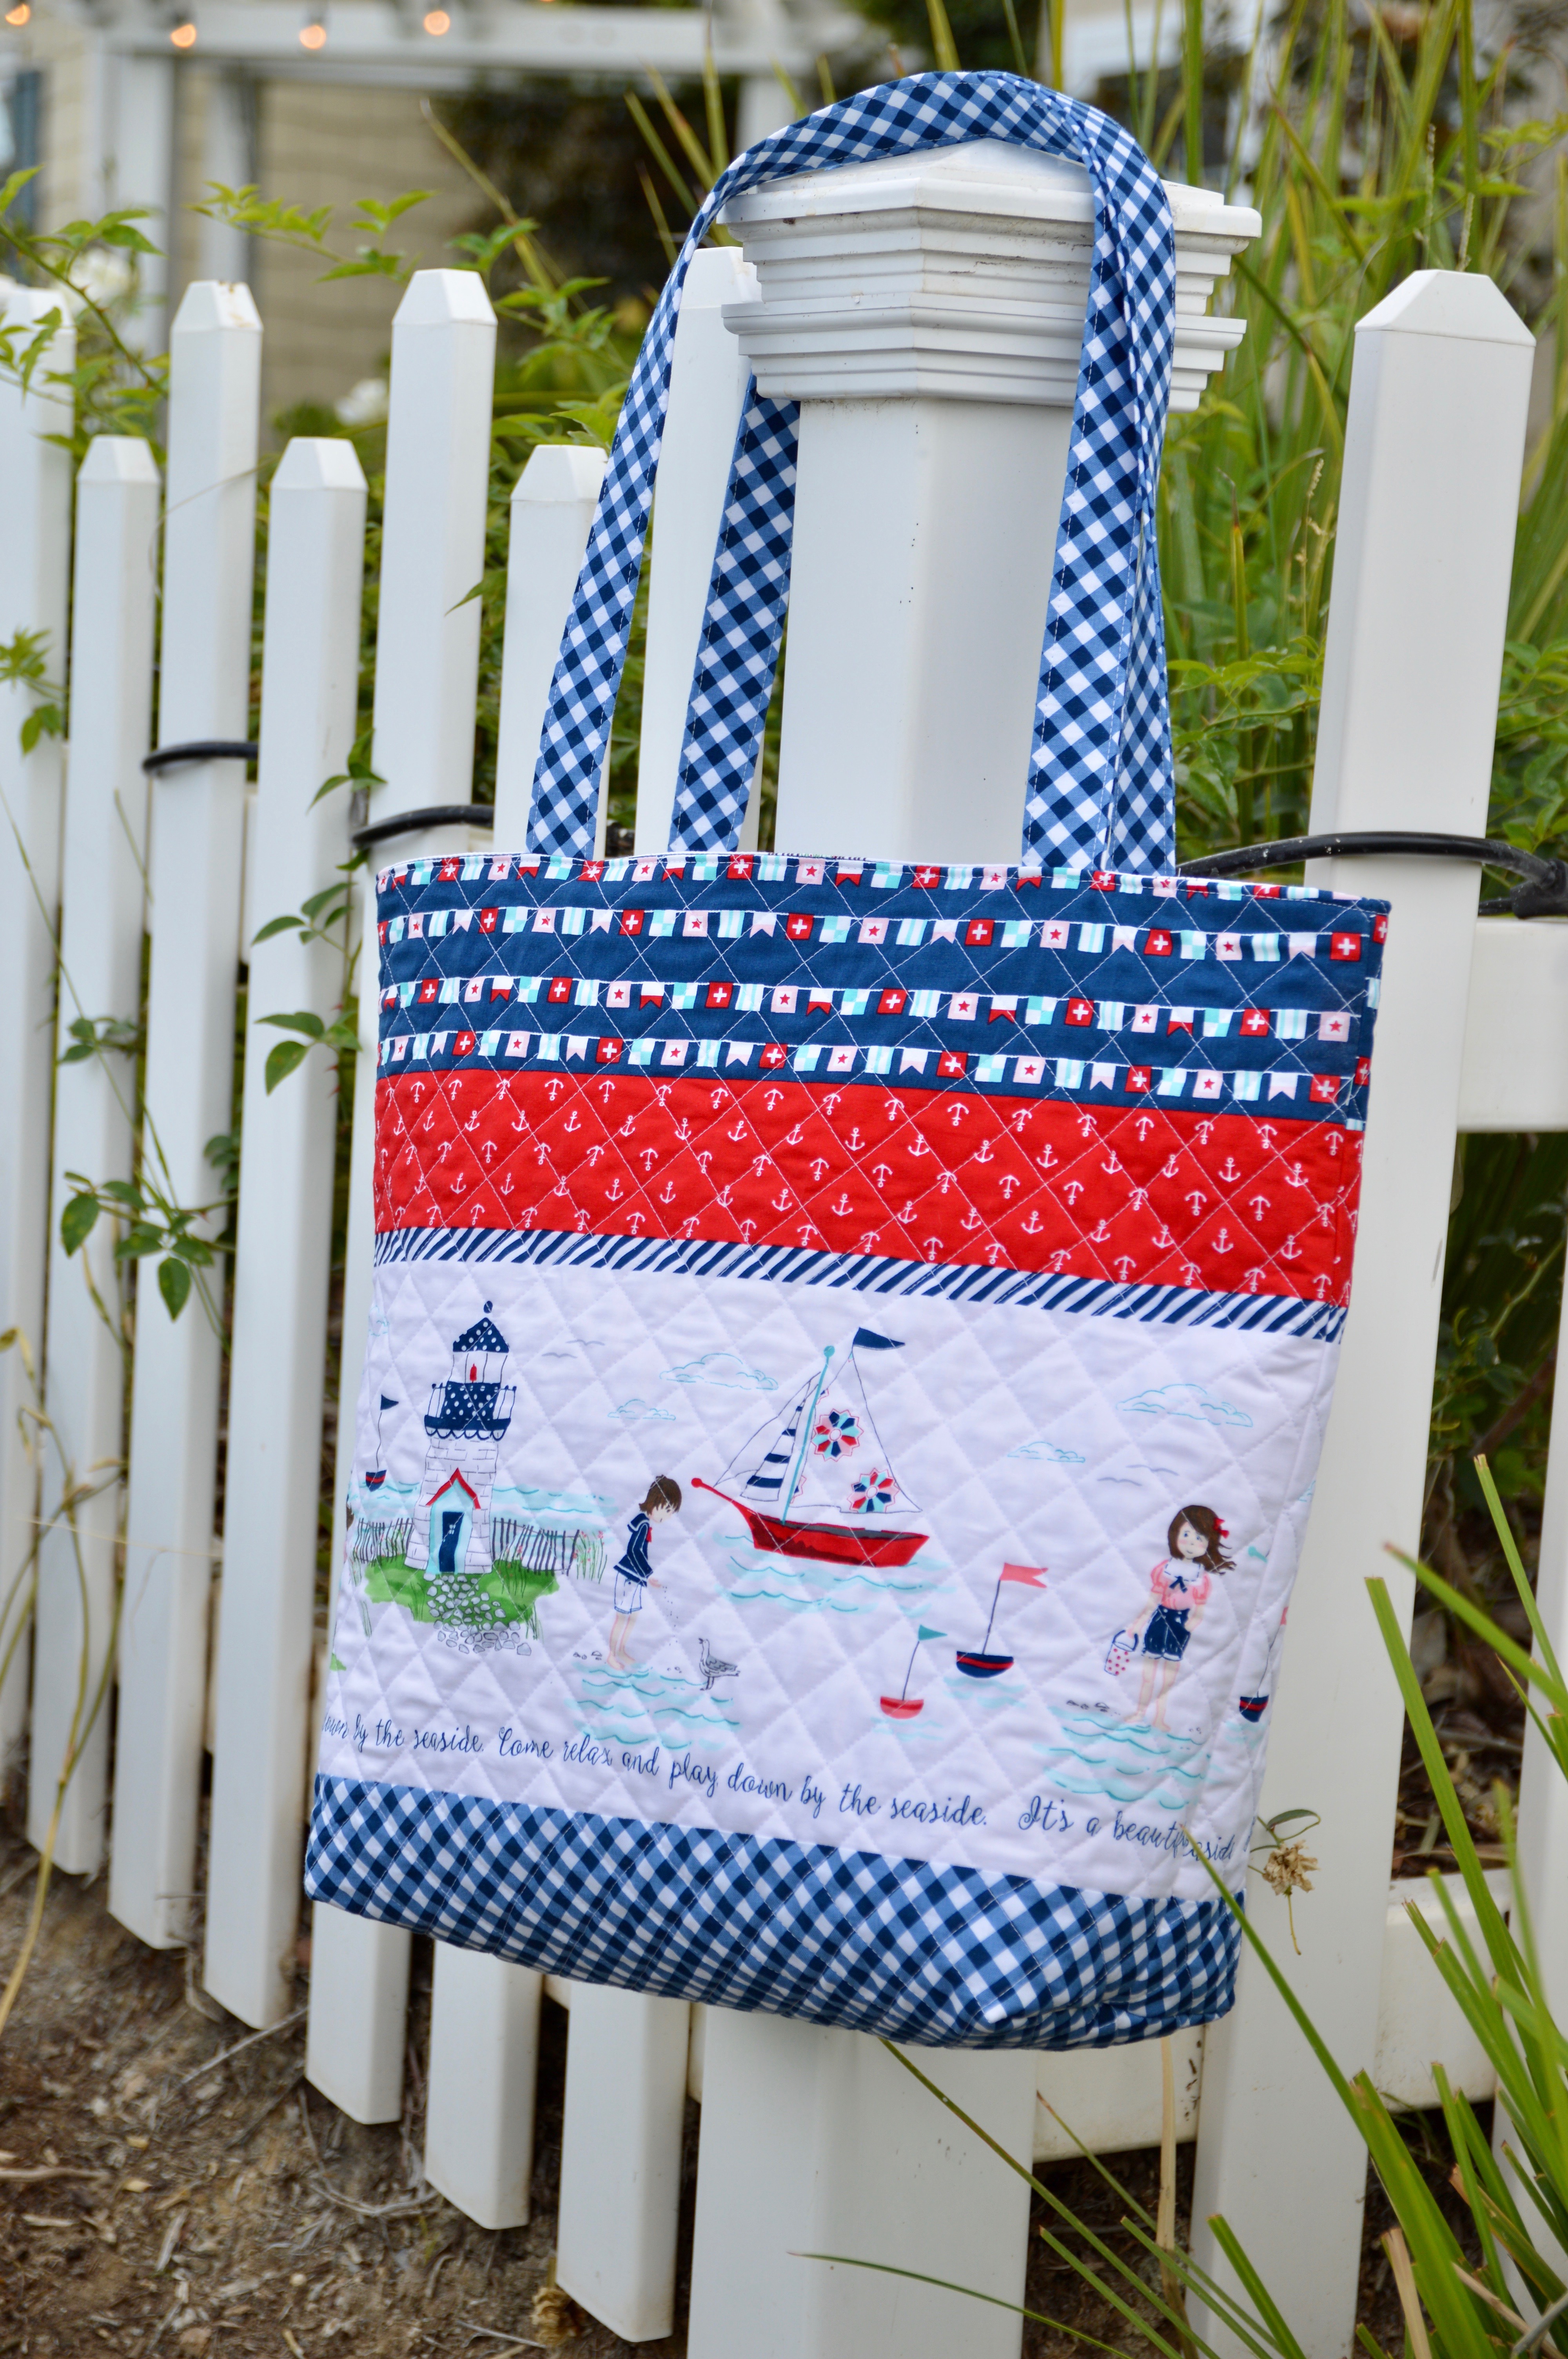
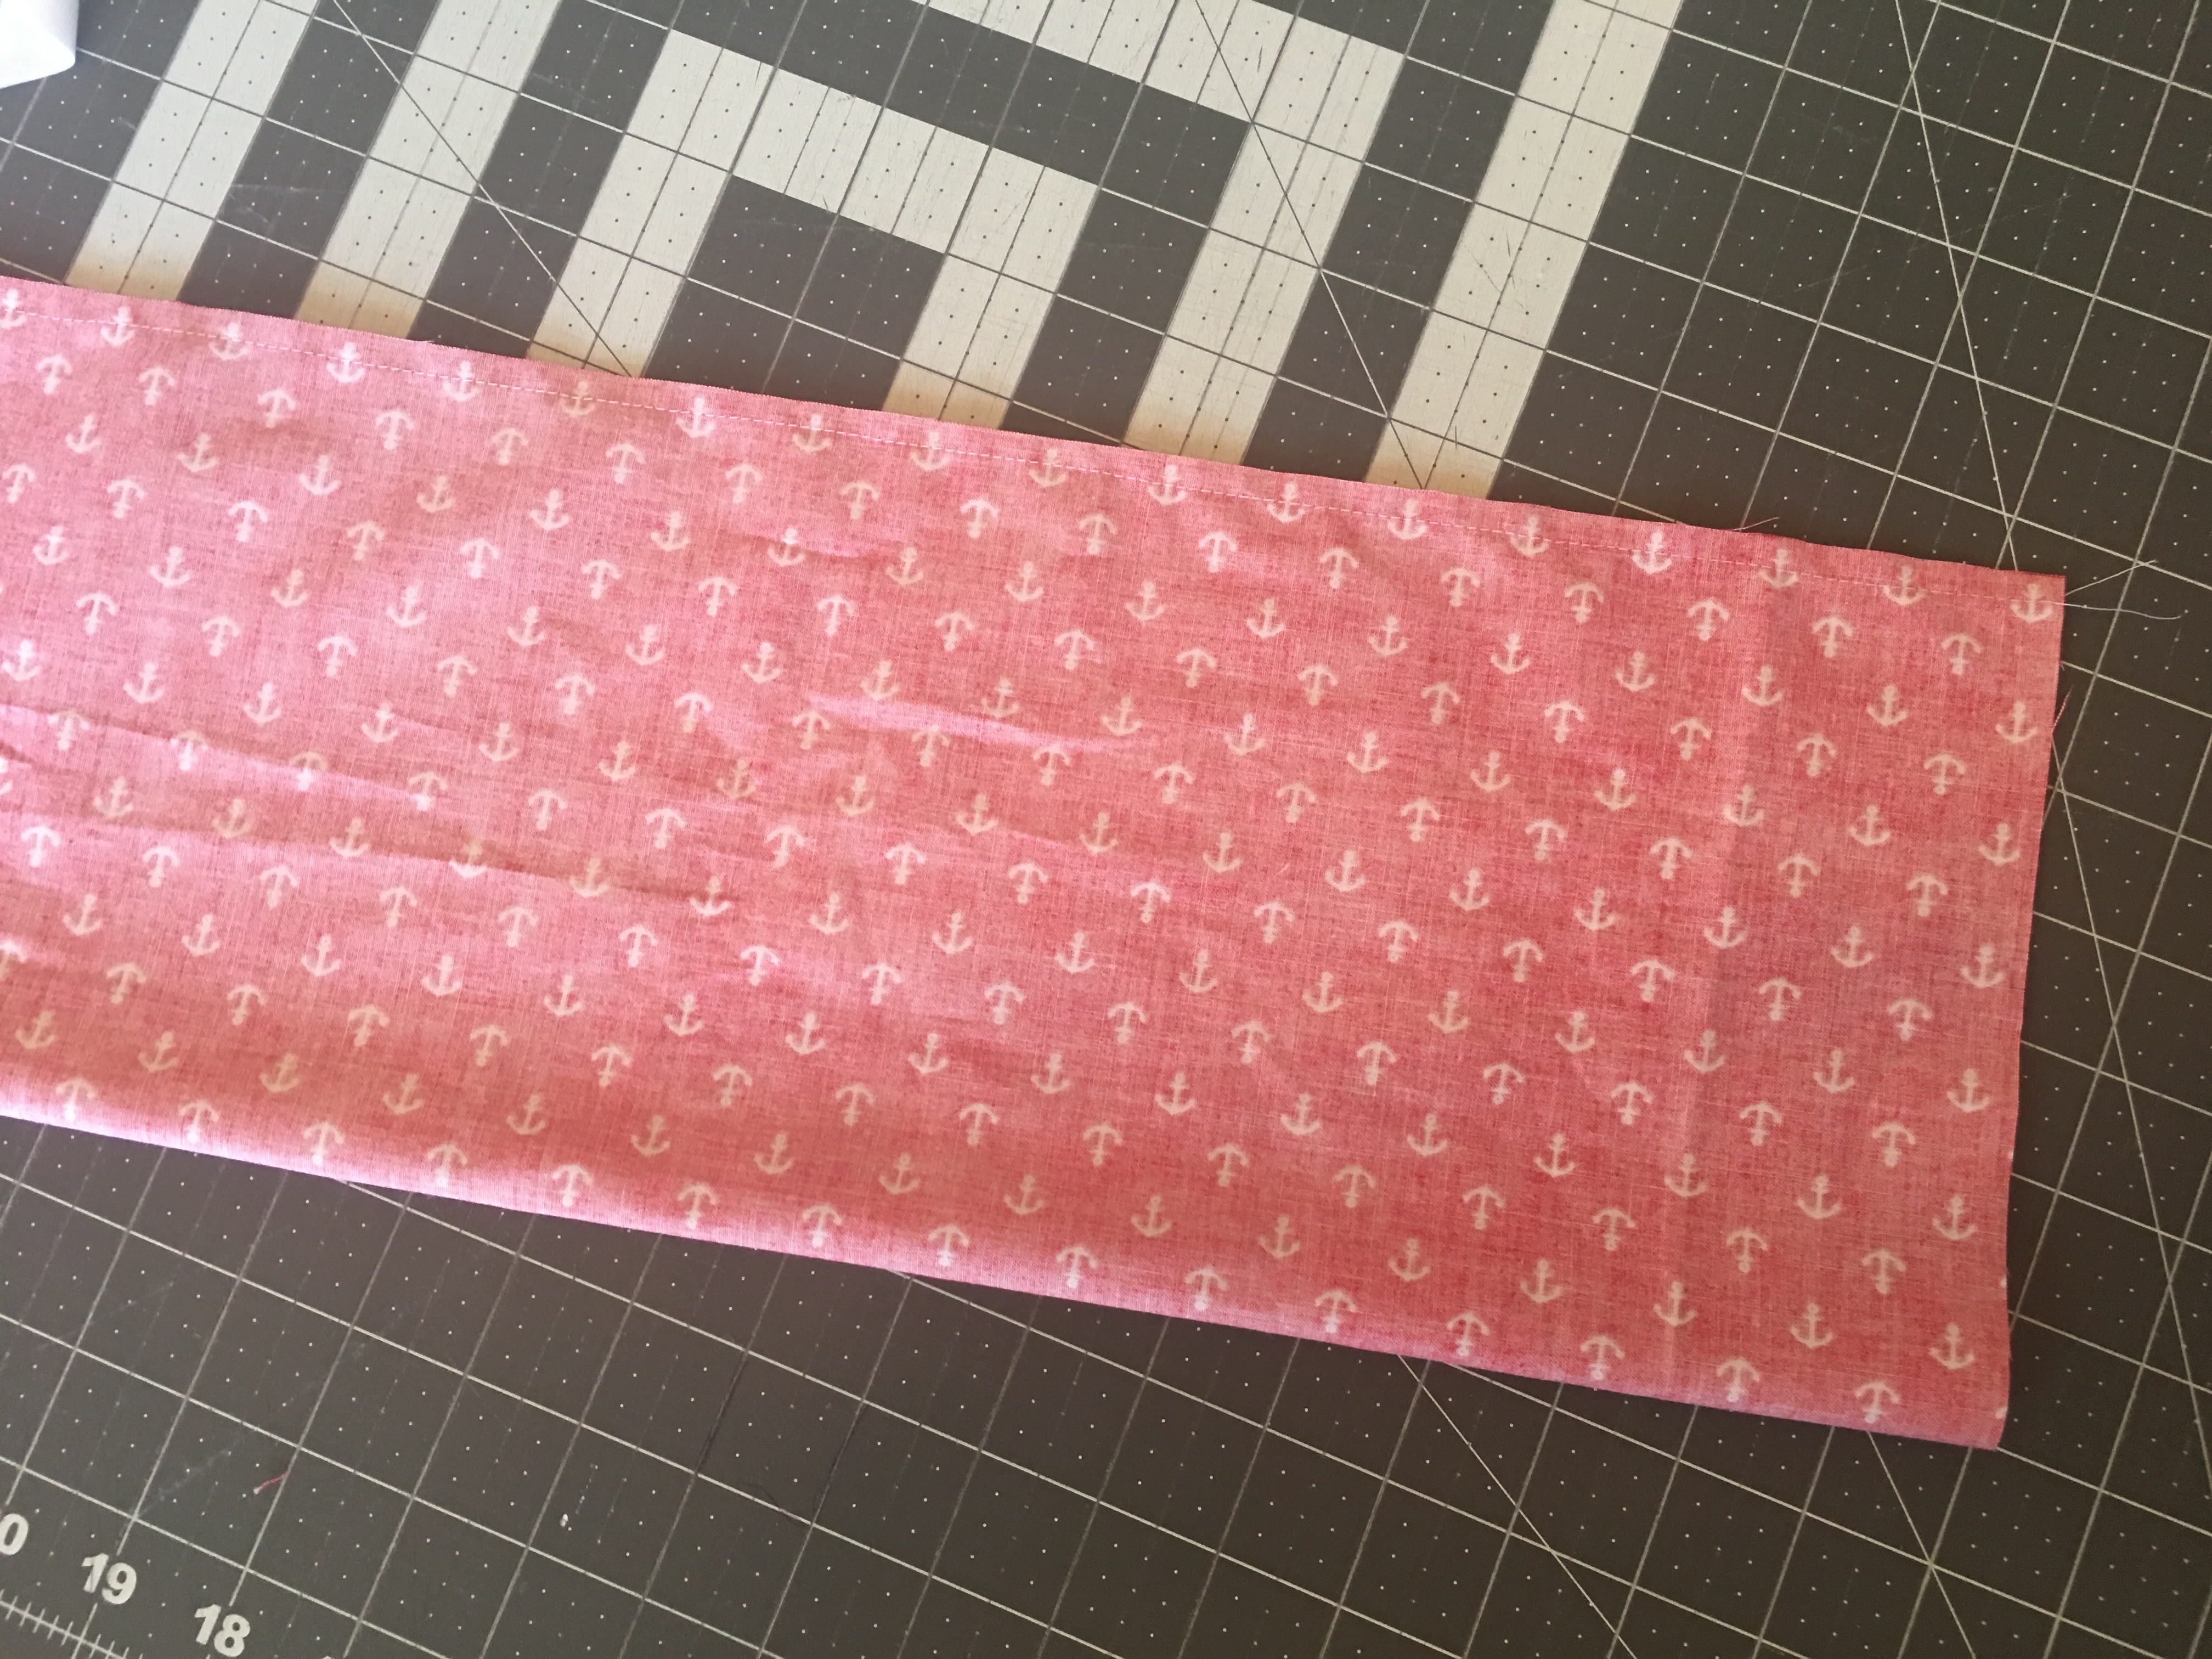
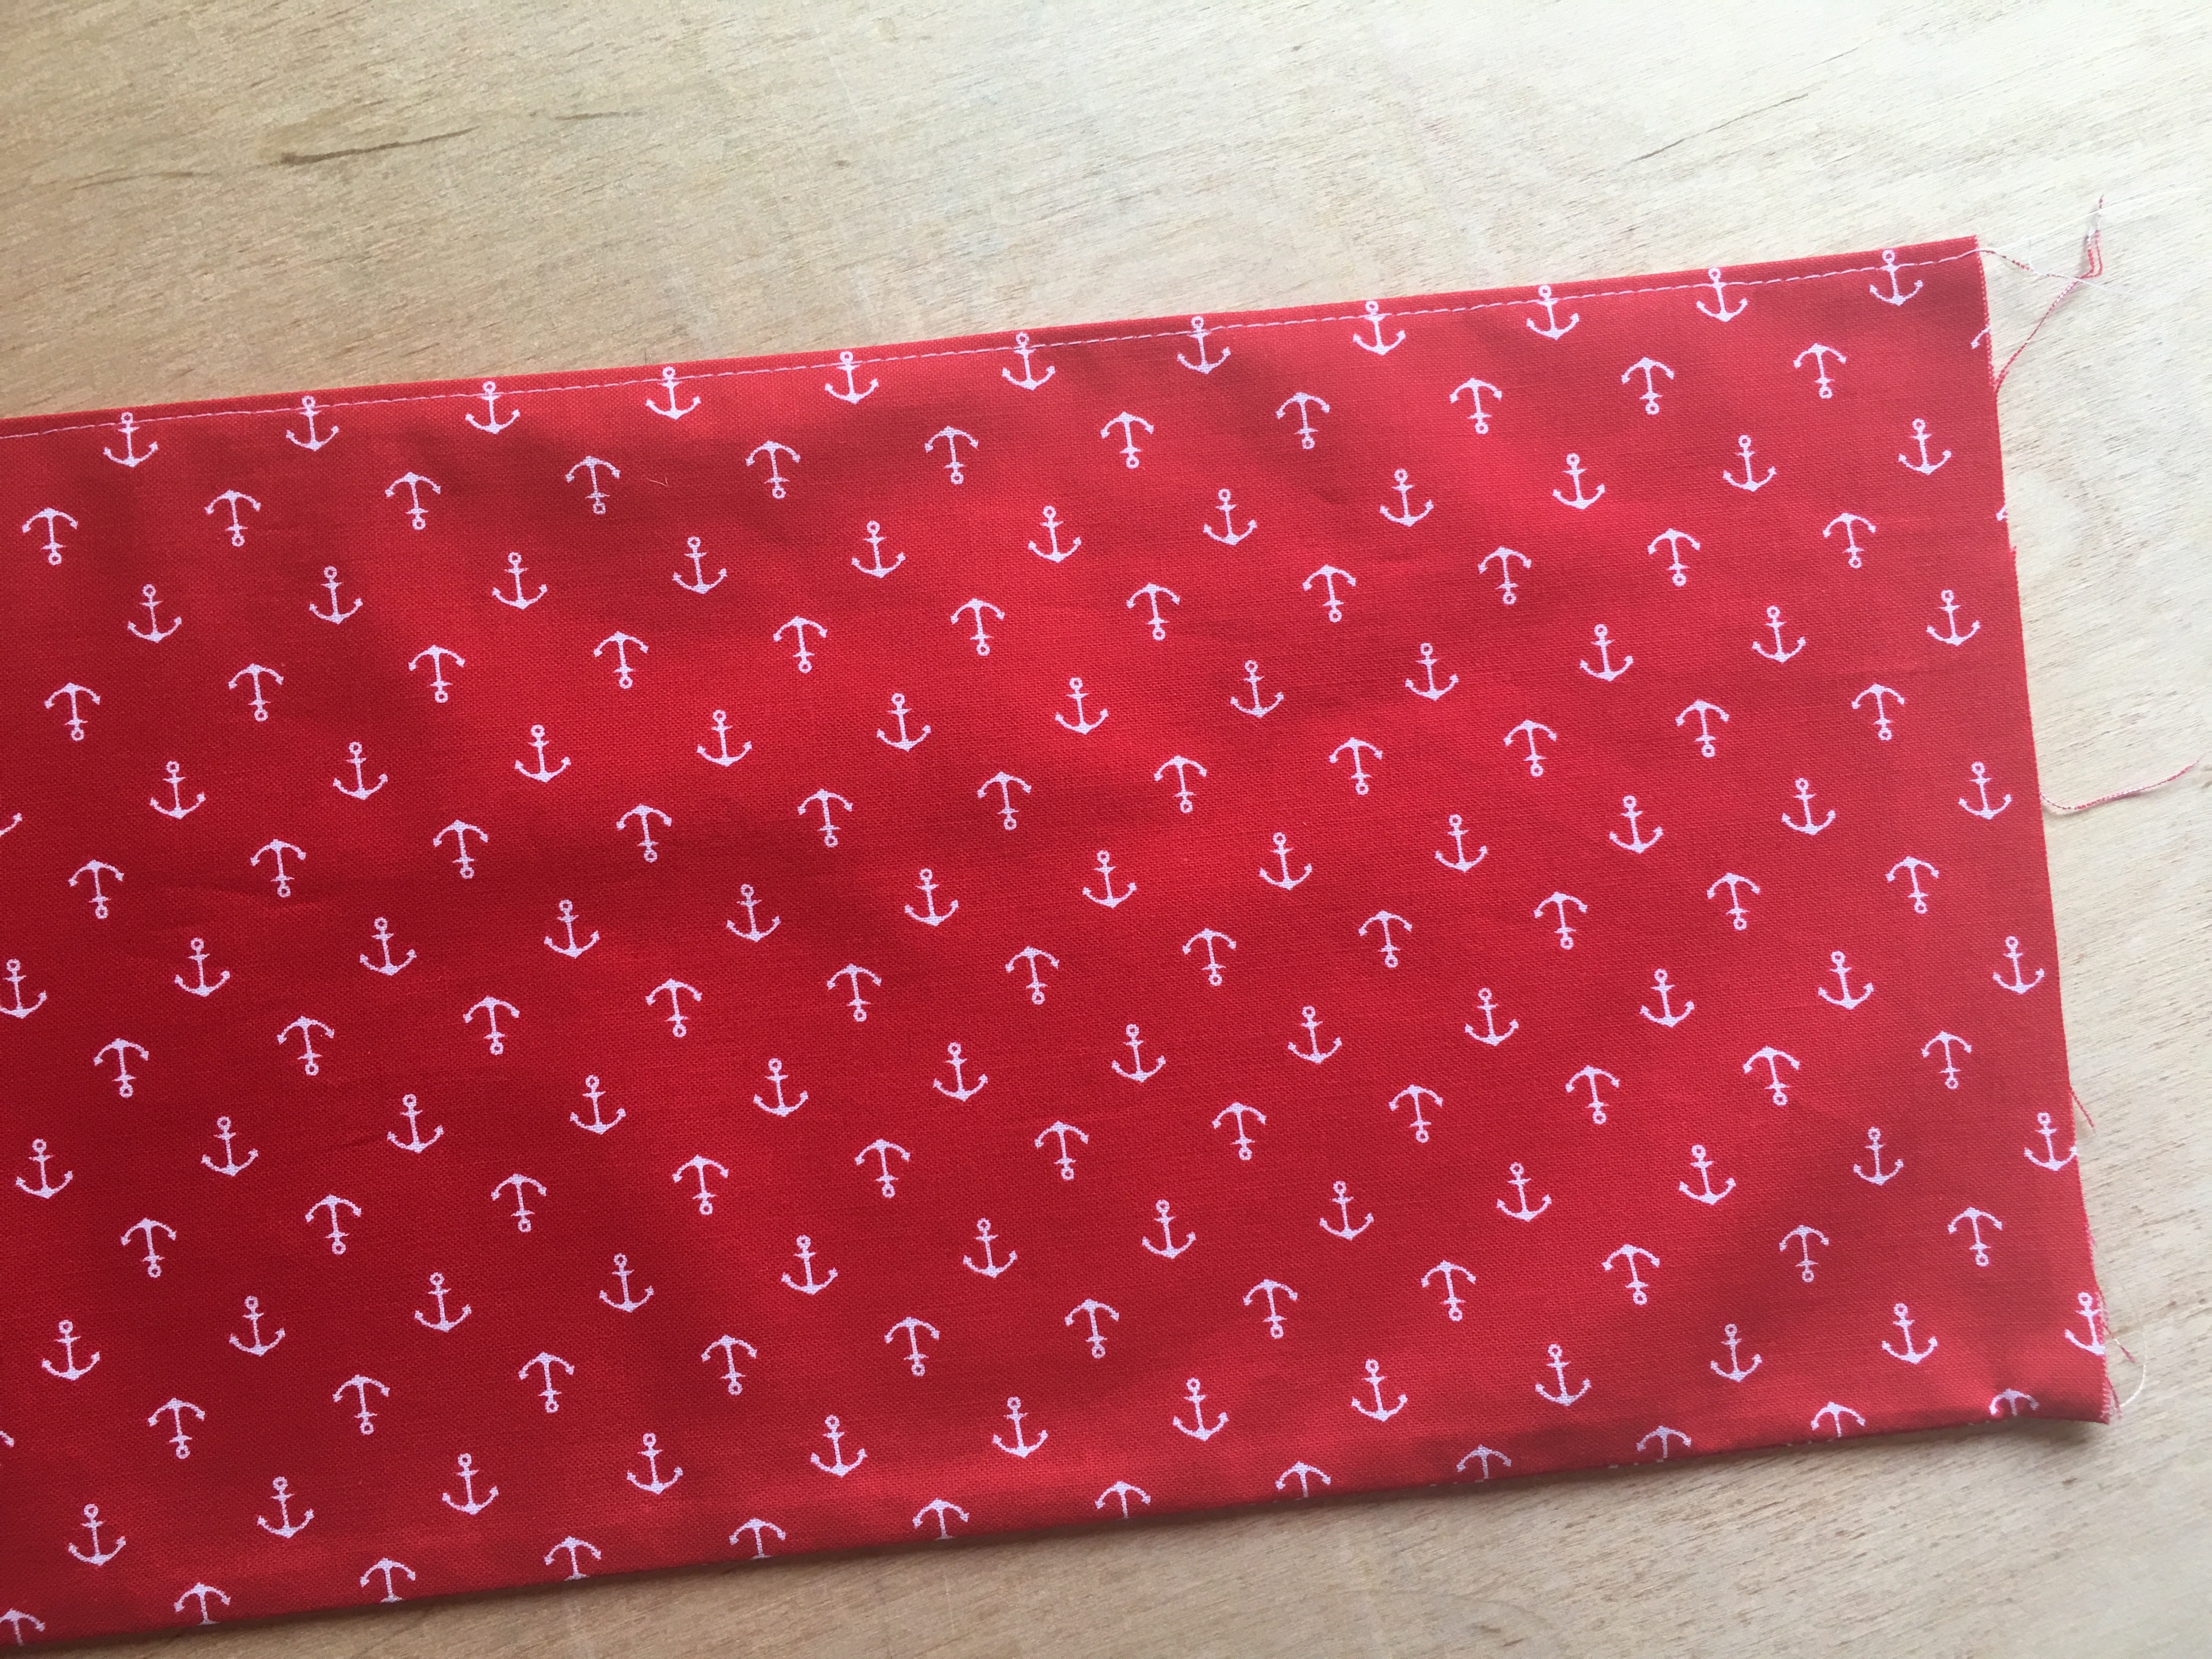
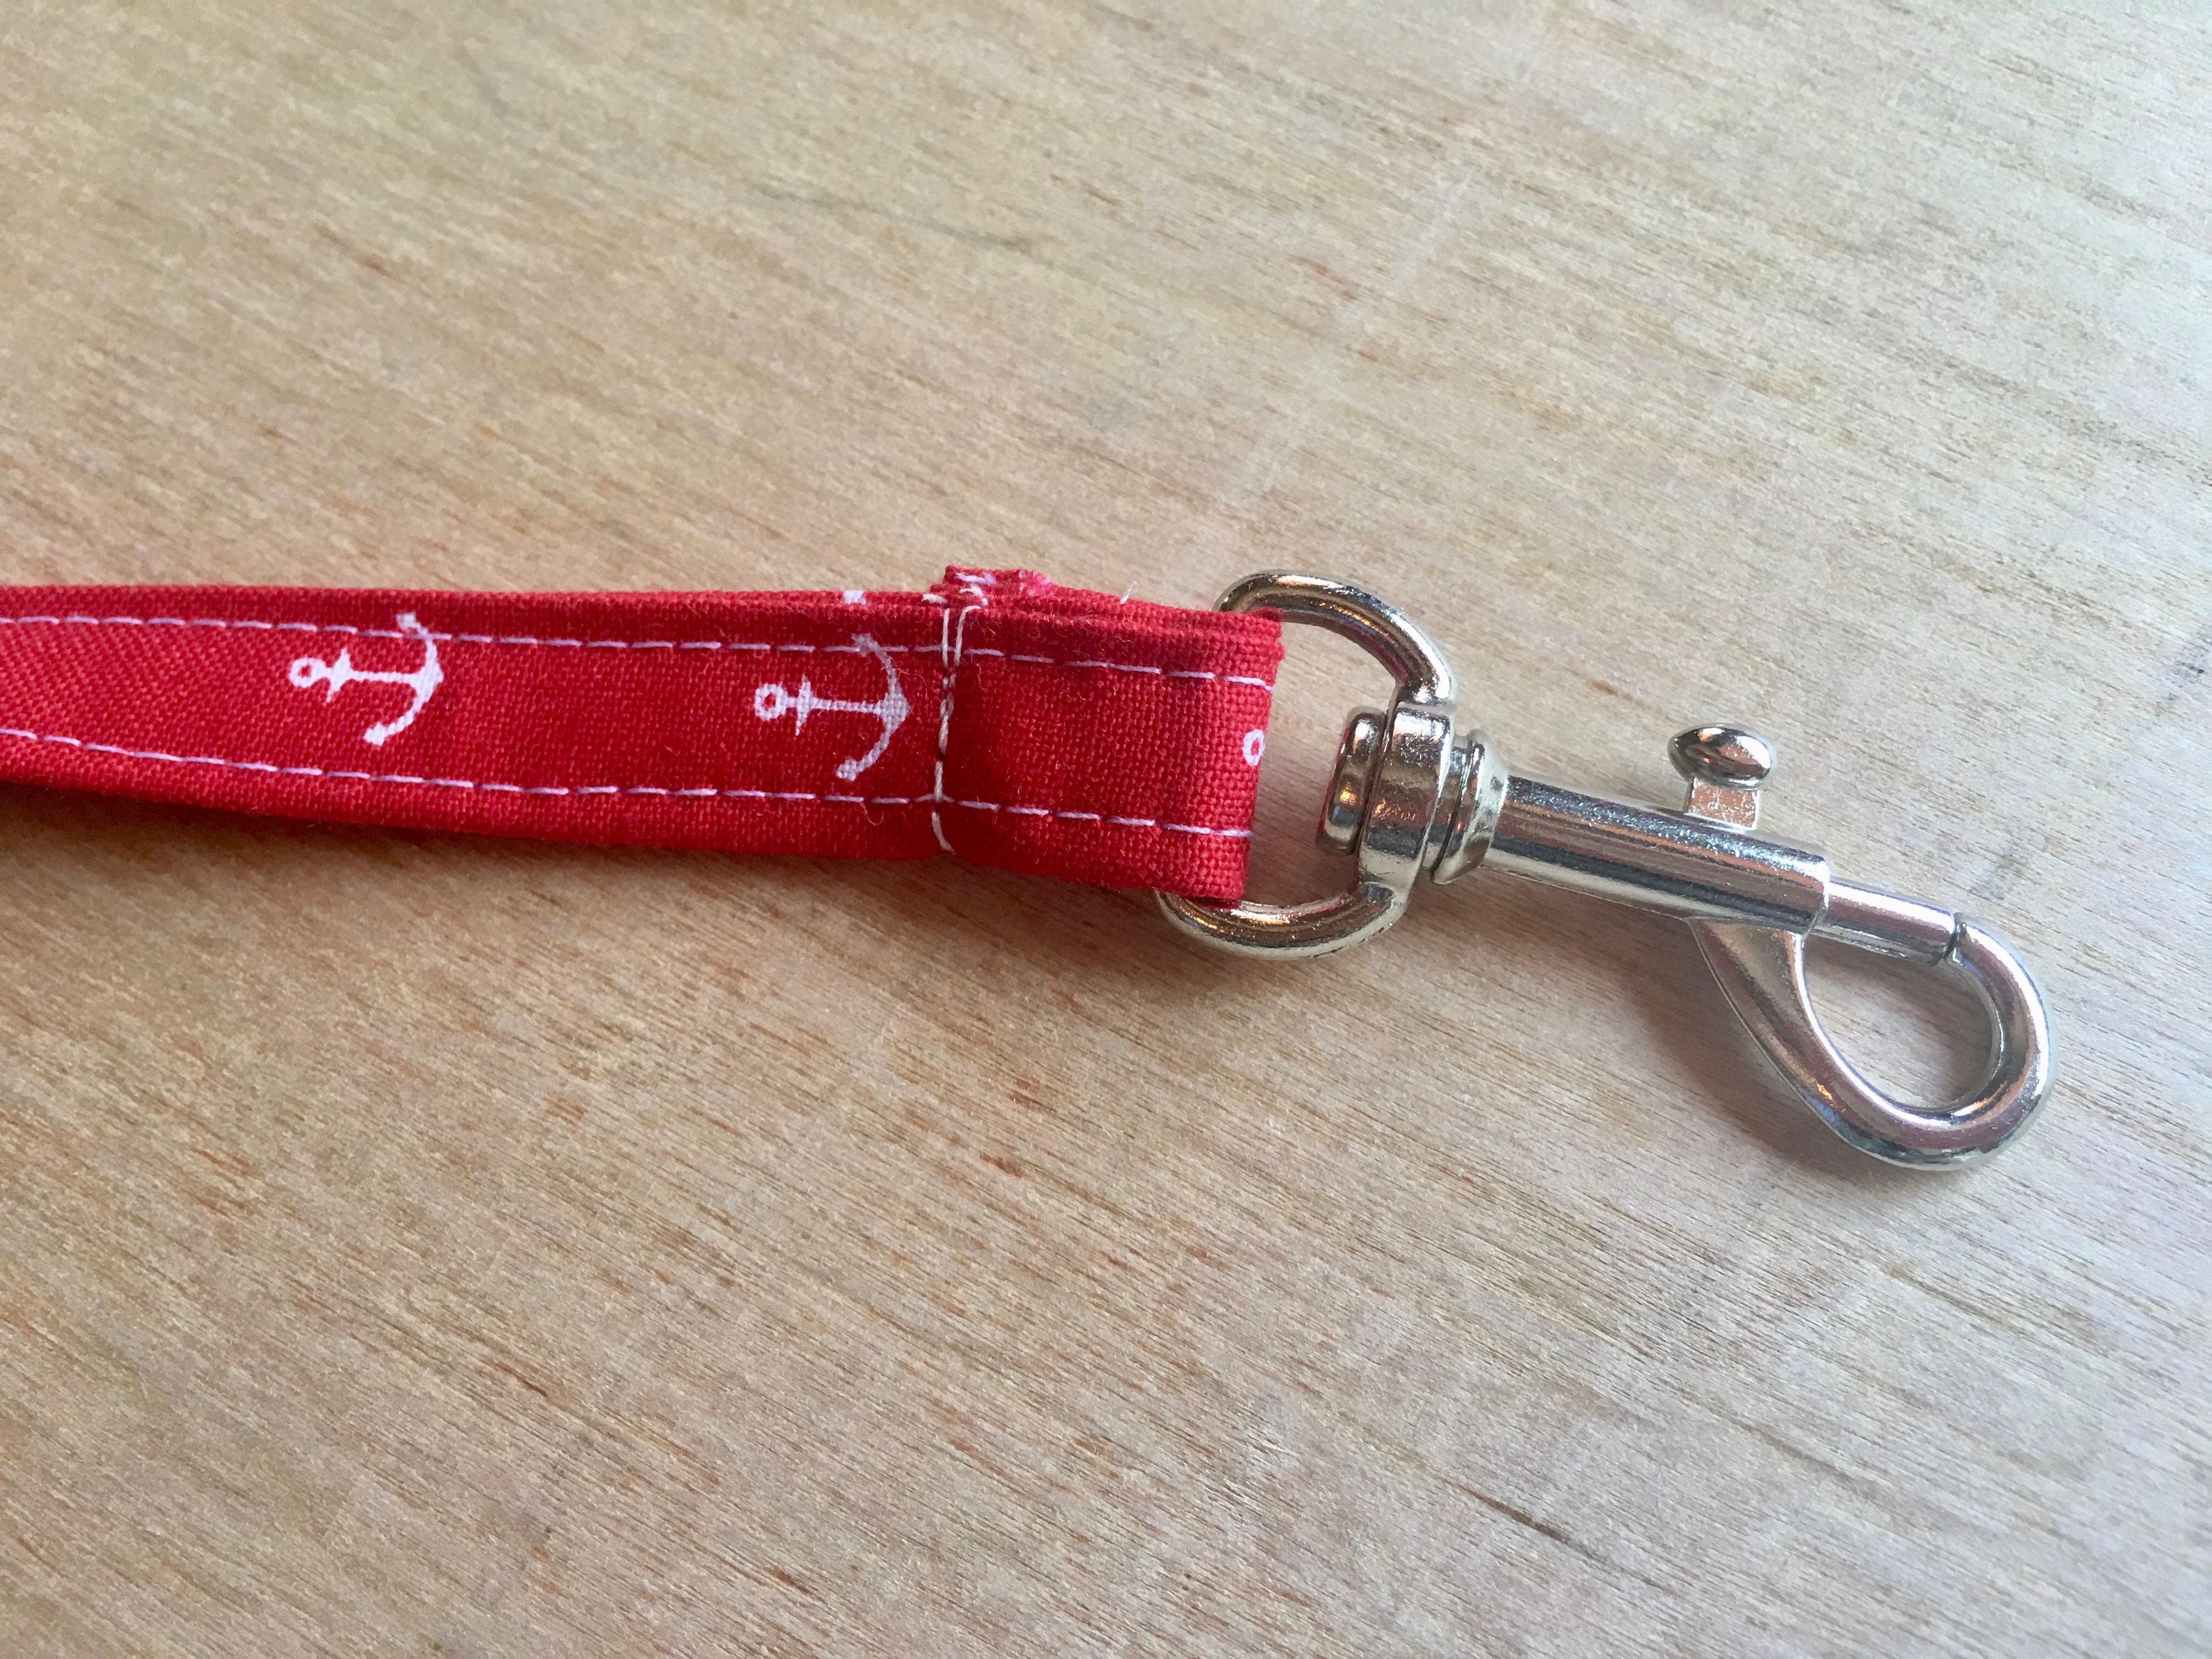
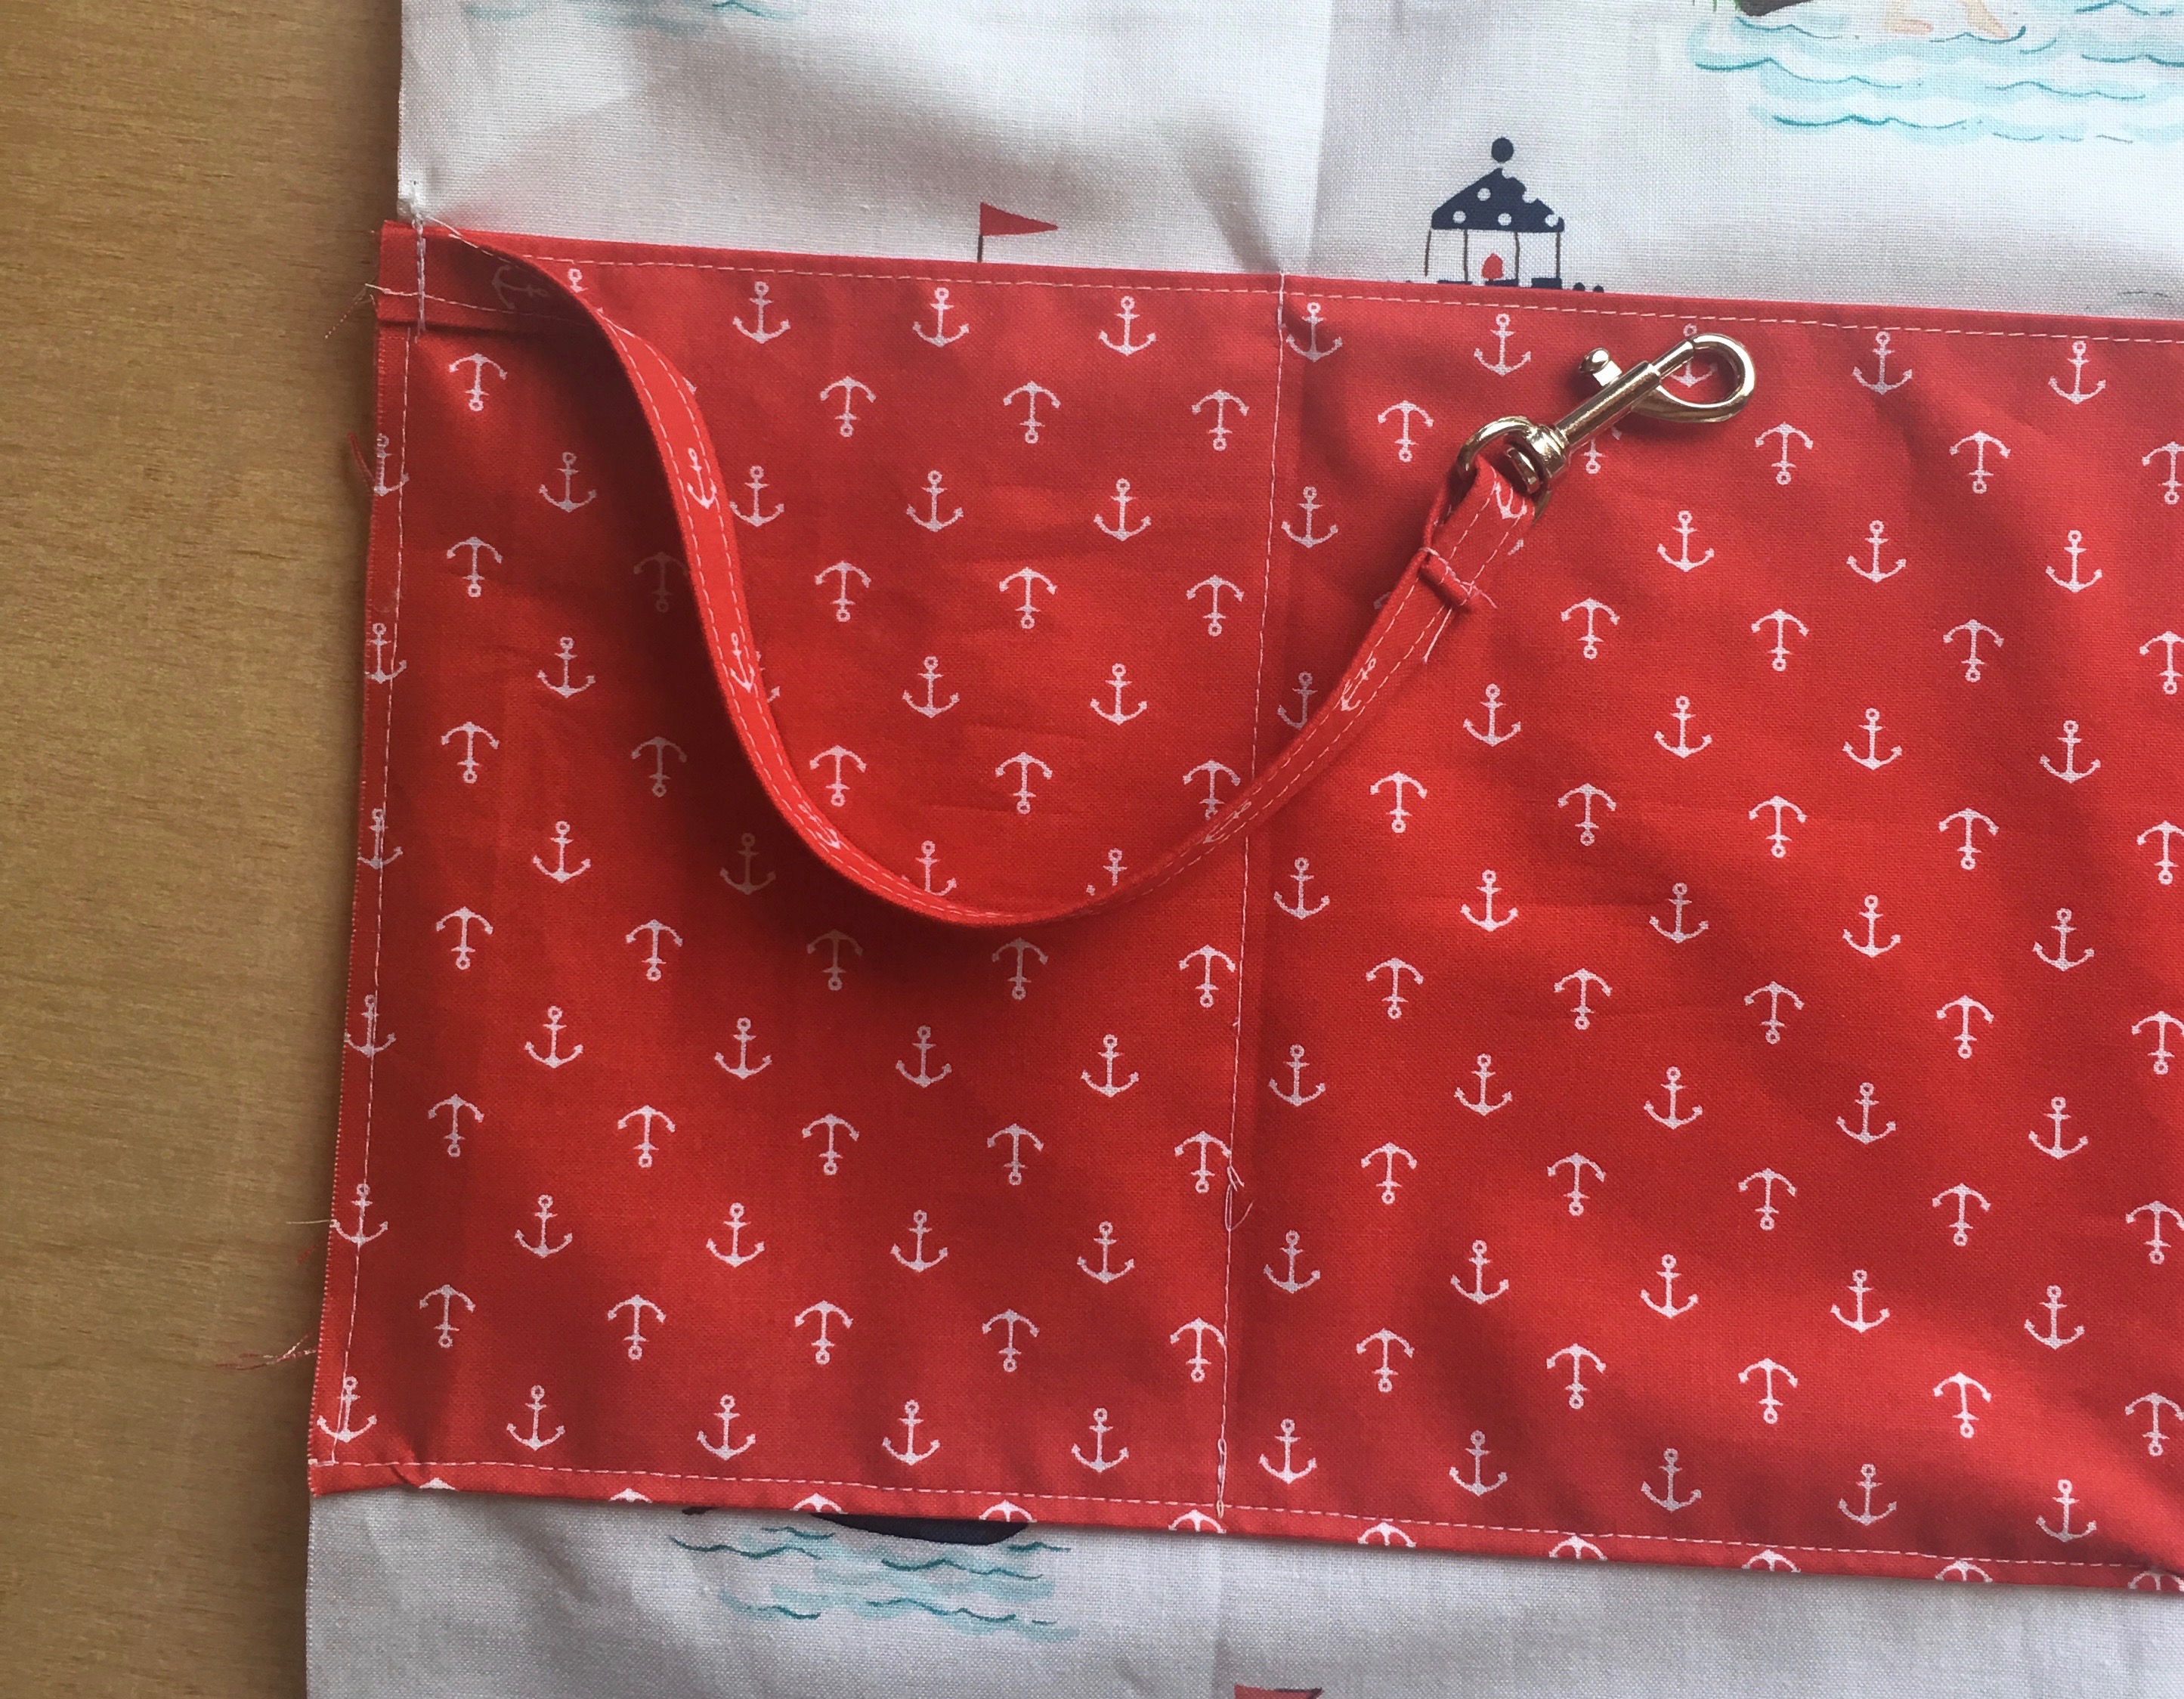
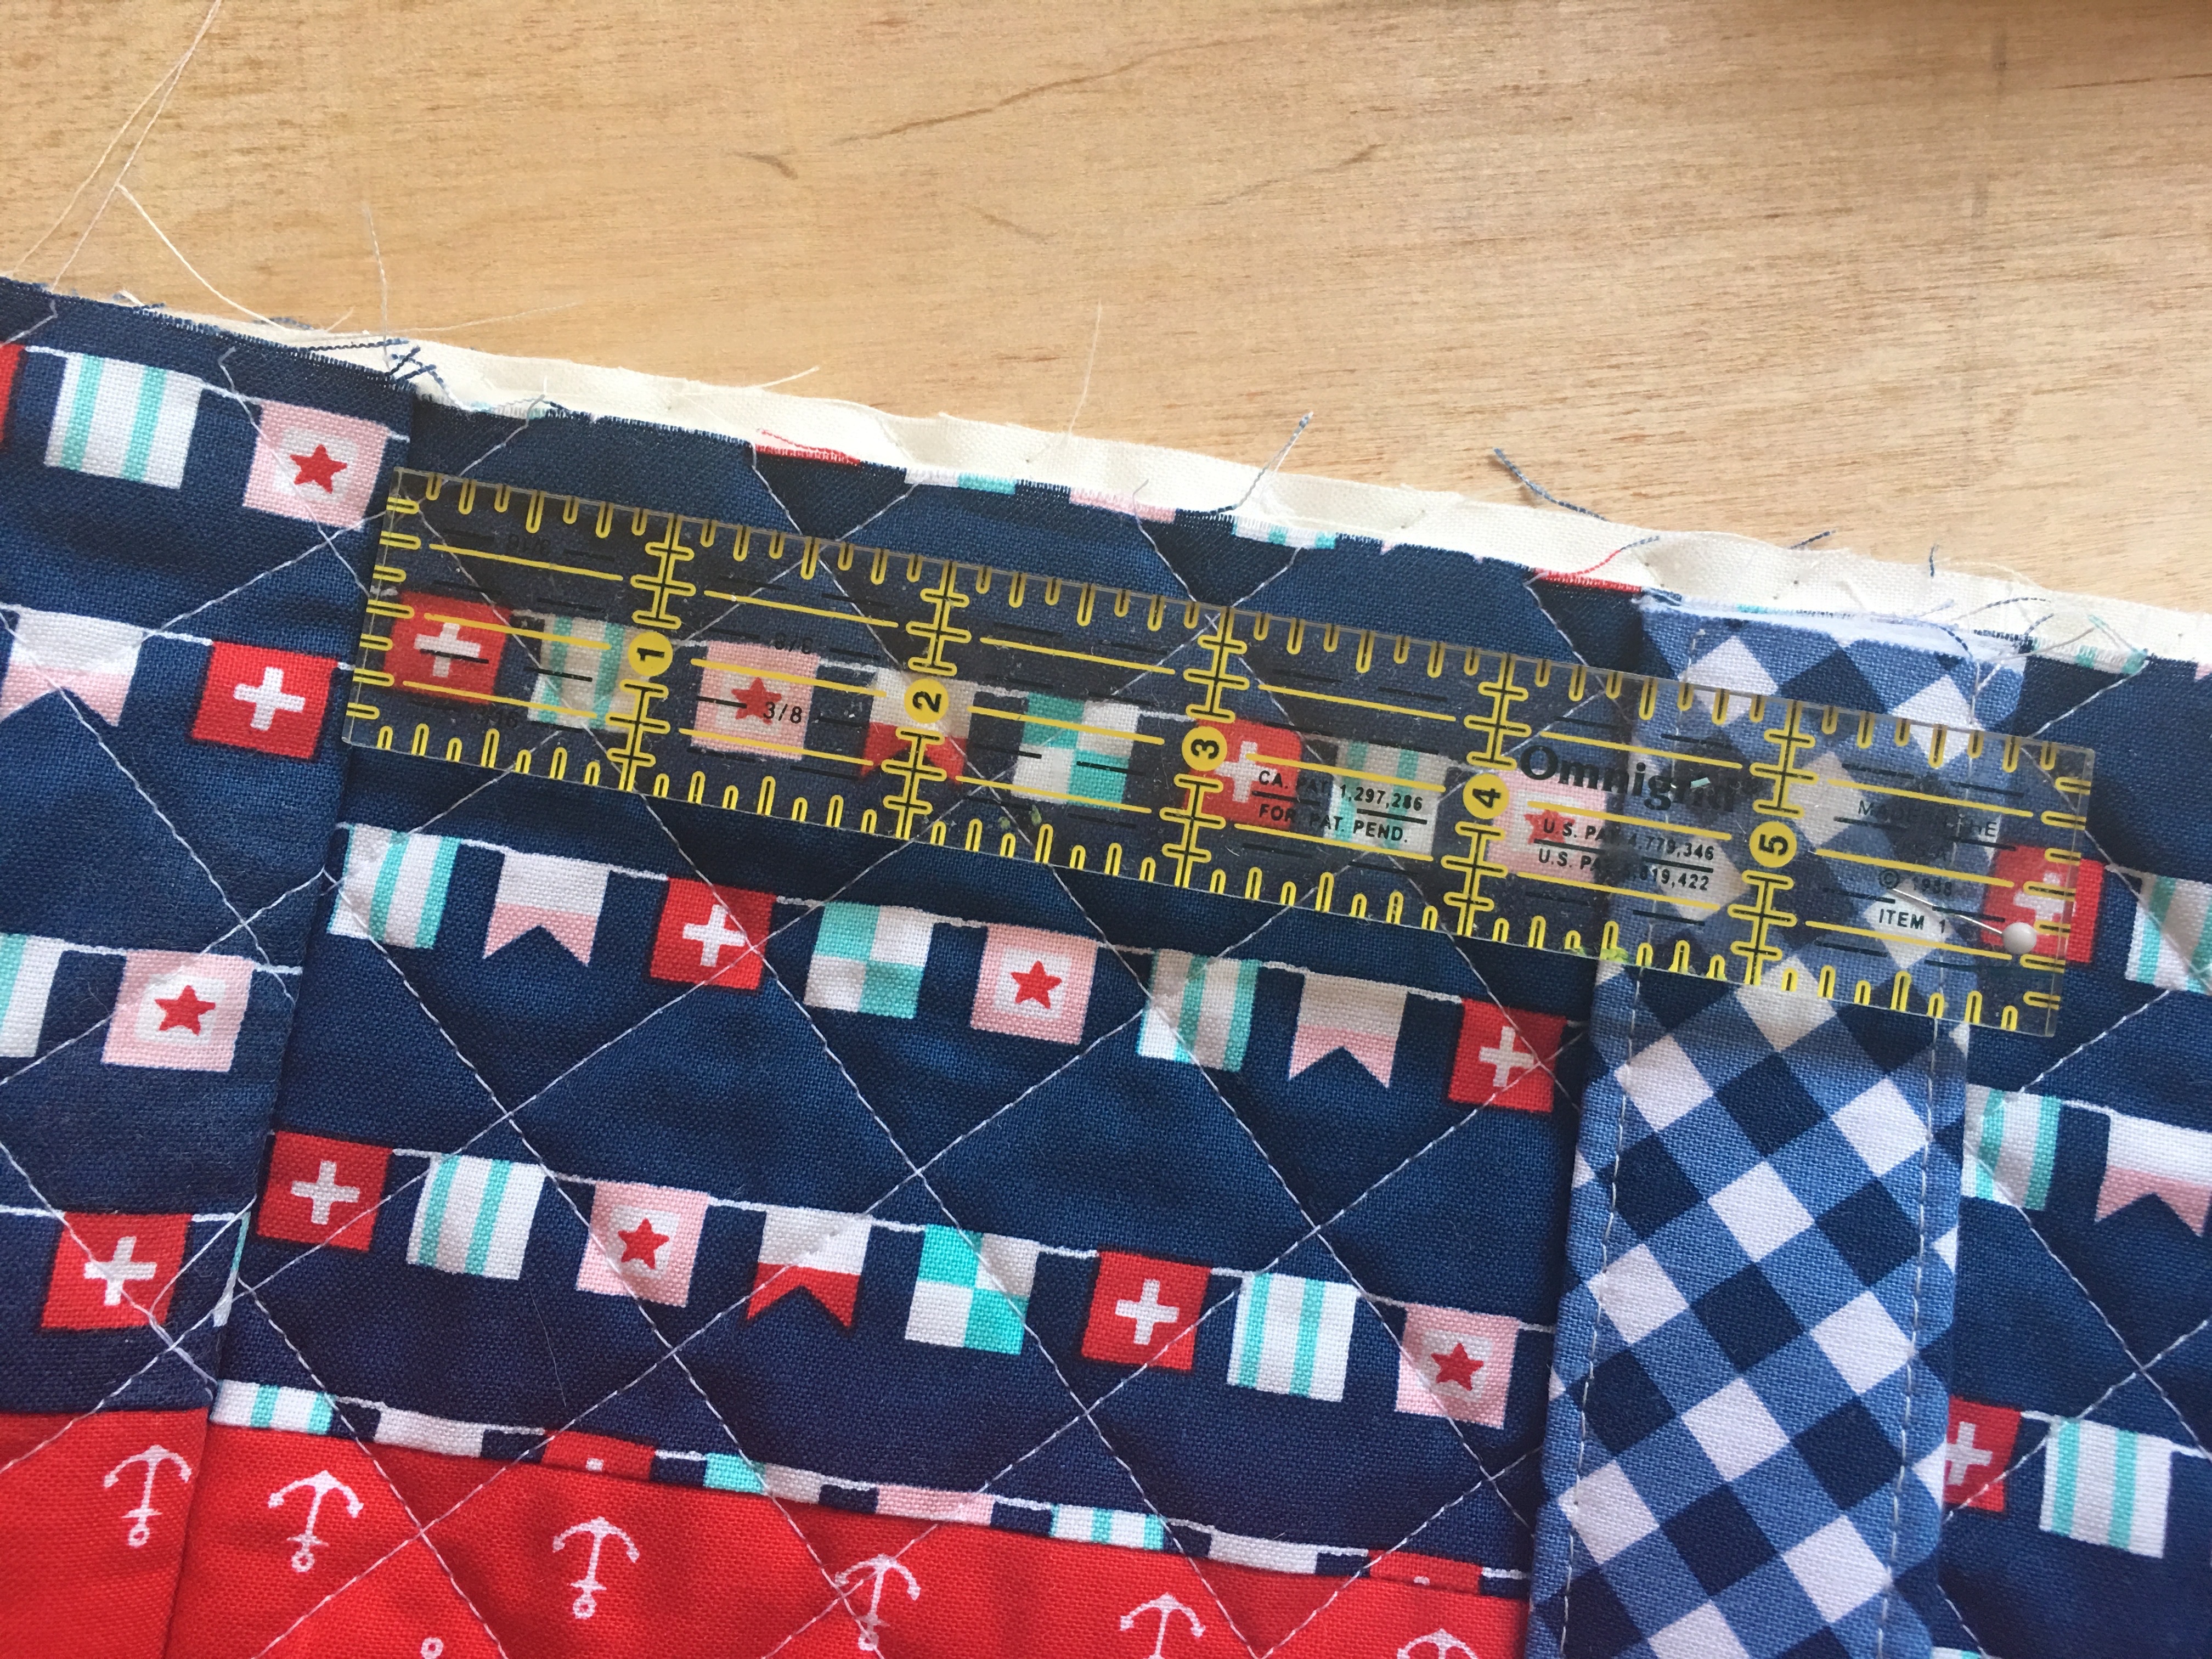
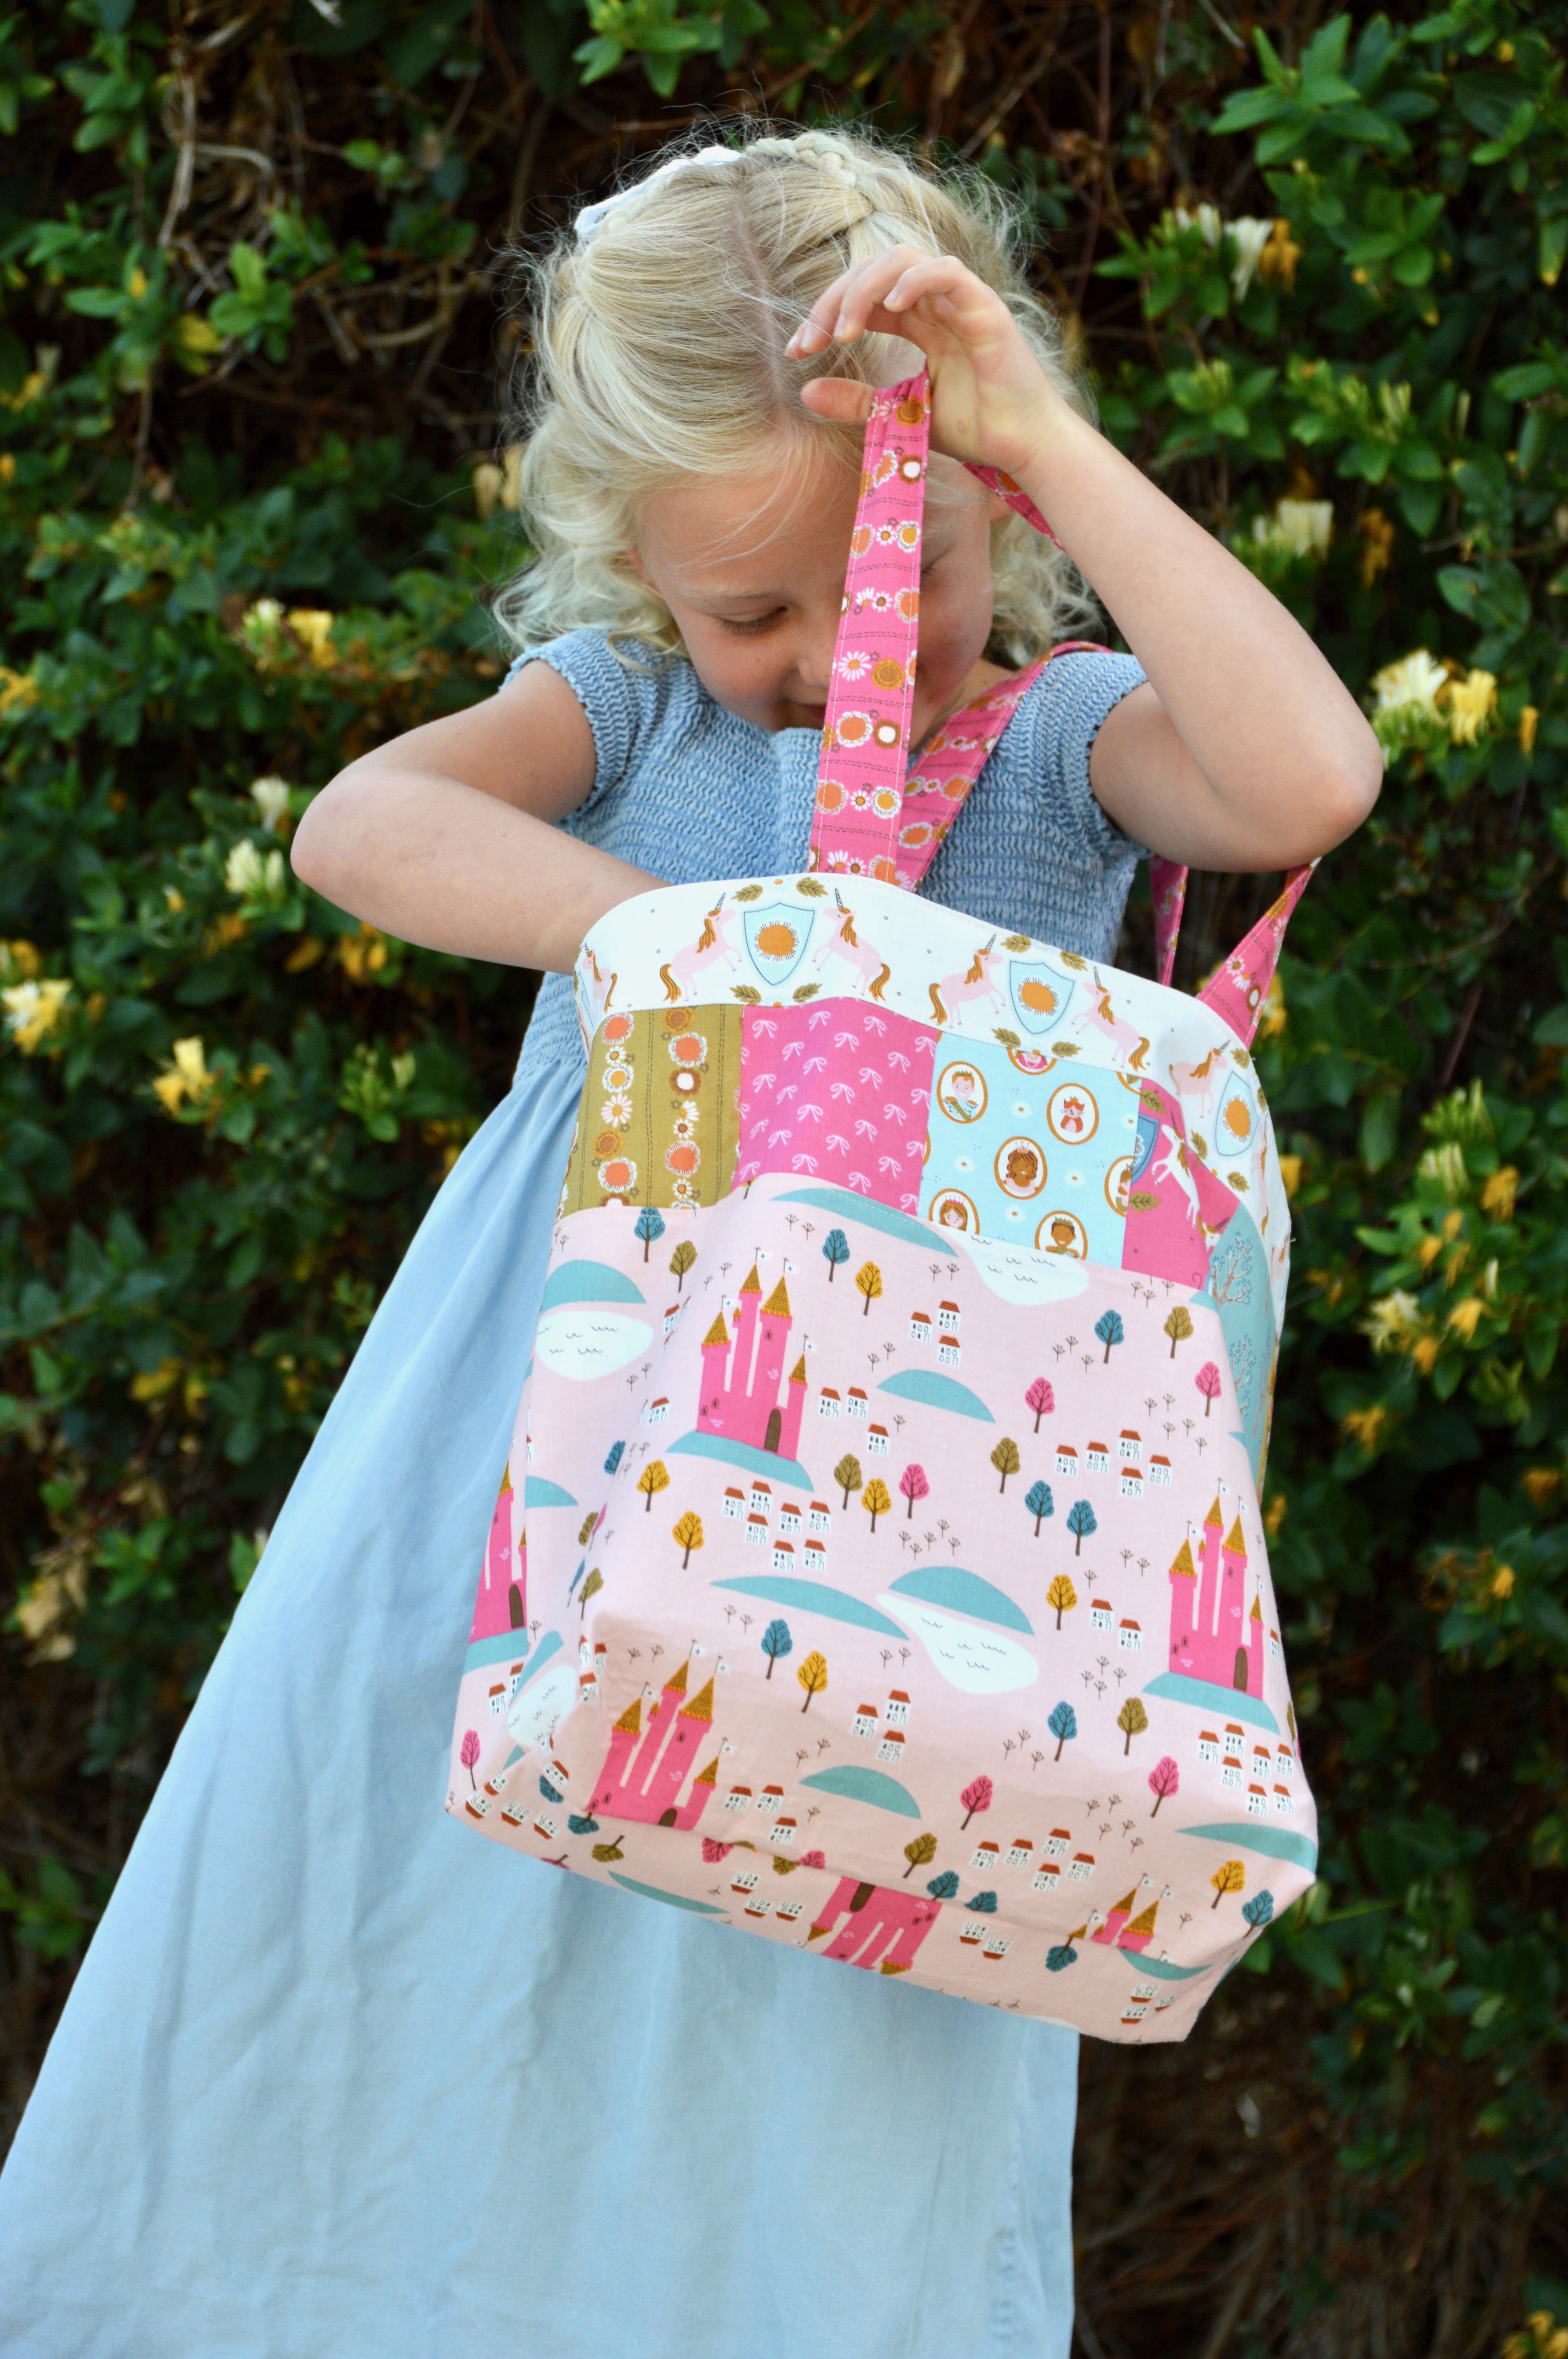
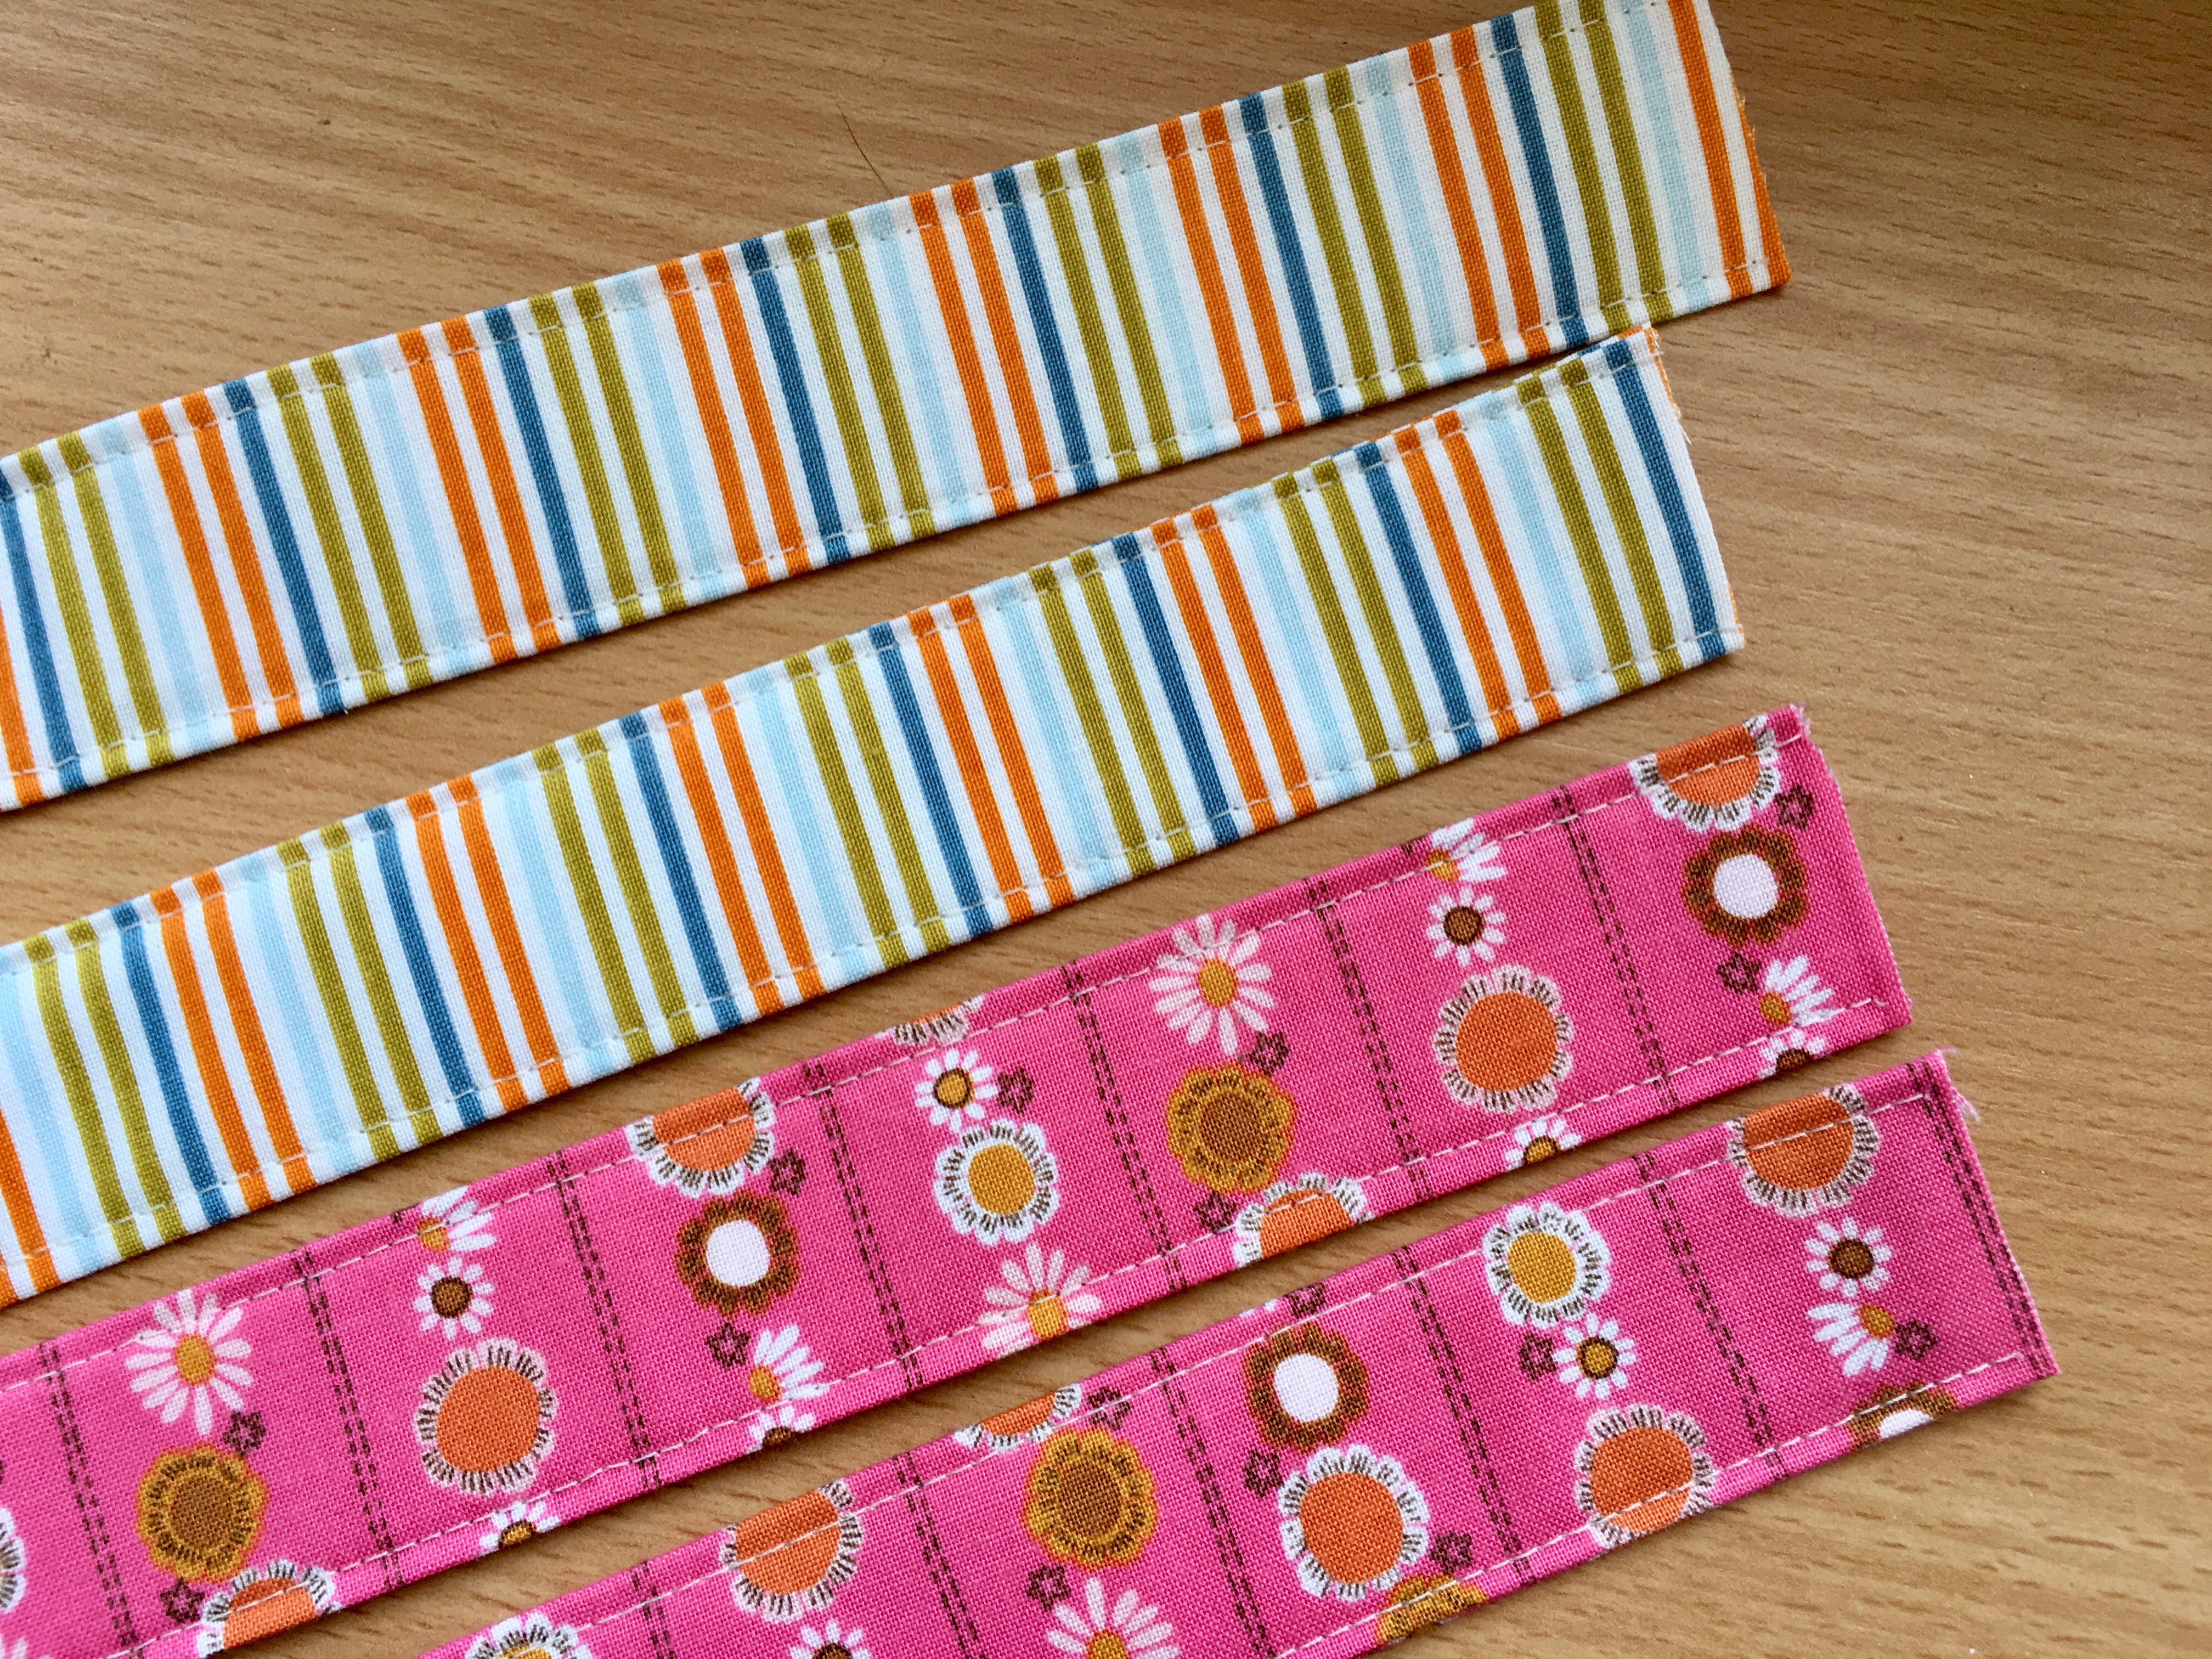
Top stitch 1/8″ along both sides of the handle.  I like to use my walking foot so nothing shifts.IMG_9612

I love top stitching!  Cut the long handle strip exactly in half so you now have two handles!IMG_9613

Pin the handles to each outer bag piece.  Measure in 4″ from the edge and pin in place.  Notice I overlap the edge of the handles about 1/4″.  This is to ensure that they fully get caught in the seam.  Baste the handles  1/8″ away from the top of the bag.IMG_9614

Pin the outer bag pieces right sides together, leaving the top open.

Pin the lining pieces right sides together leaving the top open.

Sew the sides and bottom of the bag using 1/4″ seam allowance.

*Tip – I use a slightly larger seam allowance on my lining – it makes all the difference in making sure it fits inside the bag!
IMG_9615

Cut a 2″ square out of paper and use it as your guide to cut a 2″ notch out of the bottom two corners of the outer bag and the lining.IMG_9616

Open the 2″ square and match the seams together.  Pin.  Sew 1/4″ along this edge, backstitching to start and stop.

Do this to each corner of the outer bag and the lining.

IMG_9617

Leave the outer bag inside out and turn the lining right side out.  Put the lining inside the outer bag so right sides are together.  Match the side seams.  Pin all the way around the bag.

Sew using 1/4″ seam allowance all the way around the bag.

Using a seam ripper, unstitch 3″ of the side seam and turn the bag right side out.  Sew the opening closed by topstitching on the machine in matching thread.

Press the lining inside the bag and top stitch 1/8″ all the way around the top of the bag.

tote bag tutorial. 14

So fast and easy!  The children were so excited to get to keep the bags!!  Happy sewing!!

tote bag tutorial. 8

Good Morning Starshine Quilt Pattern

DSC_0673

I am so in love with this fabric collection from Riley Blake Designs called Guinevere!  I choose a variety of prints from this line to make this fun quilt!  I love collecting charm packs and I often cut my scraps into 5″ squares.  I am always looking for ways to use these squares.  What I love most about this quilt is that all you need are charm squares and a little yardage for the border and background fabric!  Scroll down for the exact fabric requirements!  You can purchase the PDF quilt pattern in my Etsy shop.
starshine cover

This little quilt is perfect to add to your mini quilt wall, place on a table or flop over a chair!

DSC_0664

Don’t tell Mufasa that I used a cat garden statue!  I was photographing the quilt during his afternoon nap and there is NO waking him!!!
DSC_0613

Fabric Requirements 

21 charm squares (measuring 5”) – fabrics shown are from the fabric line Guinevere by Riley Blake Designs

  • Dark Blue – 4 charm squares
  •  Light Blue – 6 charm squares
  •  Dark Pink – 4 charm squares
  •  Light Pink – 4 charm squares
  •  Gold – 3 charm squares

⅔ yard white background fabric

⅓ yard border fabric

1 yard backing fabric

¼ yard binding fabric

DSC_0636

Let me tell you how the quilt got it’s name.  Every morning I put on the song Good Morning Starshine and I sing it to my kids and they HATE it!!! But I love it!! It’s such a classic 60’s song!  The colors in the fabric have a little retro vibe and this center star just made me think of the song!!

DSC_0669

I can’t wait to hang it in my newly painted sewing room!!!!!

DSC_0646

Hello Springtime Quilt Pattern


spring quilt 6

I am so happy it is finally spring!  I feel like I am coming out of hibernation and ready to live!!!  To celebrate the this wonderful season I created this spring-inspired quilt!

hello springtime quilt pattern 3

The quilt is made up of 8″ flower quilt blocks in pinks and teals from Riley Blake Designs’ Wonderland 2 designed by Melissa from Polkadotchair.  This fabric is seriously one of my favorite fabric lines and I’ve been hoarding it for this past year!

hello springtime quilt pattern 11

Each flower block is variegated from dark to light which gives it a soft feel.  The quilt measures 71″ square which is a perfect throw size, a perfect fold up and put on the end of your bed size, or a perfect take to the park size!!

hello springtime

You can purchase the pattern in my Etsy shop for instant download, click here.  The pattern does not require cutting any triangles and is written for fat quarters!!!  So bust open your stash!!!

hello springtime quilt pattern 5

Yay!  I’m so happy it came together how I had pictured in my head!  I can’t stop looking at it!!

spring quilt 5

I love the rabbit border – it just makes my heart happy!!!

spring quilt 4

I hope you love making this quilt – it’s super fun to put together!!!

hello springtime quilt pattern 8

And now for the Mufasa quilt model photo shoot!!!!  These colors go so well with is coat!!bunny fabric 
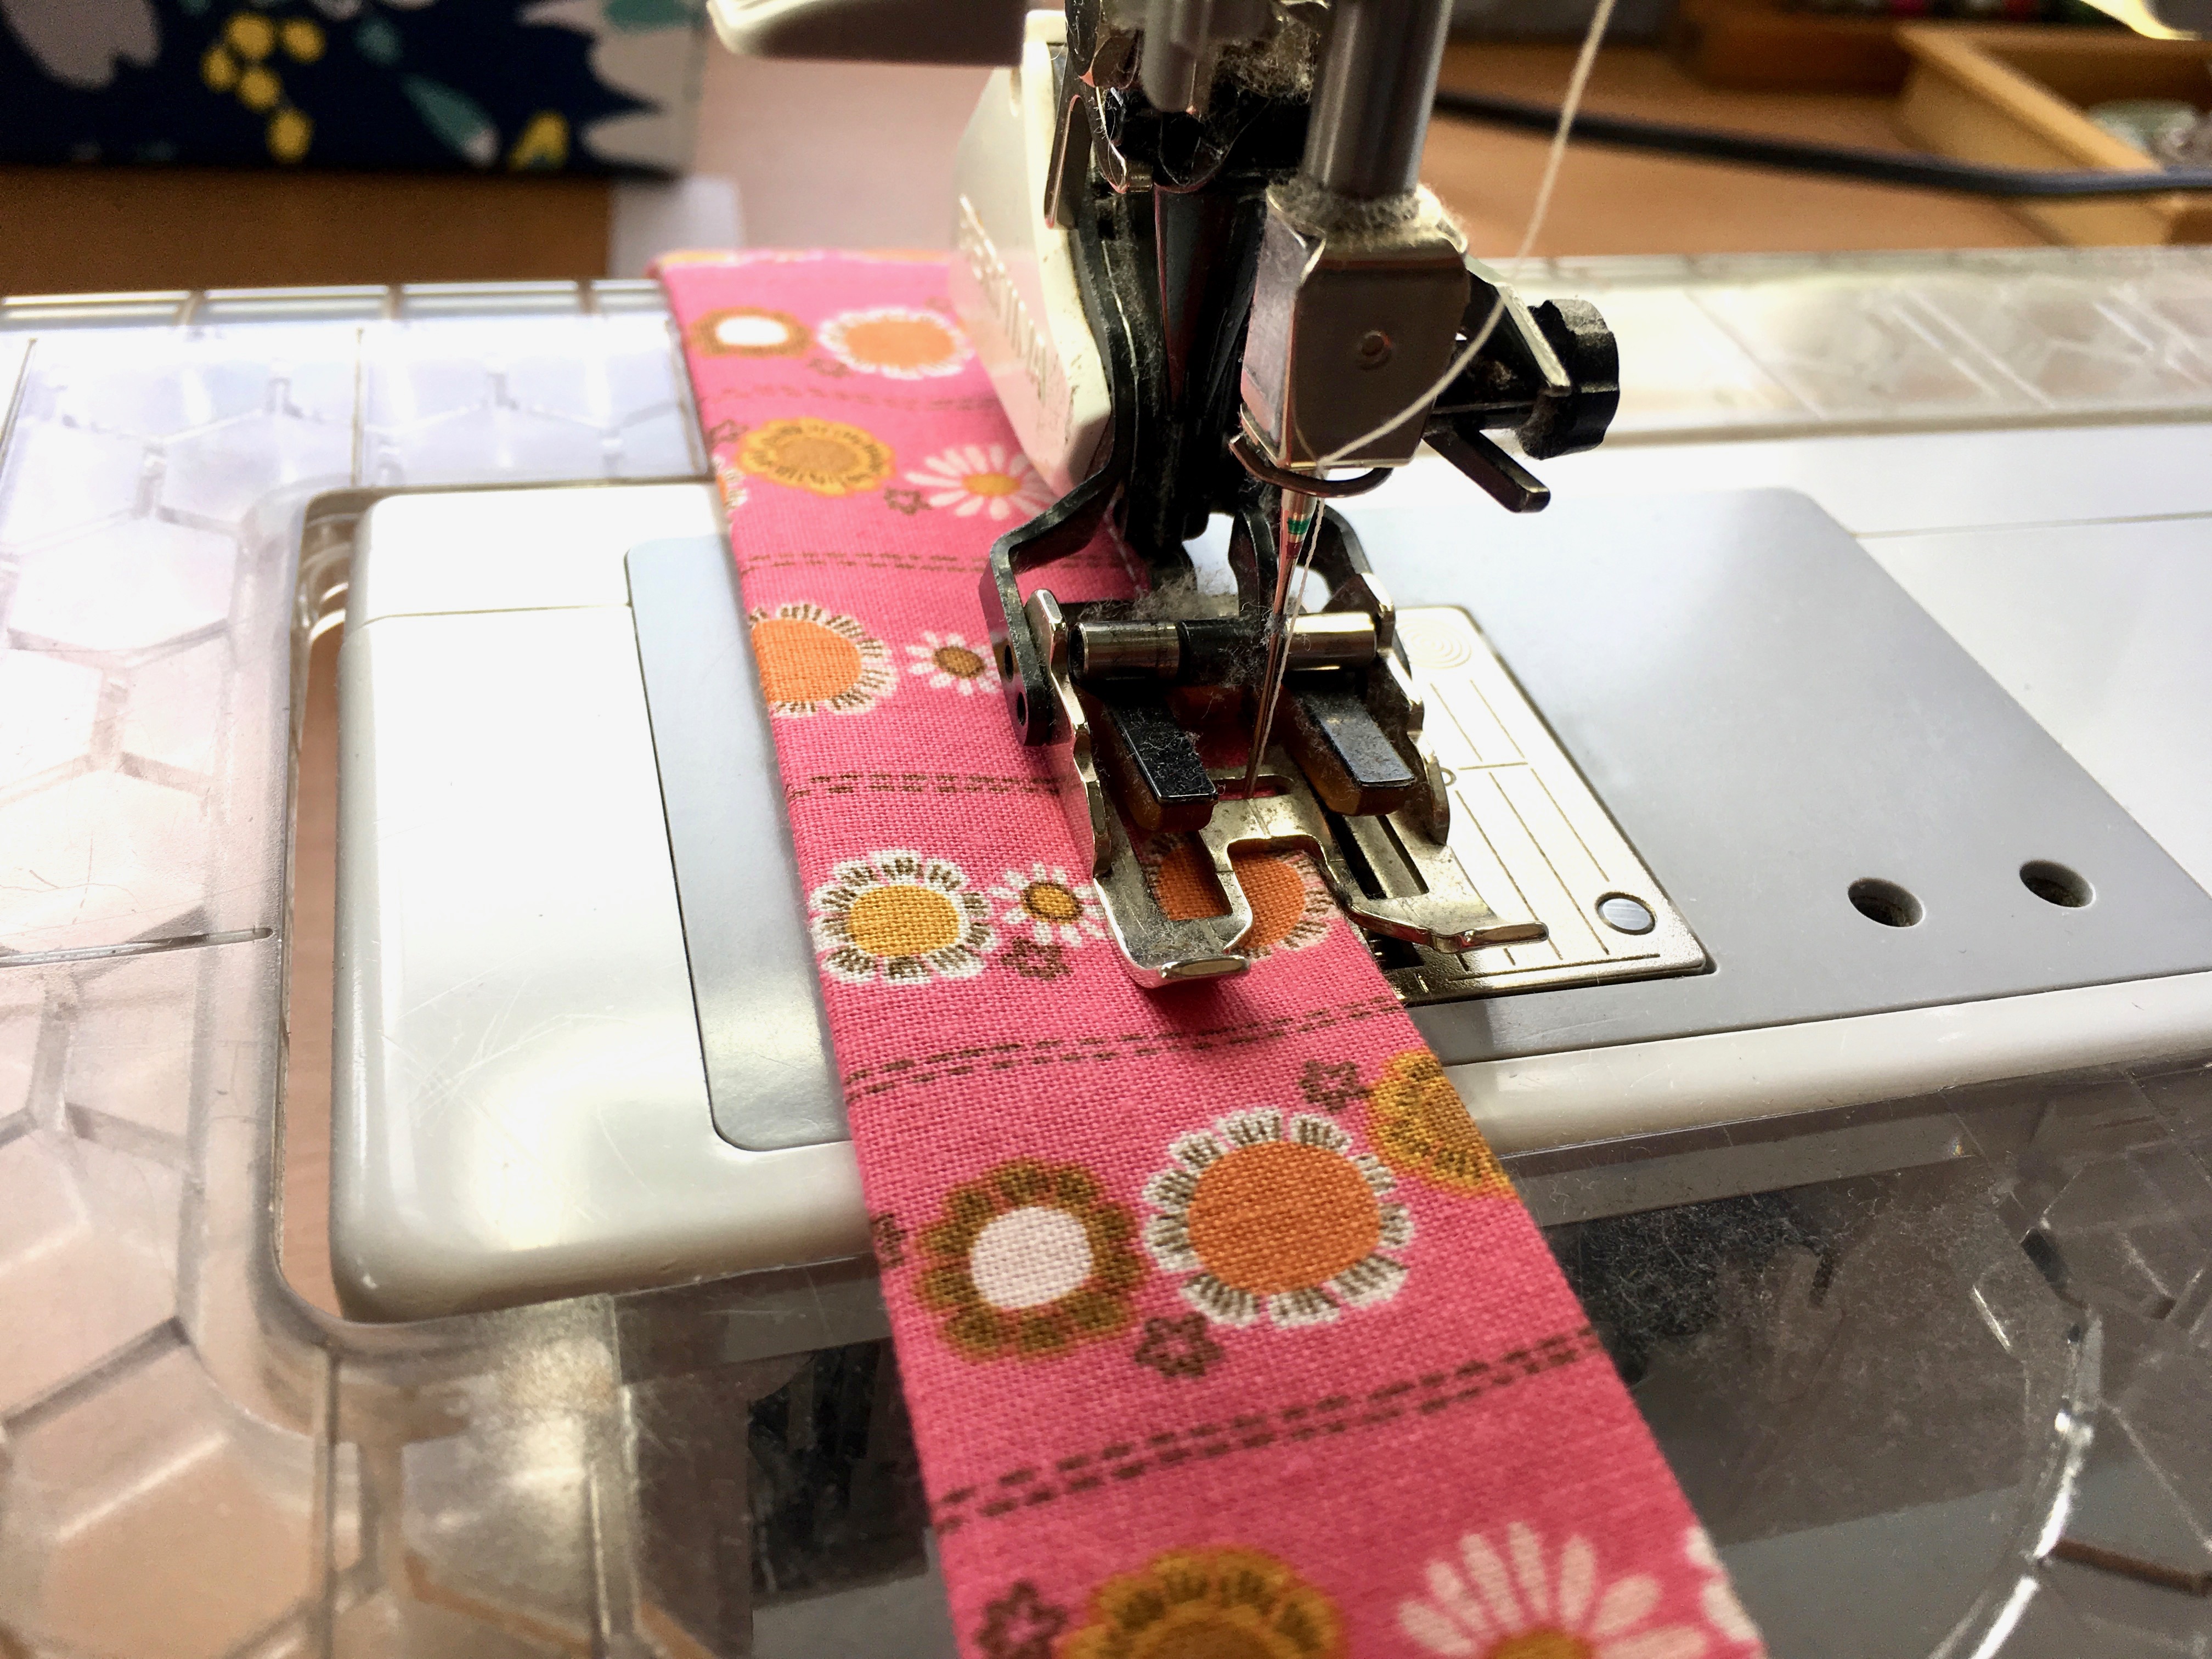
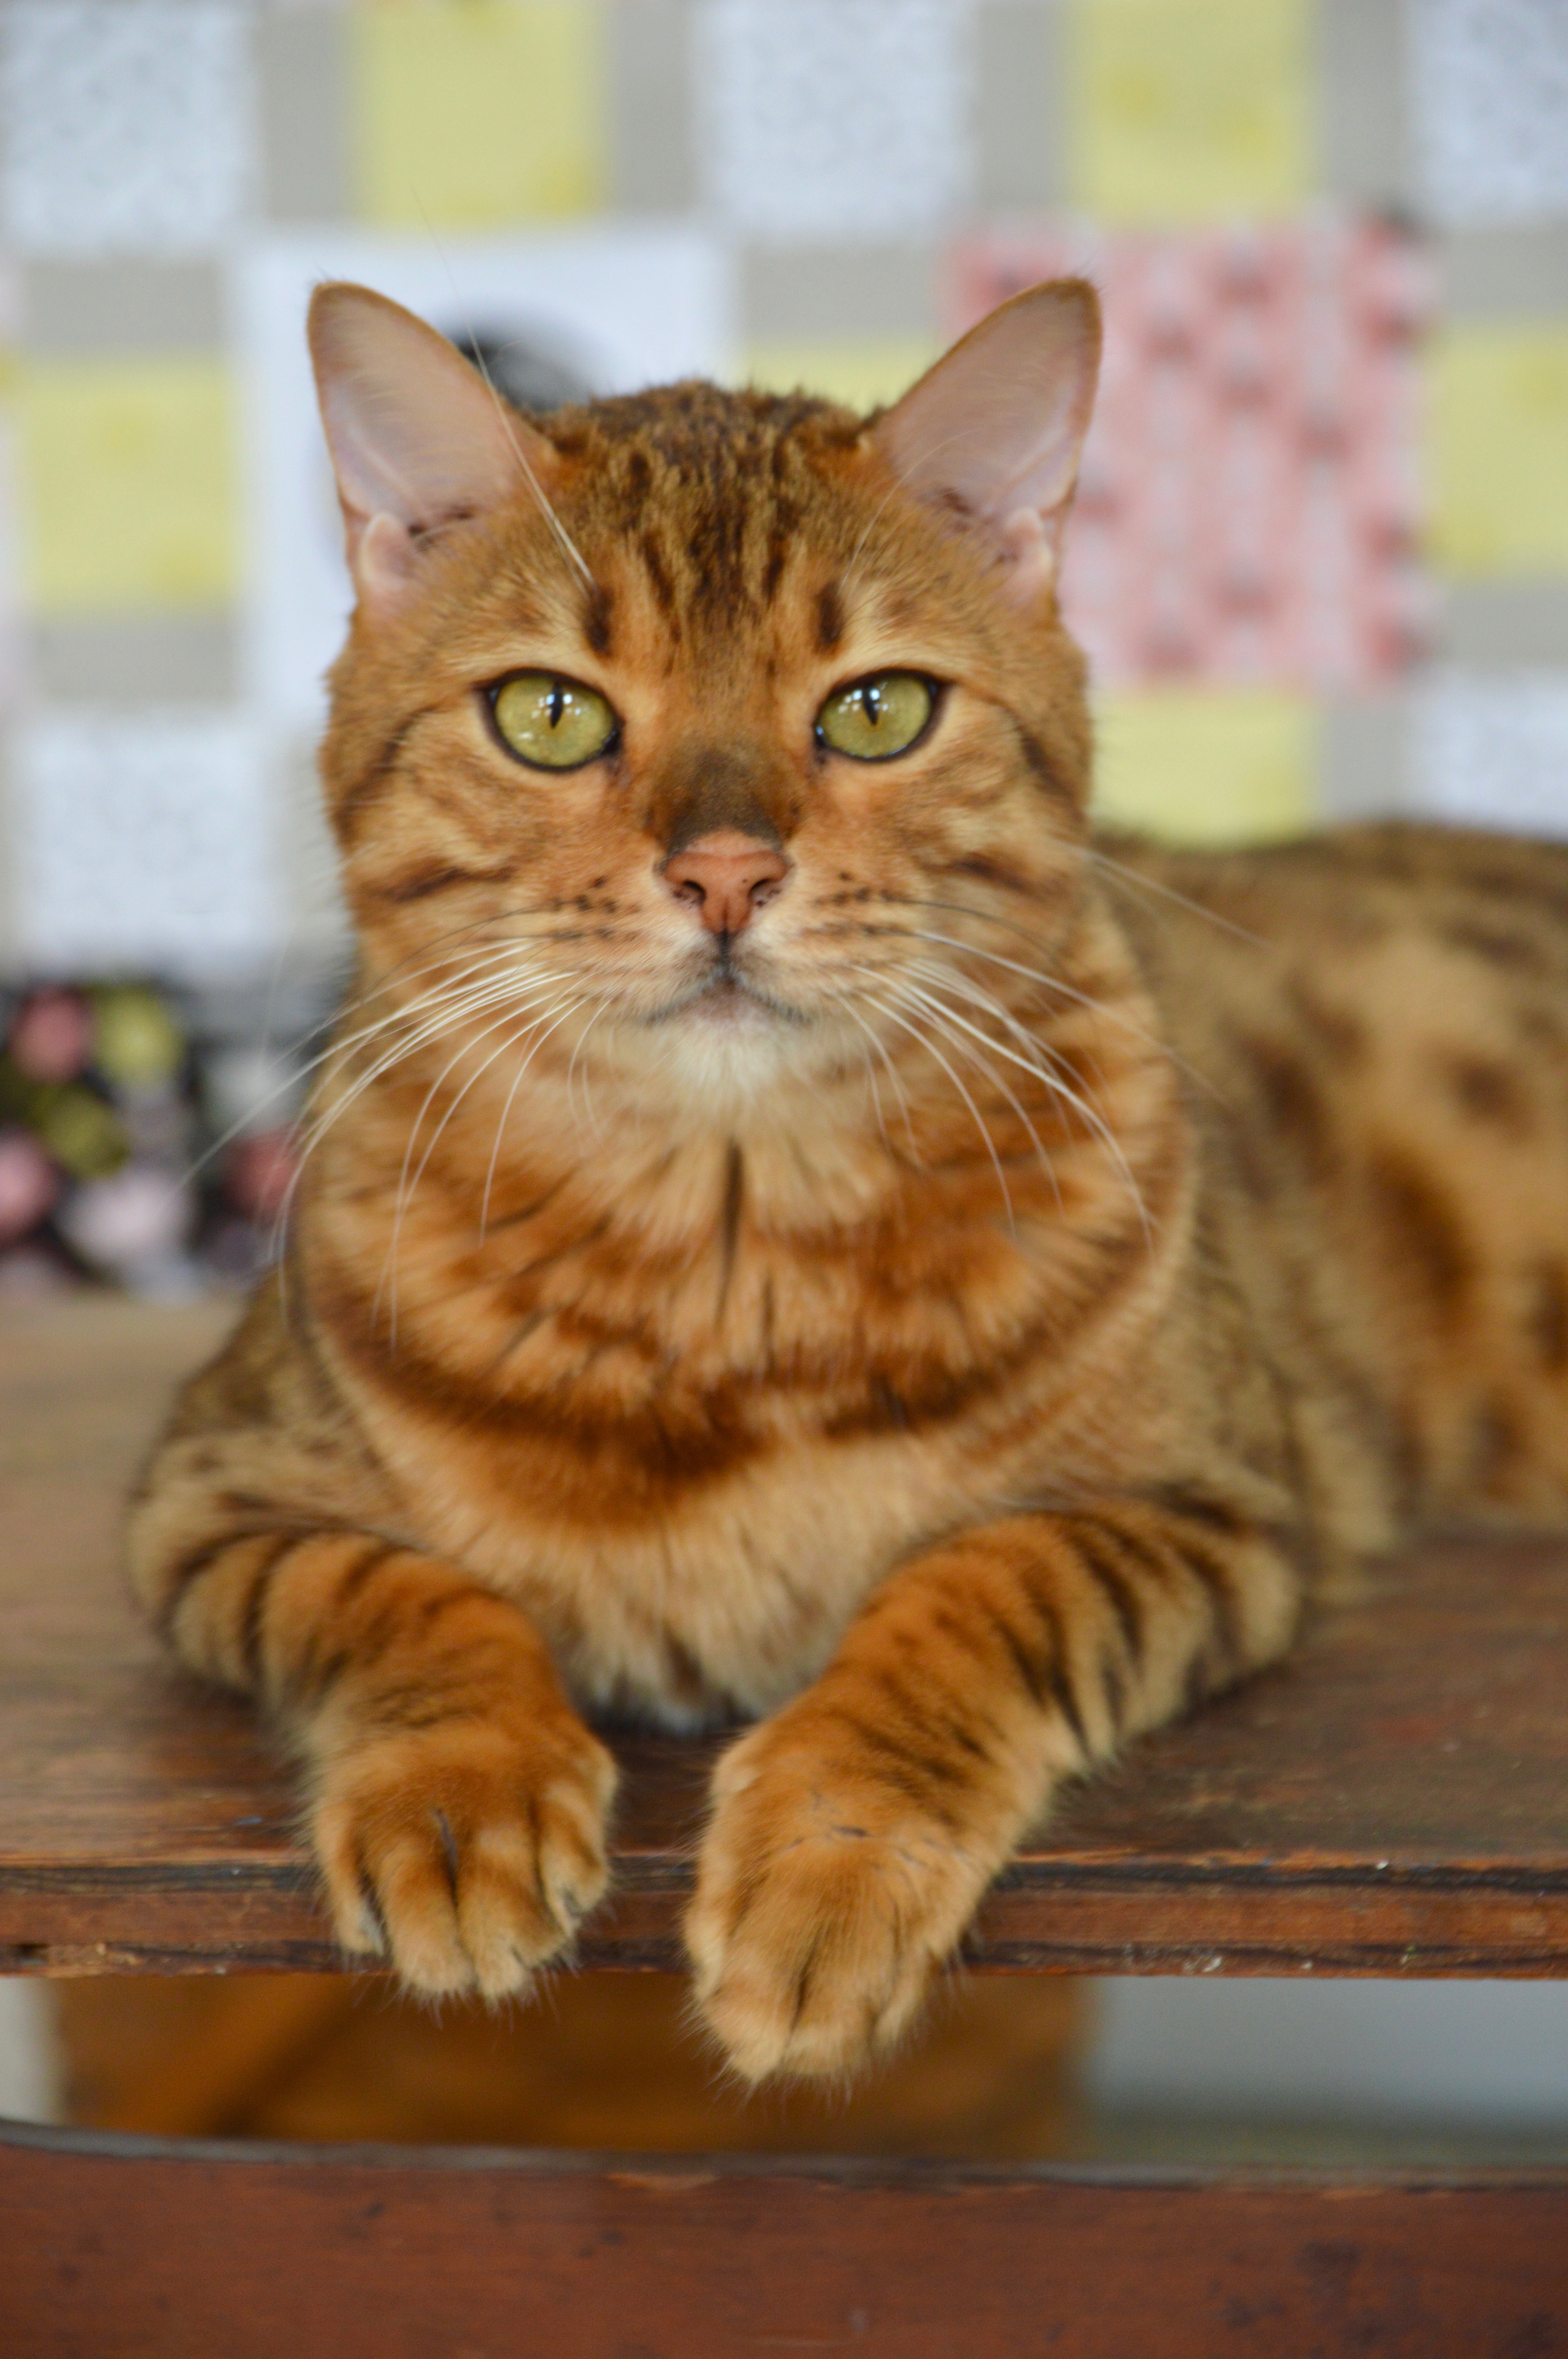
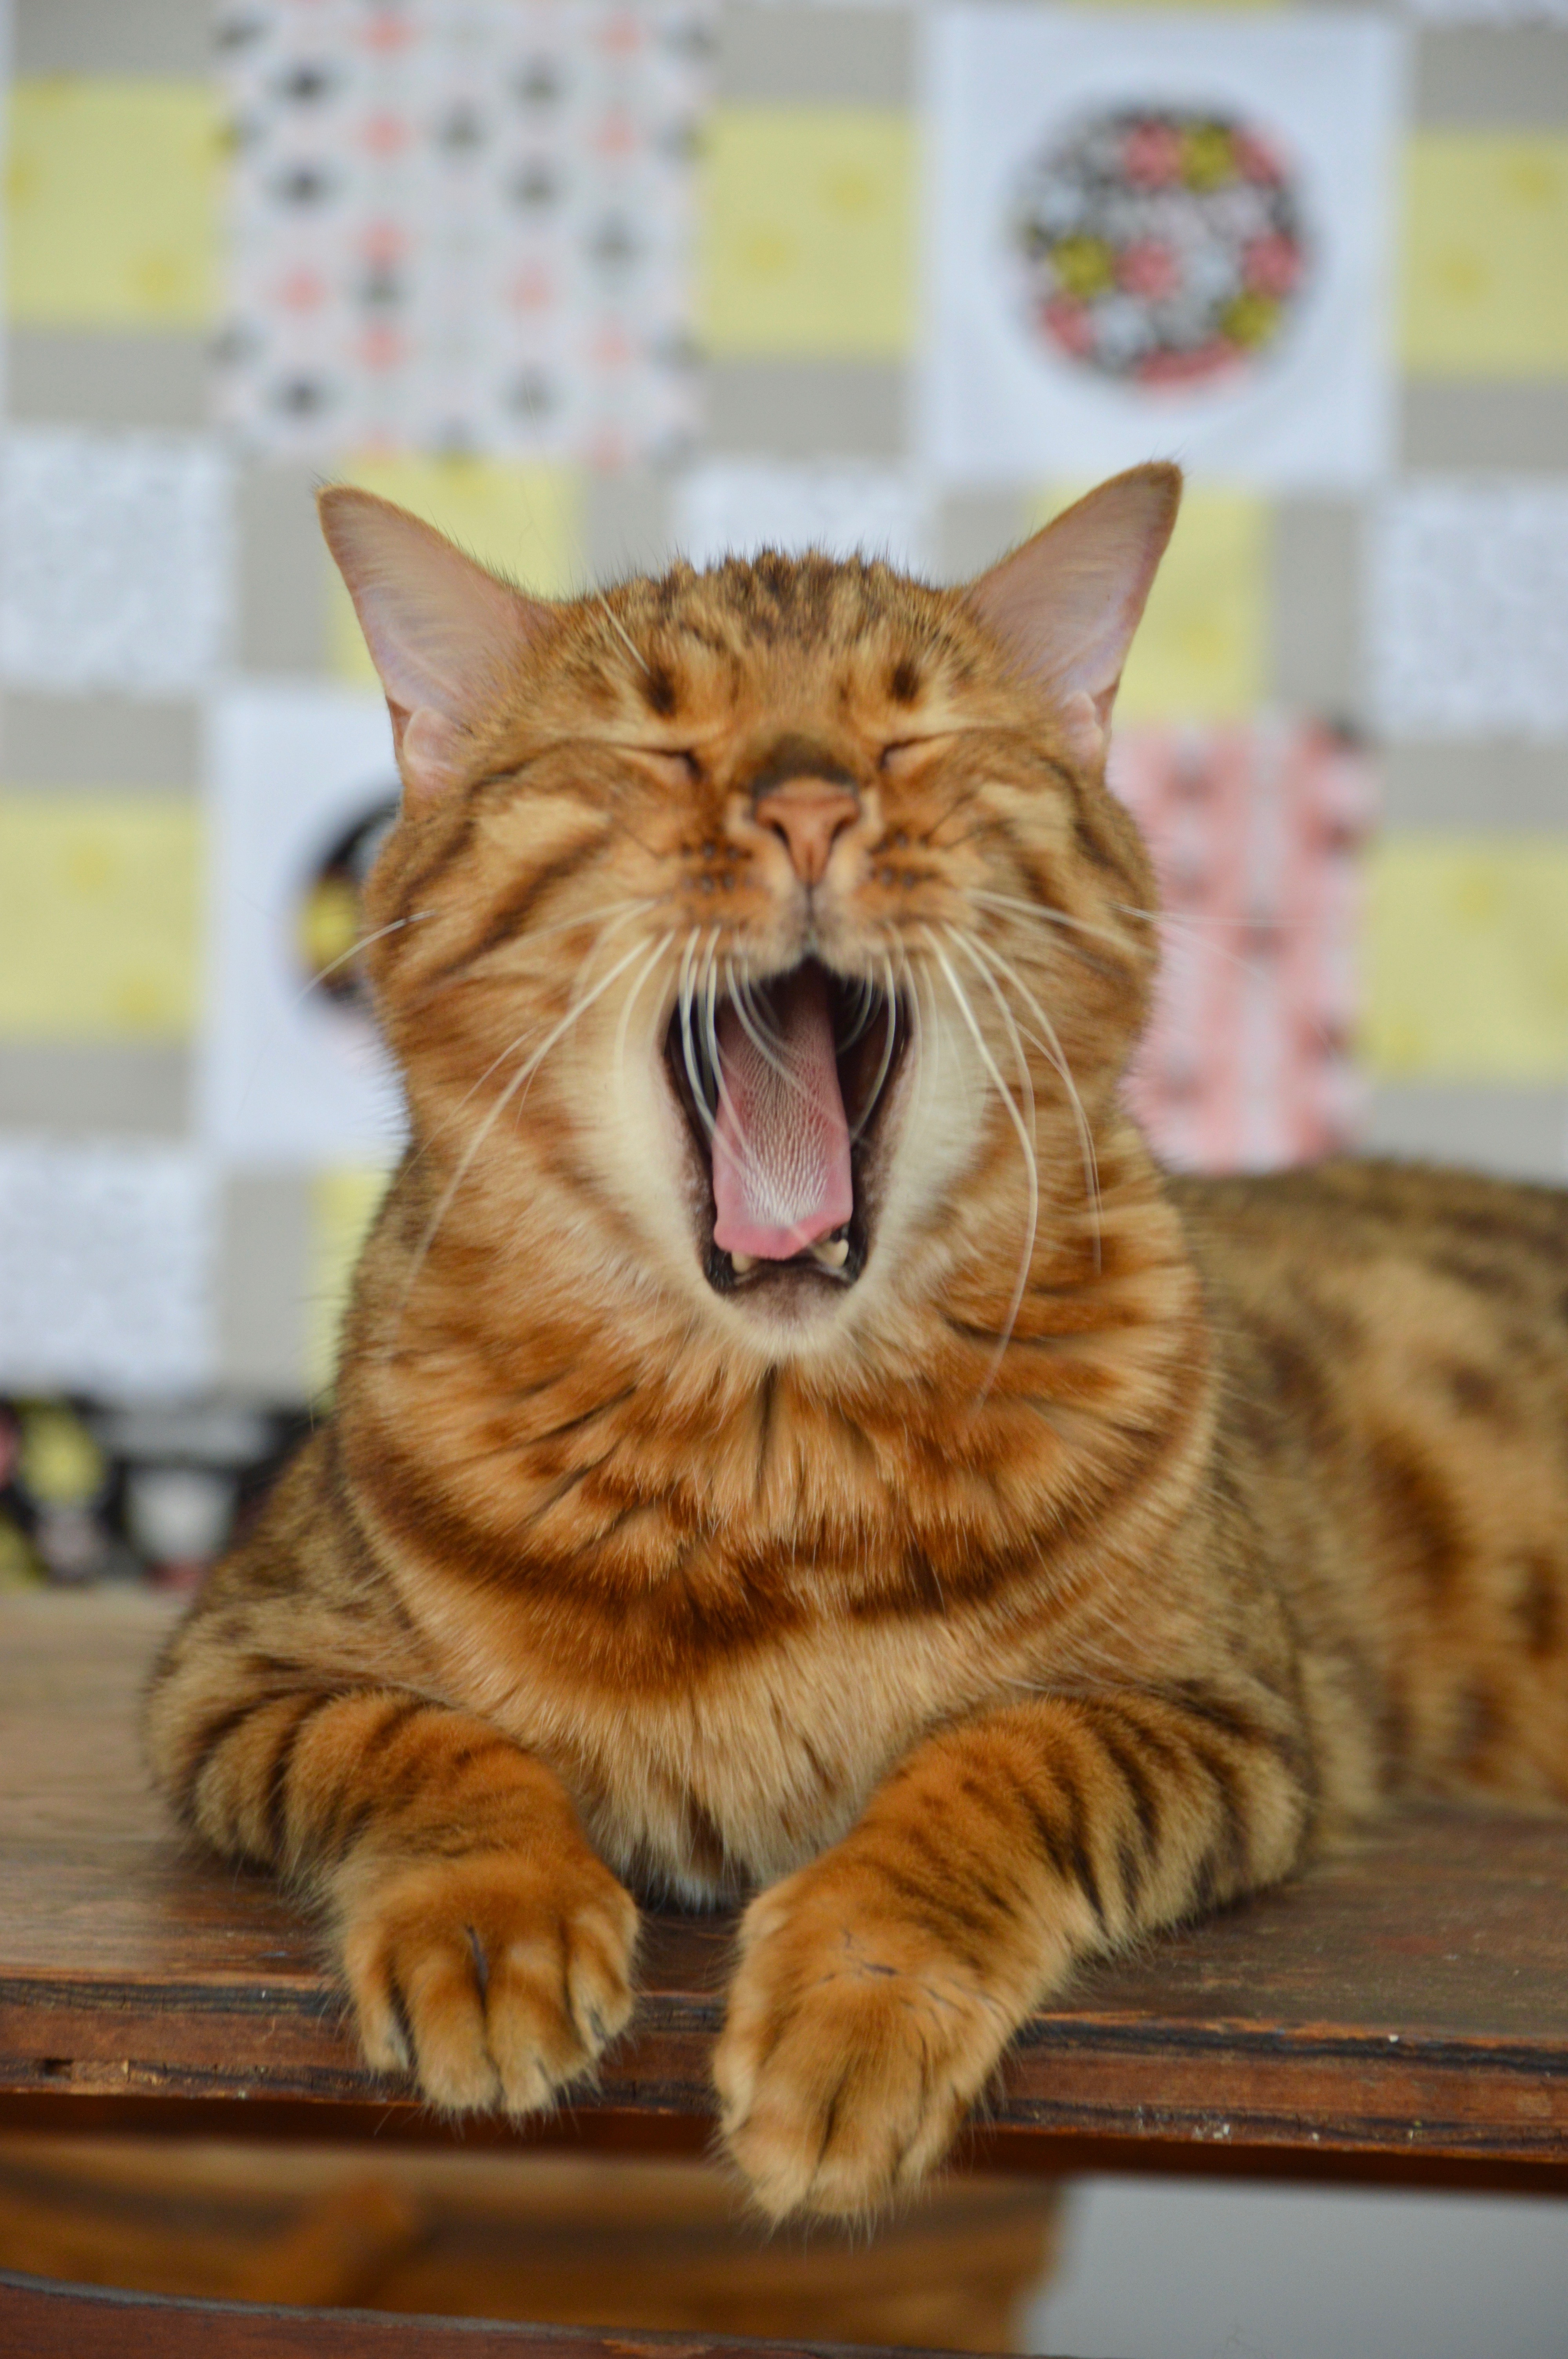
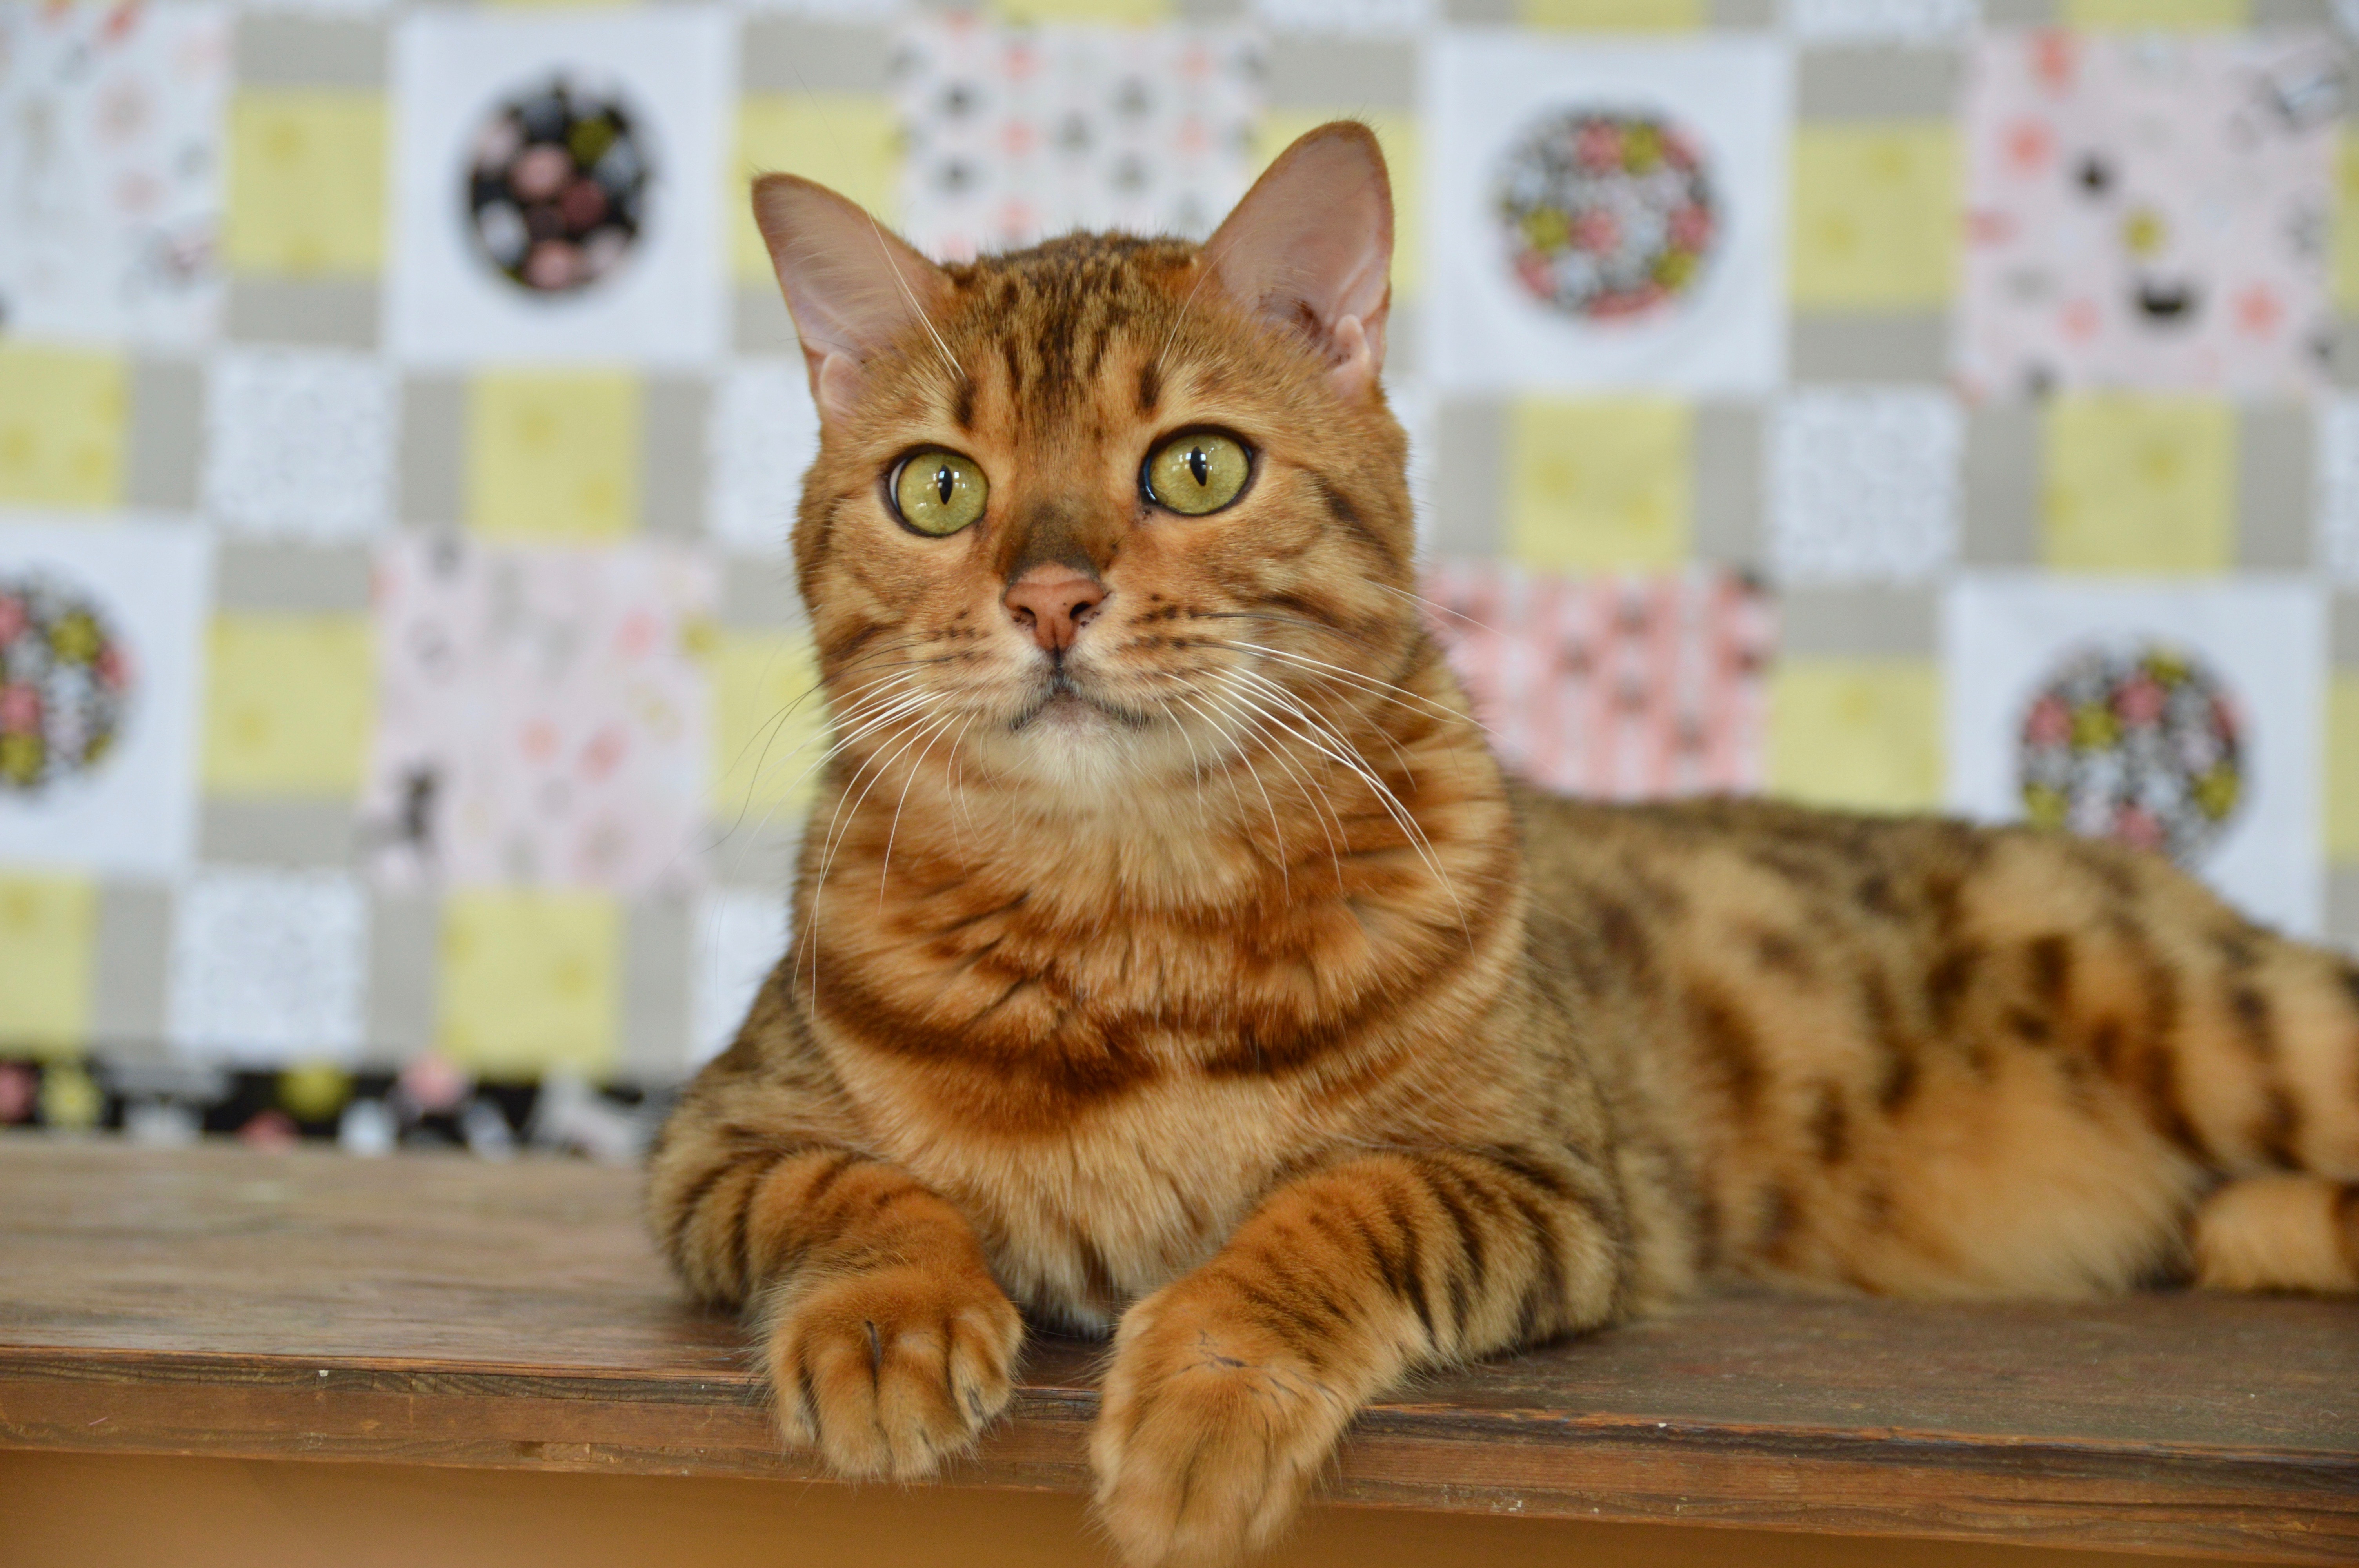
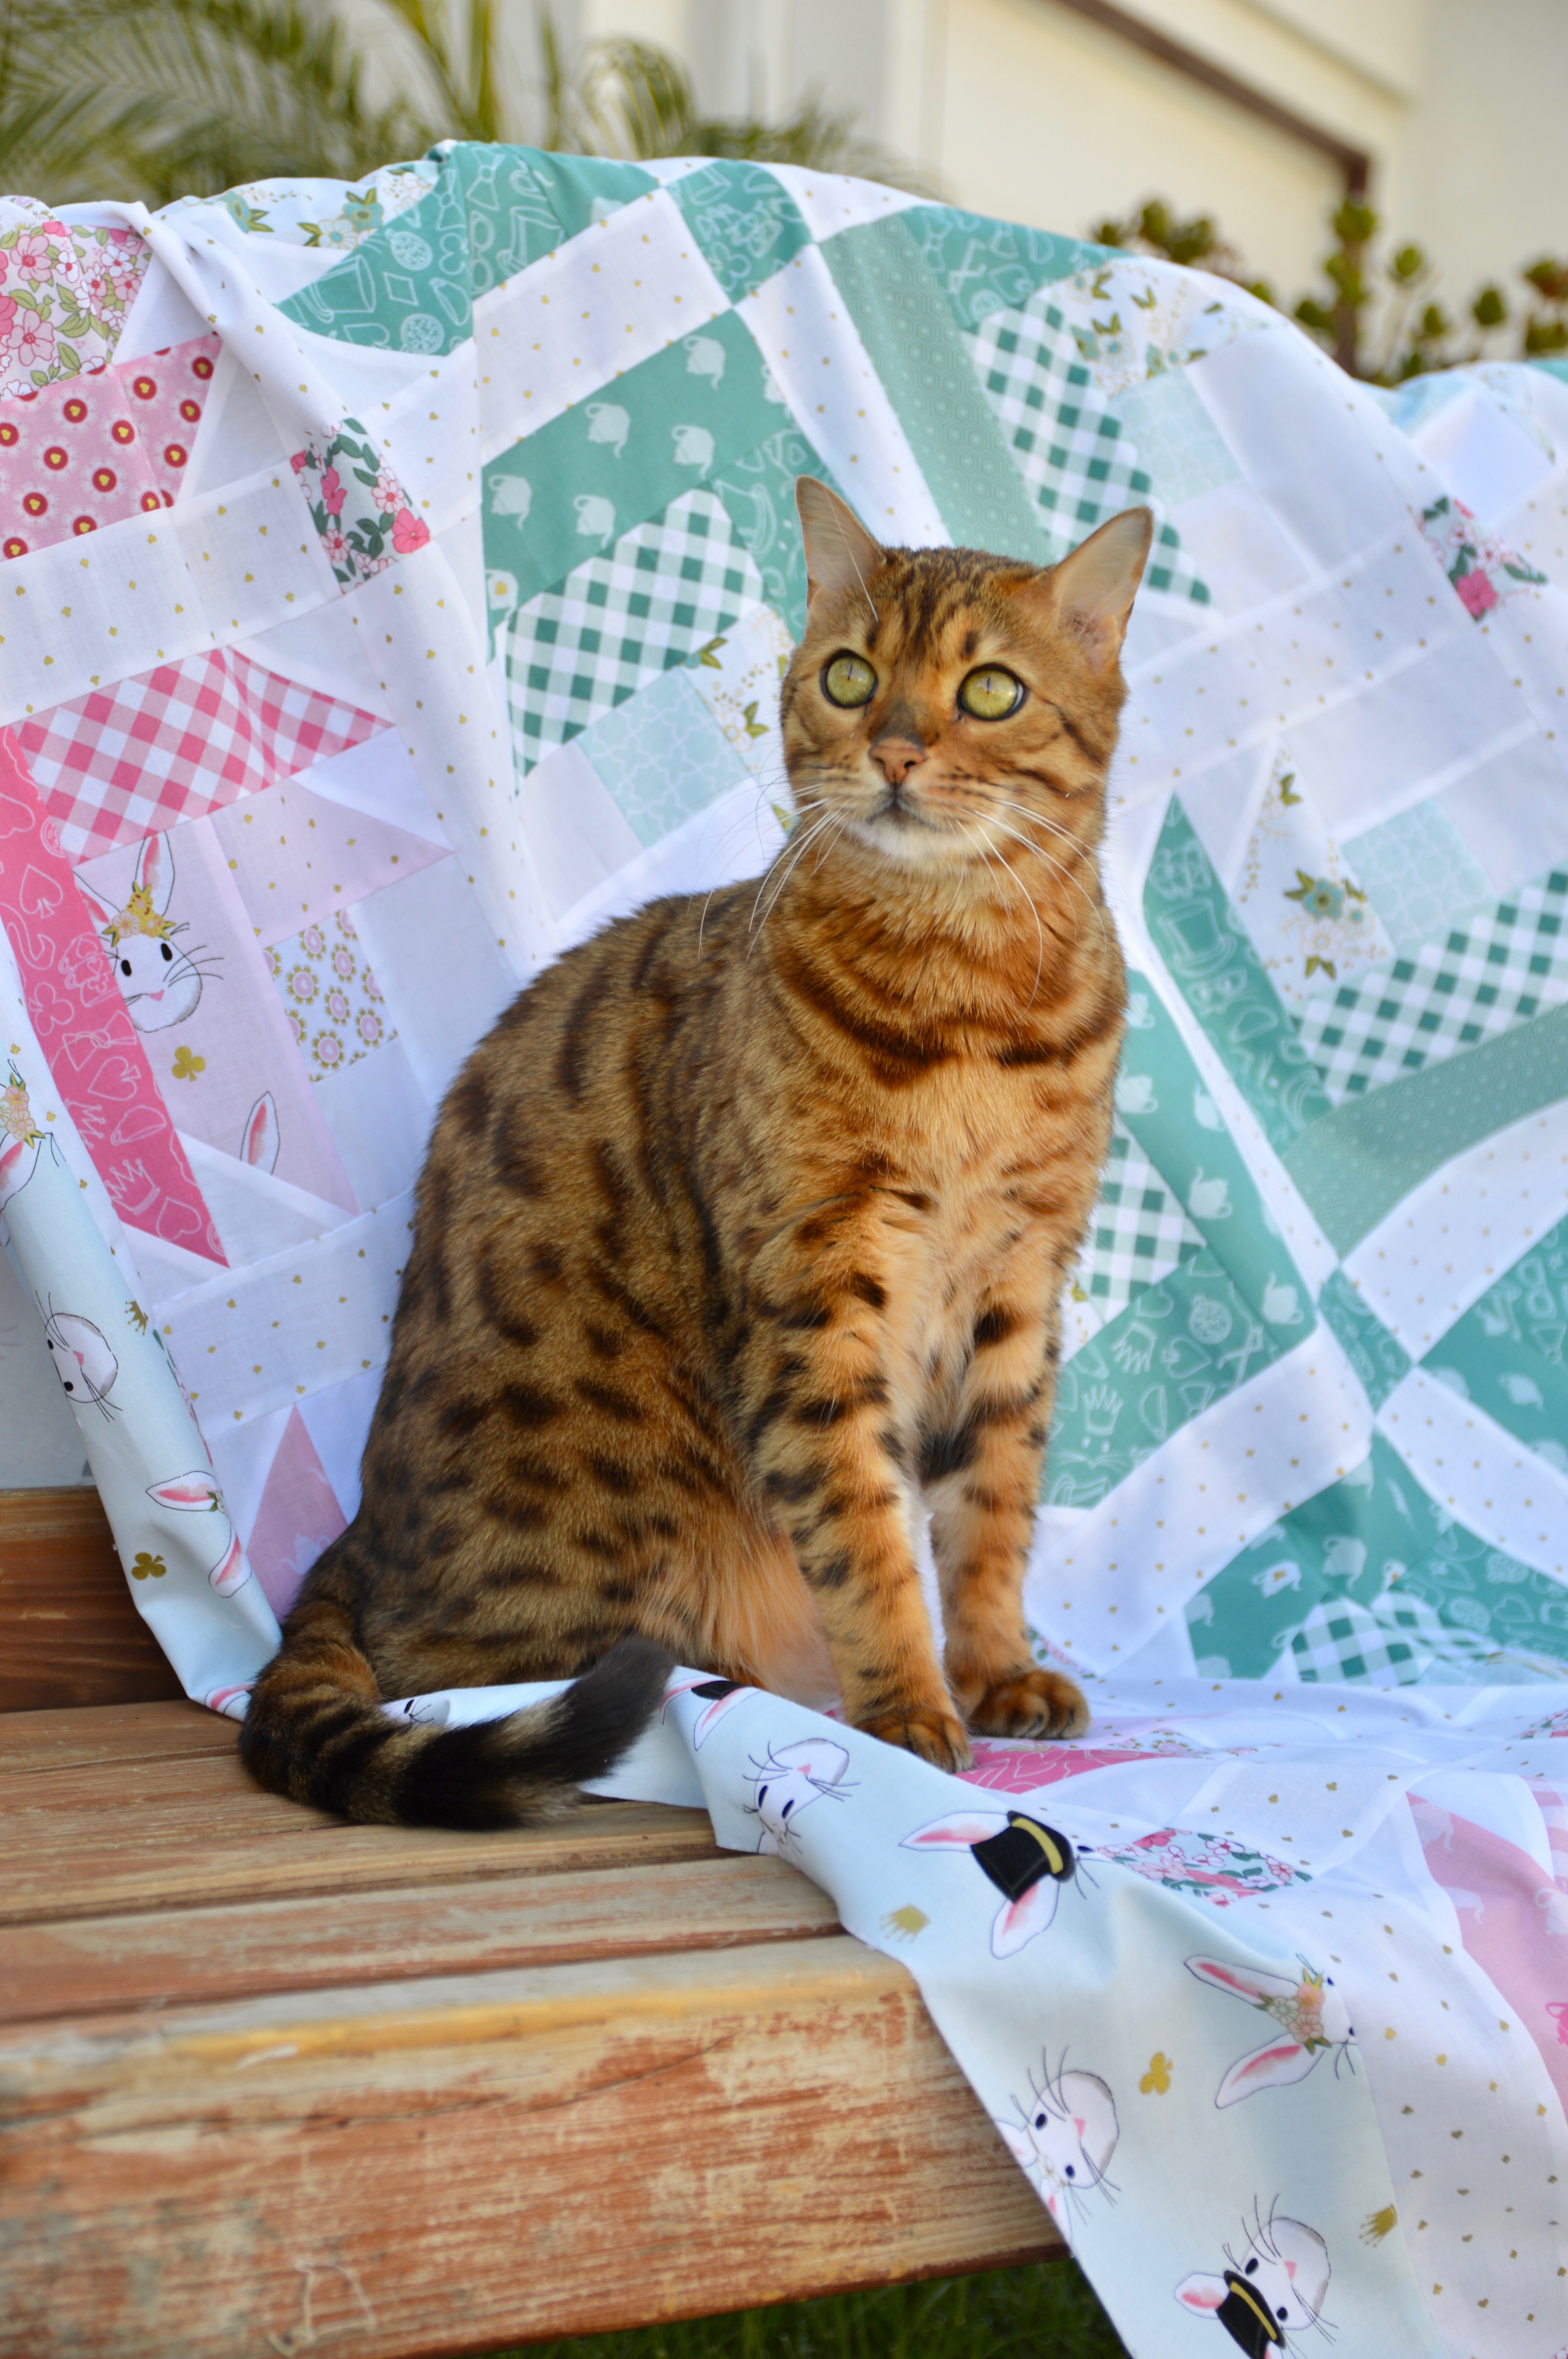
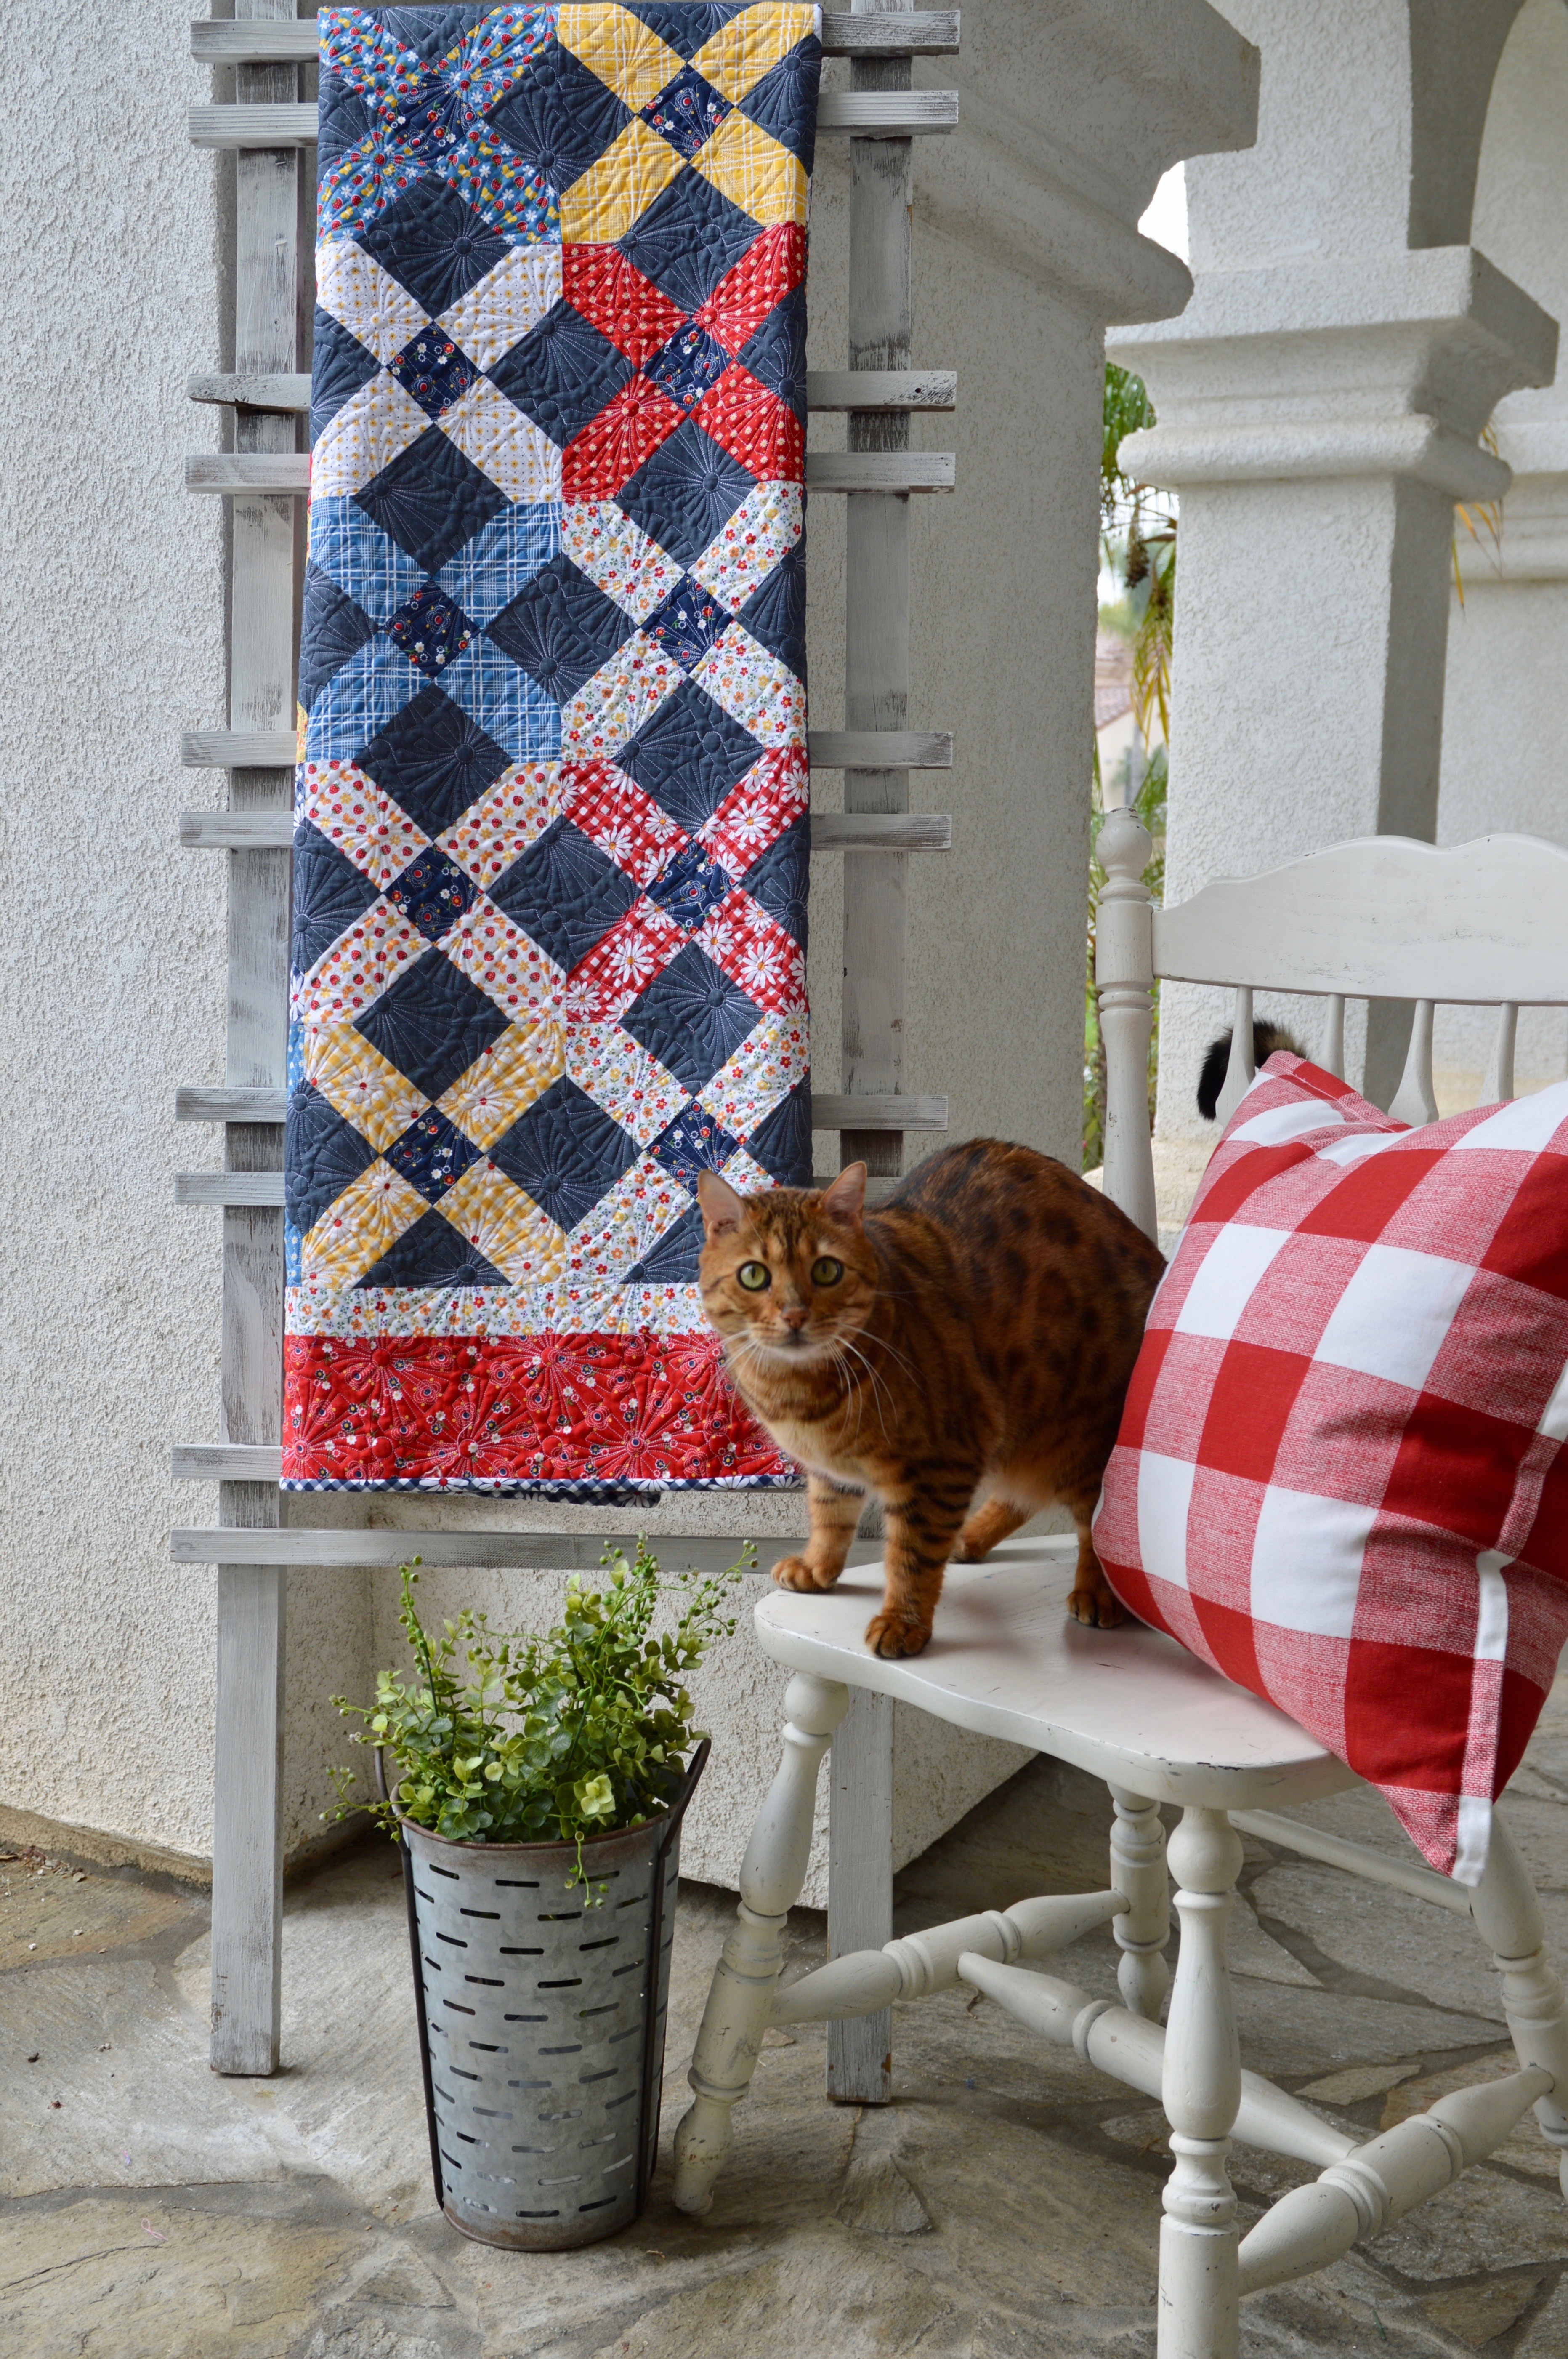
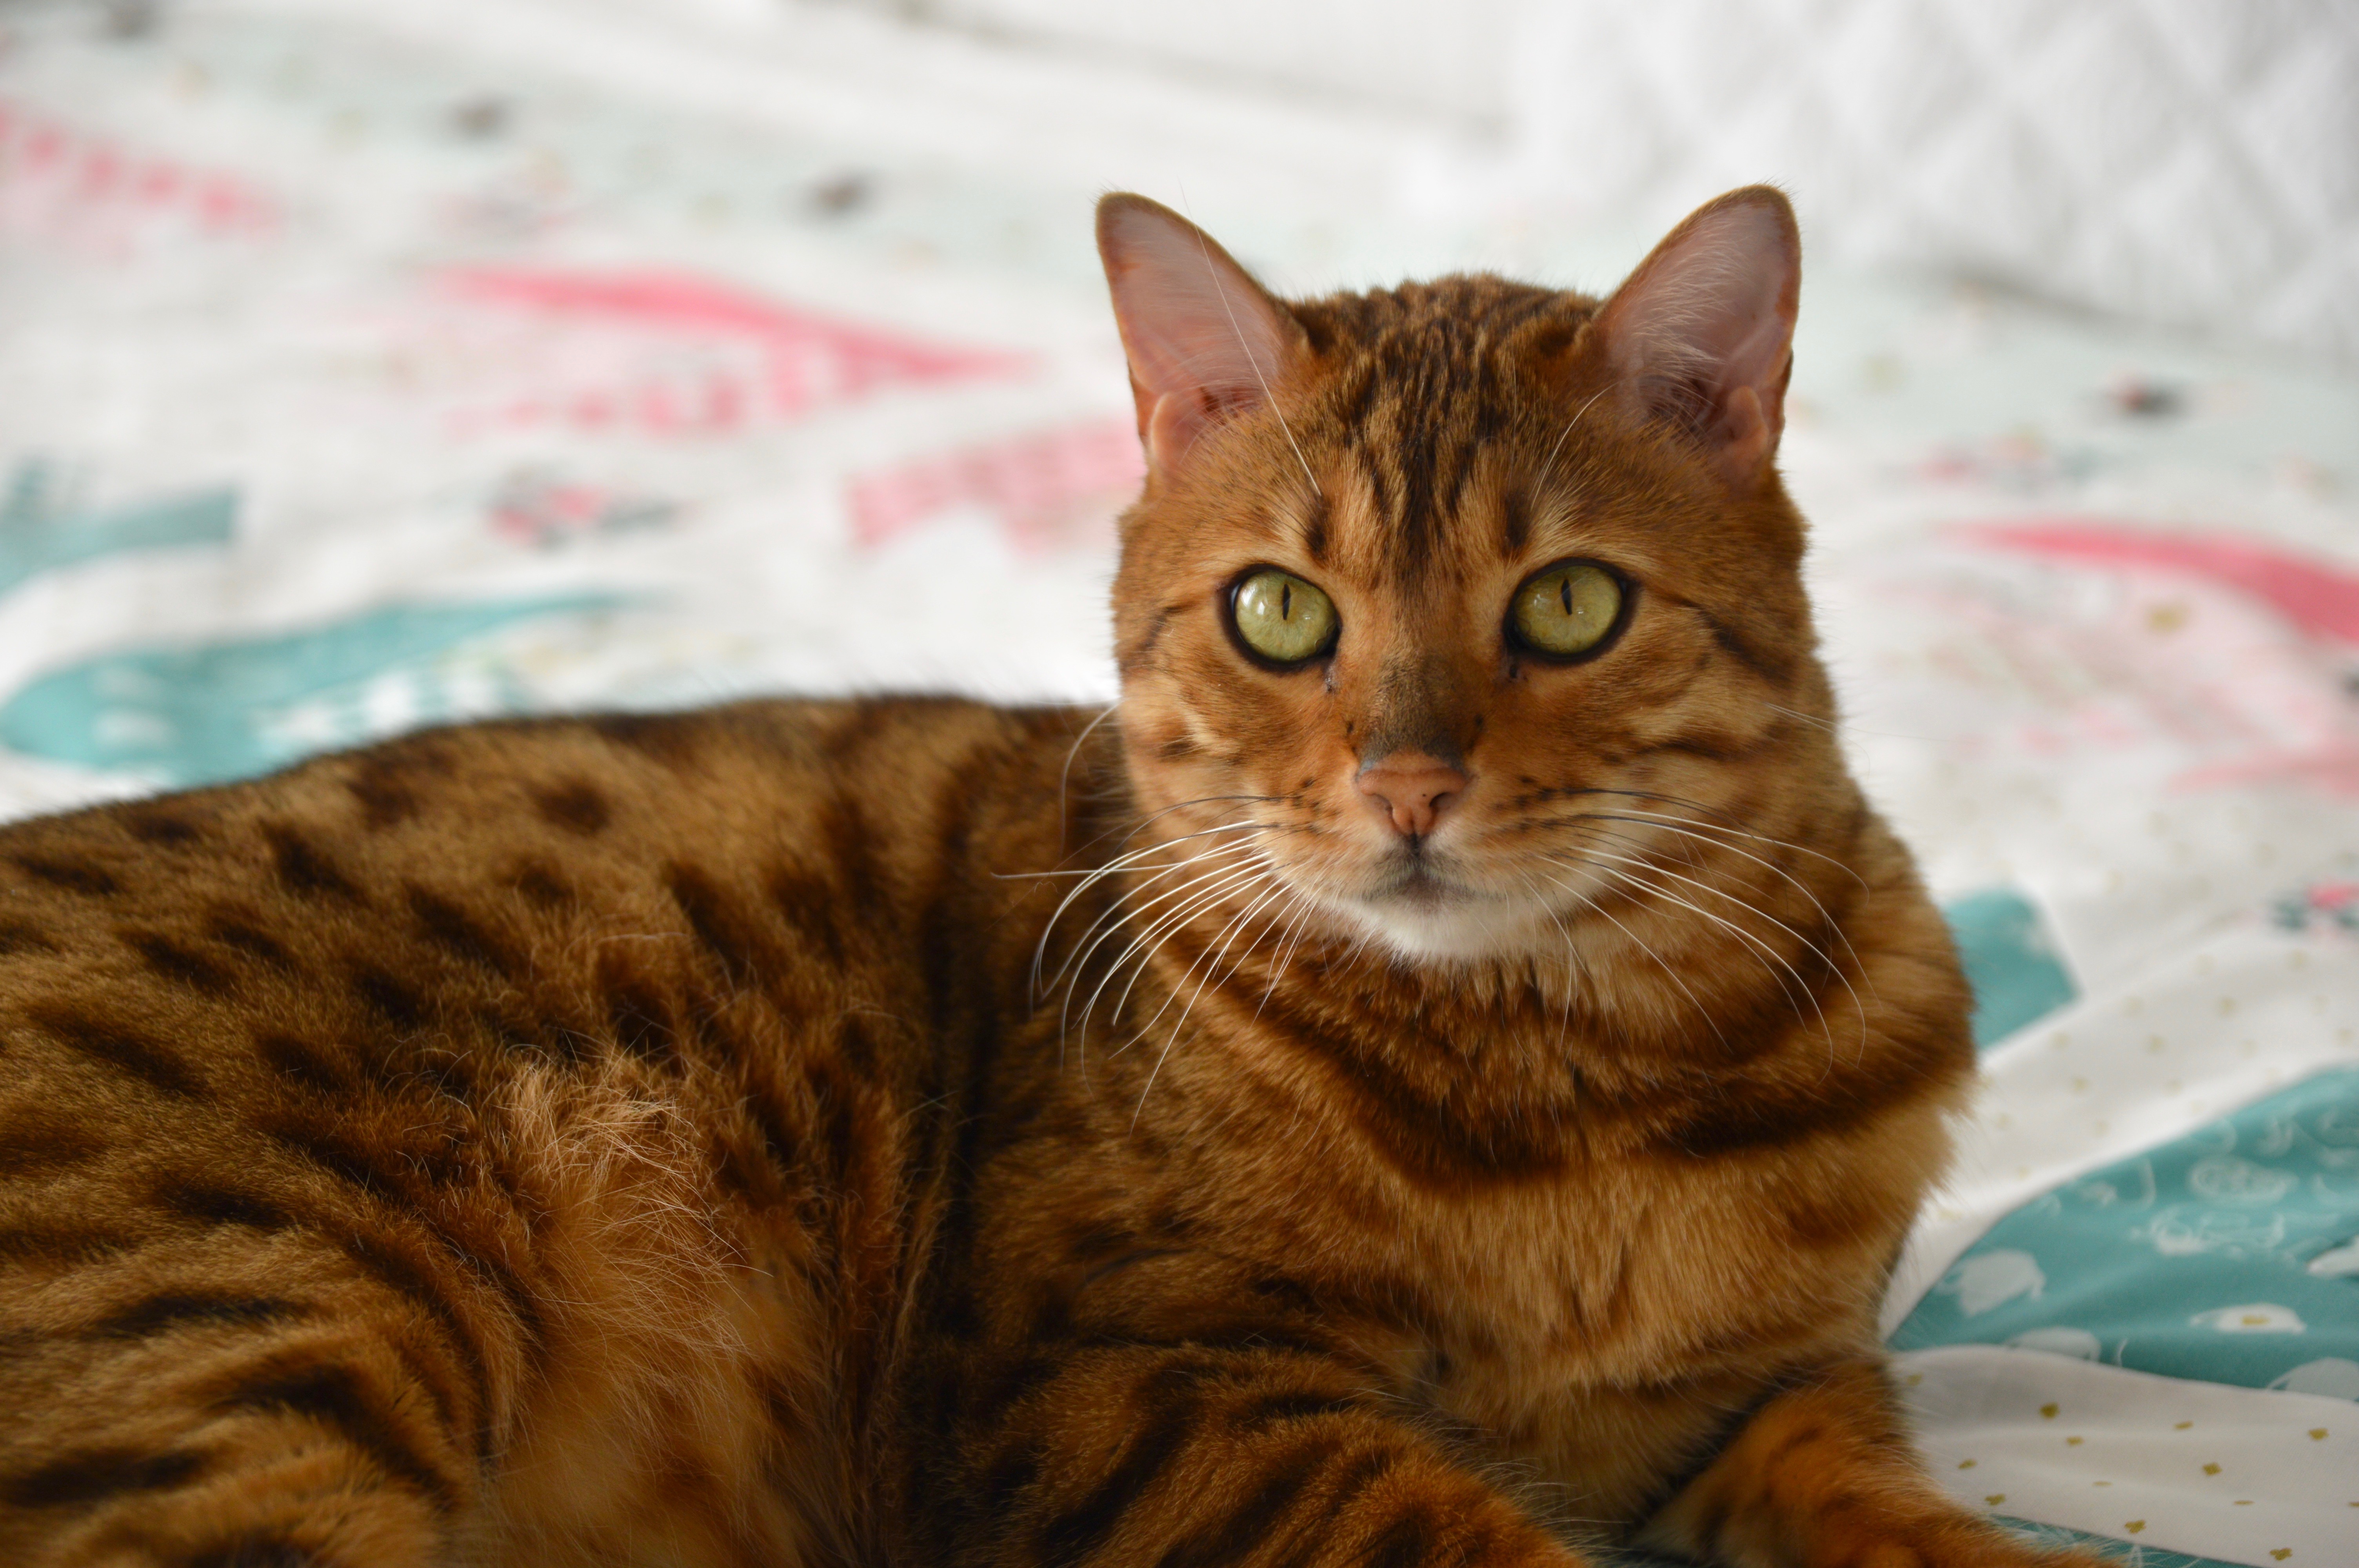
I think I have him pretty trained to sit and pose!  That’s why he gets paid the big bucks 🙂

hello springtime quilt pattern 4

hello springtime quilt pattern 12
hello springtime quilt pattern 15
The colors of the fabrics are so amazing!!!!!

wonderland 2 fabric a
wonderland 2 fabric

At this point he decided that it was nap time 🙂

spring quilt


Across The Board Quilt Pattern

Across the Board Quilt

Today is my turn on Riley Blake’s Derby Day Blog Tour!  I have always loved Melissa from the Polkadotchair and everything she does!  When she first announced this fabric line I immediately fell in love and wrote this quilt pattern hoping I would get a chance to sew with it!  The navy and green florals with pops of pink totally stole my wanna be Ivy League heart! Melissa has created a amazing look book for her Derby Day fabrics which you have to see!!  The projects she designed for this collection are so creative and fun, be sure to stop by for a peek!

derby-day-fabrics-lookbook

derby day chain quilt pattern

I totally wanted to name this quilt something to do with horse racing which is where the inspiration for the fabric line comes from.  I named the quilt pattern Across the Board which means “pertaining to all categories or things,” originated around 1903 as a betting term in horse racing. According to the Oxford English Dictionary, wagering across the board means betting that your horse will finish “in either first, second, or third place.”  And I think the chain pattern resembles movement across a board!  Love it!!Across the Board Quilt Pattern

The quilt measures 60″ x 72″ with each block measuring 12″.  This is a great pattern to use larger prints in and it sews up pretty quick!

Derby Day Fabric
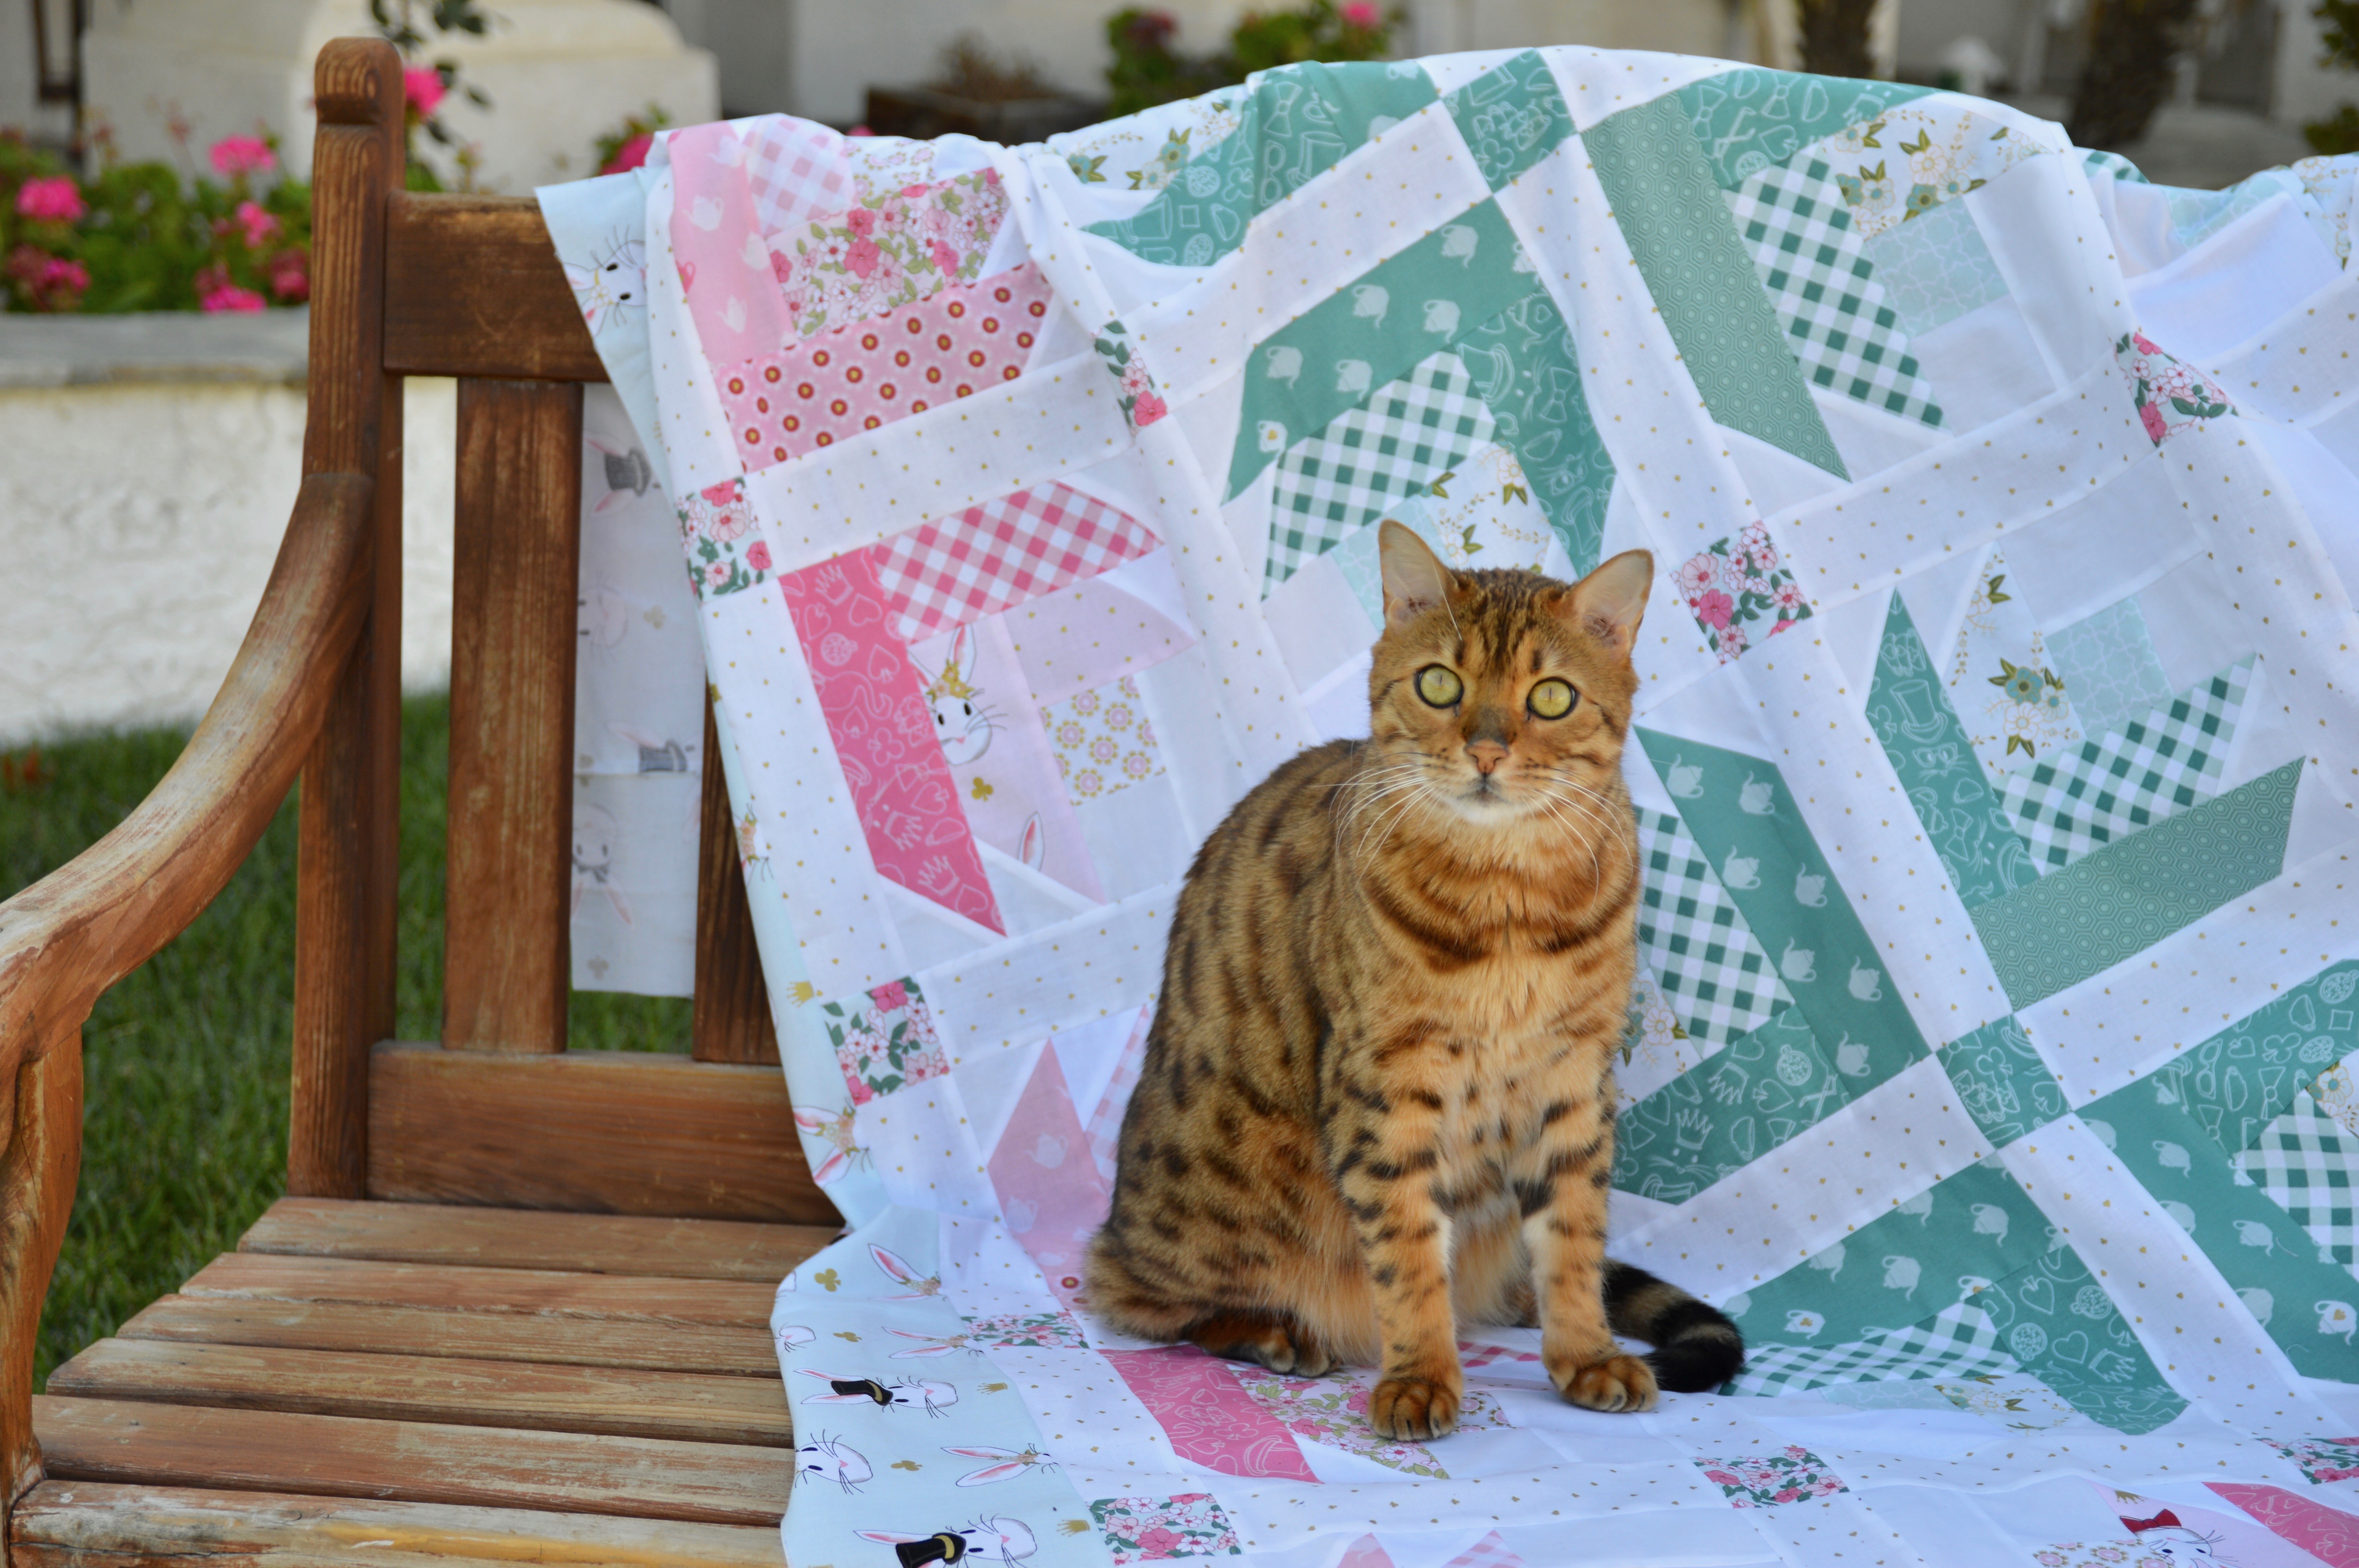
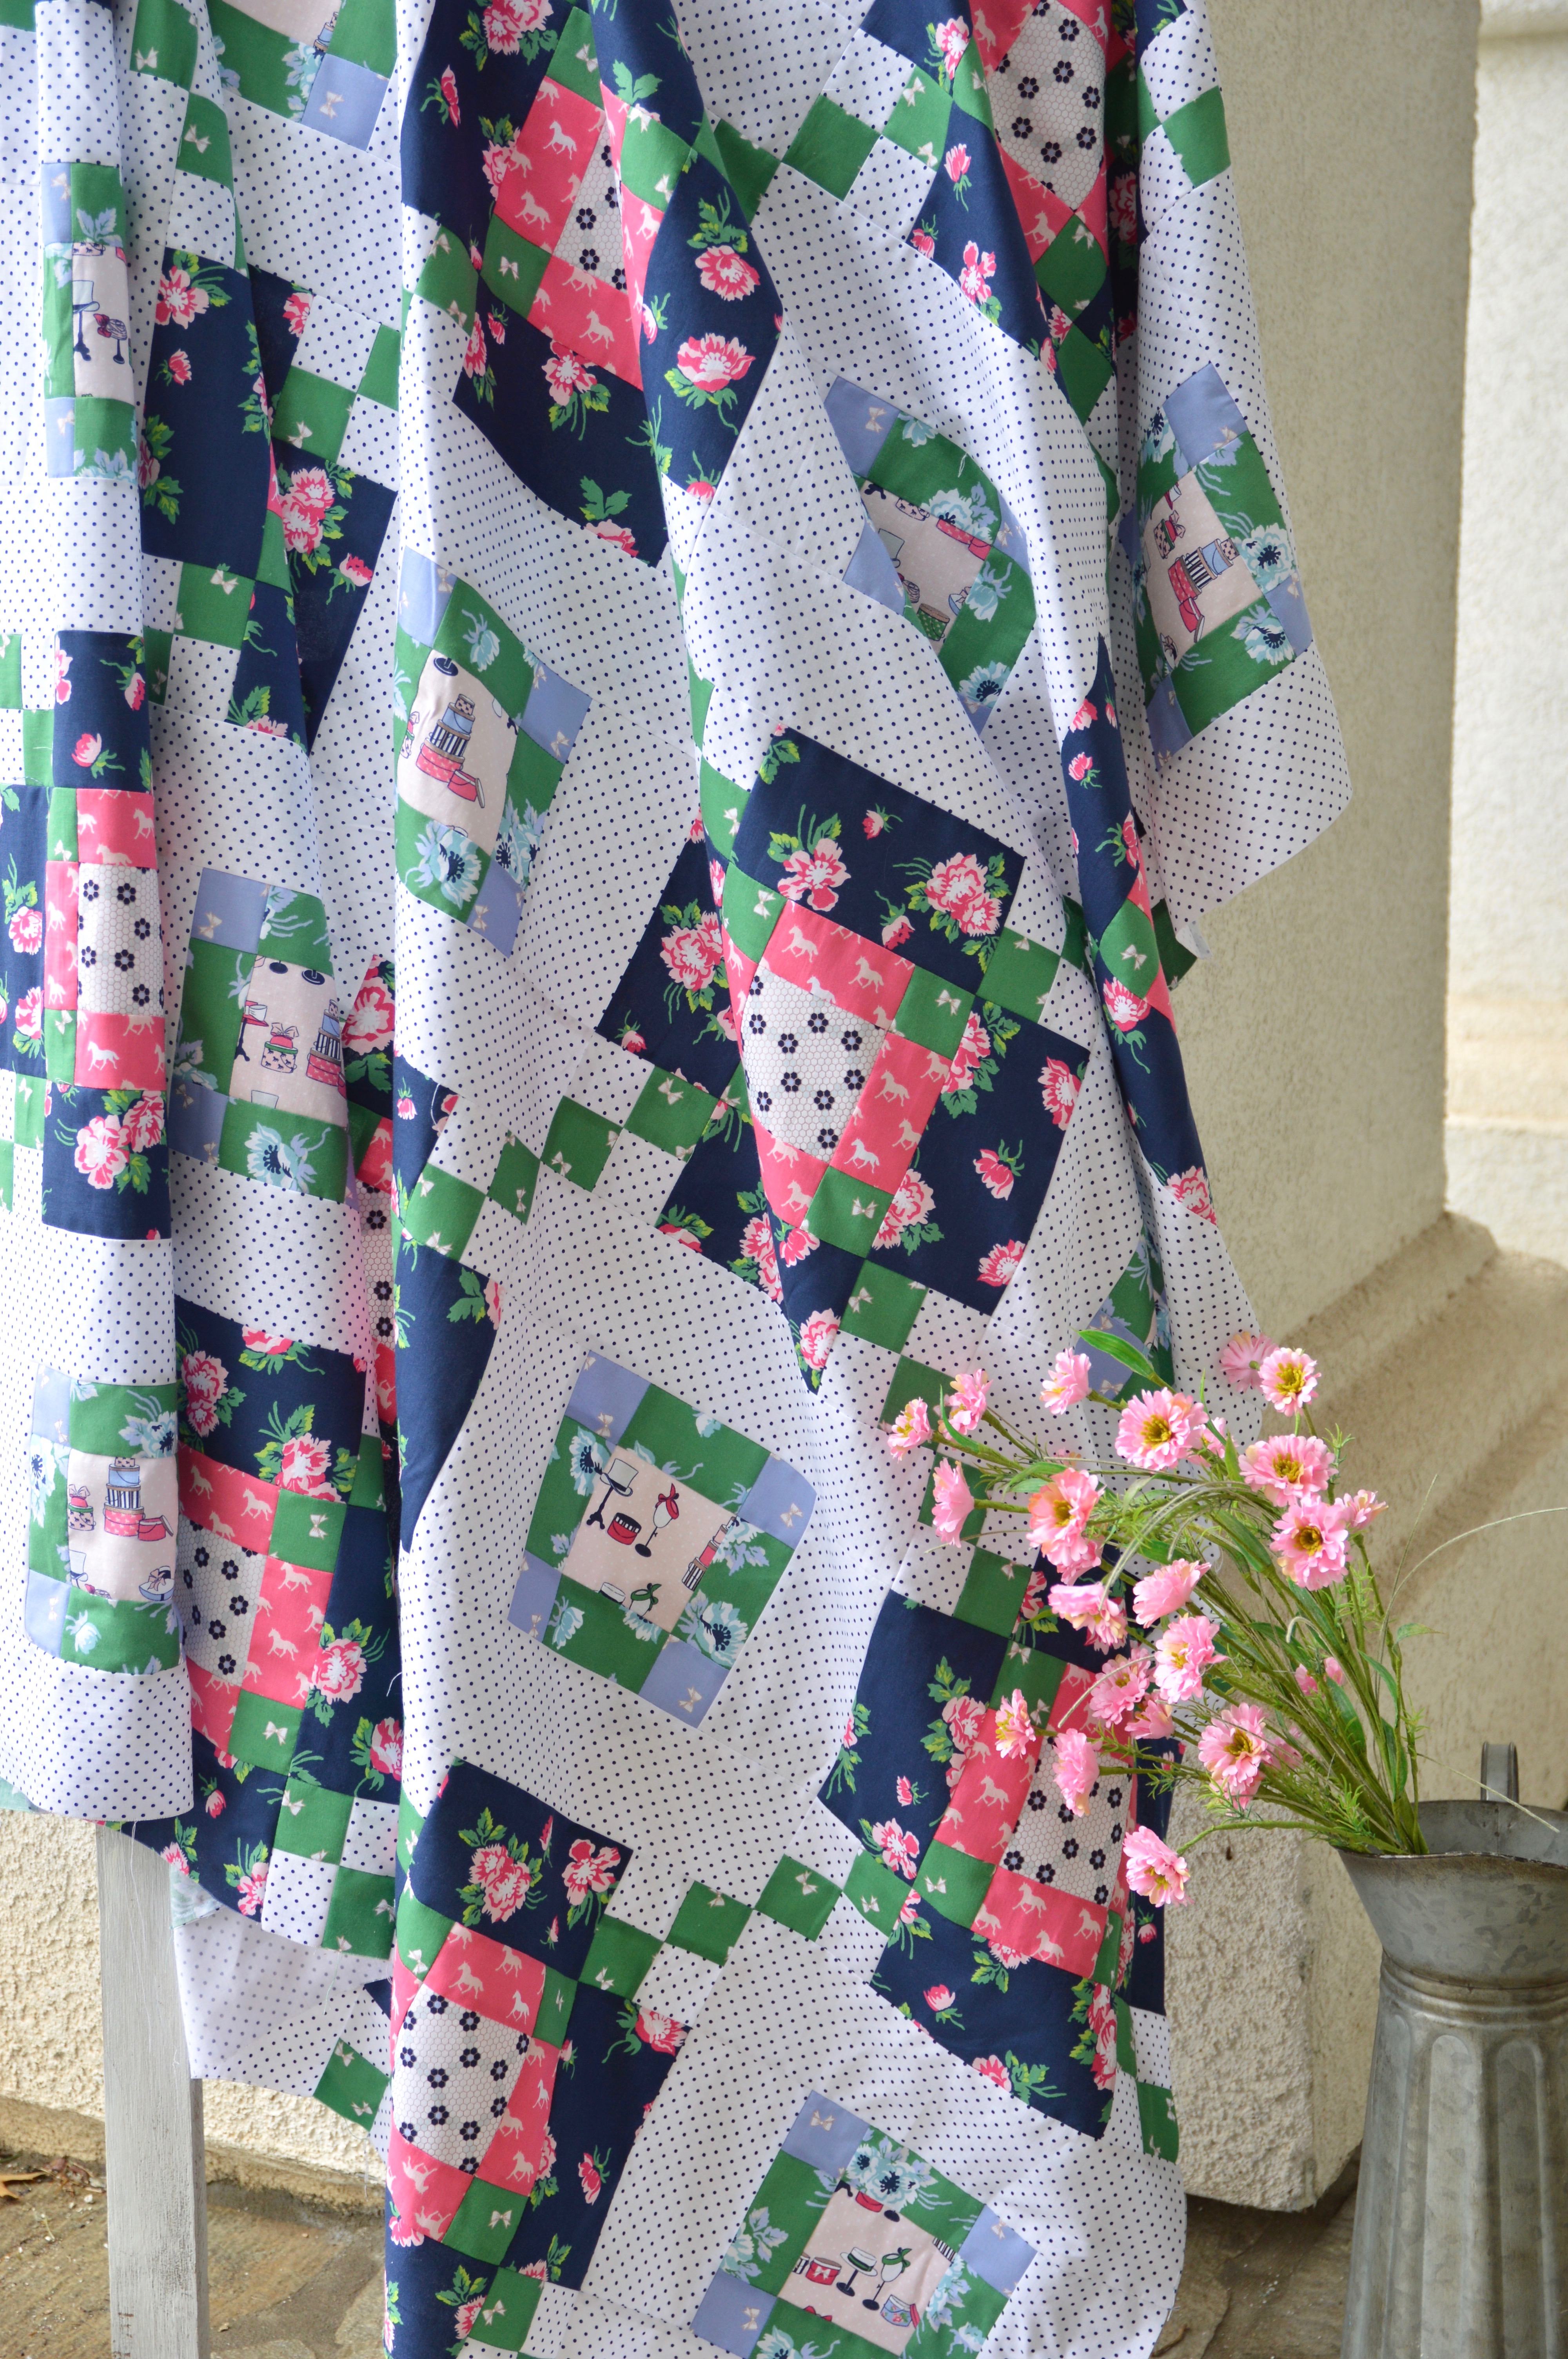
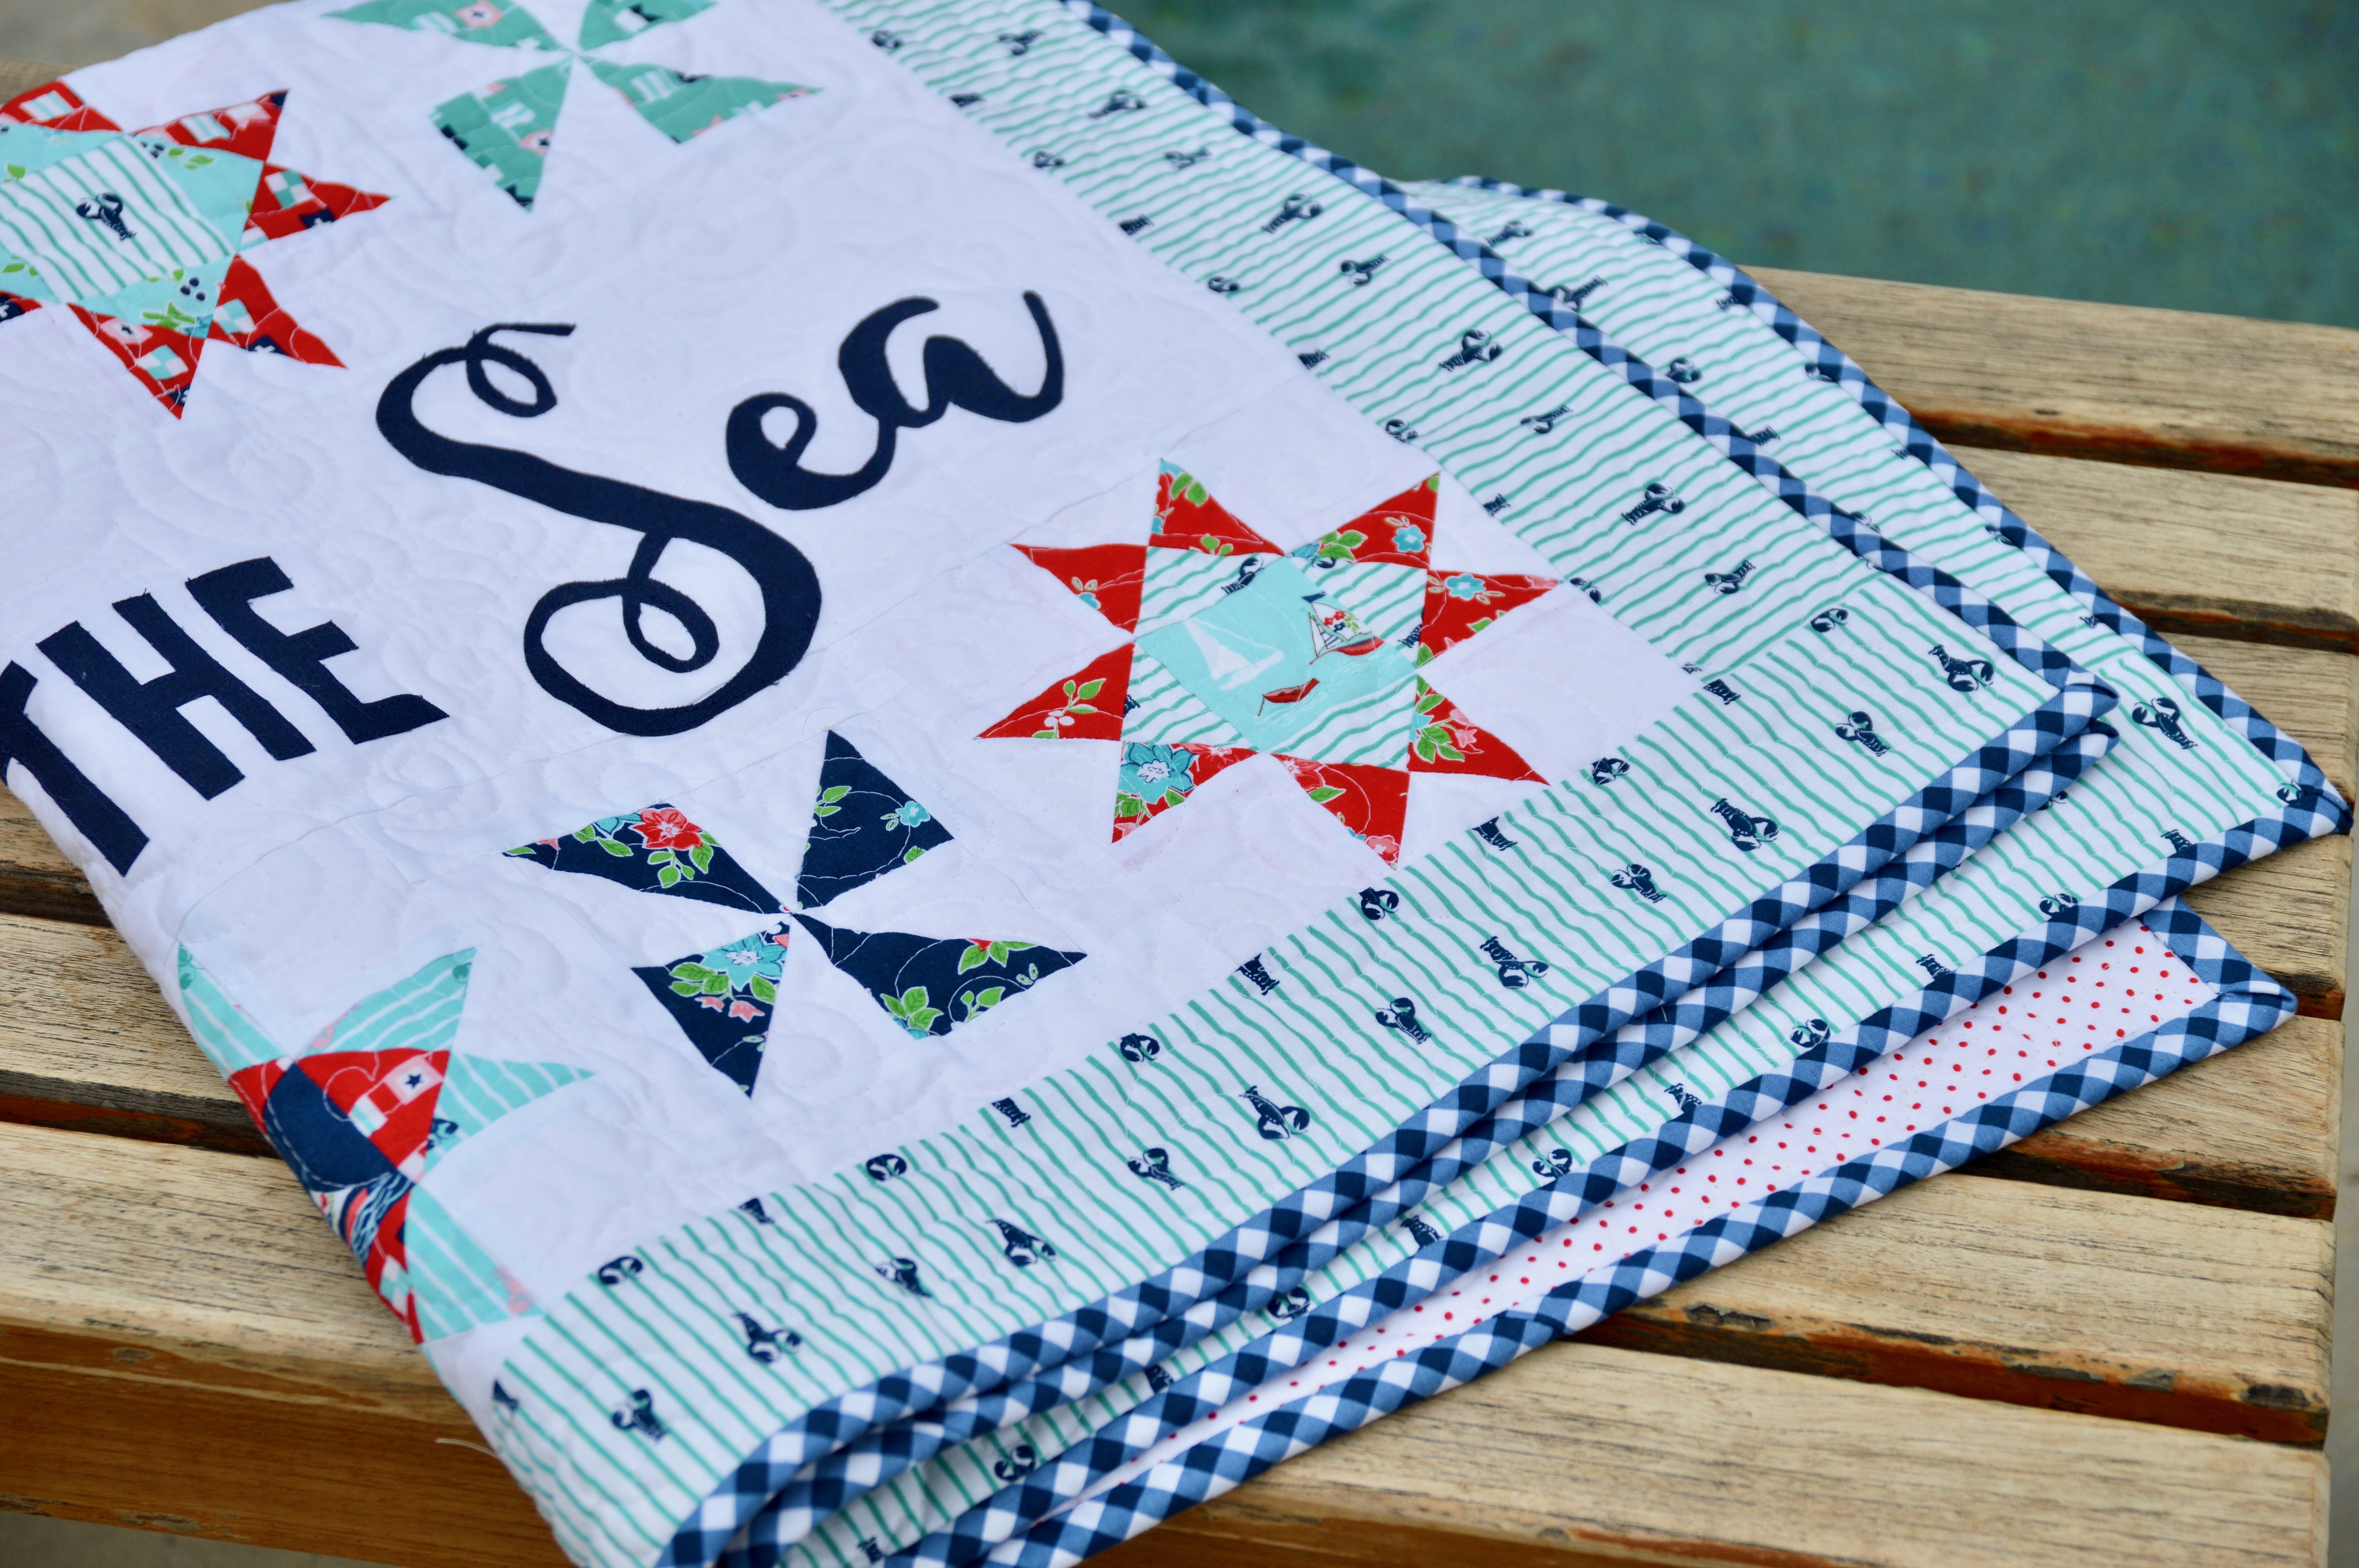
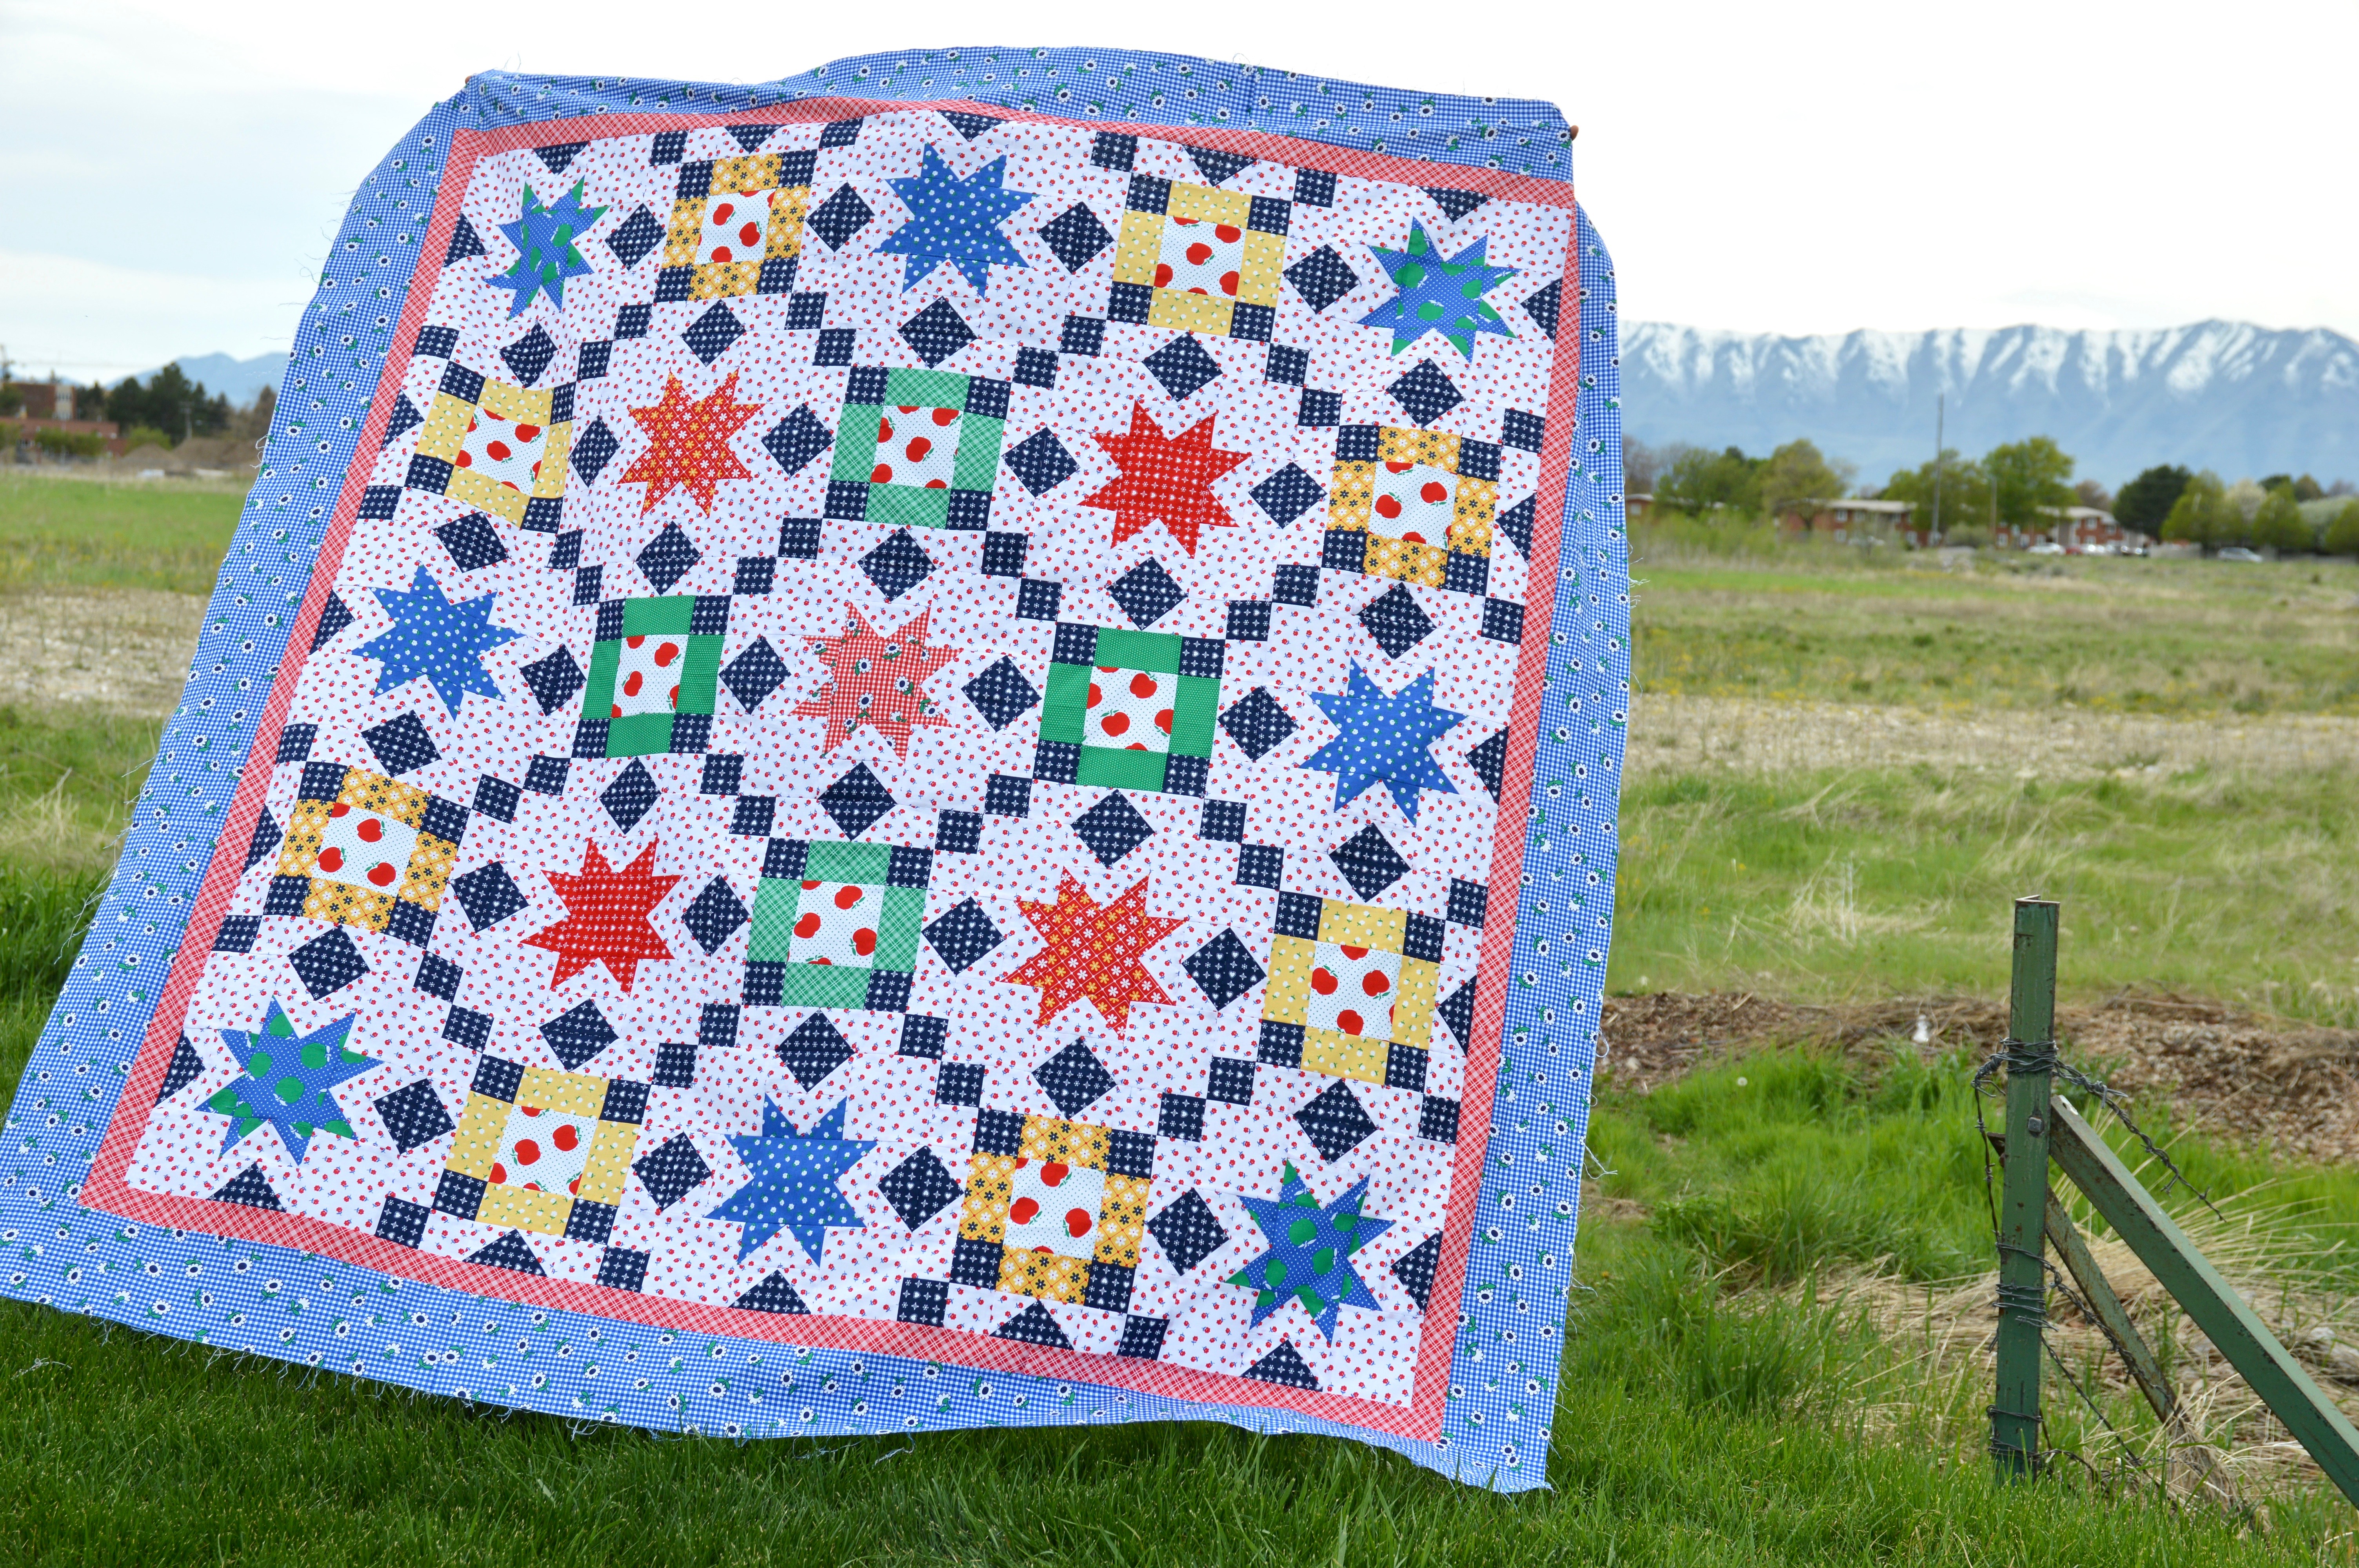
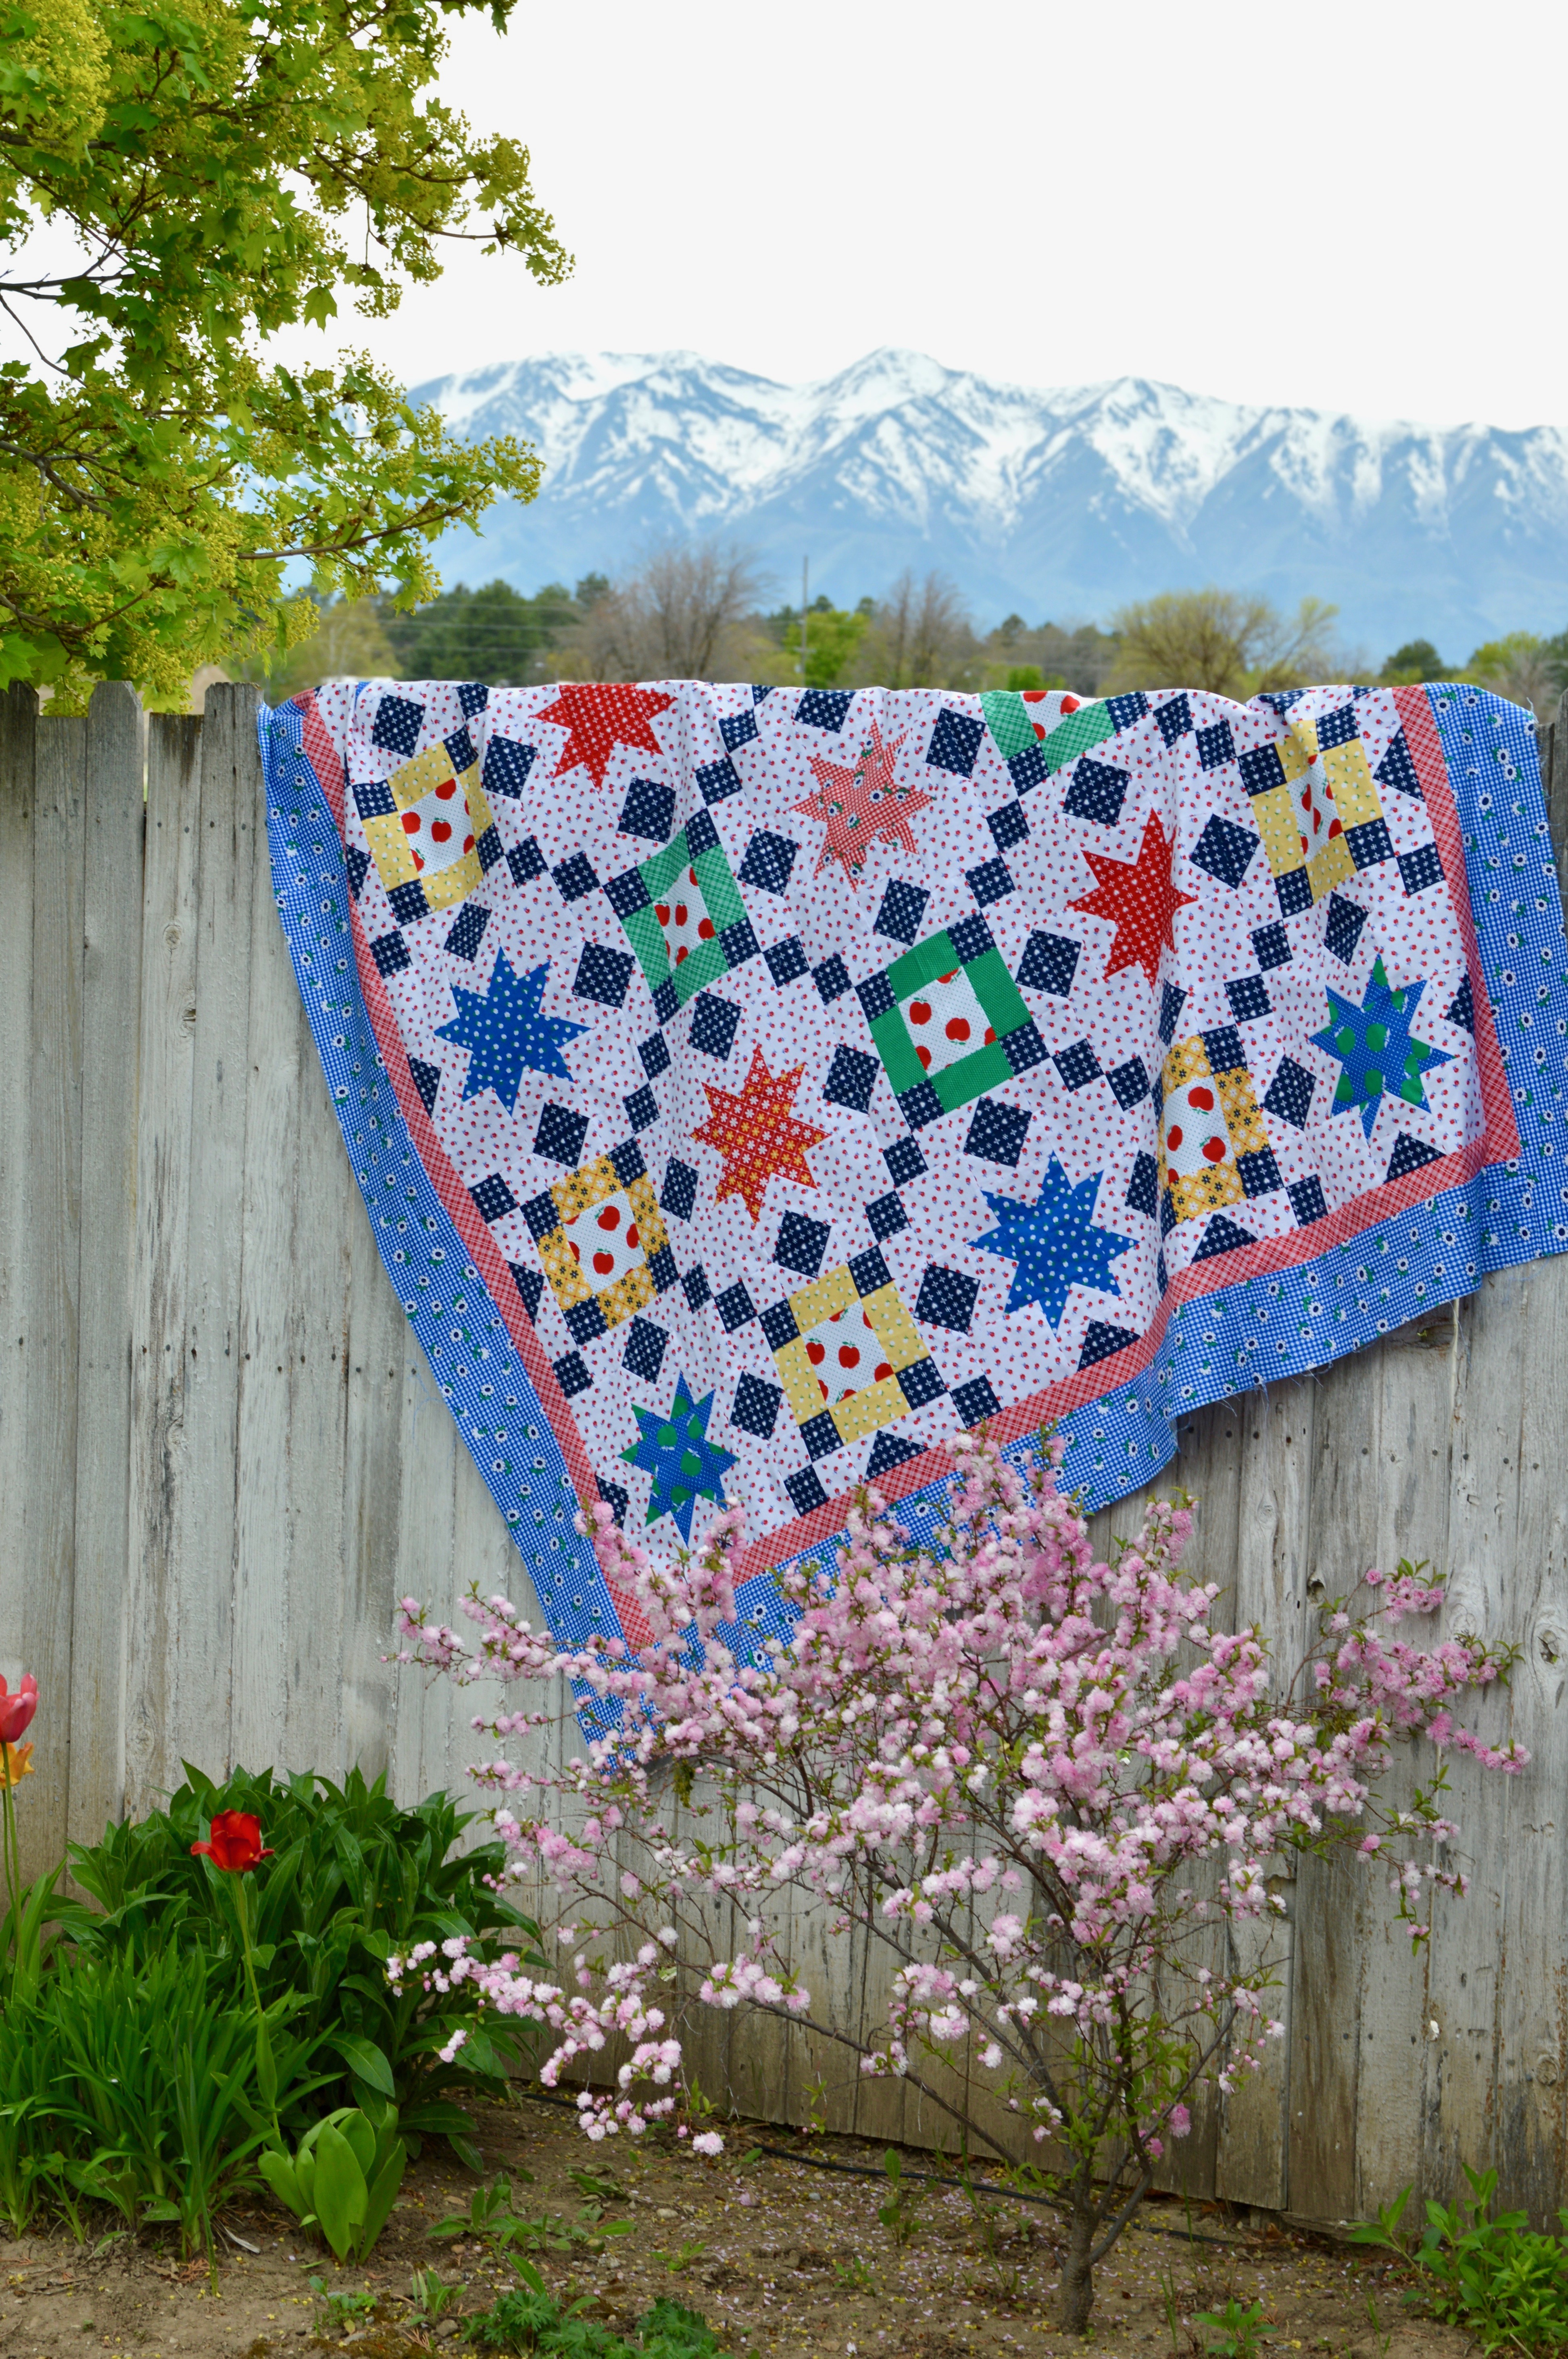
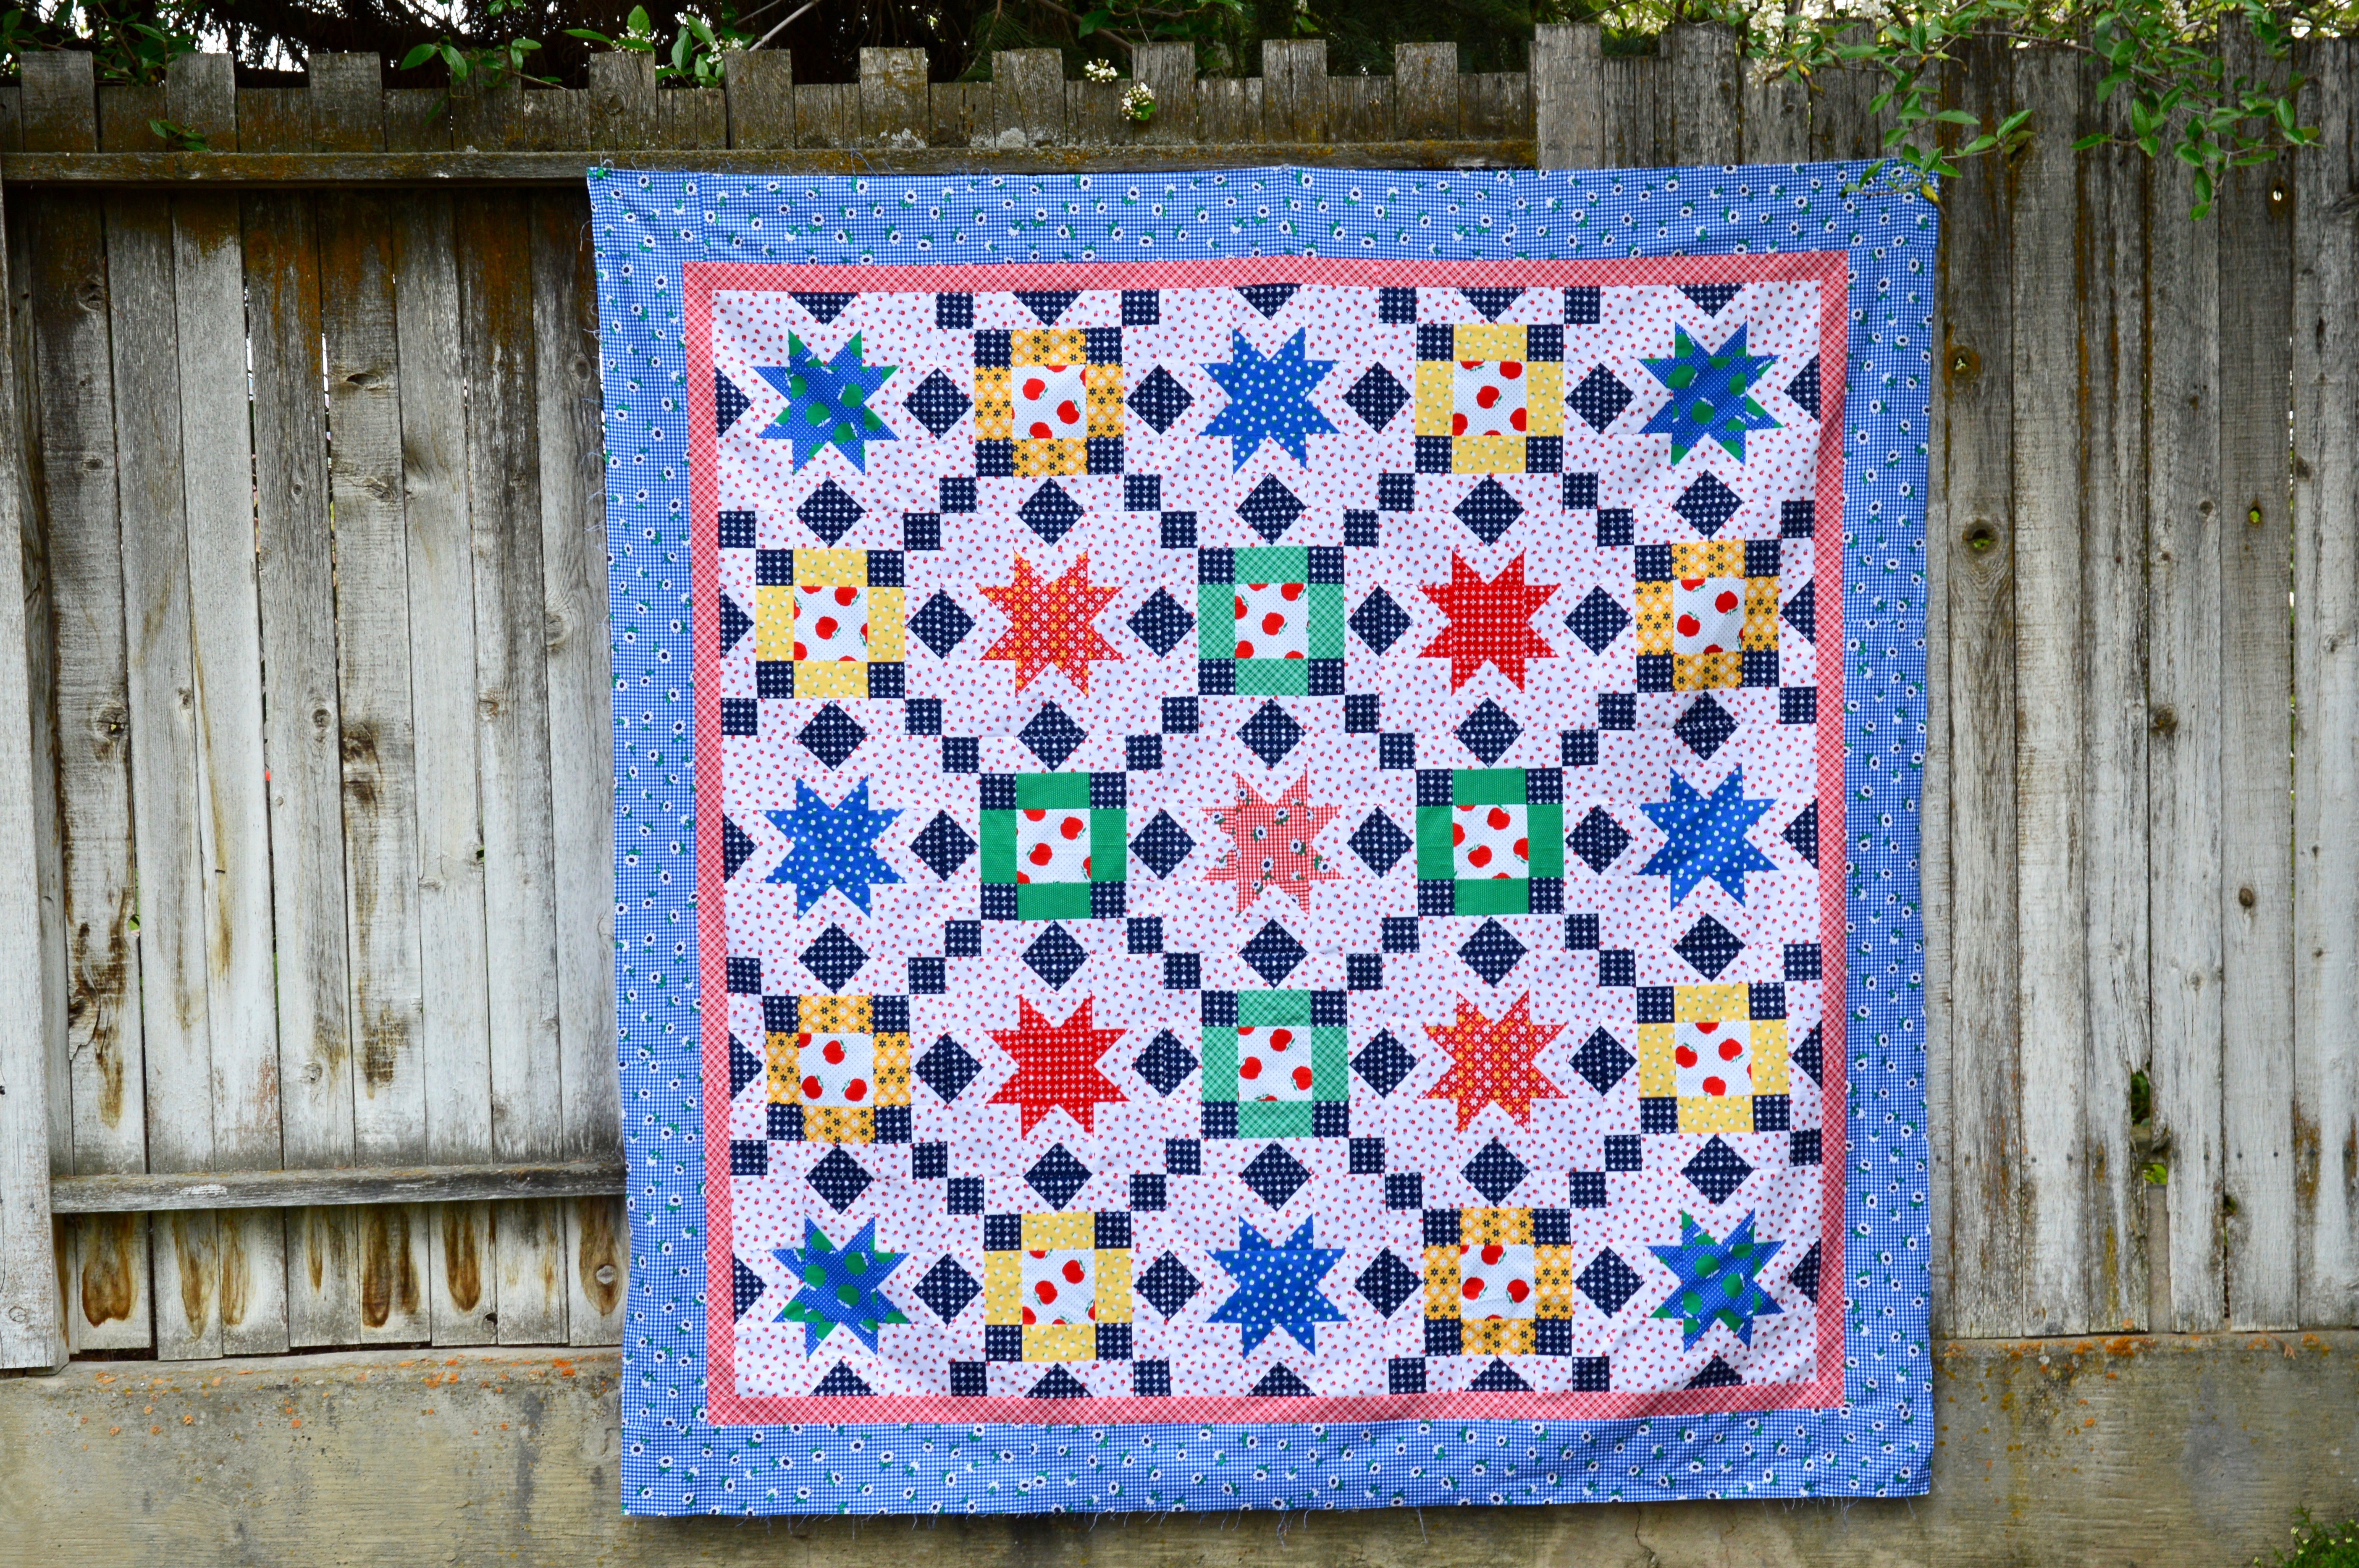
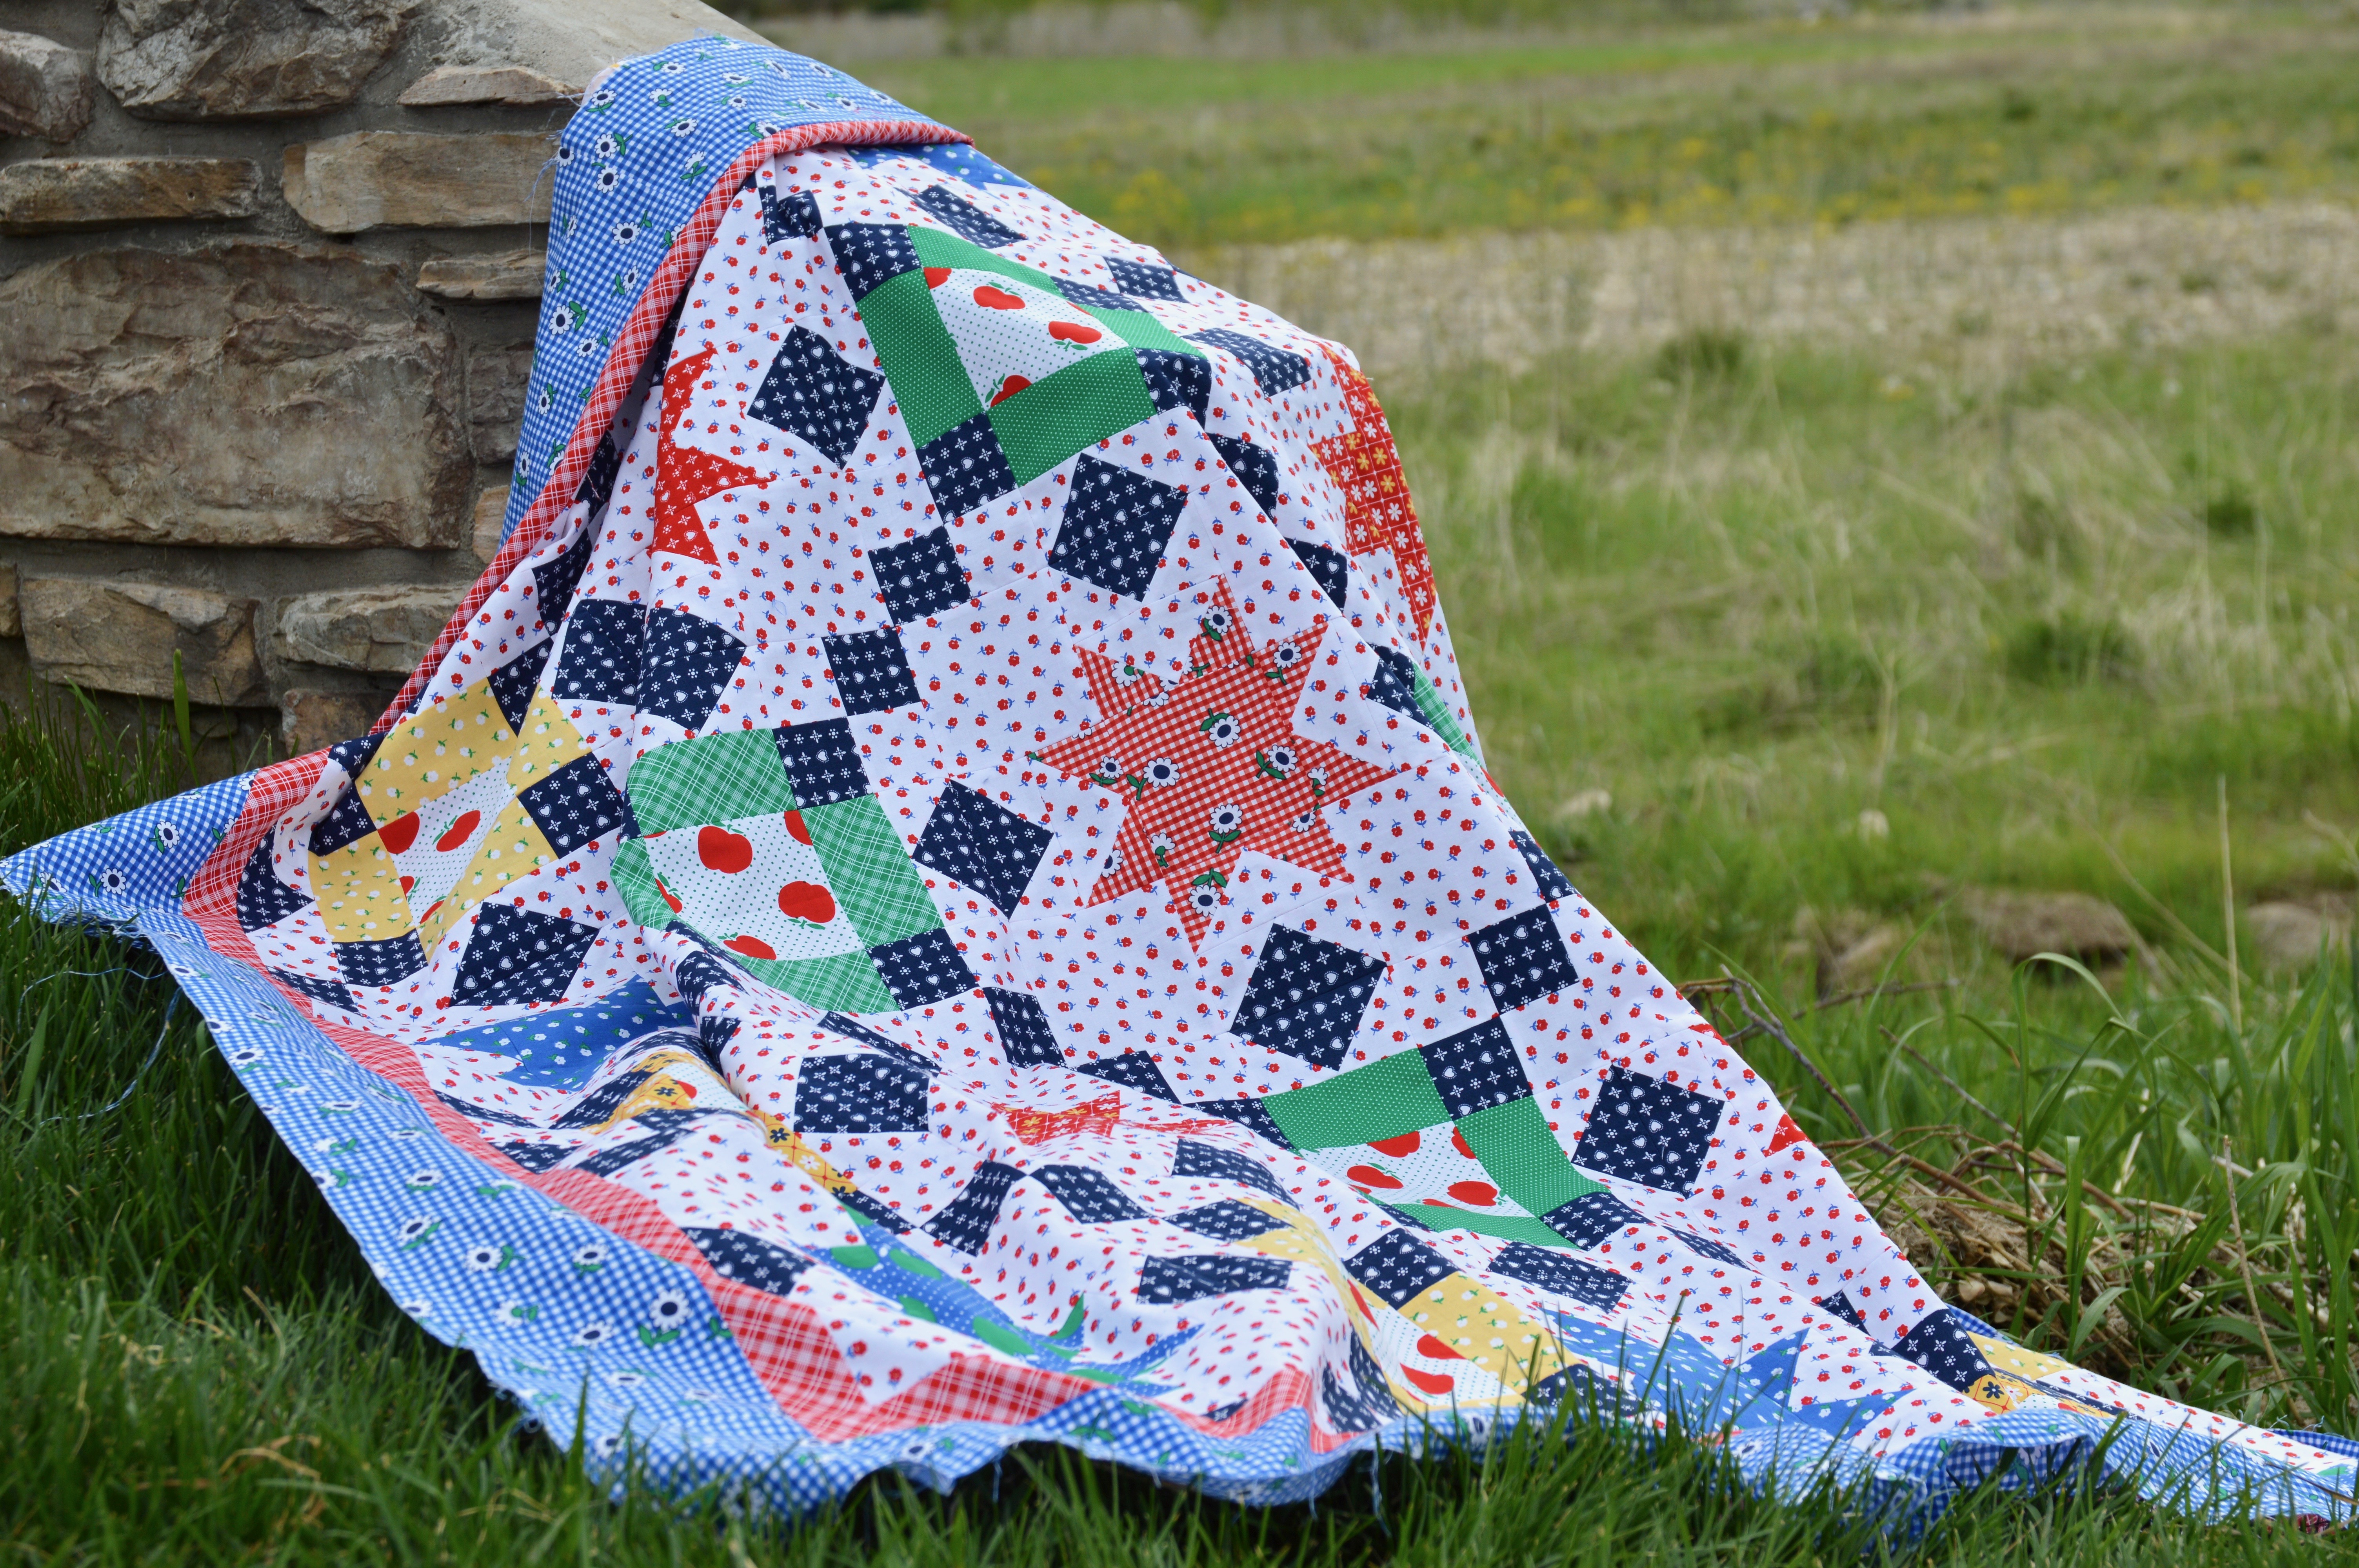
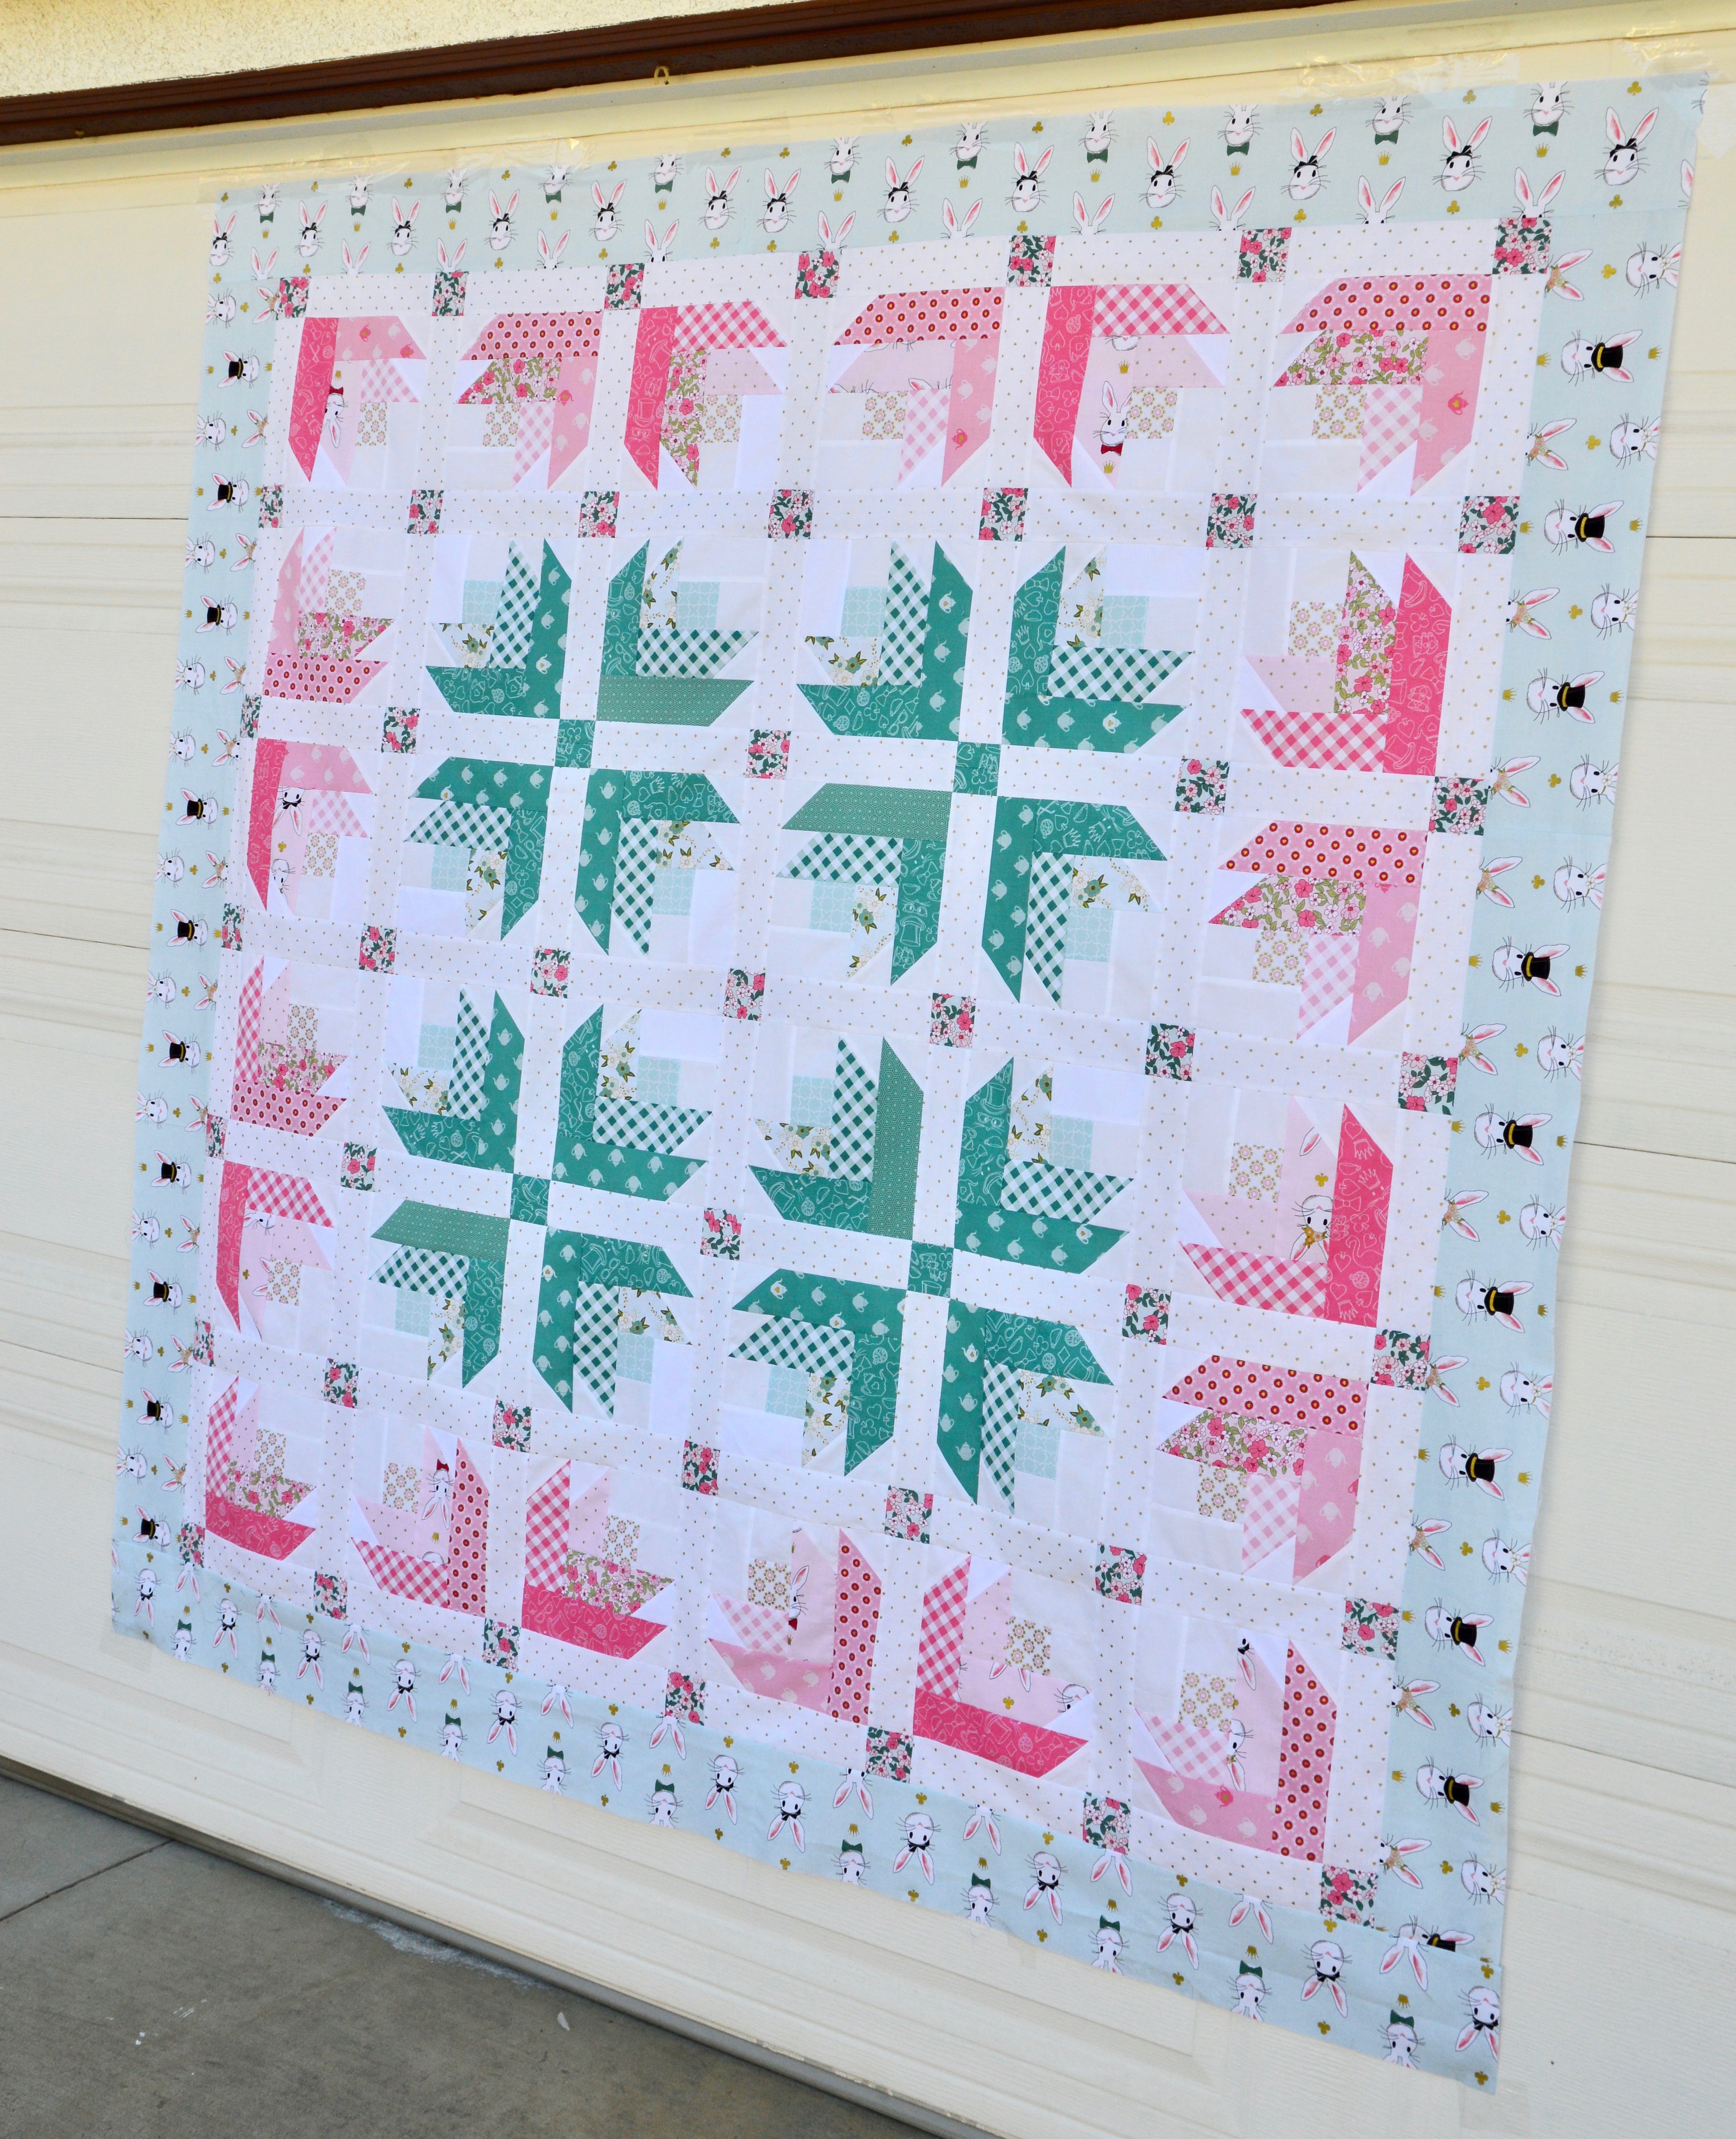
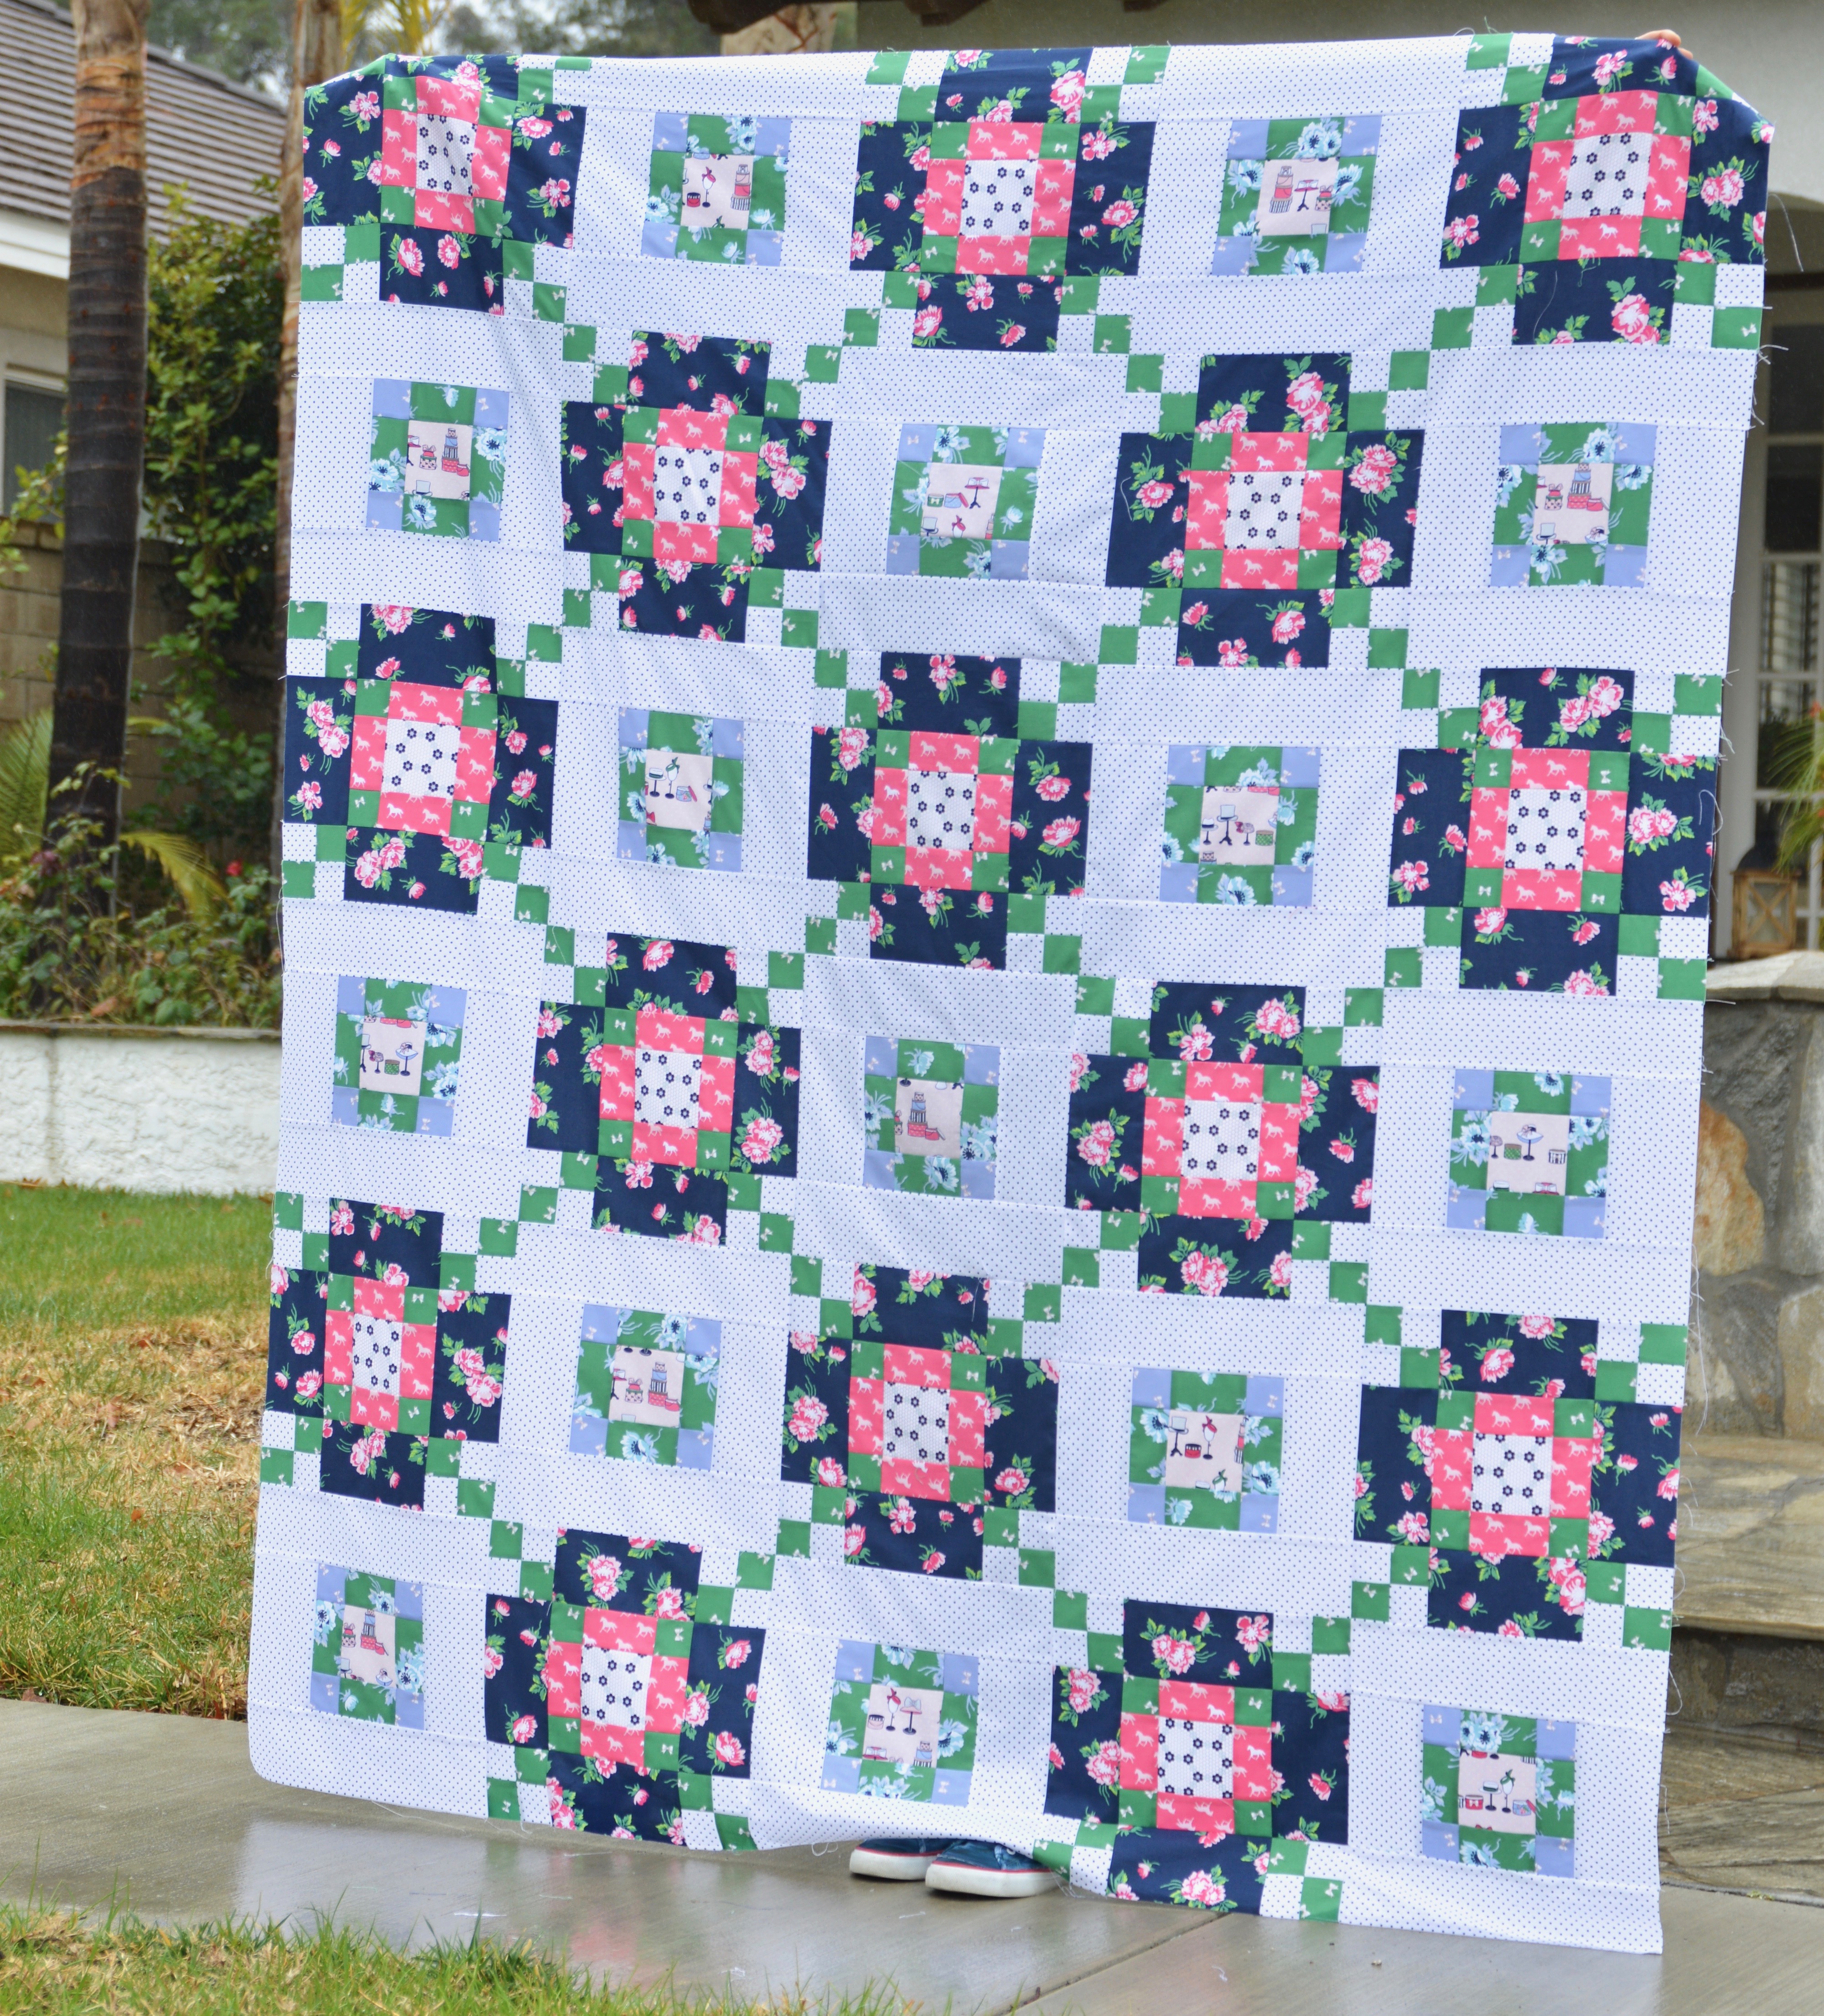
I am putting navy blue minky on the back (and sending it to the quilter) and then it will be MY new movie watching quilt!!!!

Derby Day Chain Quilt

You can purchase the quilt pattern in my Etsy shop for instant PDF download!

across the board cover

chain quilt pattern
Baby Mufasa loves the quilt too – although he seemed a bit confused at the horses on the quilt…..hahahaha!

derby day quilt 3

derby day quilt 4

Thanks, Melissa, for including me in your blog tour!  I really do love everything you create 🙂

Circa 1974 Quilt Finish

gingham girls quilt 3

My Circa 1974 quilt is finally finished!!  I live in California and my quilter lives in Utah so I’m not always able to have my quilts quilted and bound as soon as I would like.  But I am super excited that this quilt is finished and is one of my favorite quilt’s I’ve made!!!

gingham girls quilt 6

I love using chambray in my quilts for a super casual feel – perfect for taking on picnics or to the beach!

gingham girls quilt 4

I think the quilting goes perfectly with the 1970’s vibe of the quilt!  I am seriously so in love!!!gingham girls quilt

The pattern available as a PDF download in my Etsy shop.  You can customize the date for a special occasion, or you can omit the date block all together and fill in with more blocks!
gingham girls quilt 2
I love how the little shoes poking out the bottom totally match the quilt!!
gingham girls quilt 5


gingham girls quilt 8

Best of all it is 100% Mufasa approved!

Bouncing Off The Walls Quilt Pattern

DSC_0671
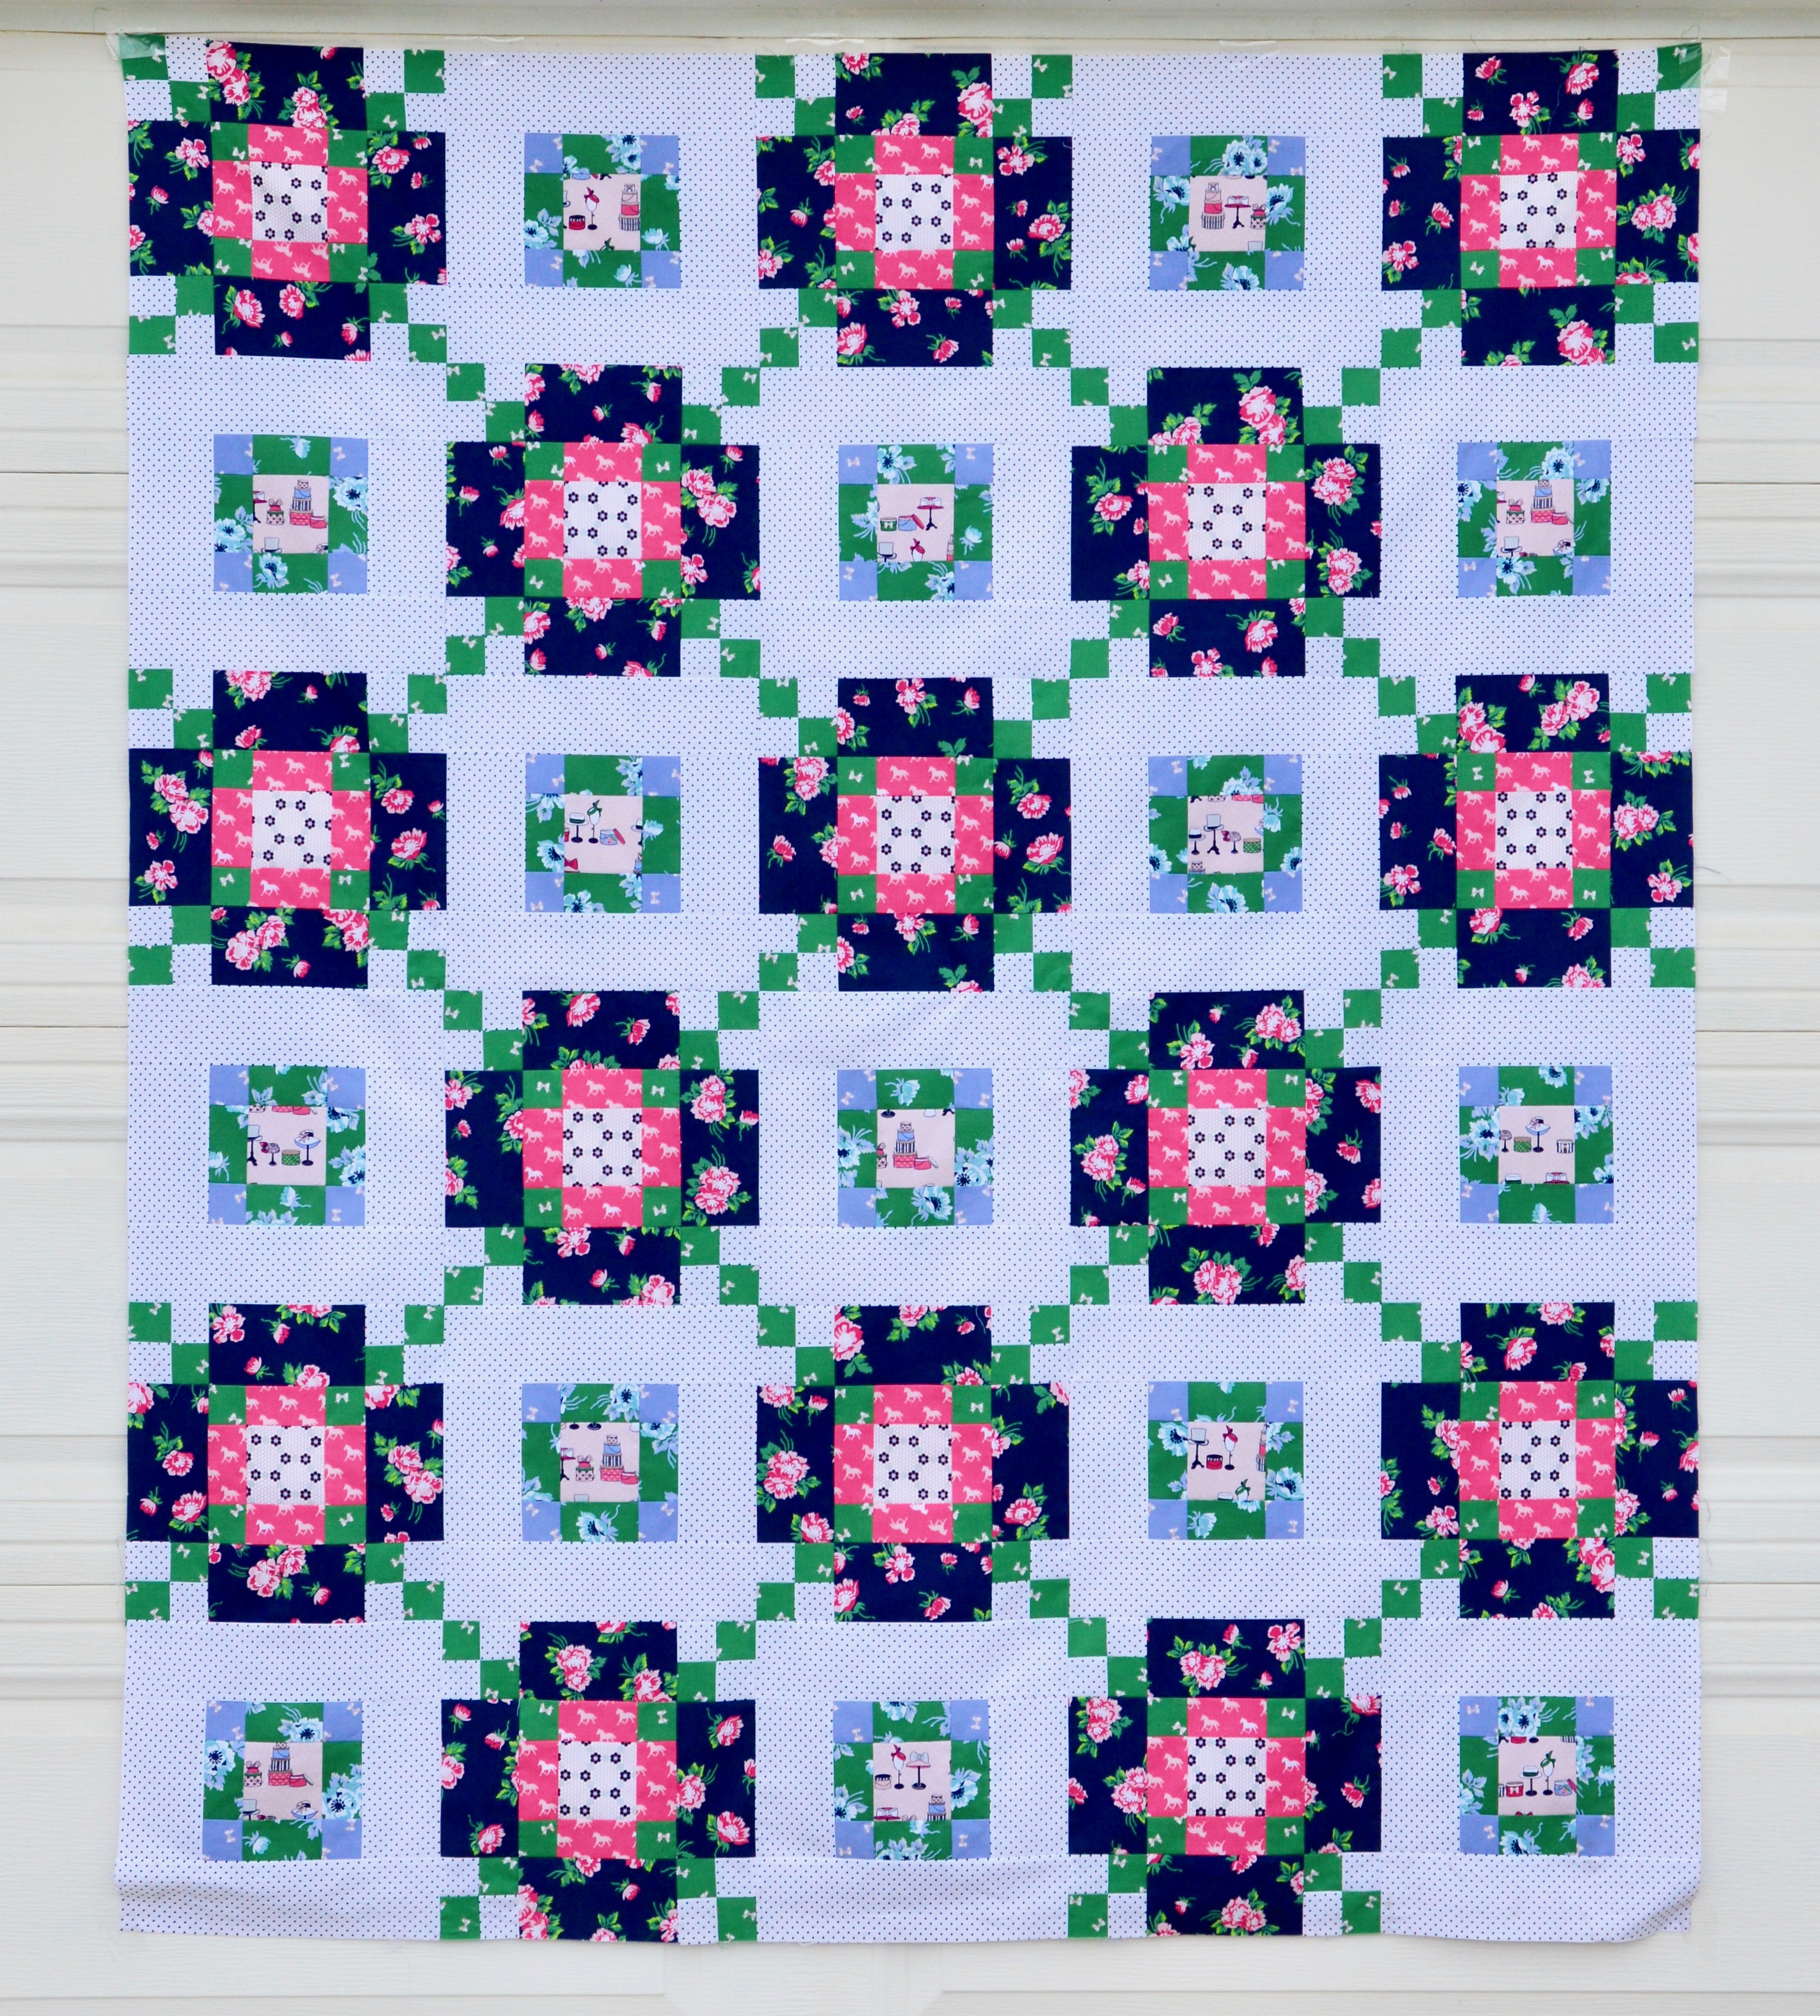
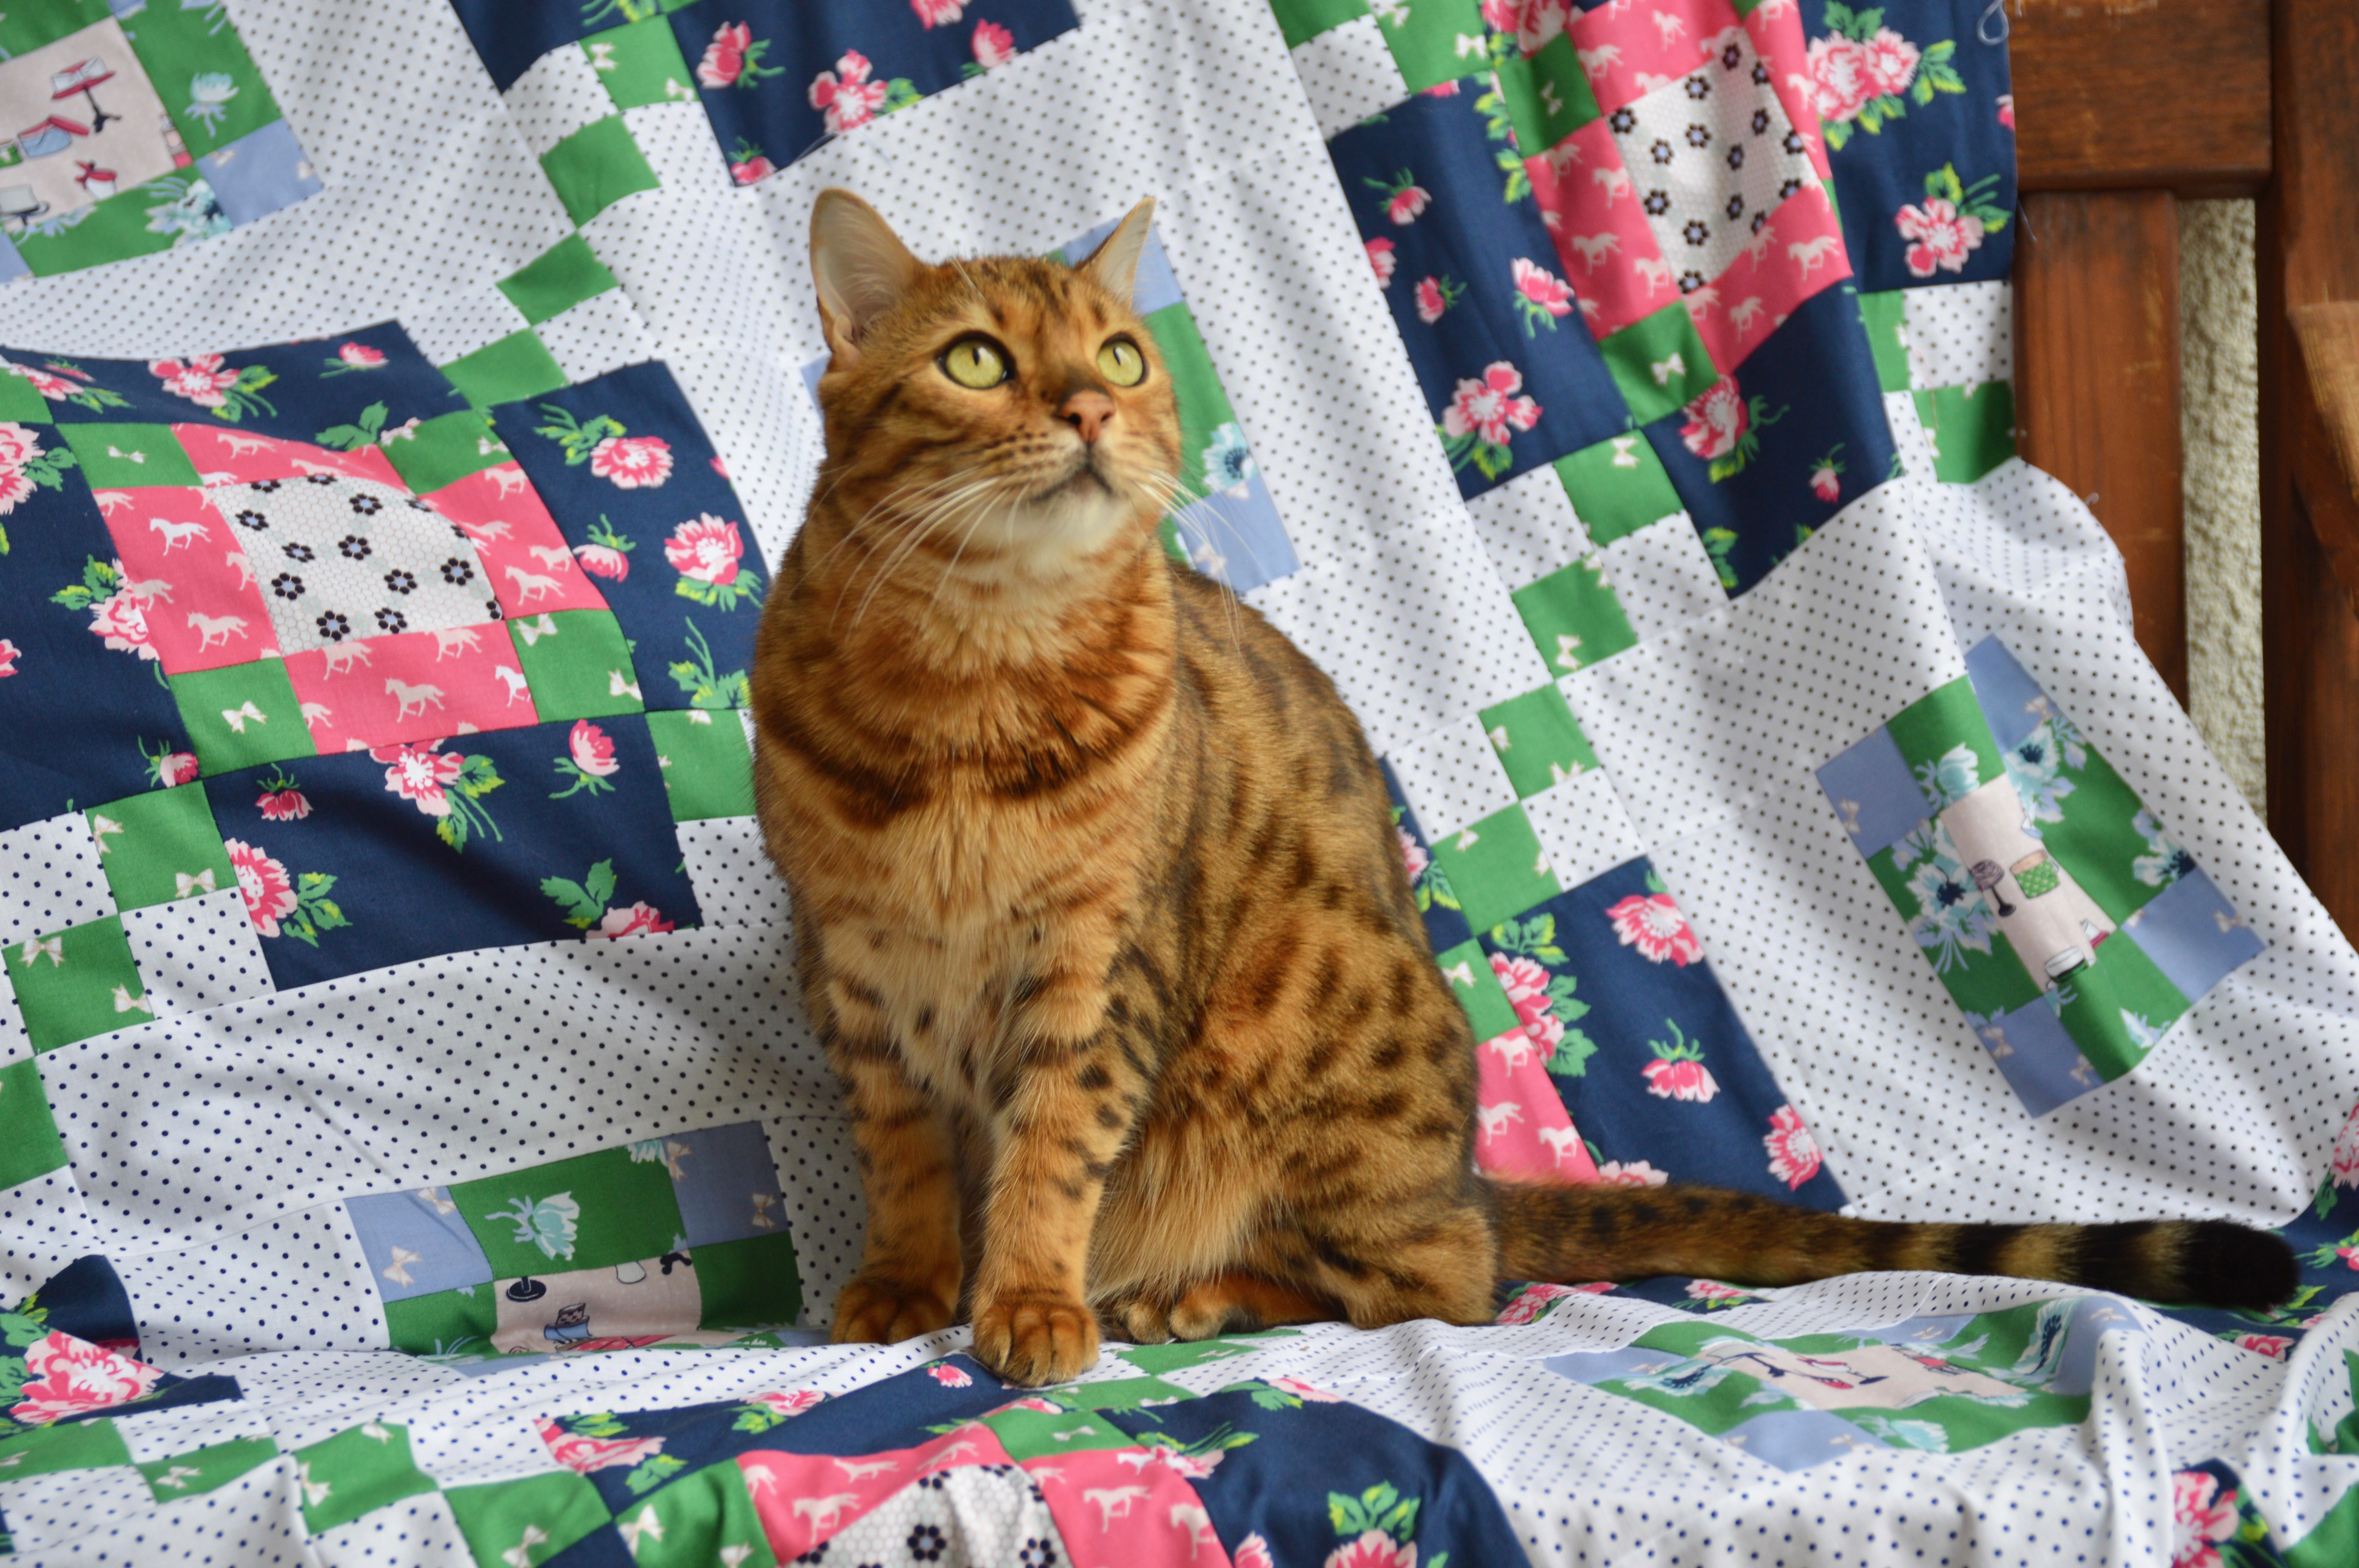
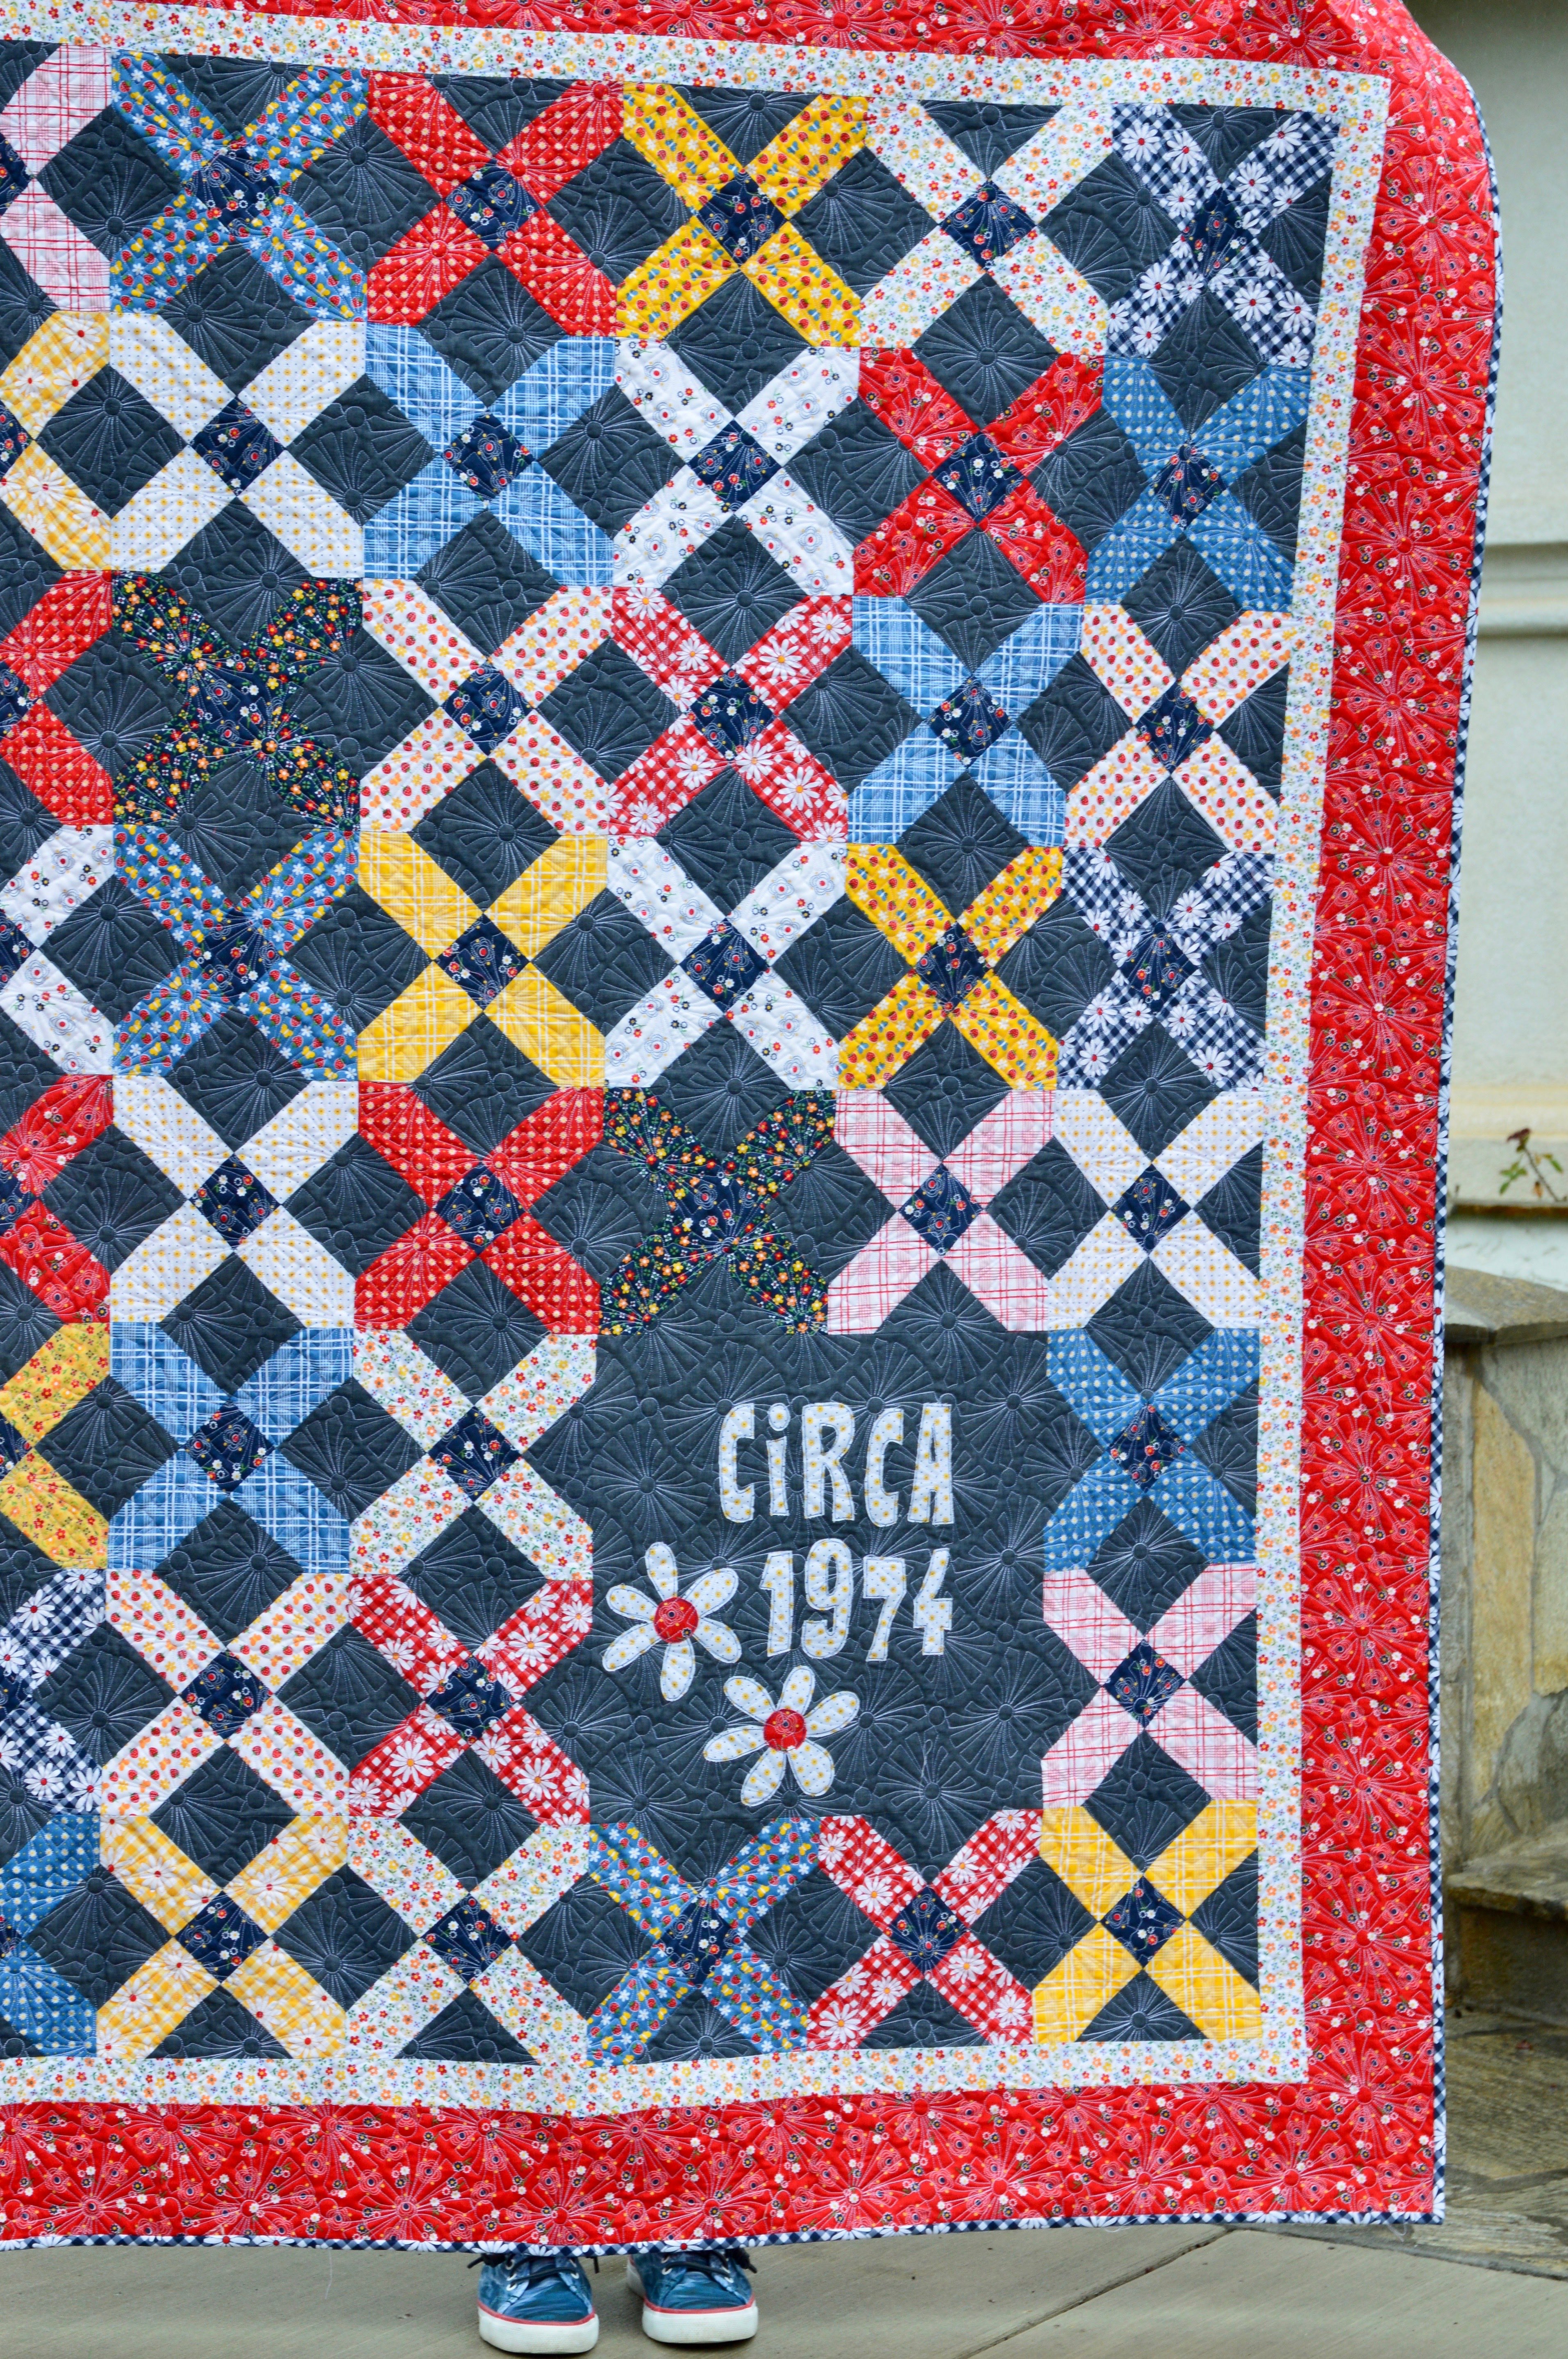
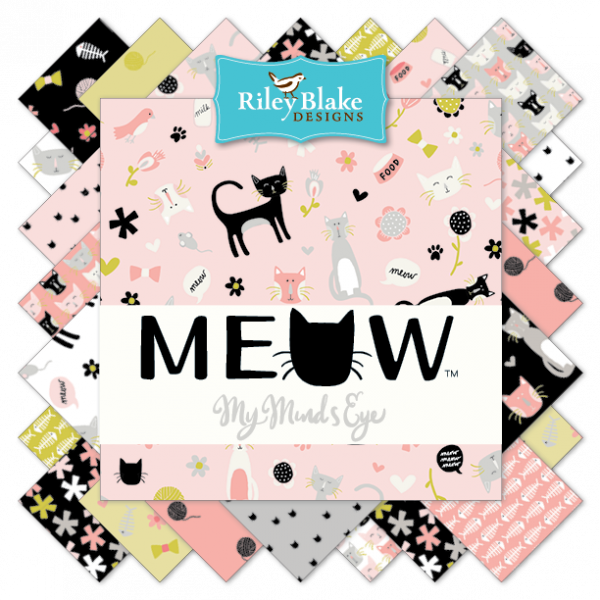
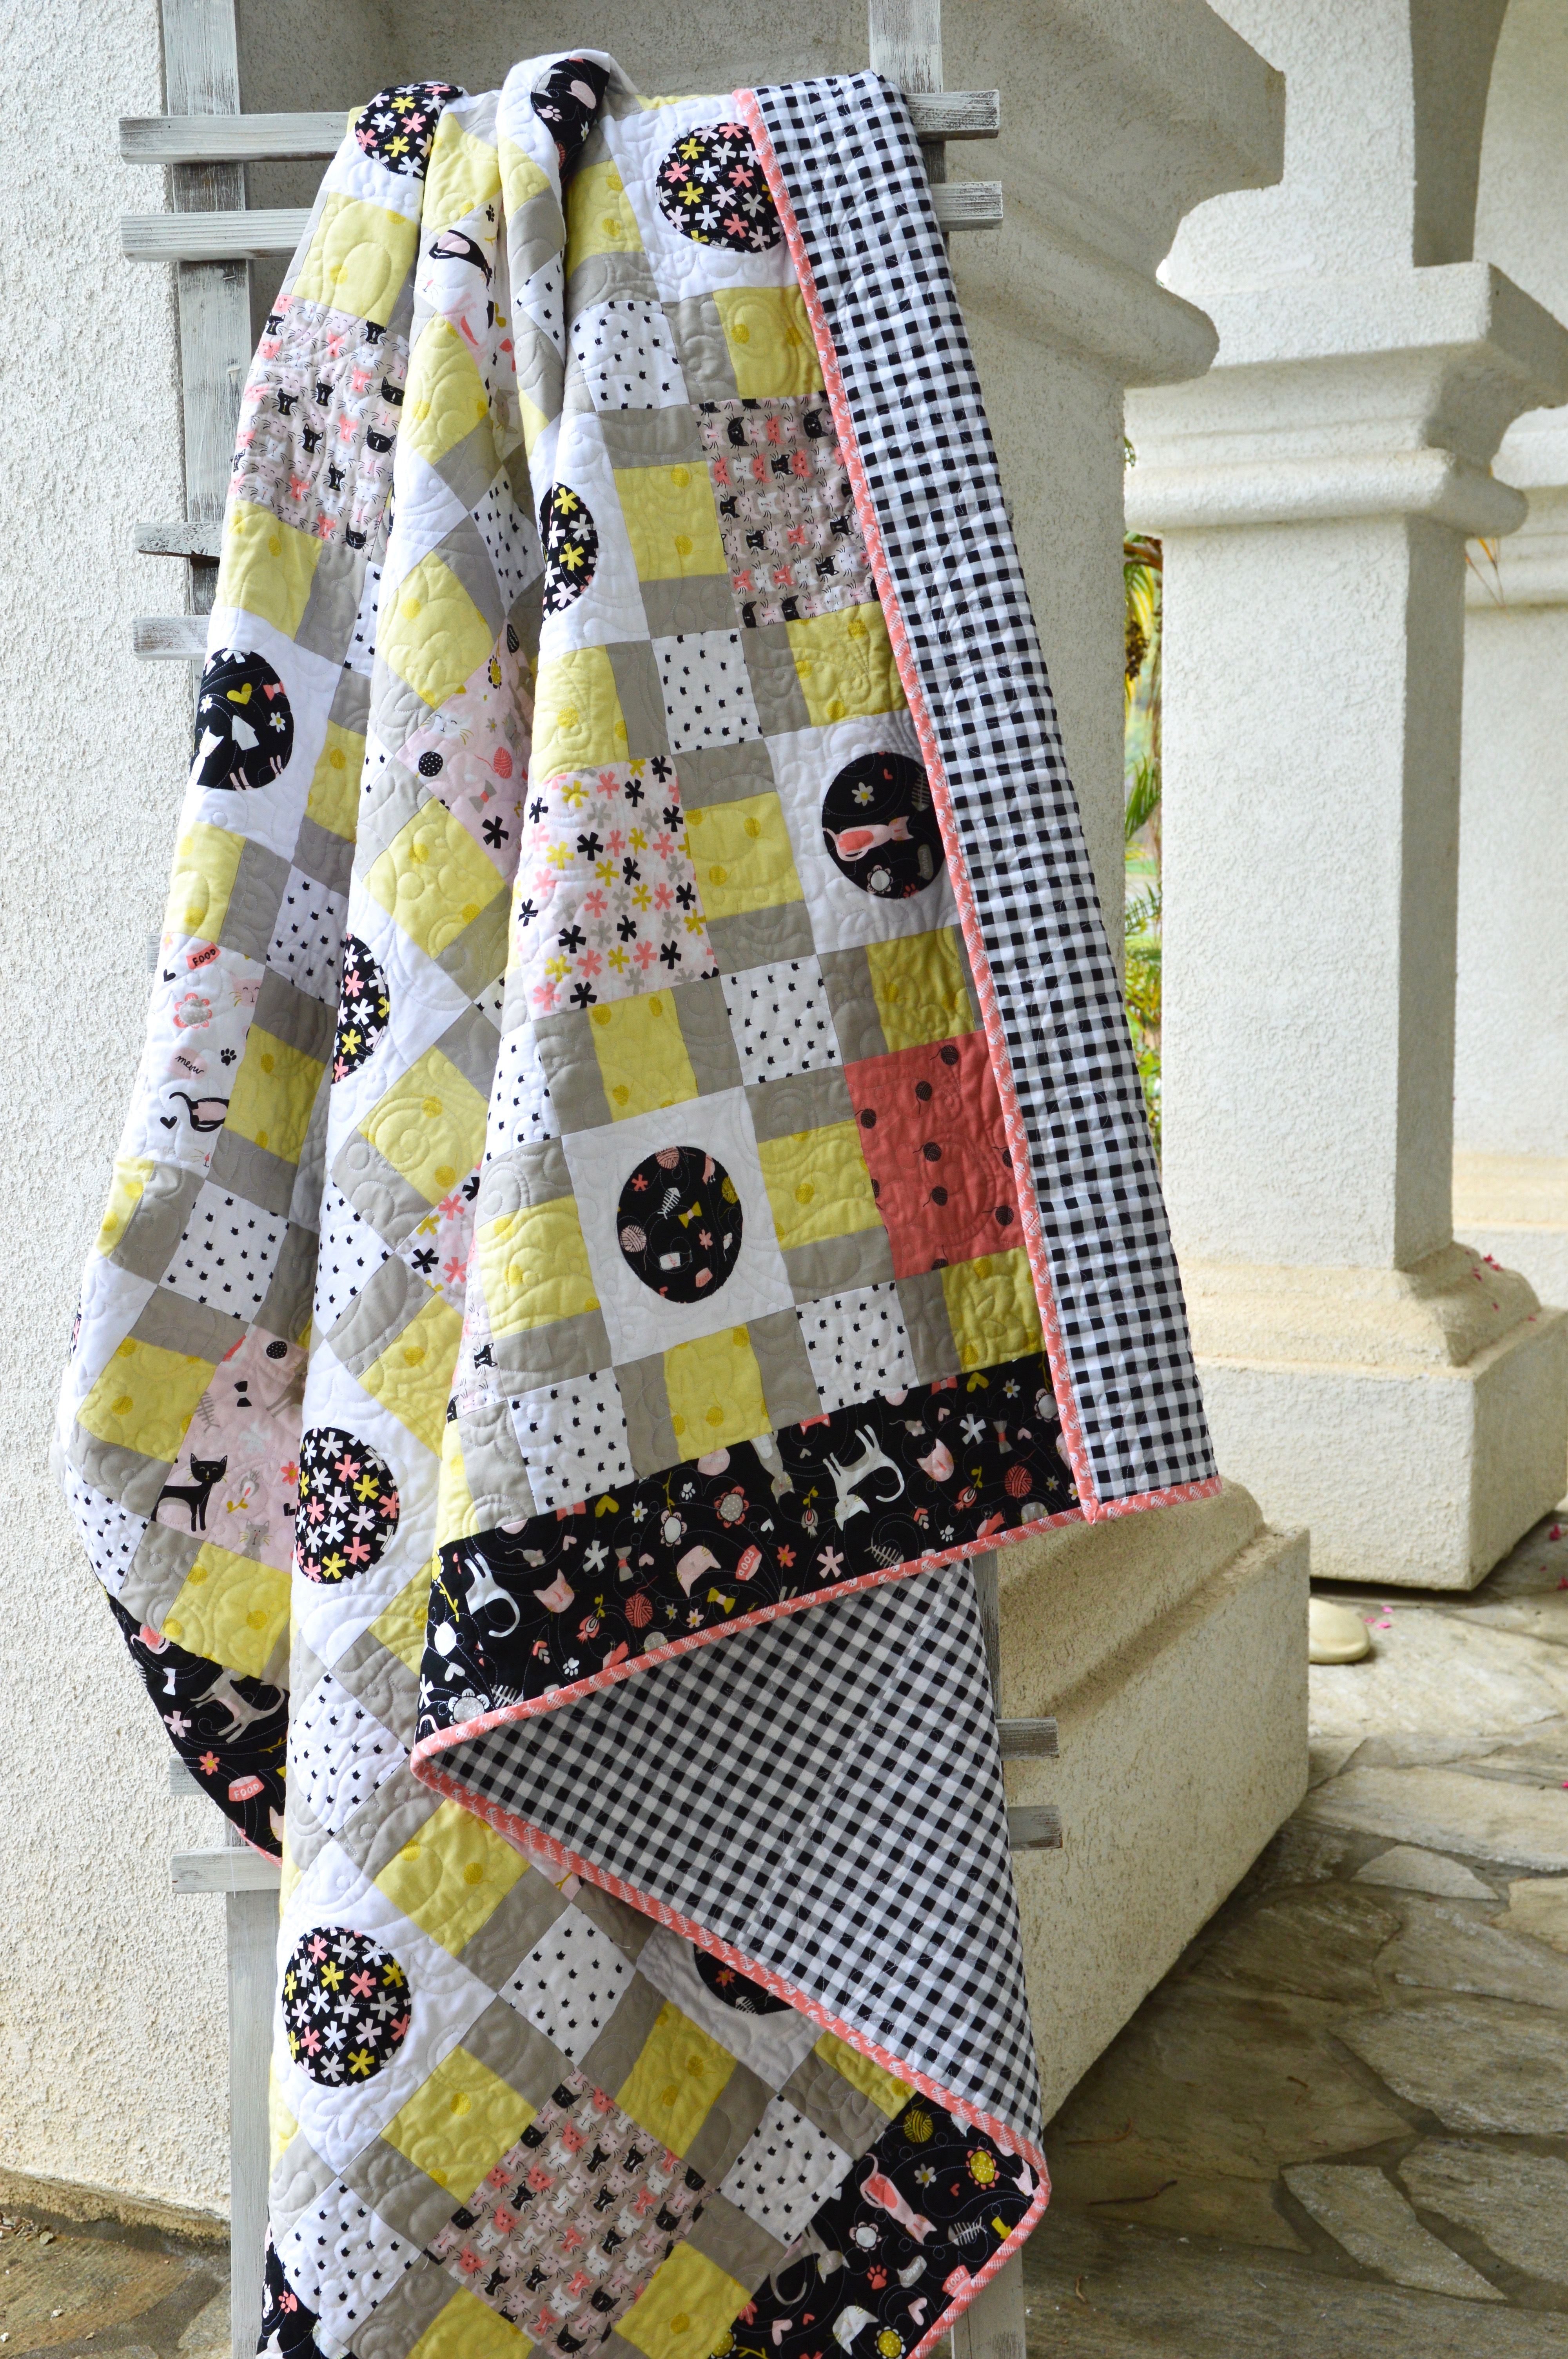
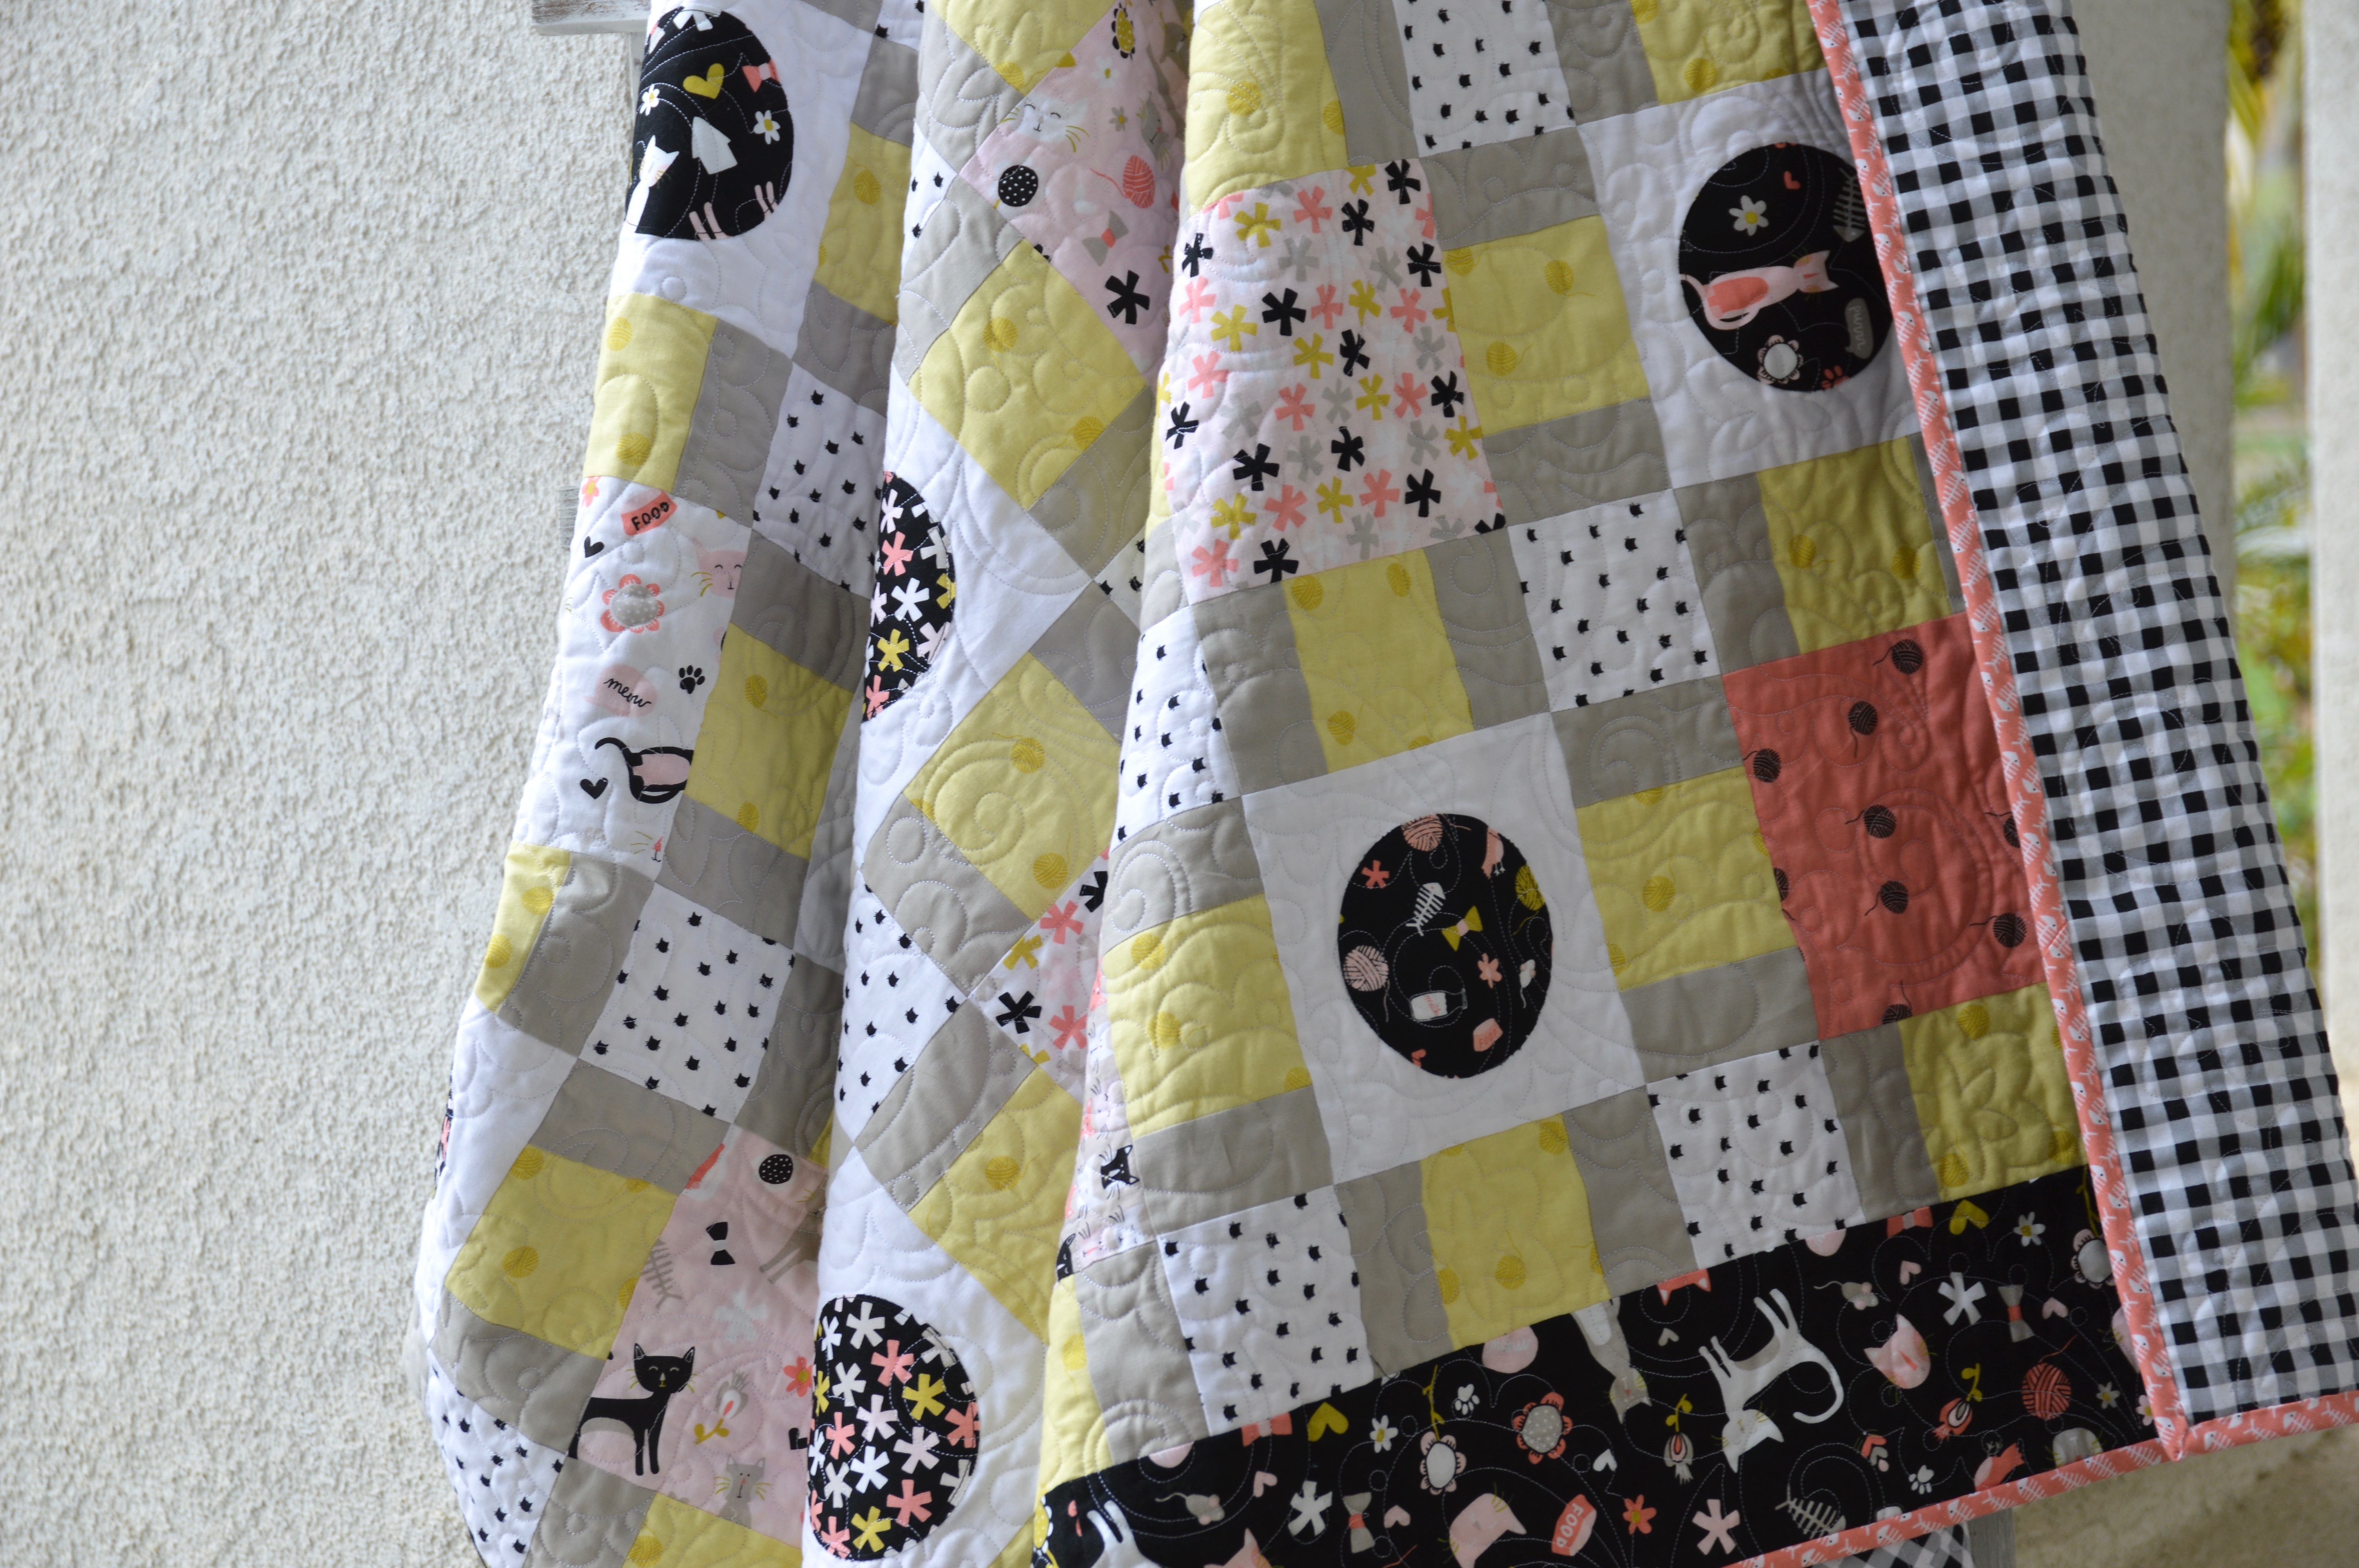
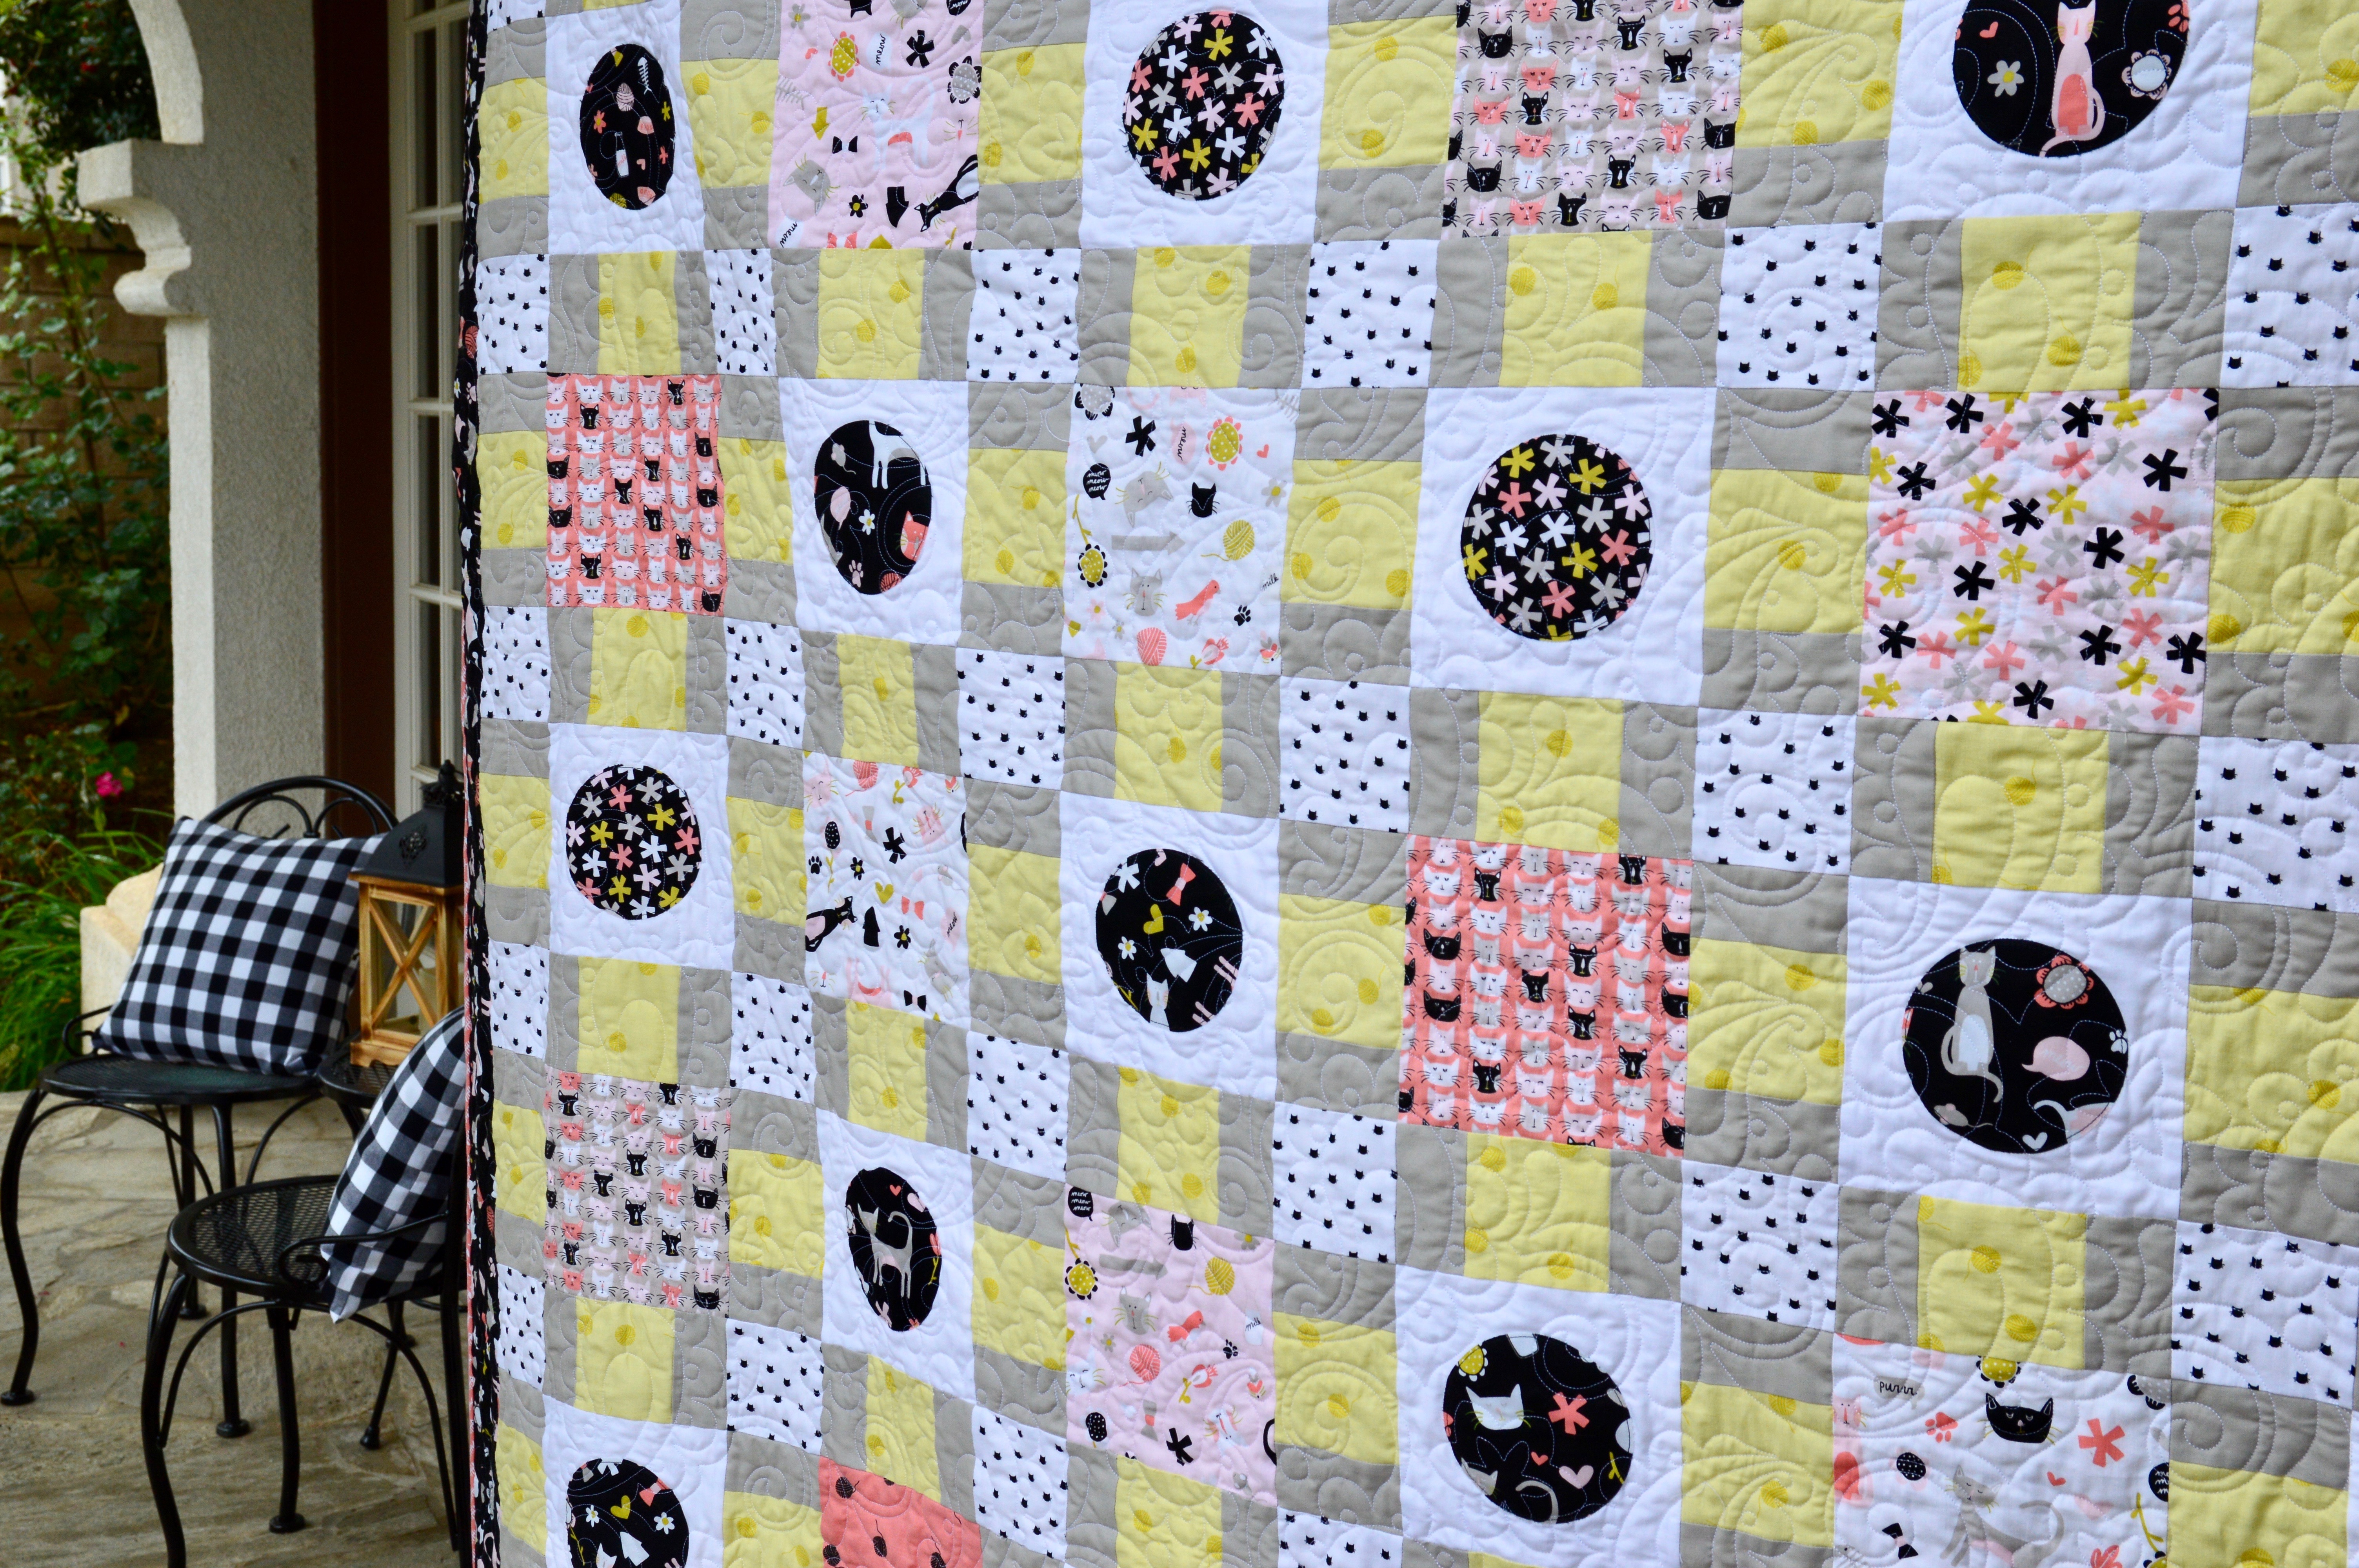
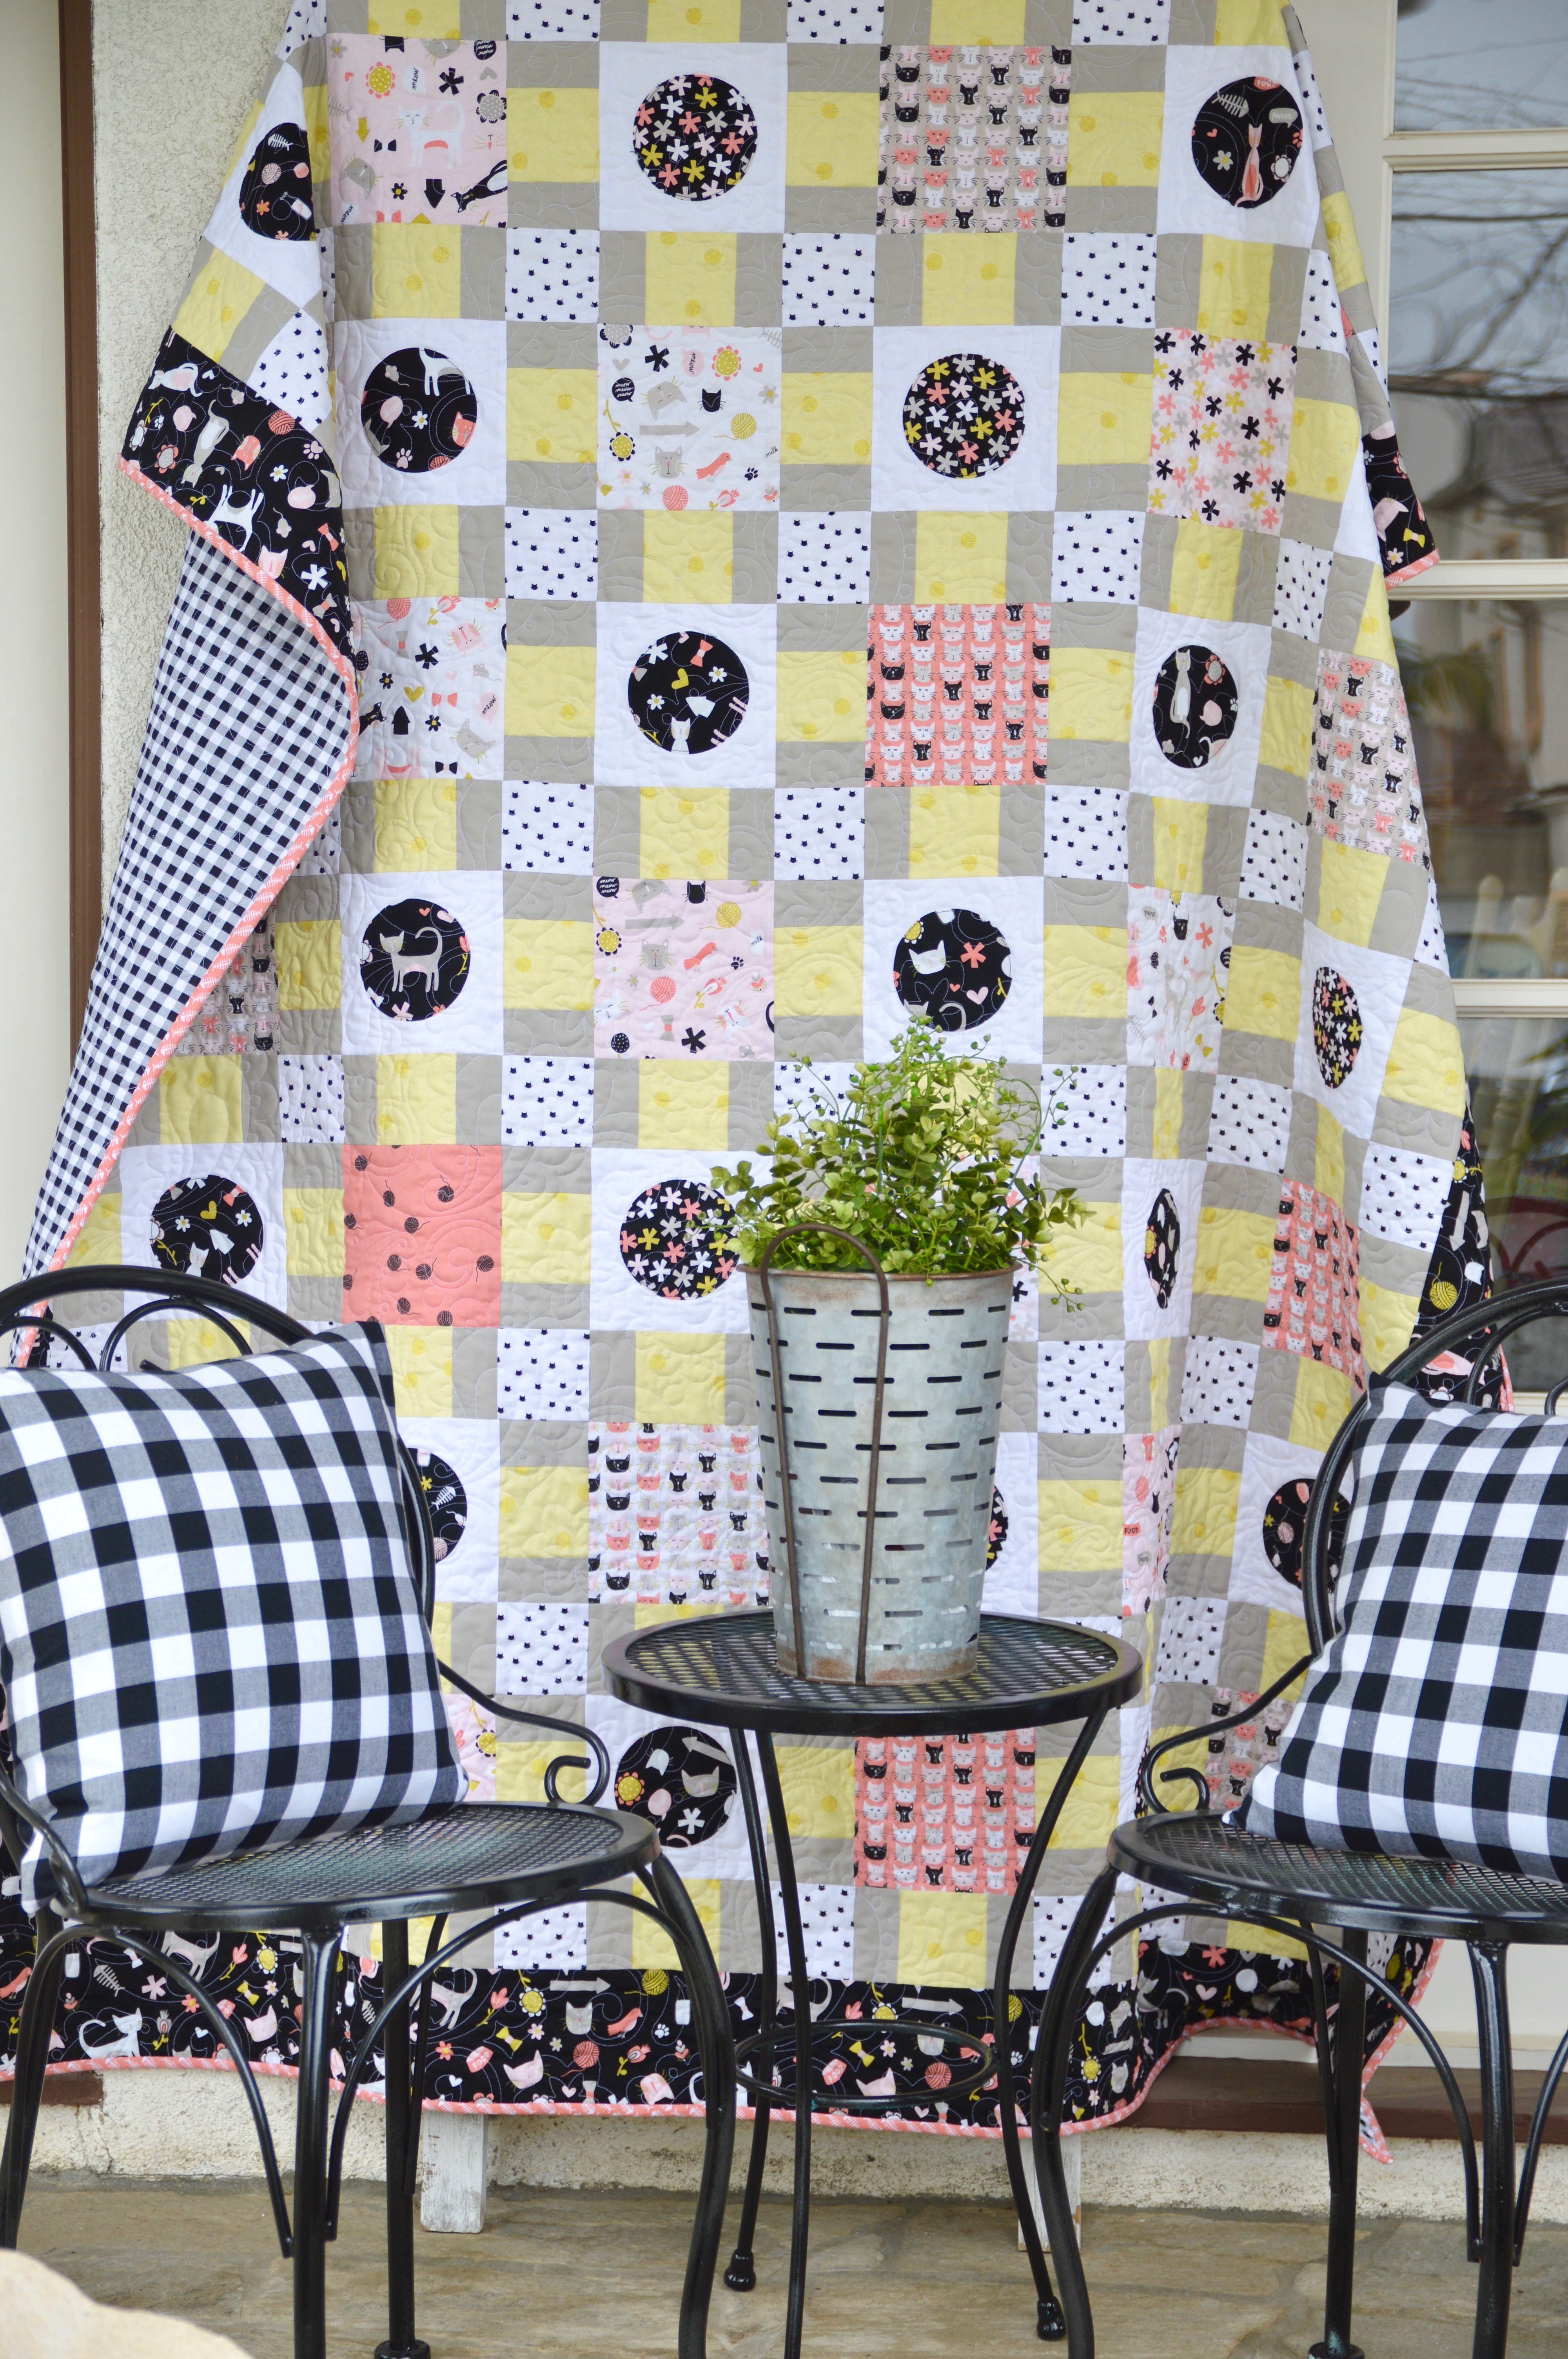
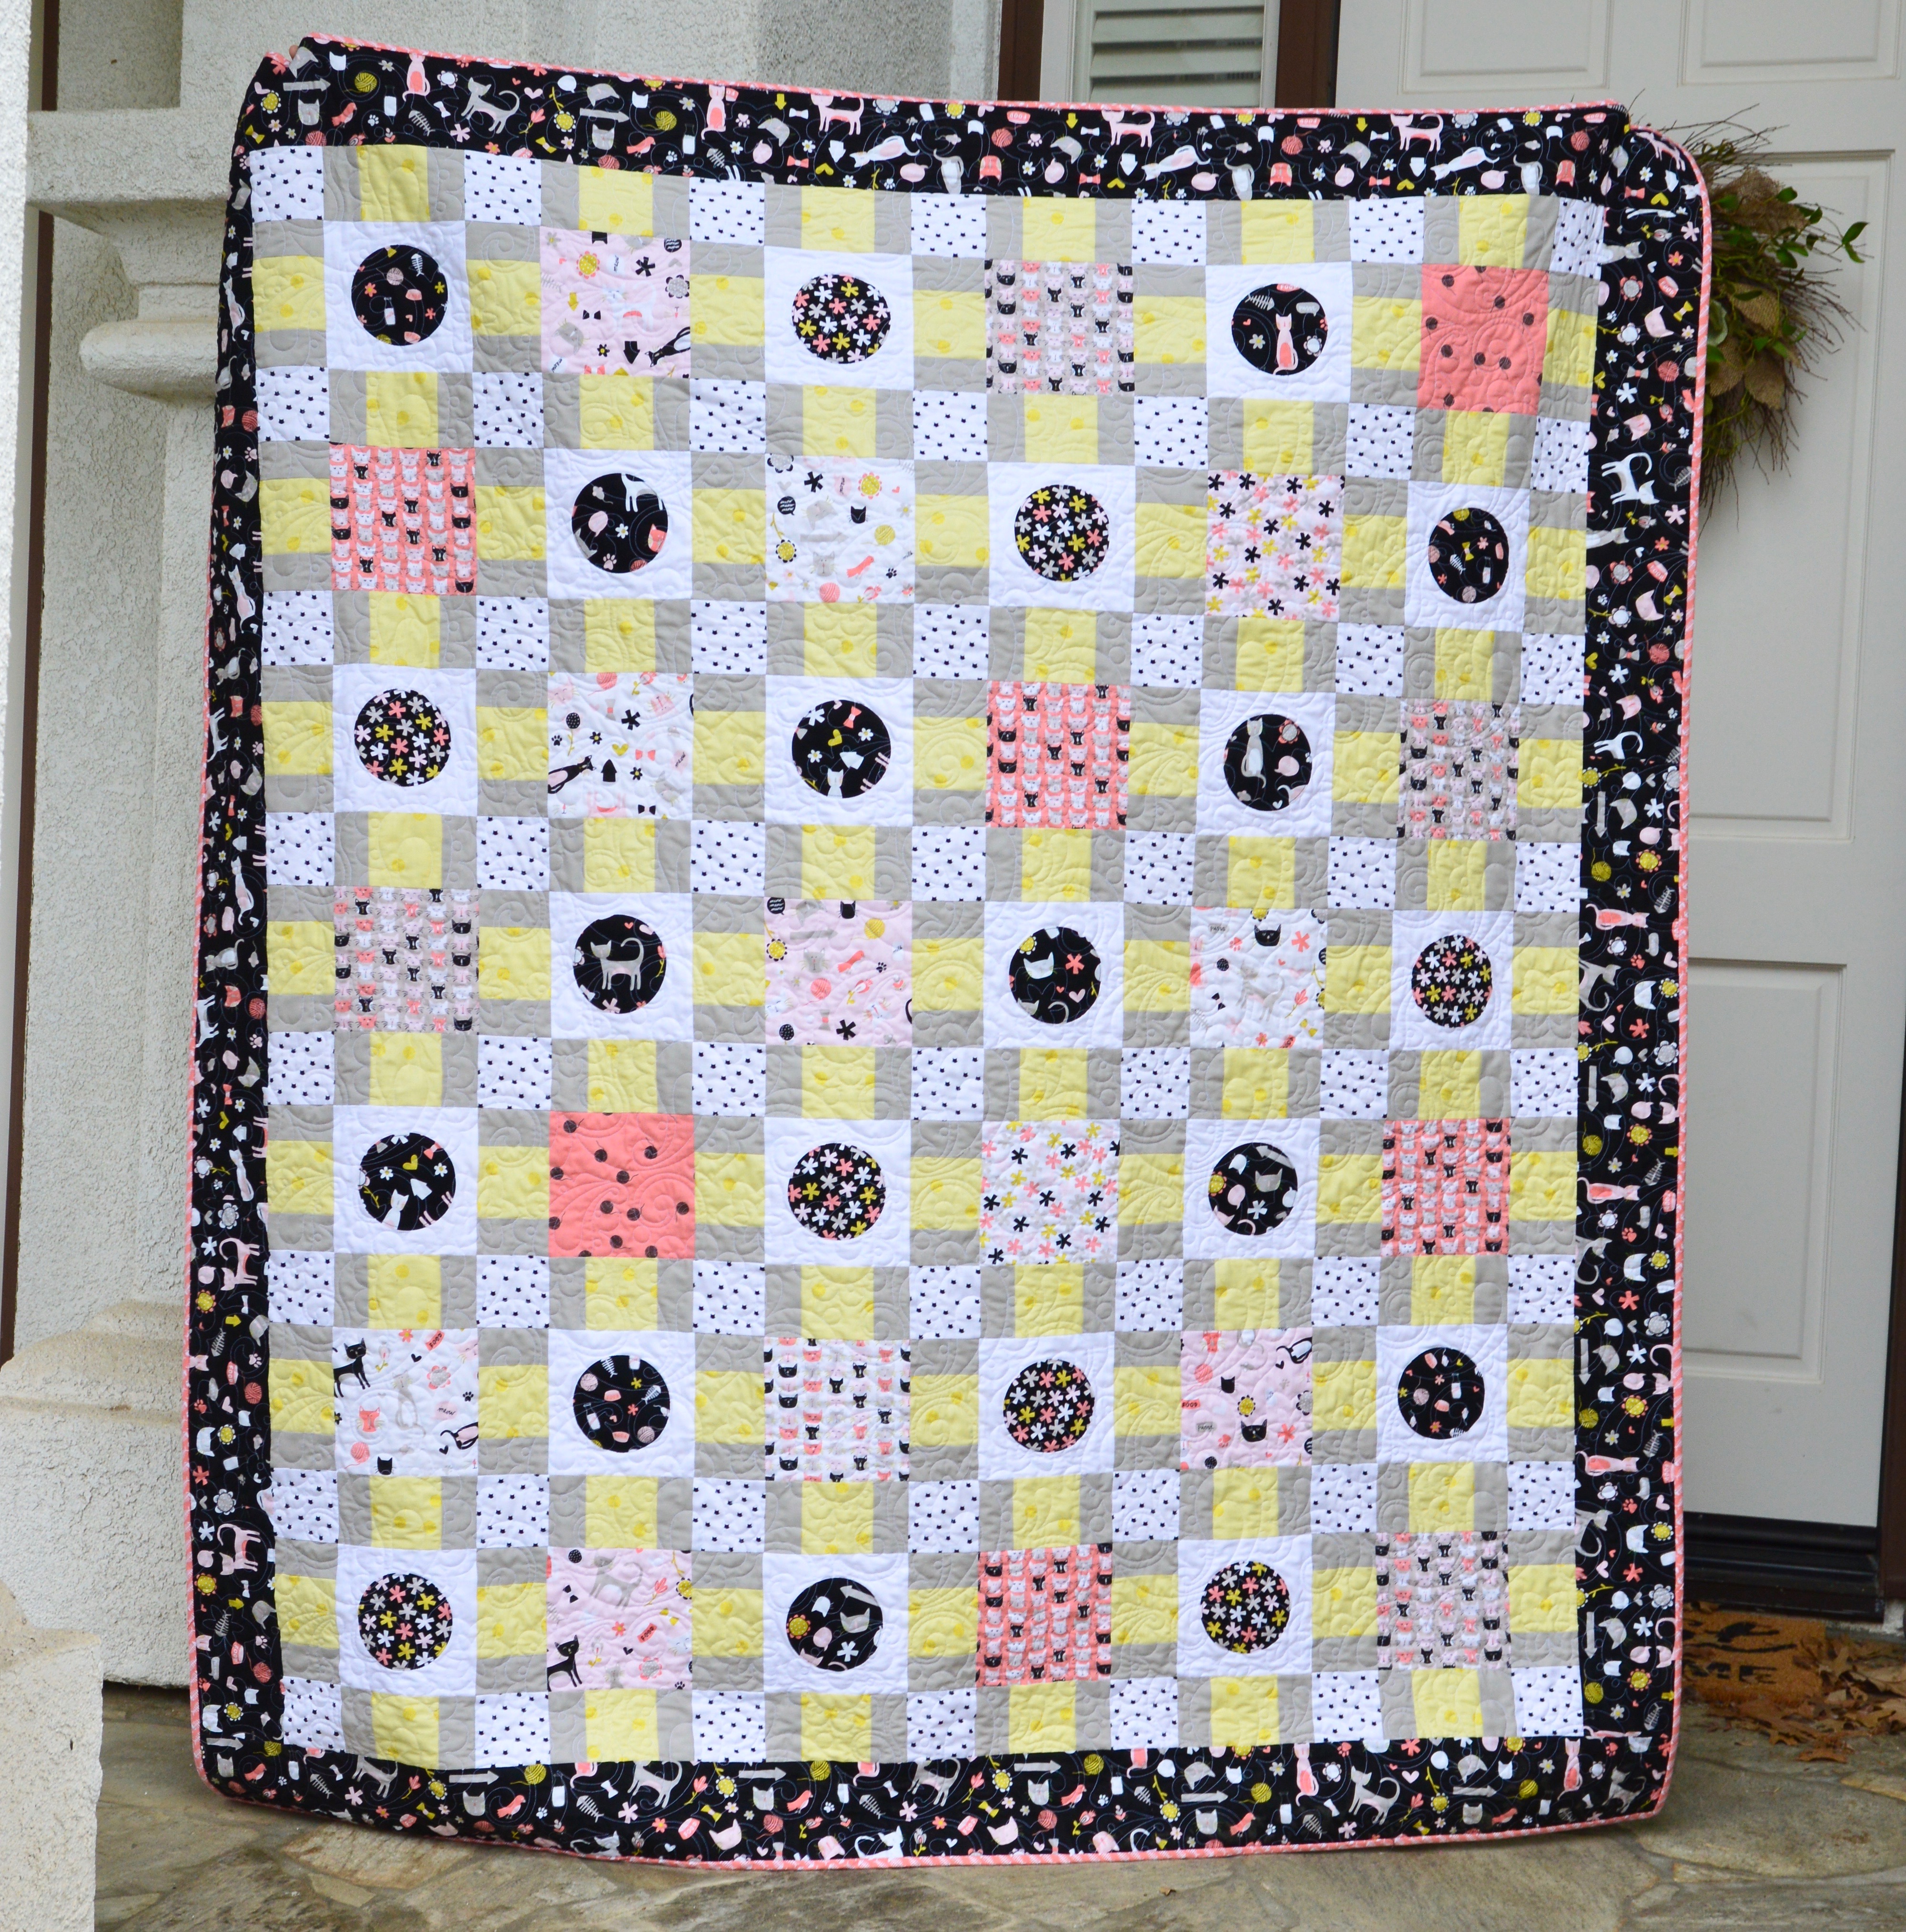
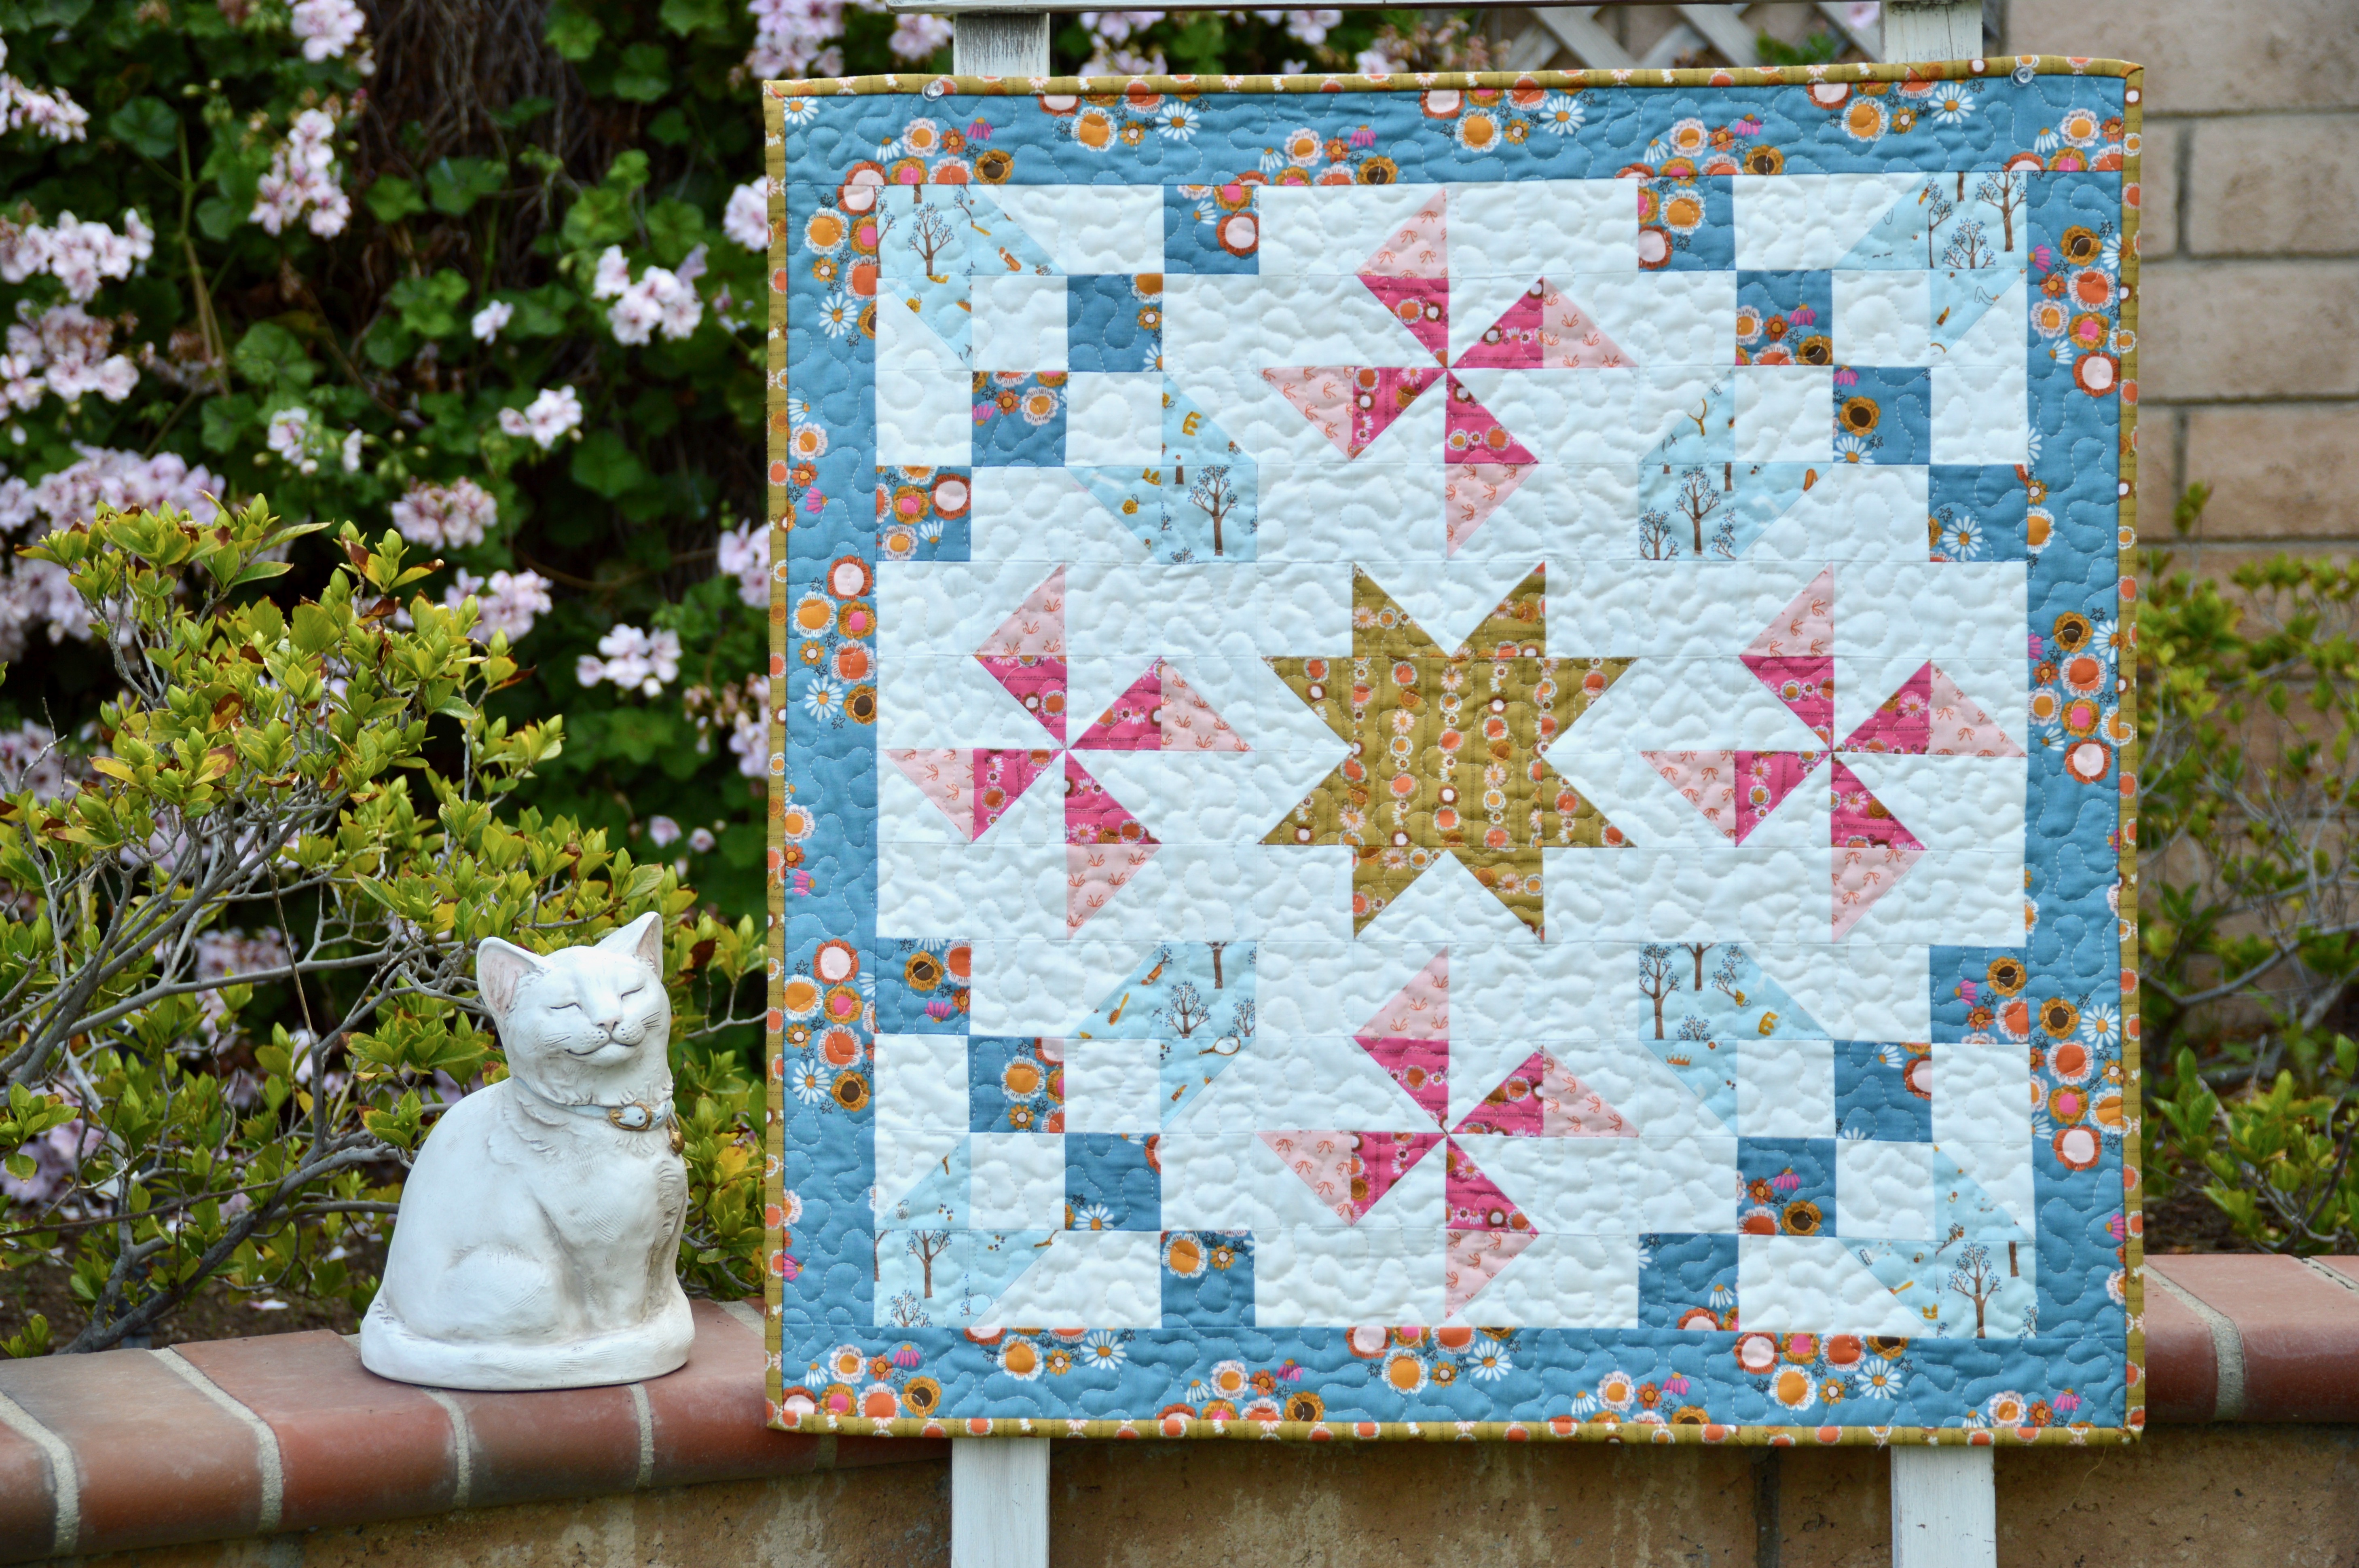
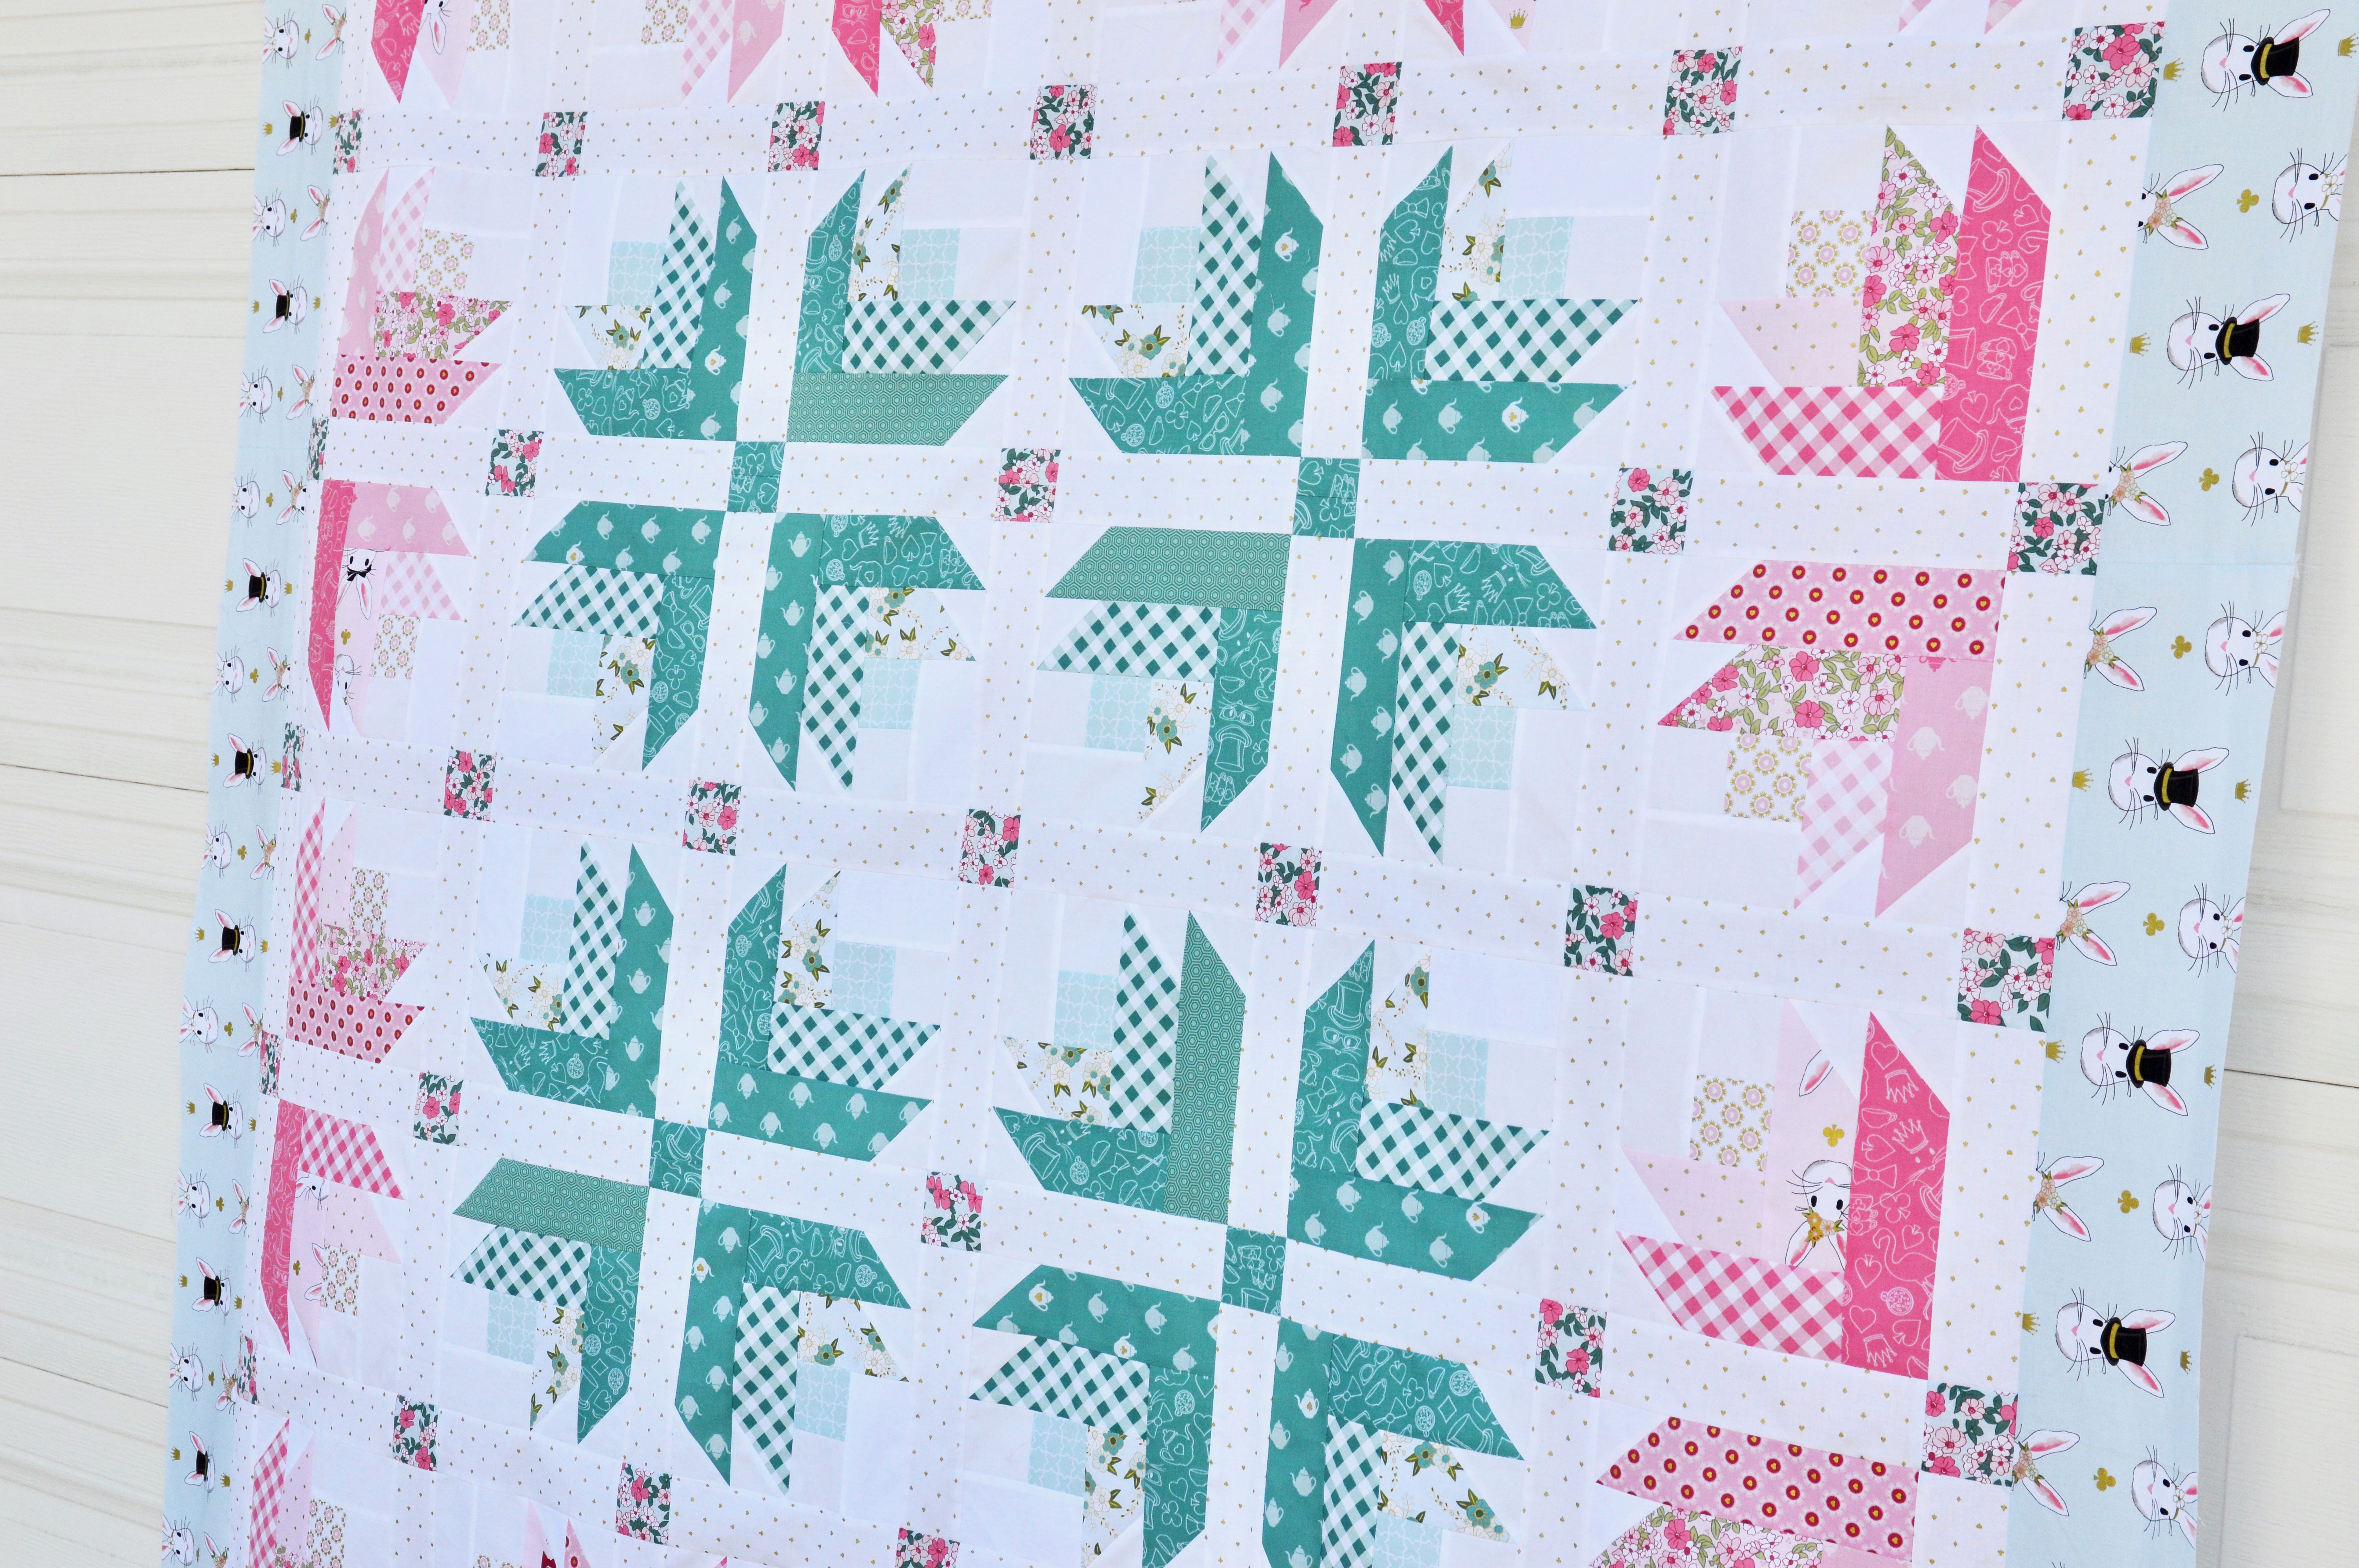
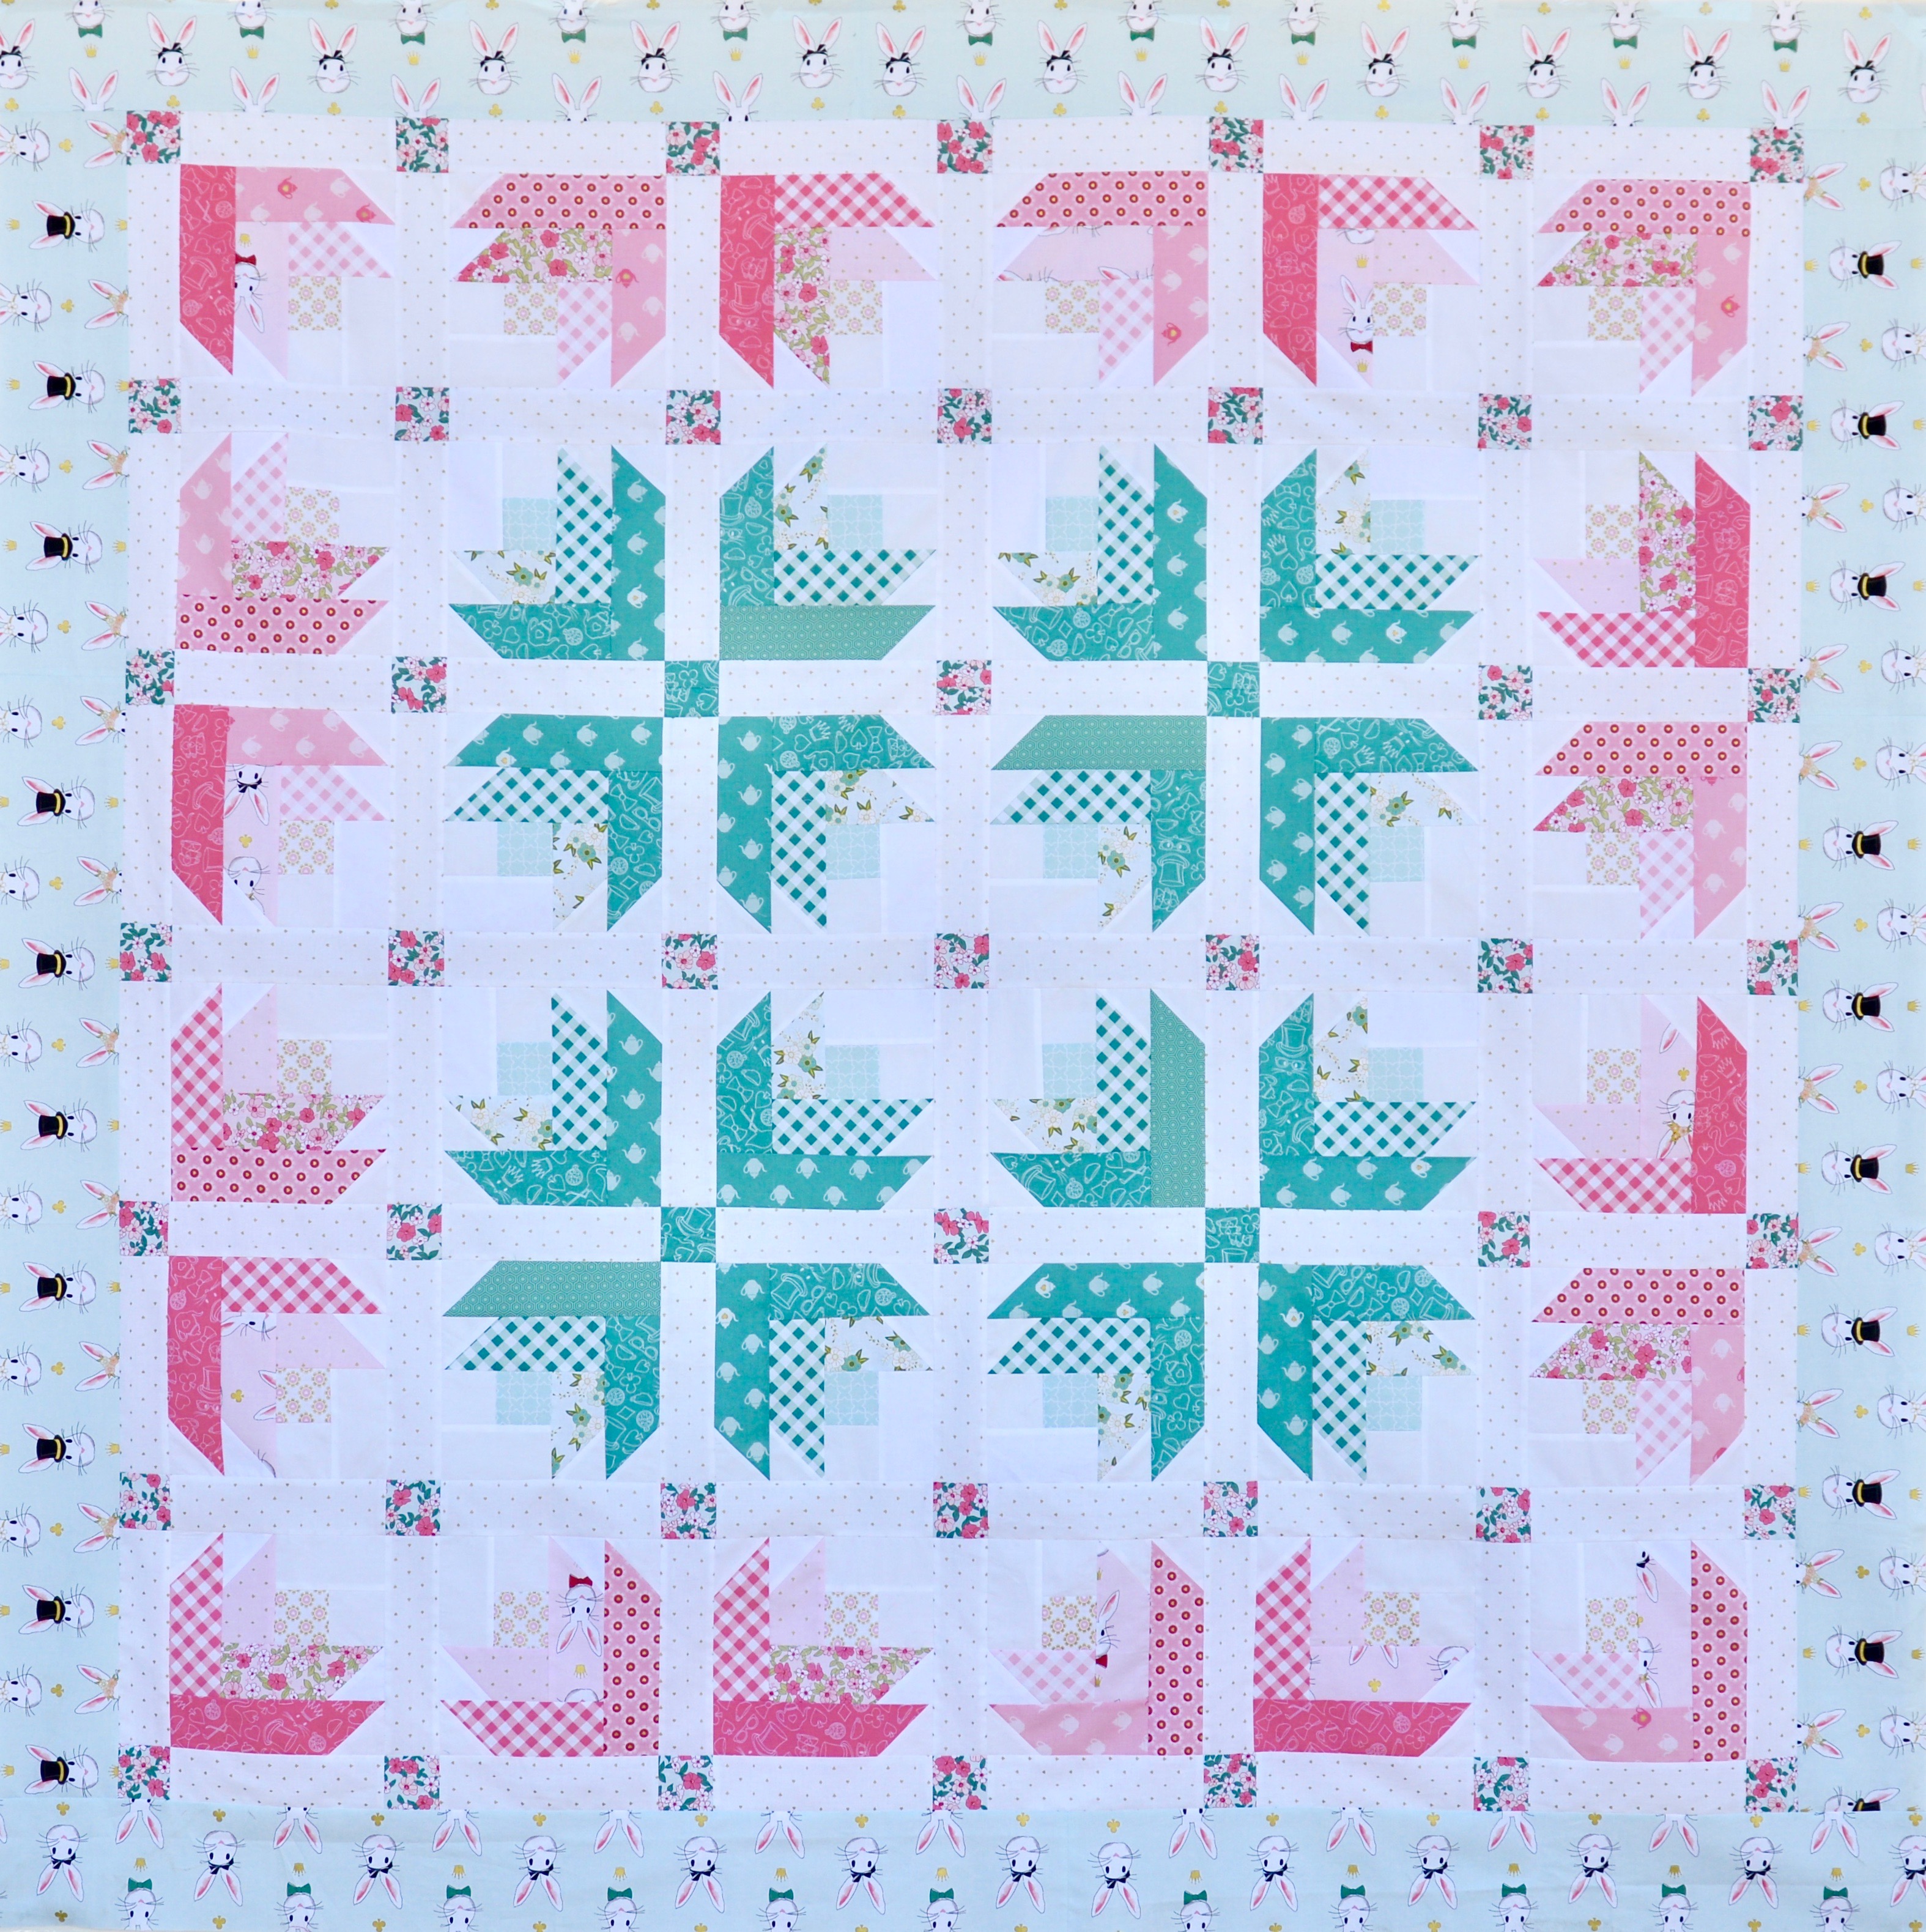
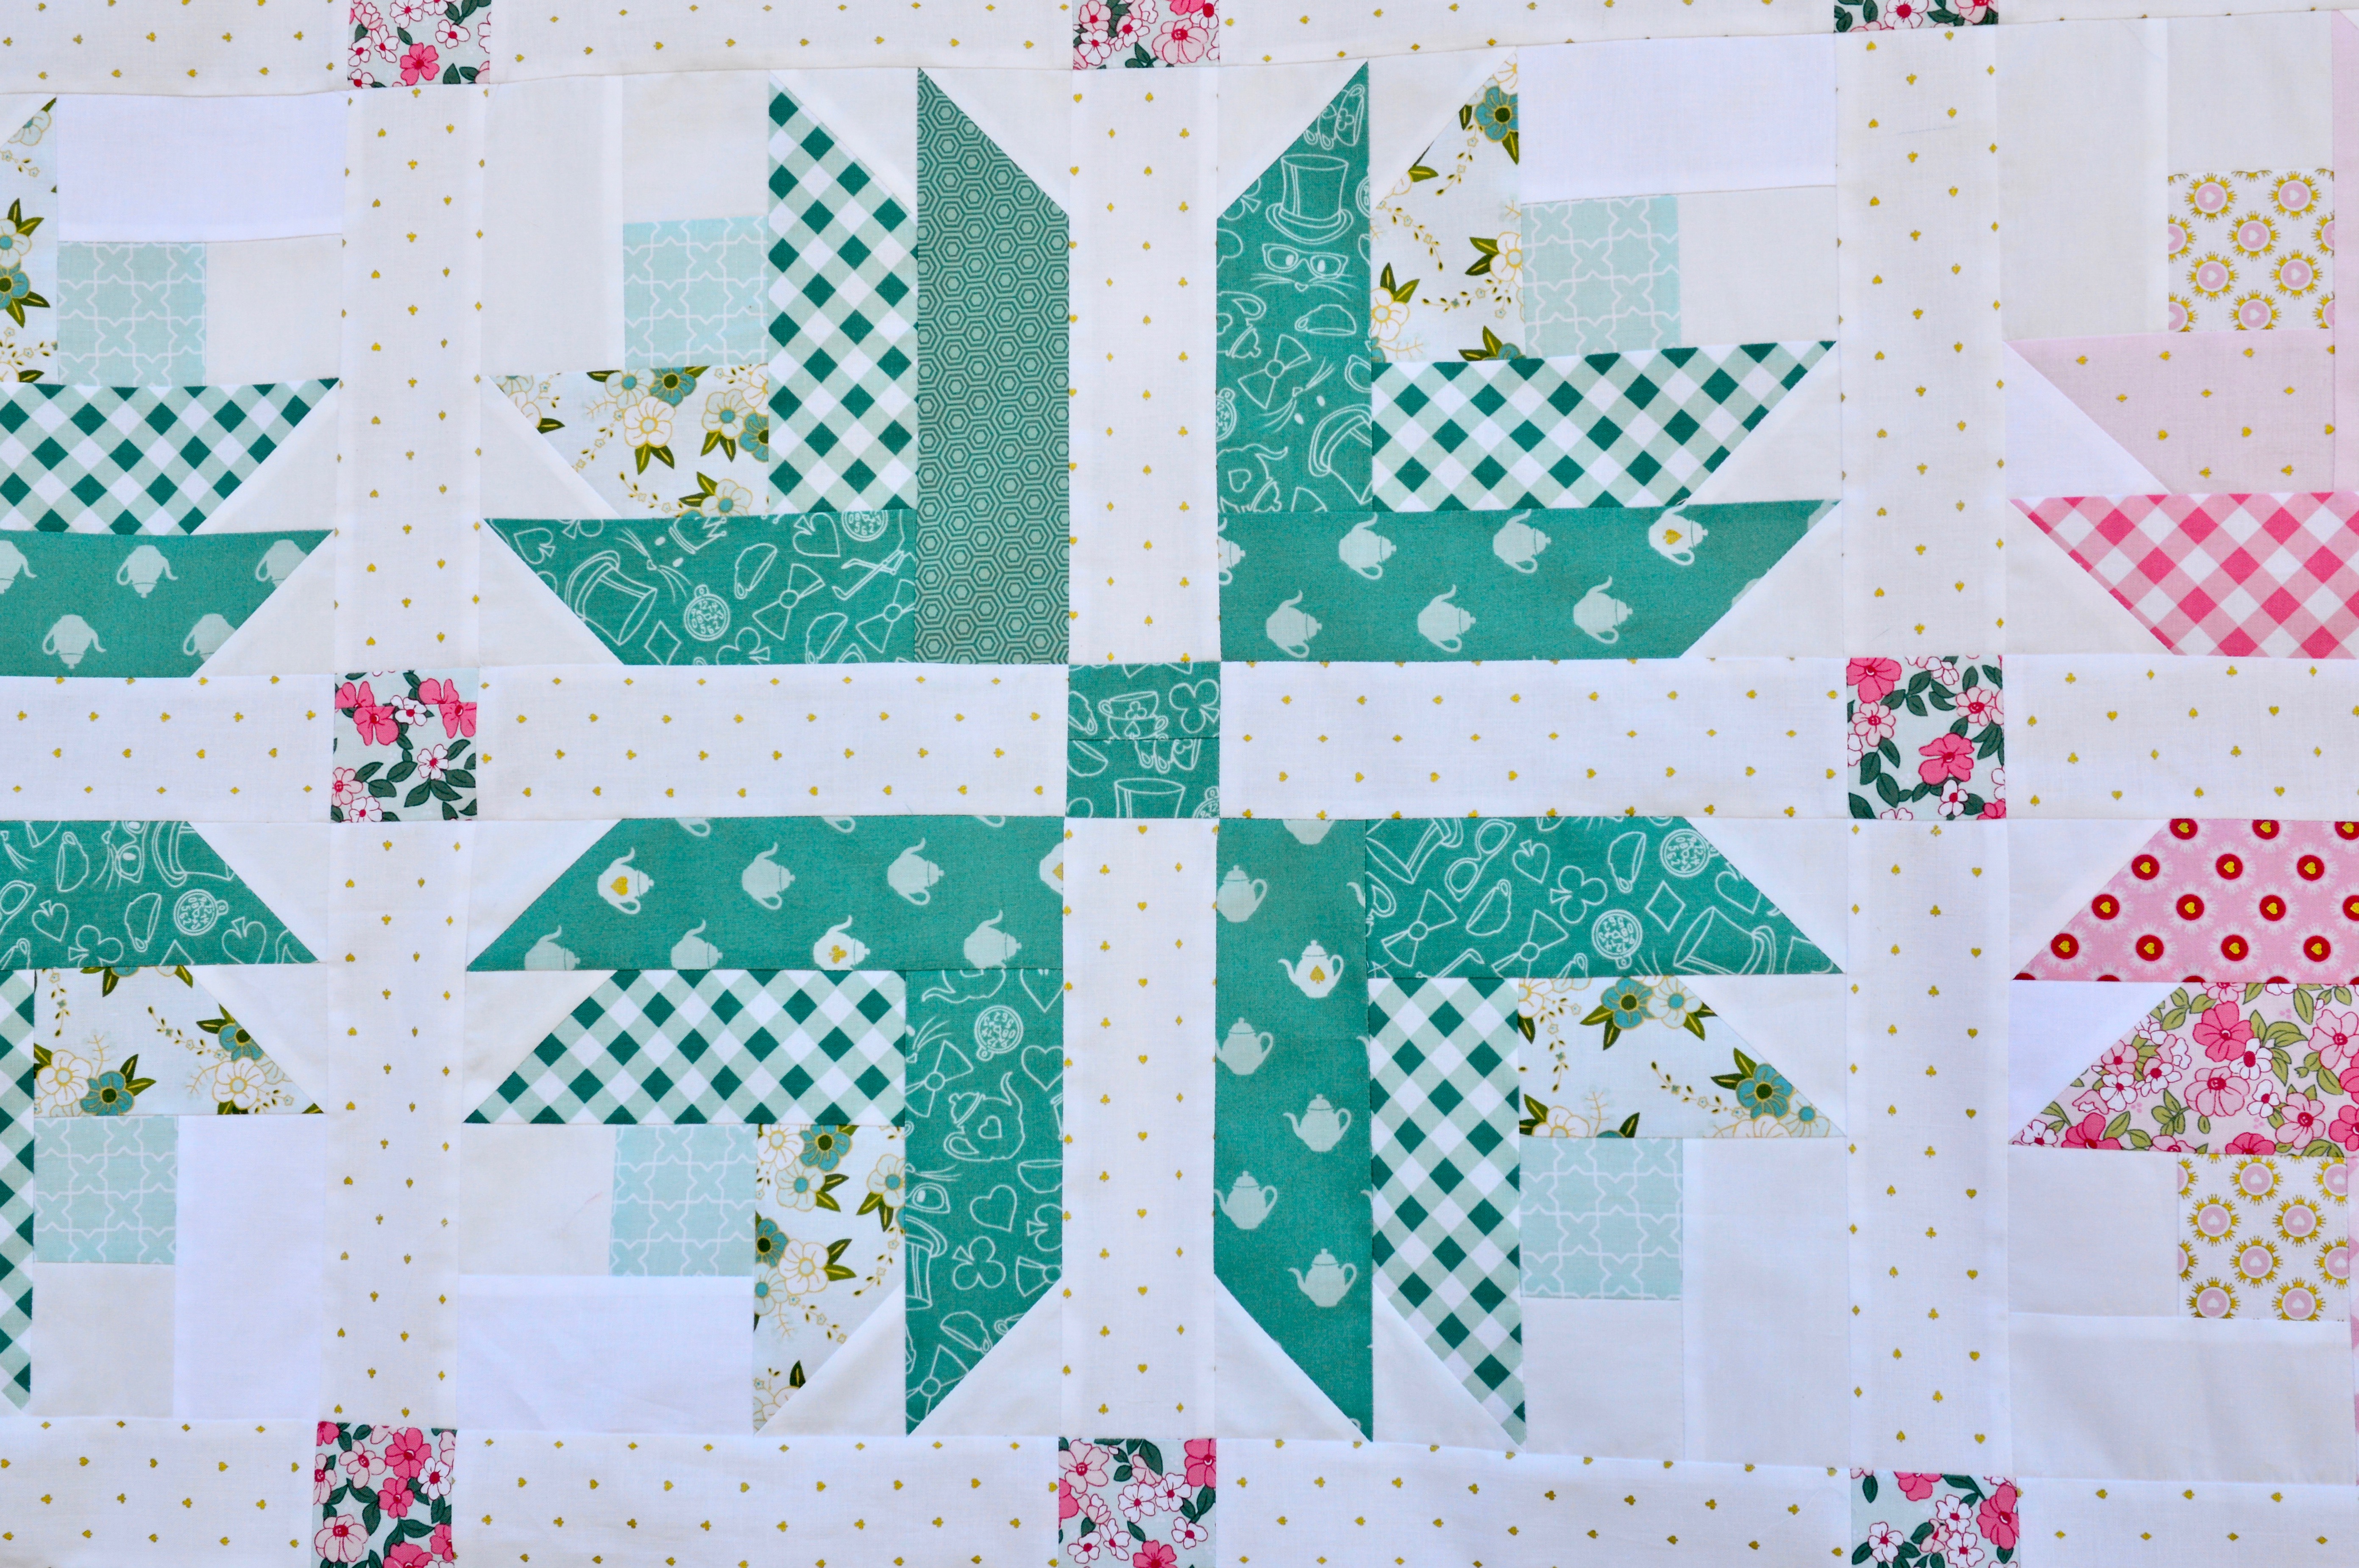
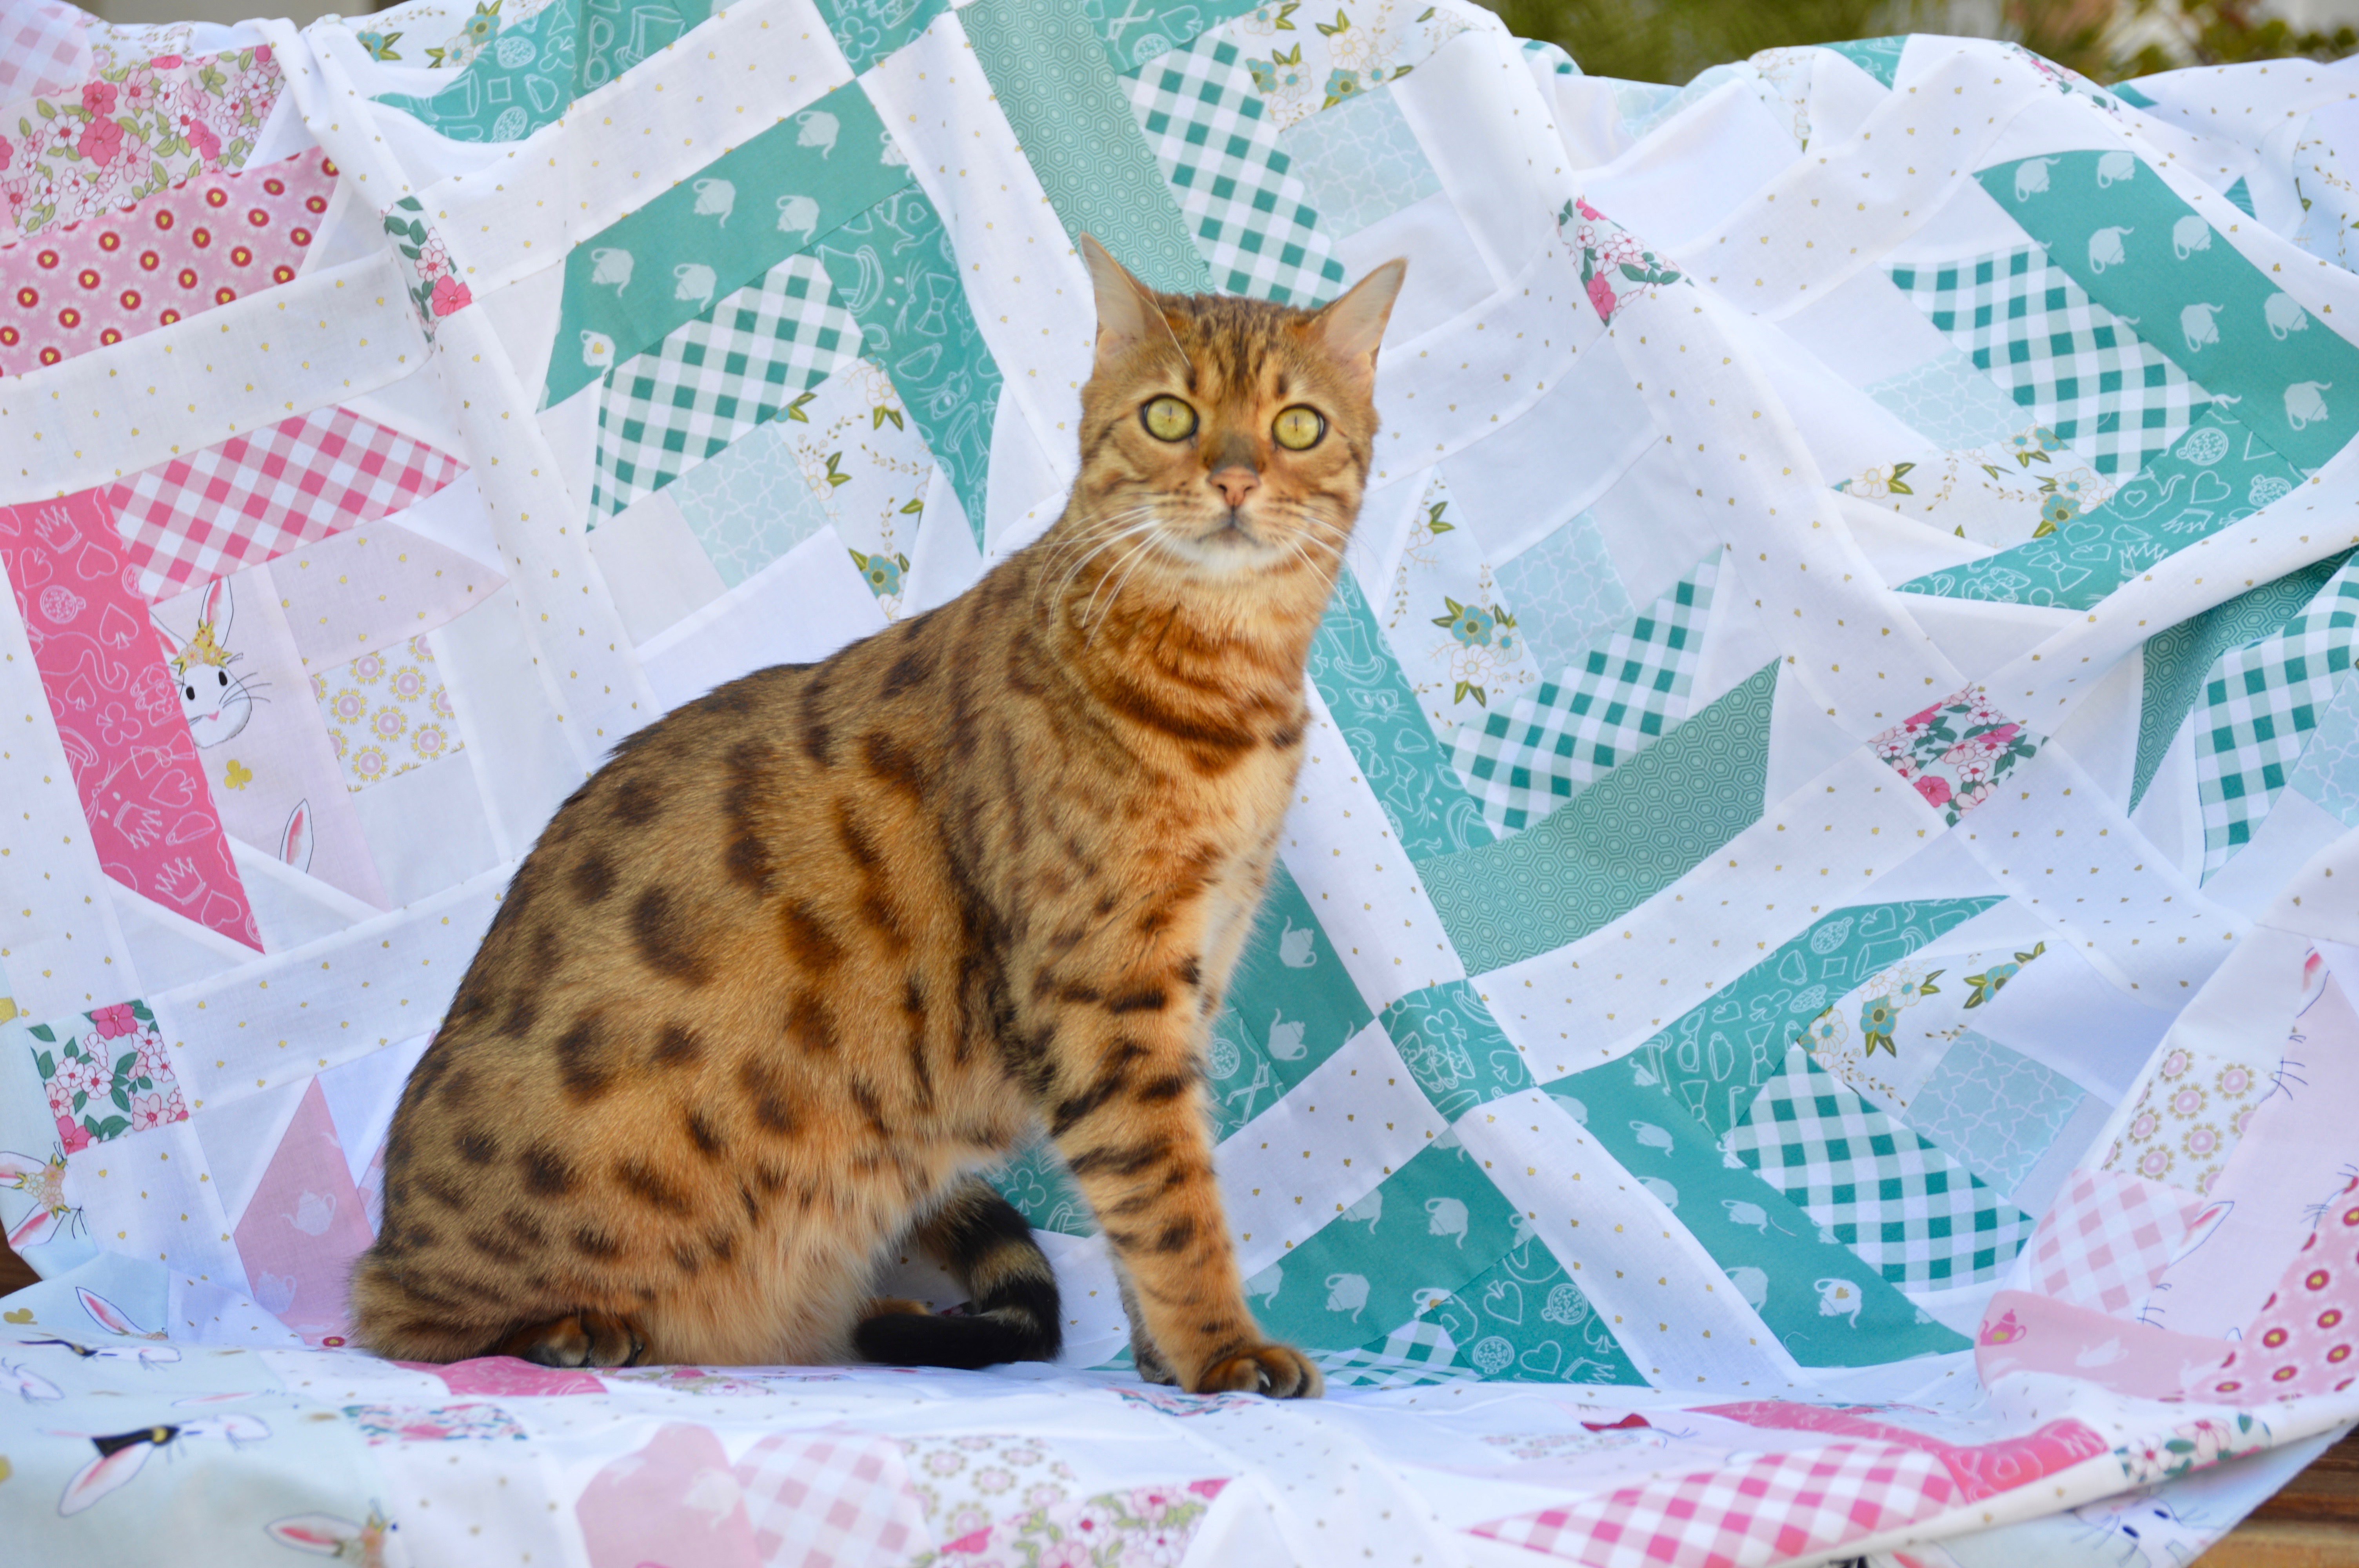
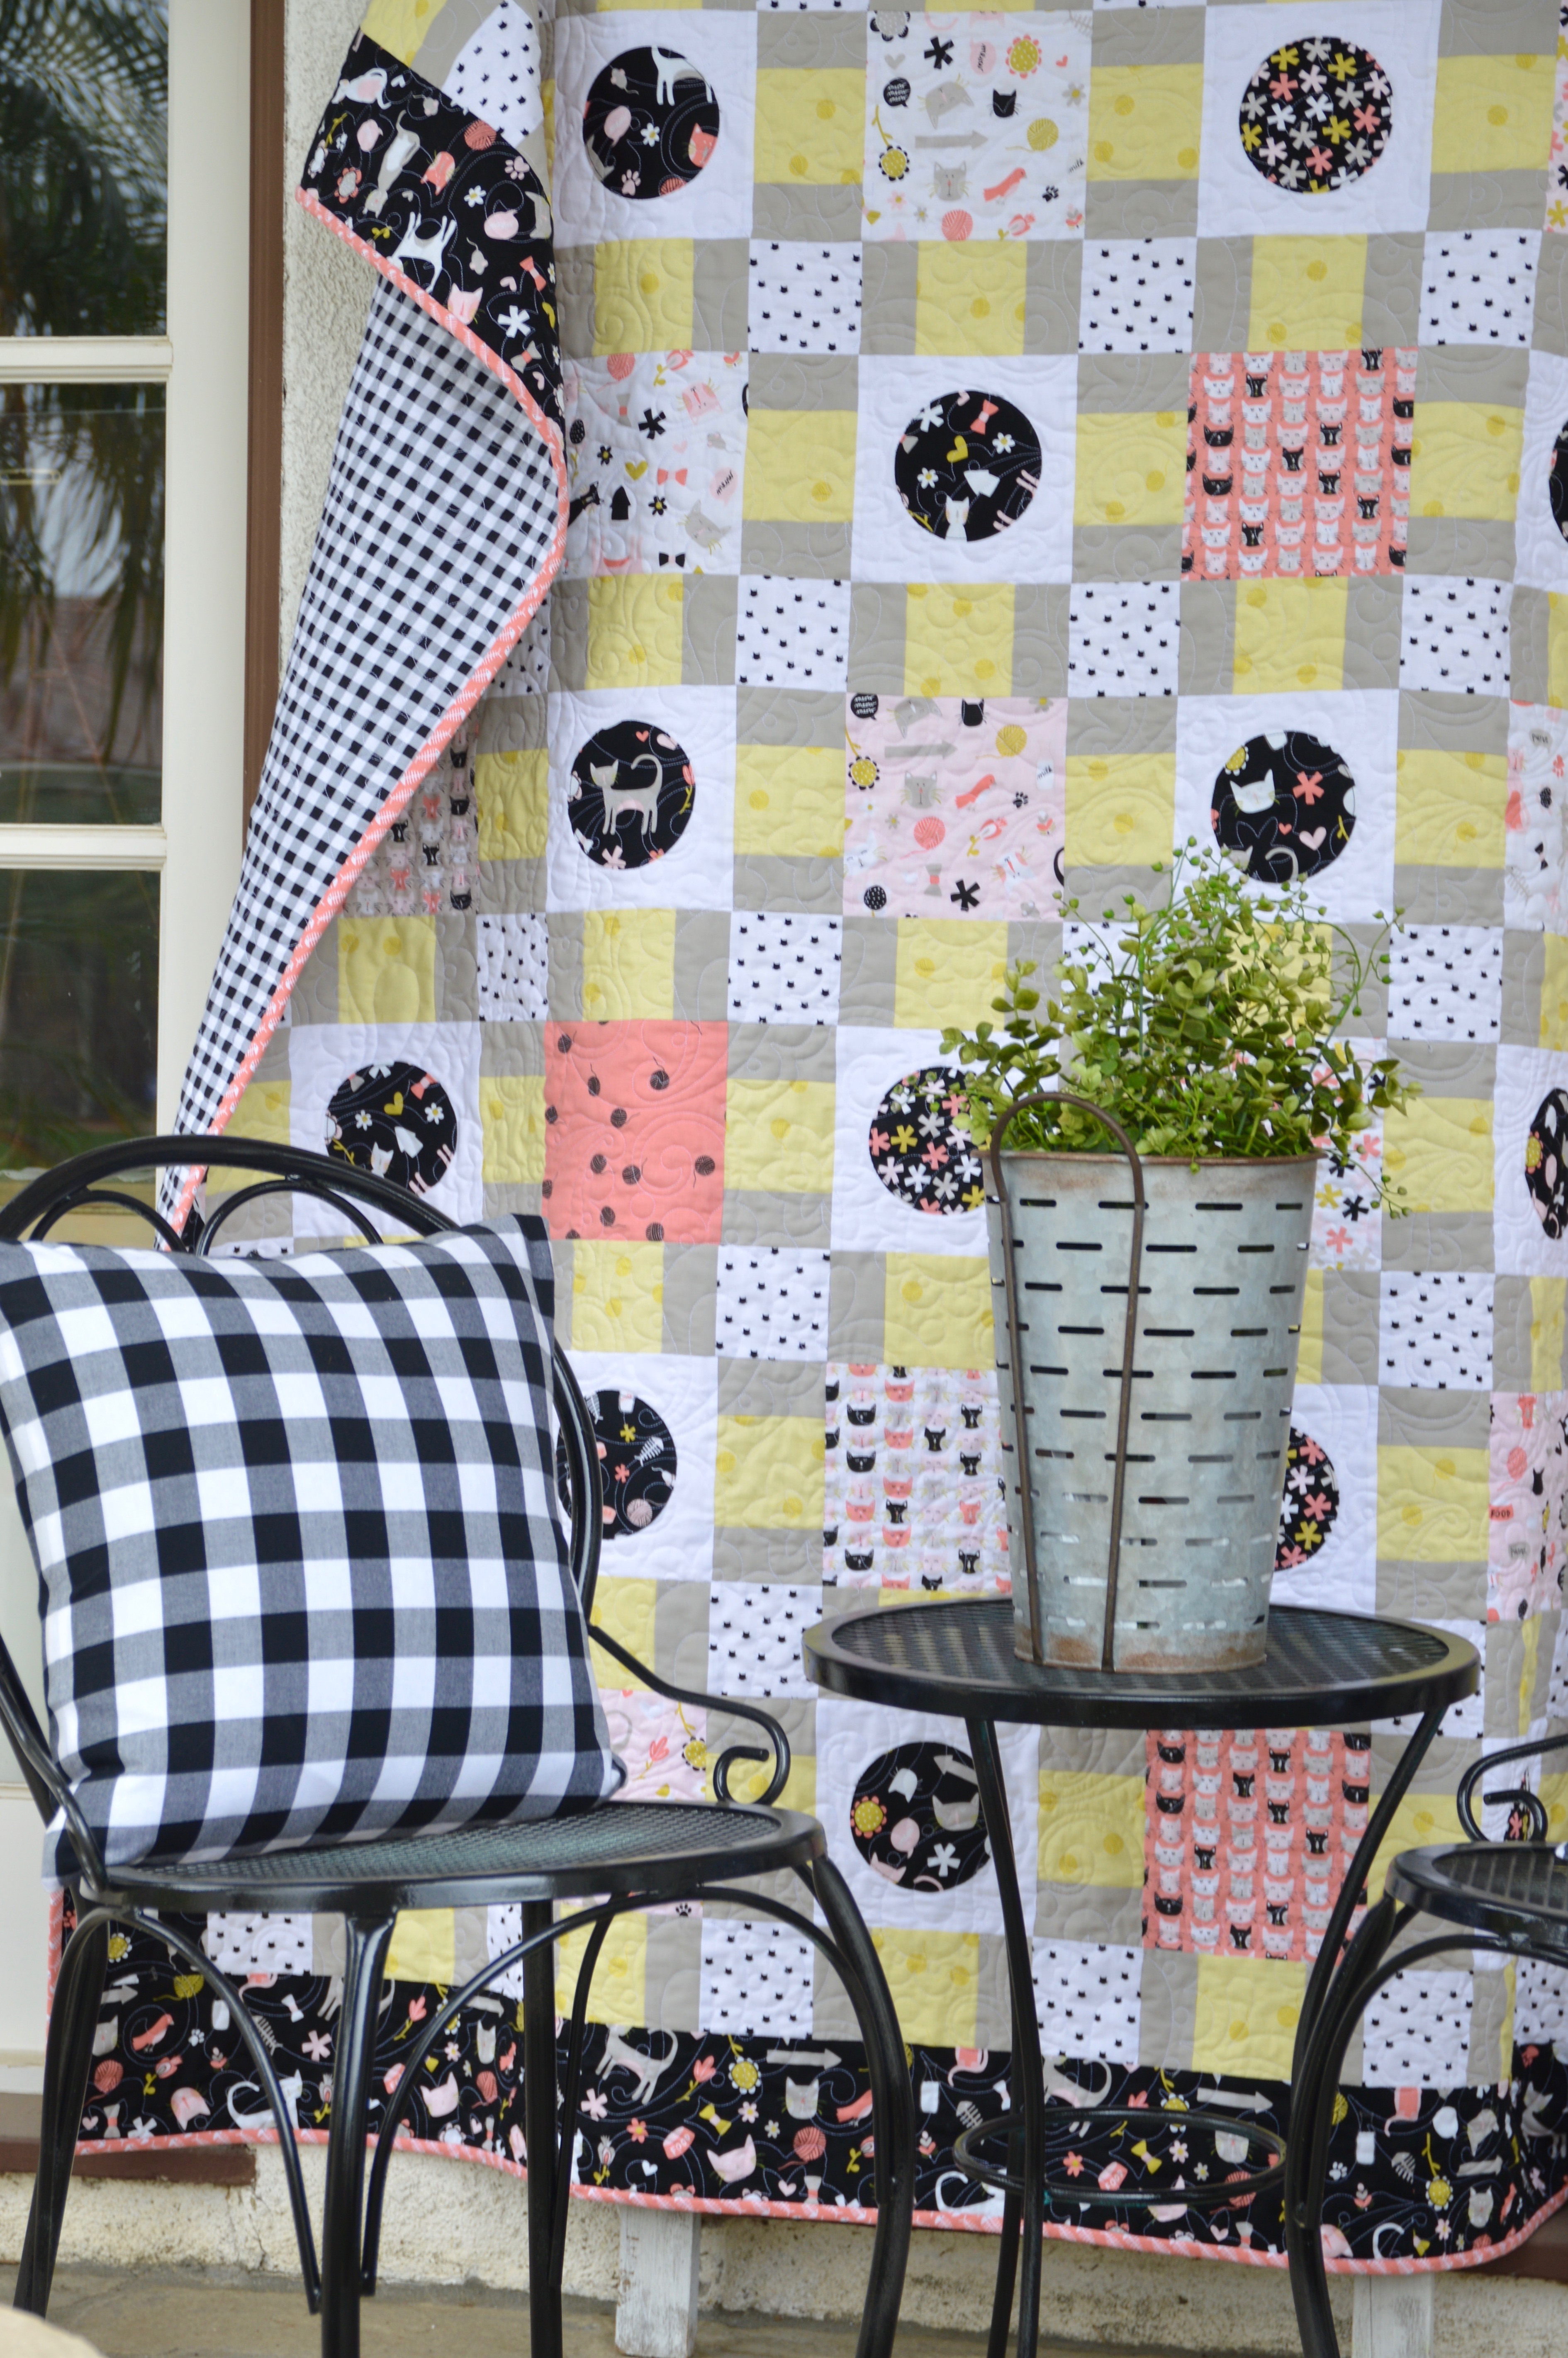
You know me and cats – so when I saw this fabric from Riley Blake Designs called MEOW I fell in love!!!  I created this quilt pattern to showcase all the amazing and whimsical prints in this fabric line.  I hope you like it :). Mufasa sure does 🙂category6580

DSC_0721

What I love about this quilt is that you don’t have to cut up this adorable fabric into tiny bits and it still has a nice “pieced” feel.

DSC_0707

I called this pattern Bouncing Off The Walls because that’s how Mufasa likes to play!  I throw bouncy balls and they bounce every where and he chases them like a maniac!

DSC_0726

The quilt measures 66″ x 75″ which is a great throw size.  The pattern is fat quarter friendly and the circles are machine appliquéd for a quick finish!  This pattern is a great way to use your favorite theme prints – you know me and theme prints!!!

You can purchase the PDF pattern for instant download in my Etsy shop.

DSC_0731

Sally and Mufasa are fighting over who will get the quilt – its totally MINE!!

DSC_0667

I hope you love this quilt and have fun putting your own personality into it!  Be sure to tag me on Instagram @jedicraftgirl and use the hashtag #bouncingoffthewallsquilt

DSC_0729


DSC_0493
And now get ready for the Mufasa photo shoot….
DSC_0444

He’s just so handsome 🙂
DSC_0450

DSC_0451

DSC_0455
DSC_0485

DSC_0512

Happy quilting with your cat!!!