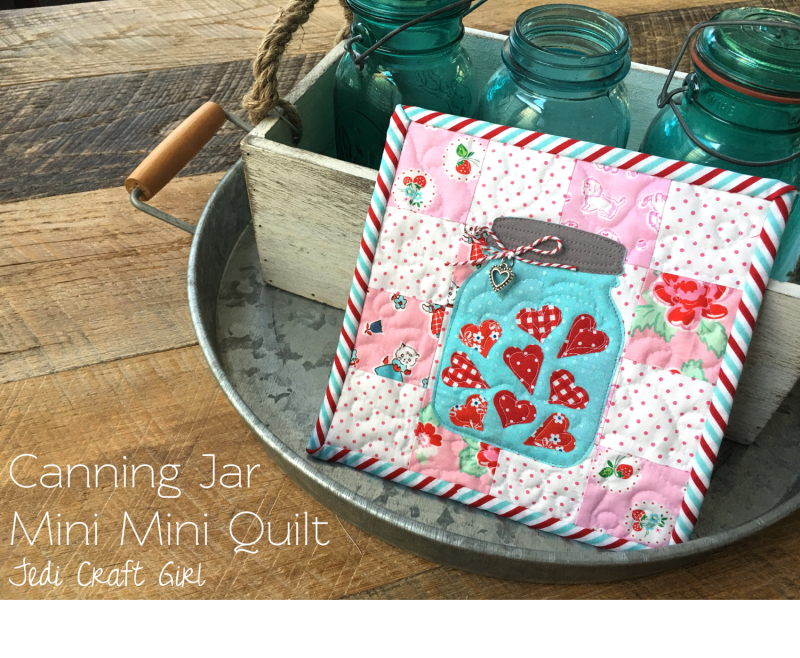
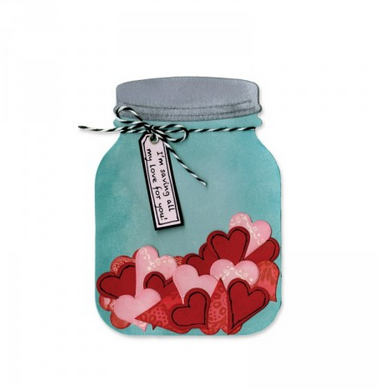
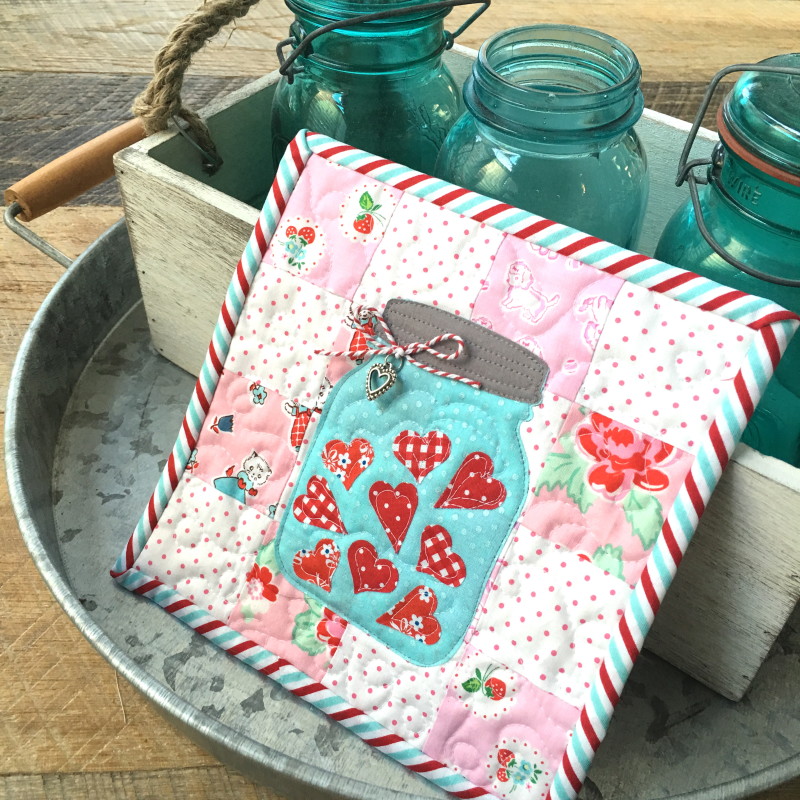
Sometimes something small is better than something big 🙂 I designed this mini mini quilt for a sweet friend. It can be hung from a clothespin, tacked to a wall or bulletin board, or placed in a hutch; where ever you need a little happy! I love this jar die by Lori Whitlock.
I was thrilled to meet up with Lori at Quilt Market! She is a super talented designer of fabric, paper, Sizzix dies, and crafts.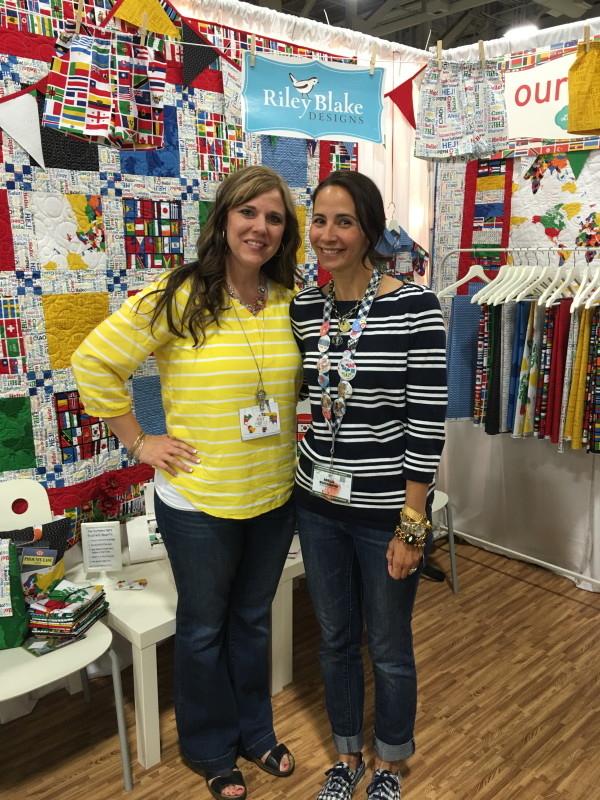
Let’s get started!!
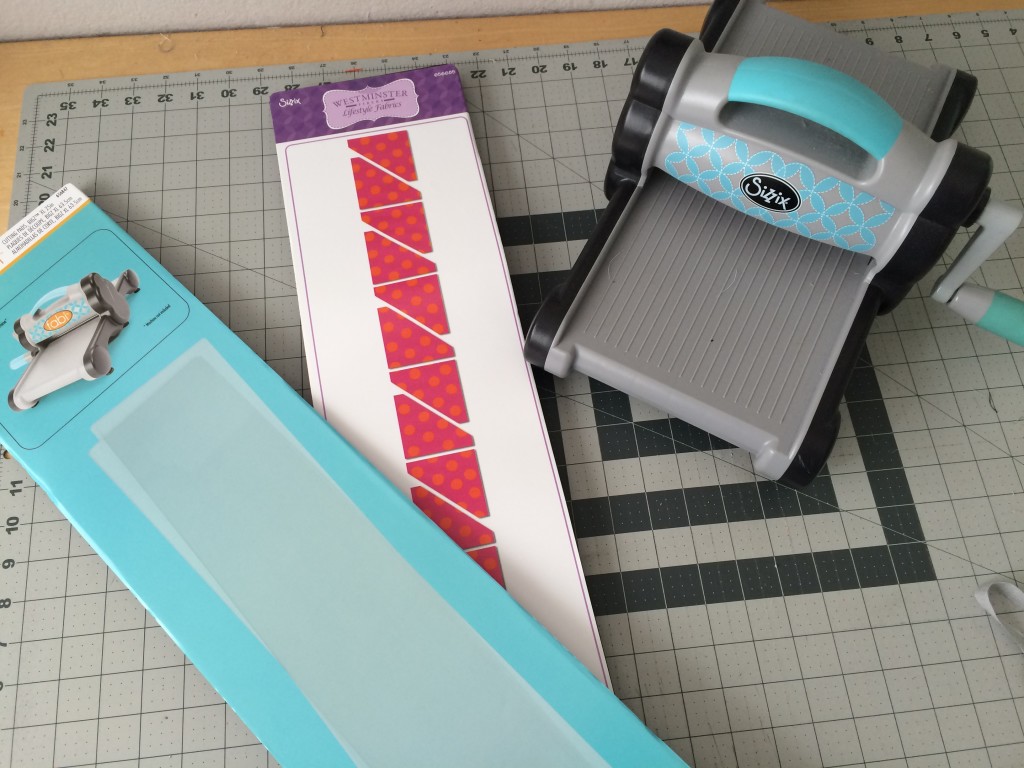
Supplies:
Sizzix Jar #2 Die
(8) 2 1/2″ squares of white dot
(8) 2 1/2″ squares pink print
Fabric for jar, lid, and hearts
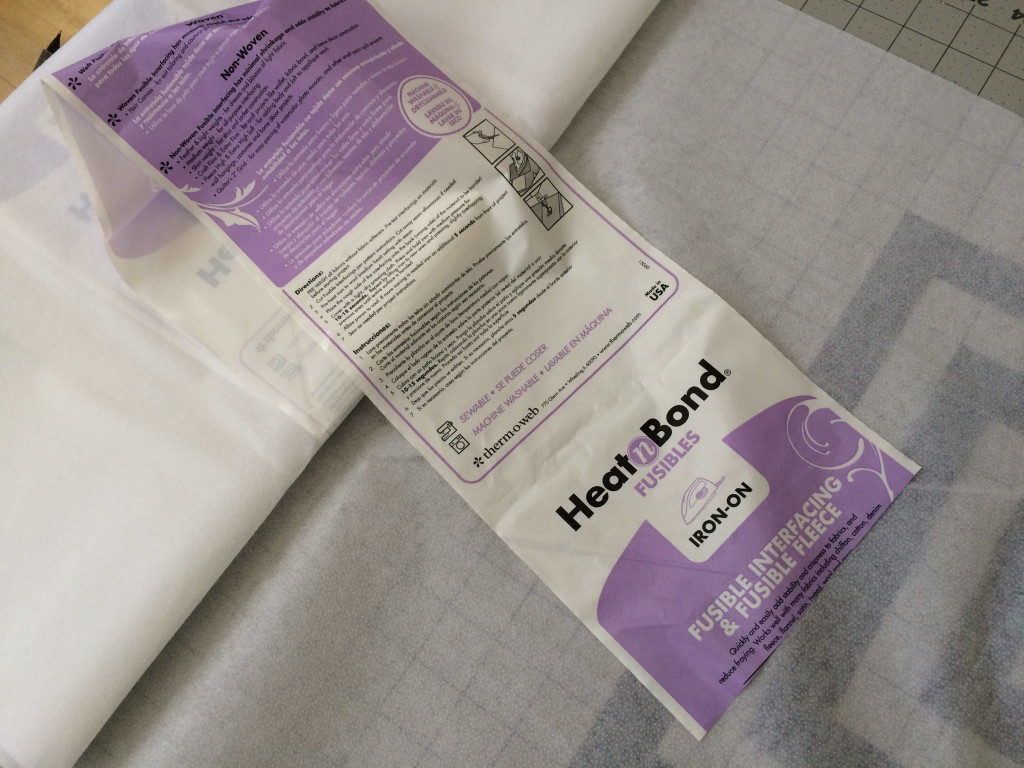
Heat n Bond Lite
2 1/2″ x WOF binding
batting
backing
Bakers Twine
Heart Charm
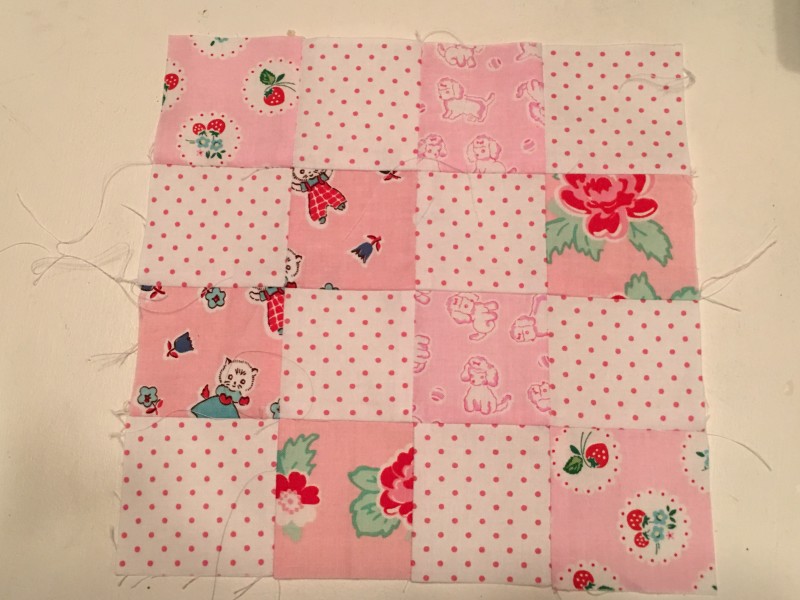
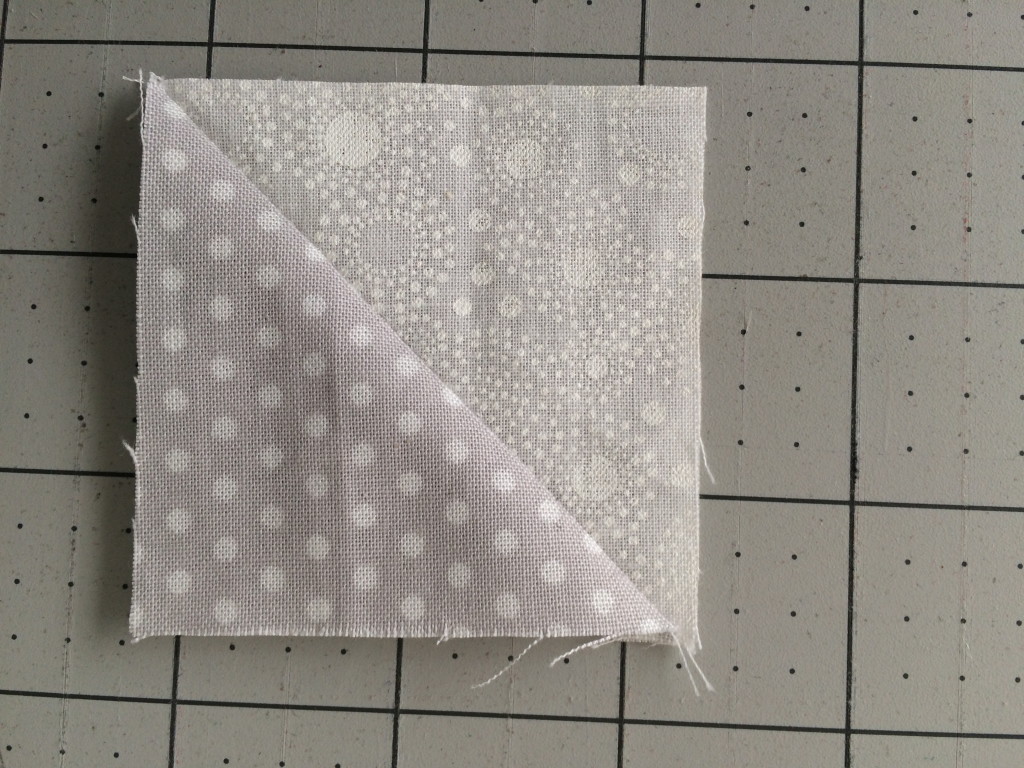
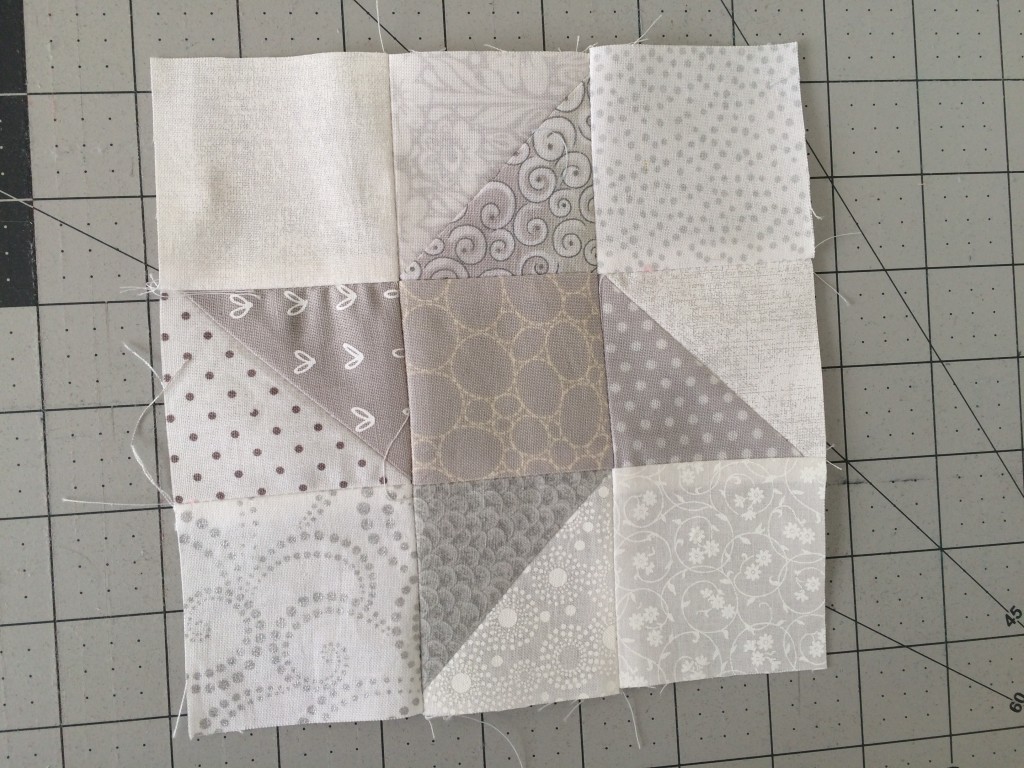
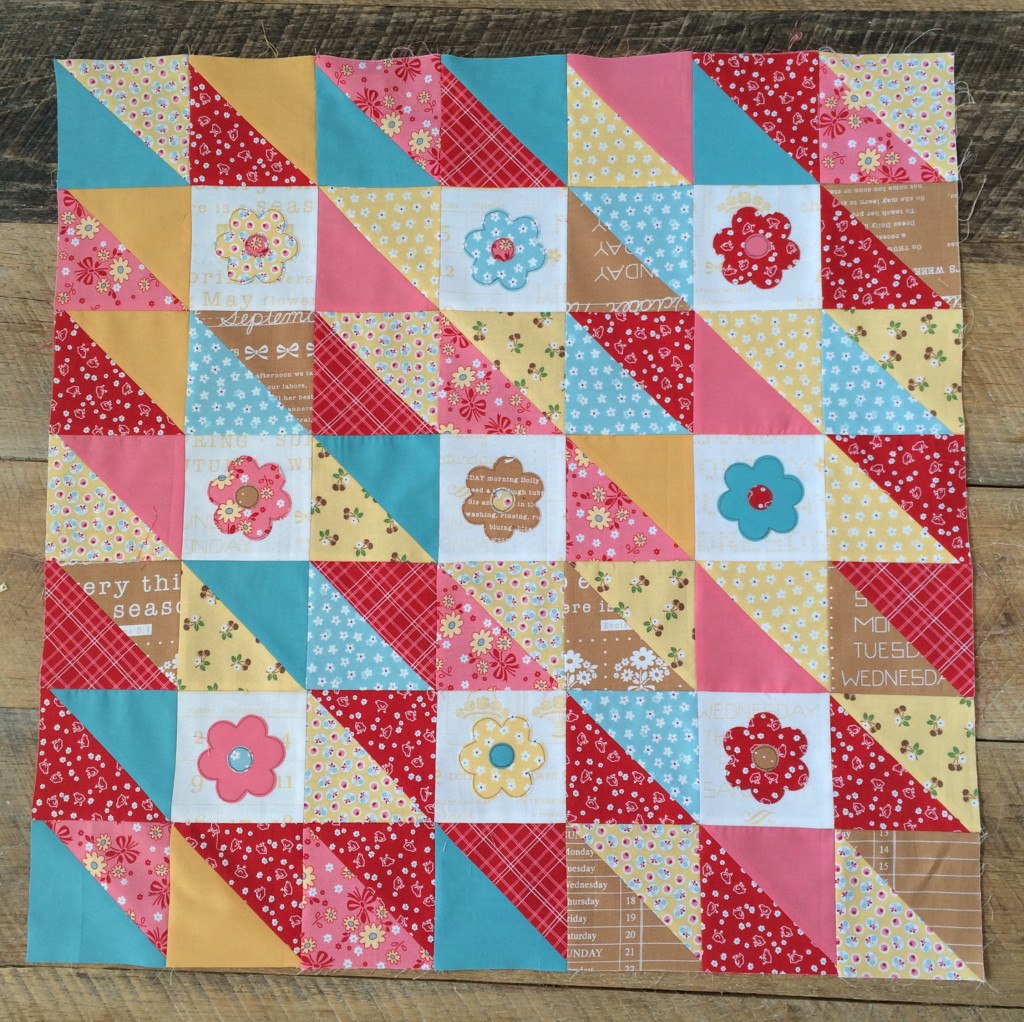
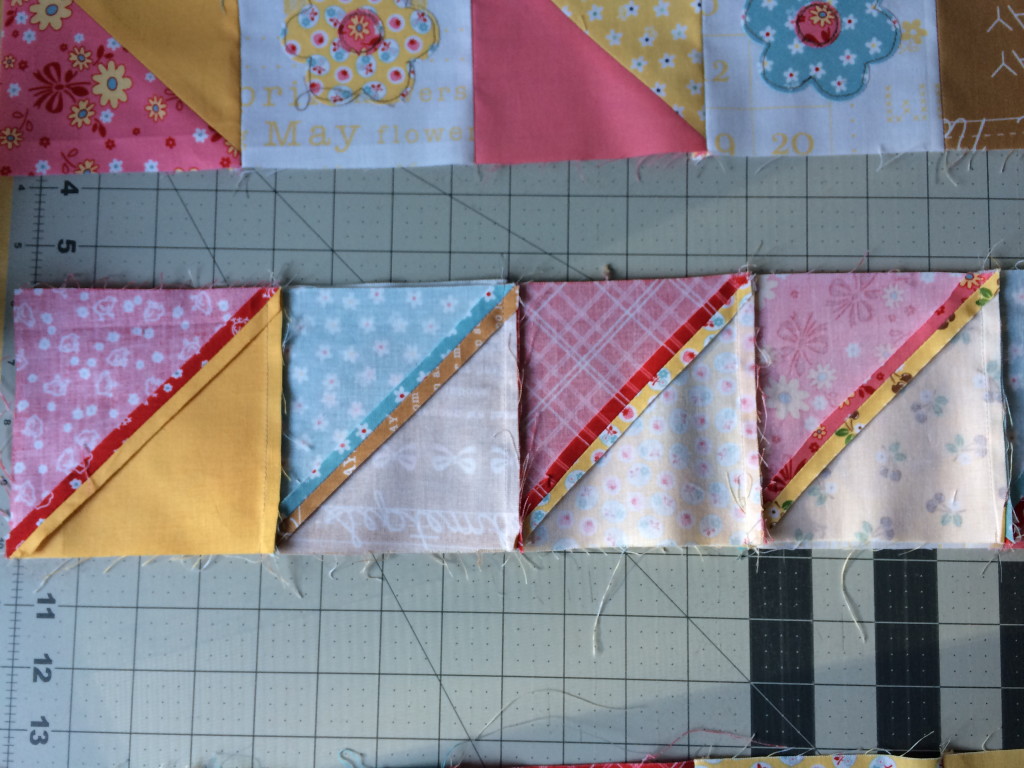
All seams 1/4″. Begin by sewing the 2 1/2″ squares together in an alternating pattern with 4 rows of 4. Press.
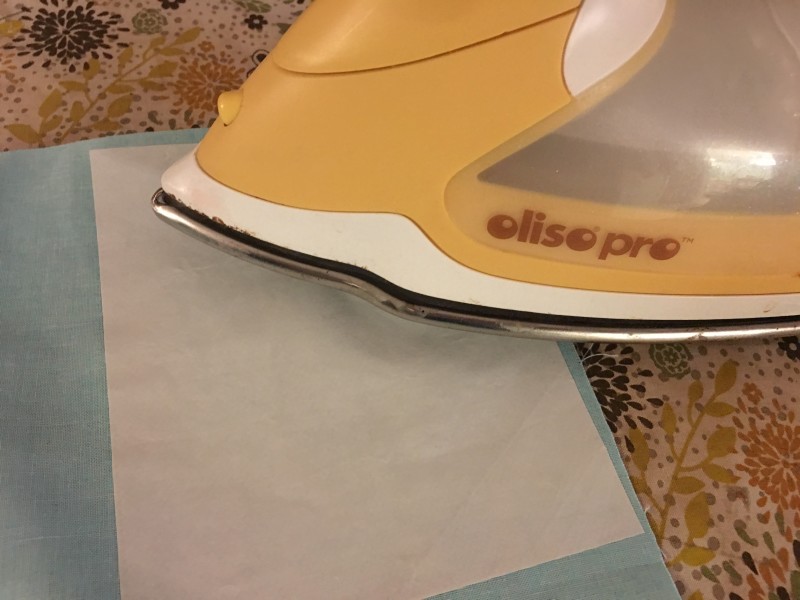
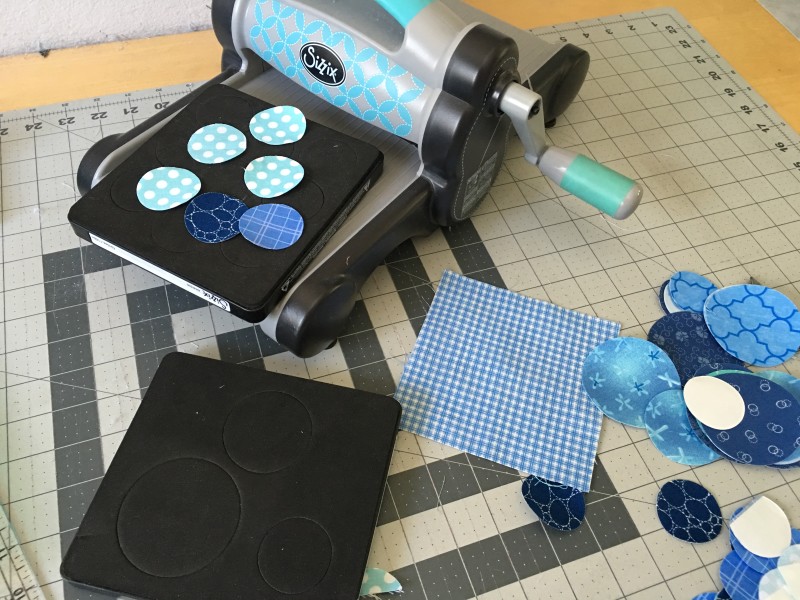
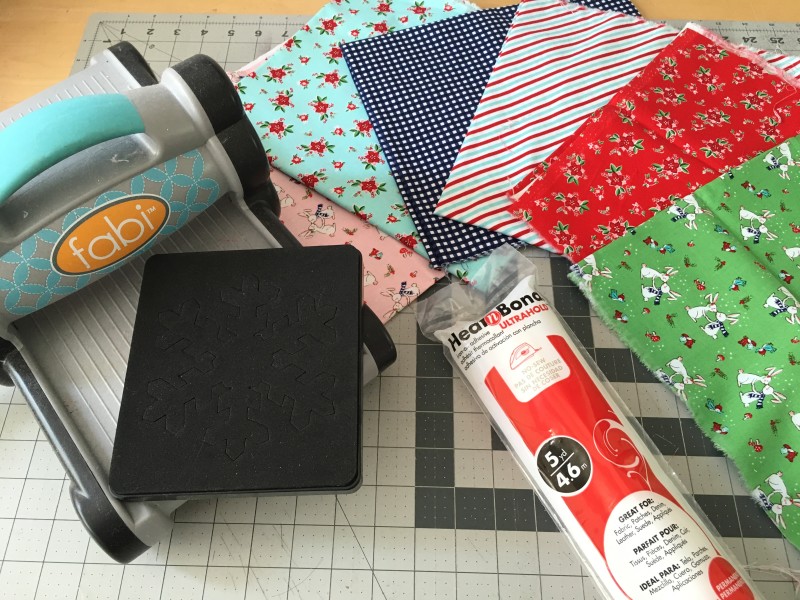
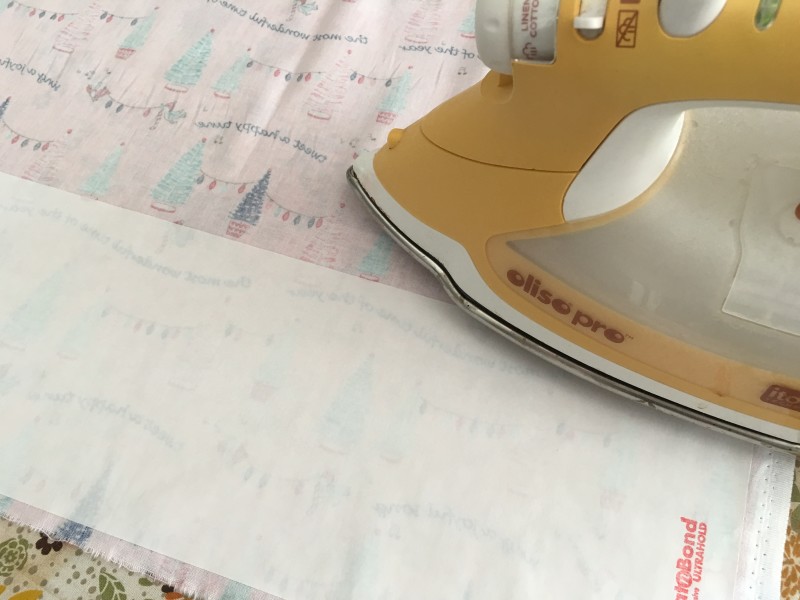
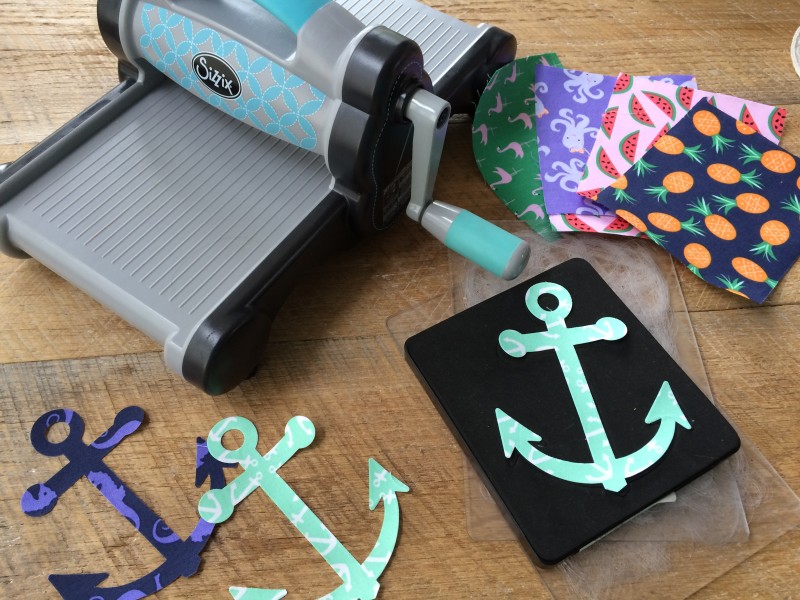
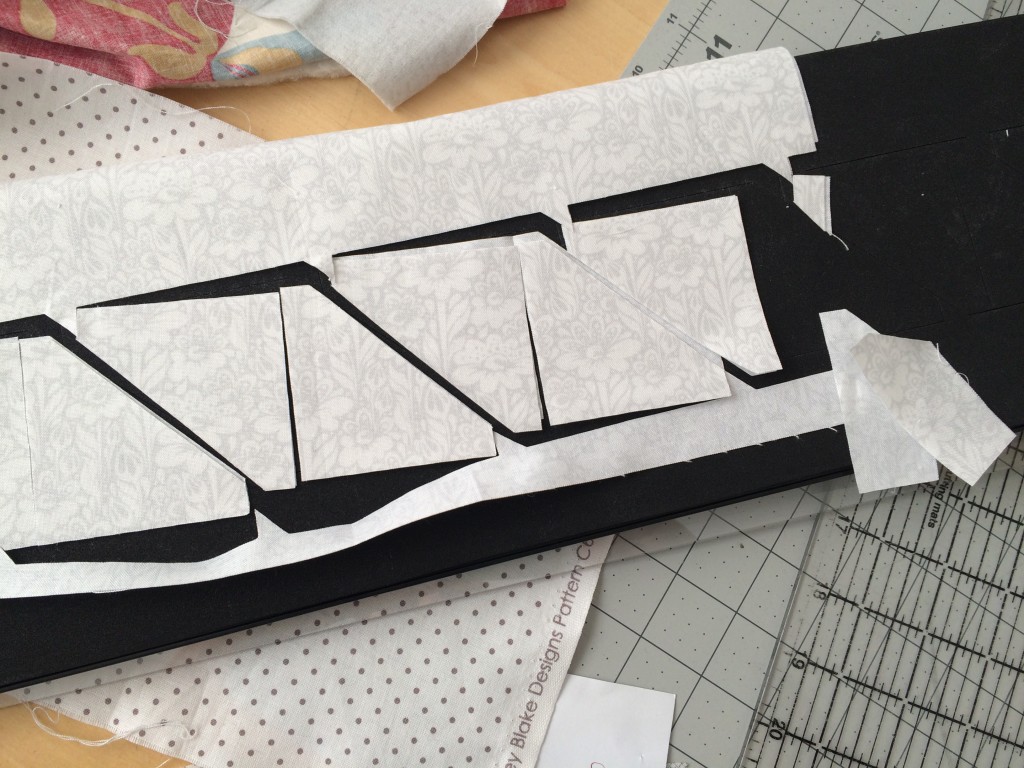
Fuse the Heat n Bond Lite to the wrong side of the jar fabric, lid fabric, and heart fabric. 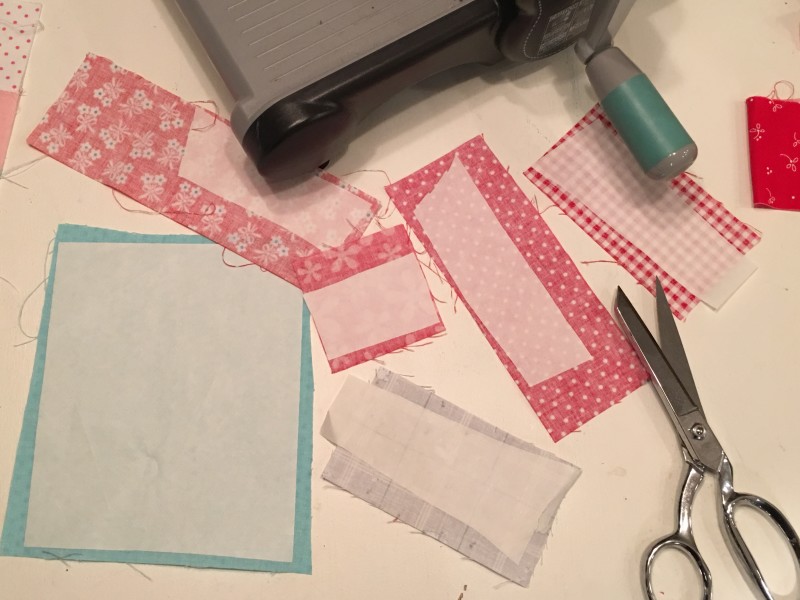
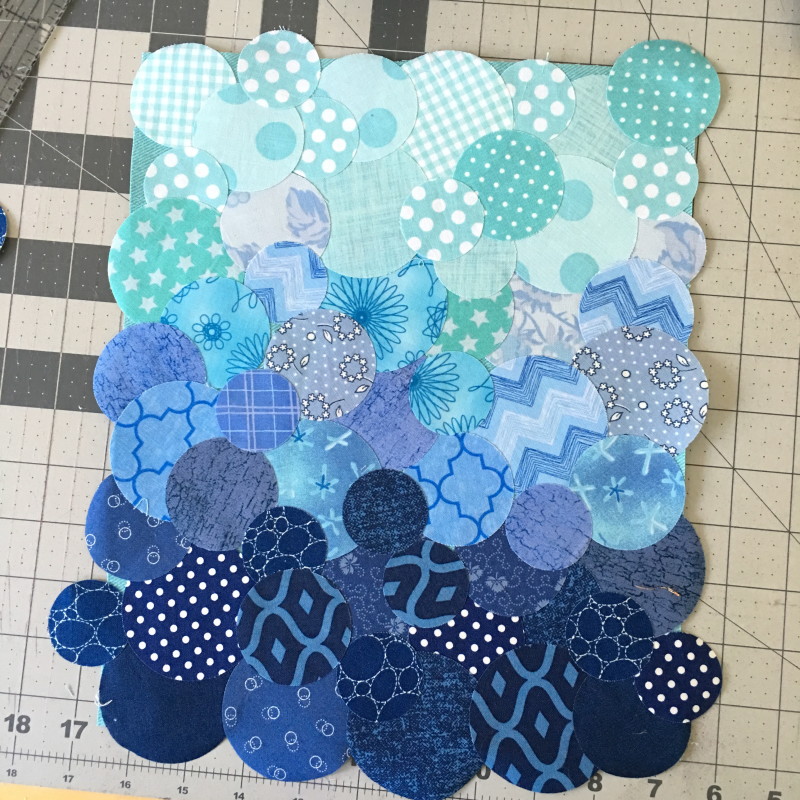
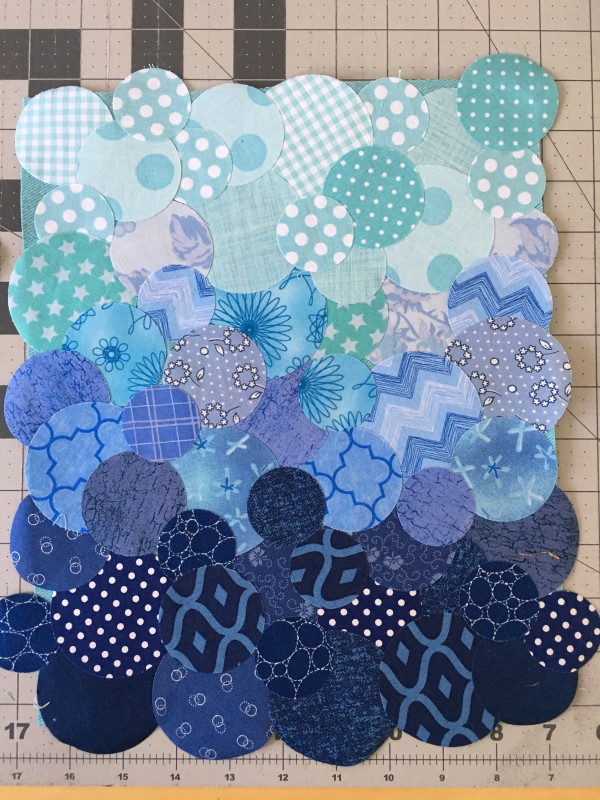
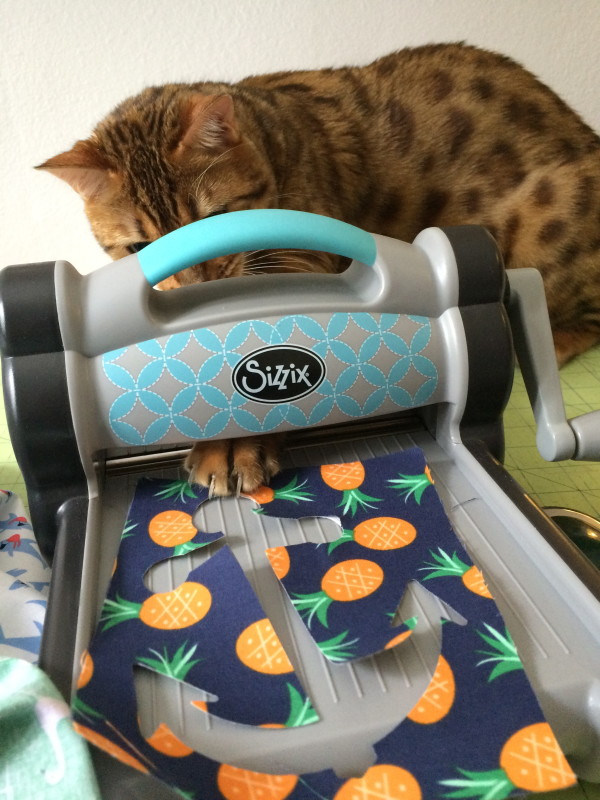
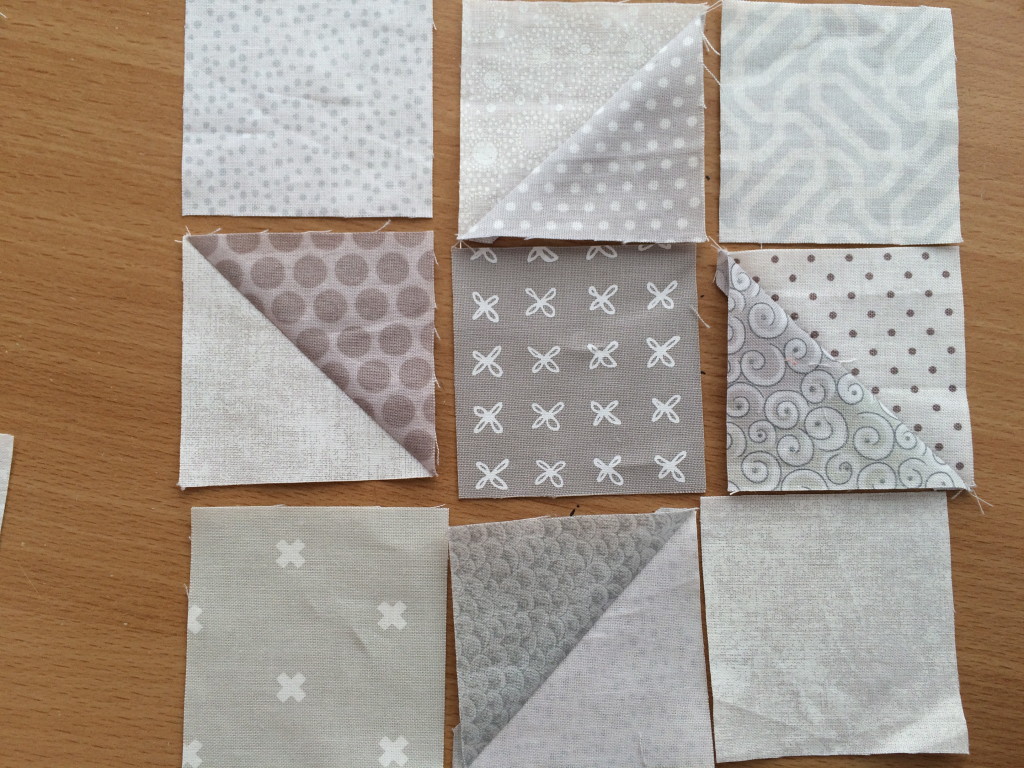
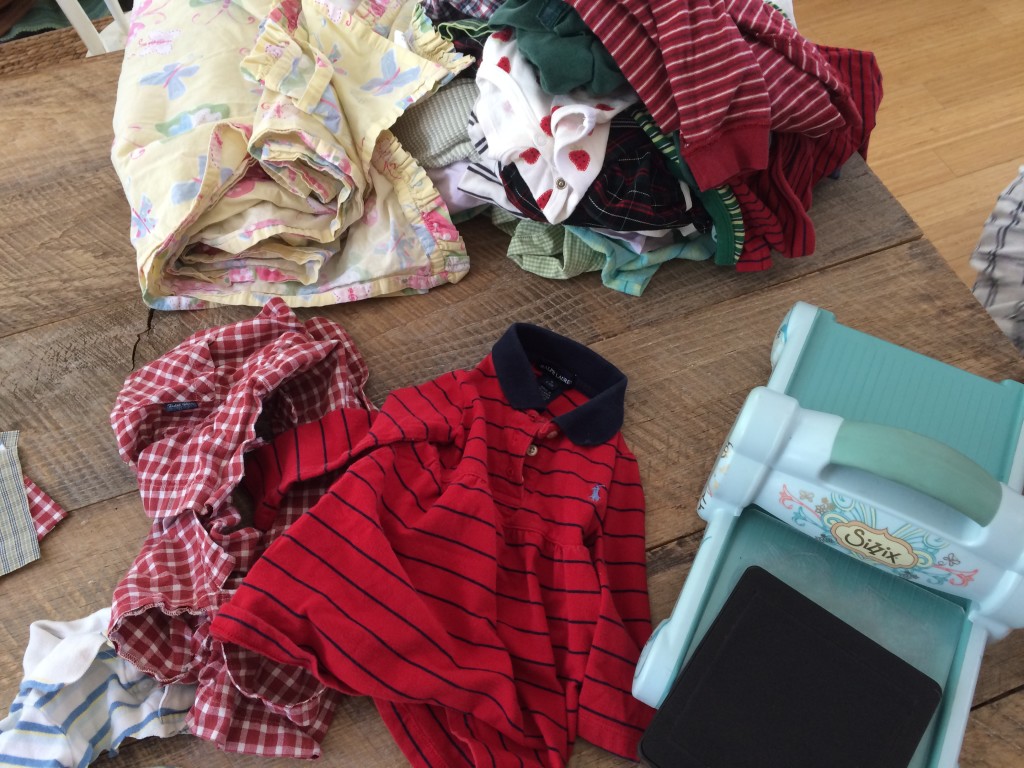
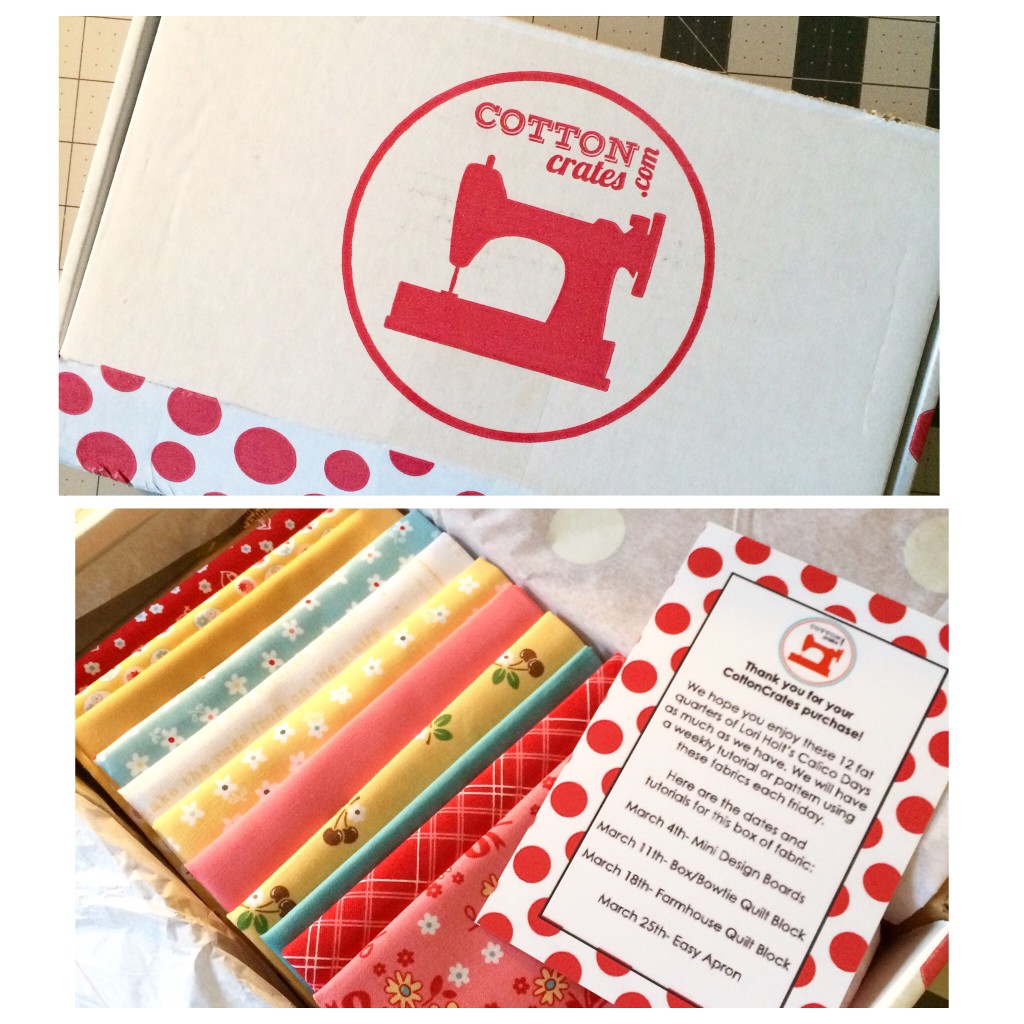
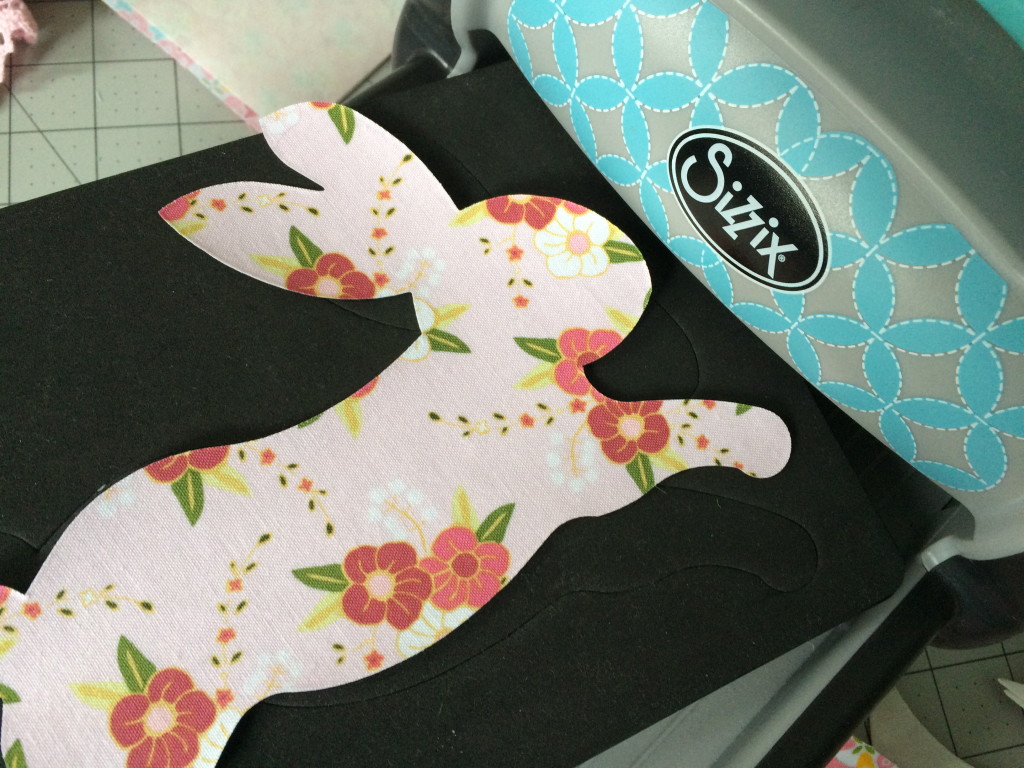
As you can see this is a great scrap buster!!!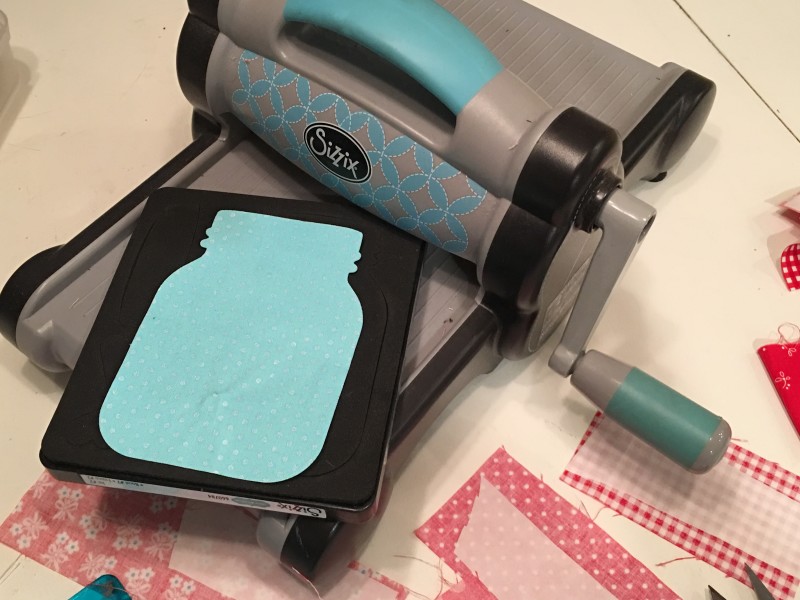
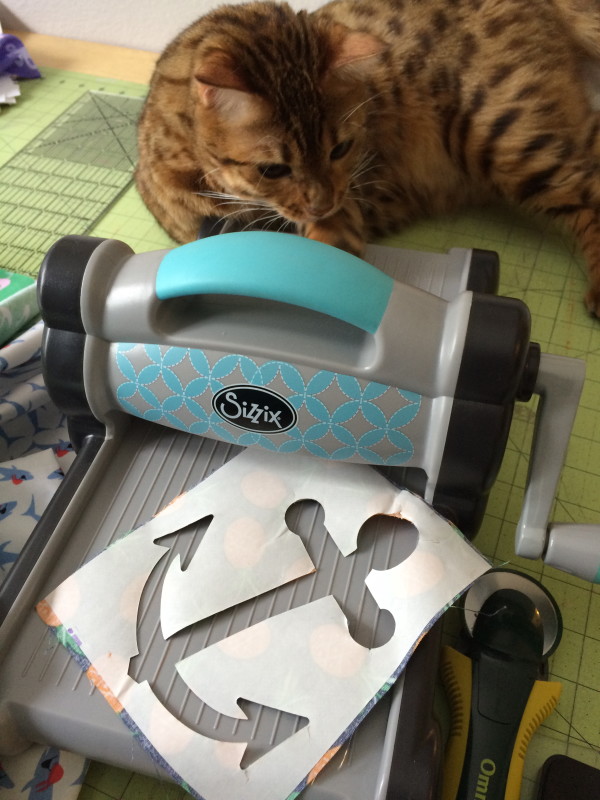
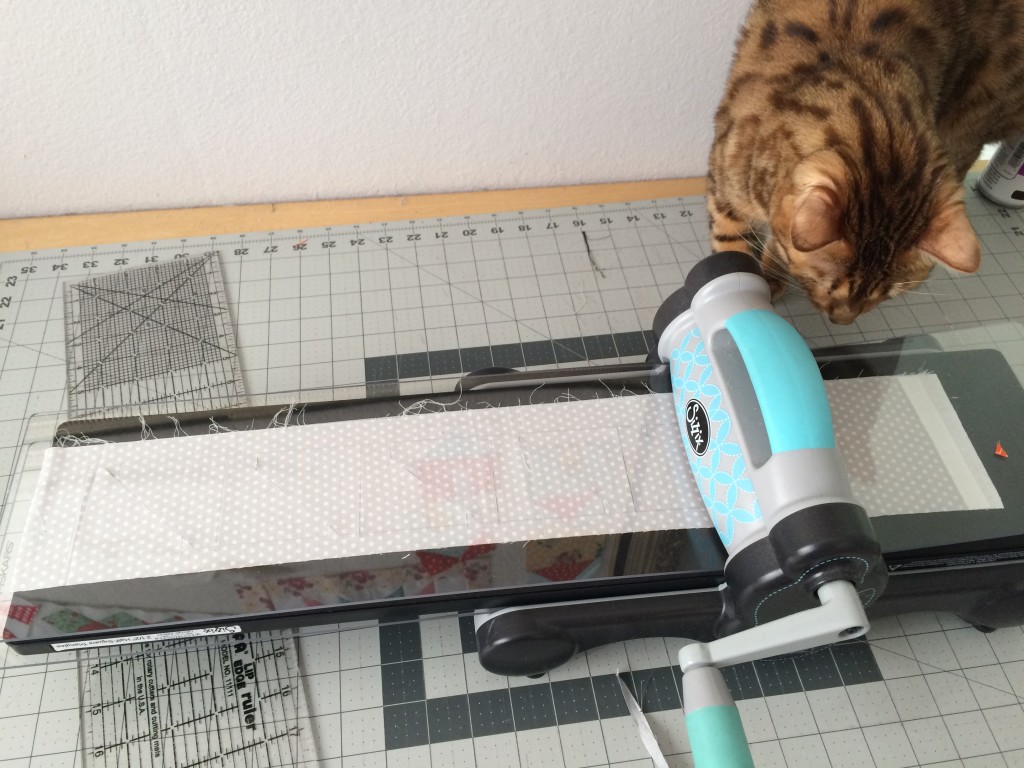
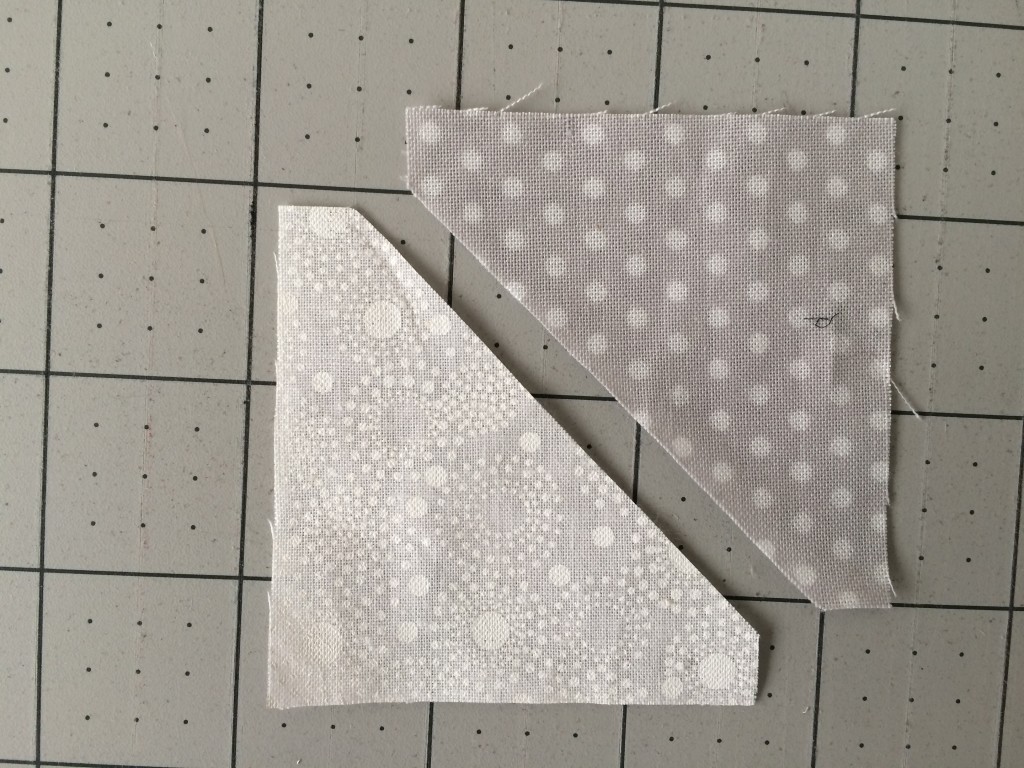
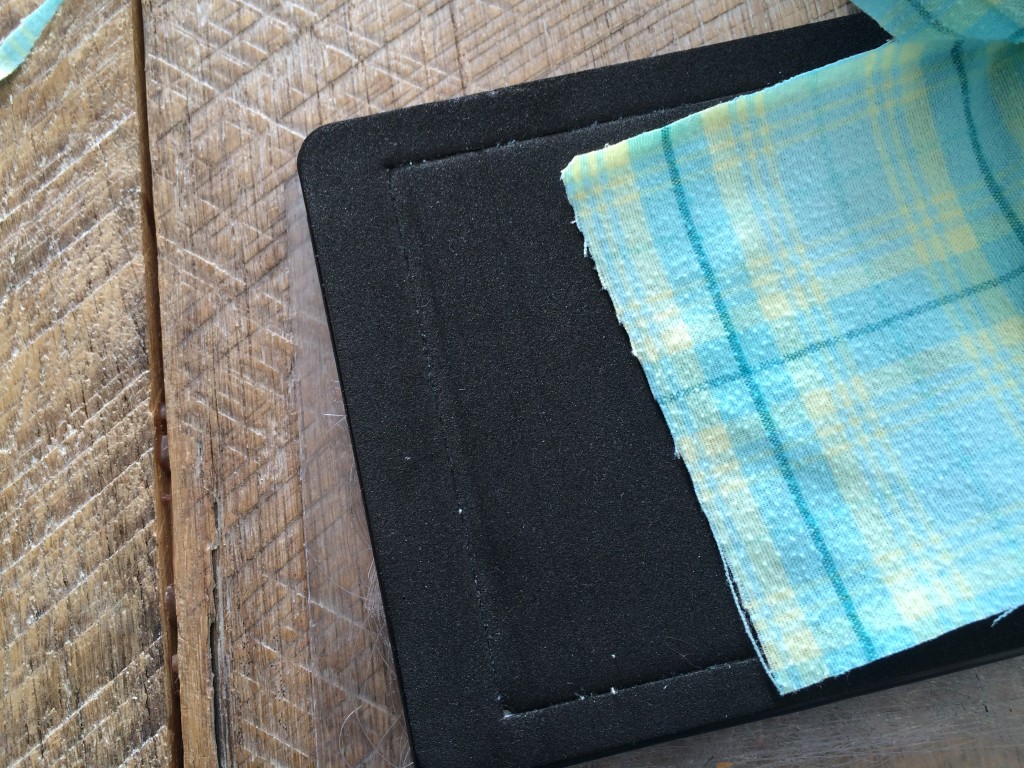
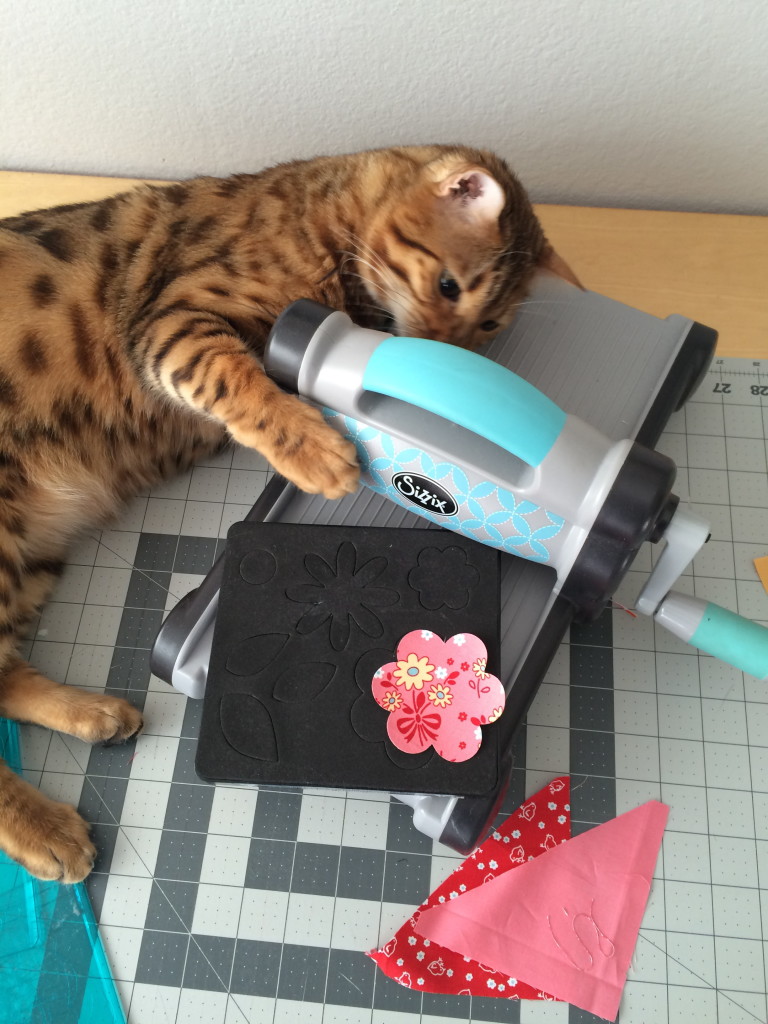
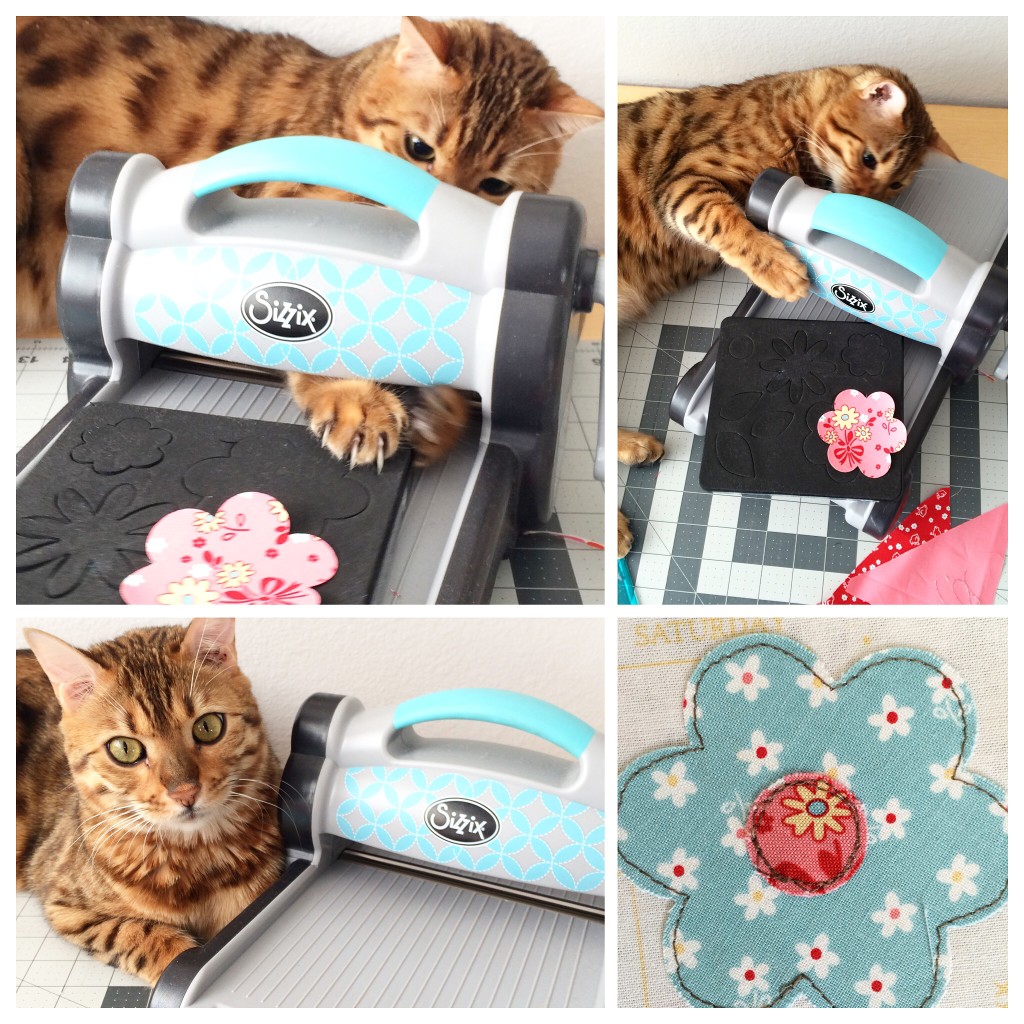
Die cut the jar, the lid and the hearts. I die cut 11 hearts. Peel off the backing paper.
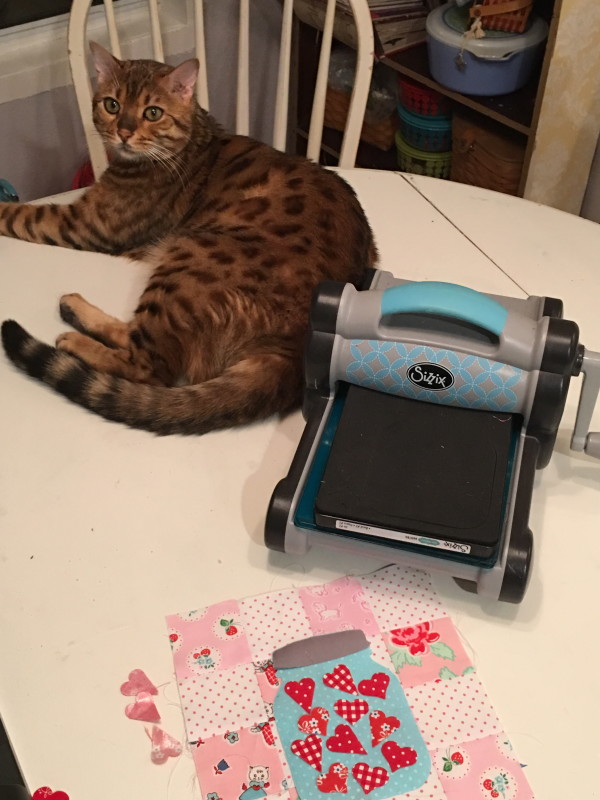
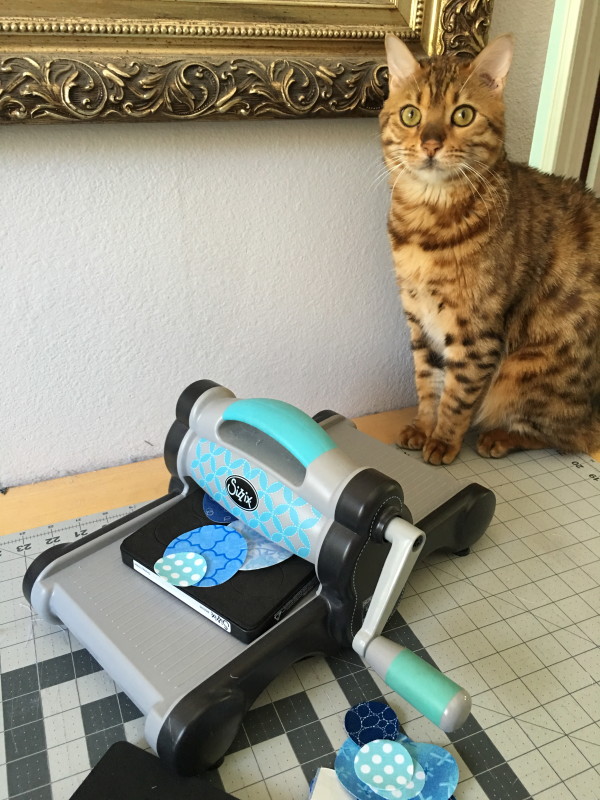
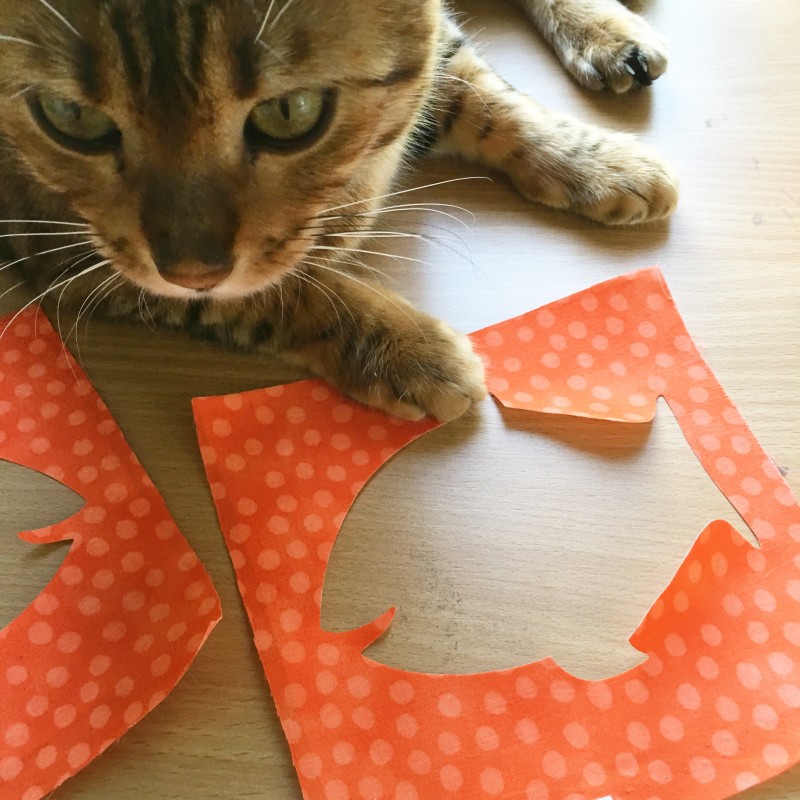
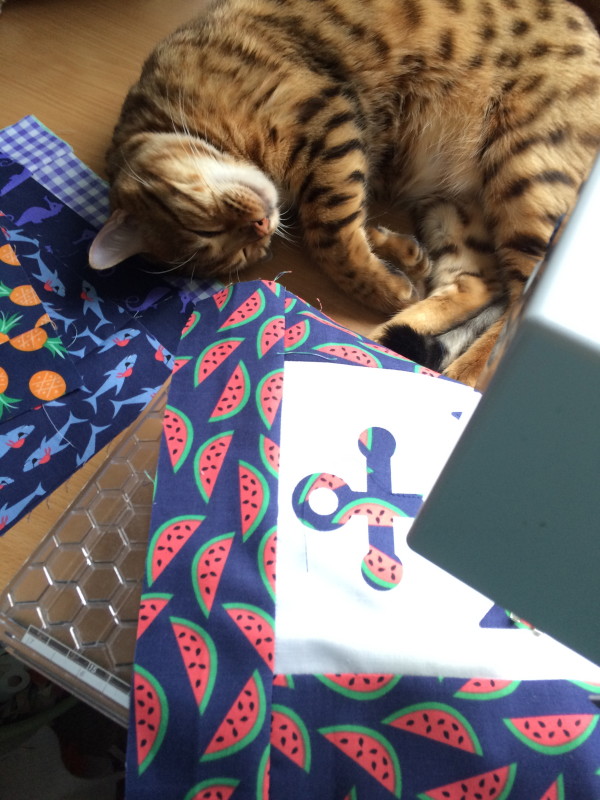
Position the hearts on the jar and the jar on the quilt block. Mufasa and I are working very late tonight!!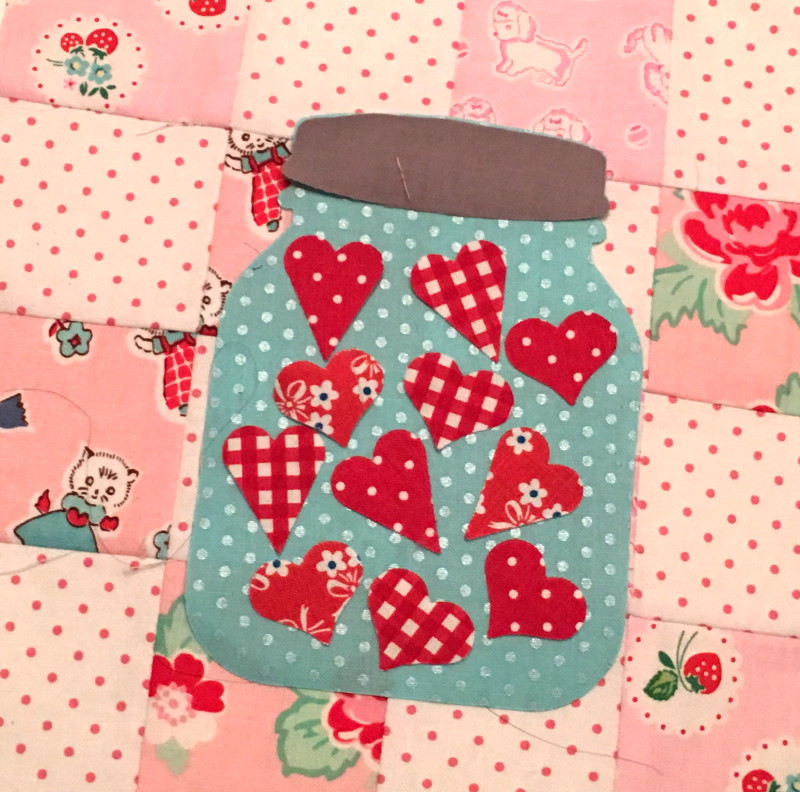
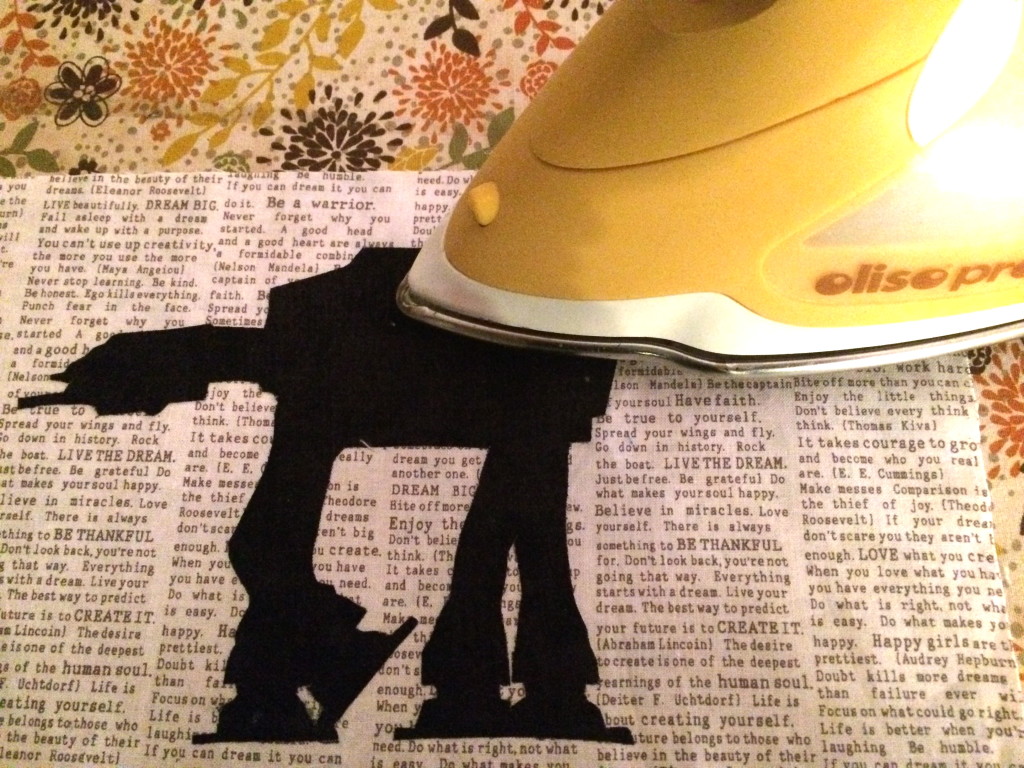
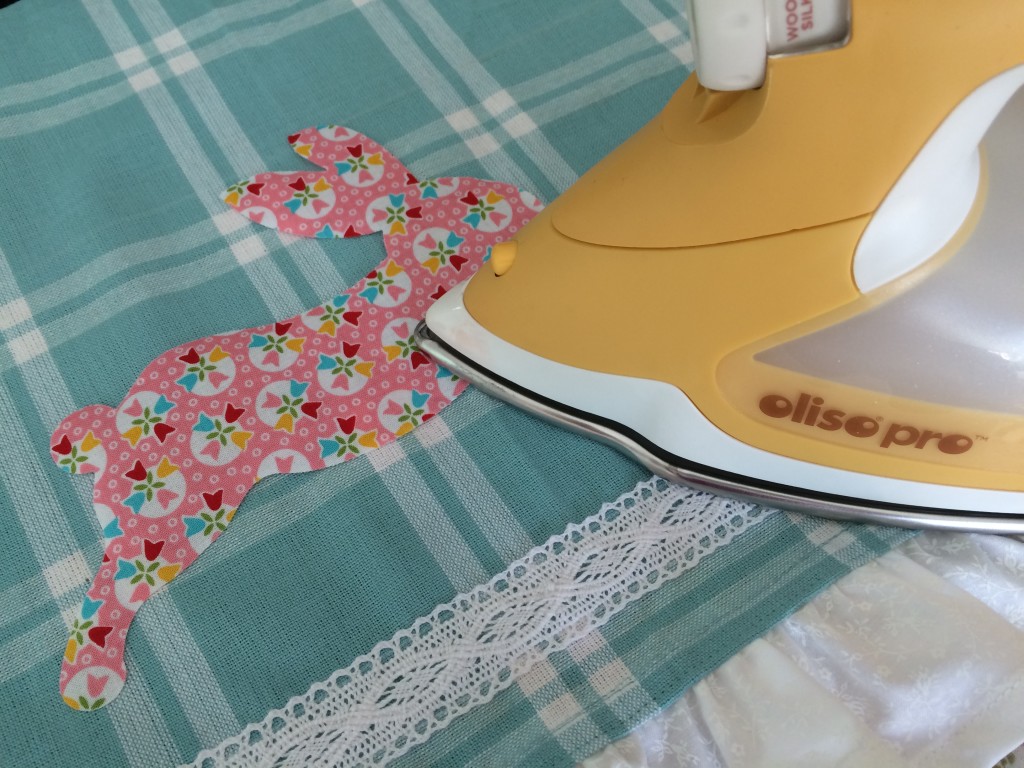
Press the applique pieces in place.
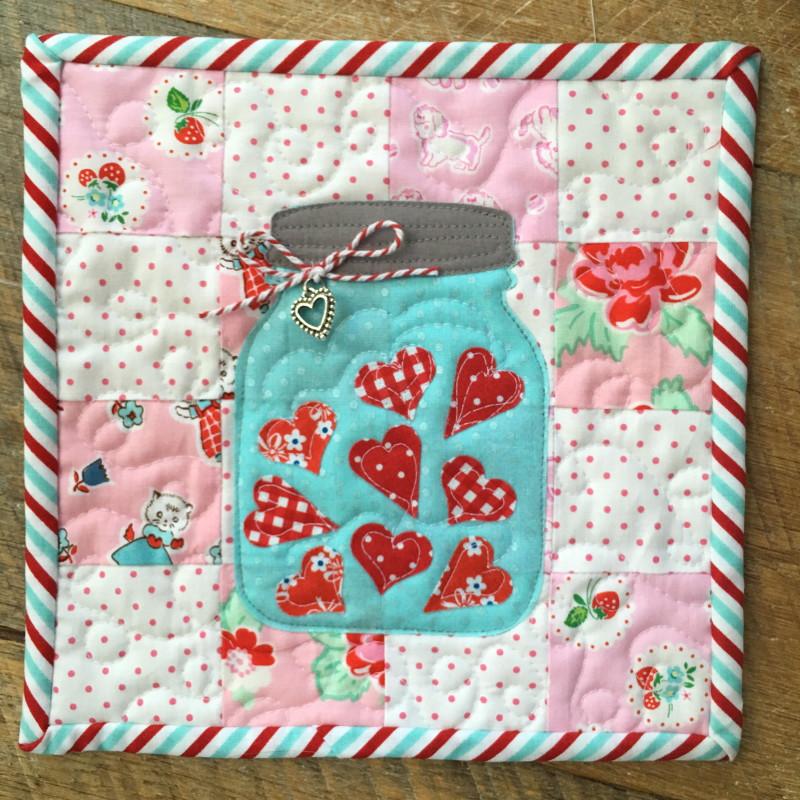
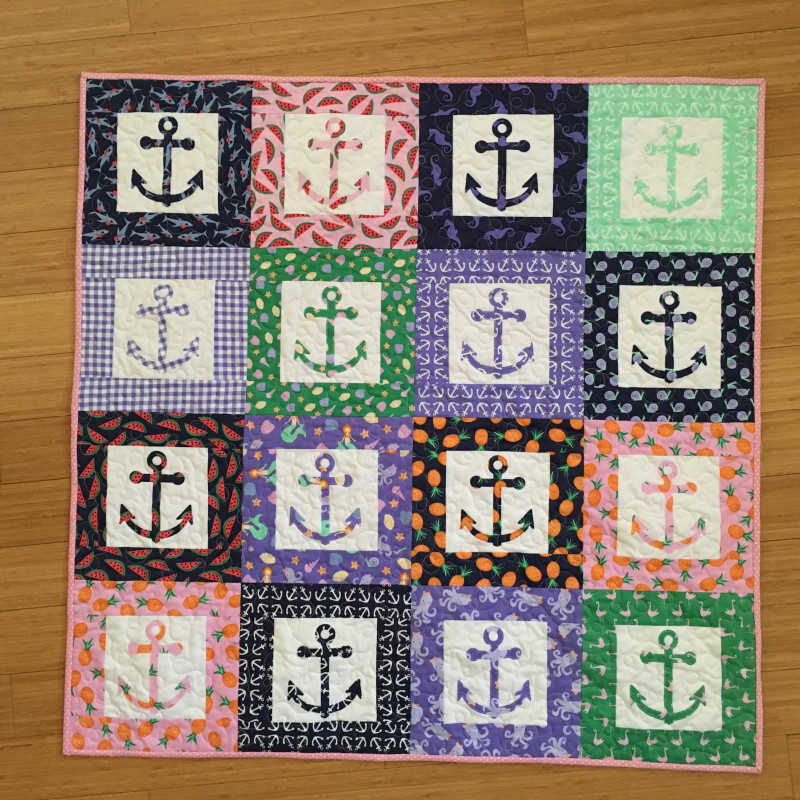
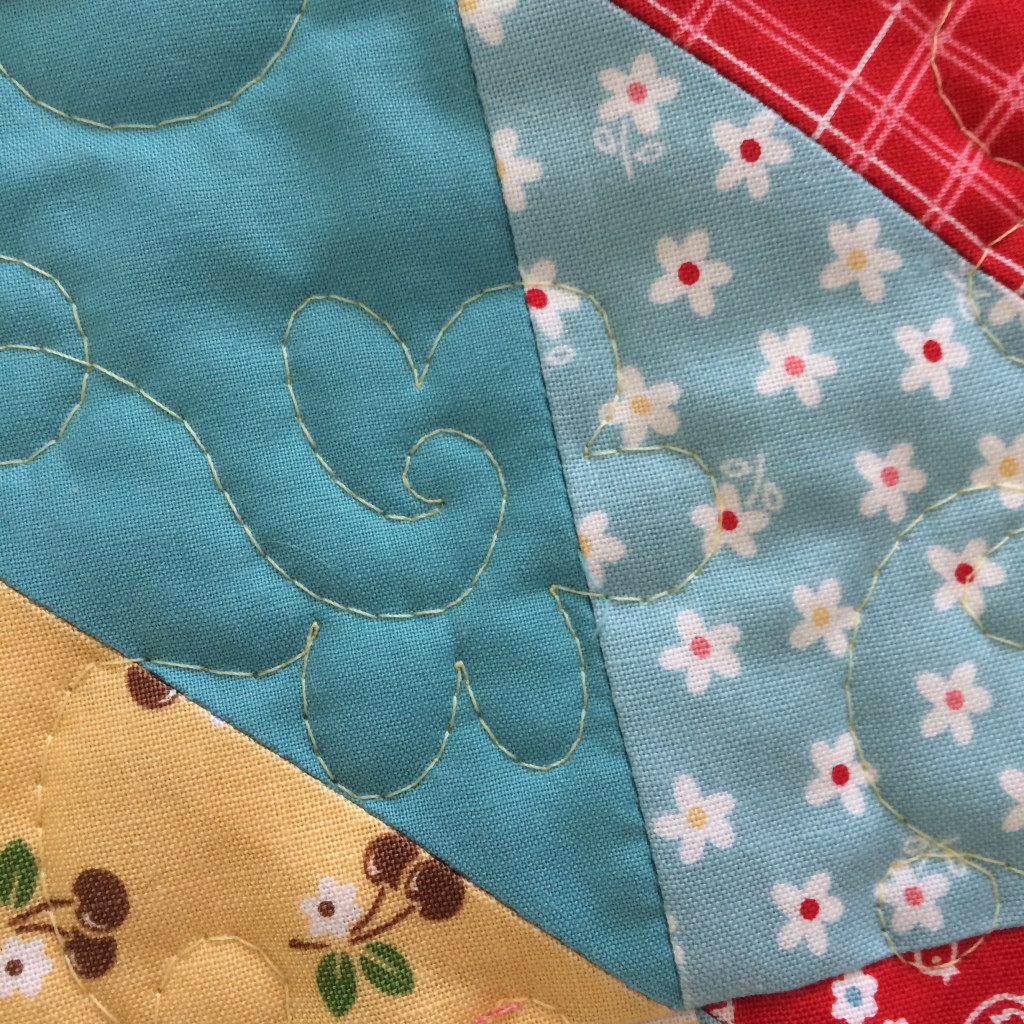
Baste the backing fabric, batting, and quilt block. Quilt. I quilted loop de loos around the jar, then quilted with dark gray thread outlining the jar and lid. I also quilted inside each heart. Square up the quilt block and add the binding.
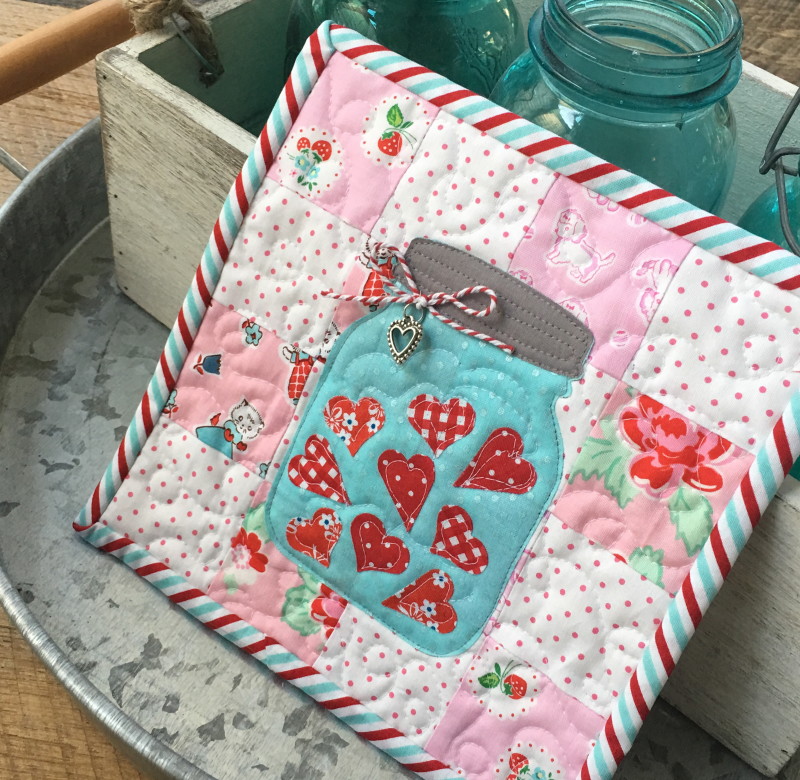
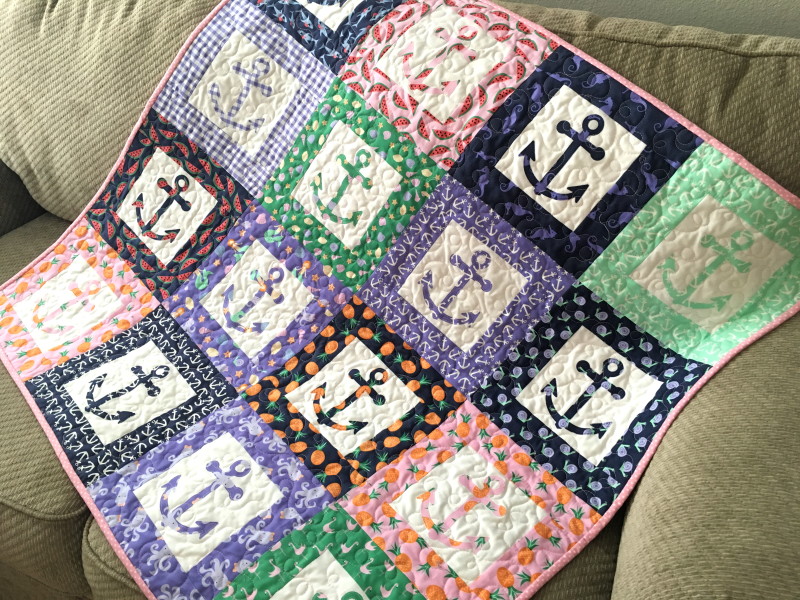
Tie a bow out of bakers twine and tack it to the side of the jar. I added a little silver heart charm – yes I’m cute 🙂
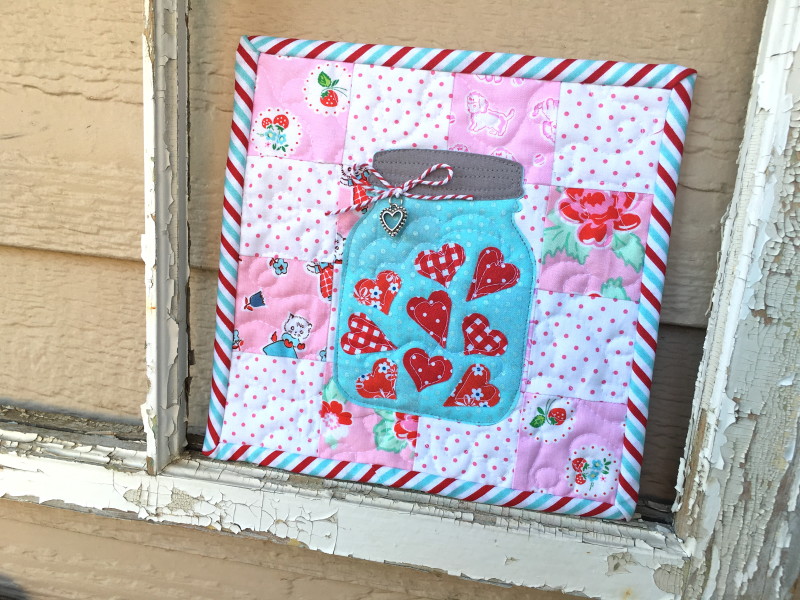
I hope you love making this project! I can’t wait to make more and give for gifts. You might want to tuck this little idea away for Valentines Day!!
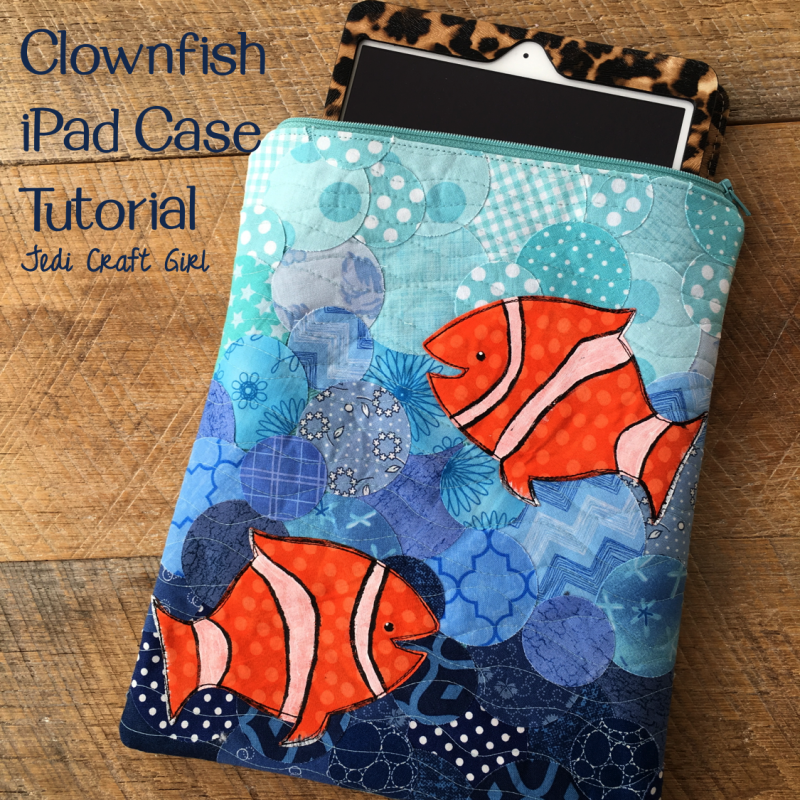
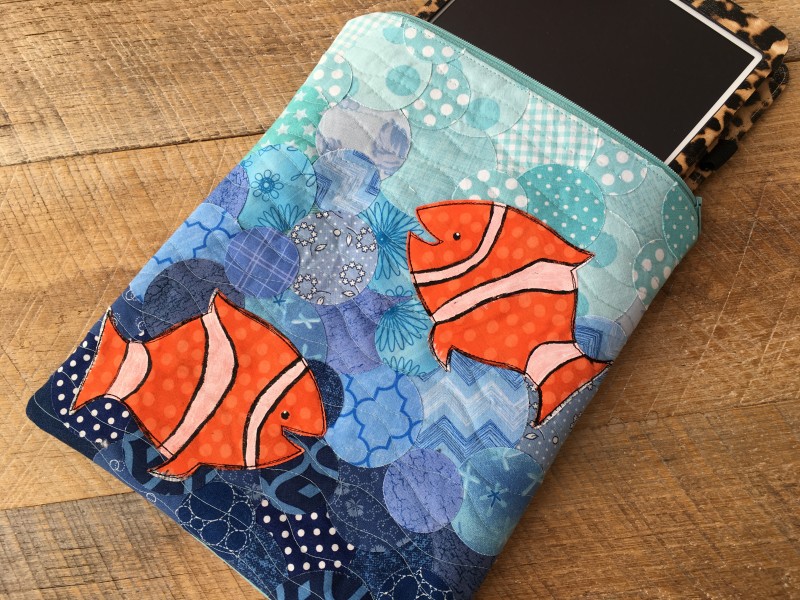
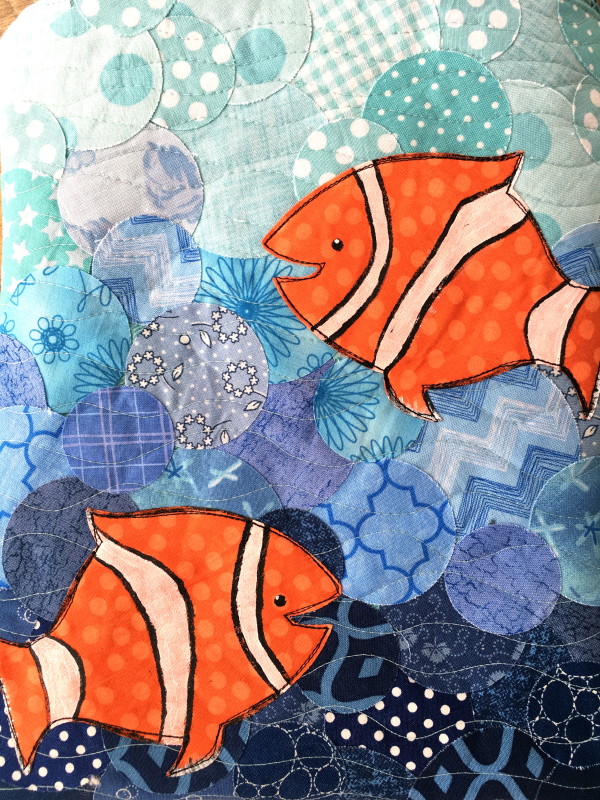
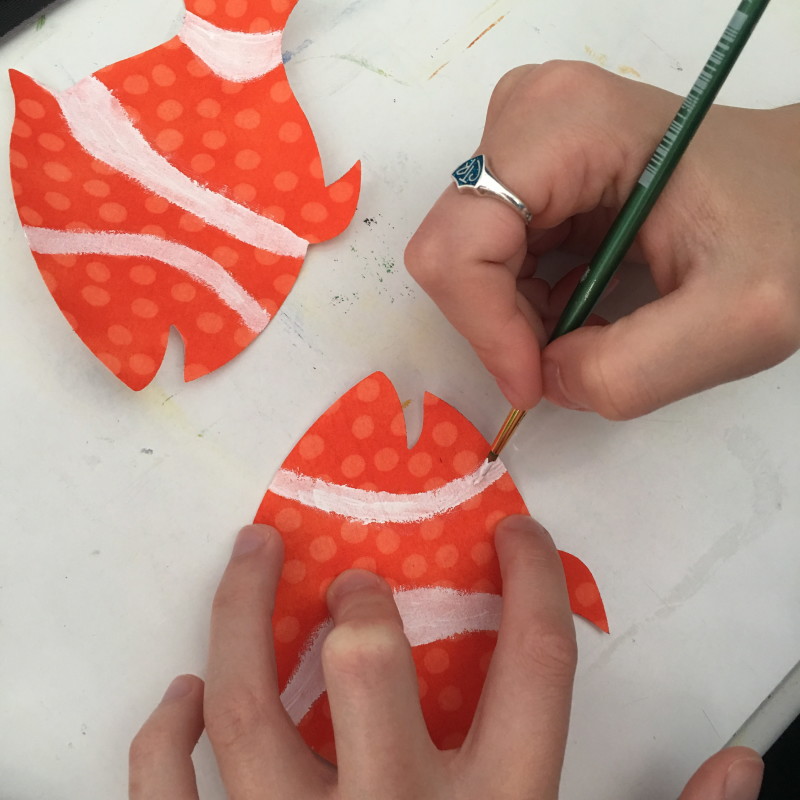 If you want you can paint a little detail on the fish. We used regular acrylic paint.
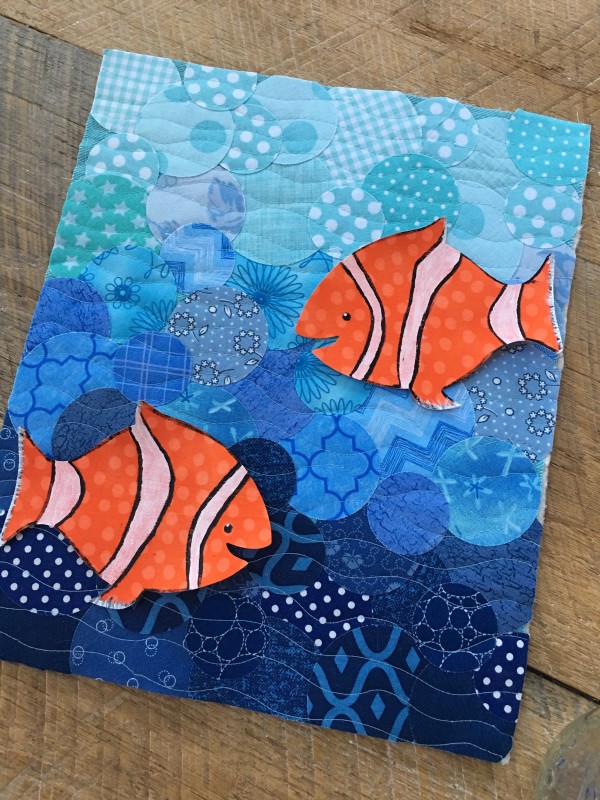
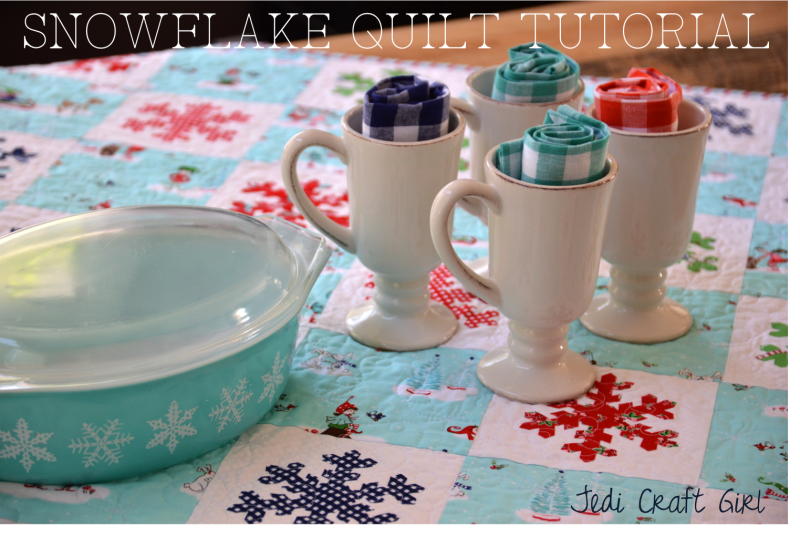
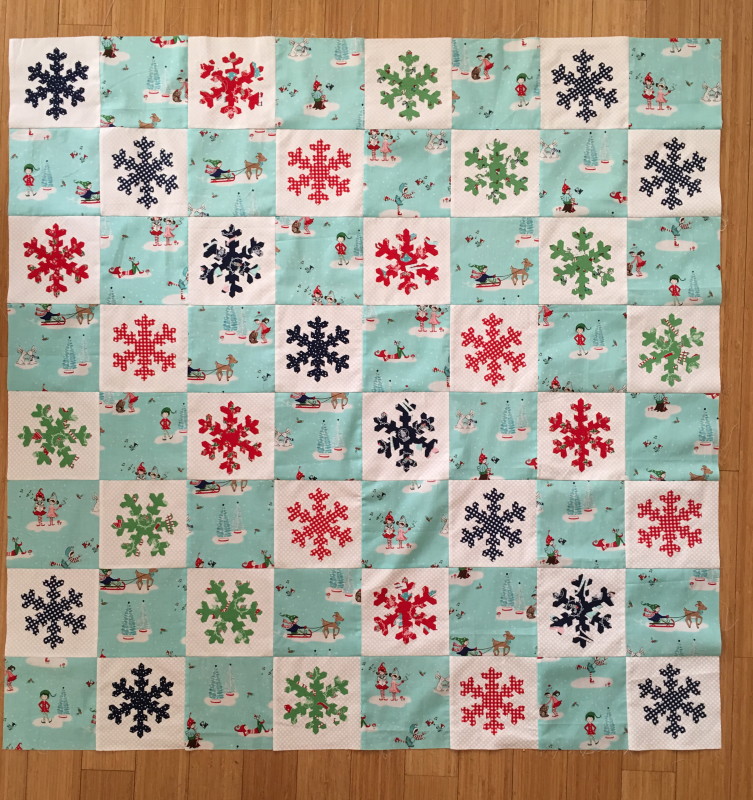
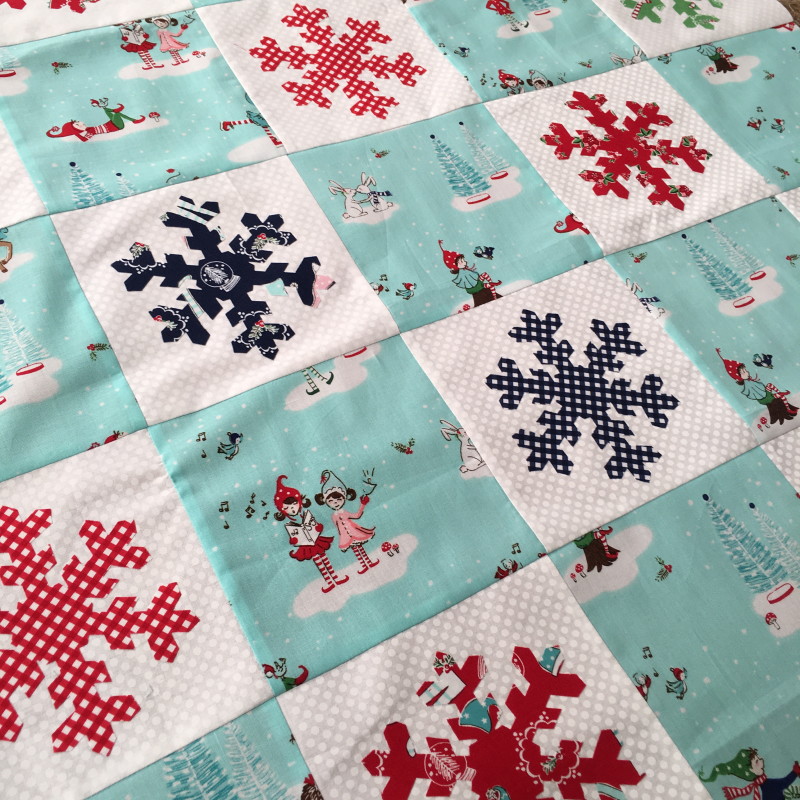
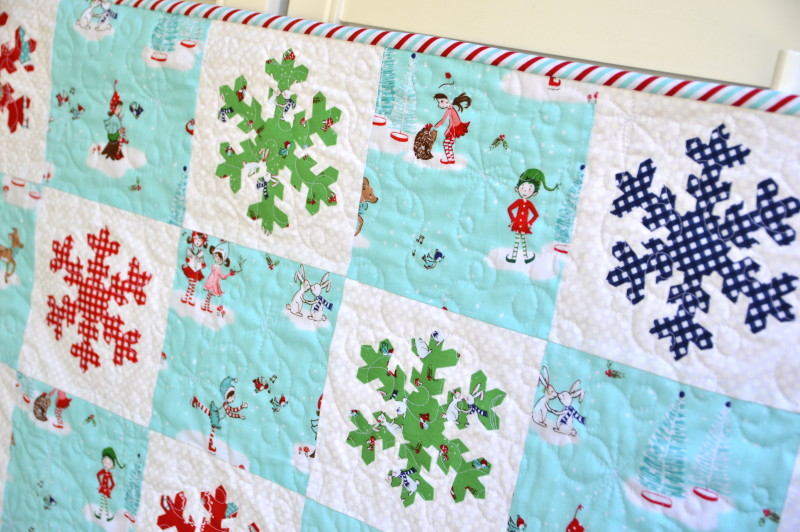
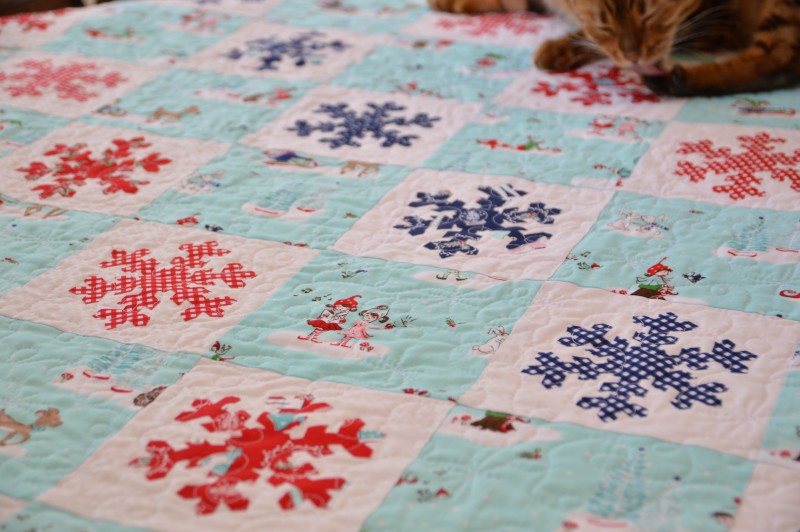
 It was a little bit challenging to sew with winter fabric when the temperatures here in Southern California have been in the 110’s and our town is literally ablaze! I decided to beat the heat by creating this whimsical snowflake quilt.
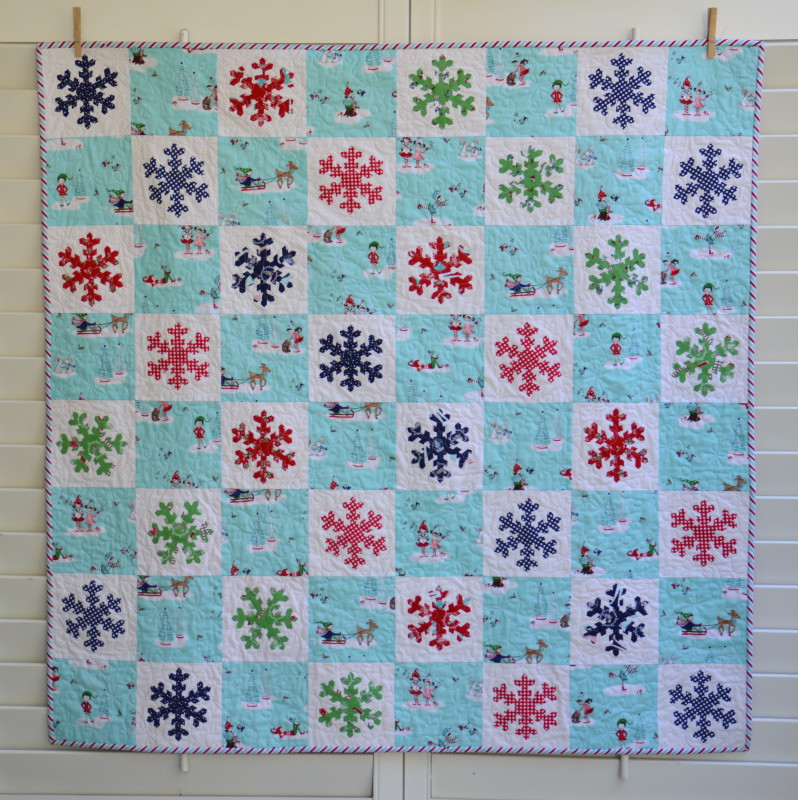

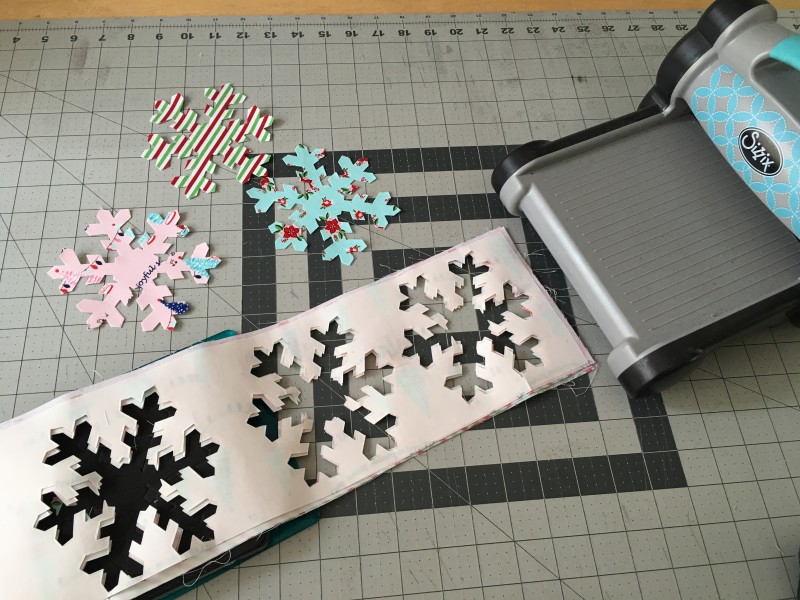 Peel off the backing.
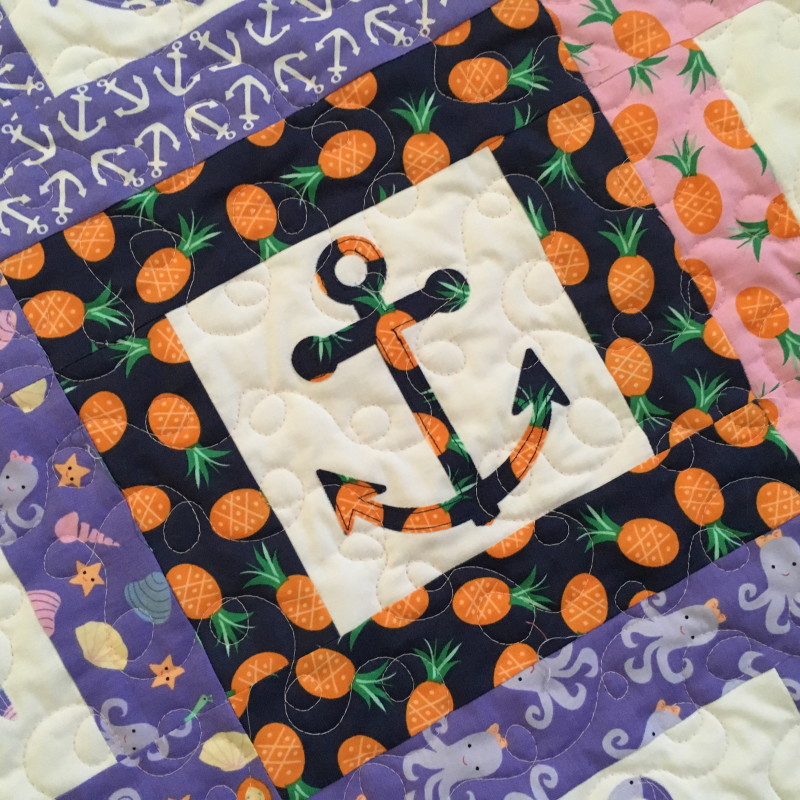
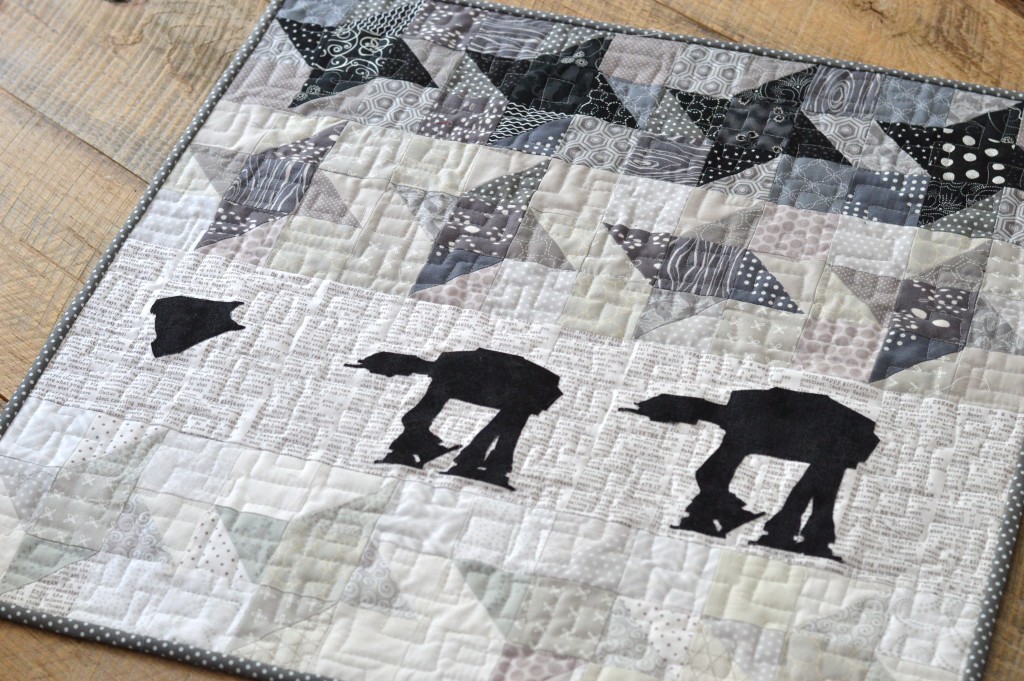
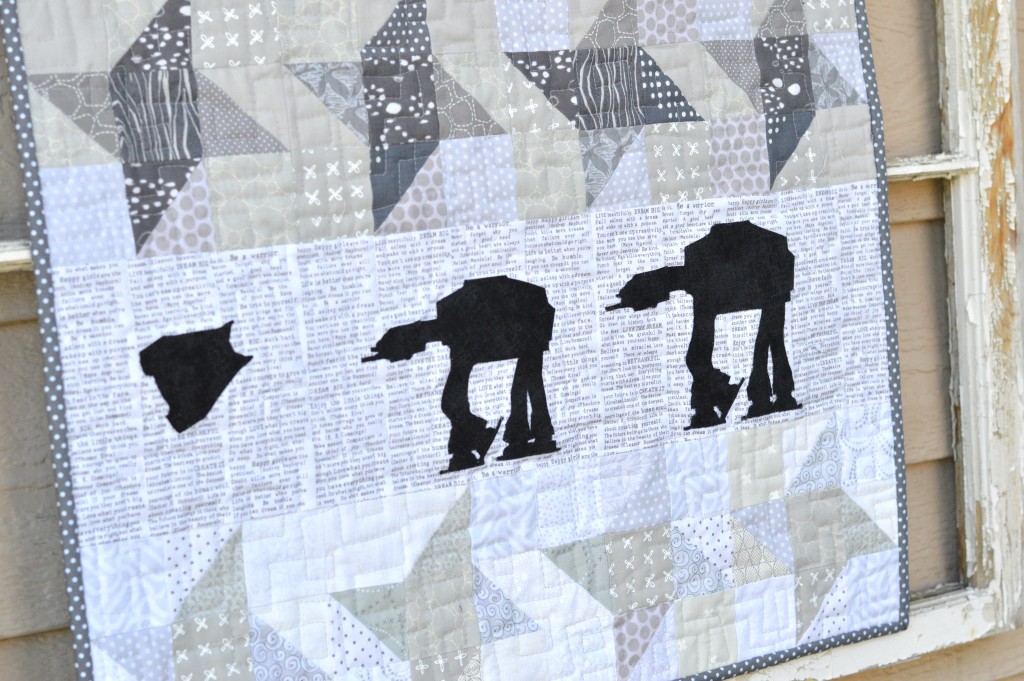
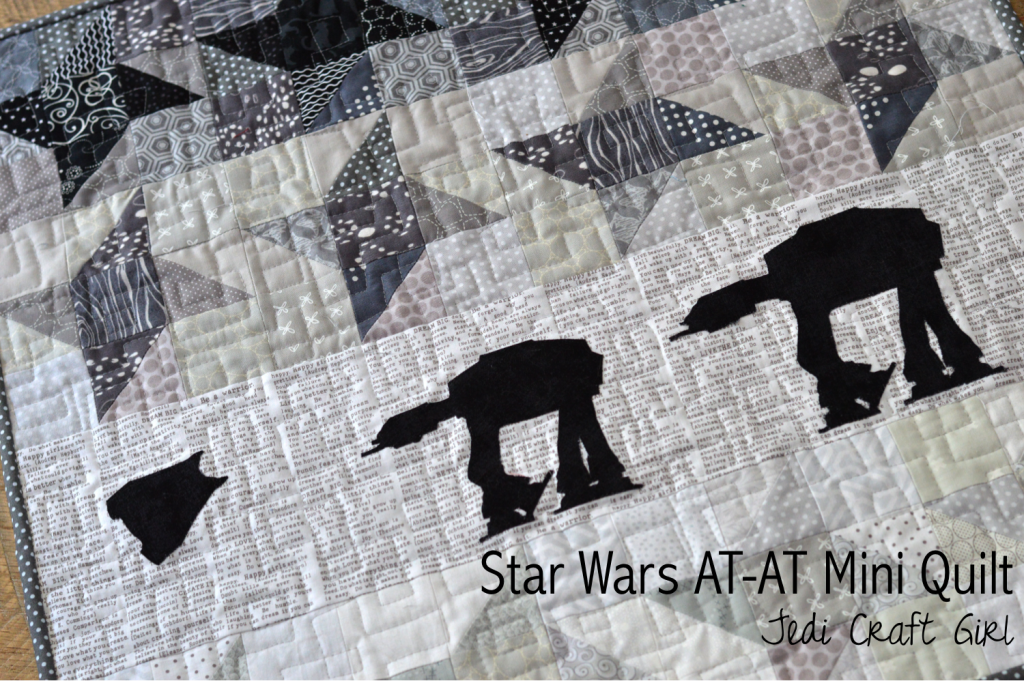 I recently participated in a May The 4th Mini Quilt Swap on Instagram. This is the quilt I made for my swap partner. I really wanted to bring out the feel of this scene in The Empire Strikes back. I am totally in love with it!
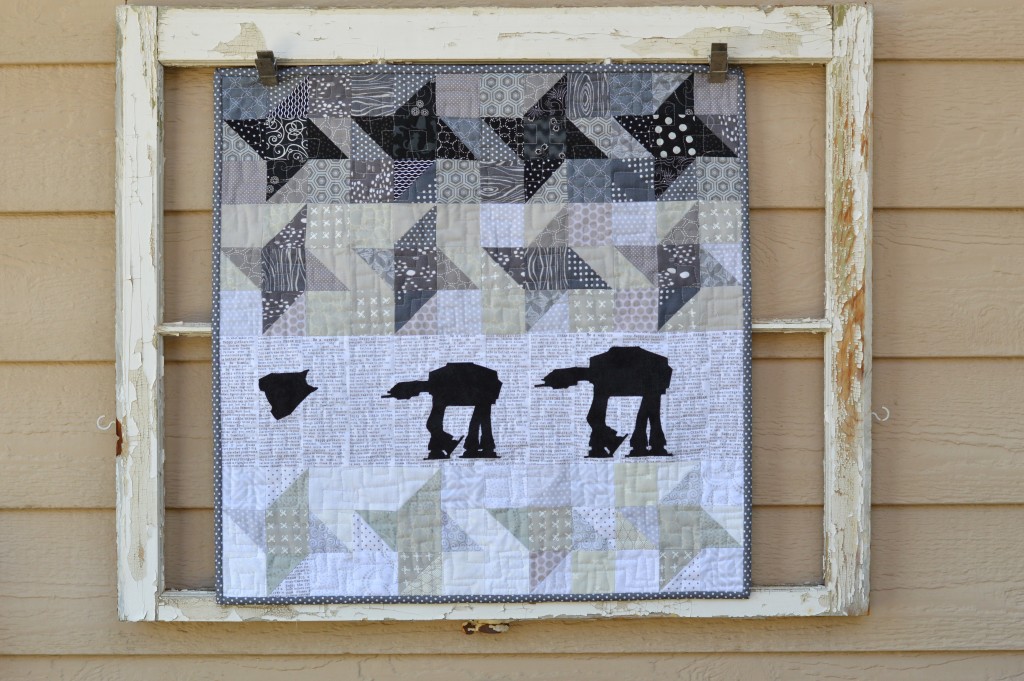
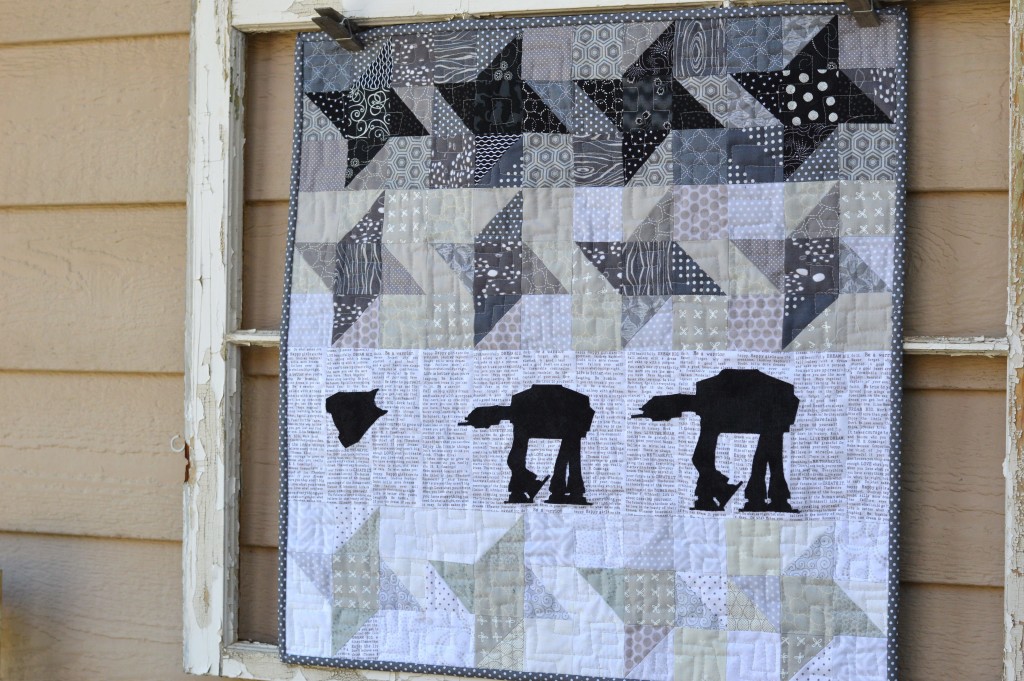
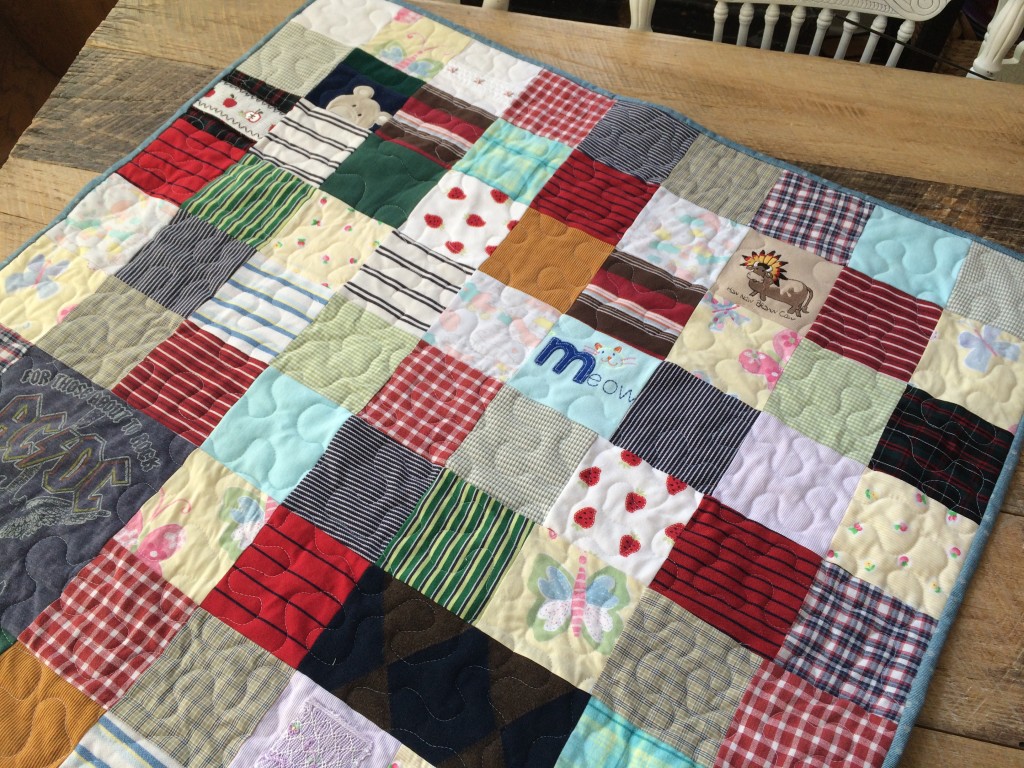

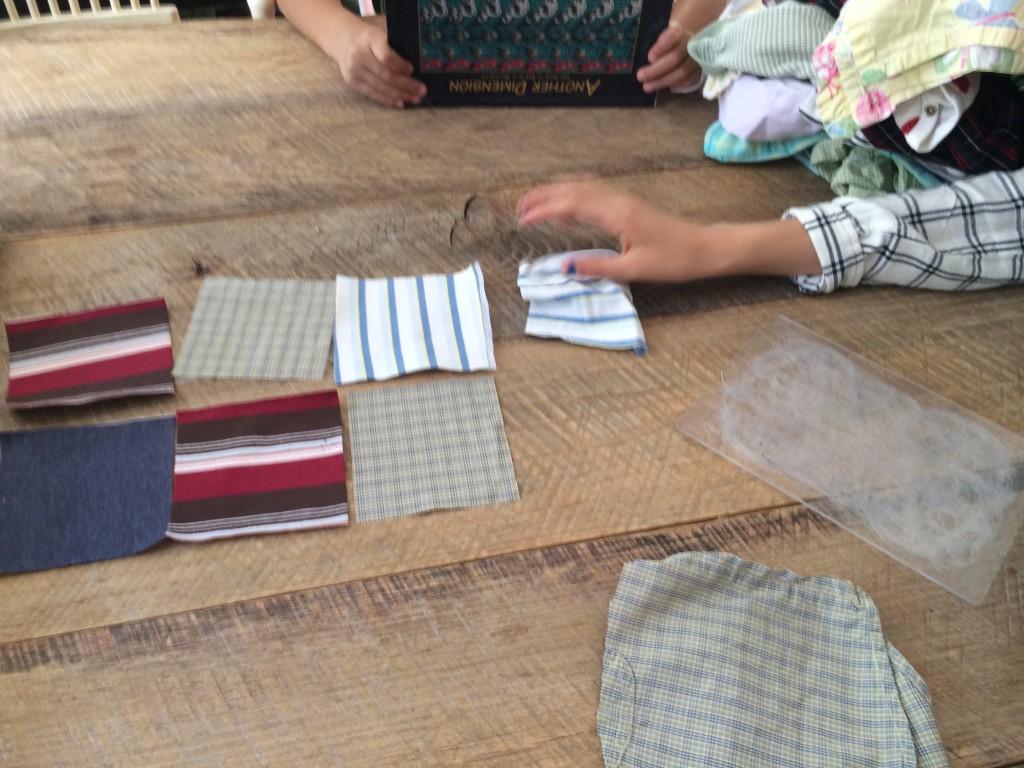

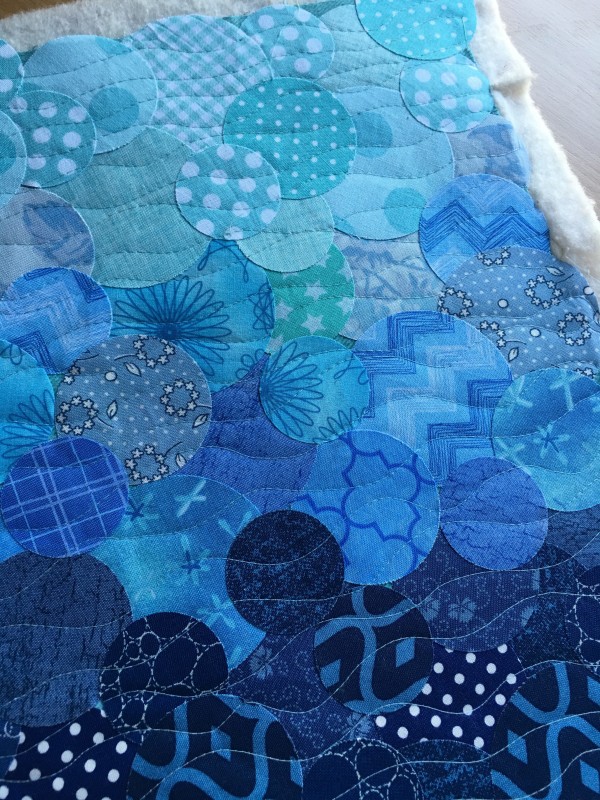
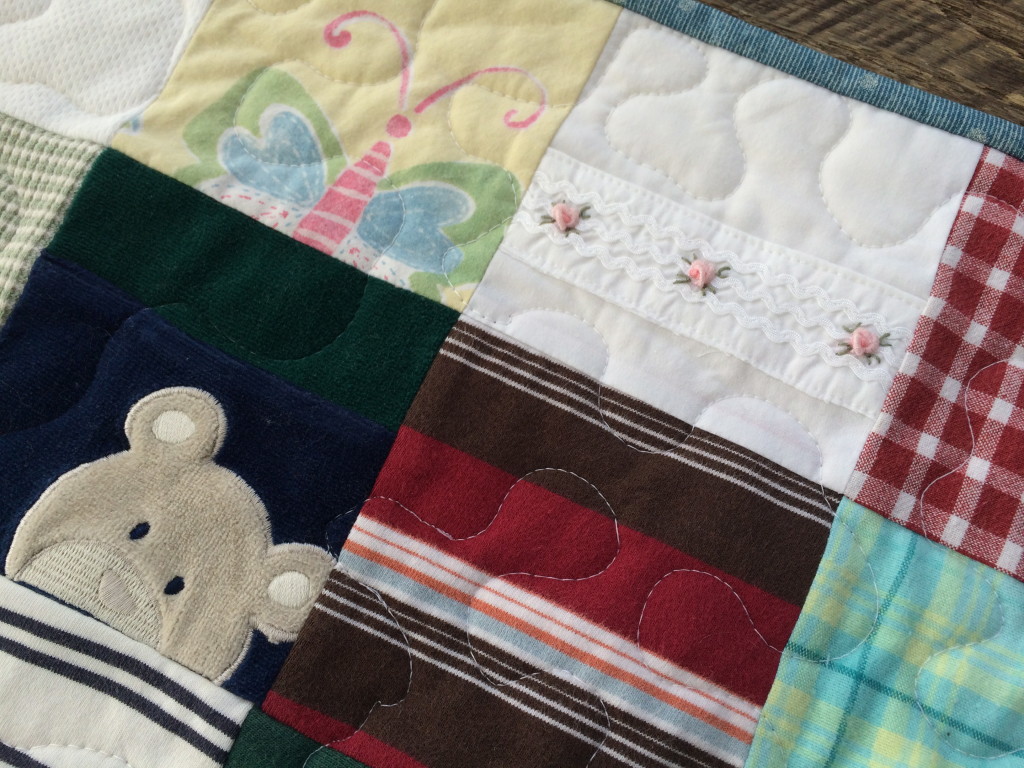
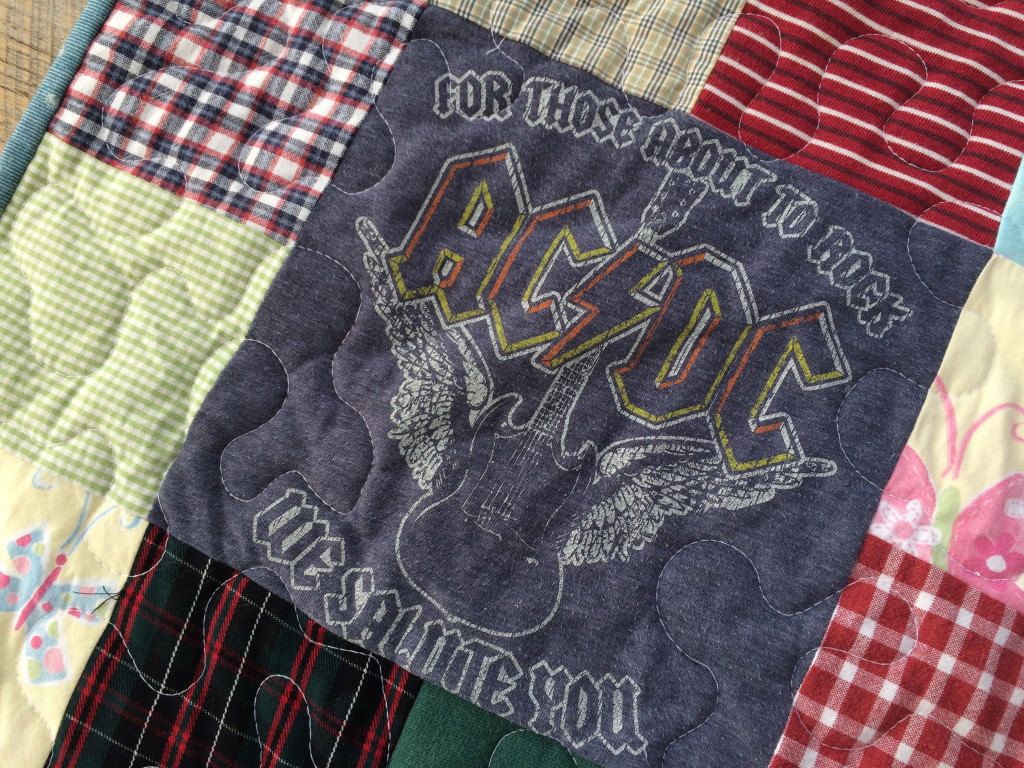
 I basted and quilted this just like a regular quilt. I quilted a little slower just to account for the varying degrees of thickness. I was able to put a sweatshirt piece next to a thin polyester pj fabric and it totally worked!
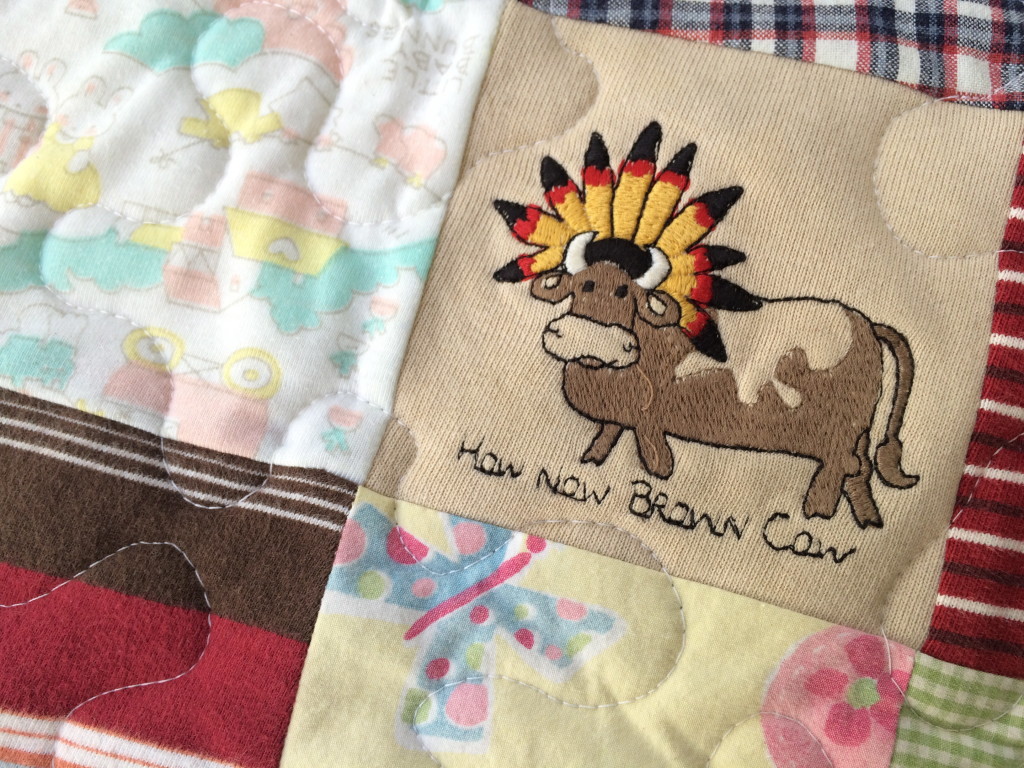


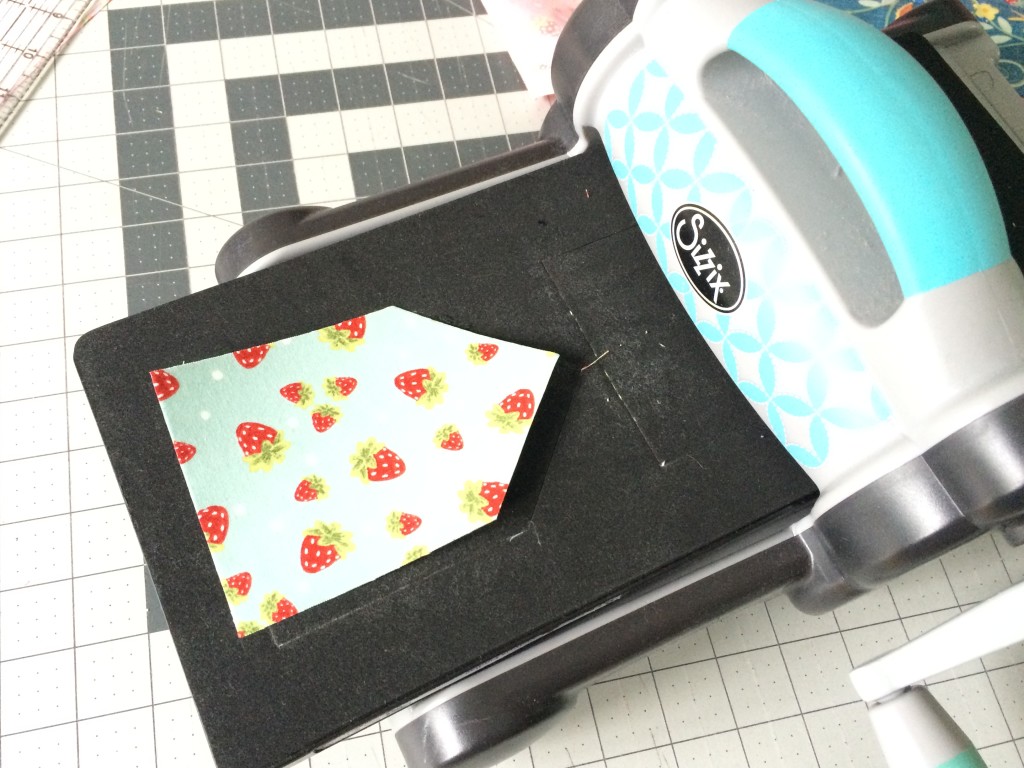
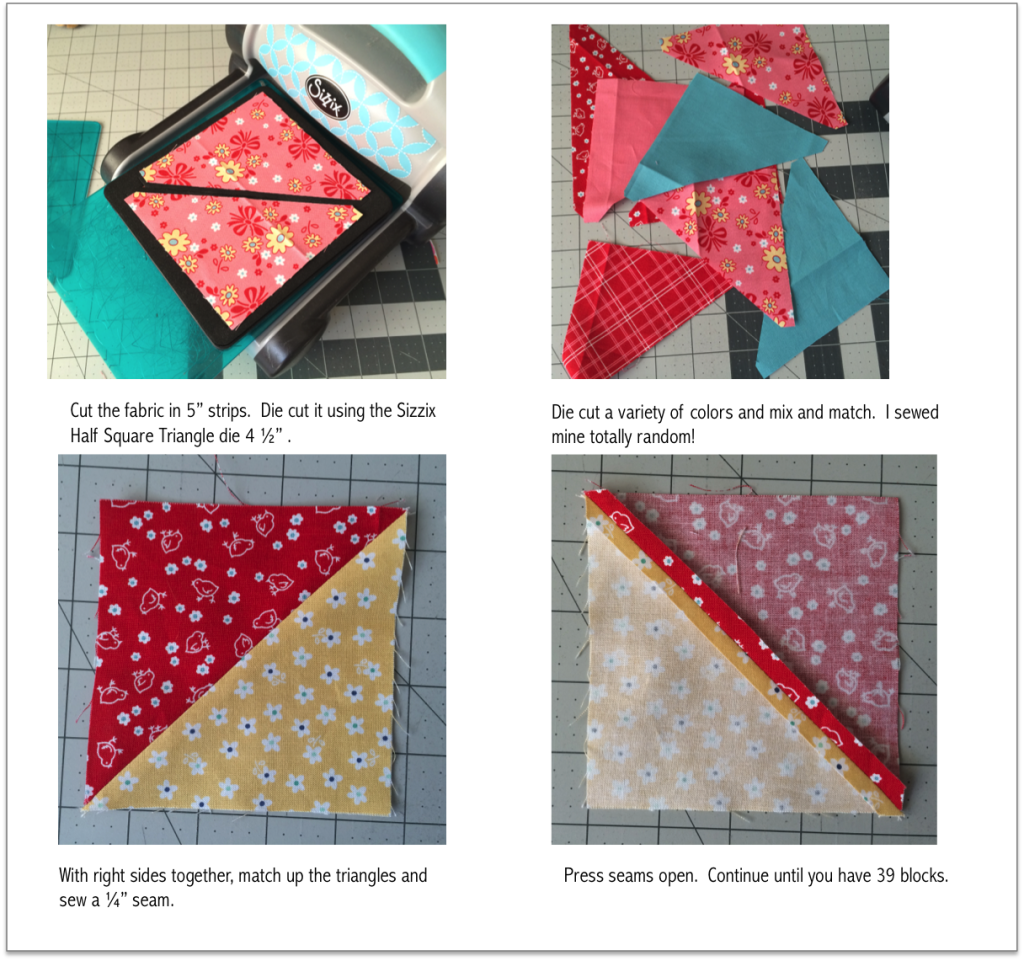

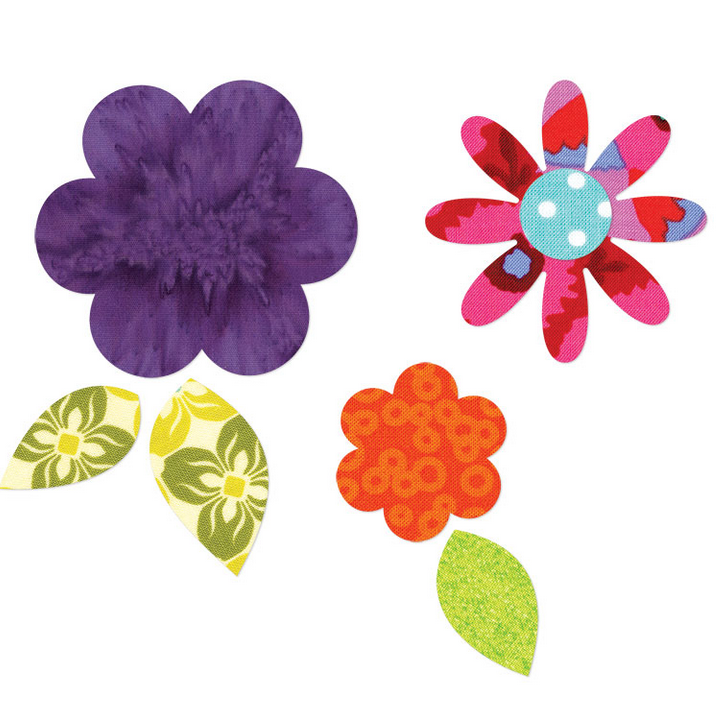
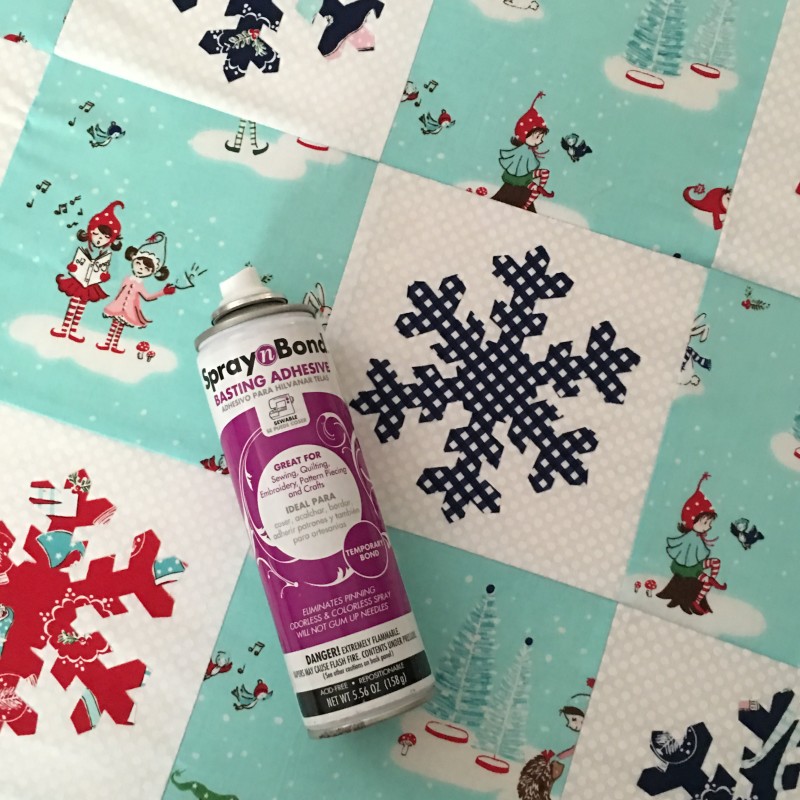
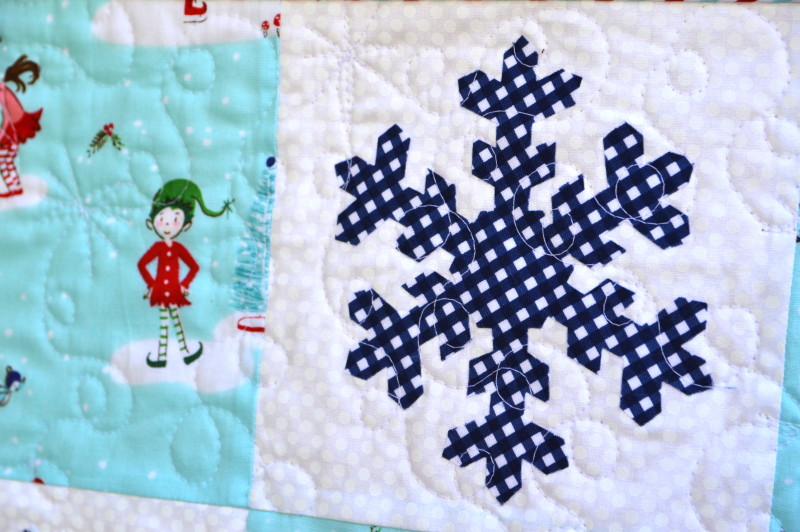
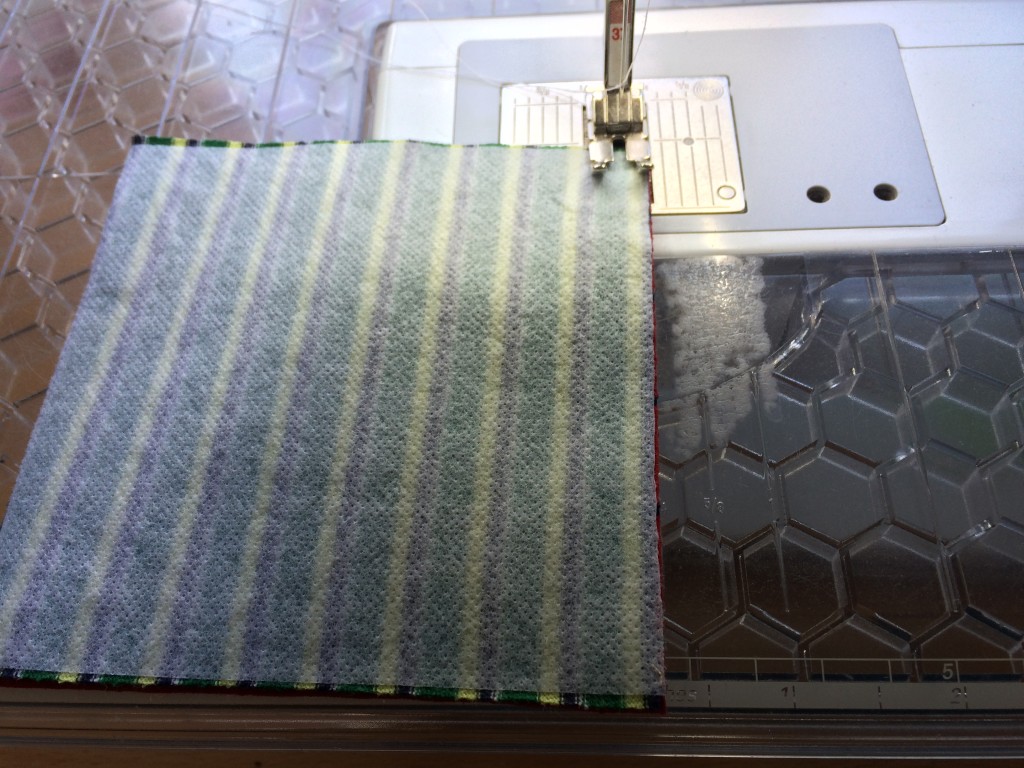
 Once you have cut the flowers, peel off the baking paper and fuse them to the 4 1/2″ squares. Top stitch around each piece.
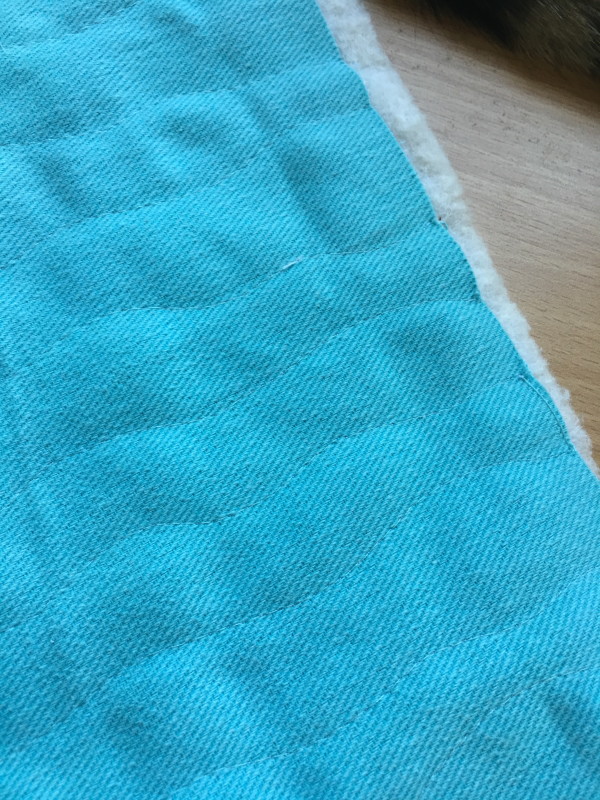
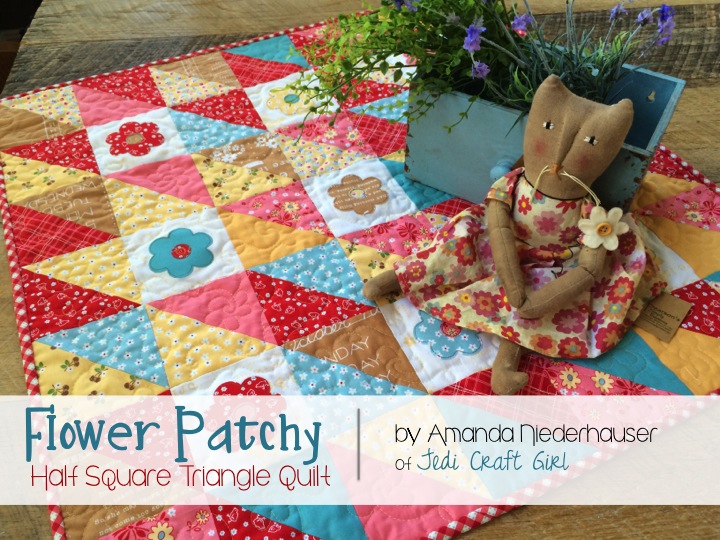
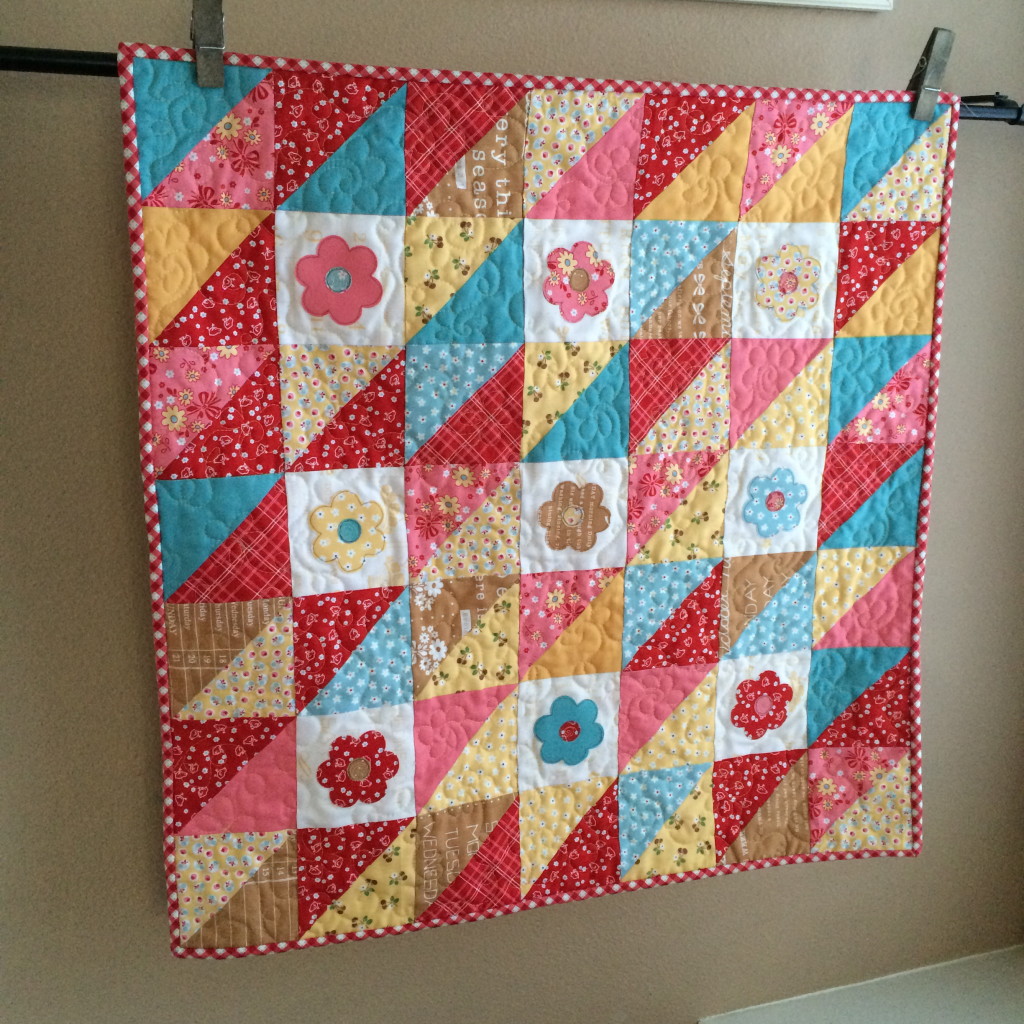
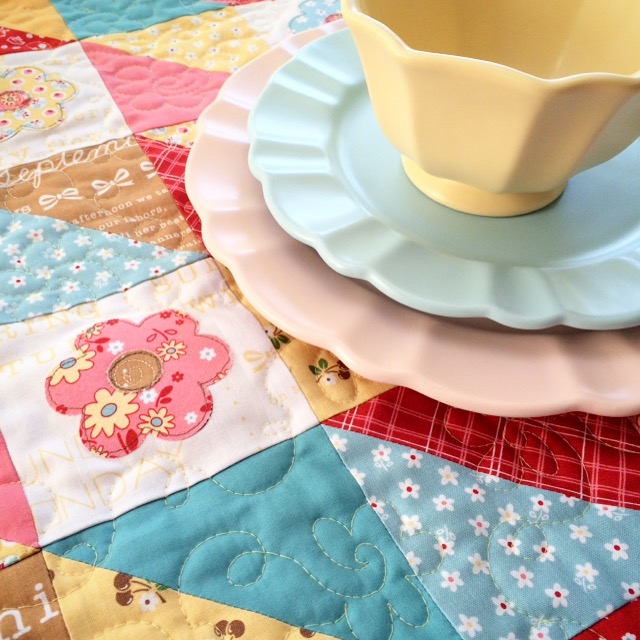 I love how charming this little quilt turned out. And I sewed it in a few hours!!
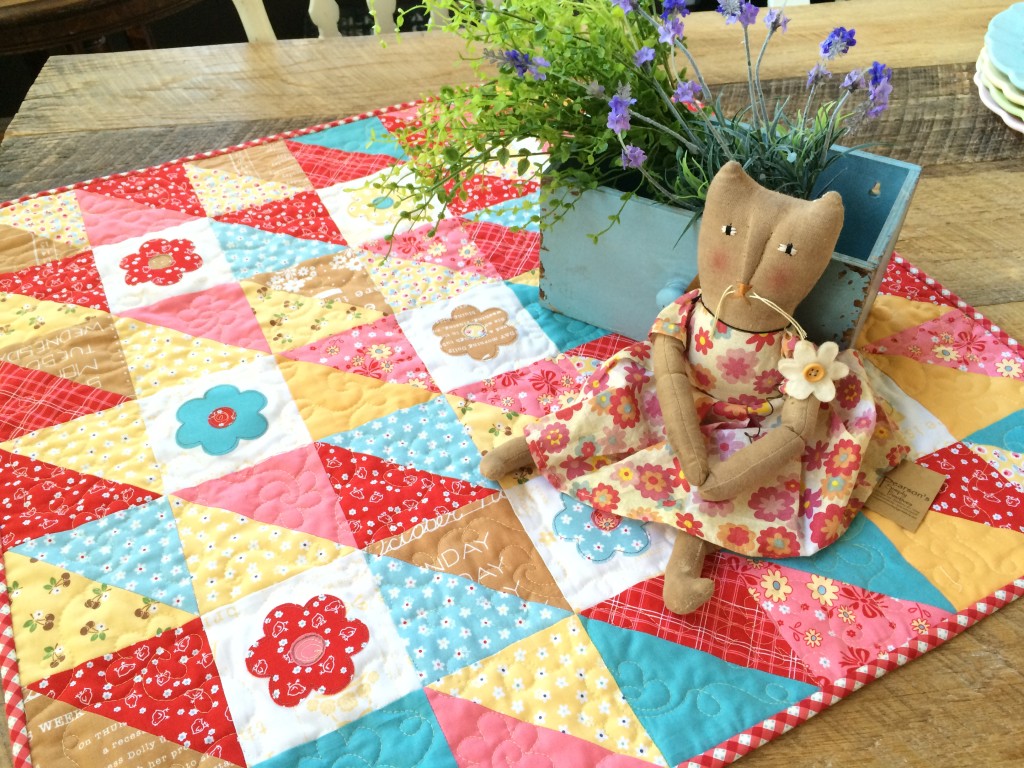
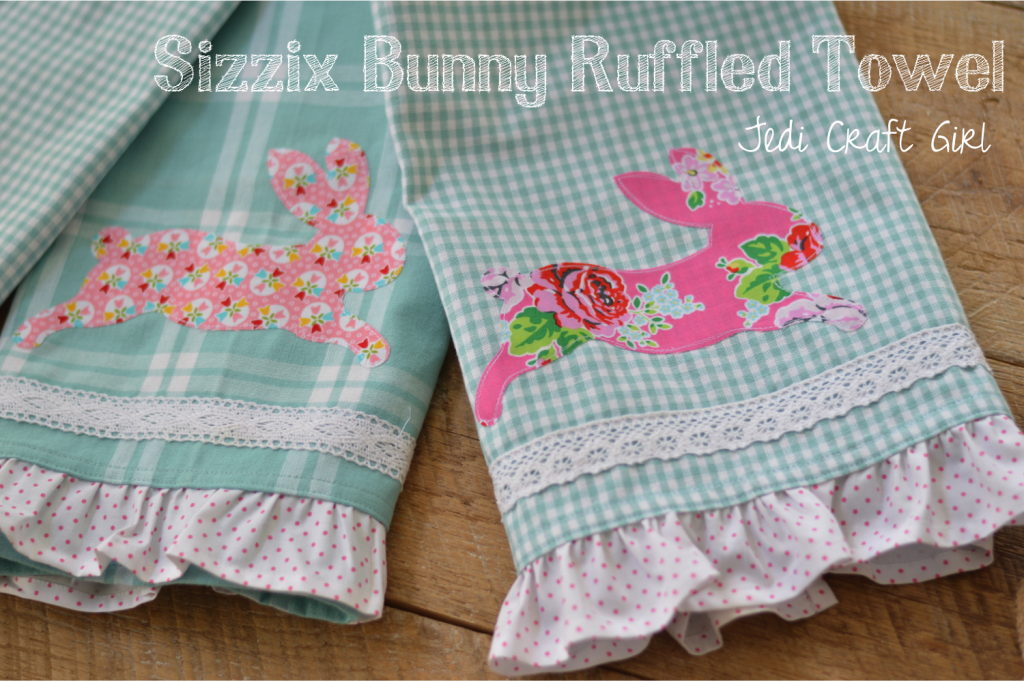
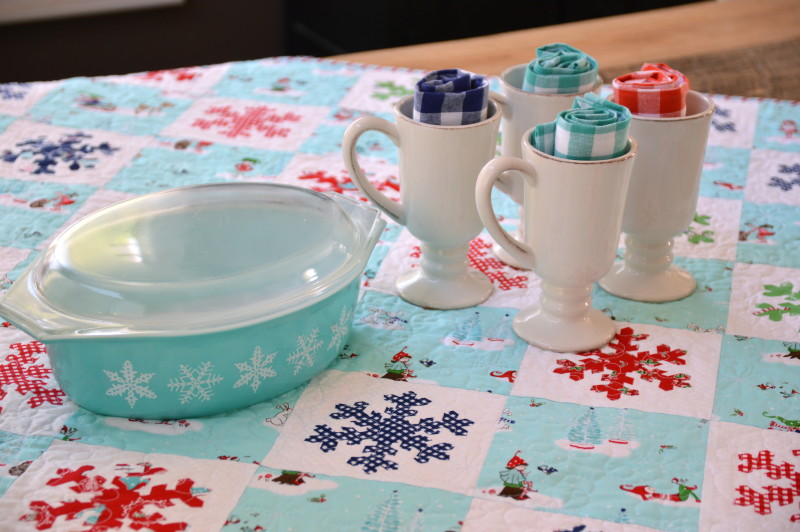
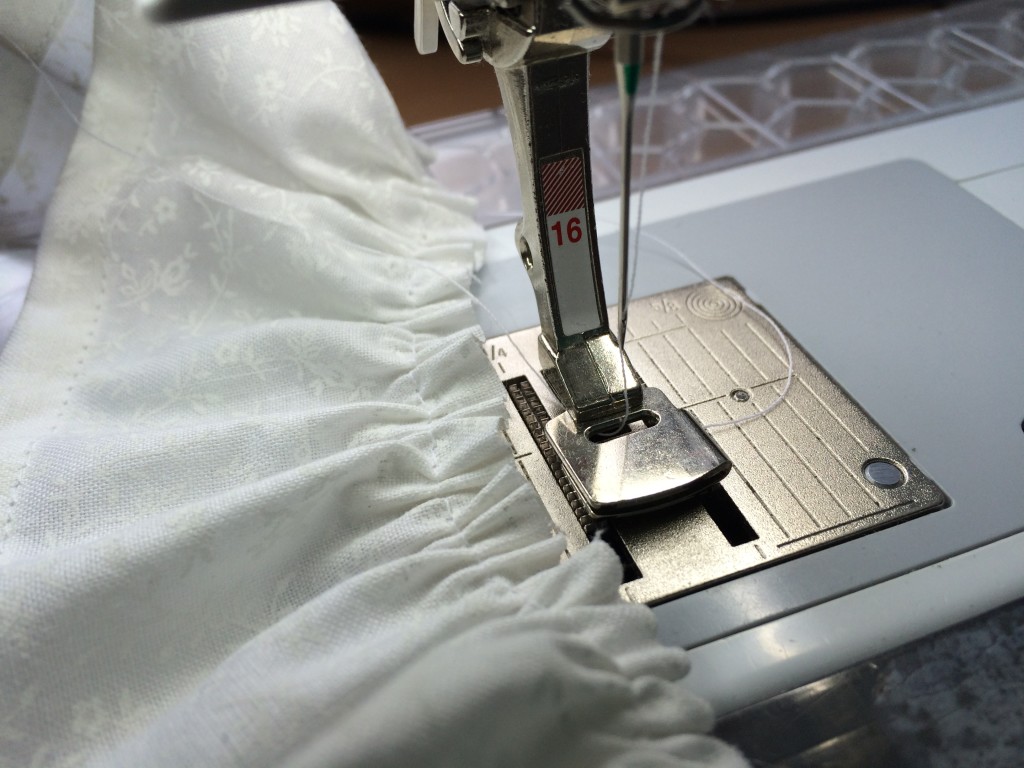
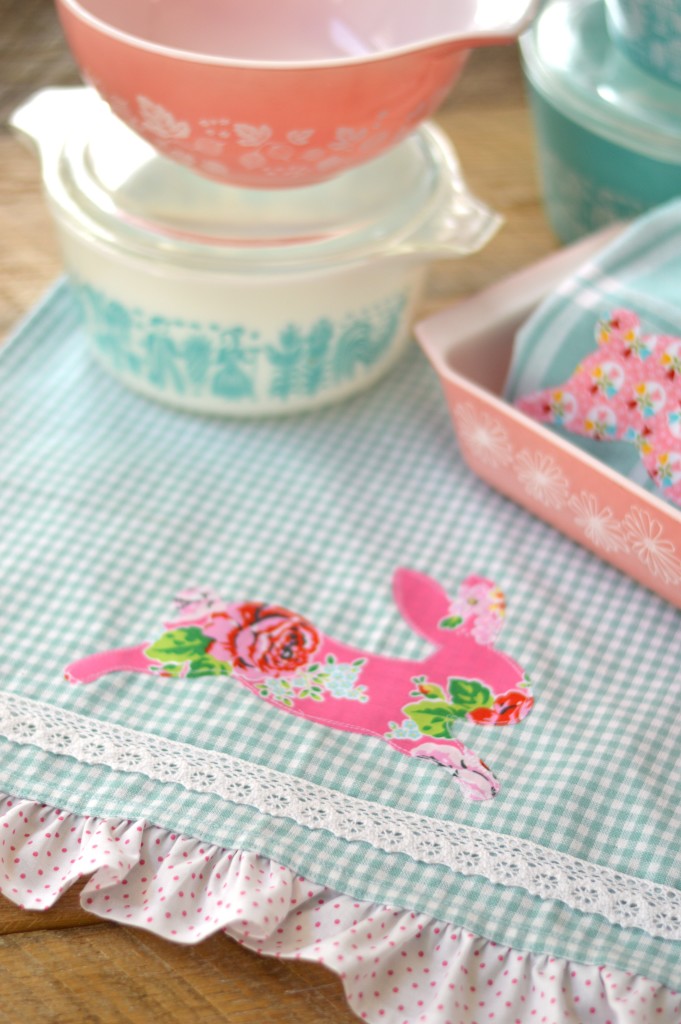
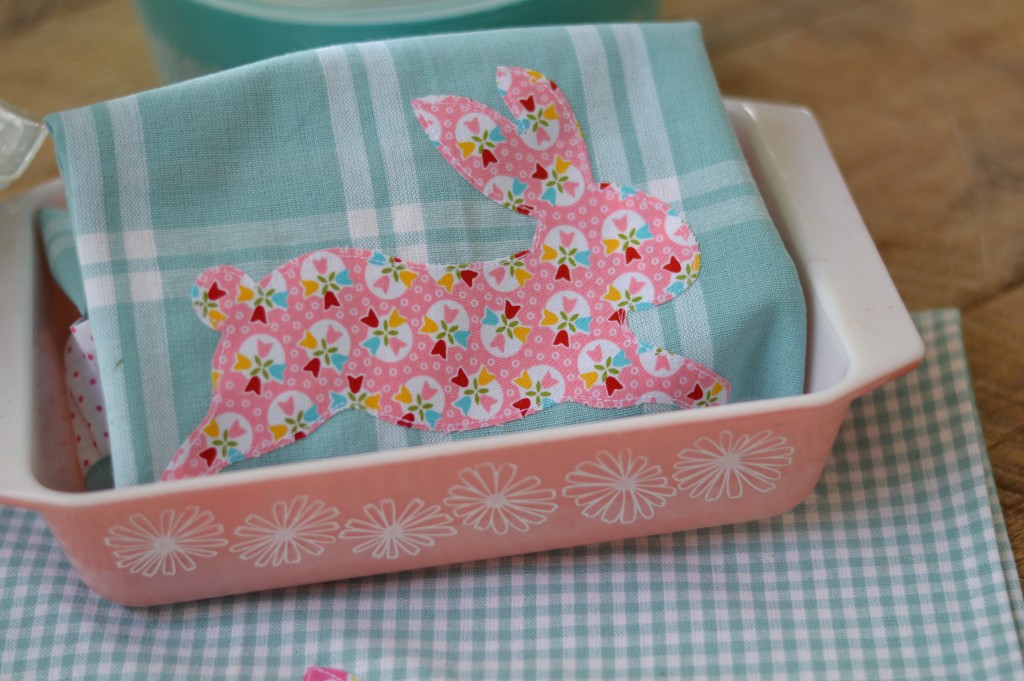
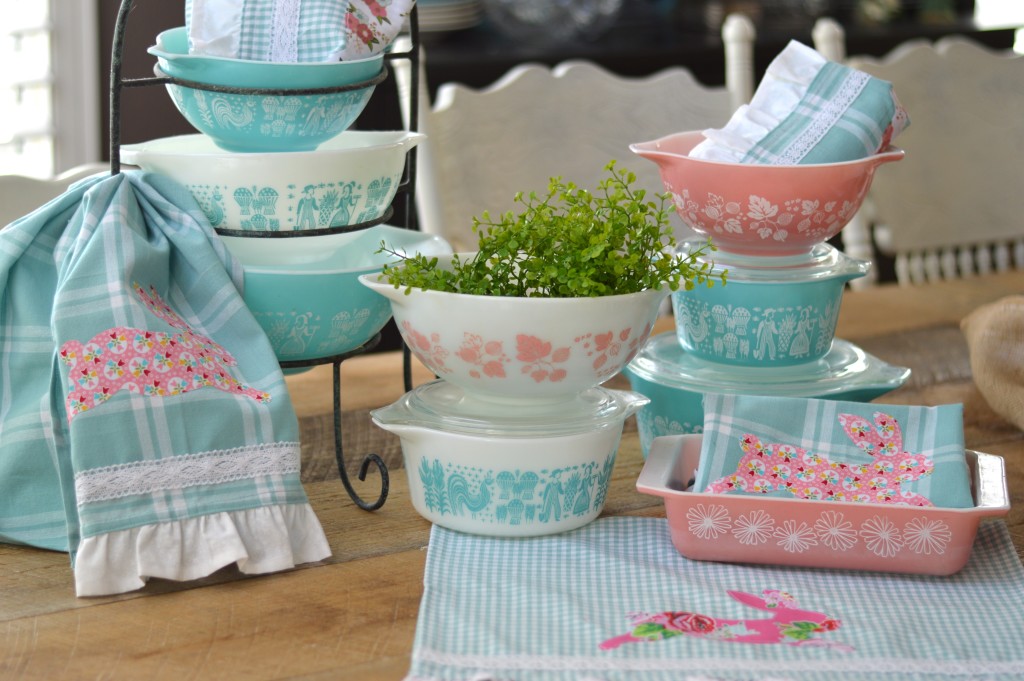 Kitchens usually don’t have a lot of wall space or places to hang quilts or cute crafty projects. I love hanging home made towels on my oven, it gives the kitchen that cozy feeling! Theses sweet towels also make the perfect gift! Who wouldn’t want one of these! I choose some of my favorite
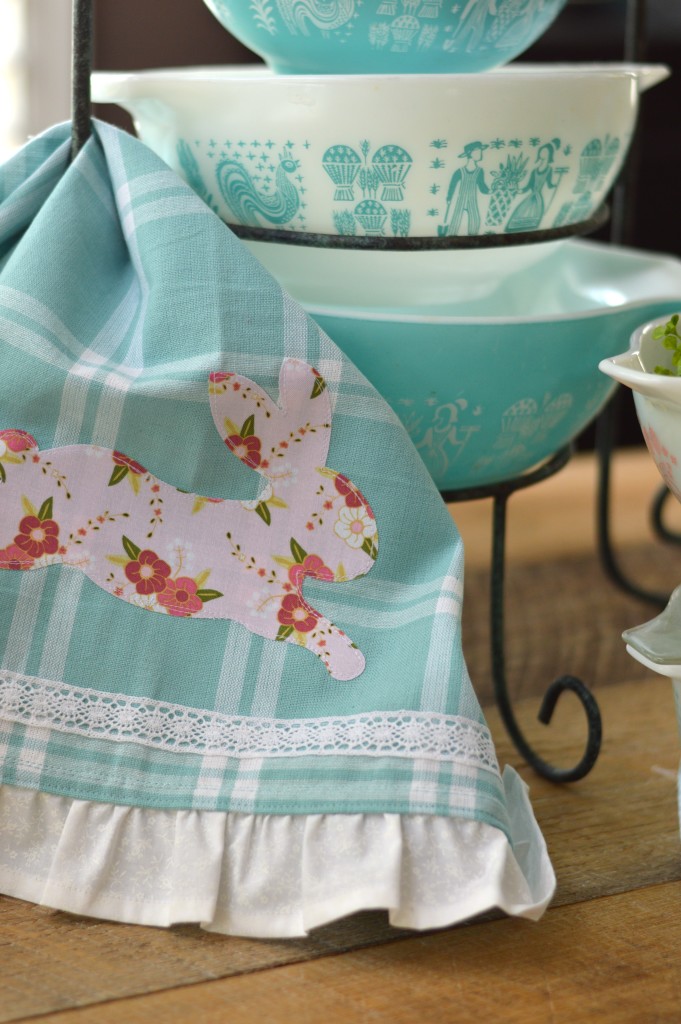
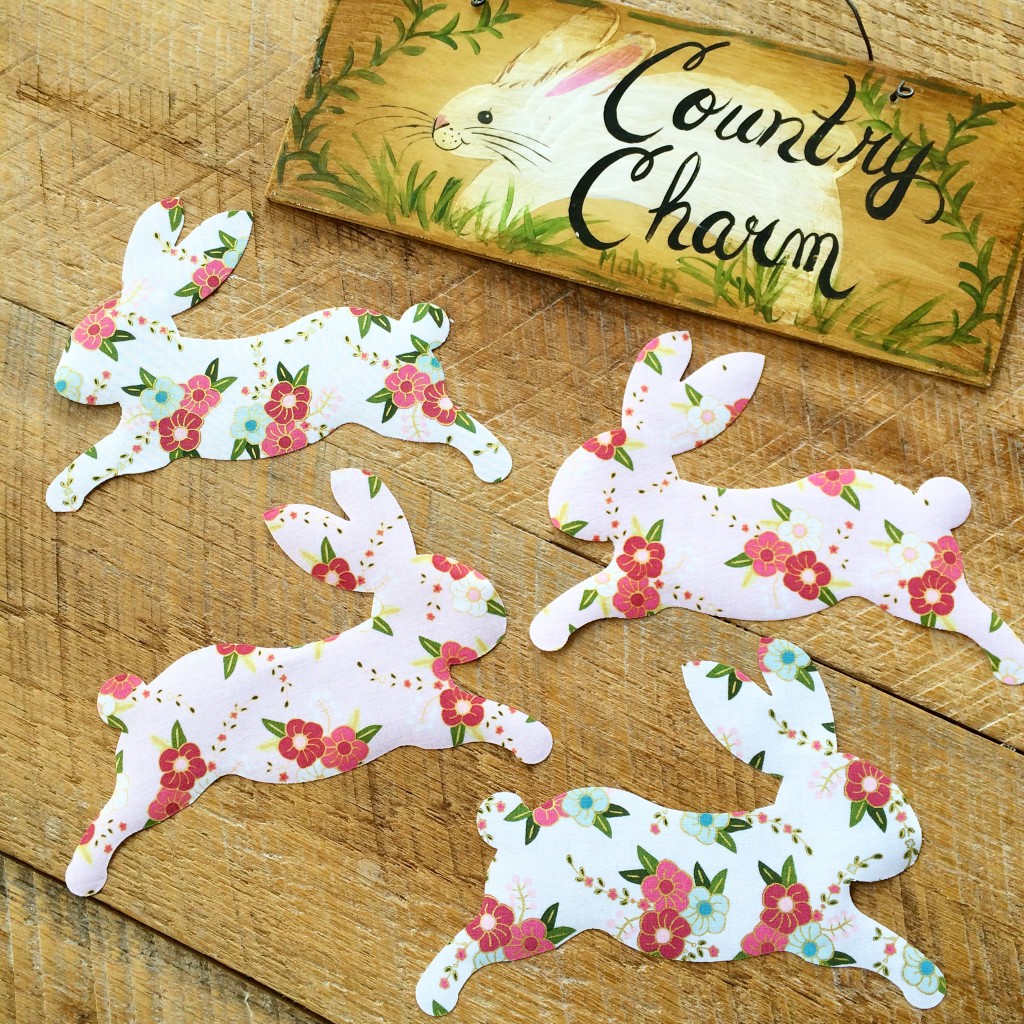
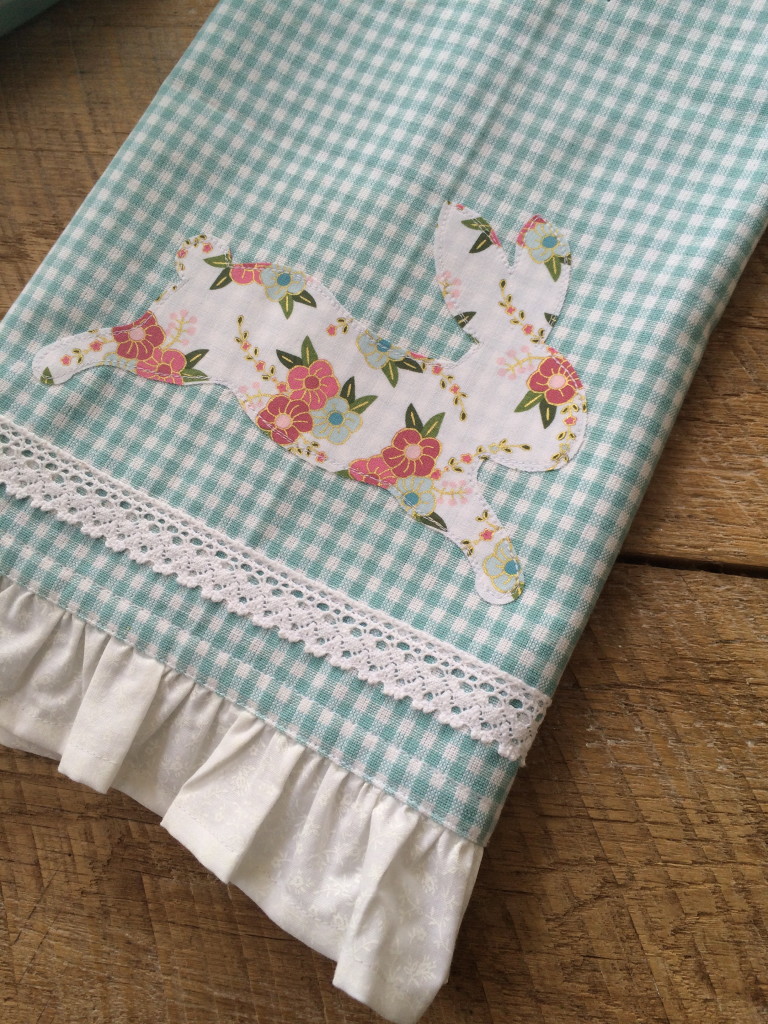
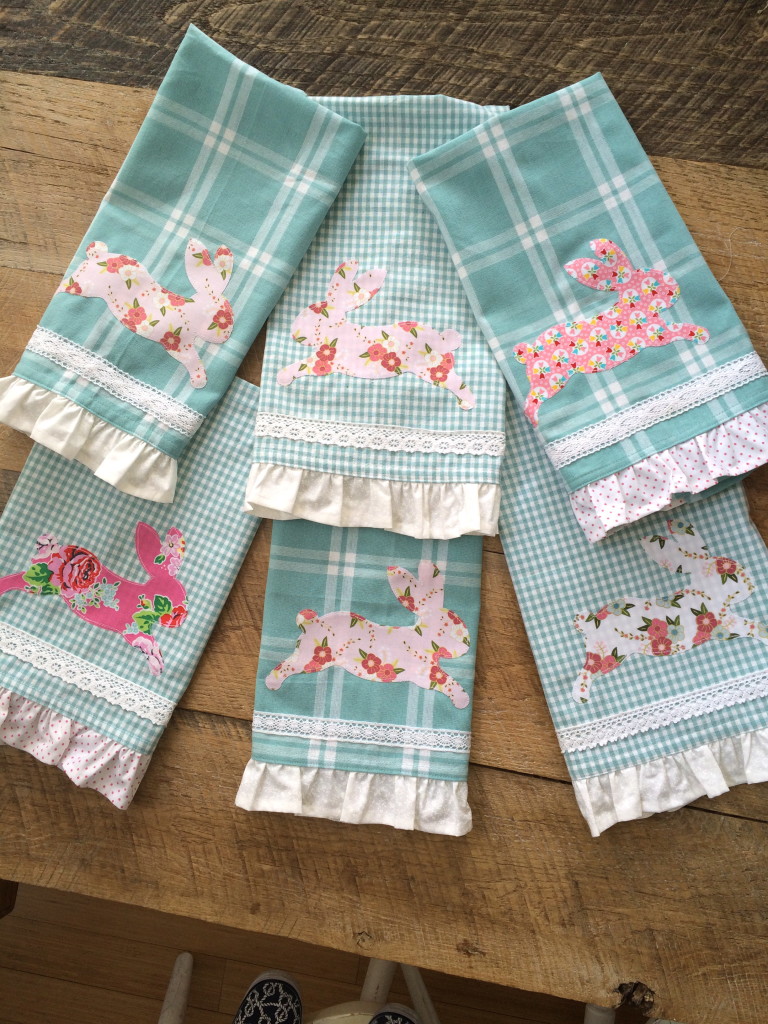
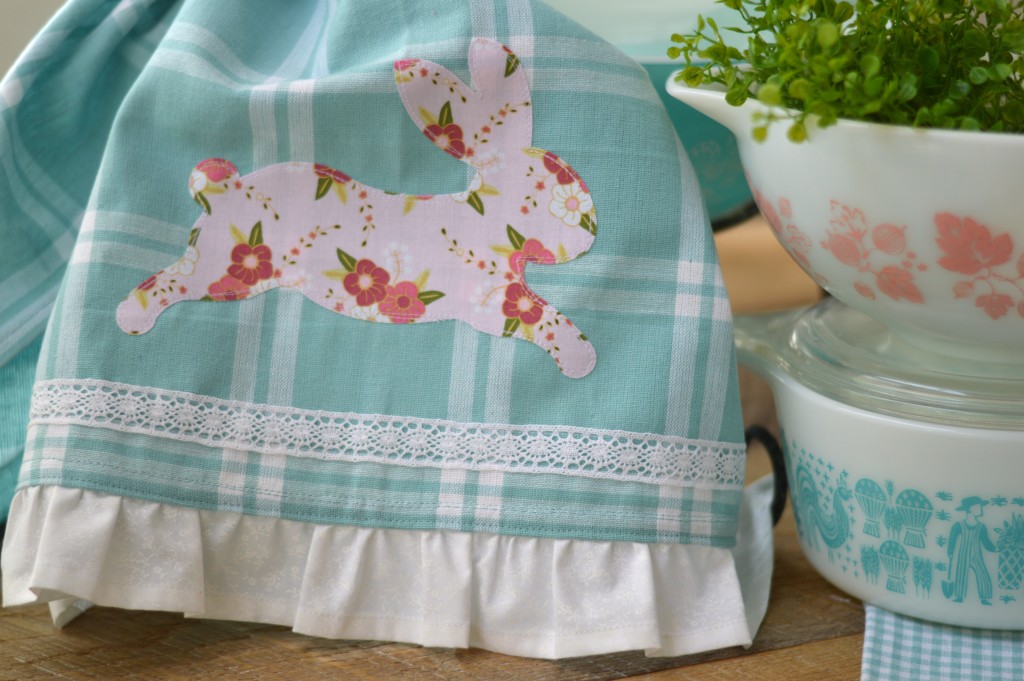

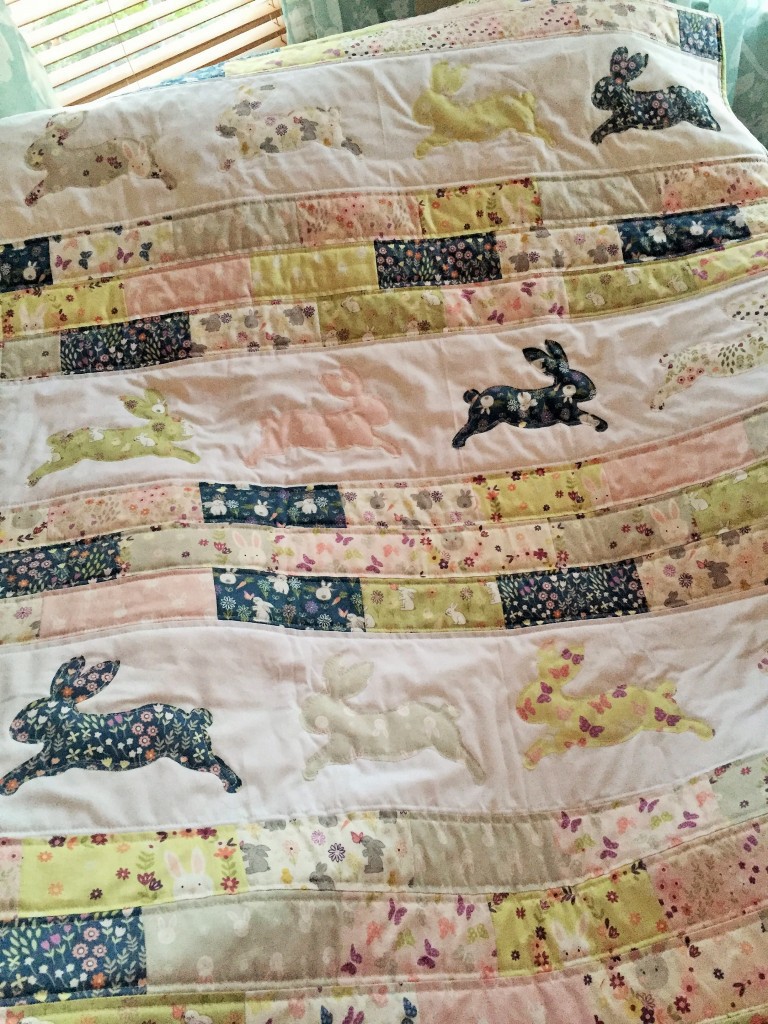

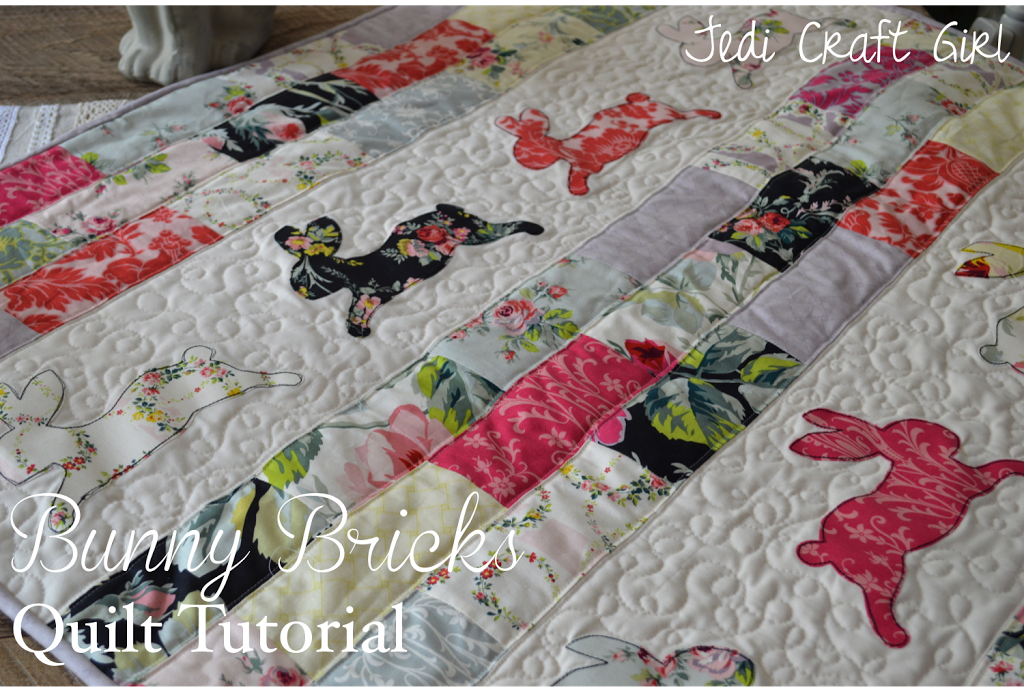
 Hoppy Sewing!


