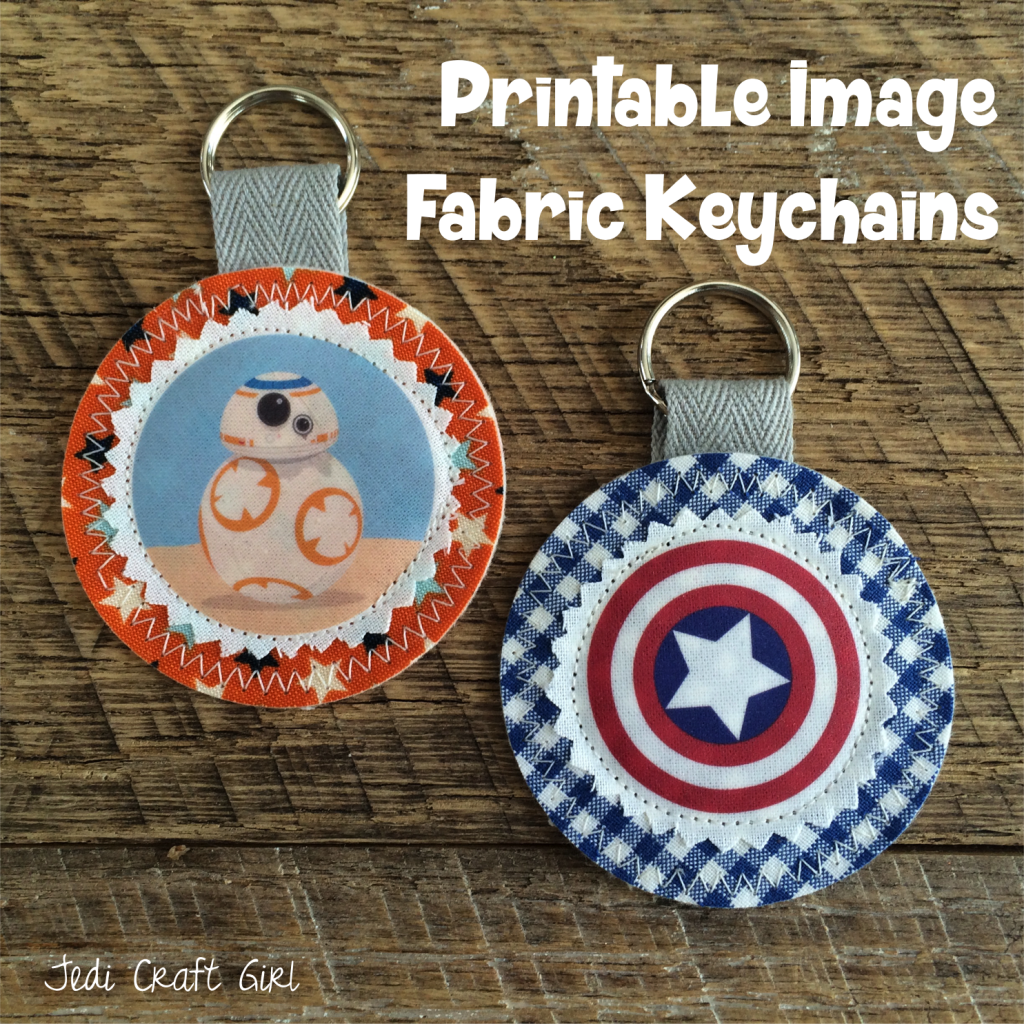
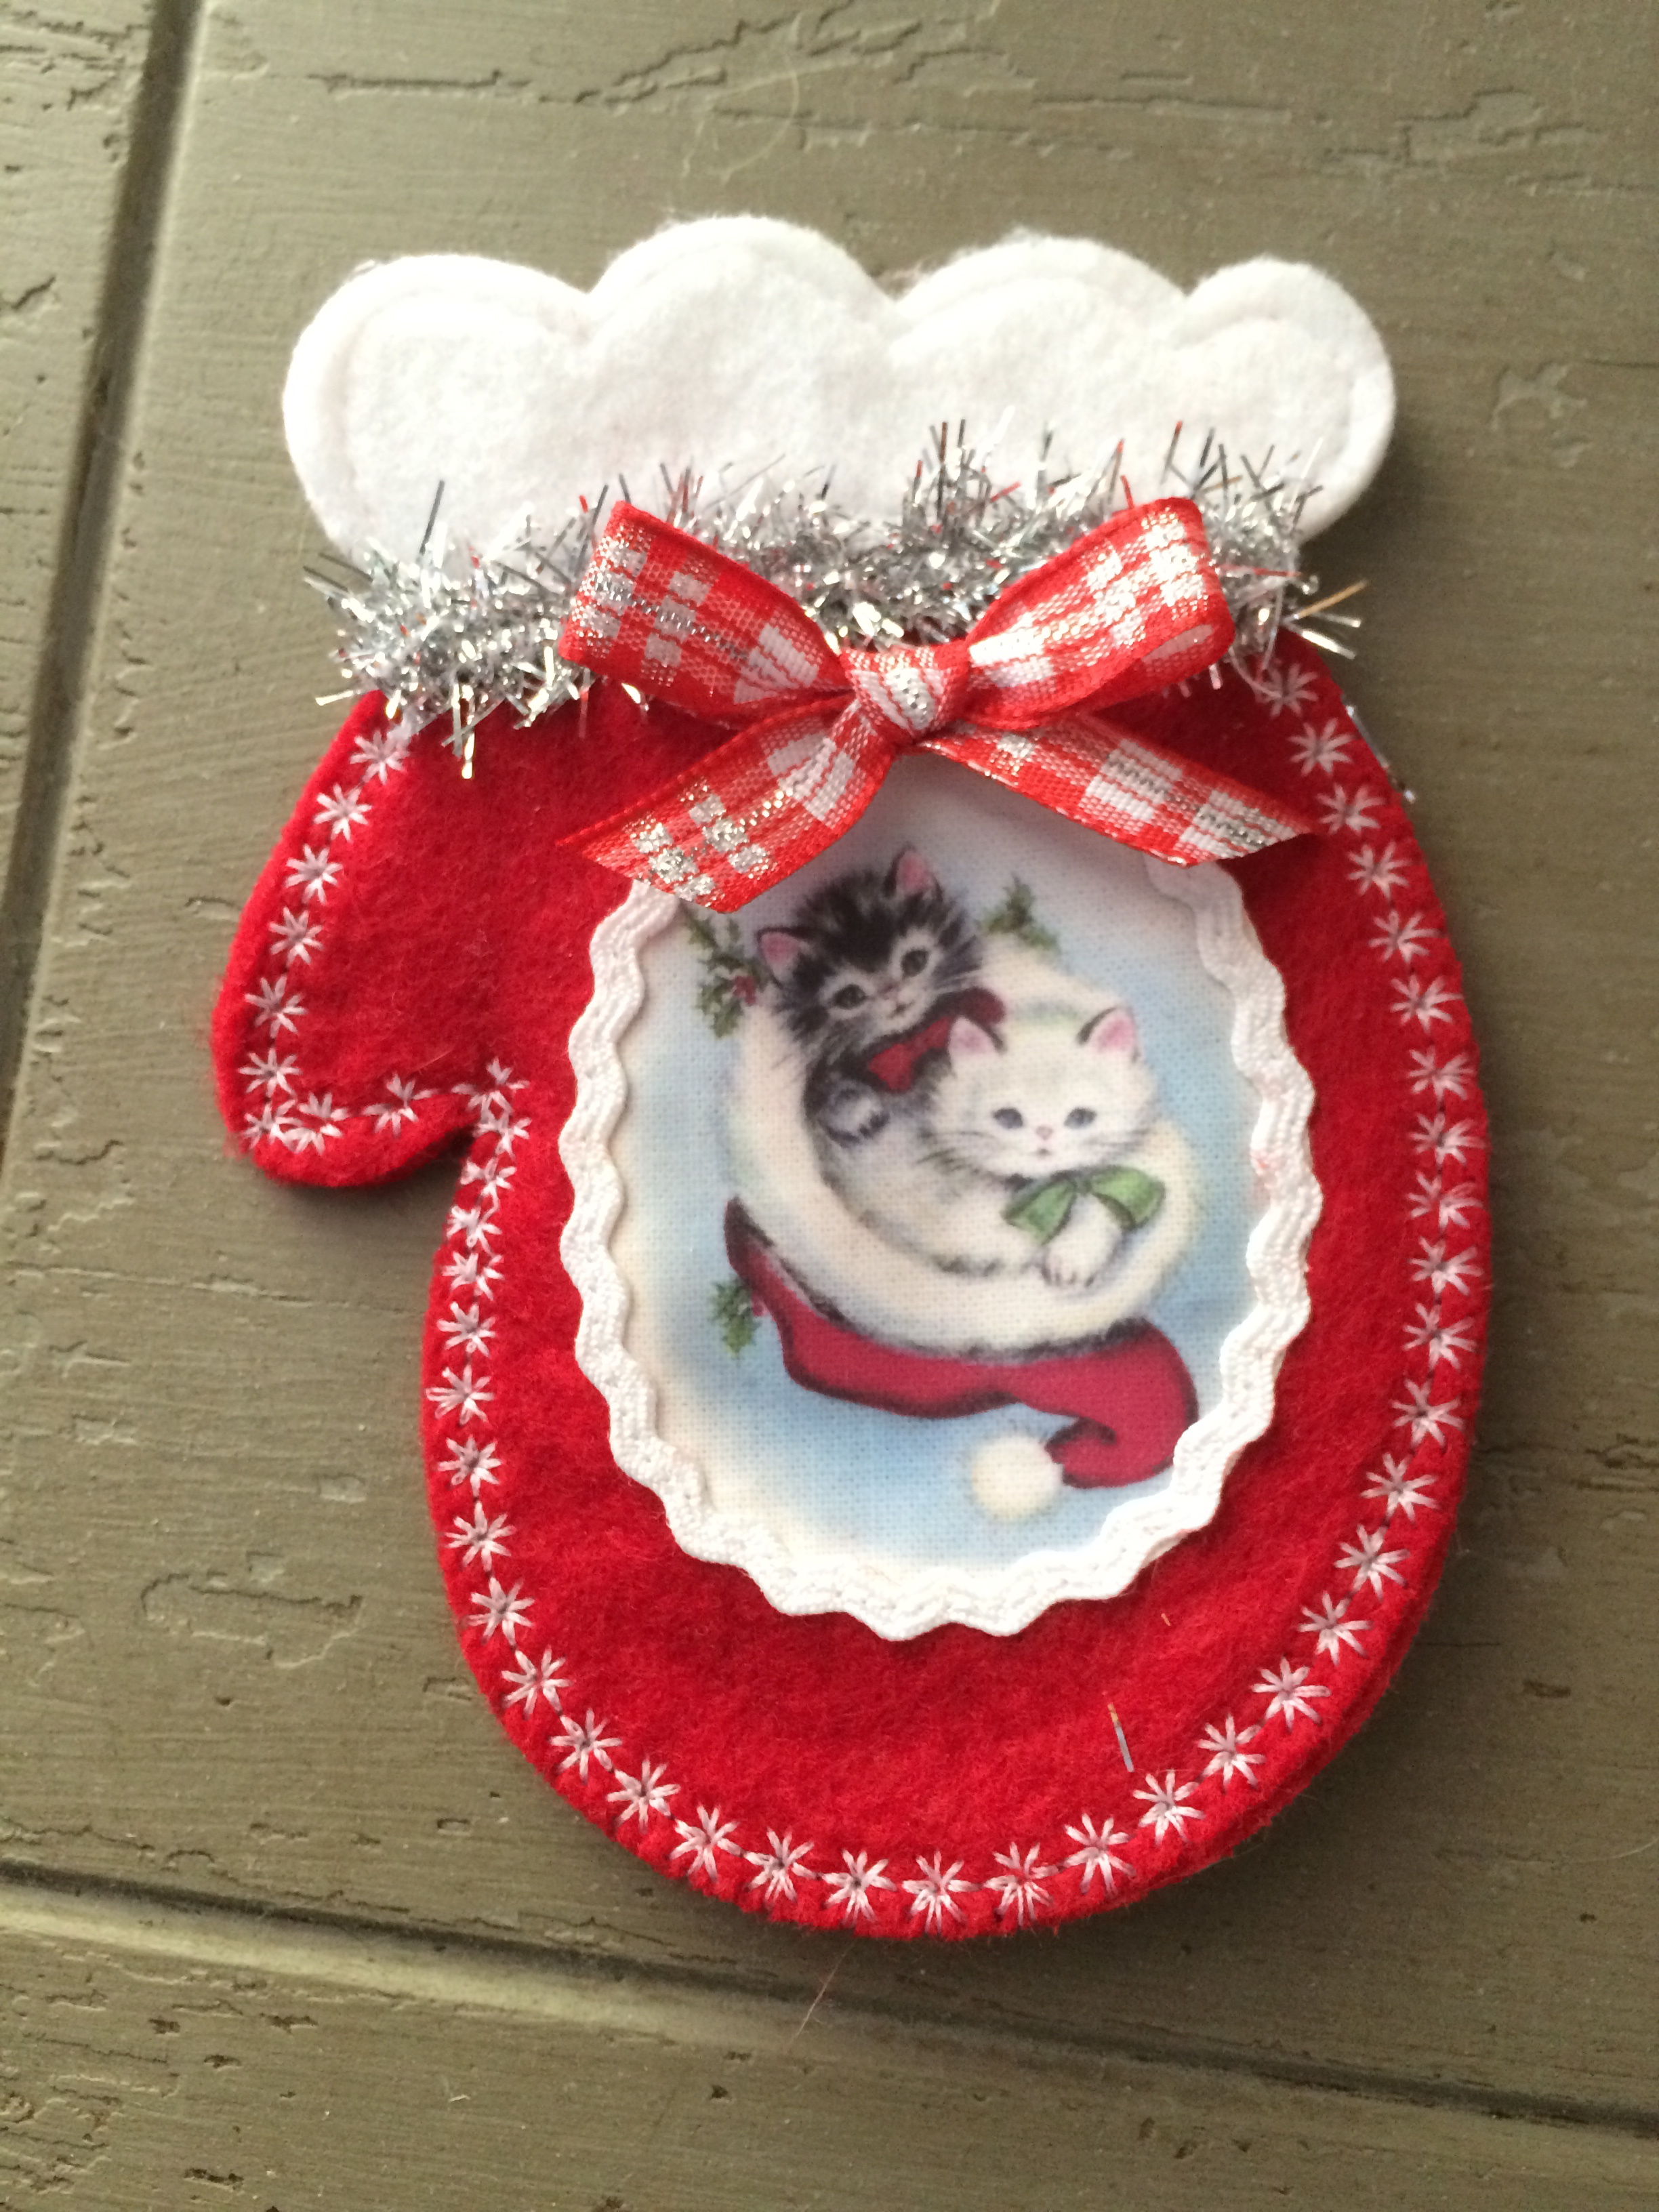
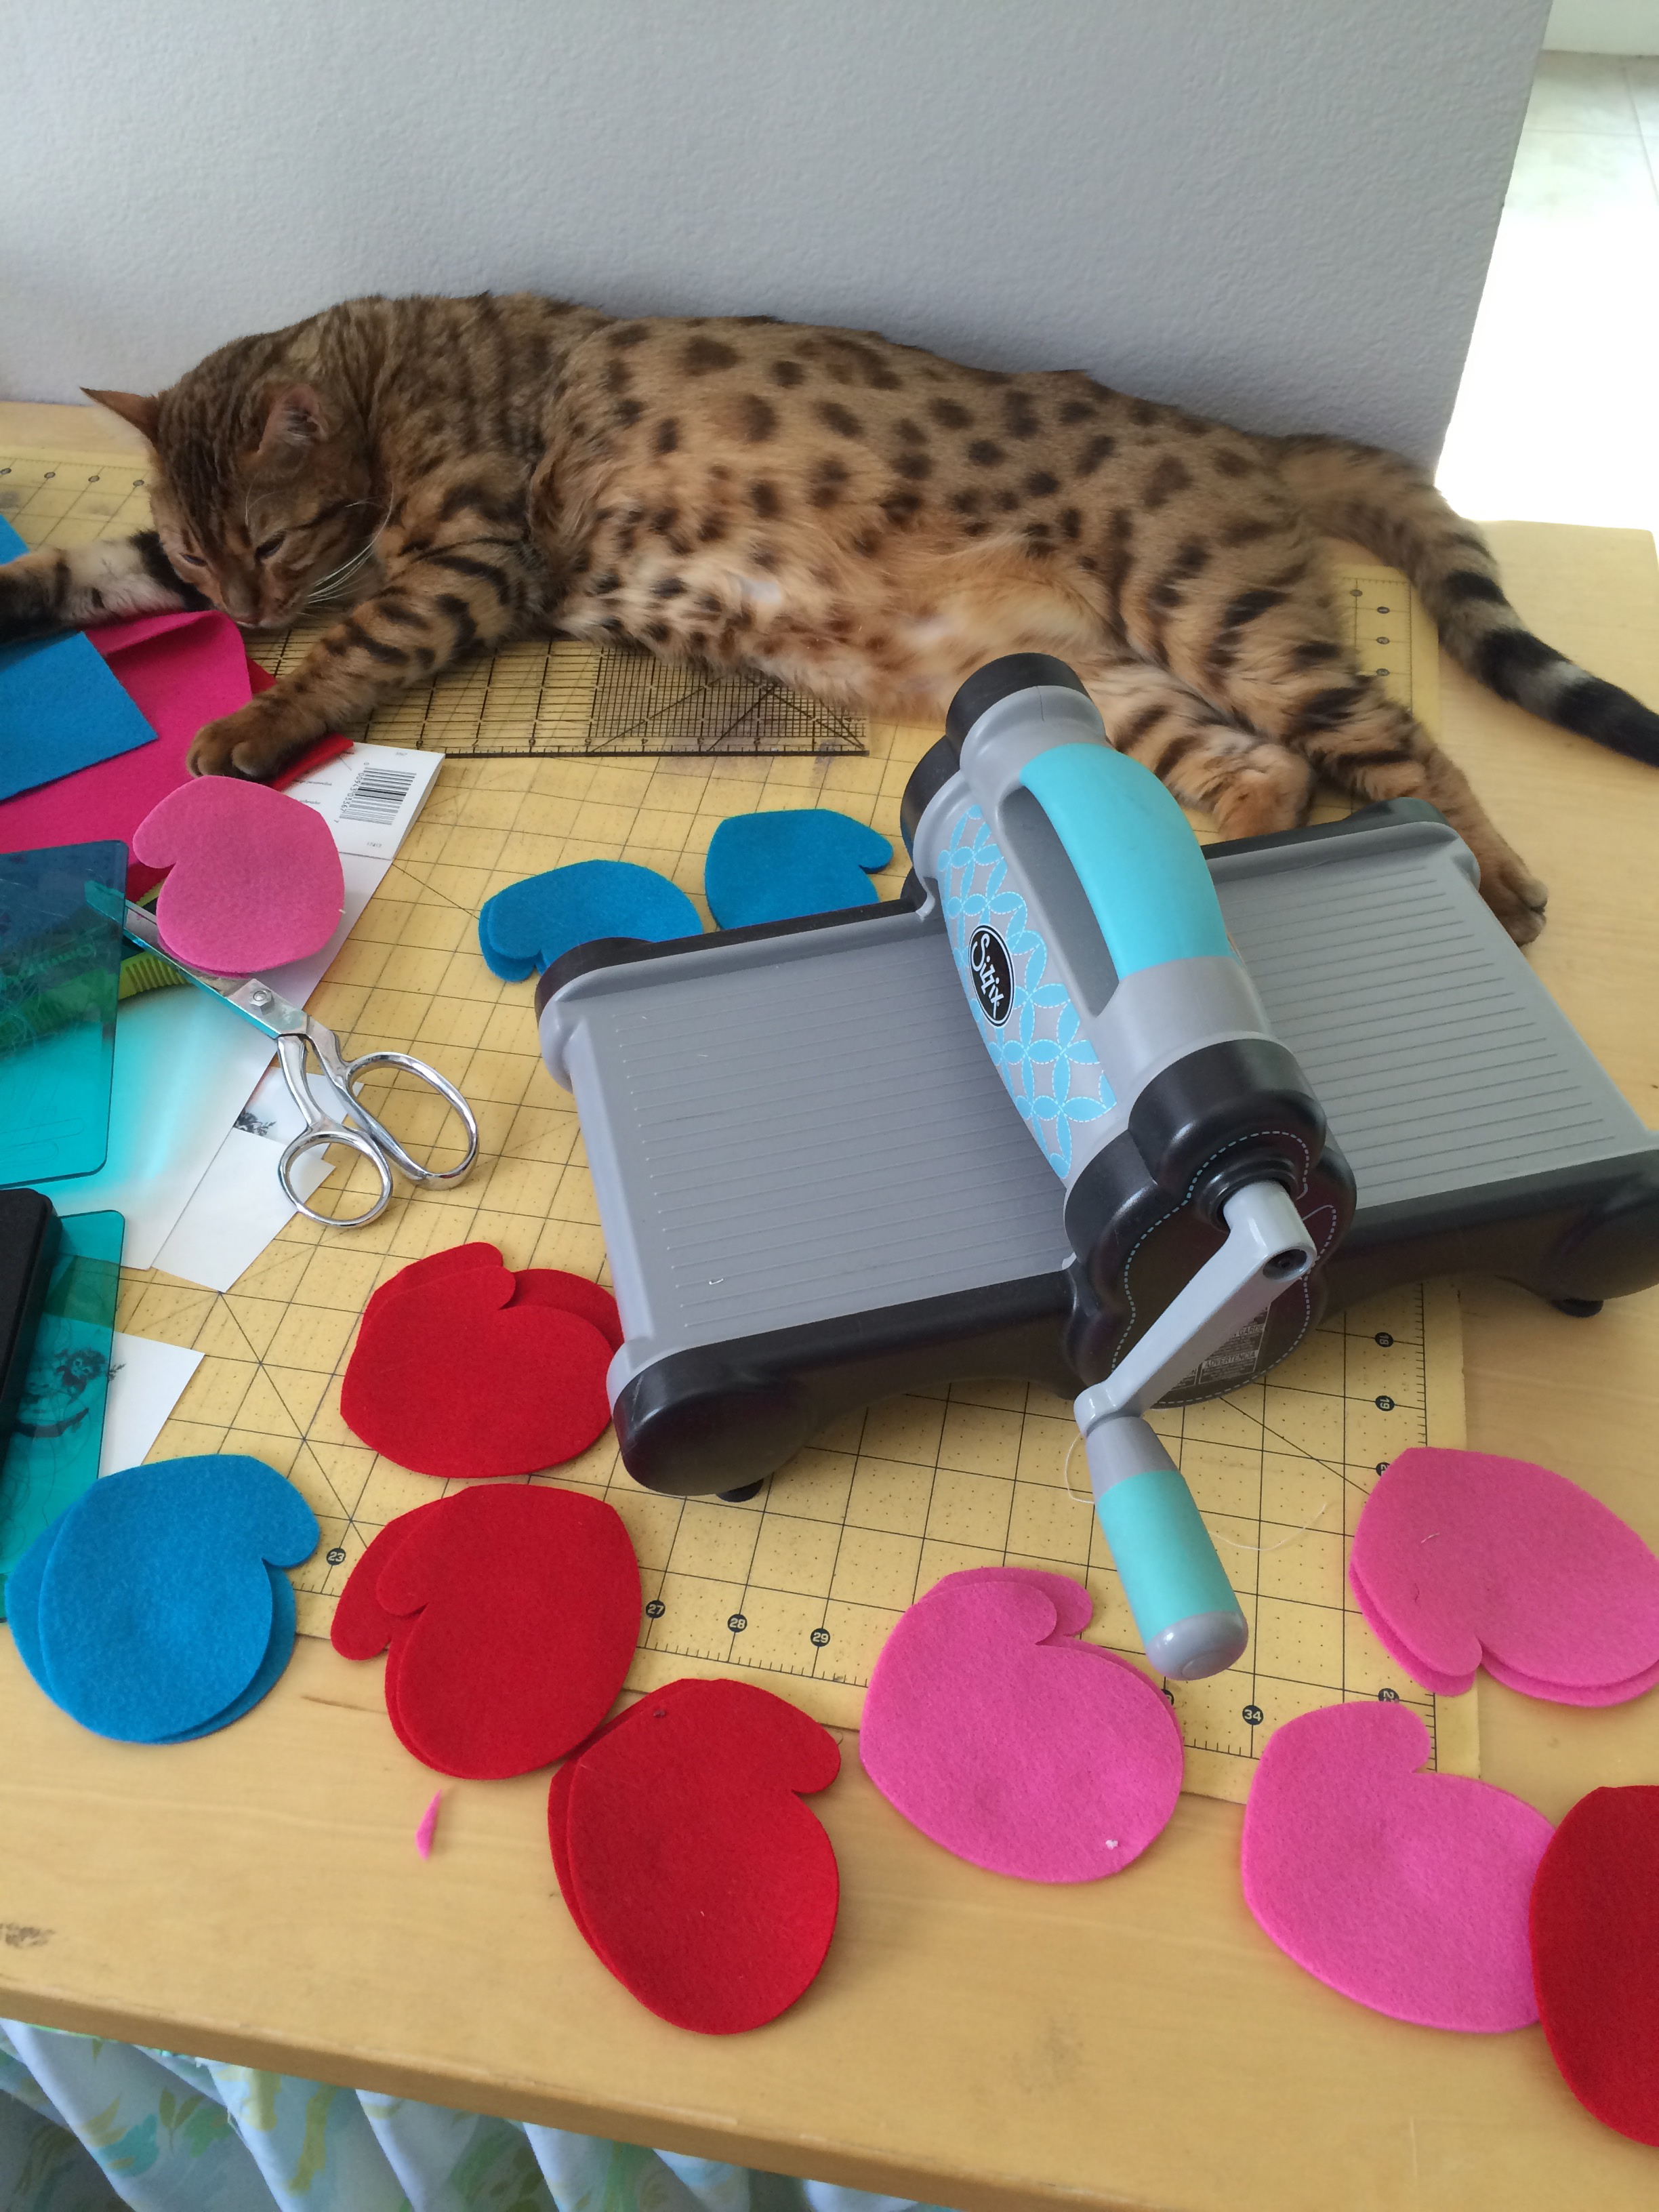
We are huge “Fan Art” people in my family! My daughter spends her days painting and drawing fan art of Star Wars and Marvel characters. I think everything we own has a Star Wars or Super Hero (or cat) on it! I created these fun keychains that you can customize to any theme! I even made one with Mufasa’s picture on it.
Supplies
1 3/4″ paper punch
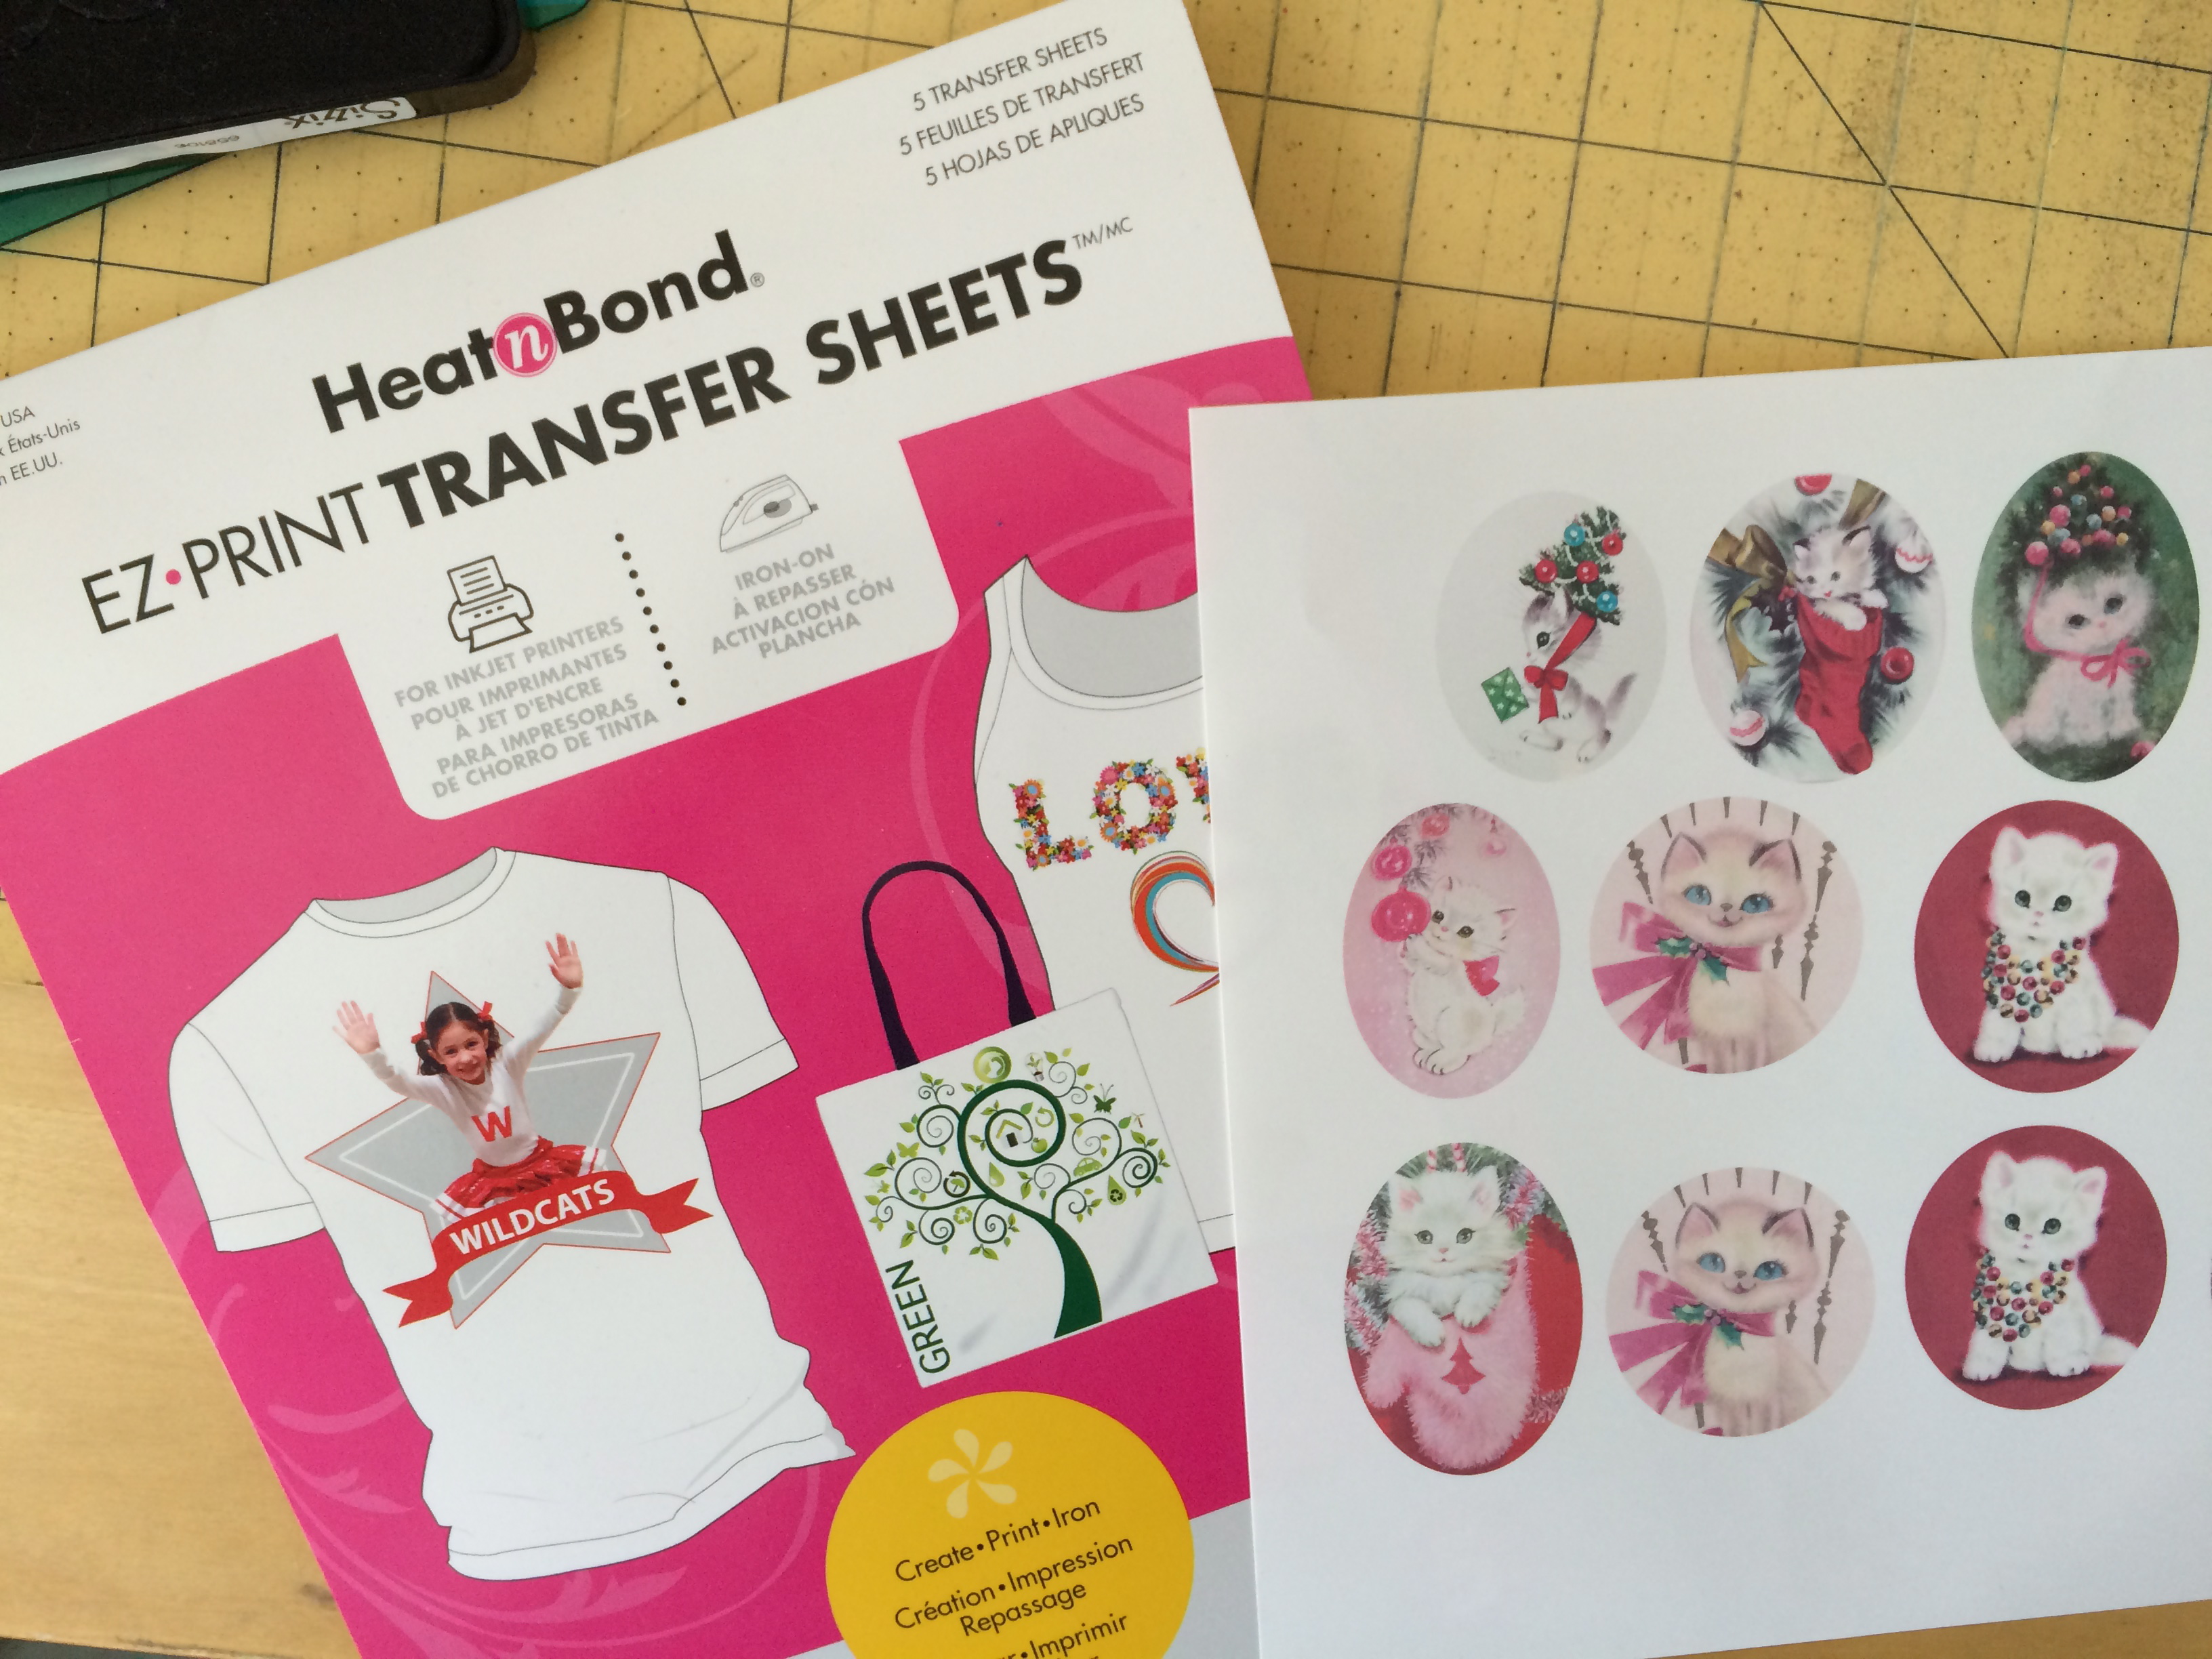
Heat n Bond EZ Print transfer sheets
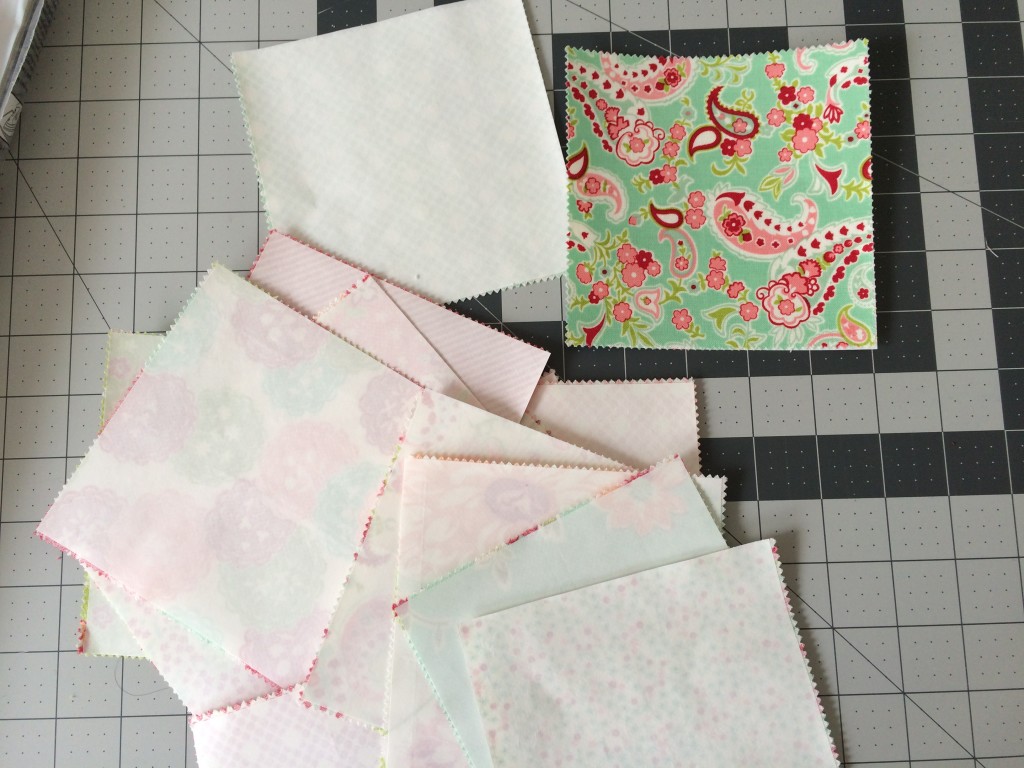
white fabric
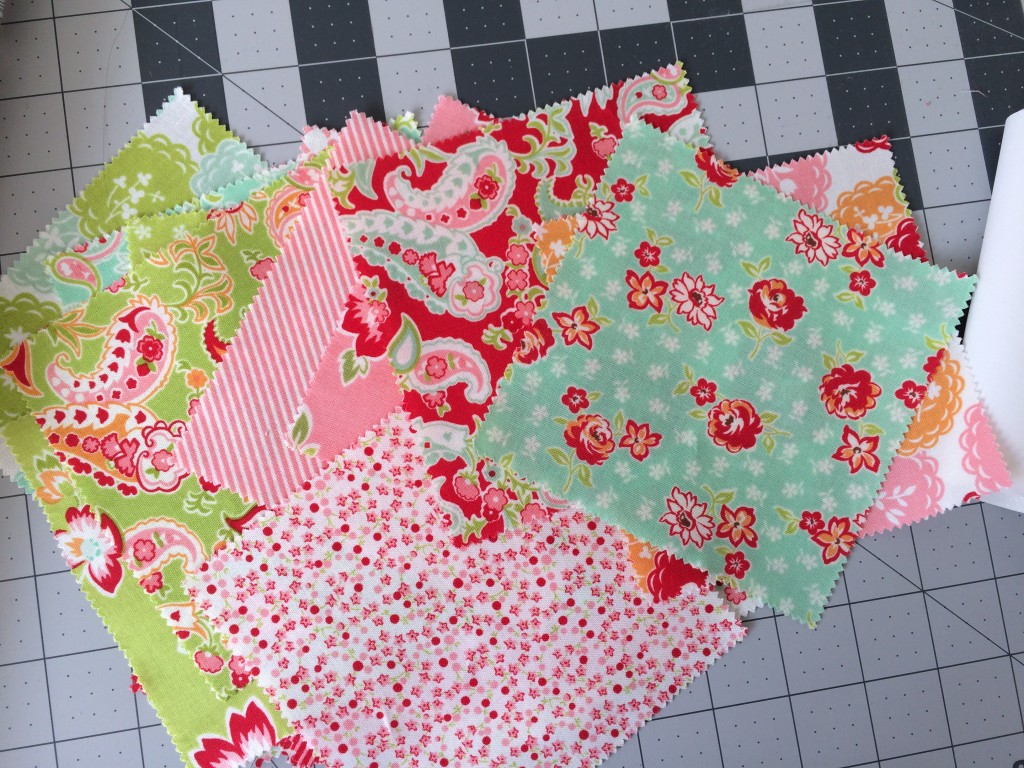
scraps of fabric
scraps of cotton batting
twill tape
key ring

Begin by designing your image on your computer. I’m not Photoshop savvy so I like to use Microsoft Power Point. You can use photos or clip art. I love buying cute clip art from Etsy! Crop them to a circle shape and size them so they will fit in the 1 3/4″ circle punch. Print a test run on plain paper to make sure they are how you want them. Then choose “Mirror or Reverse Image” in printing and select a high print quality as you would for photos. Print them on the Heat n Bond EZ print transfer sheets.
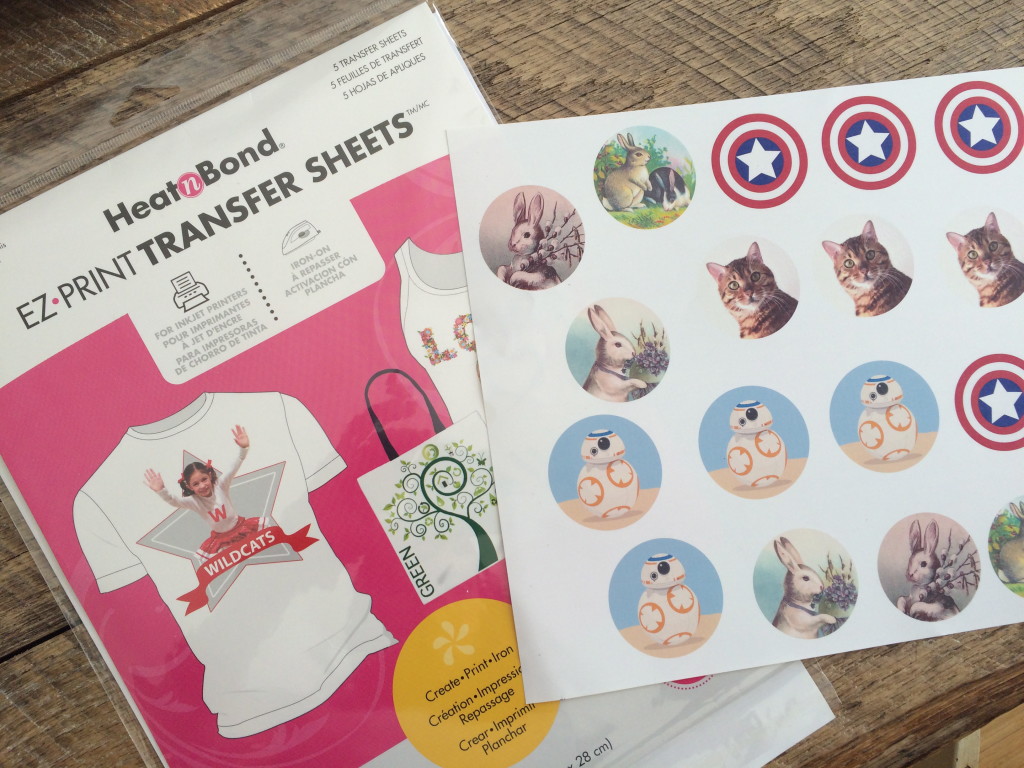
These transfer sheets are a great way to get any digital image onto fabric! I use them all the time!
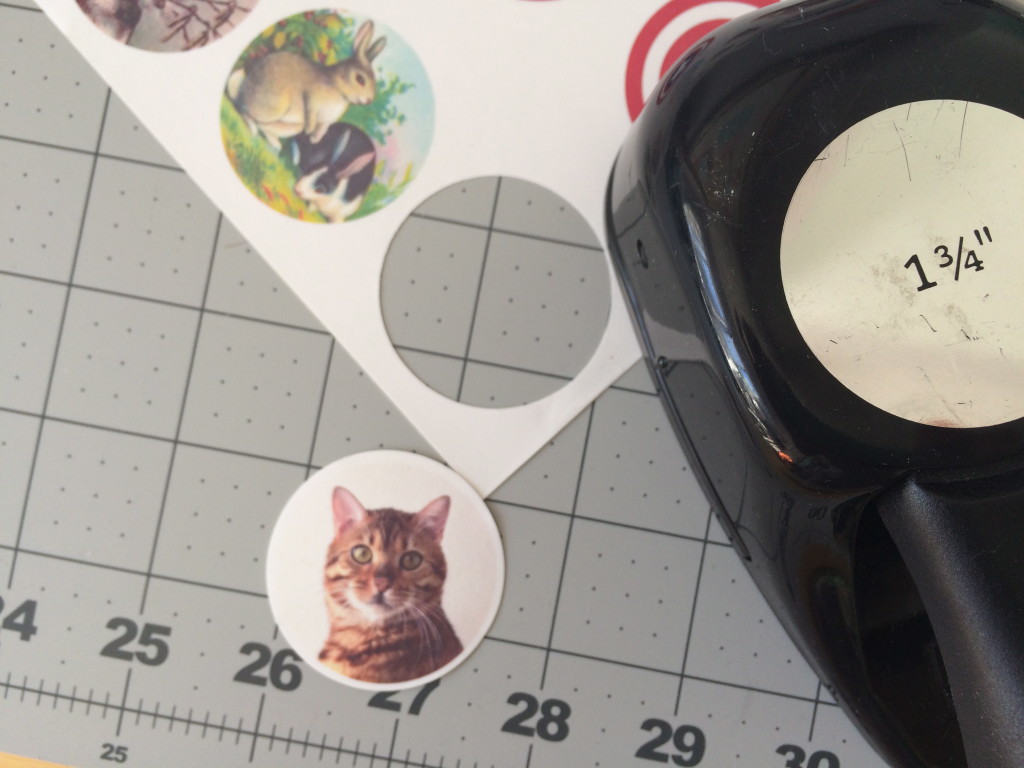
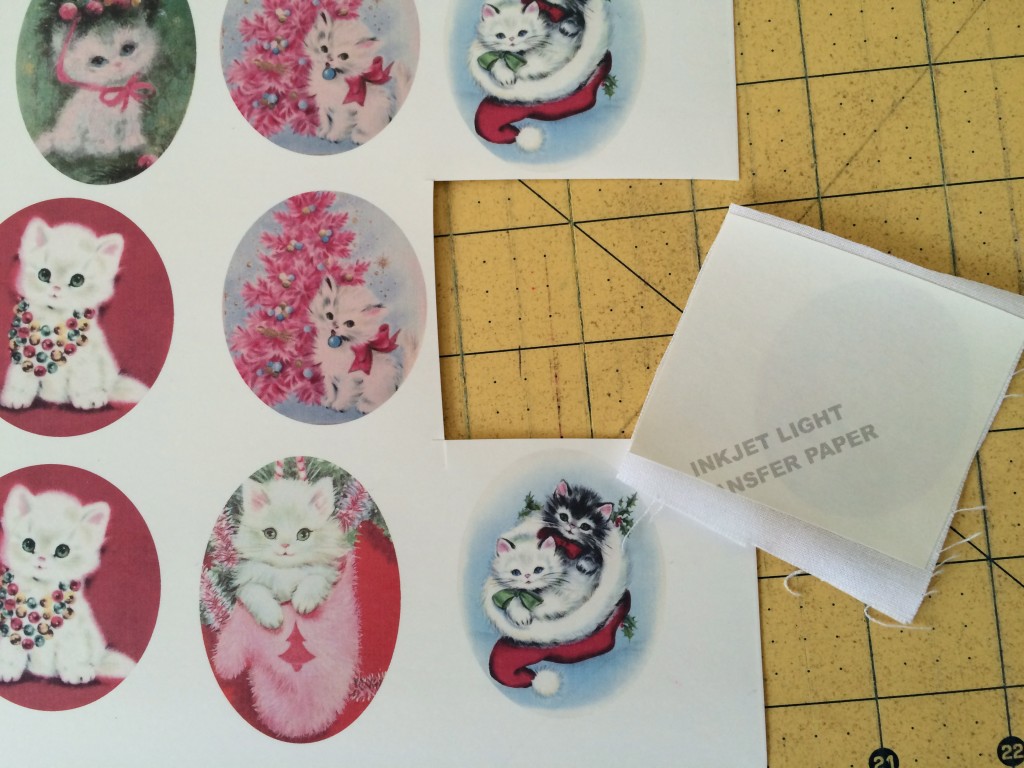
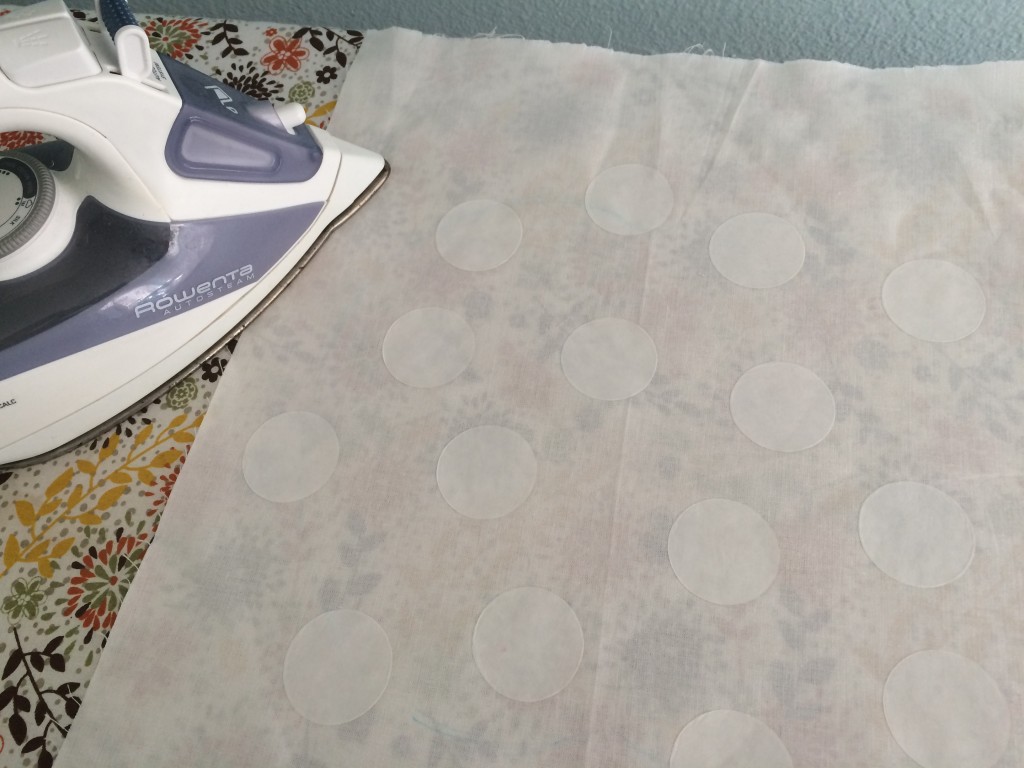
Once they are printed, use the 1 3/4″ paper punch to punch out each image.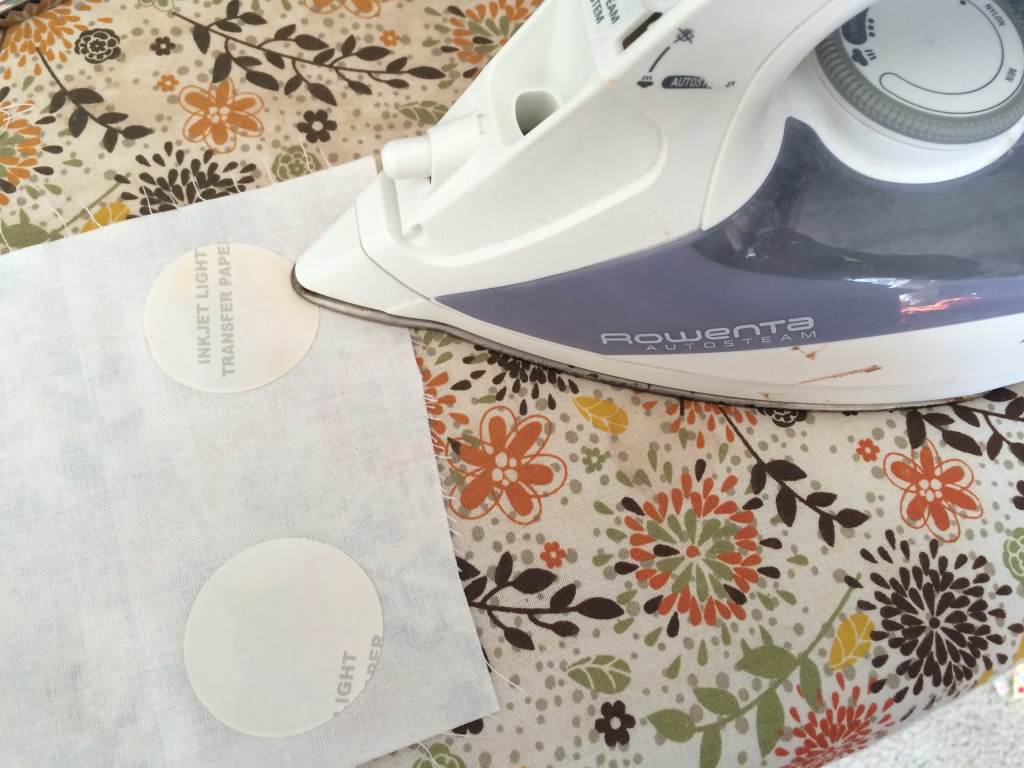 With a dry, hot iron, place the image face side down on the right side of a solid white fabric. Heat set for about 10 seconds applying firm, constant pressure. Let cool completely.
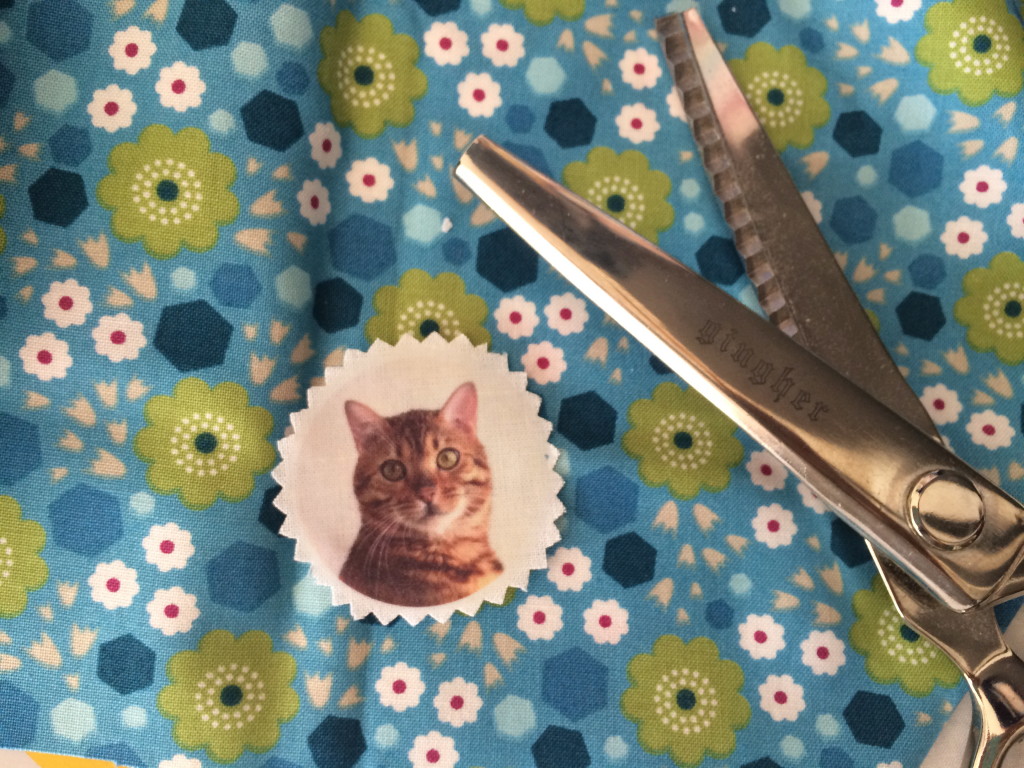
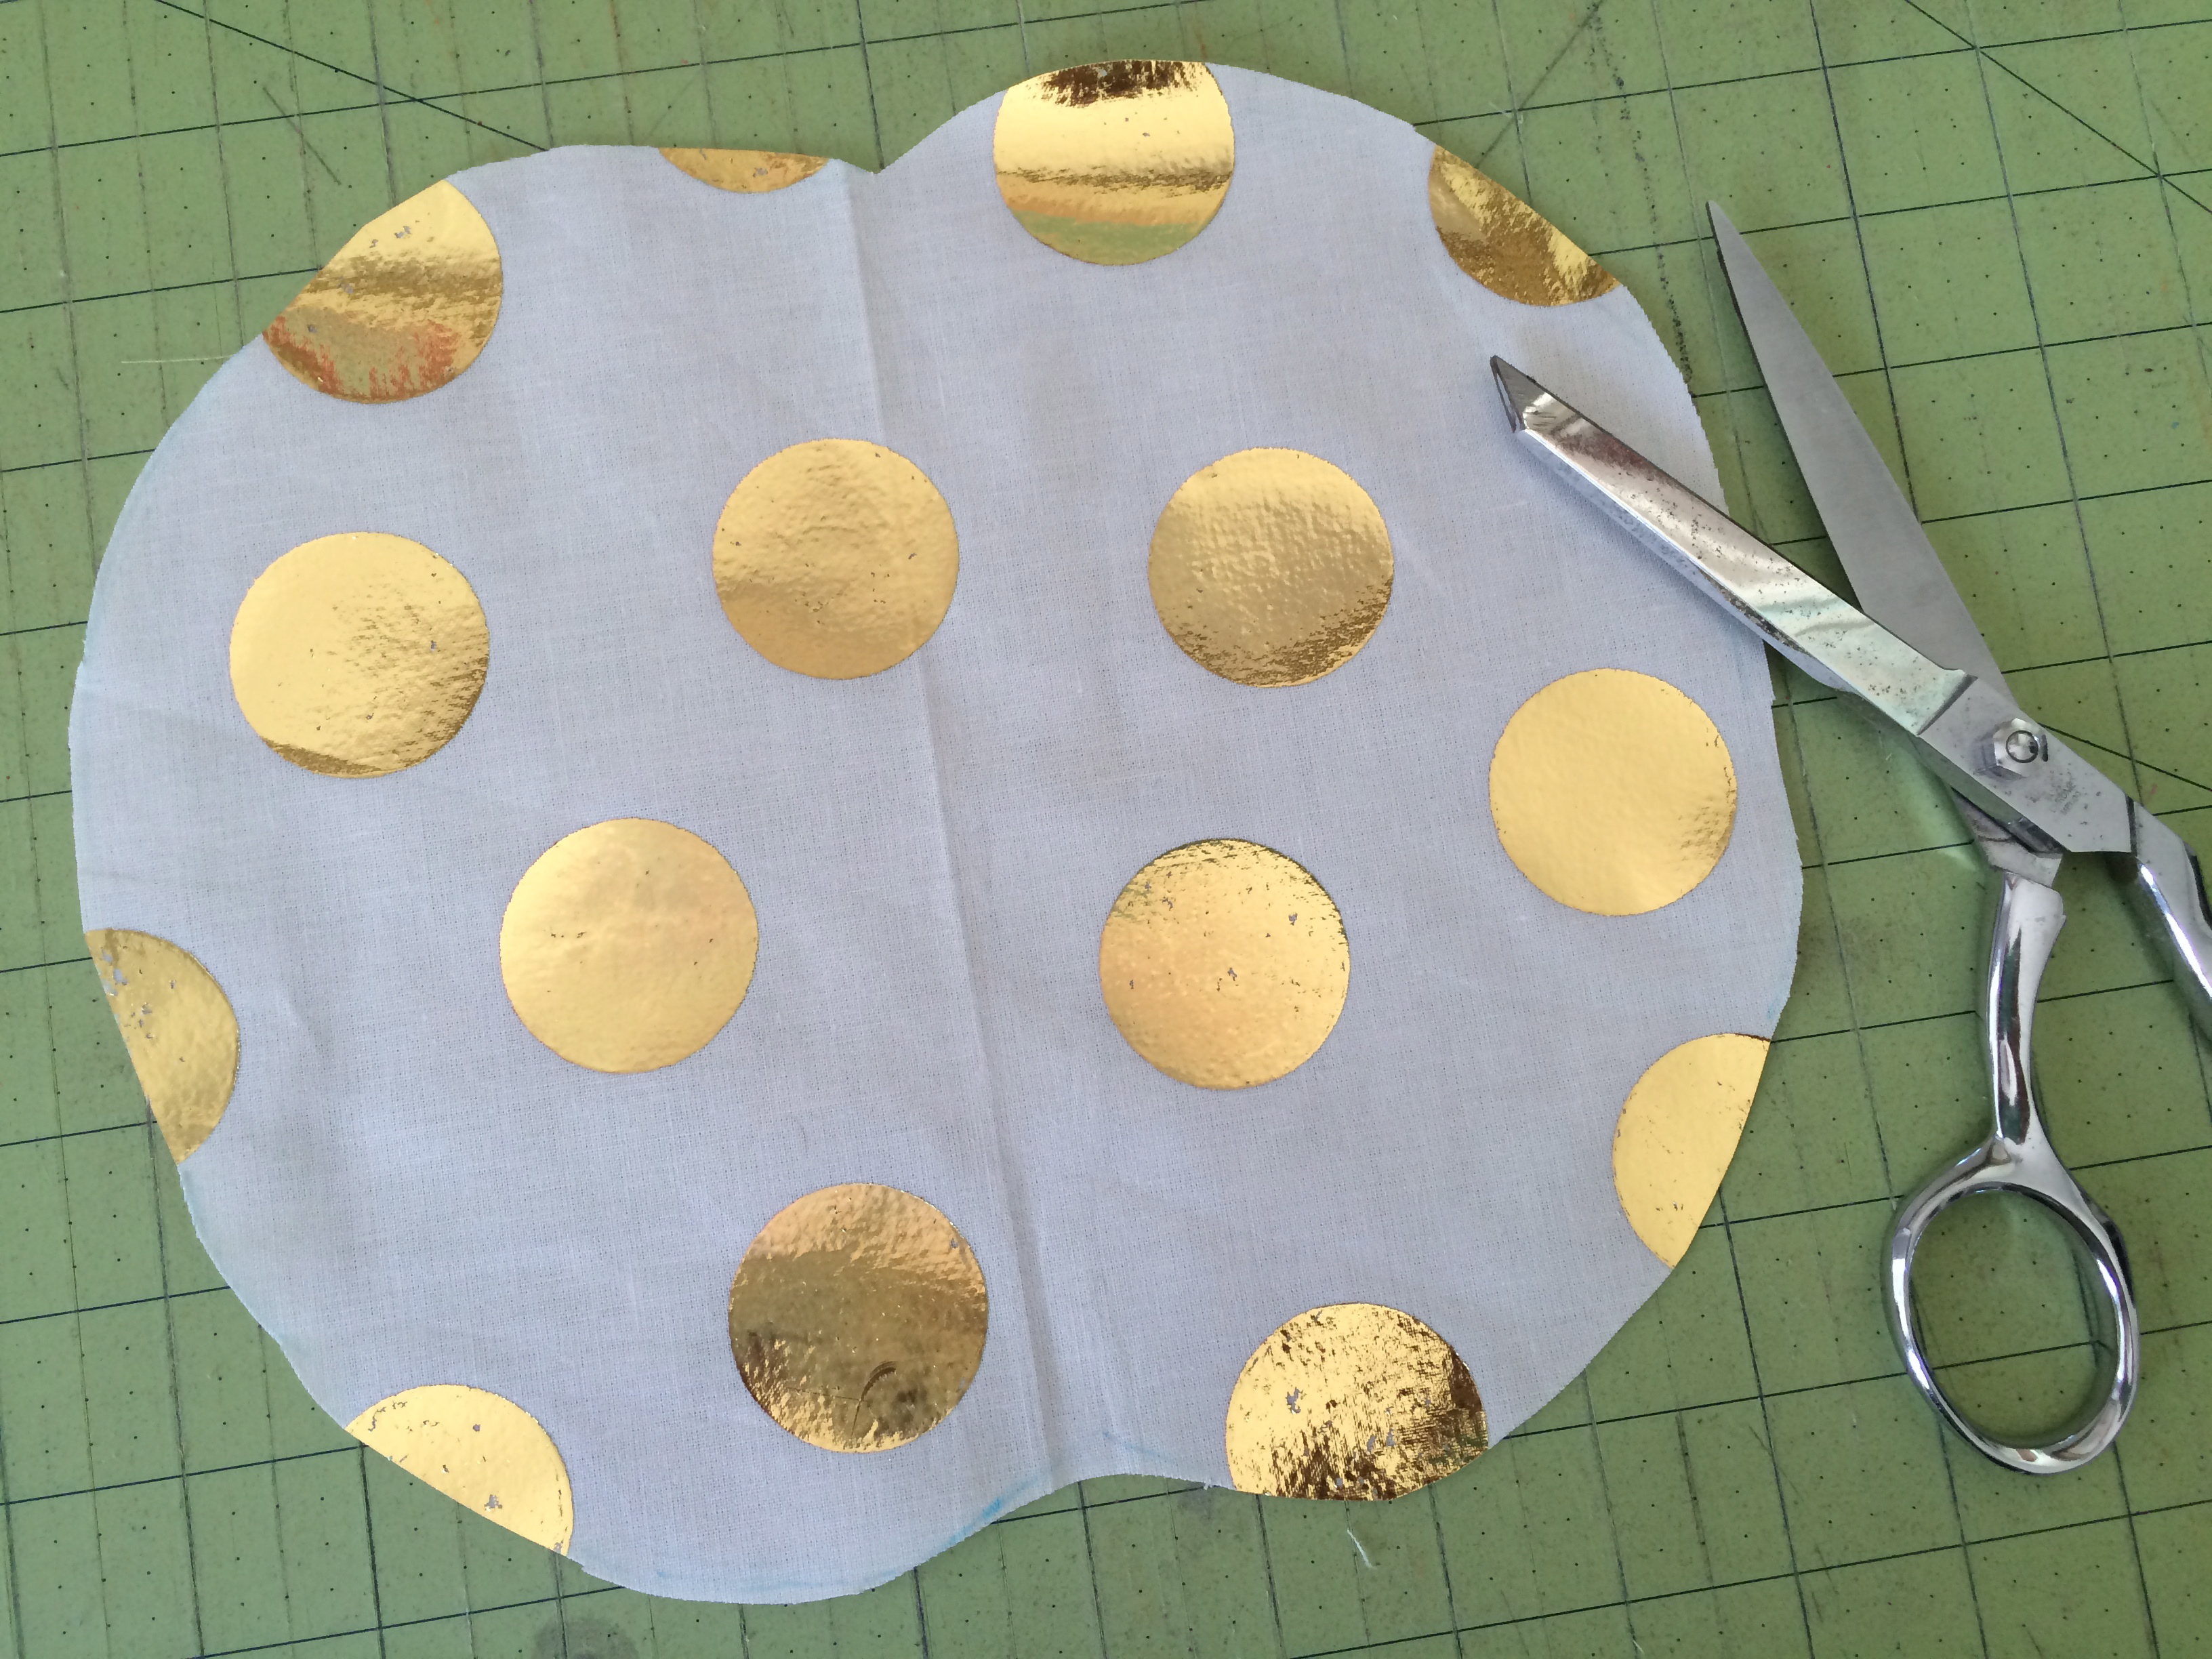
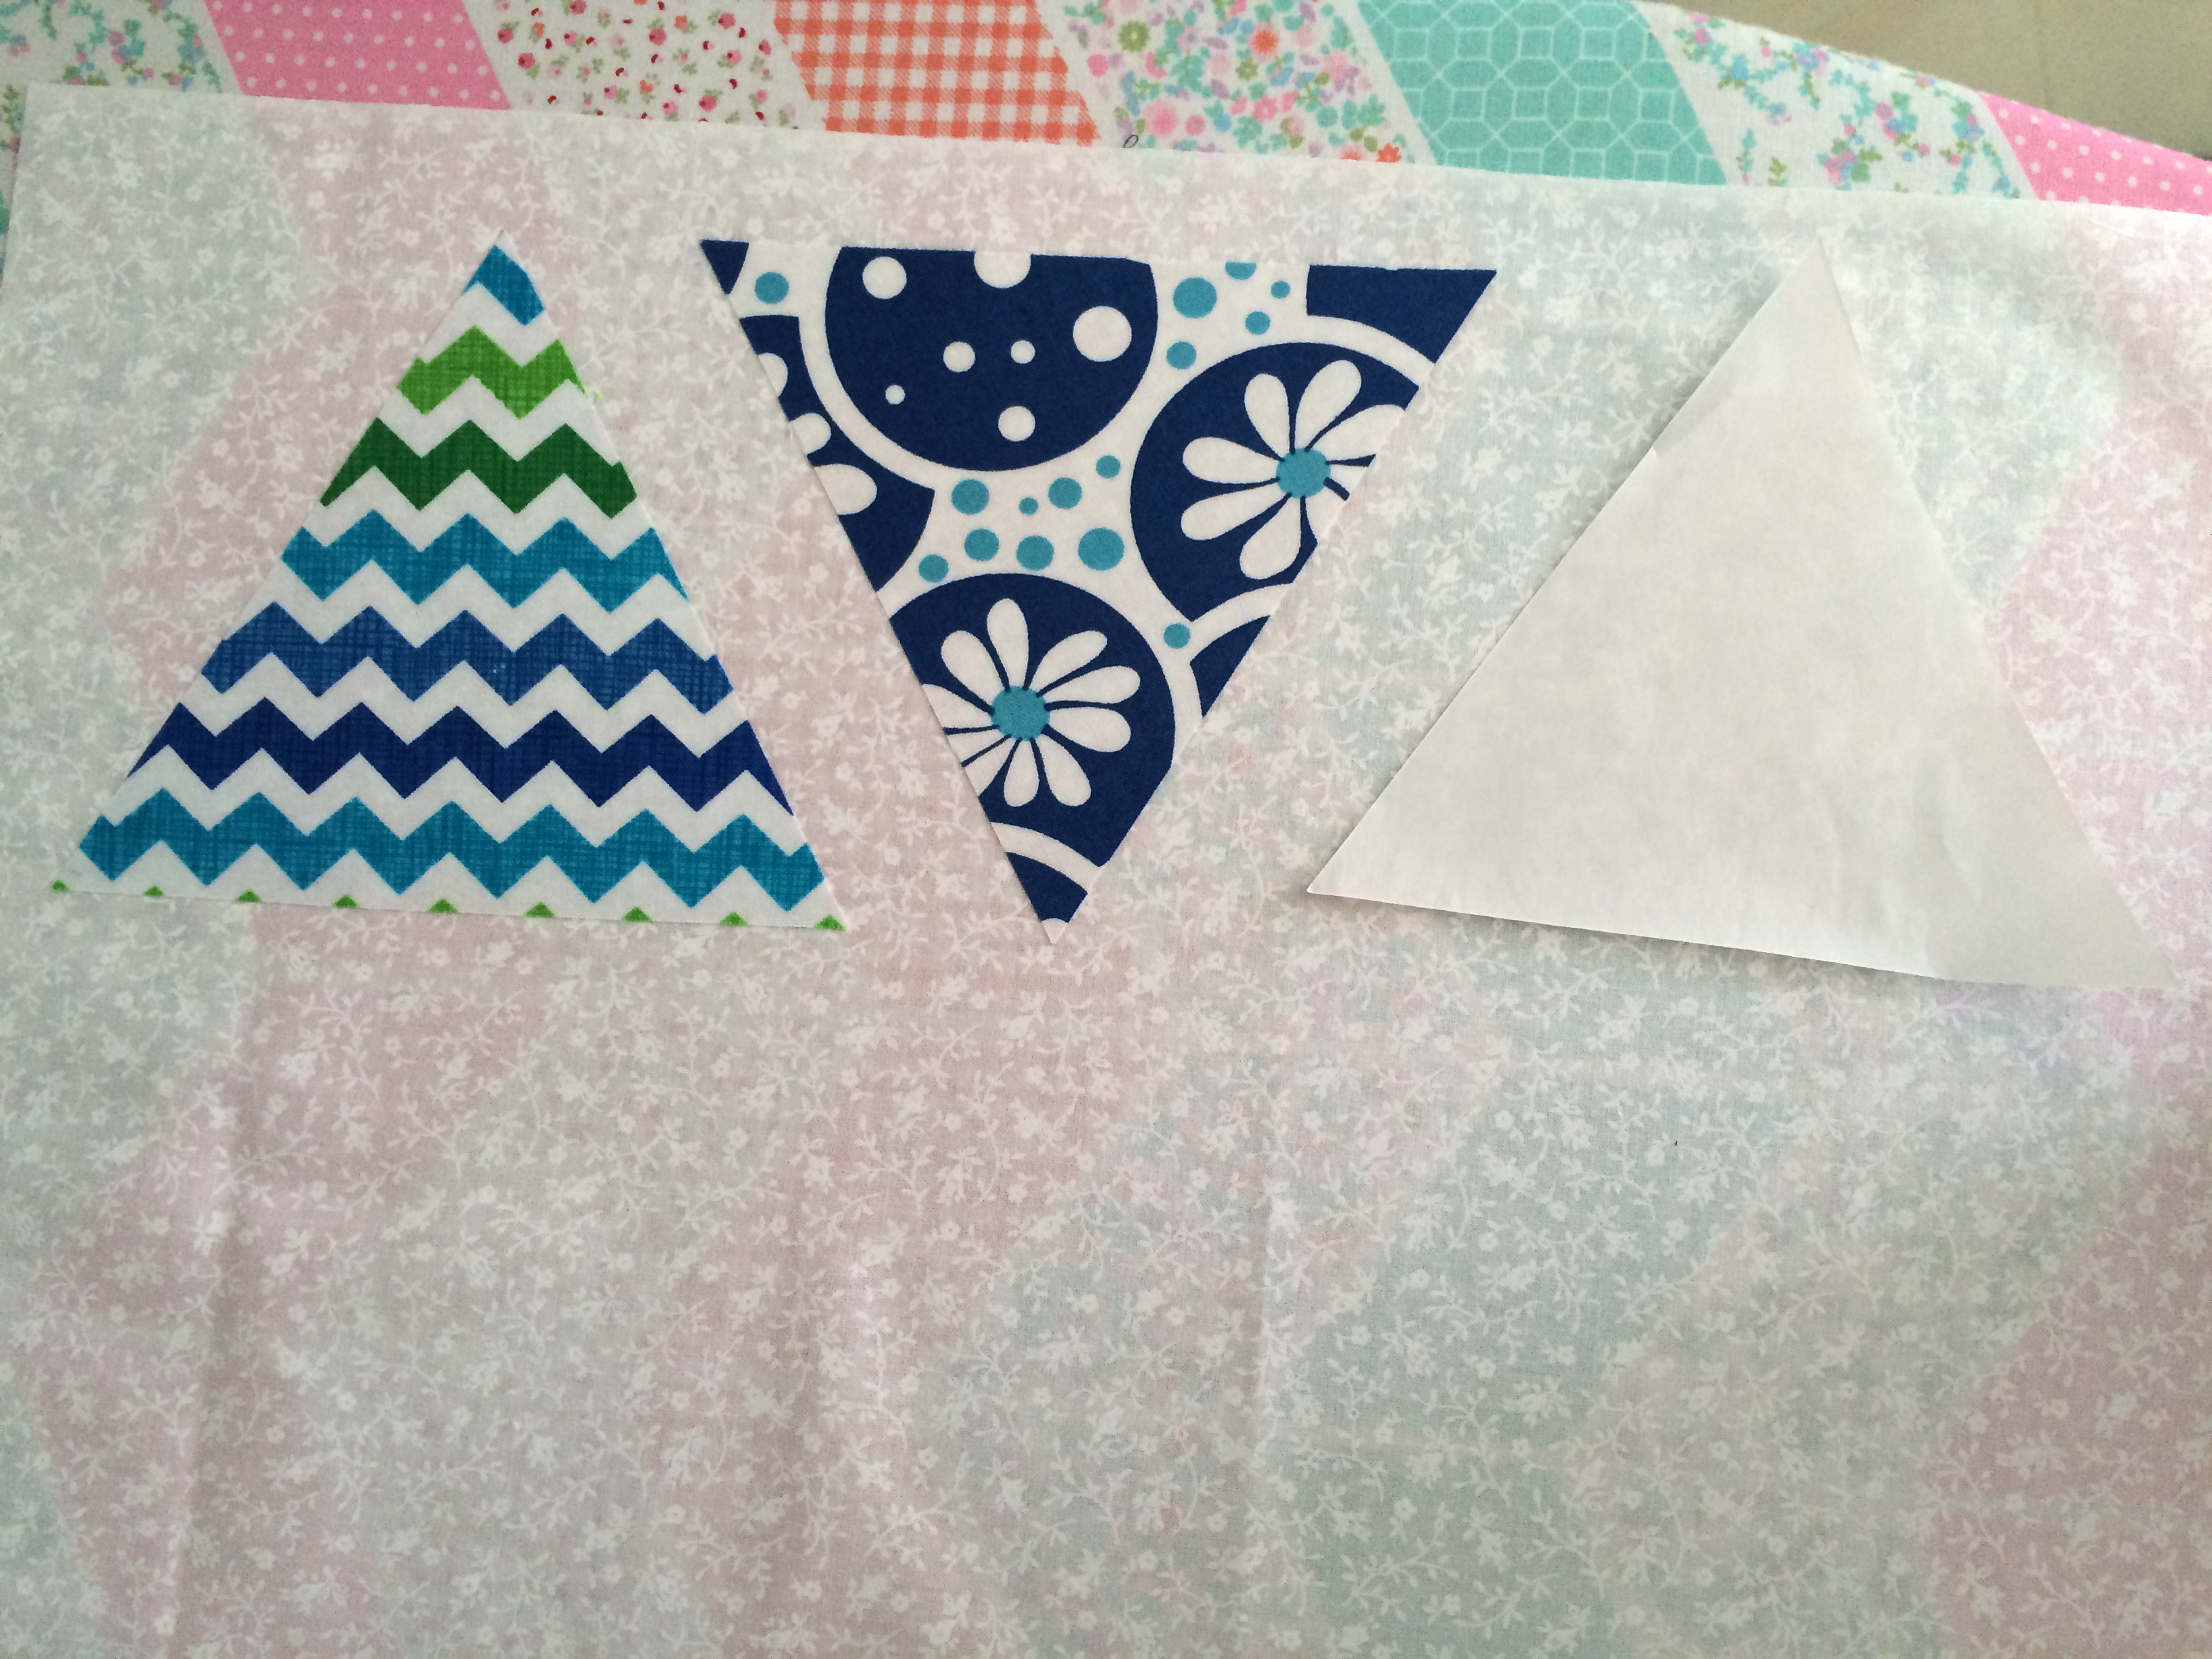
Peel off the backing paper and cut around the image using pinking shears.
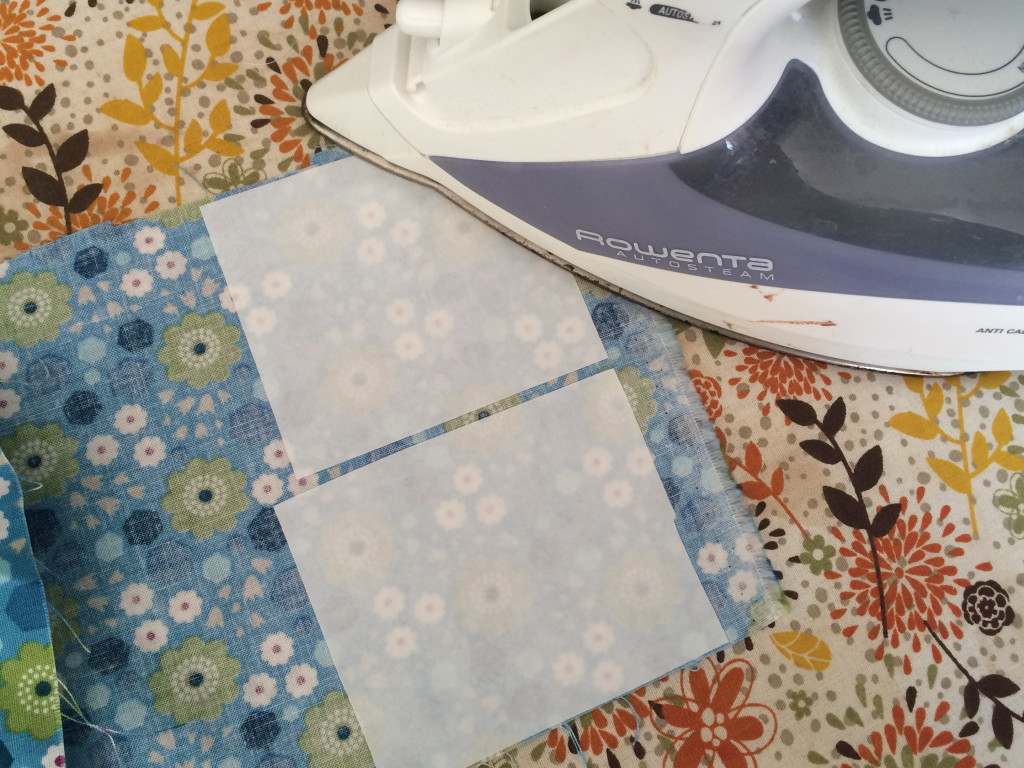
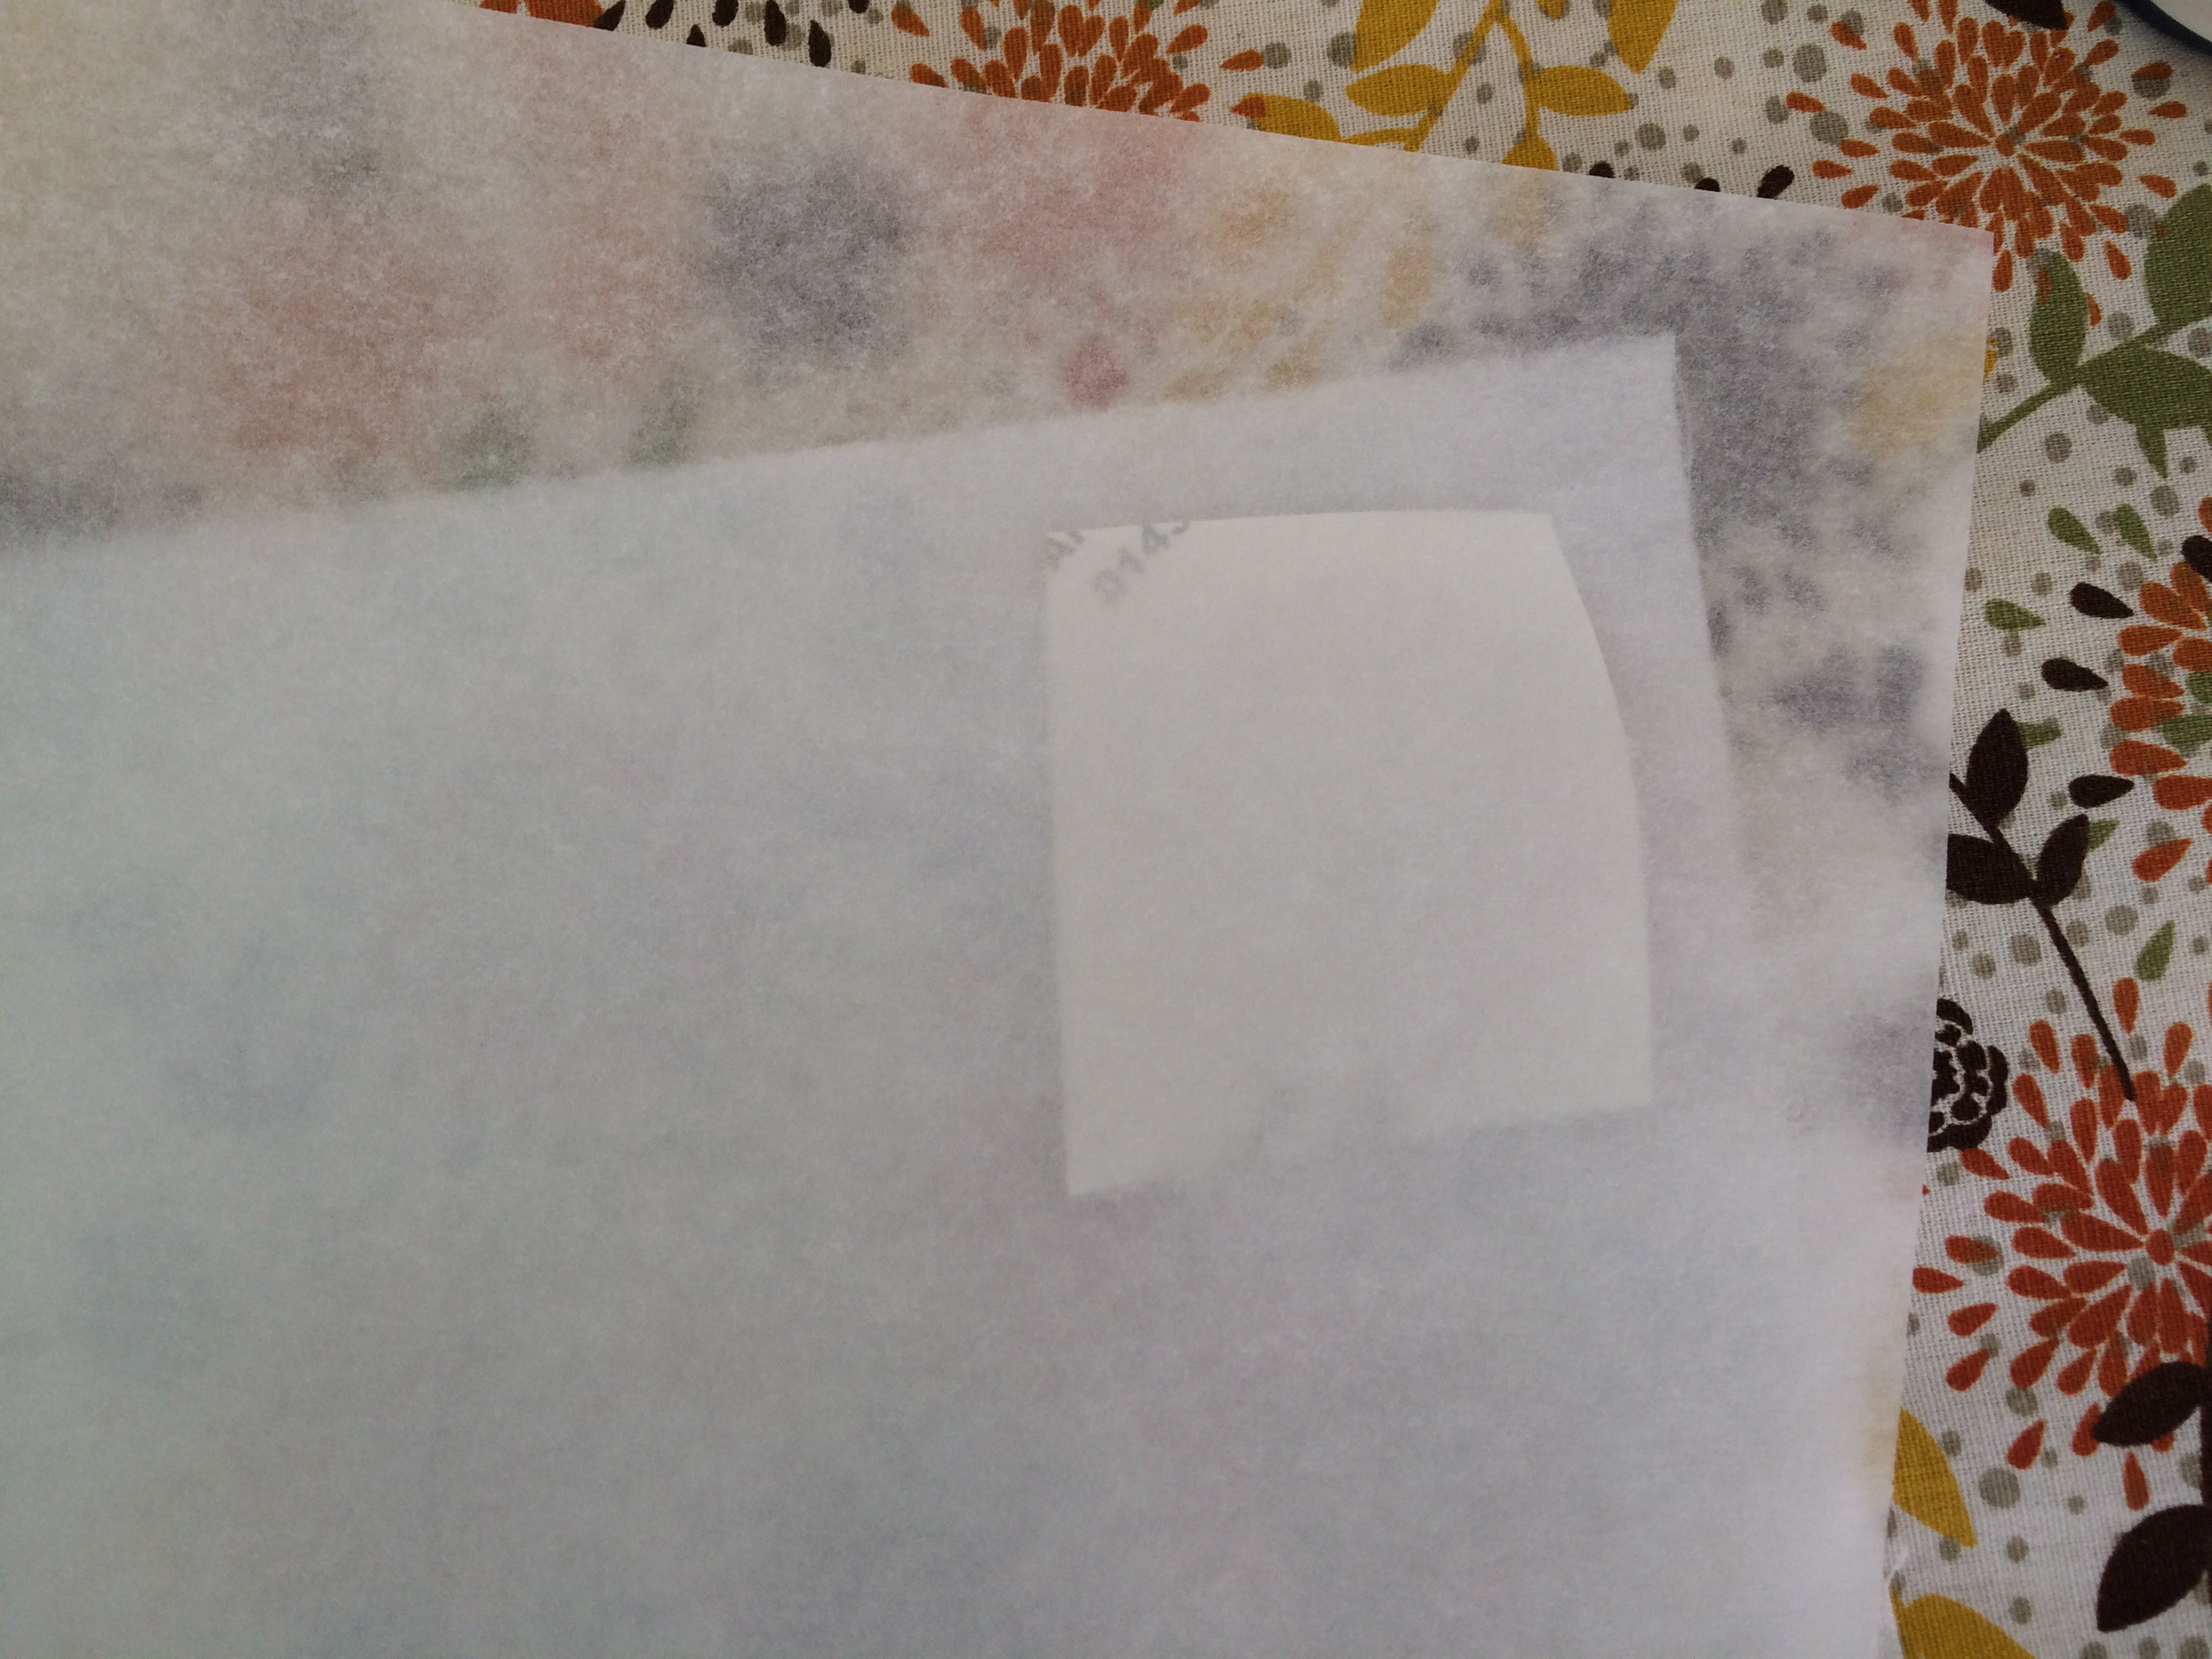
Cut 2 pieces of Heat n Bond Ultra slightly larger than the 2 1/2″ circle. Iron them to the wrong side of the desired fabric. Let cool. 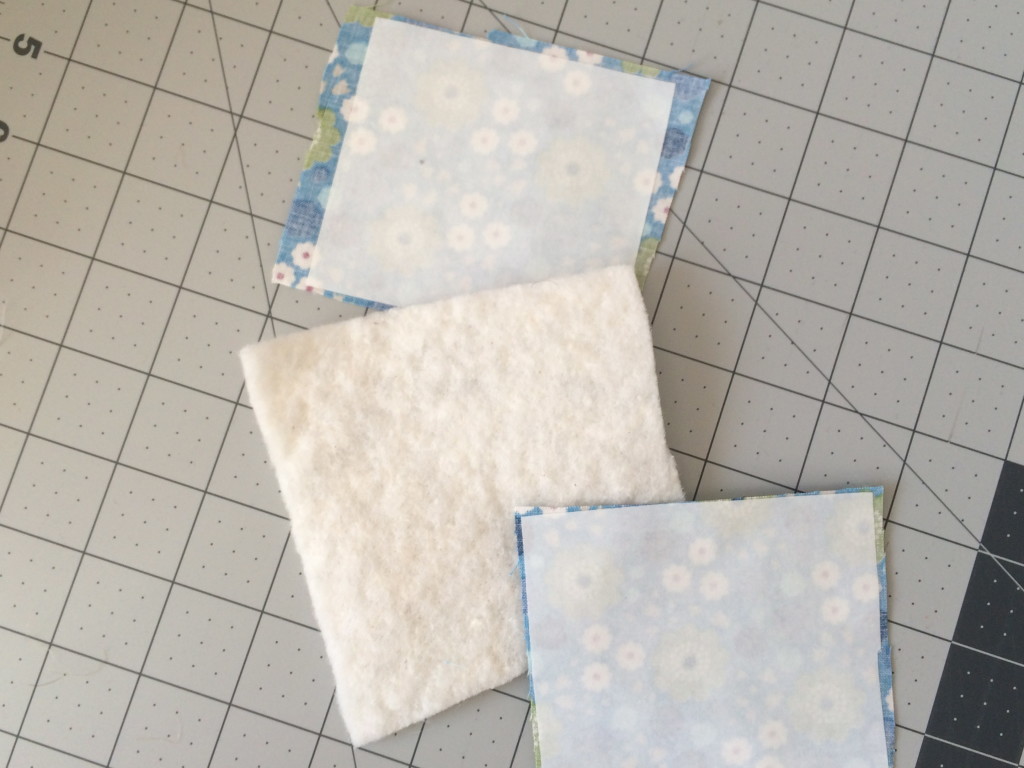
Cut a piece of batting roughly the same size as the fabric – these are super rough cuts, no measuring required. Peel off the backing paper of both of the fabrics and press the fabric pieces onto both sides of the batting. Let cool. This makes a fabric sandwich 🙂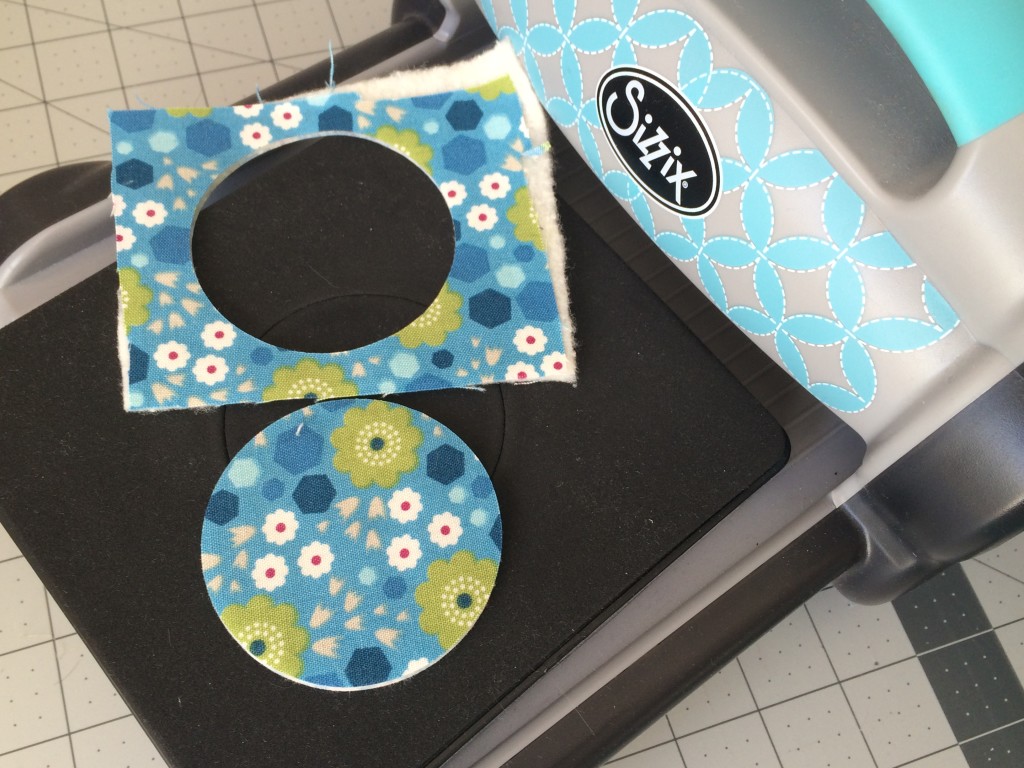
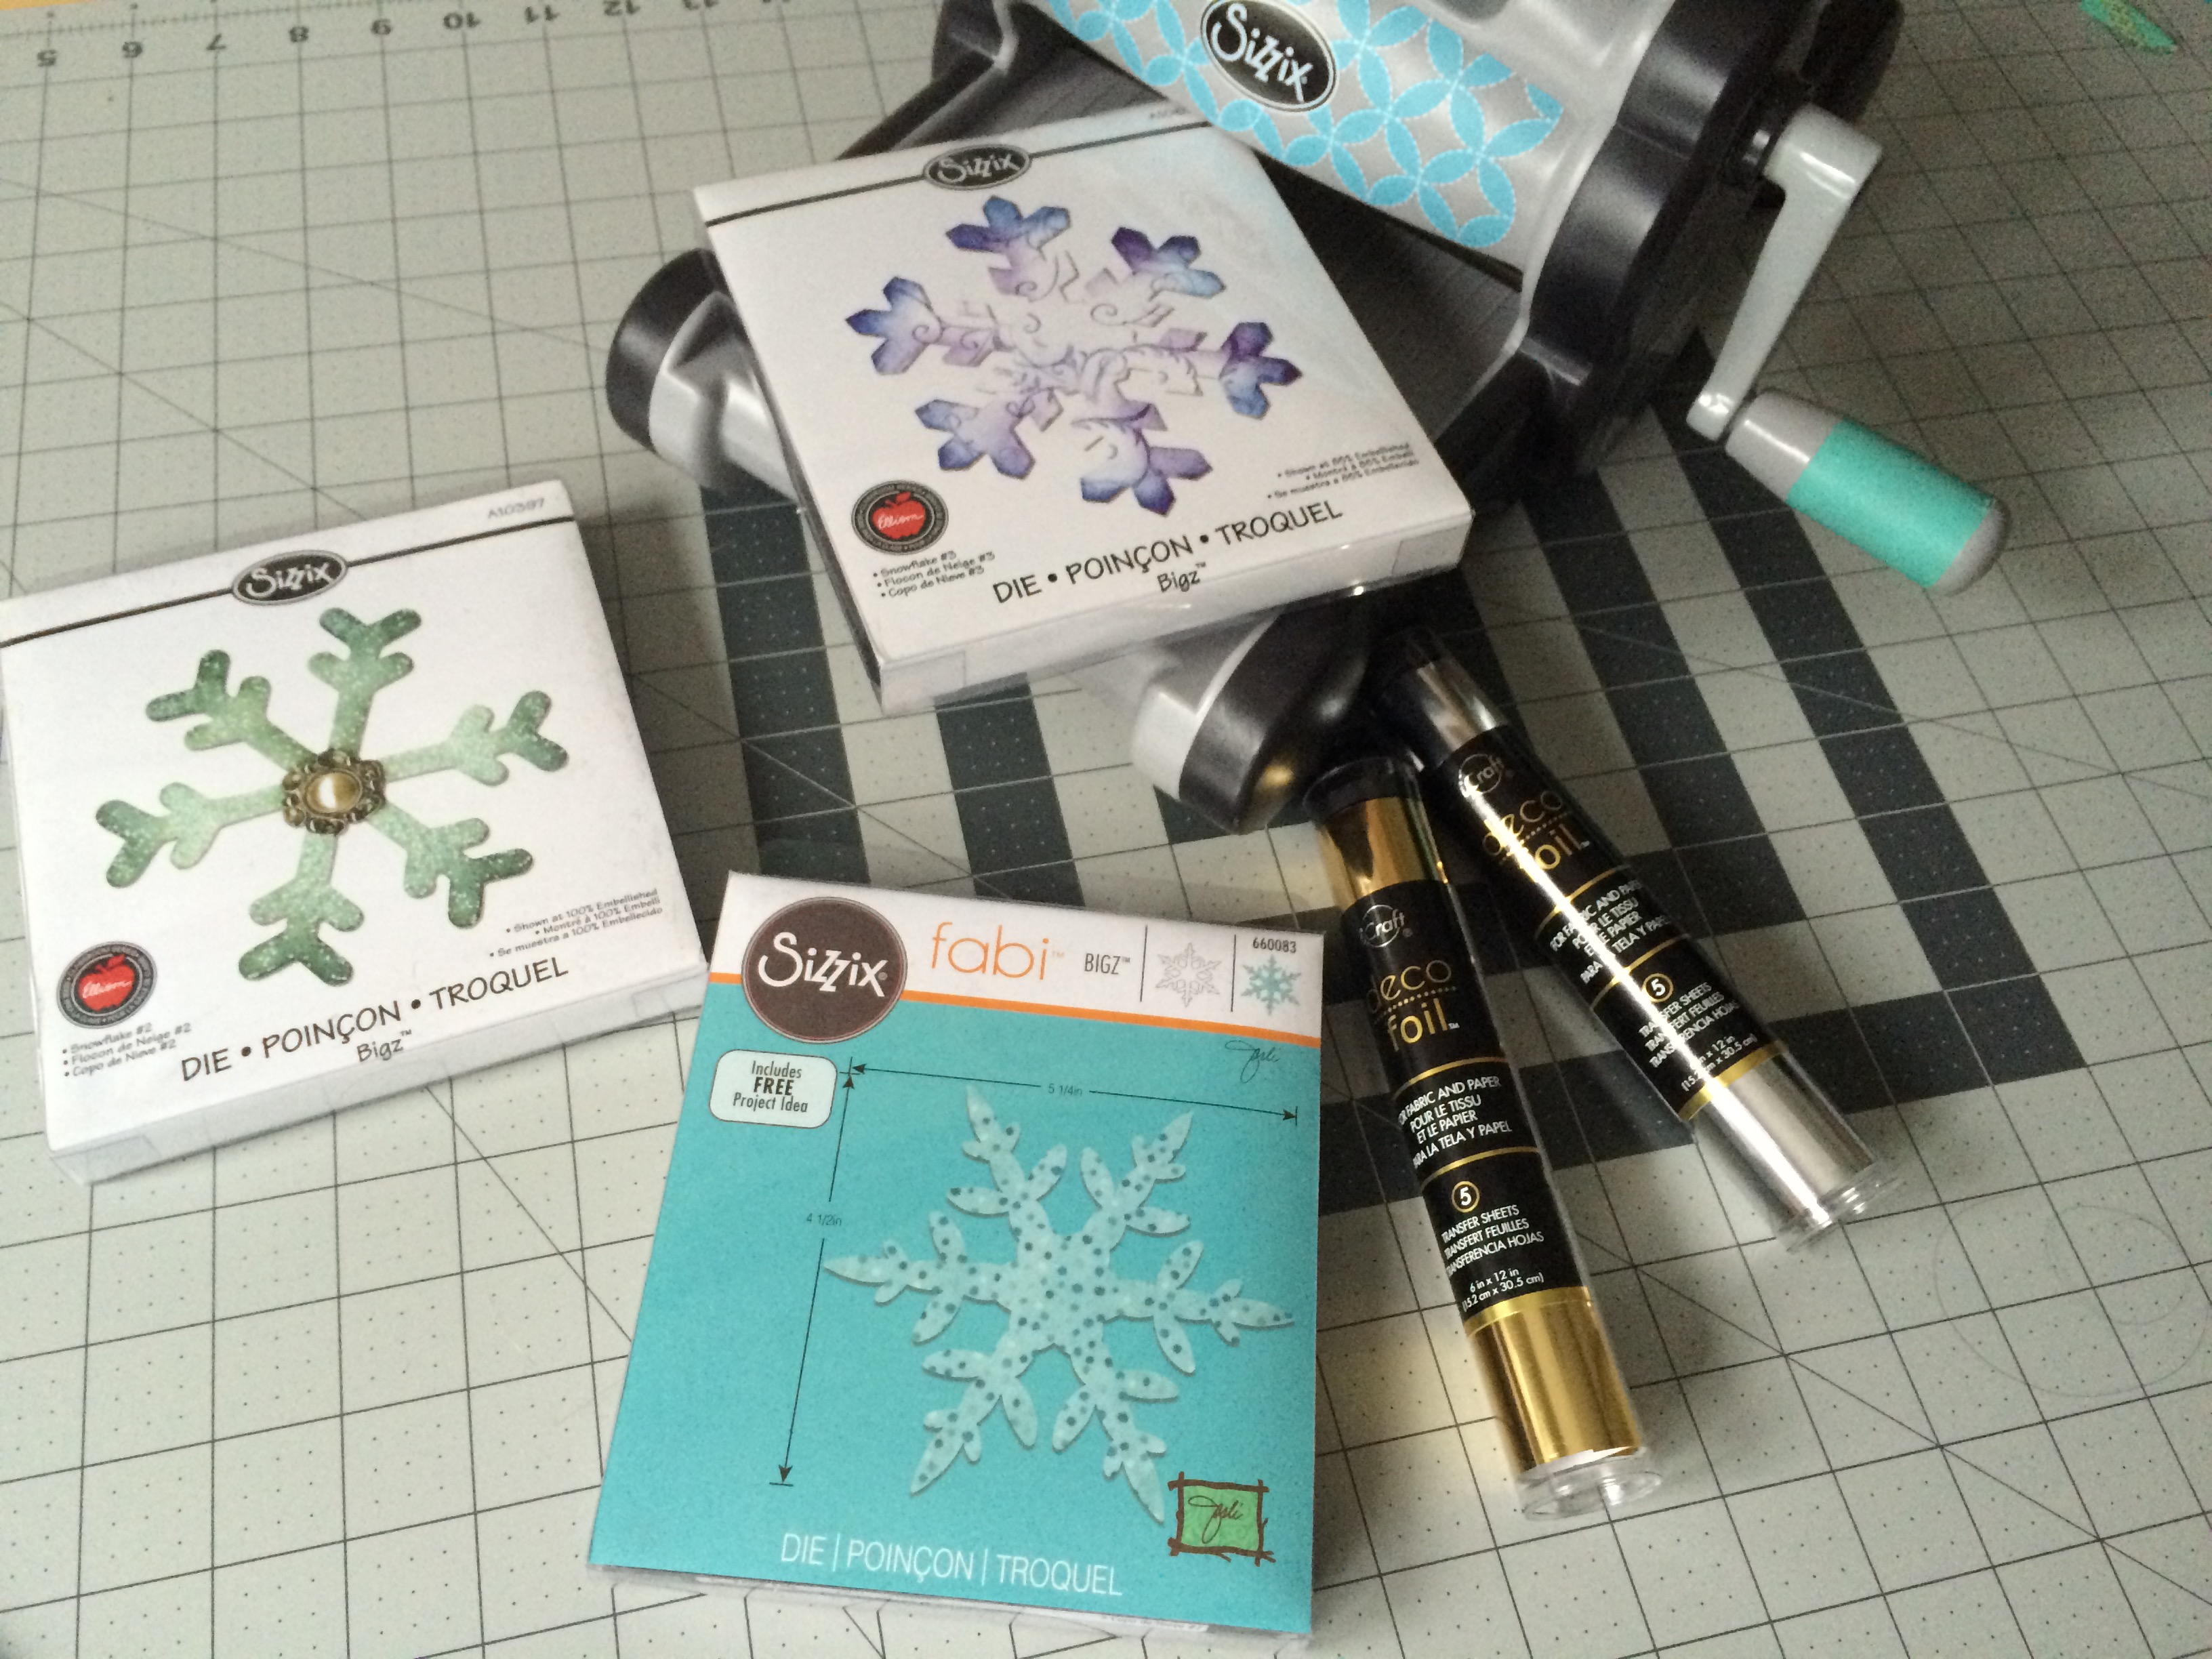
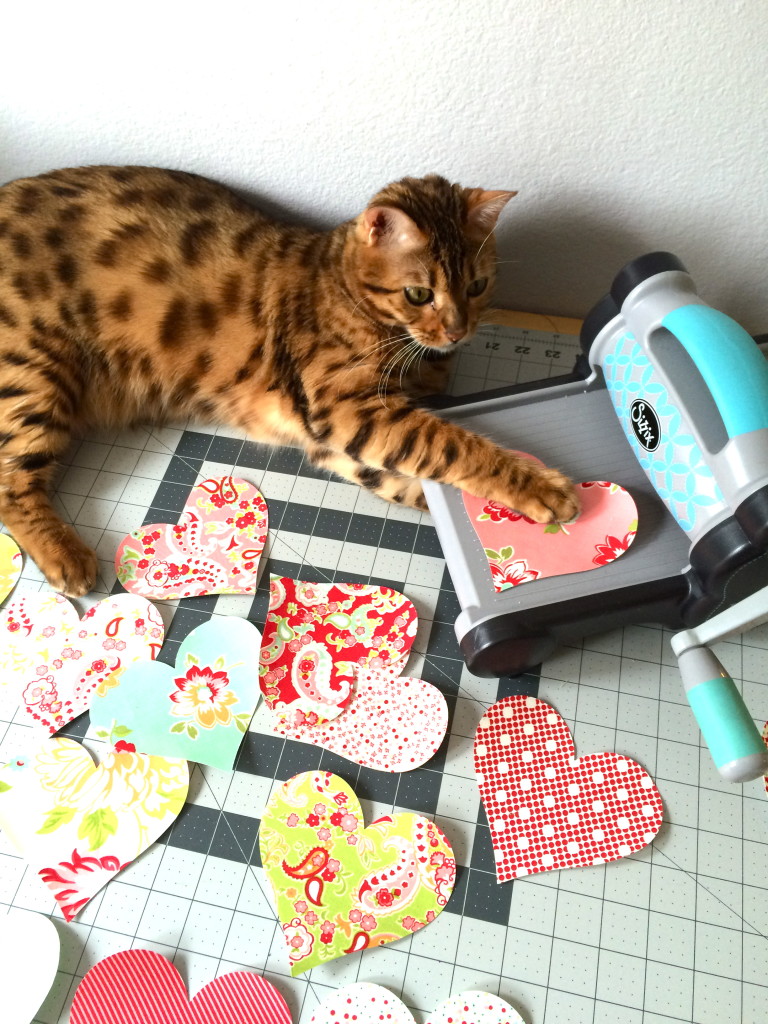
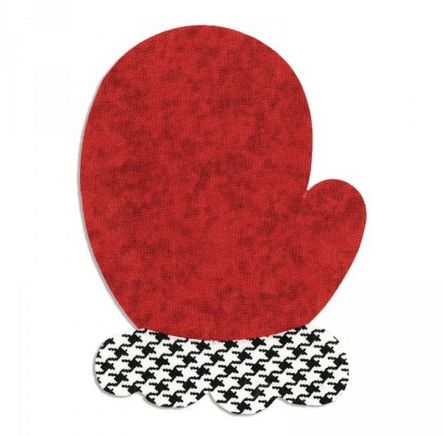
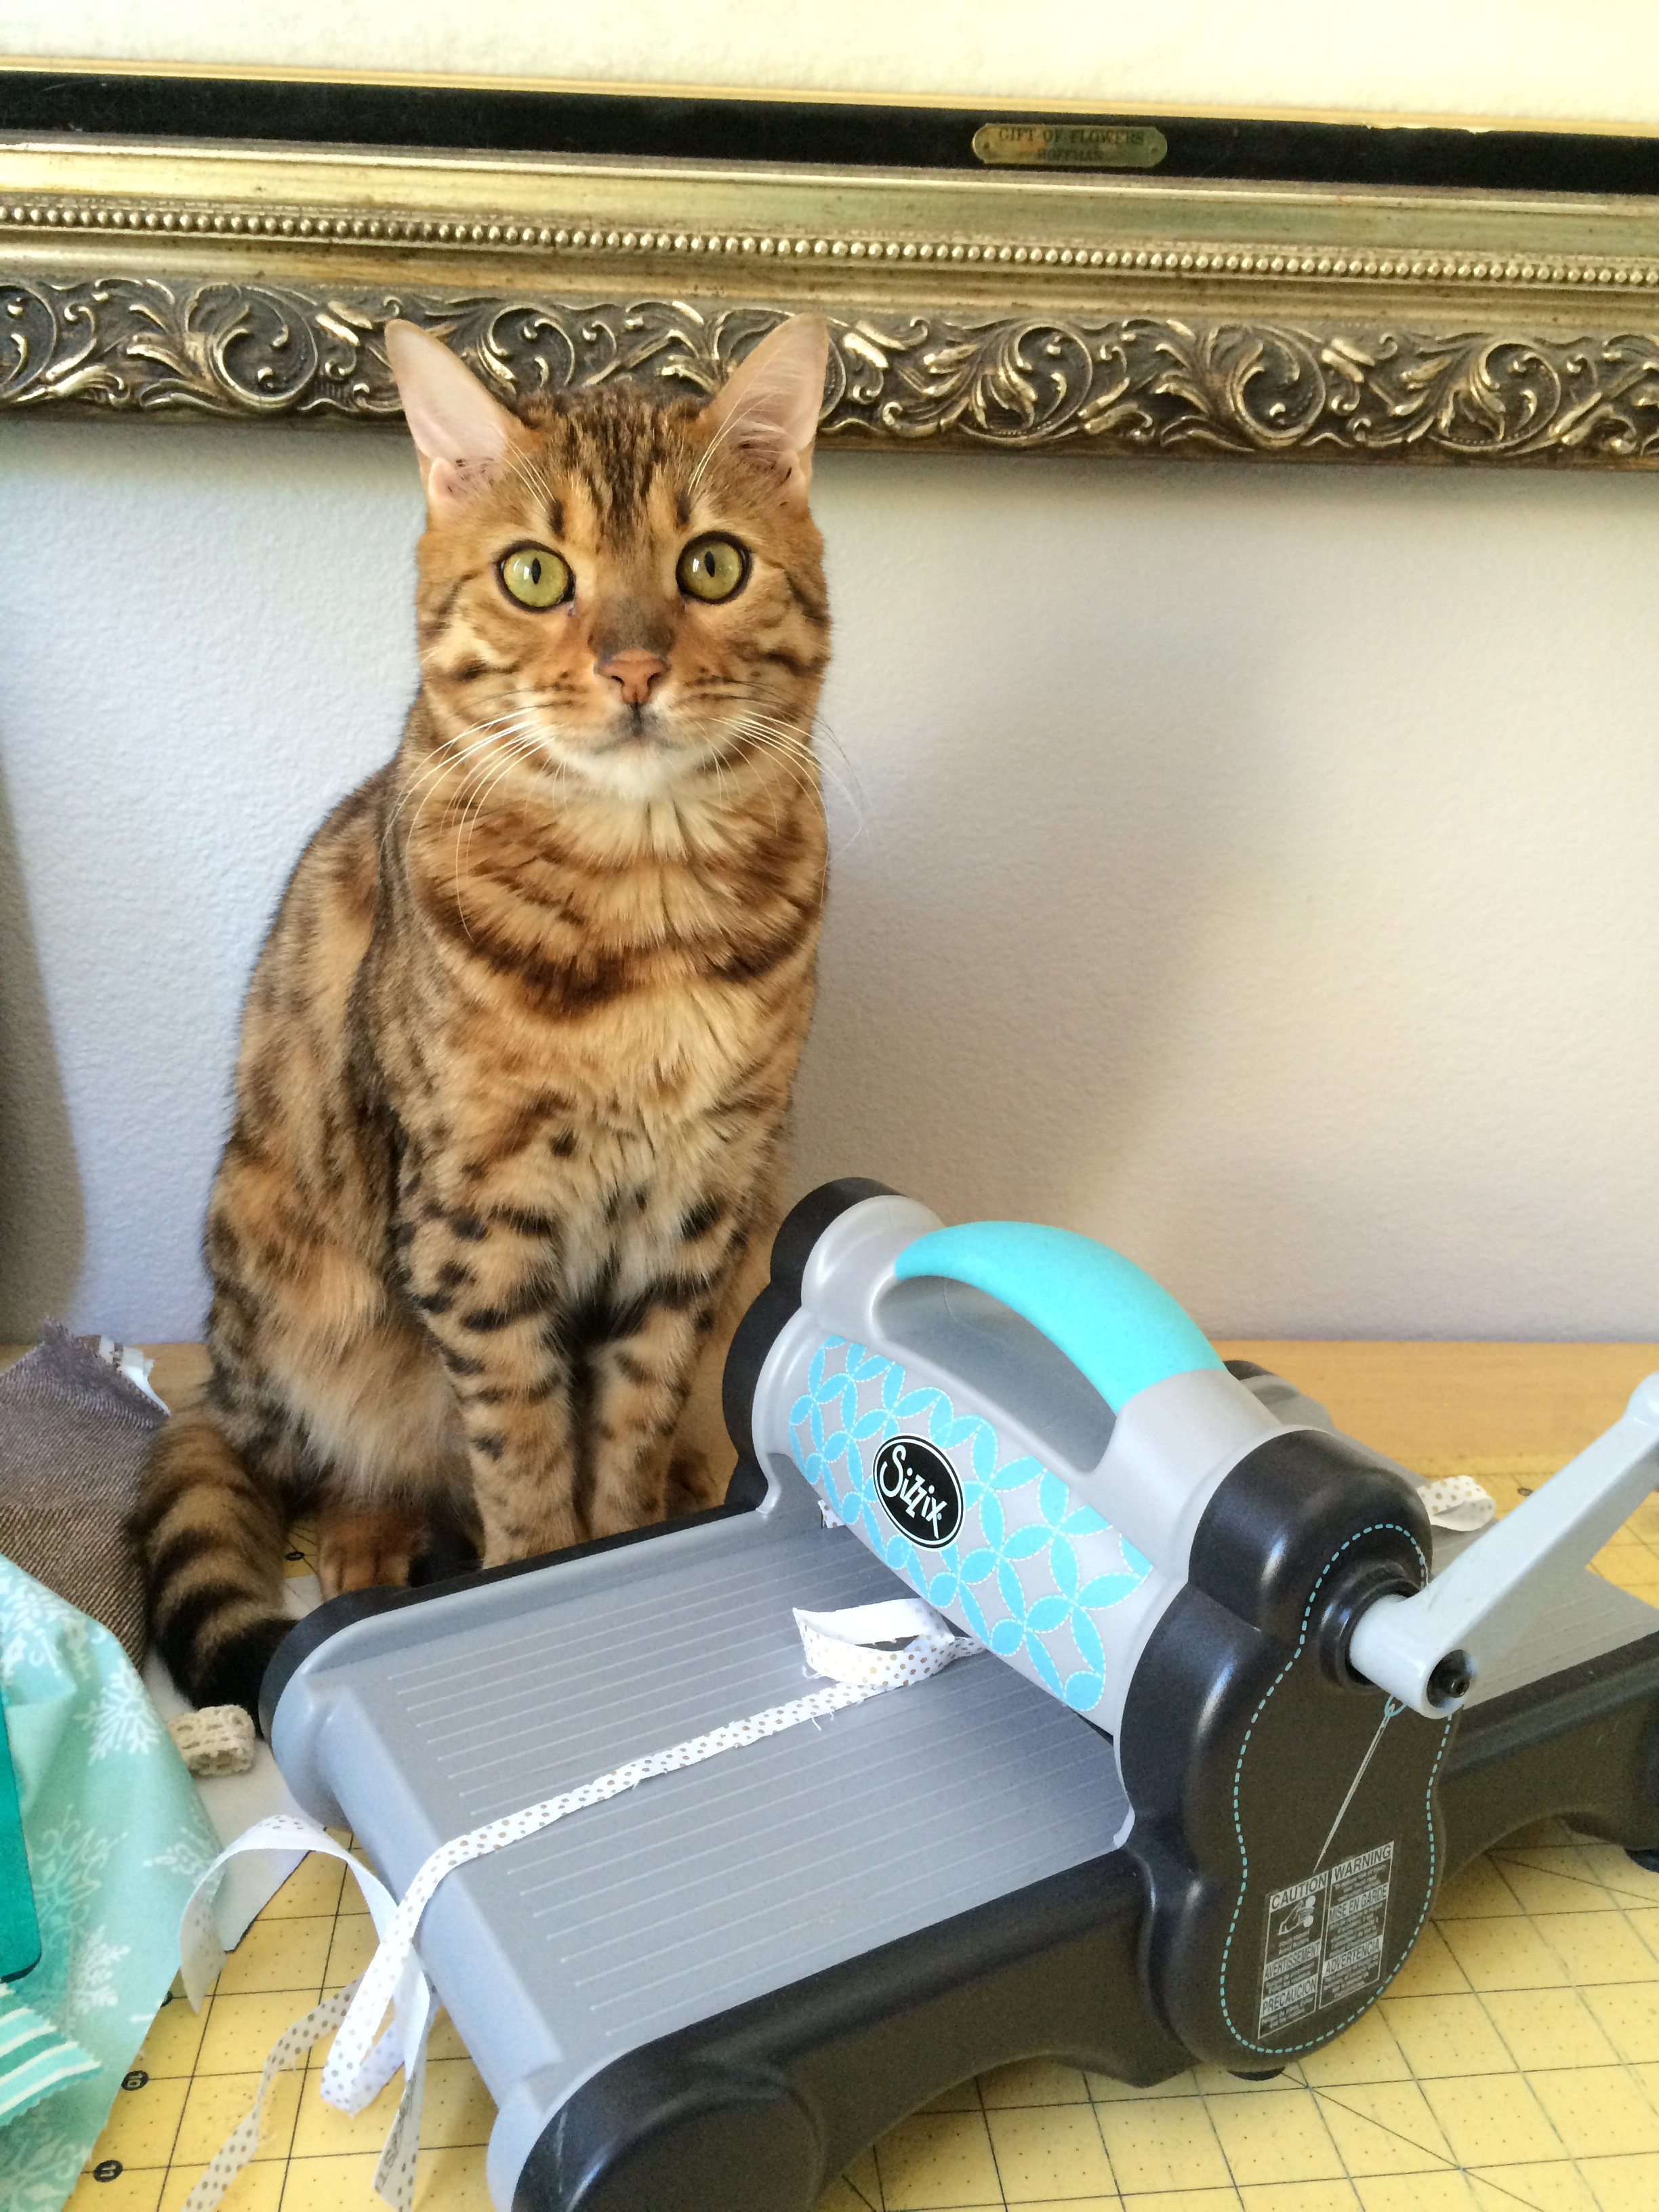
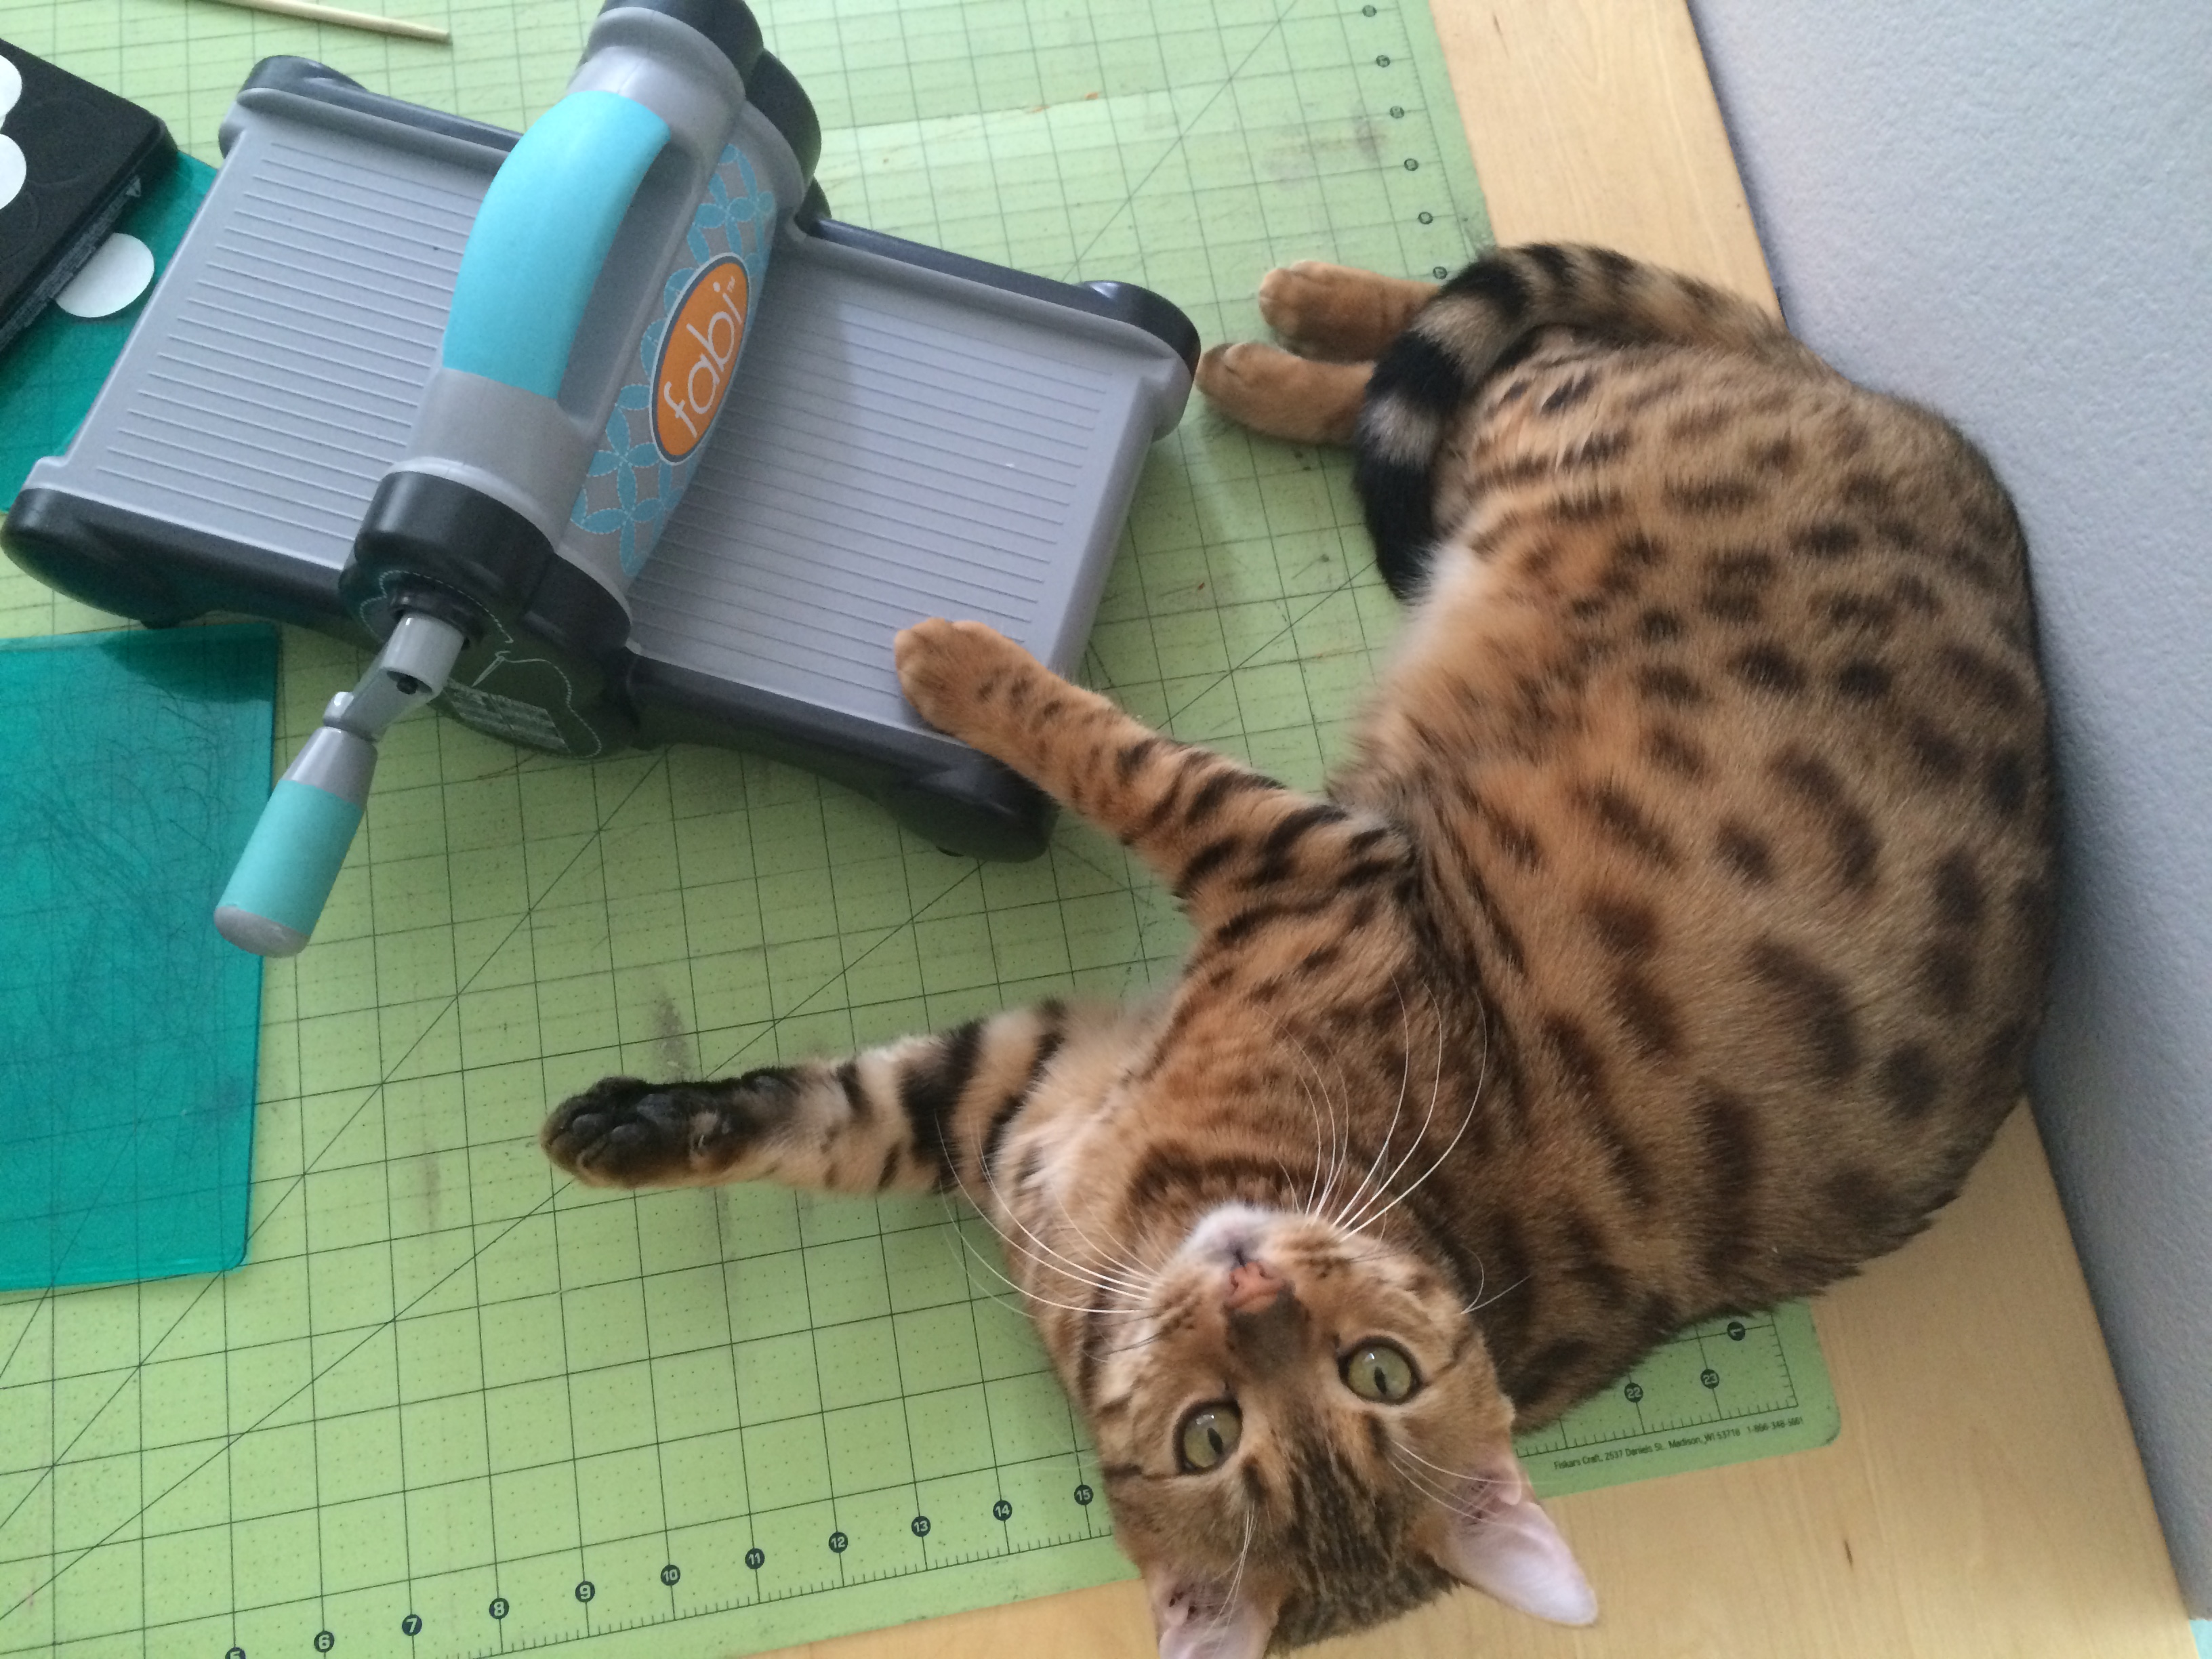
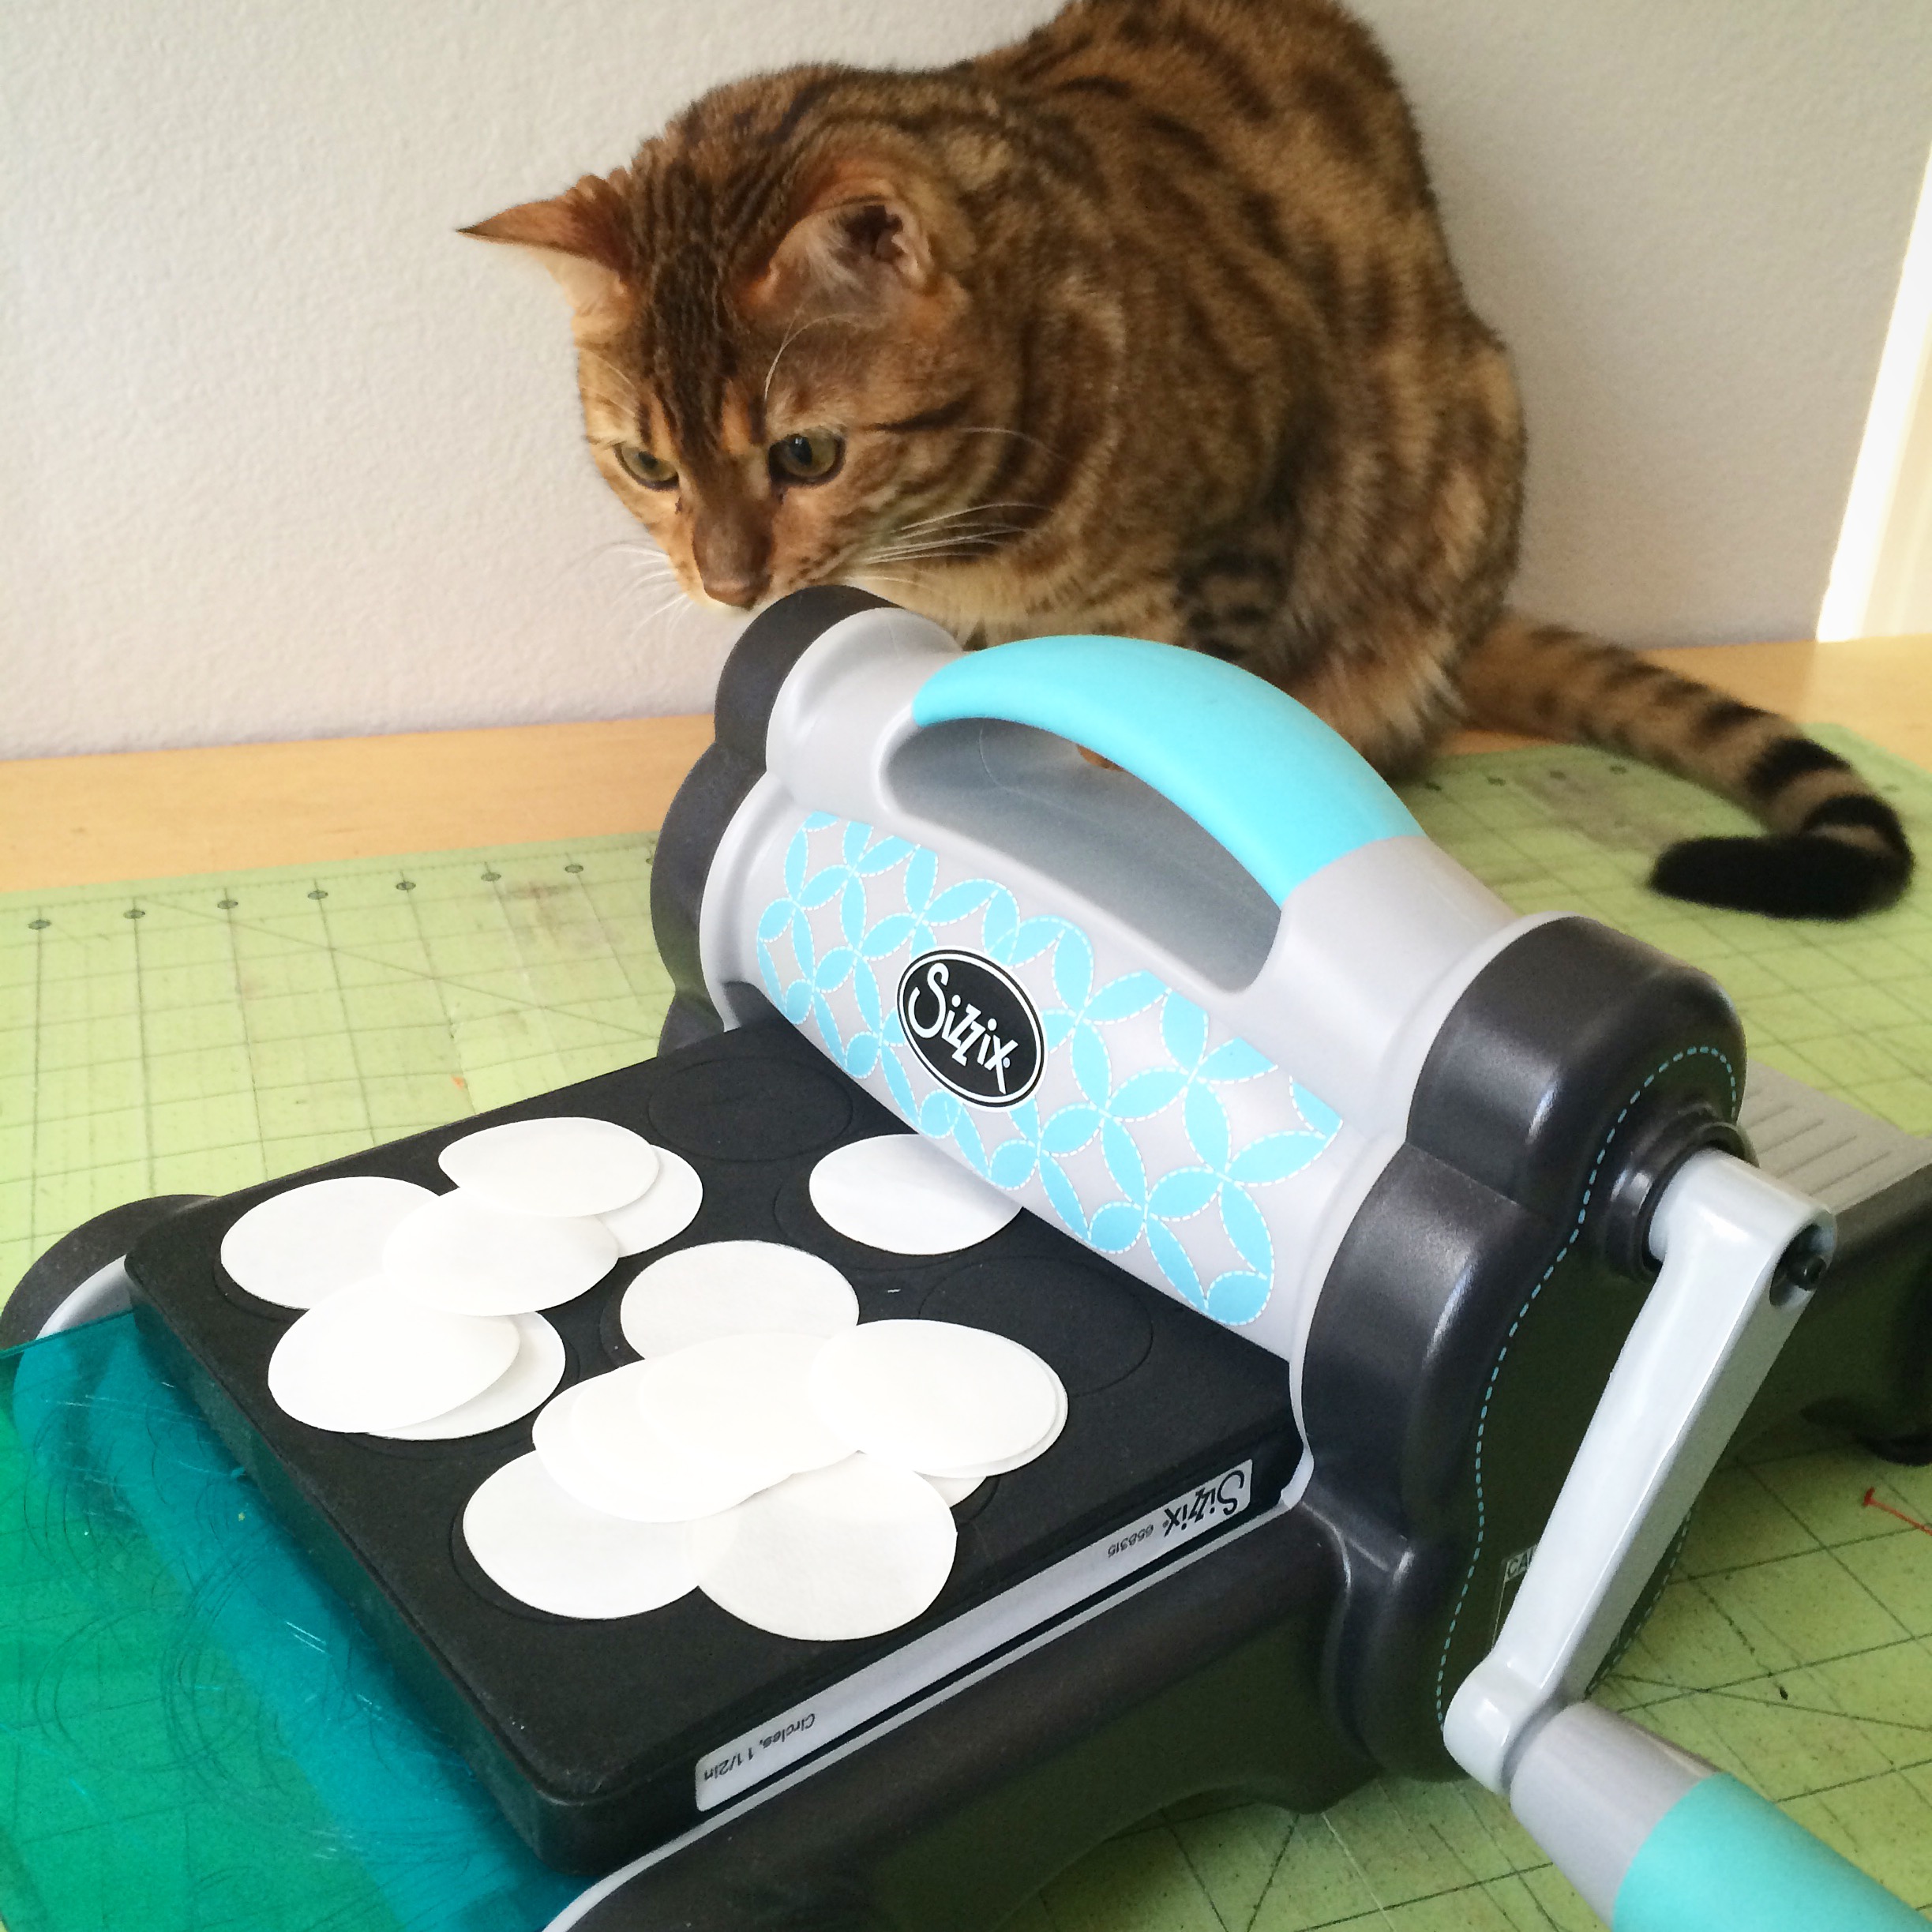
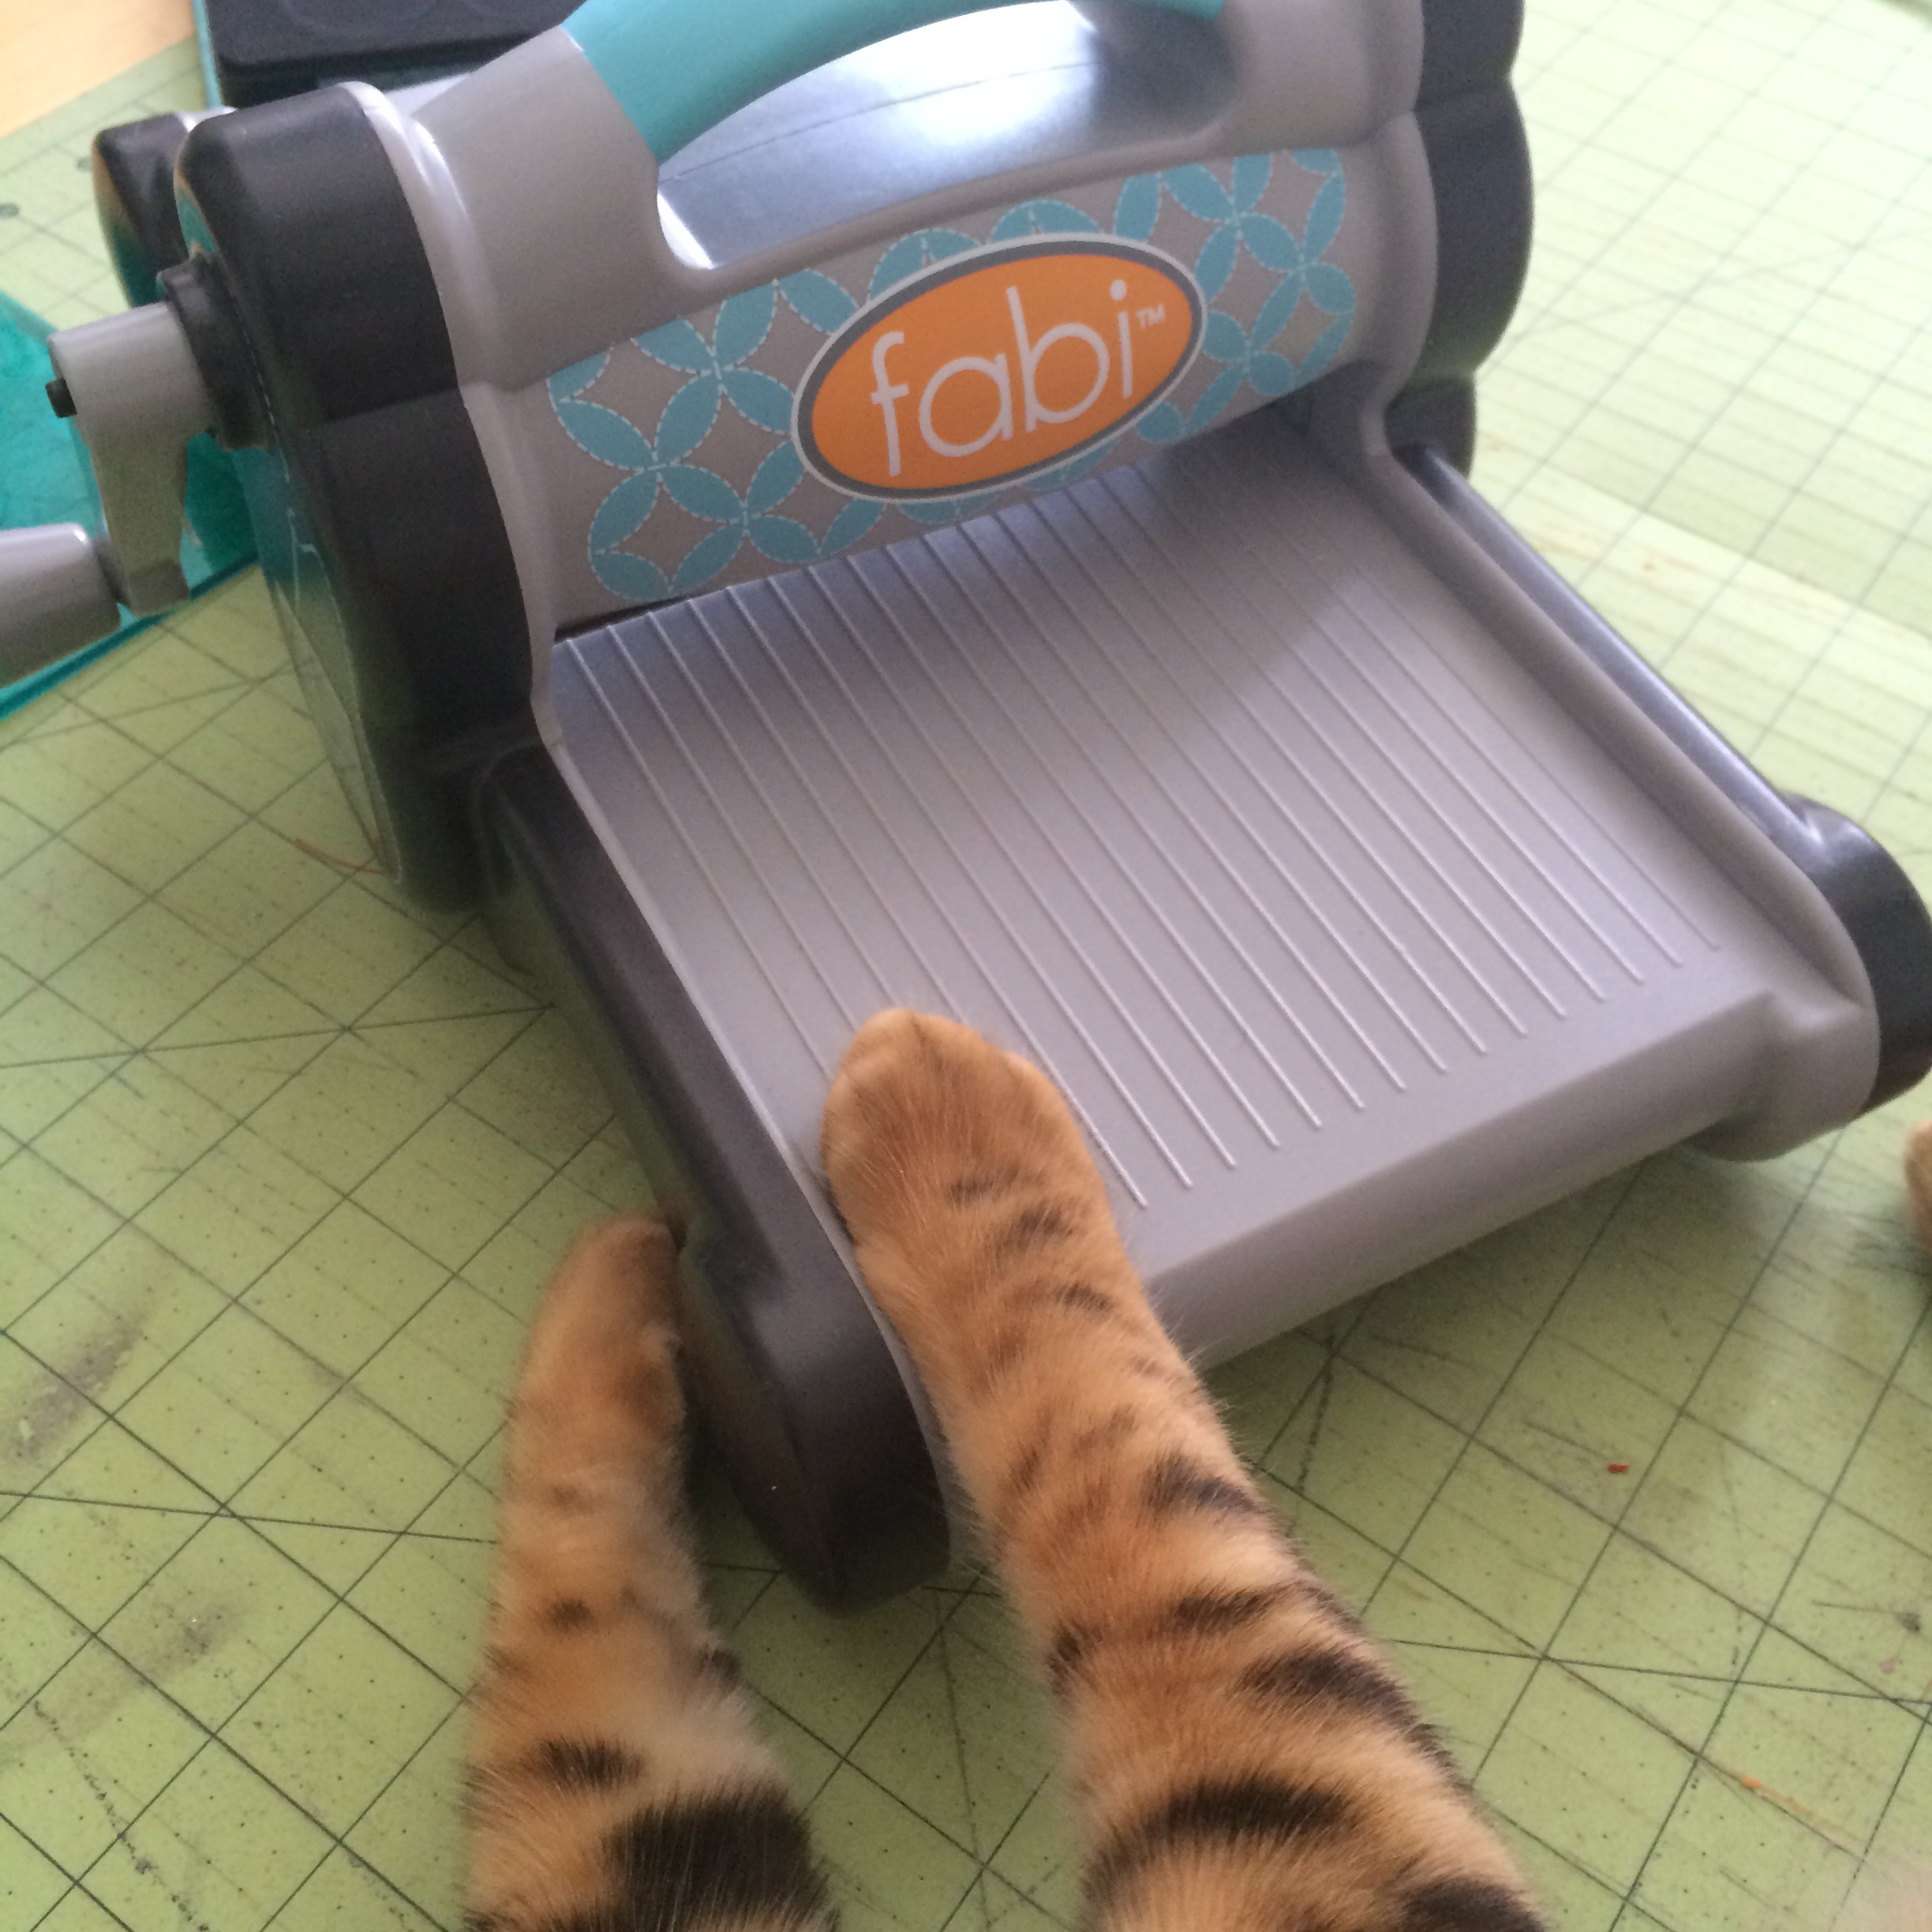
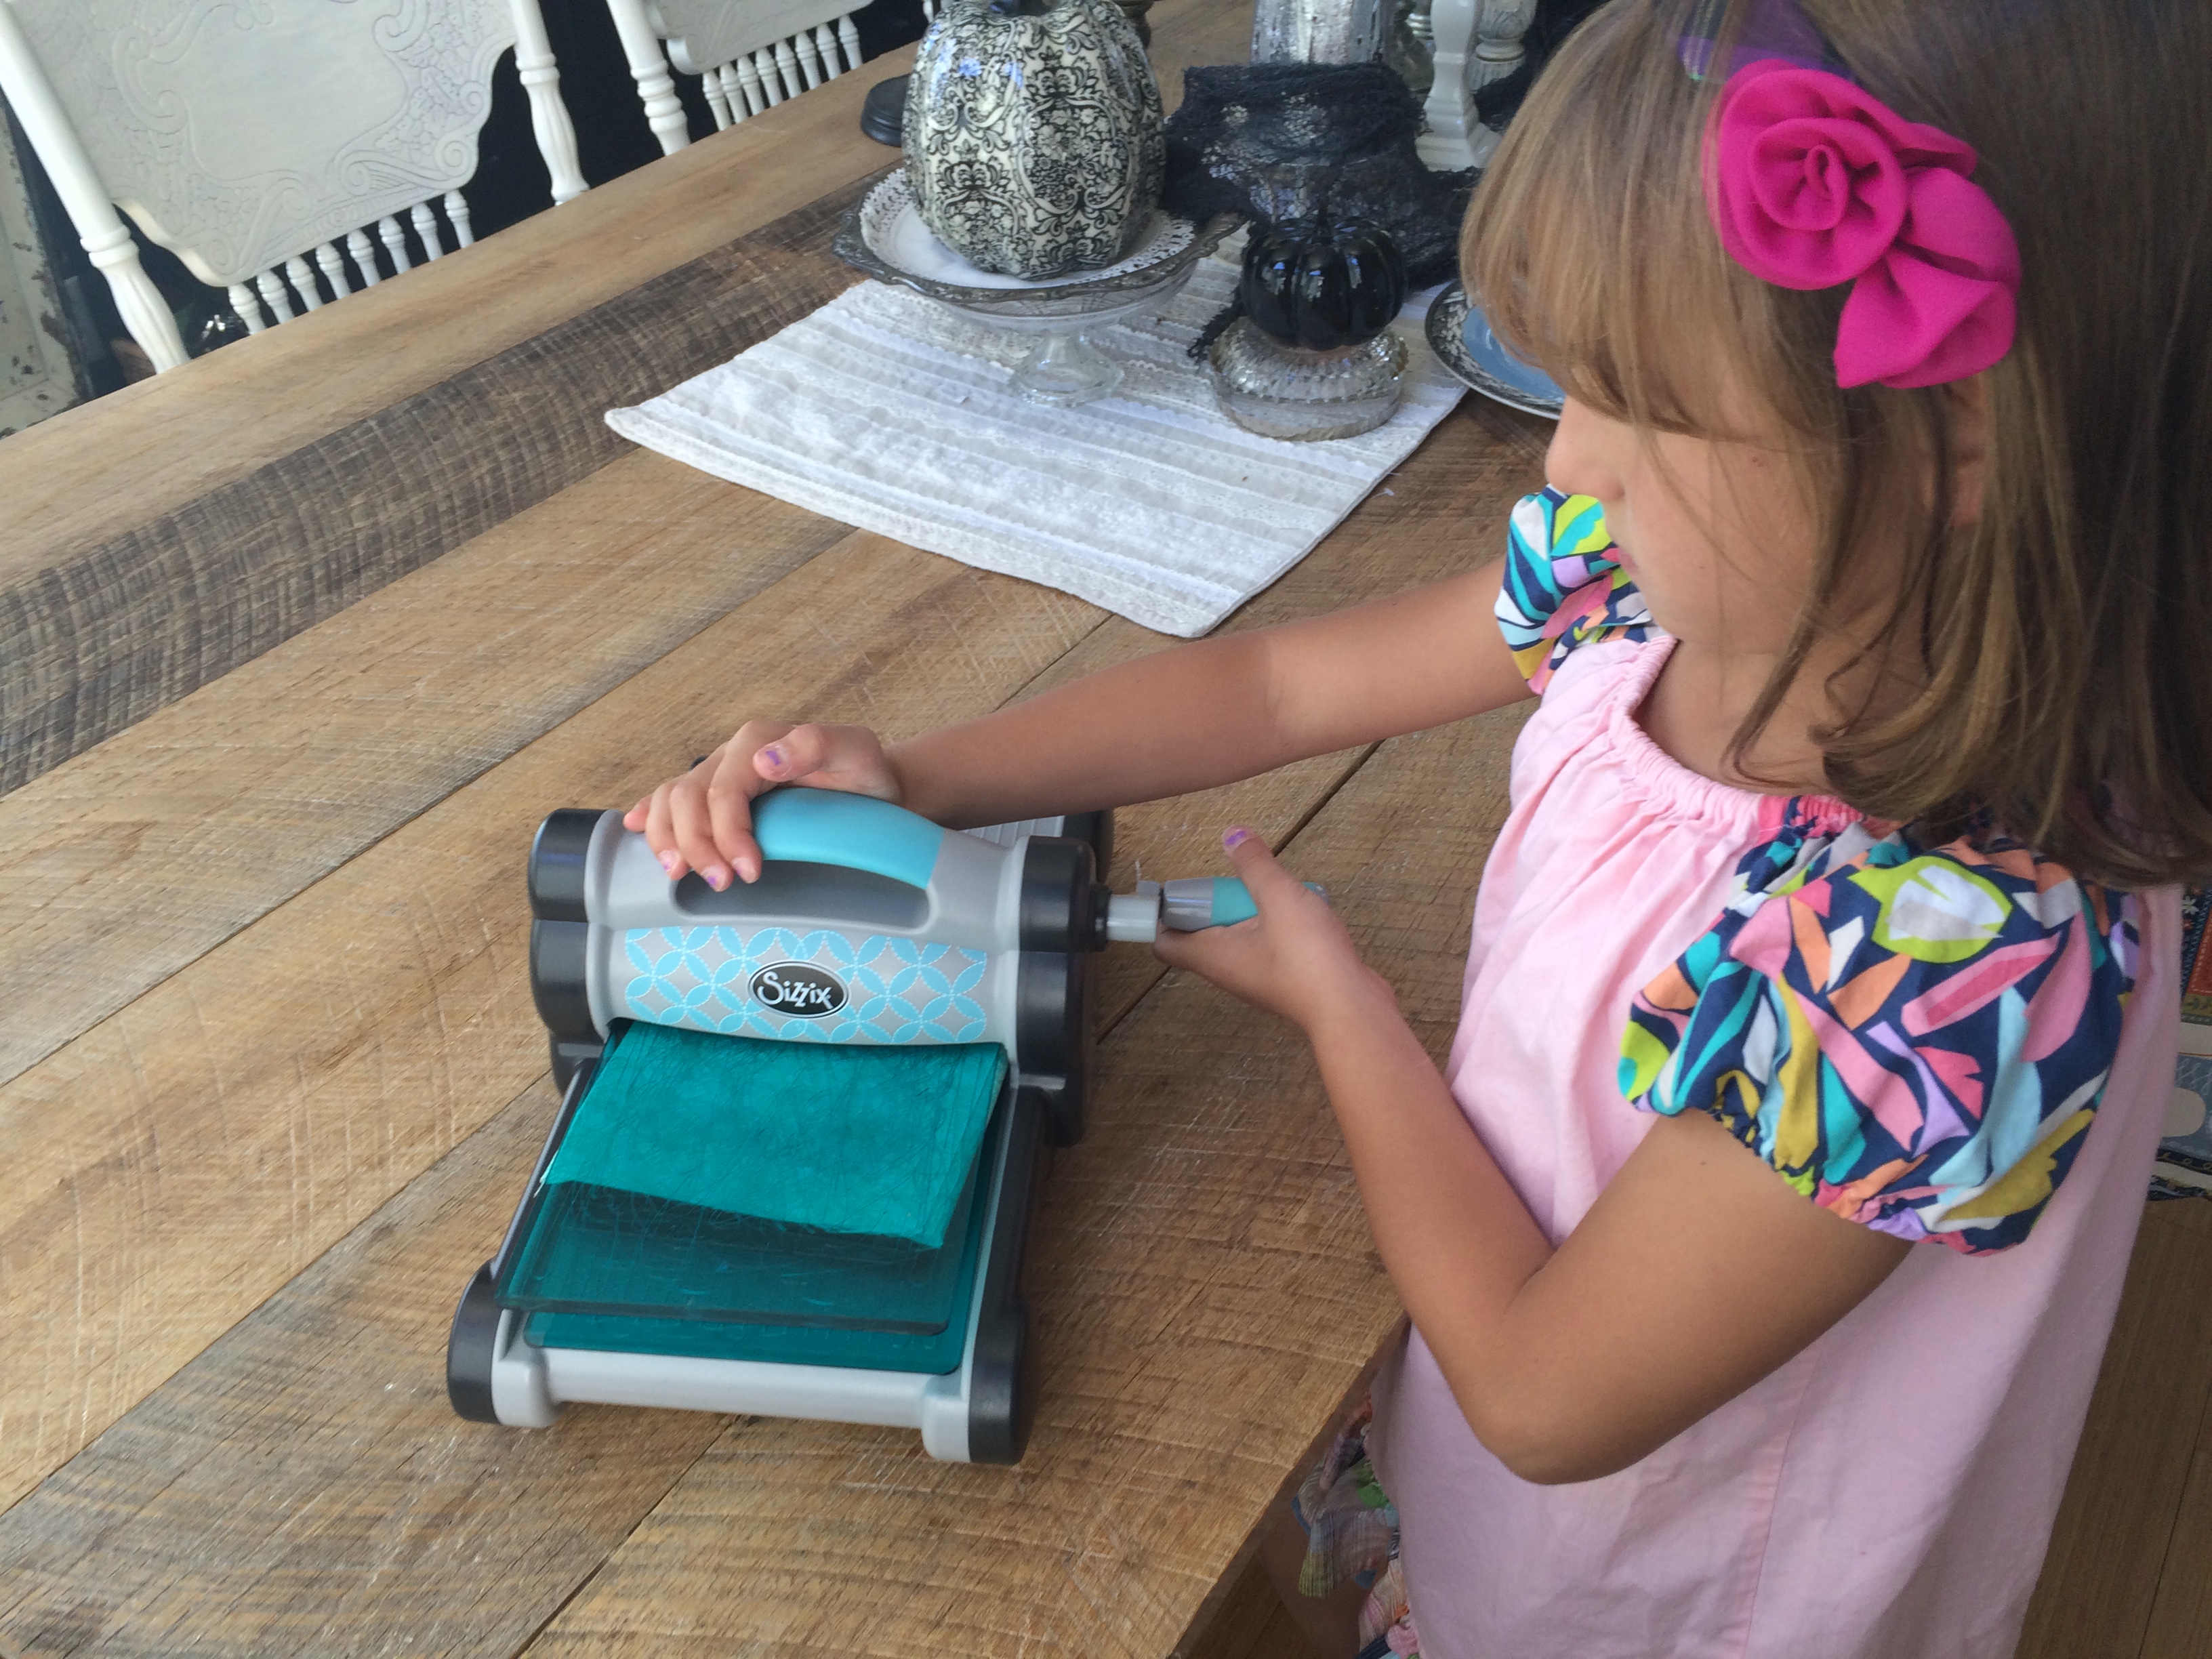
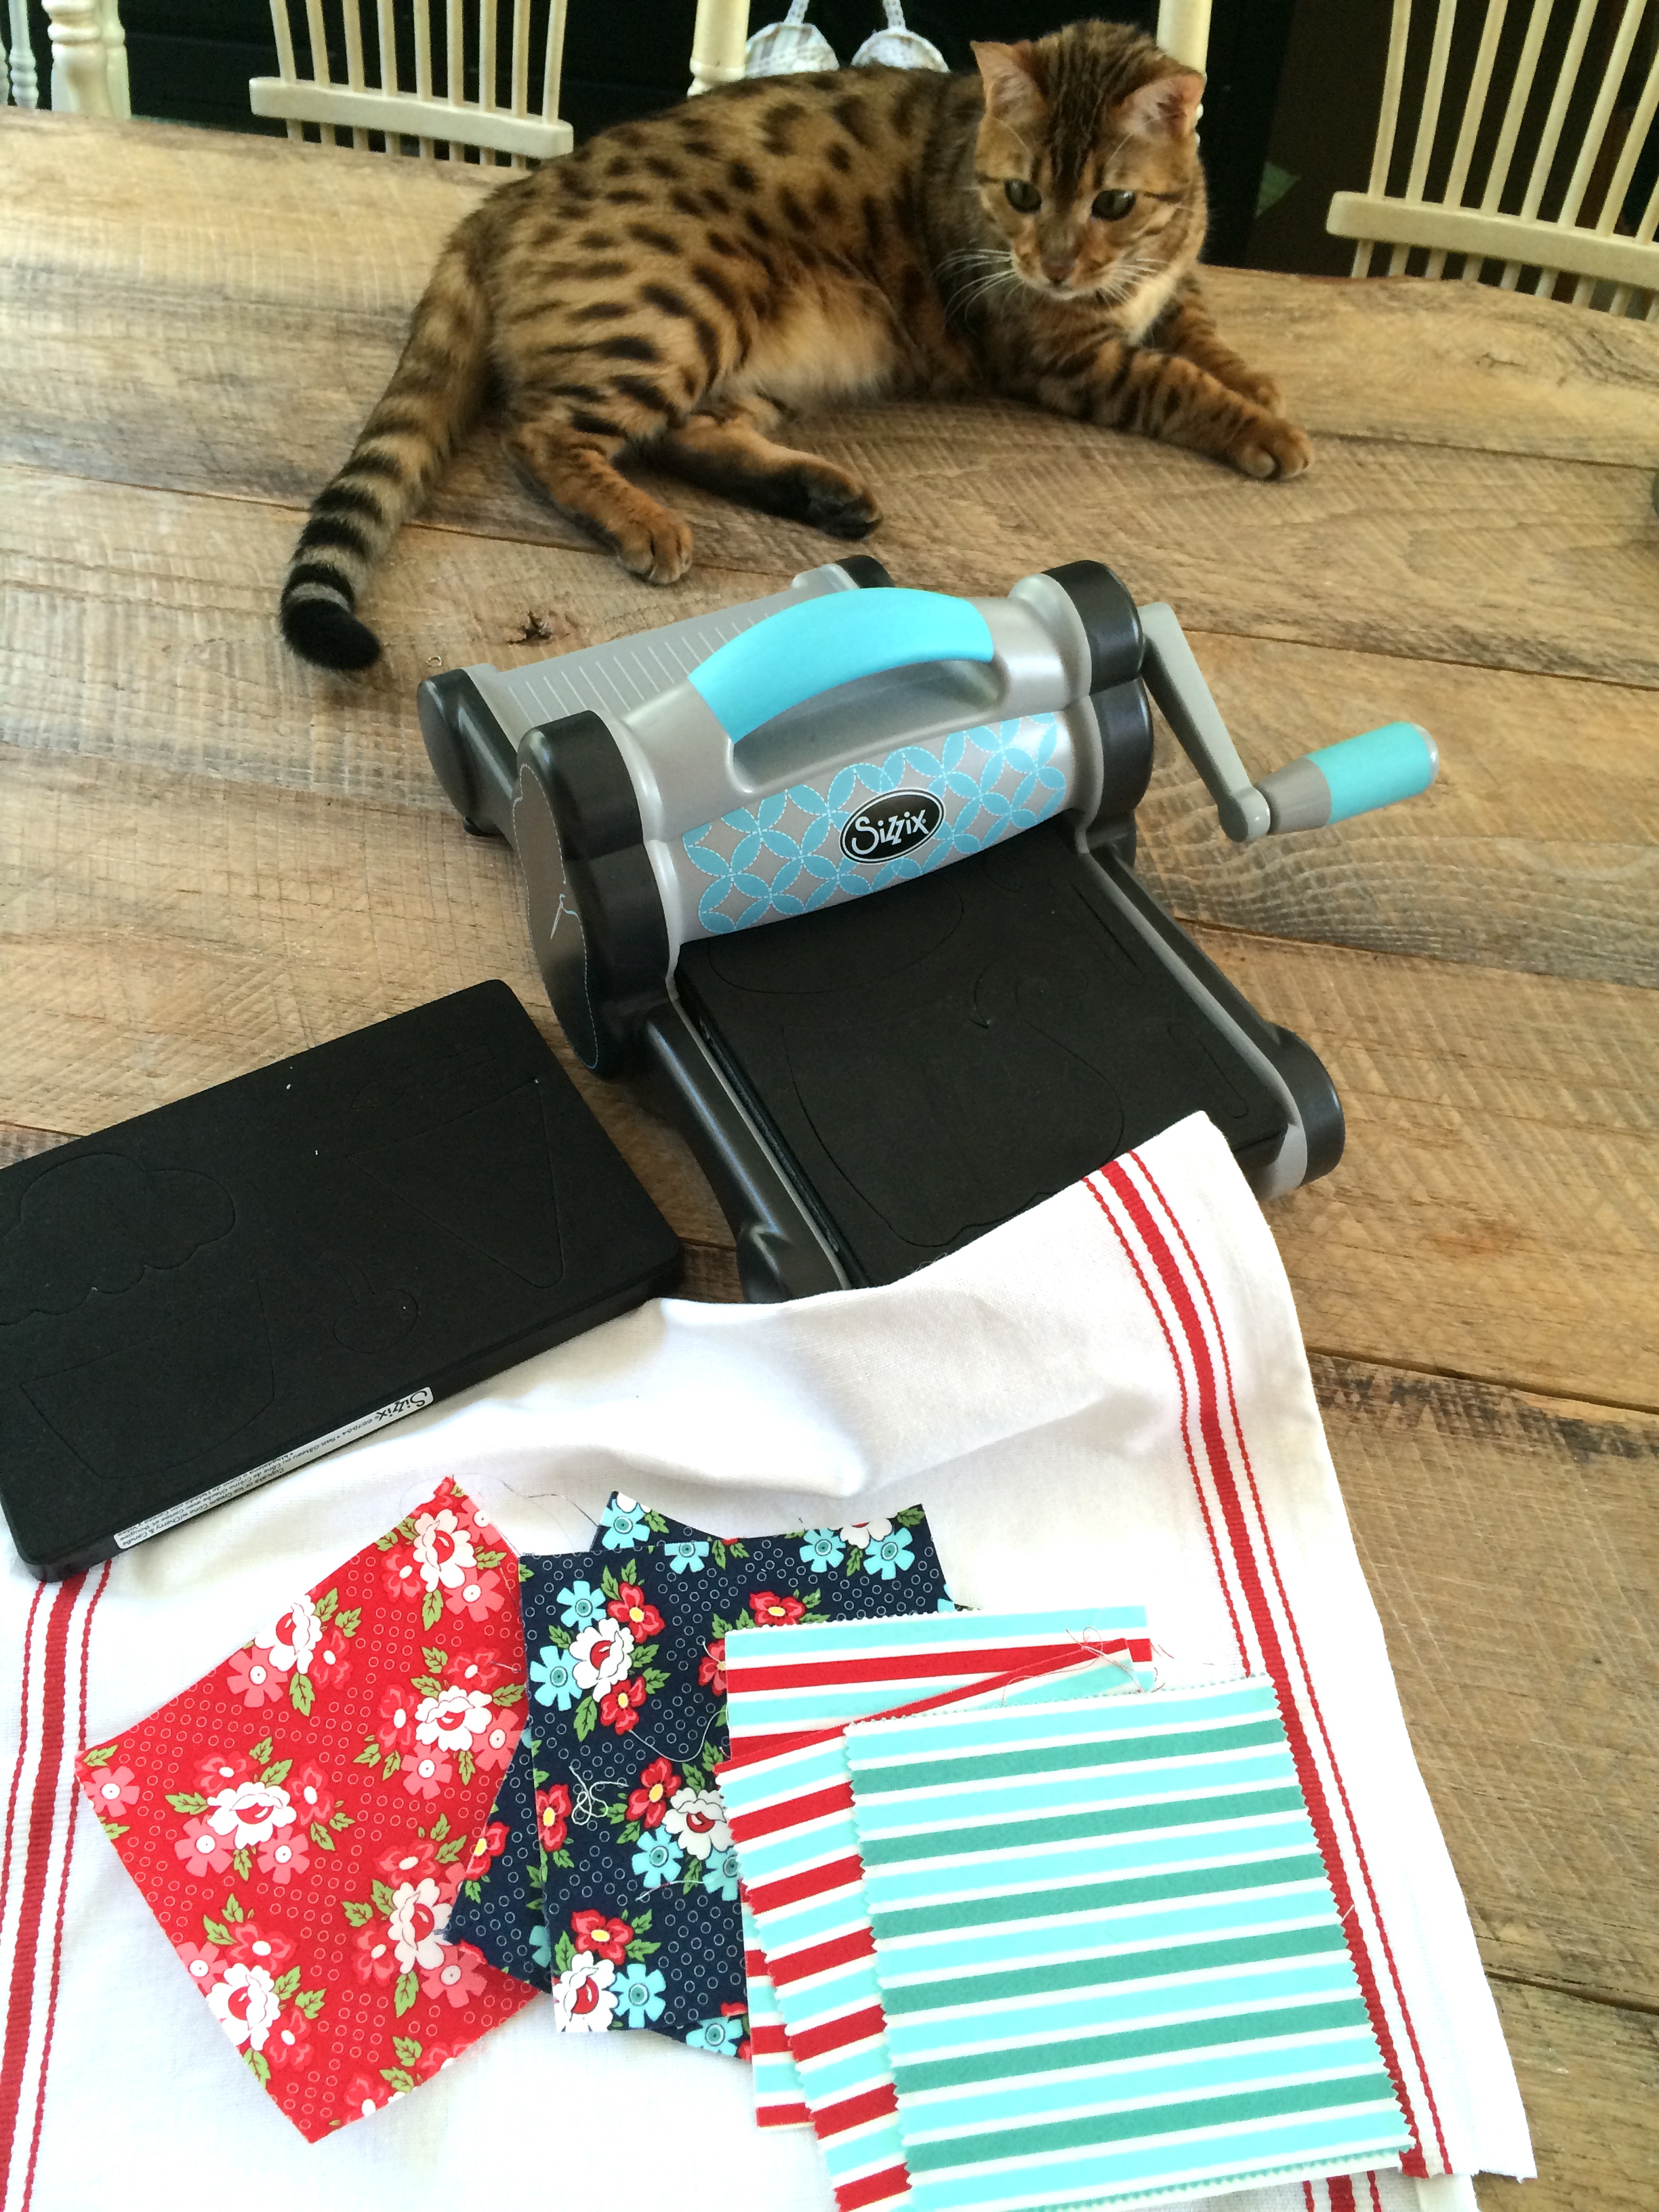
Run the fabric sandwich through the Sizzix Fabi using the 2 1/2″ die. It cuts a perfect circle. Since we used the Heat n Bond Ultra, the edges of the fabric won’t fray!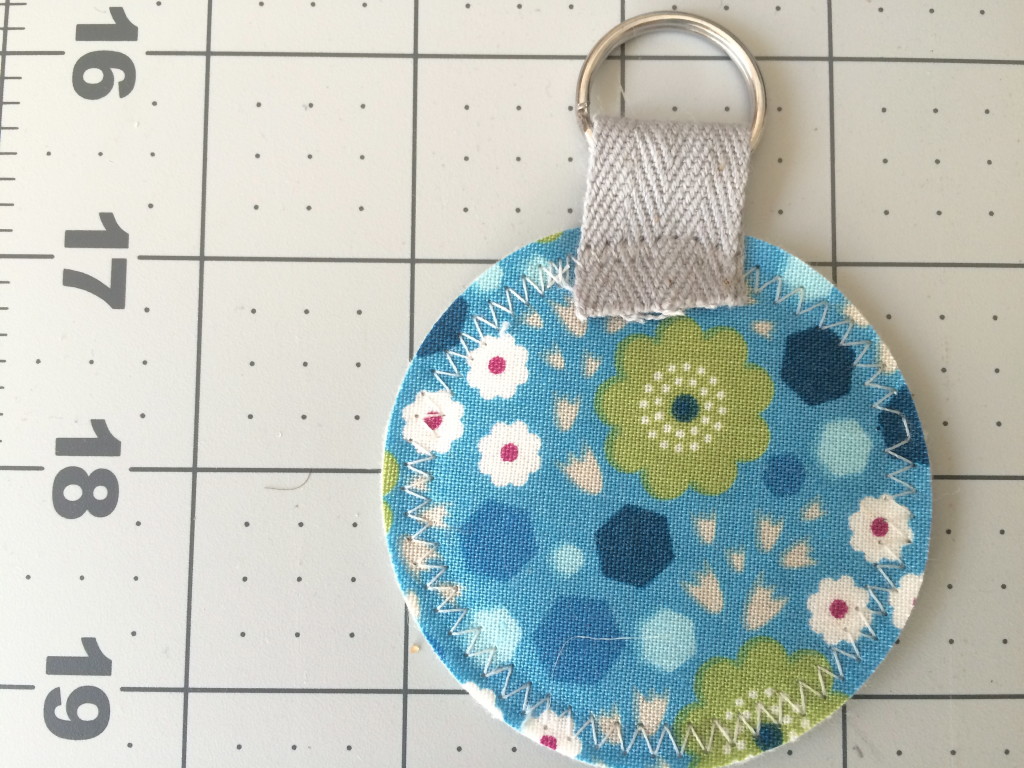
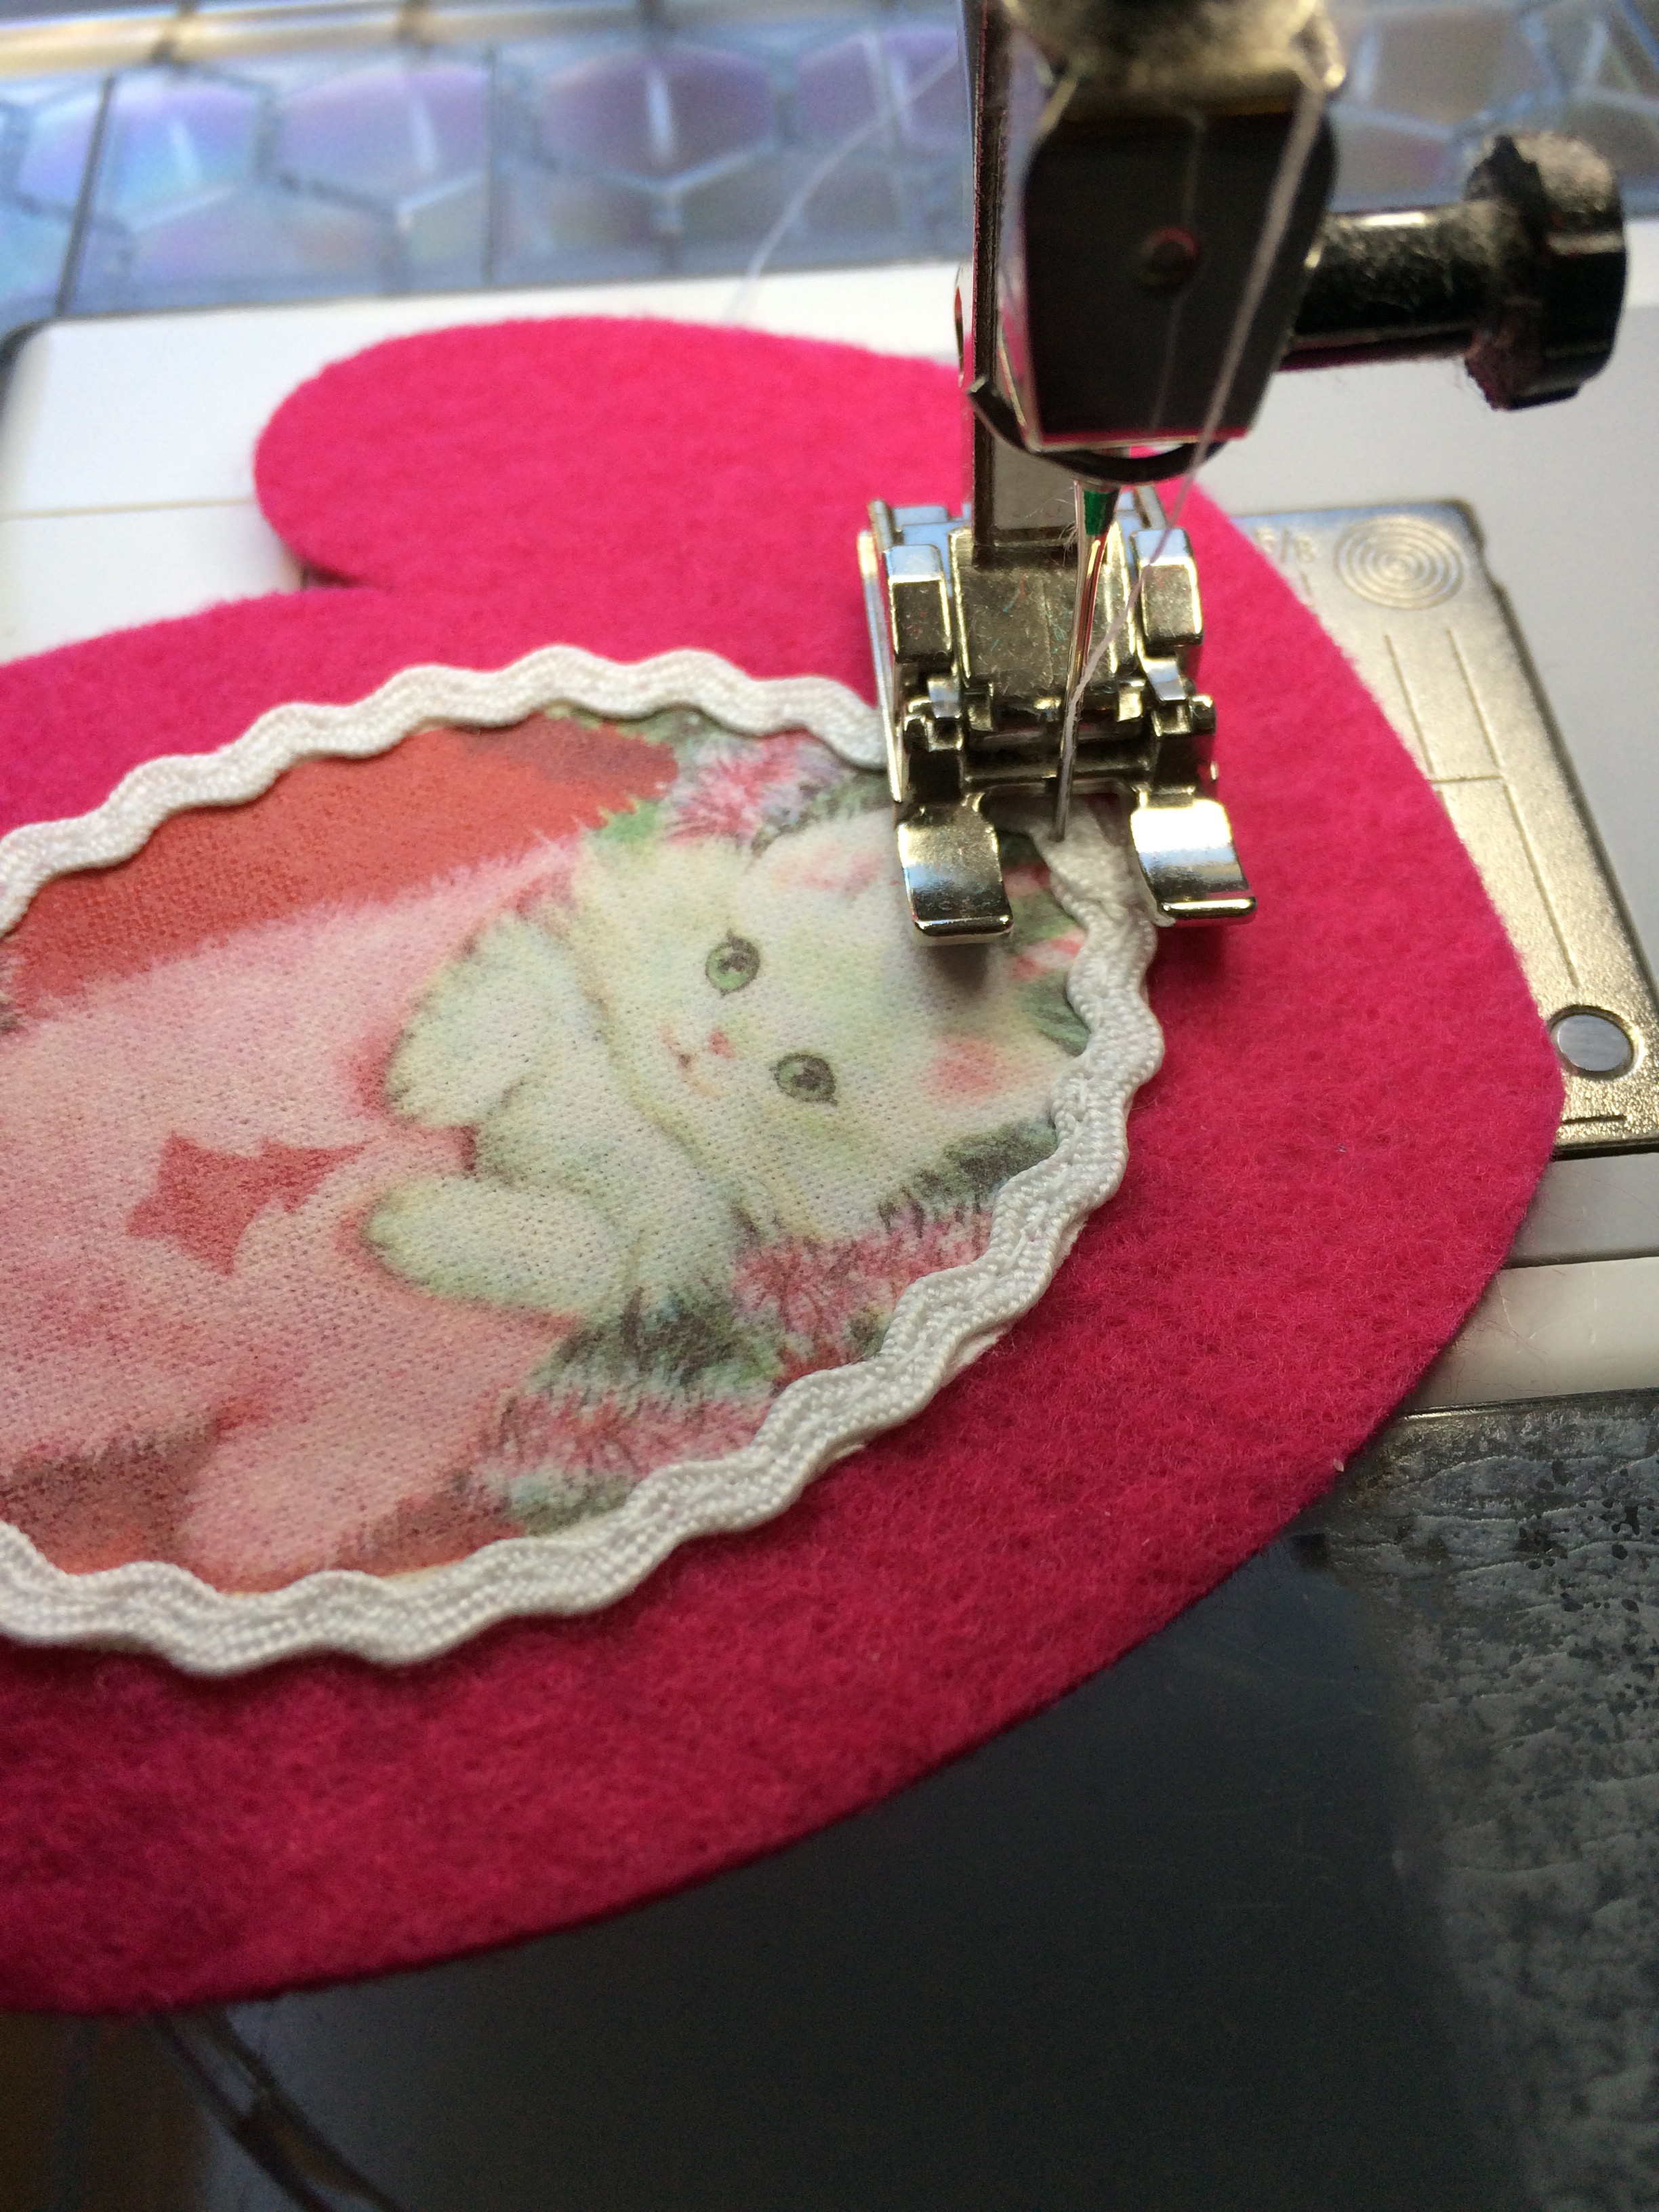
Cut a 2″ piece of twill tape and loop it through the key ring. Using a zig zag stitch, stitch all the way around the circle, catching the edge of the twill tape.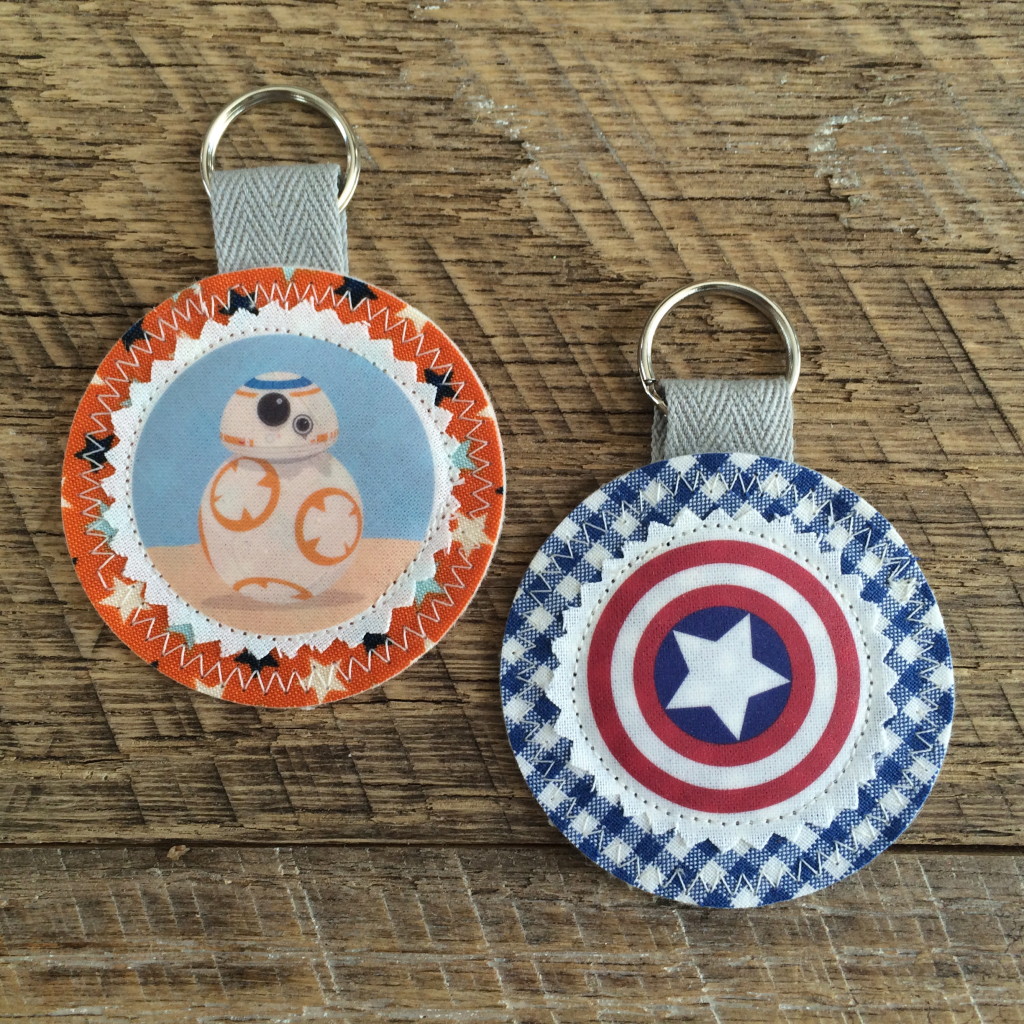
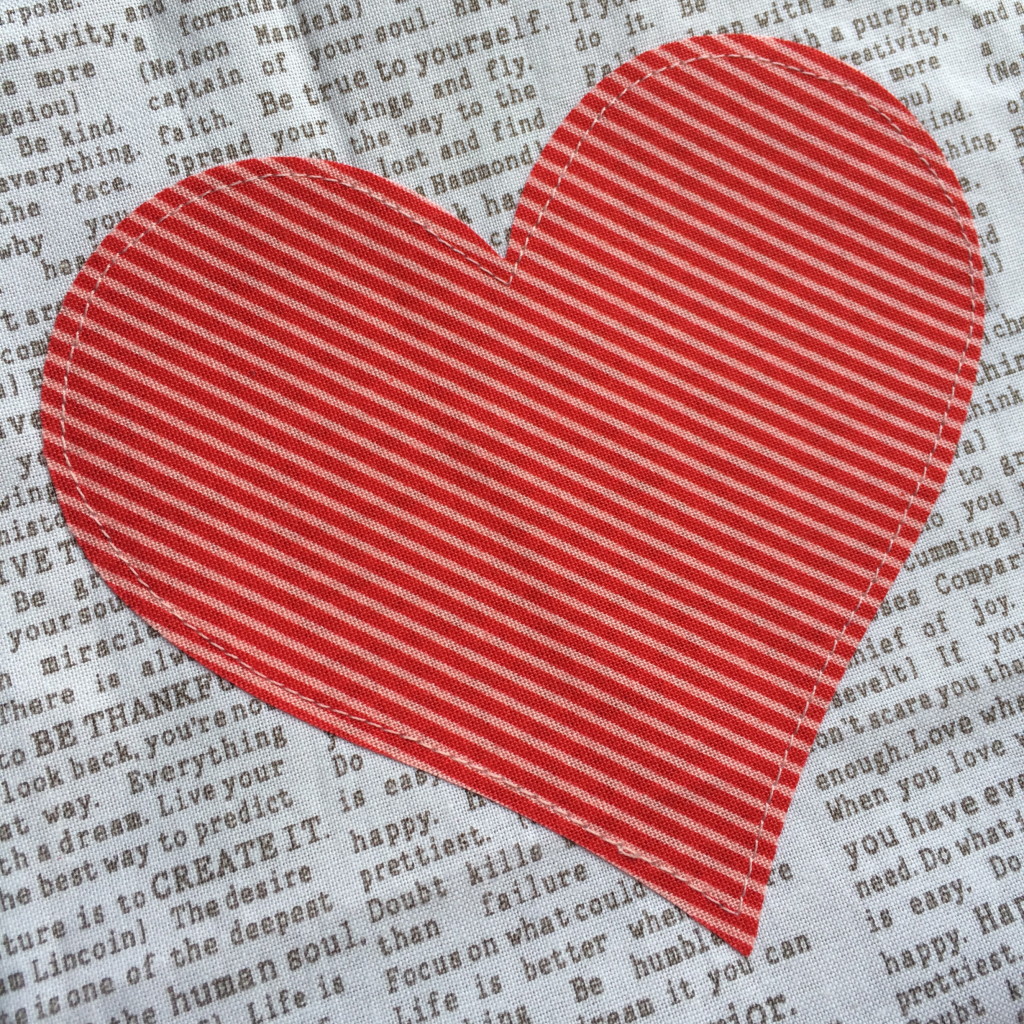
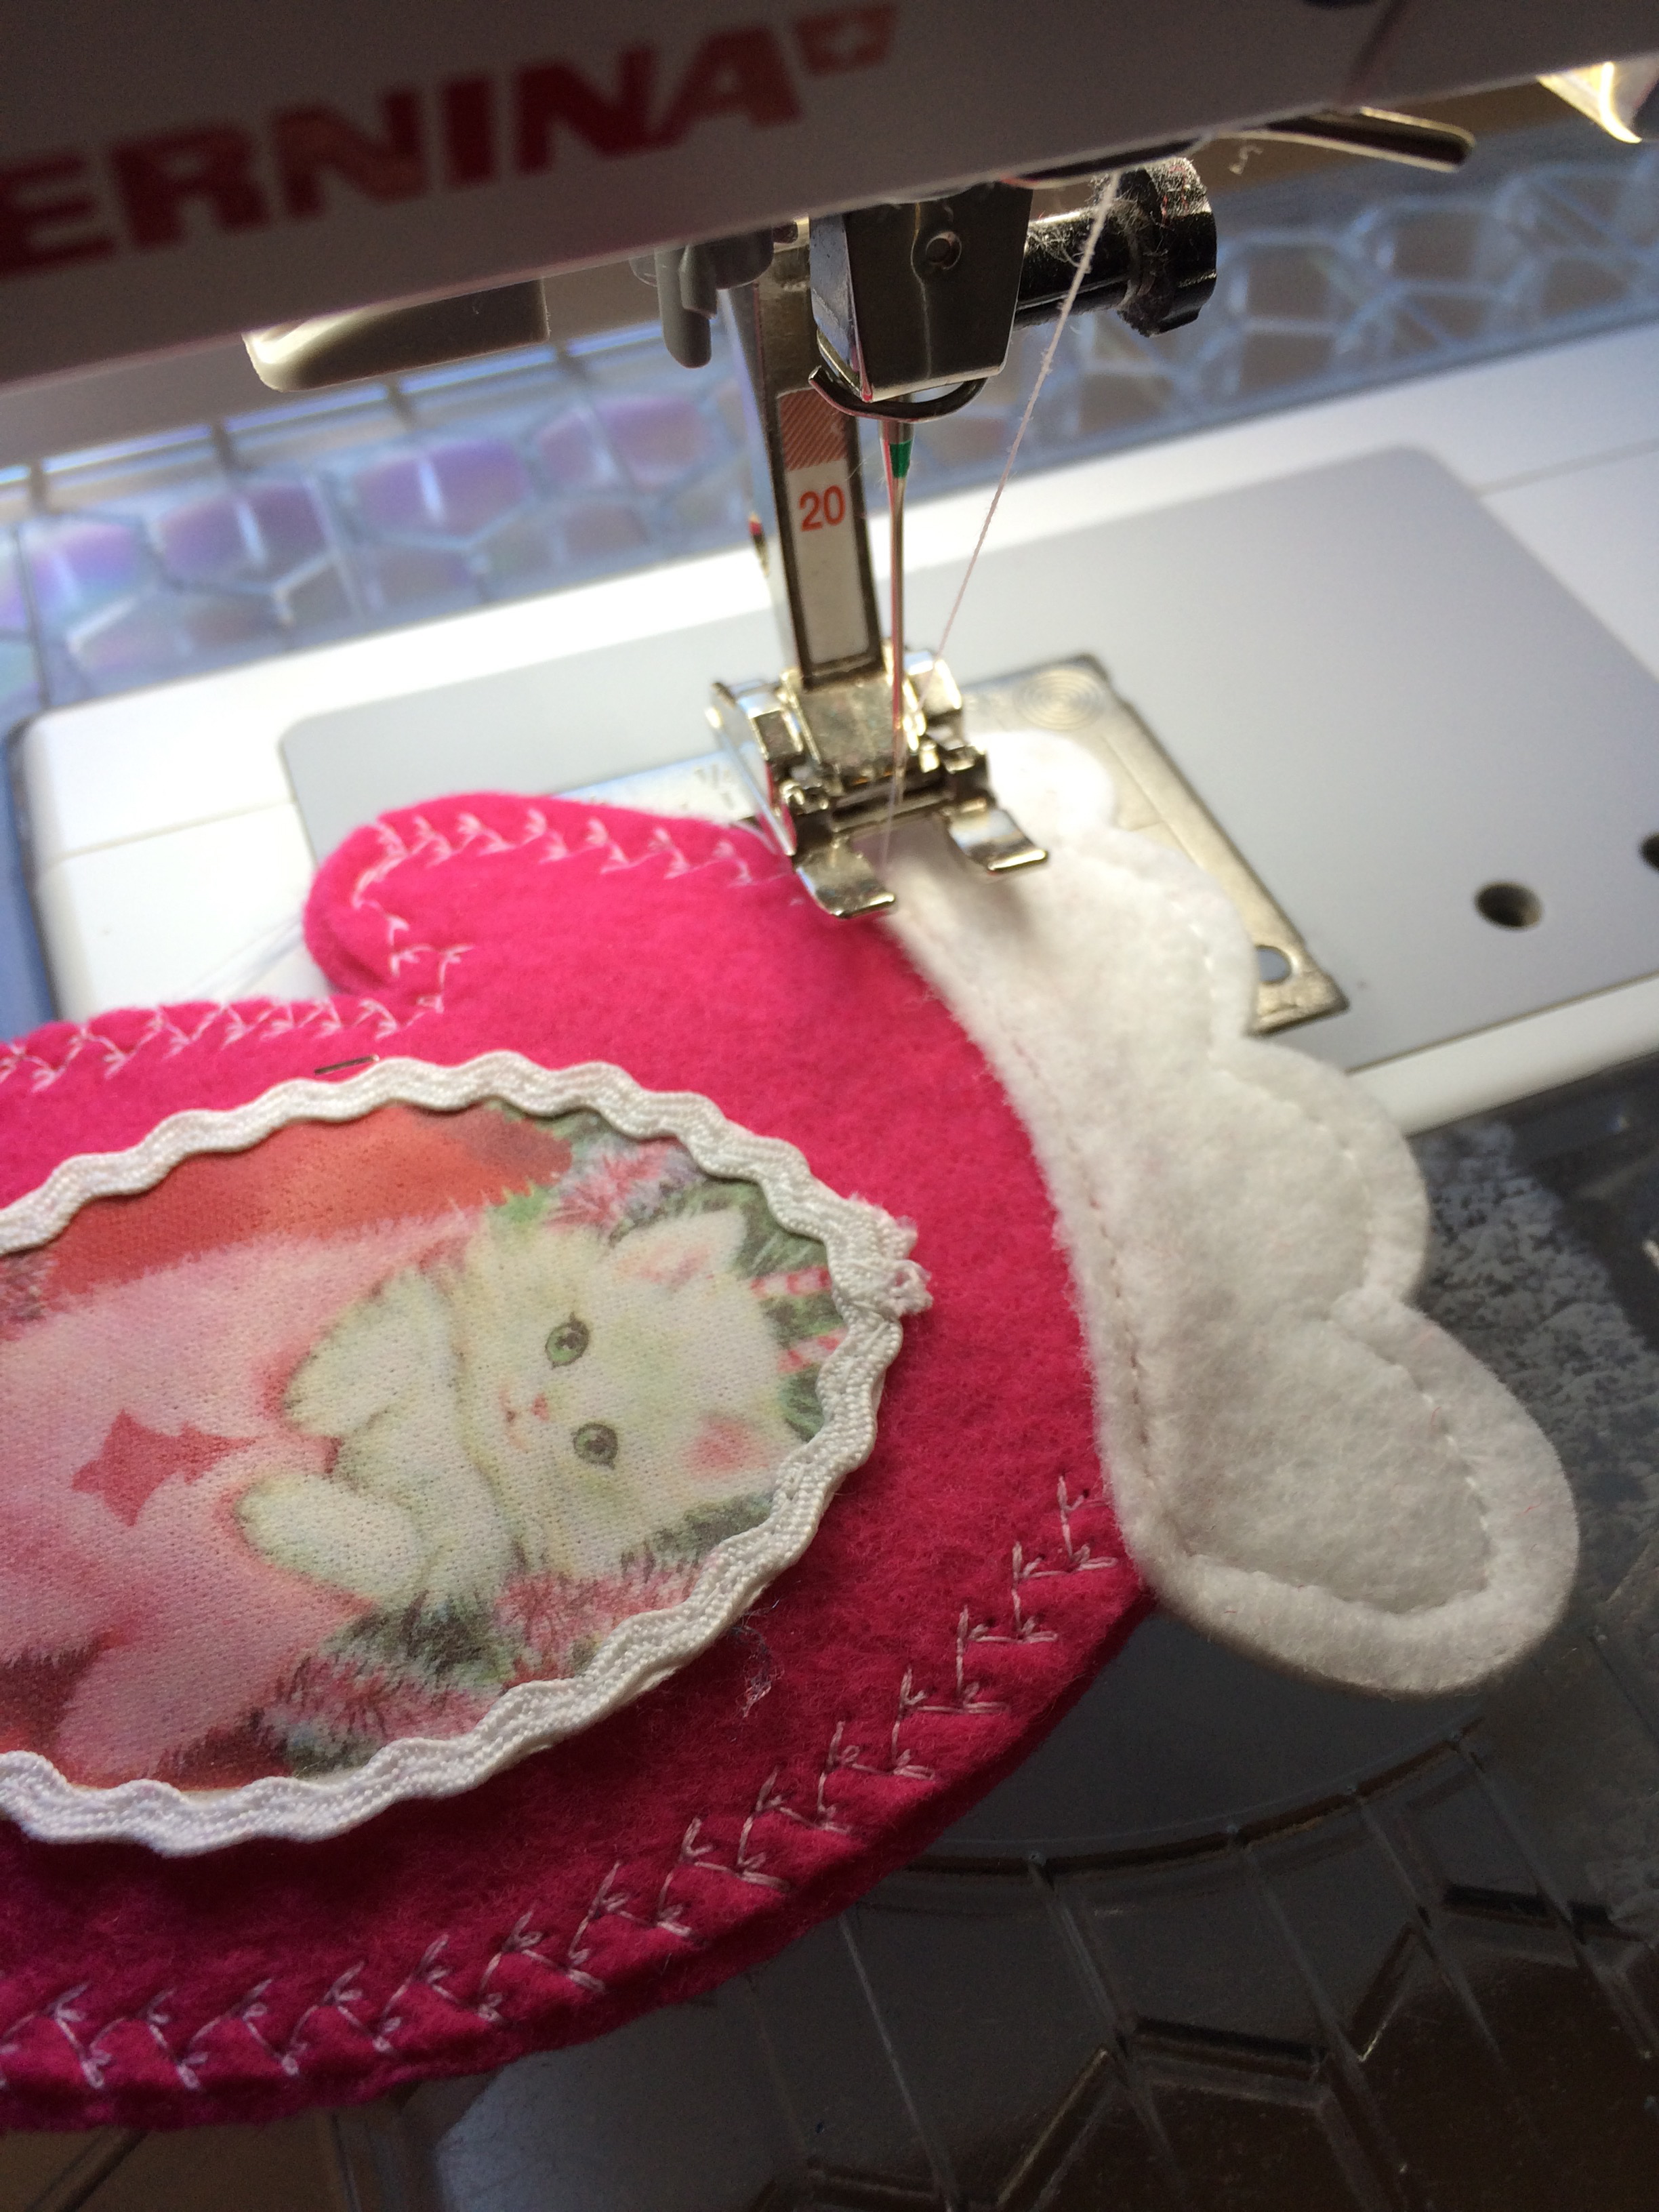
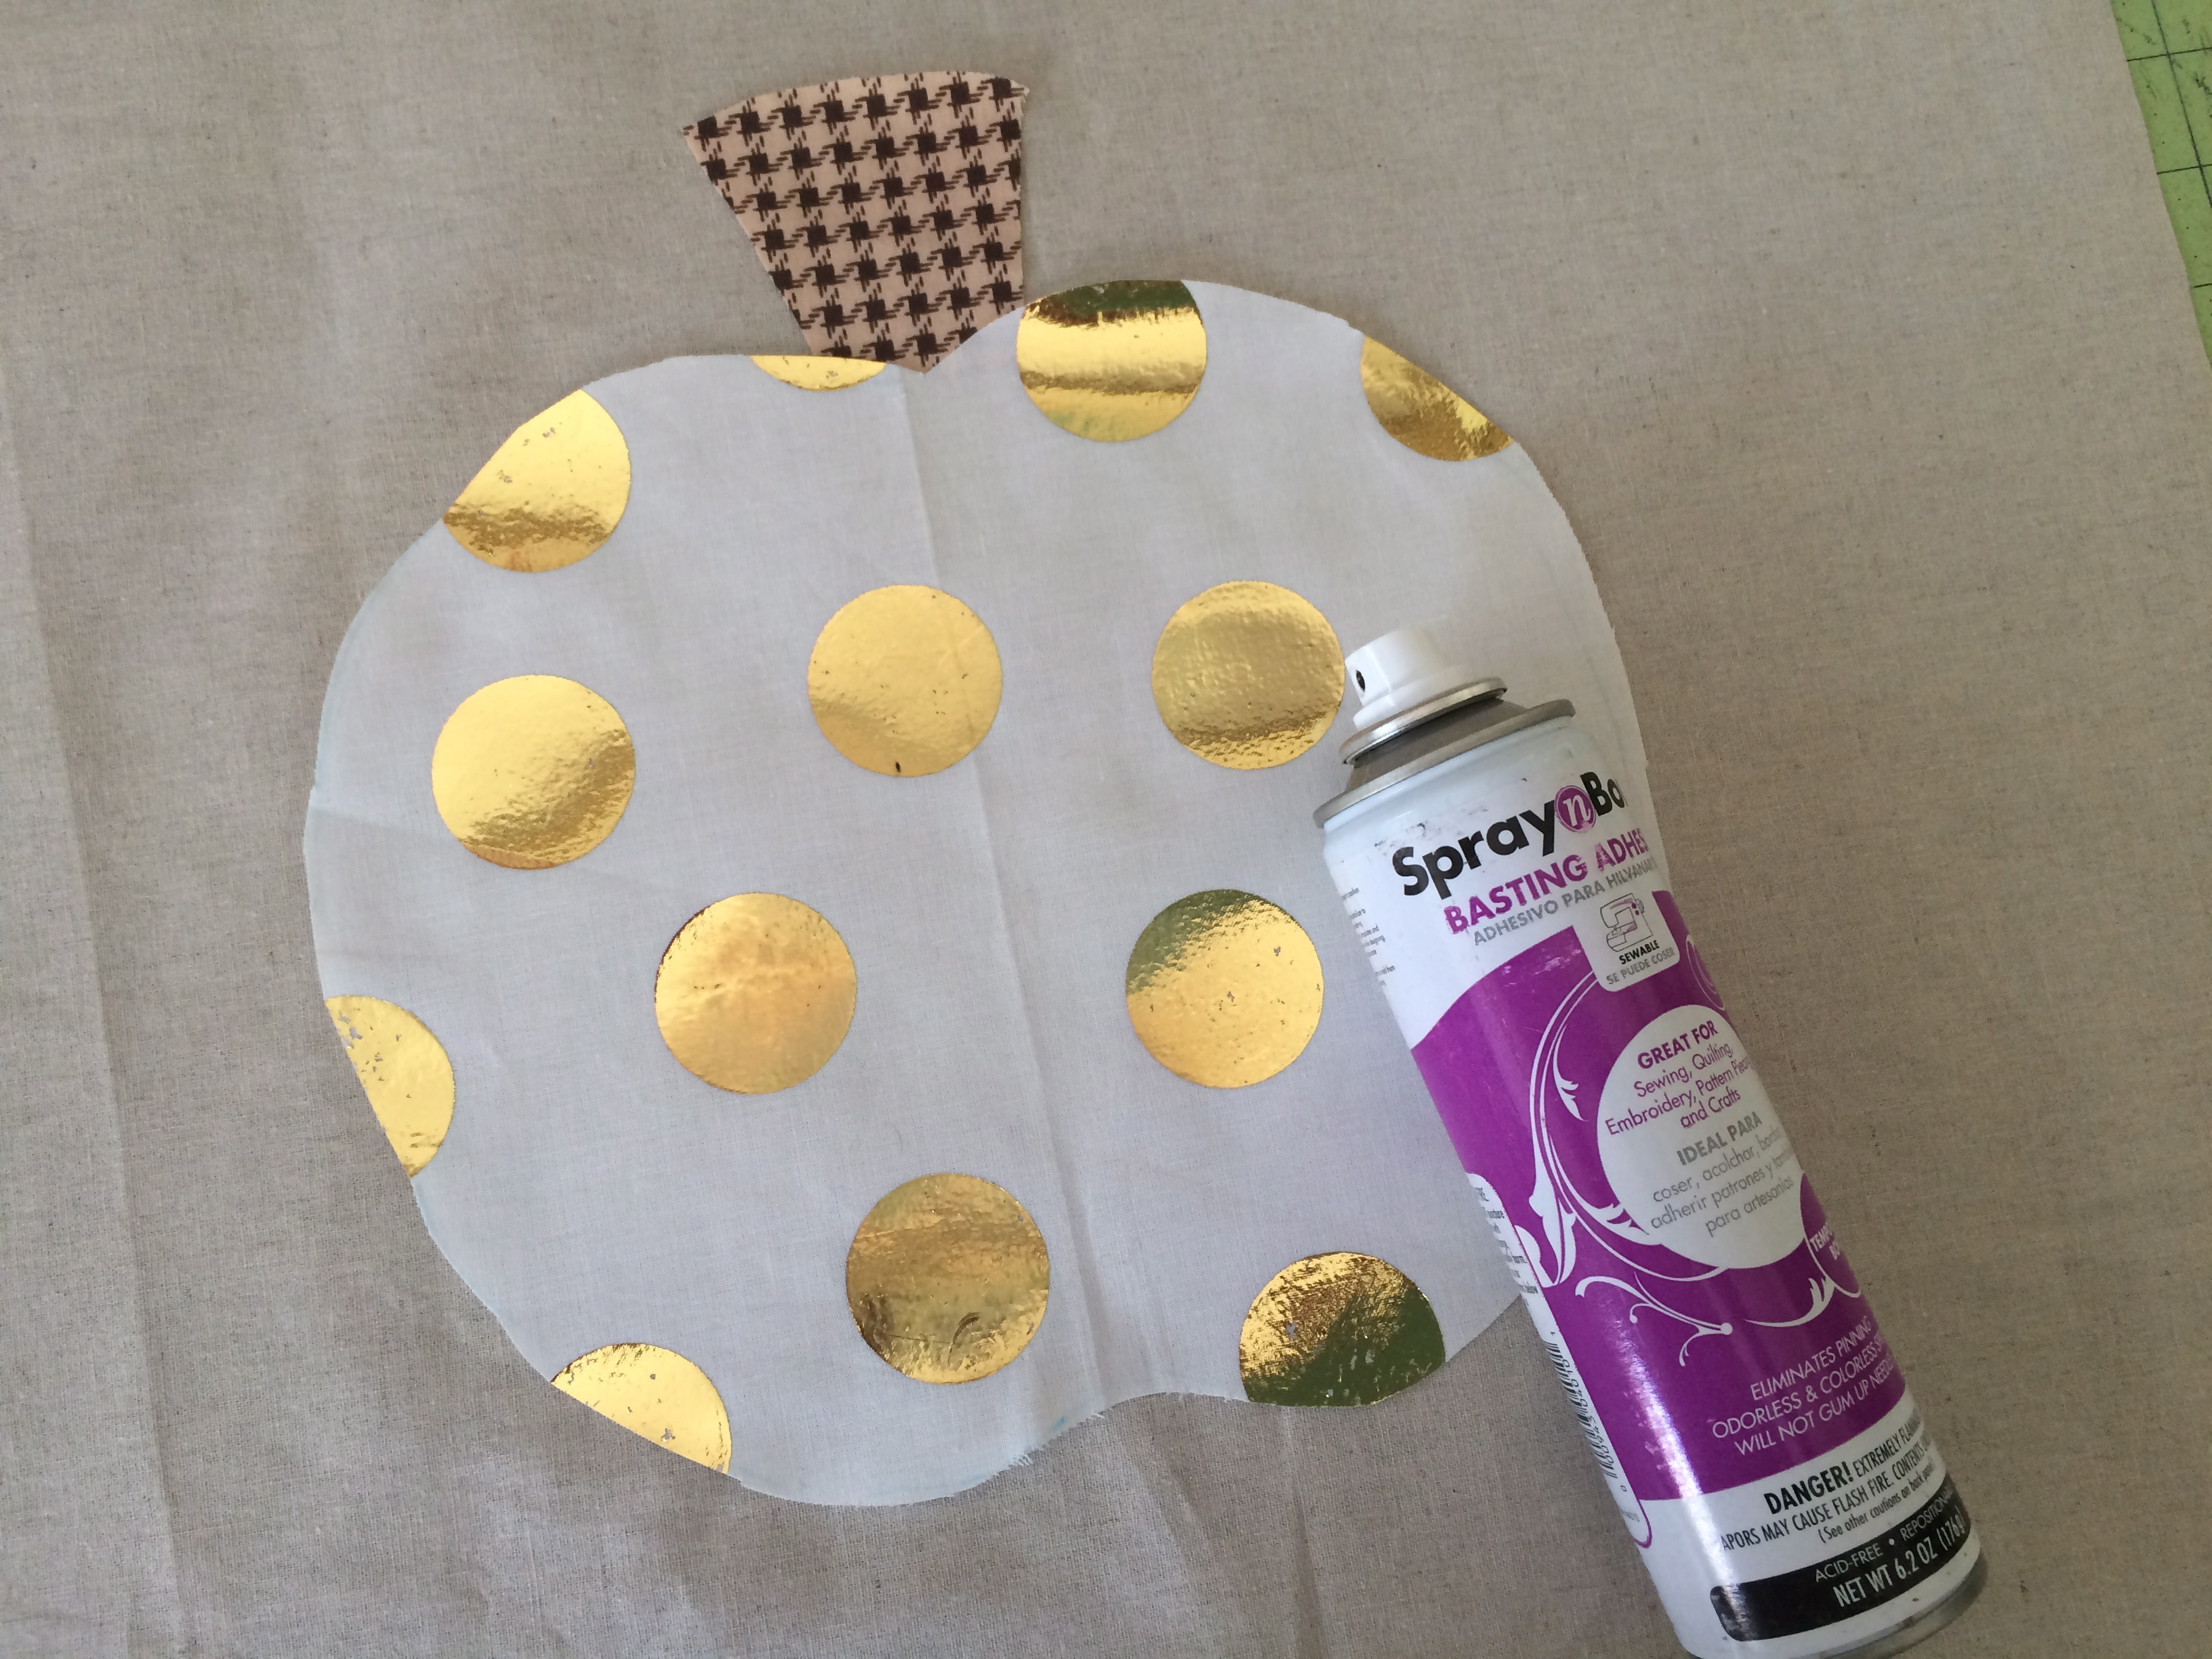
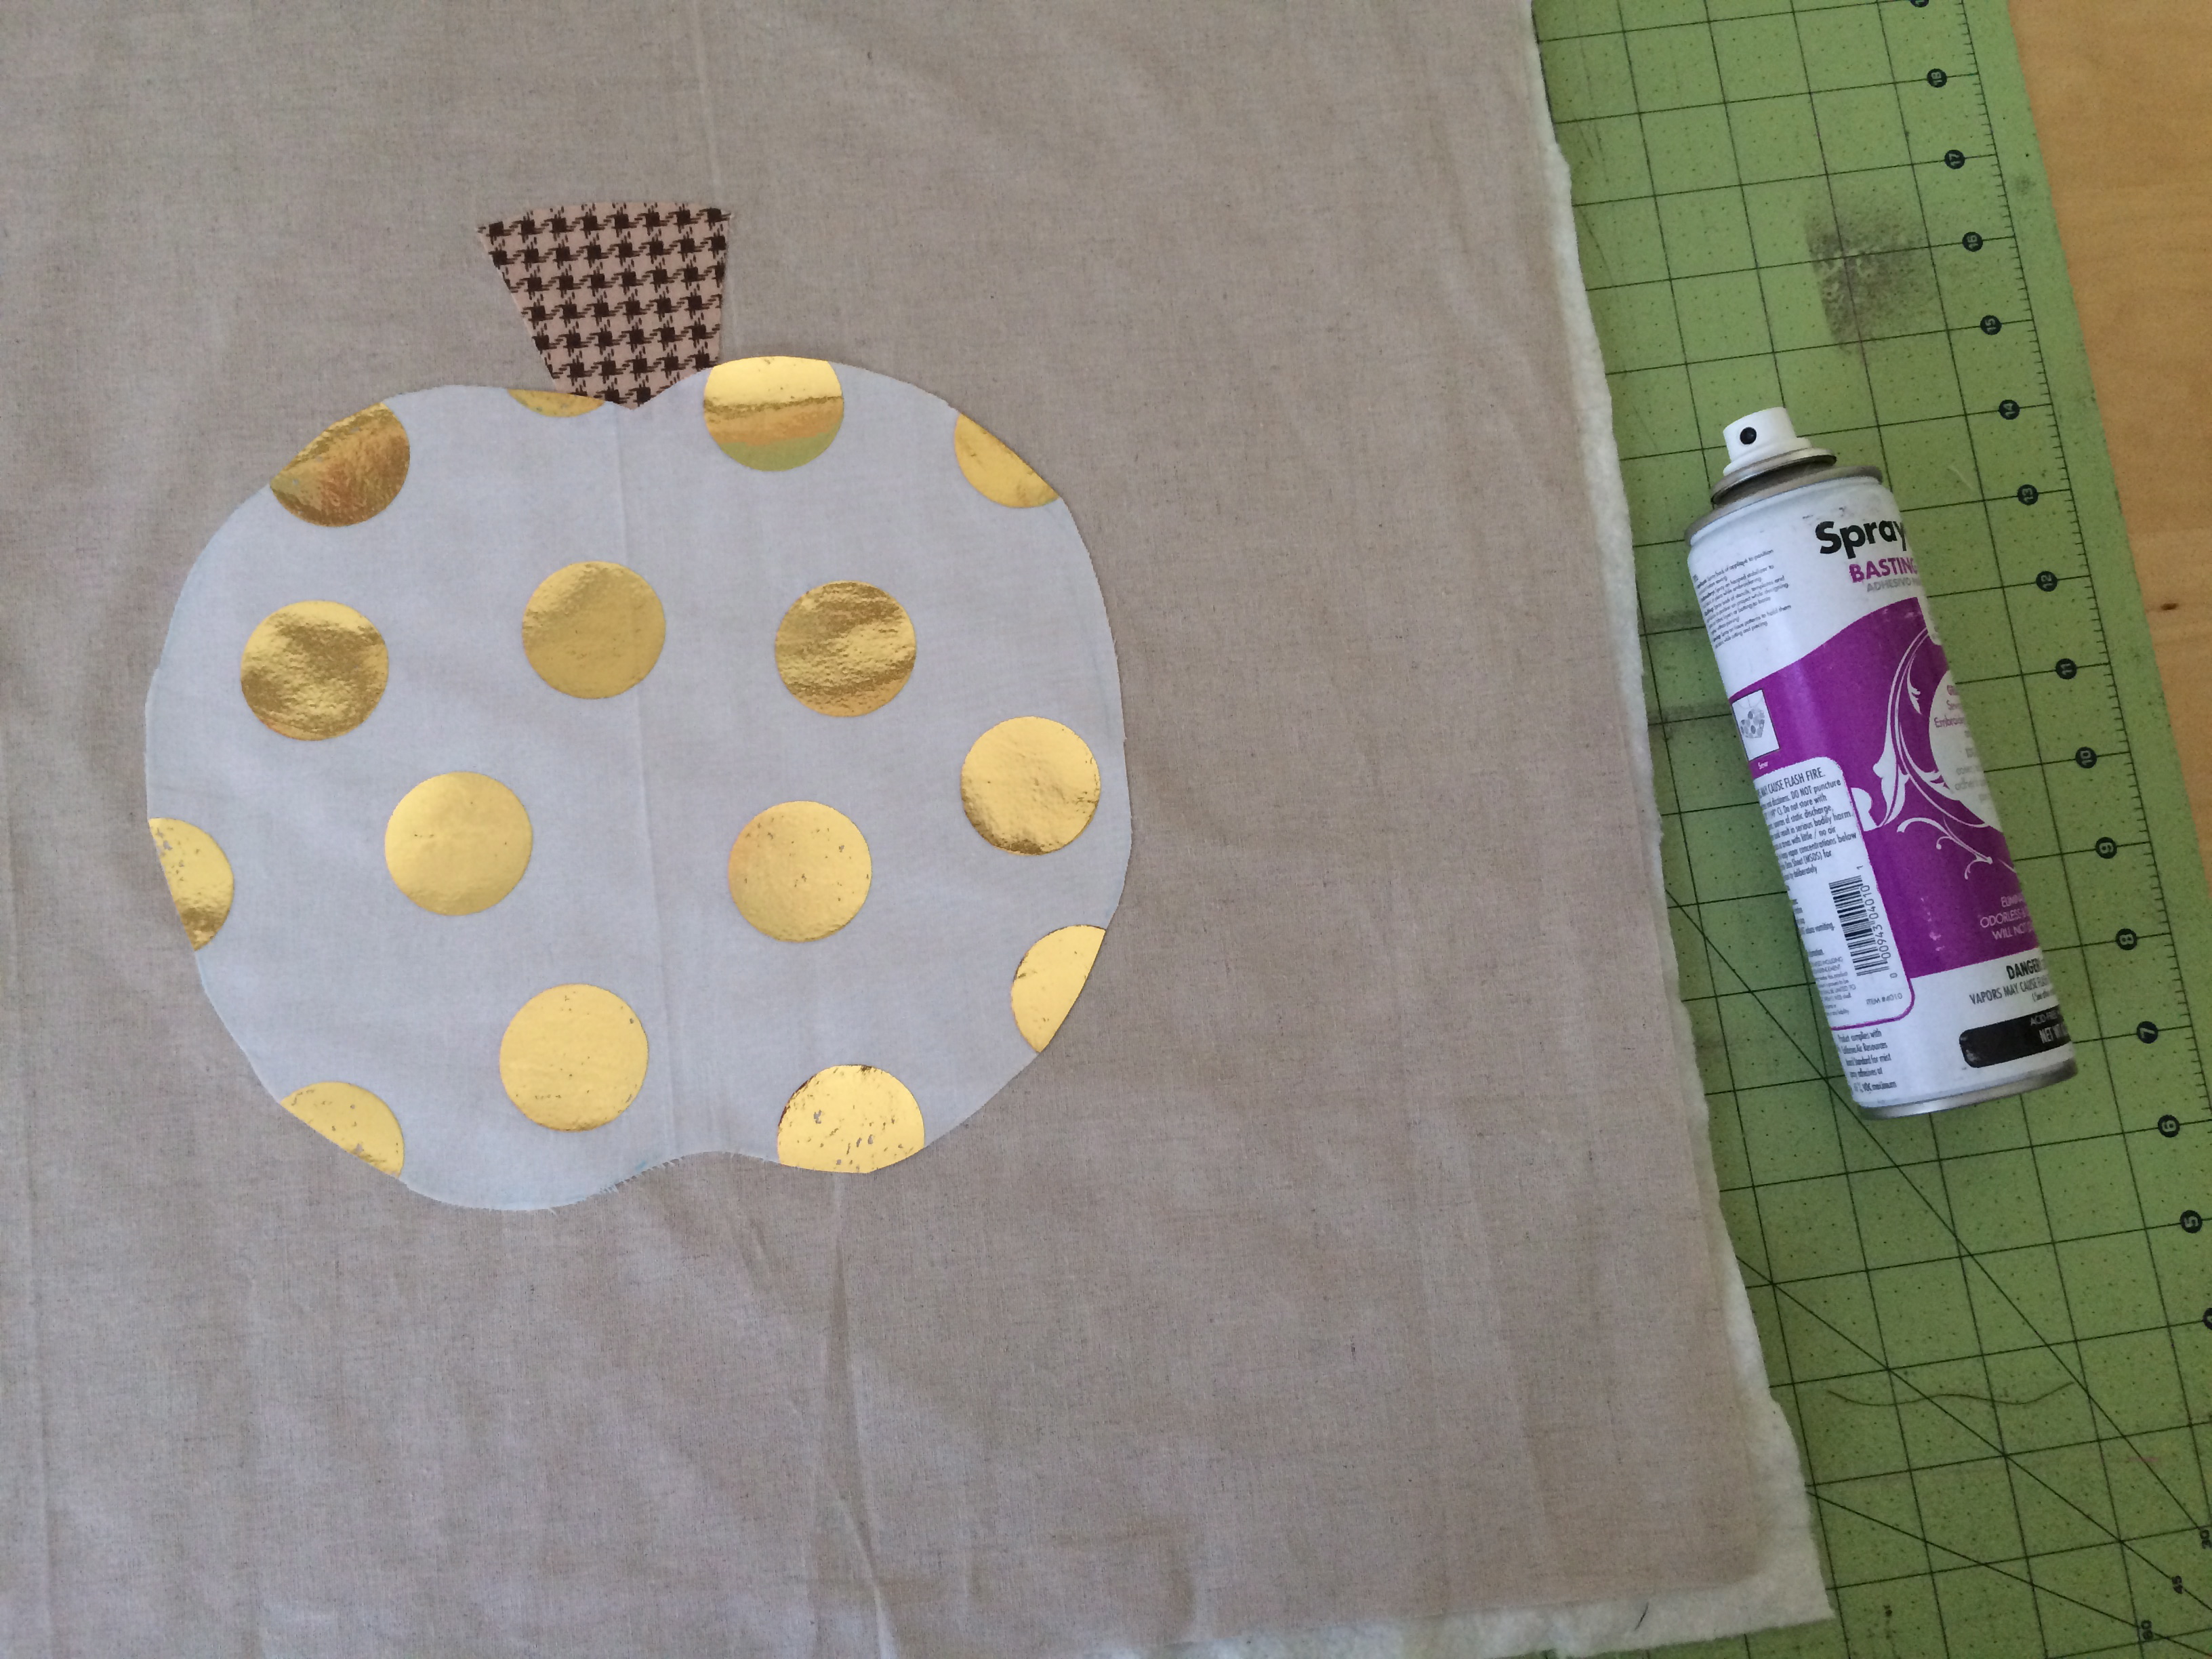
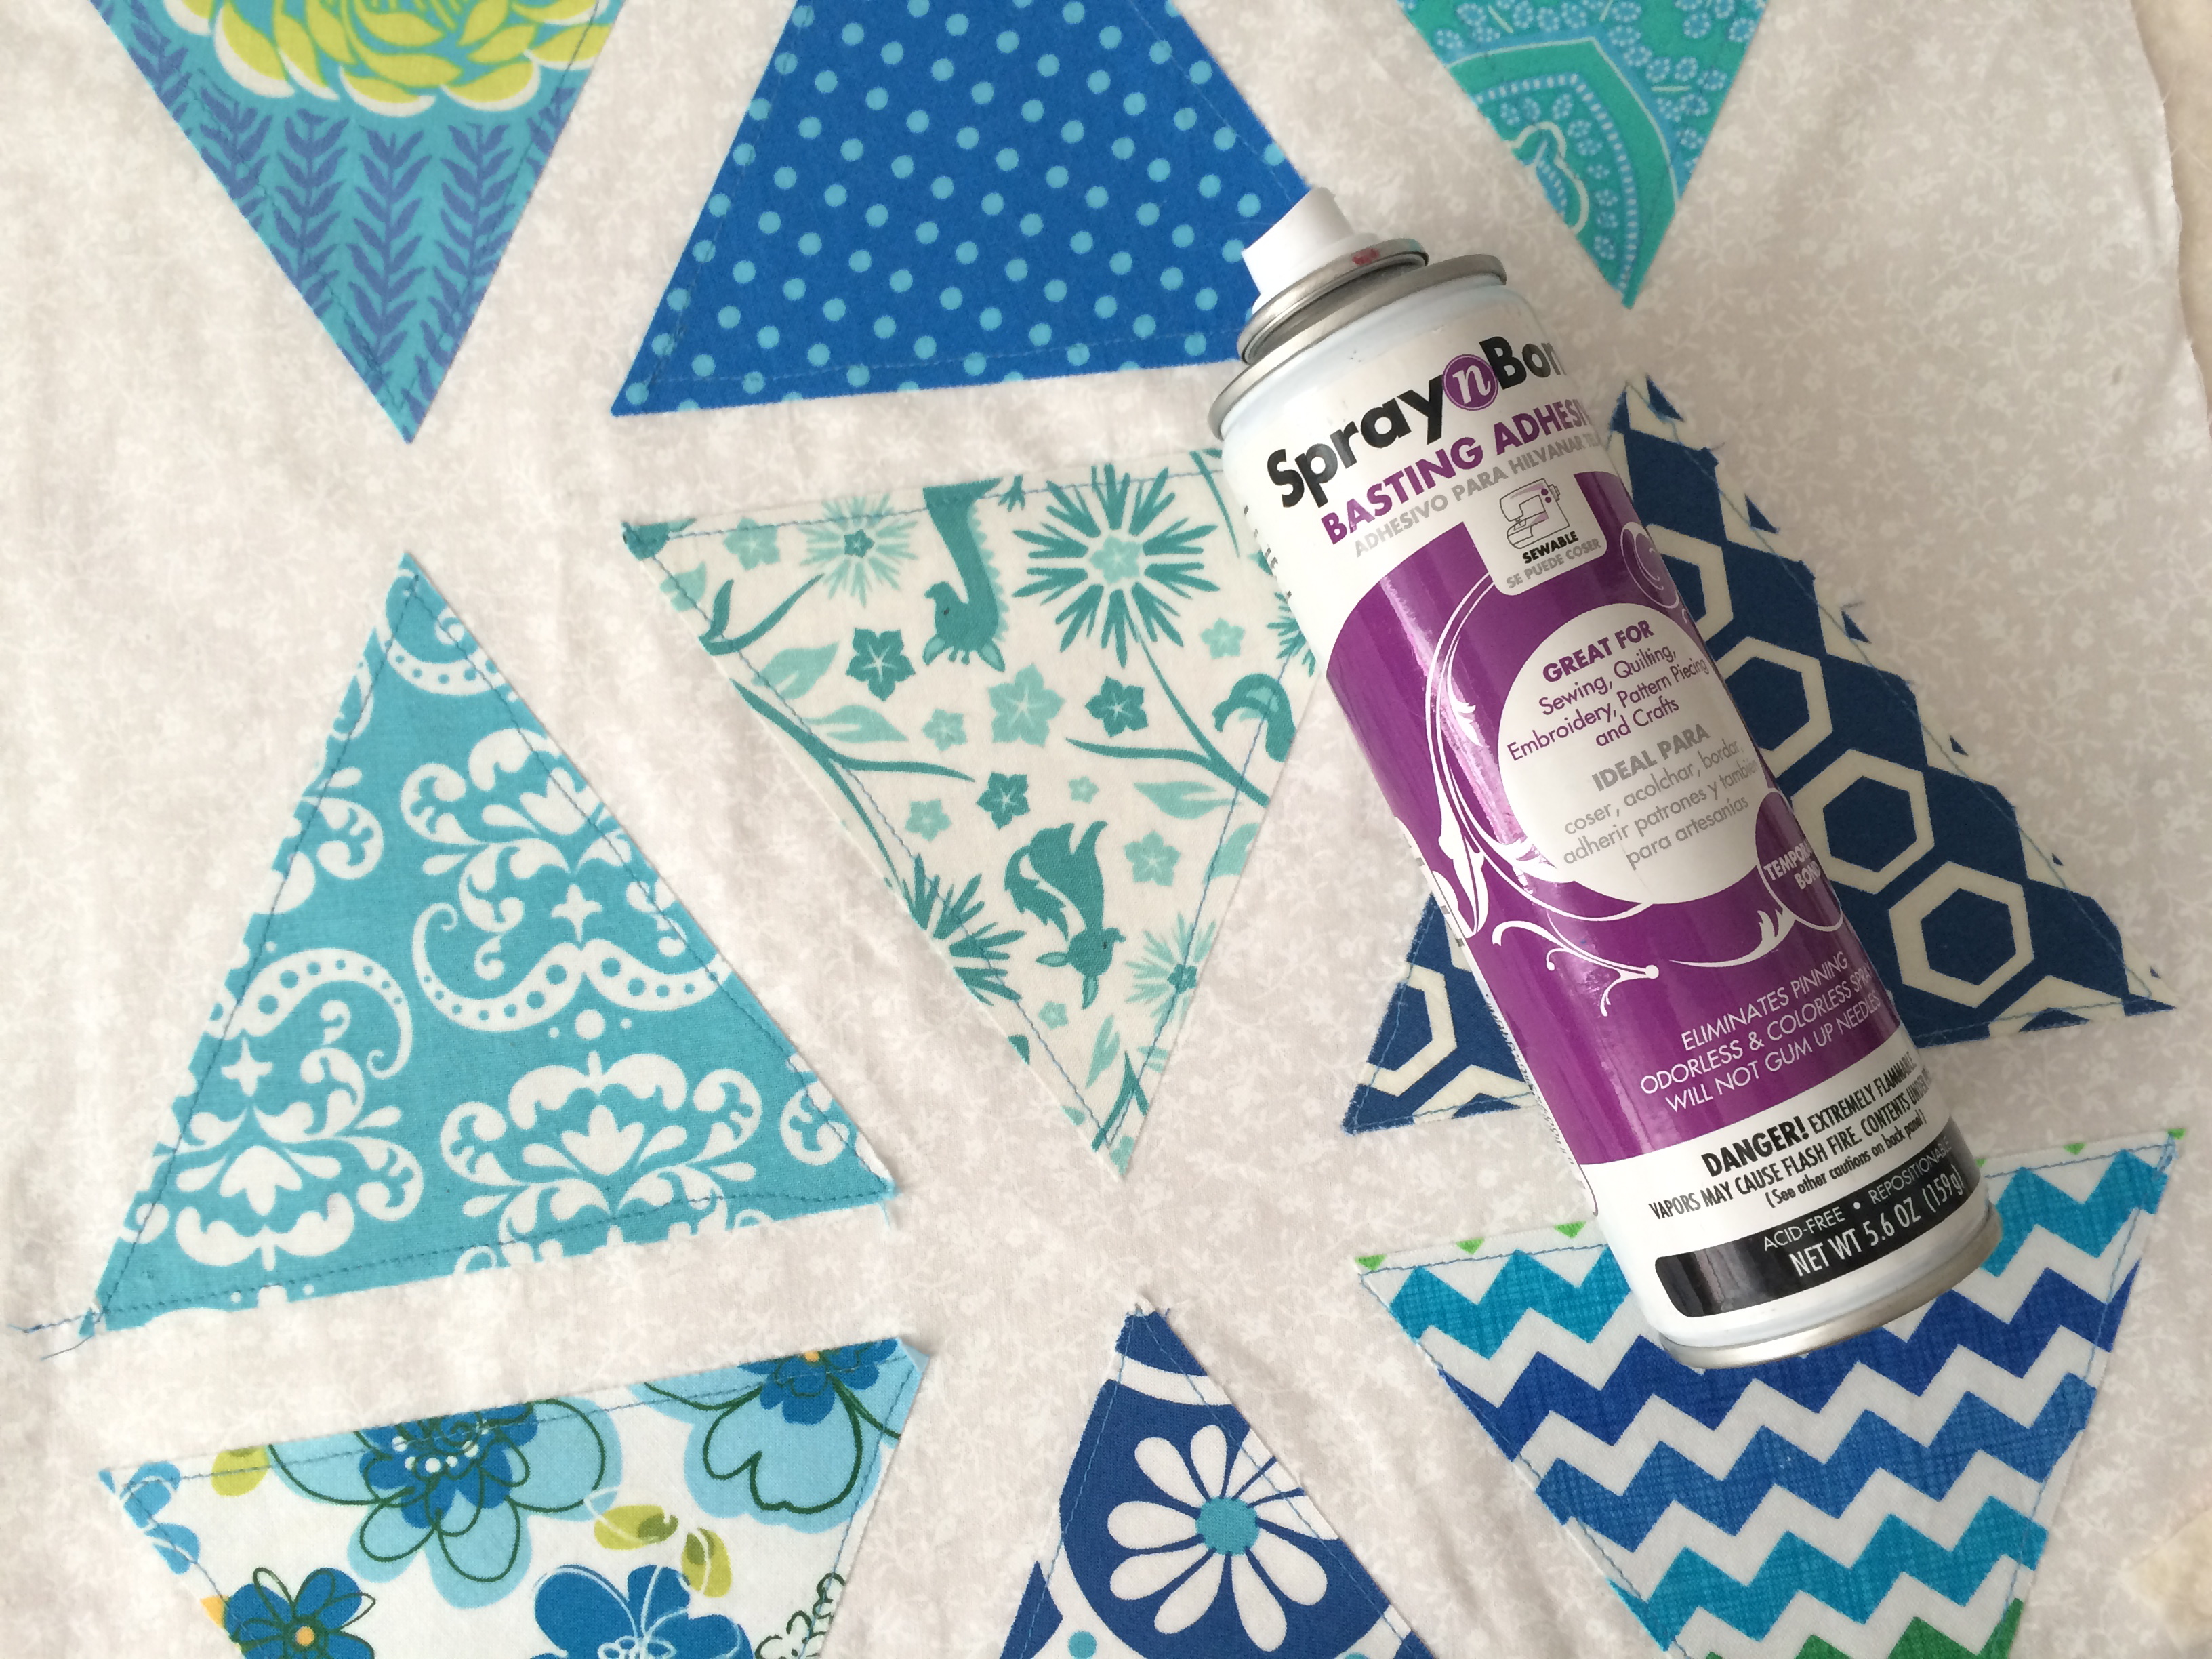
Turn the keychain over so the raw edge of the twill tape is on the back. Position the image on the front (add a little Spray n Bond basting spray so it doesn’t move) and straight stitch around the image.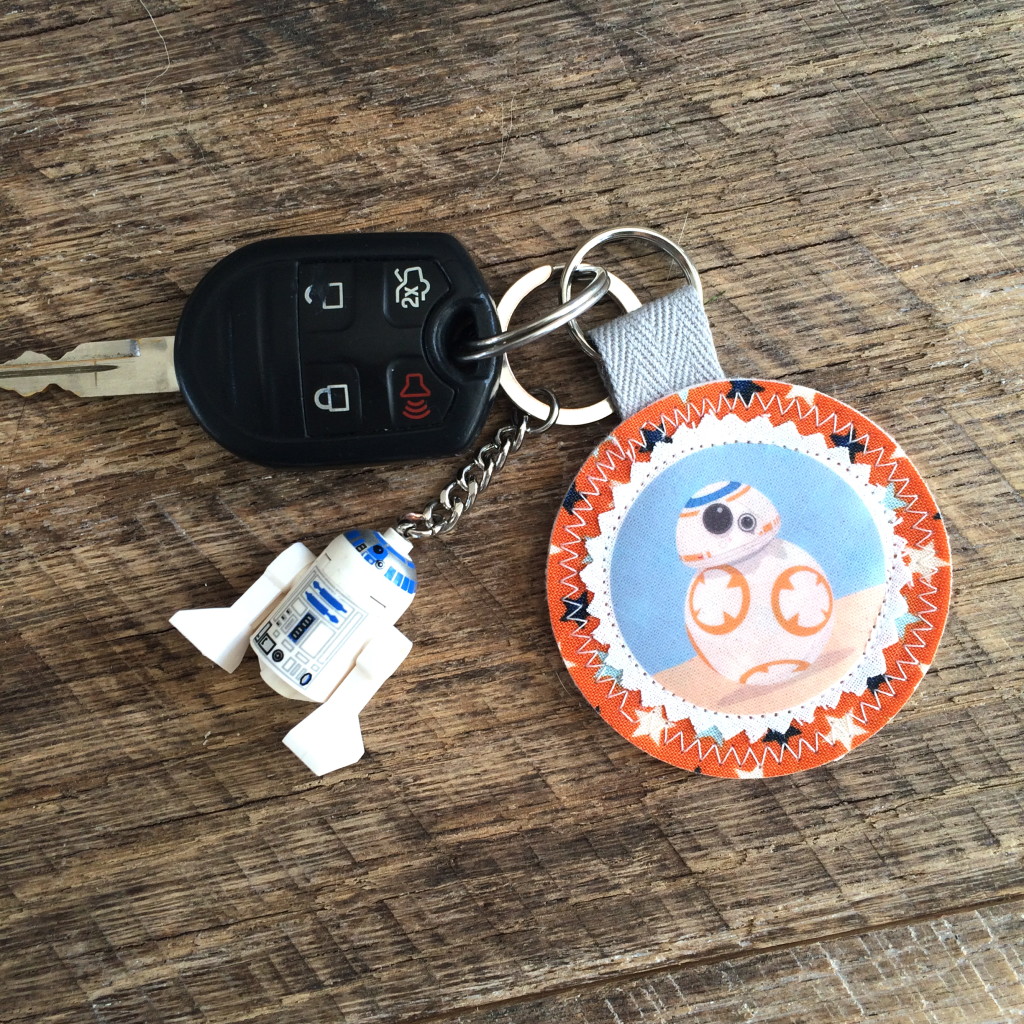
These make great little gifts and they are fun for kids to help with!
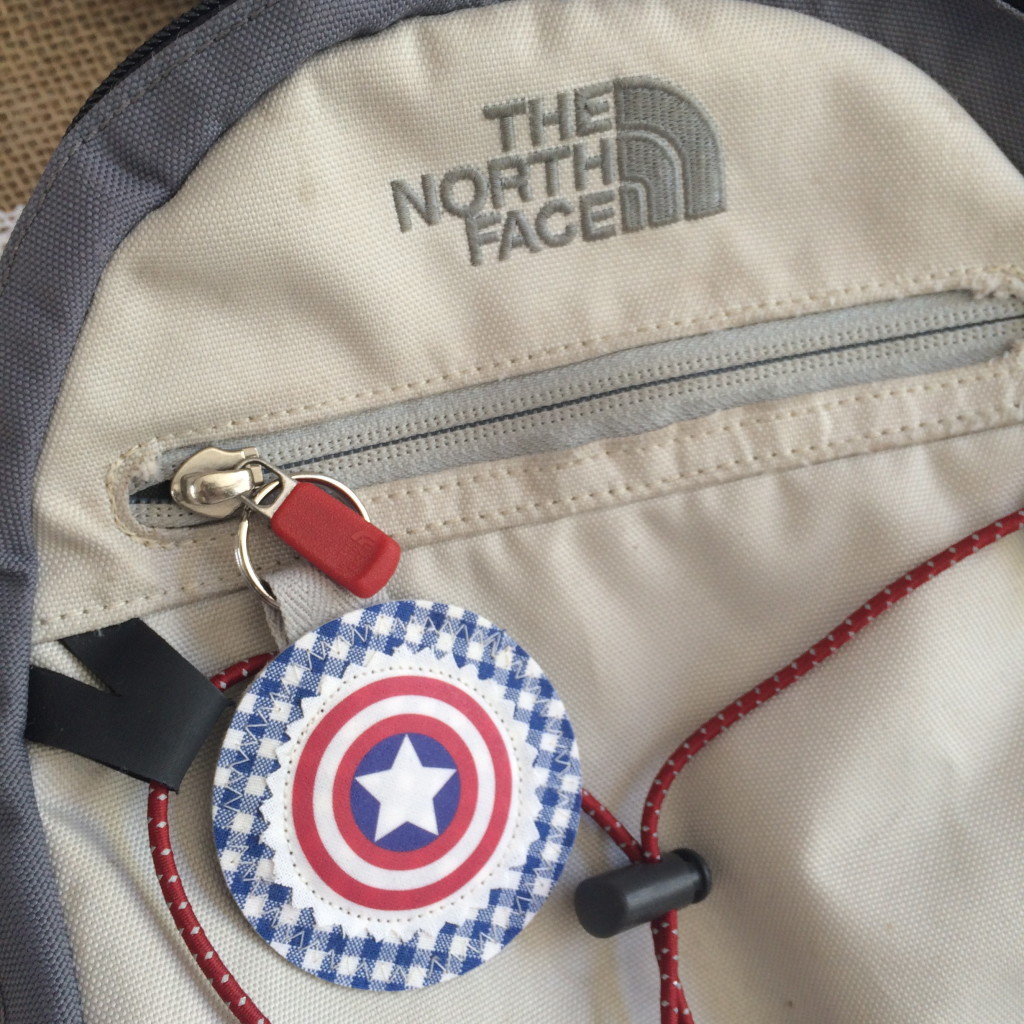 They also make great zipper pulls for back packs!!
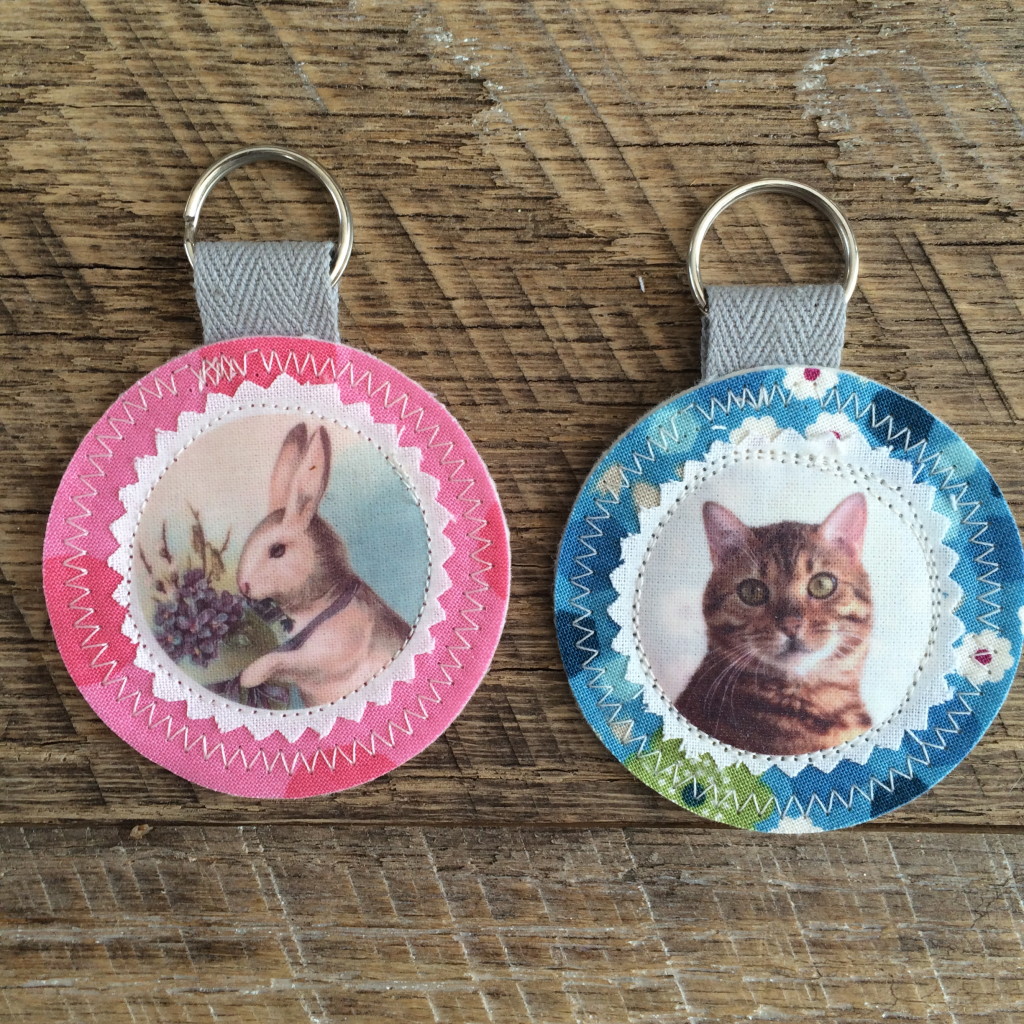
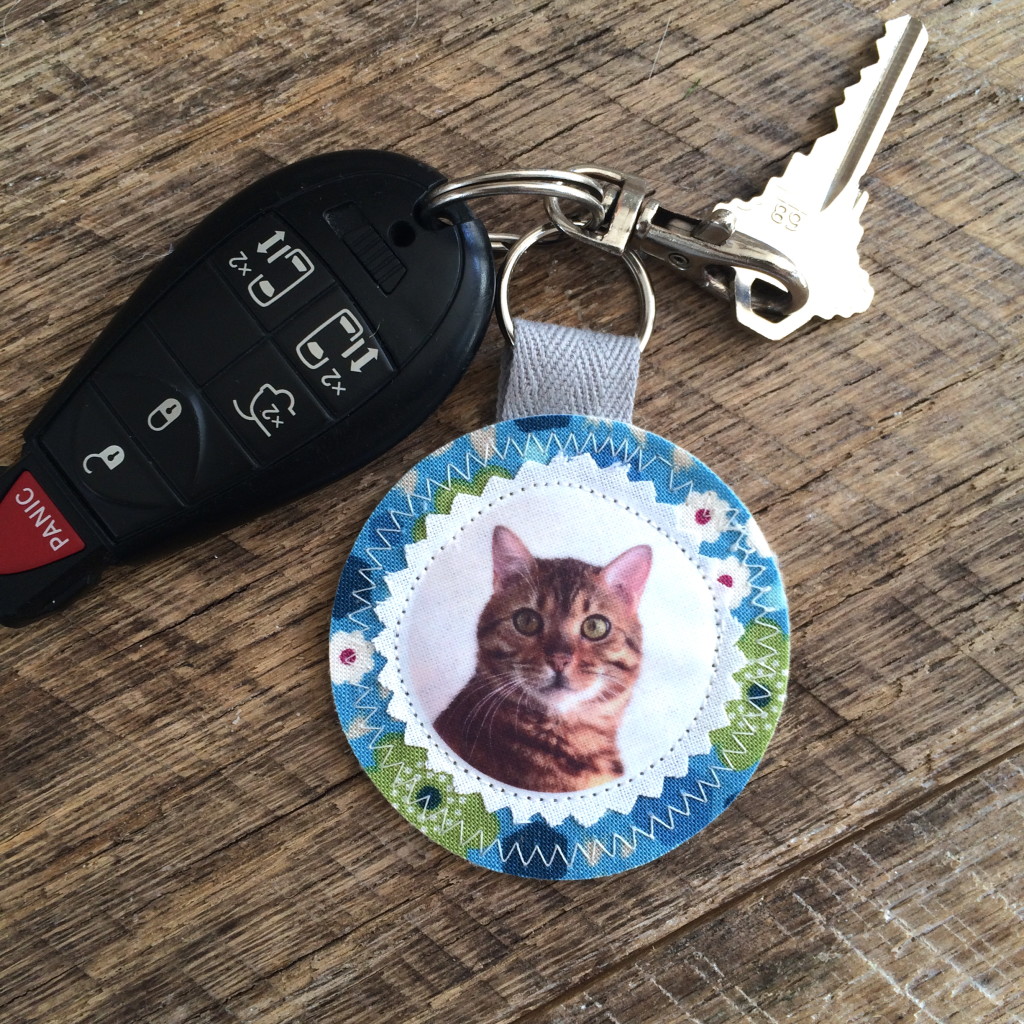
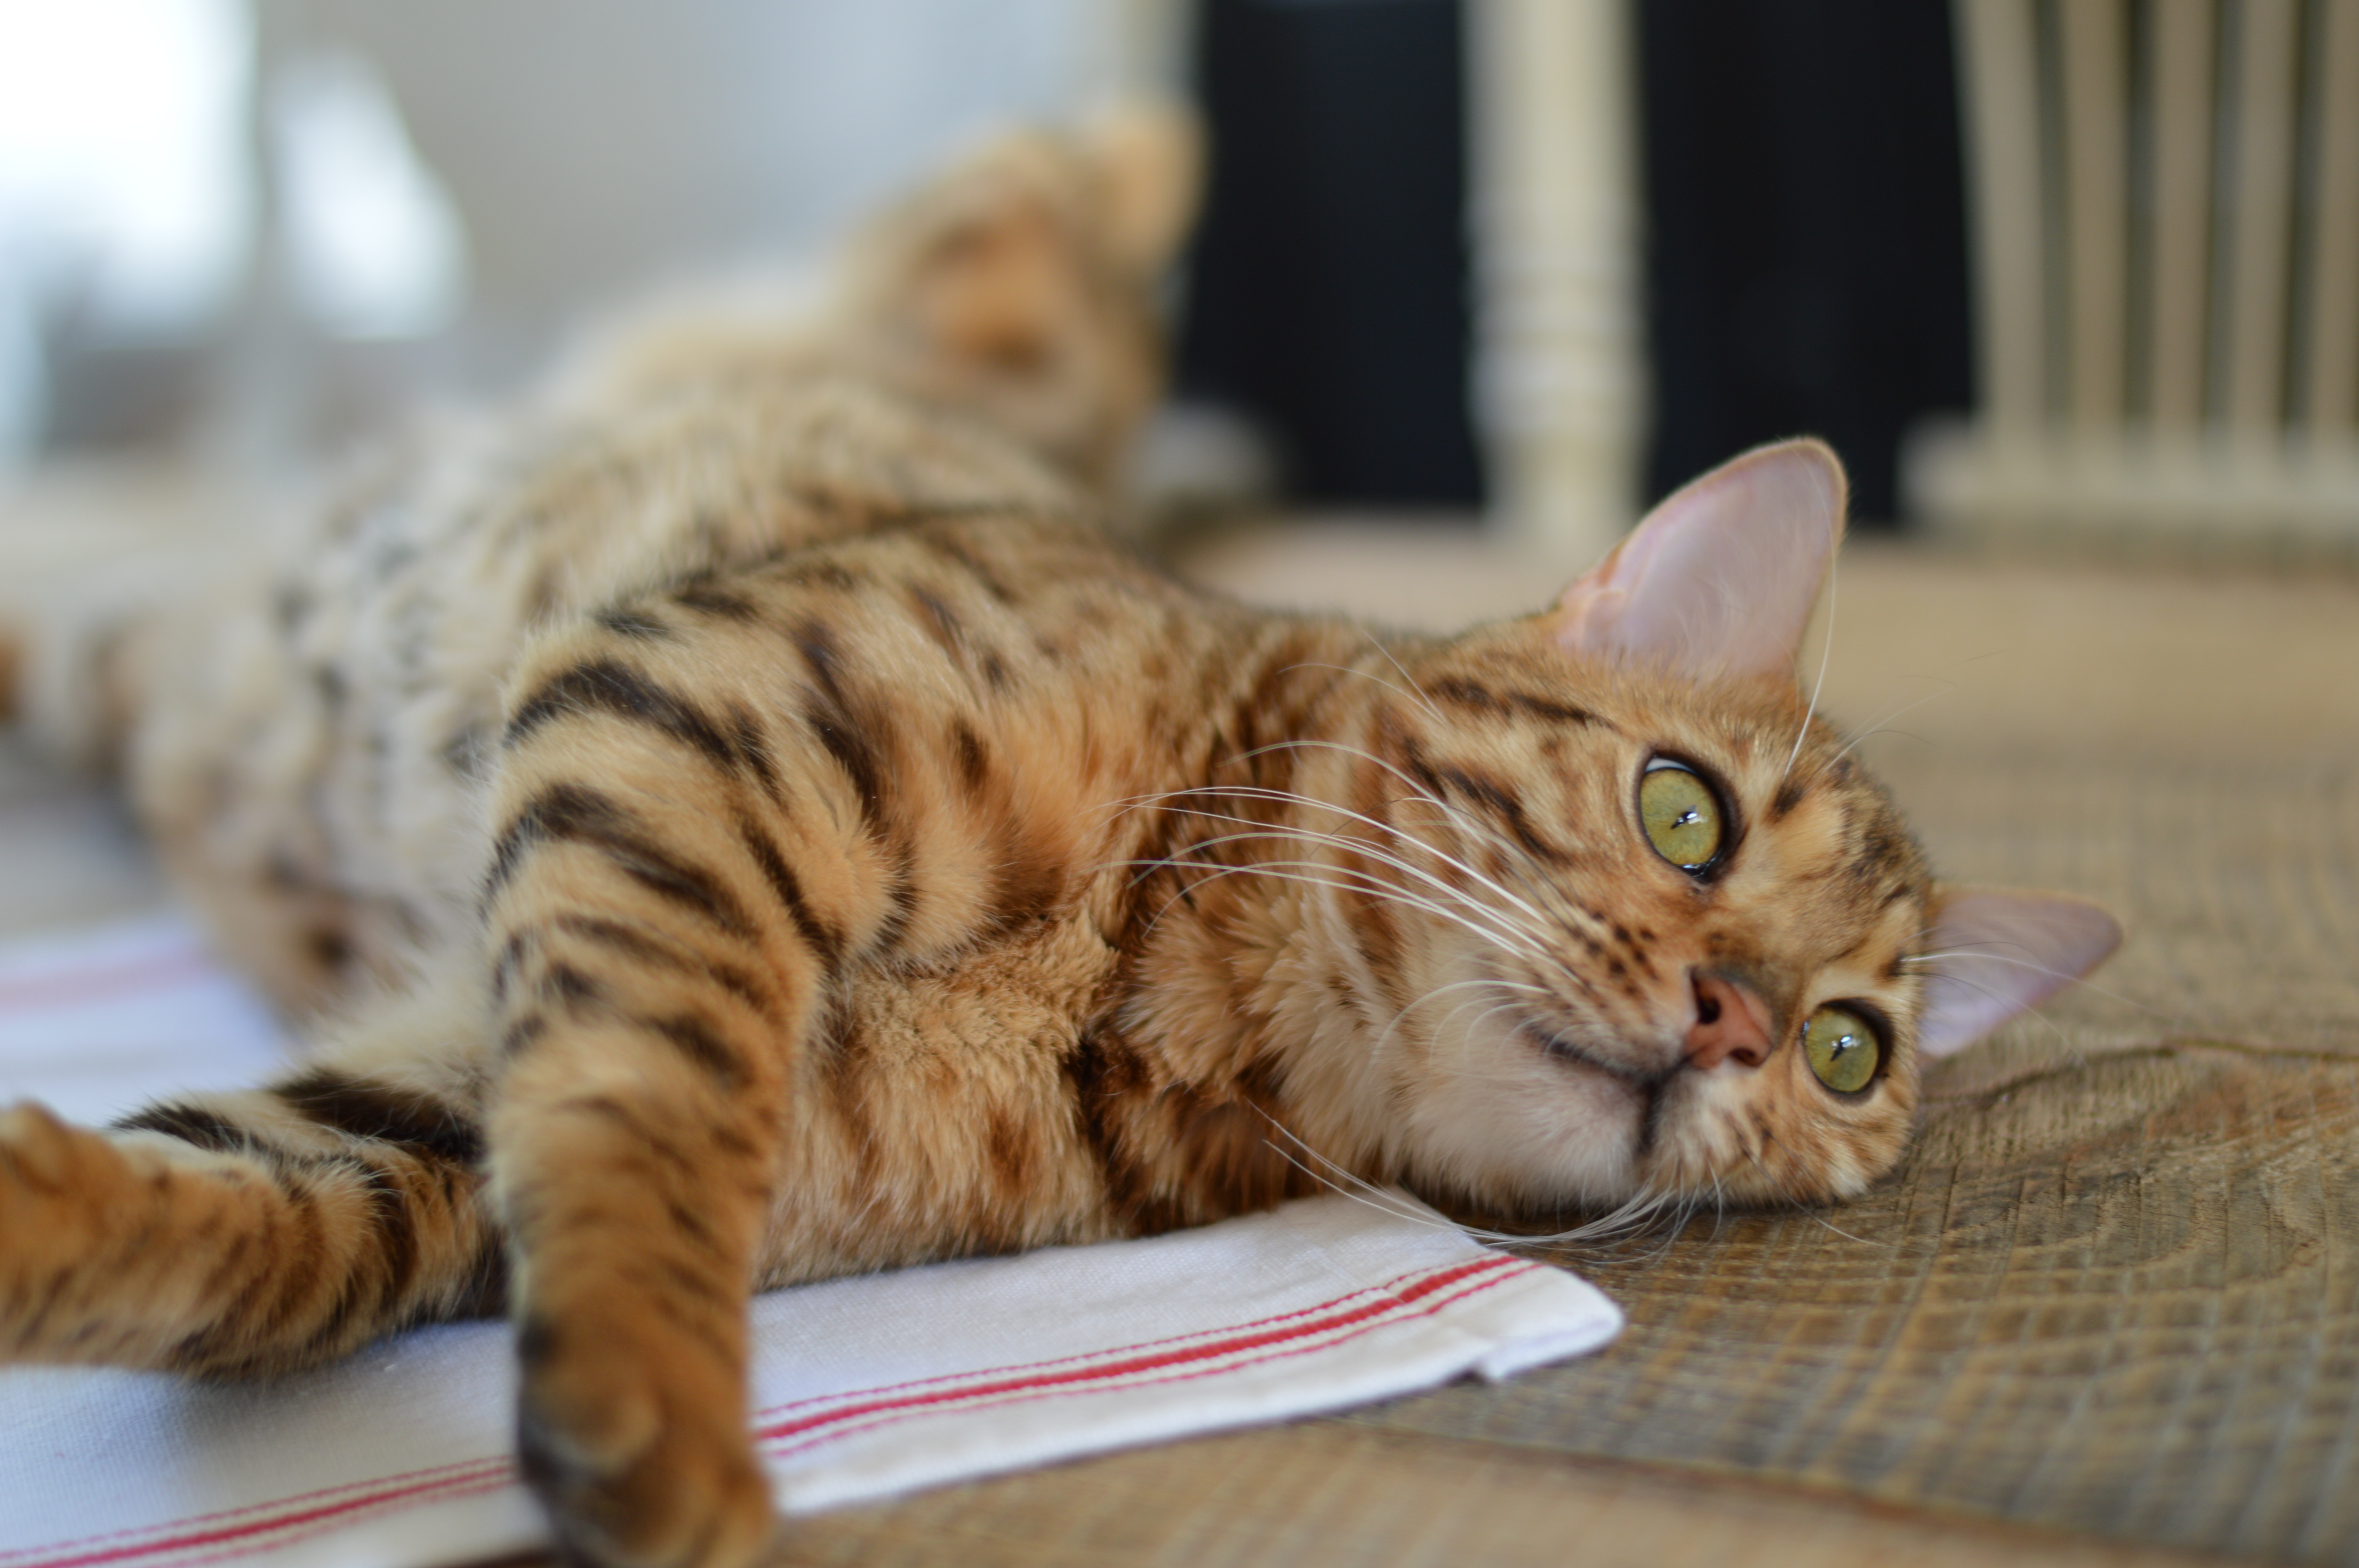
And who doesn’t love having their pet on their key ring!
 The
The 
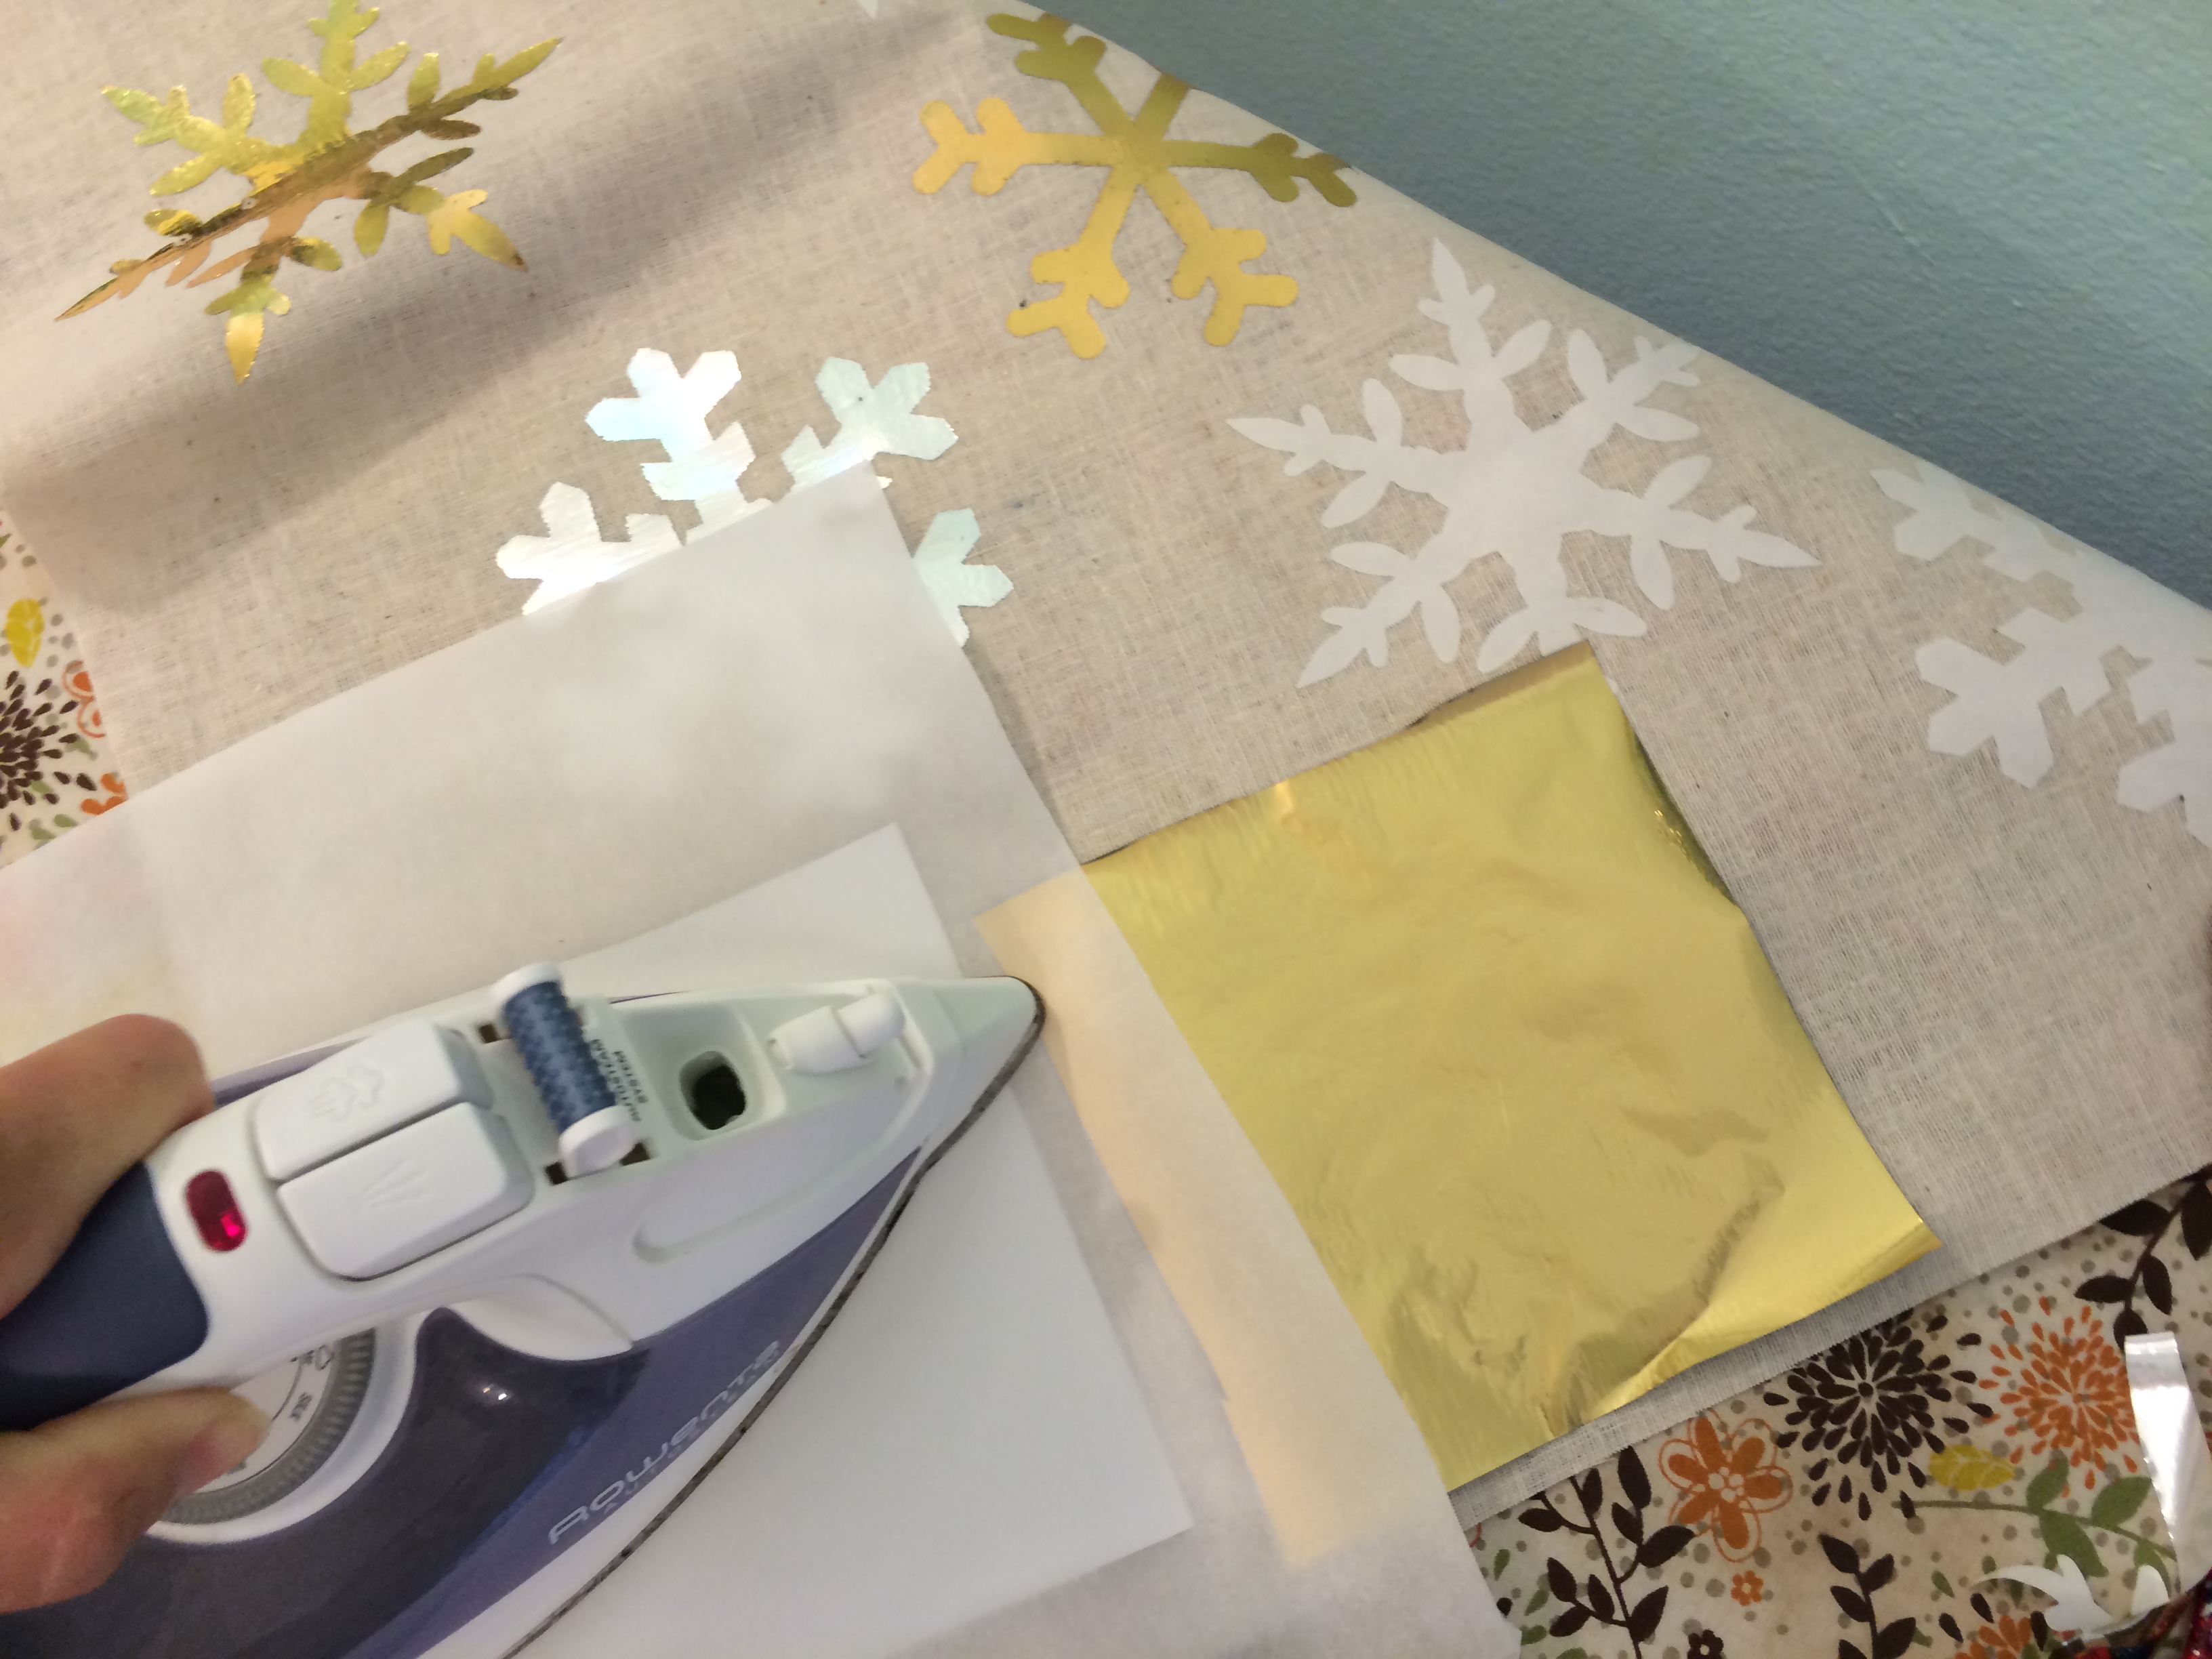
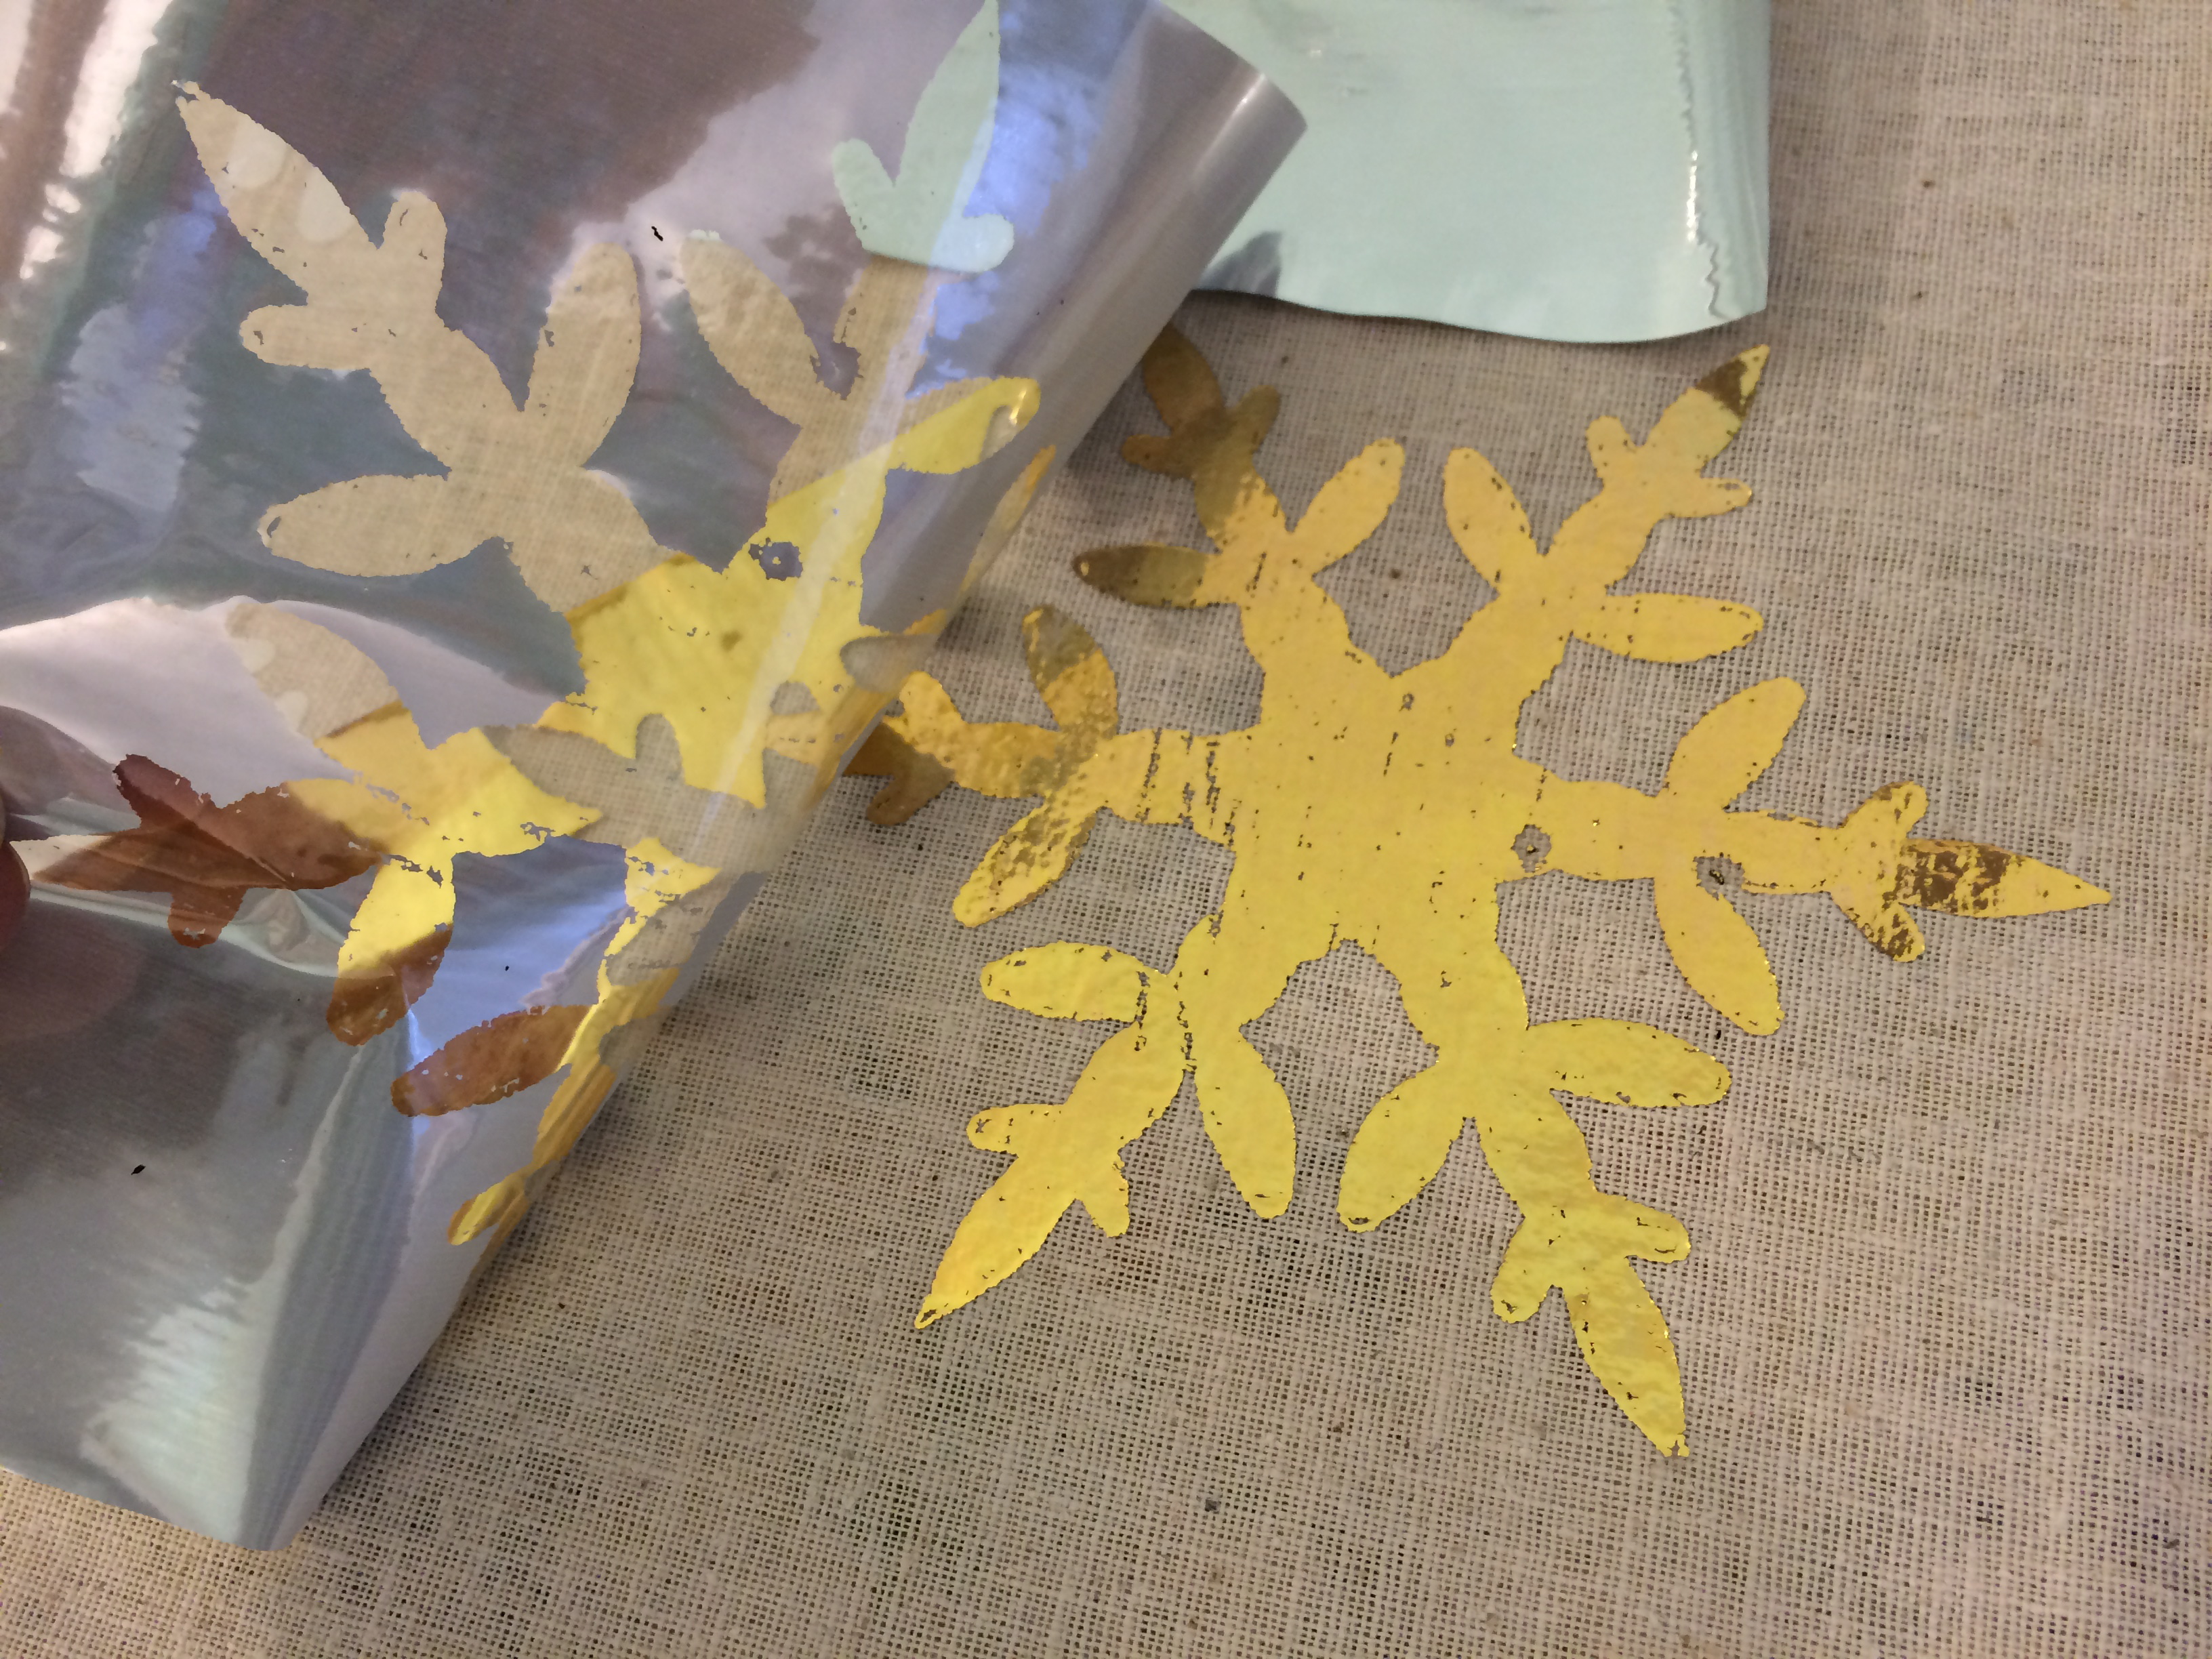
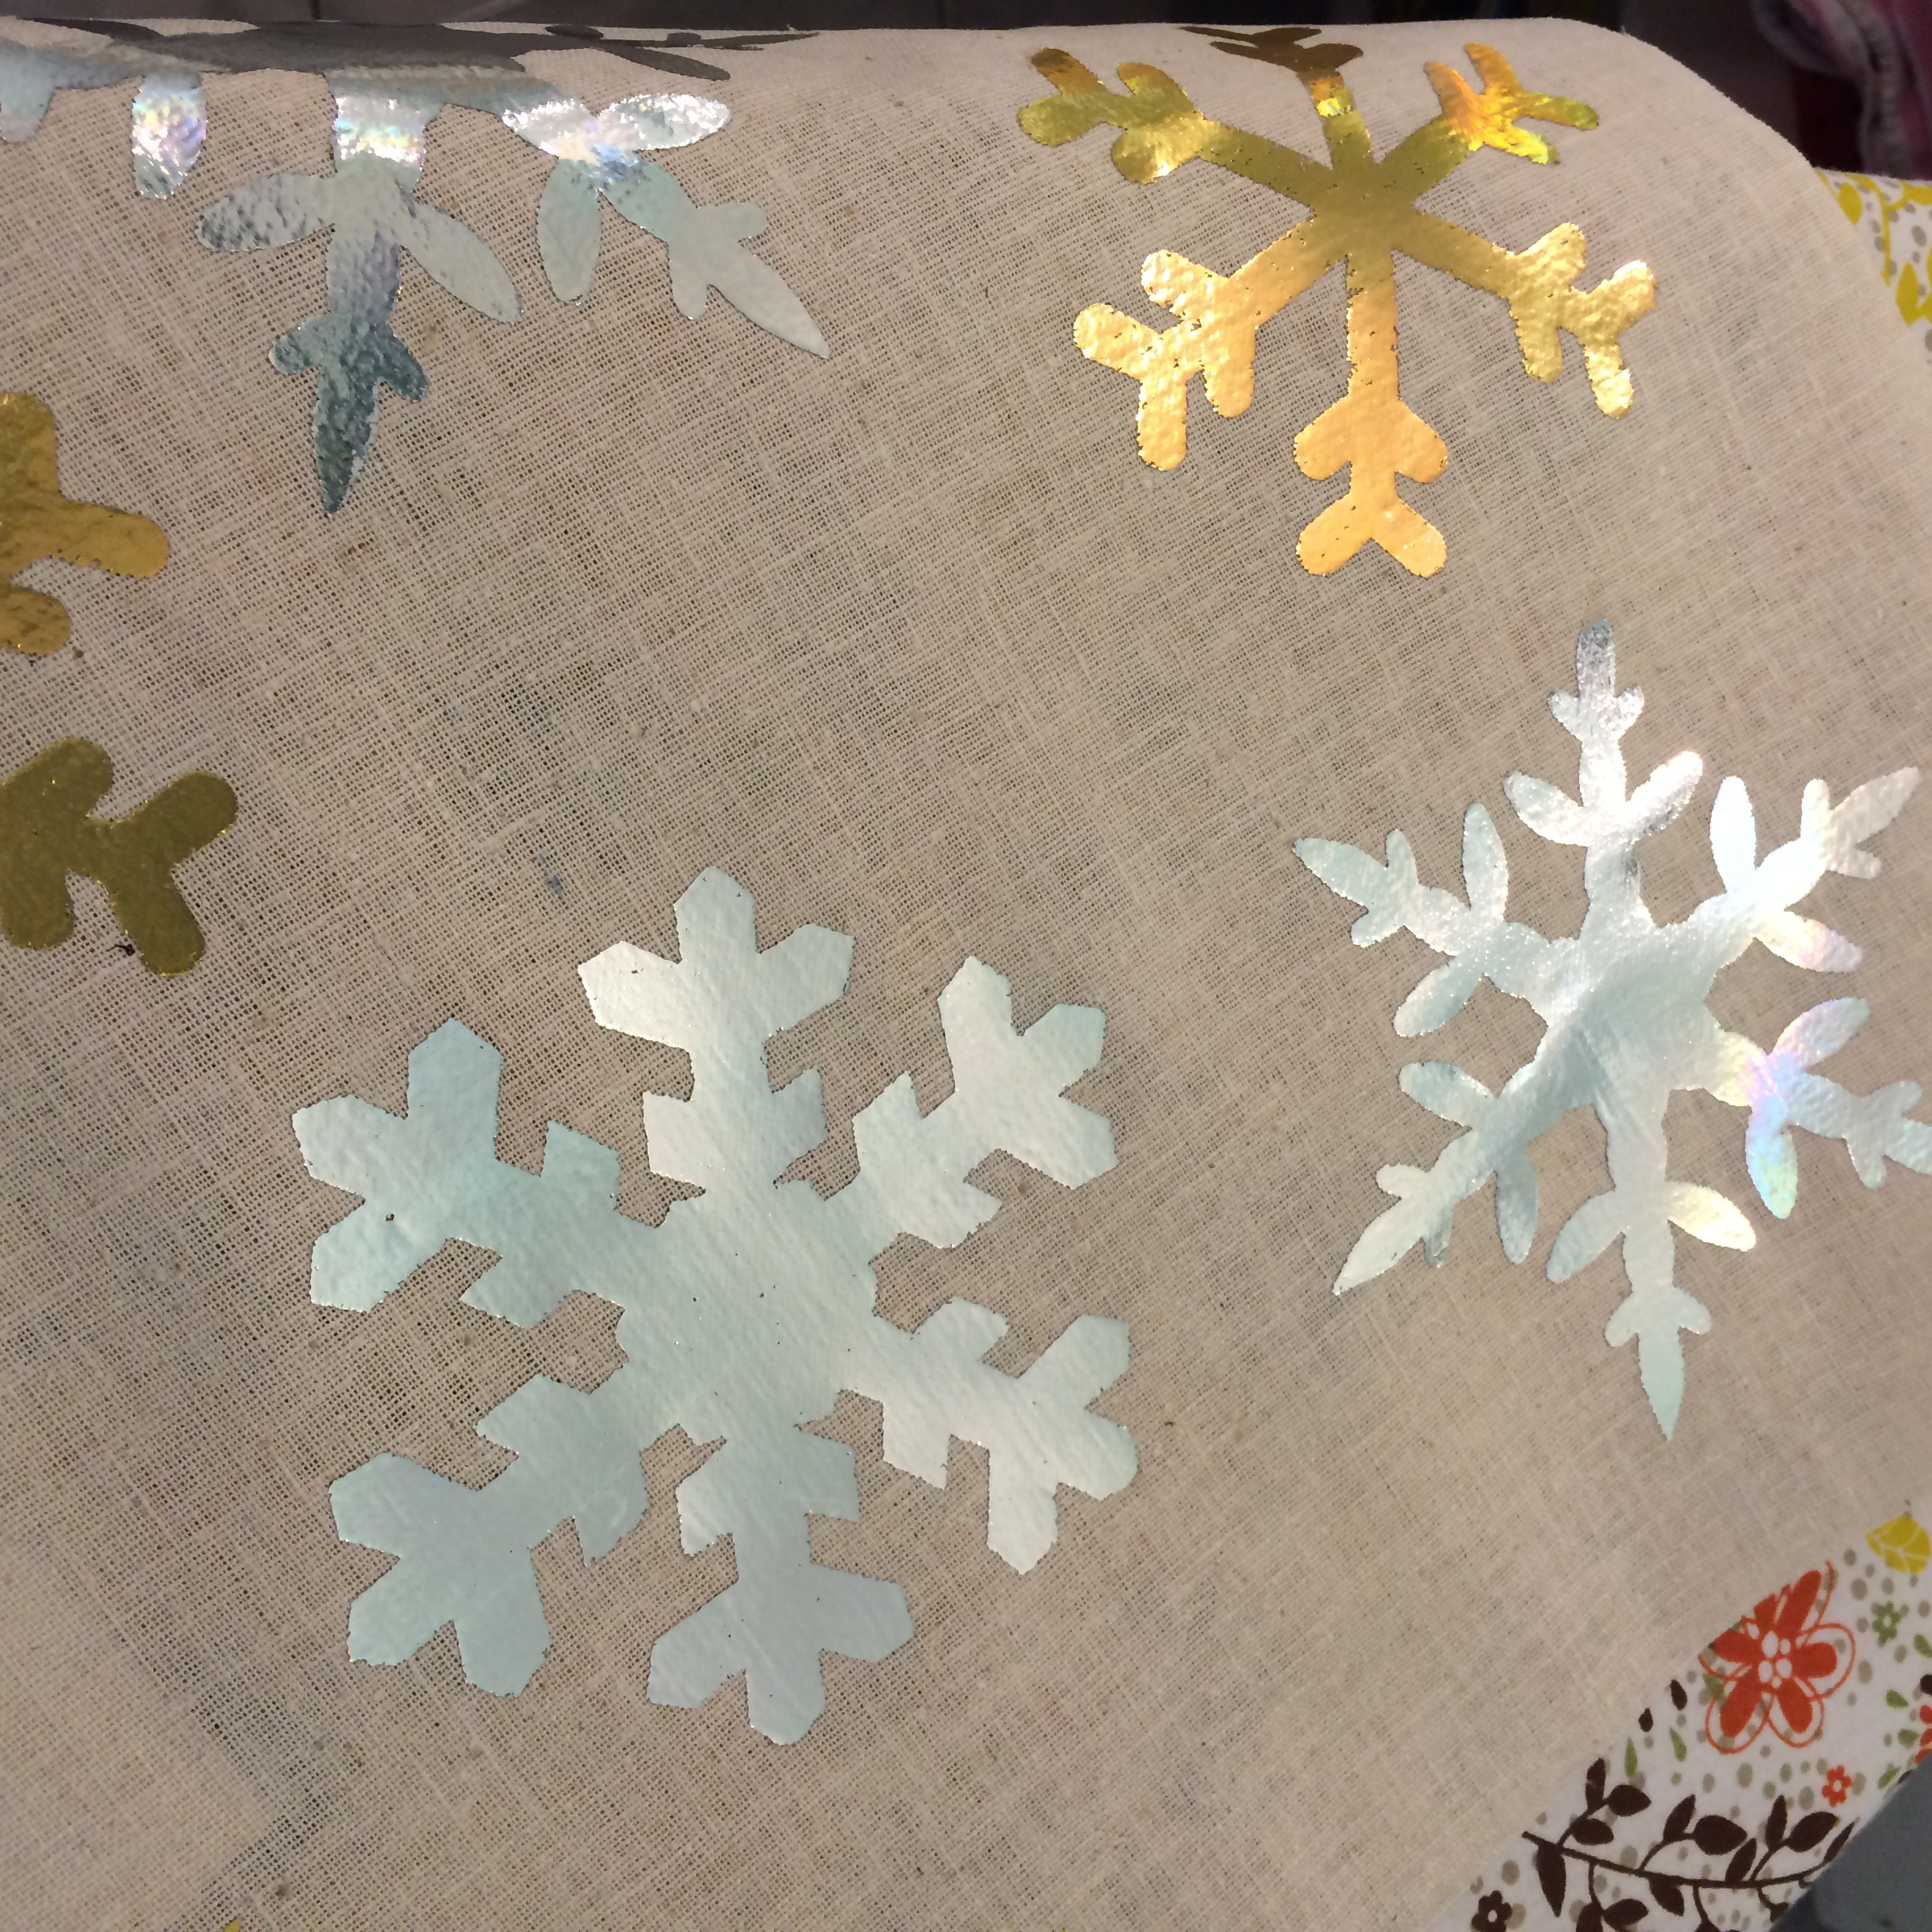
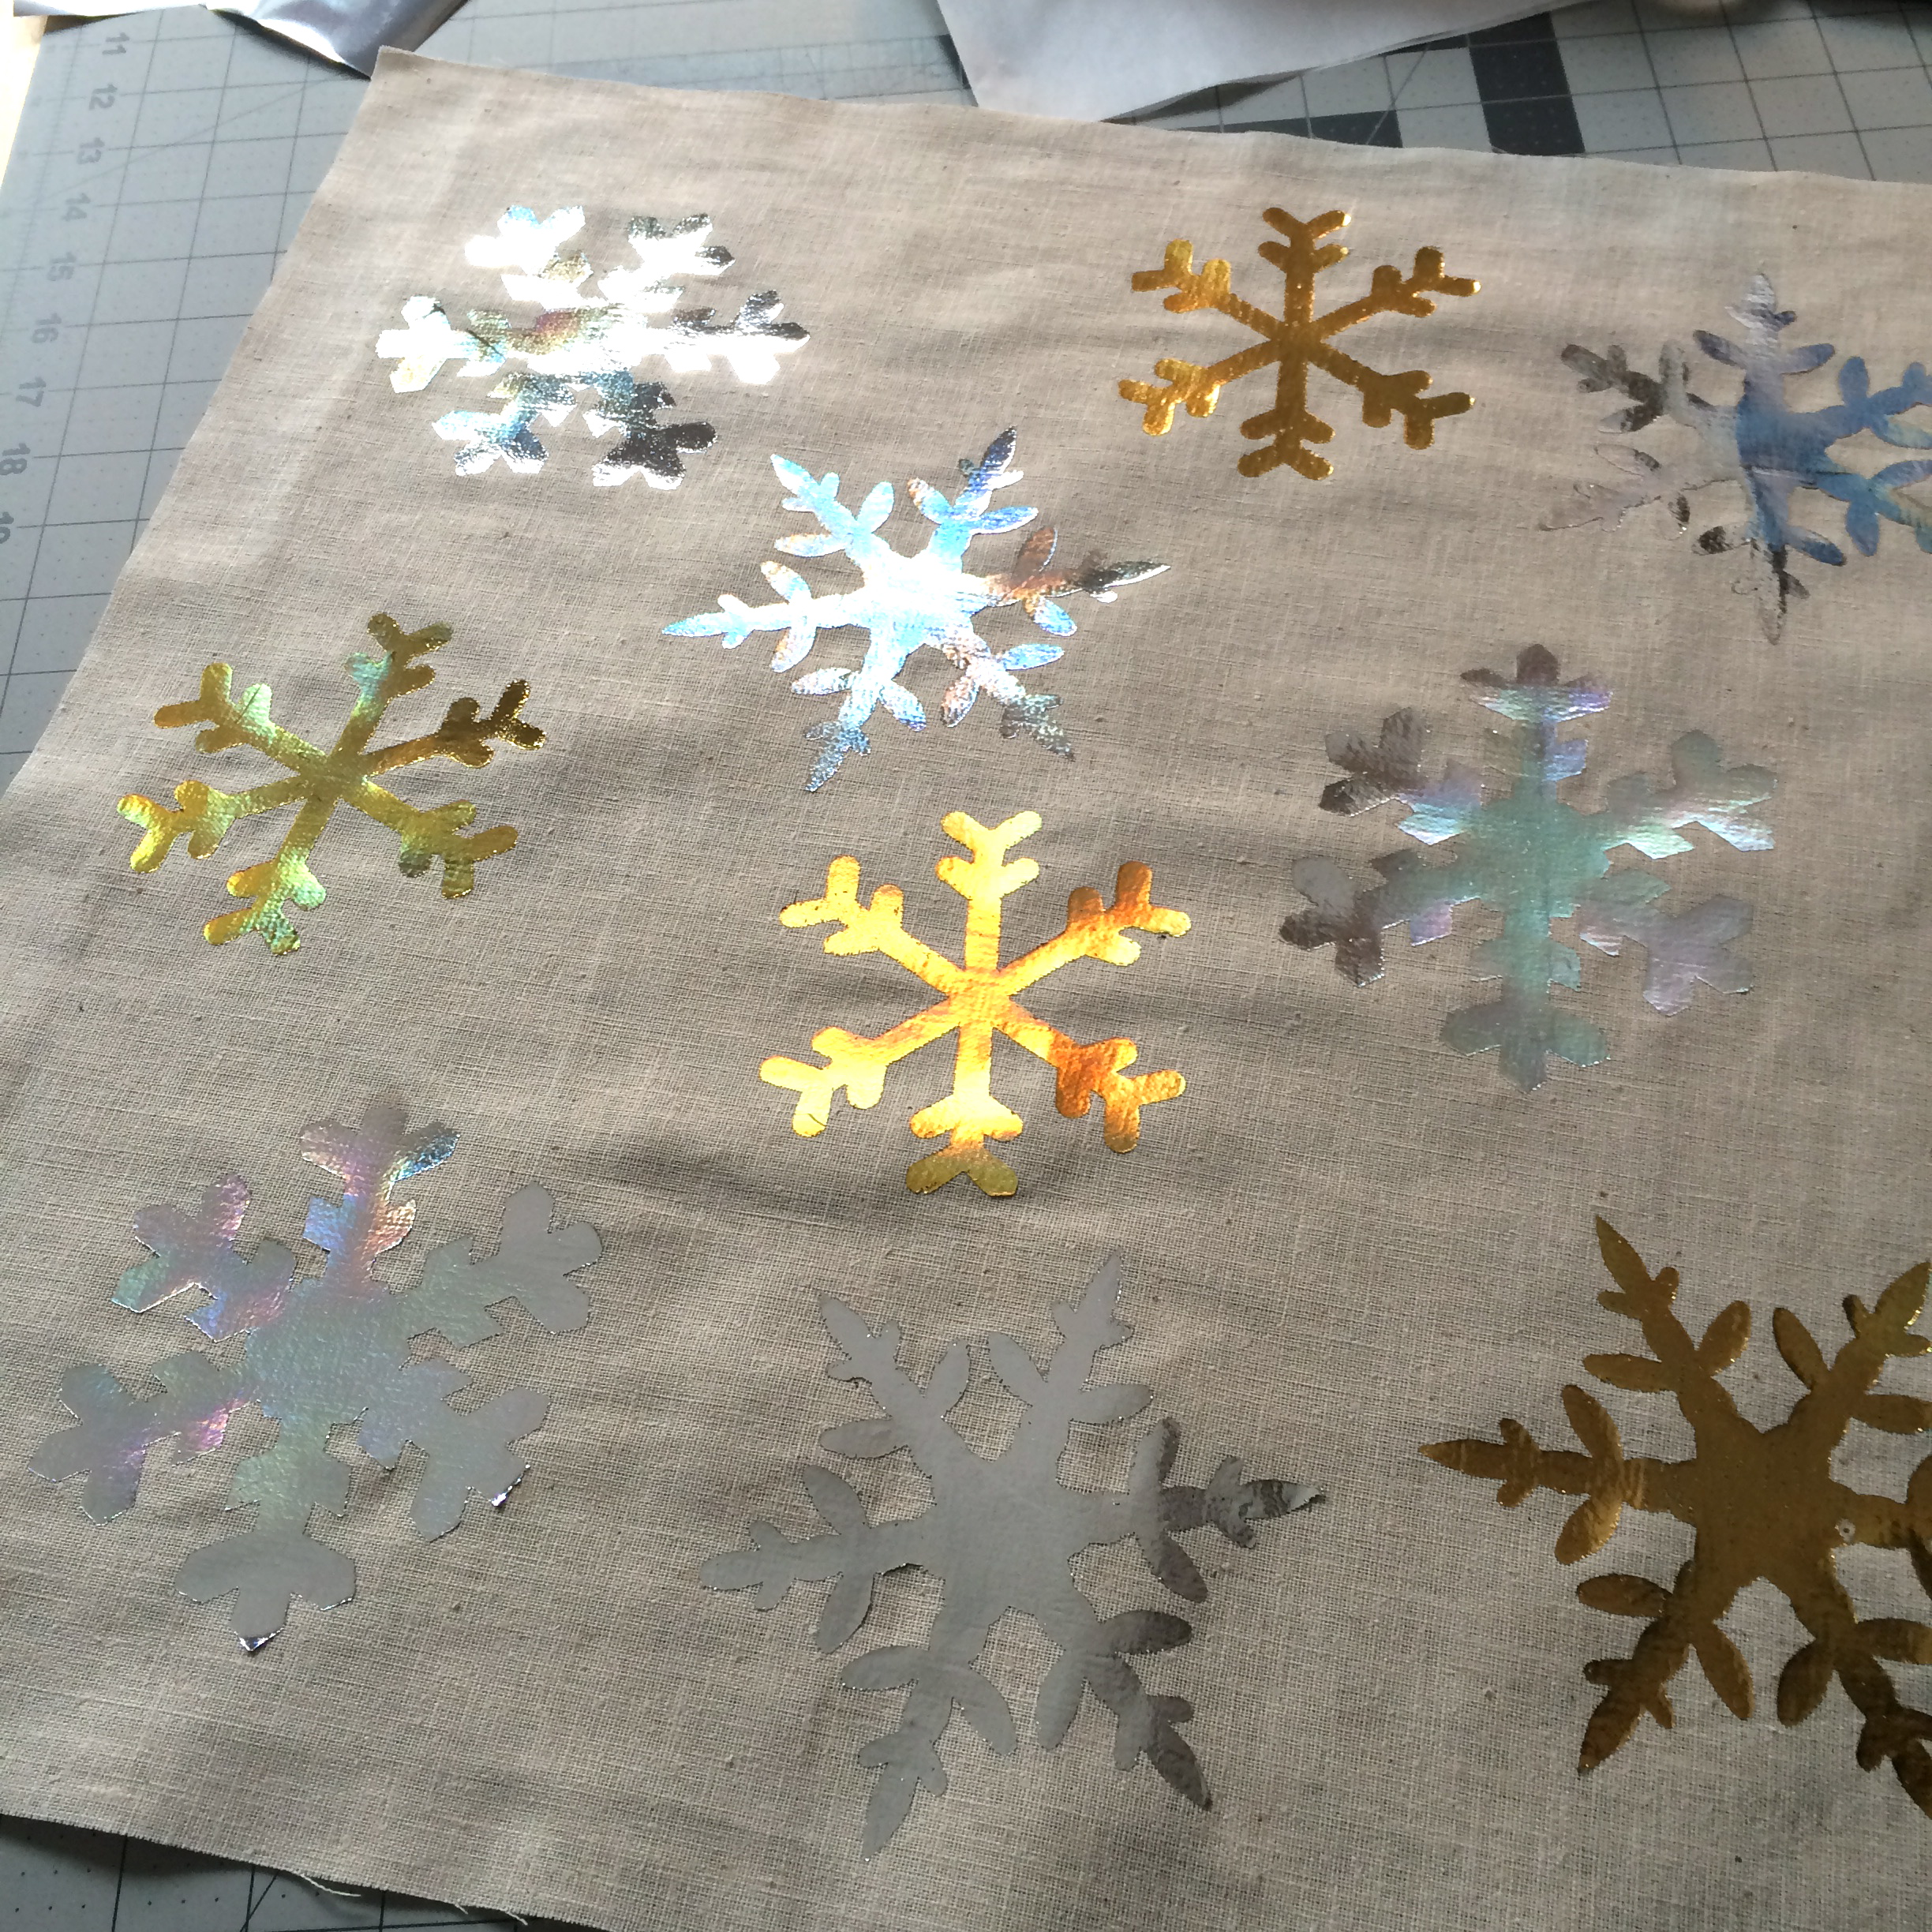


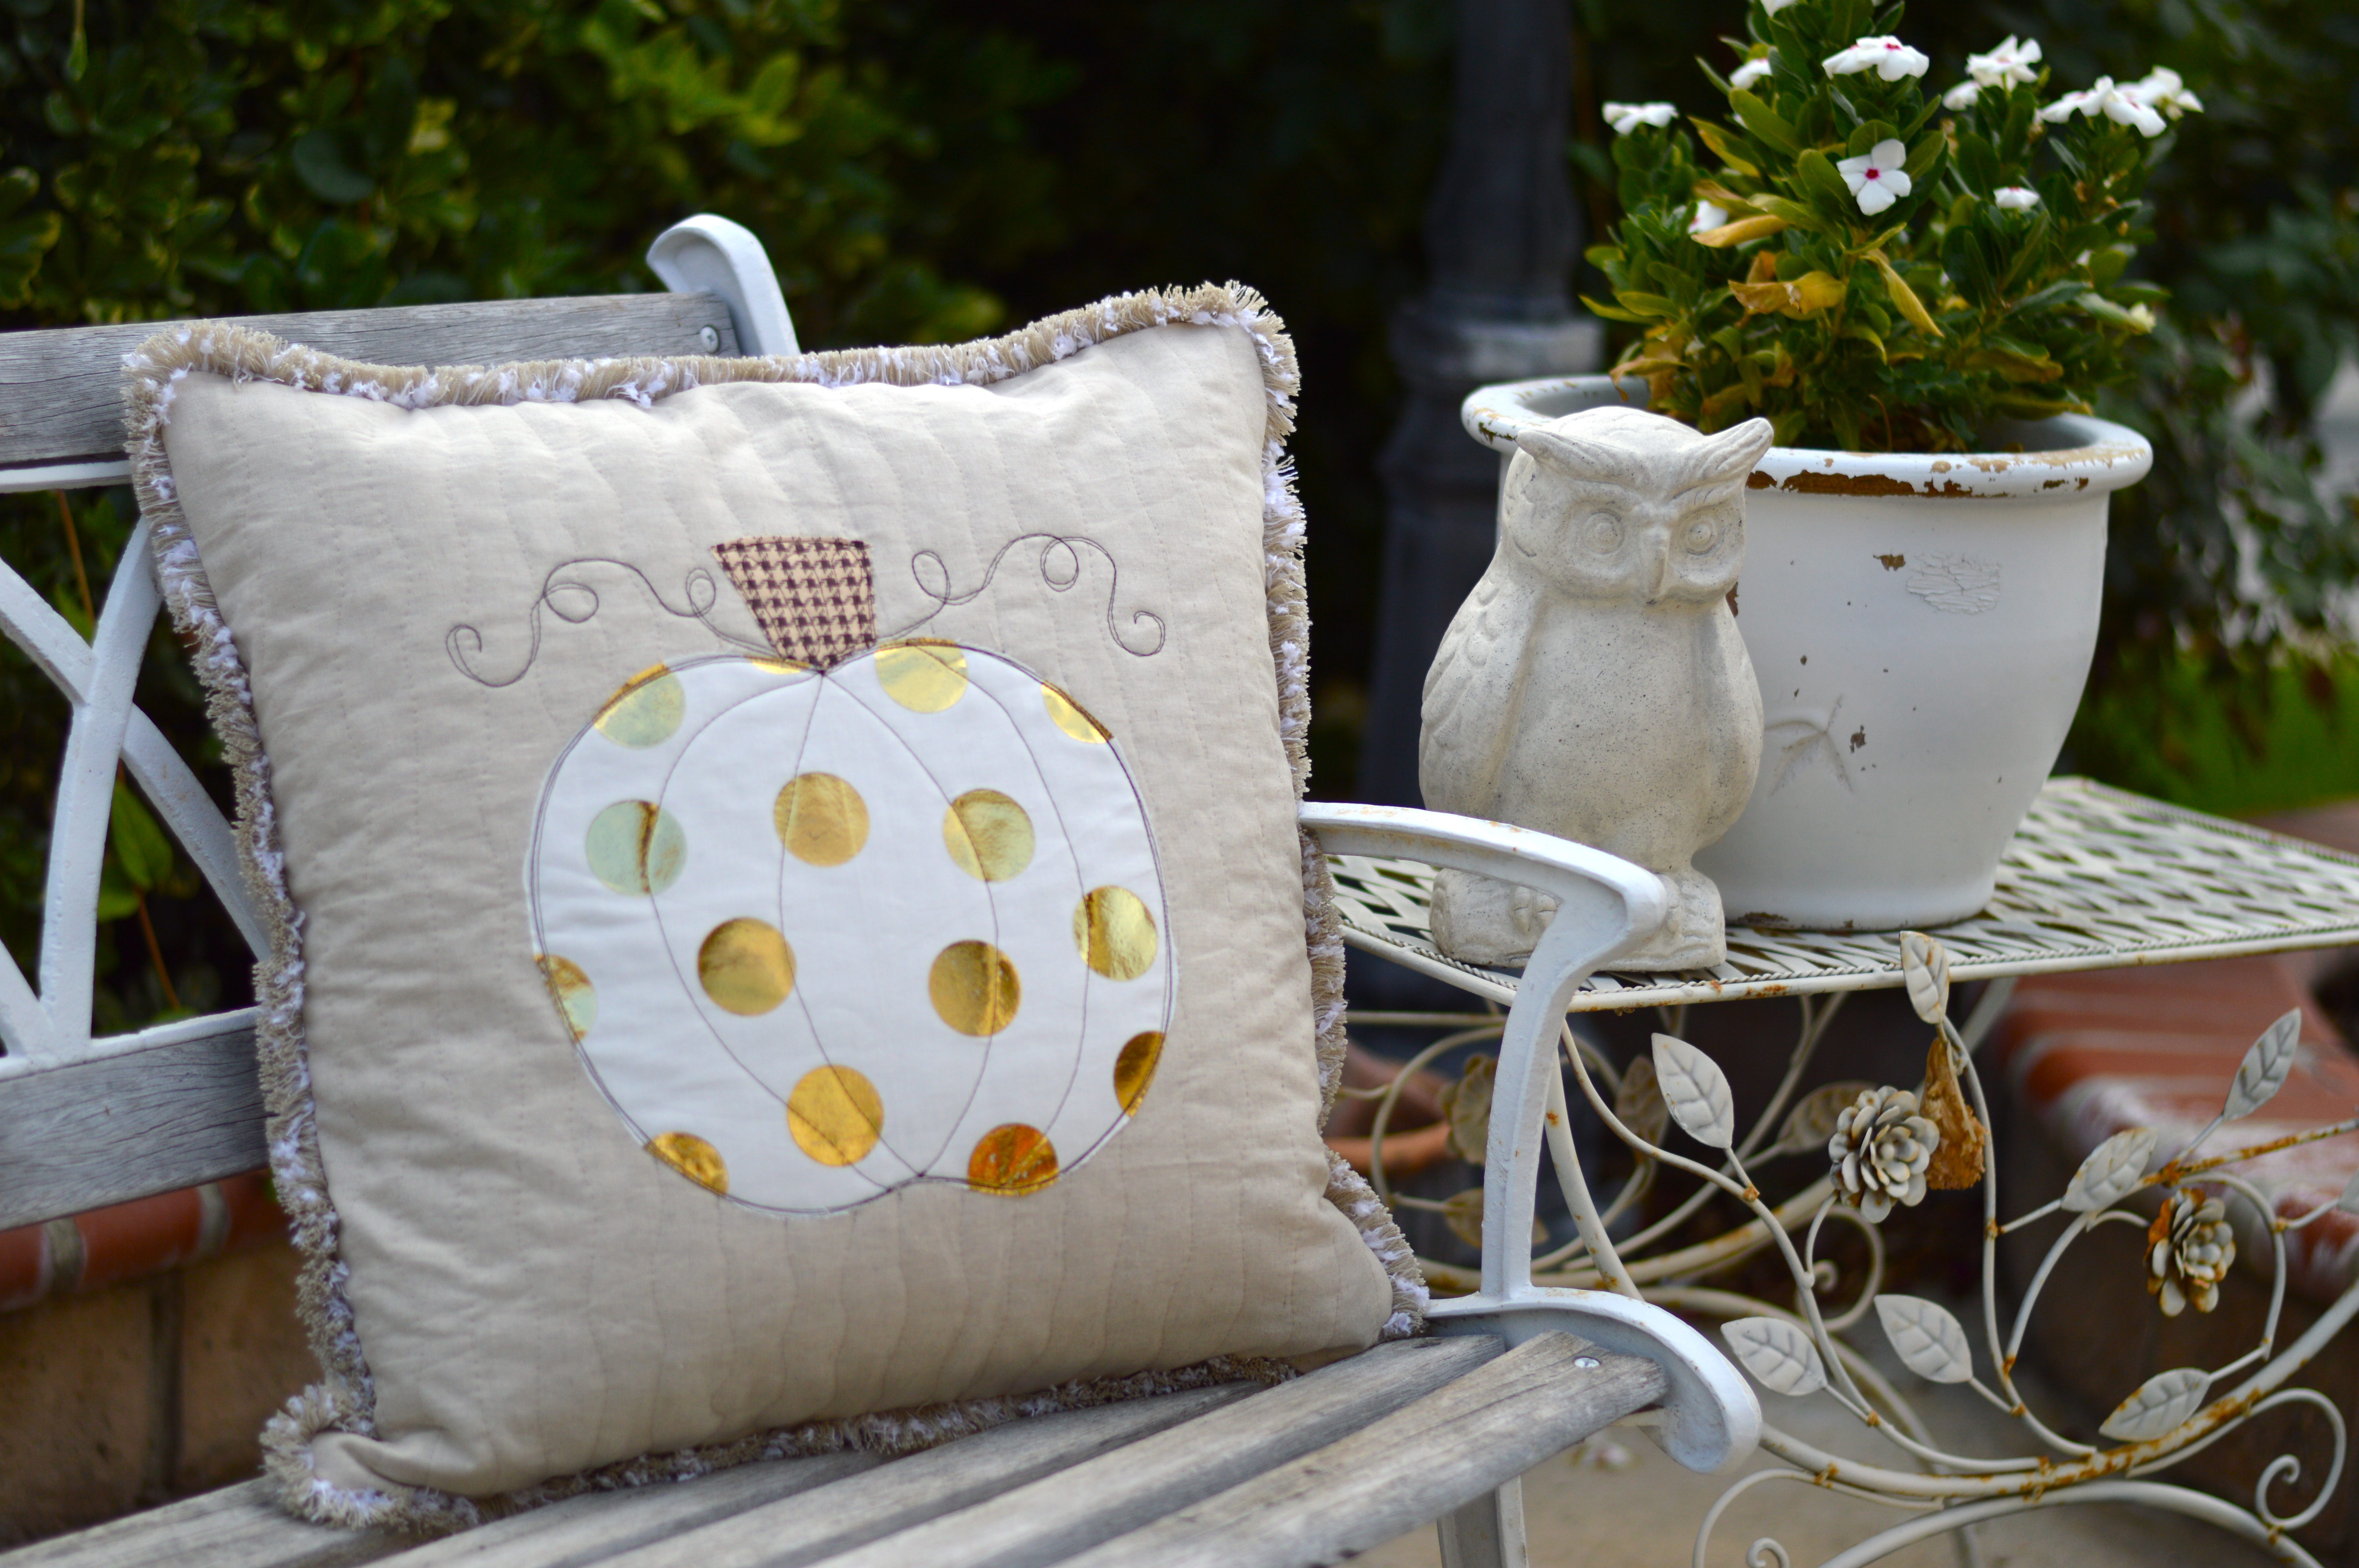
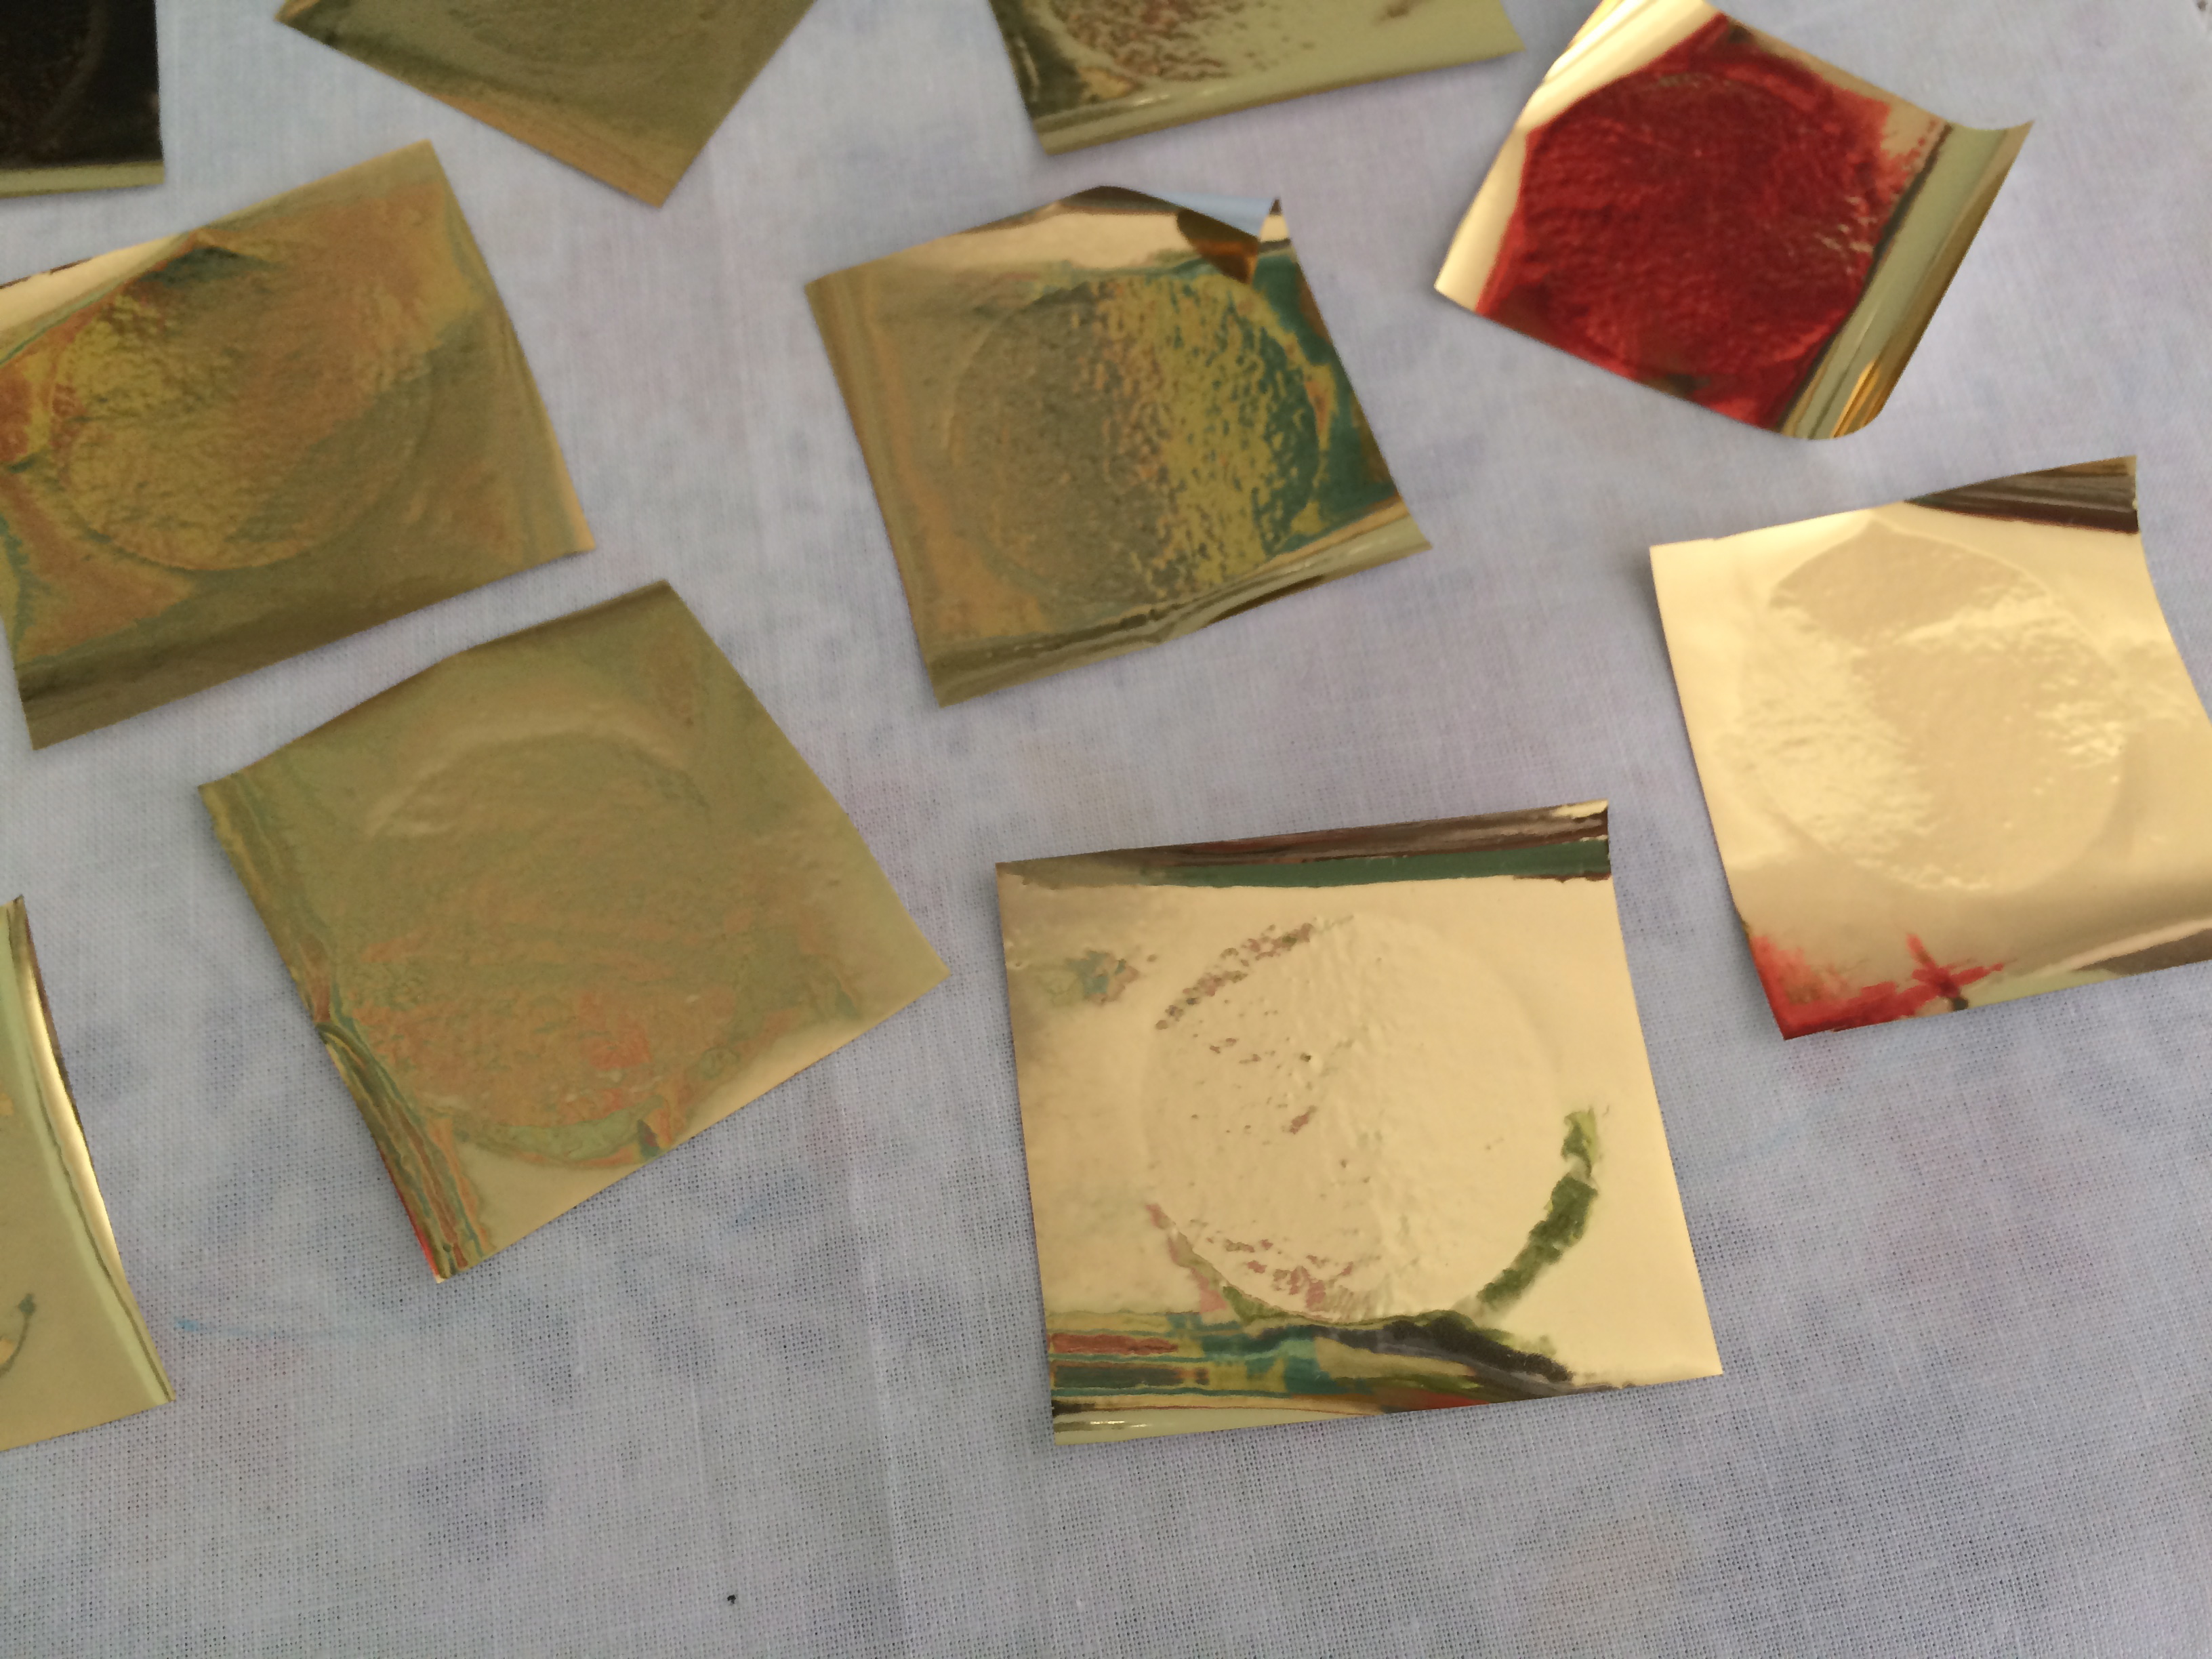
 Cut the Deco Foil into squares that are slightly larger than the circles. Place on top of each hot melt circle. Cover with a pressing paper and press for about 15-25 seconds using medium heat. If I use the highest heat setting it singes the foil.
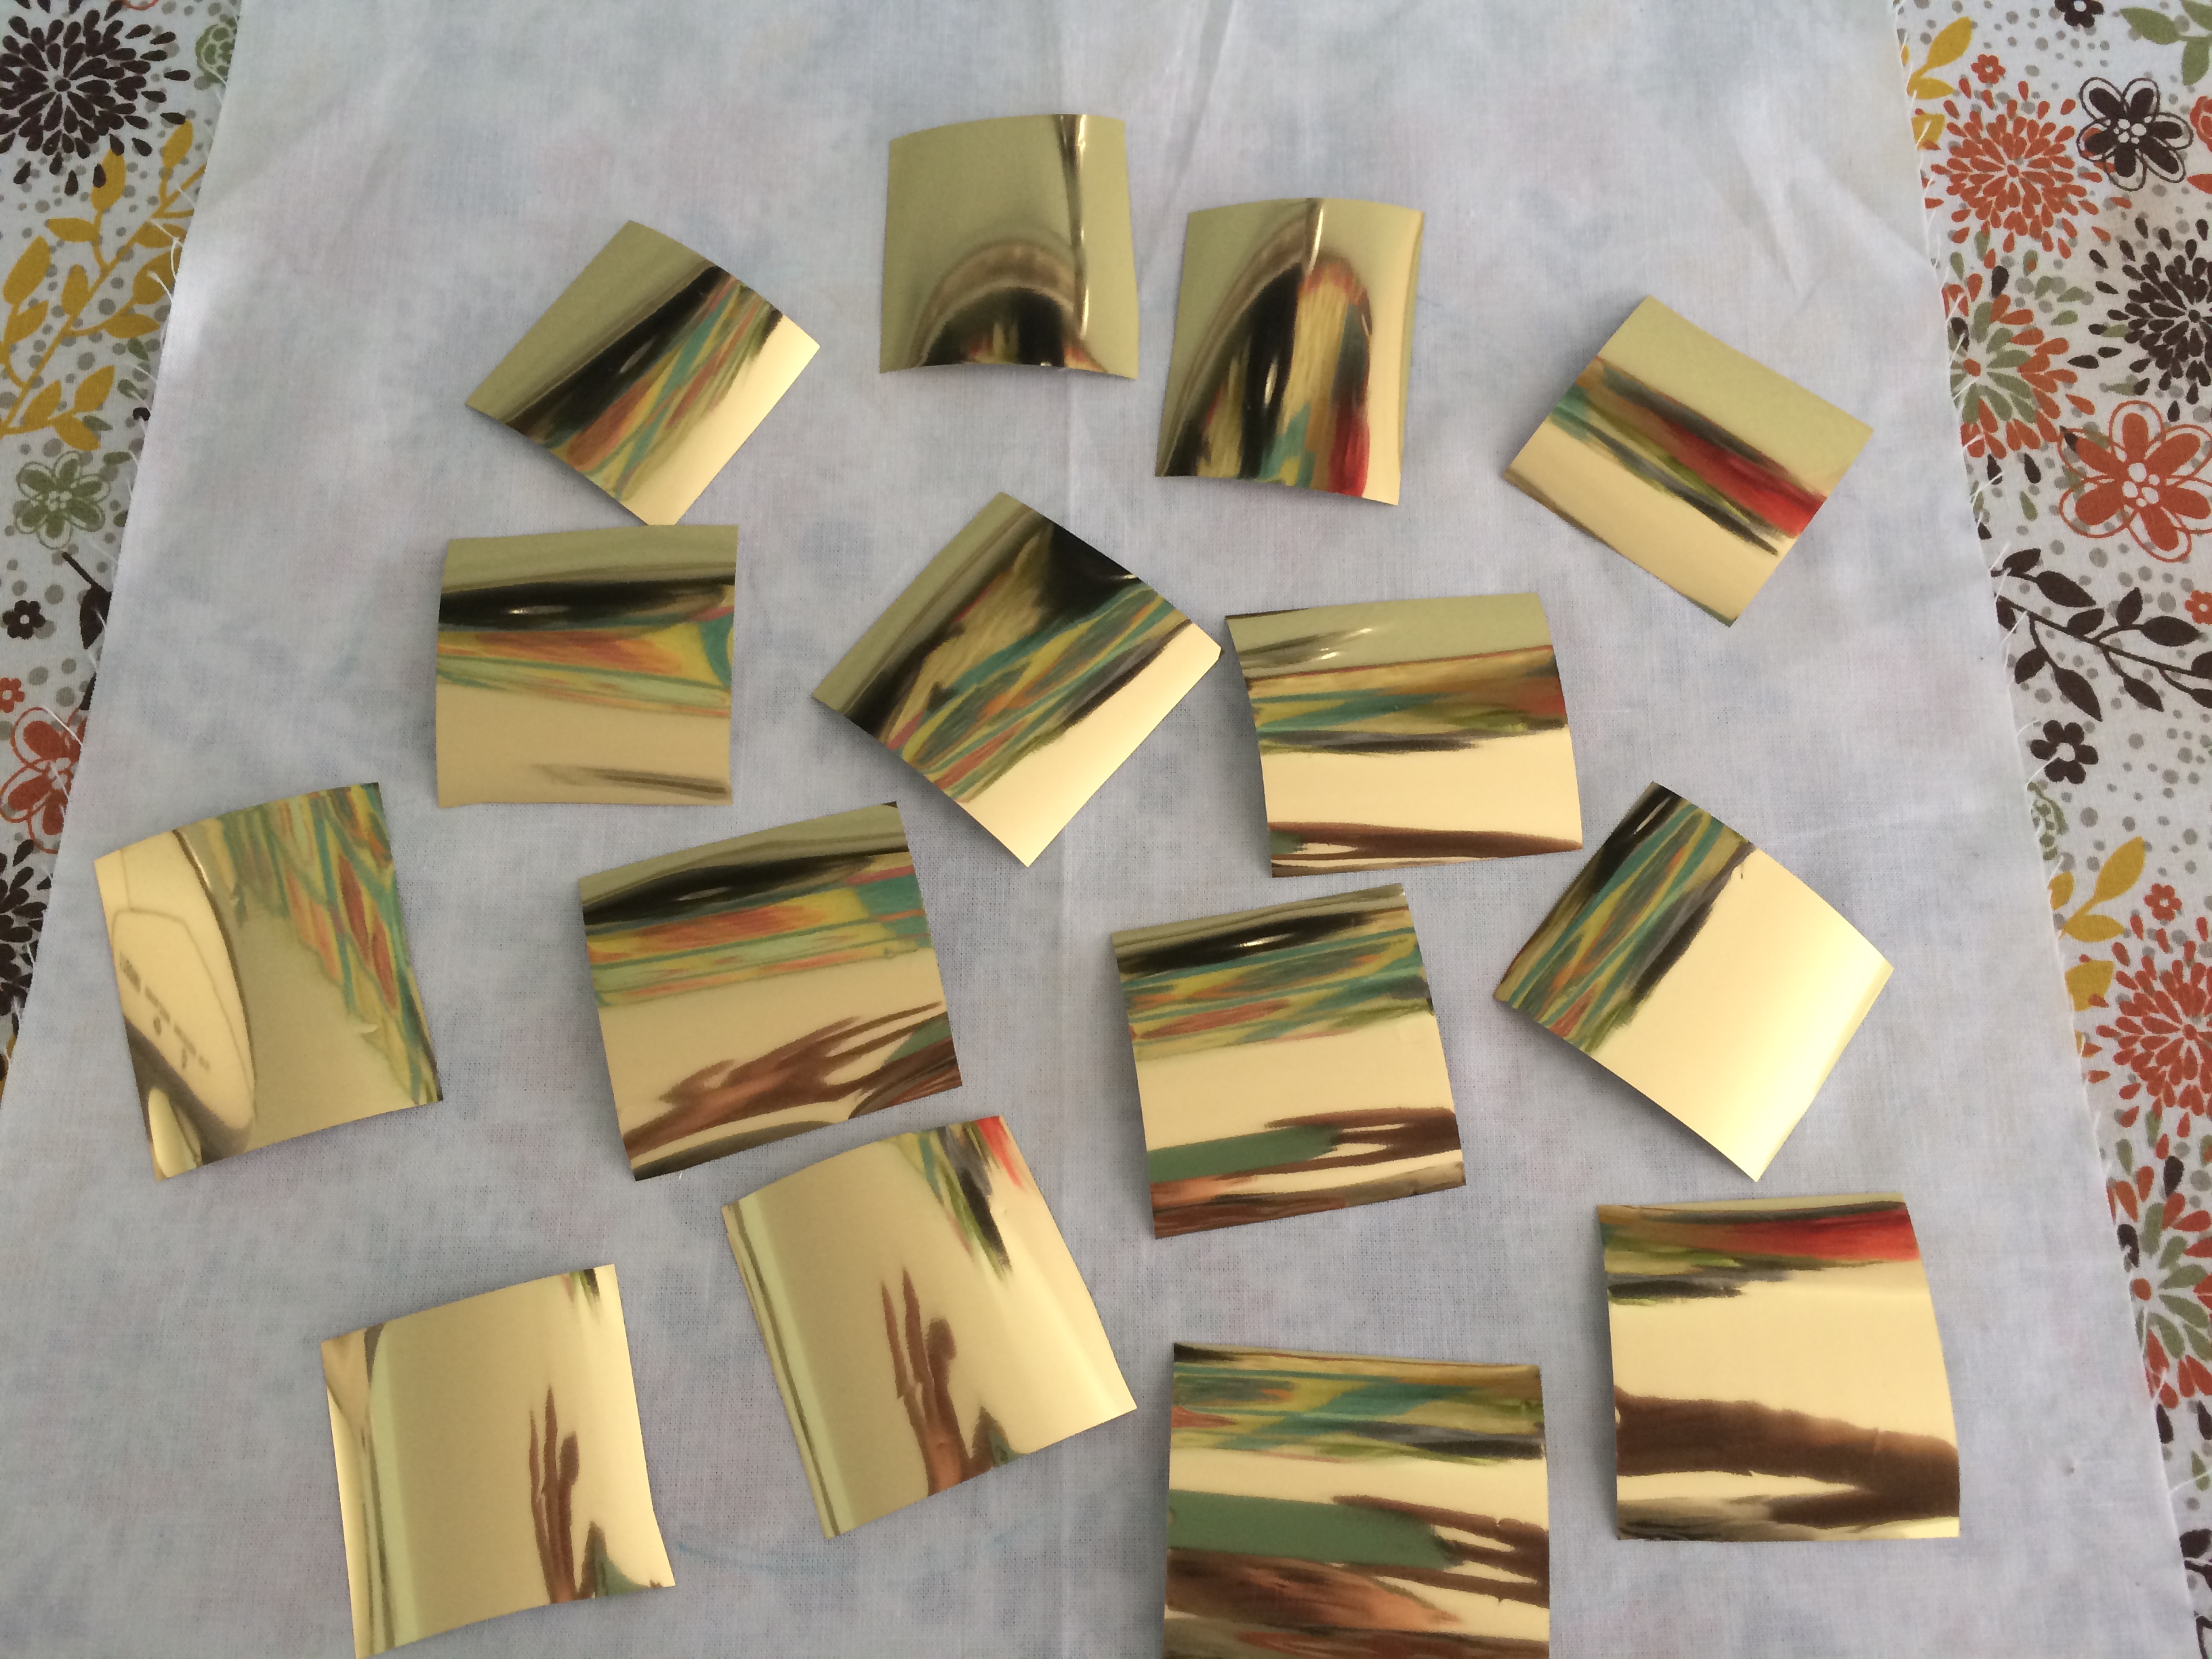
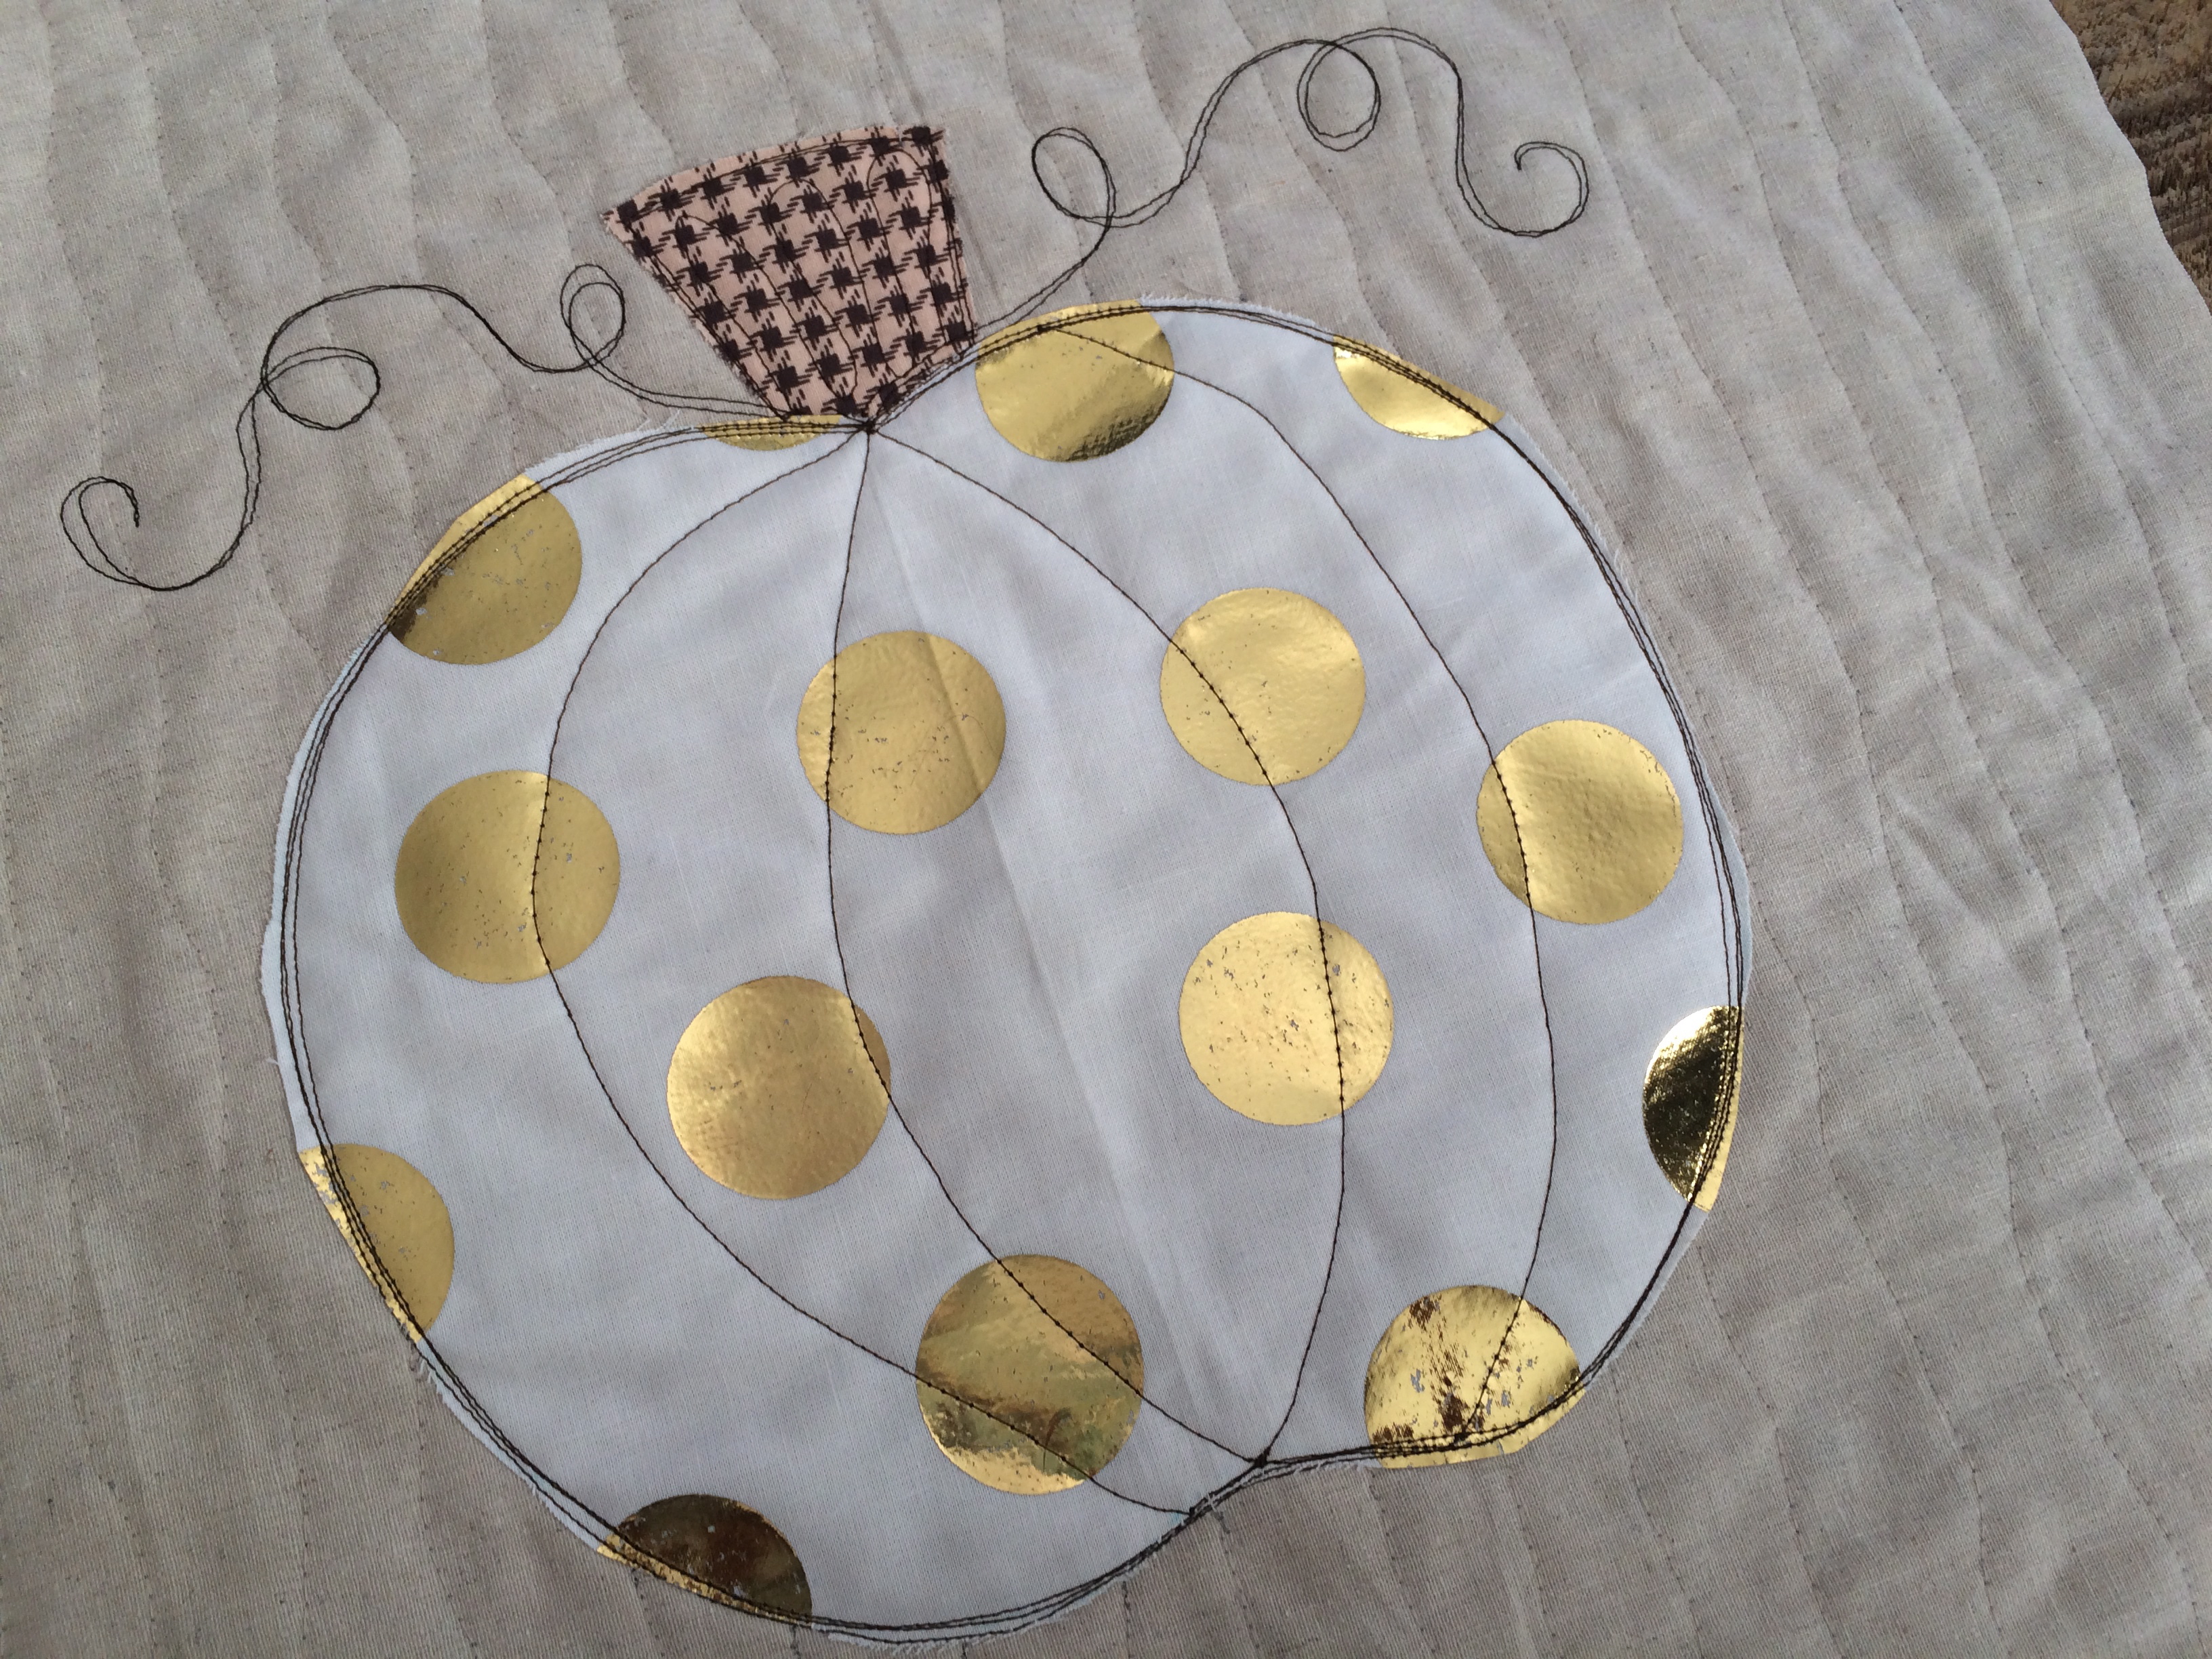
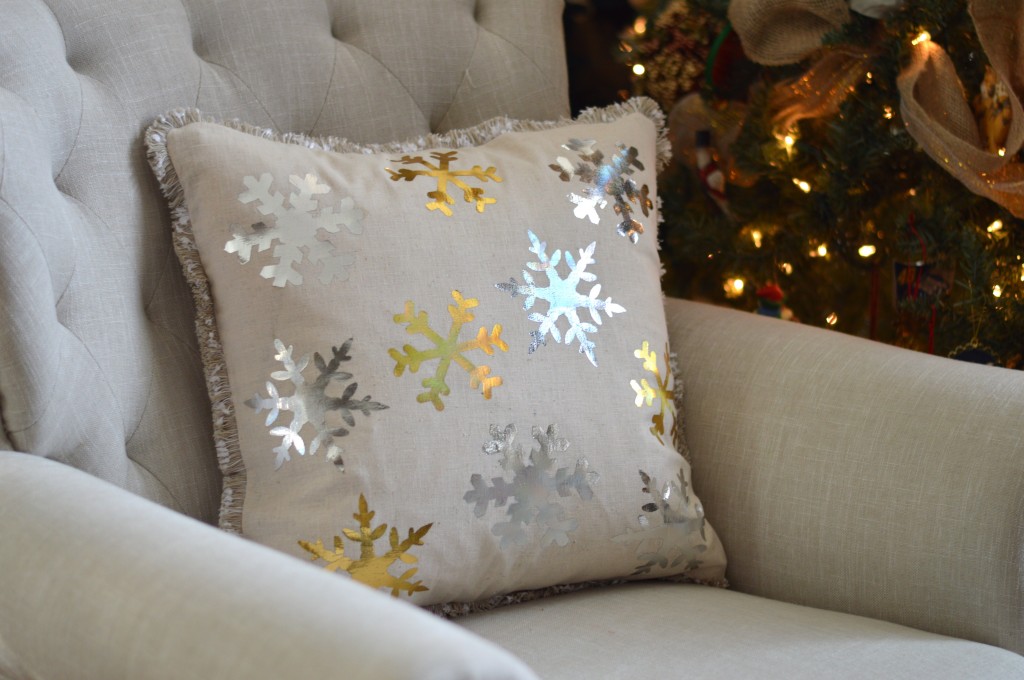
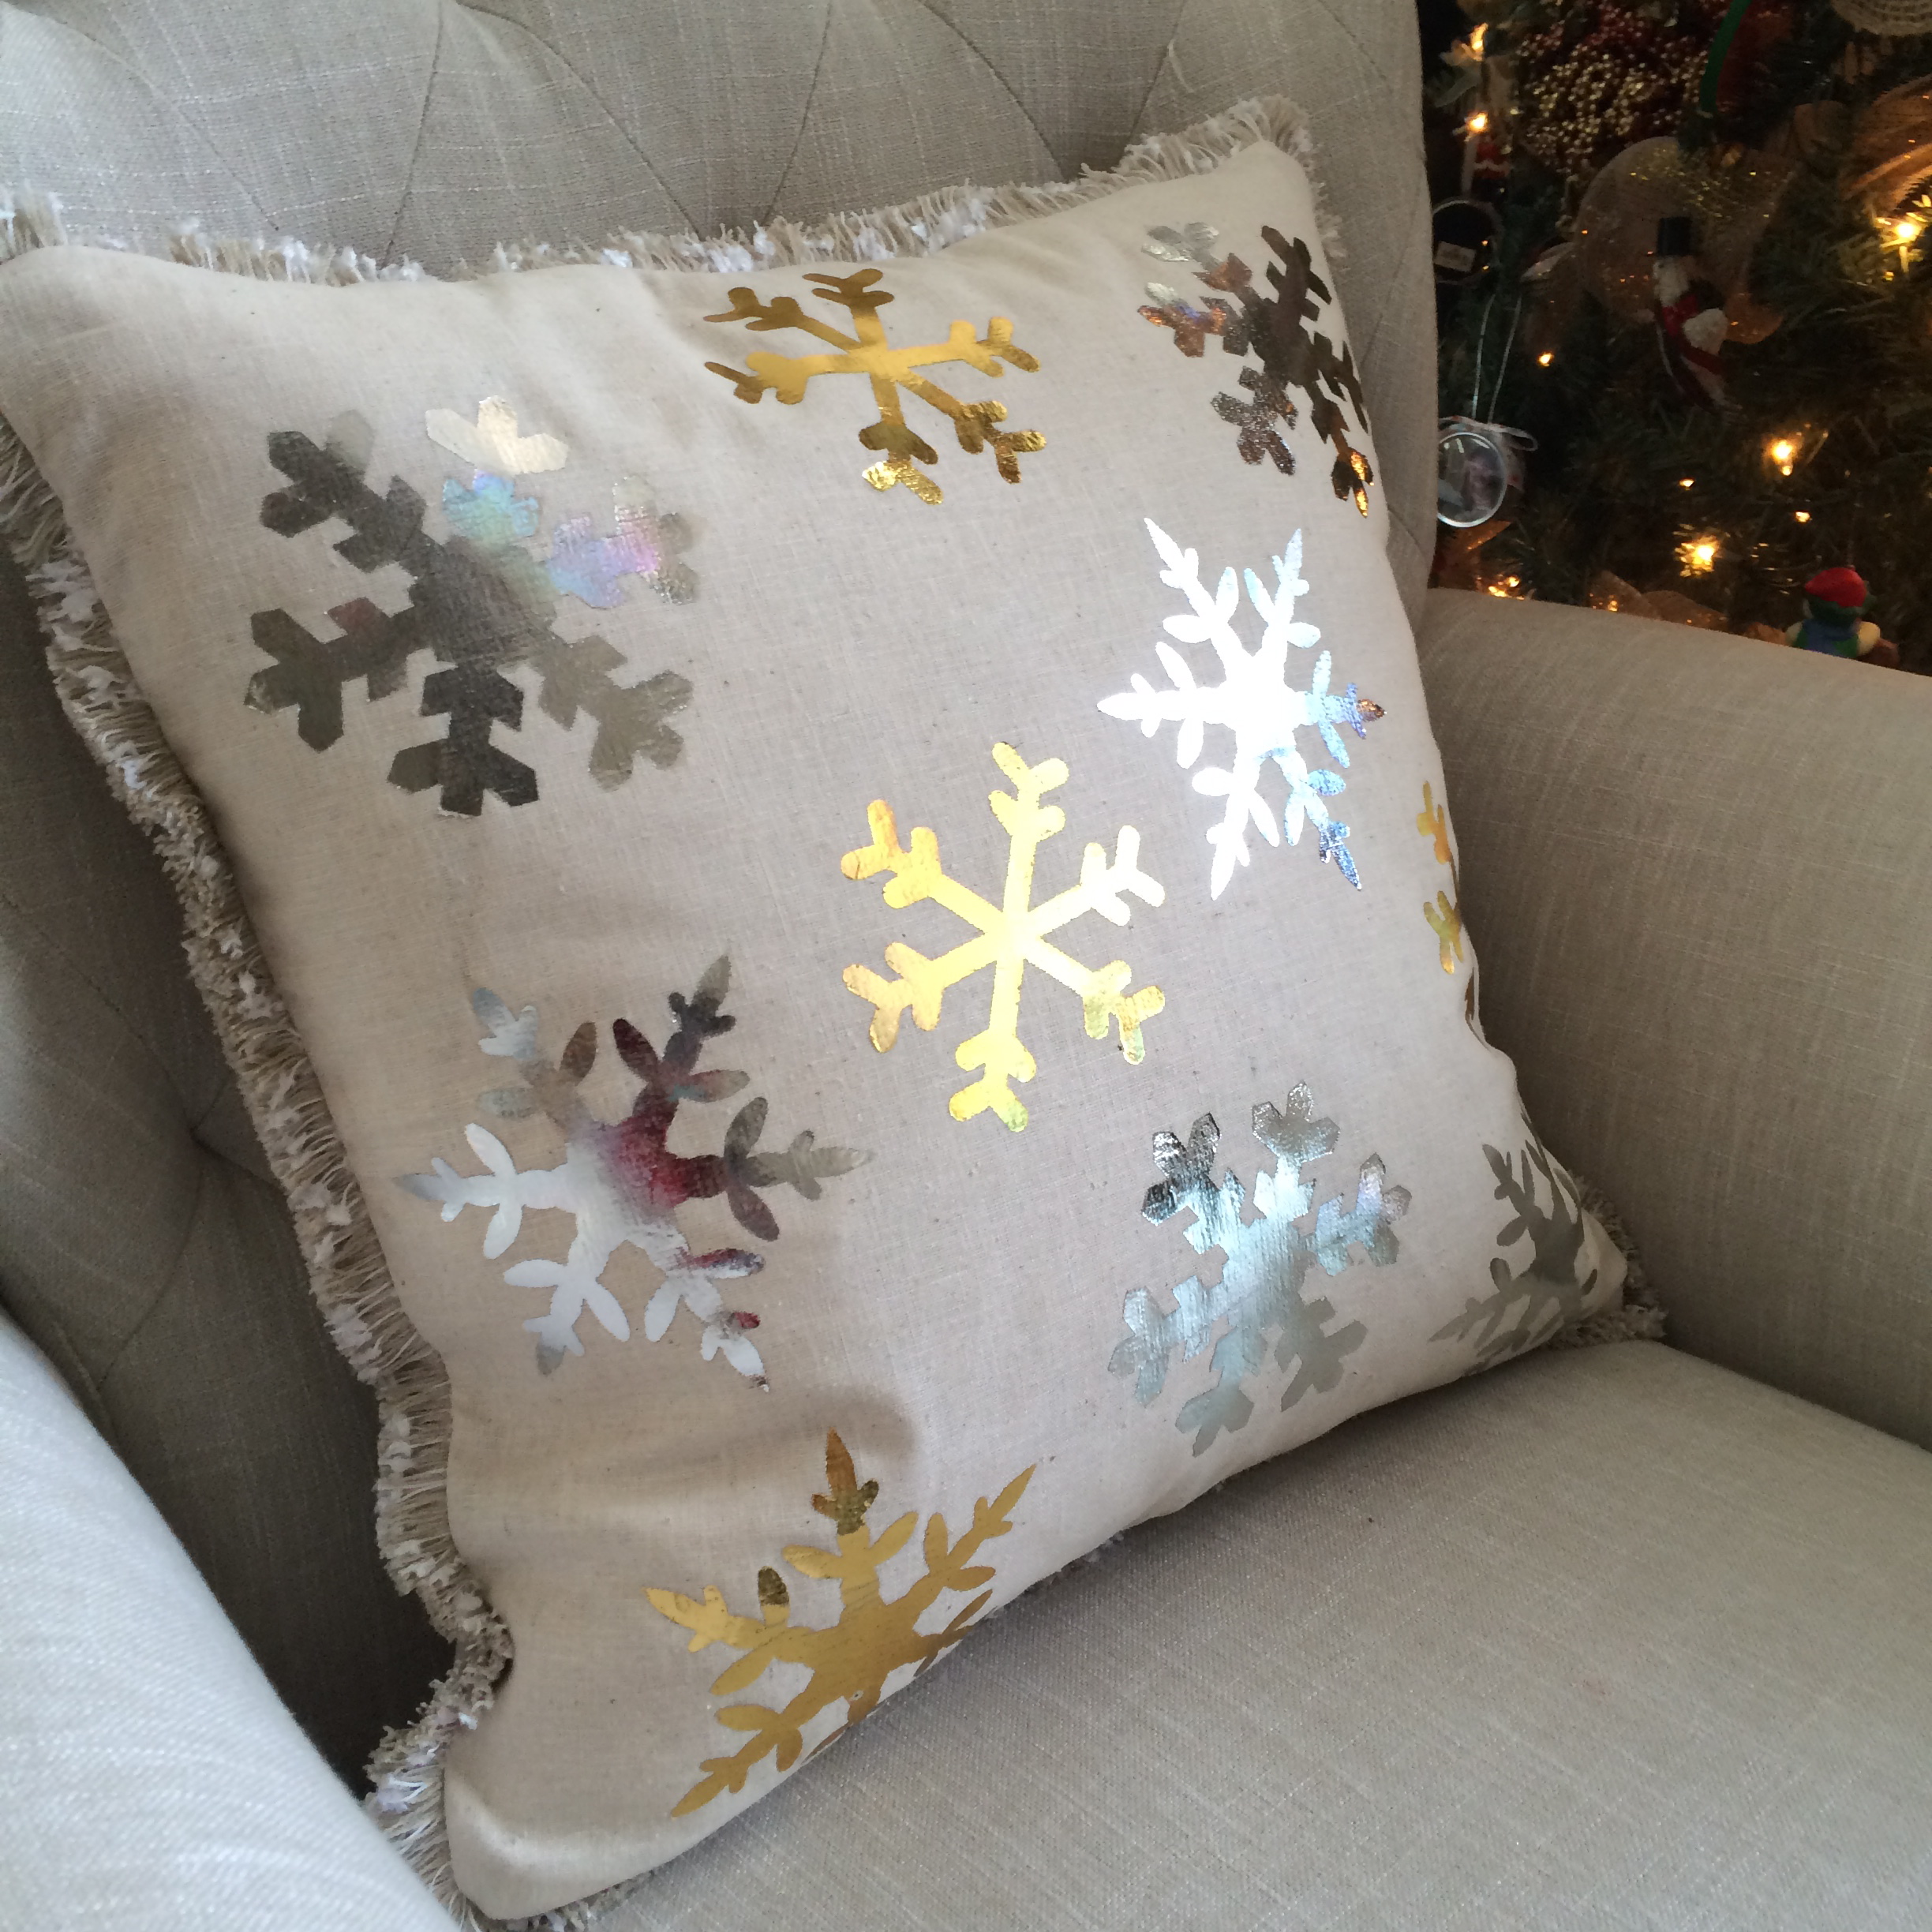
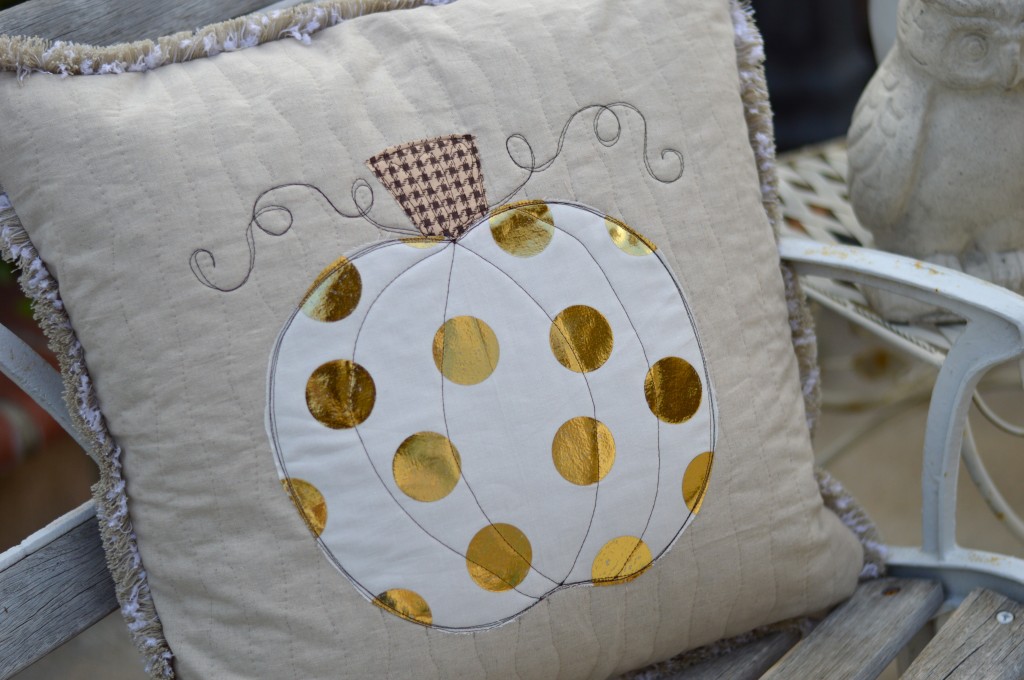 To finish the pumpkin, add a zipper in the back 20″ square. Baste in trim, and sew the pillow using 1/2″ seams.
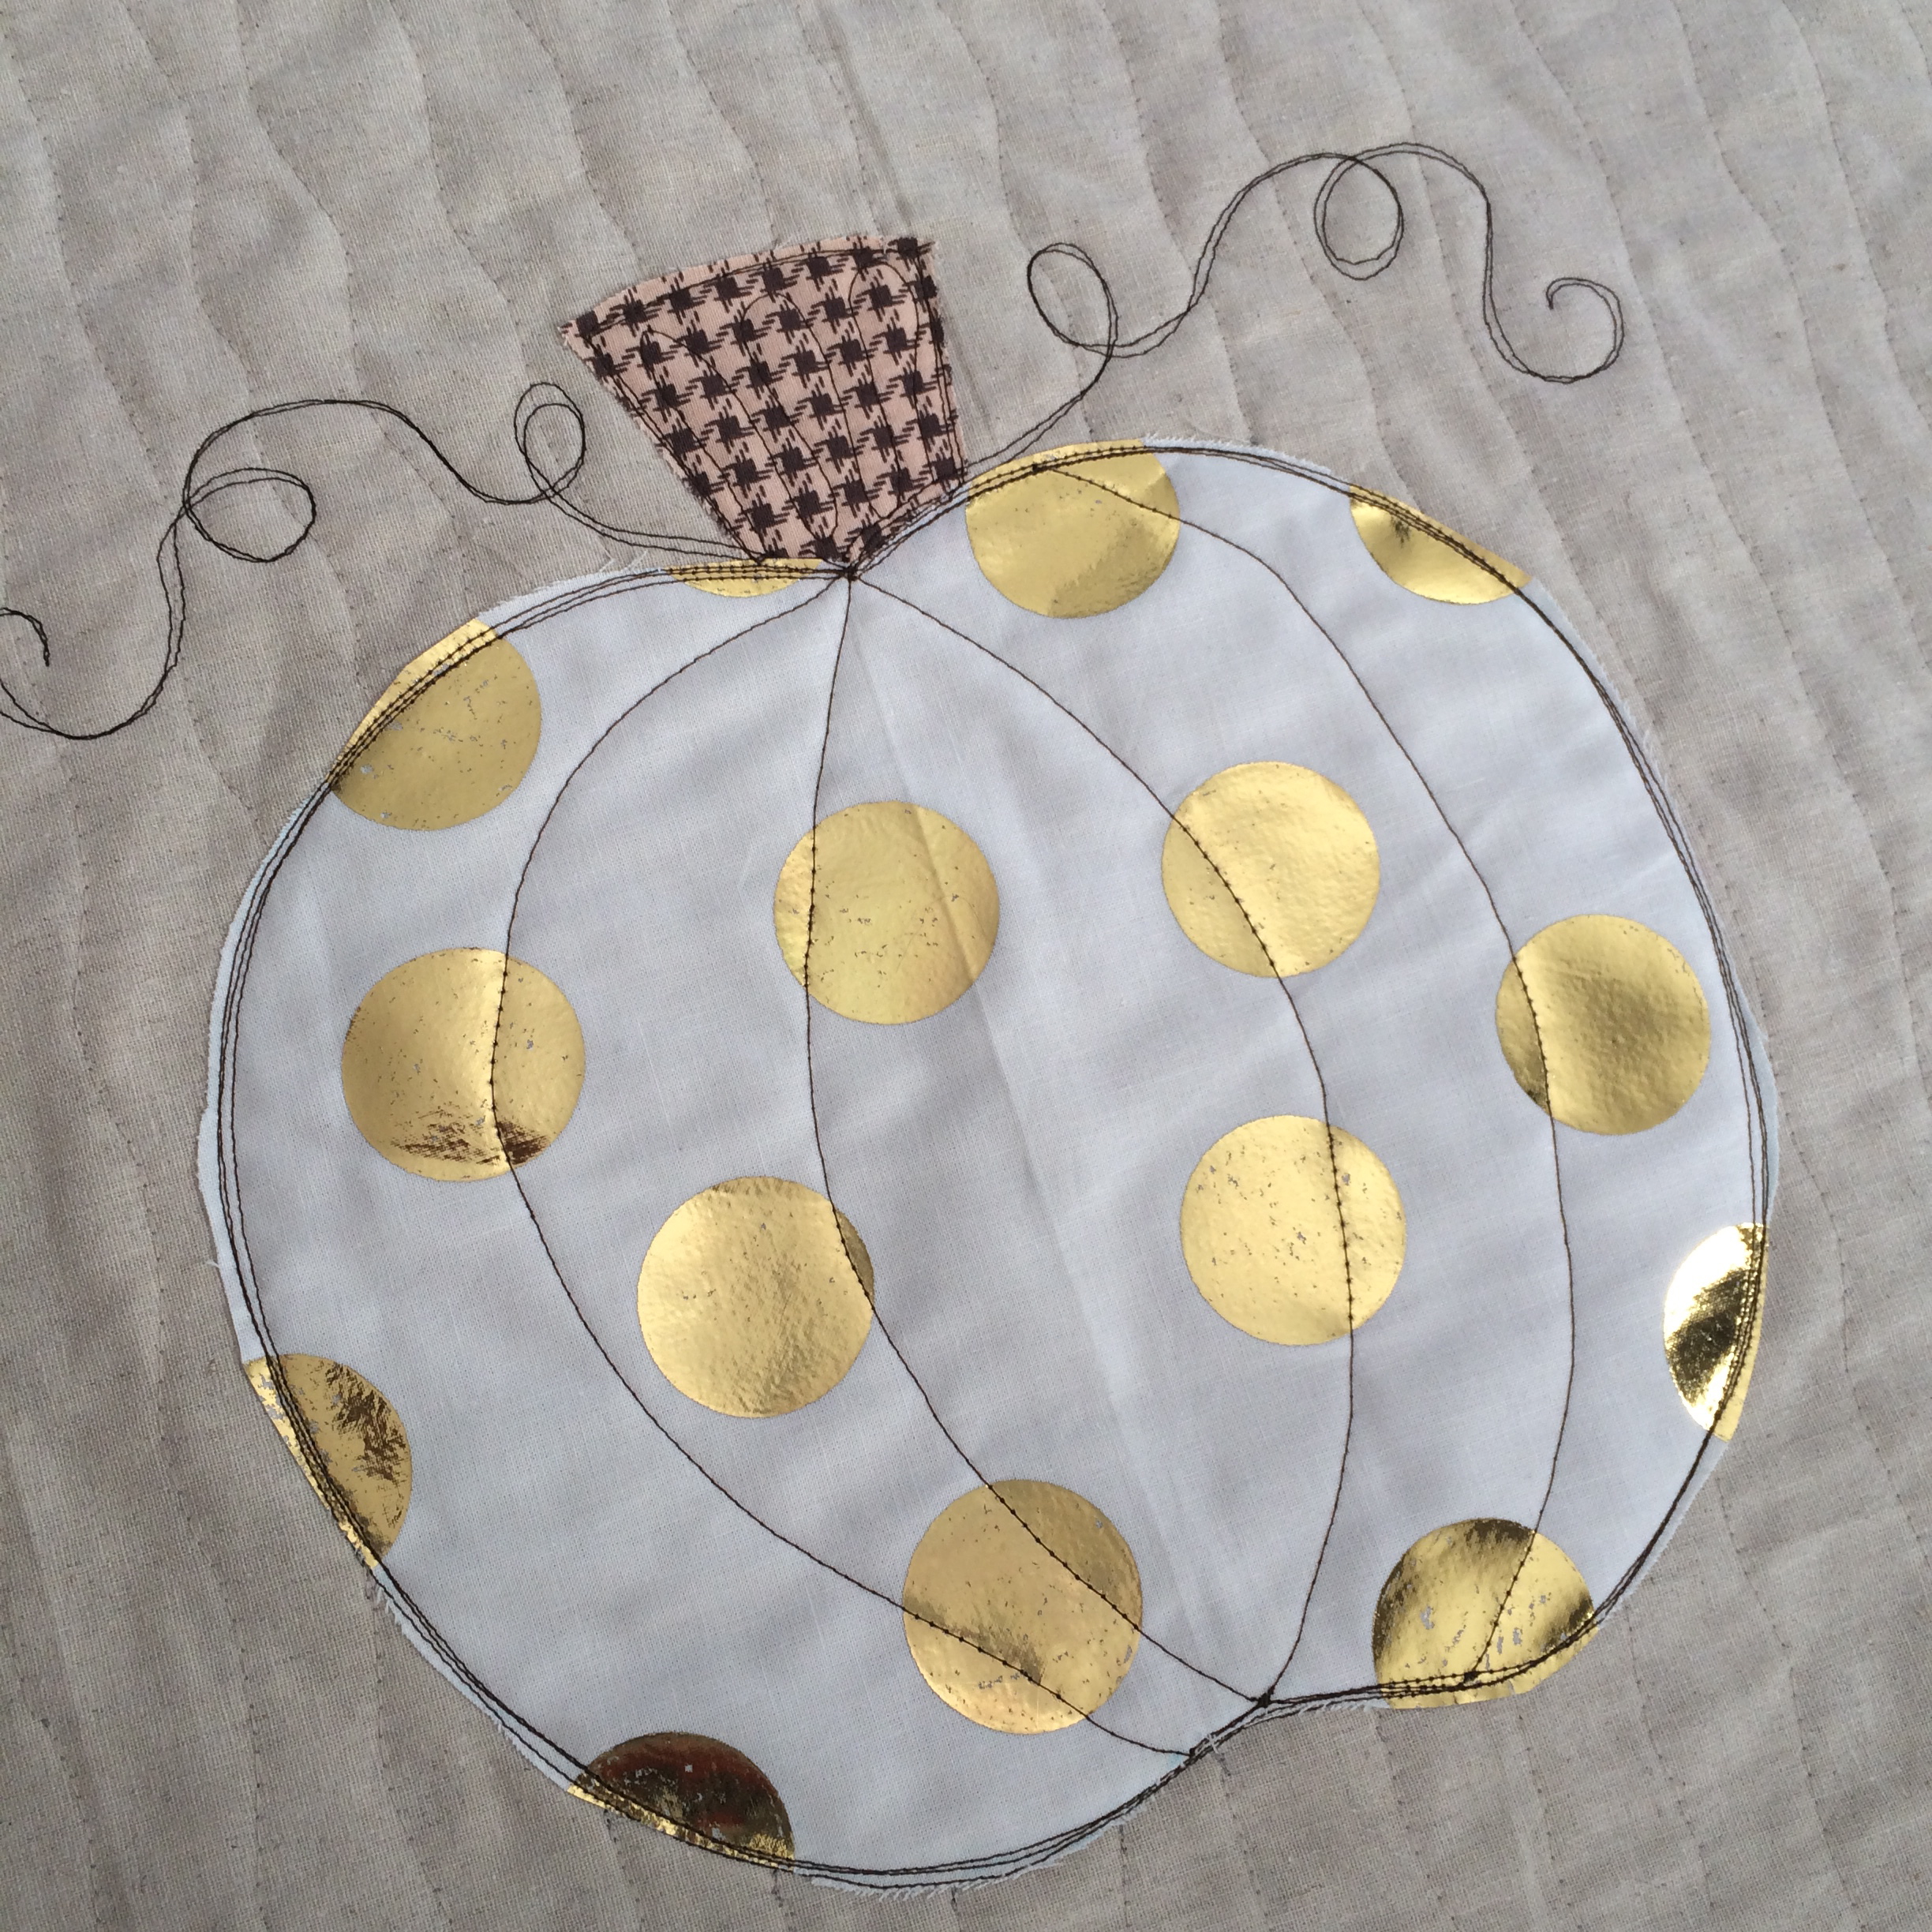

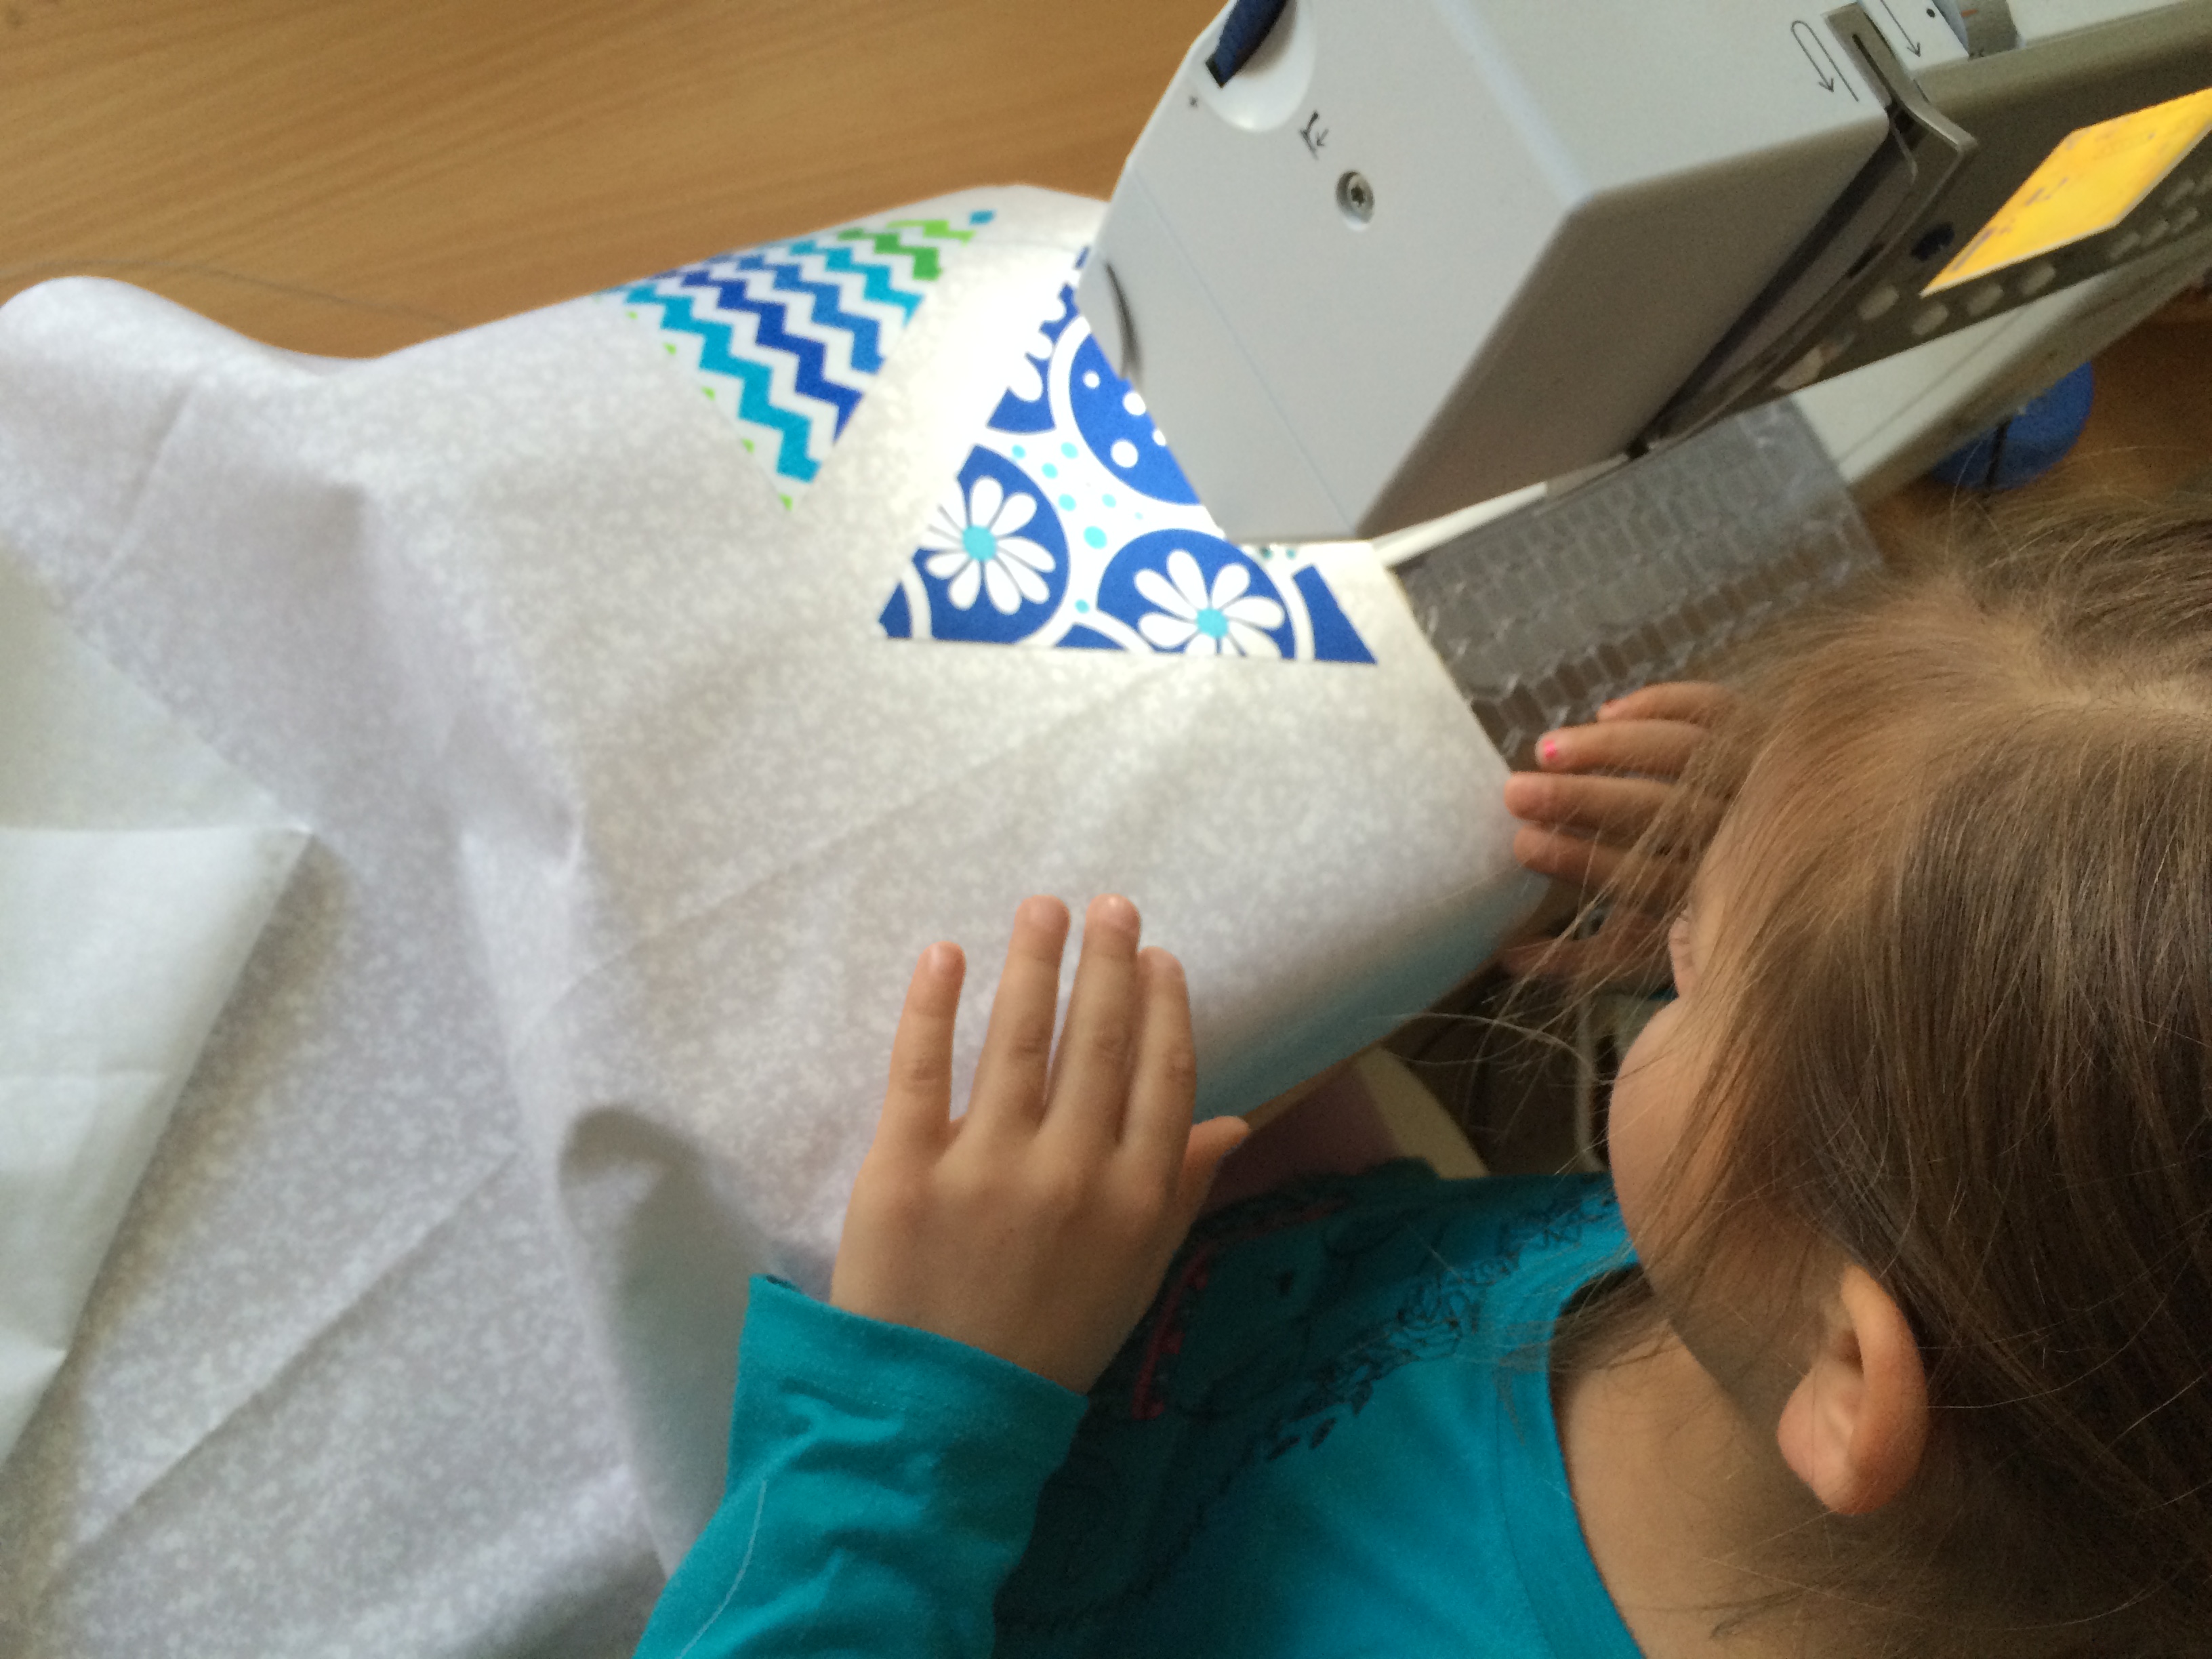
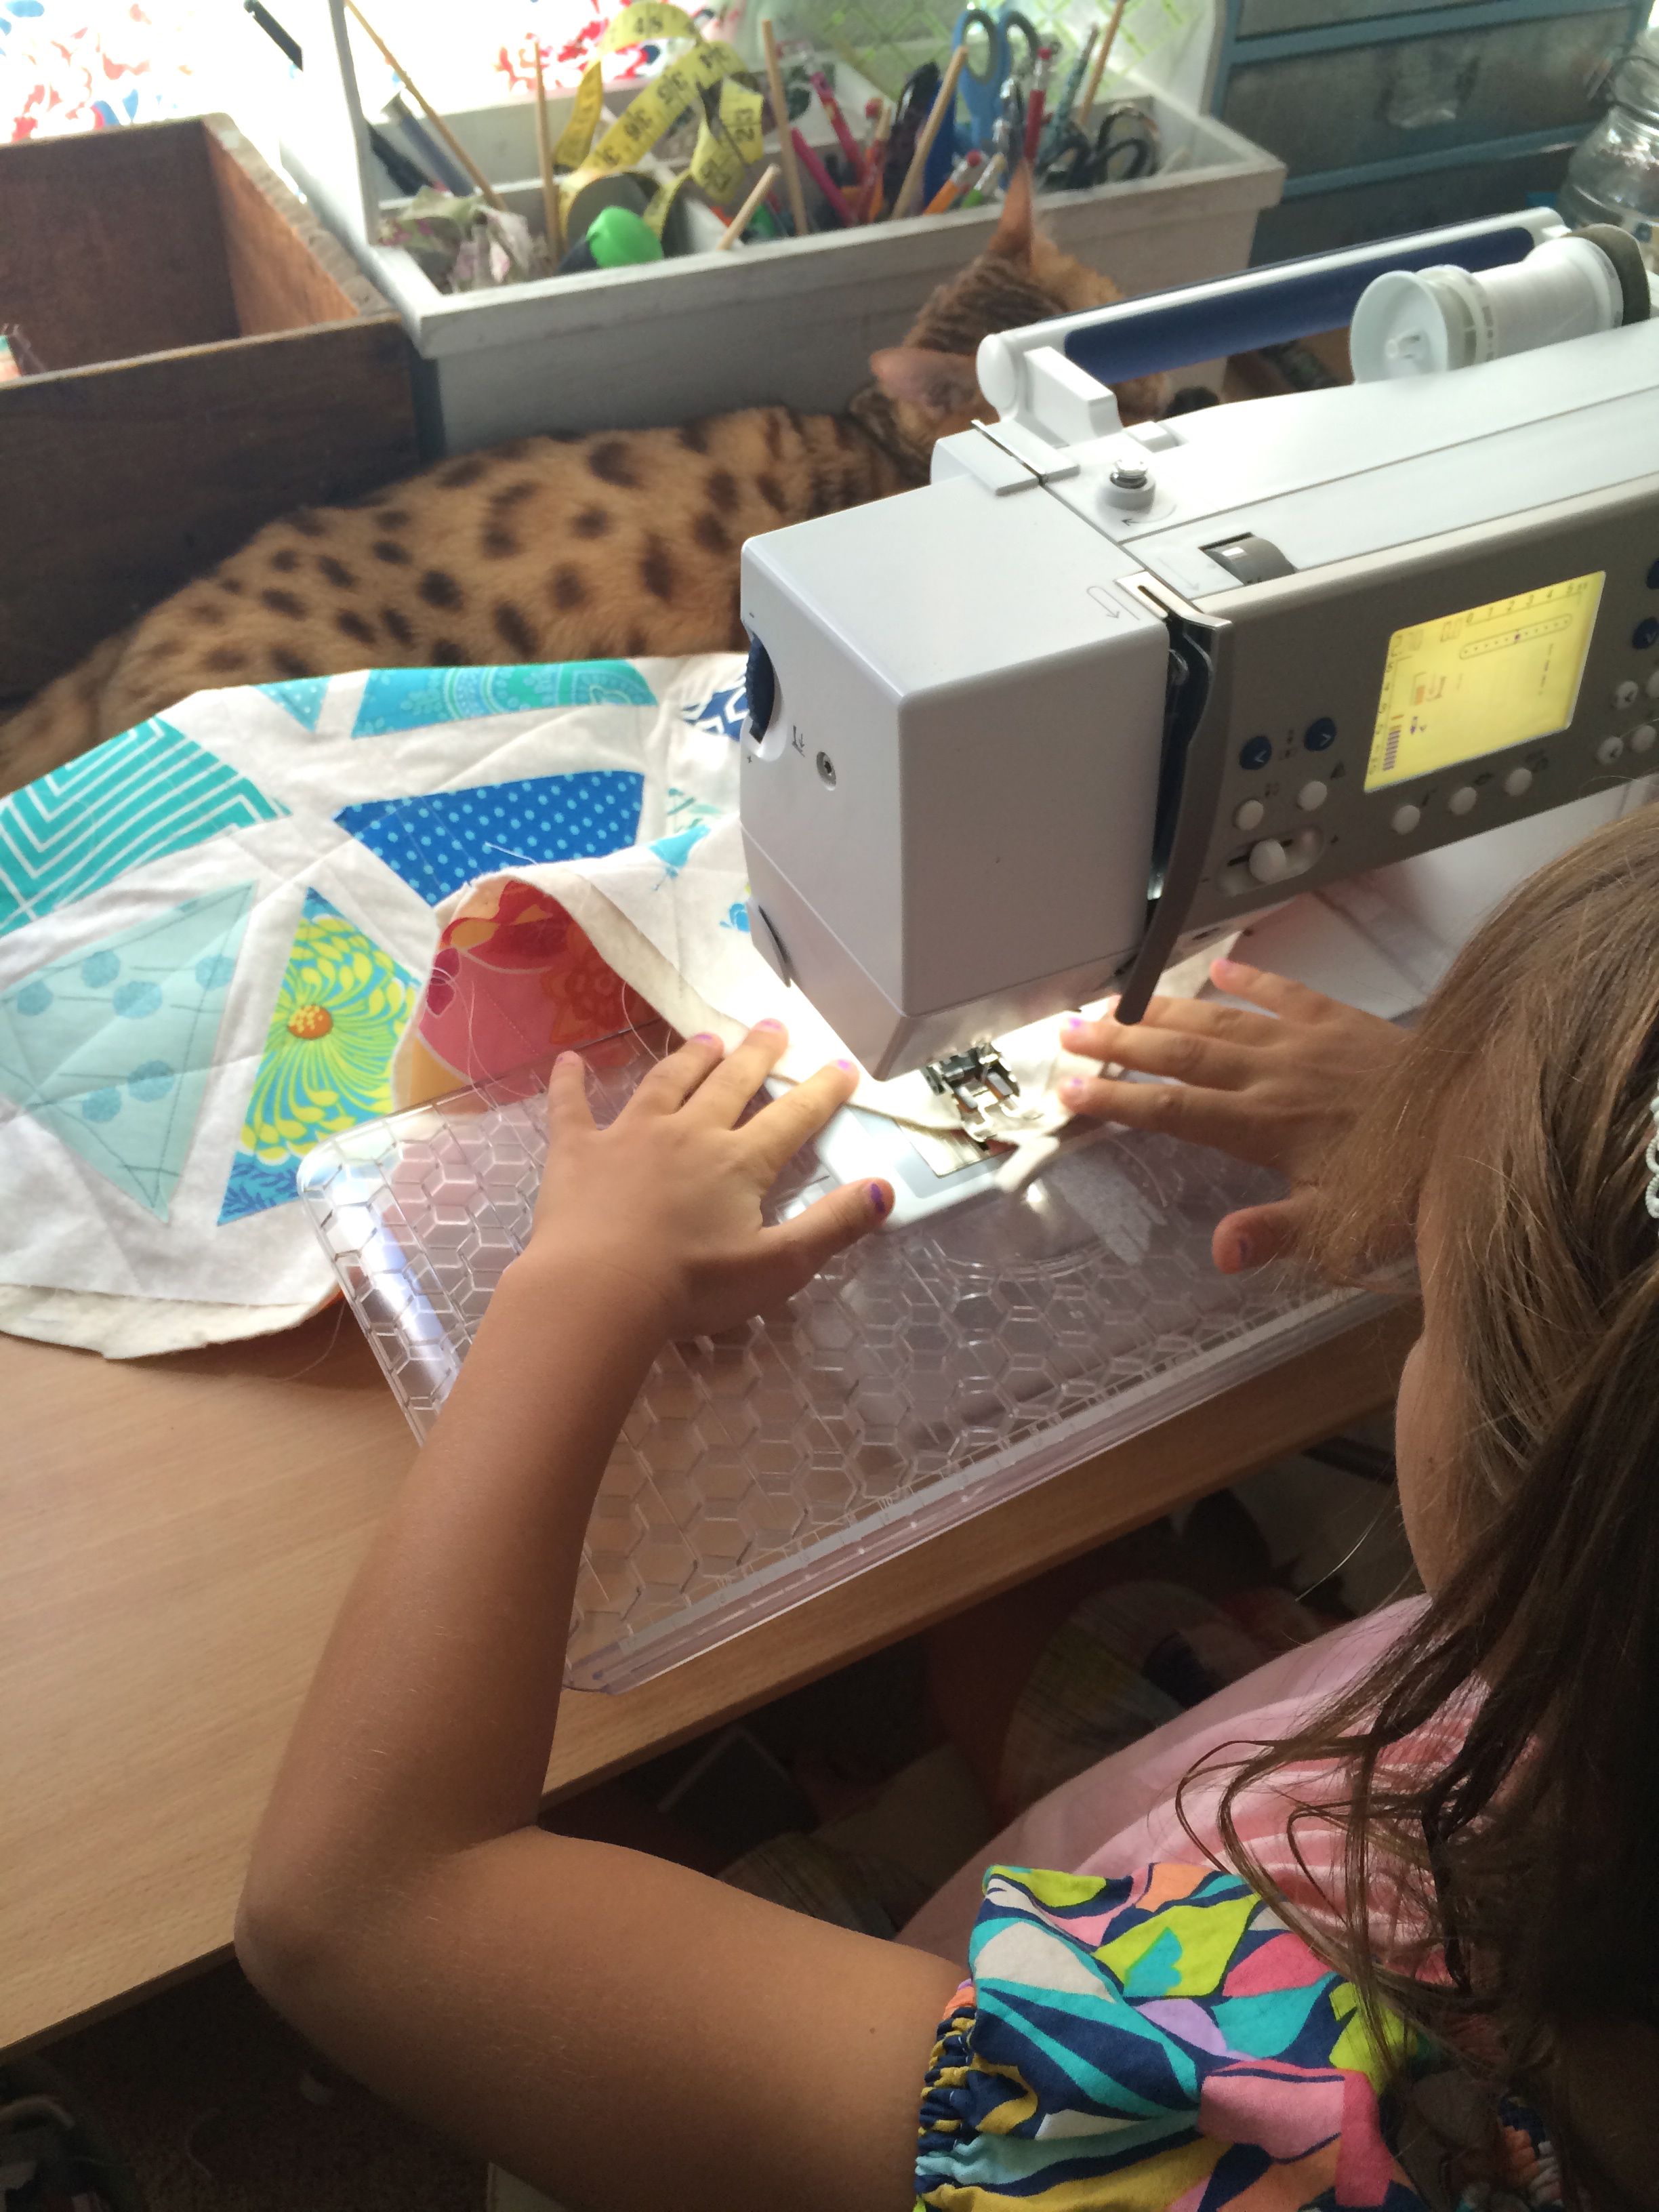
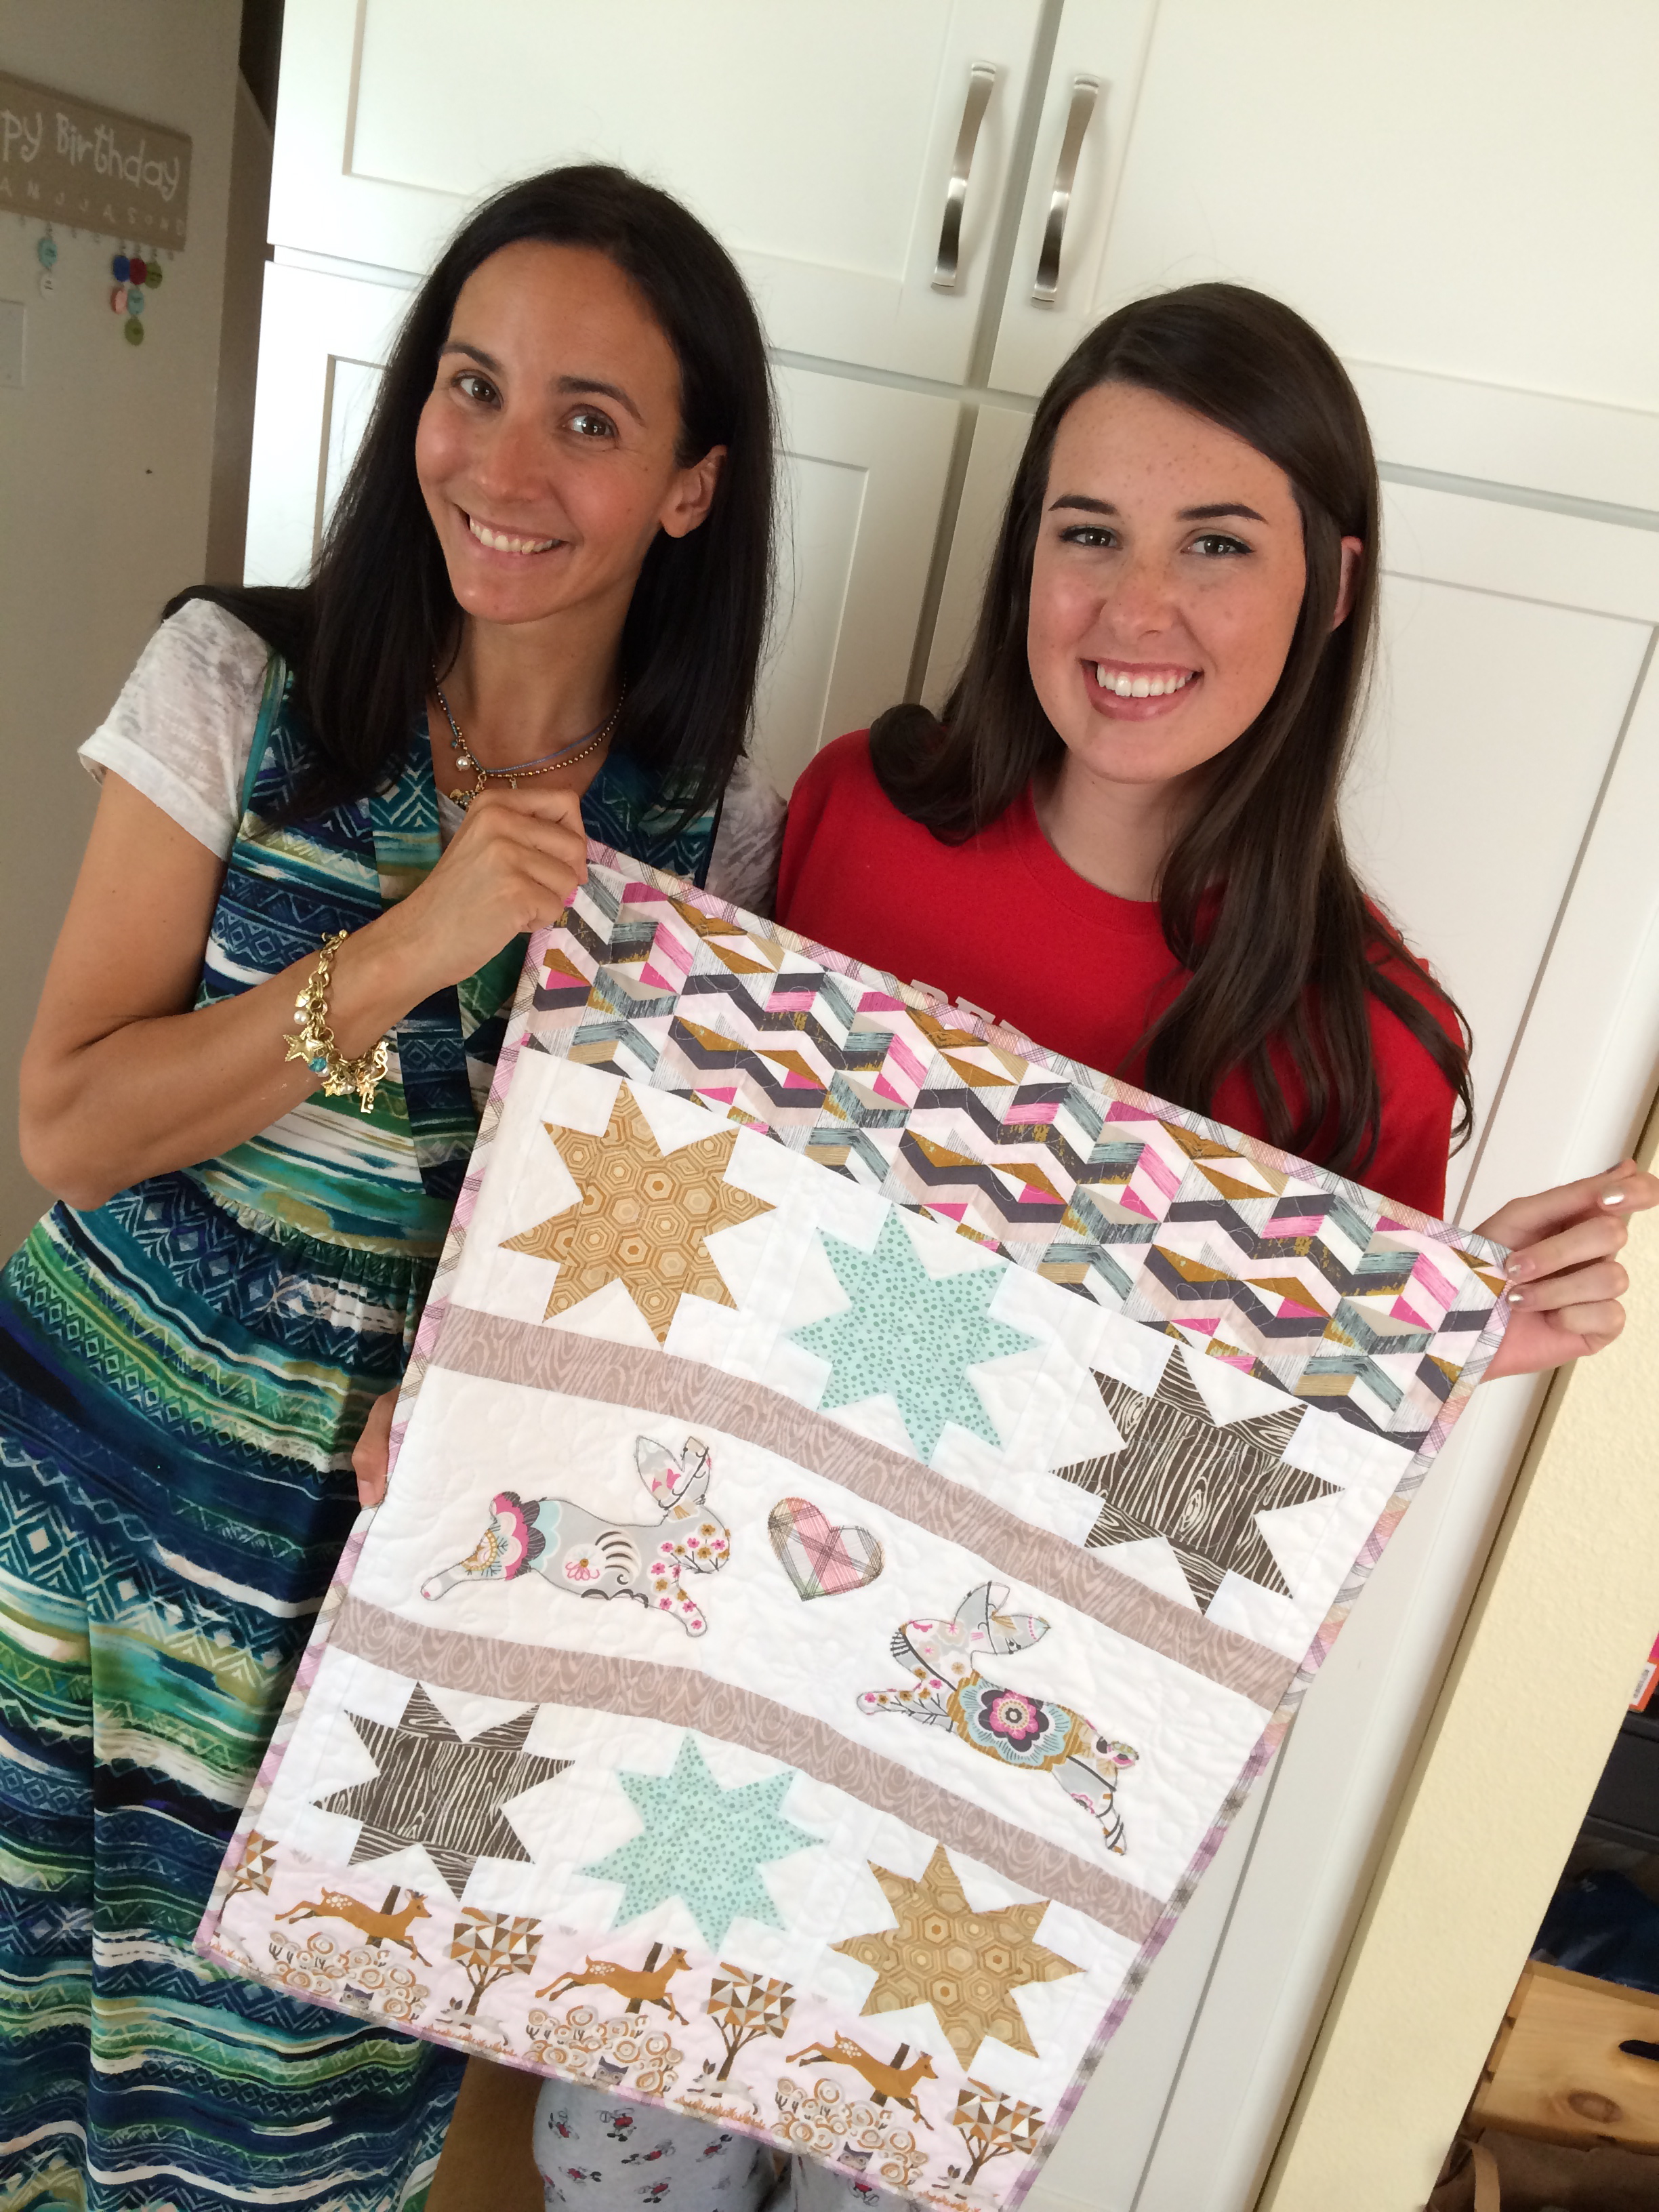
 I let her sew the binding on, and I helped with the corners. I then let her use the binding clips and clip the binding all the way around. Finally we got out the needle and thread and did some hand sewing. She did pretty good. I helped with the hand binding so we could finish sometime this year!
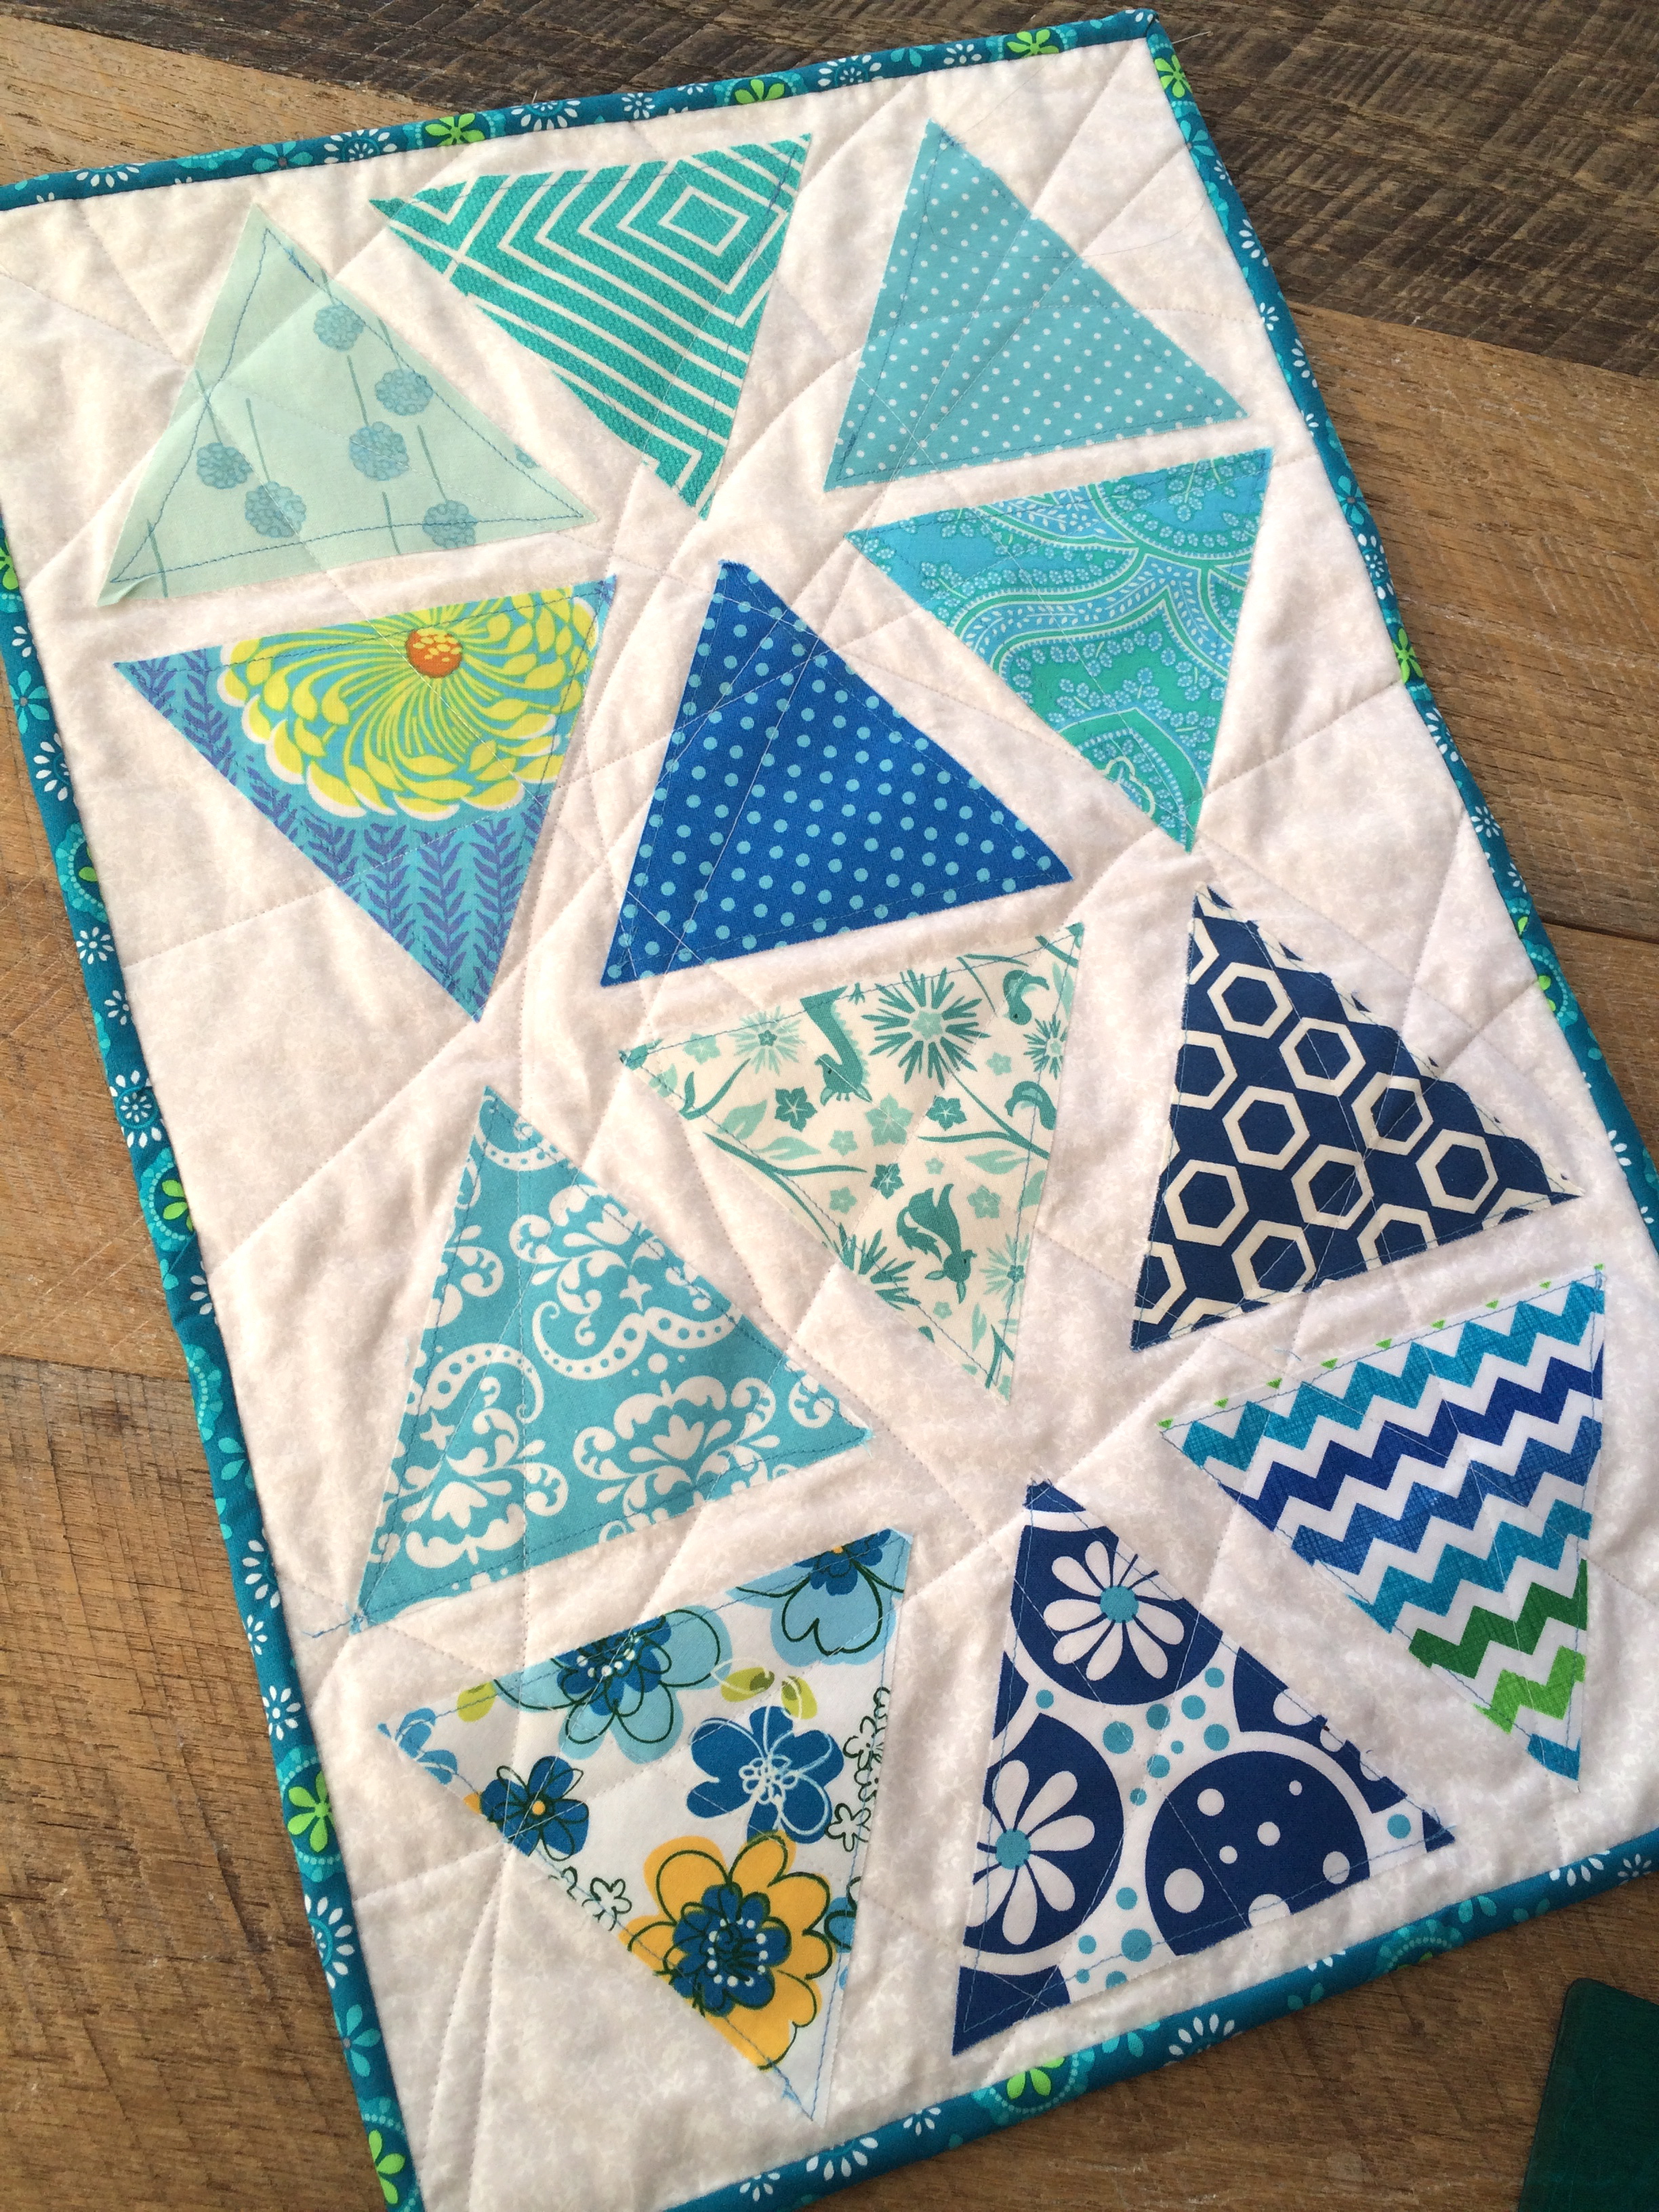
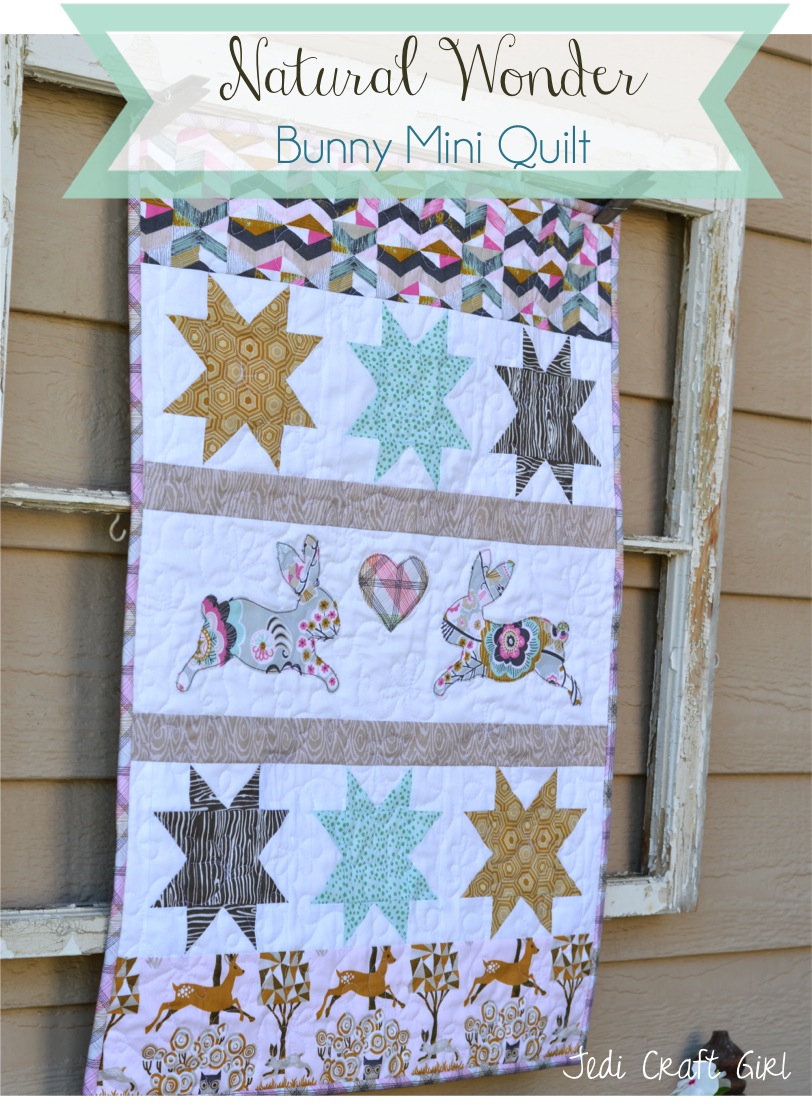
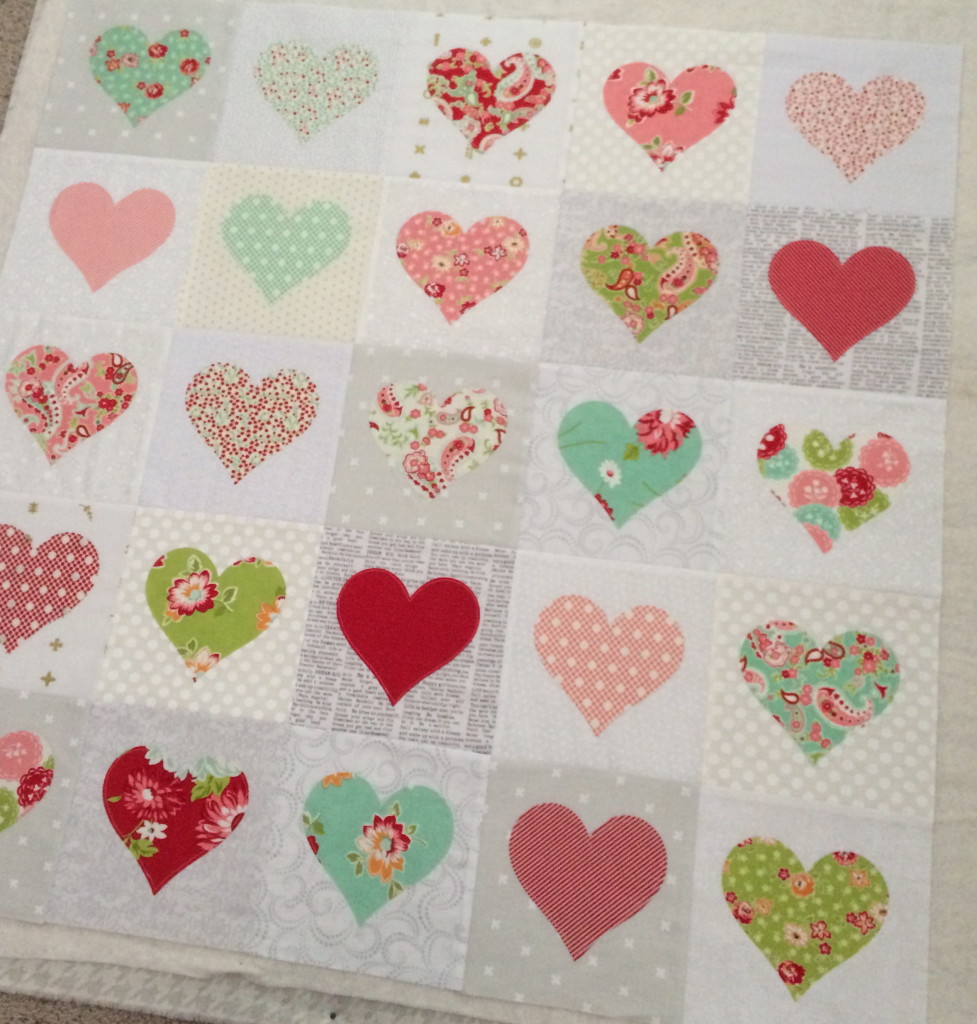
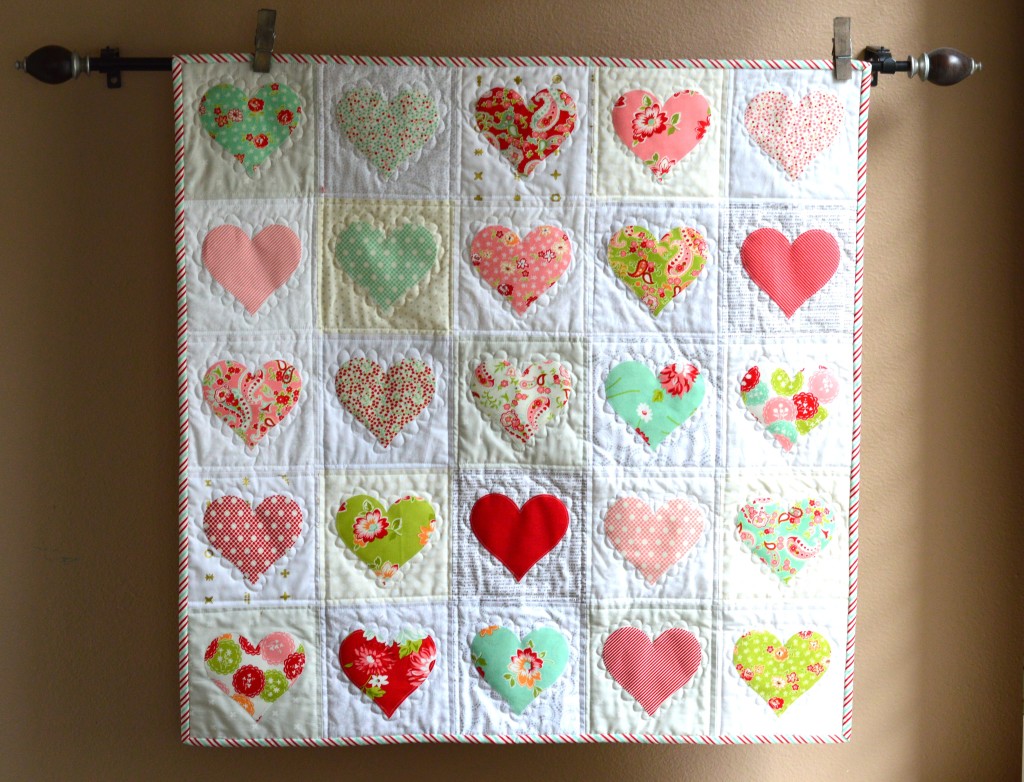
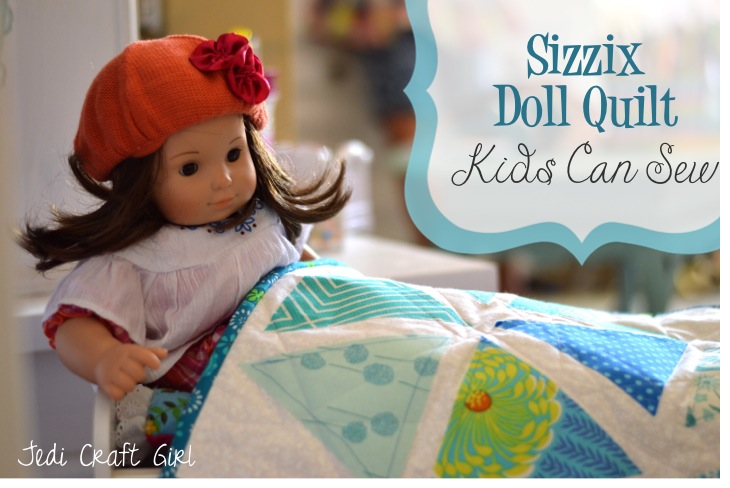
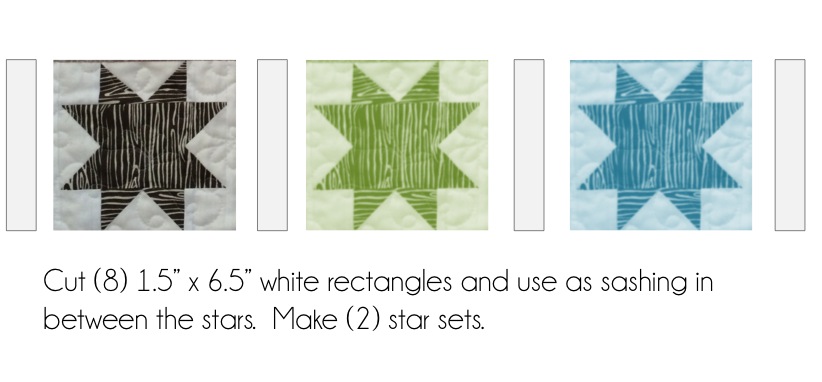
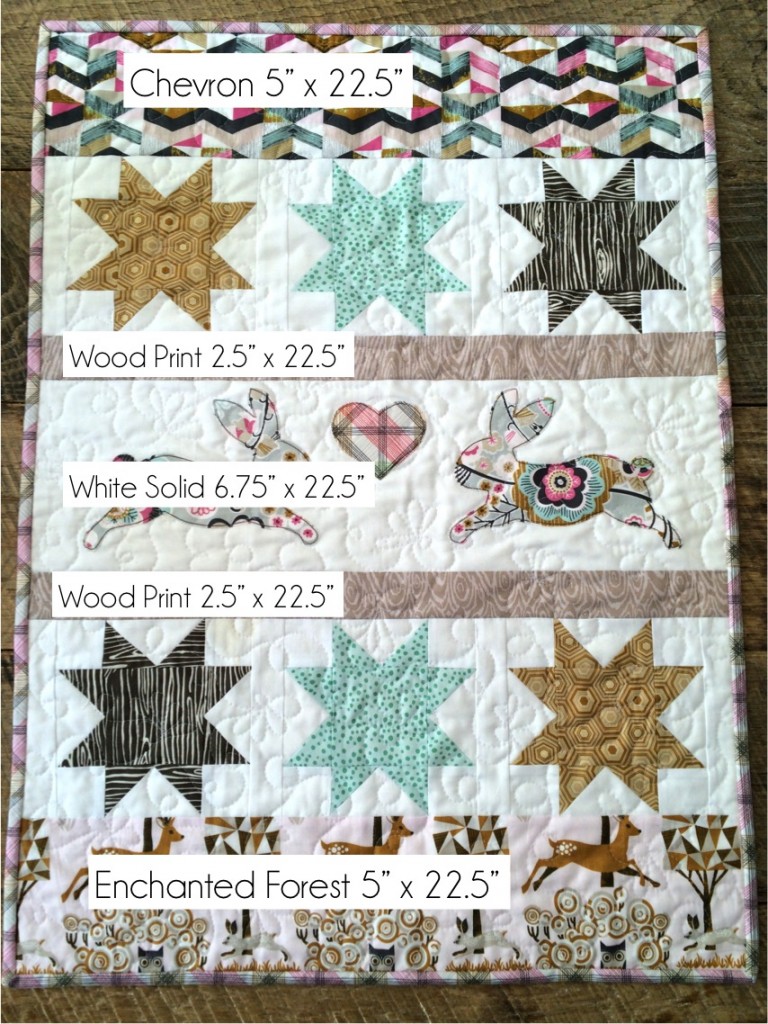
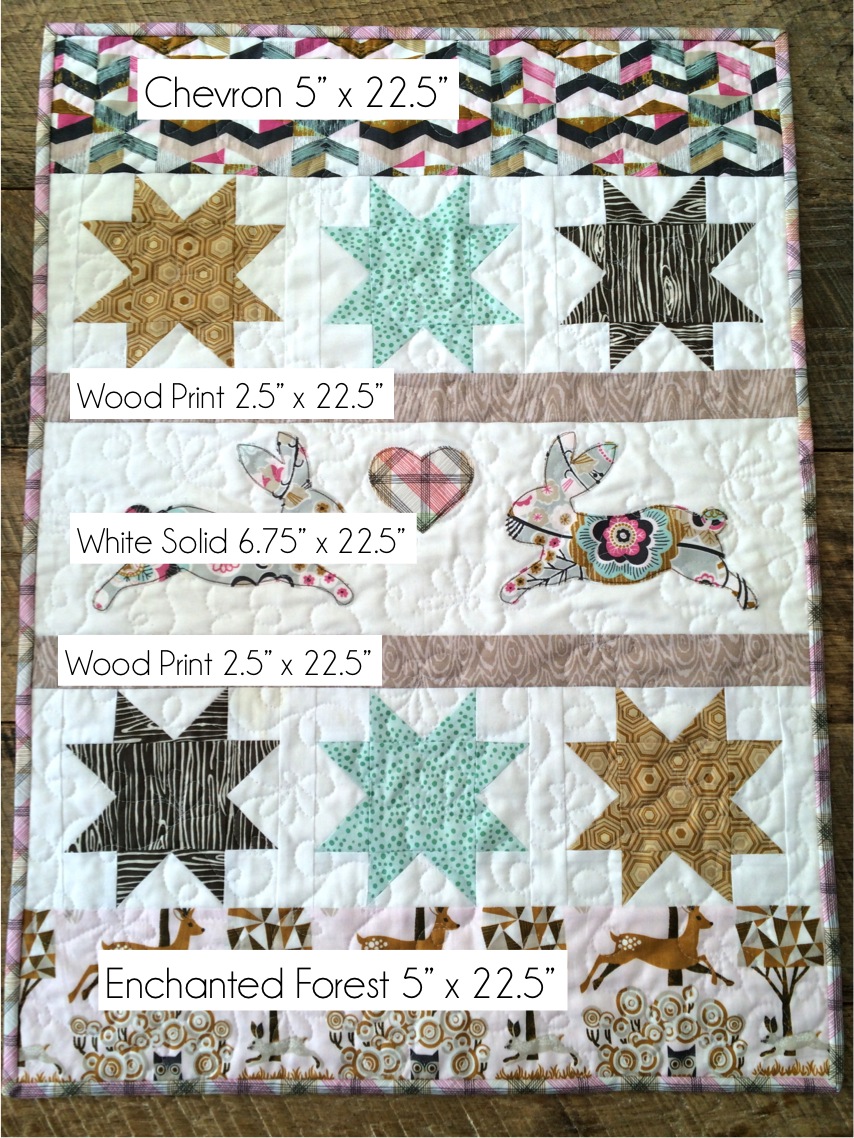
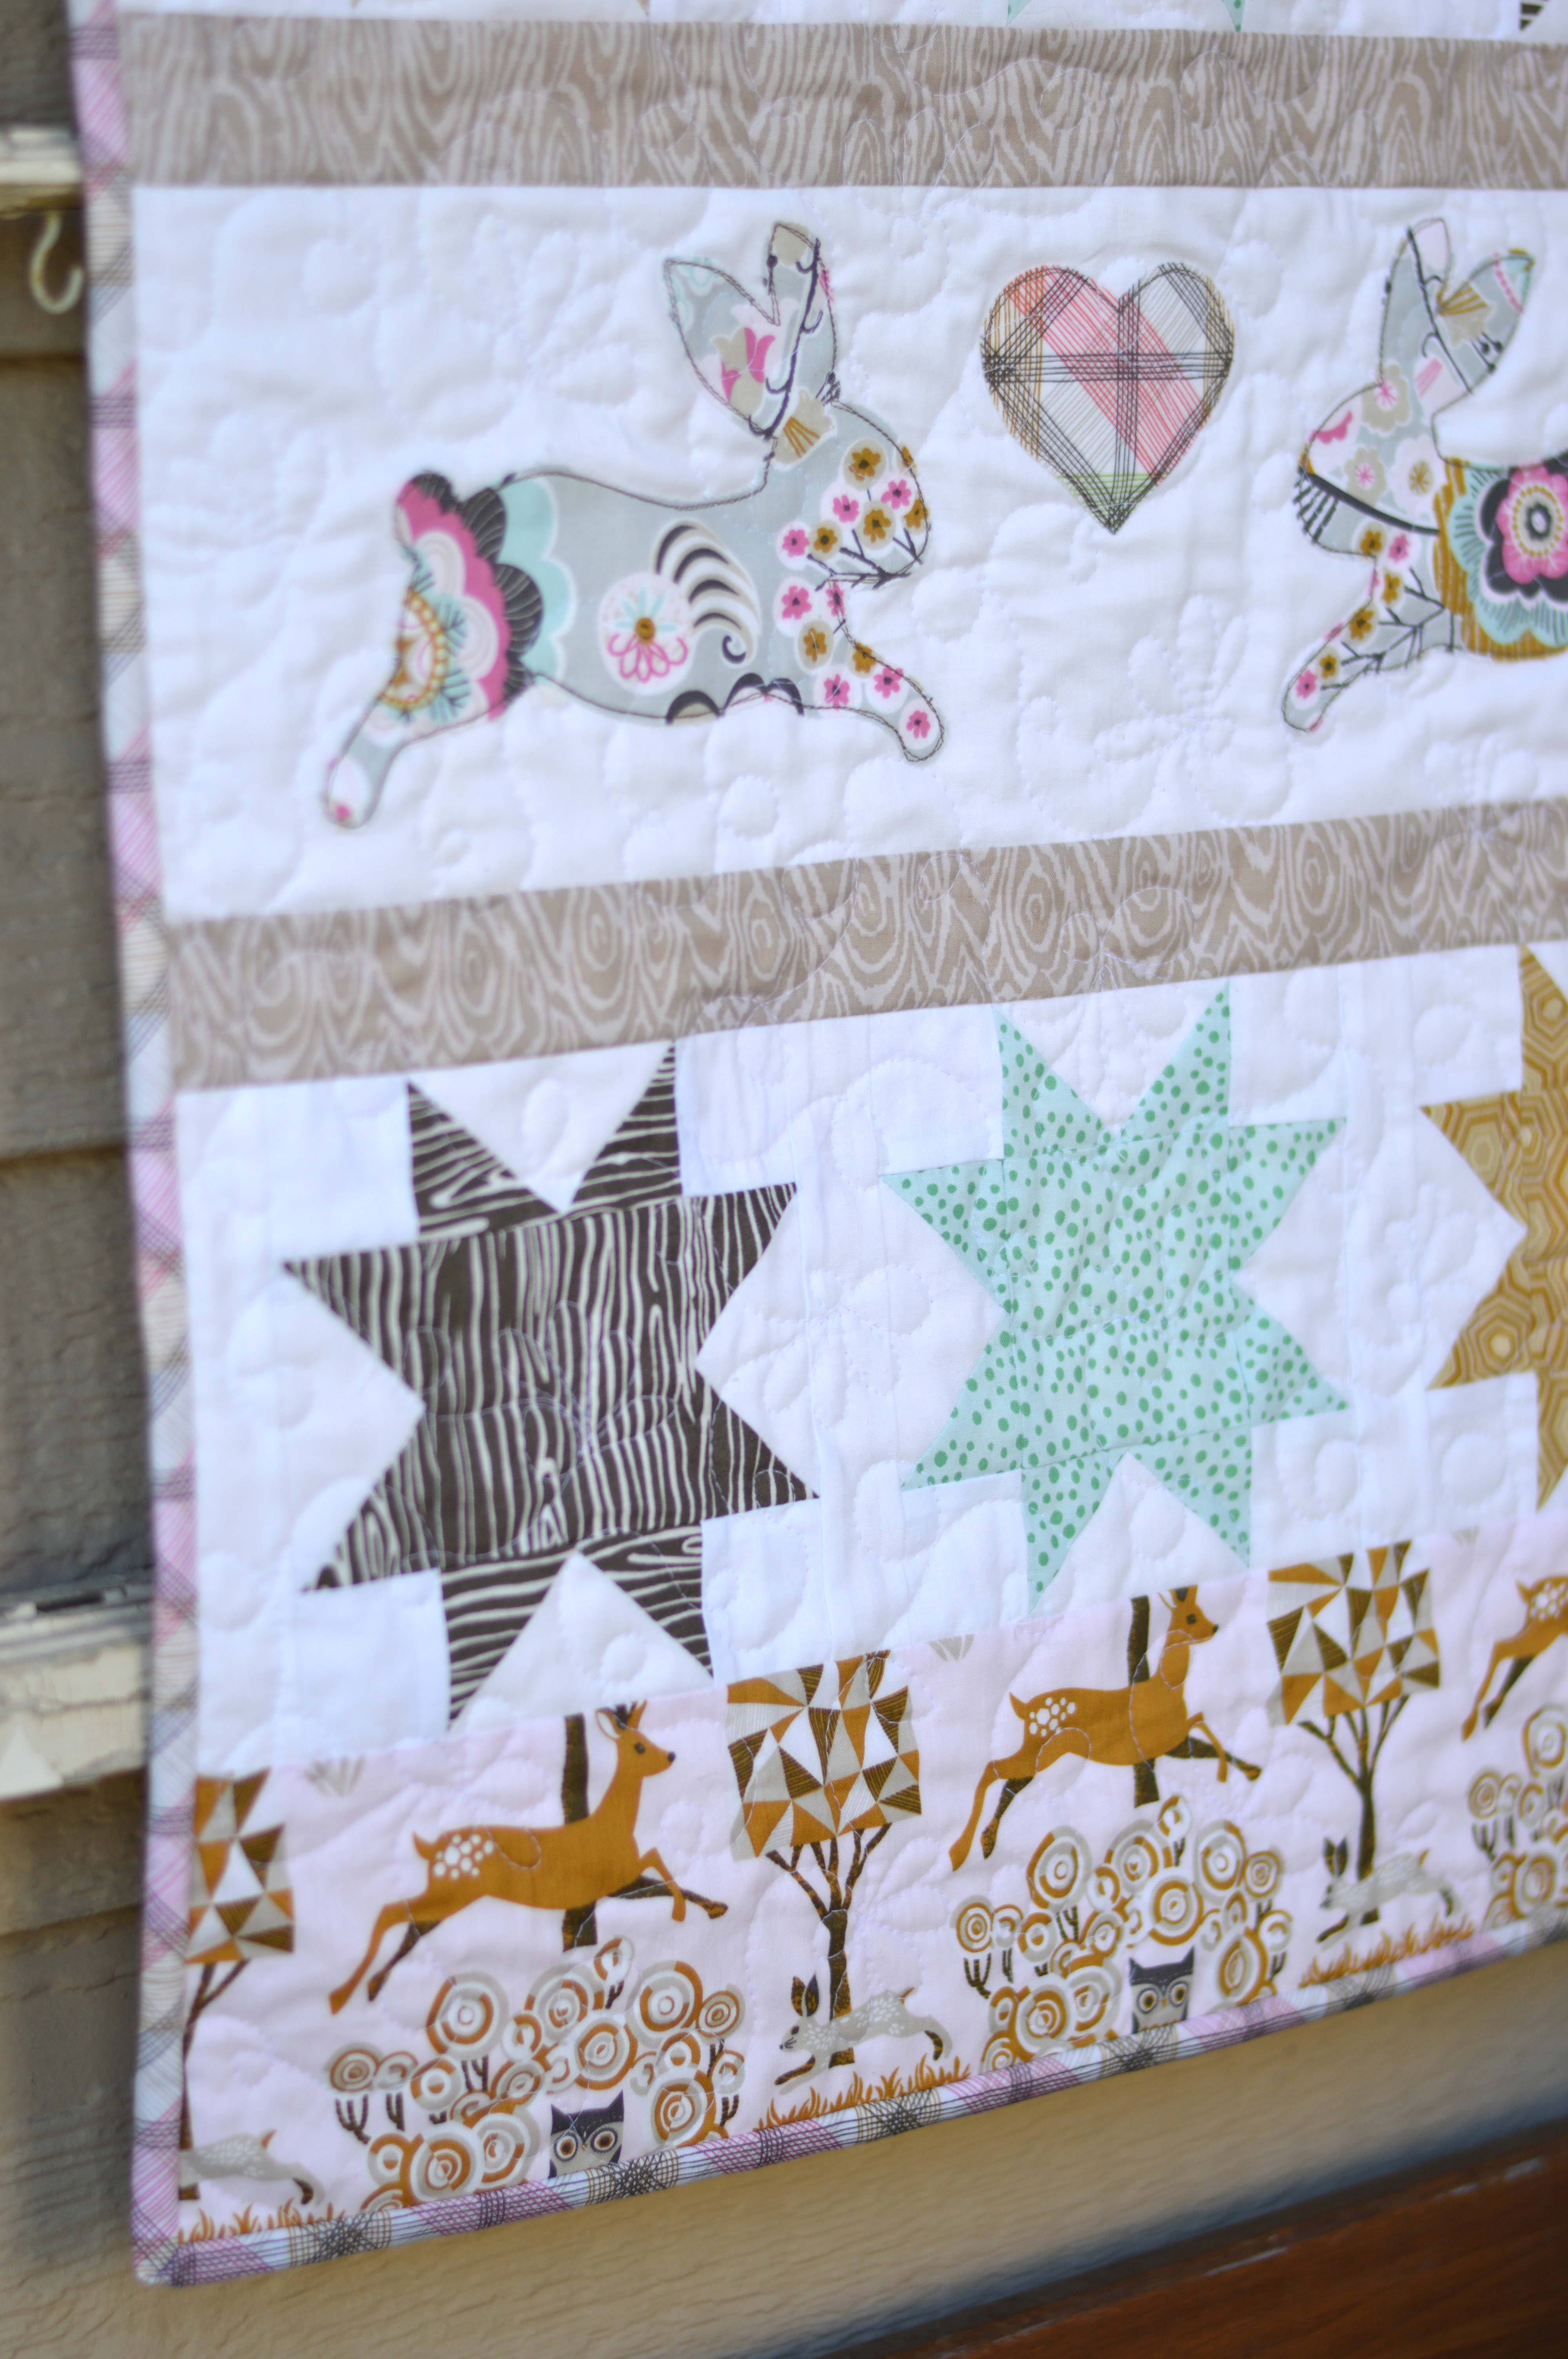
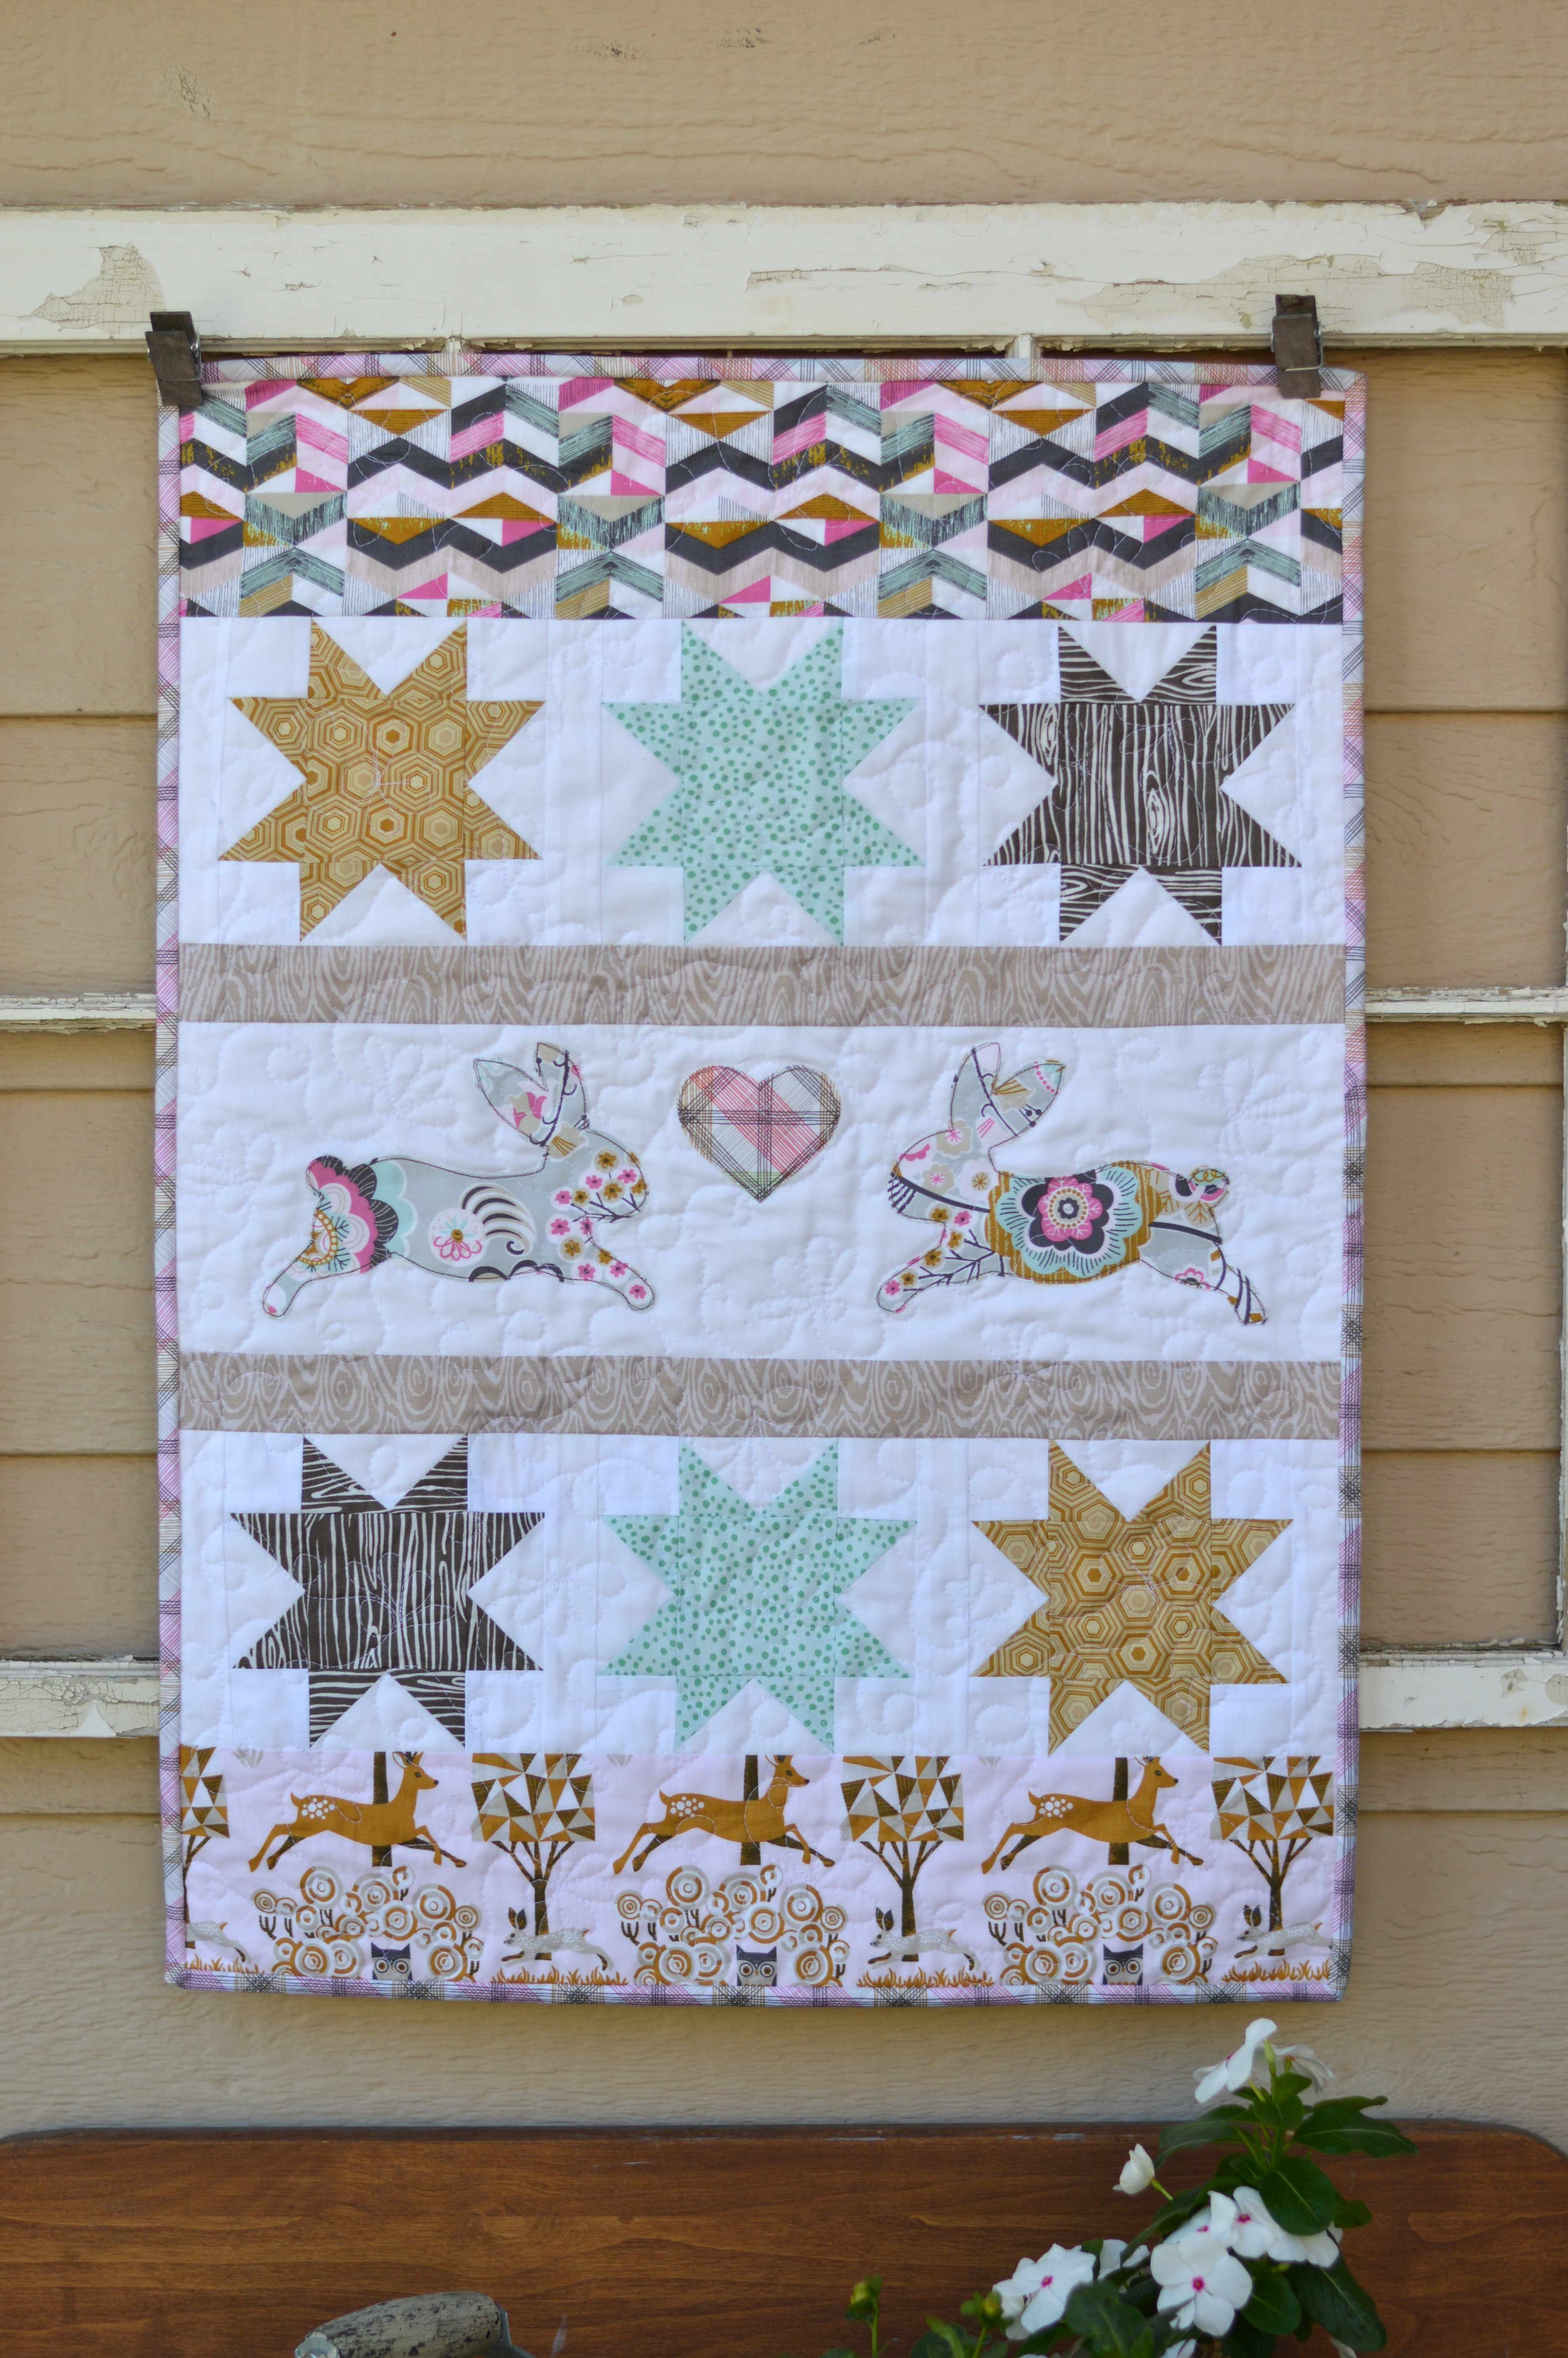
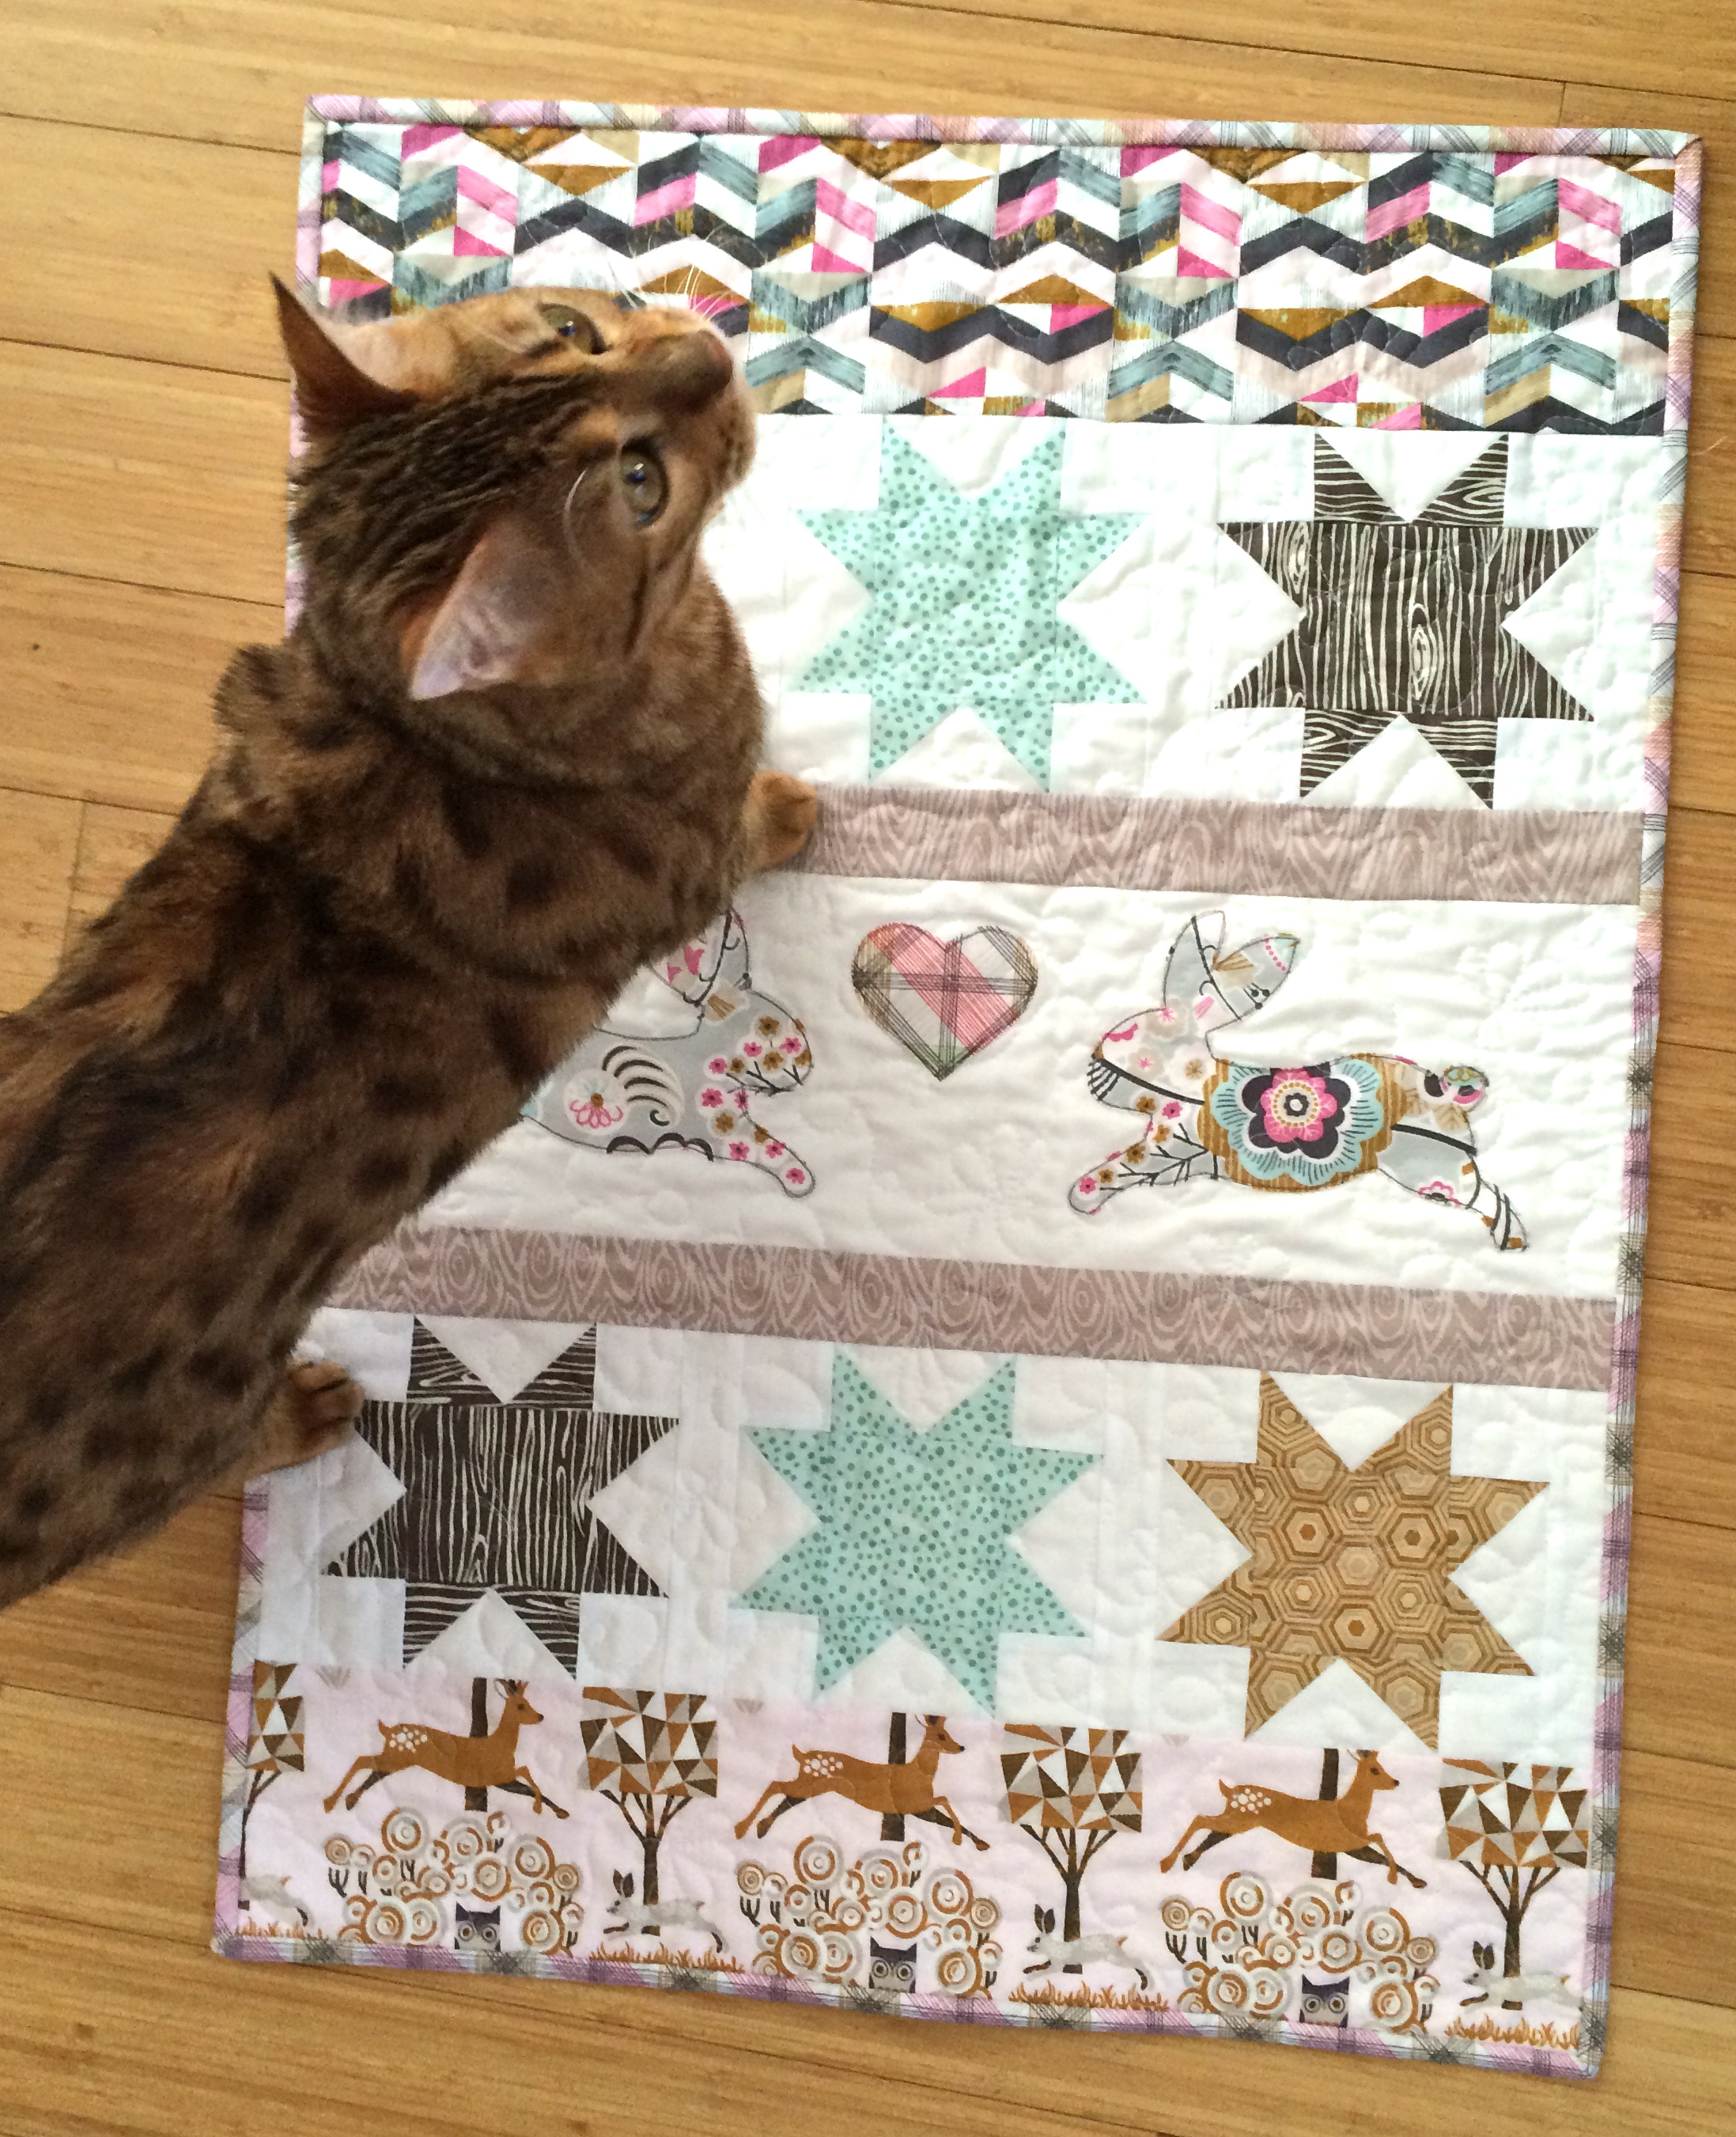
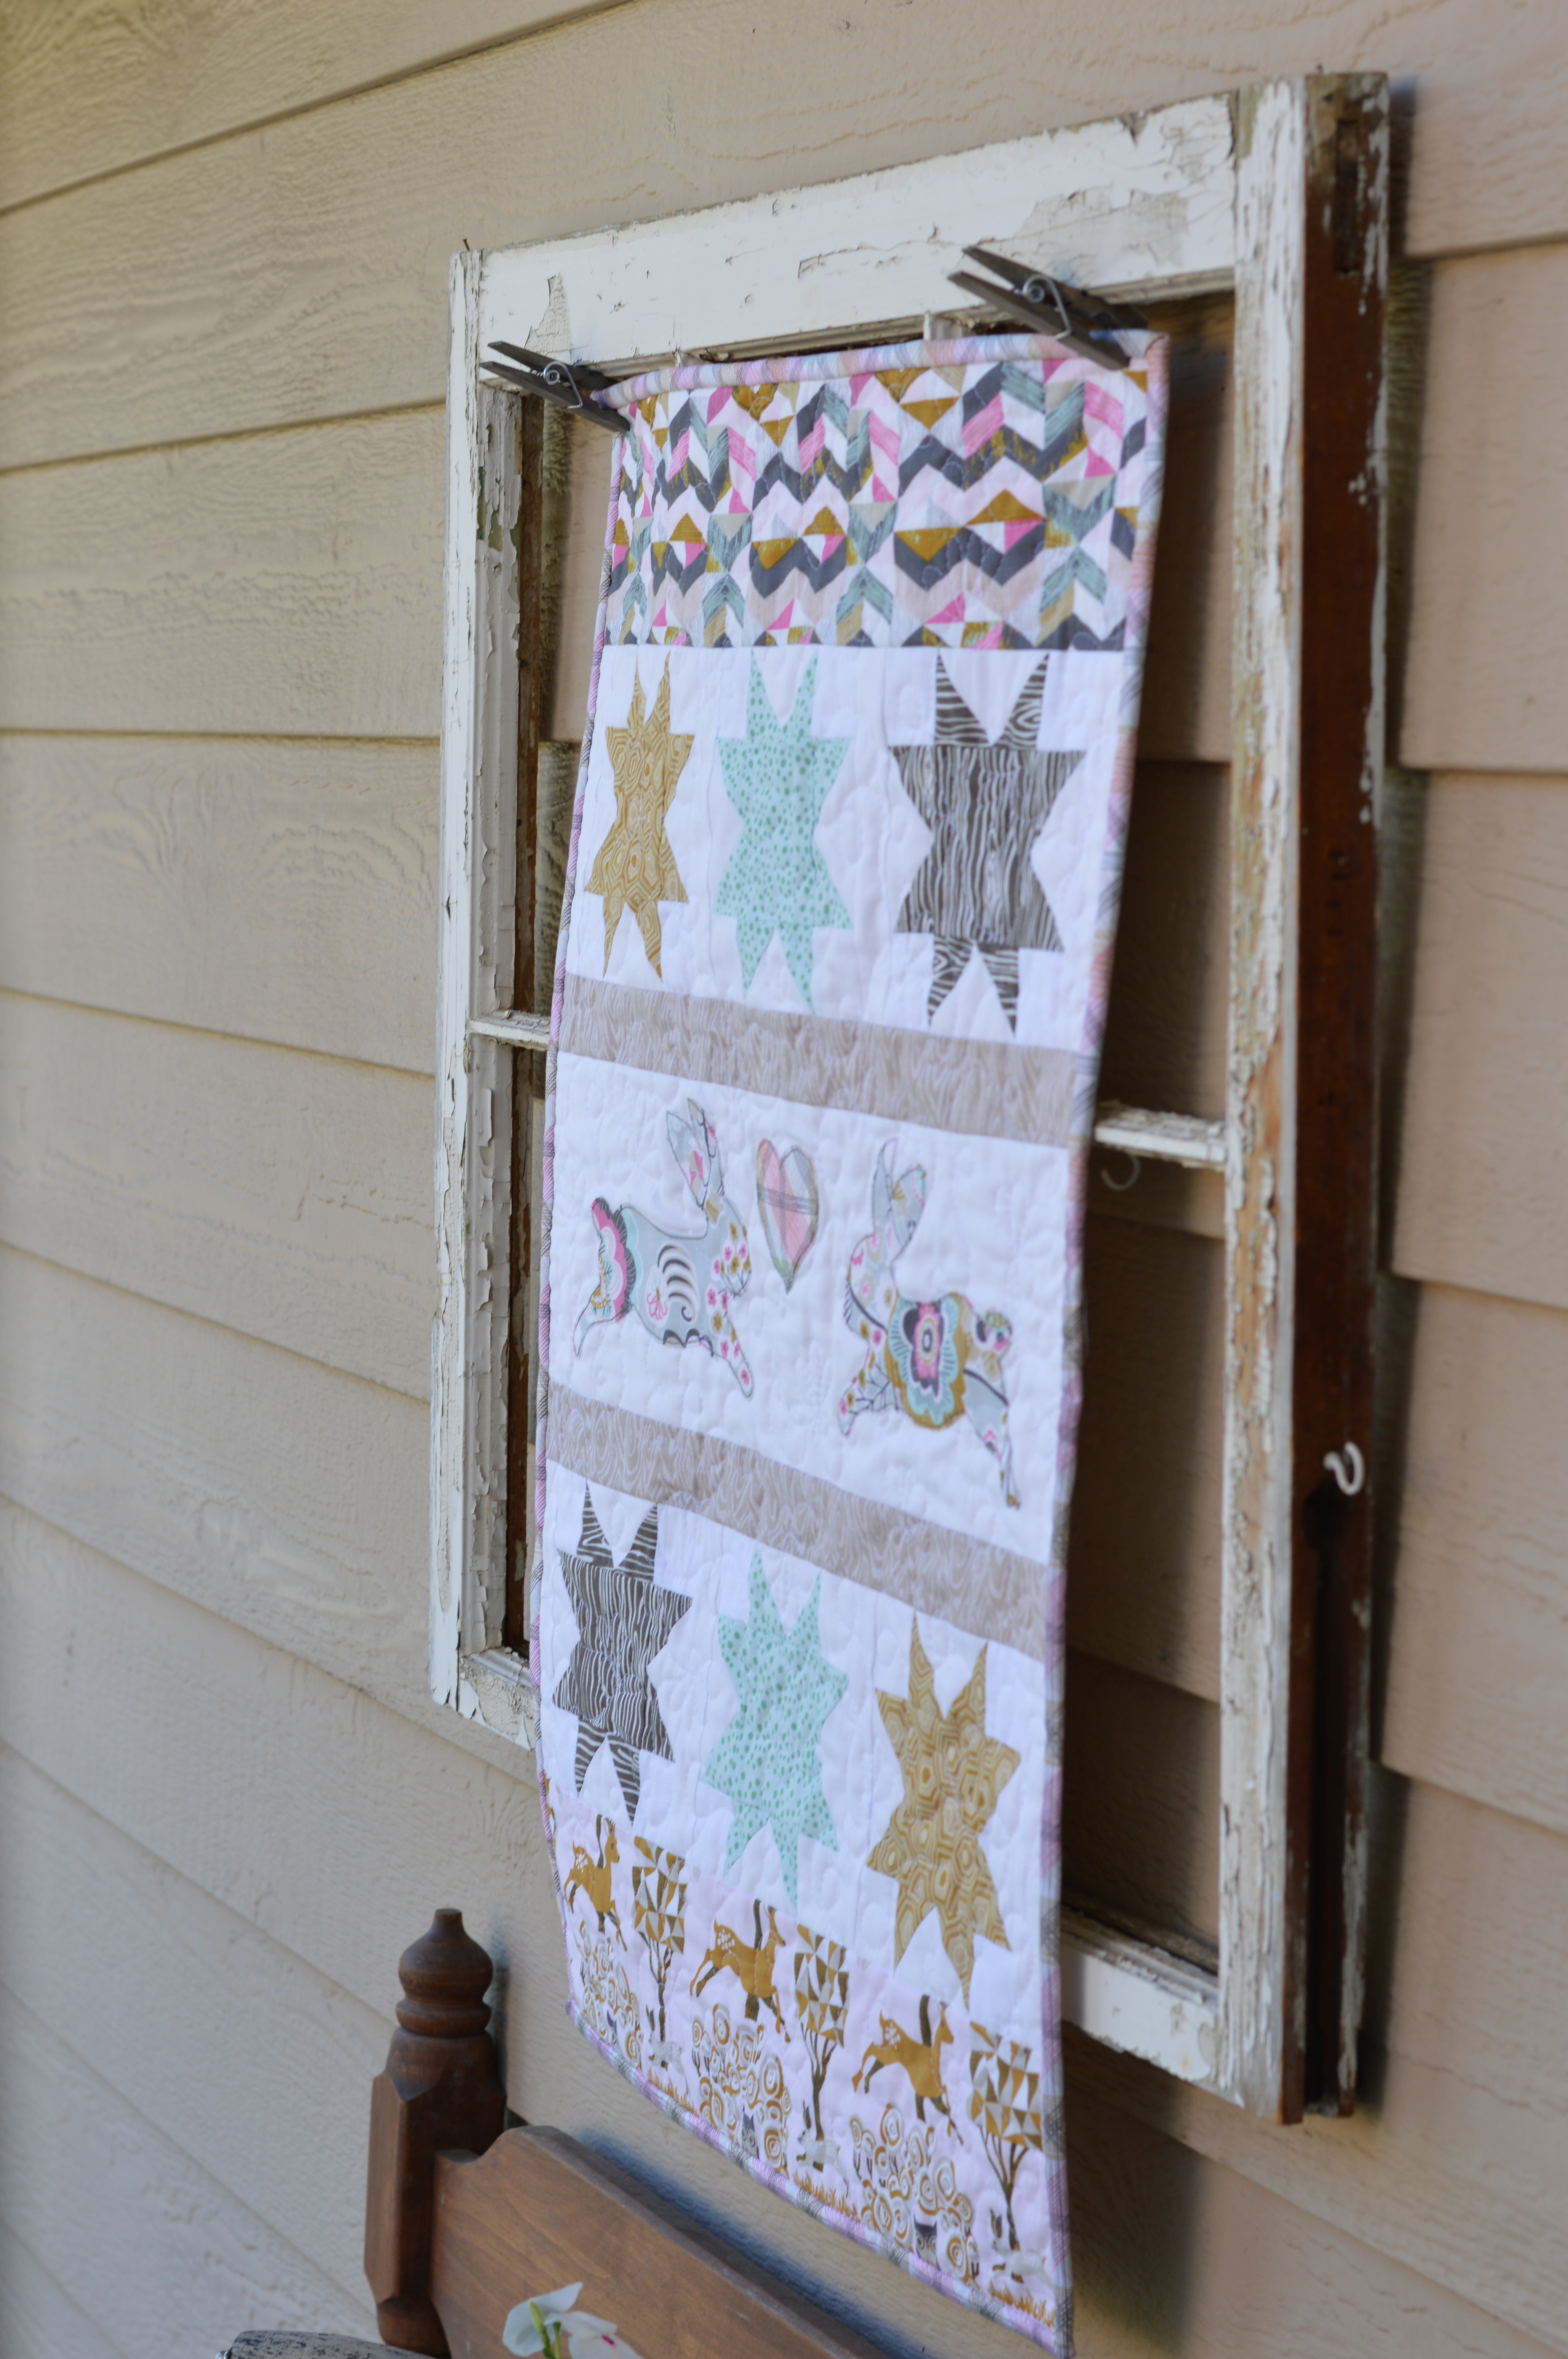
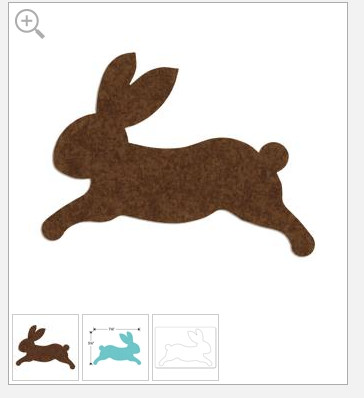
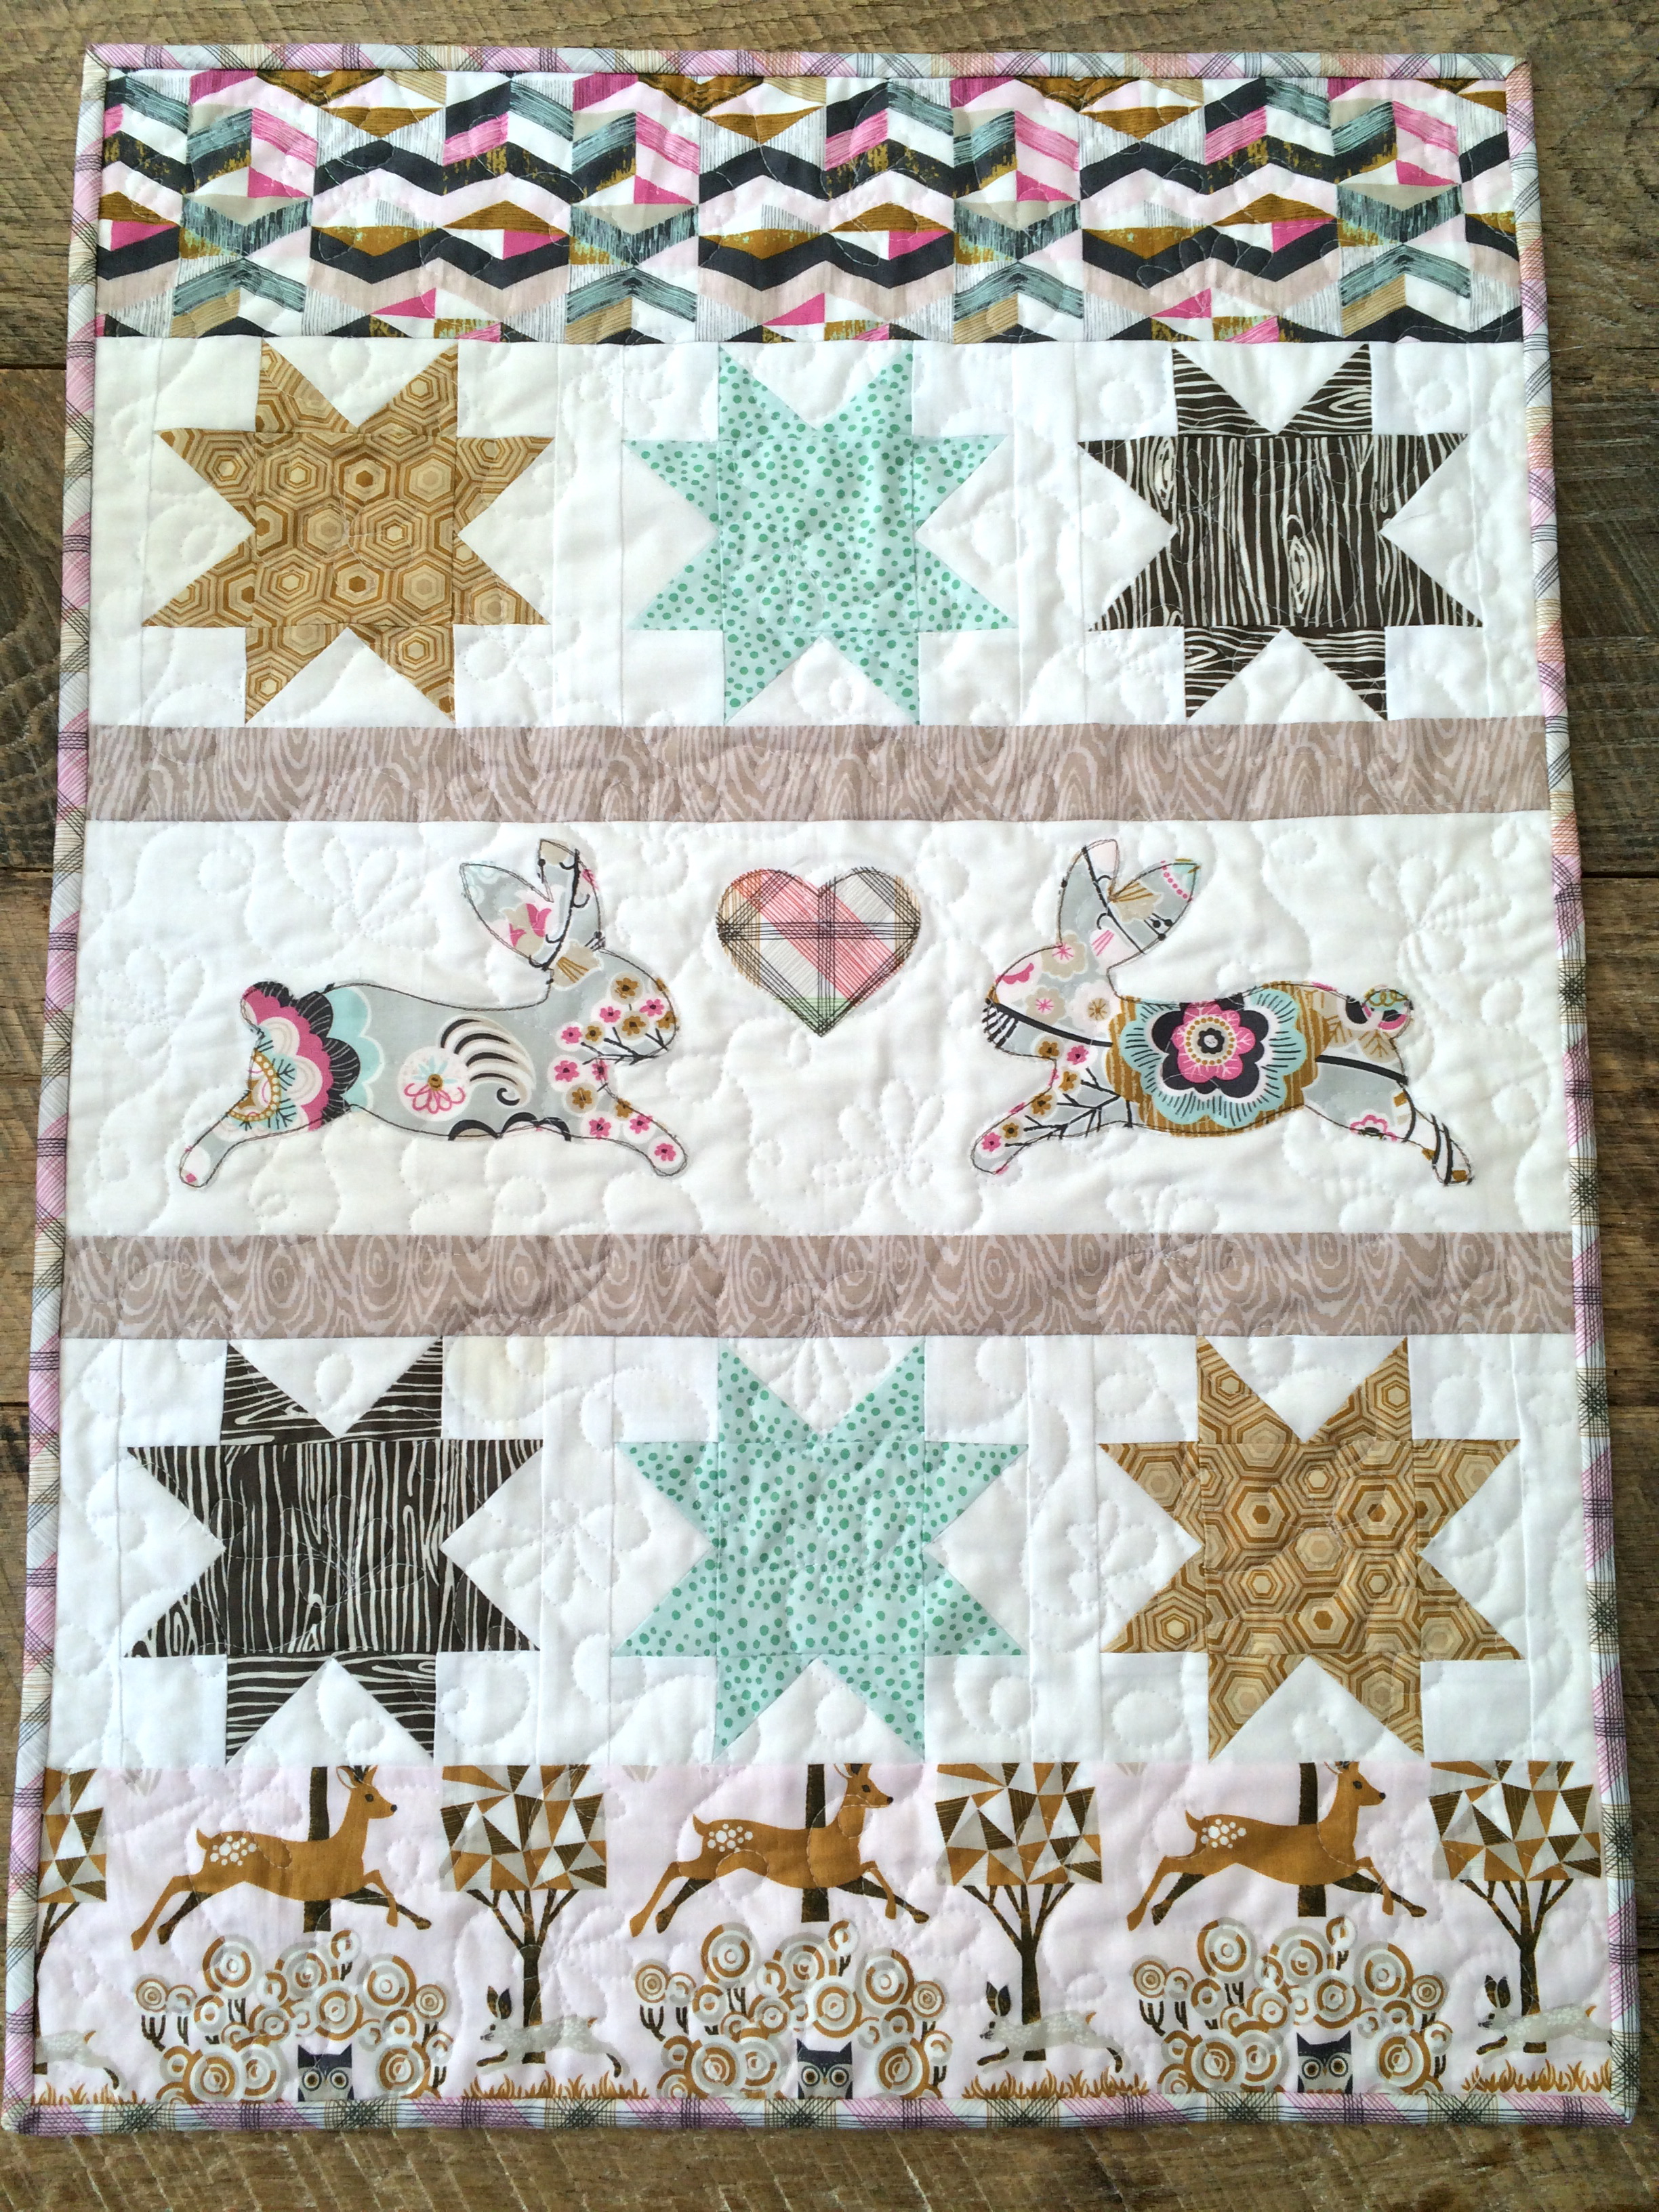
 This little quilt features sawtooth blocks and appliqué. The fabrics are from
  1/4″ seams used throughout

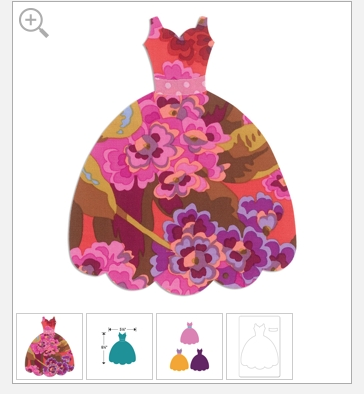
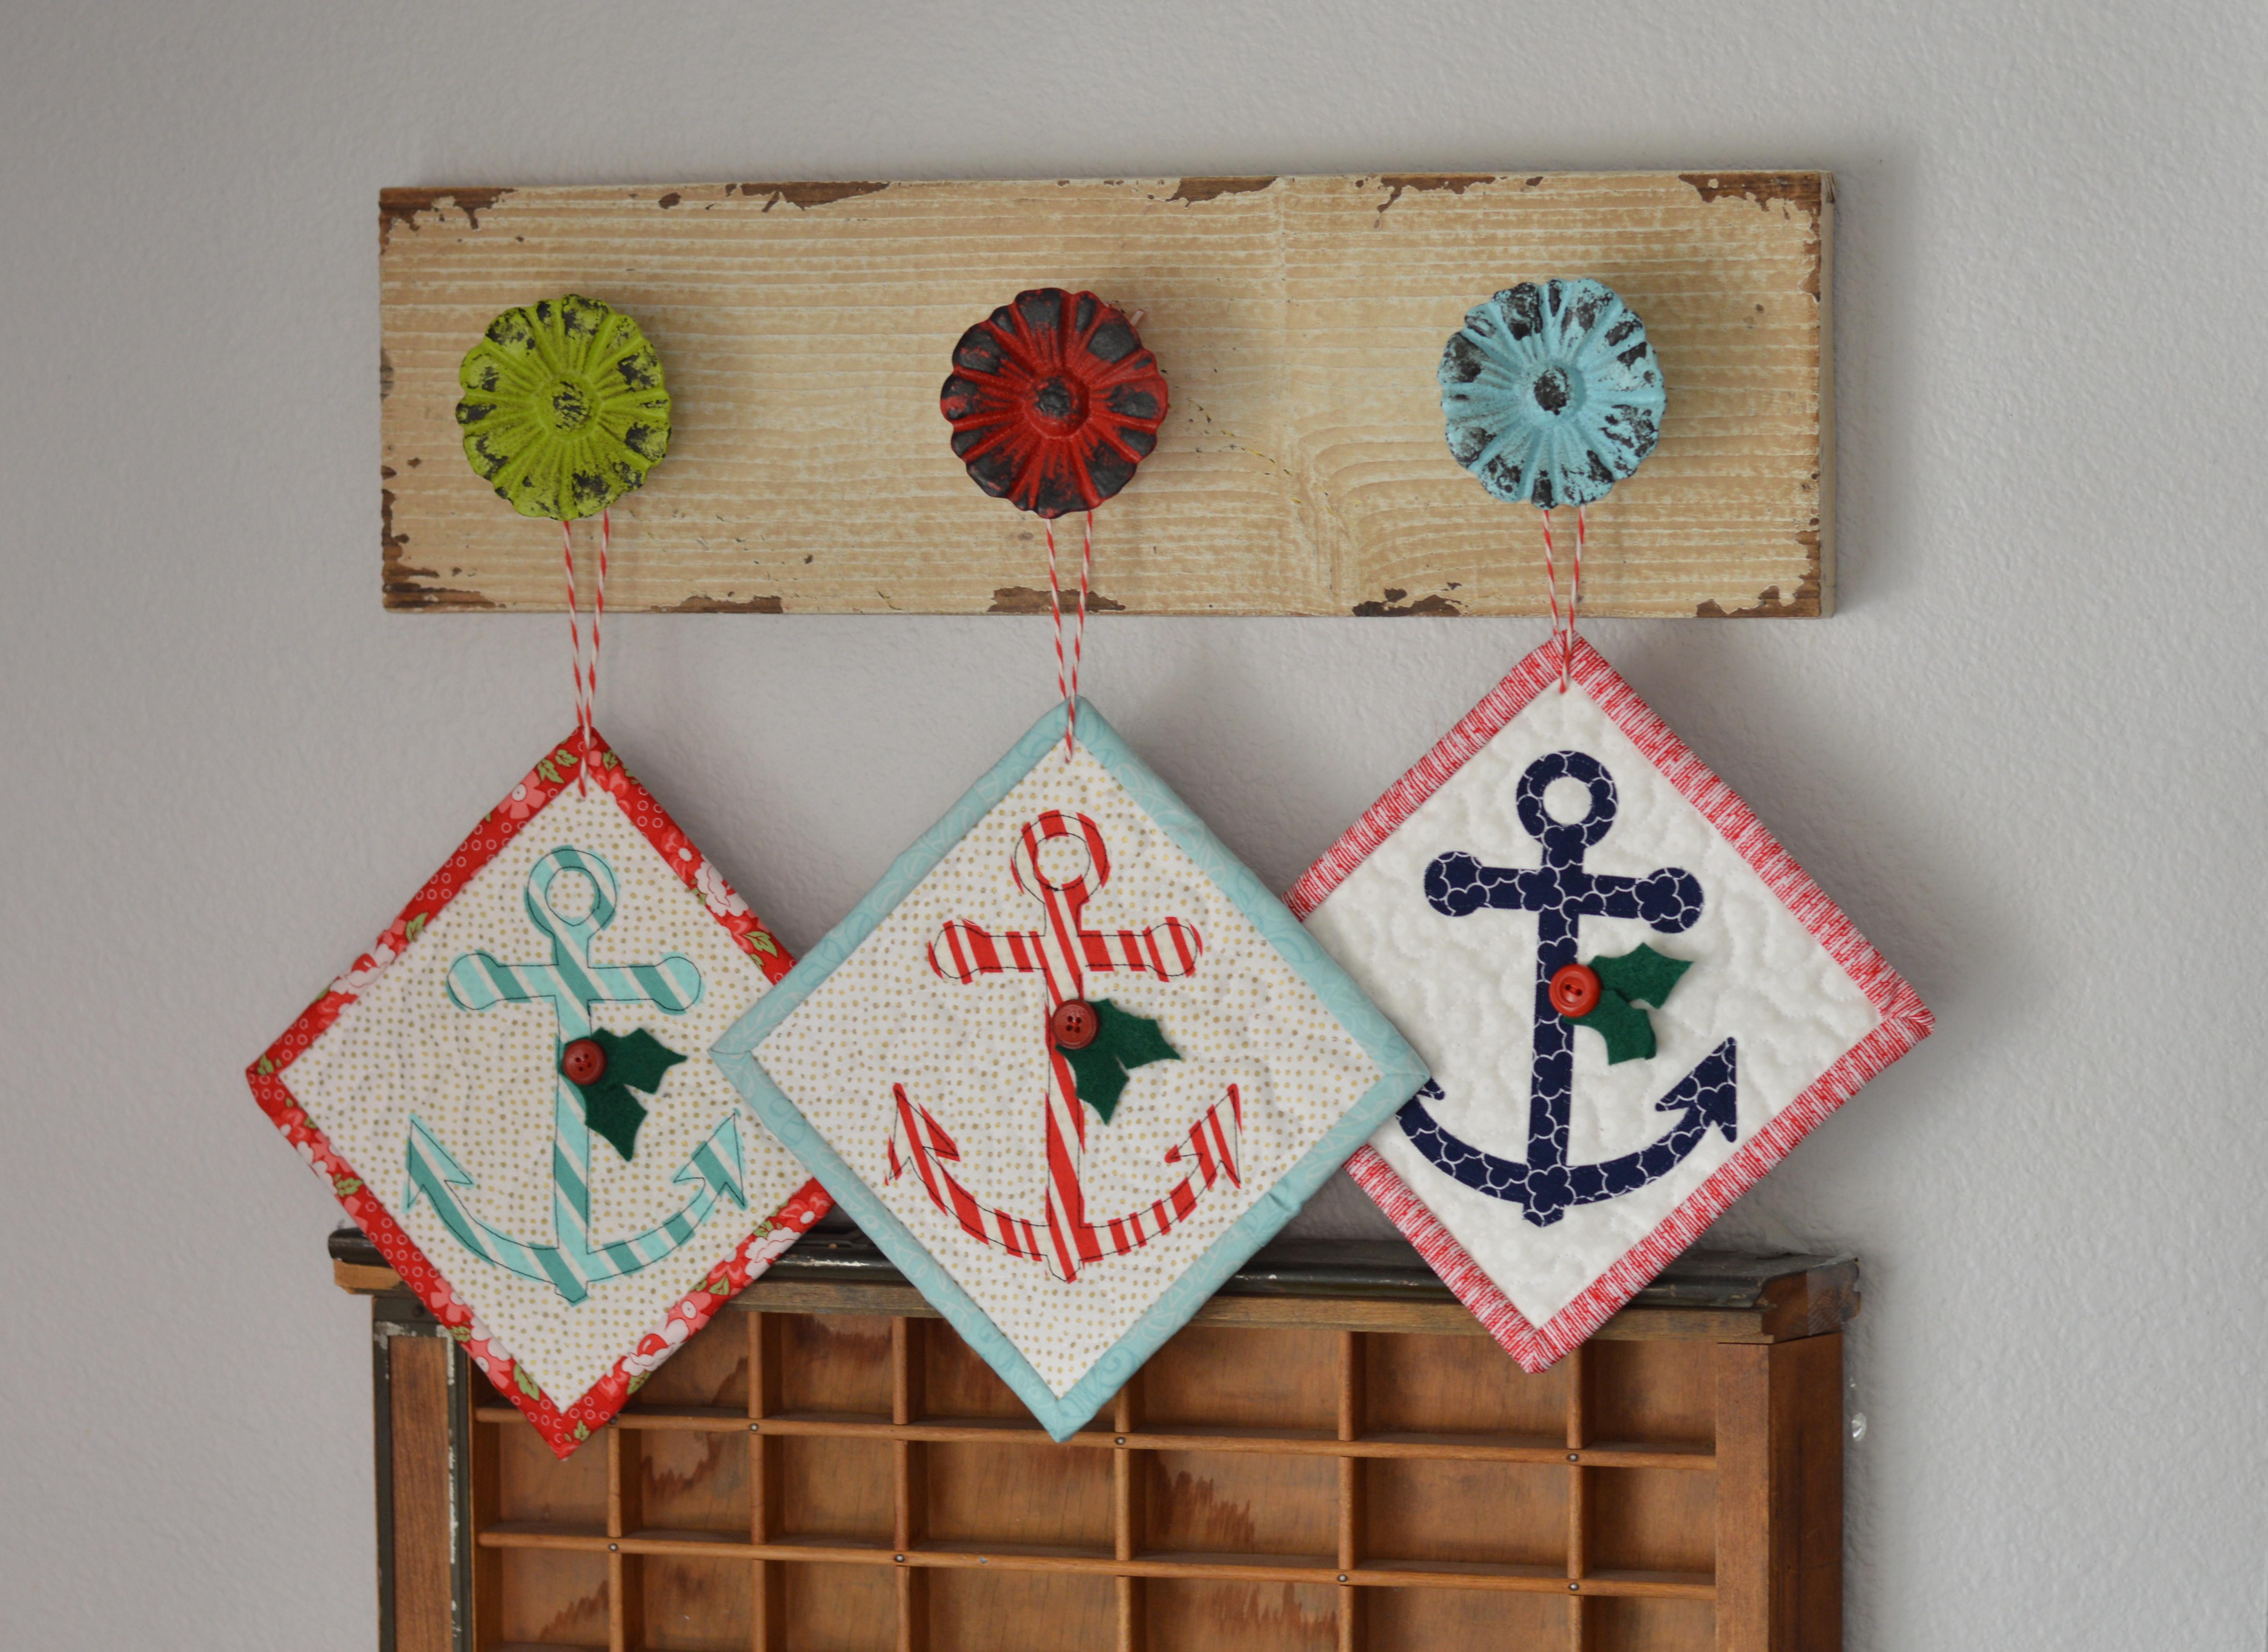
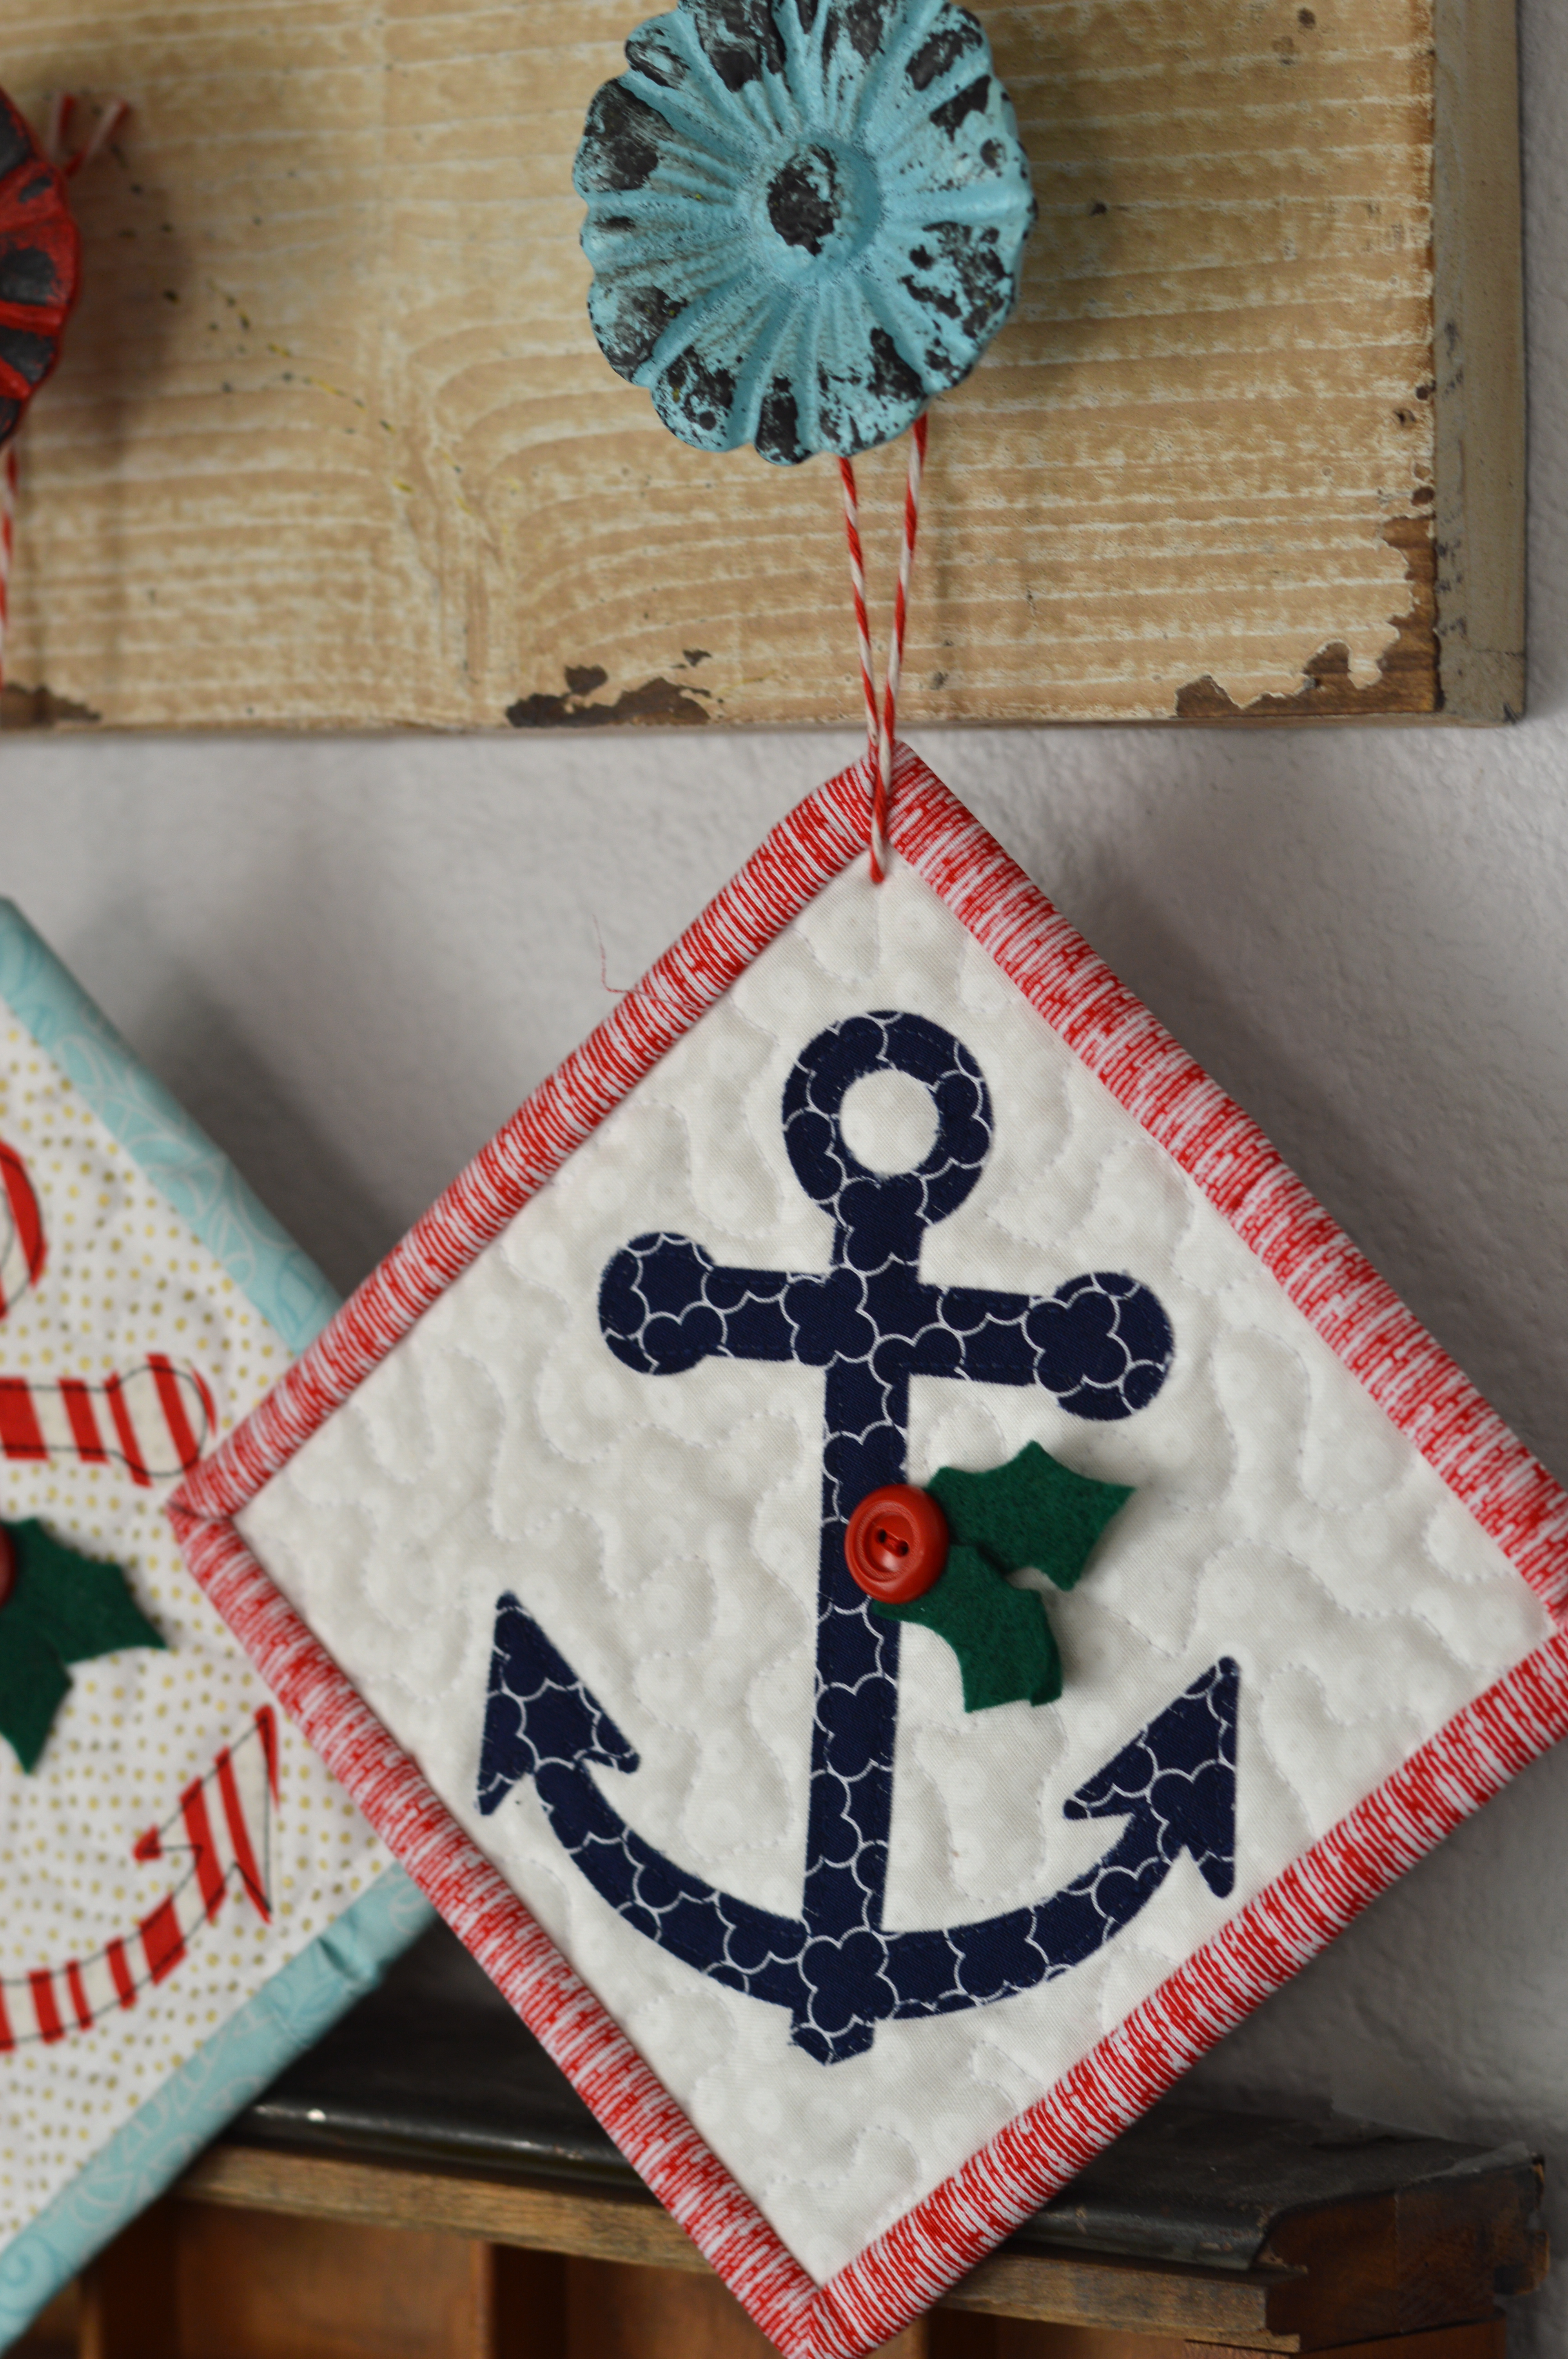
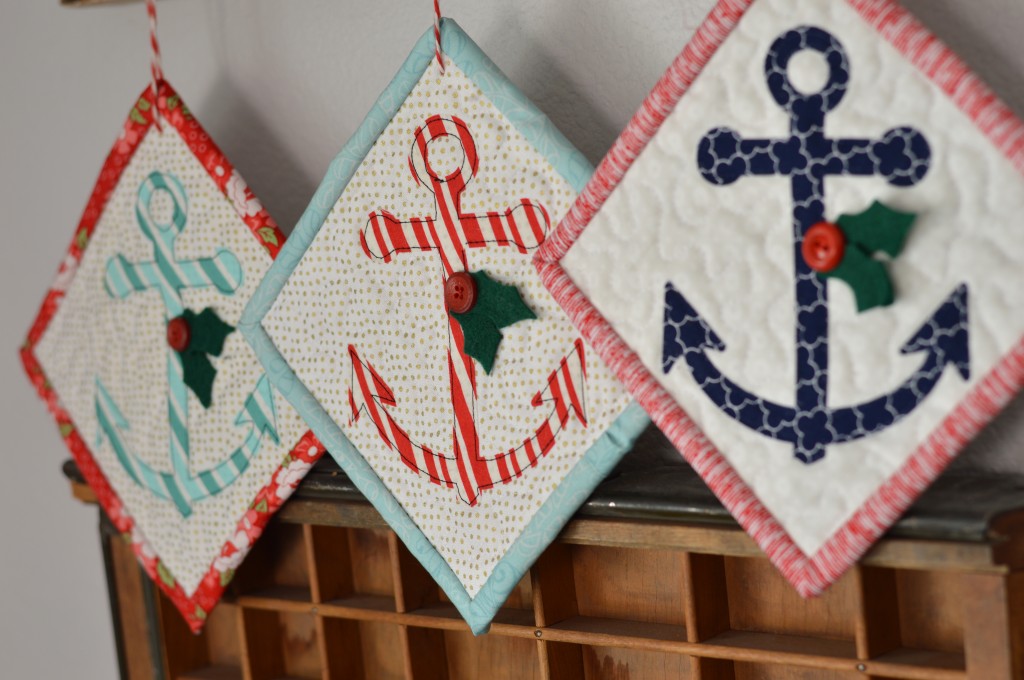
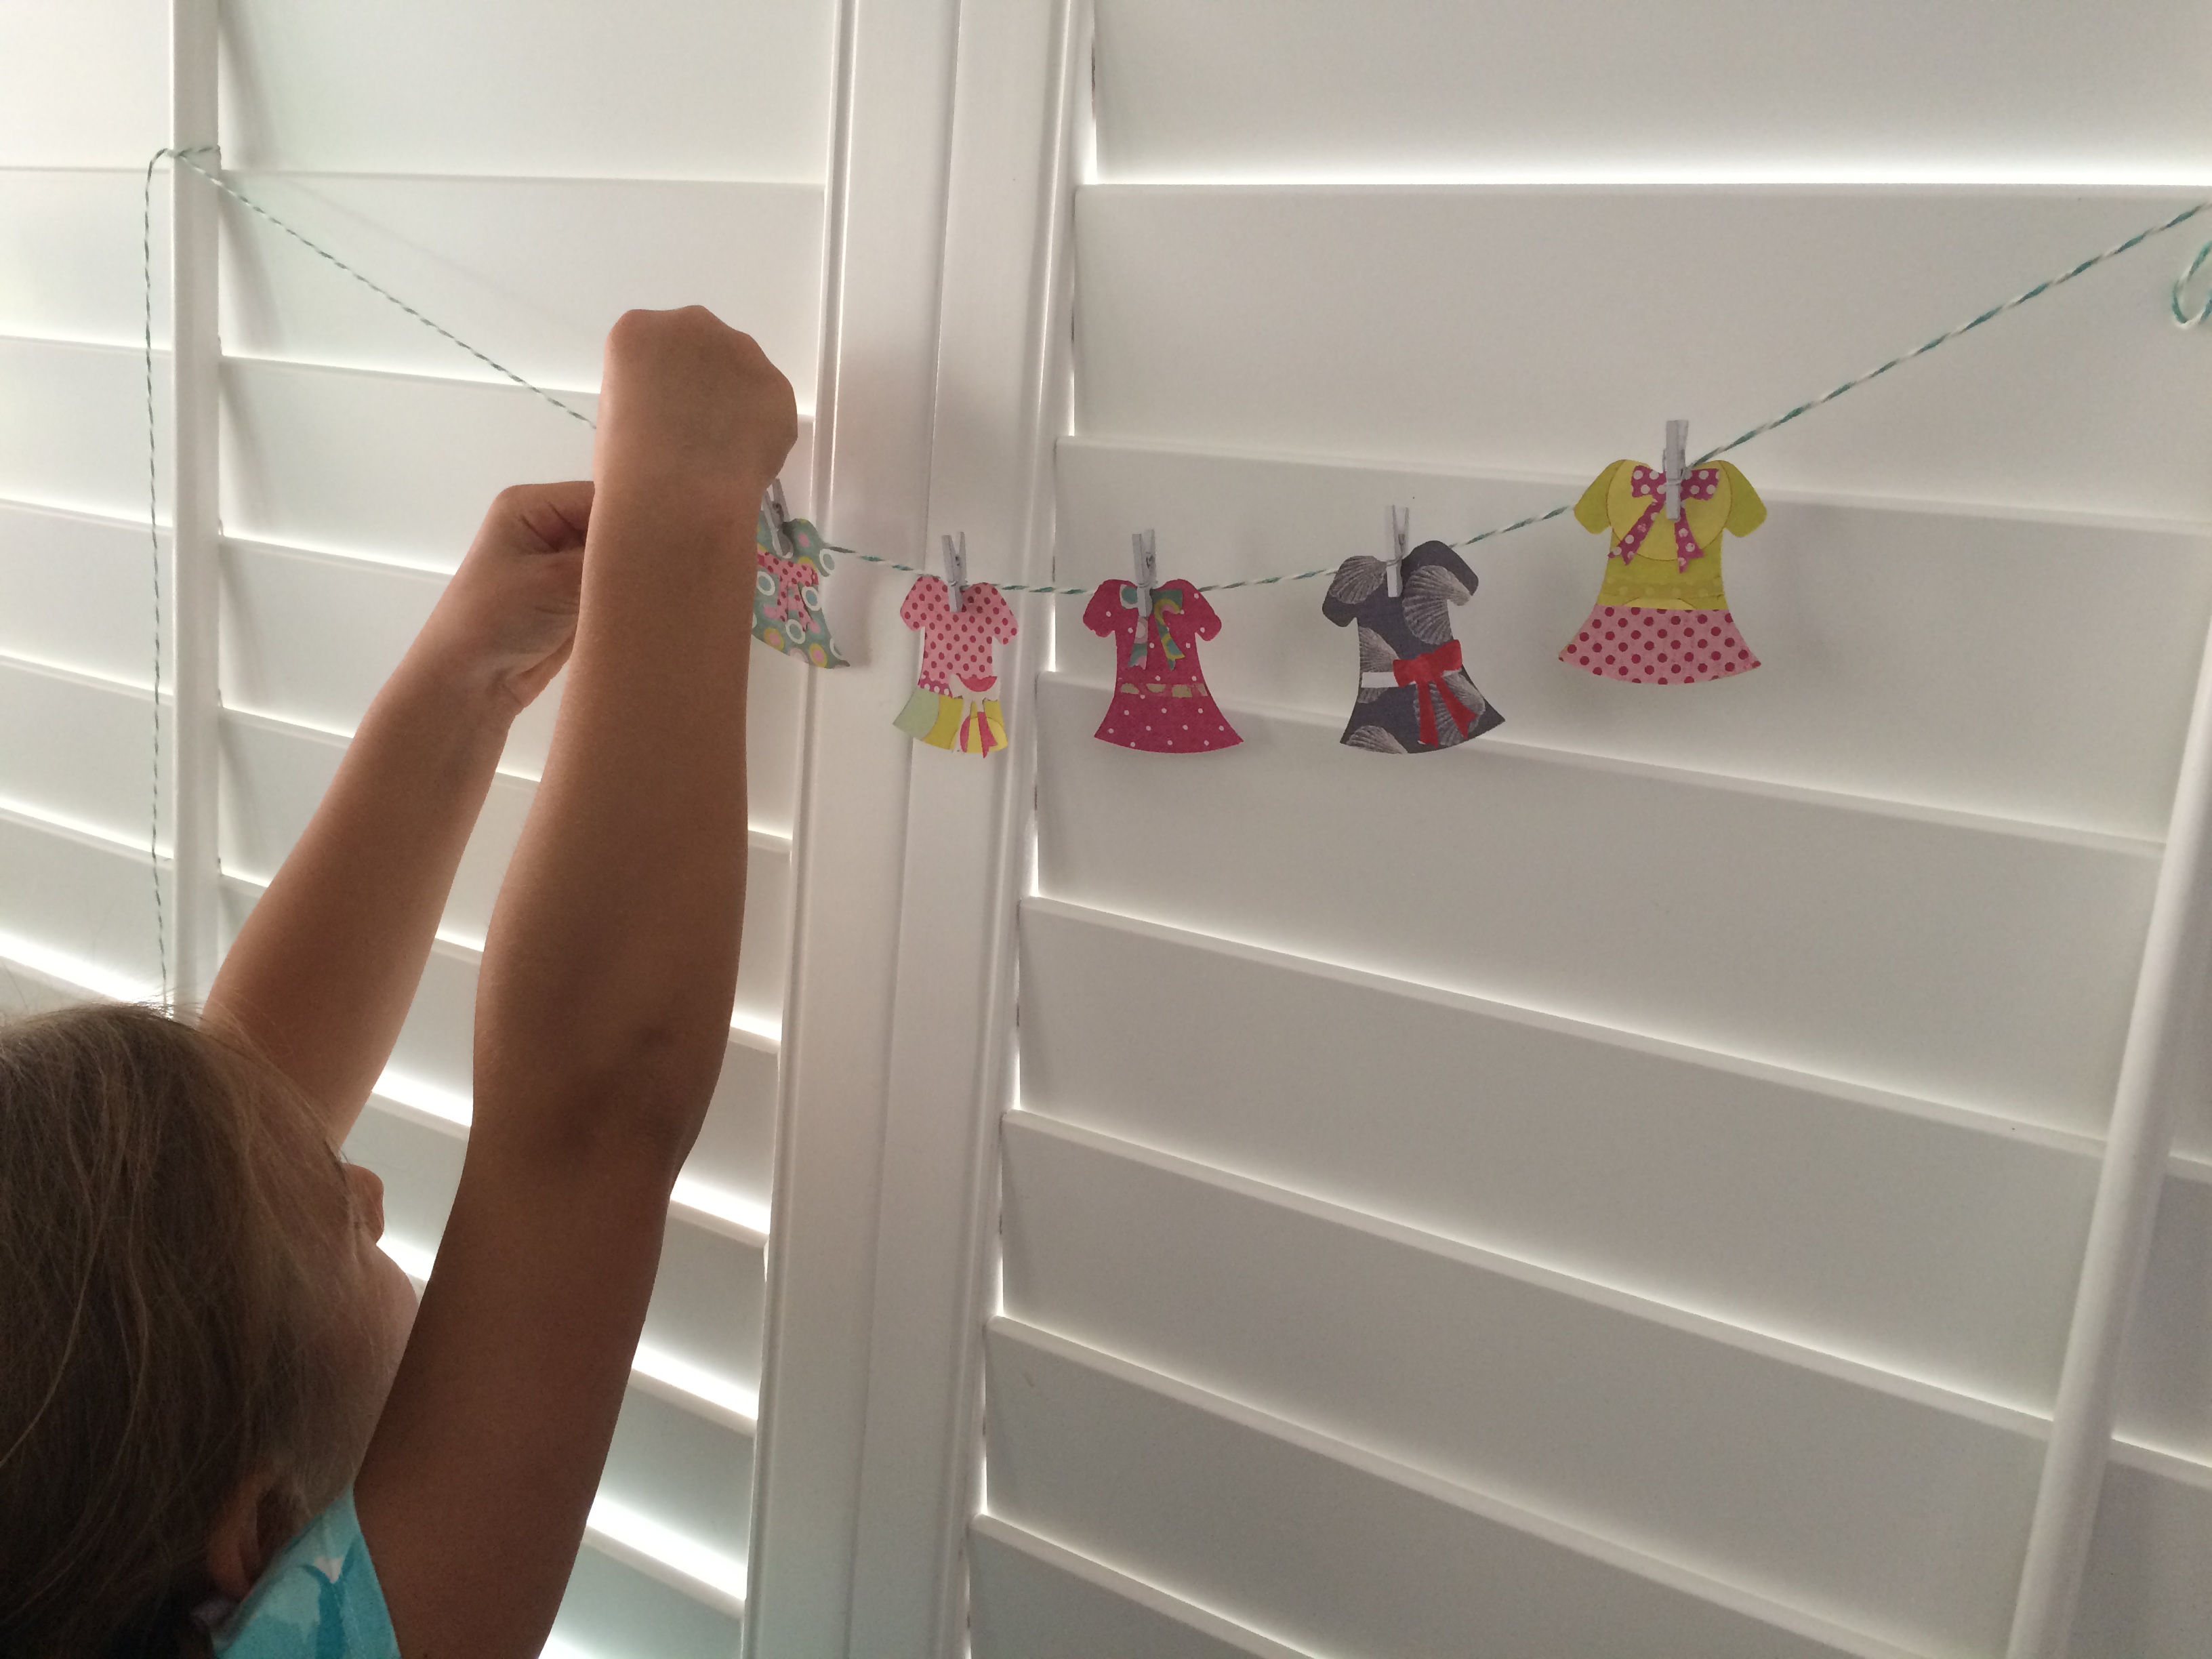
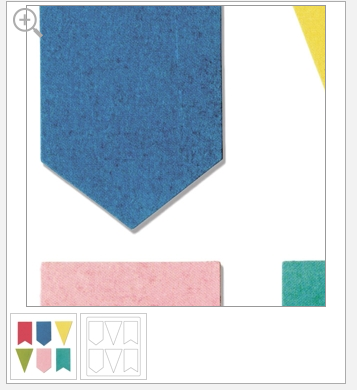
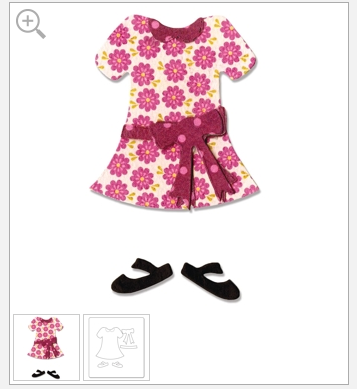
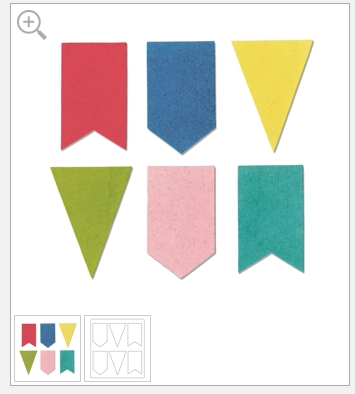 I trimmed it down slightly to make them smaller. The dress is cut from navy dots and the sash from red and white stripe. I used Heat n Bond Lite on the back of the dress and the pennants to adhere to the white 8.5″ square. I drew an anchor on the Heat n Bond Lite and appliquéd it to the dress, adding small ric rac accents. I stitched around all the pieces. Seriously, can I get this dress in my size!!!!!
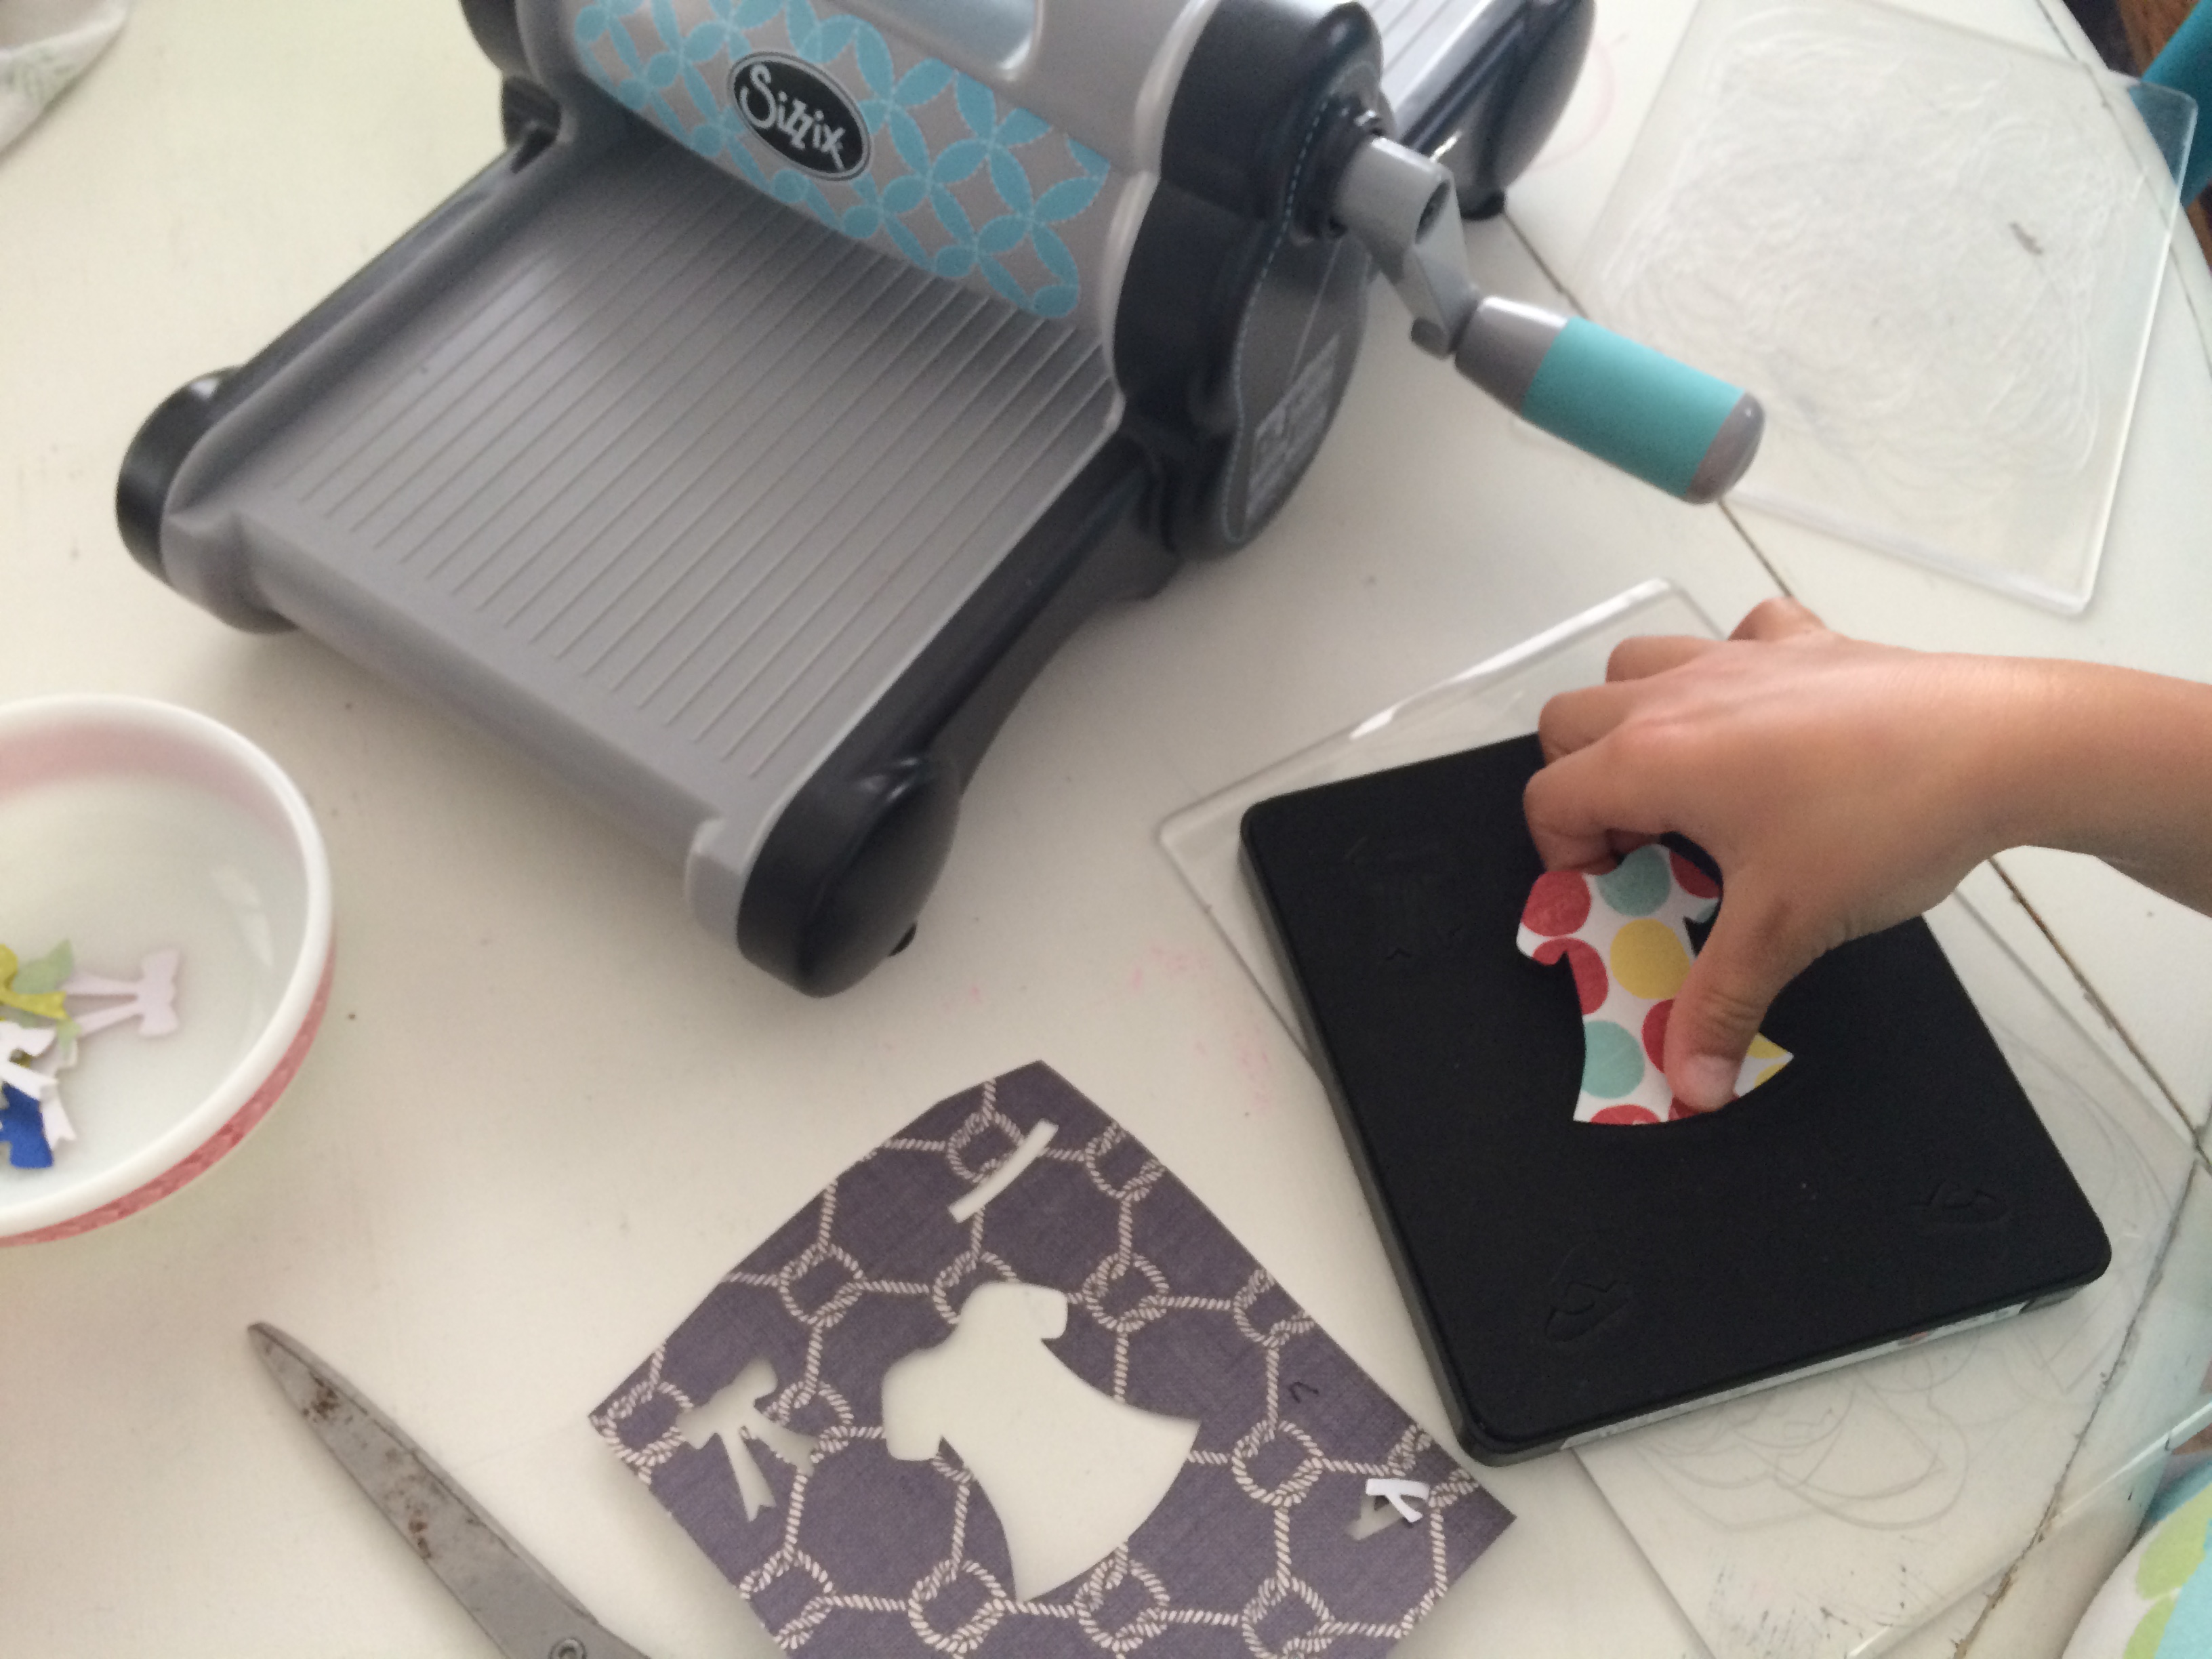
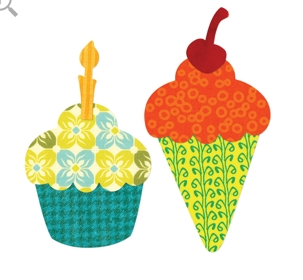
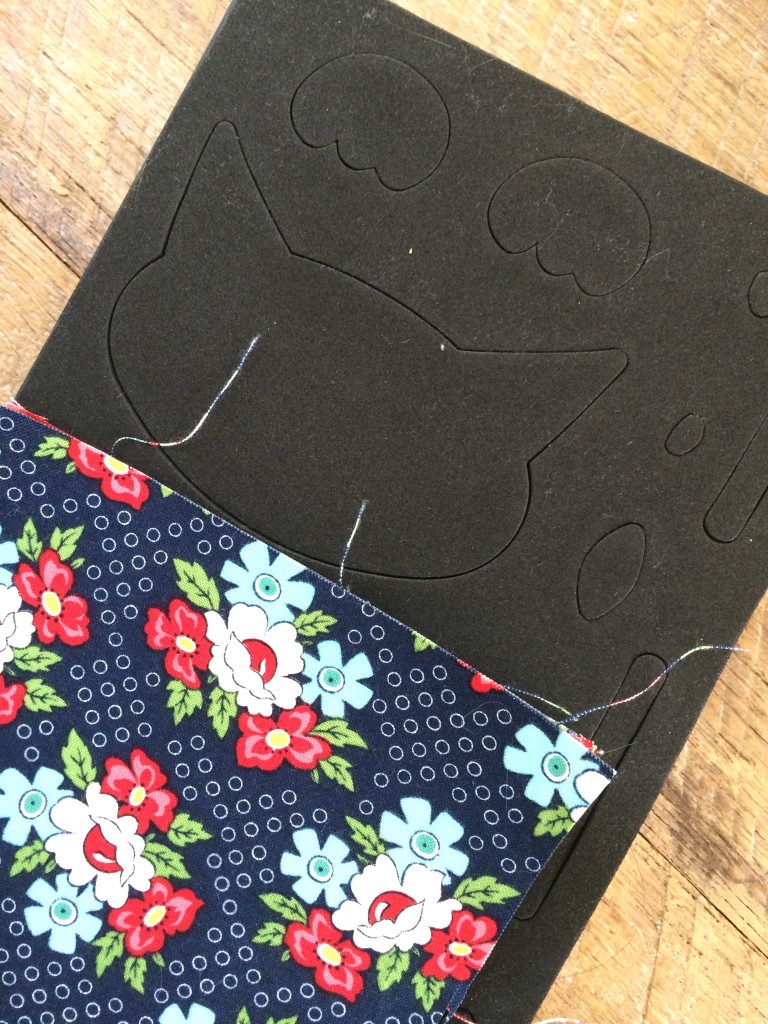
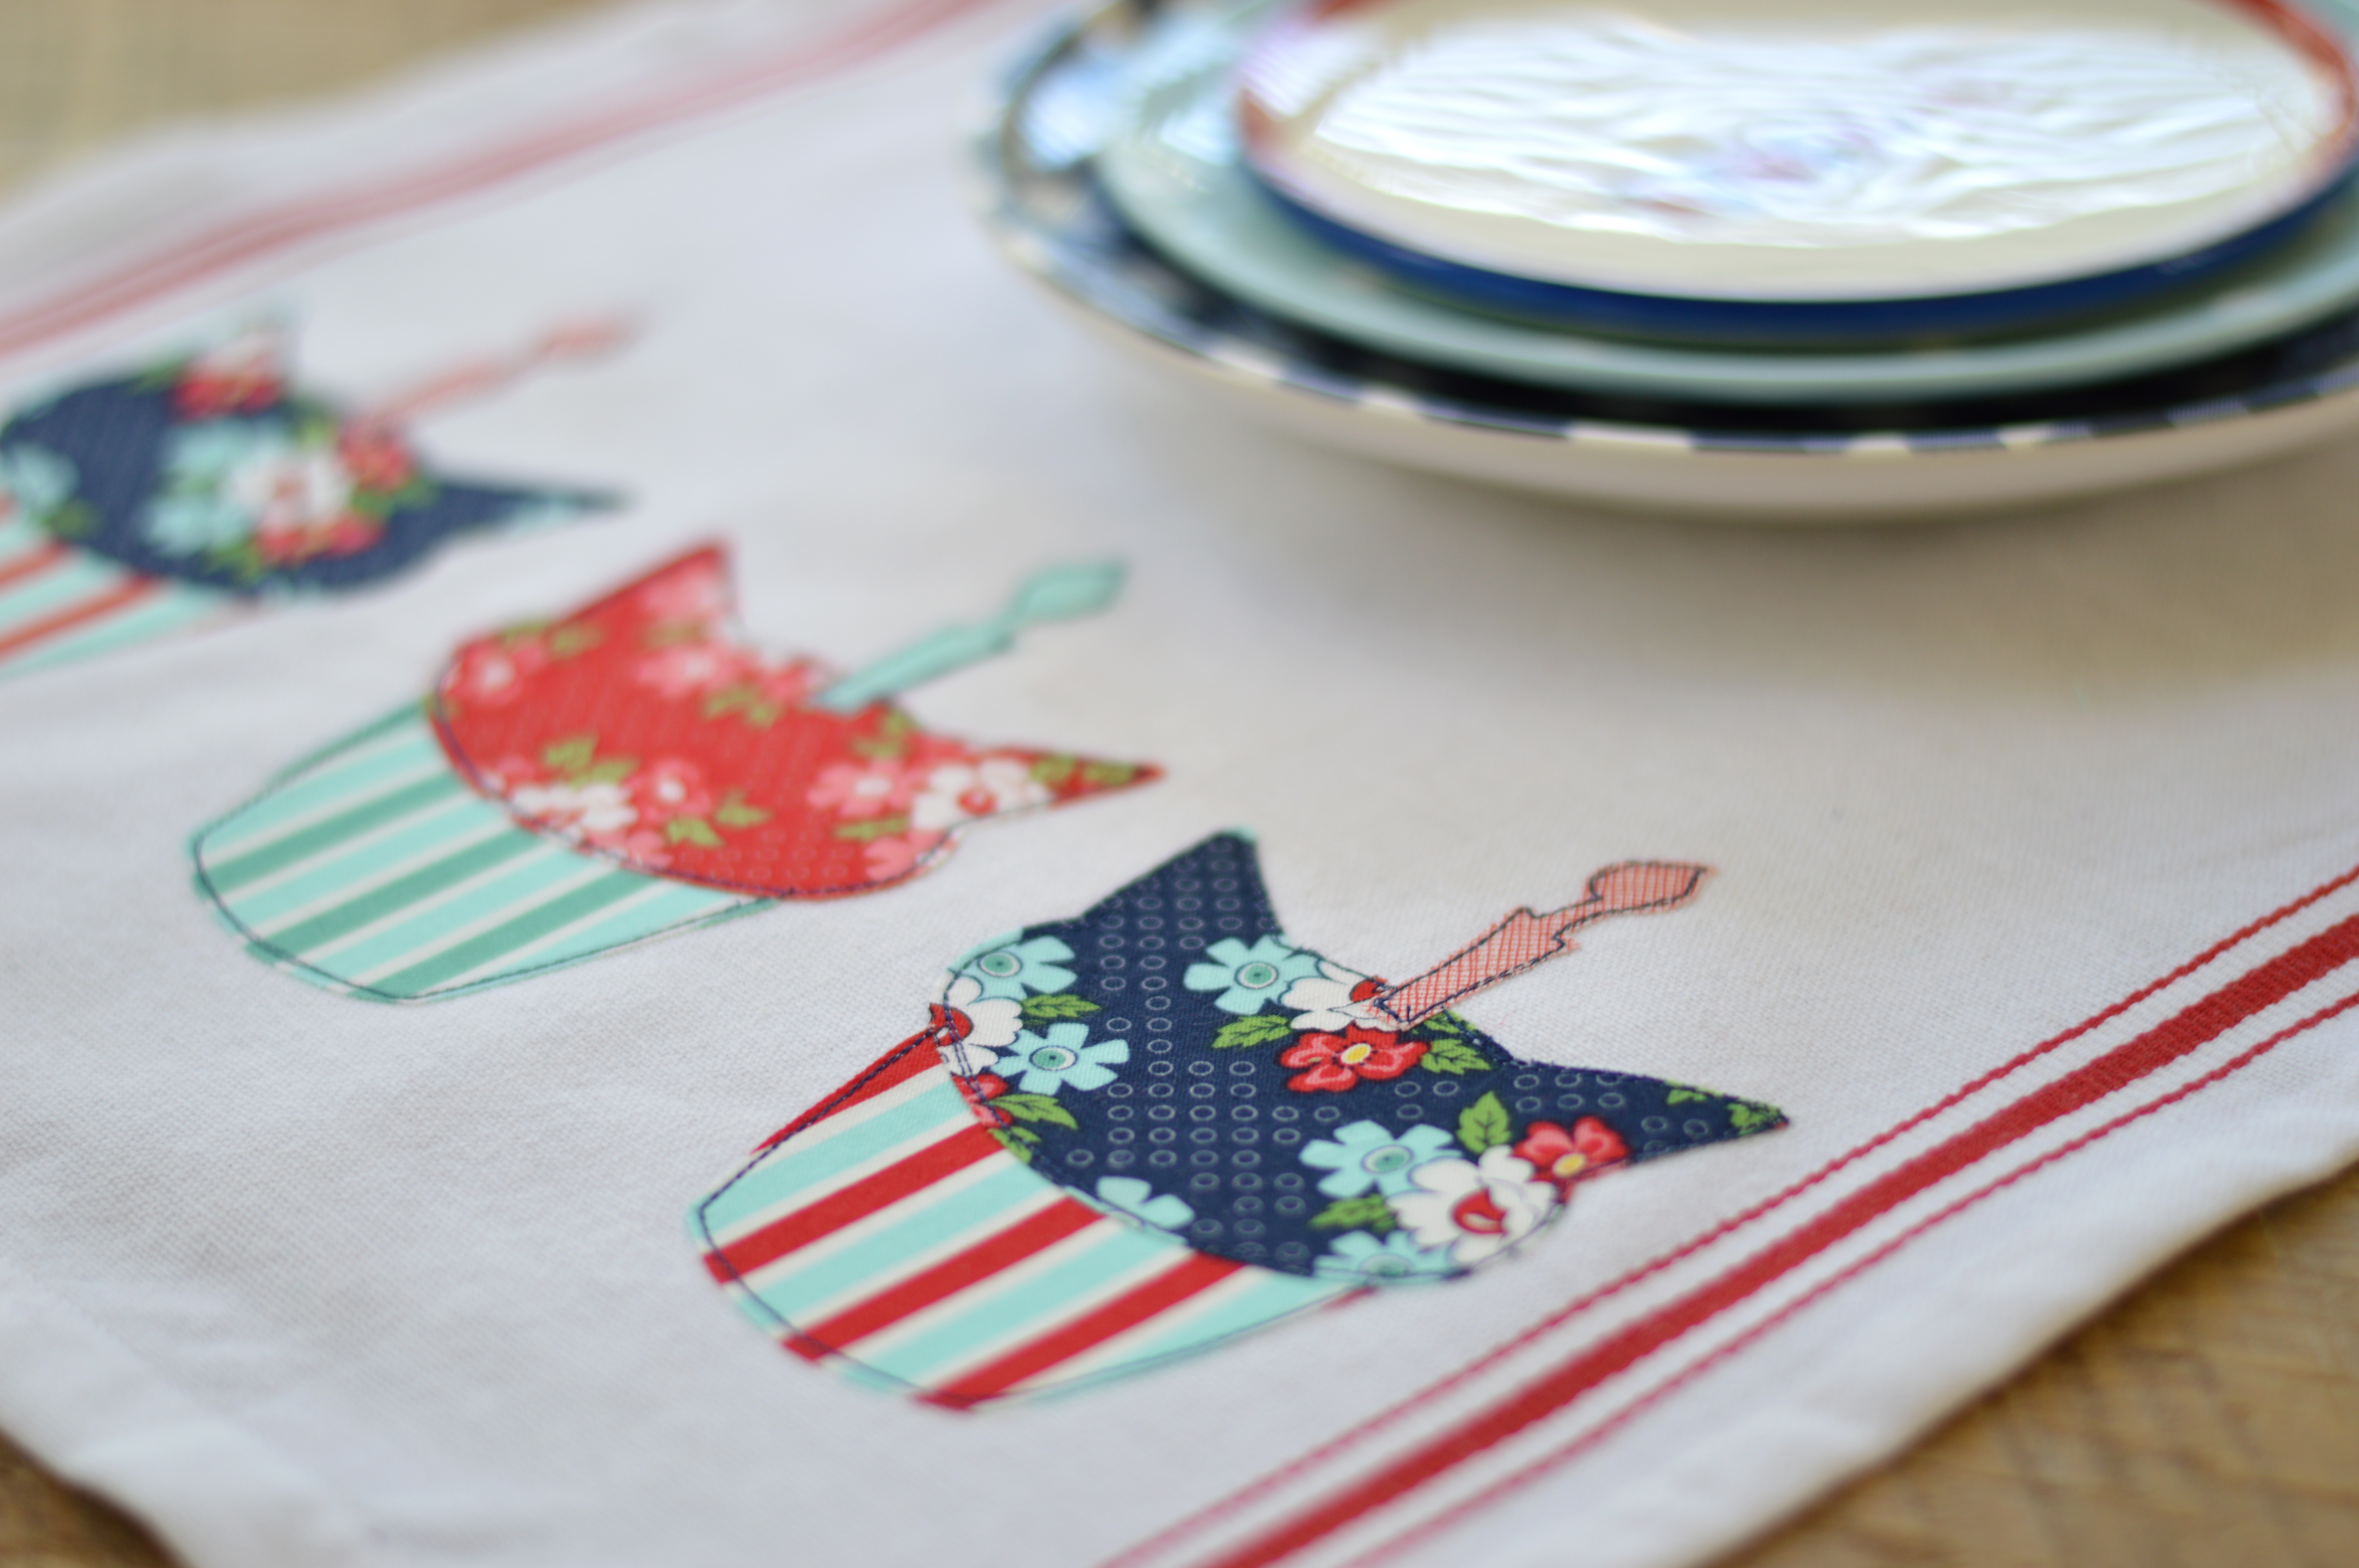
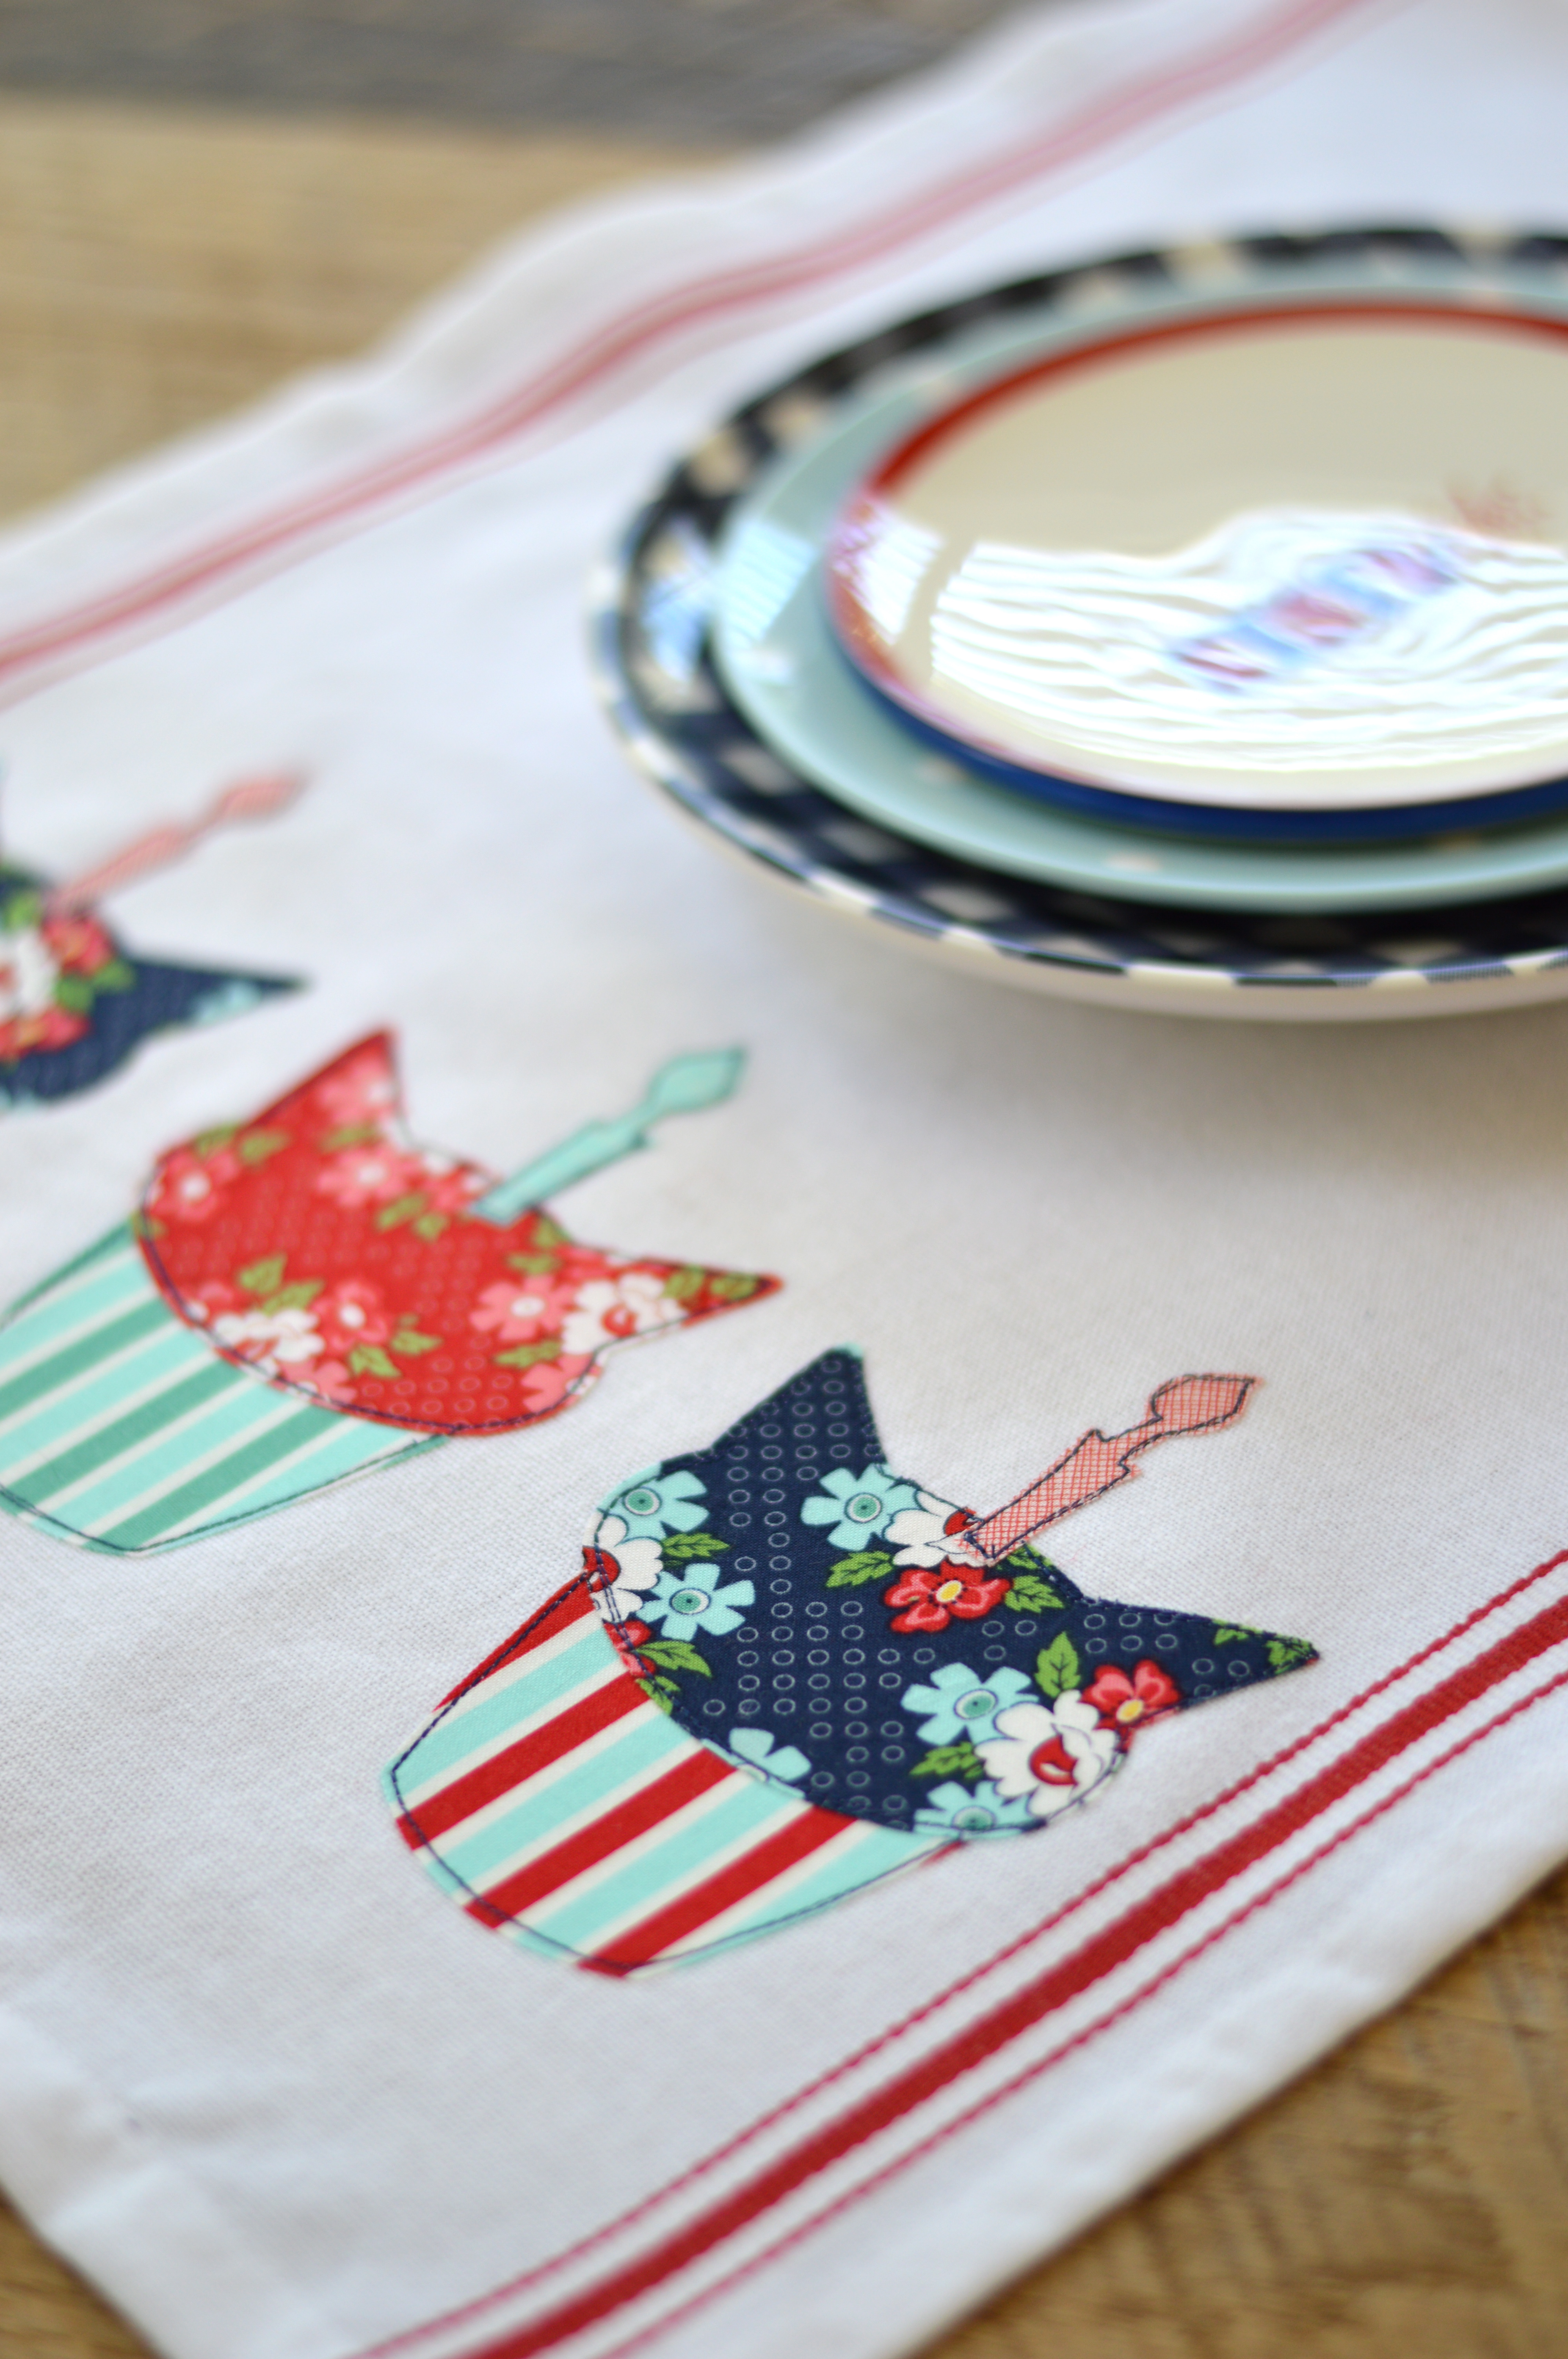
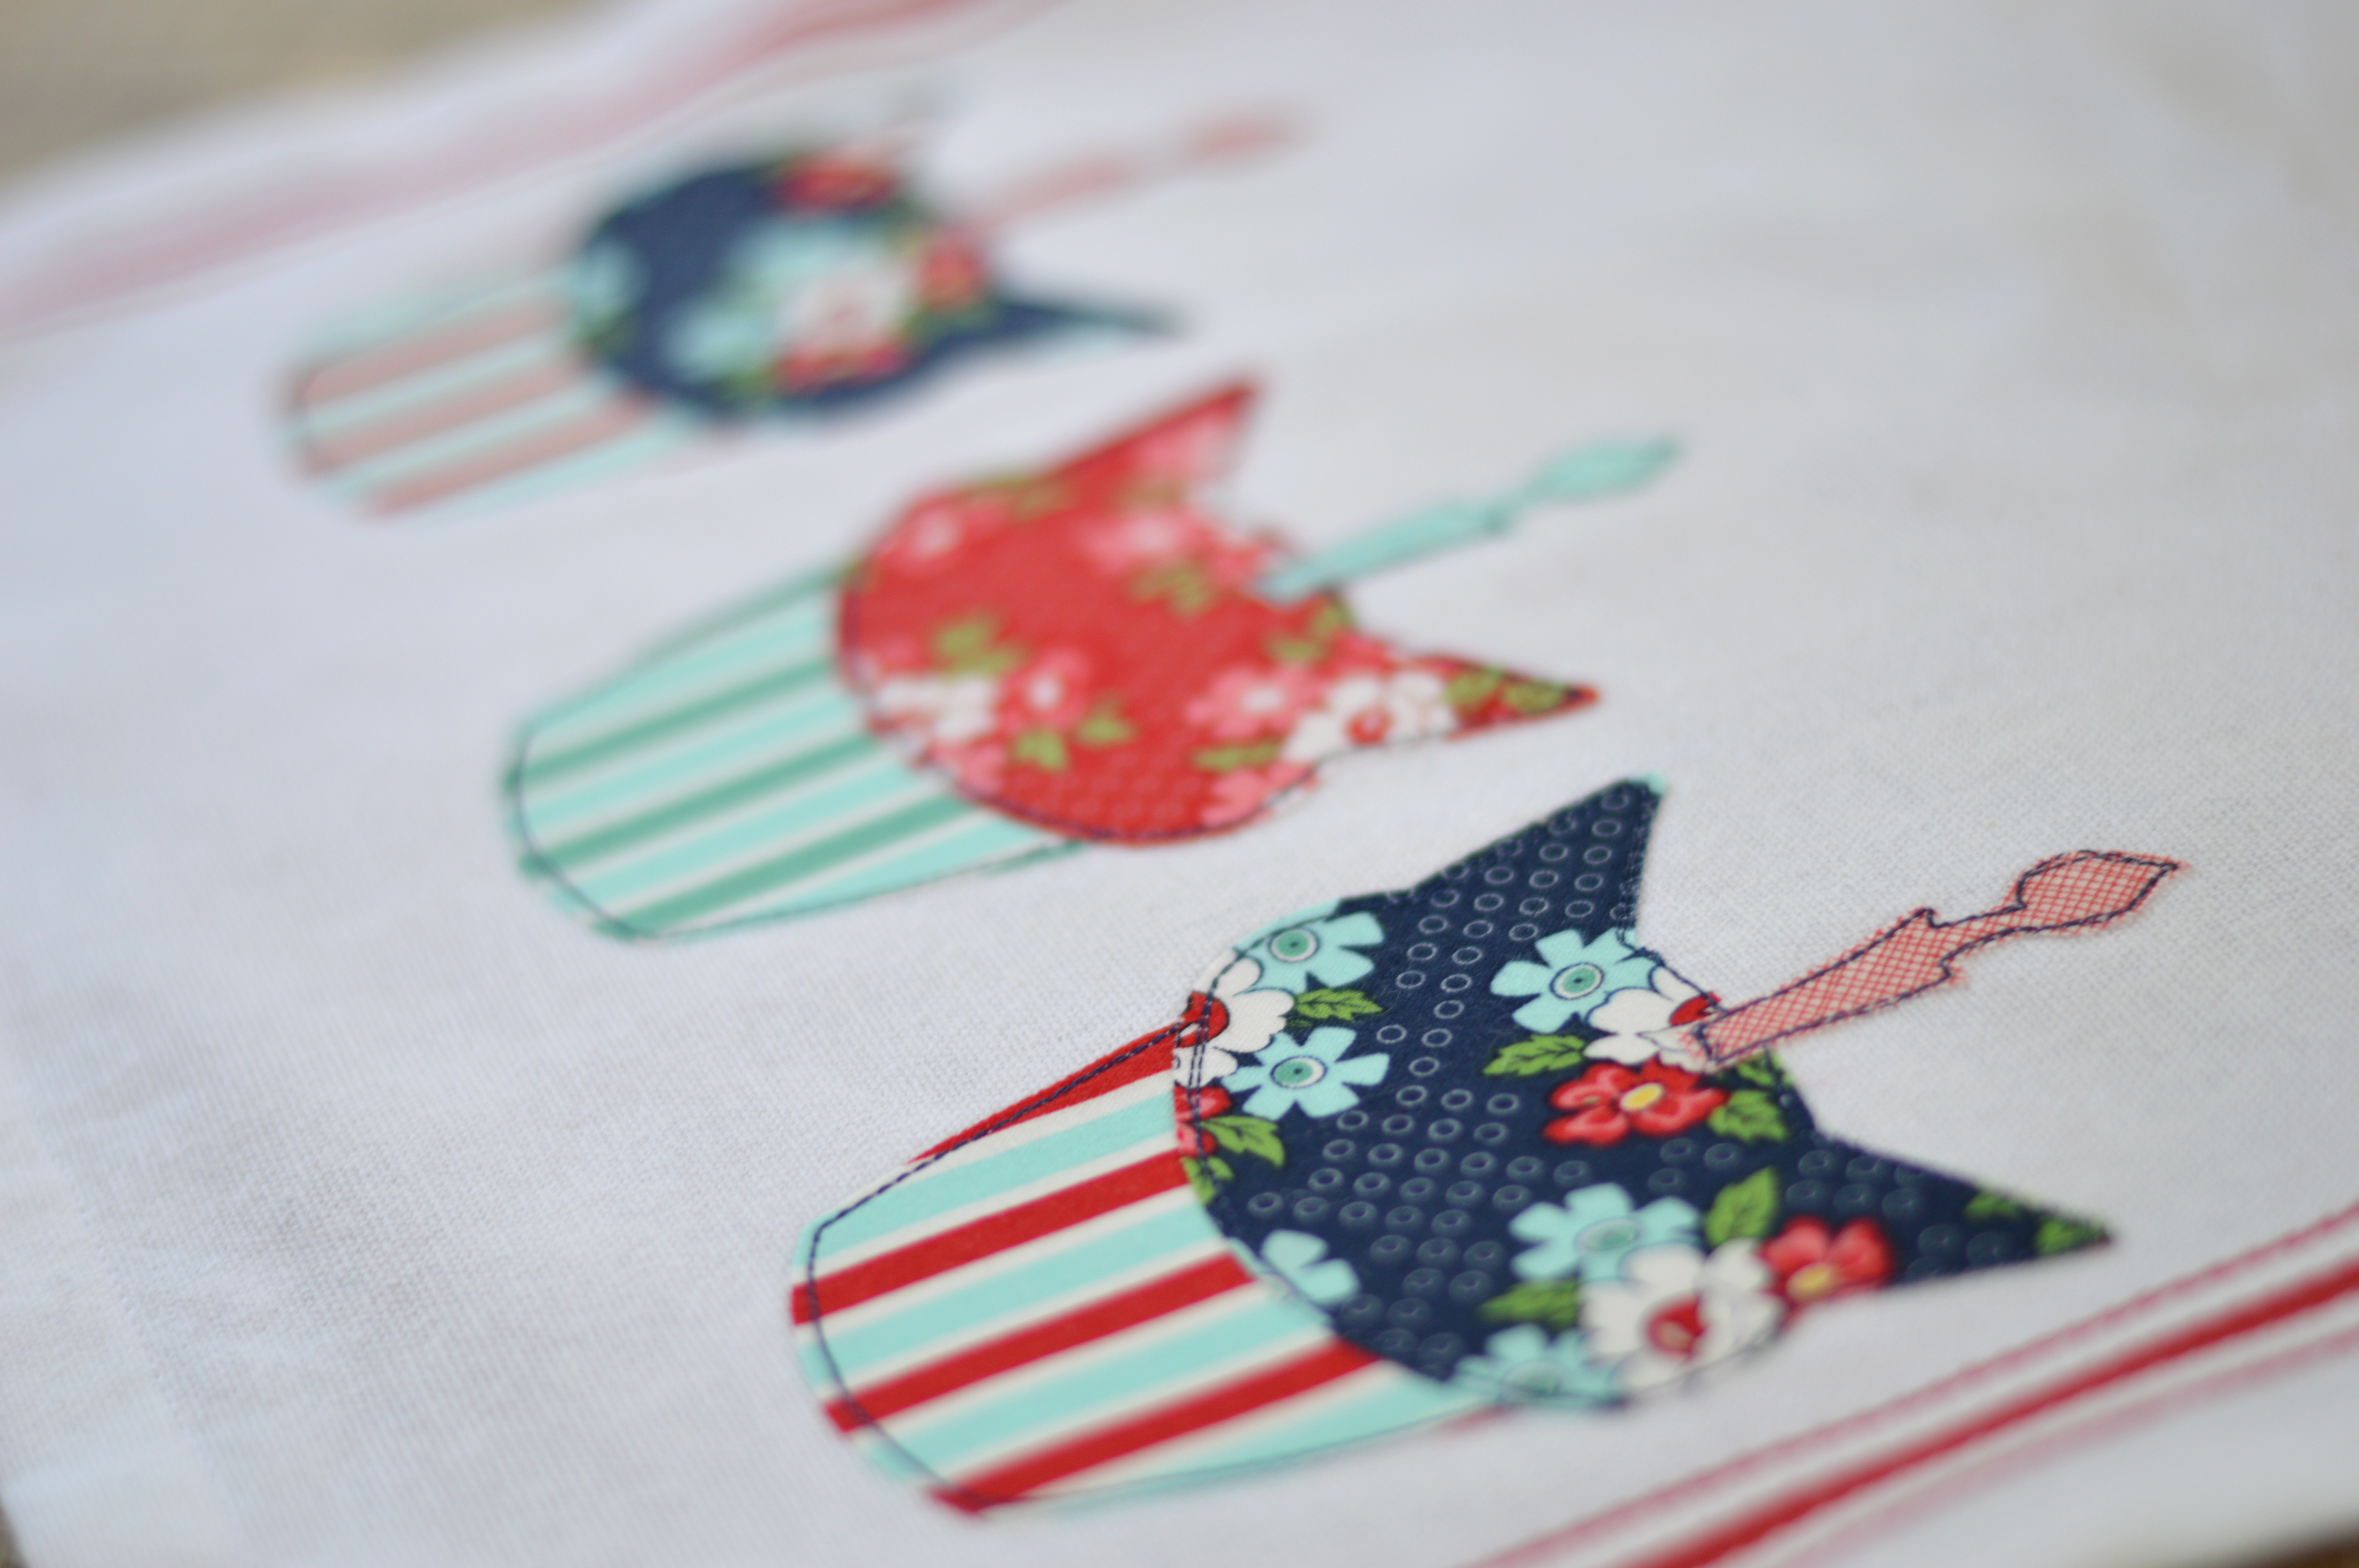
 I used the Sizzix cat head and the Sizzix cupcake bottom to create the Cat-Cakes.
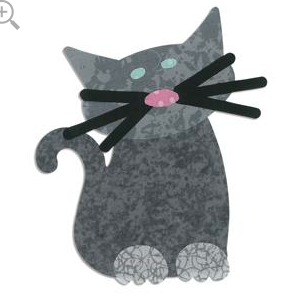


