EPIC Star Wars Throw Quilt

star wars quilt 2

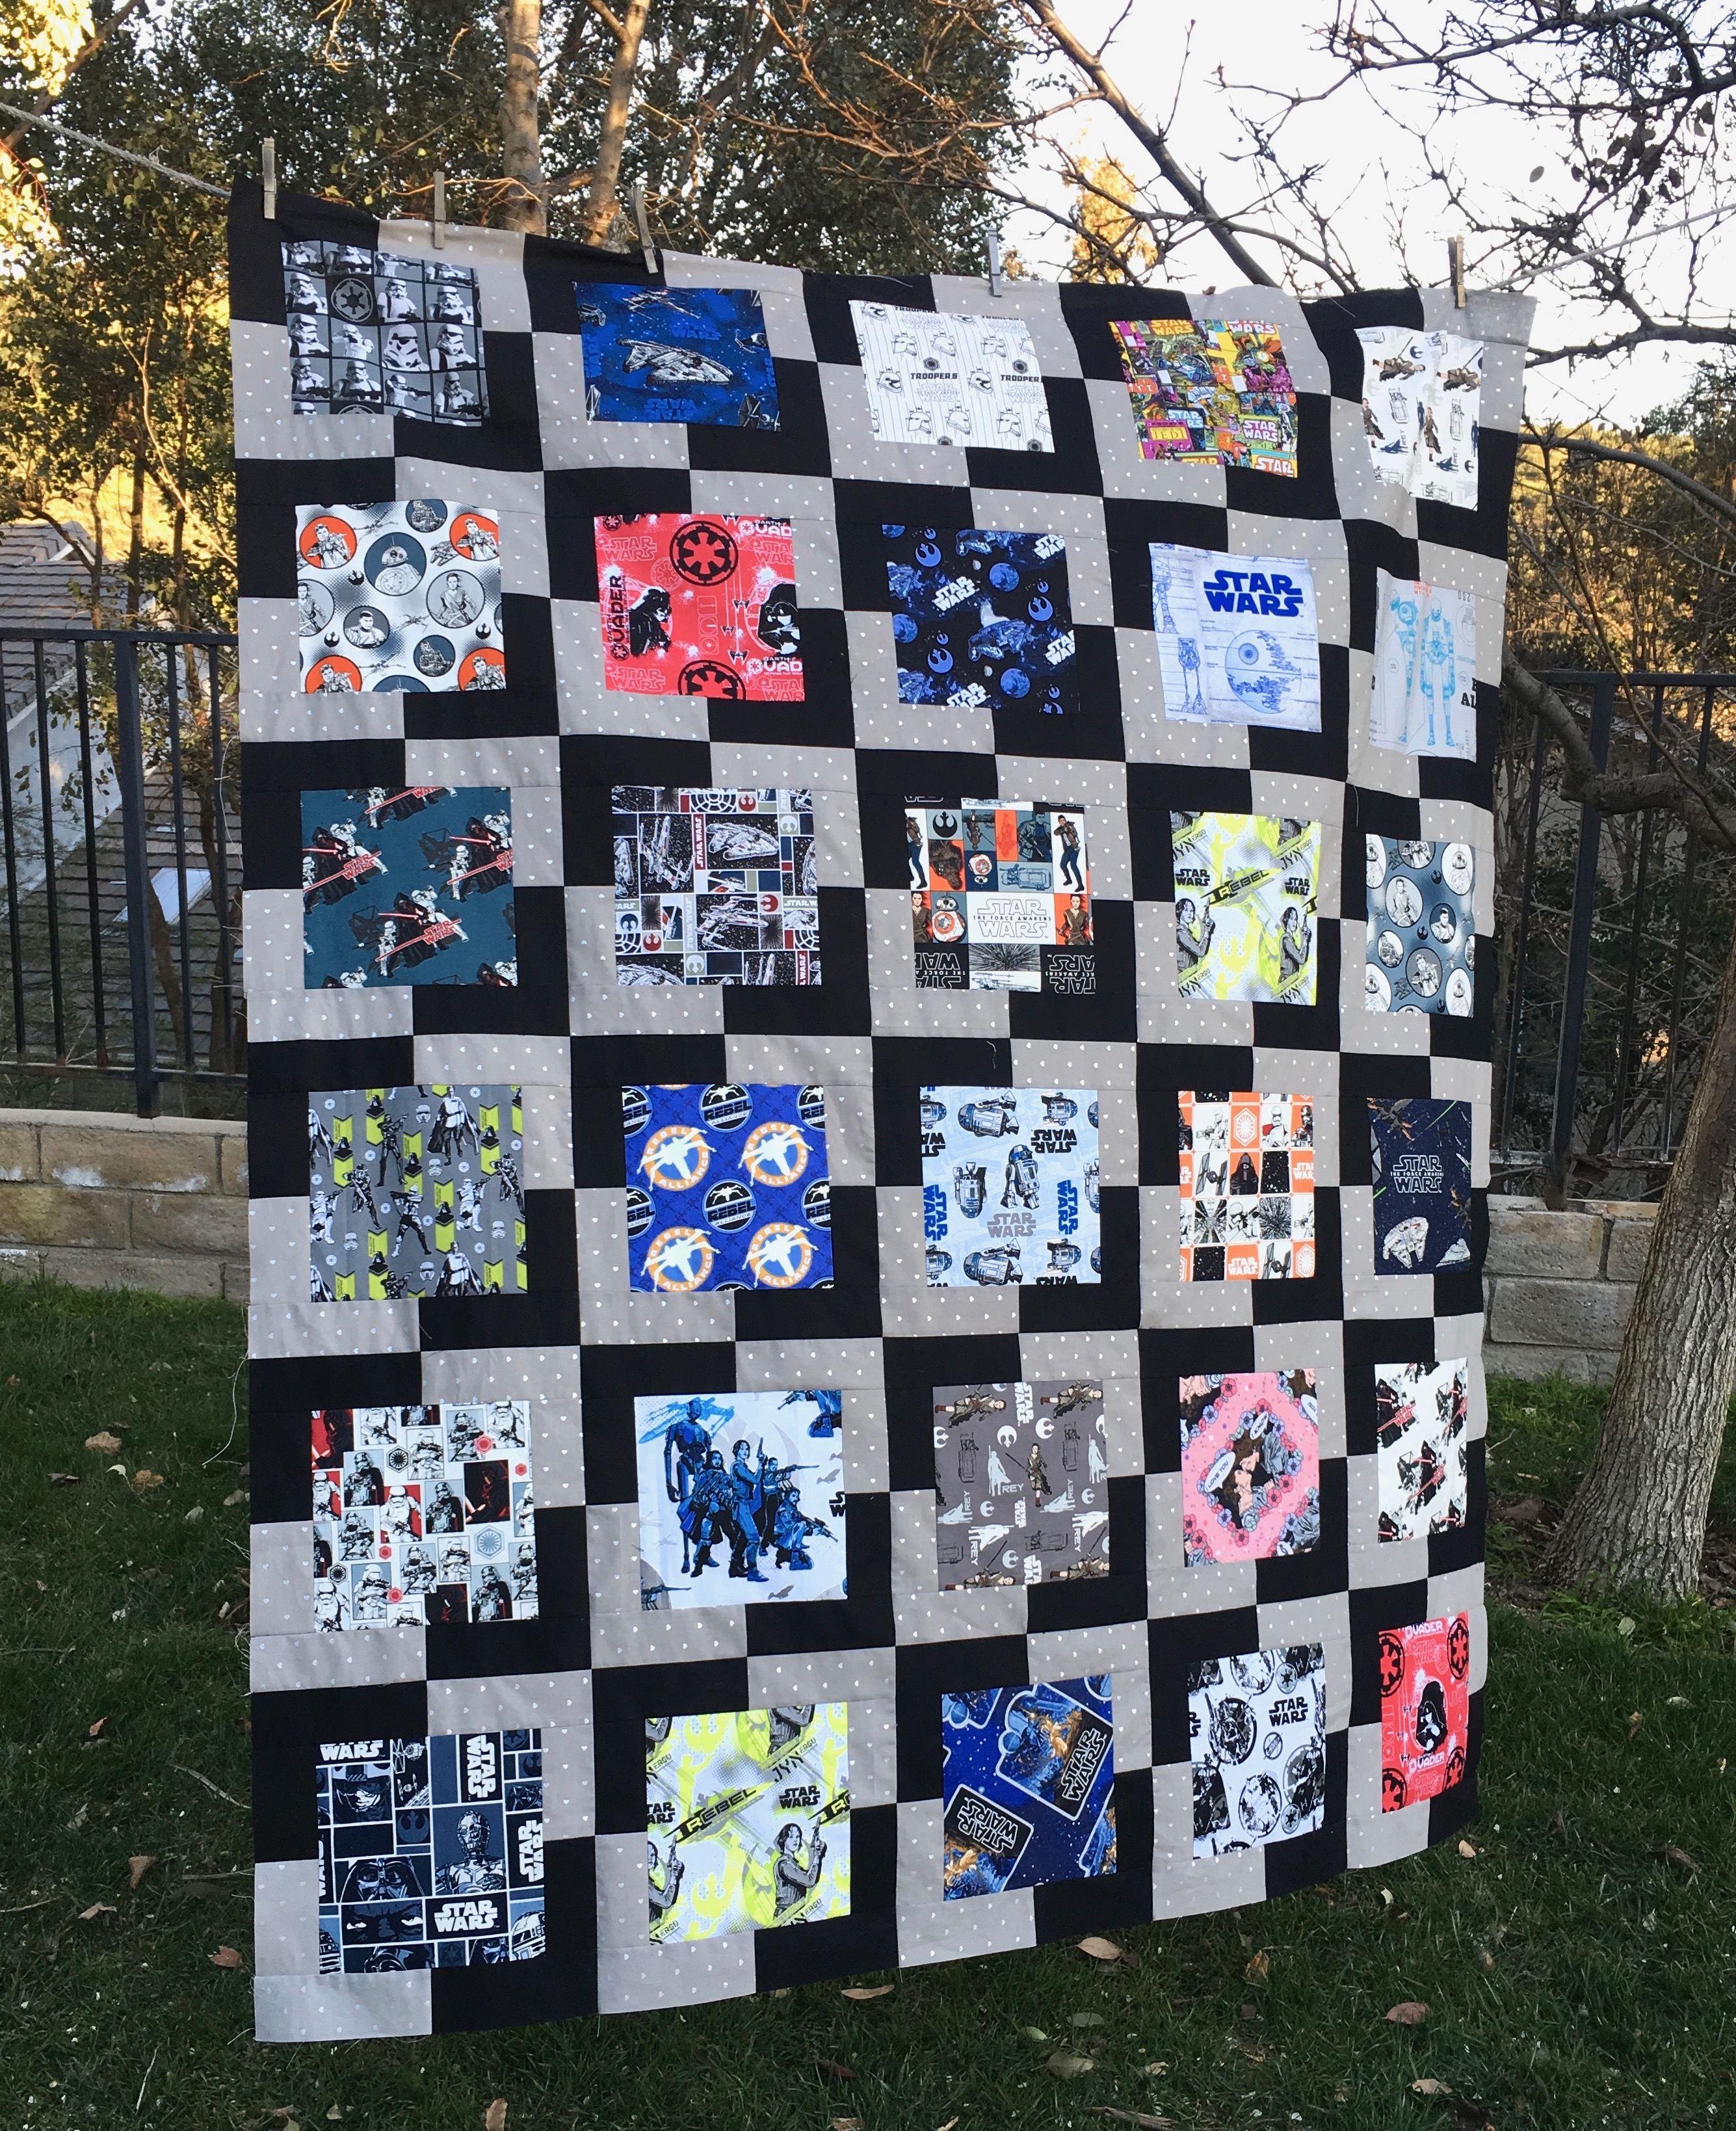
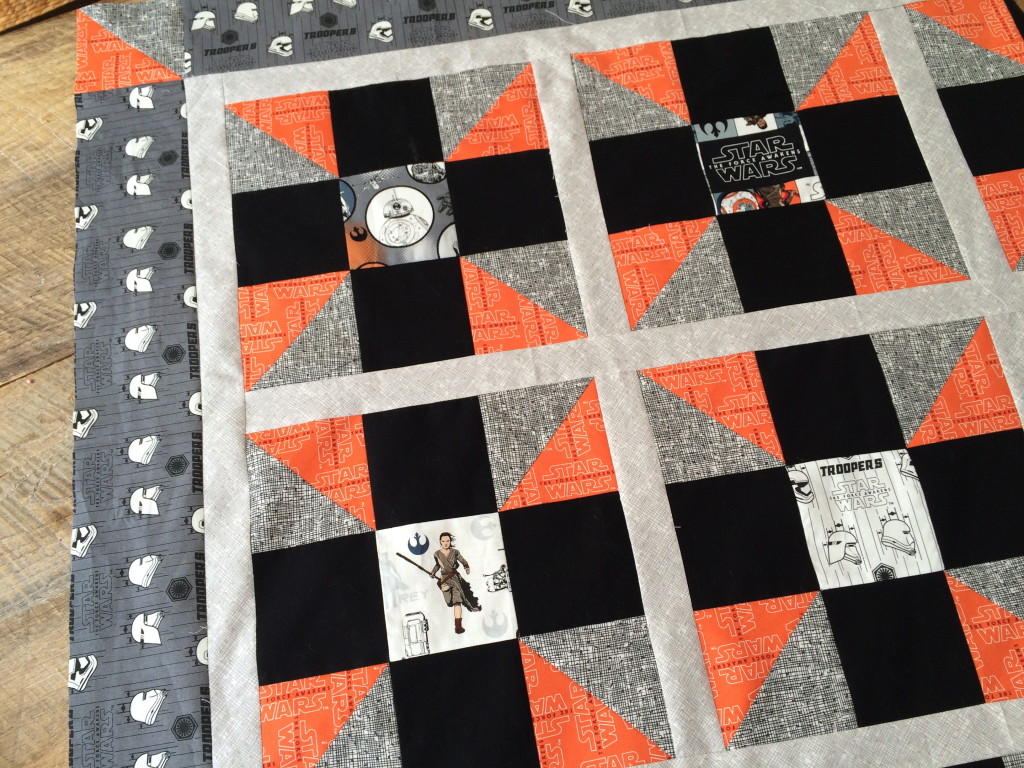
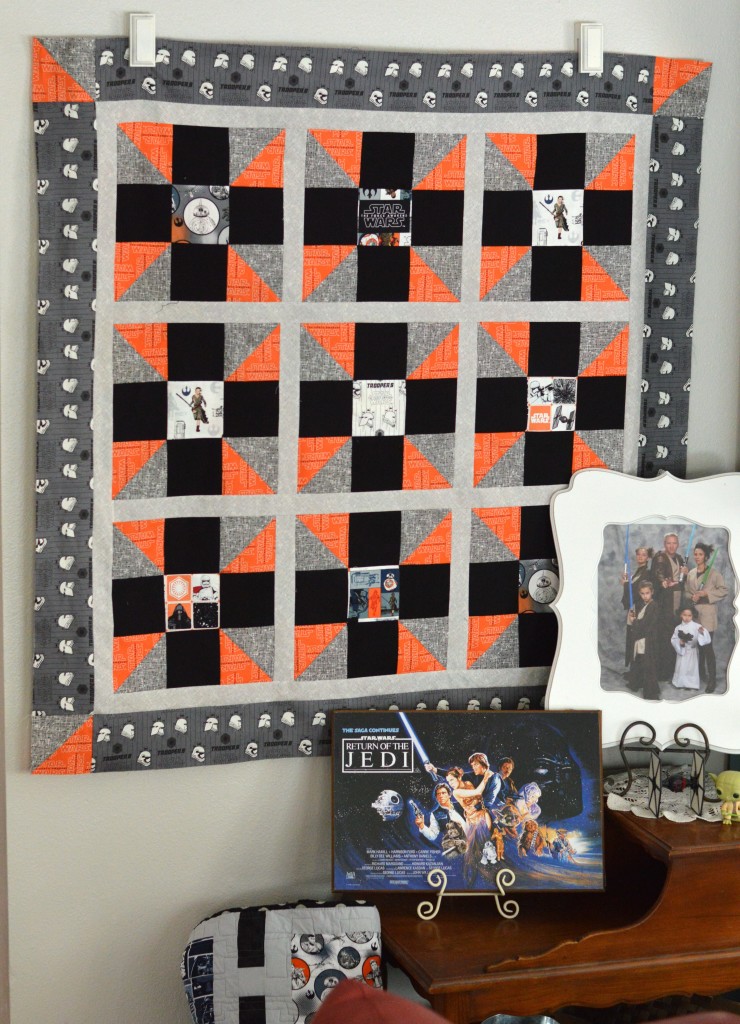
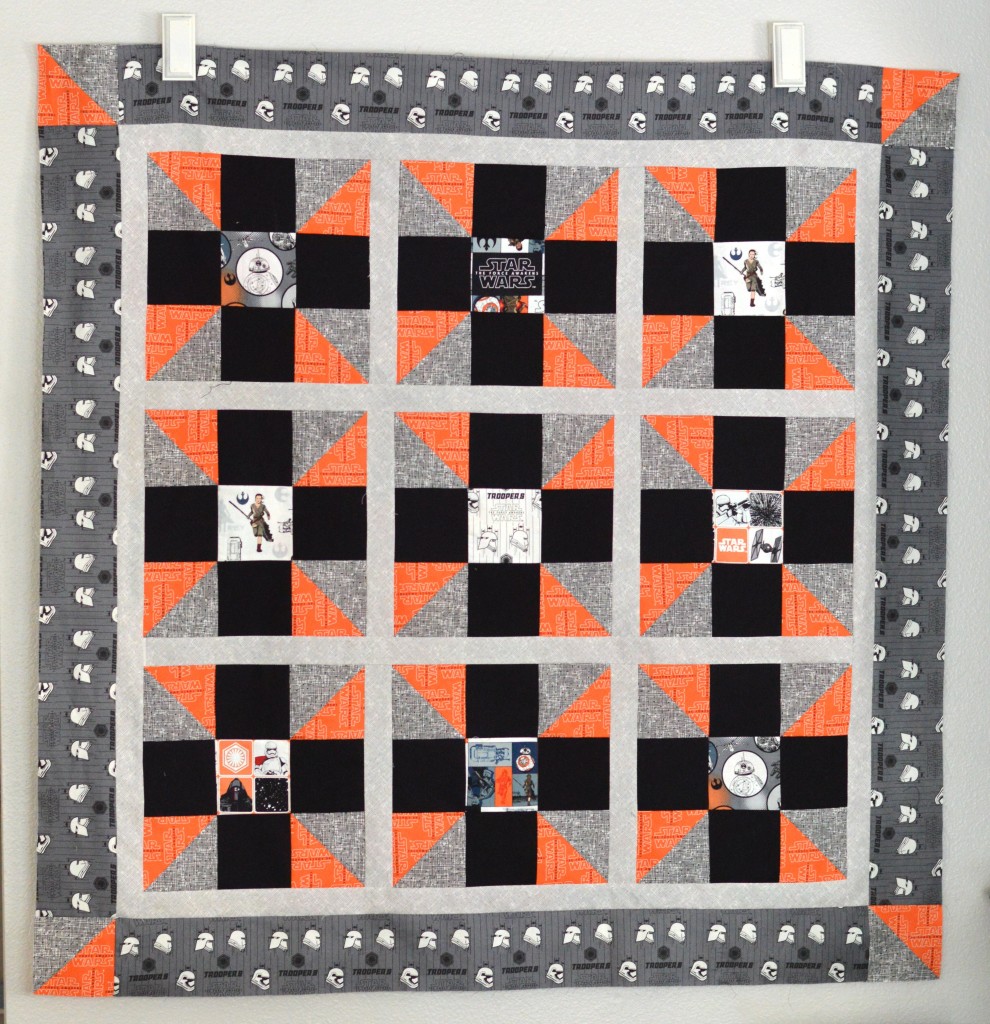
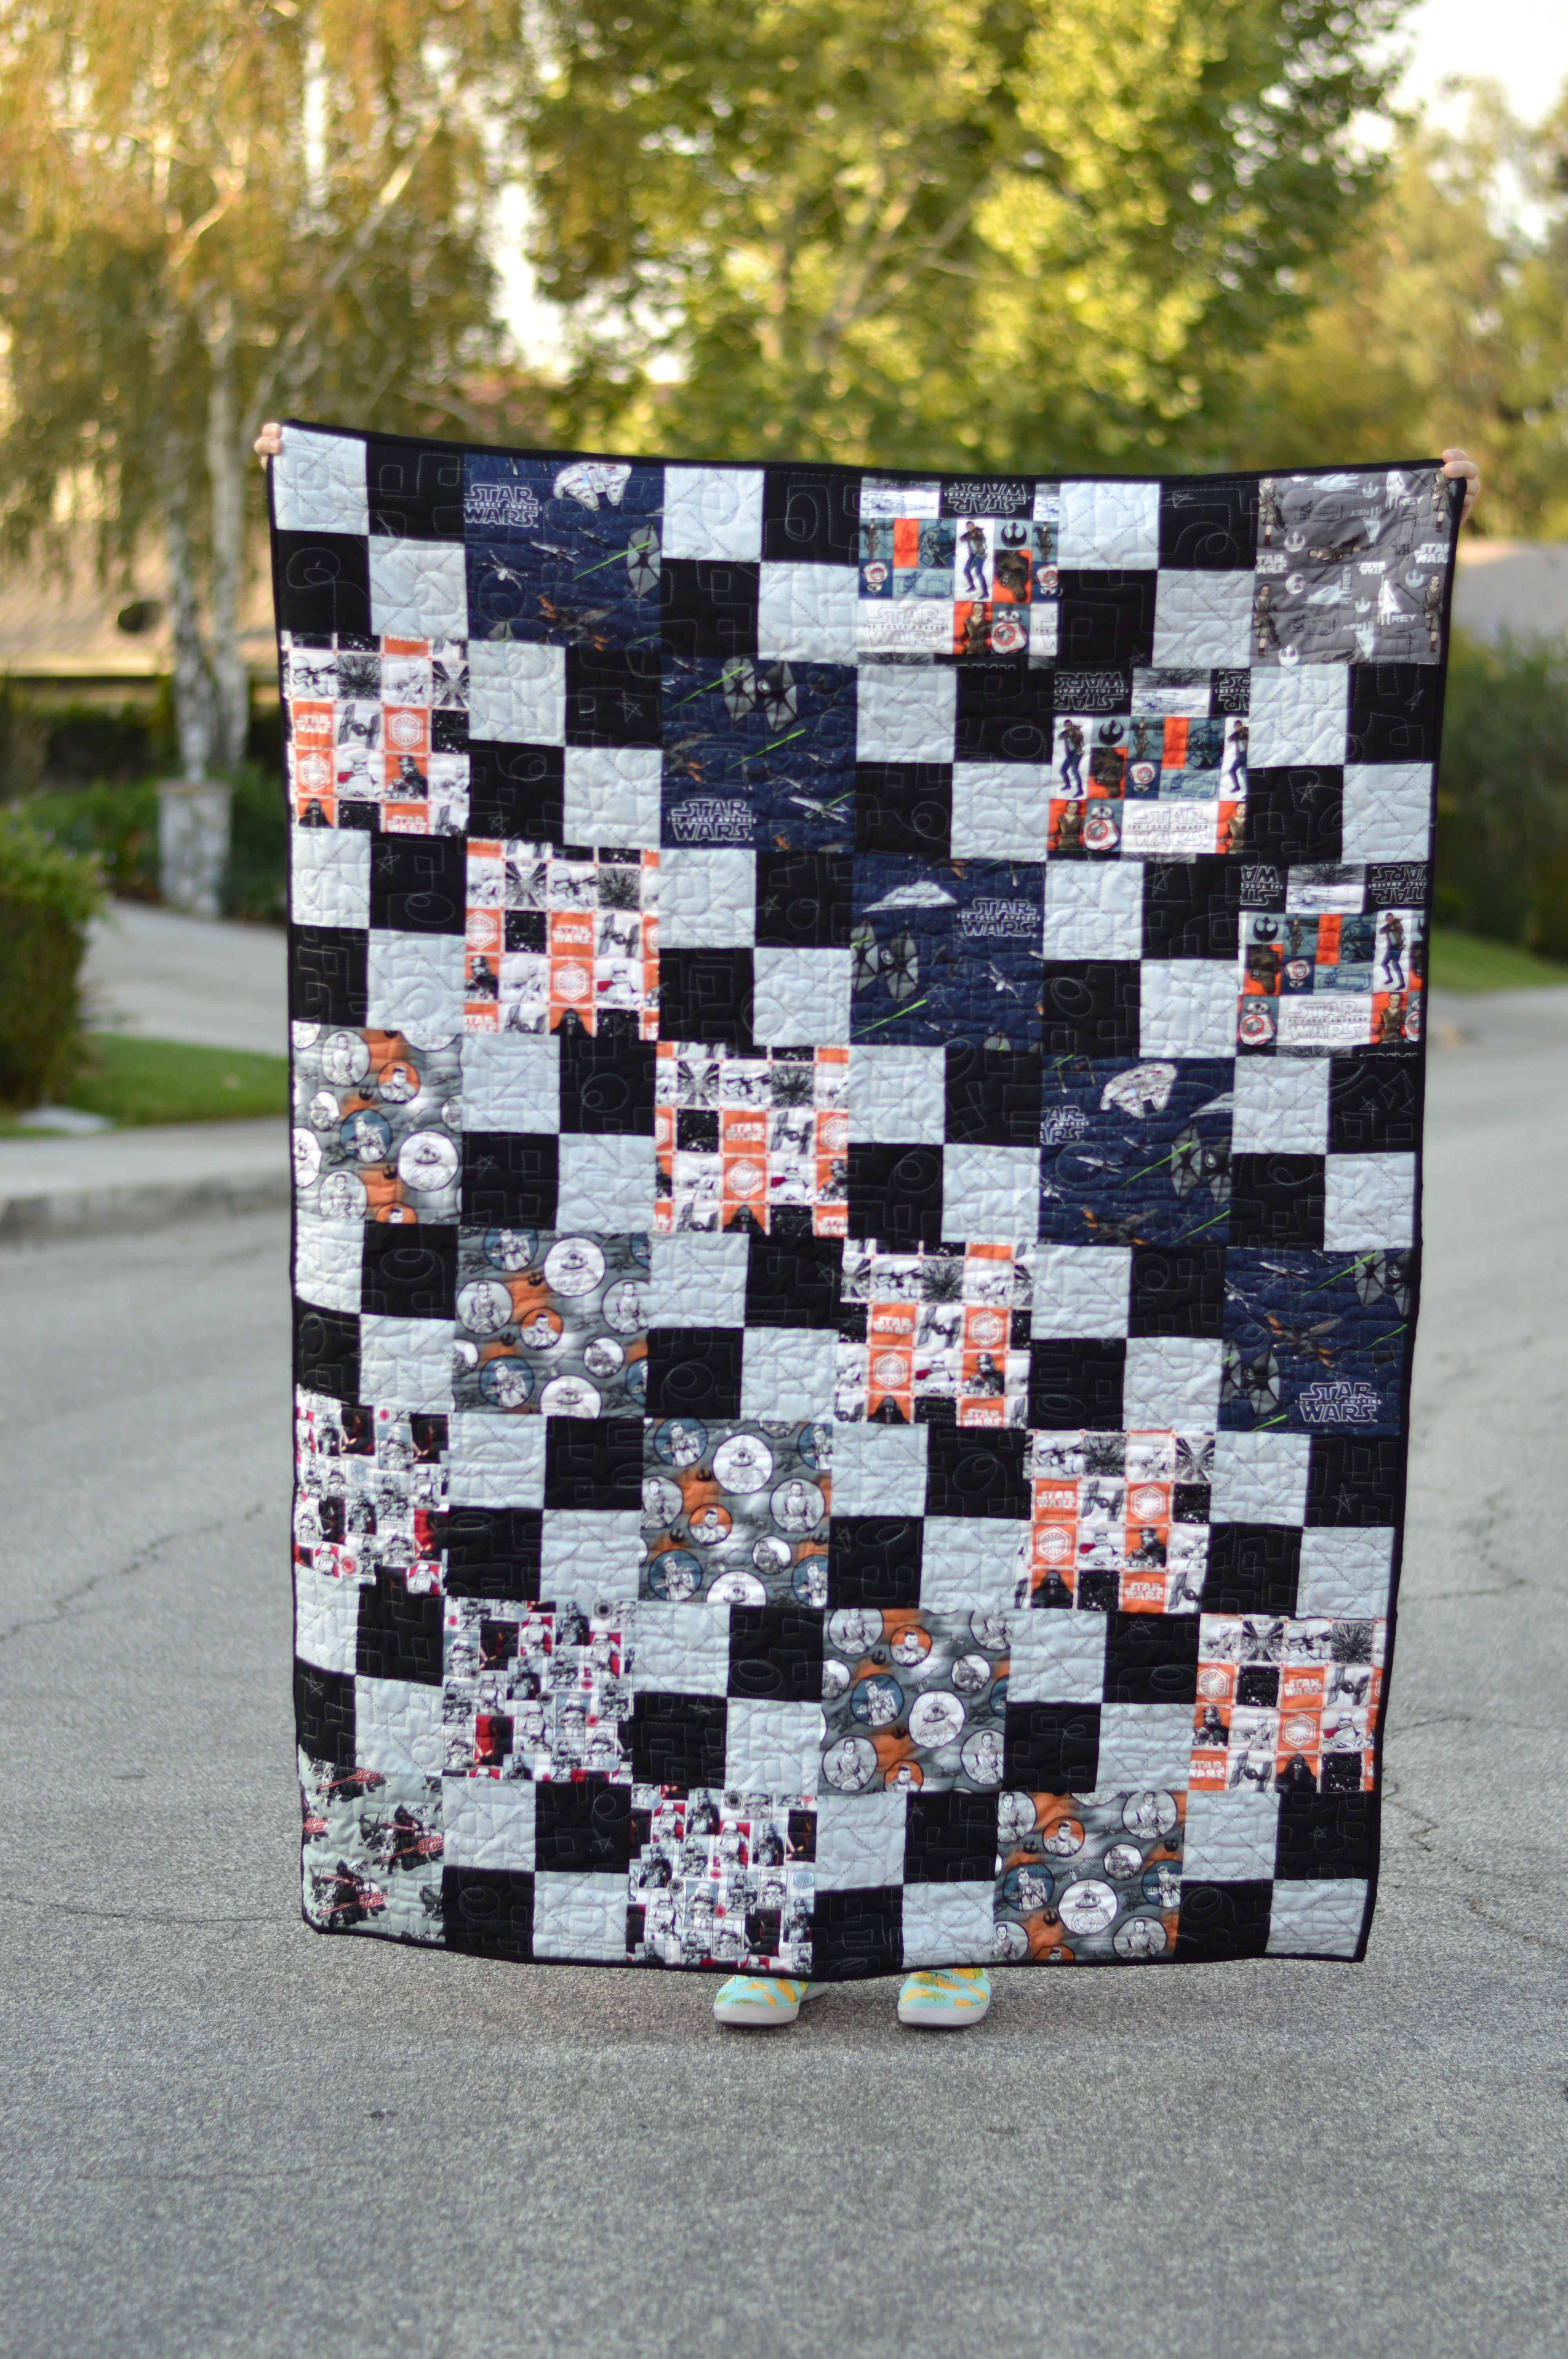
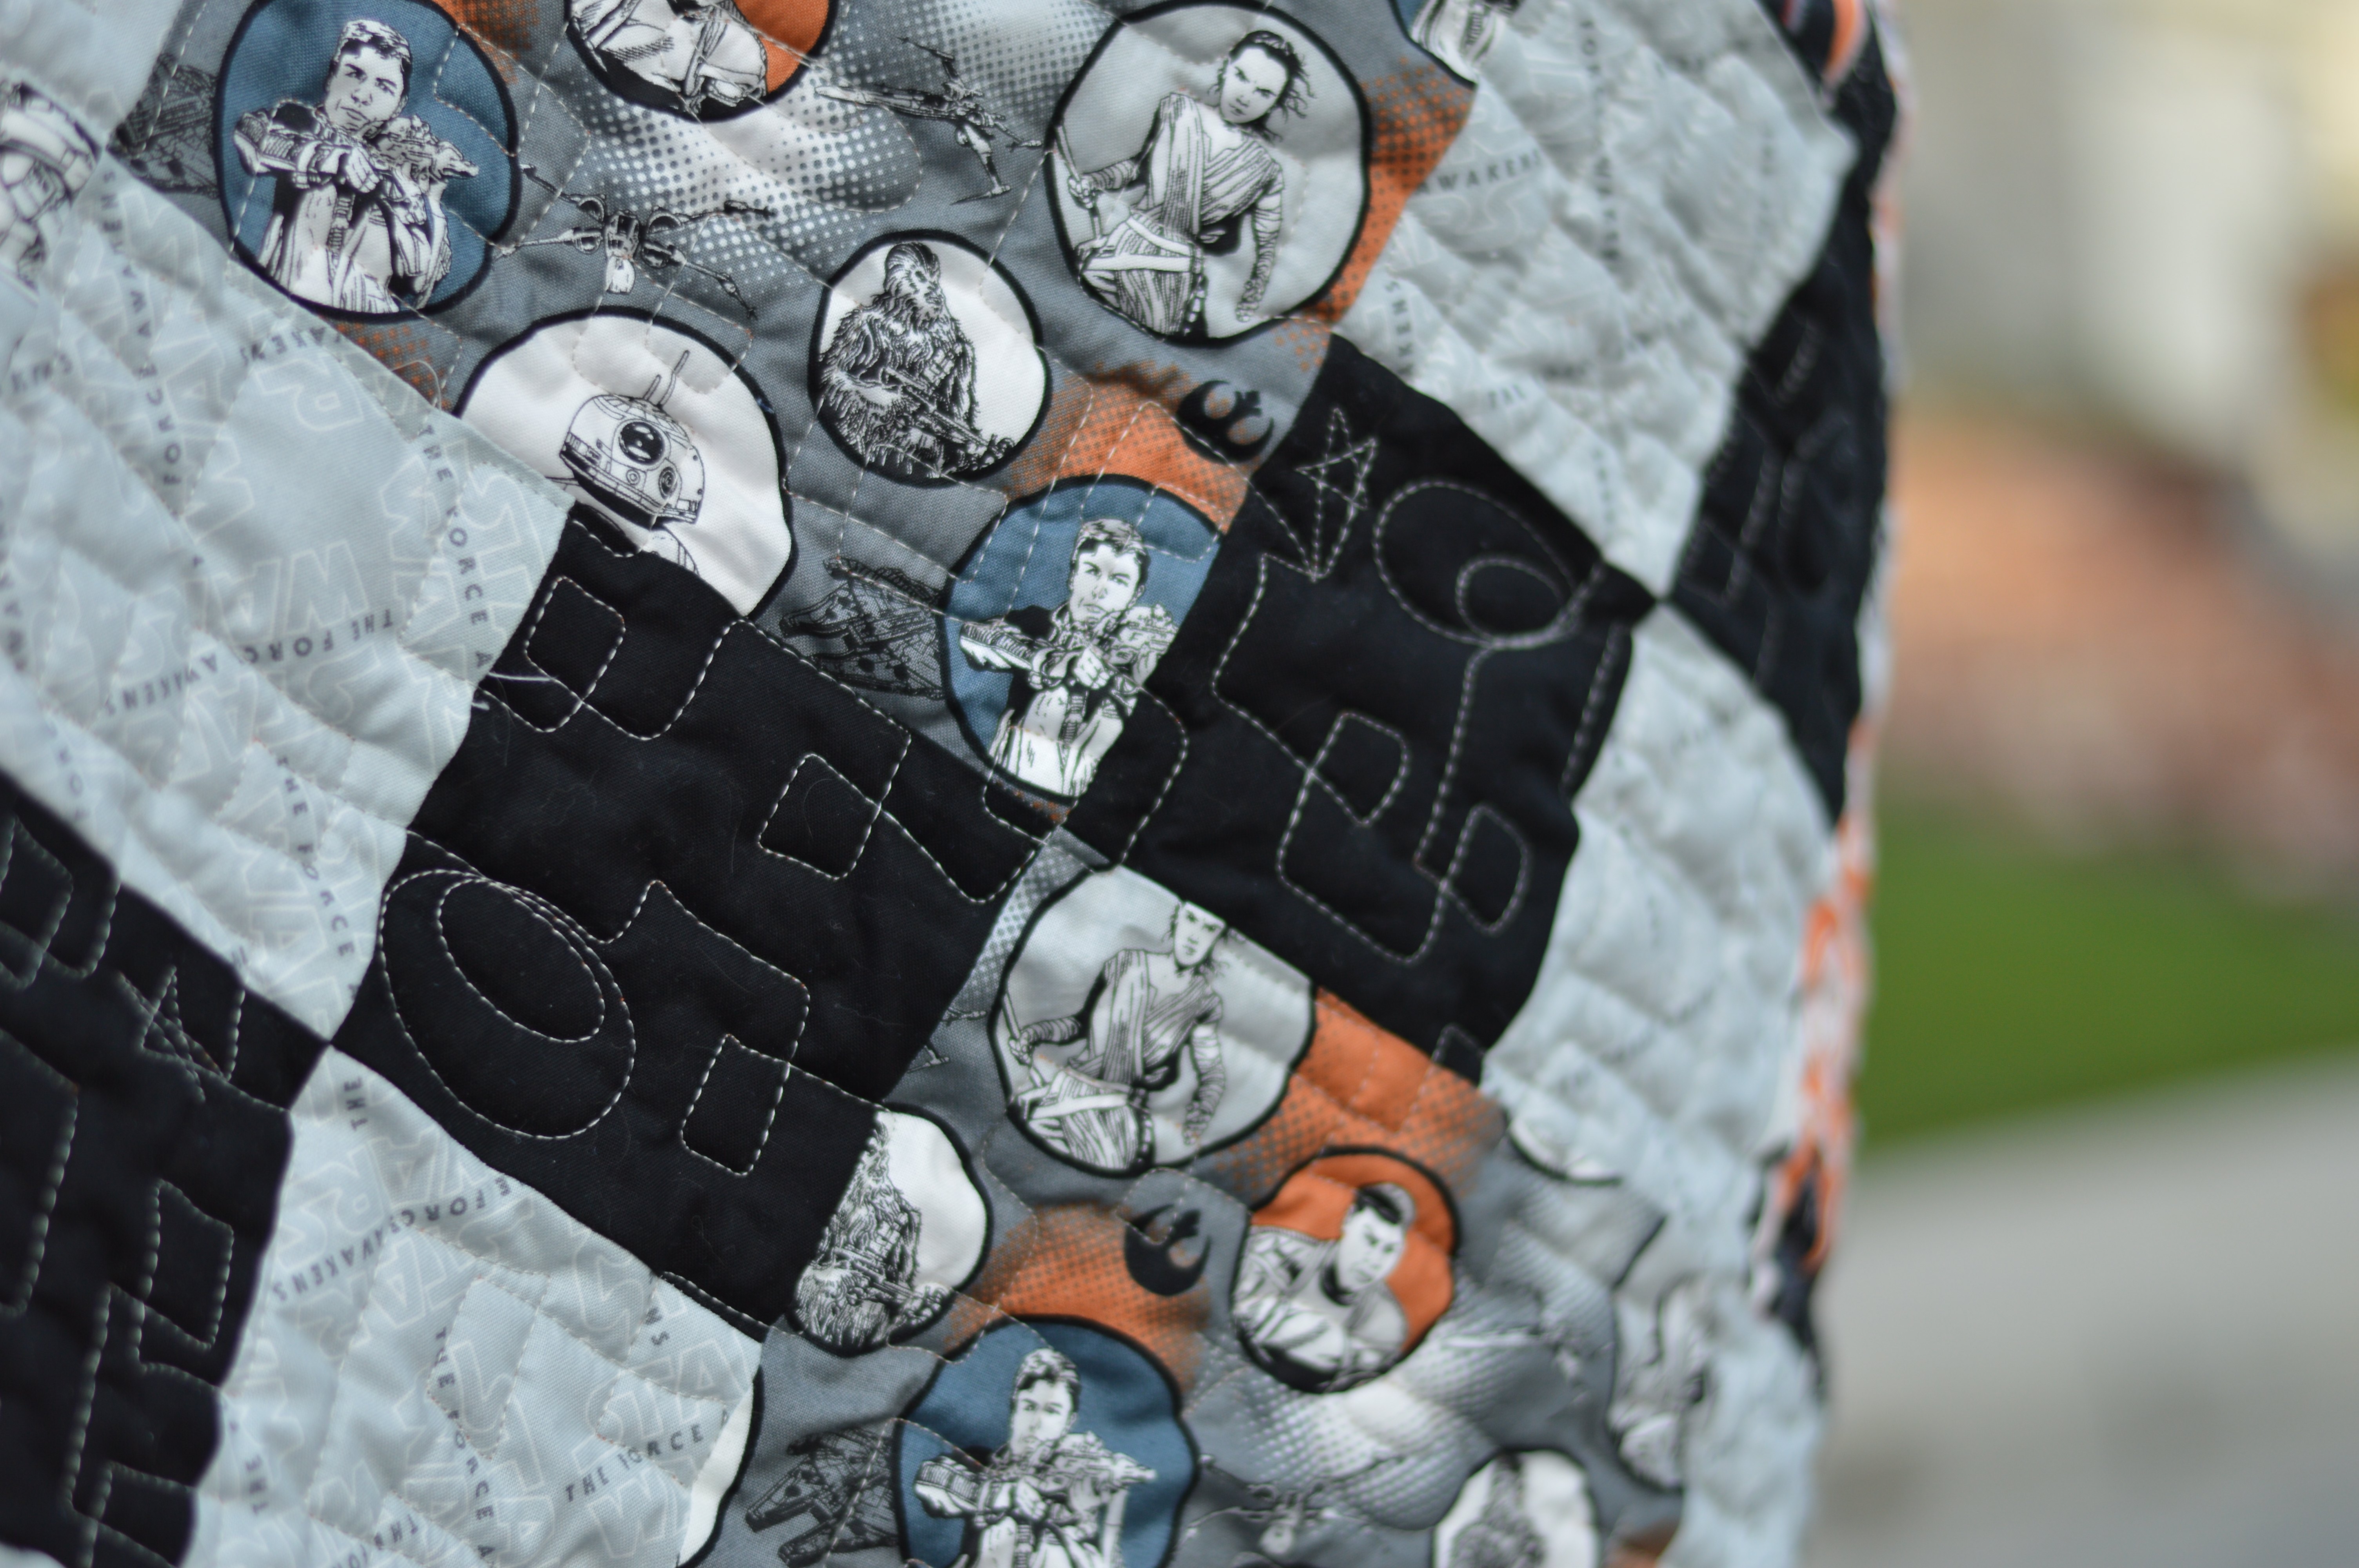
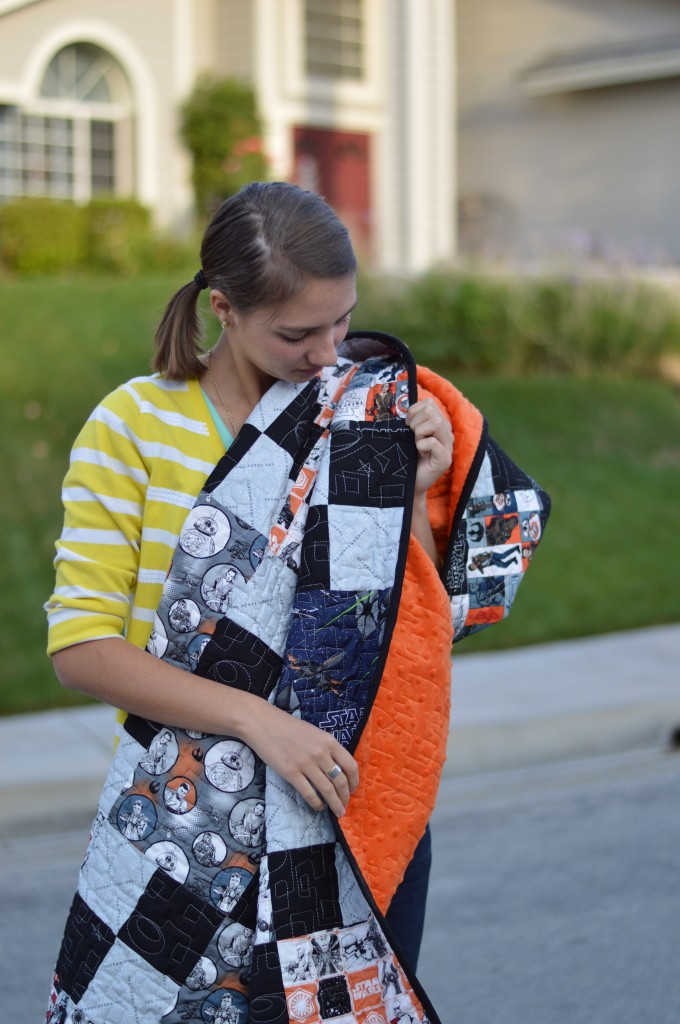
I have been collecting Star Wars fabric for quite a while!  I just purchased some Rogue One fabrics from Fat Quarter Shop to complete my collection!  My daughter and I thought it would be fun to make a super nerdy Star Wars Quilt for her BFF and fellow Star Wars nerd!!  We found this gray fabric with silver hearts and we knew it would be the perfect touch for this girls Star Wars Quilt!  Each of the Star Wars movies is represented in this quilt – yes it’s EPIC!!!

star wars quilt

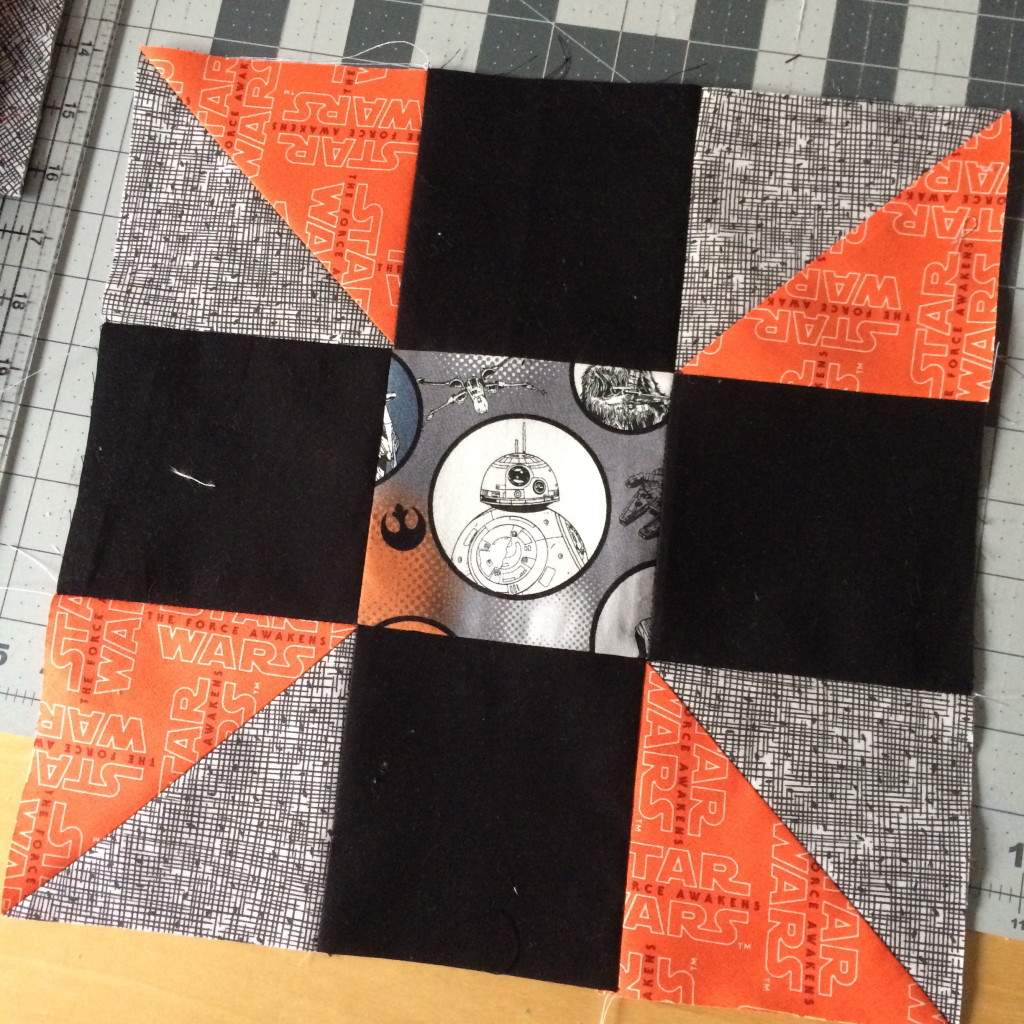
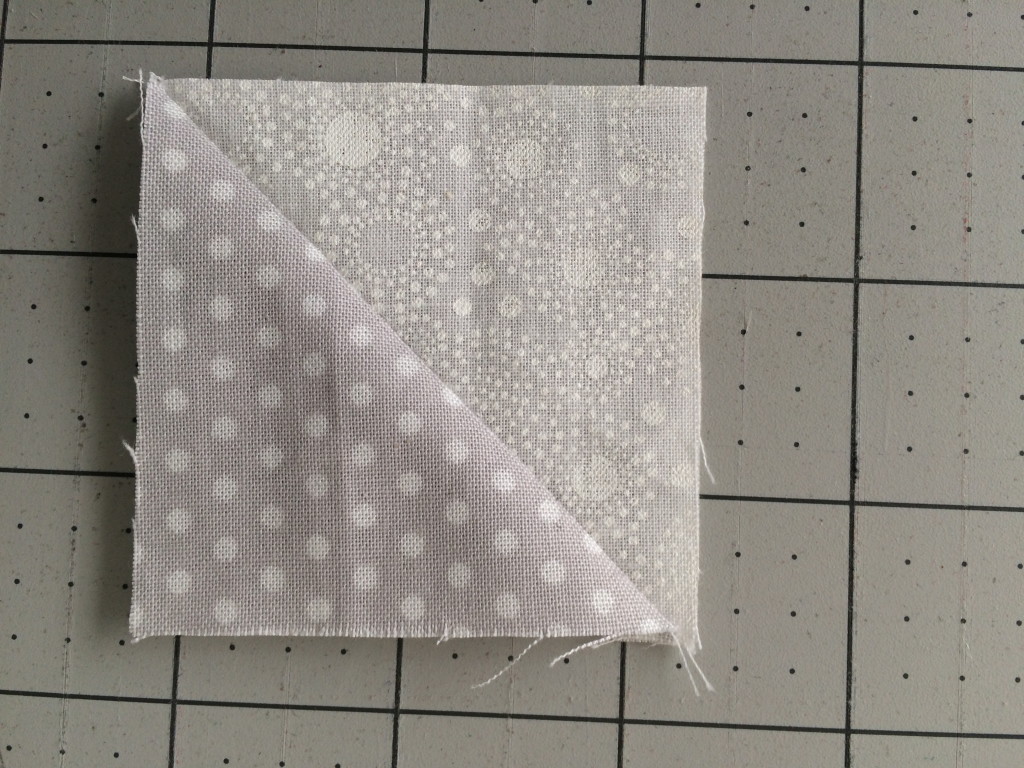
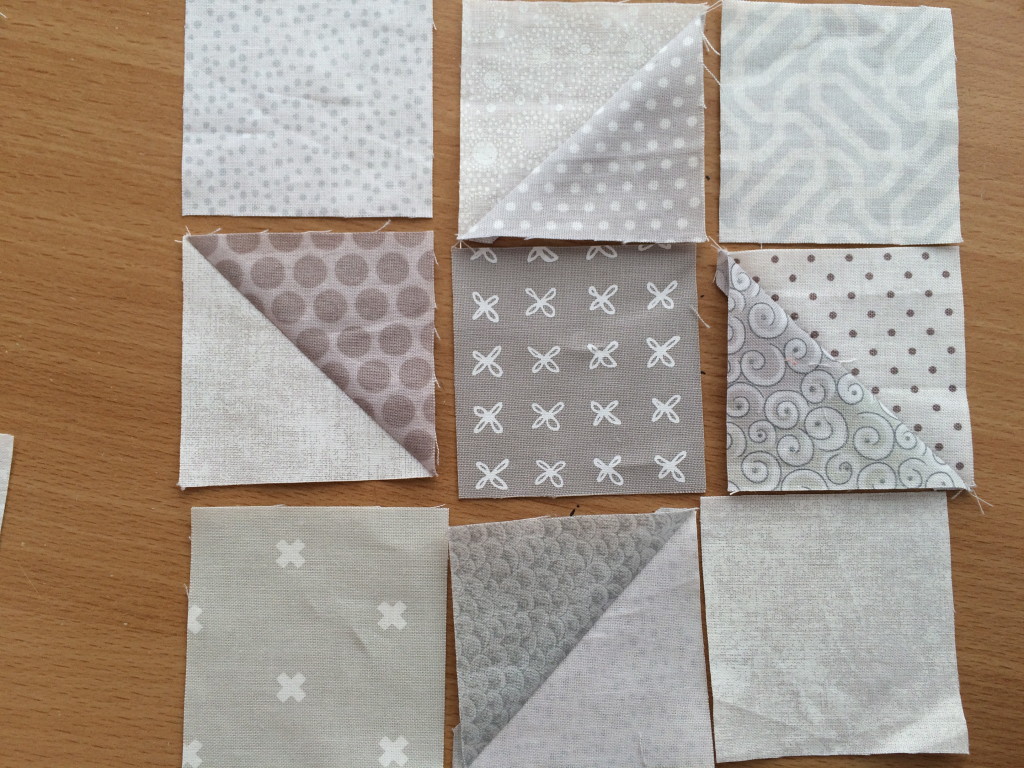
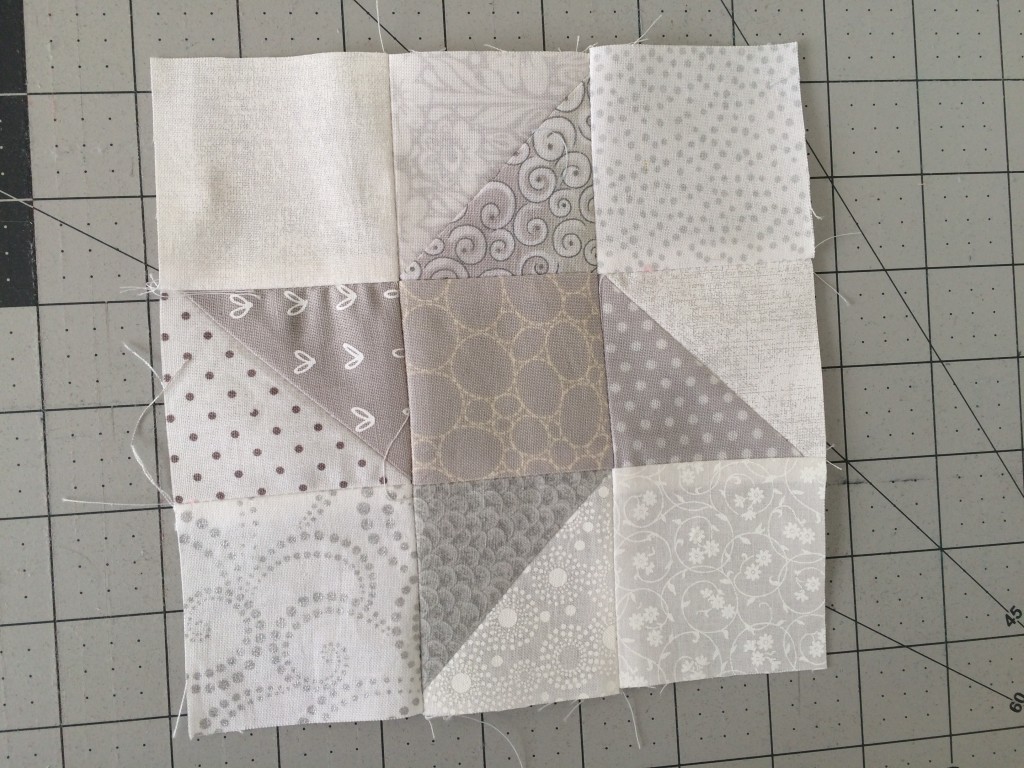
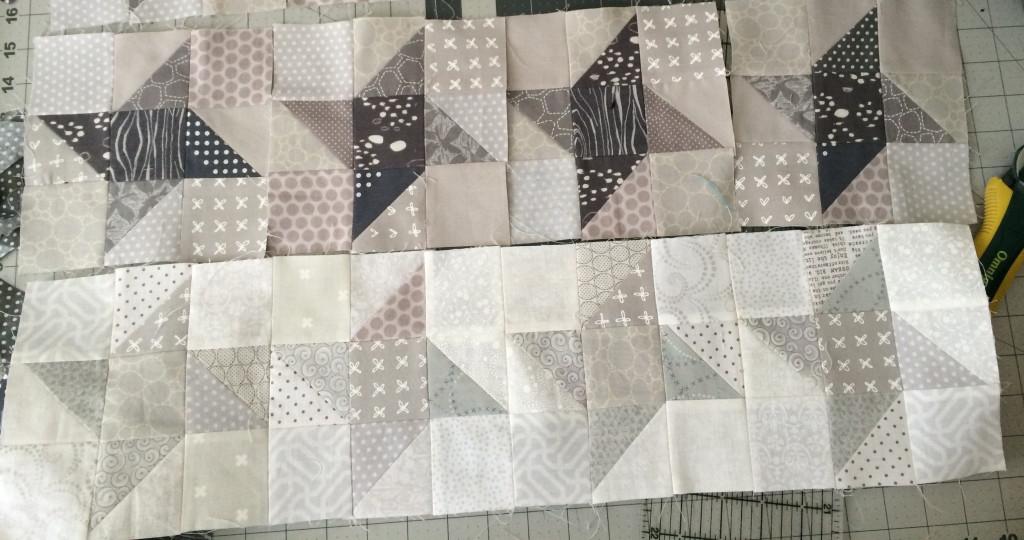
I modified the block from my Windy Girls Quilt Tutorial.  The center square is cut 8 1/2″ square.  I followed the instructions as to how to make the border strips.  Since this quilt is larger than the Windy Girls pattern, I added additional yardage and sewed more strip units.  It sews together super fast!!  There are 5 blocks across and 6 rows down.  Each block finishes 12″ so that makes the quilt 60″ x 72″.star wars quilt 3

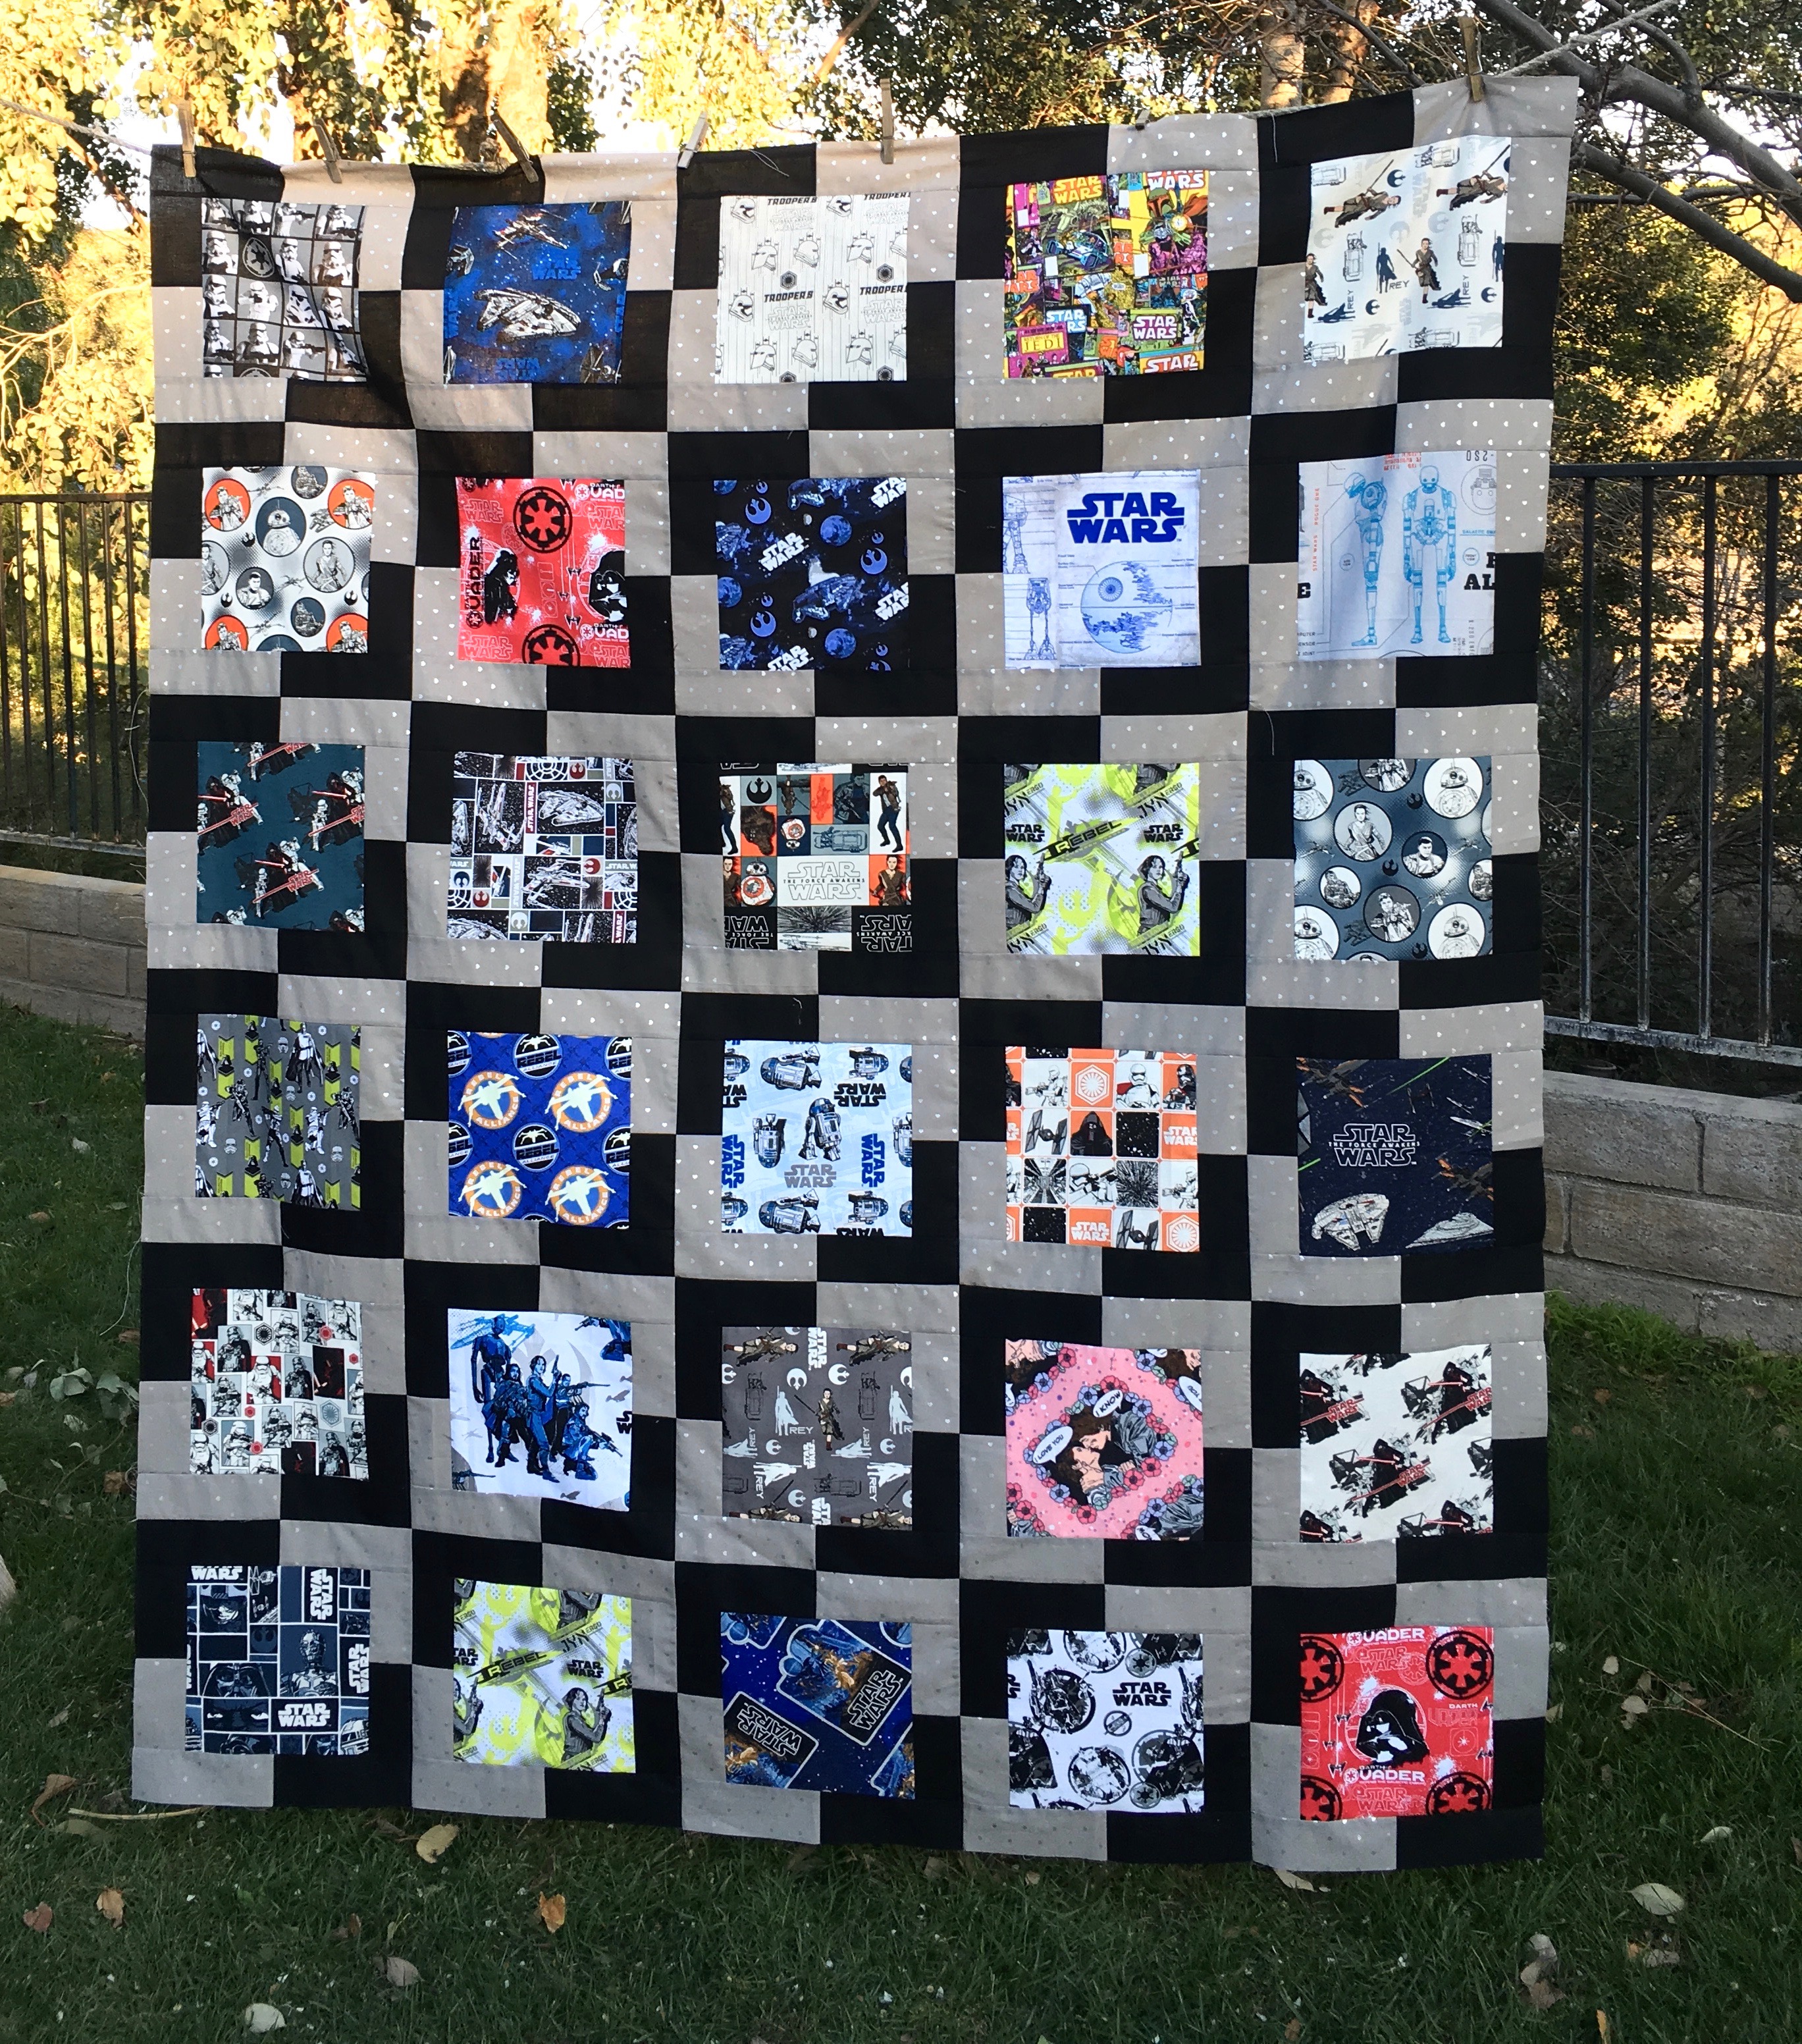
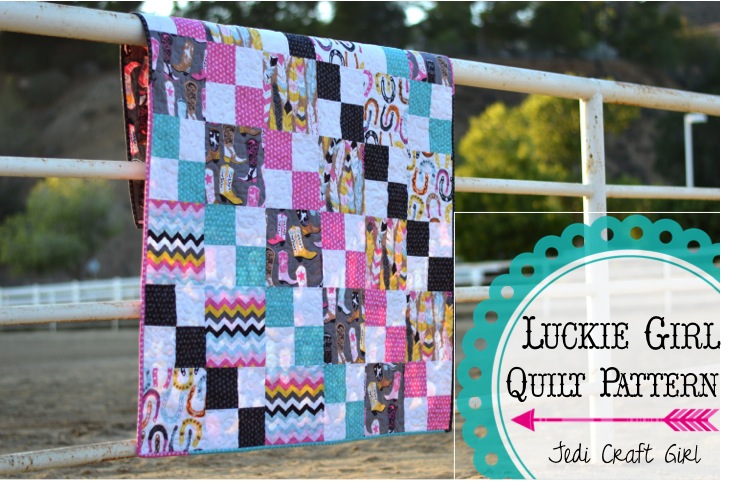
This is such a great quilt to make for a graduation gift or a birthday gift and you can use your favorite theme prints and really customize it to the recipent.  I think I need to make another one!  We sent it off to the quilter today and we are putting magenta minky on the back – to complete the total nerdy-ness – the quilting will be rainbows and hearts – quilted by my friend Nicole of Kwiltit.com!  I can’t wait!!!!star wars quilt 4

May the 4th Be With You {Star Wars Quilt Pattern}

may the 4th be with you quilt

We go a little crazy on May the 4th in our family!  I really think it should be a national holiday!  I am so totally in love with this latest Star Wars themed quilt.  It is the perfect for a young child, a teenager, or an adult!  In fact everyone in the family is fighting over who gets it!!

may the 4th quilt BB8

I curated this fun fabric bundle from Fat Quarter Shop.  You can find it by clicking HERE.

Screen Shot 2016-05-03 at 12.02.38 PM
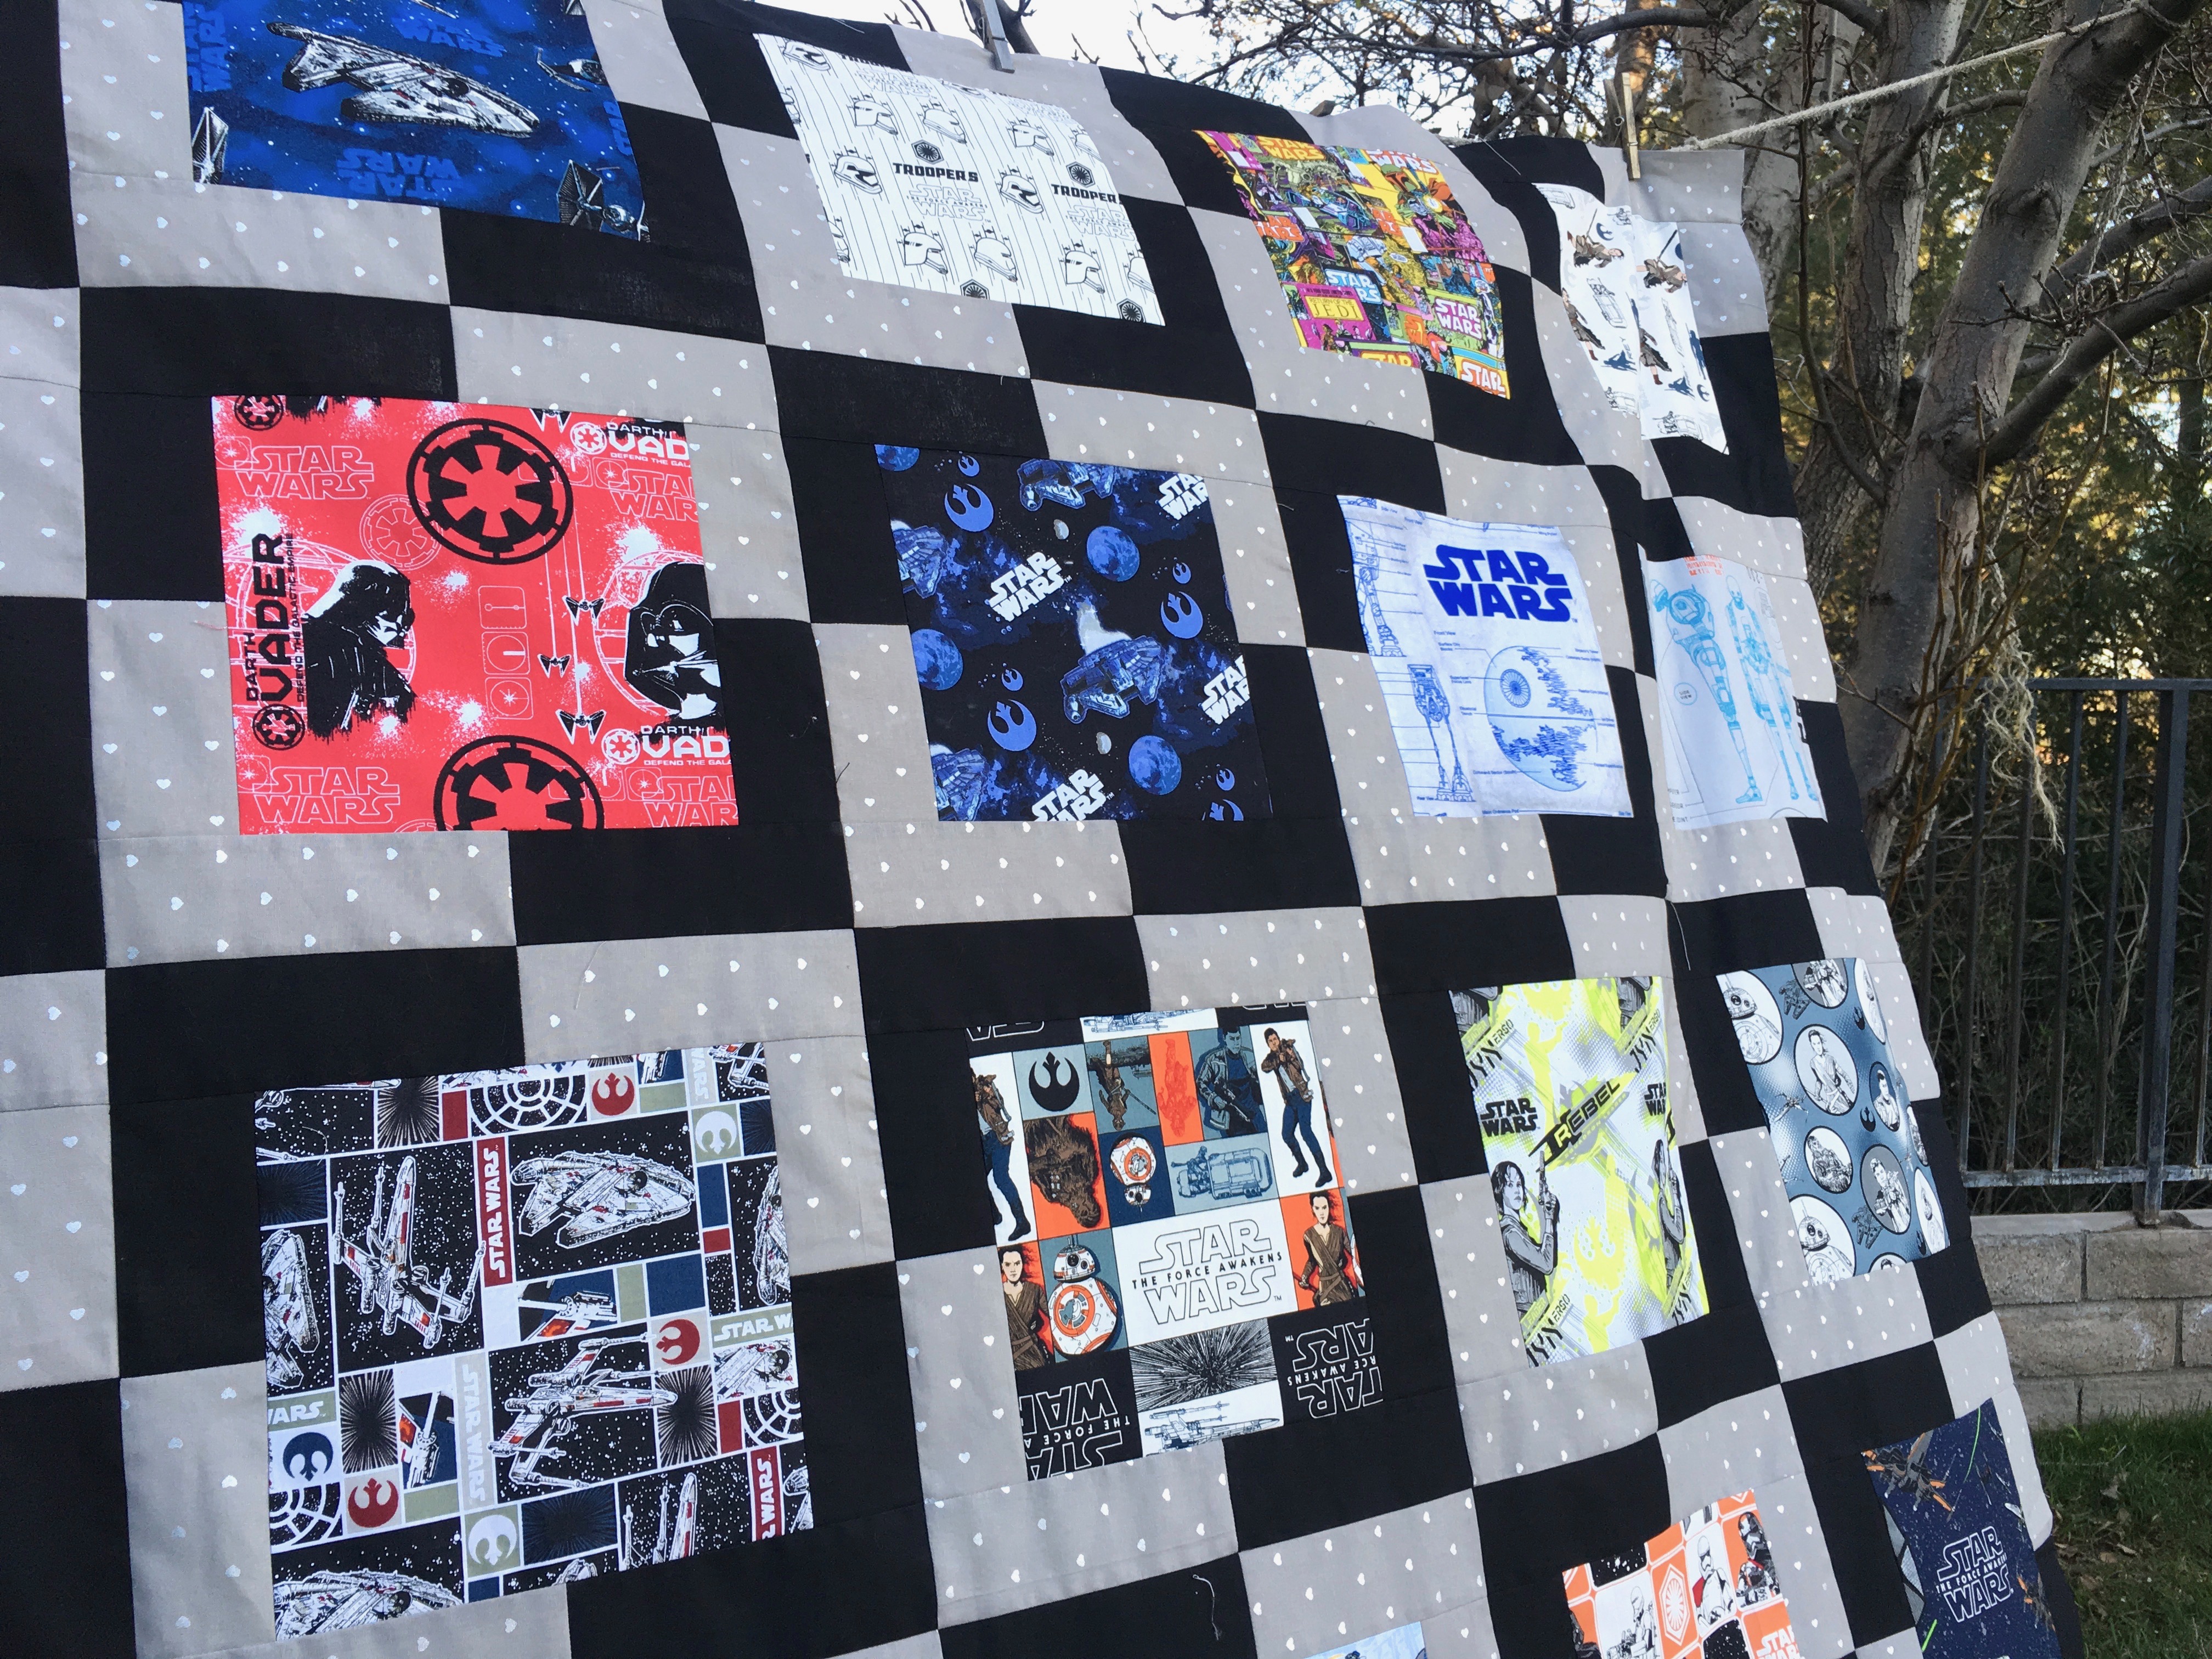
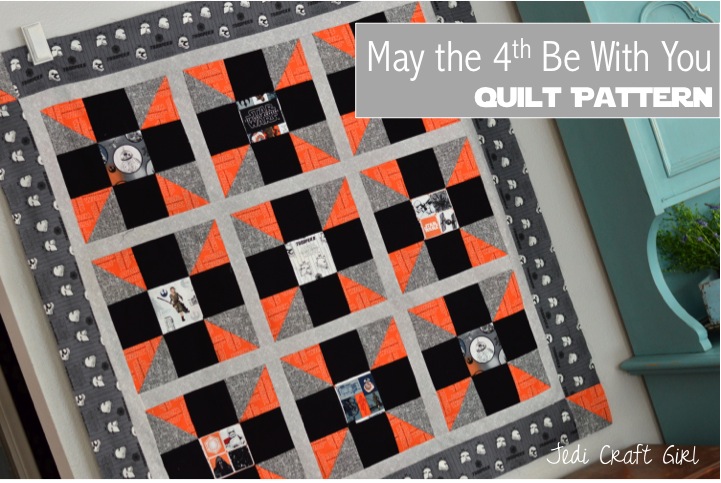
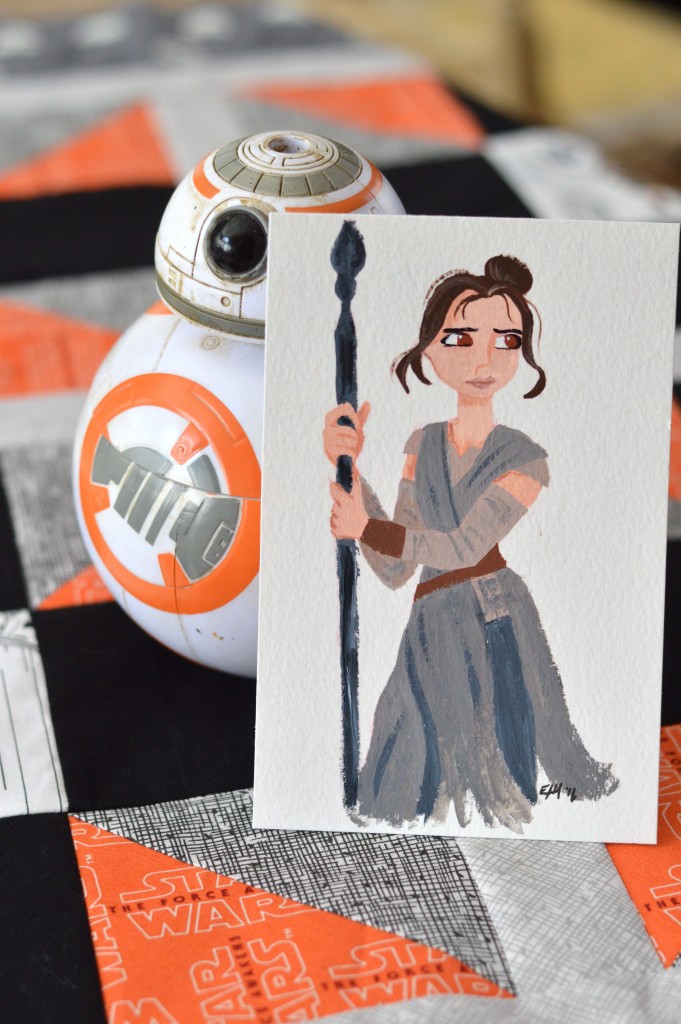
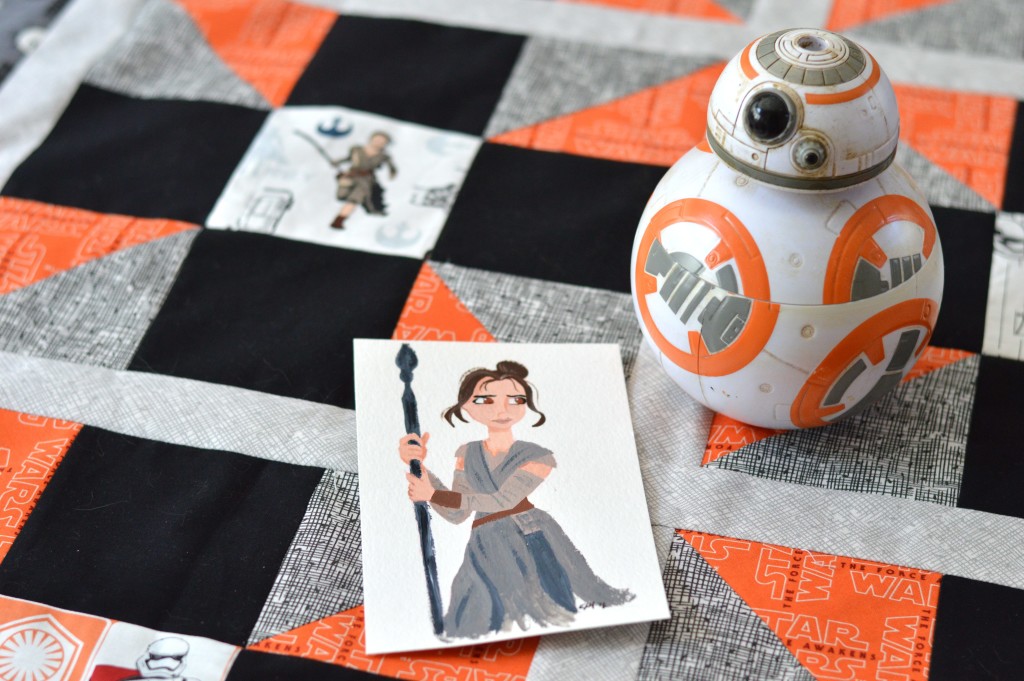
I choose fabrics that were inspired by the colors of BB8 and Rae – 2 of our favorite characters!  I used all the fabrics in this collection and only added a yard of solid black fabric.

IMG_5929

Mufasa was very helpful in making this quilt.  I think the quilt will end up being his 🙂

star wars quilt 2 5

The quilt is made up of 9 of these blocks with sashing and a border.  It measures 50″ square.  For the full instructions and FREE pattern, click HERE to download.

star wars quilt 3

I hope you love making this quilt – I sure did!  may the 4th quilt 2

And remember, May the 4th be with you!!may the 4th quilt 4

BB8 quilt

AT-AT Star Wars Mini Quilt

AT-AT Walker quilt
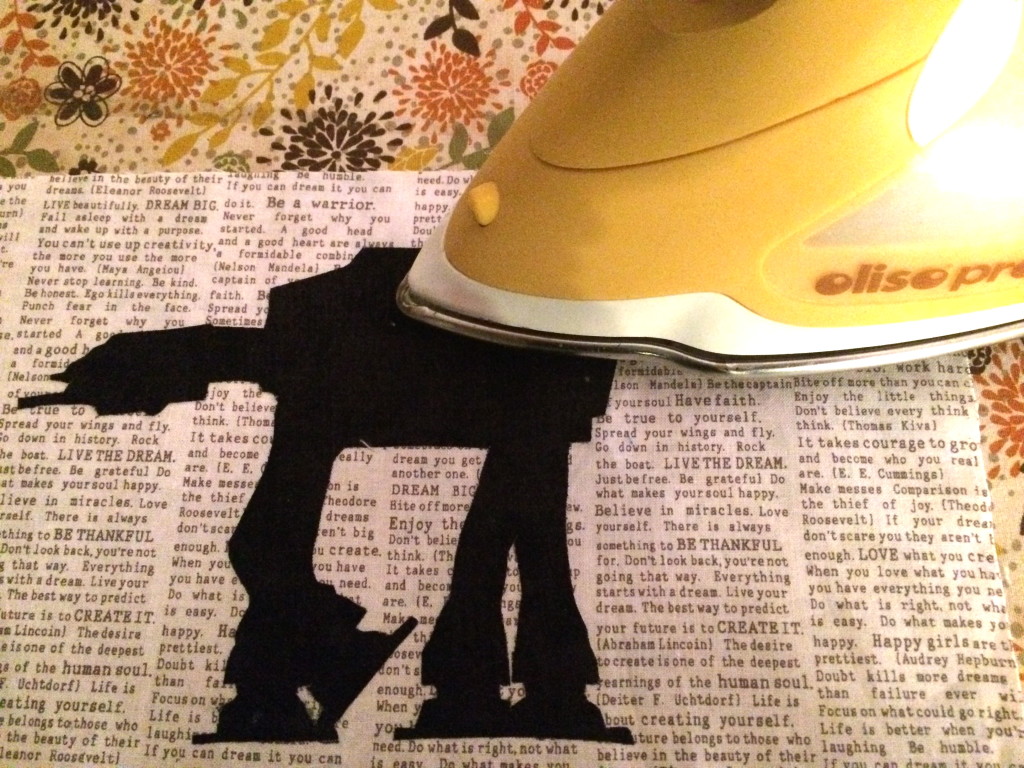
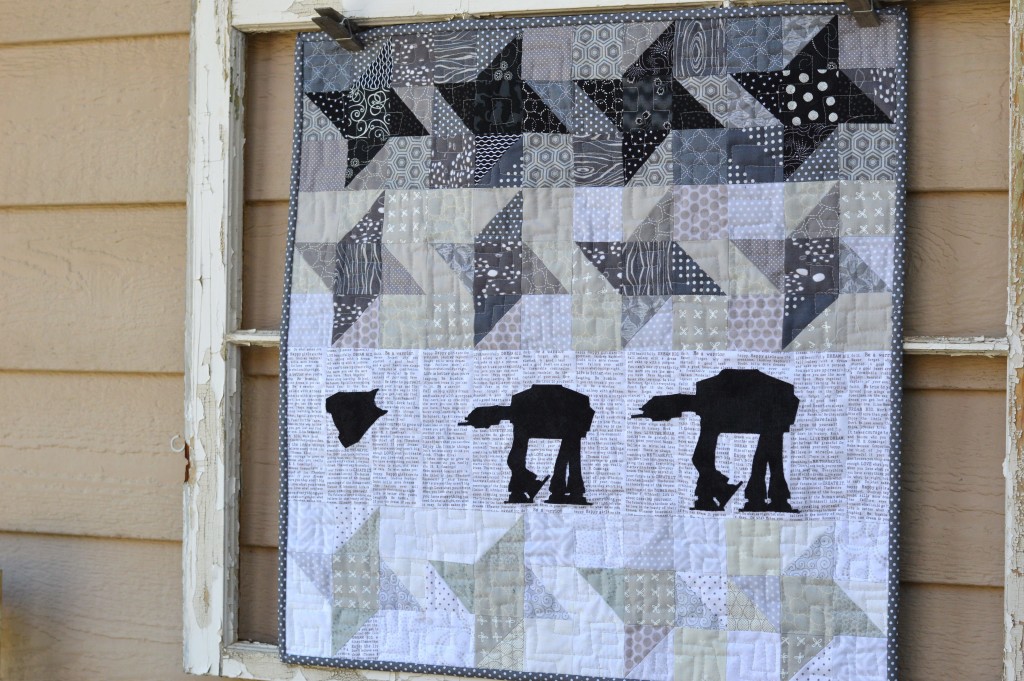
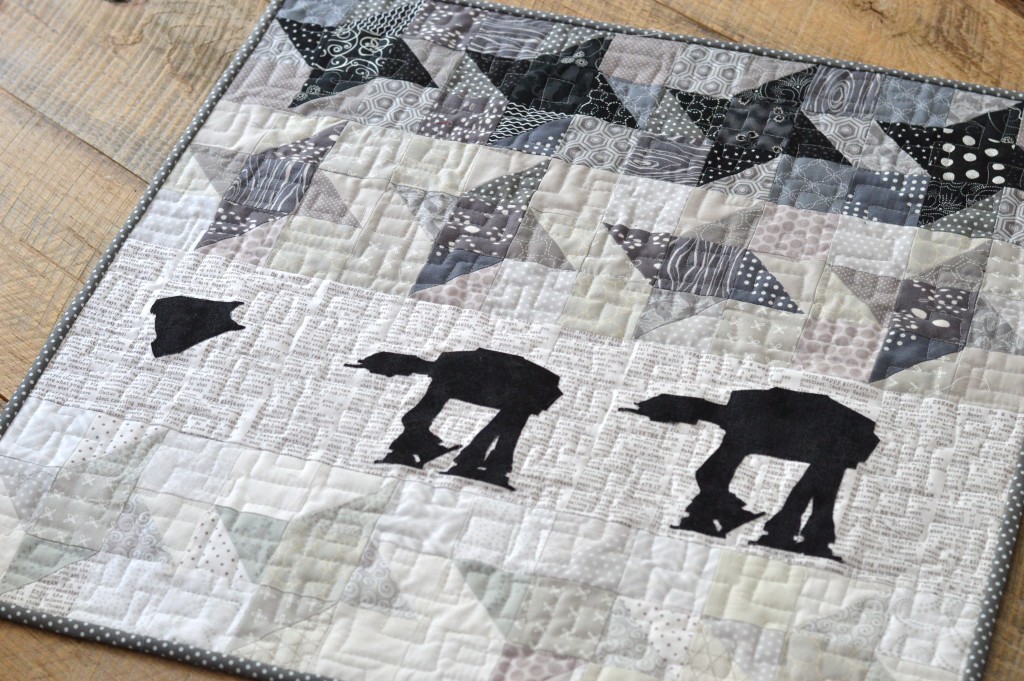
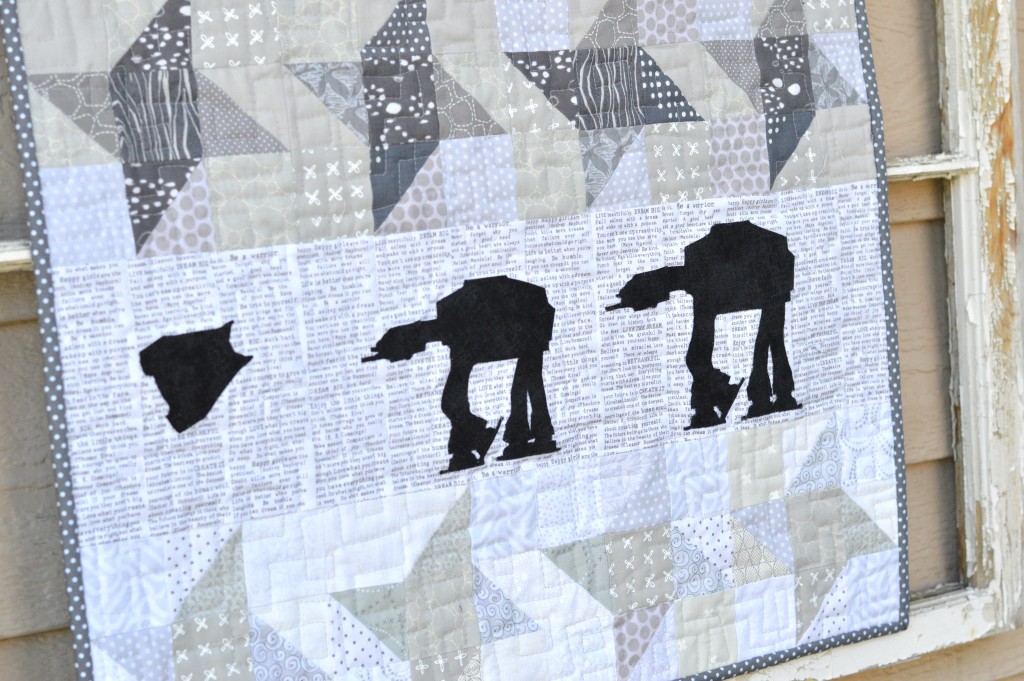
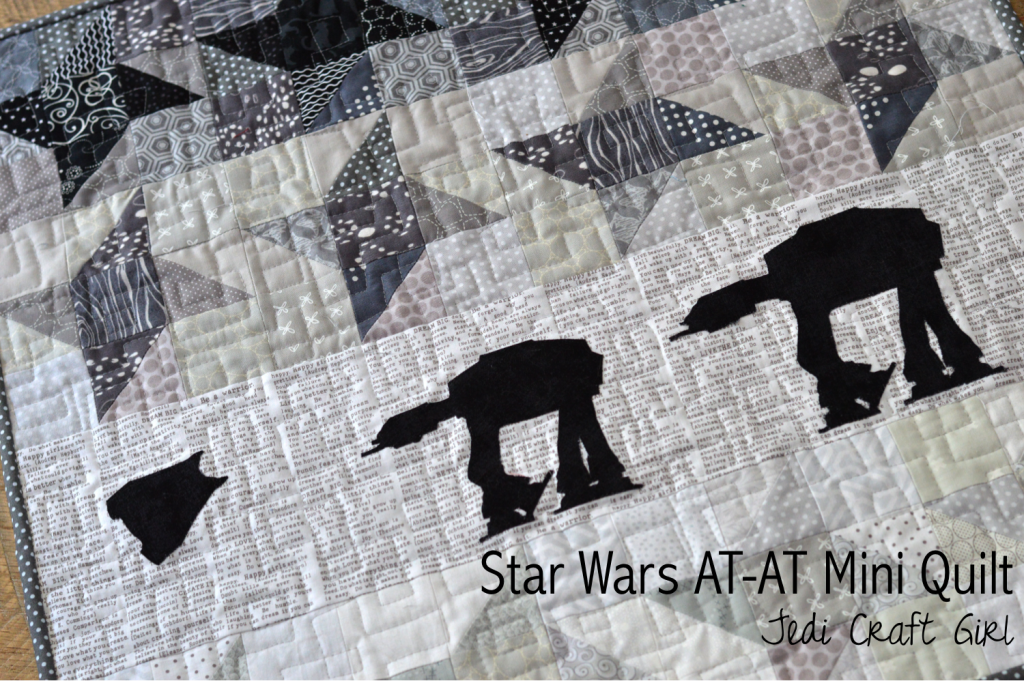
I recently participated in a May The 4th Mini Quilt Swap on Instagram.  This is the quilt I made for my swap partner.  I really wanted to bring out the feel of this scene in The Empire Strikes back.  I am totally in love with it!

star wars at-at quilt 7

To make this quilt you need to gather every shade of gray fabric you own, beginning with white and ending with black.  This quilt is made up of 4 rows, 3 are pieced and one is machine appliqued.  Each row from the bottom moving up gets darker.

star wars at-at quilt 9

Since there were so many half square triangles (HST) in this quilt I pulled out my HST Sizzix Die.  This extra long die has 14 HST on the die AND you can cut up to 6 layers – that’s 84 at once!  And they all are totally perfect and it makes 2 1/2″ square when constructed.

star wars at-at quilt 10

This die is a little bit trickier when using it around cats.  I had to have one hand on the wheel and the other hand blocking his paw so it wouldn’t get hurt 🙂

star wars at-at quilt 11

It’s best to cut out more triangles than you need for this project so you have plenty to choose from.  For each row you need 16 light and 16 dark HST.

star wars at-at quilt 14

See how each triangle is perfect!  No measuring!  For each row, match up 16 pairs of light and dark triangles.  Sew using 1/4″ seam.  Press toward the dark side…..heehee!

Tip:  To get a nice ombre effect, begin with white and light gray.  For the next row, use the light gray from the first row as the background and add in a darker gray.  For the next row use that same darker gray for the background and add in black.

star wars at-at quilt 13

If you want to make this quilt but don’t have a Sizzix machine, you will just need to sew HSTs that measure 2.5″.

star wars at-at quilt 15

Cut out 16 background squares 2.5″ each.  Cut a(4) center 2.5″ squares the same color as the points on the star.  Lay out the block as pictured above.  Sew together like you would a 9-patch.  Make 4 for each row.   I pressed the seams open.

star wars at-at quilt 12

Continue this process so you have (4) star blocks for each of the 3 rows.

star wars at-at quilt 16

They are coming together!  I love how it looks – very subtle.  Just like the Hoth System!

star wars at-at quilt 18

For the applique strip, cut a light colored fabric 6 1/2″ x 24 1/2″.  Download the images by clicking HERE.  You can print them directly on to Heat n Bond Lite EZ Print sheets, or trace them onto Heat n Bond Lite.  Press the Heat n Bond to the wrong side of the black fabric.  Let cool.  Cut out along the pattern line.  Peel off the backing paper and position it on the applique strip.  Heat set into place.  Top stitch with matching thread.star wars at-at quilt 5

Sew the strips together, pinning at each intersection and watching out for each of the points.  Press seams open.  Baste, Quilt, Bind.star wars at-at quilt

May the Force Be With You!star wars at-at quilt 6

Theme Print Zipper Pouch Tutorial

theme print zipper pouch tiger lily

Today I am sharing something I LOVE!!!  Zipper Pouches!  I can’t have enough of them and I love to give them as gifts.  In fact, the ones pictured in this tutorial is actually what I gave my nieces and nephew for Christmas.

zipper pouch tutorial 21 
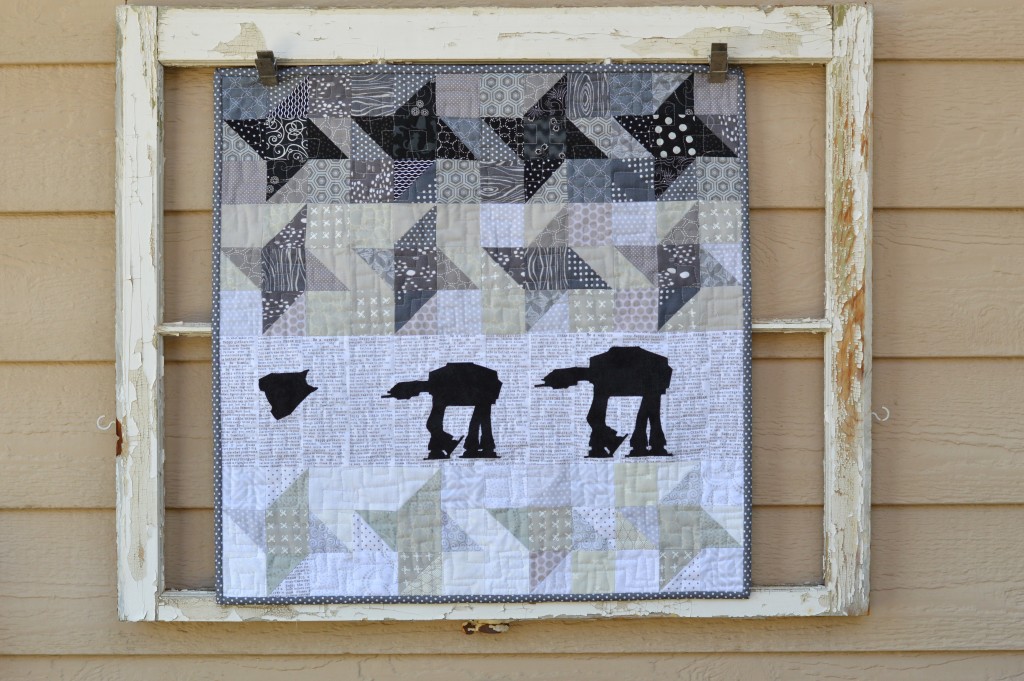
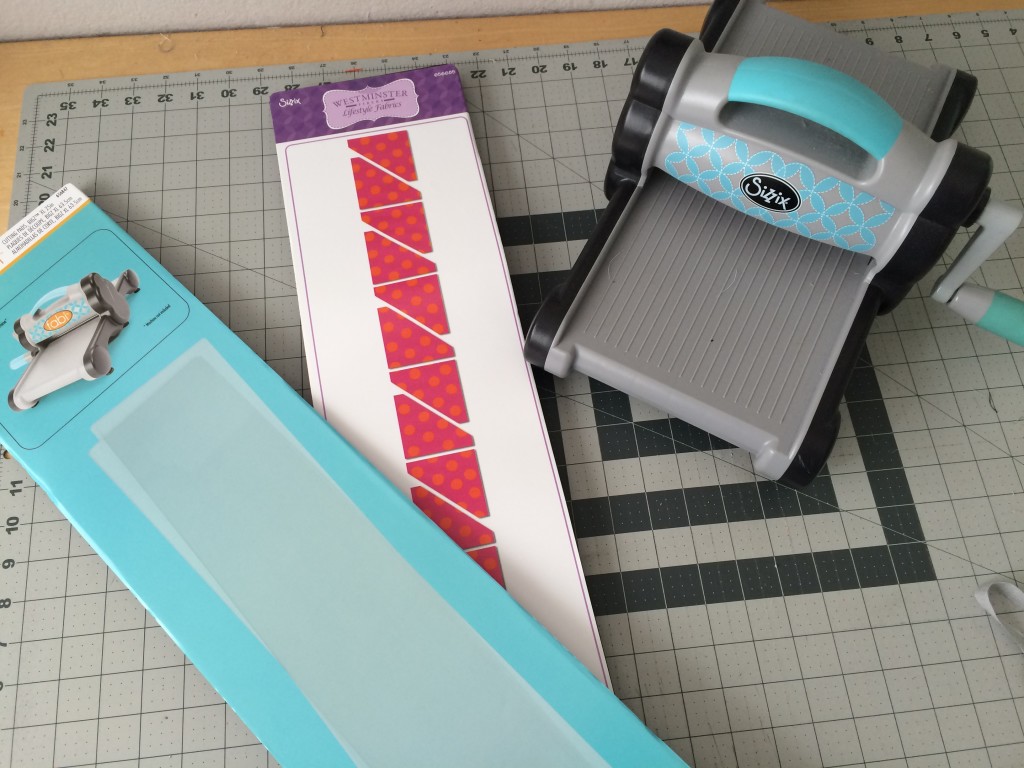
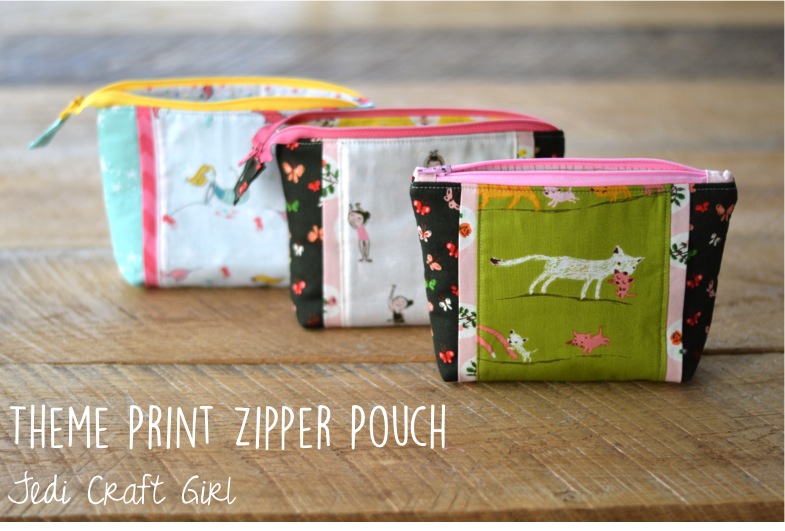
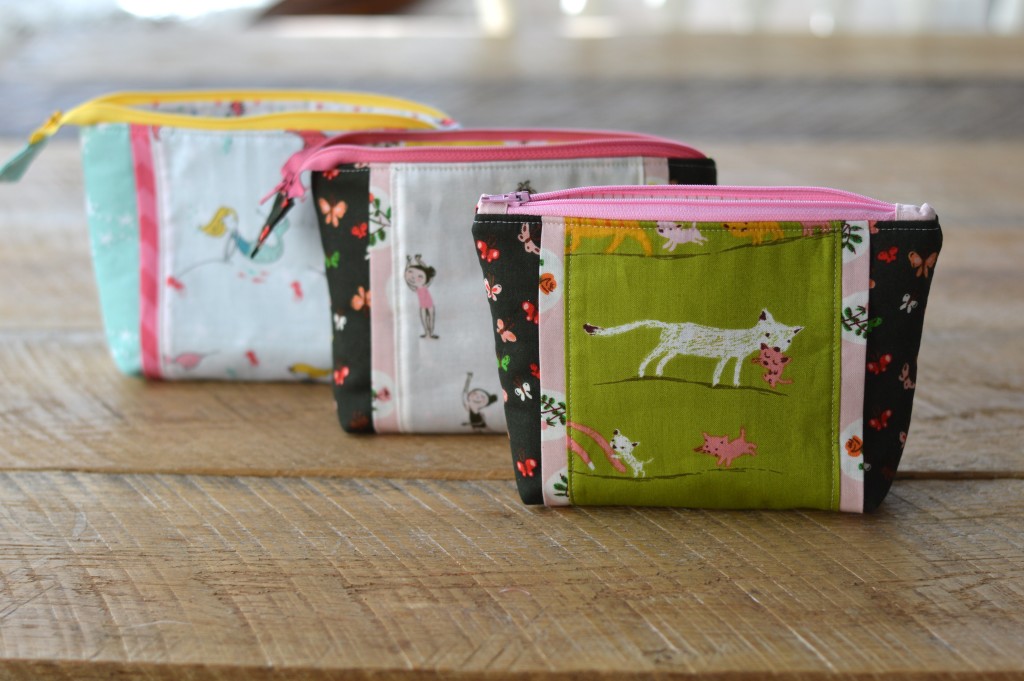
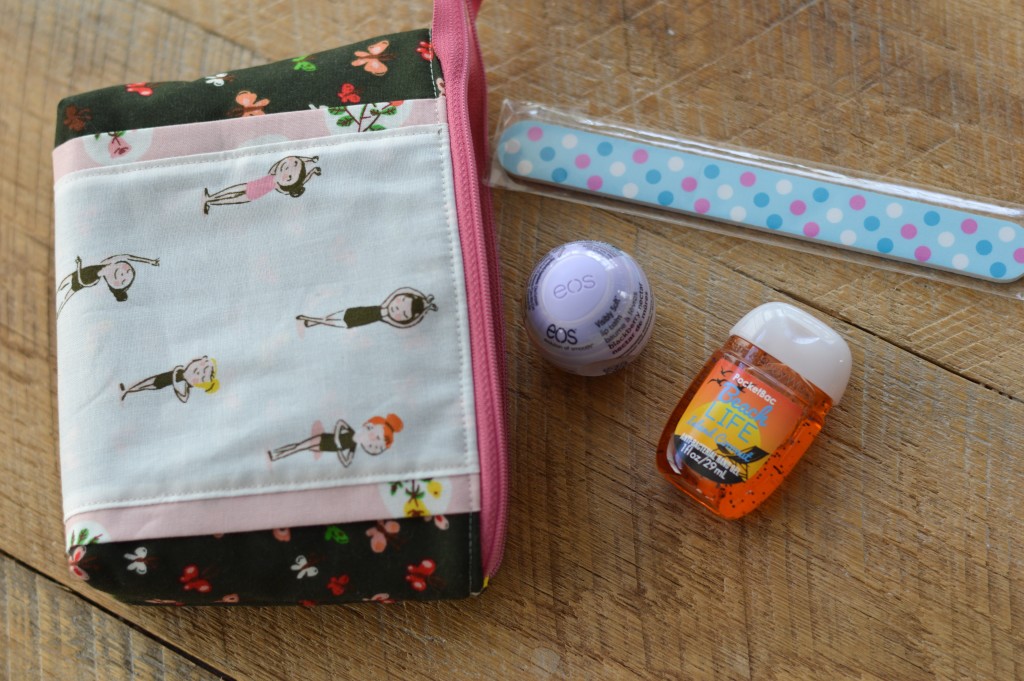
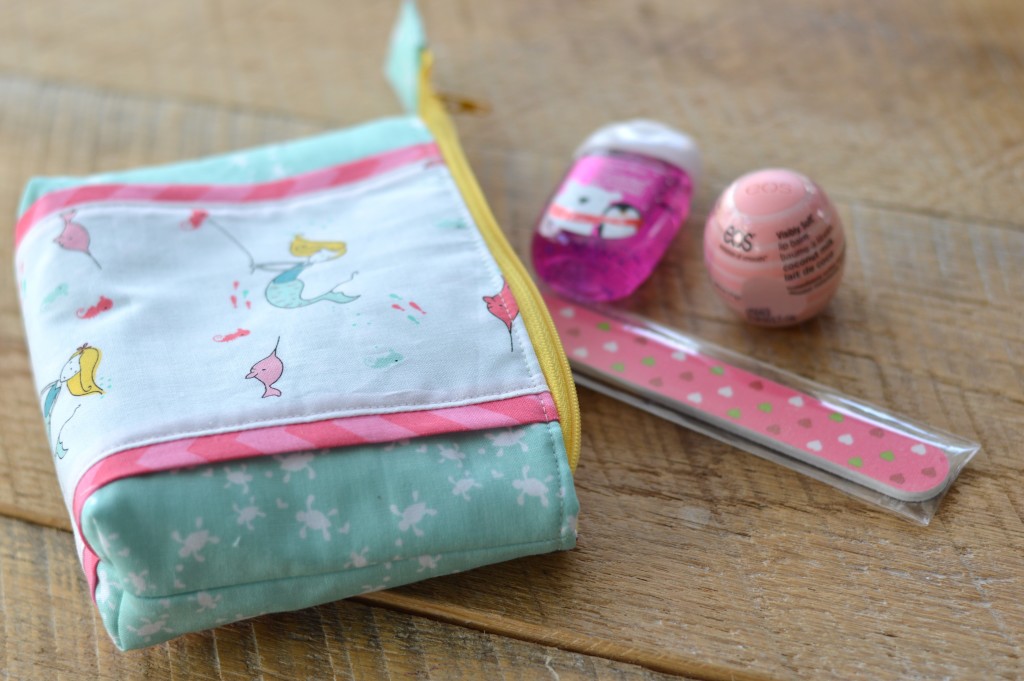
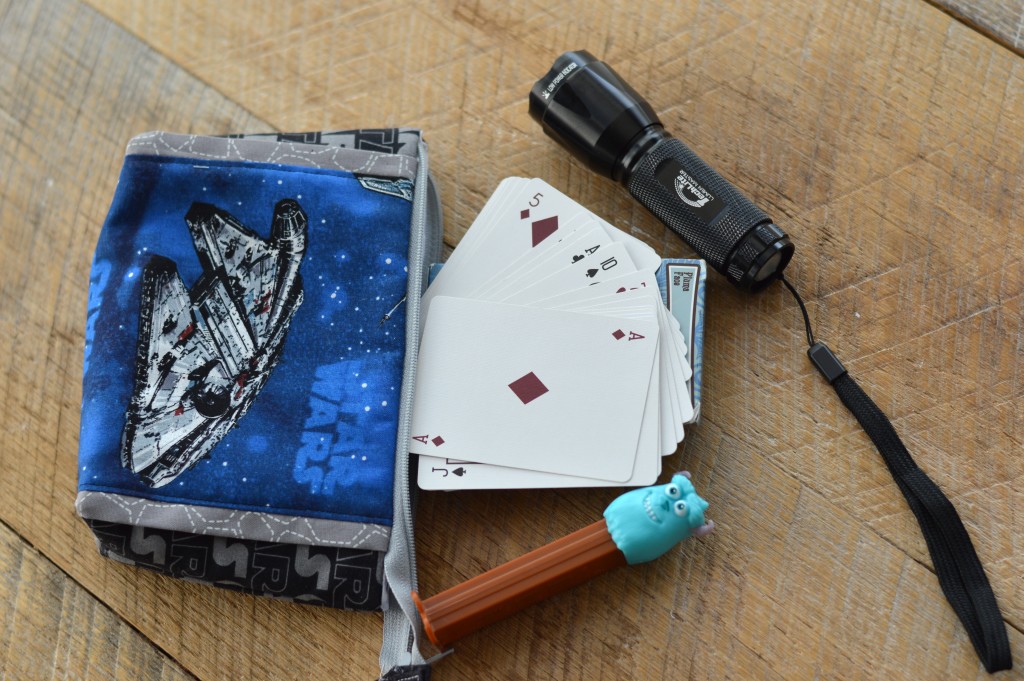
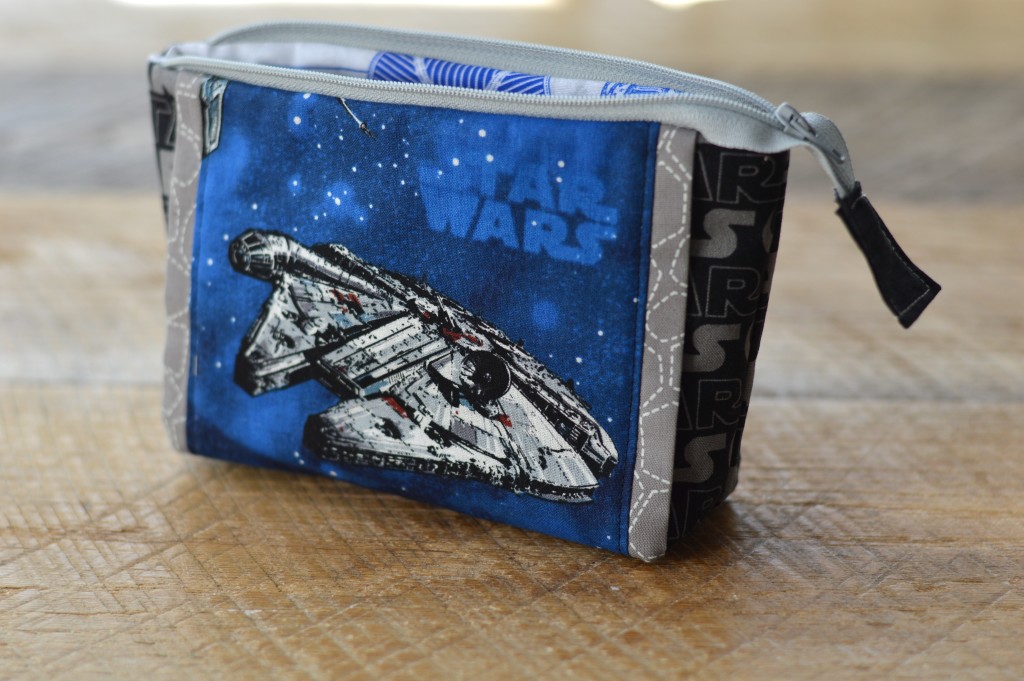
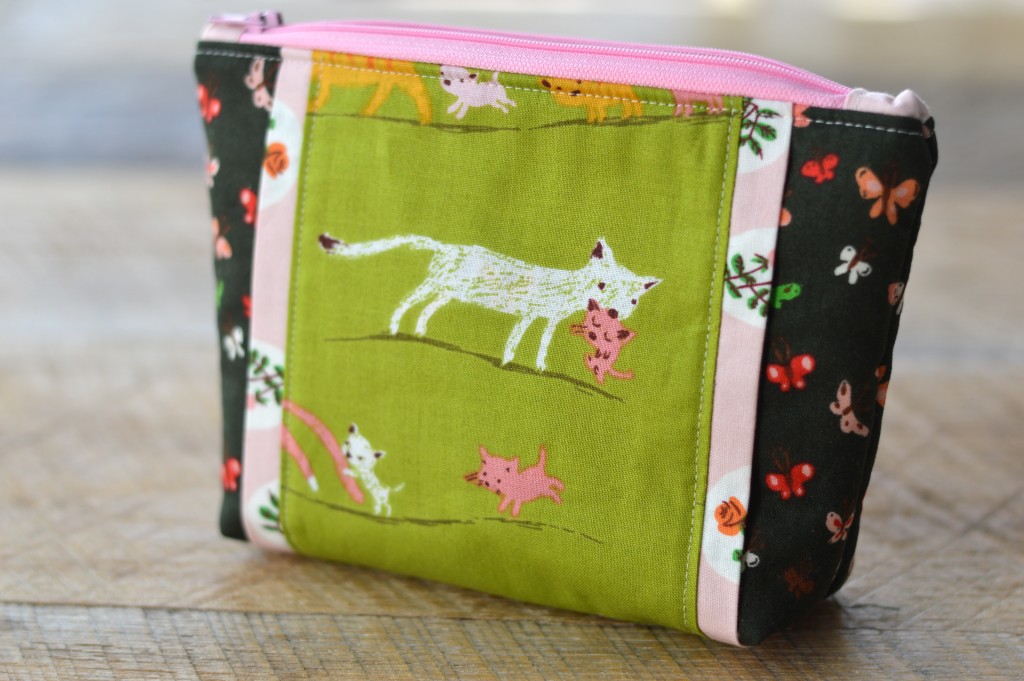
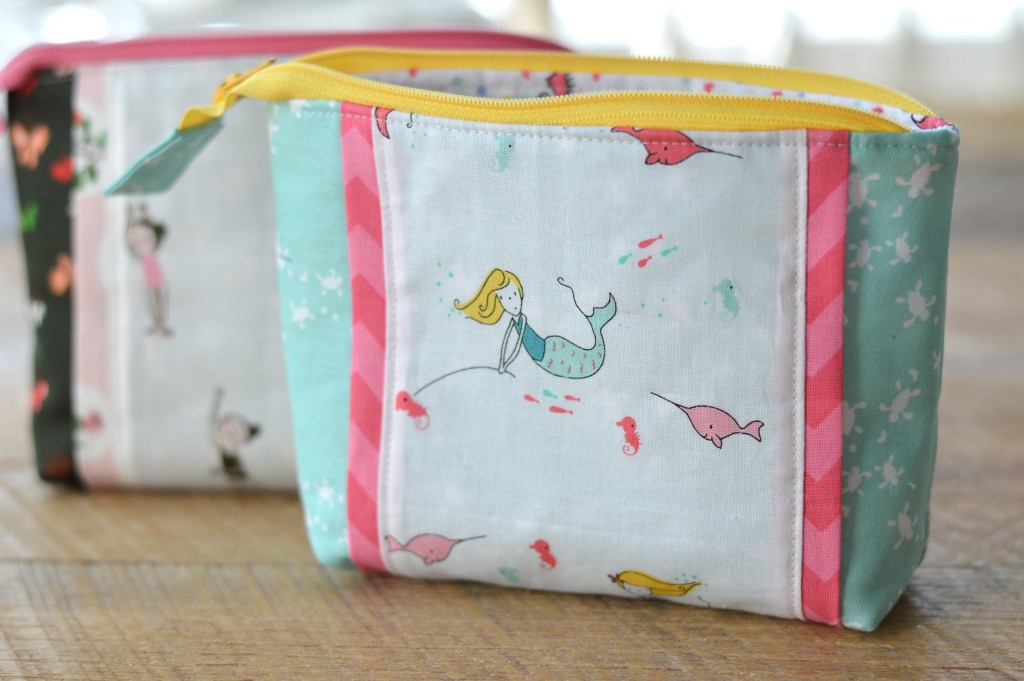
I have created this pattern so you can use your favorite theme print fabric and tailor it to who you are giving it to.   I even have Star Wars version!!  Let’s get started!!

IMG_2115-1024x768

Supplies

1/4 yard outer bag fabric

1/4 yard lining fabric

1/8 yard accent strips

small scraps for theme print 5″ x 6 1/2″

Heat n Bond fusible fleece

Spray n bond

12″ or longer zipper

cutting instructions
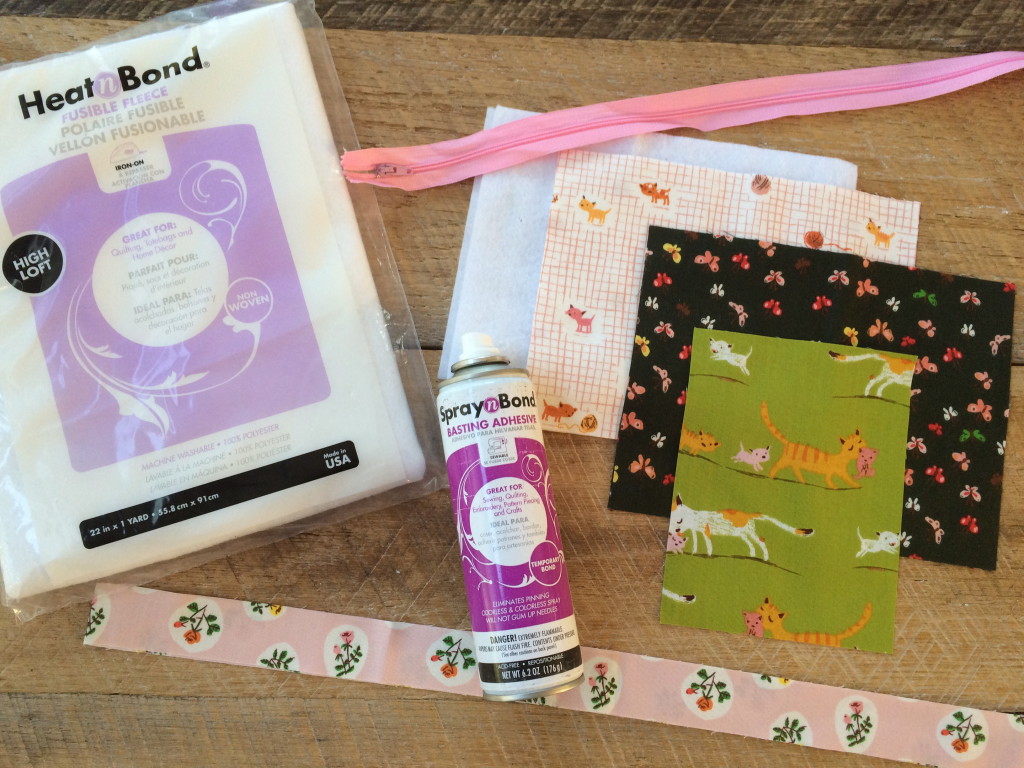
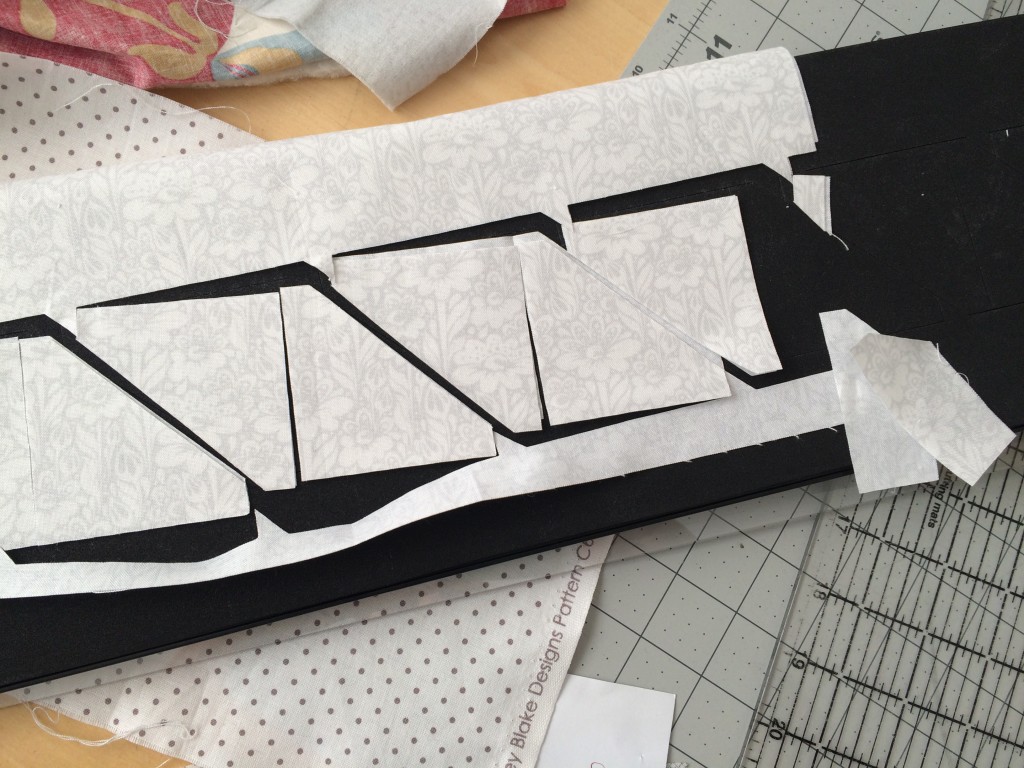
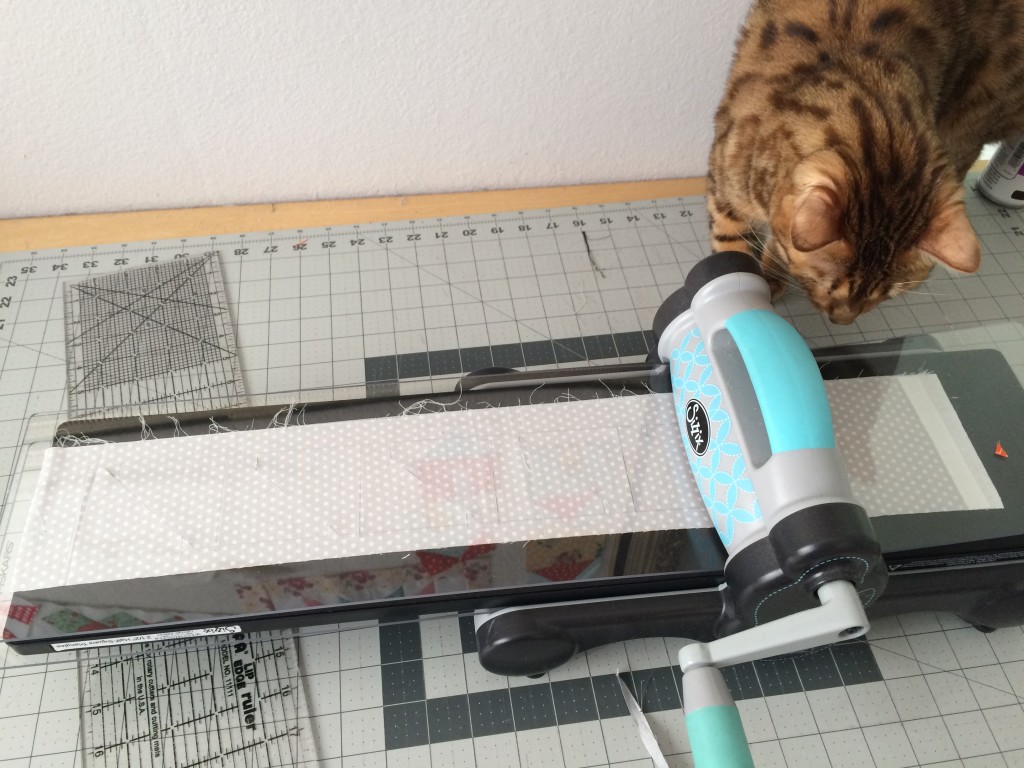
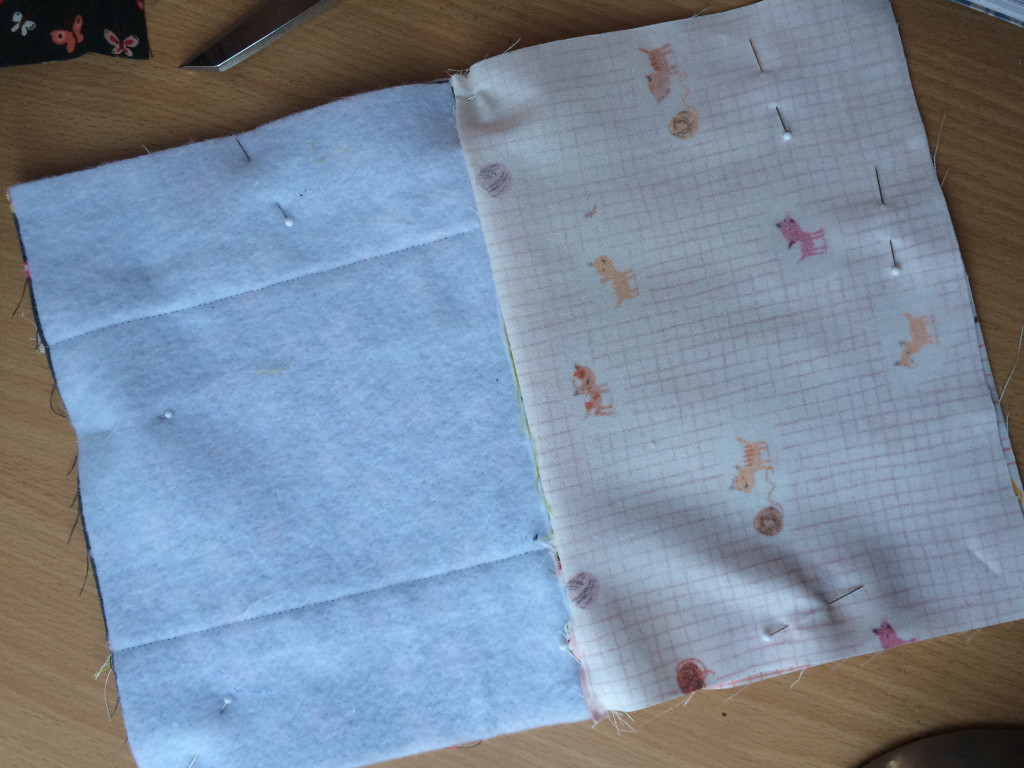
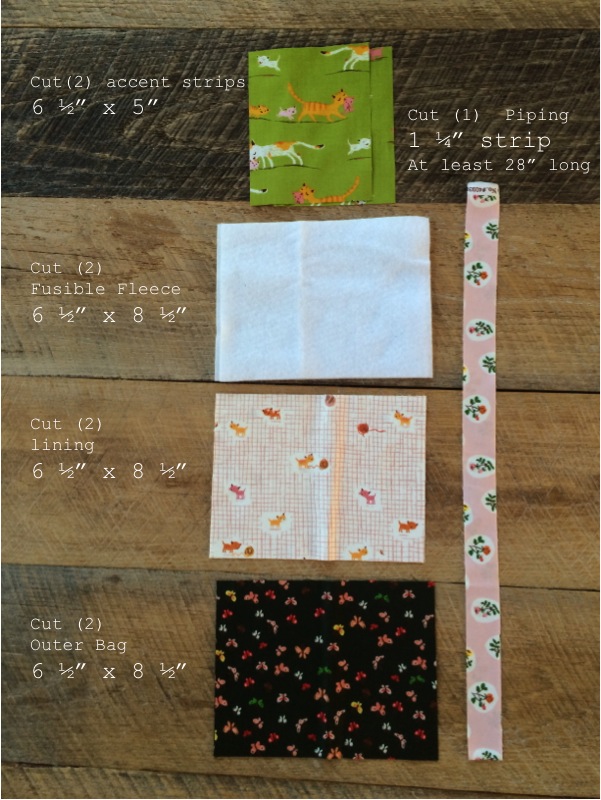
Cut the pieces according to the above cutting guide.

IMG_2123

Fuse the heat n Bond Fusible Fleece to the wrong side of the (2) outer bag pieces.

IMG_2119

Cut the 1.25″ accent strip into (4) 6.5″ x 1.25″ strips. IMG_2122

Press the accent strips in half lengthwise.
  IMG_2124
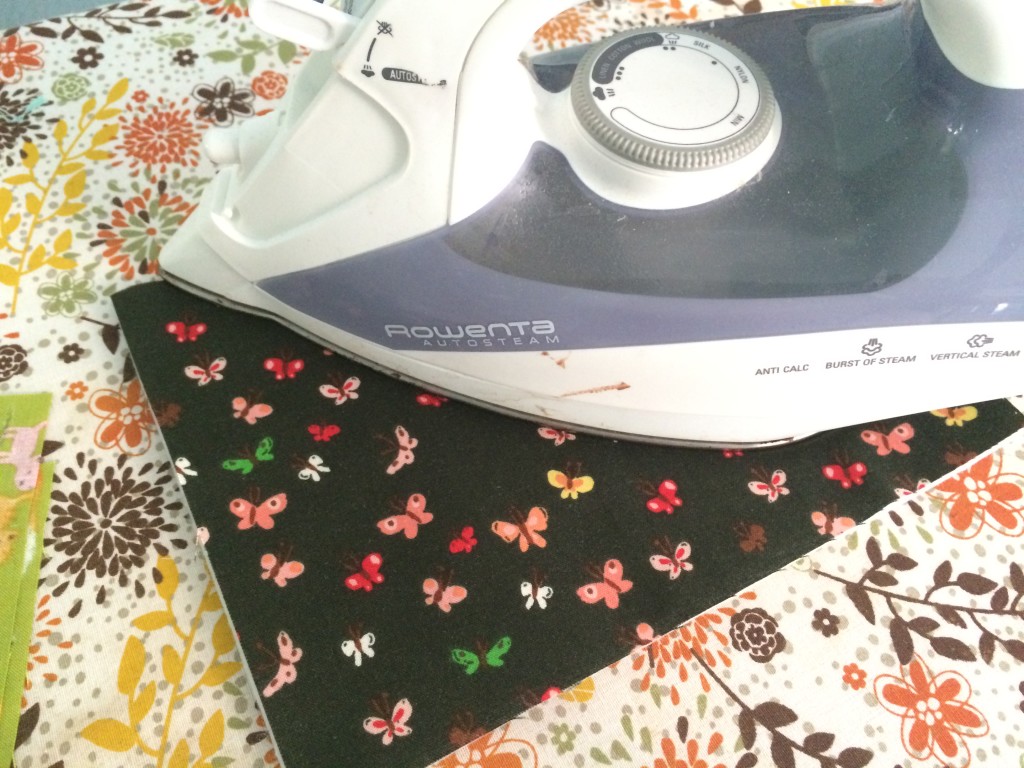
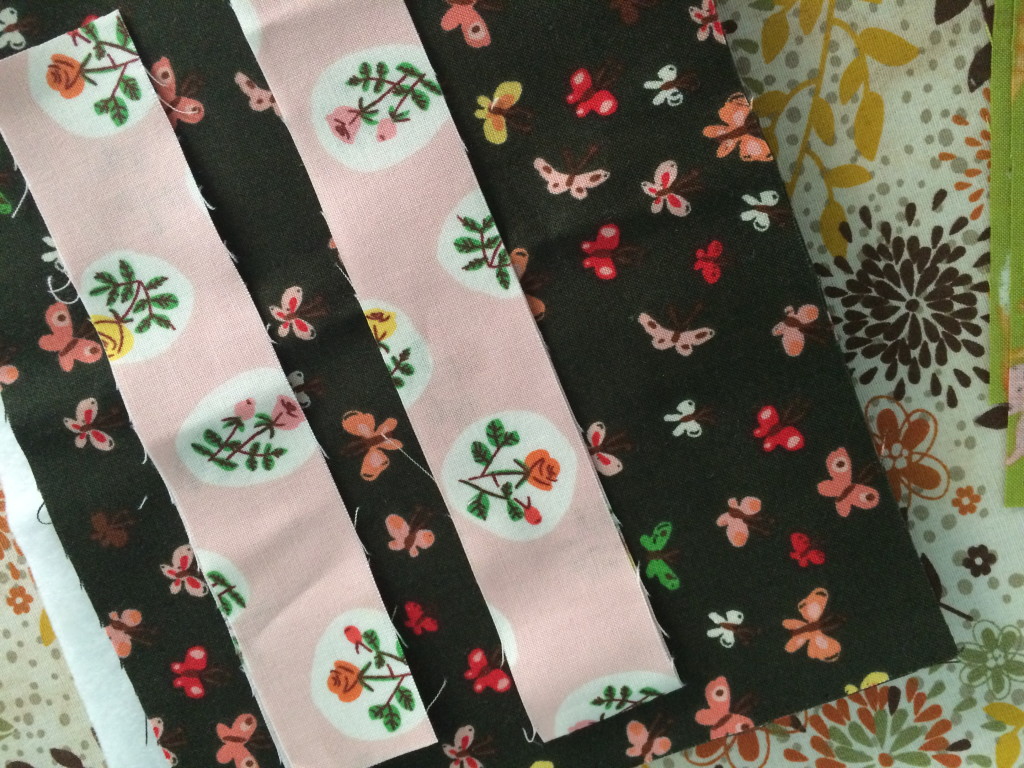
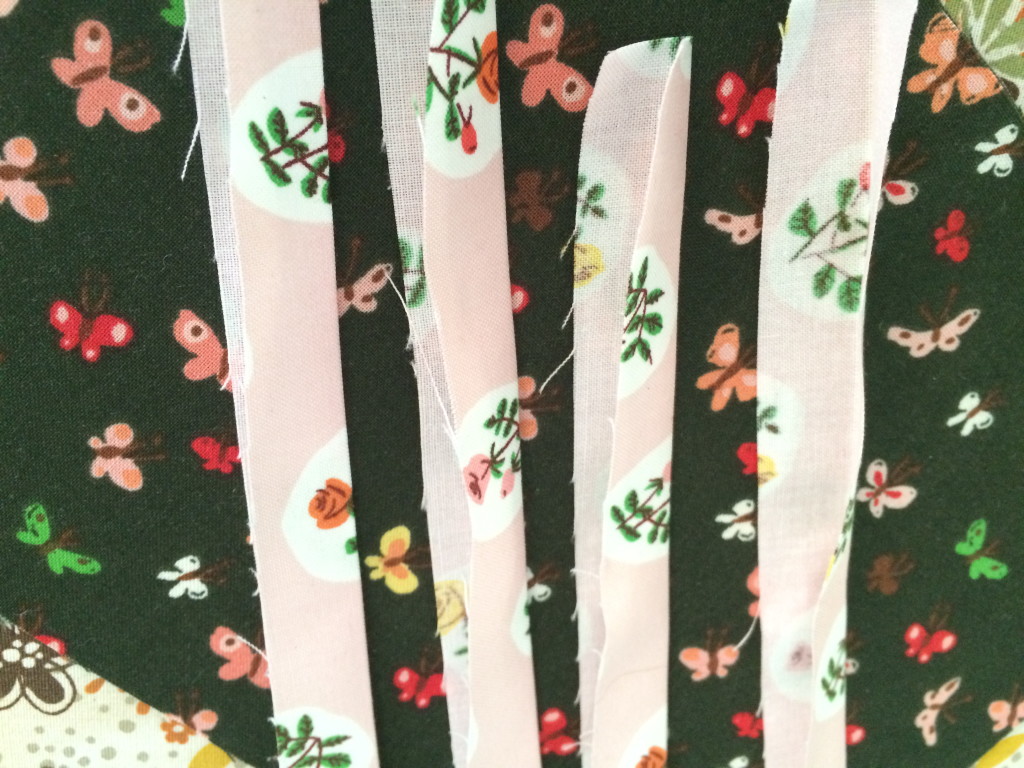
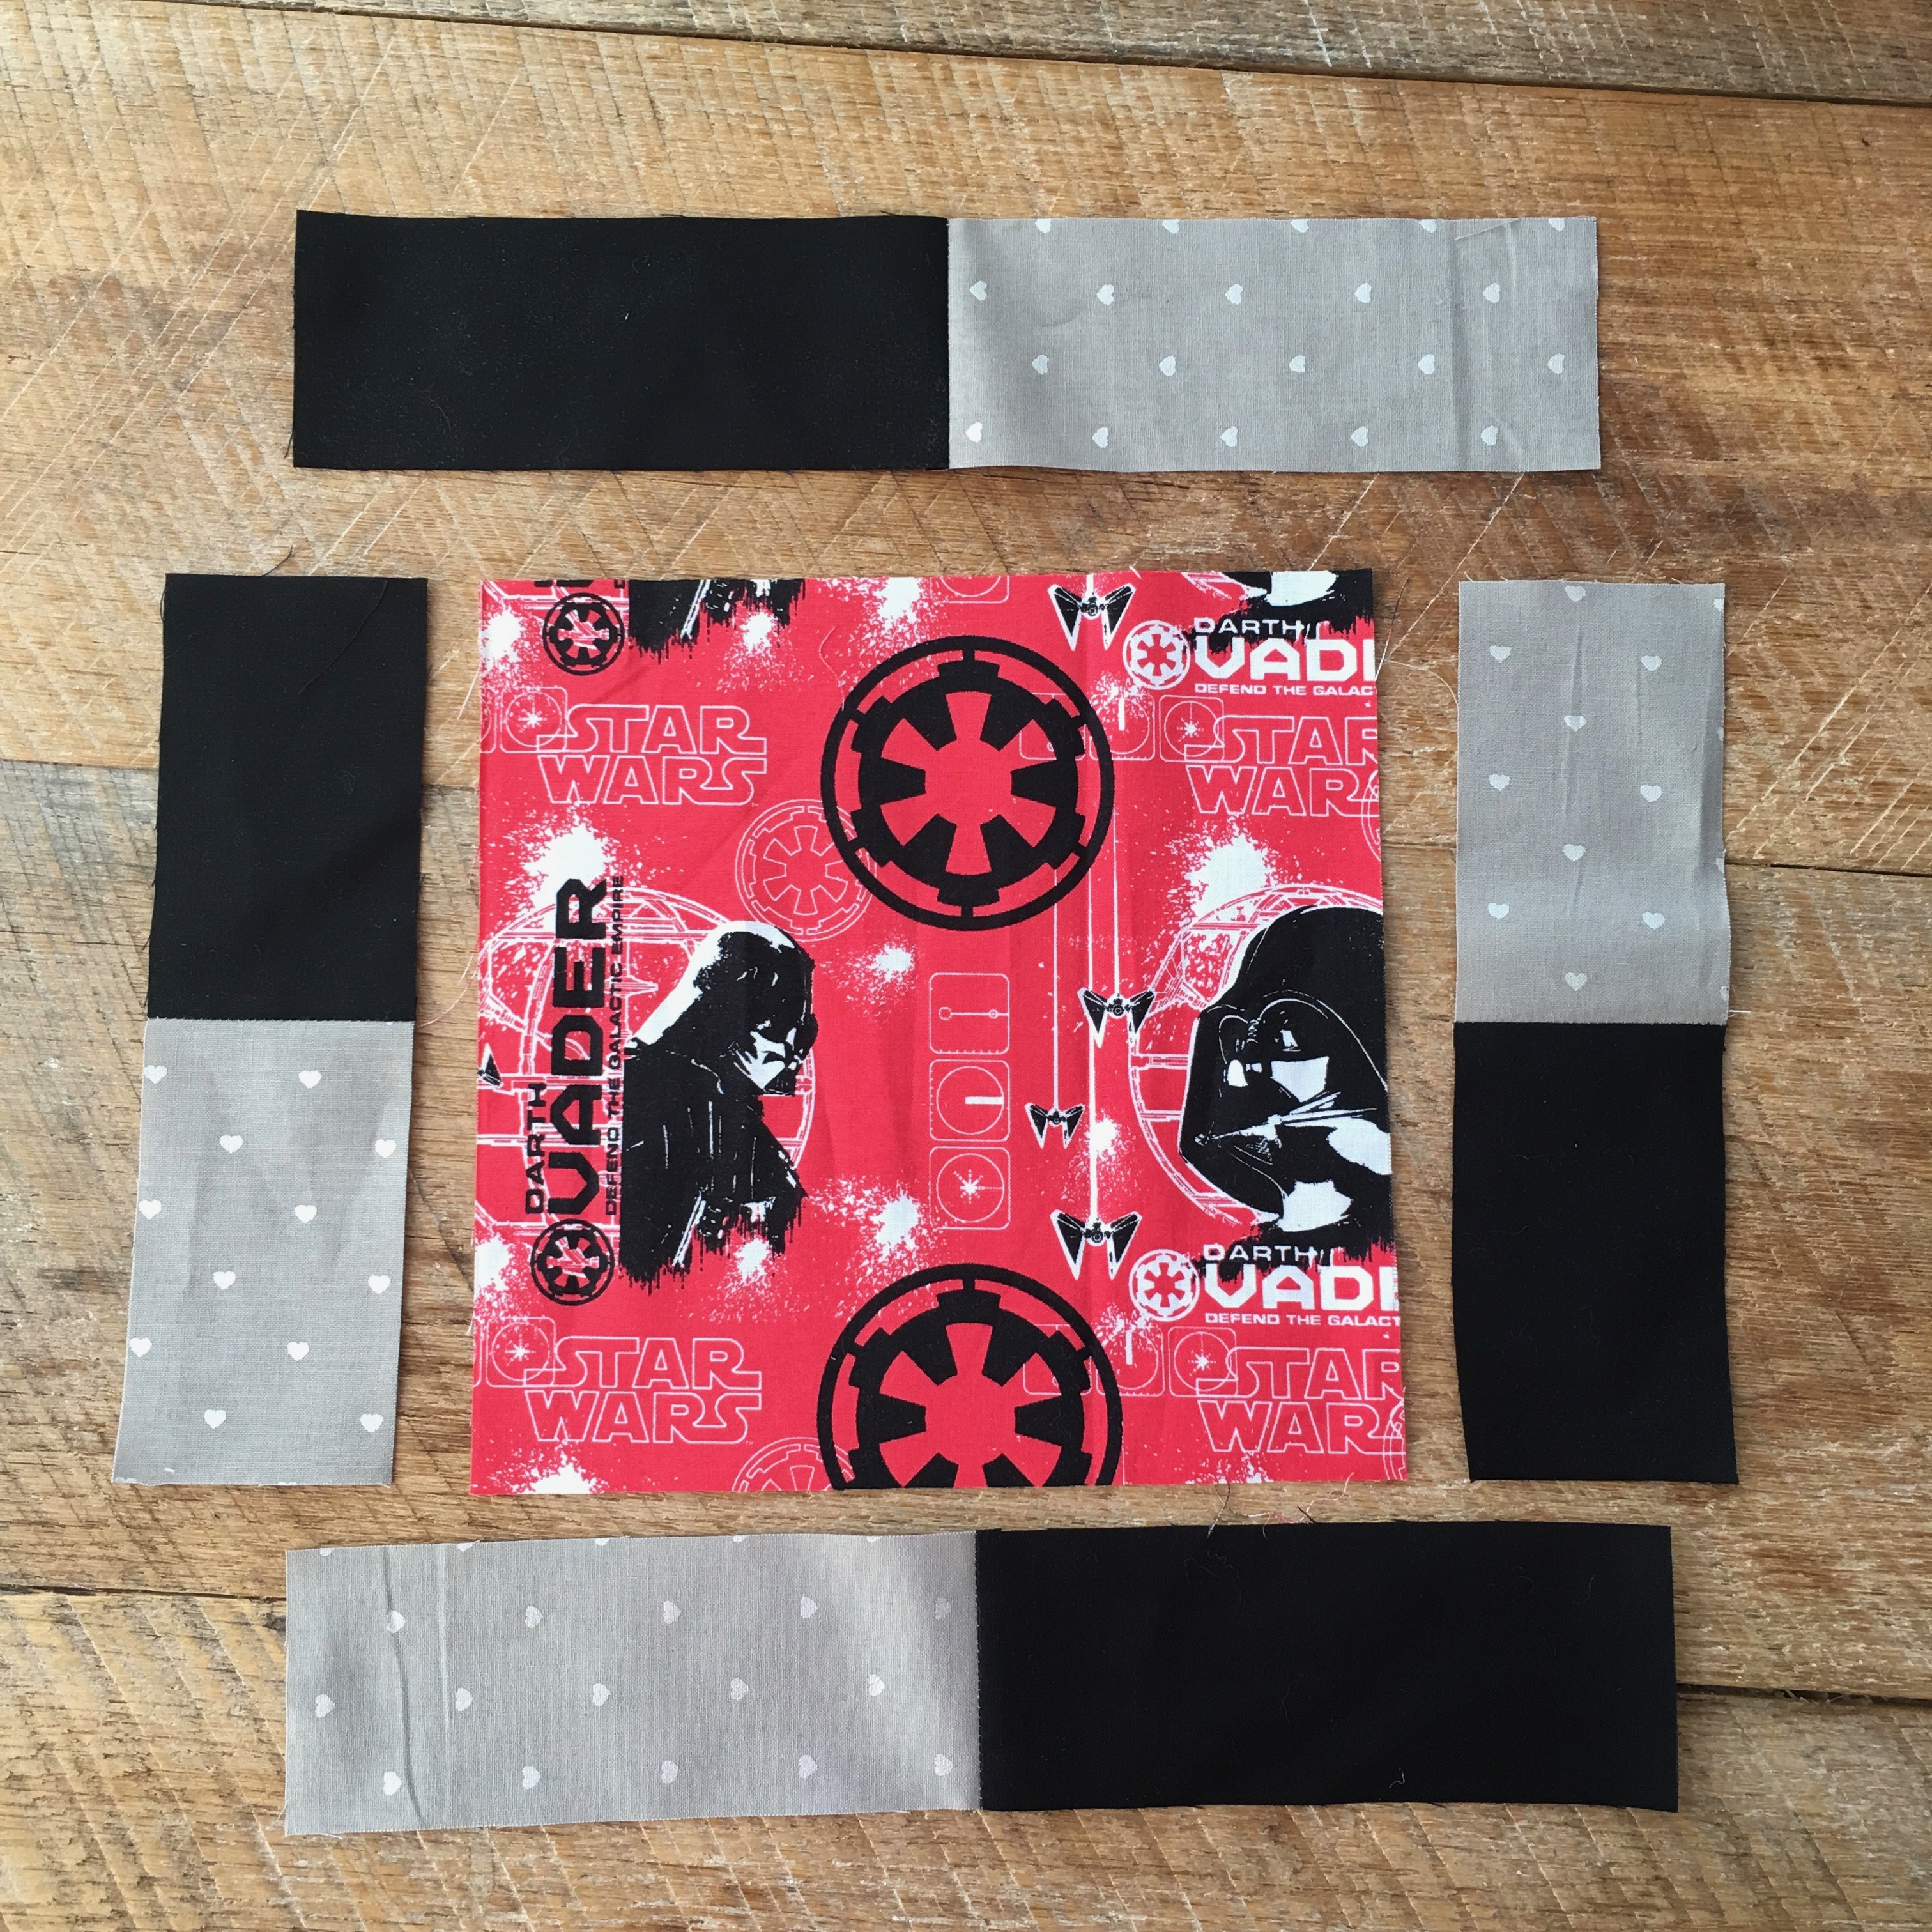
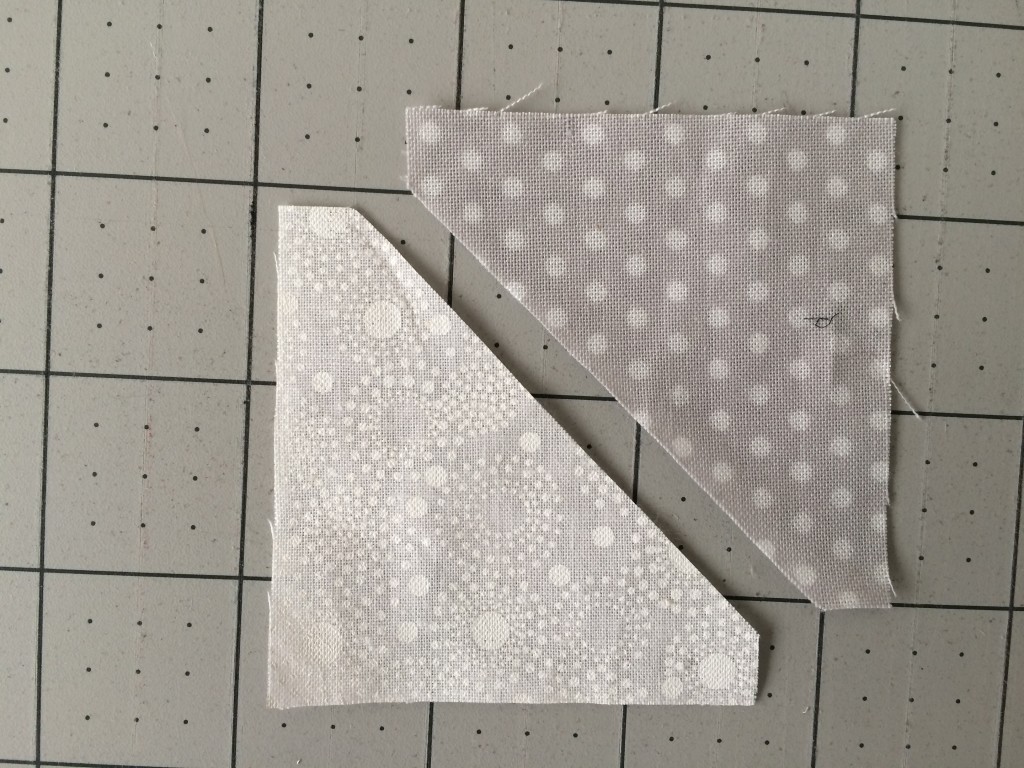
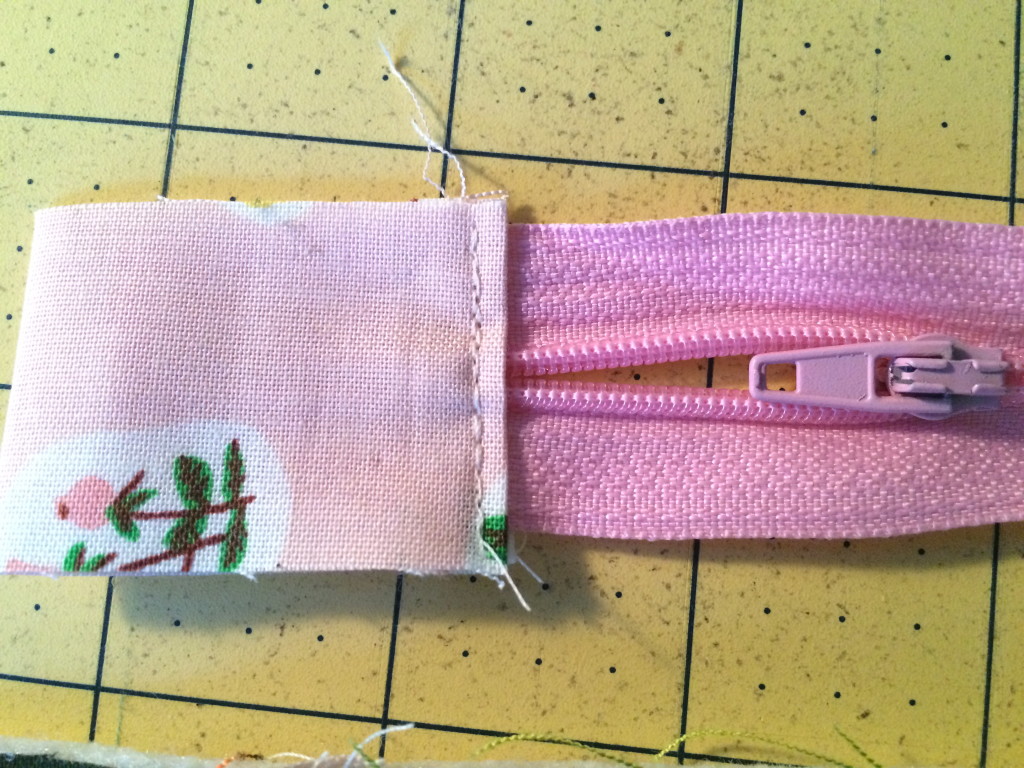
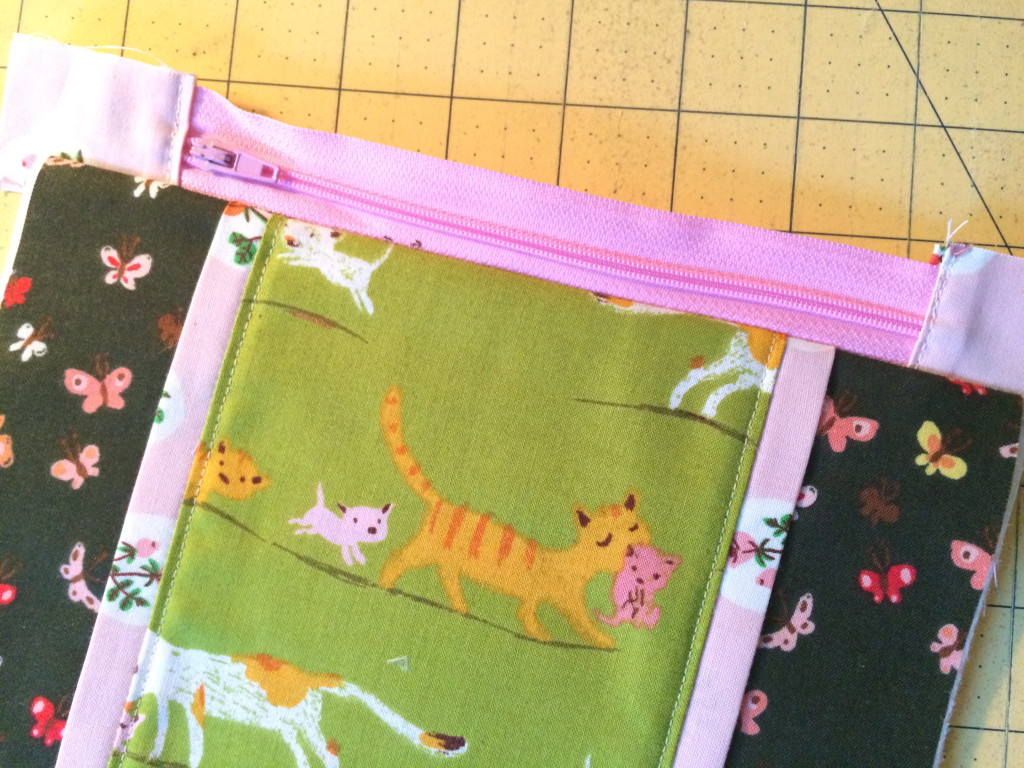
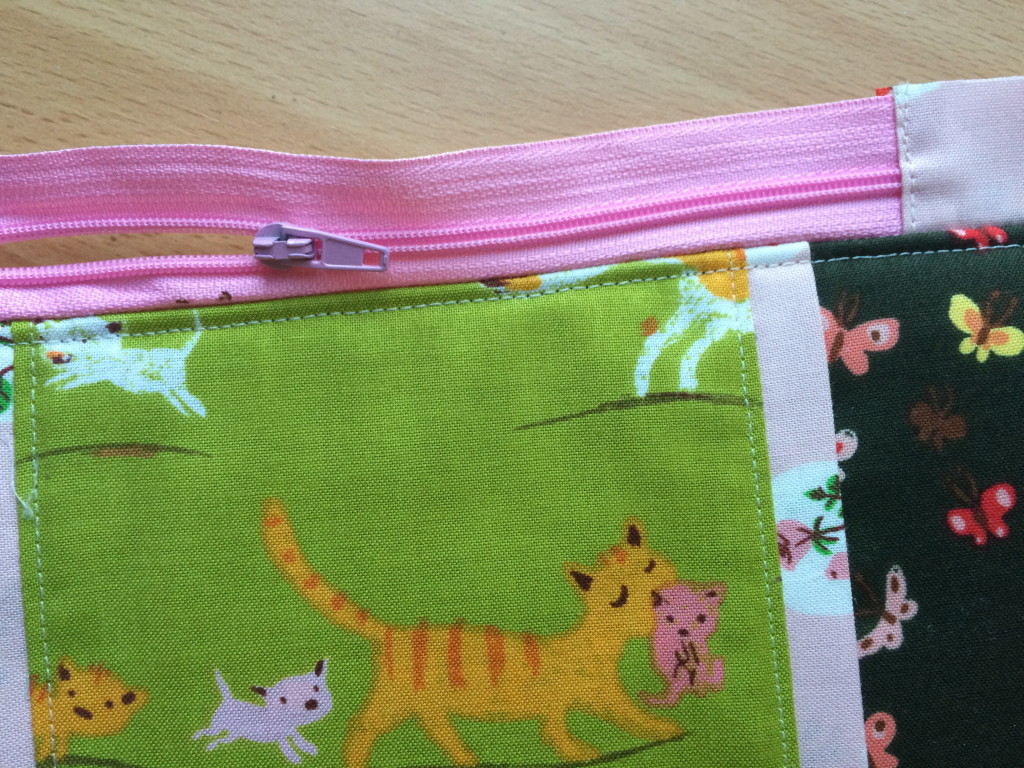
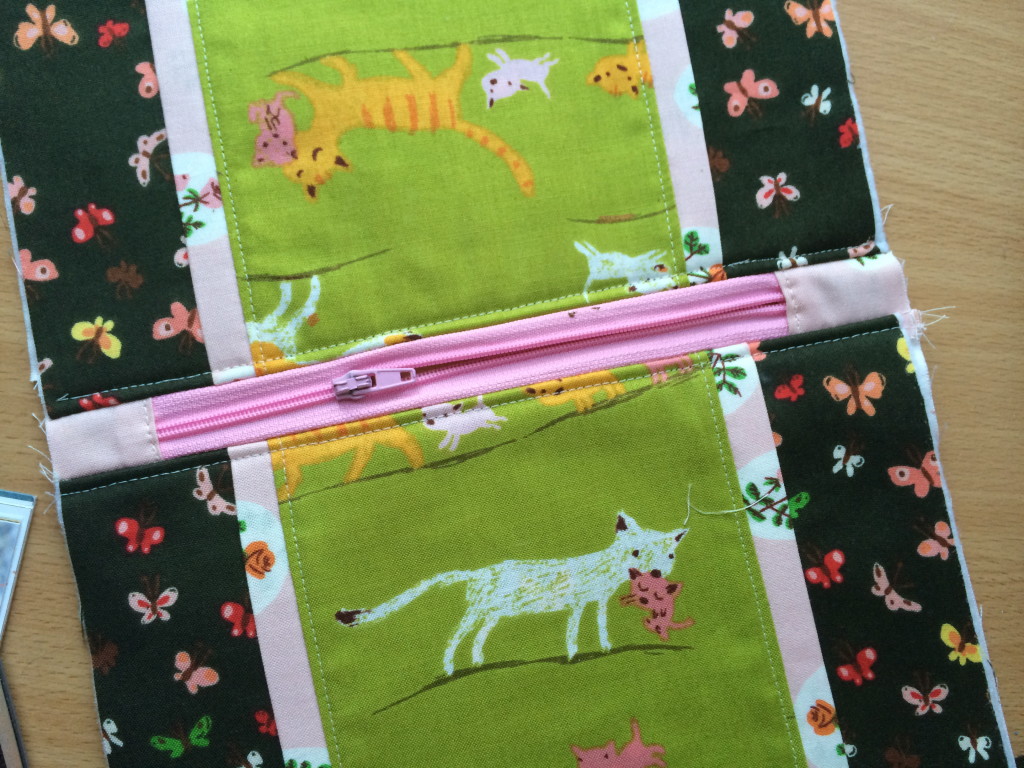
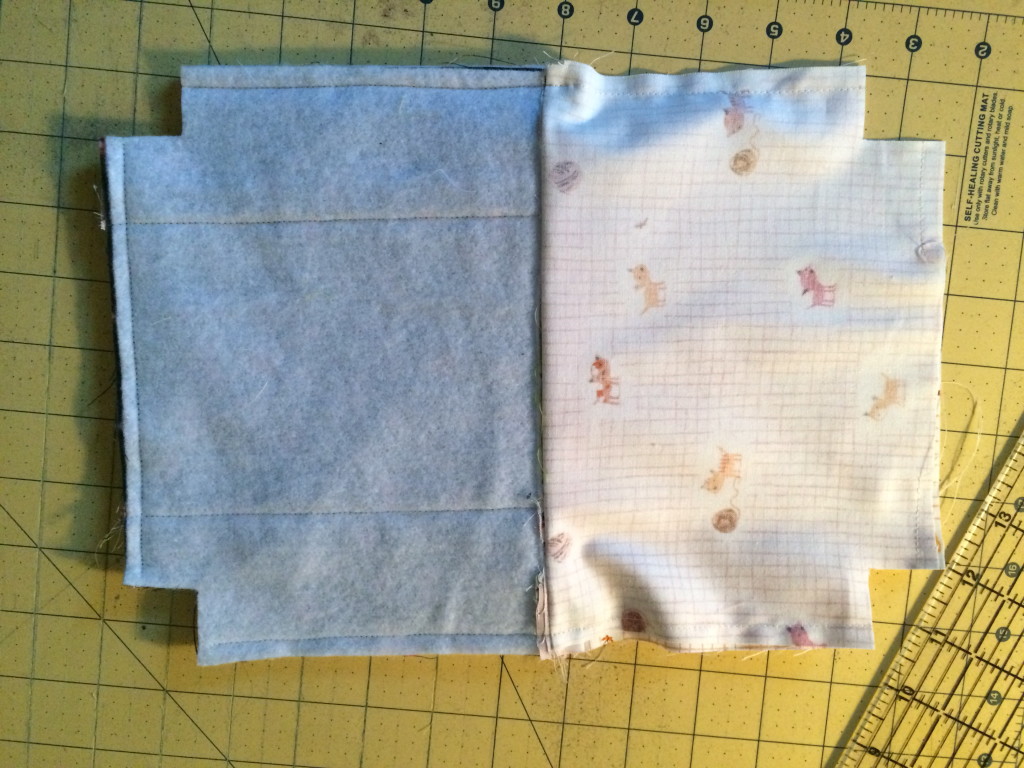
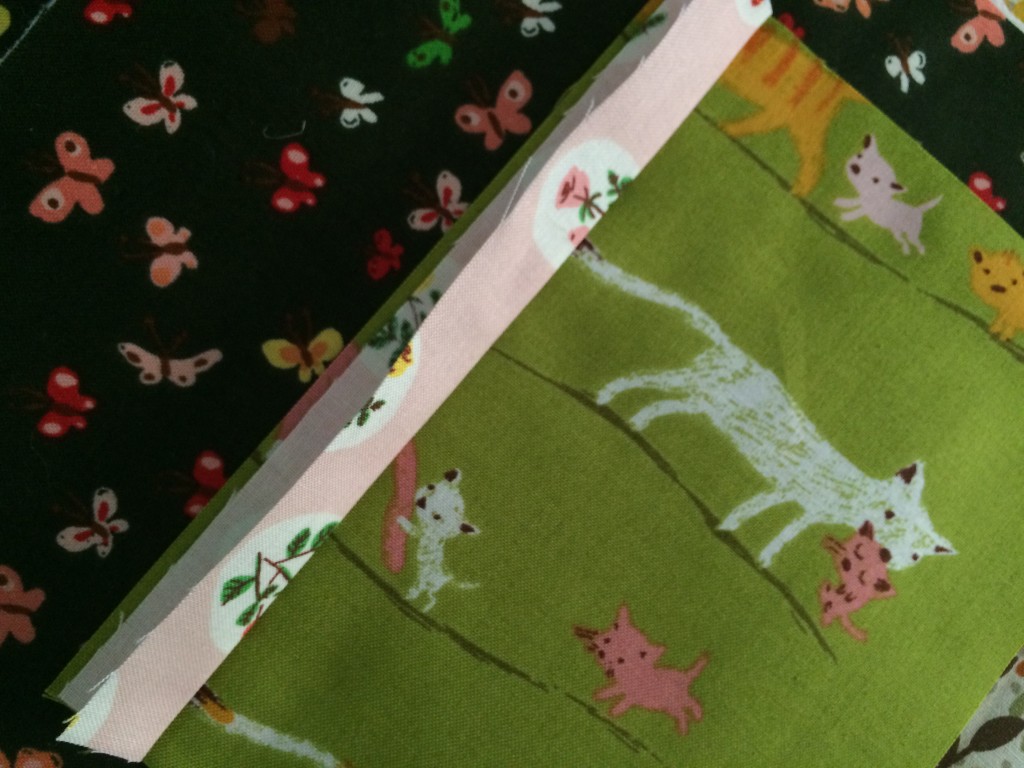
Align the raw edges with the edge of the theme print fabric and sew a 1/4″ seam.  Do this to all (4) sides of the (2) theme print pieces. IMG_2125
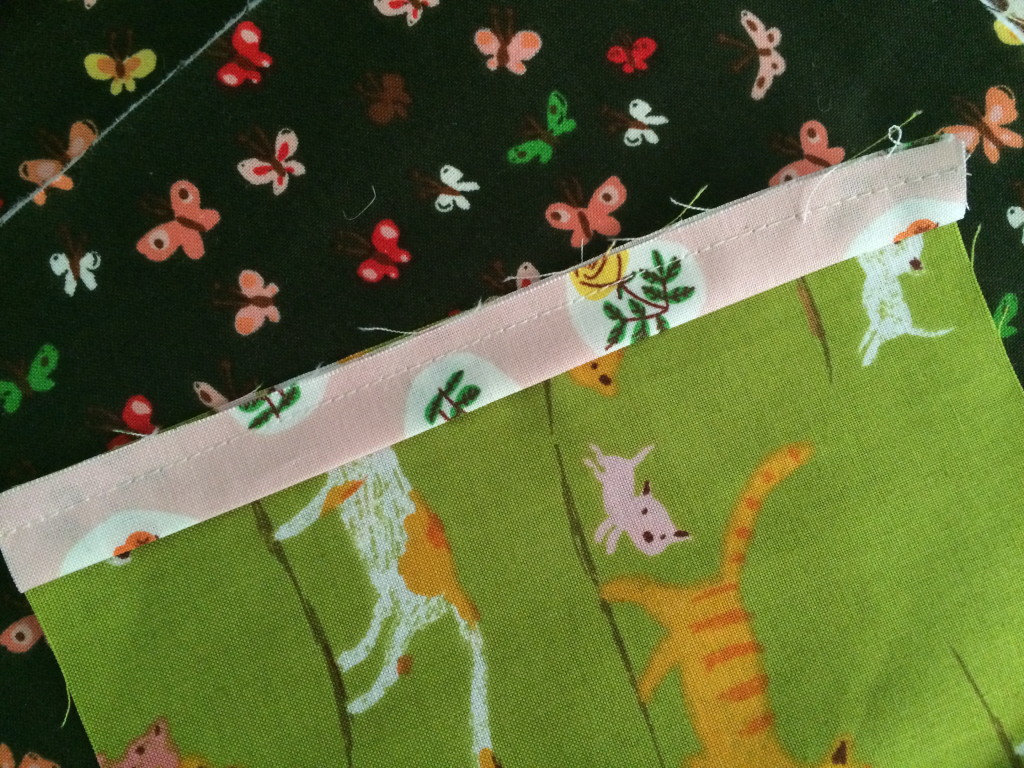
Press the accent strips so the seam allowance is toward the theme print. IMG_2126

Using the Spray n Bond (temporary basting spray) spray the theme print piece and position it on the outer bag, centering.  Topsitich along the seam to finish.

Inserting the Zipper

Note: This tutorial is for a zipper with zipper tabs. You can find more instructions HERE if you need a little extra help.  You can also use the”Open Wide” zipper method by clicking HERE .  I used both.

IMG_2127

Using the extra from the 1.25″ strip, cut (2) pieces 1.25″ x 5″.  Press them in half, and then press the raw edges under 1/4″. IMG_2128

Lay the zipper out positioning it on top of one of the outer bag pieces.  Position the tabs so they overlap each side of the bag 1″.  Cut the zipper to fit inside each tab.  Pin in place. IMG_2129

Sew 2 times along the edge of the tabs as pictured above. IMG_2130
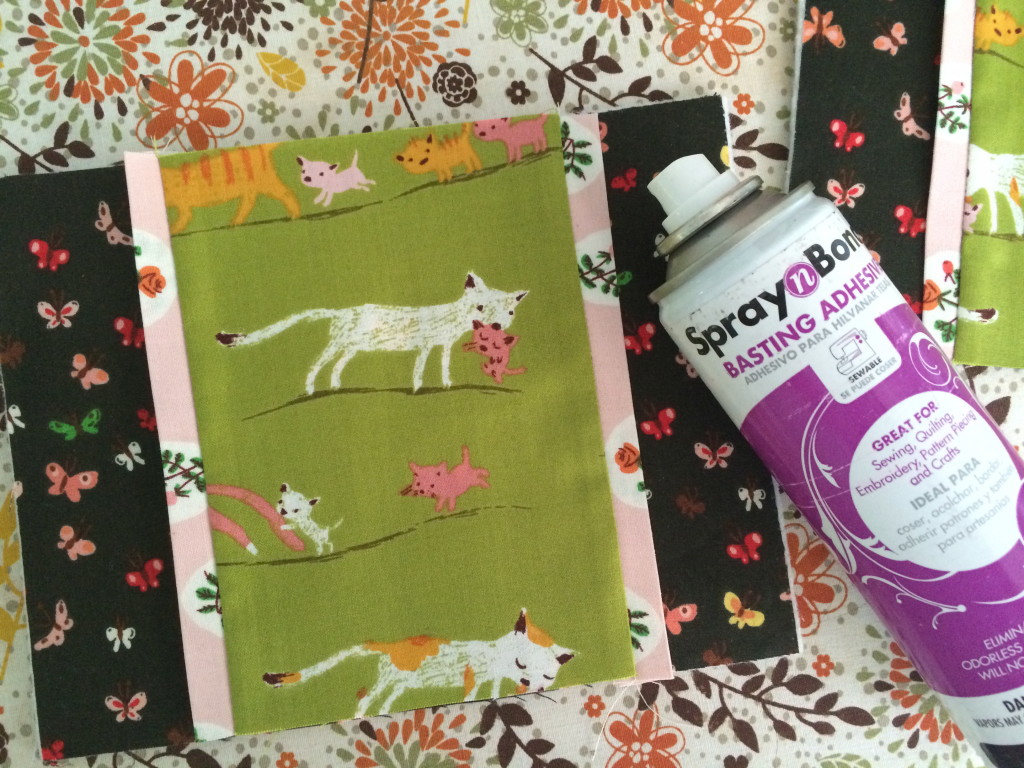
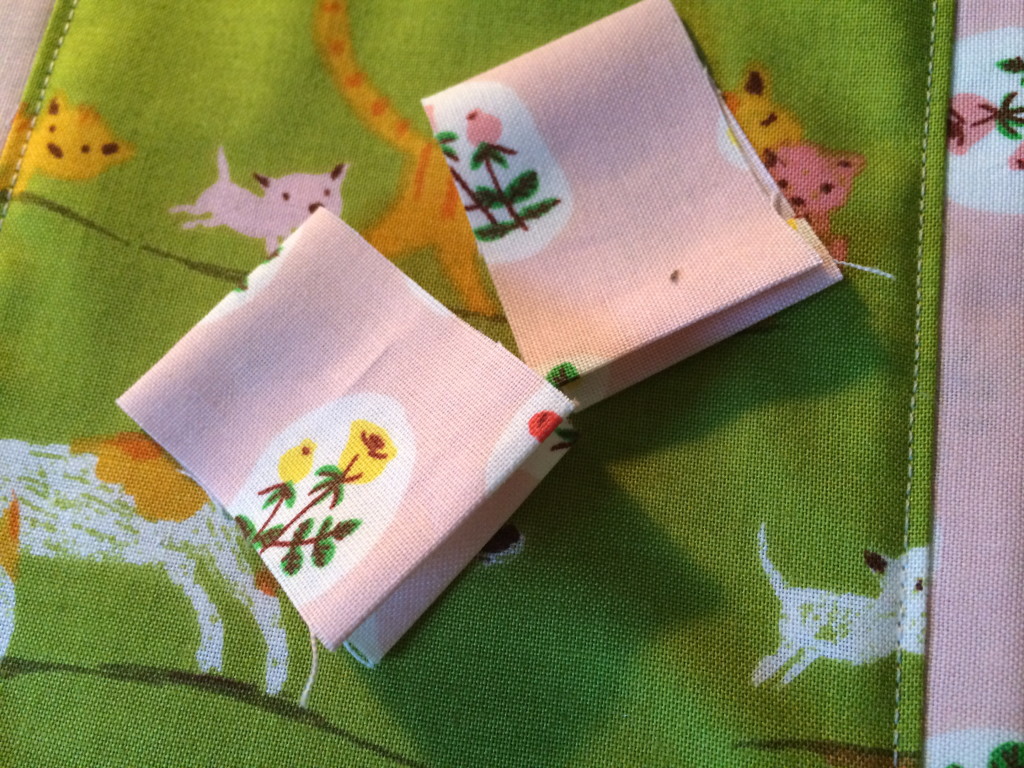
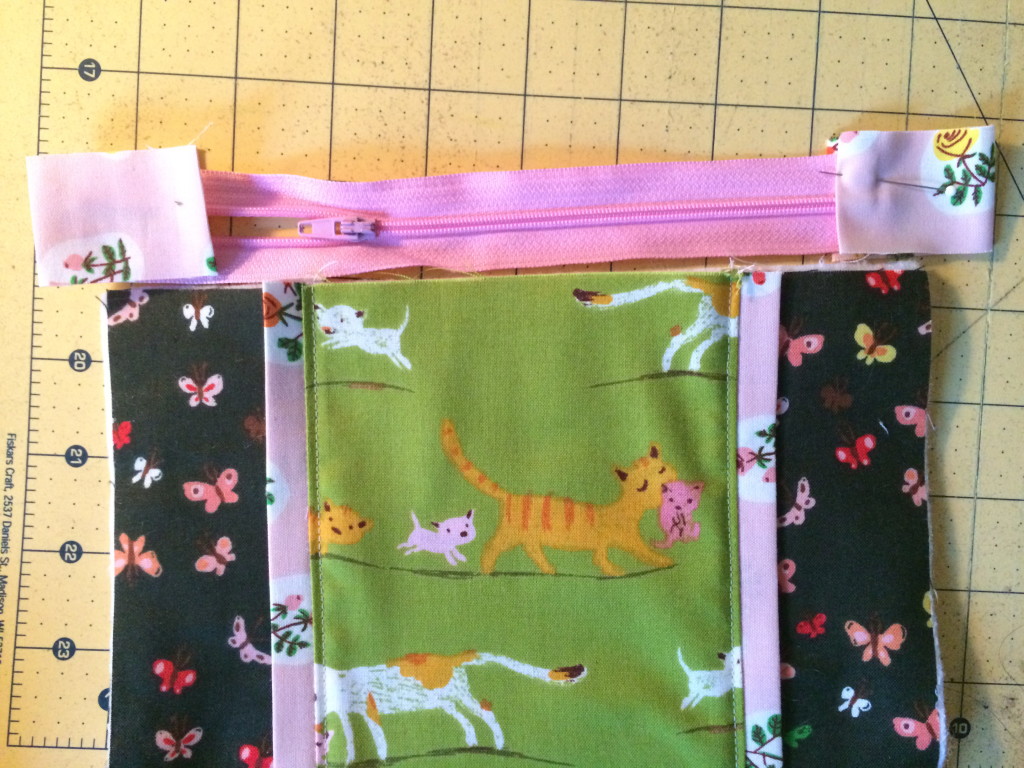
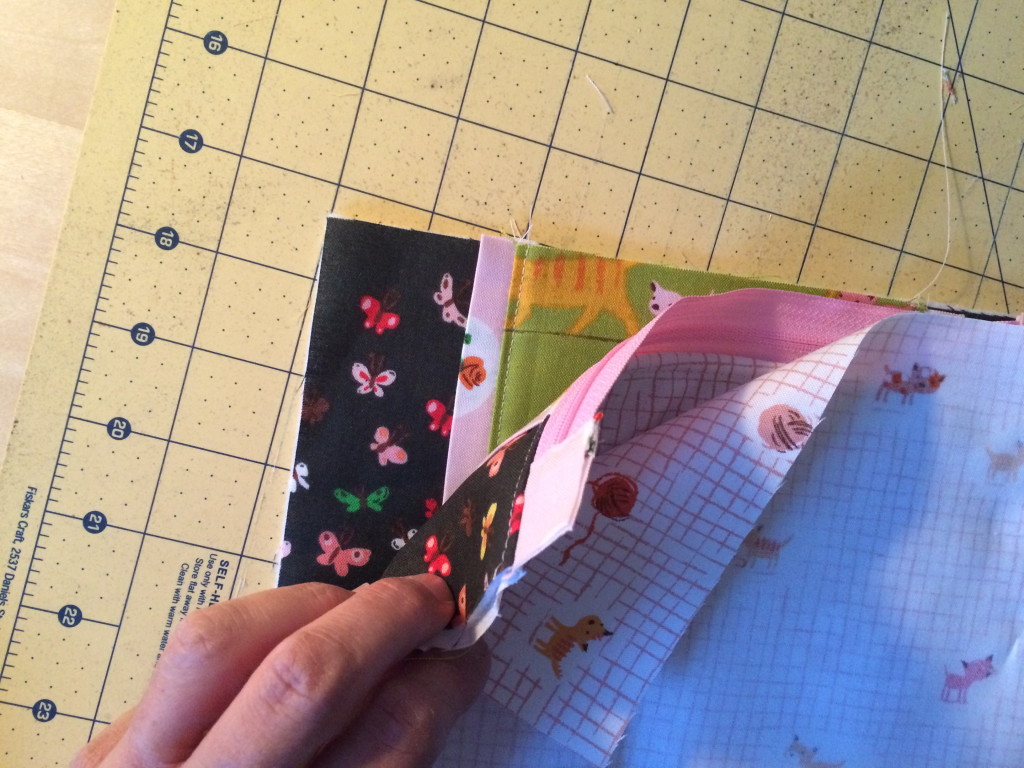
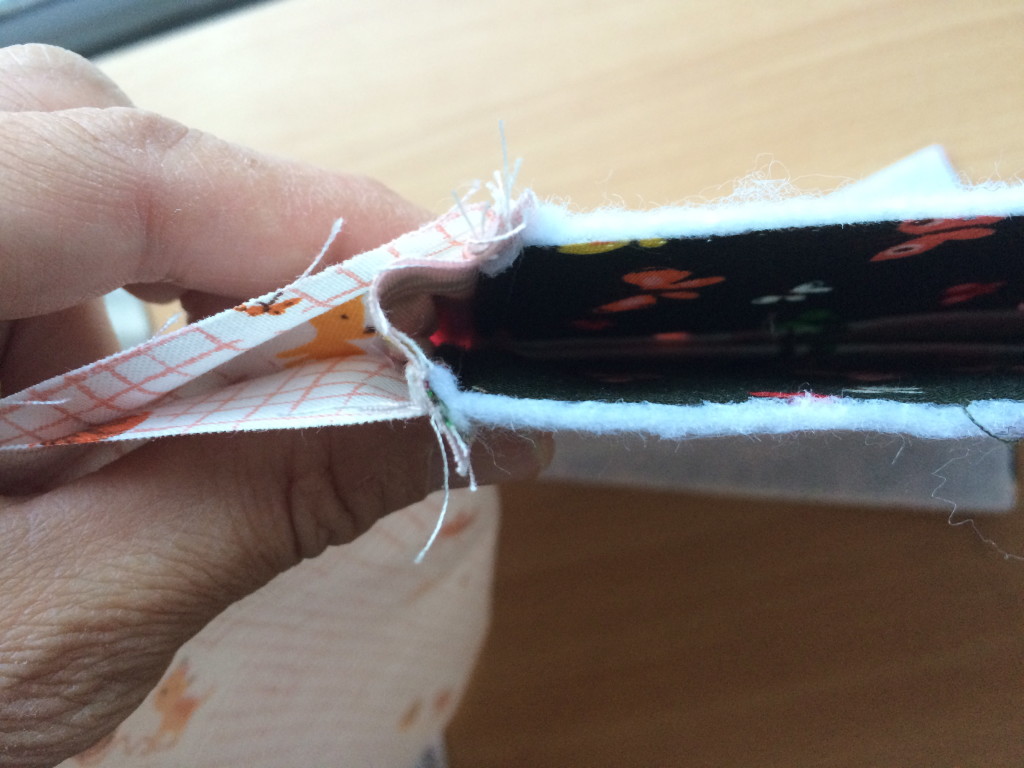
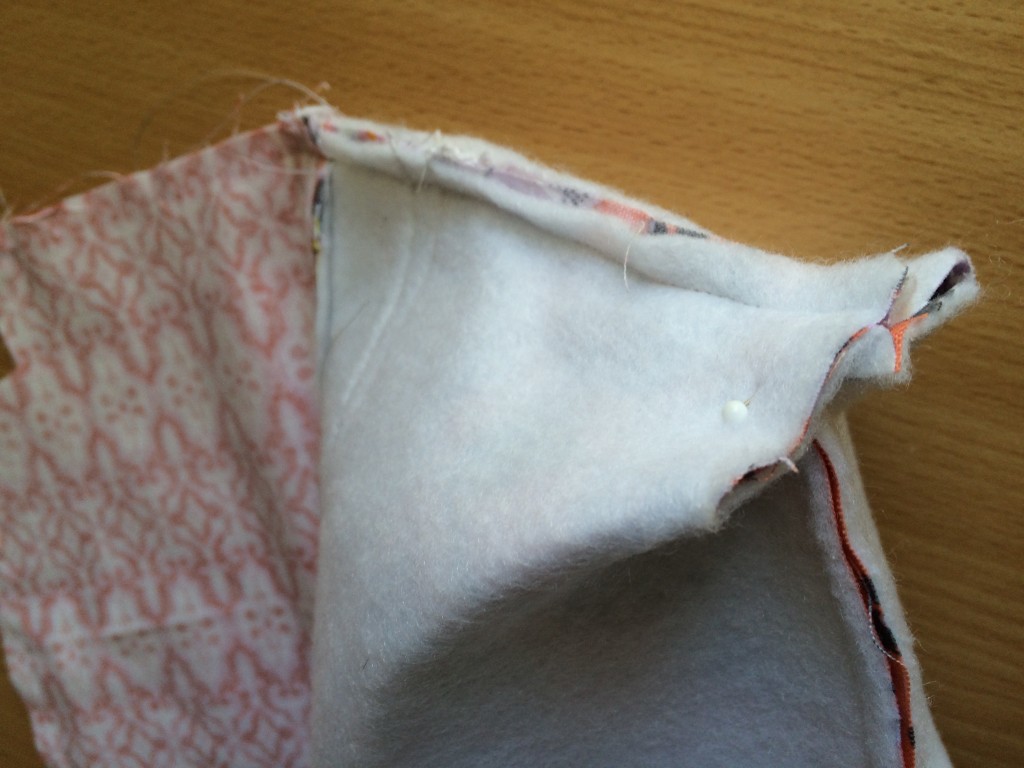
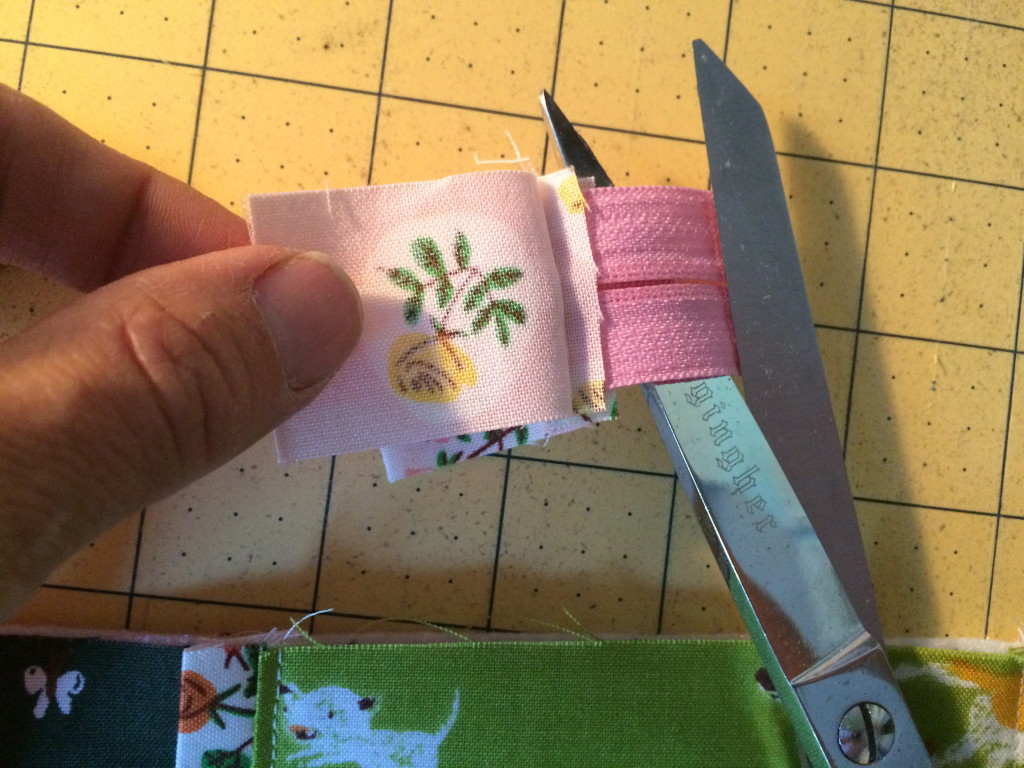
http://www.jedicraftgirl.com/wp-admin/post-new.phpCut along the fold of the zipper tab and cut away the excess zipper, leaving about 1/8″ of zipper.  This makes it so there is no bulky zipper in the side seam of the zipper pouch. IMG_2131

Position the zipper right sides together with the outer bag piece.  Notice the zipper tabs are hanging over, not to worry, we will square up in a minute. IMG_2132

Next position one of the lining pieces right side down on top of the outer bag with zipper in between.

IMG_2135

It should be layered together like the picture above.  Pin and sew 1/4″ seam along the top edge using a zipper foot.  Trim off the excess zipper tab so it is square with the outer bag.IMG_2133

Press the outer bag and lining piece so it looks like the above picture.

IMG_2134

Topstitch along the edge (above).  Then repeat with the other side of the zipper, aligning the pieces just like we did above.
IMG_2137

This is how it should look once the zipper is inserted (above).

Finishing the Bag

IMG_2141

Making sure the zipper is open, match the lining pieces together and the outer bag pieces together and pin all the way around.  IMG_2138

Make sure to push the zipper tab toward the lining piece and pin, matching the zipper seams.  Sew all the way around the zipper pouch using 1/4″ seam.  Leave a 3″ opening at the bottom of the bag for turning.  IMG_2144

Cut a 1″ square notch out each corner.  Openzipper-pouch-tutorial-27-1024x768

Open each notched corner and match seams.  Sew a 1/4″ seam, backstitching to start and stop.  Turn right side out and topstitch the opening closed.

zipper pouch tutorial

Your done!  You can see from the photo that I used a zipper tab on one and then the open wide zipper method on the others.  It’s just preference.

zipper pouch tutorial 9

For my nieces I am including a cute nail file, an EOS, and some yummy smelling hand sanitizer.  You could also include a small perfume, lotion, gum, notebook and pen.  One of my nieces is a ballerina and I know she’s going to love this darling fabric by Heather Ross!

zipper pouch tutorial 2

My other niece loves the ocean and fish so this Saltwater fabric by Riley Blake will be just perfect!.

zipper pouch tutorial 3

For the boys (which are always harder for me to buy for) you can include a small flashlight, deck of cards or other small game, PEZ dispenser or candy, small action figure or car.  I also purchased a whoopee cushion to include, just to drive my sister crazy!!

zipper pouch tutorial 5

zipper pouch tutorial 8

Throw a Star Wars Party {Beehive-Deacon Day}

star wars party 22We love Star Wars!  (In case you were wondering, hahahahah!!!)  I helped out with our Stake’s Beehive-Deacon Day and we choose a Star Wars Theme!  It was super fun!  Click HERE to download all the files pictured in this post.star wars party

When the kids arrived, we had them fill out these name tags.  They wrote their “Earth Name” and then determined their “Jedi Name”

star wars name tags

Screen Shot 2015-10-28 at 7.34.57 PM

Then we asked them some silly questions involving numbers and pretended to do some hi-tech calculations to determine their Medi-Chlorian level.  This is how we divided the youth into 3 groups.

Screen Shot 2015-10-28 at 7.32.14 PMWe had 3 mini classes on friendship, social media, and etiquette.  At the end all the youth ended up in the gym where we had a Star Wars Buffet.  The main course was “Bantha Burgers” which was smoked pulled pork sandwiches.

star wars food labelsstar wars party 2

star wars party 3

star wars party 4

star wars party 5

star wars party 8

The Sarlacc Cake was a hit!  I made this Magic Swirl Bundt Cake recipe which is one of my favorite cake recipes.  I call it the Dark Side vs. the Light Side cake.  The chocolate and vanilla are battling it out!!  I covered the entire cake in chocolate ganache and put graham cracker crumbs over top for the sand.  I cut 2 graham crackers to look like a mouth and piped some white frosting for “teeth”.

star wars party 19

star wars party 12The Jawa Juice was a HIT!!!!  Teenagers + Dry Ice 🙂

1 container Blue Hawaiian Punch

(1)  2-litre bottle Lemonade

(1) 2-litre 7-up

Dry Ice

star wars party 15

They also loved the Yoda Soda

(1) 2-litre 7 Up

(1) half gallon Lime Sherbet

5 limes juiced

Lime slices star wars party 16
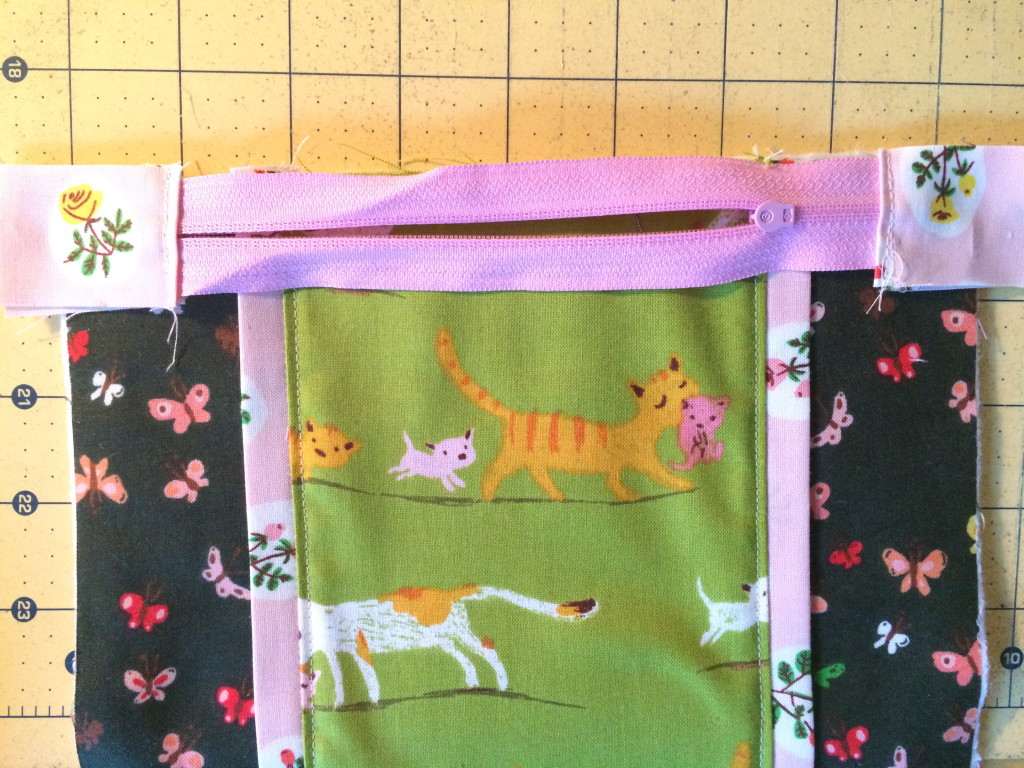
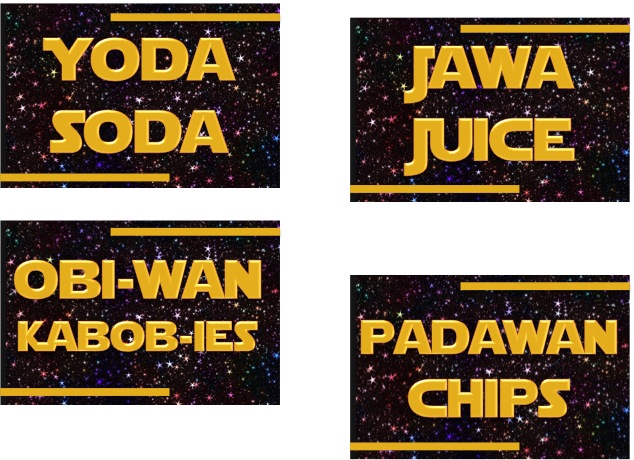
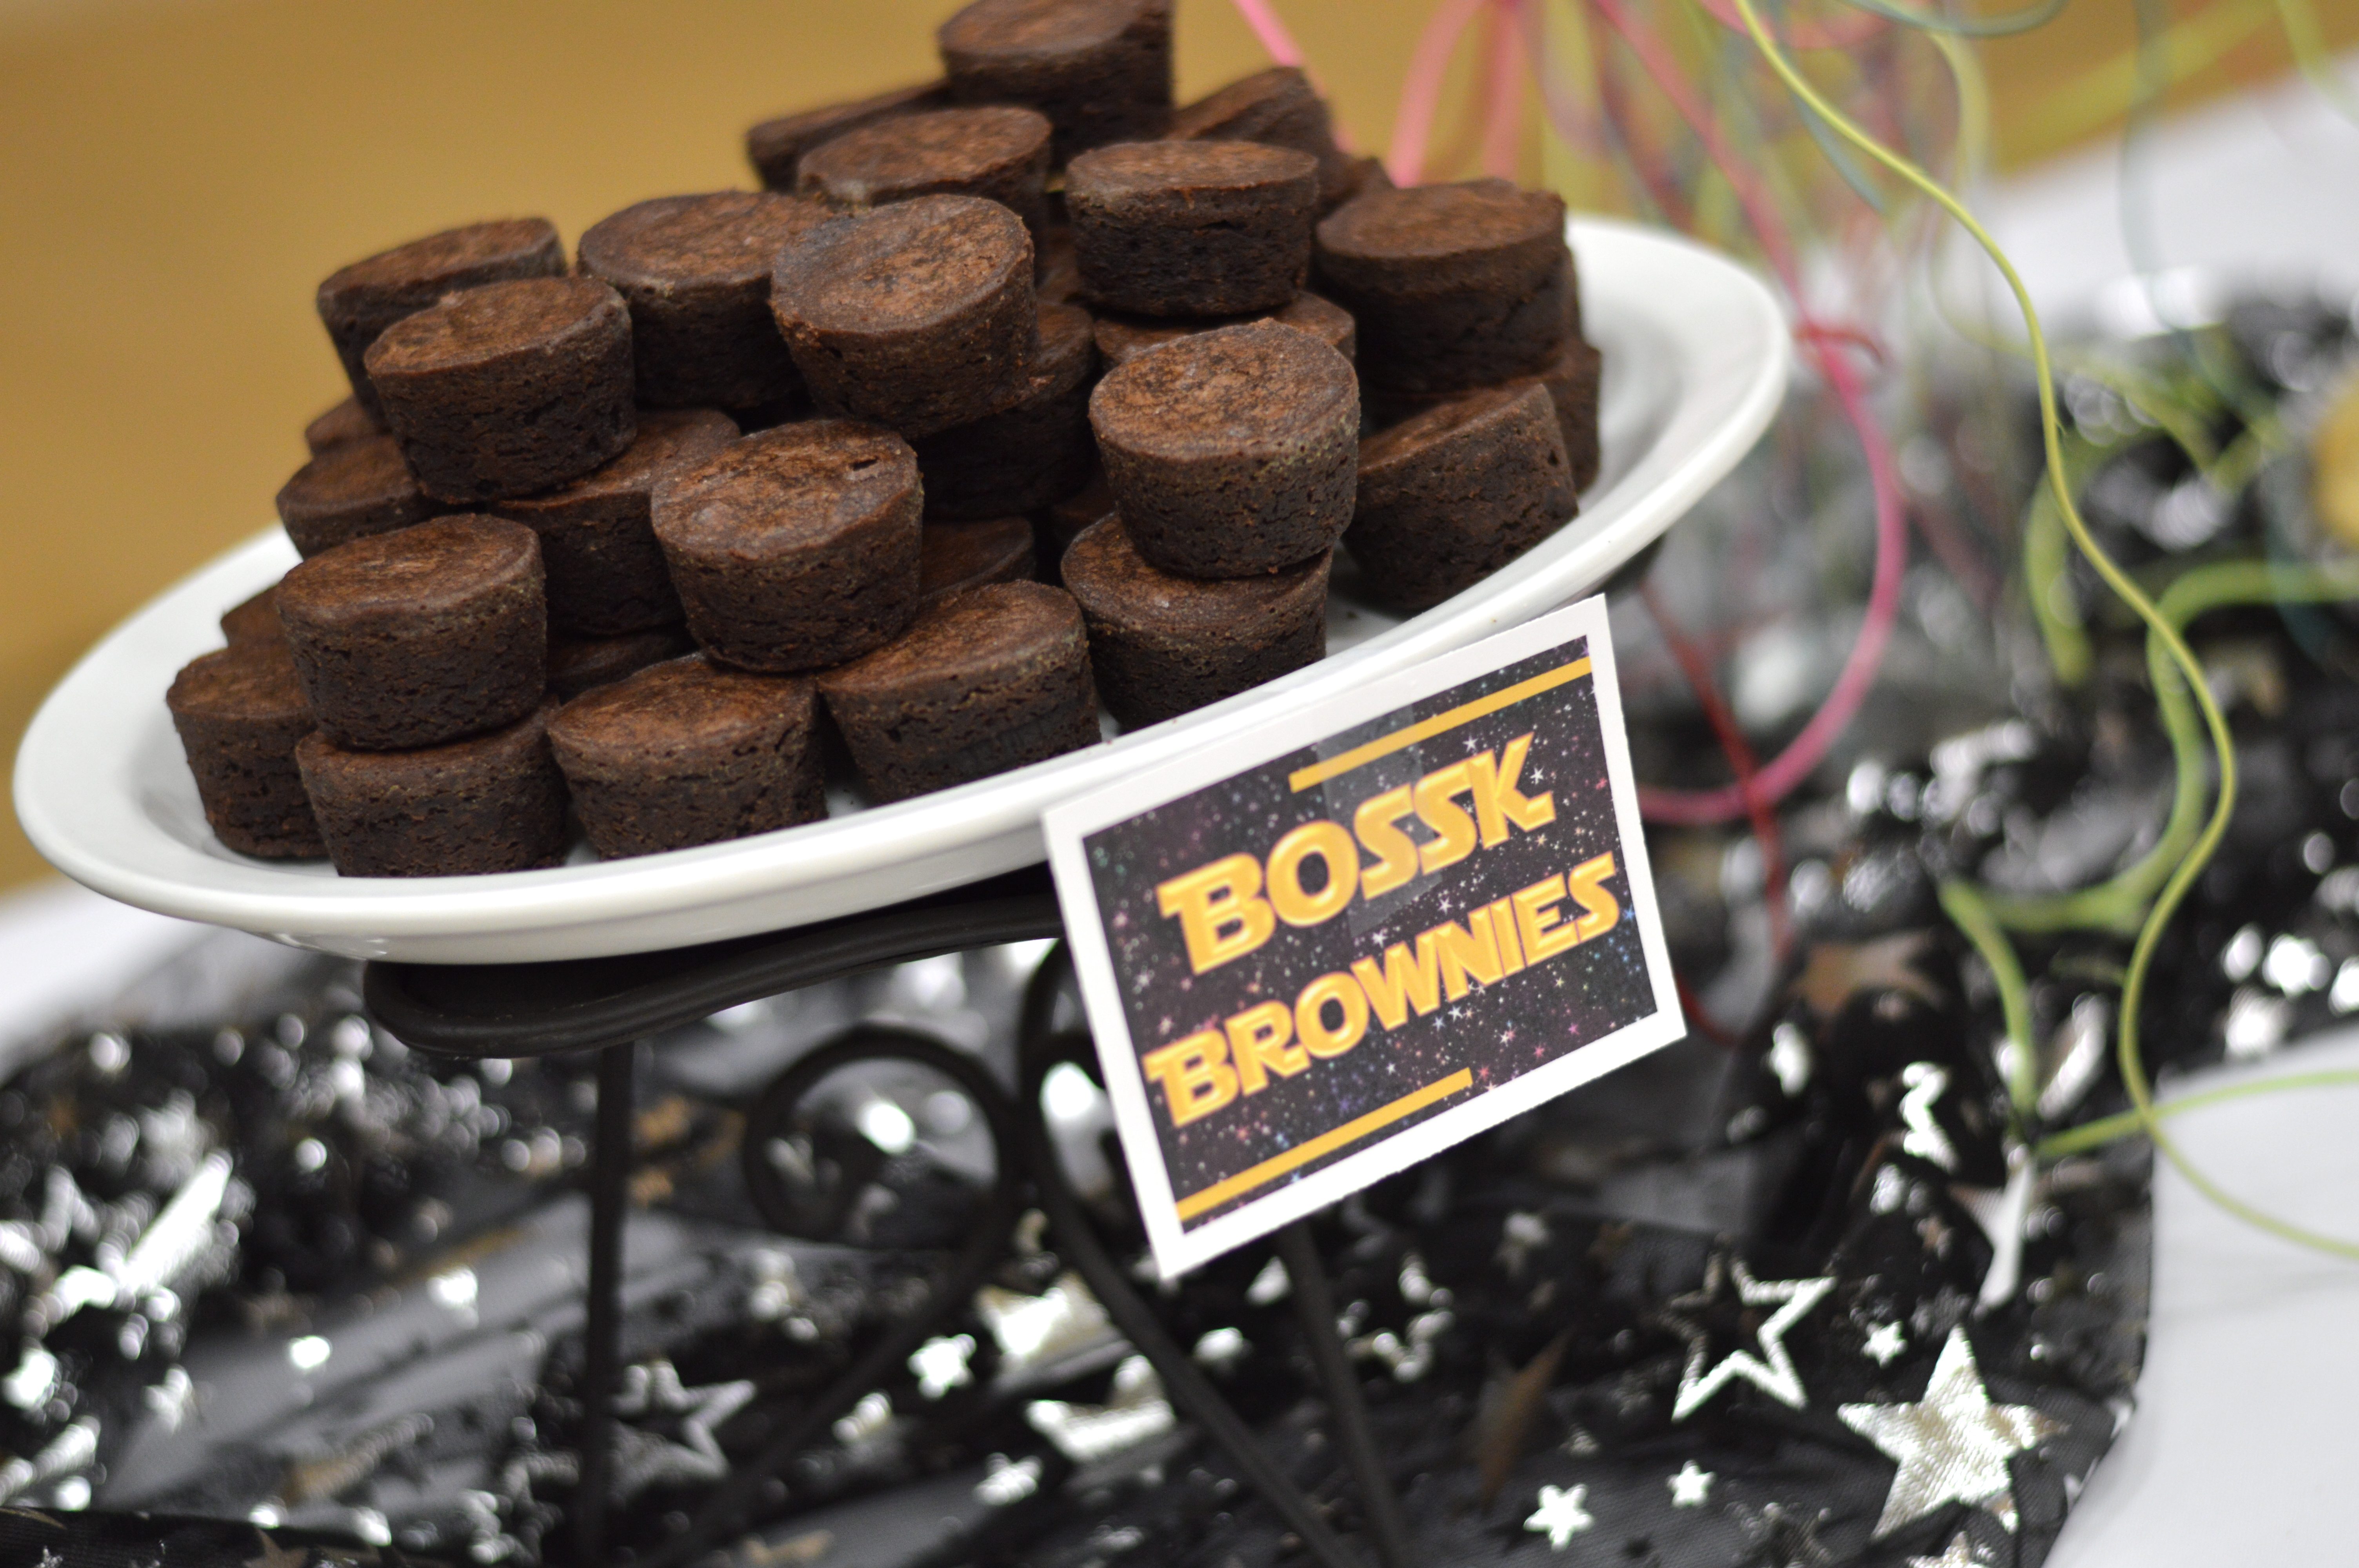
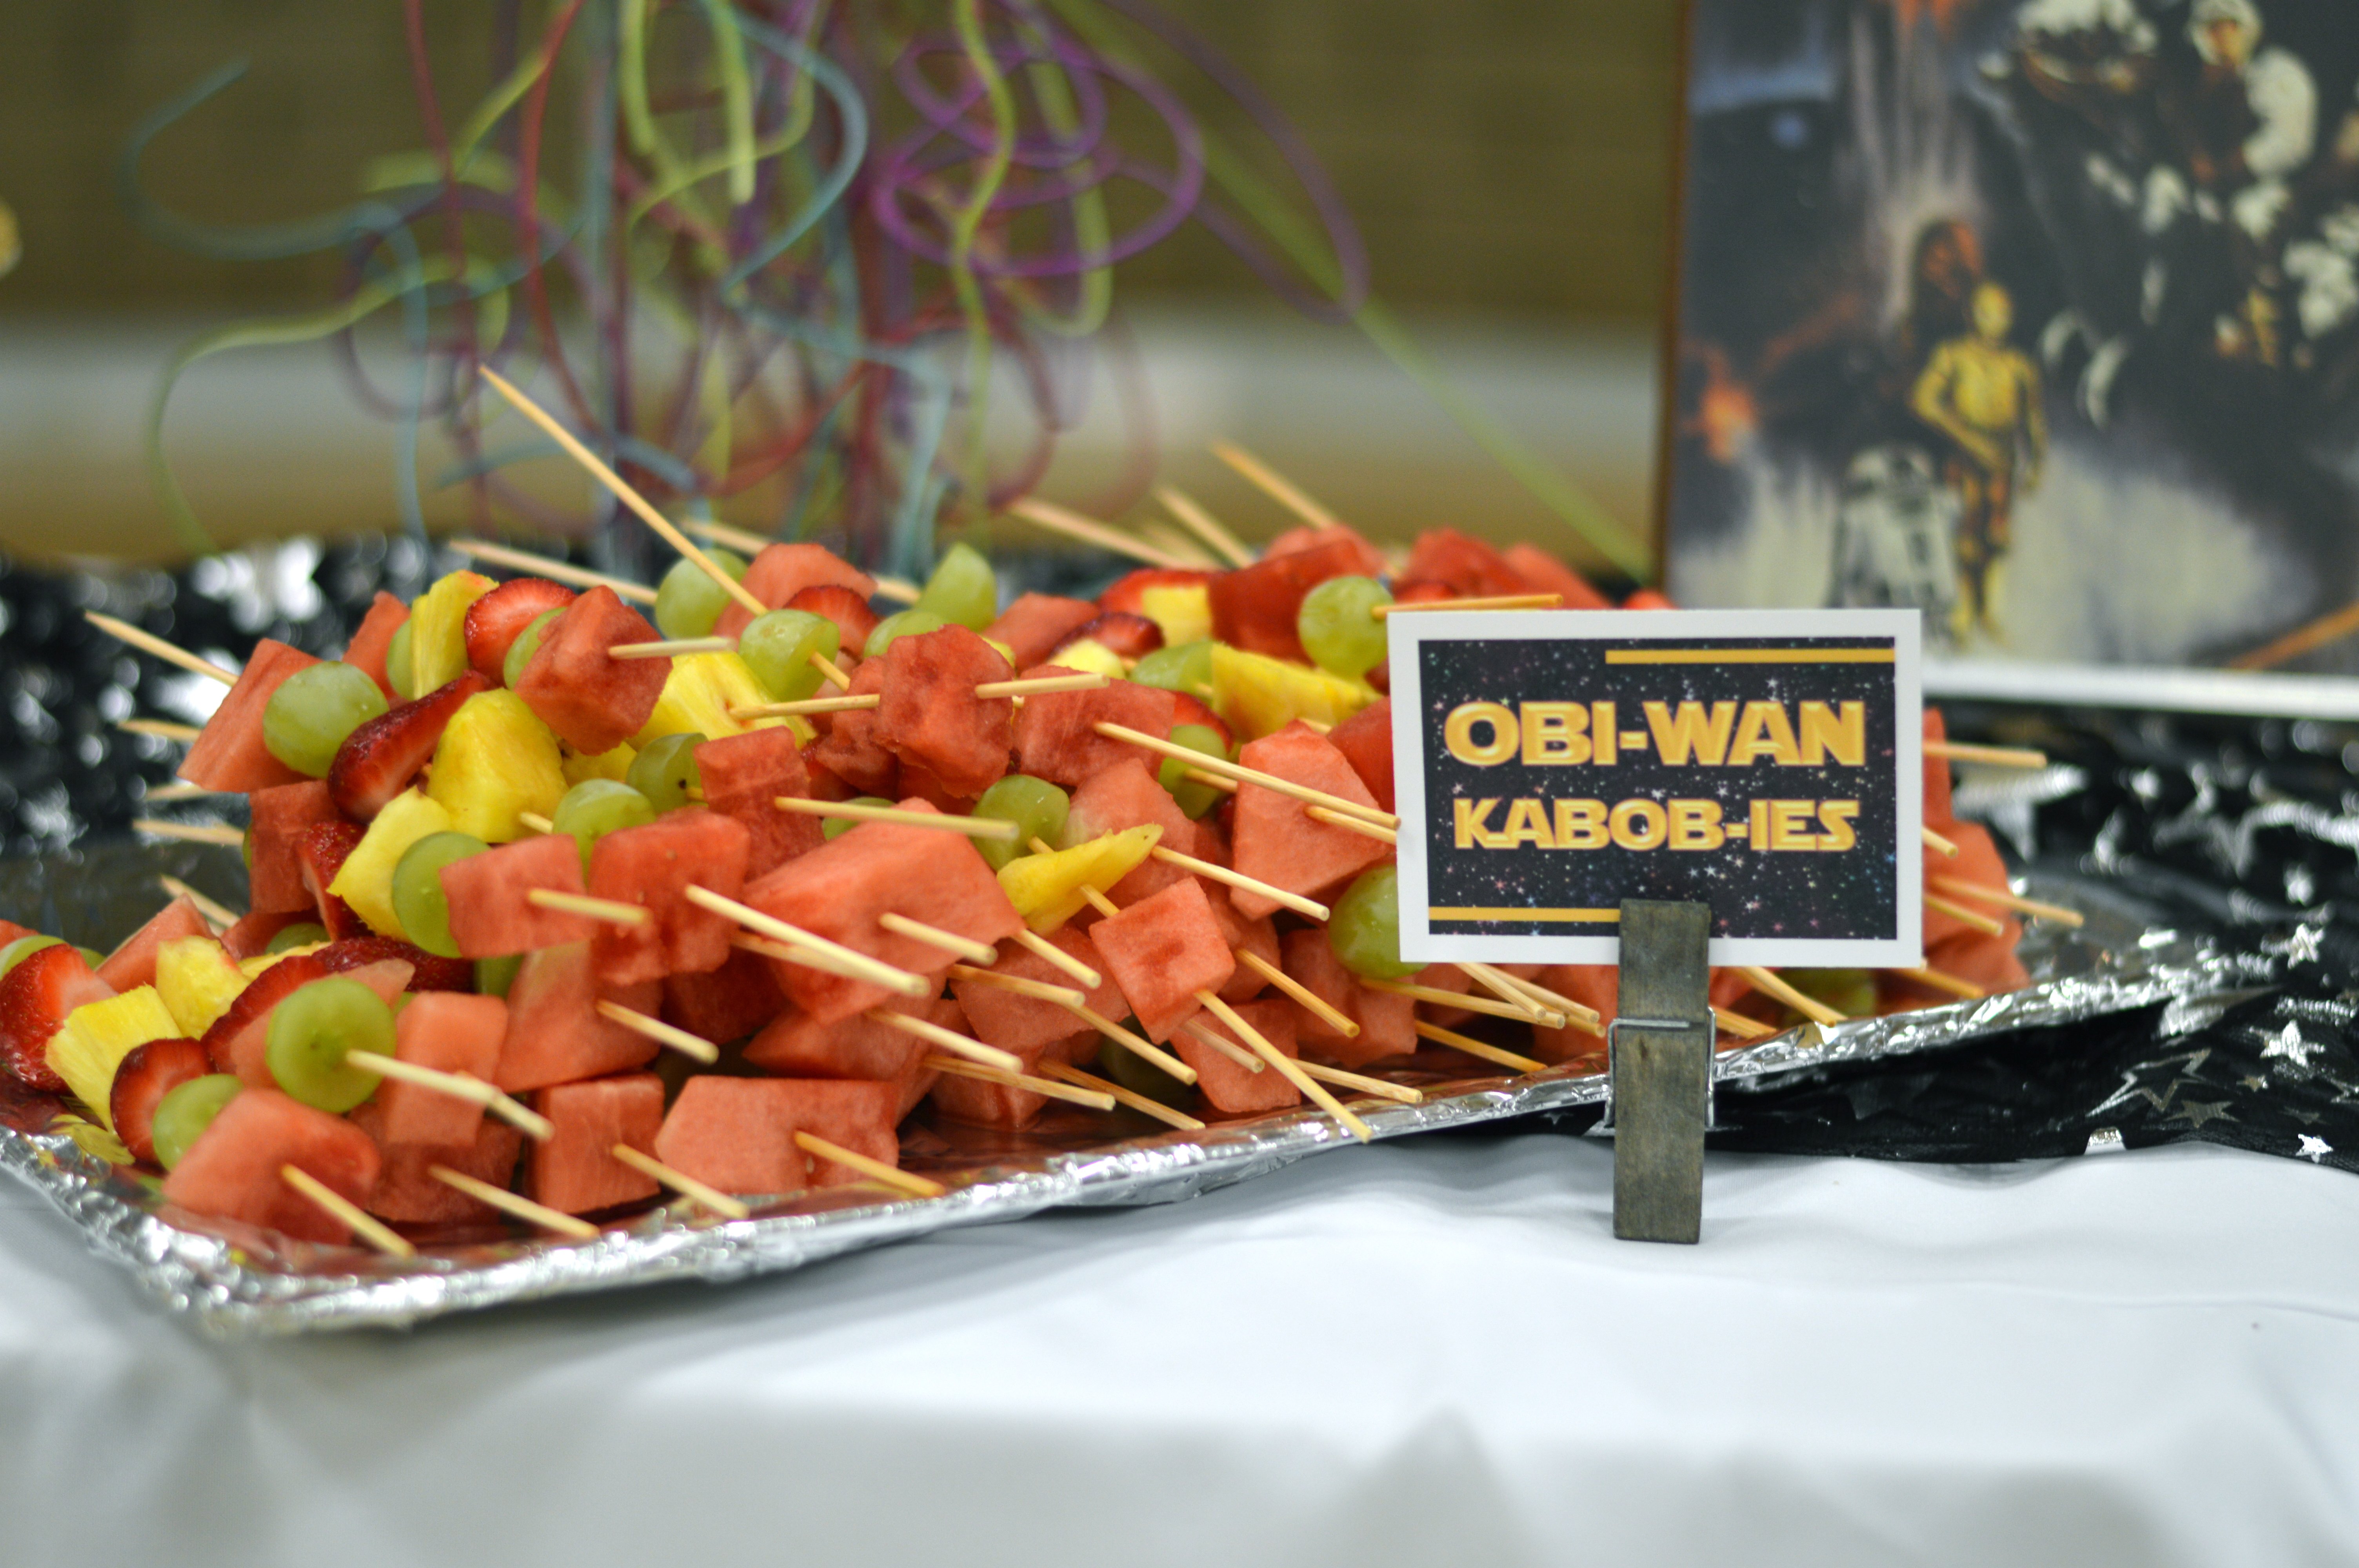
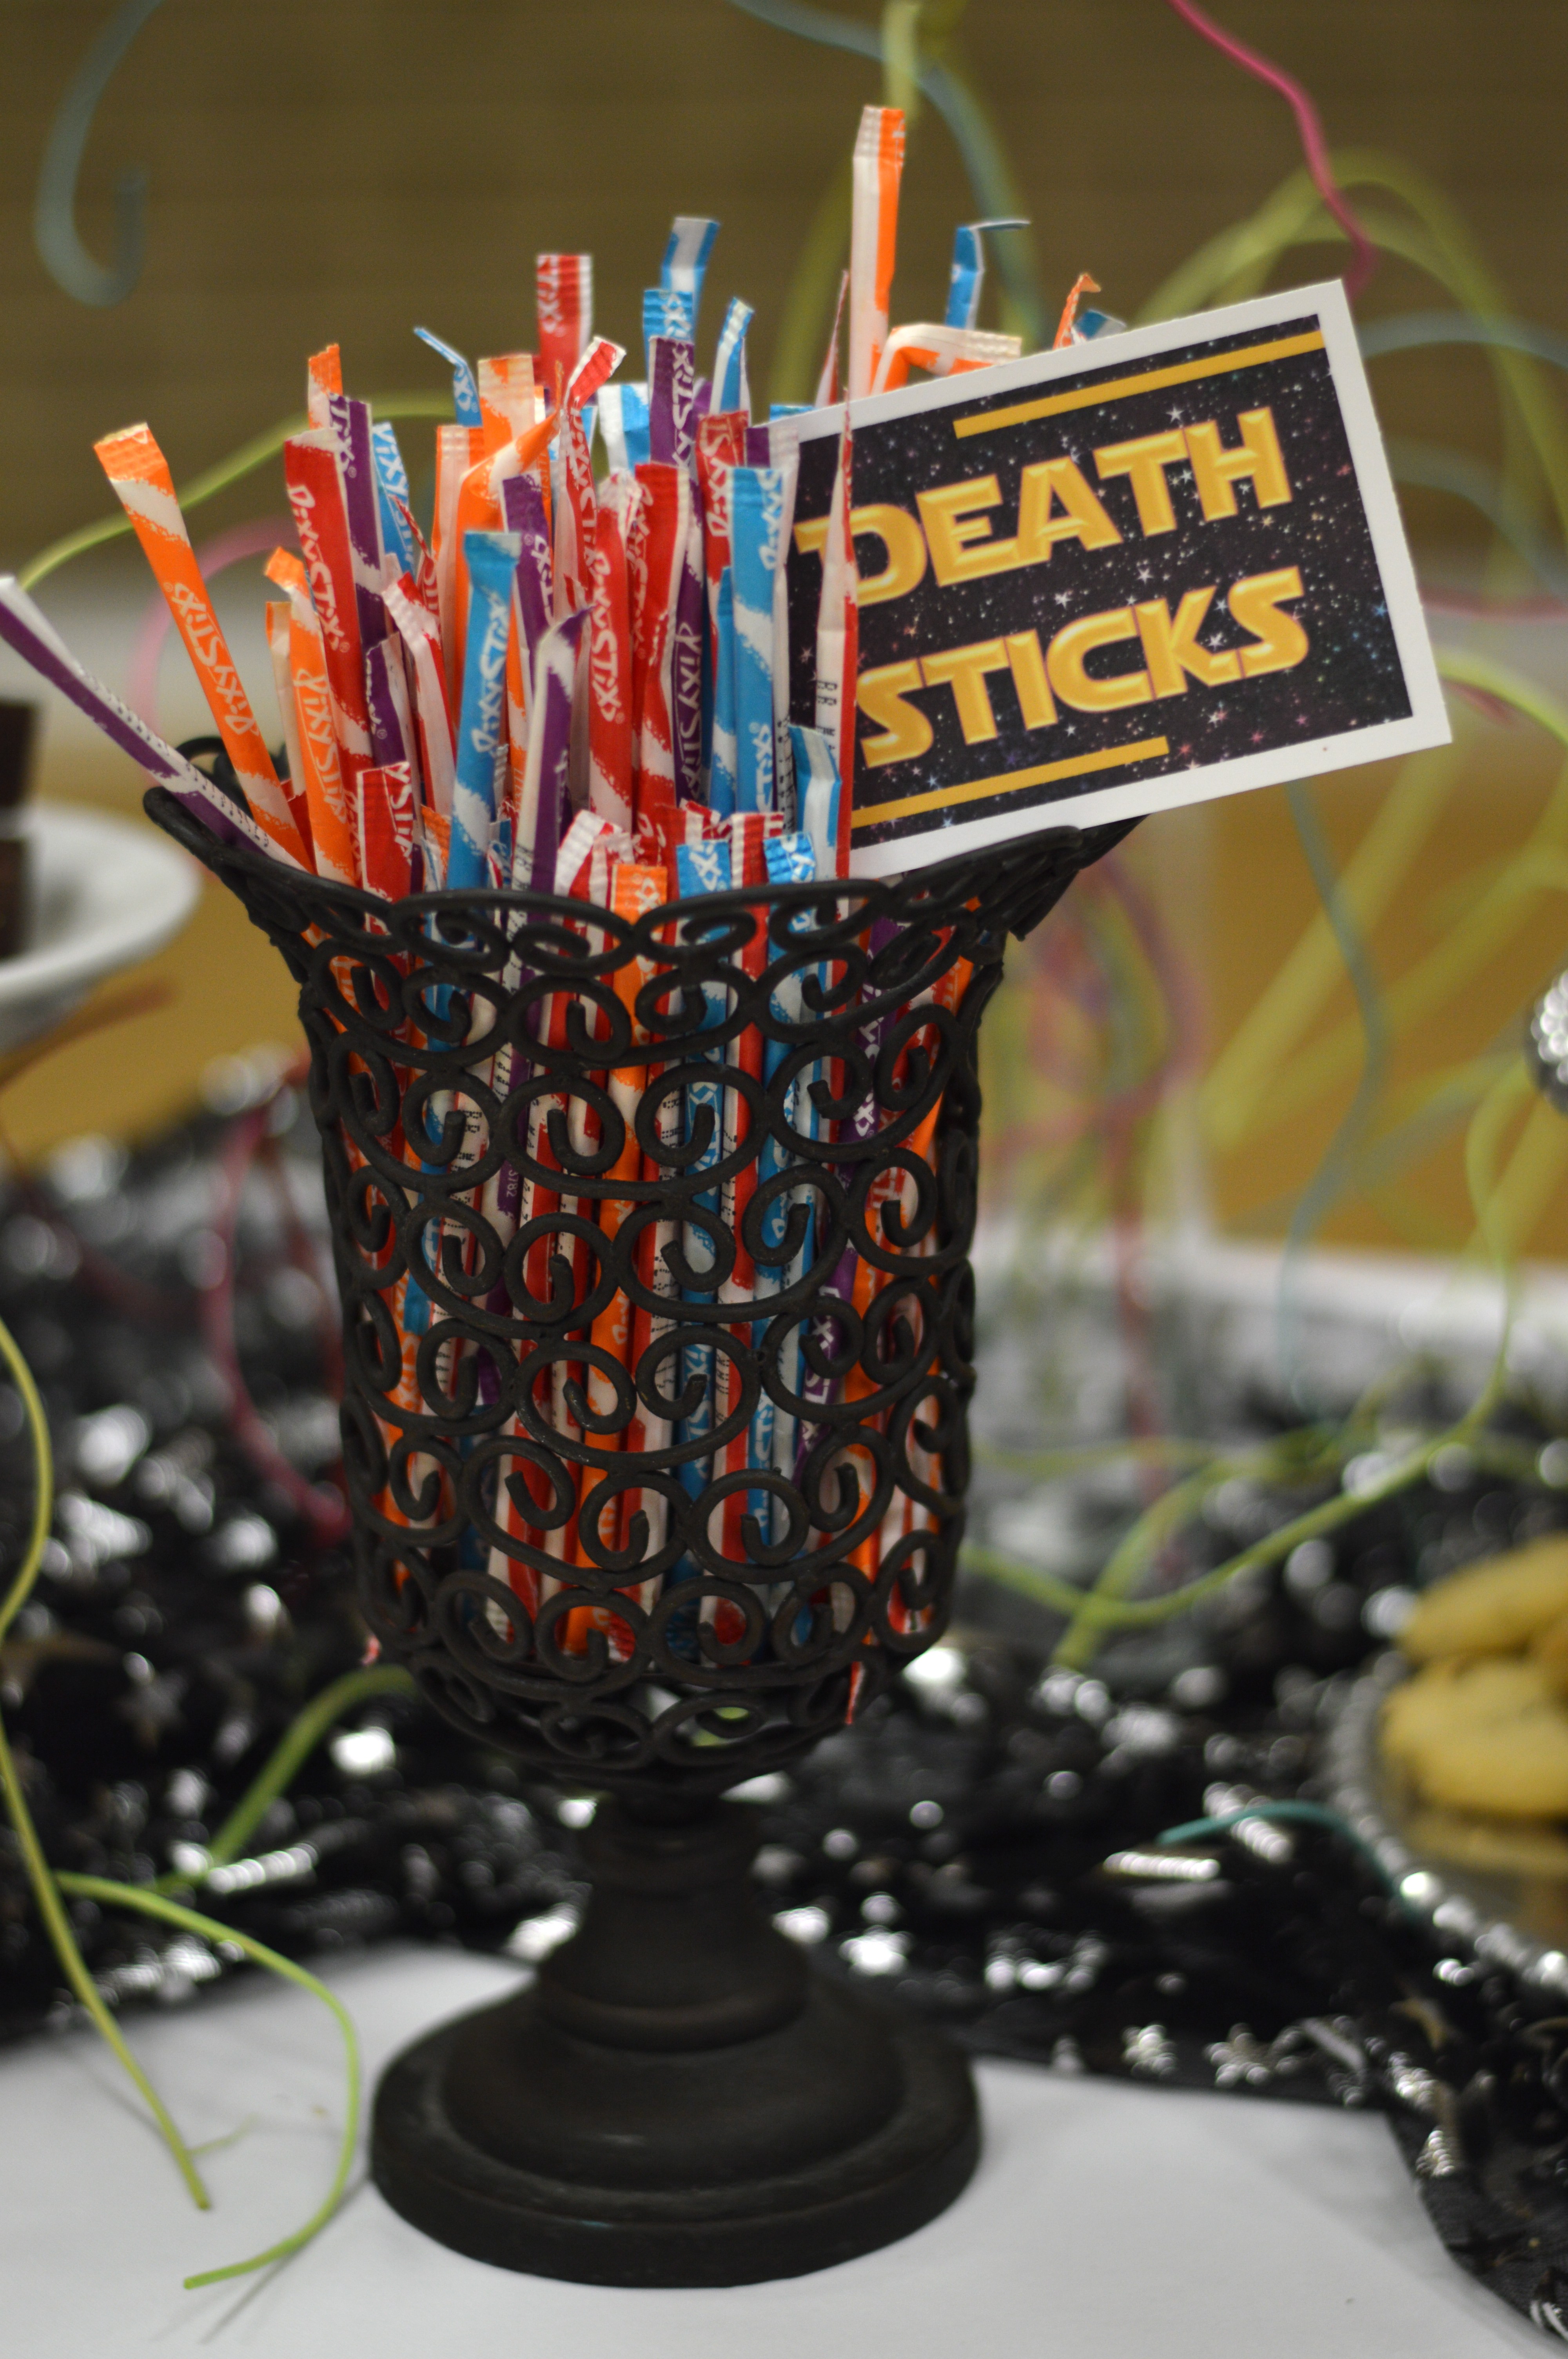
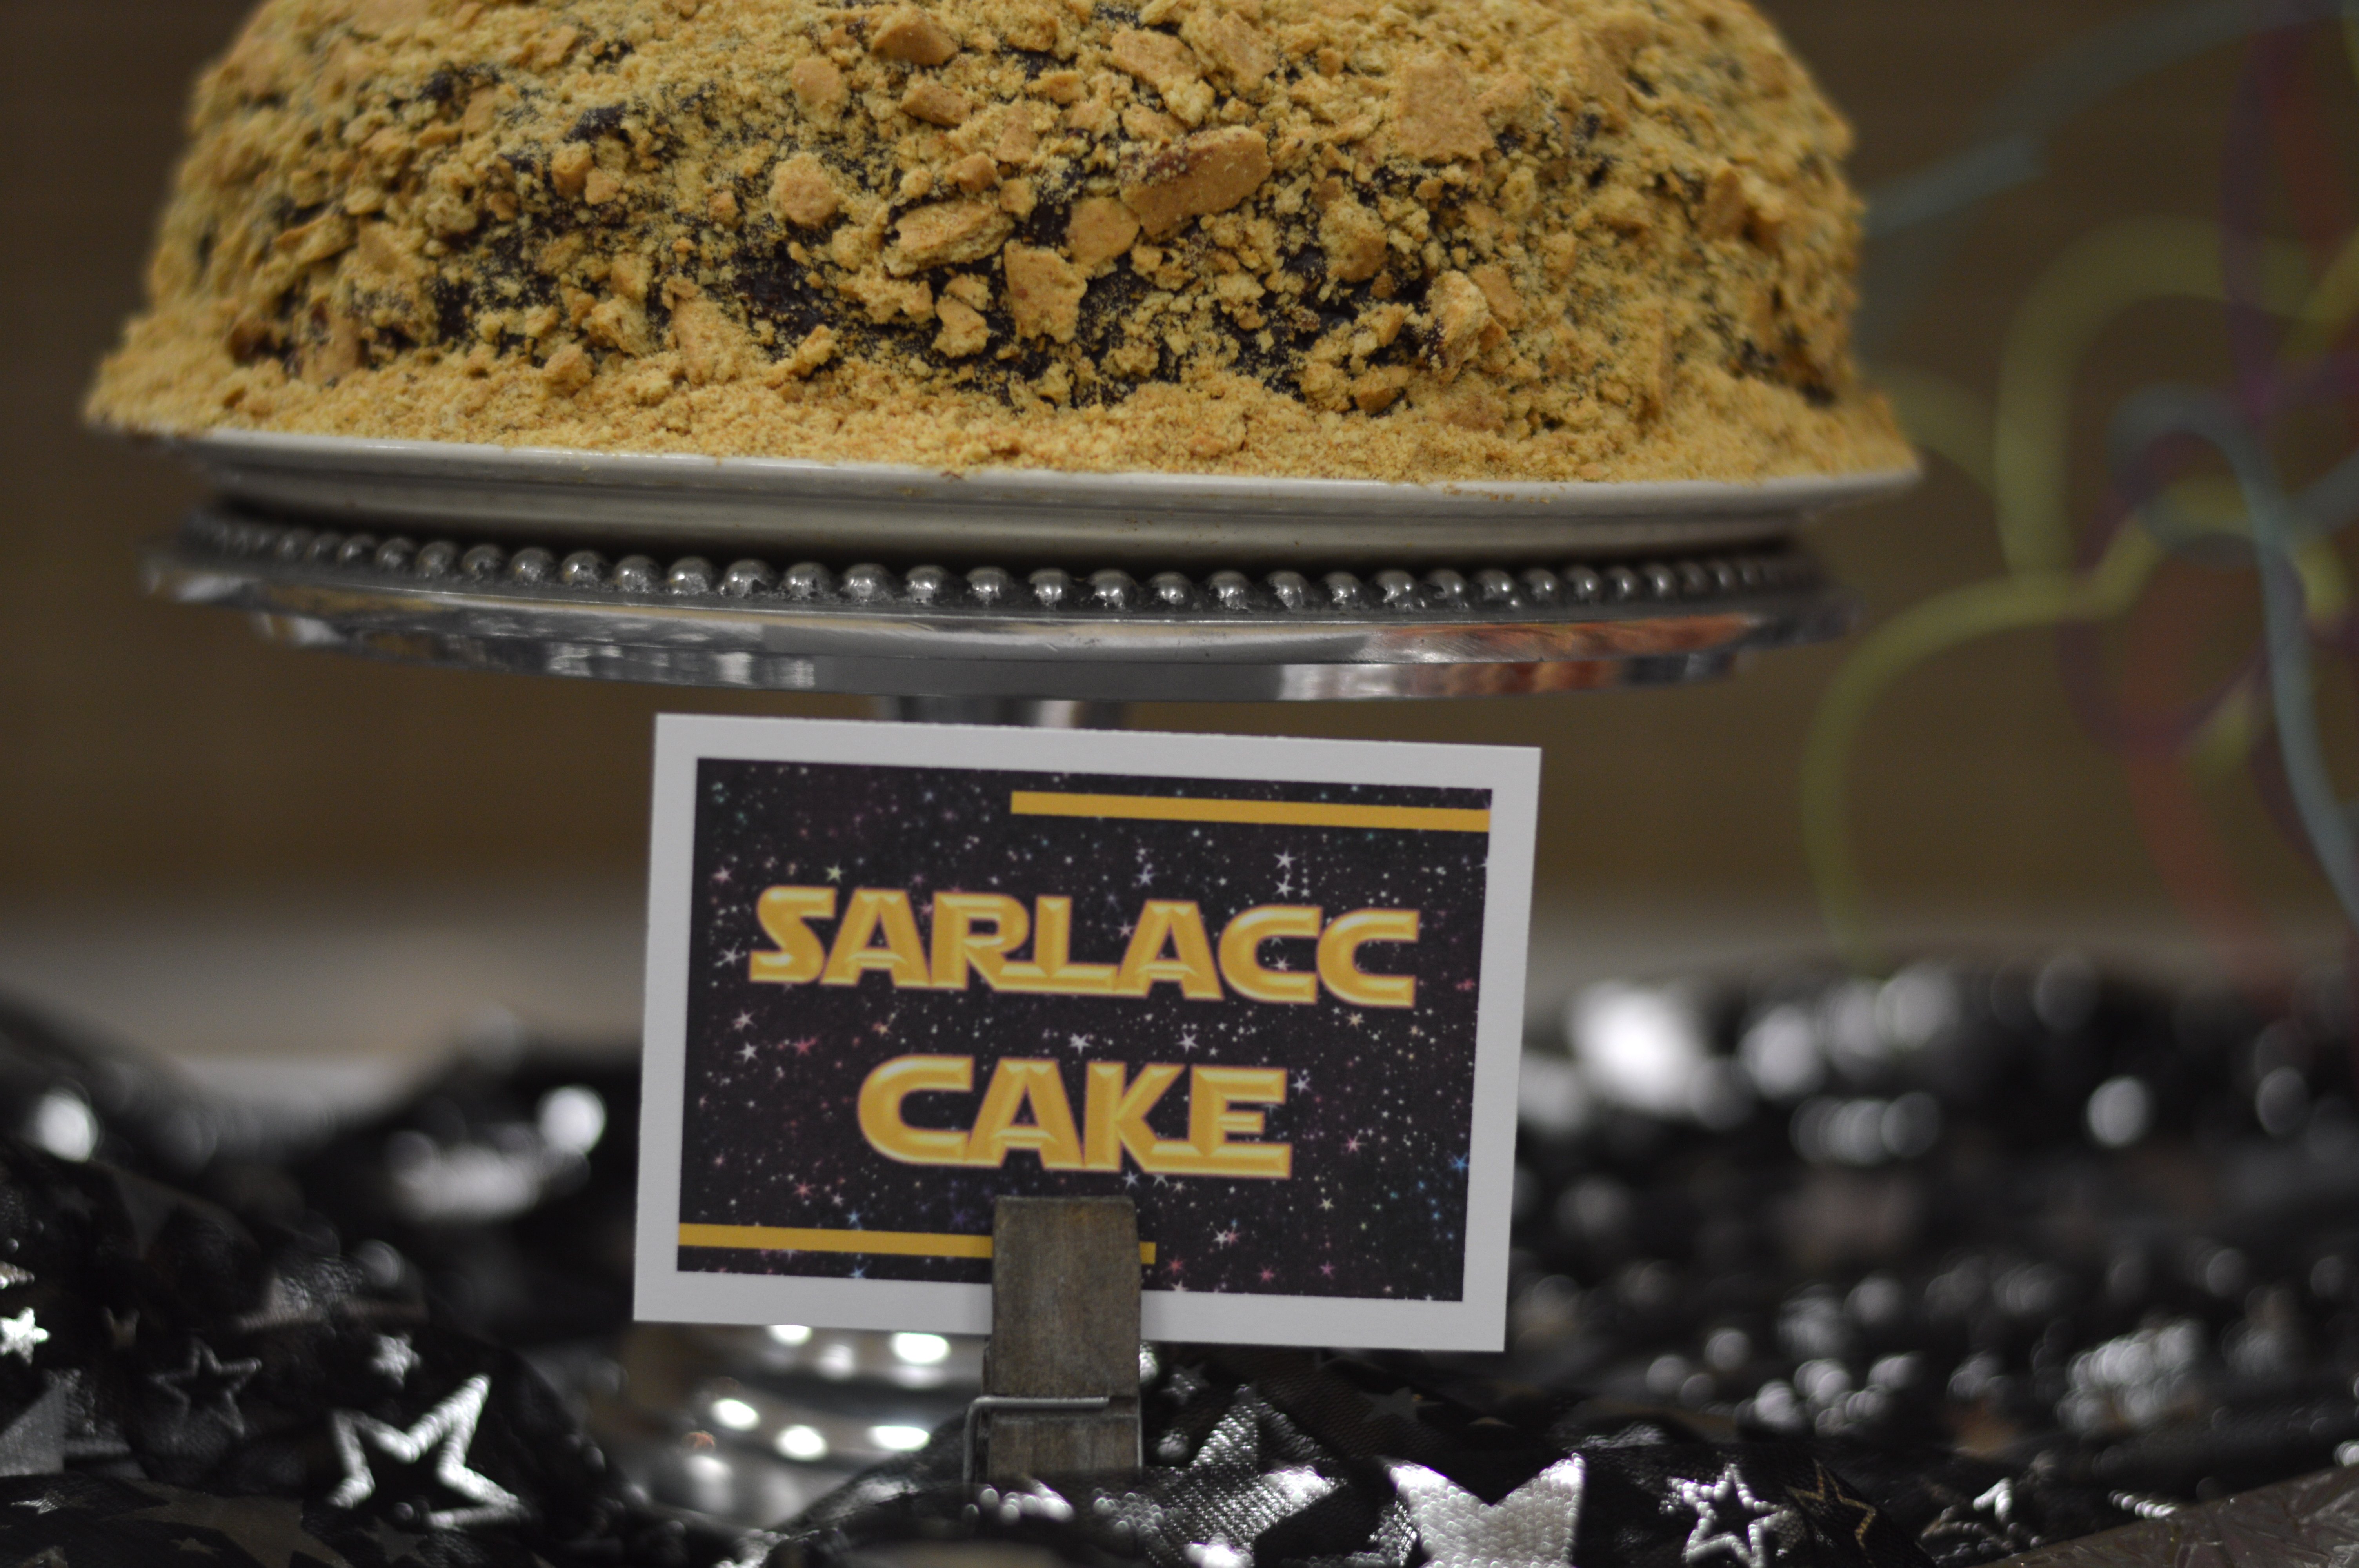
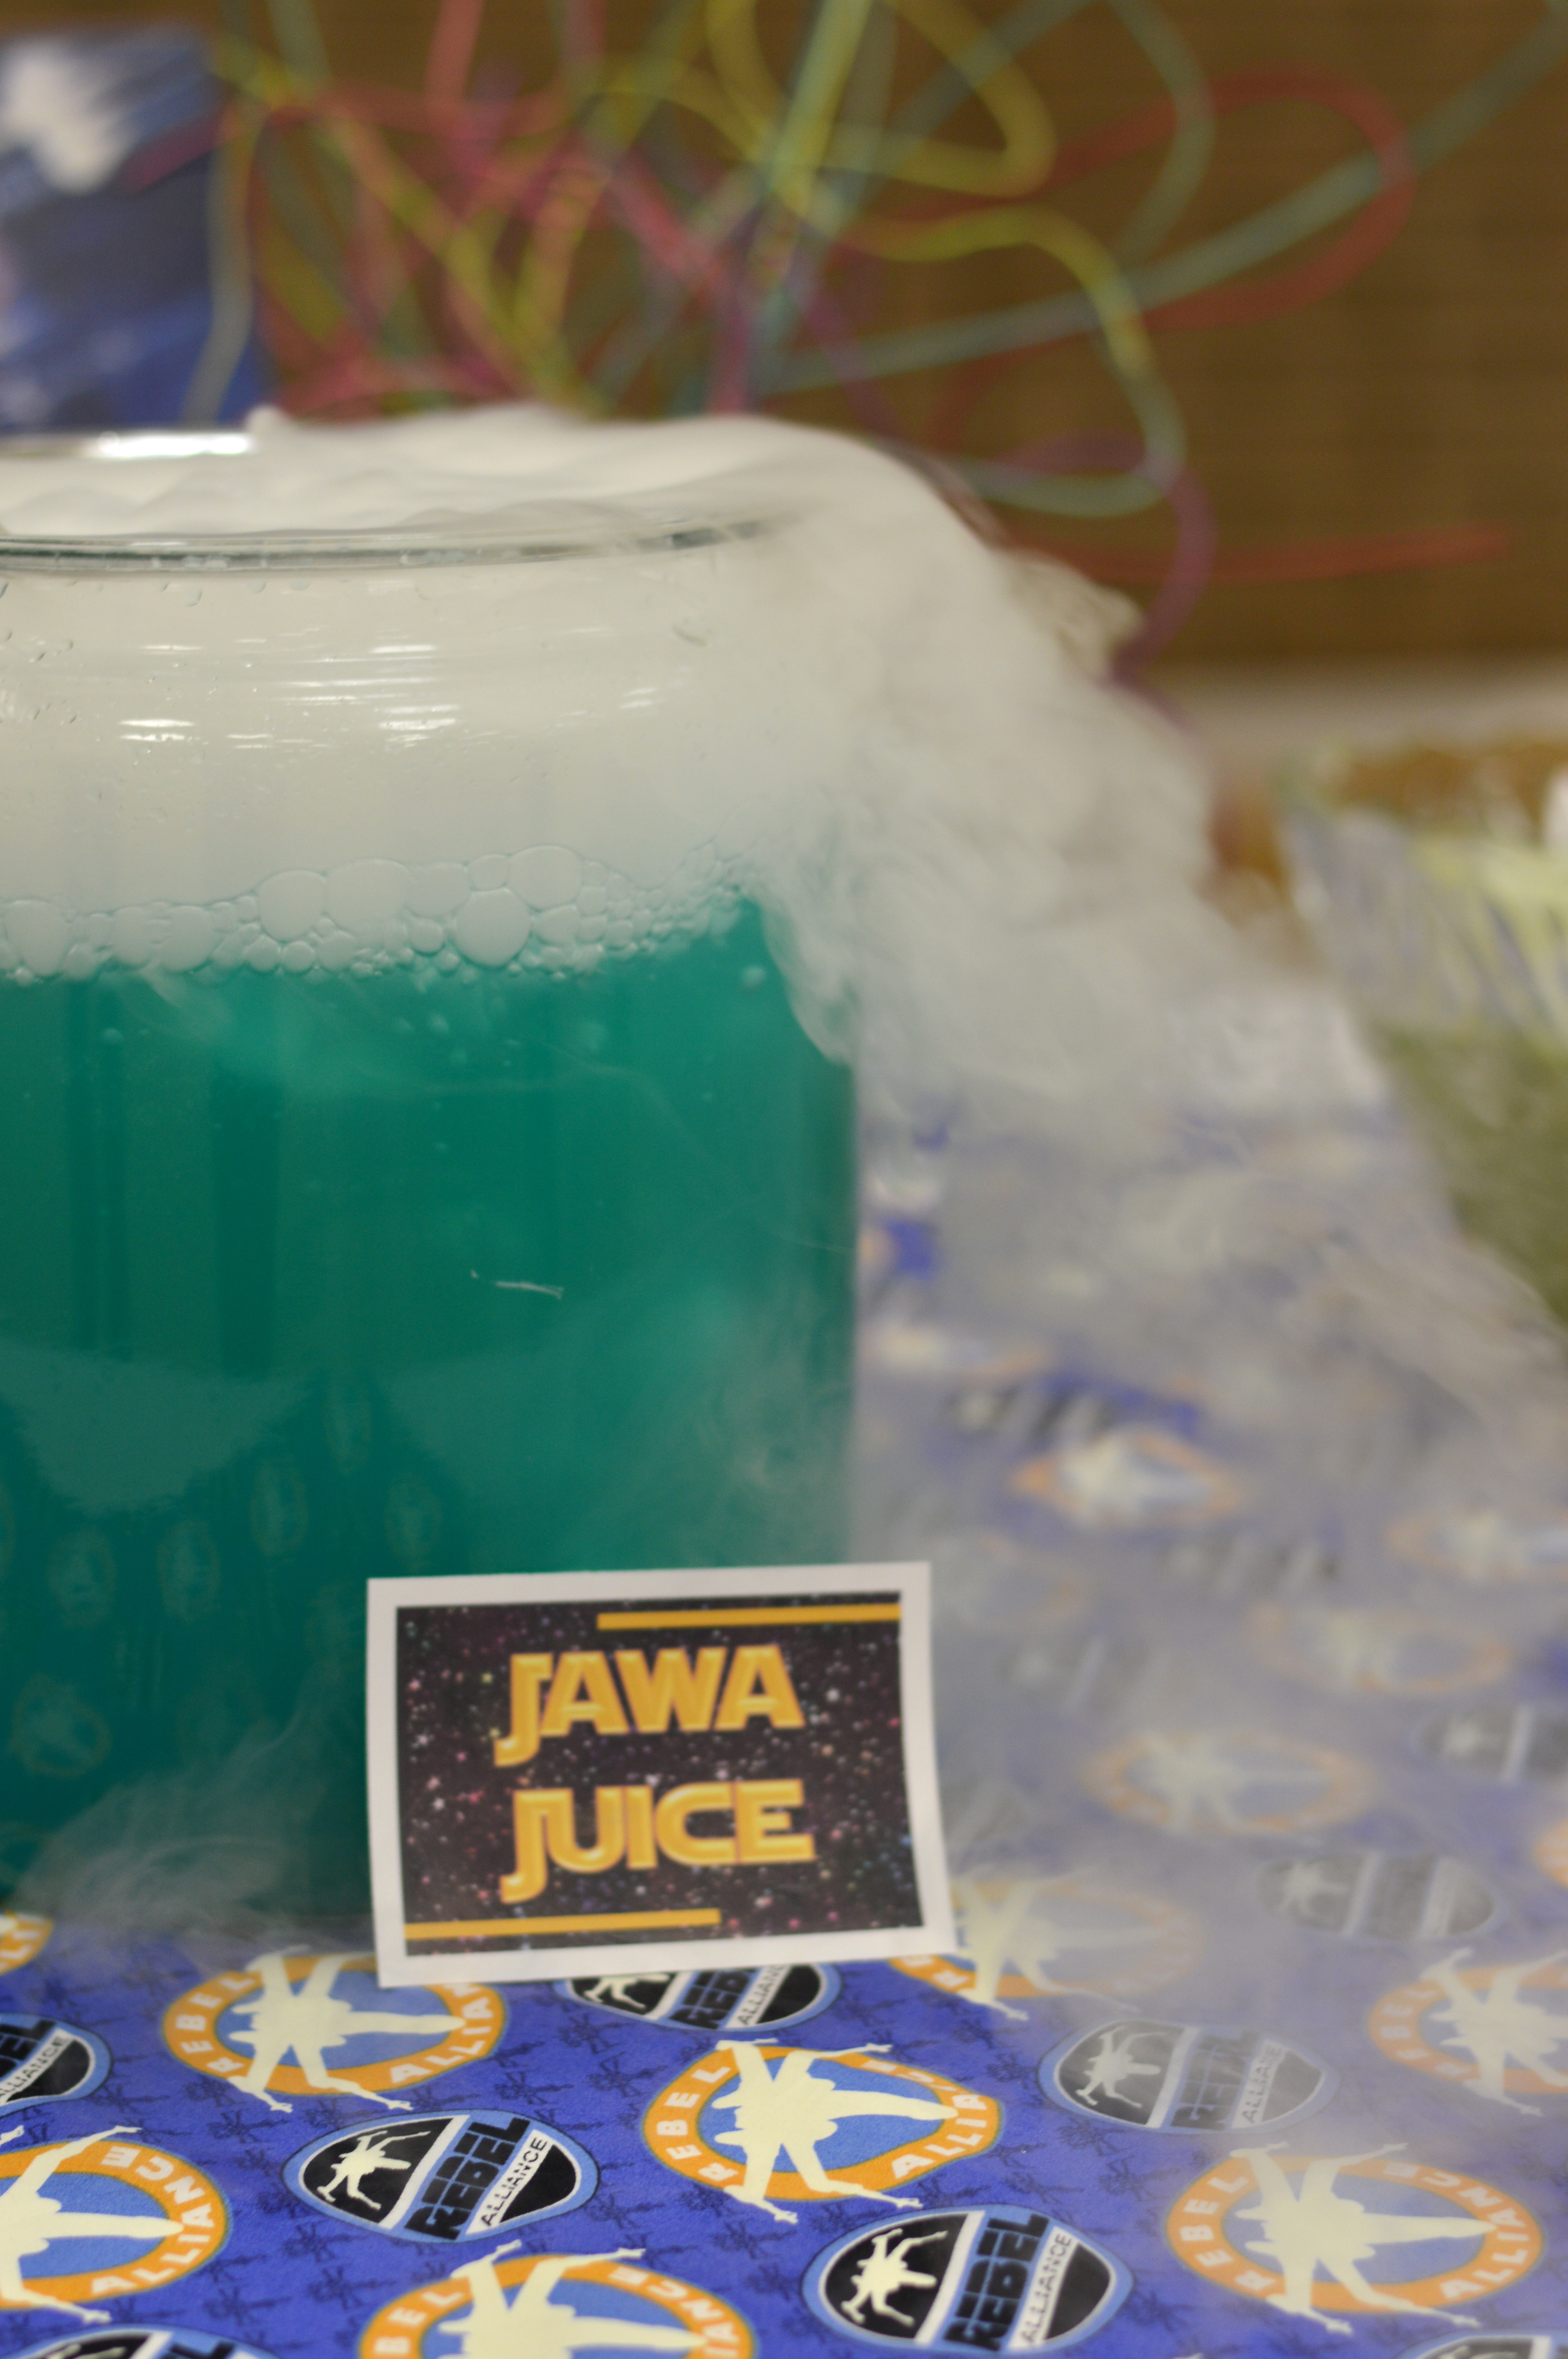
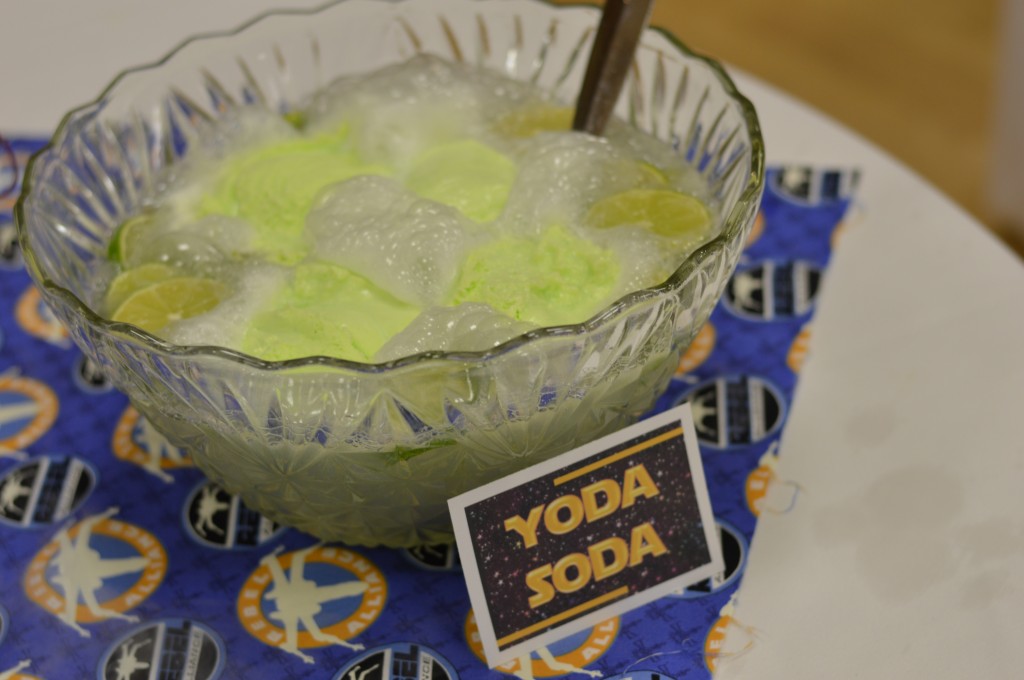
Kids don’t really want water when  you have Jawa Juice and Yoda Soda!  But I still like the Anakin Sky-Water label 🙂
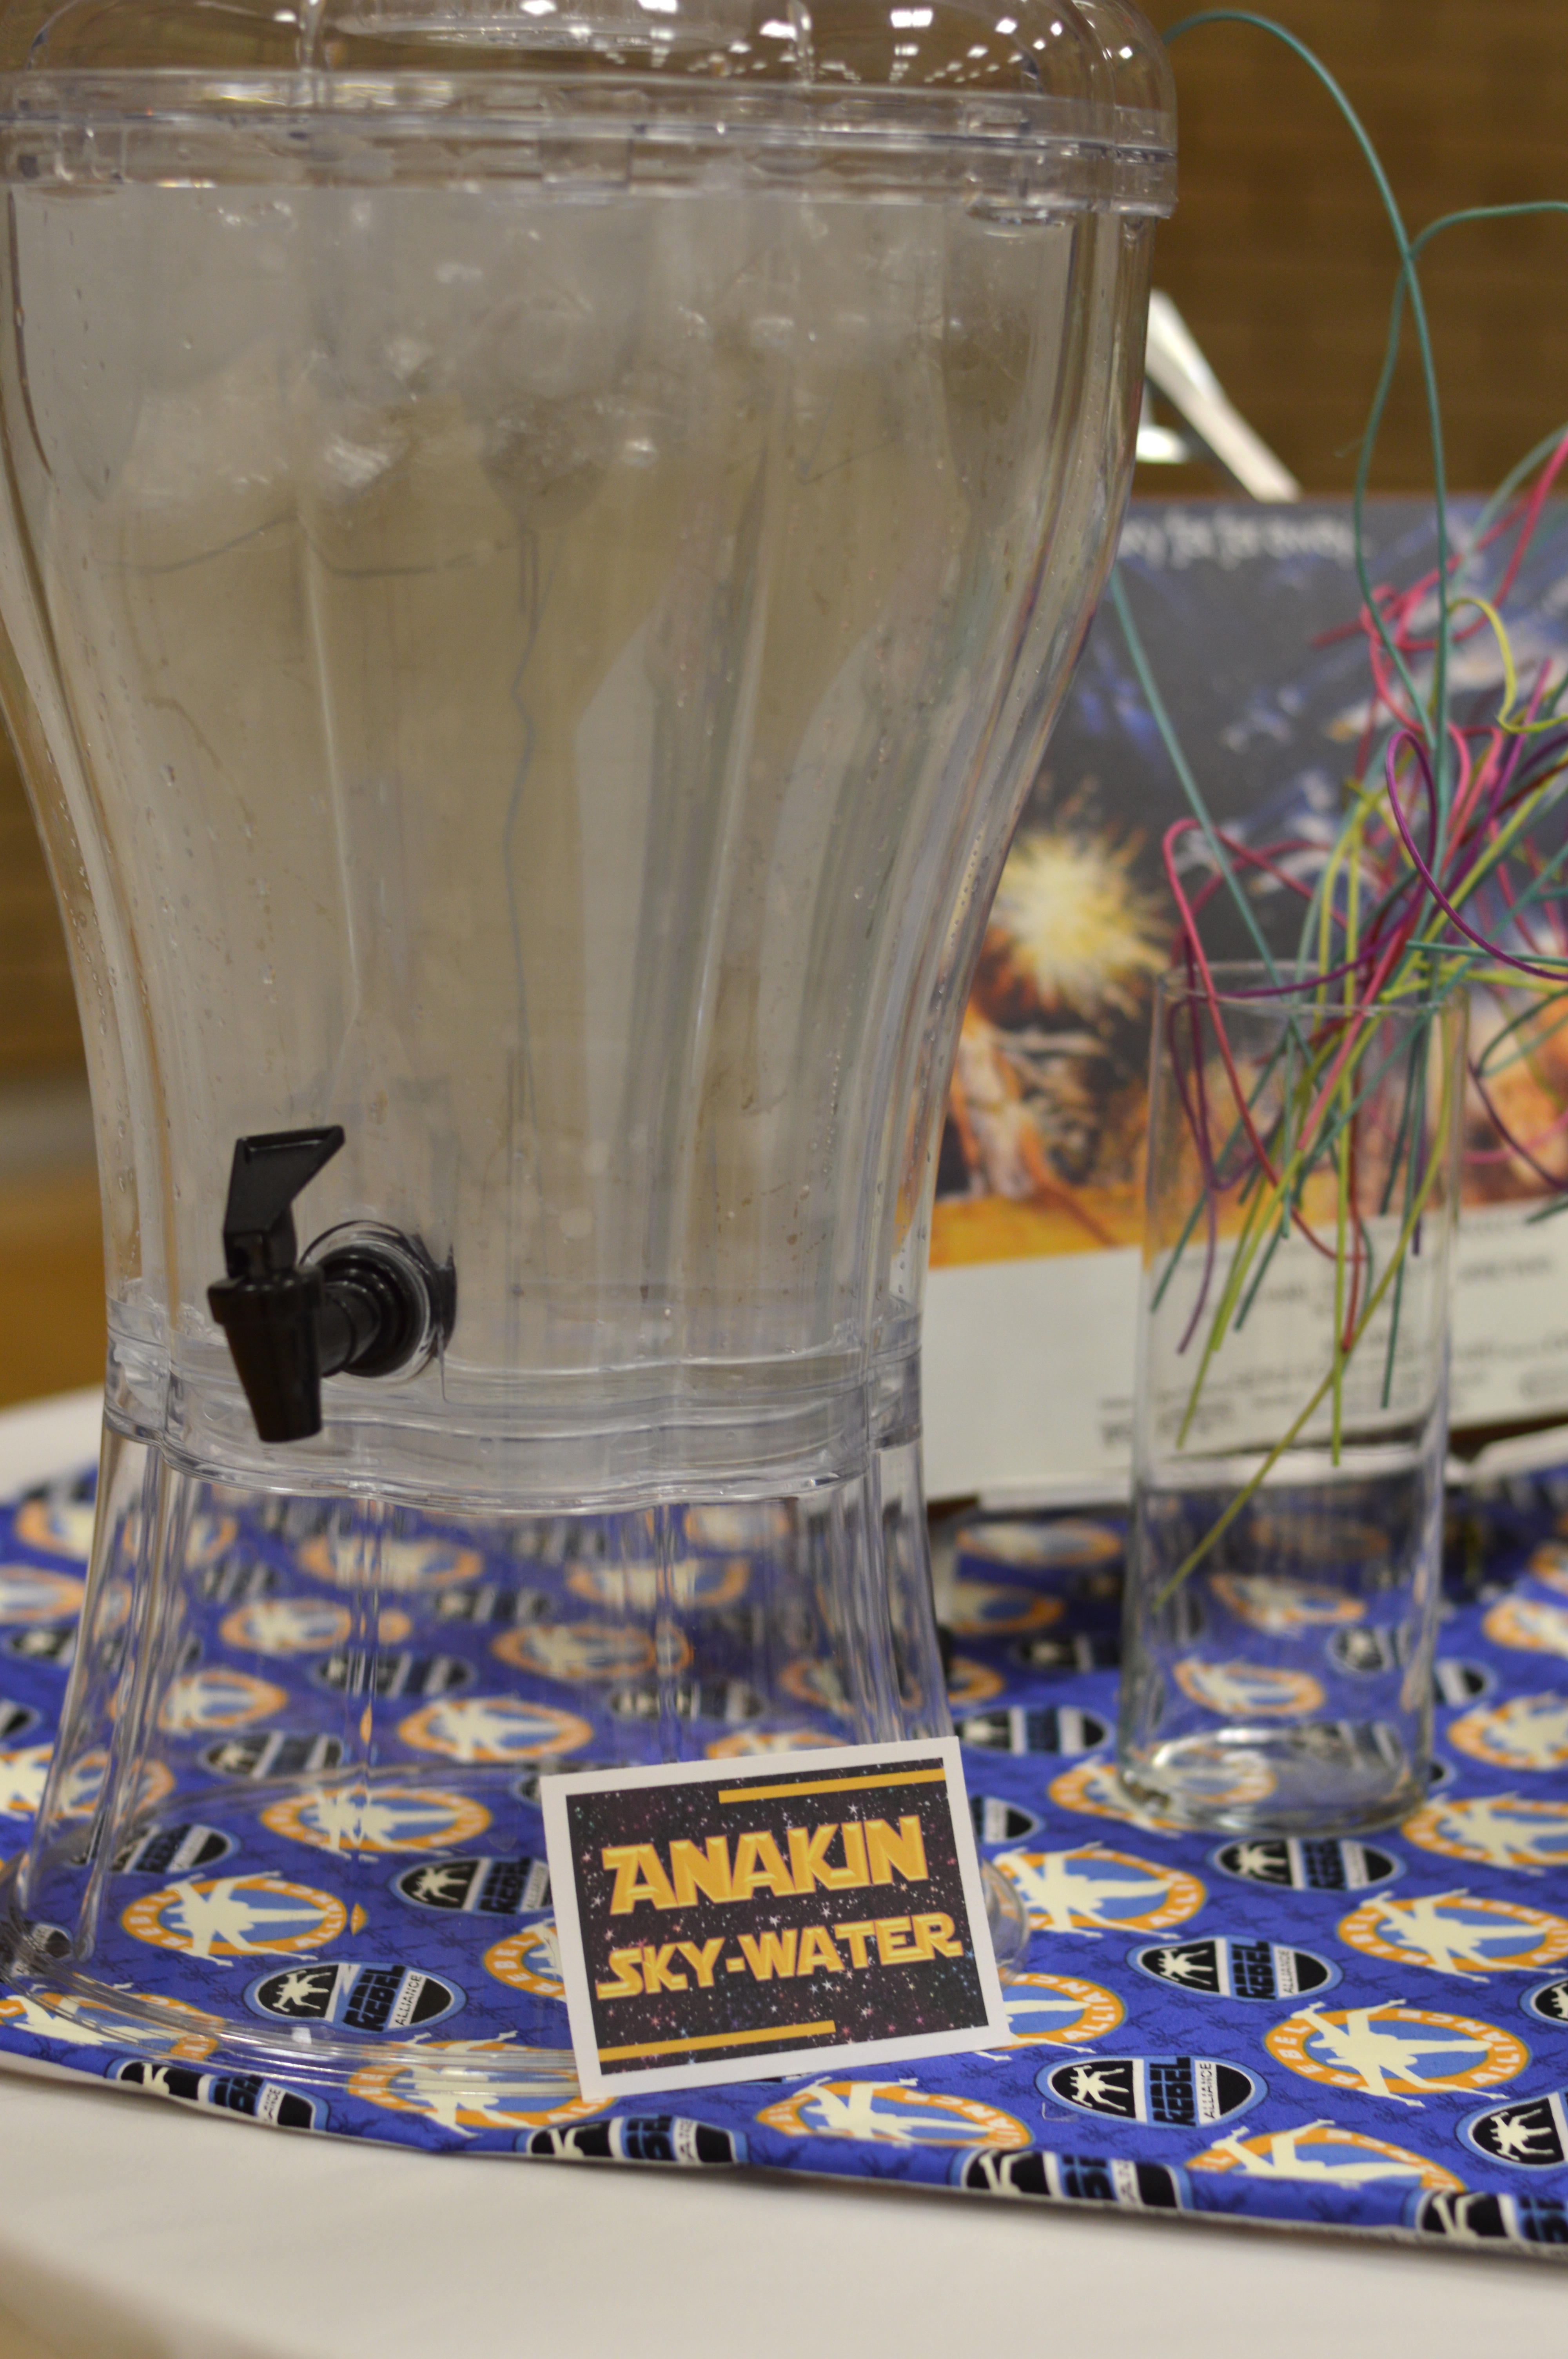
star wars party 14

star wars party 17

We had Star Wars music playing and the Party Rocker was blasting colored lights onto the ceiling.  The kids loved it! star wars party 20       star wars party

Star Wars Quilt

star wars quilt 4My Daughter, Ella, pieced this Star Wars quilt!  We are a total Star Wars Nerd Family!!  This quilt is such a great beginner quilt because it teaches a few “tricks”, it is simple to piece together, and yet it looks a little more complicated than just sewing squares together.  This pattern is the same pattern I used for my Luckie Girl Quilt.  Click HERE to download it.

luckie girl quilt pattern

This is such a fun quilt because you can use a variety of theme prints and really show them off.  And it can be sewn in a few hours!!

star wars quilt 3I had my quilter quilt “retro” inspired shapes and stars.  It’s my favorite quilting yet!star wars quilt 2

star wars quiltWe put cuddly orange minky on the back and it’s the perfect quilt for watching all 6 episodes of Star Wars with!!!star wars quilt 6