Season To Taste Blog Tour

I am so thrilled that Jessica Dayon asked me to be part of her blog tour for her brand new book Season to Taste! Jessica is a talented quilt designer – make sure to follow her on Instagram @jessicadayon.

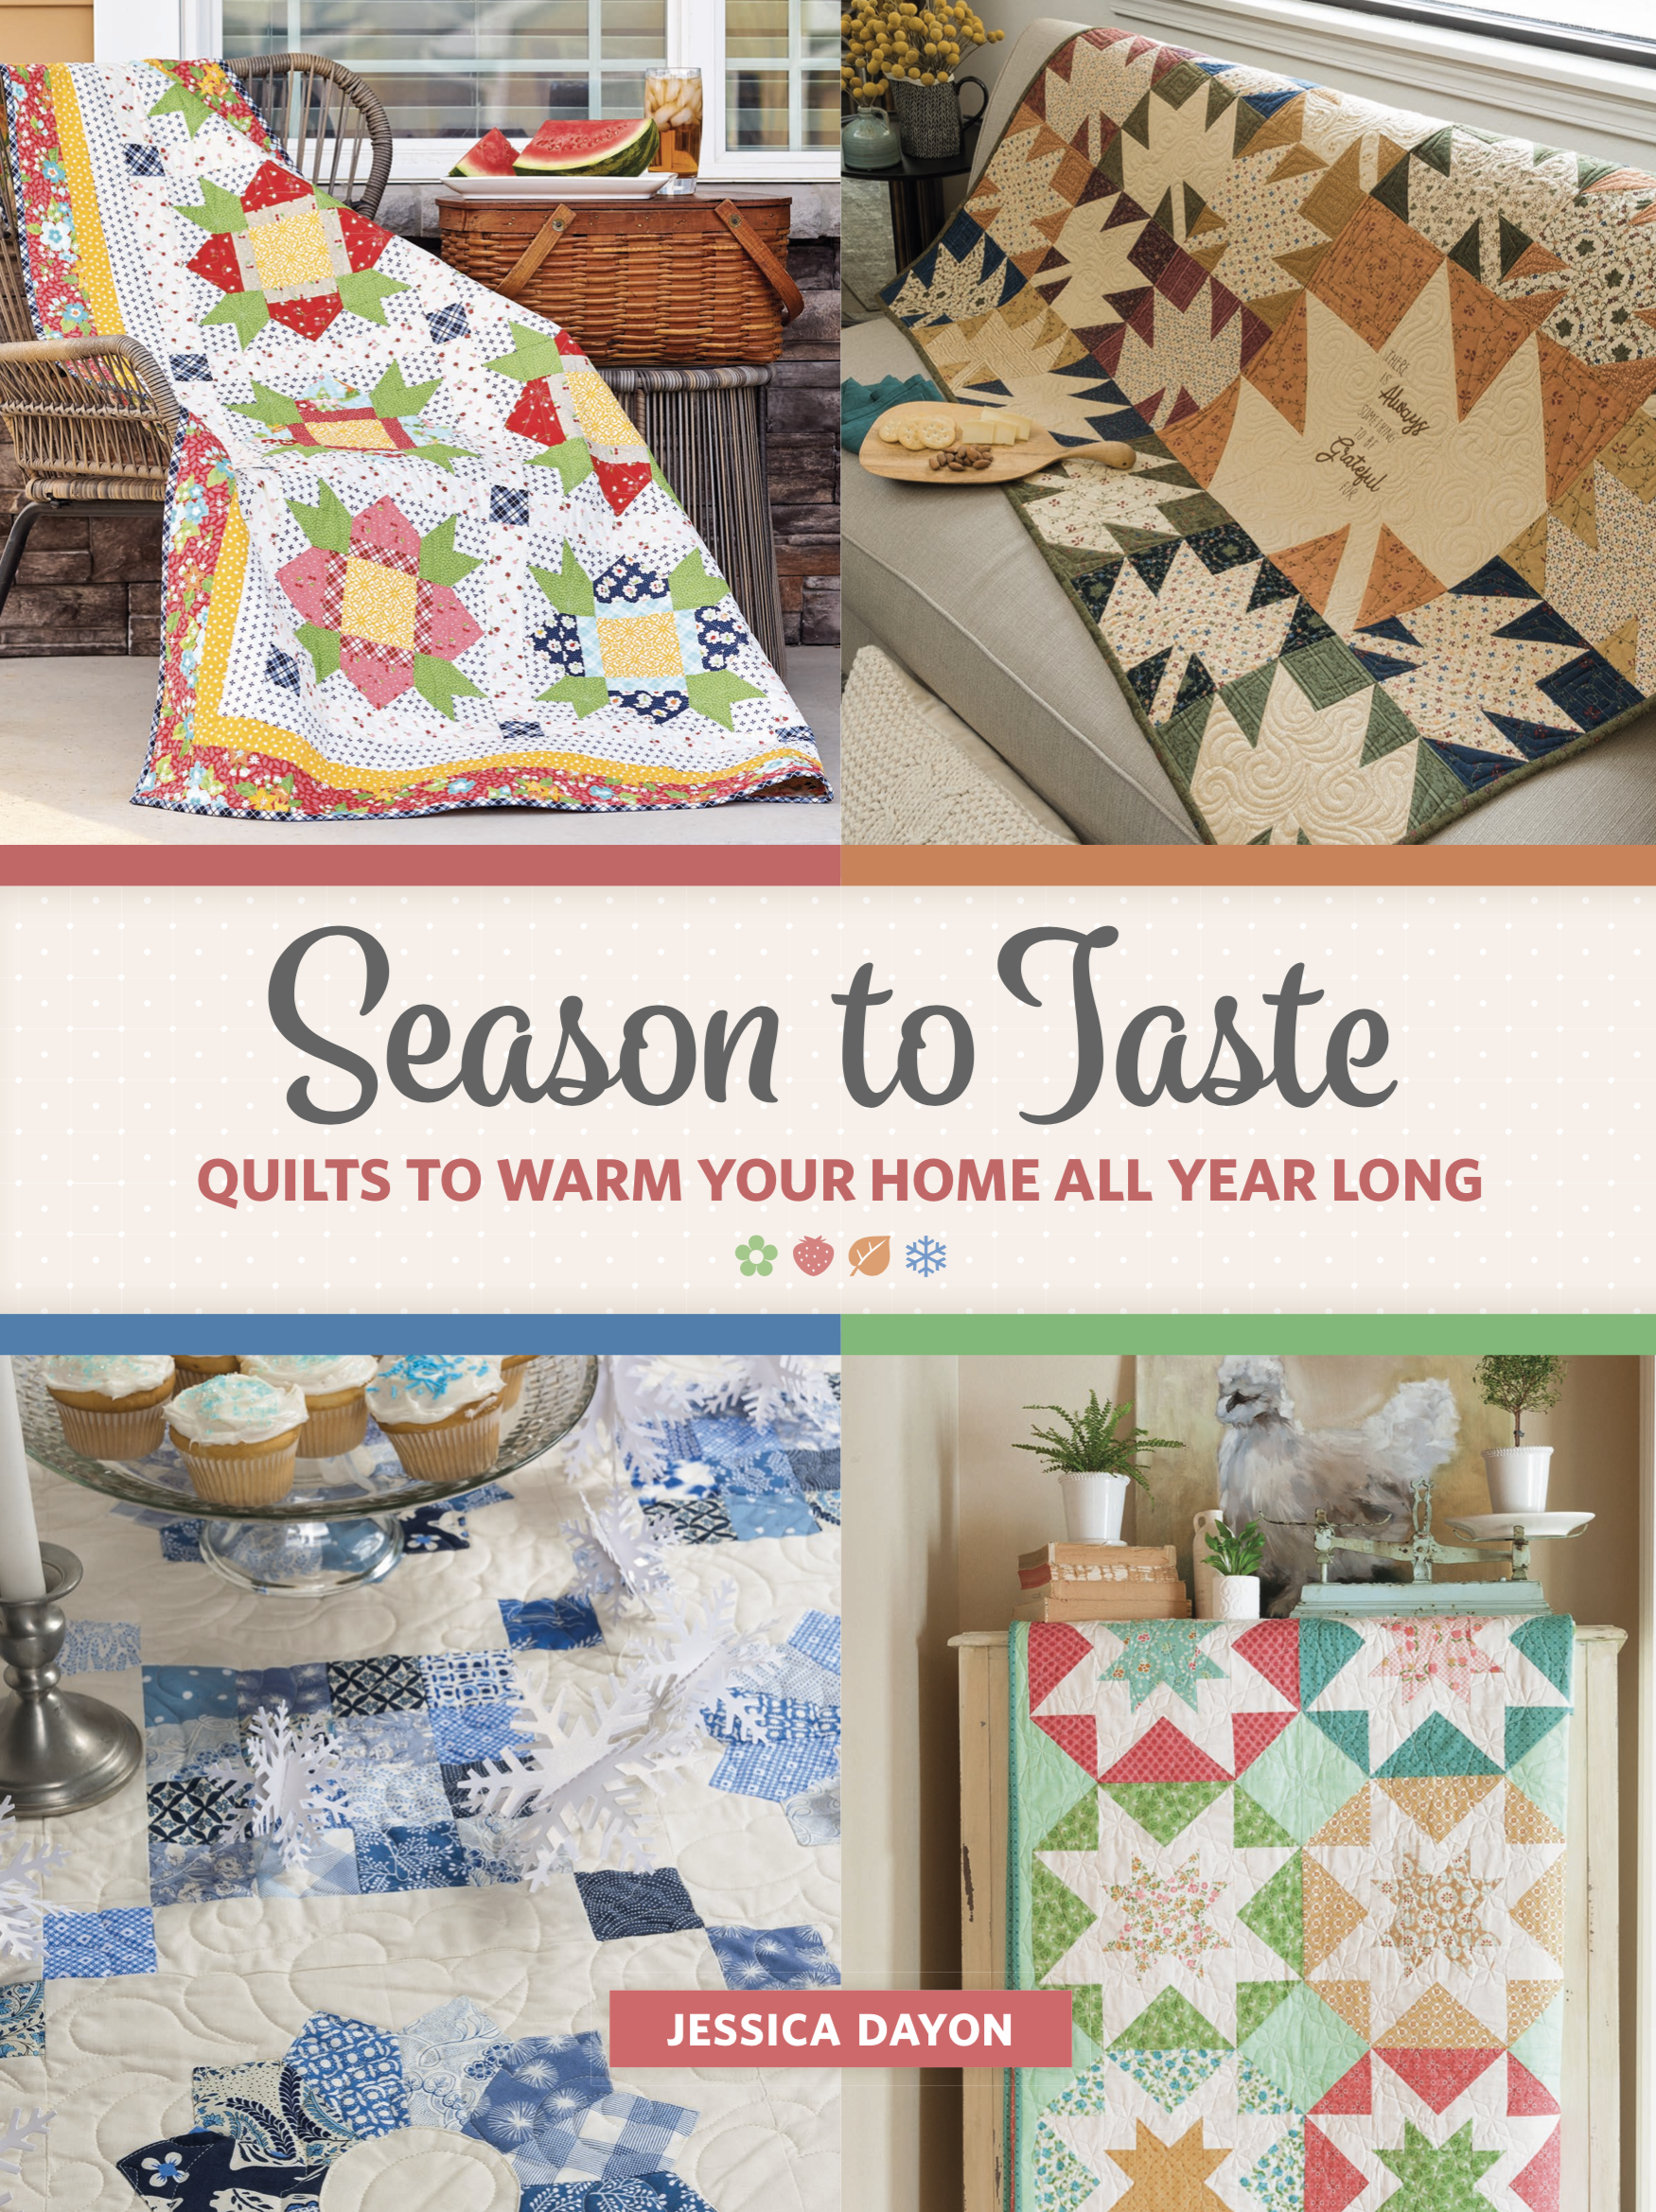
Her book is so lovely! The quilts are made according to each season which I love!

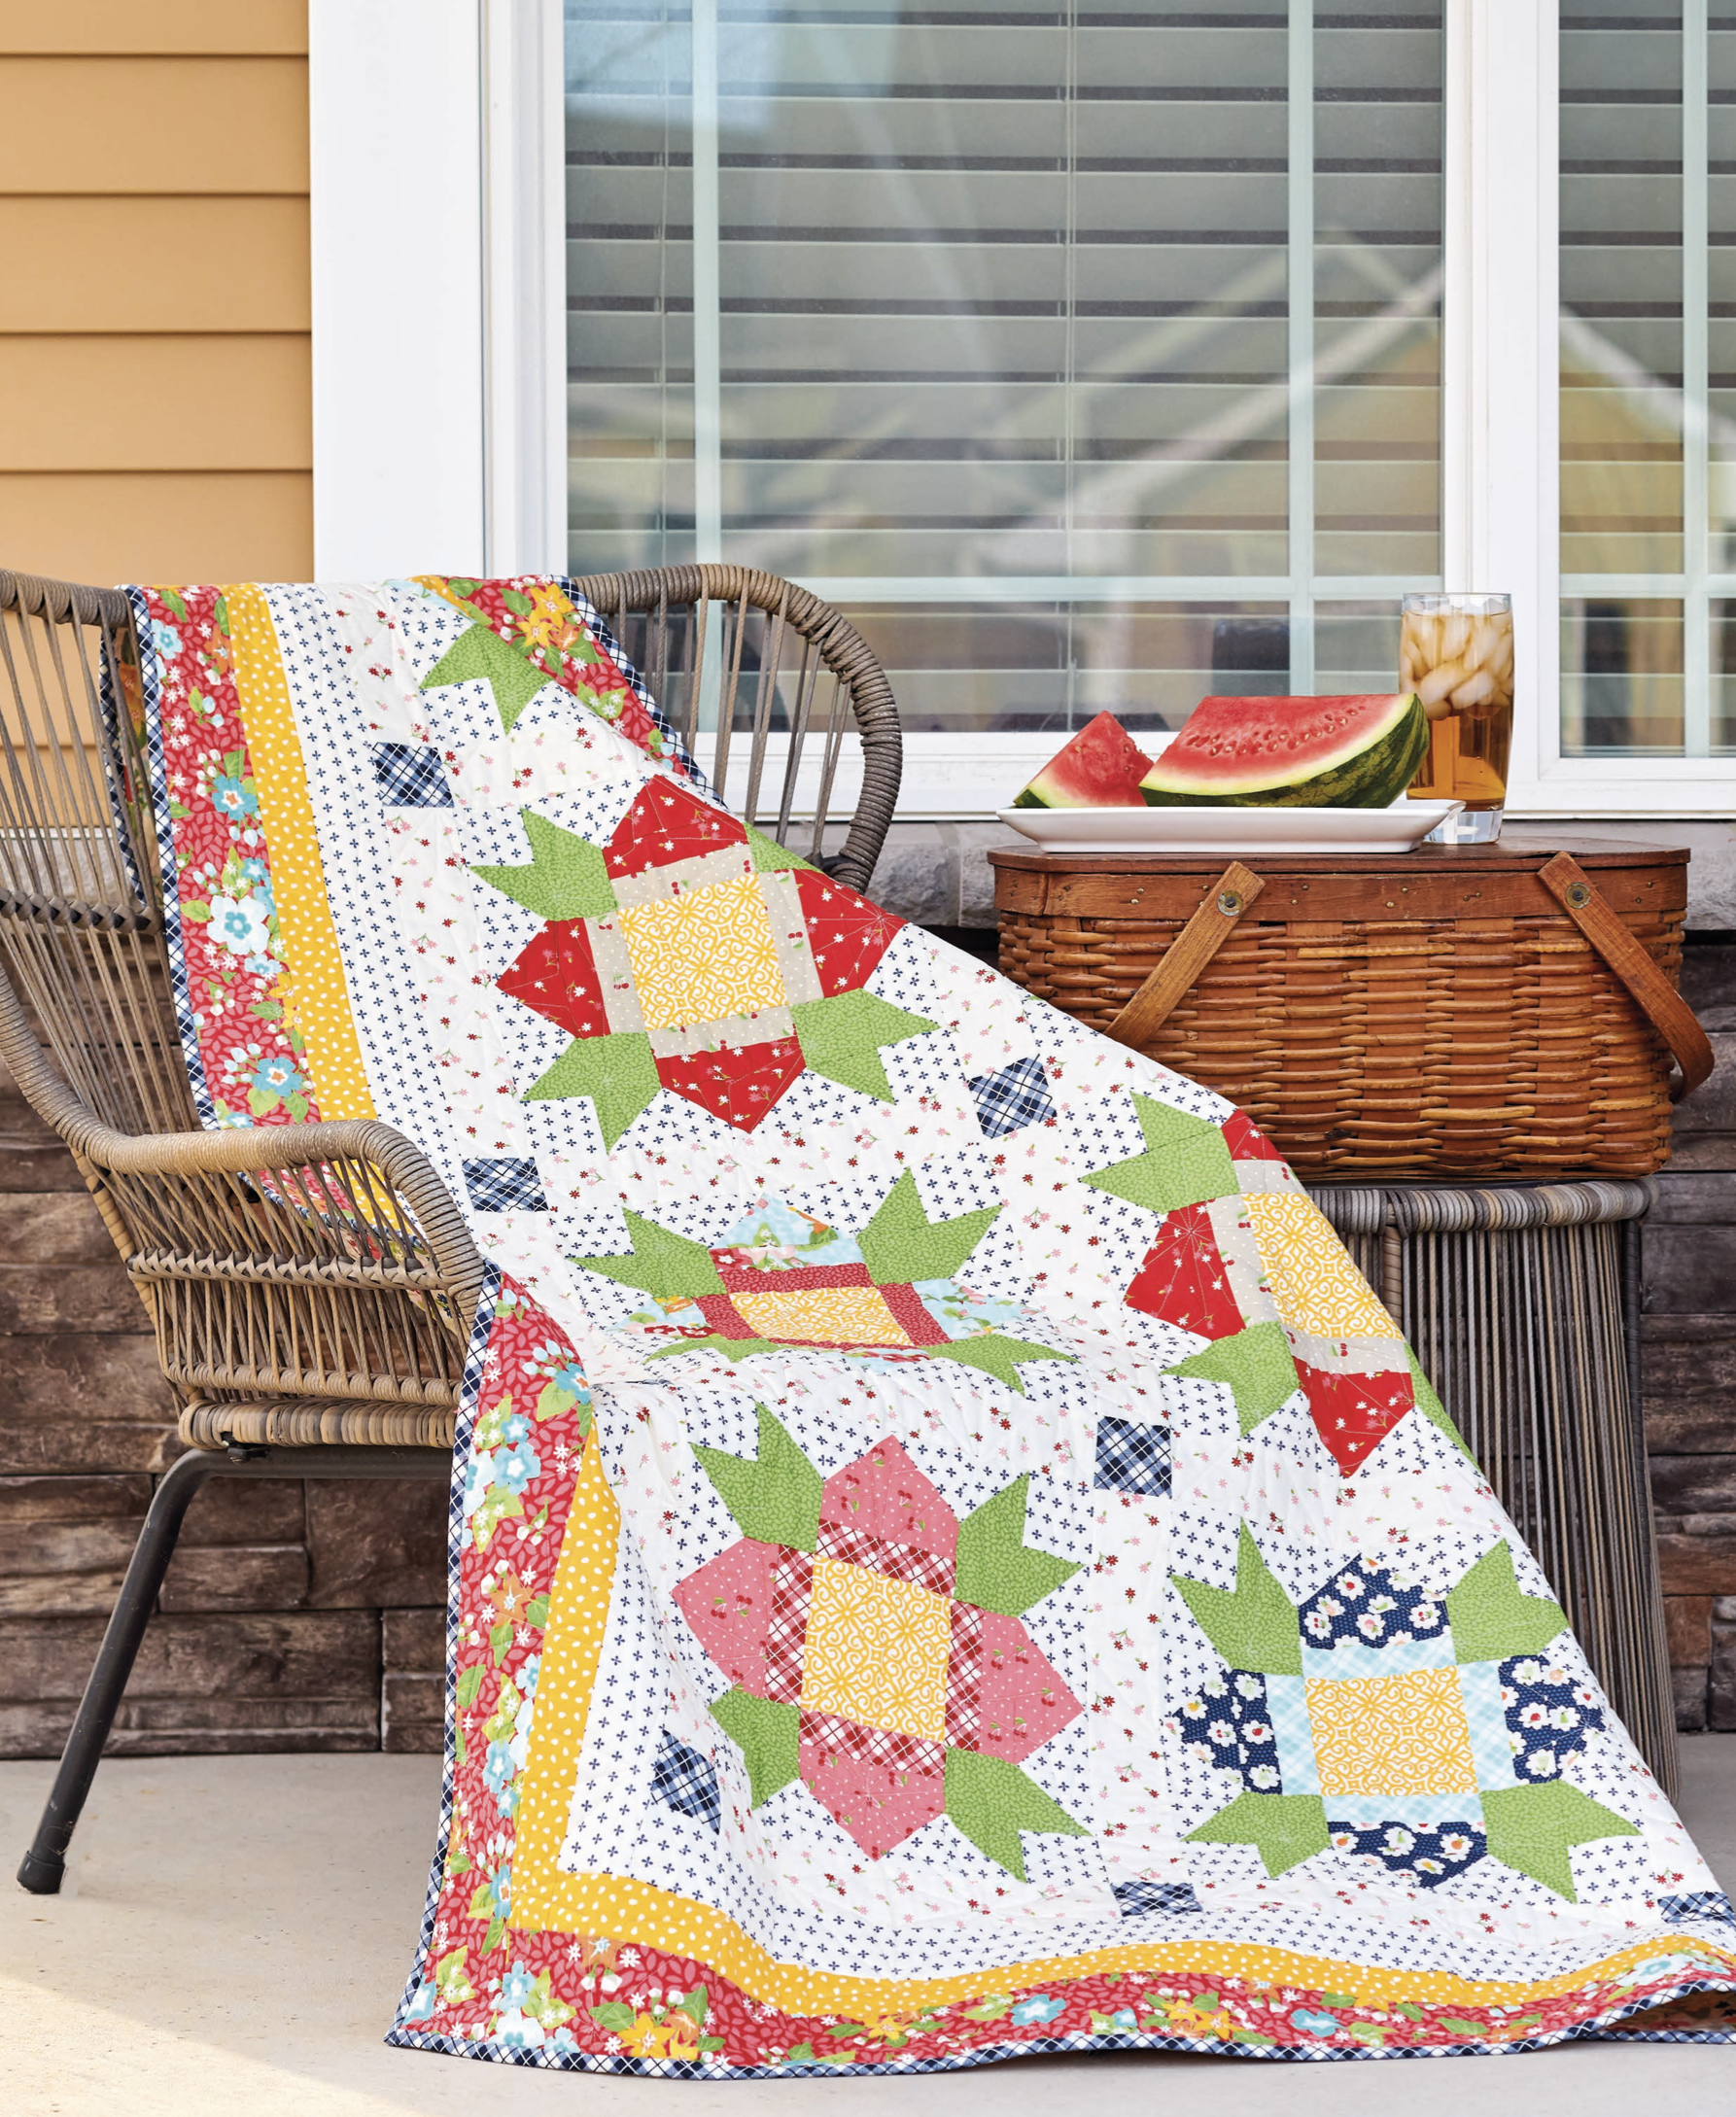
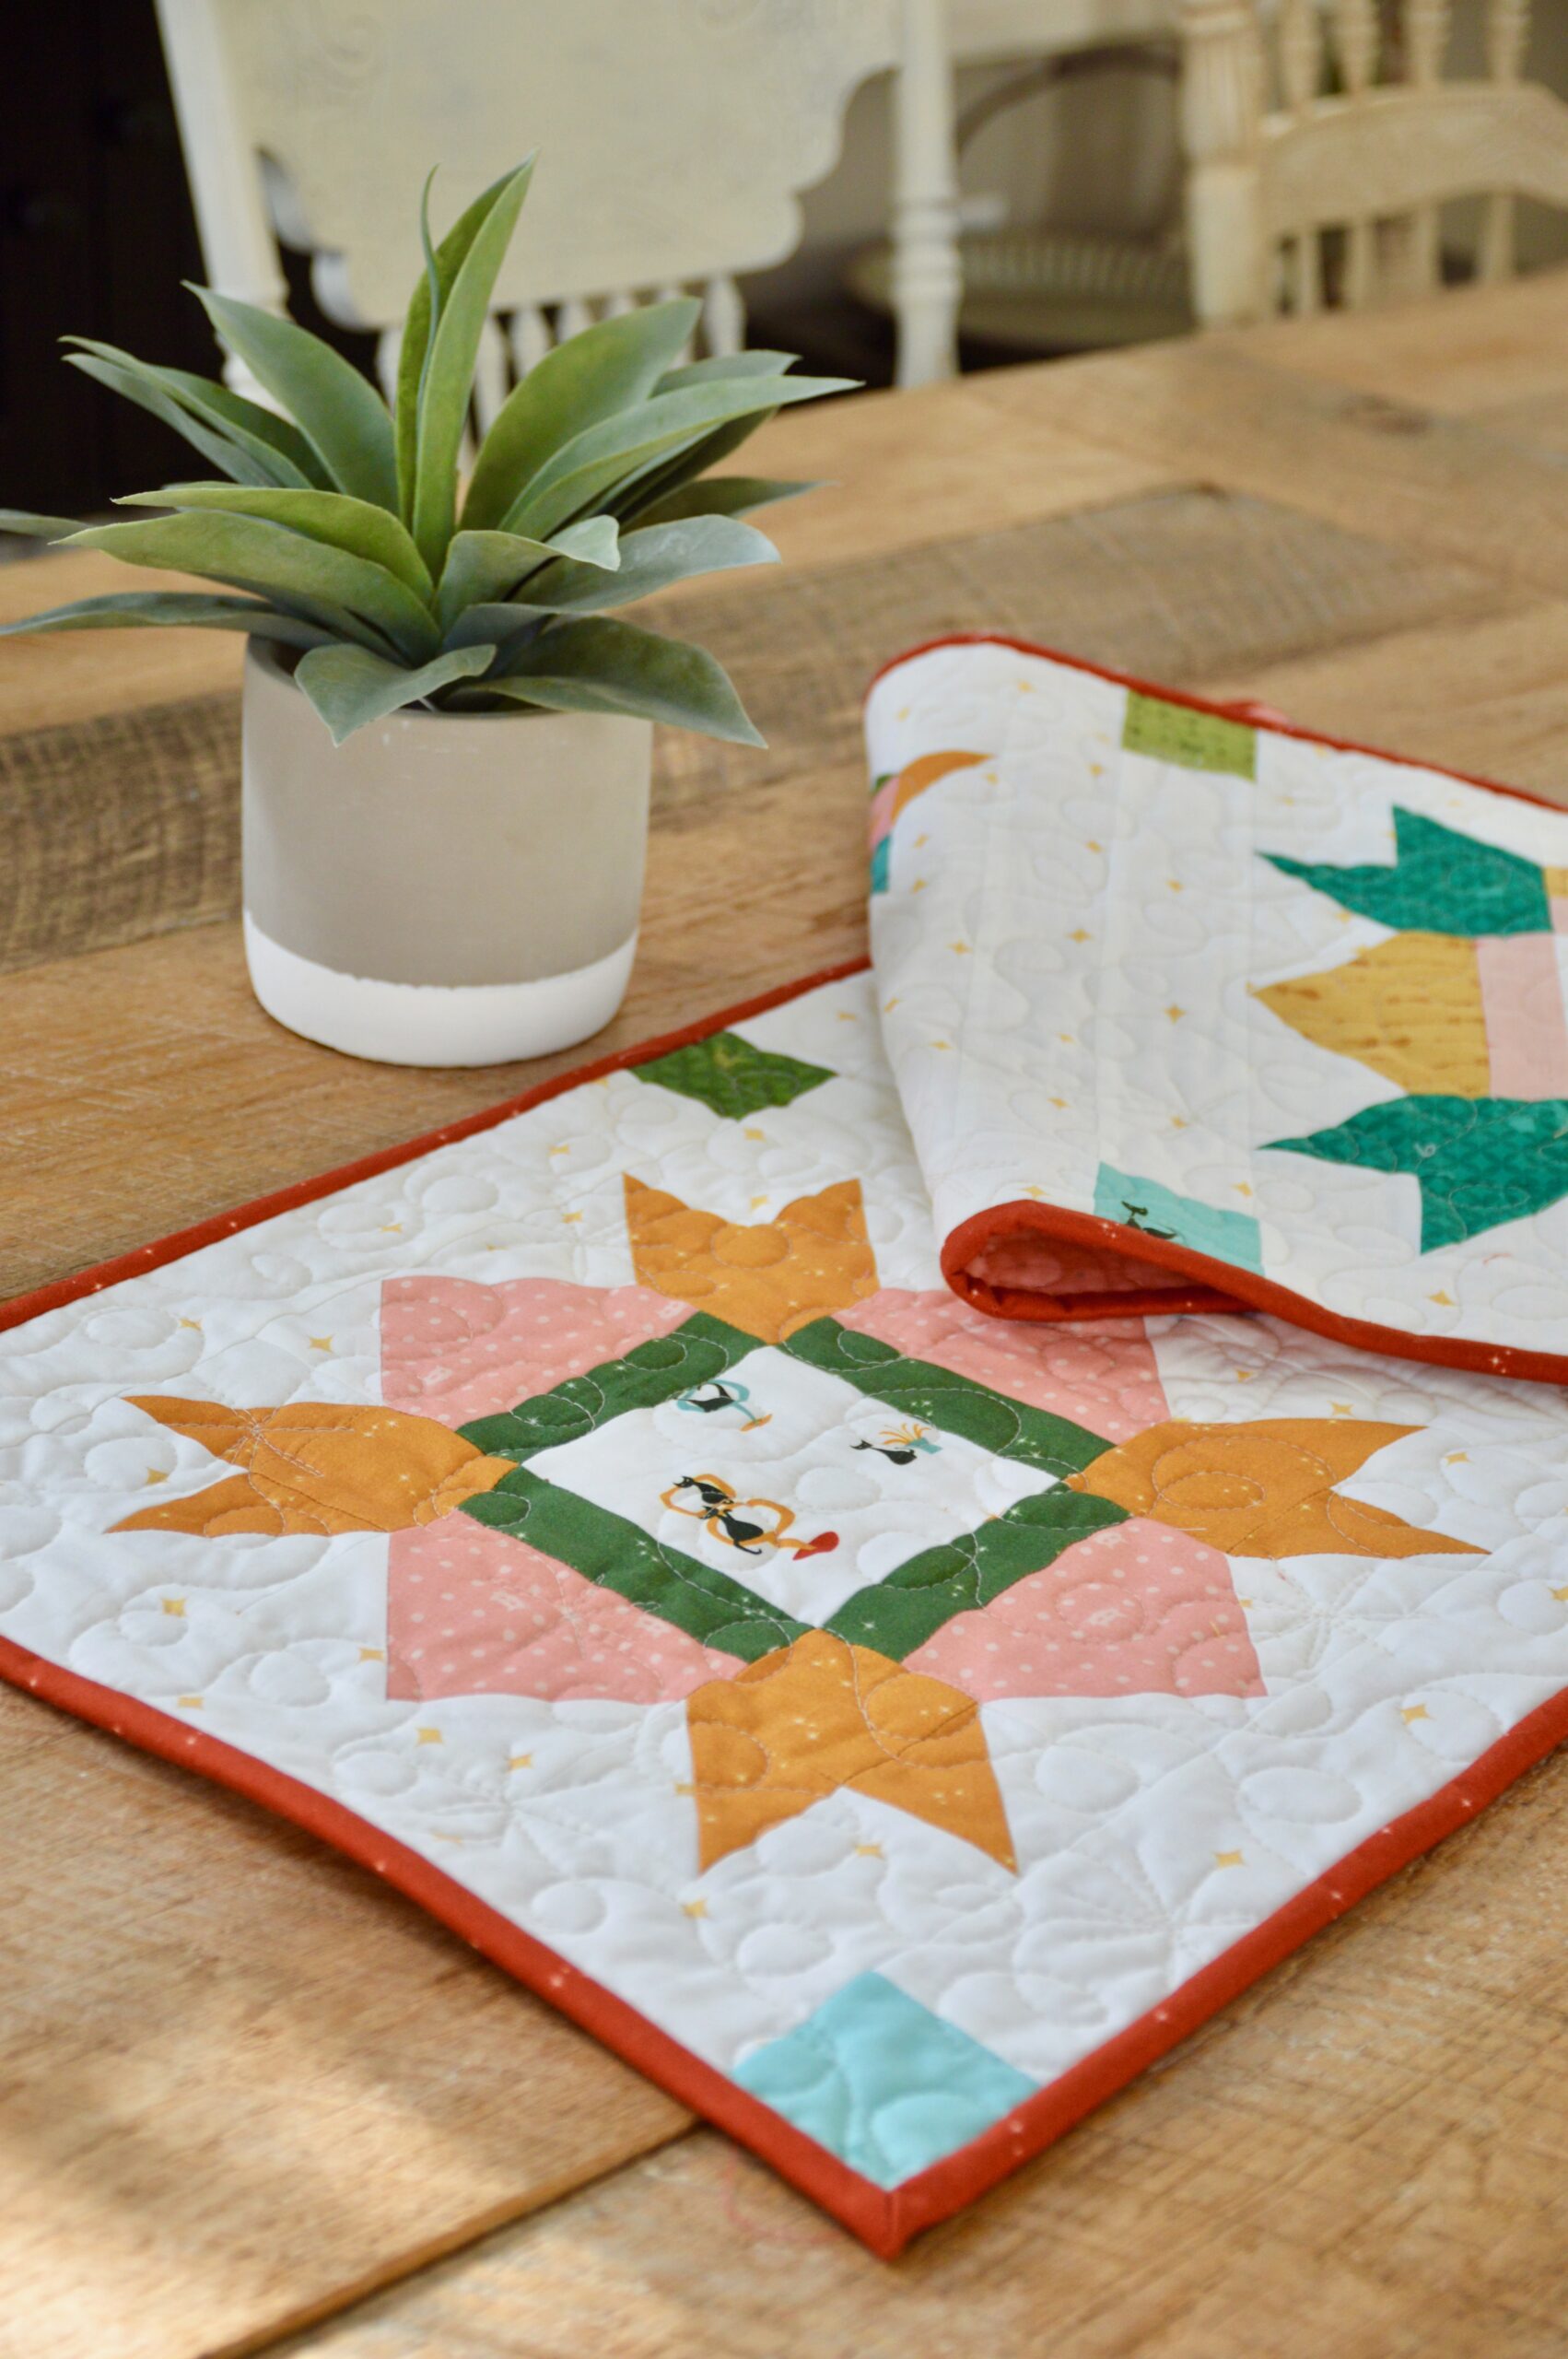
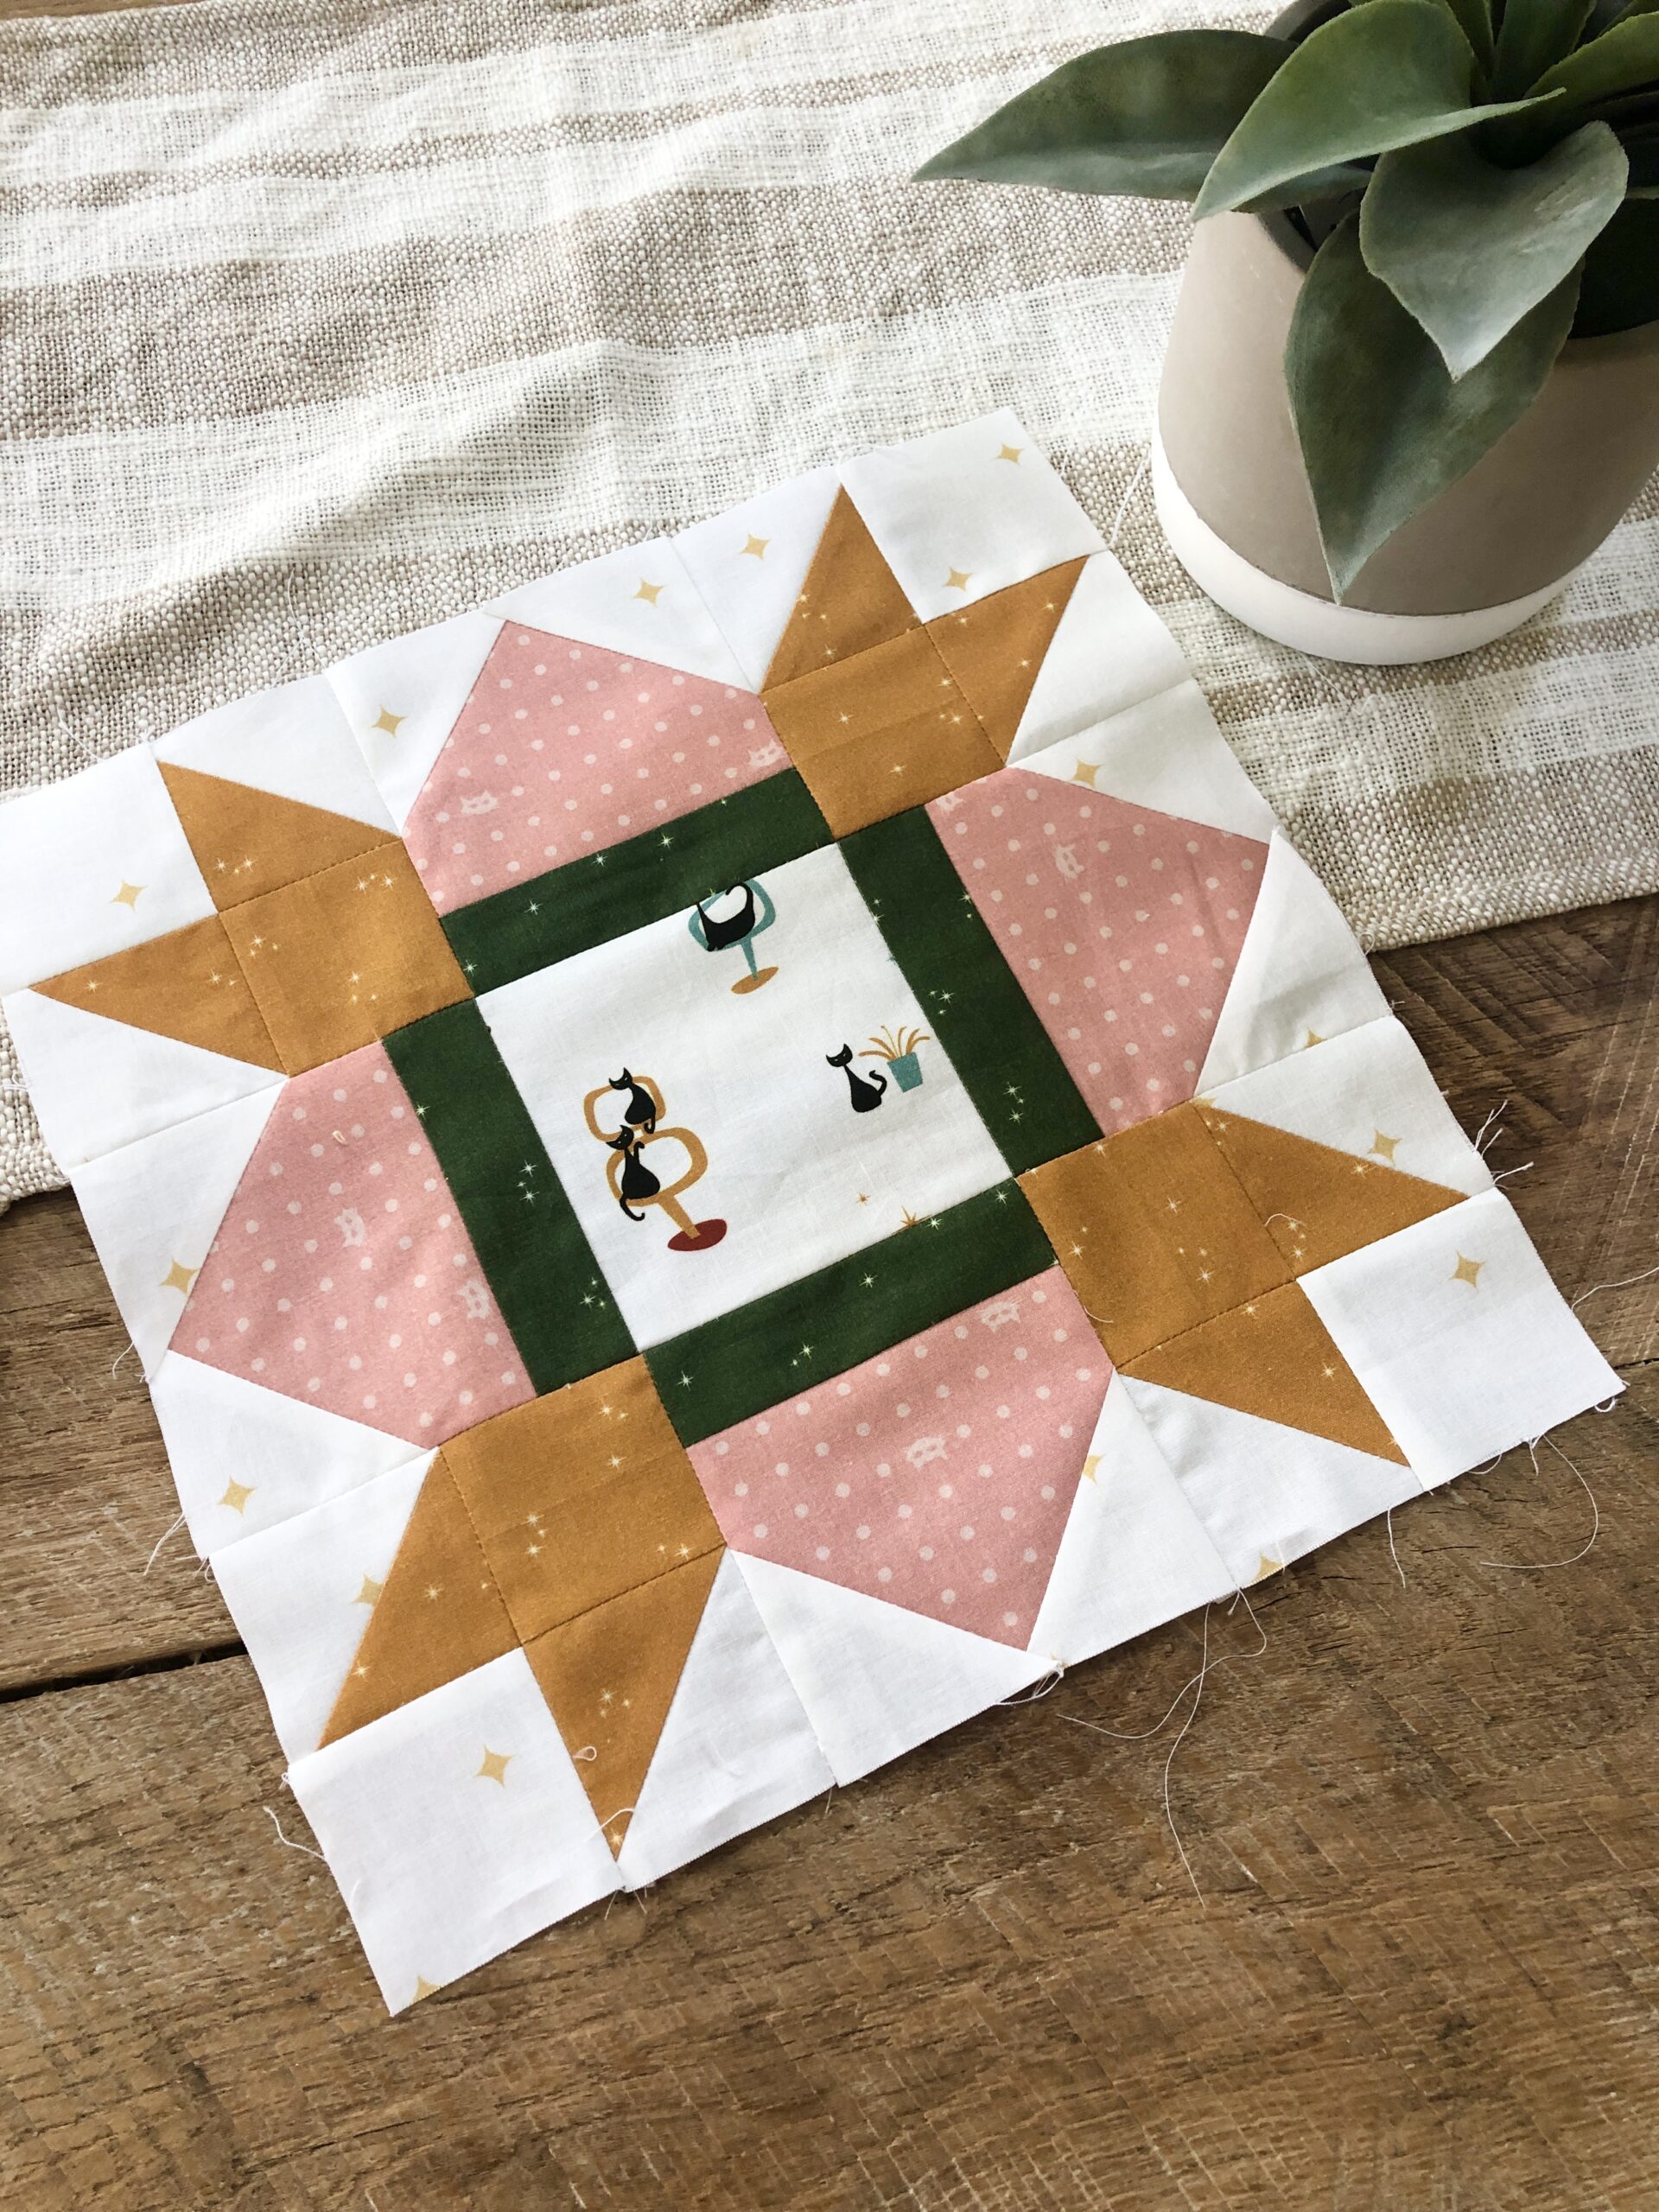
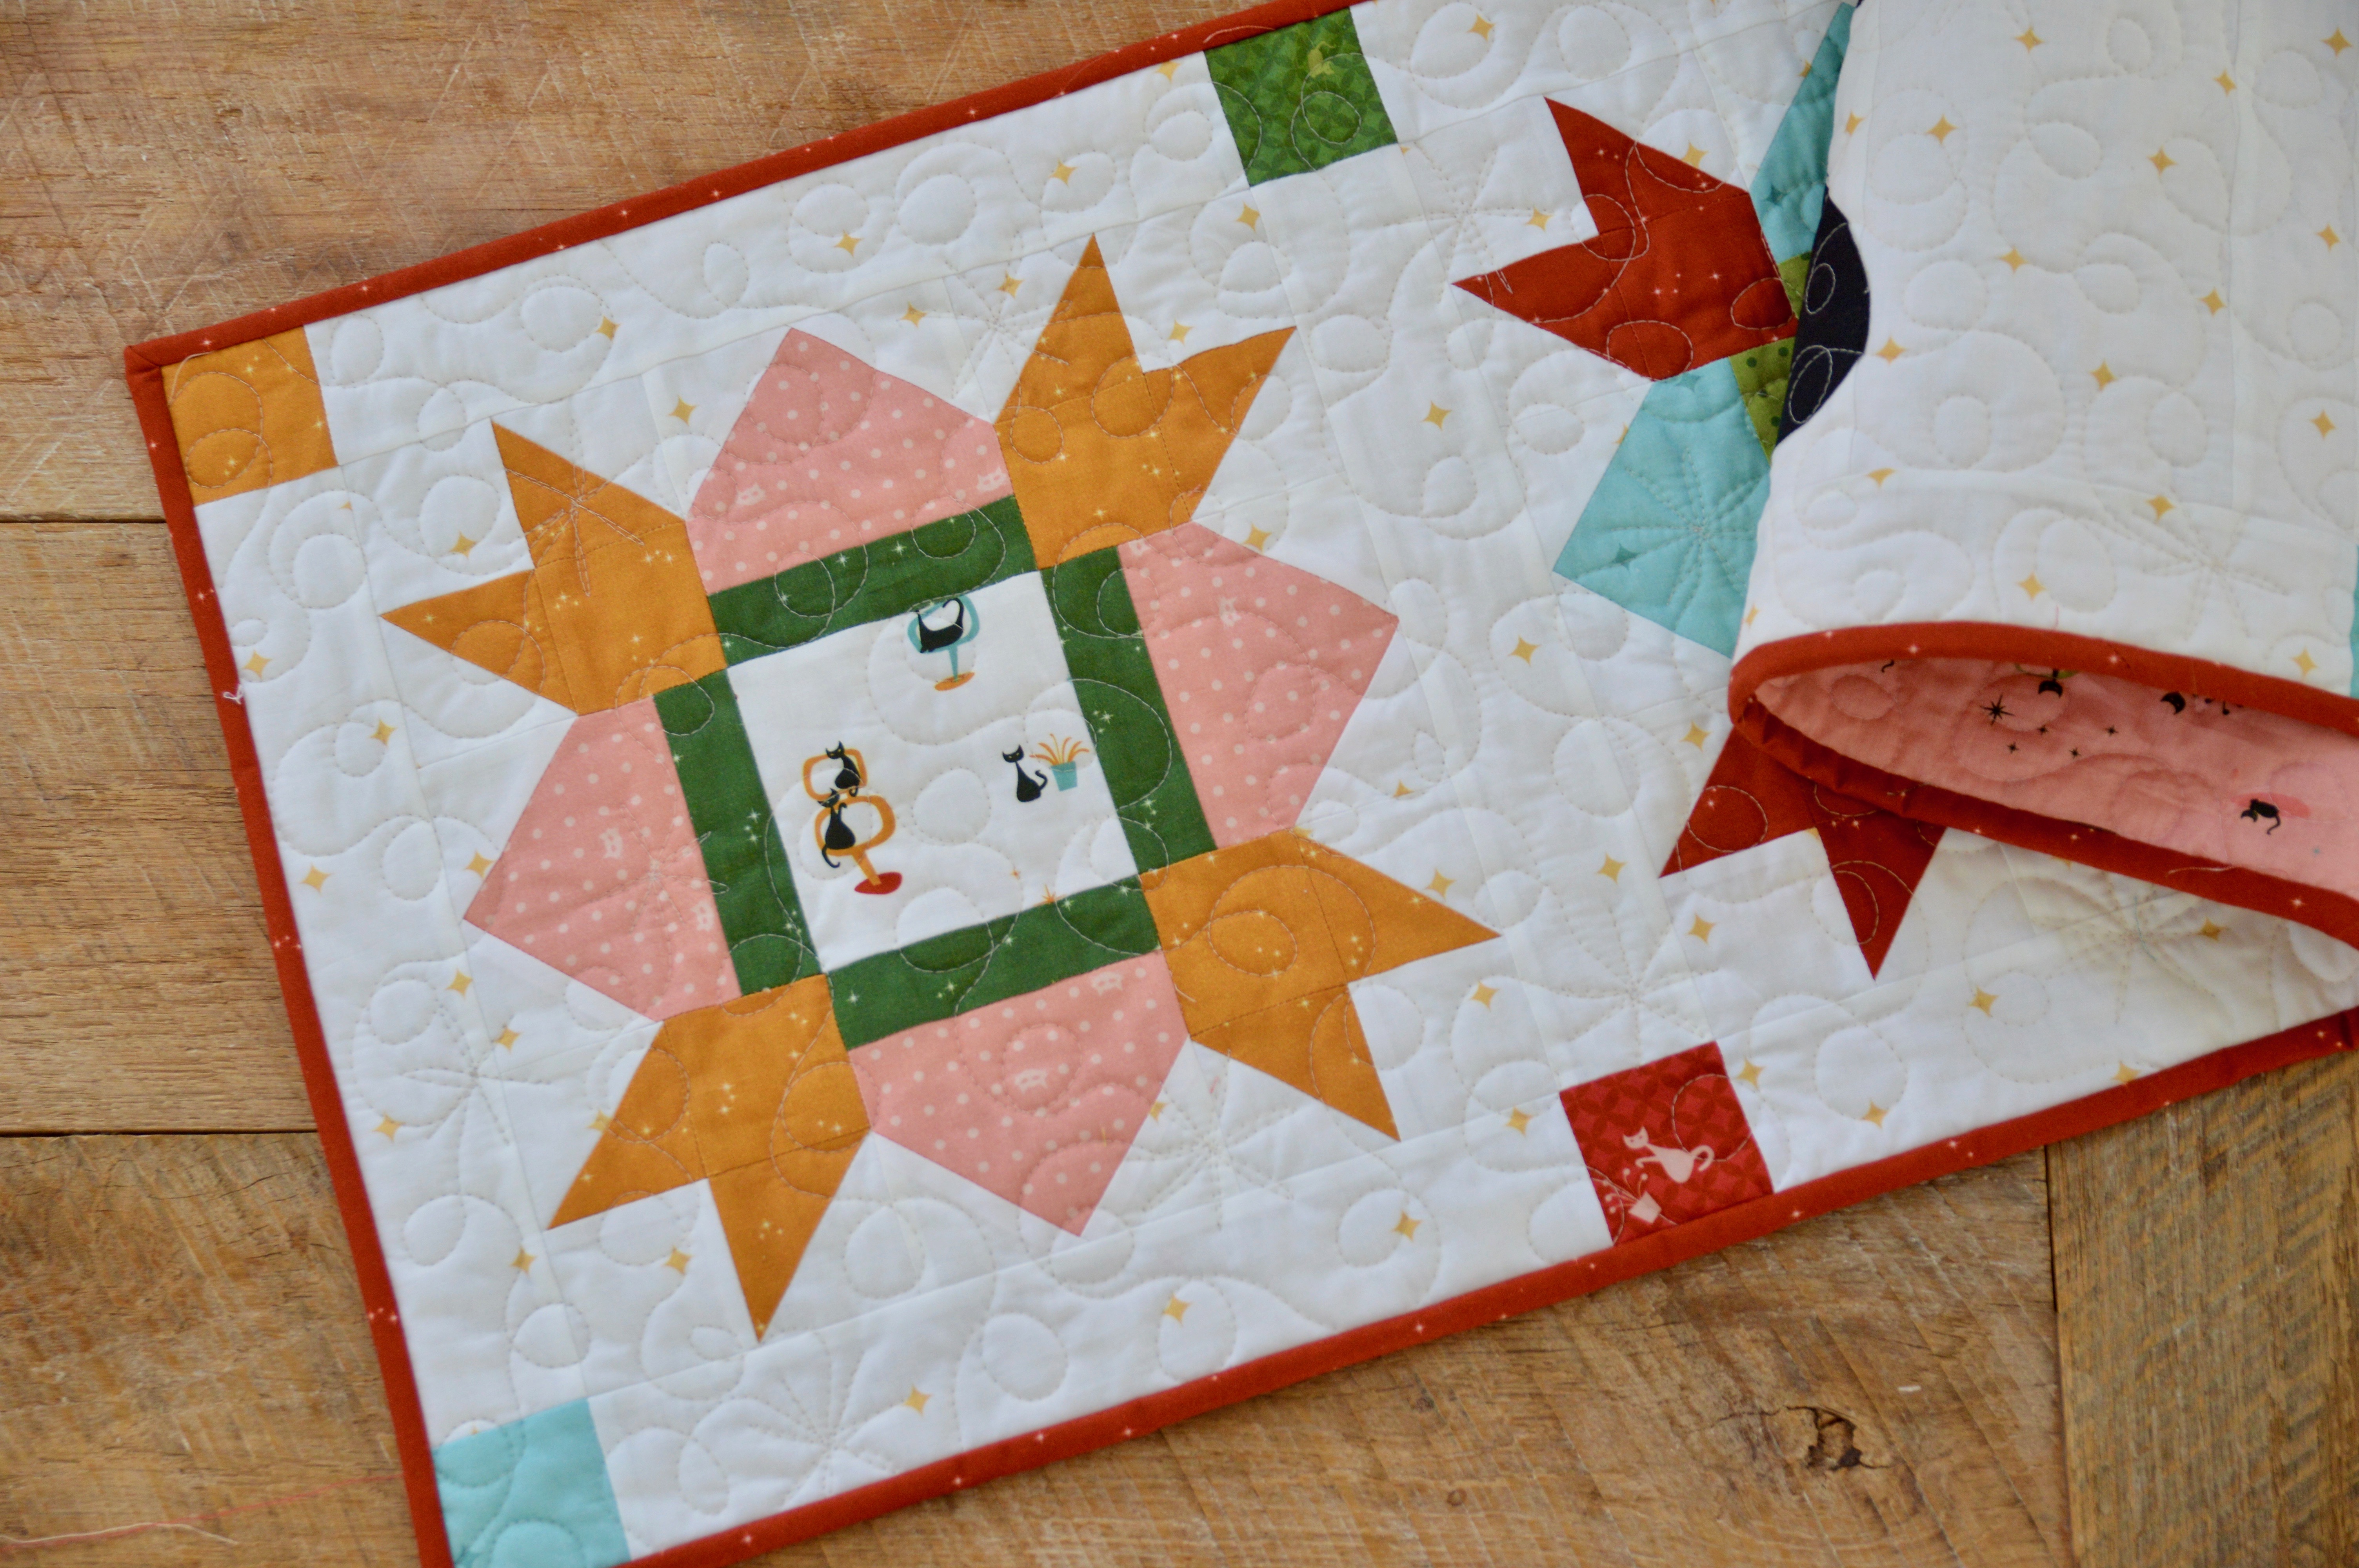
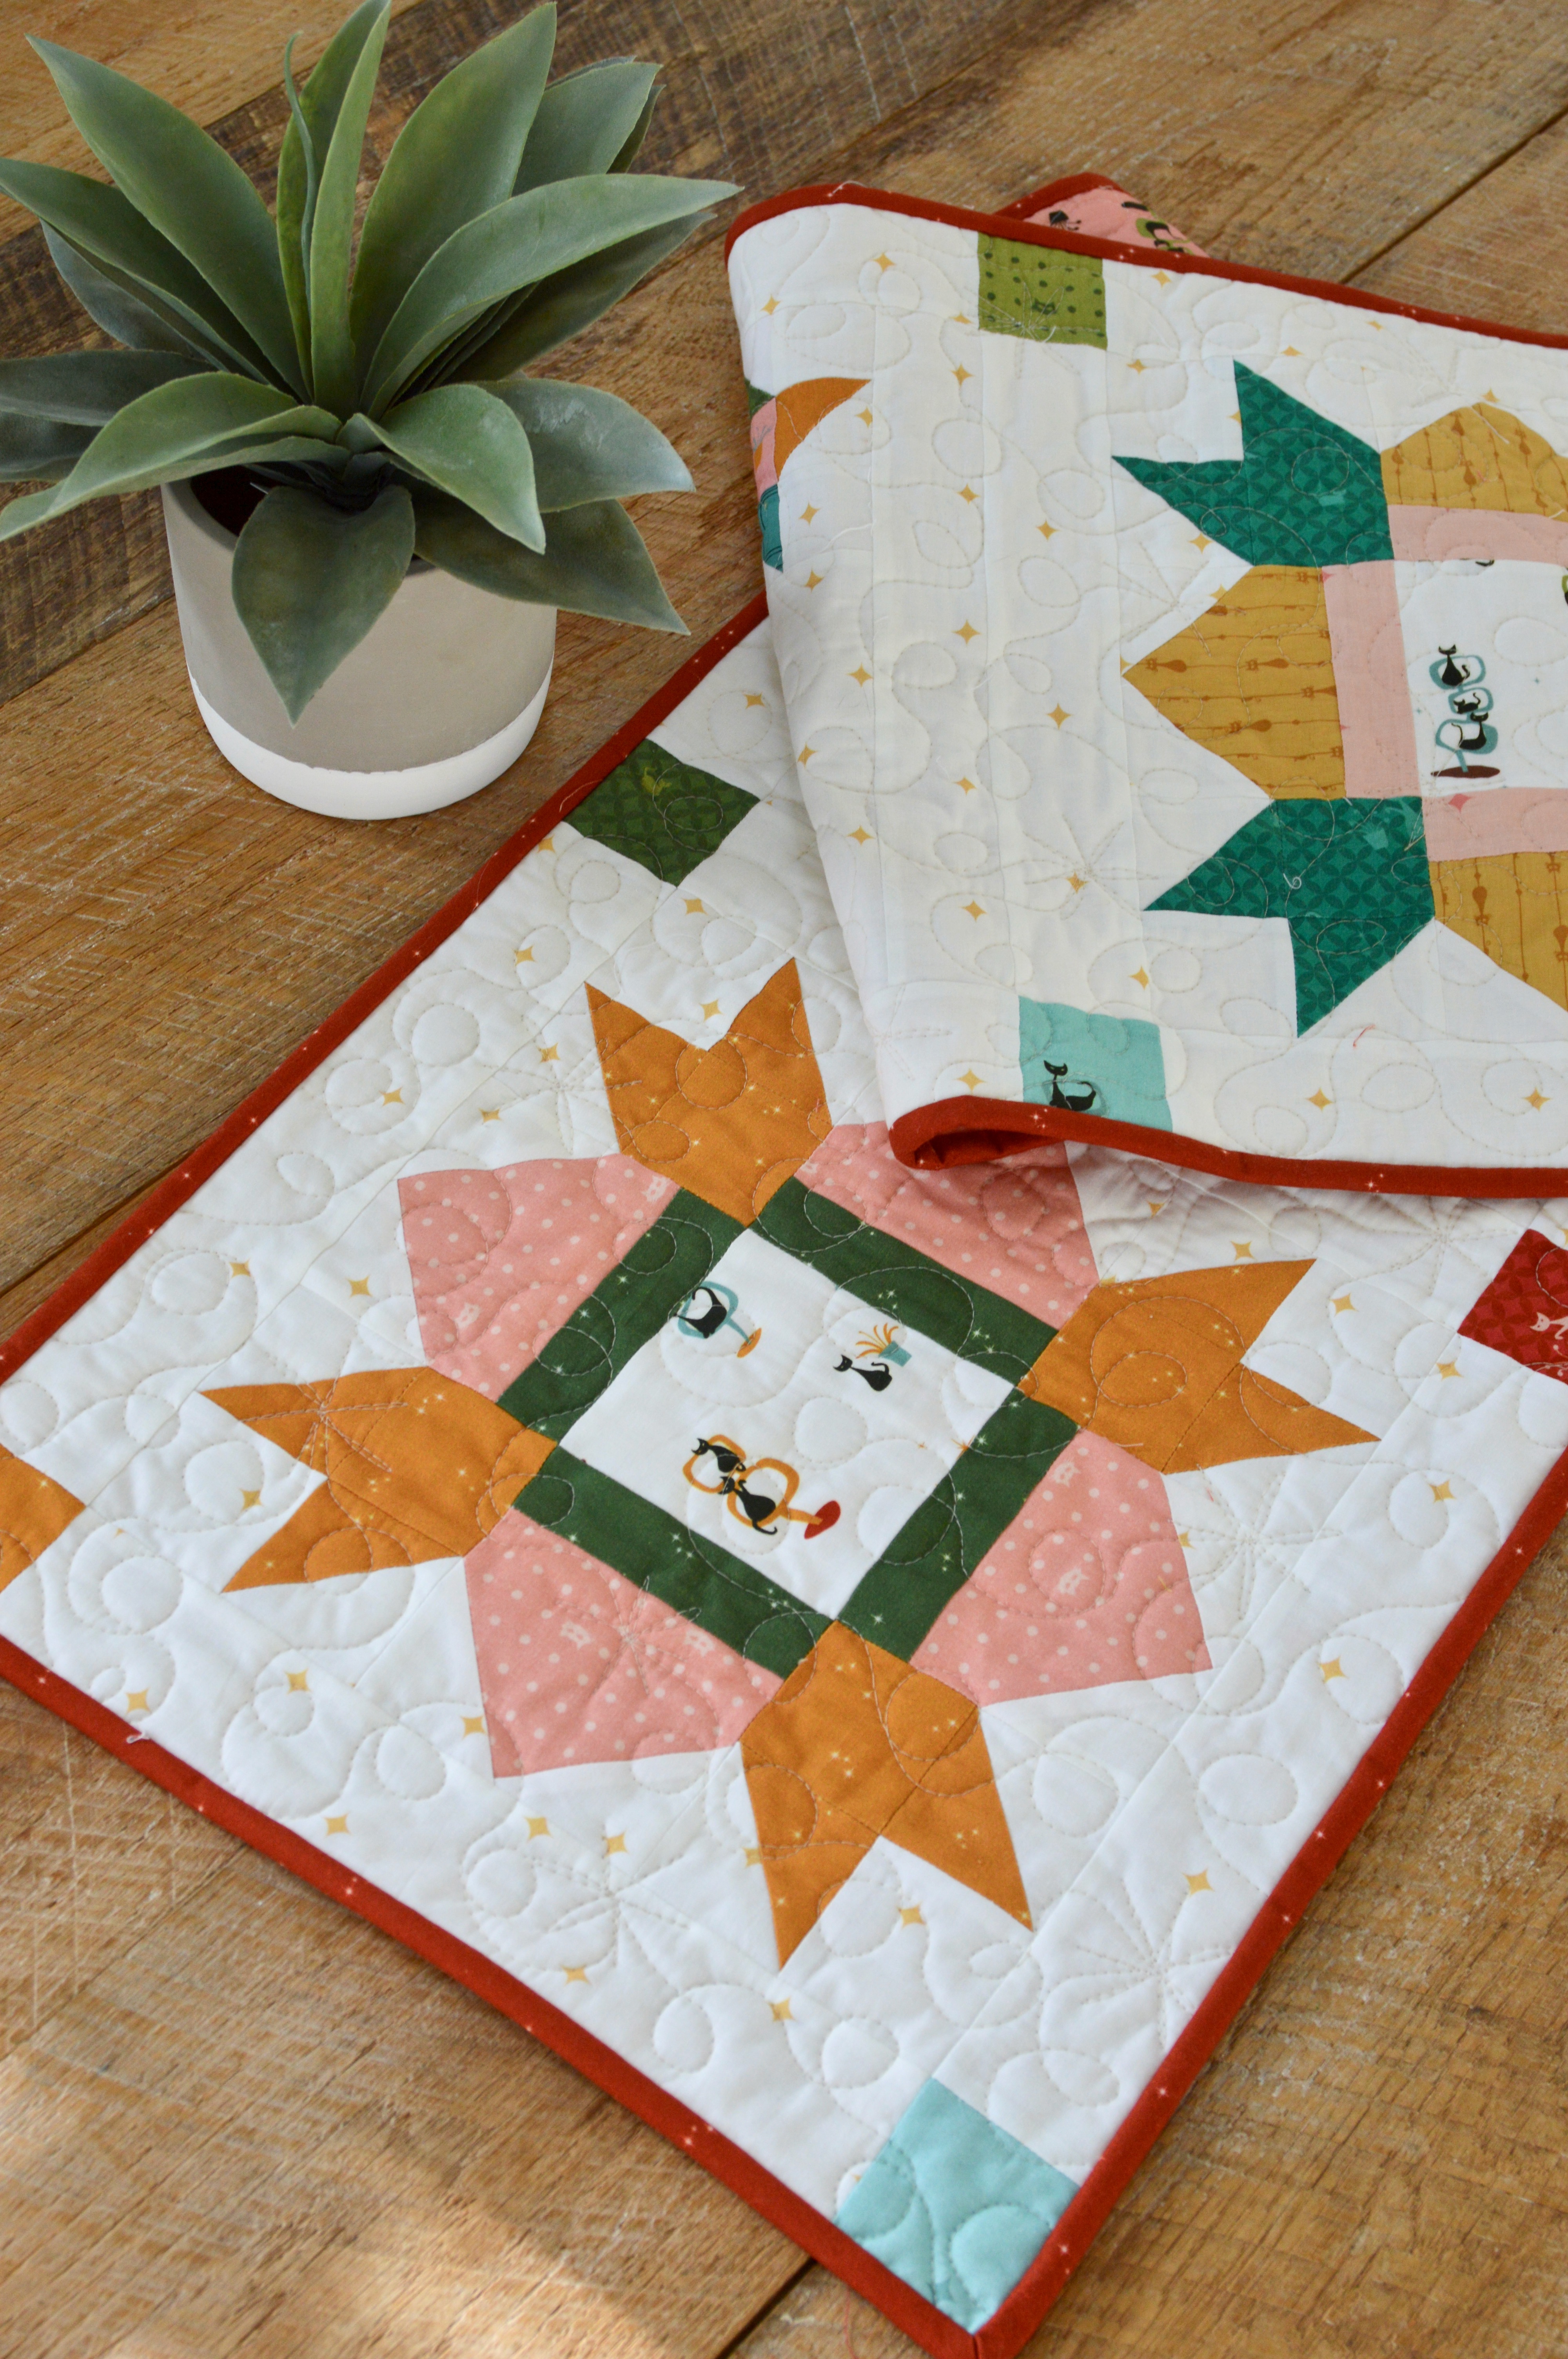
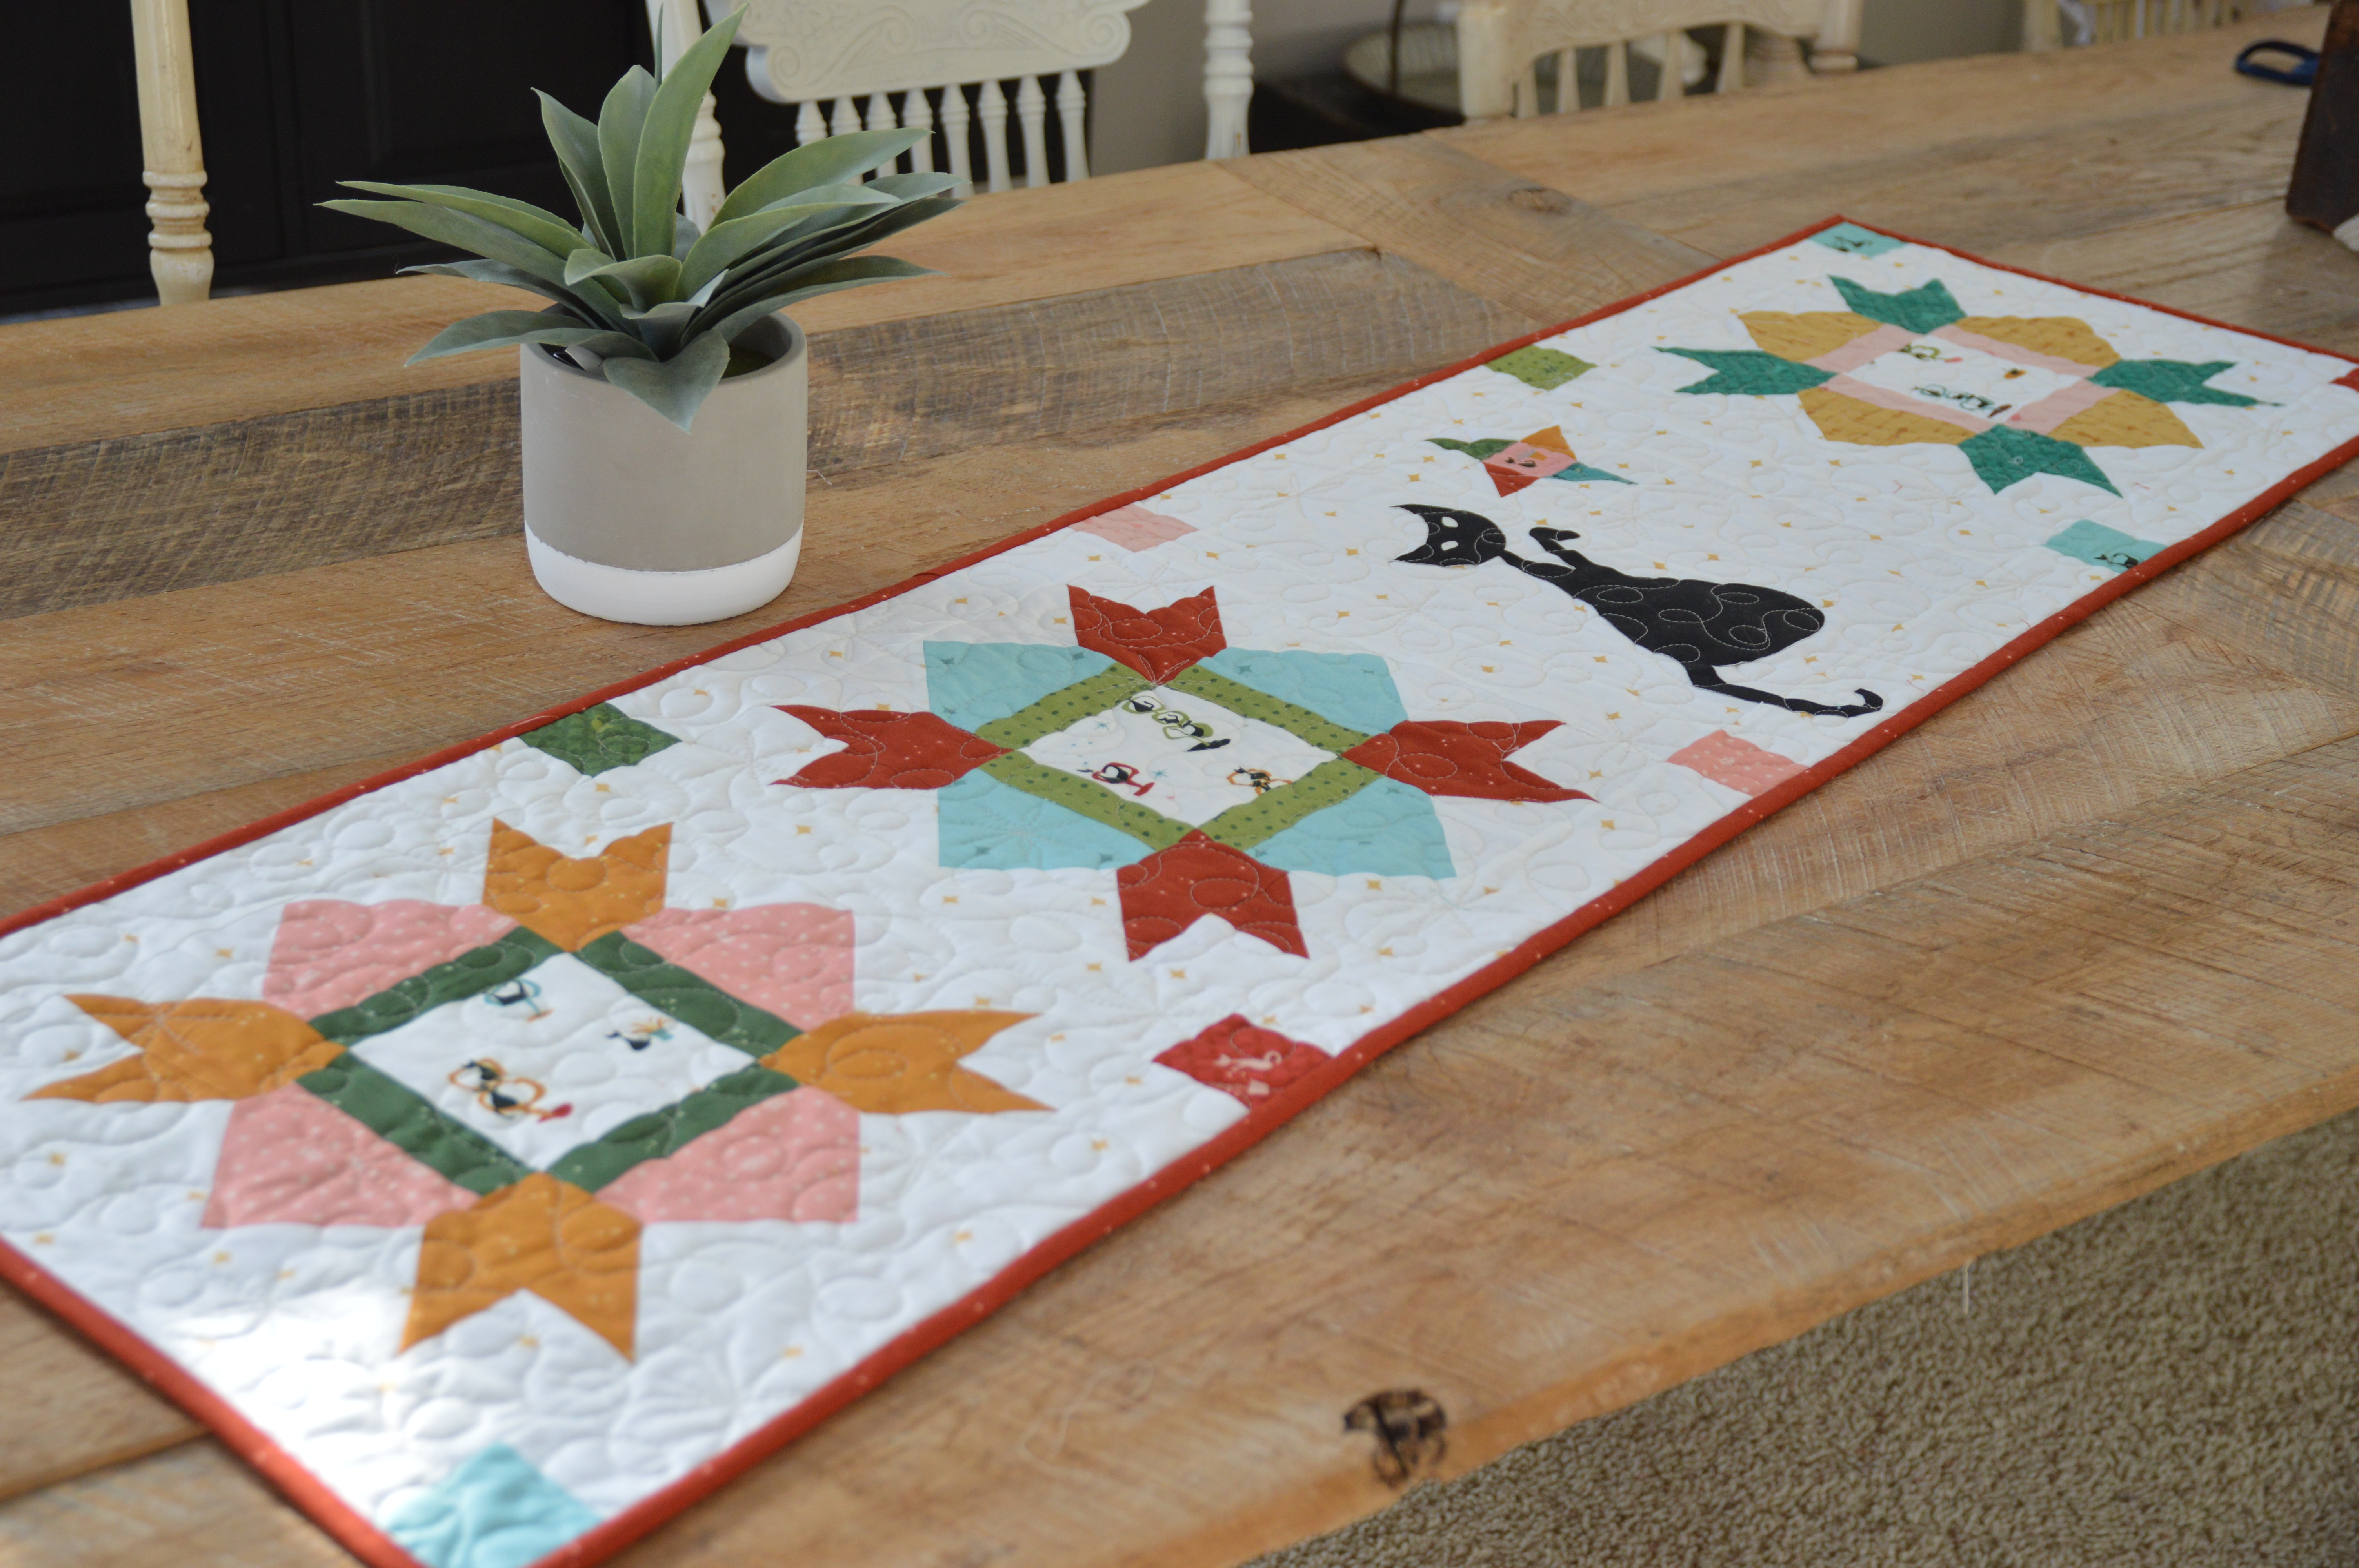
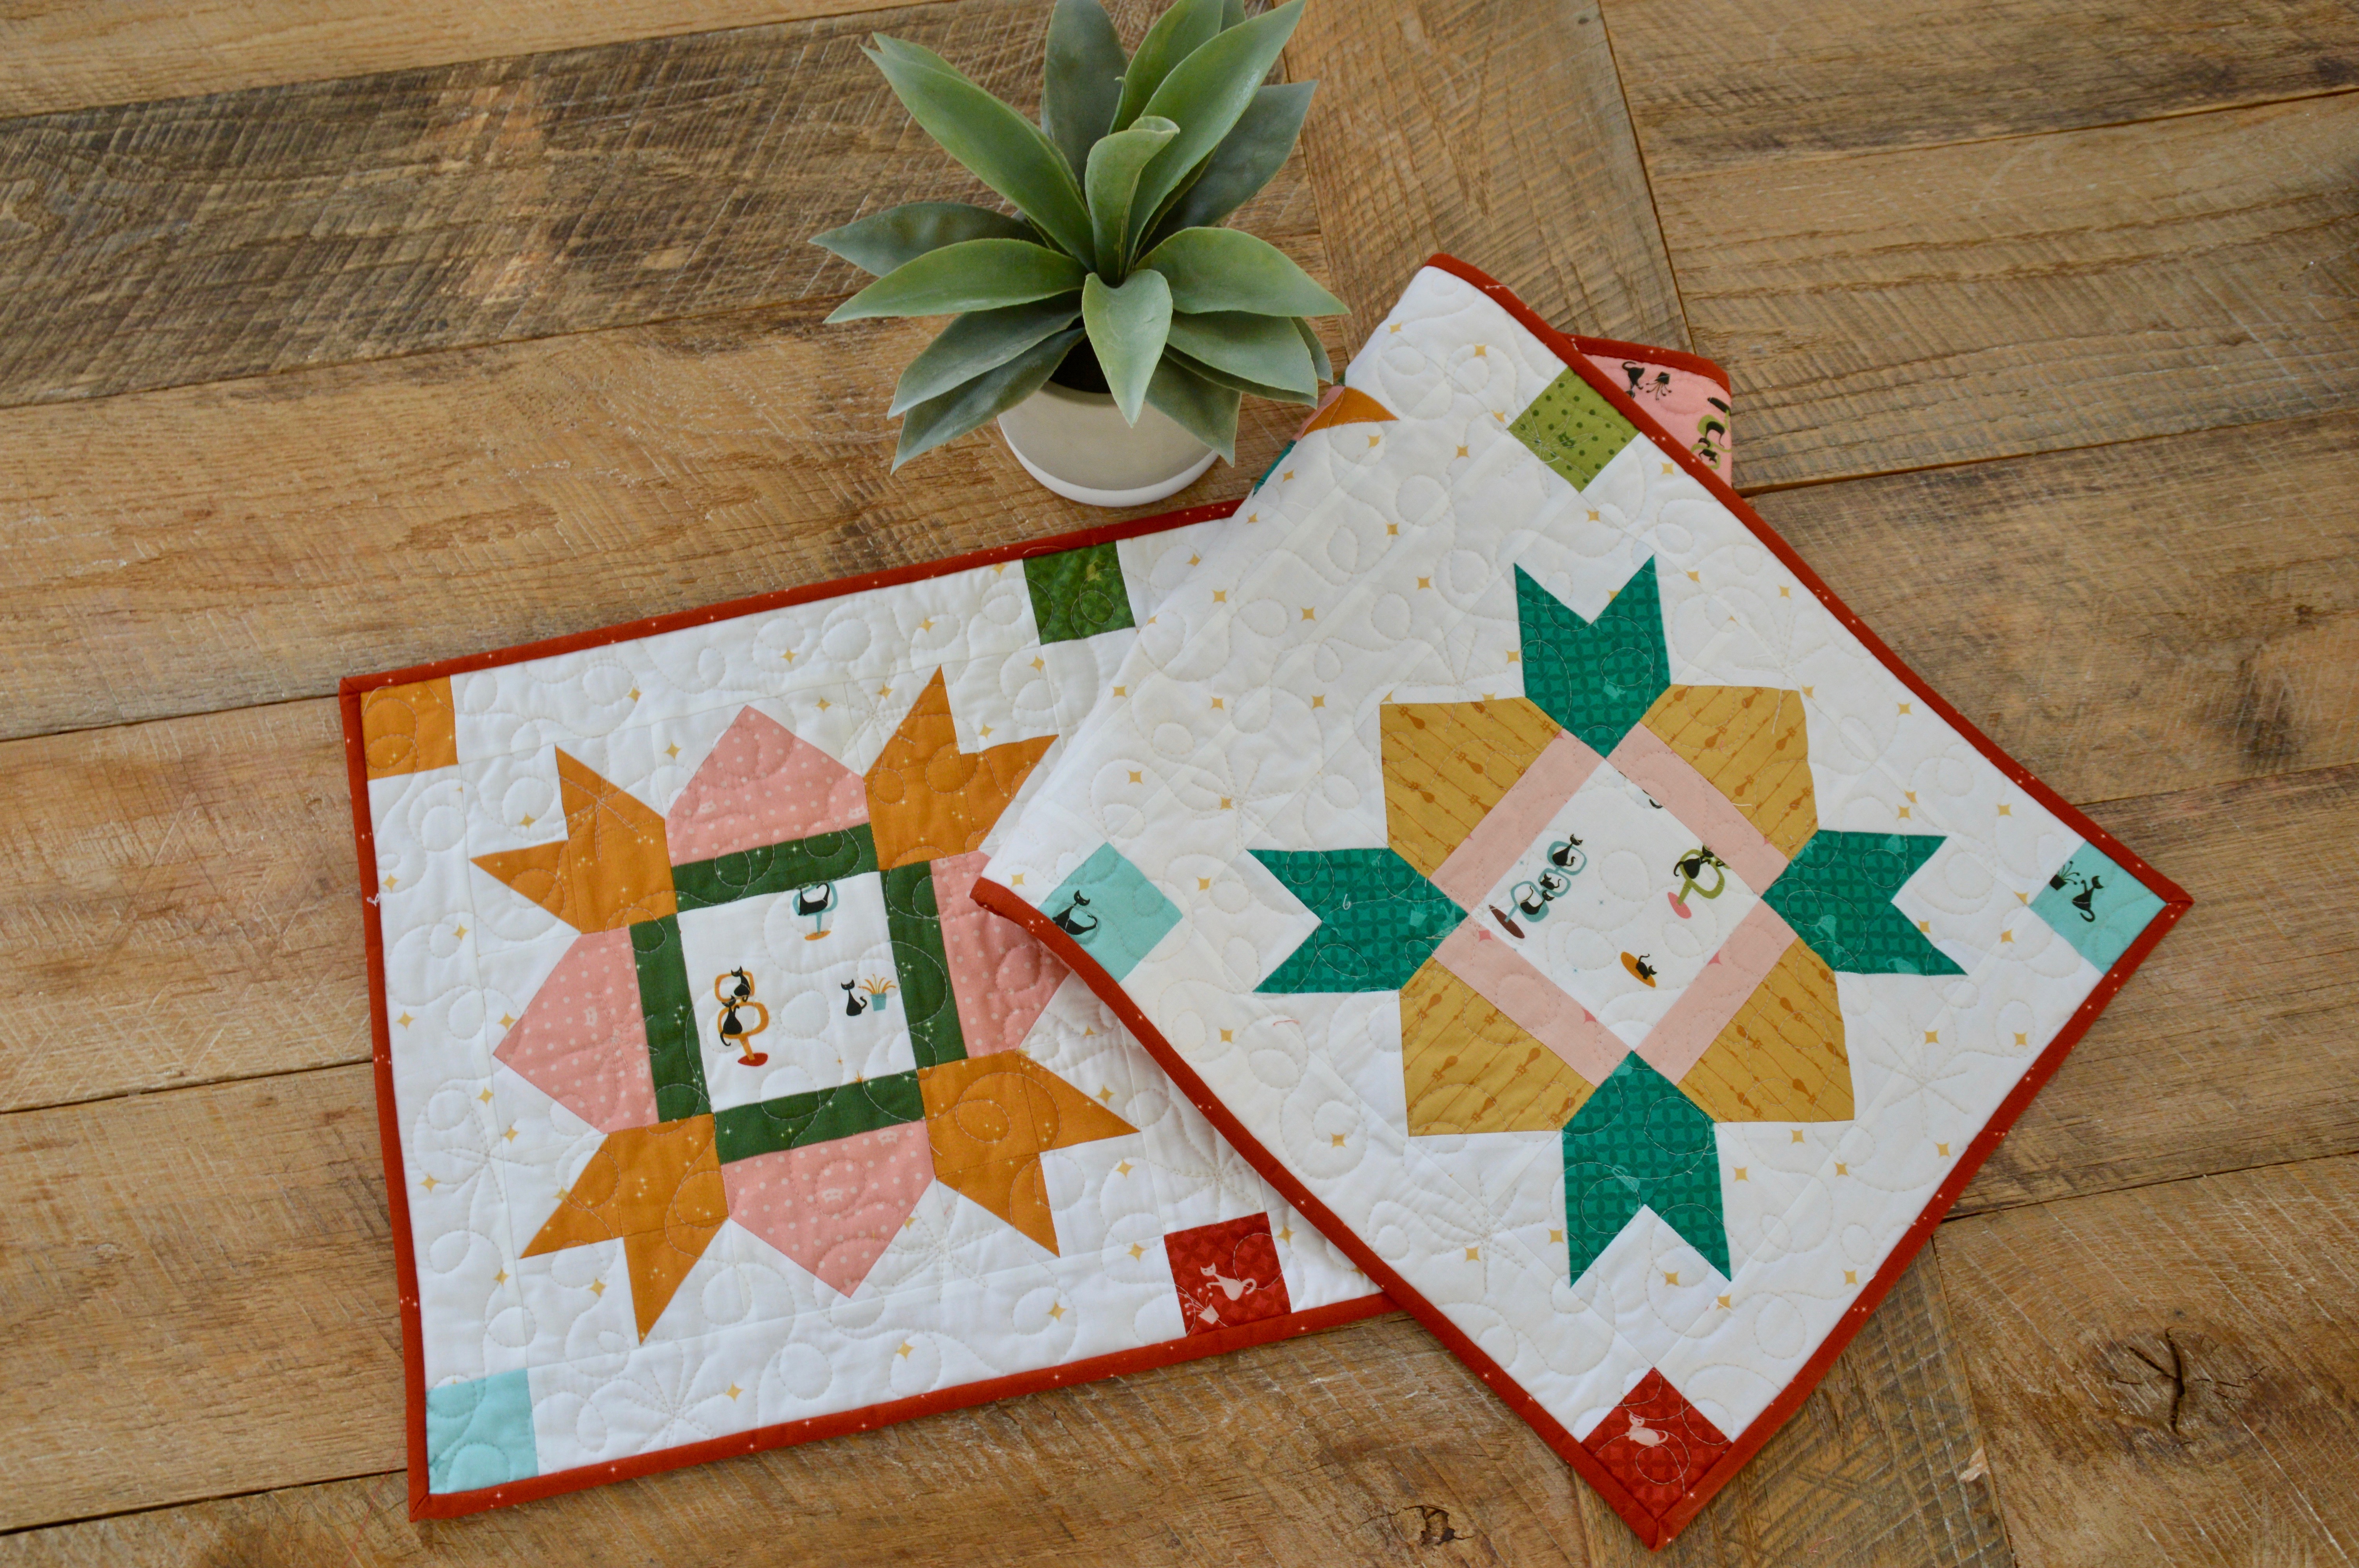
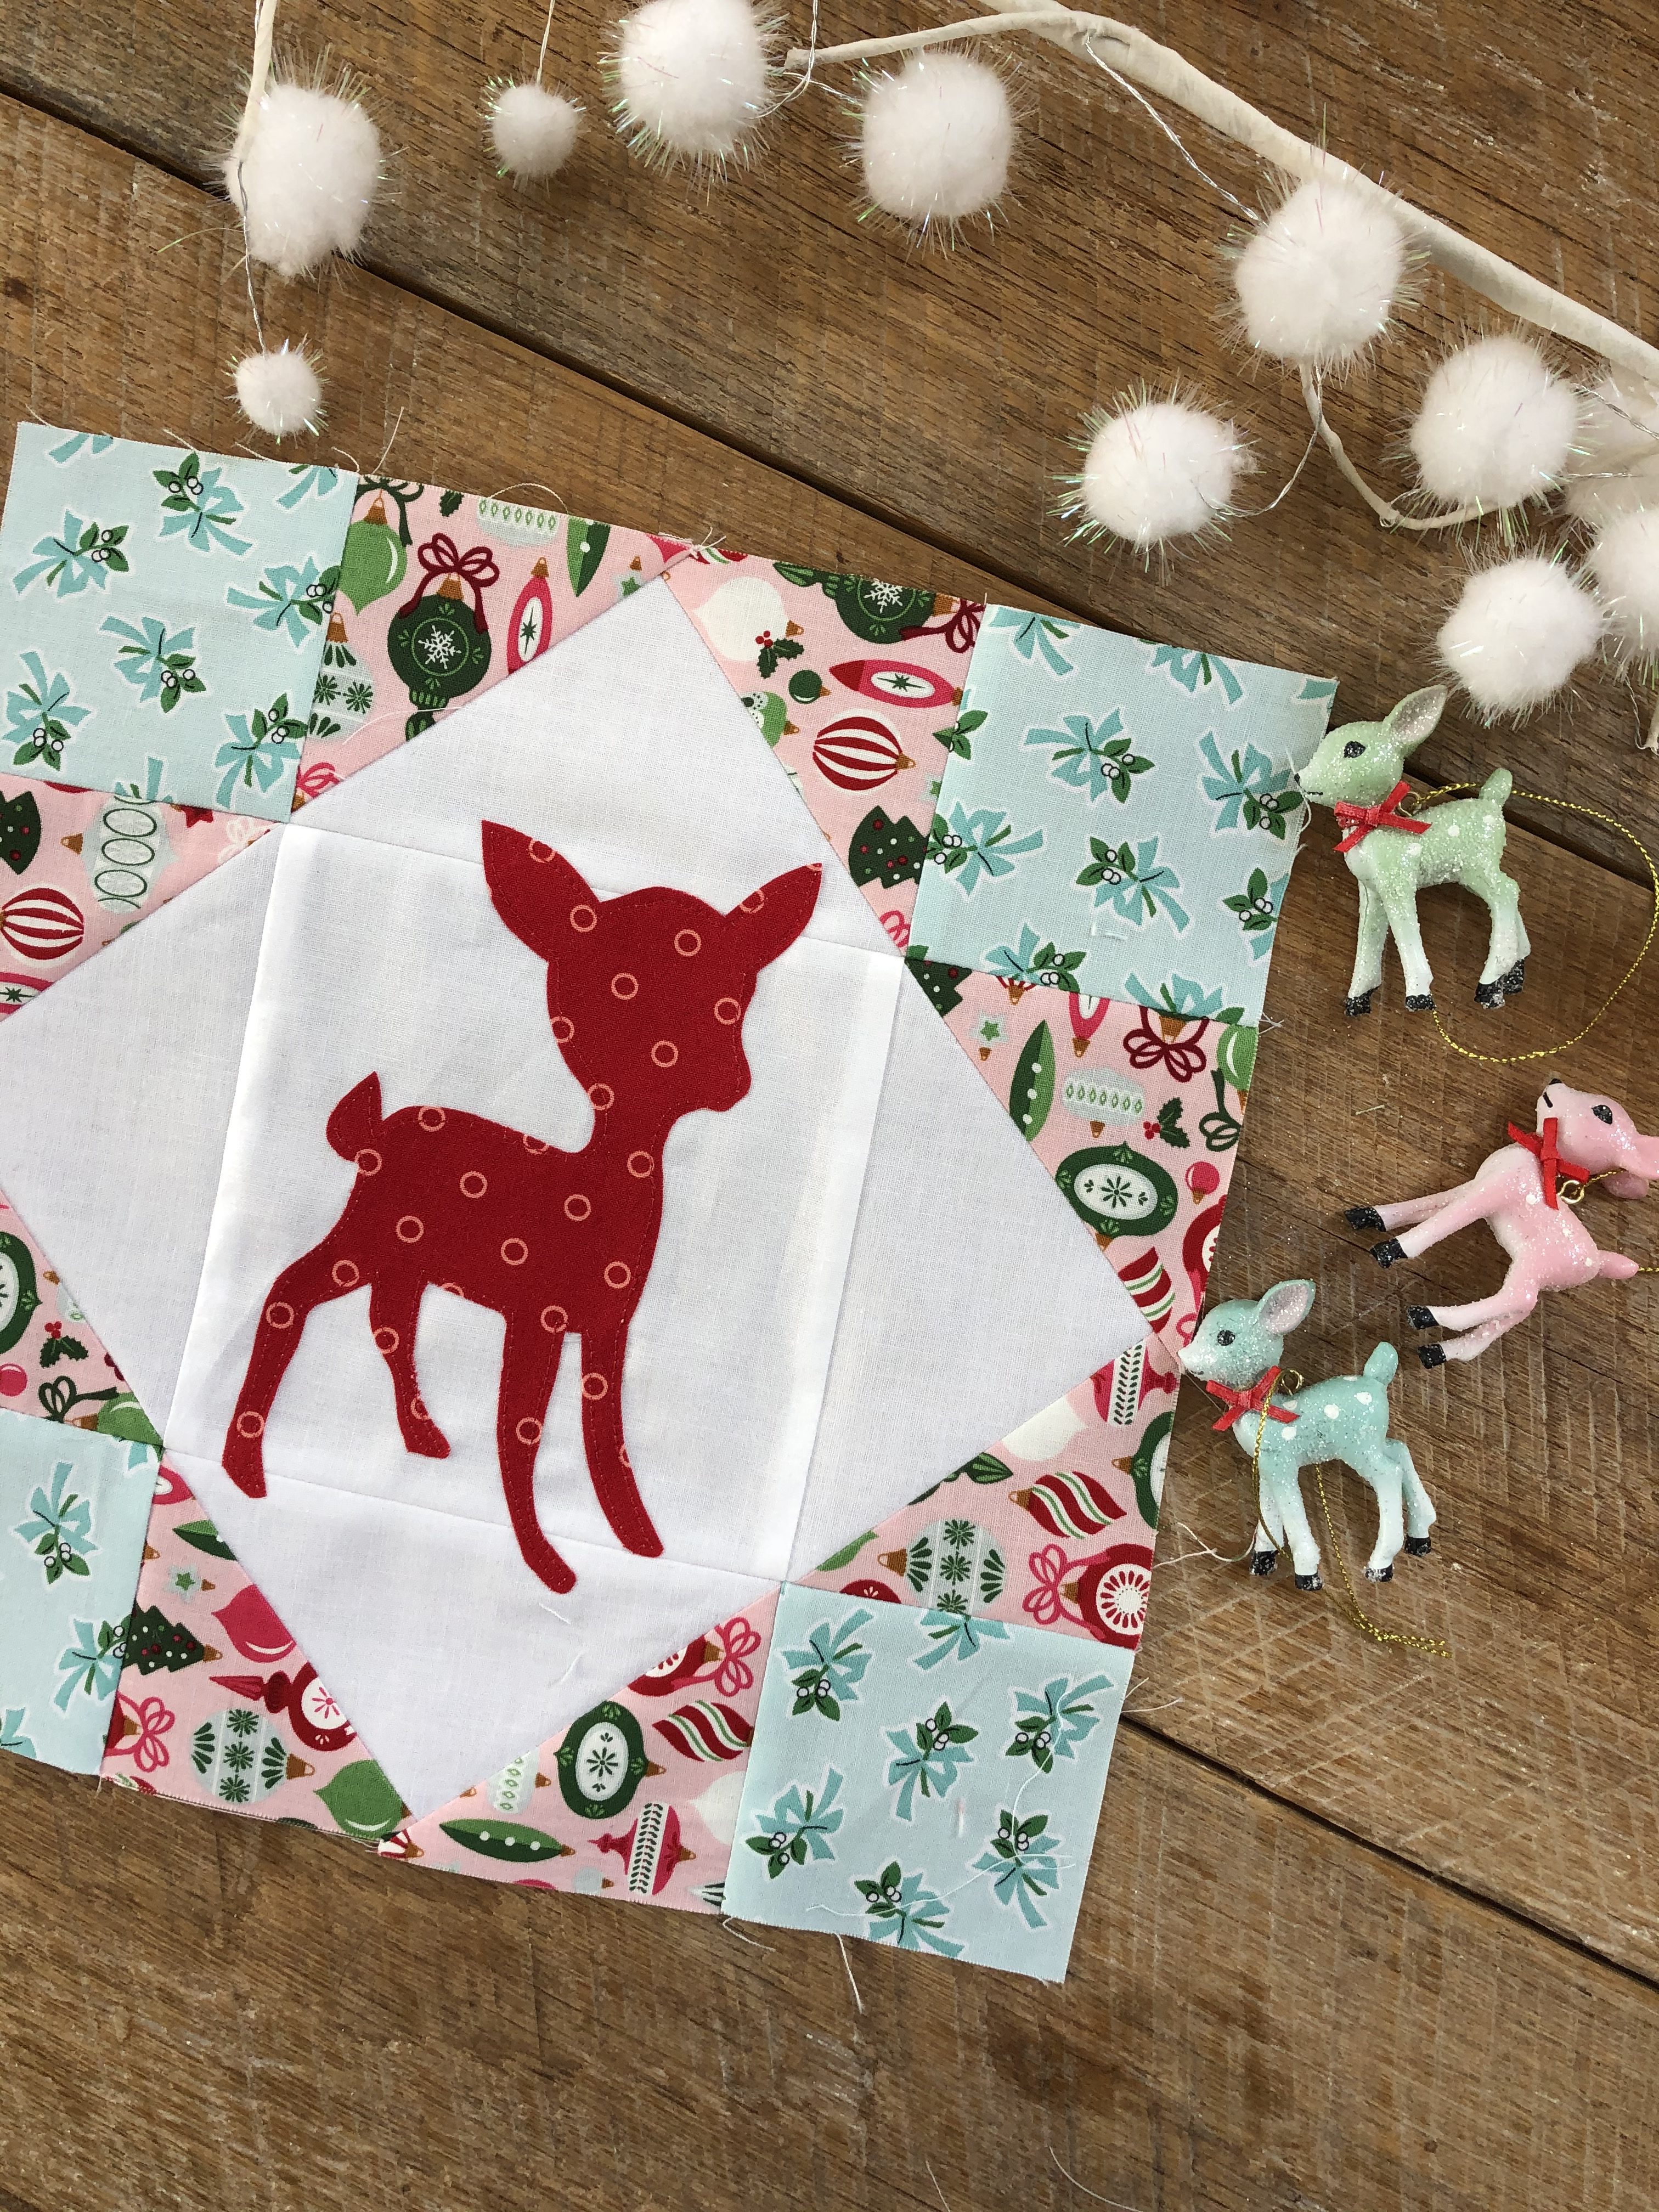
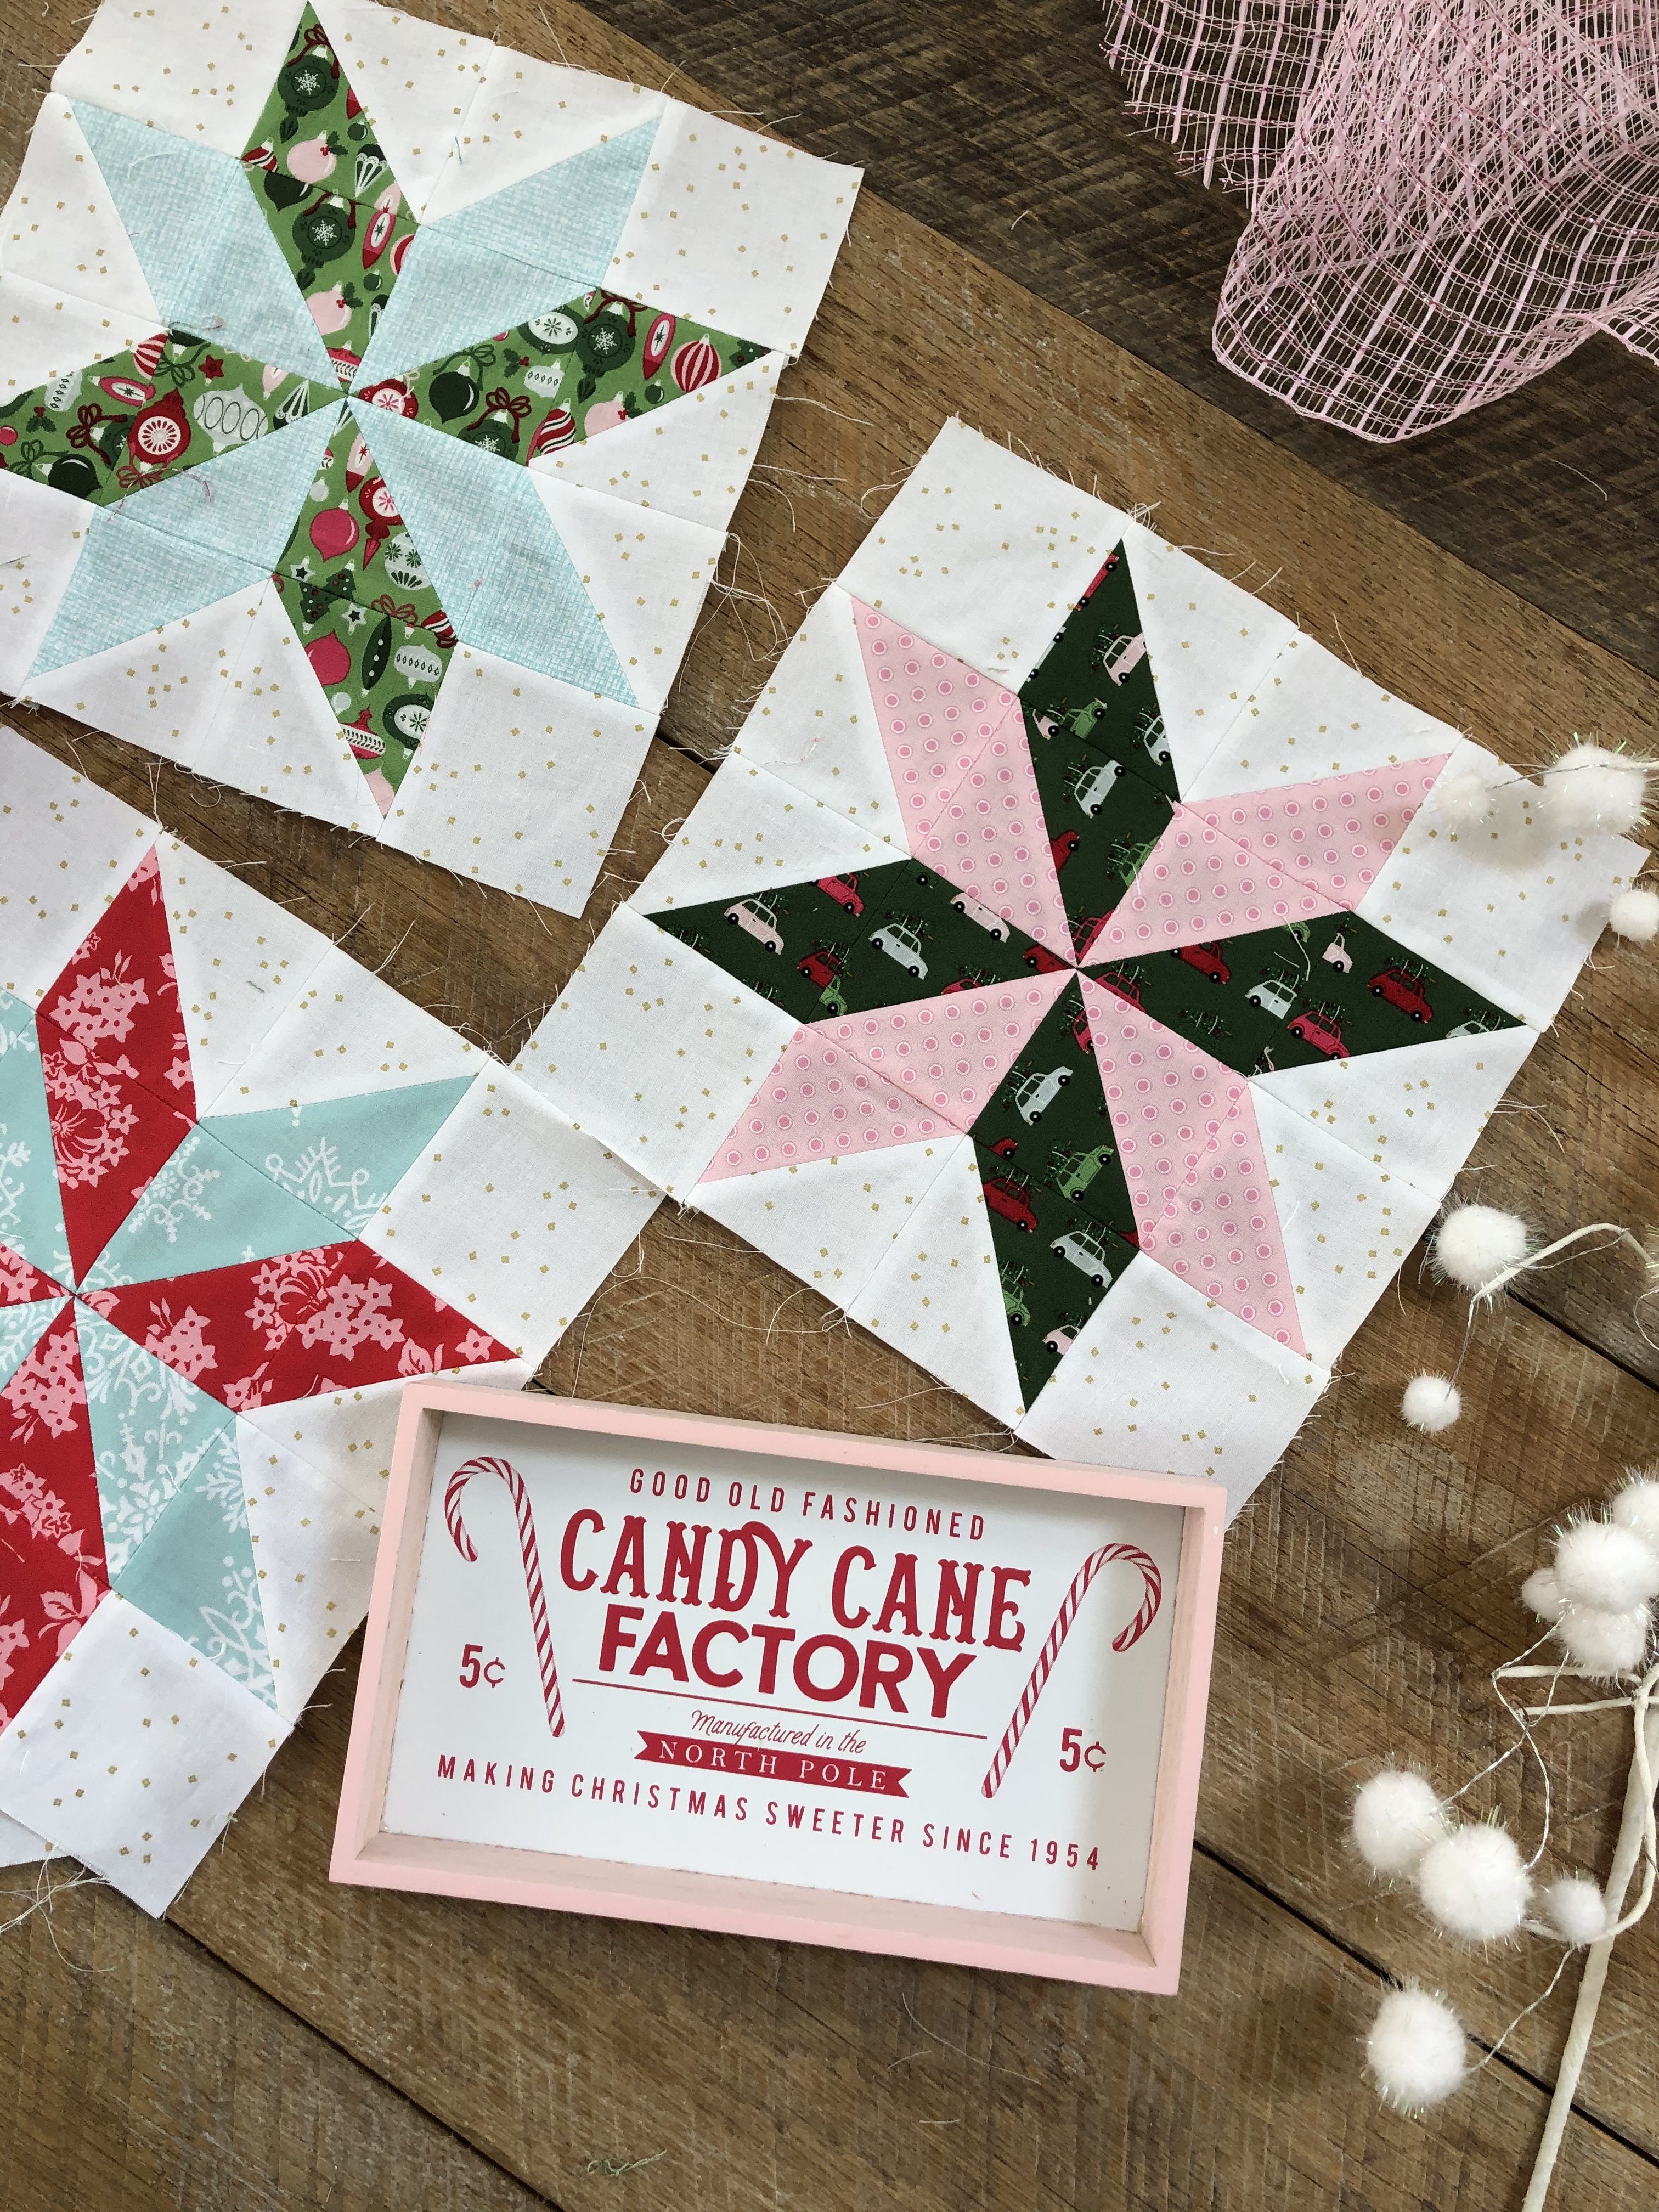
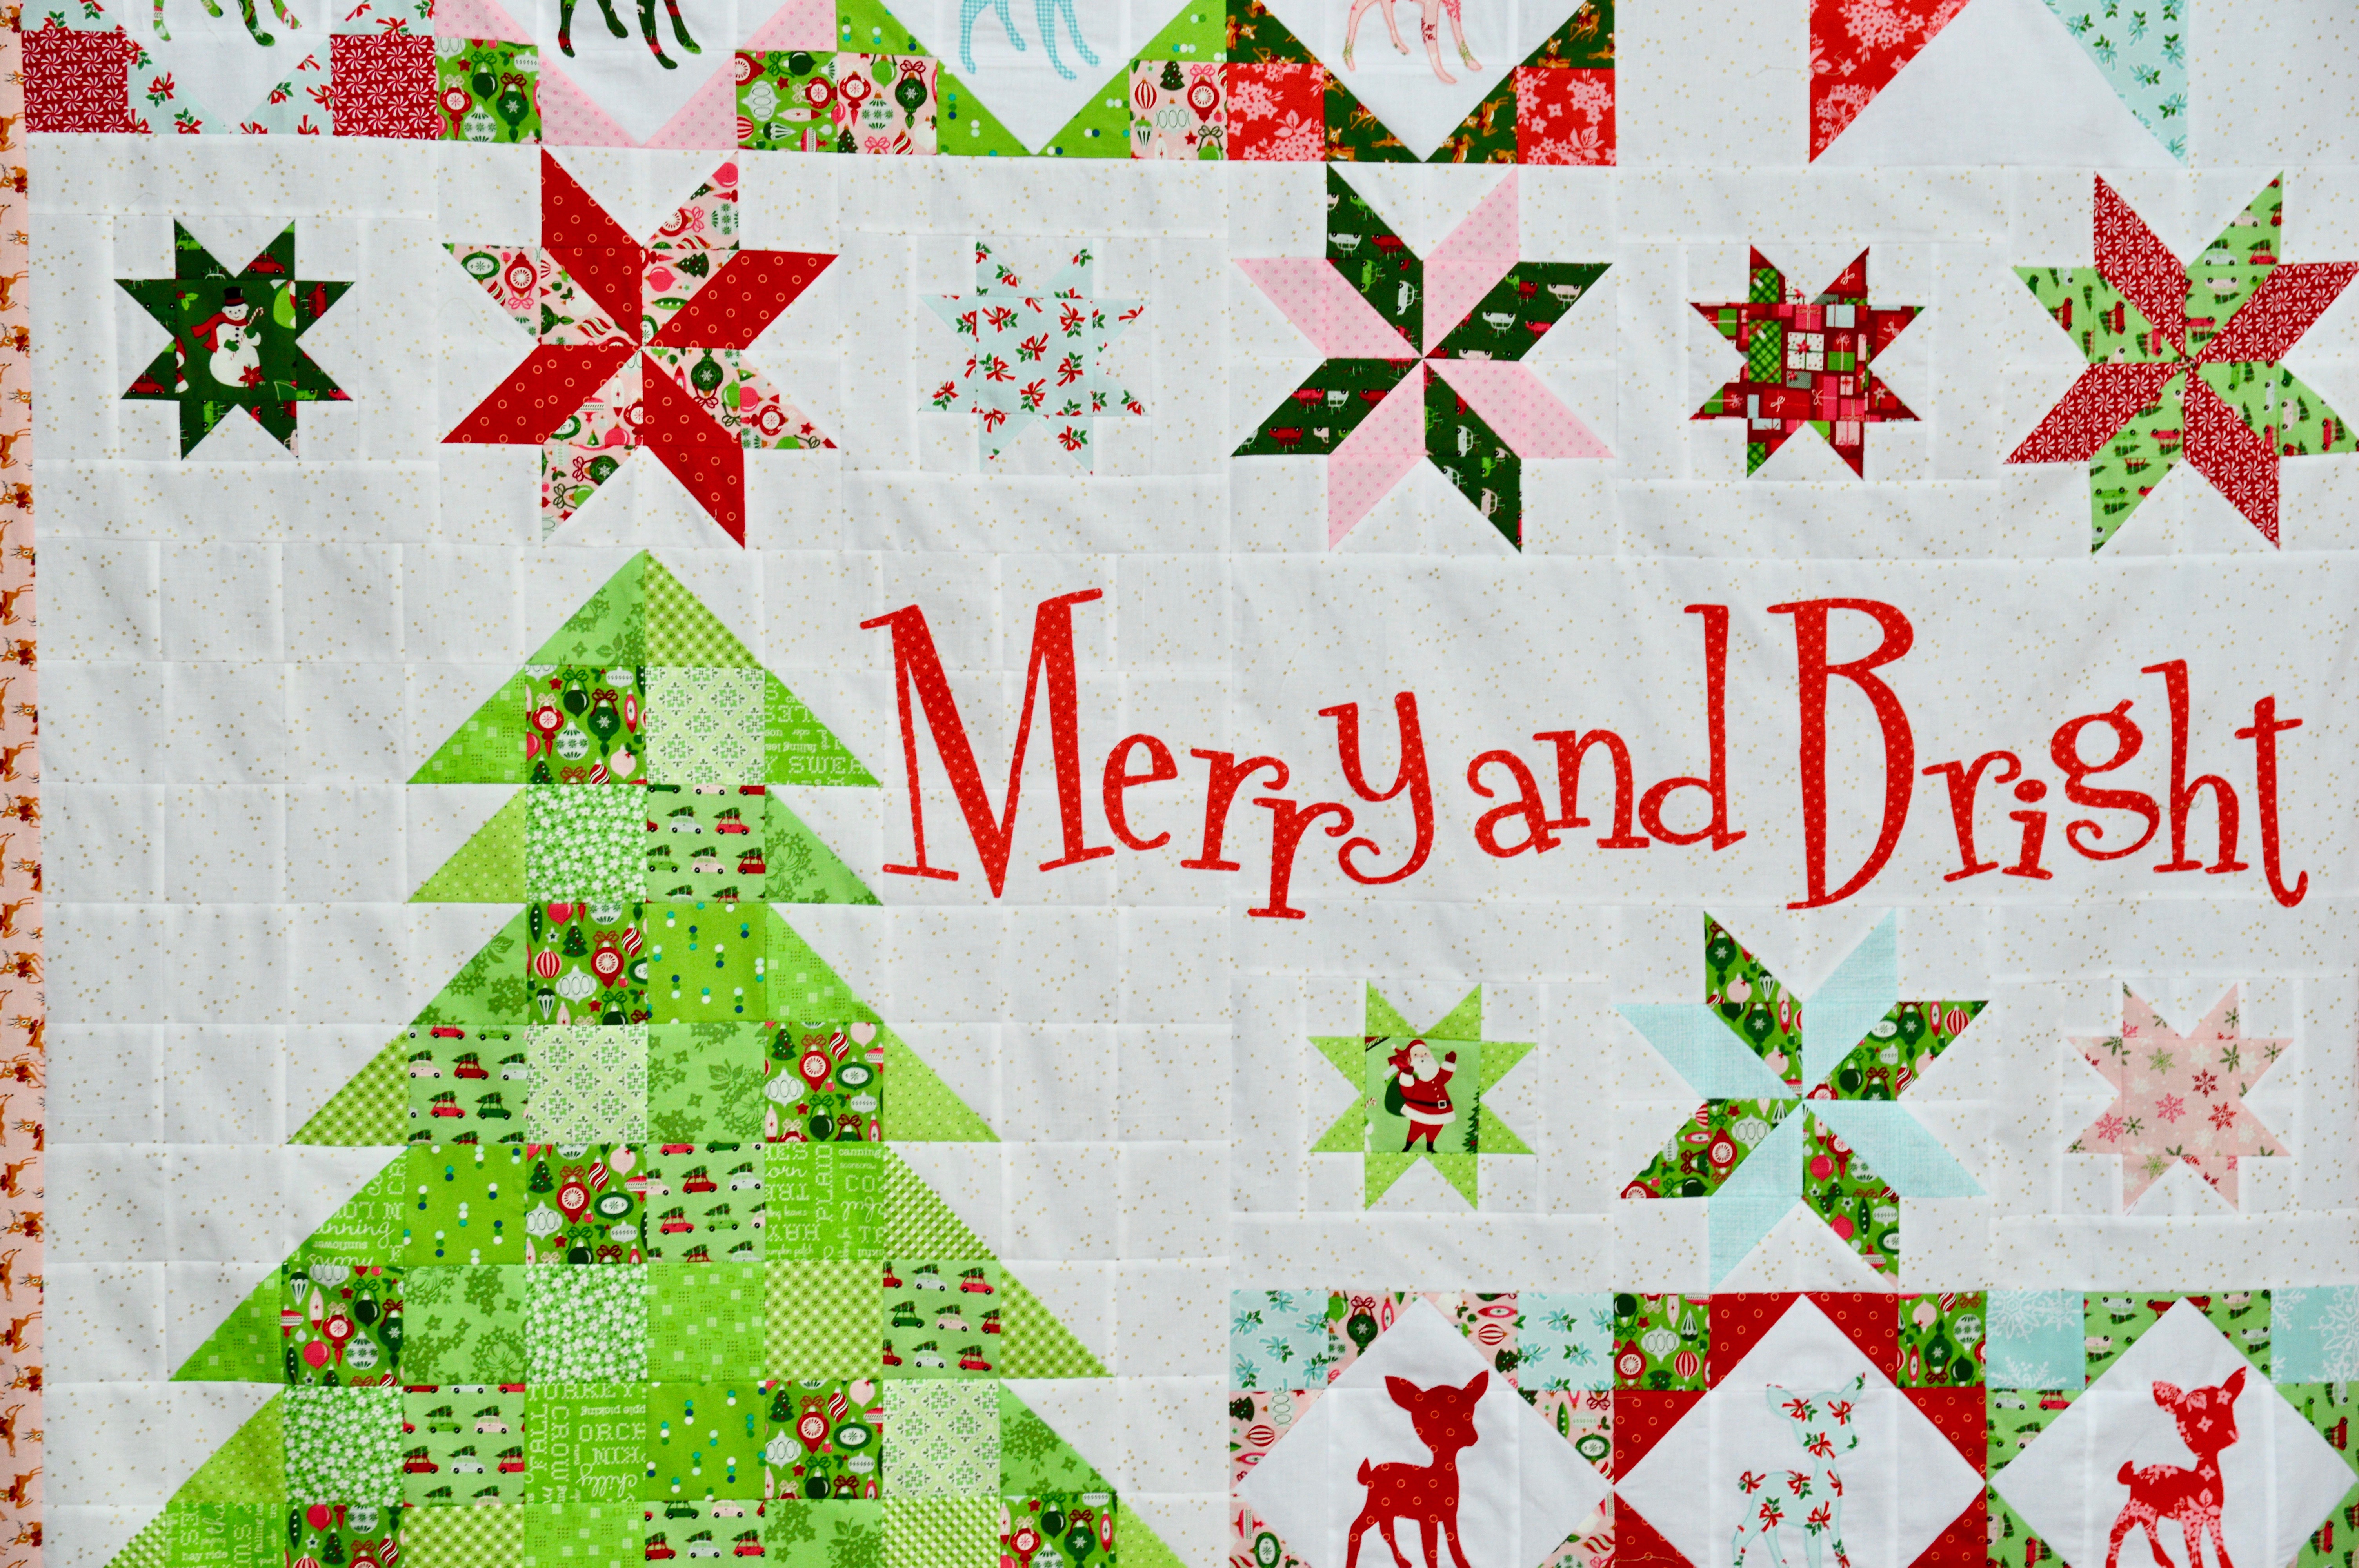
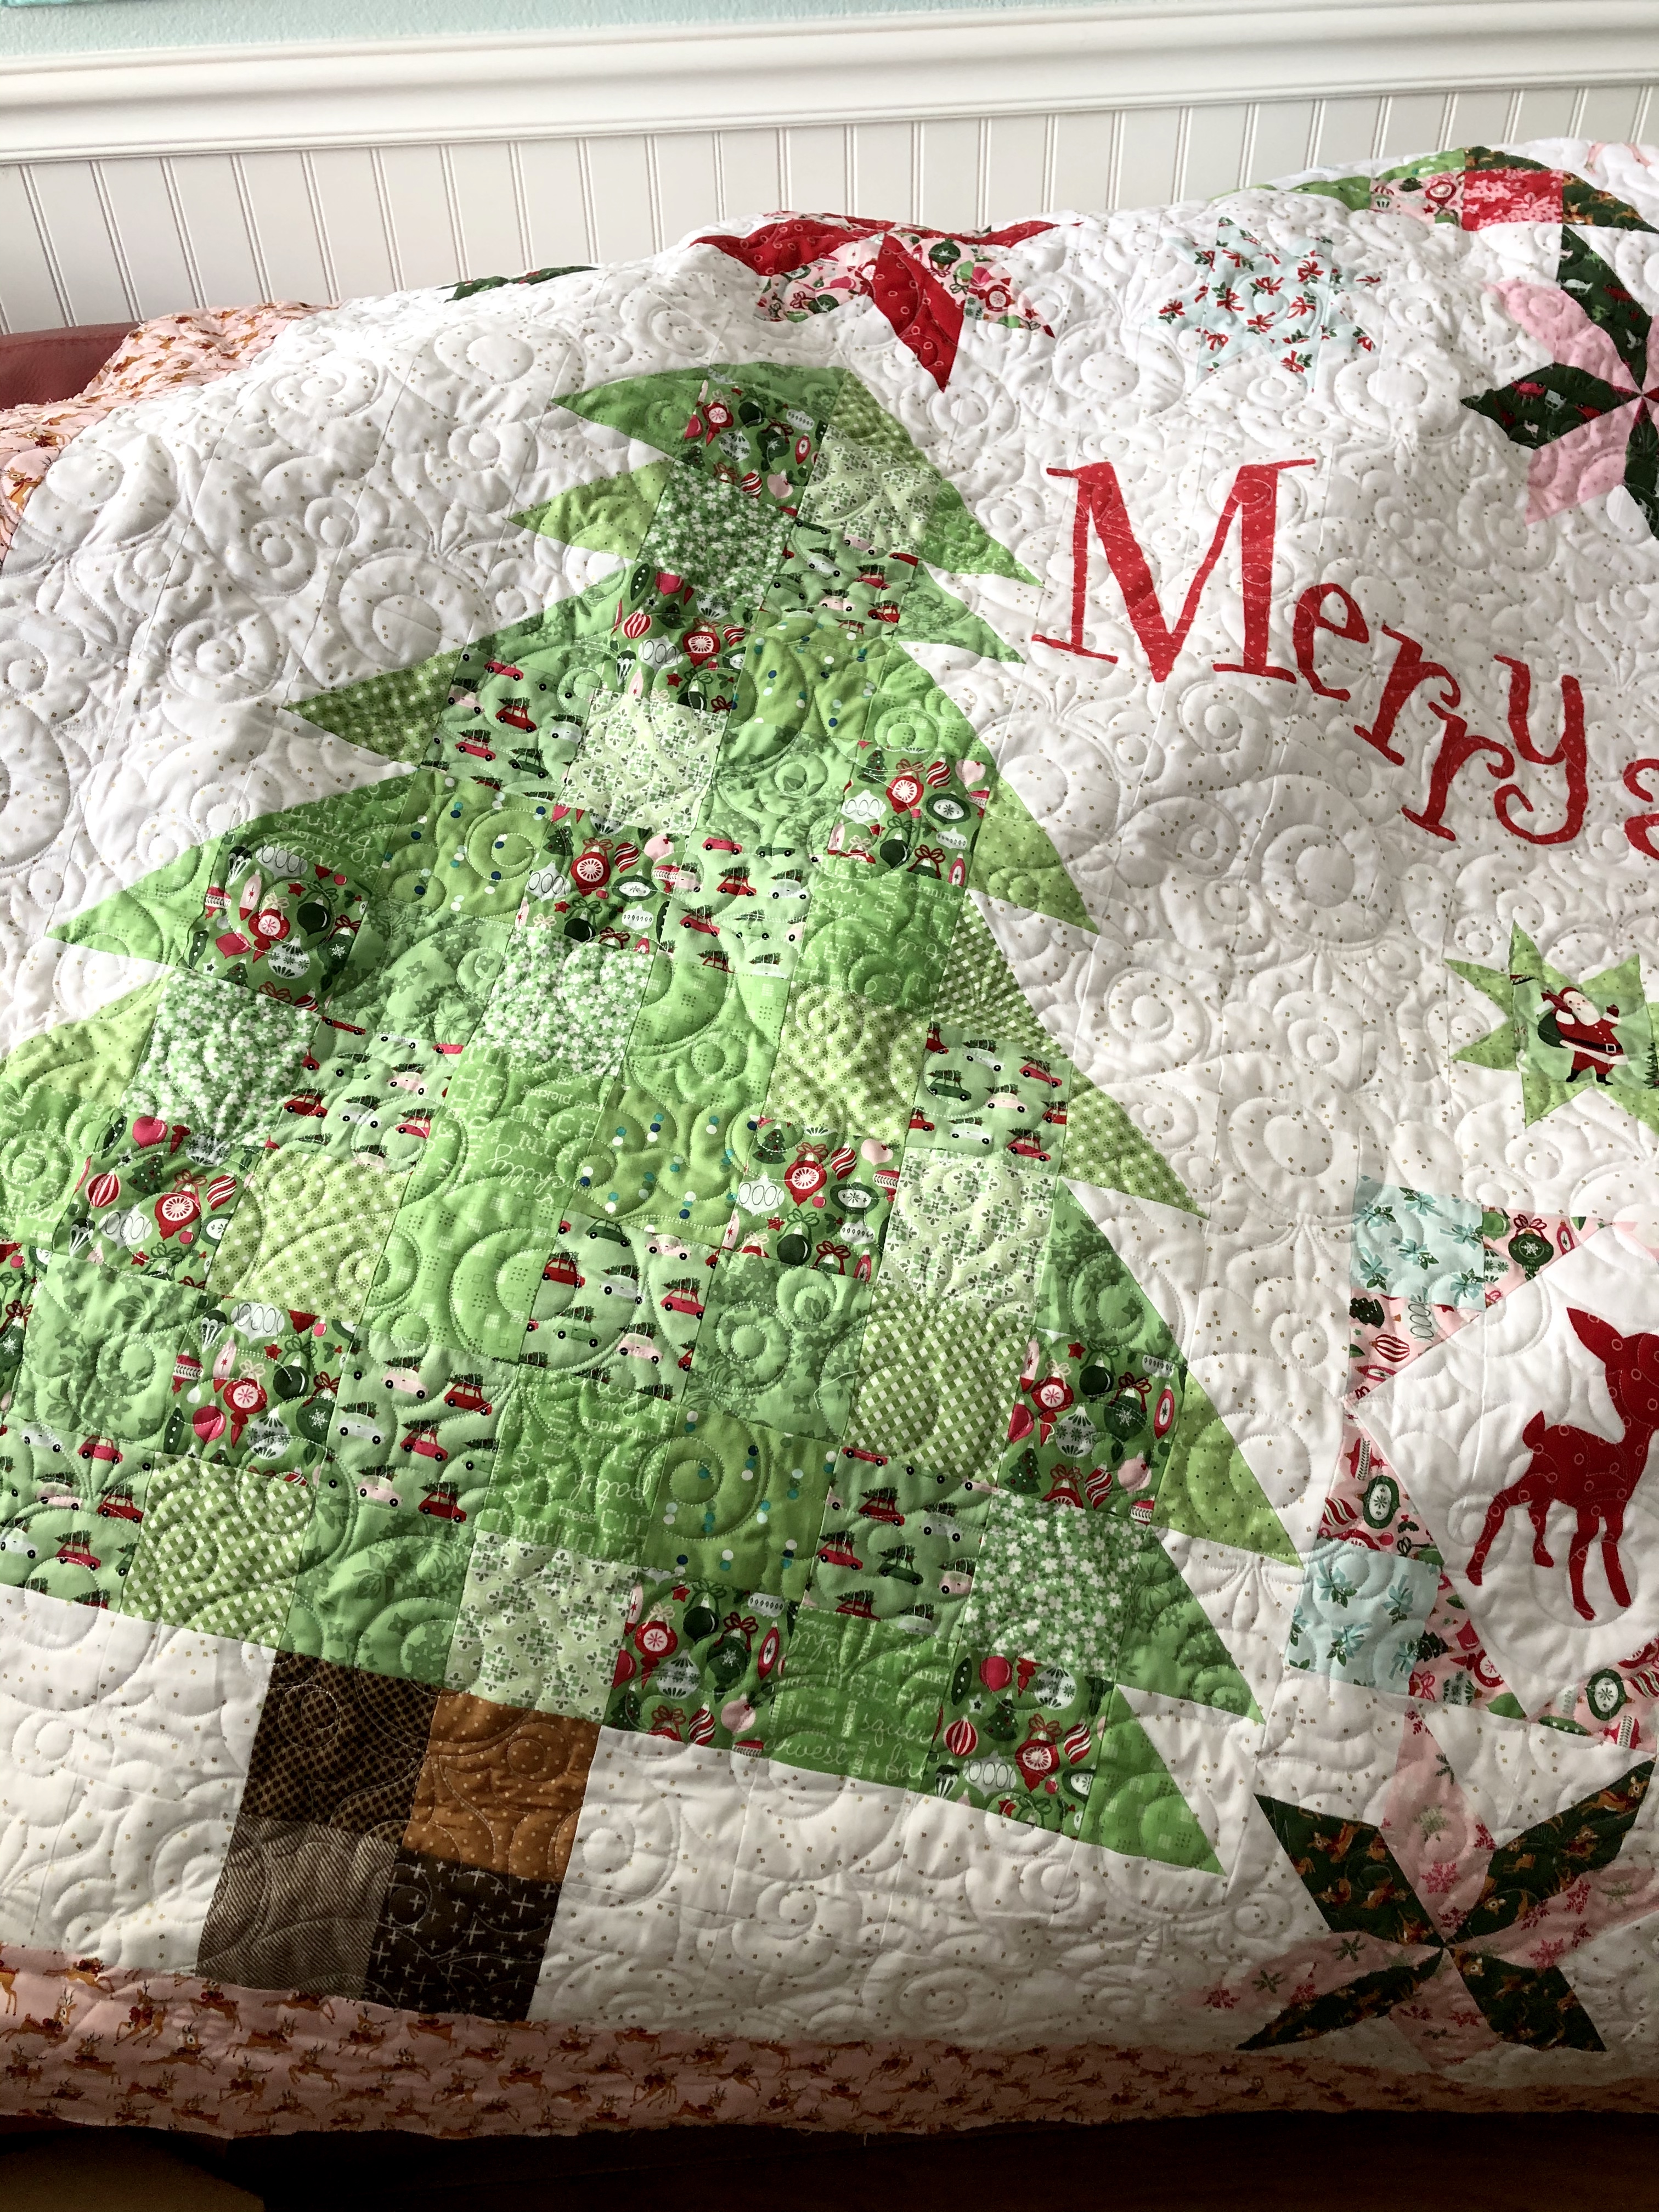
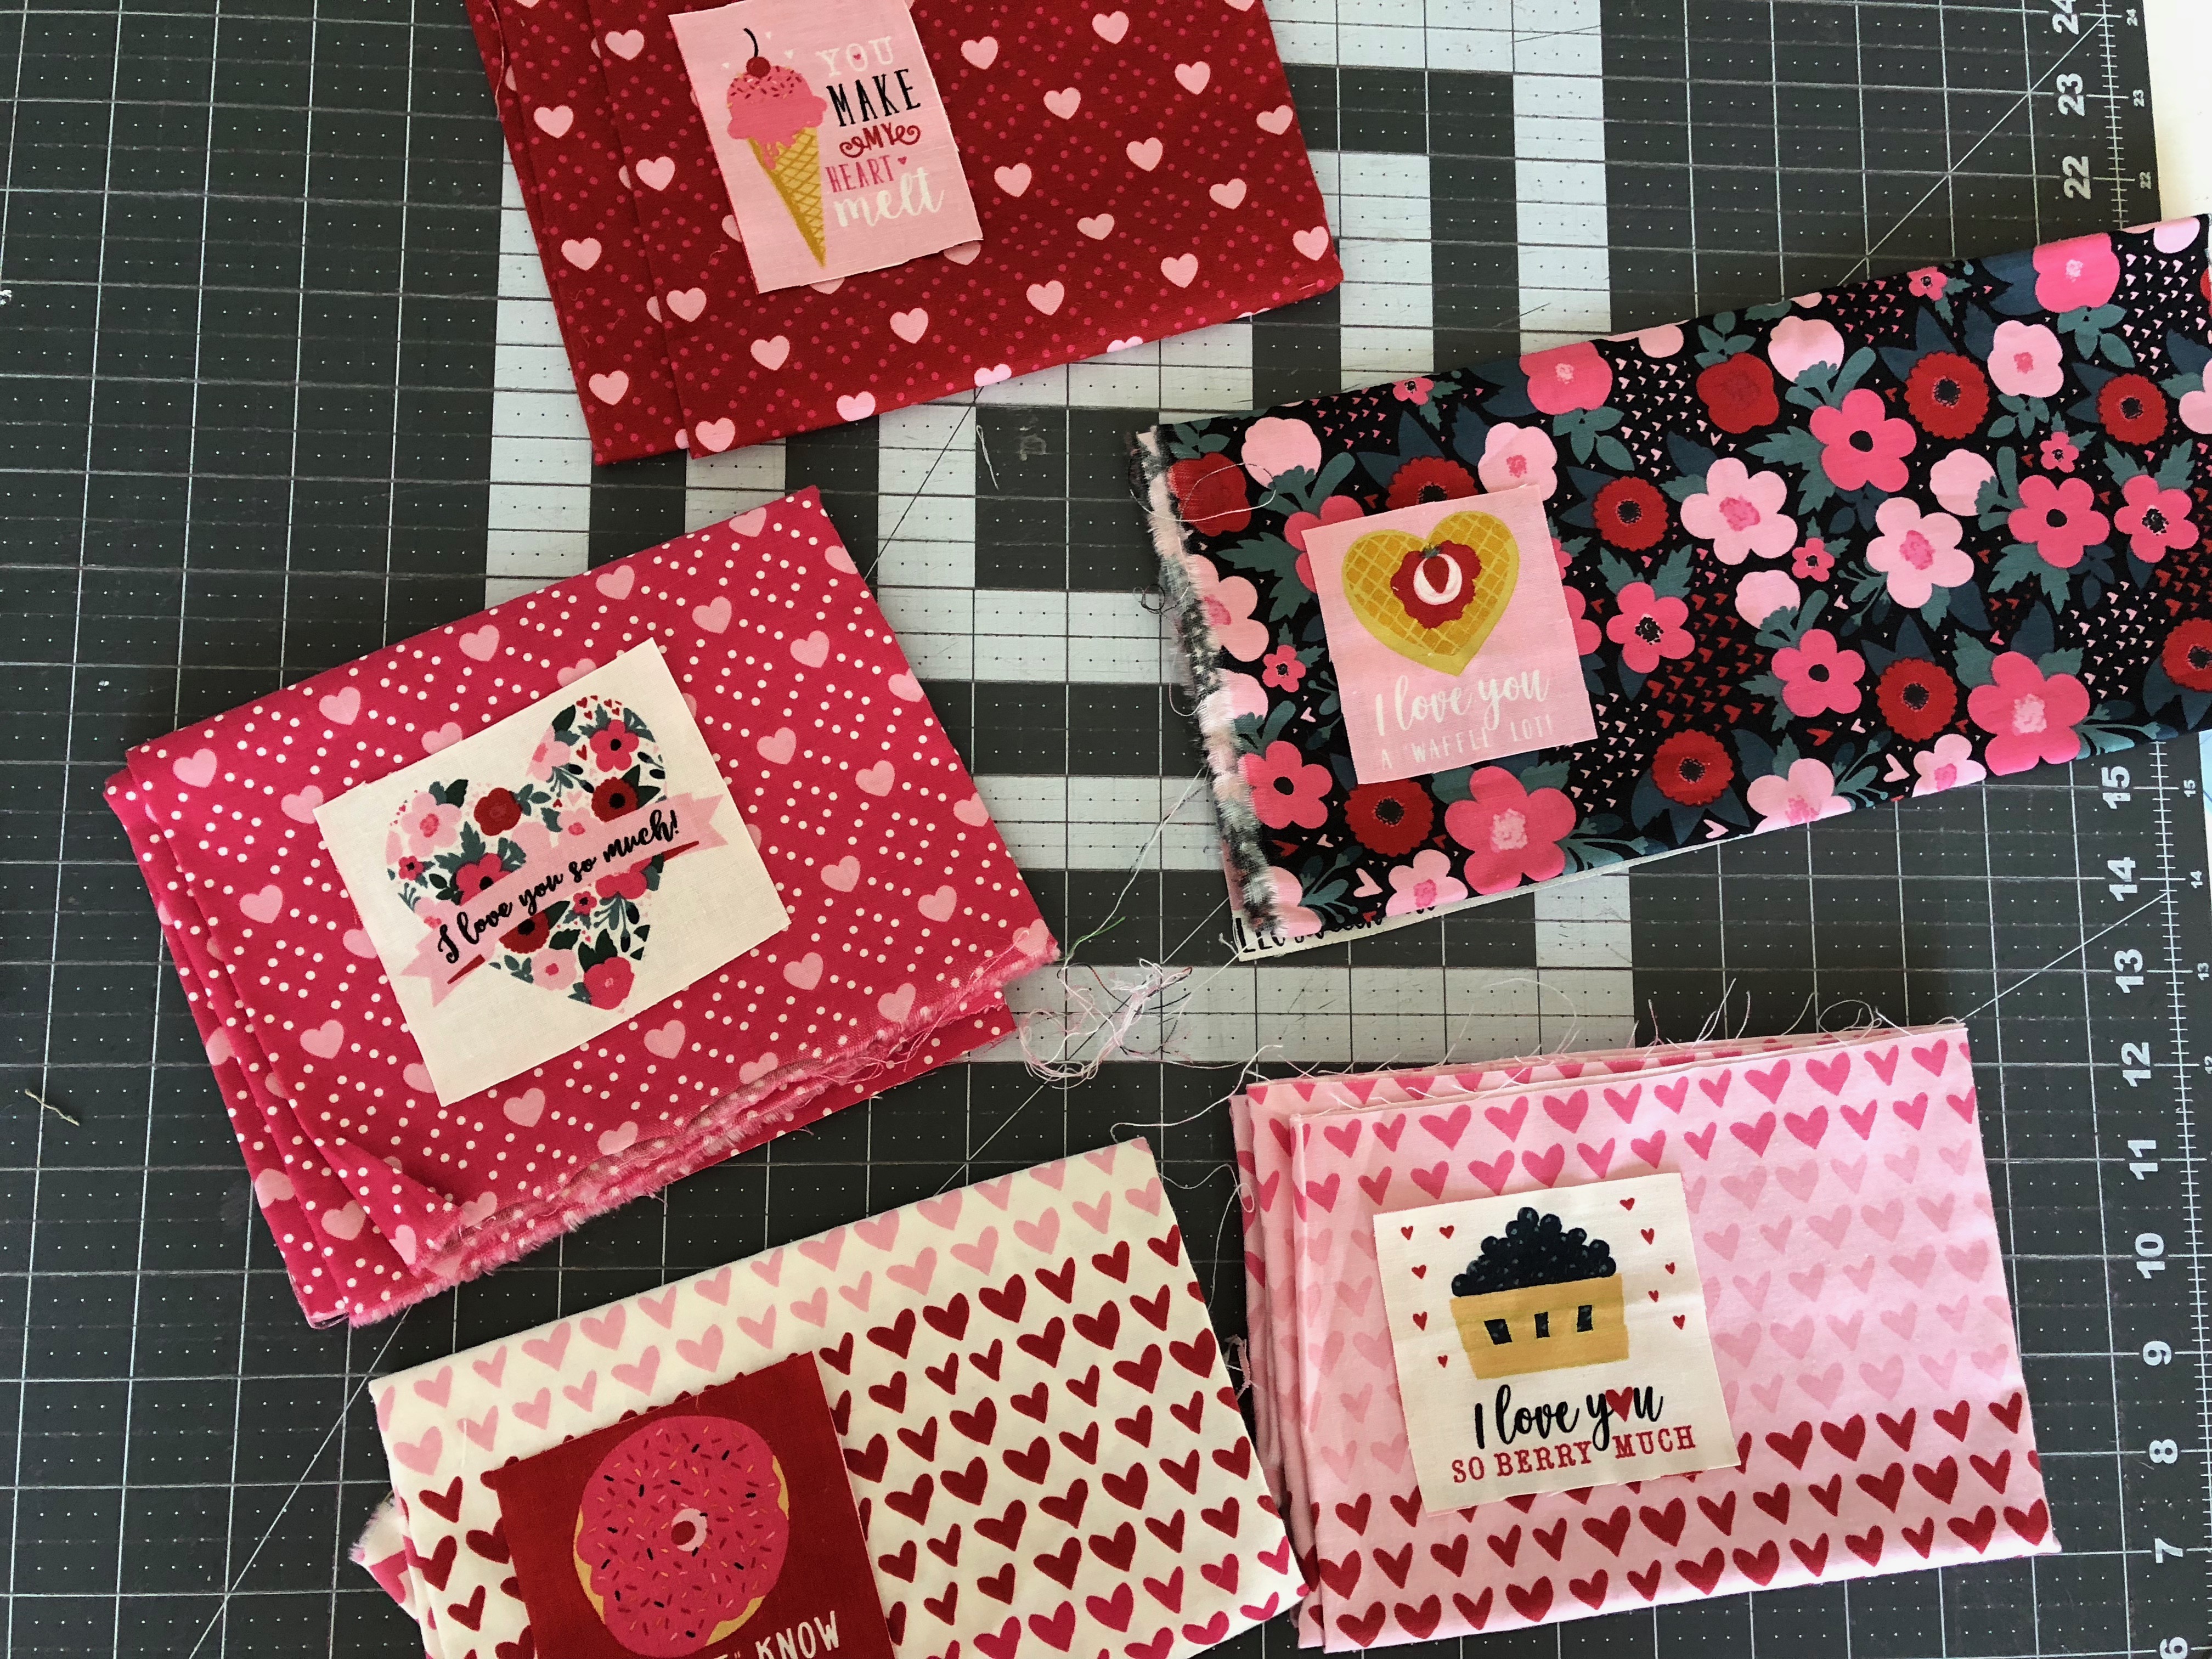
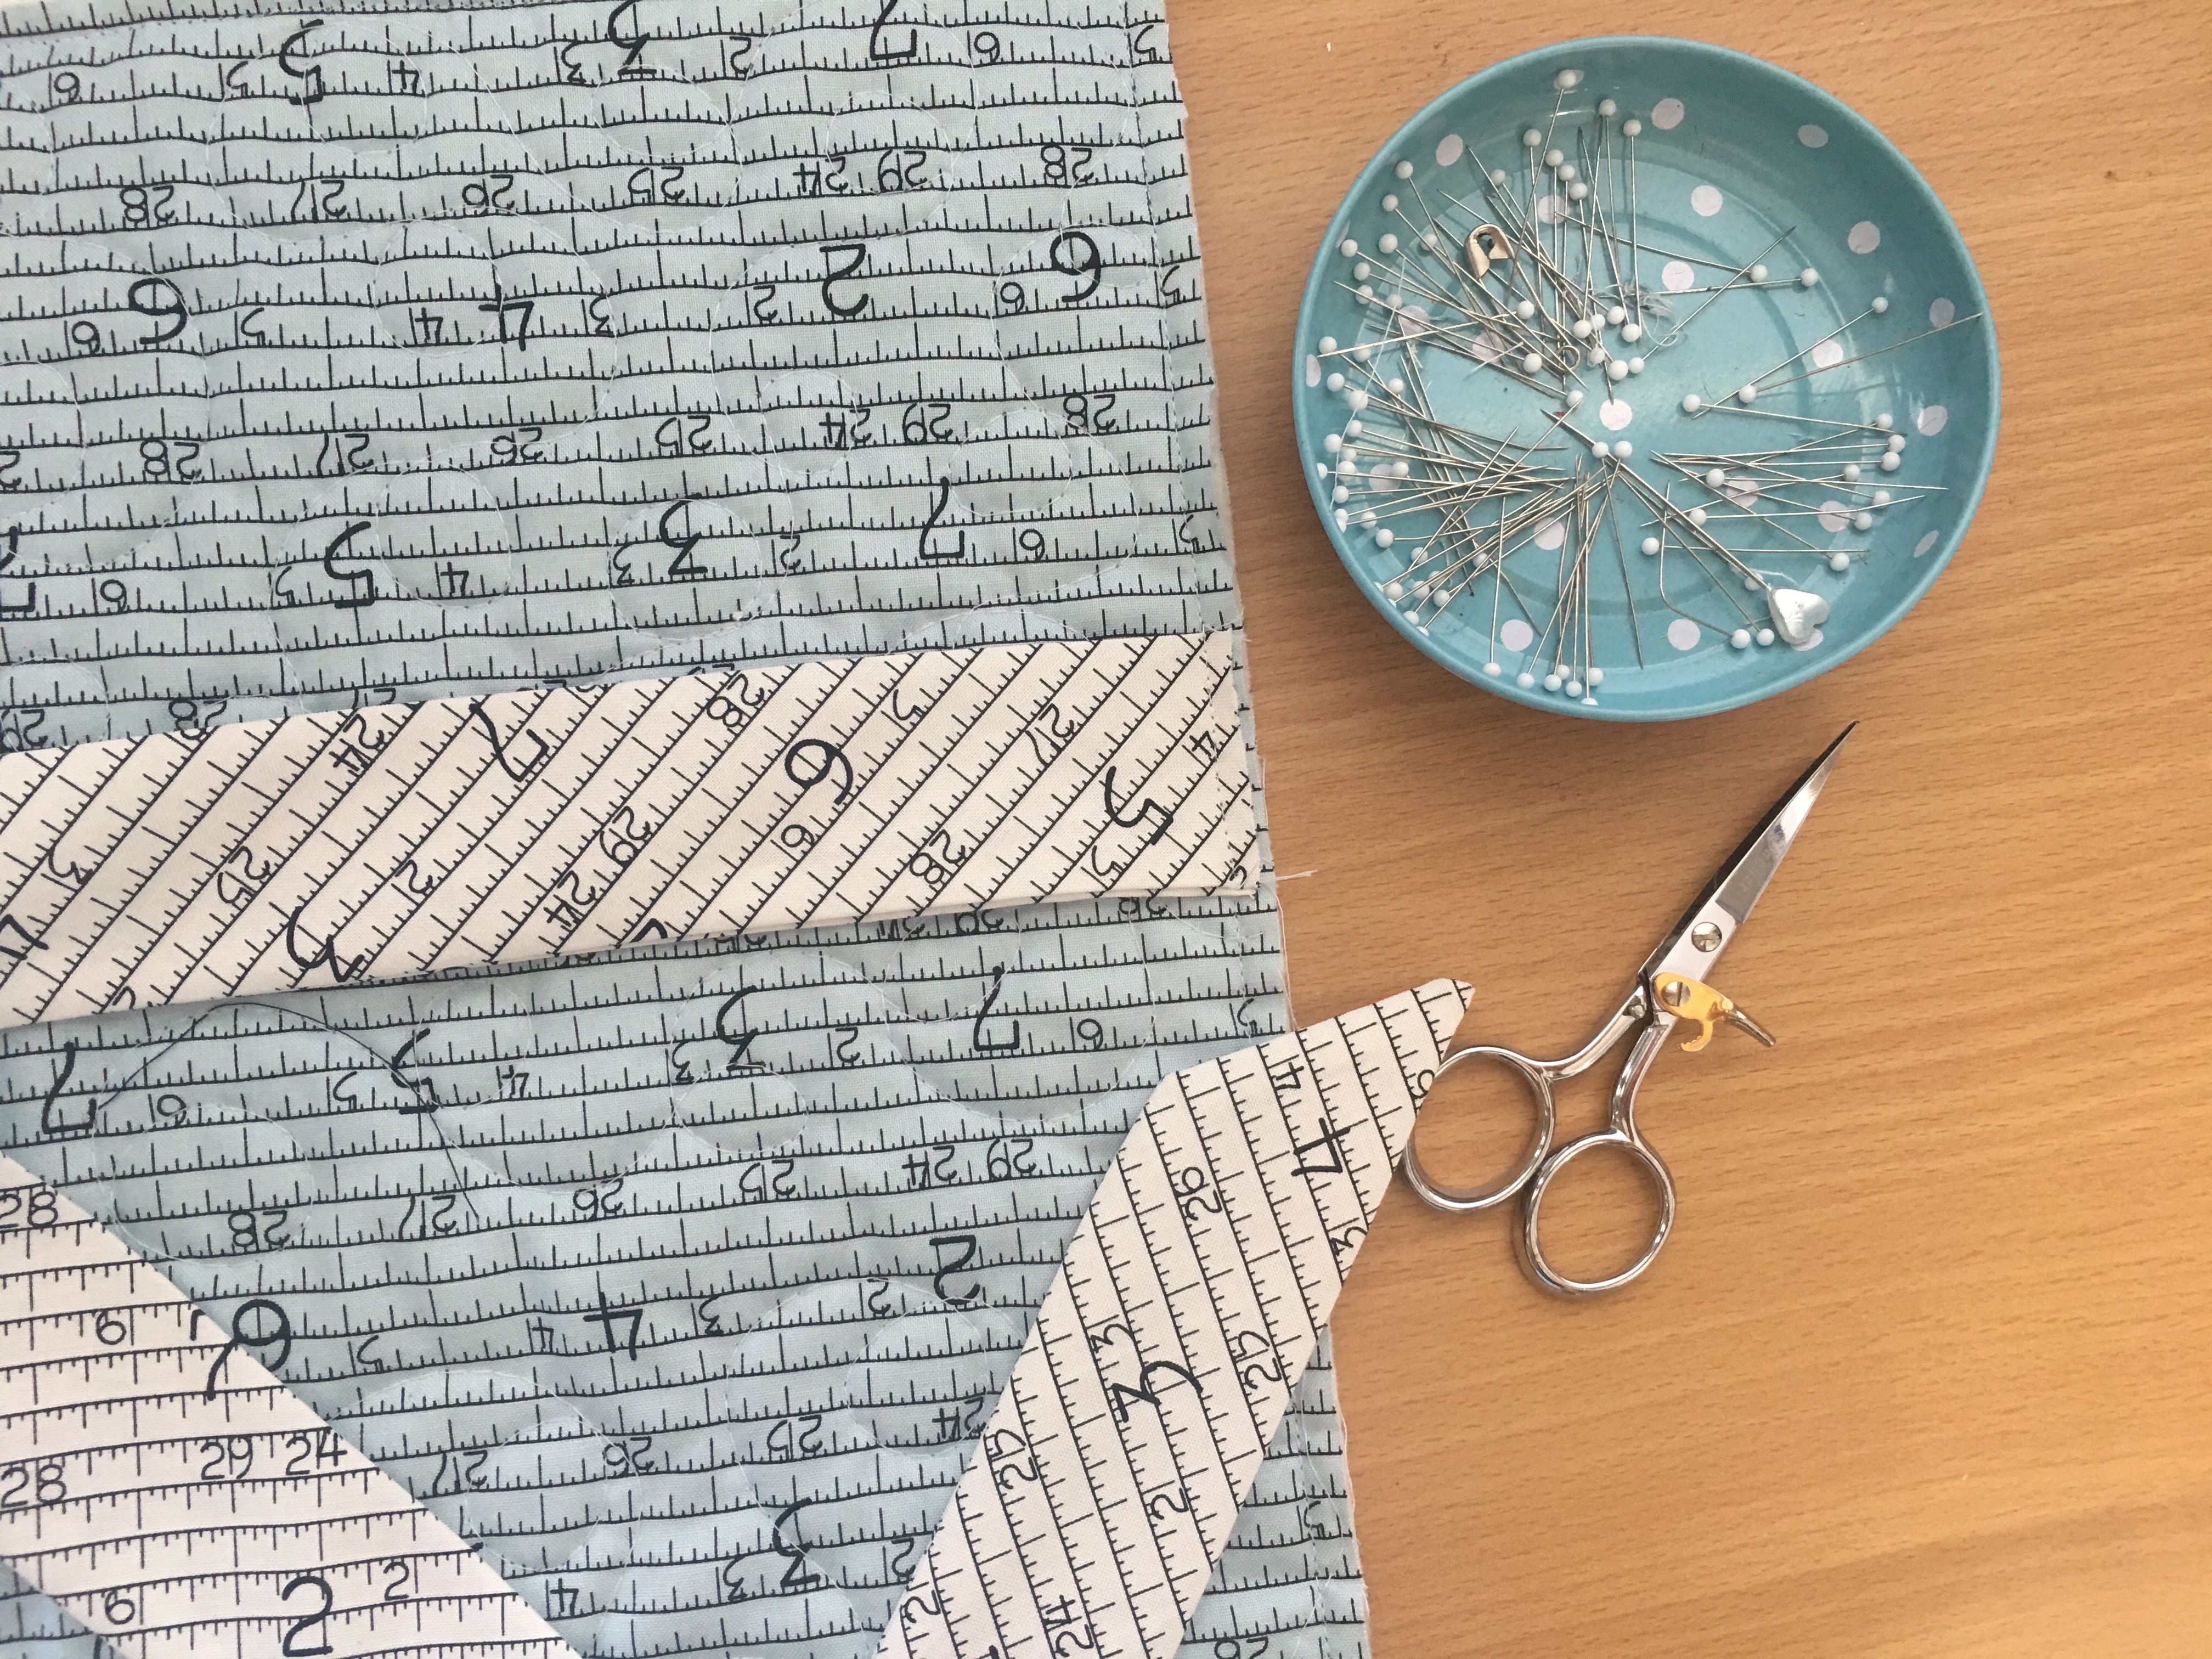
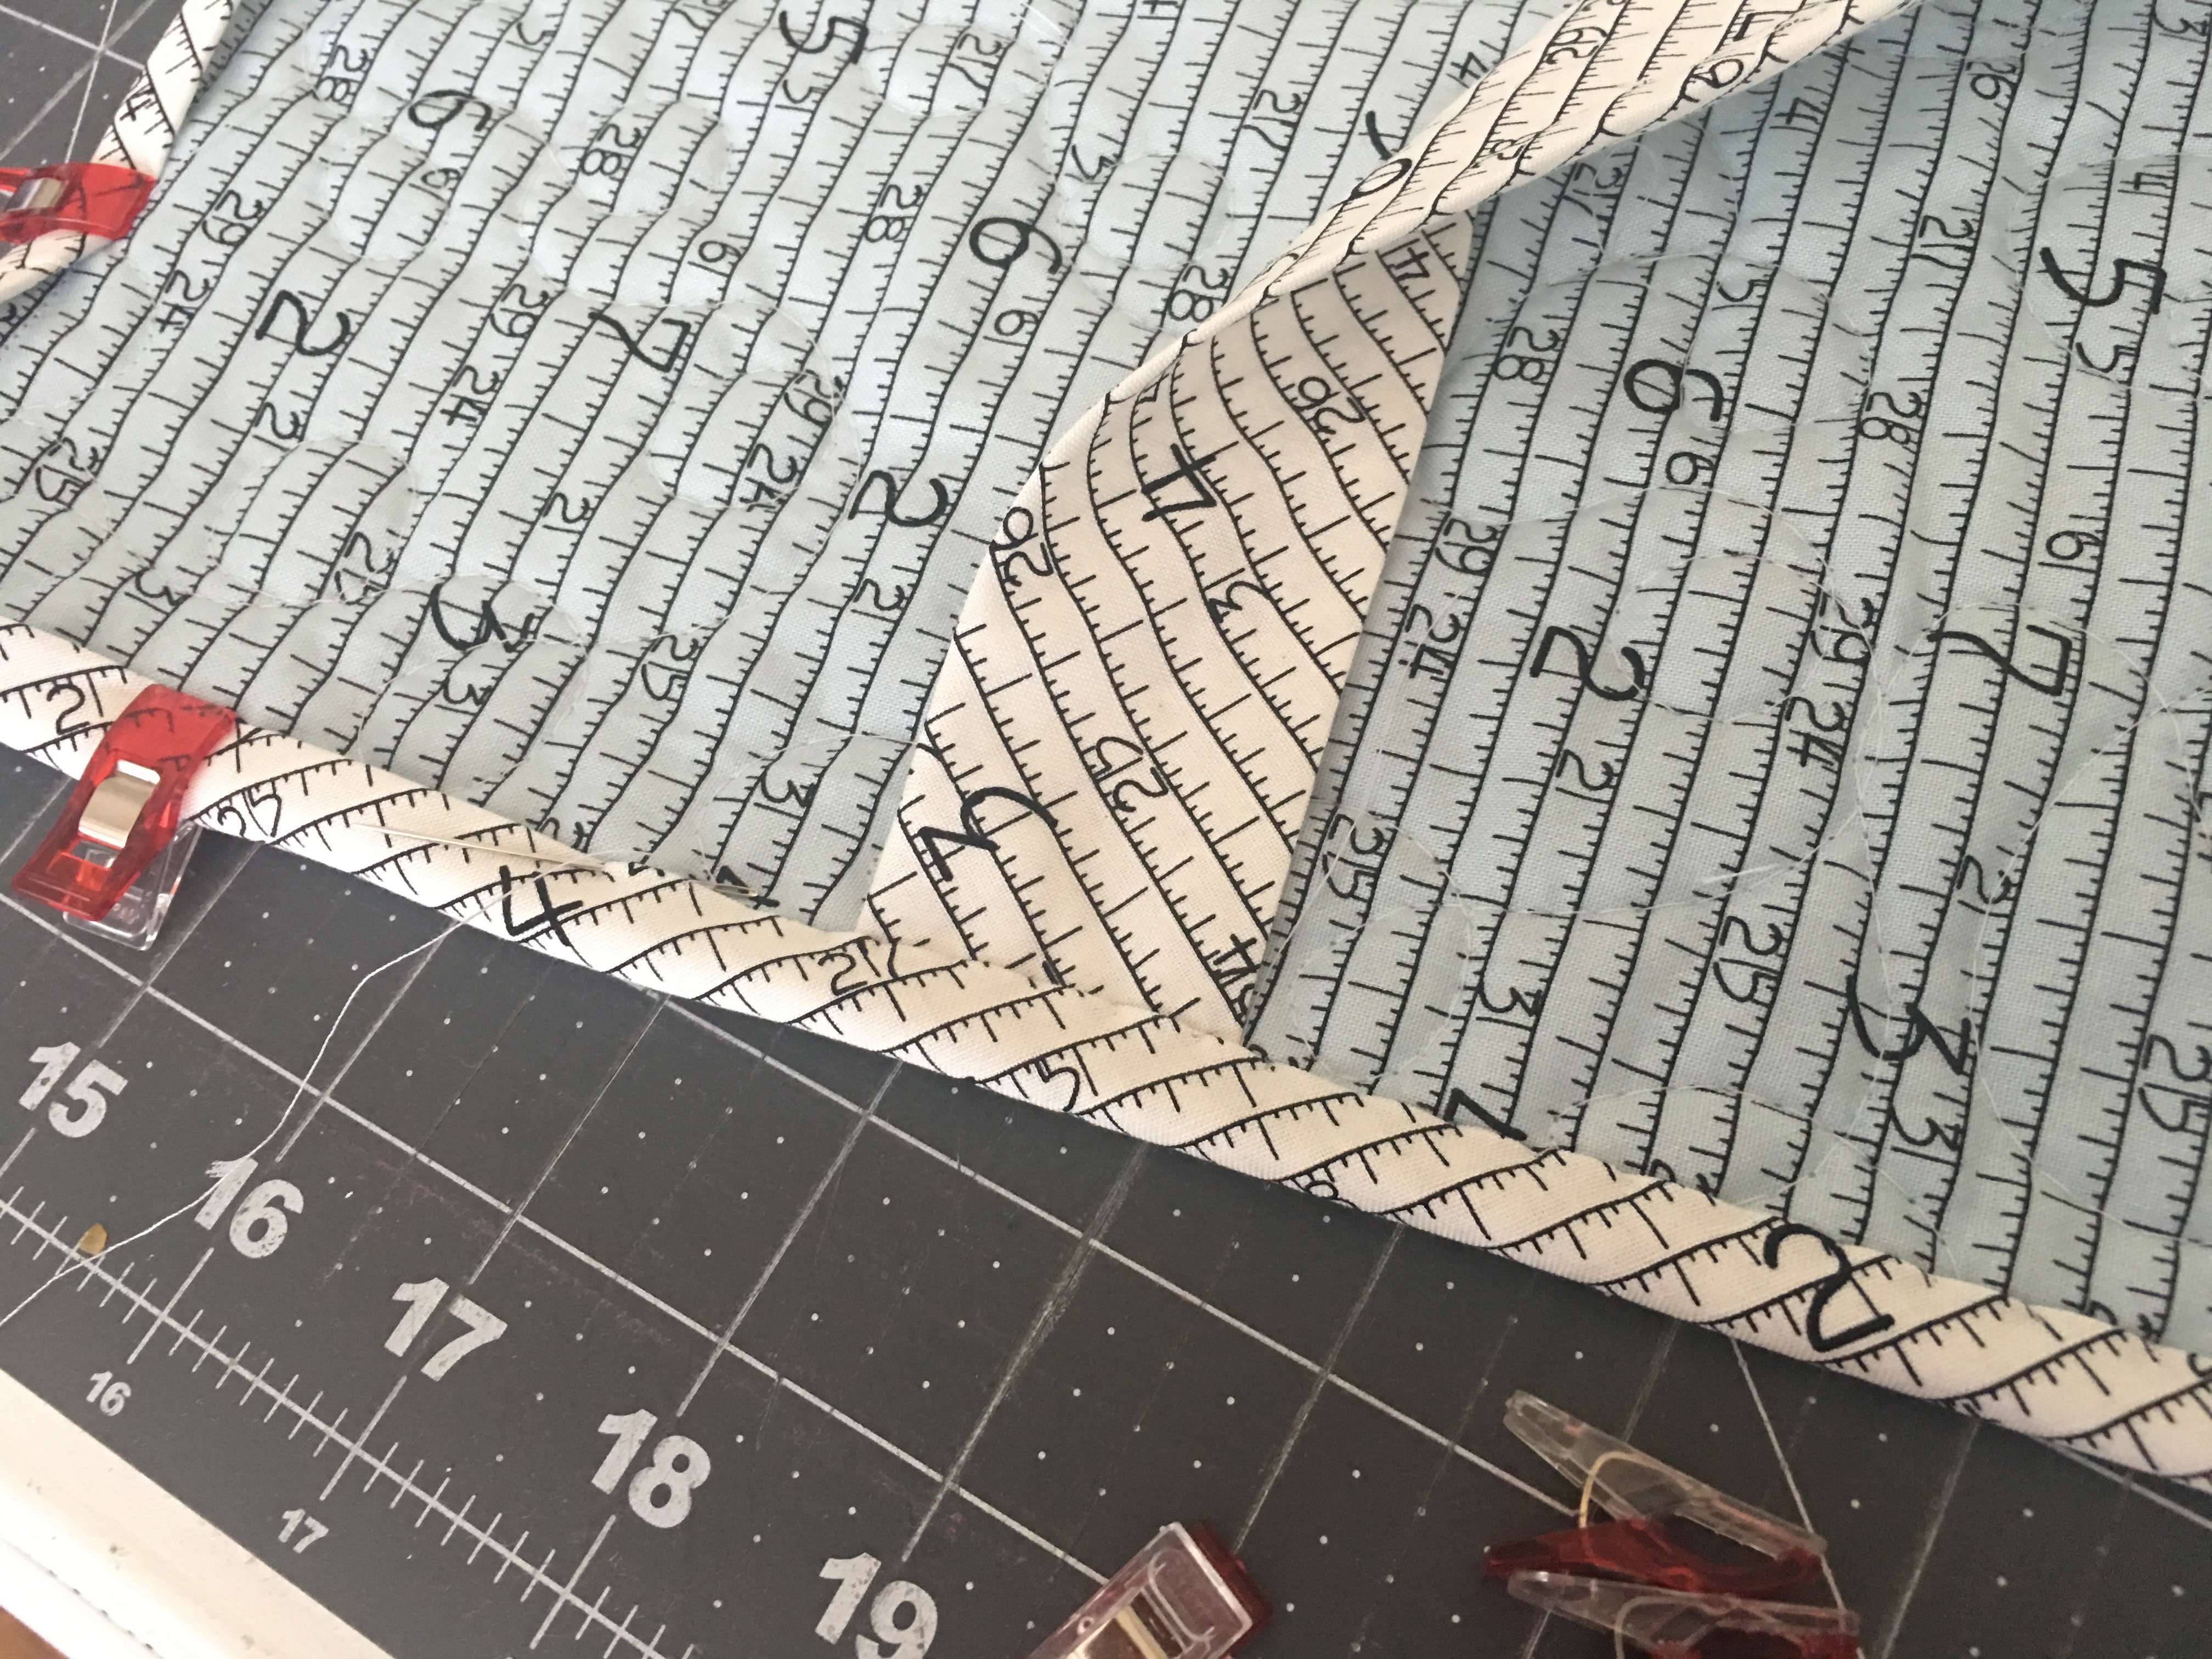
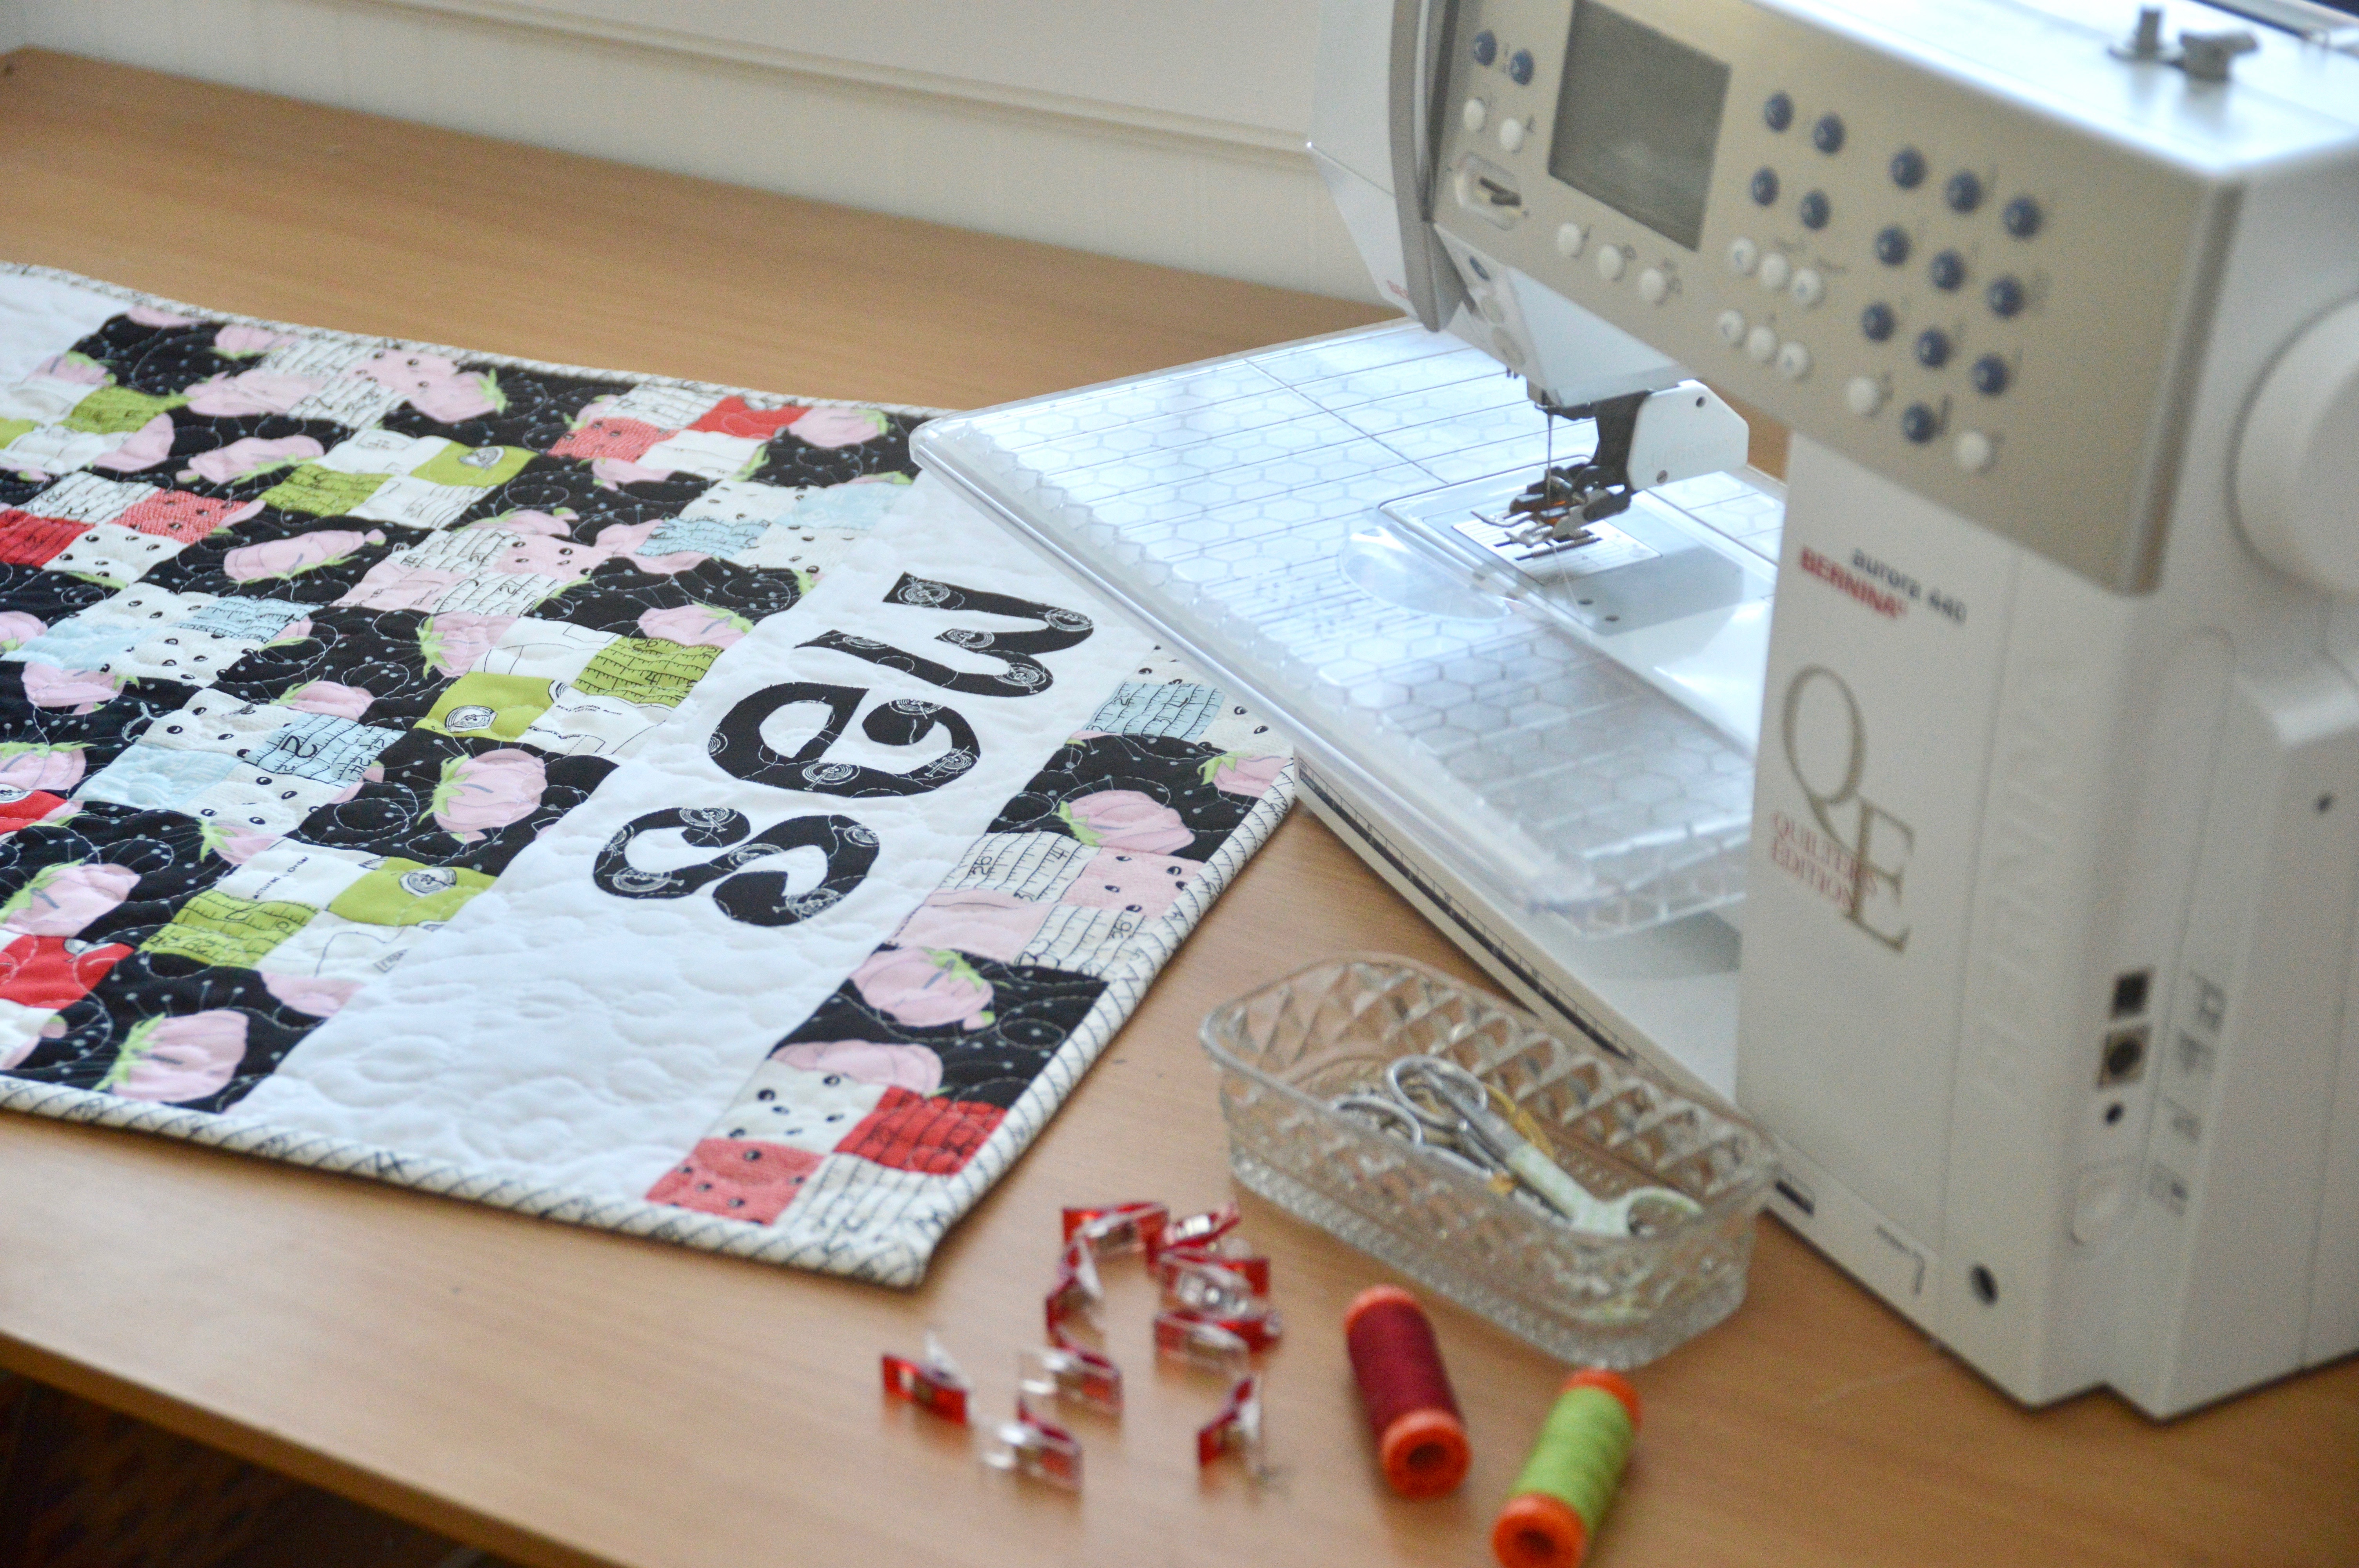
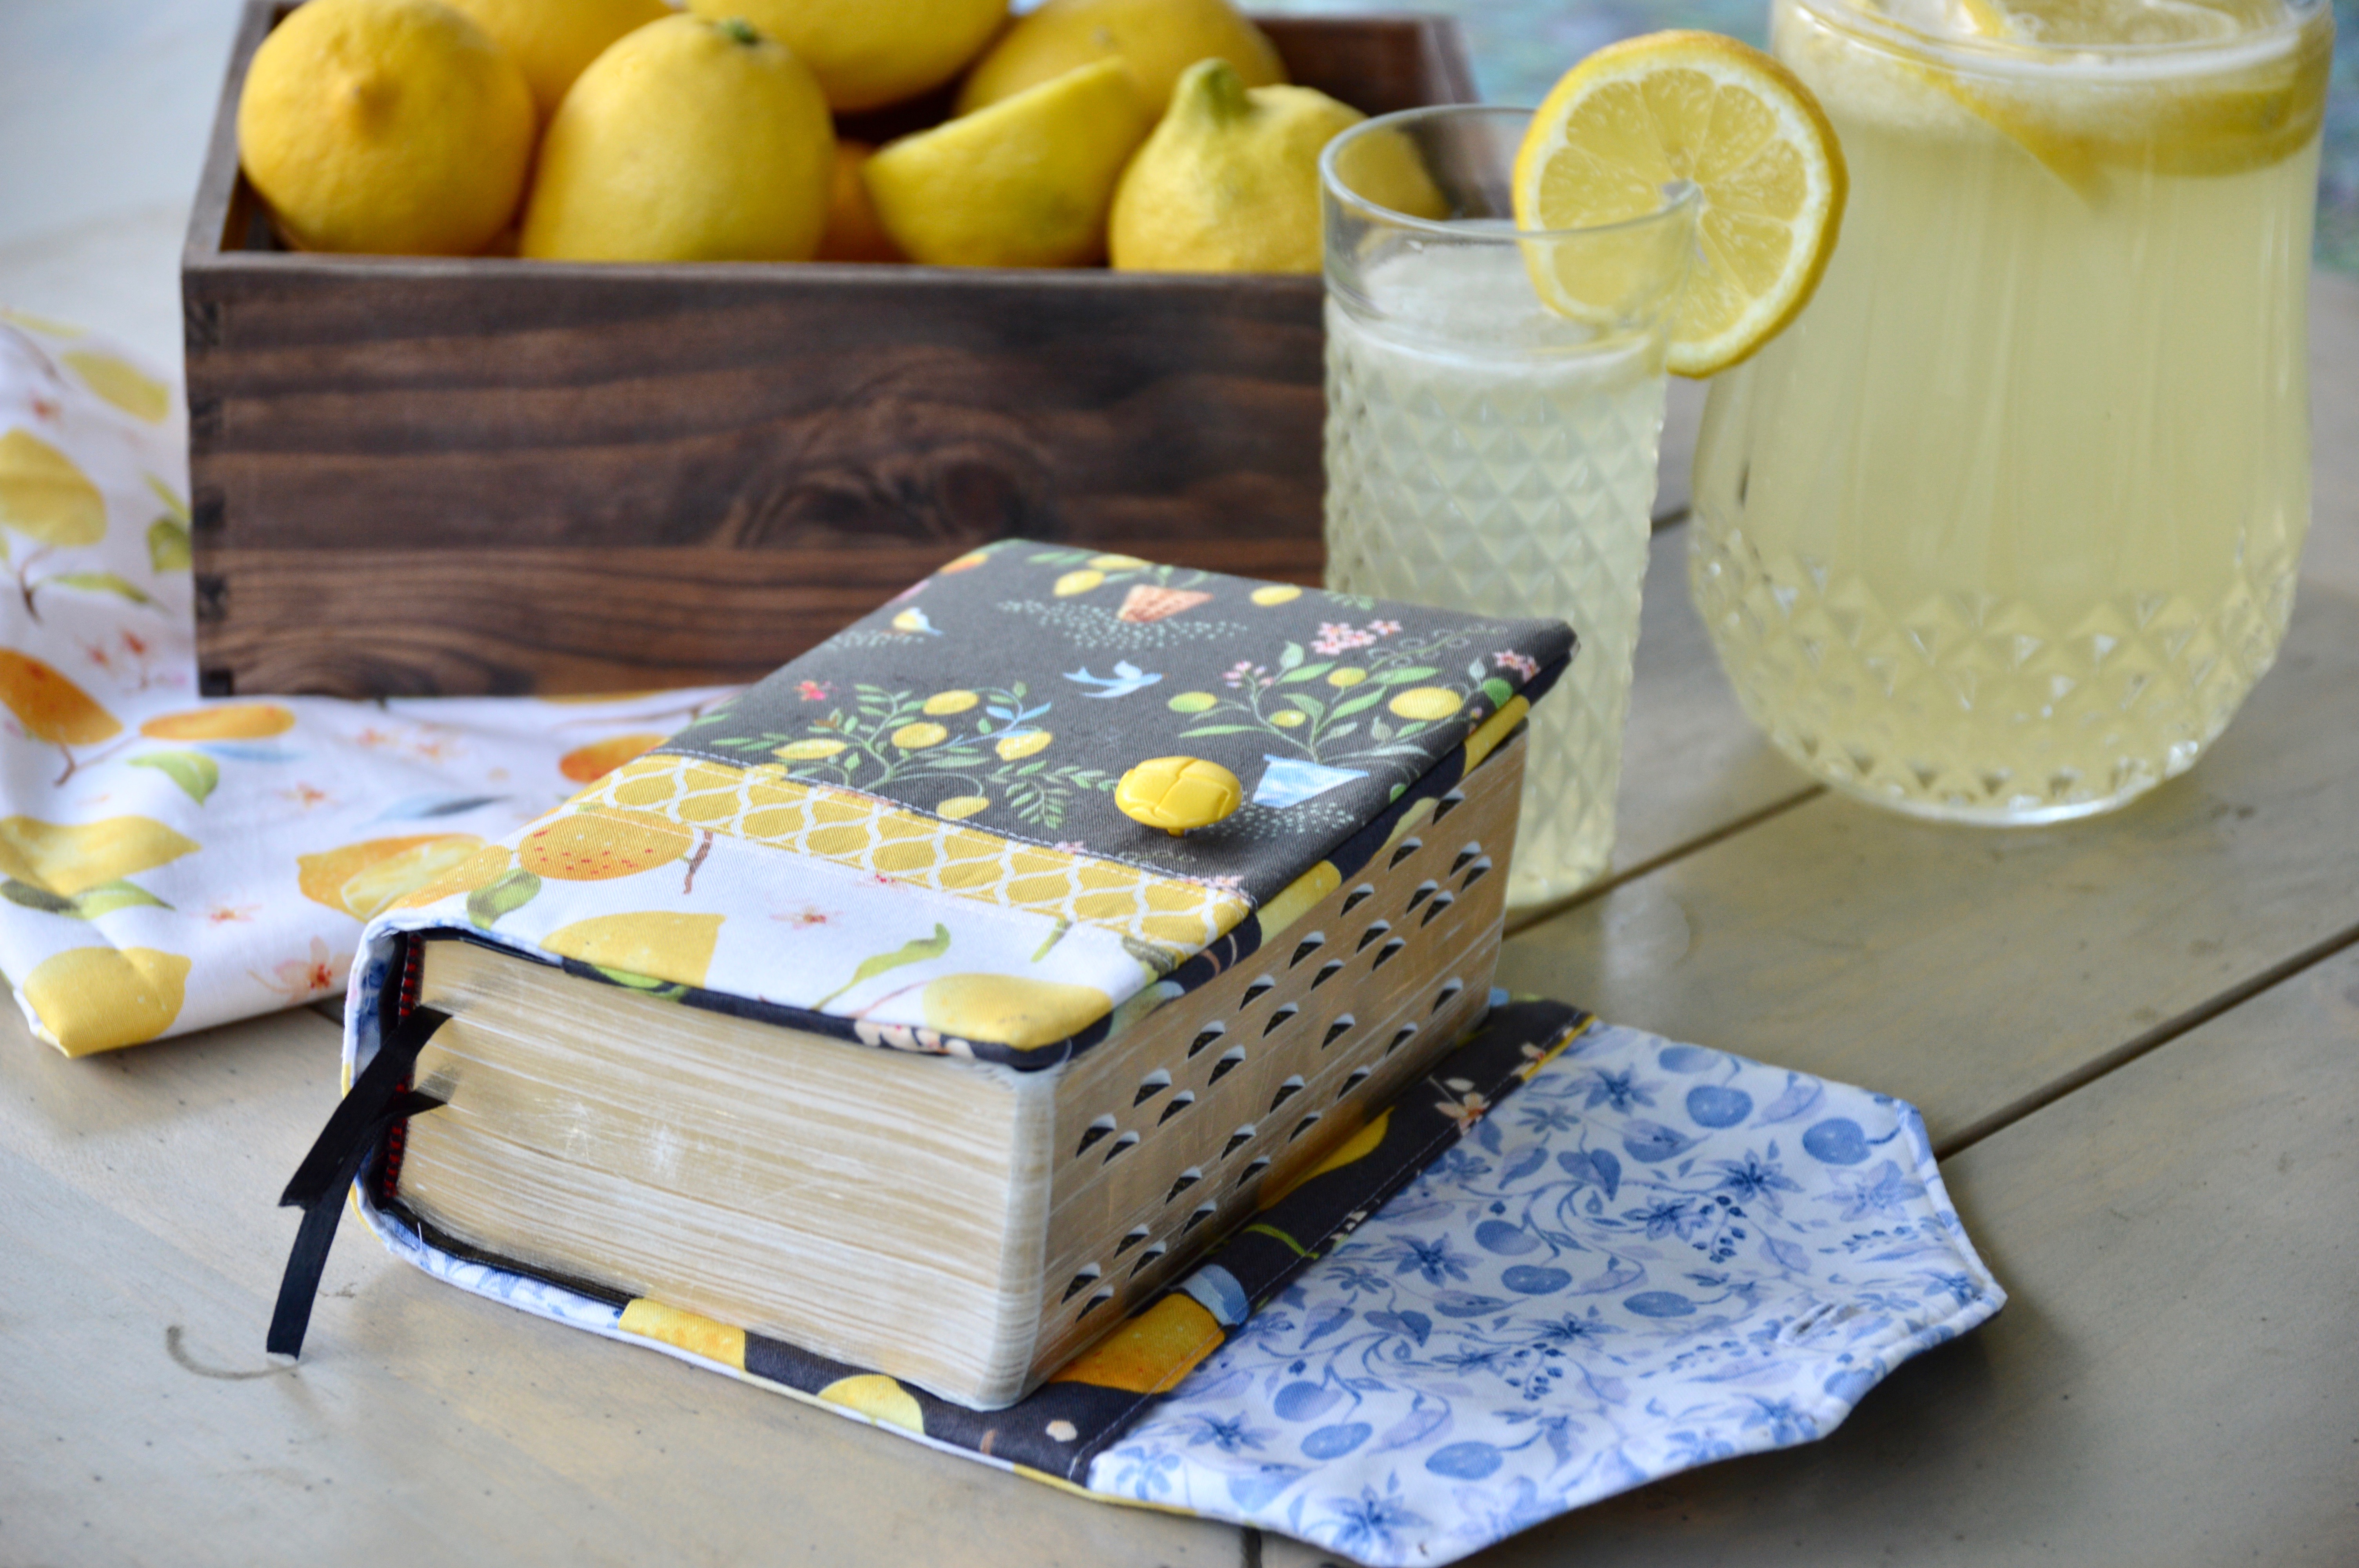
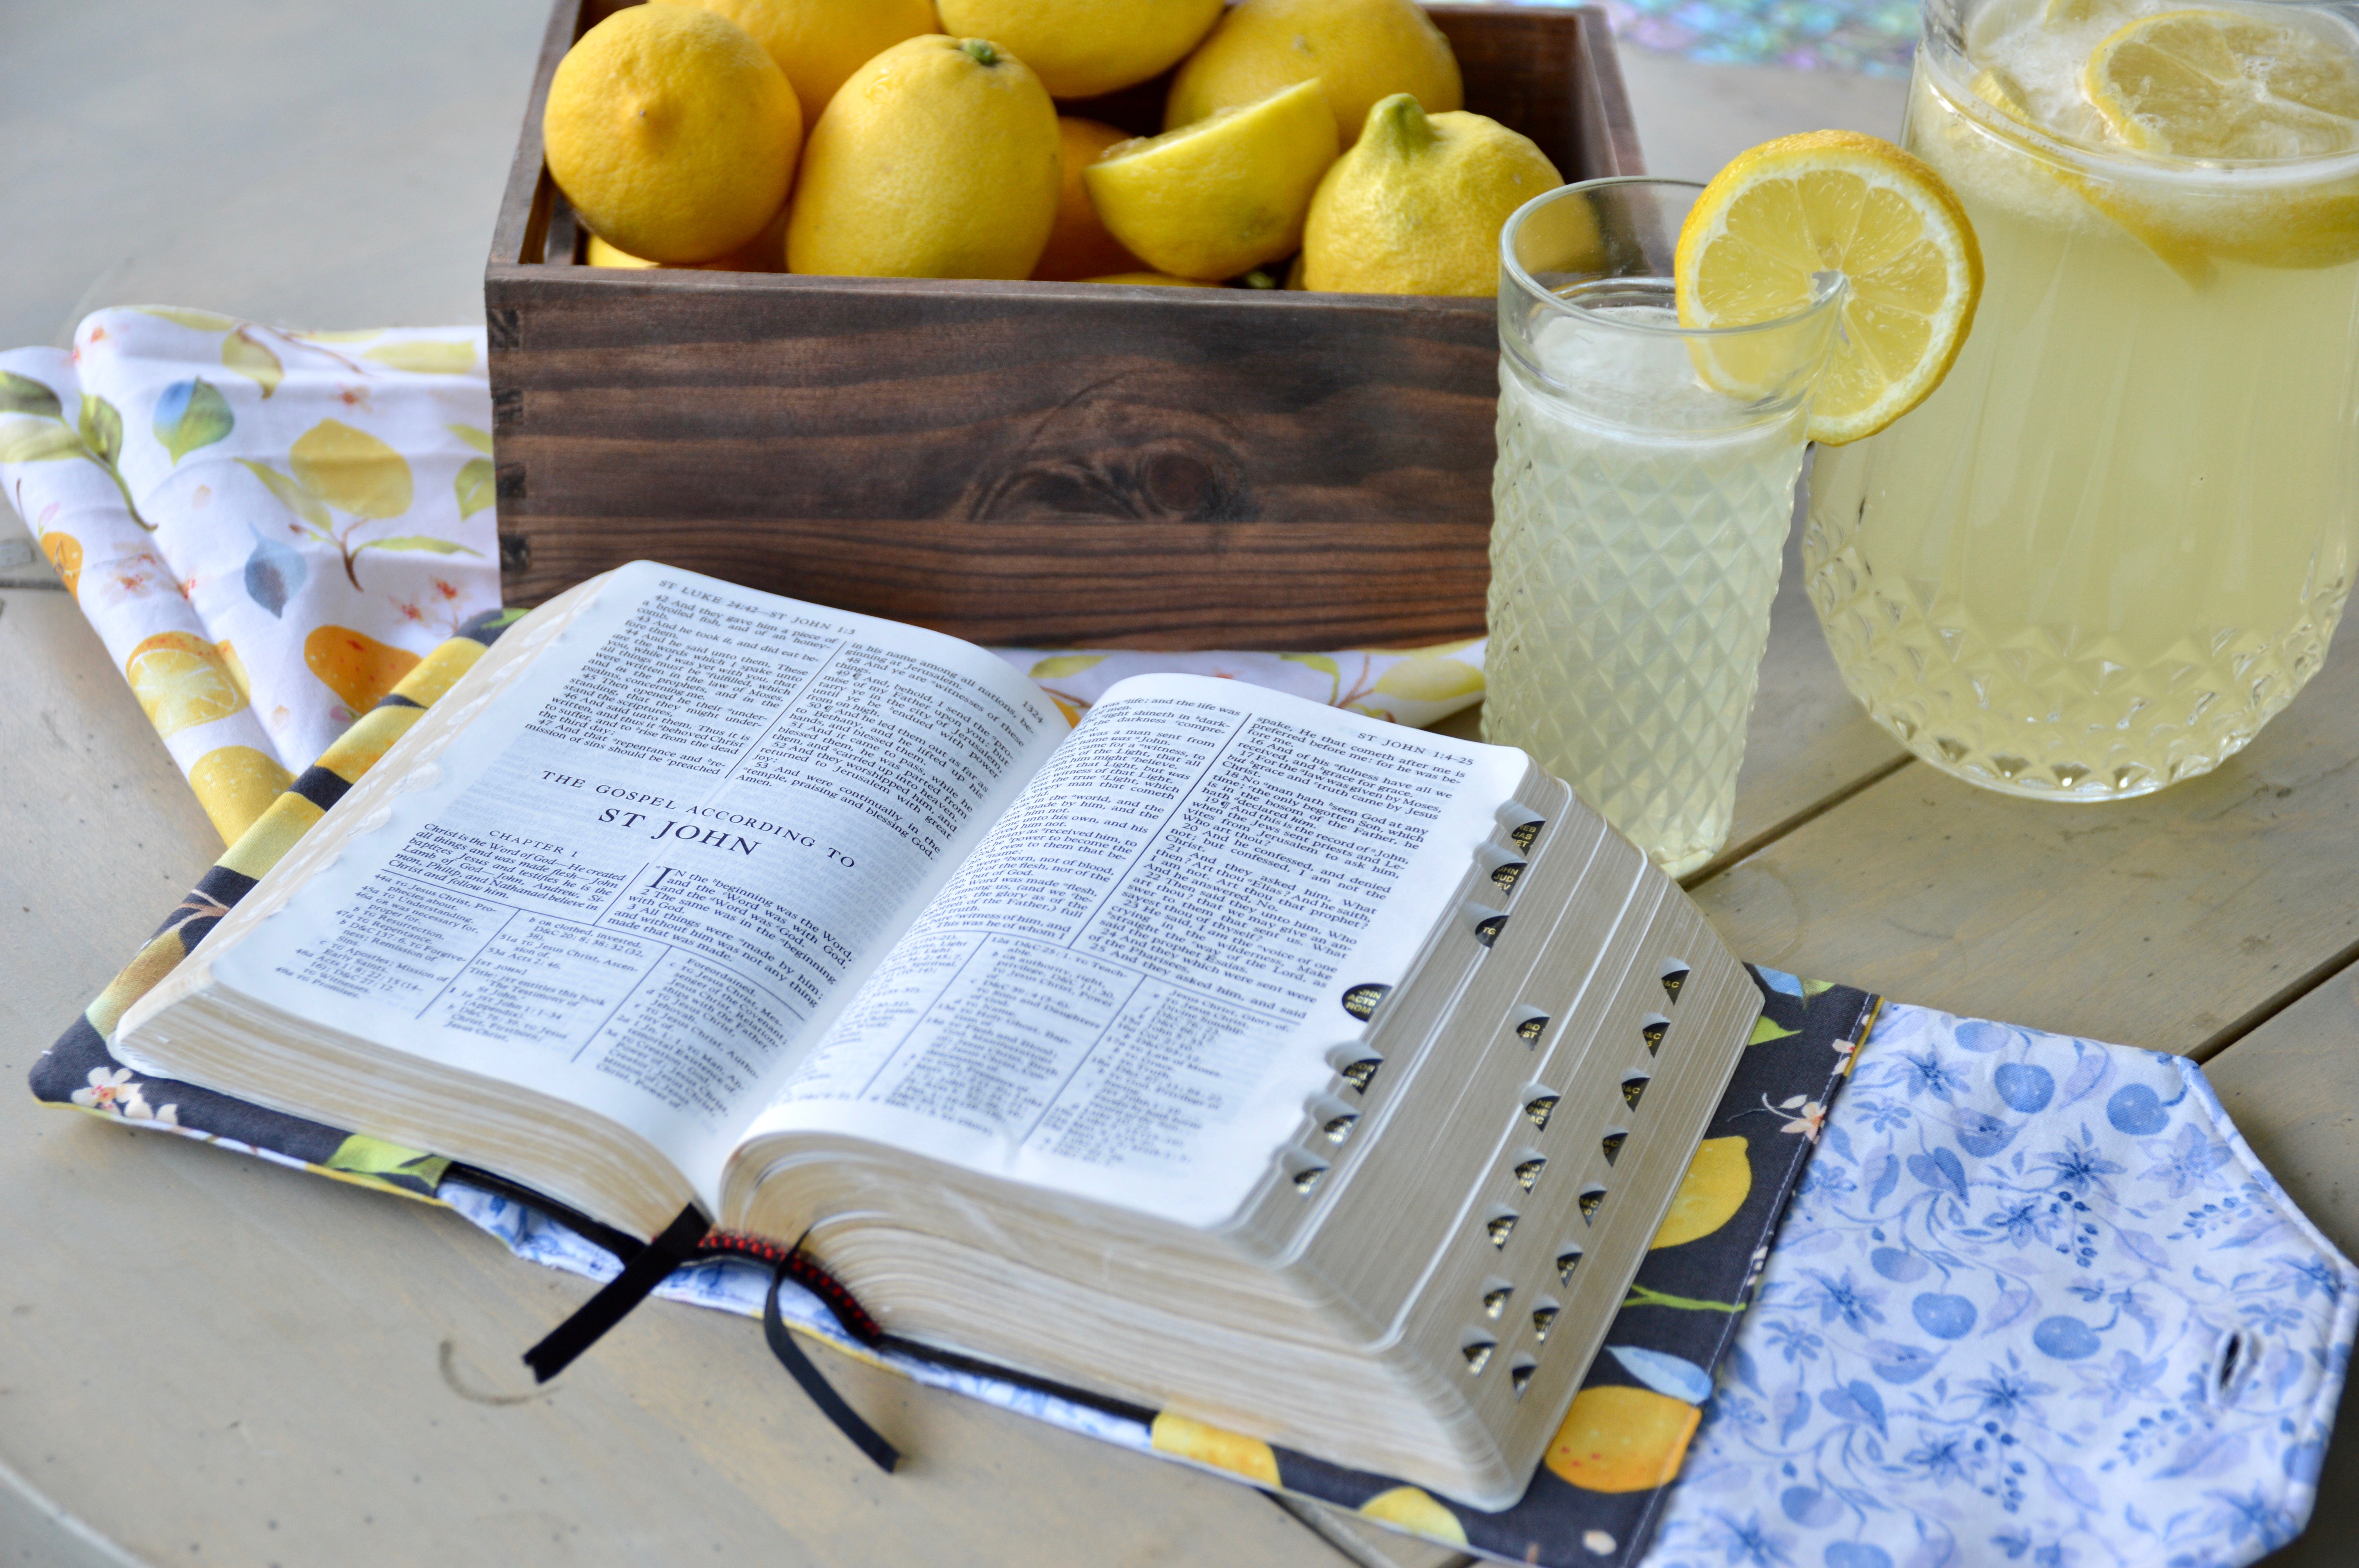
I chose to make some blocks from the Backyard quilt and turn them into a table runner.

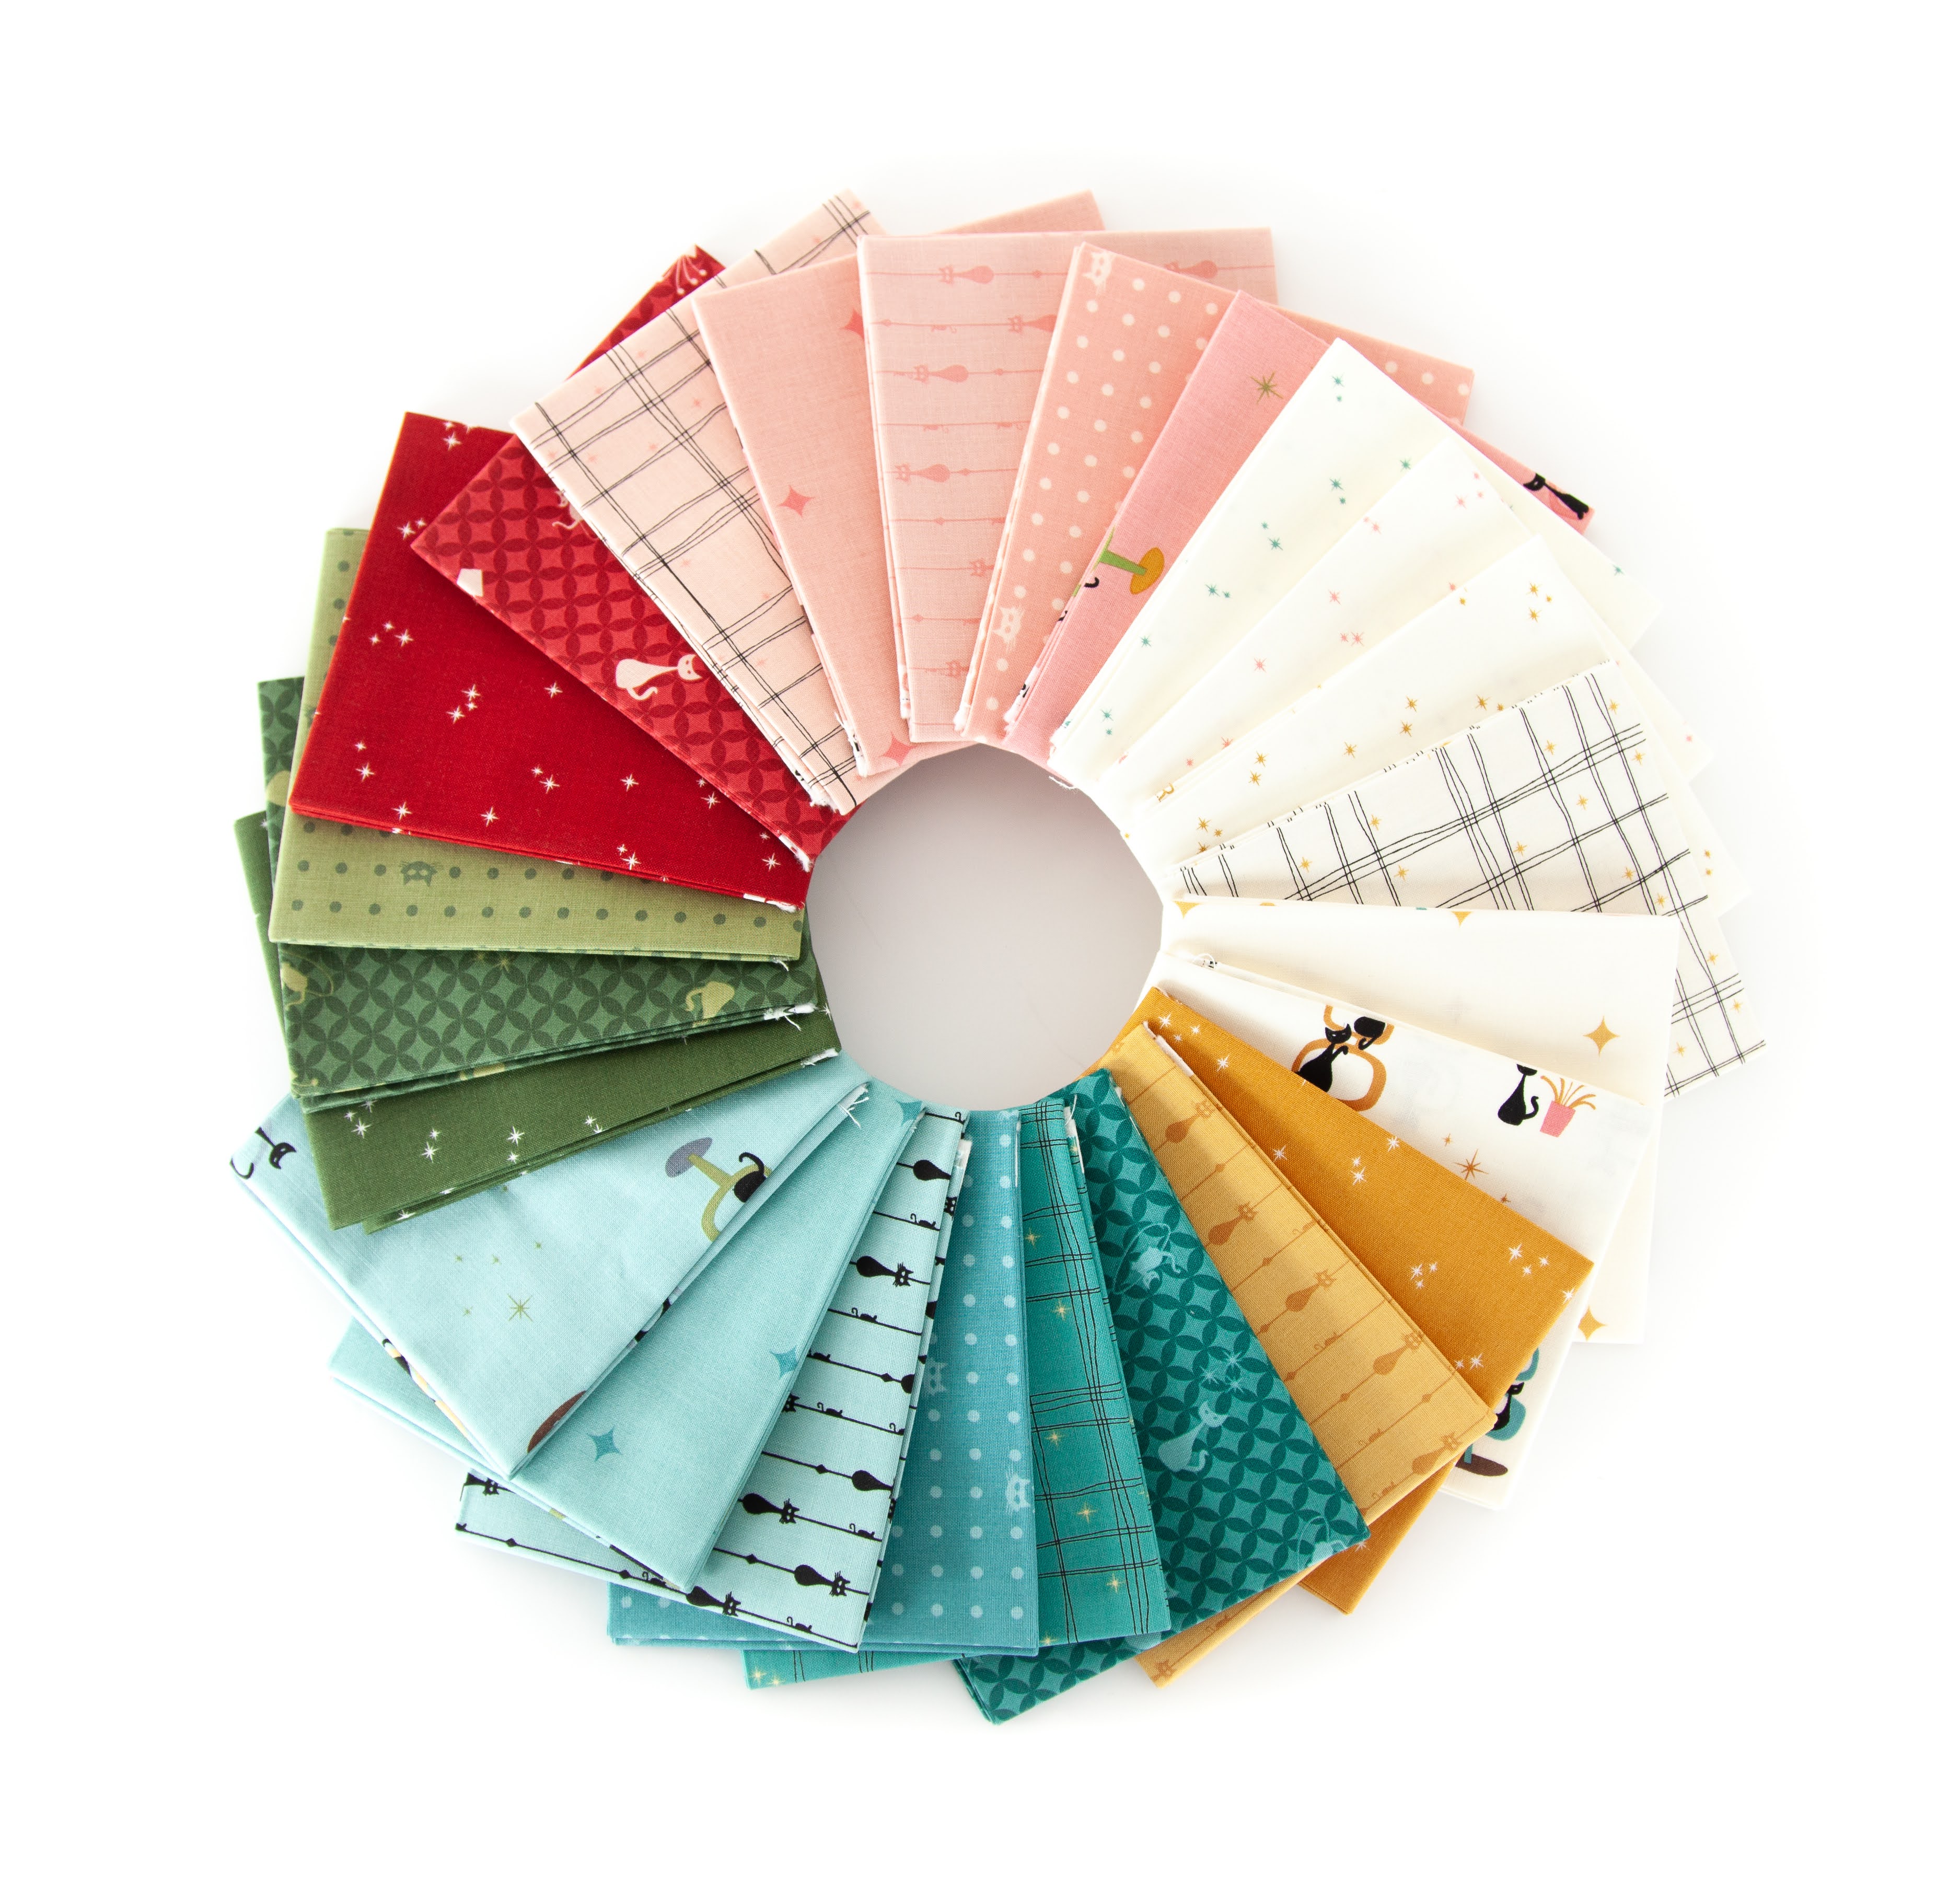
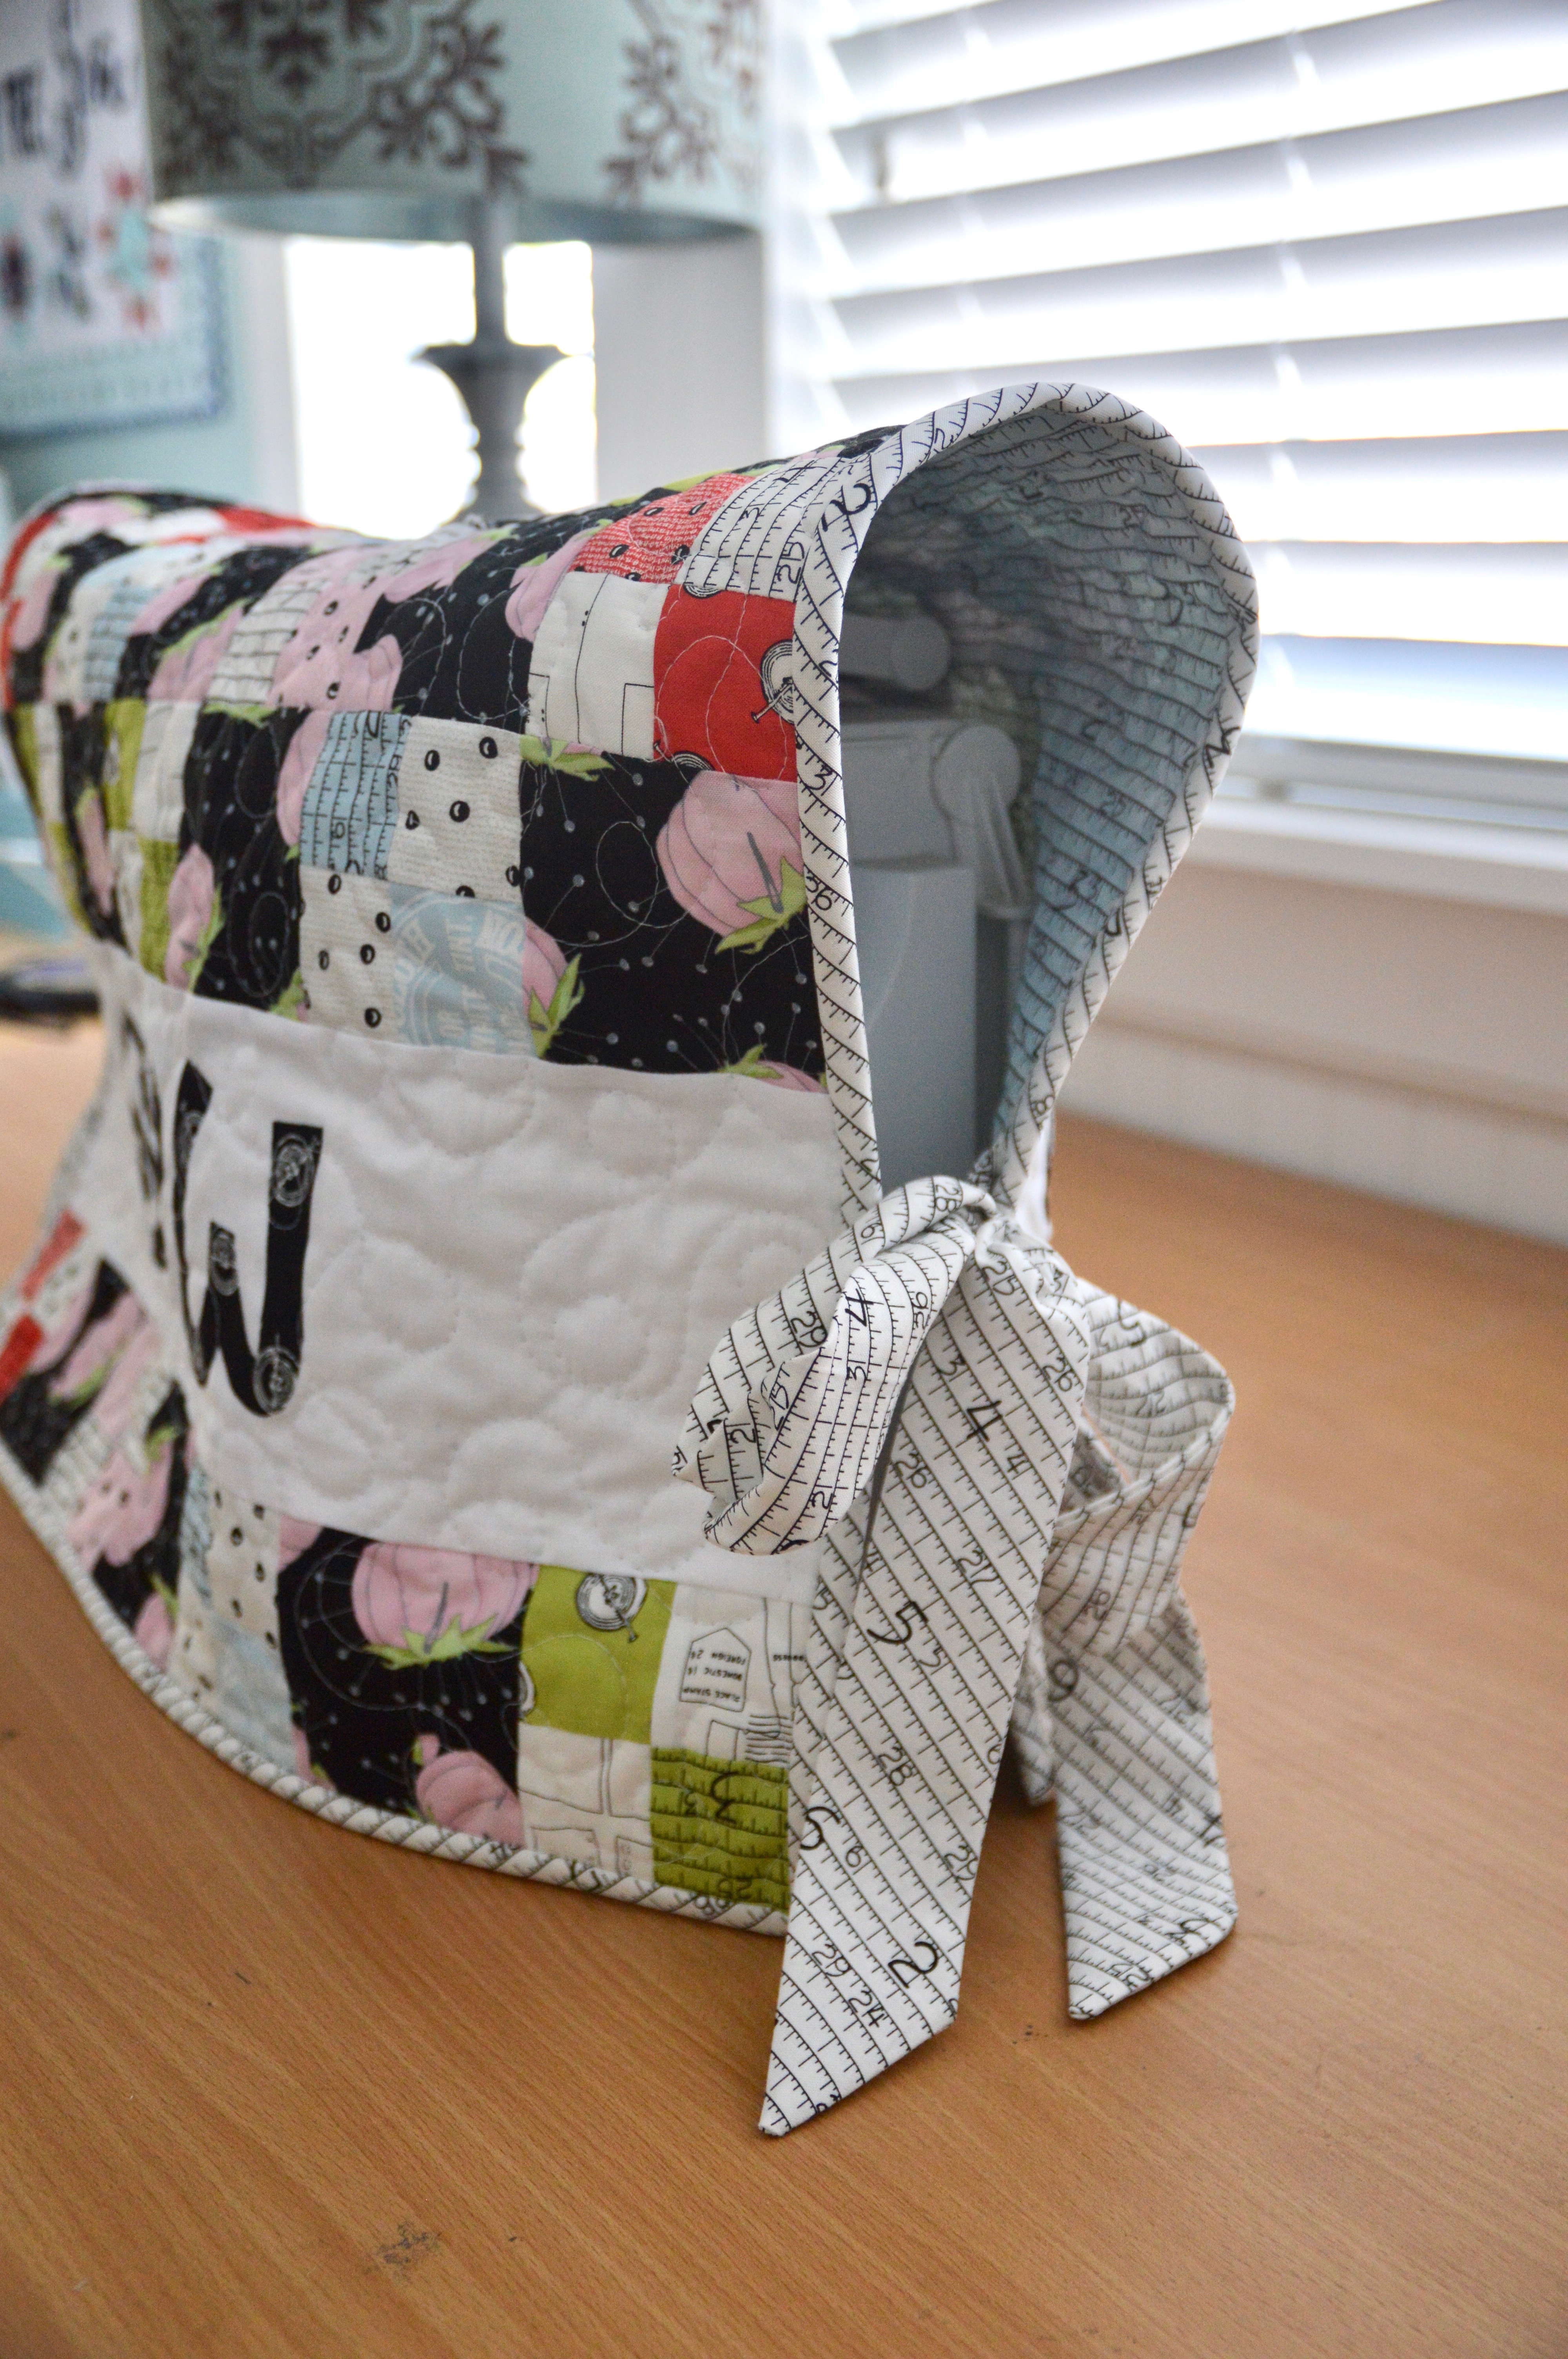
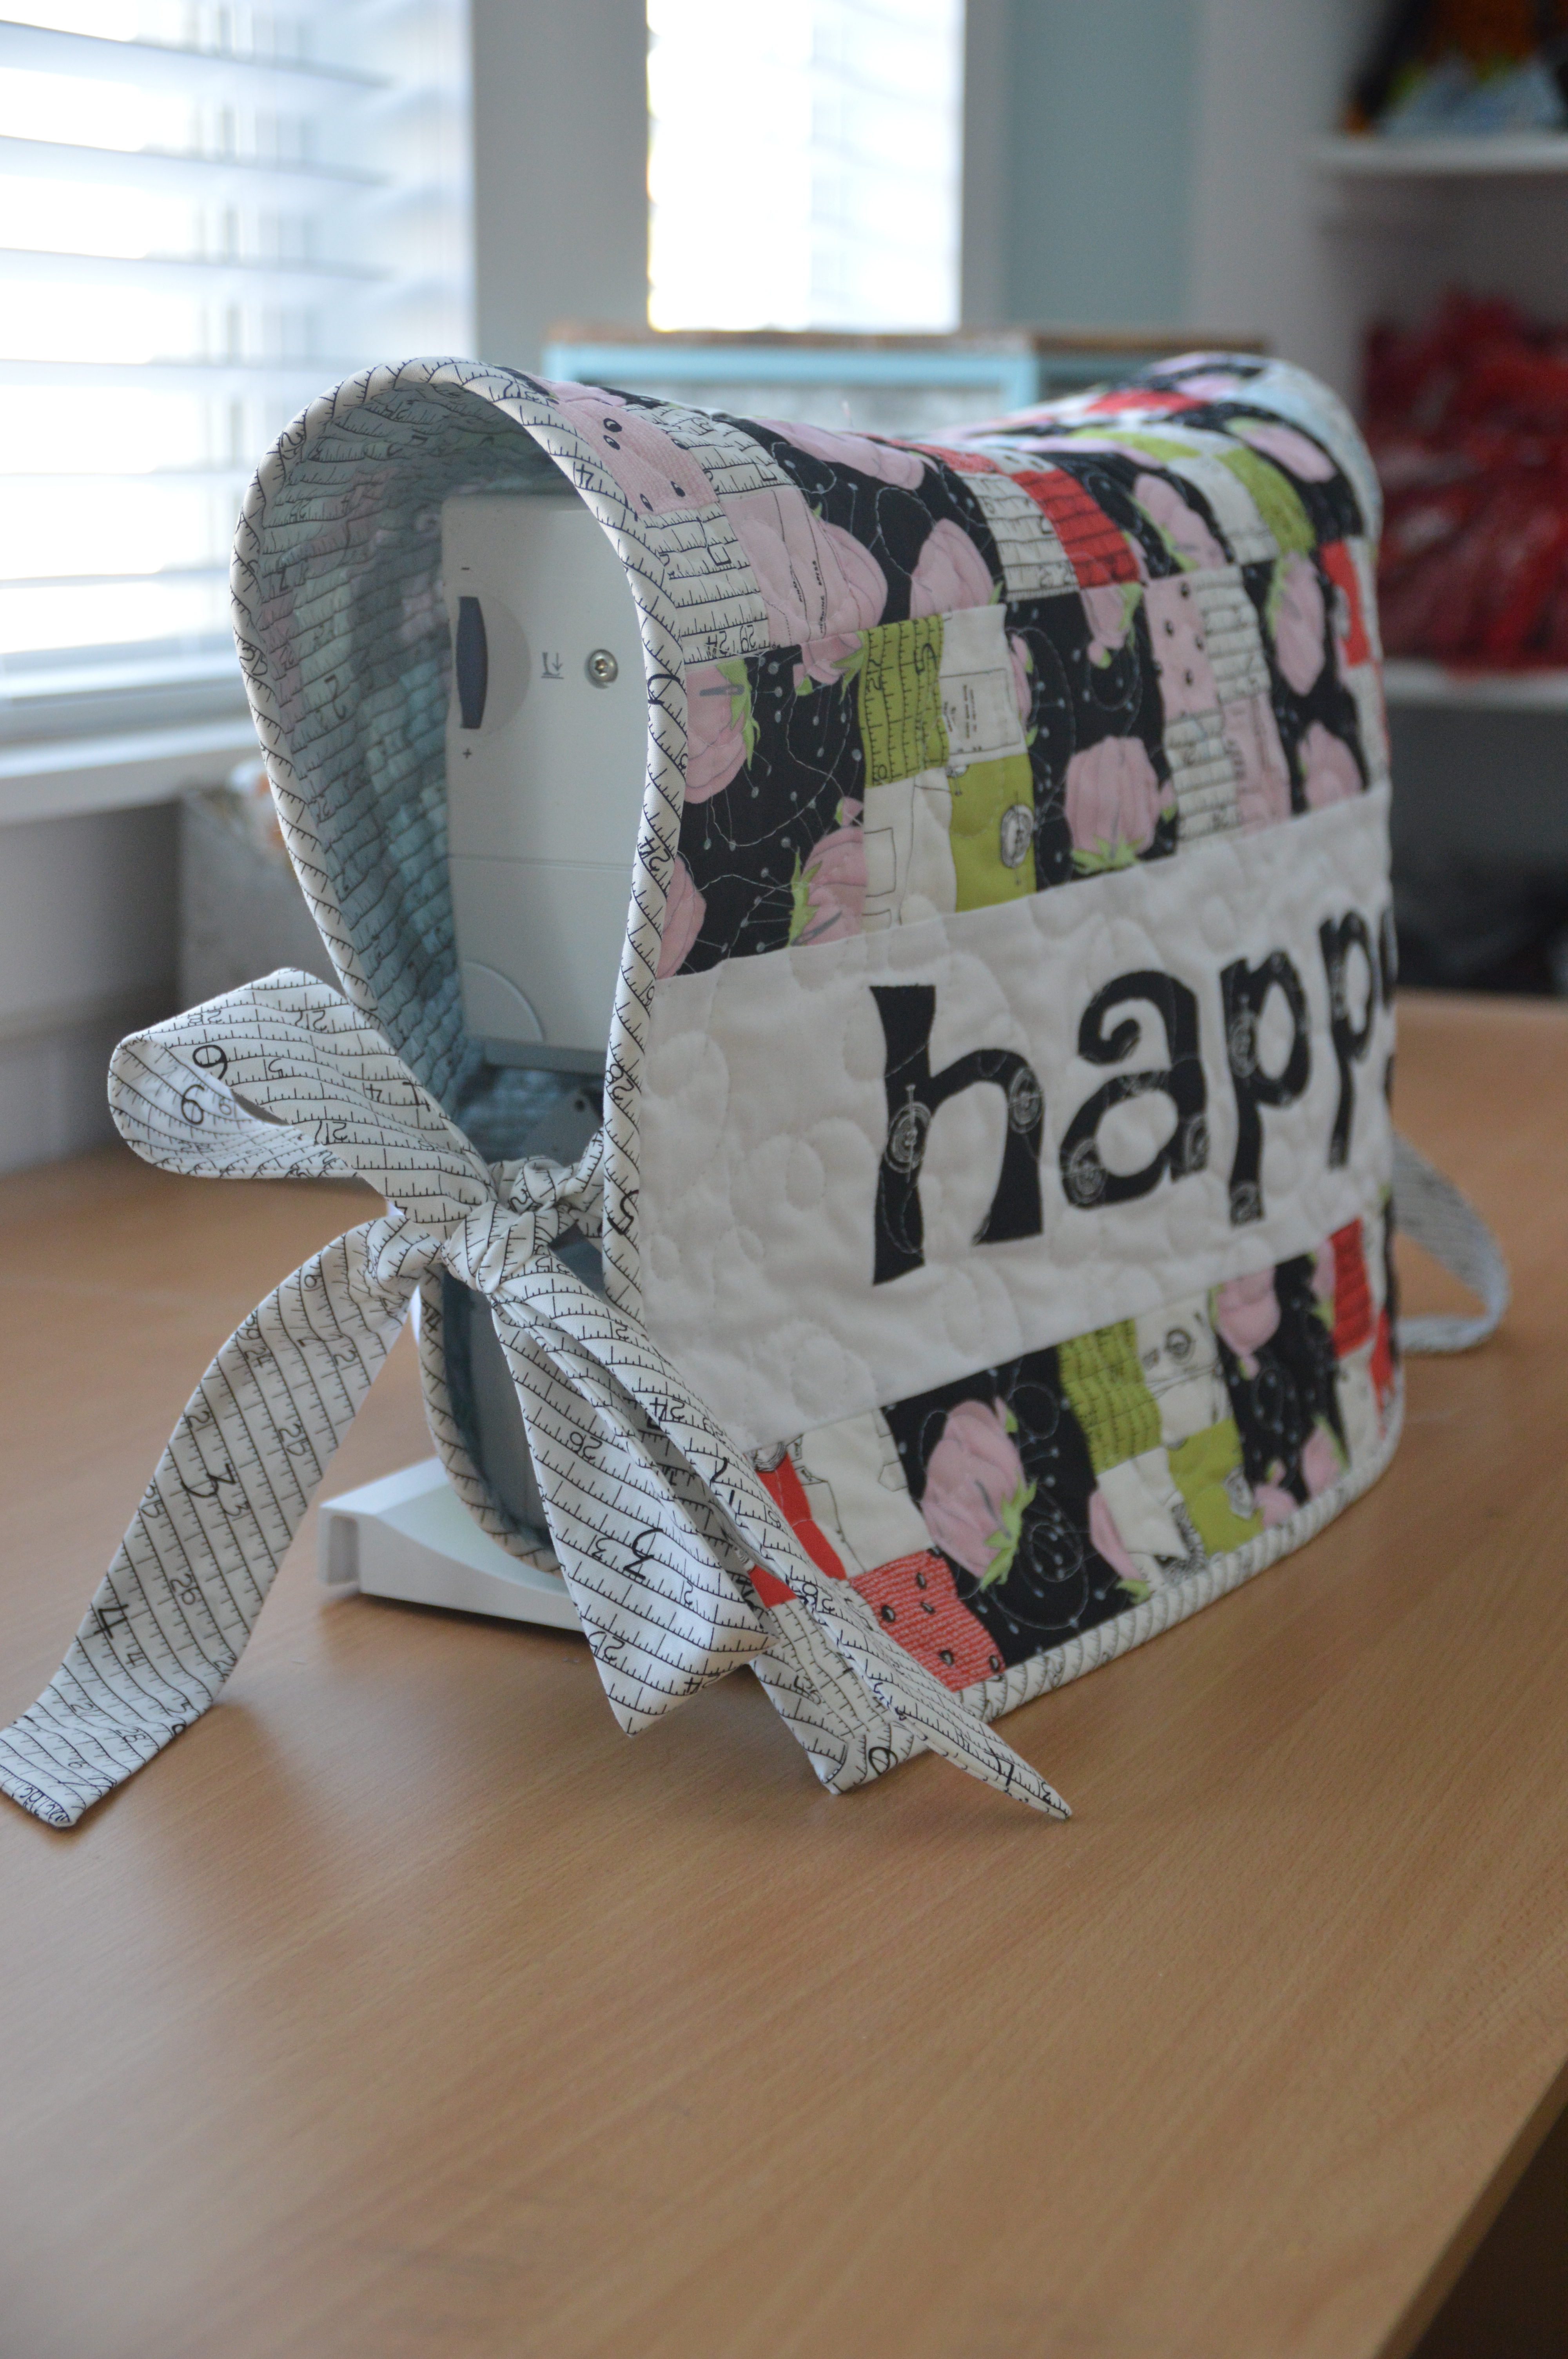
I used fabrics from my new fabric line Mod Meow which will be in stores the beginning of February!

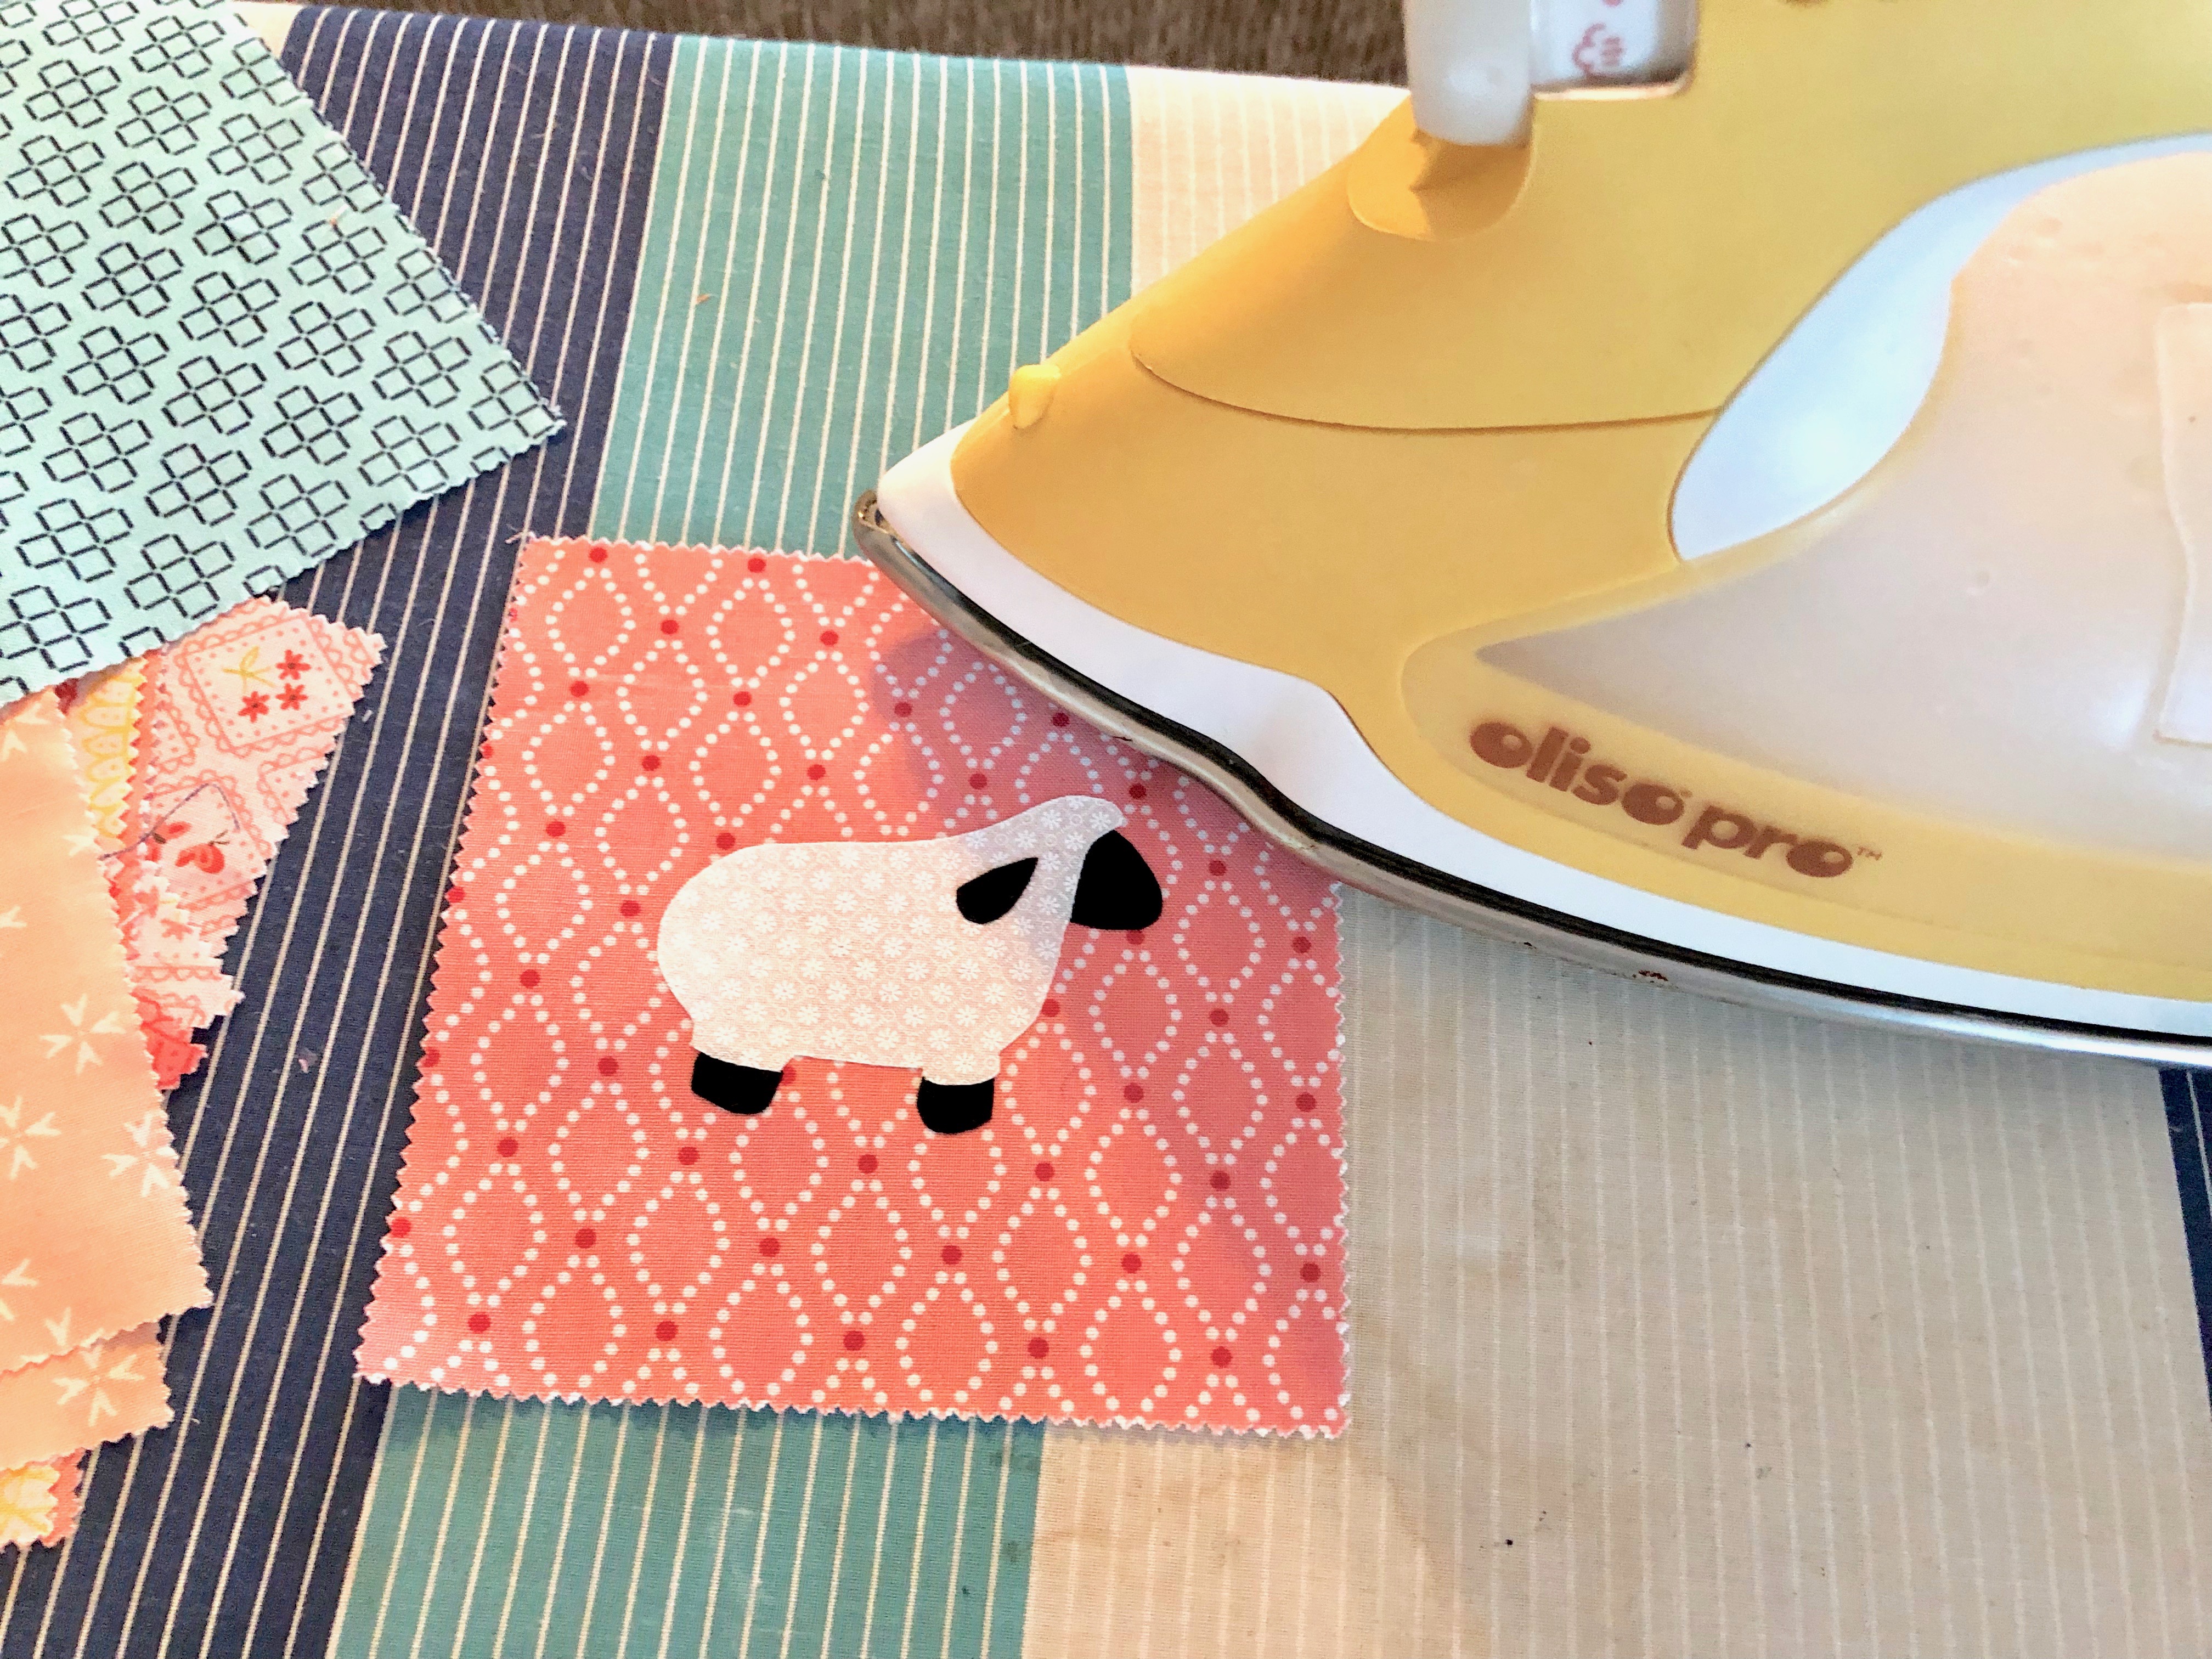
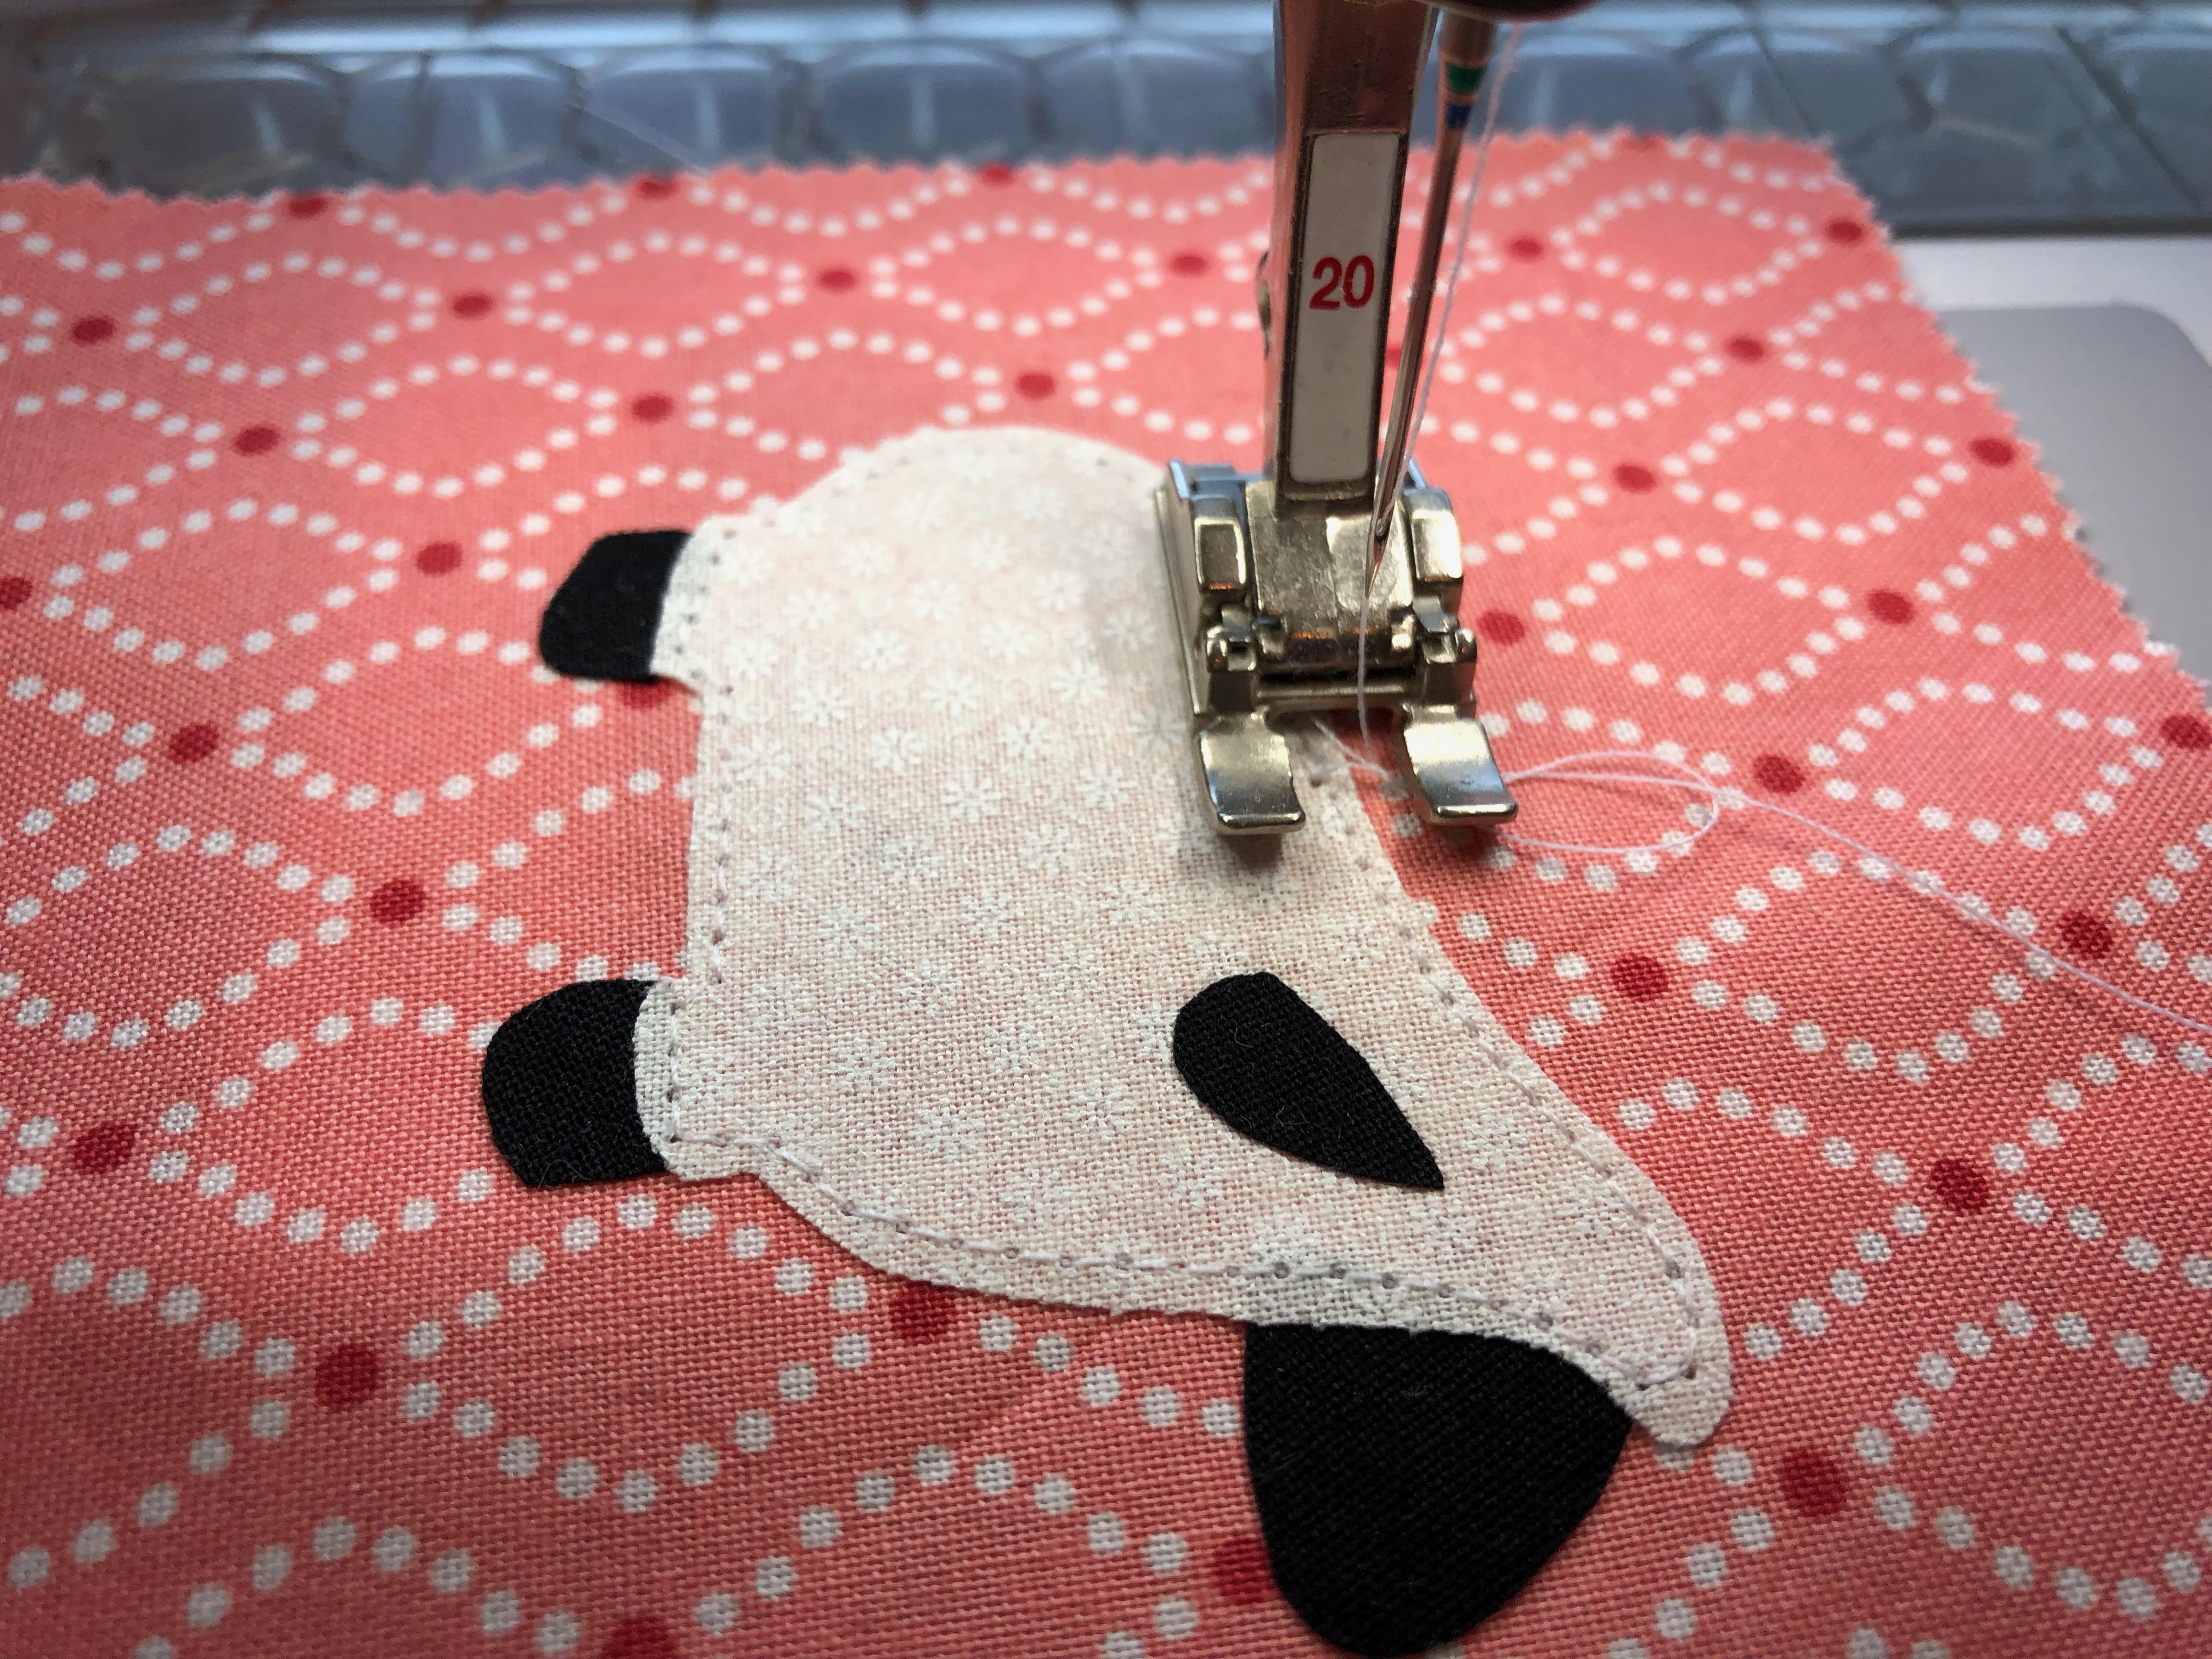
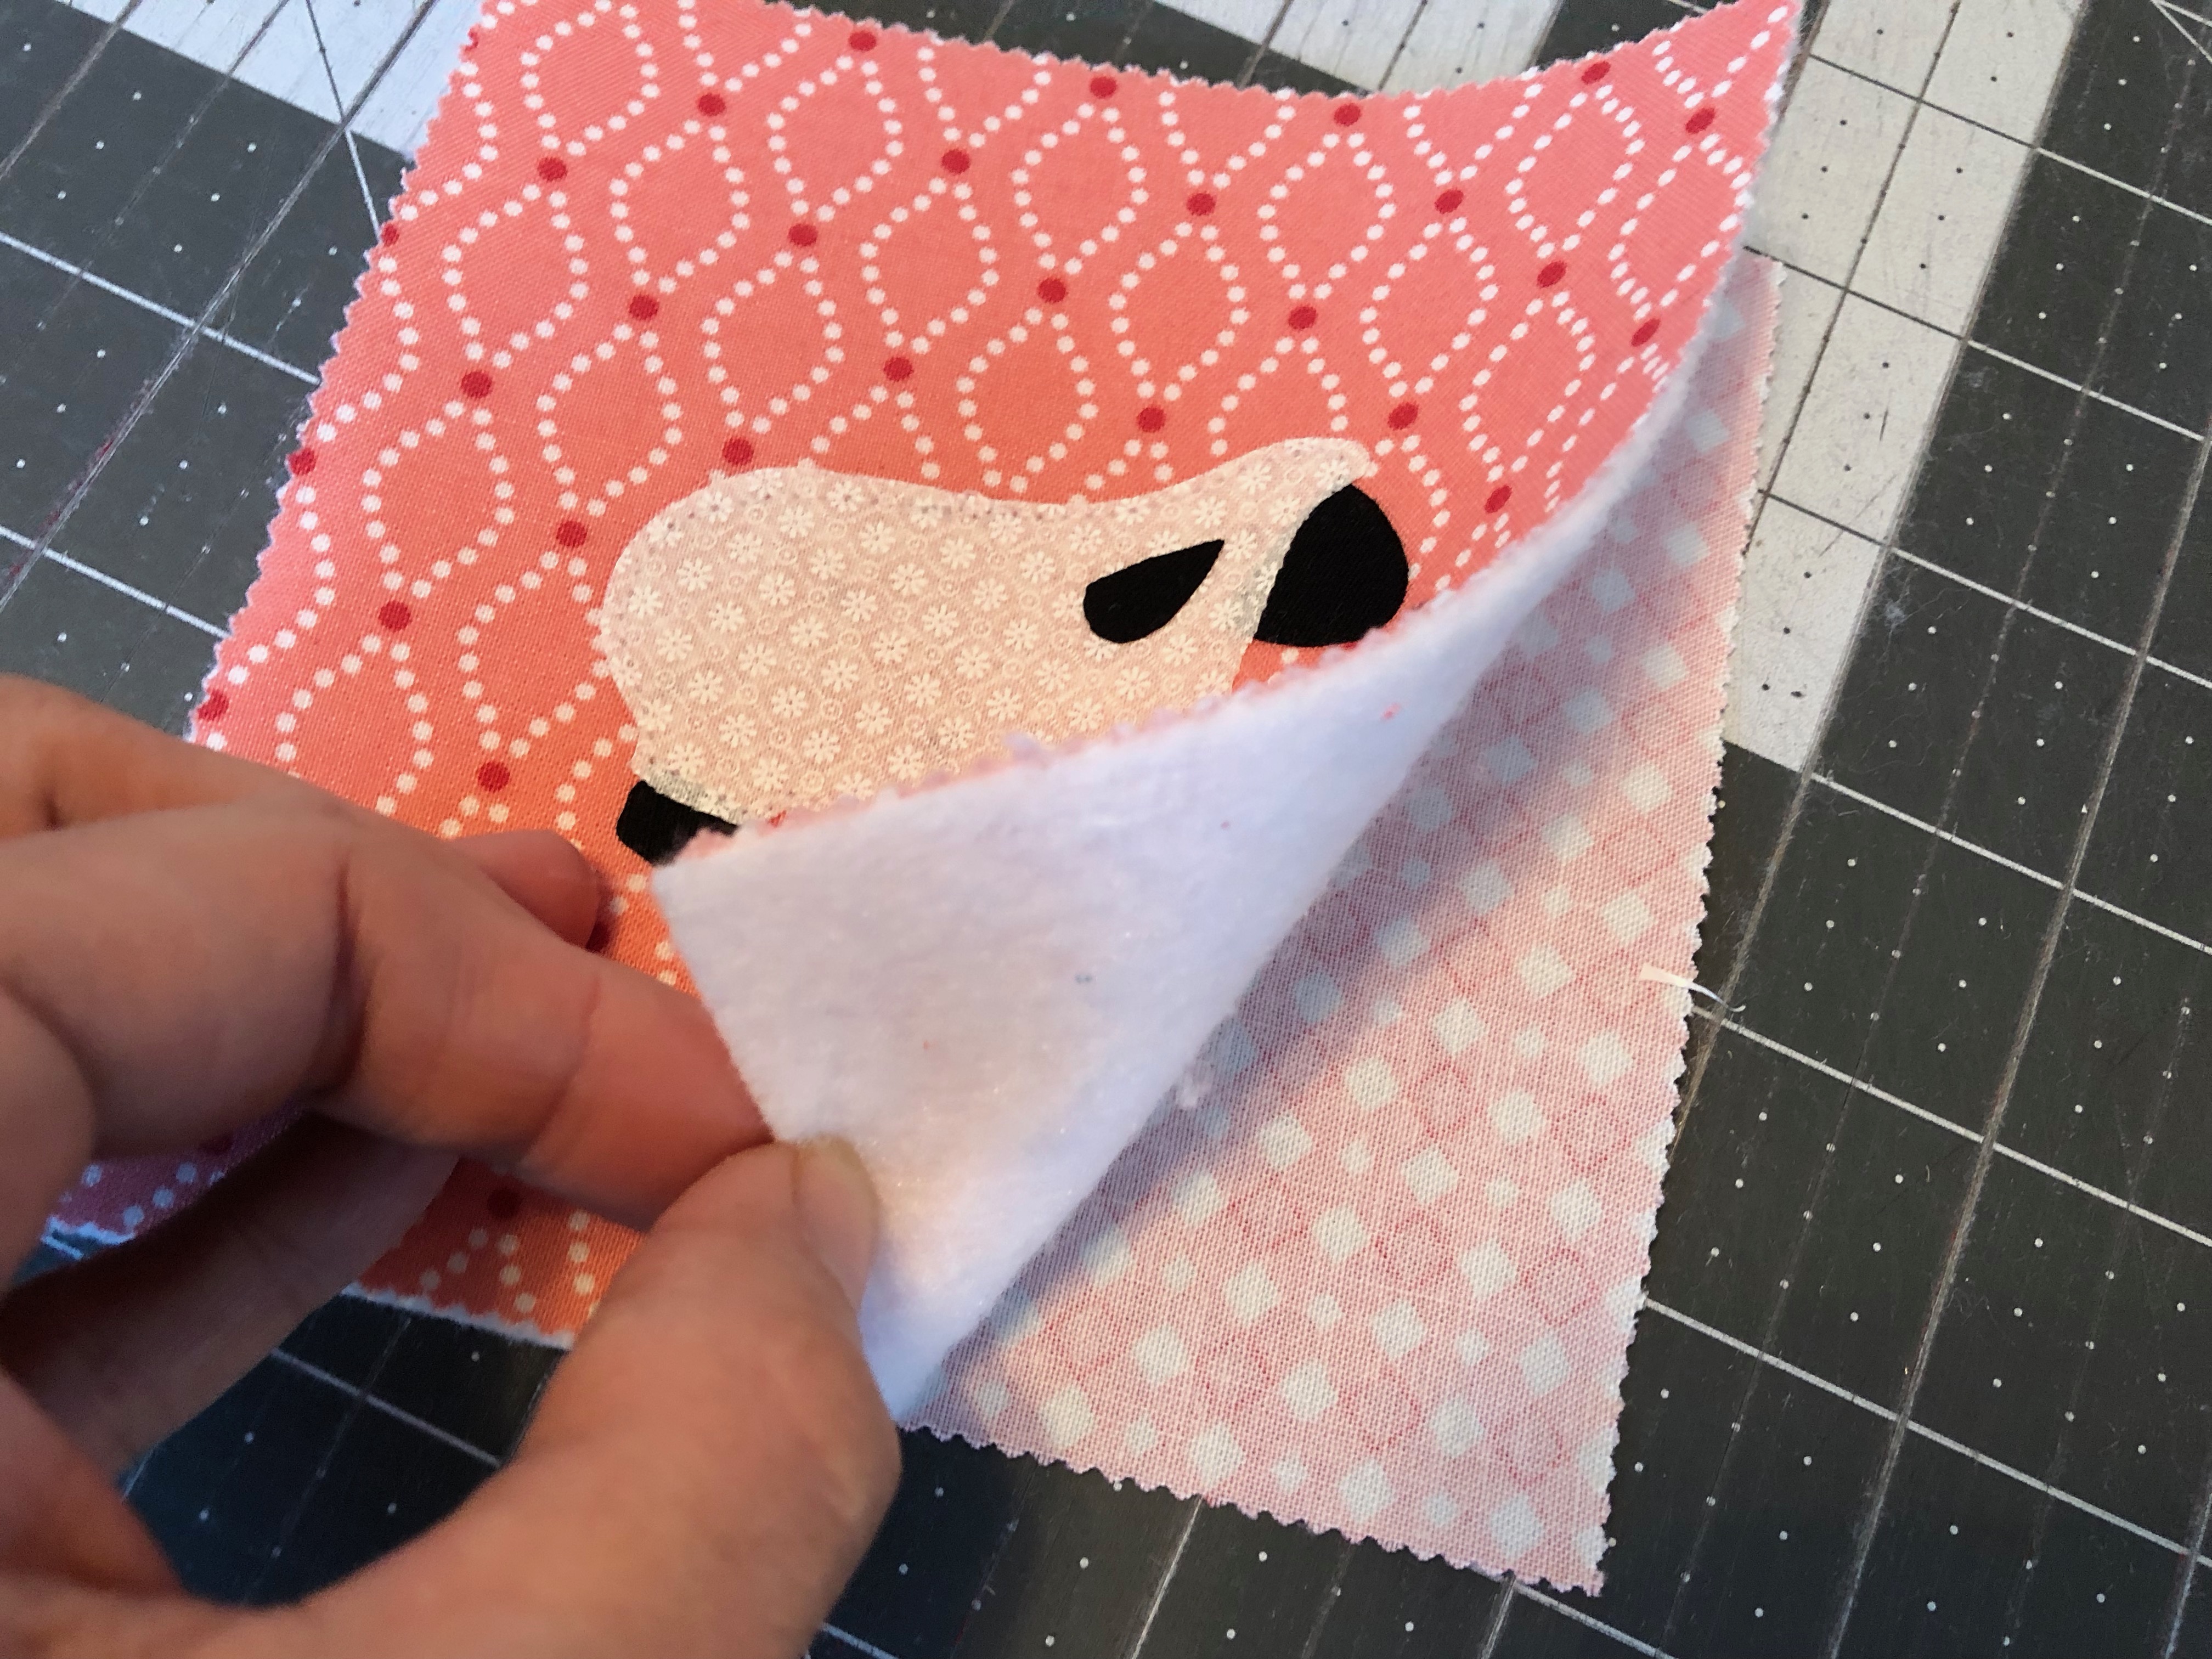
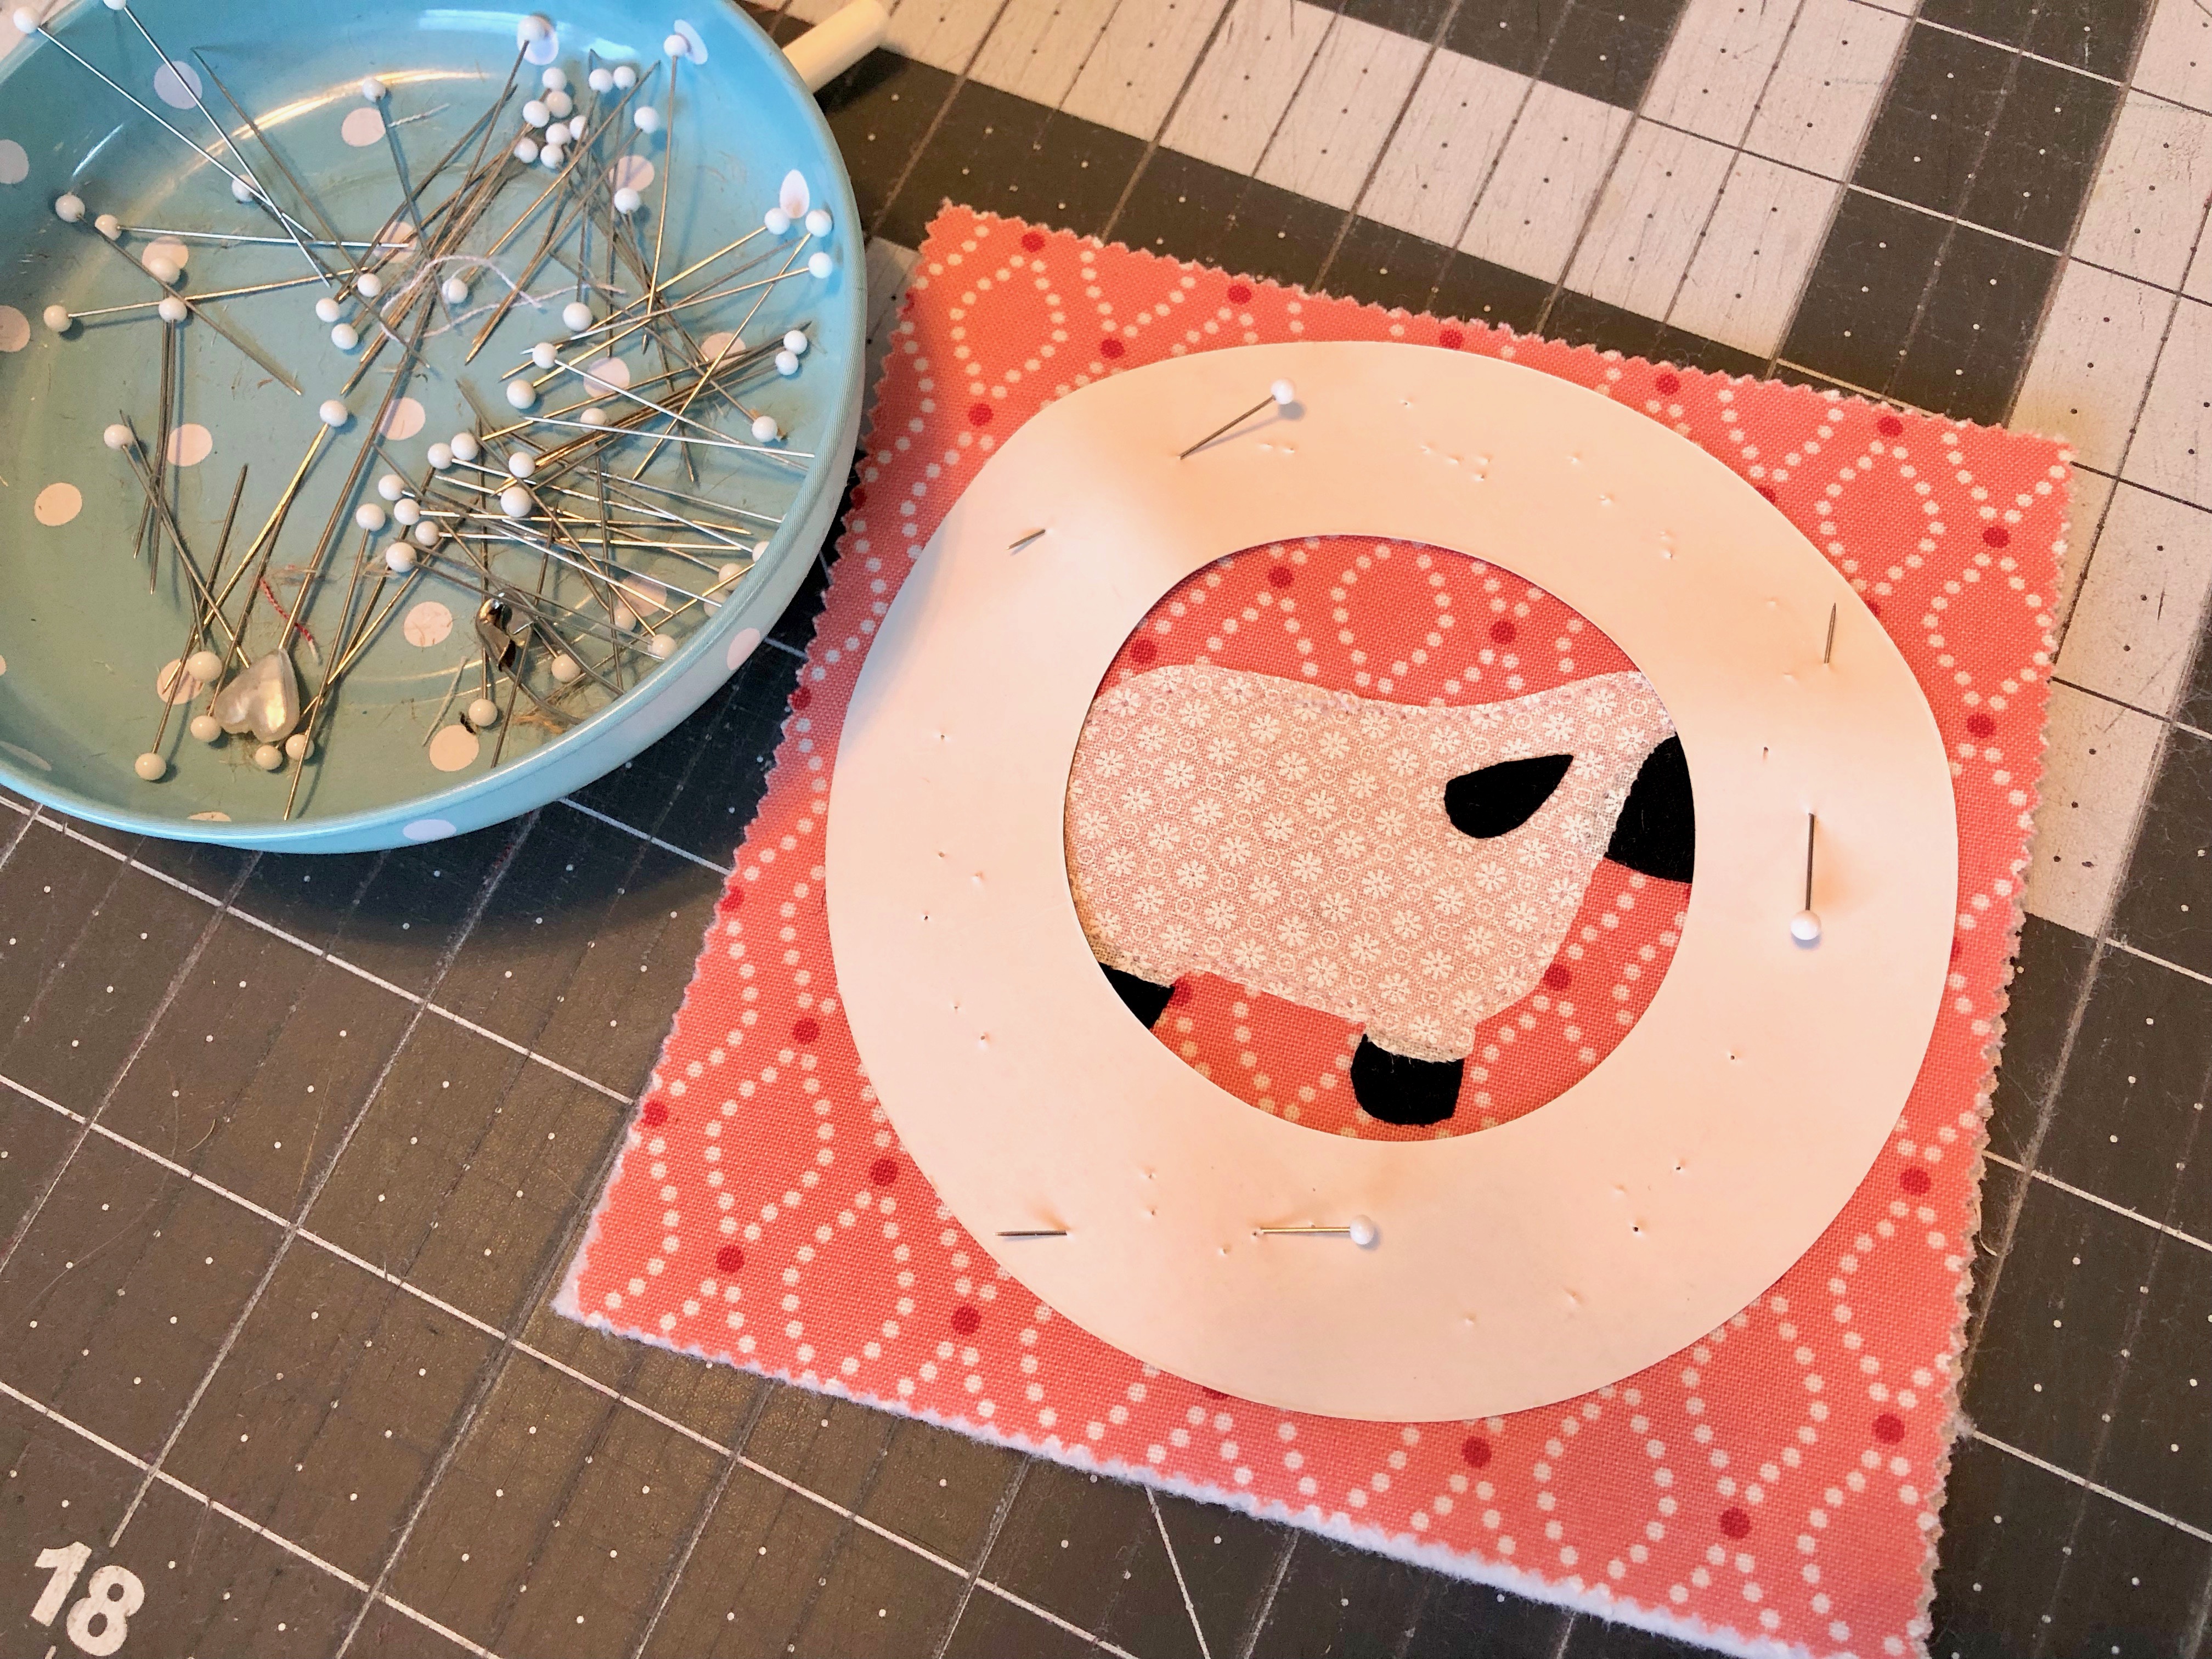
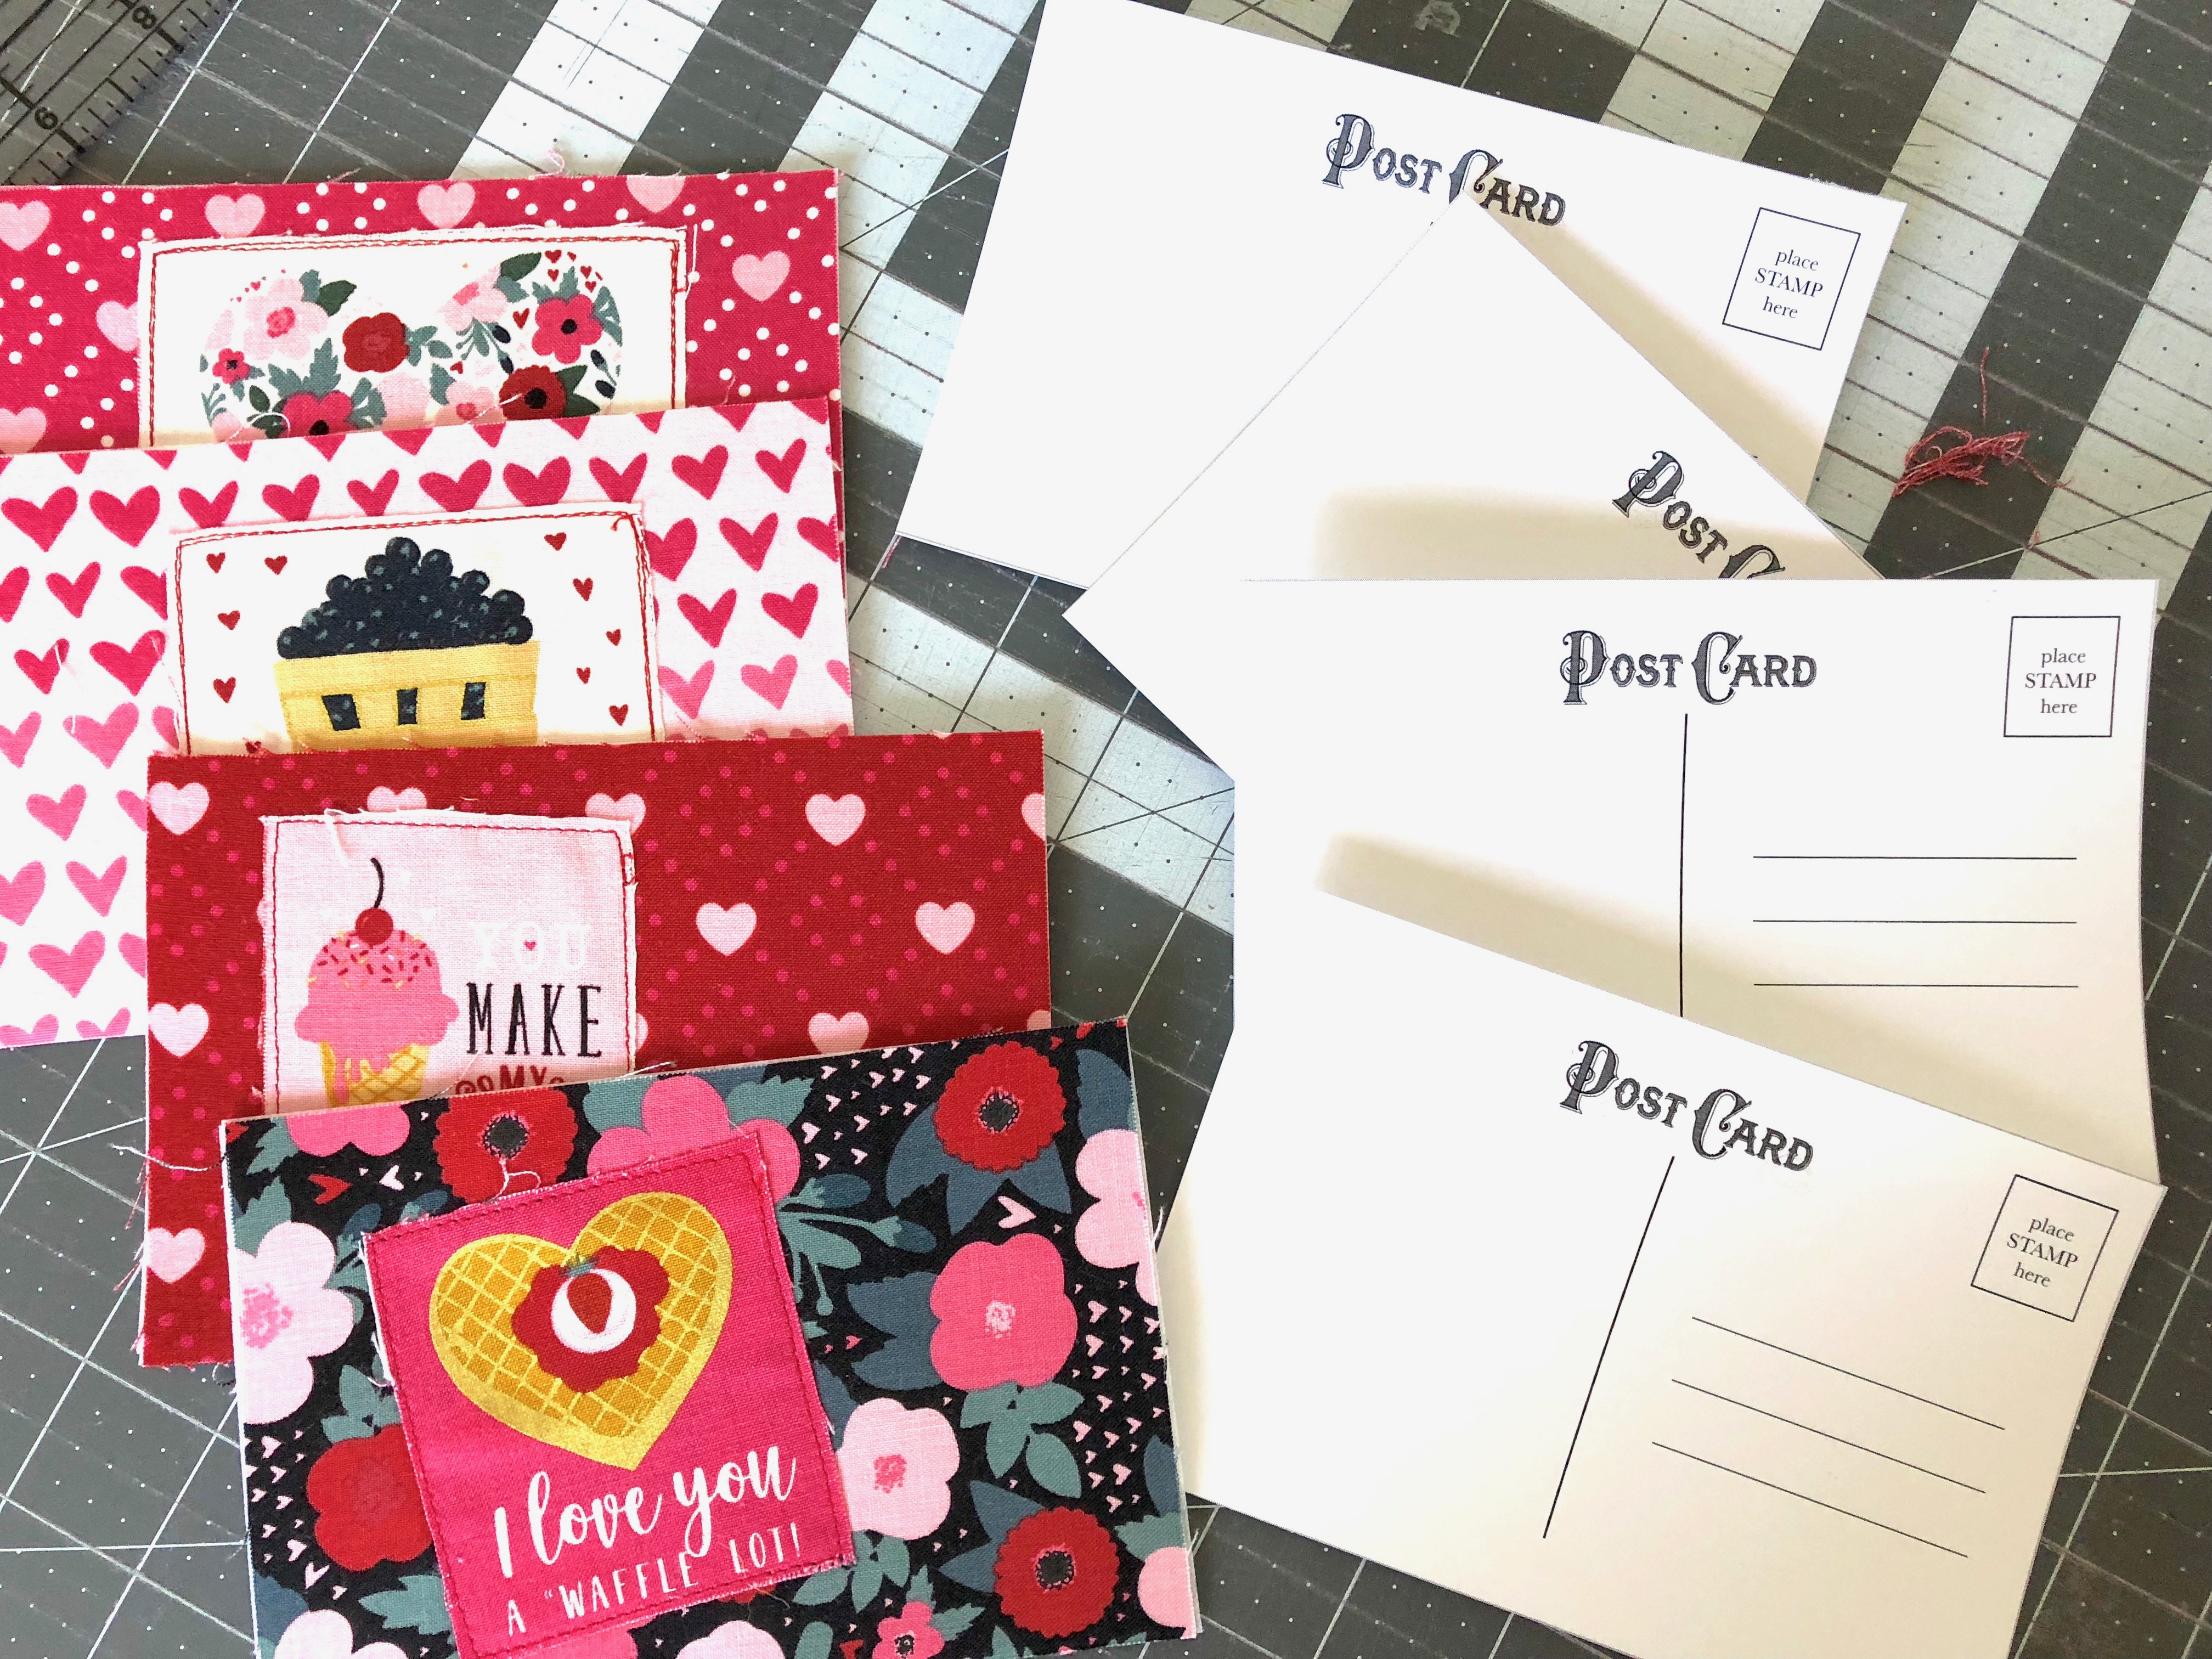
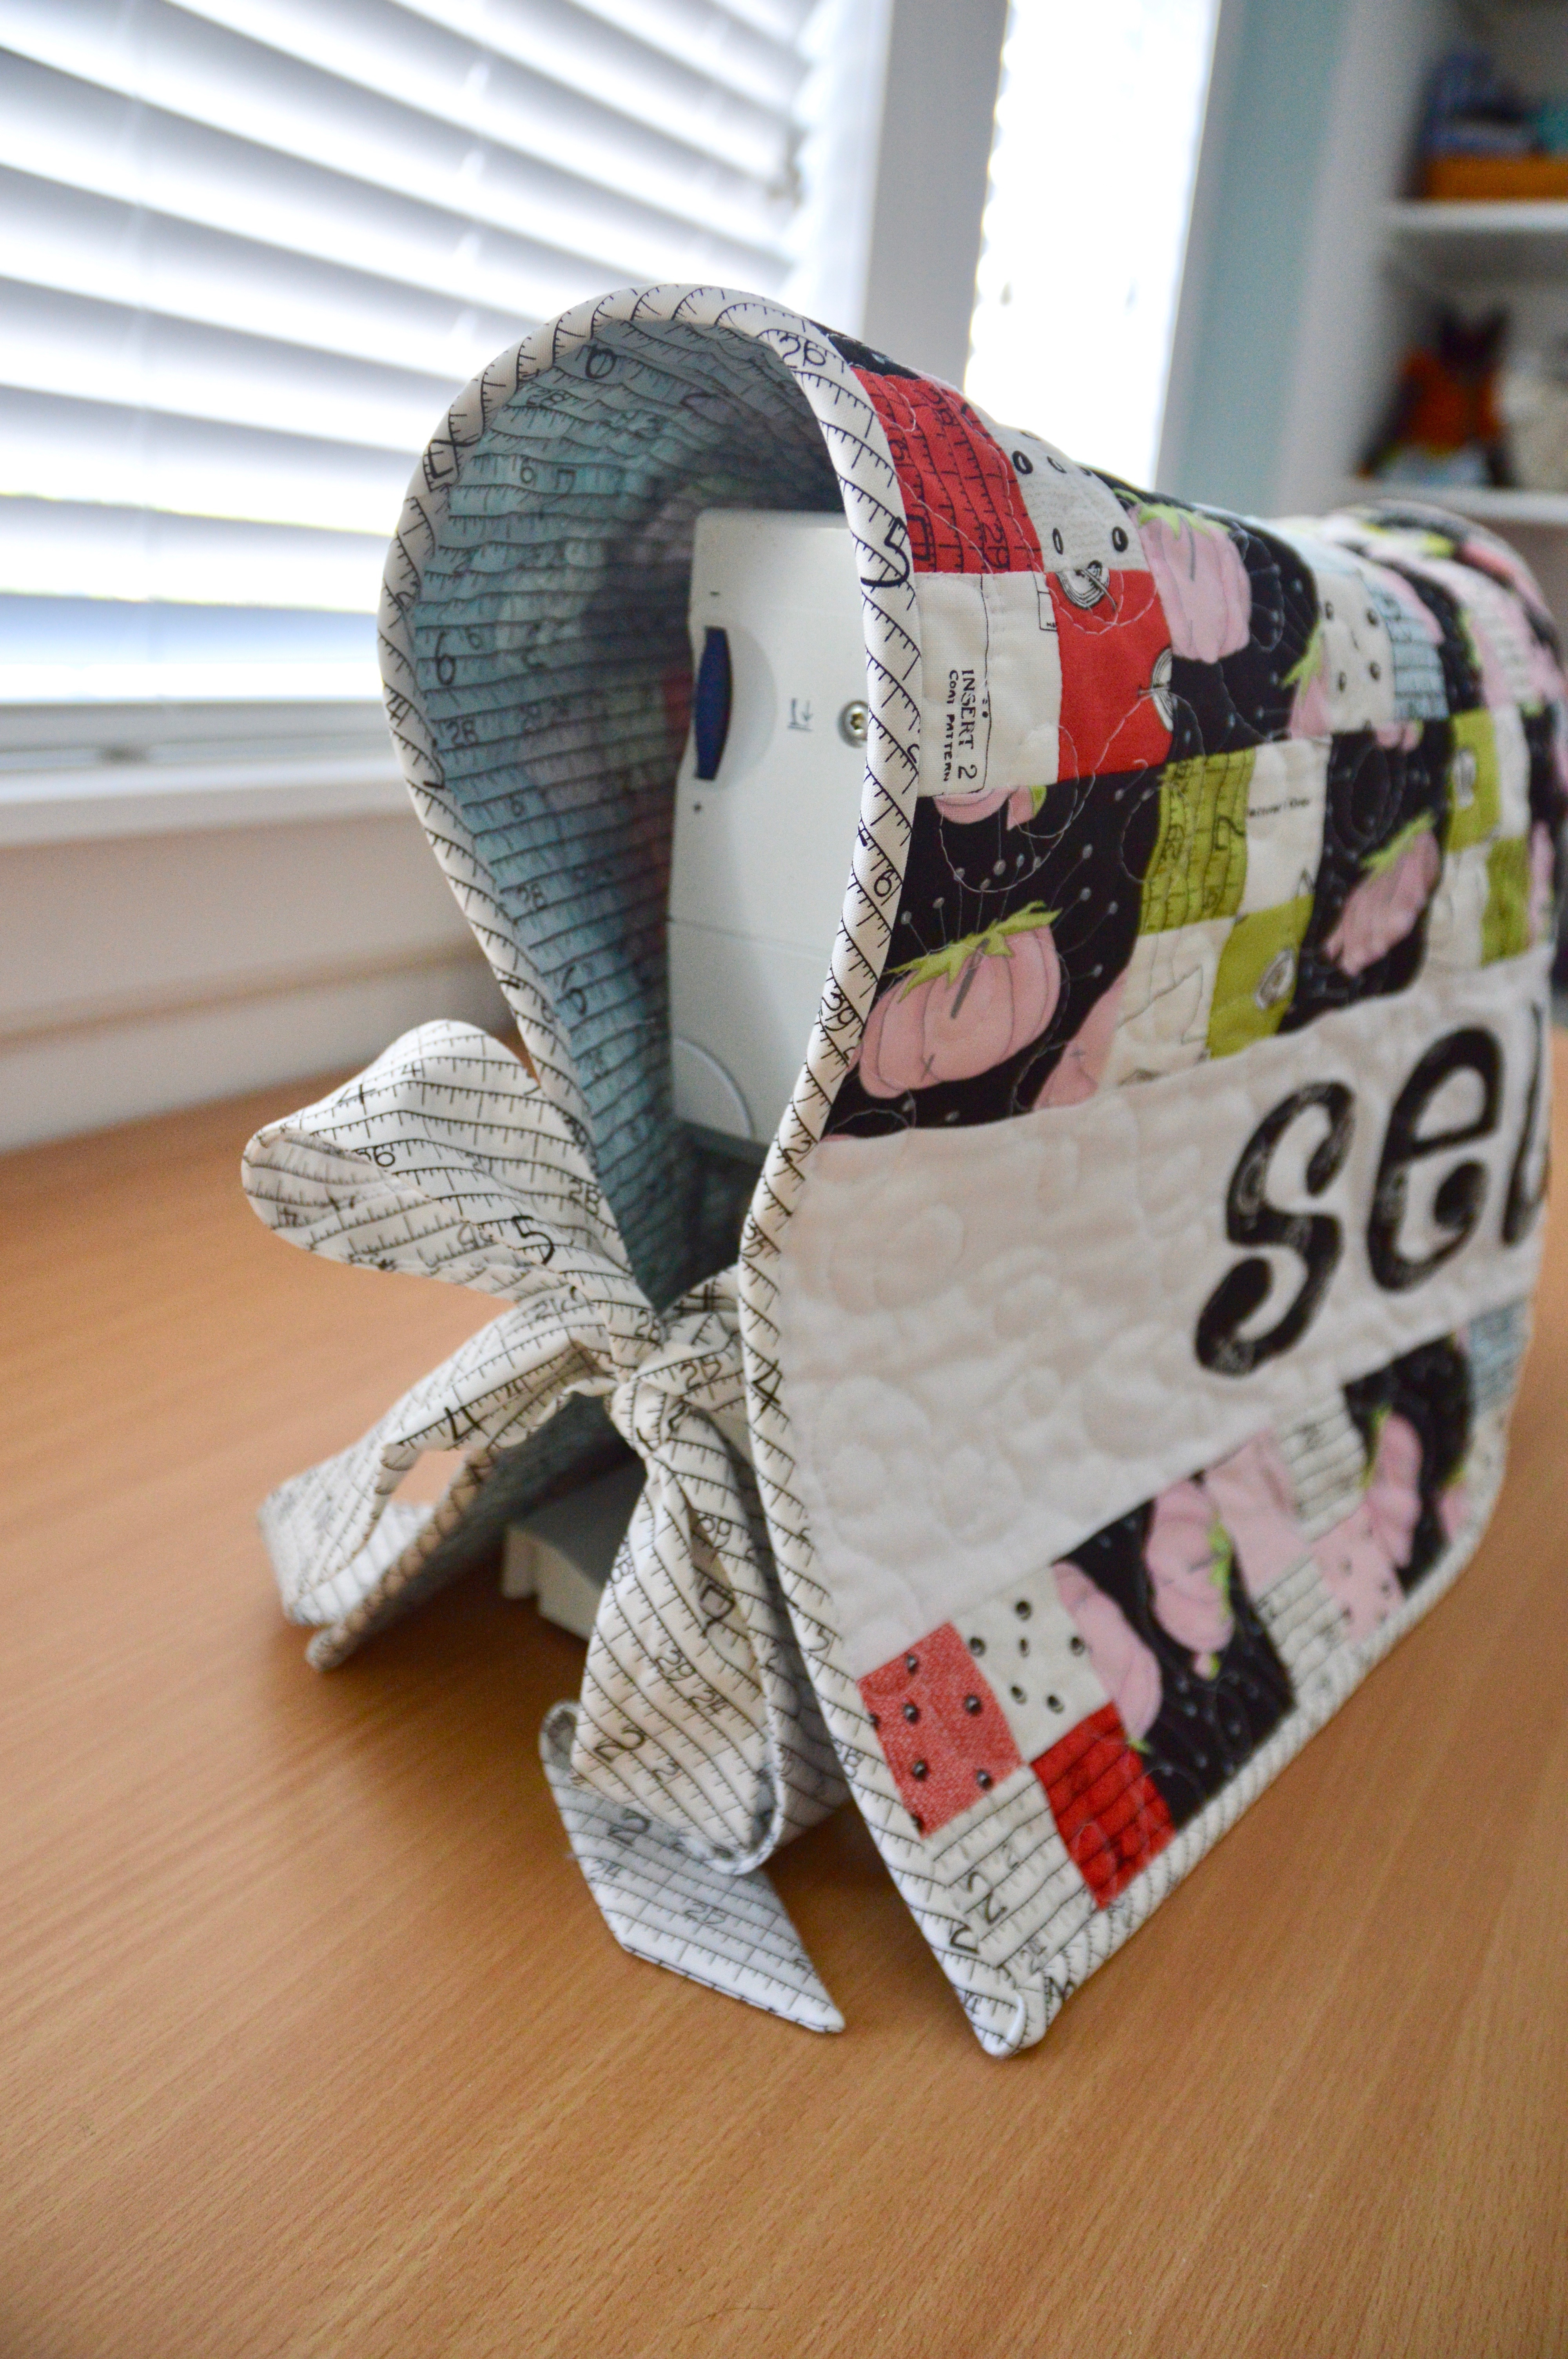
I made 3 blocks from the Backyard quilt pattern. All the patterns in the book are easy to follow and well illustrated. The blocks came together super easy!

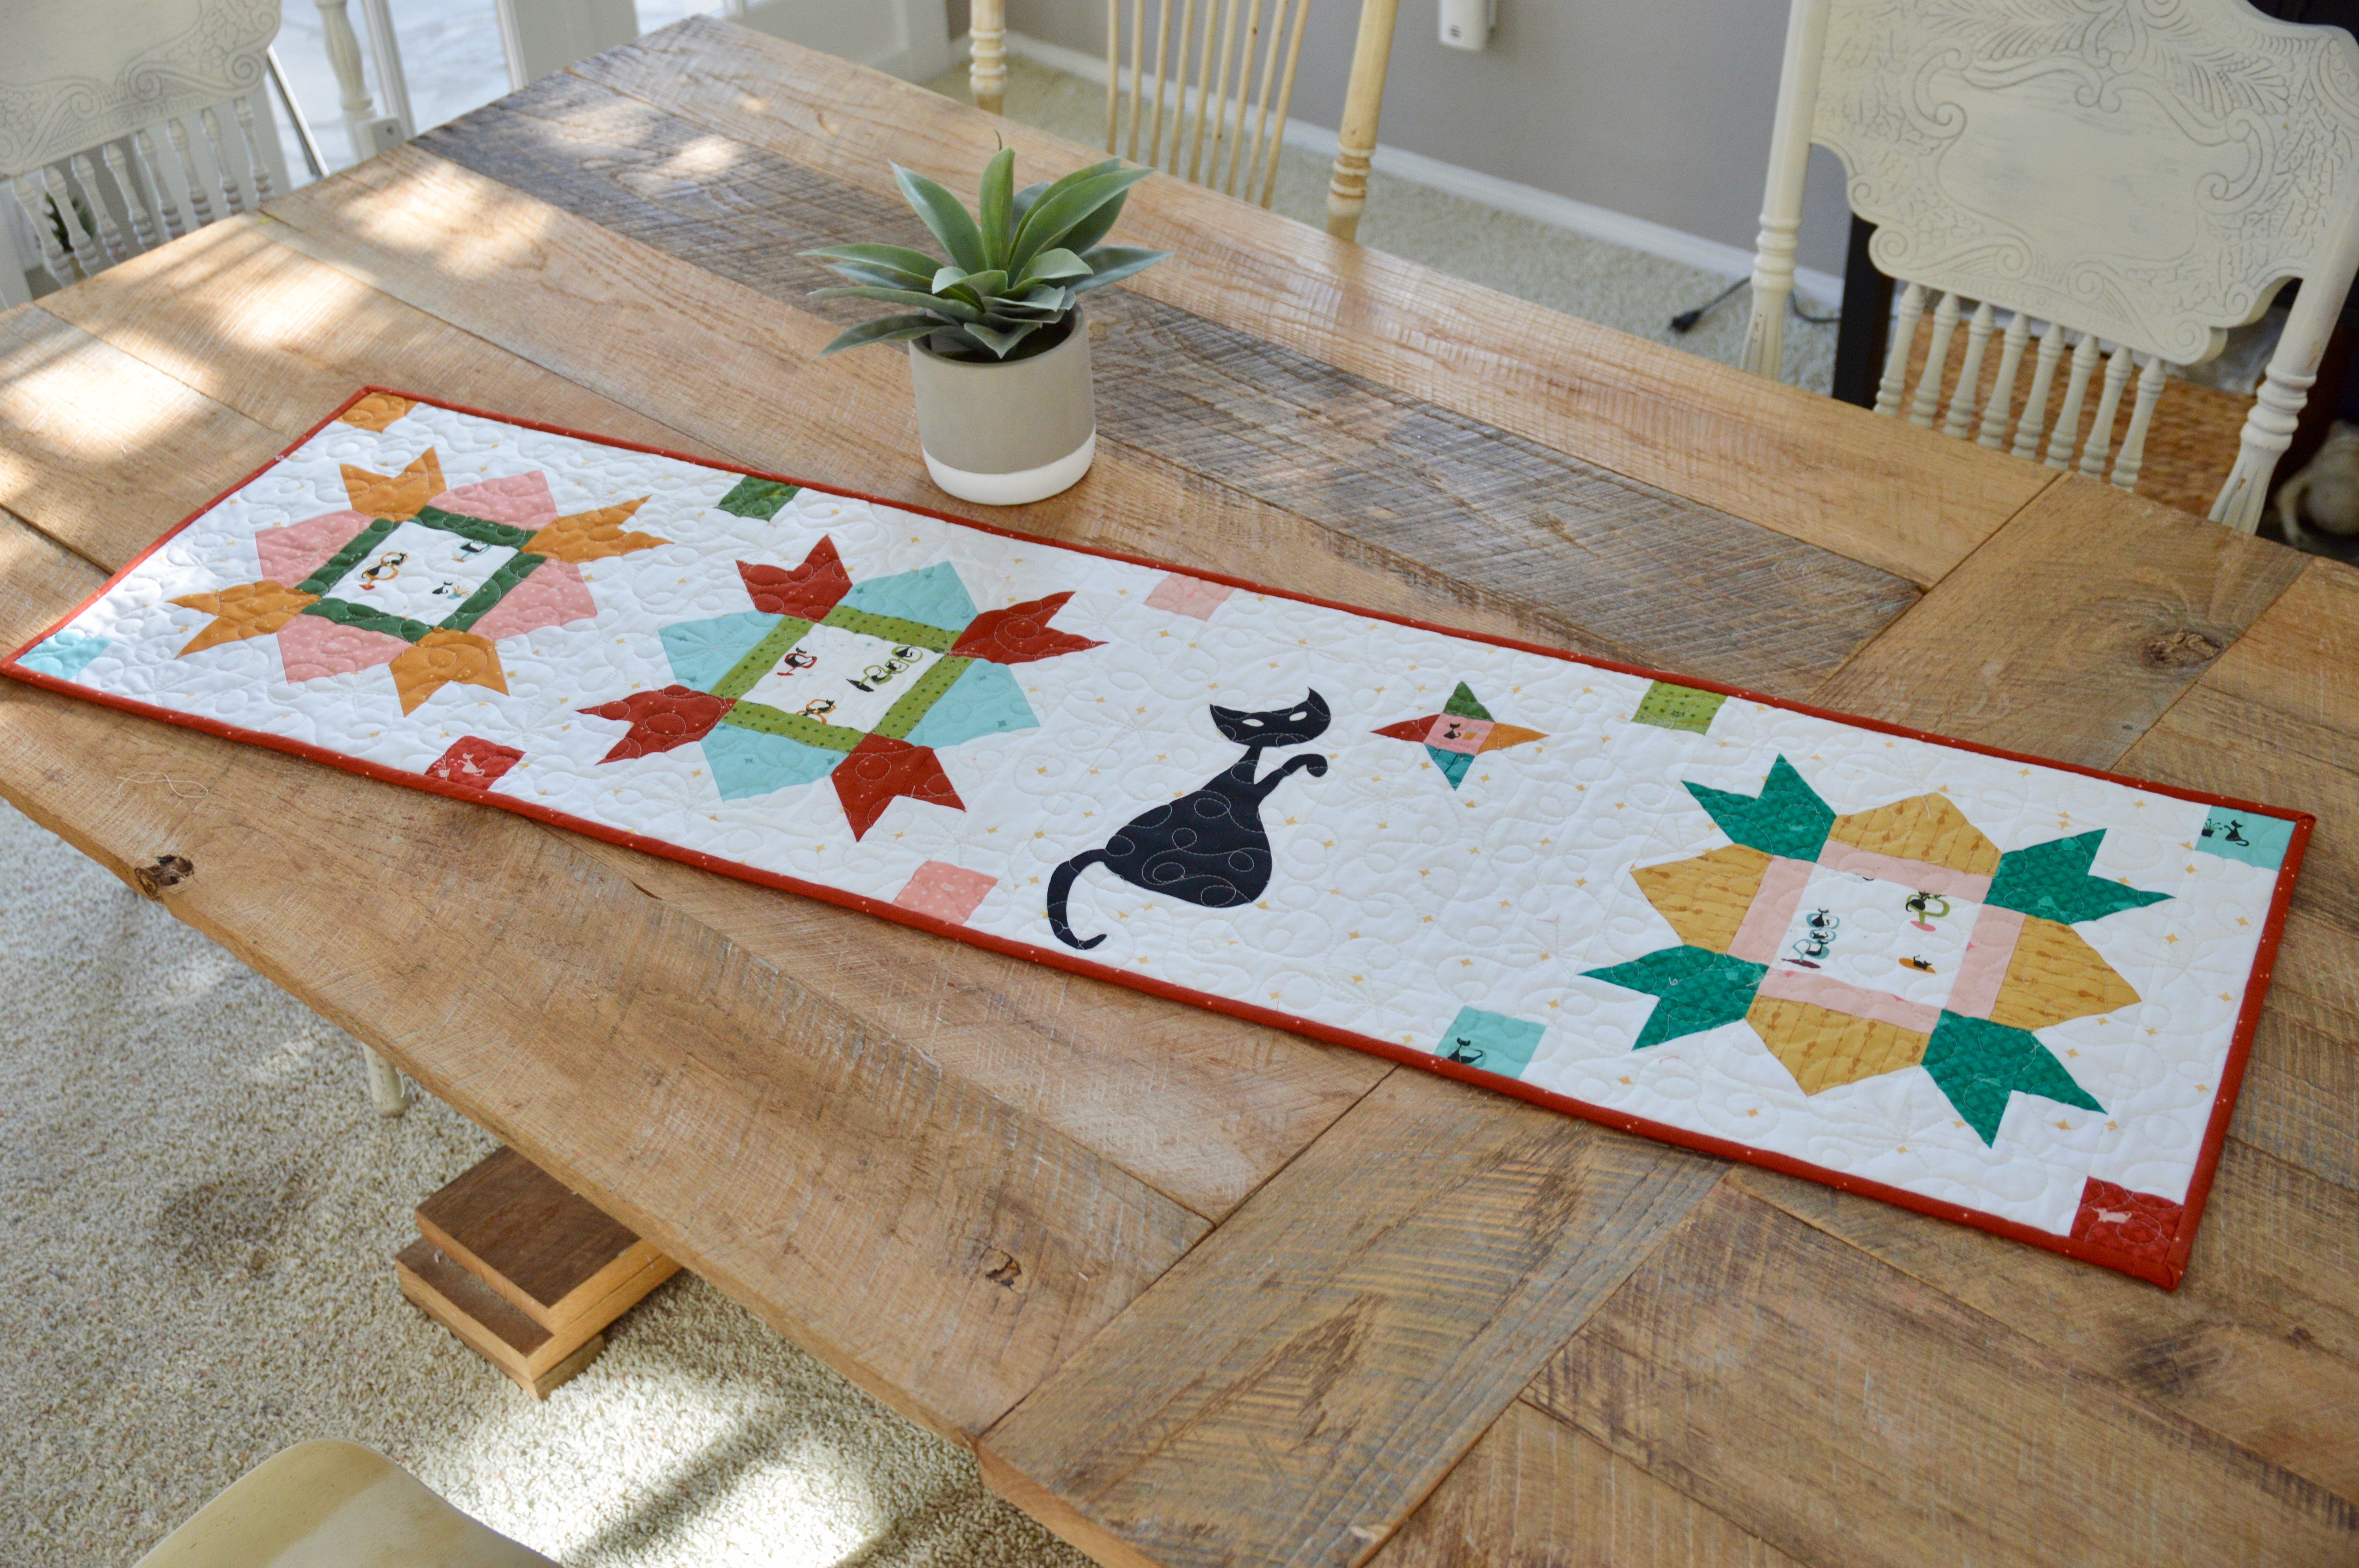
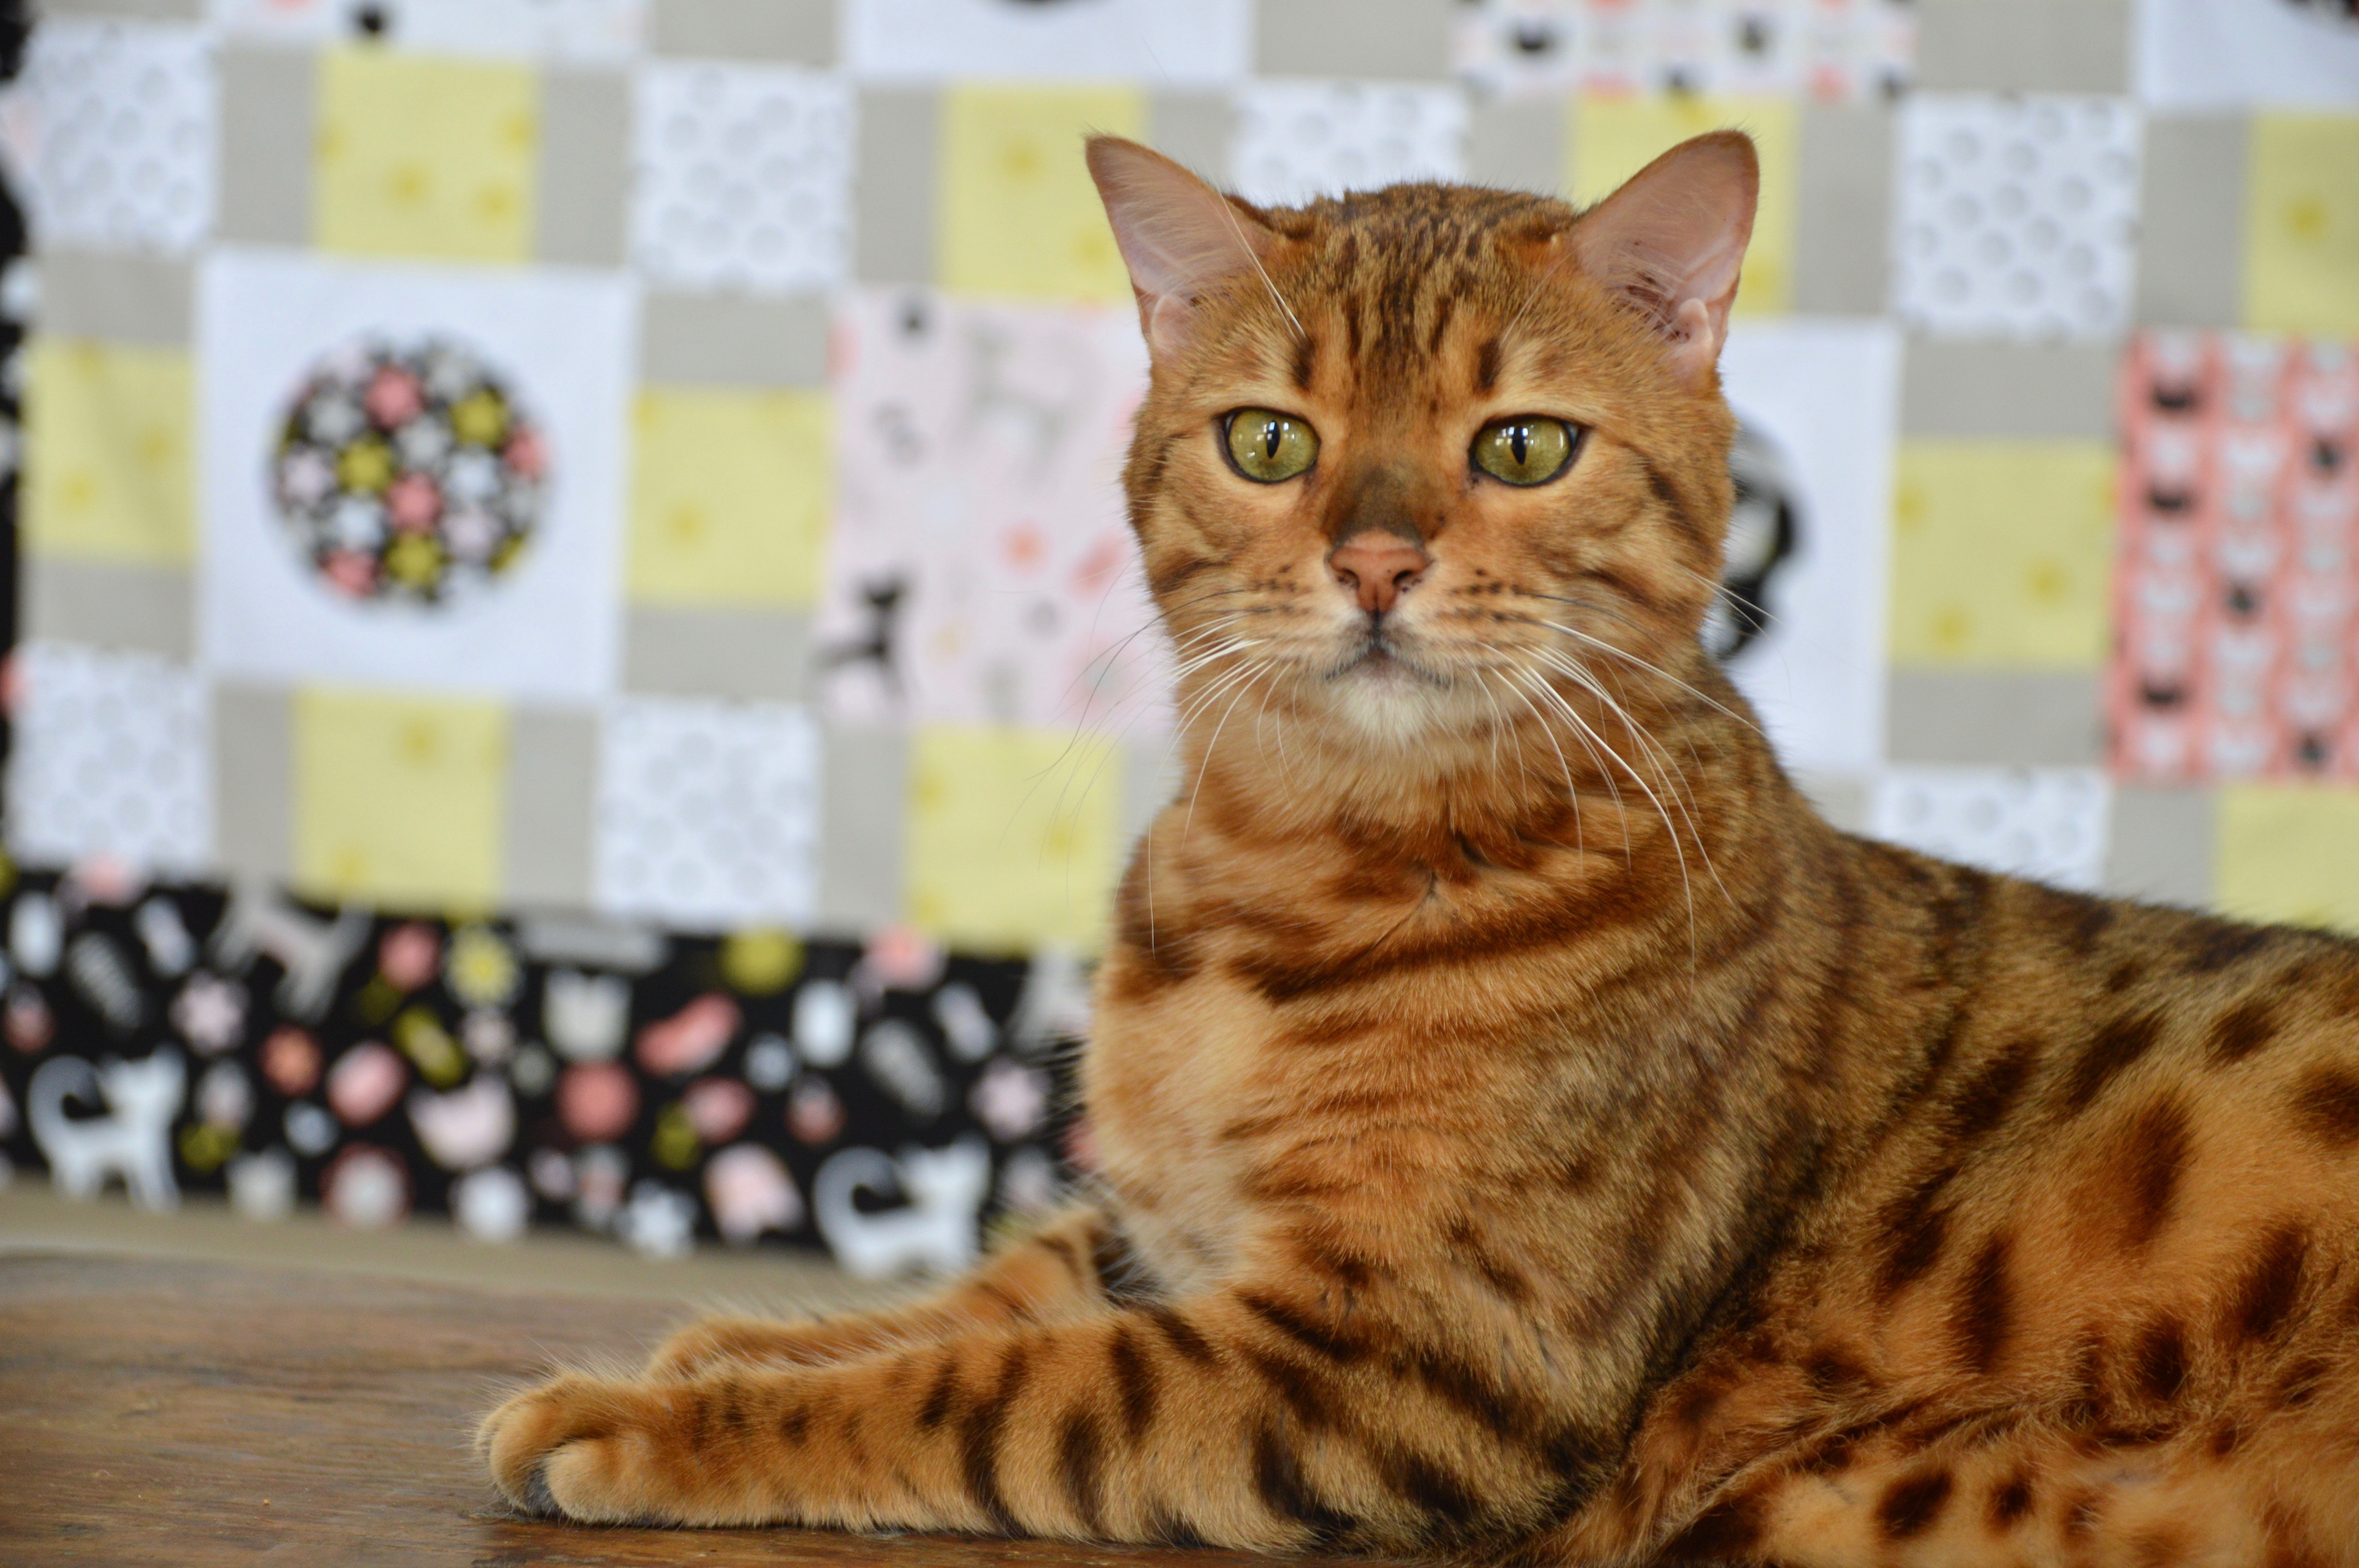
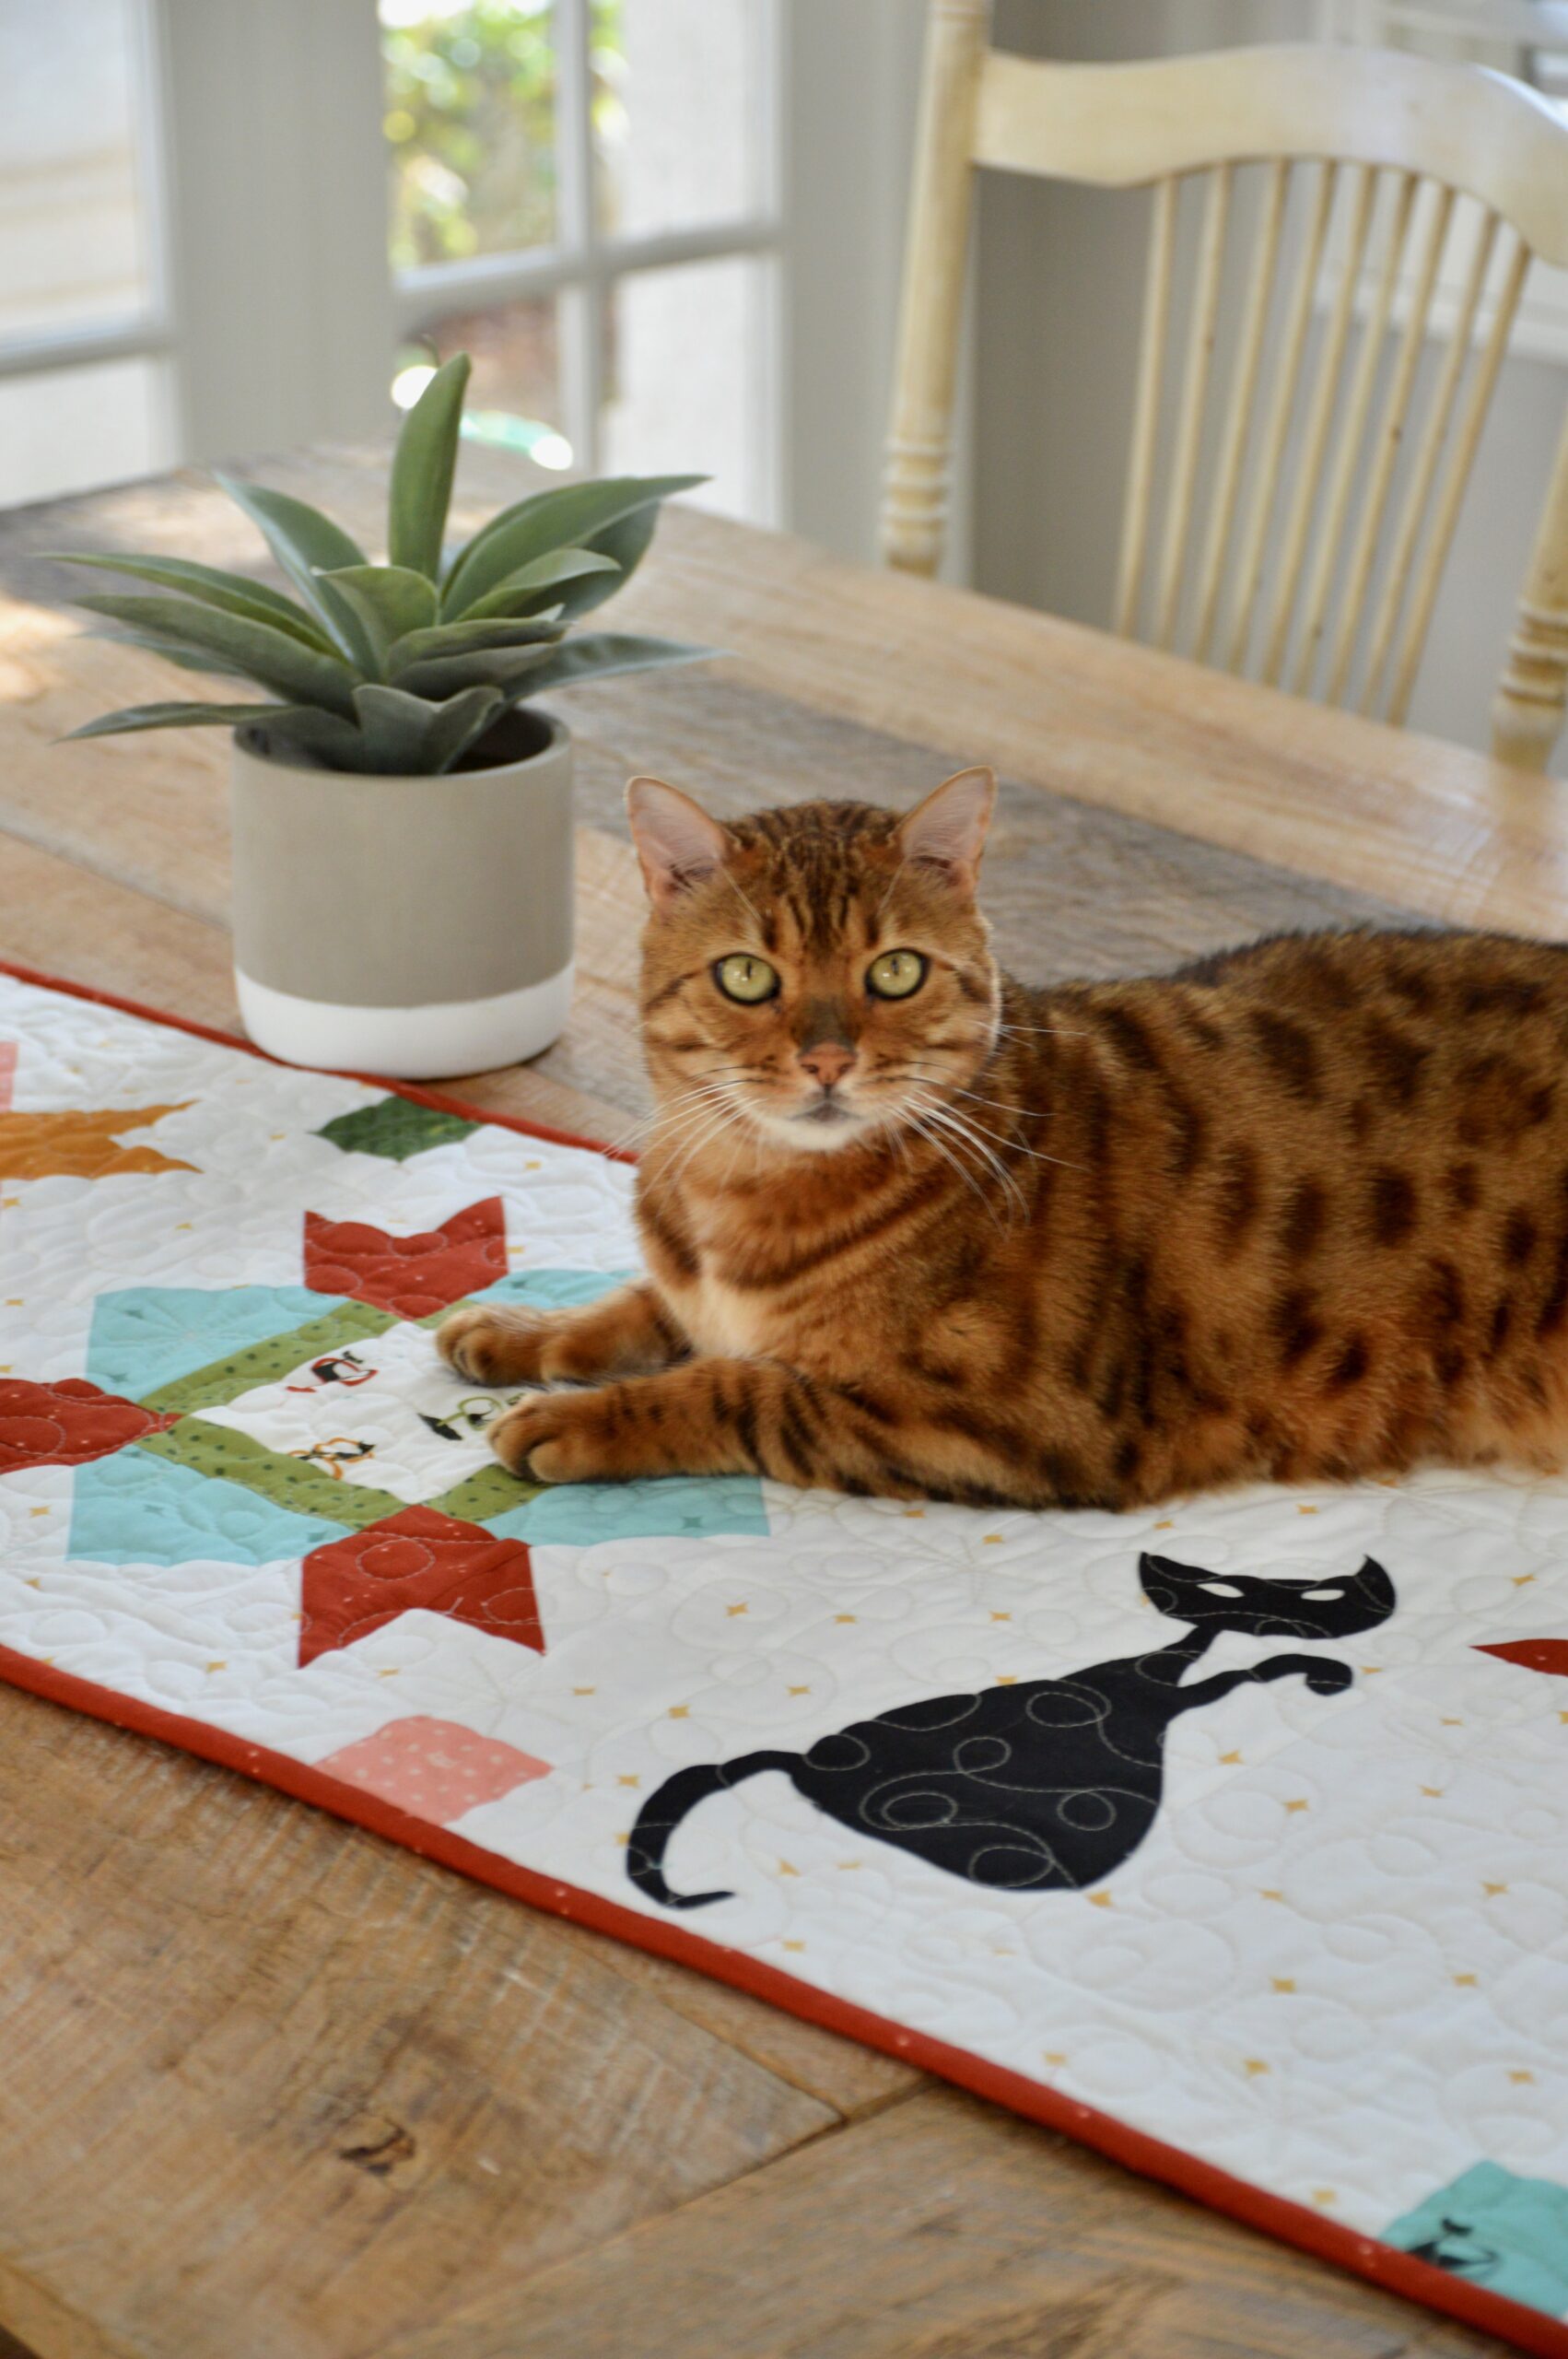
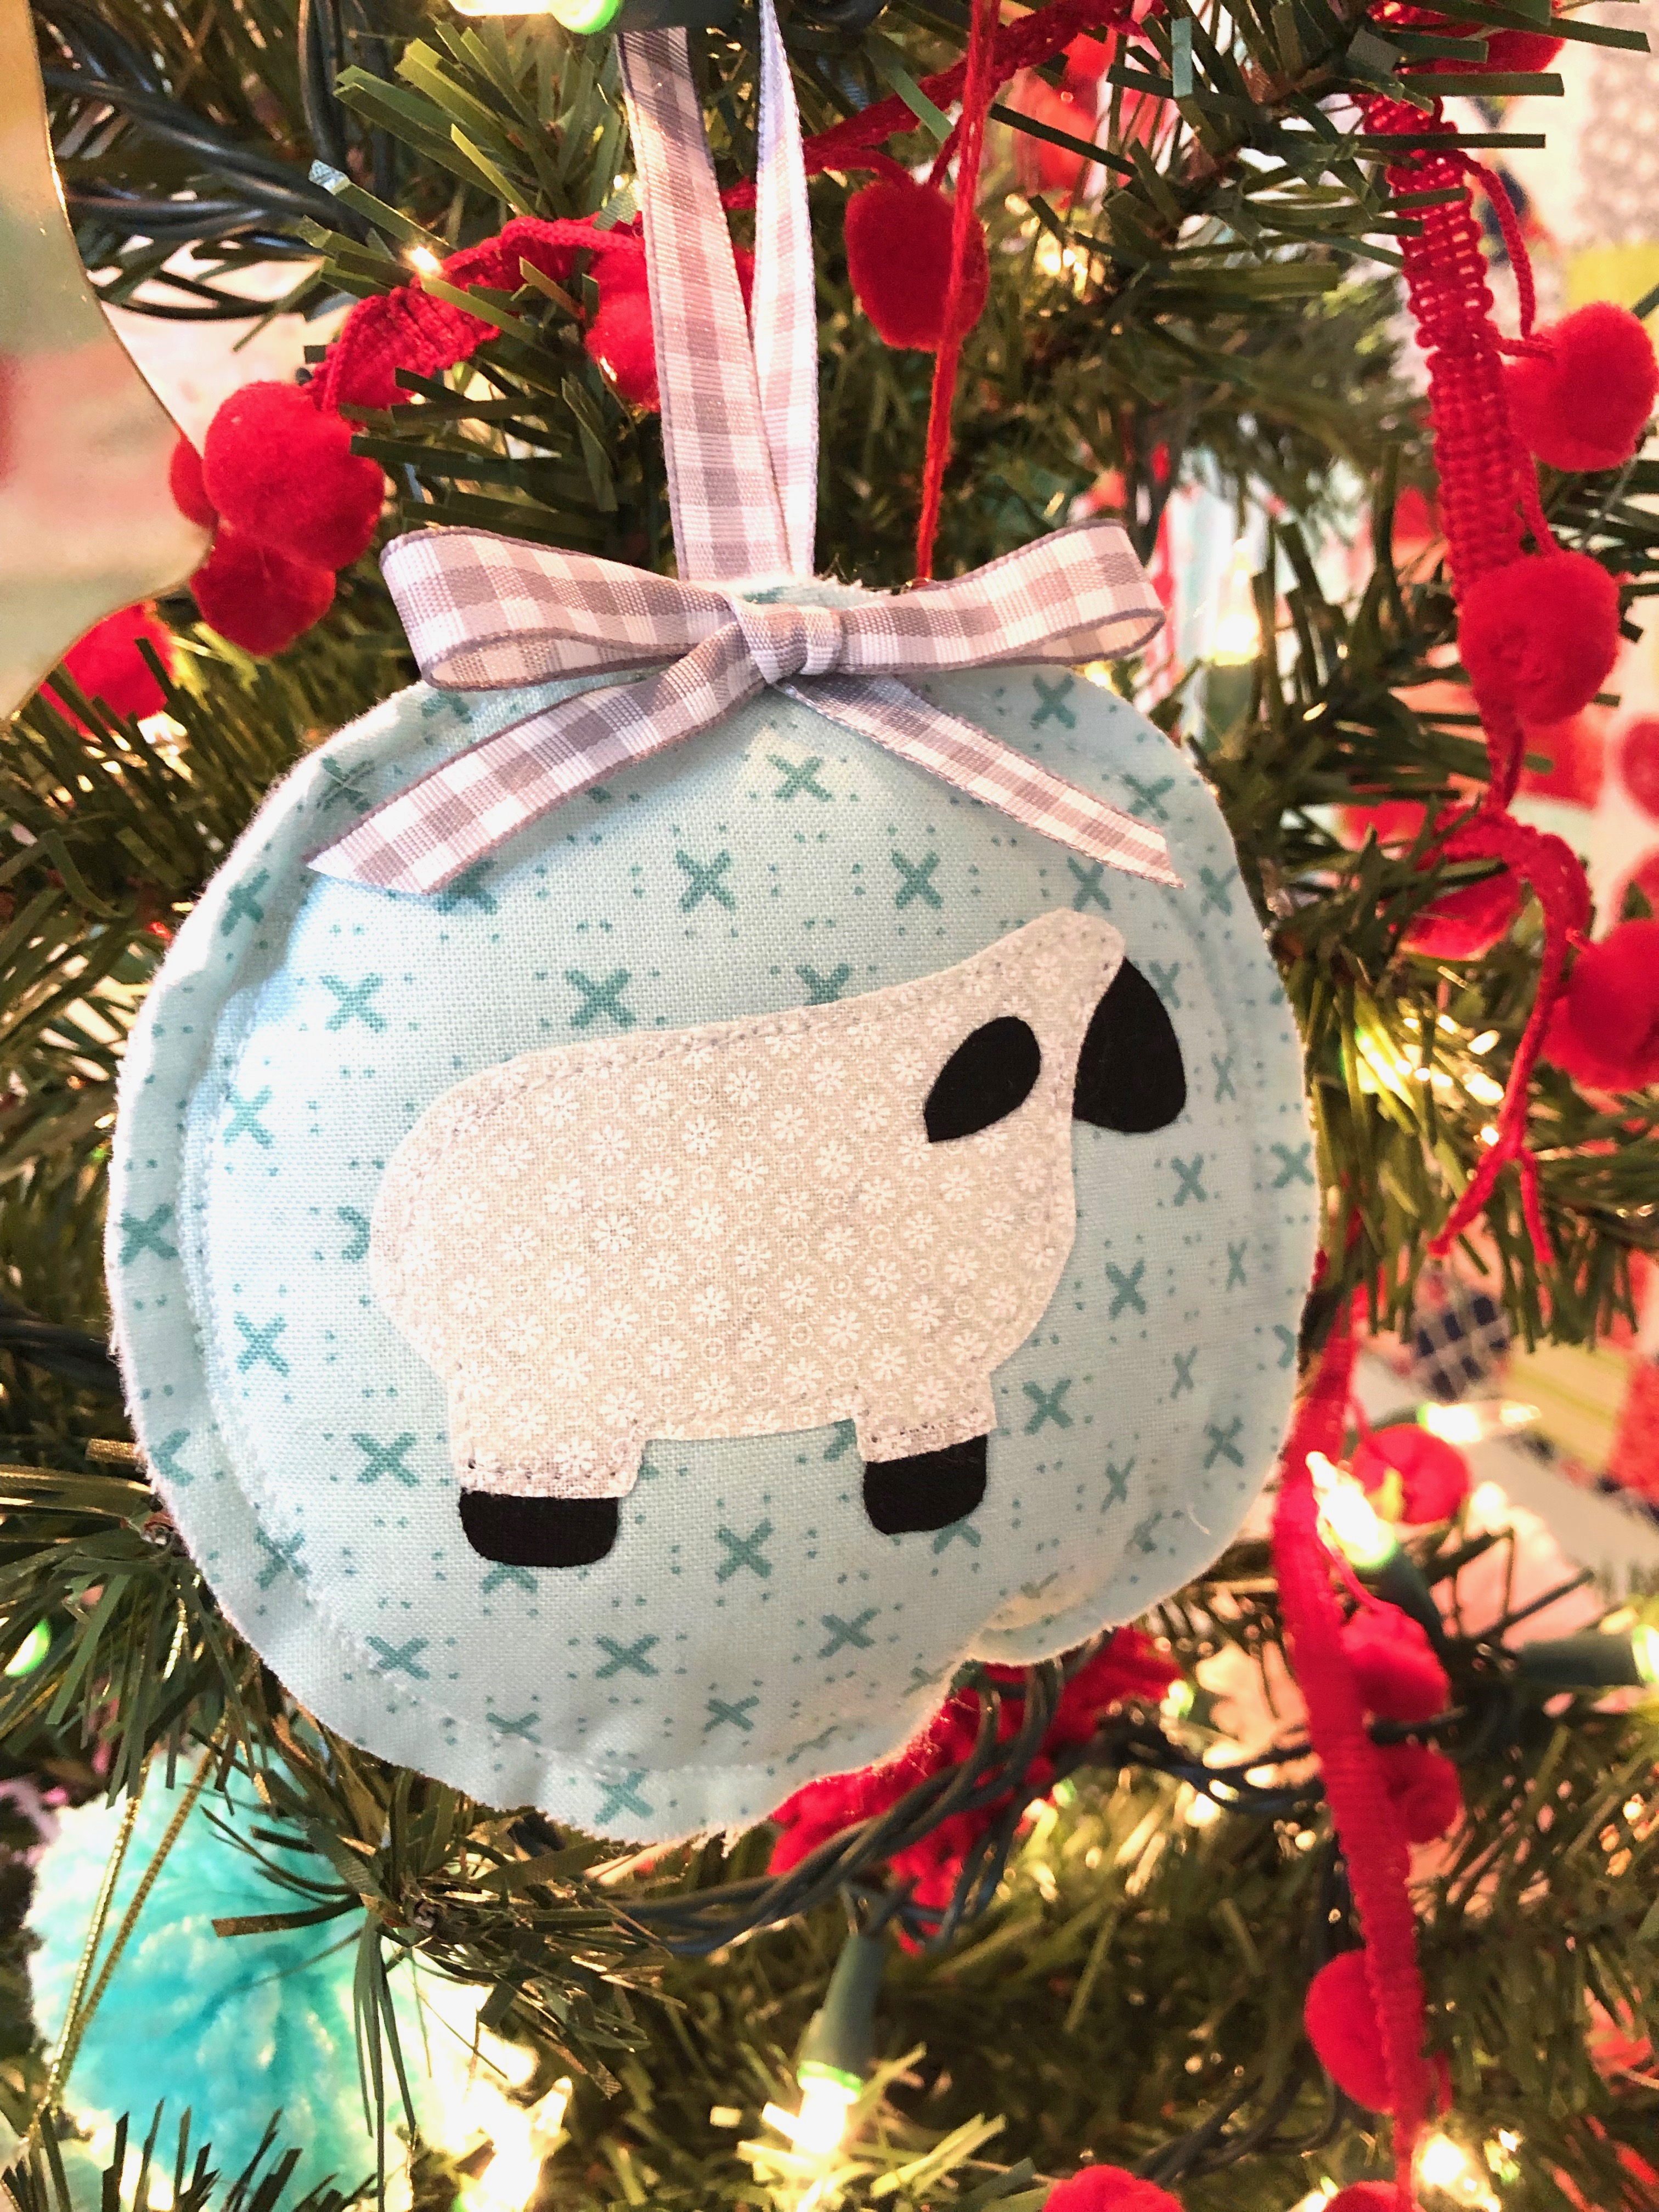
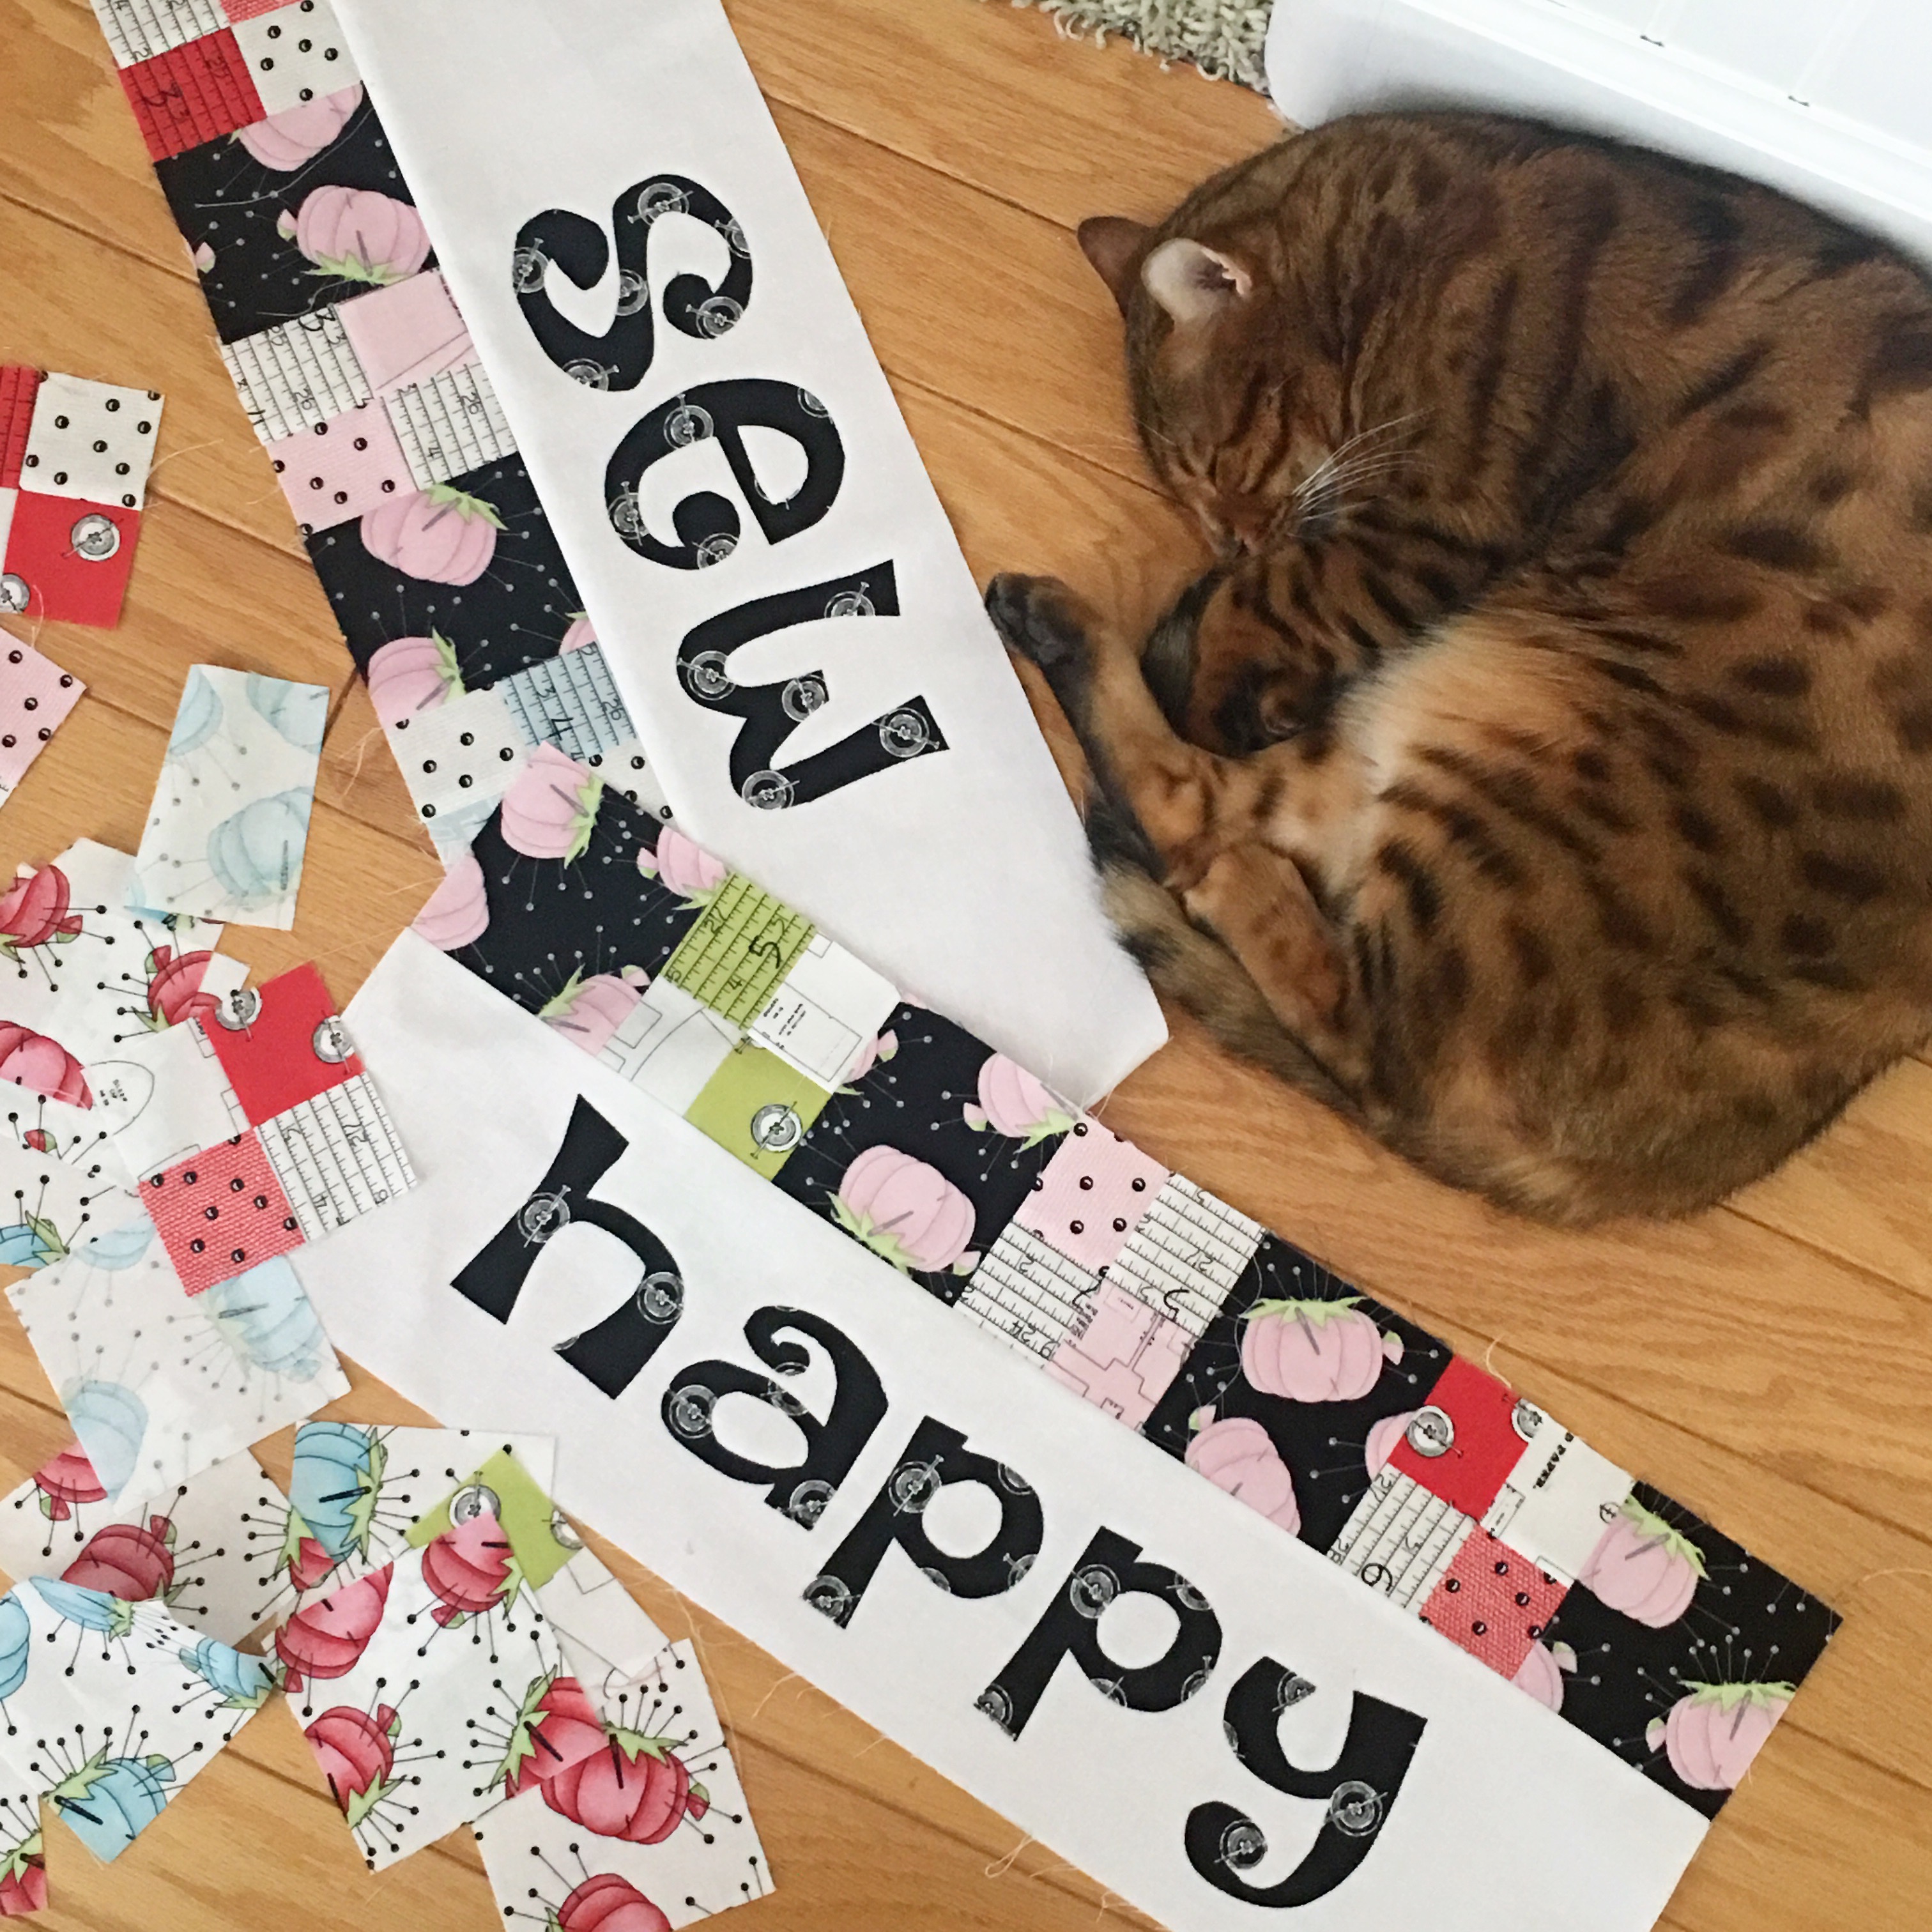
I wanted to add a little Mod Meow flair to the table runner so I added in a kitty block. Mod Meow has a fun cat panel with 10 cats that you can appliqué onto anything!

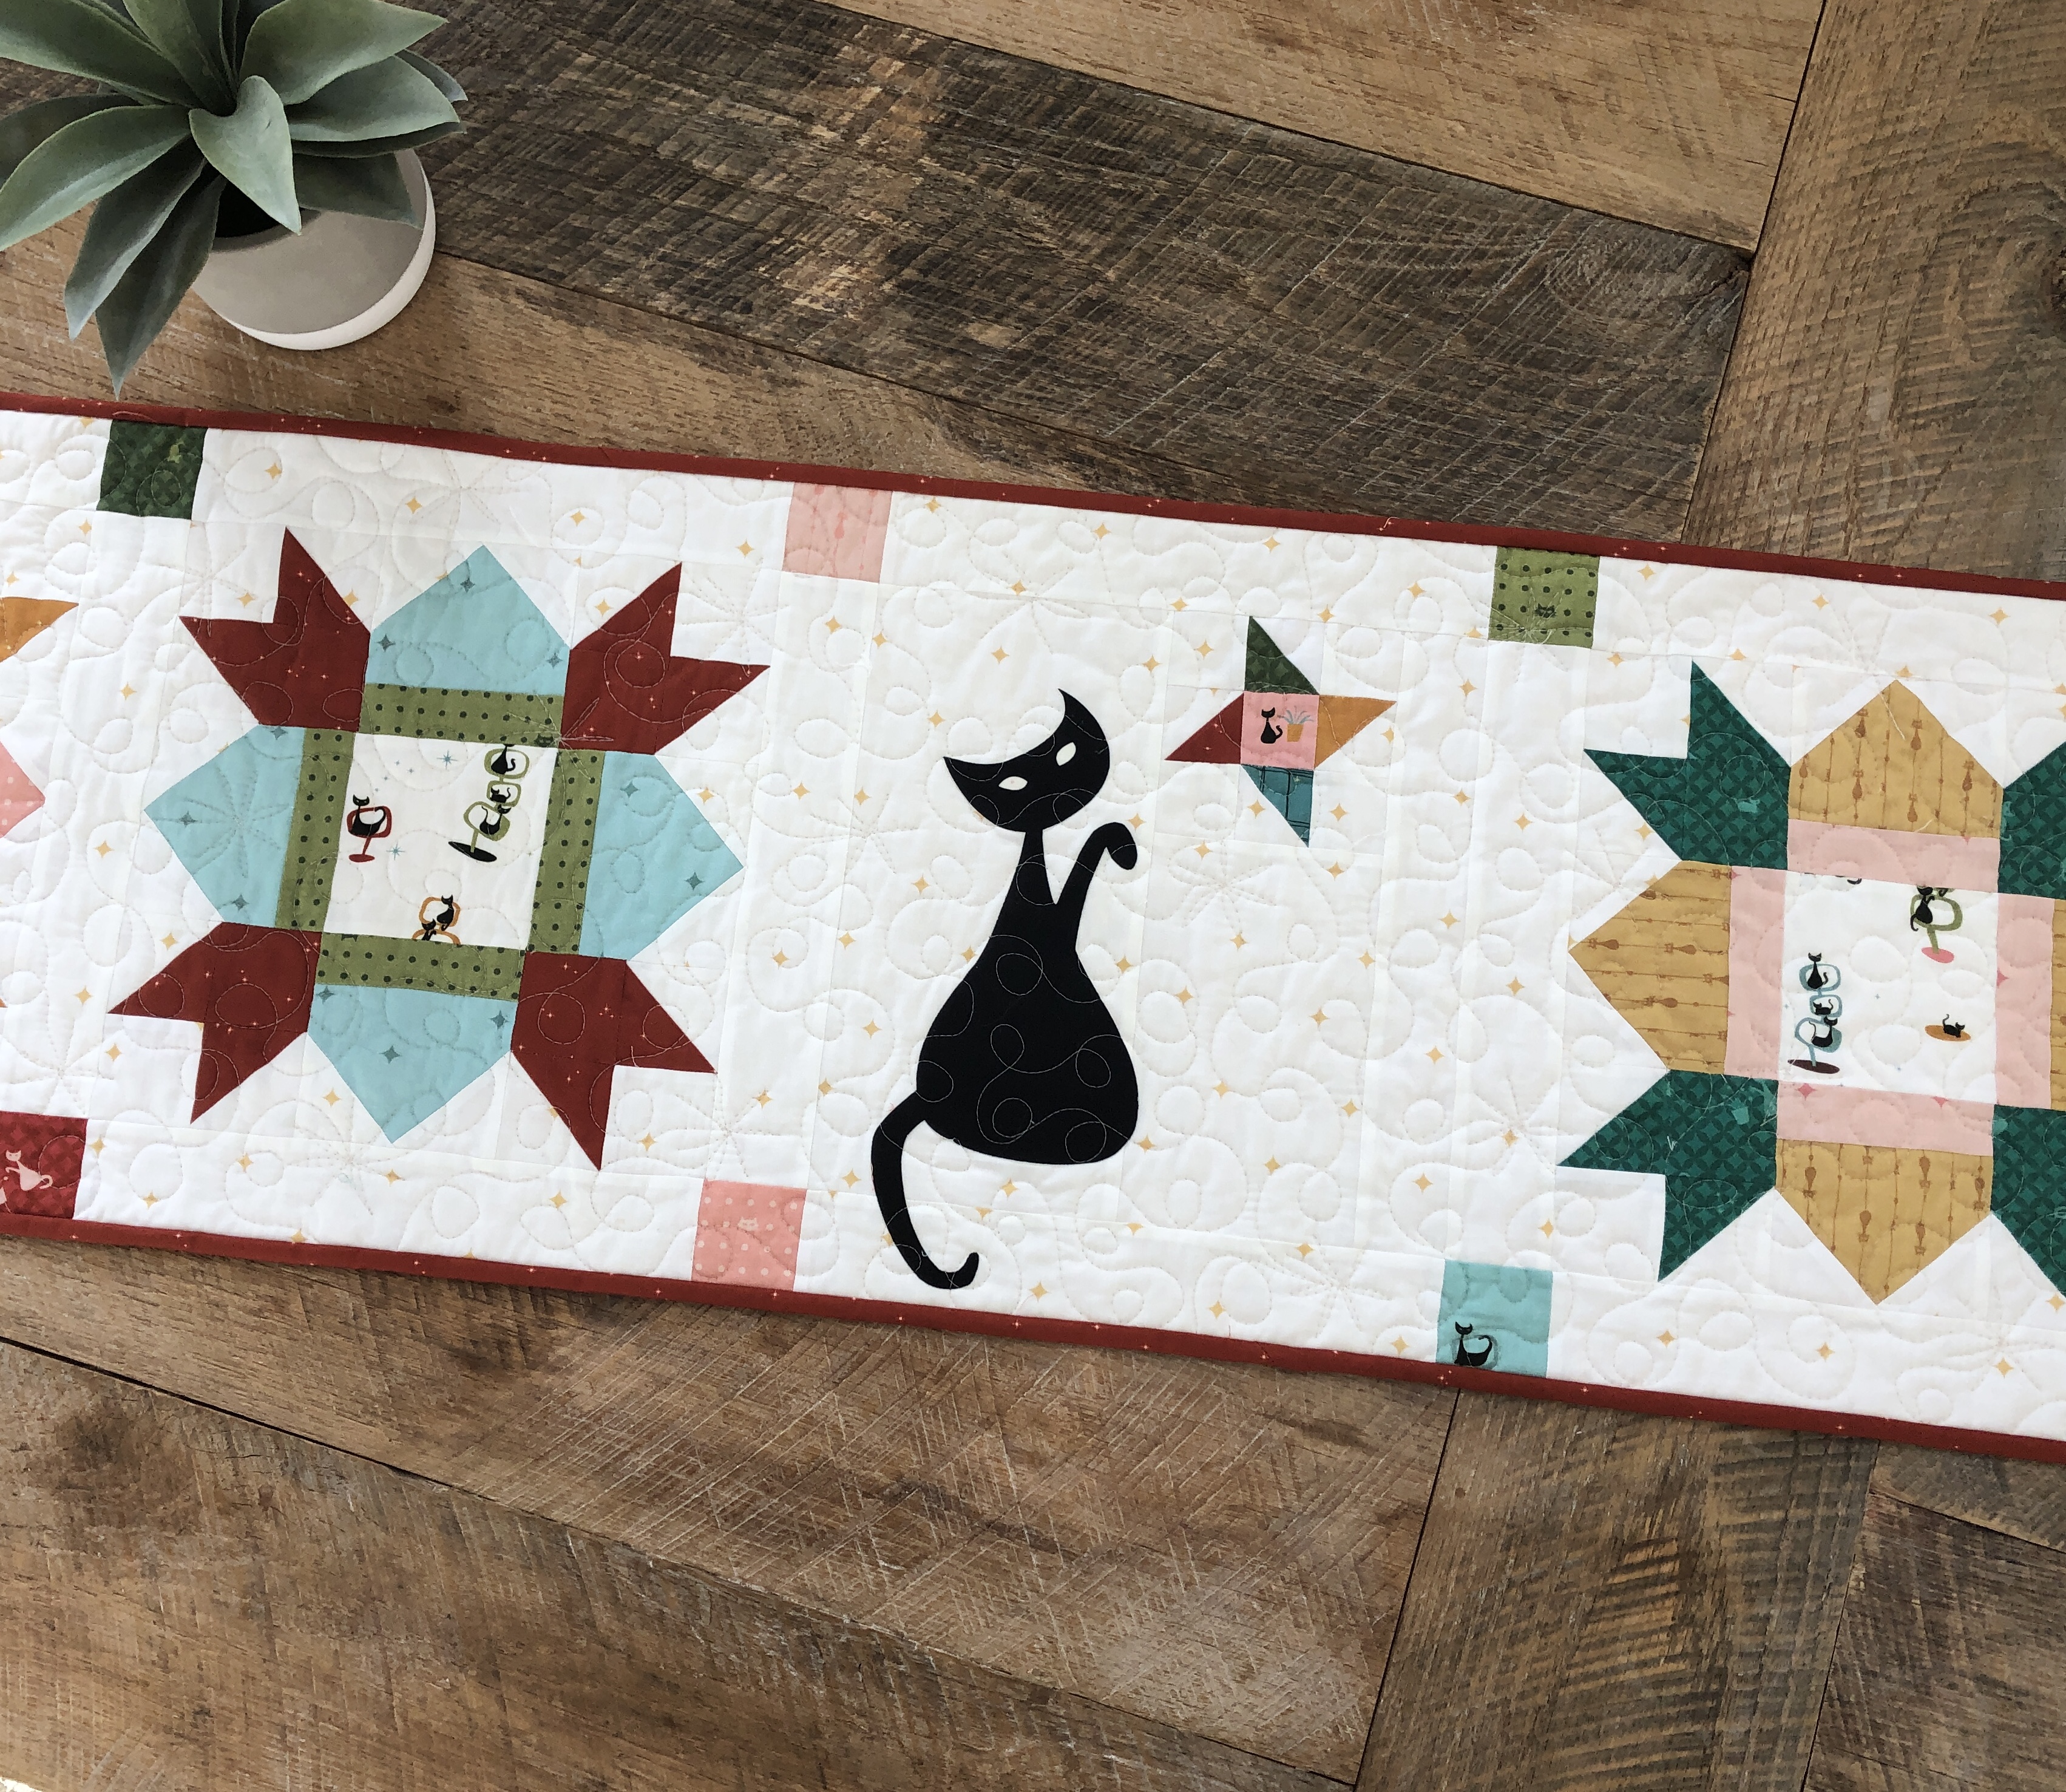
I used some simple sashing to put the 4 blocks together – easy peasy!

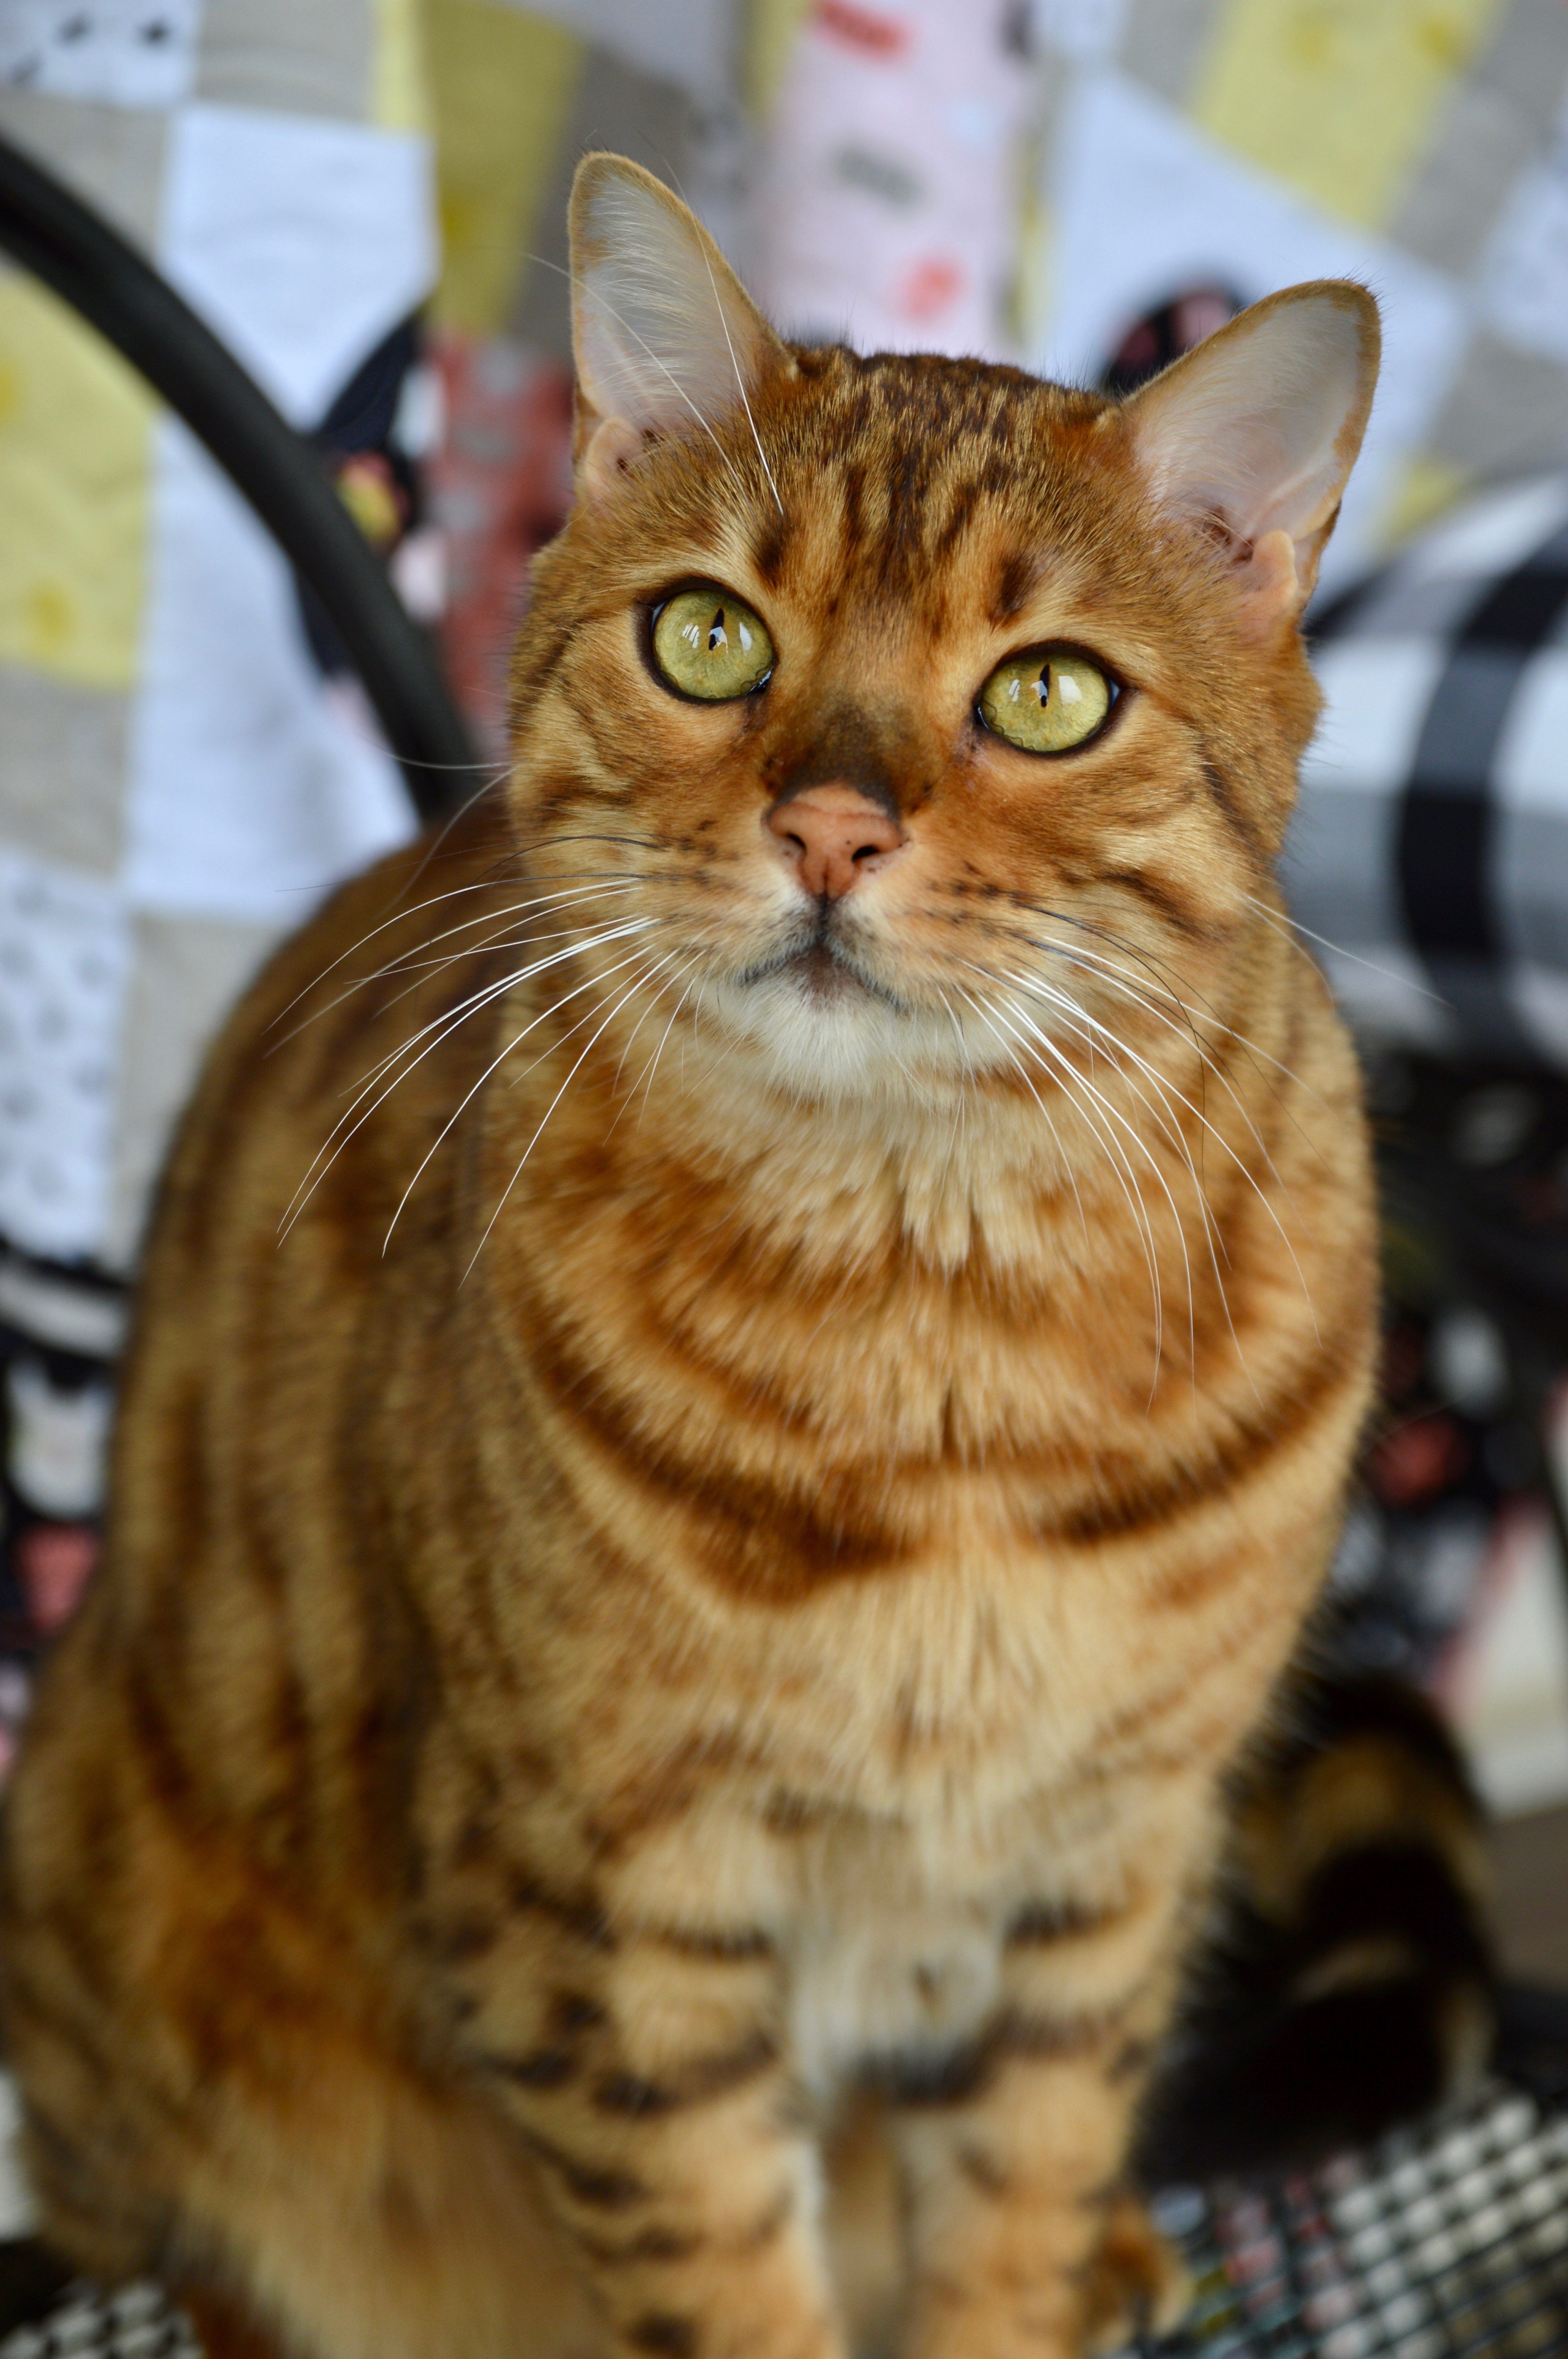
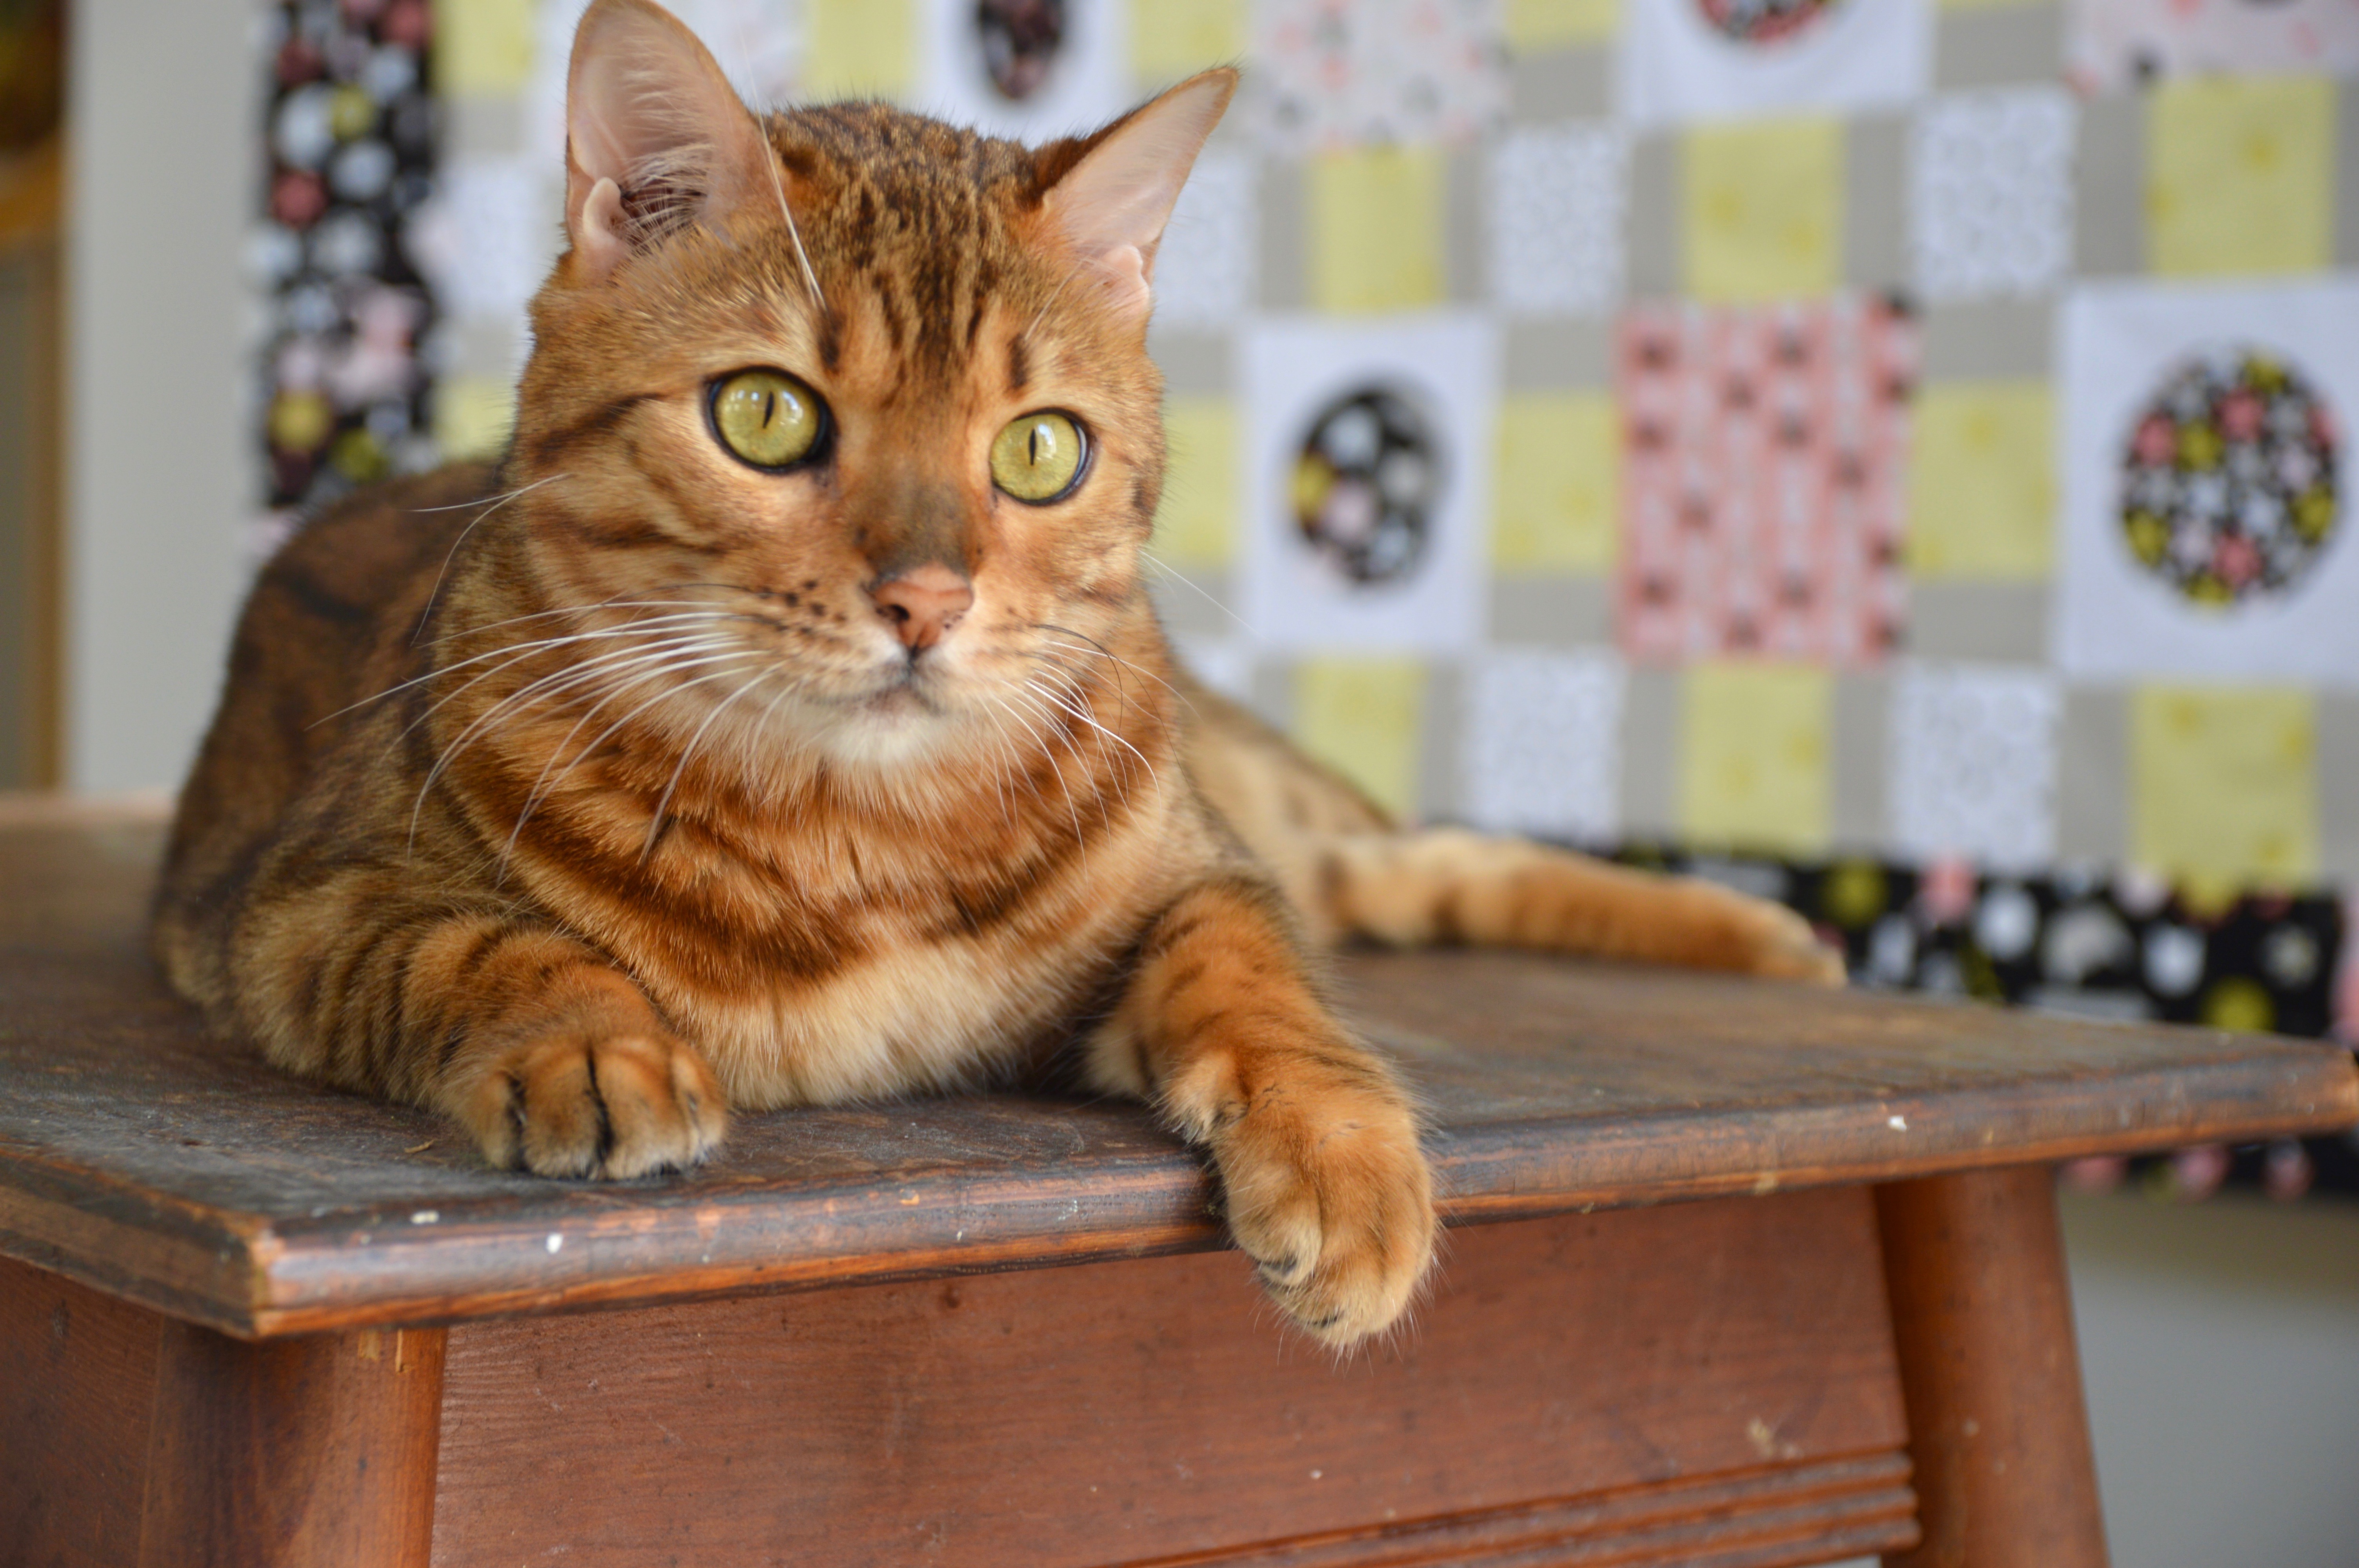
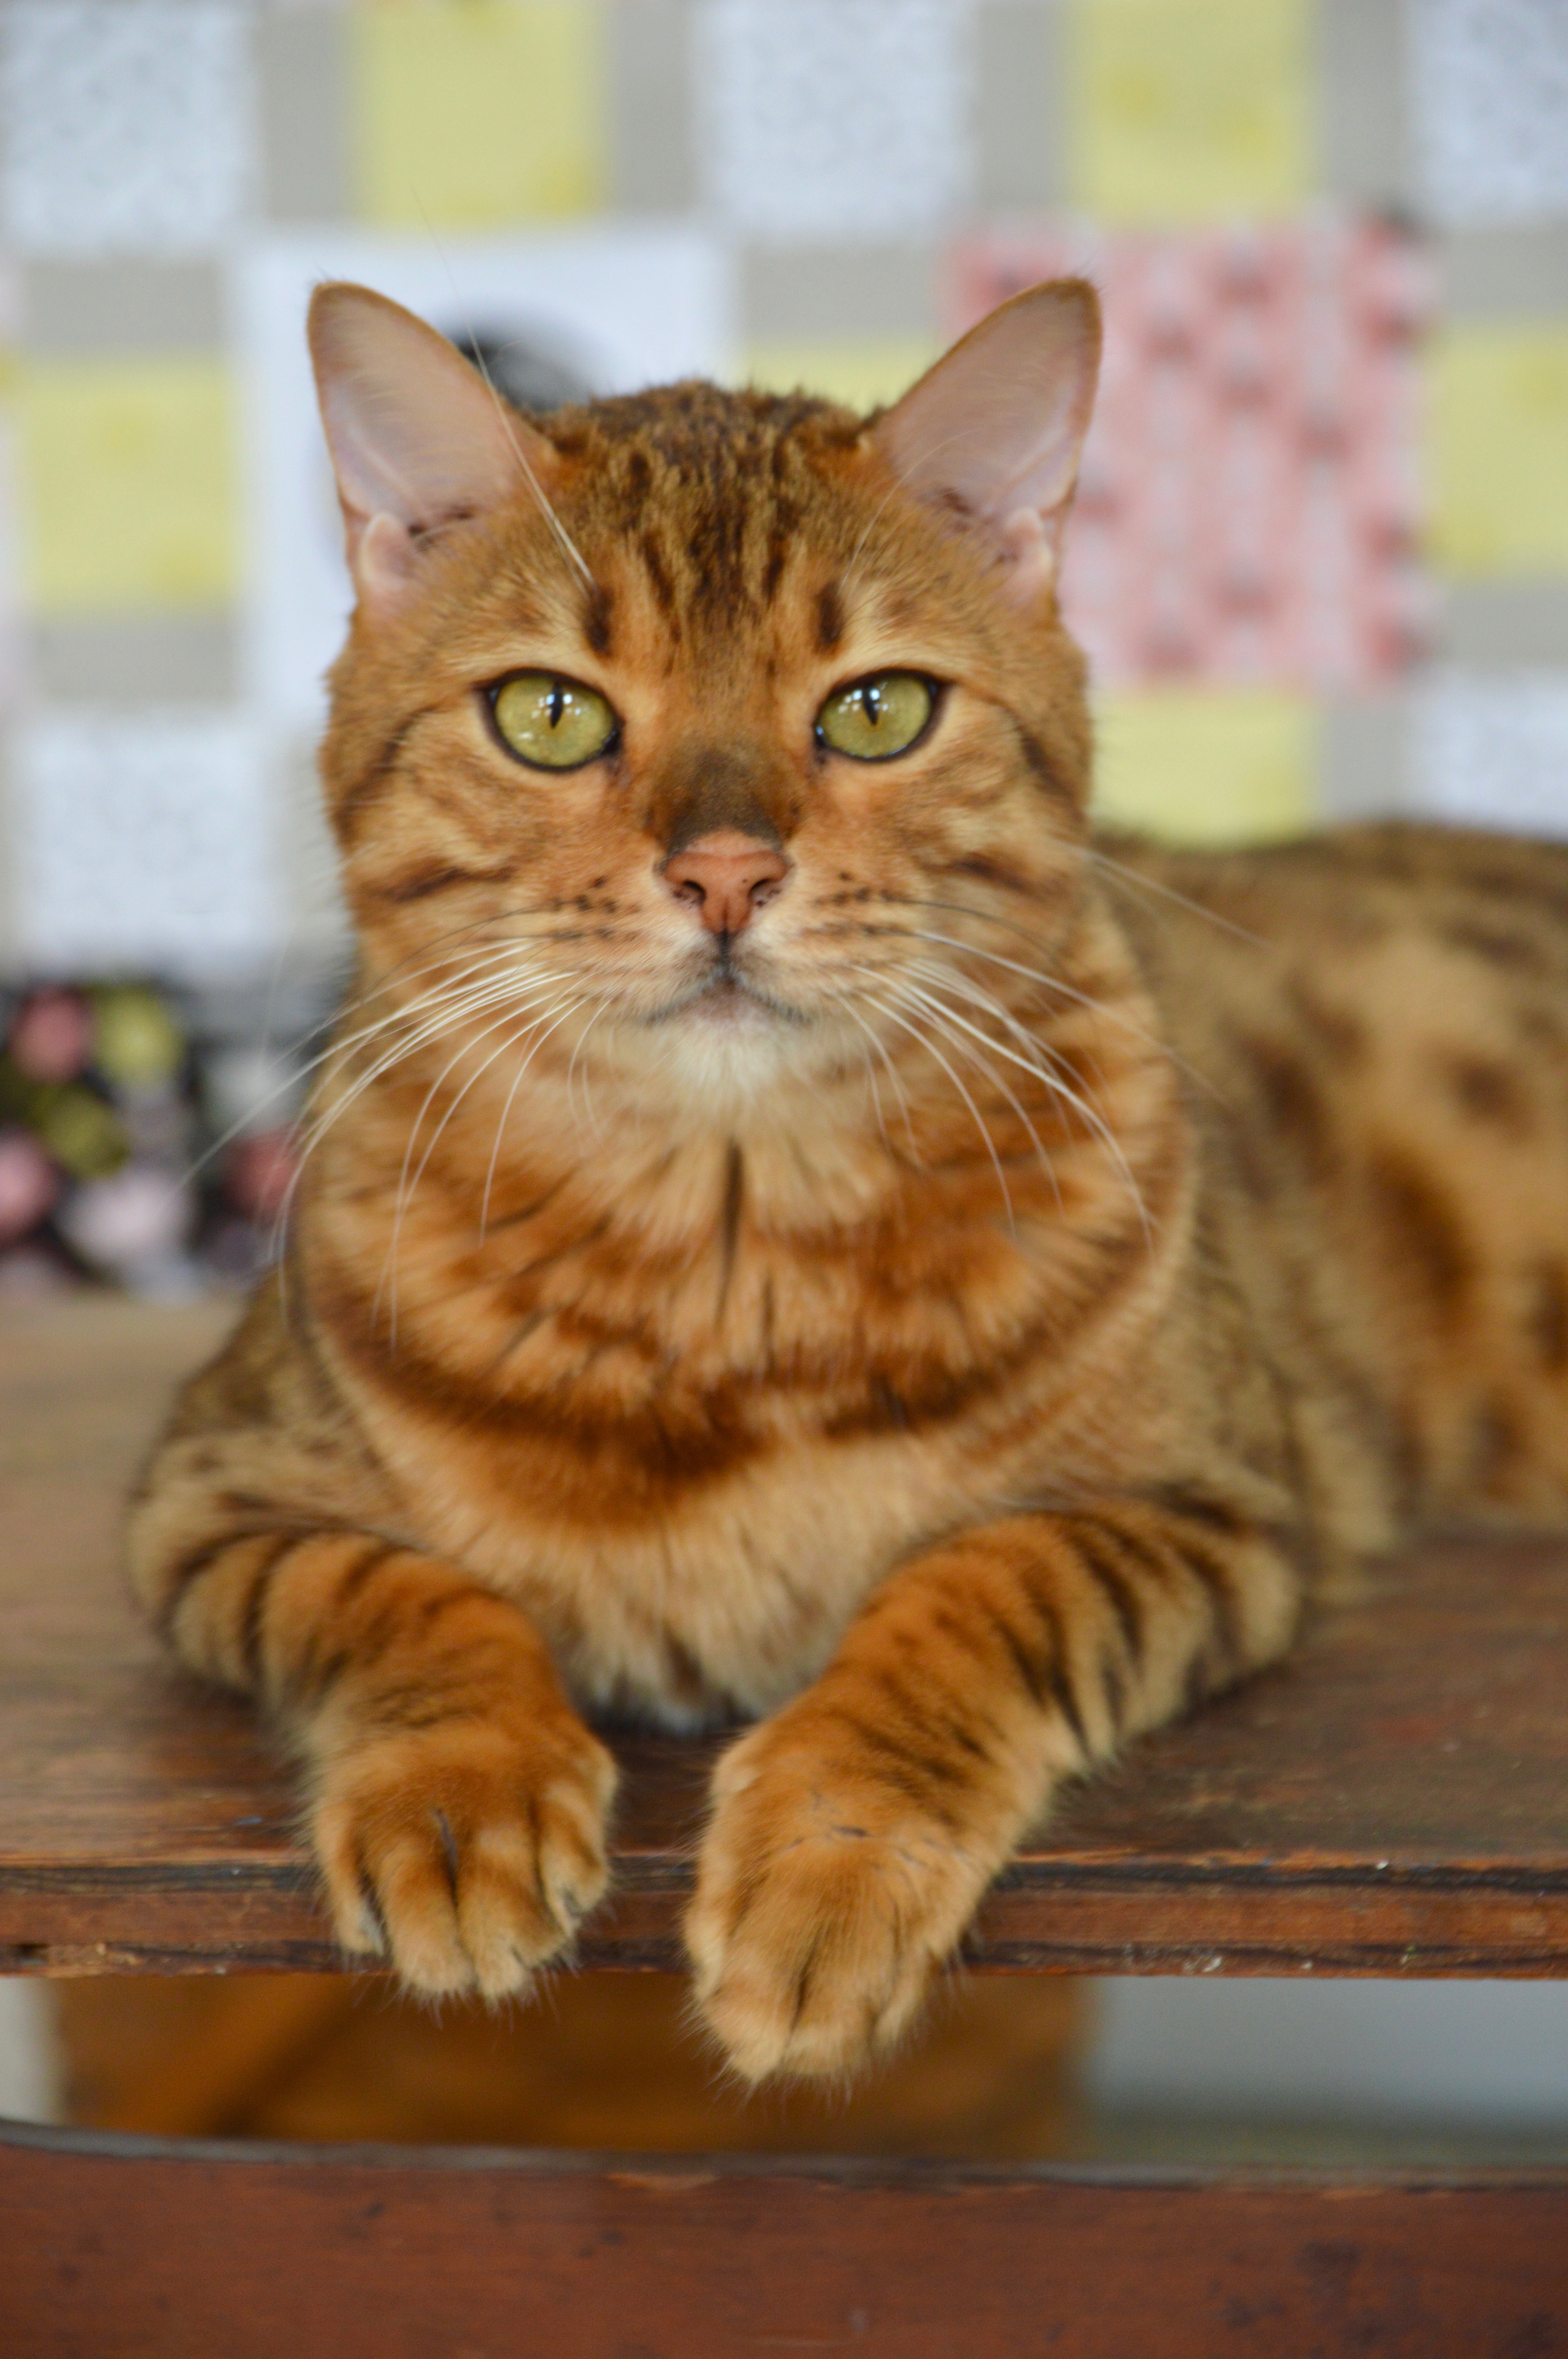
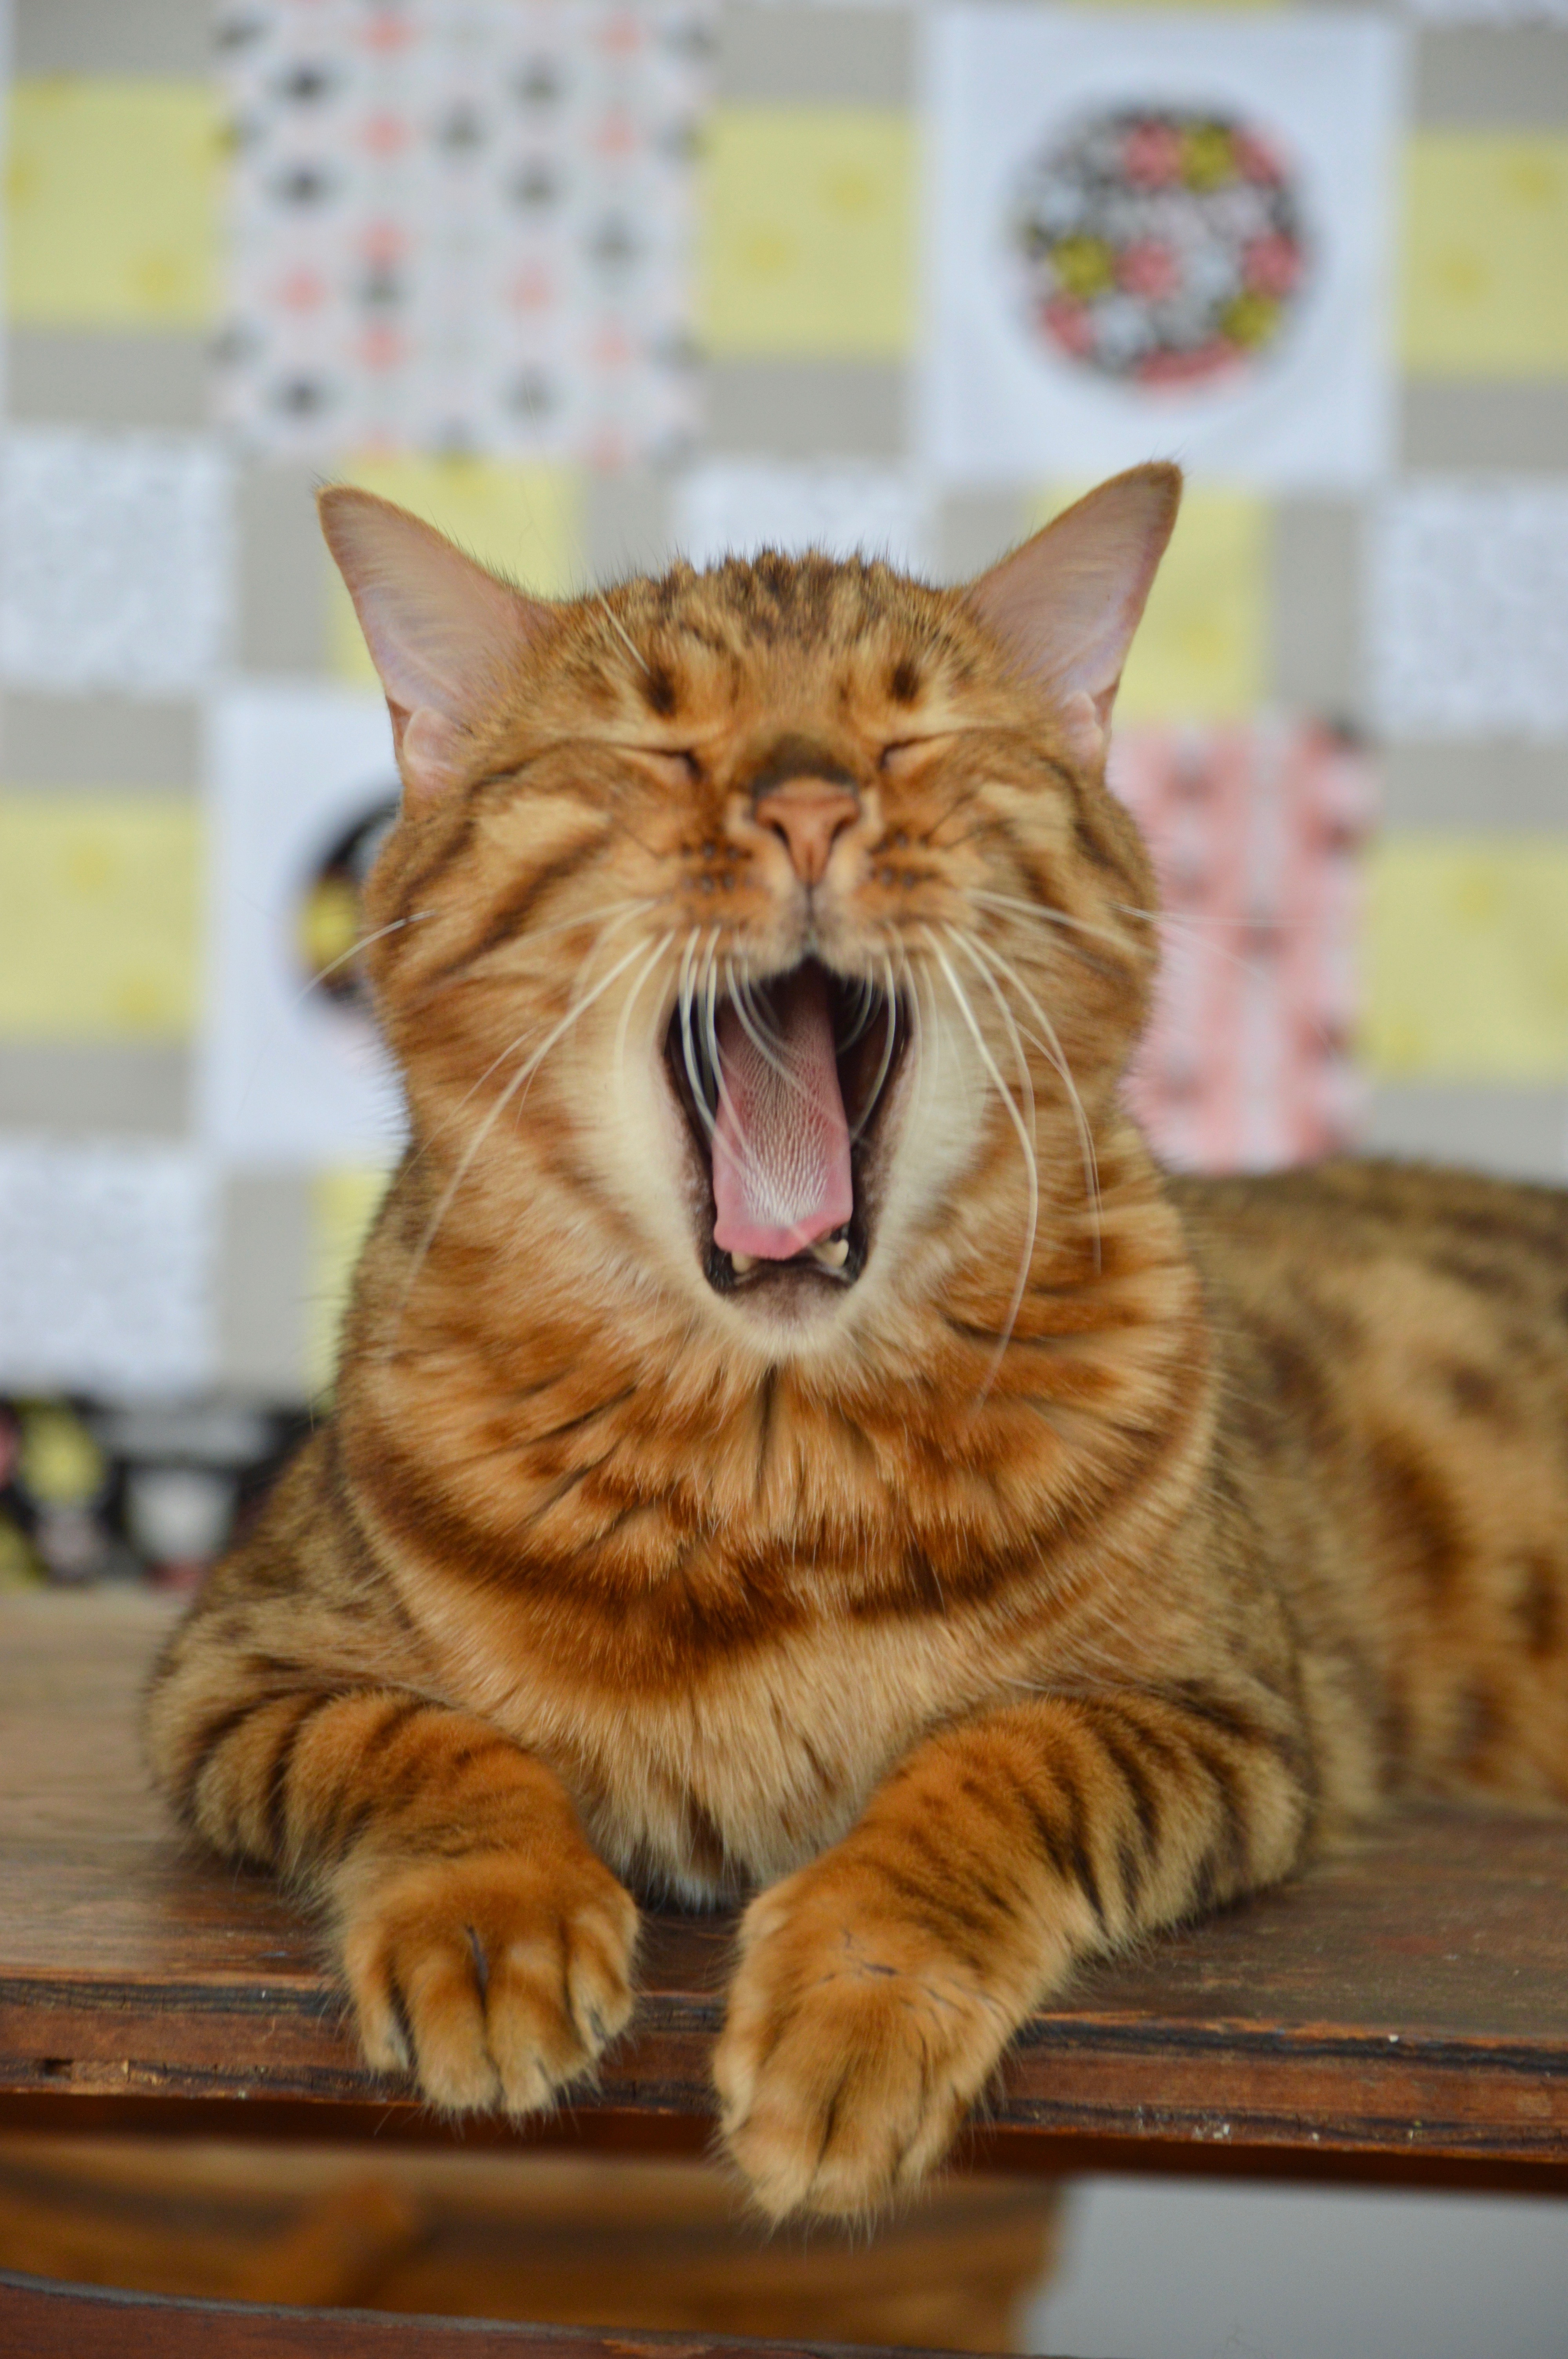
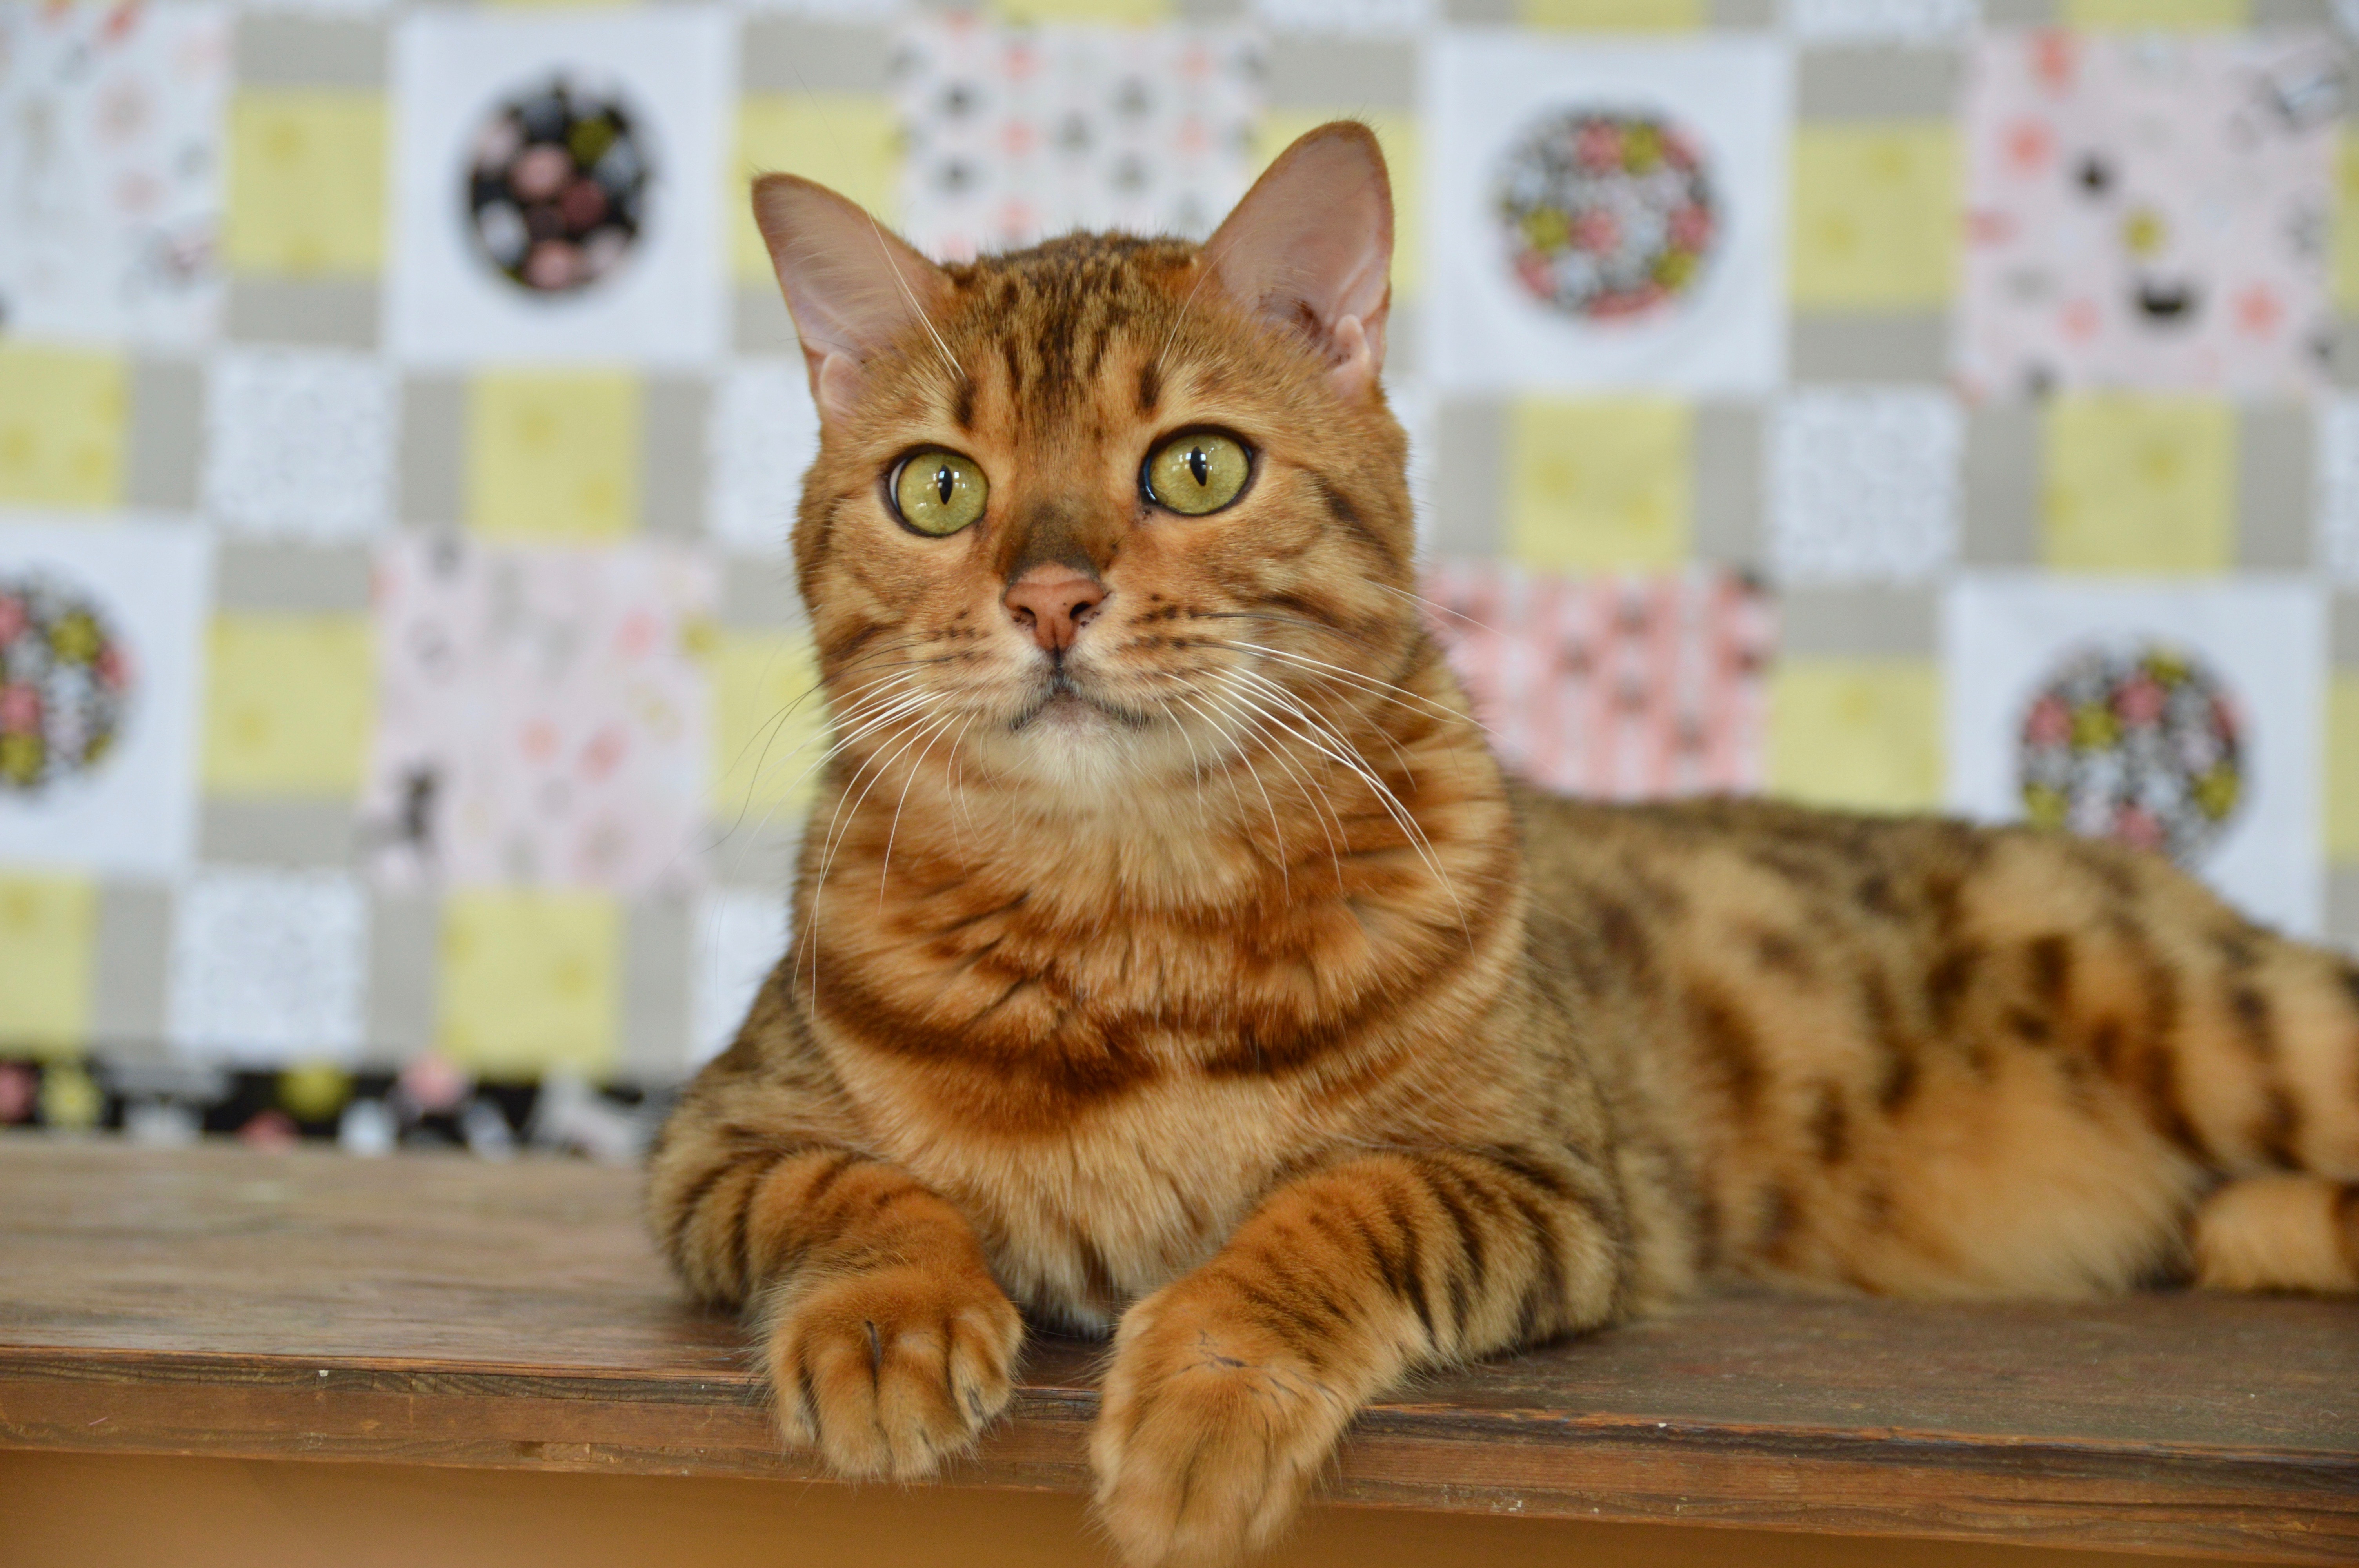
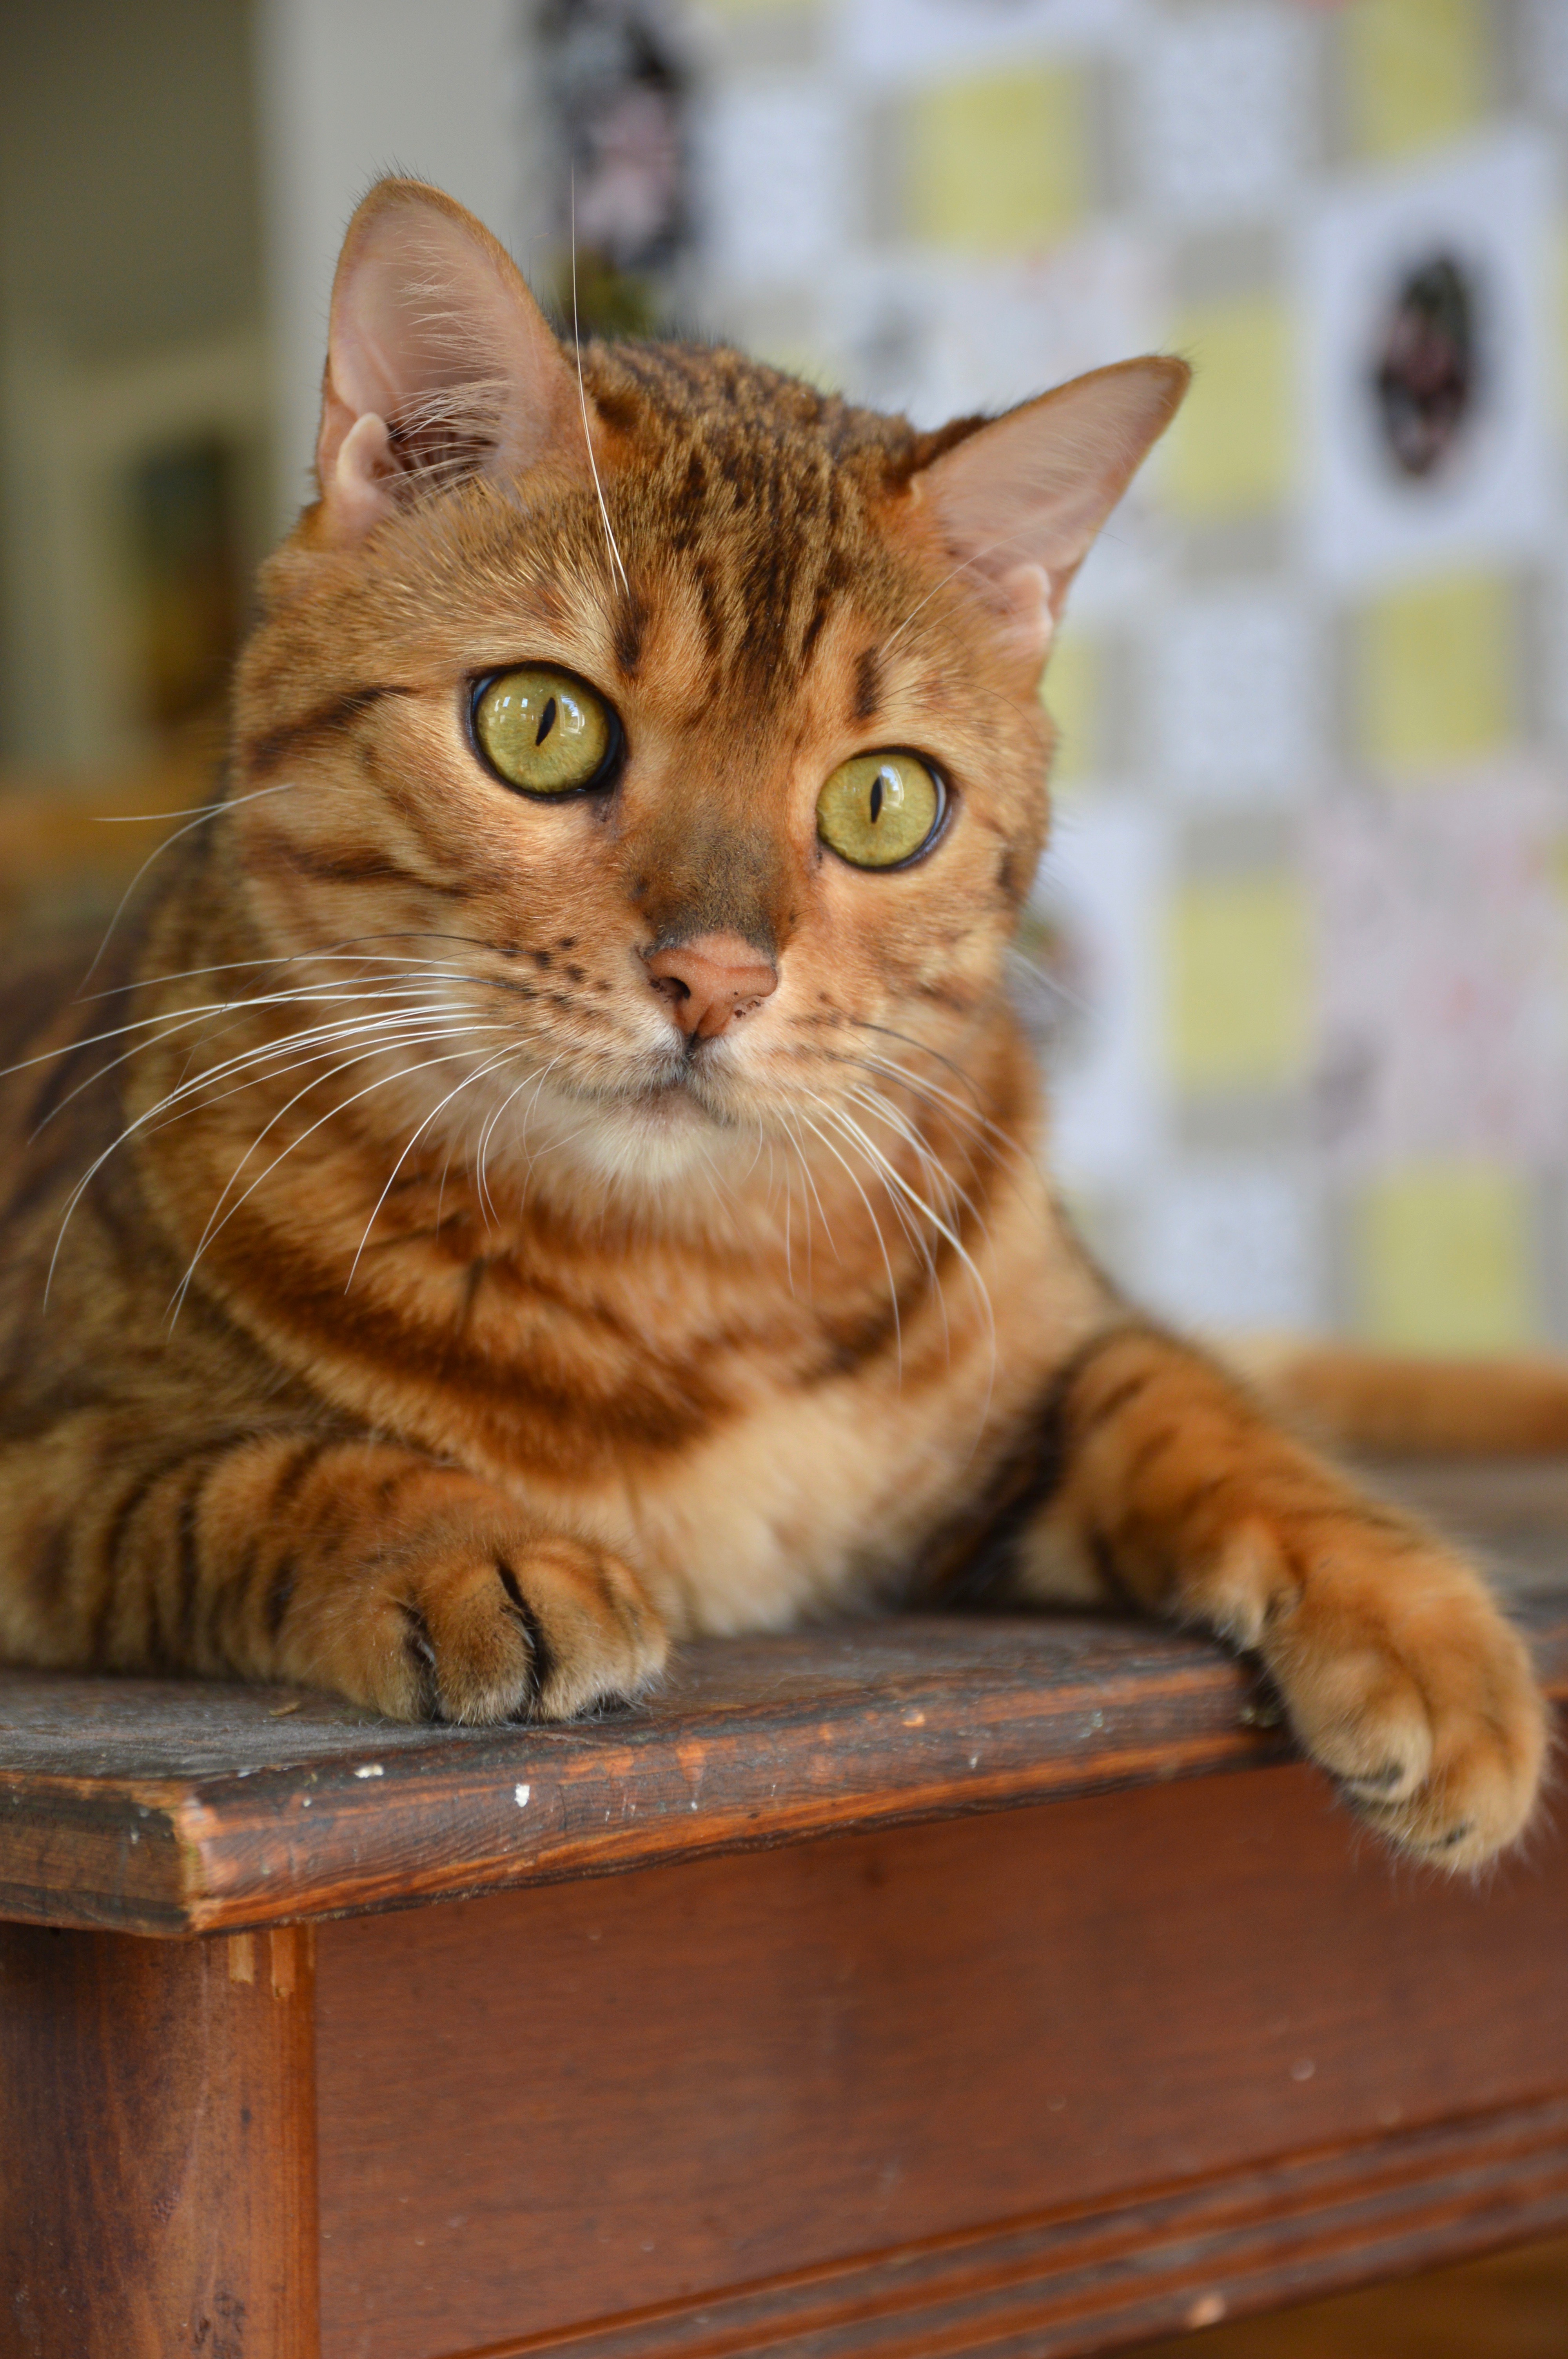
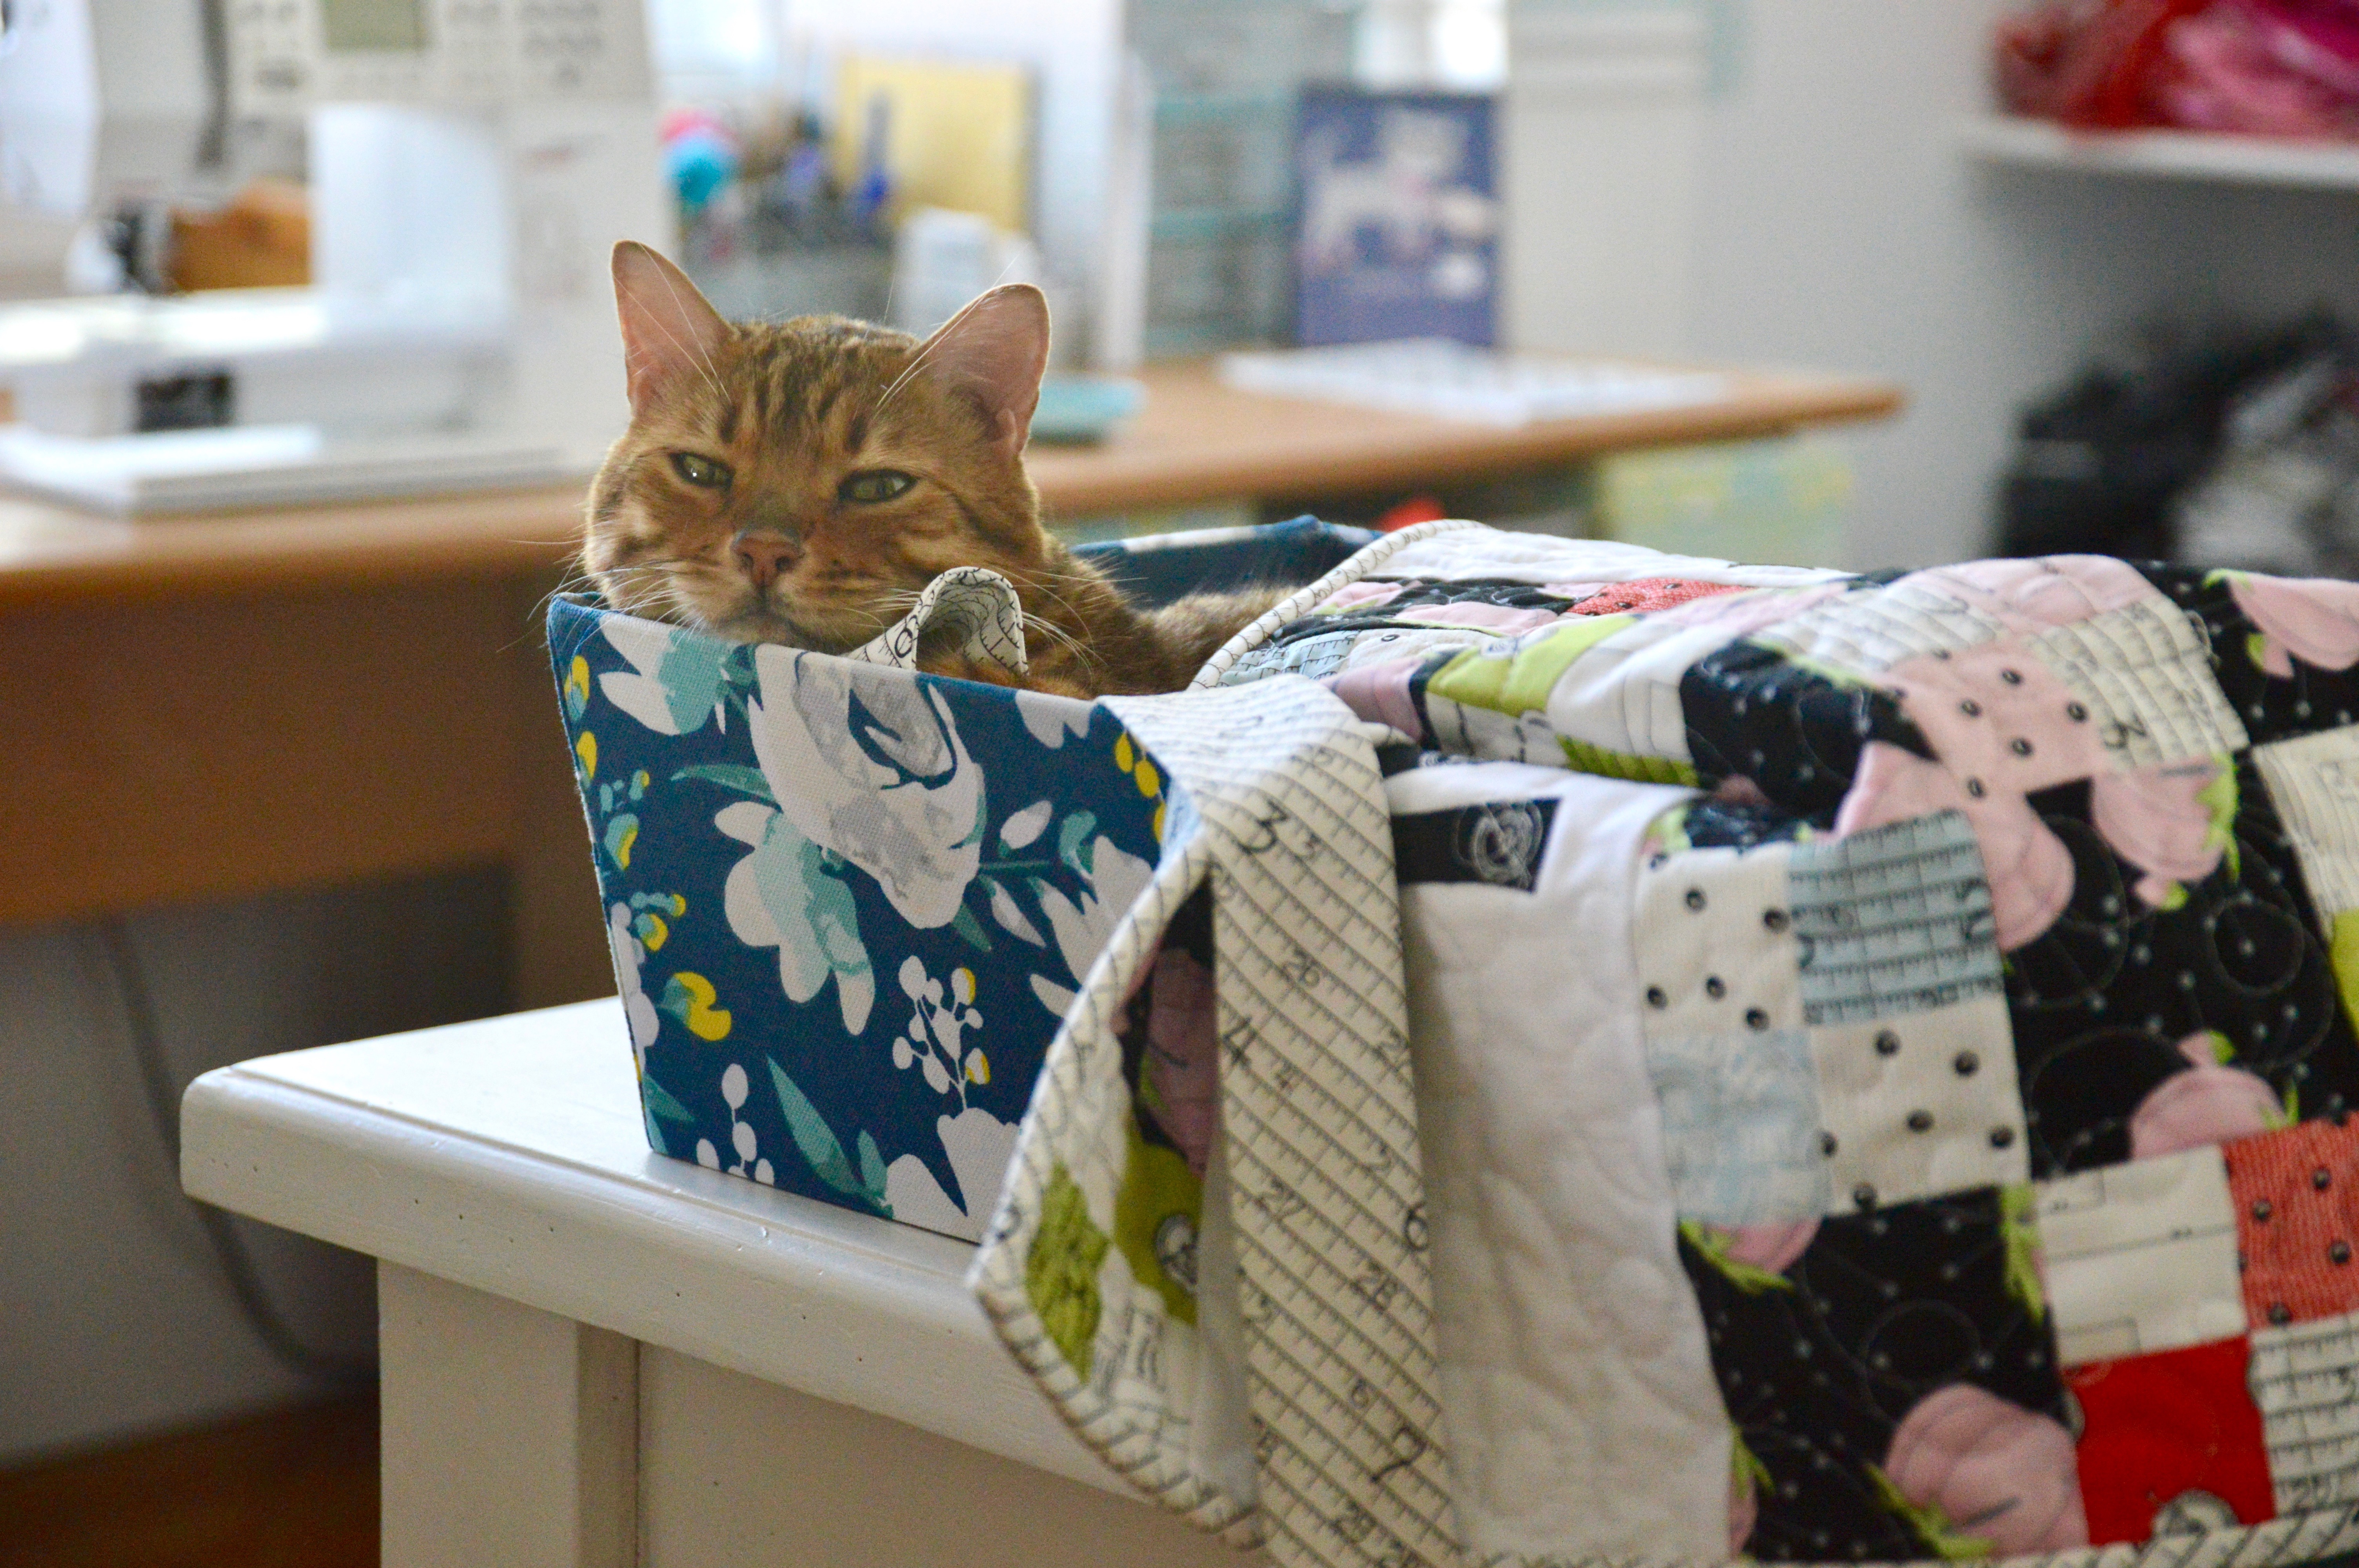
It’s 100% Mufasa approved 🙂

Be sure to grab a copy of Season to Taste! You will love all the patterns!!! It will keep you sewing all year long!

Grace everyday Quilt Pattern

This world wide pandemic has changed everyone’s life. Its is the craziest time right now. I still can’t believe this is real and we are living it. Today is the end of week 4 for us in quarinteen.

I wanted to create something that represented this time. I love making quilts to commemorate or document a life event. This certainly is a life event.

So I spent time looking around, soul searching, and coming to terms with what this all means so I could put it into a quilt.

This is what I came up with. Let me explain why.

Technically it’s spring, there are flowers and blooms. However every day thus far has been rainy or cloudy – gray. So I knew this quilt needed to reflect that. It’s as if spring is trying to emerge but the weather is holding it back – and I think that’s how people feel. We are trying to grow and thrive but this virus is a cloud hanging over us. The sun will come out – just not yet. So the quilt has a dark woven gray background and also an abundance of flowers.

Everyday I wake up and think “Is this real?” and then I realize – yes its so real. So I get up and do it all over again – just like Groundhog Day! I find myself praying throughout the day, asking for strength, asking for blessings for those who are suffering, those who are caretakers or healthcare workers, blessings for leaders of countries, blessings for a cure. Every day I am seeking for Grace. And so the phrase Grace everyday needed to be a part of the quilt. That’s how I am living – with trust in Him and hope in Him.

I wanted this quilt to be a reminder of this time. I had planned to have the quilt finished by Easter. But then the mask sewing began the the quilt was put on pause. I want to remember that when I look at this quilt. There are so many things this quilt reminds me of. Most of all it’s the goodness of people and the goodness of God. A line from a favorite song “and rain will make the flowers grow.” That is this quilt.

I hope you like it.

You can find the quilt pattern in my Etsy Shop by clicking HERE.

Called To Serve

How cute is this “Called to Serve” fabric by Riley Blake Designs? I love everything Deena Rutter designs and this time her designs hit so close to home!  My daughter is serving a mission in Manchester England!  Of course I had to make a few little projects to send to send to her!

The fabric comes in a “sisters” version and an “elders” version. I have a little stack stashed away for next year when my son leaves. Also included in the fabric line is a panel of a world map and some fun missionary phrases.

I made two pencil pouches: one for Ella and one for her companion. To make the zipper pouch, follow this tutorial. I fussy cut some of the words and appliquéd them to the front of the zipper pouch.

I also made this cute scripture cover. You can follow this tutorial to make one.

I’m so excited to get these in the mail! If you’d like to learn more about Missionaries for the Church of Jesus Christ of Latter Day Saints, click HERE.

Merry and Bright Quilt Pattern

DSC_0695

I’m so happy to be releasing this pattern BEFORE Christmas!  I got home from Quilt Market in October and was completely inspired!  I had this idea to create a new Christmas quilt with lots of fun vintage colors.  I knew I wanted deer in the quilt.  I played around with some ideas and then created this!  I love that it is whimsical and vintage feeling.  It was fun to make a quilt with pinks, reds, greens, and aquas!  All my favorites!Merry and Bright Quilt Pattern PDF

The quilt measures 68″ x 77″ which means its a great throw quilt size!  I think I might hang mine 🙂

The pattern is a PDF download available in my Etsy shop.

The patterns is written in sections: the tree, the larges star, the deer blocks, the small sawtooth blocks, and the twirl star blocks.  This makes it easy to do a quilt along or work on sections.Merry and bright quilt pattern

The deer appliqué is done with Heat n Bond Lite and then a straight stitch around the deer.

The star blocks are fun because you can use fabrics from your stash and make it super scrappy!

The Merry and Bright letters I totally cheated!  It’s December after all – no time for tedious work!  I used Heat n Bond Ultra for the letters which is a little heavier and stiffer than the Lite.  Since the letters were thin I was willing to use the Ultra because that meant no sewing around each letter to secure!  The all over quilting helps the appliqué blend right into the quilt!  So if you’re afraid of letters don’t be!

DSC_0671


I had the quilt quilted with an all over swirl and holly design and I’m super thrilled at how it turned out!!!  I love it so much!!

IMG_3061

Sheep Ornaments

sheep ornament

IMG_1706

I am in a few scripture study groups and I wanted to make something meaningful for all the ladies. The theme of Jesus as our shepherd comes up so much – we are his sheep!  So I knew I wanted to make a sheep ornament (plus I love sheep!). I began to make THESE ornaments, only to realize I made the sheep to big!  The sheep would not fit in the jar lids!  It was midnight so there was no turning back!  This is what they turned into!  And I love them!  Here’s how you can make them:

Supplies:

2 charm squares (5″)

5″ square Heat n Bond Fusible Fleece

Scraps of white and black fabric for the sheep

Heat n Bond Lite

Heat n Bond Ultra

Fiber Fill

Ribbon

Sheep pattern

IMG_1799

Begin by selecting your charm squares – I love projects that use up what I have on hand!

IMG_1802

Trace the sheep body on to Heat n Bond Lite.  Trace the sheep ear, head, and feet onto Heat n Bond Ultra.IMG_1801

Heat set the pieces onto the wrong side of the fabrics.  Let cool.  Cut out each piece.  Peel off backing paper.
IMG_1803

Position the sheep pieces onto the center of one of the charm squares.  Heat set into place.IMG_1804

Sew around the sheep body with a straight stitch.  I used the ultra heat n bond for the feet, ear, and head – which require no sewing.  Of course you could sew around each piece – I had to make a lot and now it was 1:00 am!IMG_1805

Heat set the sheep square to the fusible fleece.  Then layer them together as pictured above.IMG_1806

Cut a template out of cardstock of a circle just under 5″ in diameter.  You can see how it fits right inside of the charm square.  Pin and cut the circle through all 3 layers.IMG_1807

Pin all the layers together and tuck a little hanger in the top.IMG_1808

Sew a scant 1/4″ seam around the circle, leaving a 2″ opening to stuff.  Add a little fiber fill and then sew the opening closed.  Sew around the ornament a second time – I like how it looks when the two seams are a little off – it also helps round out any areas that aren’t perfect!IMG_1809

Tie a little bow and sew into place (or in my case, 1:30 am, hot glue that thing and then go to beed!)IMG_1693

Now go and sew a pasture of sheep! And don’t forget that Jesus loves you 🙂IMG_1694

IMG_1700

Fabric Postcard Tutorial Featuring Hello Sweetheart by Riley Blake Designs

fabric postcard tutorial

I love this adorable valentine inspired fabric called Hello Sweetheart by Riley Blake Designs!  Seriously the cutest valentine fabric ever!!!hellosweetheartfabric

I was so inspired by the clever little valentines that I wanted to turn them into actual valentines you can mail!  These are super easy and would be fun for your kids to help make!

Supplies:

Hello Sweetheart valentine panel by Riley Blake Designs

4″ x 6″ pieces coordinating fabric

Heat n Bond heavy weight fusible stabilizer

Spray n Bond basing spray

Paper postcard (see download link)

Thread

fabric postcard tutorial

Using scissors, cut out the valentines you want to use.  There are so many cute ones!!!fabric postcard tutorial 2

Cut each background fabric 4″ x 6″

I had fun mixing and matching the valentines with the background fabric.  This is what I choose.
fabric postcard tutorial 3

Using Spray n Bond basting spray, spray the wrong side of the valentine and position it on the 4″x 6″ fabric.  Sew around the valentine.

fabric postcard tutorial 6

Cut (2) 4″ x 6″ pieces of  Heat n Bond heavy weight fusible stabilizer.  You will use 2 pieces per postcard.

fabric postcard tutorial 6 9

Fuse the first stabilizer to the wrong side of the fabric postcard.  Let cool.  Then fuse a second piece.  Let cool.fabric postcard tutorial 4

Download the postcard template by clicking here.  Cut on the gray line – it should measure 4″ x 6″.
fabric postcard tutorial 6 10

They are so cute!

fabric postcard tutorial 11

Once they are all stabilized, spray a little basting spray on the wrong side of the stabilizer and position the paper postcard.  This is to hold it in place while sewing.

Now that the postcard is assembled, you may need to trim up the edges if the stabilizer of paper are showing.  Using a zigzag stitch, sew around the postcard 2 times, sewing near or off the edge.

fabric postcard tutorial 6 12
fabric postcards. 2

Now start writing notes to the people you love!!!

Sew Happy Sewing Machine Cover Tutorial

Sew Happy Sewing Machine CoverI’m super excited to be part of Riley Blake Designs’ Paperdoll blog tour!  When I saw the delightful prints in the Paperdoll fabric line I knew I wanted to make something for my sewing studio!  I love the vintage dress patterns, pin cushions and buttons in the fabric!  IMG_2850 2

I have been wanting a quilt for my sewing machine!  Normally it’s in use everyday, but this new school year has been a rough one and I don’t find myself sewing as much.  So my trusty Bernina needs a quilt!

sewing machine cover. 1

Essentially this is a shorter table runner with ties.  You can really choose any design! You can turn it so it says “SEW” or “Happy”.   I used a fat quarter bundle, 1/4 yard solid white, and 3/4 yard for binding and ties.

The finished quilt measures 21″ x 31″.

sew happy layout

Cut the fabrics according to the measurements on the diagram above.

Sew the 2″ squares in 4-patch units, pressing toward the dark.  Make (25) 4-patch units.

Download the letters by clicking HERE.  Trace the letters onto Heat n Bond Lite.  Cut out 1/4″ around each letter and place them on the wrong side of a black fat quarter.  Heat set in place.  Cut out the letters.  Peel off the backing paper.  Arrange them on the solid white rectangle and heat set in place.  Top stitch around each letter in black thread.
IMG_2854

Mufasa loves to sleep while I sew!

Once the letters are finished, lay out the quilt according to the diagram.  Sew together in rows, pressing toward the 3 1/2″ squares.

Sew the rows together, pressing in one direction.

Baste and quilt as you would a normal quilt.  I quilted loops.

Cut (3) 2 1/2″ strips on the bias for the binding.  Piece end to end diagonally.  Press in half.  Sew the binding on as you would a quilt.

Prepare the ties by cutting (4) 4″x 24″ strips.  With right sides together, fold in half lengthwise and sew 1/4″ along the long edge, ending with a point (pictured below).  Turn the ties right side out and press.  Baste each tie in the seam of the binding.  (Place the quilt over your machine and mark where you want the ties, machines will vary).
IMG_2856

Hand bind as you would a normal quilt, continue stitching right over the ties (below).IMG_2857

Once the binding is complete so is the sewing machine cover!  My sewing machine looks SEW HAPPY!!!!

sewing machine cover

It also makes a cute sewing table runner if you don’t add the ties!

sewing machine cover. 4
And for the rest of the afternoon it served as a kitty nap time blanket!!!

DSC_0342

Take Me To The Sea Quilt Pattern featuring Seaside by Riley Blake Designs

nautical quilt pattern

Summer is my favorite season of all!  I could live in perpetual June-August!!

take me to the sea quilt pattern
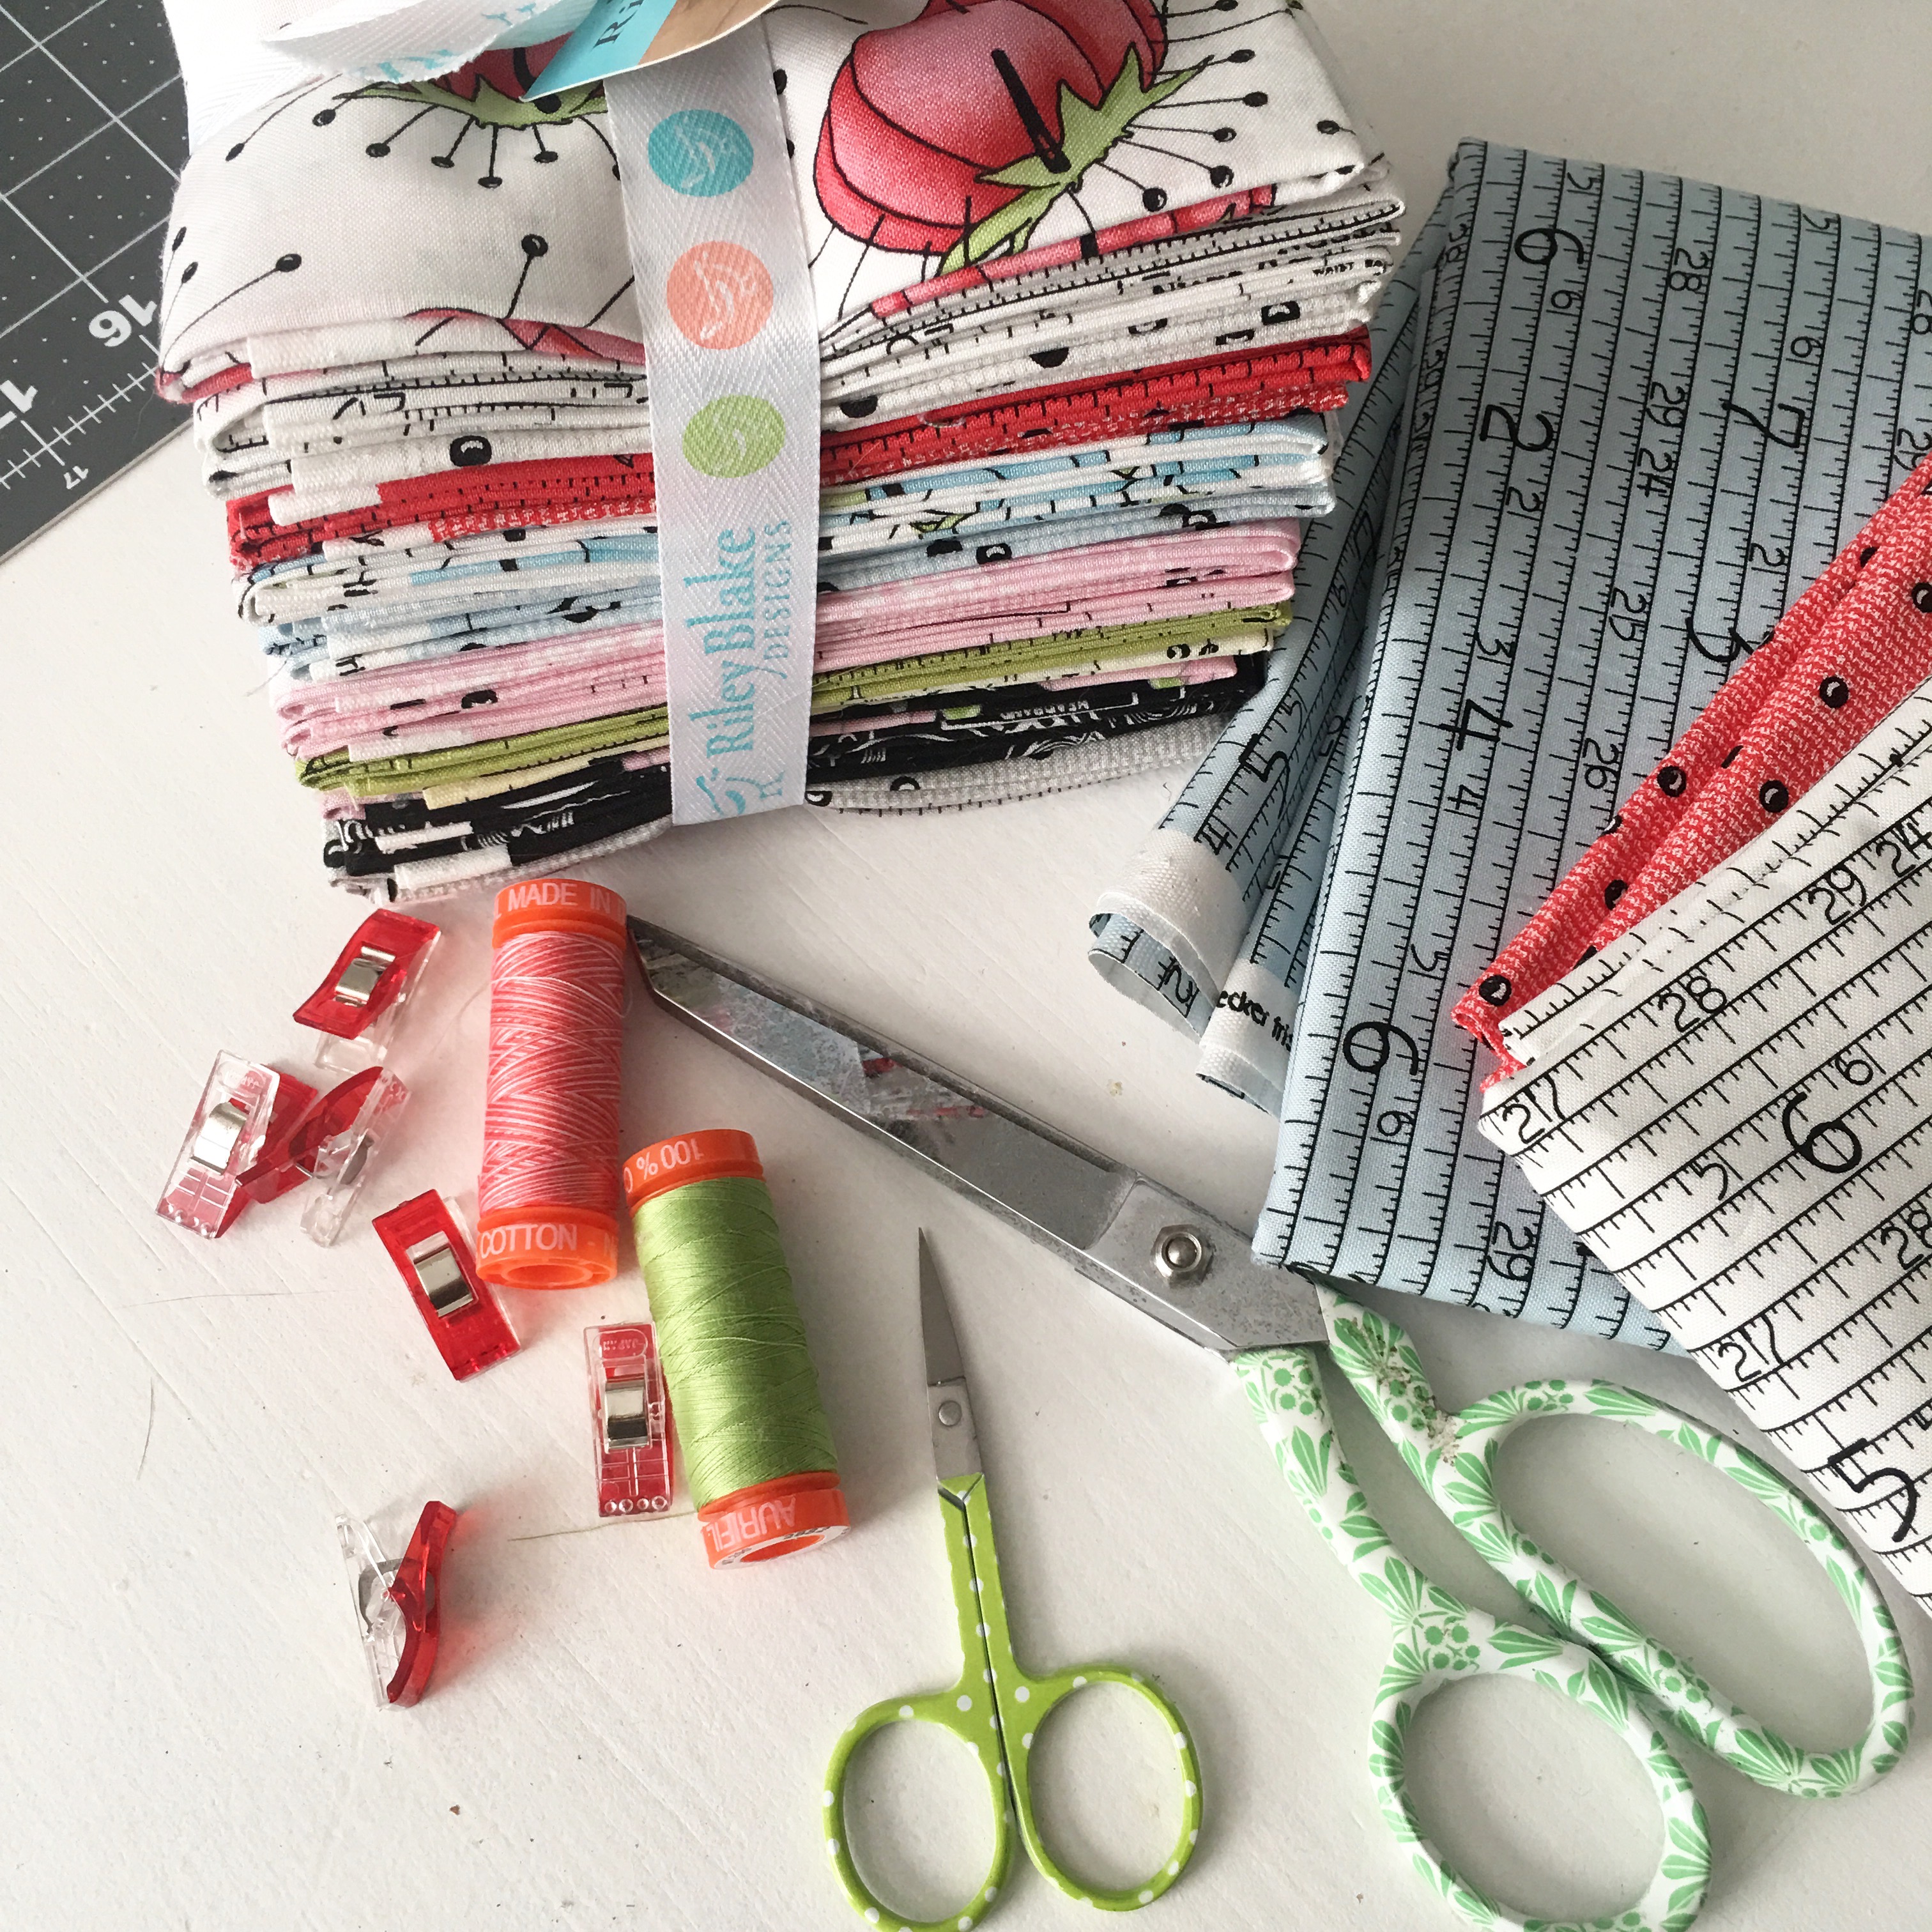
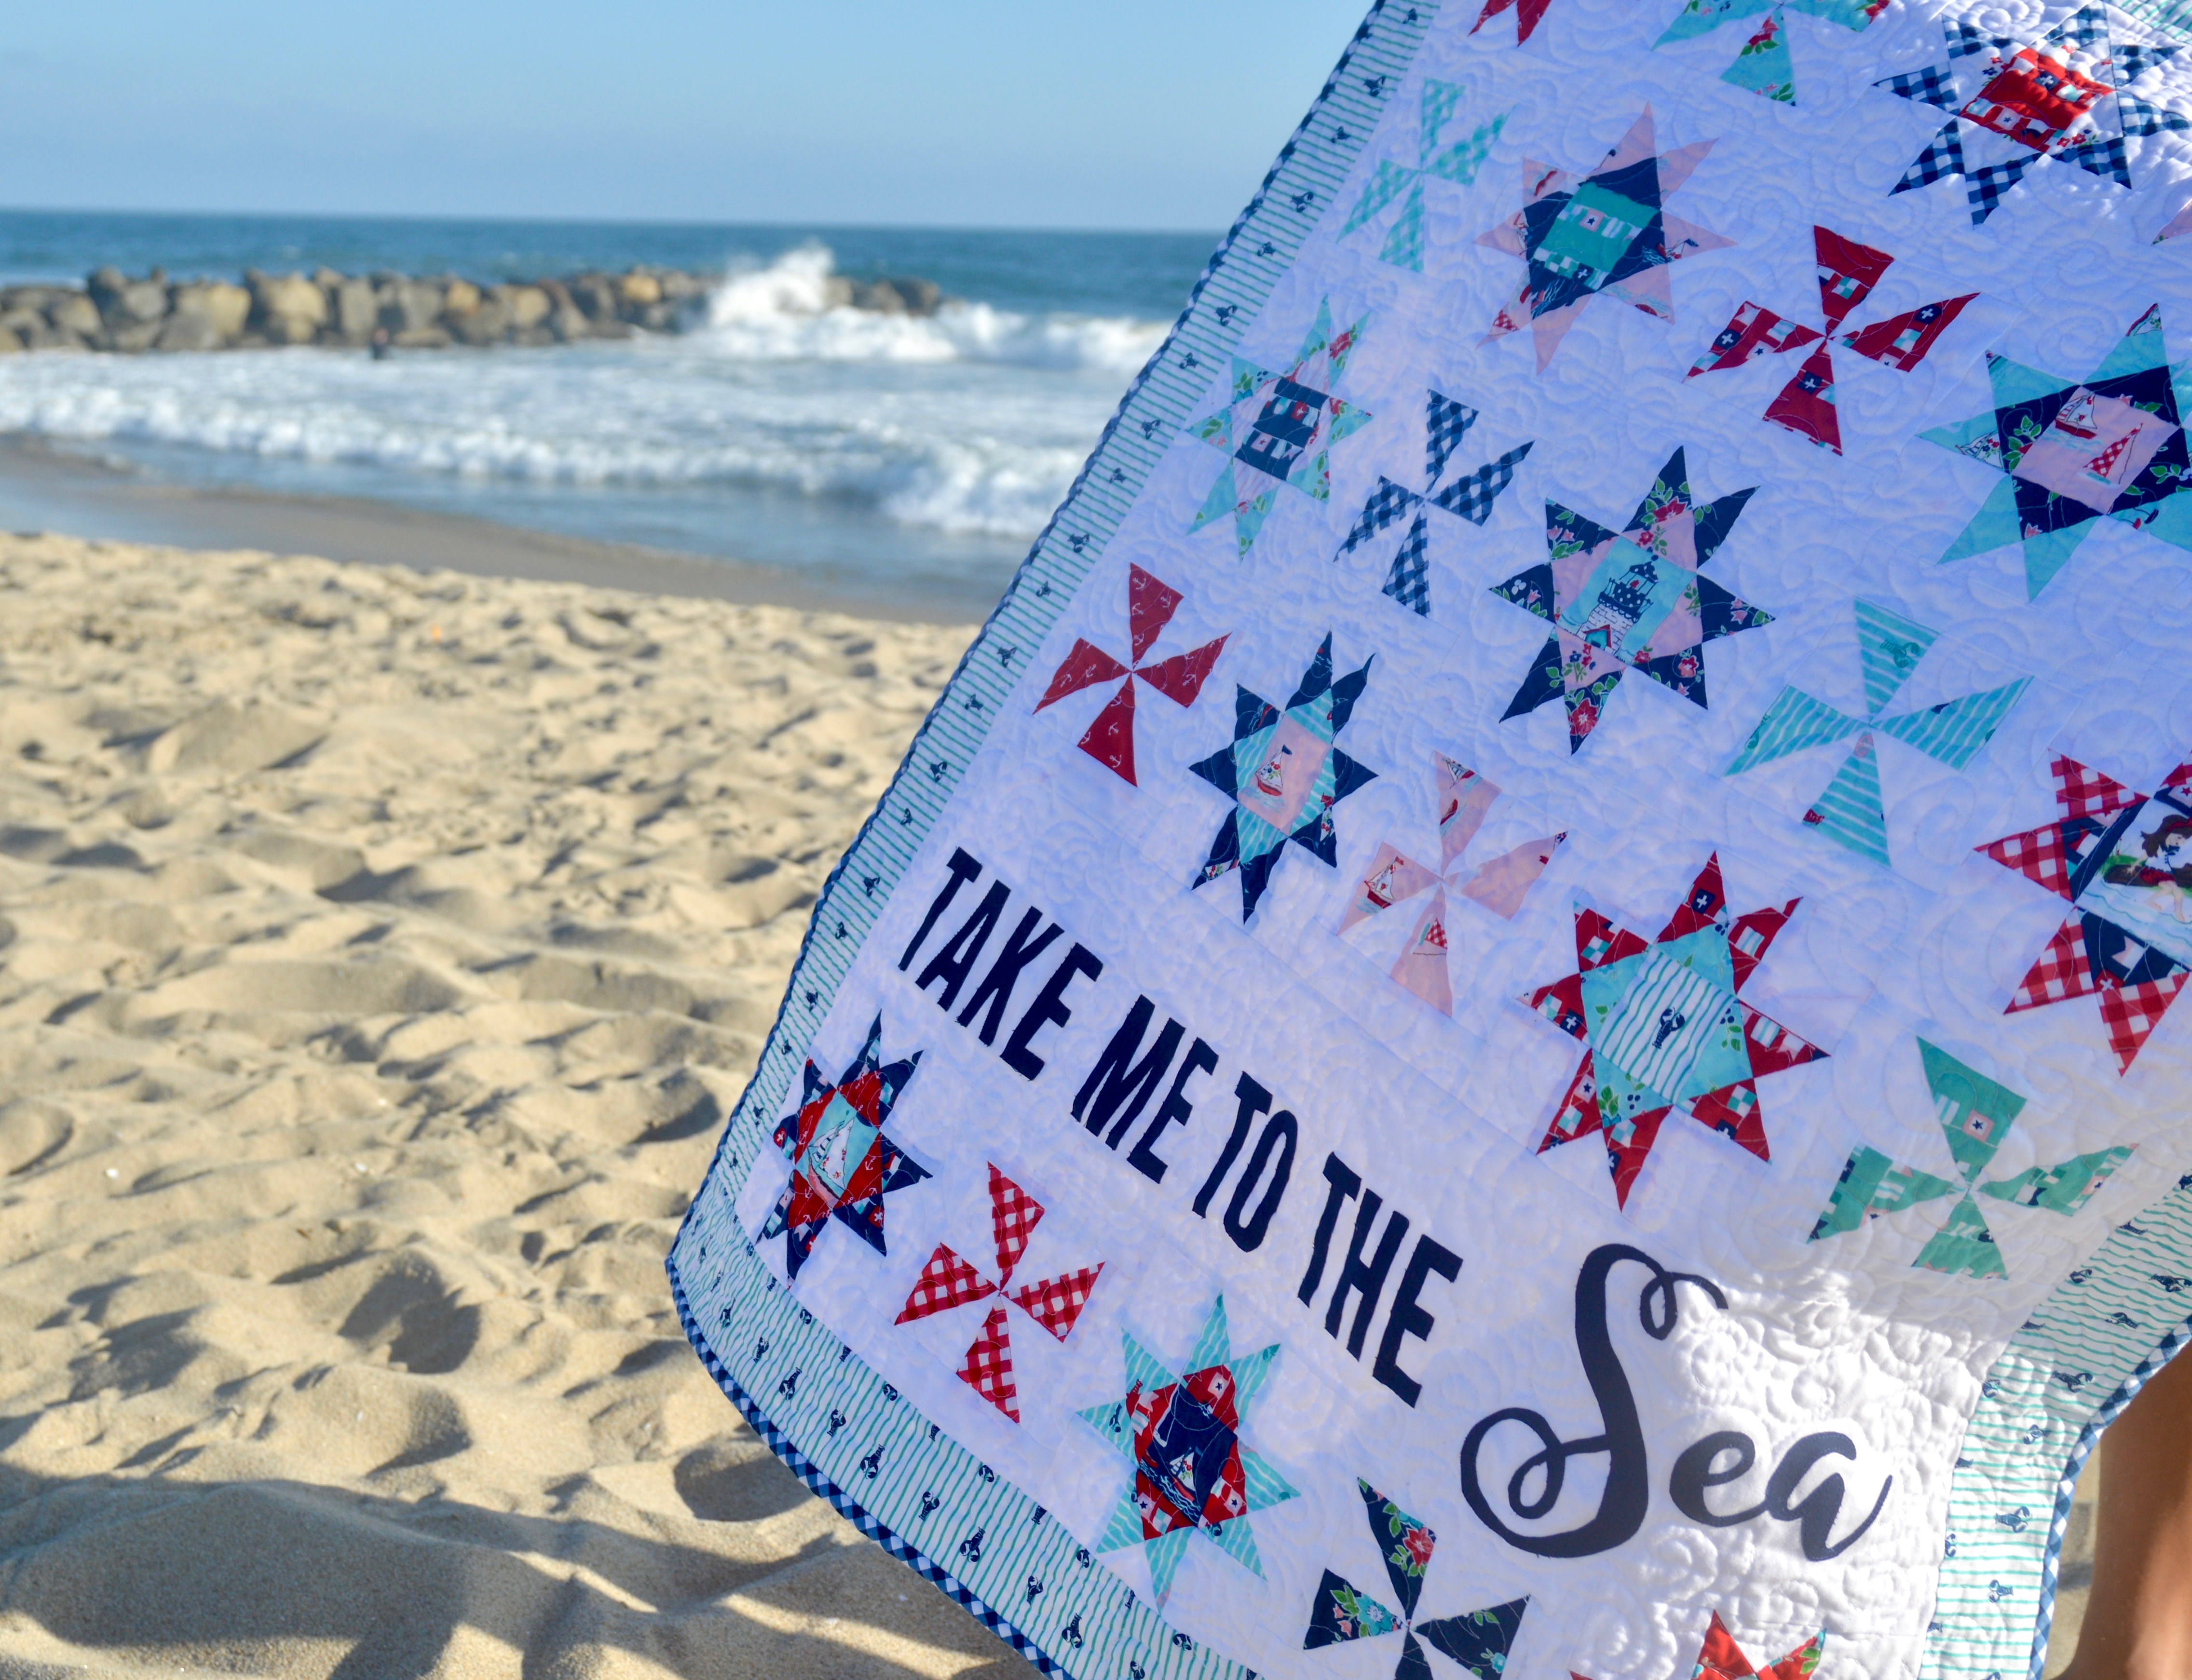
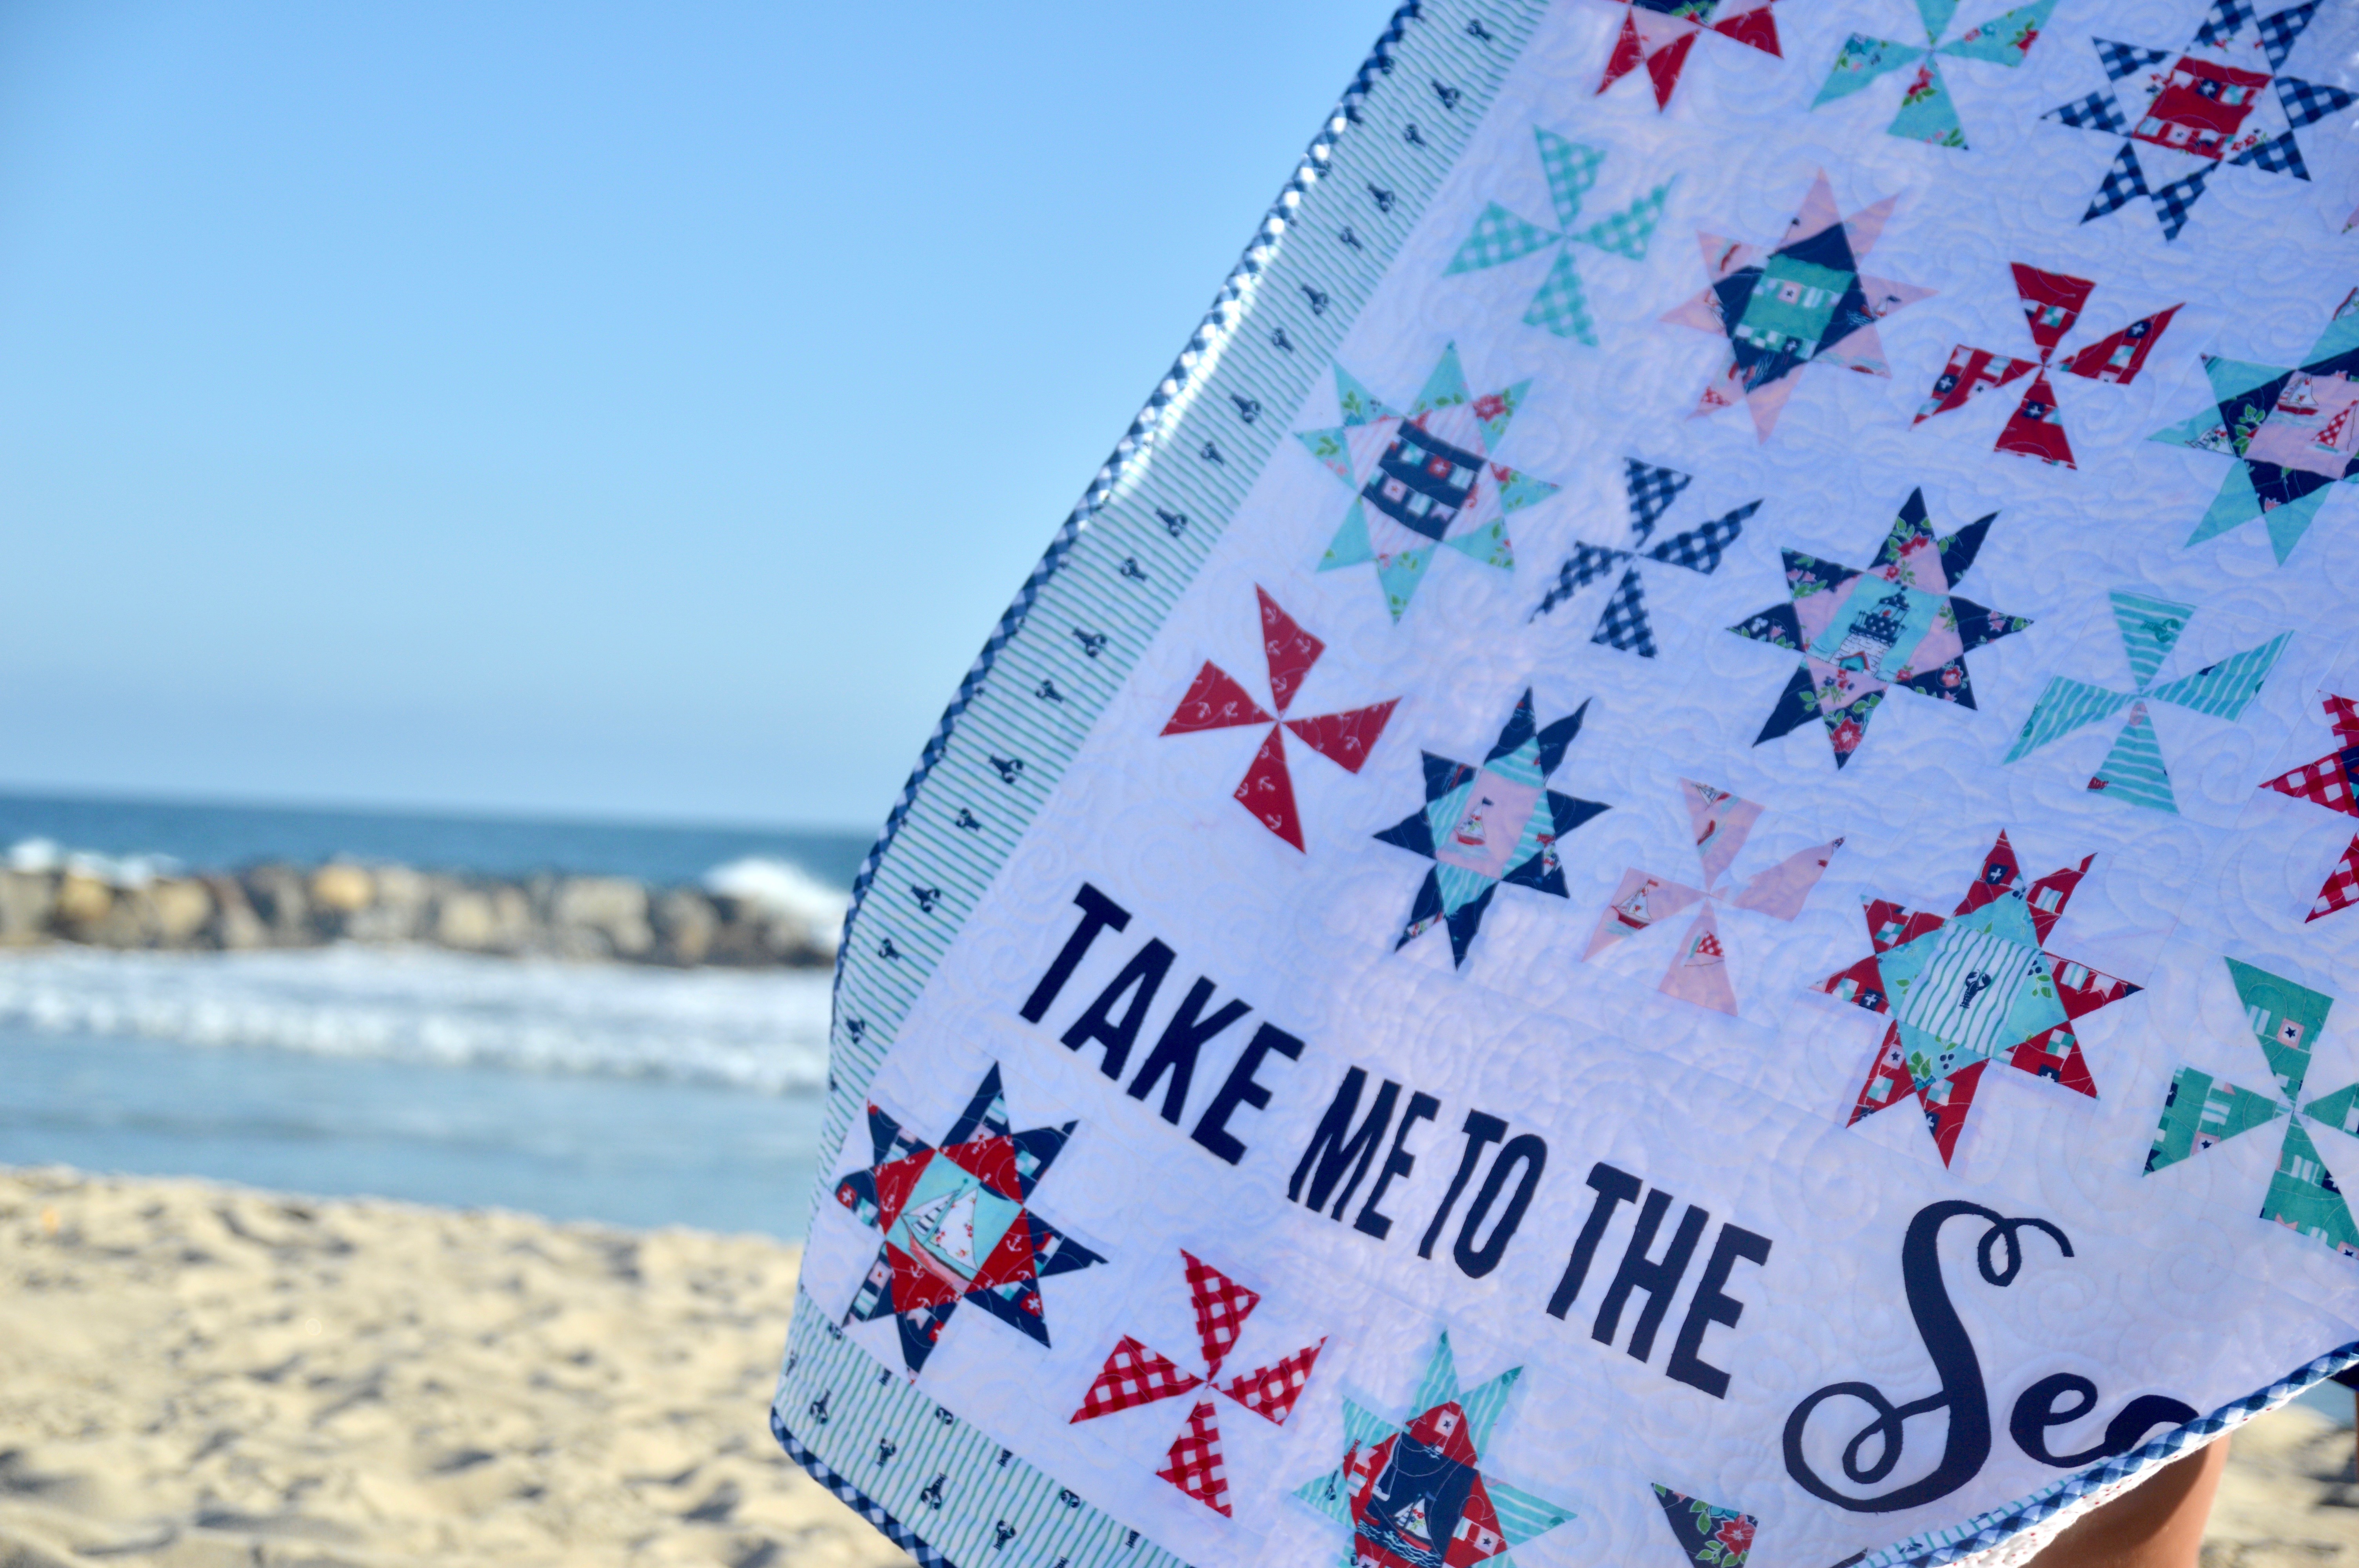
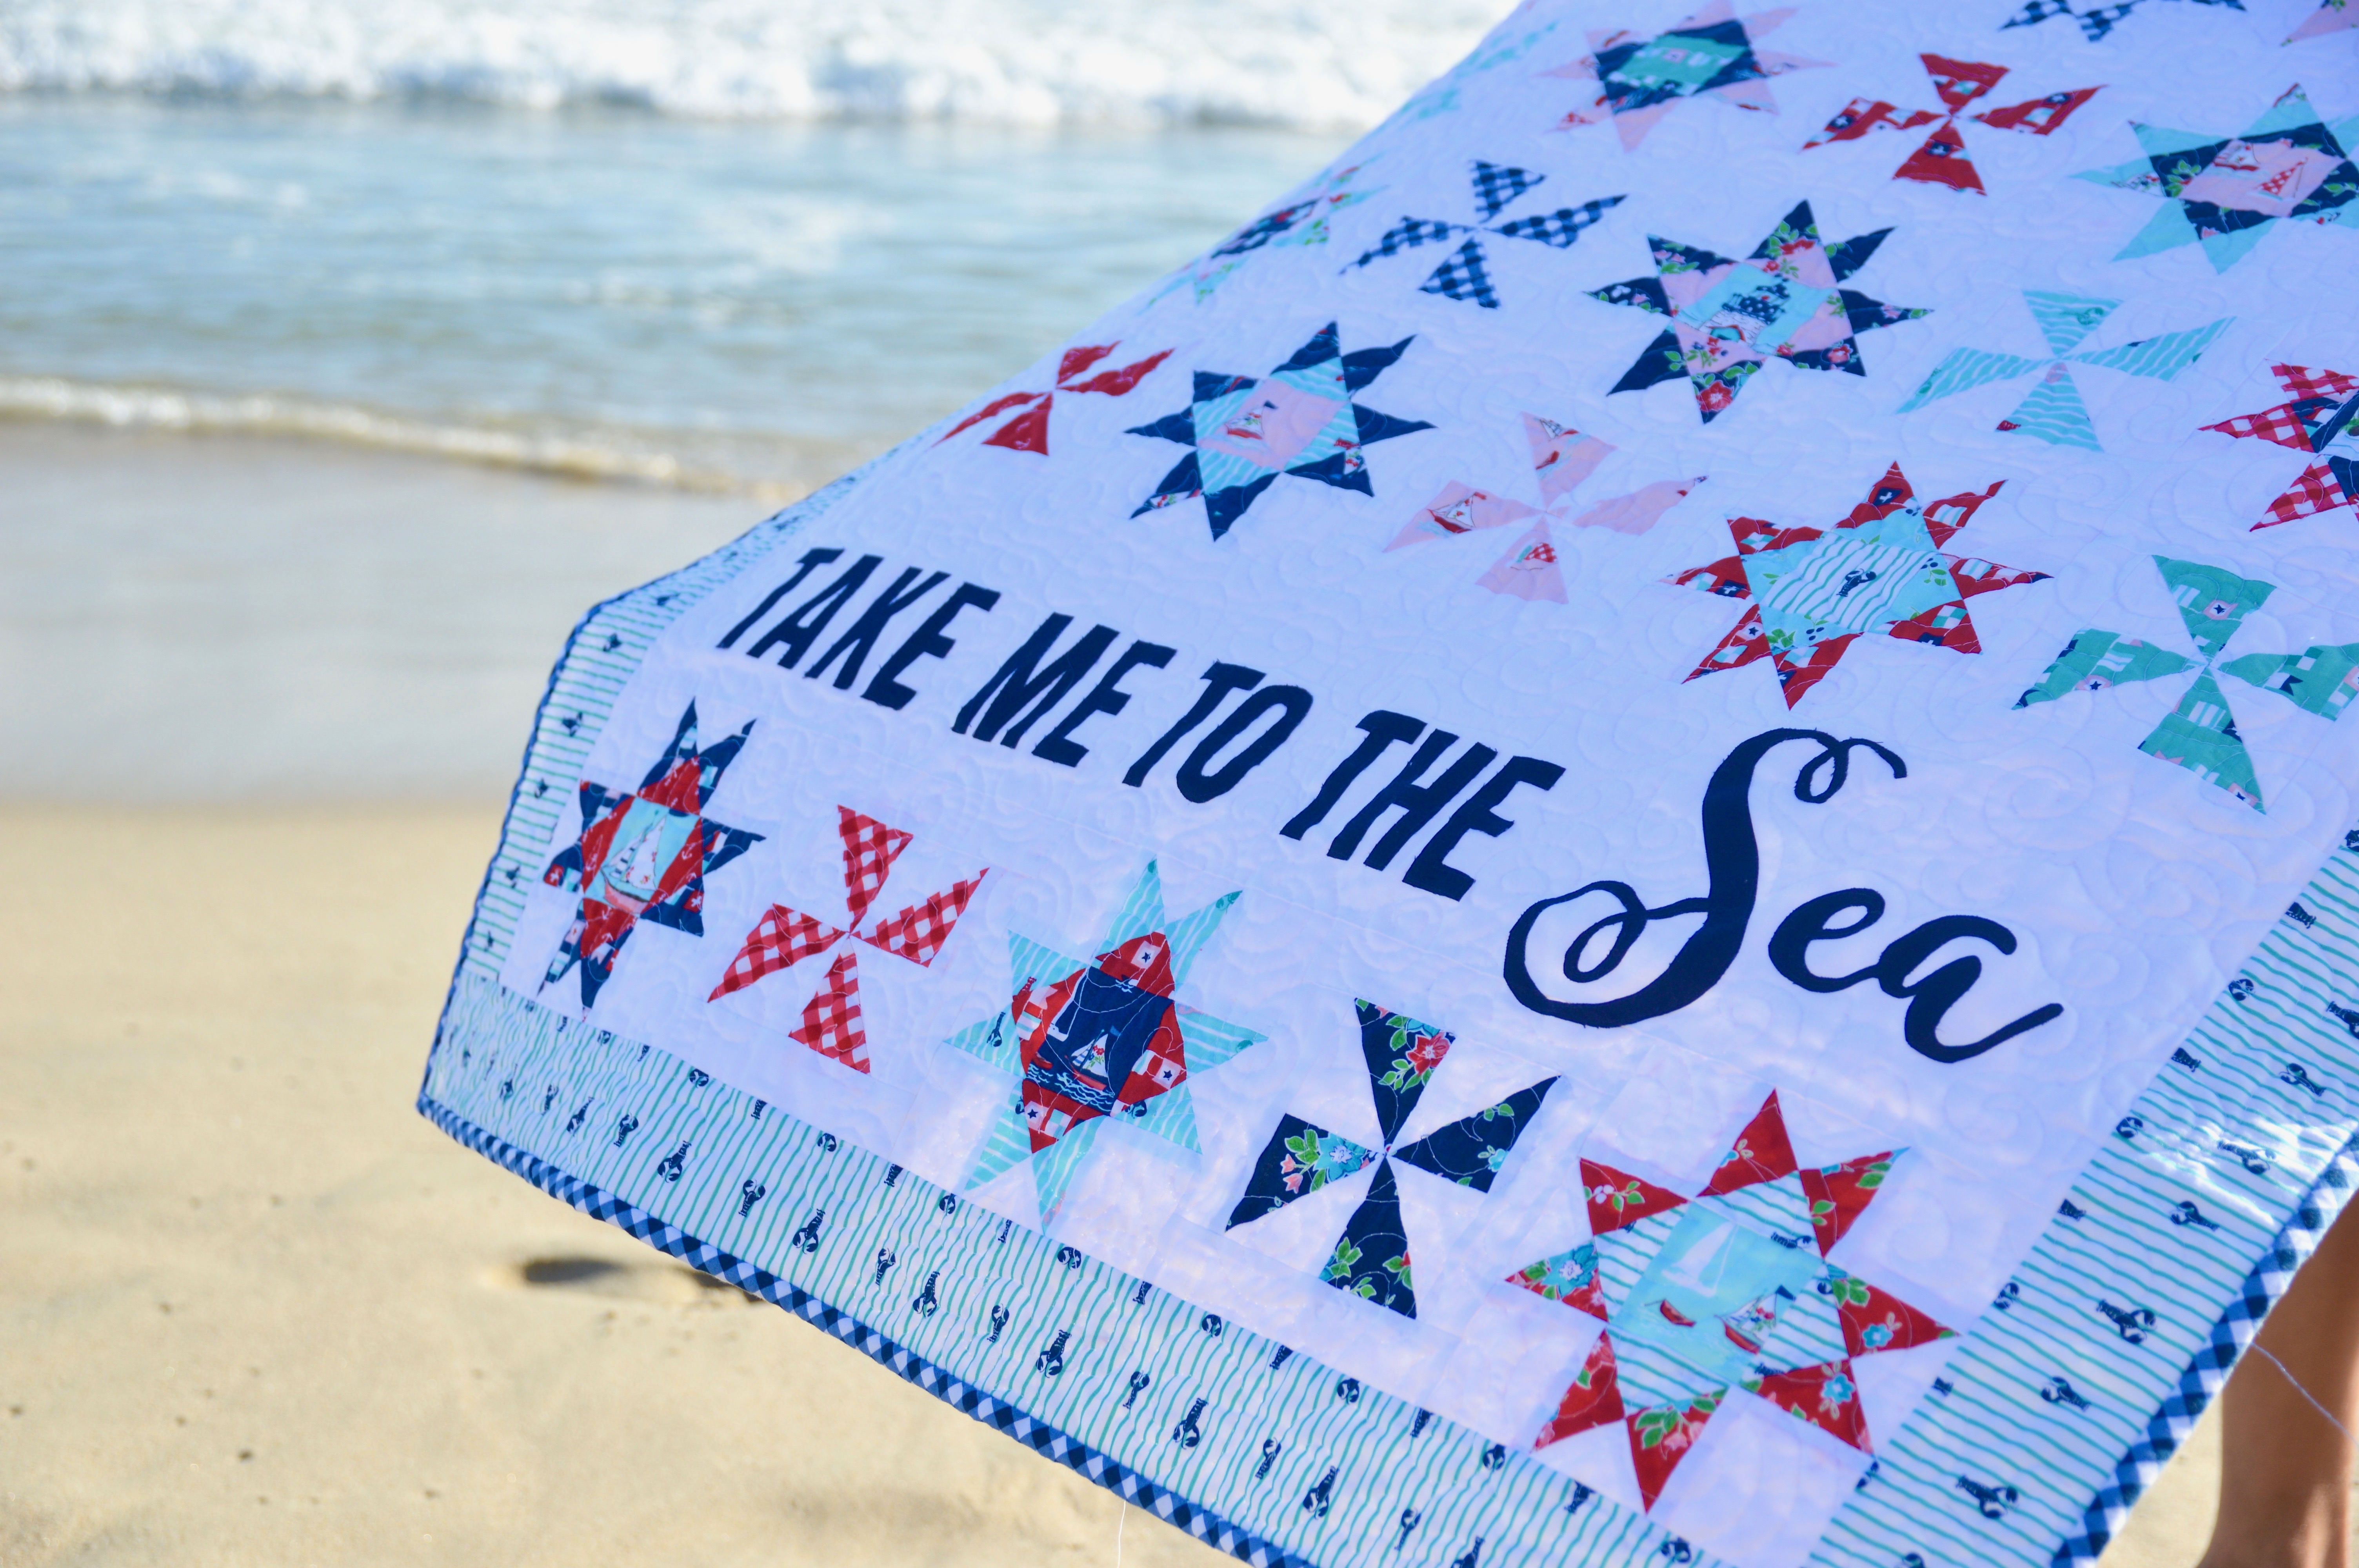
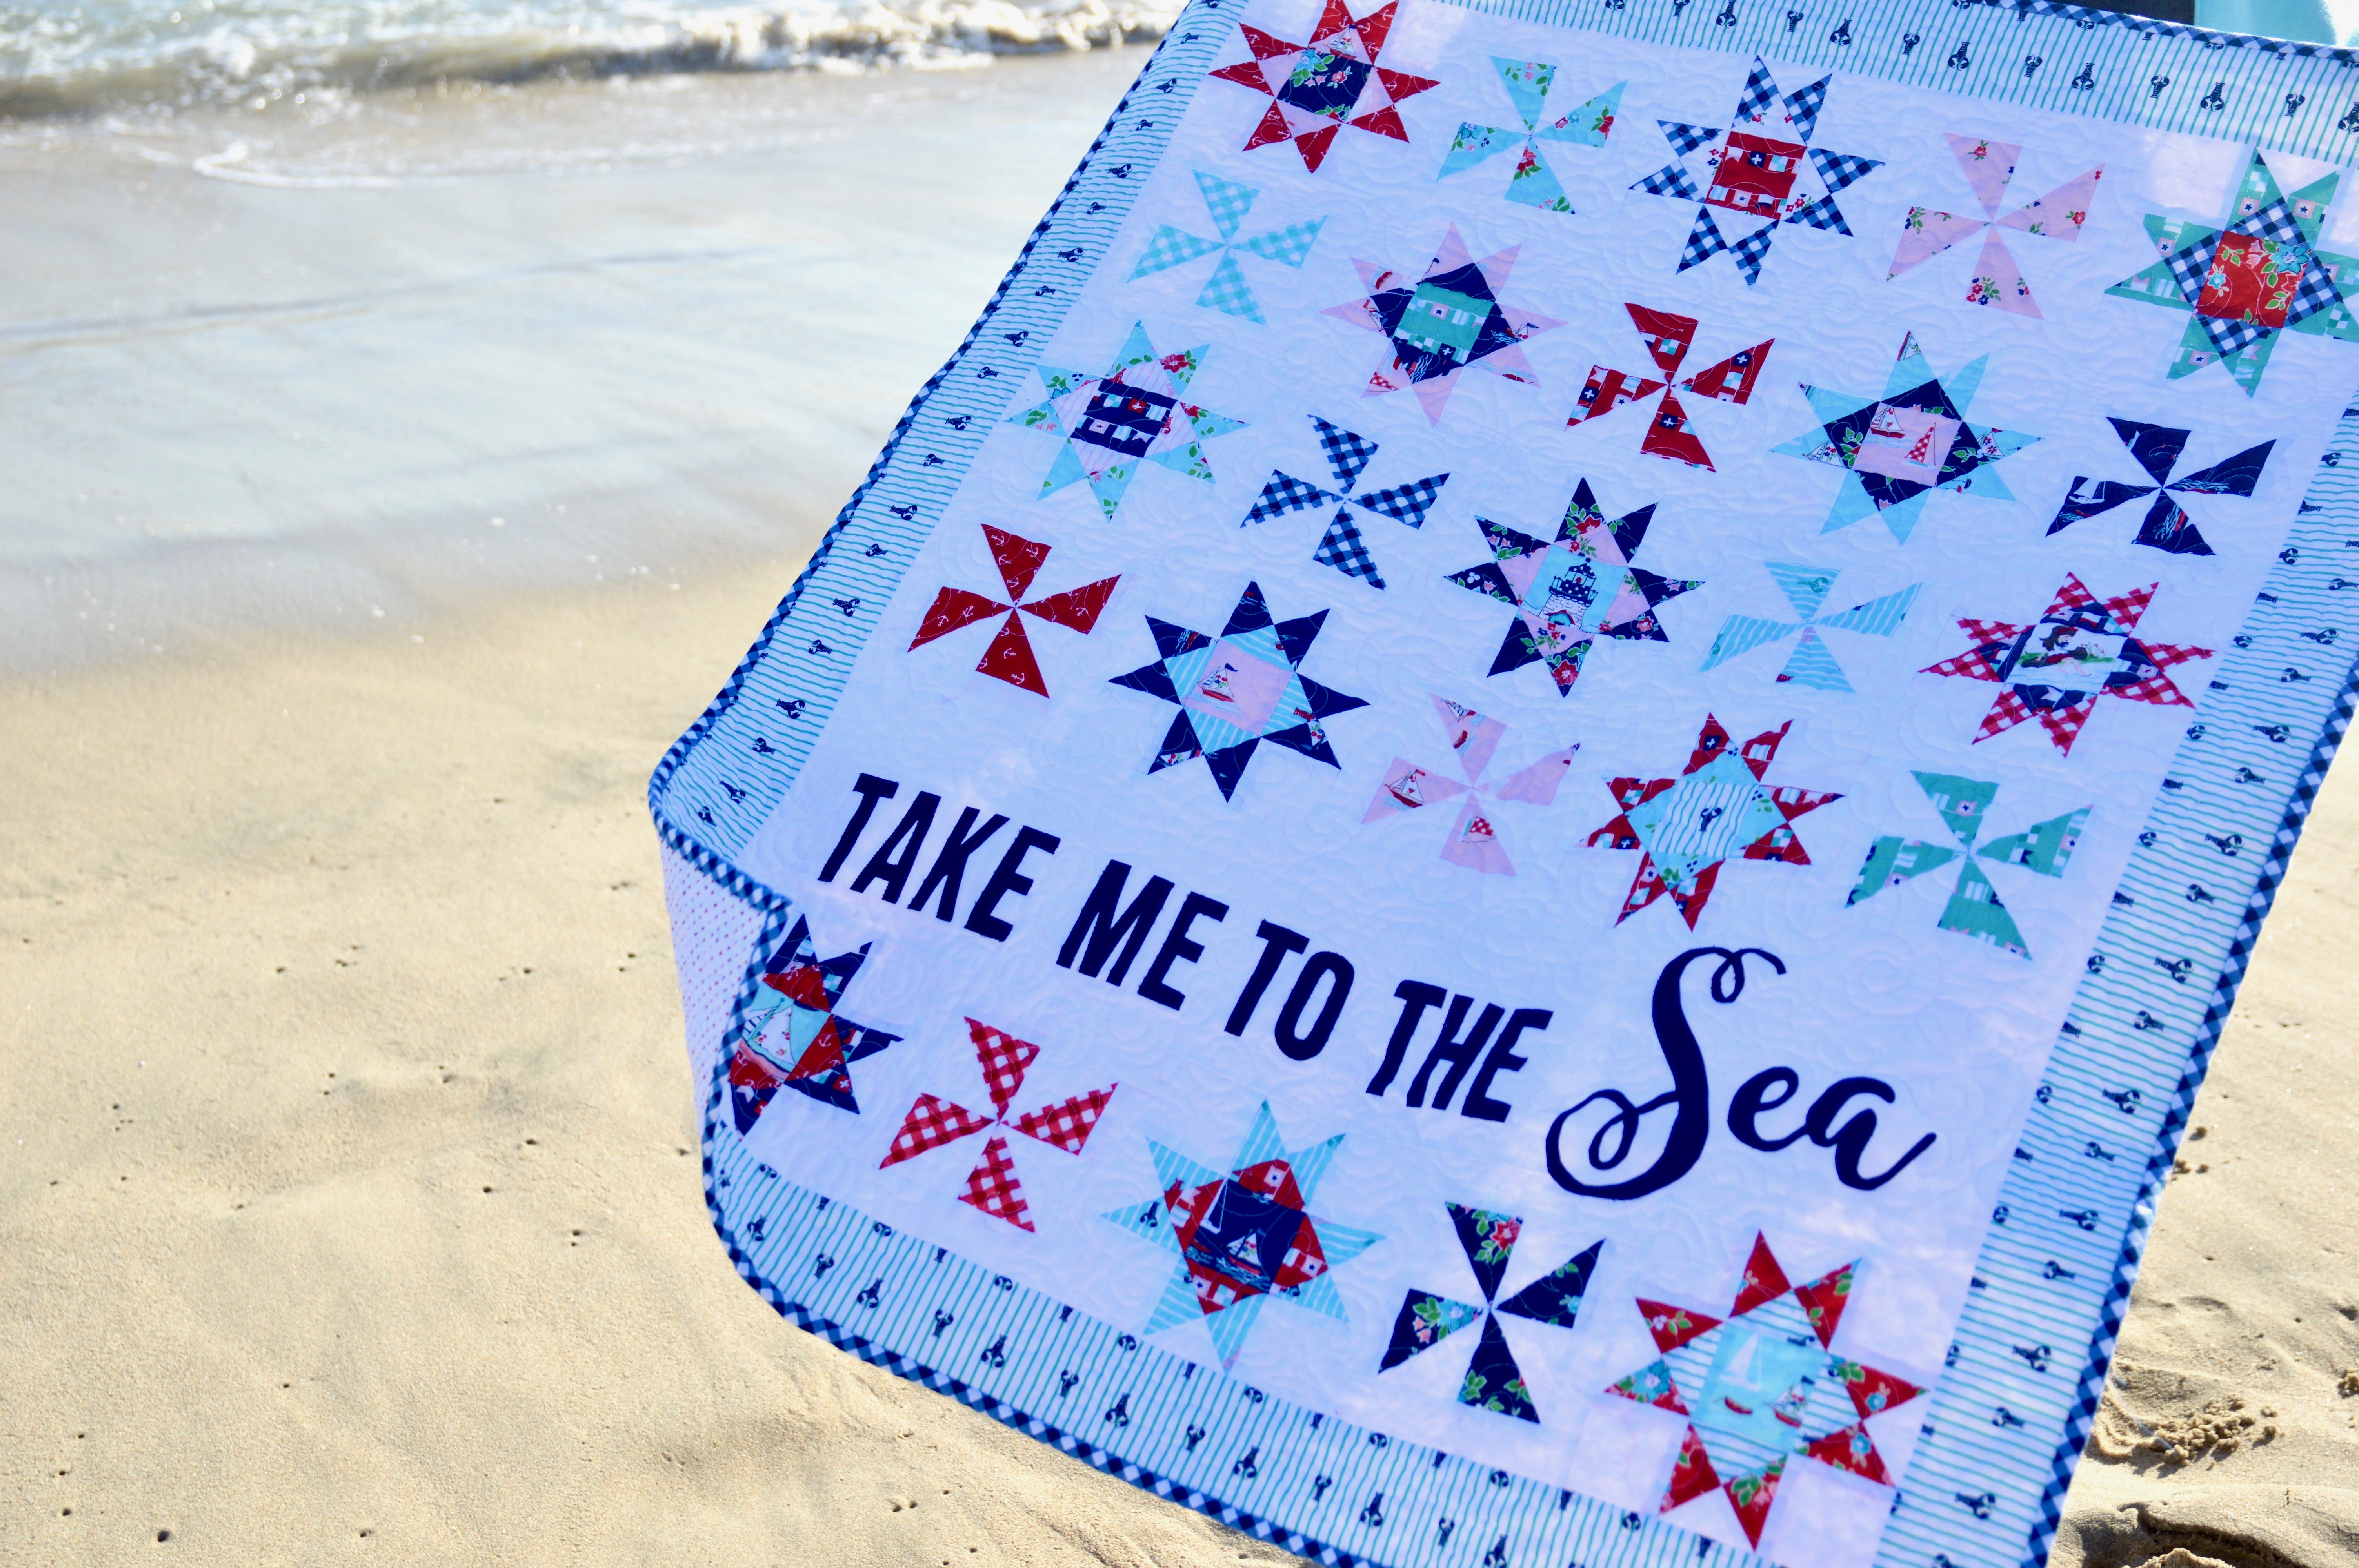
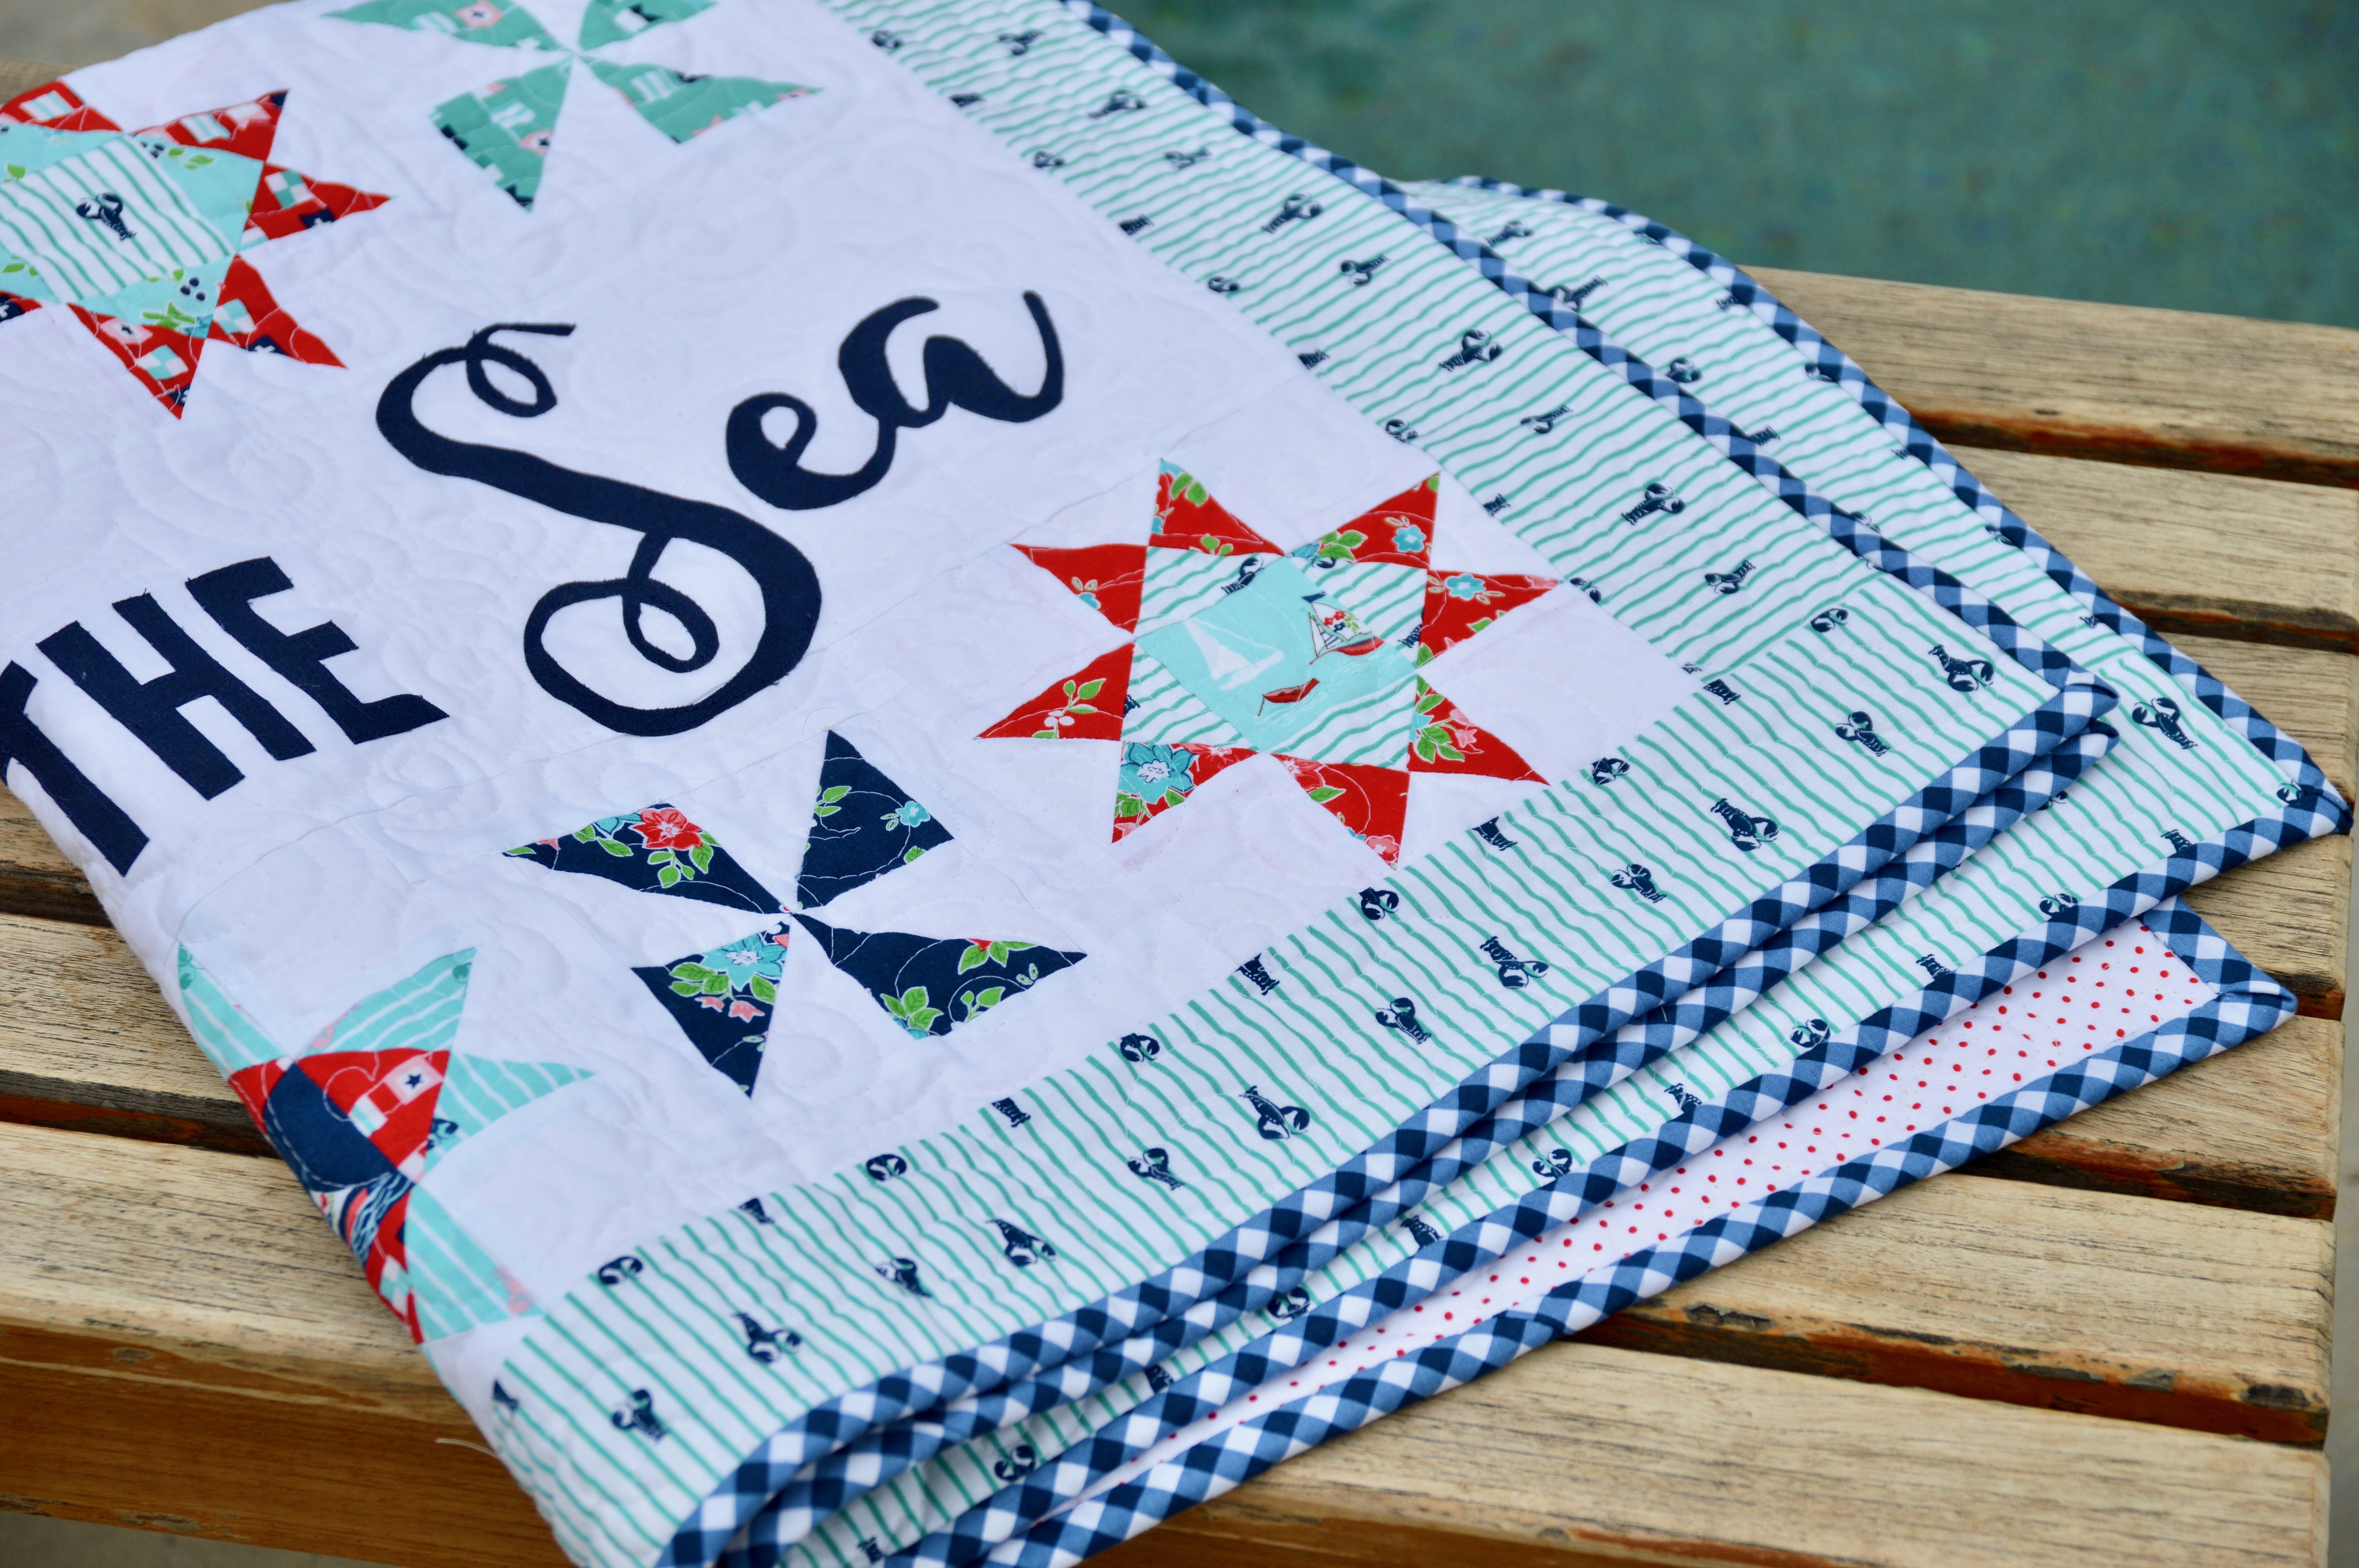
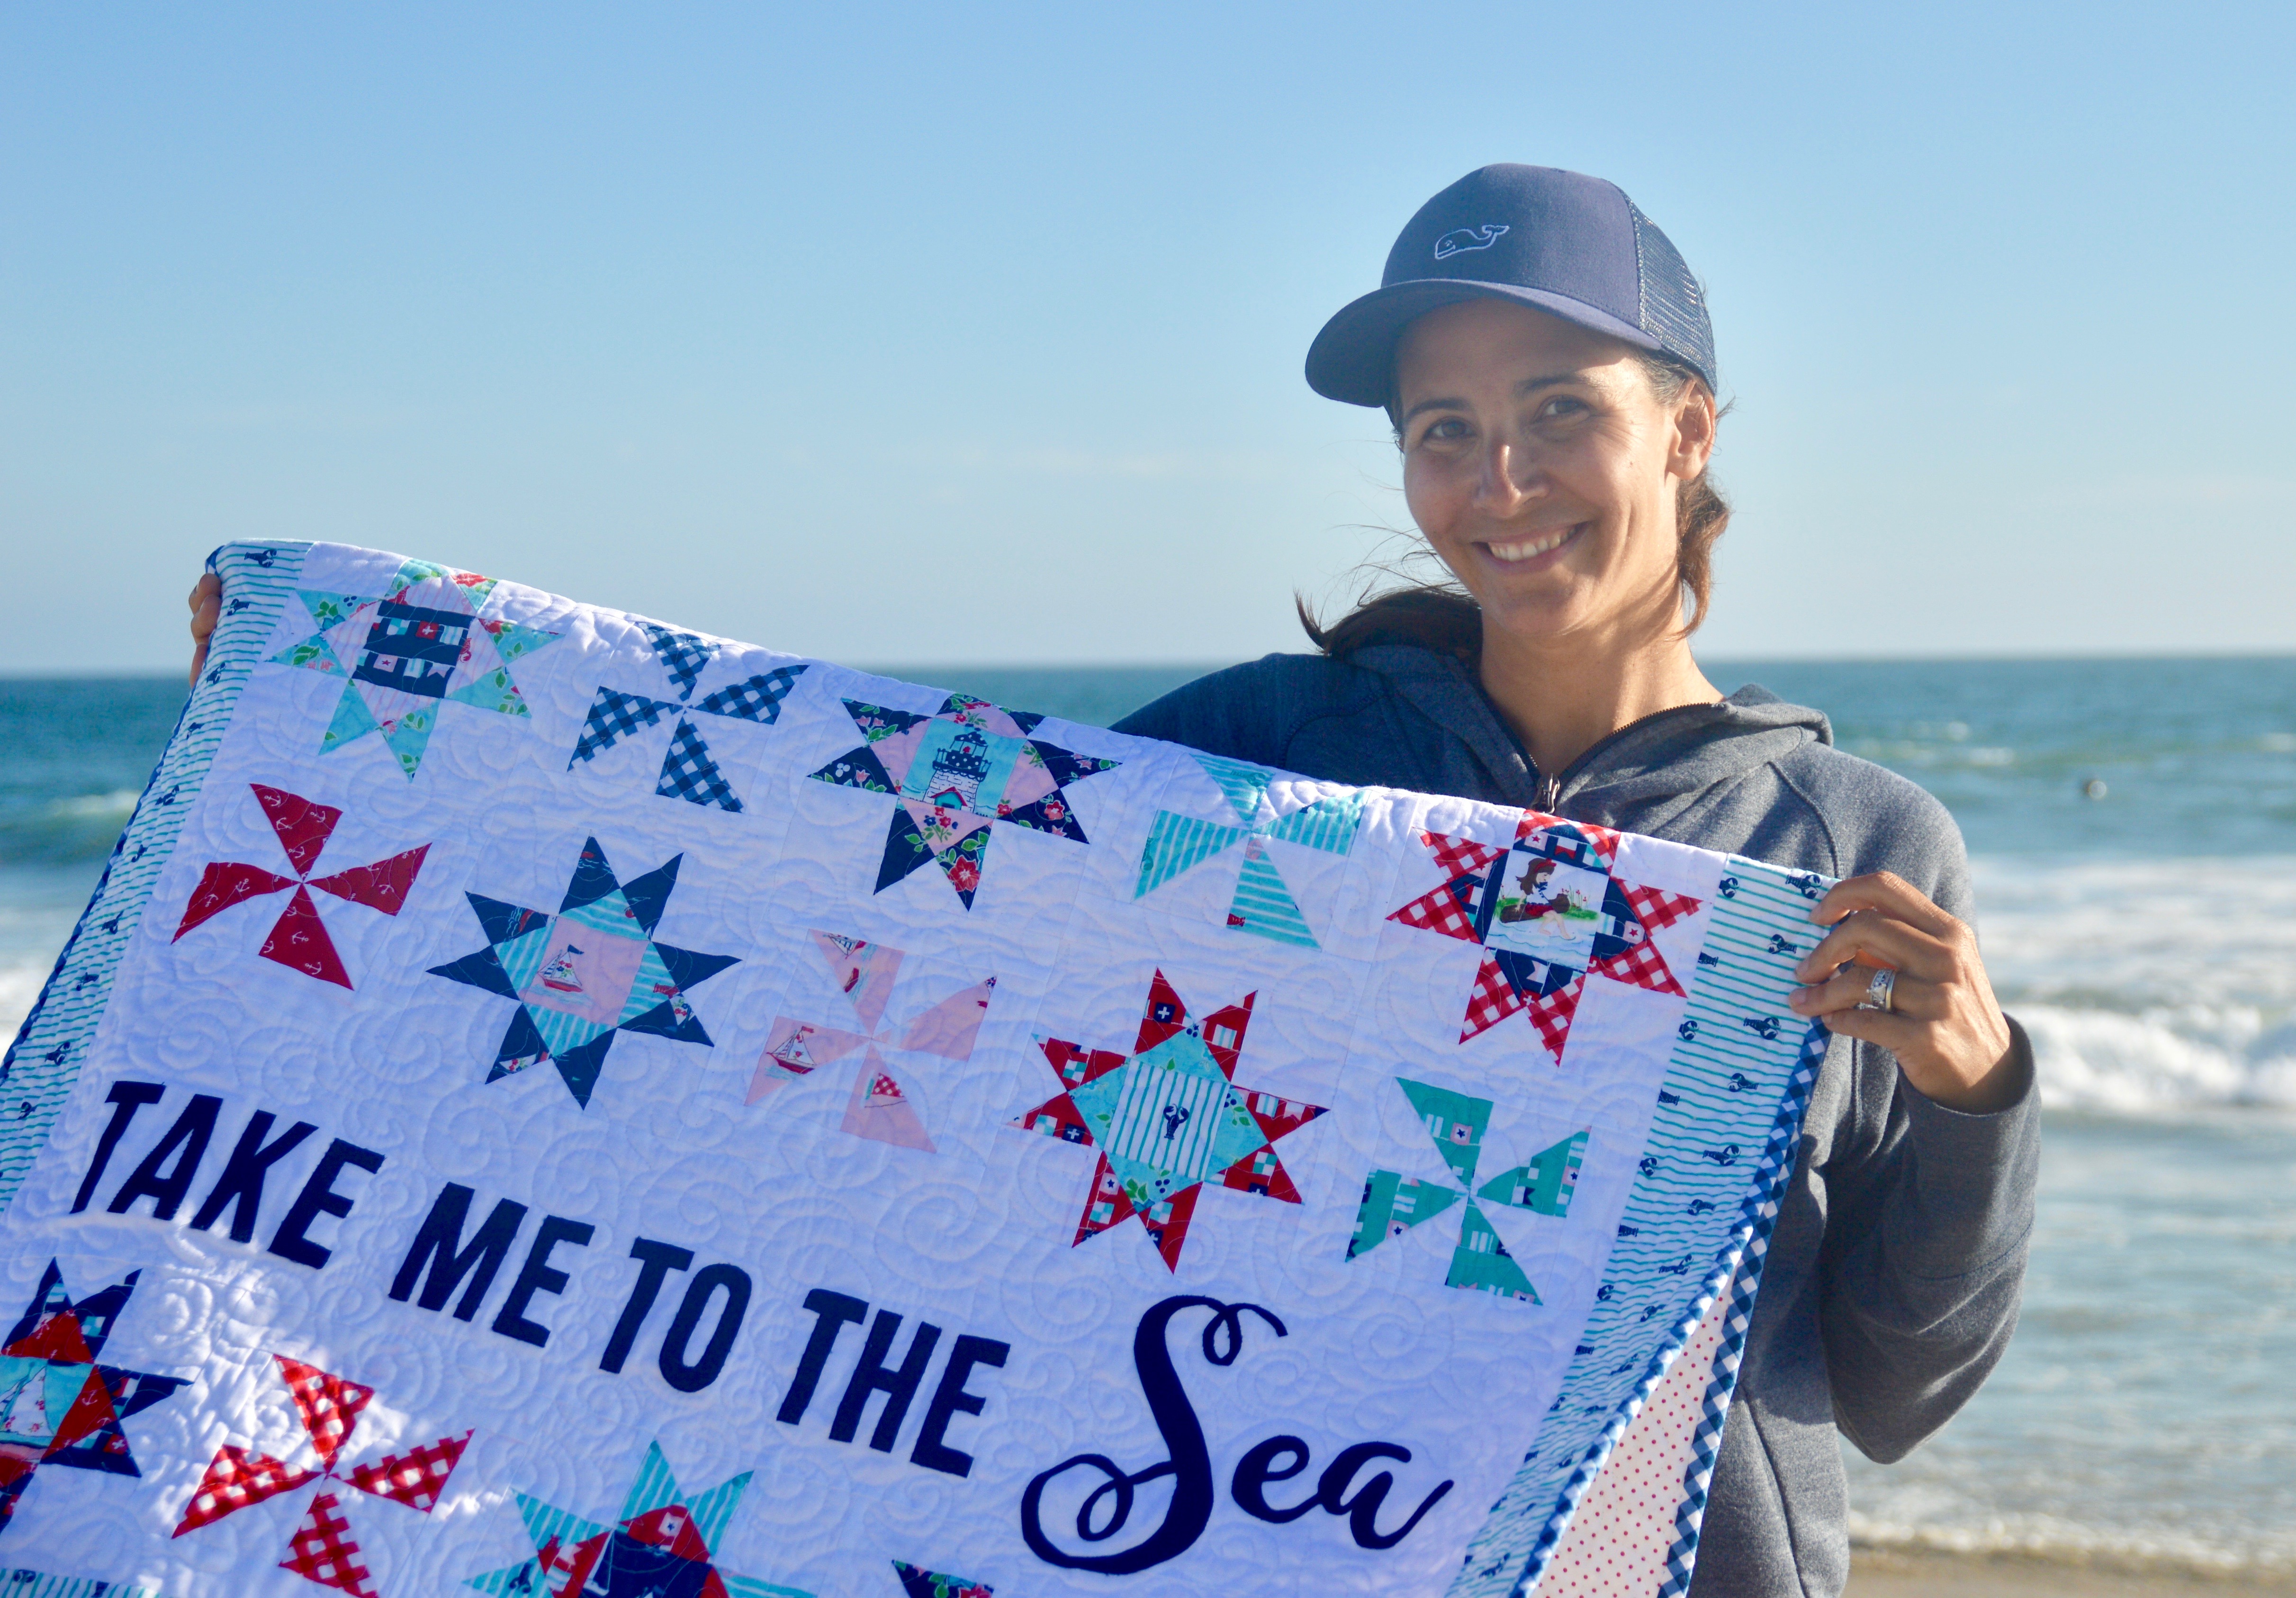
I think the reason I love summer the most is because we get to spend so much time at the beach!  We love whale watching, boogie boarding, diving through the waves, watching for dolphins and seals, getting Balboa Bars, going to Surf Shops, and relaxing!!! As soon as I saw Tasha Noel’s Seaside fabrics I knew they were for me!!  I designed this little quilt to show off all the adorable prints!!

seaside fabric by tasha noel

The quilt measures 35″ x 41″ with each block measuring 6″ square.  It’s perfect to hang on the wall of your beach house (I’m dreaming…..haha!). You can purchase it in my Etsy shop for instant PDF download!

The letters are machine appliquéd using Heat n Bond Lite.  Don’t worry, they don’t take too long to cut out by hand!!

take me to the sea quilt pattern 6

You will love that this quilt is written to accommodate layer cake (10″) squares.  In fact you only NEED 13 squares – but a few extra wouldn’t hurt to add a little variety!!

seaside quilt

I love that there is no sashing the blocks  because it’s built into the pinwheel block!

take me to the sea quilt diagram

It was hard to choose a border print because they are all so amazing!  I went with the lobsters!

seaside quilt pattern 2

You can see the quilting detail in this photos.  I quilted it myself and it always stresses me out!!  From far away it doesn’t look too bad!

take me to the sea quilt pattern 10

I love the surfer in the background of this photo!  We love to go to Newport Beach and watch them surf!!

seaside quilt pattern

I hope you have a great rest of your summer!!!

take me to the sea quilt pattern 8


Limonella Scripture Cover

DSC_0347

Being a California girl I LOVE all things citrus!!  Oranges, lemons, limes….I can’t get enough!  This fun fabric line called Limonella by Blend Fabrics totally stole my heart!  I made this scripture cover for a friend who is new to California!
DSC_0353

I started this blog to keep track of all my patterns and I love going back and following my own instructions! Click Here and Here for my scripture cover tutorials.DSC_0349

Of course fresh squeezed lemonade was in order and luckily my sweet friend had a tree full of these delicious Meyer lemons!  Seriously the best!!DSC_0341

Bouncing Off The Walls Quilt Pattern

DSC_0671
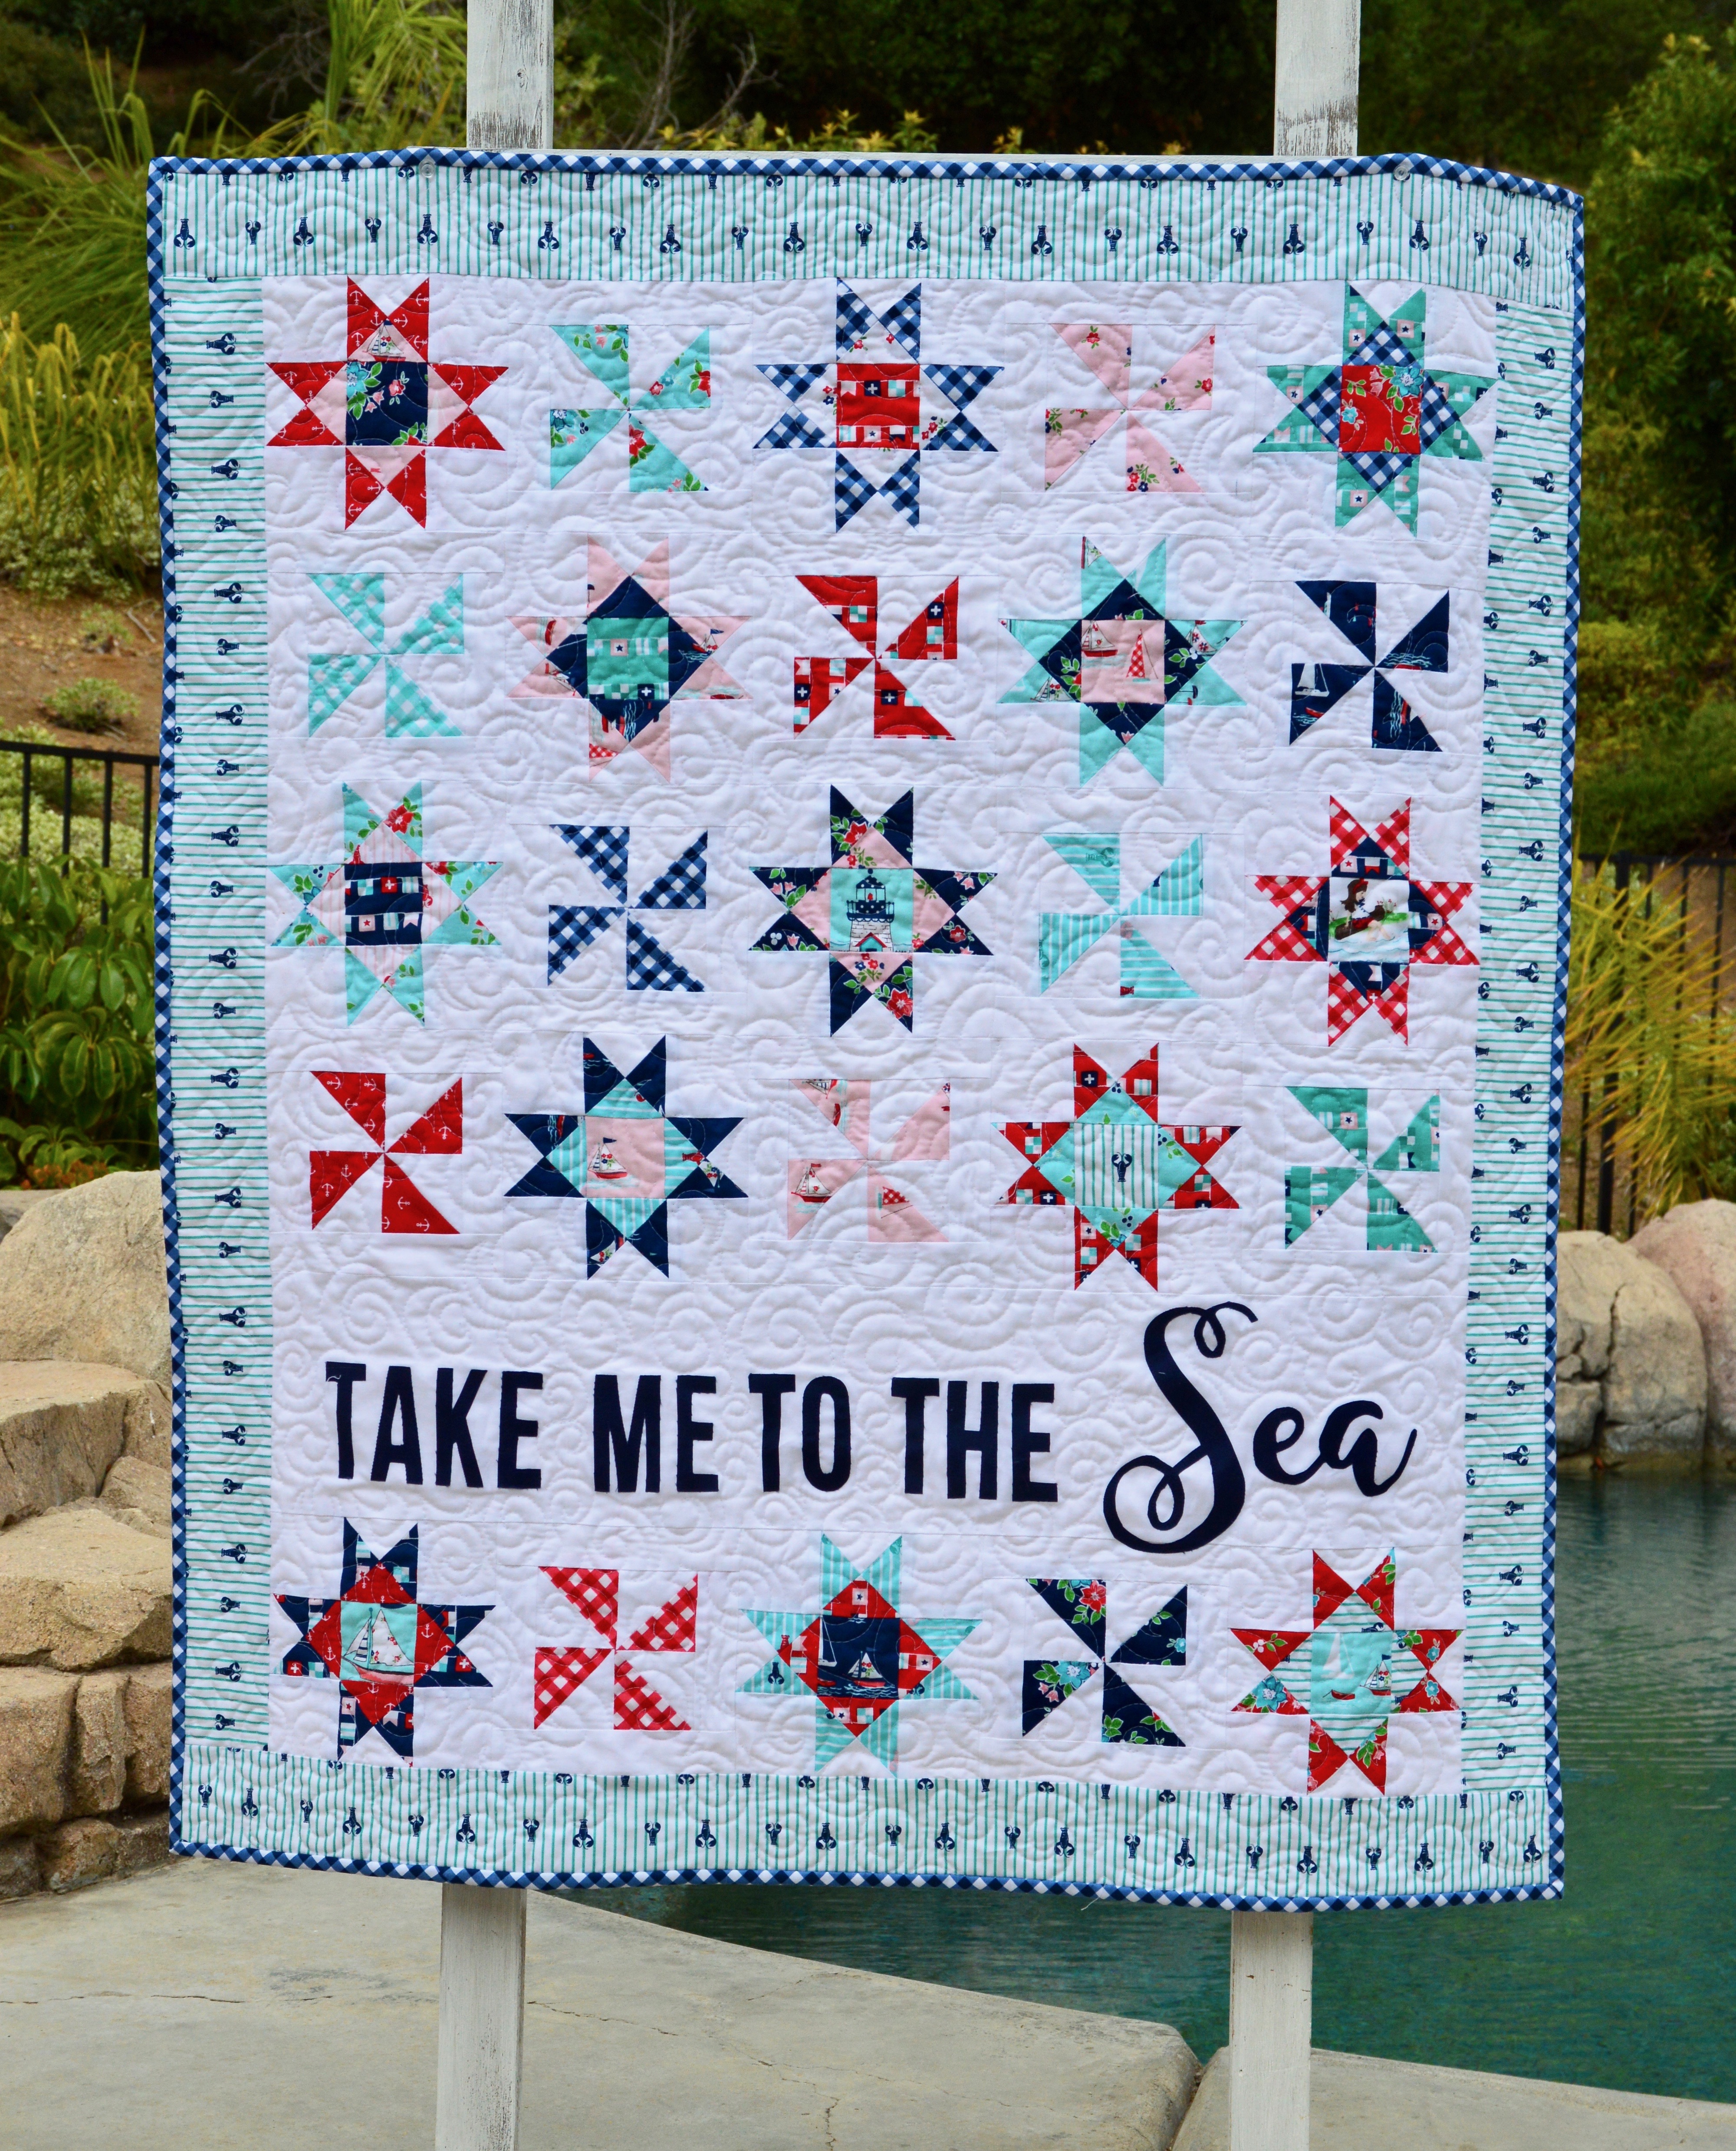
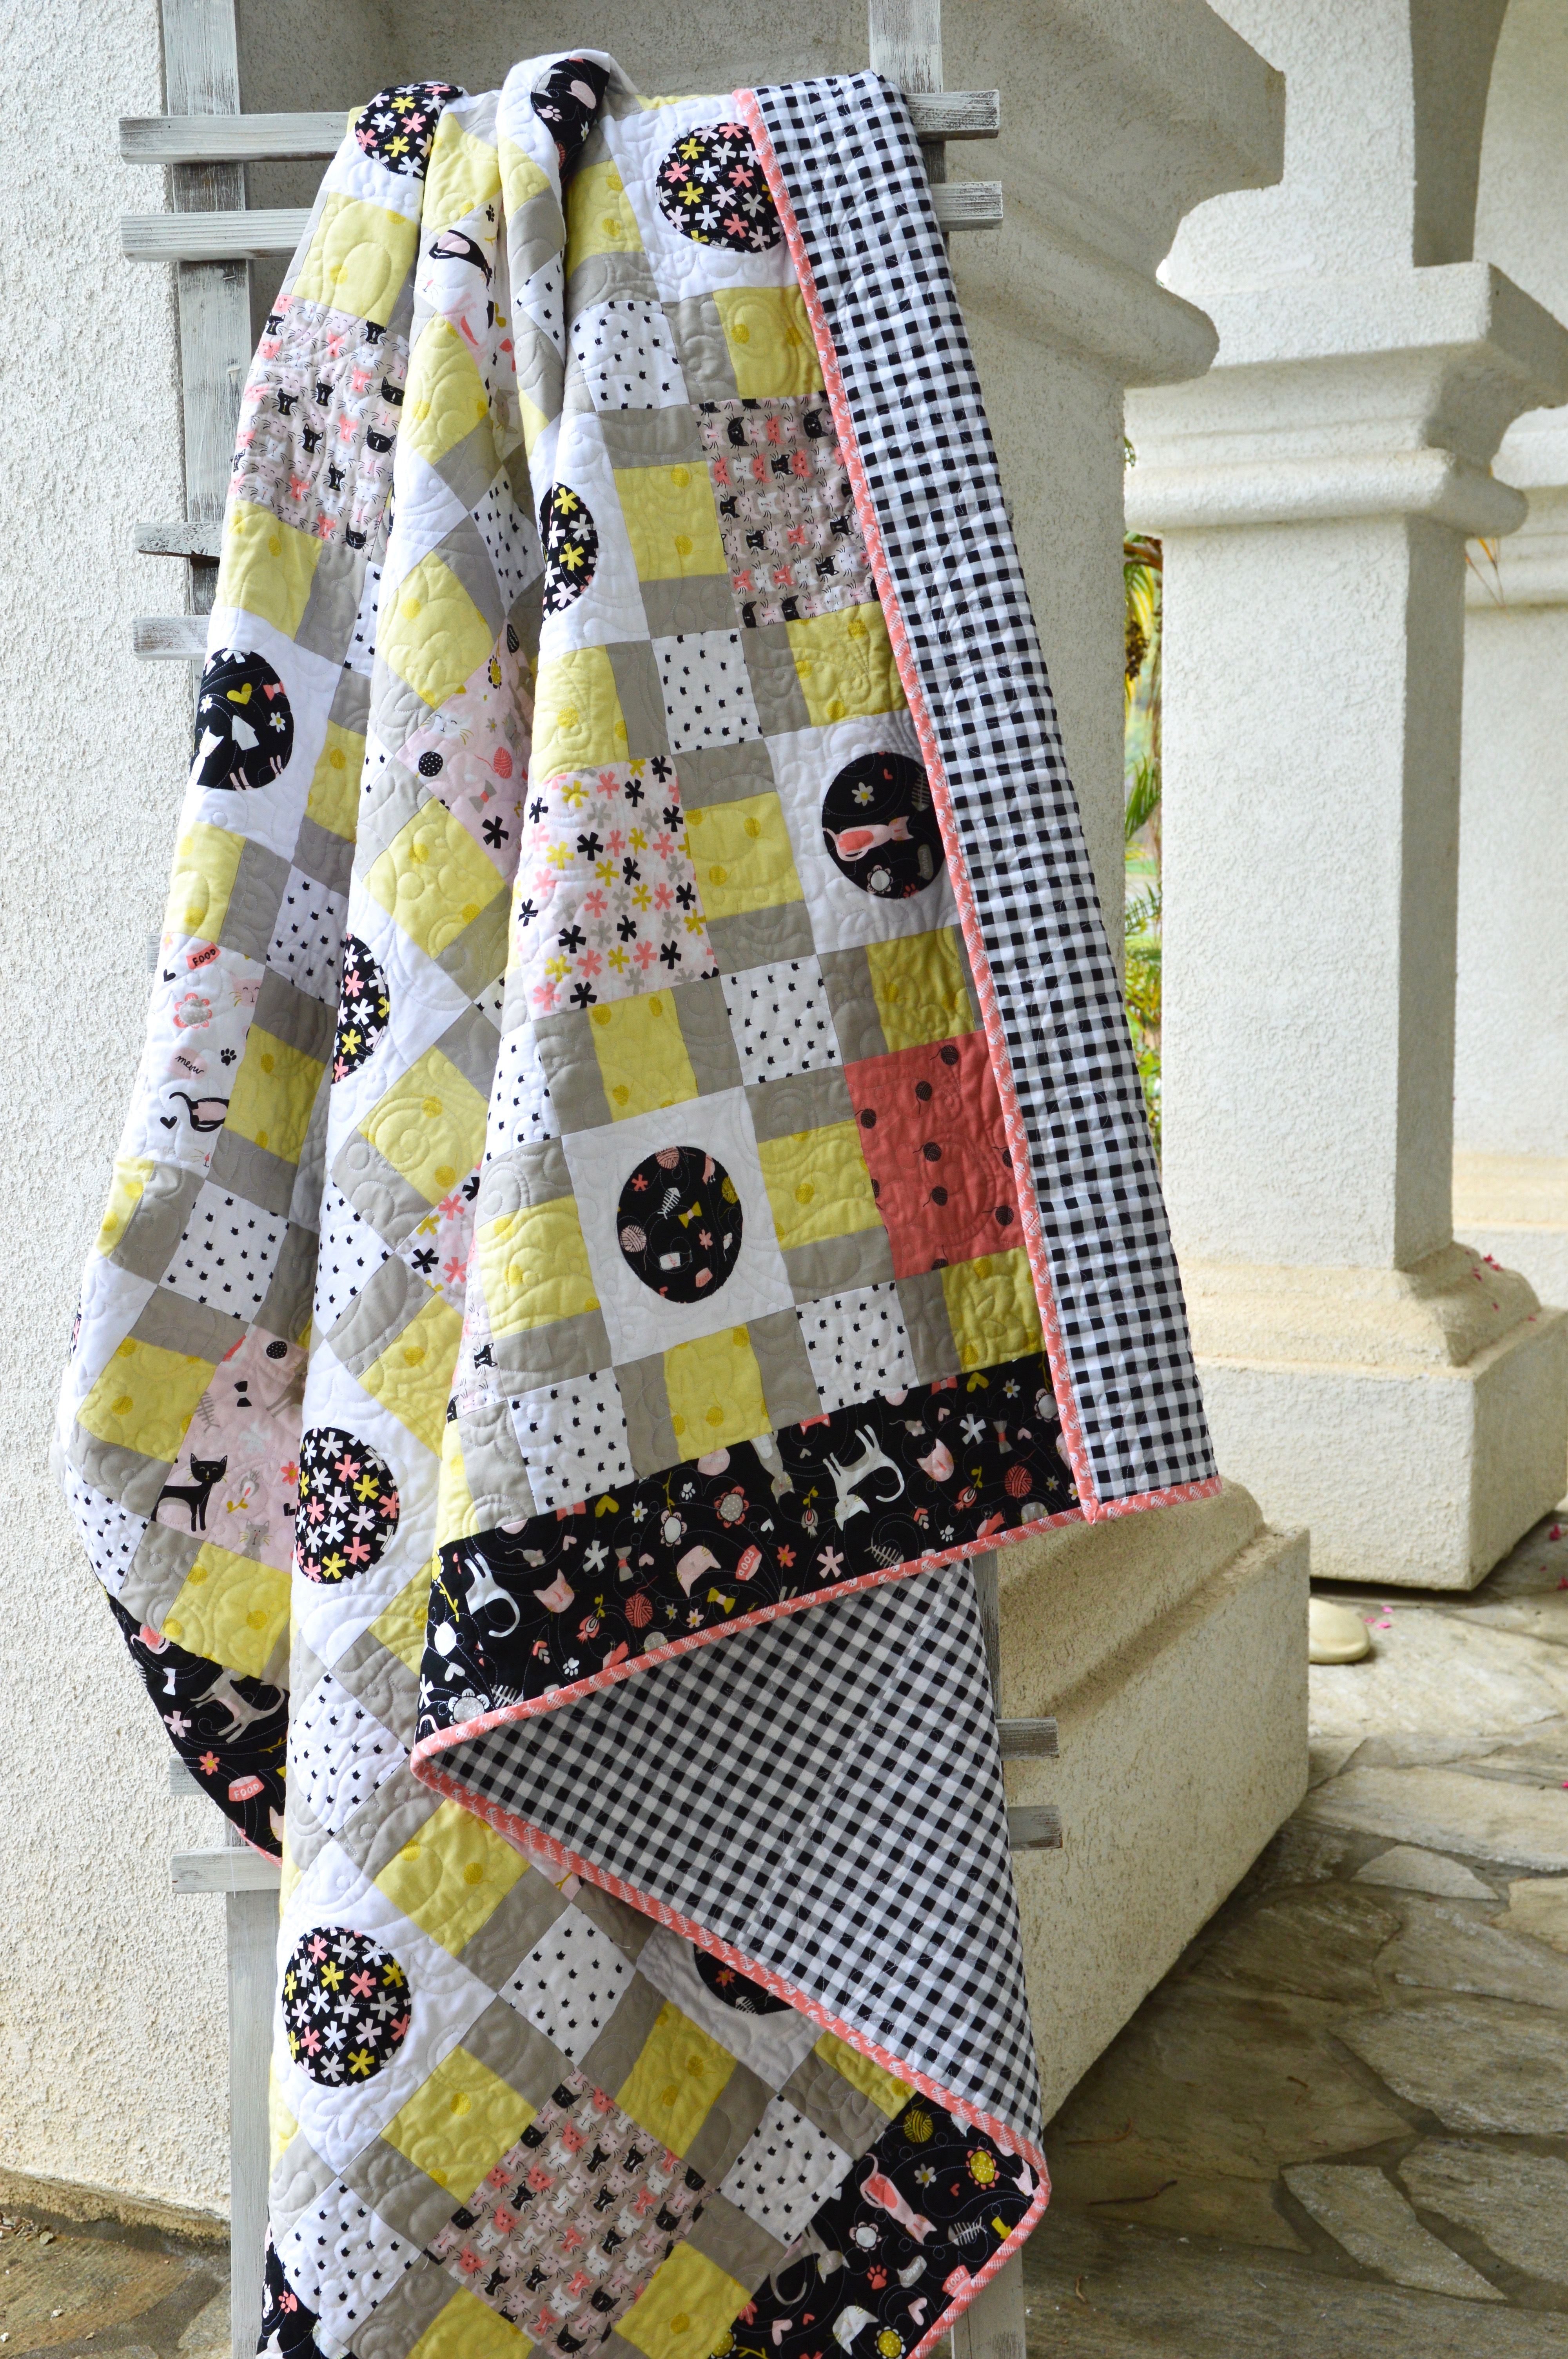
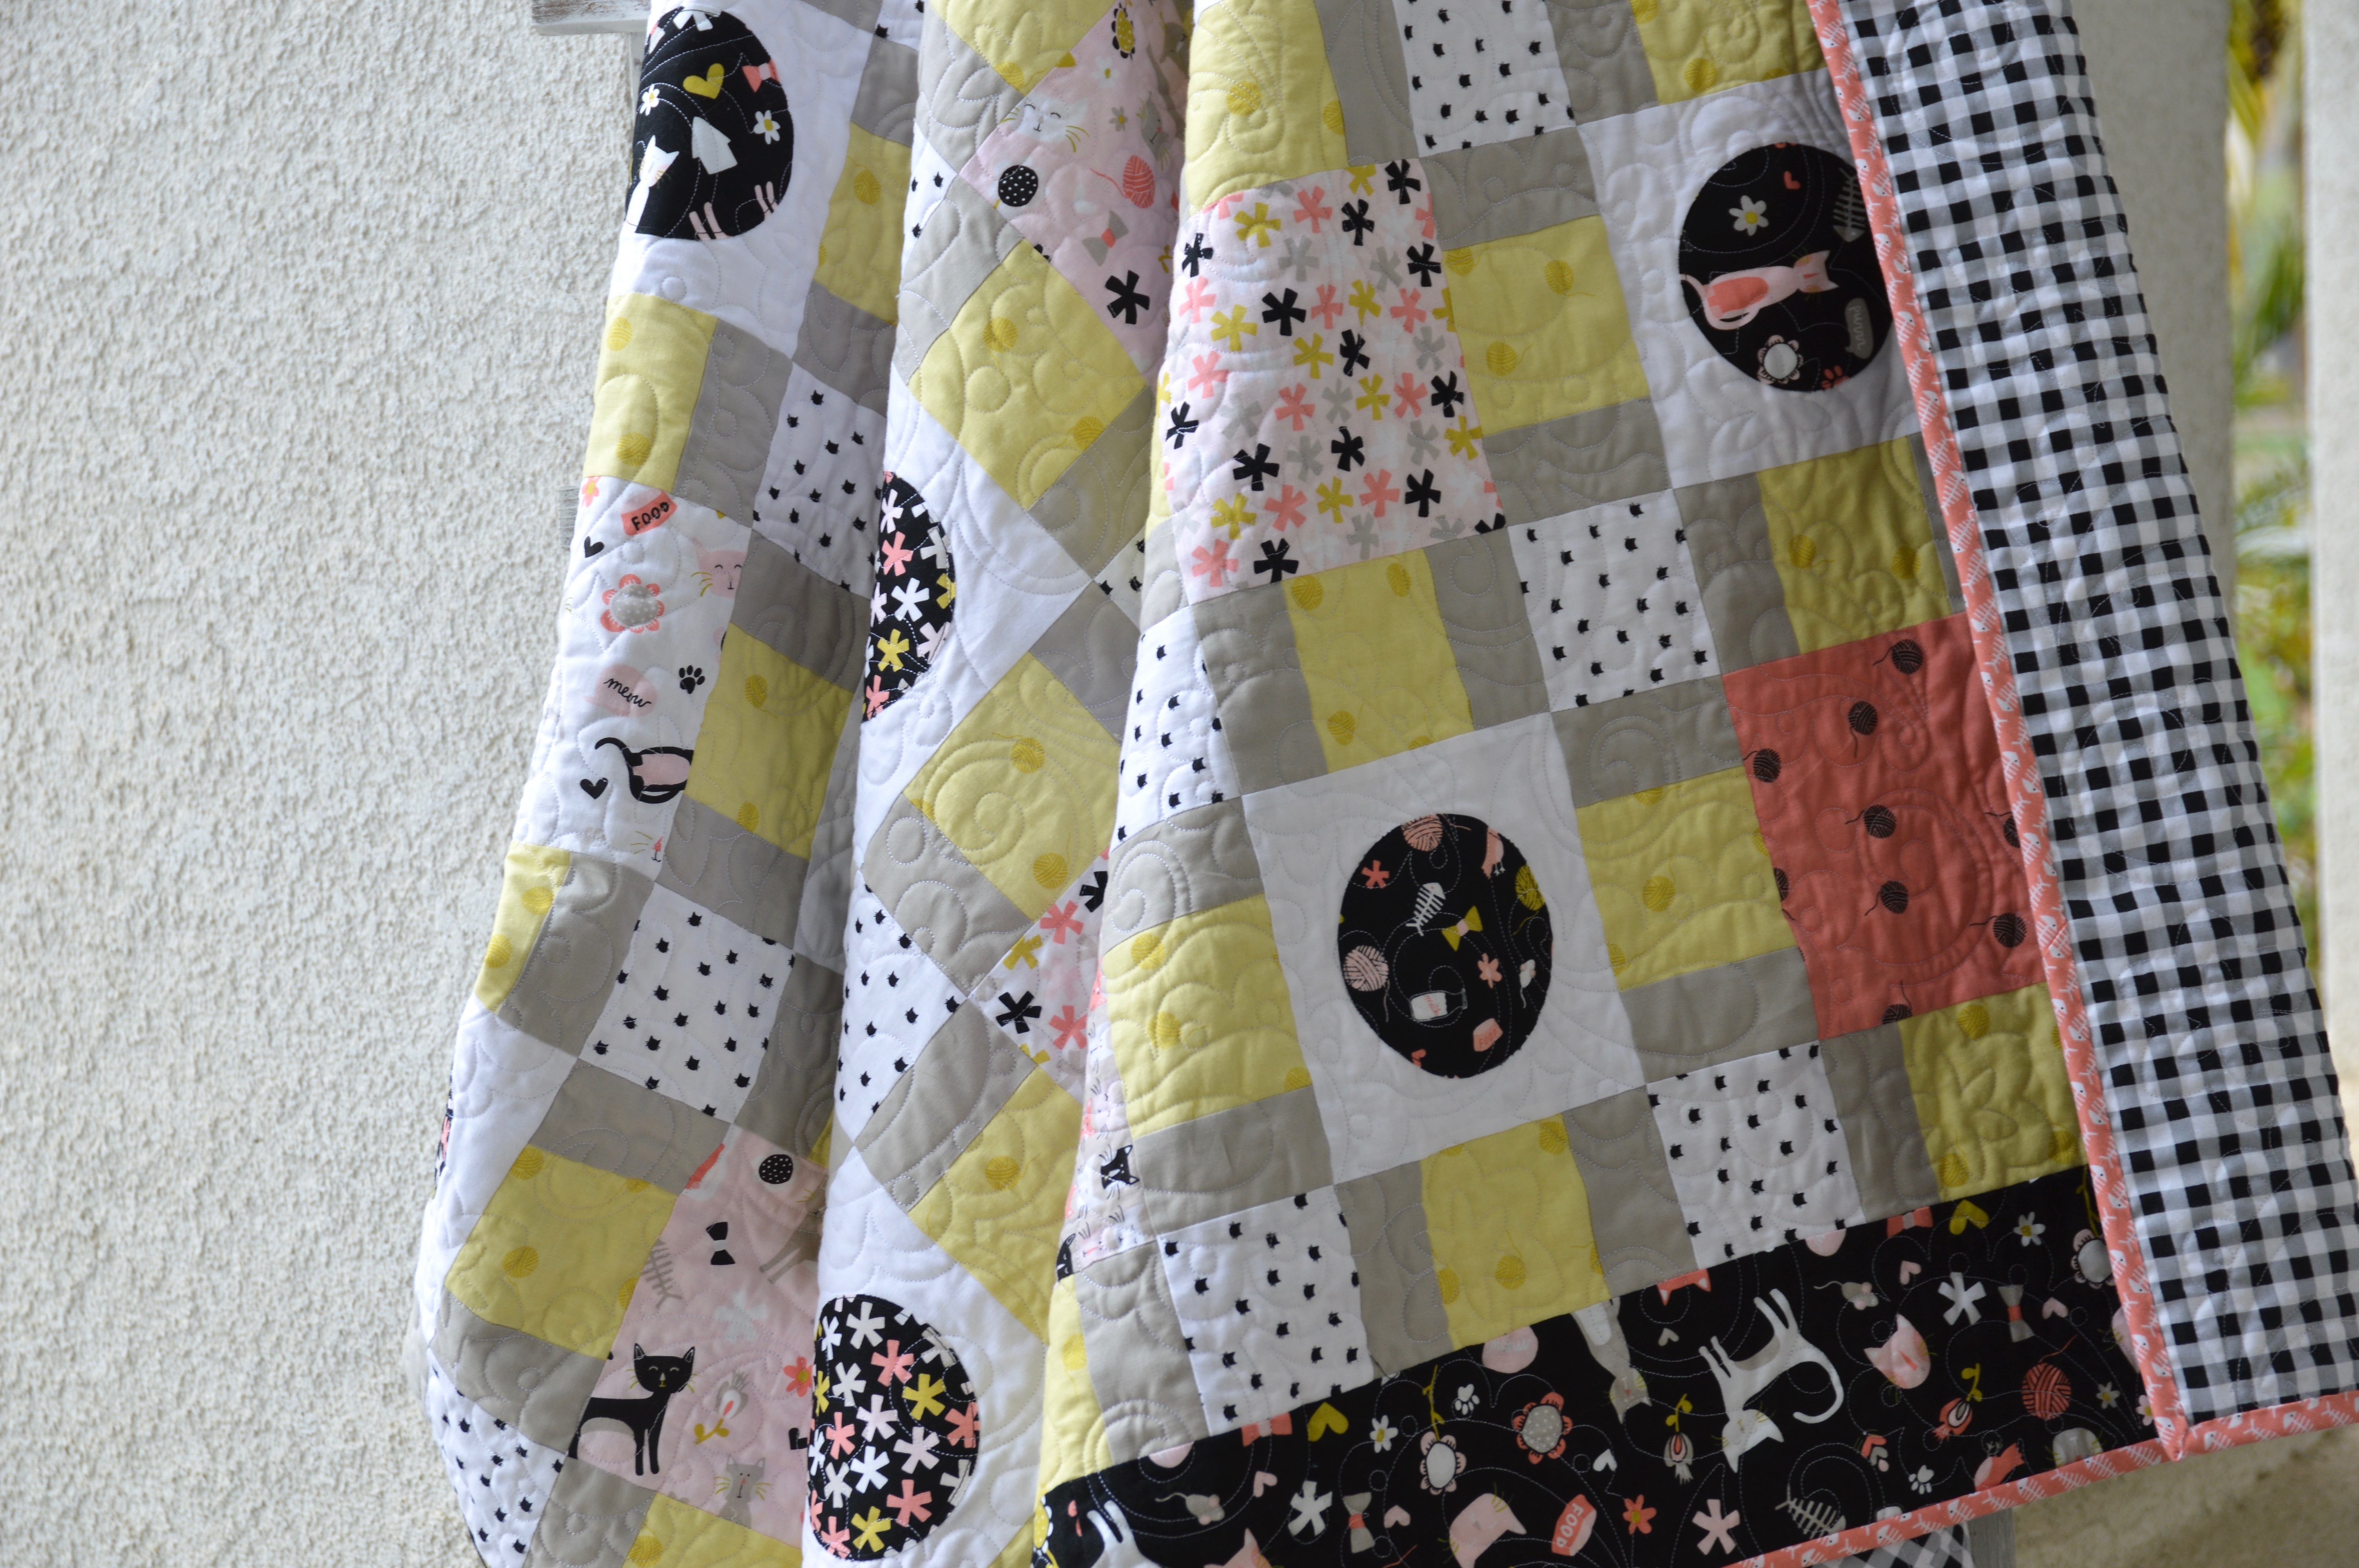
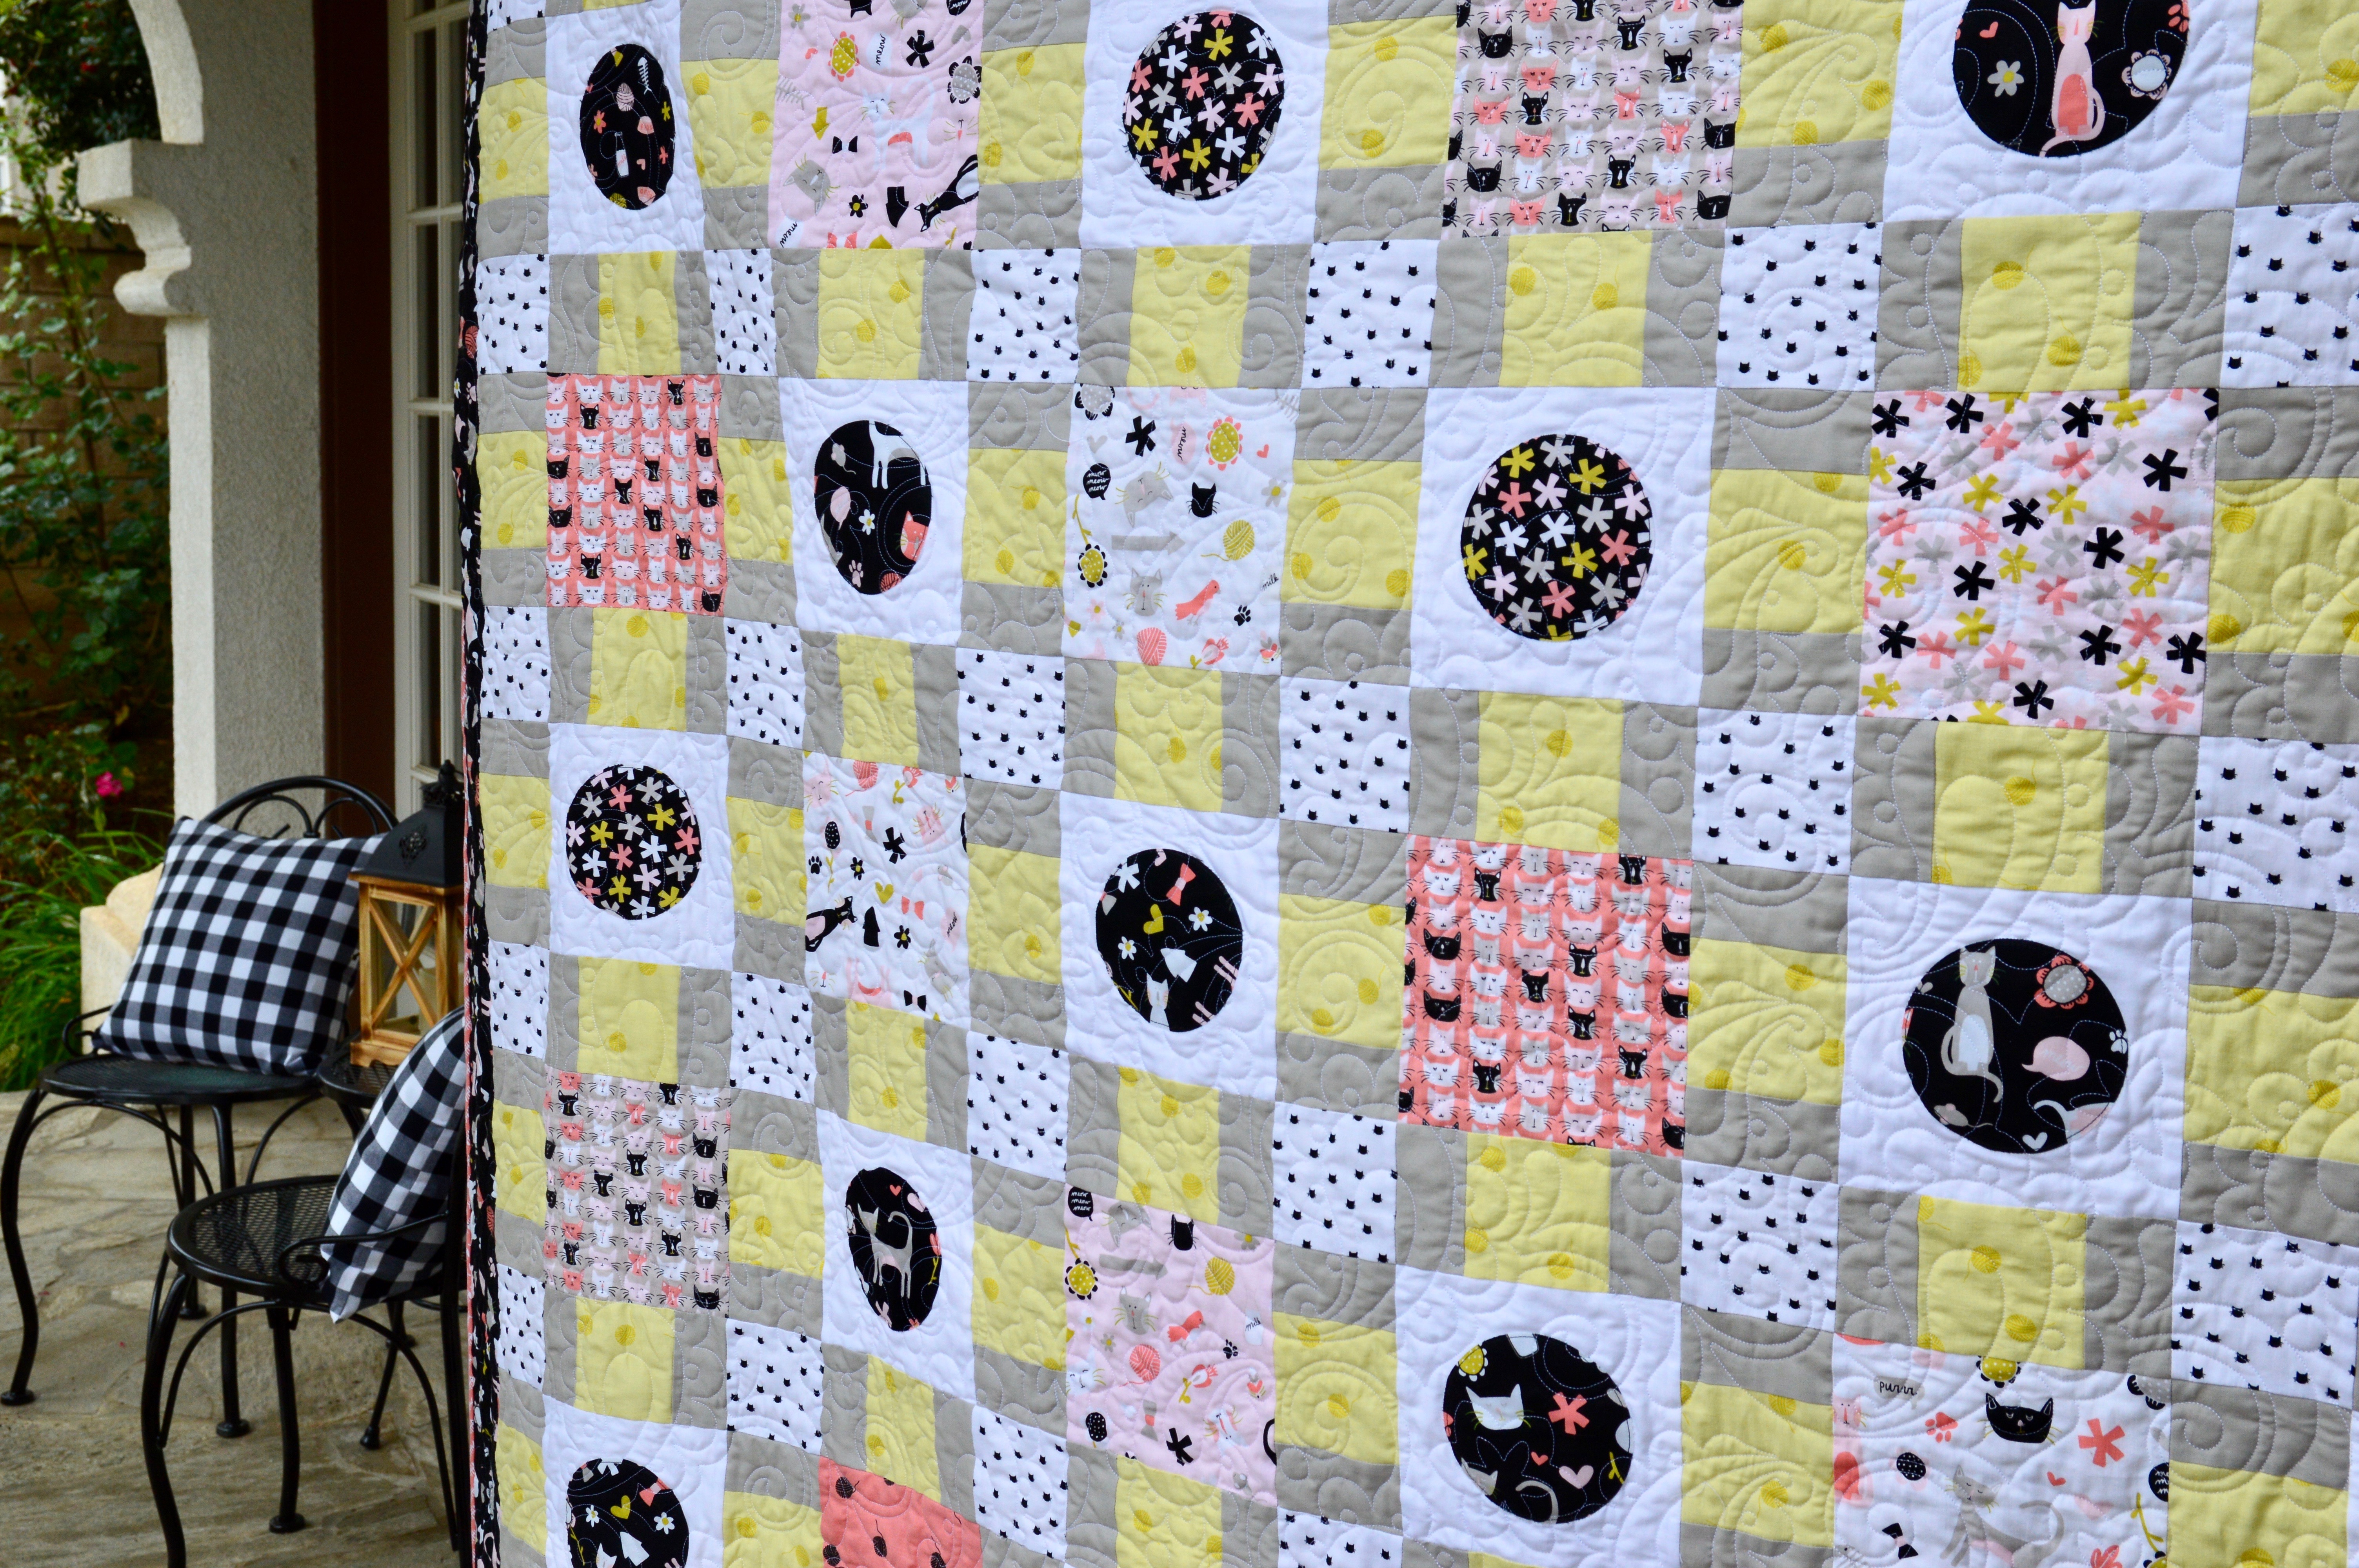
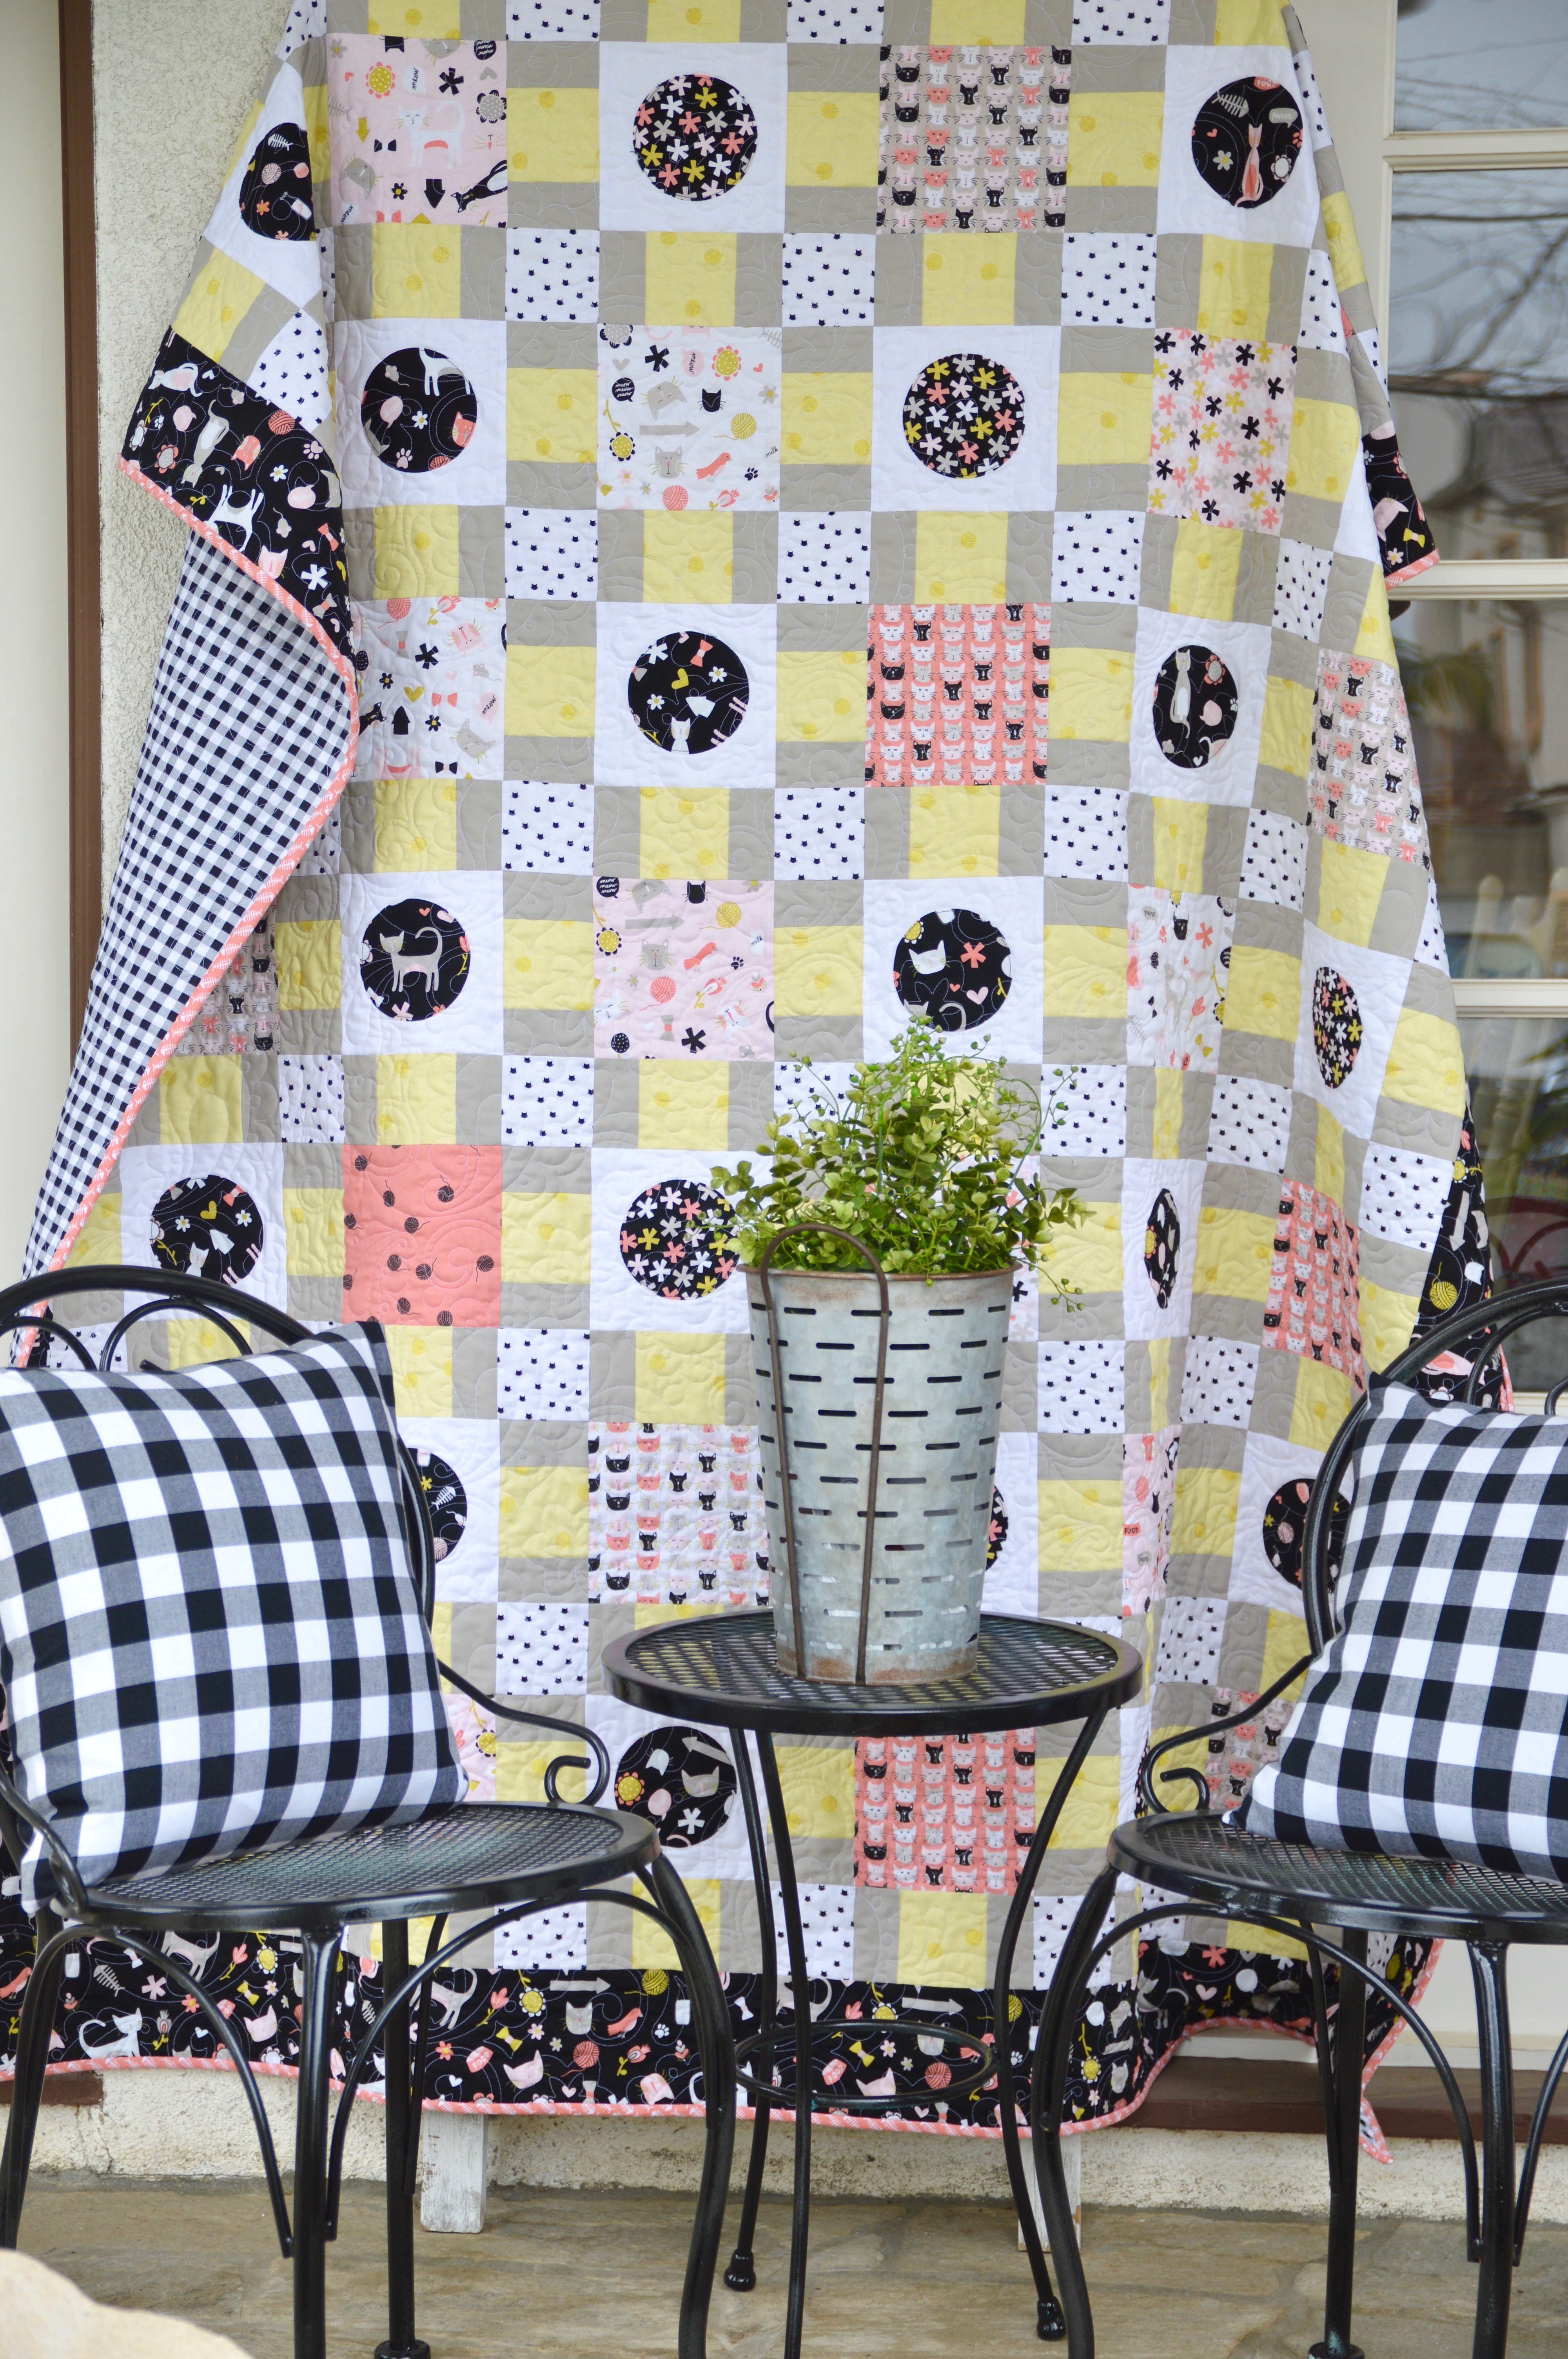
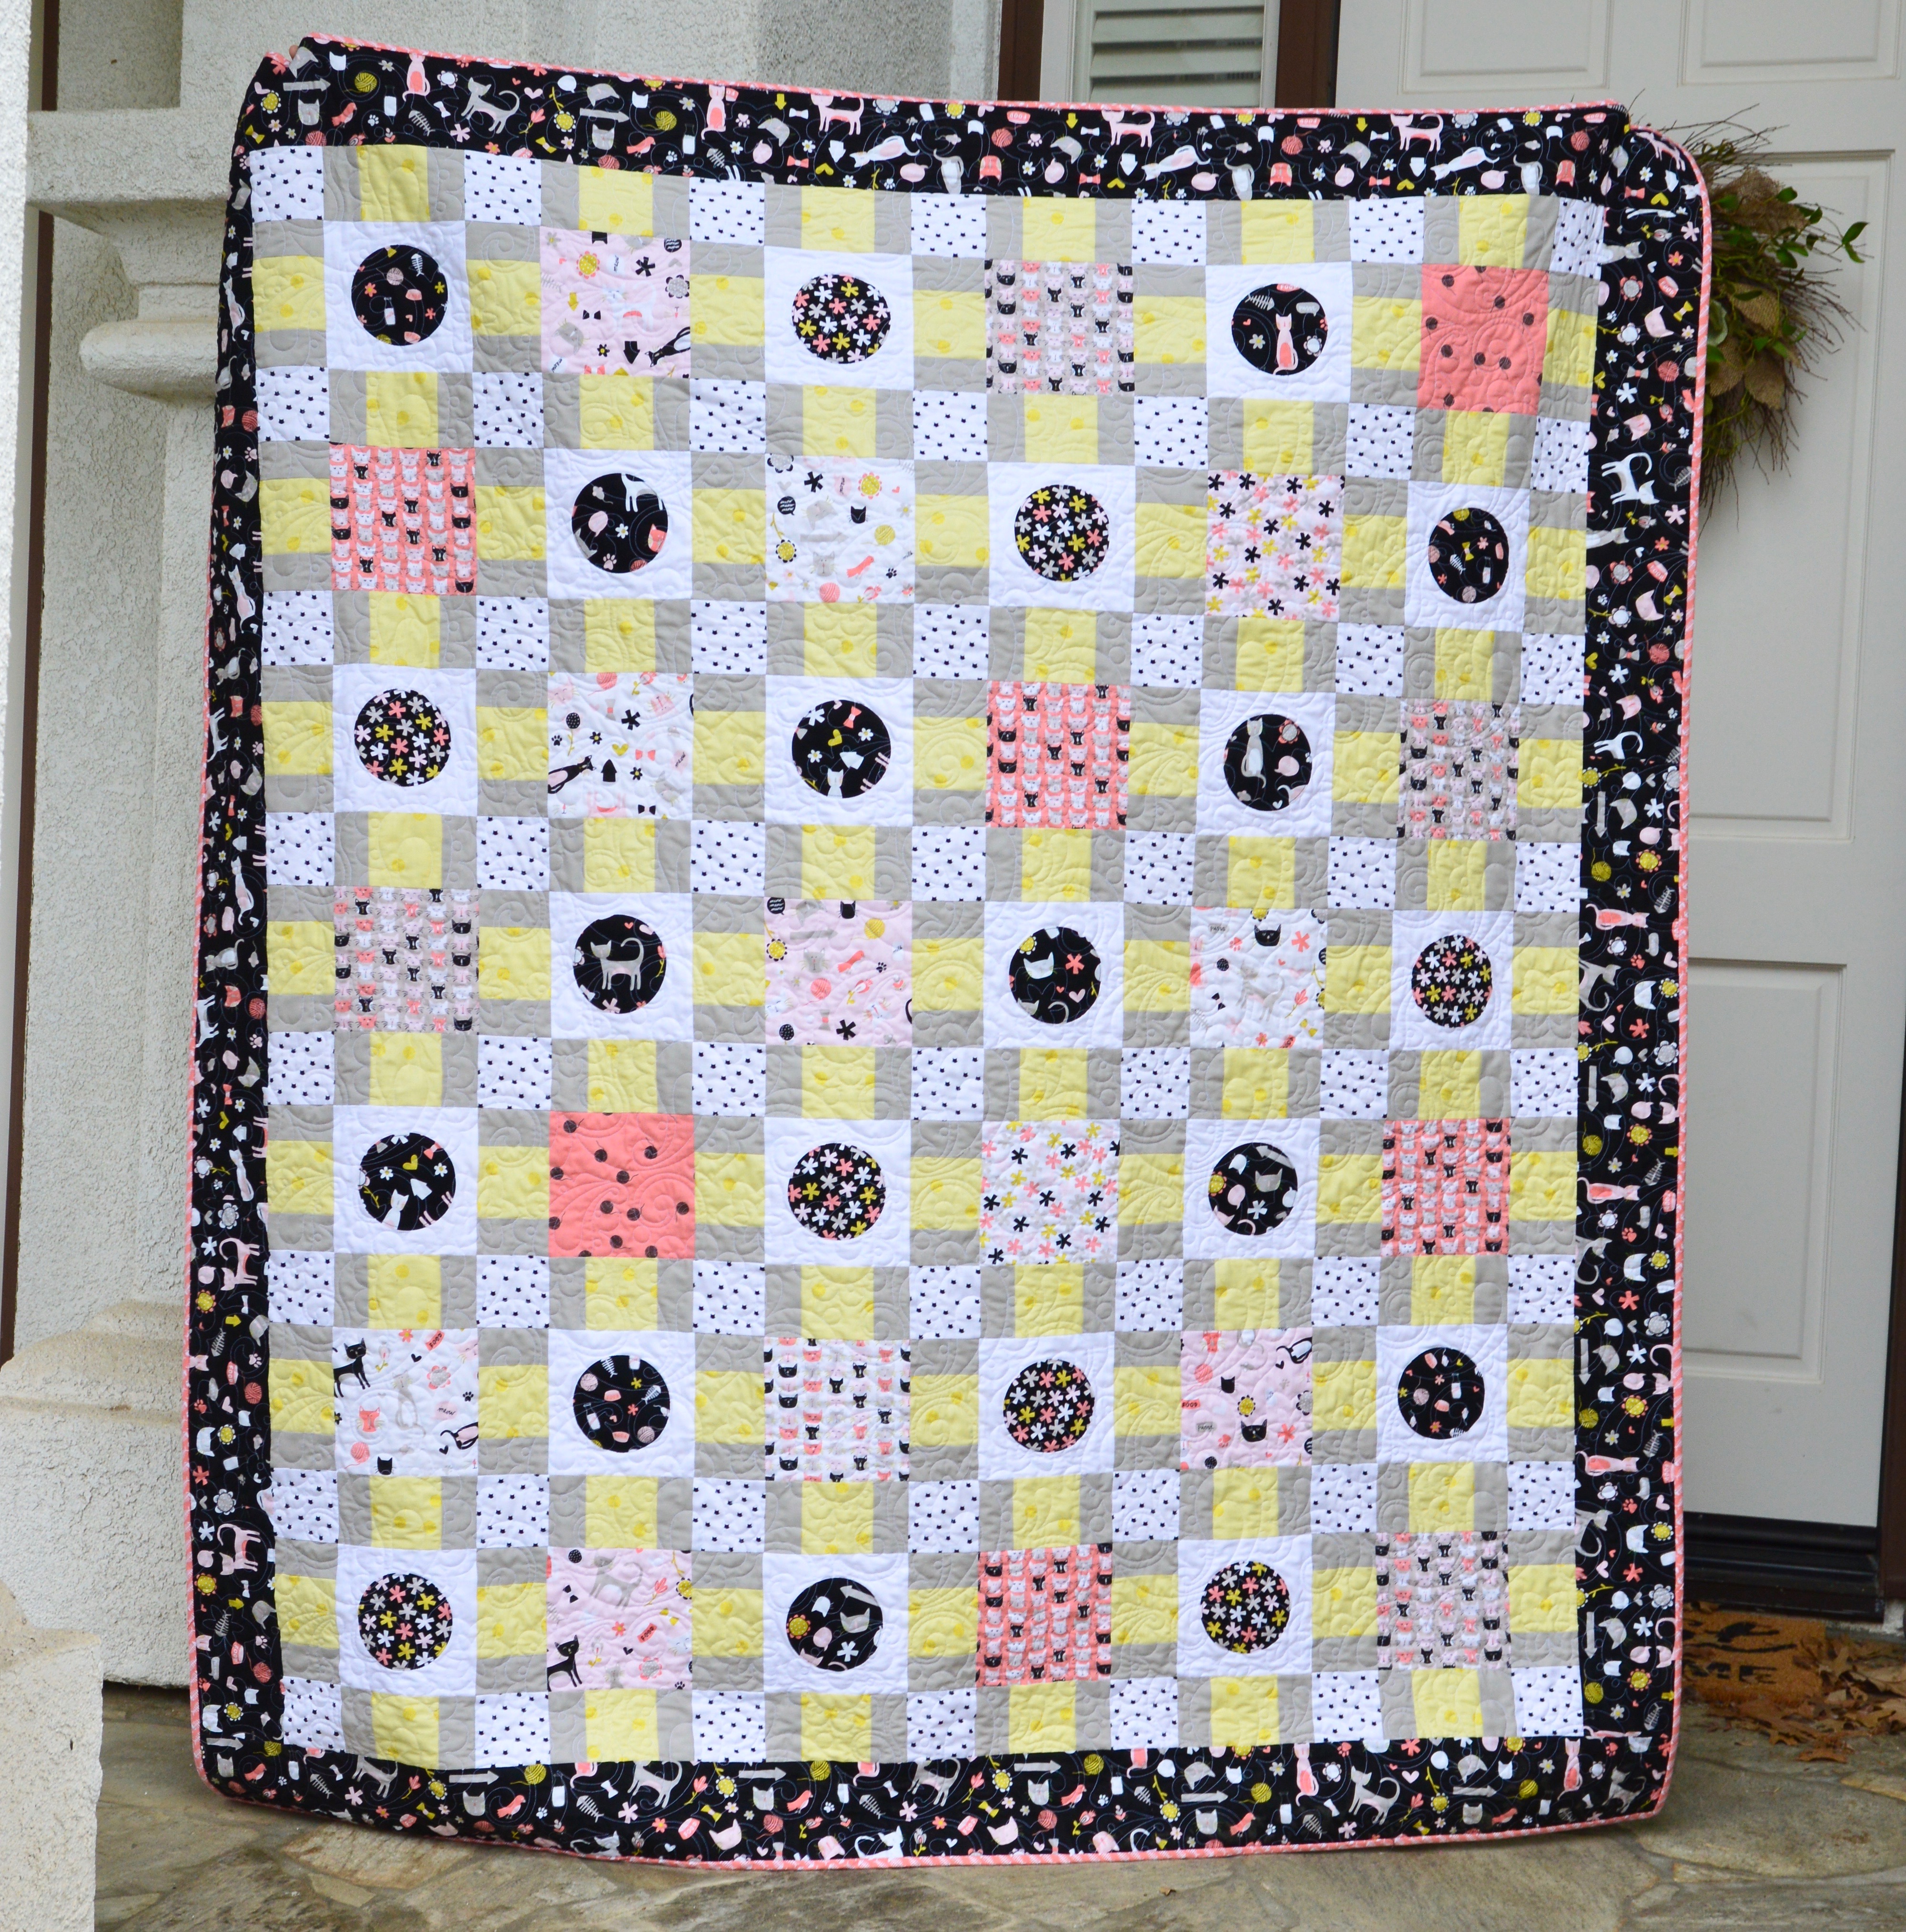
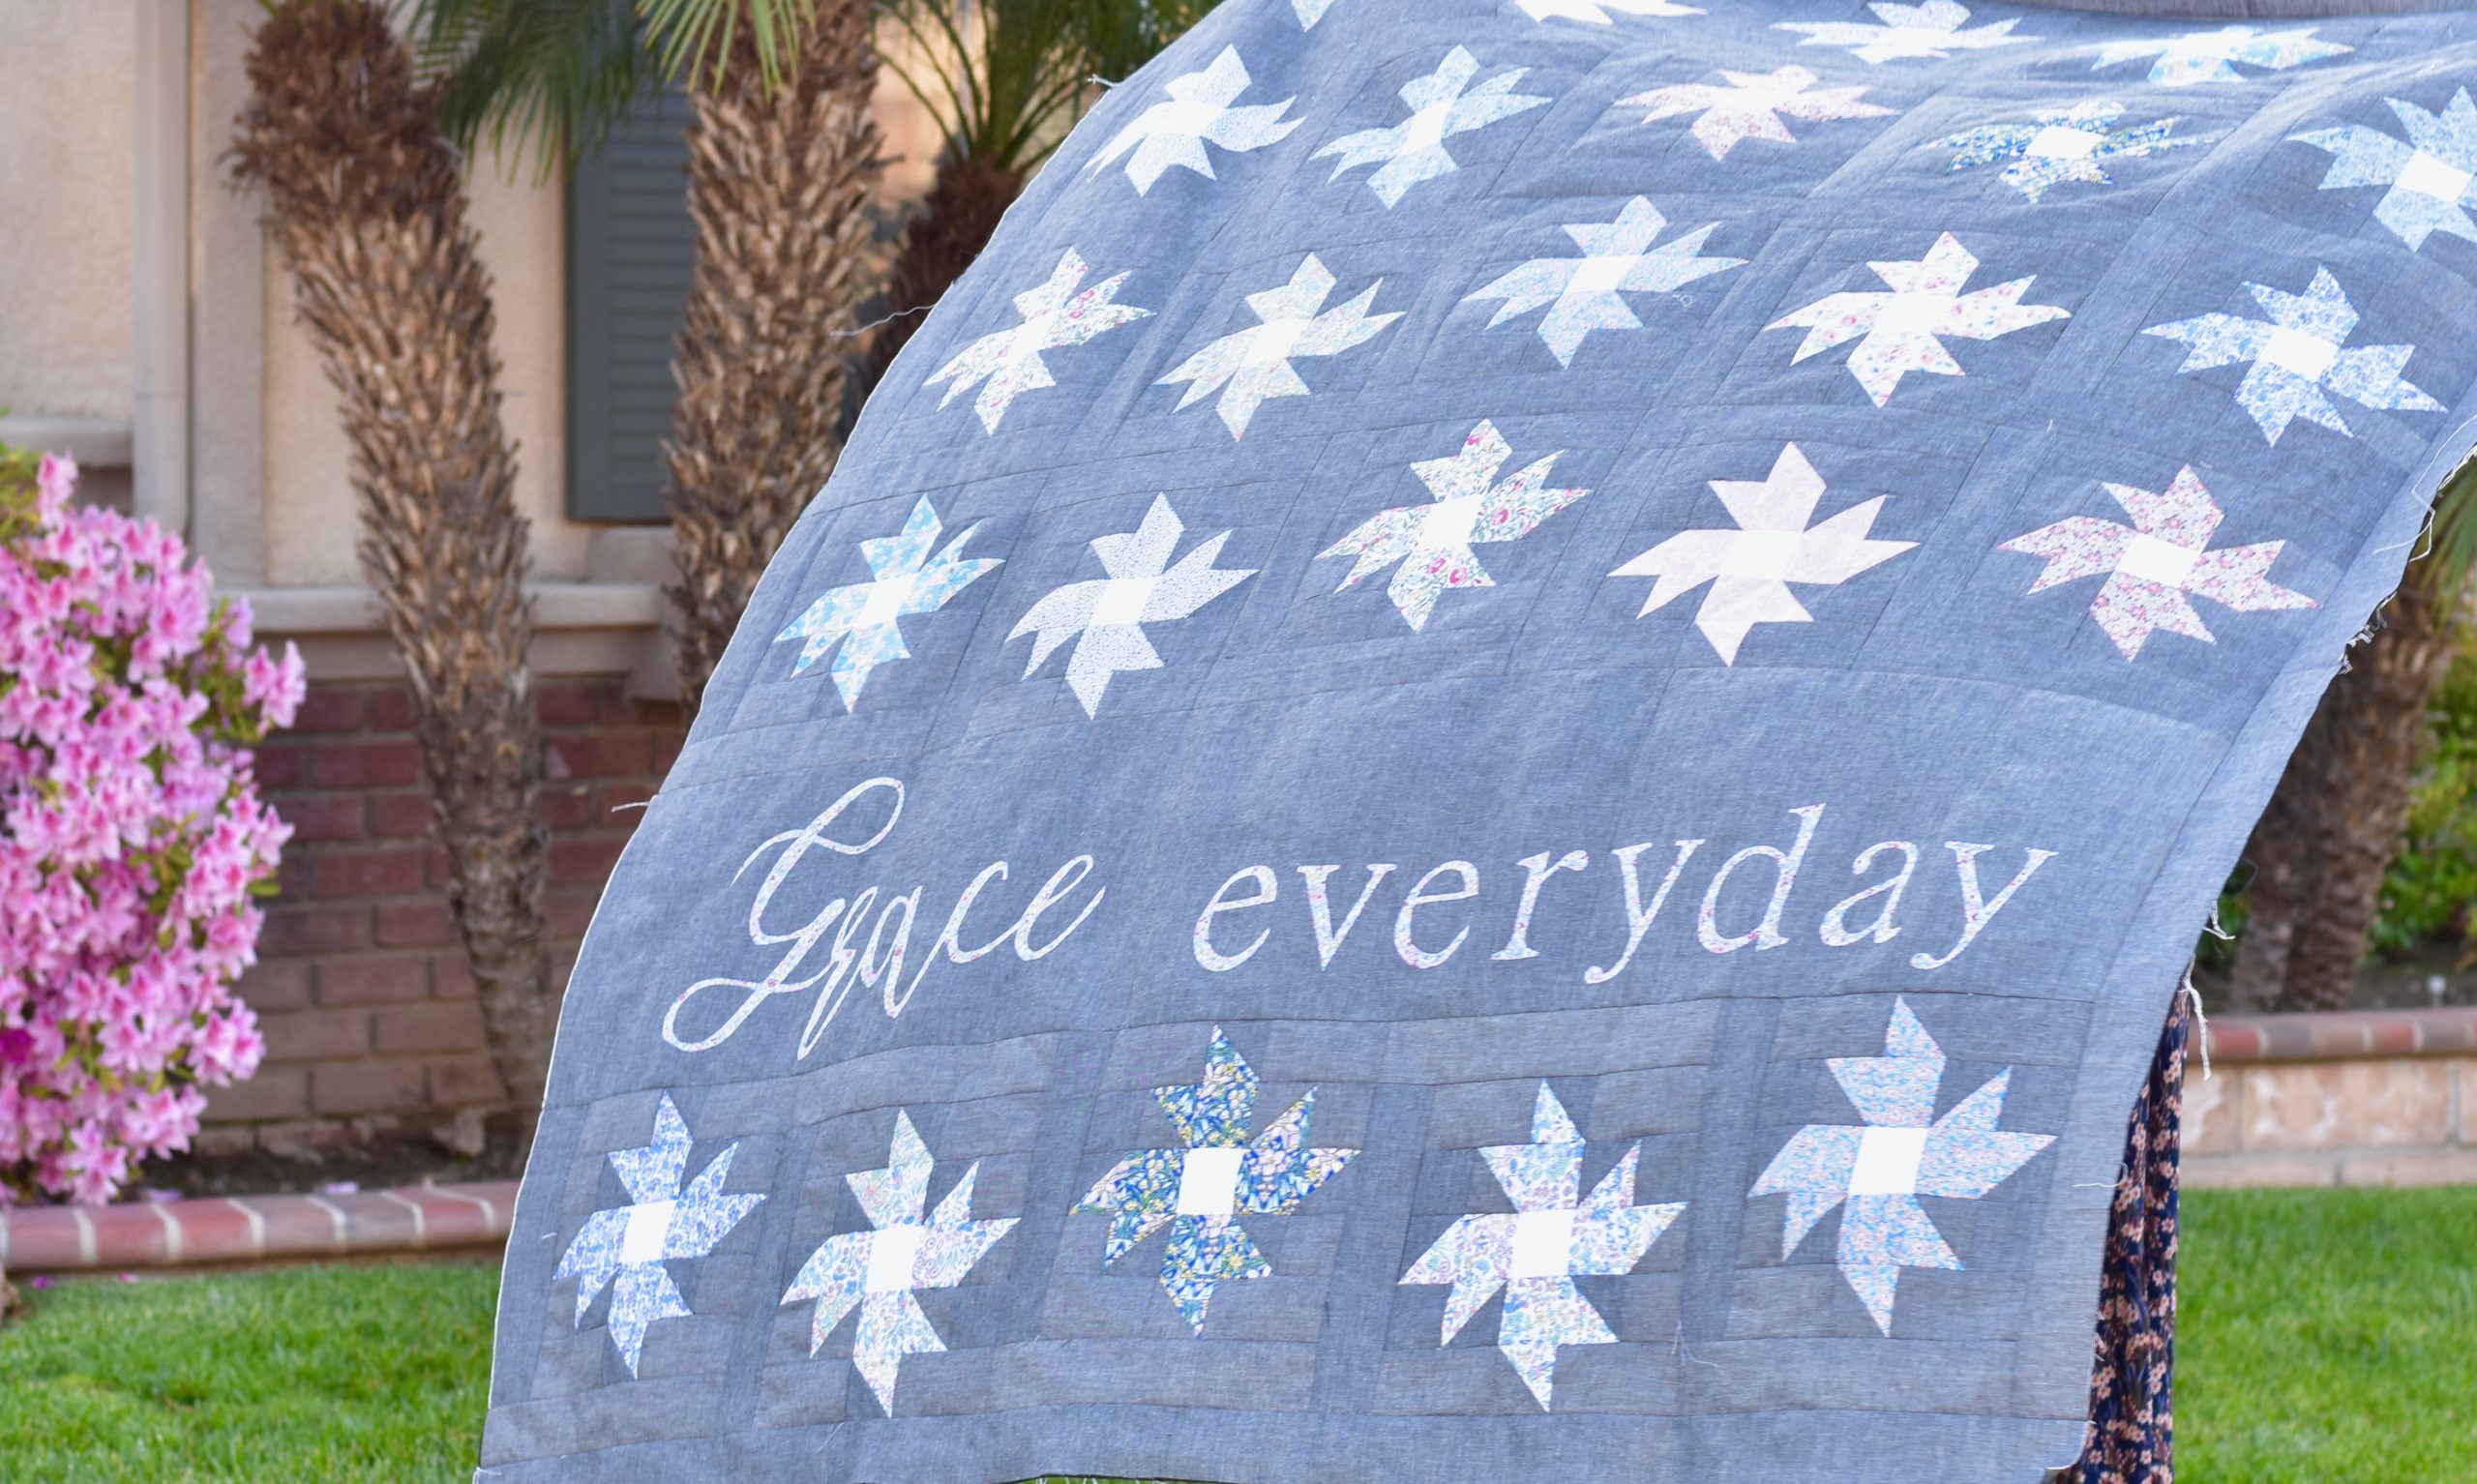
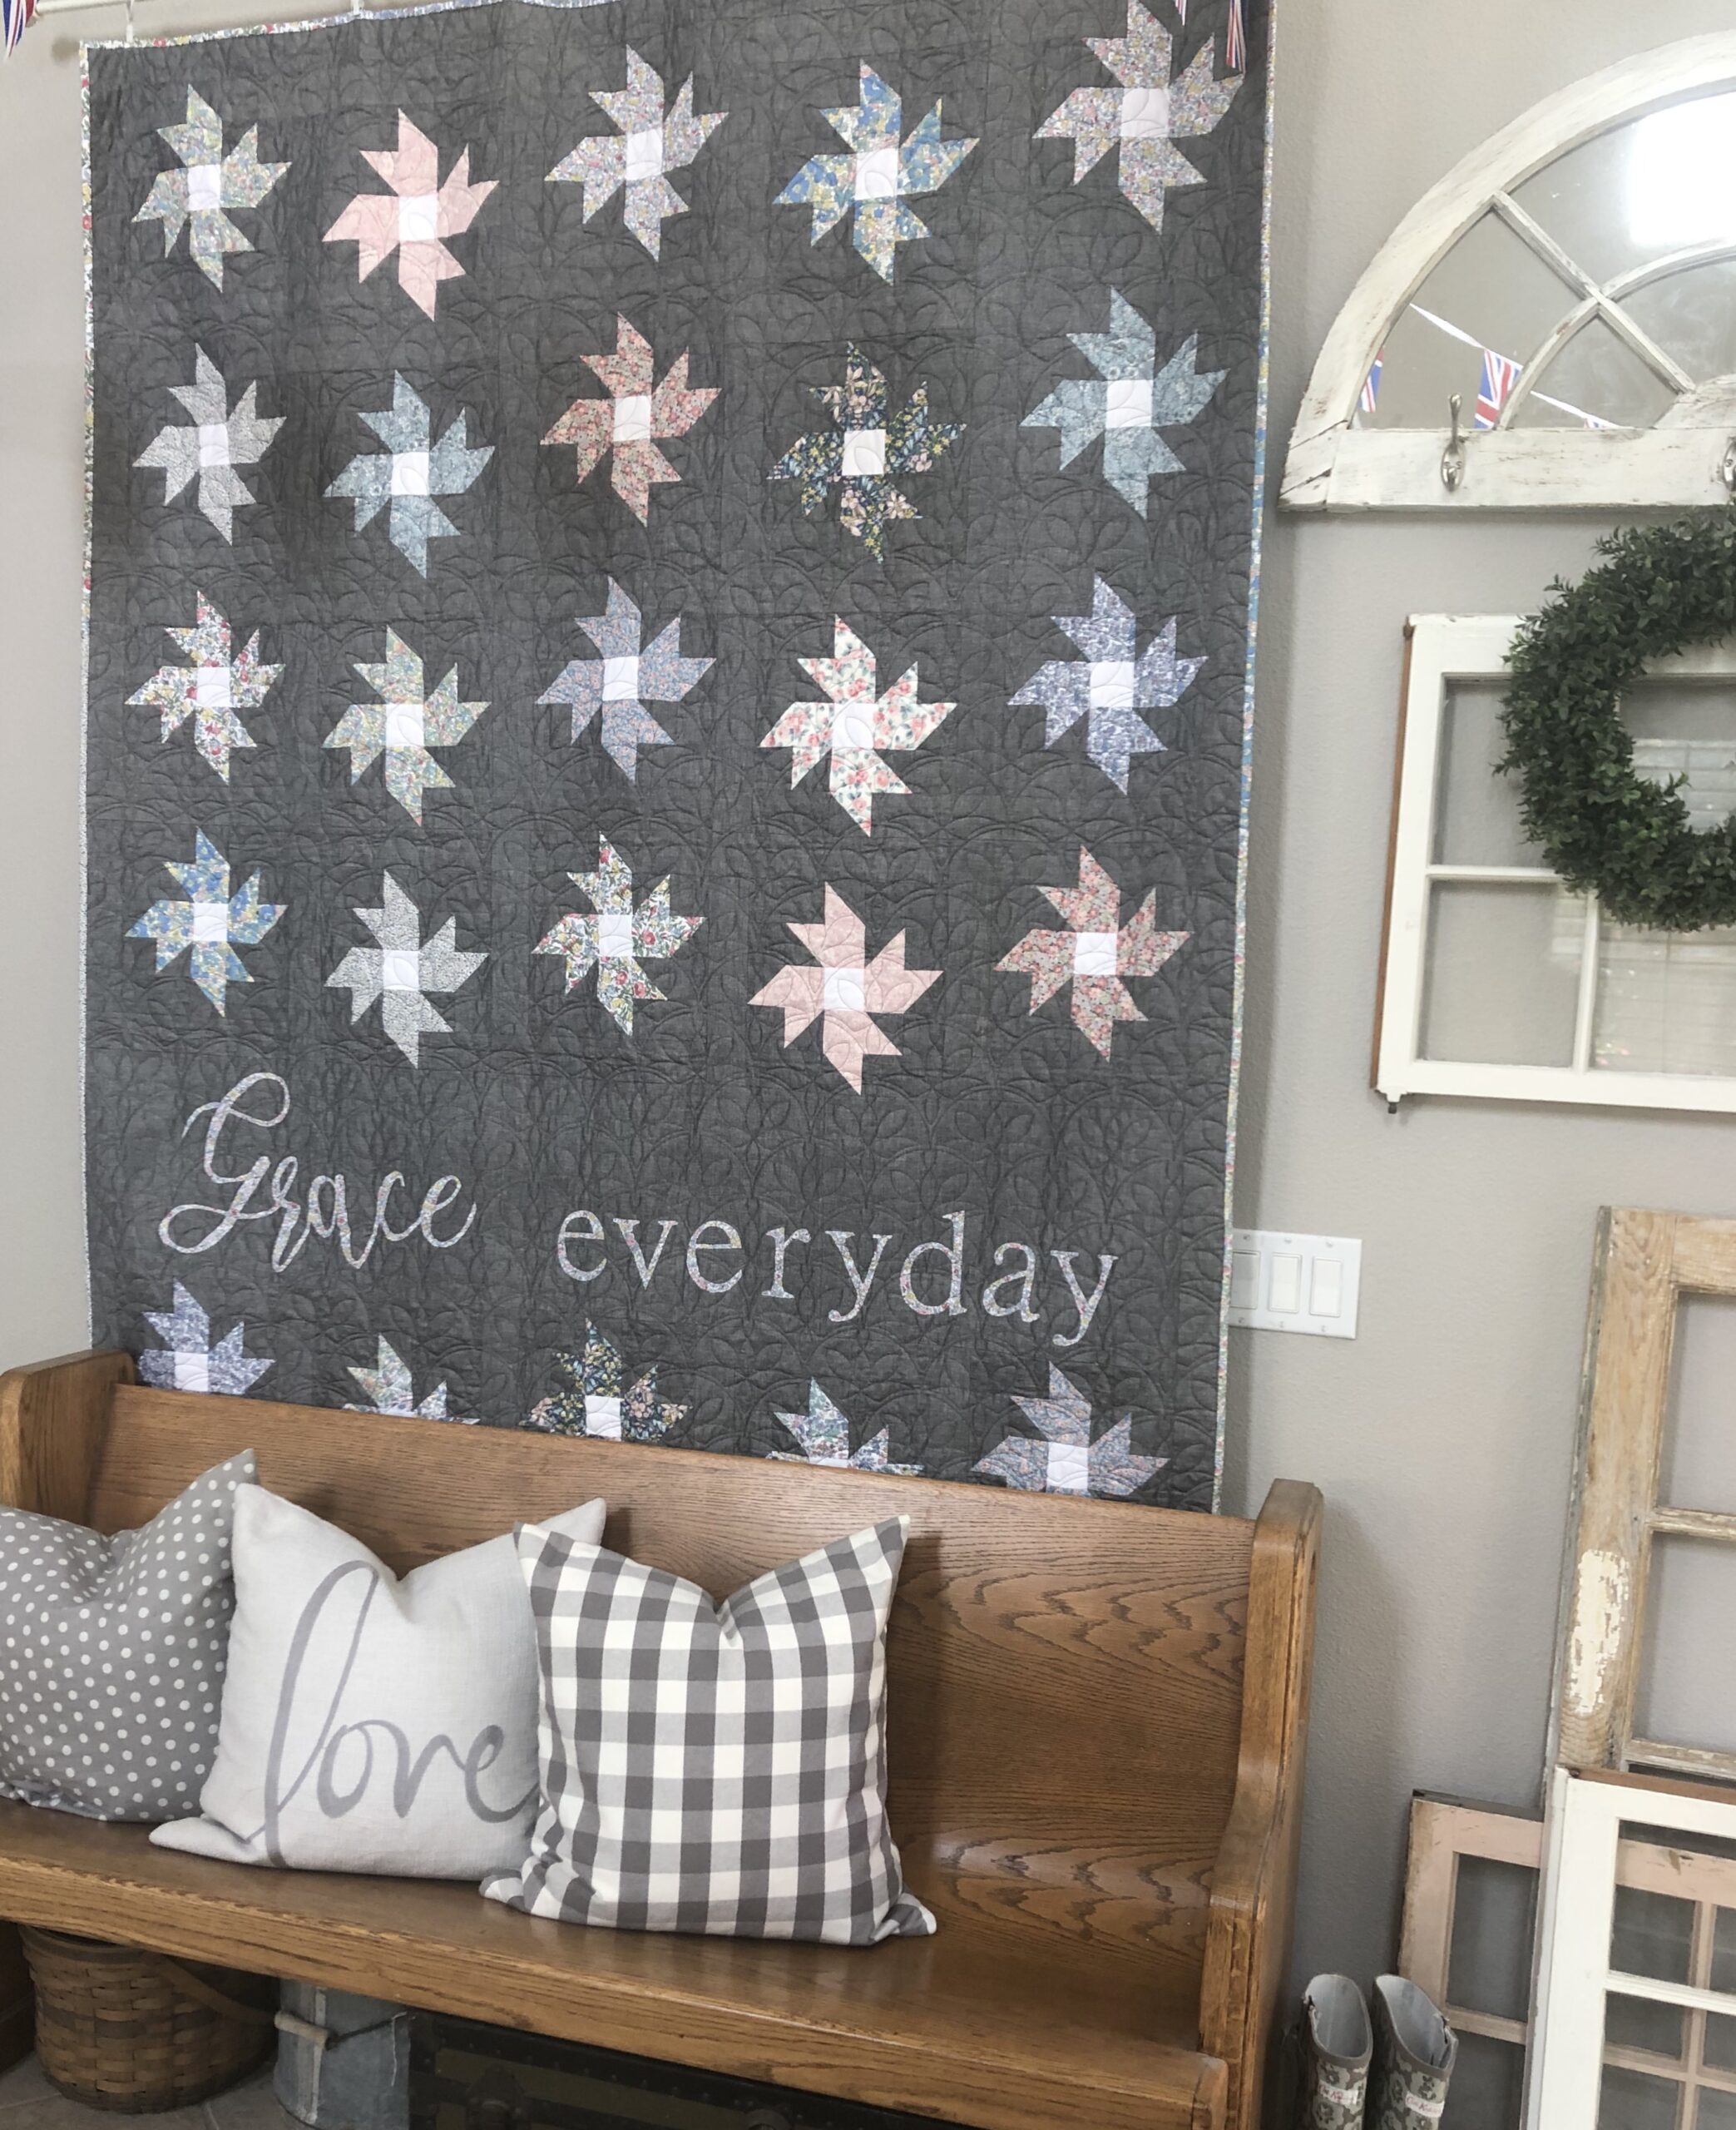
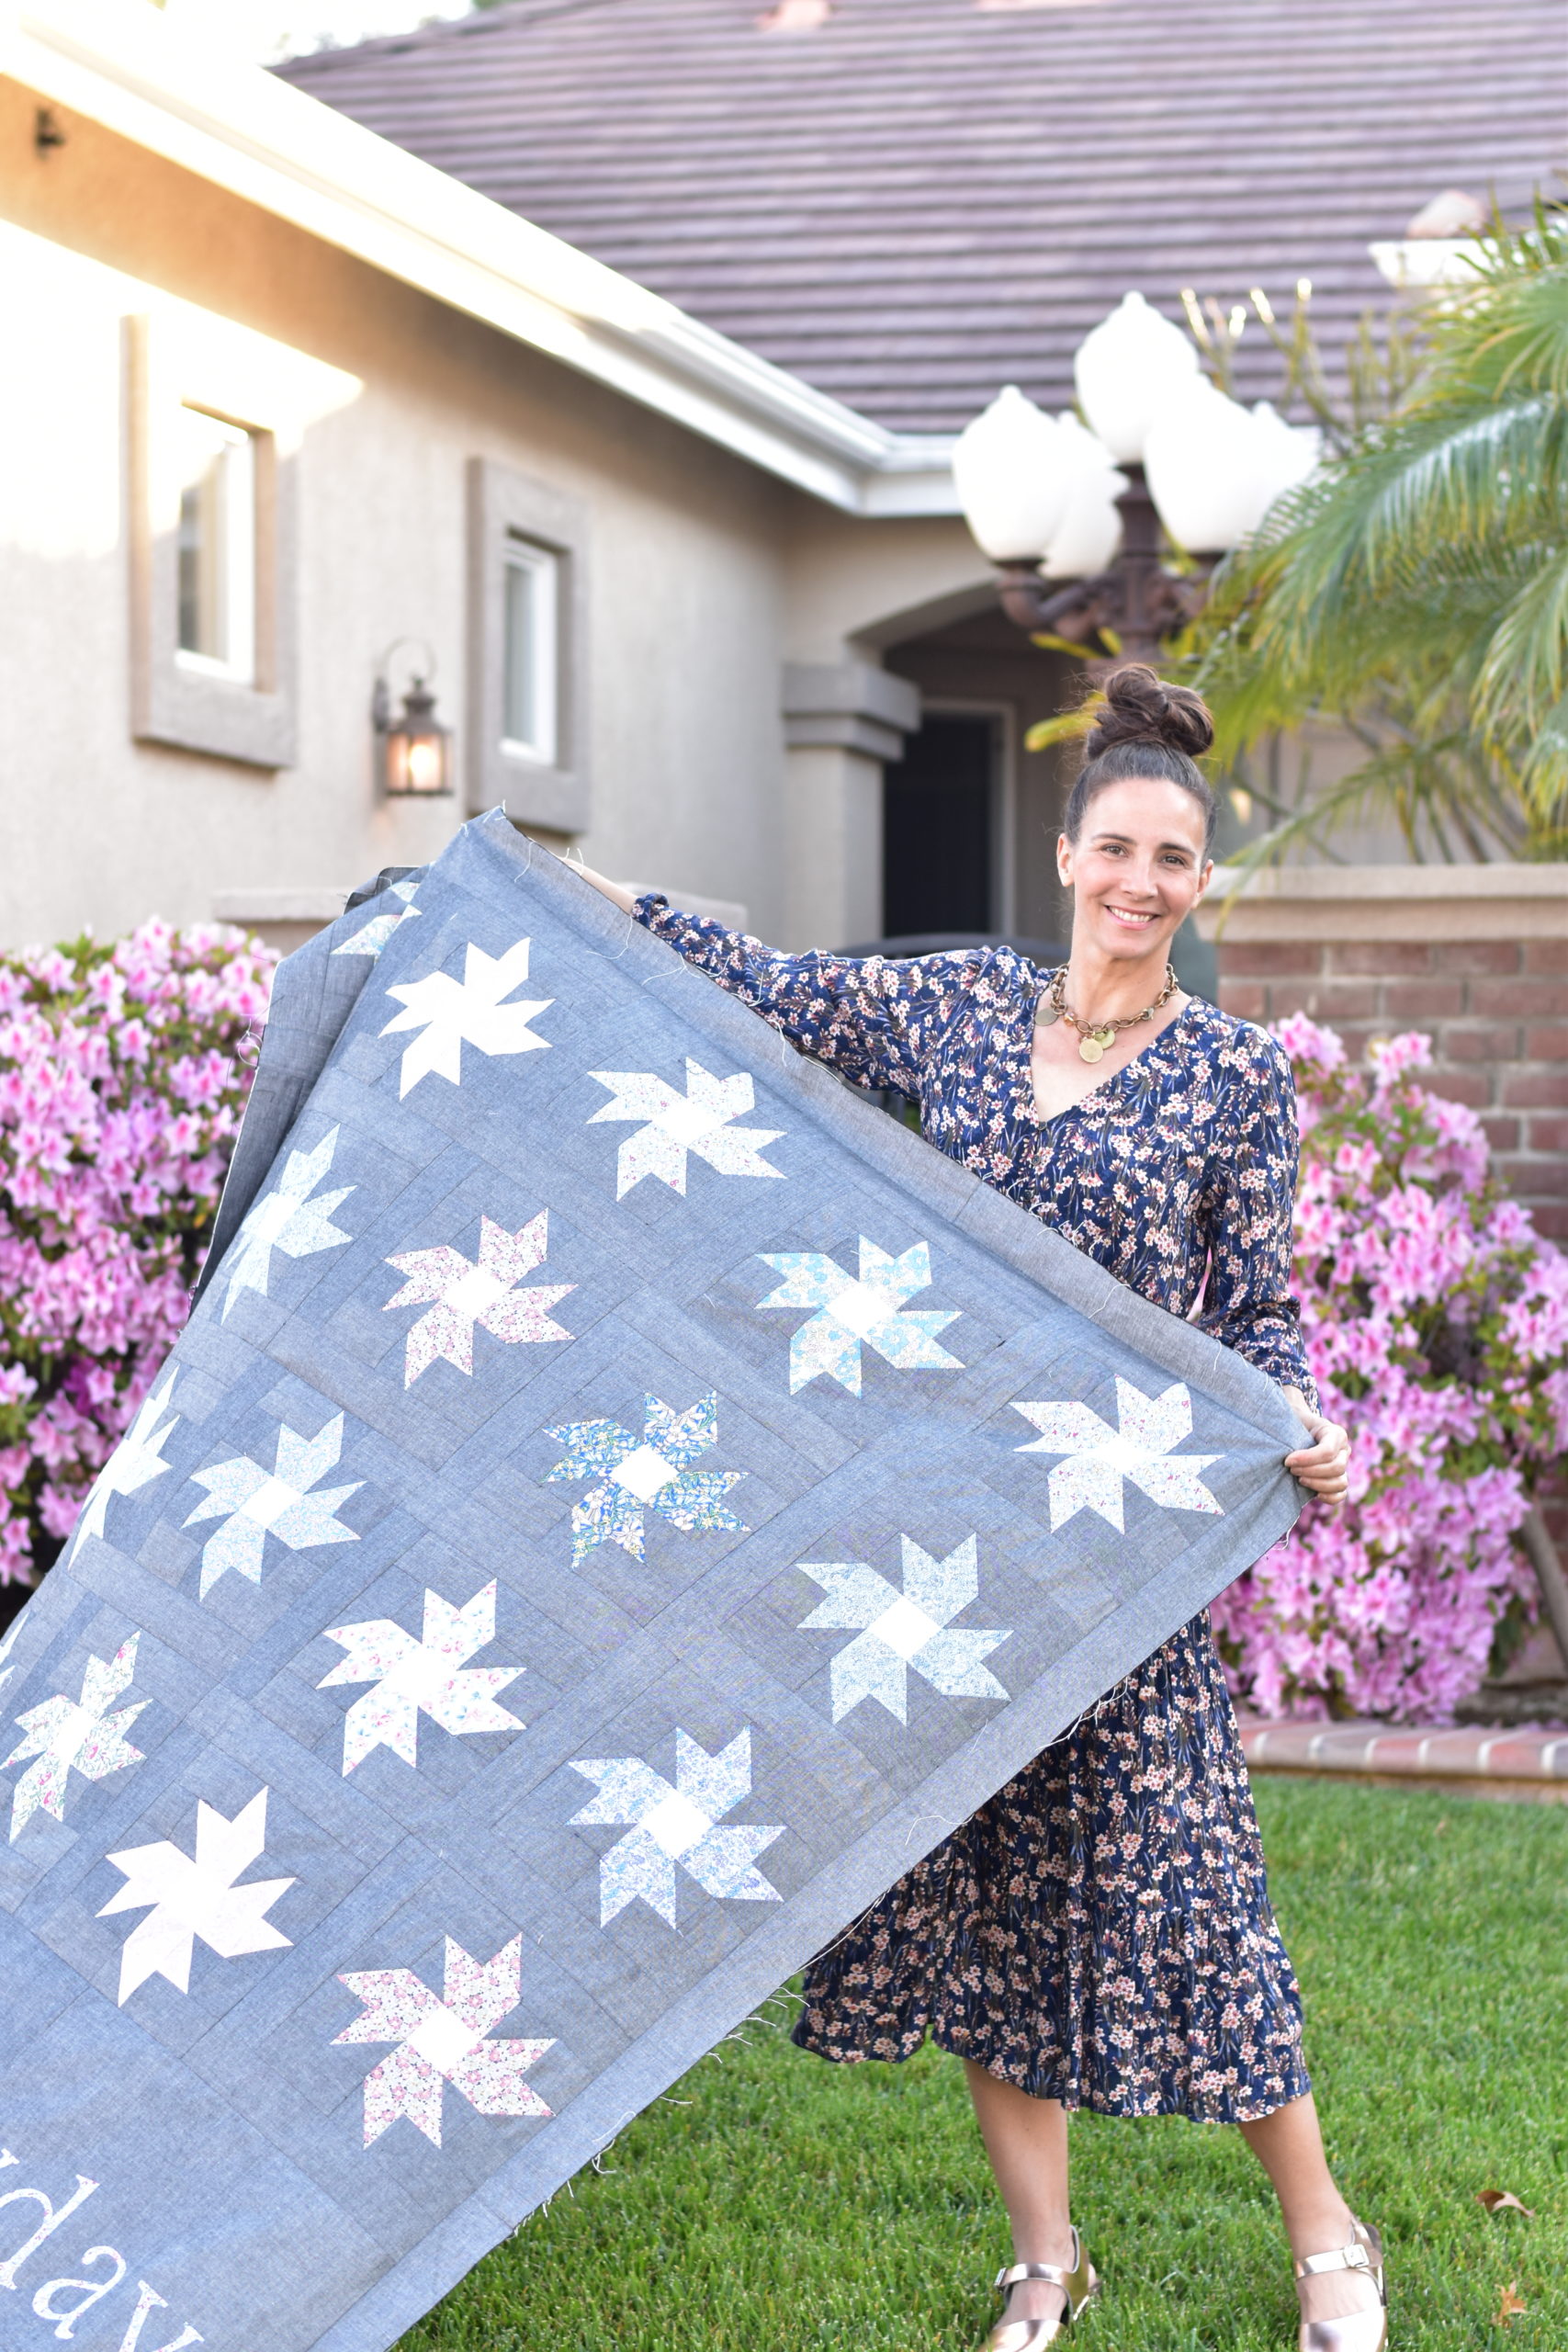
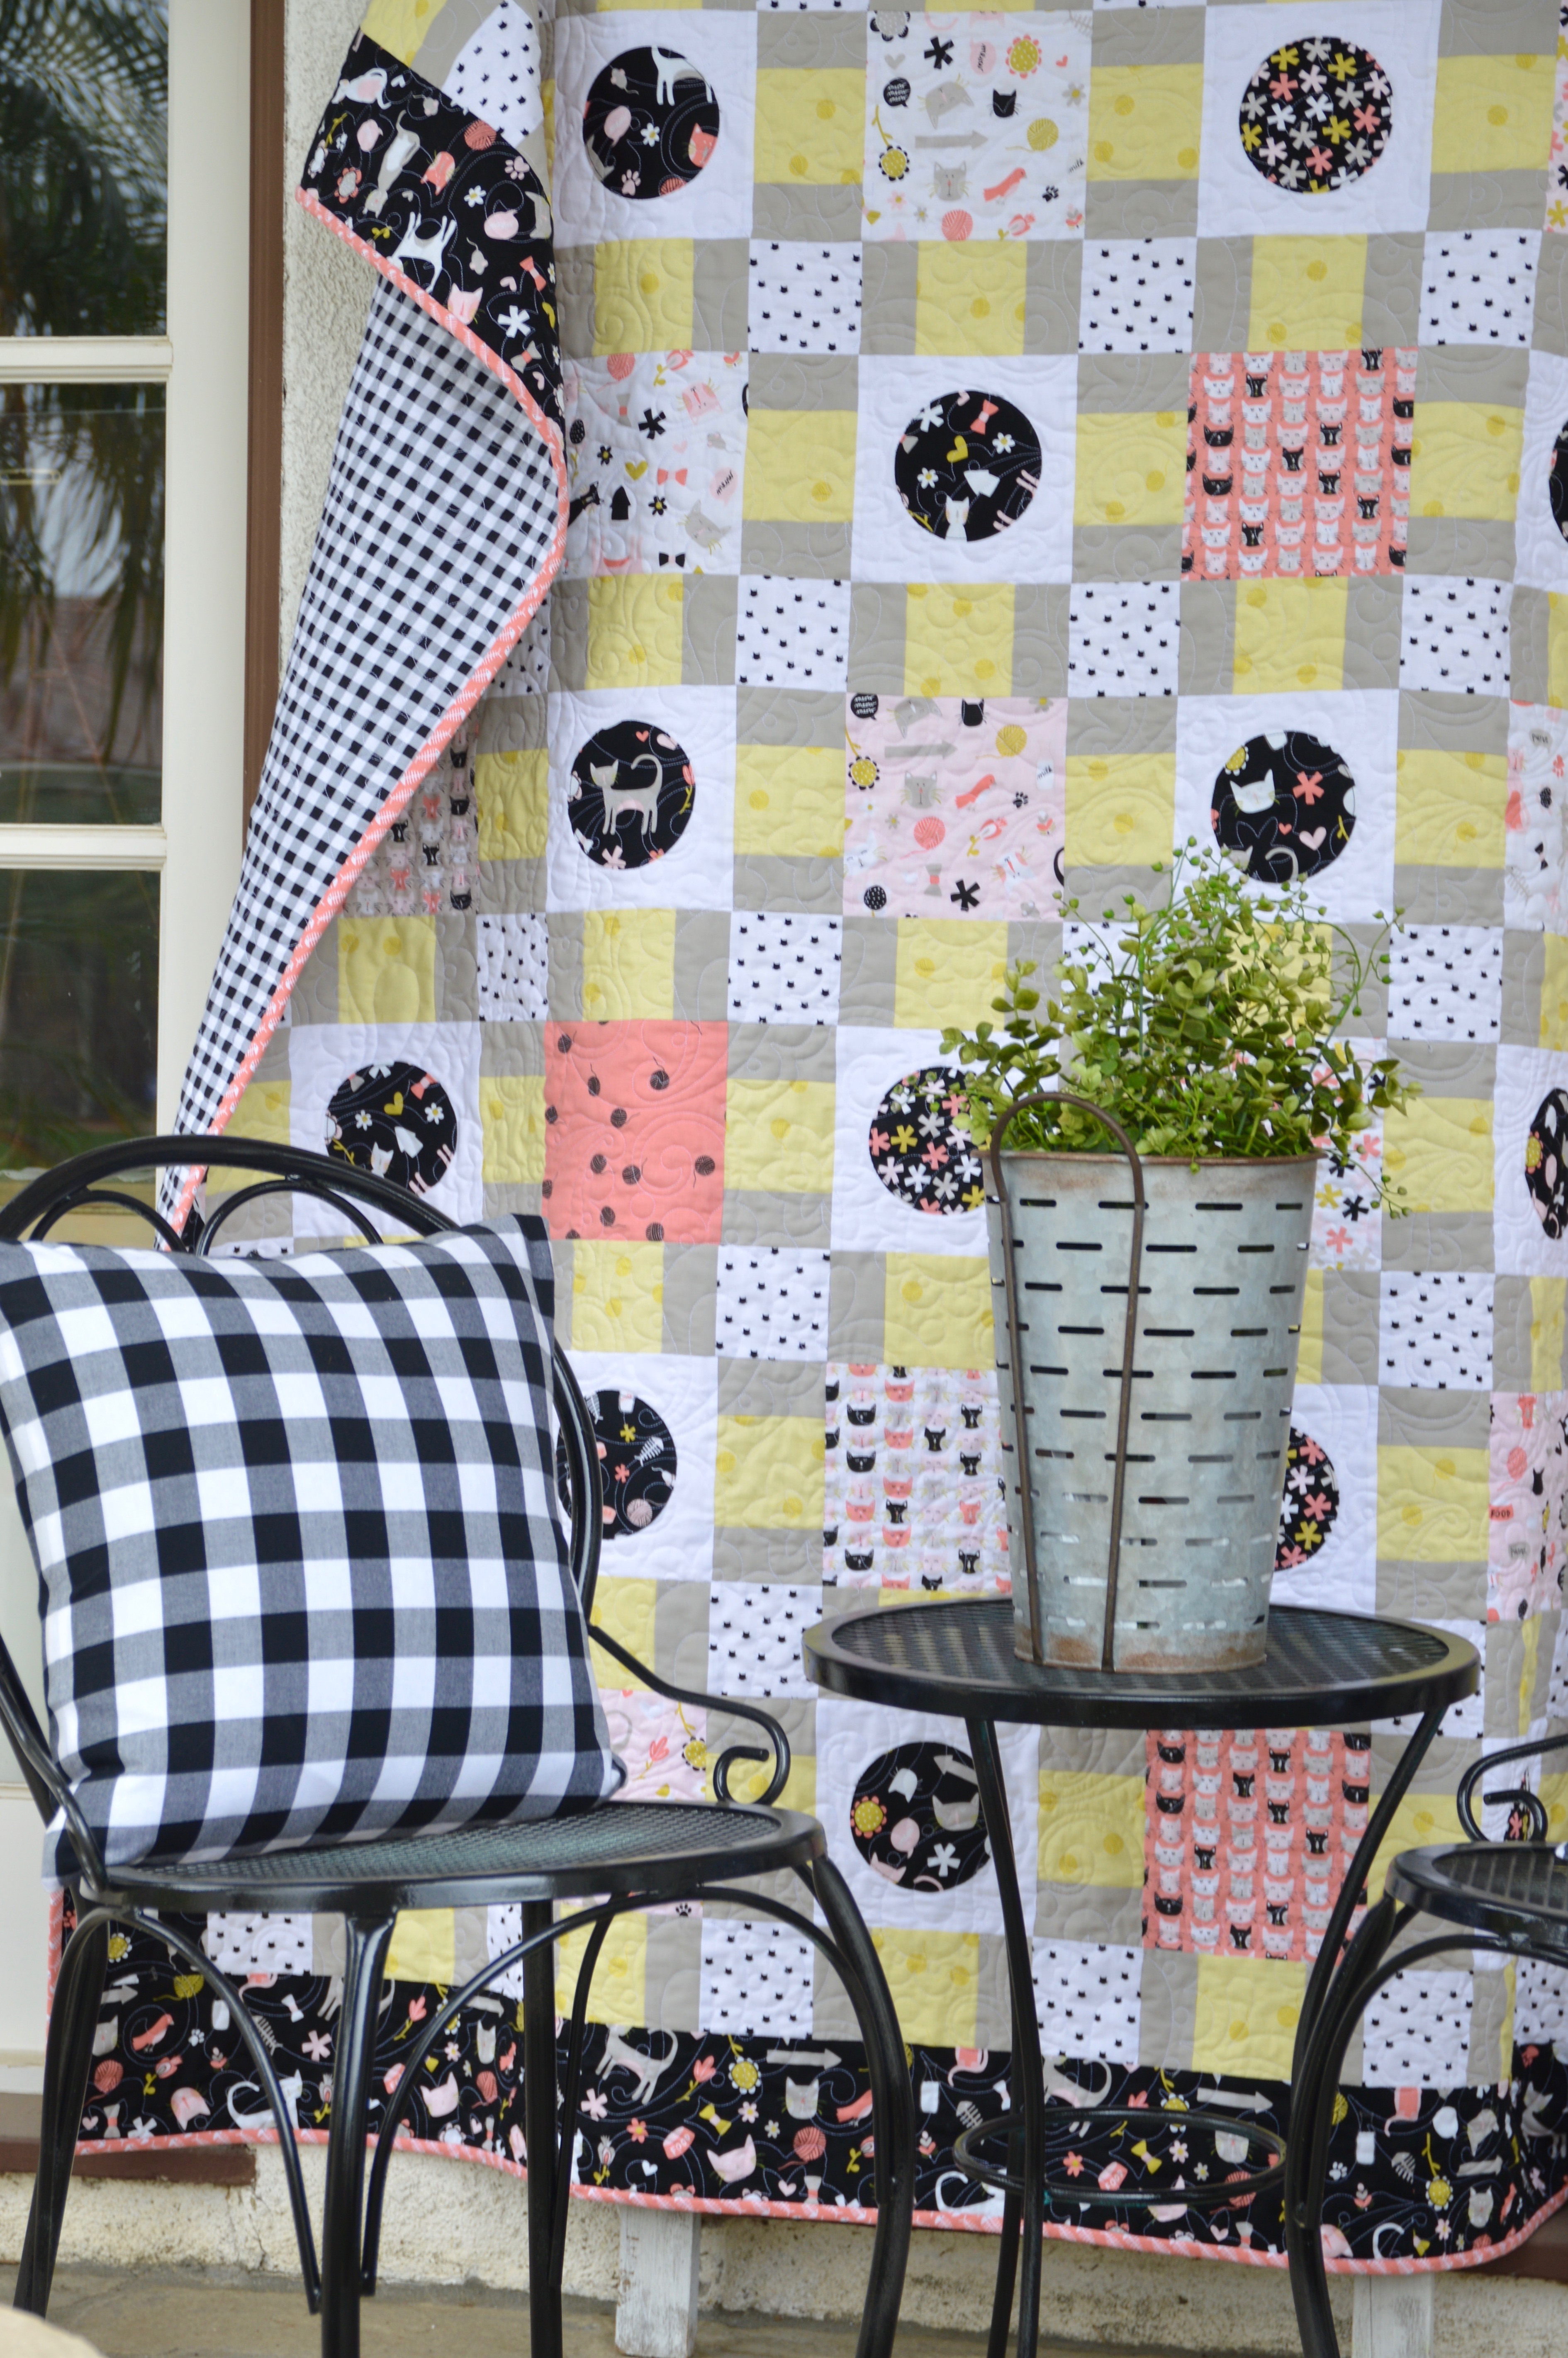
You know me and cats – so when I saw this fabric from Riley Blake Designs called MEOW I fell in love!!!  I created this quilt pattern to showcase all the amazing and whimsical prints in this fabric line.  I hope you like it :). Mufasa sure does 🙂category6580

DSC_0721

What I love about this quilt is that you don’t have to cut up this adorable fabric into tiny bits and it still has a nice “pieced” feel.

DSC_0707

I called this pattern Bouncing Off The Walls because that’s how Mufasa likes to play!  I throw bouncy balls and they bounce every where and he chases them like a maniac!

DSC_0726

The quilt measures 66″ x 75″ which is a great throw size.  The pattern is fat quarter friendly and the circles are machine appliquéd for a quick finish!  This pattern is a great way to use your favorite theme prints – you know me and theme prints!!!

You can purchase the PDF pattern for instant download in my Etsy shop.

DSC_0731

Sally and Mufasa are fighting over who will get the quilt – its totally MINE!!

DSC_0667

I hope you love this quilt and have fun putting your own personality into it!  Be sure to tag me on Instagram @jedicraftgirl and use the hashtag #bouncingoffthewallsquilt

DSC_0729


DSC_0493
And now get ready for the Mufasa photo shoot….
DSC_0444

He’s just so handsome 🙂
DSC_0450

DSC_0451

DSC_0455
DSC_0485

DSC_0512

Happy quilting with your cat!!!