Feeling a little thrifty

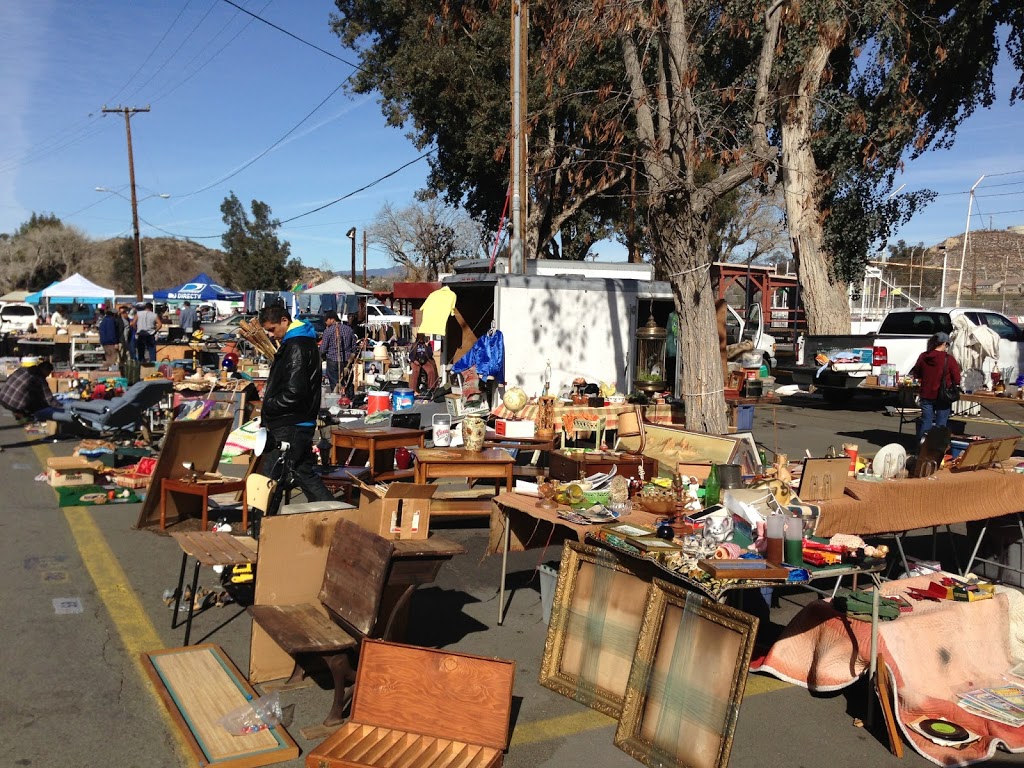
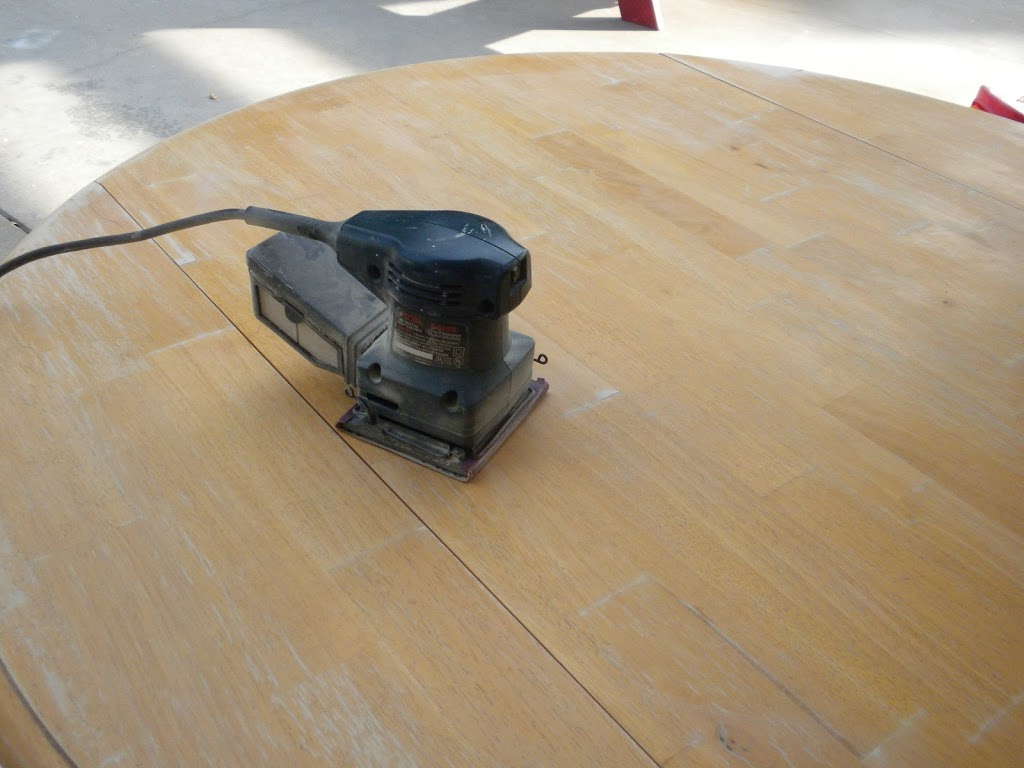
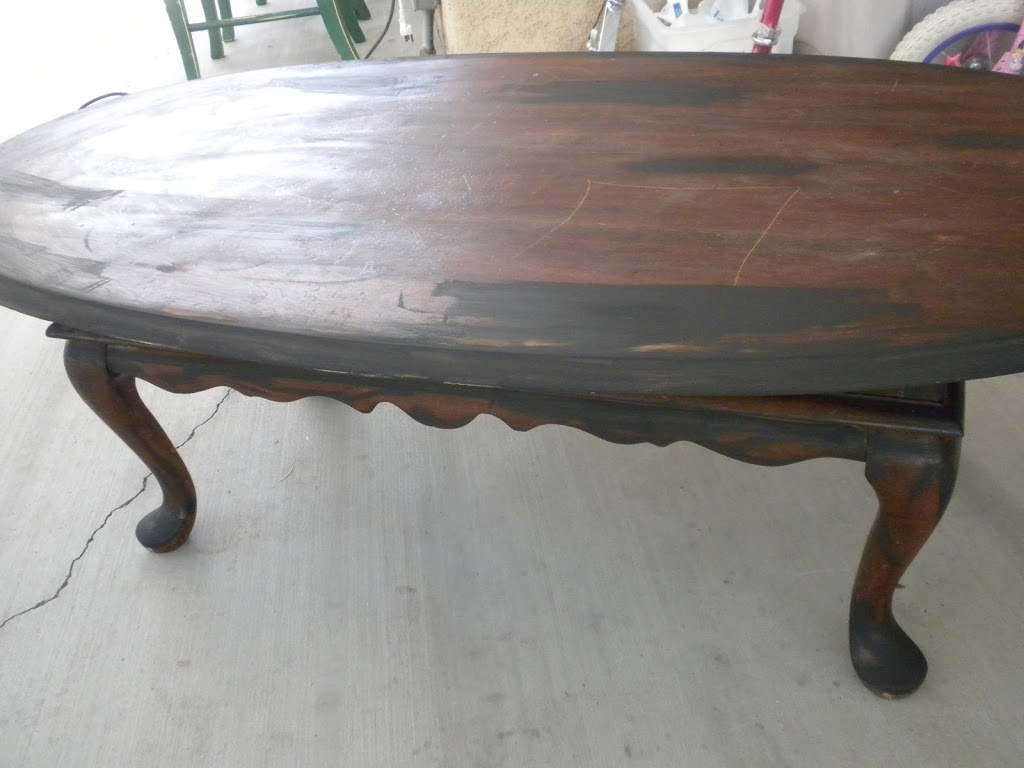
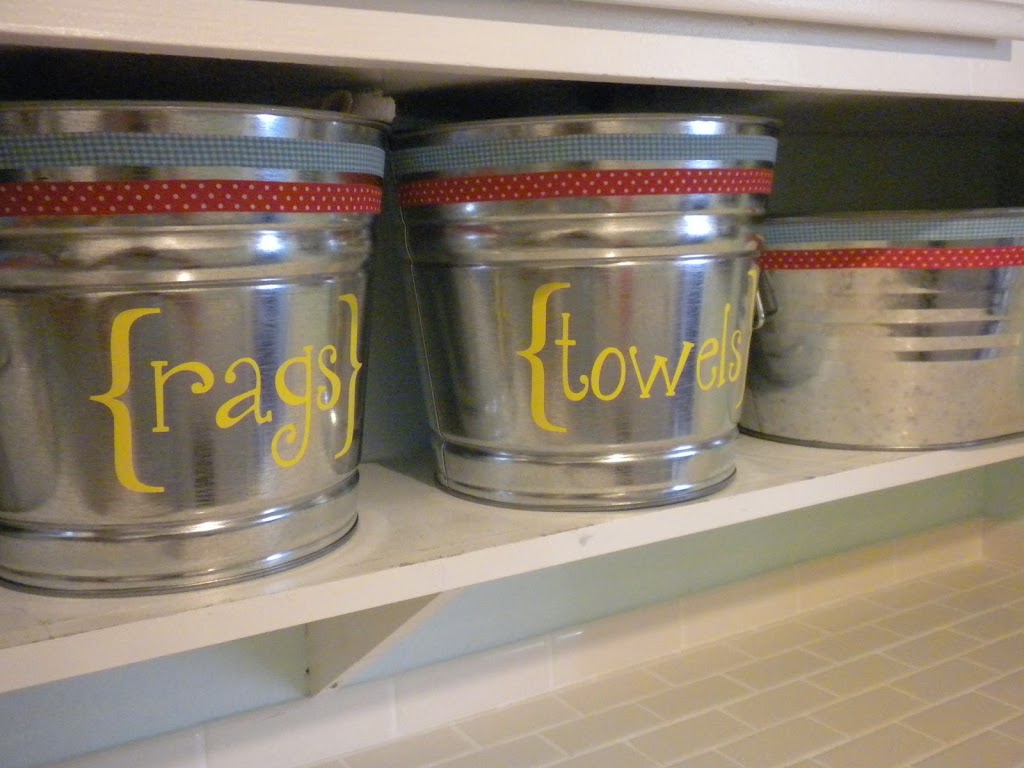
 Every Tuesday our town as an open air flea market.  I go like once every 2 years (it’s kind of junky).  Today was the perfect day to go – warm and sunny.

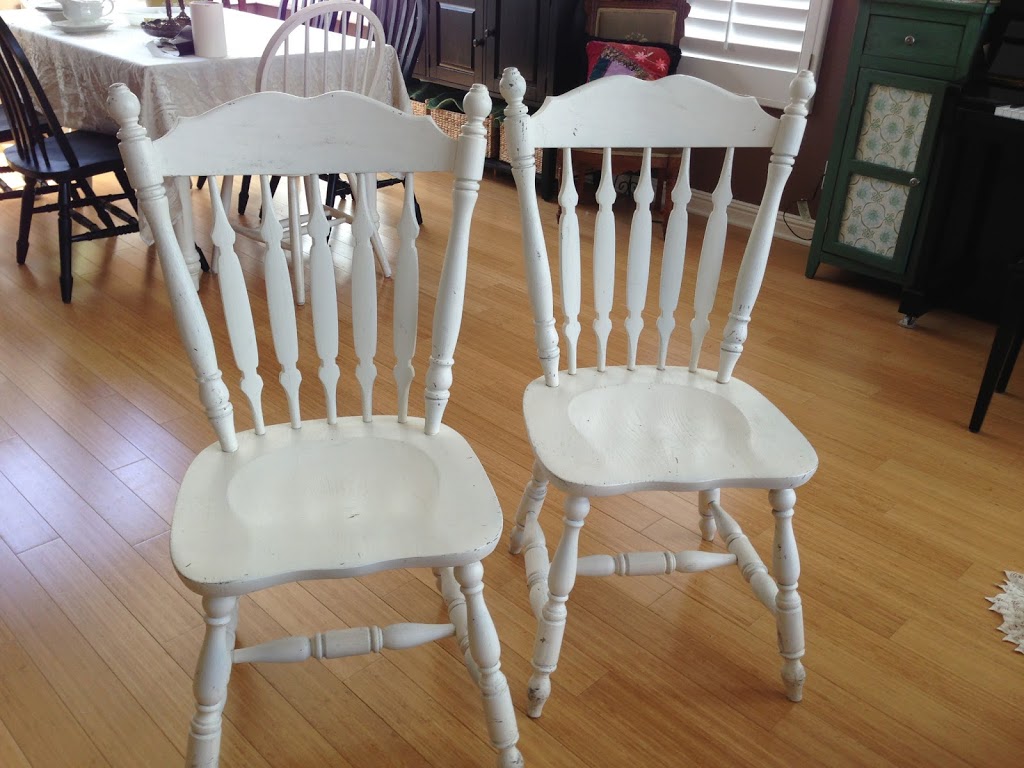
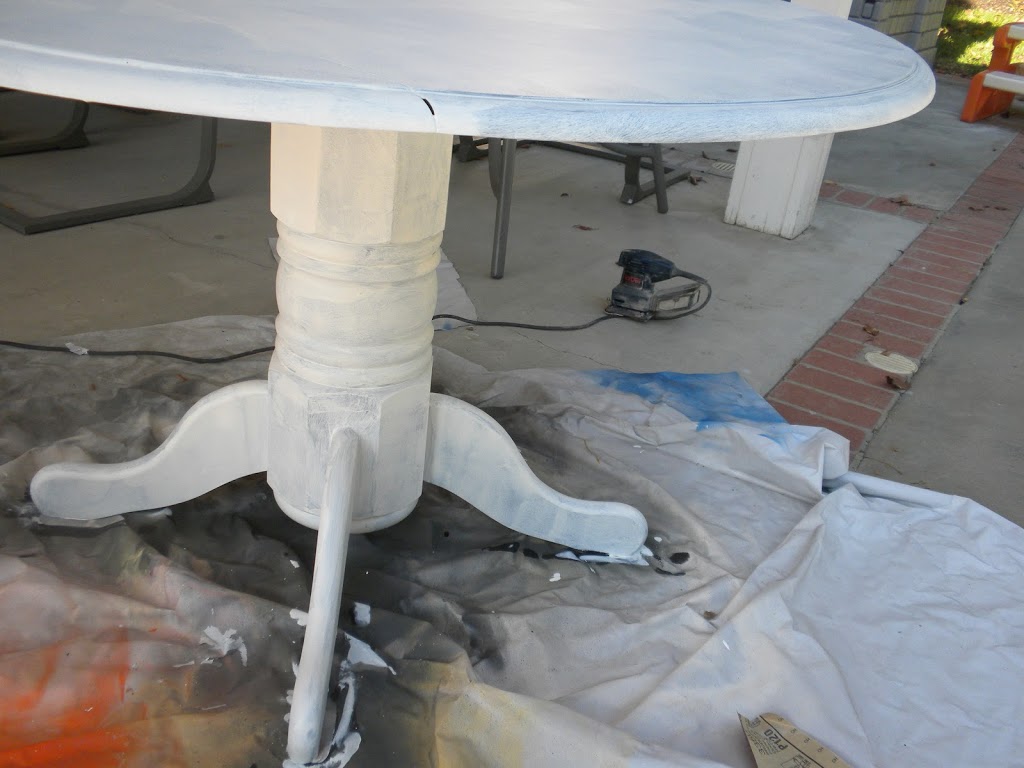
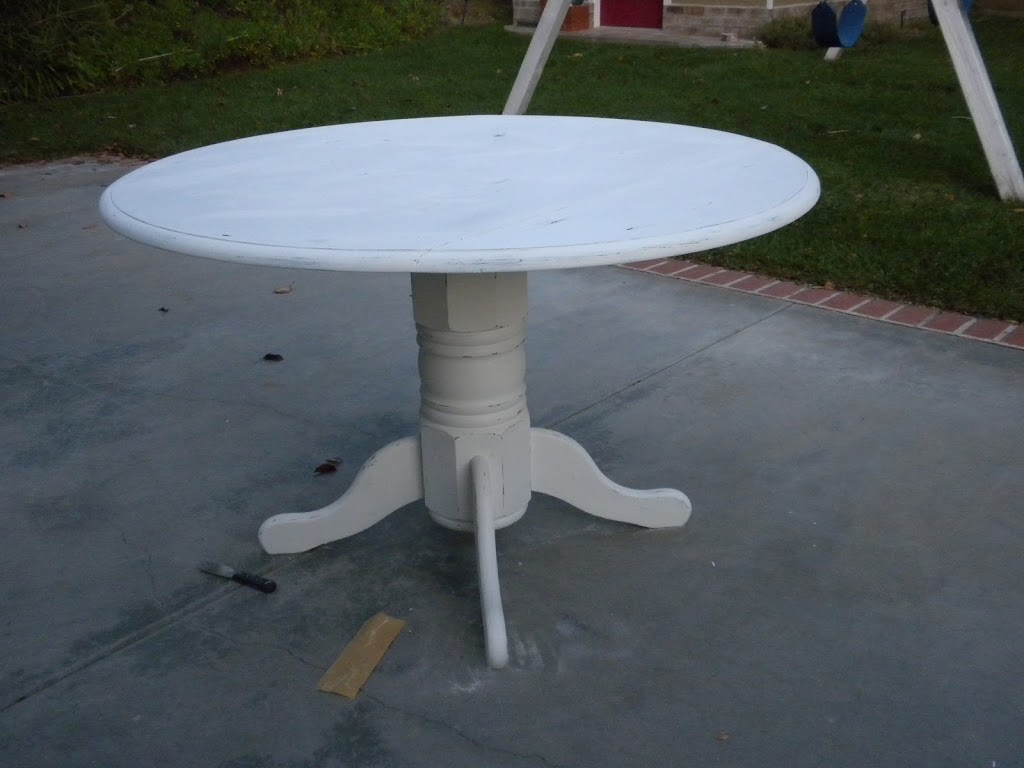
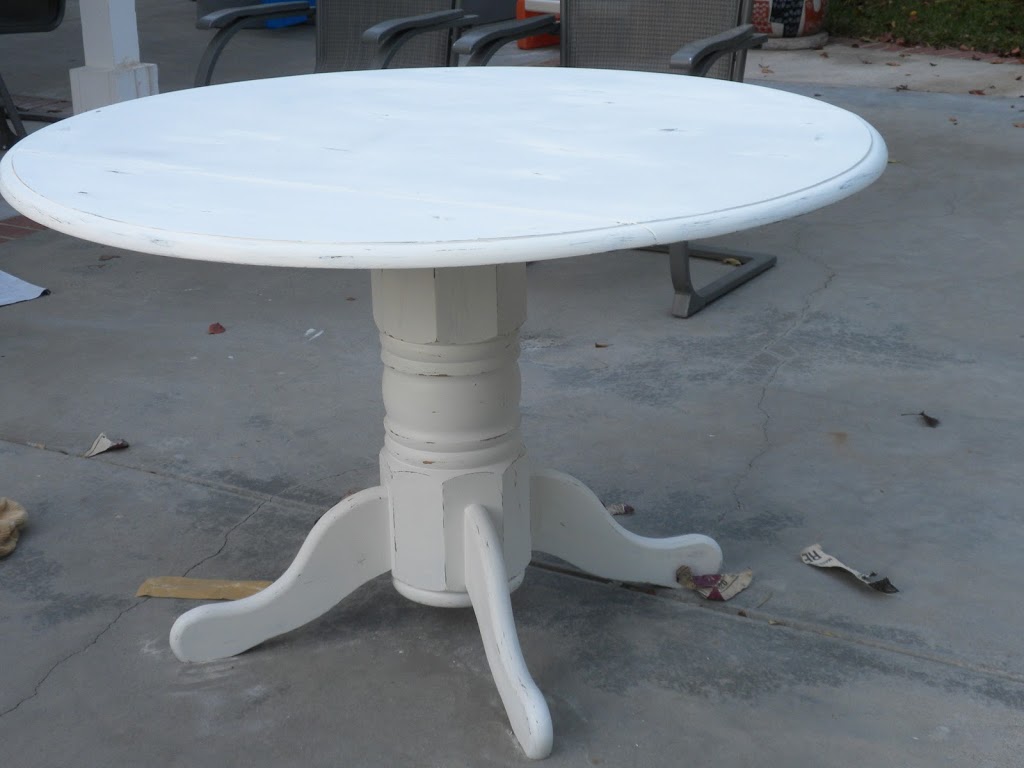
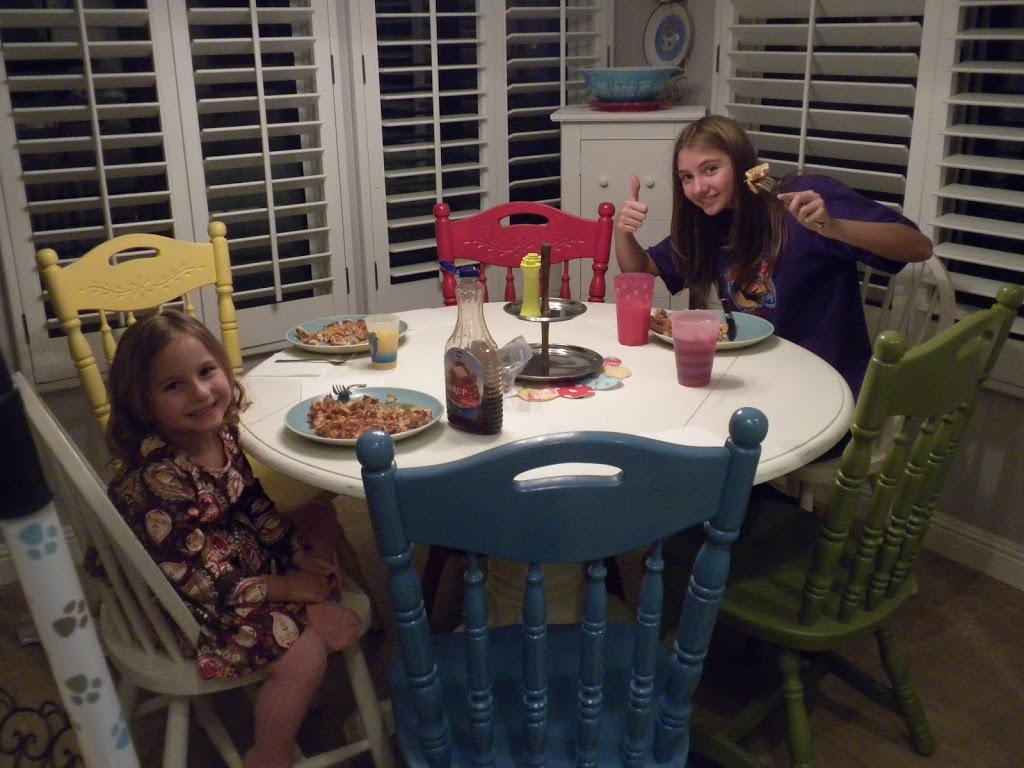
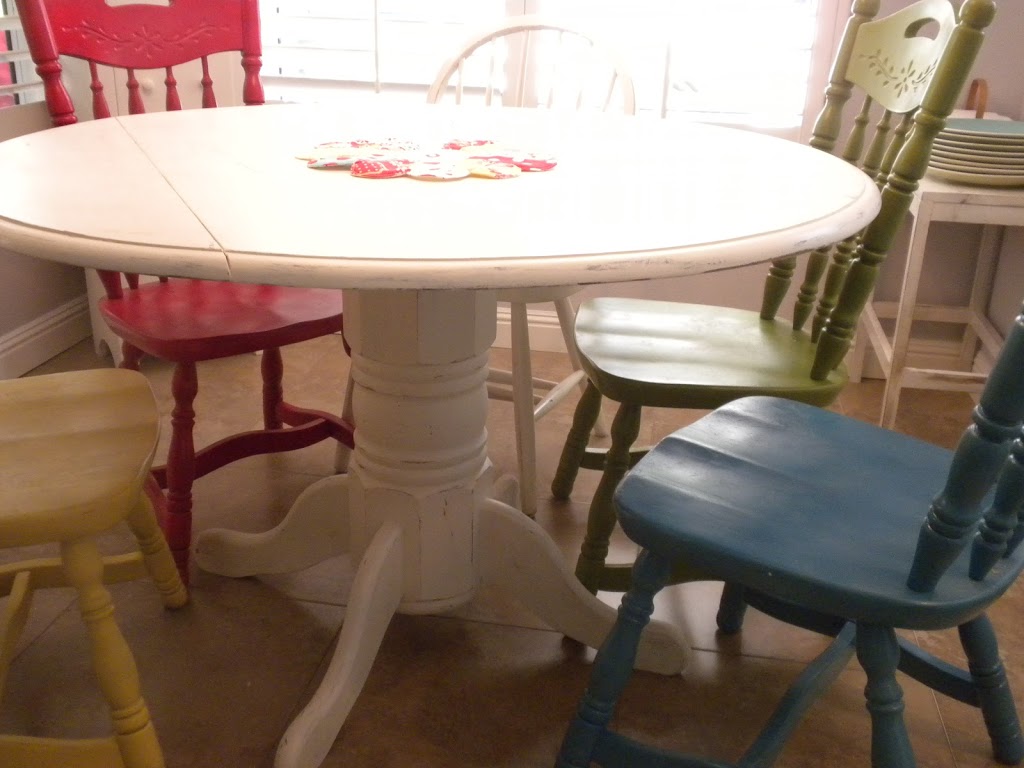
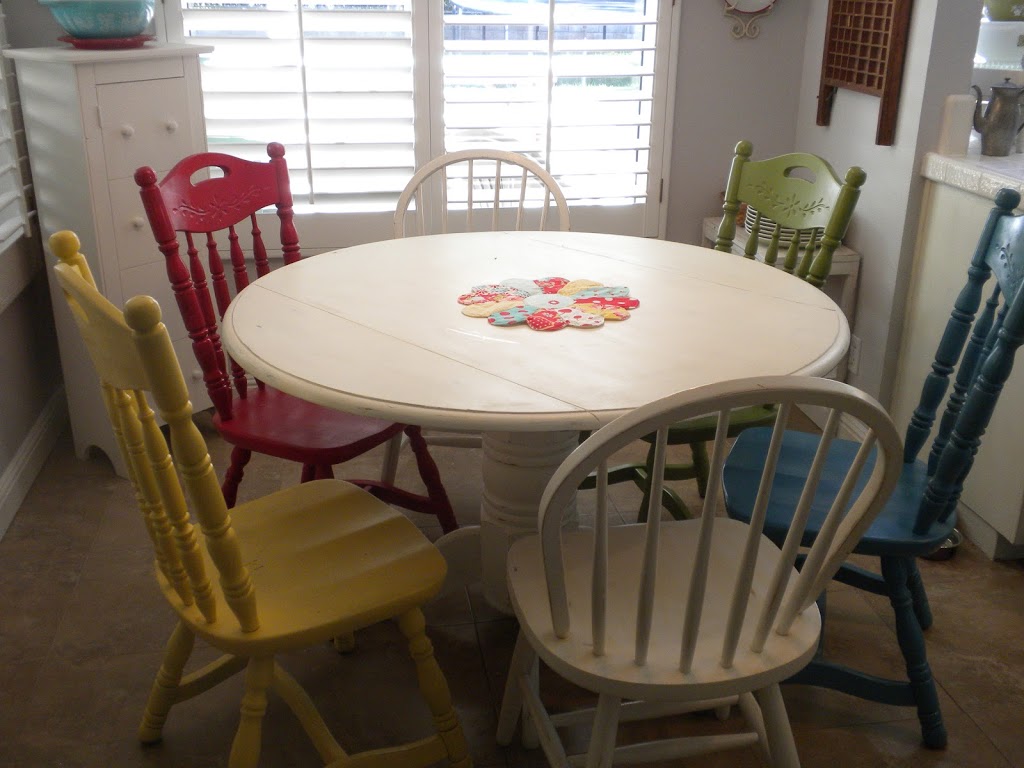
 I picked up two chairs.  I recently sold my dining room table and chairs to my friend.  My hubby has promised to make me a custom farm table – look for posts on that fun project!  I got the chairs for $7 each – not bad!

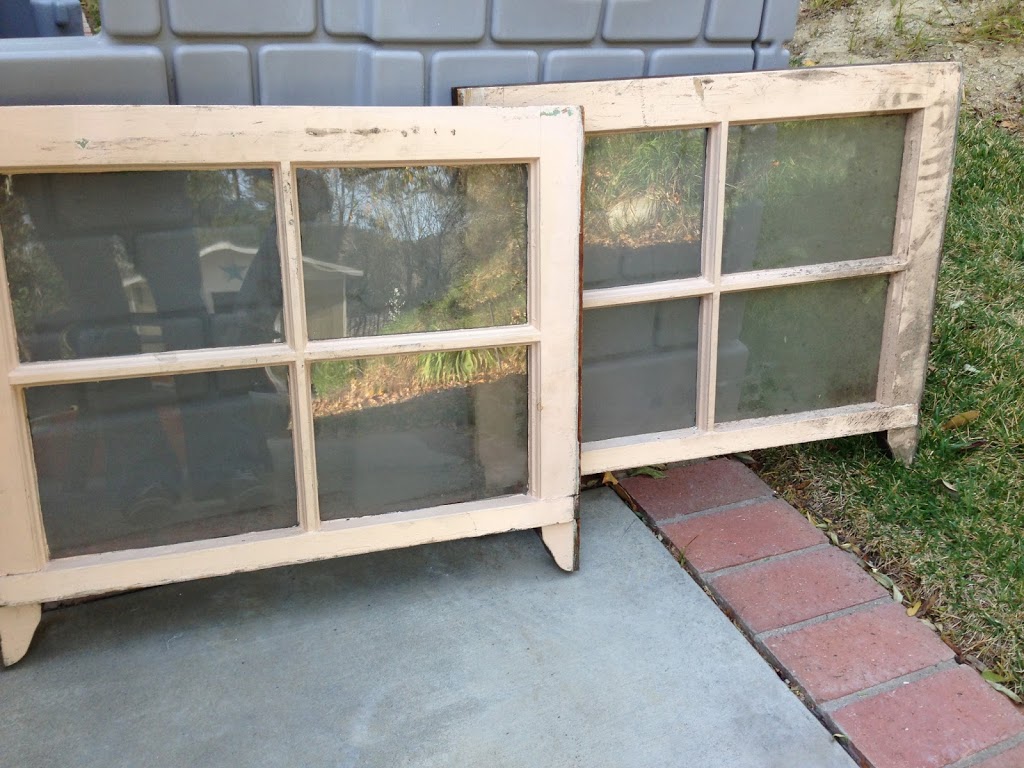
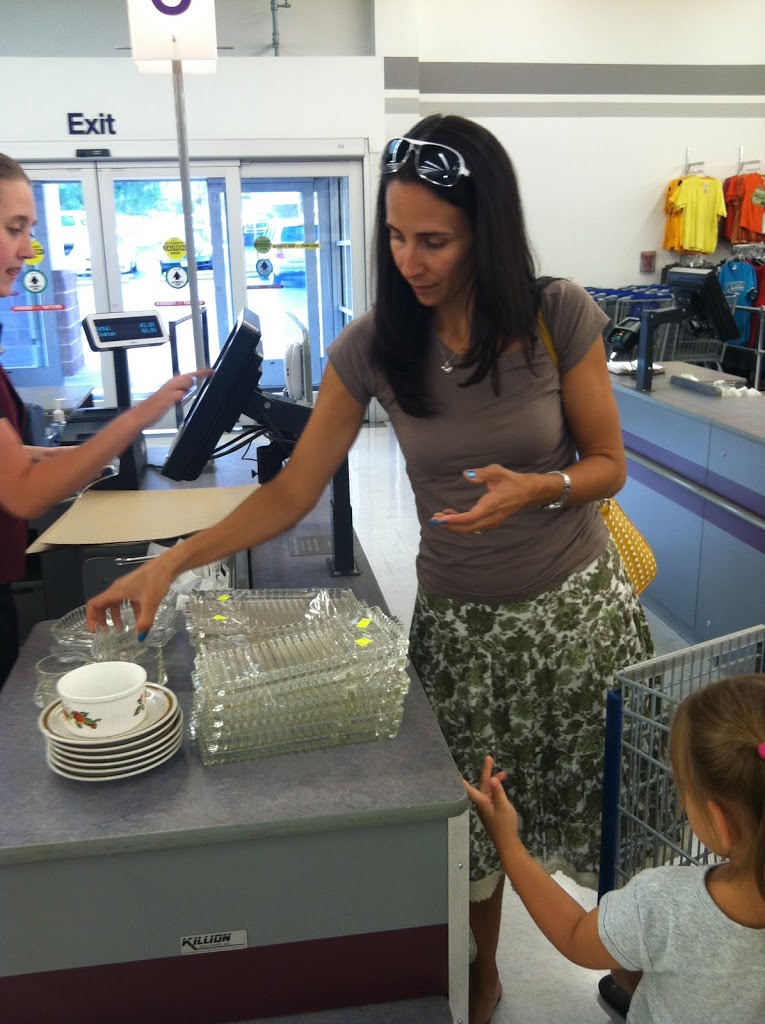
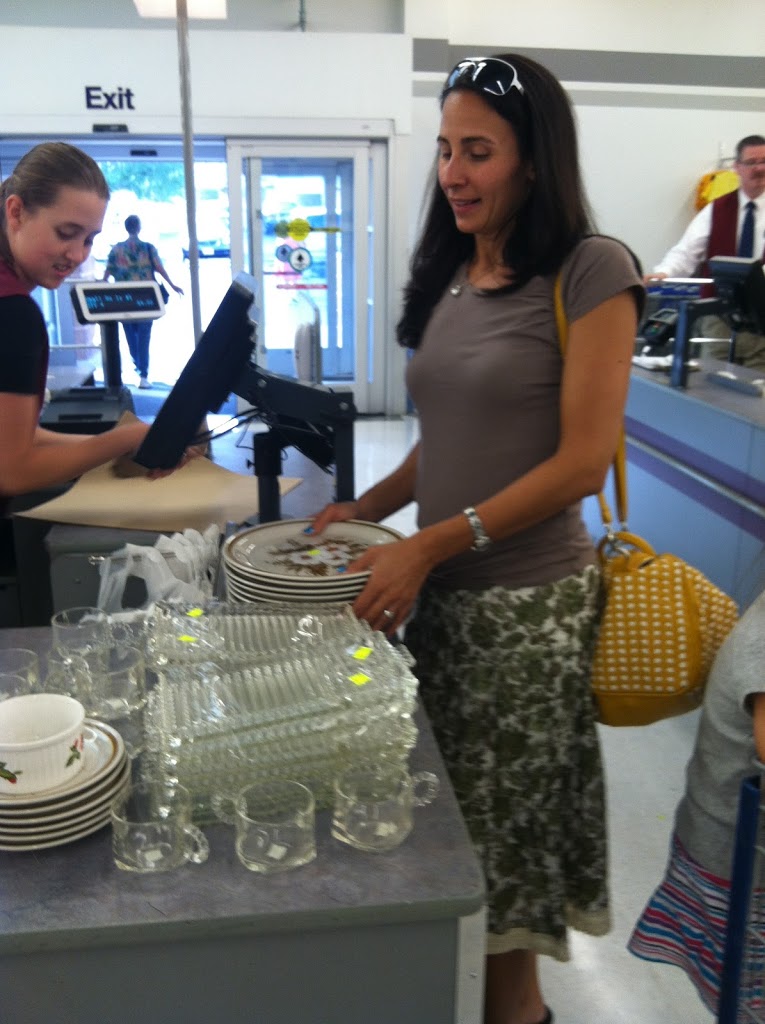
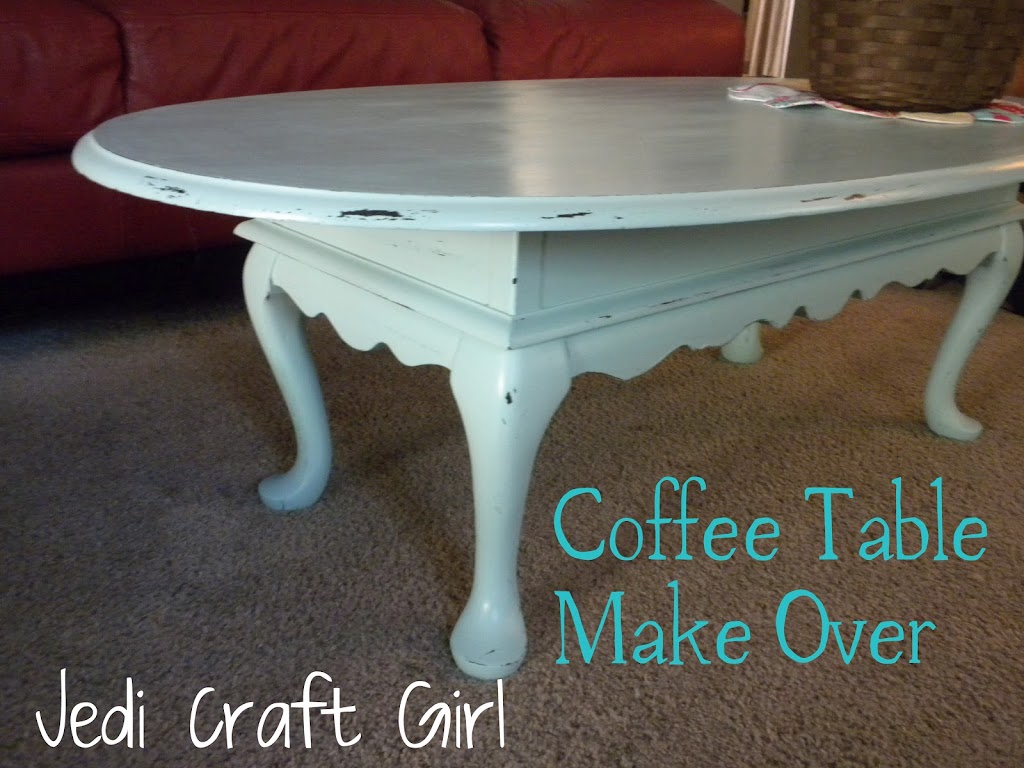
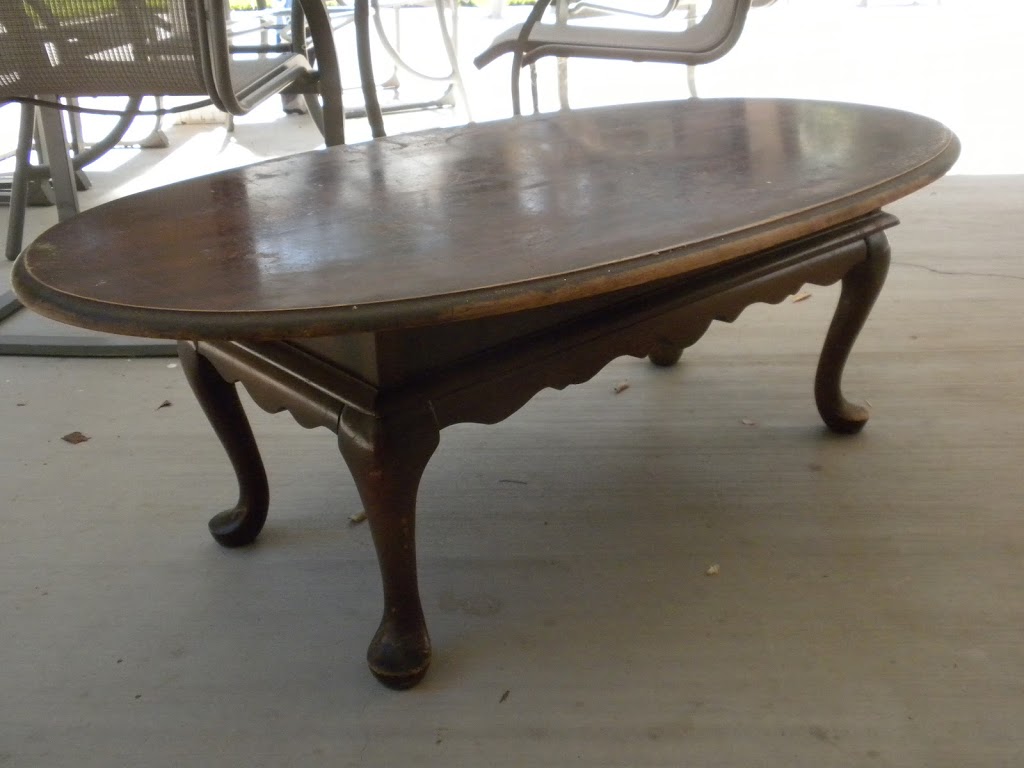
I also picked up these two windows – I need more windows like I need a hole in the head – but I couldn’t pass them up at $5 each!

Kitchen Table Re-Do

I bought this kitchen table (and 4 chairs which will be used in a different project) on Craig’s List for $25!  I was so excited for a new project.

 Right away I got to sanding it.

 Then I primed it with a dark primer.

 I painted it black.

 Then I painted over the black with white paint.  I used the same chalk paint method as I used on my coffee table.  The technique comes from I Heart Naptime.  I mixed 5 tablespoons of Plaster of Paris with 2 Tablespoons water.  Then added 2 cups of white paint.

My plan was to have the white paint look aged & like it’s chipping off with the black showing through.  Only I got so excited to paint I forgot to add Vaseline to parts of the table to make the paint scrape off easier.  I would definitely not forget this step!!

 Anyway, I painted 3 coats of white paint to the table.

 Next I sanded the edges so the black paint would show through & the table would look aged.  This is where the Vaseline would have been nice.  I didn’t get the big chunky paint chips that I wanted.  I am sure they will come over time!!

This Minwax Finishing Wax is my favorite stuff!!!  It gives such an amazing feel to your furniture – different then polyurethane.  You rub the wax on and then in 20 minutes you buff it out with a clean cloth.  It makes the paint feel like it’s been there for a long time!!  I even used it on my table top.  It won’t protect it as good as polyurethane, but I want the table to age naturally.

 This is our first meal at the table.  I love how it fits the space in my kitchen better than my rectangular table.

 Yea!  Now what can I paint next??

Thrift Shopping at DI

I love going to Utah because I get to shop at the Deseret Industries!!  It is so much cheaper than thrift shopping in California – and there is so much to rummage through.  David took these pictures of me “negotiating” with the cashier!!  (I didn’t know I was being photographed!)  So funny.  I got all these cute luncheon plates & little glass cups to add to my collection – now I can have 100 people for lunch & they can all have their own glass plate!!


Coffee Table Re-Do!

 I bought this coffee table at a garage sale over 6 months ago – I paid $2 for it!  I didn’t really know what I wanted to do with it – I figured I would paint it or something.  So, it sat in the backyard for months and months.  After reading I Heart Naptime’s post on DIY Chalk Paint, I was inspired to paint something.  This coffee table was the perfect candidate!

 Step #1
Have your husband kill the black widow spider that is living in the underside of the table.  YIKES!!!

 I loved the tutorial from I Heart Naptime.  She does an amazing job of explaining each step and her piece of furniture came out fabulous.  You should check it out!!  I followed her steps pretty closely.

#2 Sand

This table had spots of glitter glue all over it from it’s previous owner.  I felt that a good sanding would help my table get off to a good start.  I didn’t sand down to the grain – just till it was smooth.

 #3 Base Color
My goal in this piece was to distress it.  I wanted a black color showing through (you can use any color – or even have the wood show through)  I used some black paint and painted the edges and spots on the surface.  Looking back, I would have given the entire table a coat of black because I couldn’t remember where I put my spots on the top!!

#4 Vaseline

This is a technique to help the base color show through the top color.  I have also seen it done with candle wax.  Rub the Vaseline along the edges and parts where you want the black to show through – this will give it a shabby chic or rustic look depending on how much sanding you do. 

#5 the Chalk Paint Mixture

This is where we will get that worn, vintage feel to our paint.  I went to Lowe’s and purchased latex paint in a light aqua color.  I asked for Satin finish and when I got home I noticed it was semi-gloss.  I was a little miffed, but it worked fine anyway. 

Mix 5 Tablespoons of Plaster of Paris with 2 to 3 Tablespoons water in a small container
Then measure 2 cups of paint in a separate container and stir the plaster mixture into the paint until it’s smooth.  This was the right amount for the size of table I was painting.

#6 Paint Paint Paint

I gave my table 3 coats of paint with a paint brush, letting it dry completely between coats.  Some items may only need 2 coats of paint.

#7 Inspection
Make sure your cat inspects your work, getting his paws, tail and back in the paint!!

#8 Sanding
Take a light weight sand paper and sand where ever you want the black to show through.  I sanded all the edges, curves, and random areas on the top.  This is where the Vaseline helps so you don’t have to sand like crazy – especially with 3 coats of paint!  It worked great!!

 #9 Finishing Wax
This is my favorite part of the project!  Use Minwax Paste Finishing Wax.  Get a rag and rub it all over your piece of furniture.  Then let it sit for 20-30 minutes.  Take another cloth and buff or polish the wax.  The wax gives it a vintage look as it is not glossy or too shiny, yet not flat.  It’s the perfect finish for this project.  If you are finishing a piece that needs to be durable, such as a kitchen table, I suggest polyurethane or polycrylic – it will be more durable.  You can get those in satin finish so they aren’t too glossy.

 Ta Da!!!!
It’s done & I LOVE it so much!!!

 I would totally paint furniture using this technique again.  When I bought the $2 table I was thinking $4 of spray paint and it’s done.  This process was lots more $$ but still cheaper than buying real chalk paint.  Plus I have plenty of Plaster of Paris and finishing wax to do several more projects – YEA!!!

Thrifty

I had almost given up shopping at the Good Will.  In fact, I haven’t been there for over a month!  We are starting to gather items for Halloween costumes, so I took the children there today.  Look what I found!  My first pink piece of Pyrex!  I couldn’t believe it!  It was on one of those carts they had just wheeeled out!  It isn’t in perfect shape – but it will do!  Yea!!

I also picked up these cute apple bowls – five for $6. 

And I LOVE these retro glass rectangle dishes!  They were two for $3.

Laundry Room Update

 My laundry room is finally coming along.  David finished the tile work and built the shelf this past weekend.  I decorated the buckets and tubs with fabric tape from my friend Judy at Sprizzie.  I love it – she also has lots of fun washi tape!  I don’t keep all my laundry in here – there just isn’t room.  This is where the stragglers life.  The rest is in hampers in everyone’s room.

 I bought these vintage frames at a garage sale.  The art work was a little faded.  I printed out photos of my girls wearing clothes I wore when I was little and I mounted them right on top of the vintage prints.

The frames are really hanging on the wall – the fabric bows are made to look like the picture is hanging from them – the bows are actually hot glued on!

 Oh yes, the lost and found board is in full use!  It’s kind of embarrassing how many missing socks I am responsible for!!

 Finally I cut this little phrase out and put it on the door.  I found it on the internet somewhere & loved how it turned laundry into something to be thankful for!  A nice reminder for sure.

I have a few more things to finish – I am making a little quilt to hang above the backsplash.  Hopefully it will get done soon!

Bunny Silhouette Art


I made this cute bunny picture today. It’s been a while since I spray painted anything so I was looking around my house and found this frame I picked up at a garage sale for $1.


Then went through the scrapbook paper and found this paper. I went through my spray paint collection and found a color that matched. I glued the paper to a matte and then cut the opening with a paper crafting knife. I tore a page out of Charlotte Bronte’s, Villette (I read it and didn’t like it so the 500+ pages are perfect for crafting!) Then I googled bunny silhouette and cut it on the Cricut. Easy peasy!

It sits in my kitchen window! Happy Easter to me!!

I am in Love

I found this little beauty at an Estate Sale this weekend. $1. I am in love!

I am in Love

I found this little beauty at an Estate Sale this weekend. $1. I am in love!