Handmade Holidays Blog Hop – My Favorite Zipper Pouch

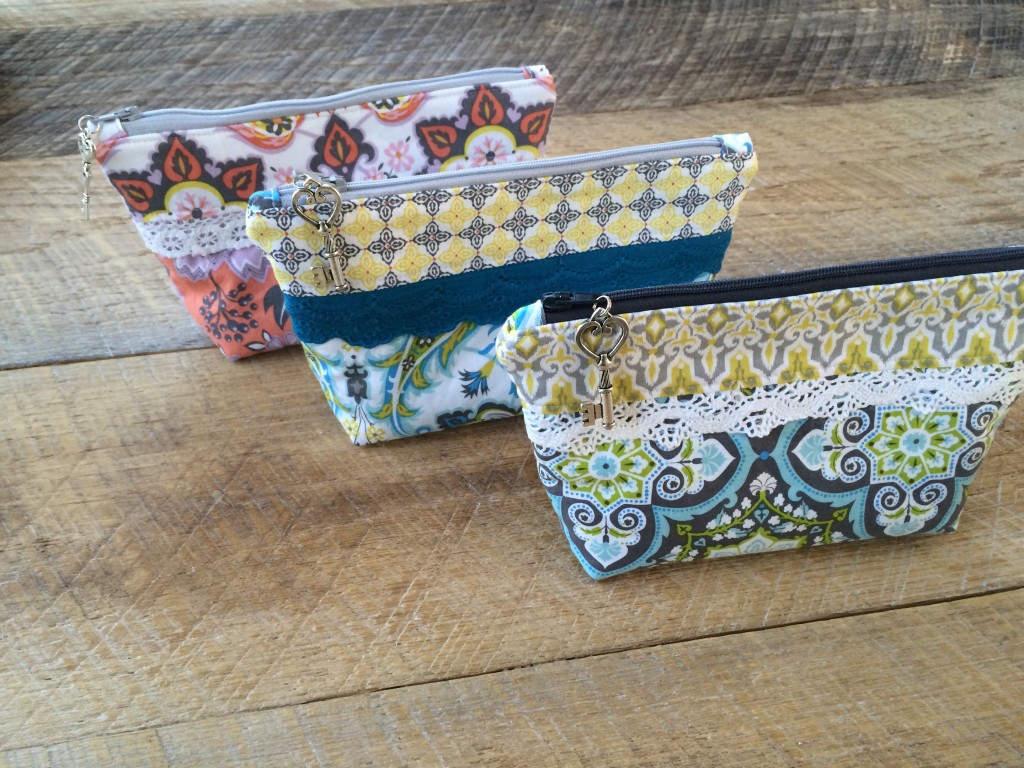
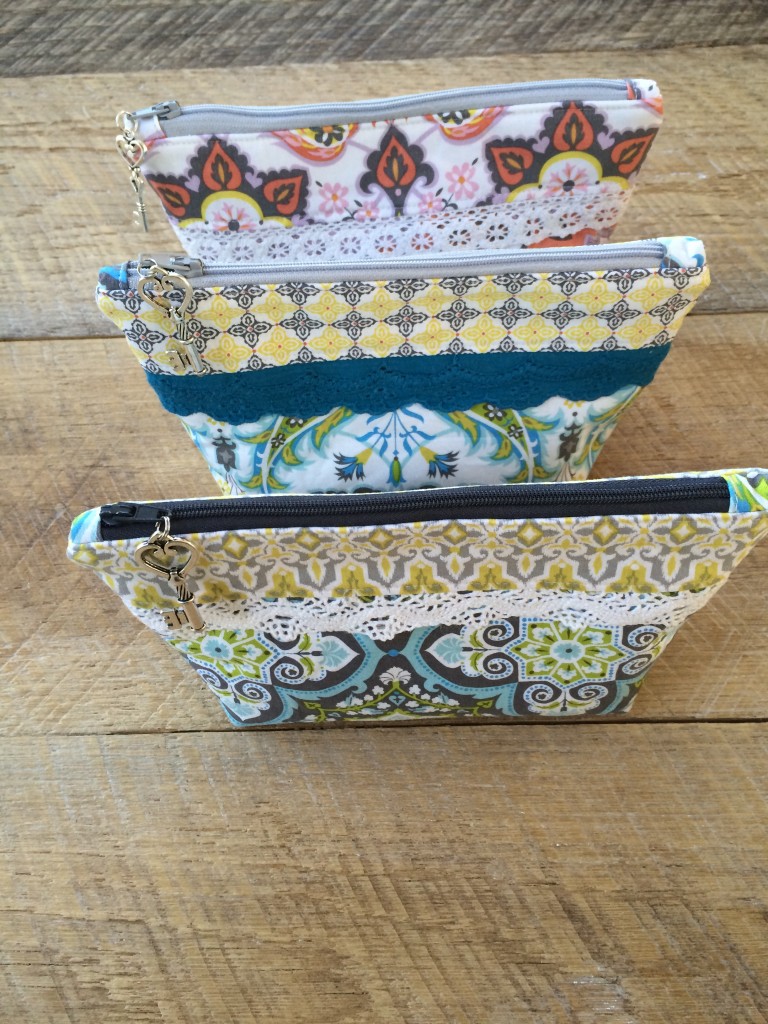
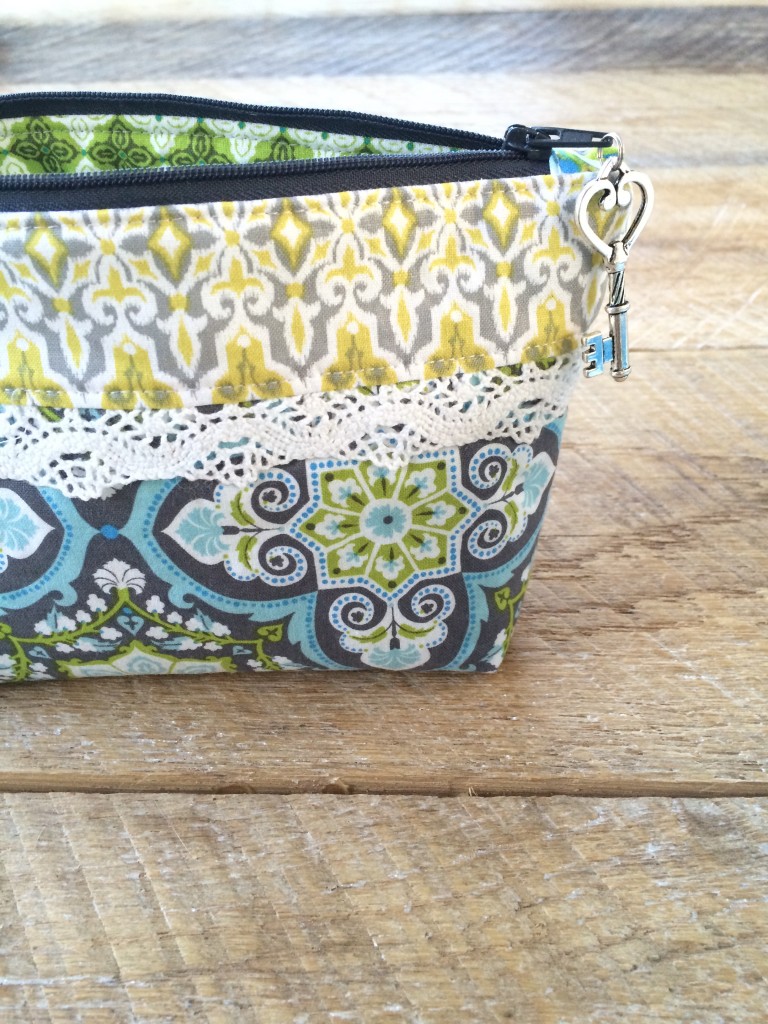
I LOVE zipper pouches!  I have million and I still need more!  I love that all my friends have one of my zipper pouches in their purses.  They are fabulous gifts because you always need another one!  I call this pattern My Favorite Zipper Pouch Version 2.0, click HERE for version 1.0 🙂
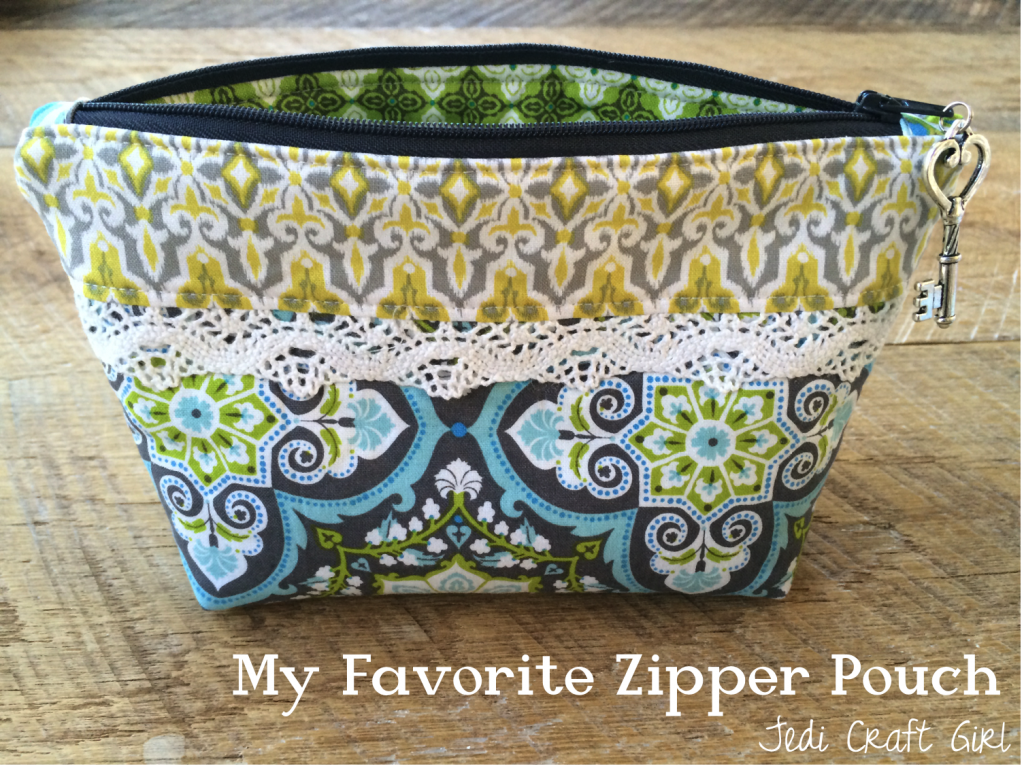
my favorite zipper pouch

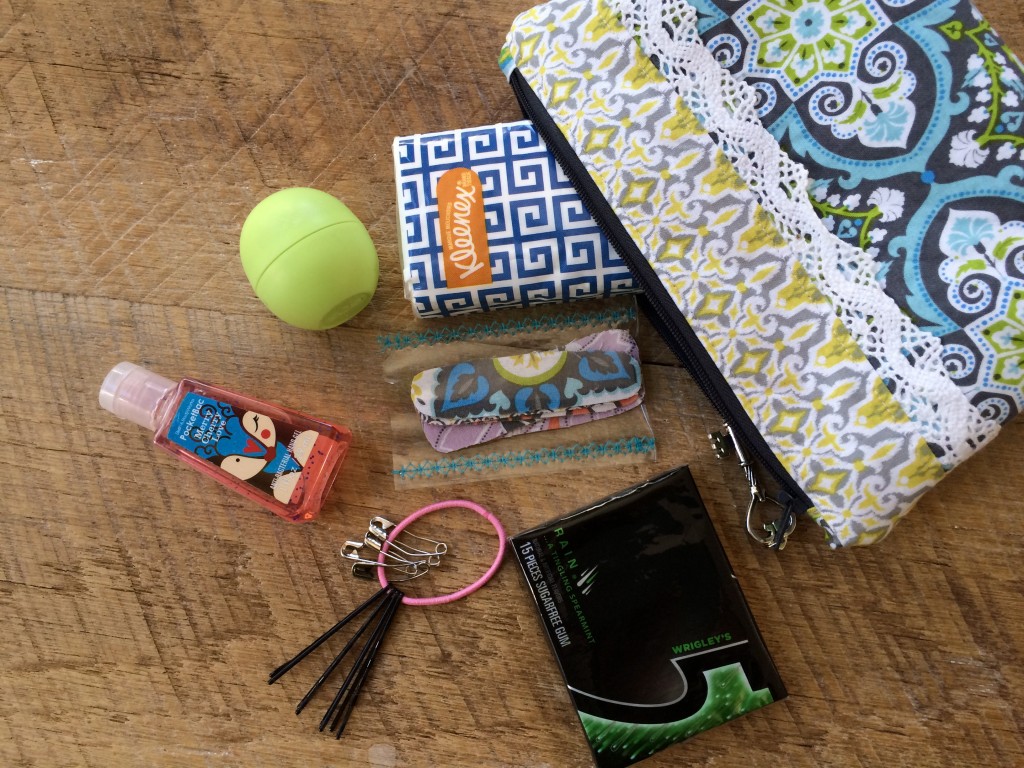
How cute is it to make one of these pouches and then put a few necessities inside: Kleenex, lip balm, hand sanitizer, gum, a handmade pouch of fabric bandages, and my favorite idea which I got from my friend Jennifer, a hair elastic with safety pins and bobby pins attached to it!  Brilliant!  Below you will find the tutorial for the zipper pouch, fabric bandages, and clear bandage keeper.  I hope you enjoy making these.
zipper pouch tutorial 32

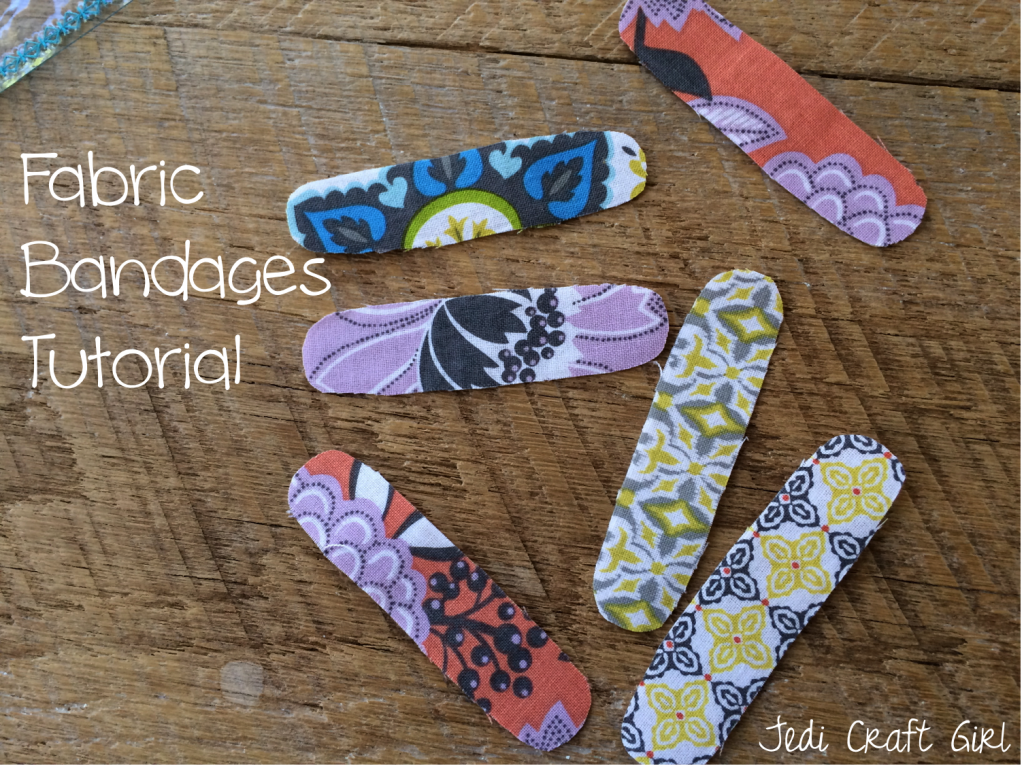
fabric bandages

zipper pouch tutorial 30

Supplies:

Fat Quarters or 1/4 yard cuts assorted fabrics

The fabrics used in this project are from Blend’s Turkish Delight.  I am totally loving every combination in this collection!!!

Therm O Web Fusible Fleece

Therm O Web Spray n Bond Basting Spray

1/2 yard of lace

zipper, at least 12″ – I buy my zippers long and then I can always cut them down

Key charm for the zipper pull

Let’s get started!

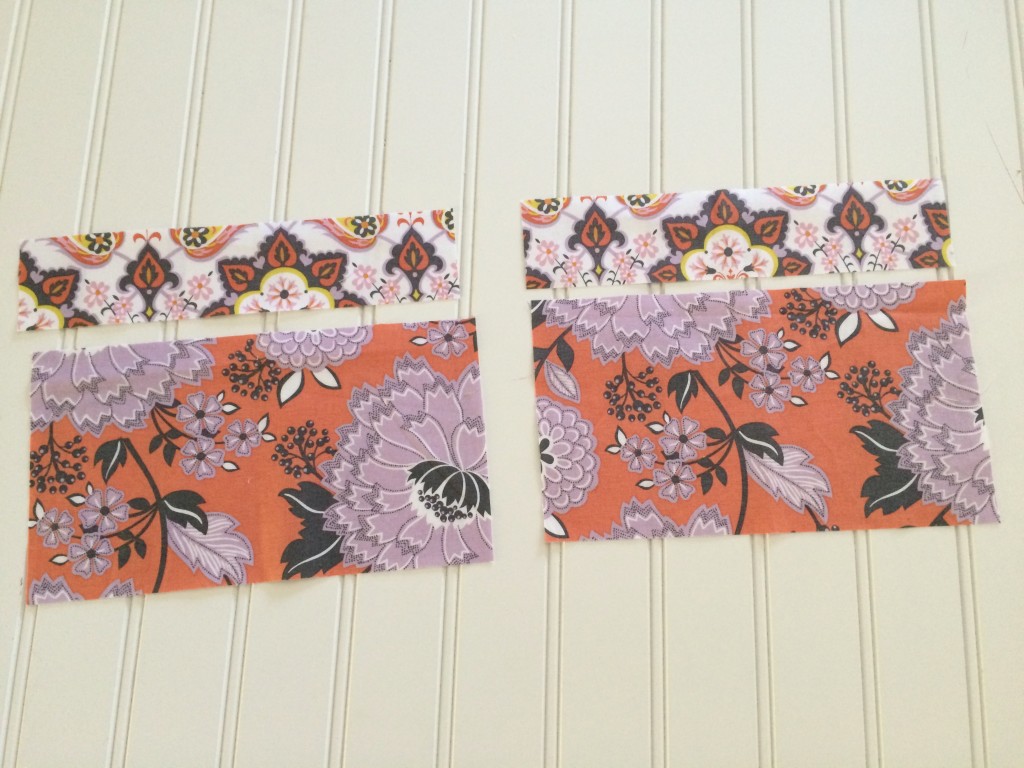
Cut the coral floral fabric (2) 5″ x 9″

Cut the white floral fabric (2) 2″ x 9″
IMG_1543

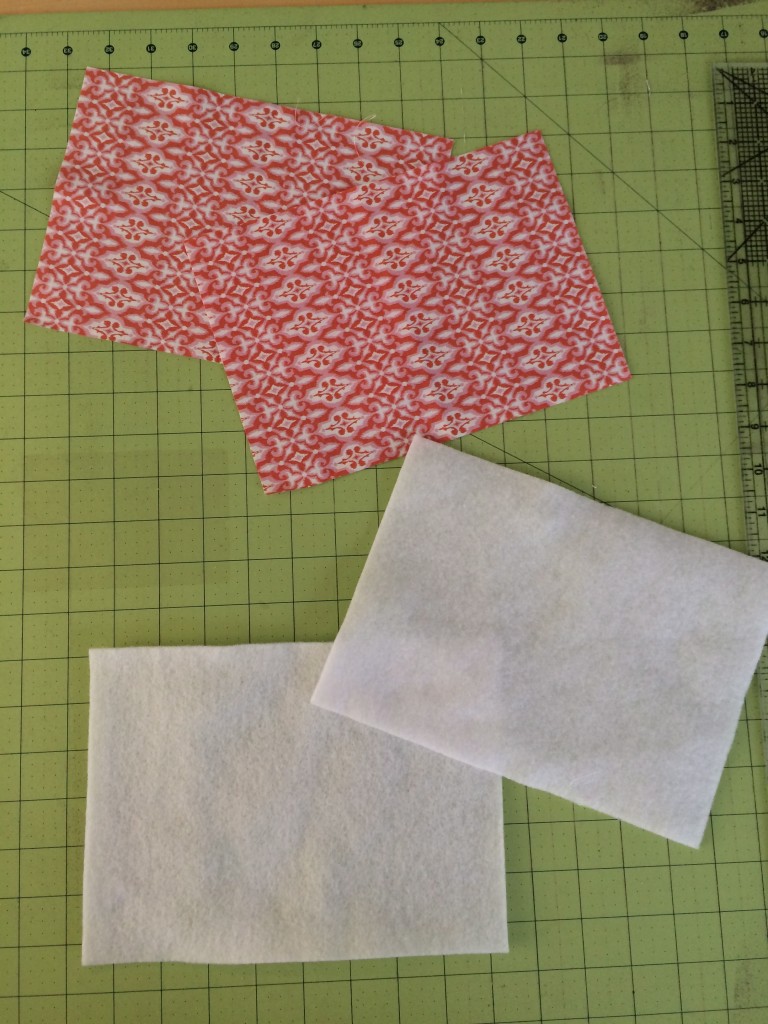
Cut the lining fabric (2) 6.5″ x 9″

Fusible Fleece (2) 6.5″ x 9″zipper pouch tutorial 5
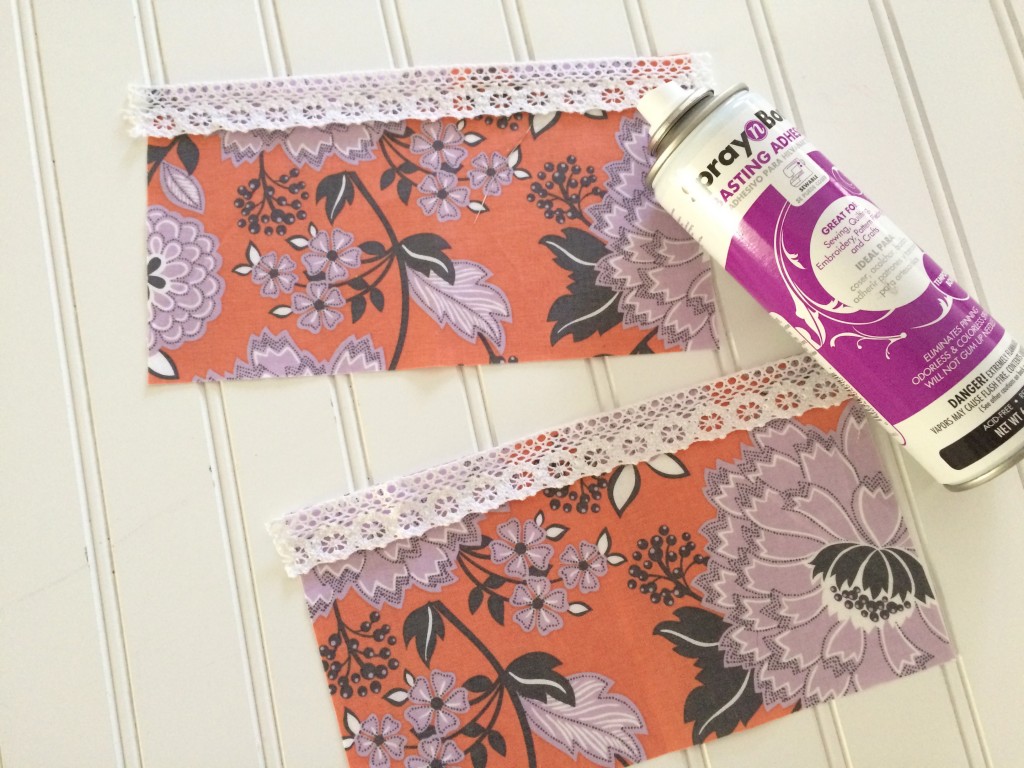
Cut the lace (2) 9″ pieces.  Using the Spray n Bond, spray baste the lace into place, lining the top edge with the top raw edge of the coral floral fabric.  Do this to both pieces.
zipper pouch tutorial 3

Using 1/4 inch seams, sew the white floral to the top of the coral floral.  Press.  Layer this piece on the fusible fleece and press according to the directions.  Do this to both the floral/lace pieces.  Using 1/8″ seam, top stitch next to seam on both pieces:
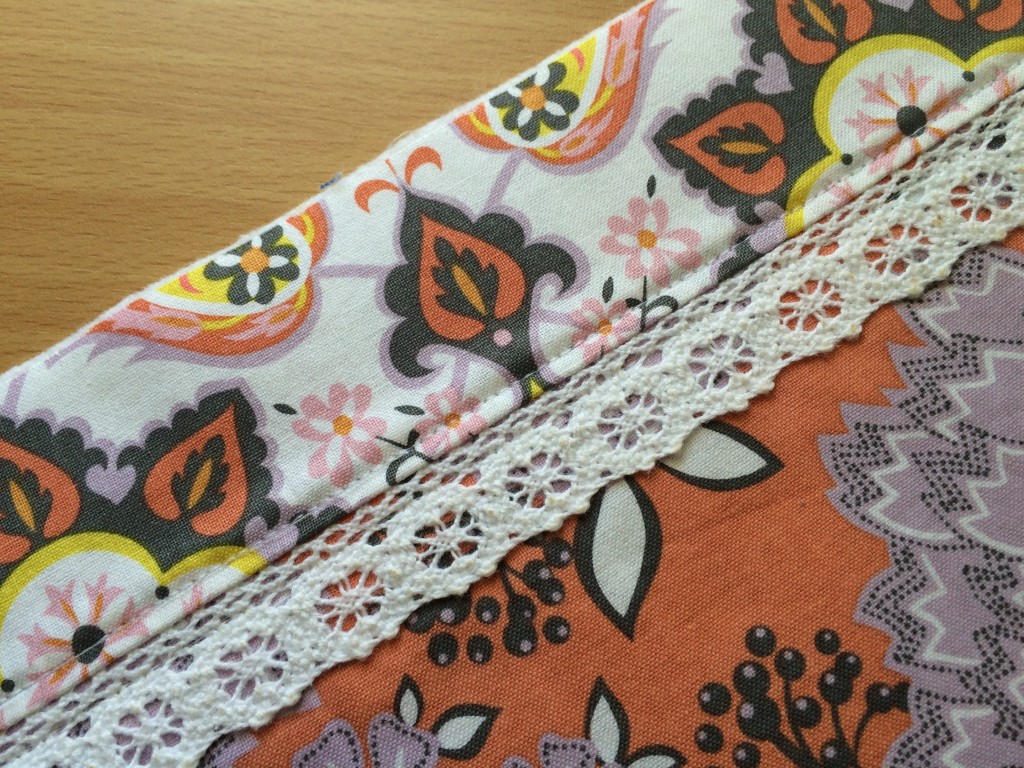
zipper pouch tutorial 6

For the zipper tabs….Cut (2) strips of fabric 2″ x 4″.  Press in half then press the ends in 1/4″ like this:
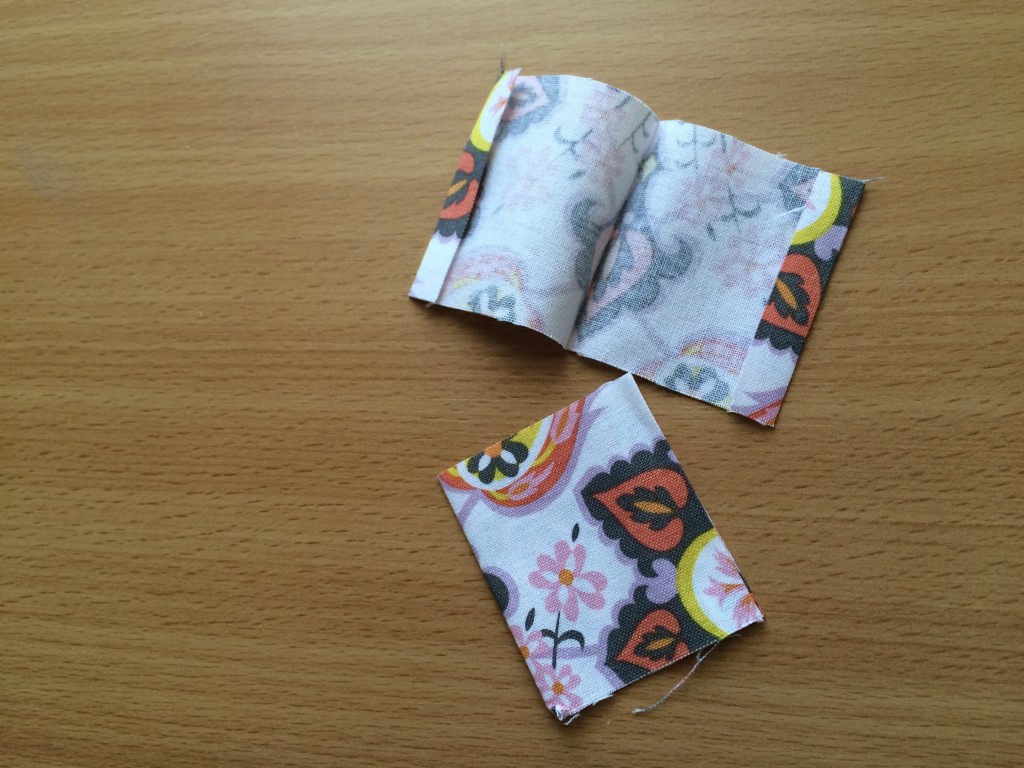
zipper pouch tutorial 8

Lay out the zipper, tabs, and one of the floral/lace pieces – note, the zipper tabs are larger than needed, we will cut off the excess
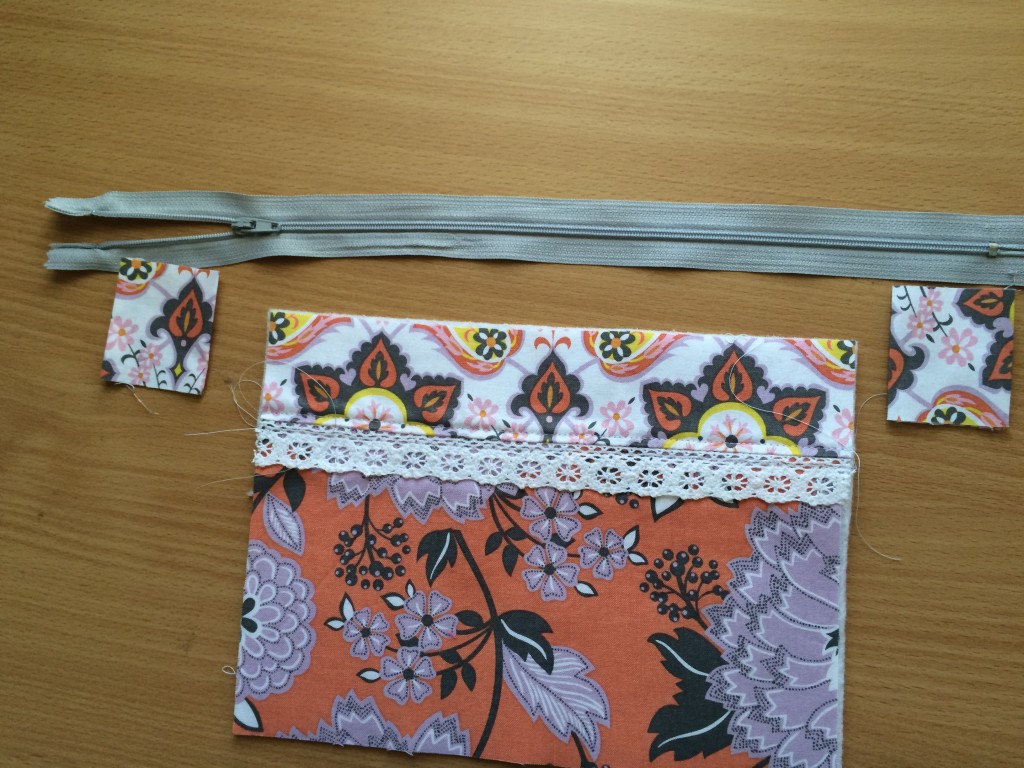
zipper pouch tutorial 9

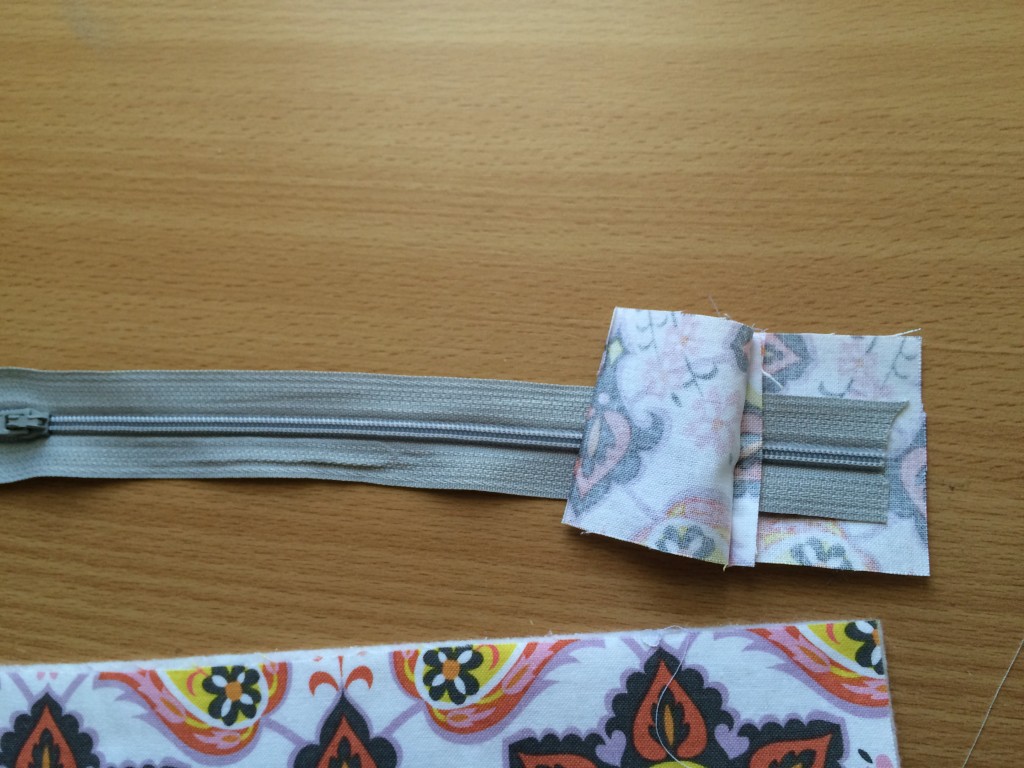
Open one of the zipper tabs and insert one end of the zipper (cut off metal stop).  Sew 2 times along the edge holding the zipper into place.  Then position the other tab.  There should be about 1″ of tab on each side, the extra will be cut off and discarded.  If your zipper is really long, you will trim down the zipper then place inside the tab.  It should look like this:
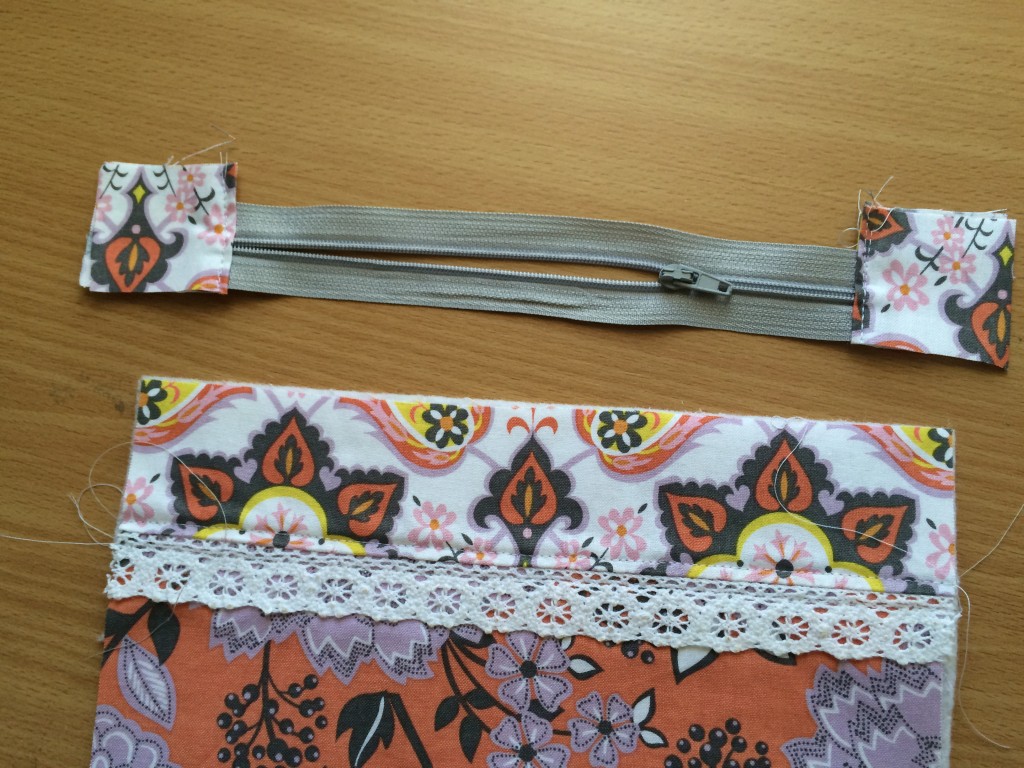
zipper pouch tutorial 12

Cut open the folded end of the zipper tabs.  Cut out the zipper so it only about 1/4″ remains.  This photo was taken before the zipper was cut out.  The reason for this is to reduce the bulk in the zipper pouch seams.
zipper pouch tutorial 11

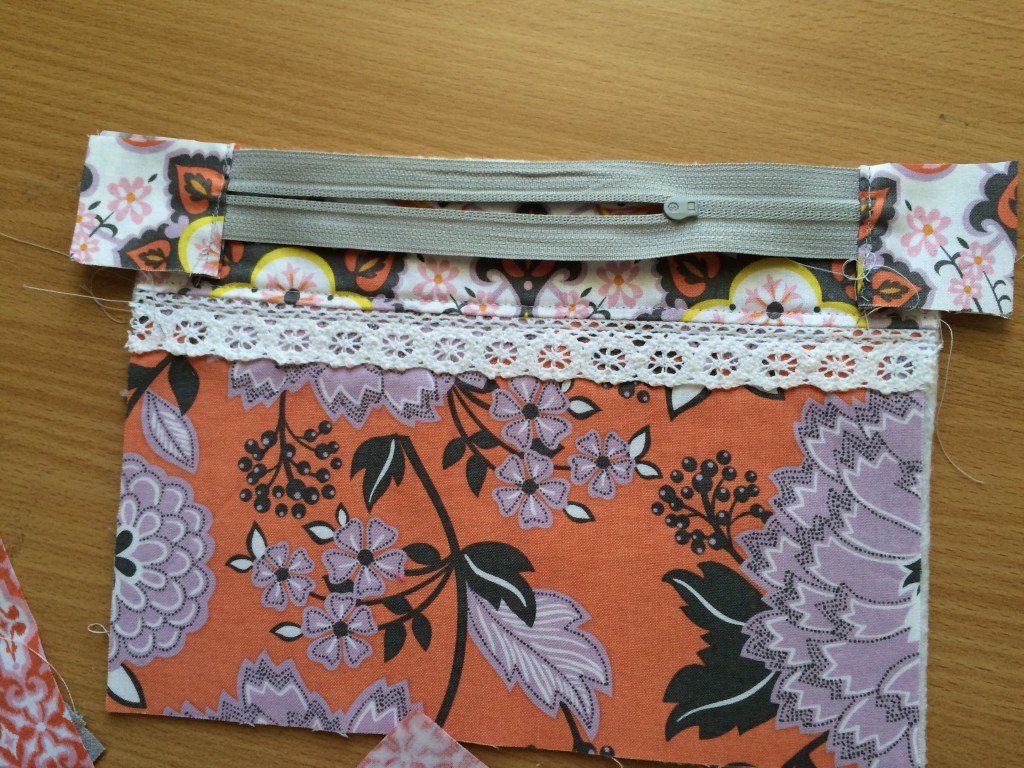
Place the zipper and one of the zipper pouch sides right sides together, aligning the edges.  You can trim off the excess tabs.
zipper pouch tutorial 13

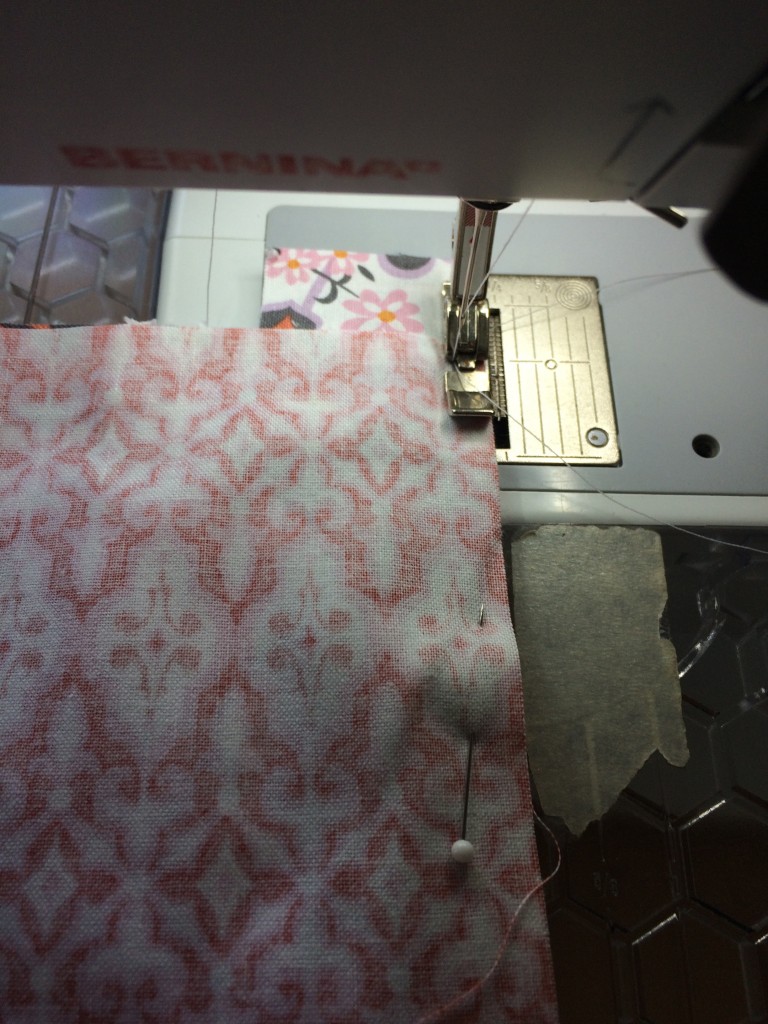
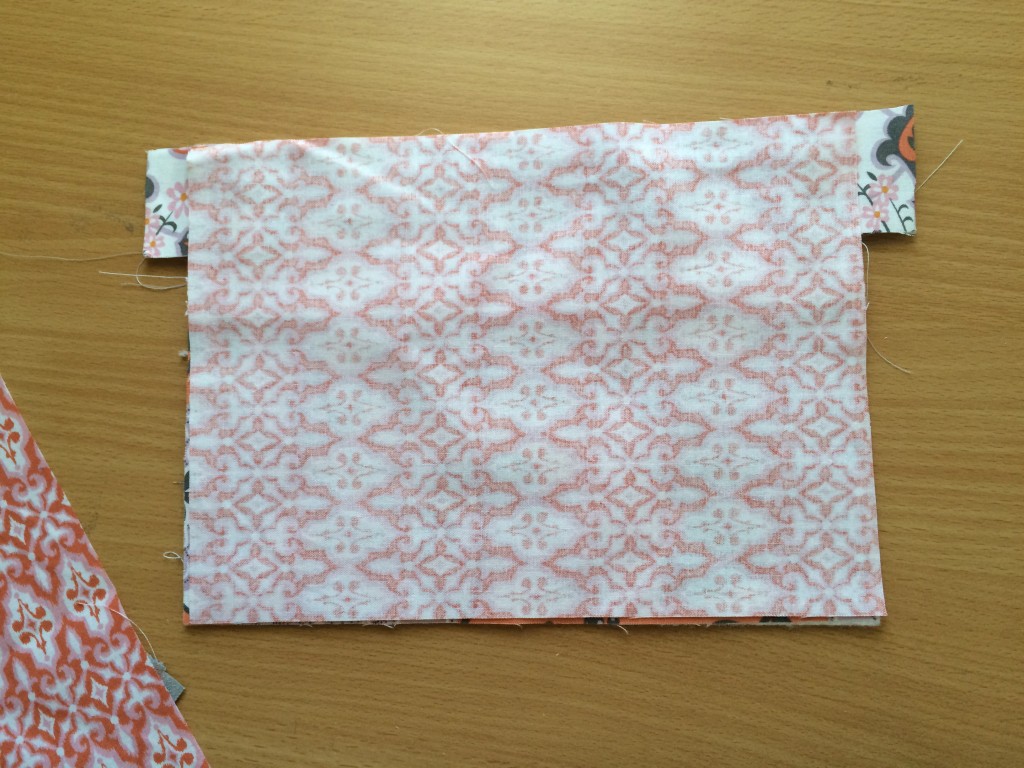
Now place one of the bag lining pieces right side down, lining up the raw edges with the zipper and the zipper pouch front.  Pin into place.  Sew along the edge using a zipper foot.
zipper pouch tutorial 14

zipper pouch tutorial 15

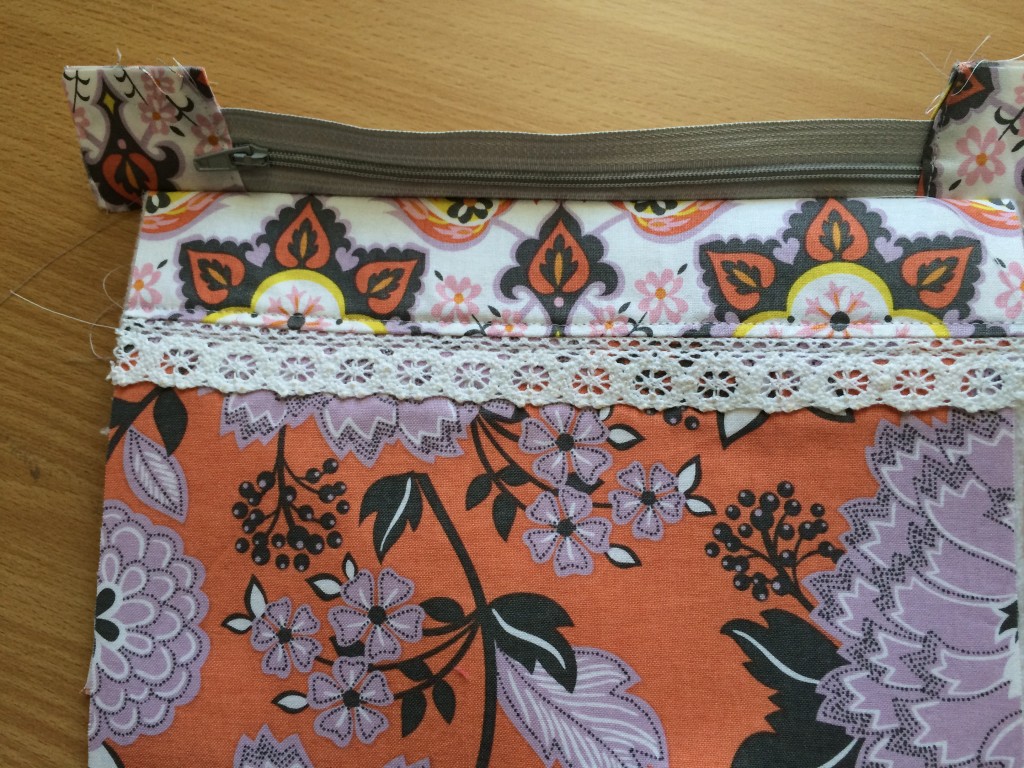
Now that the one side of the zipper is sewn in, press and trim off excess tabs.
zipper pouch tutorial 16

Now it’s time to sew the other side of the zipper pouch to the zipper.  Lay the second floral/lace piece facing up.  Then lay the piece with the zipper on top, matching right sides.  Line up the top edge of the floral piece with the zipper, like this:
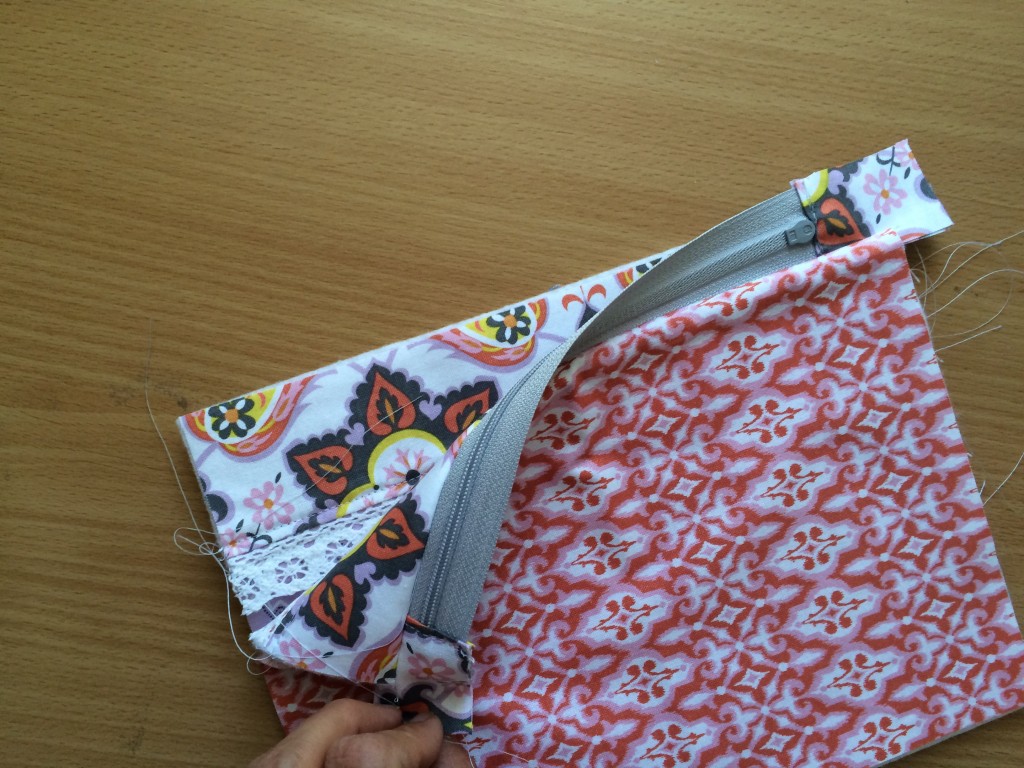
zipper pouch tutorial 17

Now lay the second piece of lining fabric right side down and align the top edge as well.  Pin.  Sew using zipper foot.
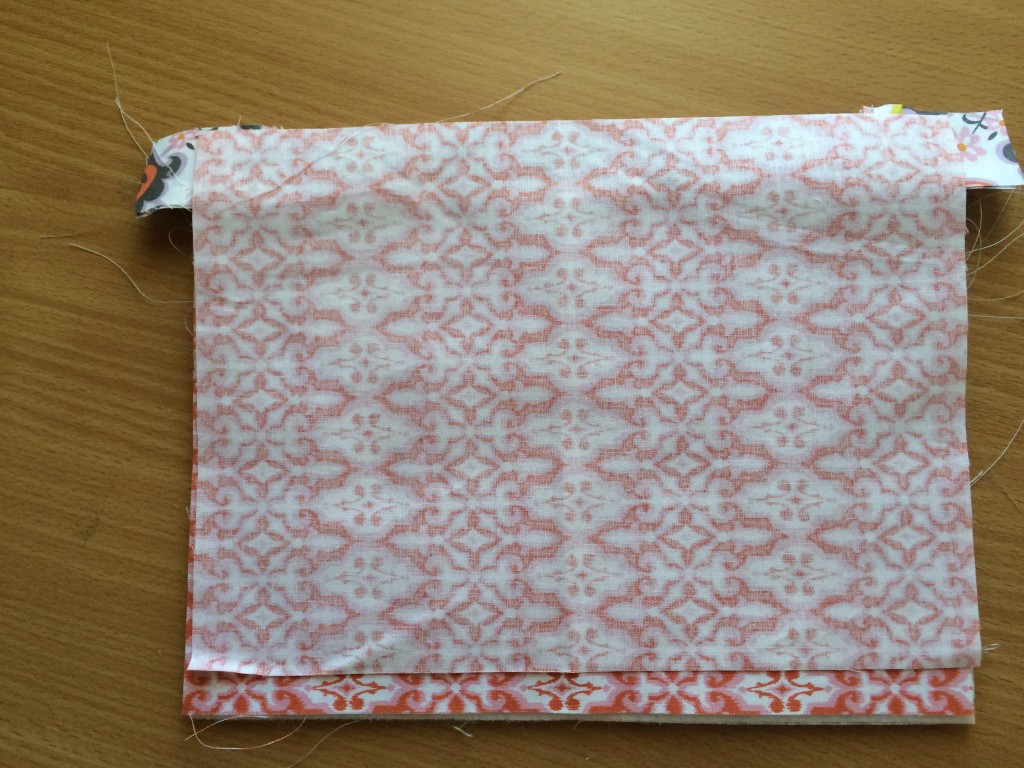
zipper pouch tutorial 19

Press the second side so the zipper lays flat.  Top stitch 1/8″ next to both sides of the zipper.
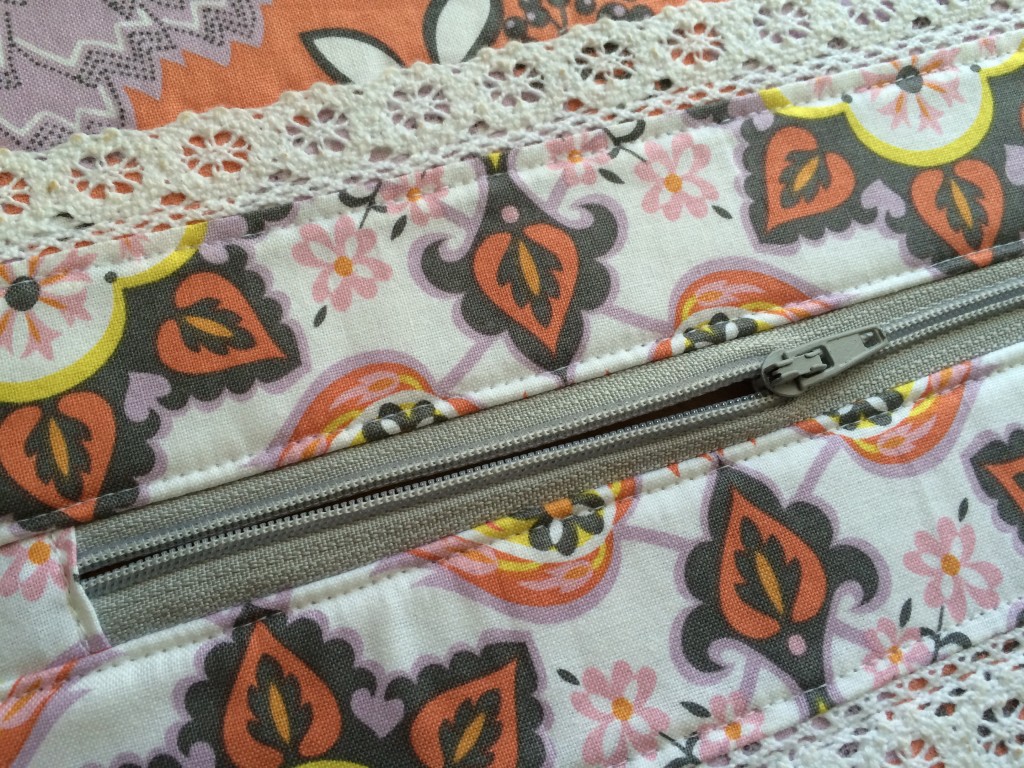
zipper pouch tutorial 21

To finish the bag…. MAKE SURE THE ZIPPER IS OPEN  Match right sides together beginning at the zipper.  Match the zipper seams line this and pin:  Do this to both sides.
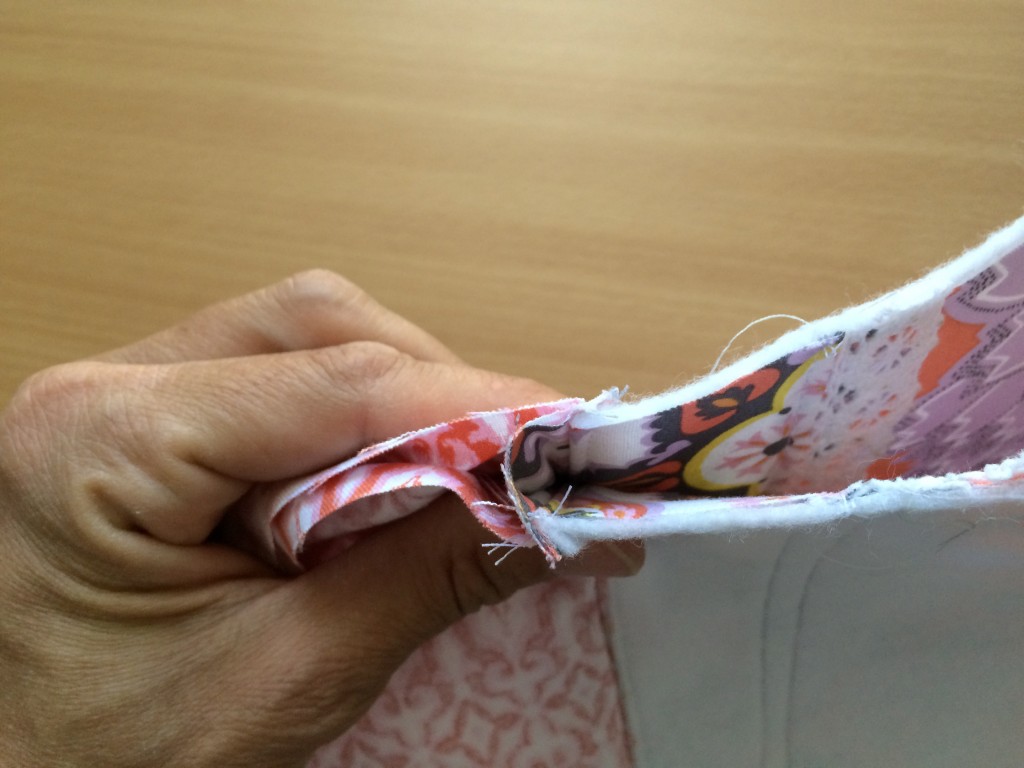
zipper pouch tutorial 22

Continue pinning all the way around the bag like this:  Then sew 1/4″ all the way around the bag, leaving an opening about 2.5″ on one of the sides of the lining.
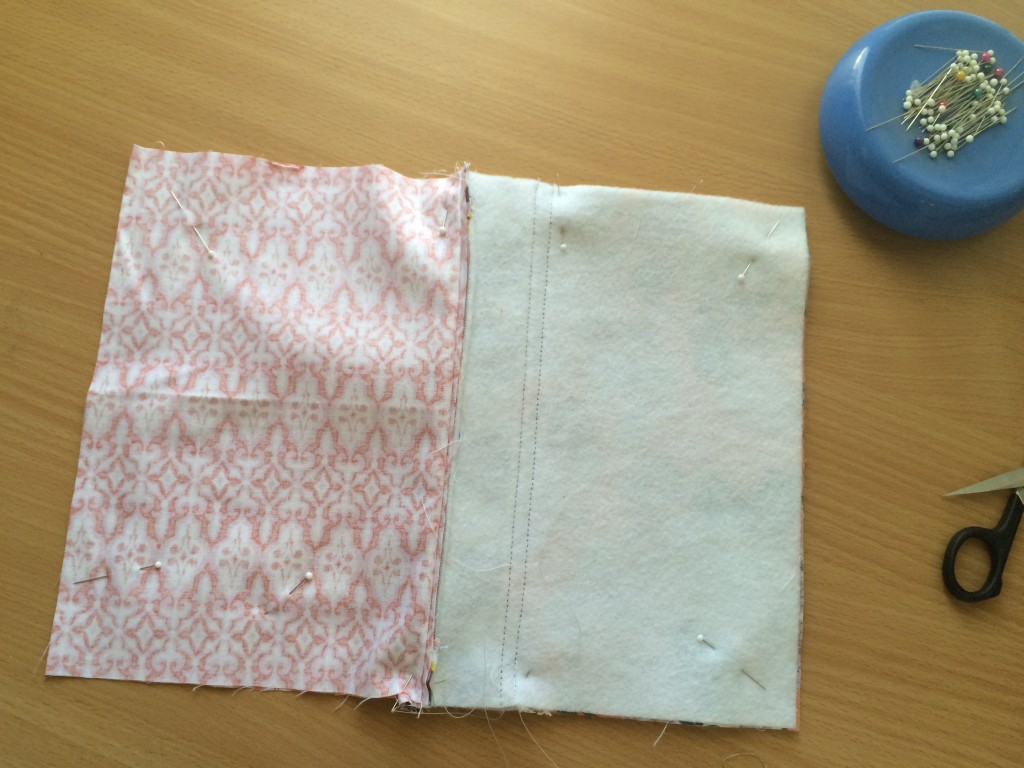
zipper pouch tutorial 23

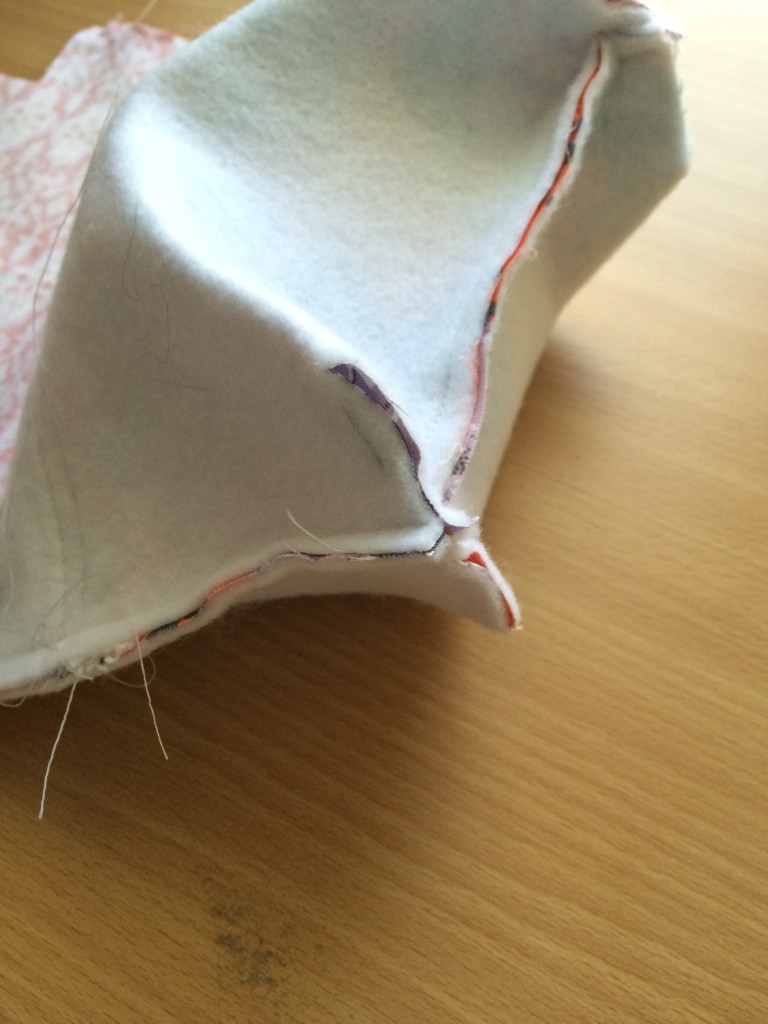
Before turning right side out, cut a 1.25″ square out of each corner.  I use a piece of paper 1.25″ square and cut with scissors.
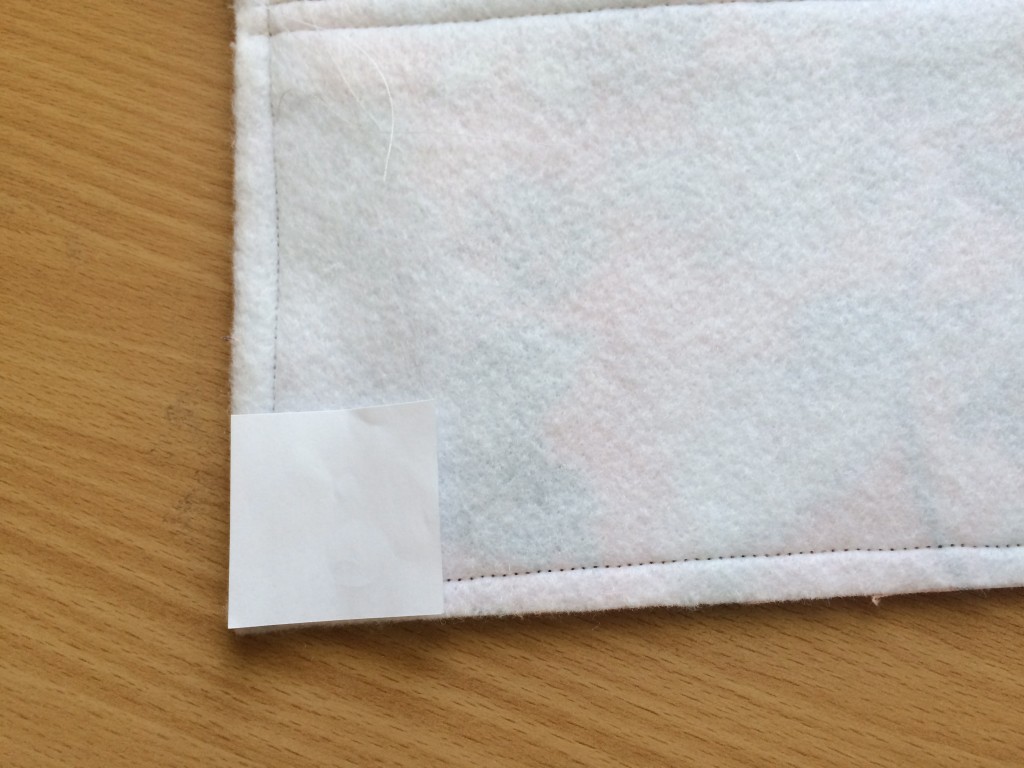
zipper pouch tutorial 24

This is what it looks like after all 4 corners have been “notched”.
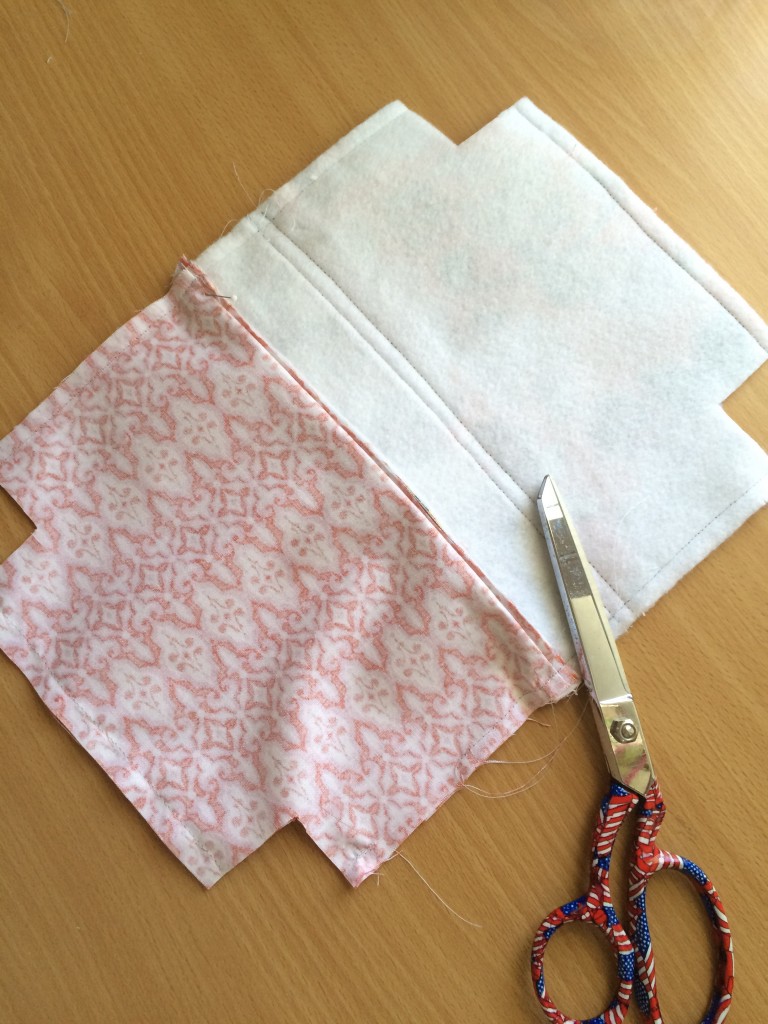
zipper pouch tutorial 25

Open each notched corner and match the seams, pin, sew 1/4″ seam, backstitch to start and stop.  Do this to each corner.
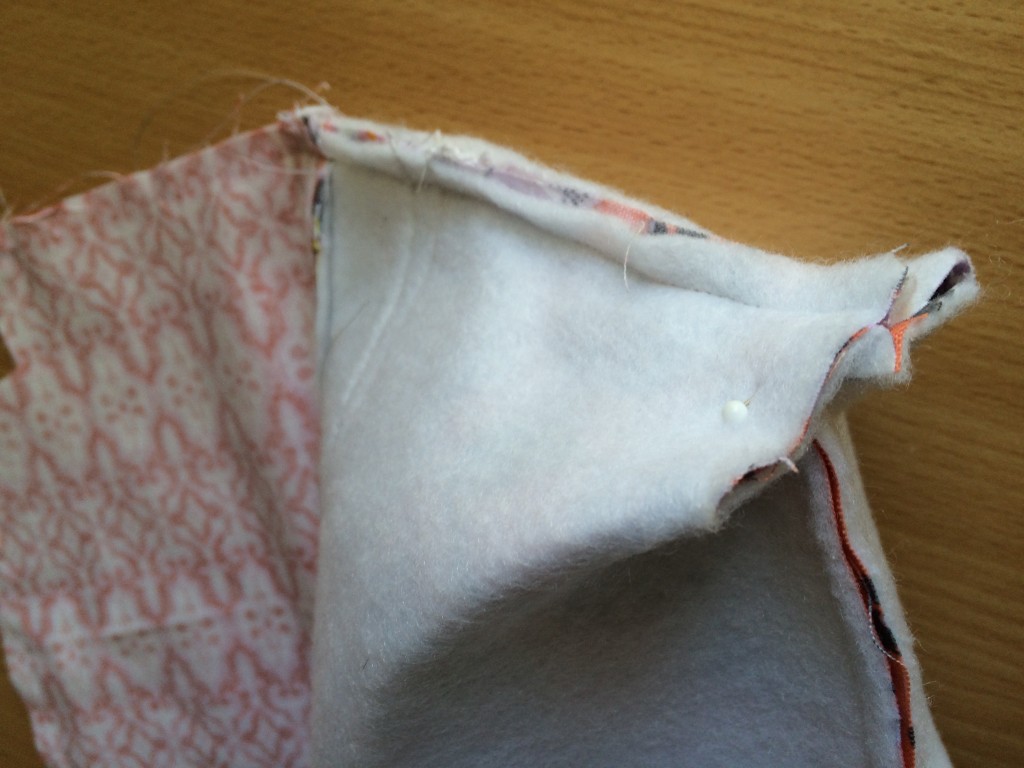
zipper pouch tutorial 27

zipper pouch tutorial 26

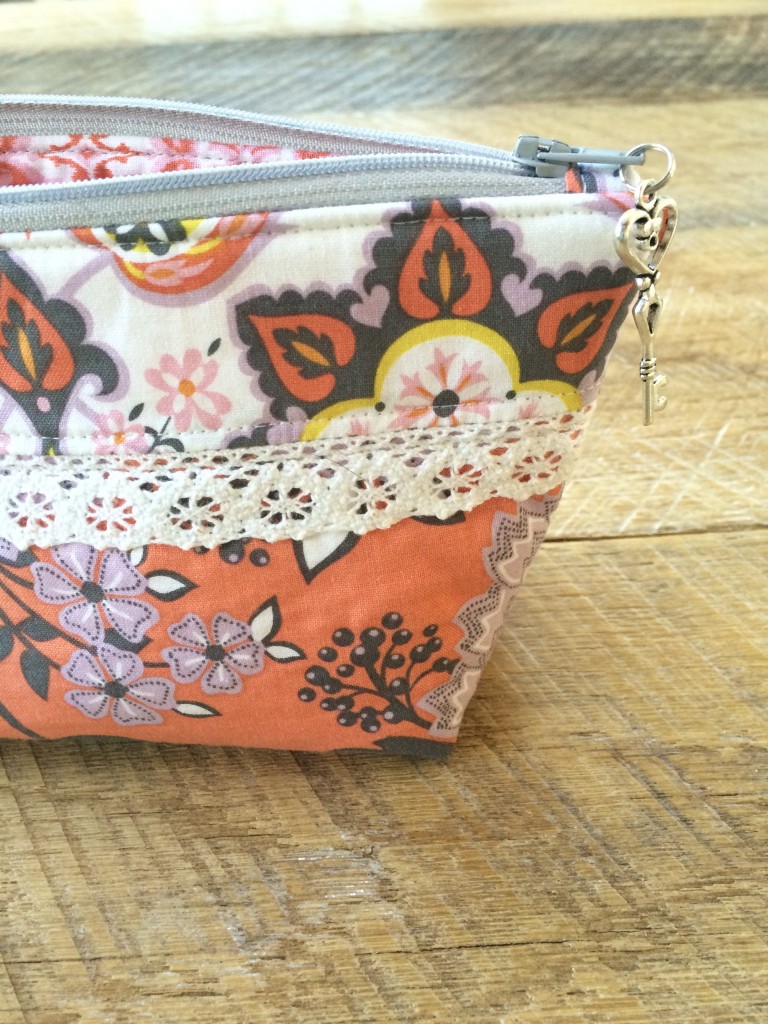
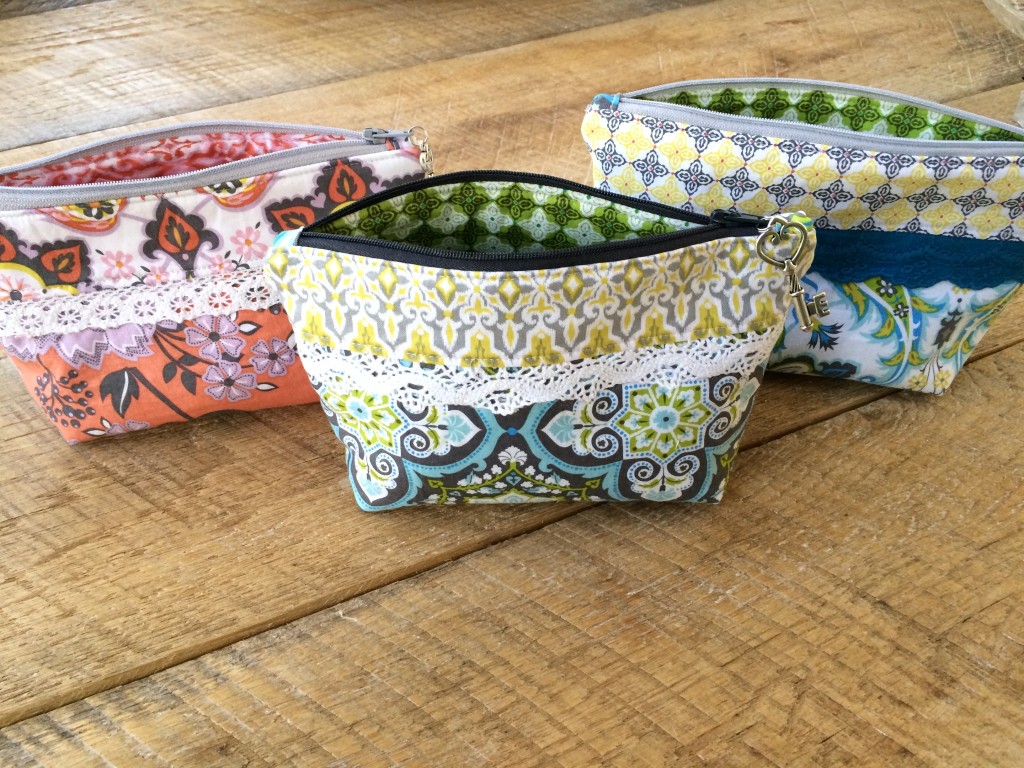
Turn the bag right side out, topstitch the opening closed.  I like to add a little charm to the zipper.
zipper pouch tutorial 33

zipper pouch tutorial 31

zipper pouch tutorial 29

Now, to make the Fabric Bandages….

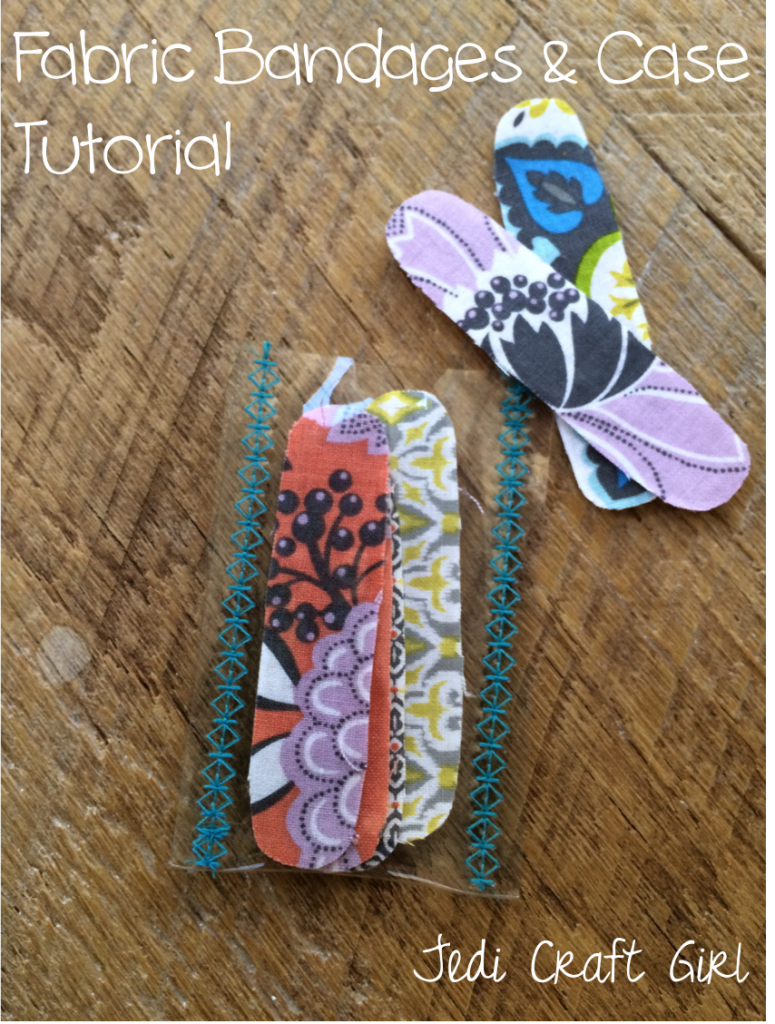
fabric bandages and case tutorial

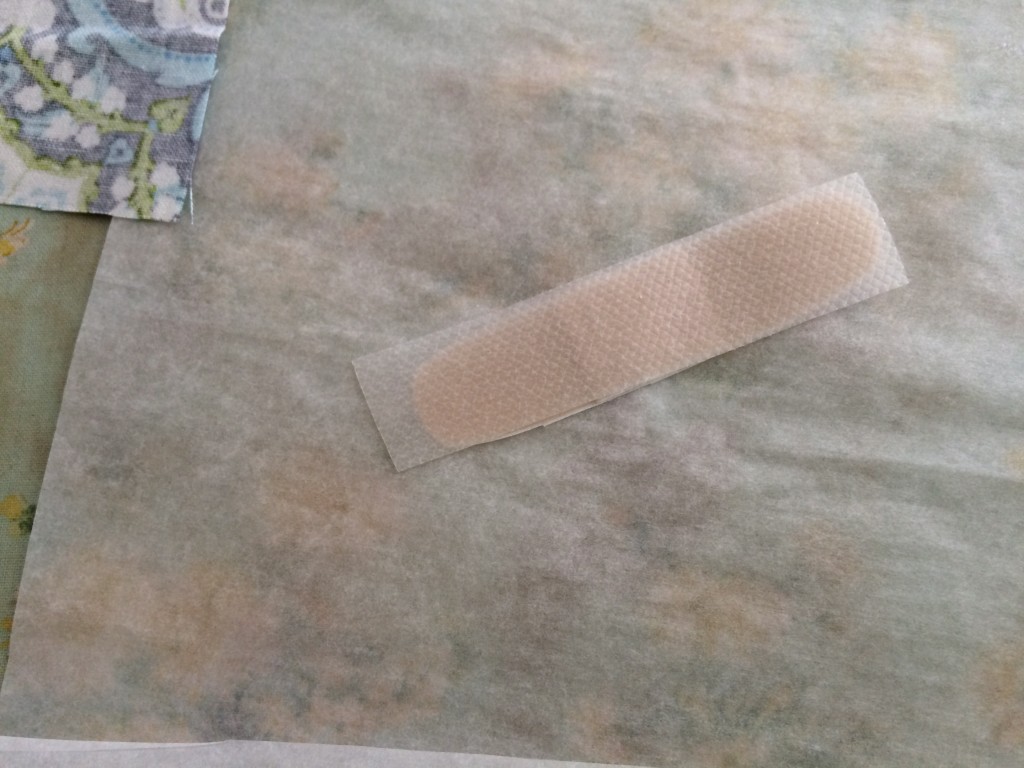
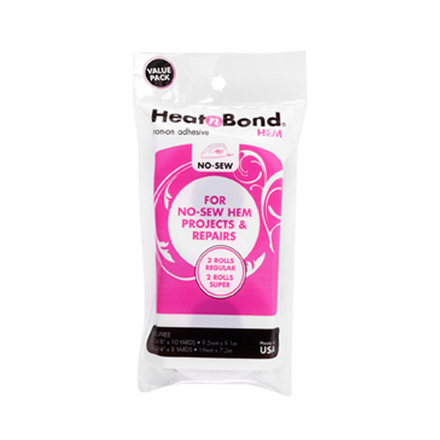
You can make fabric covered bandages several ways.  I’ve seen some tutorials and they use a double sided permament sticky tape.  I decided to try using iron-on adhesive hem tape, which happens to be the exact width as most bandages, 3/4″!
t440_0d49d7924a1cdbca4333eb01e245ccec

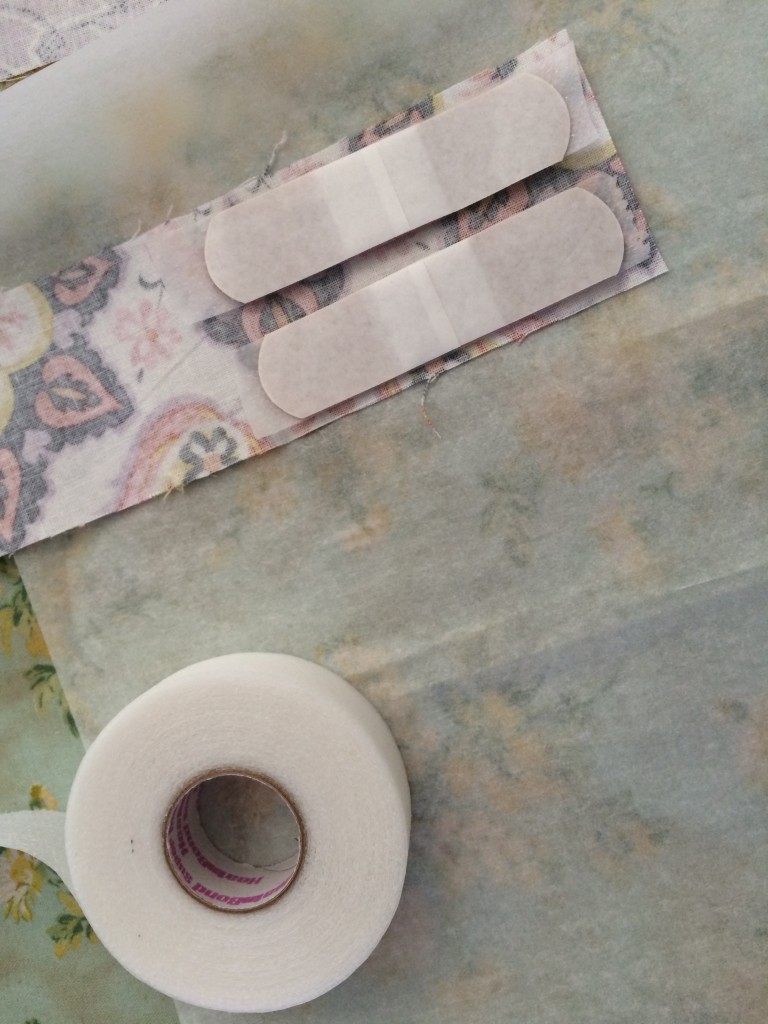
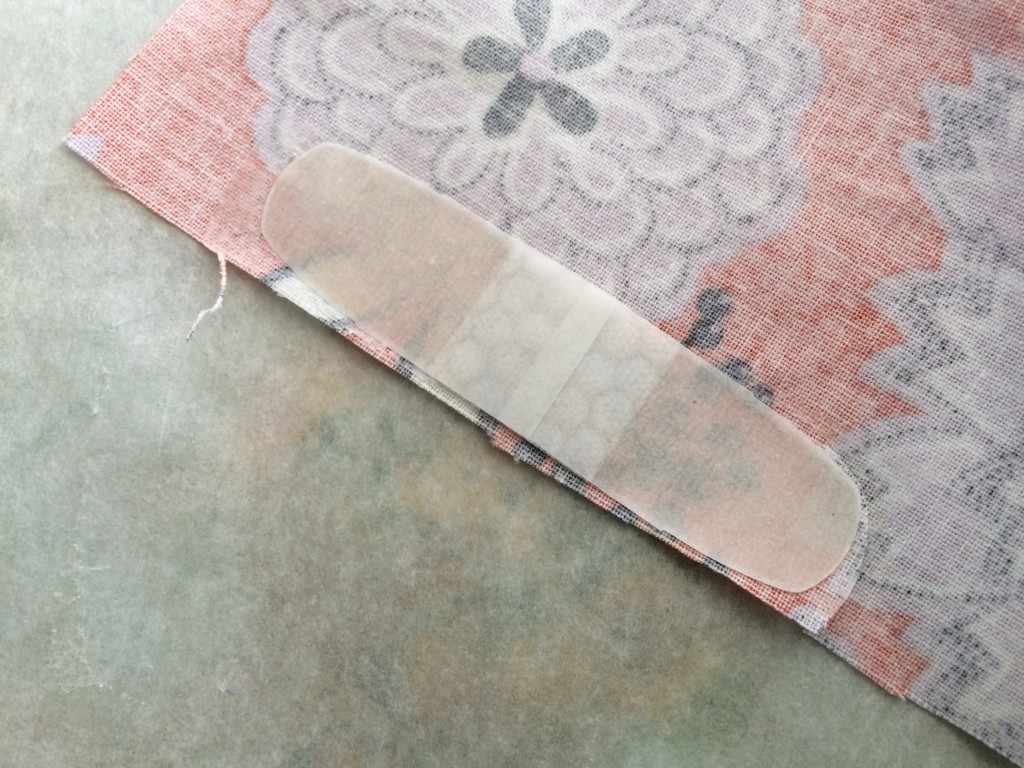
To make the fabric covered bandages, cut a piece of Heat n Bond Hem tape the length of the bandage.  Place it in-between the bandage and the fabric.  Using a pressing paper for protection, press.  TWO IMPORTANT THINGS…. FIRST, make sure you flip the bandage/fabric over to press so the iron hits the fabric first and not the bandage.  SECOND, only iron with hot dry iron for 2-3 seconds max.  If you heat any longer, the heat will melt the bandage adhesive and the bandage won’t be sticky.

Please note, these are just for fun and to be used on minor scratches or “boo boos”.  For serious injuries or wounds, use a real first aid kit and seek medical attention.
fabric bandaids

fabric bandages 2

Once the adhesive has cooled, cut the bandage out.
fabric bandaids 3

To make the bandage “keeper” cut a piece of clear vinyl 2.25″ x 7″.  Fold in half.  Cut a little notch out of the front.  Use a decorative stitch to sew up the sides.
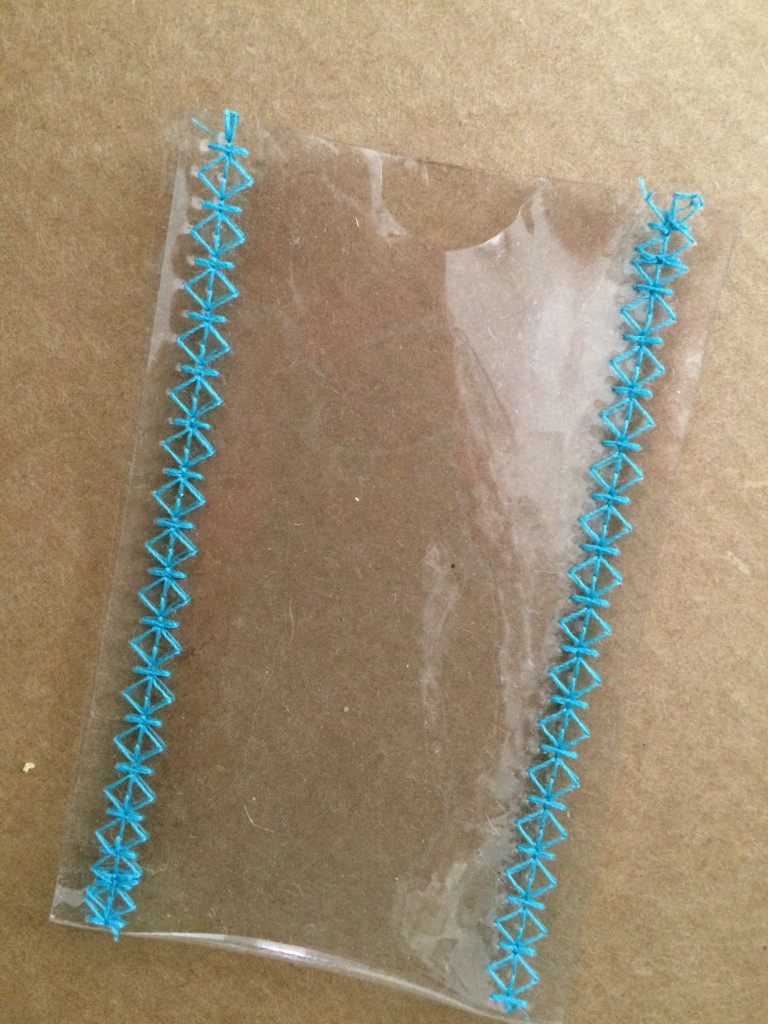
fabric bandaids 4

Place the colorful bandages inside.  I can’t wait to use mine, I guess I should sew some more for gifts!
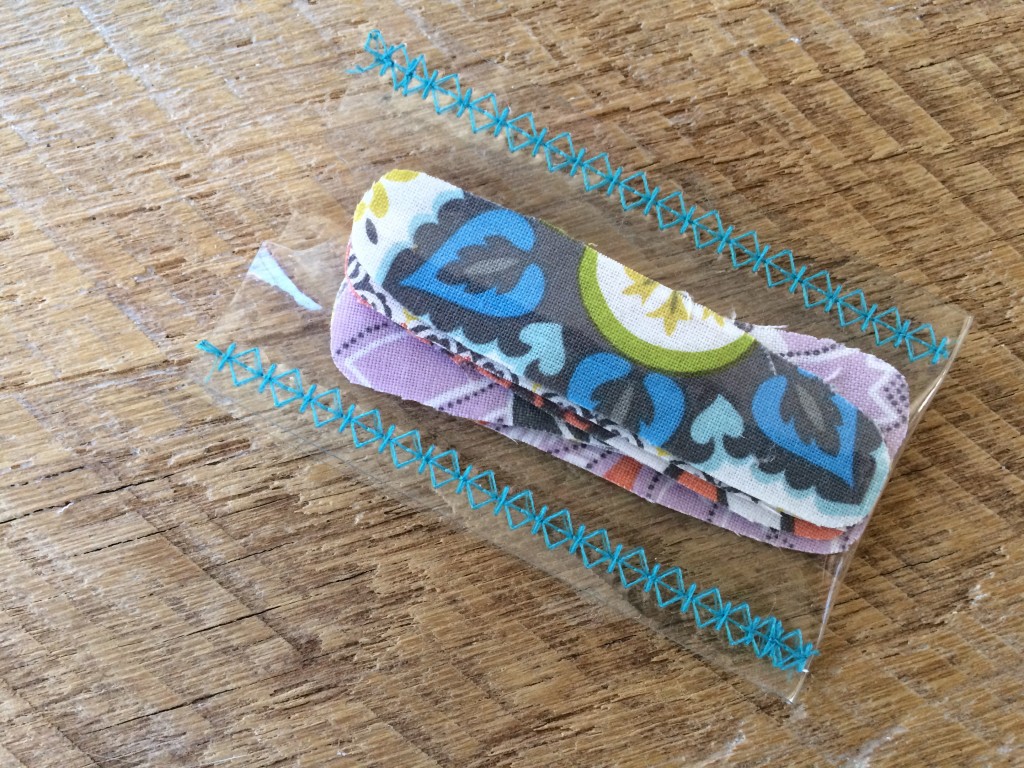
fabric bandaids 6


IMG_1623


Tie-Dye 101 {Symmetry}

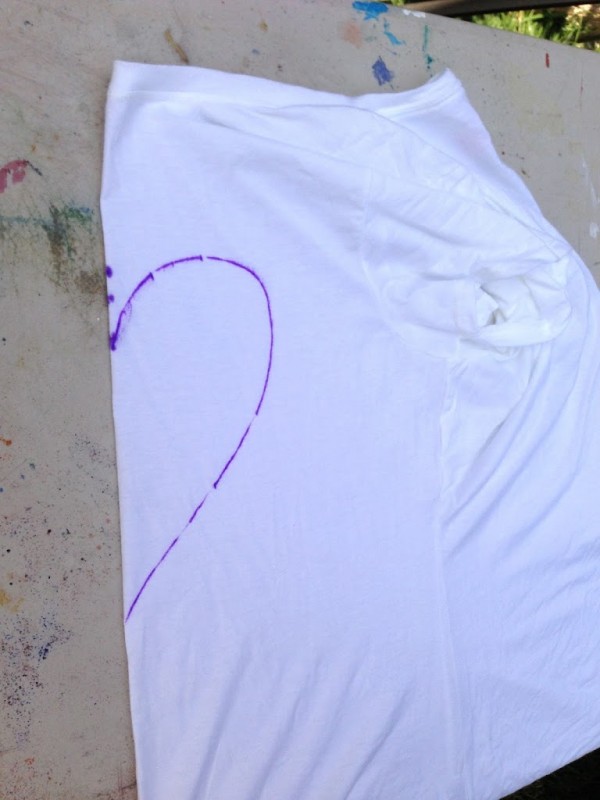
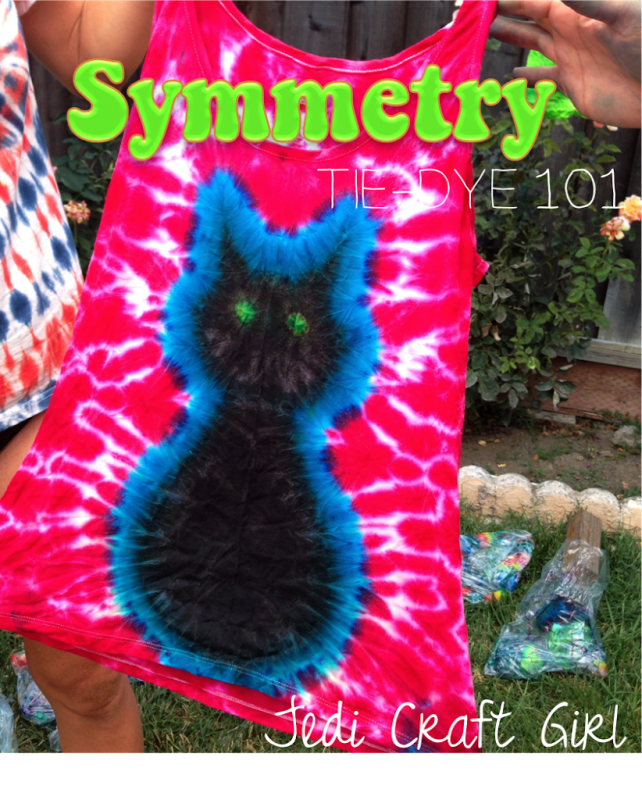
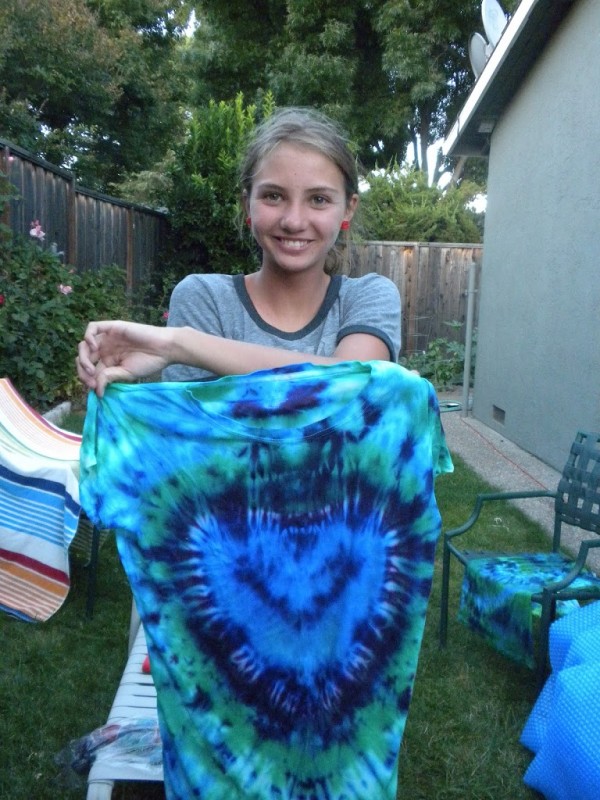
 Today’s tutorial is all about symmetry.  Let’s start with a simple design like a heart:
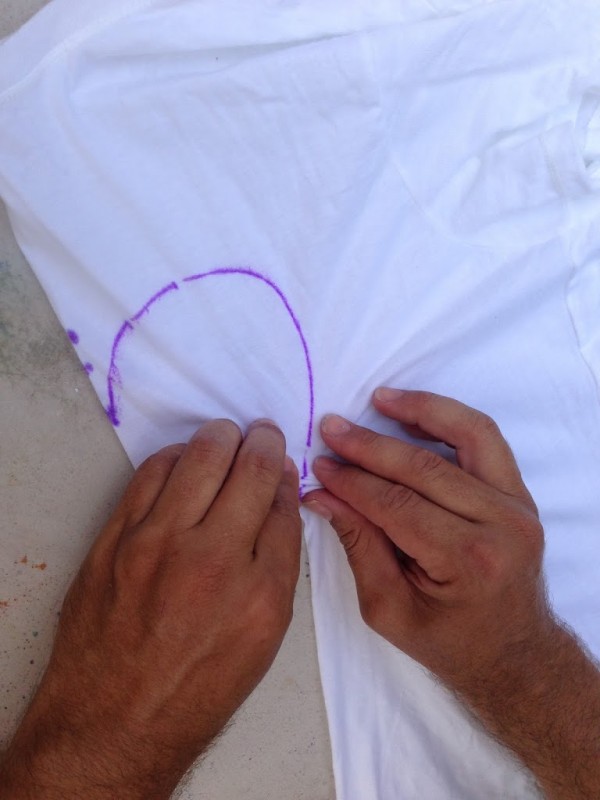
Pull the front of the shirt out and fold it in half.  The crease should run from the center of the neck to the center of the bottom.  Note: we are only working with the front of the shirt, the back is pulled out of the way.  Draw your symmetrical image with a washable marker.  We drew a heart.

The goal is to gather along the heart so that it can be tied in a single line.  The gathers should form a straight line.  Keep gathering all the way around the heart.  Tie with rubber bands.  You will need another set of hands – one to hold the design in place and one to tie it.

Once you get the heart tied, you can decide what to do on the back – you can scrunch and bunch, add nubs, bullseye, swirl, etc.  Tie that all up with rubber bands.

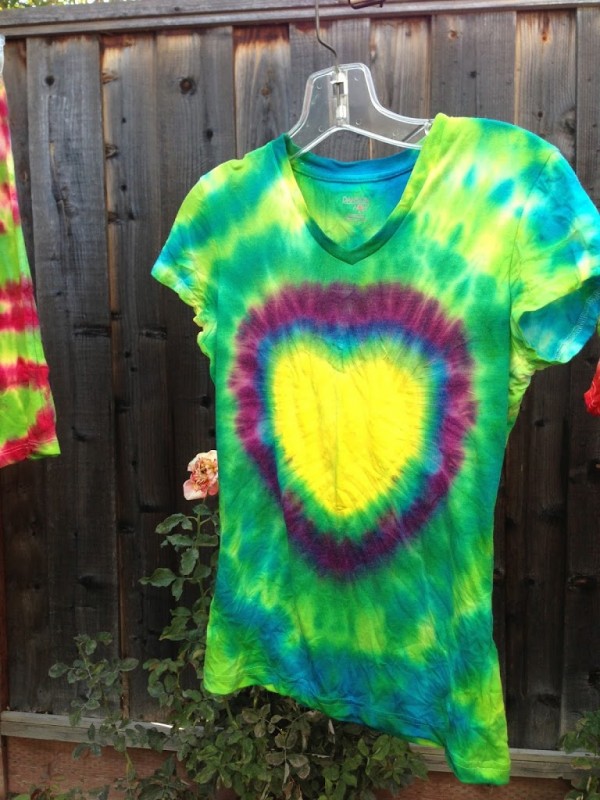
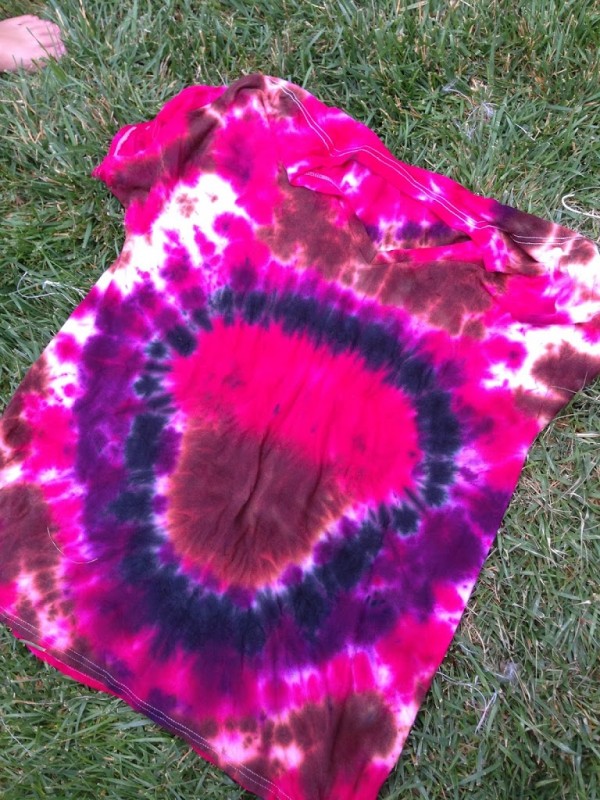
To die the heart – choose your center heart color.  The heart will look like a little gathered ball.  Dye the heart.   Then do a thin accent line along the center heart color, then dye your surrounding shirt color.  It should look something like this when it’s done:

Deep “V”
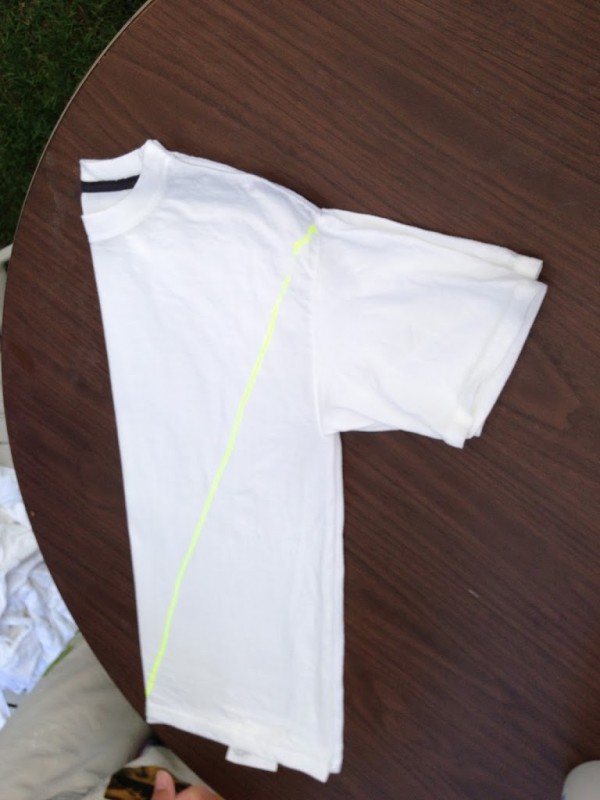
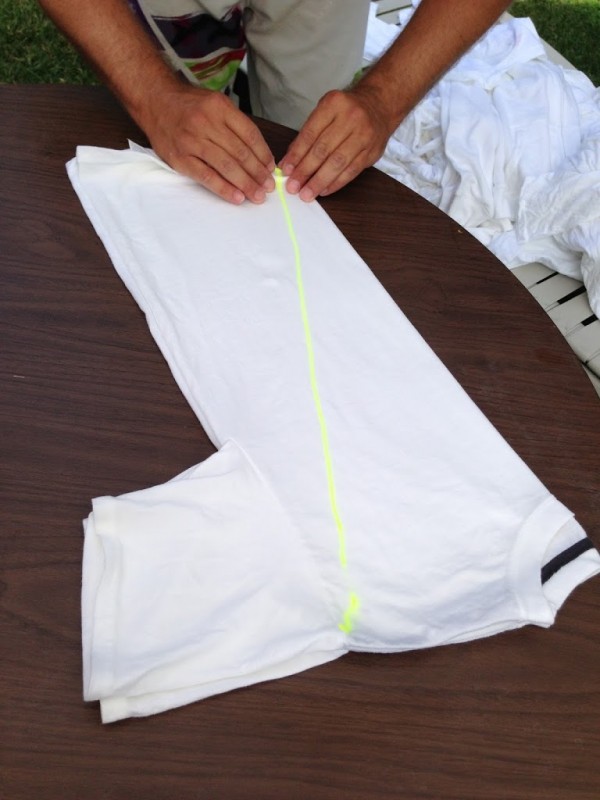
For the deep “V” fold the entire shirt in half and draw your V line like this:

Make small folds along the line until the entire shirt is gathered along the line.

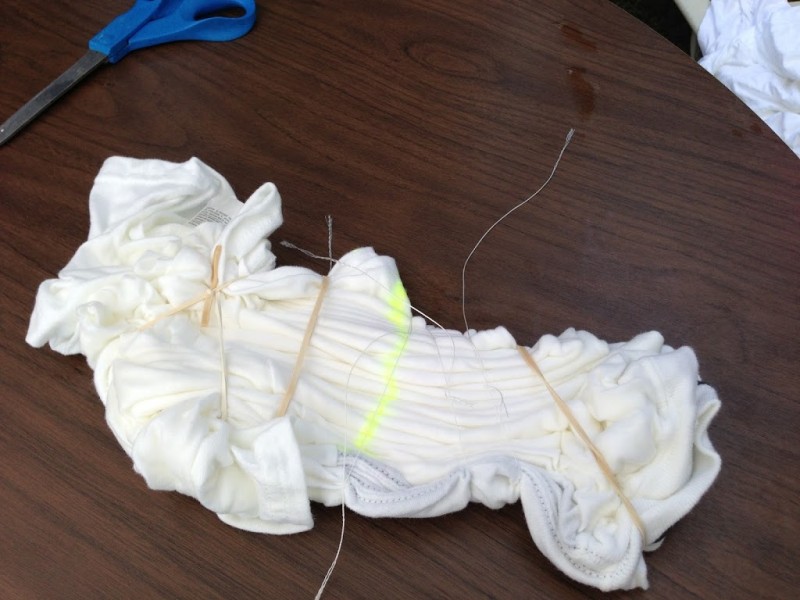
Tie rubber bands along the line, we used string because the rubber bands were hard to get under the center of the shirt.  Tie lines going out keeping the folds.  In this picture you can see the yellow line, and the folds going out.  We scrunched the edges.

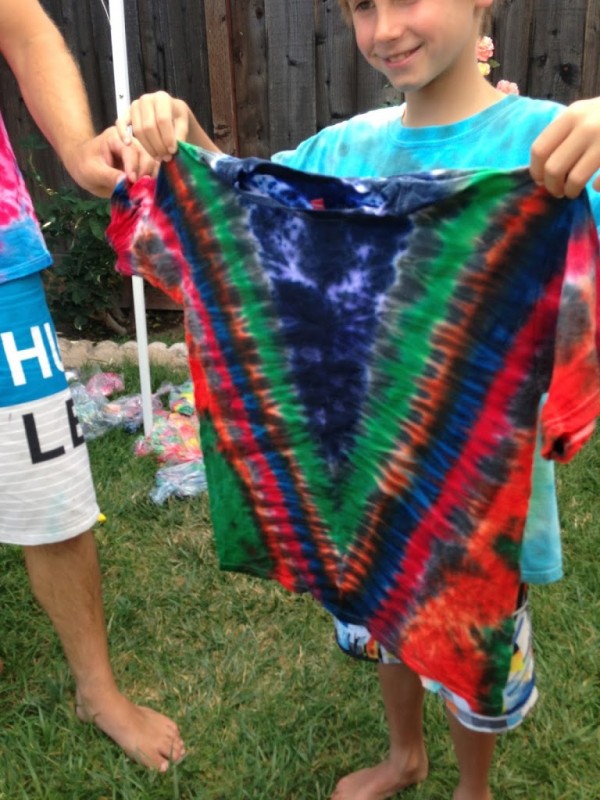
This is the Deep V after it’s died.  The yellow marker line is dyed dark blue and different colors going out (below).

When your design is too complicated to gather by hand……
We are always trying new designs.  Some work, some don’t!  Because some of these designs were to hard to gather by hand, we got out the needle and thread.  It’s the same technique, only you run a gathering stitch along the market line.
The shirt below is one my sister attempted a cupcake.  It didn’t turn out too bad.  She folded the shirt in half, drew half a cupcake and used a running stitch to gather along the line.  You just have to eyeball how to dye the cupcake top and bottom.

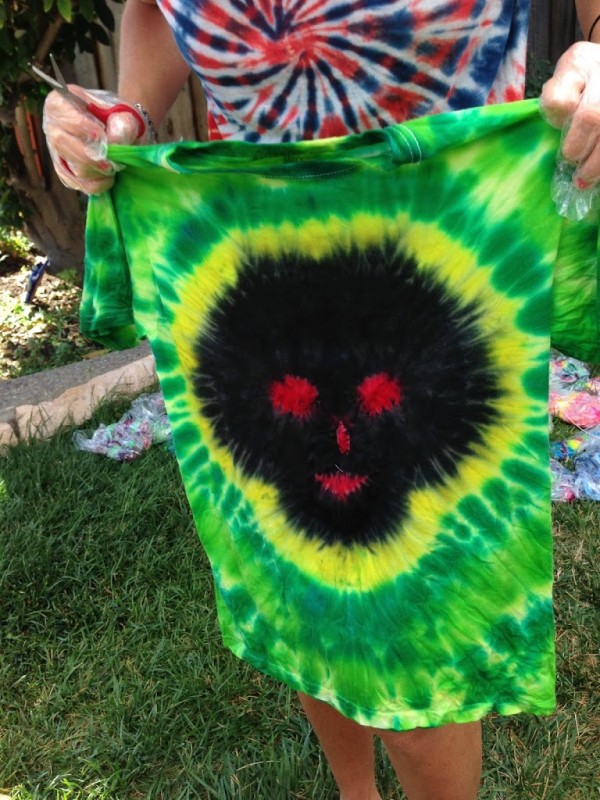
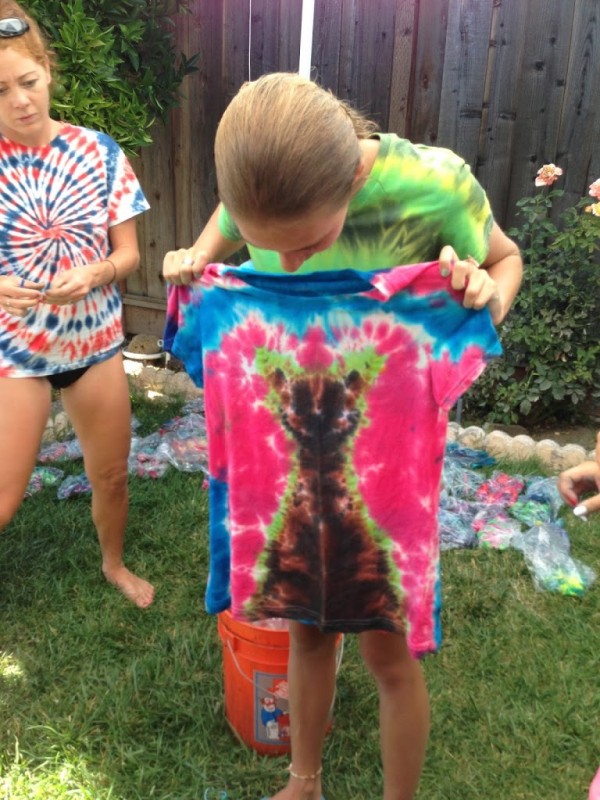
Megan dyed this scary face for my nephew.  Same thing, fold the shirt in half, draw half a scull shape and stitch.  To make the eyes, pull little “nubs” out and rubber band them.  Same with the nose and mouth.  We weren’t sure how this one was going to turn out.  It kind of looks like a werewolf scull face.

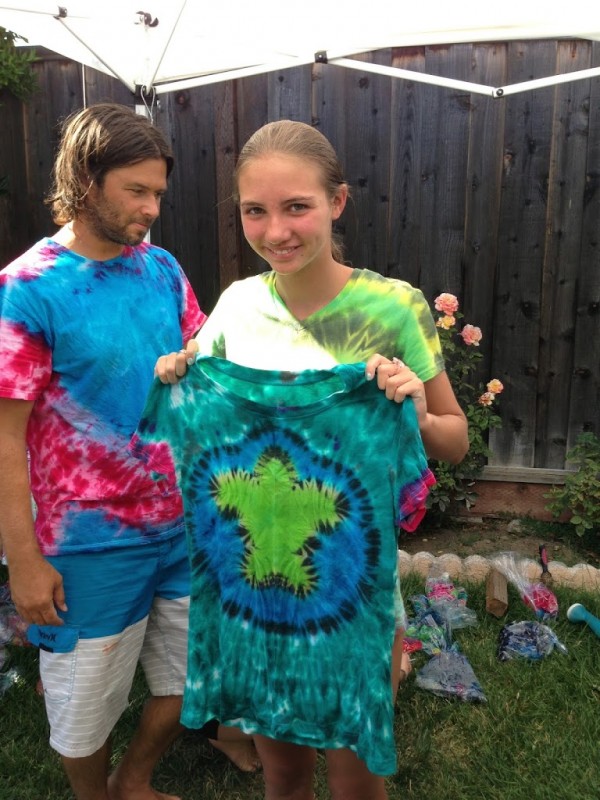
My daughter did this sea turtle design all on her own.  Same thing, fold in half, draw half a sea turtle.  Stitch up the line.  To get the ring around the turtle, gather a section after the turtle, like you are making a bulls eye and rubber band.

This is Ella’s cat – supposed to look like her Bangle cat.  Maybe we will paint eyes on it or something.

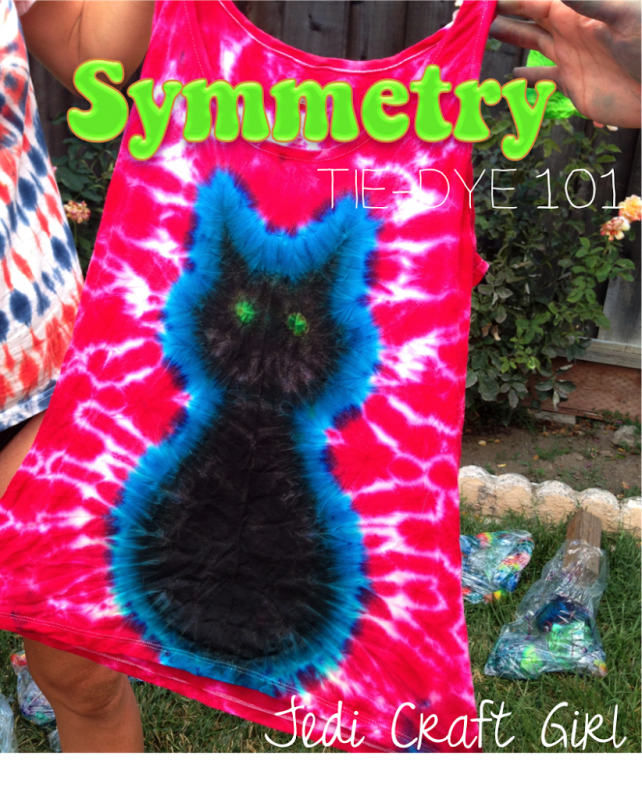
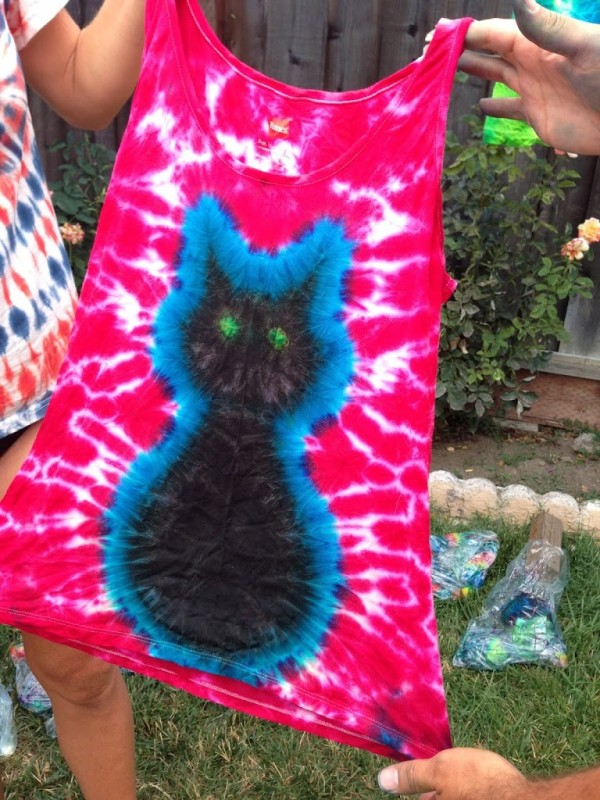
Megan’s black cat turned out the best.  It is totally purrrrfect!!

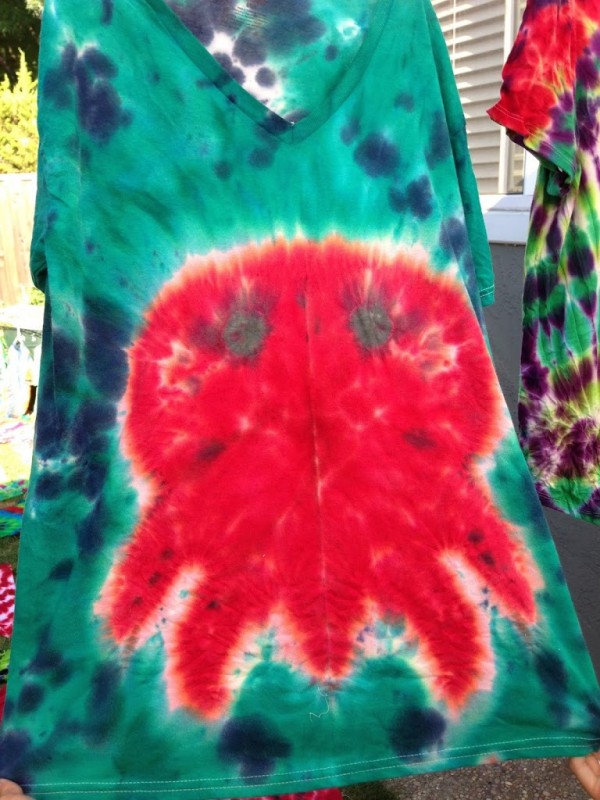
This is also my daughter’s design – an octopus/squid type creature.  She did a great job on it.
This process takes more time, but you can get super creative!

Tie-Dye 101 {Circles}

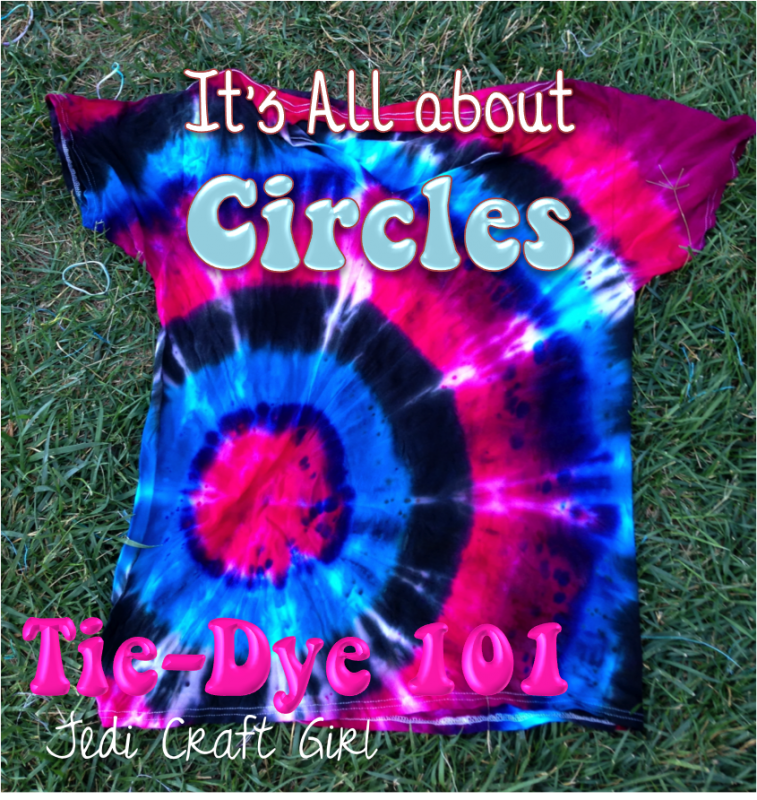
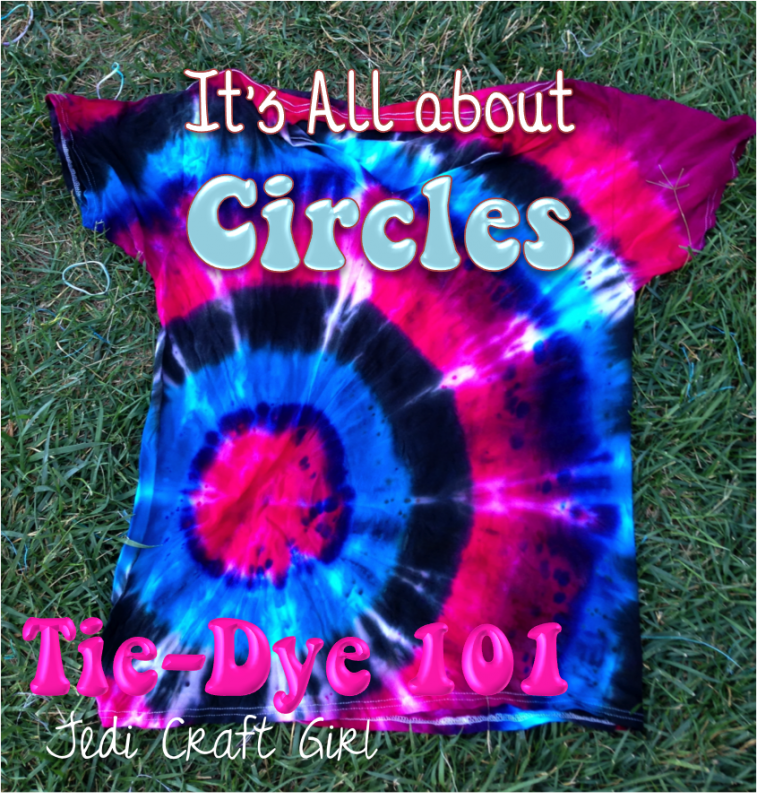
Today is all about circles.  The first technique is the “Bullseye”.

Step #1: Decide where you want the center of your Bullseye.  In this example I am centering it to the side.

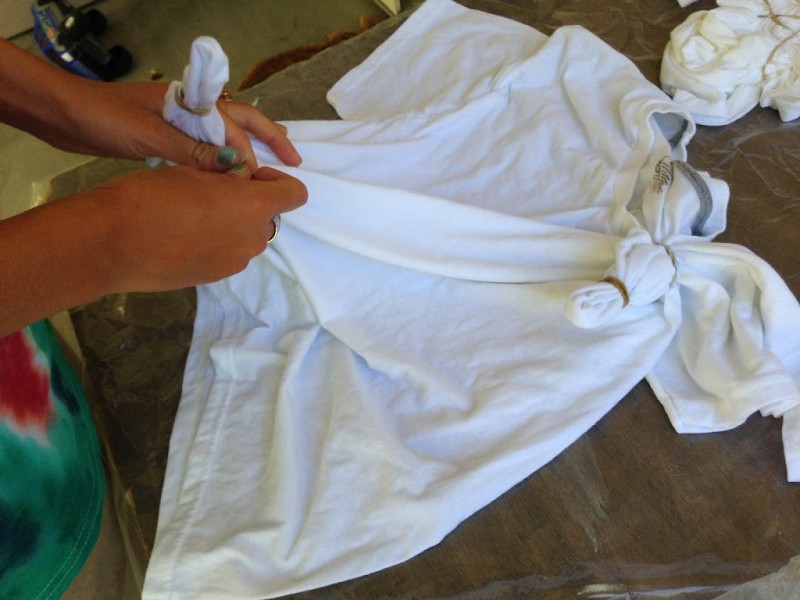
Step #2: Rubber Bands – start section off your bullseye with rubber bands.  Begin with a small section, add a rubber band:

Now add another section.  The number of sections will determine the number of rings on your bullseye.

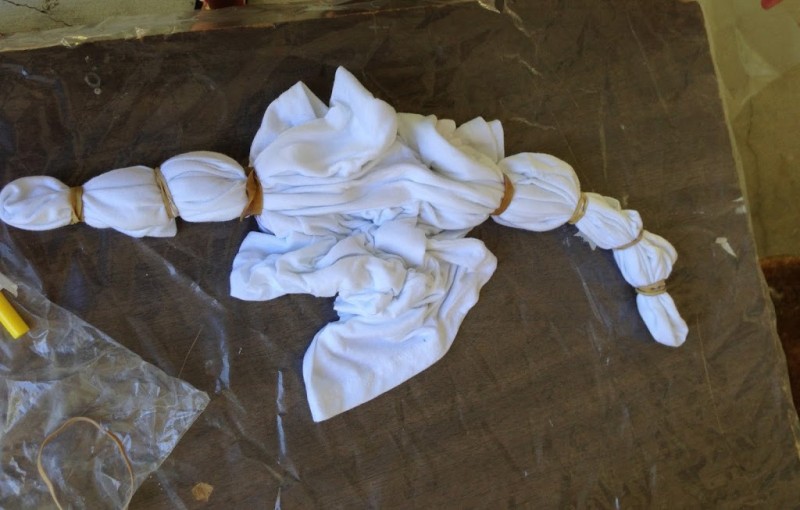
This shirt has 5 rubber bands – so it will have 5 sections.  The rest of the shirt just scrunch and bunch and rubber band into place.

Step #3 Dye – dye the sections different colors.  The first section is the center of the bullseye.  I dyed this one in this order:  lime, fuchsia, blue, yellow, blue, green, then random colors on the scrunch.
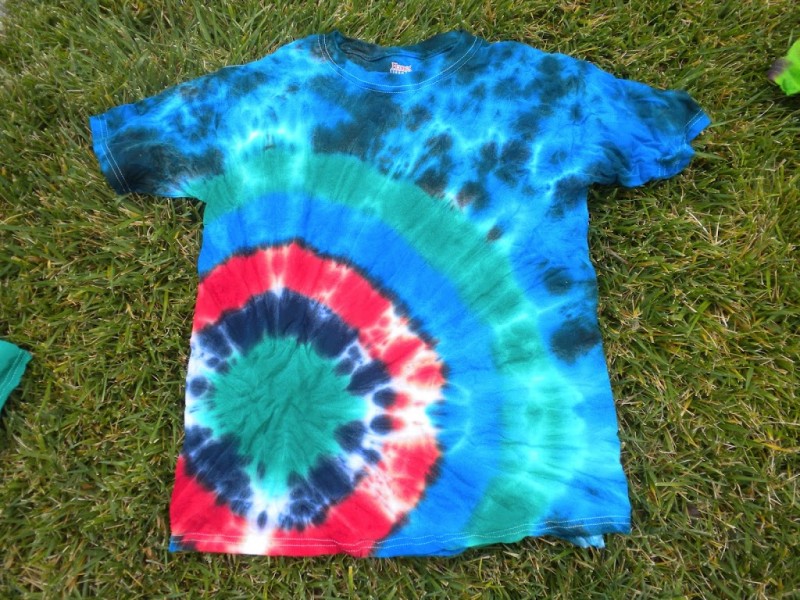
Another bullseye:
Double Bulls Eye
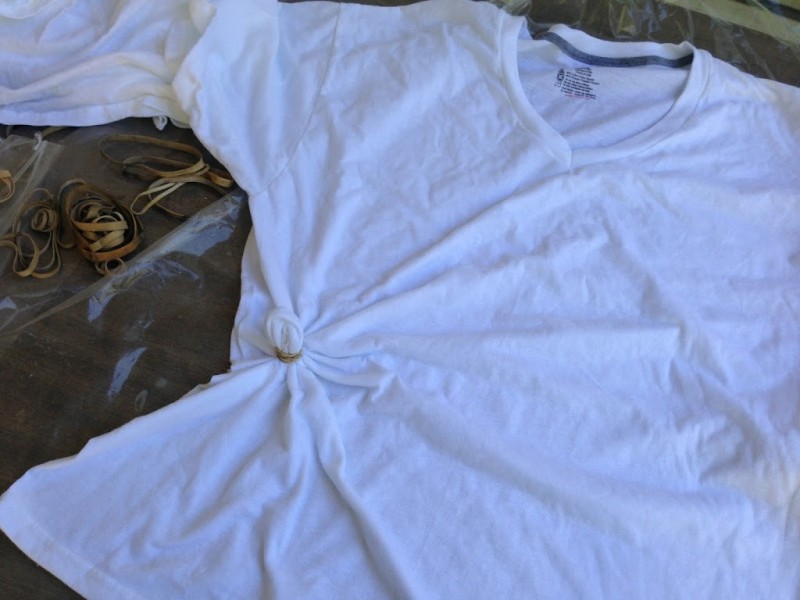
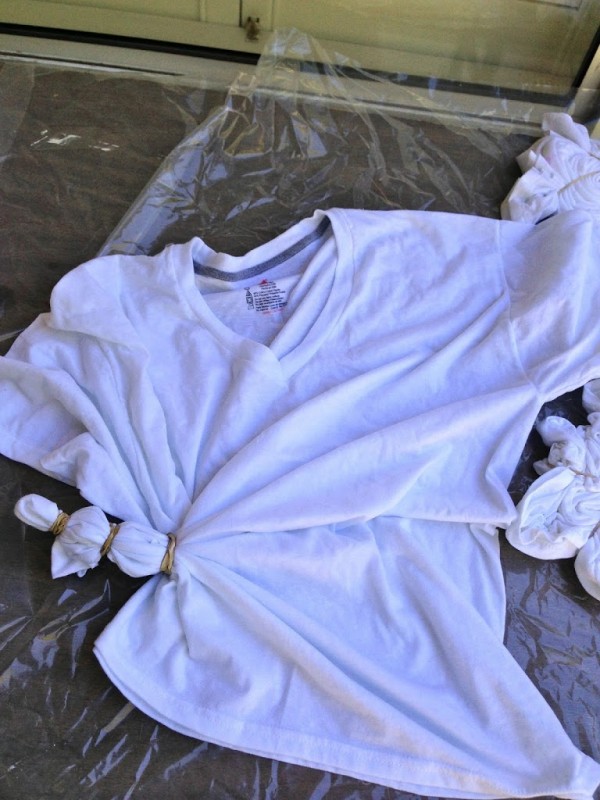
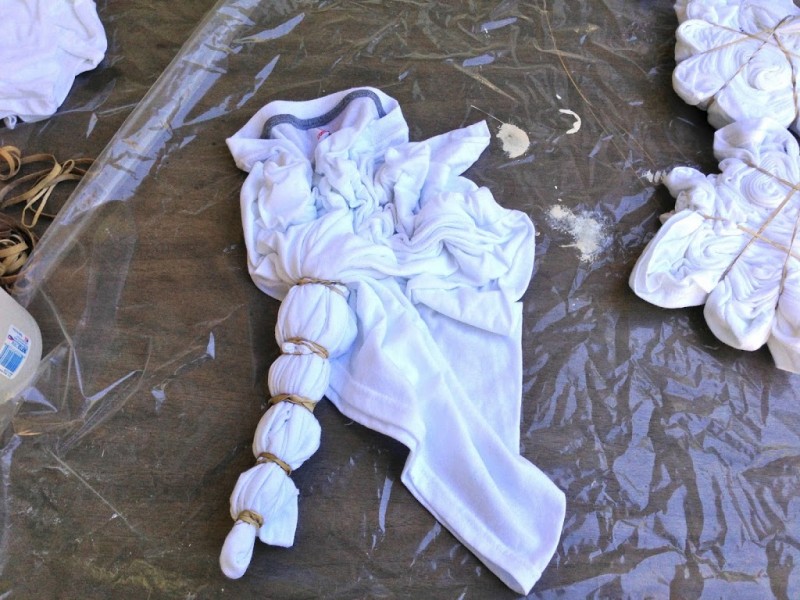
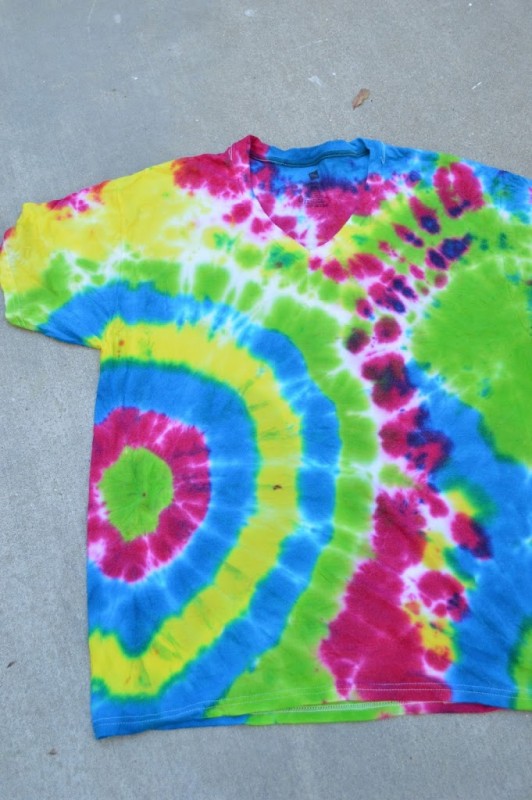
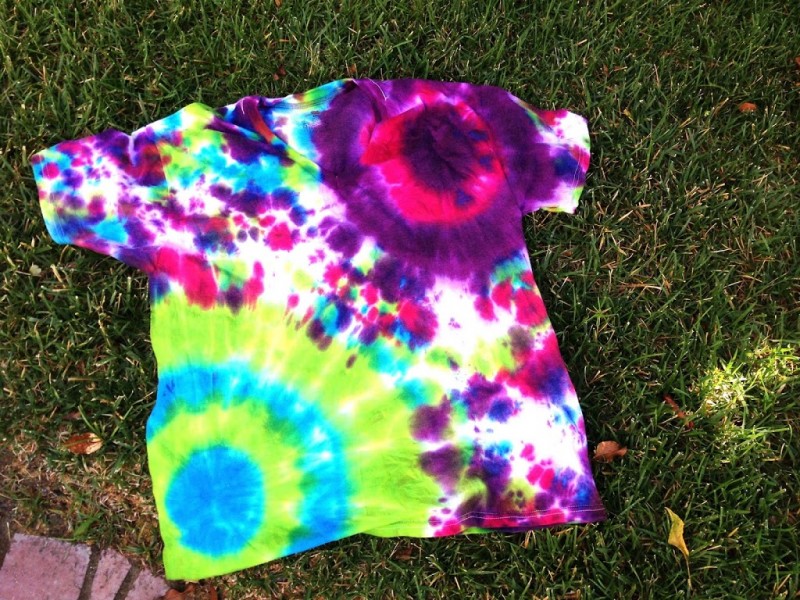
To make a double bulls eye, you follow the same technique, only with 2.  Decide where you want the centers to be.  For this shirt we placed the centers over the shoulder then the opposite bottom corner.
 Scrunch the middle and hold in place with rubber bands.

This is how it turned out once it was dyed – I love it!! 

Second circle technique we call “The Nubs”

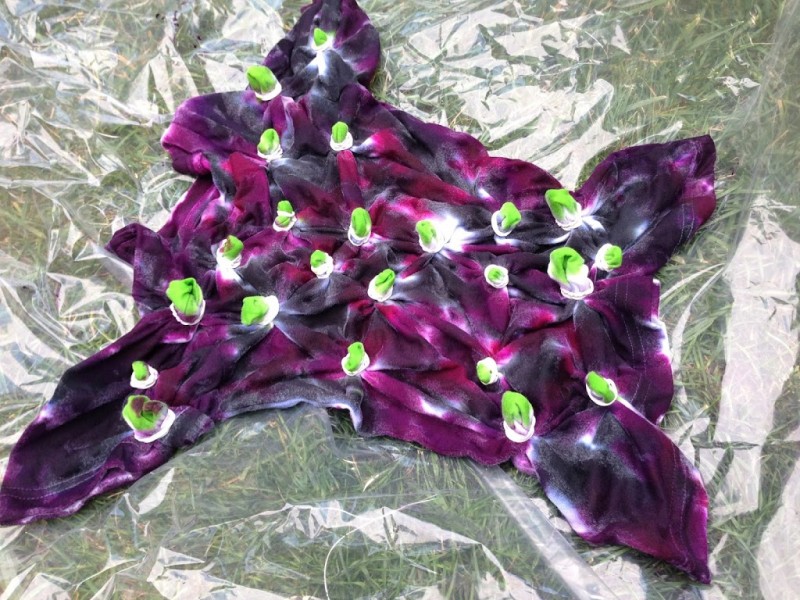
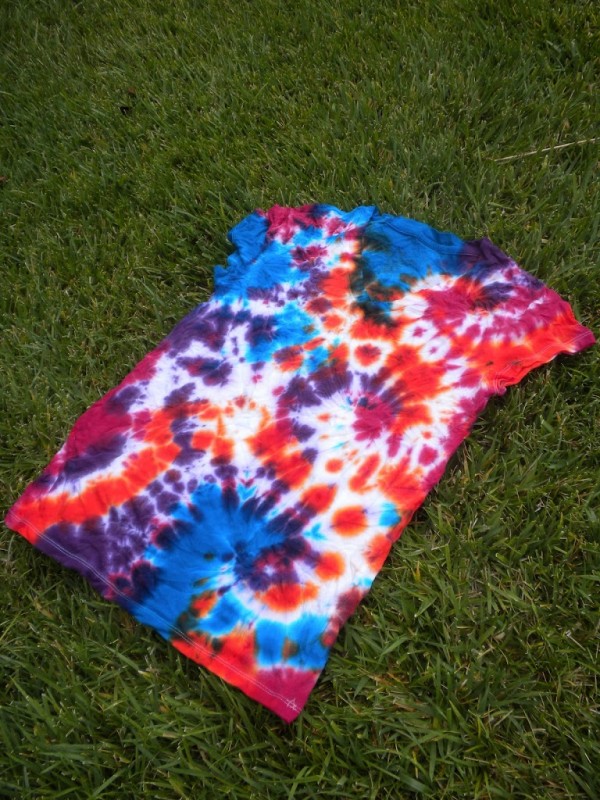
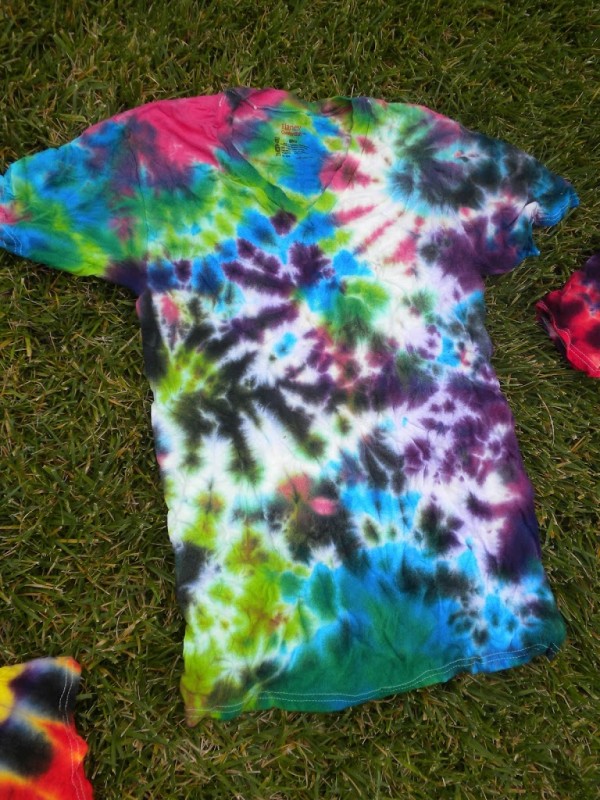
Pull small portions of fabric and rubber band them, just like you were beginning a bulls eye.  You can even do a double or triple nubs.  Tie these all over the shirt randomly.  (You are also gathering the back of the shirt at the same time so the pattern will be on the back as well.)

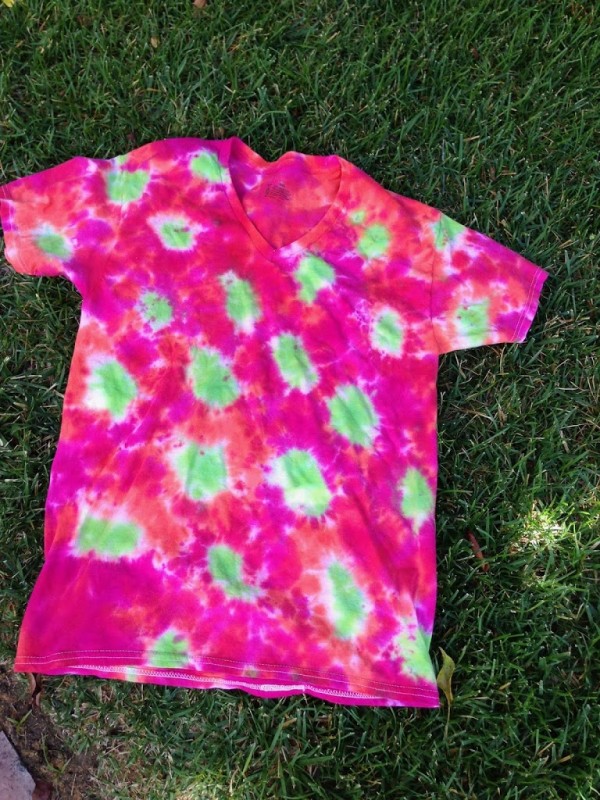
Add your dye to the background first – on this one we mixed orange and fuschia.

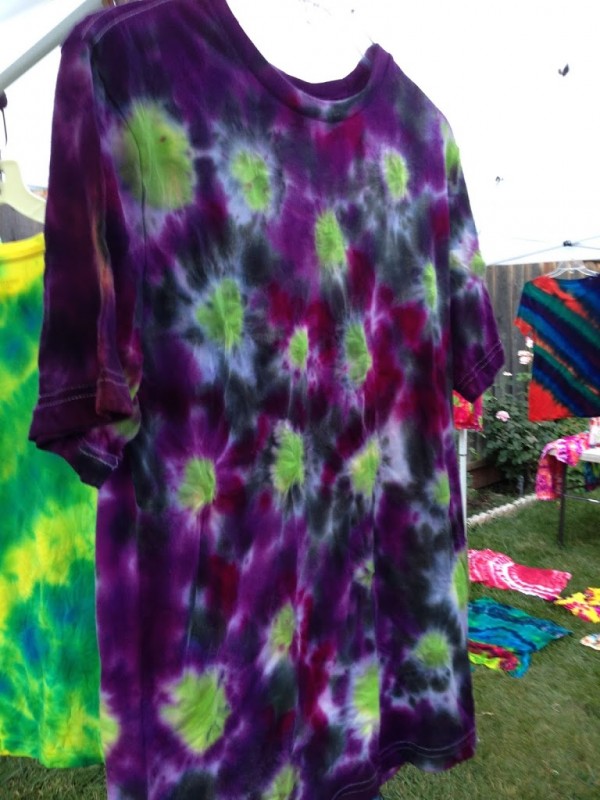
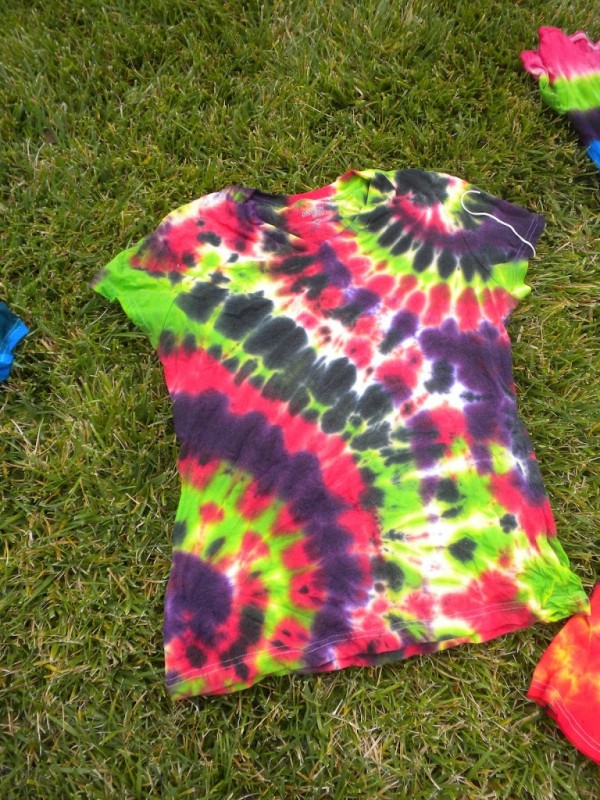
Then add color to the top of your “nubs”.  This one we dyed black and purple on the background and lime on the nubs.

When it’s untied, there are circles all over the shirt:

We tried one placing the nubs around the neck like a necklace, I didn’t get a photo of it.  You can start getting creative and combining techniques – maybe a spiral and a few nubs on the corner or a bulls eye and a spiral.  The possibilities are endless!!

Tie-Dye 101 {the classic spiral|}

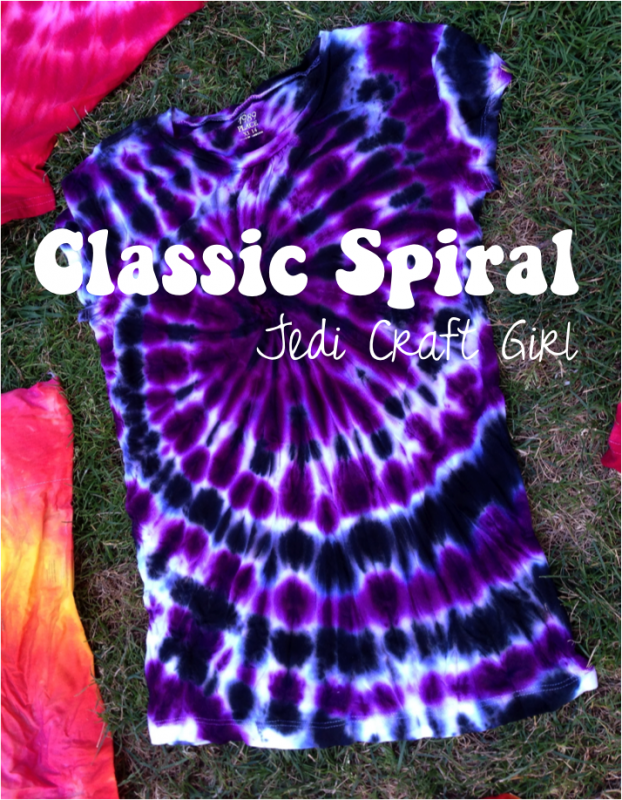
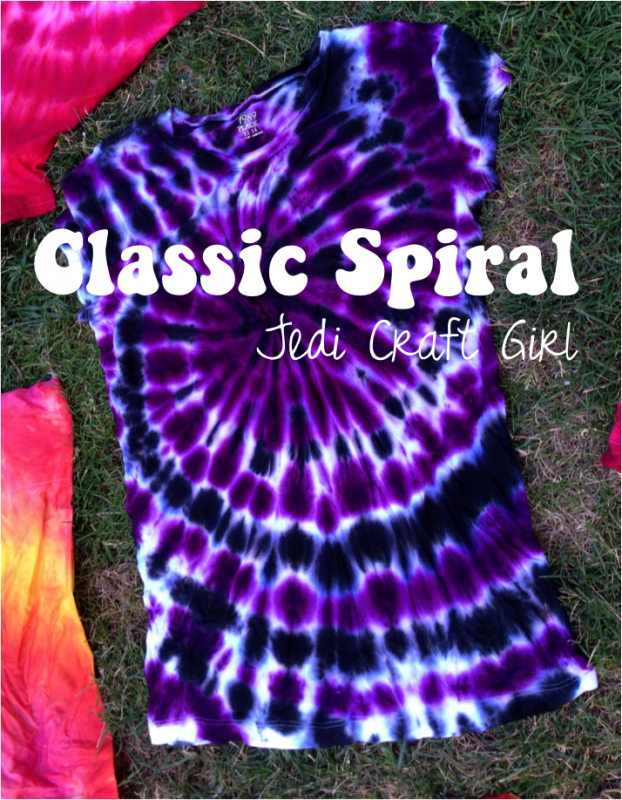
(above center spiral with purple and black dye)
Ah, the Classic Spiral.  My favorite Tie-Dye design.  I can’t get enough of this simple fold.
Prep:
Follow the steps HERE to make sure your shirt and dye are prepared correctly.
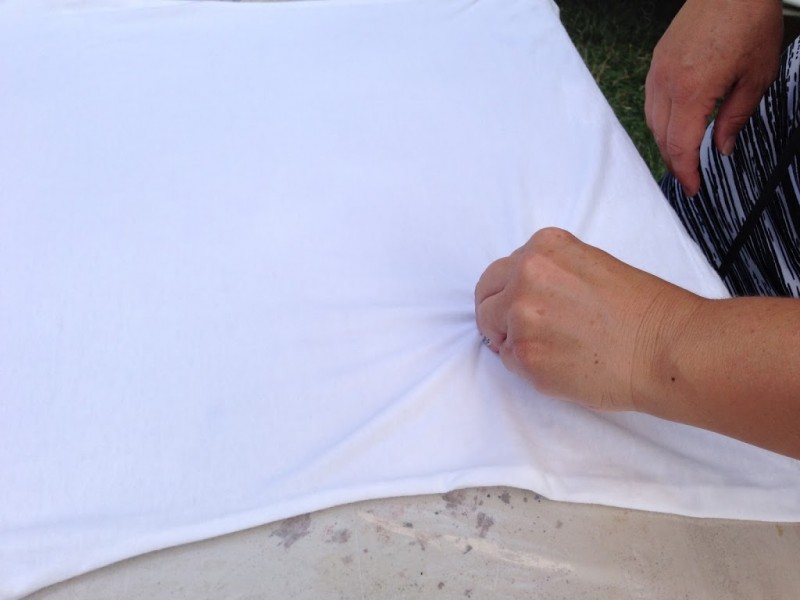
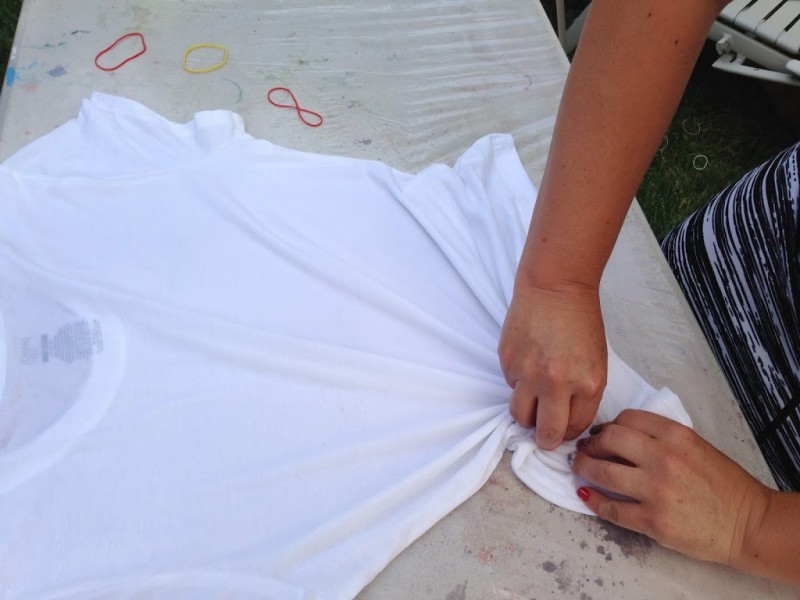
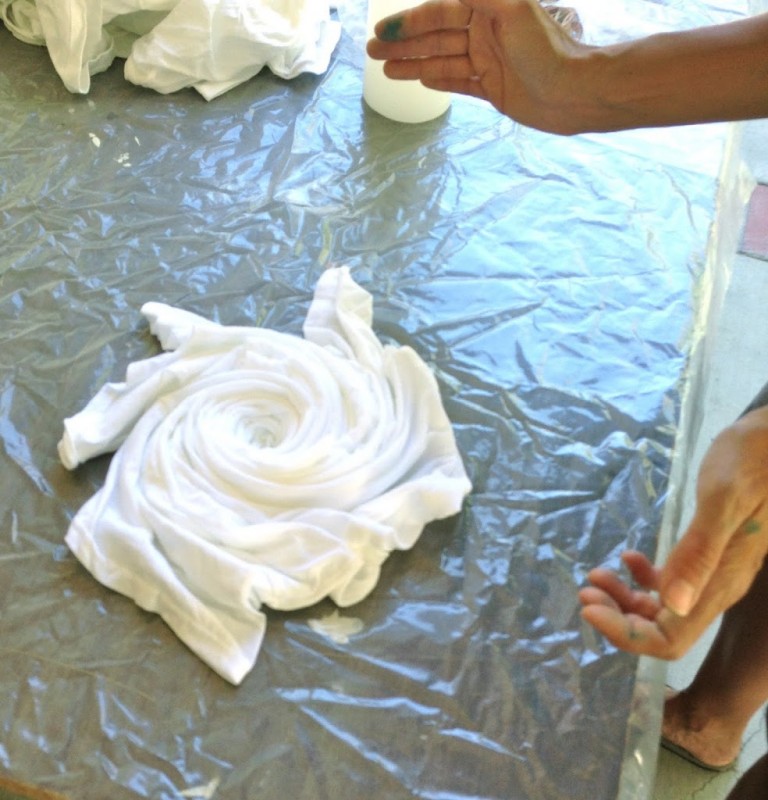
To achieve the tightest spiral, you want to flip your shirt over so you are working with the back of the shirt.  Lay it out flat on your work surface.  Decide where you want the center of your spiral – this will make a huge difference in the design.  Here we are pinching the center of the spiral at the bottom left corner.

Spiral:
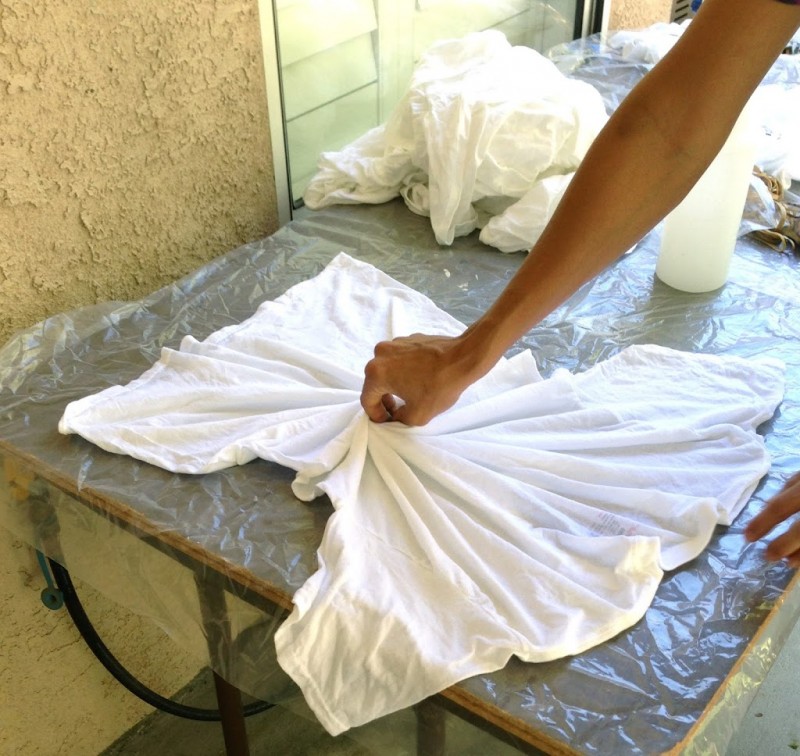
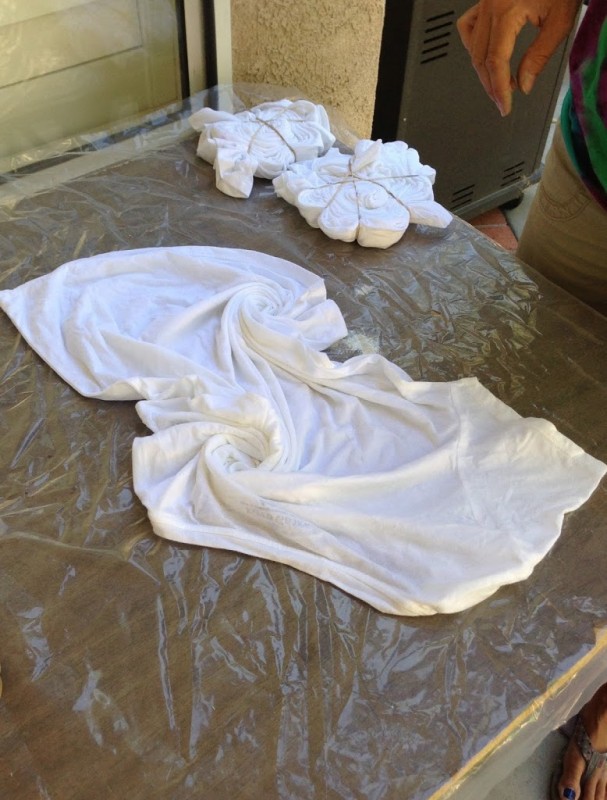
Pinch tightly and begin a slow turn – you decide if it should be clock-wise or counter clock-wise.  Hold the fabric tightly as you swirl it.  Help the pleats along to keep them crisp.

Continue turning the shirt until the entire shirt is incorporated in the spiral. (the example below we are spiraling from the center)

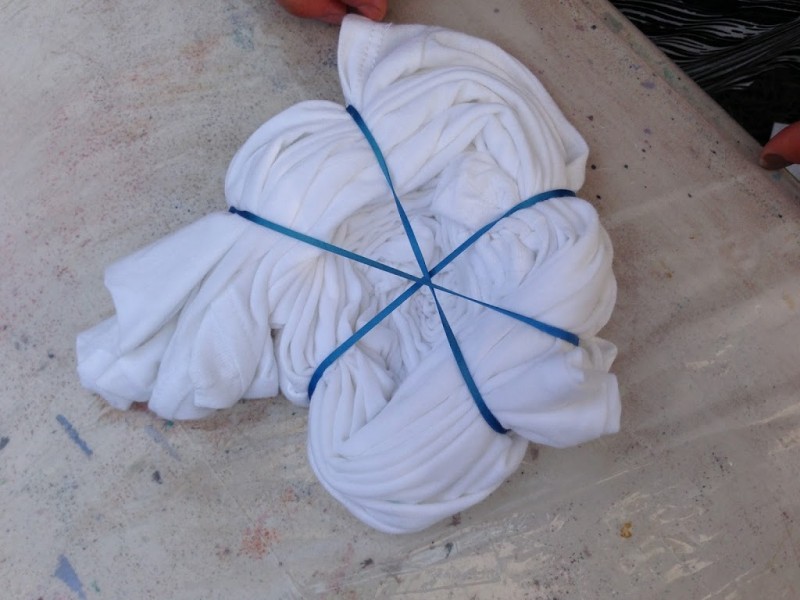
Keep in place with 3-4 rubber bands like this:  When you flip your shirt over to the front, you will see how nice and tight the spiral is on the front.

Dying:
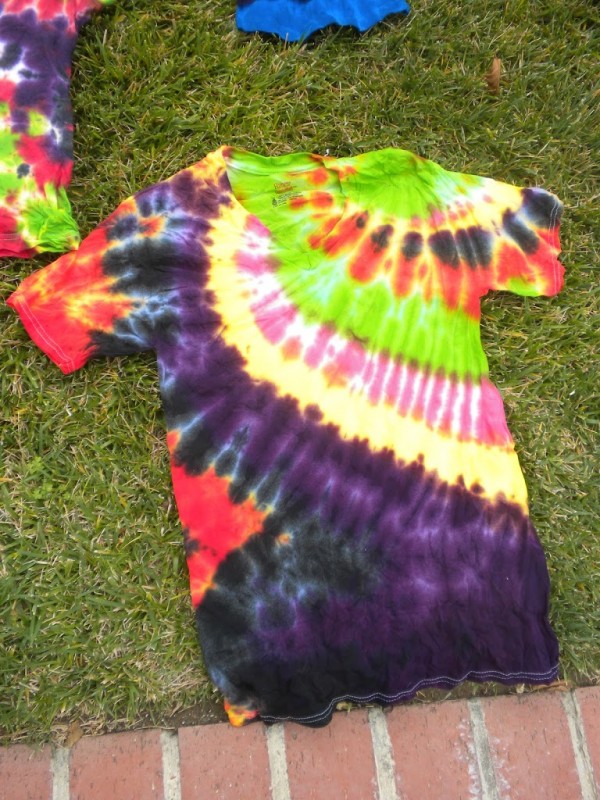
Decide how many colors you want in your shirt.  Choose sections like a pie and fill in with colors.  Play around with making small pie sections and large sections and using different colors.  Once you have died the front, turn it over and dye the back.  You can choose to follow the same color pattern, or off set the colors by 1 or do totally different colors.  Each will provide a different effect.

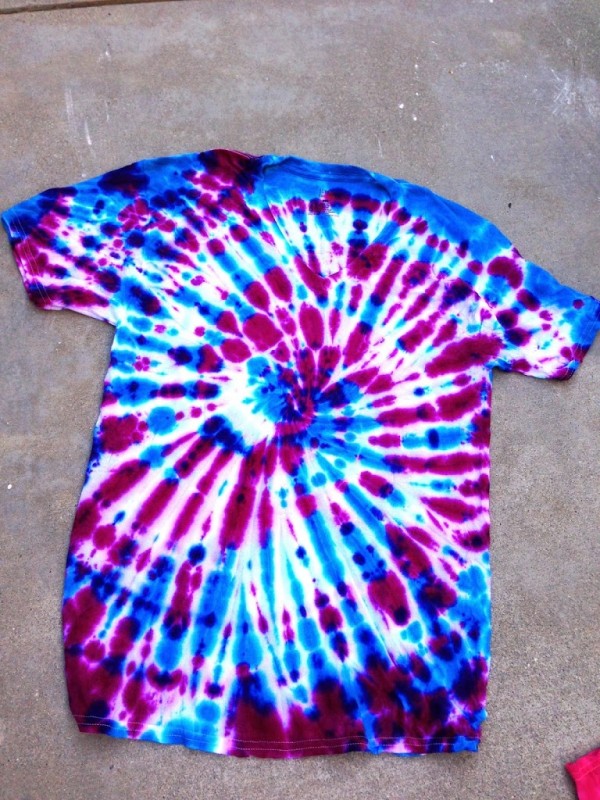
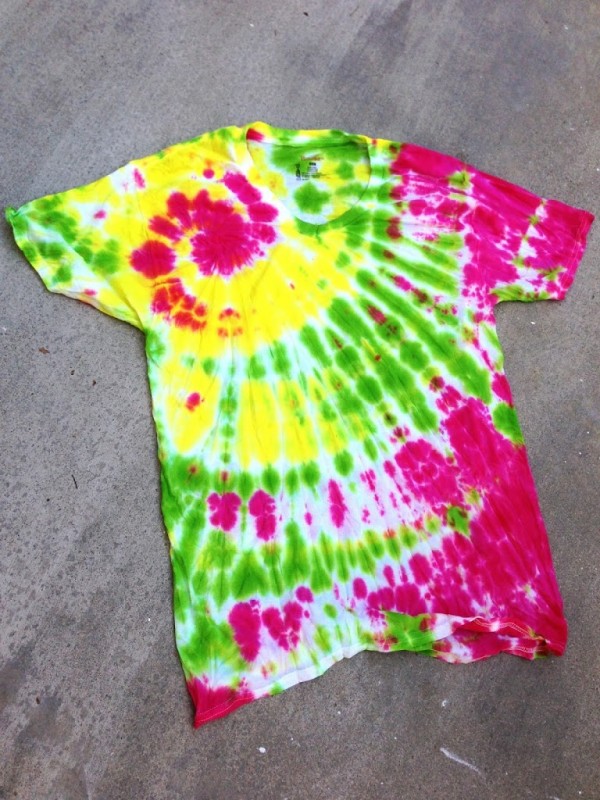
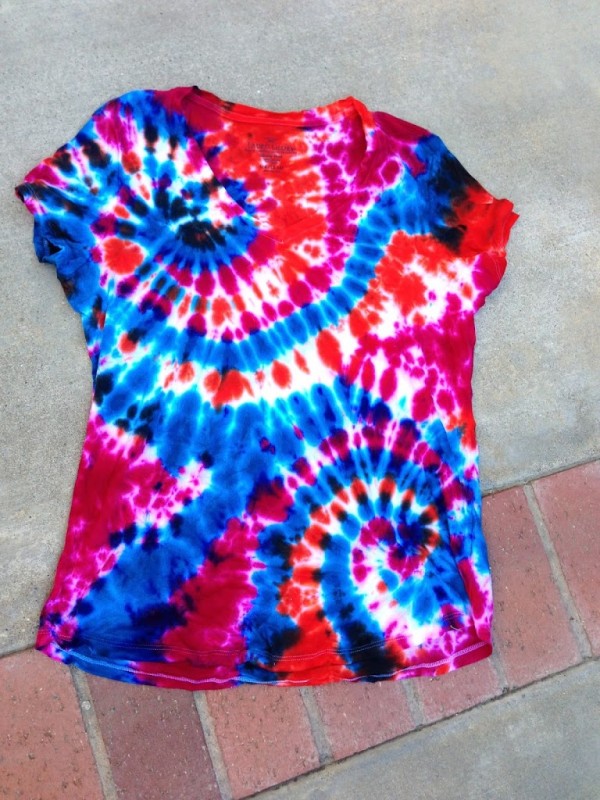
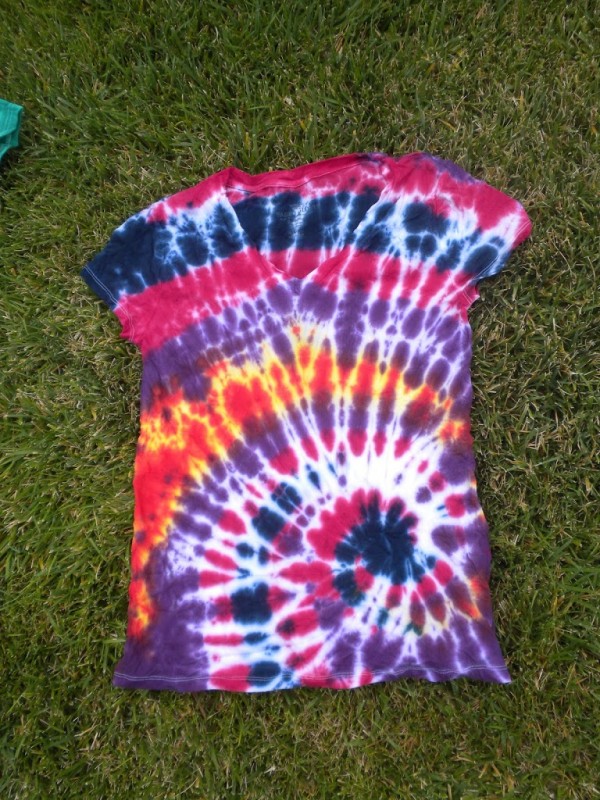
The shirt below is dyed using the “pie section” technique, spiral on the shoulder. Colors: blue, purple, orange, lime
Pie section technique, spiral in the center. Colors: yellow, lime, purple, turquoise black

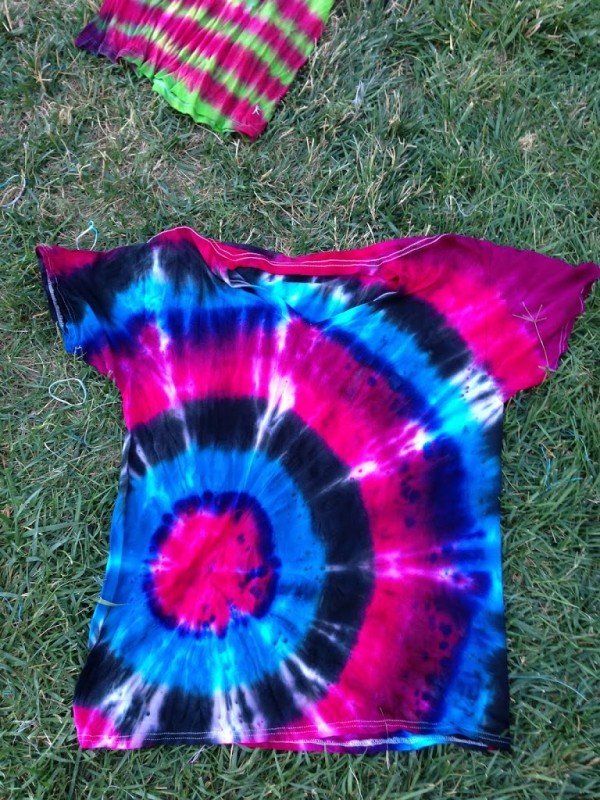
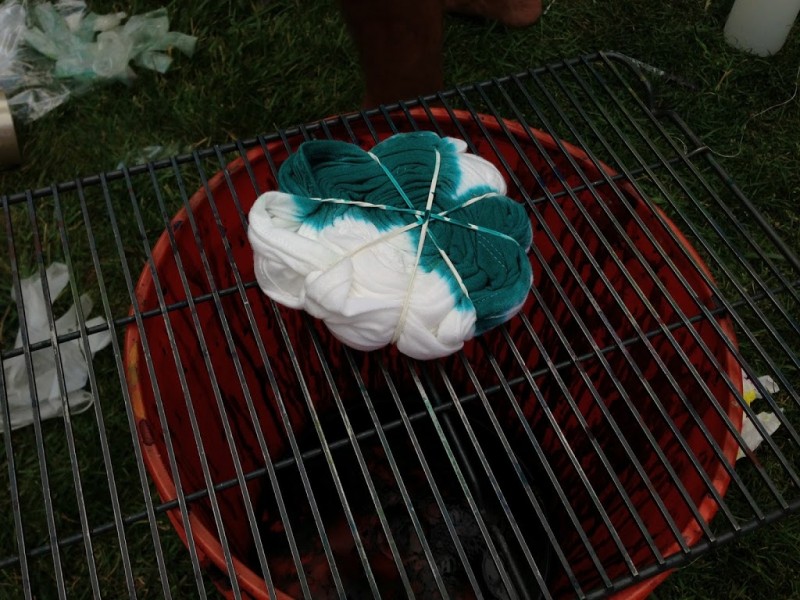
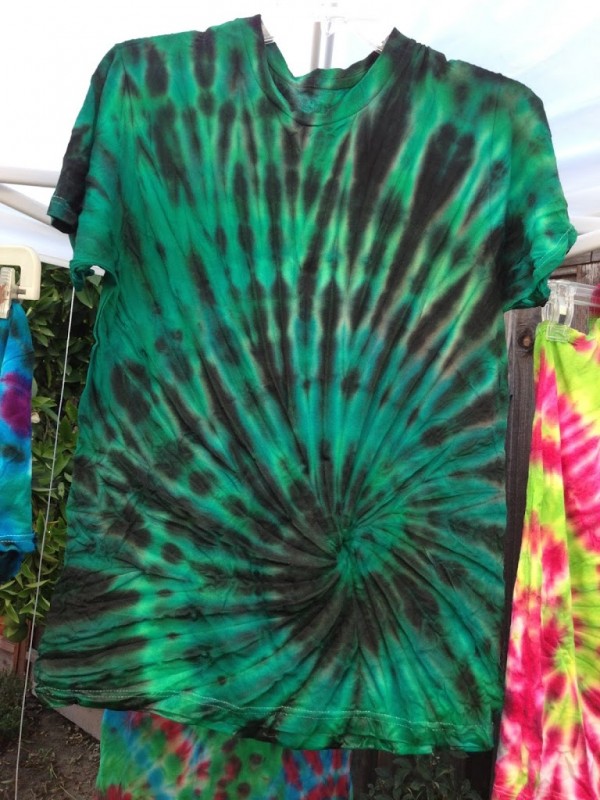
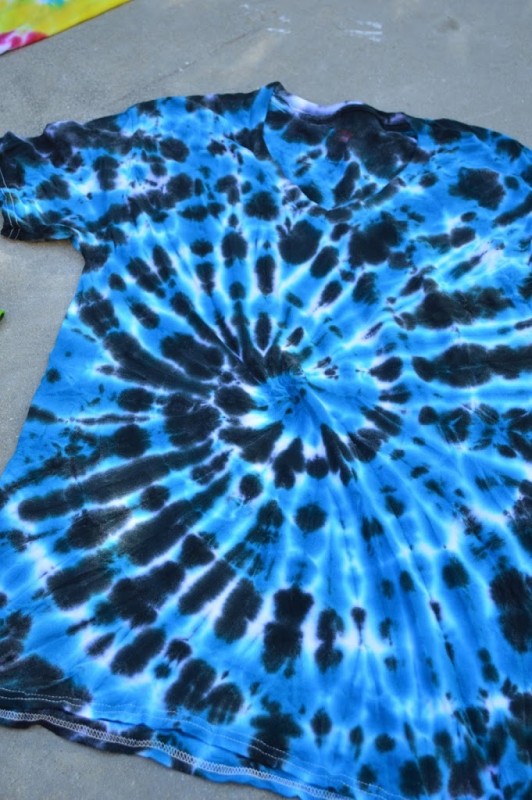
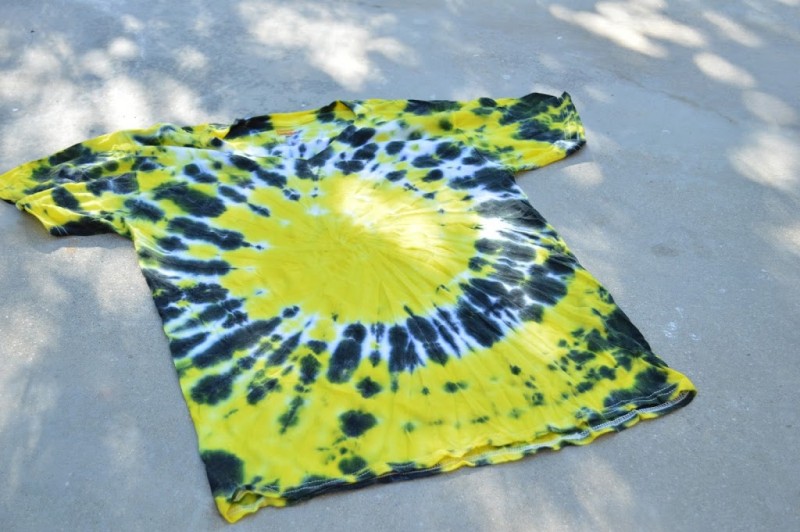
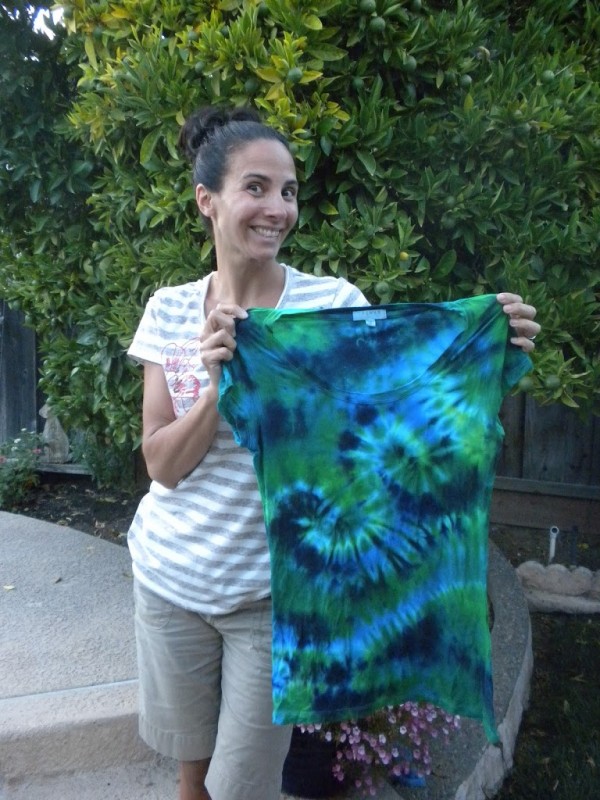
This shirt we did not color in pie sections, rather, we followed the swirl.  We call it “spiderweb”.  This will make the spiral pattern a little different.  We used teal and black dye.  Alternate the spiral with your colors.

Here it is finished

This one was dyed the same way:
This one also:

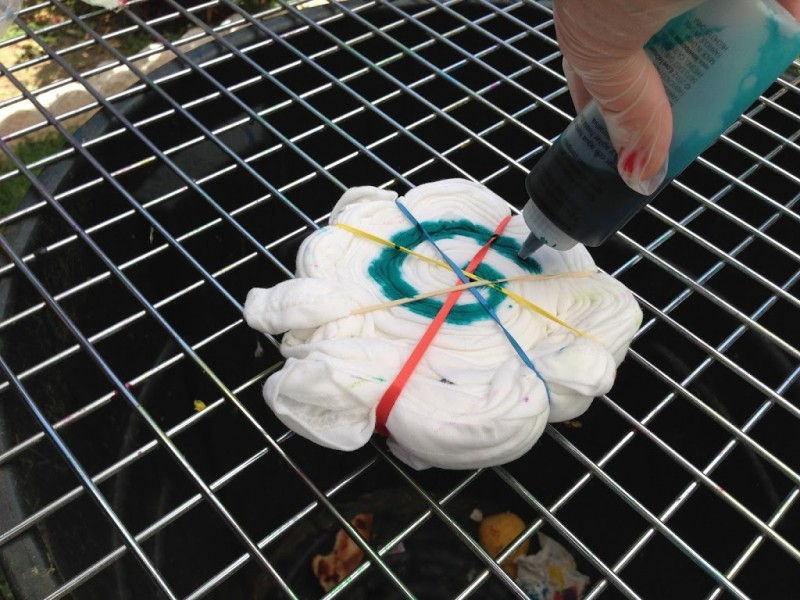
This spiral is dyed with the center one color and then colored rings going out…kind of like a bulls eye.

This is how it looks once it’s dyed:

This one was dyed the same way – only with a larger yellow center:

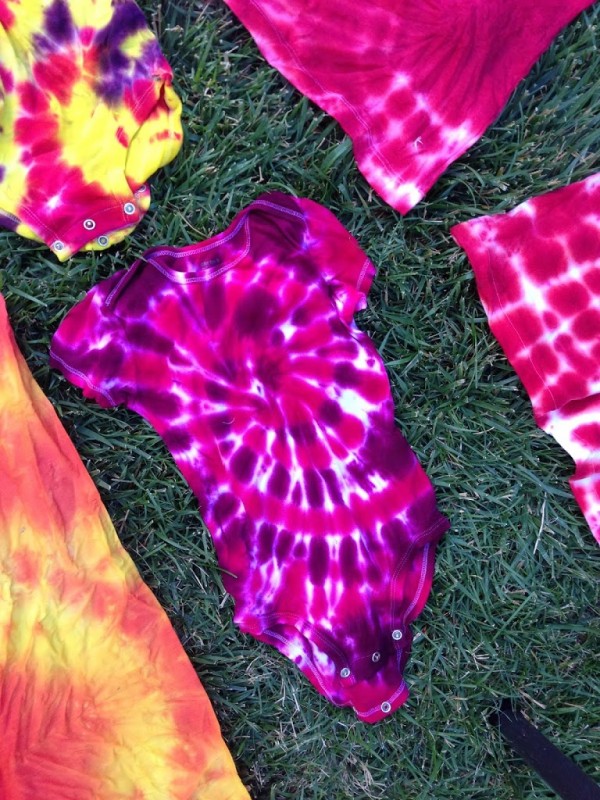
This baby onsie was dyed in a pie pattern with fuchsia and purple dye.

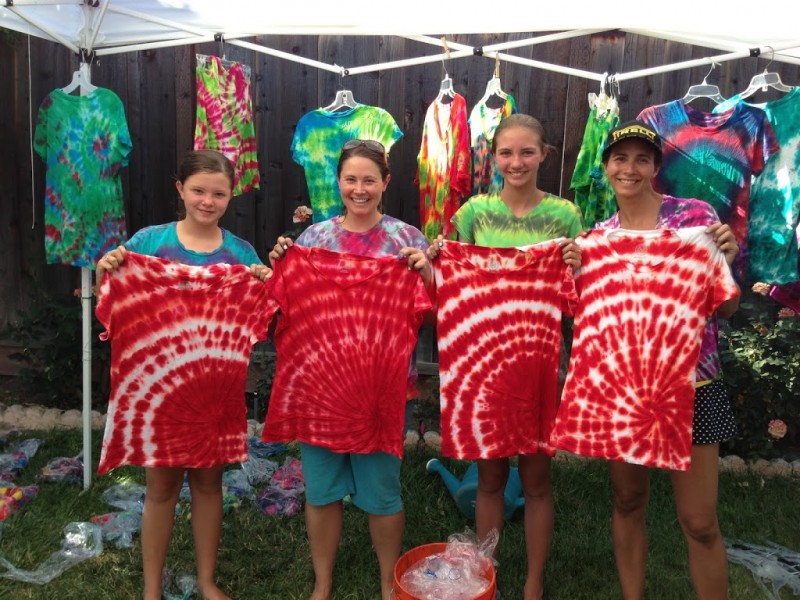
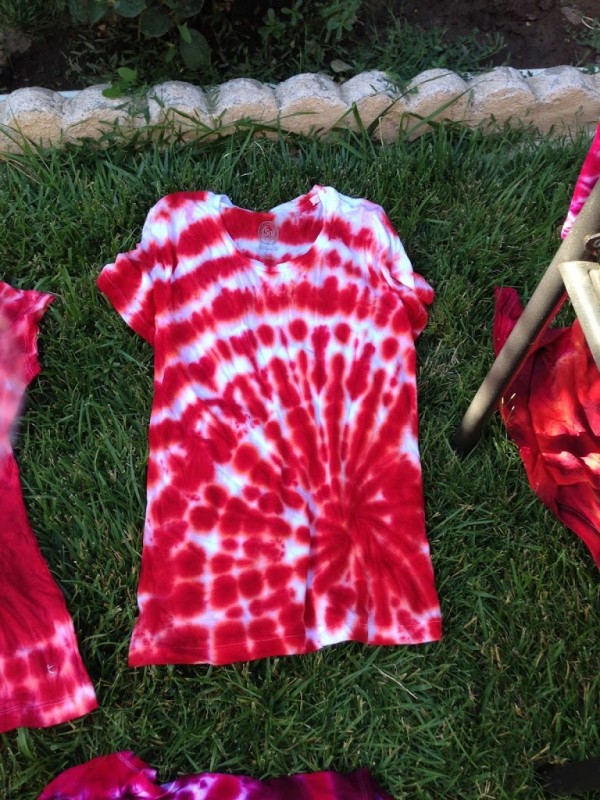
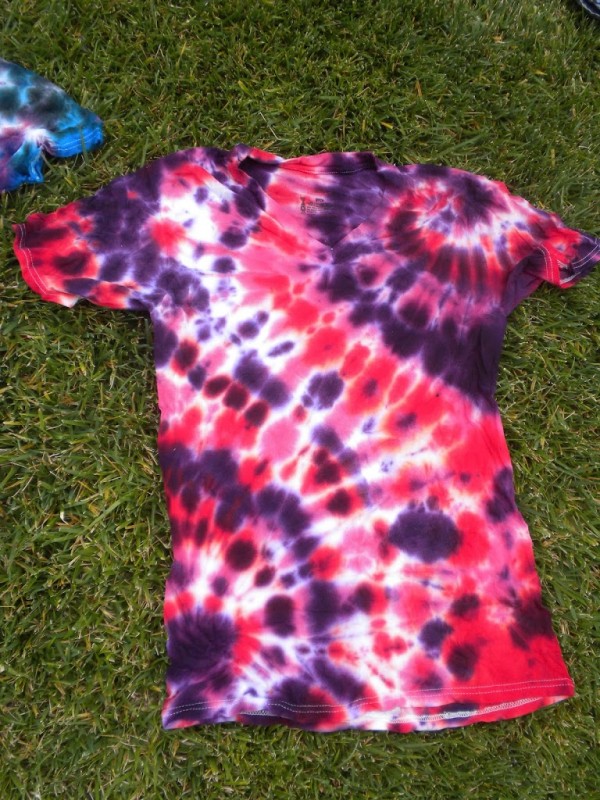
These Red Spirals are died using only red dye and leaving white spaces on the pie.  We centered the spiral on the bottom, left side.  We will be wearing them to the Taylor Swift RED concert!!!
You can see how using more dye results in less white showing and less dye allows more white to show.  It’s a preference.  I like white showing in my shirts and my brother like the shirts completely colored.

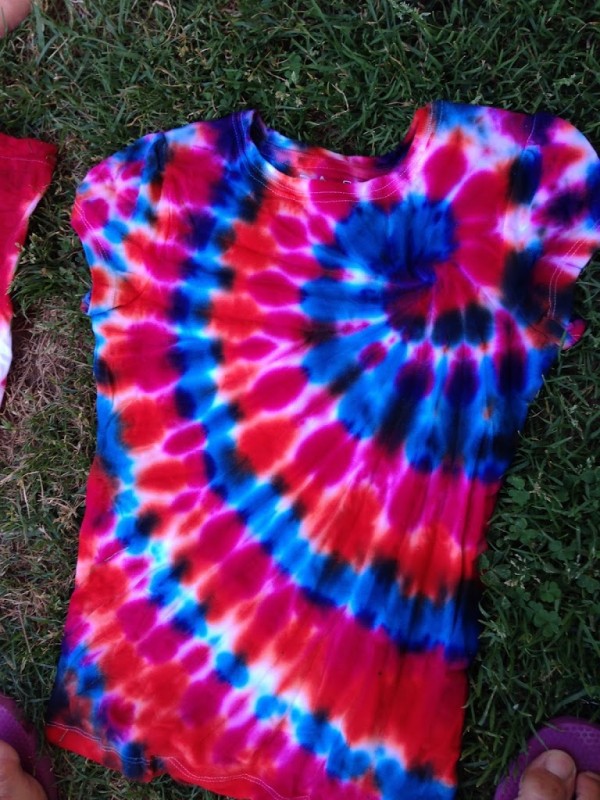
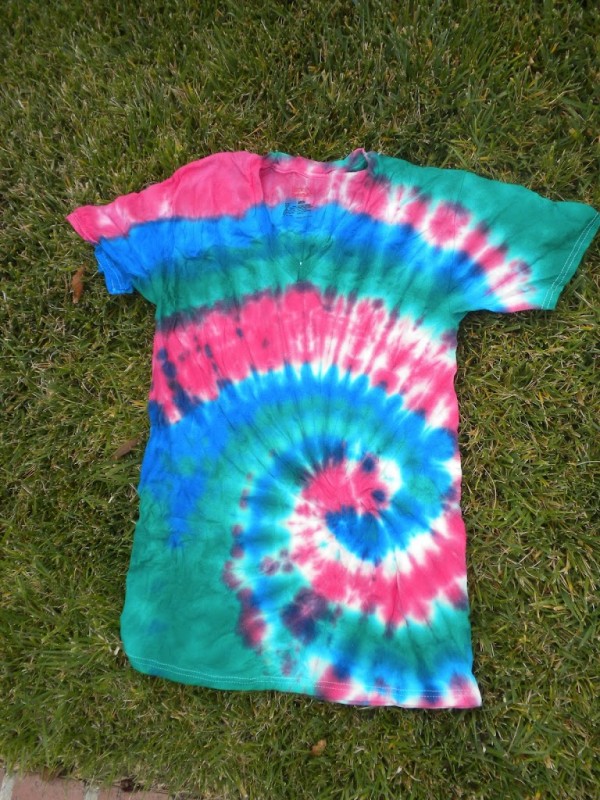
This swirl is centered over the shoulder.  I used blue, orange, and fuchsia dye.

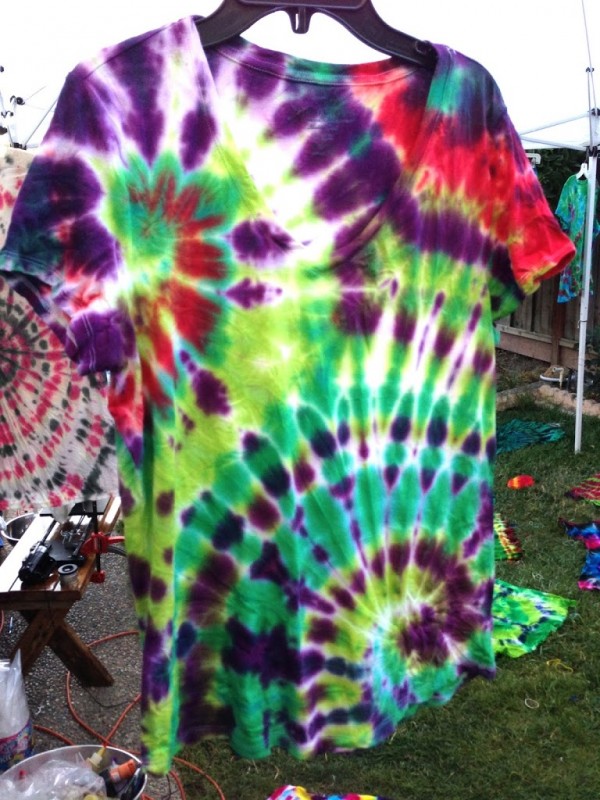
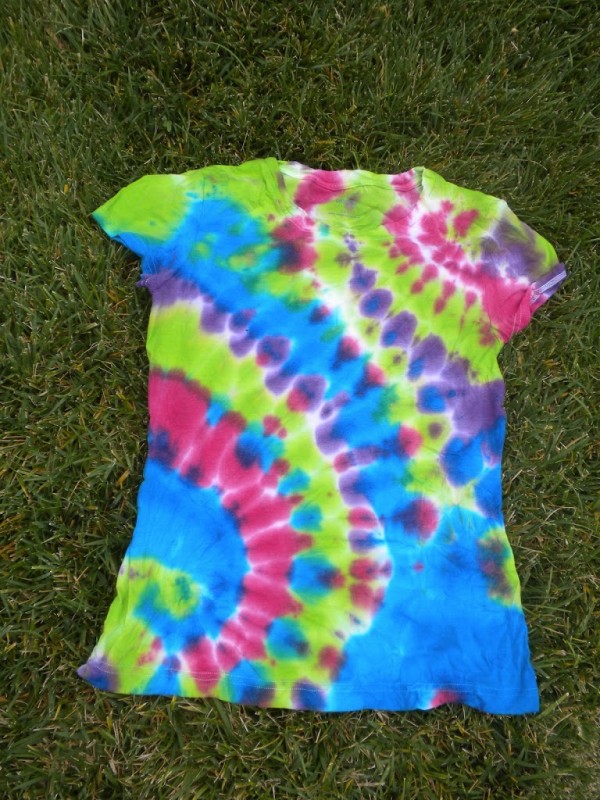
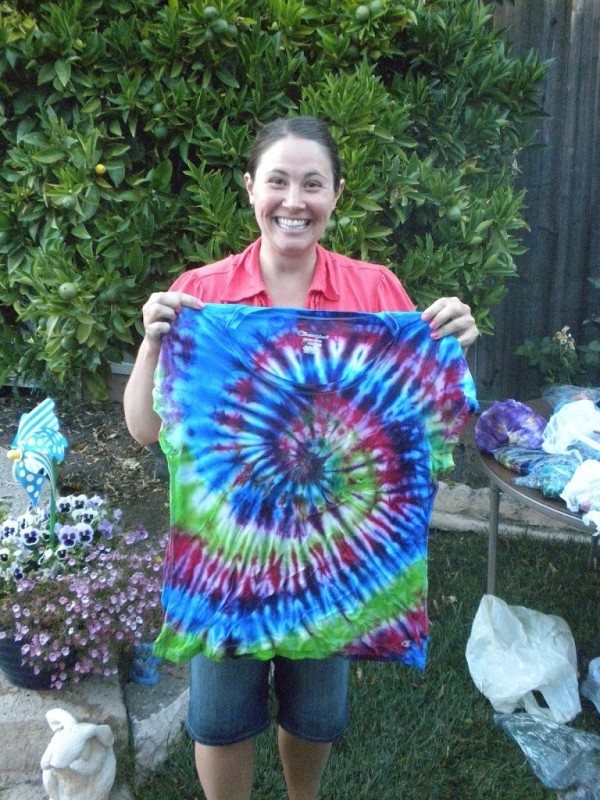
You can take the spiral to the next step and do a double or triple spiral.  For this shirt, we spiraled over the shoulder then at the opposite bottom corner.  We spun the spirals away from each other.  I love this one – it’s one of my favorites!
Another double spiral:
Now it’s your turn to try a spiral!  You will love all the possibilities!!

Amanda

Tie-Dye 101


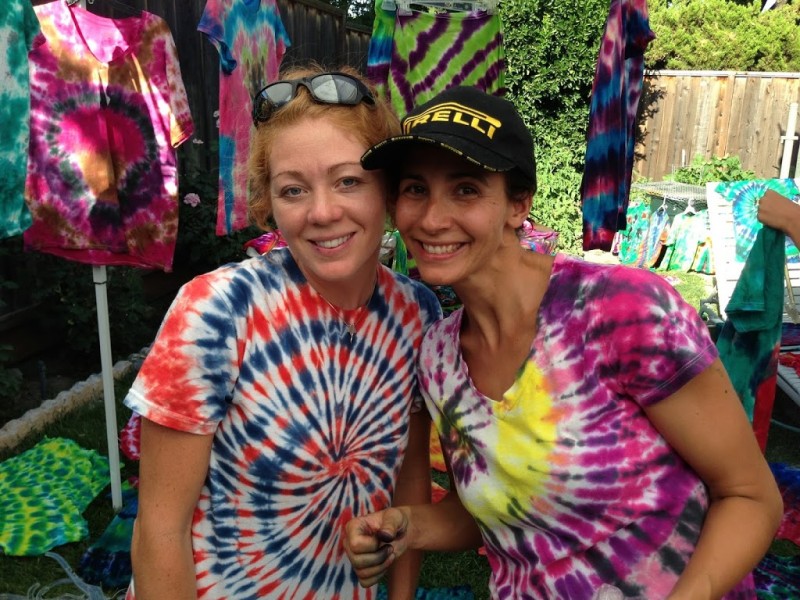
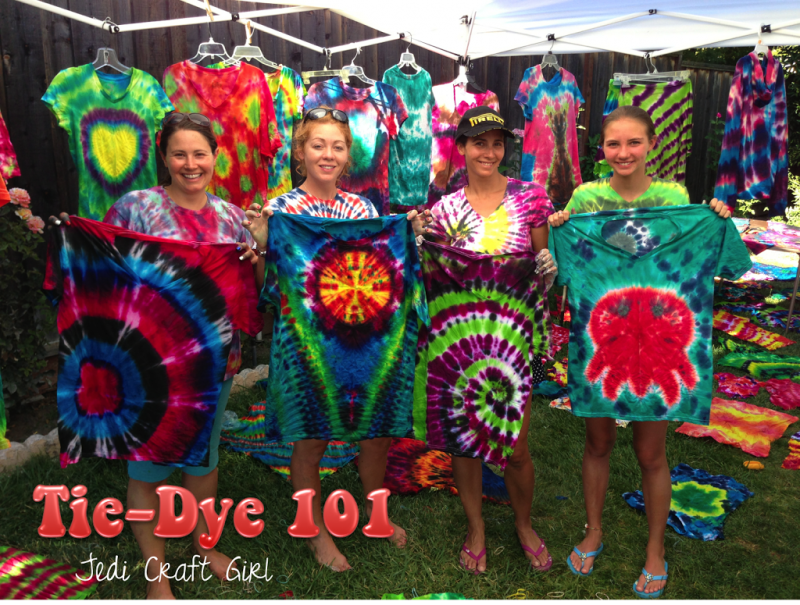
We are a little Tie-Dye crazy in my family.  Growing up in the bay area, I guess Tie-Dye is in our blood!  Every summer we get together for weeks of swimming, eating, hanging out and Tie-Dye.  Every year gets more and more intense!  So, here’s and invitation to you: put on some hippie music, grab some white T-shirts and fabric Dye and join us in the fun. (the fun turns to crazy really fast!)

Fabrics:
100% cotton shirts and clothing work the best.
95% cotton 5% spandex – these work good as well
50% cotton 50% polyester – Stay away from this combination – colors will be muted, there will be a light fuzz over the dye and they just don’t look good.
The key is to have a good quality cotton.

Prep your clothing:
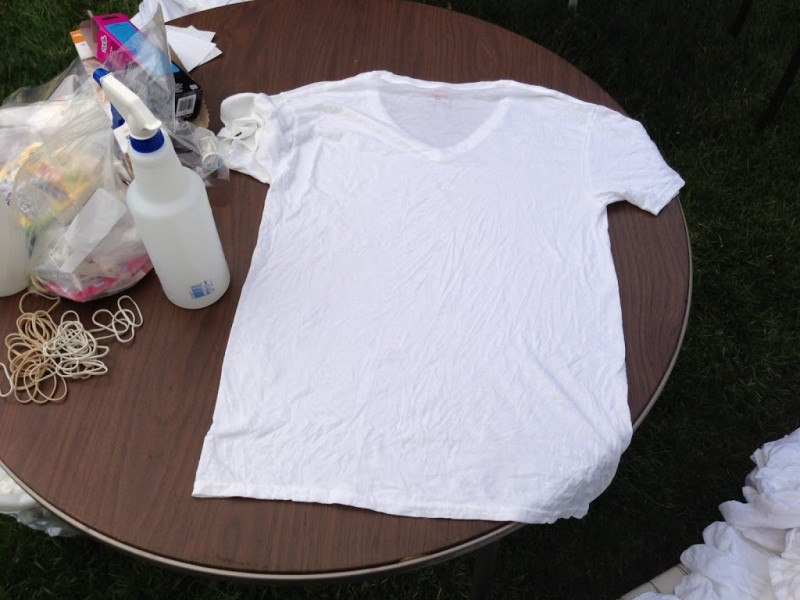
If your clothes have never been laundered, run them through a light wash or a rinse cycle.  If you have shirts that you want to pre shrink, rinse them and then put them in the dryer, then rinse them again.

Your clothes need to be damp (not wet) to tie…despite what the directions say.
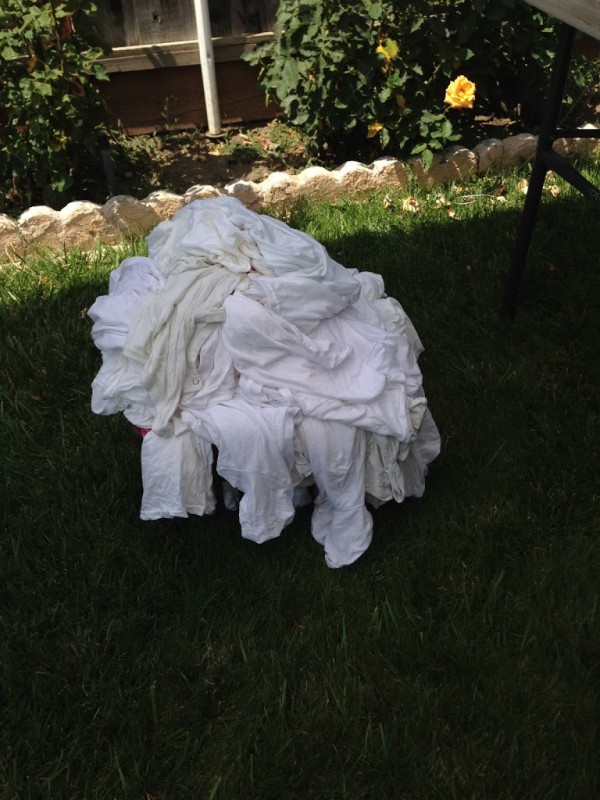
Giant batch of damp shirts!!

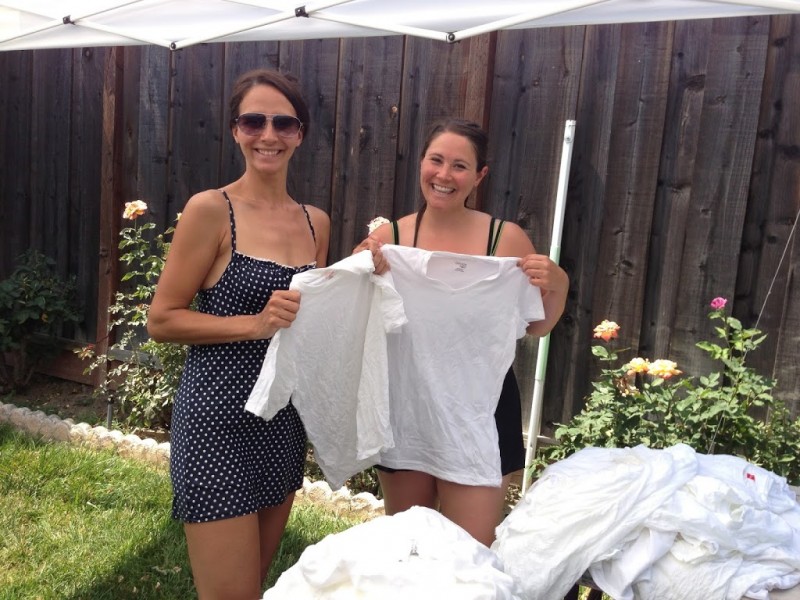
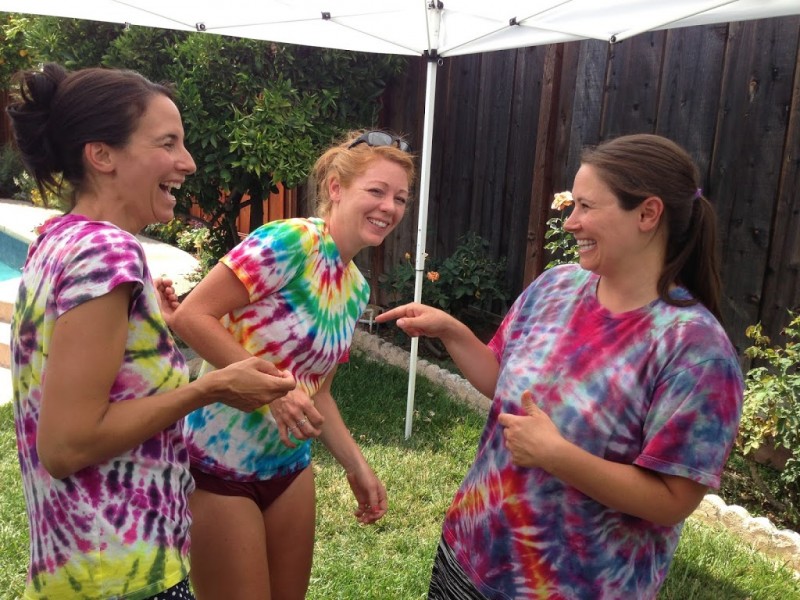
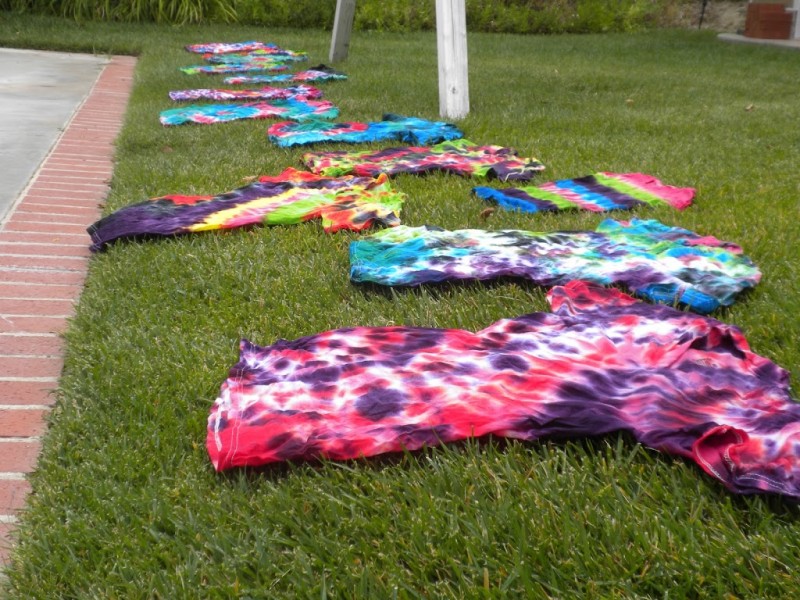
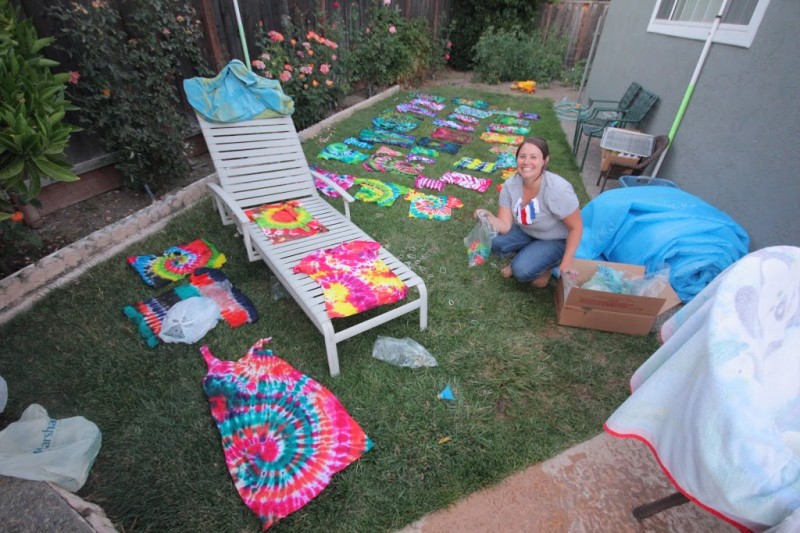
It is 106 degrees as we are doing this project – so we are in our swim suits.  We alternated swimming and tying for about 8 hours – almost 200 shirts.

Soda Ash:
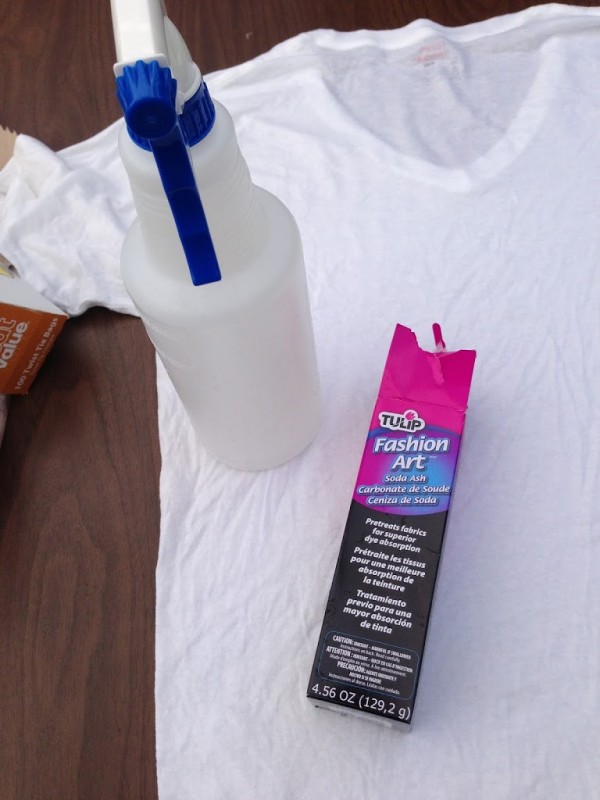
You can dye your shirts without soda ash – but we all agree that this helps keep the colors vibrant.  The package instructions say to soak your shirts in the soda ash for 20 minutes.  We have tried this method and found the shirts were too wet and very drippy which makes the colors run.

We developed a new method which will let you maximize your soda ash.  Mix the soda ash according to the instructions (1 package makes 1 gallon).  Place in spray bottles.  We sprayed our shirts with the soda ash before we tied them.  I like this the best.

Prepare your work station:
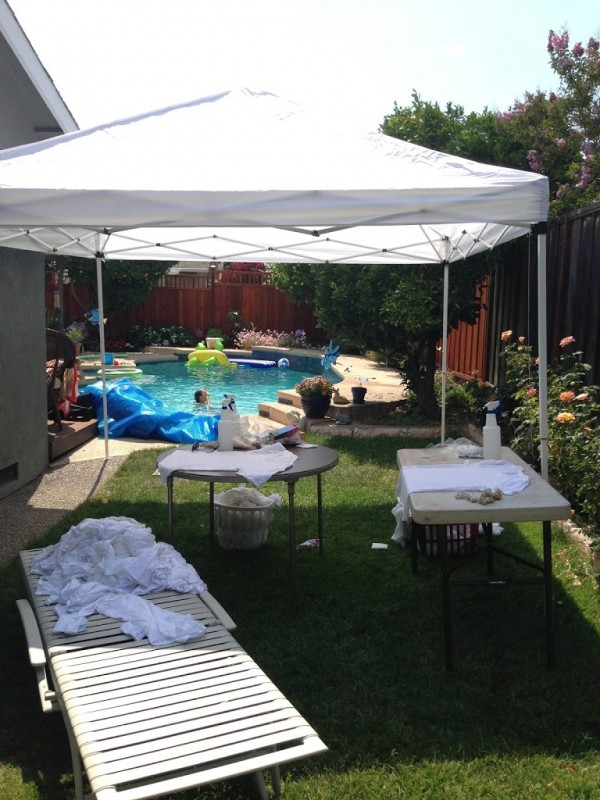
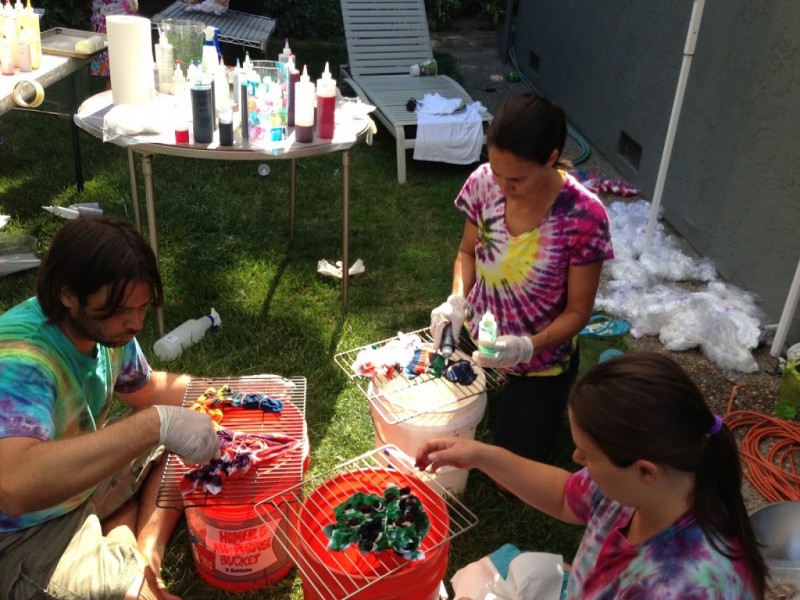
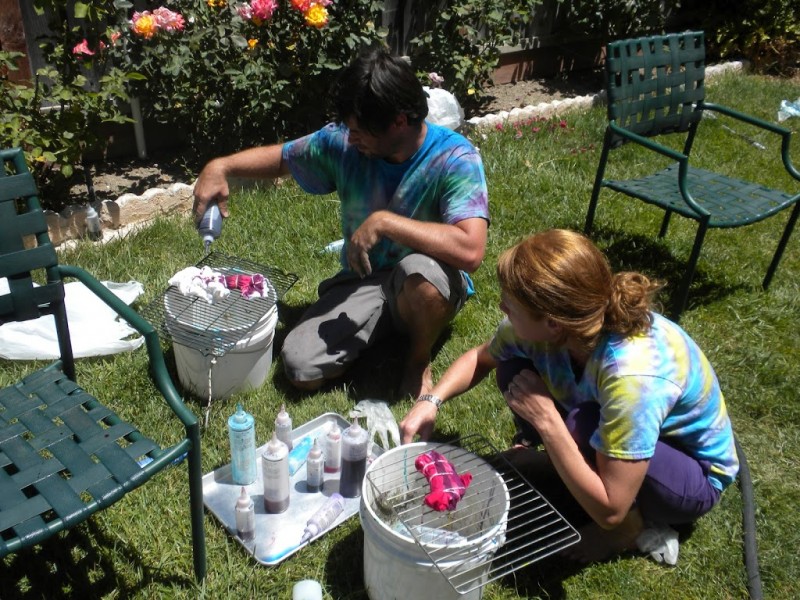
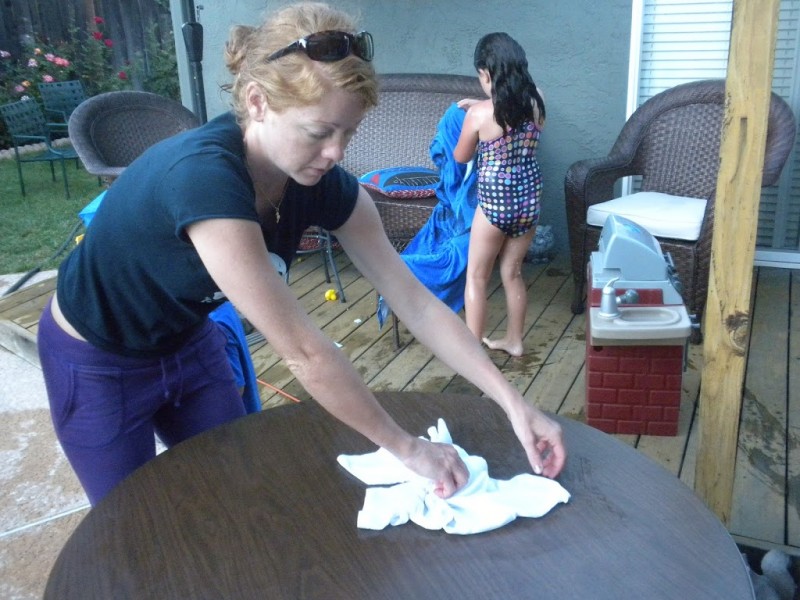
You need to have a flat work surface to tie your shirts on.  We had 4 adults working at once so we needed a few tables.  Here is our set up:

Spray both sides of your shirt with the soda ash mixture.

It’s best to wear tie-dye and listen to hippie music while doing this!!!

Tying:
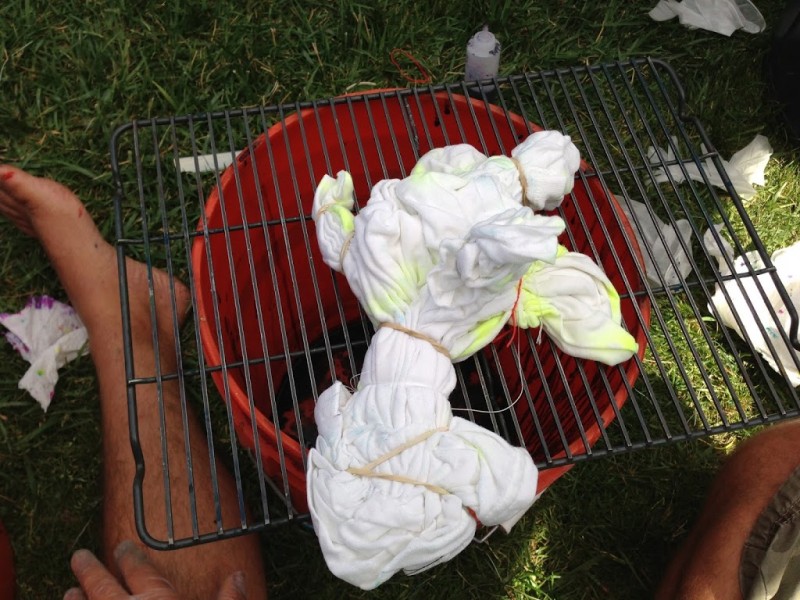
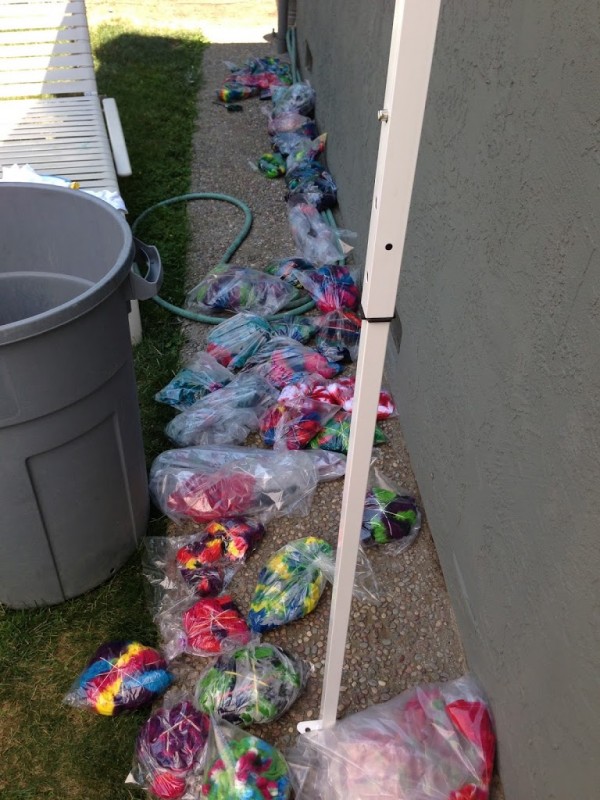
This is the fun creative part.  There are so many ways to tie your shirt: classic spiral, double spiral, triple spiral, deep V, stripes, scrunch, etc.  (at the bottom of this post are links different methods of tying.)  You need rubber bands, string, and maybe a needle and thread.  I like to put my tied shirt into a baggie and label it so when it comes to dying I know what I am doing.  This shirt was a crazy tie design:


The Dye:


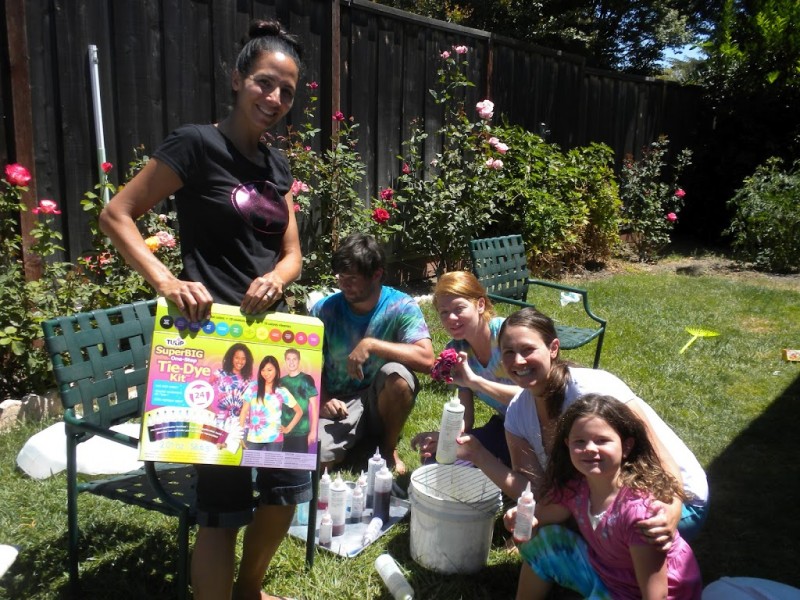
We used Tulip brand Tie-Dye.  They offer a wide range of colors, it’s not too expensive, and it’s sold at all craft stores and Wal Mart.  We have a lot of dye!

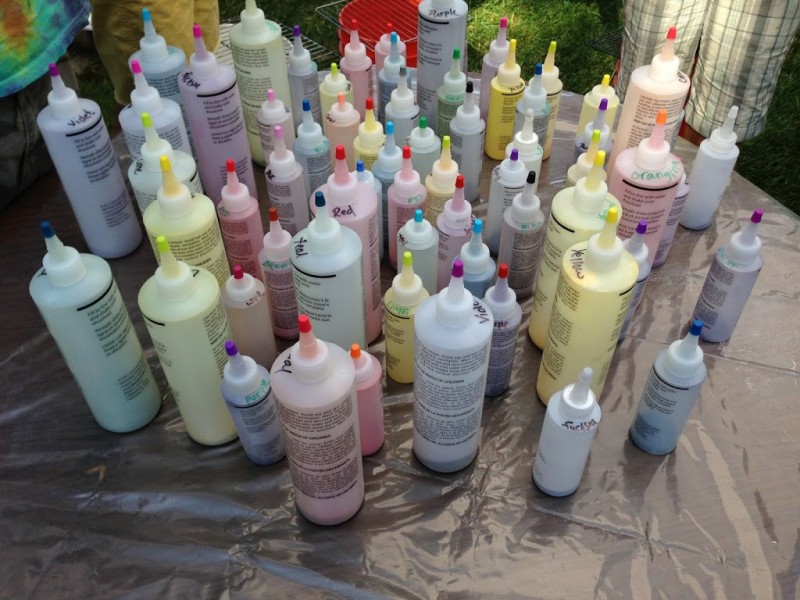
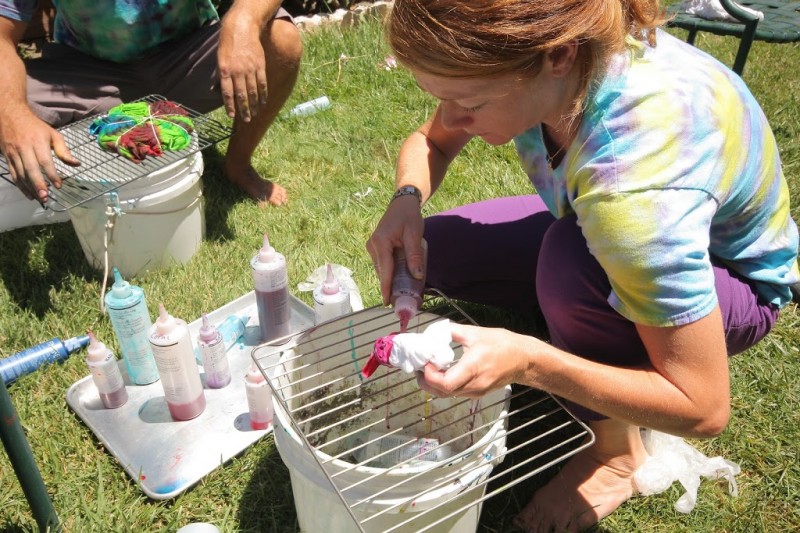
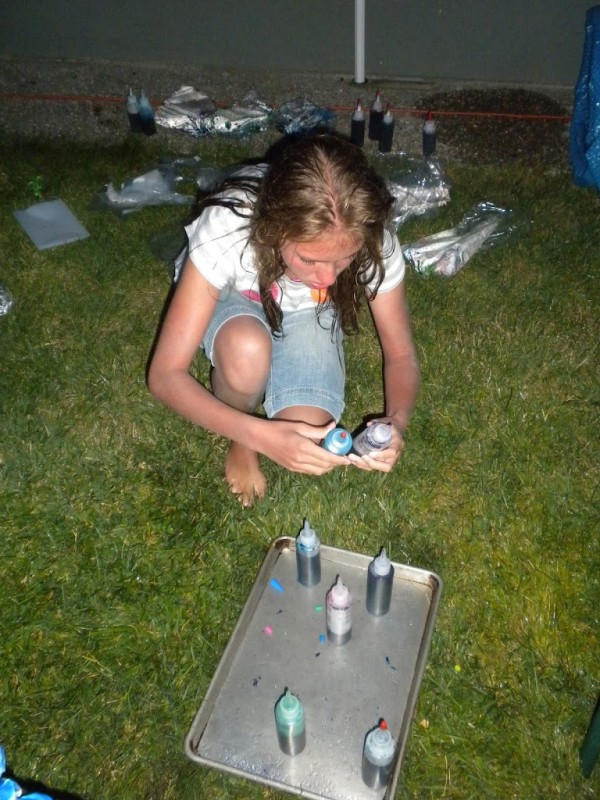
The caps are colored.  Once the caps are removed and the dye is mixed, it’s impossible to tell which color is which.  Using a Sharpie, write the color of the dye on the top of the bottle – this makes it SUPER EASY!

Mix the Dye:
The dye comes in the bottles and you fill the bottle up with water and shake.  The dye is best used within 30 minutes of mixing.  After that the colors can loose intensity.

Dying:
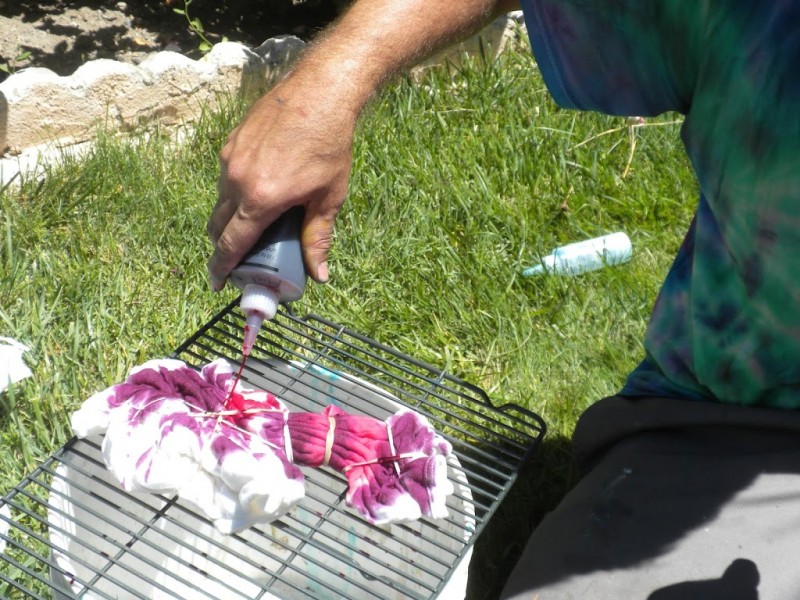
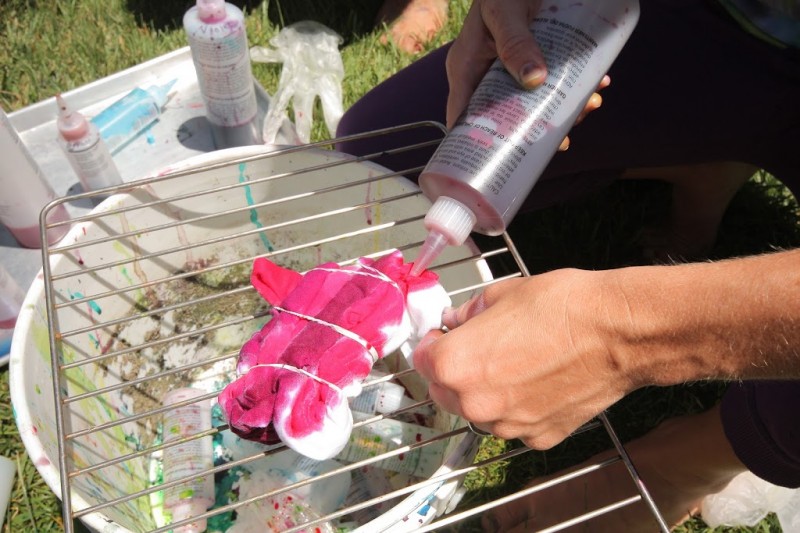
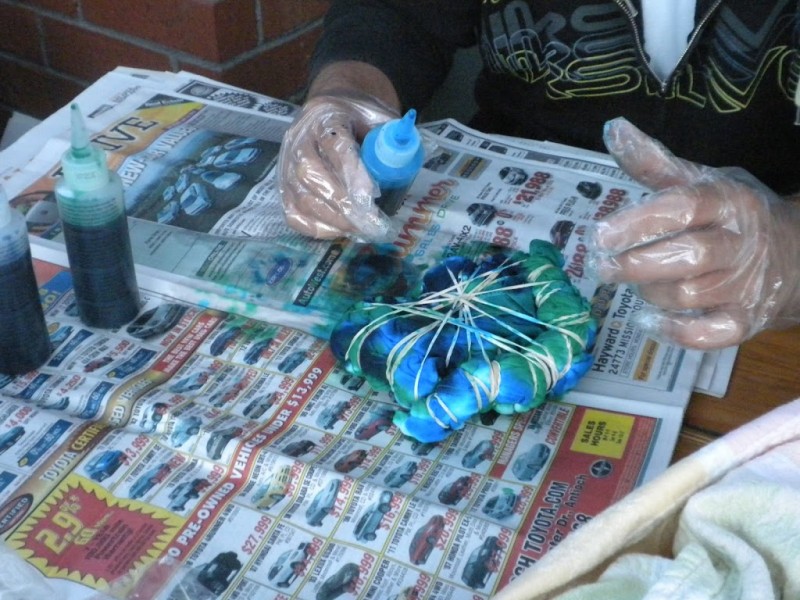
Wear gloves!!!
Work fast but carefully
Consider your color choices before you mix the dye – it saves time – the dye is the most potent during the first 30 minutes so DON‘T mix all the die at once
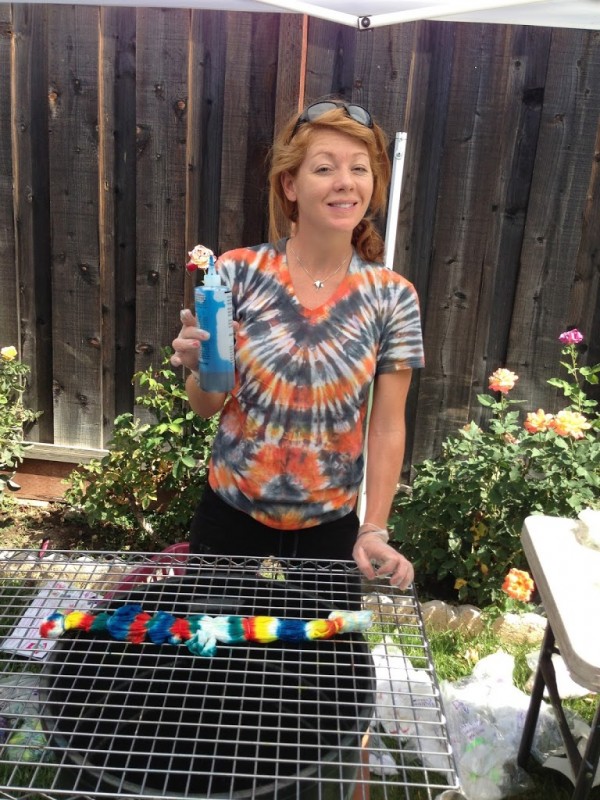
Set up a rack on top of a bucket or bowl.  The dye will run off an needs somewhere to drip.
Wear old clothes or tie-dye – it can be messy is messy.

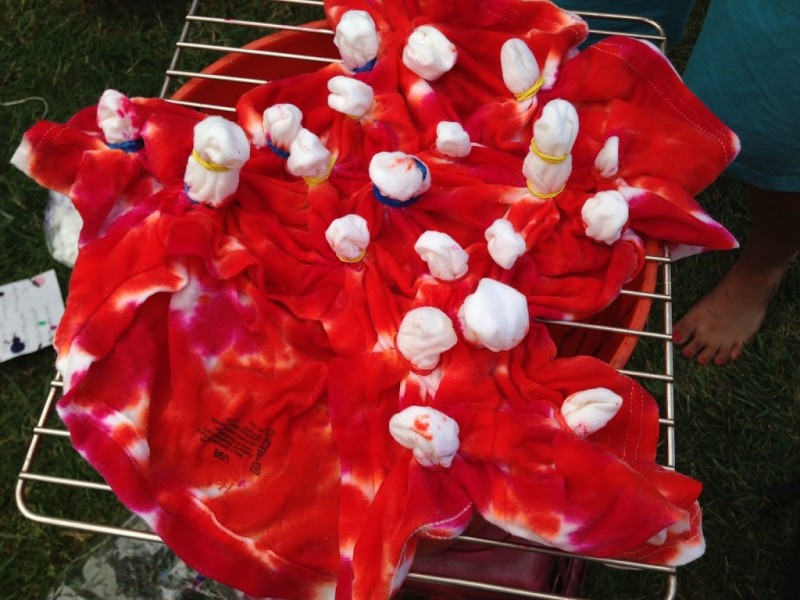
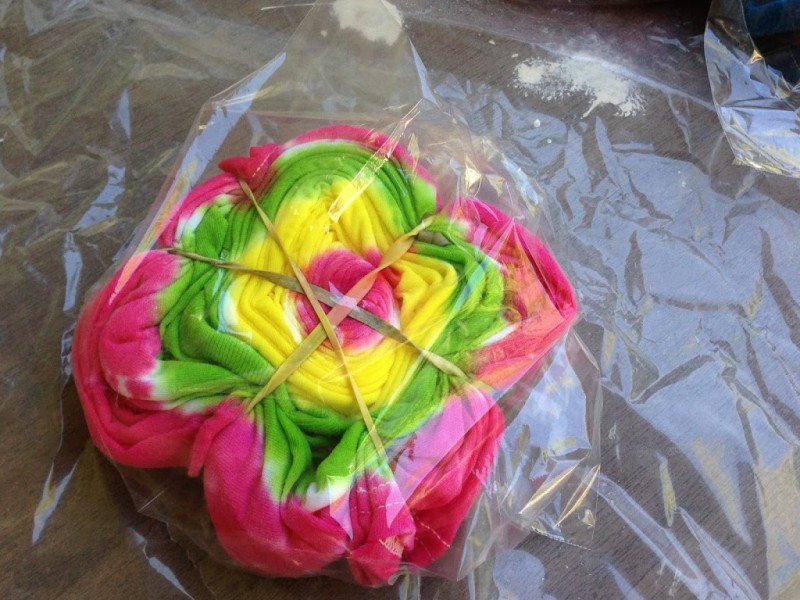
Once the dying is done, wrap the shirt in plastic wrap or a baggie. The instructions say to let sit 6-8 hours.  I wait at least 24 hours.  It’s really hard to wait to see how they turn out!

Final Thoughts:
After you have waited about 24 hours, unwrap your shirt and cut off the string or rubber bands.  I like to hang my shirt up and let it dry completely.  Then rinse each shirt in the faucet or the hose and squeeze as much dye out as you can.  Then, put them through the rinse cycle in your washer and dry them.  I rinse like colors together.  Now you are ready to wear your awesome Tie-Dye Shirt!!!

Amanda

Tie-Dye Your Summer!!!

 I am SO EXCITED to announce my “Tie-Dye Your Summer” Tie-Dye fest!  Ever summer my family gets together and we BBQ, swim, and Tie-Dye for and entire week!  Last year we tie-dyed over 50 pieces.  This year we are bringing the party to blogland.  That’s right….every day during the week of July 8th I will be posting tutorials, inspiration, and giveaways.
The ilovetocreate.com company, who Tulip Tie-Dye is a part of, sent me a giant box full of goodies to giveaway.  So mark your calendars and get ready for the most addicting craft out there!
What you need:
I gather white shirts all year long.  If I am at a store, I check the clearance racks and buy them when they are discounted.  We dye white skirts, white shorts, white sweatshirts, t-shirts, bags, anything you can think of.  So start stockpiling white clothes!
If you are out at a craft store, pick up some Tulip brand Tie-Dye.  The more colors the better.  You can use your 40% off coupon at Michaels or Joann’s.  Walmart also carries Tulip tie-dye.
Soda Ash
This isn’t a deal breaker, but we all think it makes the colors last longer.  It is sold in a box by the tie-dye supplies.

Amanda

Tie-Dye Insanity

Tie-Dye Round 3!
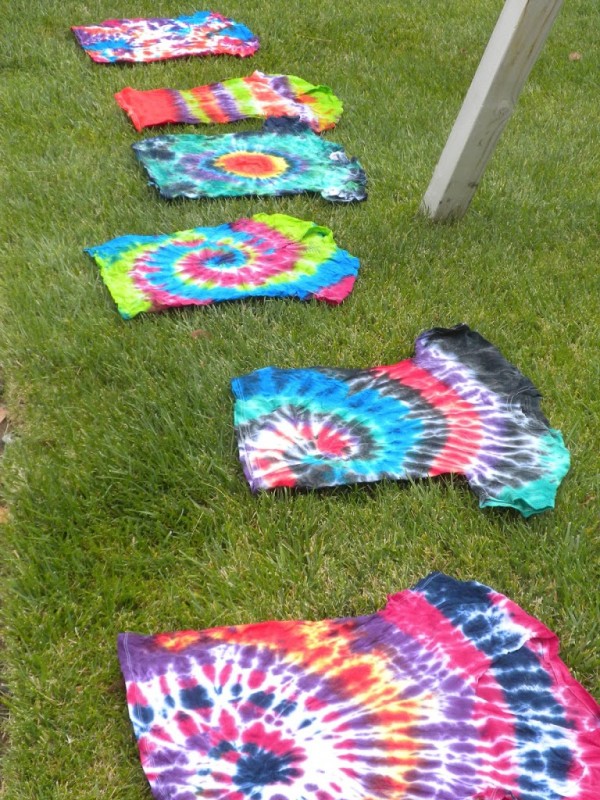
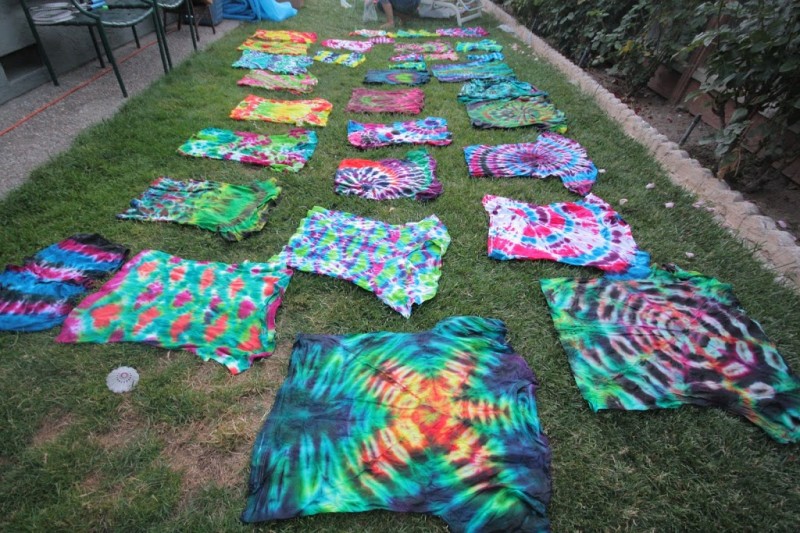
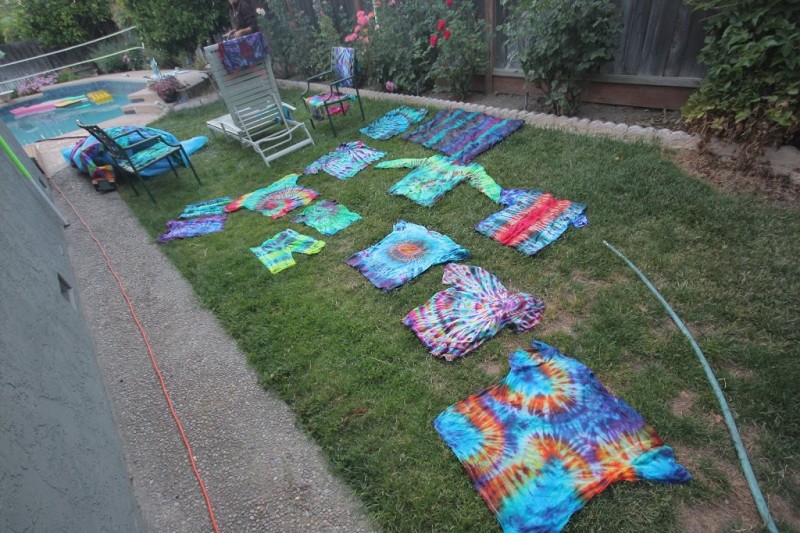
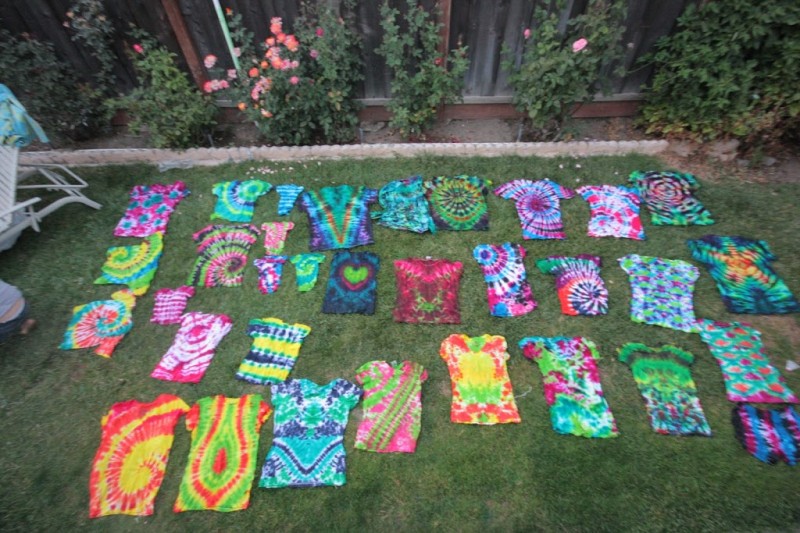
The tie-dye addiction continues.  This round started because we needed a few gifts & thought it would be fun to give a tie-dye shirt….and you can’t just die 2 shirts – you have to die a whole bunch so you don’t waste the die.  Here’s how they turned out.
Oh – we tried something different – this time we did not soak the shirts in Soda Ash.  We did learn that you CAN’T tie-dye a dry shirt like it says on the package.  We spritzed the shirts with water so they were damp.  I am thinking the Soda Ash step might be vital after all…hmmmmm.
 
 Three swirls down the side
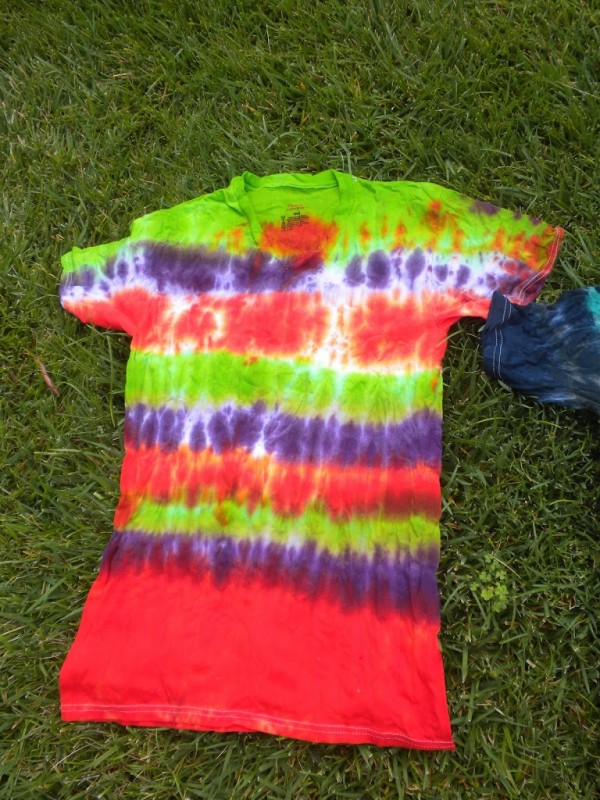
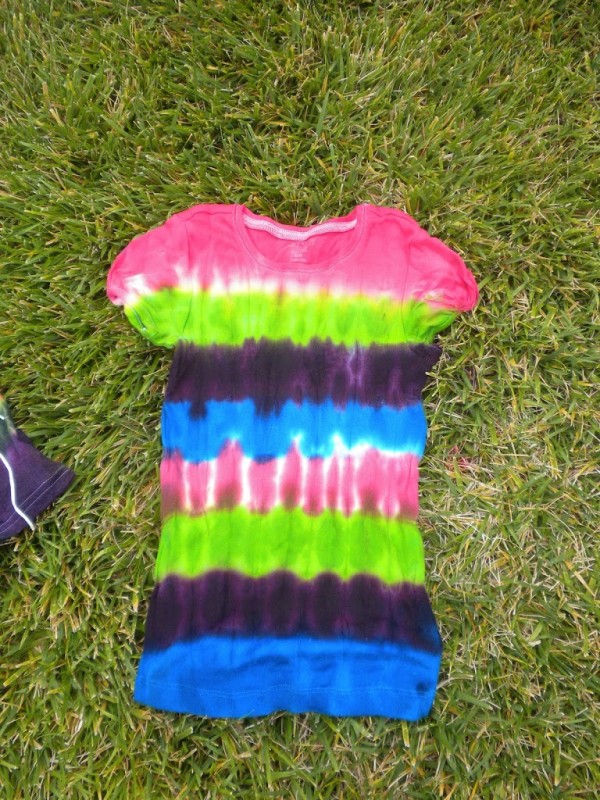
 Colorful stripes
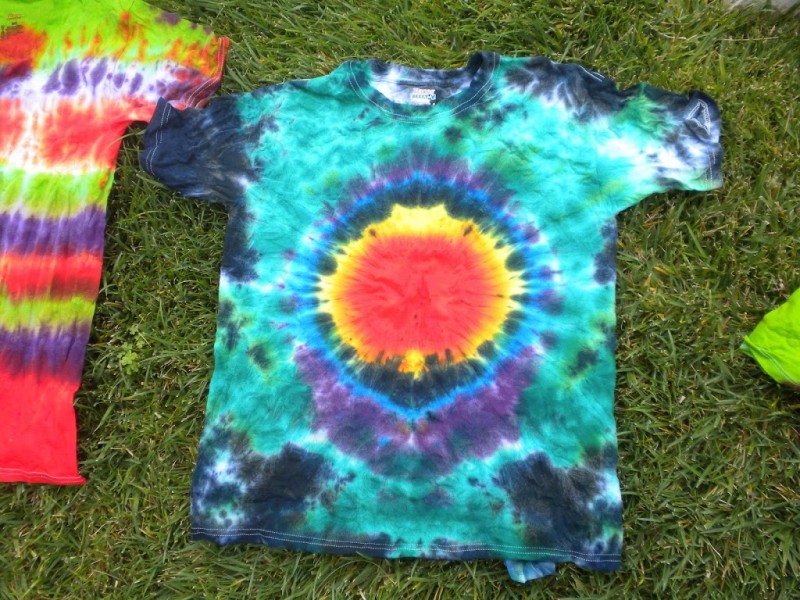
 Center circle – I love this one
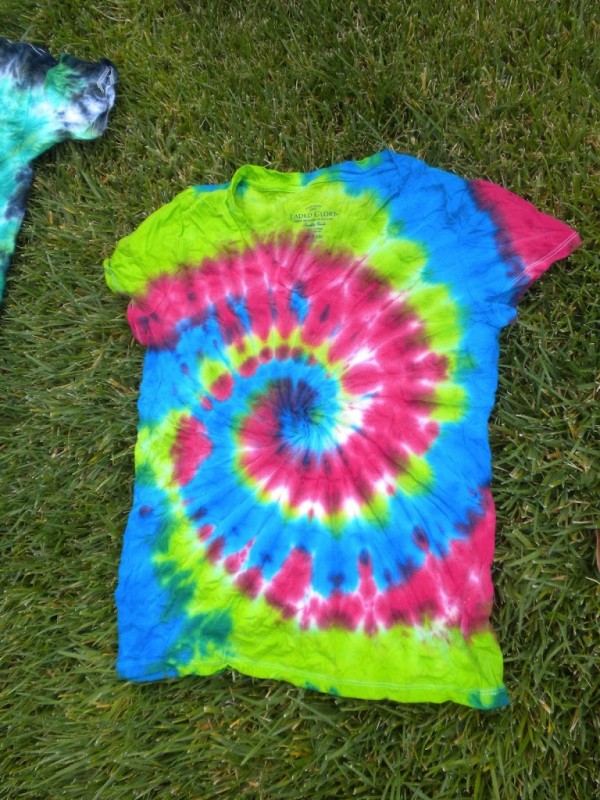
 Center swirl
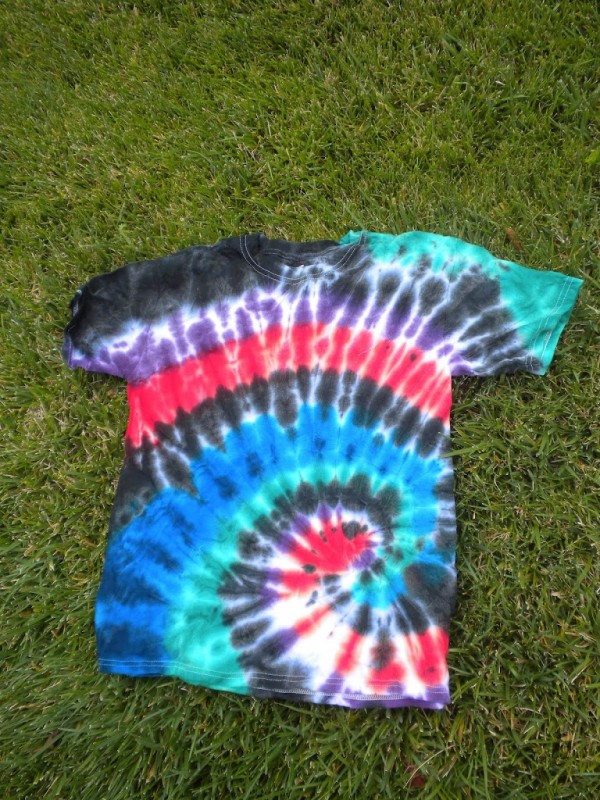
 Off-center swirl – boys
 Off-center swirl – girls
 More swirls
 Boy’s Bulls Eye
 Top and bottom swirl
 Top swirl& scrunch bottom
 Little Girl Stripe
 Triple swirl & scrunch – love it!
 Top & bottom swirl – love this too
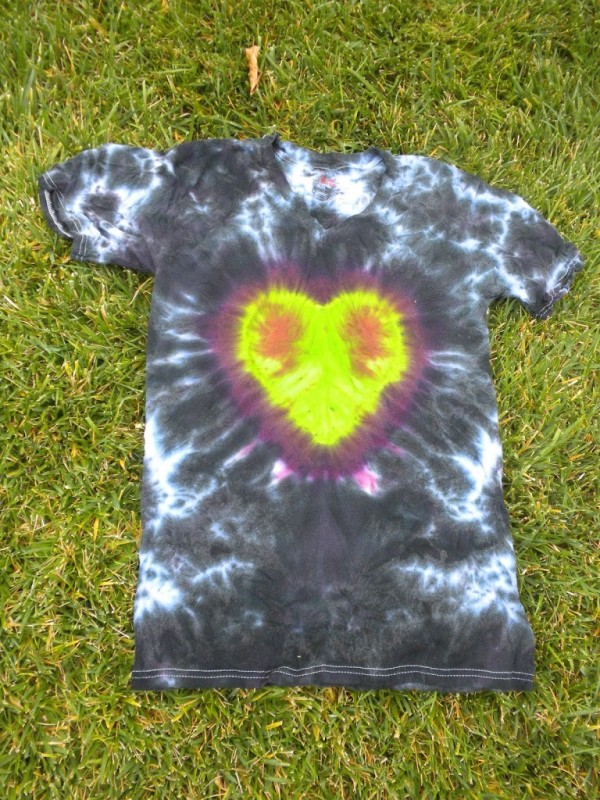
 Ella’s heart – looks like an alien – don’t know why she gave it eyes!
 Swirl for Hannah

Overall I say they turned out good.  Right now they are drying – then I will rinse them in cold water – hopefully all the colors stay!

More Tie-Dye Craziness


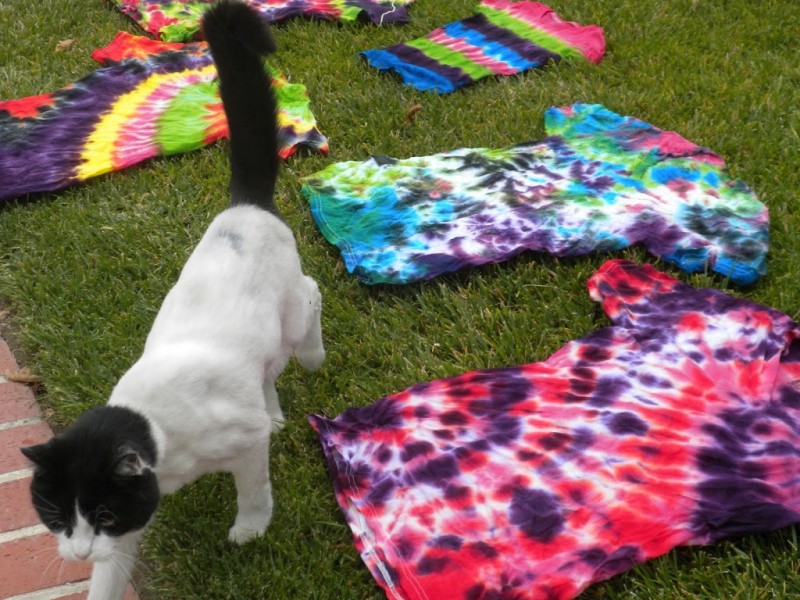
 One batch of tie-dye was just not enough.  So we launched into our second batch – which included more shirts!  This time we dyed almost 50 – yes we are crazy!  We followed the same steps as before. 
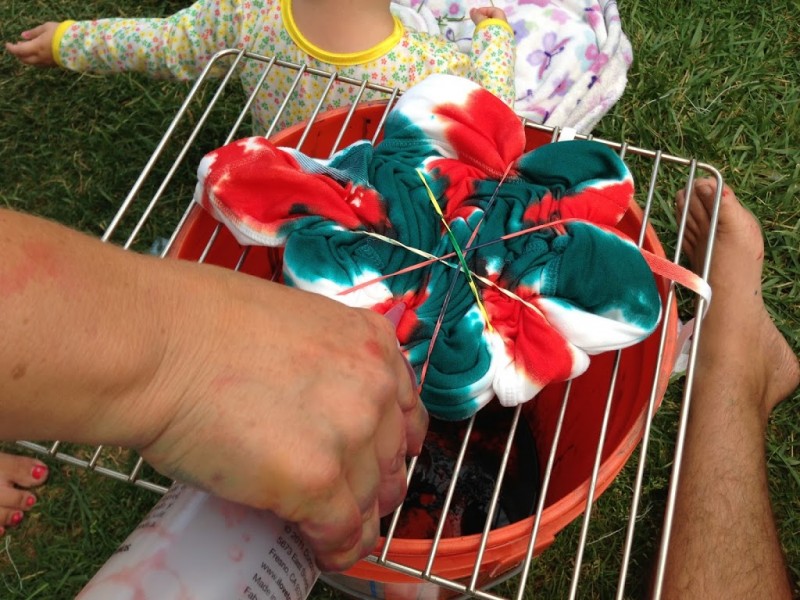
 It helps to wear tie-dye while tie-dying…just in case you spill 🙂

 The hardest part is waiting over a day to unwrap them & see what they look like!  I will try to post better photos of each of our favorite shirts!
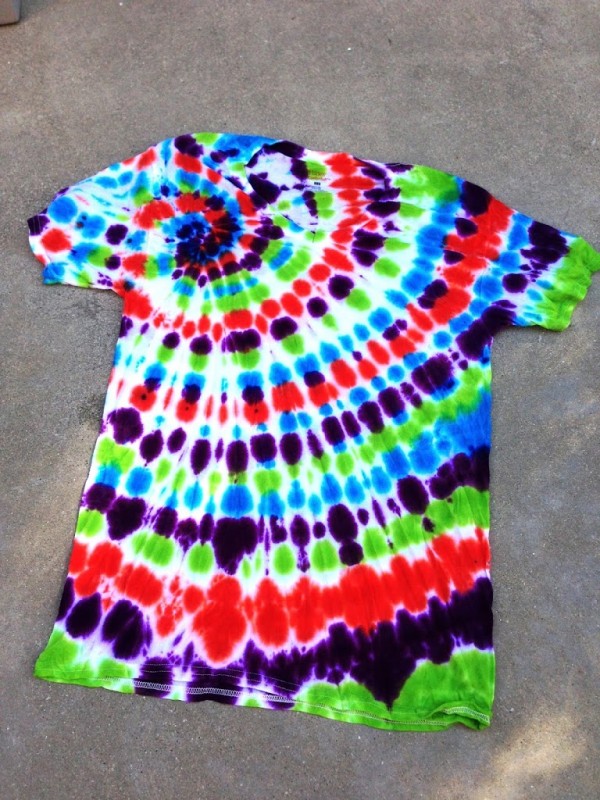
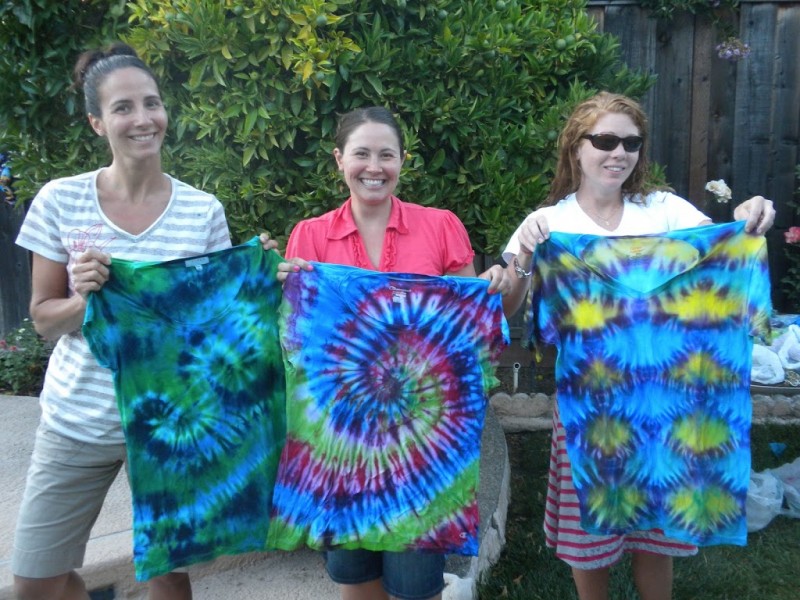
The rest of our vacation we wore our shirts everywhere we went.  We attracted just a little attention!
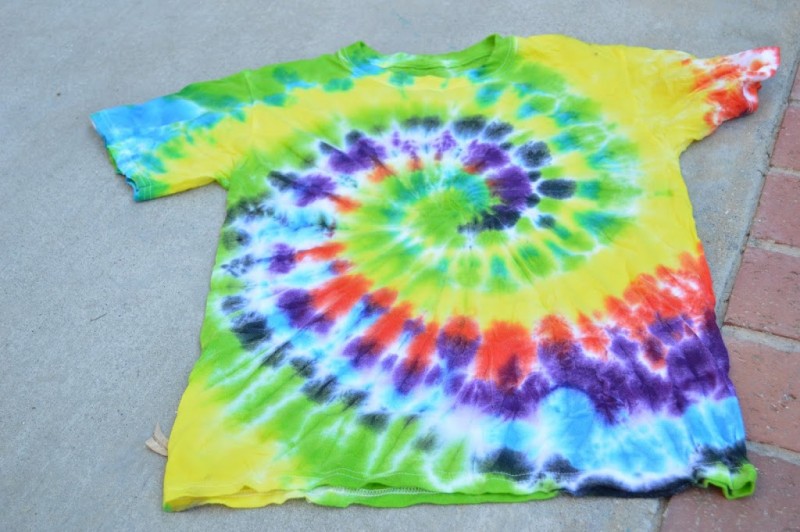

Tie Dye Madness


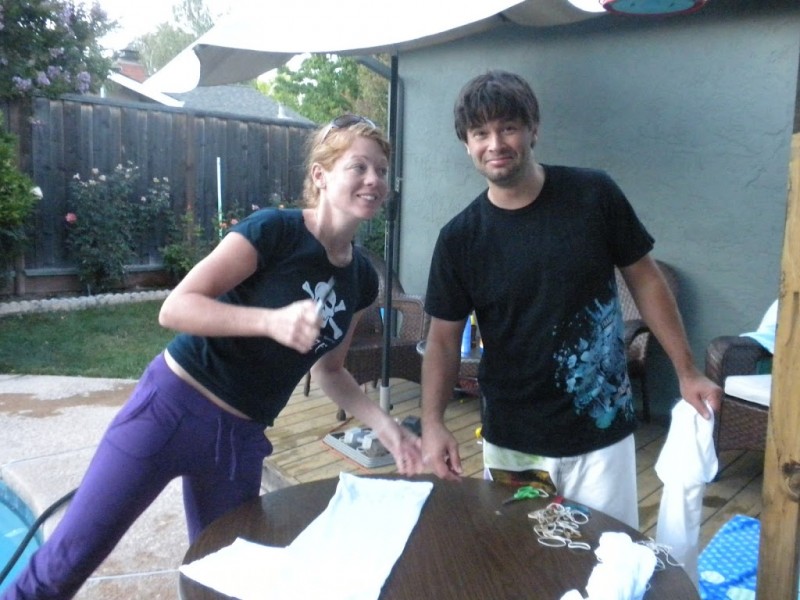
I have been out of town for a while & now I am back!  On my trip to visit my family we discovered a new craft!  Tie Dye!  I must WARN you…. Tie Dye is extremely addicting so read the rest of this post at your own risk 🙂  Here’s how it’s done:


FIRST: Scour every Wal Mart, Target, Discount store for white shirts, white shorts, white dresses, white skirts, white fabric….you get the picture!


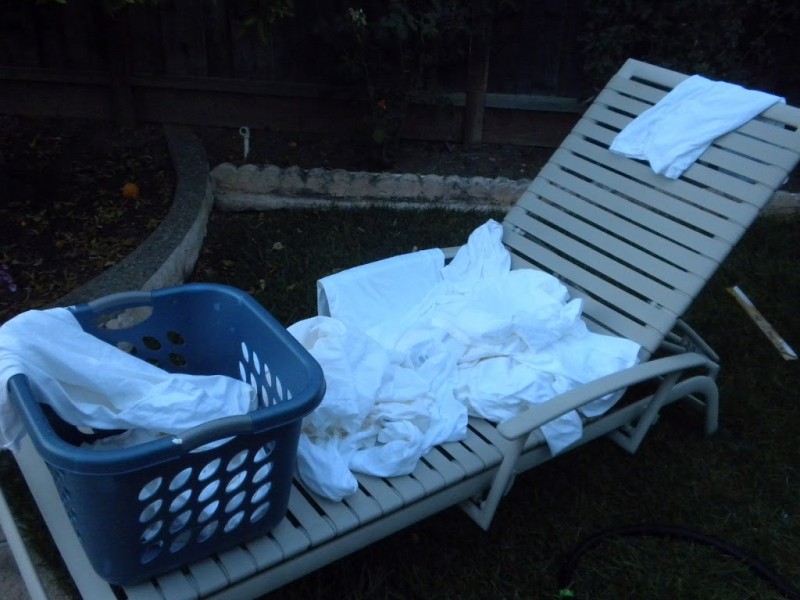
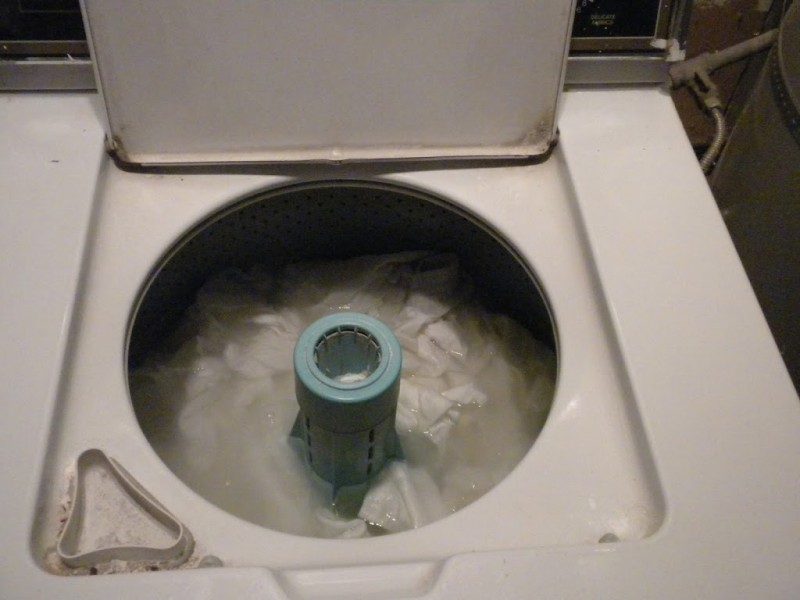
 SECOND:  Wash and dry all the white clothing.

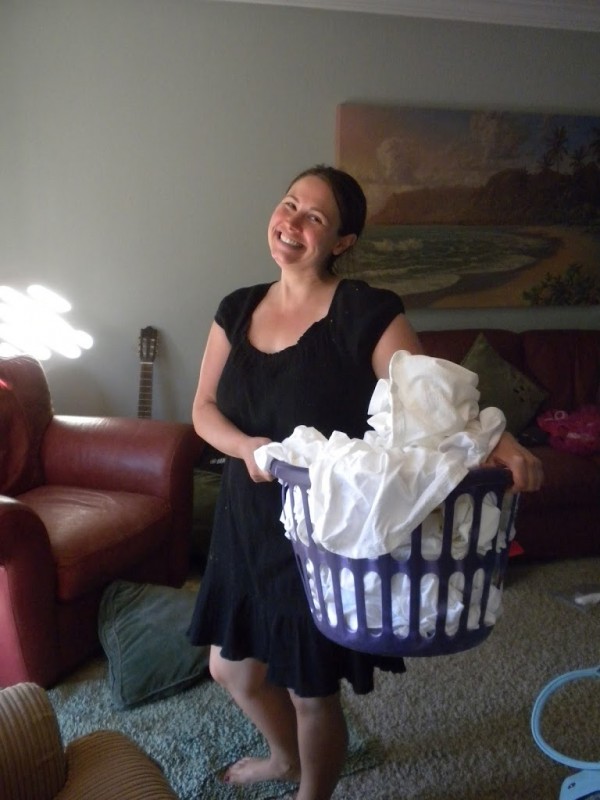
 My sis with a large basket of clothes

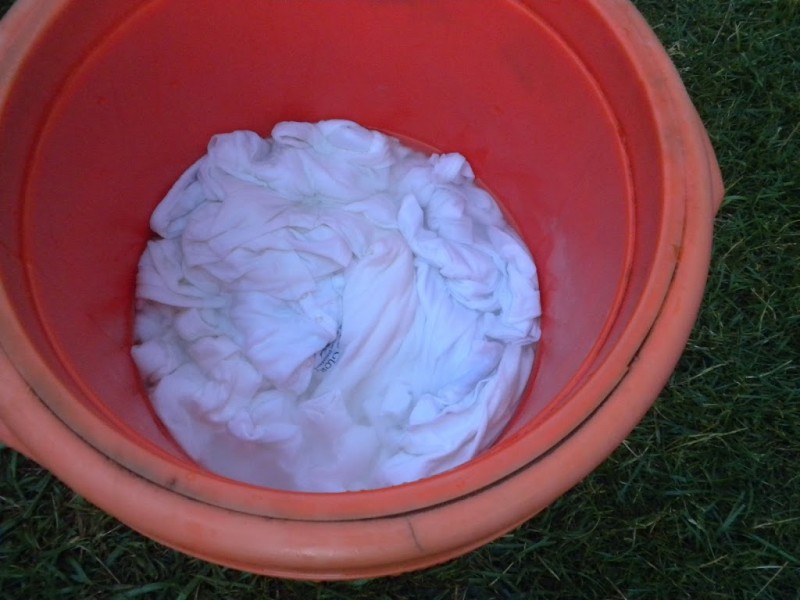
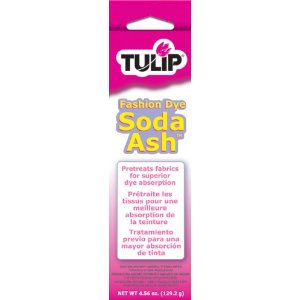
THIRD:  Soak the white clothes in Soda Ash – just follow the directions on the box.  (I think this step is optional – but we opted to use it)

 FOURTH:  Wring out the Soda Ash and let the clothes dry until just damp – you don’t want them dripping wet

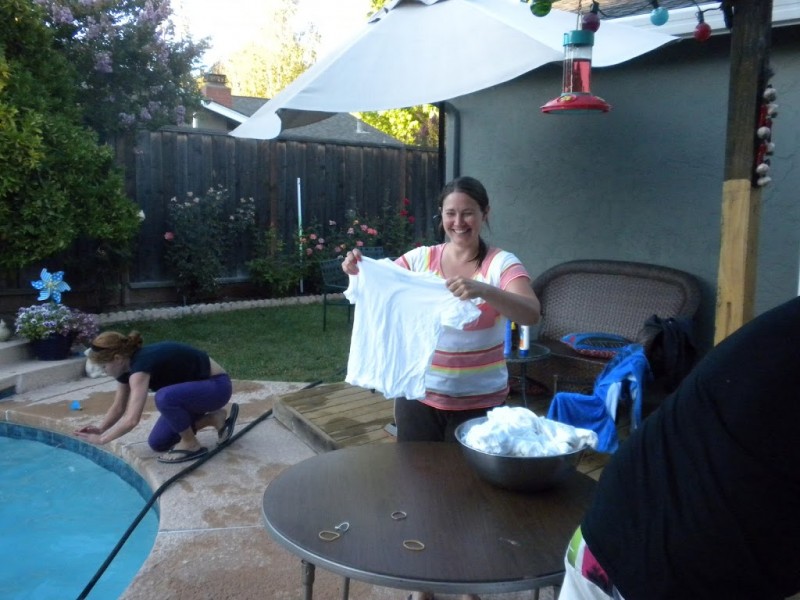
FIFTH:  Now the fun part begins!  Time to swirl, twirl, fold, and scrunch….oh and tie!  We looked up ideas and pictures on the internet for patterns.  You kinda just go for it & hope for the best.  That is where the addiction comes in – there are so many possibilities & they are so fun to do!


 We like to alternate swimming and tying!  Above is my sis-in-law Megan & brother.

SIXTH:  Mix the dye according to the directions – we used the Tulip brand they sell at Wal Mart & Michaels.  You have to work fast on the next part because the dye is only active for up to 45 minutes!  We had about 35 shirts to do – yikes!

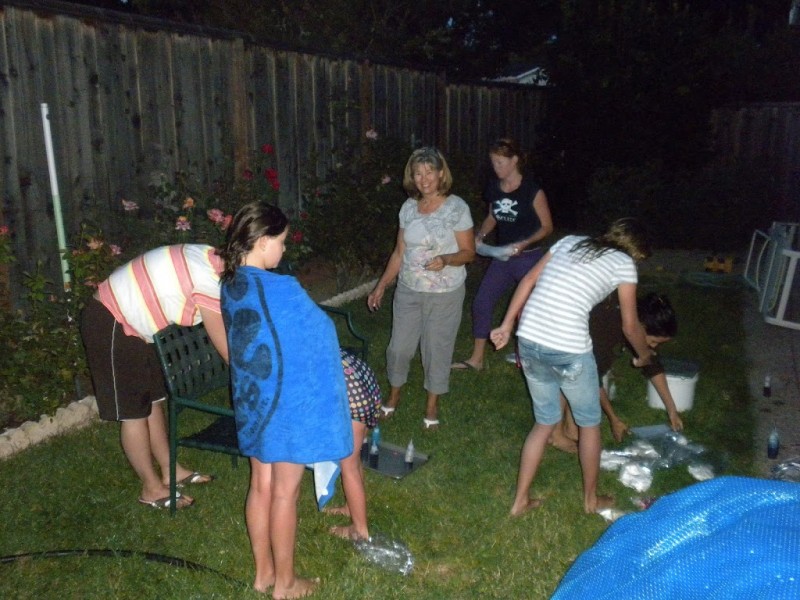
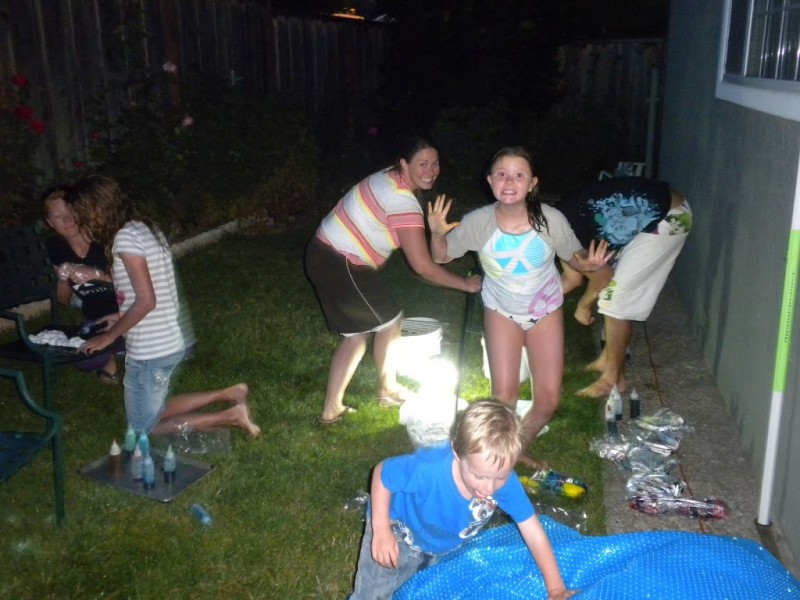
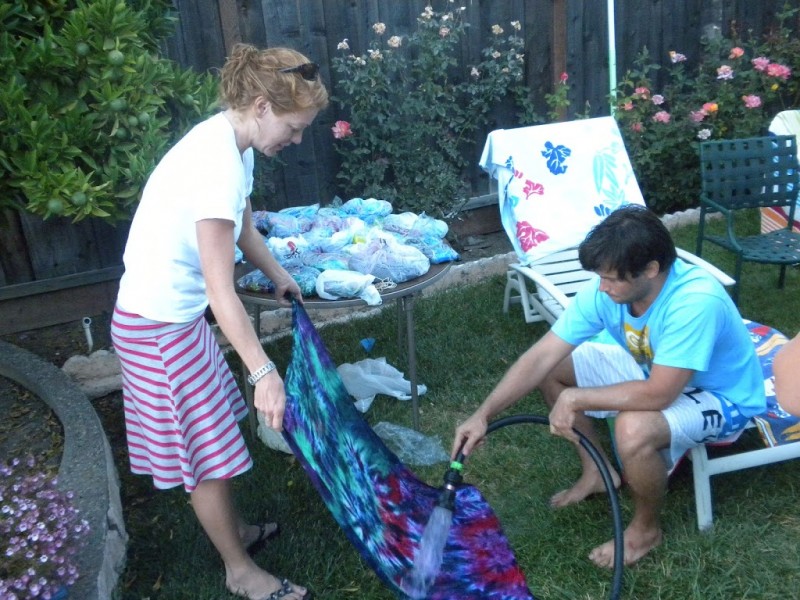
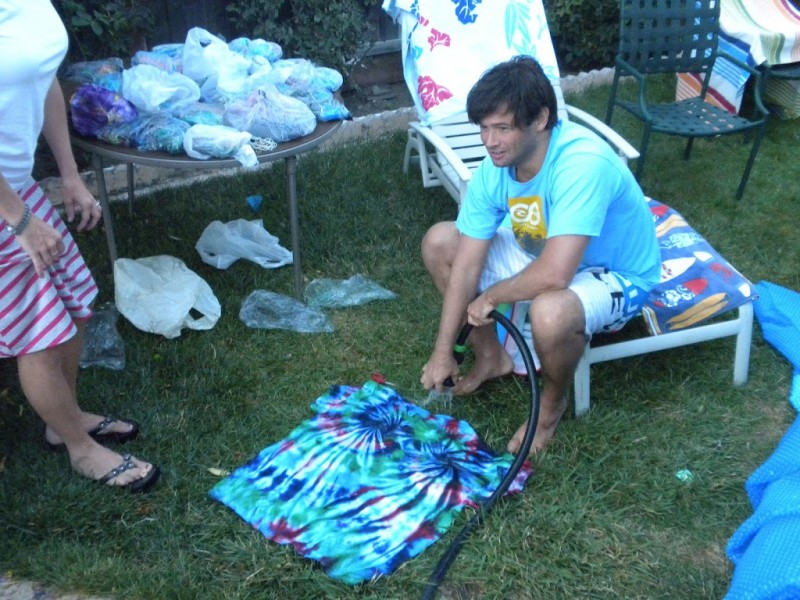
 I guess we did too much swimming because it got dark & we ended up dying all the shirts in the dark with flashlights!  I don’t recommend this 🙂  You have to have a clean surface for each side of the shirt – so we had to hose off the area to keep it dye free.  It was a little crazy.
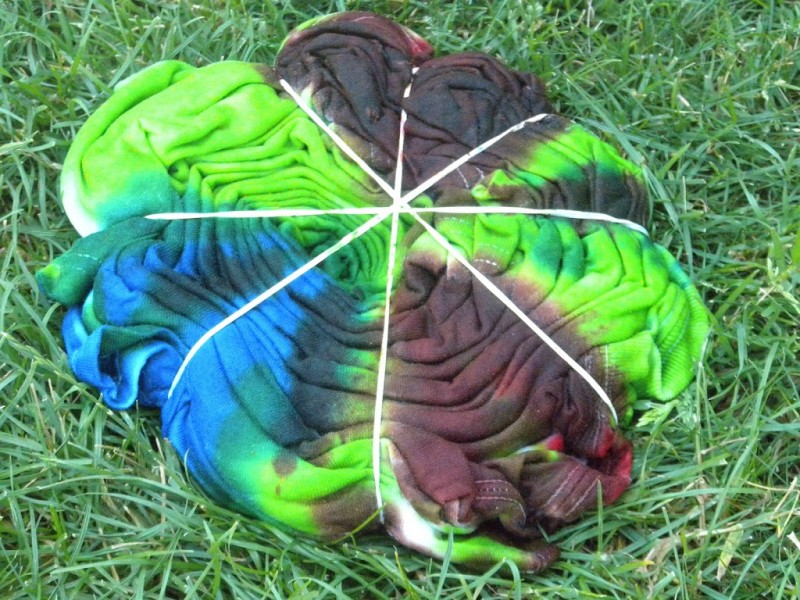
SEVENTH:  Dye the shirts.  You are supposed to put the light colors on first, then add darker colors.  There are lots of fun pictures & videos on the internet showing different ways to color them.  After a while we were just squirting dye at random!

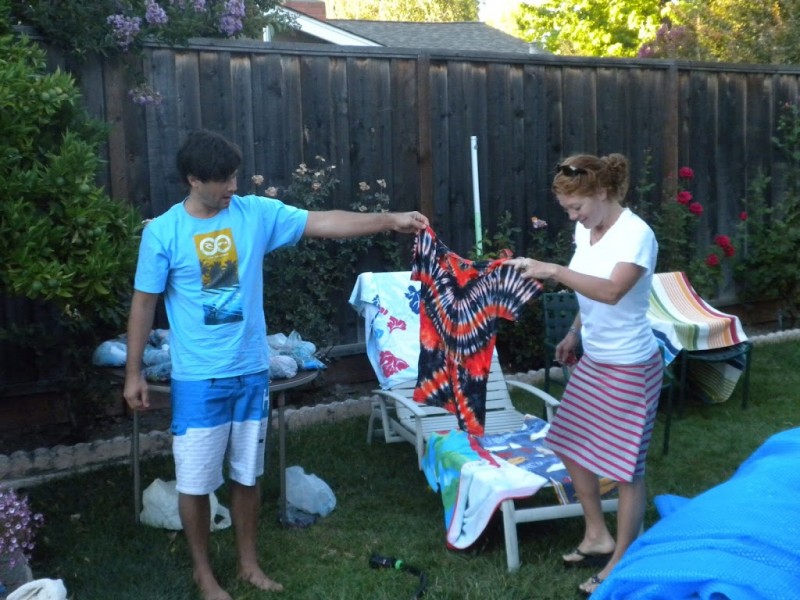
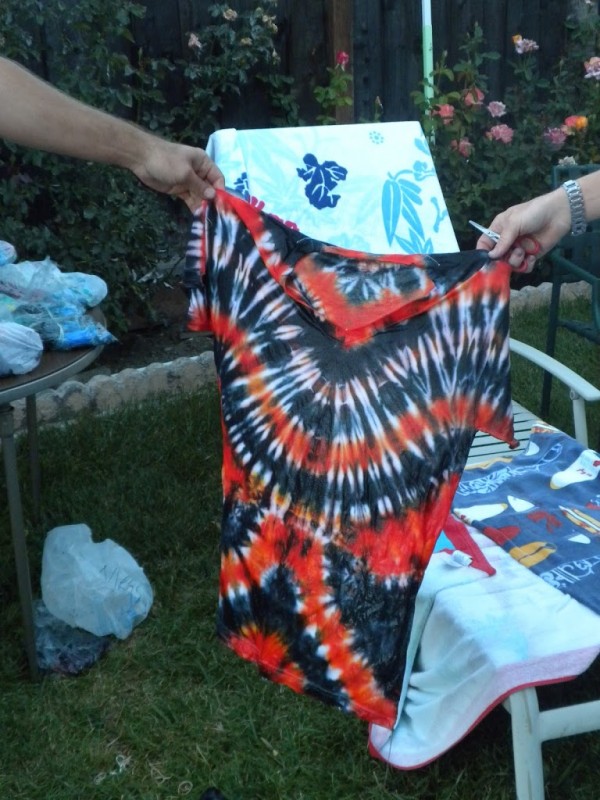
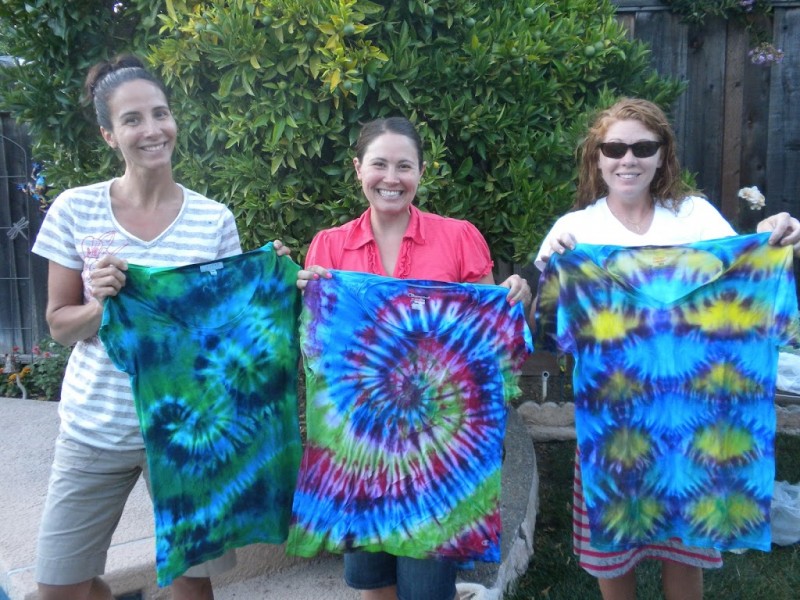
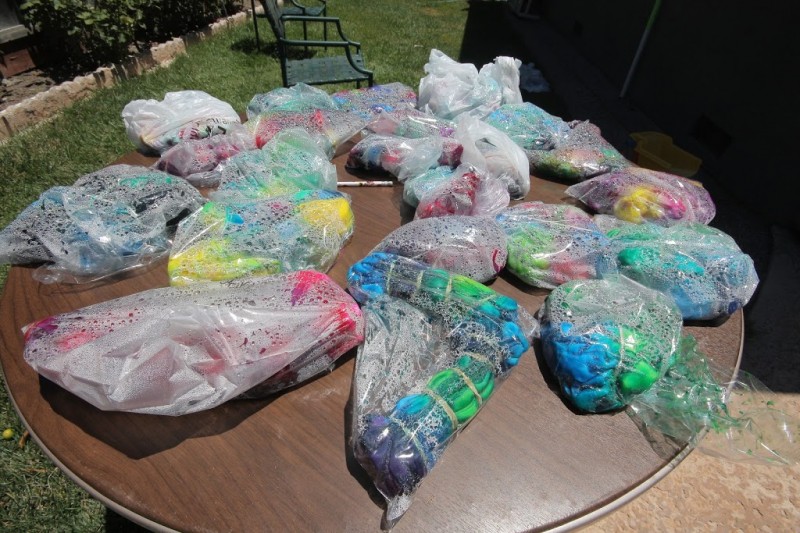
After you dye the shirts, tie them up in a plastic bag and let them sit for at least 24 hours – longer is better.   Then the fun part begins – it’s like Christmas!  Unwrap each shirt and behold your creations!!
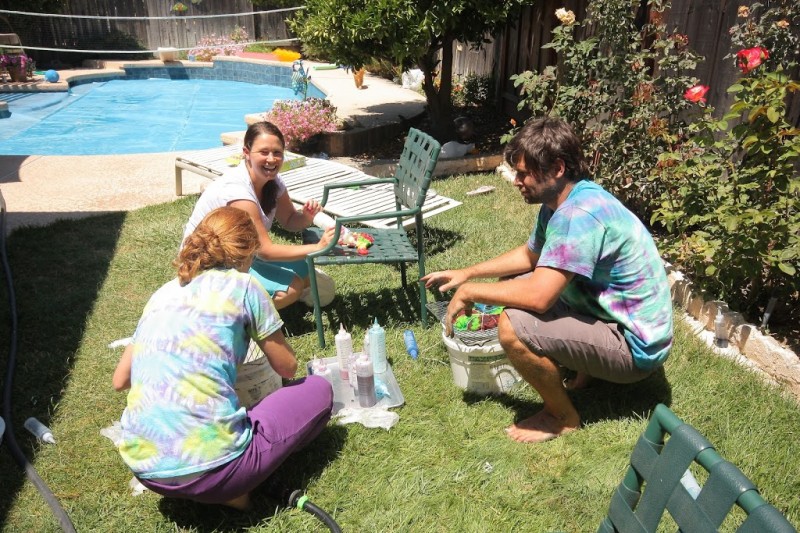
 Megan’s SF Giants shirt

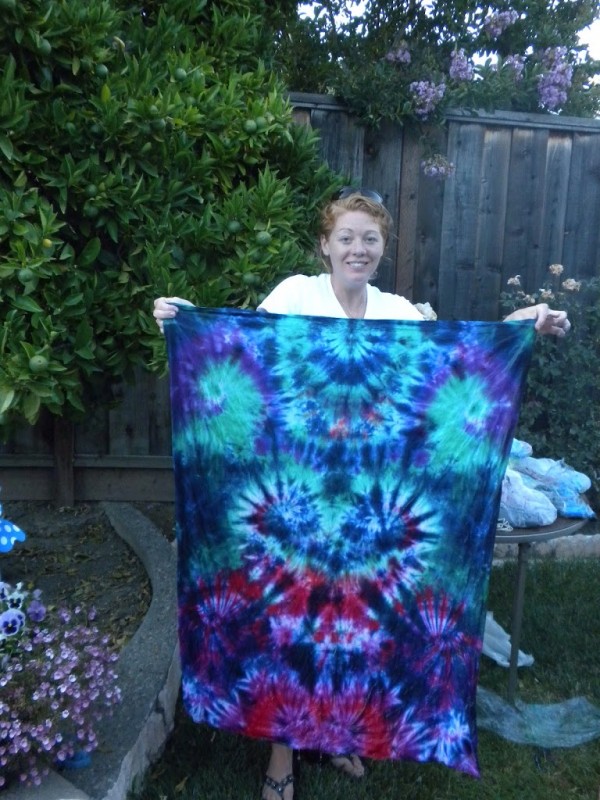
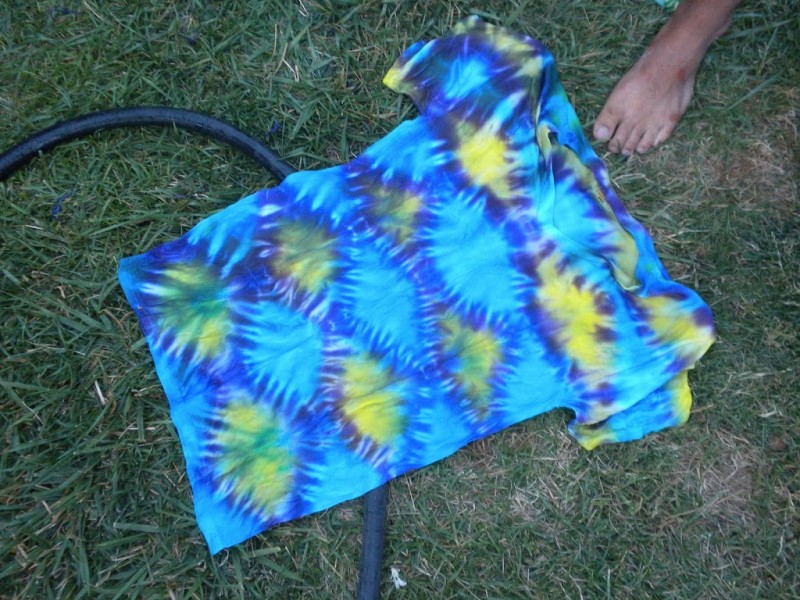
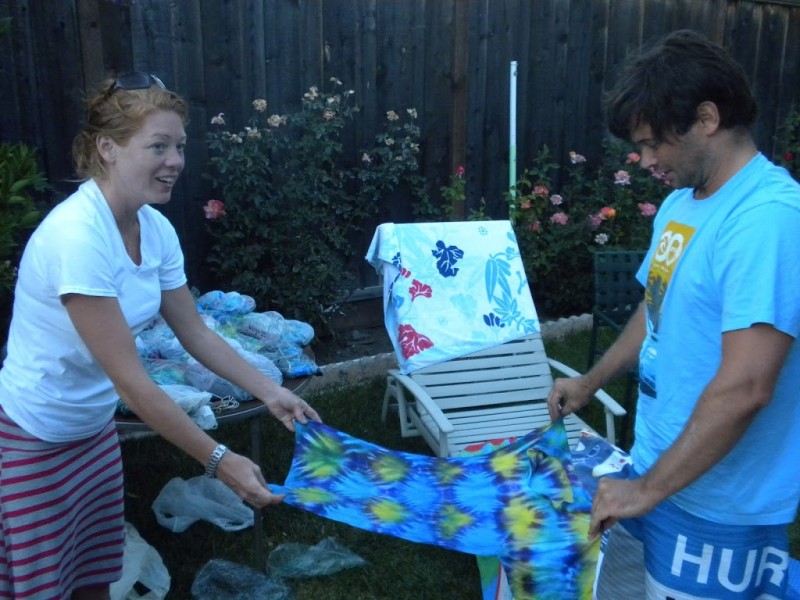
 Tie Dyed fabric
 Megan’s scallop

 Melinda’s single swirl
 My triple swirl


 Ella’s Heart
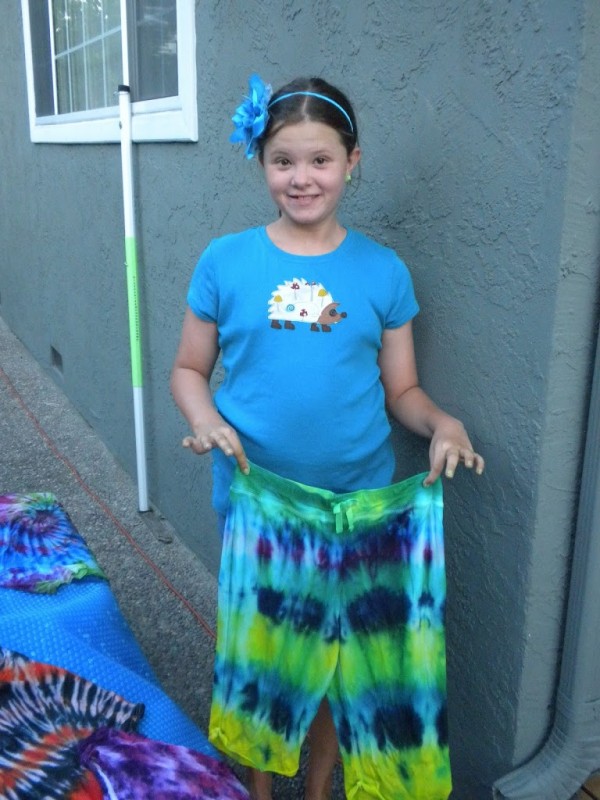
 Mallory’s striped shorts

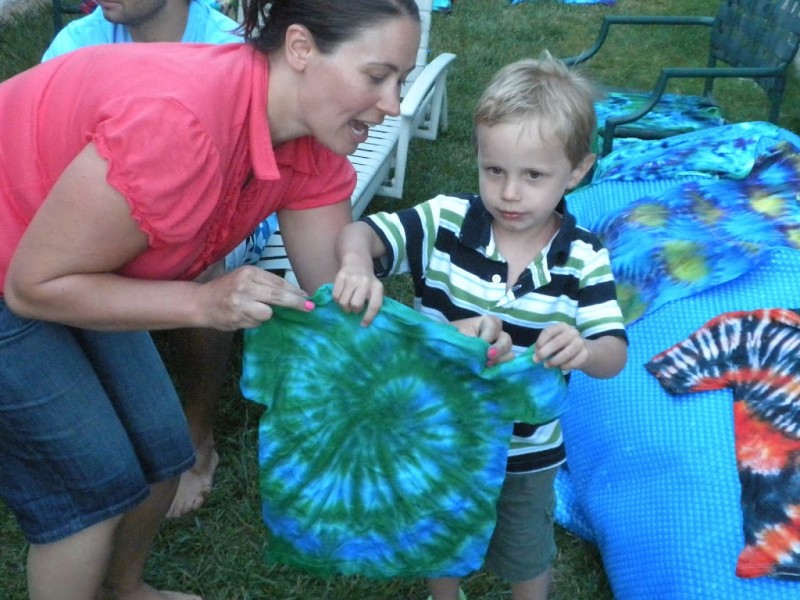
 Logan’s spiral
Final Note:  After you unwrap your shirts hang them up to dry completely.  Ours were still pretty wet & drippy.  Once dry, rinse them in the washer (no soap) and dry.  I am careful to wash tie-dye together just in case it runs or bleeds in the wash.