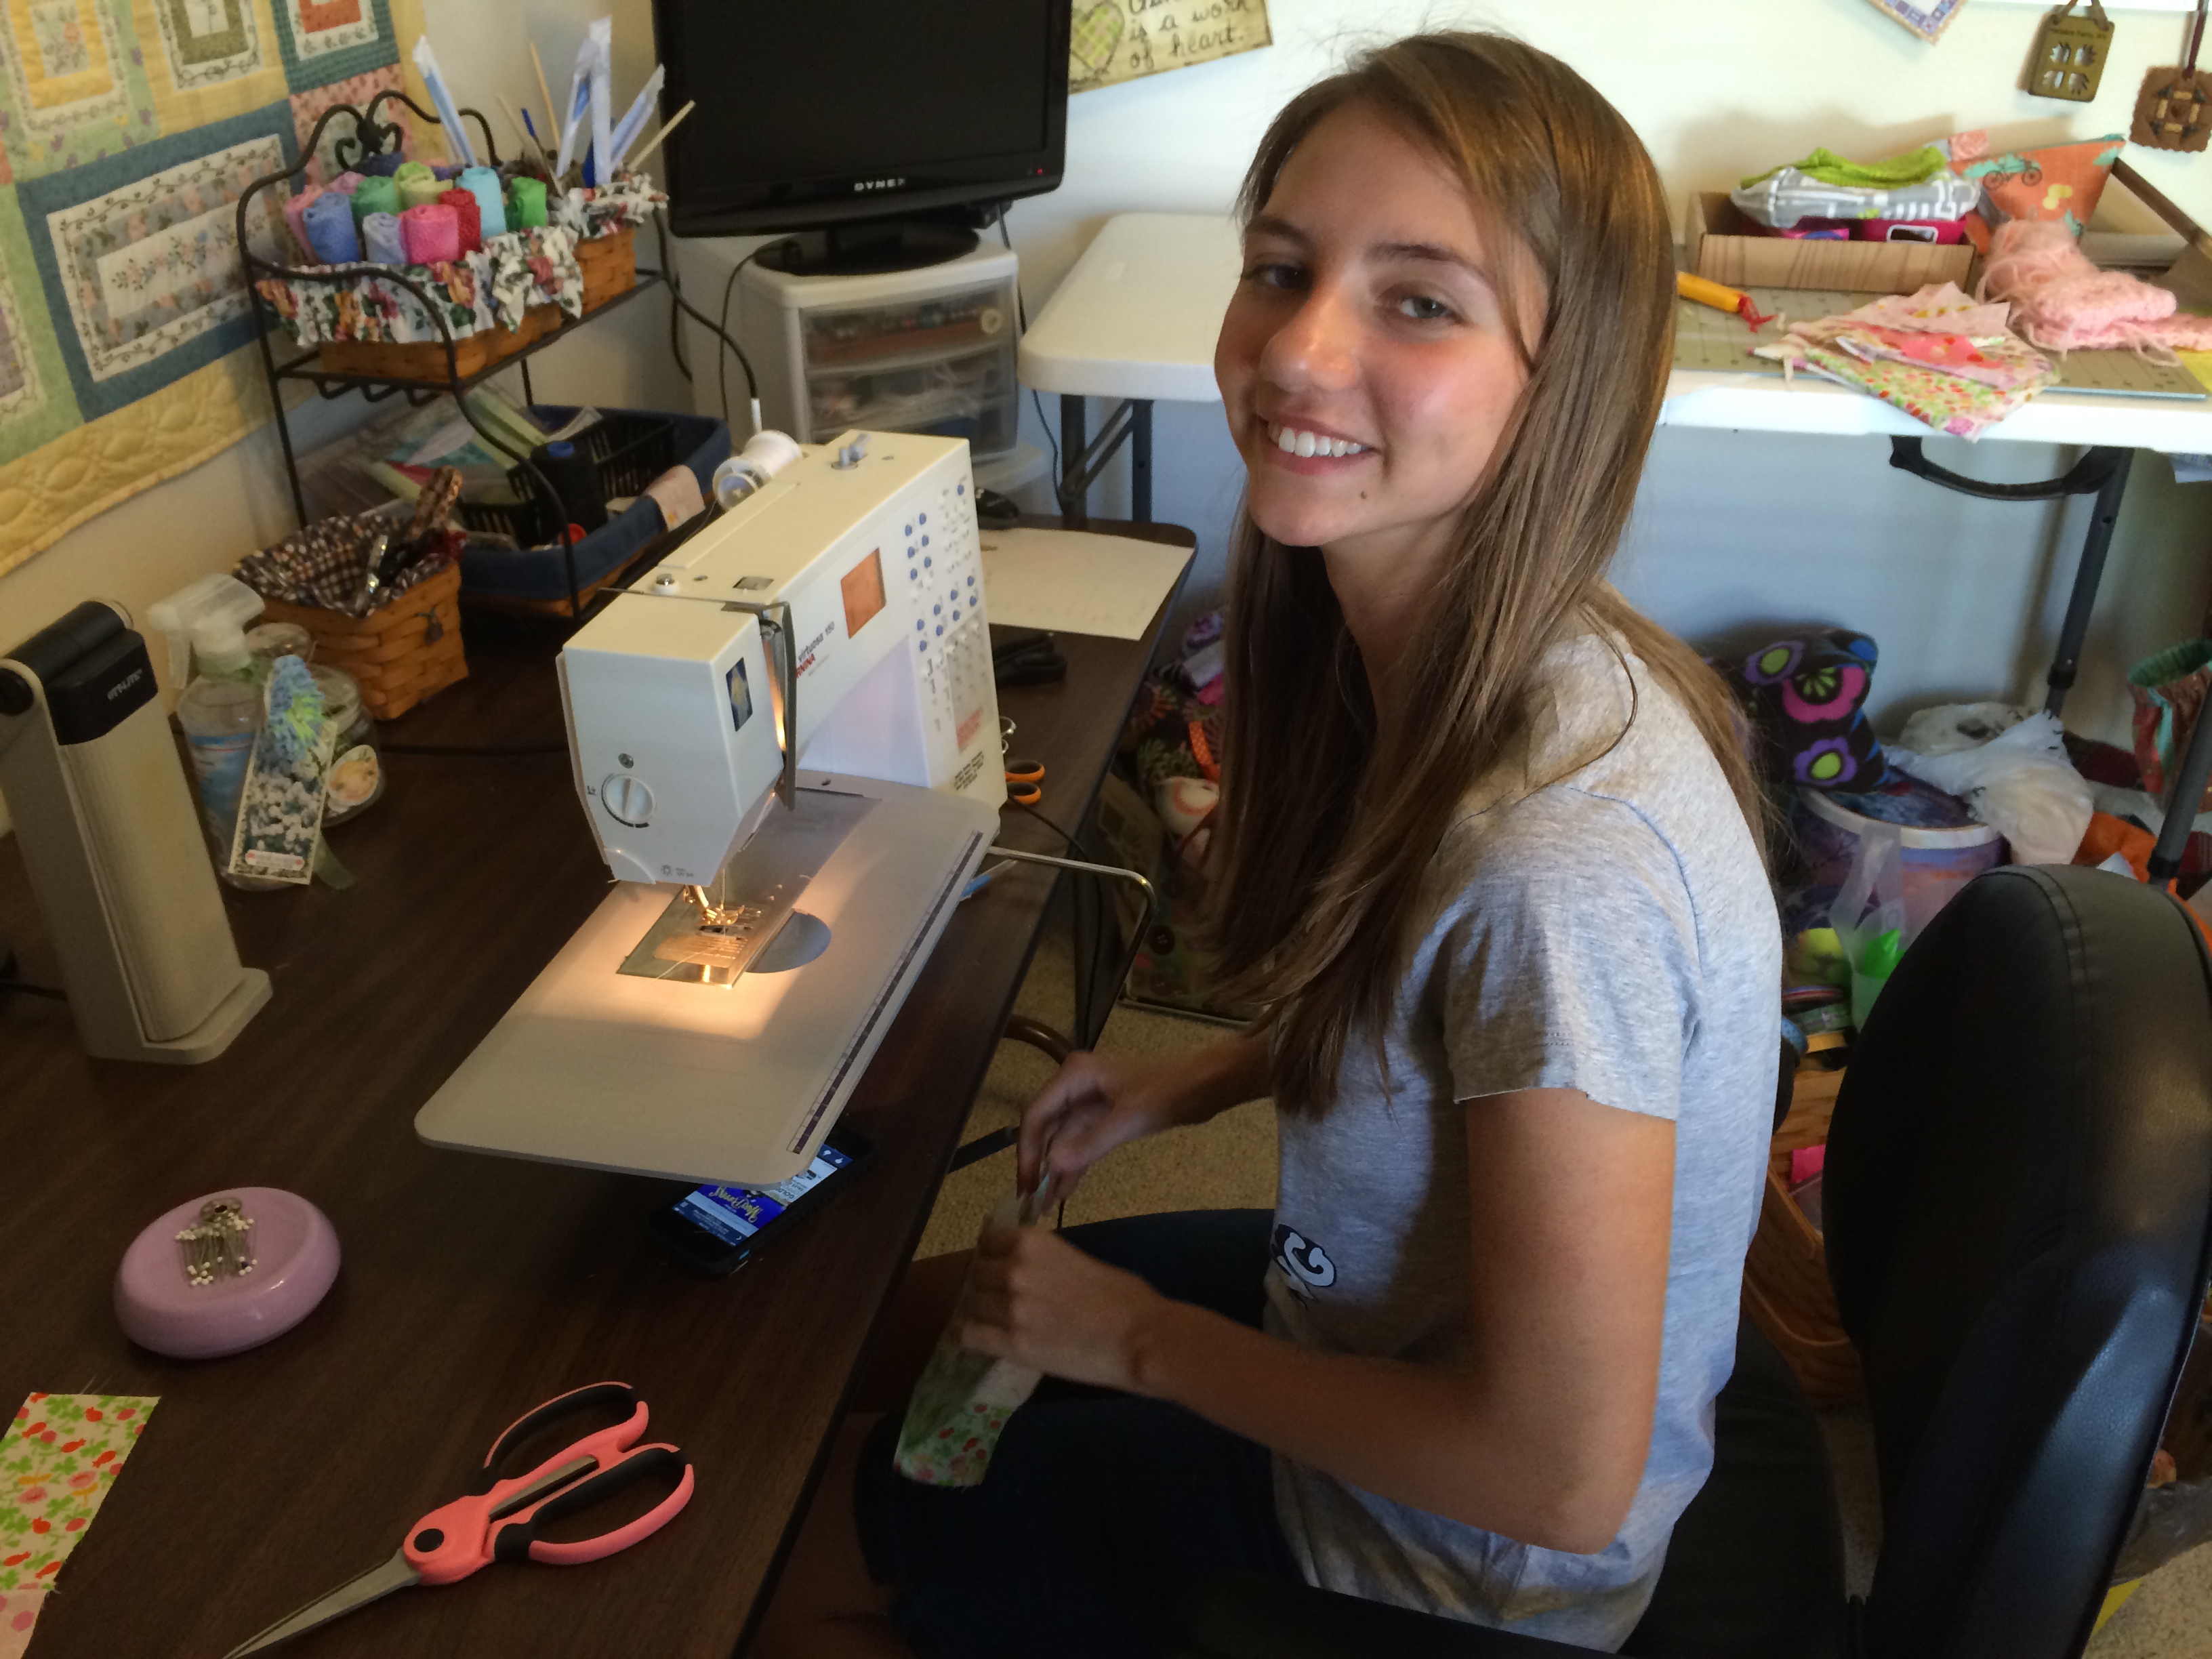
 I am so excited to be participating in the Riley Blake Flannel Blog Hop! Thanks for stopping by! Let me introduce myself….I’m Amanda, a Southern California mom of 3 children who LOVES fabric, sewing and quilting! I love sharing my projects and patterns on my blog and connecting with people who share my same interests.
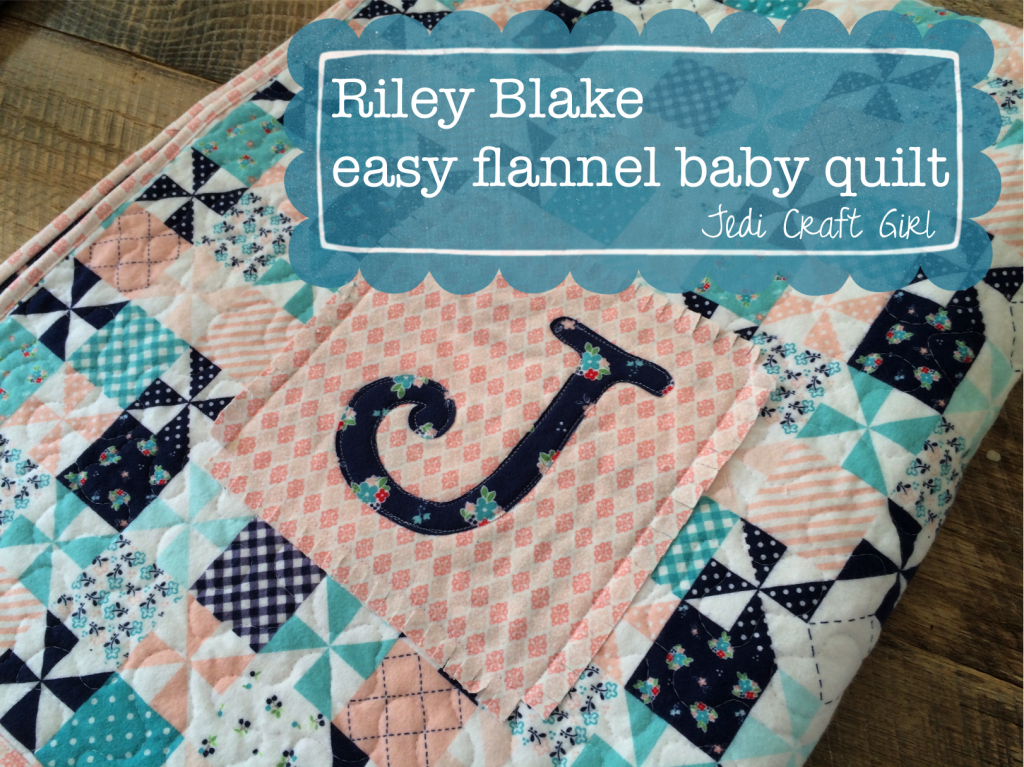
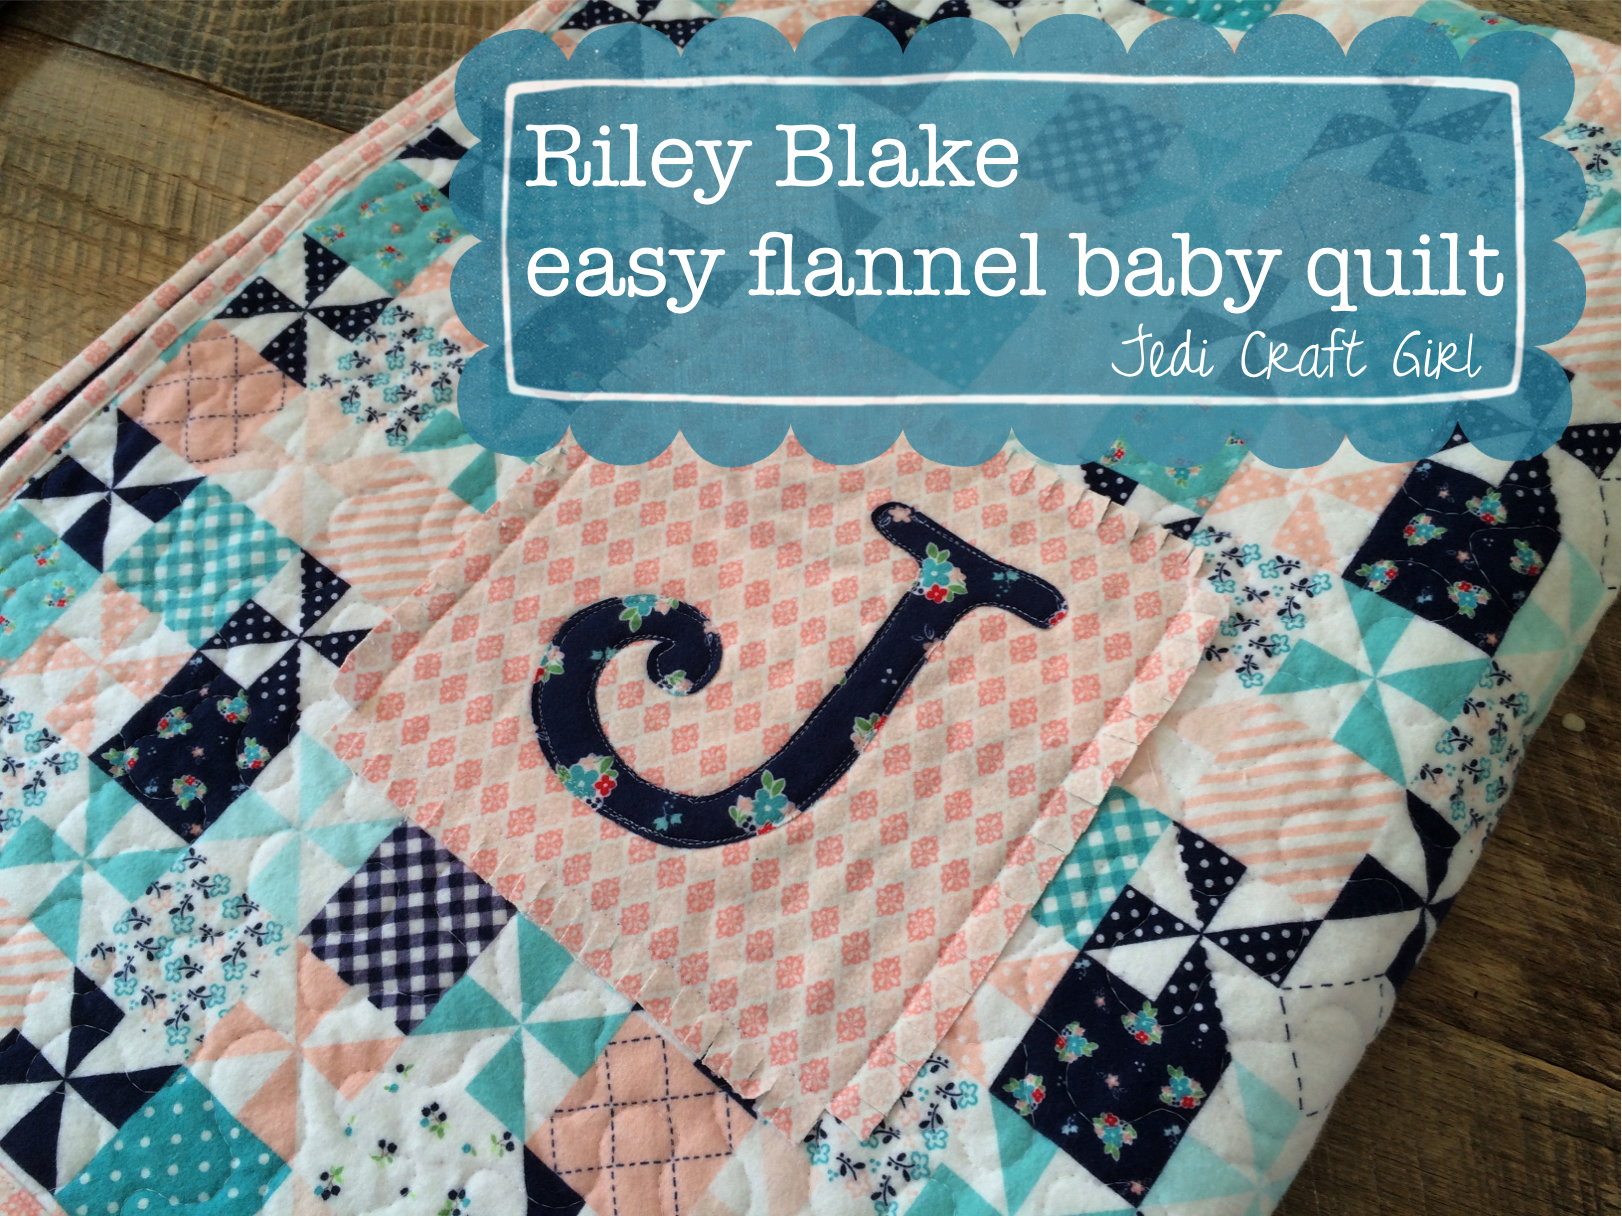
First let me just say how much I love Riley Blake flannels. I have been sewing with flannel for years and the quality and durability of Riley Blake flannel is amazing – plus it comes in so many cute prints! My tutorial today is for two projects. #1 Easy Quilted Flannel Baby Blanket and #2 “Old School” Baby Burpers
…..yes I know super “Old School” but this burper pattern has been in the family for 40 years – since I was a baby!! Each generation of babies and mommies has loved using these.
Let’s get started….
Quilted Flannel Baby Blanker
Supplies:
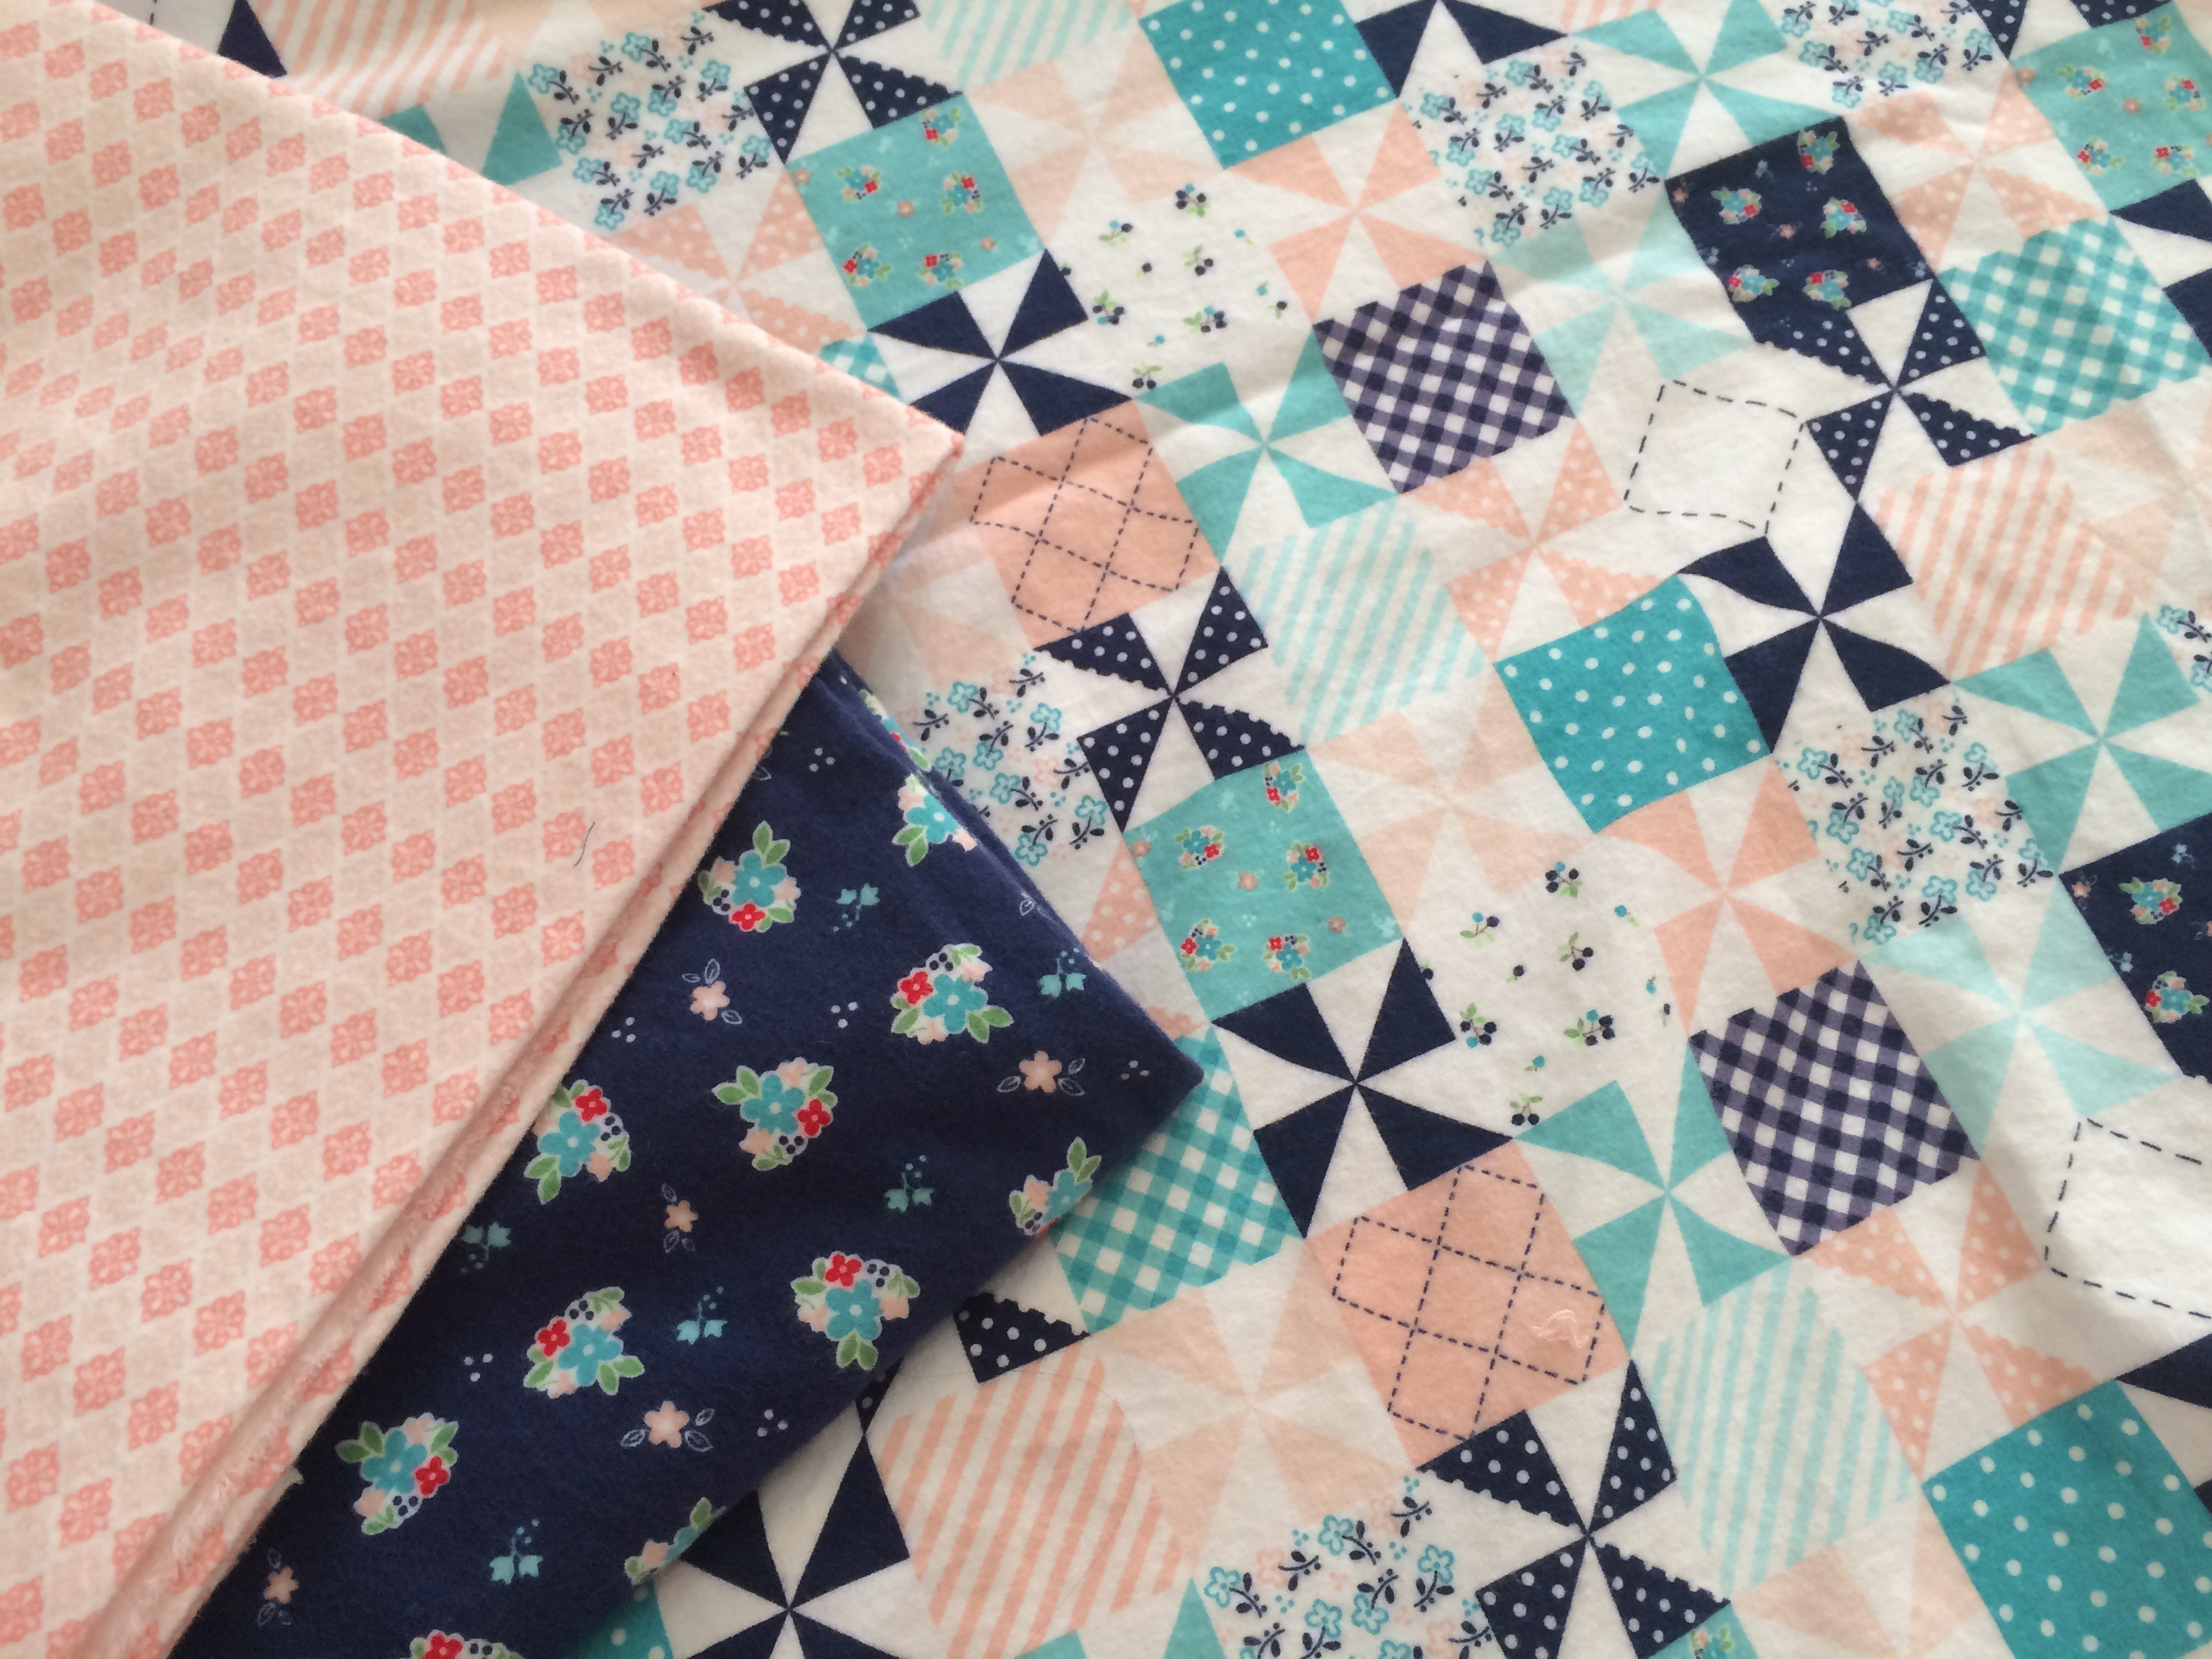
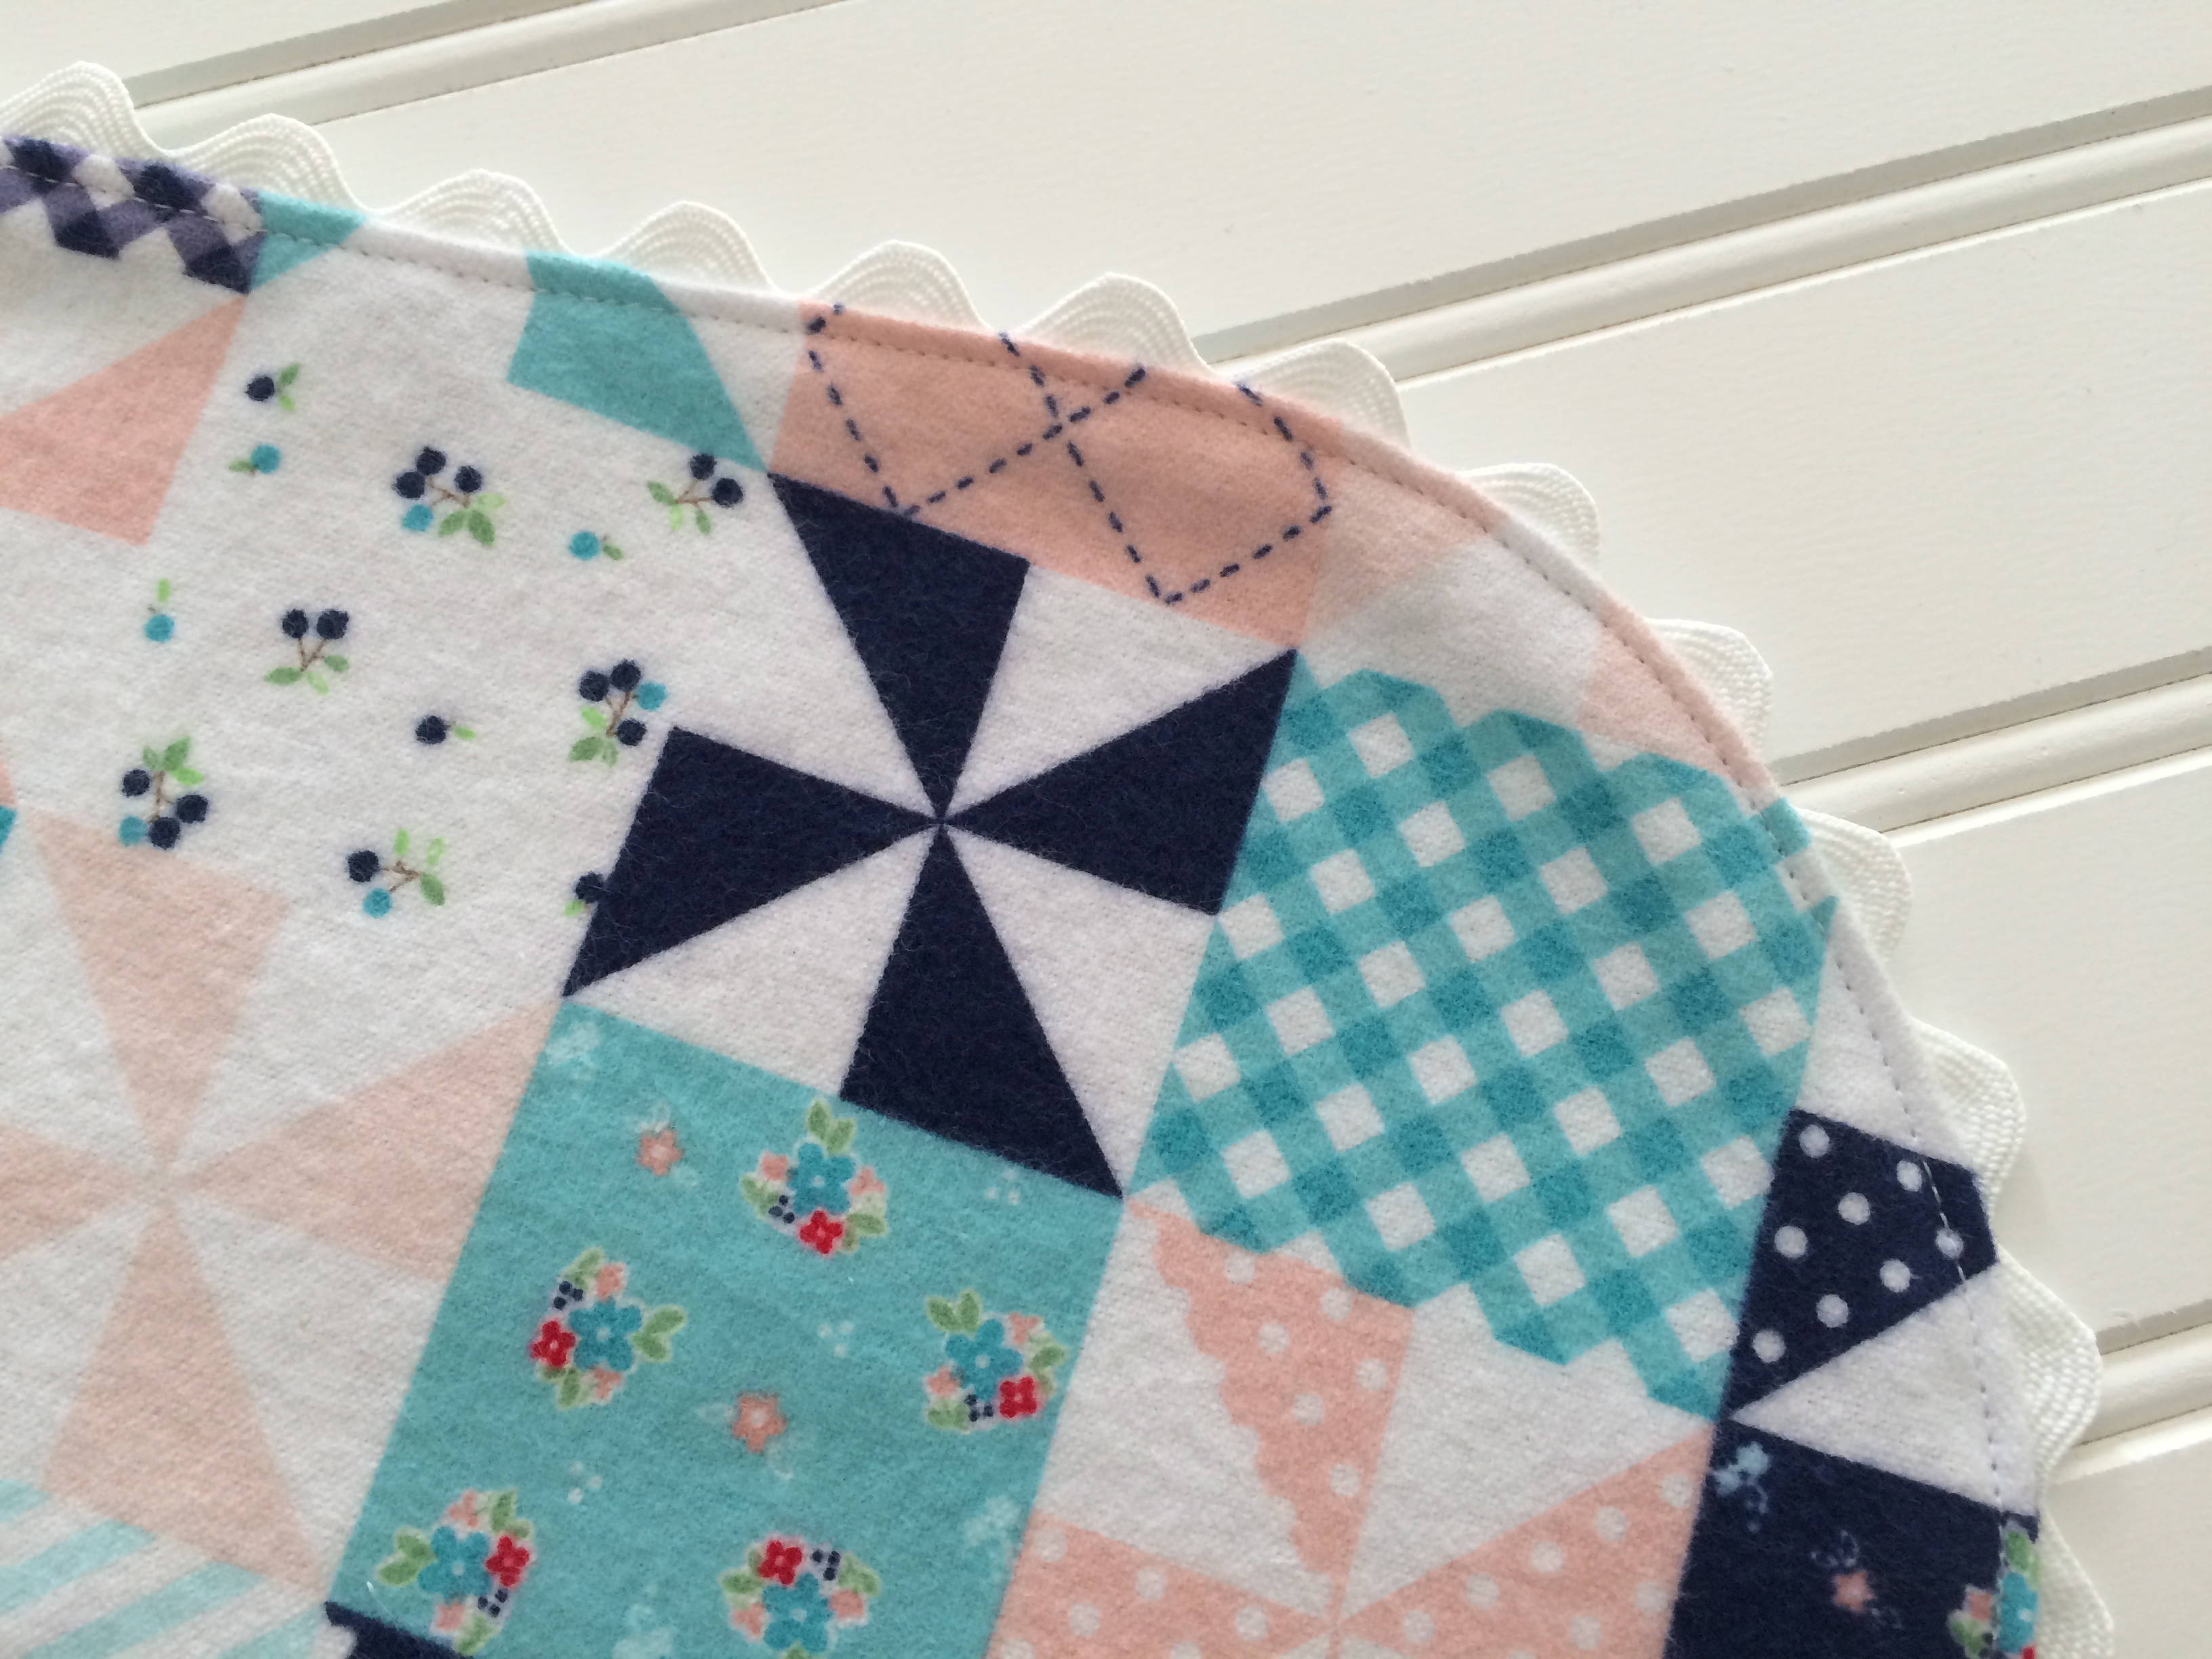
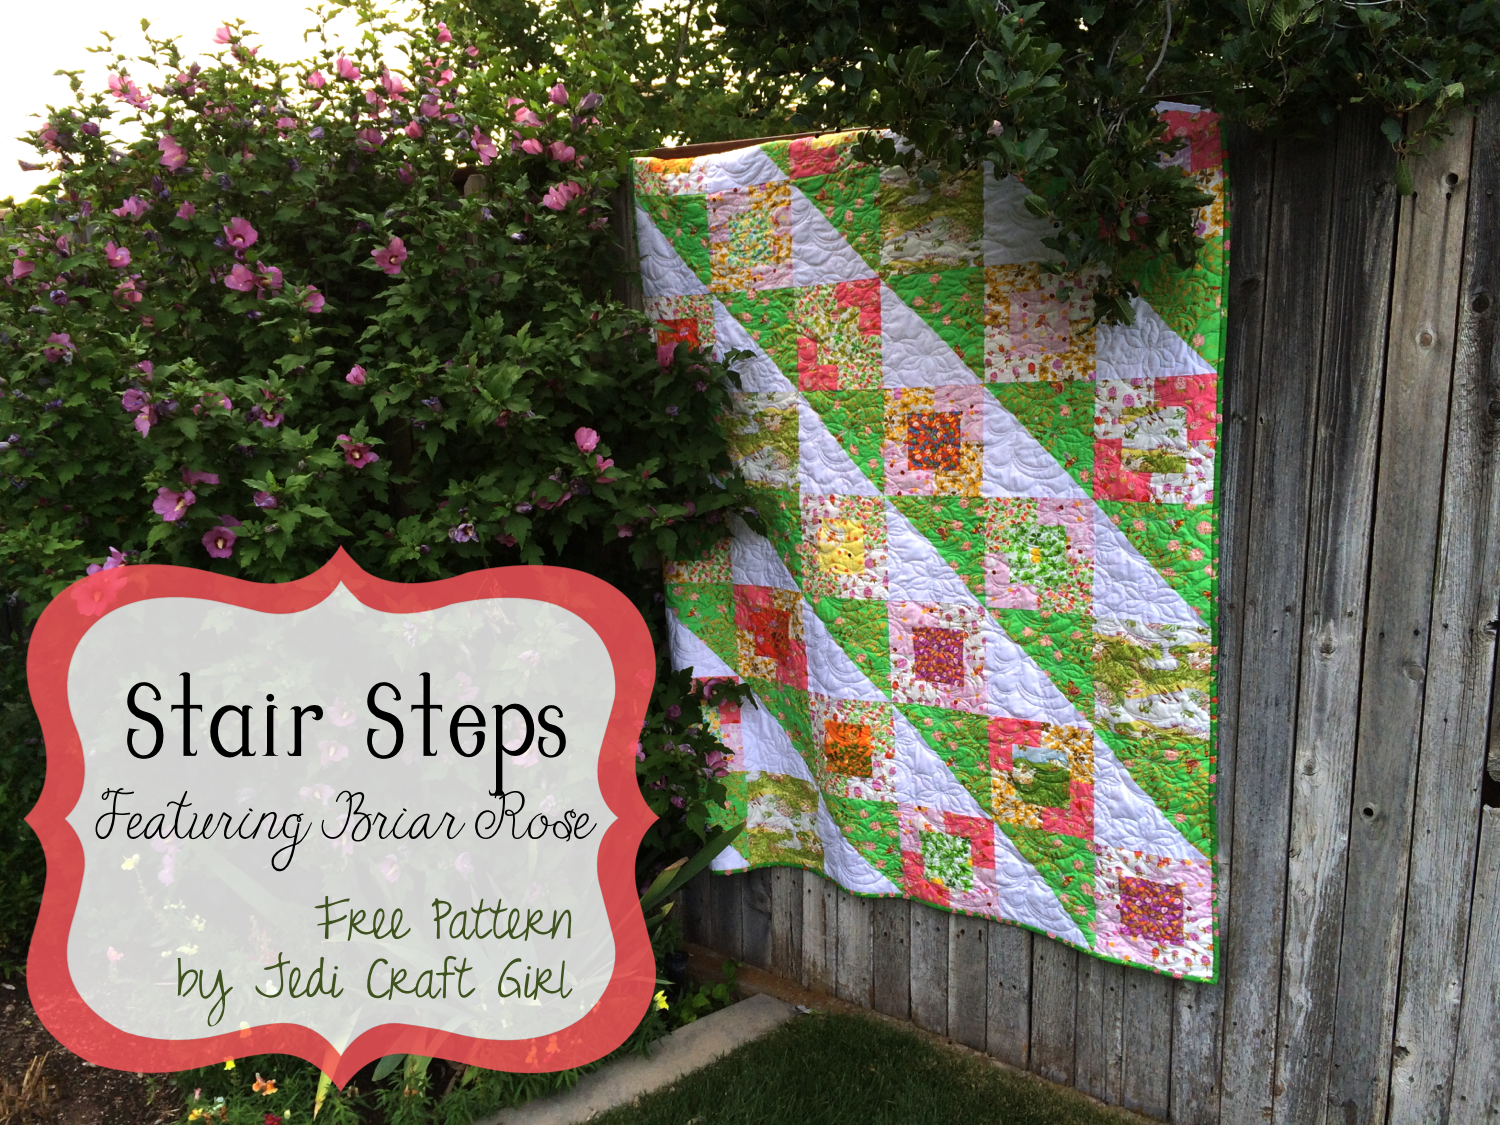
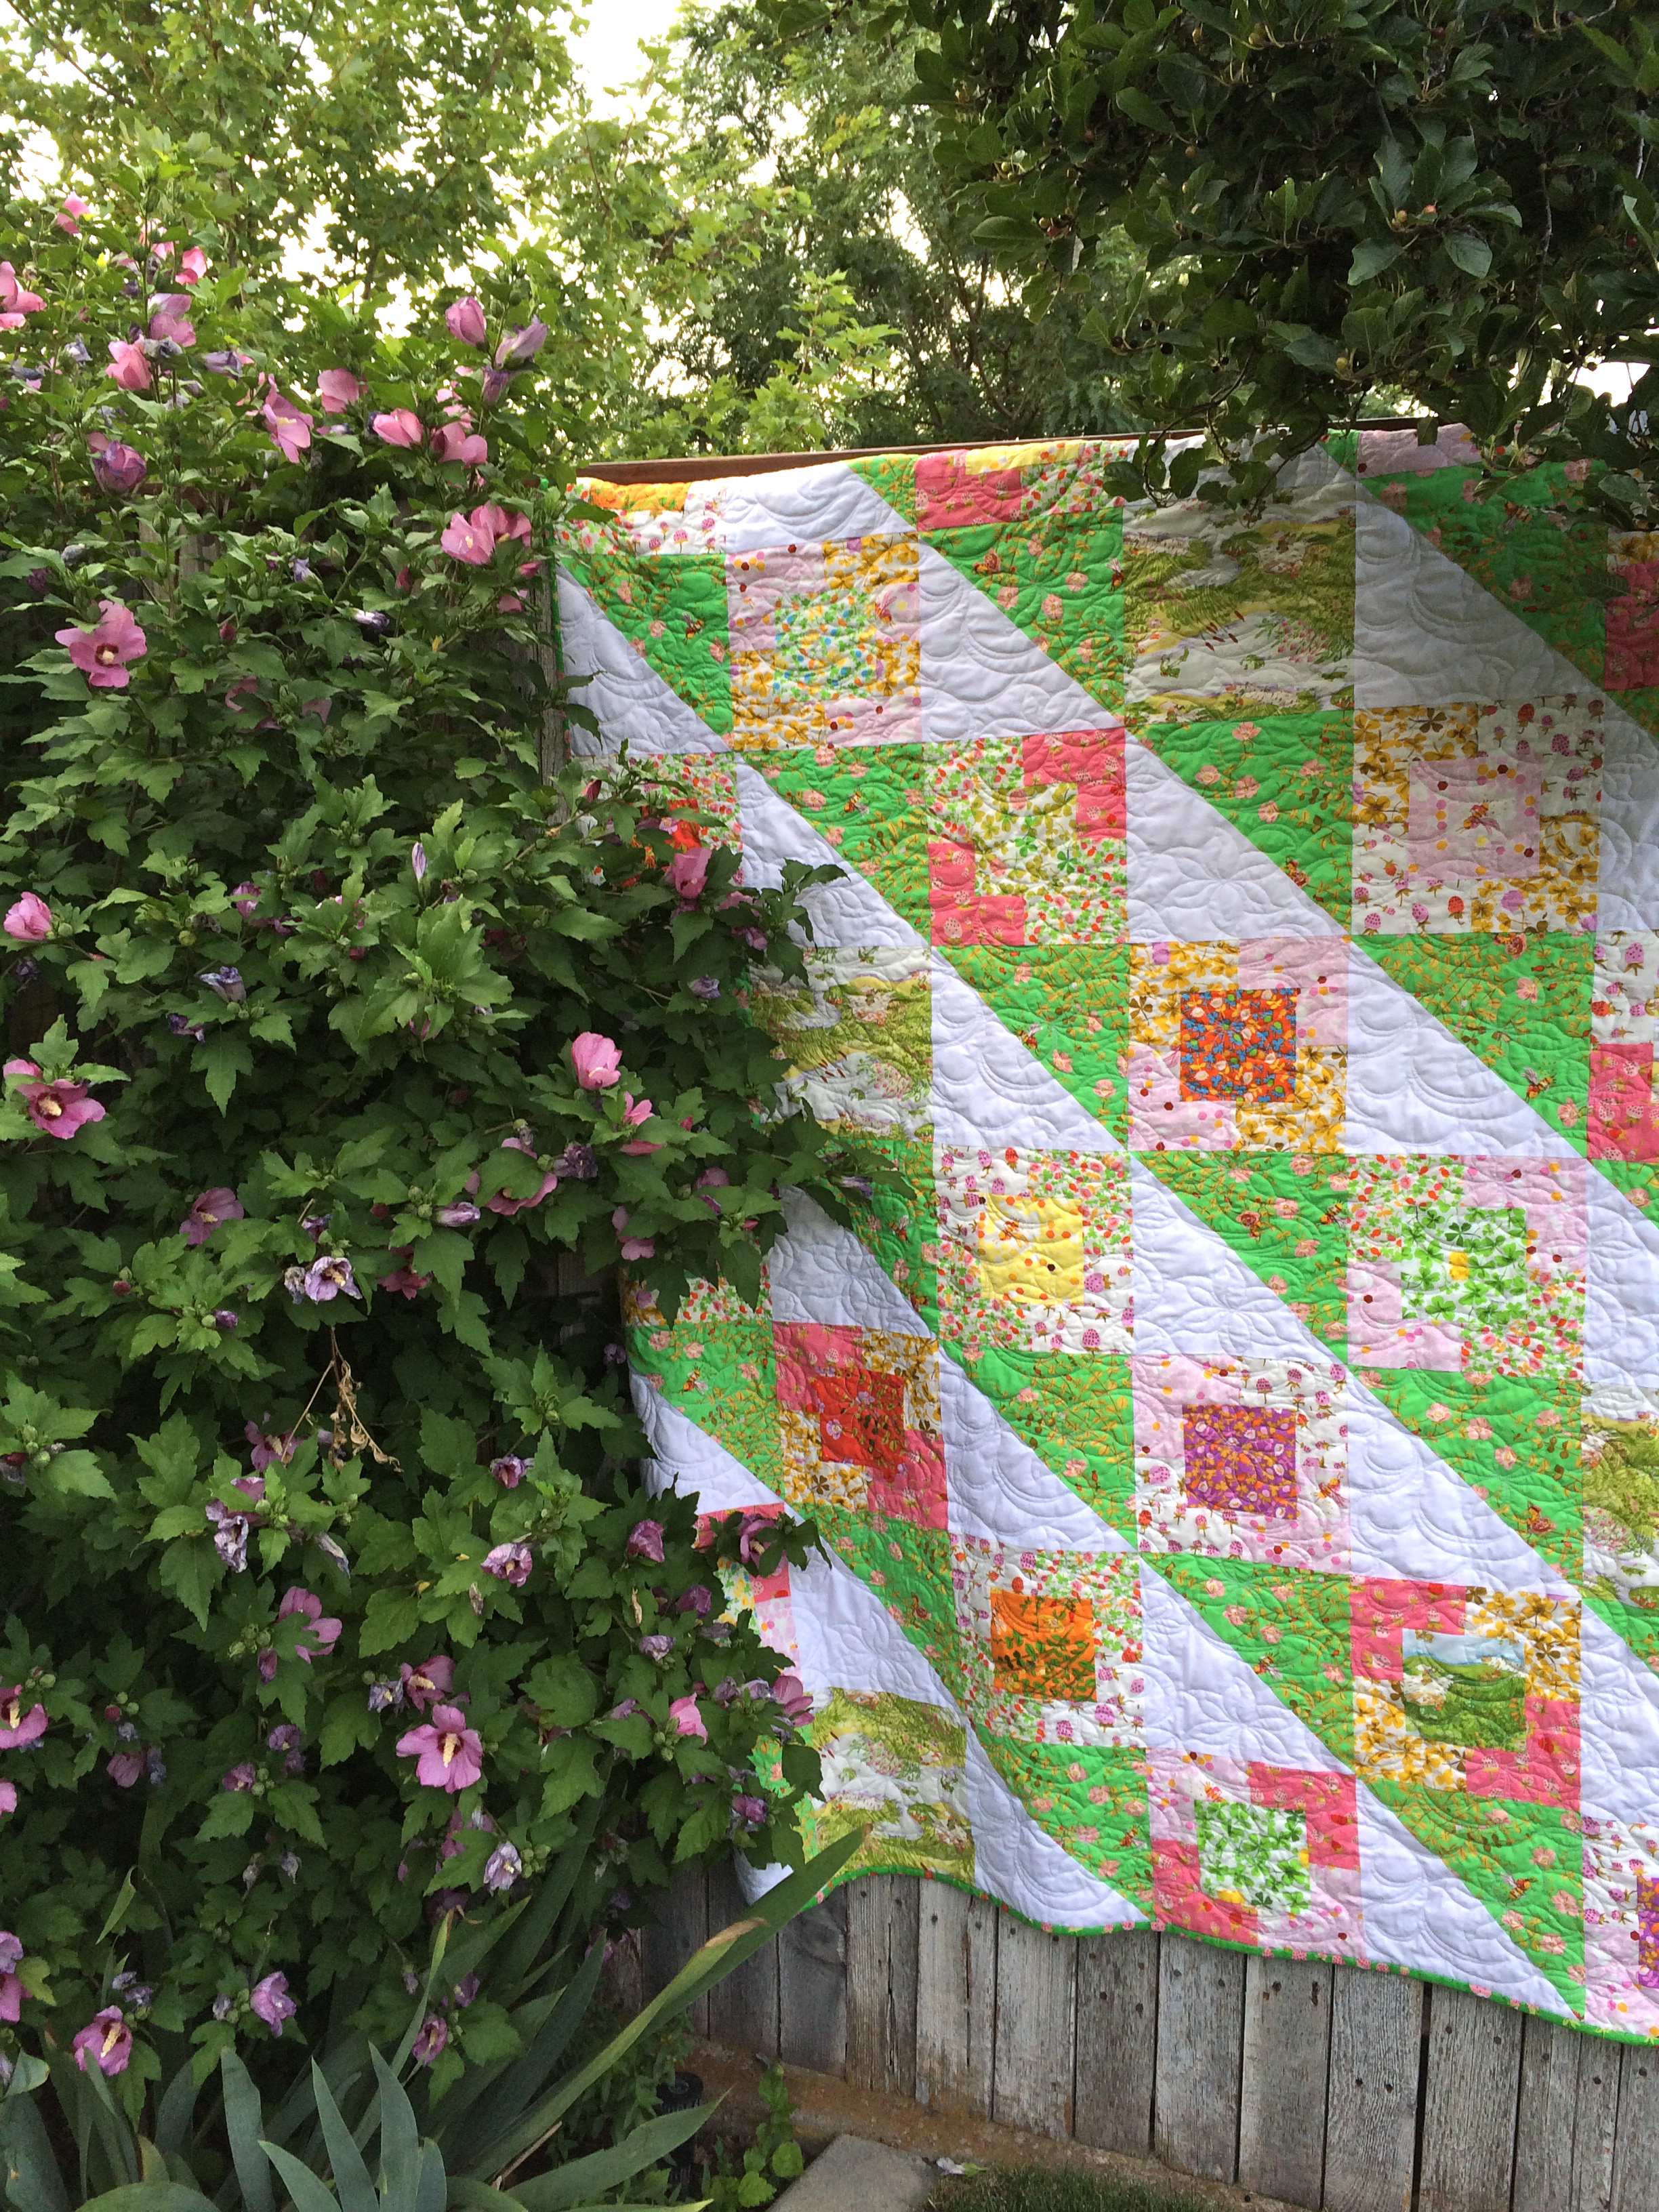
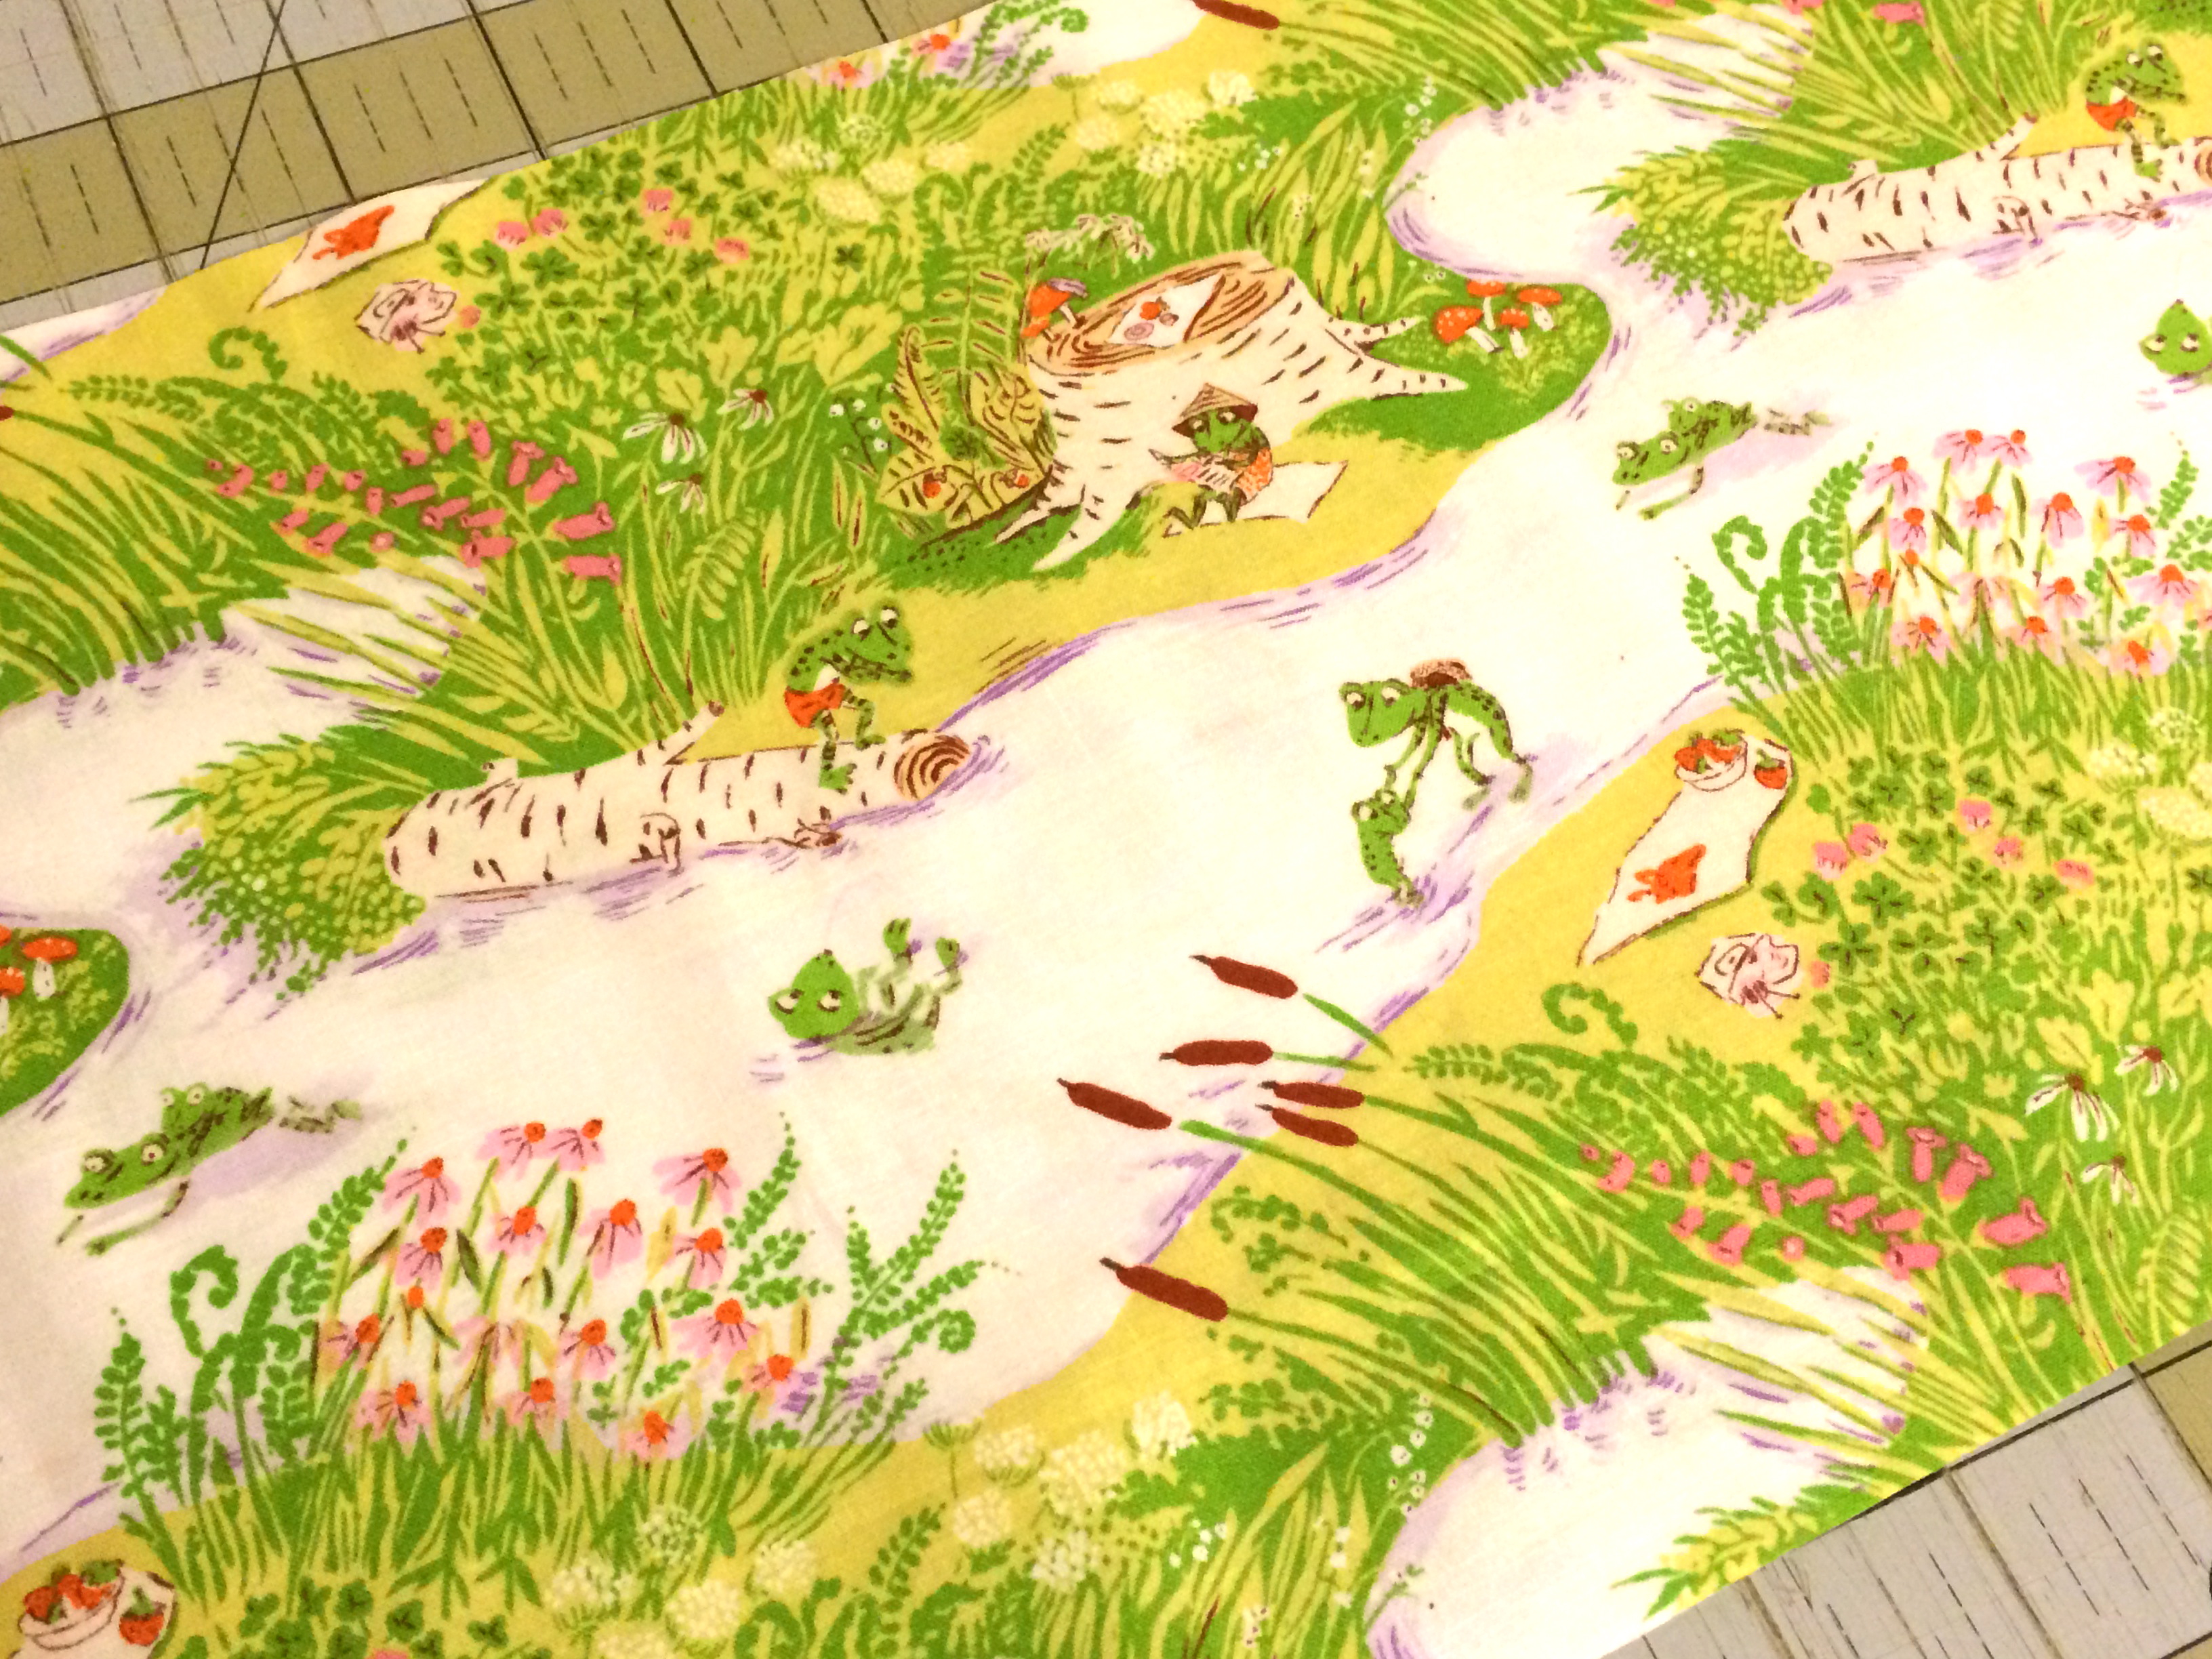
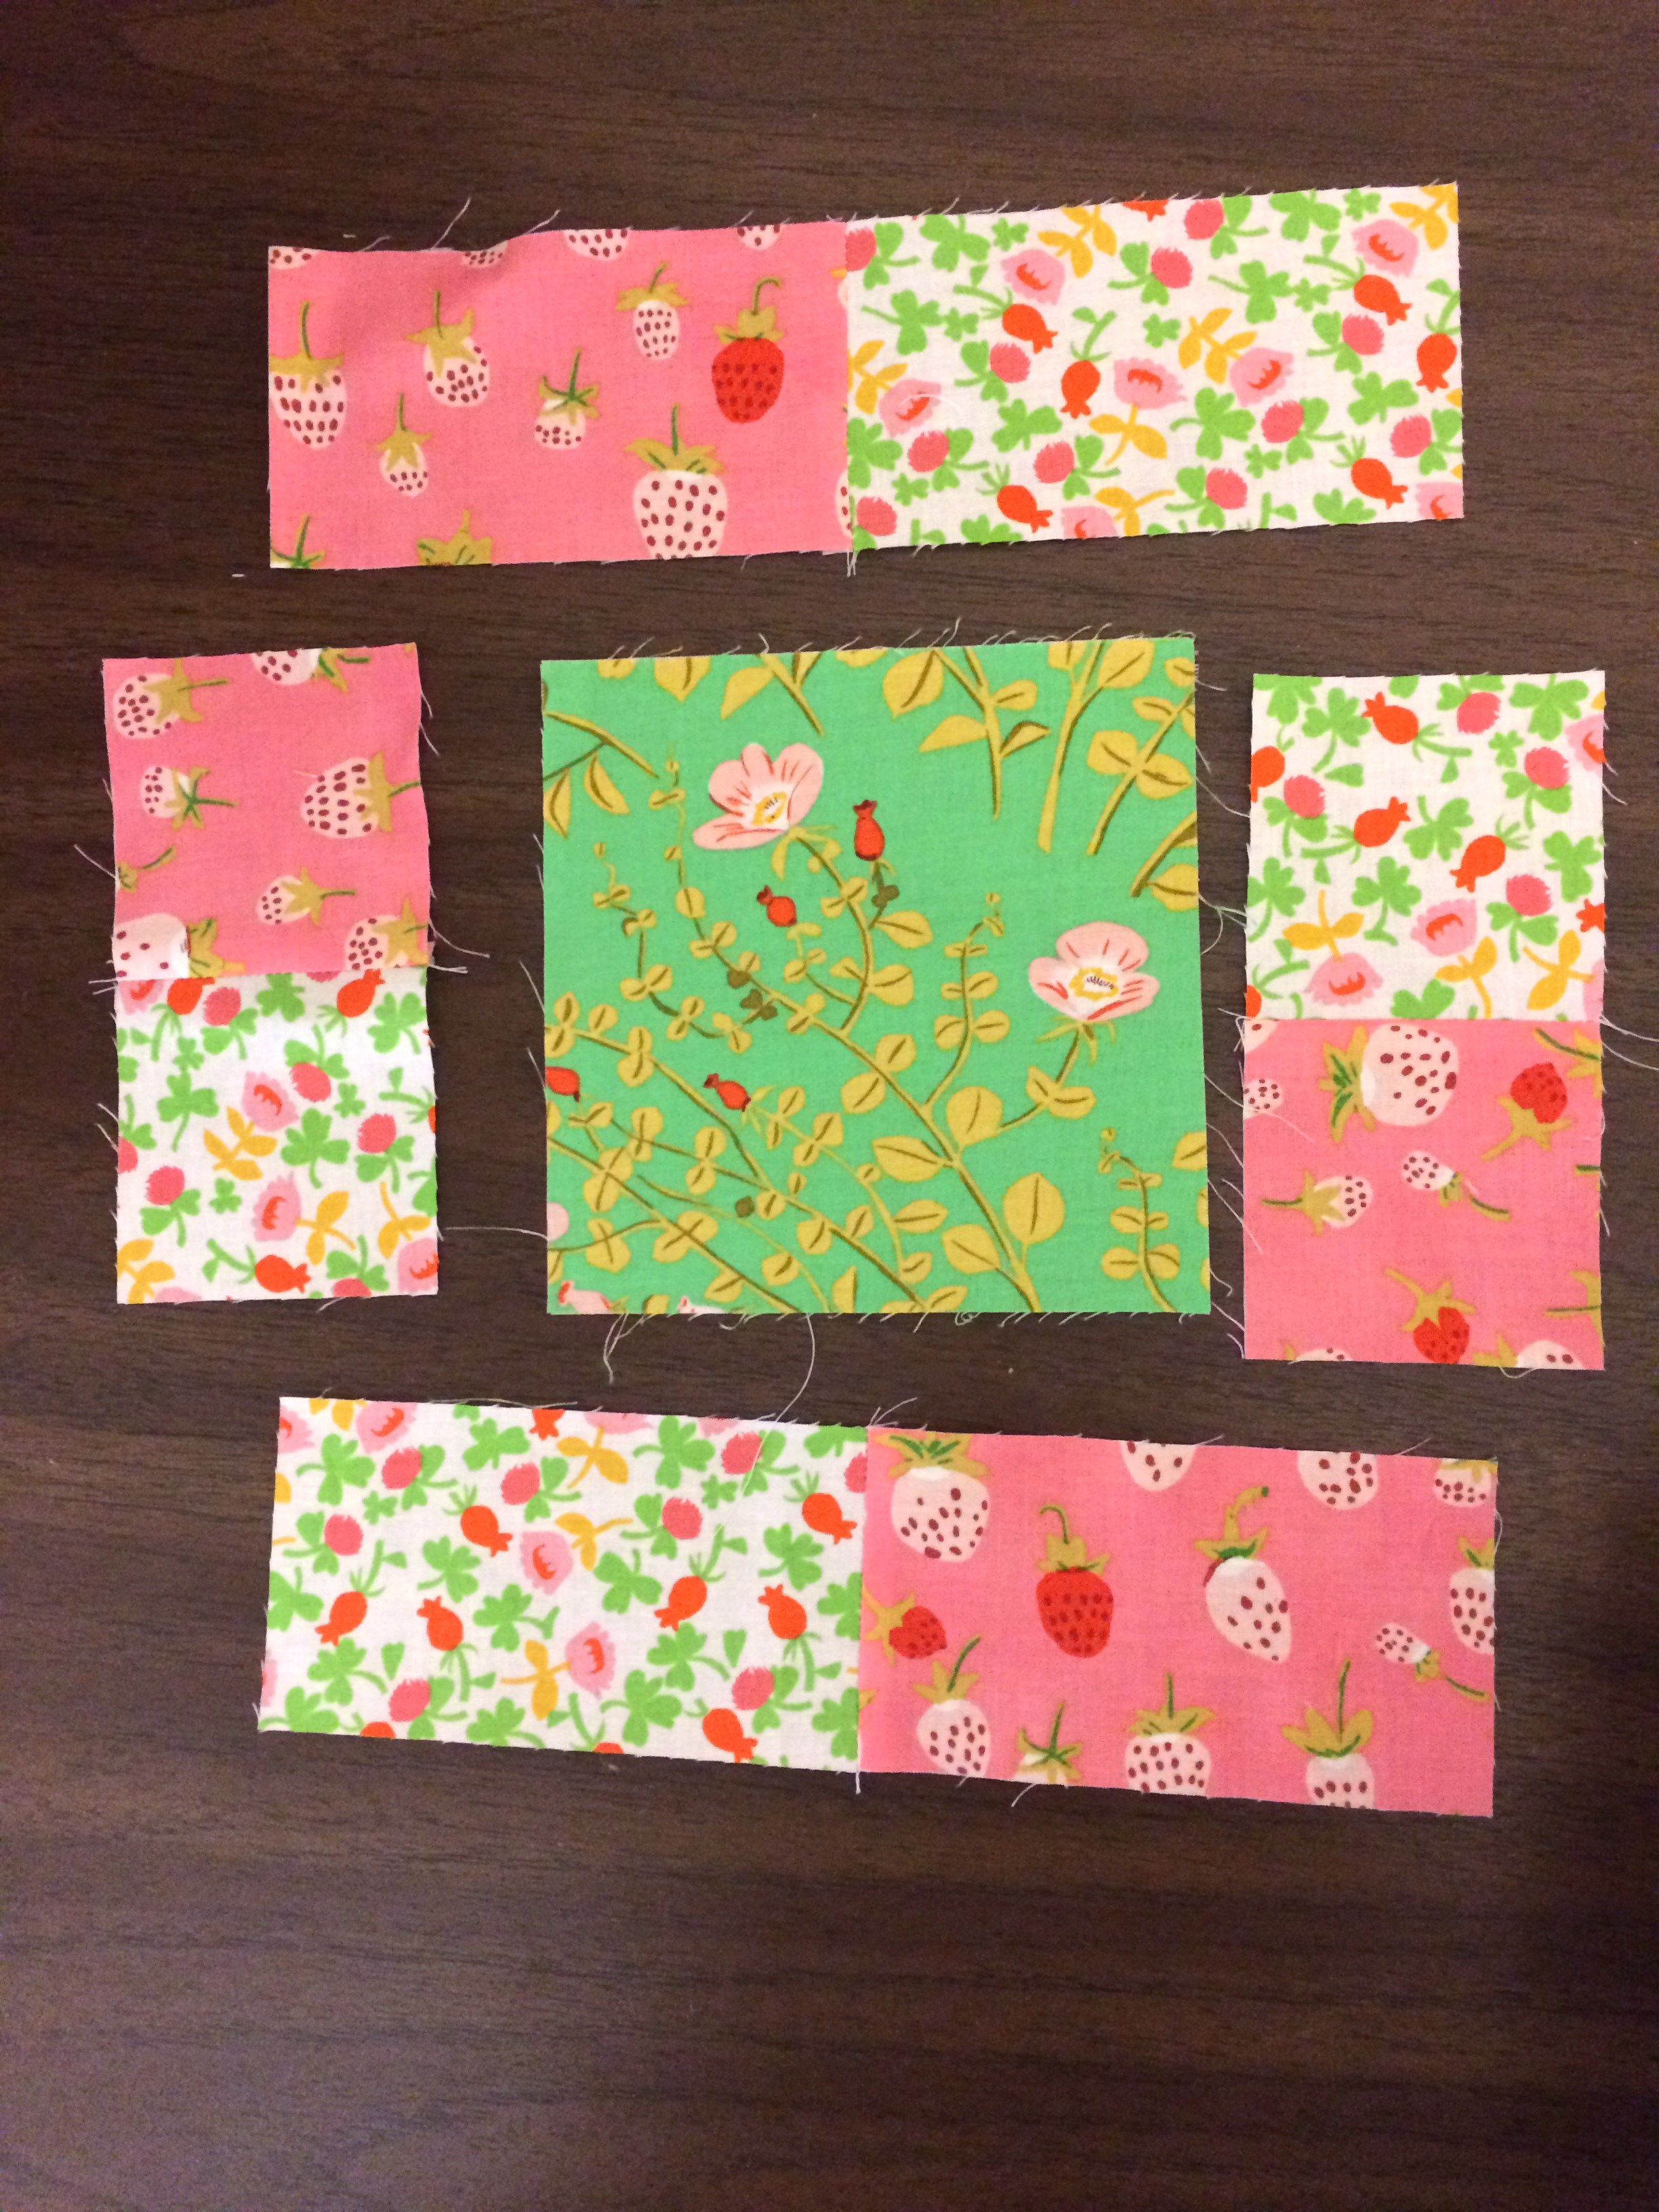
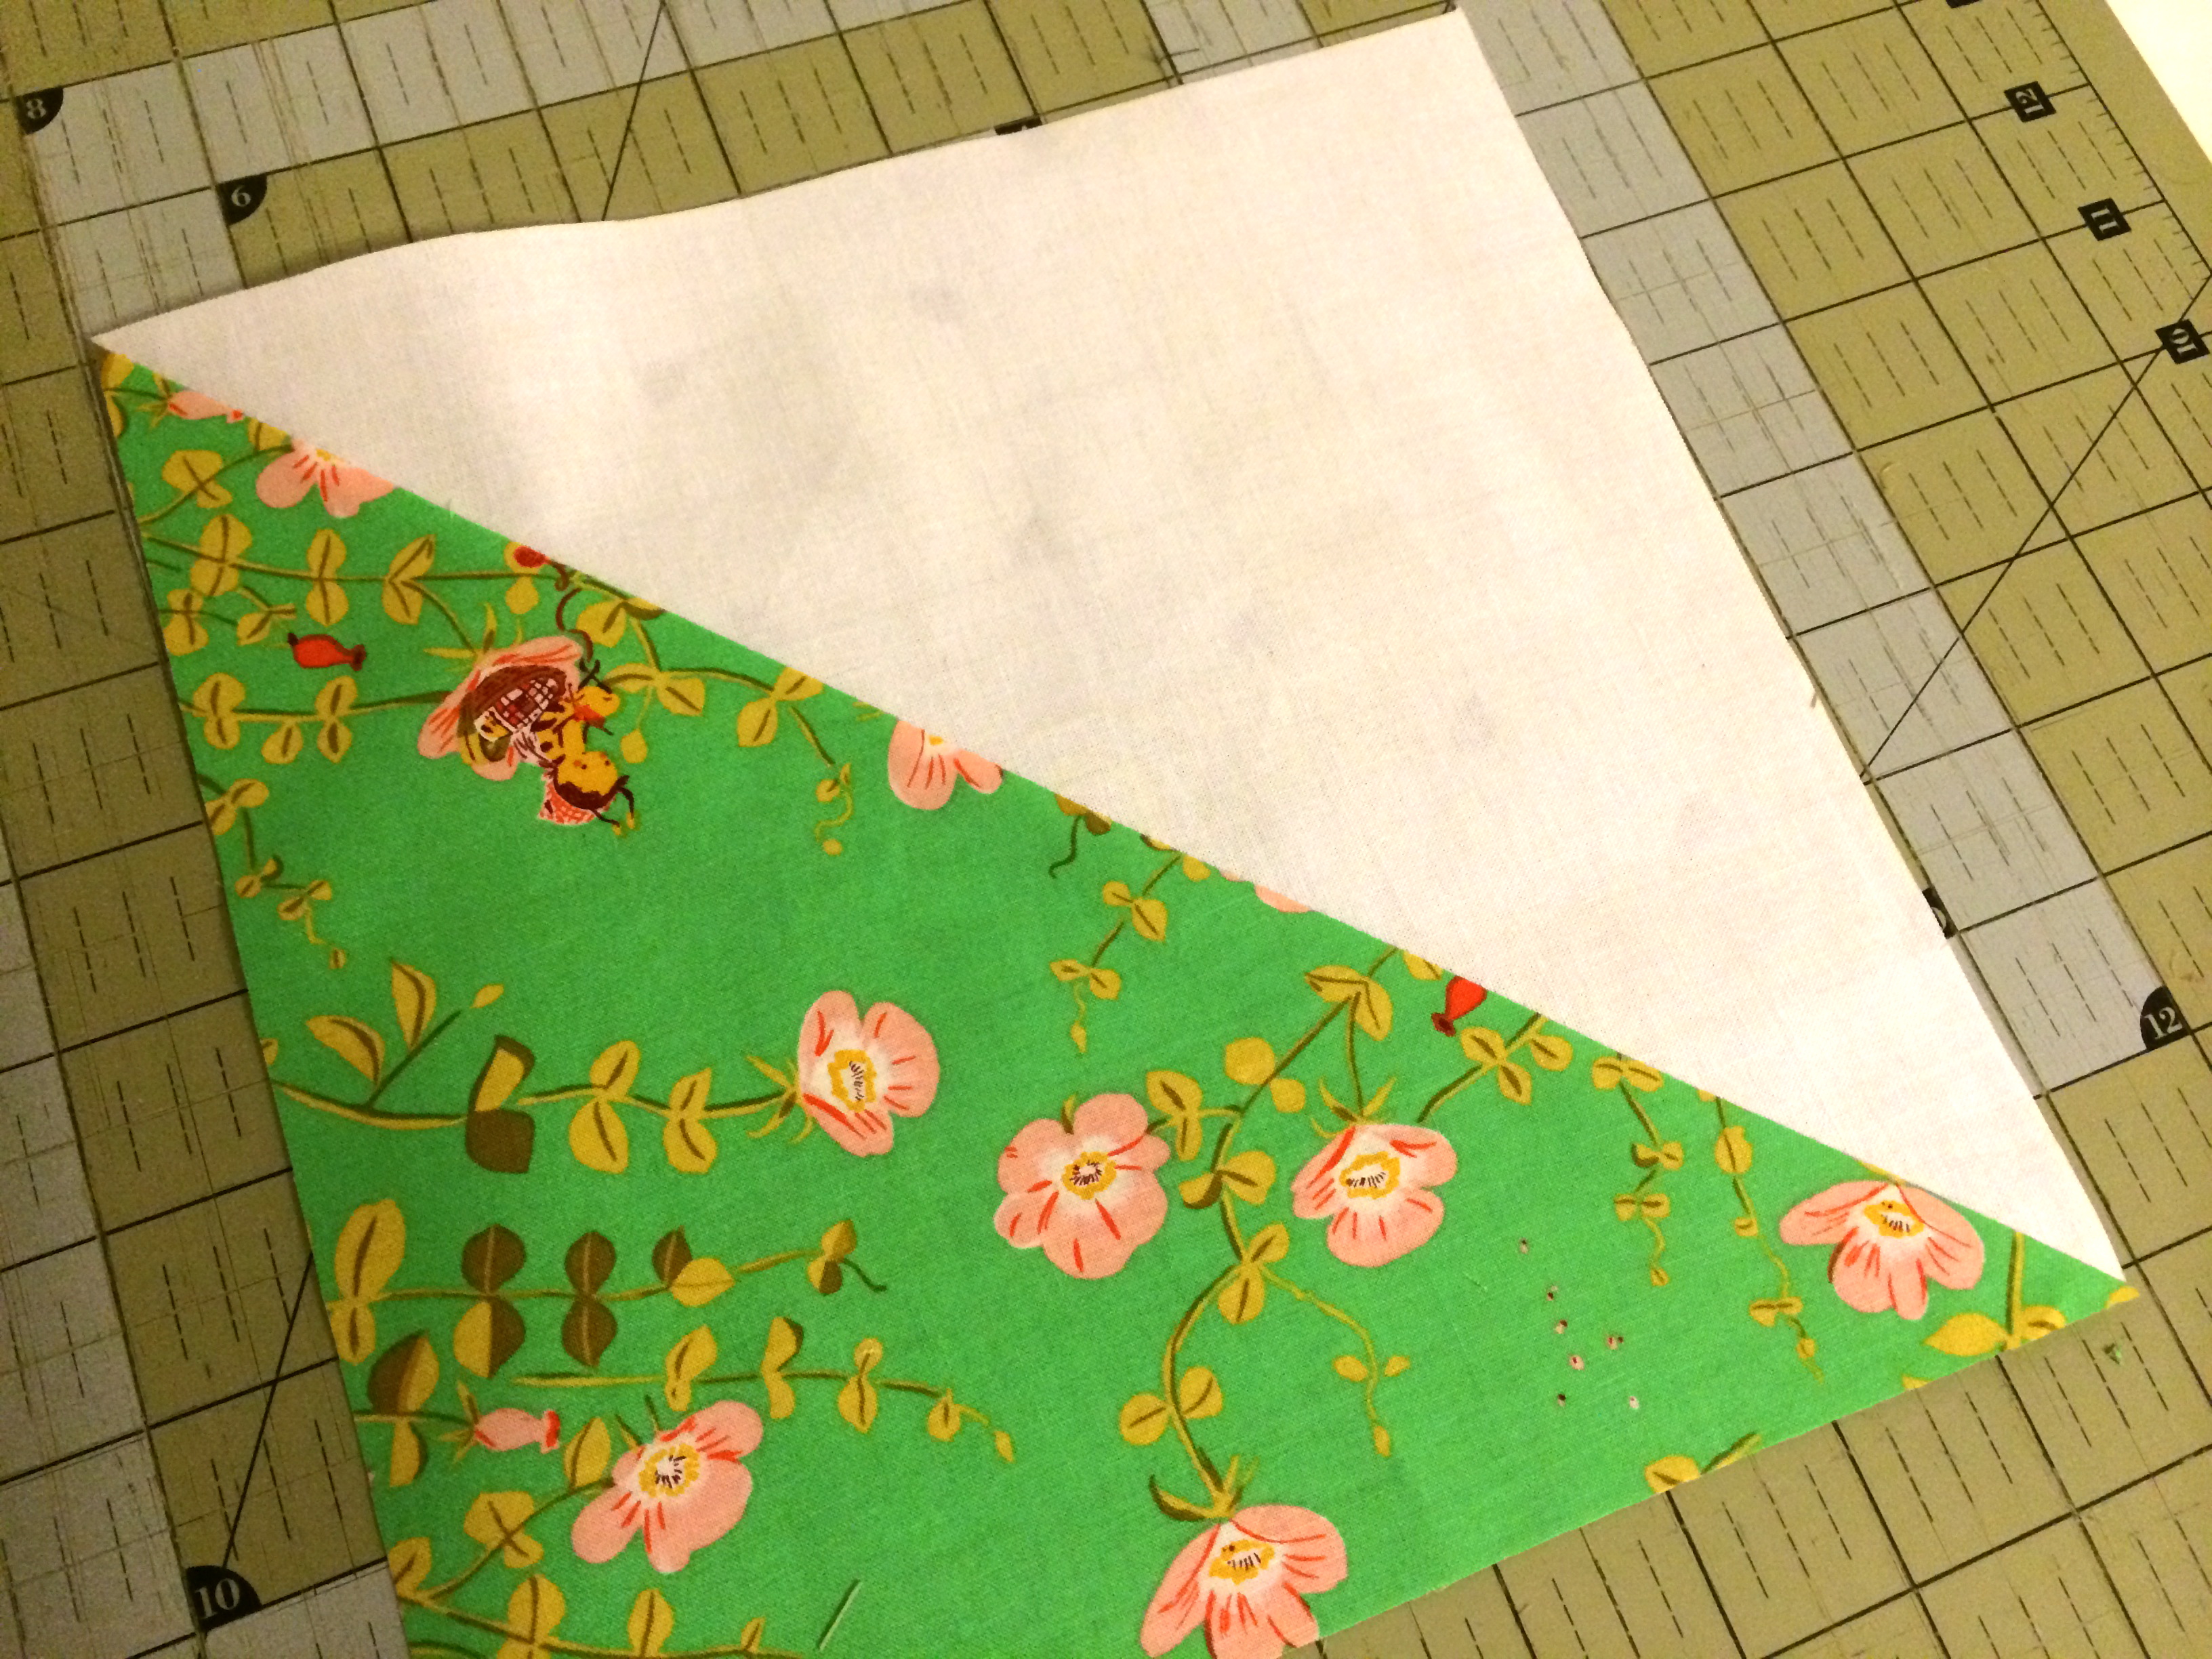
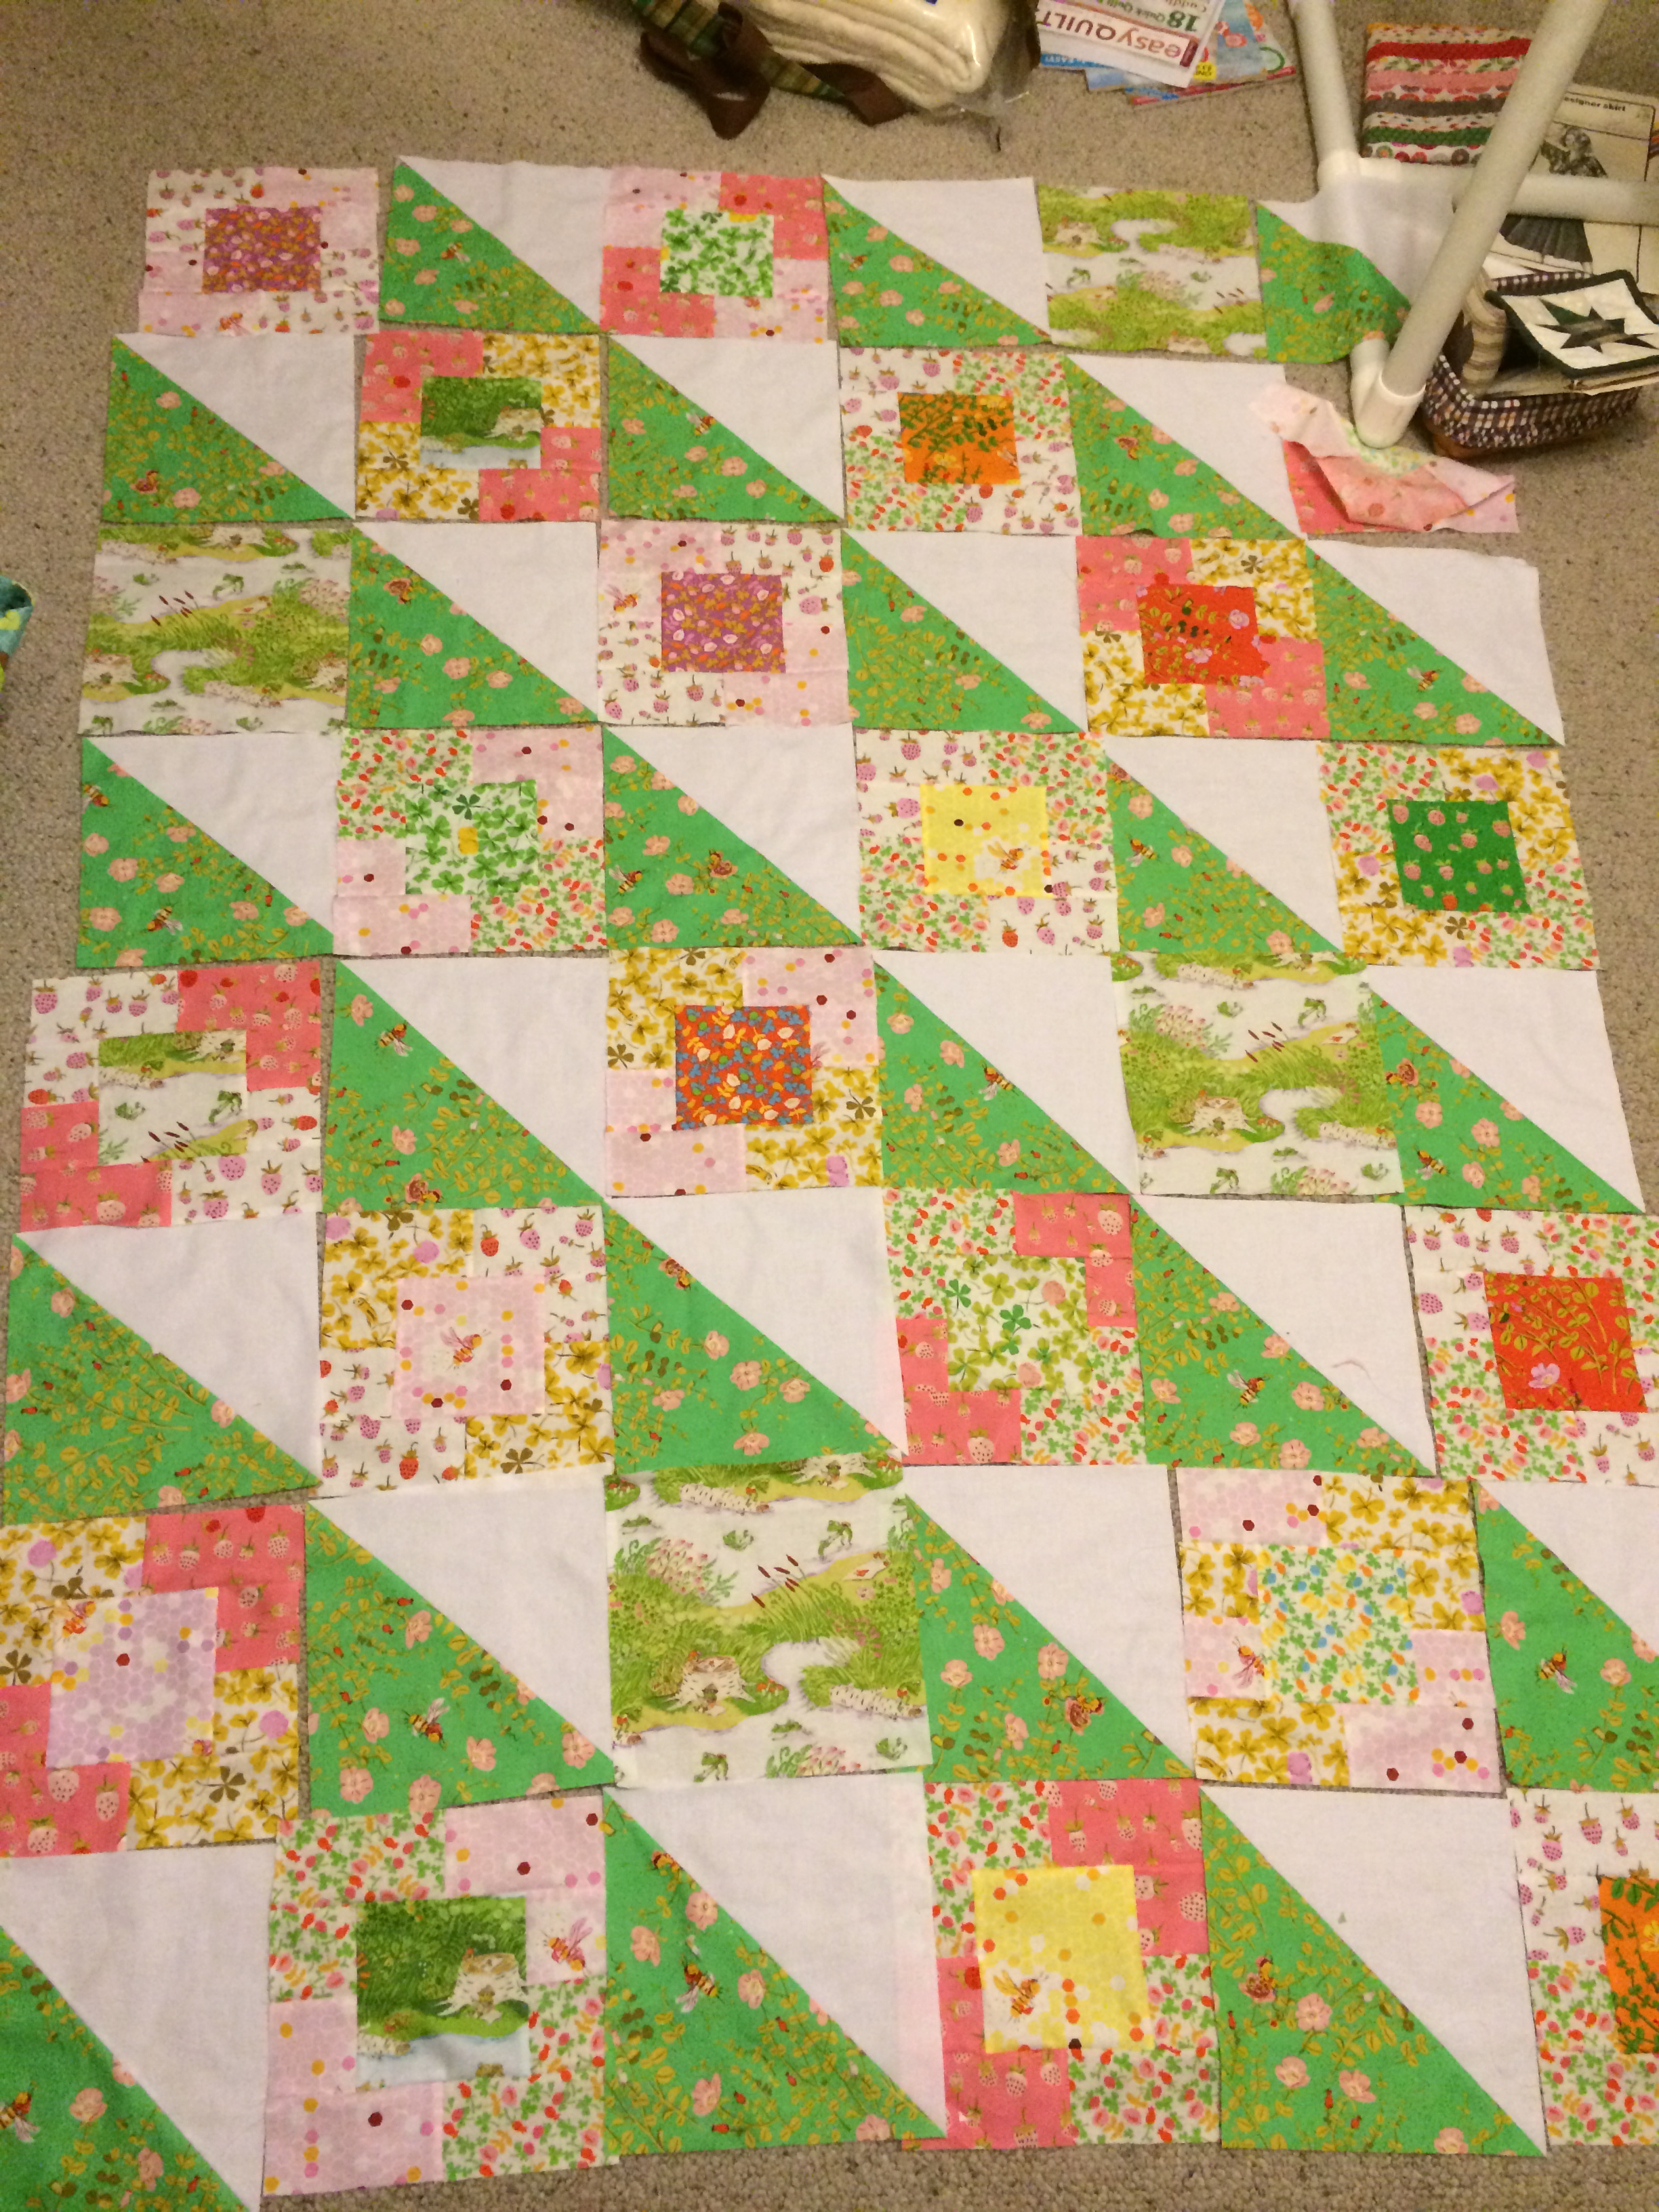
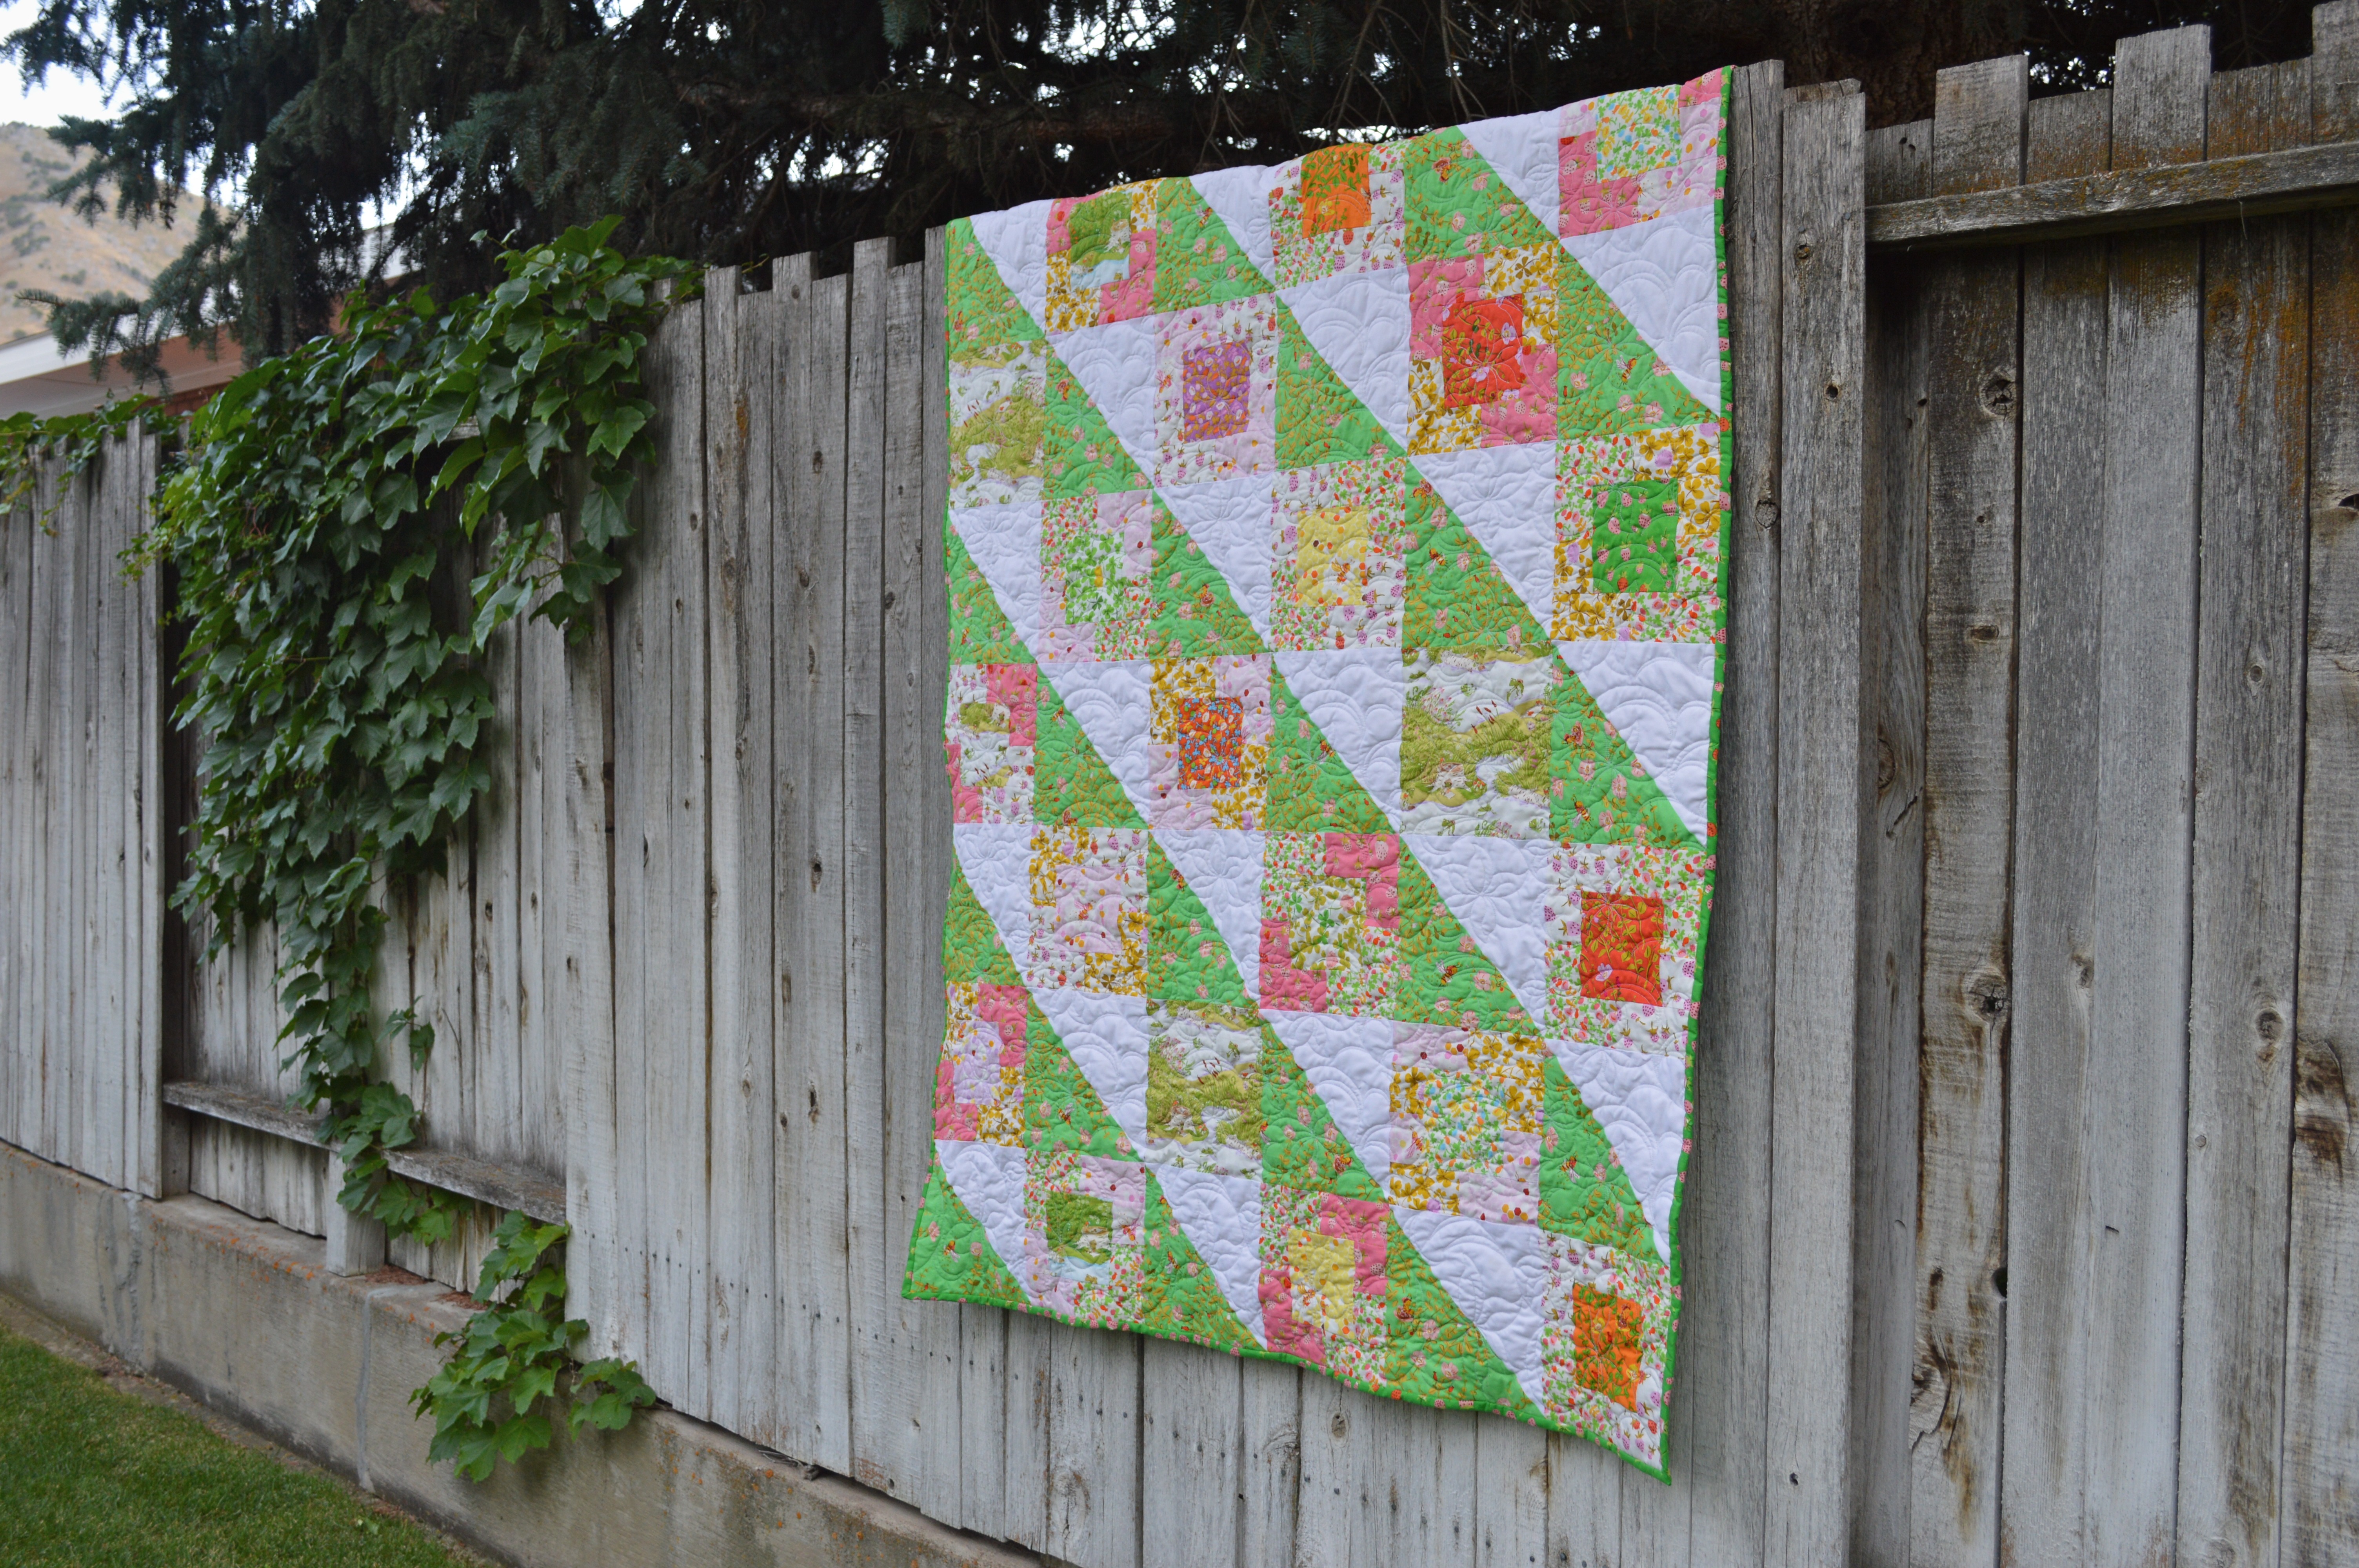
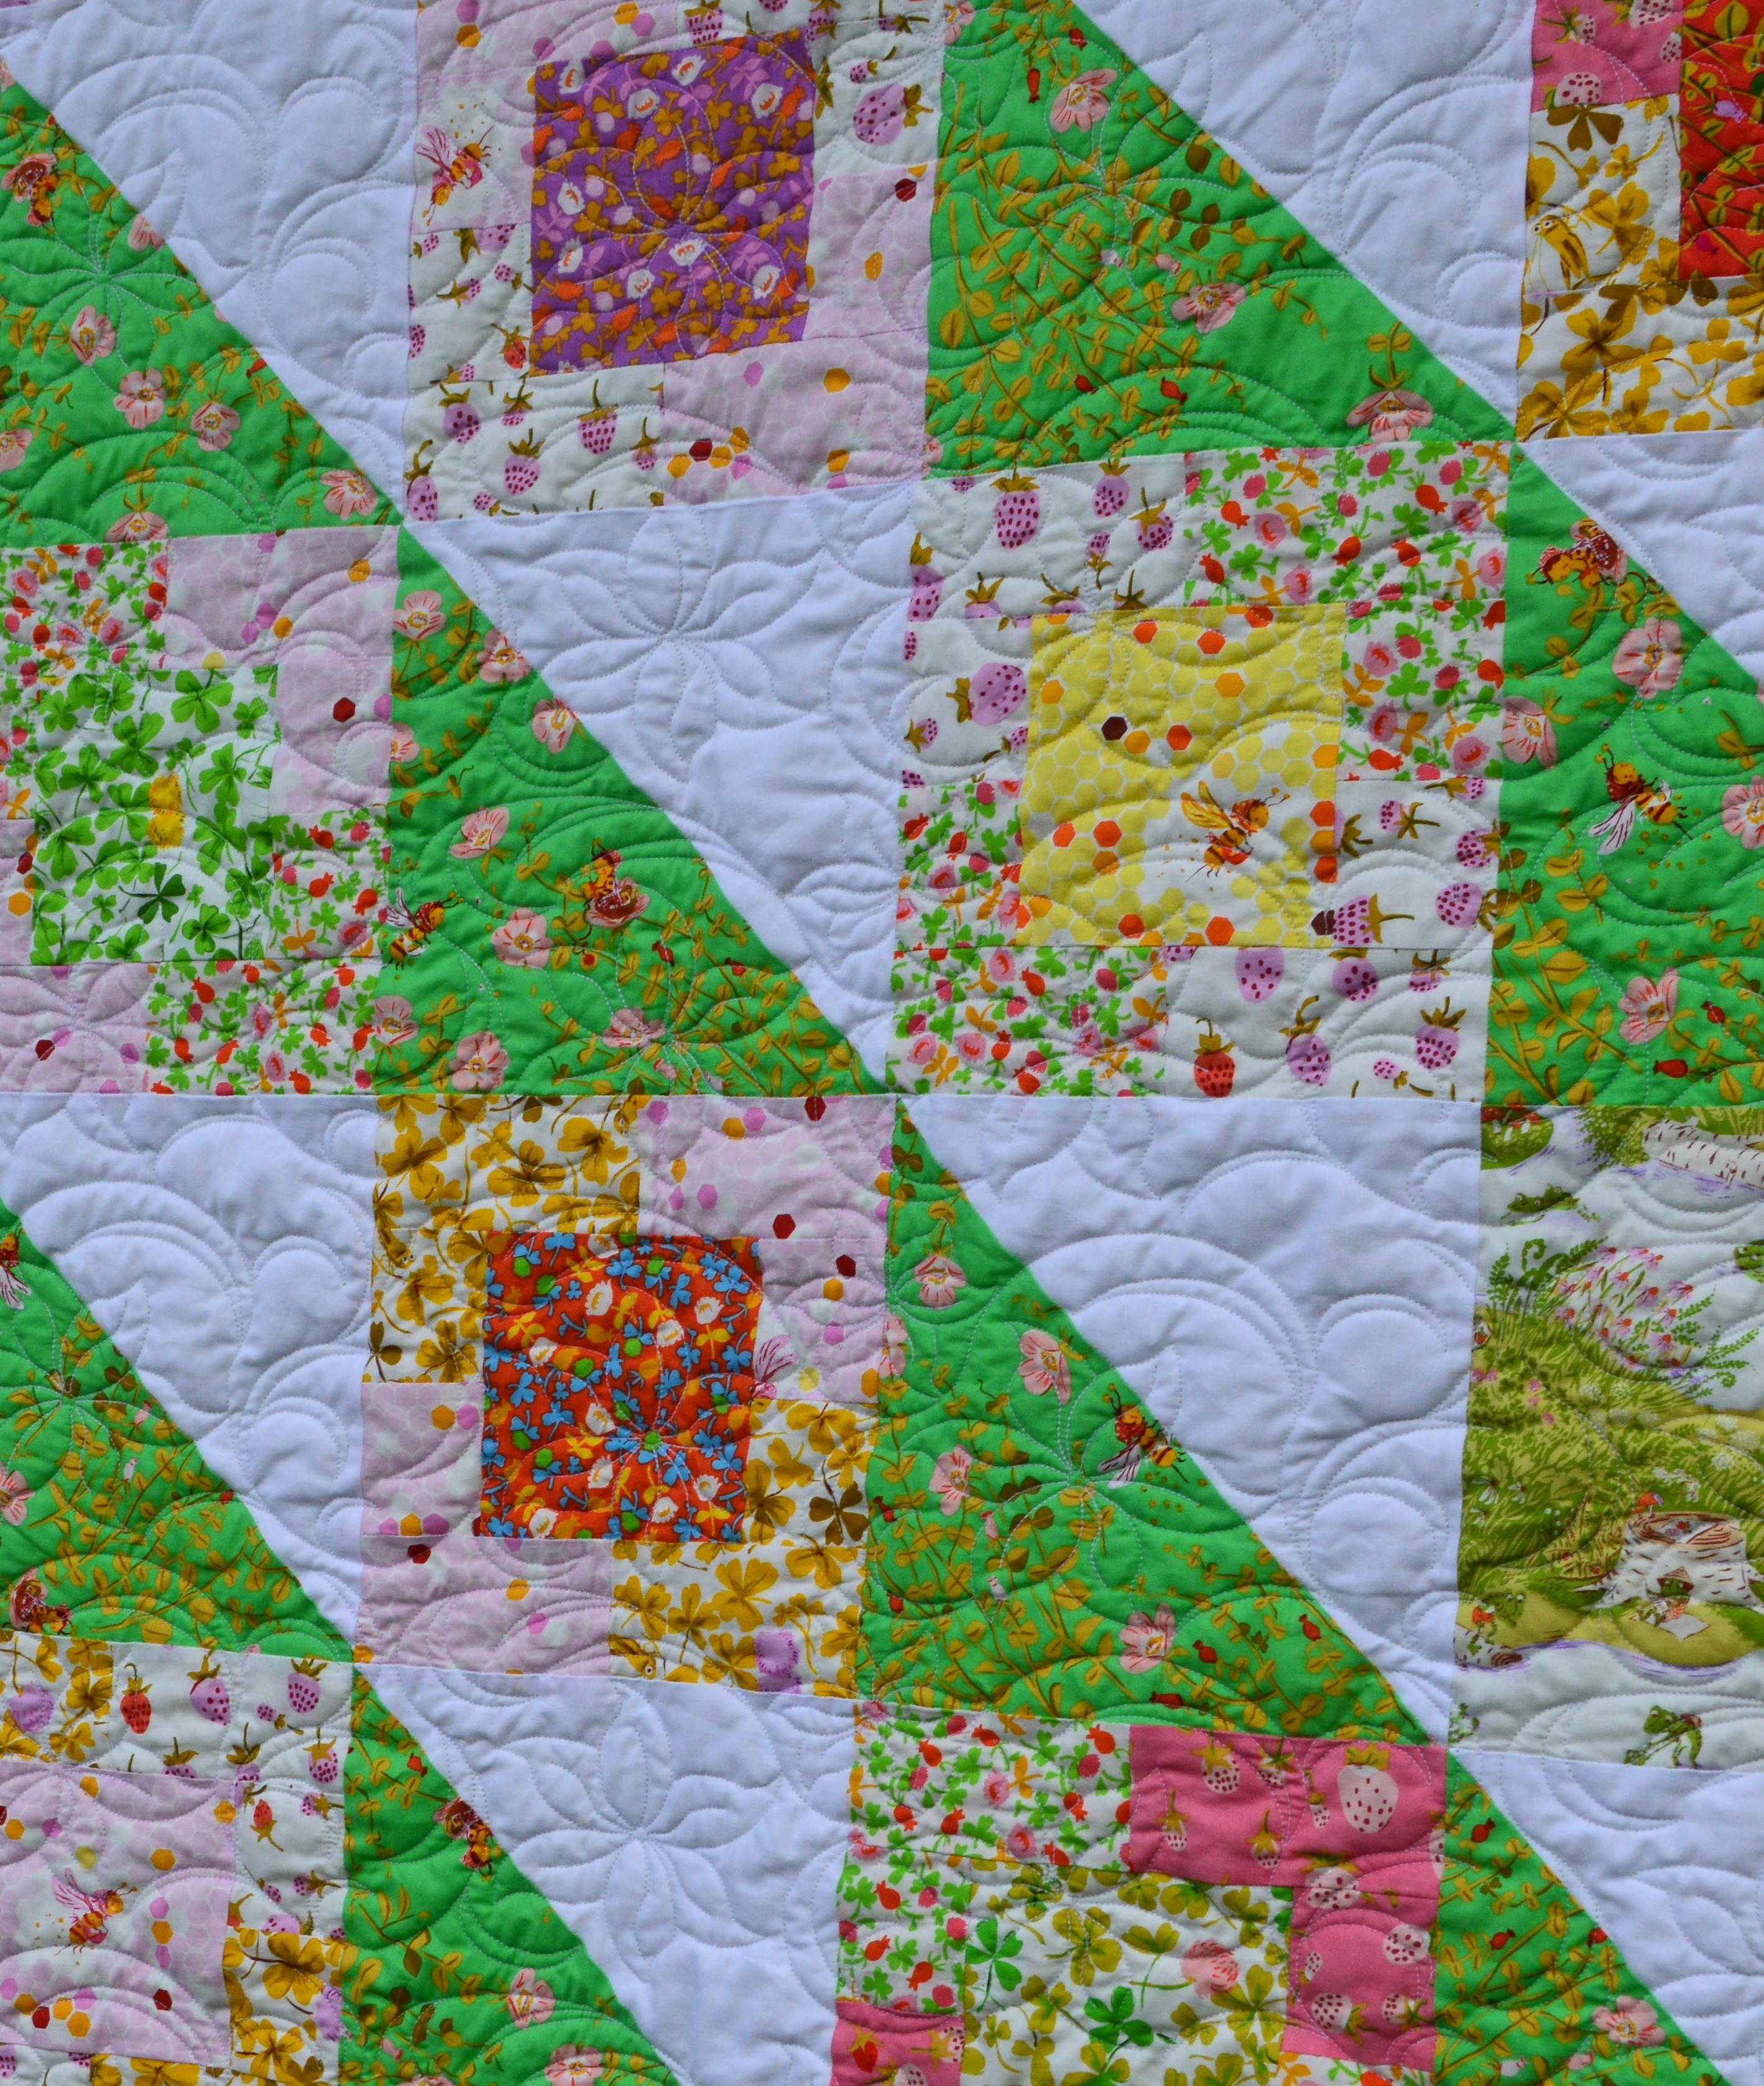
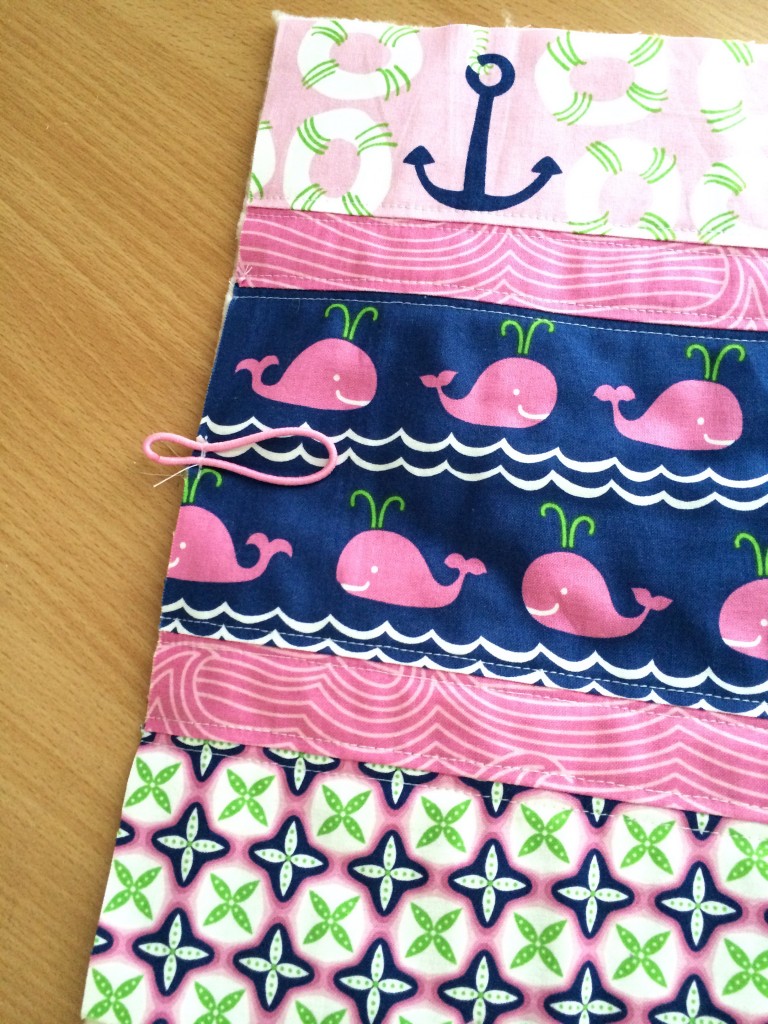
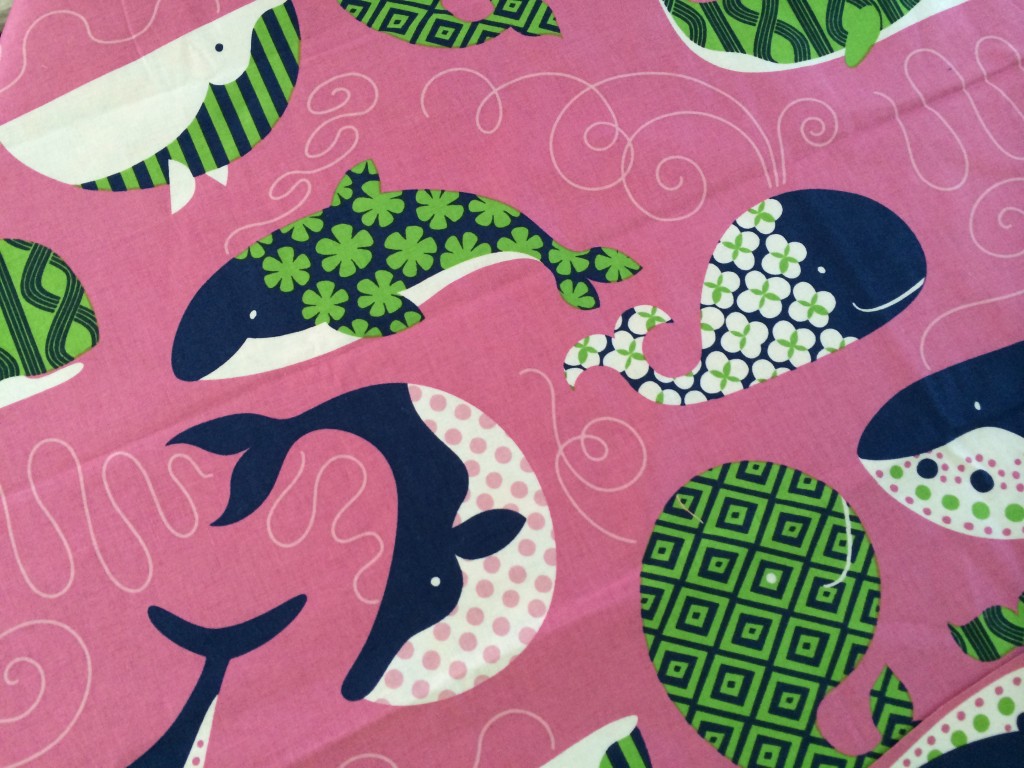
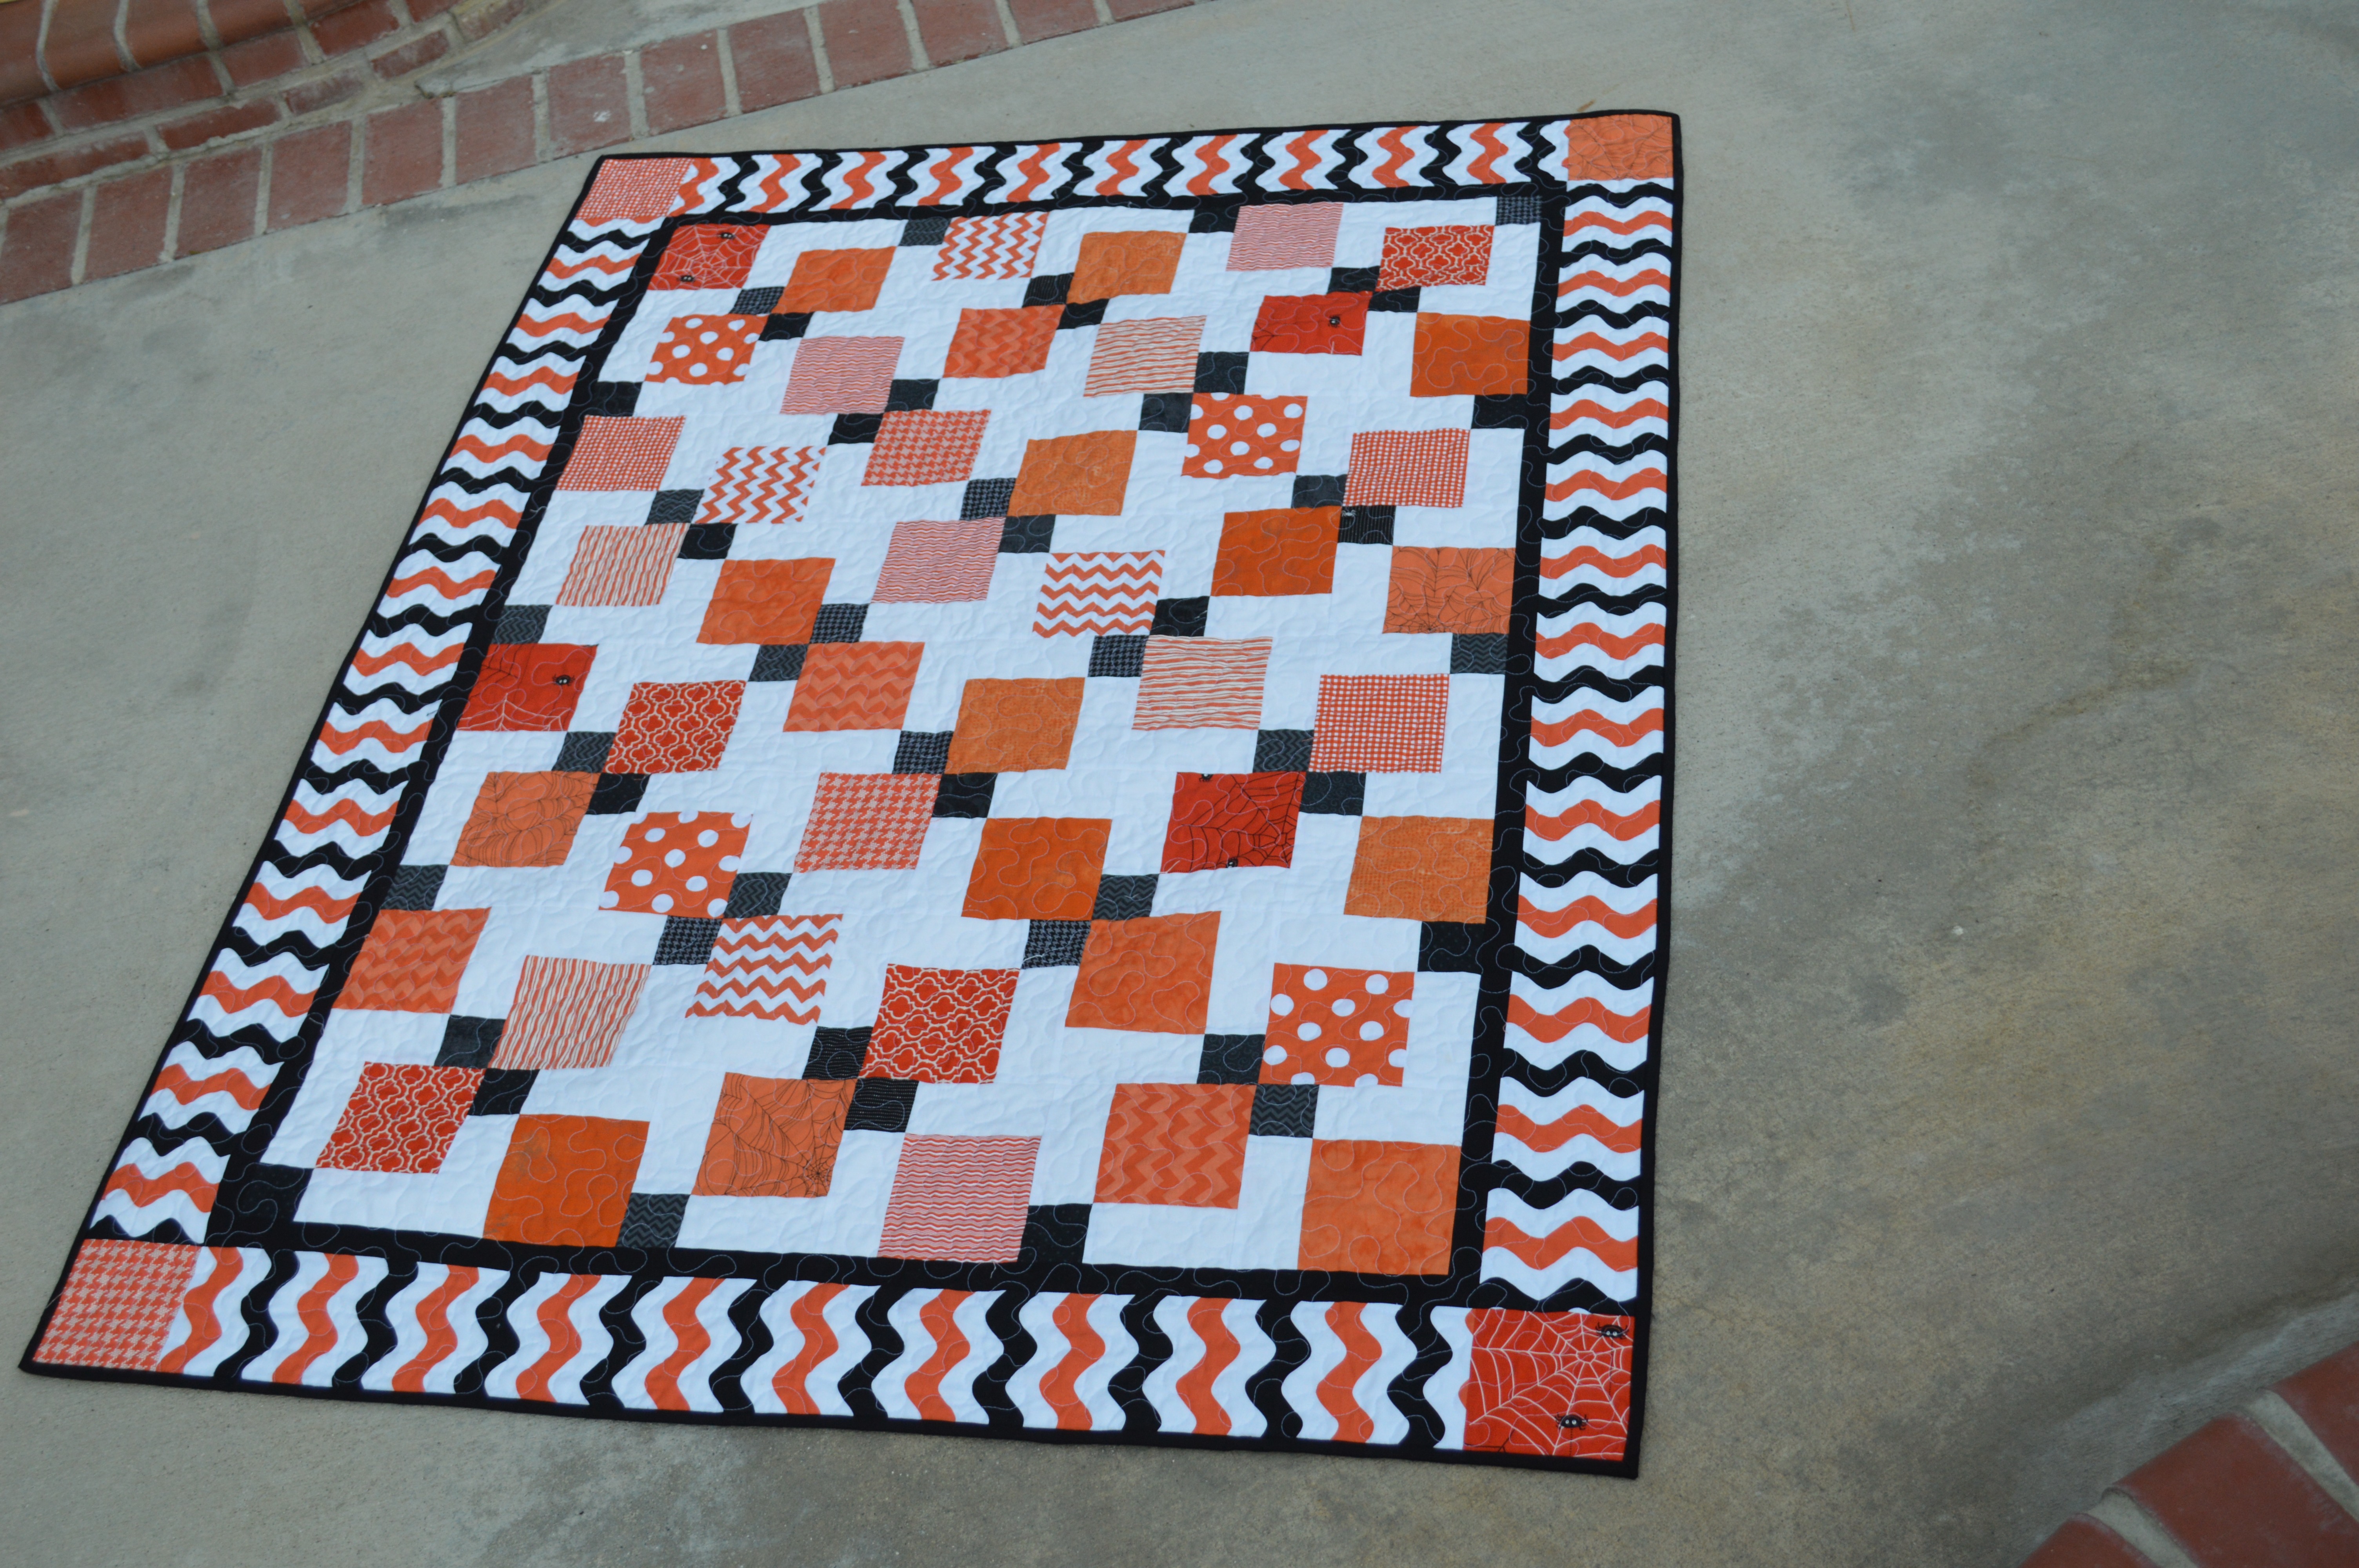
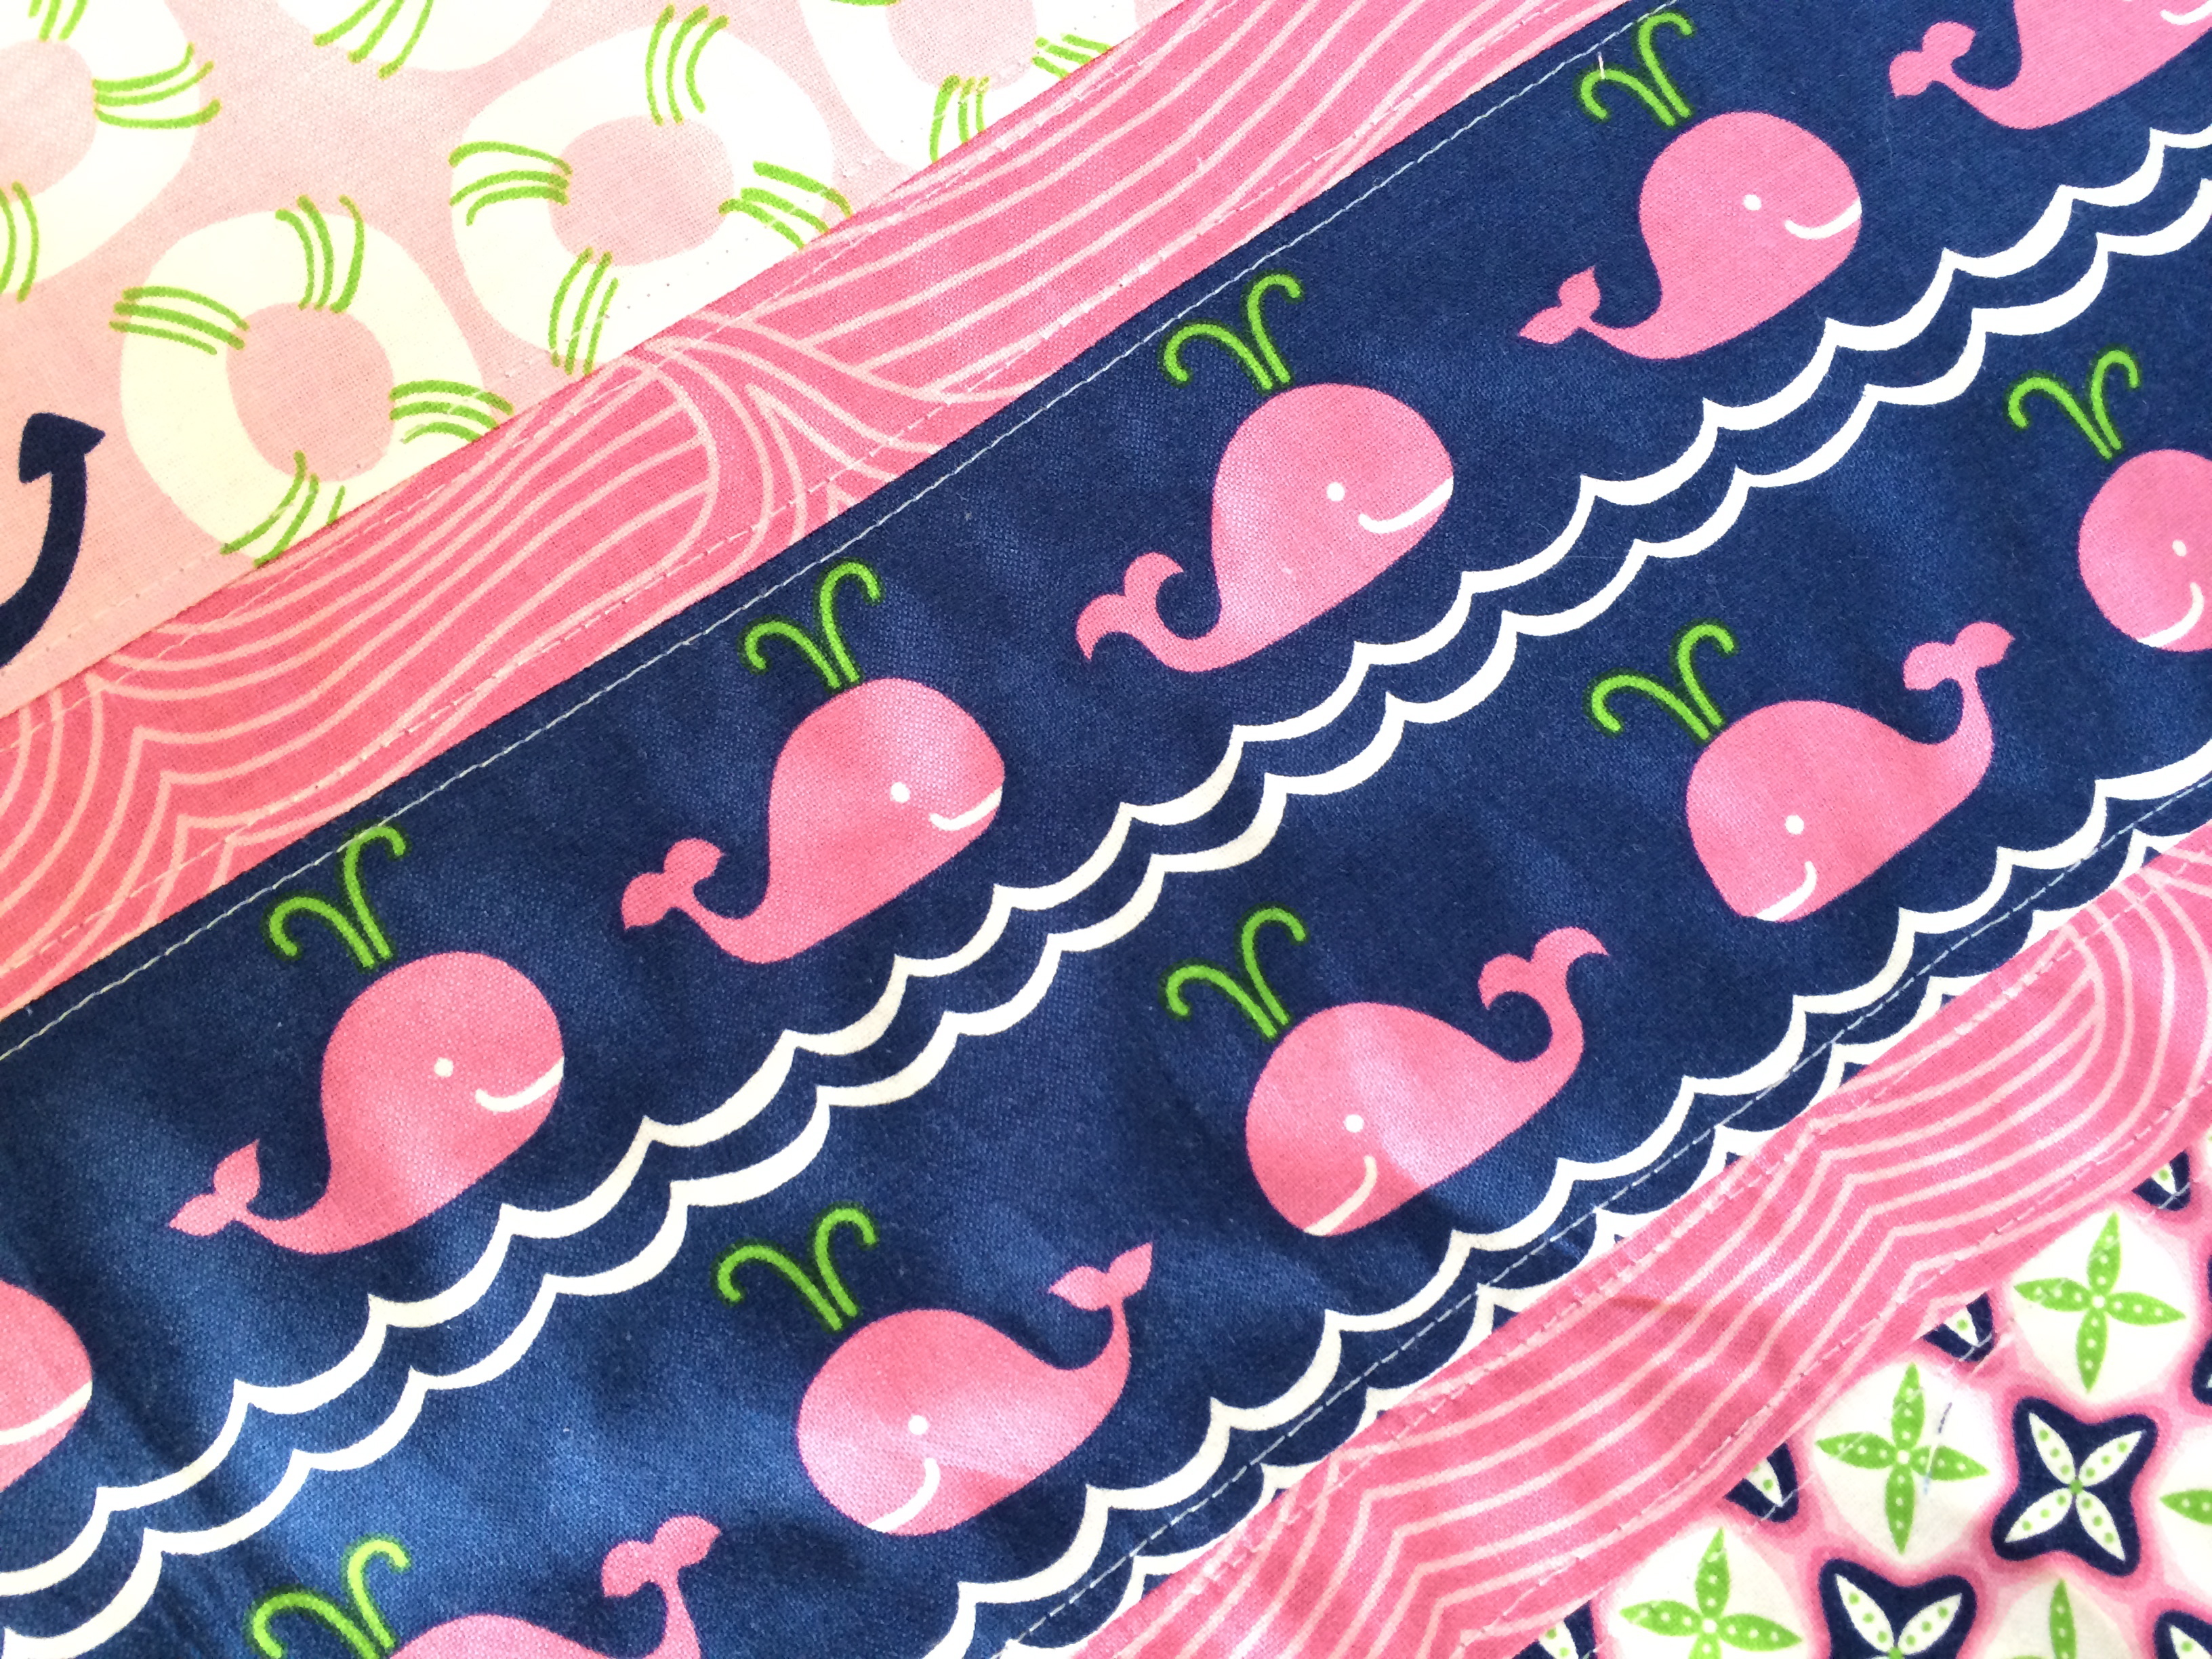
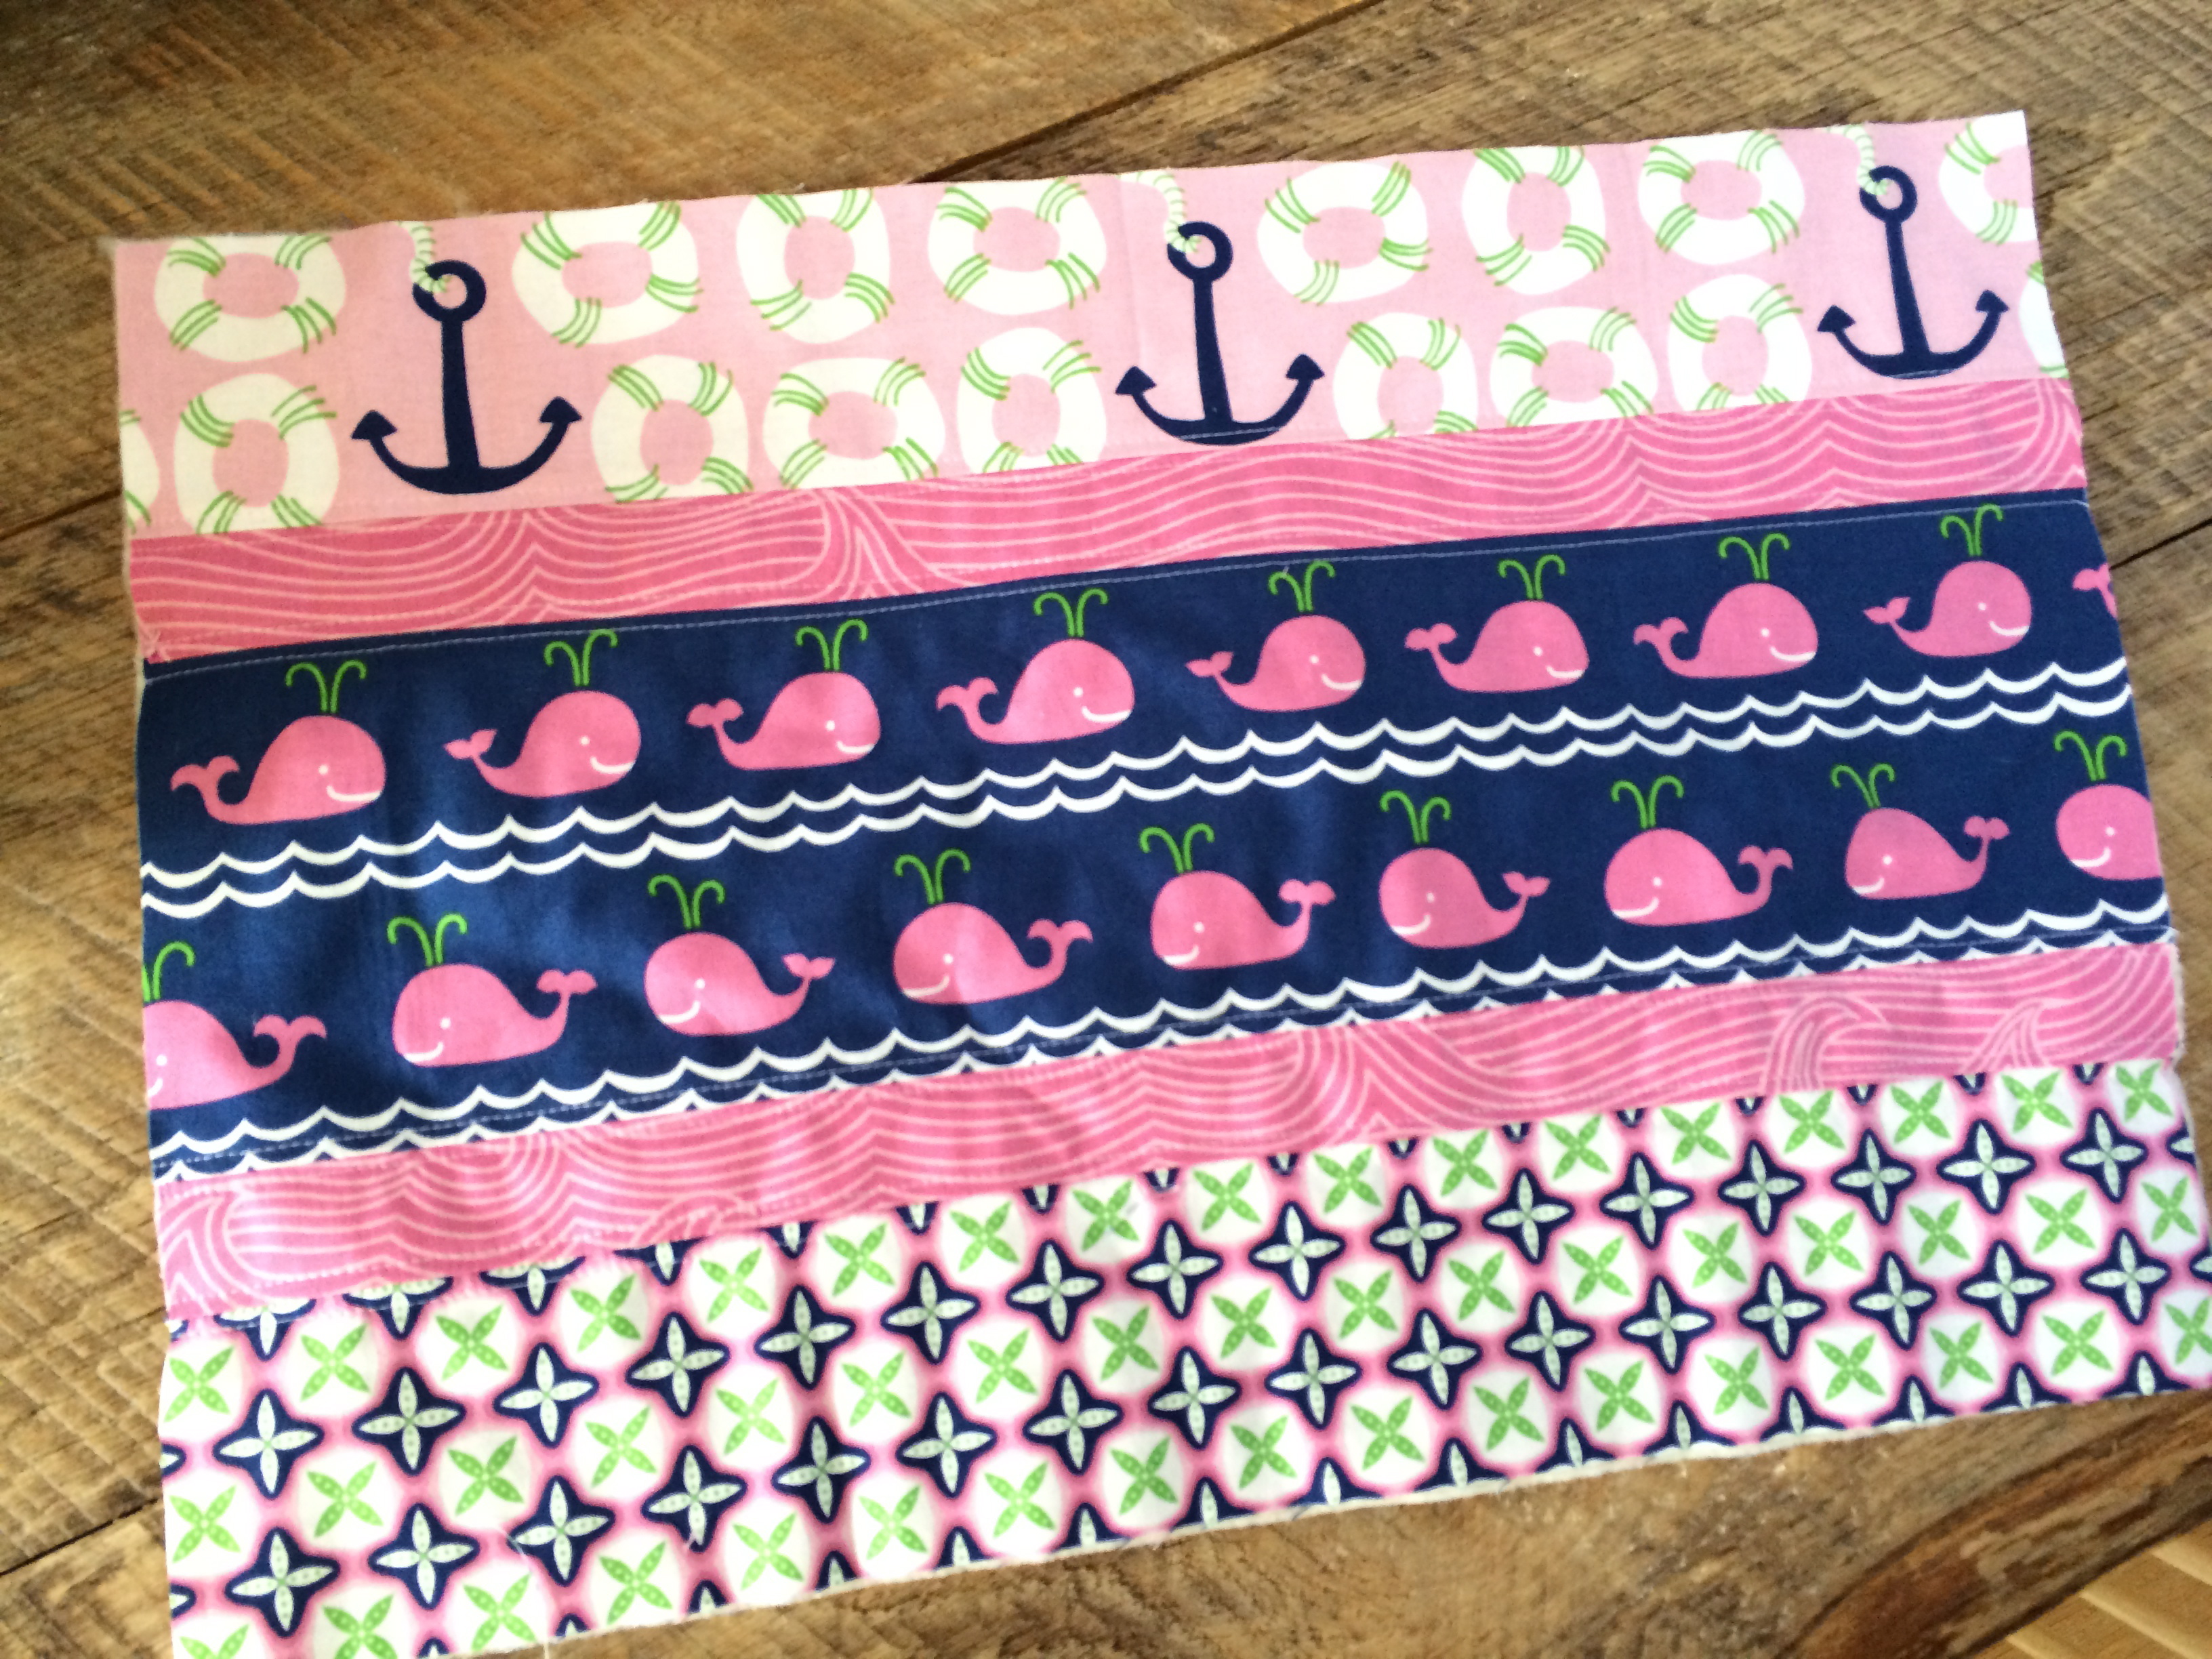
1.5 yards top fabric, I used Riley Blake Country Girls Patchwork in Pink….I love this because it already looks like a darling quilt
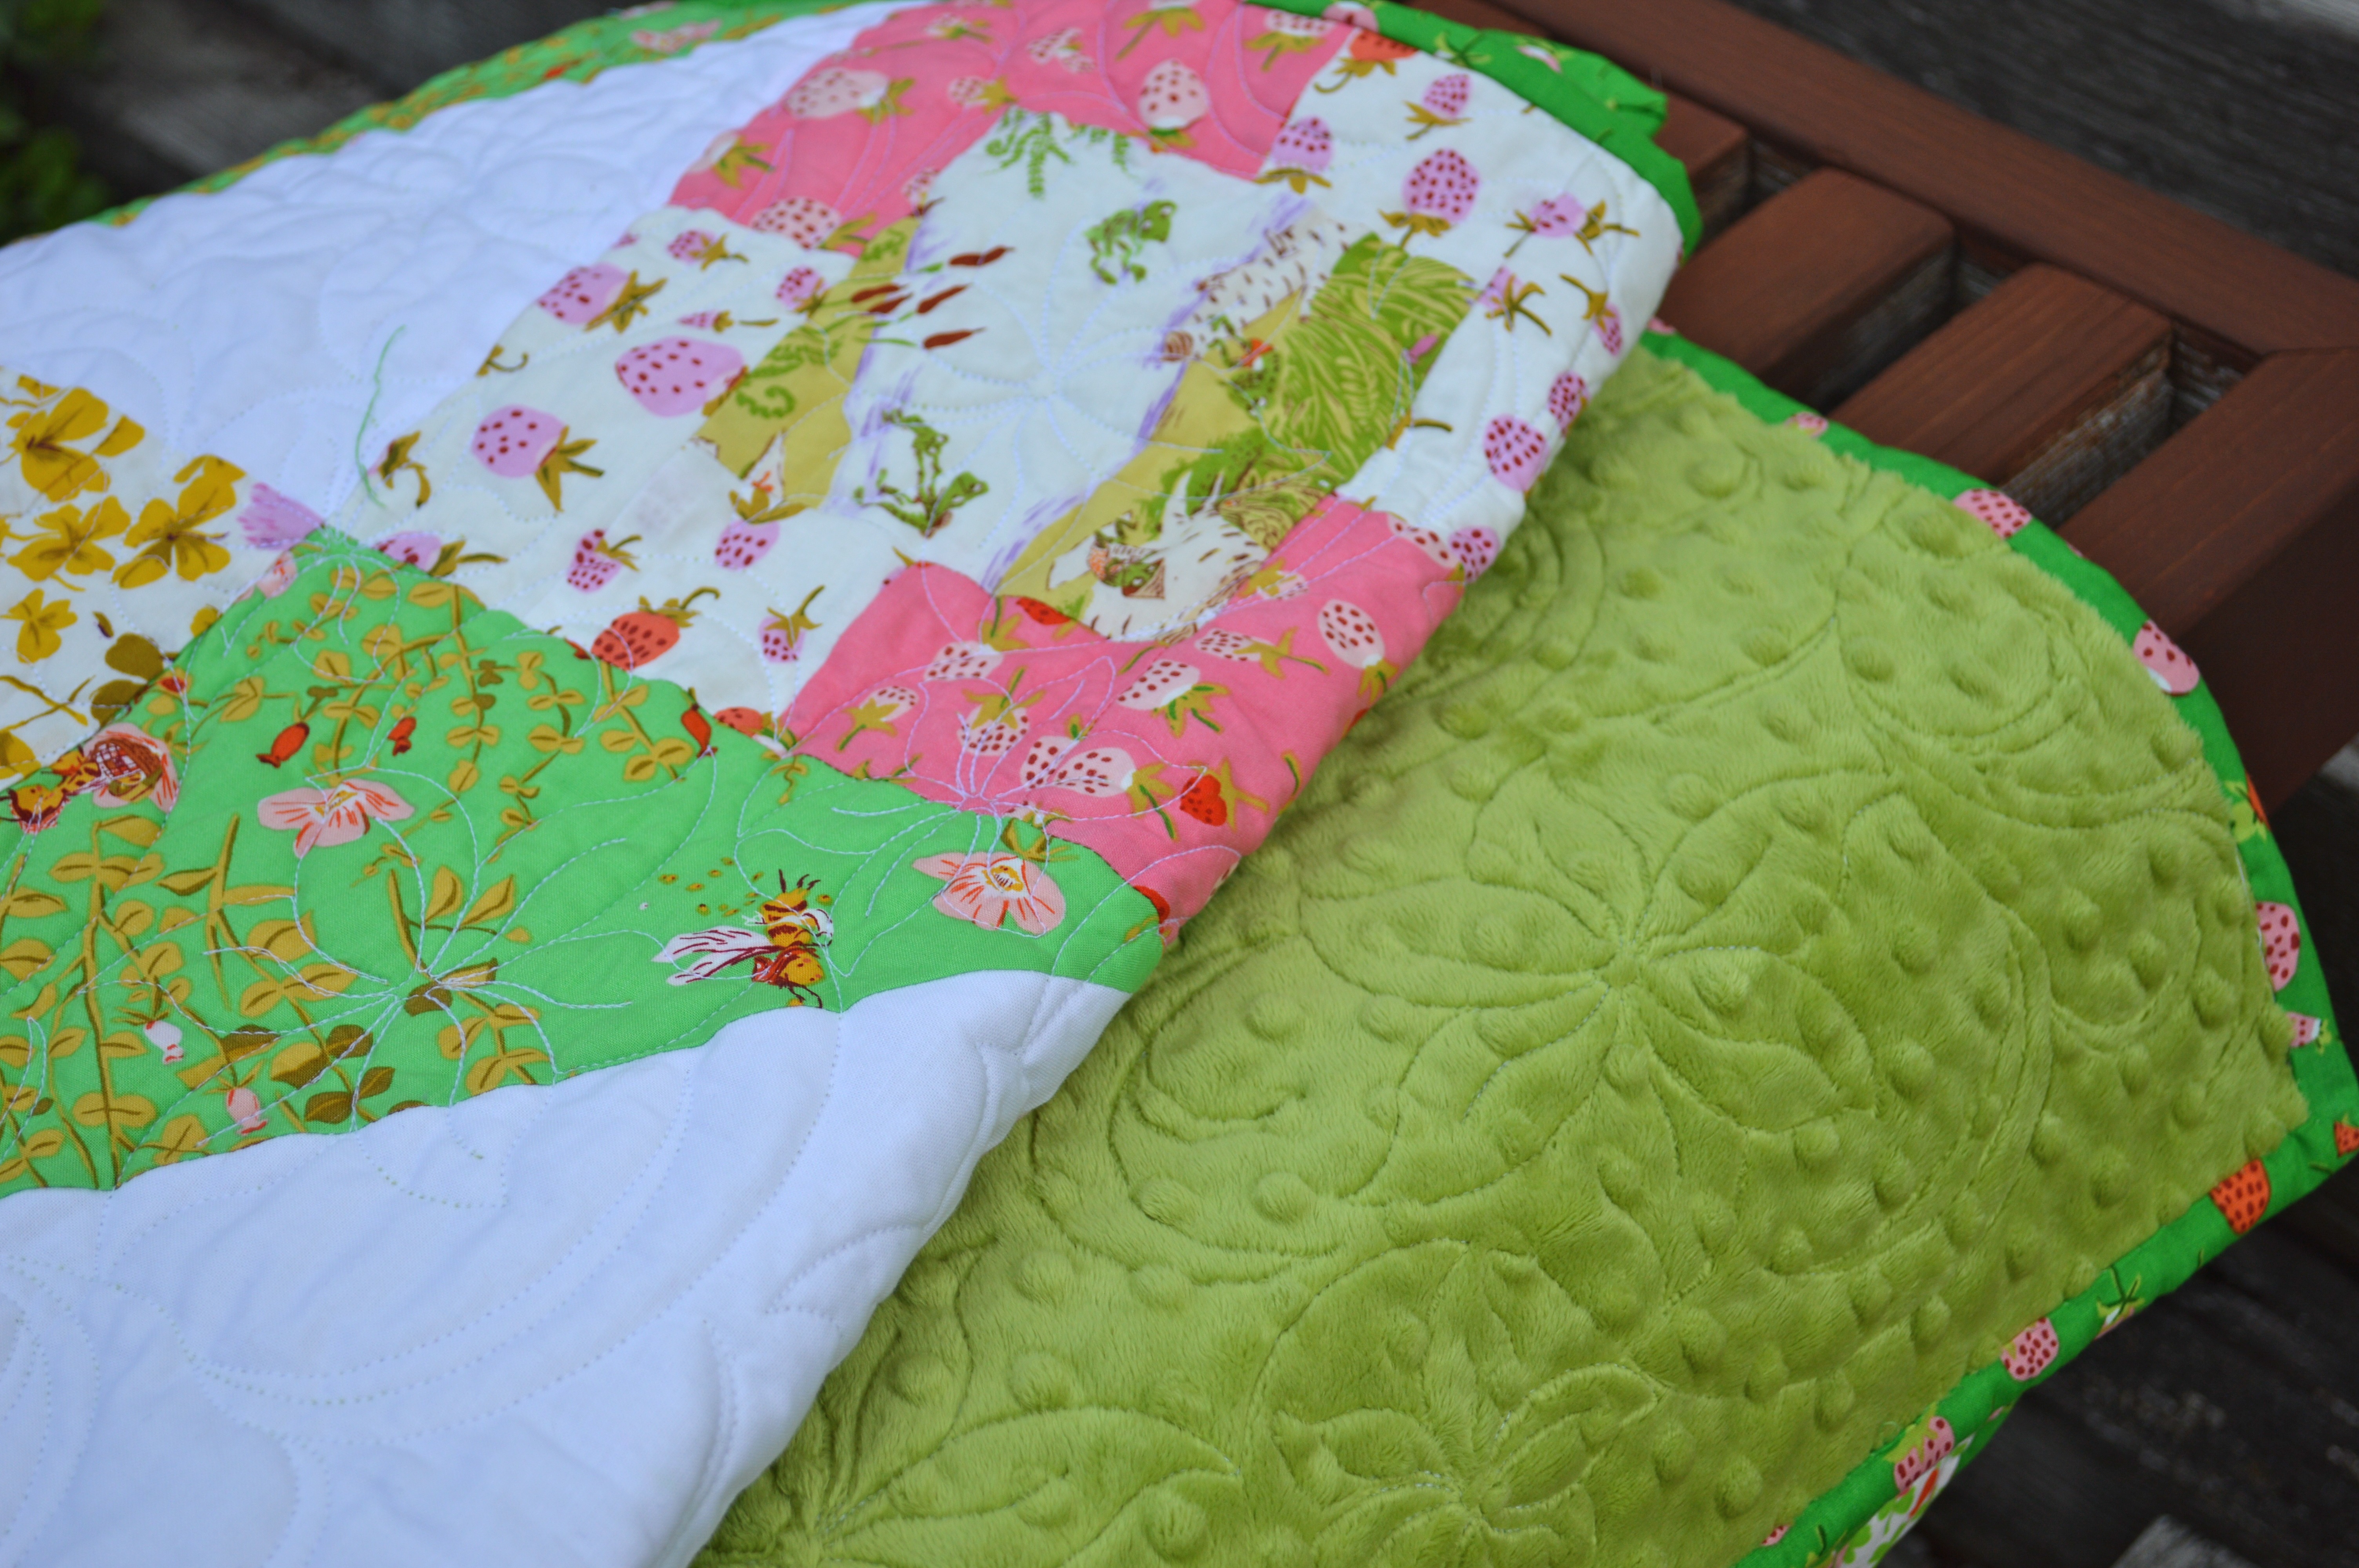
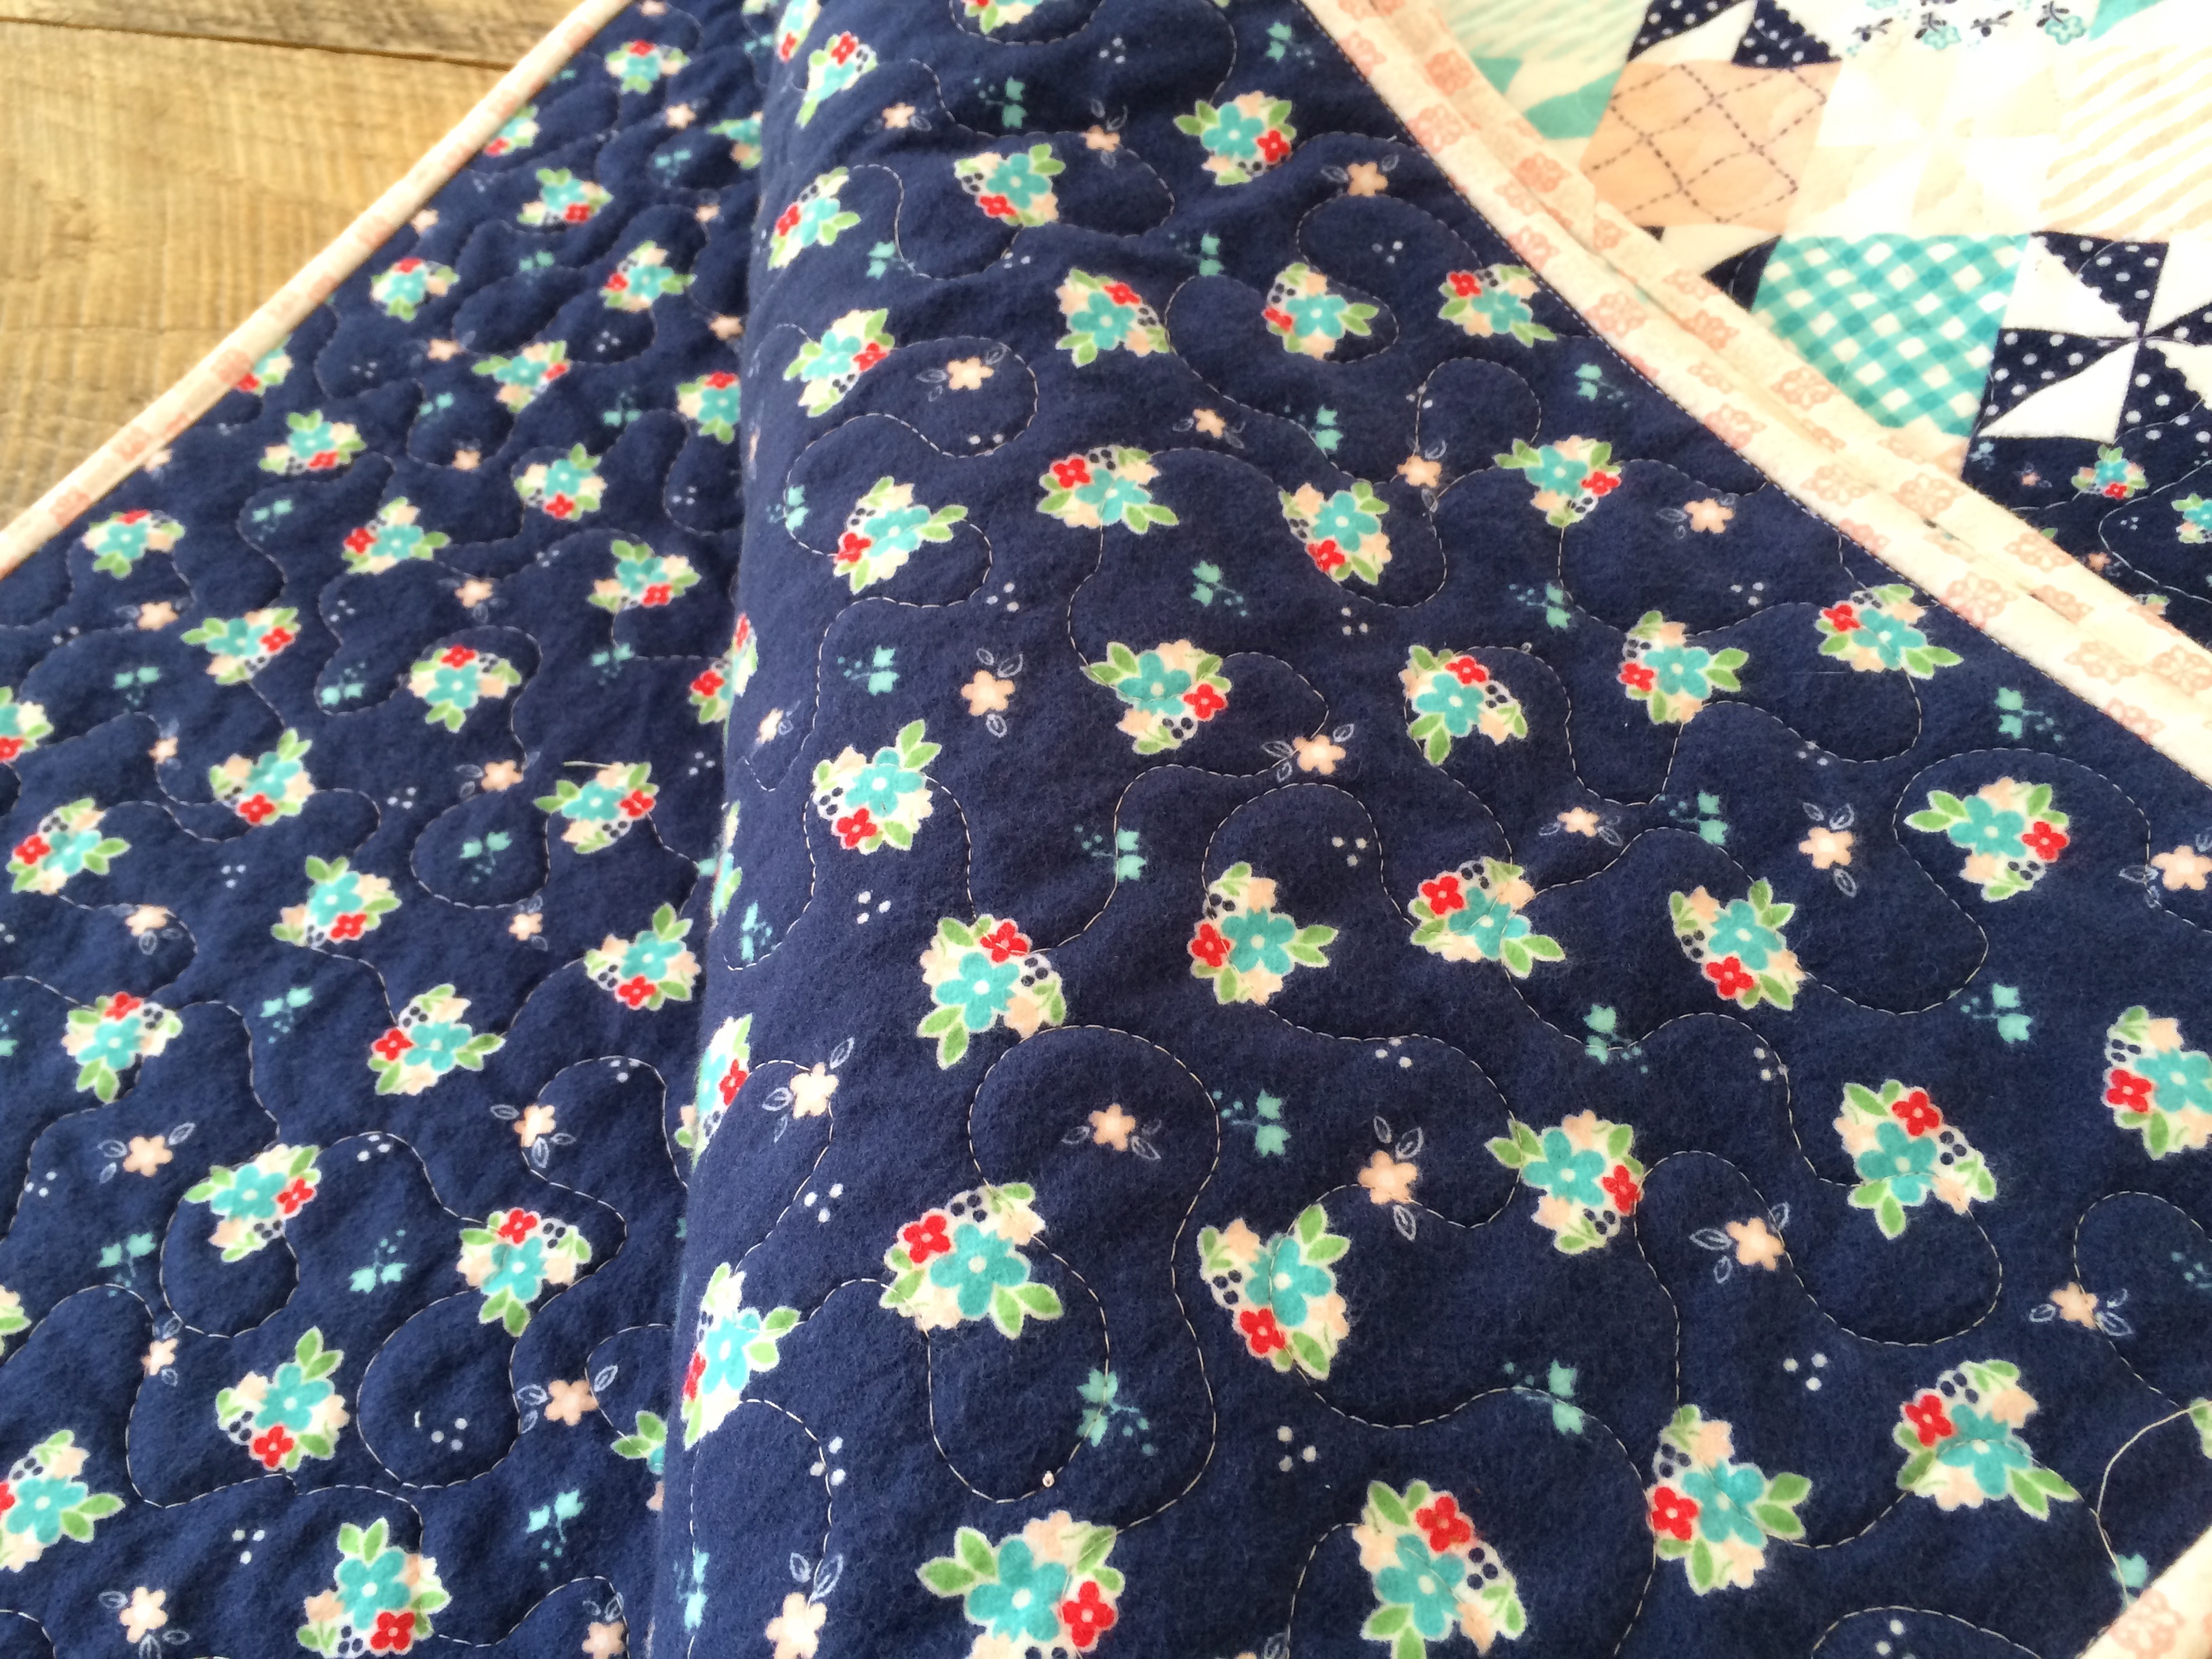
1.5 yards back fabric, I used Riley Blake Country Girls Country Floral Navy plus extra for the appliqué letter
1/2 yard flnnel for binding and accent square
cotton batting
Heat n Bond Lite
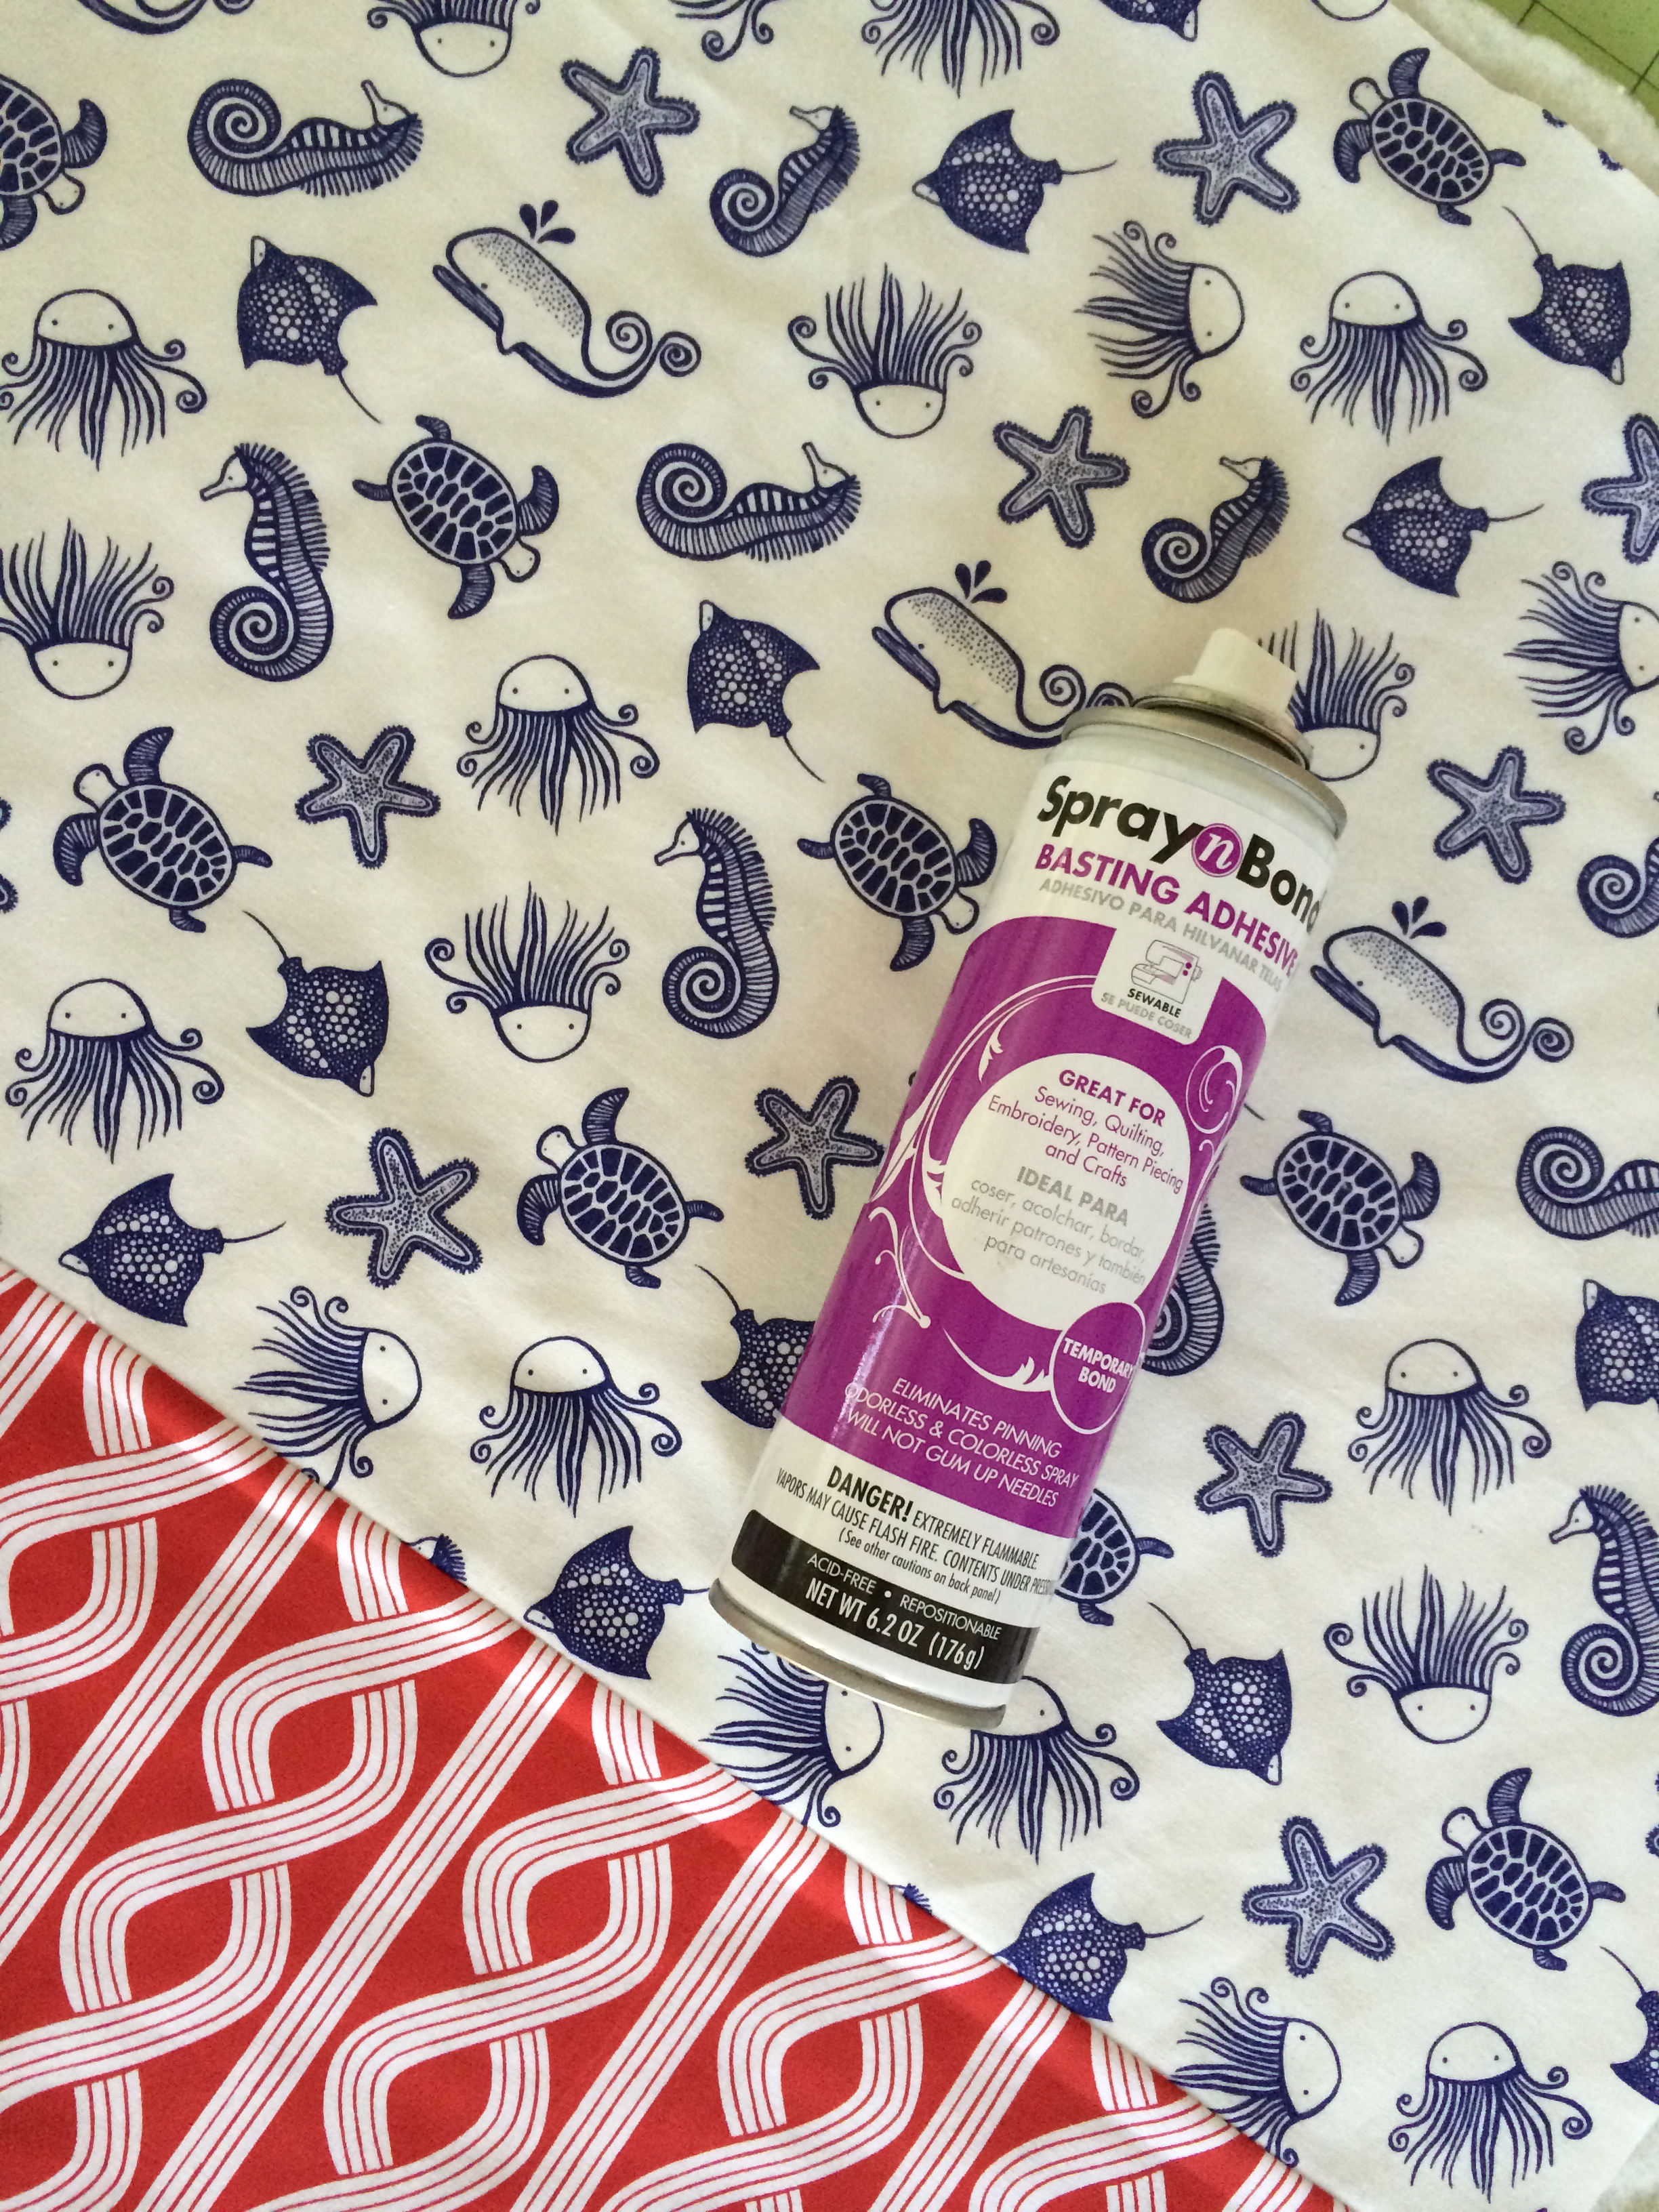
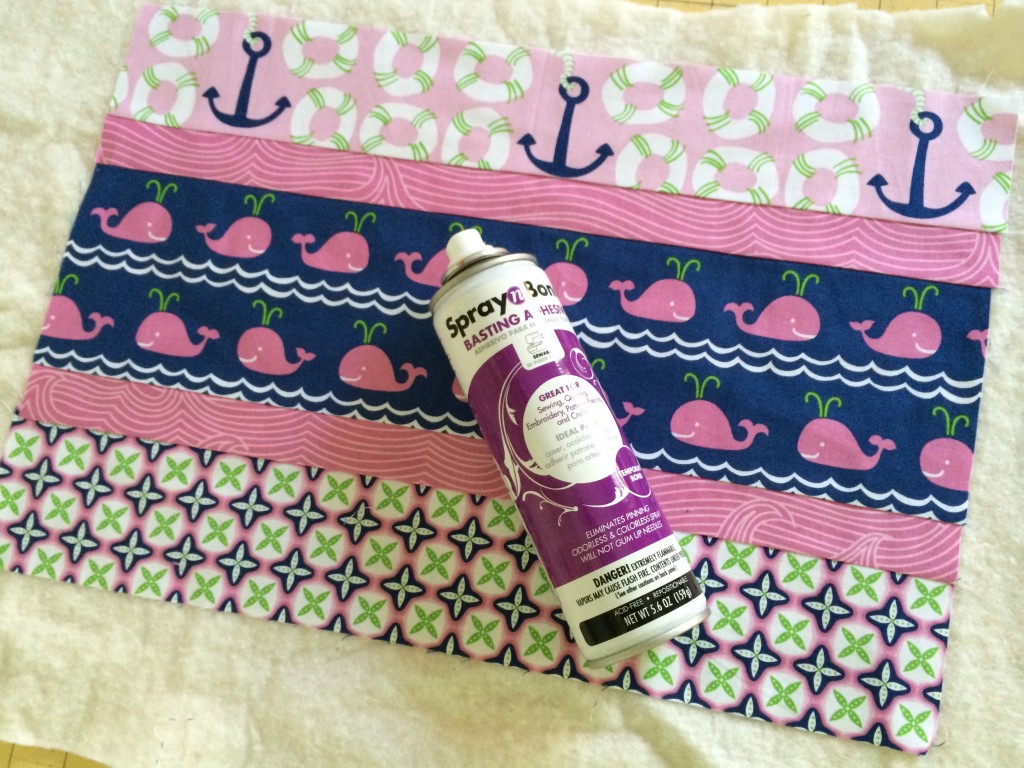
Basting spray
I love sewing with flannel, especially quilting because it is soft and it doesn’t move around when you sew! I always prewash my flannel.
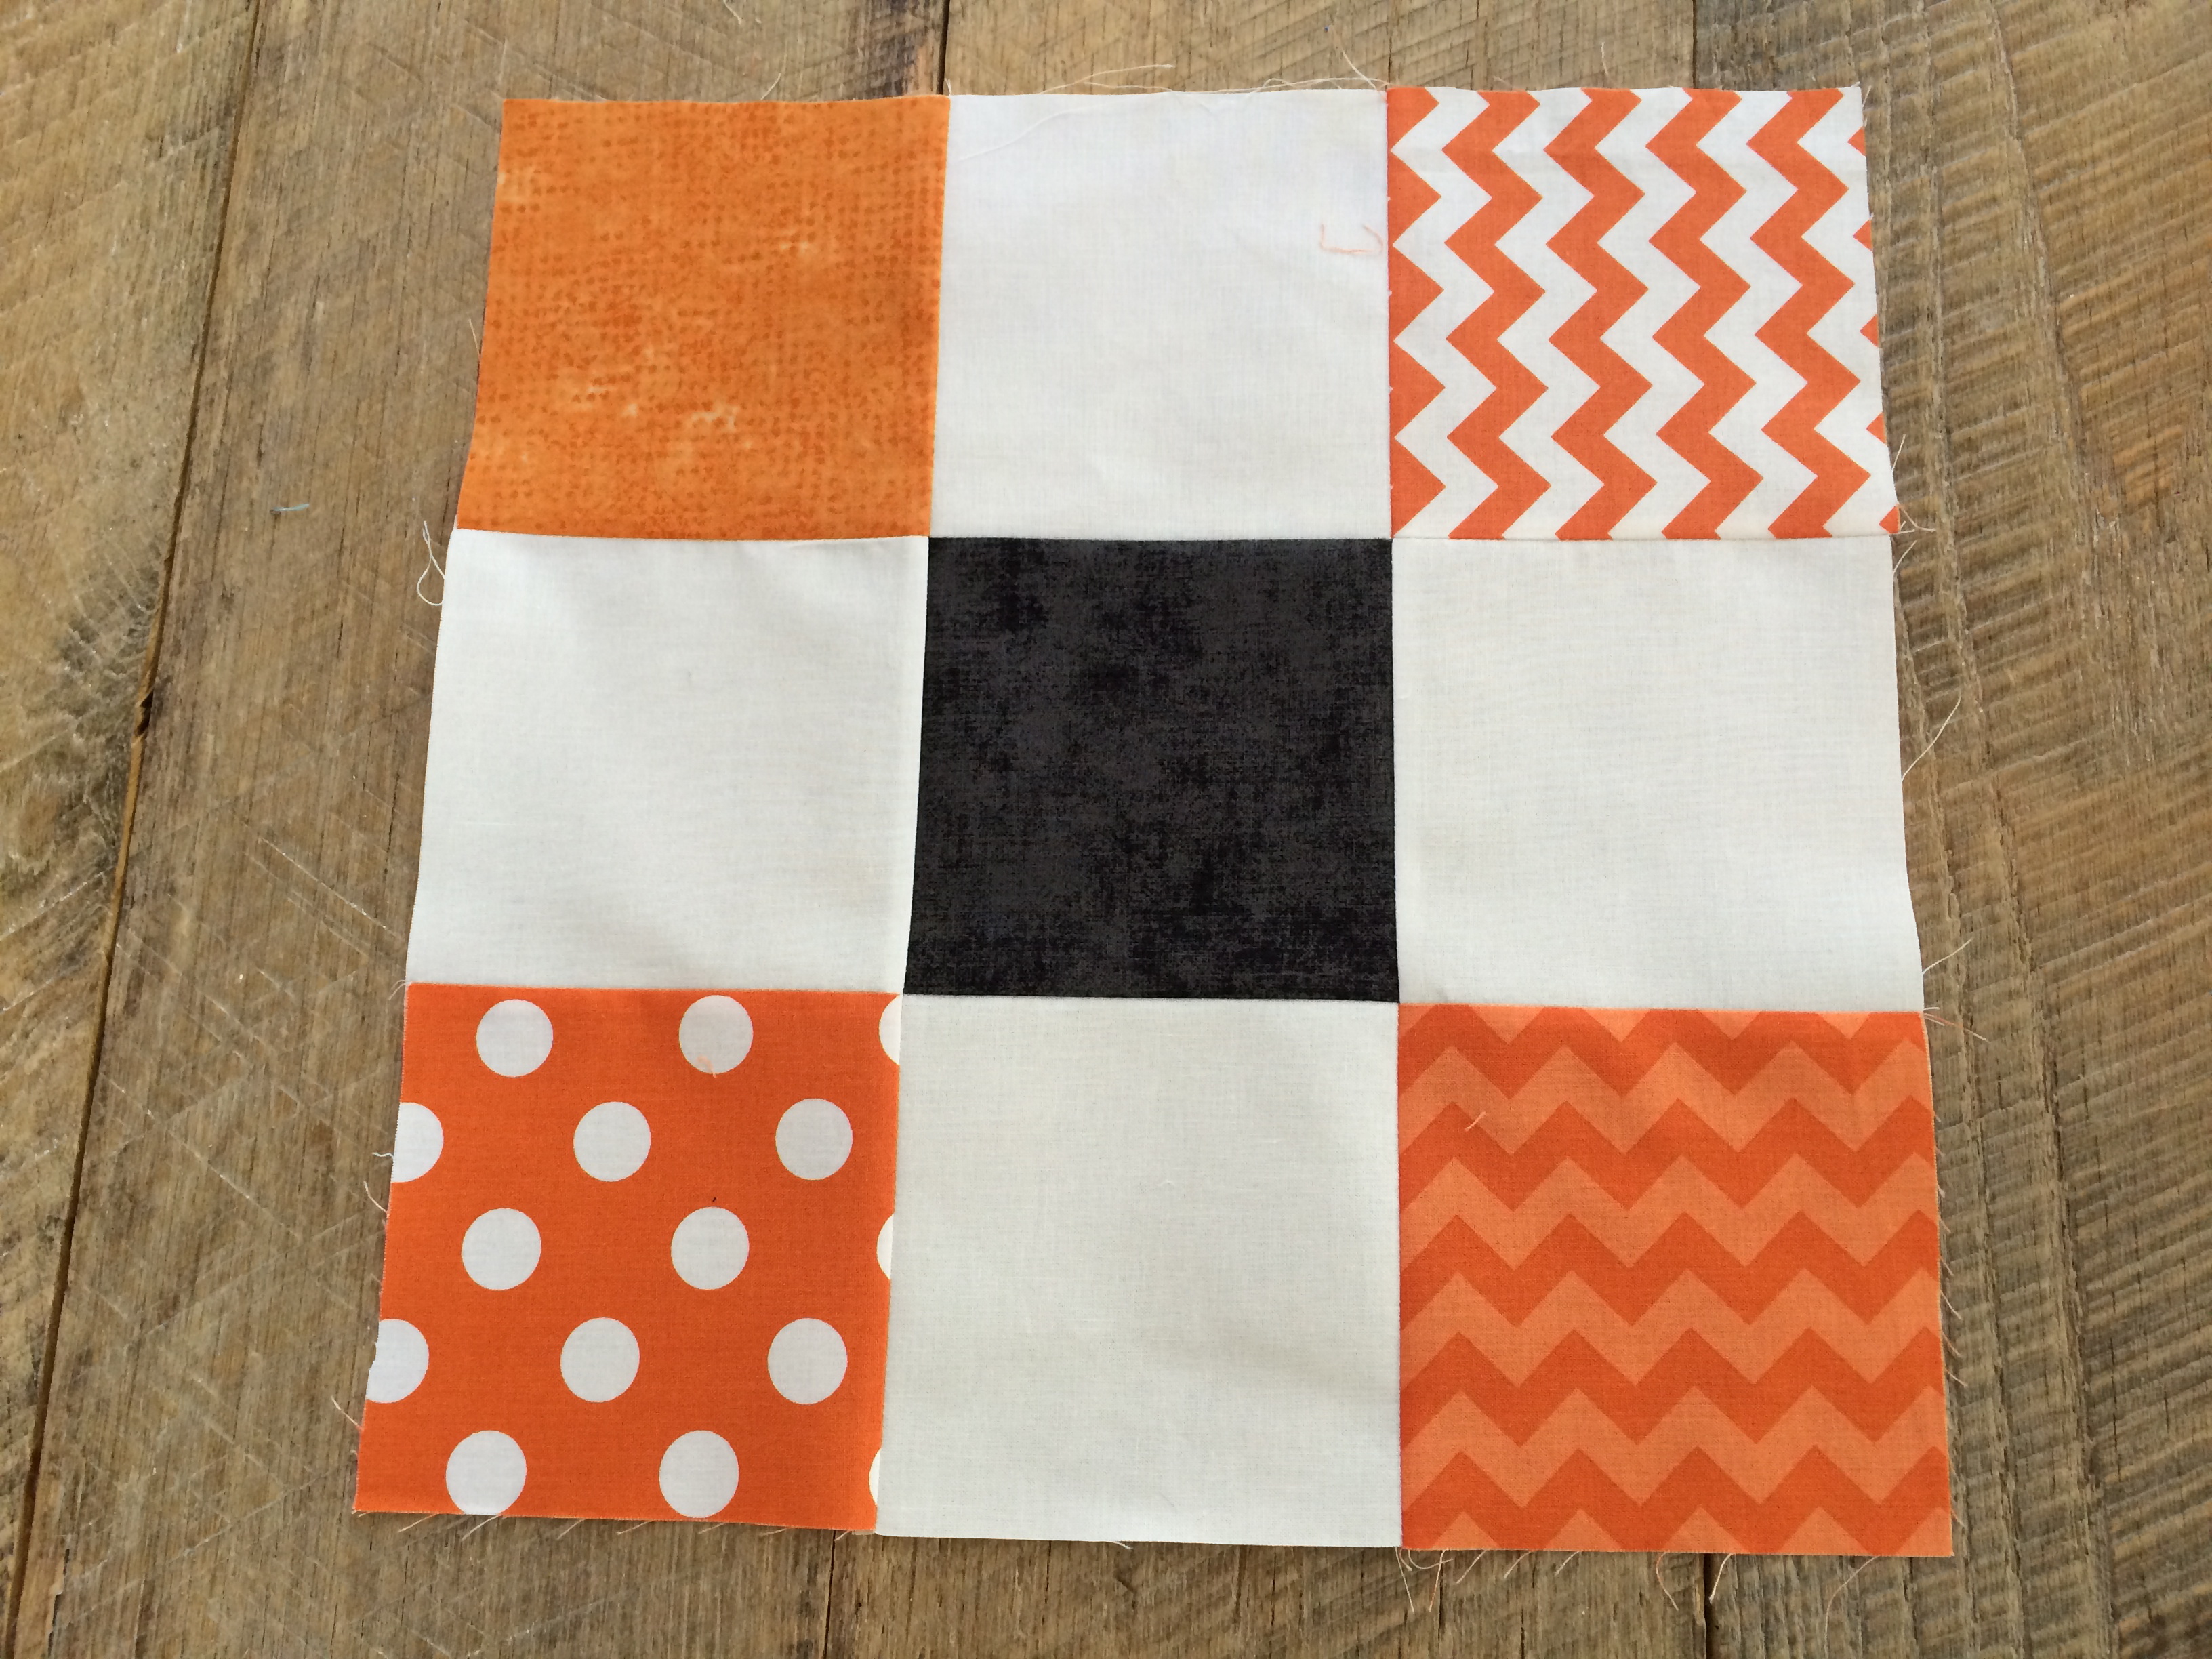
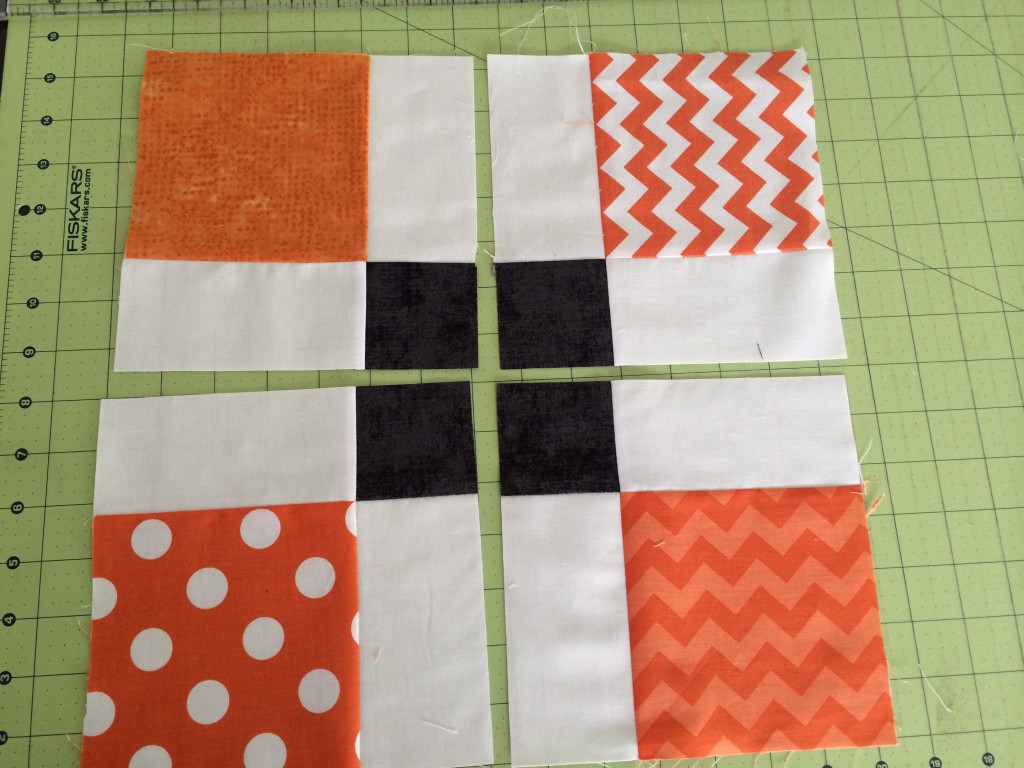
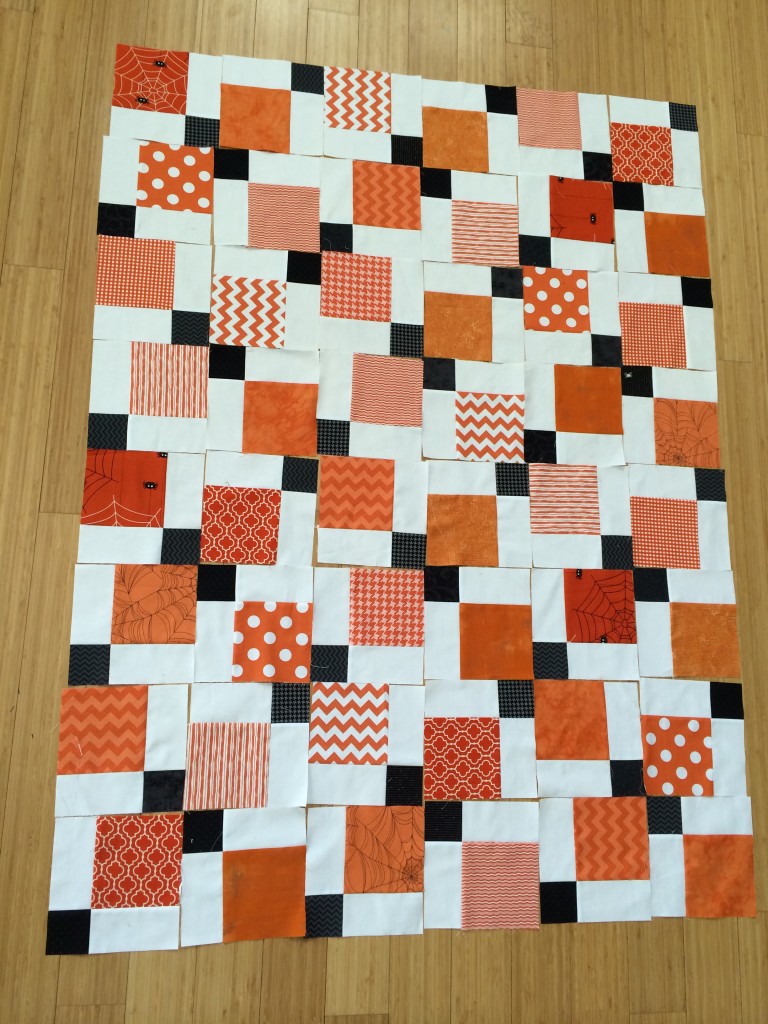
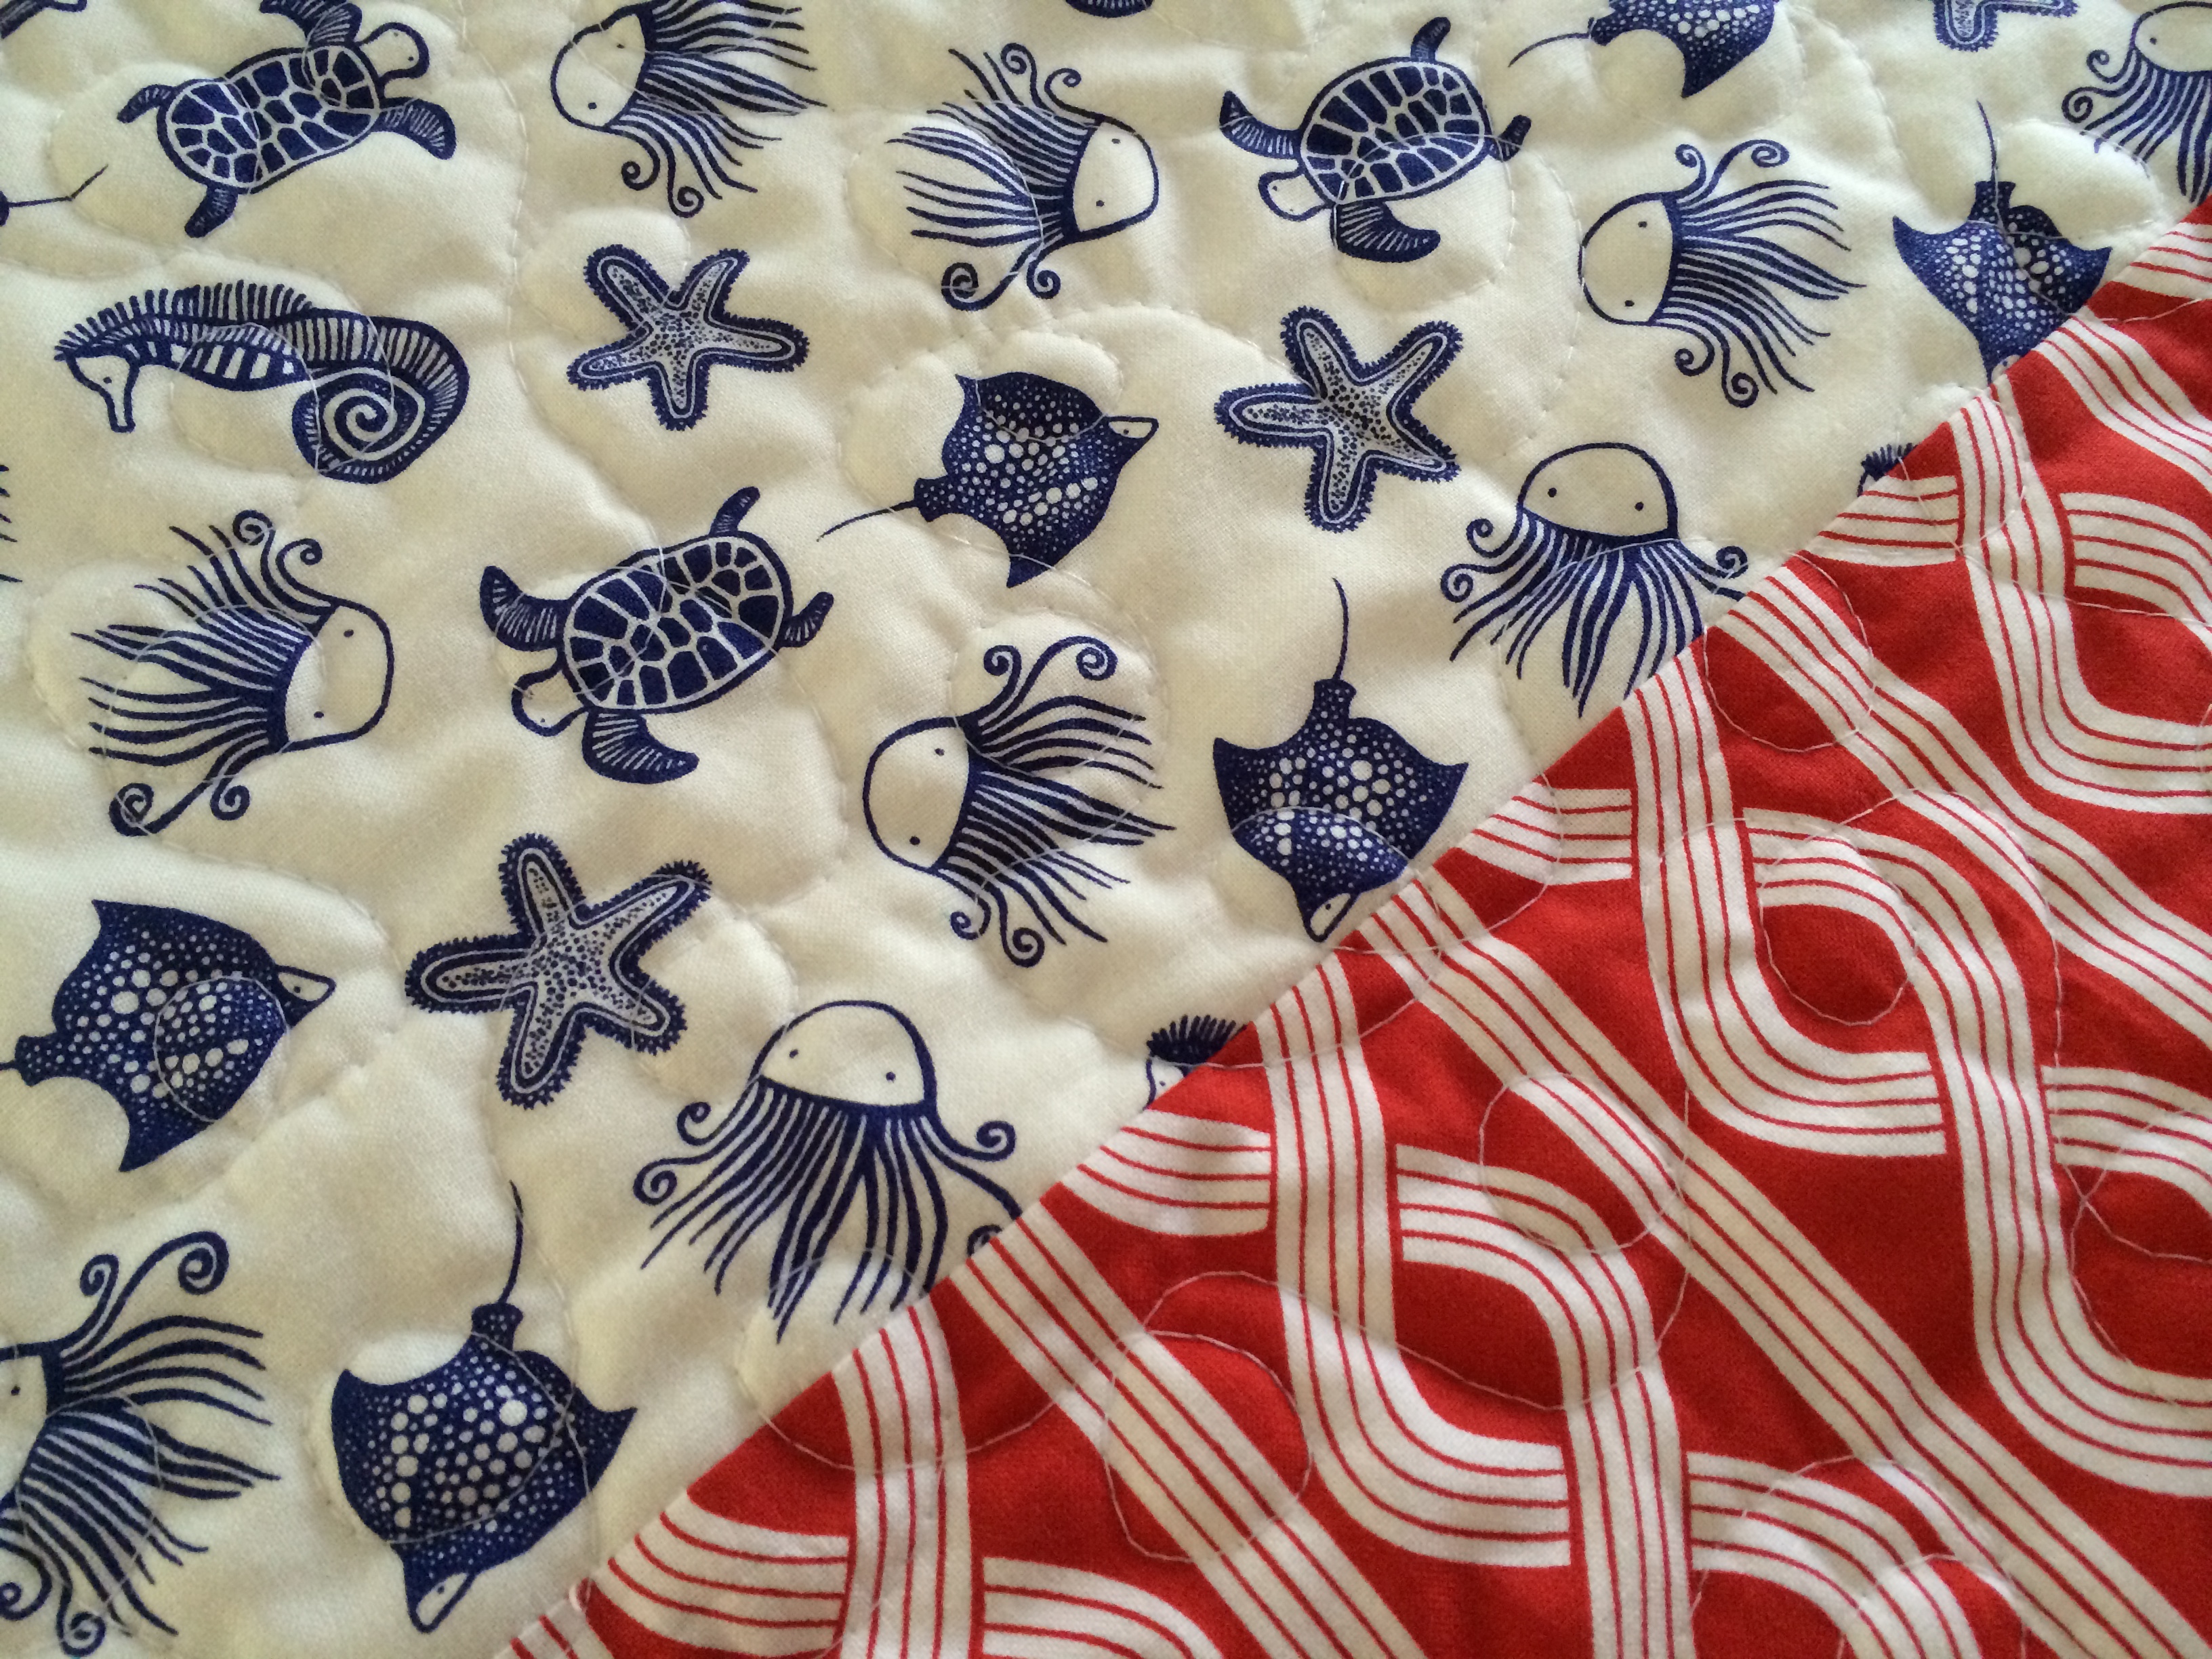
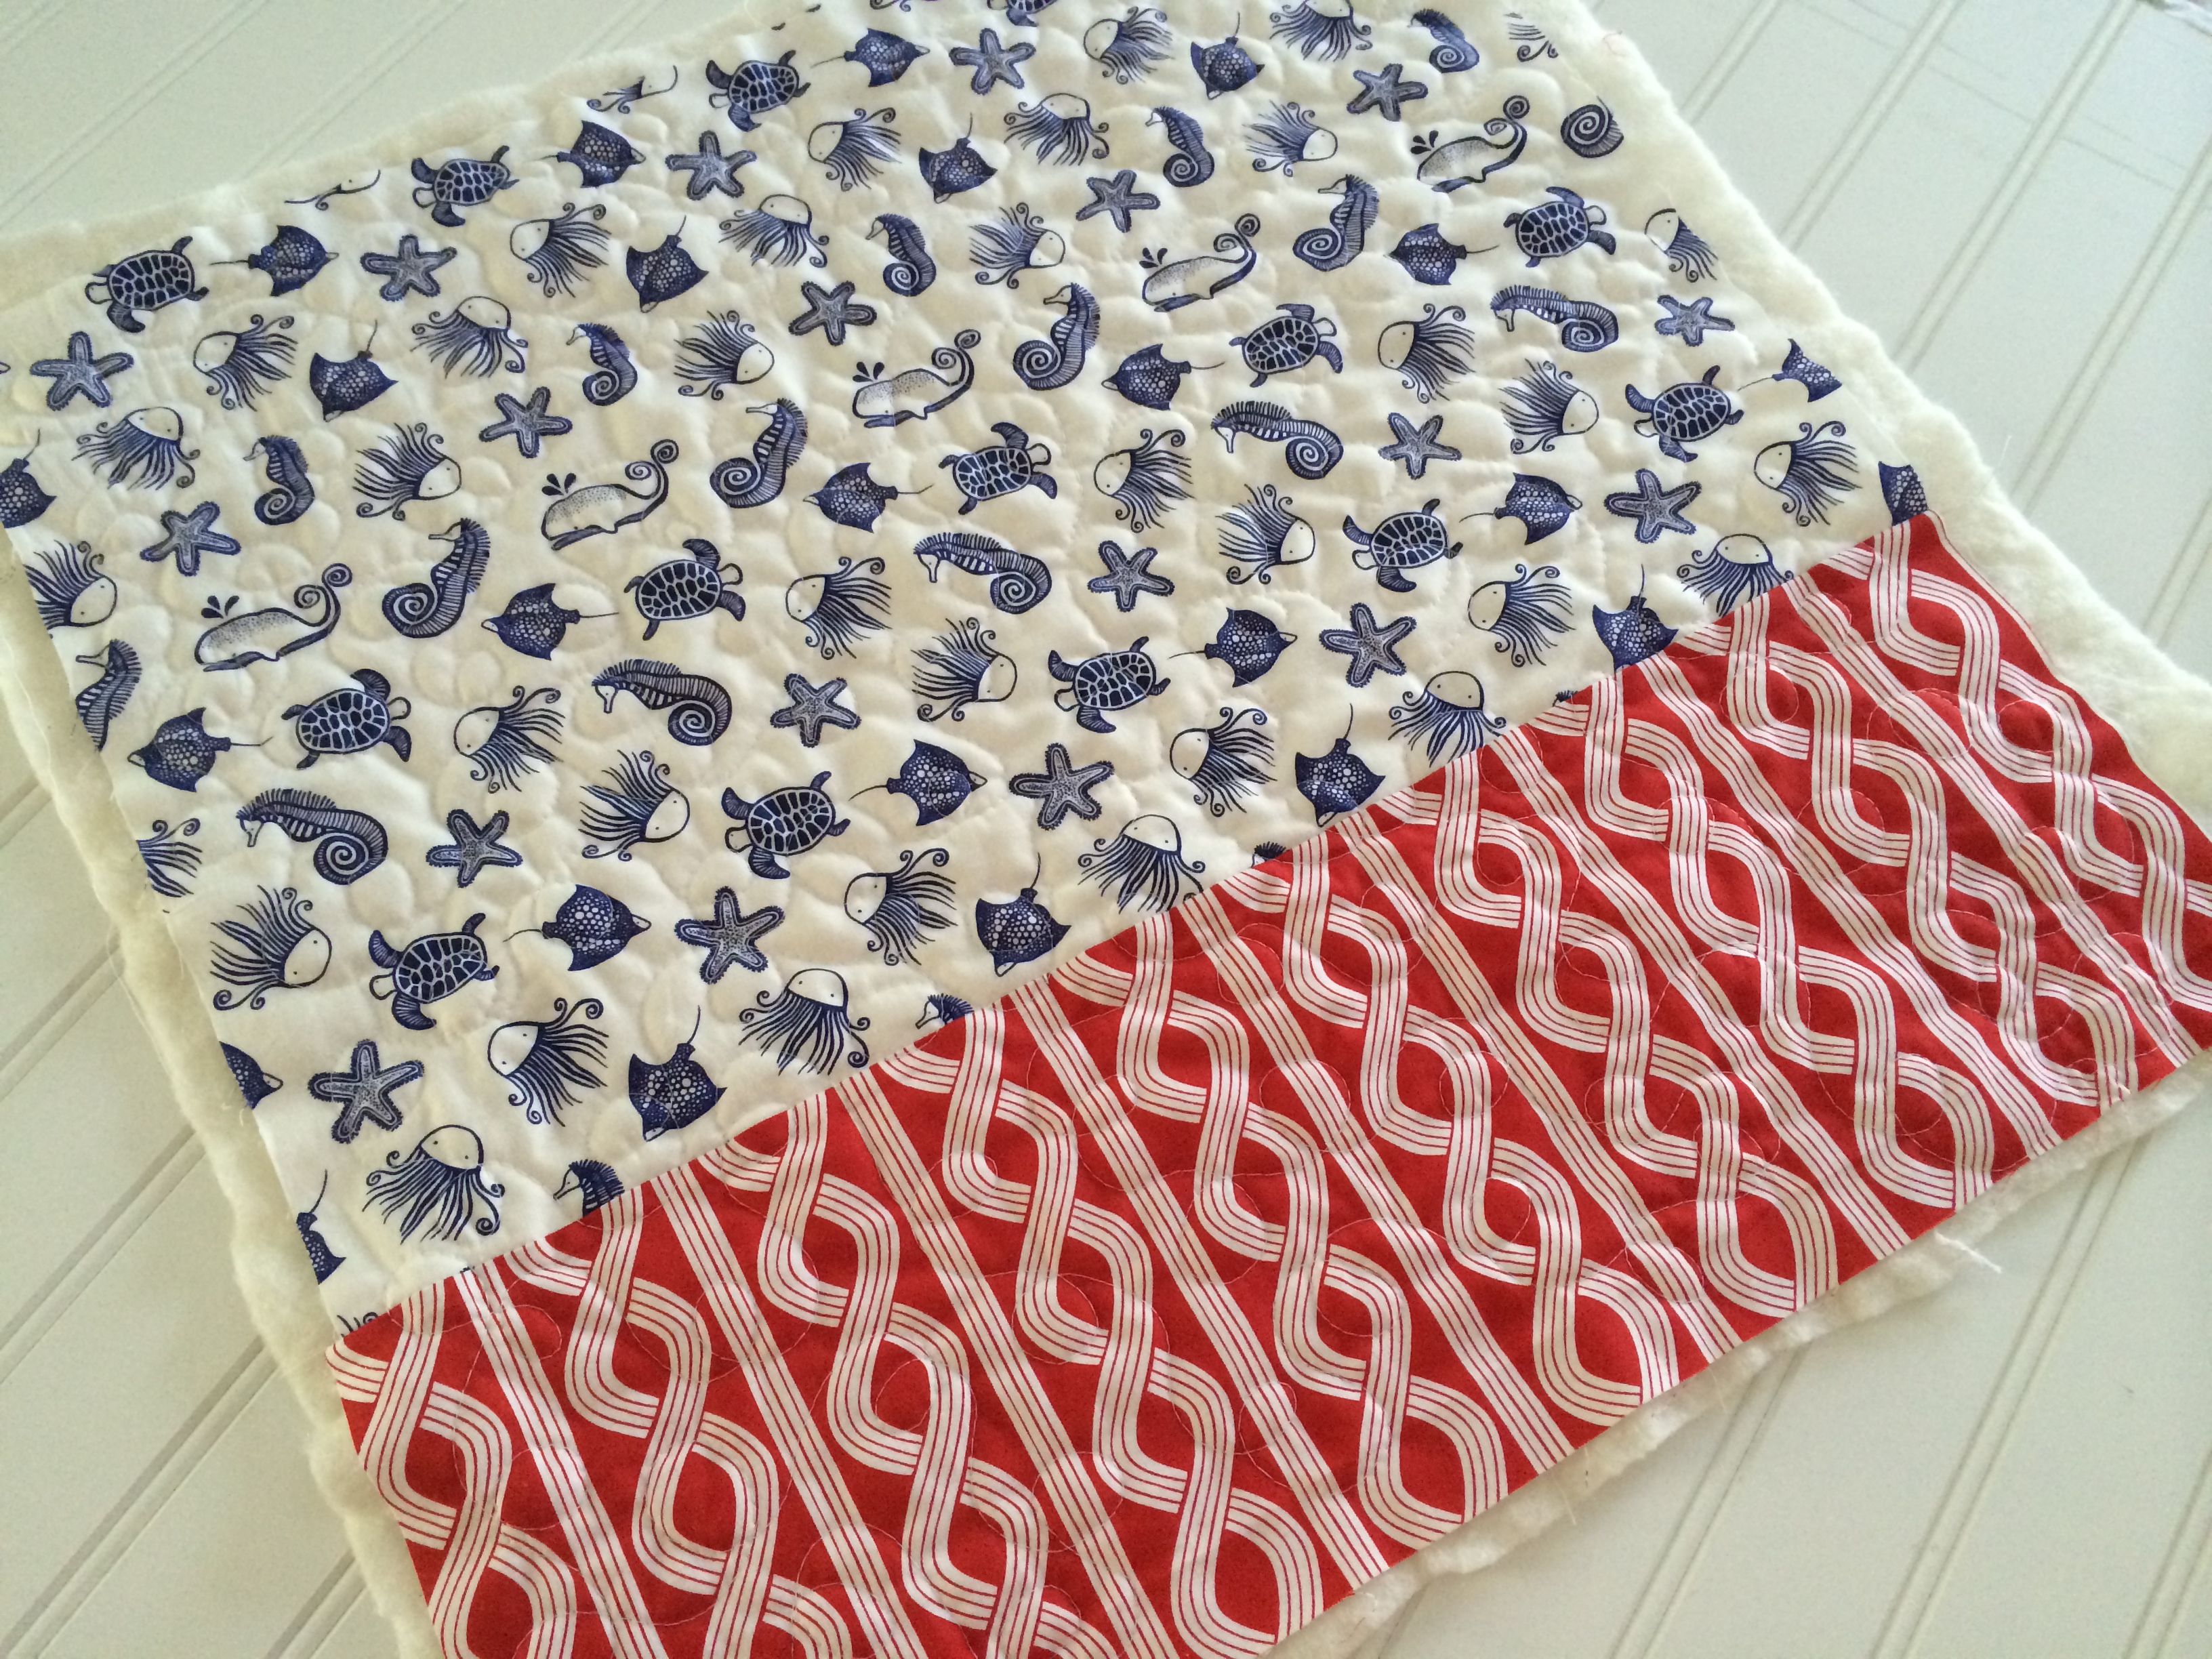
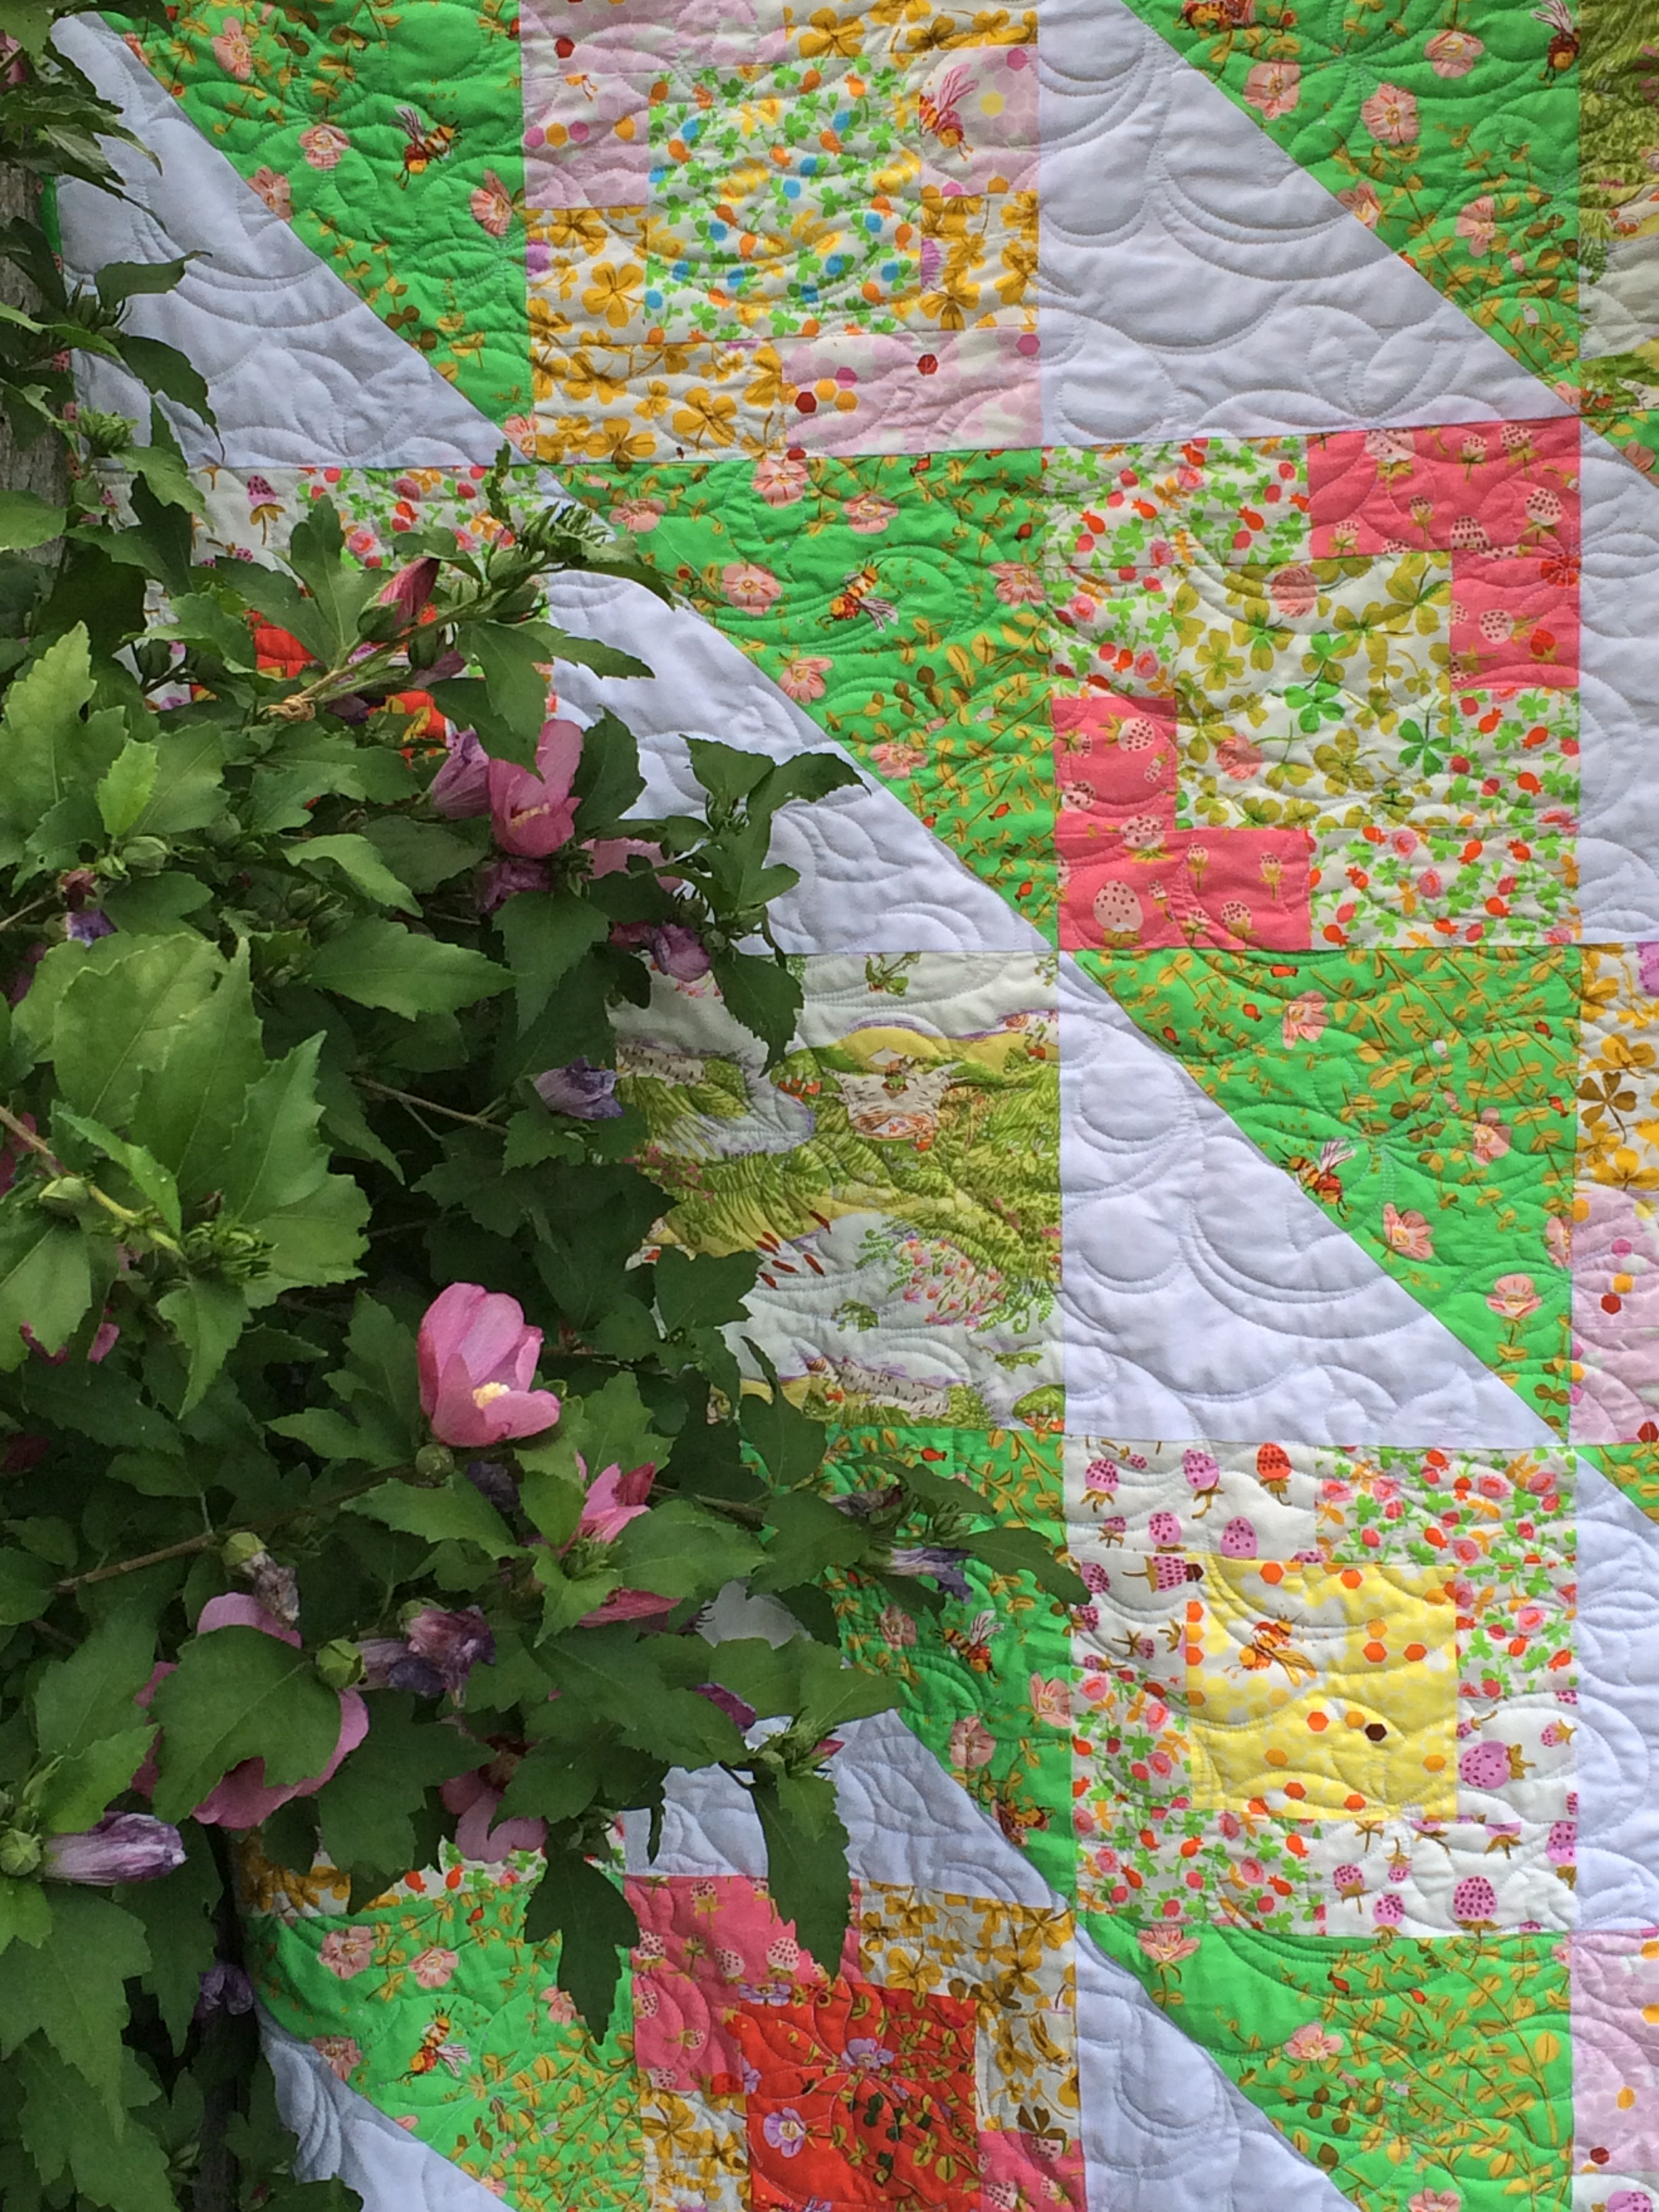
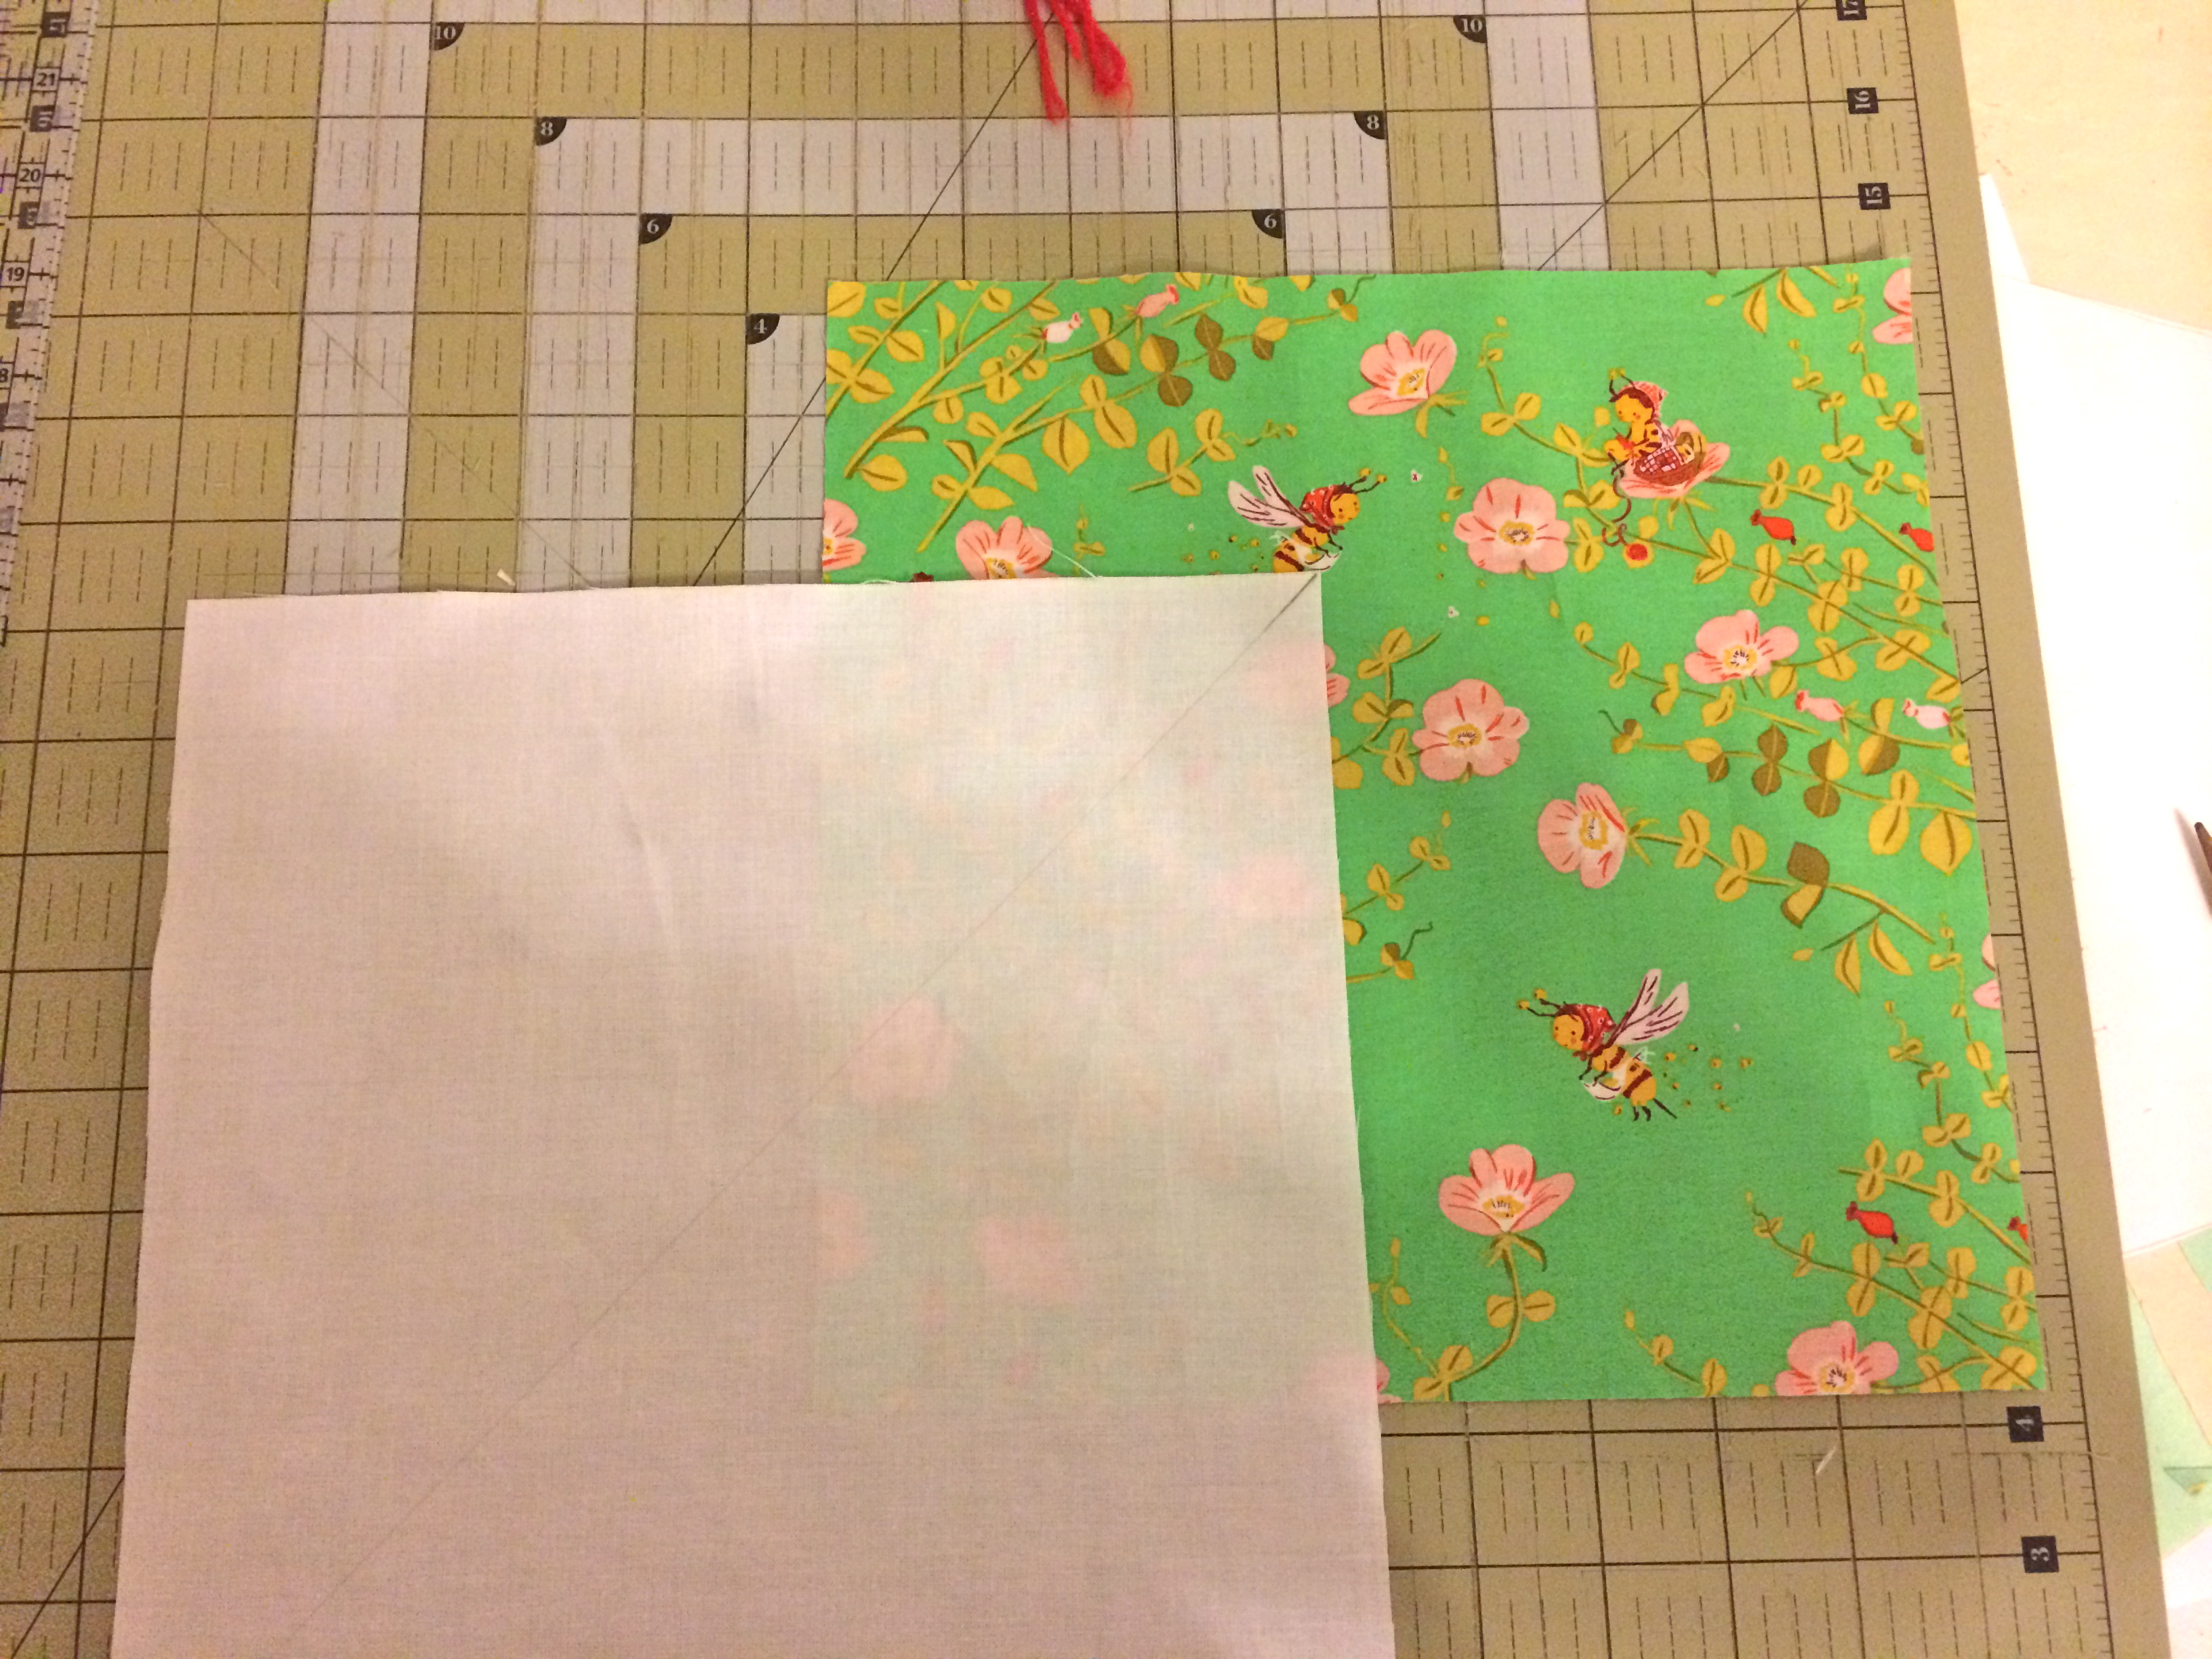
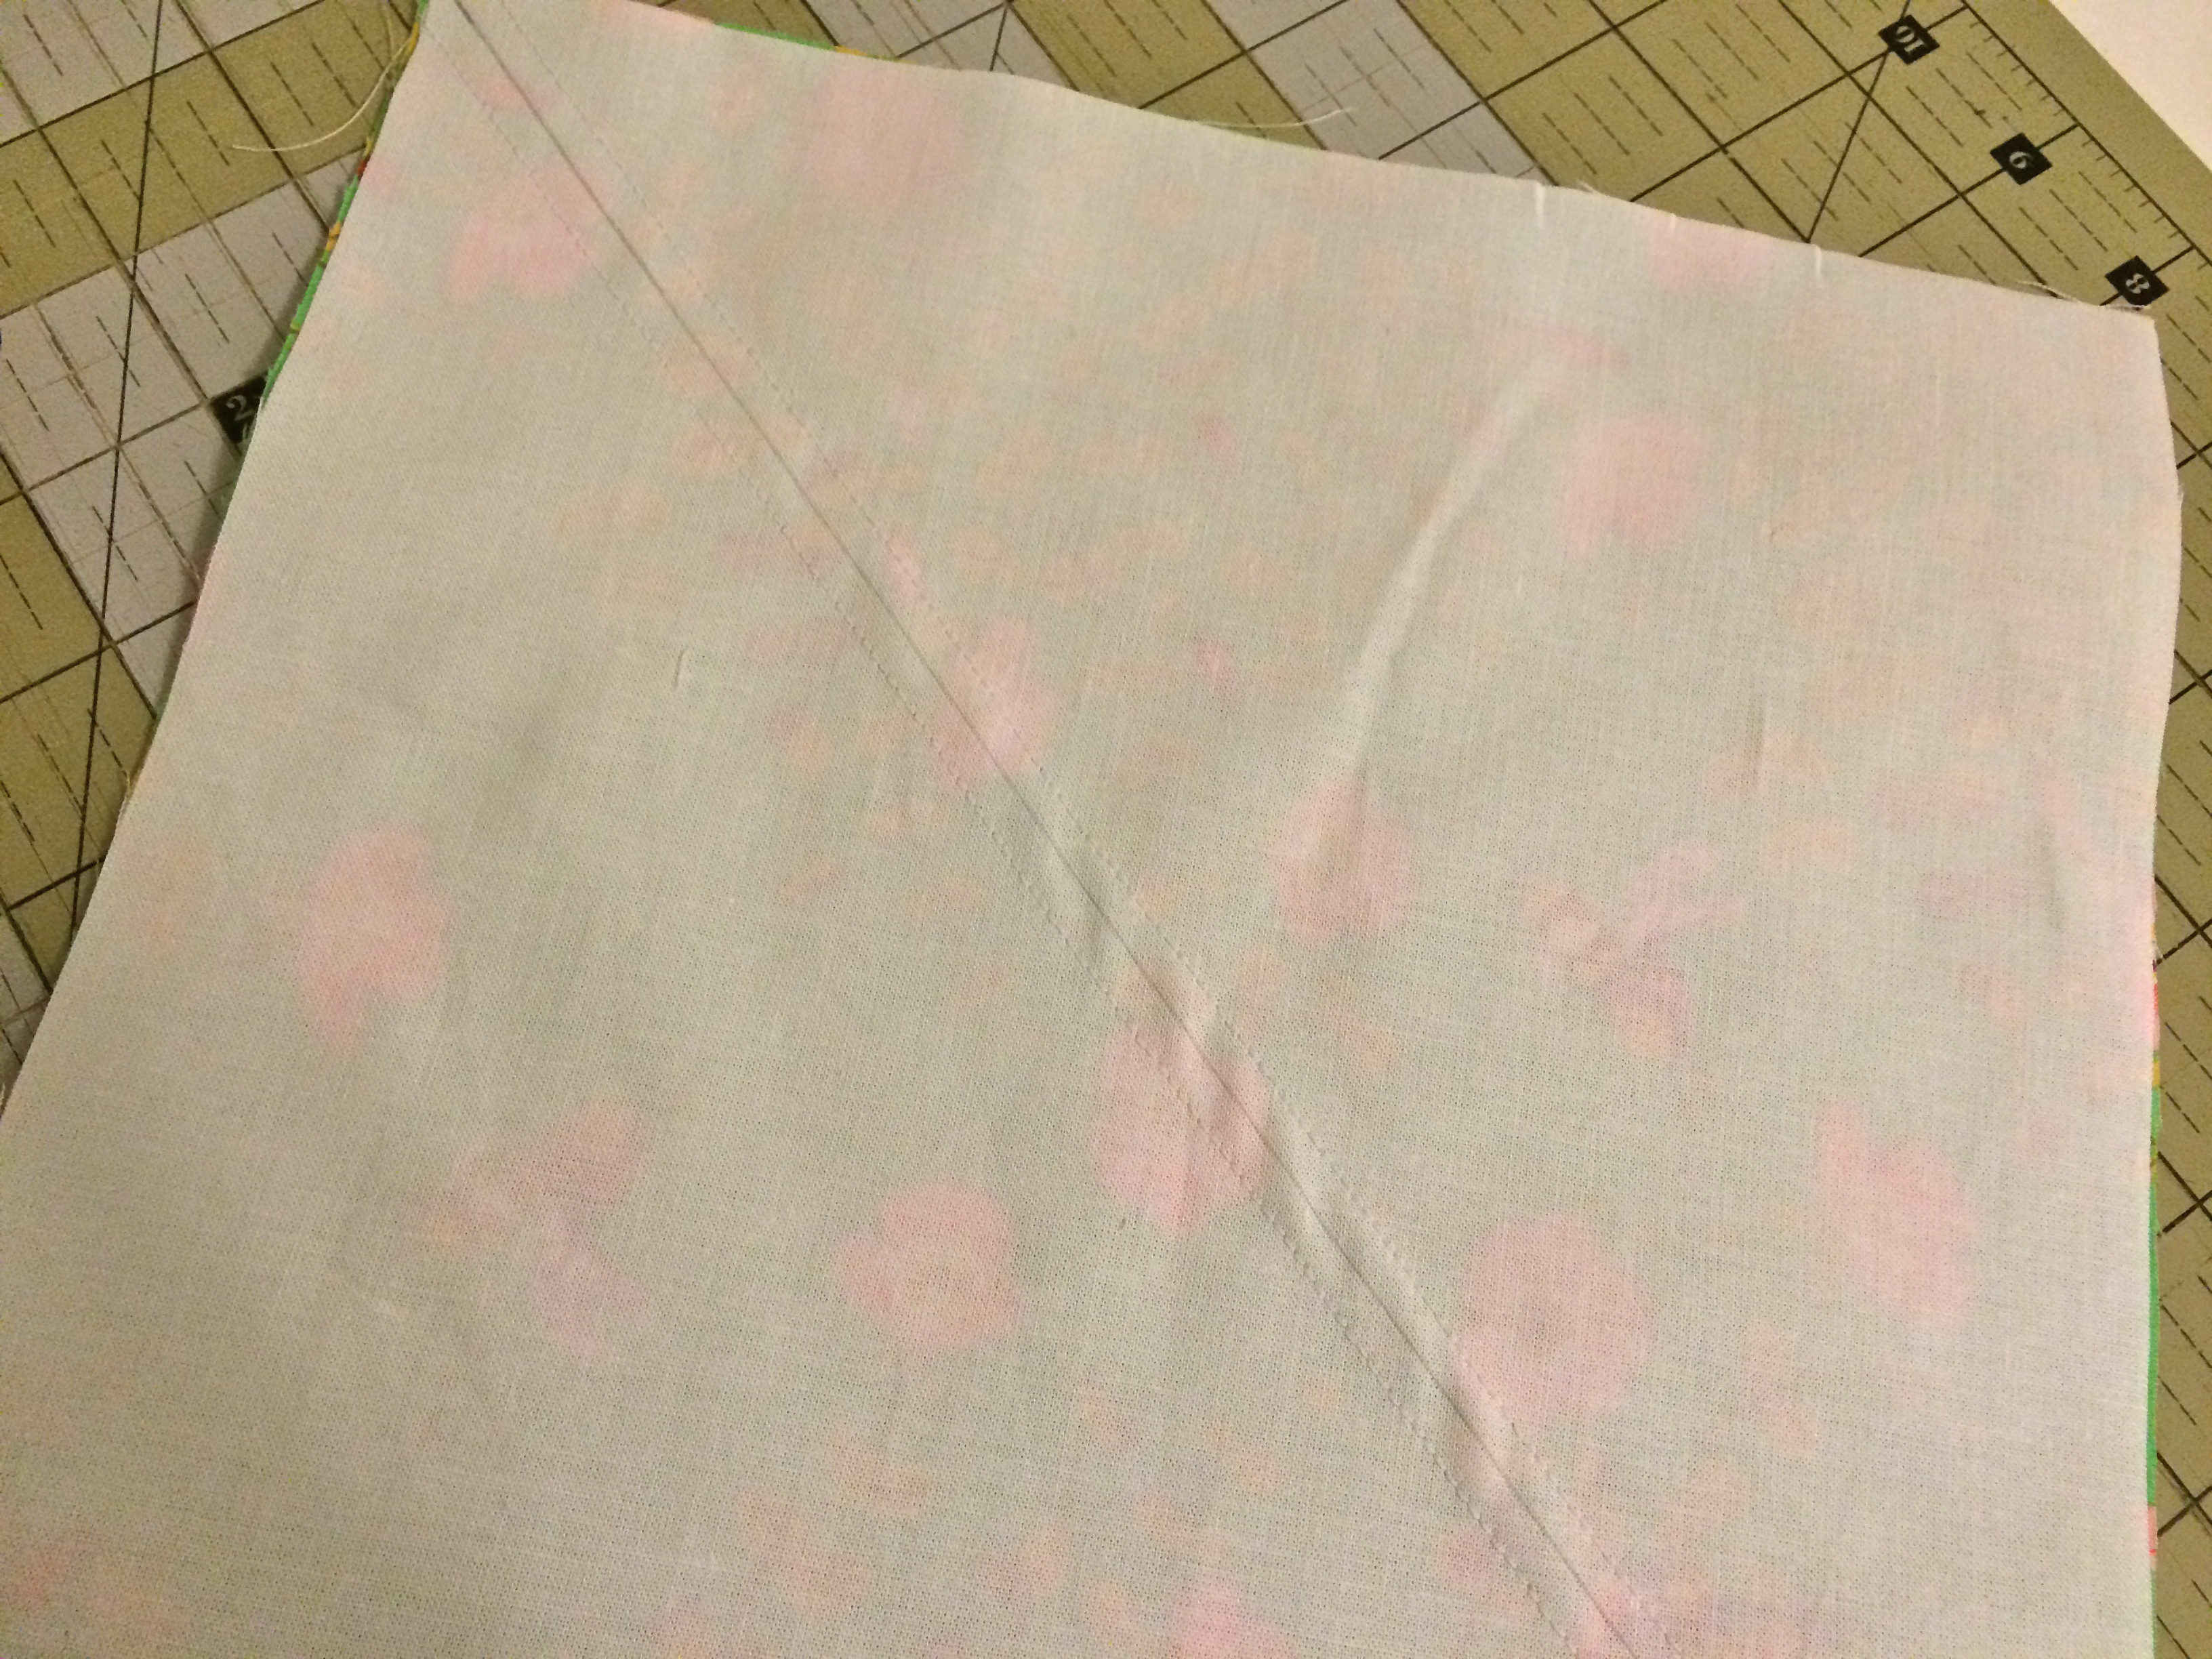
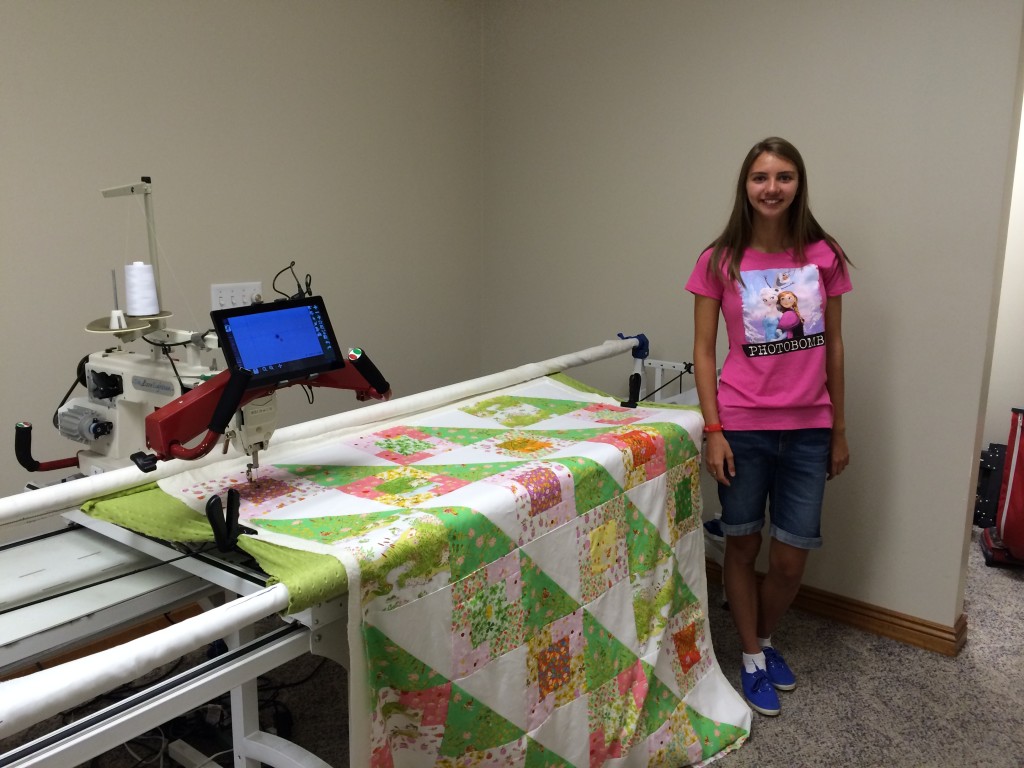
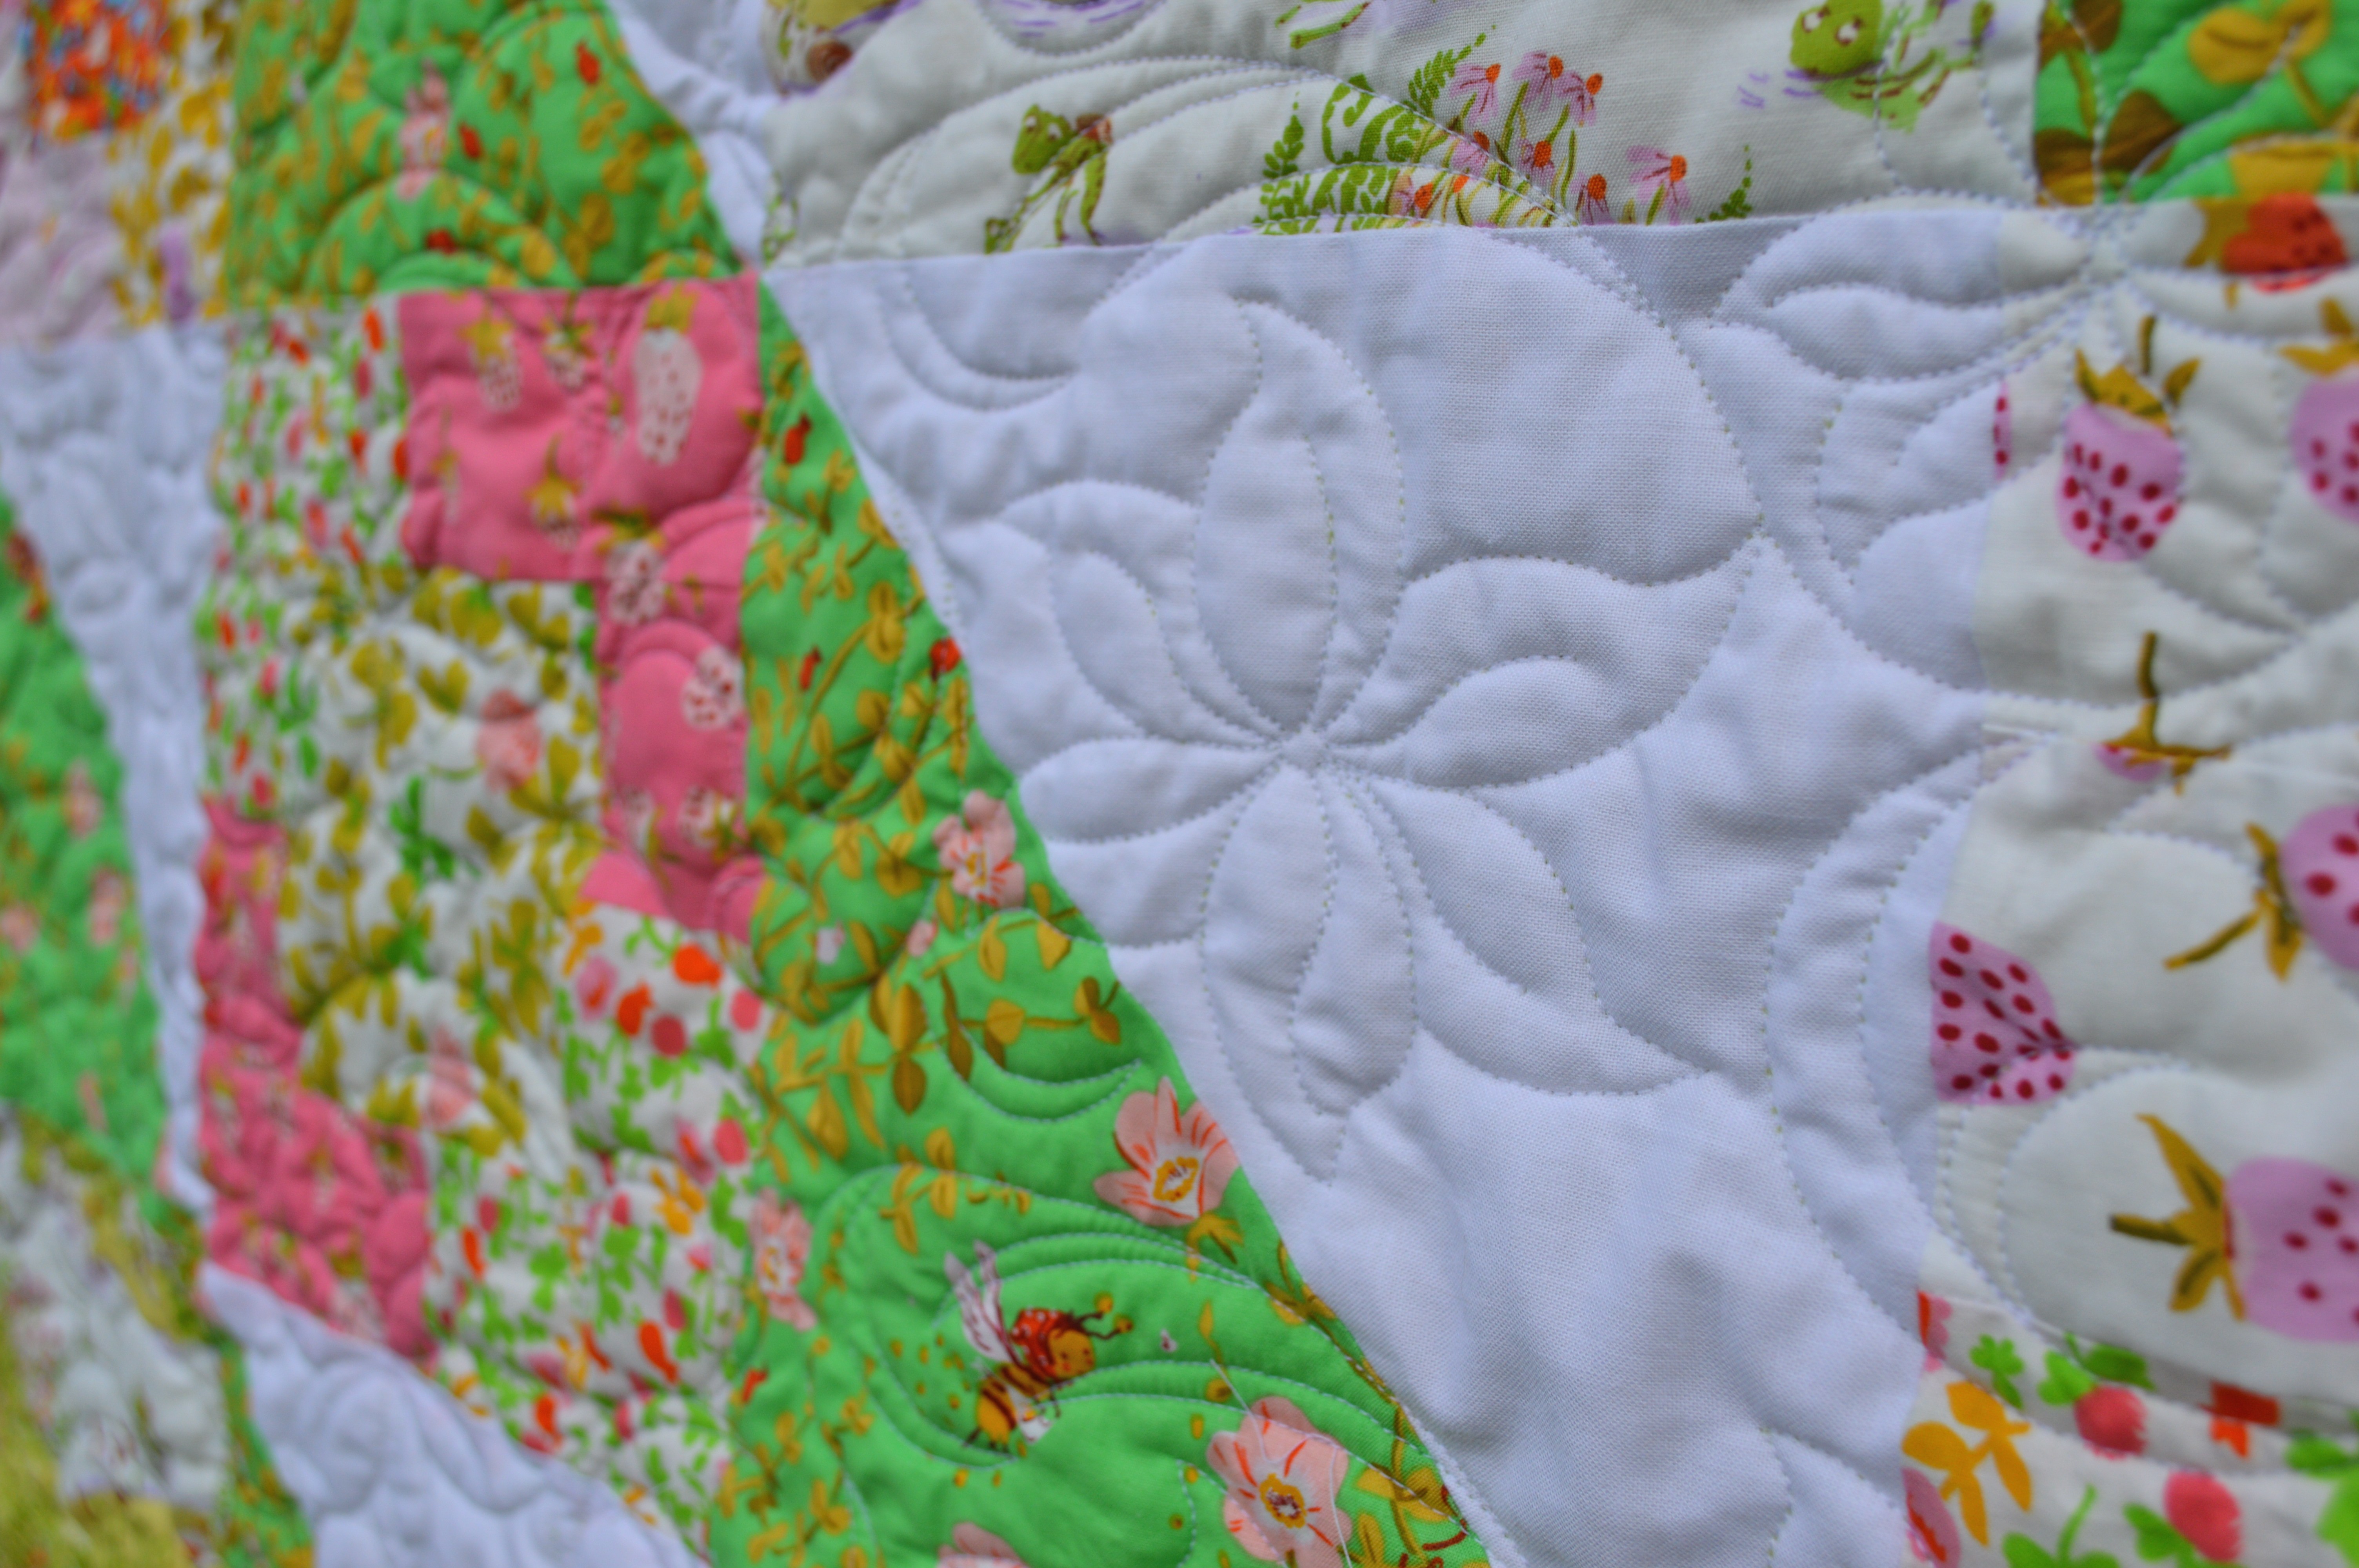
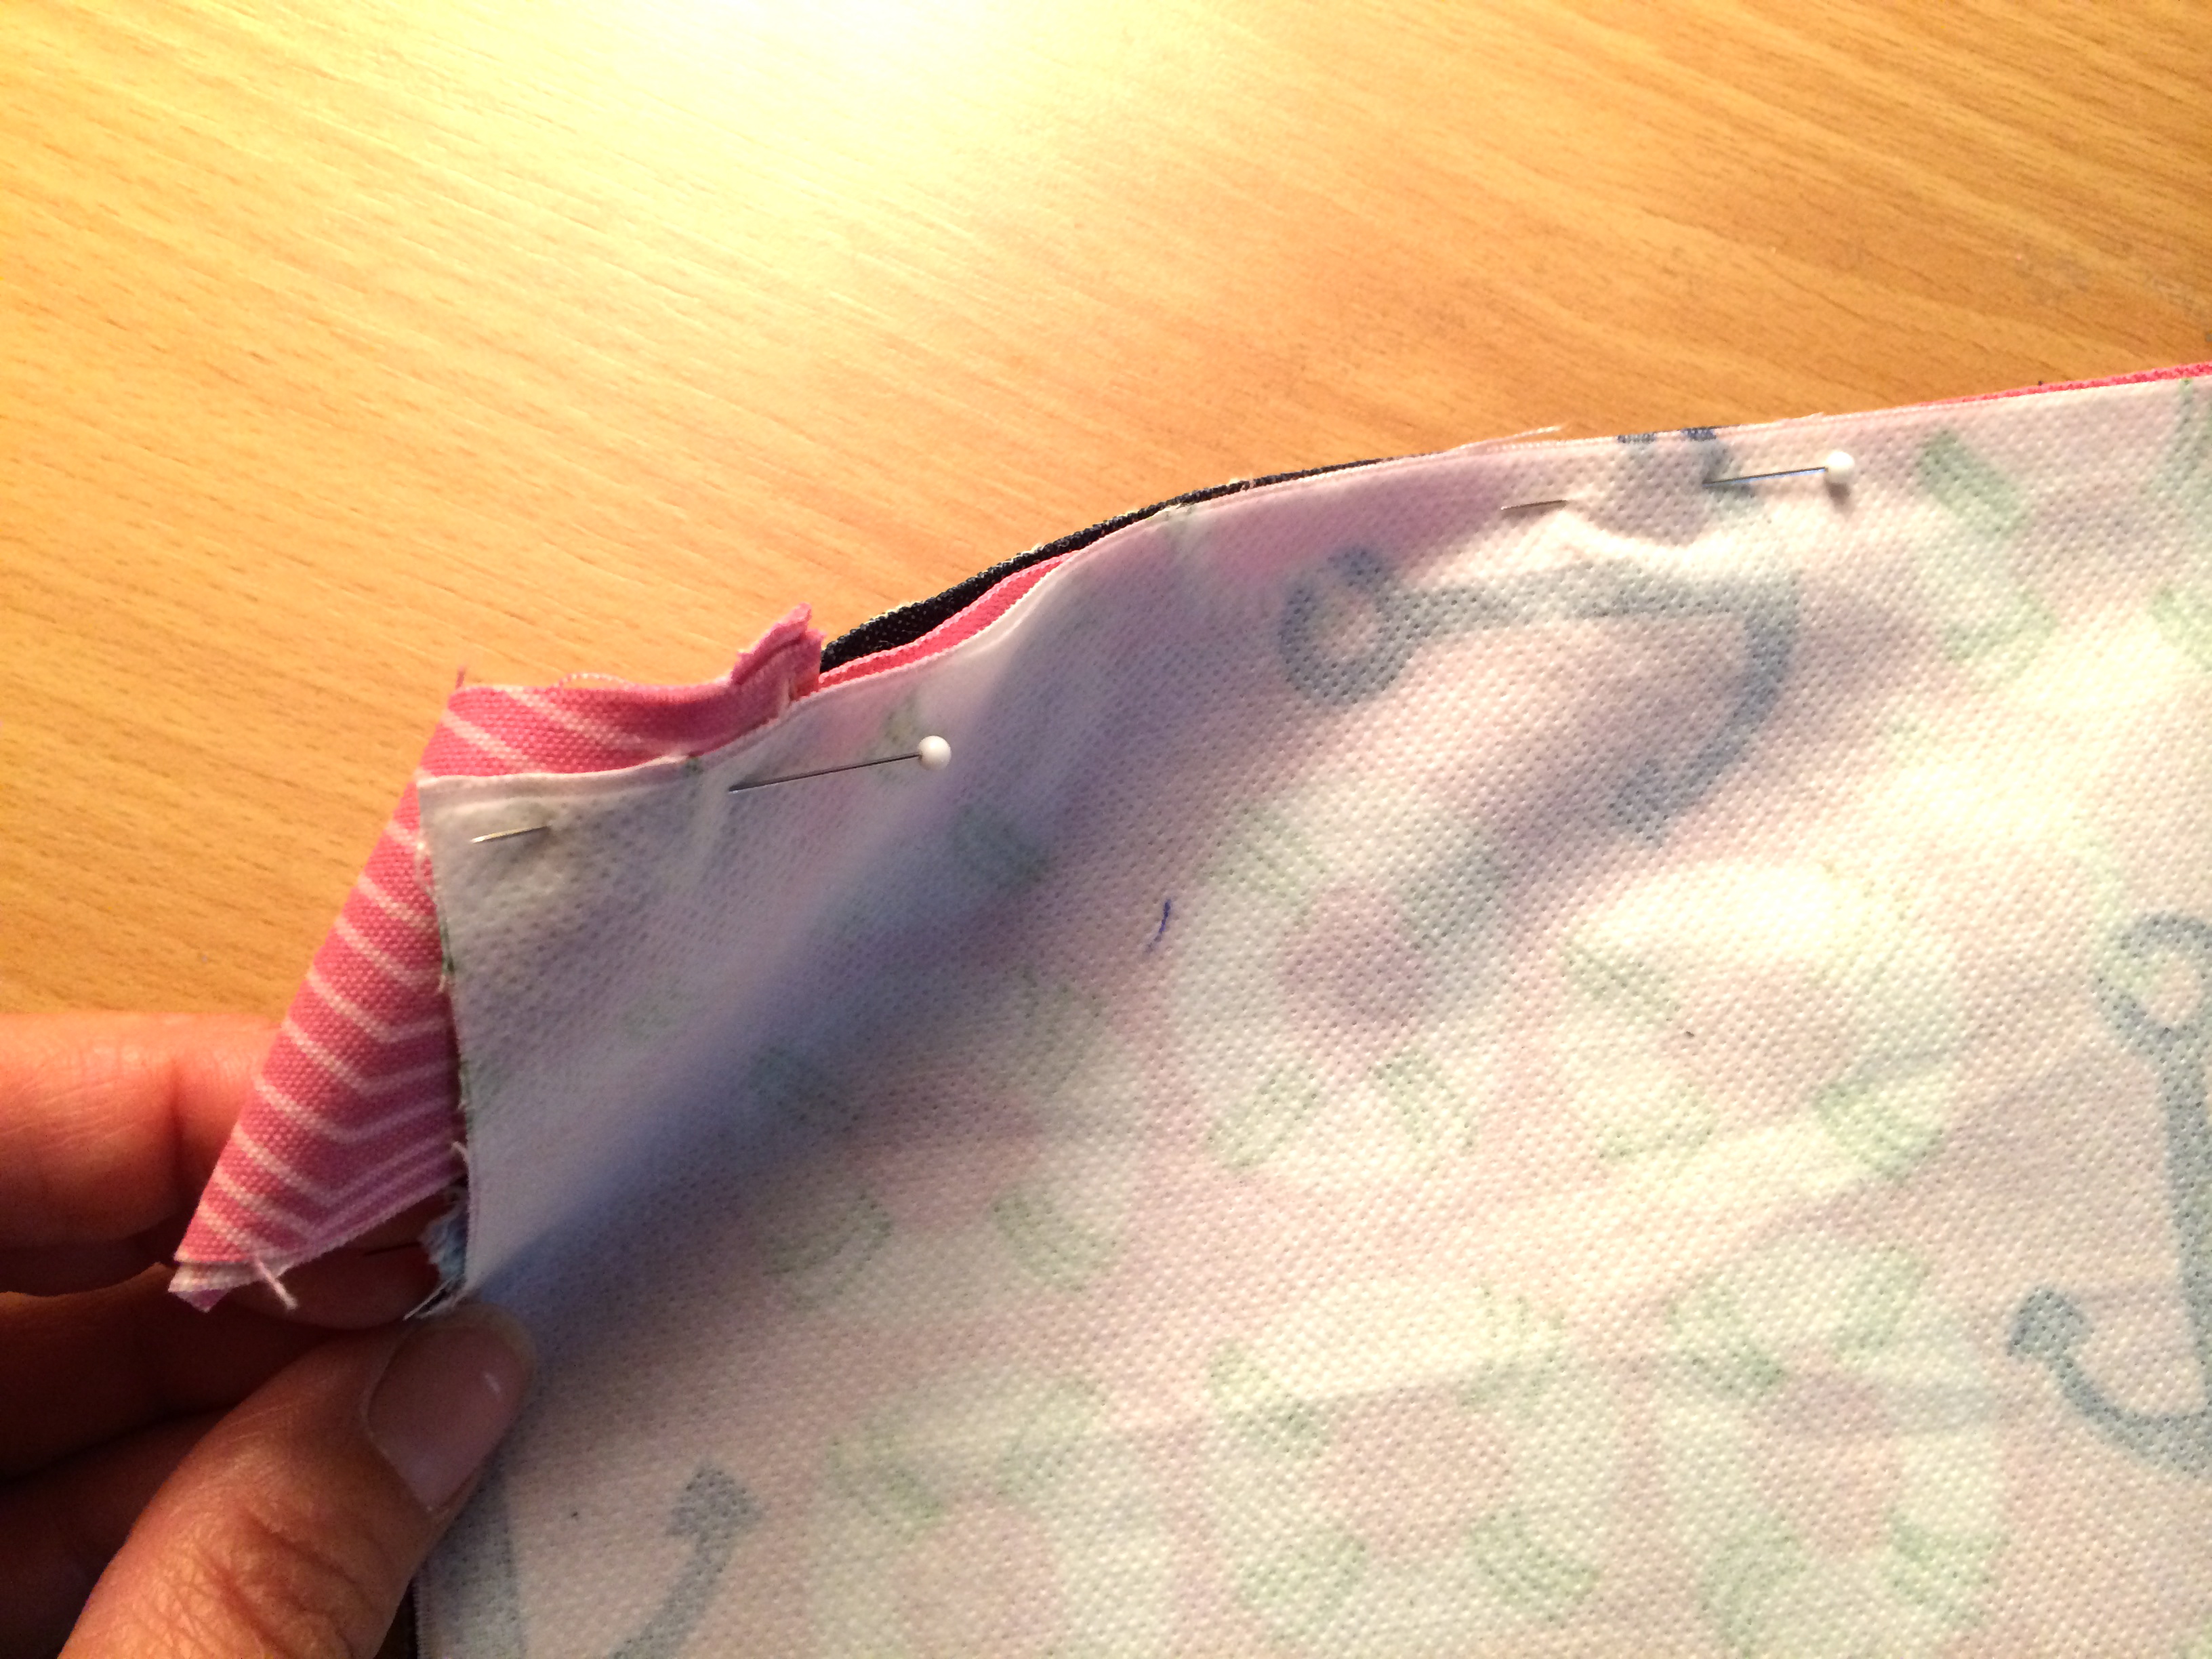
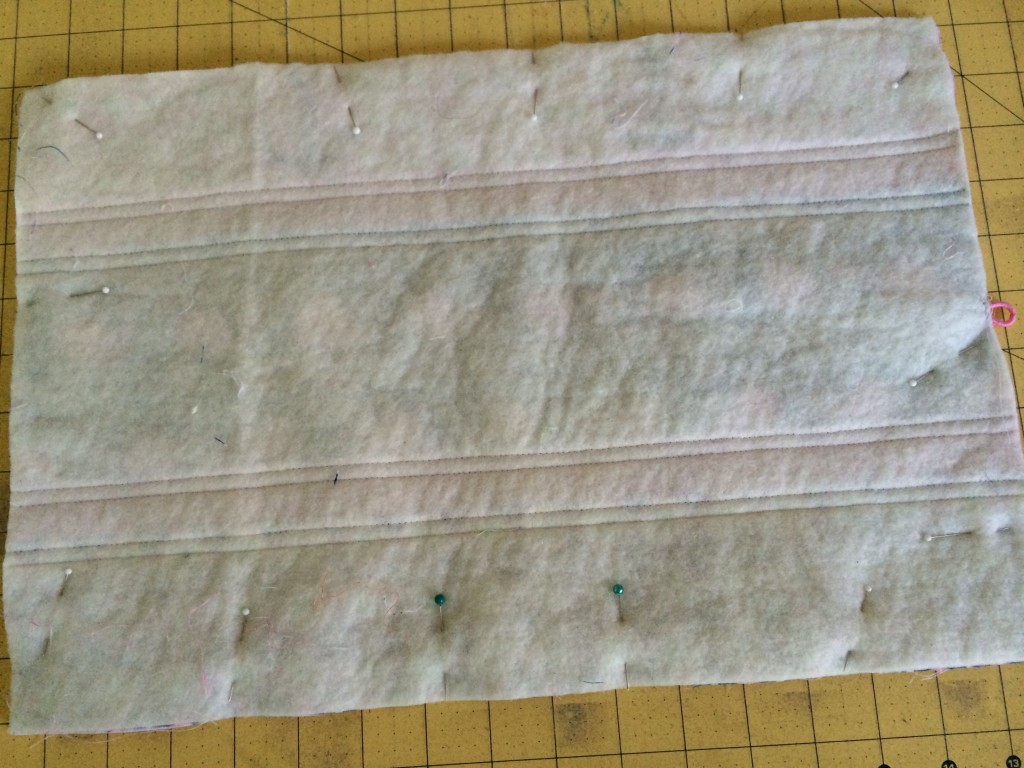
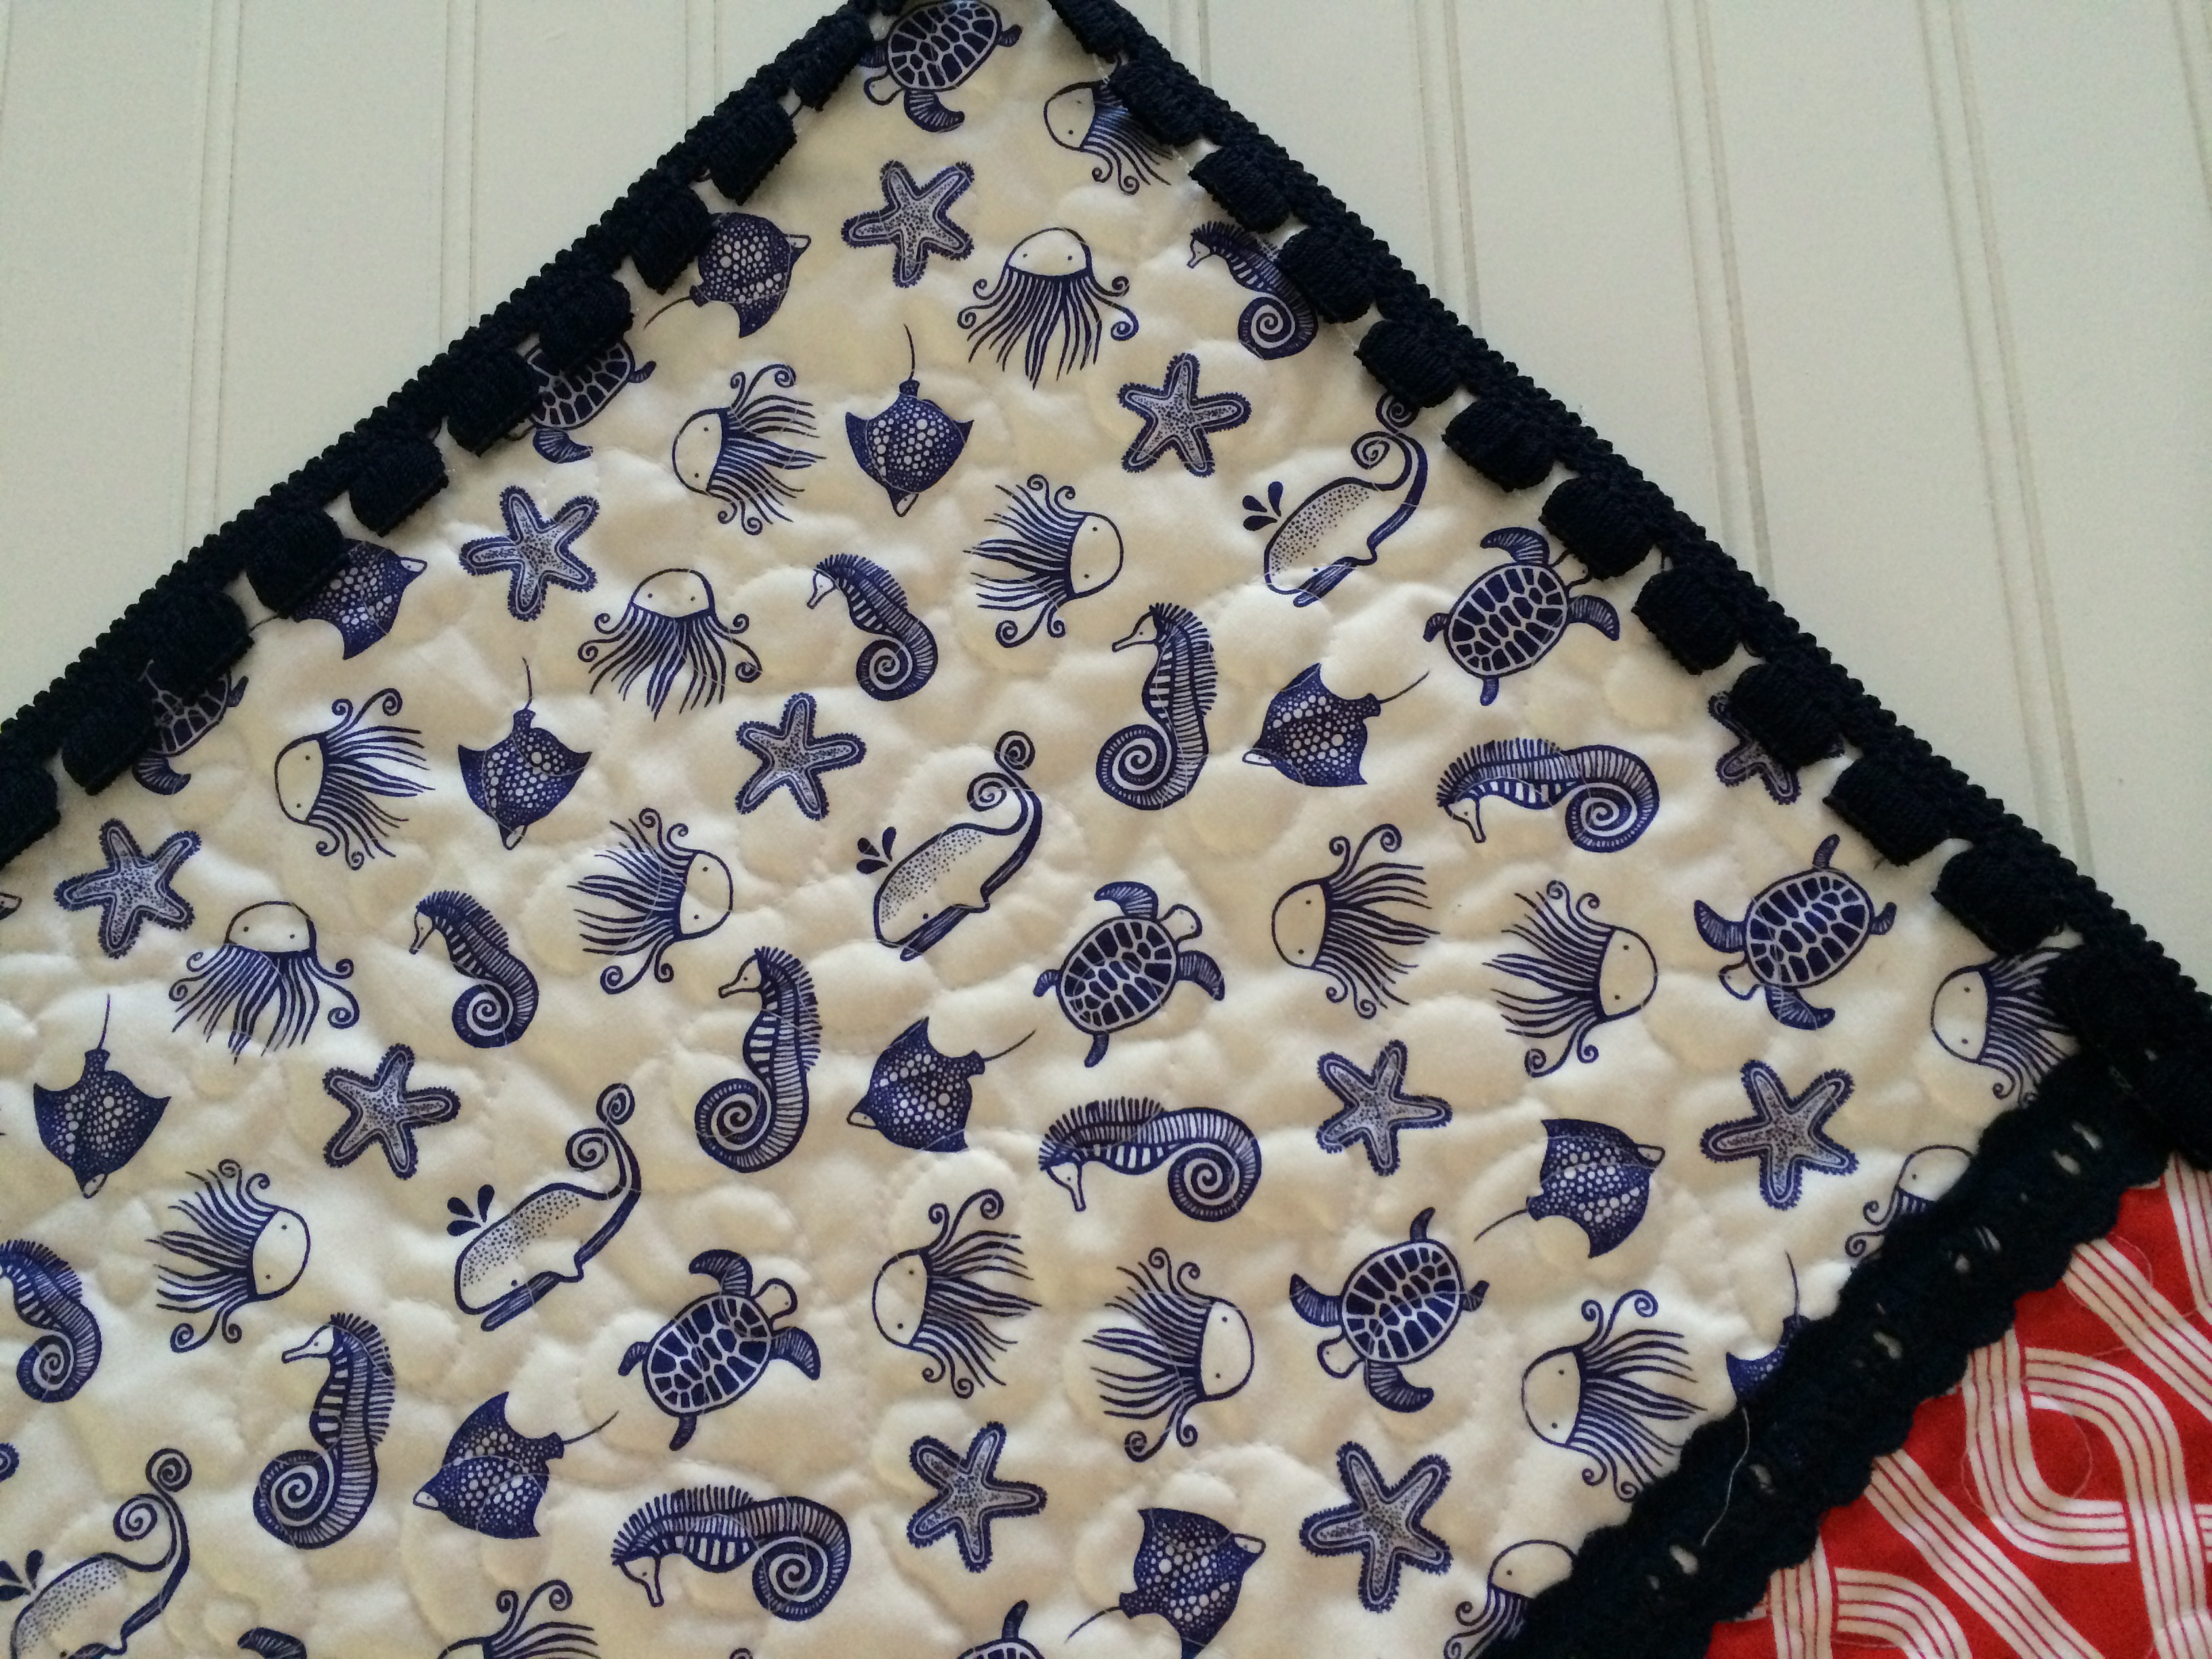
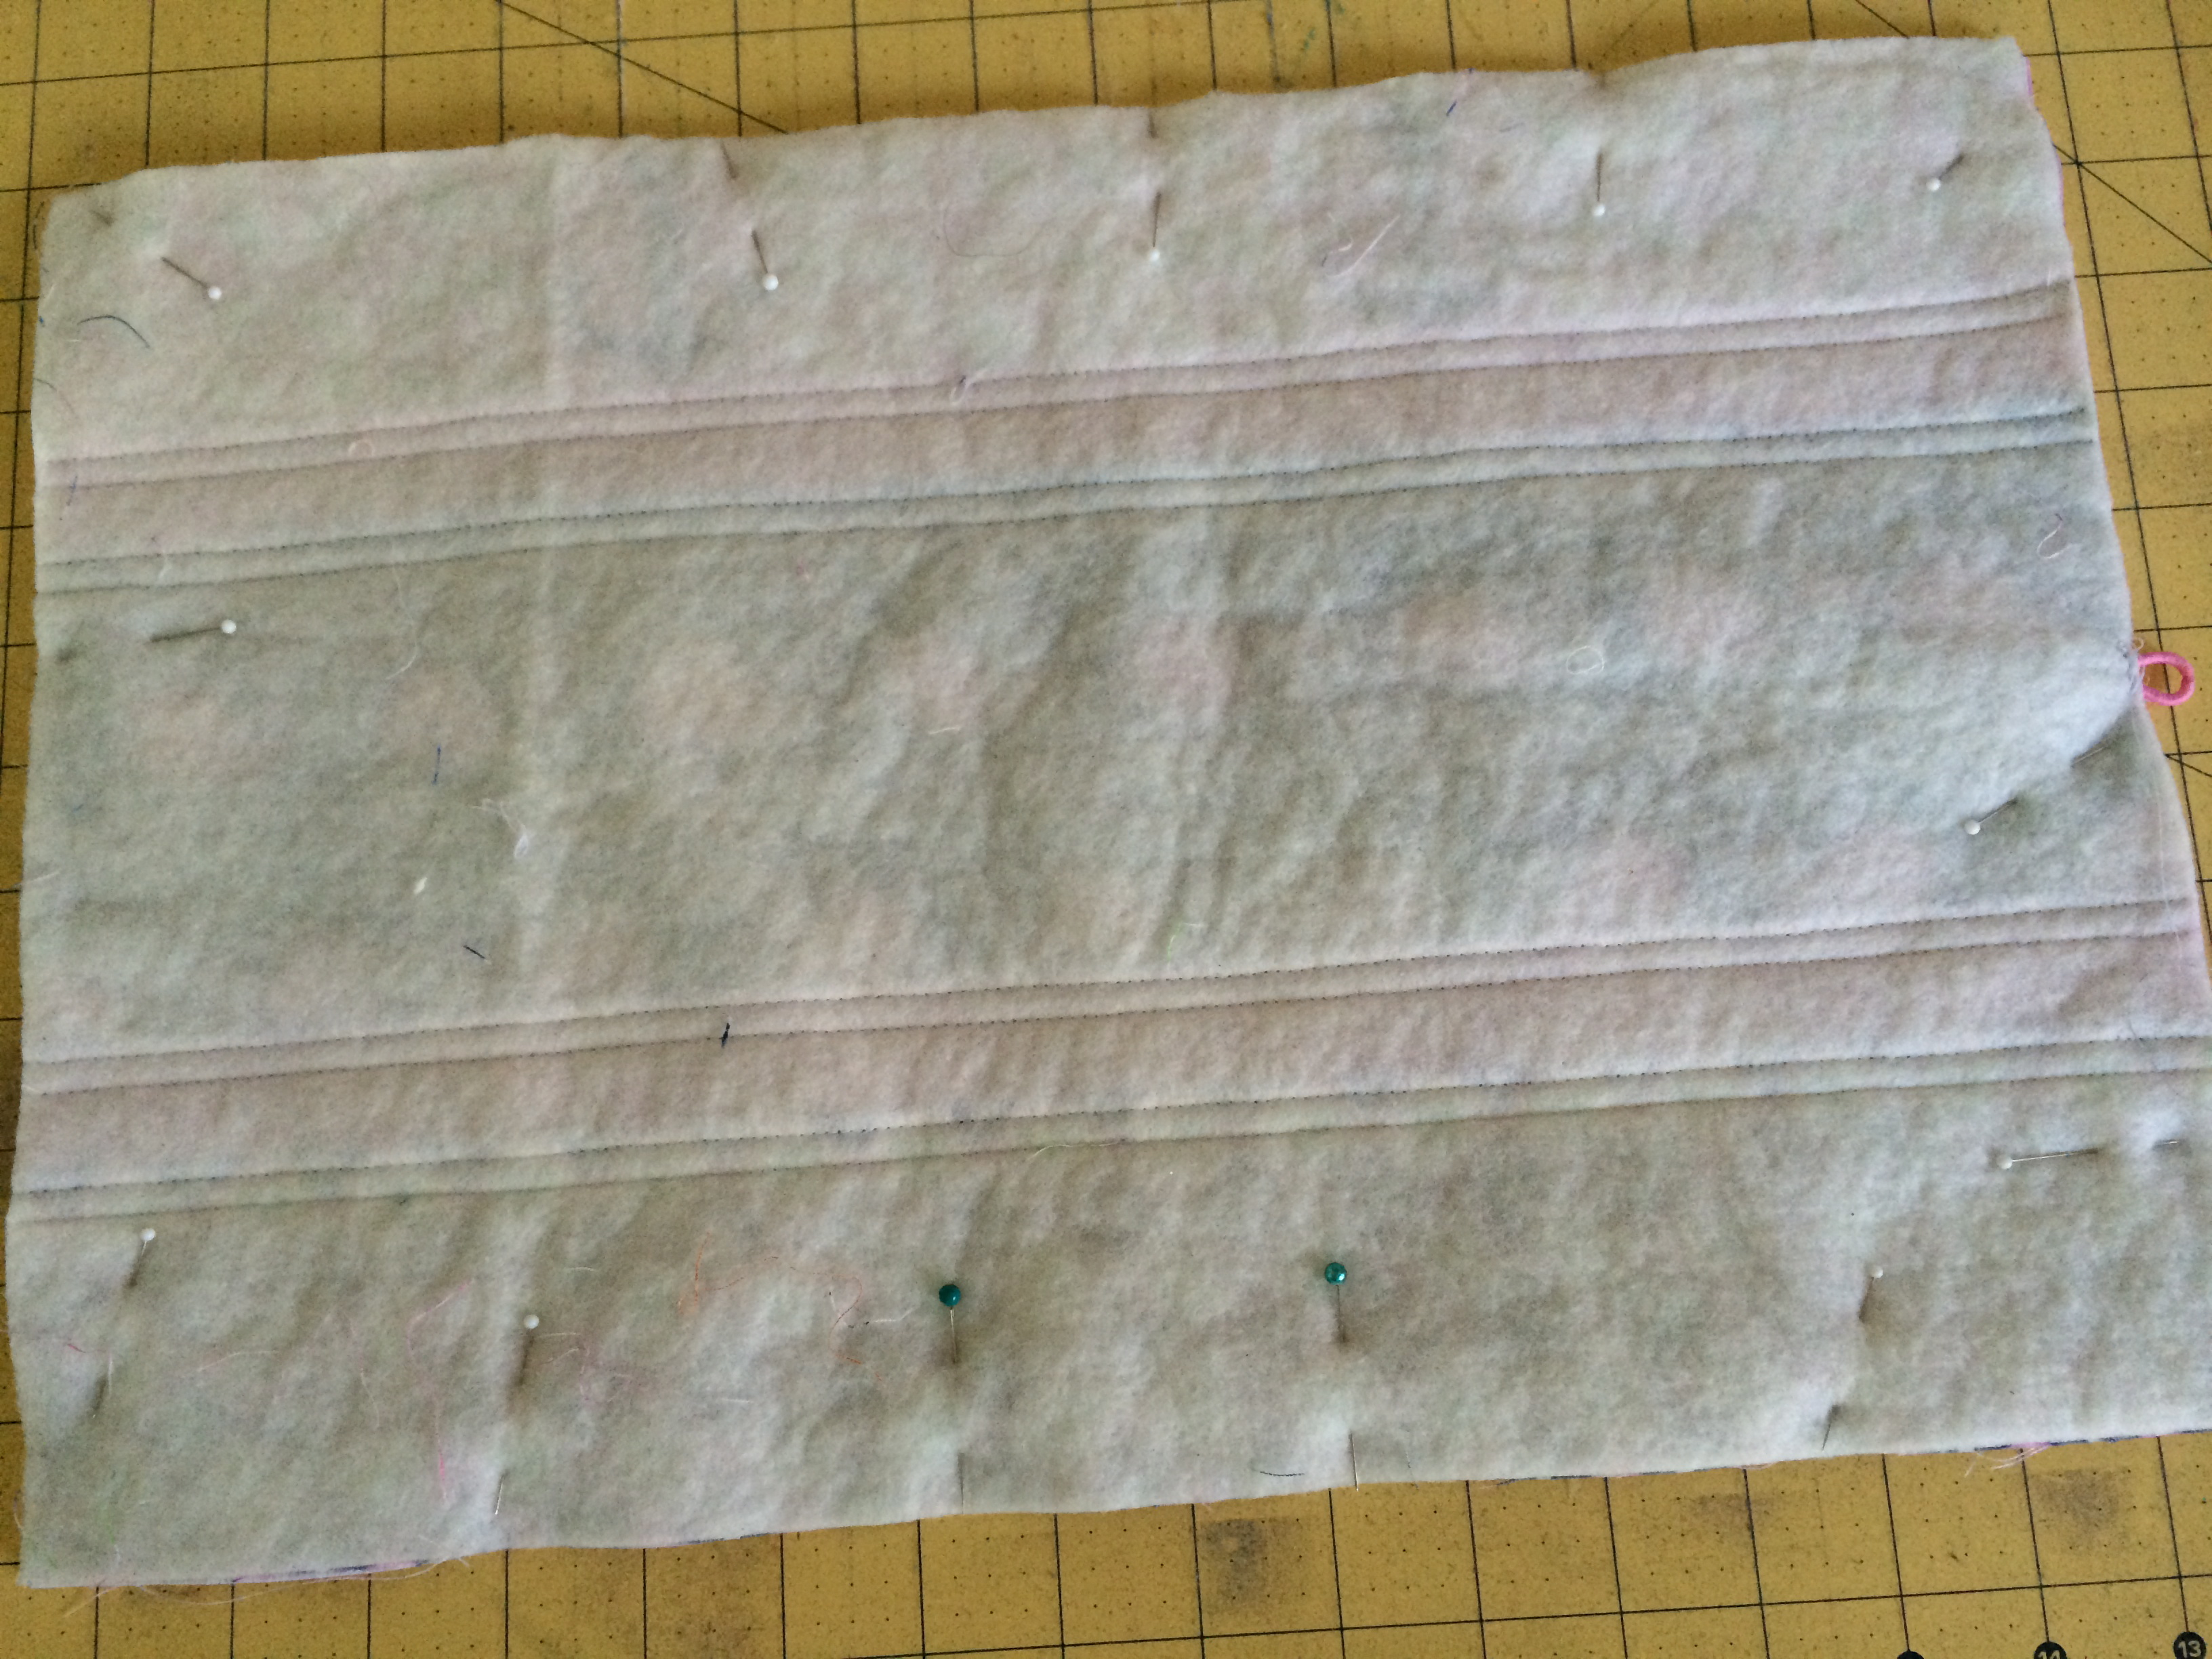
The first part of the project is pretty much just quilting the two 1.5 yards of fabric together. Pin baste the back, batting, and top fabrics of your quilt just like you would any quilt. If the edges don’t line up perfectly, don’t worry. After you quilt it you will square it up. Quilt as desired. I quilted free motion meanders. Square up.
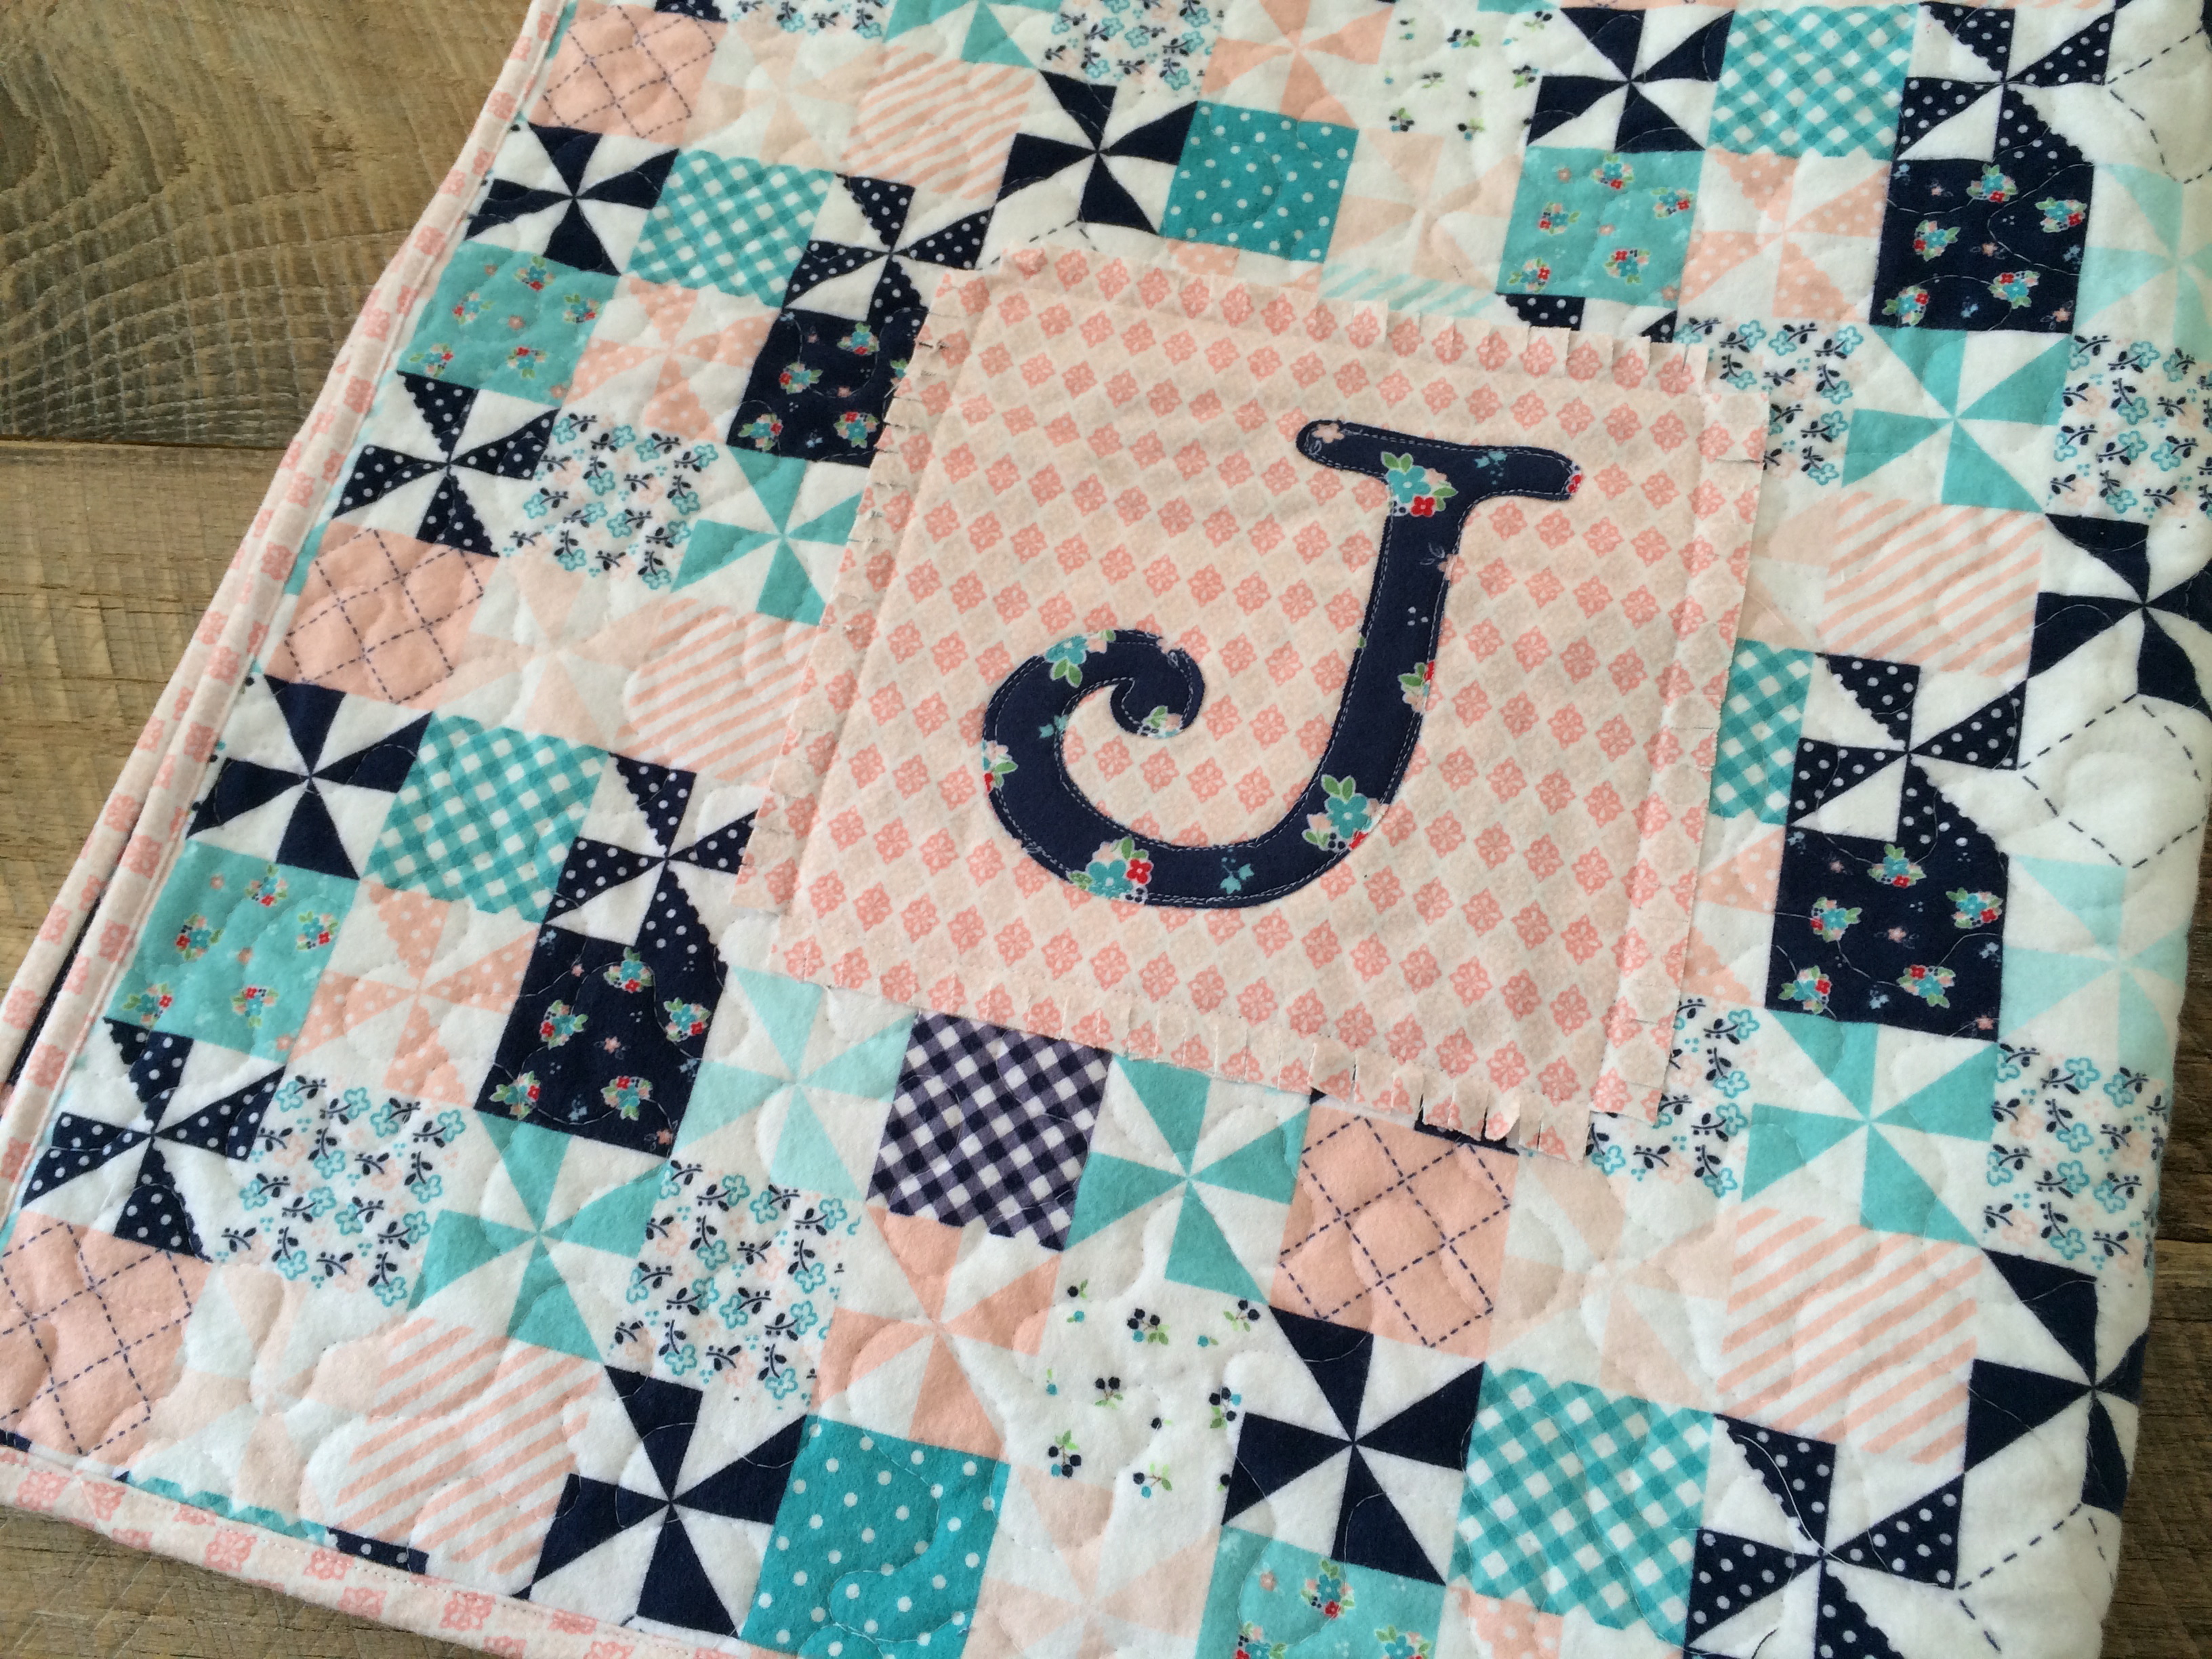
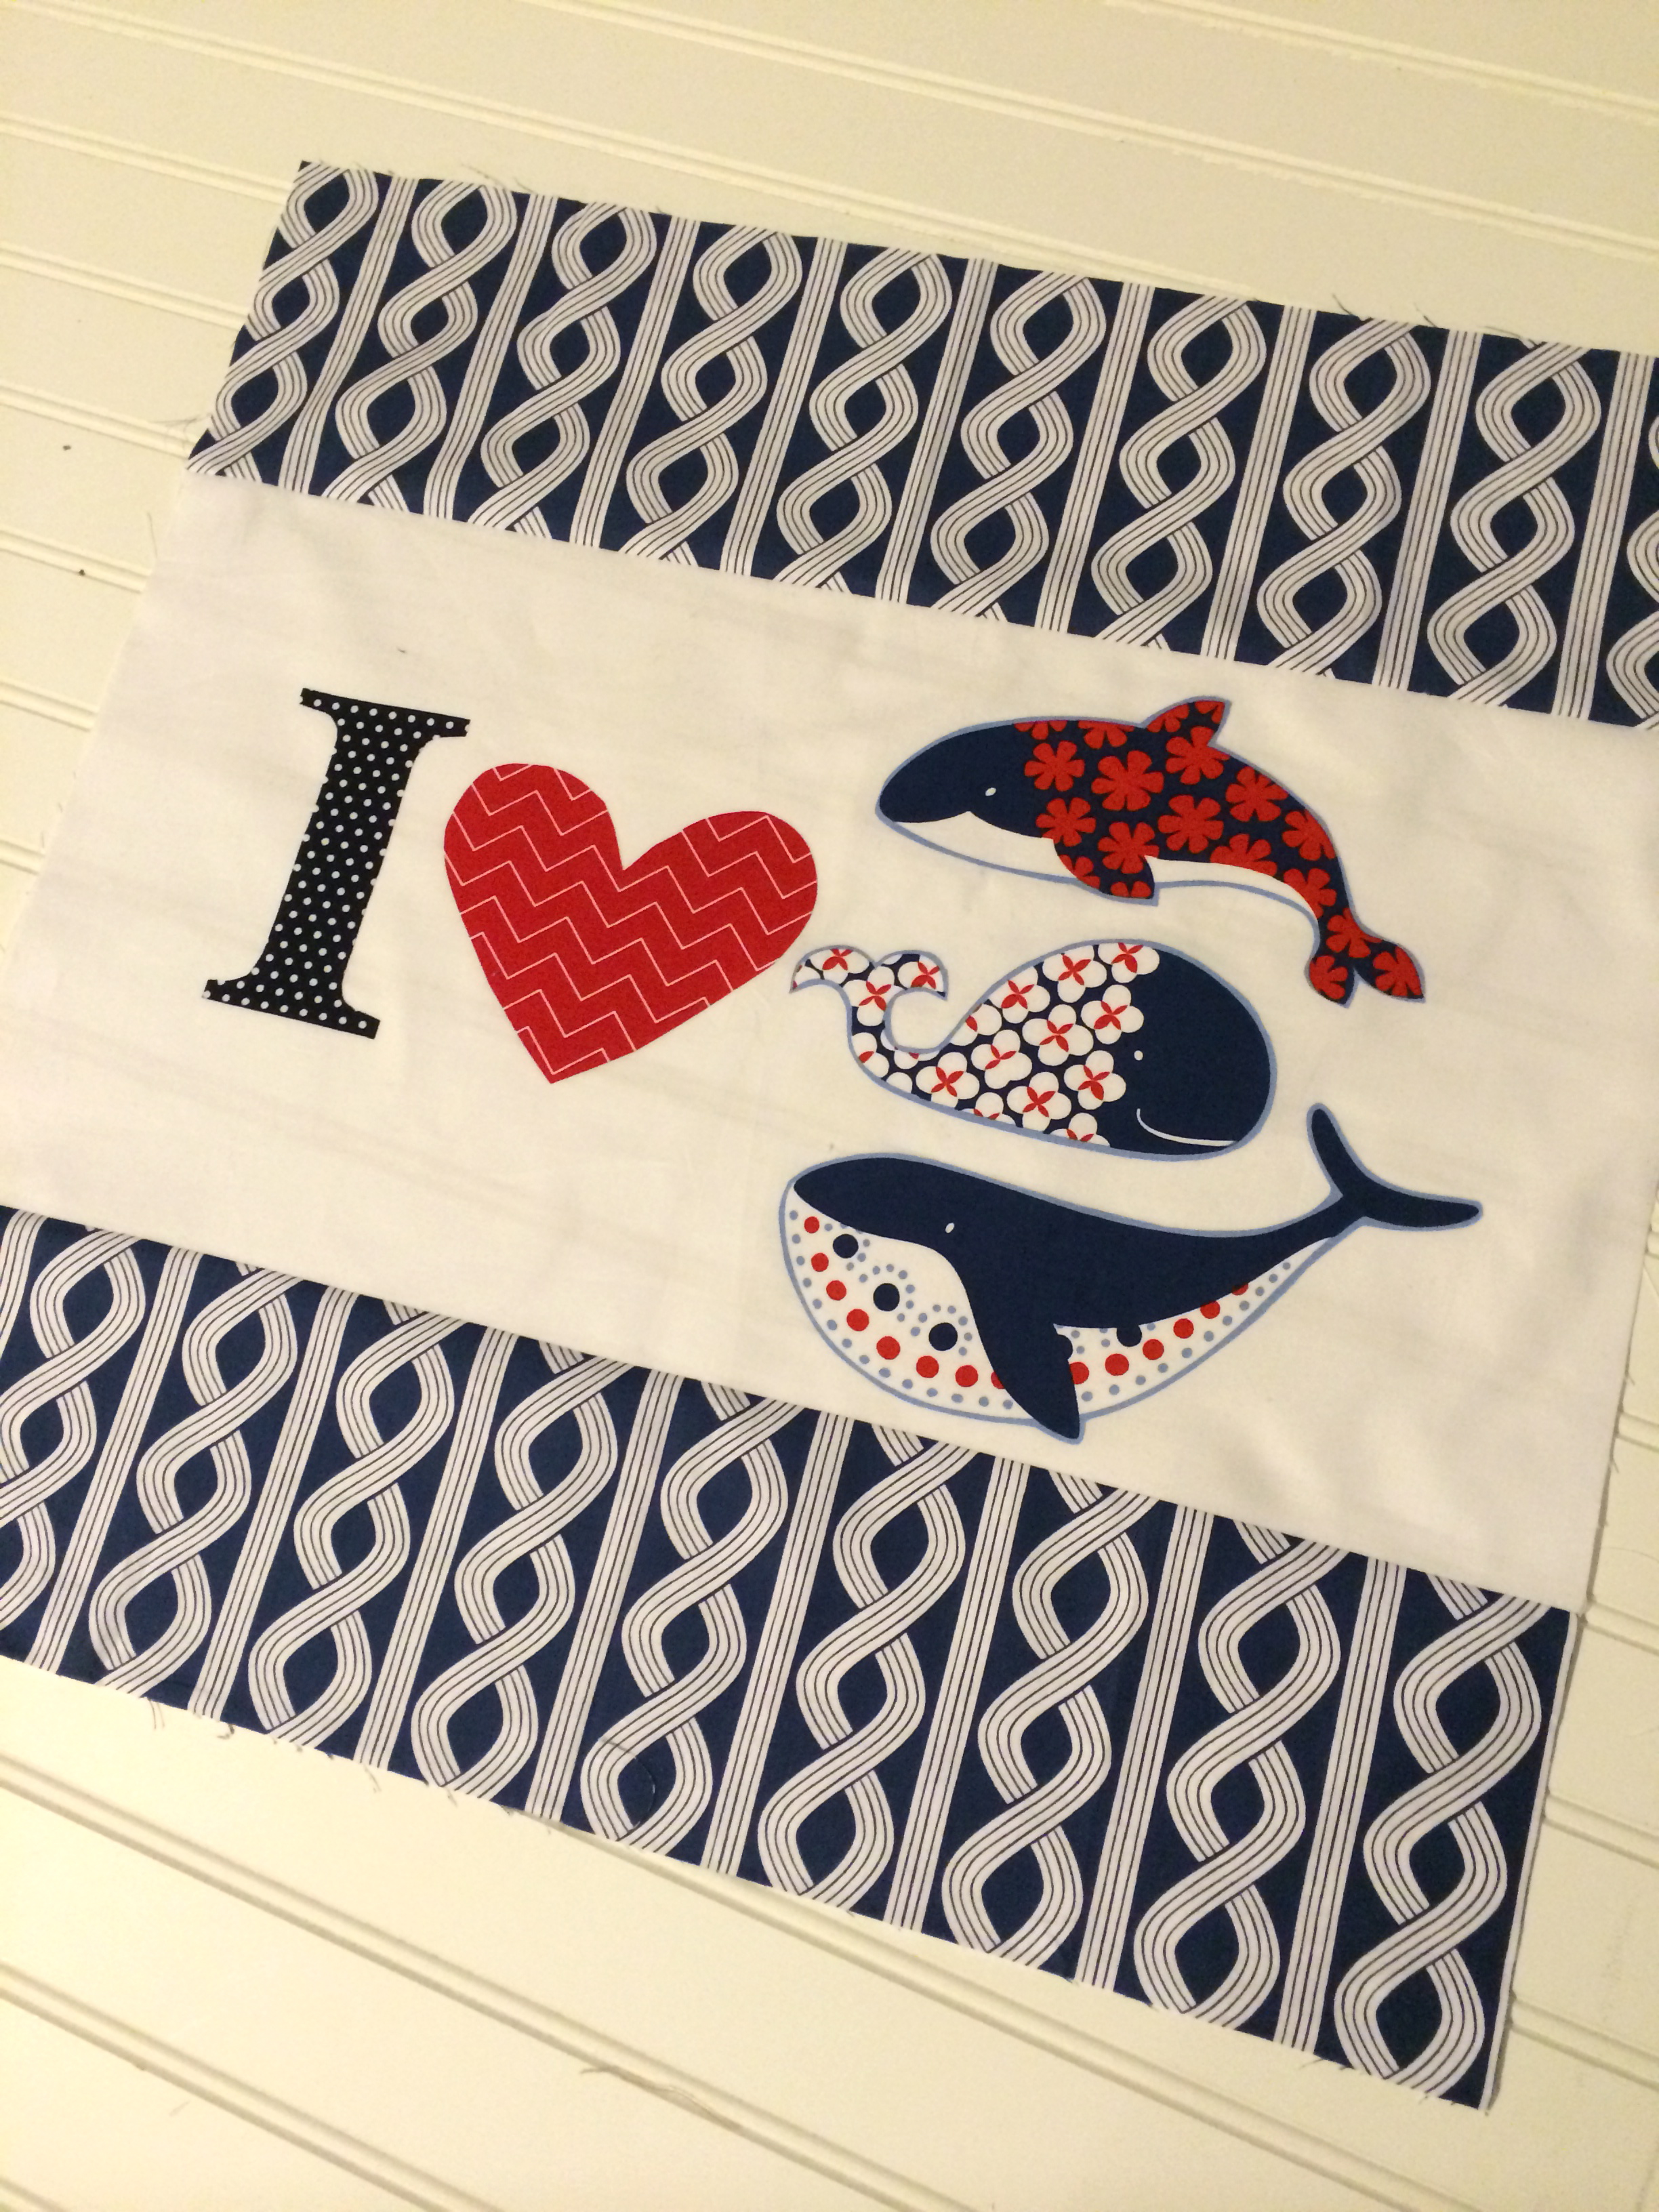
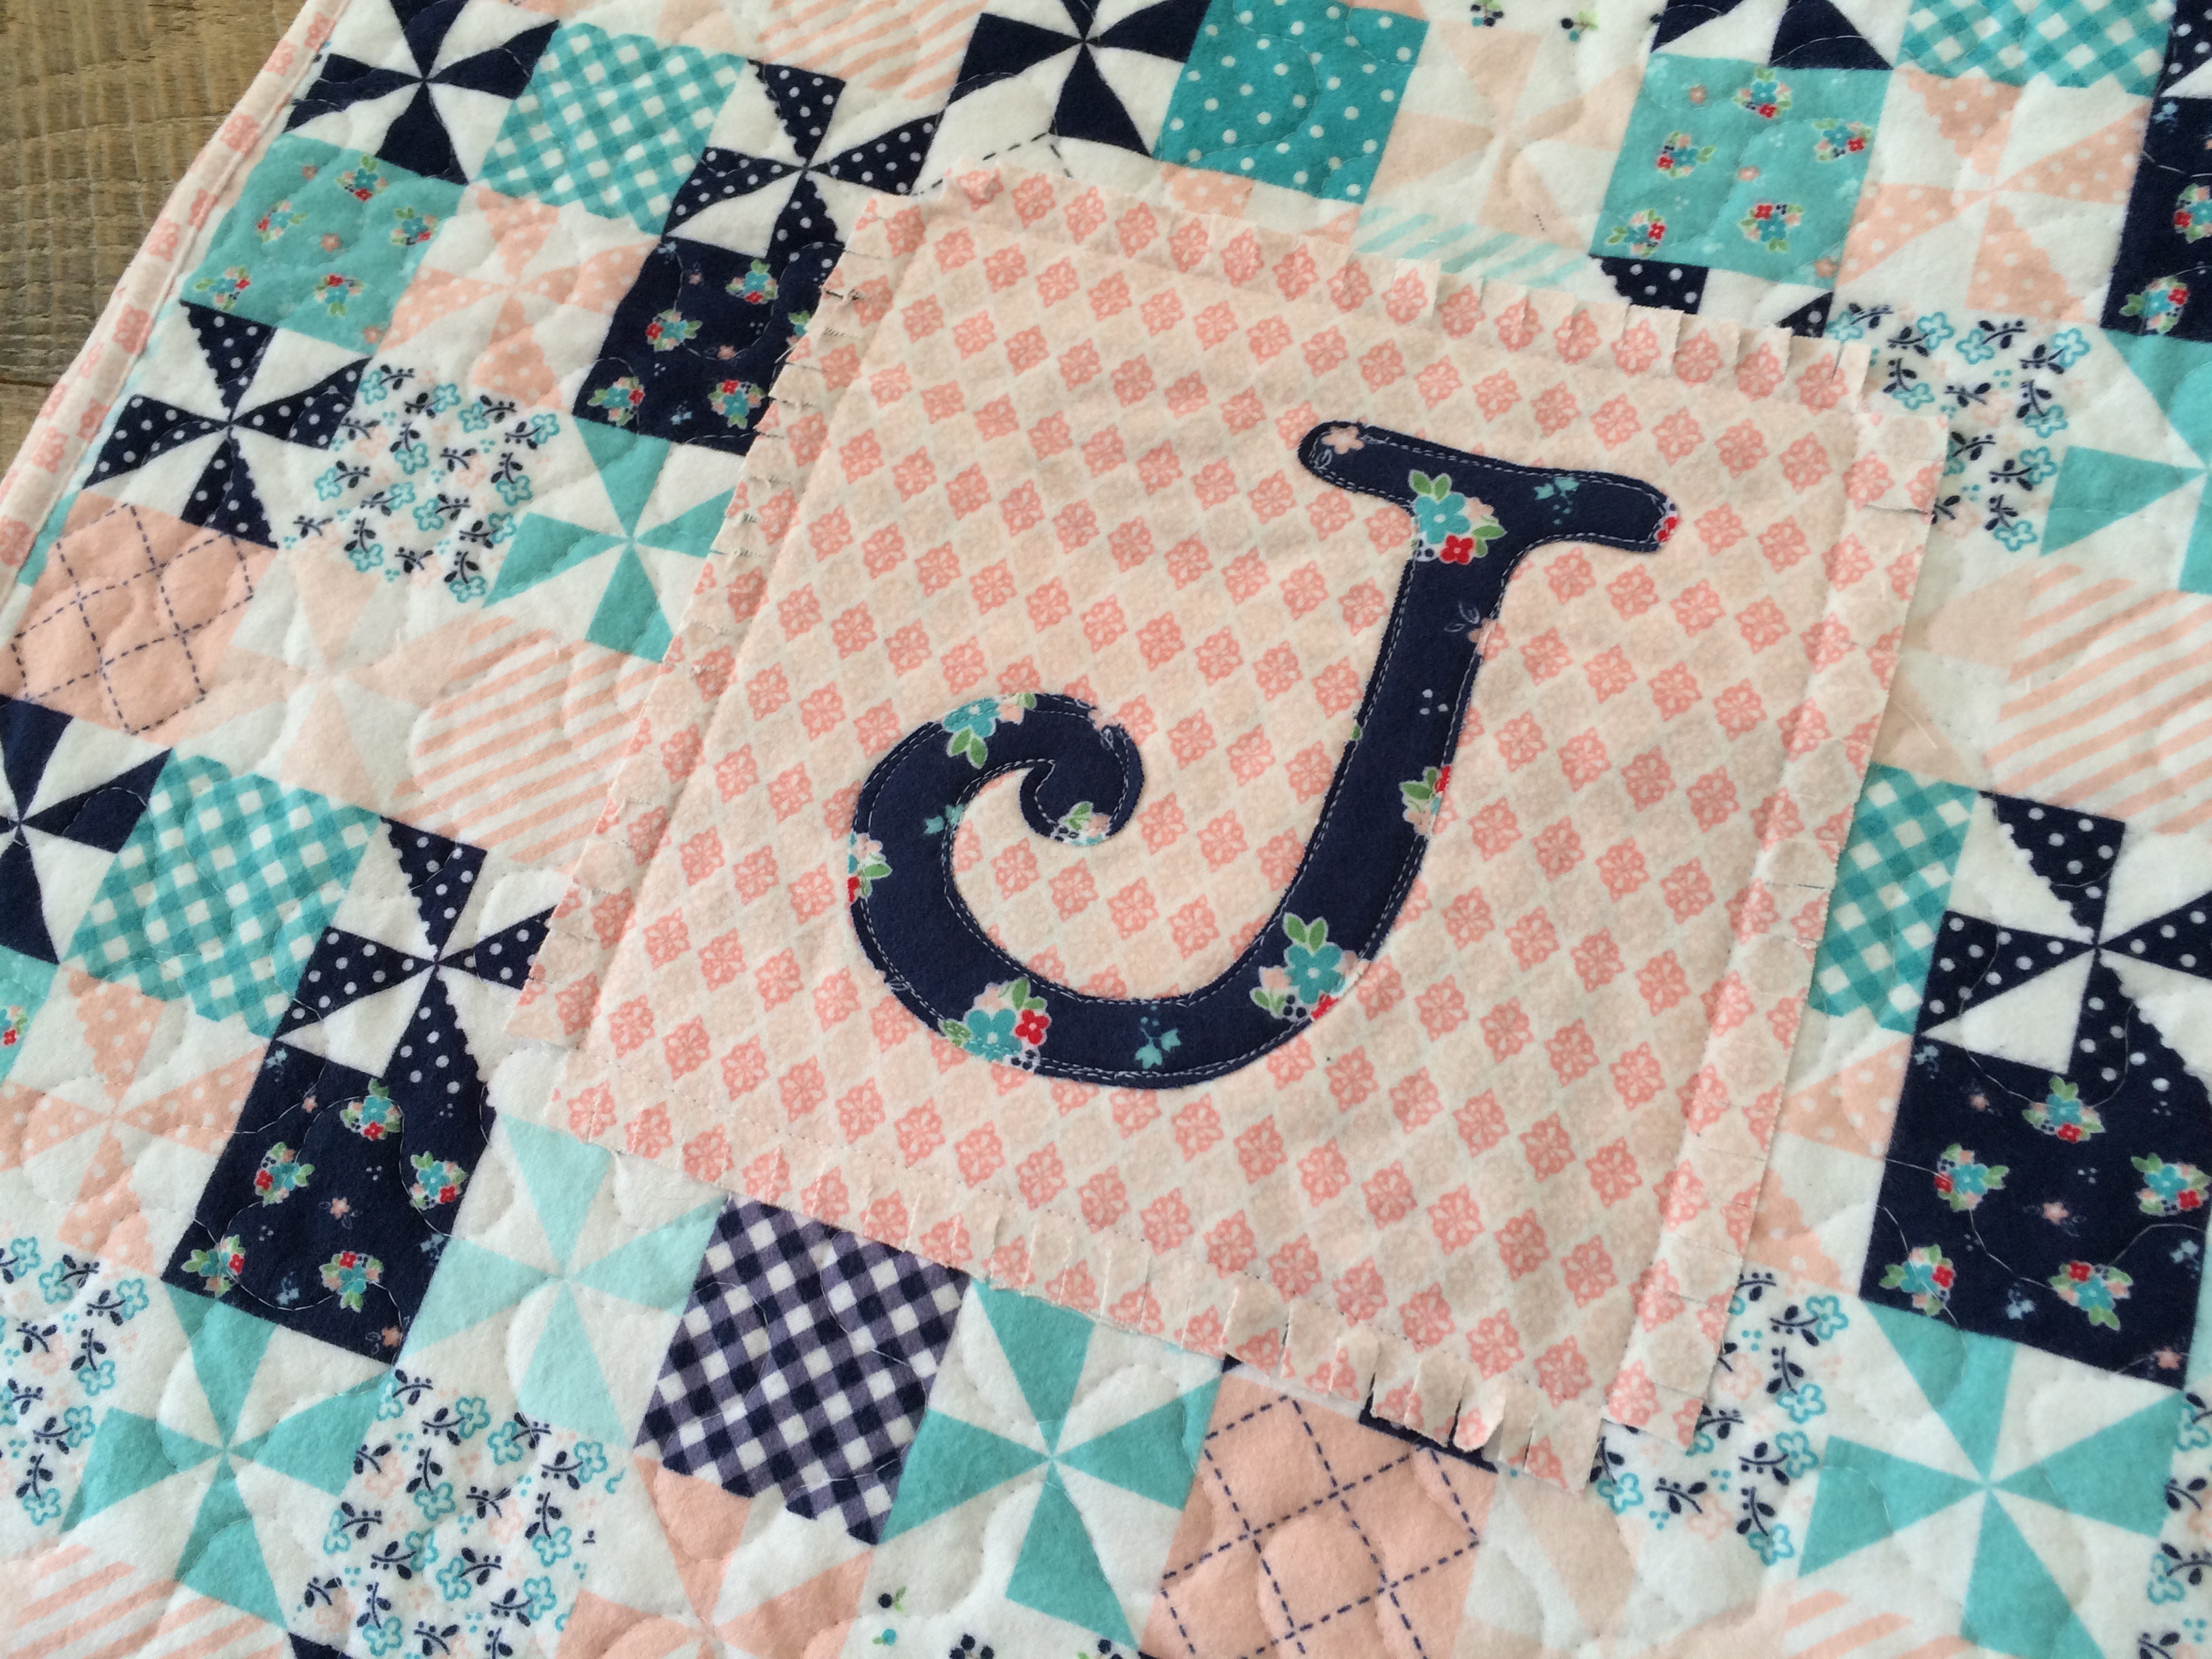
Attach the monogram:
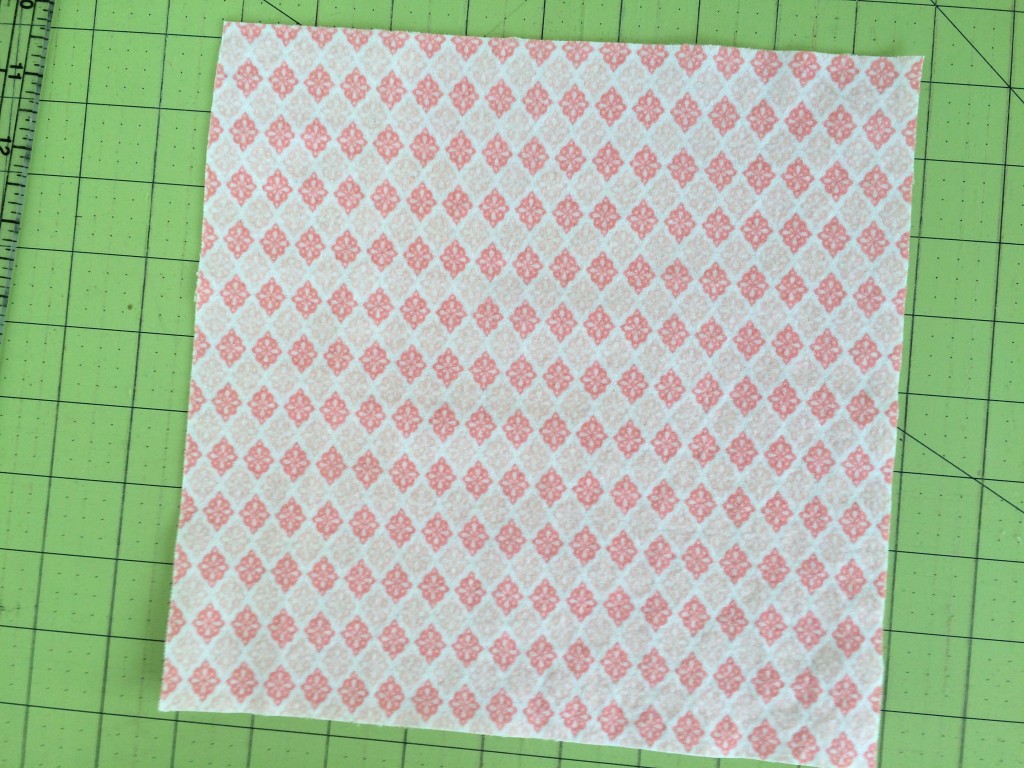
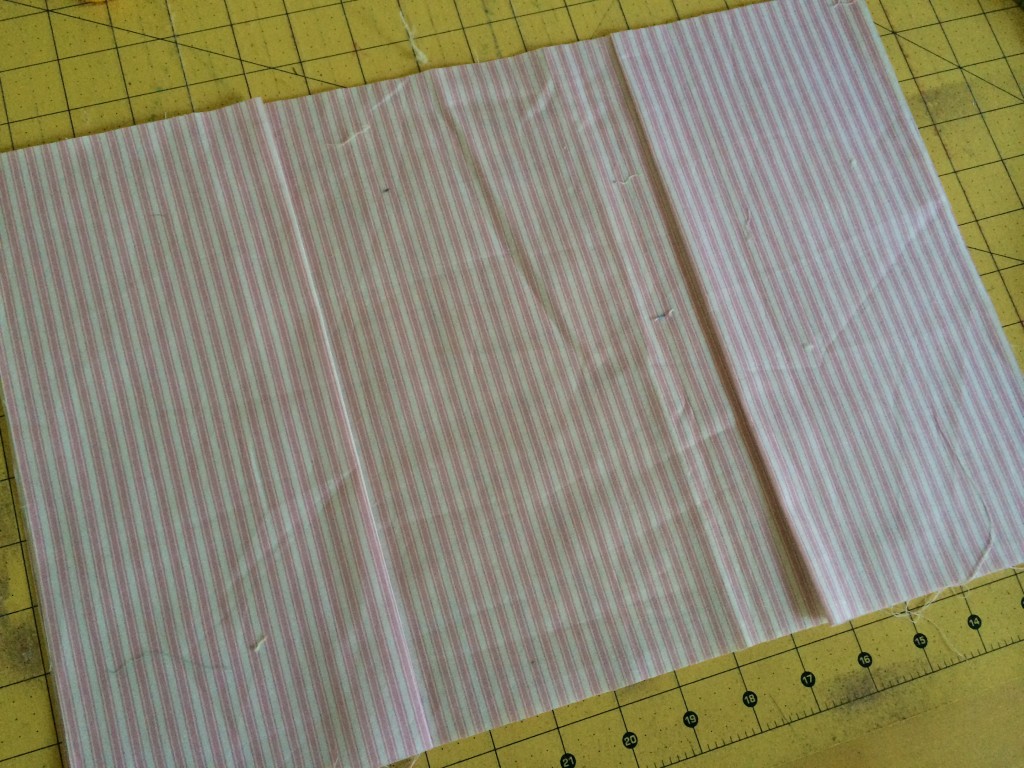
Cut a 9″ square of accent flannel.
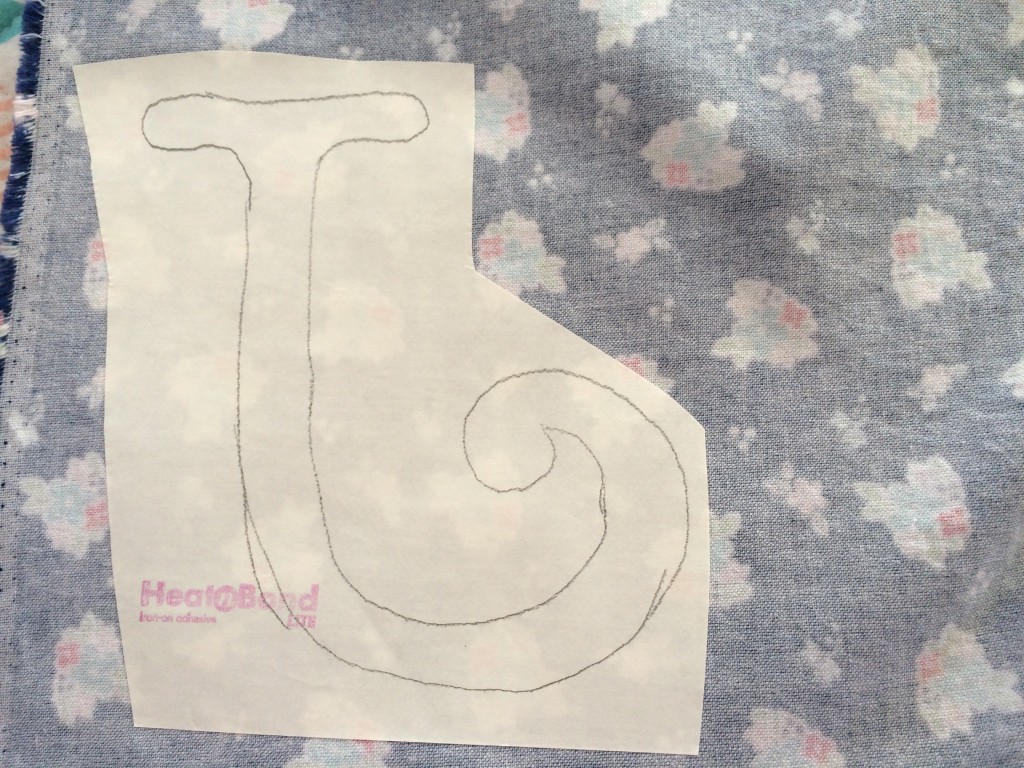
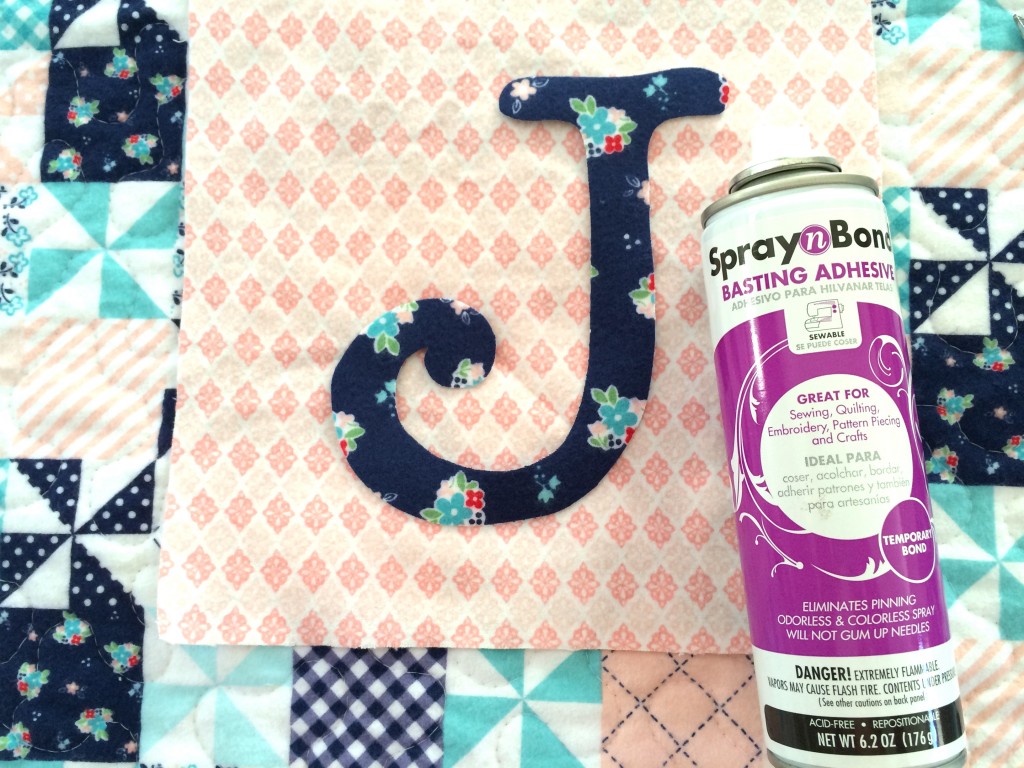
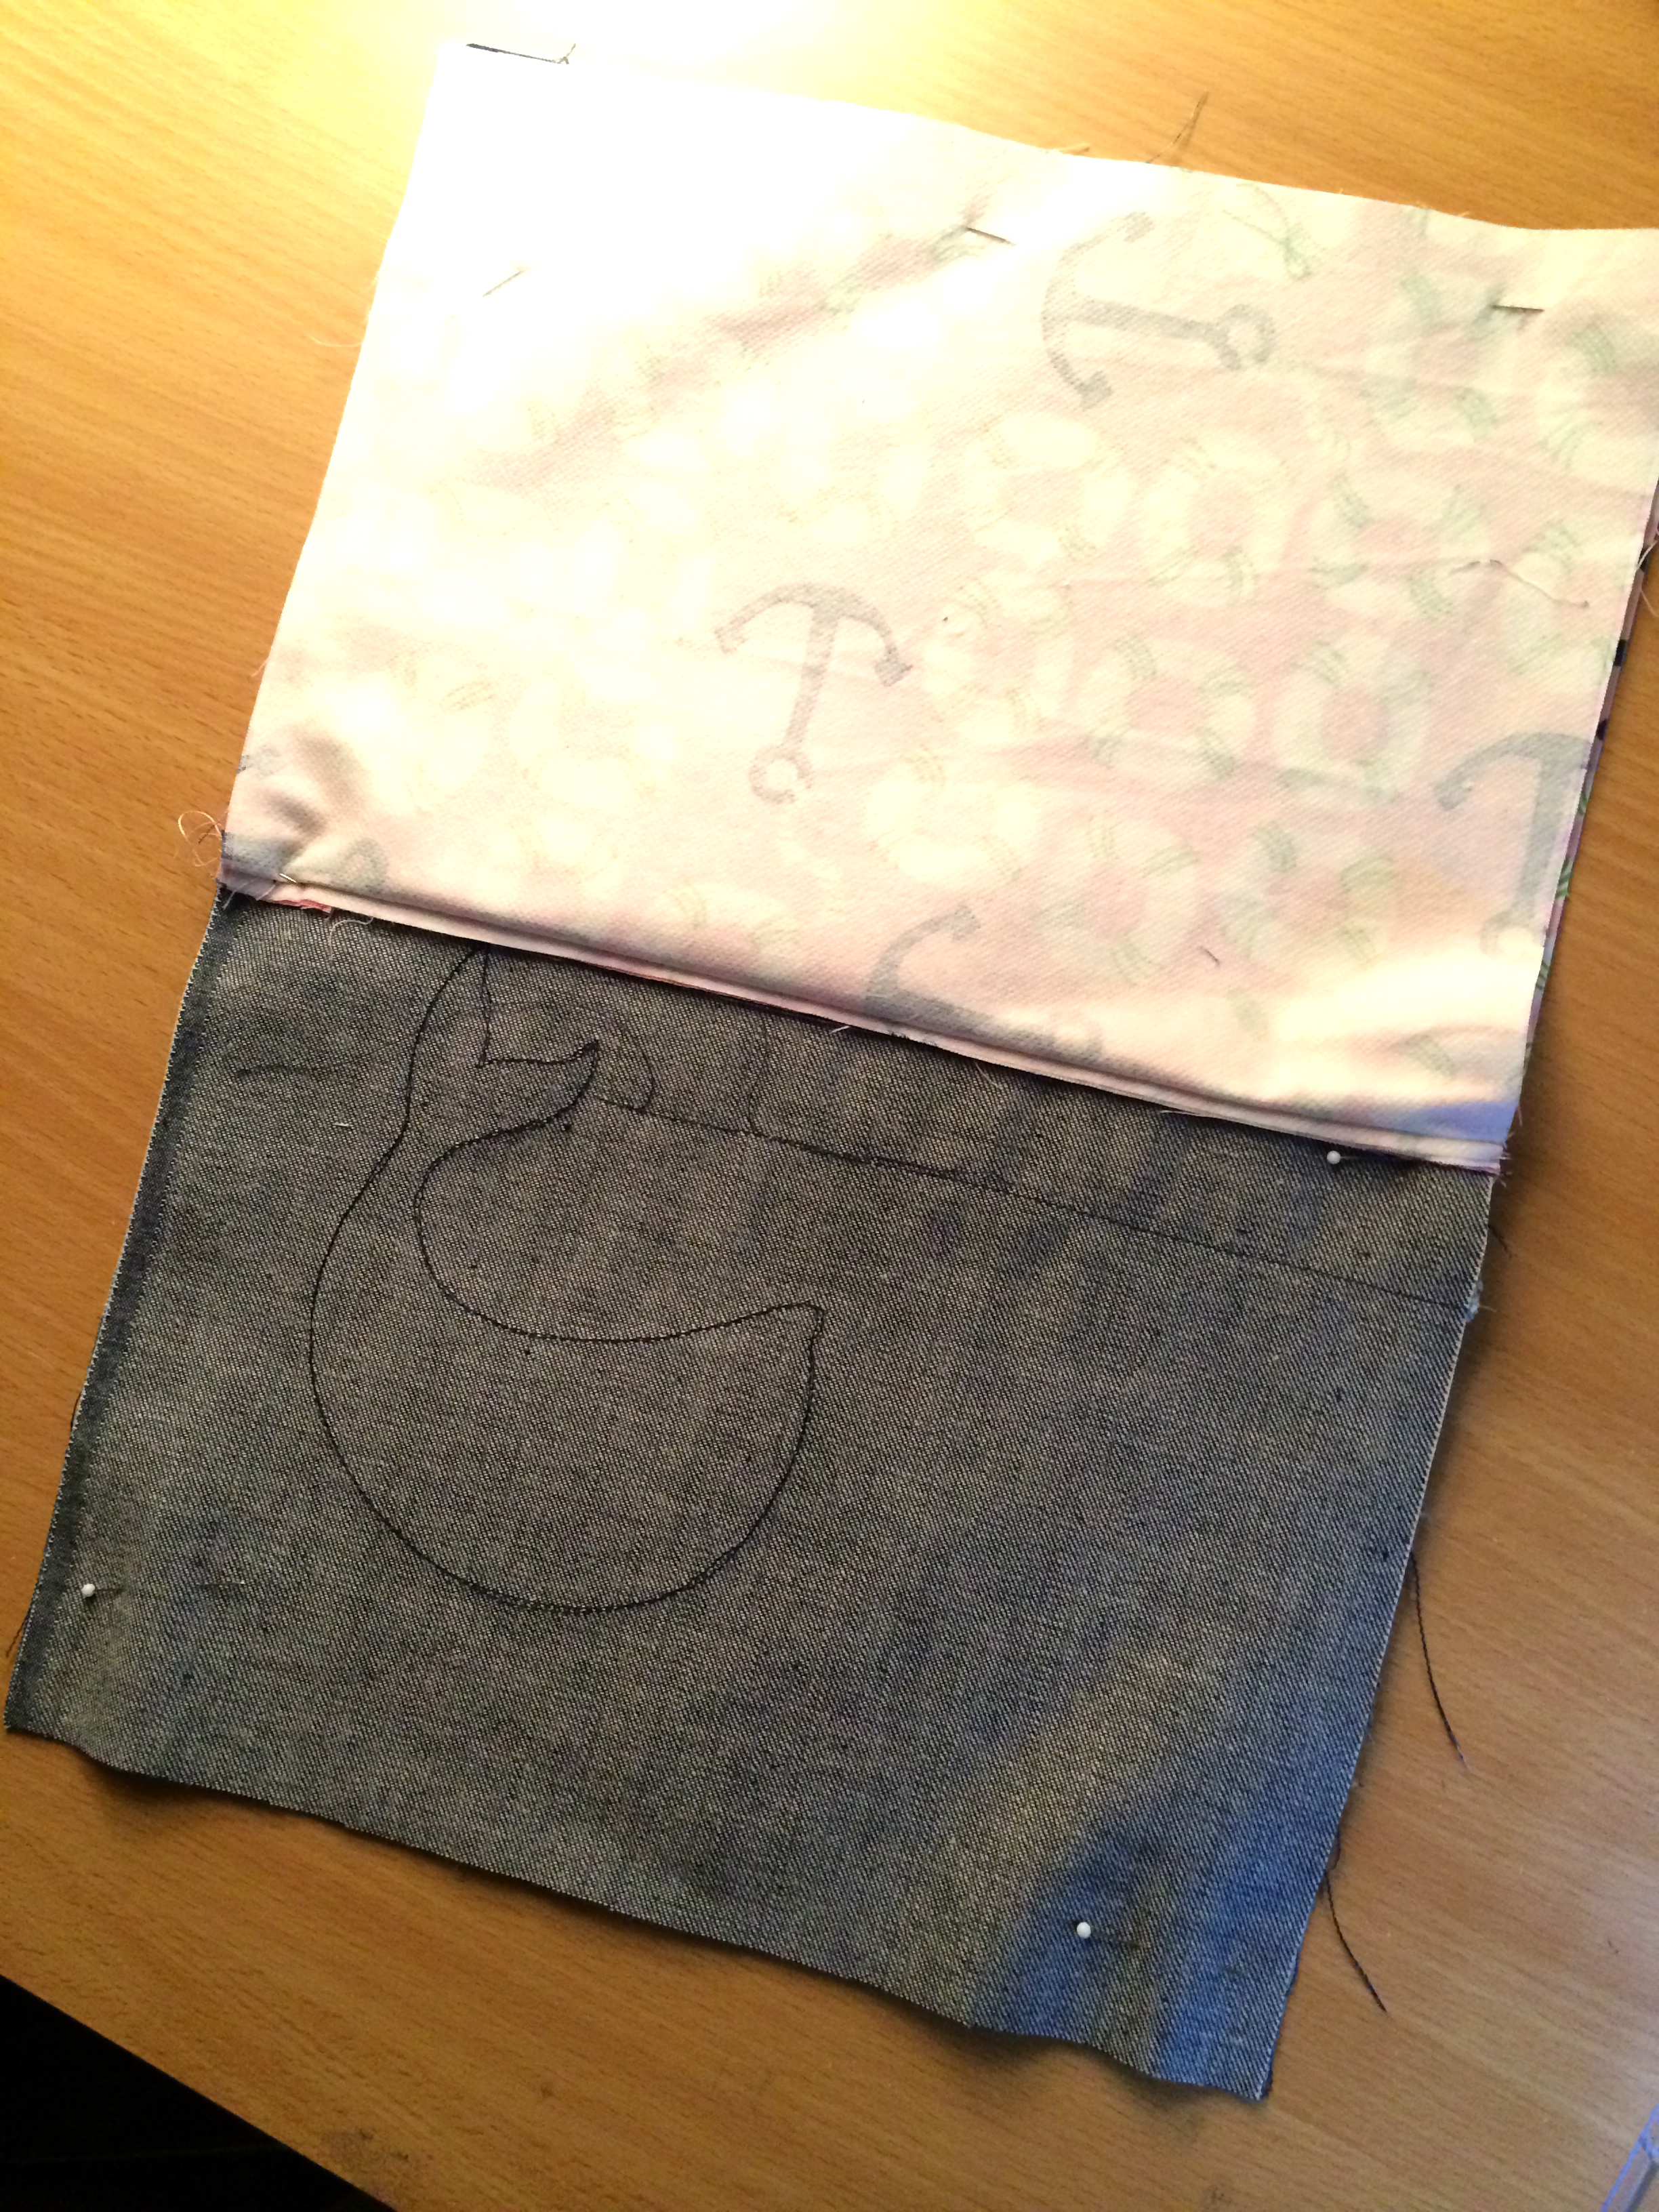
Print your desired letter in reverse. I choose a “J” because I am giving this to my friend who is having a girl and naming her Juliette. Trace the letter onto the Heat n Bond Lite and iron it to the wrong side of the flannel.
Cut out the letter, peel off the backing paper and press it to the center of the 9″ accent square. Using basting spray or pins, position the accent square as desired on the quilt.
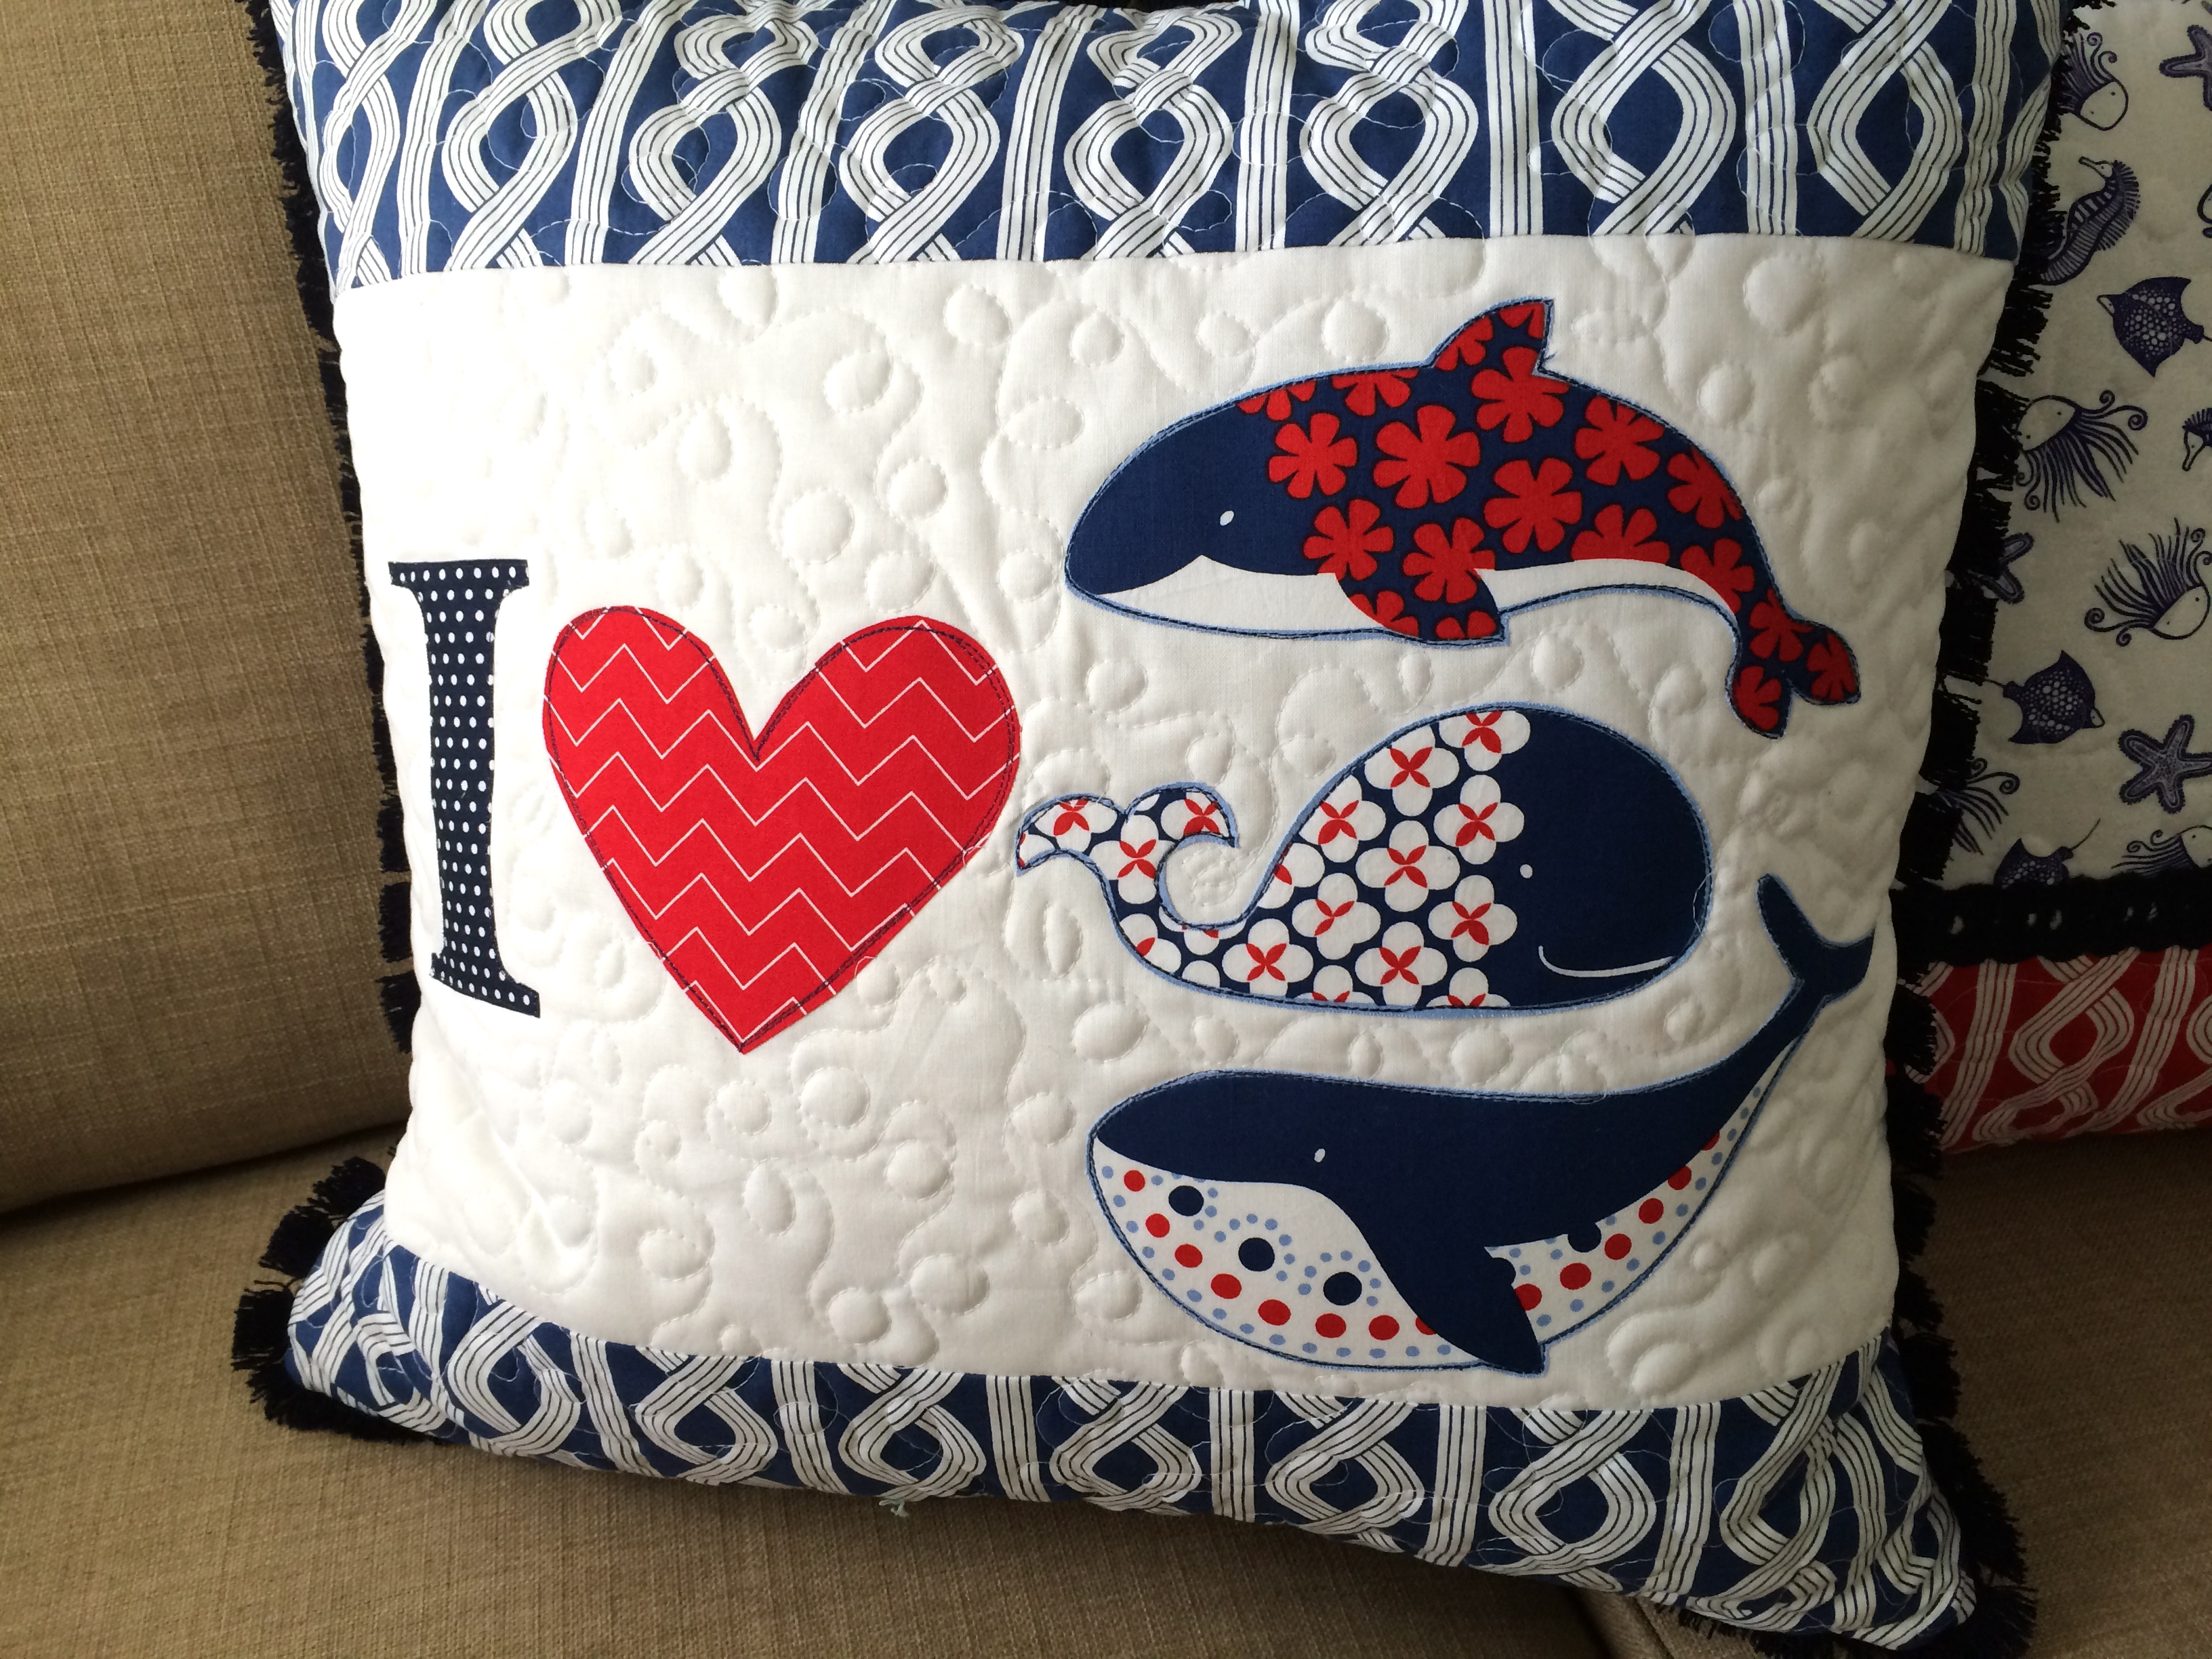
Using a 1″ seam, sew around the square. Then sew around the letter sewing close to the edge. Cut little slits into the edge of the square like this:
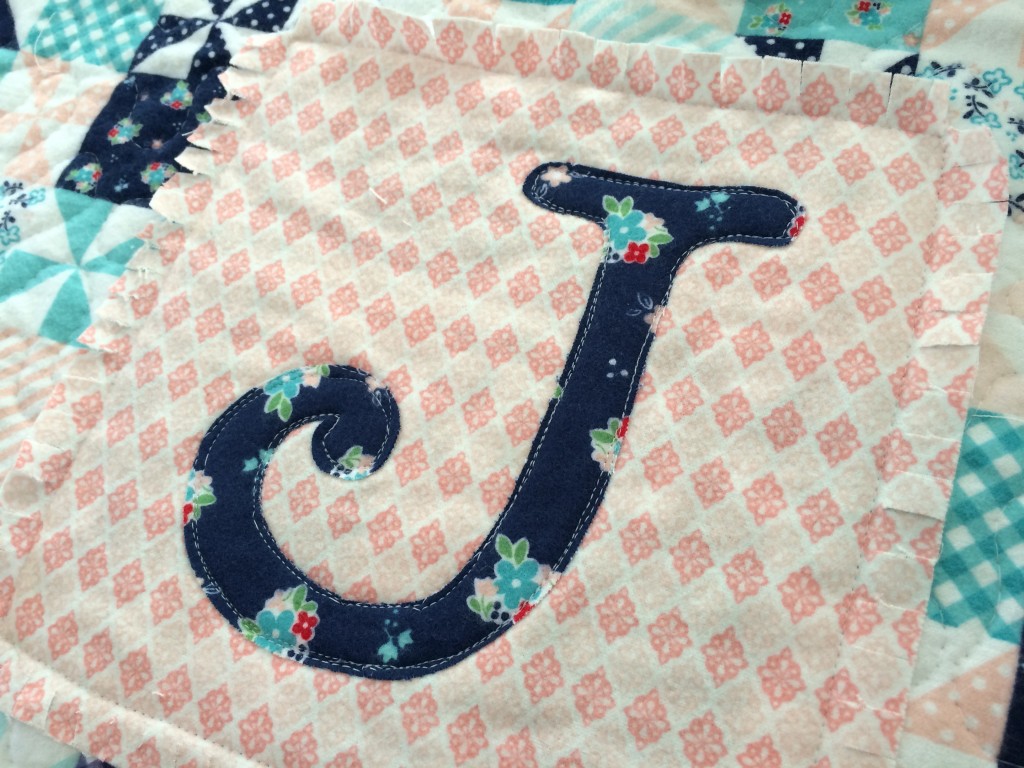
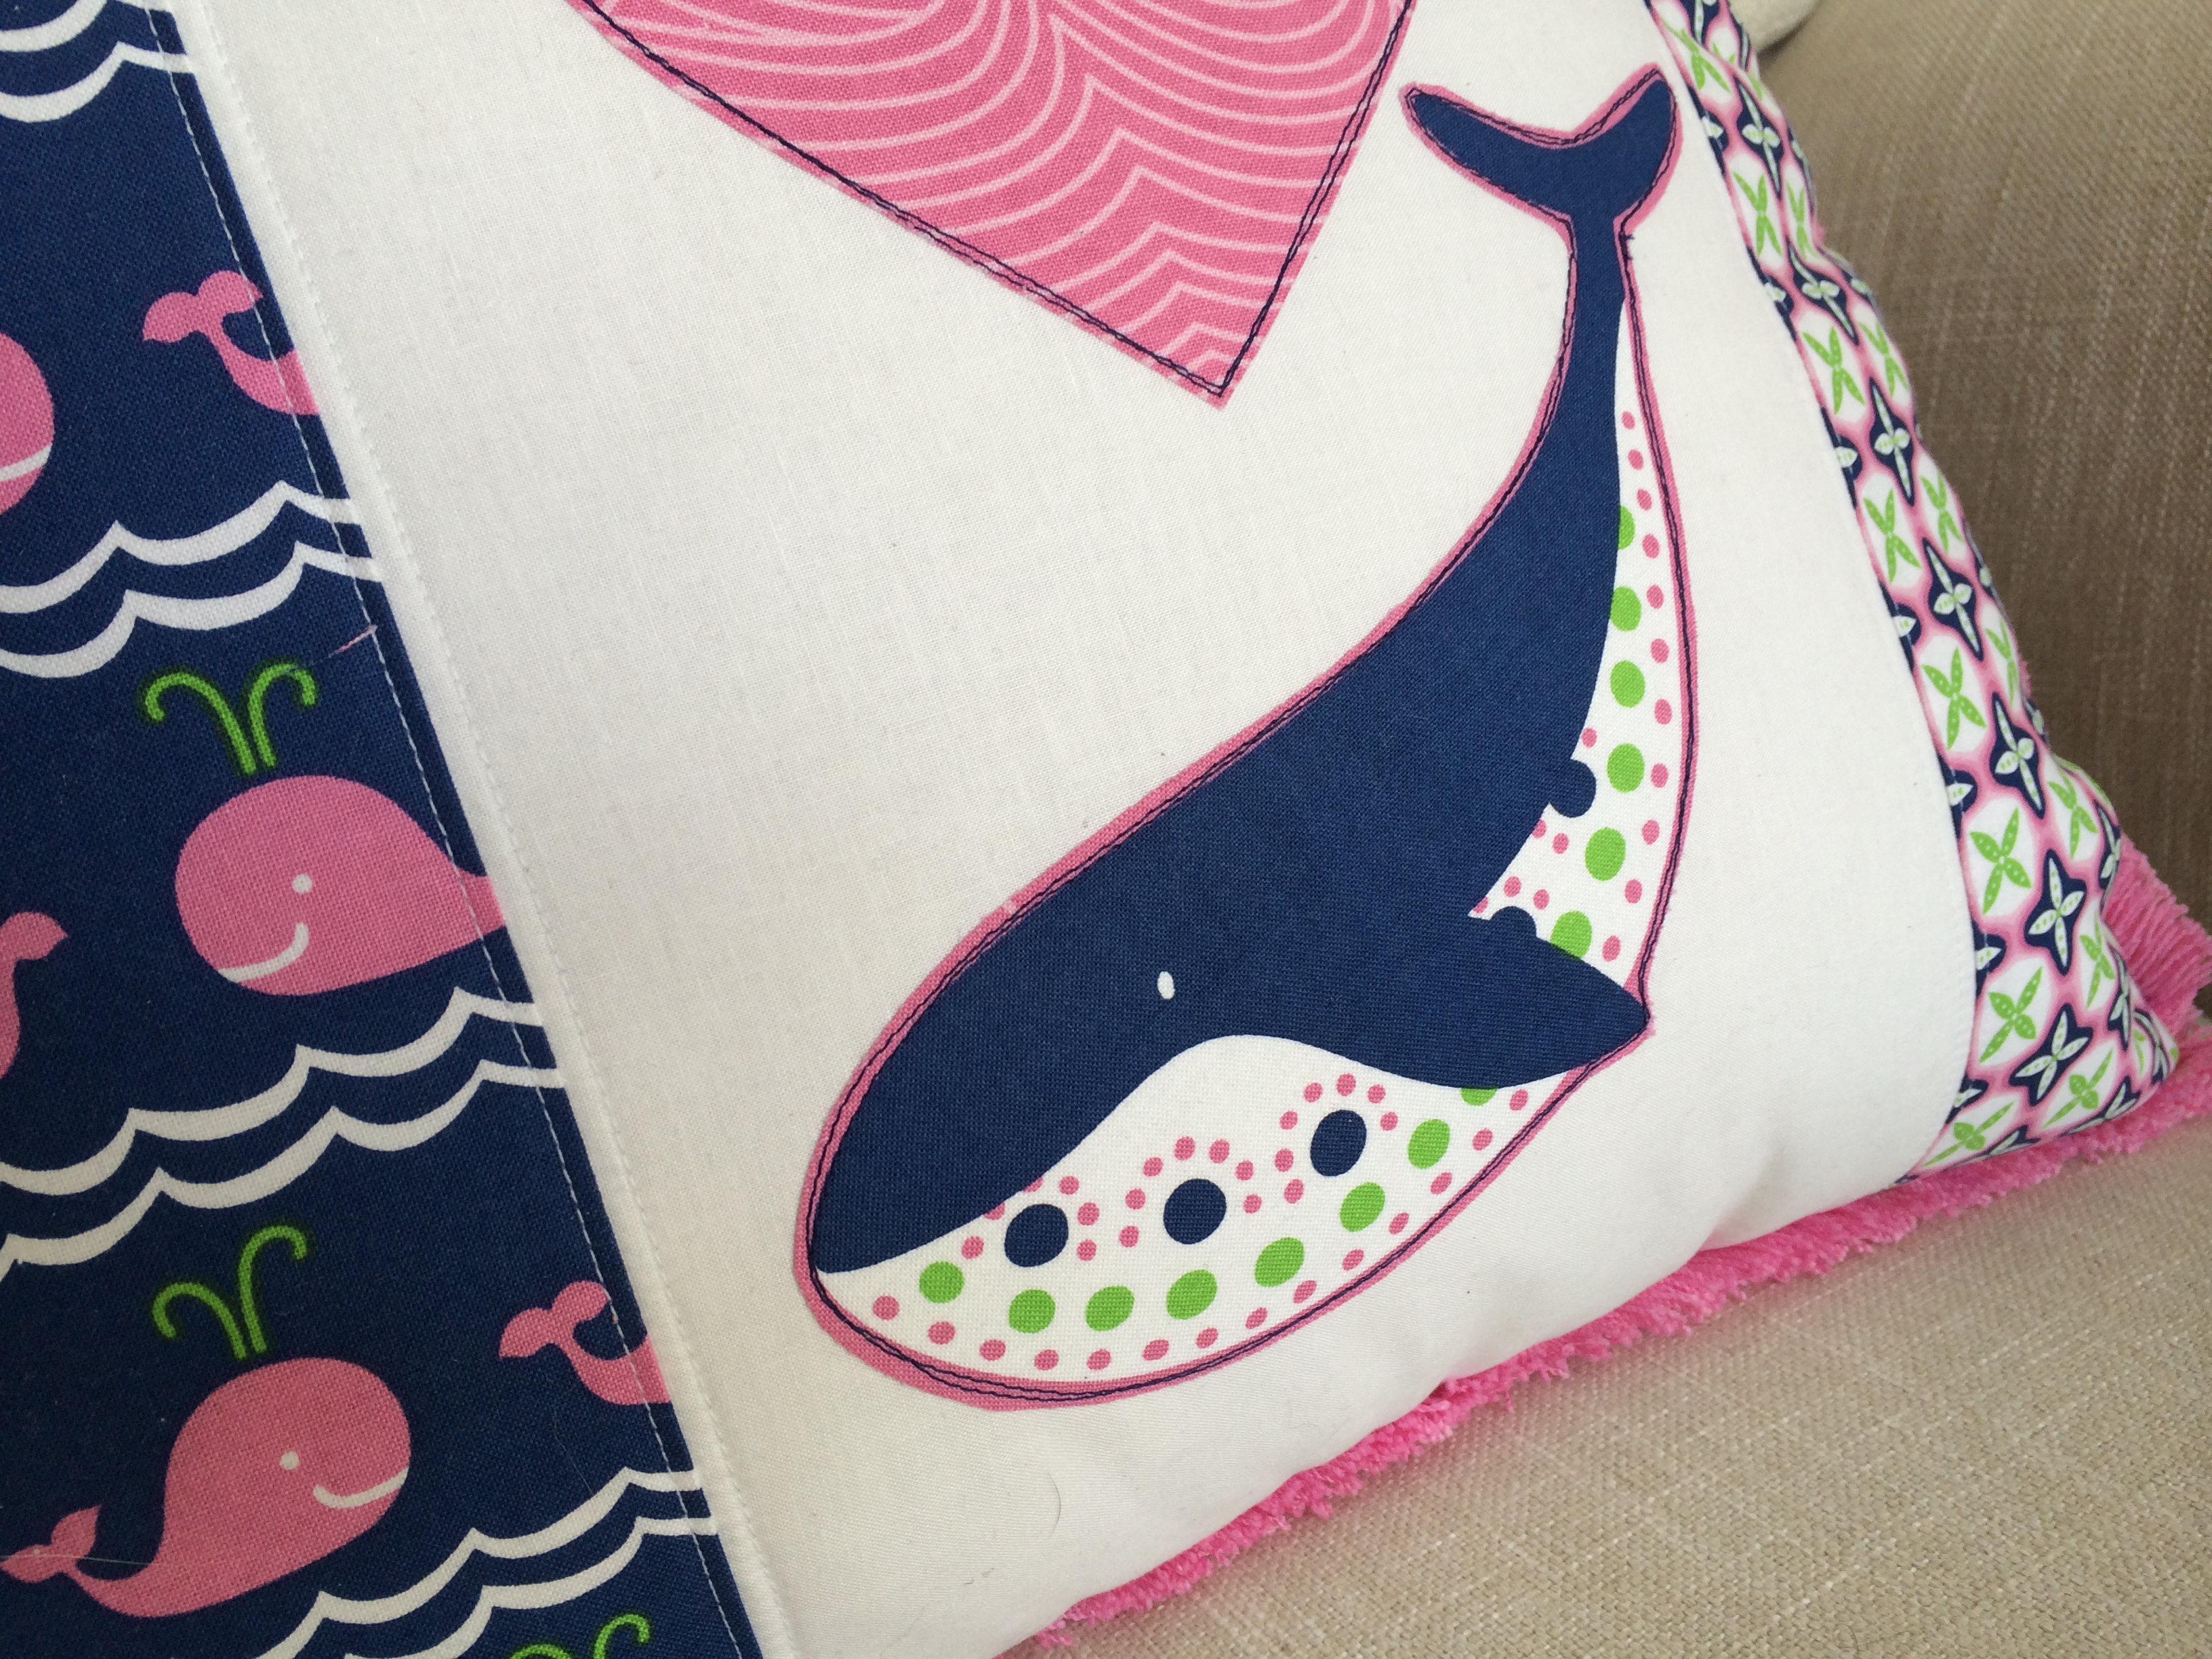
I choose to add the letter after the quilting so the letter would have a quilted look as well. After a few washings, the fringed edge of the square should look more ruffley similar to a rag quilt.
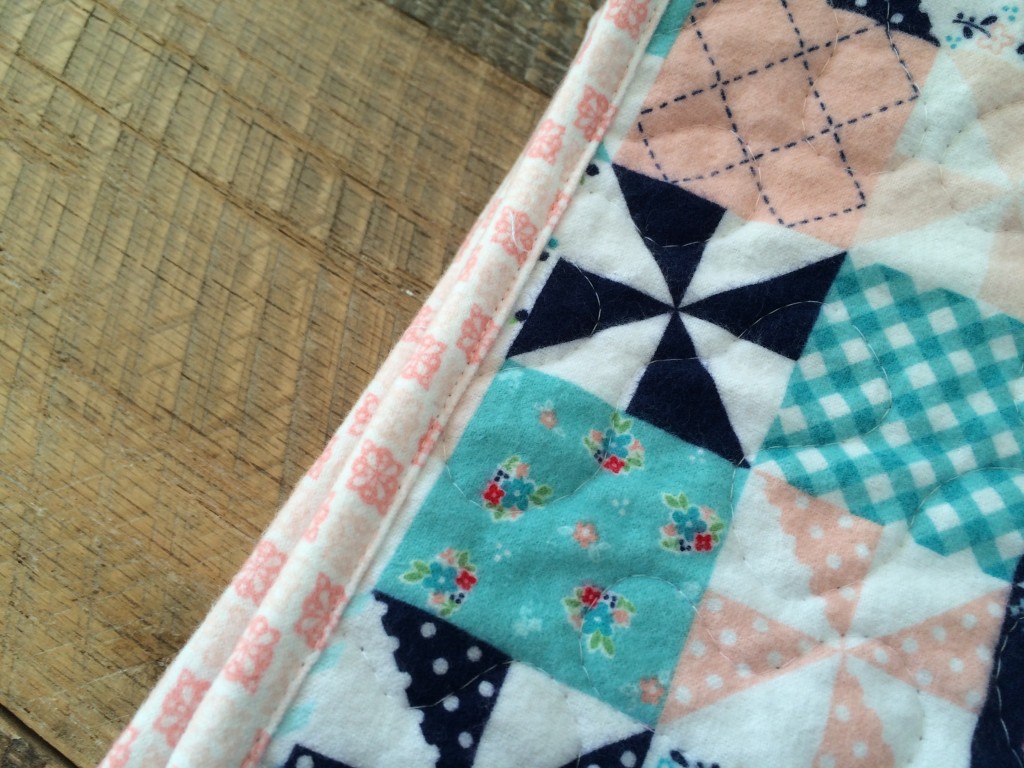
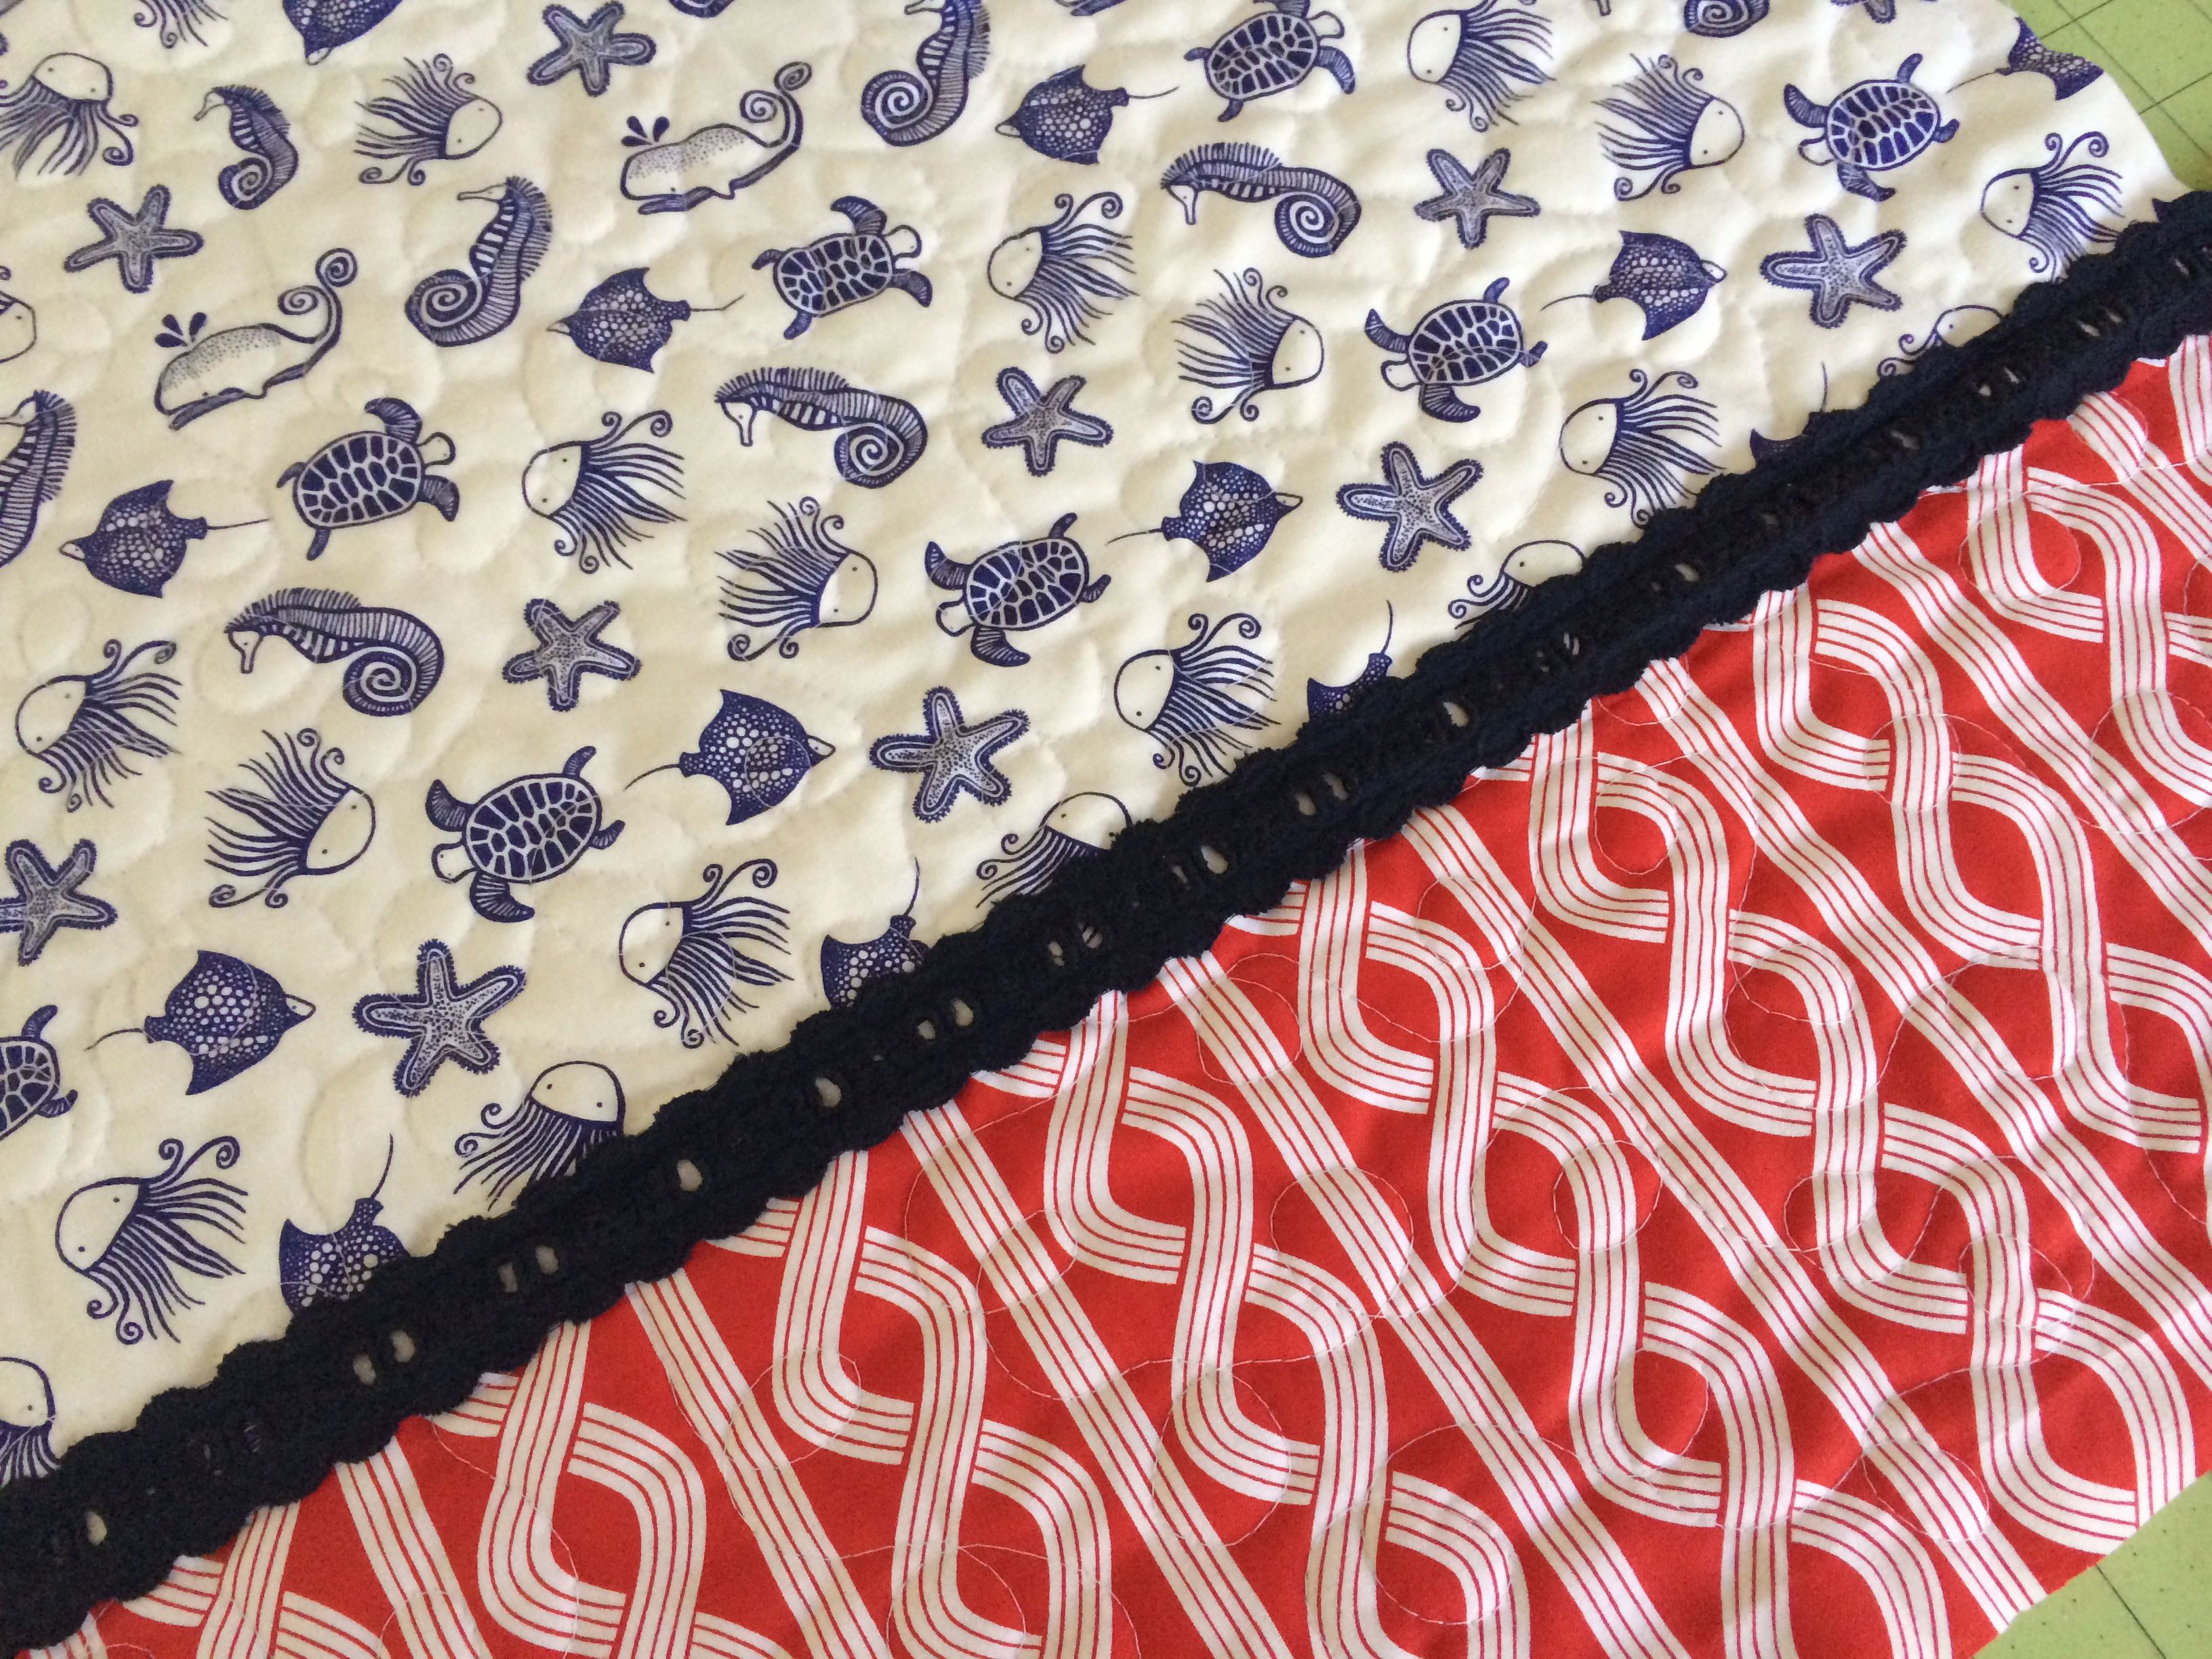
Cut (6) 2.5″ strips of flannel for the binding. I choose to machine sew my binding on so it would hold up nicely after many washings.
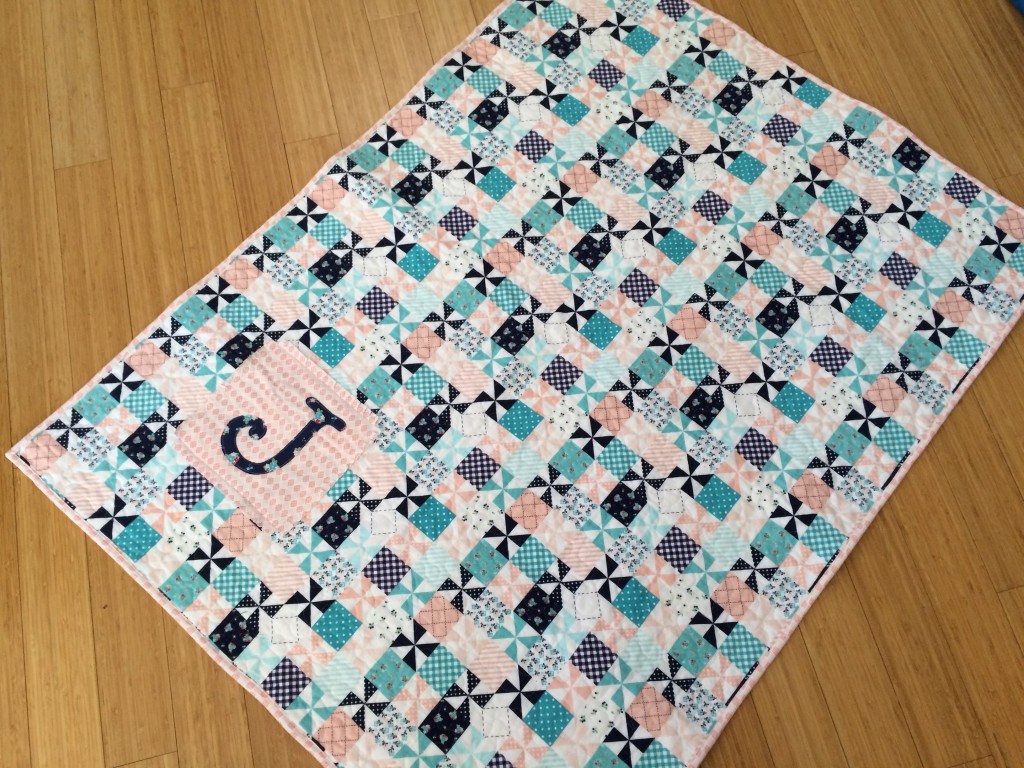
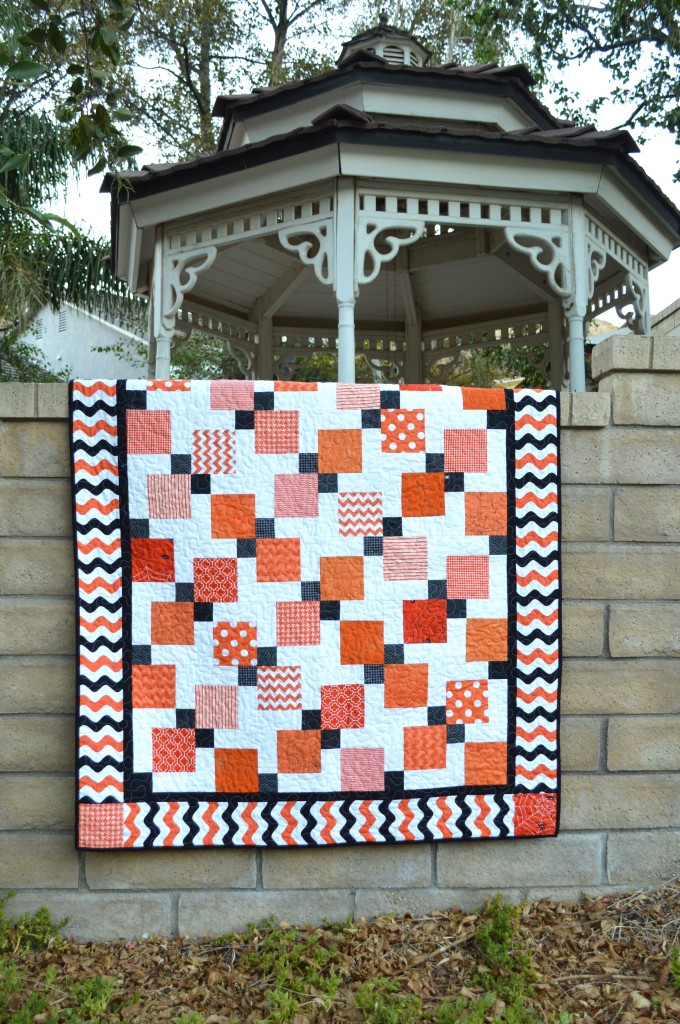
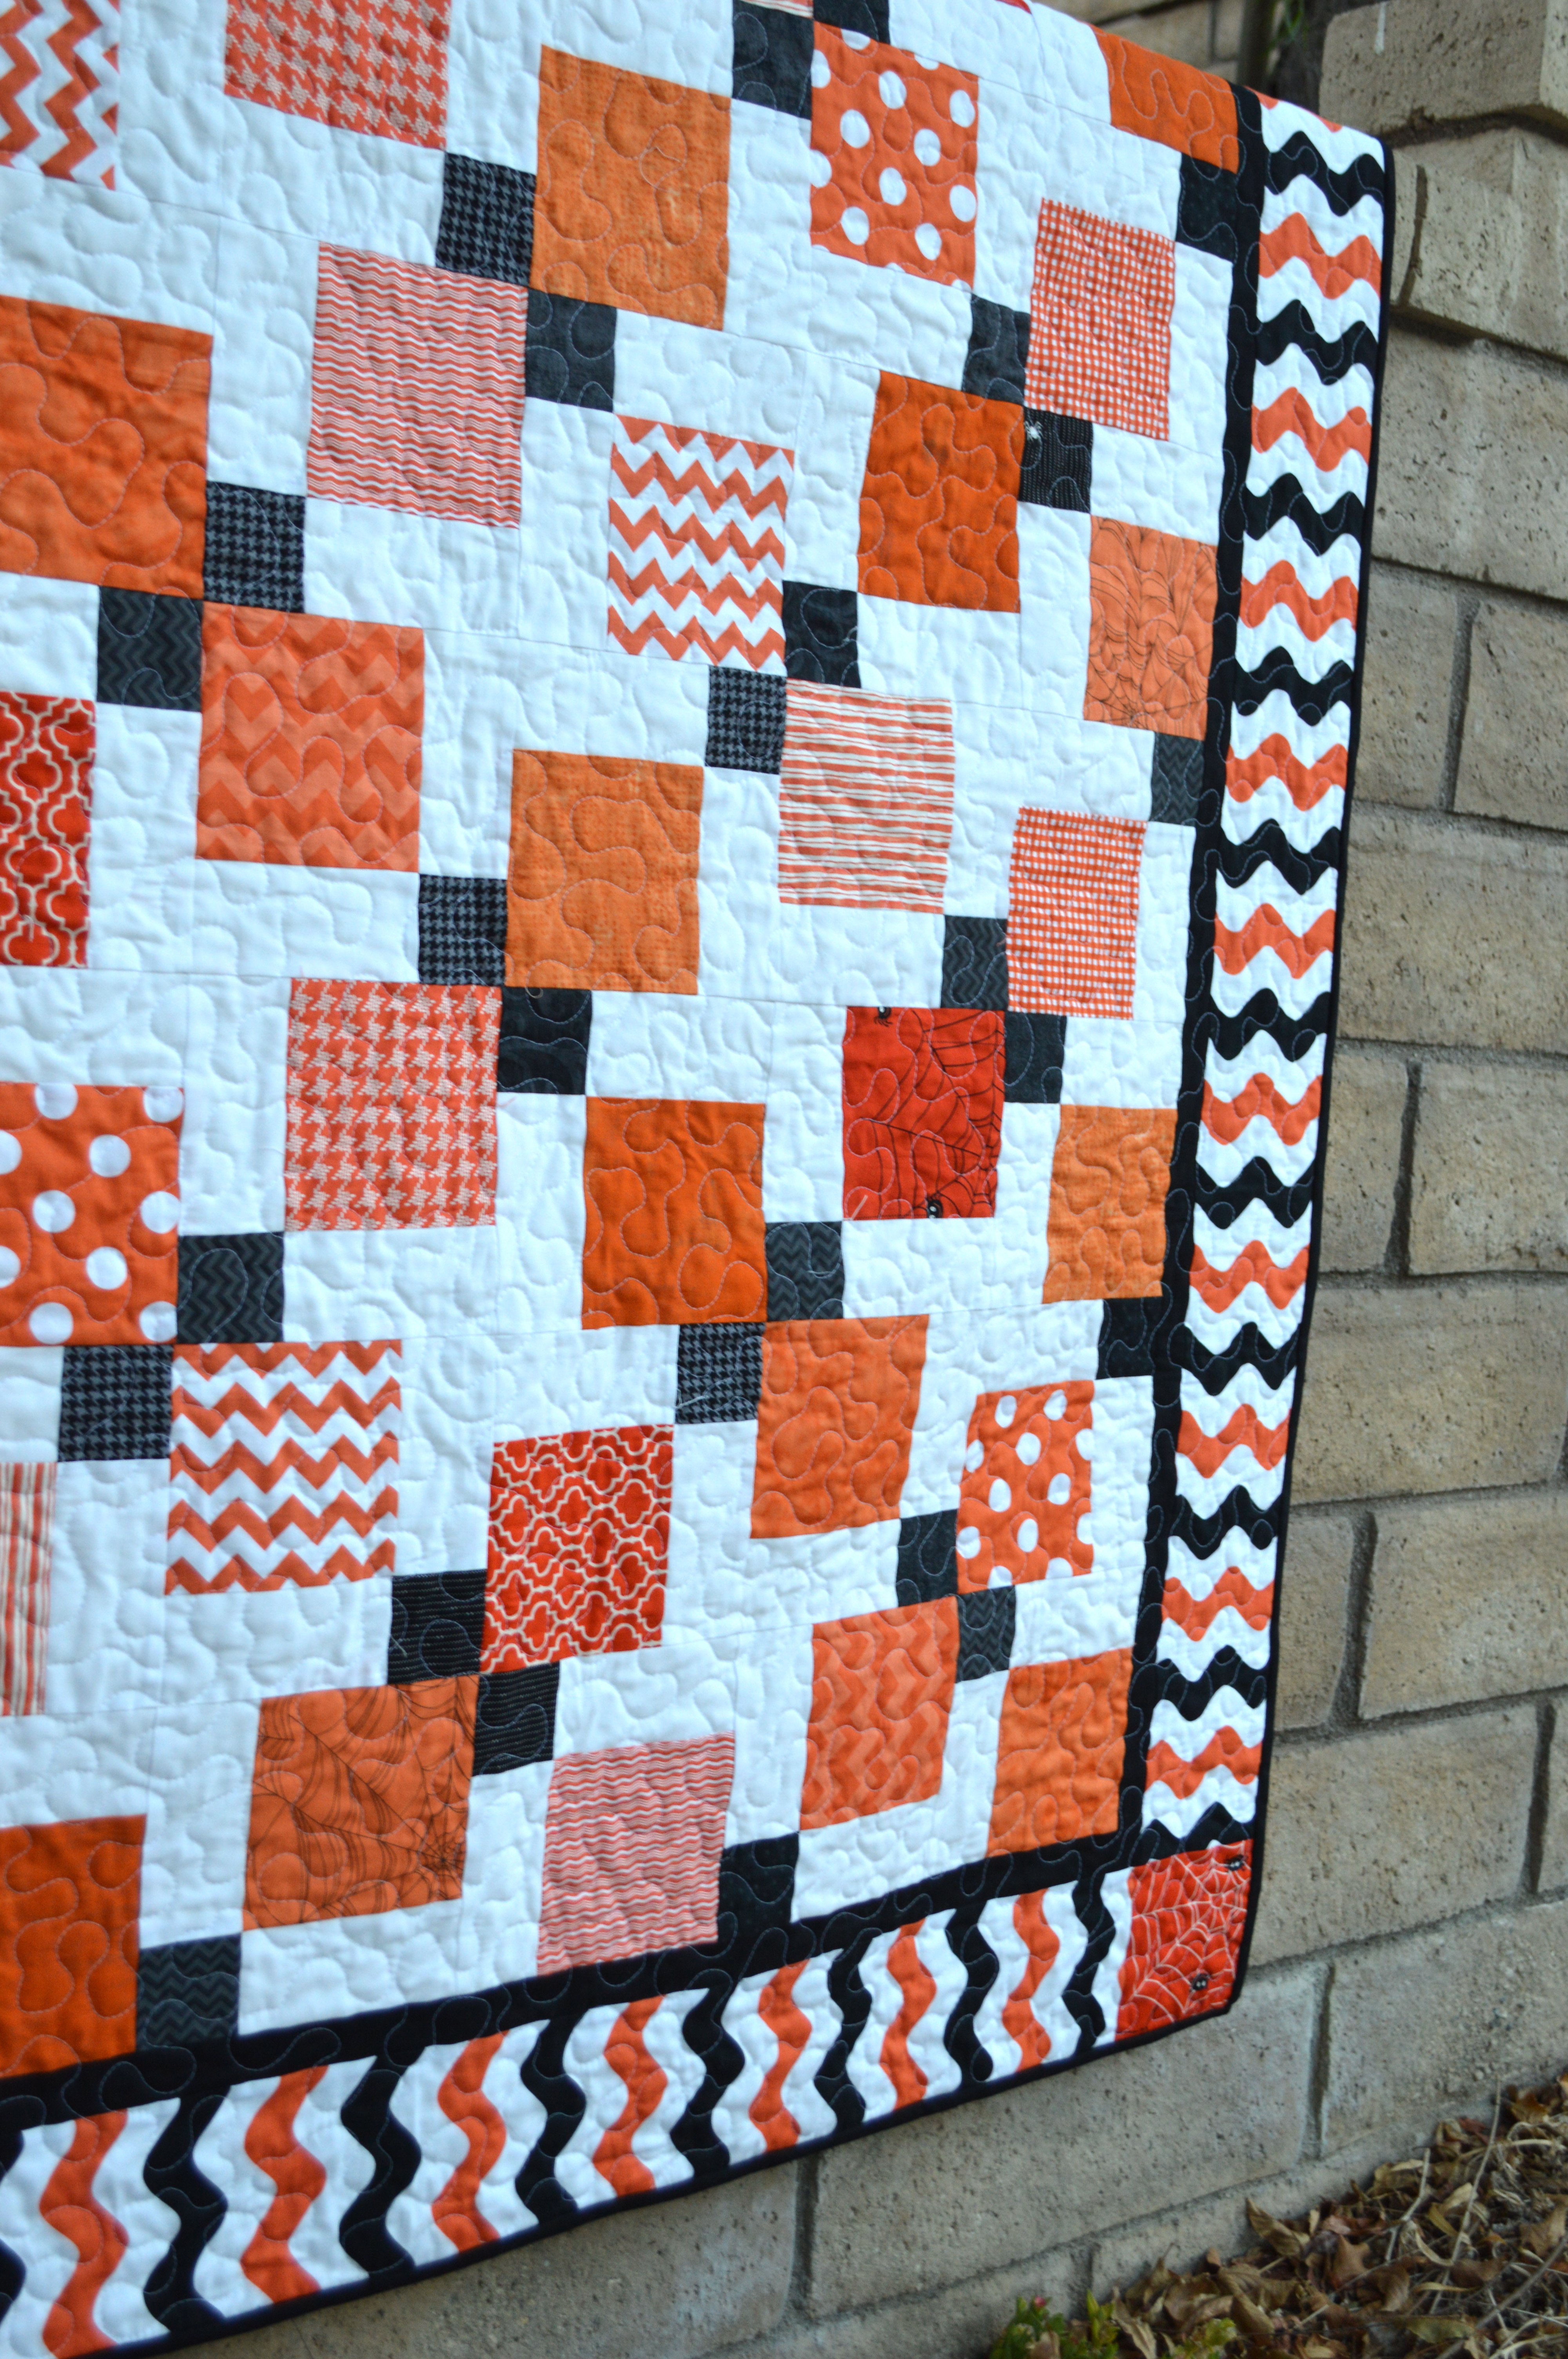
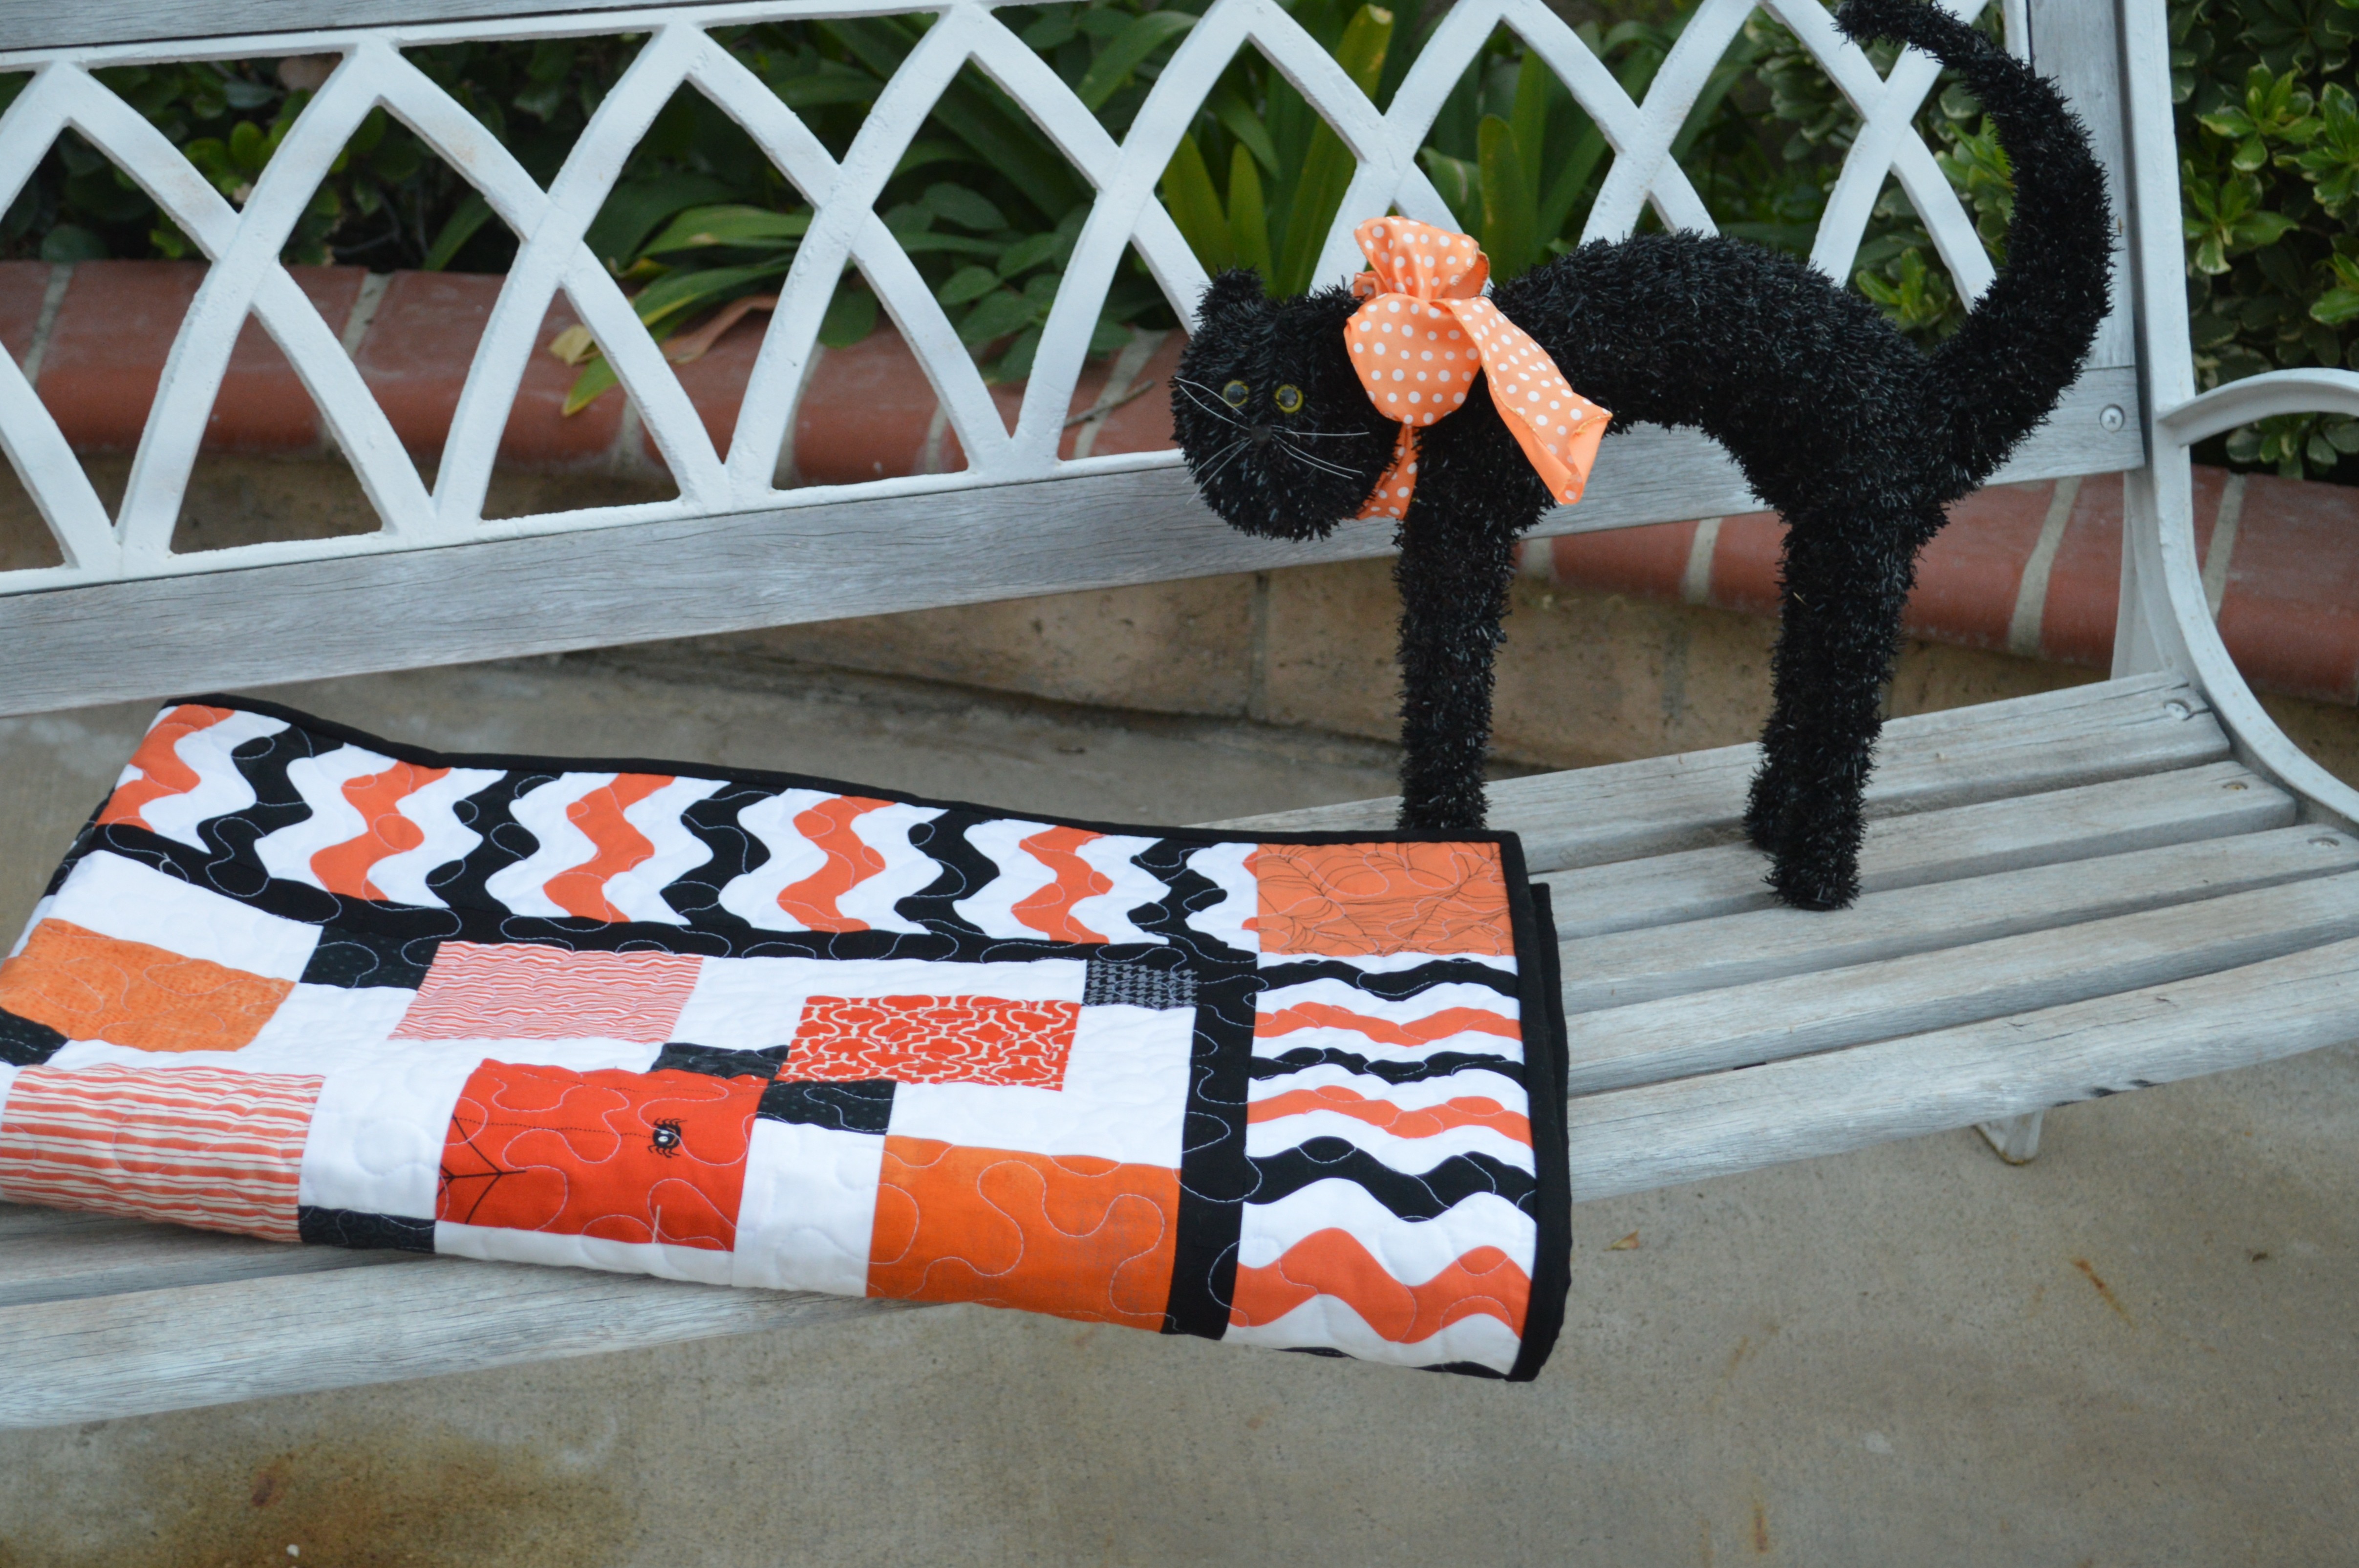
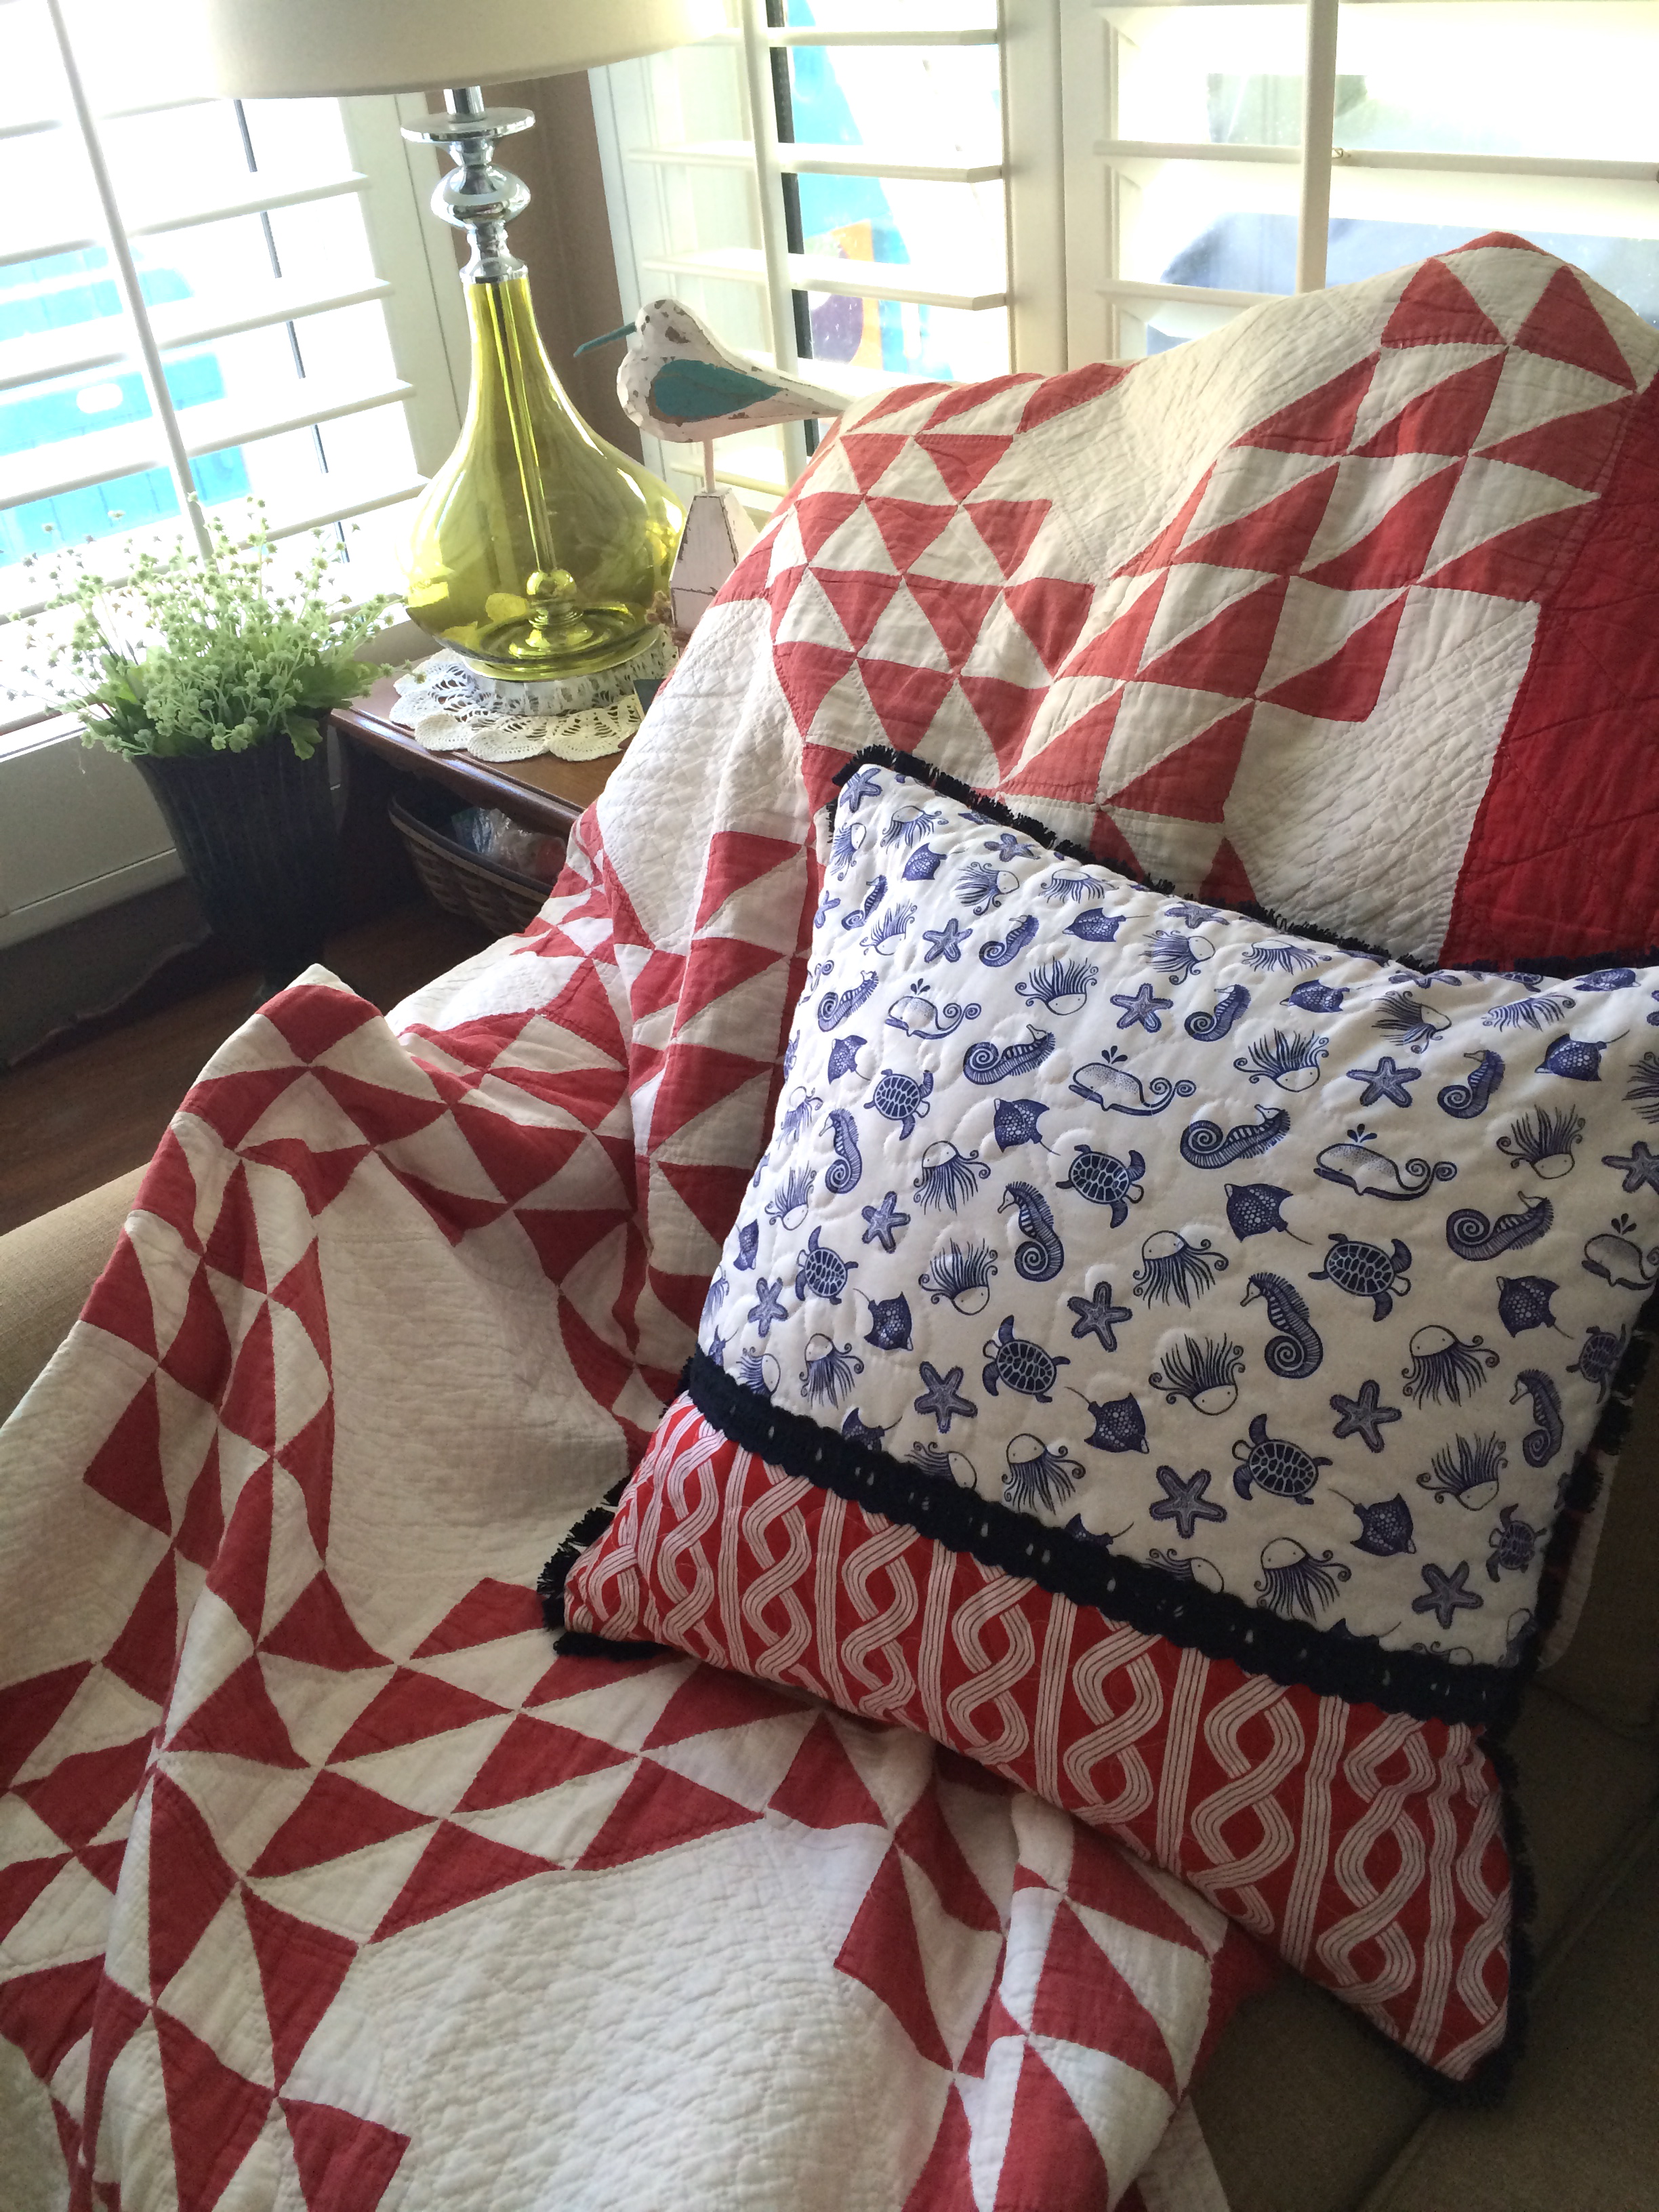
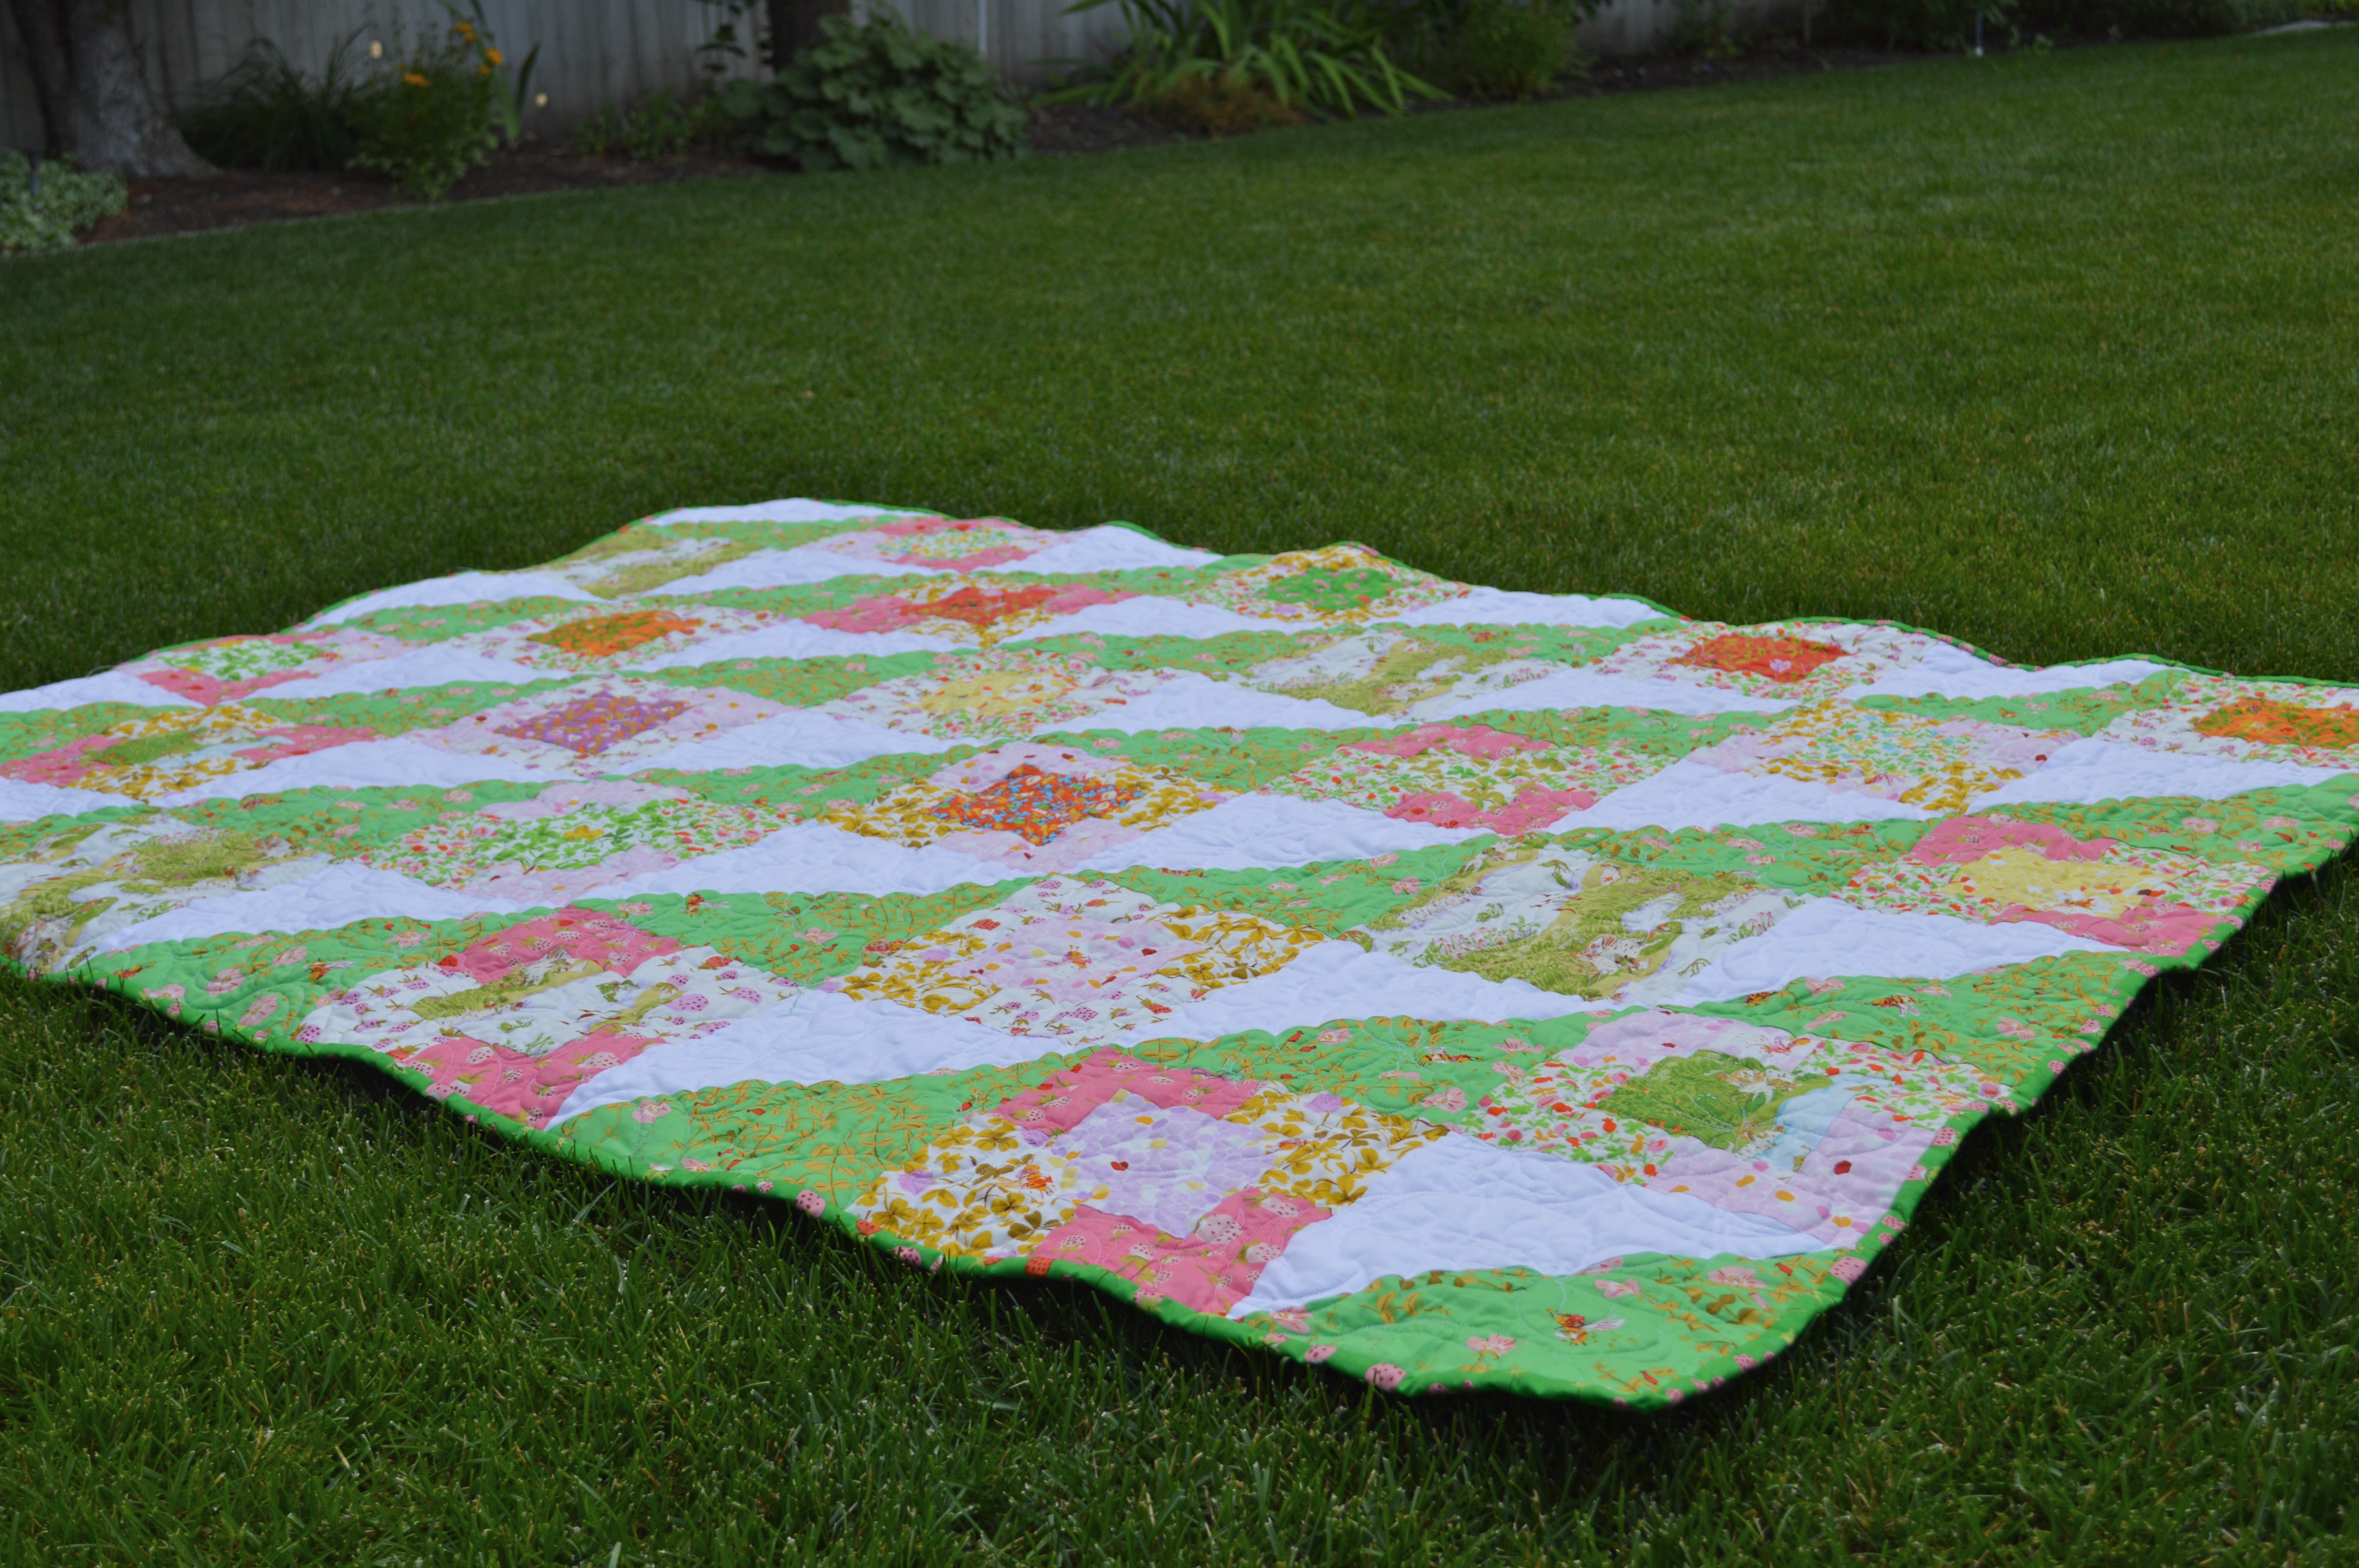
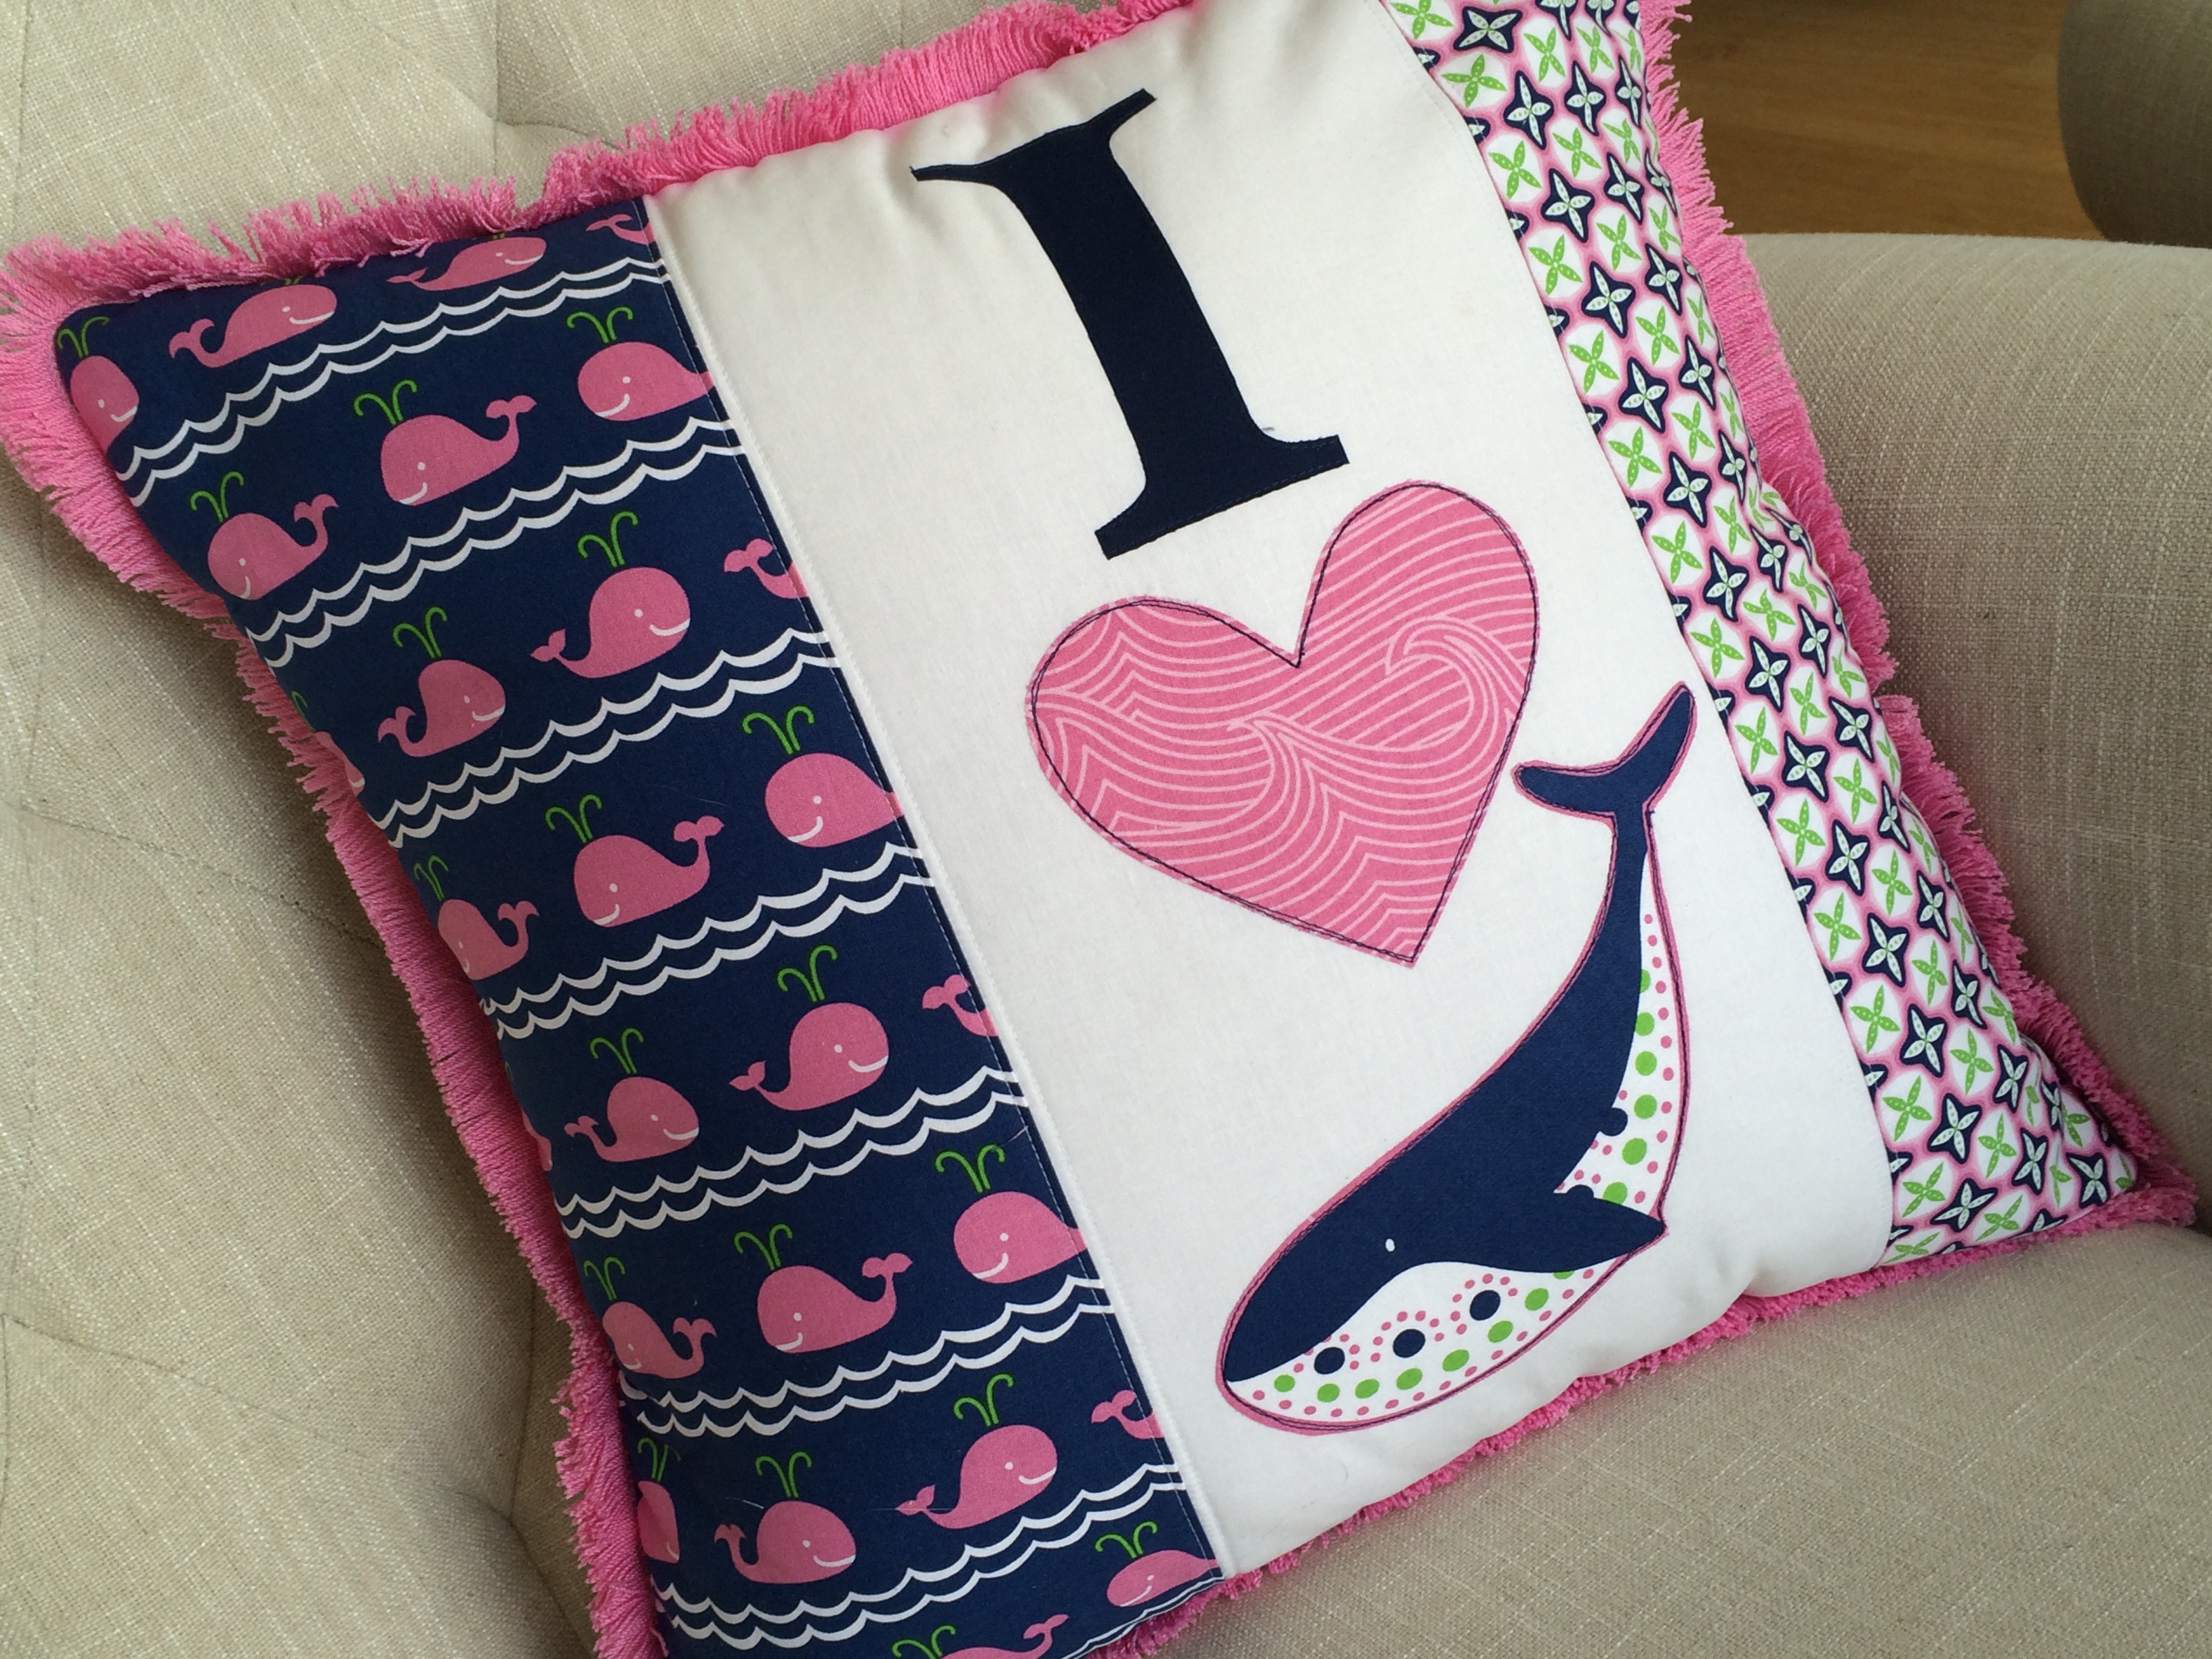
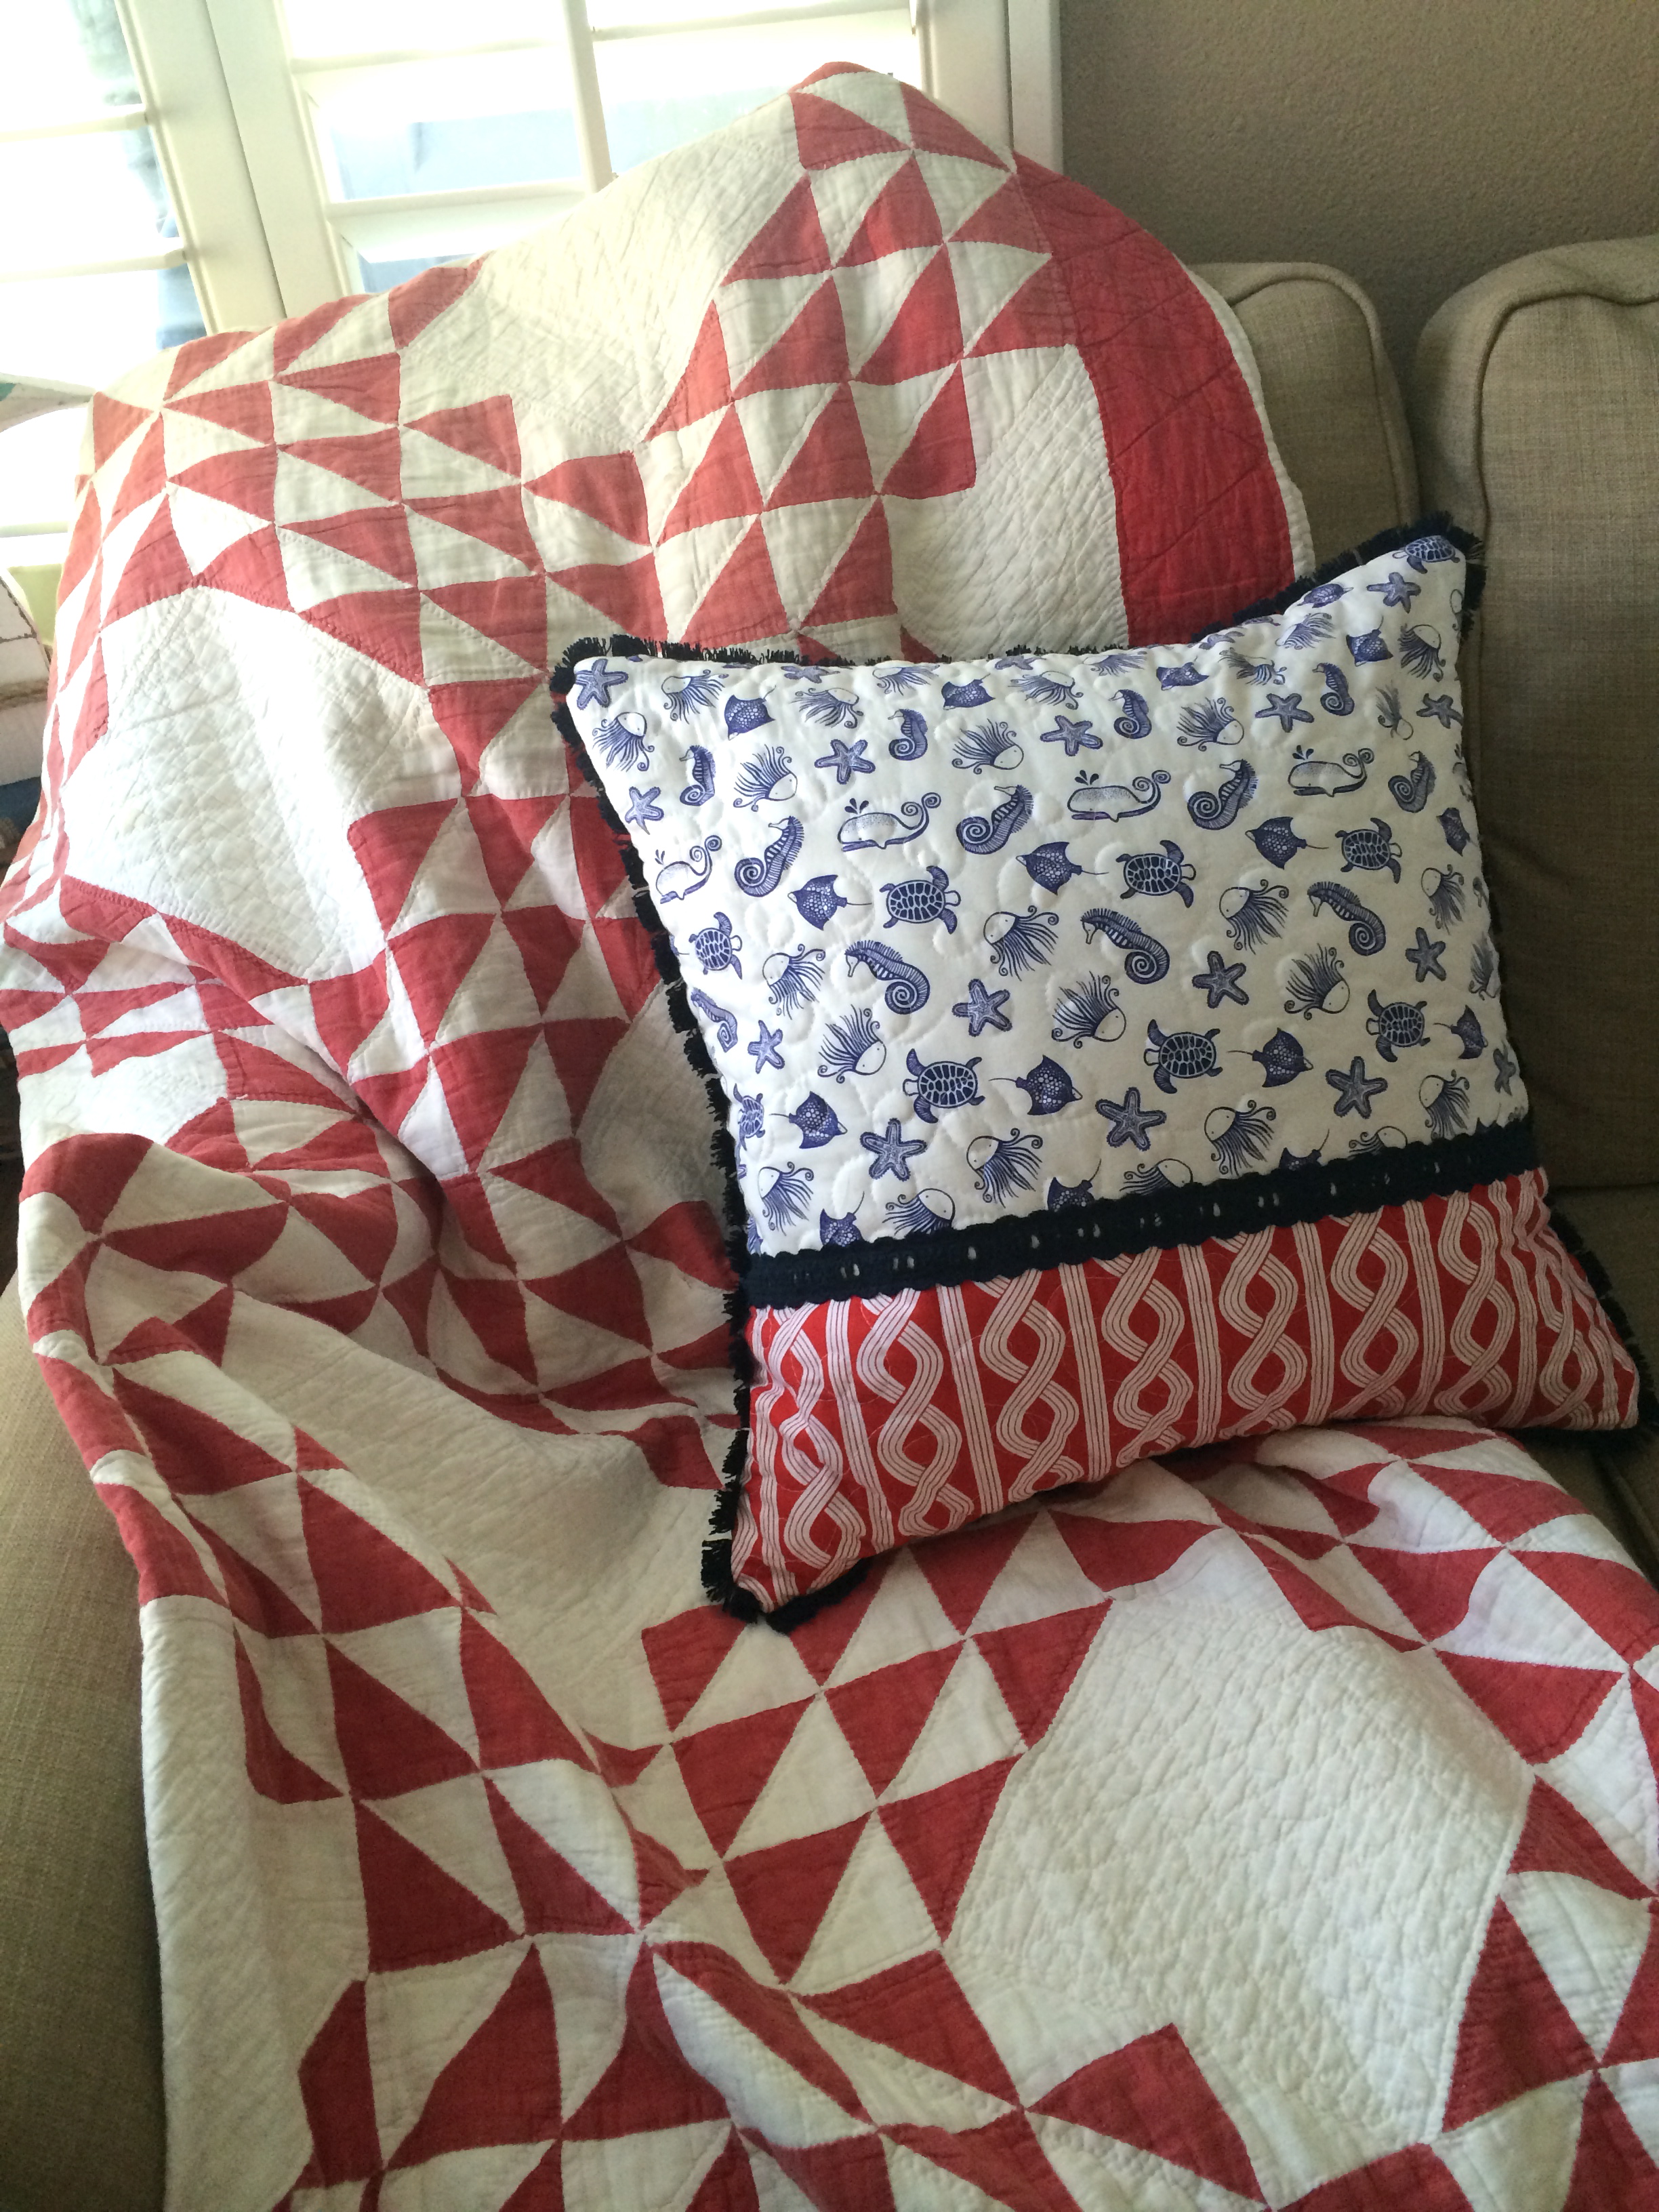
 I think it turned out so cute! and it’s sooooo soft and snuggly!

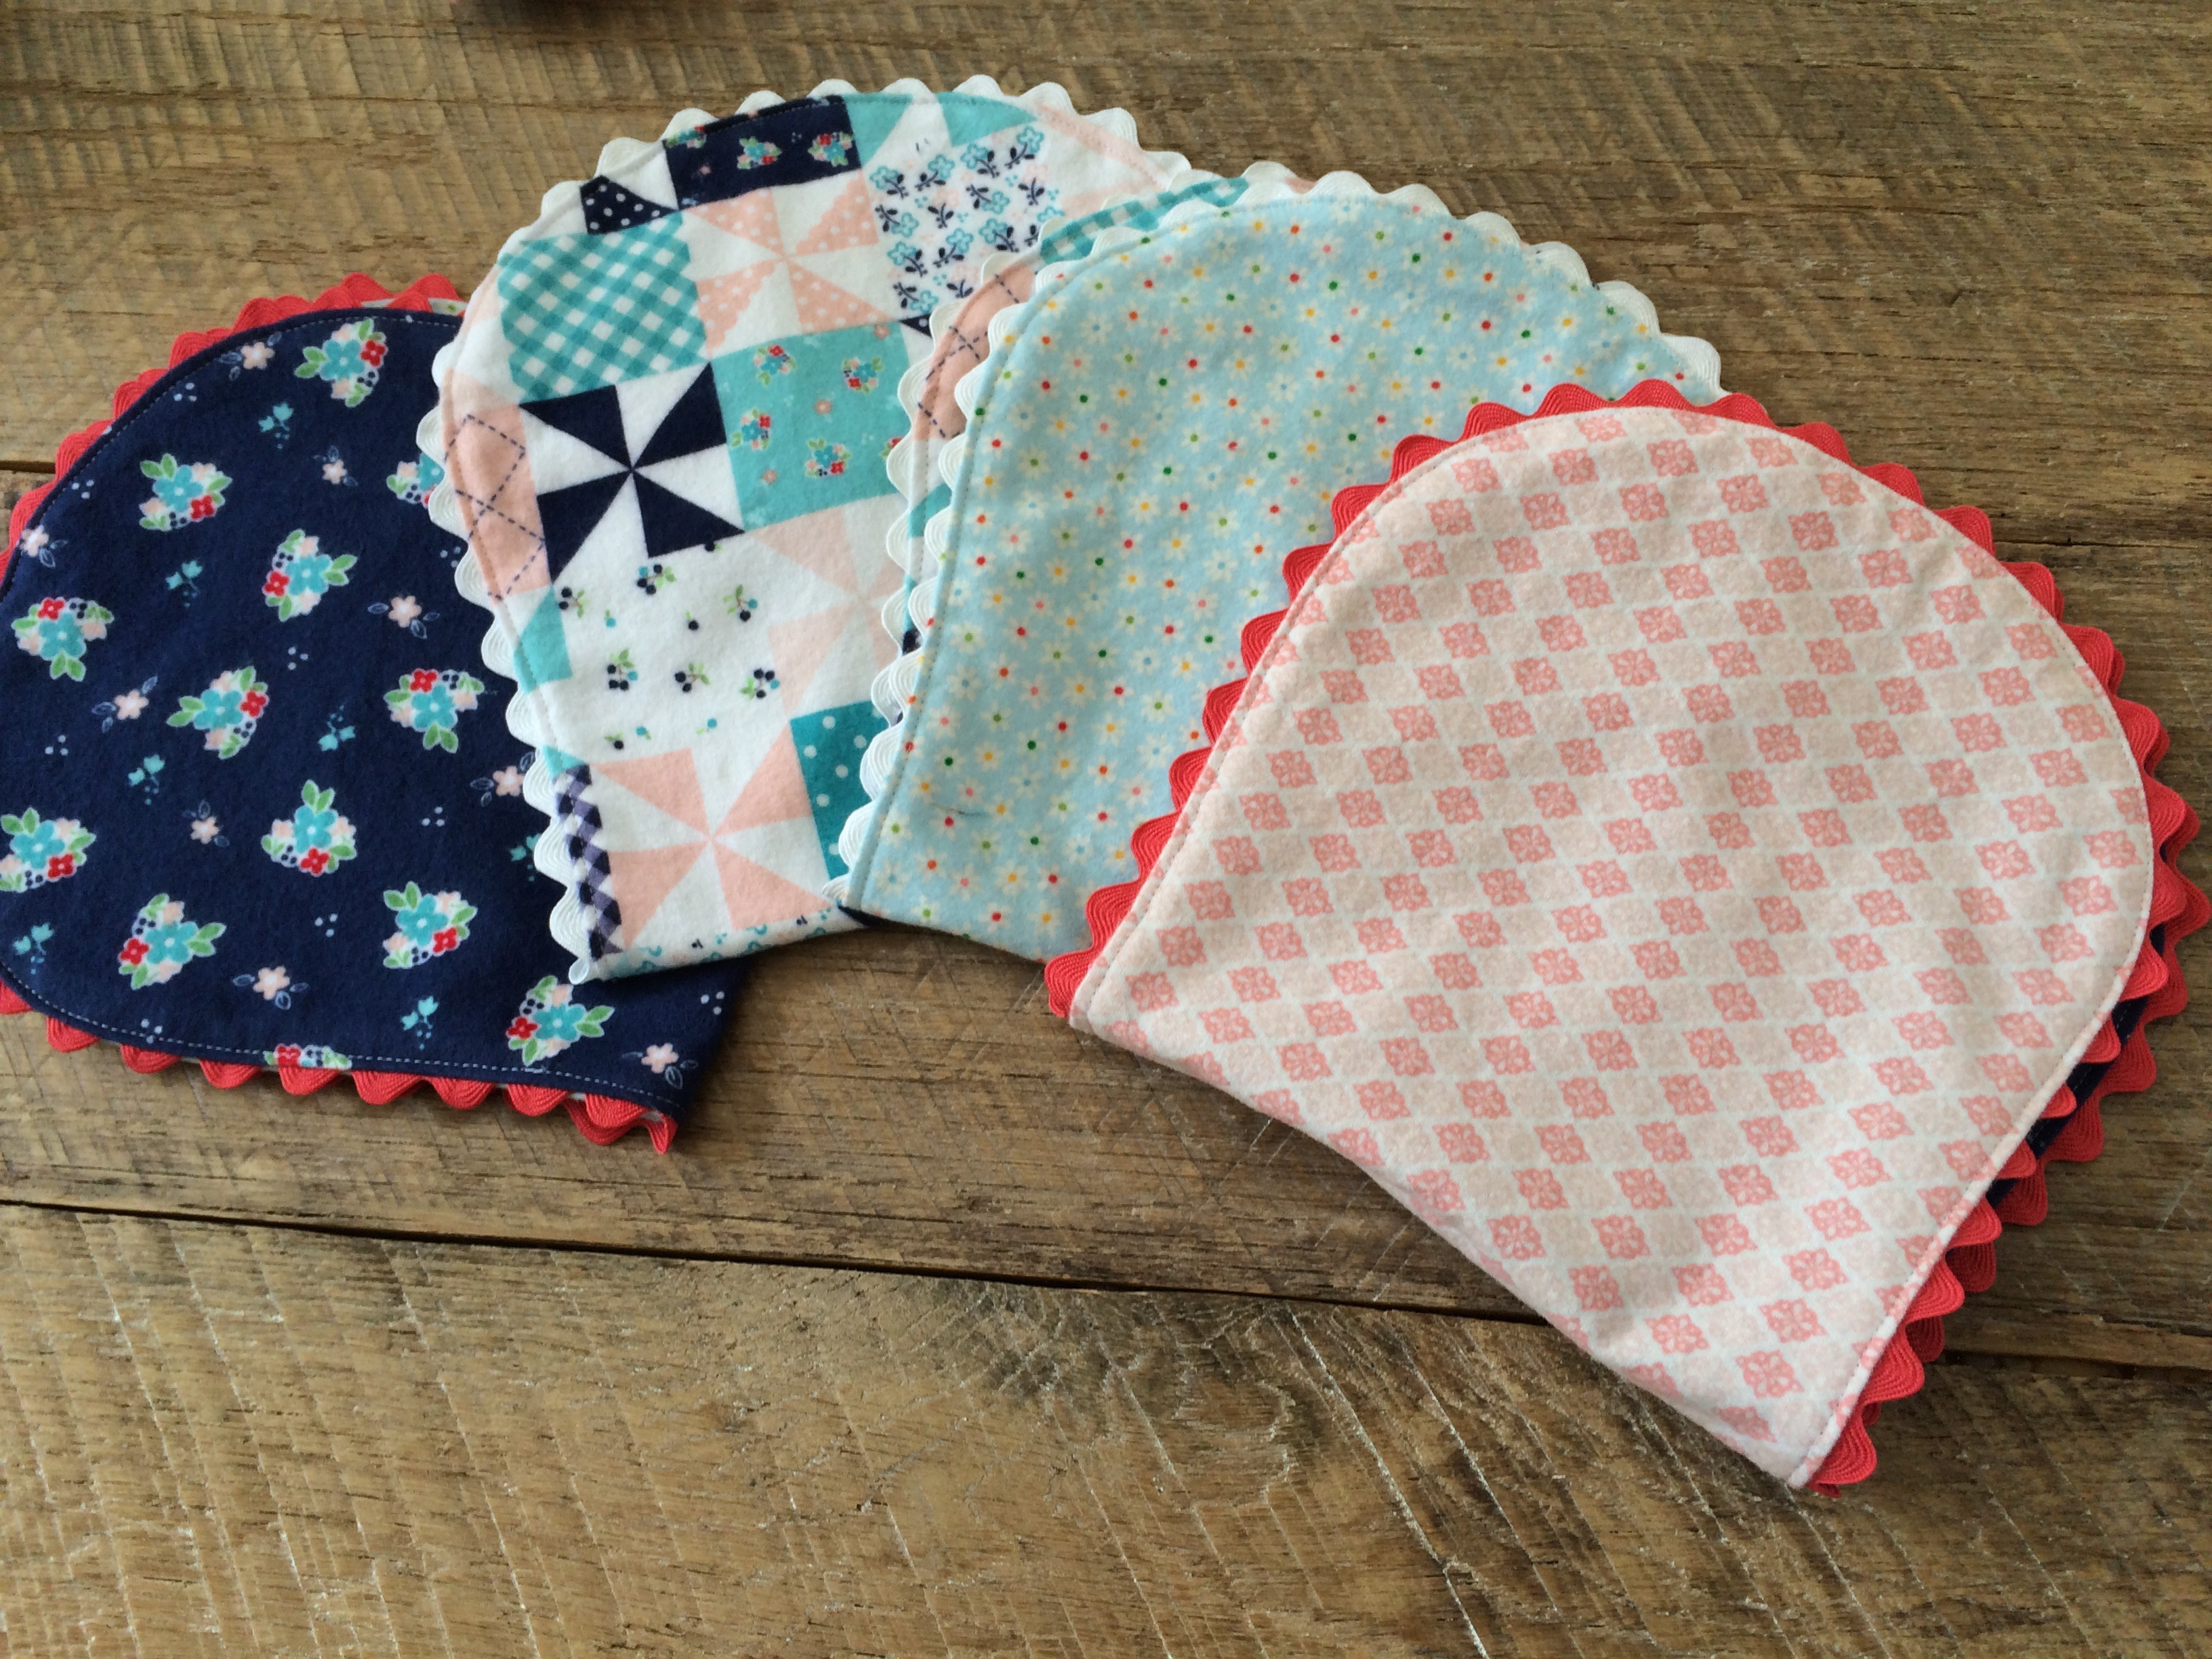
Old School Baby Burpers

Just a word about these baby burpers….. My mom sewed this same style burper when I was a little baby. As a toddler I would carry one around like it was a little blankie. I called them “Night Nights”. I’ve continued the tradition with my children. Below are ones I sewed 16 years ago for my first baby. The flannel selections were so sad back then – but I made do! I made stacks and stacks of these and boy did we go through them! Since my children are older, I found a new use for them – dusters! They are perfect for dusting the piano, the china hutch and for other finishes you don’t want scratched!!

Supplies
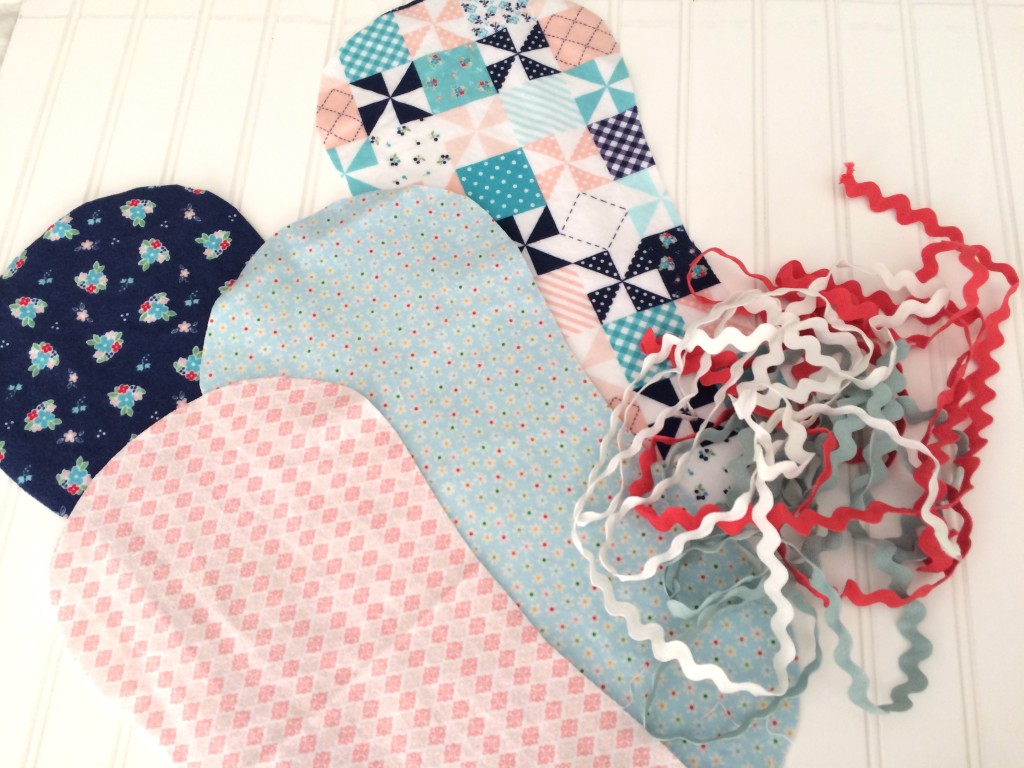
1/2 yards of assorted flannels
ric rac
Pattern, click HERE
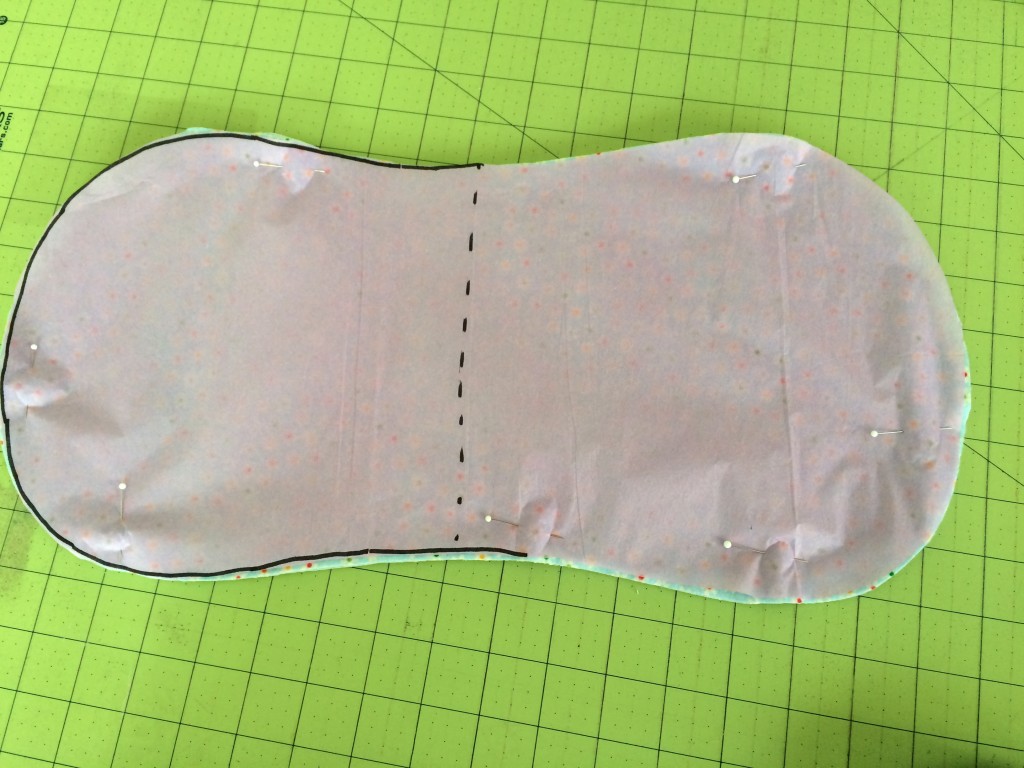
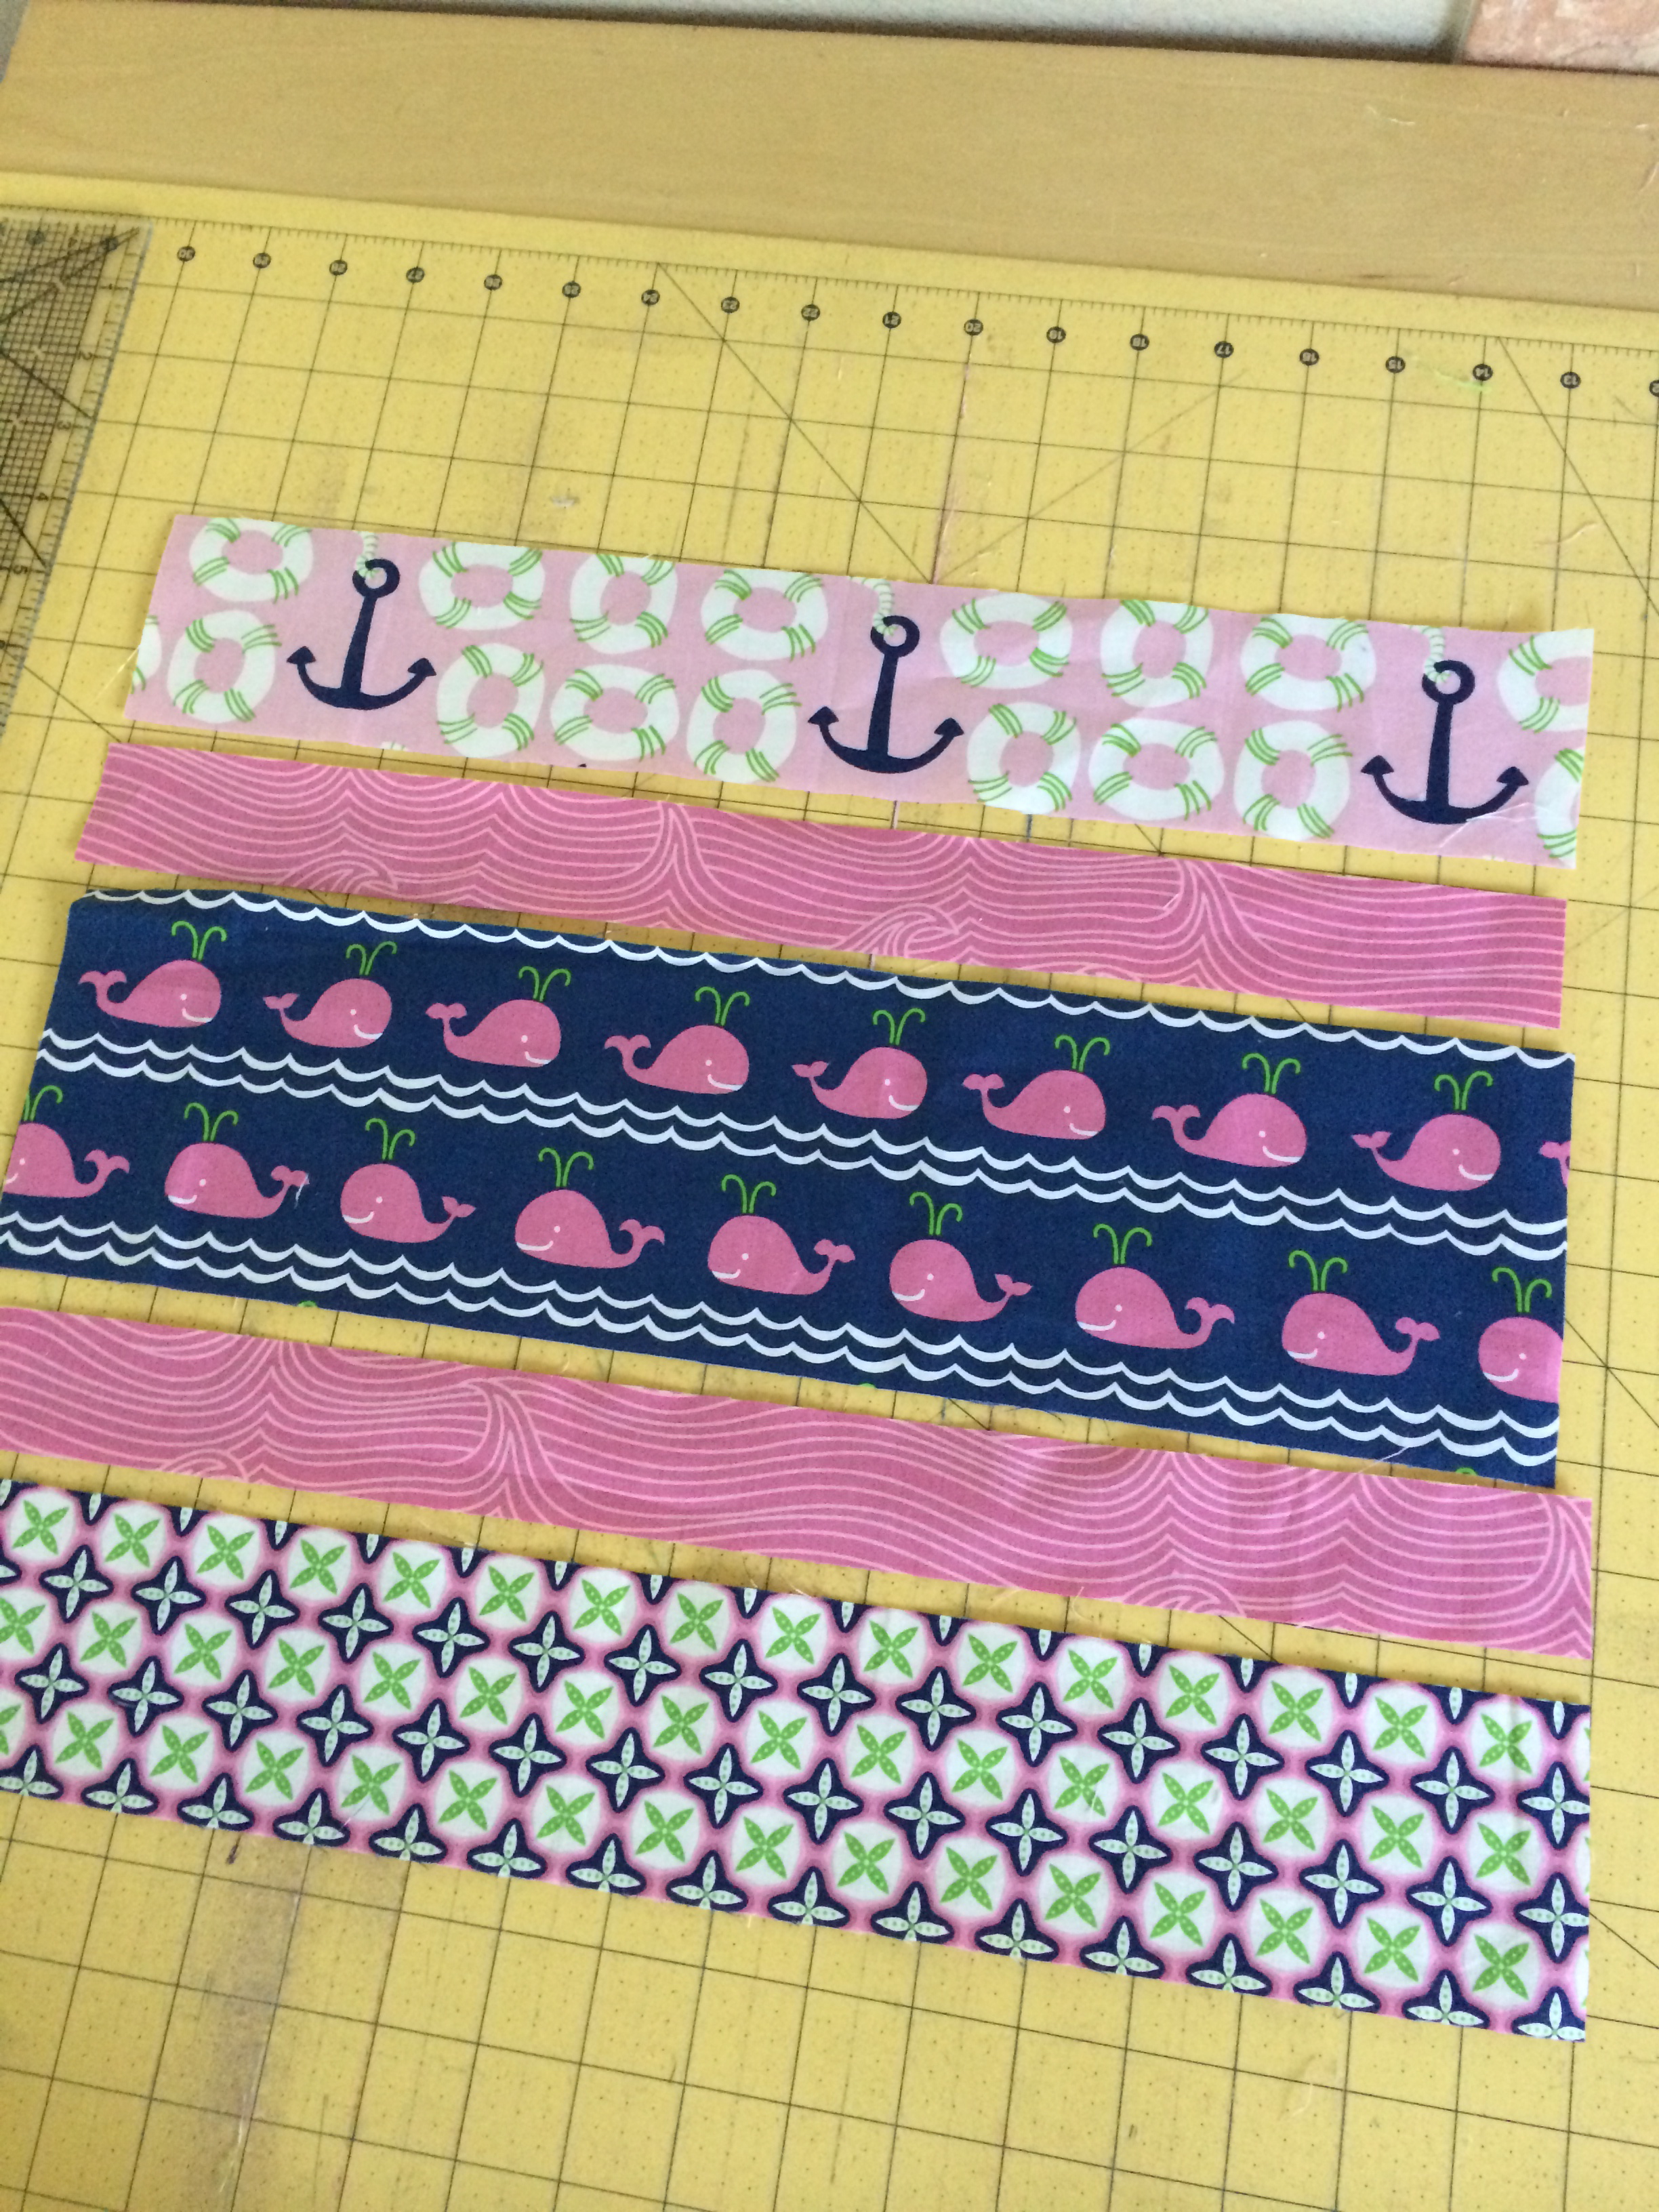
Begin by printing the pattern and tracing it onto tissue paper. Note, the pattern is only for half the burper, trace both sides onto the tissue paper and cut it out. Pin it to the flannel, I like to cut 4 out at a time. Cut around the pattern line.
Cut the desired amount and choose matching ric rac.
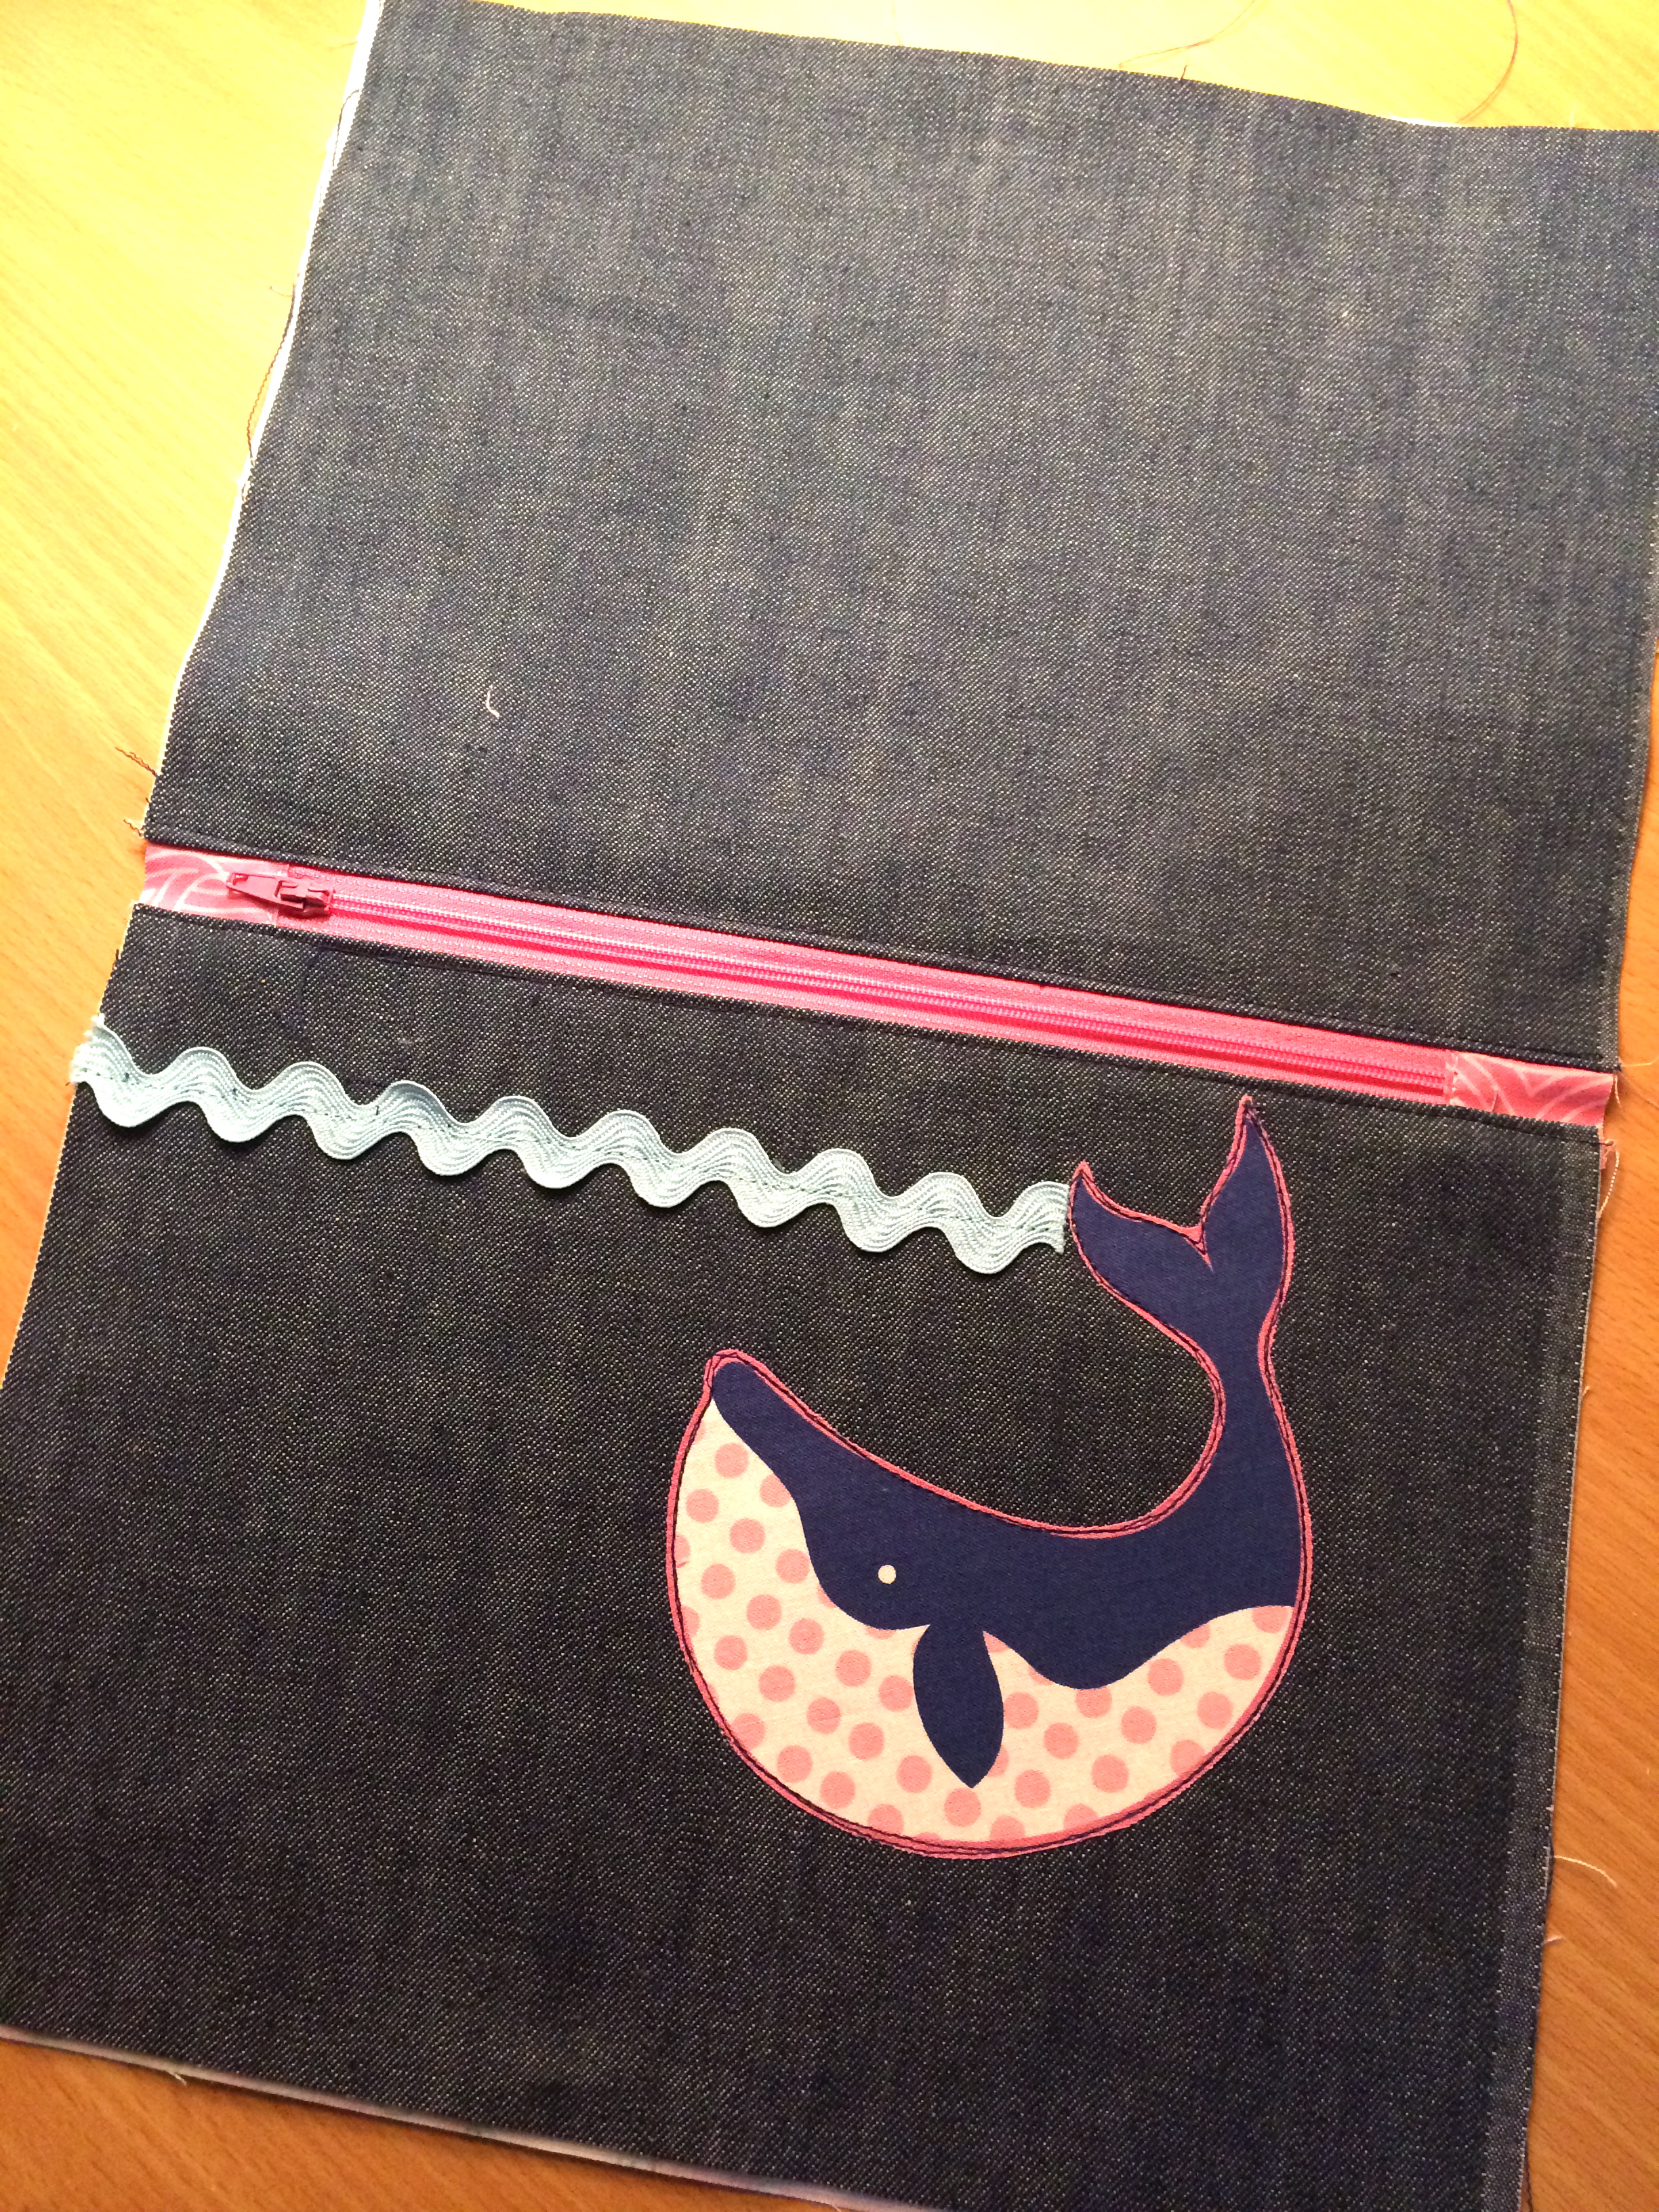
Beginning and ending on the side of the burper, take one of the pieces you’ve cut and sew the ric rac on; line up the edge of the ric rac with the edge of the burper. Sew the seam in the center of the ric rac. Start and stop on the side, overlapping the ric rac and having the edges outside of the seam like this:
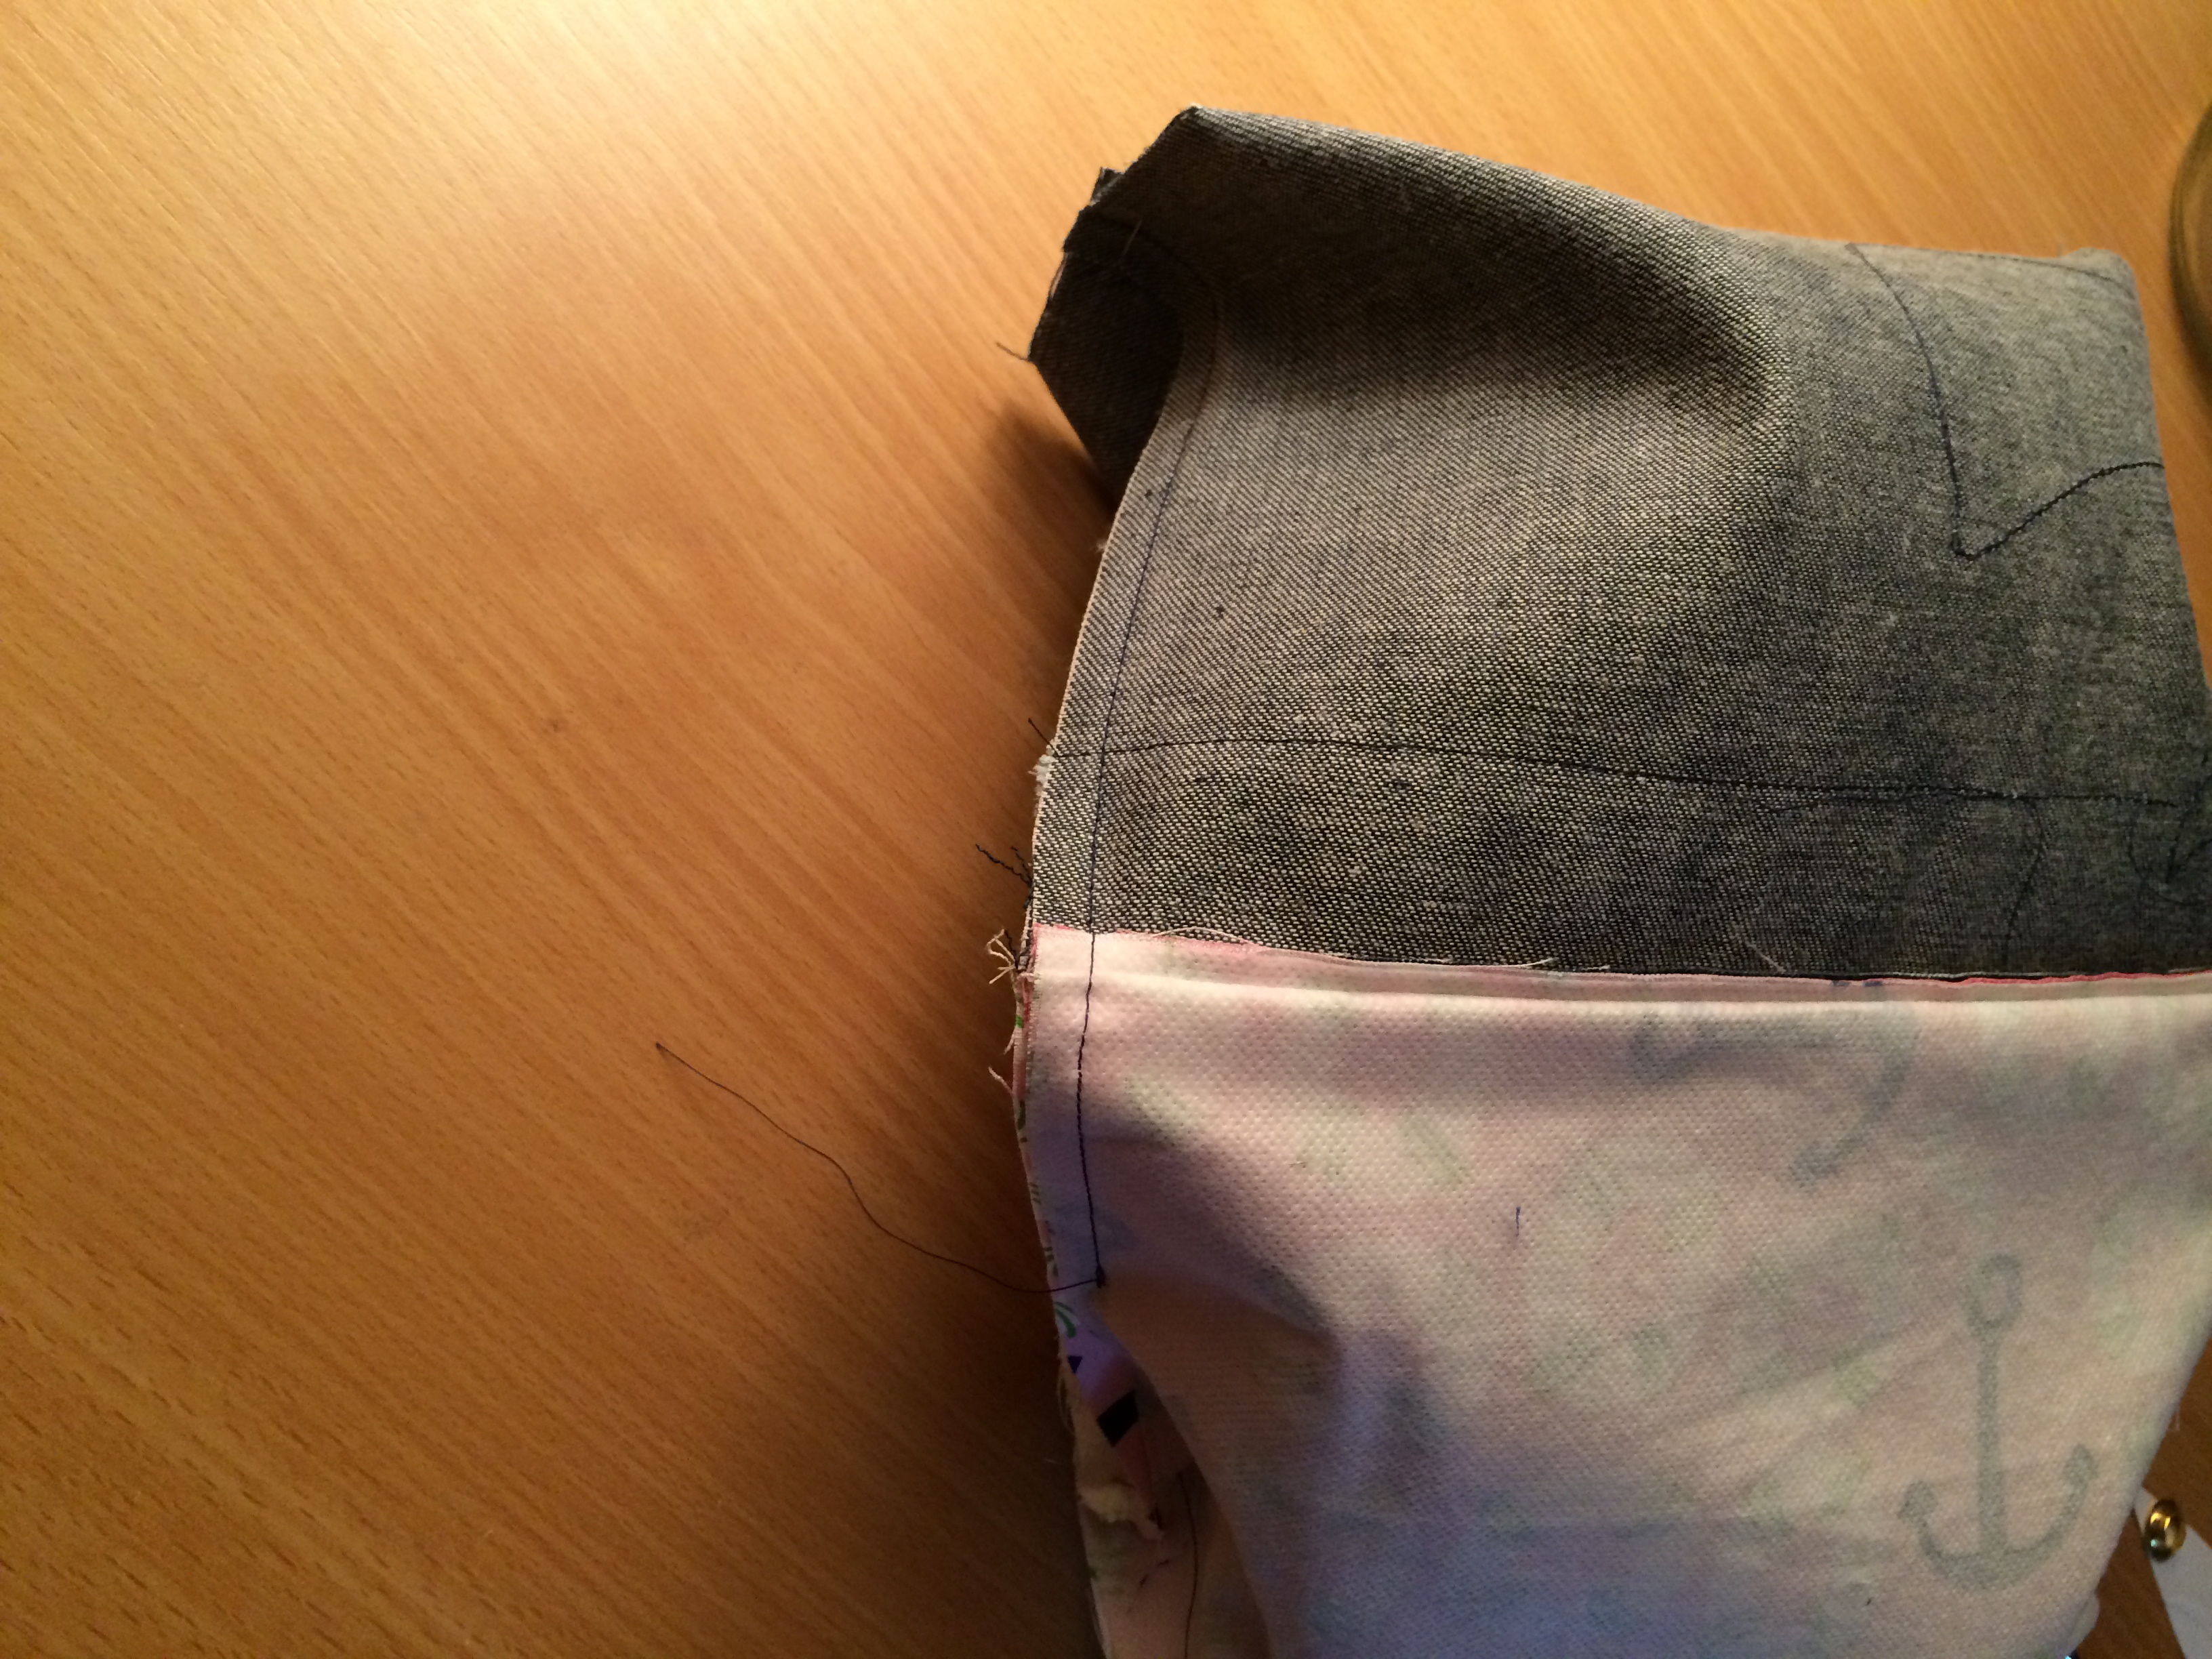
Pin the second piece right sides together with the first piece. Sew along the seam created by sewing the ric rac. Start and stop on the side leaving a little opening to turn.
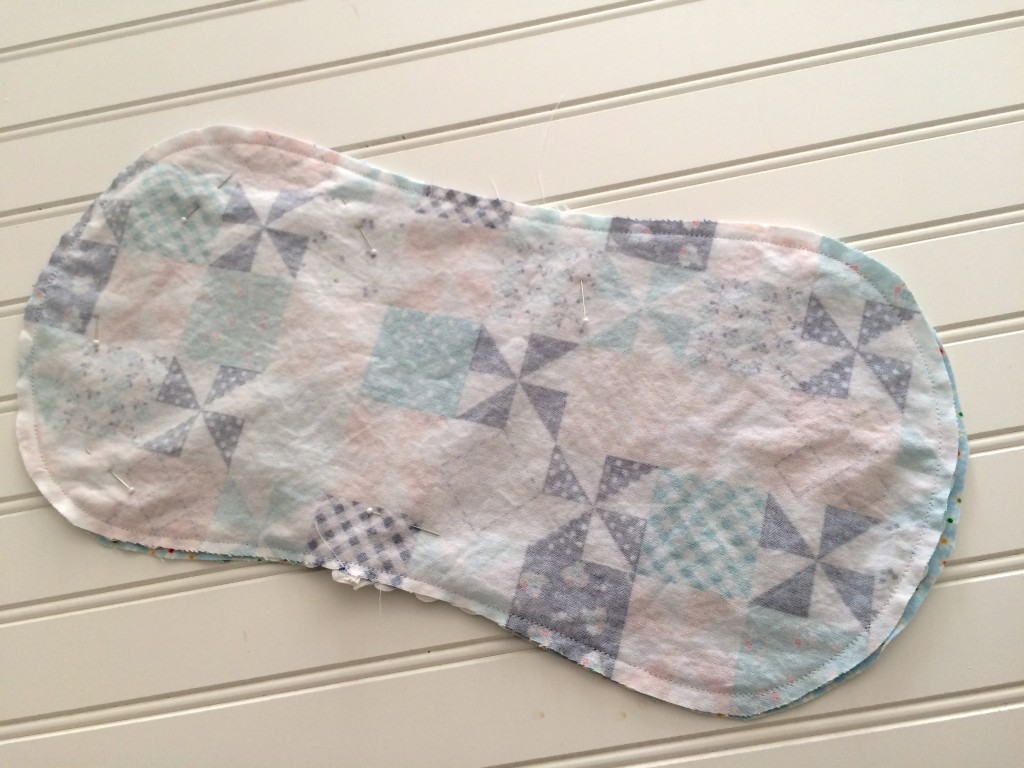
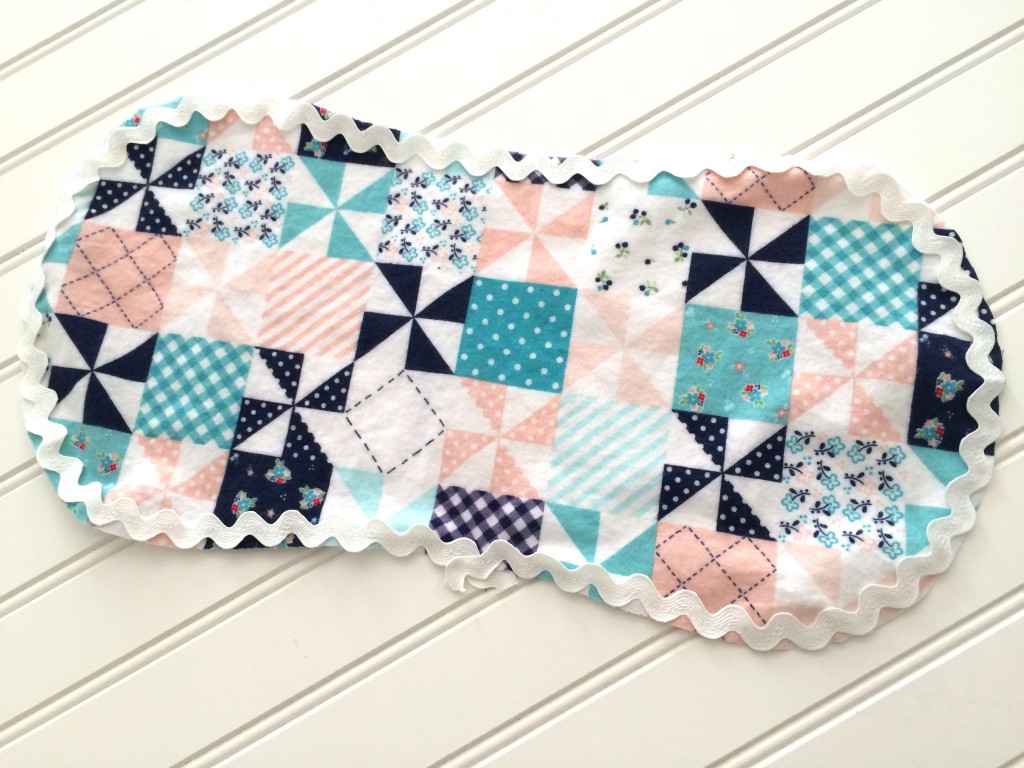
Turn right side out, press seams so they lay flat and edges curve nicely. Top stitch. This will close the opening that was left open for turning.
Now do this over and over until you have a nice stack! These are great to make and keep on hand for baby gifts.
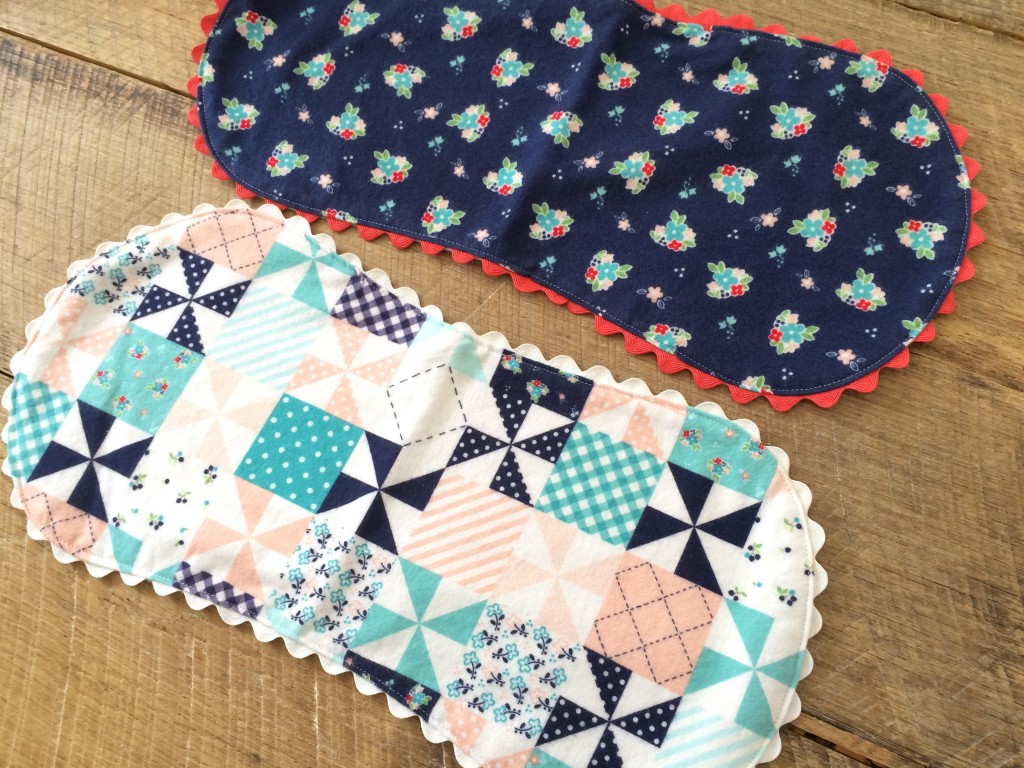
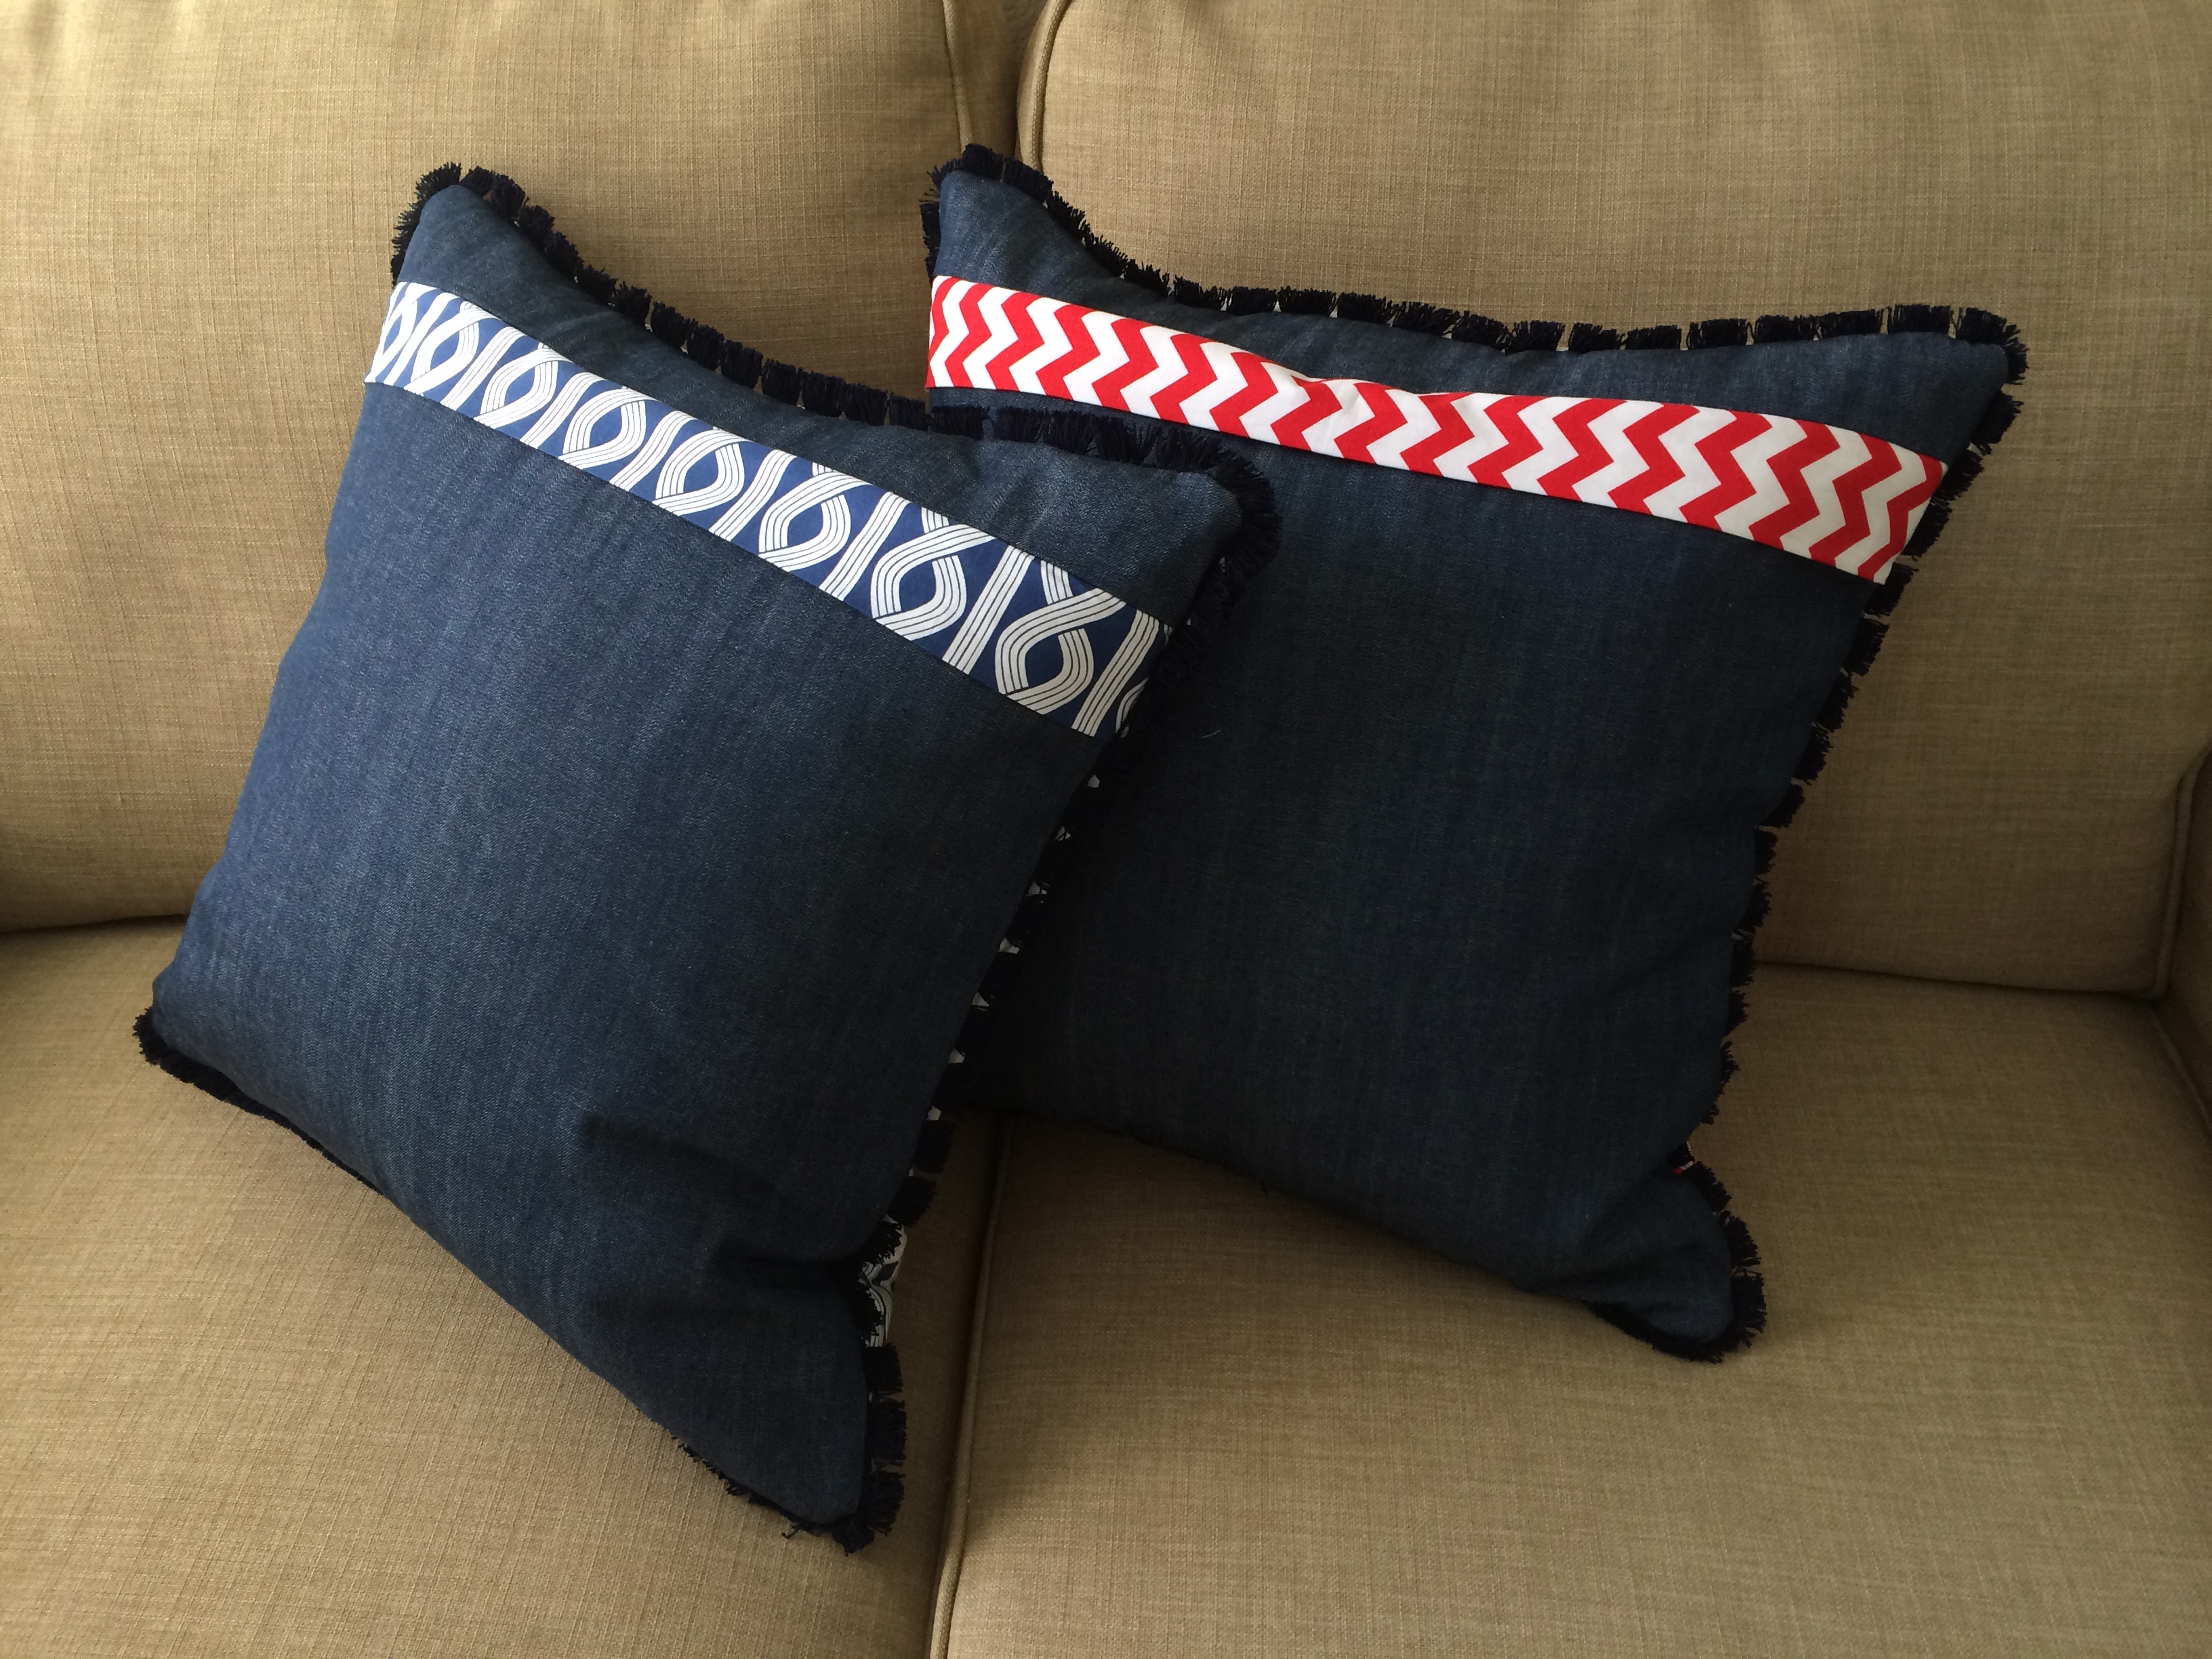
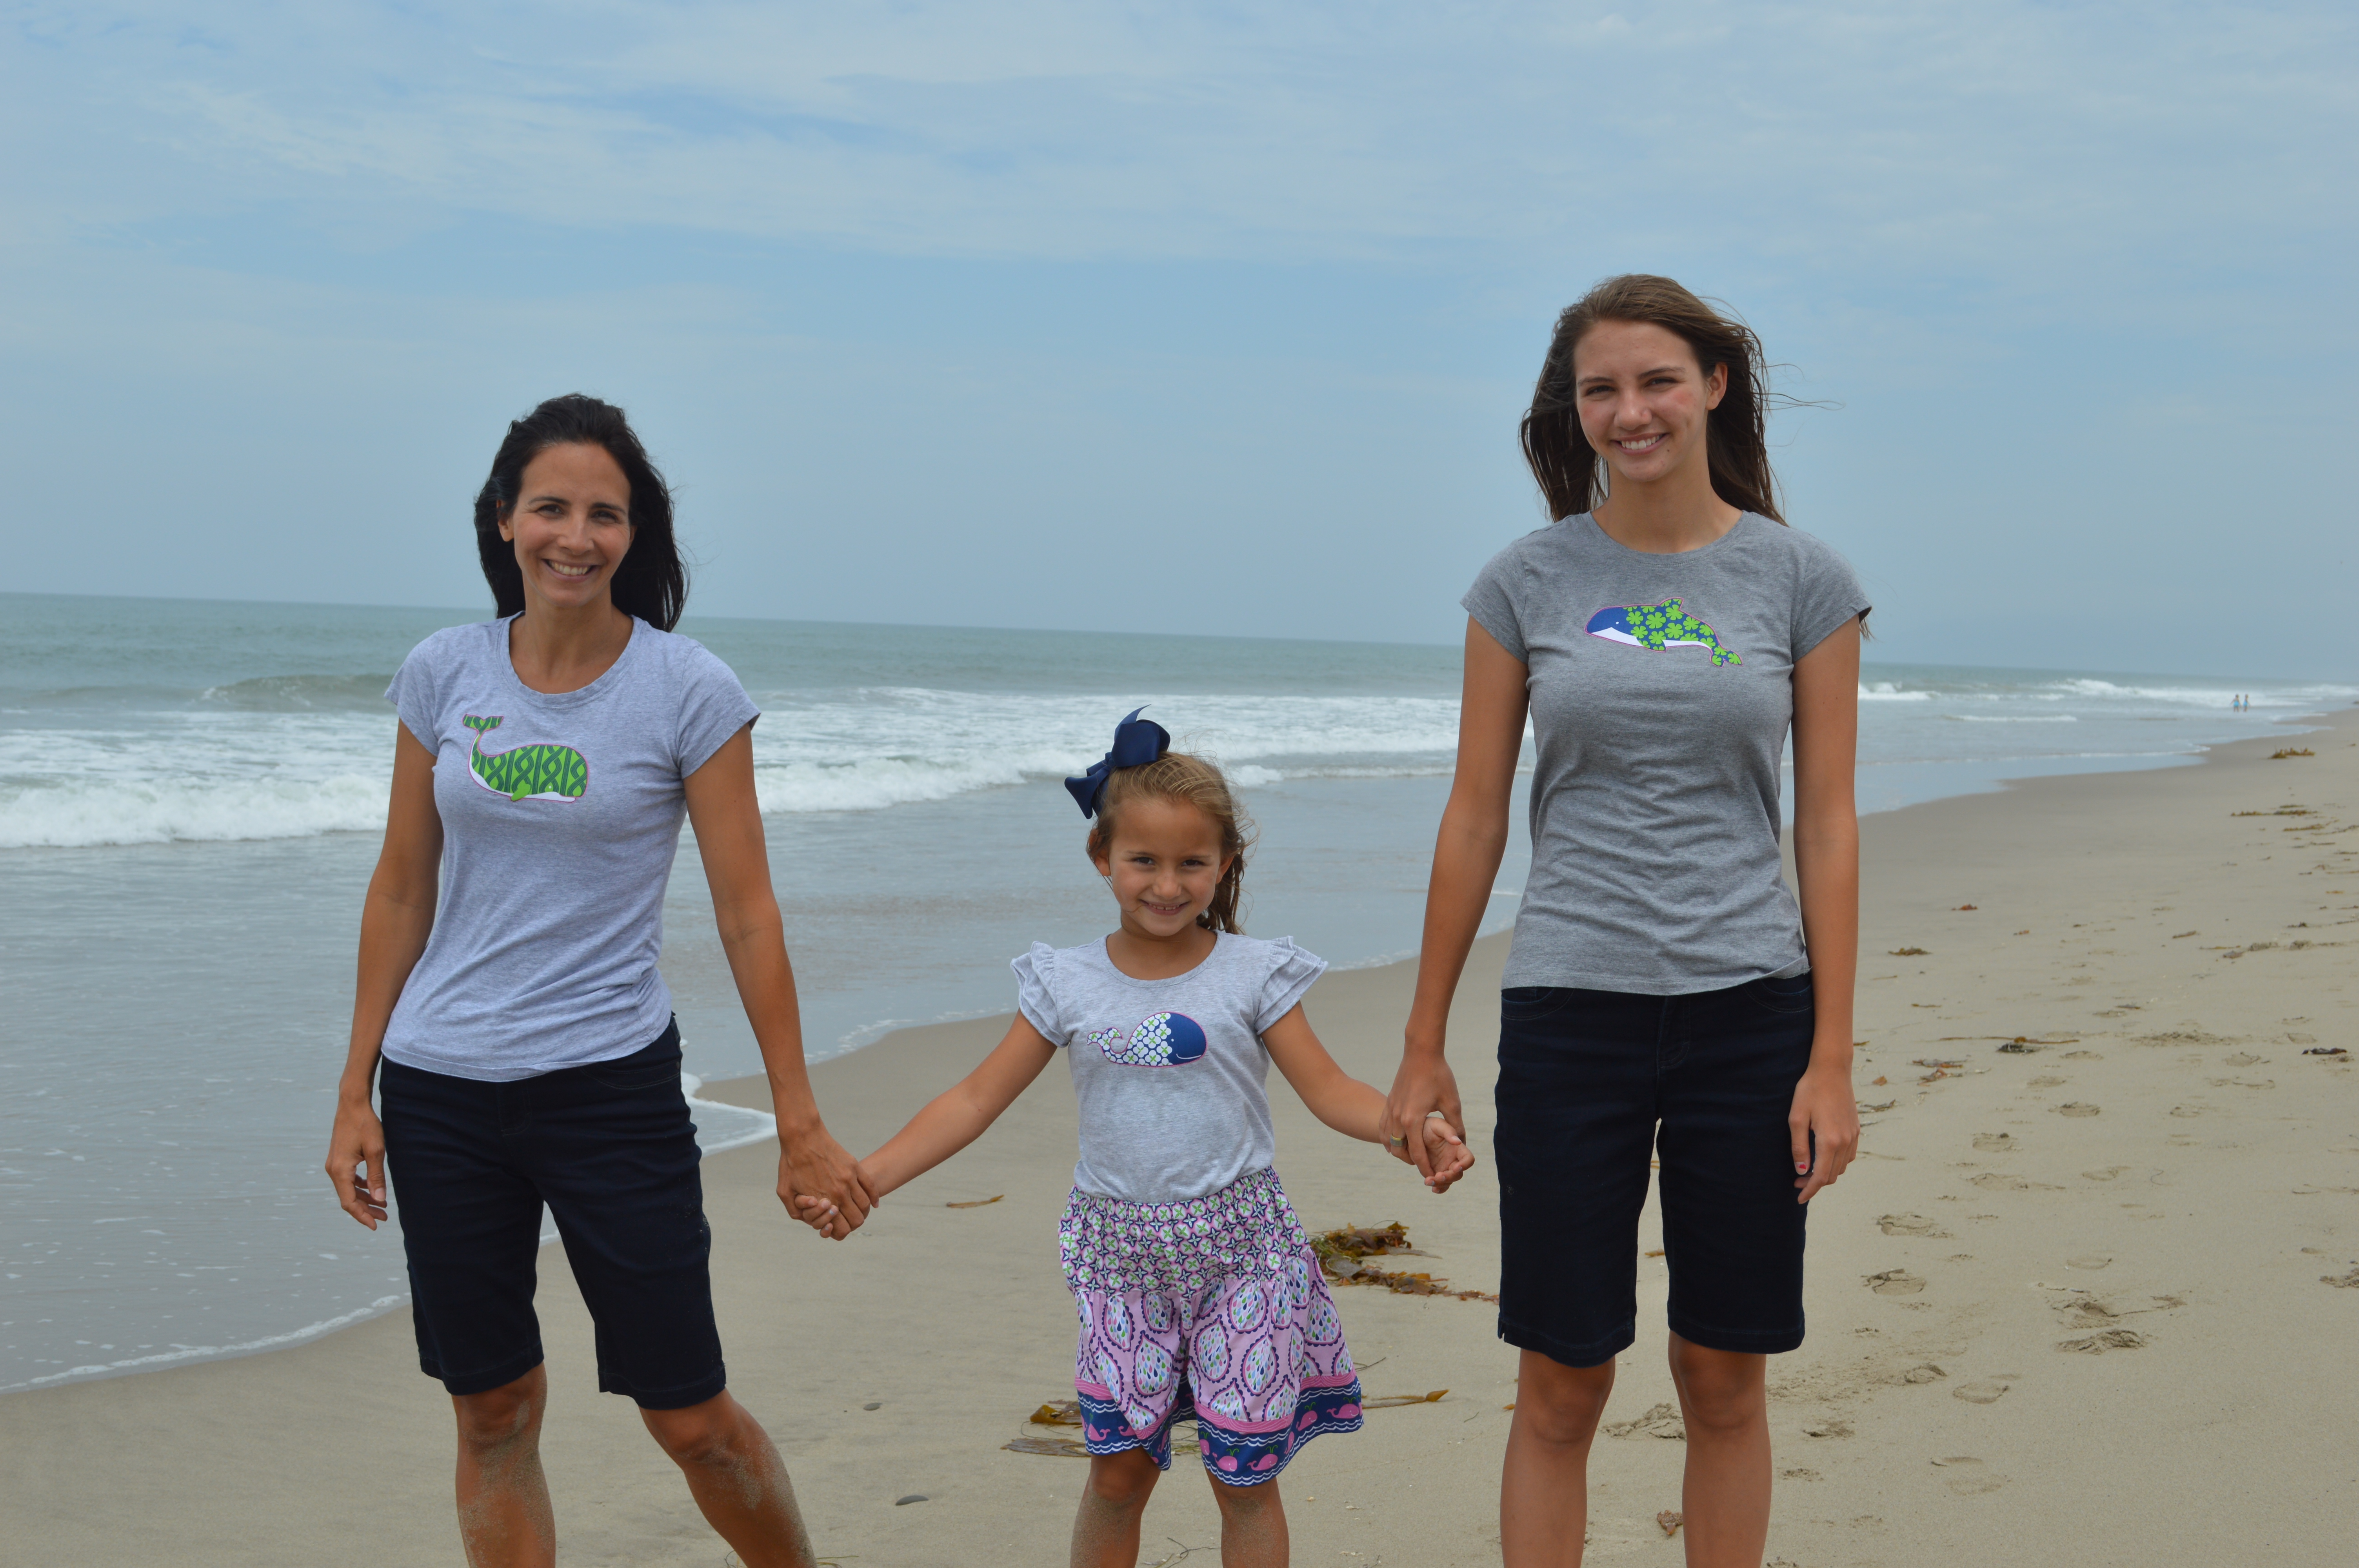
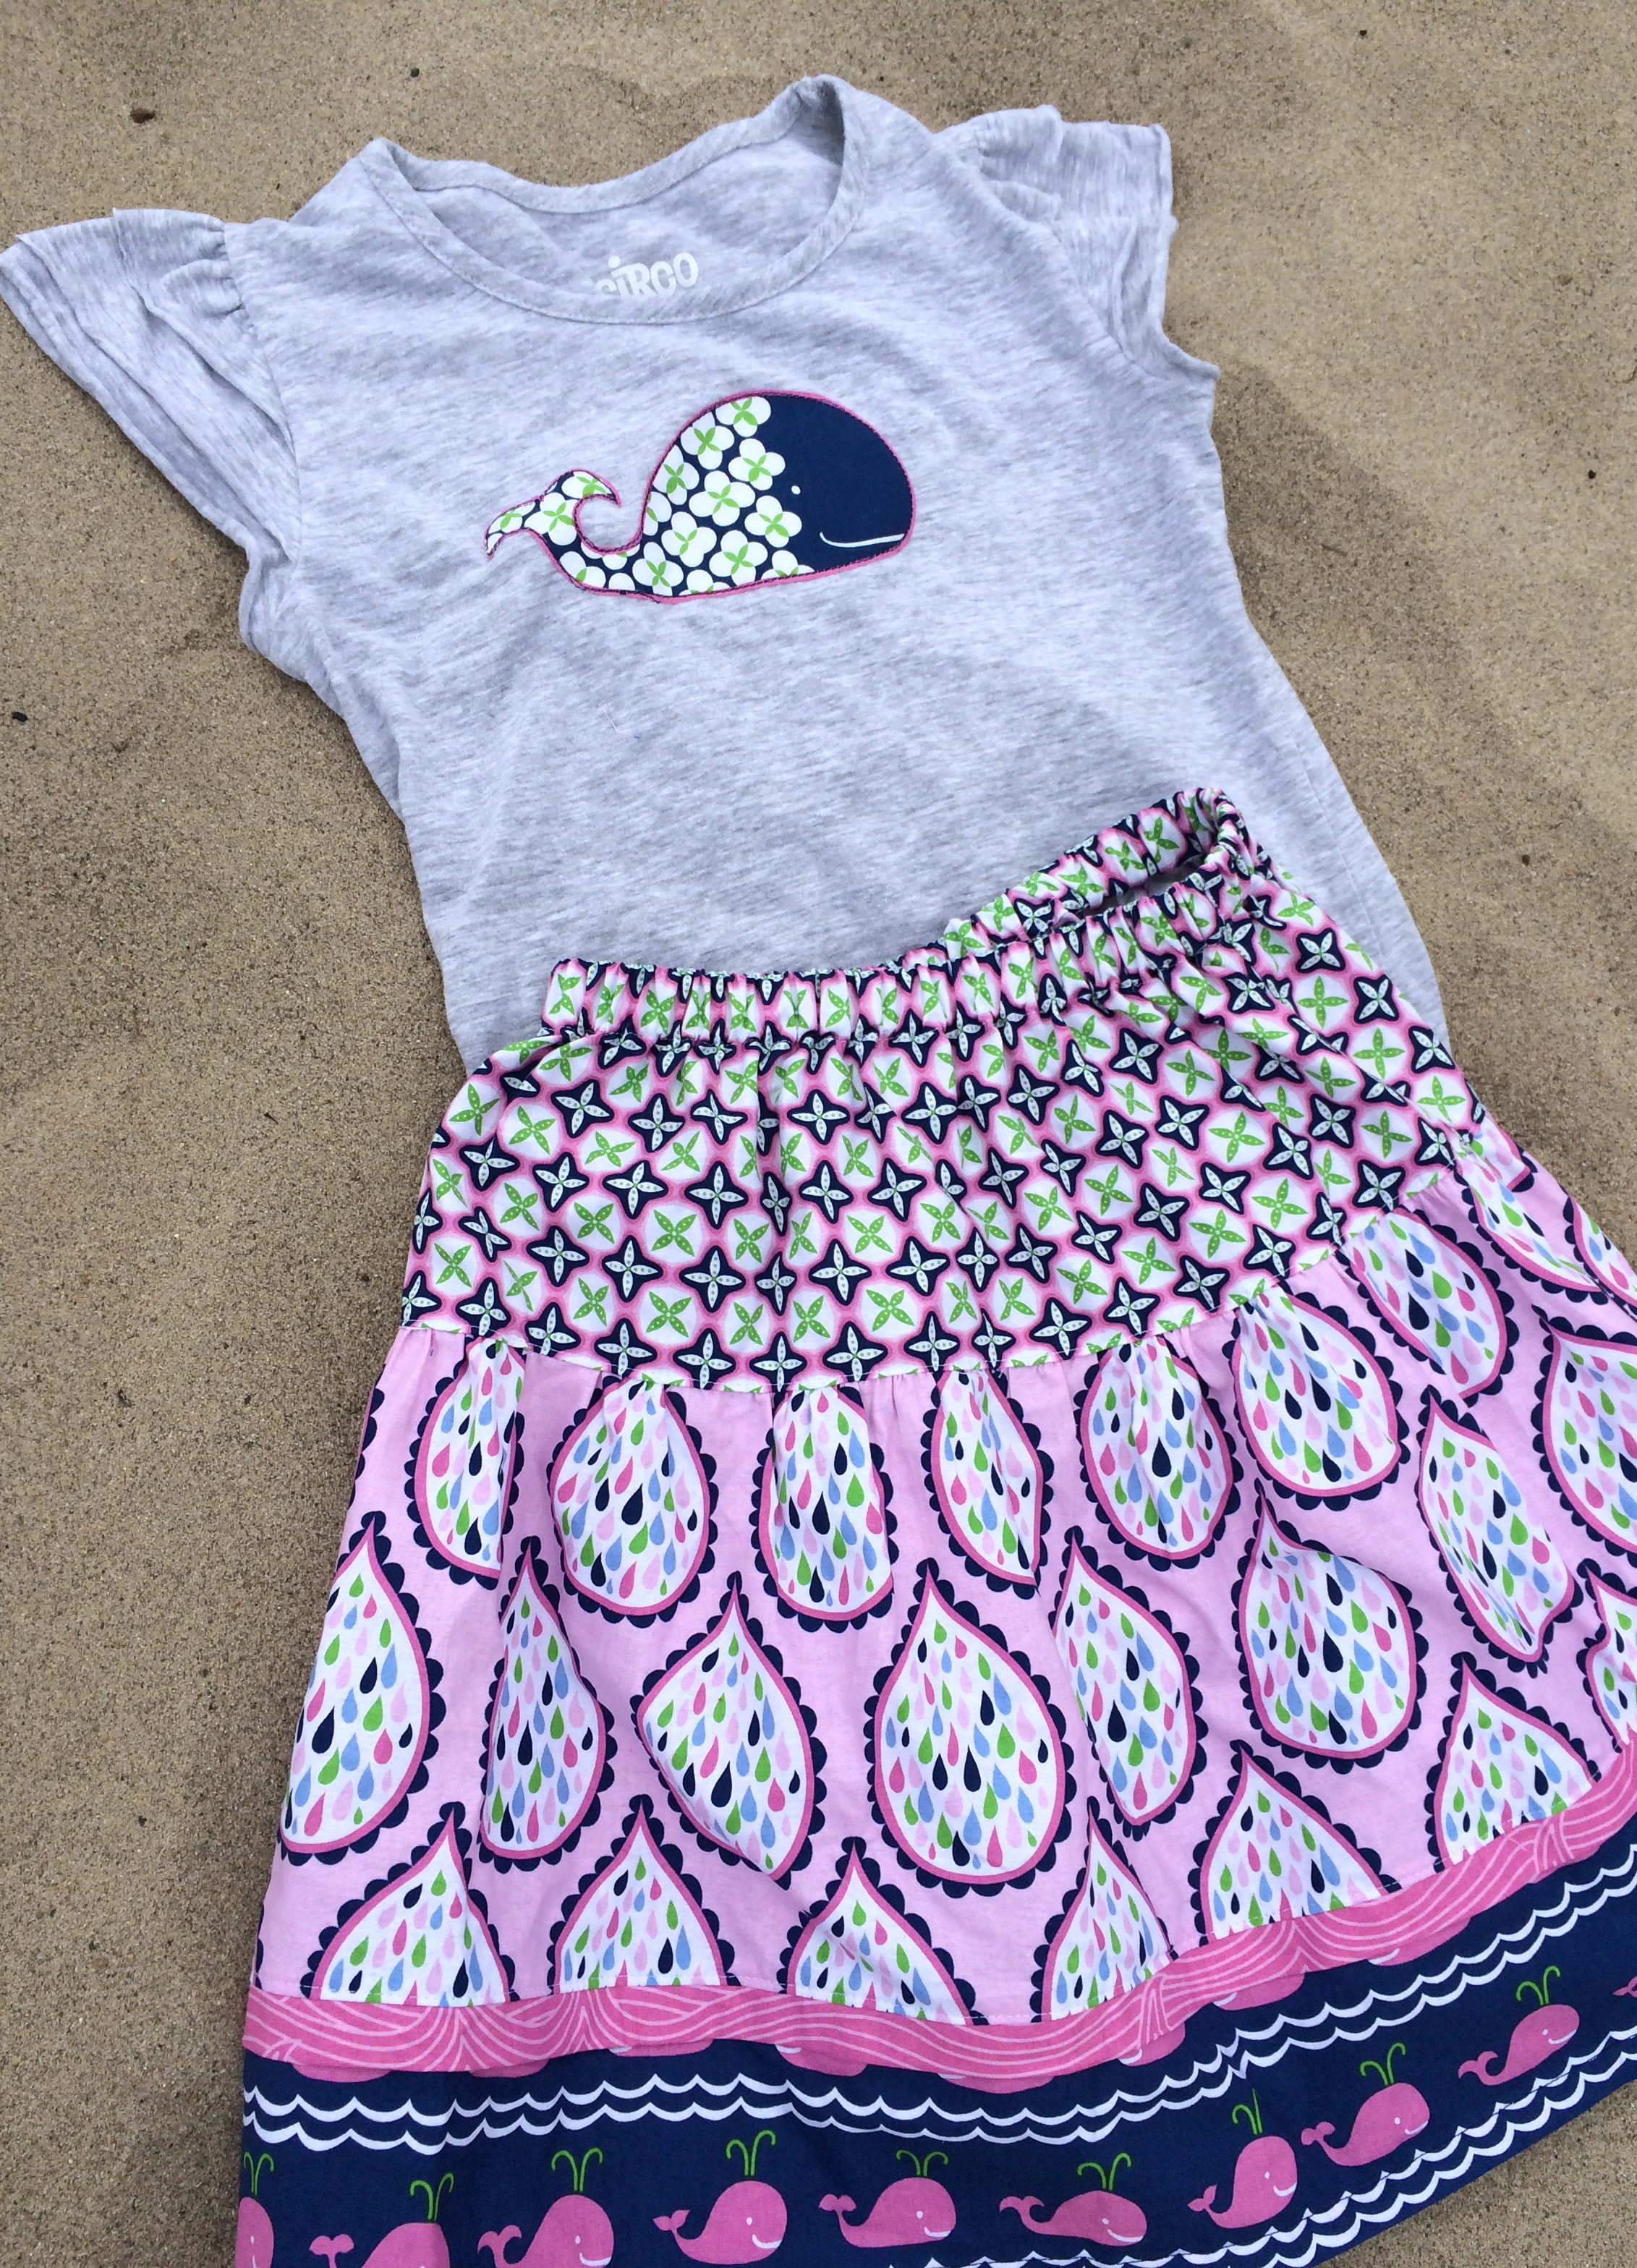
I love that they are coordinating! What a perfect gift!


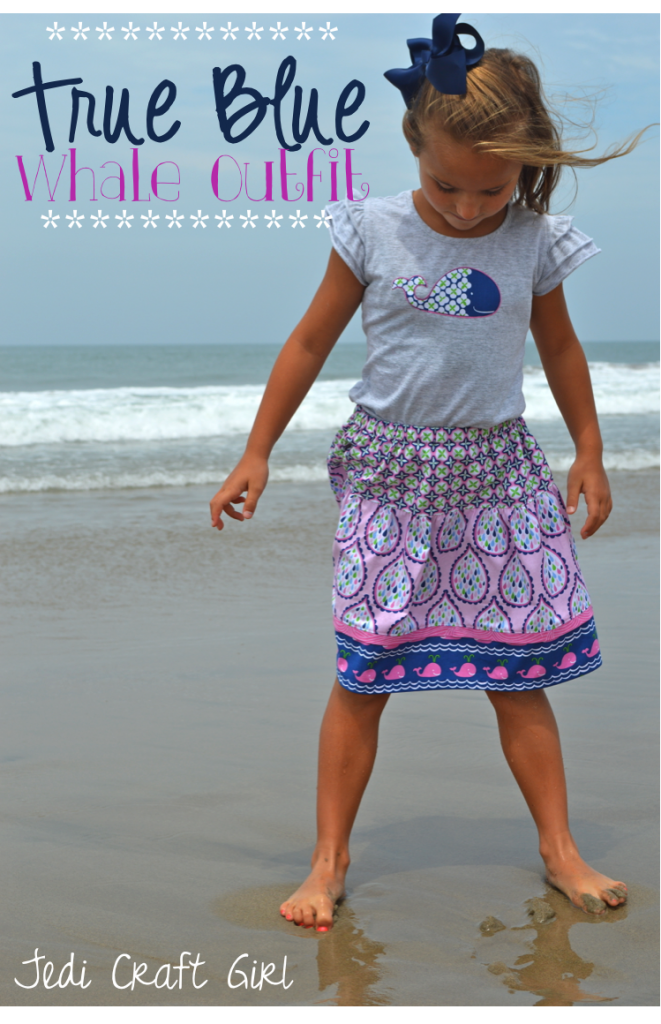


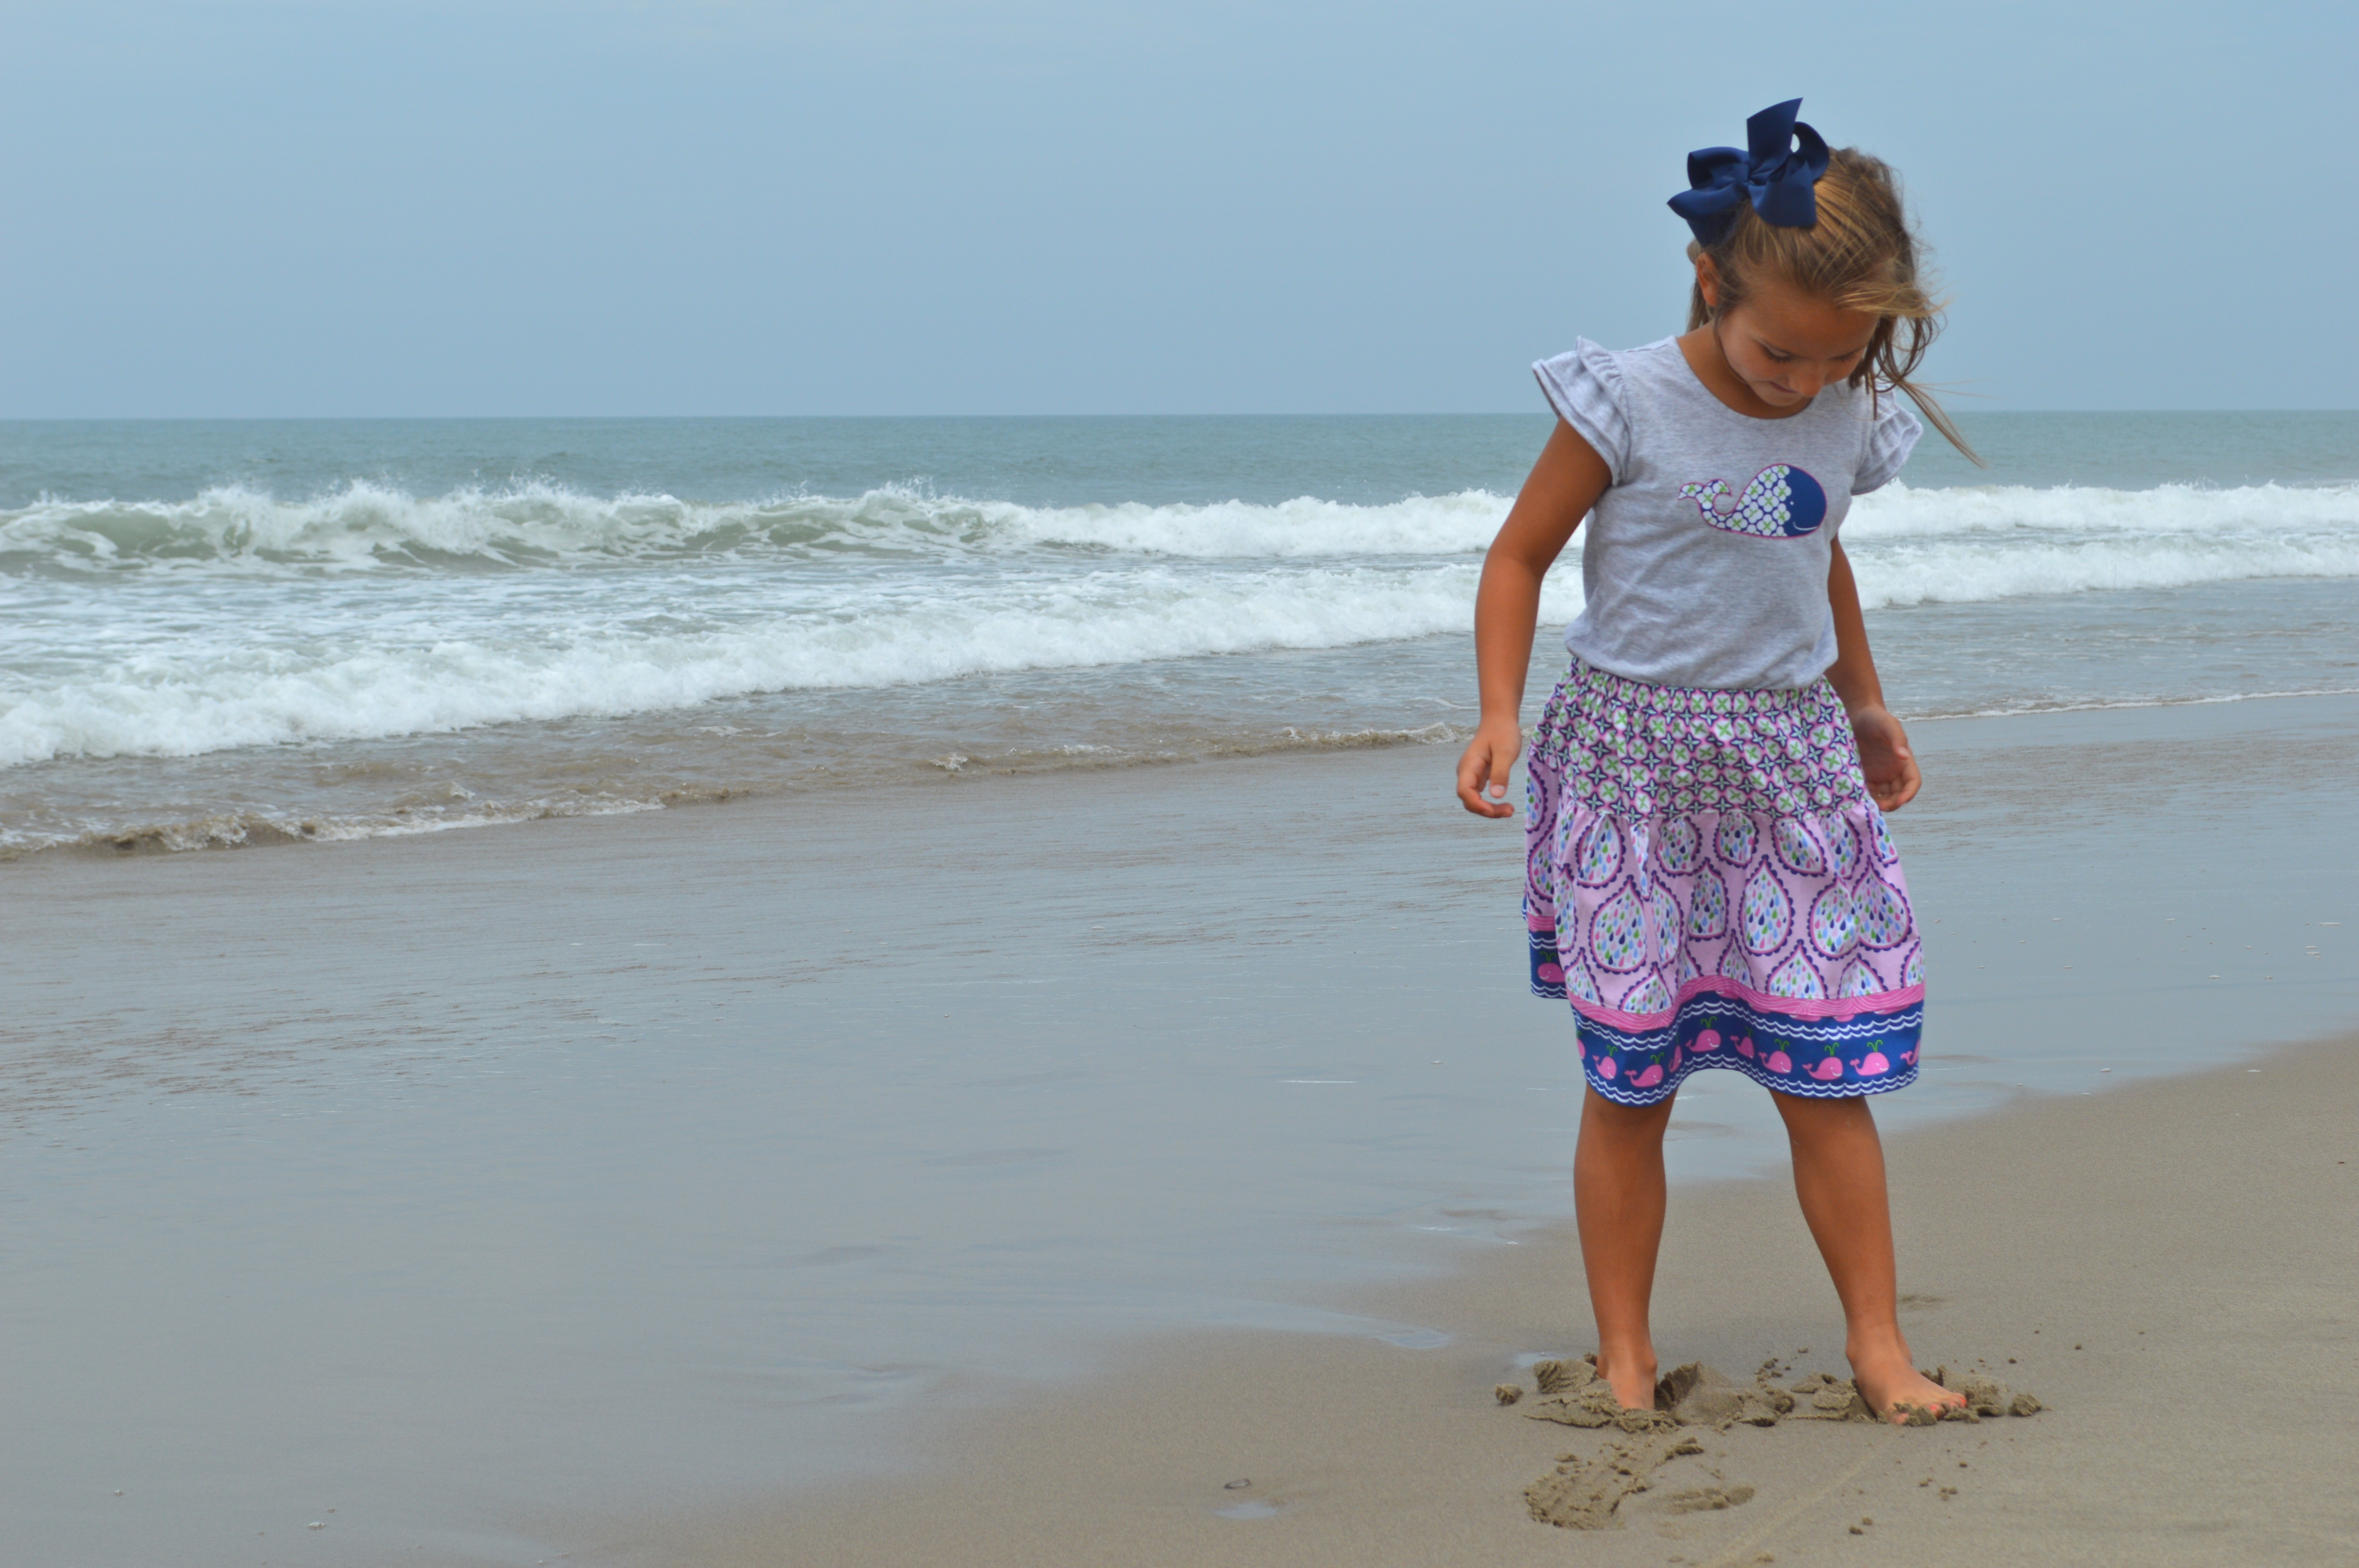
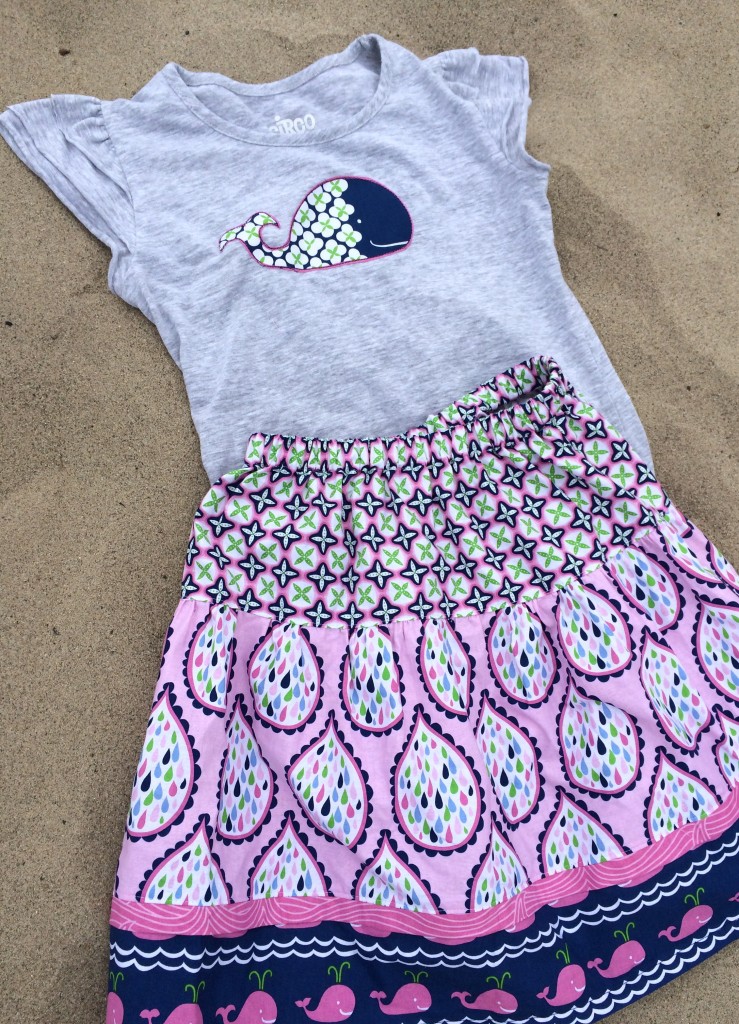 I used skirt “A” from the pattern book Little Sassy Skirts.
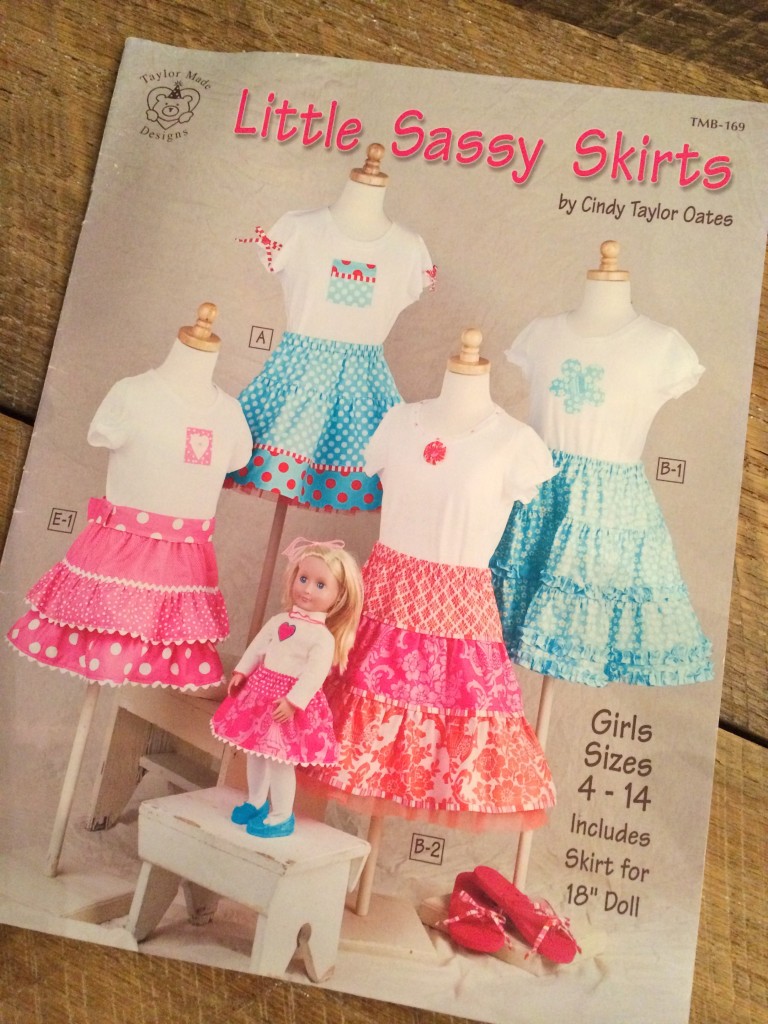 I have made these skirts over and over. The patterns are easy to follow and everything is done with rotary cutter measurements (a quilters dream!). This skirt is fun because you don’t have to have a lot of yardage, I only had half yards of the
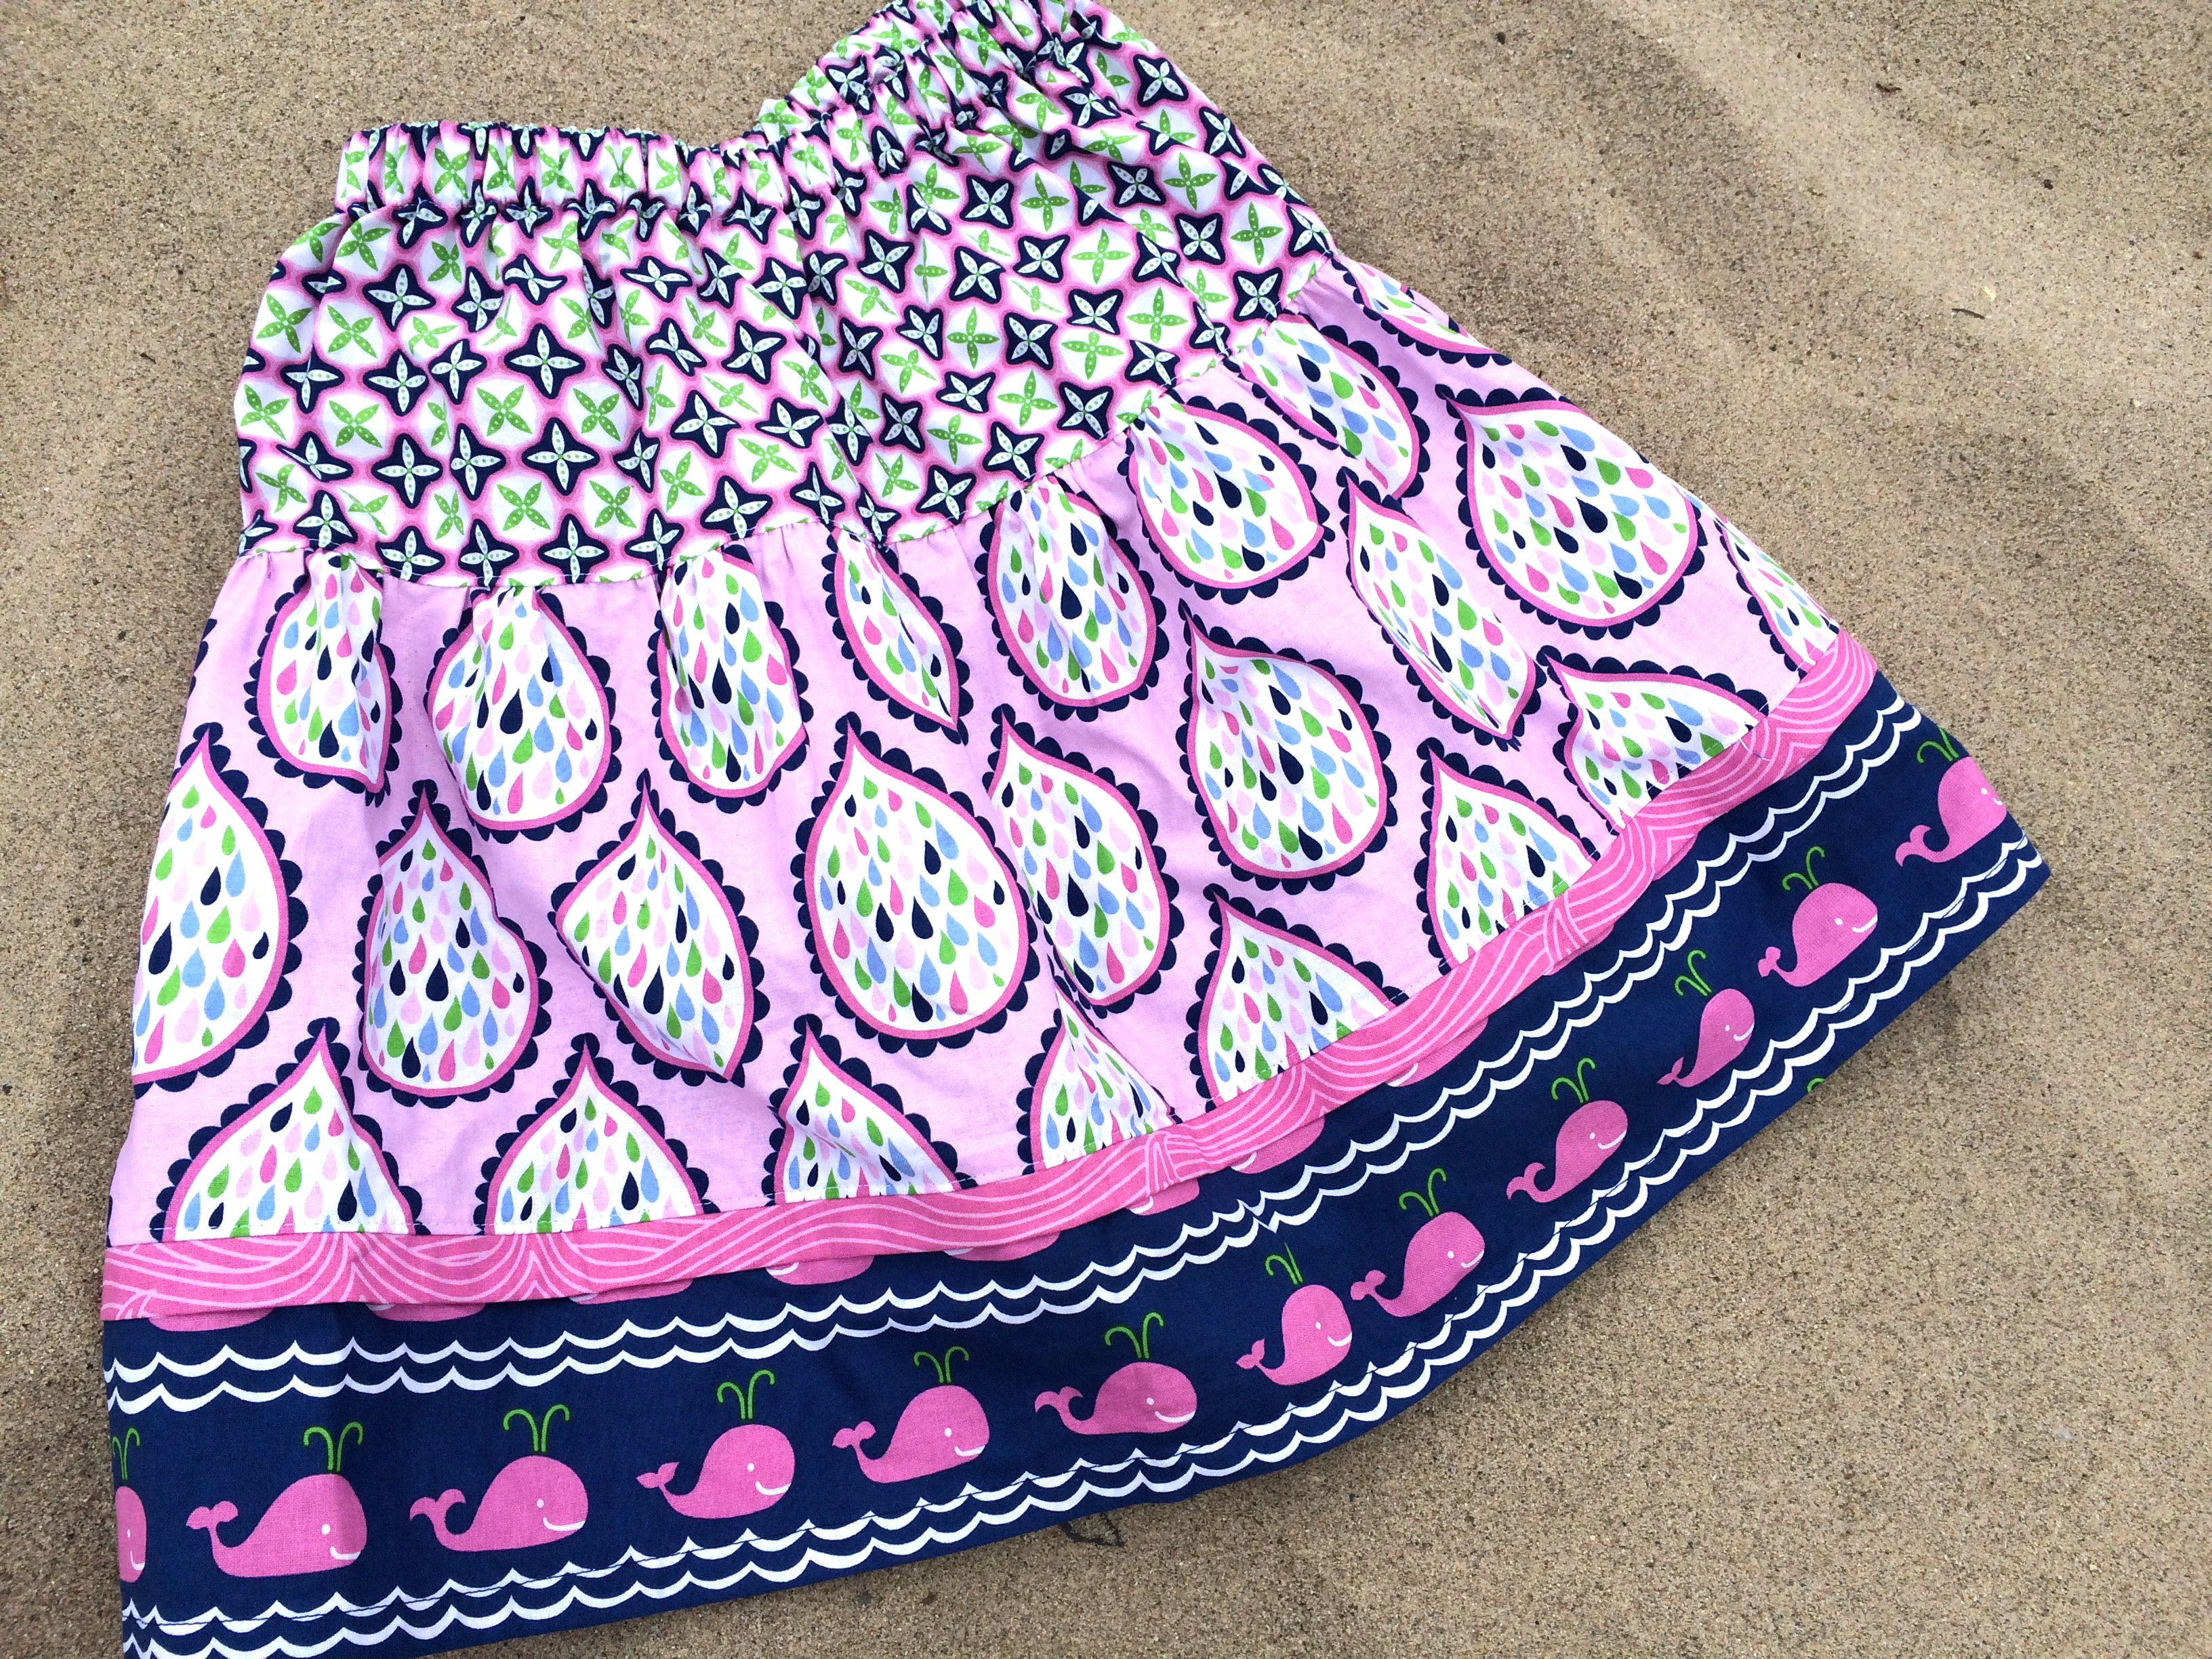


