Lanyard Tutorial

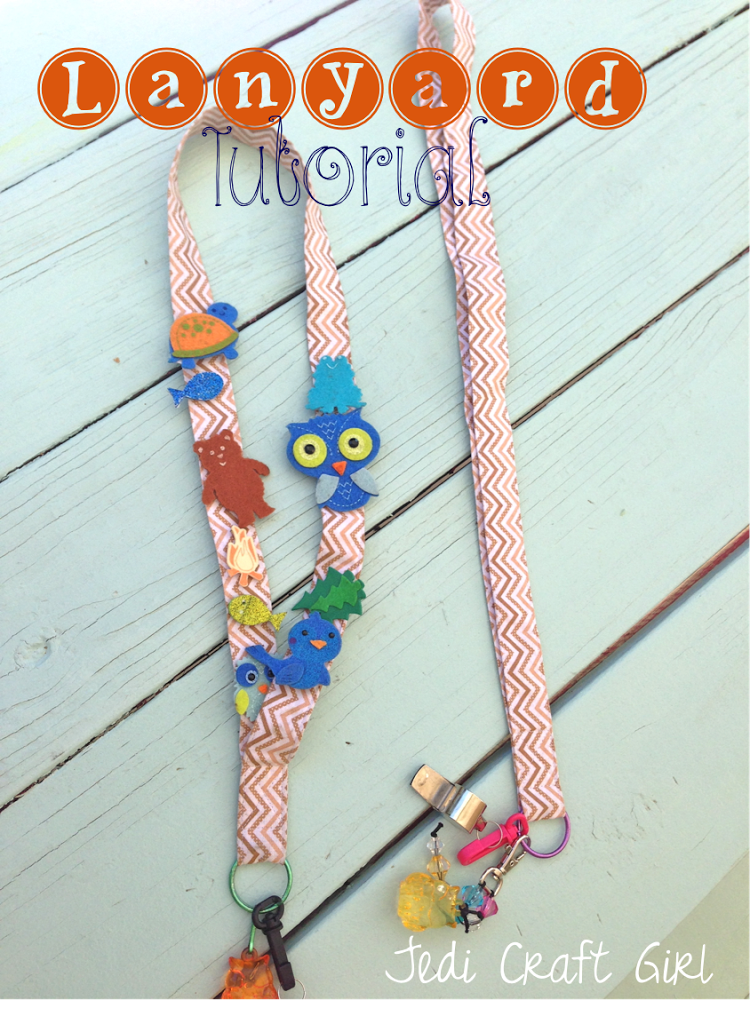
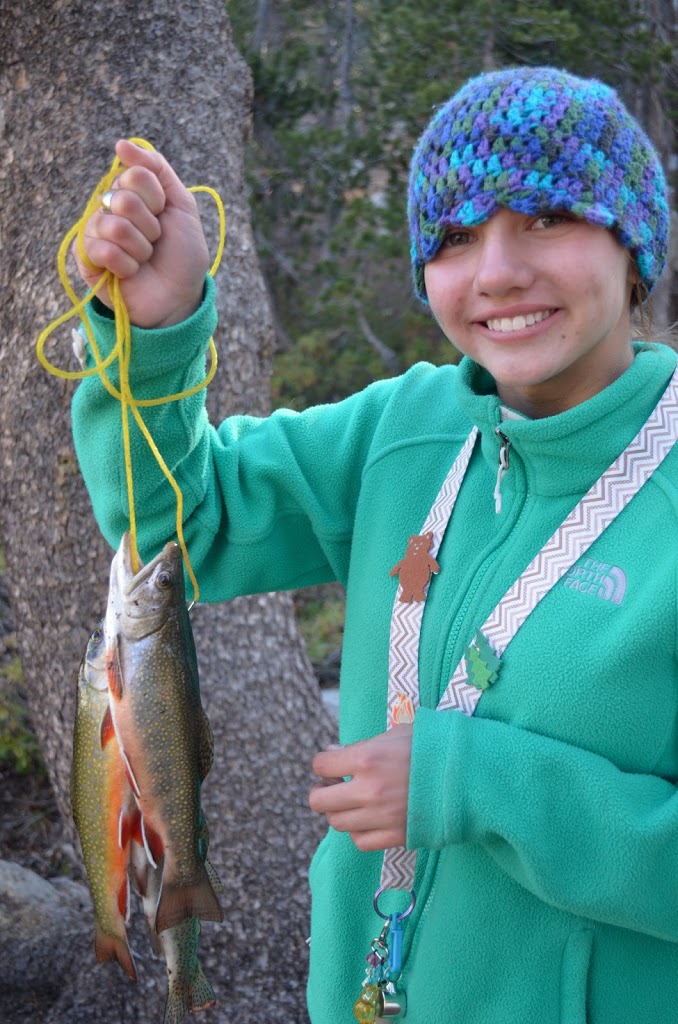
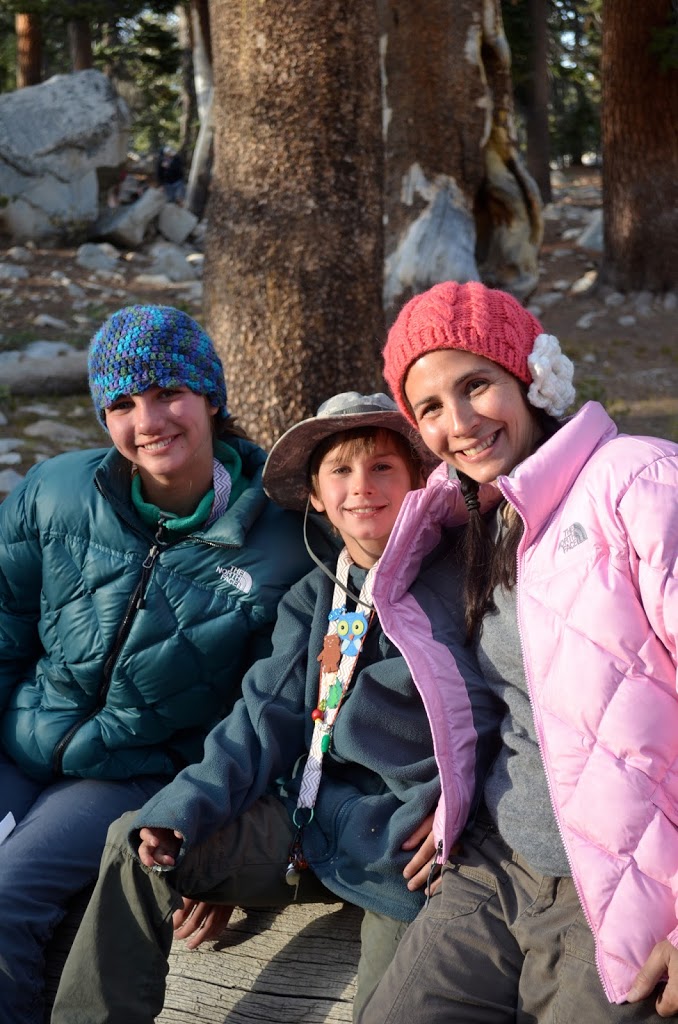
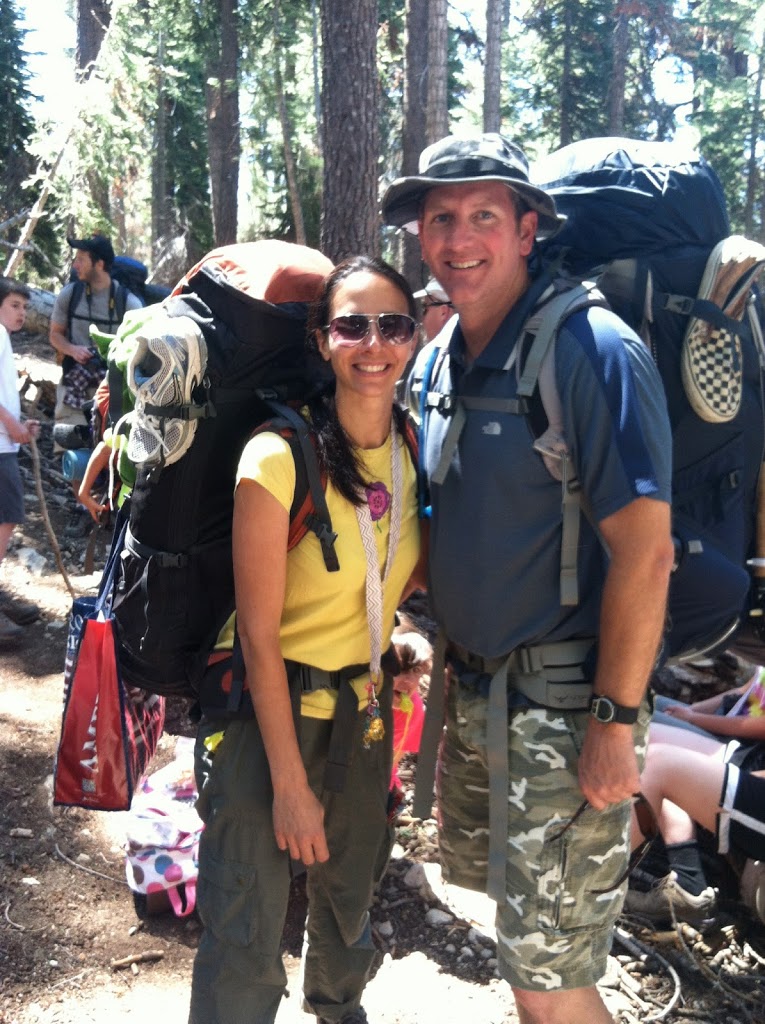
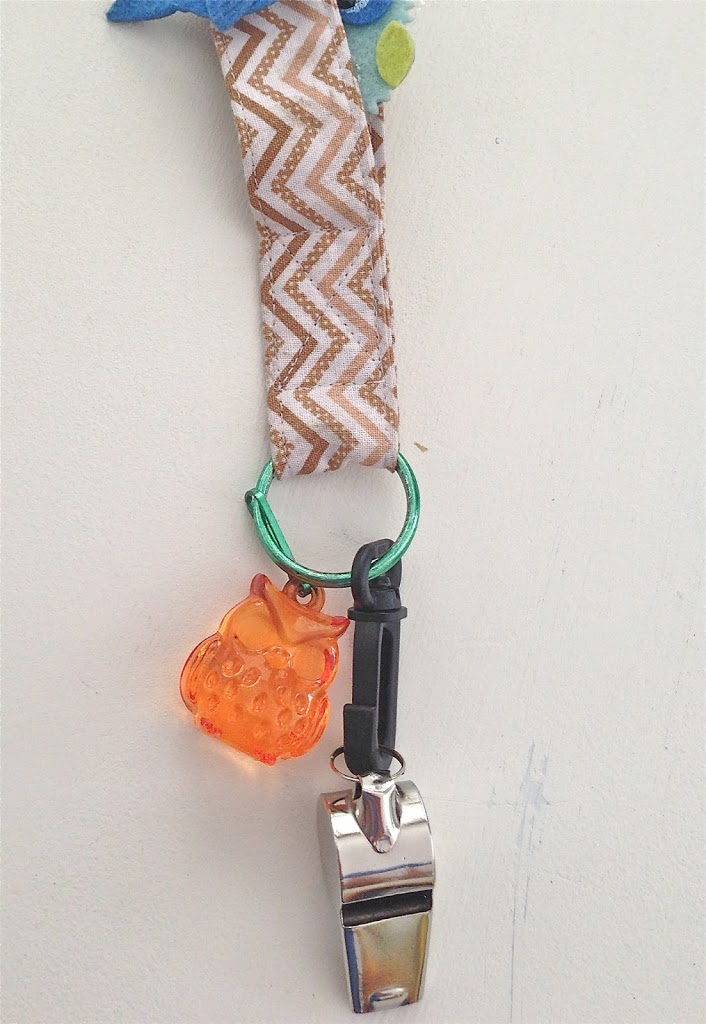
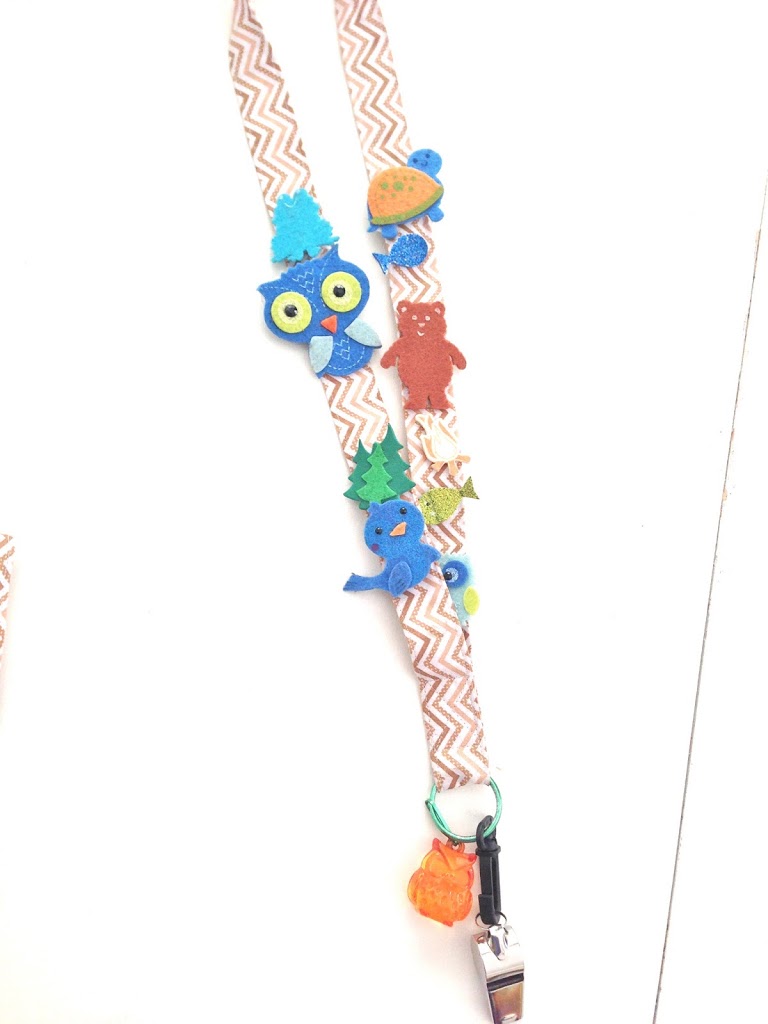
 Over Memorial Day we went backpacking in the Sierras.  This was my first real backpacking trip on over 20 years!  We had a BLAST!!!    I thought it would be fun to make the children lanyards for the trip.  I bought felt stickers at Joann Fabrics and glued pins to them.  Throughout the trip the children earned pins to put on their lanyard.  I also attached a whistle to the end – just in case they got lost or saw a bear 🙂
 

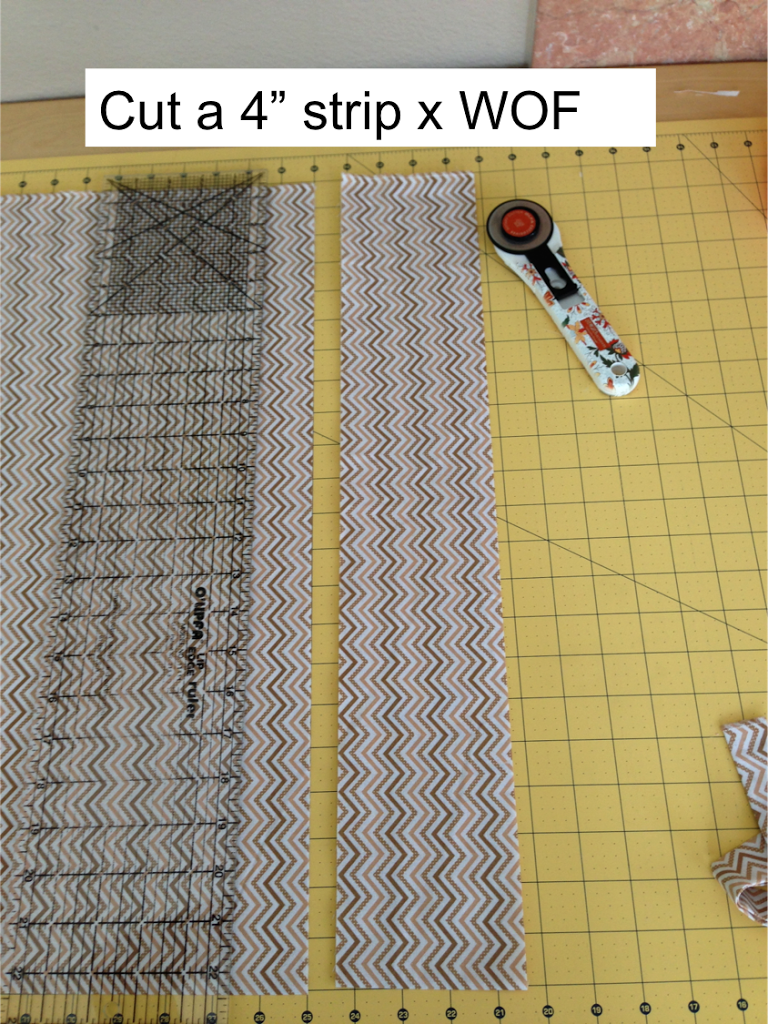
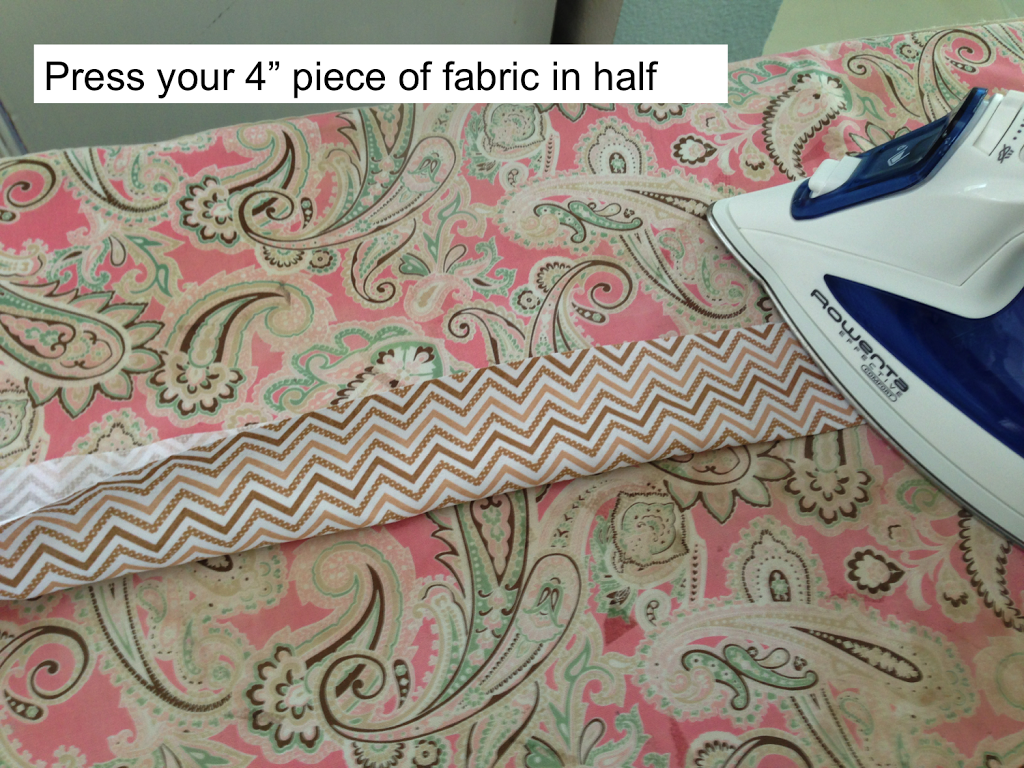
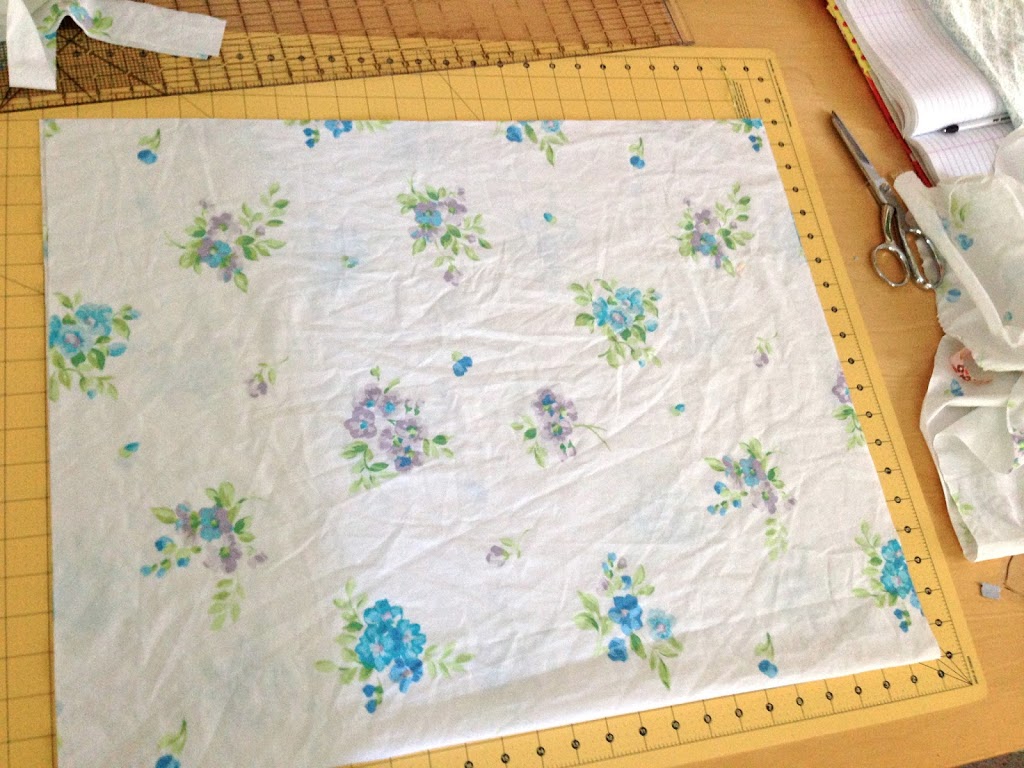
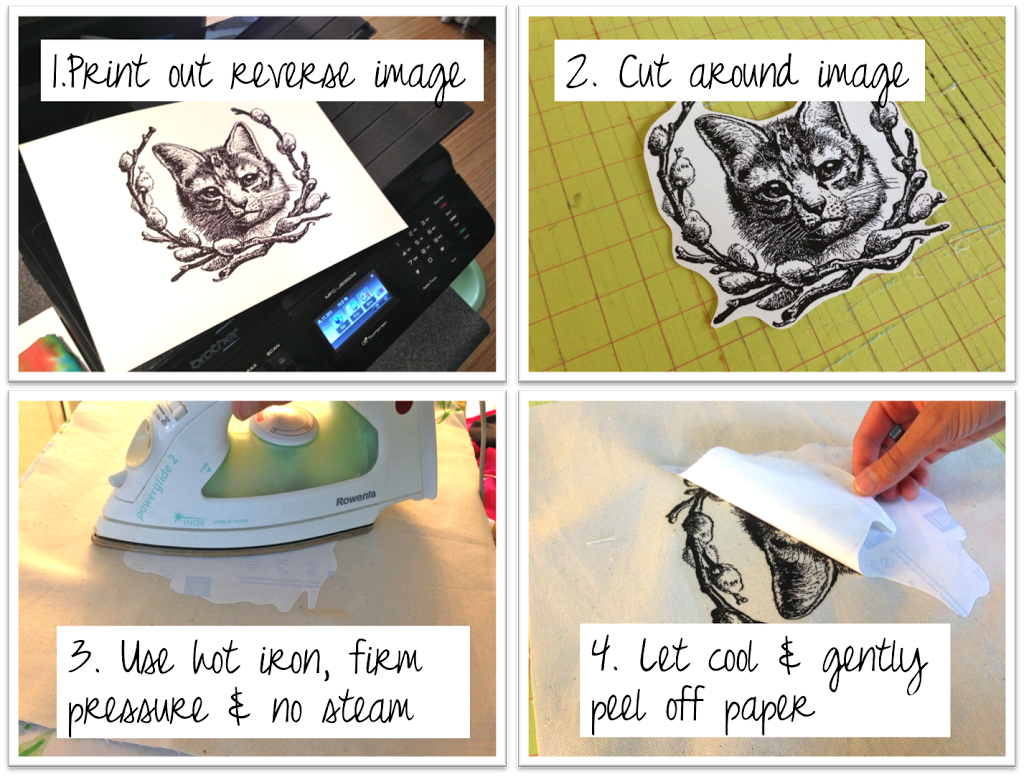
Here is how you can make one – they are super easy!!  (excuse my ironing board cover – I need to get a new one!)


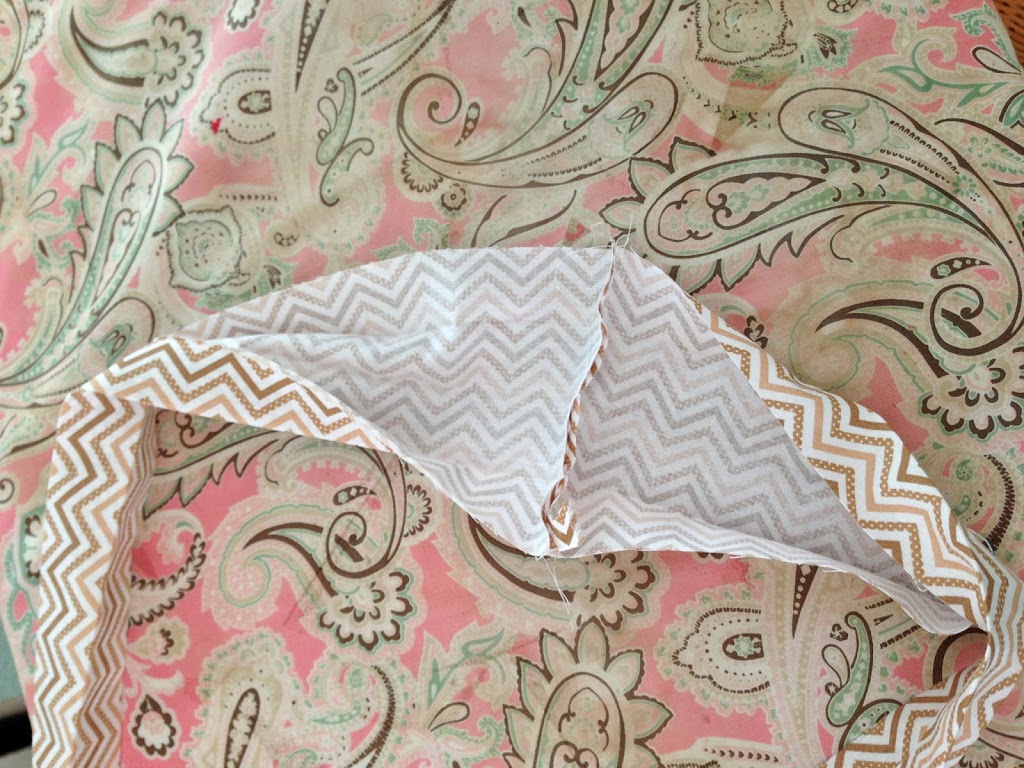
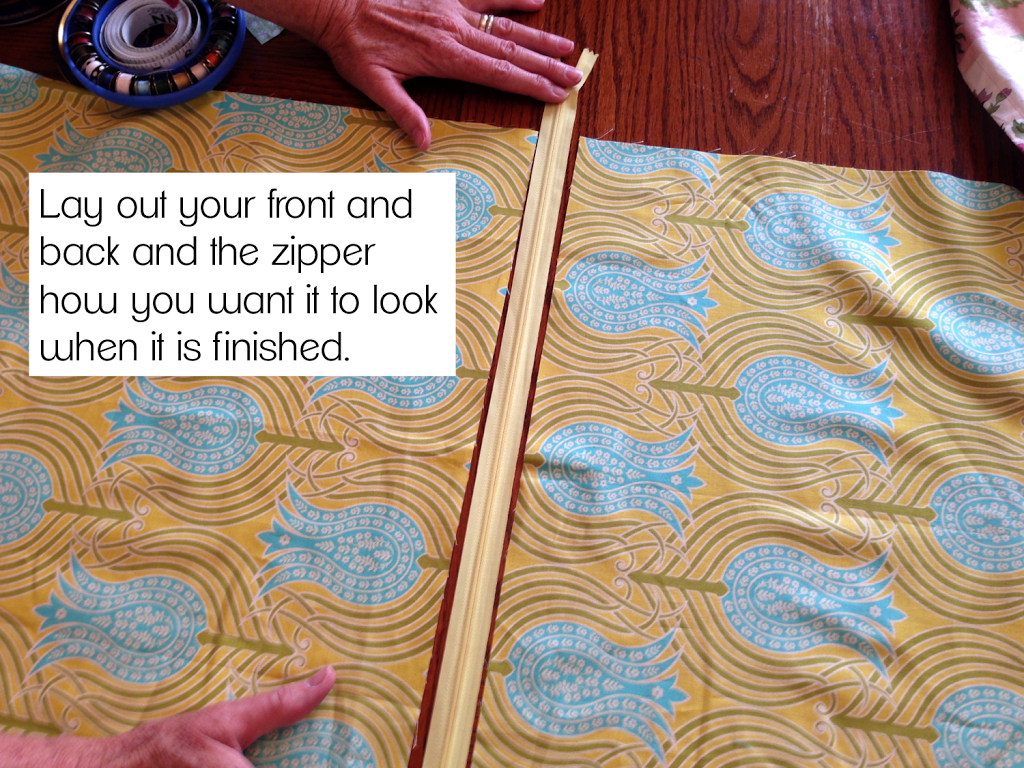
BEFORE YOU SEW THE ENDS TOGETHER…..slide a keychain ring or D-ring onto your lanyard.
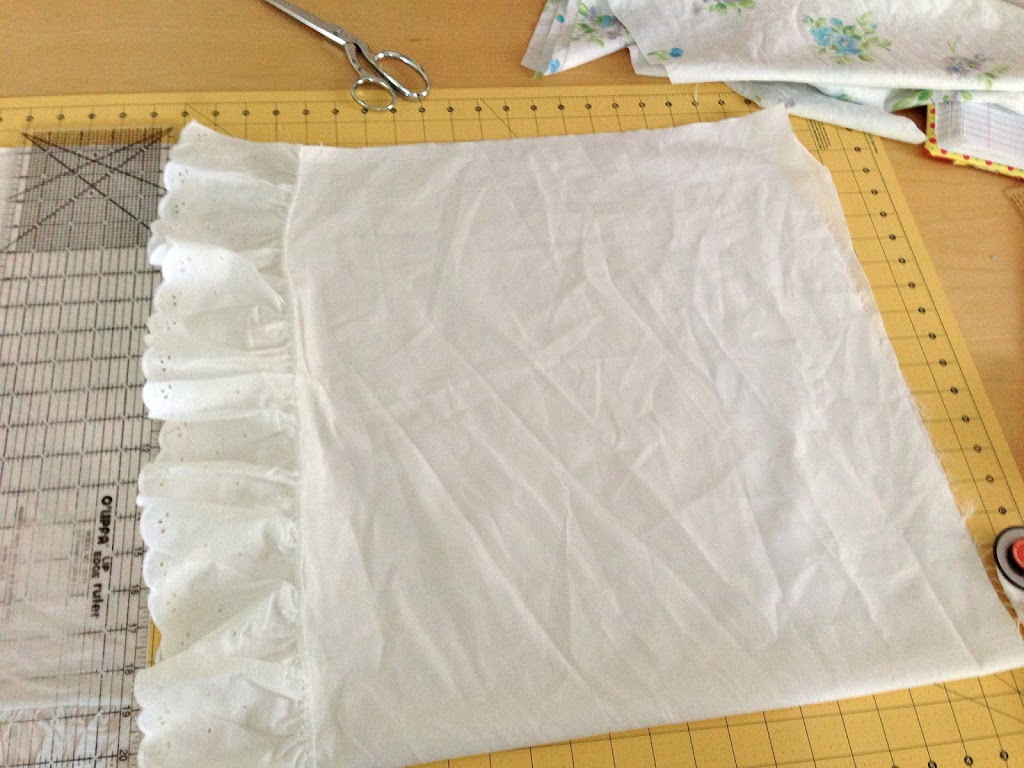
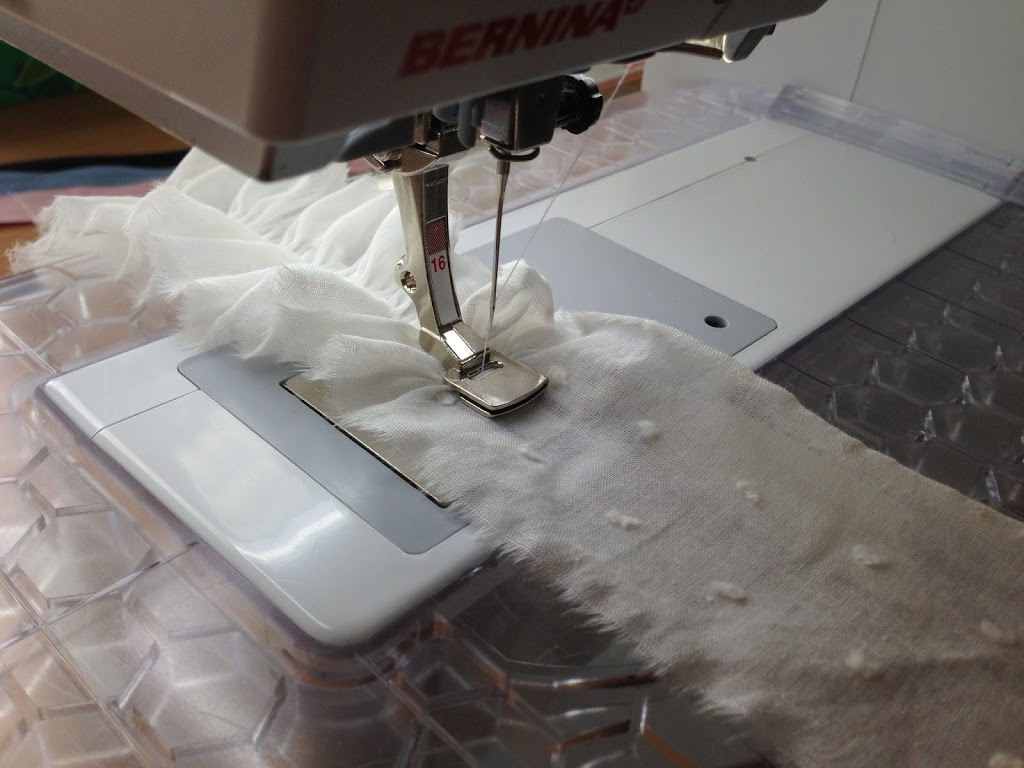
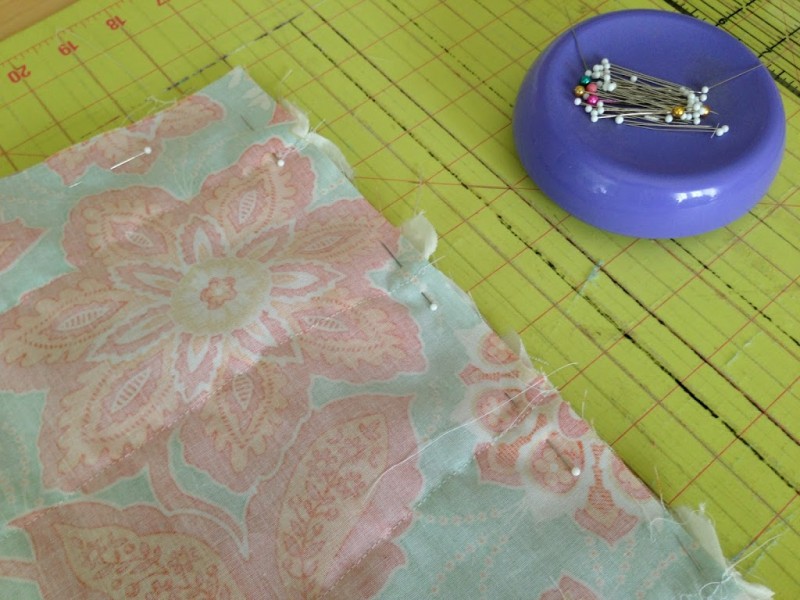
Now, unfold the ends and pin them right sides together.  Sew a 1/4″ seam and press the seam.  Then refold the lanyard and give it a final press.
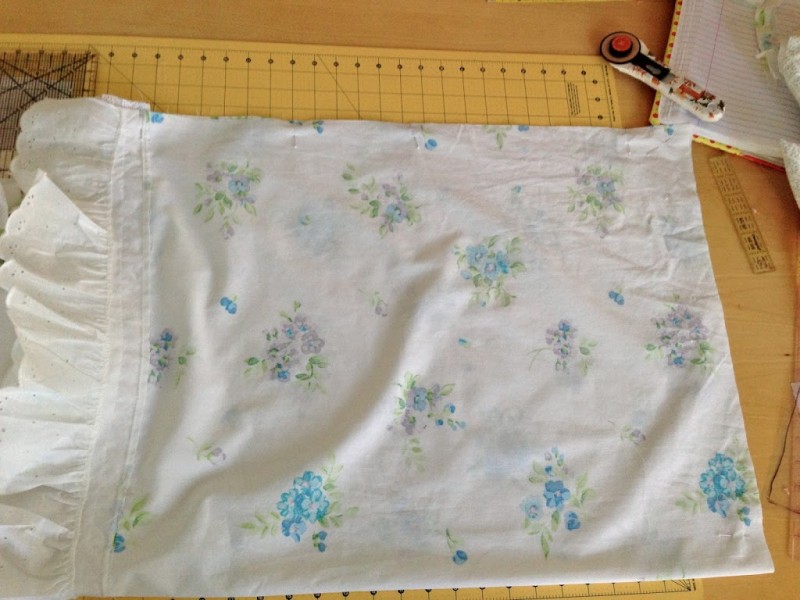
Top stitch all the way around the lanyard on both sides close to the edge.  Making sure the seam is at the back of the neck, s

lide your D-ring or keychain to the opposite end and sew a little square with an “X” to secure.  (See photo below for placement)


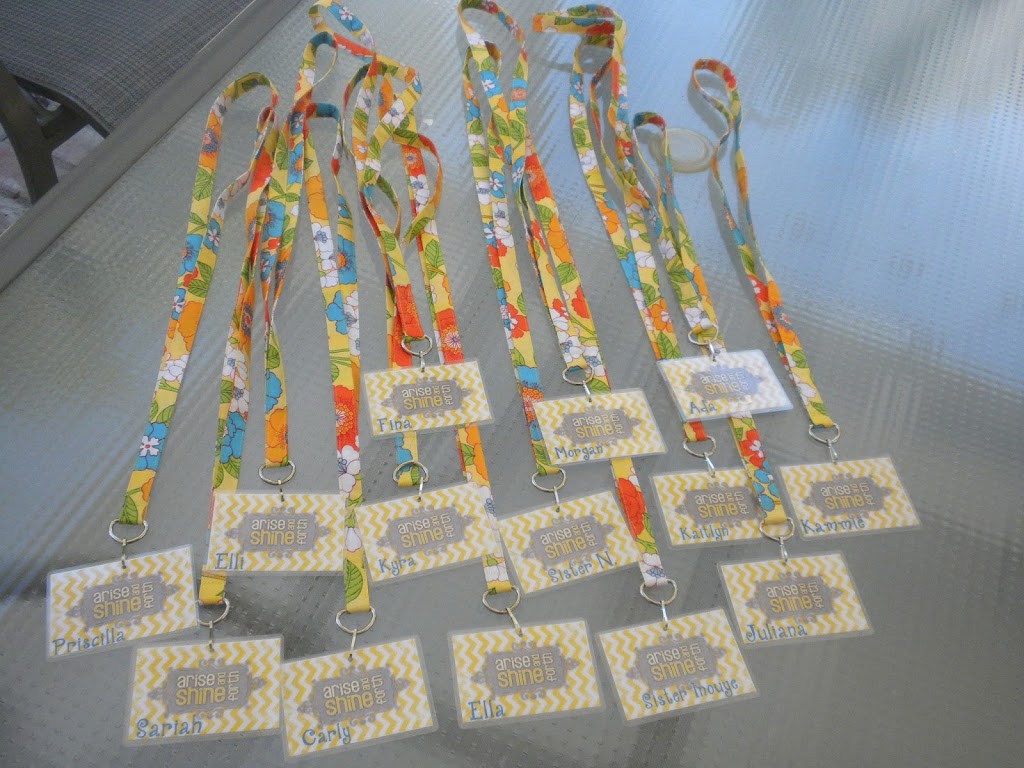
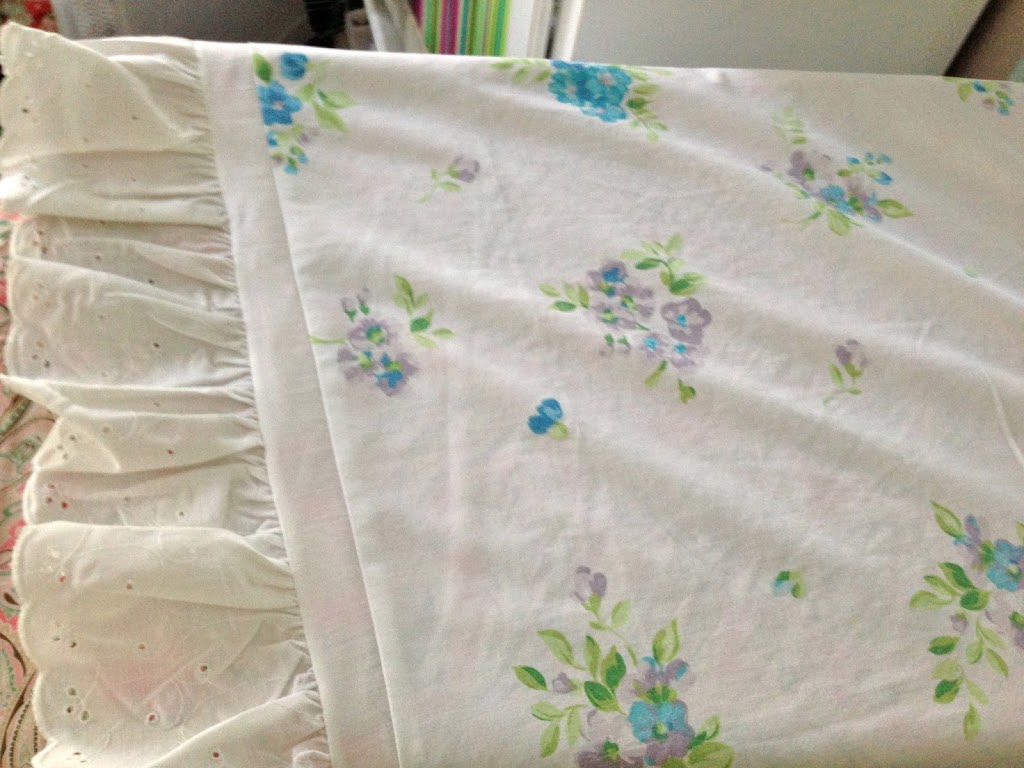
 Last year, I sewed all these lanyards for Girl’s Camp.  They are lots of fun to make – you can choose any fabric – you can even piece the fabric if you have time!

Amanda

Vintage Sheet Pillowcases, New Bedding, & the Bengal Cat

I bought new bedding for my bedroom!  That is always a big deal for me!  Are you like me & need like 5 pillows to sleep???  Which means I needed more pillowcases then the 2 that came with the sheets.  I got out the box of vintage sheets and came up with these!
This is how to make them: (this will make 1 standard size pillow)
Cut the main fabric on the fold measuring  21″ high and 26″ long (fold is on the long side)
I used the lace ruffle off a different sheet.  I cut this 1 1/2 inches away from the ruffle seam.
Sew it to the edge of your pillow fabric.  Press seams.  The lace on the sheet was super crooked.  I came up with a way to cover it up.
 
I bought this bolt of lace in the LA fabric district.  50 yards for $15!!  I will be using it on everything!!
 
Sew the lace covering the seams.
 After the trim is sewn on, fold the pillow right sides together and sew the 2 sides.  I didn’t sew French Seams, I just zig zagged so it wouldn’t fray.

 
 I love how they turned out!  So does Marbles!  He loves my new bedding and sleeps there everyday now!  The quilt is Tahari from TJ Max, sheets are from Target.  I was hesitant about buying sheets from Target.  I LOVE these!  They have super deep pockets and a double row of elastic to keep the sheets in place.  And they are super soft and comfy!  The quilt at the bottom of the bed was $16 at Home Goods!


Amanda

Vintage Tea Towel Pillow

 
When I was in Virginia, I found this cute tea towel at the Arlington Flea Market.  I loved it because it had the same design stitched on both ends – now I can make 2 pillows!  I thought it would make a darling pillow!  You can do this with any vintage linen.  


Cut the image how you want.  Mine was an 11″ square.

 Next, cut (2) 2″ strips x WOF for the first border.  Sew the pieces: sides first, press, then top and bottom, press.

 For the 2nd border, cut (2) 3 1/2 inch strips.  Follow the same process, sew the sides, press, sew the top and bottom, press.

 I love it!  I was tempted to turn it into a mini quilt 🙂

 Finish how you would normally finish a pillow.  Can you guess how I finished mine?  Invisible Zipper!  I am a pro now!!

 I love the embroidery work.  And I love that I didn’t have to do it!!

Amanda

Ruffle Pillow Tutorial

Don’t you love ruffles?  They make everything so happy!  I have seen ruffle pillows all over the internet and I have been wanting to try one.  This is my version; I hope you want to make one too!
Choose your fabrics.  I wanted my pillow colorful, so I choose this aqua, orange & yellow print from xo.gigi fabrics.com.  I love it!  Then I choose a thin white cotton with a textured dot.

This is the fun part because you get to rip your fabric.  I snipped my white fabric every 2 inches then ripped all the way down the width of the fabric.

I used my gathering foot to make the ruffling go really fast.  If you don’t have a ruffling foot, just sew a gathering stitch and gather by hand. (if you like ruffles you must get this foot – it is so much fun!)

My pillow form is 18″ so I cut my front and back piece 19″.  I inserted my invisible zipper before I sewed the ruffles on.  It made it easier.  For my back I choose a piece of neutral colored linen.

 If you are picky you should measure this part, I just eyeballed it.  I placed my ruffles so there was about 1 inch between each row.  I wanted to see the fabric through the ruffles.  If you want a ruffle-only pillow you could use plain fabric and place the ruffles right up next to each other.

This part takes a while because it requires a lot of pinning.  Half way through I was almost temped to get out the hot glue gun and make this project go really fast!

 Once all the ruffles are pinned down, sew along the gathering stitch.

 You can finish this like you would finish any pillow.  You could do an envelope back, stuff it with fiber-fill, or a zipper closure like I did.

Sew & Turn!!
Bottom view of my pillow….I am getting good at those invisible zippers!  Next time I will time myself to see how fast I can sew one!!


I can’t decide if I like the ruffles going horizontal or vertical.  I suppose it doesn’t matter 🙂


Amanda

Iron-On Image Pillow Tutorial

 
I love these graphic pillows I see everywhere!!  They are super fast and easy to make!  Here is what you do:  The first item of business is to find a graphic you like.  I went to Etsy and typed “pillow download” in the search field.  Literally hundreds of fun images came up to purchase and download.  Most are only $1.00 each! You can use any graphic you have or find.

Next you need to get some kind of fabric transfer.  This is the one I used from Avery:

I would follow the manufacturers instructions.  This is how I did mine:
Ta-Da!!

Pillow #1 – Antique Kitty:
This was the quickest pillow to make.  Two squares 12″ each.  Sew, turn, and stuff with fiber-fill.  Hand stitch opening closed.


 Pillow #2 Huma Huma Antique Tropical Fish Pillow
This was similar to the kitty pillow, only it measures 18″ and I inserted an invisible zipper in the bottom seam to insert the pillow form.  Click HERE for my invisible zipper tutorial.

 Bottom view of pillow – I love the invisible zipper!

 #3 Enjoy The Ride Banner Pillow

I added the text to the bottom of the bike graphic I purchased from Etsy.  I choose to use turquoise linen for this pillow.  Looking back, I should have kept with more neutral tones.  You can kind of see the edge of the iron-on material.  Live and learn!

My pillow form is 16″ so I cut two 17″ squares.  Iron on your graphic.

 Cut little triangles out of Heat N Bond Lite and iron them to the wrong sides of your banner fabrics.  Cut out your triangles, peel off the back, and they are ready to be ironed into place.

 This is how I laid out mine.  I used some crochet lace for the banner.

Remove the lace and iron on the triangles.  Be careful not to move them.

 I used black thread to accent stitch around the triangles.  I stitched them twice so they look “sketchy”.  I didn’t bother stitching the top as the lace will cover them.

 Now pin your lace on and sew along the top and bottom of the lace in matching thread.

 Now it is ready to finish into a pillow!  I used an invisible zipper on the bottom to insert the pillow form.  You can finish the pillow the way you like best.  You can even just sew and stuff it!


#4 Enjoy The Ride Pieced Pillow
This pillow sews up really fast.  Use the following image below as a cutting guide:

Cut the back piece 12″ x 22″ 

Use 1/4″ seams in your piecing.  After you piece the strips on, press the seams to one side.  BE CAREFUL not to touch the iron on your iron-on image – it will melt!!

Sew the front to the back with right sides together.  Leave a small opening in the bottom seam to turn and stuff.  Hand stitch closed.  Done!

The possibilities are endless using iron-on images.  I hope you come up with something fun!!

Amanda

Quilted Pillow

Today I am a guest blogger over at xo.gigi fabrics blog.  Click HERE for the tutorial on how to make this fun quilted pillow!


Amanda

Lone Quilt Block Pillow {guest post}


I am excited to announce today’s pillow tutorial: Lone Quilt Block Pillow by Clover & Violet.  I have been a fan of Clover & Violet, their blog, their patterns, and quilts for a long time.  They are the CUTEST!!!  They made up this super cute pillow pattern for my Throw Pillow Throw Down.   I am so honored!!  Here is a little about Jennie, from Clover & Violet:

“I’m a mom, bag lover, quilter, sewer, and lover of handmade!  I blog at Clover & Violet with my mom, Clara, and together we design all kinds of patchwork bags, embroideries, and a variety of other things.”
Click HERE to visit Clover & Violet and to learn how to make this quilt block pillow.

Throw Pillow Throw Down Day 2

 Today we have 3 exciting pillow tutorials!
#1 – Pieced Chevron Throw Pillow from Shannon at Sewing Barefoot.  Shannon is a full time interior designer who loves being crafty and creative.  She has inspiring tutorials from painting to sewing to quilting. Check out her blog!  She also hosts a linky party every Sunday.  Click HERE for her Chevron Pillow tutorial.

#2 Sewing an Invisible zipper
I know there are lots of tutorials out there for how to do this, but sometimes it helps to see many different versions of the process before you tackle one yourself.  This is my version 🙂  Click HERE

#3 – Strippy Quilted Monogram pillow
My pillow tutorial is being featured over at the Therm O Web Blog.  I LOVE their products and I would be completely lost with out their Heat N Bond Lite!!  Click HERE for the tutorial

Amanda

Sewing an Invisible Zipper {tutorial}

I love finishing my pillows with invisible zippers!  Once you try it you will love it too!

I cut my pillow squares the exact size as my pillow inserts (I try to always use 20″ pillow forms)

Zipper – I like to buy my zippers longer than I need so I can cut off the extra and not worry about how it will fit, at least 22″
This instruction will show you how to sew the zipper in the bottom seam of your pillow.


Make sure to start and stop at the 2 1/2″ mark.  Now, pin the other side of the zipper to your other square of fabric.

This next step can seem tricky.  You are going to put on your zipper foot  and sew a seam that will close up that 2 1/2″ space on both sides of the zipper.  Below I have shown exactly where your seam should be and where it should start.  Notice it starts about 1/2 inch from where the first seam ends.  It is ok that the seams don’t meet up.  When you press the pieces, it will lay really flat.  In fact, the closer you get to the first seam, the more pucker-y it will be.


To finish the pillow, place right sides together and pin all the way around.  MAKE SURE THE ZIPPER IS PARTIALLY OPEN.  Sew 1/4″ all the way around the pillow, starting and stoping at the zipper.  Turn right side out.


Amanda

Throw Pillow Throw Down Begins Today!

 I am so excited for this week!  I have been working on lots of fun pillows and working with lots of fun people to get this throw down started!  This will not be a “Throw Down” in the sense that there are winners and looser, I hate to see people cry 🙂  Just fun tutorials every day.  “Who can’t use a few more pillows around the house”….(said no husband ever!)

Here are today’s three features – its all about fast & easy and sewing with kitchen linens: napkins, placemats, and towels!

 Napkin Pillow Tutorial

 Placemat Pillow

Amanda