My Favorite Baby Quilt Pattern

IMG_9735

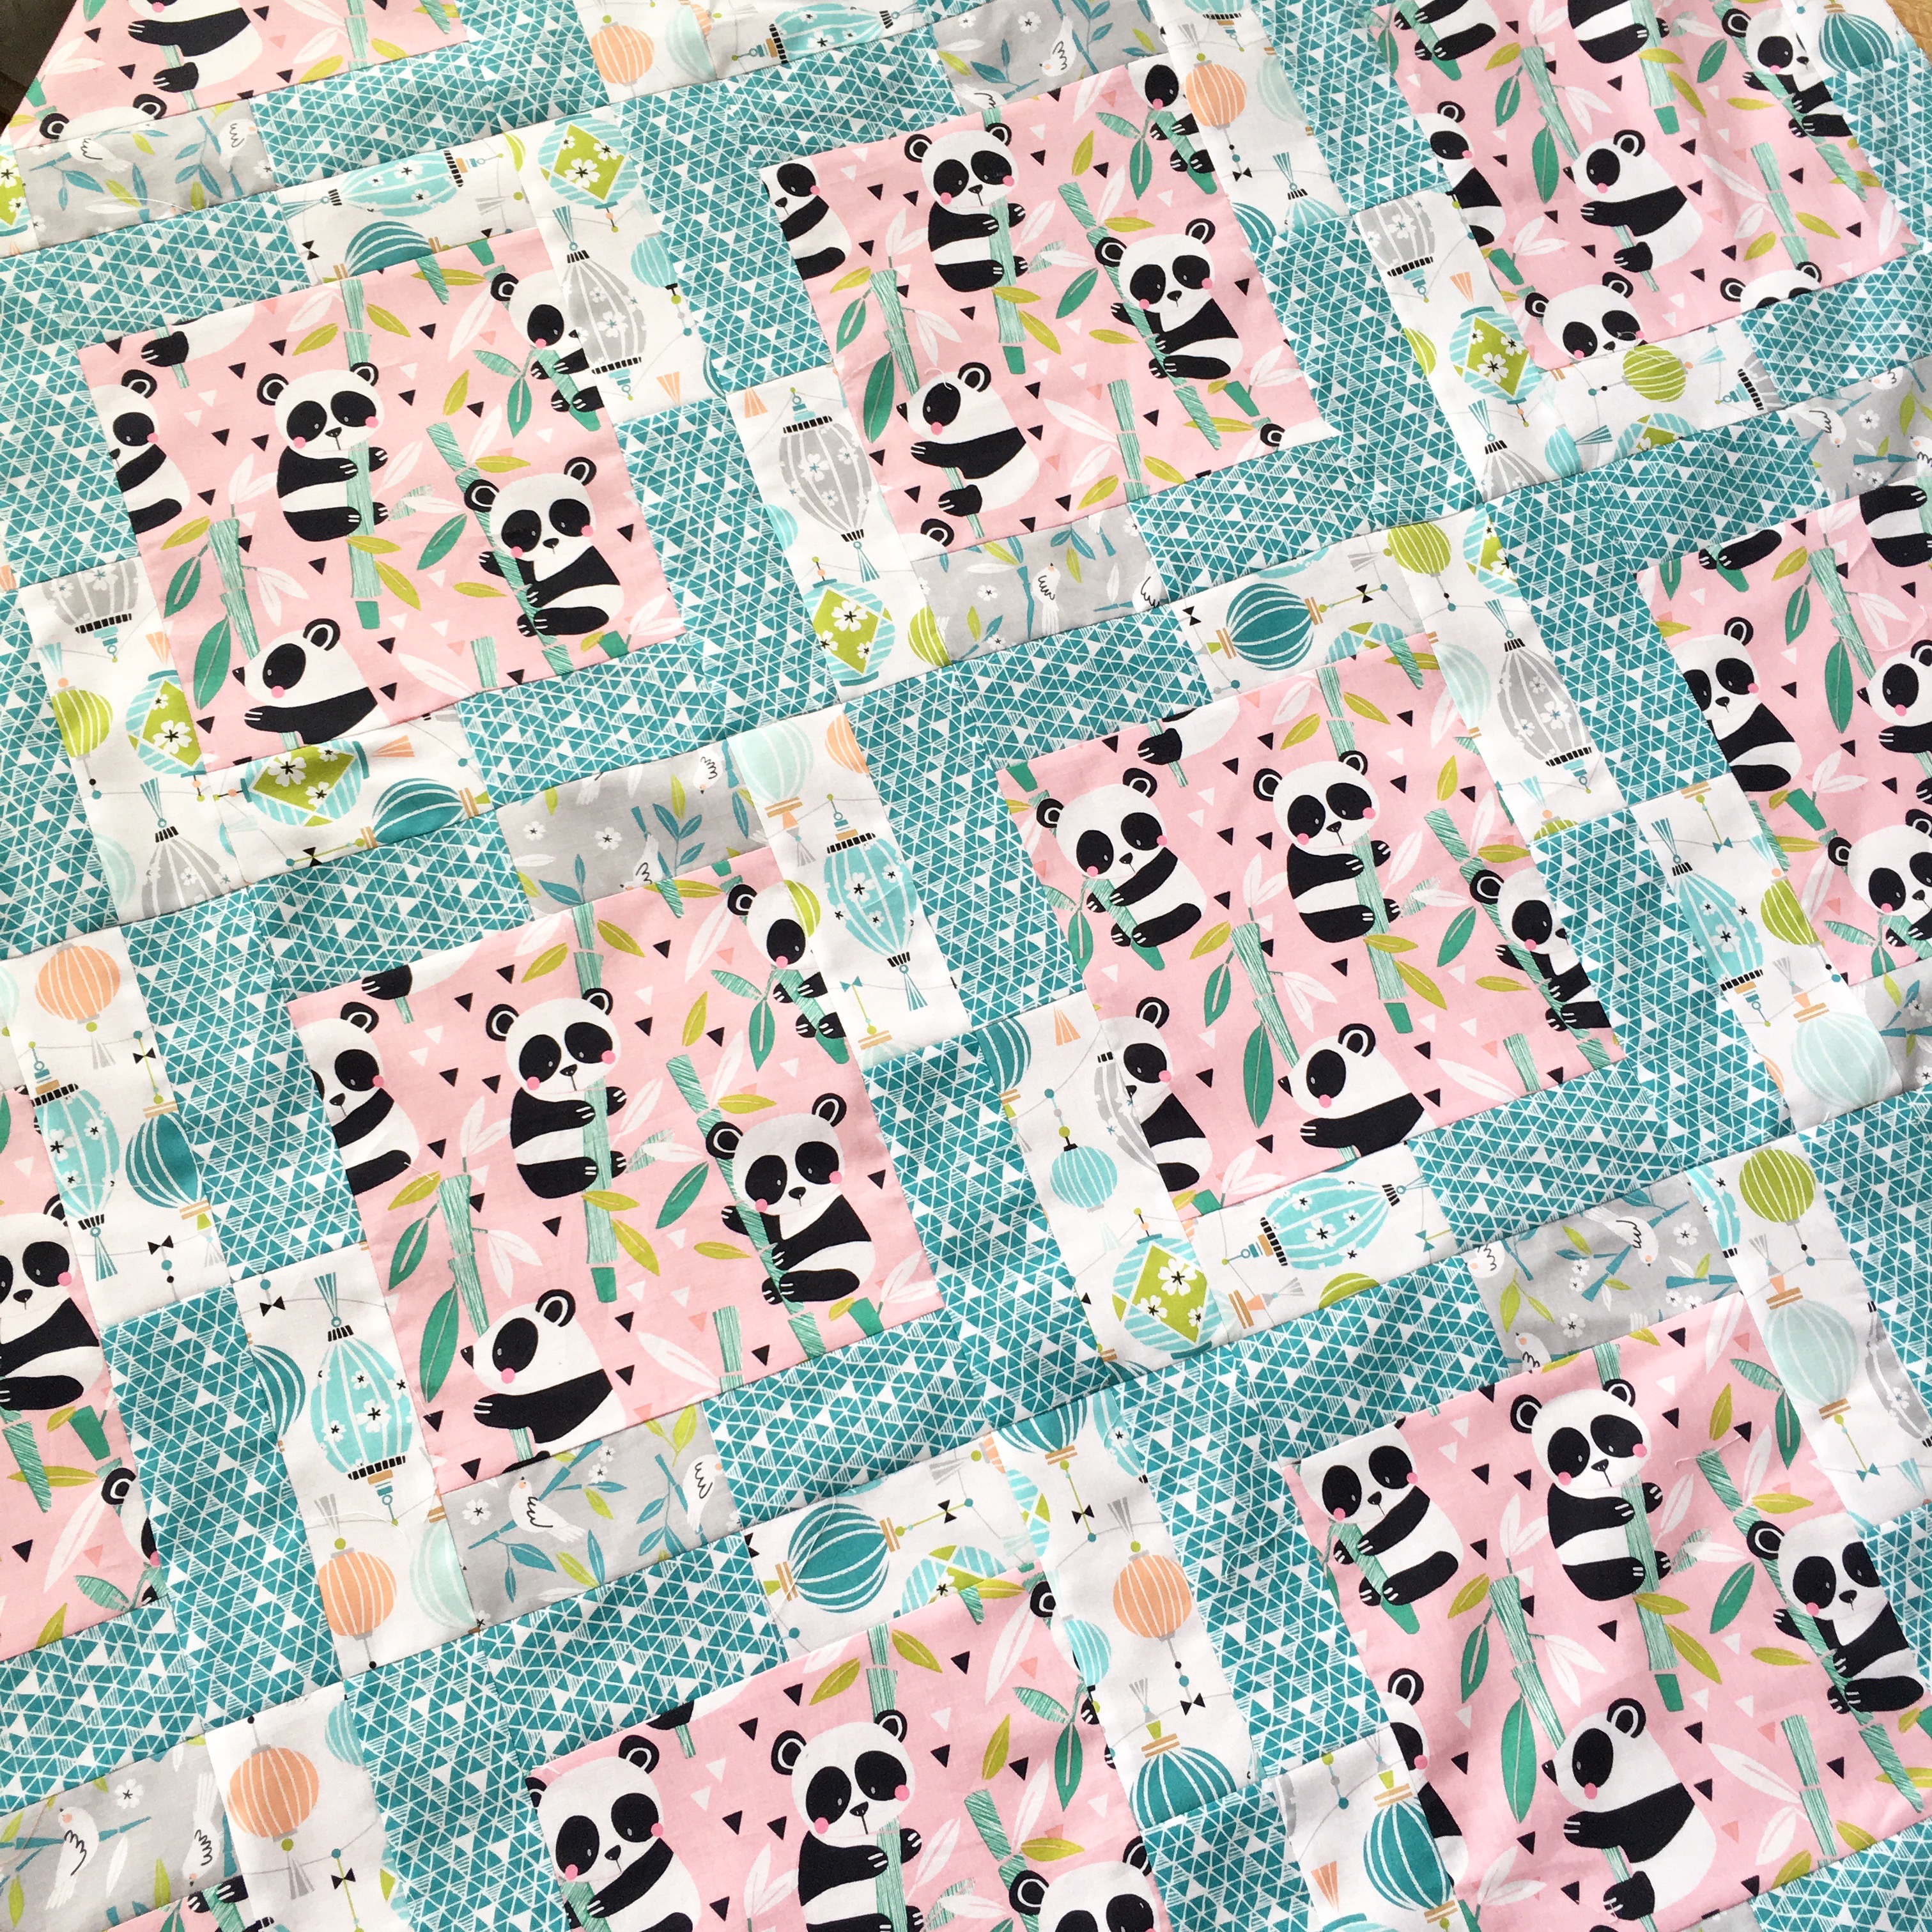
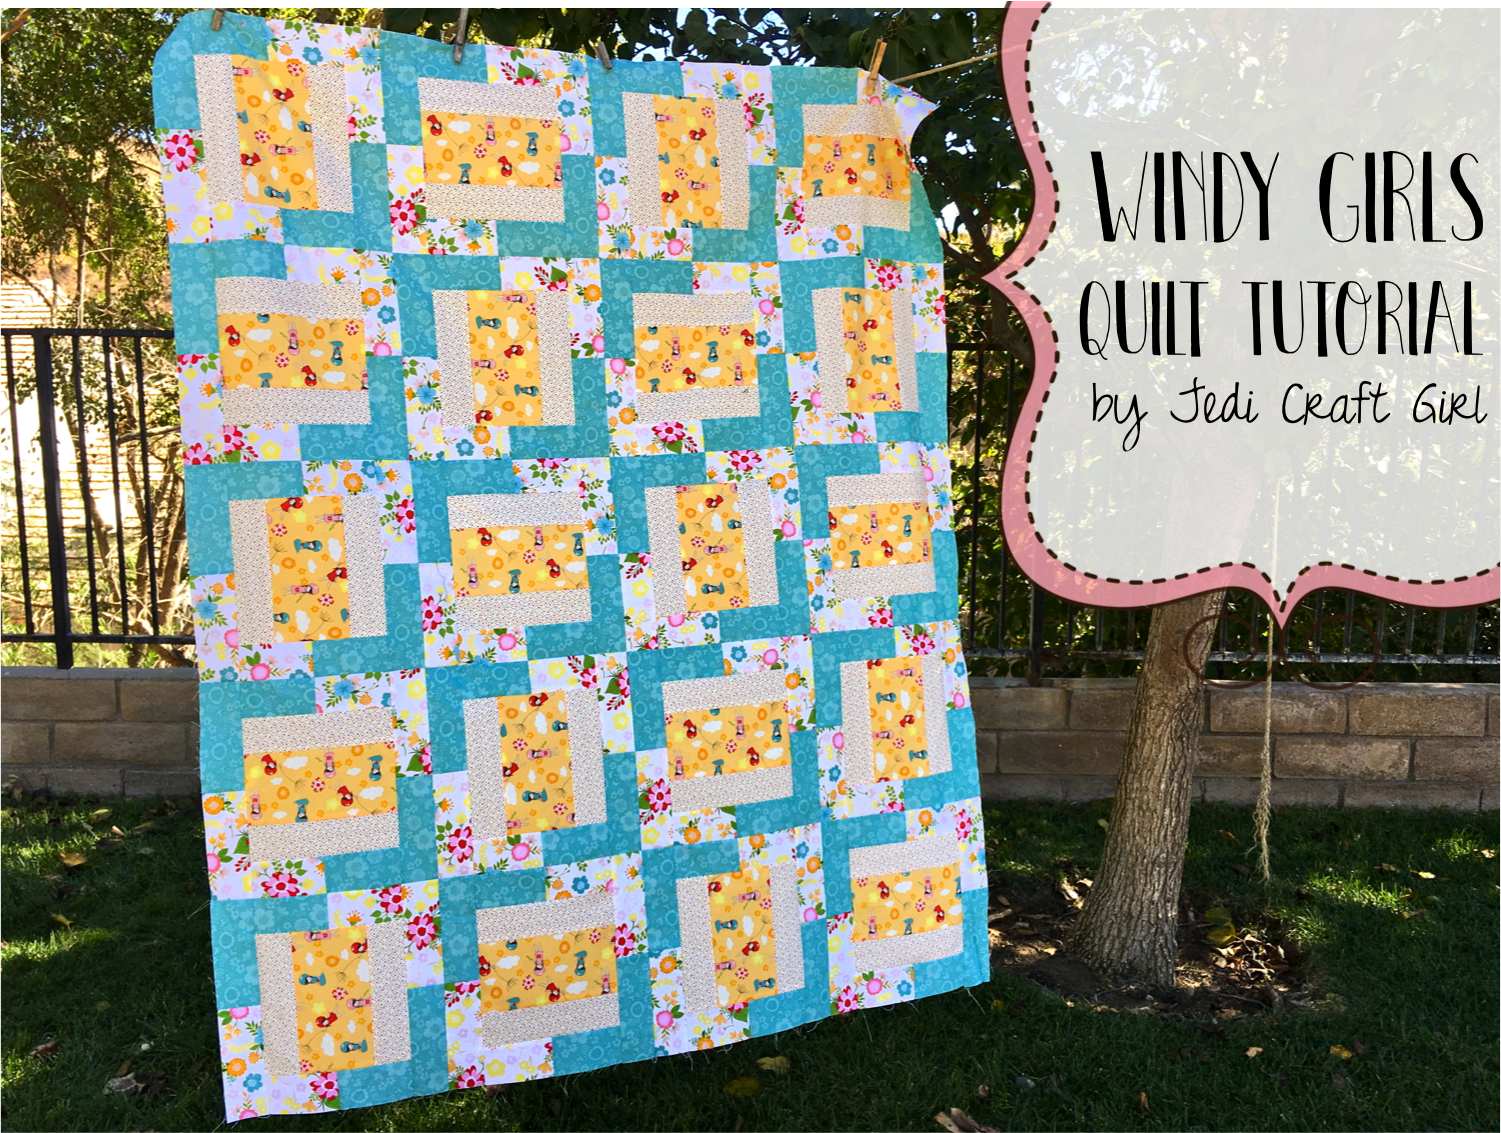
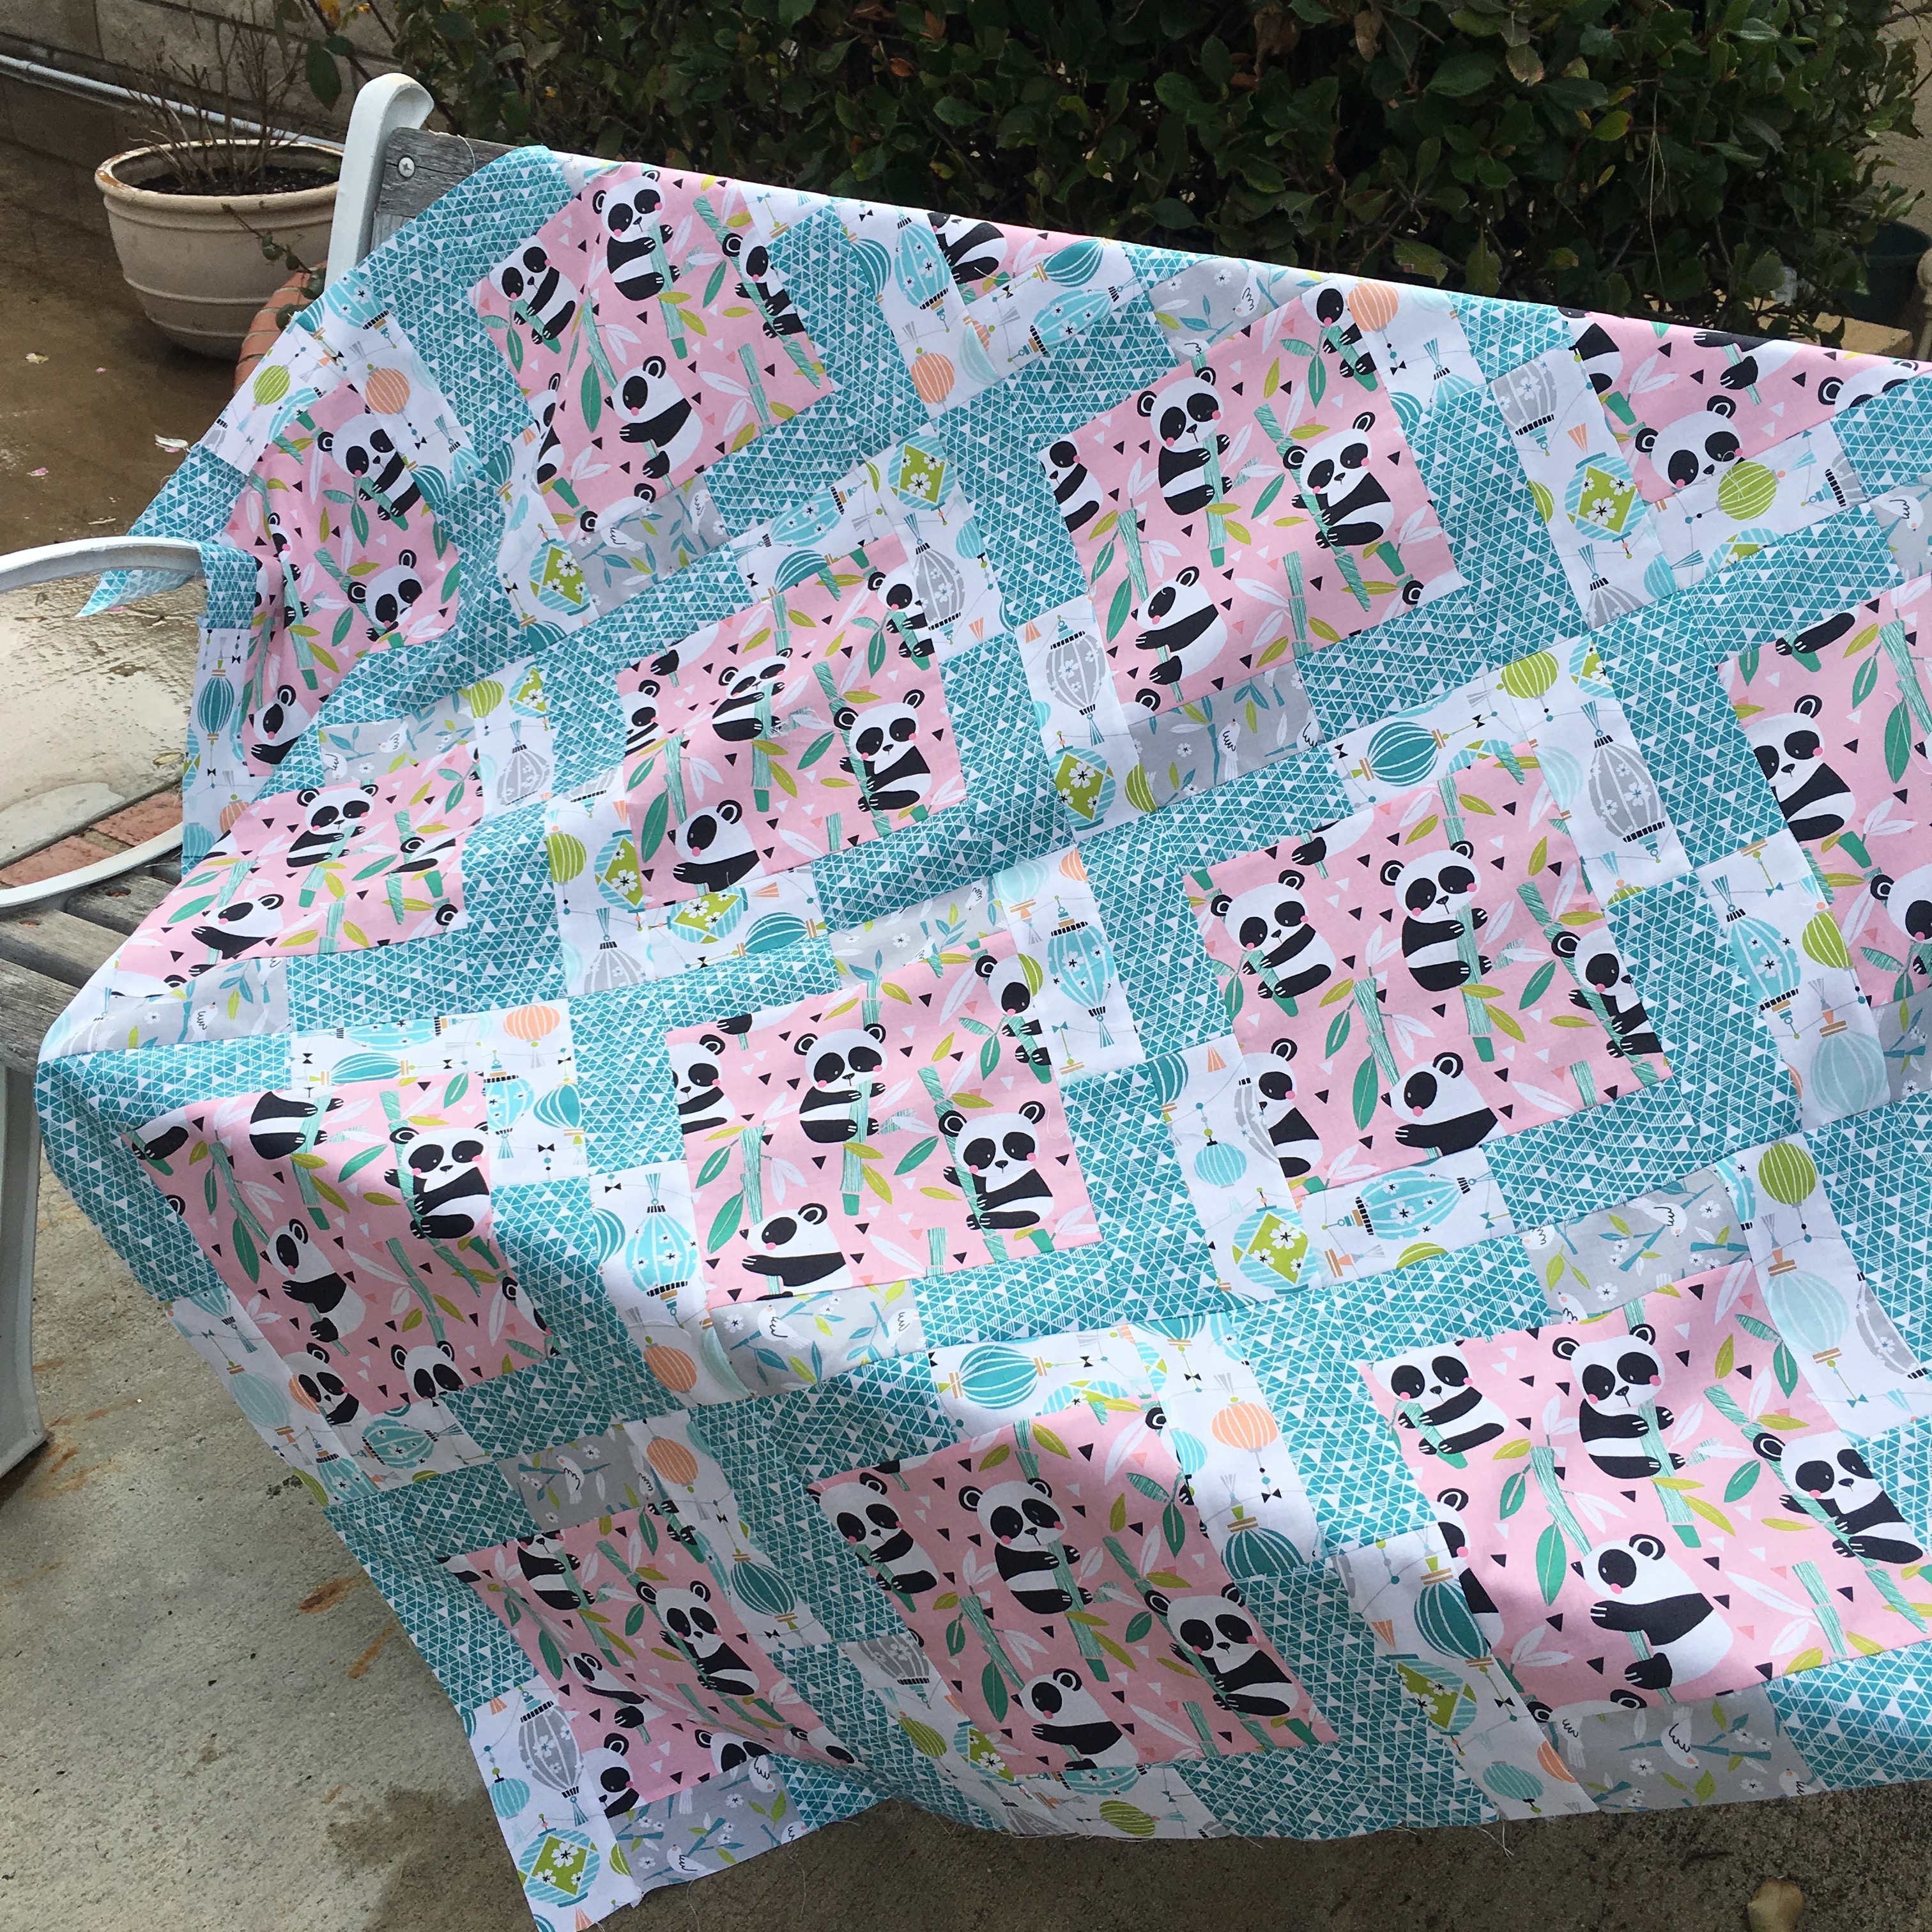
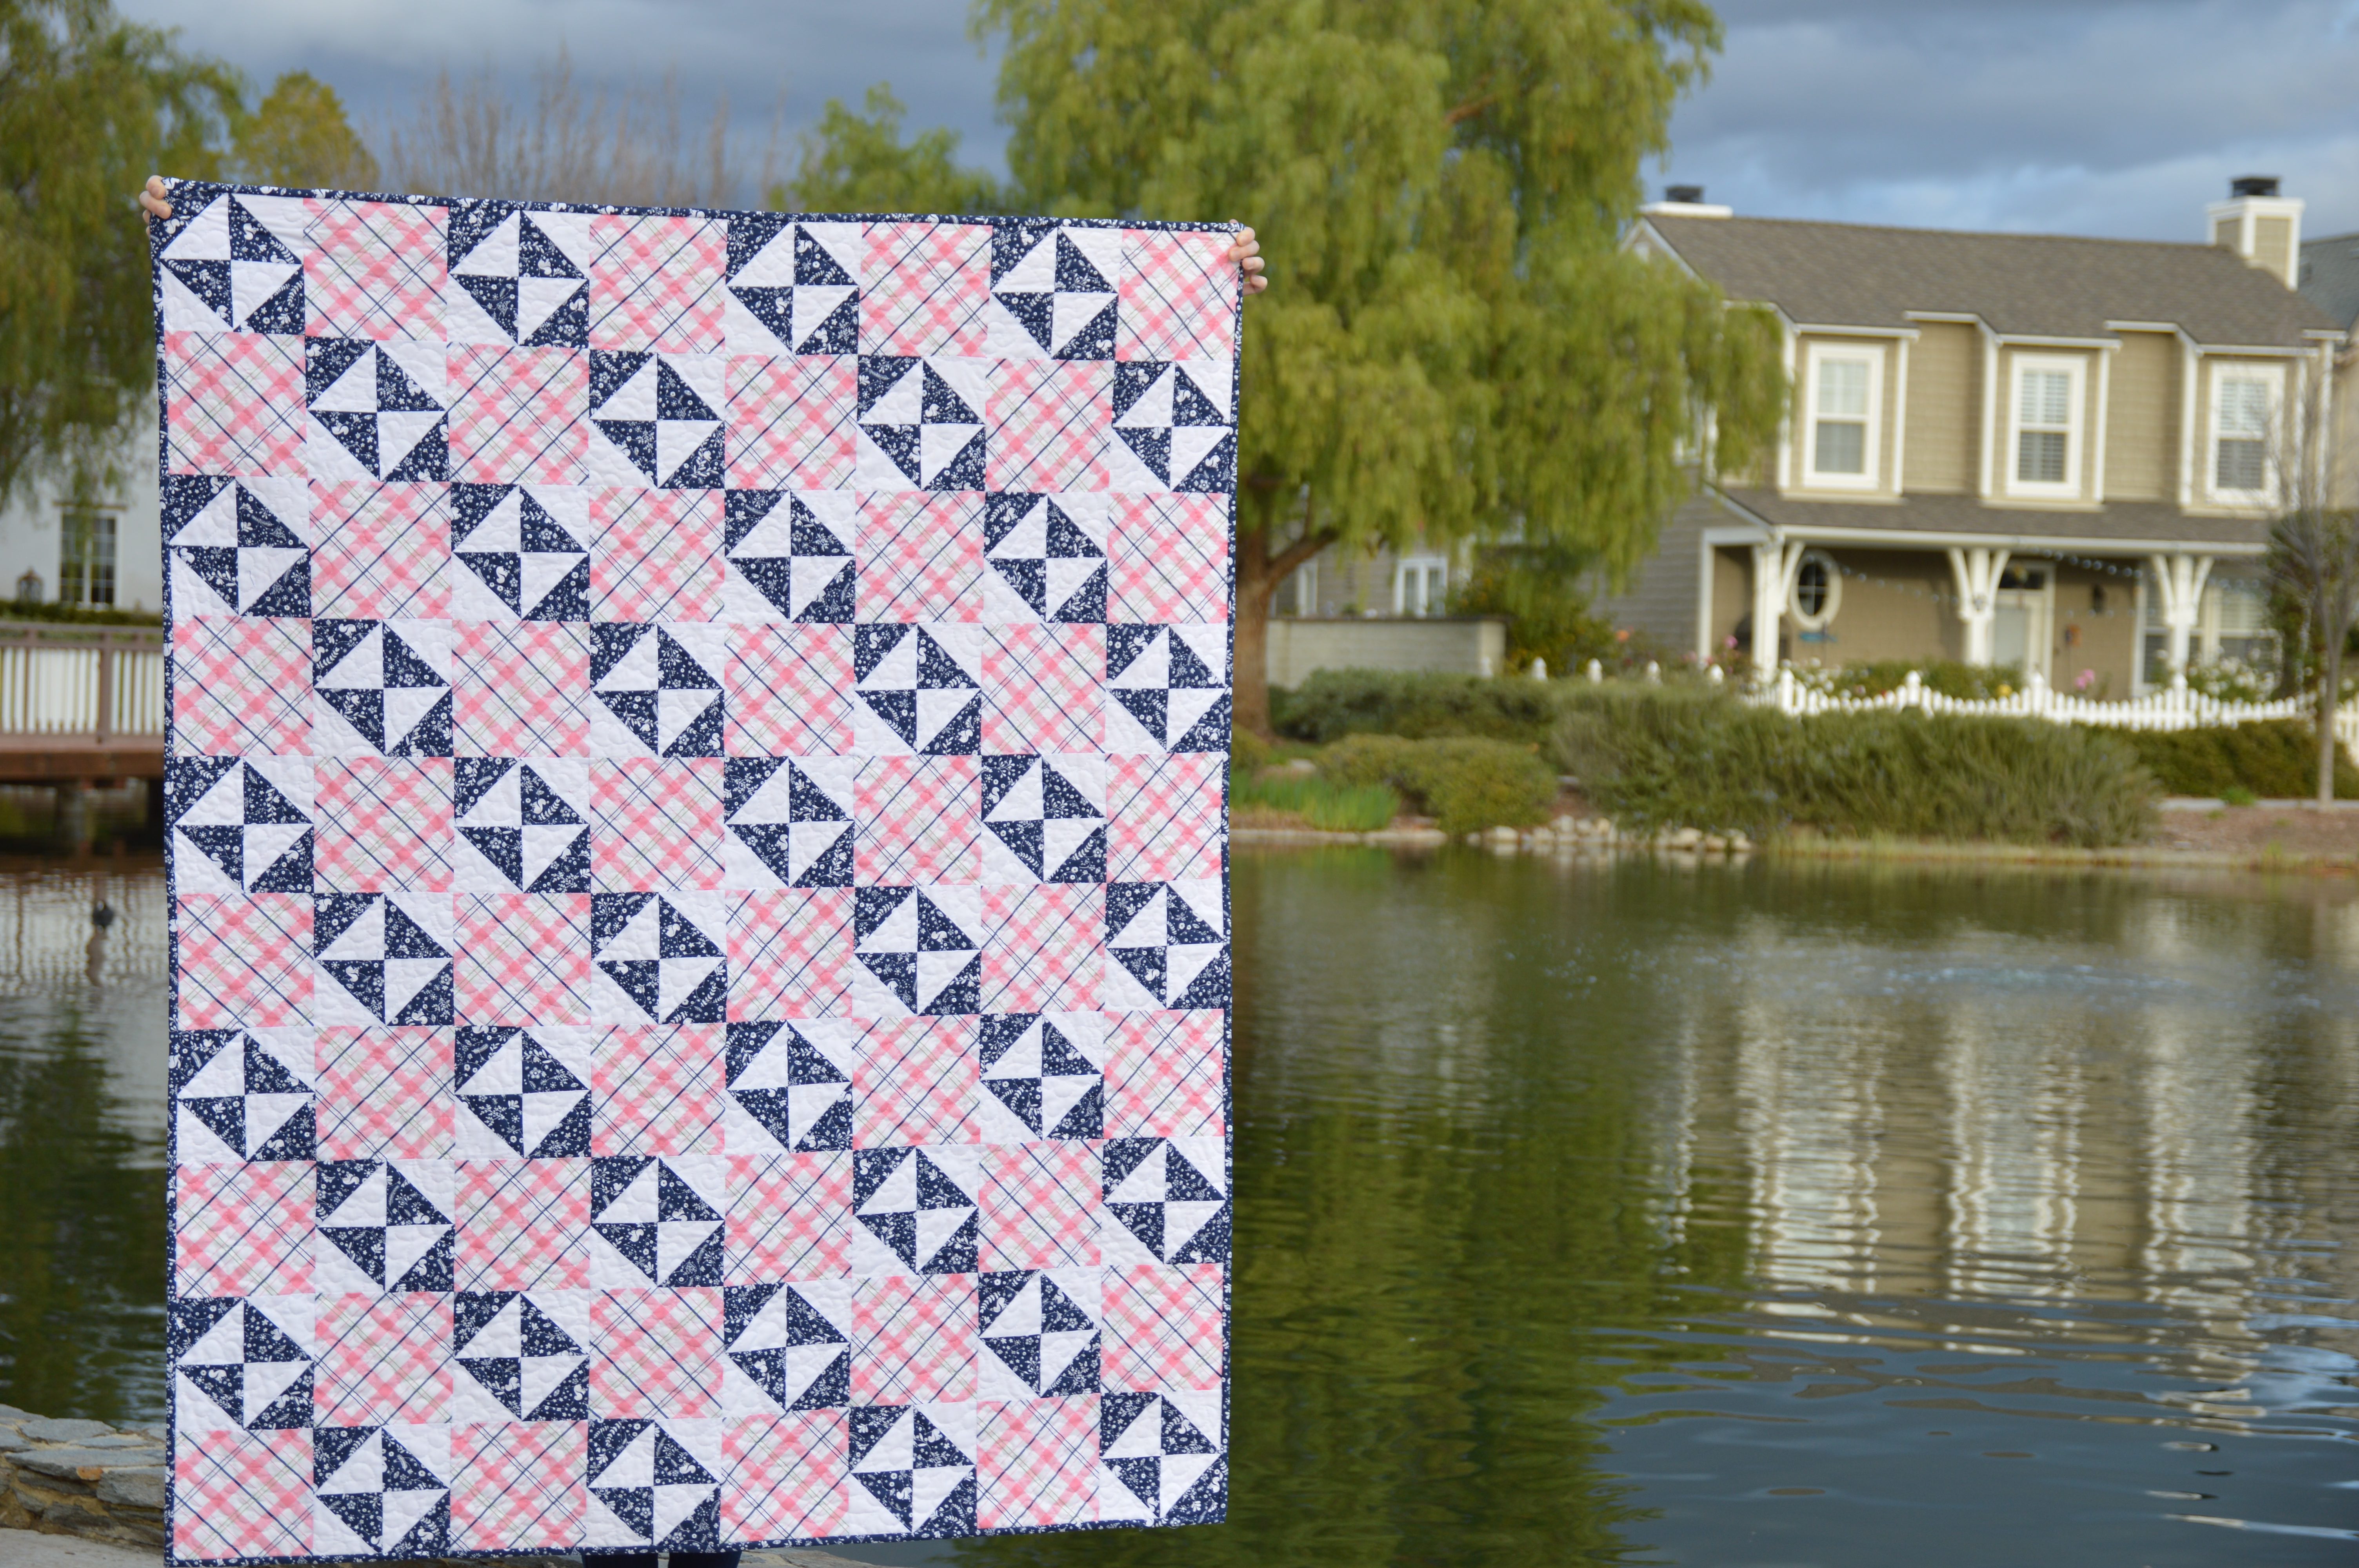
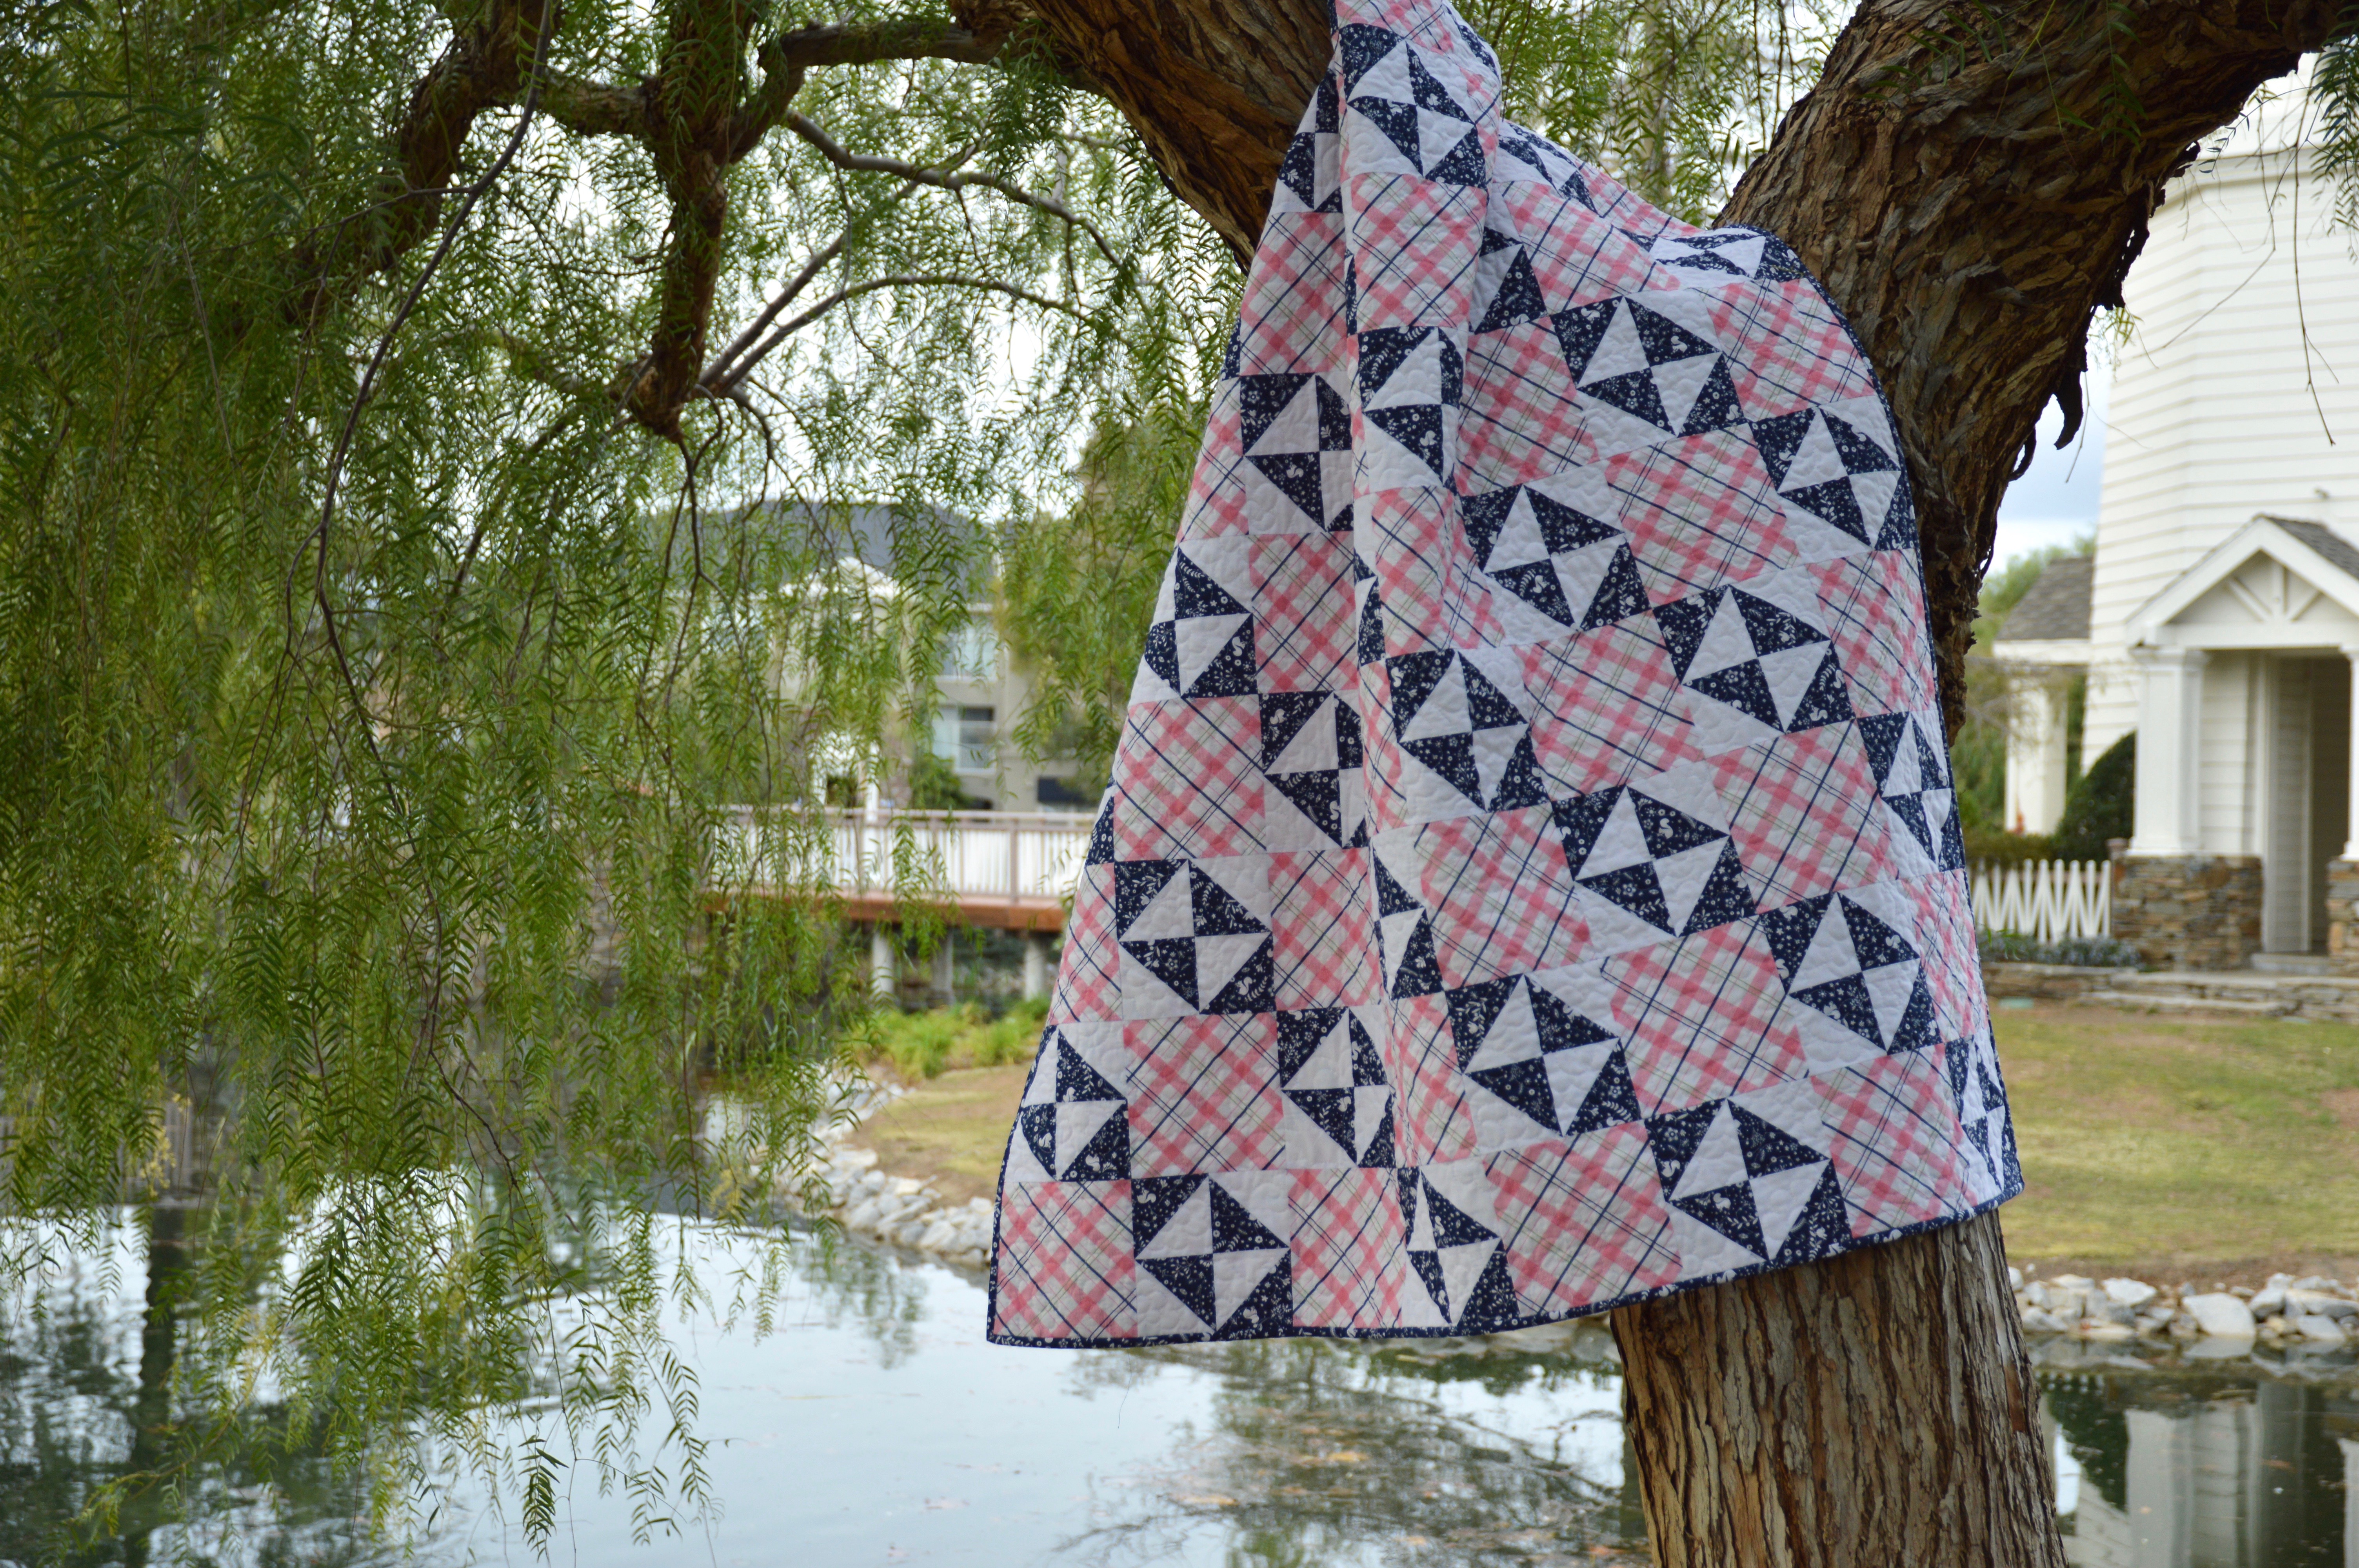
I love to give quilts for baby gifts!  Sometime there isn’t enough time for an elaborate pattern.  This is my Go-To pattern for a baby quilt.  I put this Panda themed quilt top together in 1.5 hours this morning – which included choosing fabrics and cutting!  I love this pattern with theme prints and these panda bears have stolen my heart!  All the fabrics are from Panda-Rama by Blend Fabrics.

The panda quilt is an adaptation from my Windy Girls Quilt Tutorial.

cover

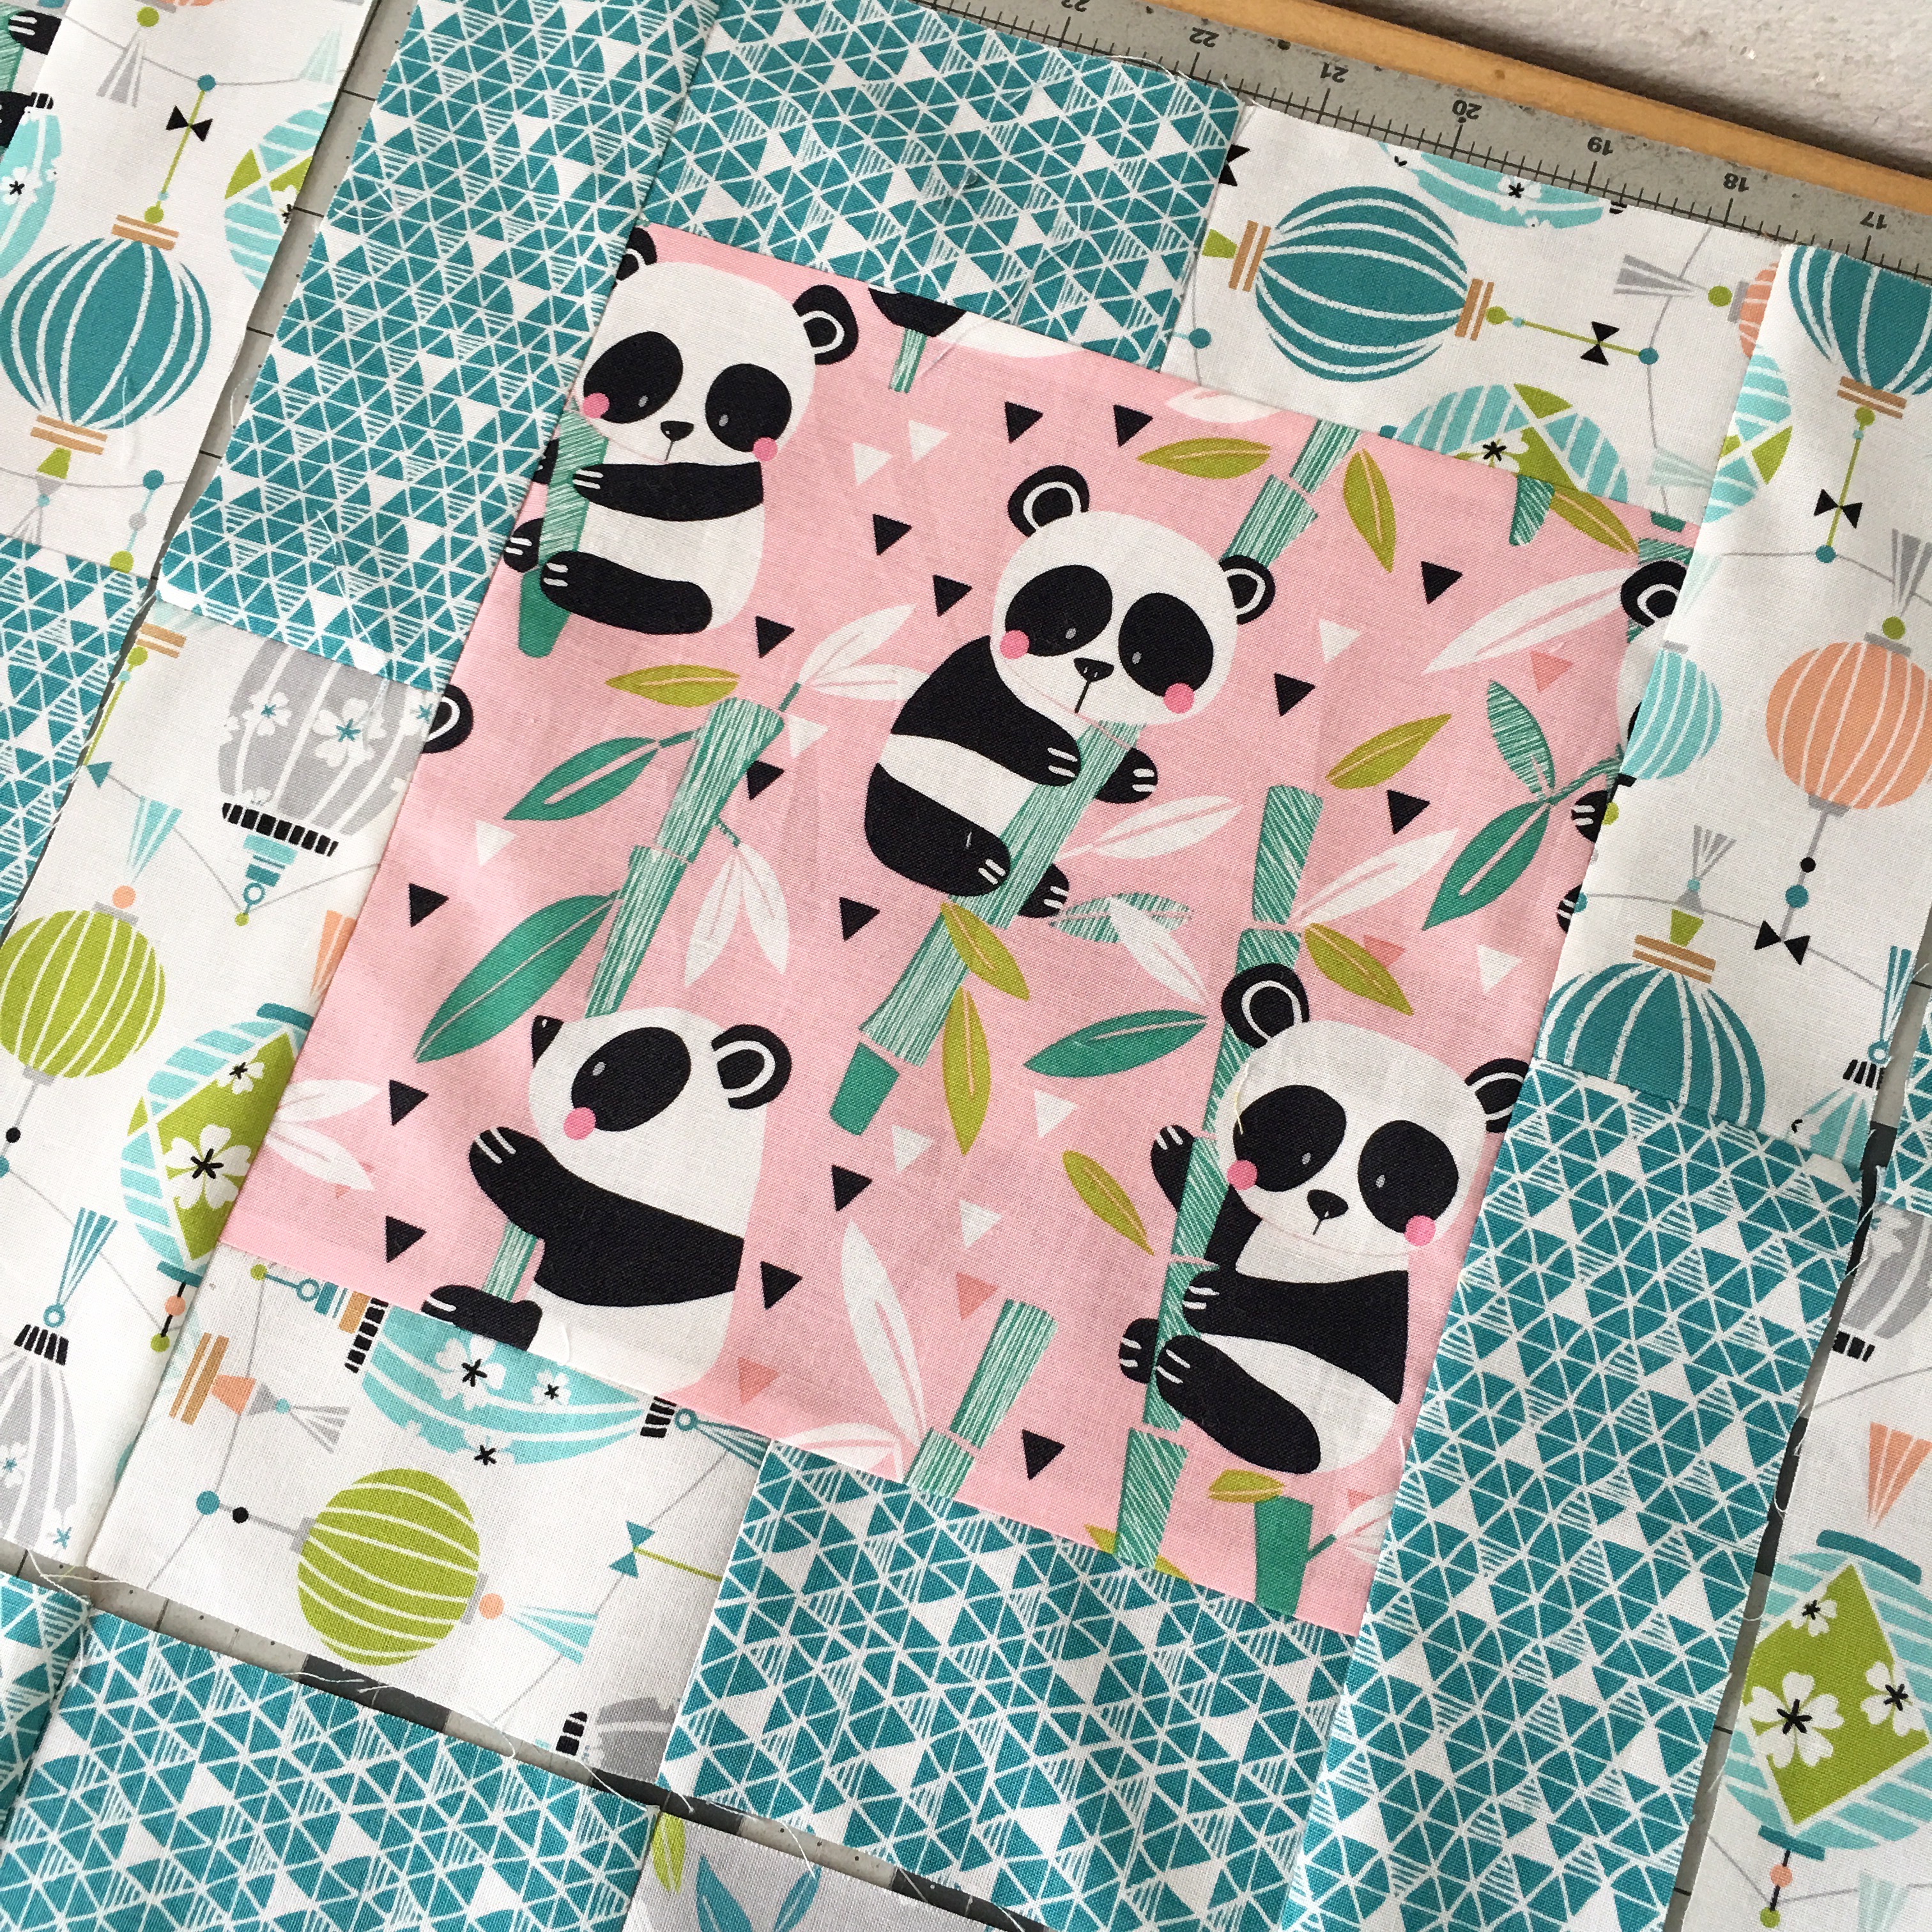
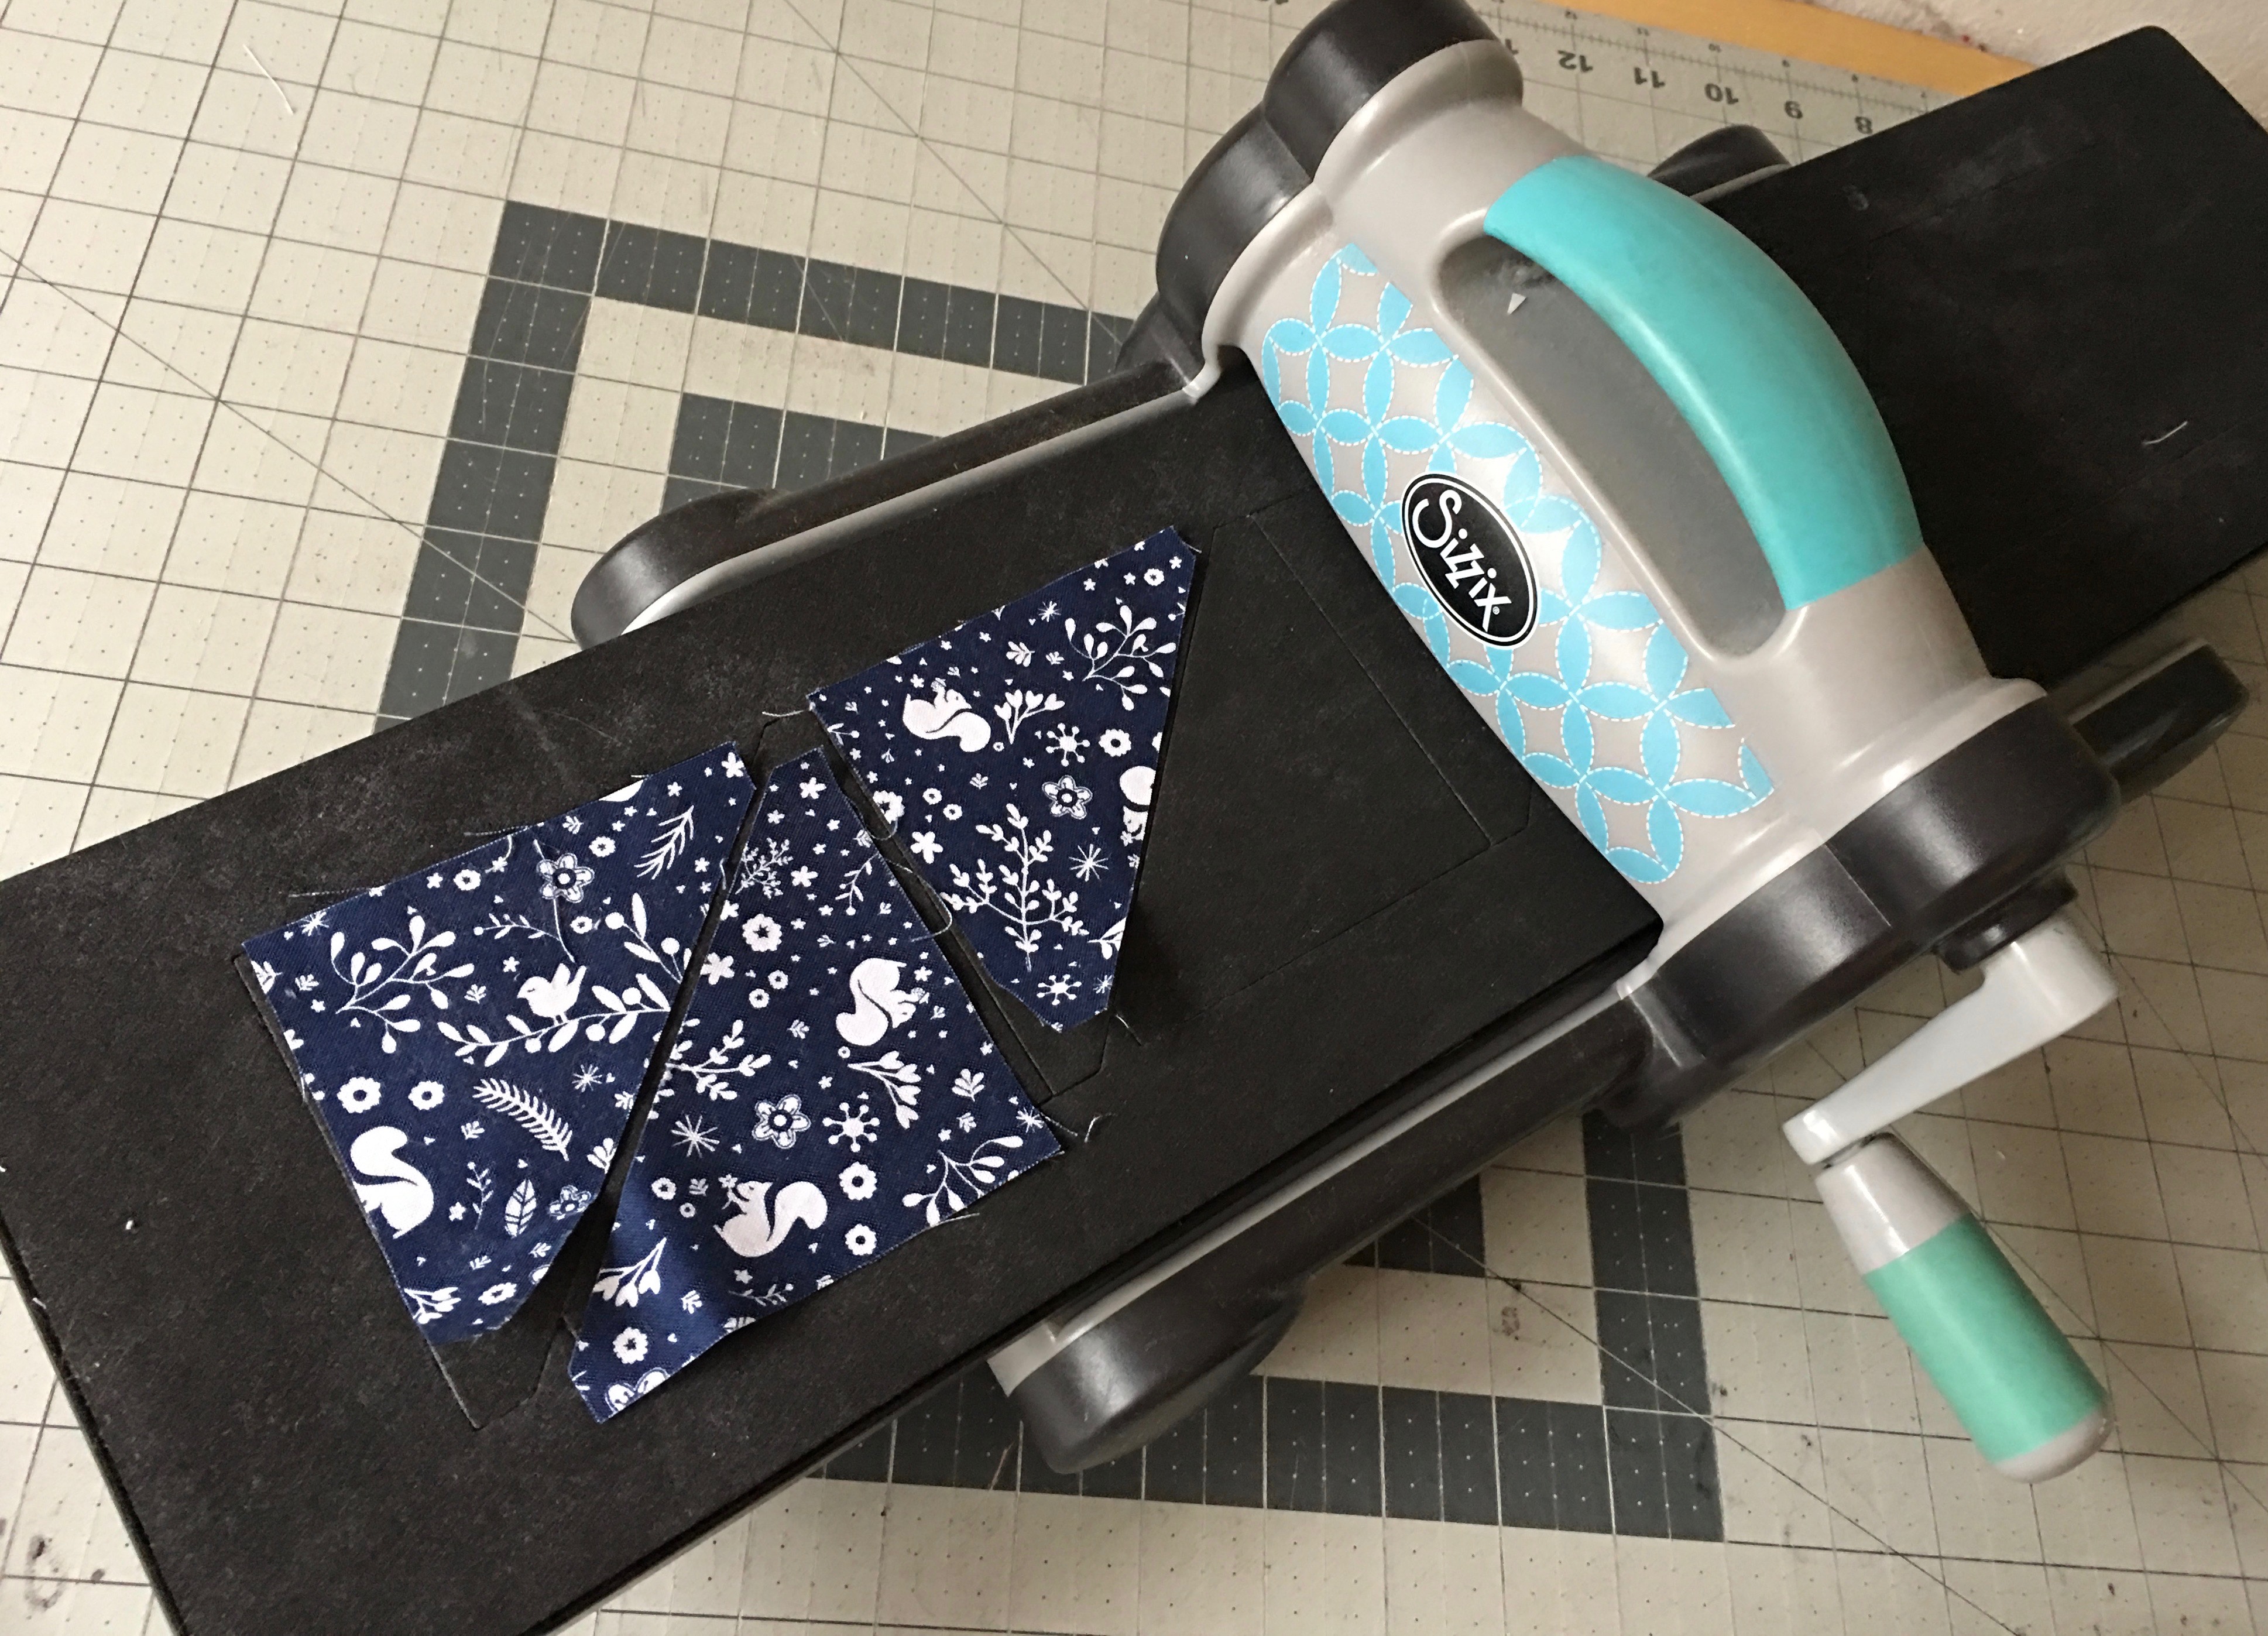
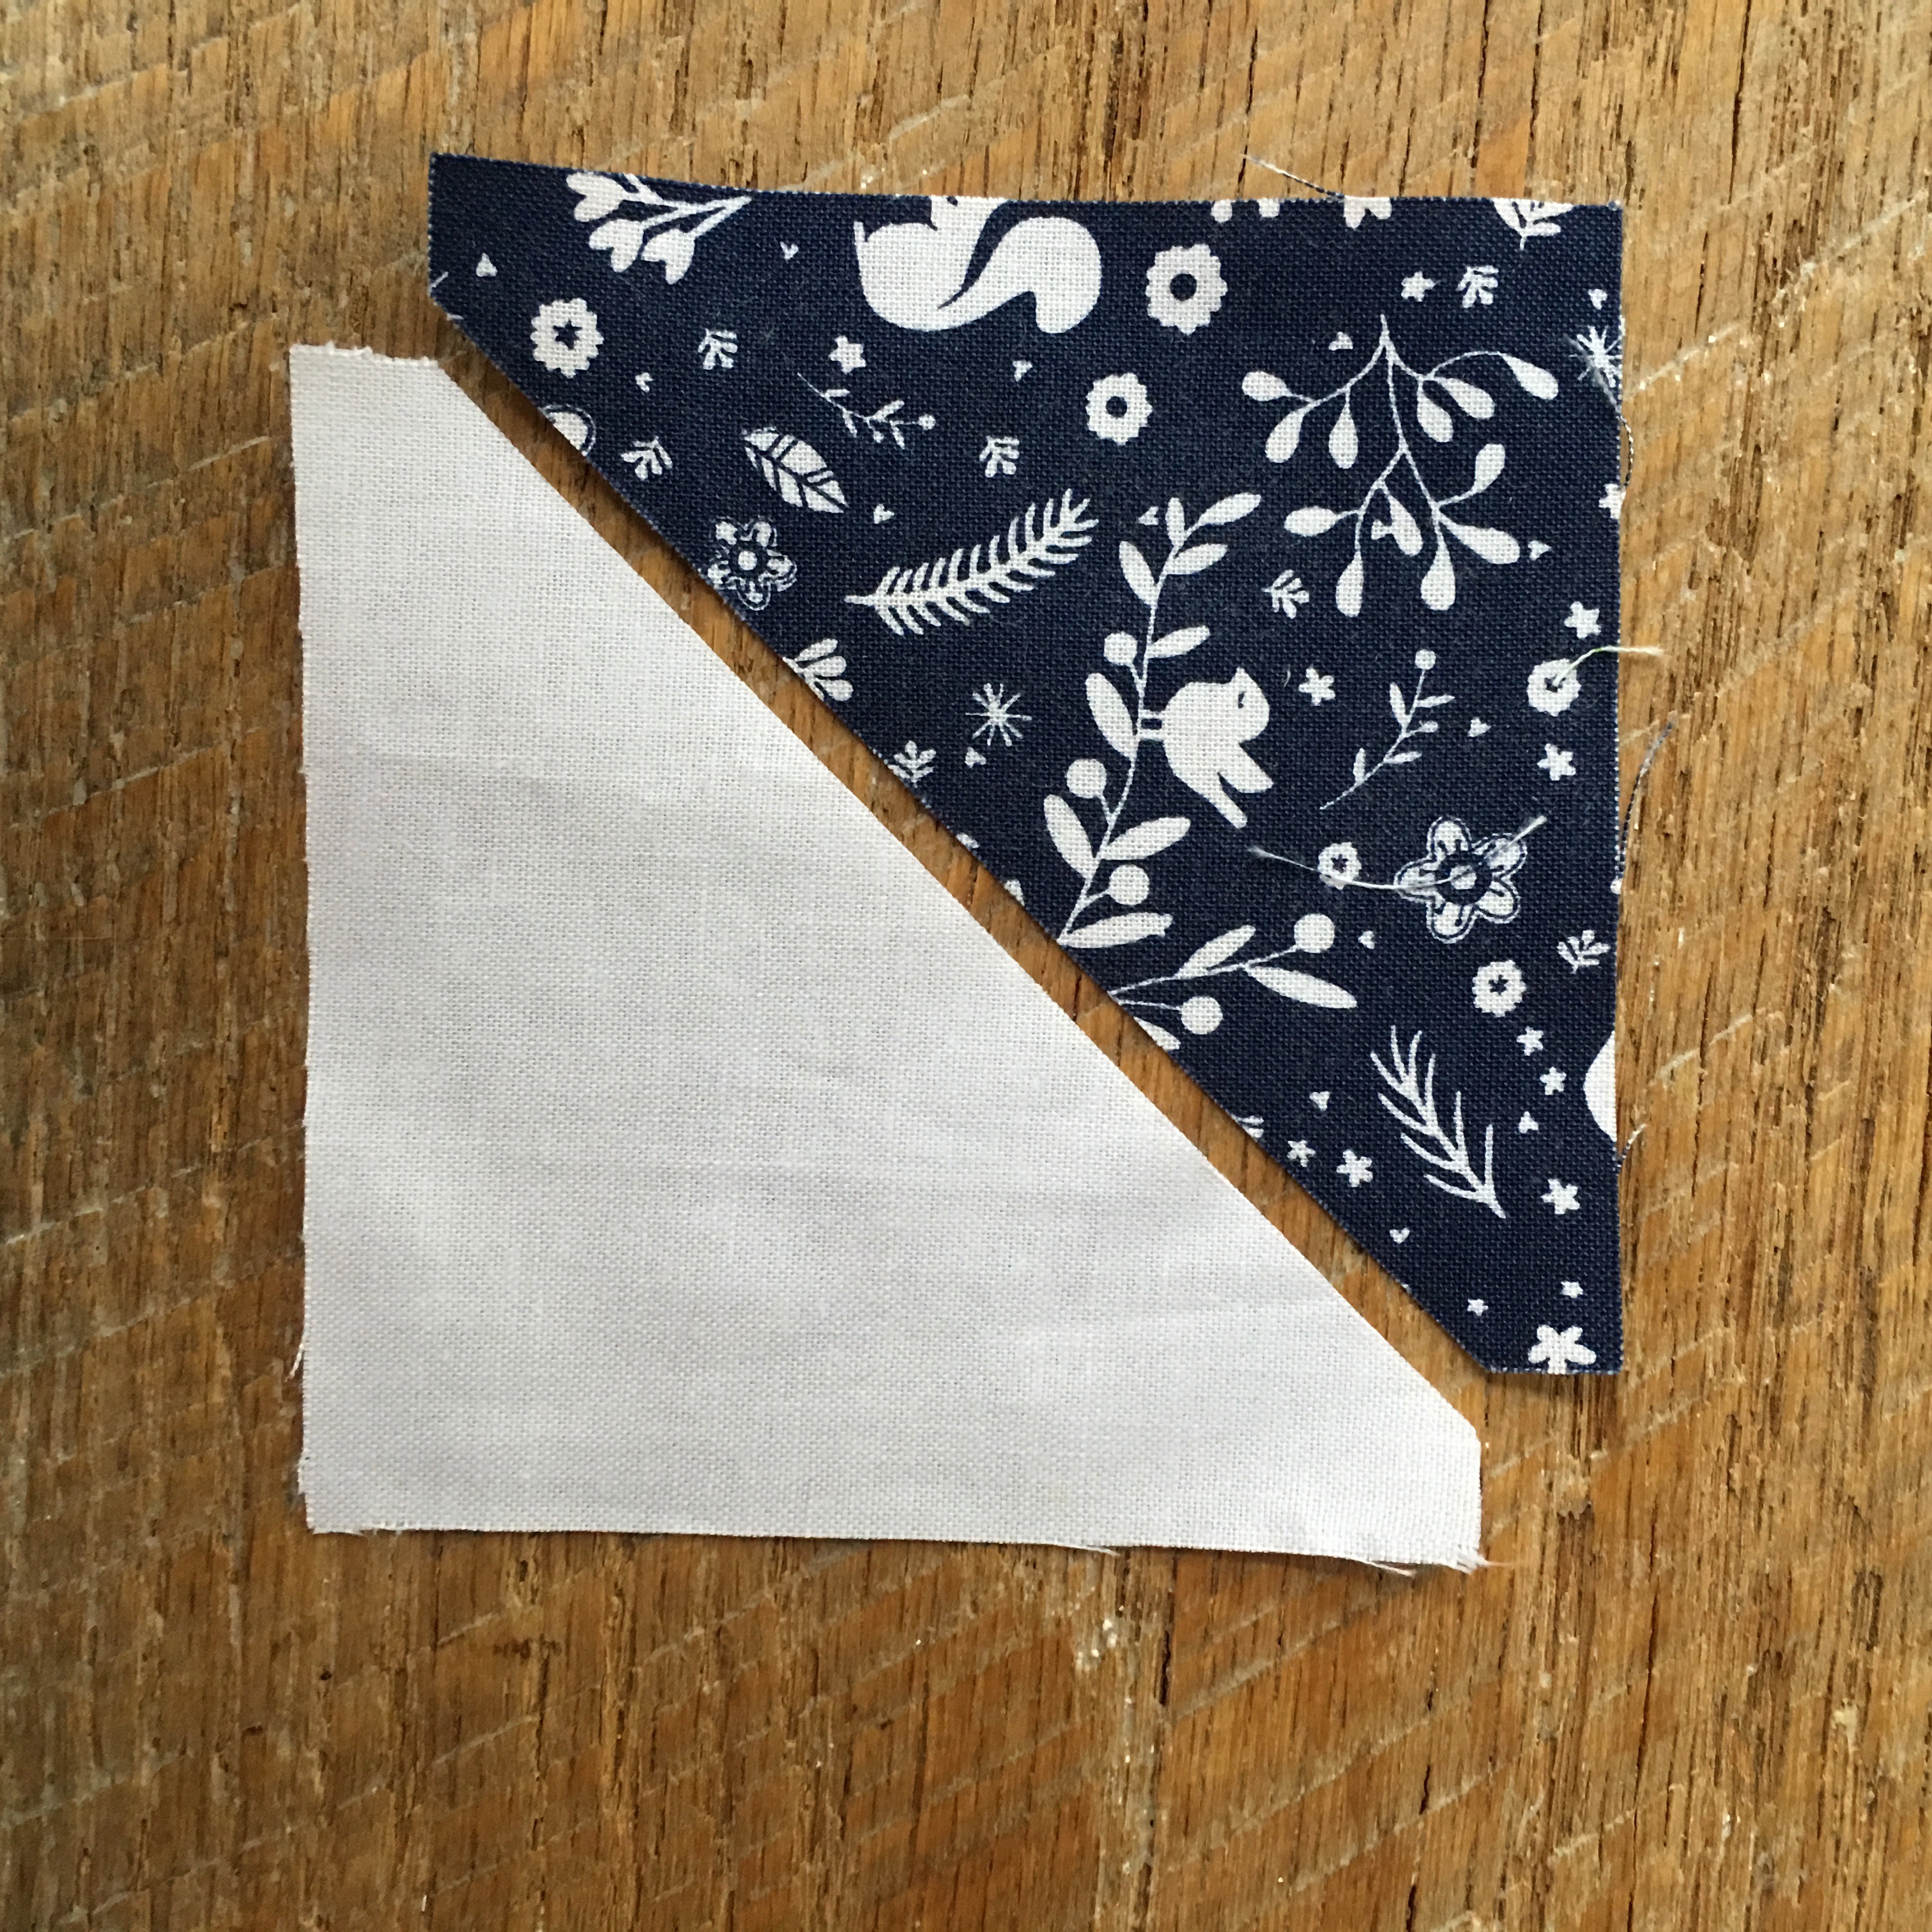
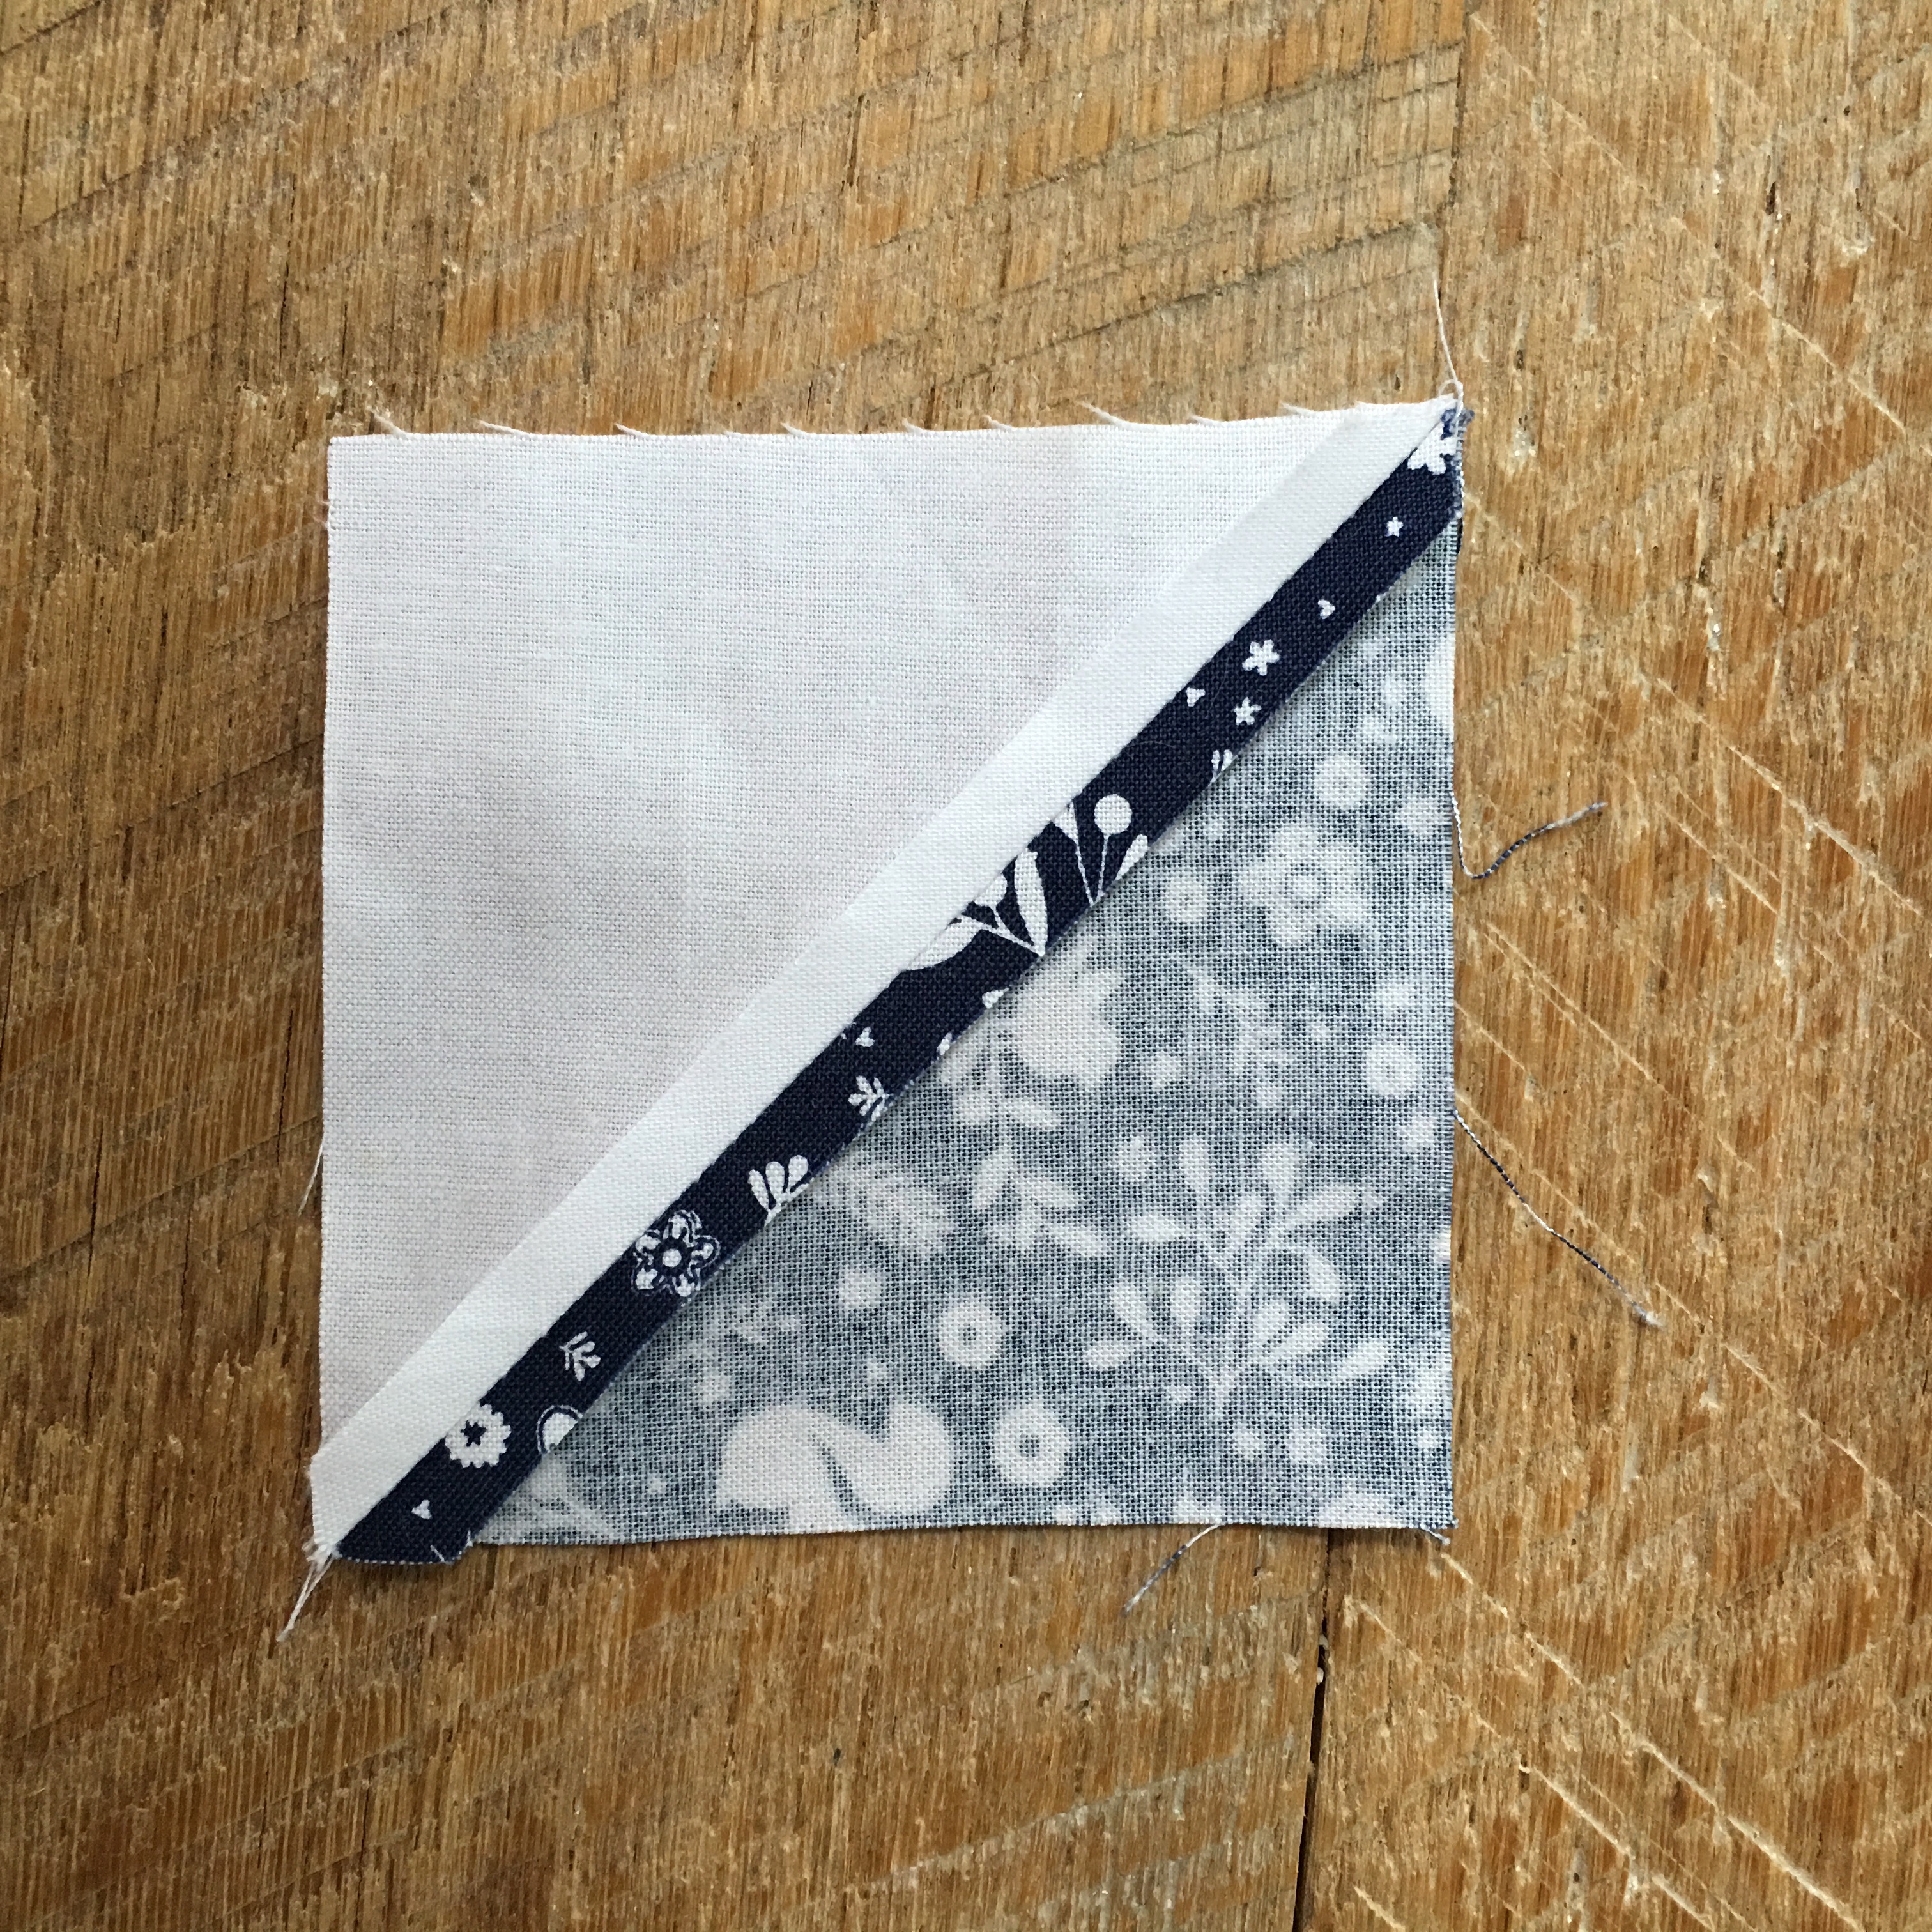
I made 2 changes: First, I didn’t piece the centers, I omitted the first step and I cut the pandas 8 1/2″ square.  This saves a step, saves time, and lets you use super large prints in the center.

IMG_9662

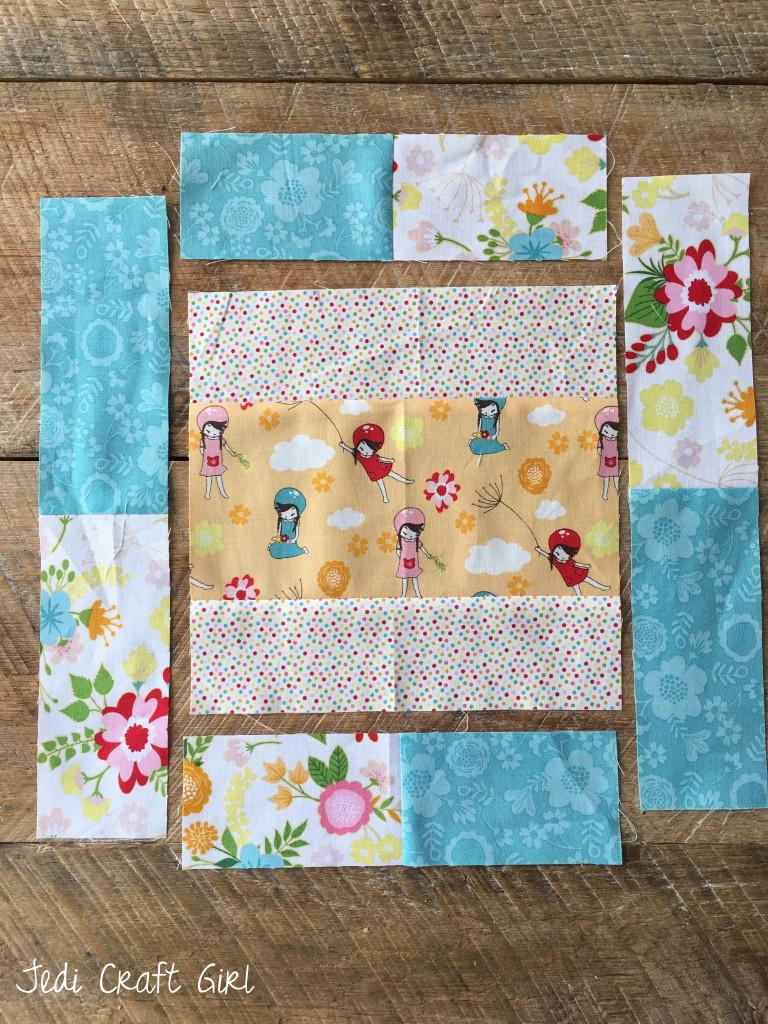
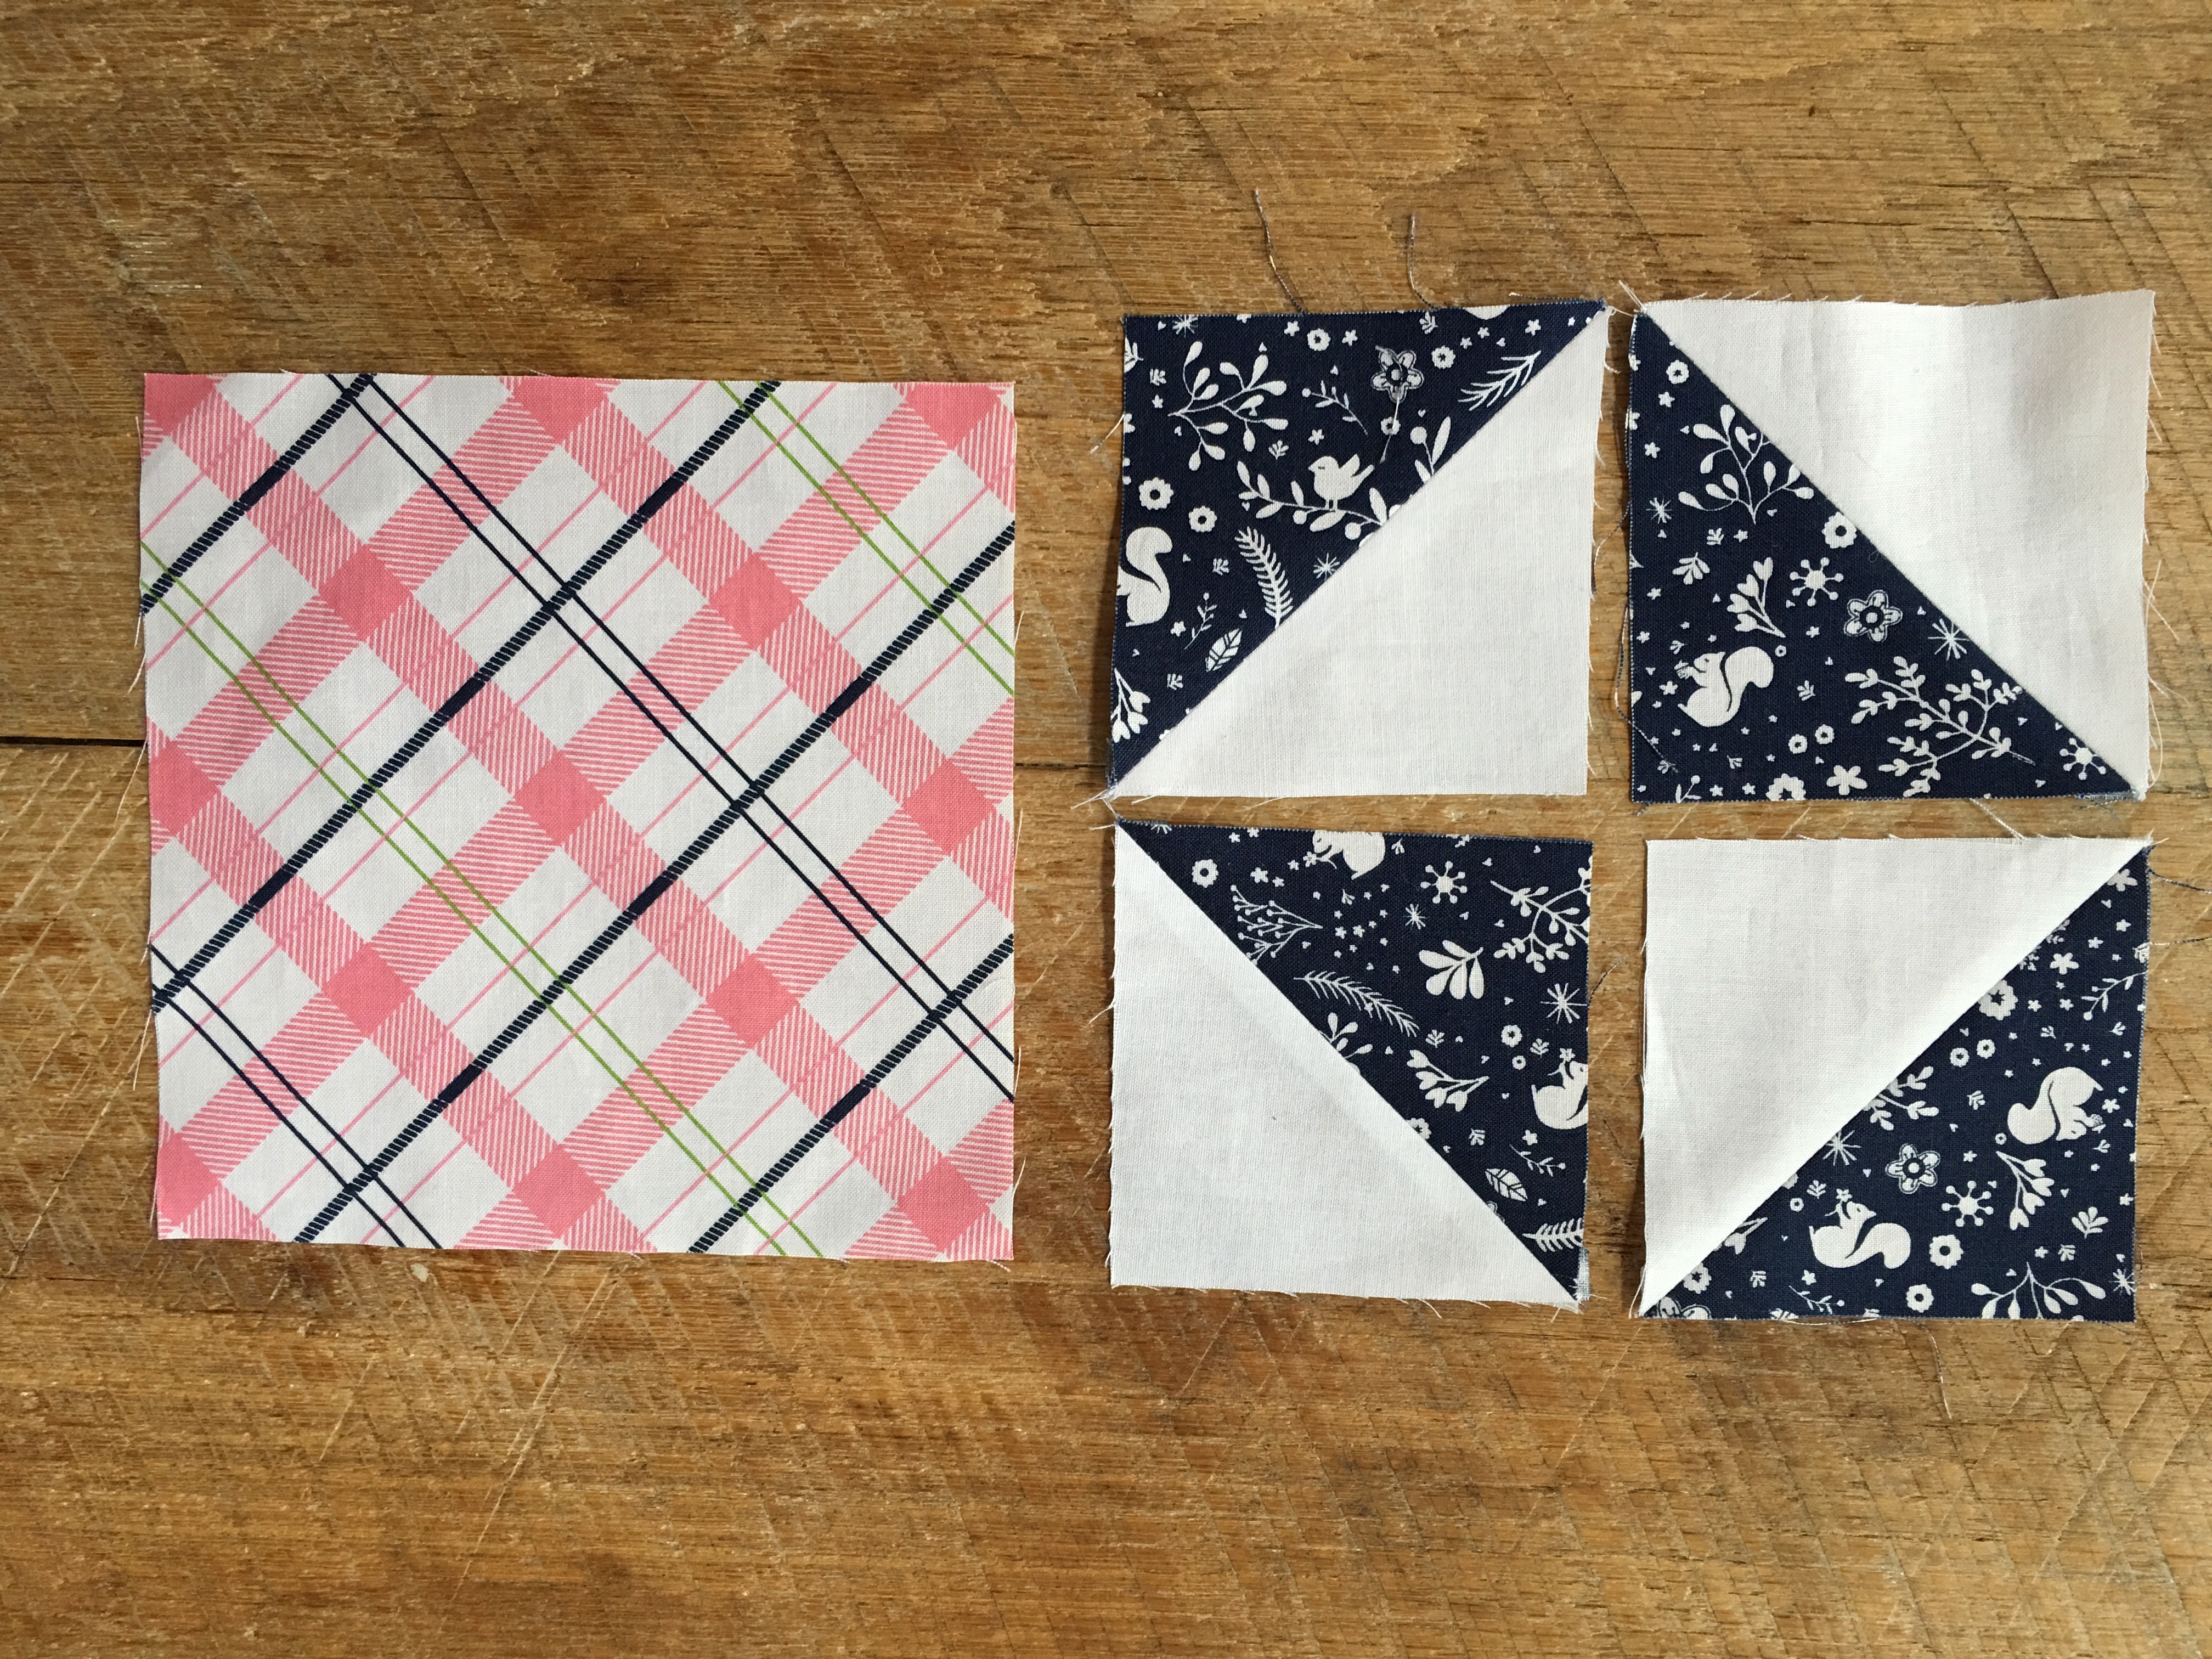
Here you can see the difference in the blocks.

IMG_9731

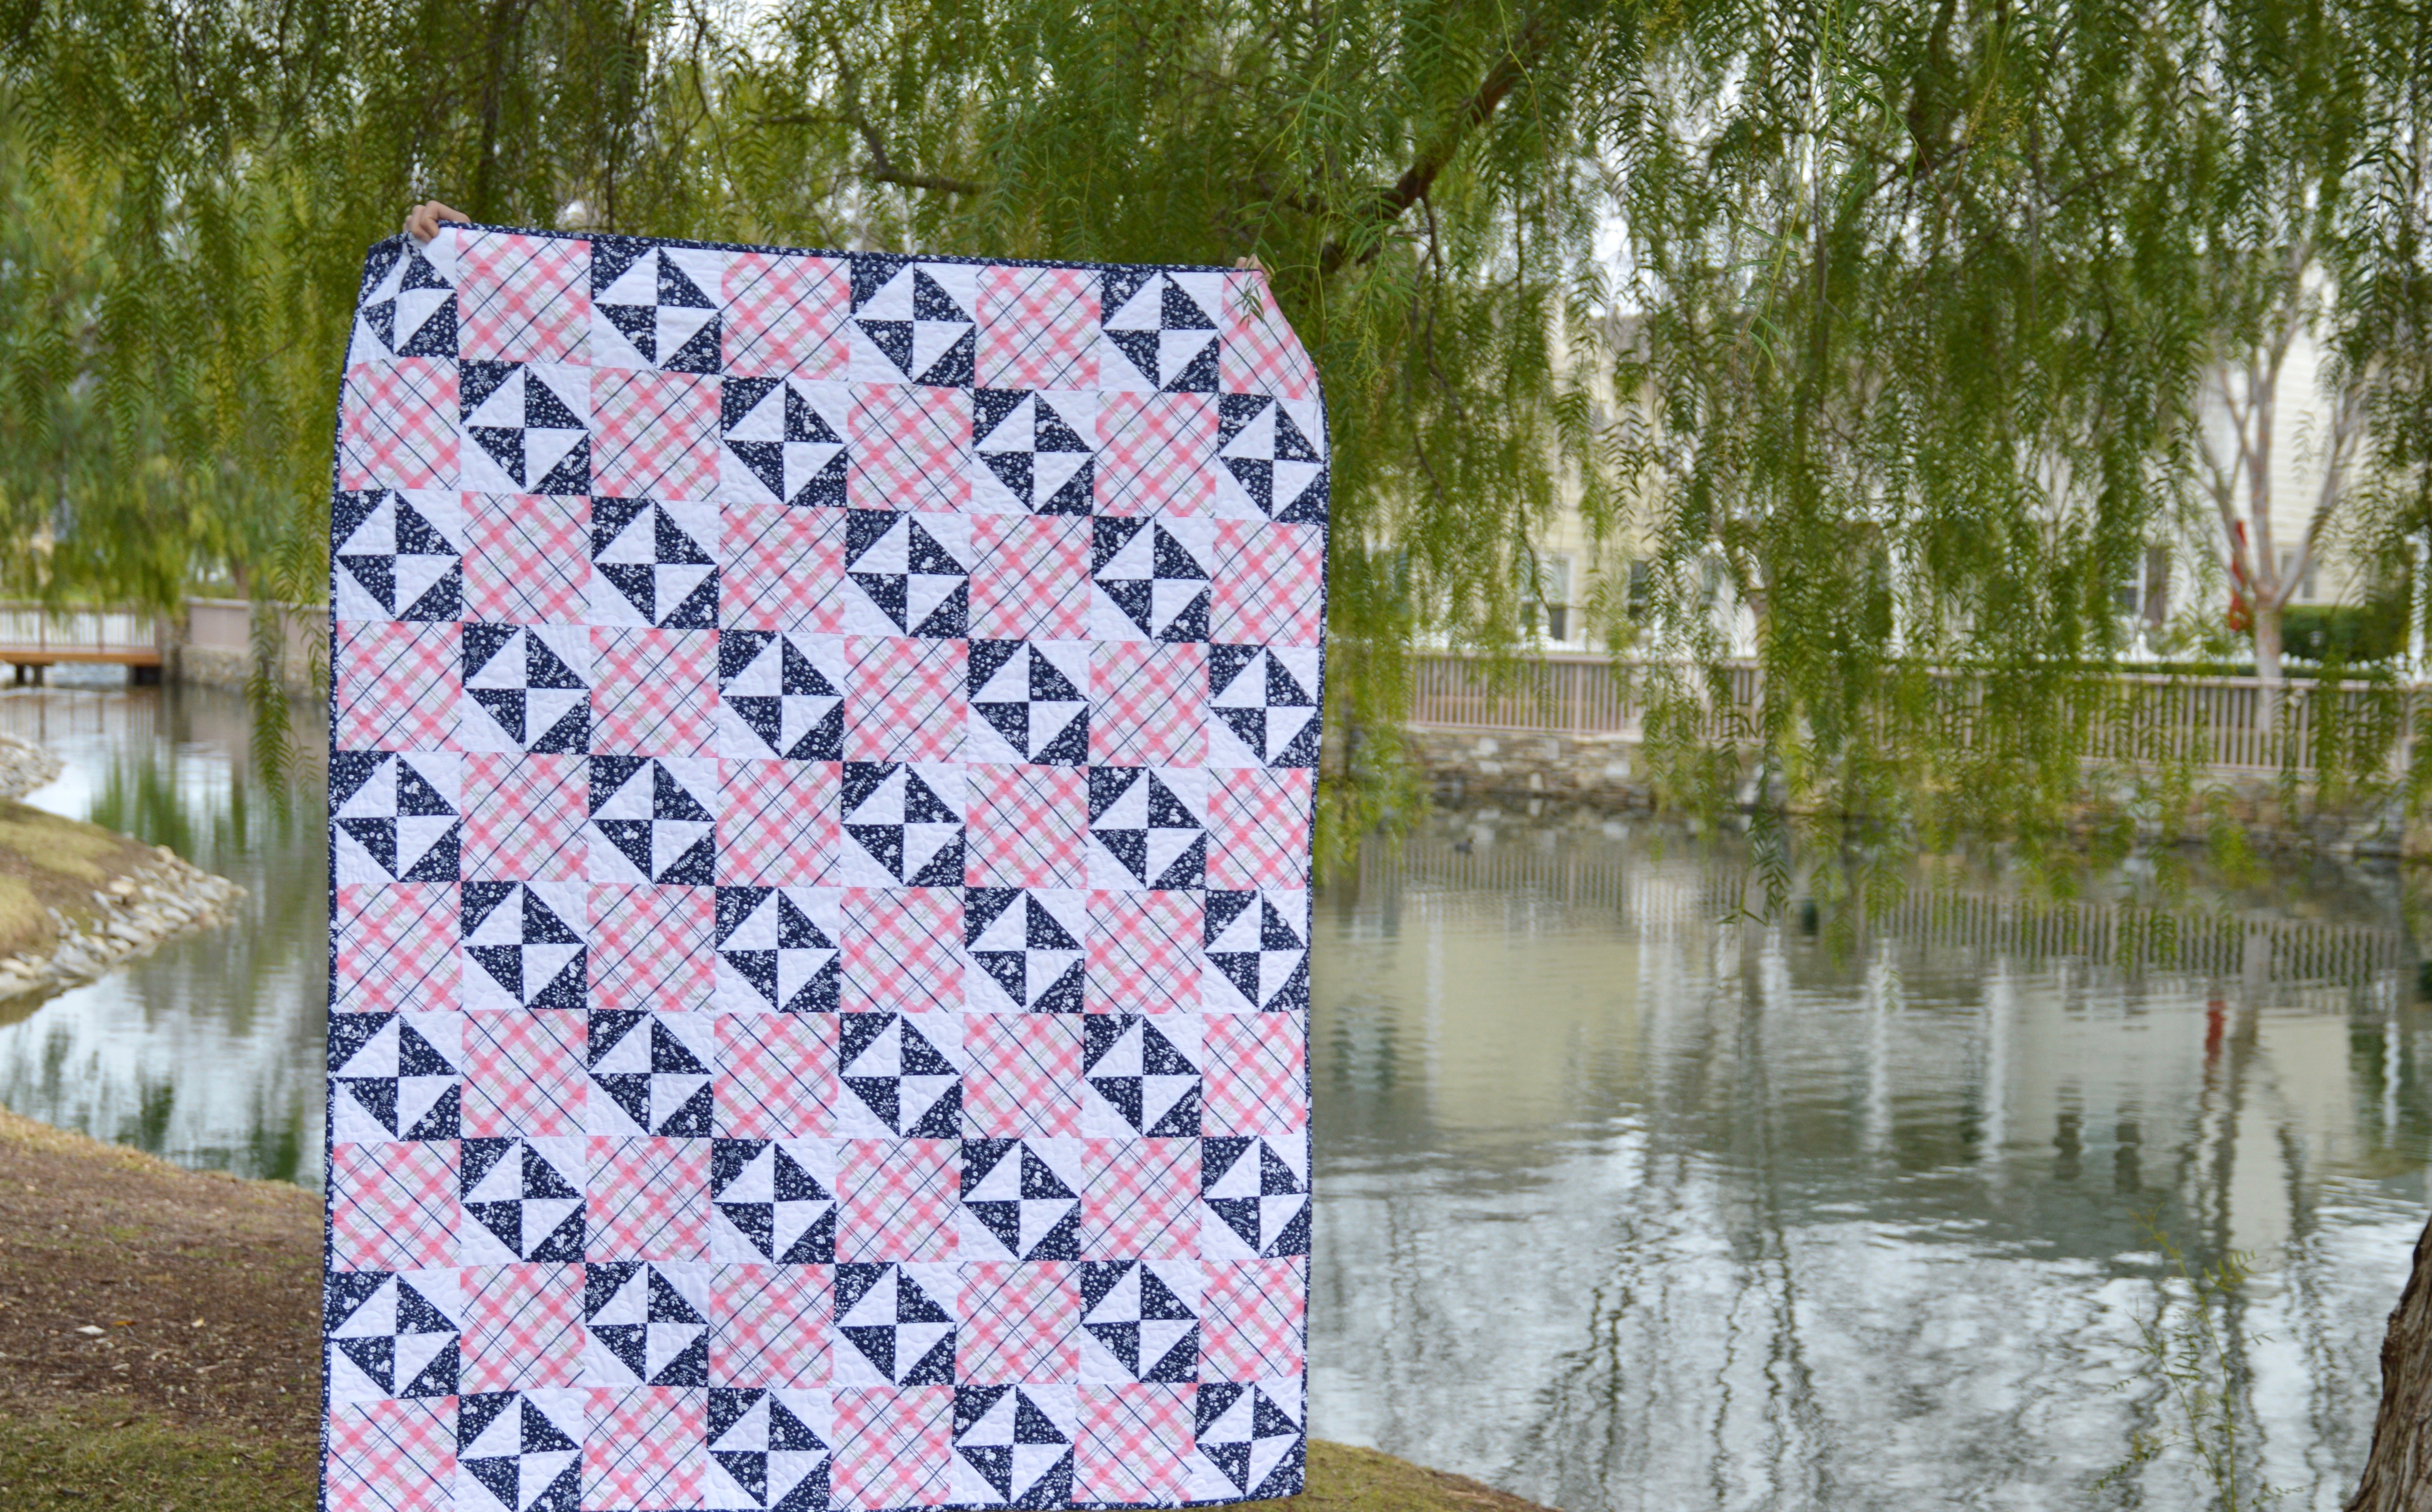
The Windy Girls pattern has 20 blocks – I made this Panda quilt with 16 blocks.  This is plenty big for a baby quilt and it saves on fabric and time!

IMG_9747

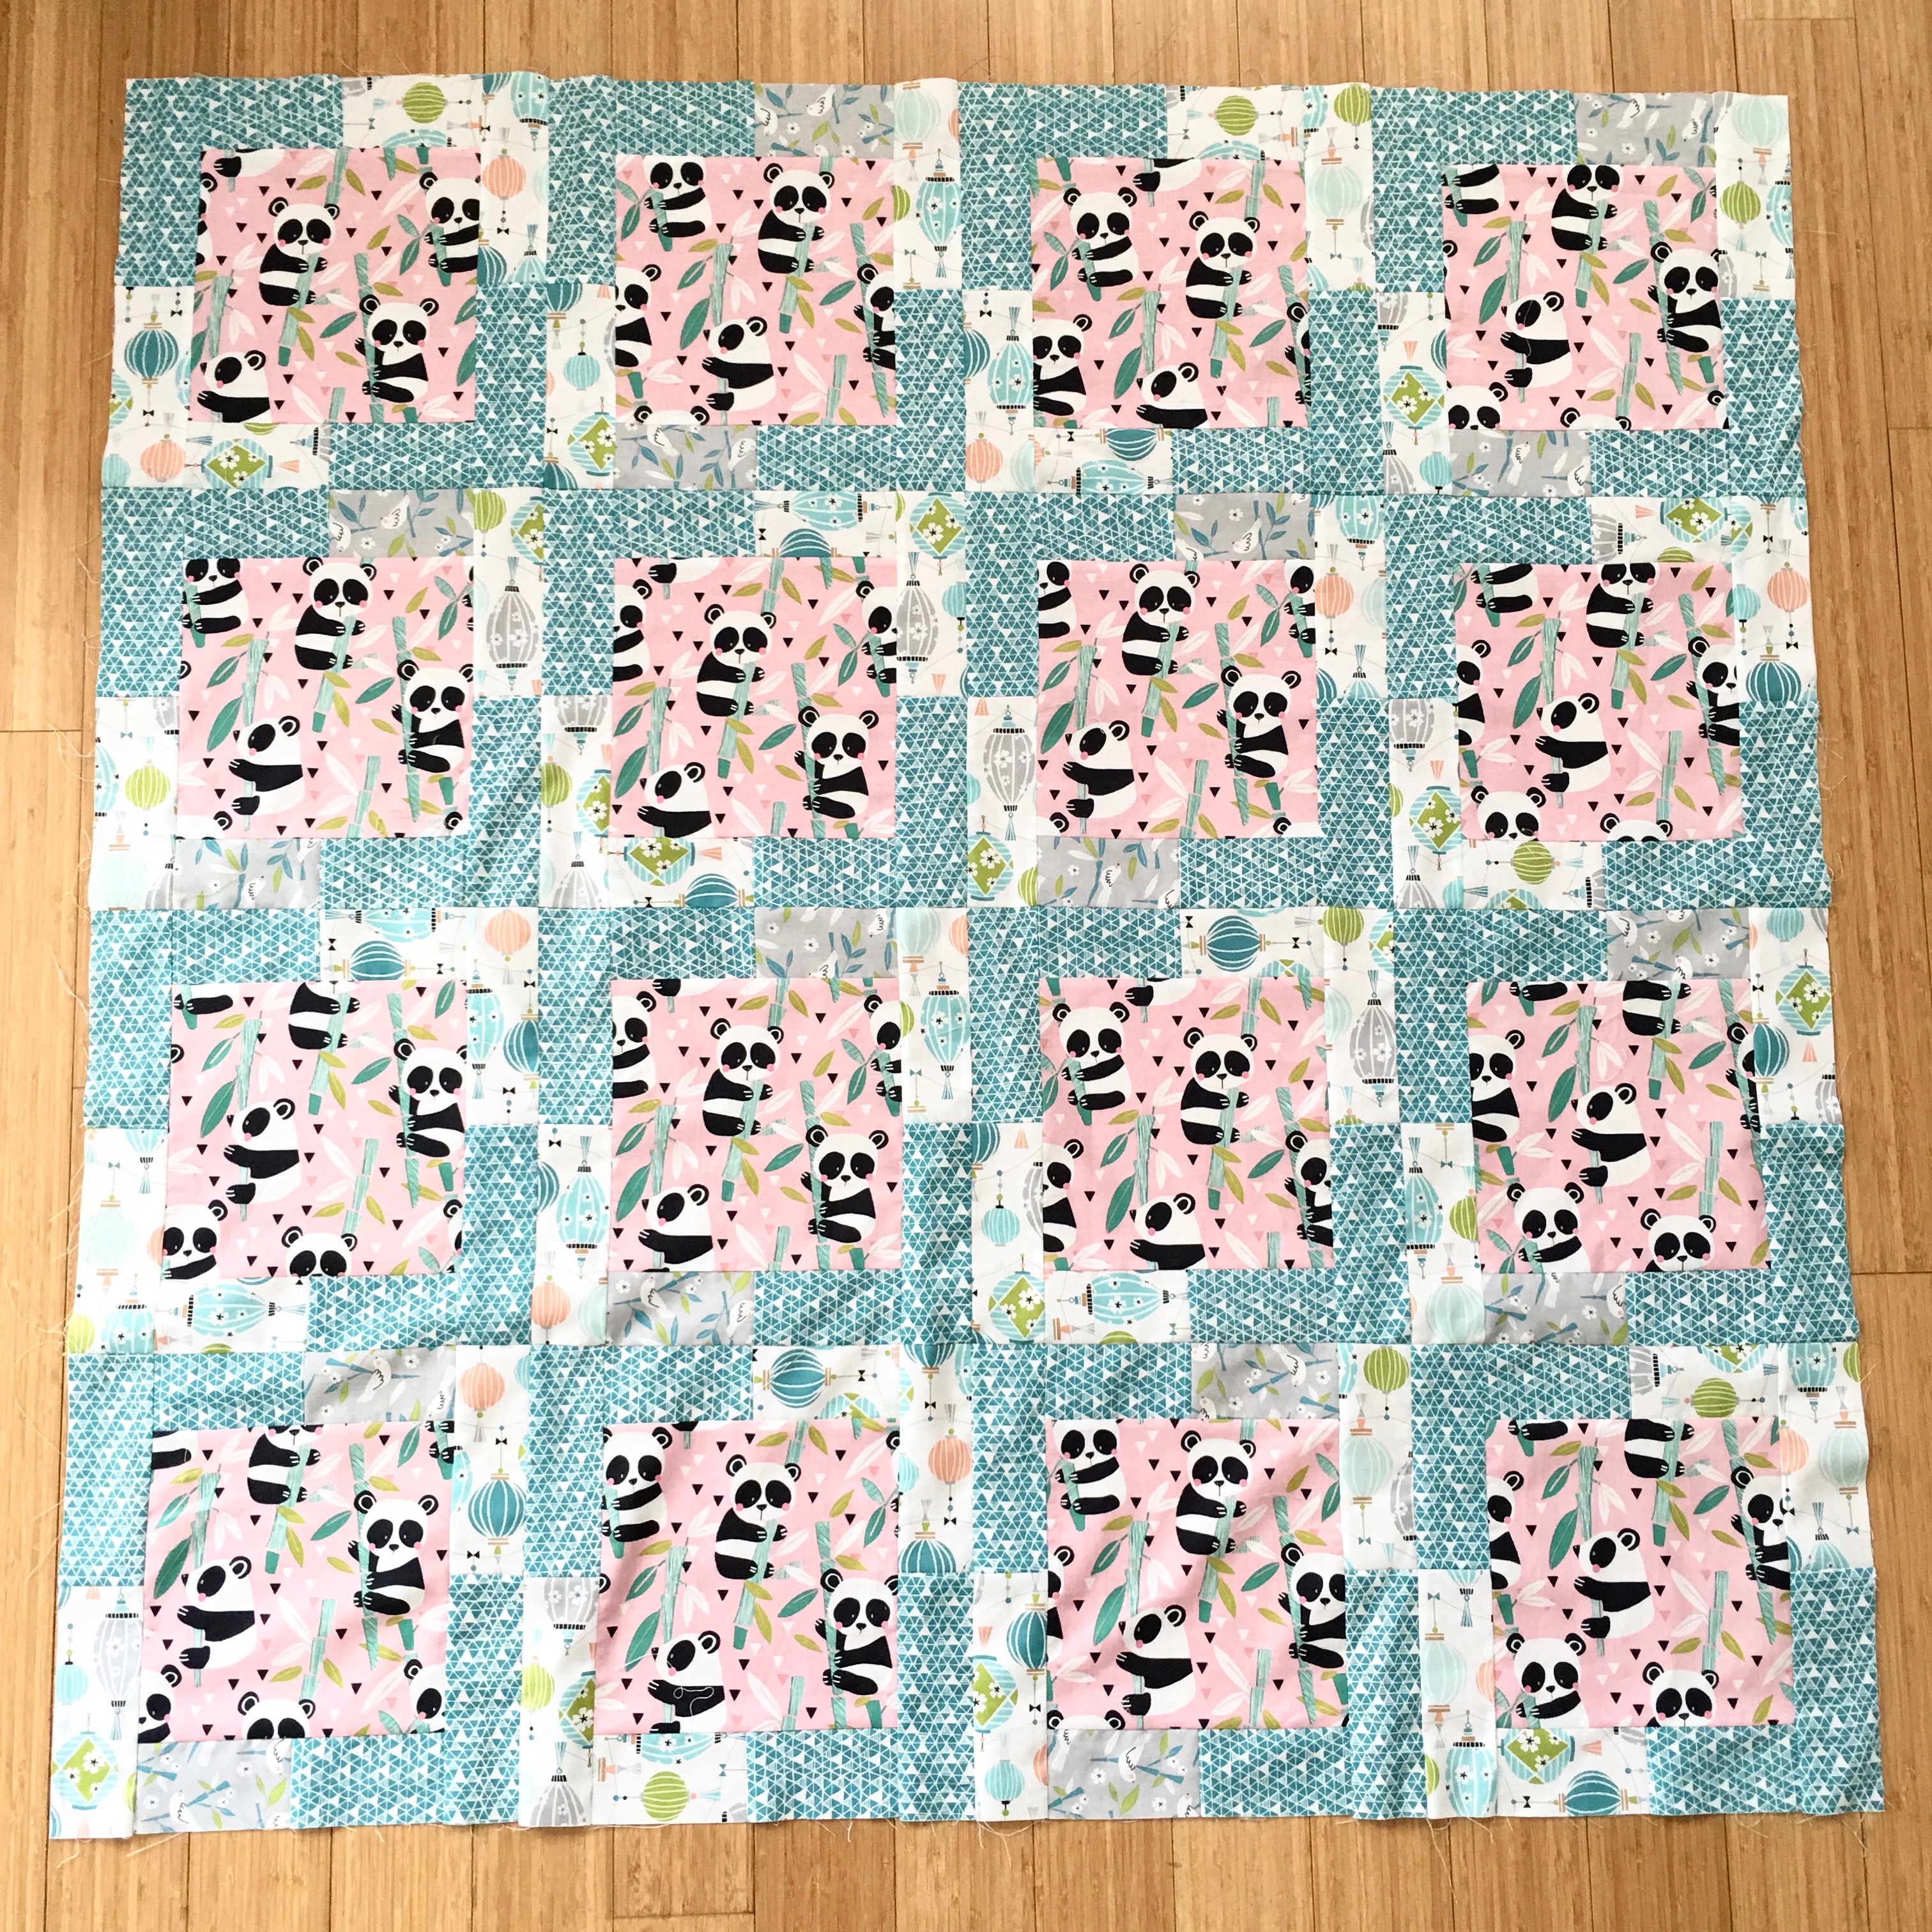
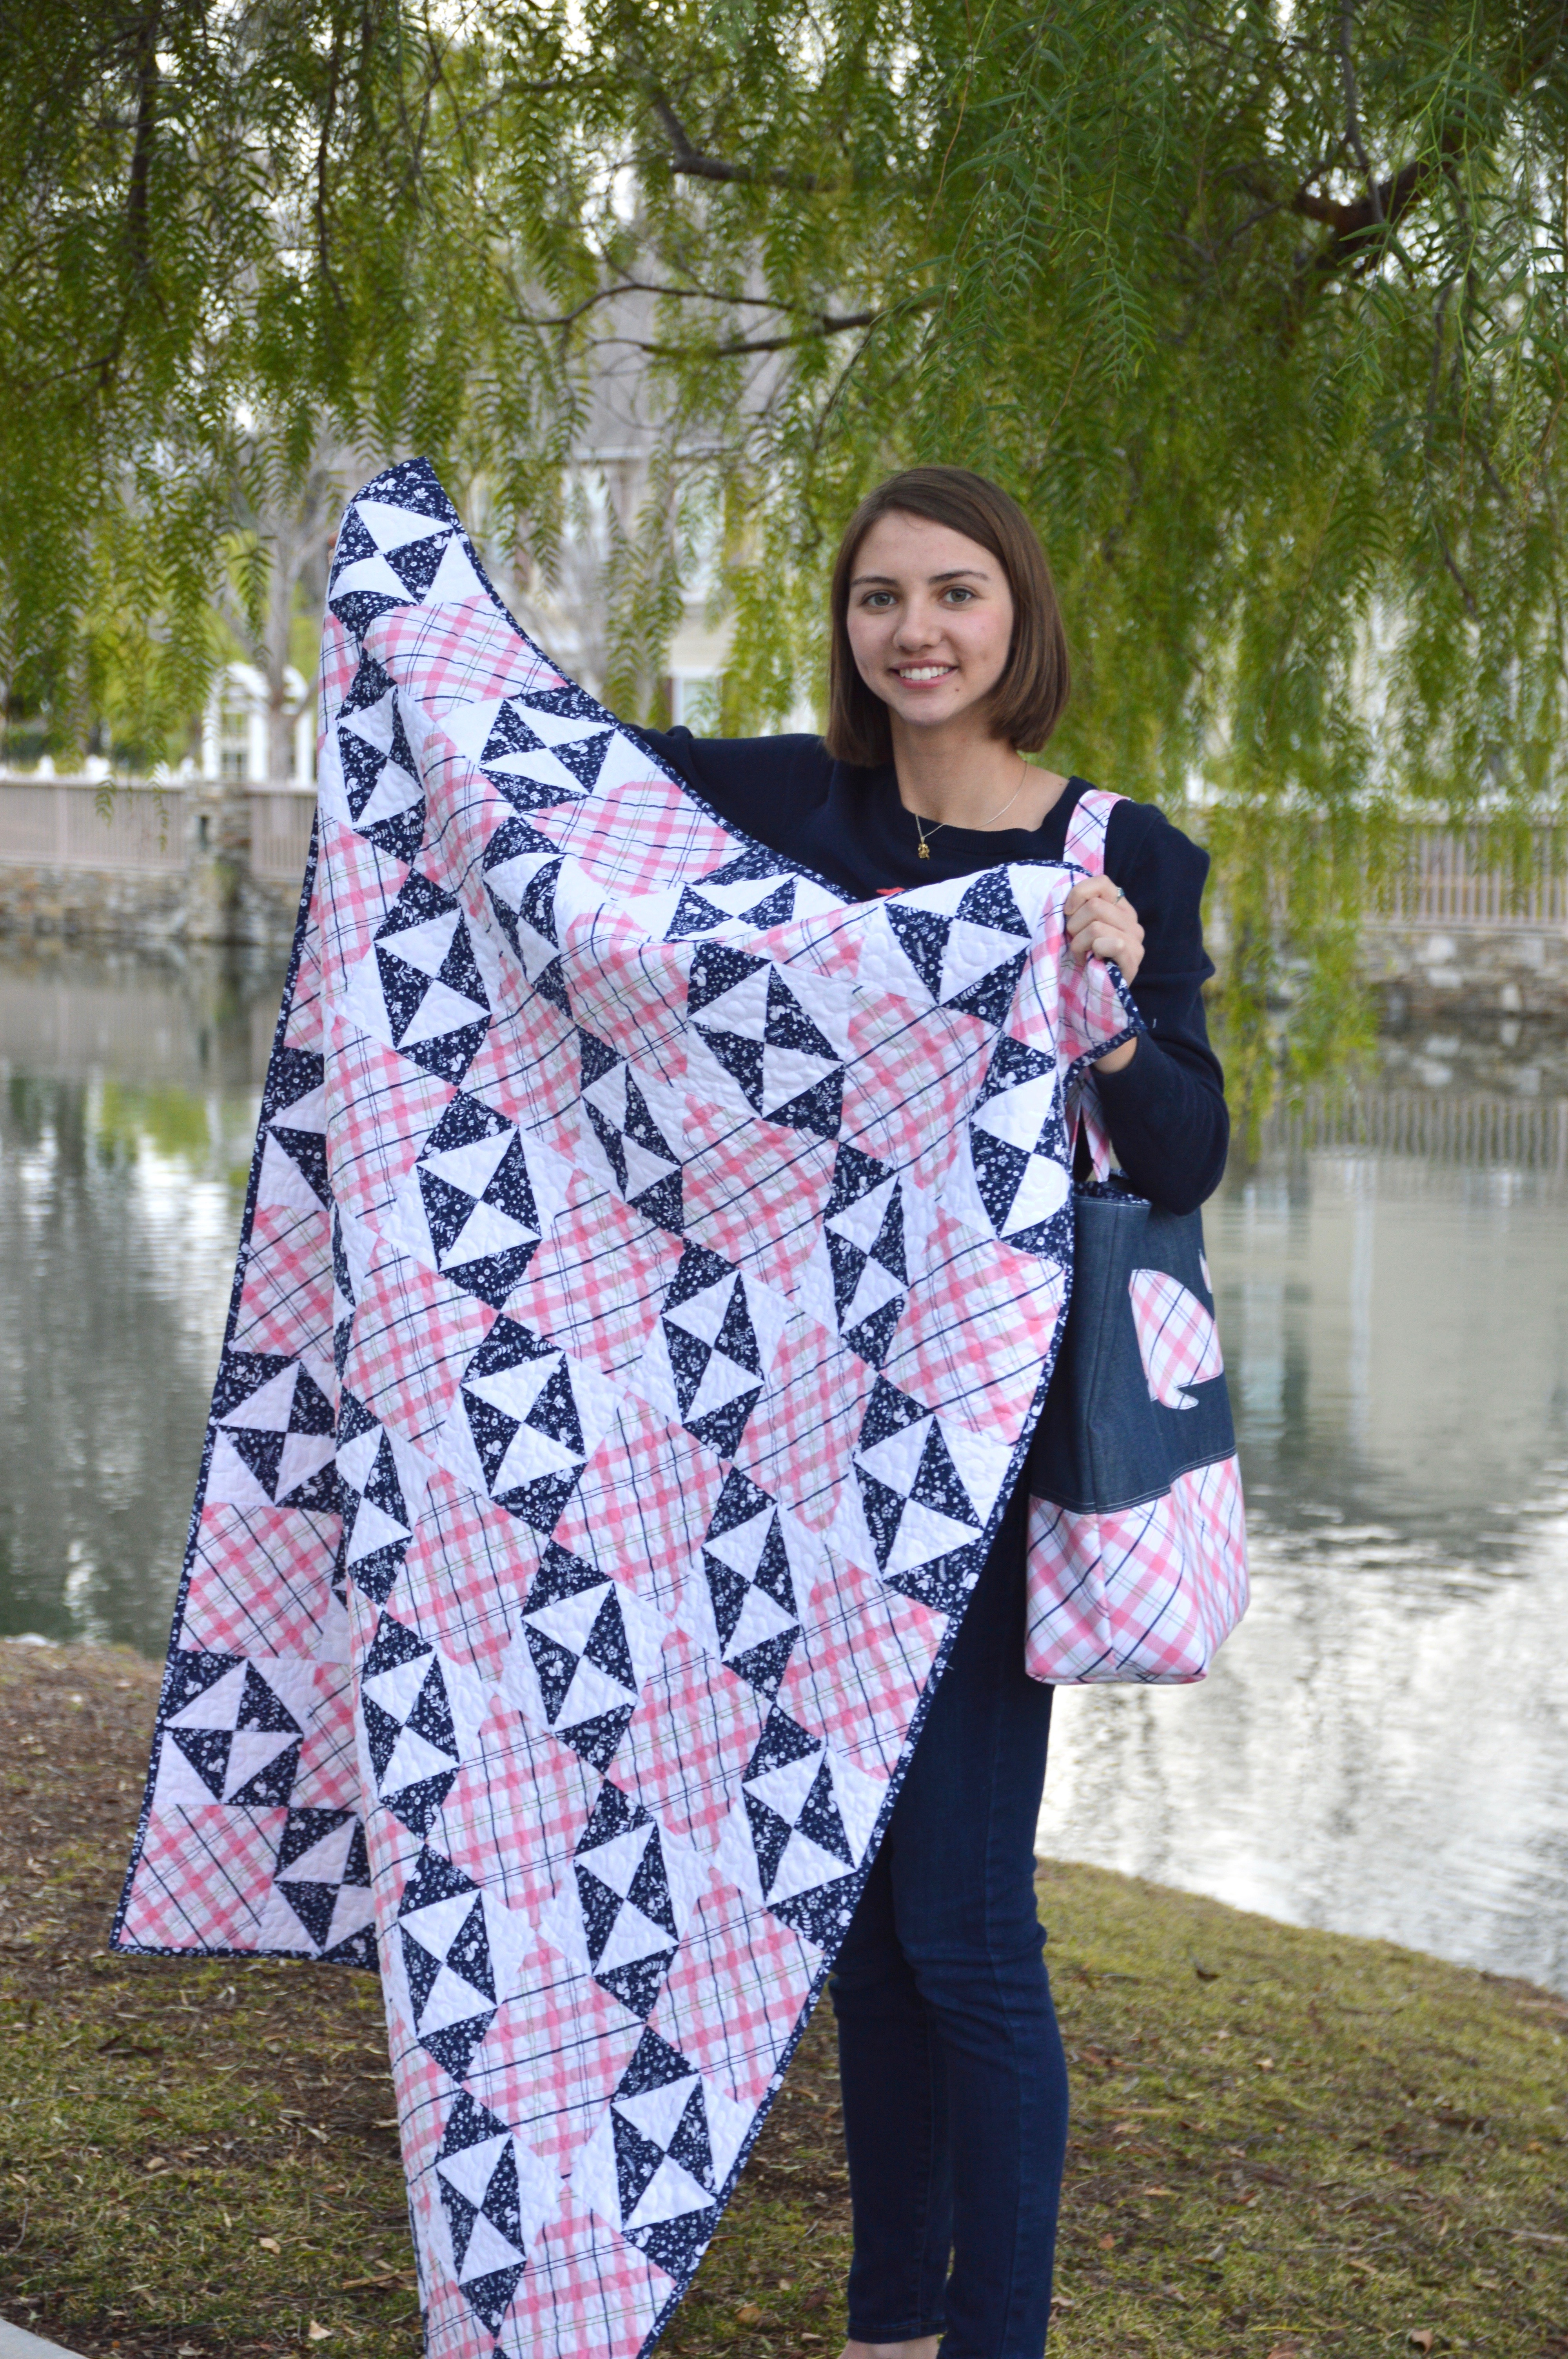
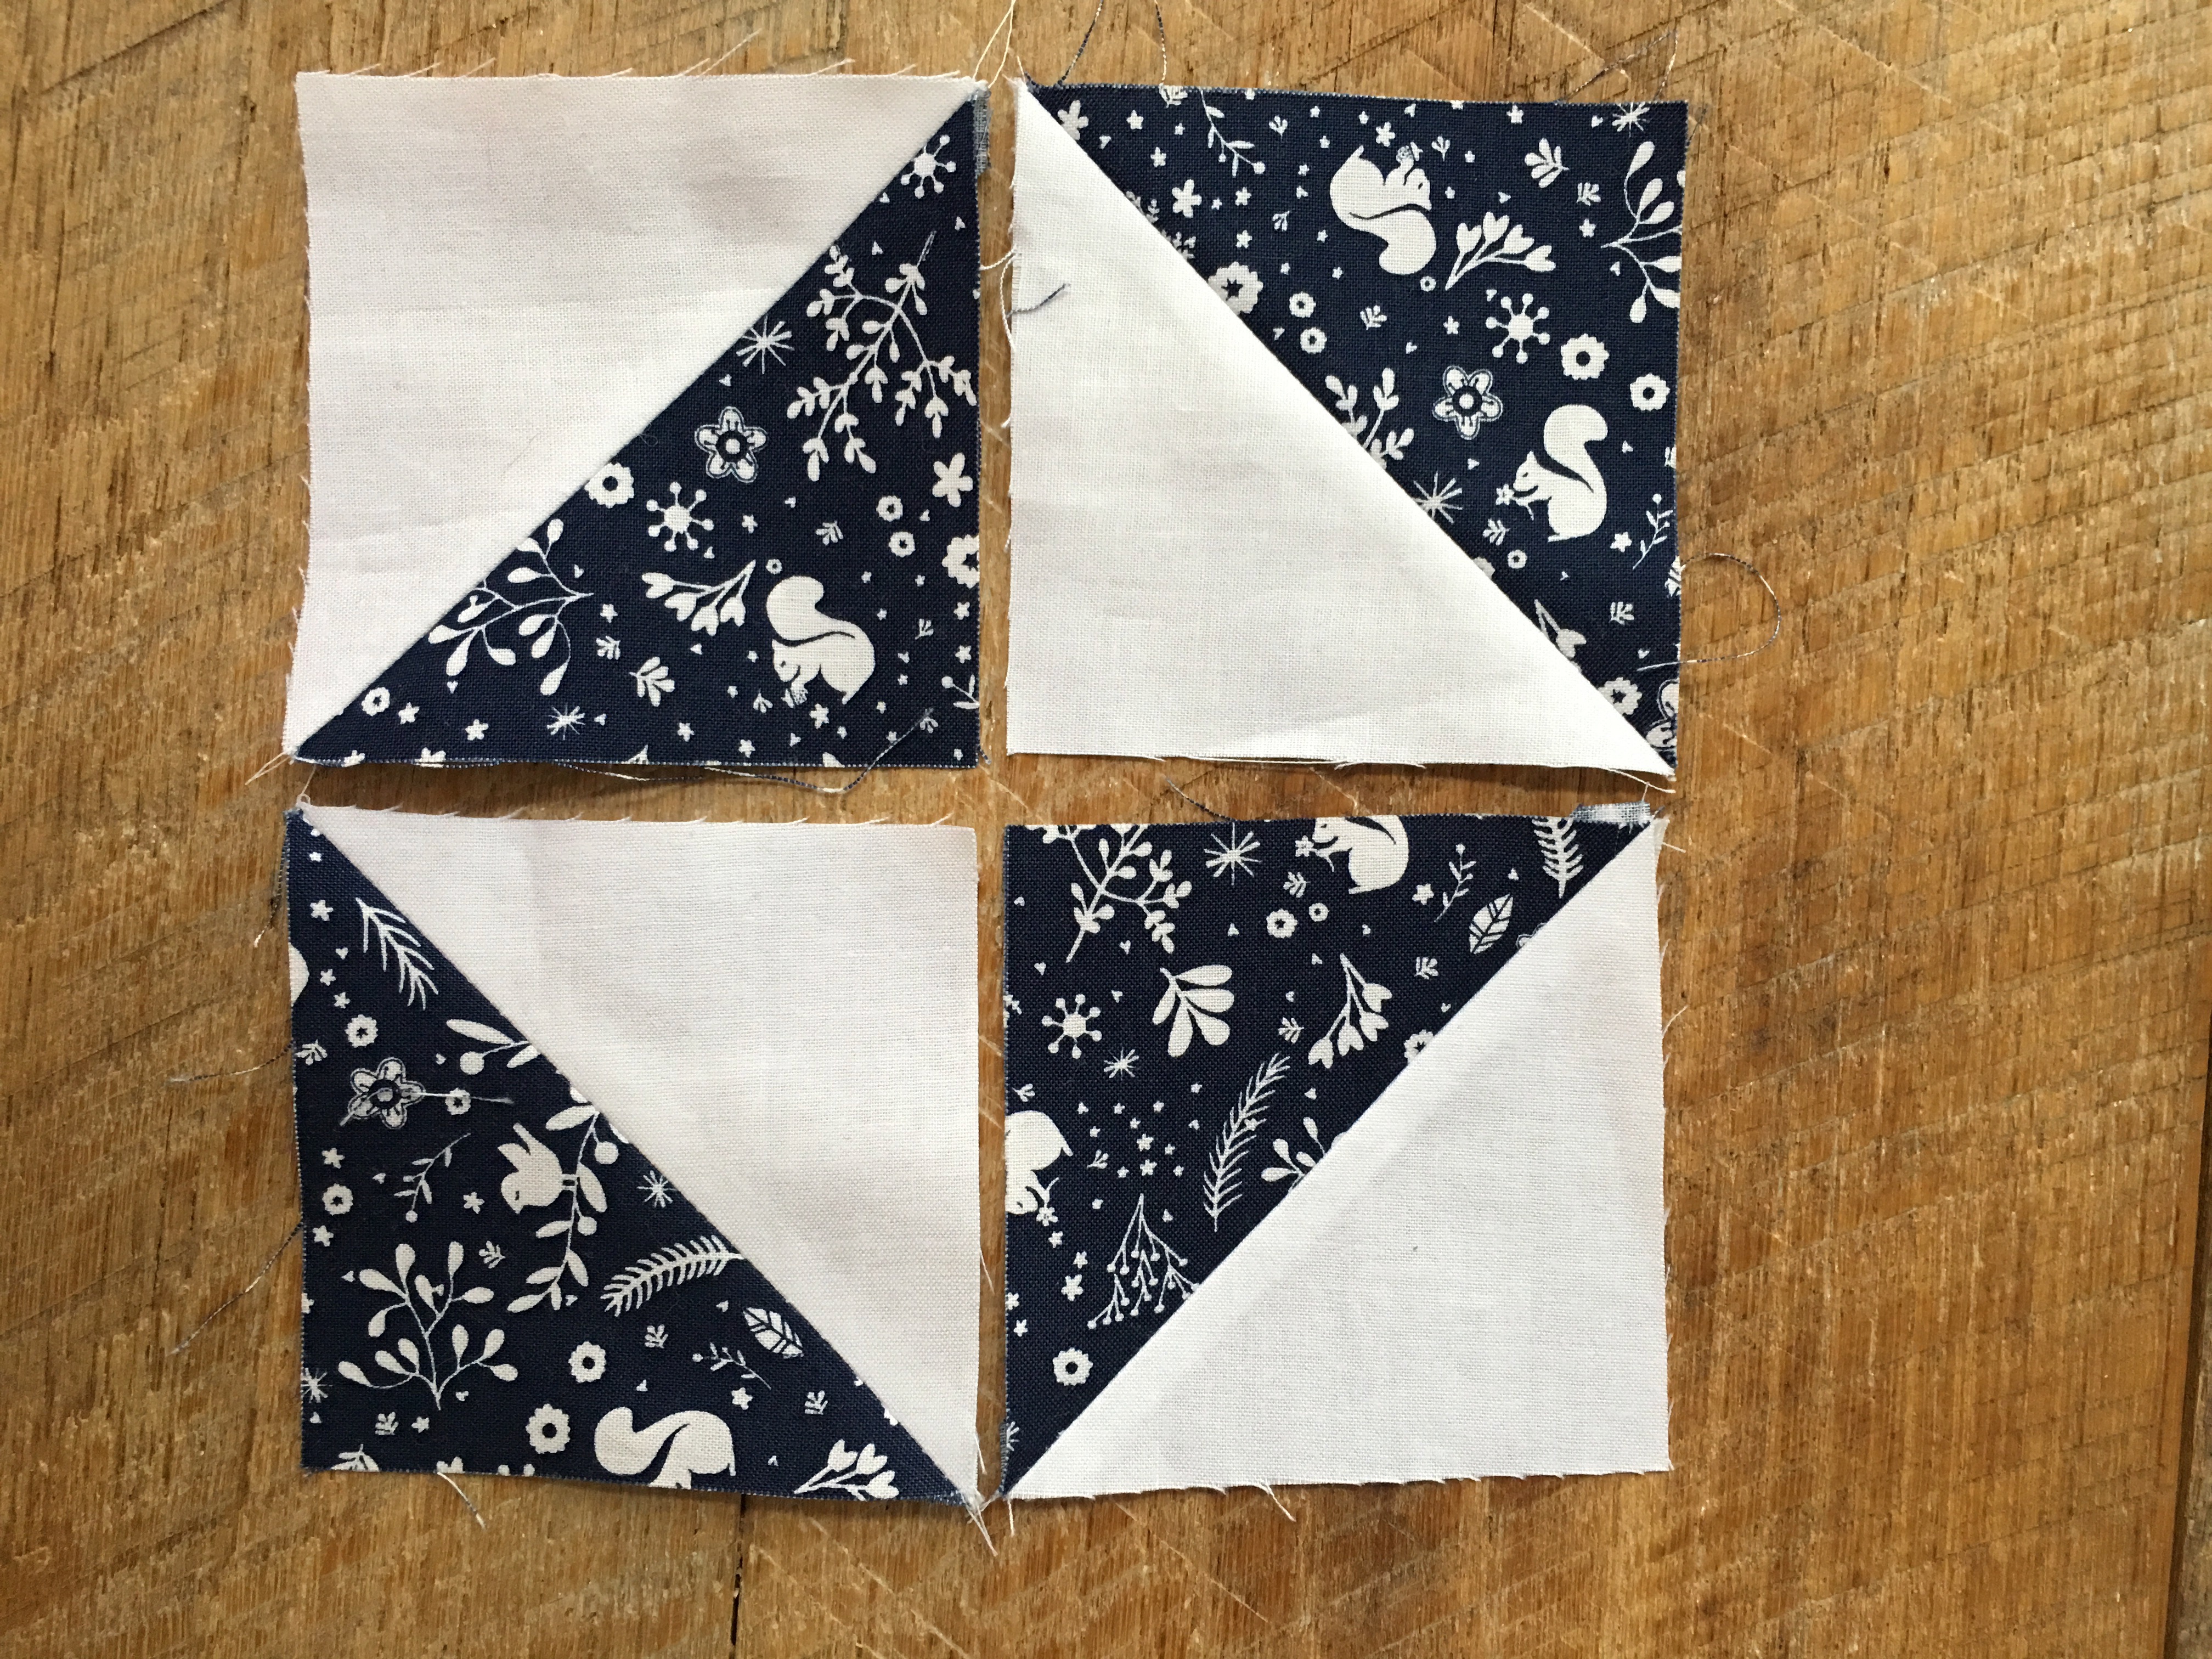
The second change I made was not to rotate the blocks, but keep them going all the same way.  I didn’t want sideways pandas.  It creates a fun little pattern.  If you look close you can see a few gray strips I had to subside in because I ran out of the white.  You could totally make this scrappy or keep it simple.  I would love to hear how fast you can piece the top in!  Can you beat me?  🙂

IMG_9733


Preppy Plaid Tote Bag & Quilt Tutorial

Enchanted blog logo

I am so totally excited to be a part of the Enchanted Blog Tour sponsored by Riley Blake Designs!  You can see the entire collection designed by Dodi Poulsen of Two Sisters at Squirrel Hollow by clicking here 🙂
preppy plaid

When I saw this new fabric line from Riley Blake Designs called Enchanted, my heart stopped.  I took one look at this pink, navy and white plaid and immediately I was transported to a Cape Cod dream!  Sailboats, lobsters, quaint homes and preppy boys on vacation from Harvard 🙂

DSC_0188


IMG_9070
Ok Ok, so I’ve never been to the Cape but a girl can dream right?  I knew I wanted to design something that let this preppy plaid be the focus and something that would be perfect for my sailboat (hahaha).

DSC_0167

I came up with a simple quilt pattern that uses plaid, navy and white.  When only two prints arrived in the mail I began to panic wondering if I had made a terrible decision to make a quilt using only two prints!  I decided to go with my instincts and make the quilt……and I am totally in LOVE!!!!

This quilt really lets the plaid shine in and it’s a great pattern to use if you fall in love with a single fabric print.  The accent blocks are made of 4 half square triangle blocks.

DSC_0213

…..and the quilt fits nicely inside this preppy plaid whale tote bag – made with denim, plaid, and Heat n Bond Fusible fleece.  So, are you ready to set sail for the Cape?  Grab your fabrics and lets get sewing!

DSC_0154

Preppy Plaid Quilt

1/4″ seams 

Supplies

2 yards plaid print

1 yard navy print

1 yard white

Begin by cutting the plaid into (40) 6.5″ squares.

Using the navy blue print and white print sew (160) half square triangles (HST) that measure 3.5″.  You can use any method you like.  I use my Sizzix half square triangle dies!  It is super fast, super easy and no squaring up – just perfection!!

IMG_9037

Die cut 160 navy HSTs and 160 white HSTs.

IMG_9038

Sew the navy and white HSTs right sides together using 1/4″ seam.

IMG_9043

Press seams open.  Continue until you have 160 HSTs.  It’s probably a good idea to put on a movie while doing this!

IMG_9042

Lay out 4 HSTs to make the pattern above.  Sew together as you would a 4-patch.  Press seams open.  Finished block will measure 6.5″.  Make 40 of these blocks.

IMG_9045

Cut 40 squares measuring 6.5″ out of the plaid.

DSC_0121

Sew the blocks together (1/4″ seams) as you would a checkerboard, alternating each block.  Make sure the pieced blocks are going the same direction.  Press the seams toward the plaid.  There are 8 blocks across and 10 rows down.

IMG_9046

Baste (I always use Spray n Bond basting spray)

IMG_9056

Quilt.

IMG_9075

Bind.

DSC_0142

Love.

DSC_0089

Mufasa and I love sewing on rainy days!!

DSC_0098

DSC_0220

Tote Bag Instructions

I used my pattern, Quilted Tote Bag, for the measurements.  I followed the pattern pretty closely with the following exceptions:

  • I added an appliqué to the main bag.
  • I used denim.
  • I did not quilt the bag; I stabilized it with fusible fleece.
  • I came up with a new way to sew the handles (continue reading)
  • I omitted the inside pocket
  • I simplified how to make the bag bottom

Supplies

Denim (2) 20″ x 10.5″

Plaid (2) 20″ x 9.5″

Lining (2) 20″ x 19.5″

Plaid for handles (2) 5″ x 28″

Heat n bond medium stabilizer (2) 5″ x 28″

Heat n Bond Fusible Fleece (2) 20″ x 19.5″

Piece of plaid for the whale

Heat n Bond Lite

Appliqué the whale  Click HERE for the whale pattern.

IMG_9093

You can print the whale directly on Heat n Bond Lite EZ print sheets, or trace the whale onto Heat n Bond Lite.

Heat set the whale to the wrong side of the plaid fabric.

Cut out the whale.  Peel off the backing paper.

IMG_9094

Press it onto one of the denim pieces, centering.  Using 1/4″ seams, sew the denim piece to the plaid piece to make the bag front and back.  Press seams.

IMG_9099

Fuse the Heat n Bond Fusible fleece to the wrong side of the bag front and the bag back.  Add some accent stitching along the seam.

Bag Handles

Fuse the stabilizer to the wrong side of each of the handle strips.

Press in half lengthwise.  Open up and press the long ends in to meet the center.  Press.  Then press in half again.  This makes a super sturdy handle!

IMG_9095

Topstitch along both of the long edges of each handle.

IMG_9096

IMG_9097

Continue following the bag instructions from this tutorial to complete the bag.  To make the bag bottom, cut a 3″ notch out of the bottom corners of the bag and the lining.

IMG_9100
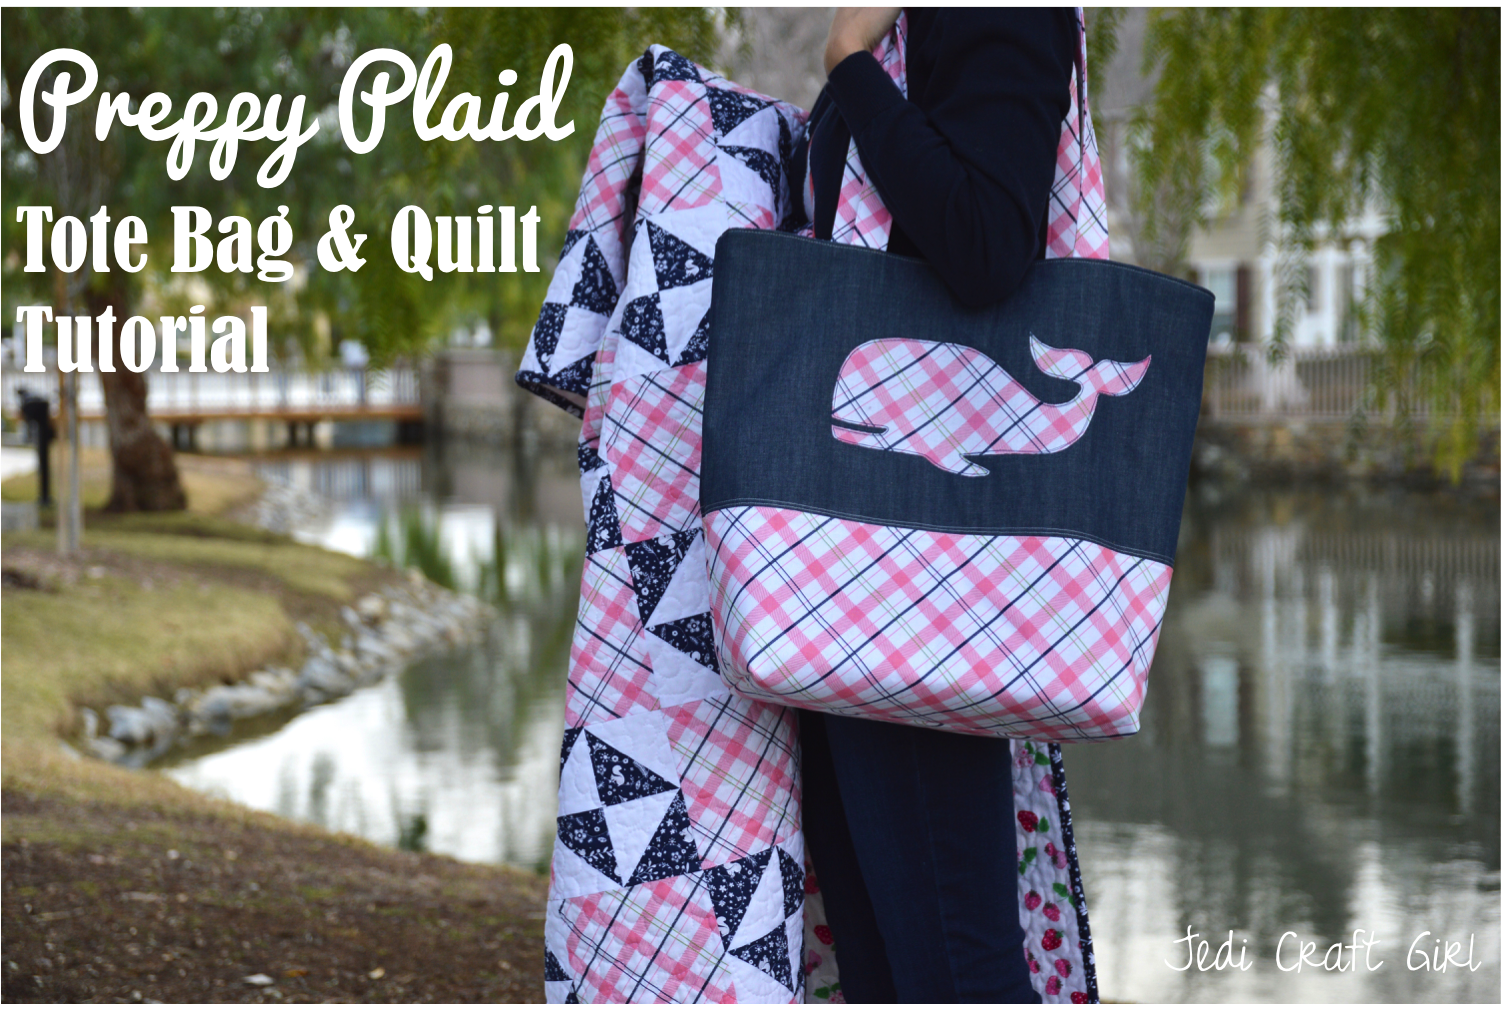
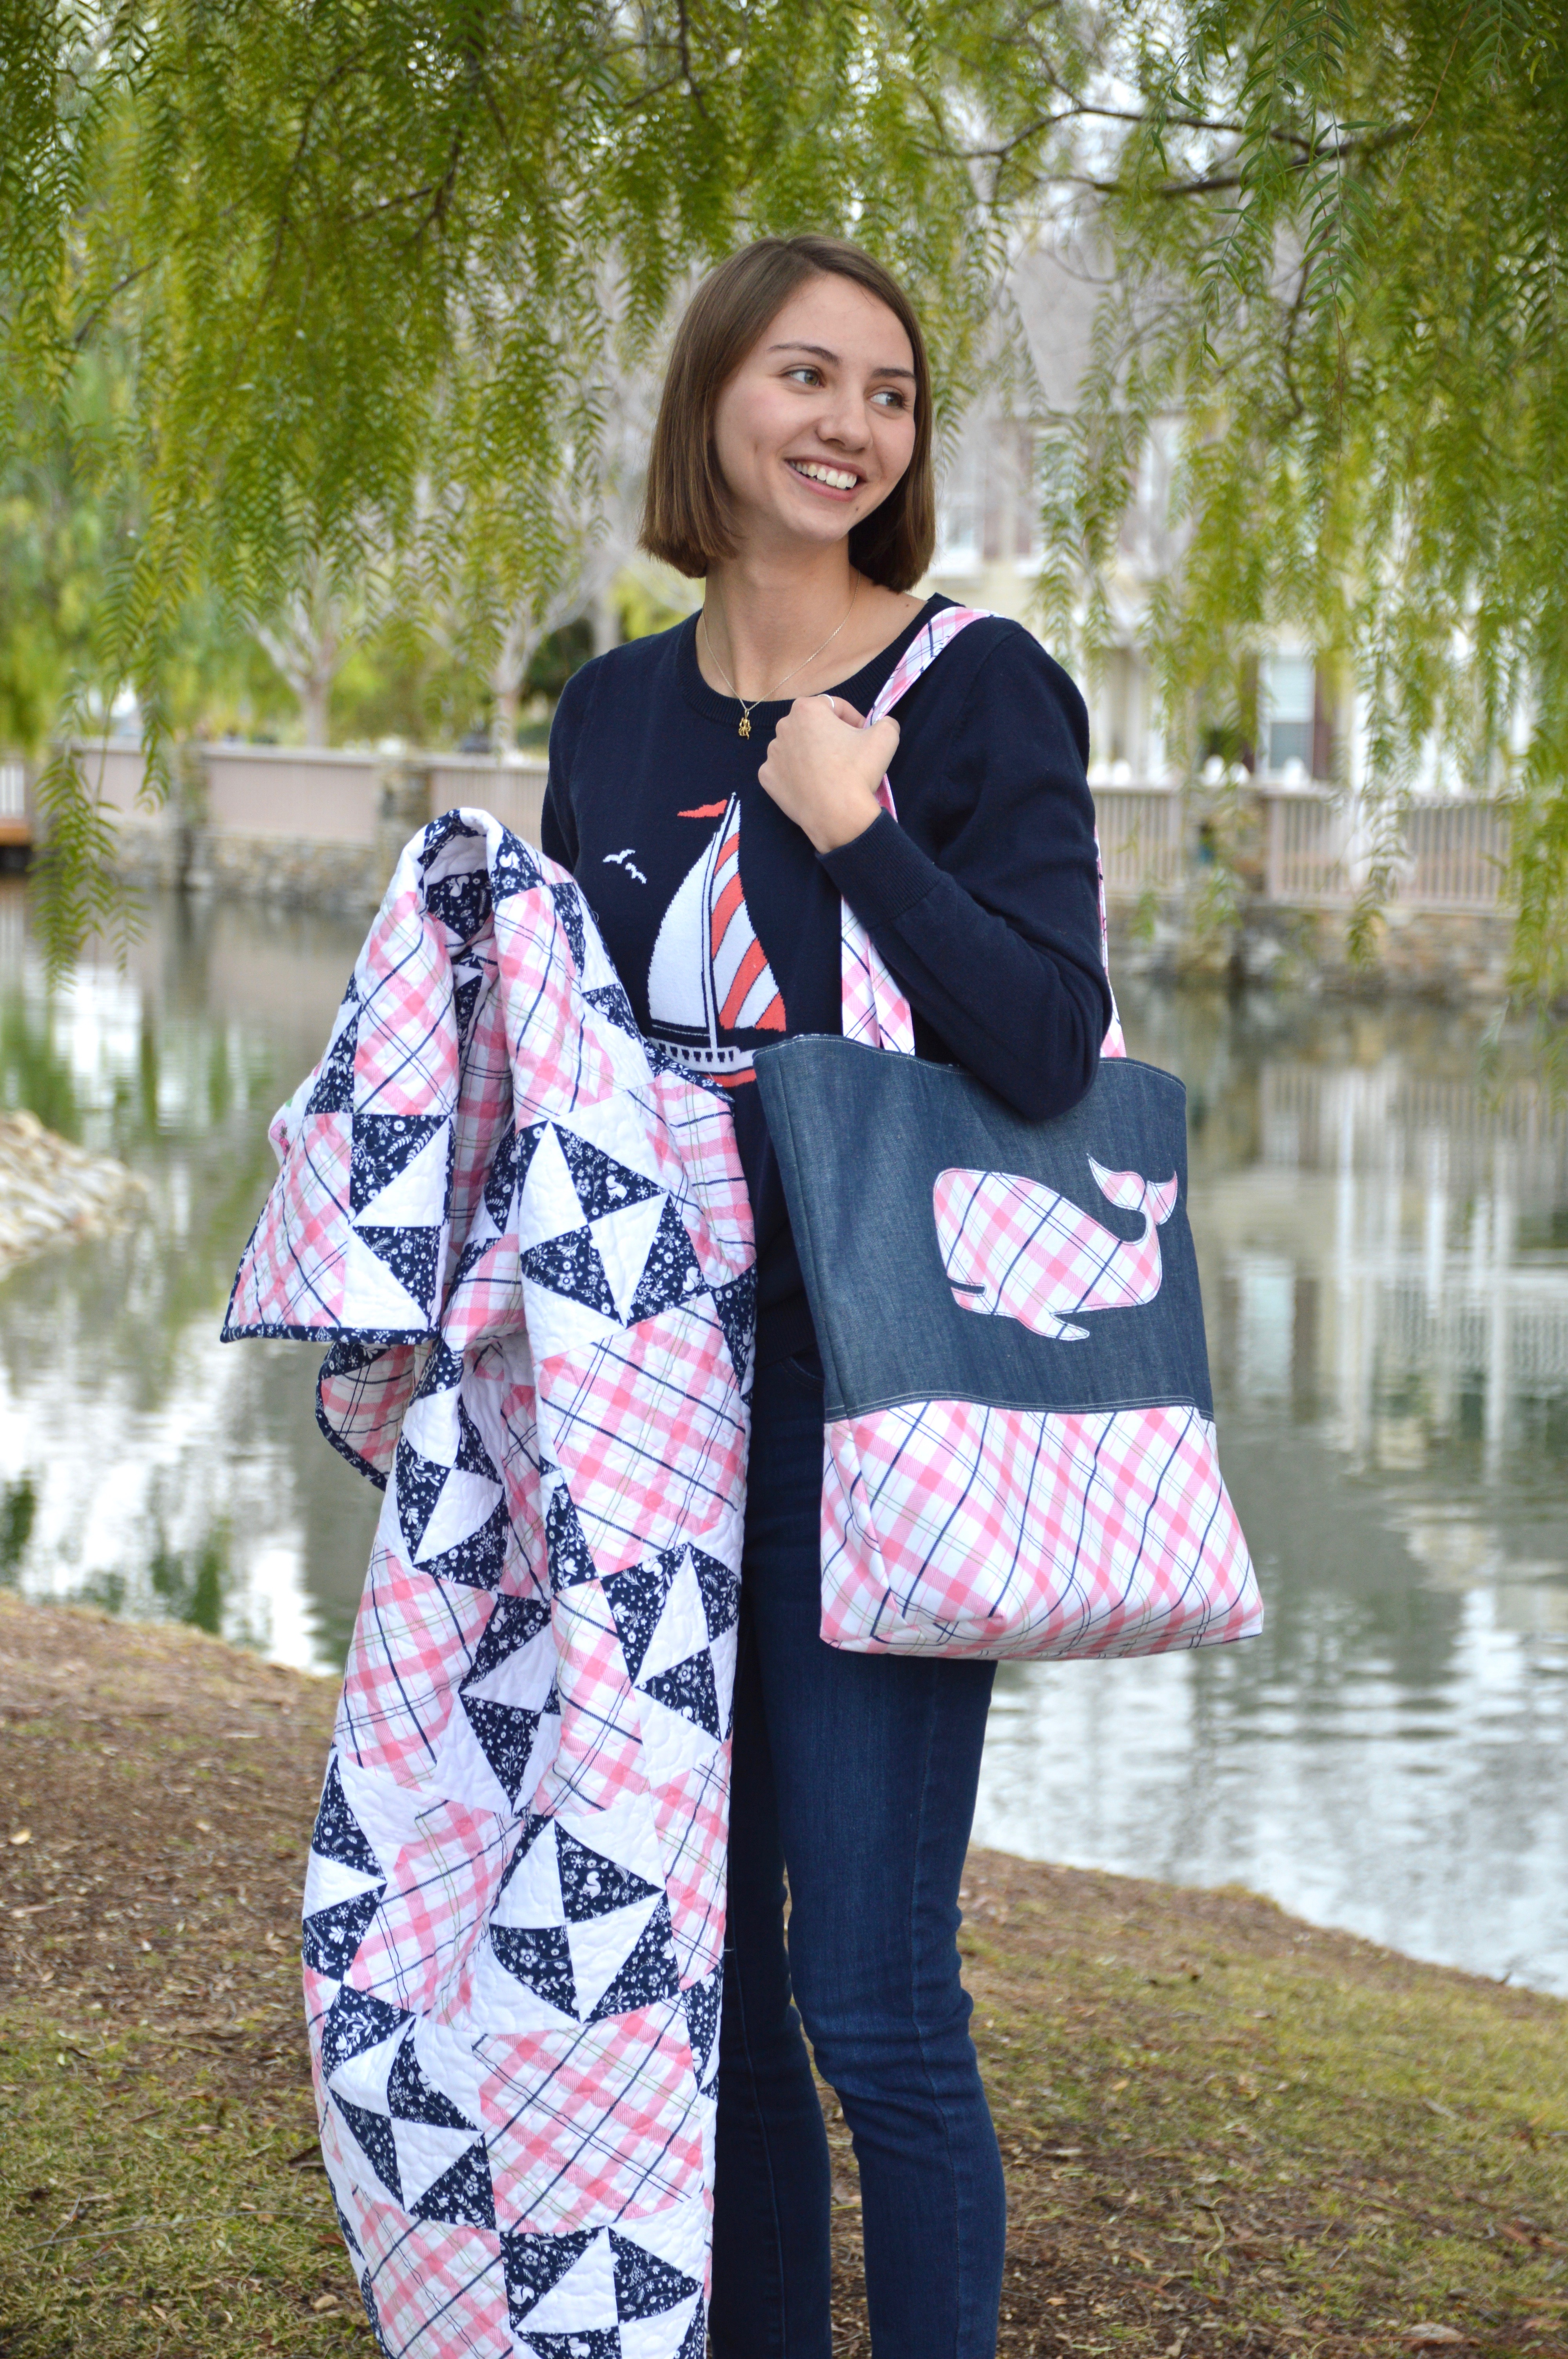
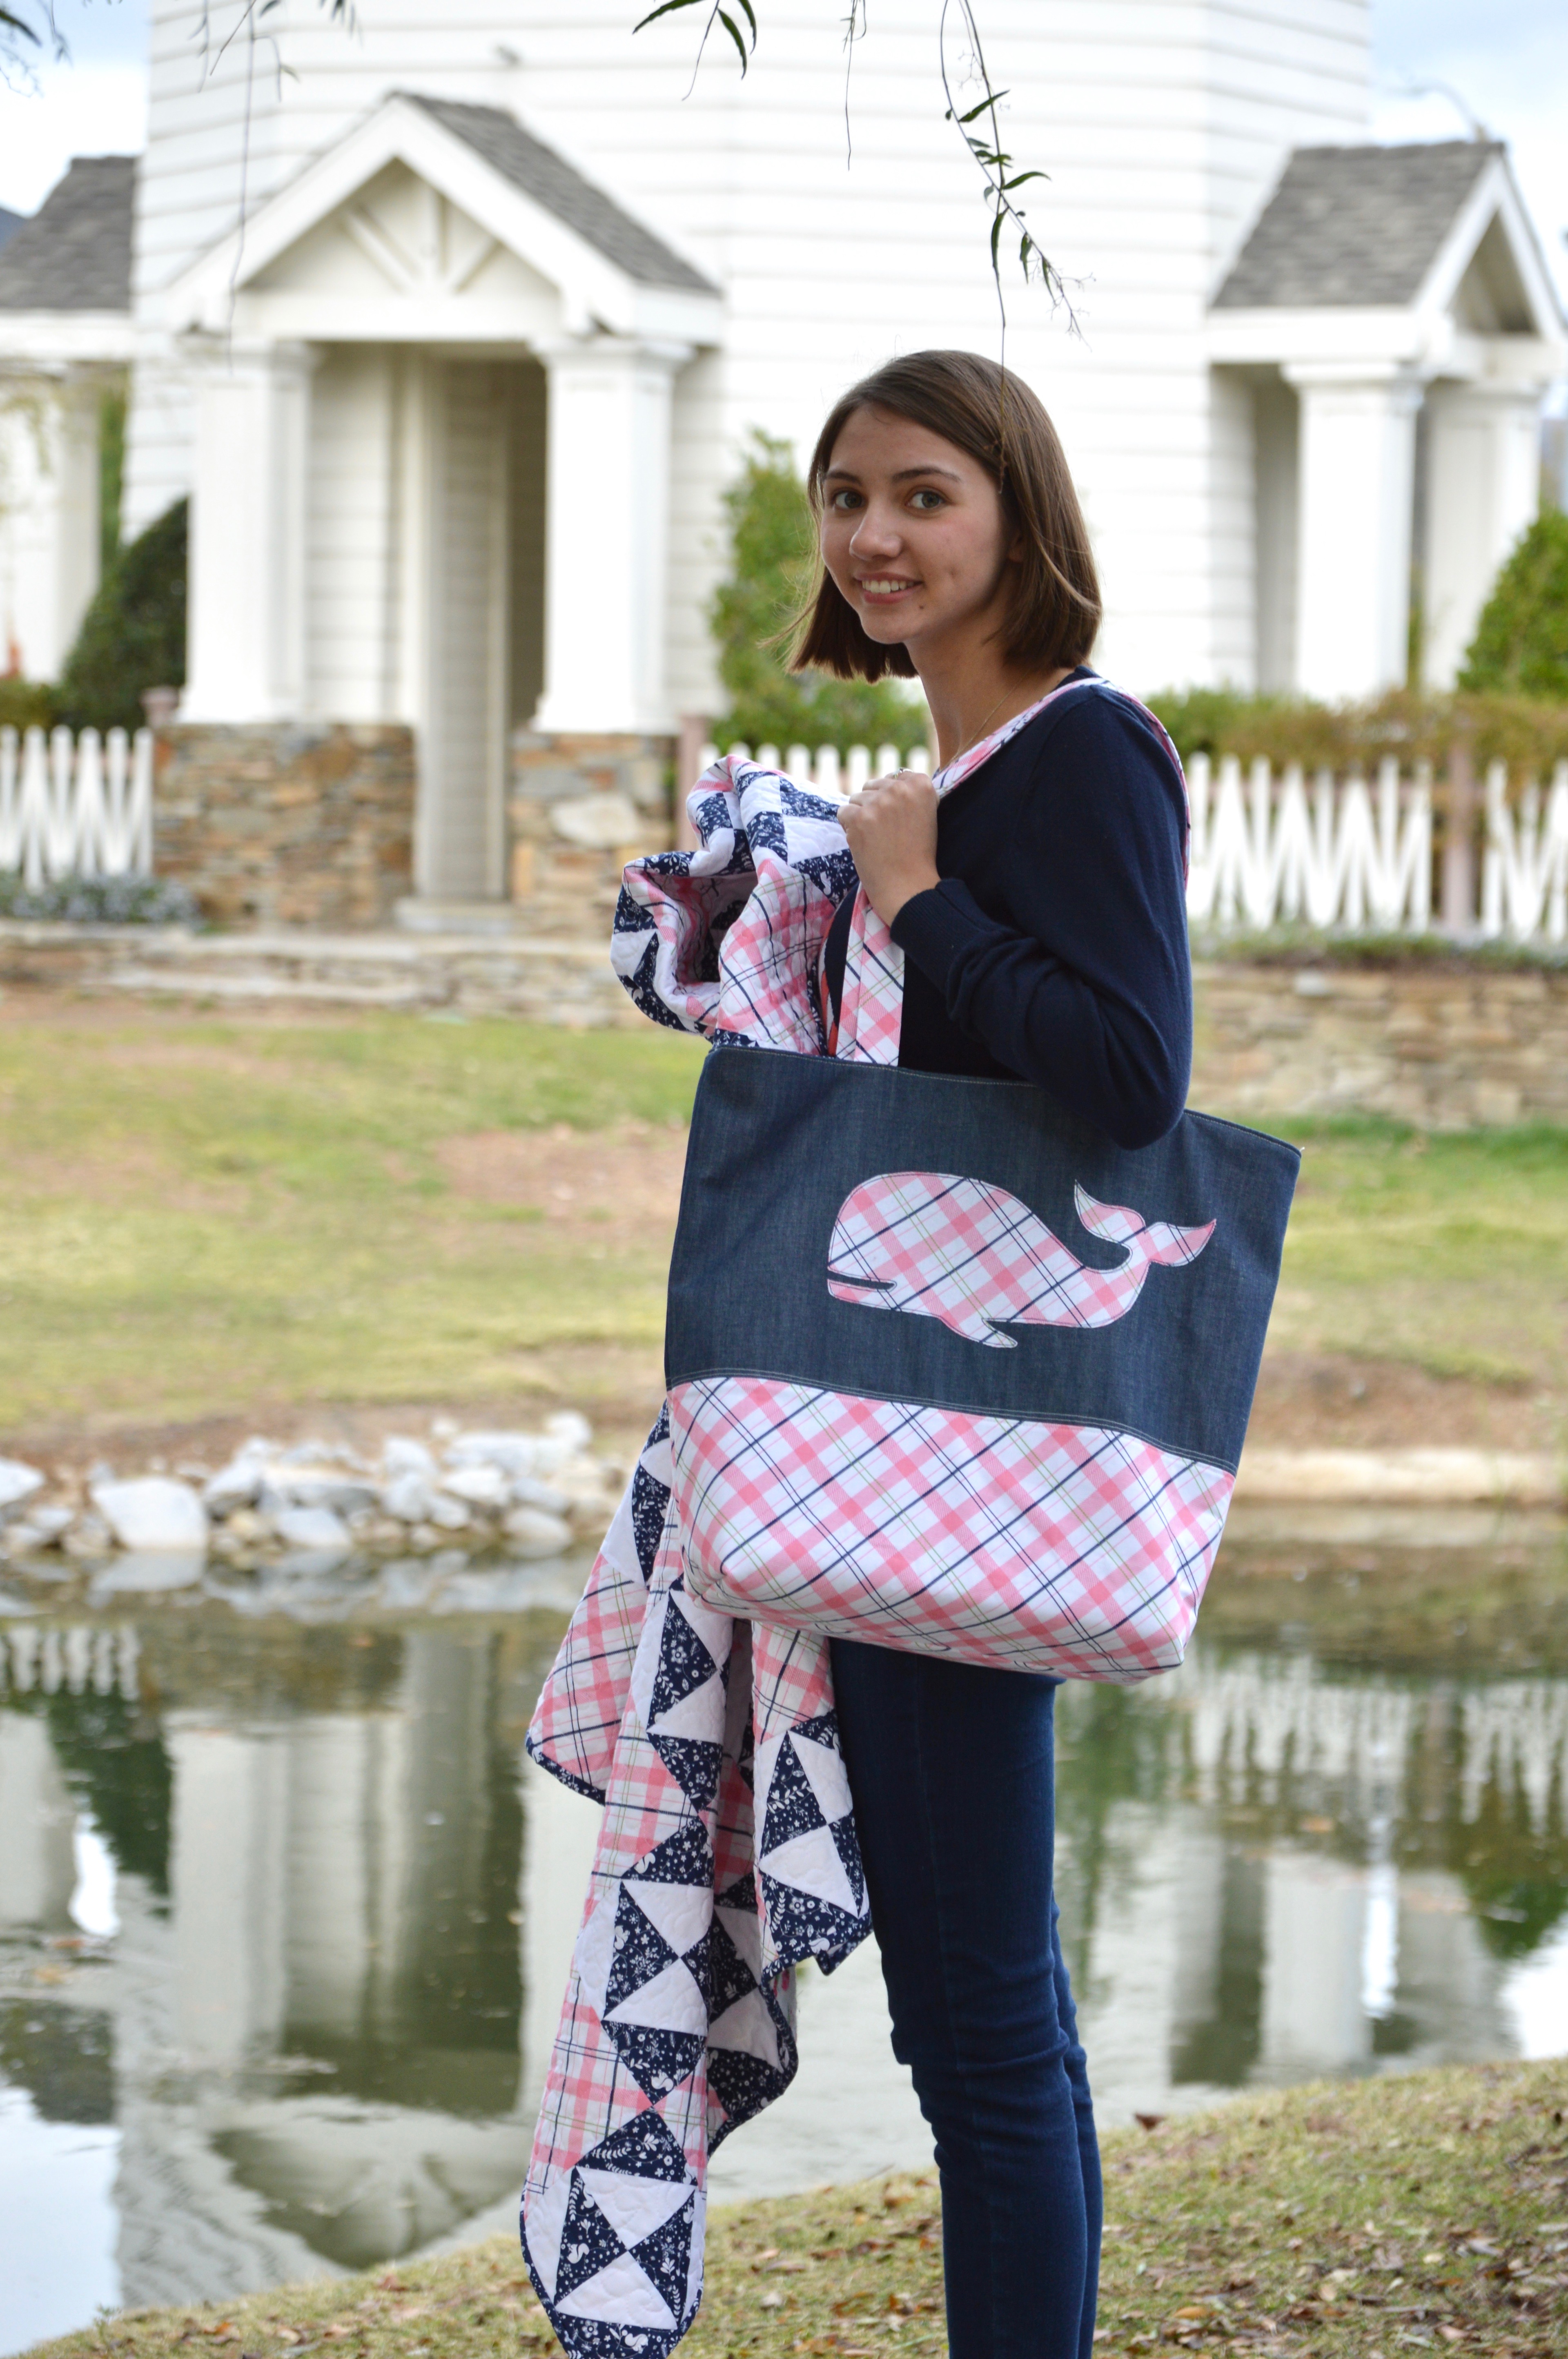
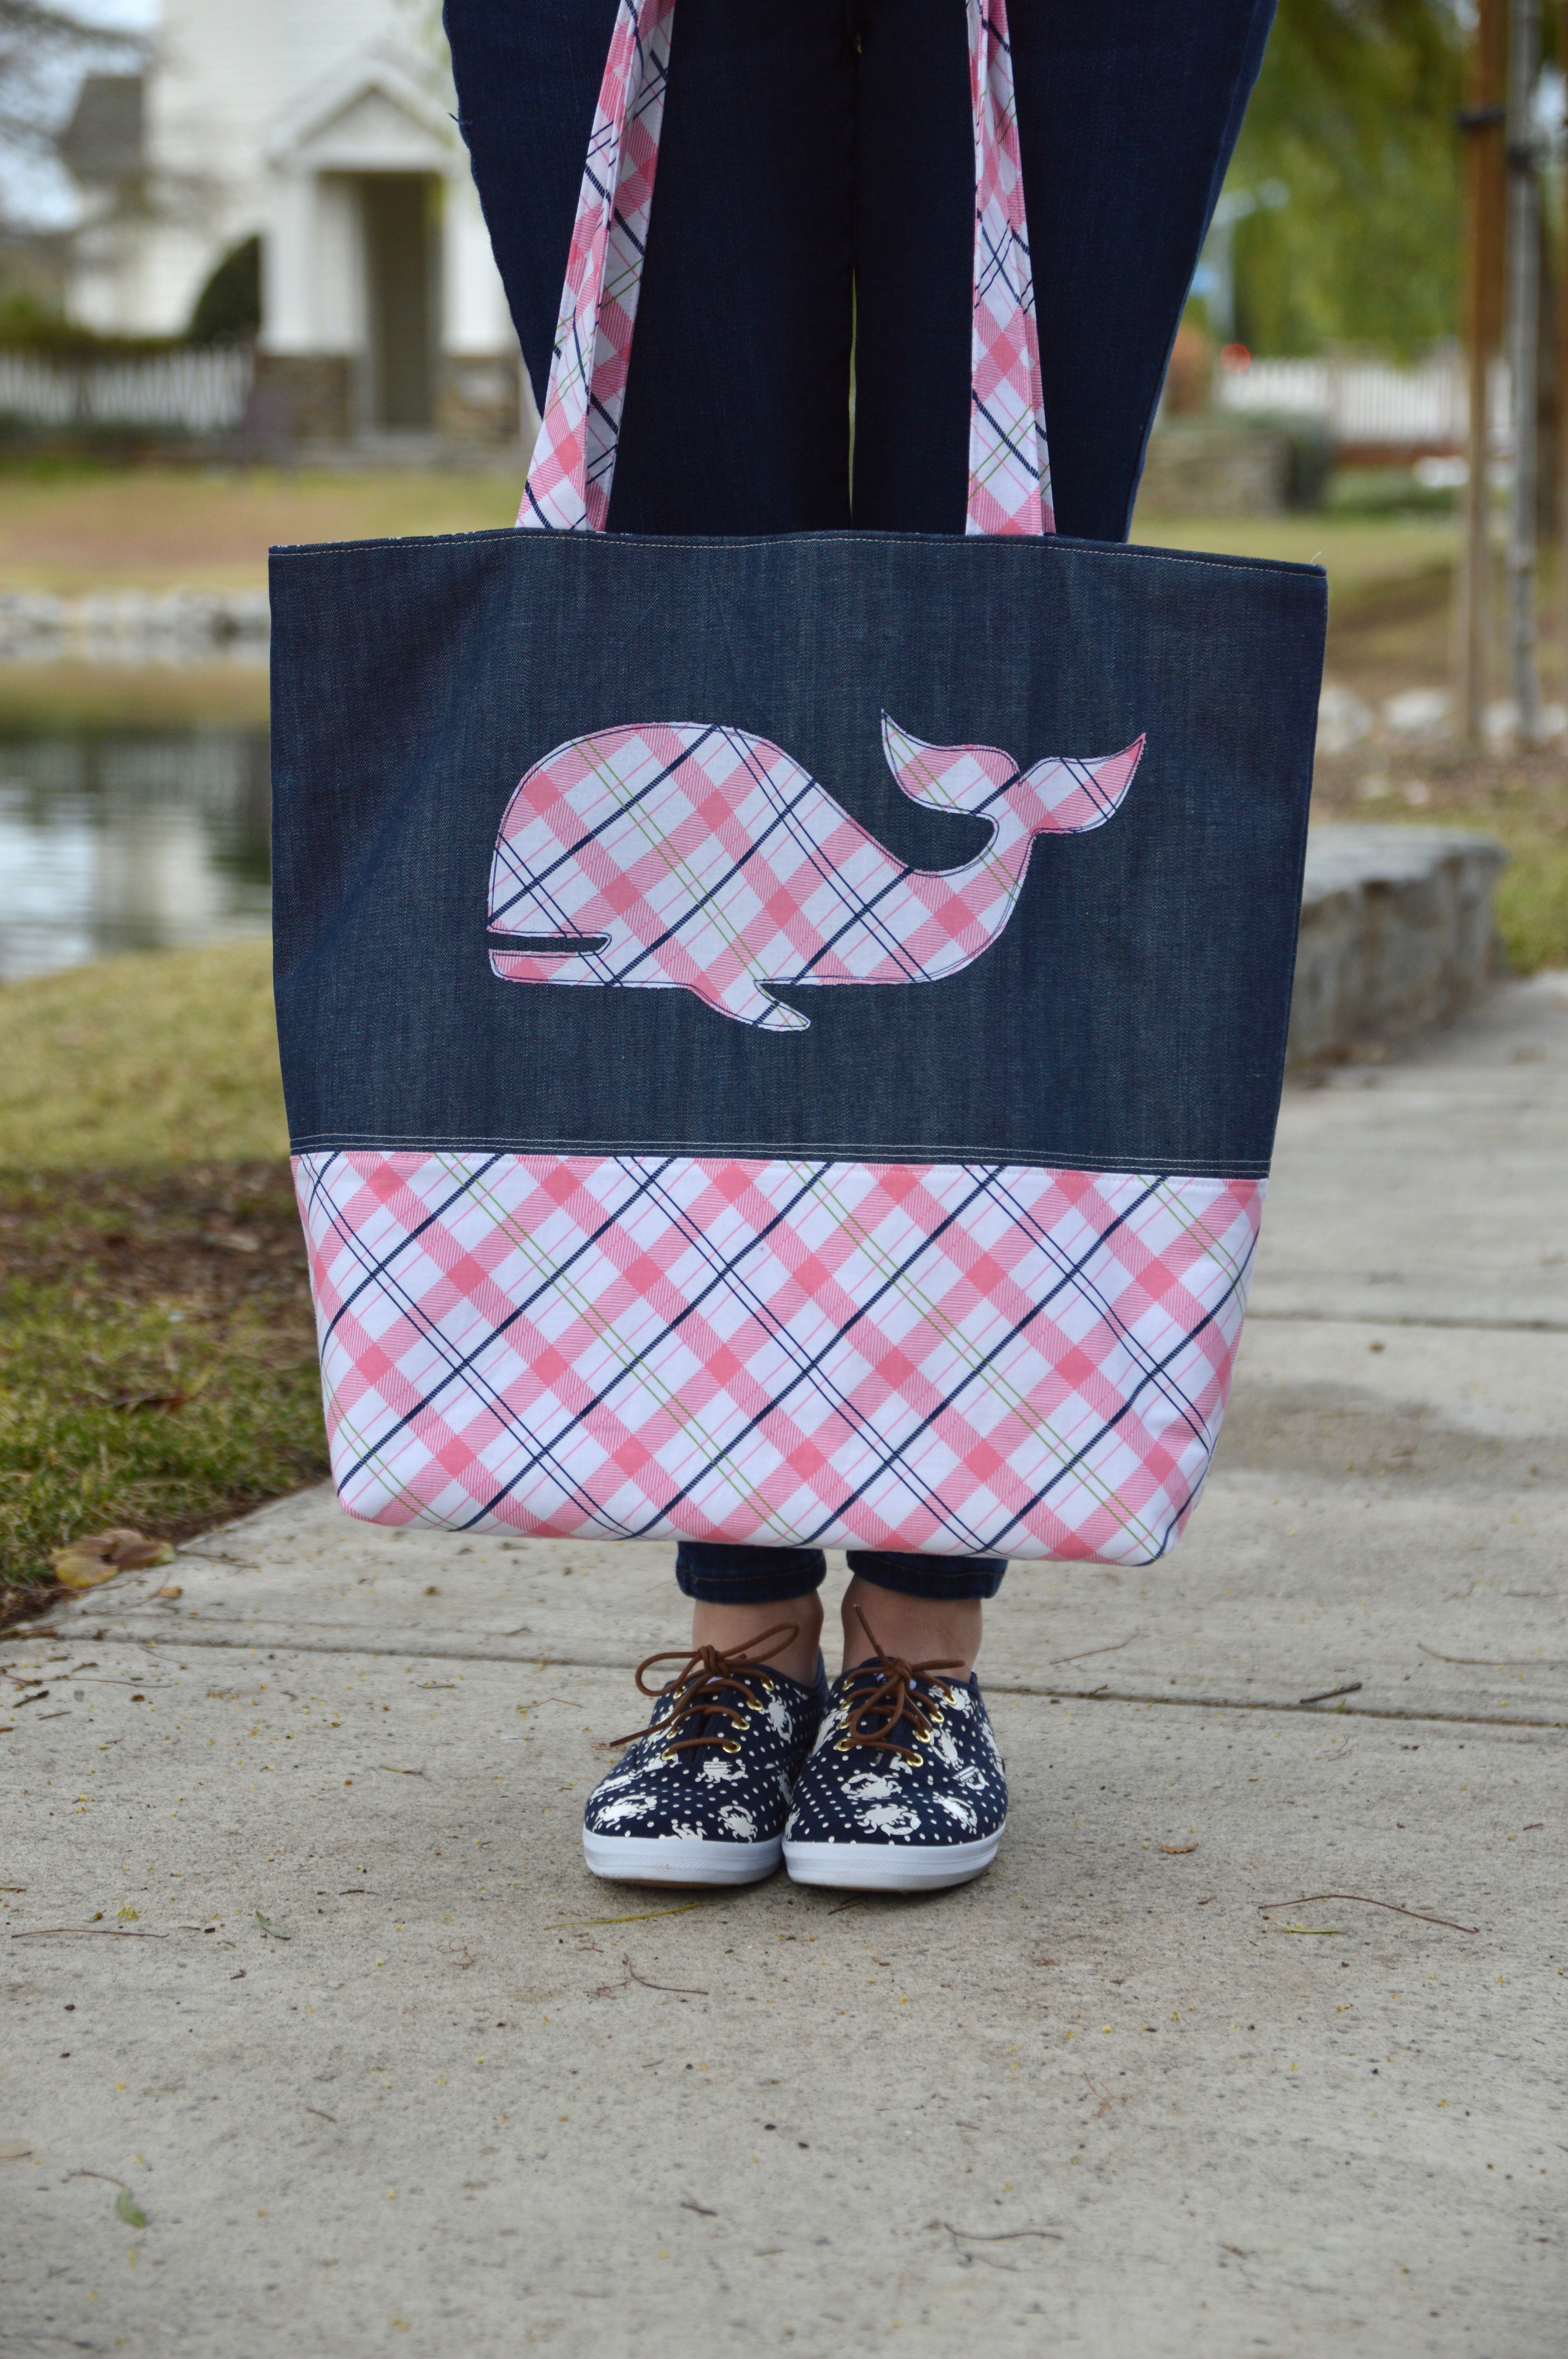
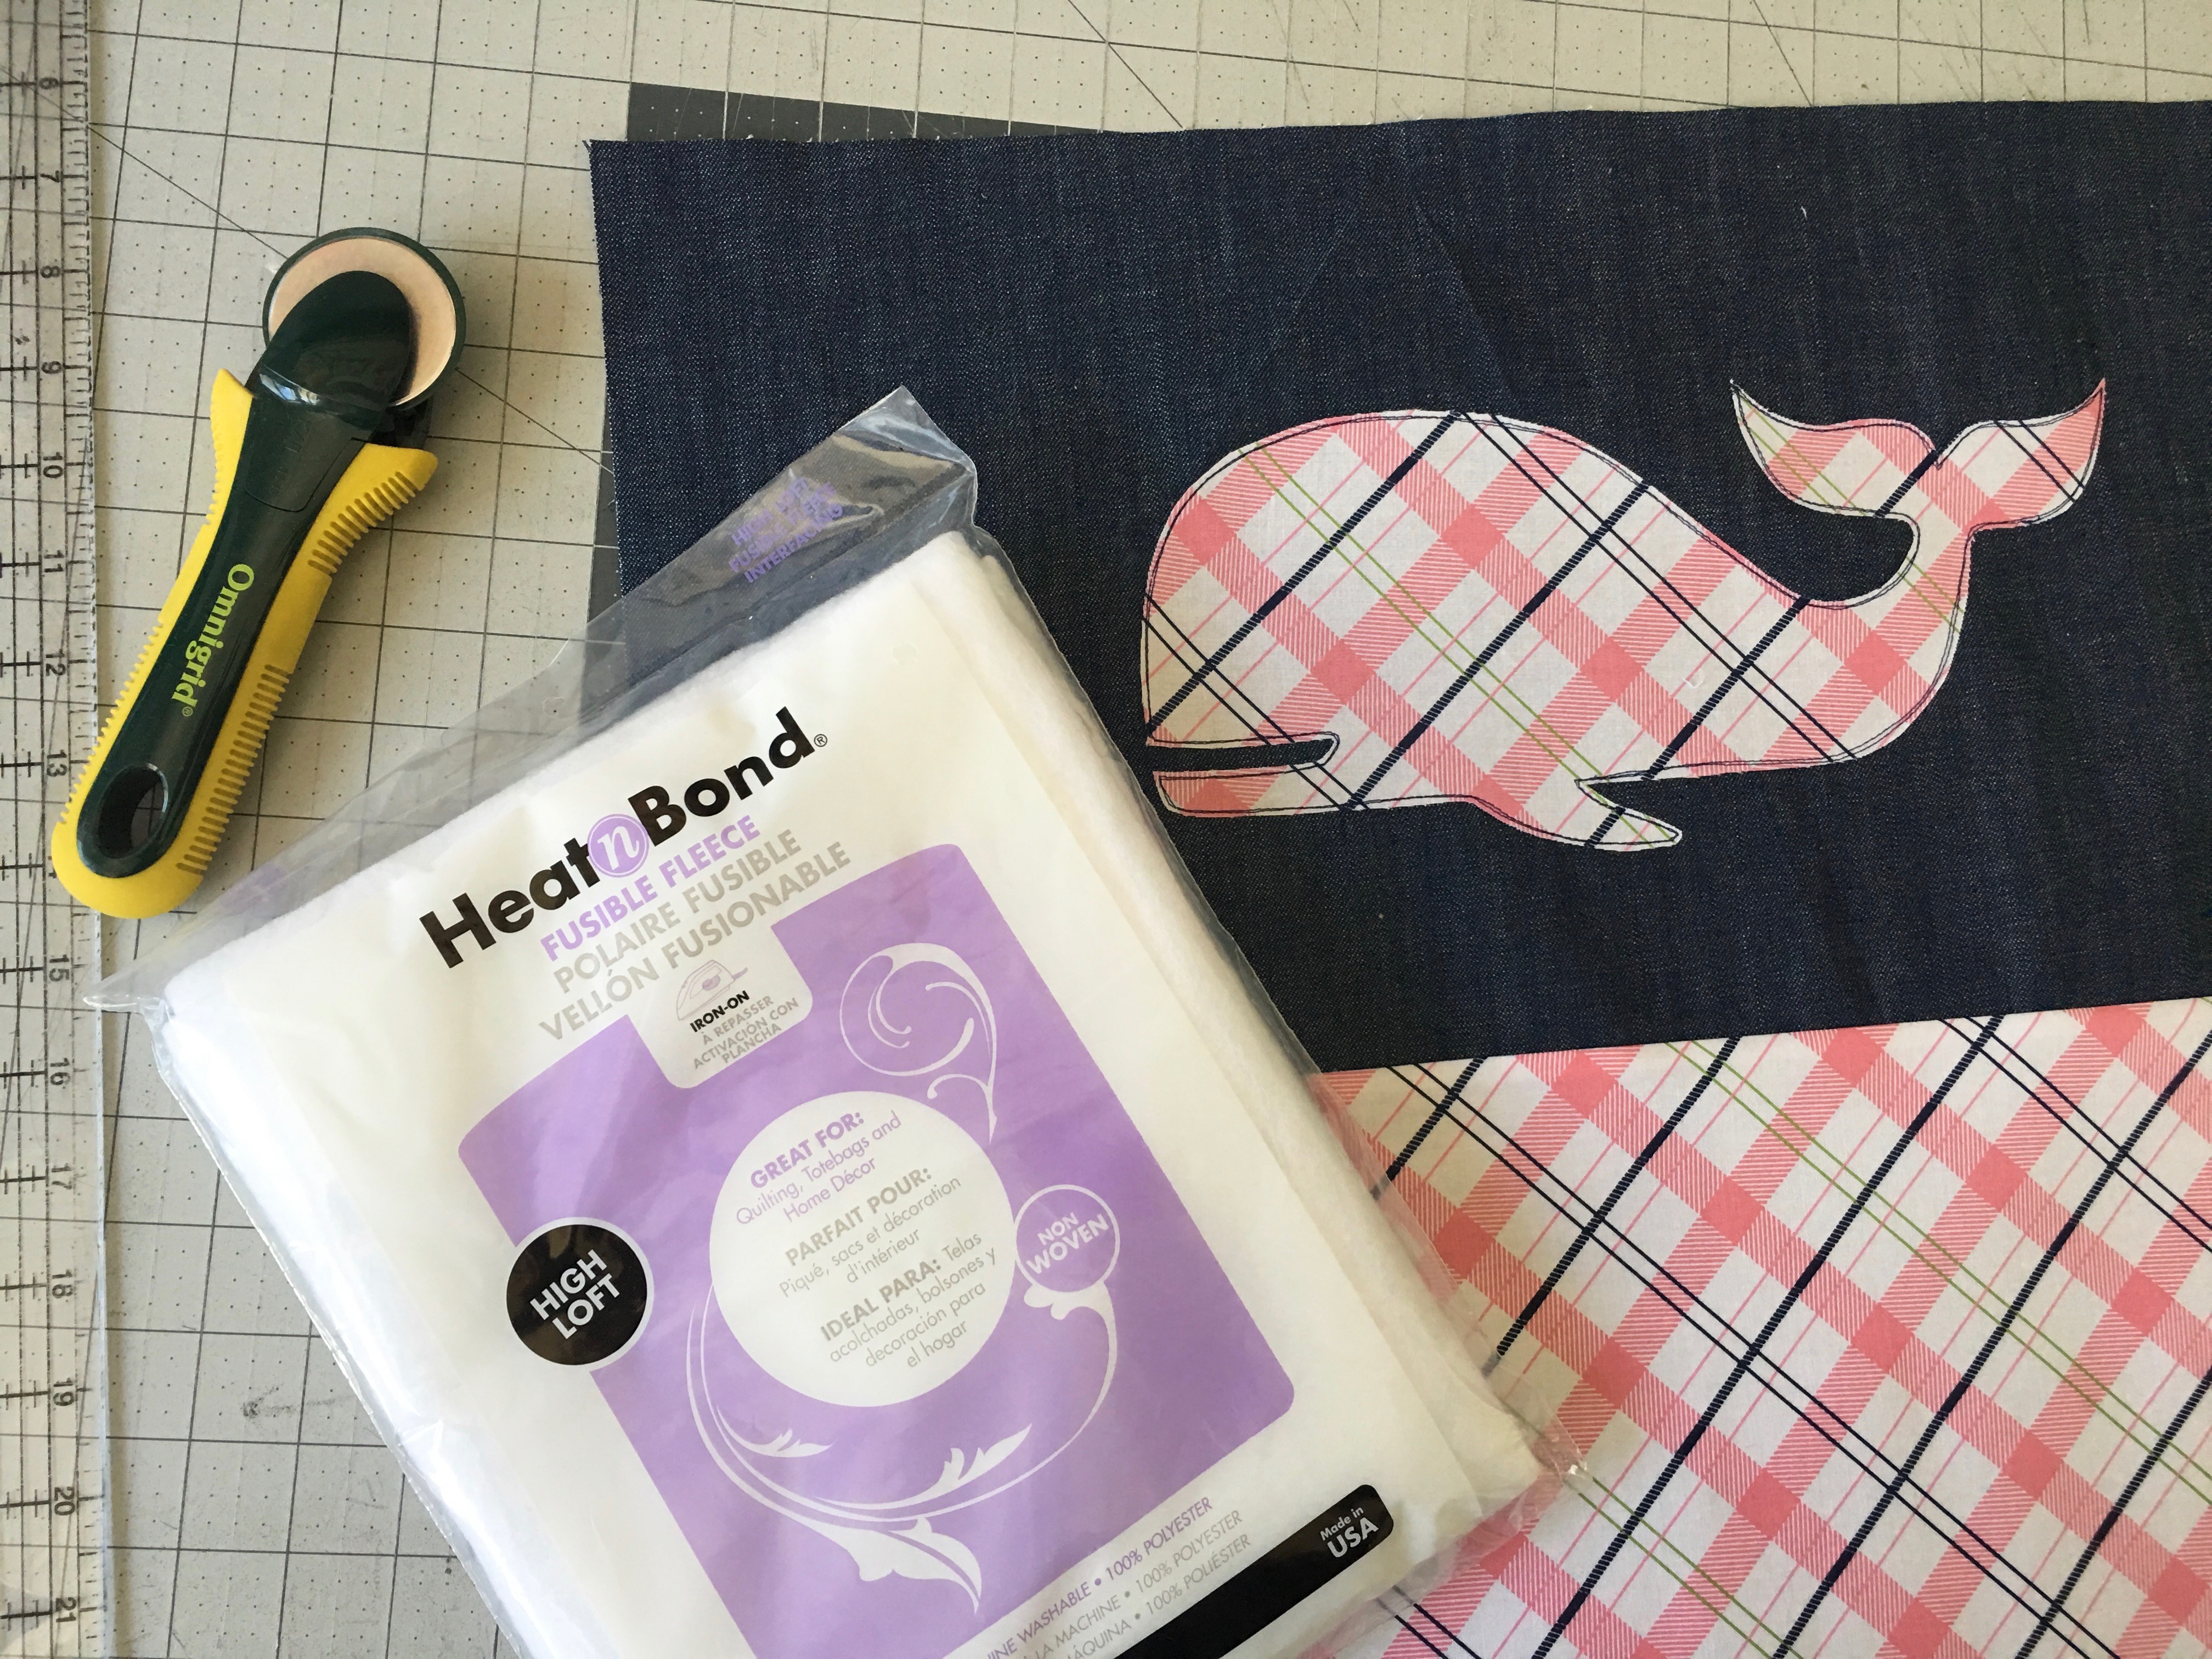
I am so in love with this tote bag!  It is such a great size, and if feels sturdy and it is super preppy plaid cute!!
DSC_0136
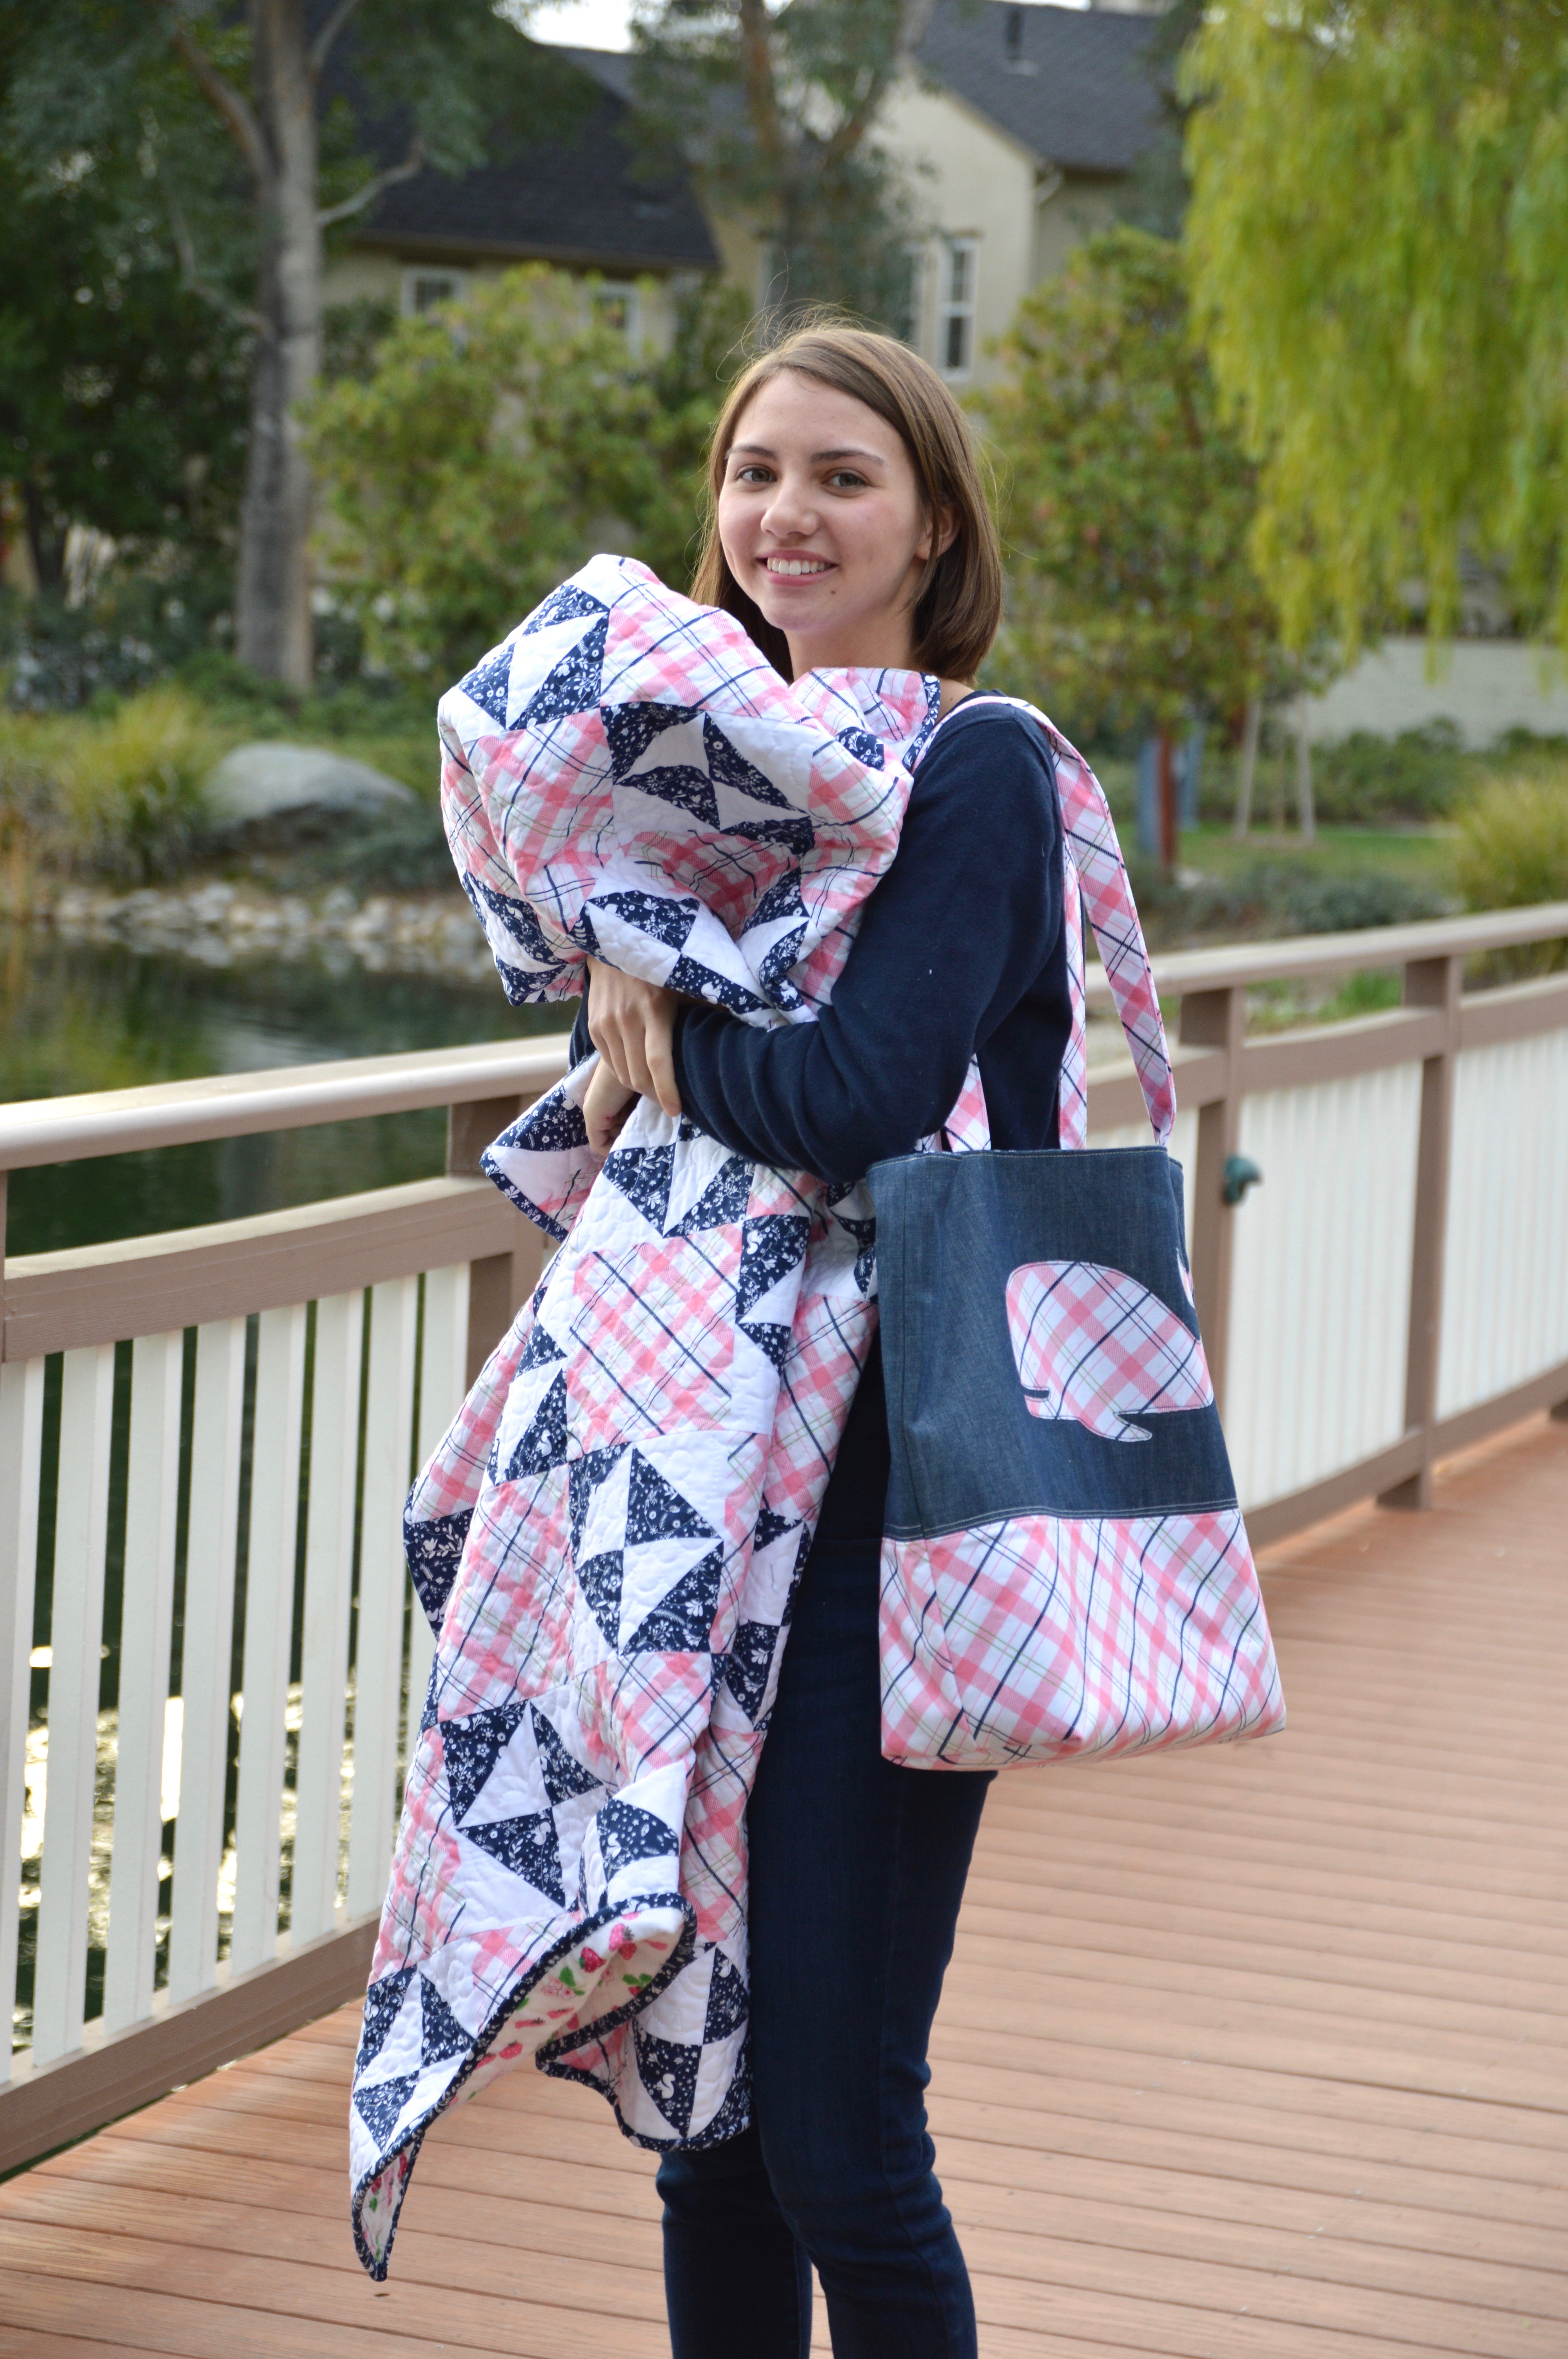
I’m ready for an Eastern Seaboard Vacation!!!
Together they make the Perfect Preppy Plaid Pair!!!!!
DSC_0110

Enchanted logo 2

Be sure to check out these amazing designers to see what they’ve created using Riley Blake’s Enchanted Fabric!!!

Blog Tour Schedule

Monday, Jan 23rd – Little Londyn

Tuesday, Jan 24th – Jedi Craft Girl

Wednesday, Jan 25th – Loose Threads

Thursday, Jan 26th – Meags and Me

Friday, Jan 27th – Pretty by Hand

Monday, Jan 30th – Tie Dye Diva

Tuesday, Jan 31st – Two Sisters as Squirrel Hallow

Wednesday, Feb 1st – Striped Swallow Designs

Thursday, Feb 2nd – Izzy and Ivy

Friday, Feb 3rd – Ellis and Higgs

Monday, Feb 6th – Aurifil

Tuesday, Feb 7th – The Crafy Quilter

Wednesday, Feb 8th – Two Sisters at Squirrel Hallow

Thursday, Feb 9th – Jina Barney Designz

Friday, Feb 10th – Riley Blake

You could win a bundle of Enchanted fabric by visiting Dodi’s blog, Loose Threads (www.sashgals.com) and leaving a comment.

One entry per blog post, per day of the Blog Tour, there on Loose Threads.

Enter every day to increase your chance of winning!!!

Marvel Padded Sketchbook Case Tutorial

sketch-book-case-tutorial
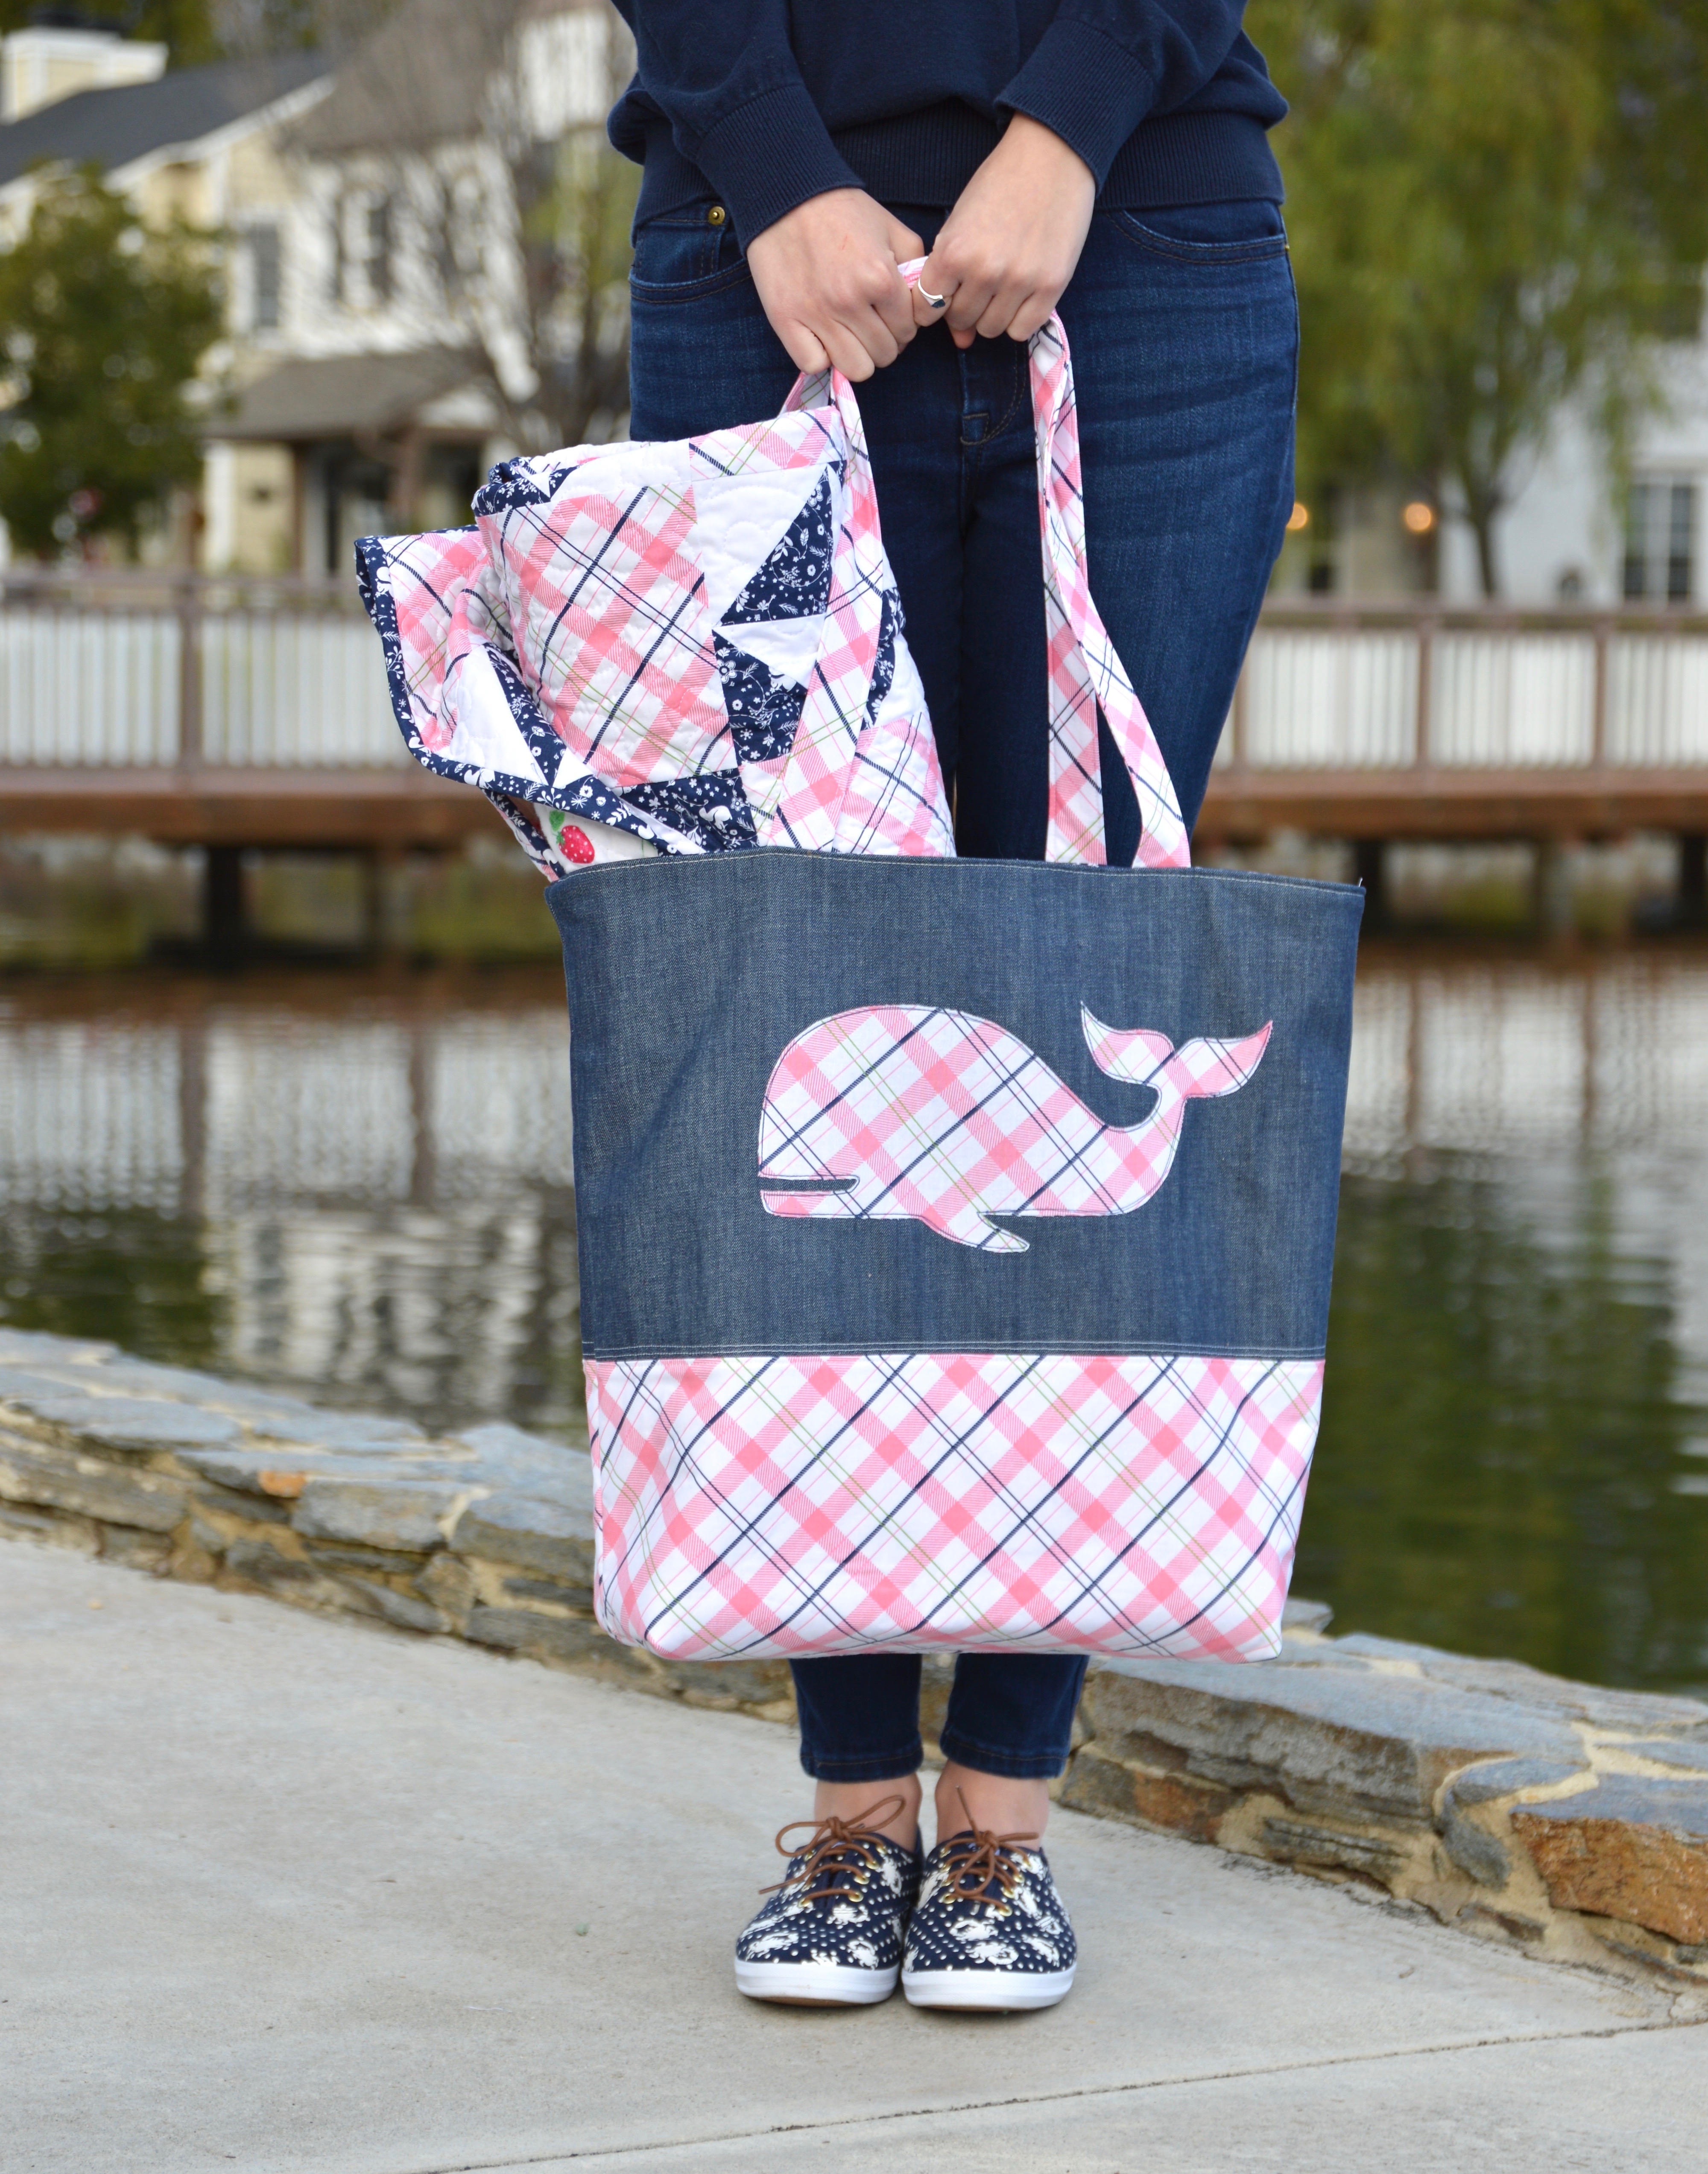
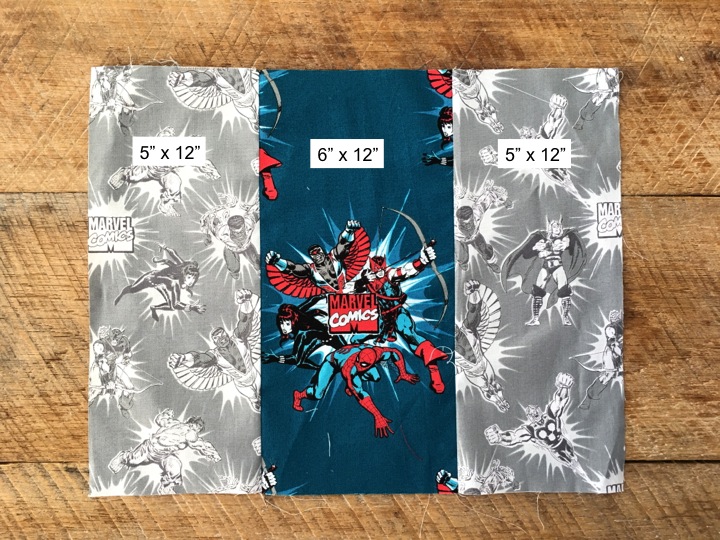
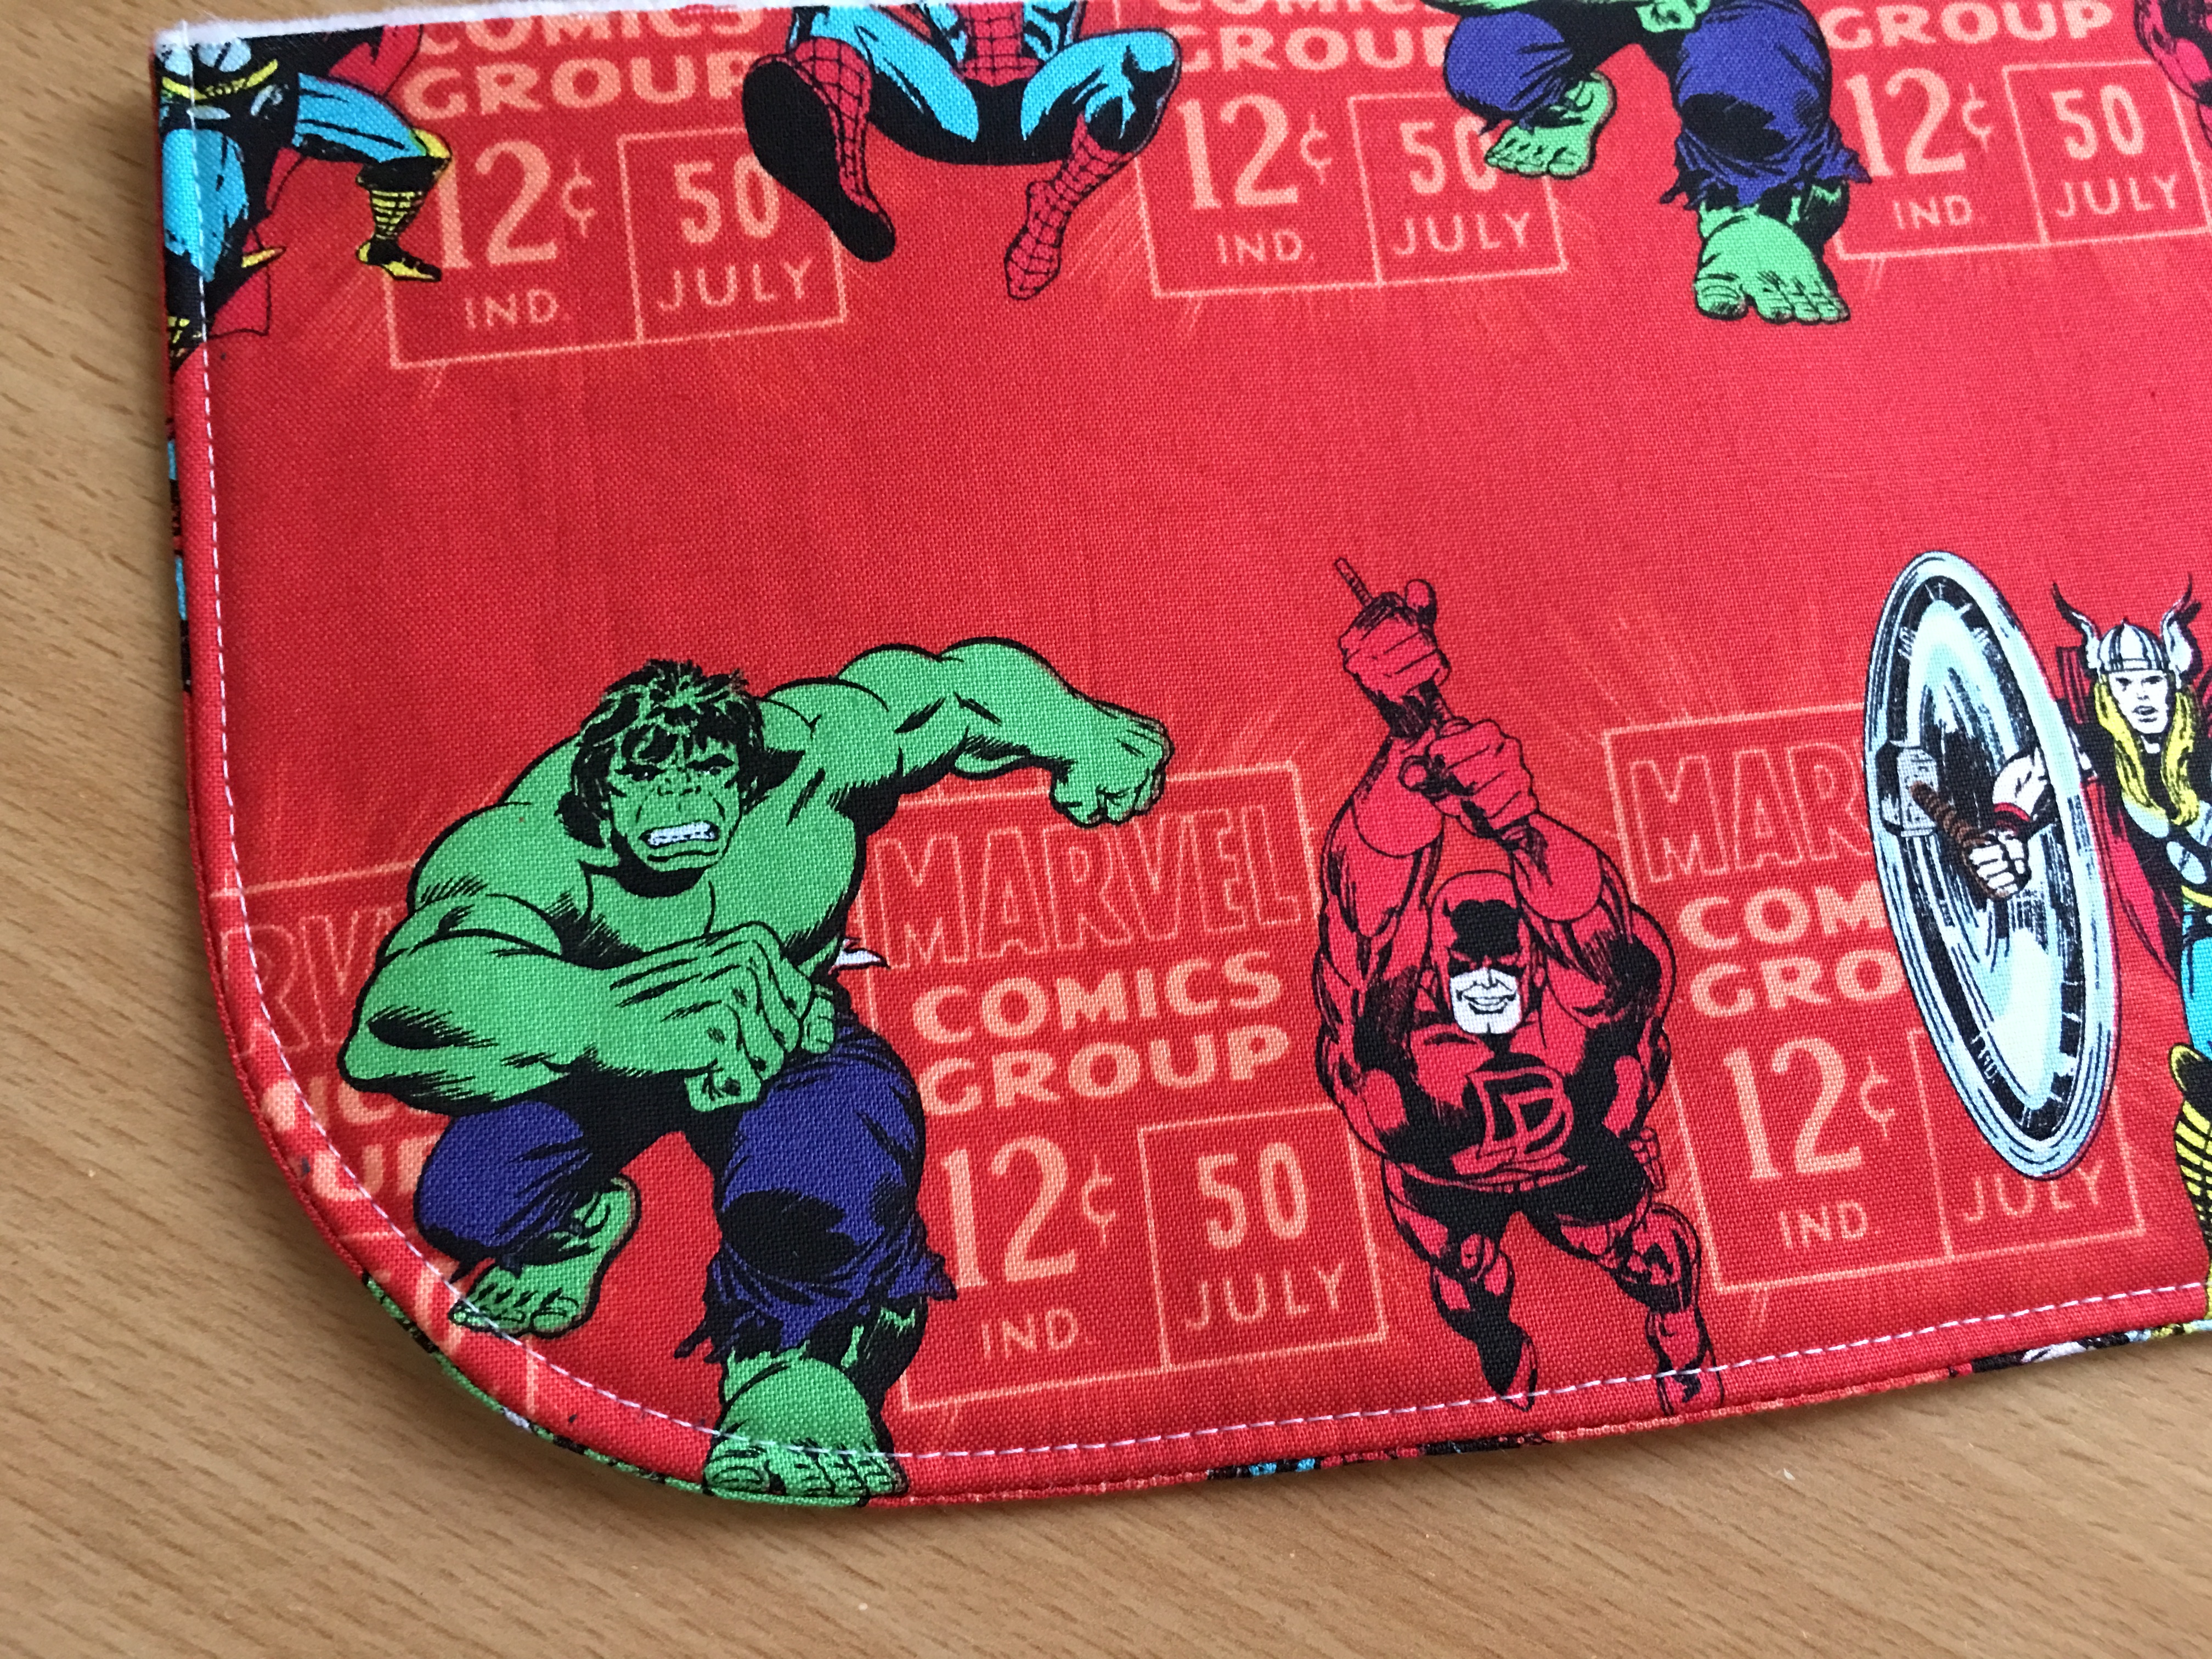
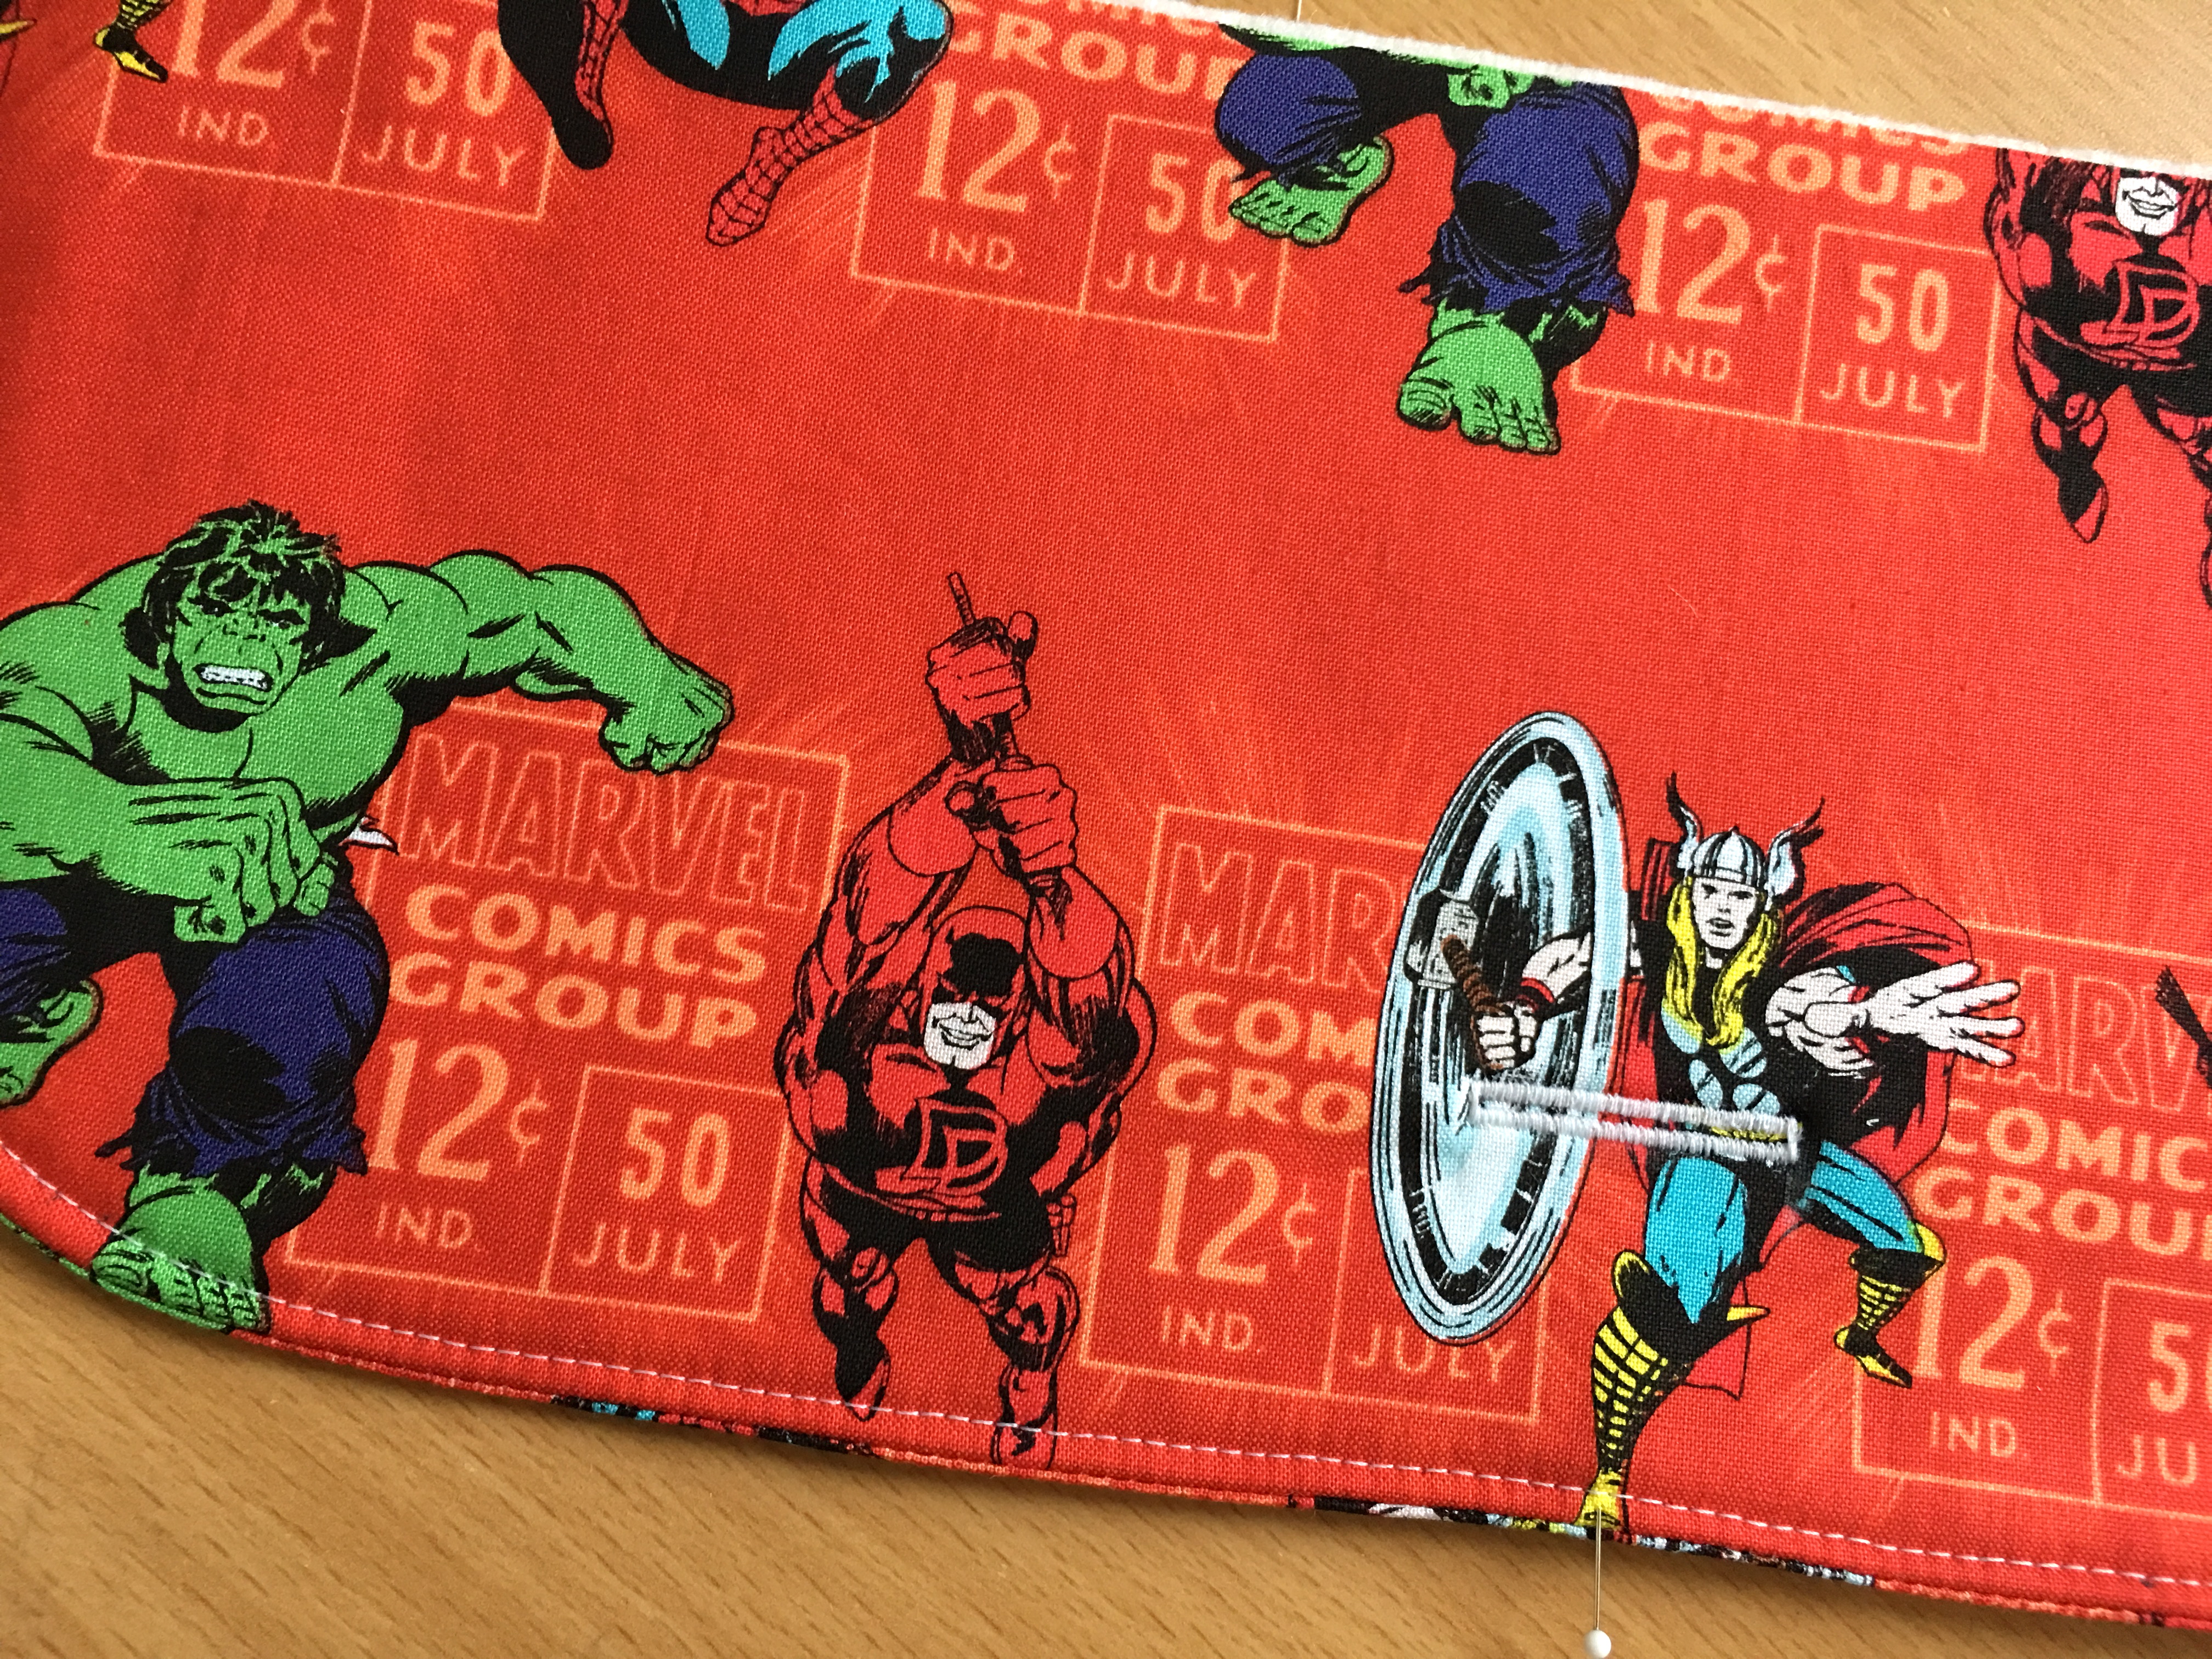
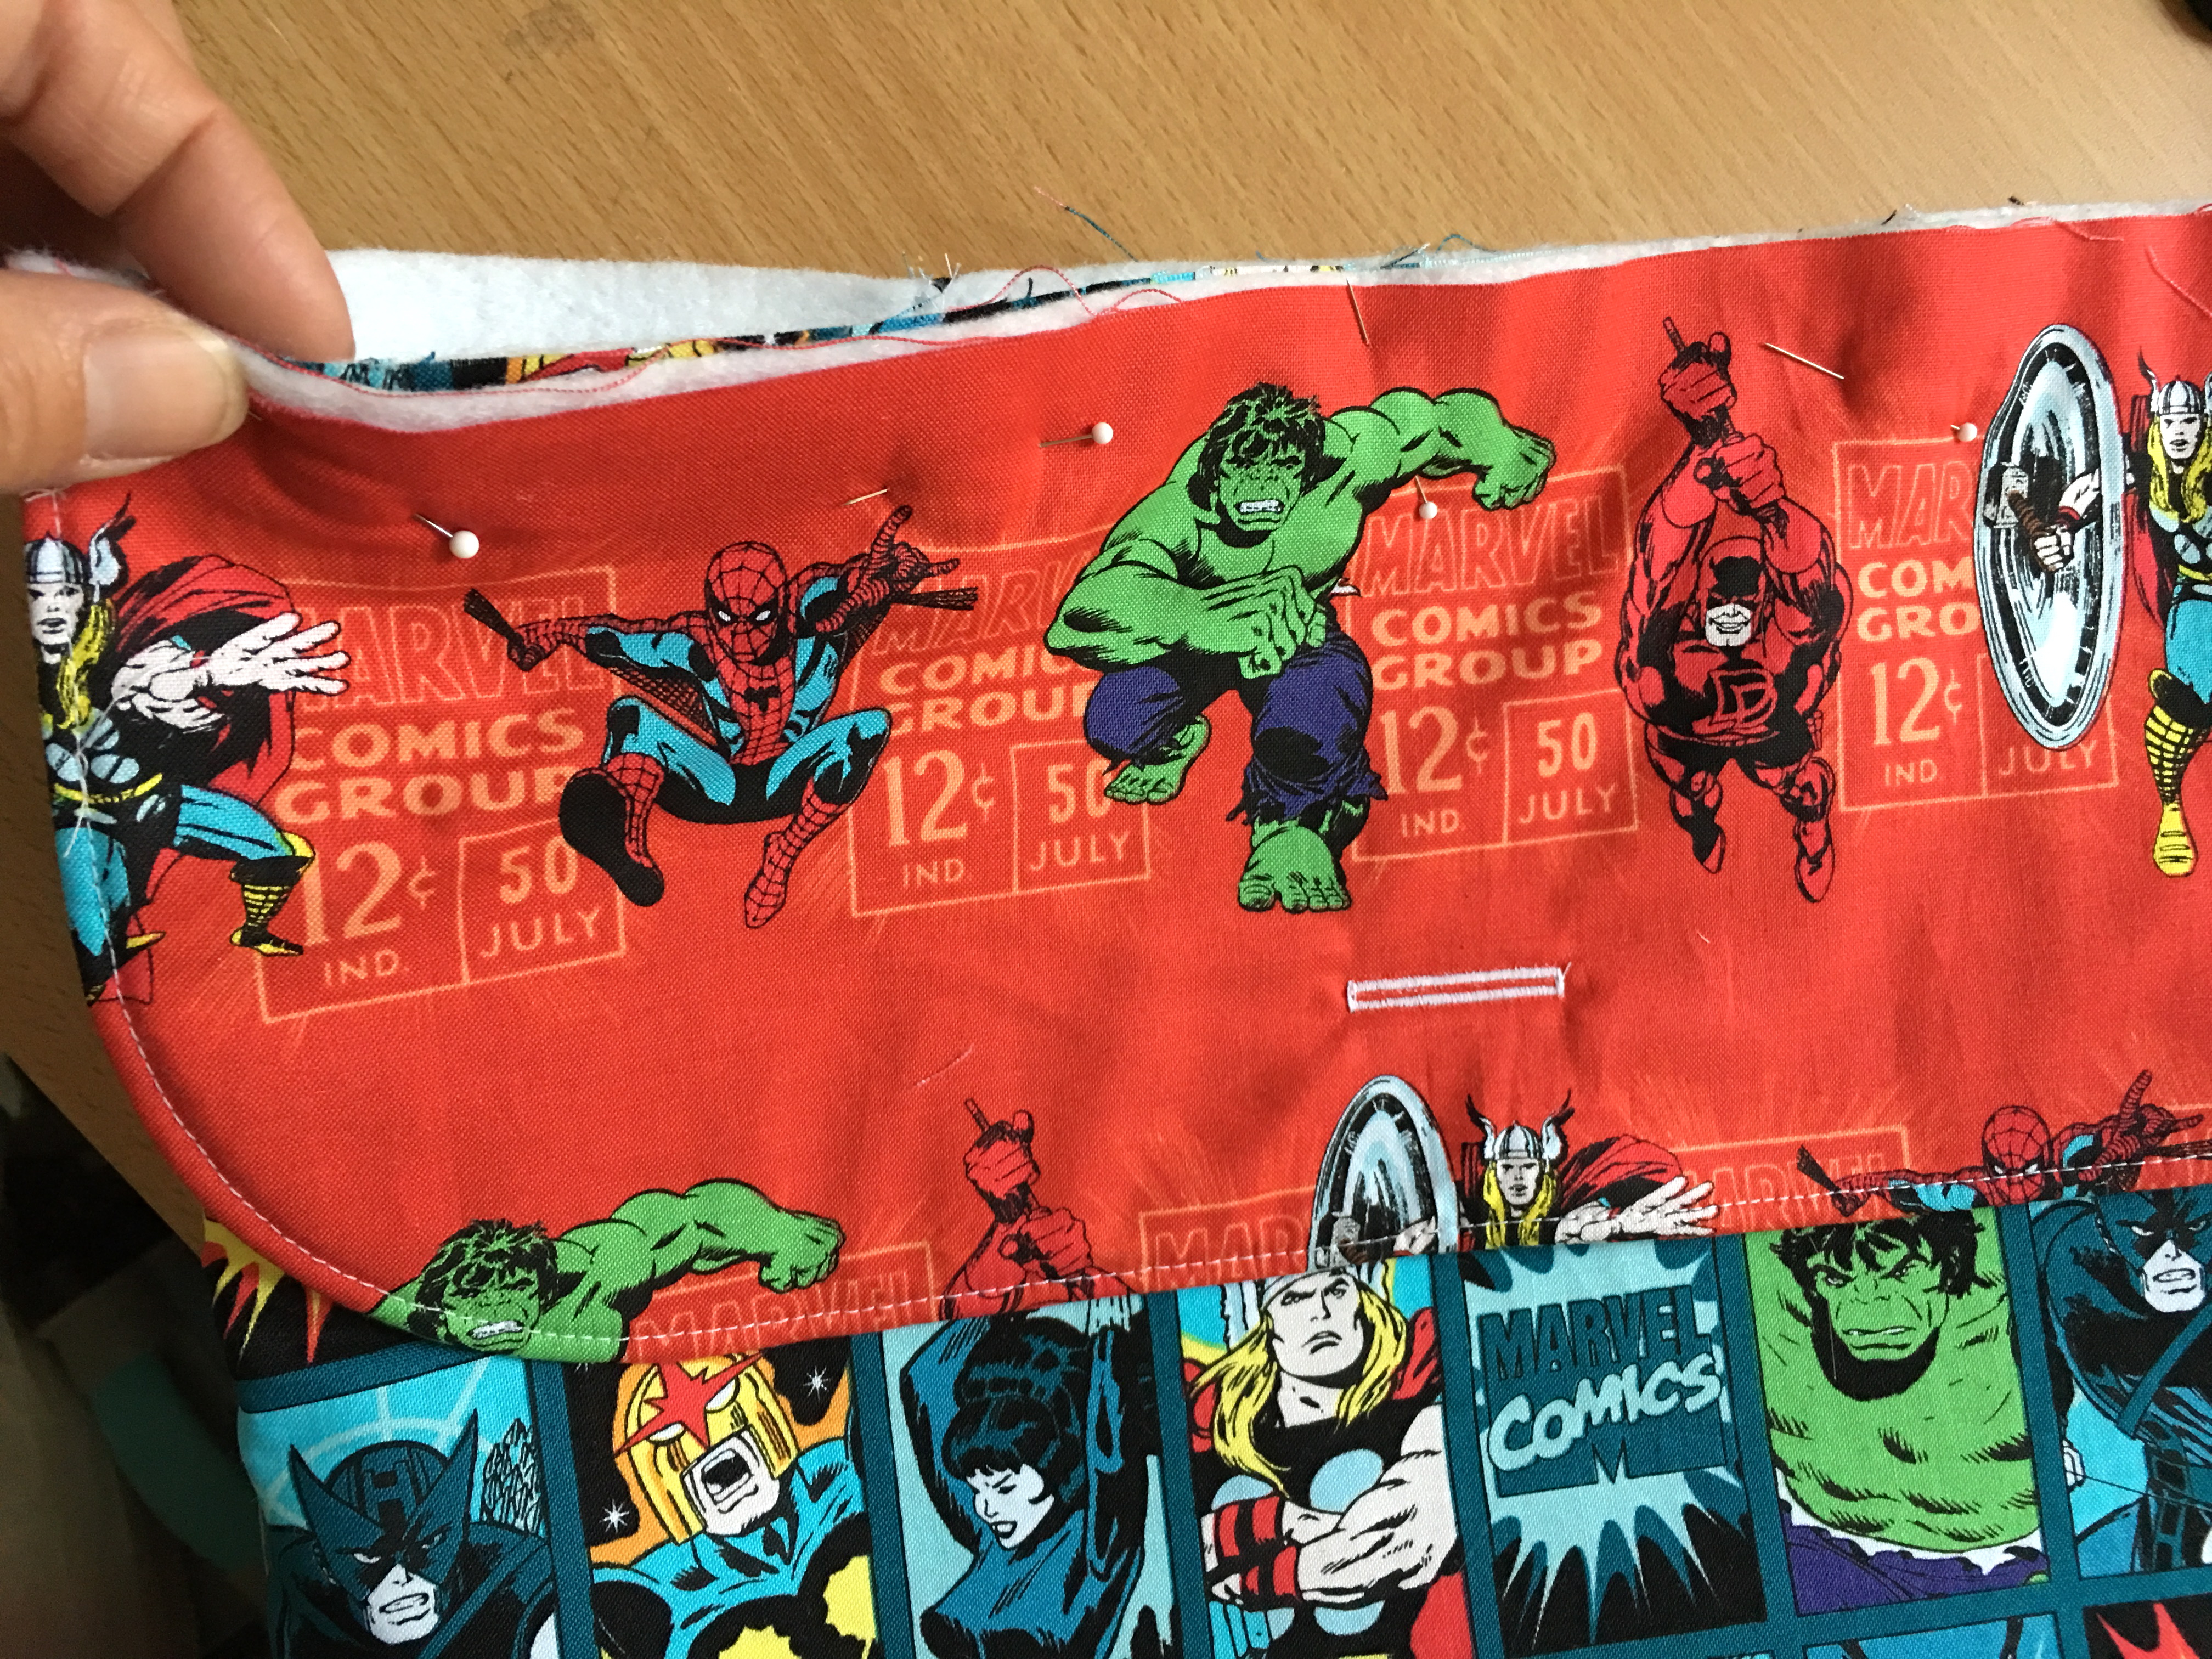
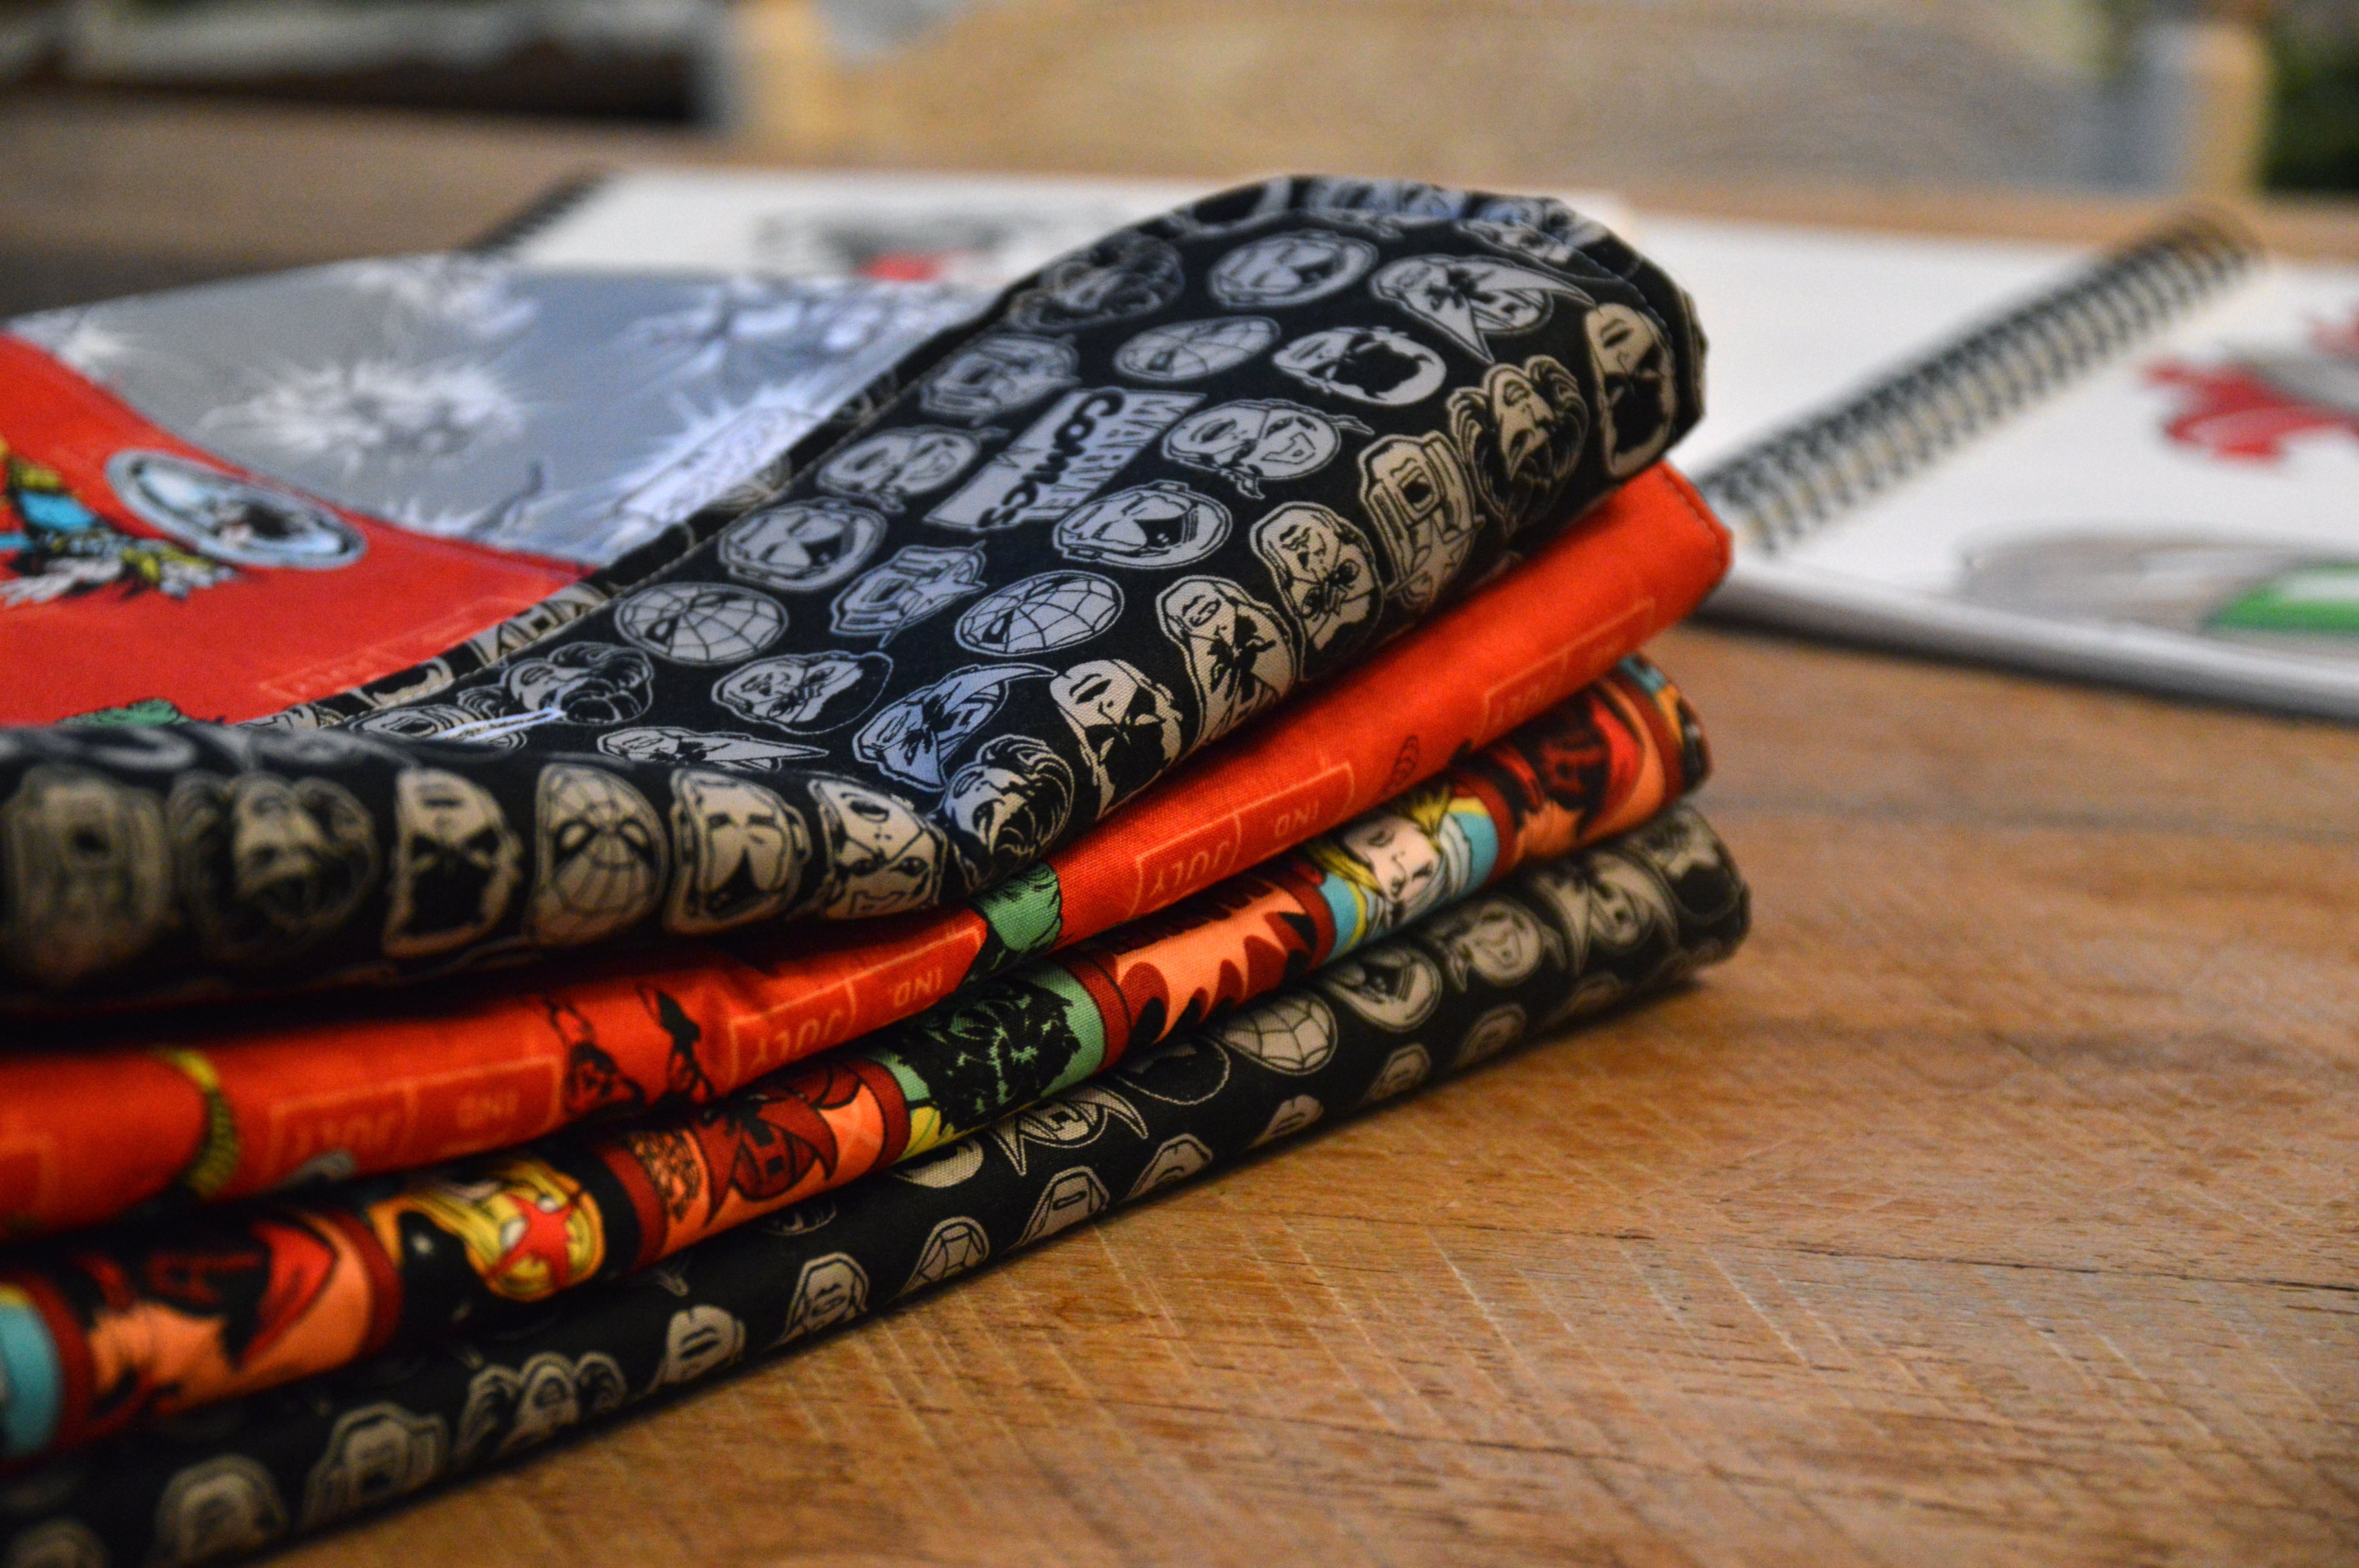
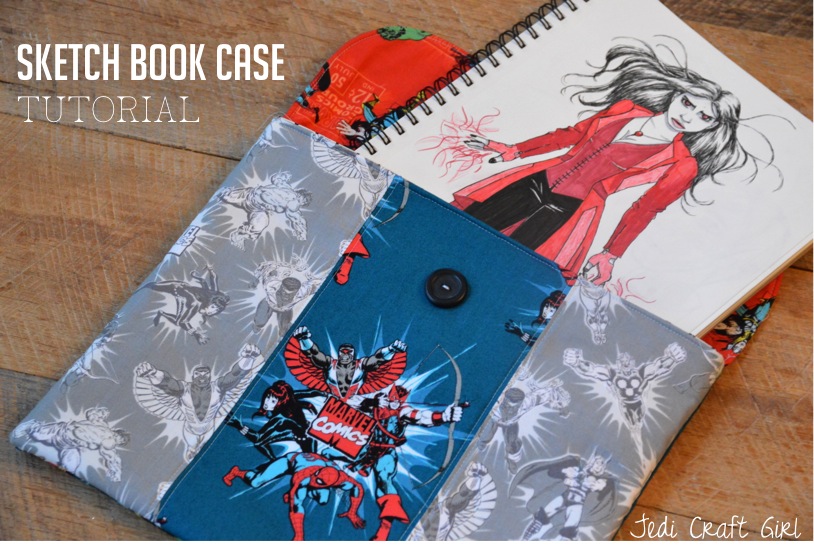
I love sewing for my kids!!!!  They are totally into Marvel right now so I’m so excited for this new line from Camelot Fabrics available at Fat Quarter Shop!!  This fun project is for a padded sketch book case with button closure (Sketch book measuring 9″x12″).  This case is also great for coloring books, journals, music books, and magazines.  The Heat n Bond Fusible Fleece gives it soft stability.  You can whip one up in about 30 minutes!  So it’s a great gift.img_7893

marvel-sketch-book-cover-3

I made four Sketch Book Cases for my daughter’s artsy friends.  The four of them sketch all day and nerd out at lunch with their sketchbooks.  They were thrilled to receive them!!img_8001

Let’s get started!

Supplies
1/2 yard lining fabric

fat quarter backing

fat quarter flap fabric

fat quarter front sides

fat quarter front center

1 yard Heat n Bond Fusible Fleece

Button

img_7914

First have your cat sleep on all the fabric so it needs ironing when you are ready 🙂

sketch-book-cutting-instructions

Cut the front side pieces (2) 5″ x 12″ and center 6″ x 12″.

Sew together as pictured above with 1/4″ seams and press.

cutting-guide

Cut the back 15″ x 12″

Cut the flap (2) 15″ x 6″

Cut the lining (2) 15″ x 12″

heat-n-bond

Cut the Fusible Fleece (2) 15″ x 12″ and (1) 15″ x 6″

img_7927

Match up the Marvel pieces with the fleece pieces and fuse to the wrong side of the fabric, according to manufacturers instructions. (only fuse one of the flap pieces)

img_7934

Sew accent stitching 1/8″ along both sides of the seams.

Prepare the flap:

img_7931

Take the fused flap piece and round the corners of the bottom two corners by tracing a small plate.  Cut with scissors.

Lay the rounded flap piece on top of the second 6″ x 15″ piece and pin, right sides together.  Sew 1/2″ seam around the side, bottom, and side.  Leaving the top open.

img_7935

img_7936

Trim down the seam allowance and clip the curves.

img_7938

Turn right side out, press and top stitch along seam 1/8″.

img_7940

Find the center of the flap and mark.  Sew a button hole that matches the size of your button.  Sew the button hole 2″ above the seam.

img_7941

Place the front pouch piece on top of the back pouch piece right sides together.  Pin the sides and the bottom.  Sew the sides and bottom using a 1/2″ seam.  Clip corners and turn right side out.

img_7933

Pin the sides and bottom of the lining pieces in the same manner.  Sew 1/2″ seam along the sides and bottom.

img_7942

Pin the flap to the back of the pouch, matching raw edges.  Make sure to center on the back piece.  Baste 1/8″ along flap .

img_7945

Place the outer pouch inside the lining, right sides together.  Match at side seams and pin all the way around.  Sew using a 1/4″ seam all the way around.

Unstitch a 3″ section on one of the sides of the lining.  Turn right side out.  Top stitch the lining closed.  Press lining down inside the pouch.  Top stitch using a 1/8″ seam around the “mouth” of the case.  Hand sew the button on.sketch-book-case-2

They were so much fun to make and the fabrics were fun to mix and match!  I can’t decide which is my favorite!

img_8017

sketch-book-case-5

marvel-sketch-book-cover

Save

Pat Sloan’s Teach Me to Machine Quilt Blog Hop!!!

I am so totally excited to be a part of Pat Sloan’s Teach Me to Machine Quilt Blog Hop!!!  I have admired and followed Pat for years and years!  She is so inspiring!  Pat is truly amazing and she is such a wonderful teacher!!   I have been so impressed with her new “Teach Me To” series and absolutely love this third book in the series,  Teach Me to Machine Quilt!!

teach-me-to-machine-quilt

Even if you’ve been a quilter for years and years (like myself) you will love this book.  I was excited to learn a few new tips and tricks from Pat.  Plus the projects are super inspiring!!

I LOVE this checkerboard star wall quilt!!!

Something I read and IMMEDIATELY put into practice was Pat’s tip of laying down an old sheet on the floor before spray basting a quilt.  This way the overspray goes on the sheet and not on the carpet or wood!  Toss the sheet in the washer and there is no mess!  Brilliant!!!

Time for a giveaway!

And now, for the best news of all, Pat’s giving away 5 copies of her book over on HER blog.
Here’s the direct link to enter the giveaway:  blog.patsloan.com/pats-mega-fun-book-tour/

I’m one of the last stops on the tour that runs through Nov 30, so be sure to visit these other sites today:

Click here to see the entire blog hop schedule. Good luck and happy hopping!

pat-sloan-mega-fun-book-toursq

Save

Mini Kitty Halloween Quilt Pattern

img_3710

It’s a little SPOOKY around here!  Mini Kitty is getting a Halloween makeover!  I love this little pattern so much and wanted to give it a little pop for the fall.  Mini Kitty is now leaping over a pumpkin with bats and stars in the background.  If you’ve already purchased the pattern you can download the Halloween applique shapes for free HERE.  The Halloween PDF is also included with each Mini Kitty pattern purchase in my Etsy shop.

mini-kitty-cover

The original Mini Kitty pattern was created as a gift for a friend after the loss of a sweet kitten.  You can read more about it HEREimg_3688

Instead of using only 2 colors for the checkerboard border, I used 8 different oranges and 8 different blacks.  I really love the polka dot pumpkin!

img_3686

Mufasa was very helpful on this project and choose the colors all by himself 🙂

img_3706

I love how it turned out and I have the purrrrfect place to hang it!  img_3714

All Hallow’s Eve Quilt

 halloweenIt’s feeling a little like fall and that means time to break out the fall decor!  I made this quilt last year and it’s one of my favorites!  I decorate my dining/living room with a more neutral pallet and I love using black and gray to decorate for Halloween.  The family room and kitchen are bright orange, black, and turquoise 🙂  I used a variety of neutrals and gray/blacks from Penny Rose Fabrics. You can download the details of the pattern HERE.

Quilt measures 42″ square.

spooky halloween quilt 30Most of the black/gray fabrics are from the Civil War Times fabric line. I love the variety! The rest of the fabrics are from Penny Rose Classics.Screen Shot 2015-10-21 at 9.03.17 PMIMG_3614I love black and metallic pumpkins on vintage candlesticks!

spooky halloween quilt 22I first made the background by sewing 5″ squares together in 7 rows of 7. Then the applique comes next. You could totally add ghosts and bats, I wanted to keep it simple.

spooky halloween quilt 26The moon is made by tracing a pie plate.

spooky halloween quilt 28Here is a little close up of the quilting, with Mufasa’s permission 🙂 spooky halloween quilt 6I love striped binding cut on the bias – it’s my absolute FAVORITE!!!! The backing is from Penny Rose’s mensware line – I love houndstooth!!!Ok, so this is totally my new favorite Halloween Quilt!

IMG_3612

spooky halloween quilt 9

Card Shark Pillow Tutorial

IMG_3494

And now a project for the guys!  I have a hard time finding projects to sew for my 13 year old son that are…… well….. not floral, cutsey, vintage, or girly which is pretty much most of my sewing!  When I saw this fun “card print” from Blend Fabrics I knew it was for my son the “Card Shark”!!!!

It’s the perfect gift for the card lover in your life!

Supplies:

1/2 yard card print fabric

1/3 yard solid gray

Heat n Bond Ultra

2 yards trim

Zipper

Fiberfill

Vinyl letters

Fabric Paint

Shark Pattern download

Begin by tracing the shark pattern (in reverse) on the Heat n Bond Ultra hold – you can also use Lite.

IMG_3457

Press to the wrong side of the card fabric.

IMG_3458

Cut out along the pattern line.

Cut the gray background fabric 12″ x 19″.  Peel off the backing paper and heat set the shark in place.  Sew around the shark in black thread.IMG_3459

Cut the backing fabric the same size as the front 12″ x 19″.IMG_3461

You can use the hand sew method for closing the pillow or you can do the zipper method which is my favorite.  Simply cut the backing fabric at 2″ and insert a regular zipper.IMG_3462

You can add the “Card Shark” words with stitching or you can create your own stencil.  I cut the letters on my Cricut machine in vinyl.  I peeled off the letters to leave the stencil.  I used fabric paint to stencil and removed the vinyl when it was dry.  IMG_3463

Once the letters are on you can assemble the pillow.  Baste the trim to the pillow front.  Then with right sides together place the pillow front and back and sew all the way around using a generous 1/4″ seam.  Make sure to leave the zipper open before you sew.  Turn right side out and stuff with fiberfill.

IMG_3500

IMG_3498

We Found Wonderland Zipper Pouch Tutorial

WonderlandBlogHop

IMG_3488

IMG_3478

This Wonderland fabric by Blend Fabrics totally reminded my daughter of the Taylor Swift song “Wonderland” so I came up with this little project that I’m sure your daughter will love!  I love this size zipper pouch because you can use it to put journals and writing supplies in, sketchbooks and art supplies, small sewing projects, coloring books and crayons – it’s just a great project size!!

I first cut the words out of vinyl on my Cricut to create a stencil.  I placed it on light pink fabric and used a metalliac black fabric paint to stencil.IMG_3474

Cut the theme print and pink prints according to the measurements below:

Screen Shot 2016-09-01 at 11.39.42 PM

Sew together using 1/4″ seams allowances.  Press.

Cut the backing piece 11″ x 14″ – which is slightly larger.  It will get trimmed down in a minute.

Fuse the outer zipper bag pieces to Heat n Bond medium weight stabilizer.

IMG_3480

Next spray baste the two pieces to cotton batting.IMG_3481

Quilt each piece as desired.IMG_3482

Because quilting tends to alter the measurements, trim both pieces to measure 13 1/2″ x 10 1/2″.

Cut two lining pieces these same measurements: 13 1/2″ x 10 1/2″.

To finish the bag, follow these instructions for inserting a zipper and sewing the pouch.IMG_3483

Before turning right side out, cut a 1″ notch in each of the 4 corners.  IMG_3484

zipper pouch tutorial. 19
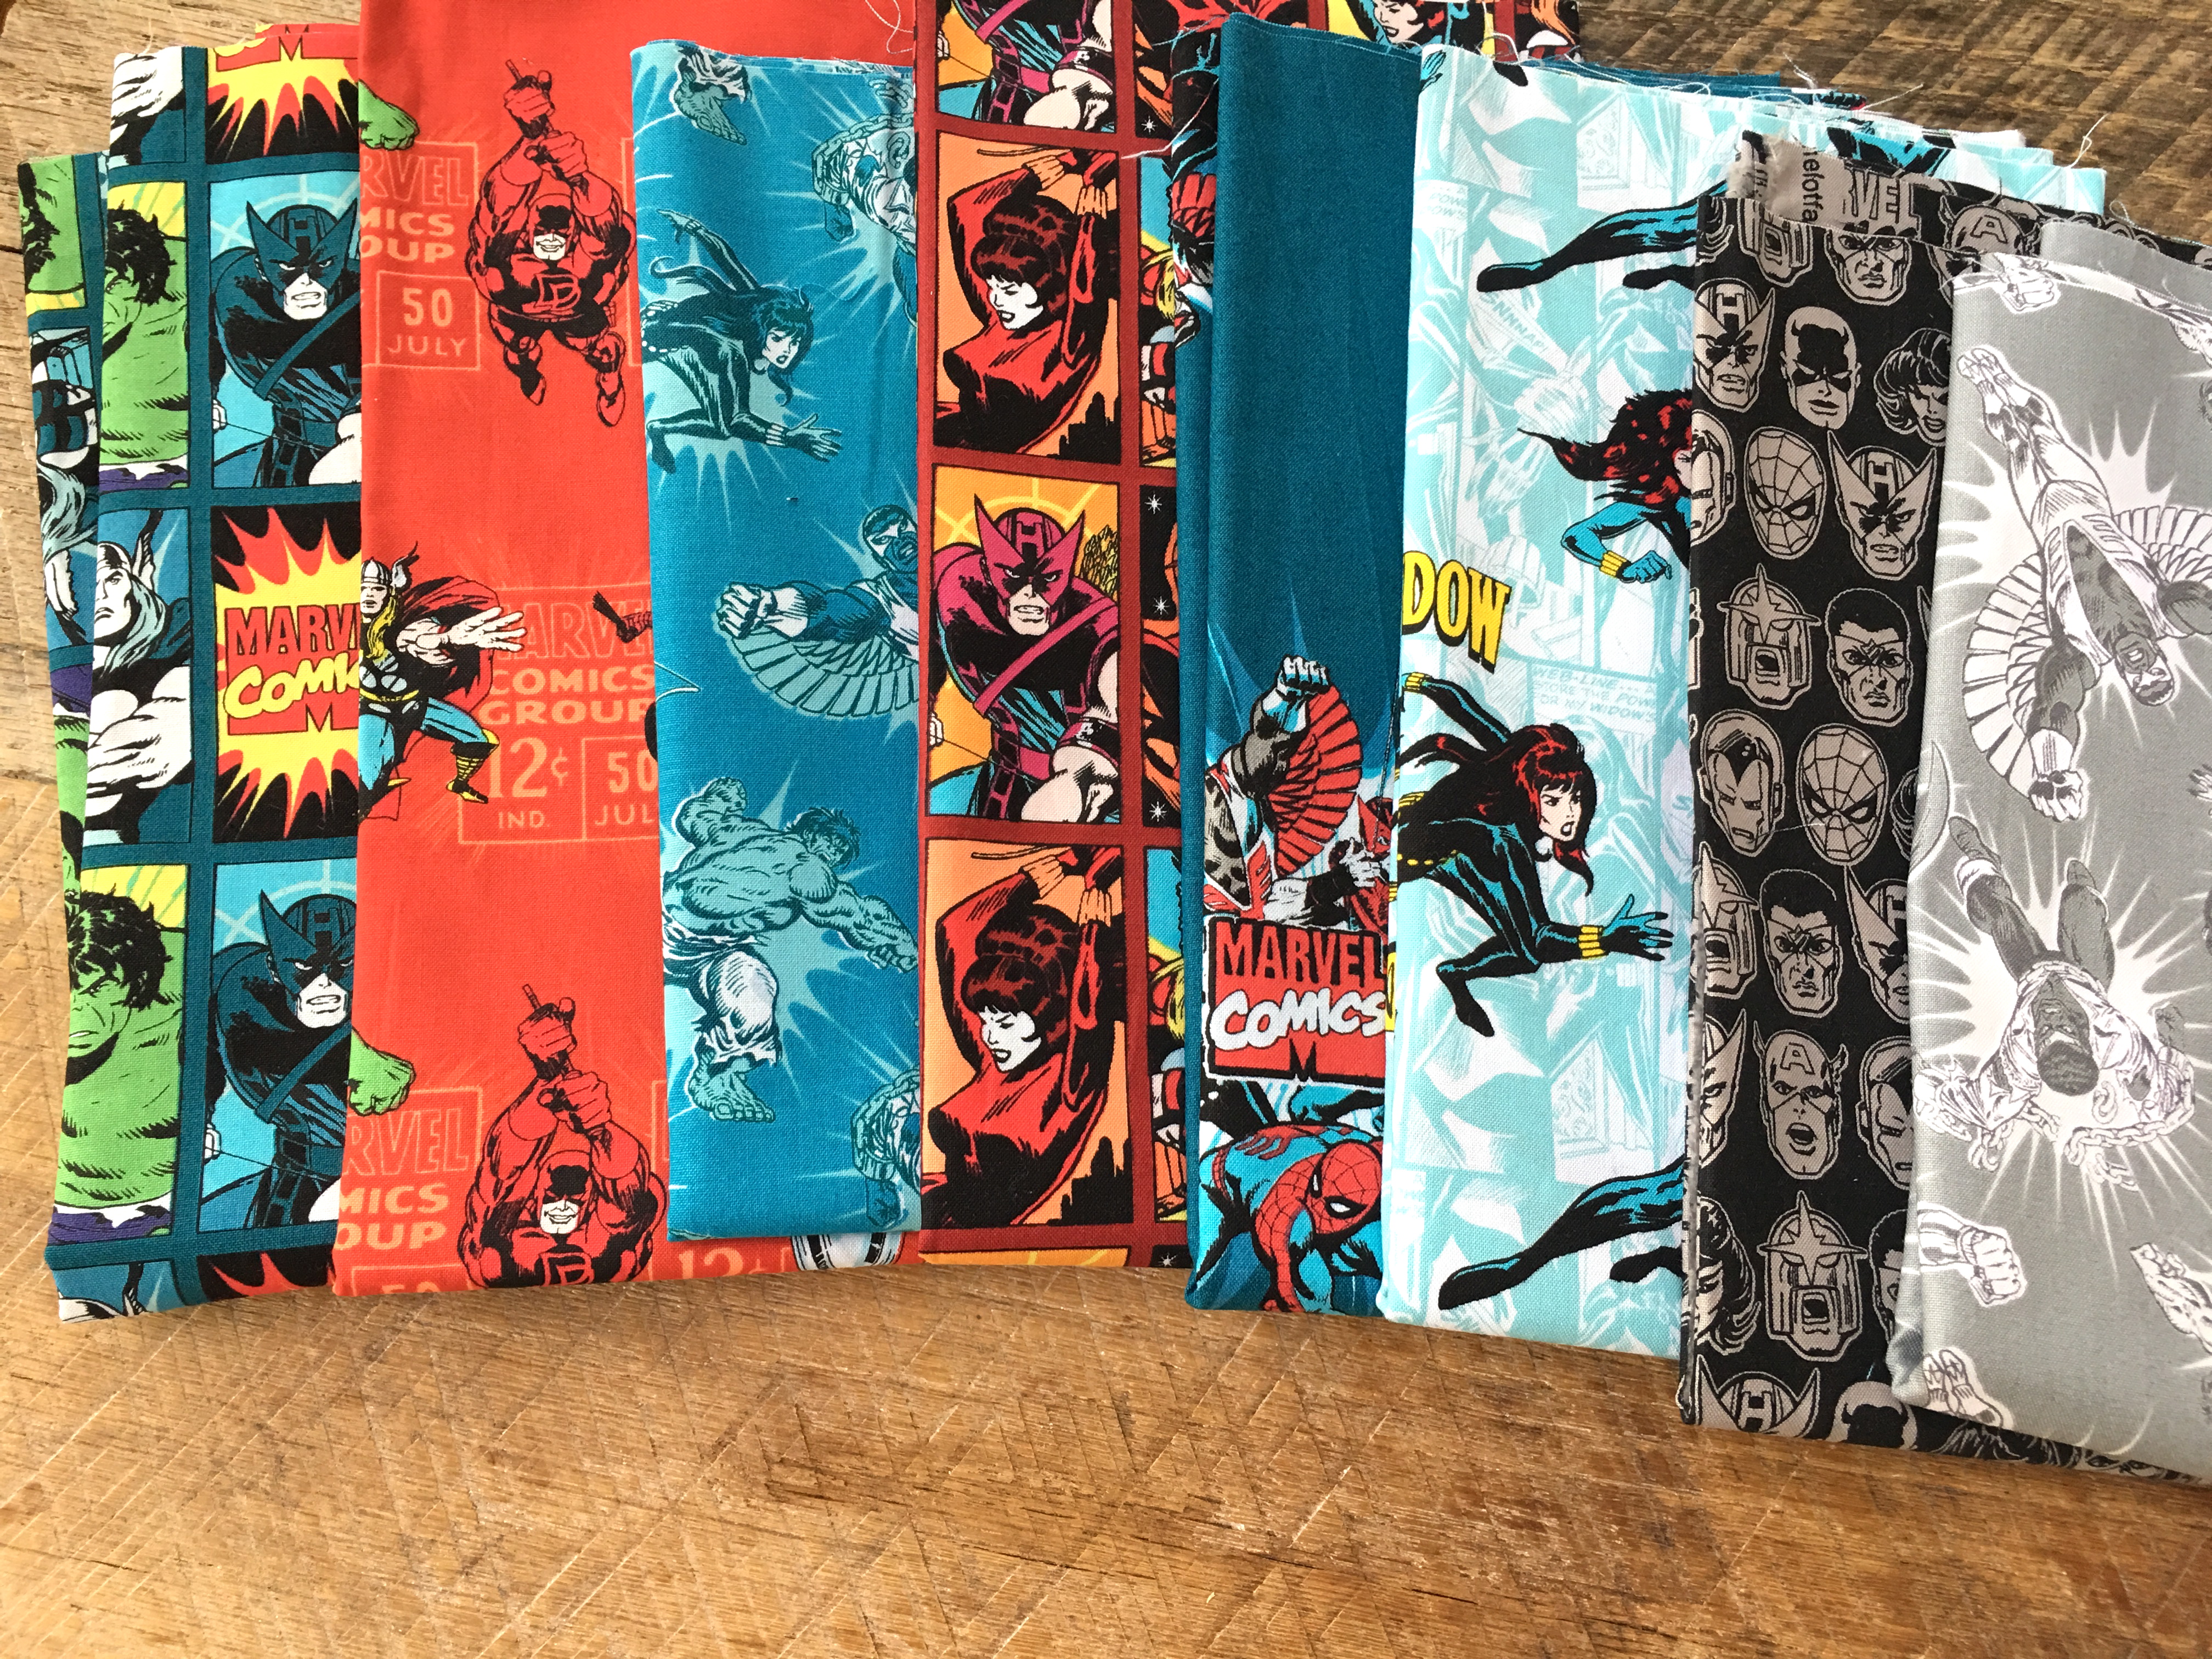
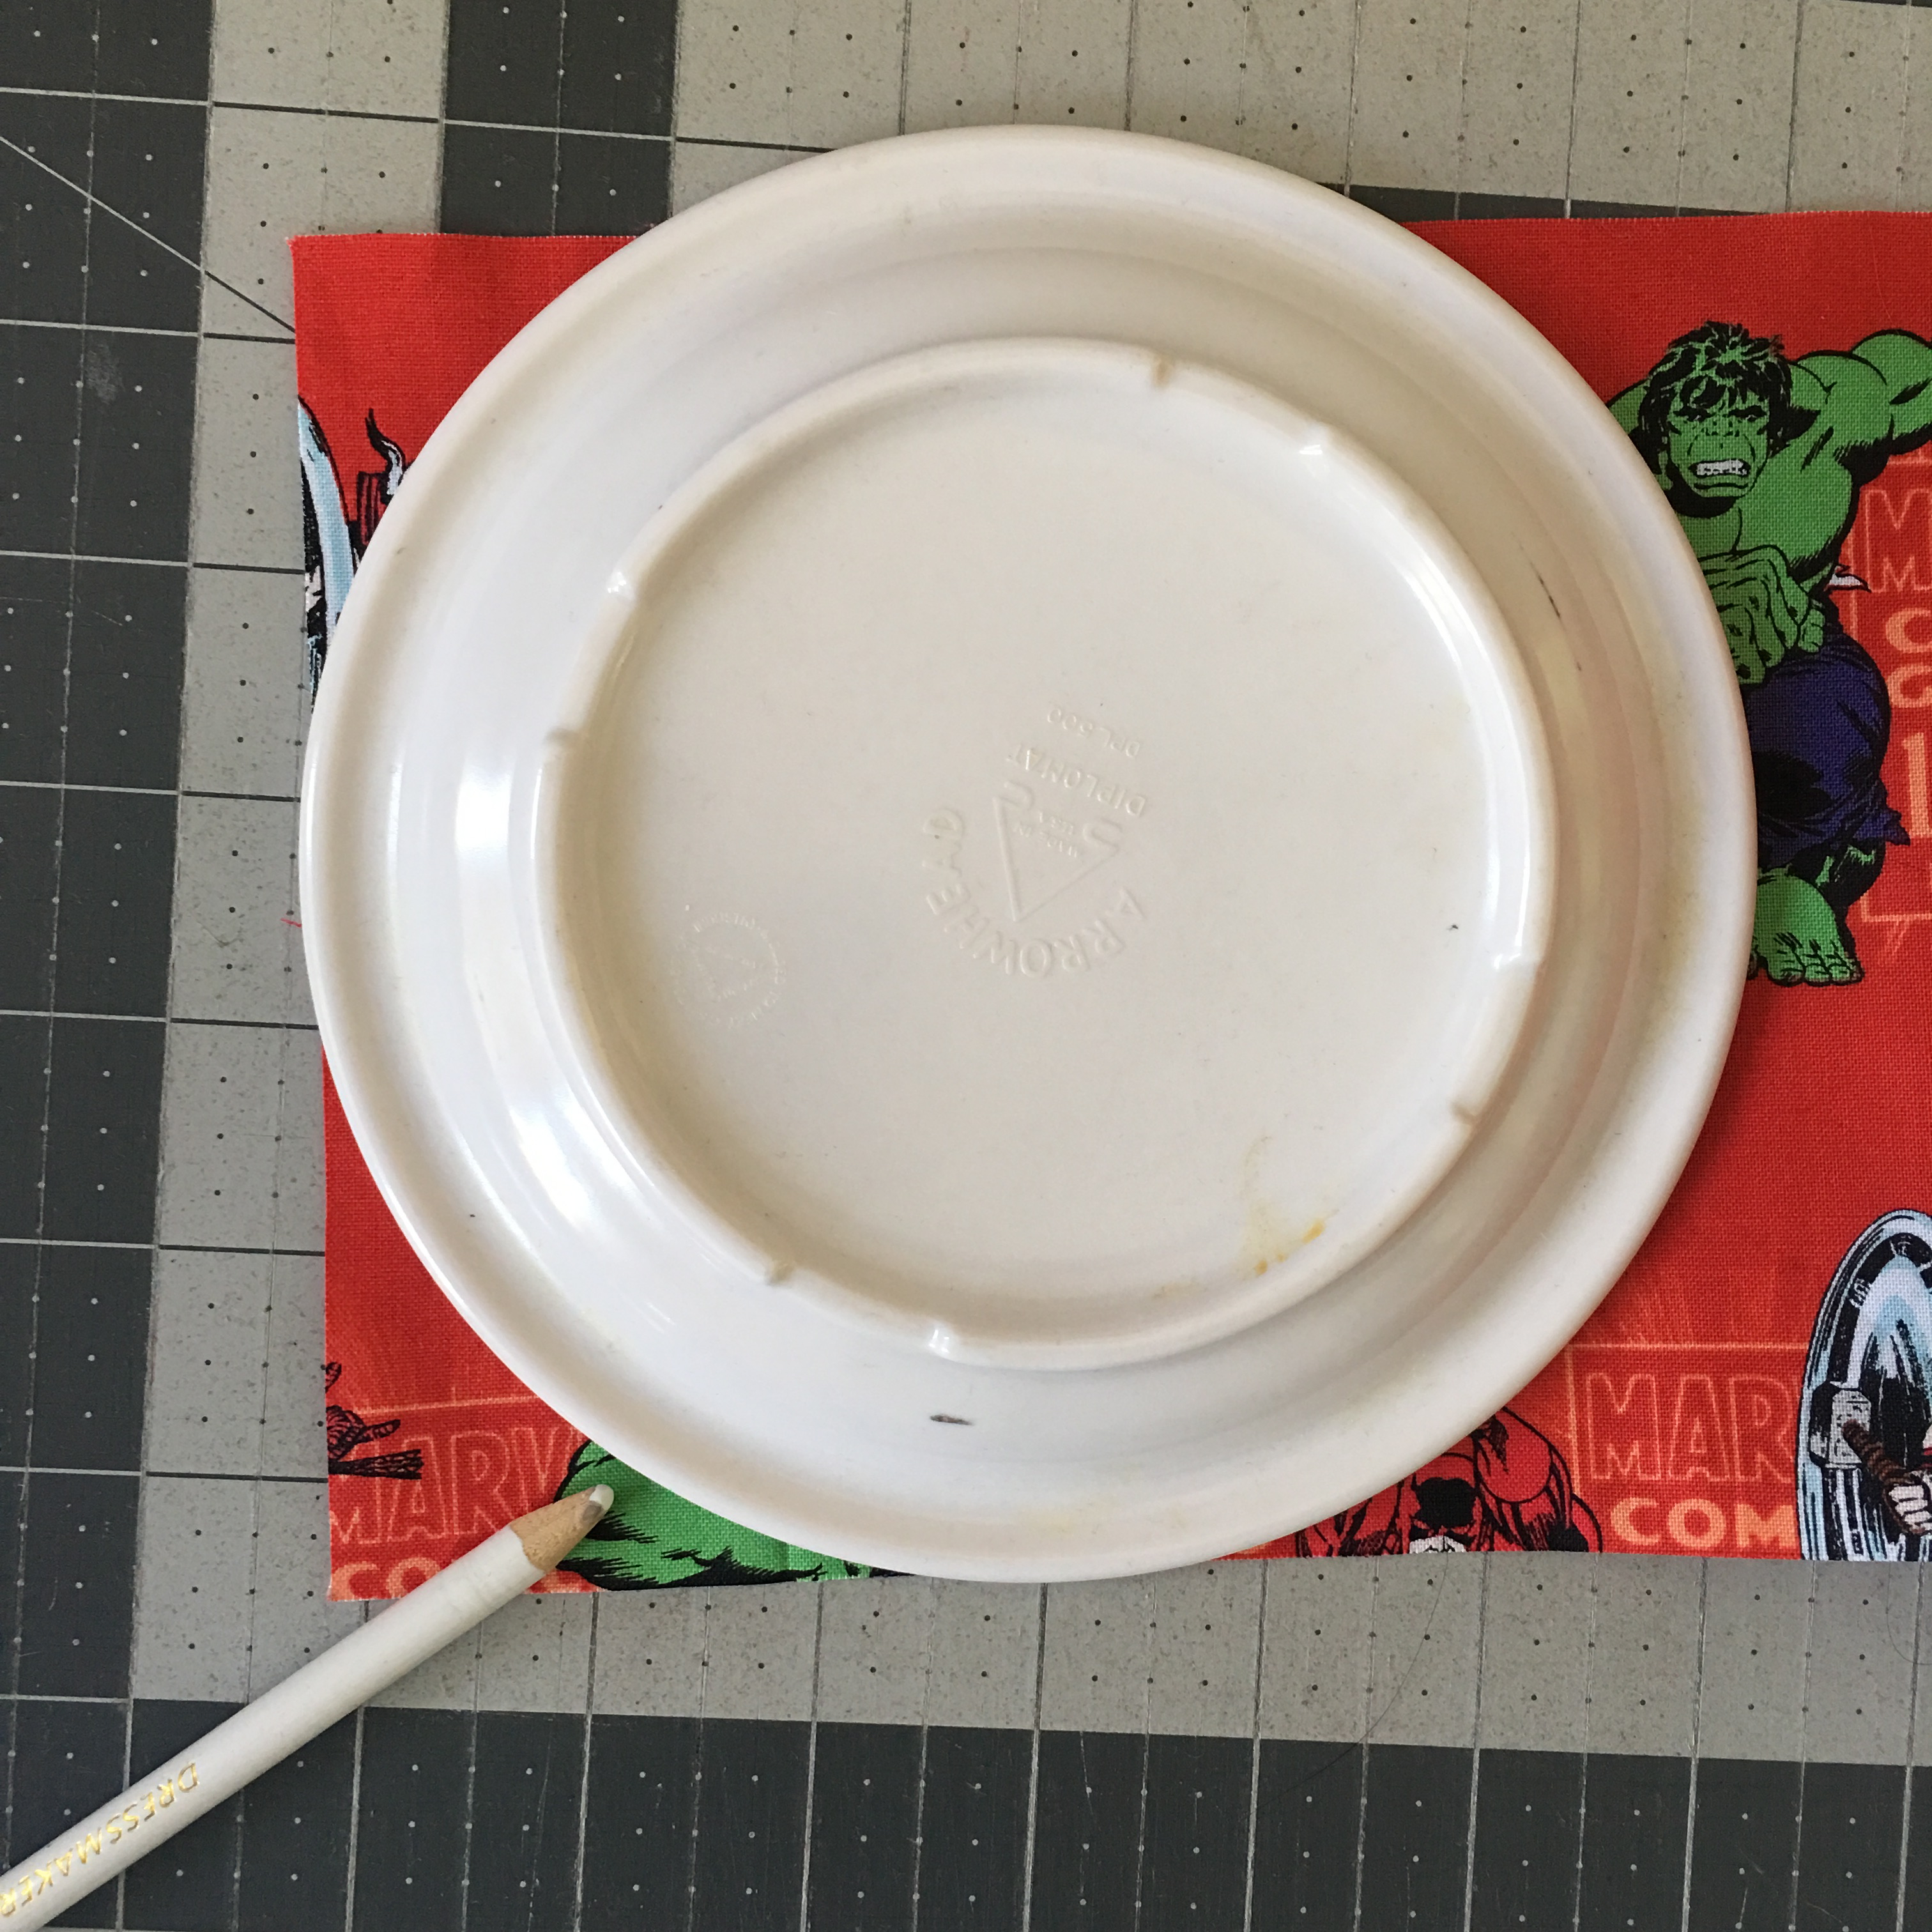
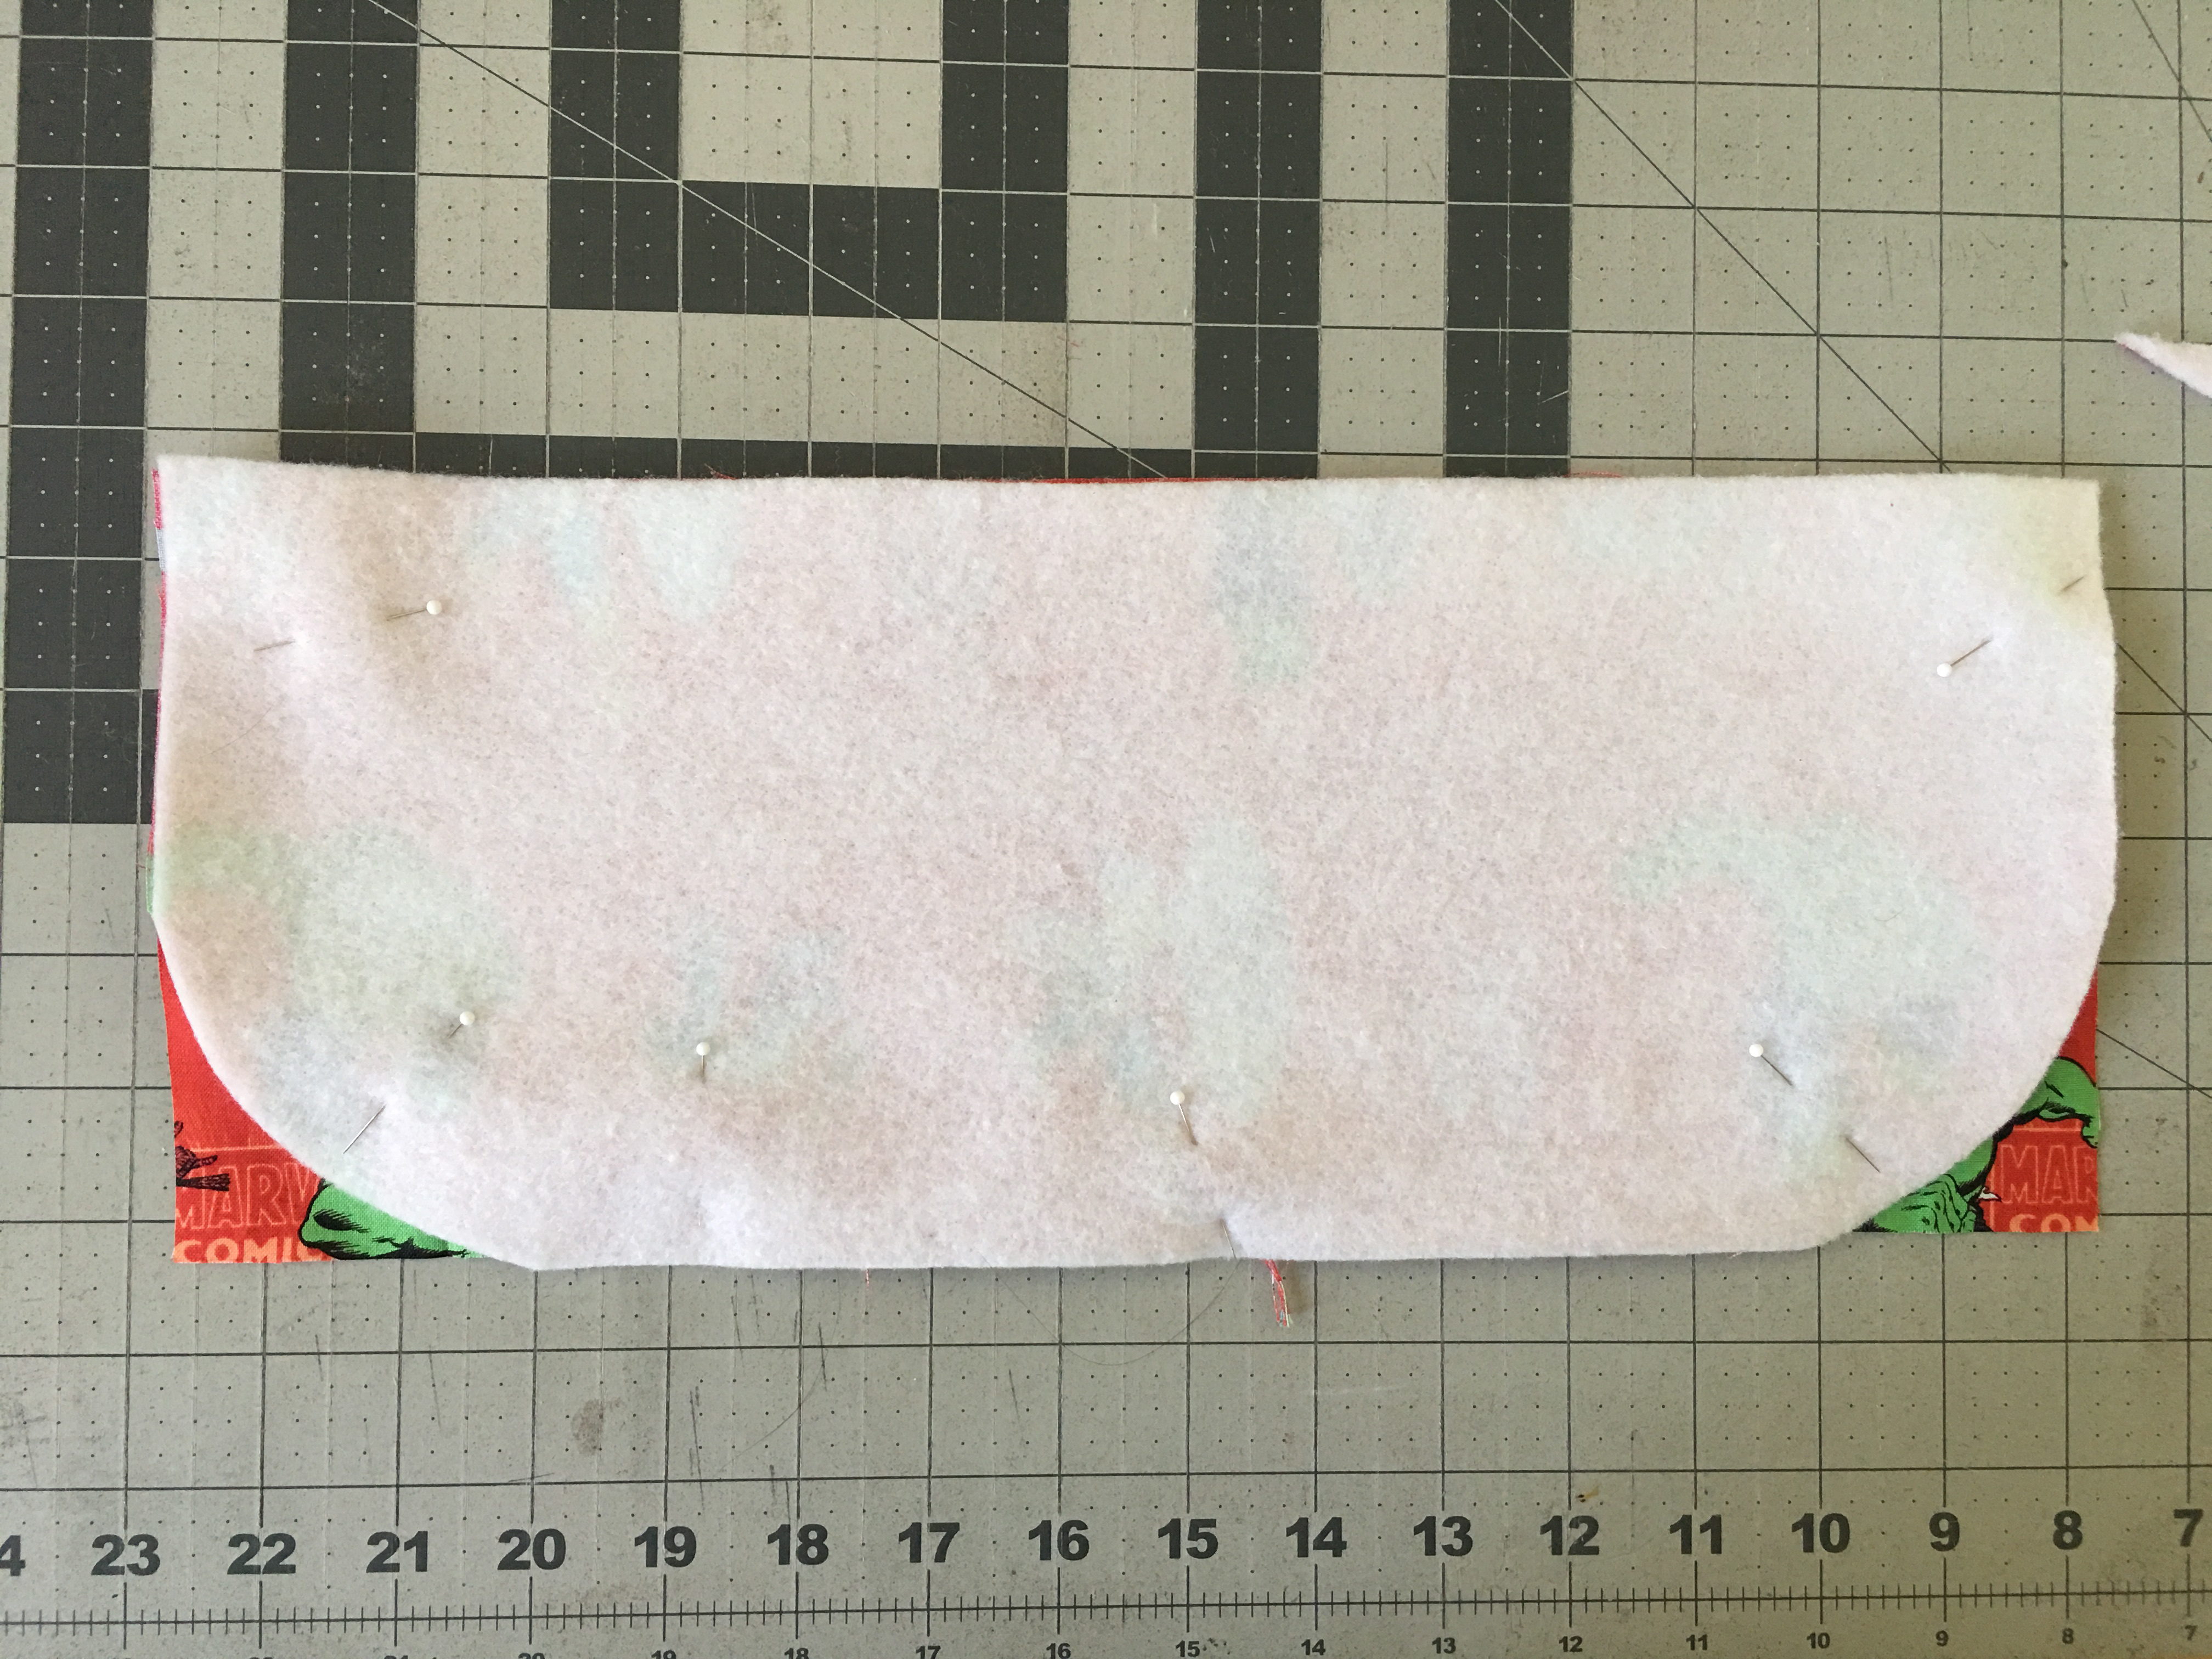
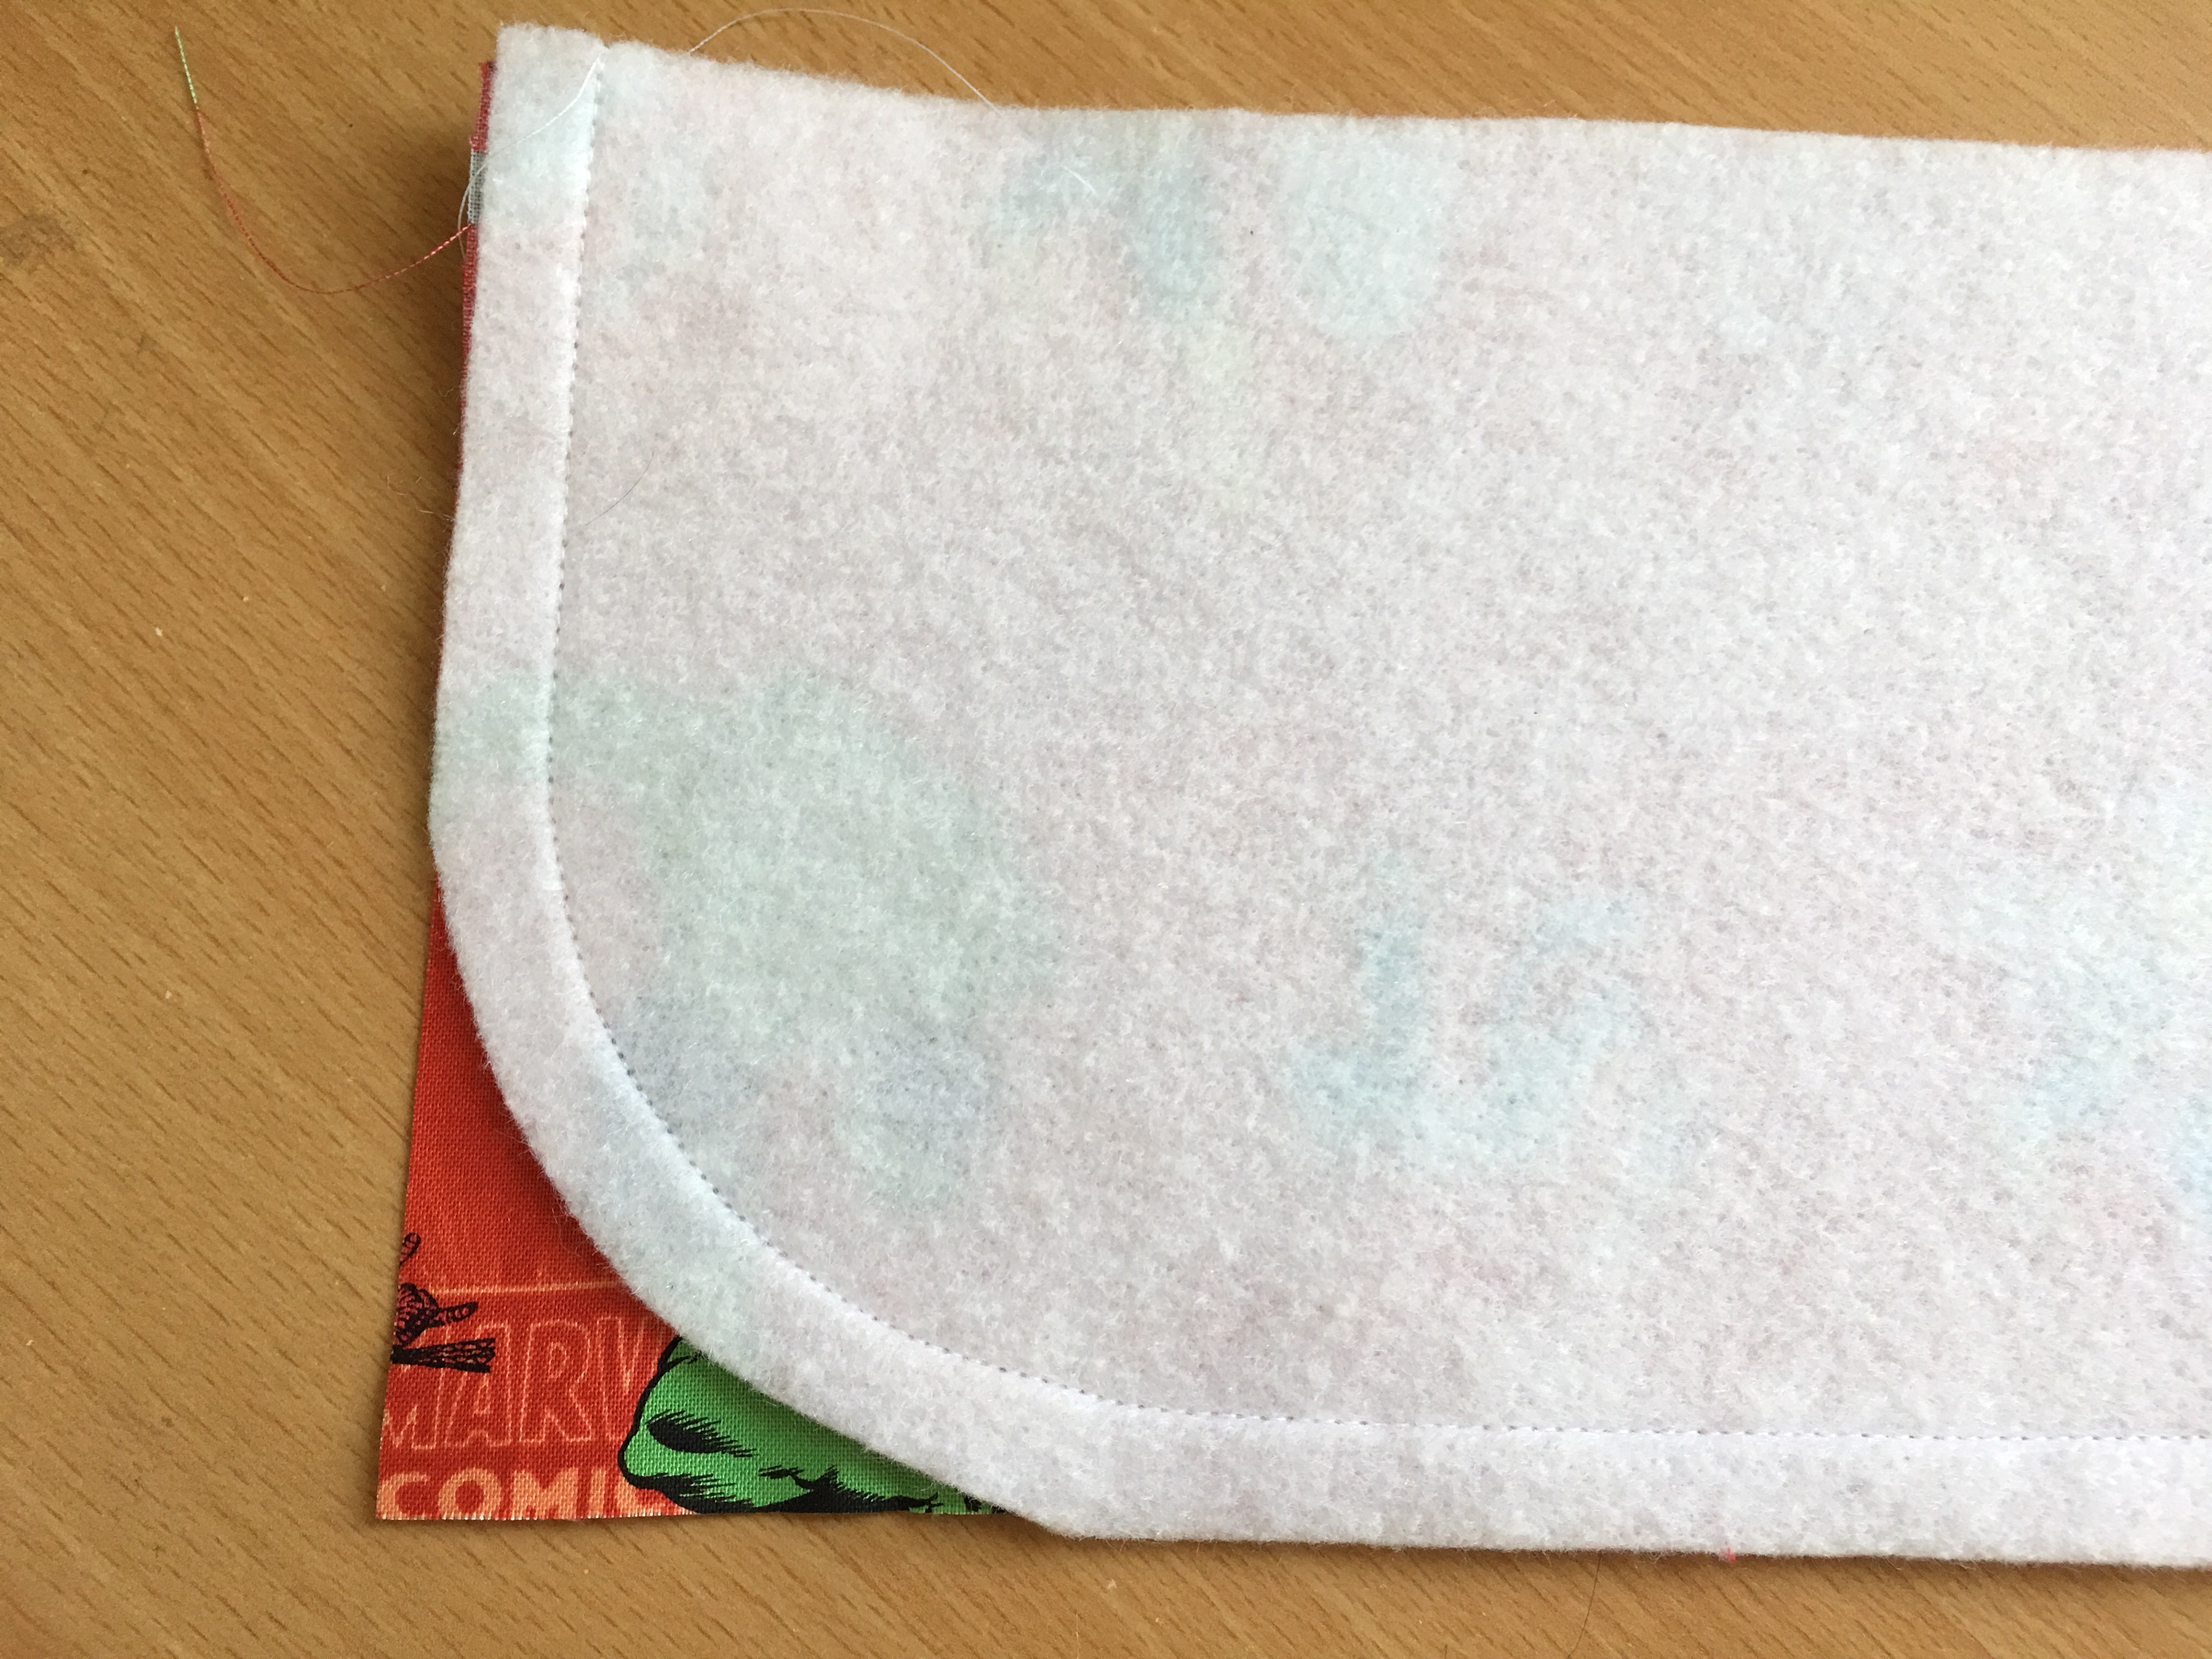
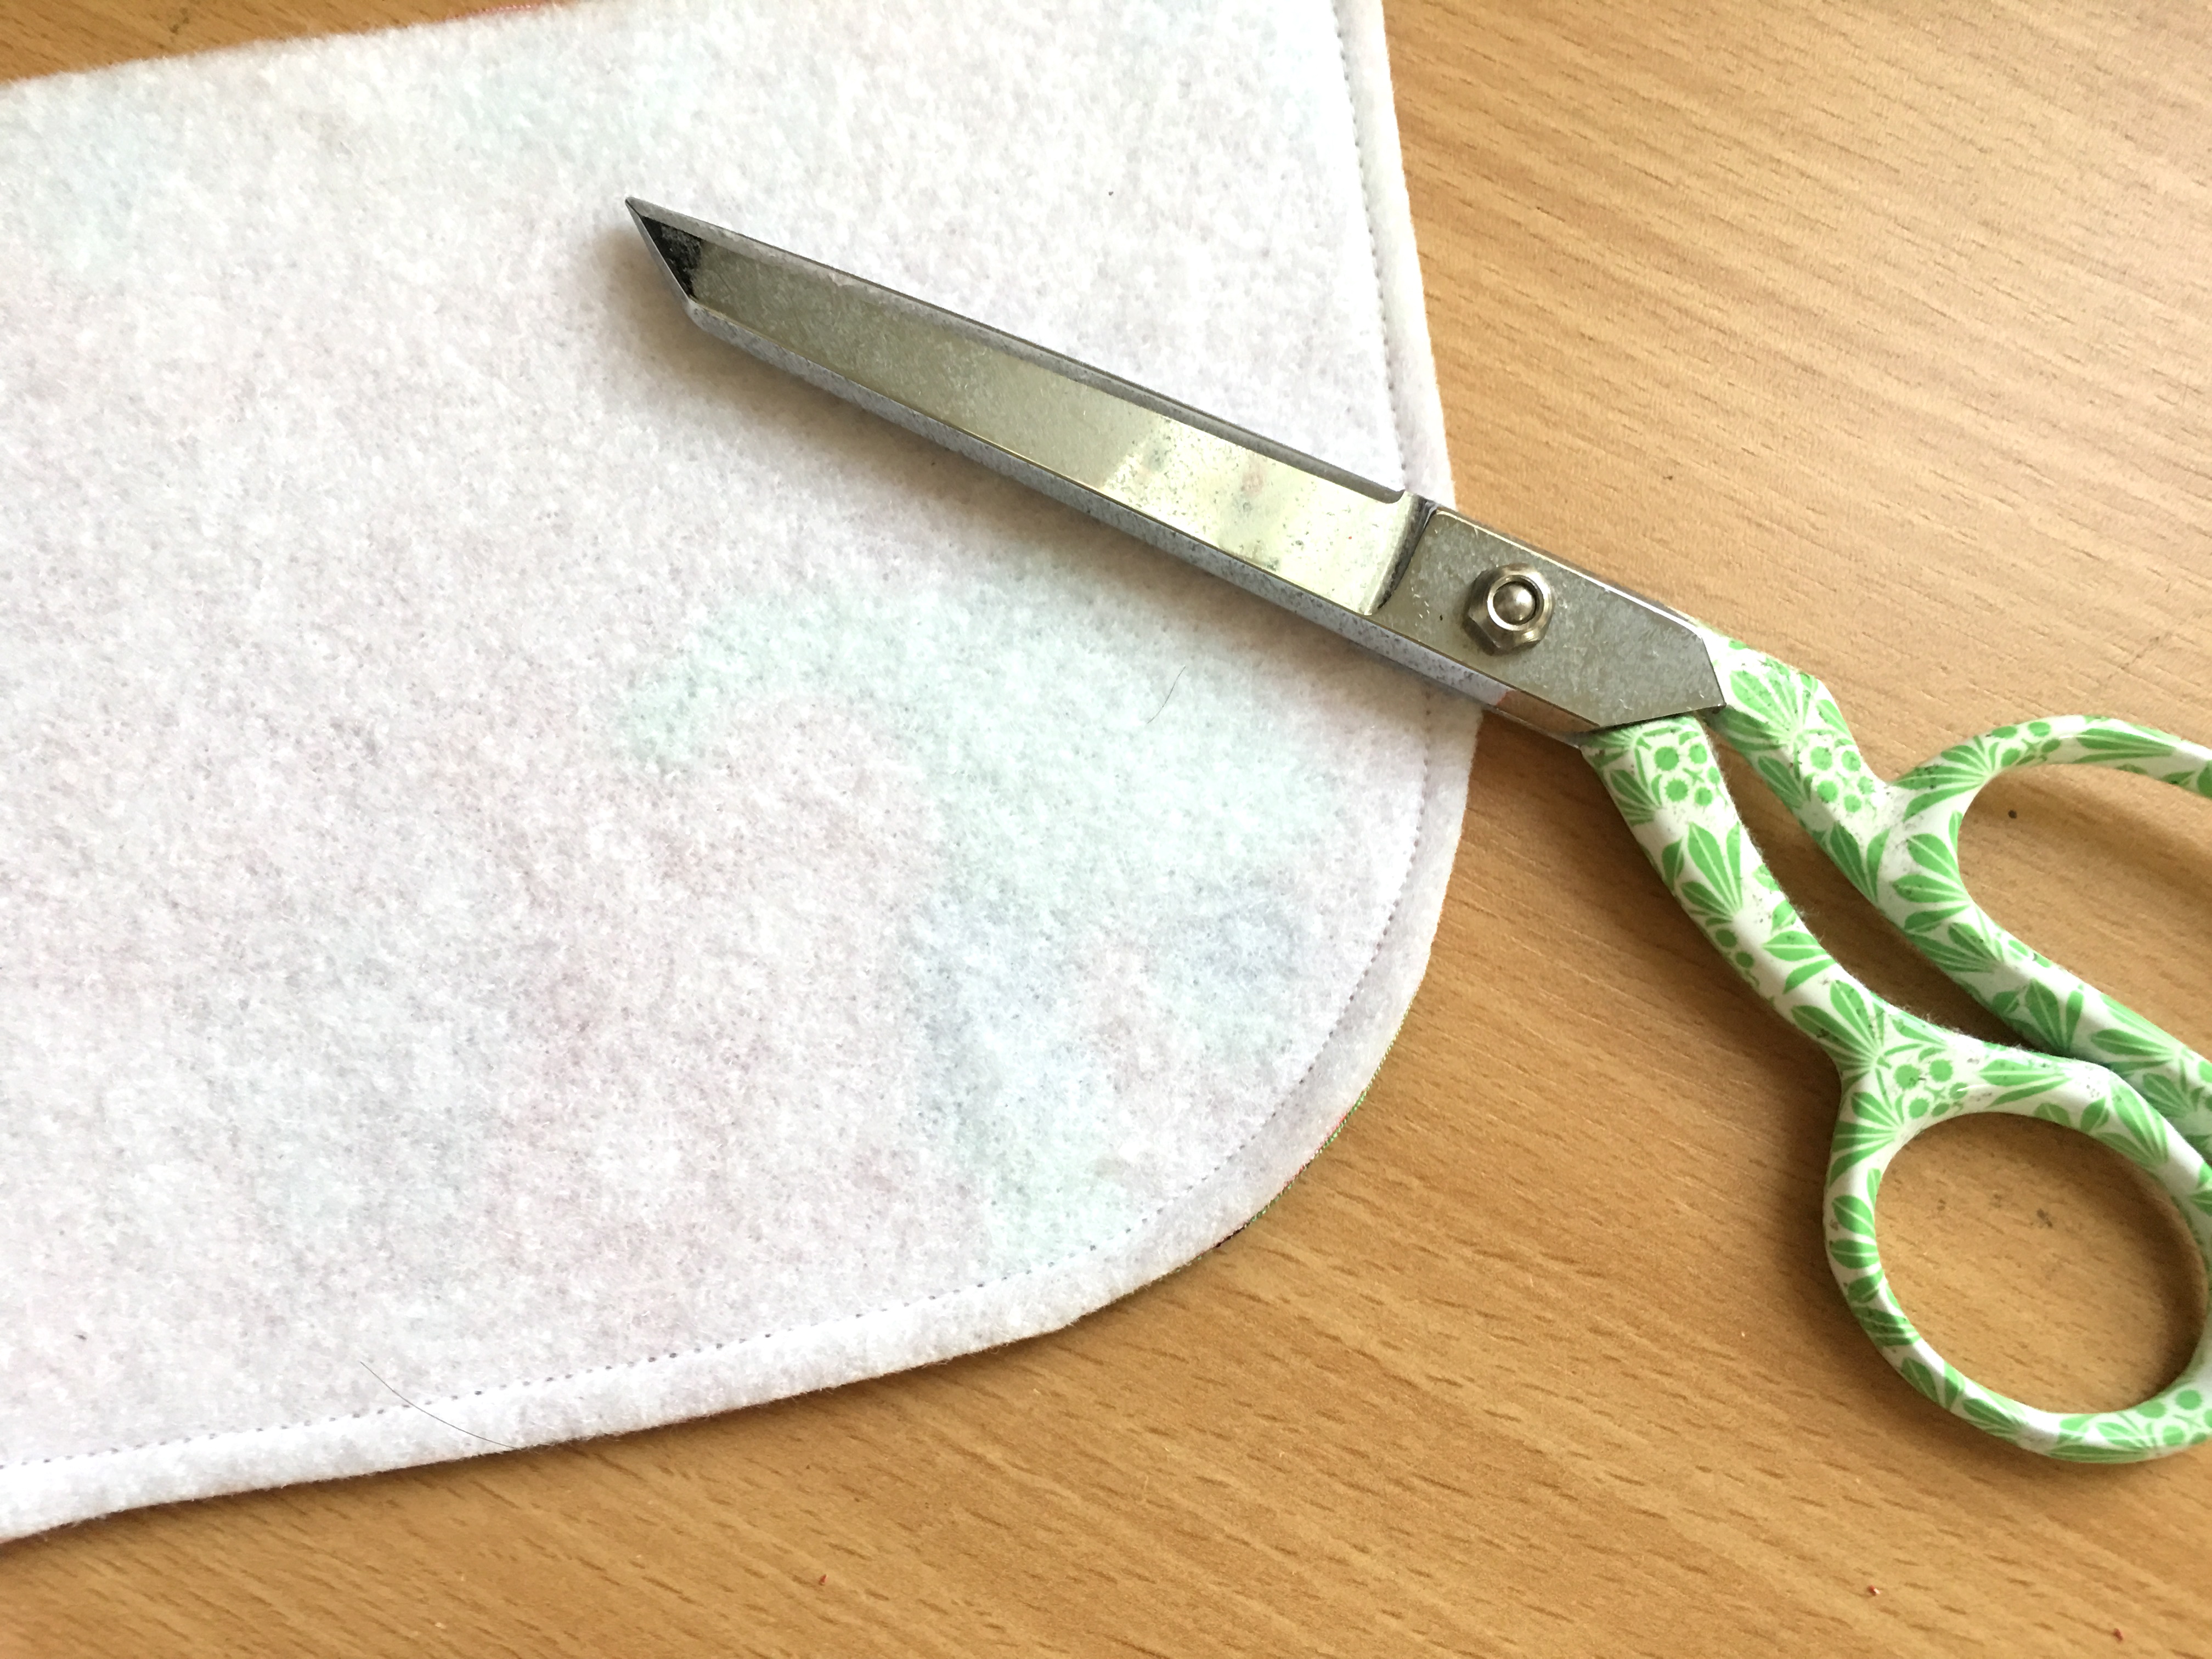
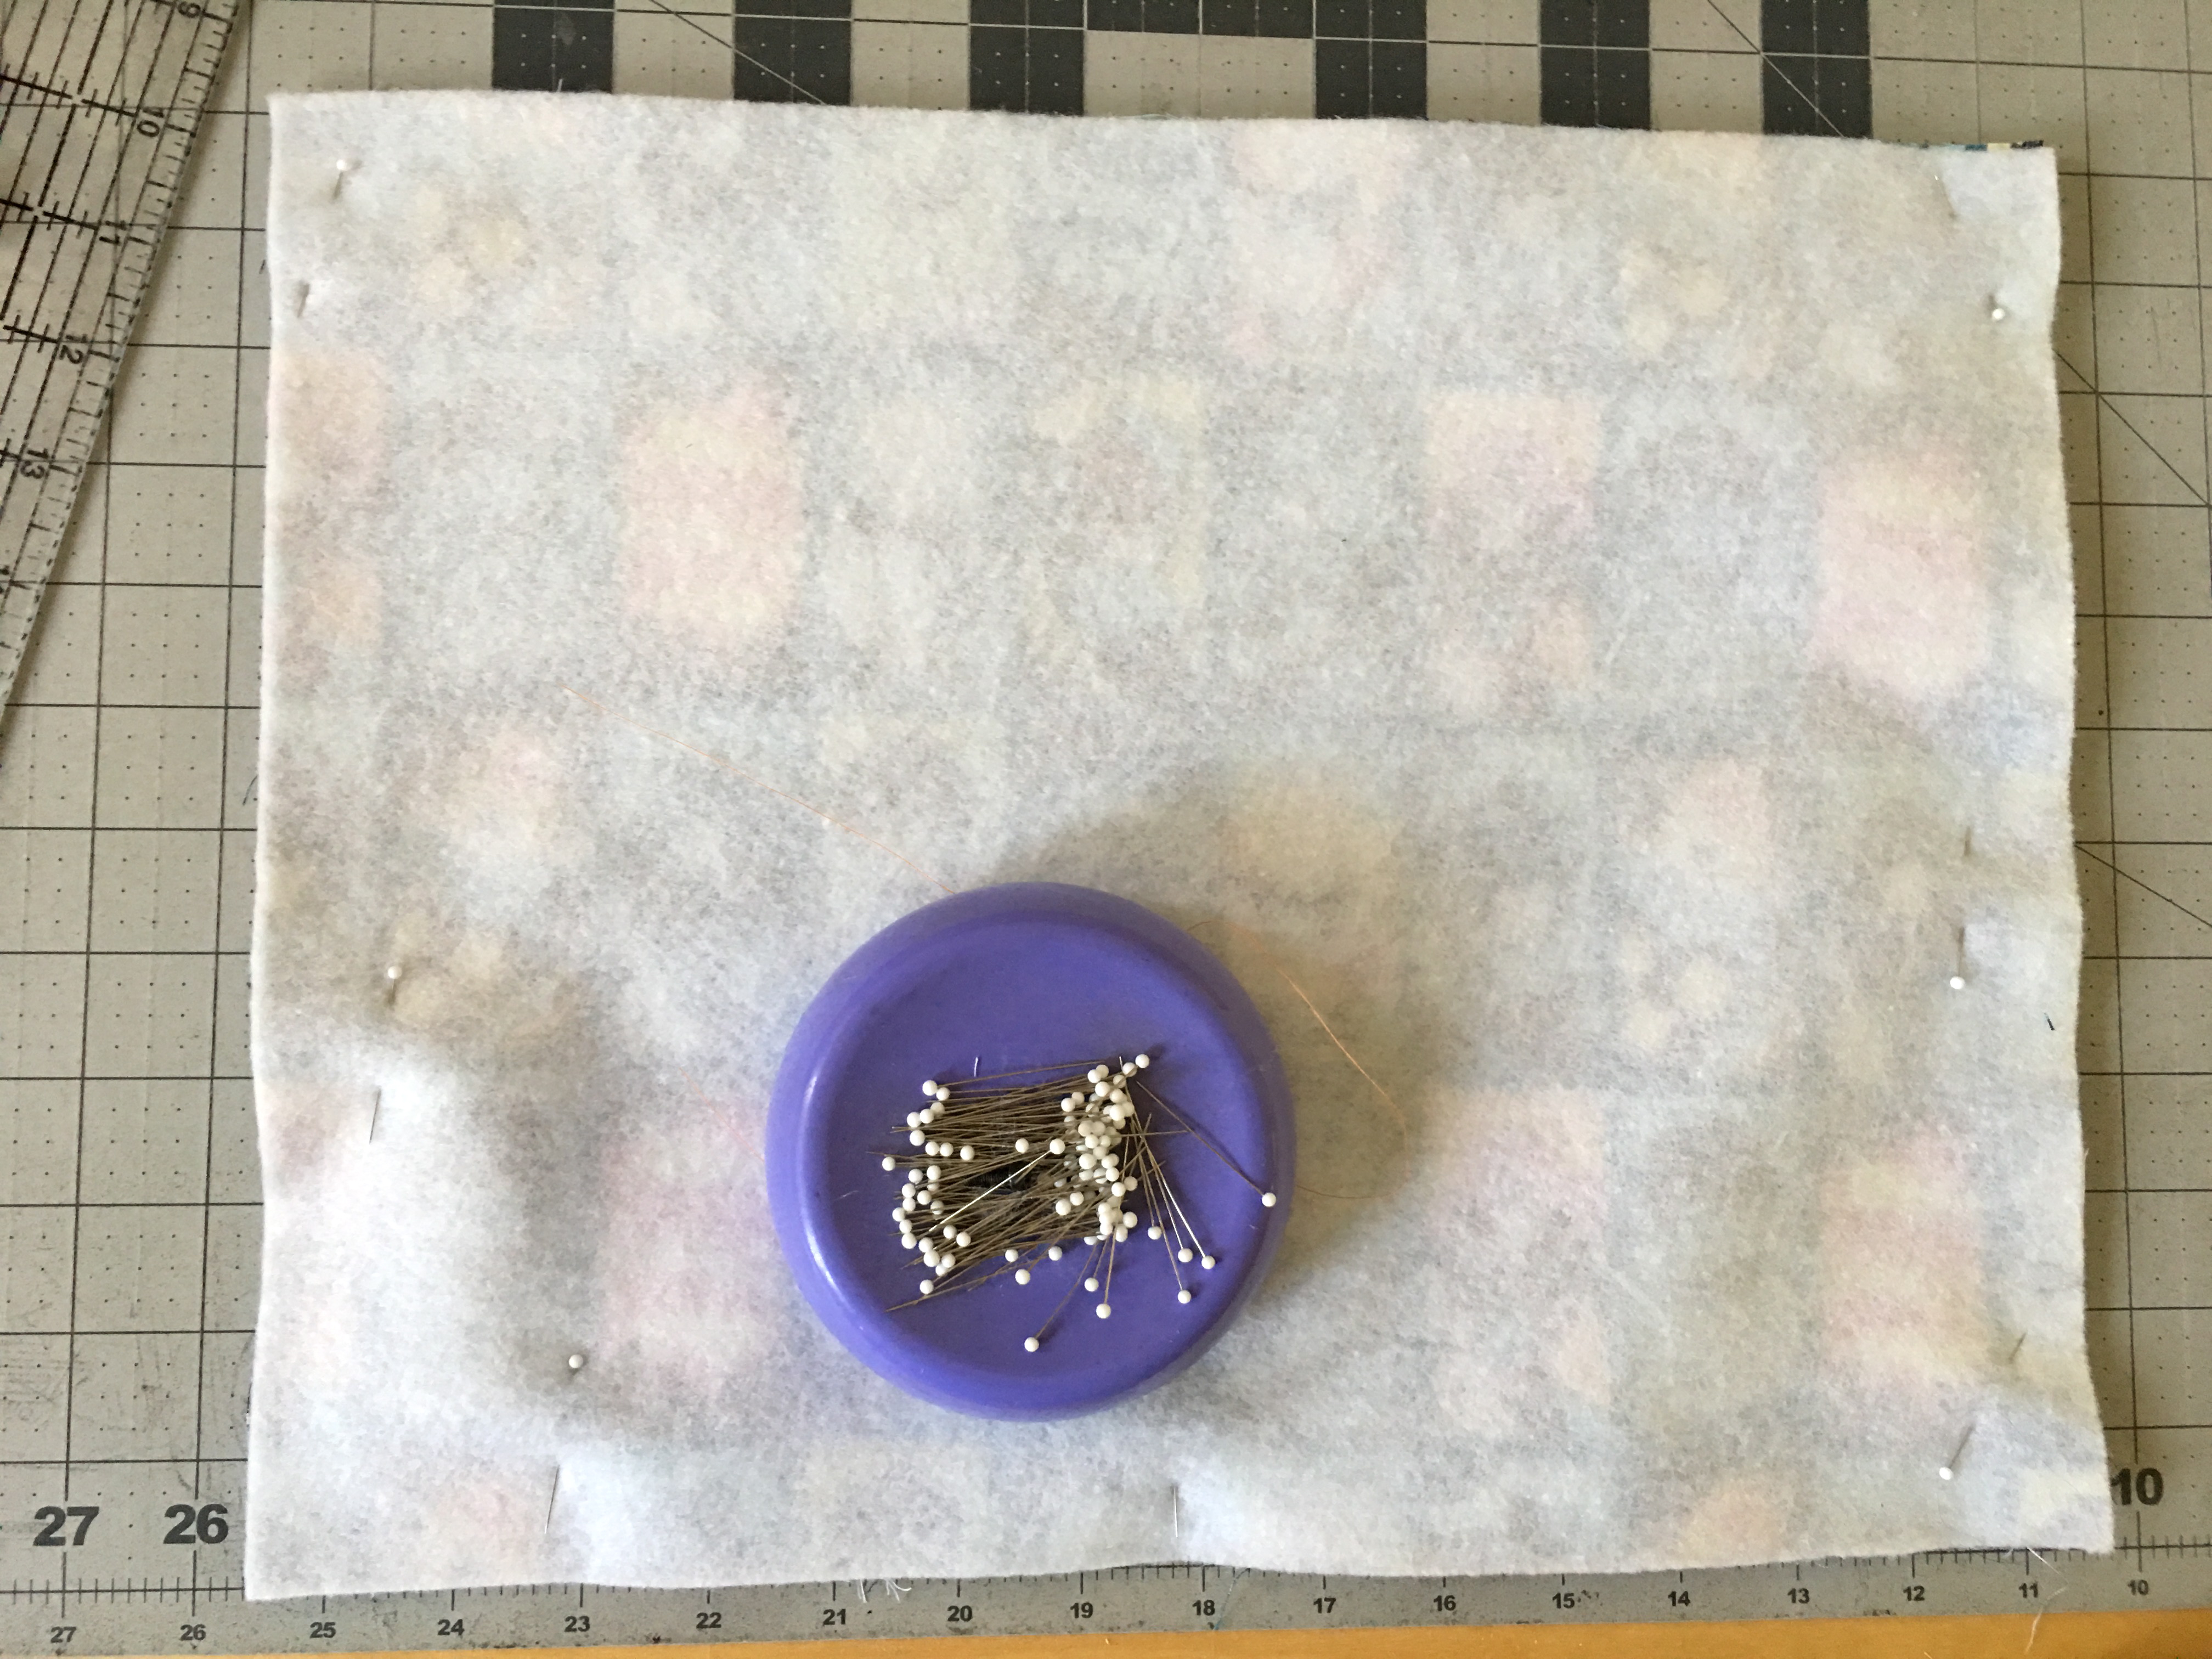
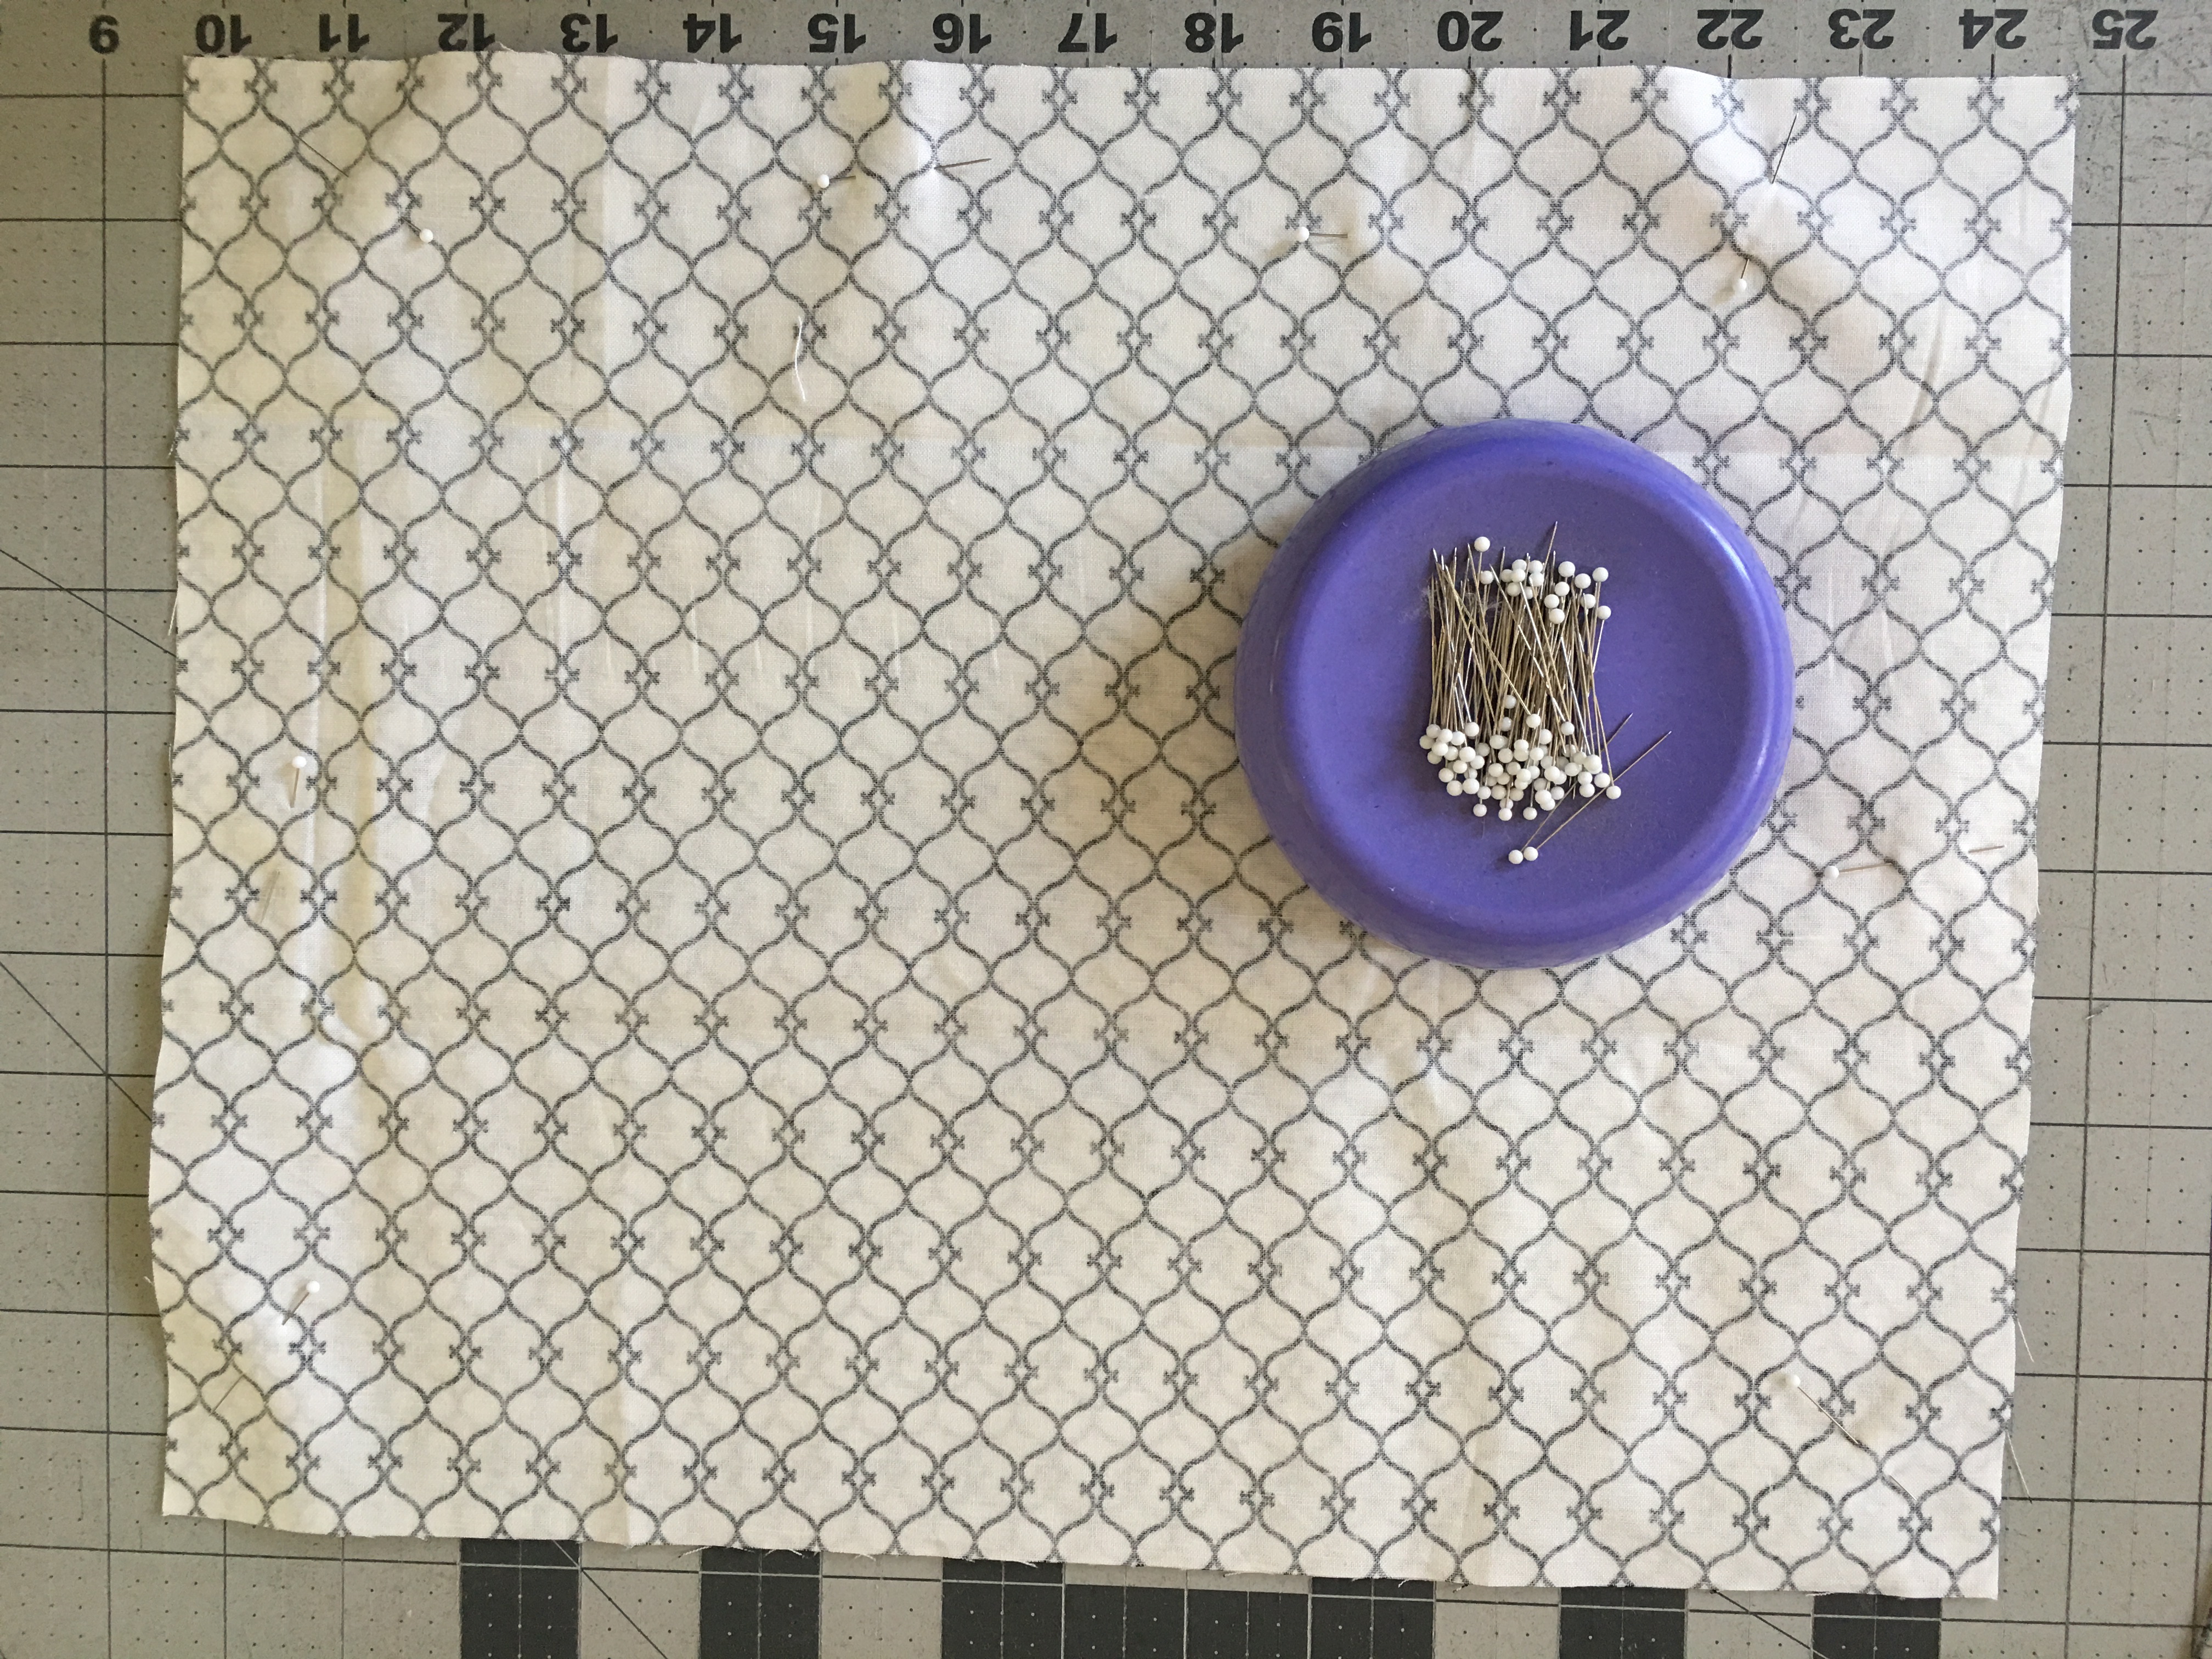
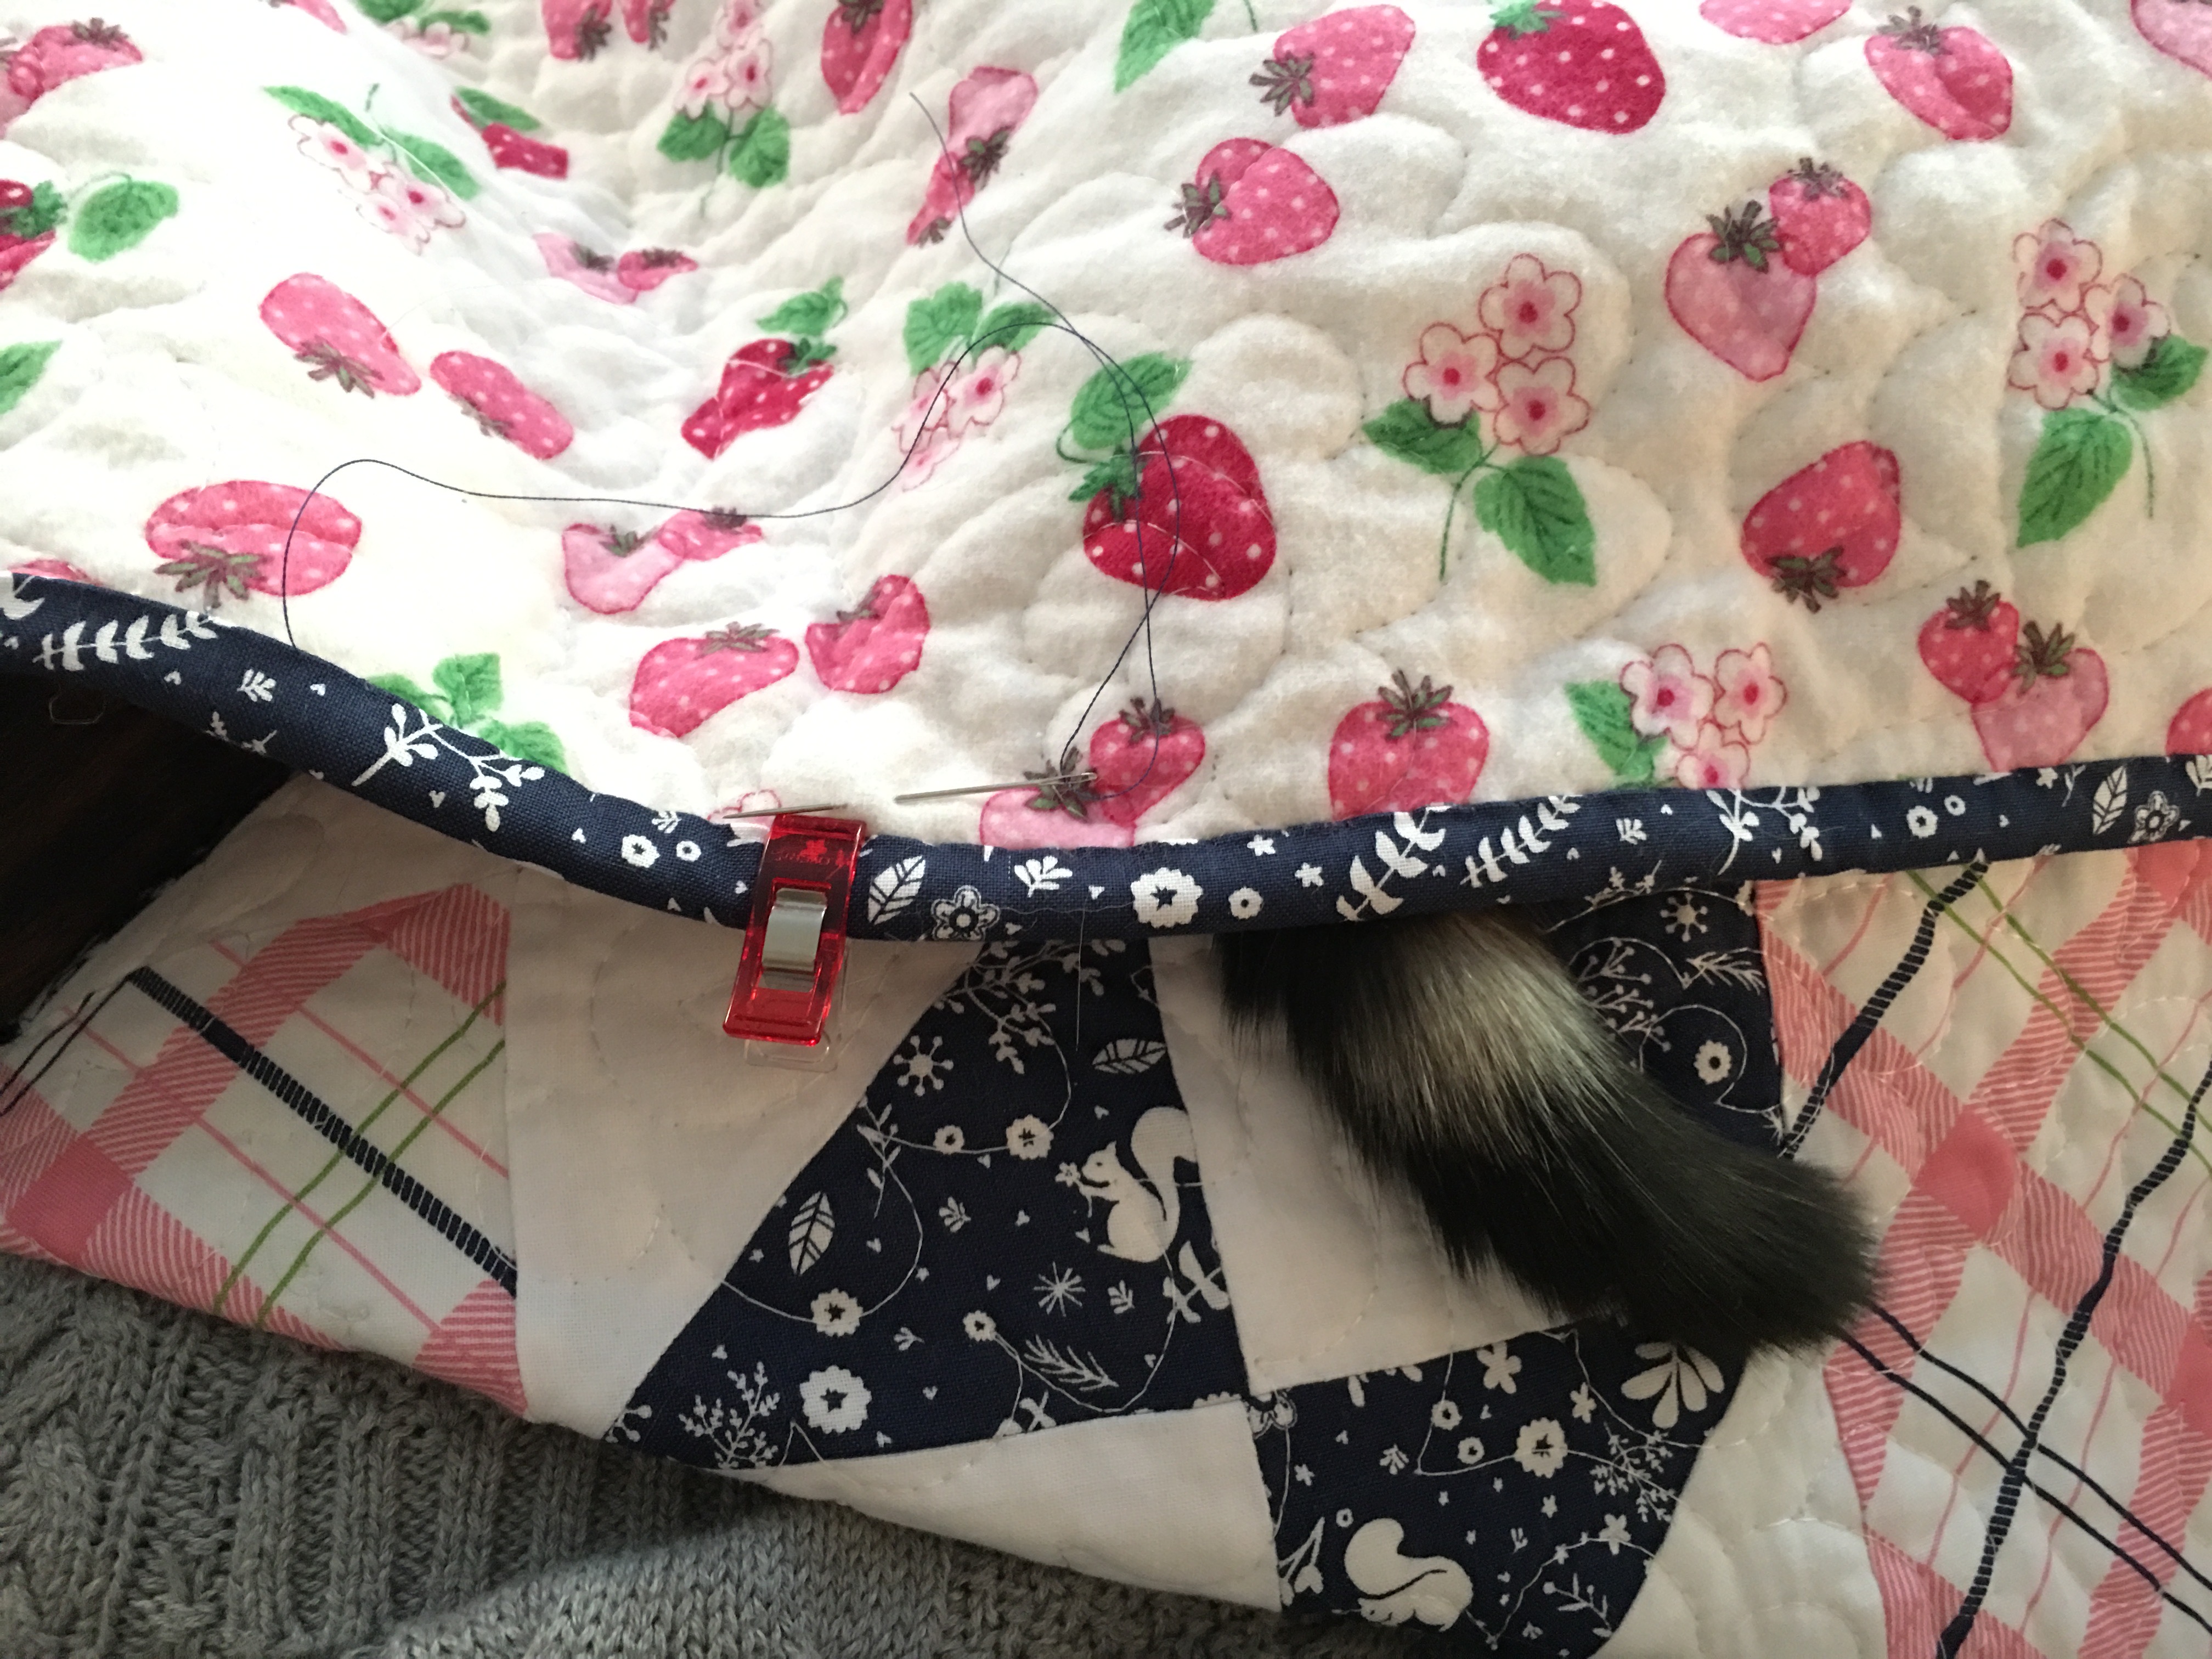
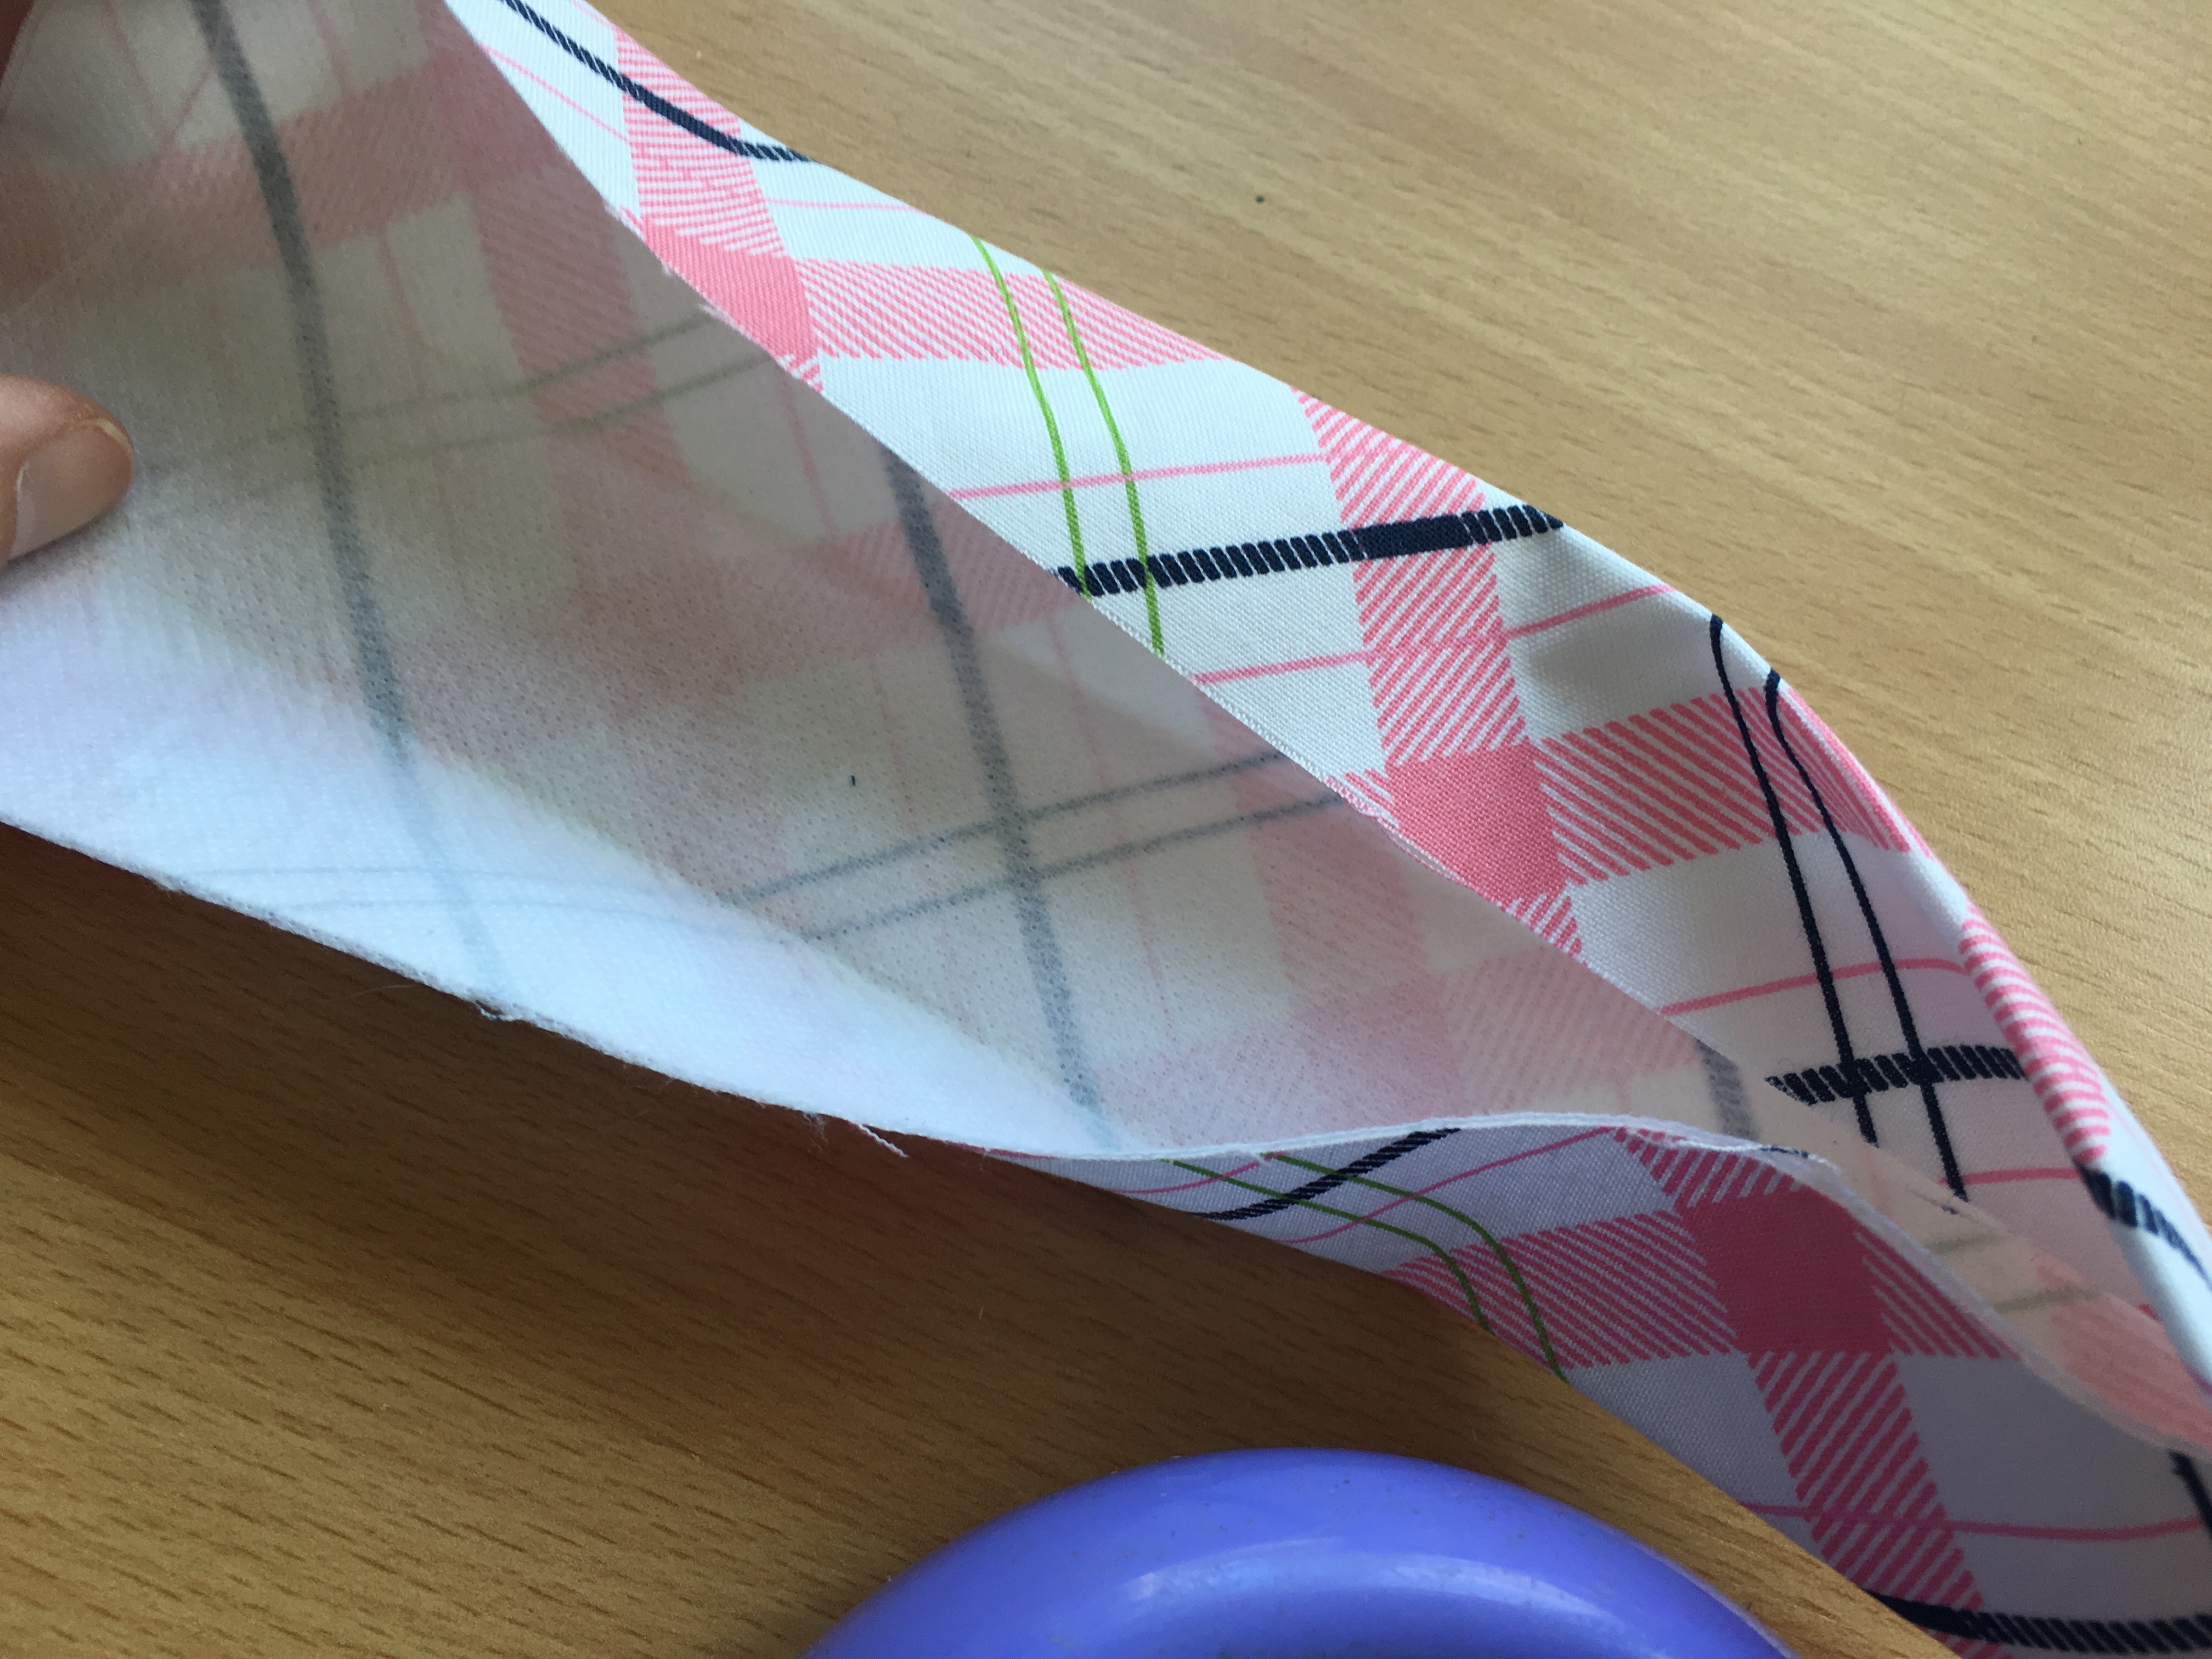
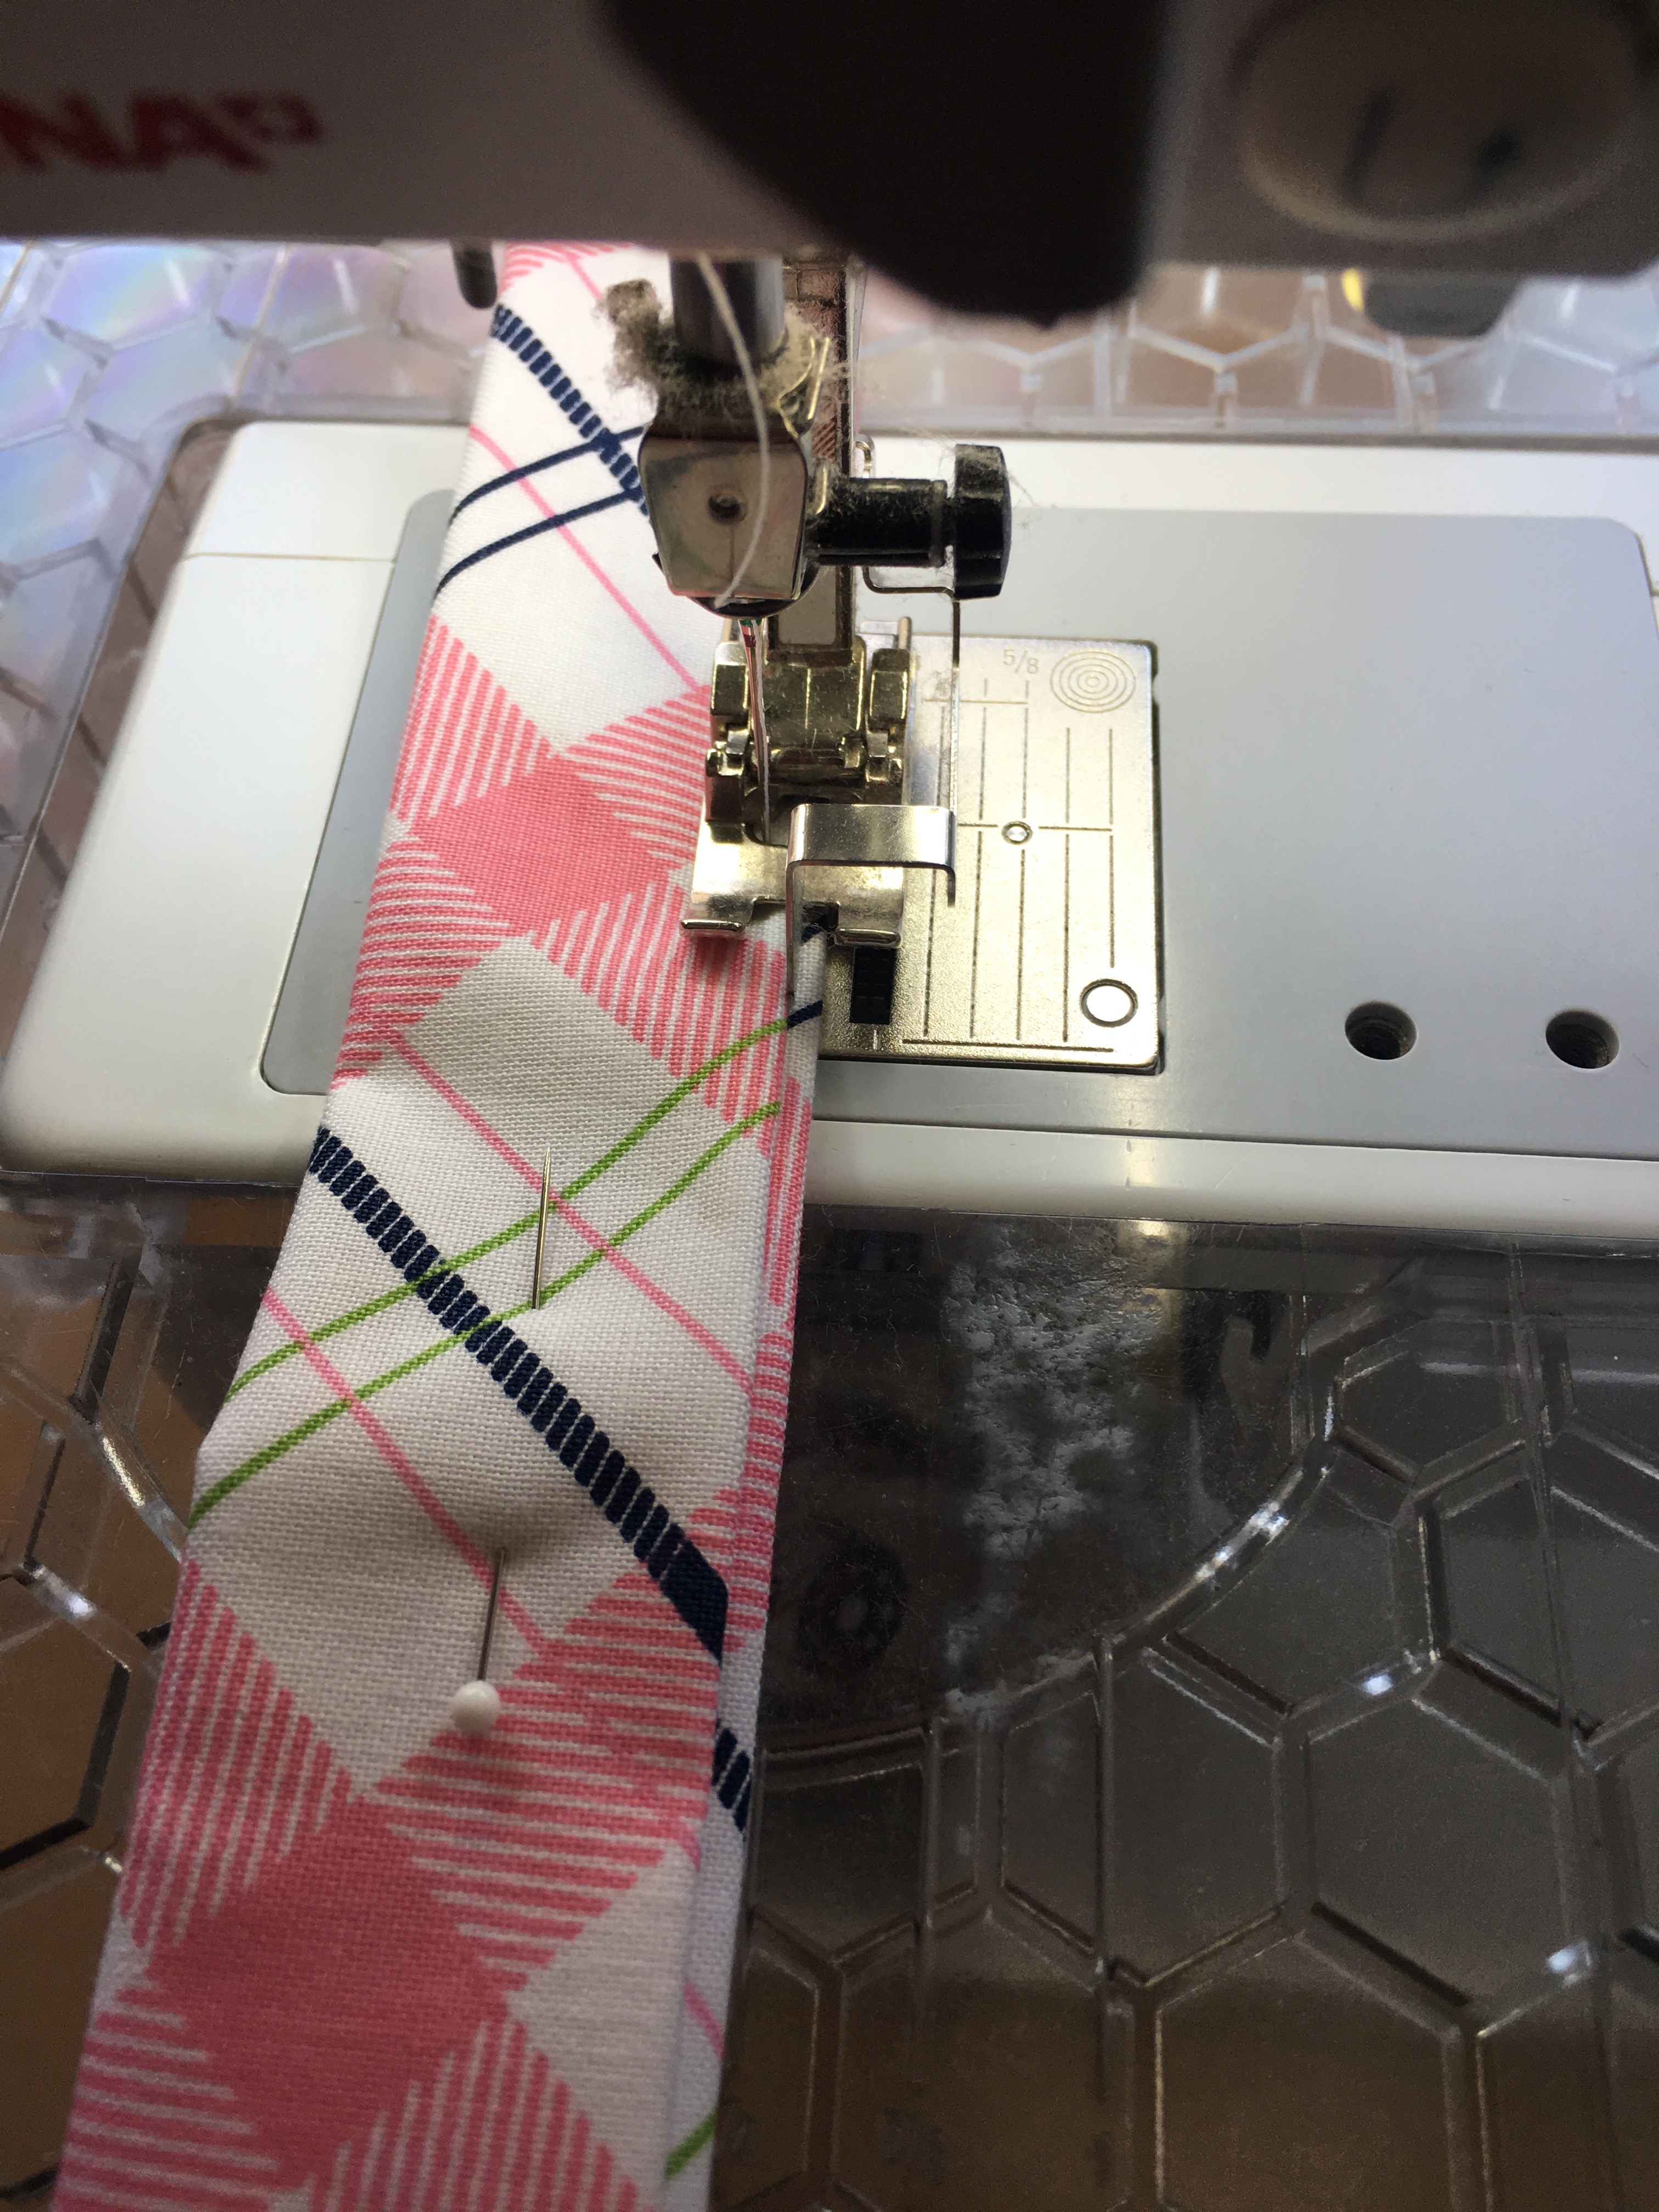
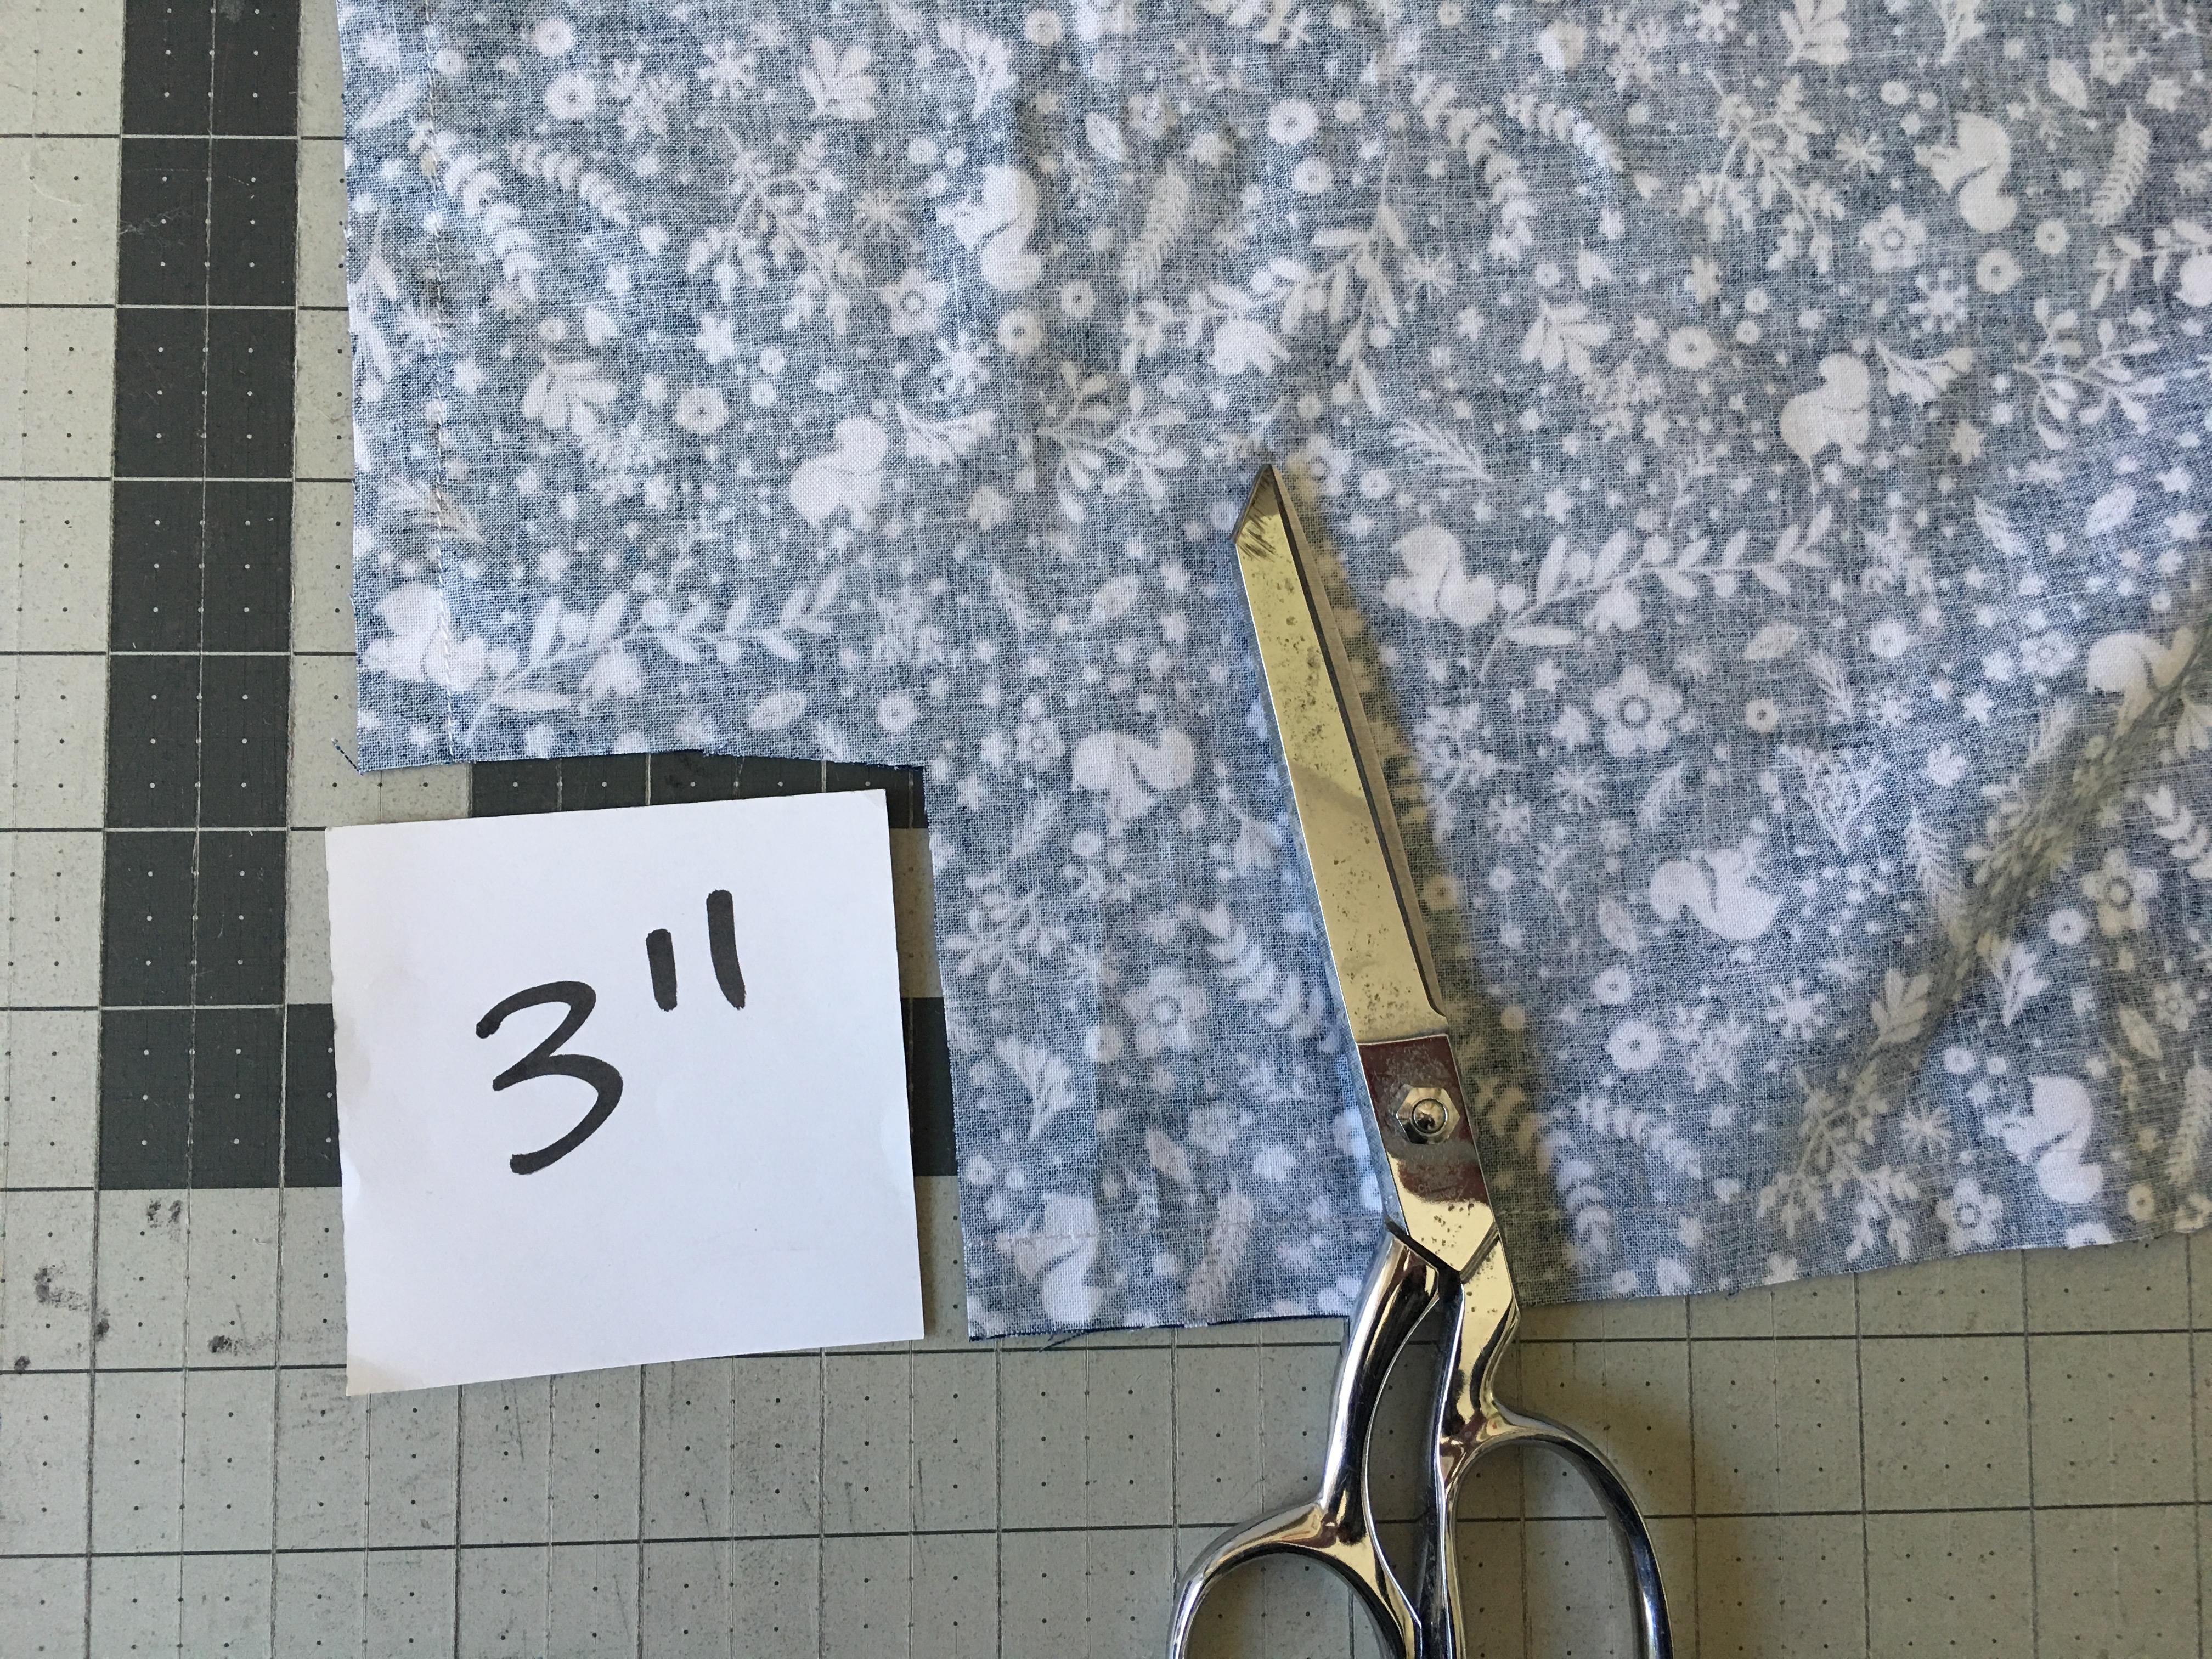
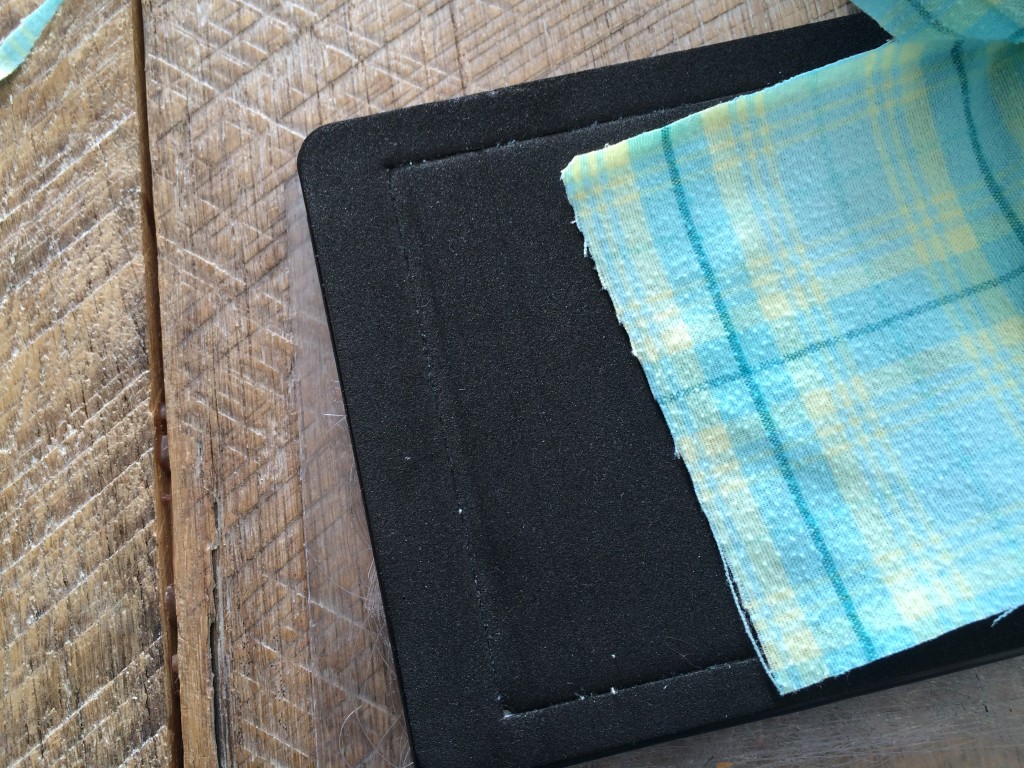
The above photo is from another tutorial but you can see how the notches should be at each corner.

zipper pouch tutorial. 20
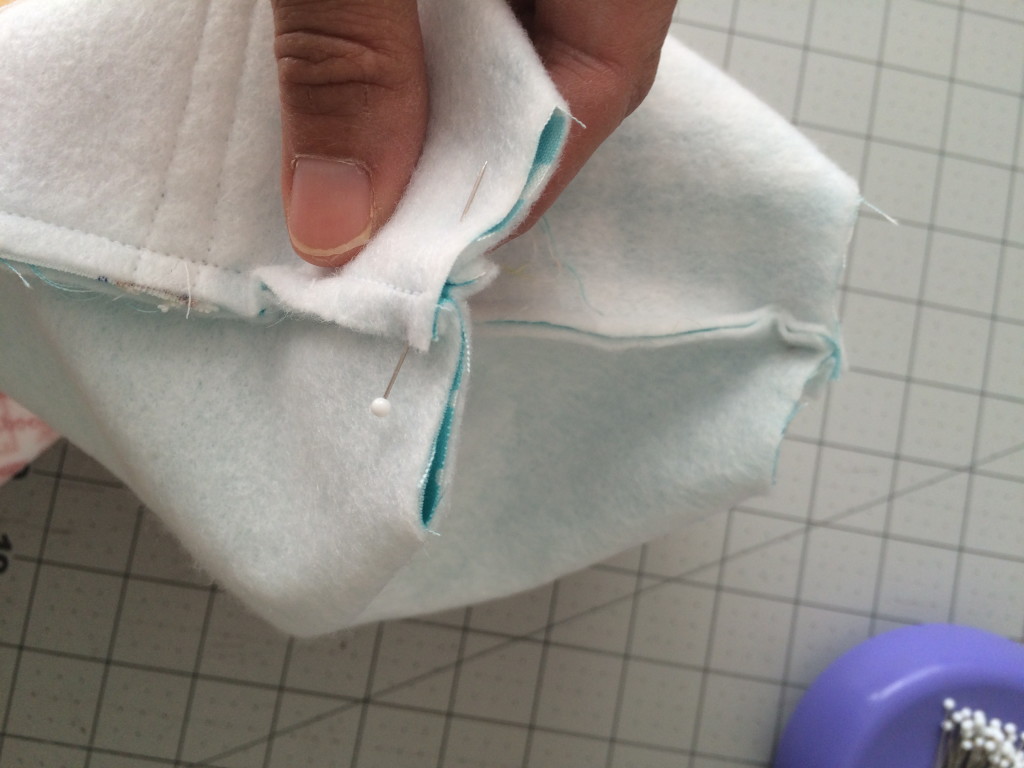
Fold each notch so the two seams align, pin, and sew 1/4″ seam along raw edge.  Do this to each corner.

IMG_3501

Ella loves her bag!  Look at all the things you can use it for:

IMG_3490

Journaling supplies, art supplies, or even your favorite magazines on a road trip!

IMG_3499

I’m on American Patchwork & Quilting Podcast!!

Screen Shot 2016-08-22 at 7.40.09 AM

I am super excited (and scared to death) to be on American Patchwork & Quilting Podcast hosted by Pat Sloan TODAY at 1:00 Pacific time (4:00 Eastern).  We will be chatting about quilting, life experiences and Mufasa 🙂  For more information on how to listen, click HERE.American Patchwork Quilting Pocast episode 313 Amanda Niederhauser

Baby Clothes Memory Quilt

IMG_6594

My friend and her daughter recently came to visit all the way from Washington, DC.  She brought with her a huge bag of baby clothes that she had saved from her 5 babies and I helped her make this keepsake quilt.  This is such a great idea!  How many of us have boxes of baby clothes we can’t stand to part with but lets face it no one will ever where again.  This quilt keeps the memory of those sweet clothes alive but is now functional and way more attractive then a pile of wrinkled and stained clothes 🙂

IMG_6470

We used my Sizzix Bog Shot machine and even the kids could help on this project.

IMG_6467

It was helpful to cut off snaps, arms and legs of the fabric.  We used the Sizzix 4 1/2″ square die.  This project would have been difficult to cut on the rotary mat.  To cut with the Sizzix simply lay the piece on the die, double or single layer, wrap the rest of the clothing around the back of the die and then crank it through!  Again, I love getting kids involved in the process and this is such a great tool to do so.

IMG_6578

IMG_6580

We used every type of clothing and it all worked great: knit, cotton, sweater, valuer, waffle, denim, polyester.  Just make sure that all fabrics can be ironed.IMG_6468

Since each fabric has a different degree of stretch, it is necessary to back each square that stretches with Heat n Bond fusible stabilizer, light or medium weight is fine.IMG_6469

I cut the staibilizer in 4 1/2″ squares.  Fuse each stabilizer square to the wrong side of the fabric squares.

IMG_6509

Lay out the quilt as desired and then sew the squares together in rows and the rows together.  Make sure to press the top of the fabric and NOT the side where the stabilizer is.  I was still able to use 1/4″ seams because the stabilizer kept everything from shifting.

IMG_6546      
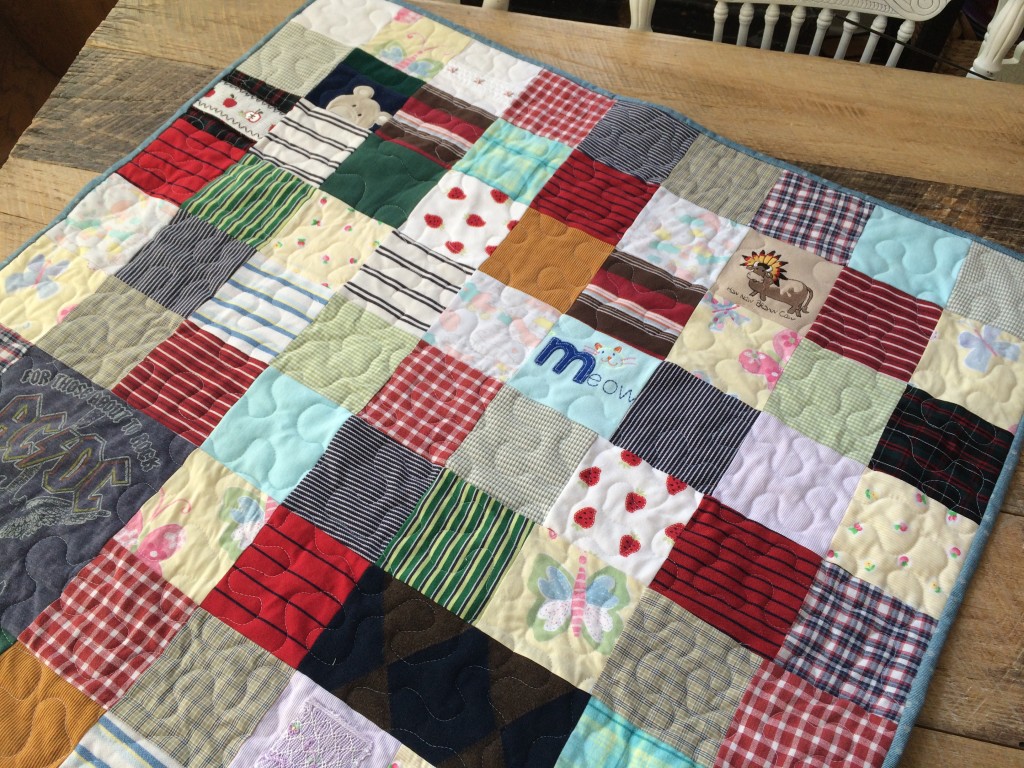
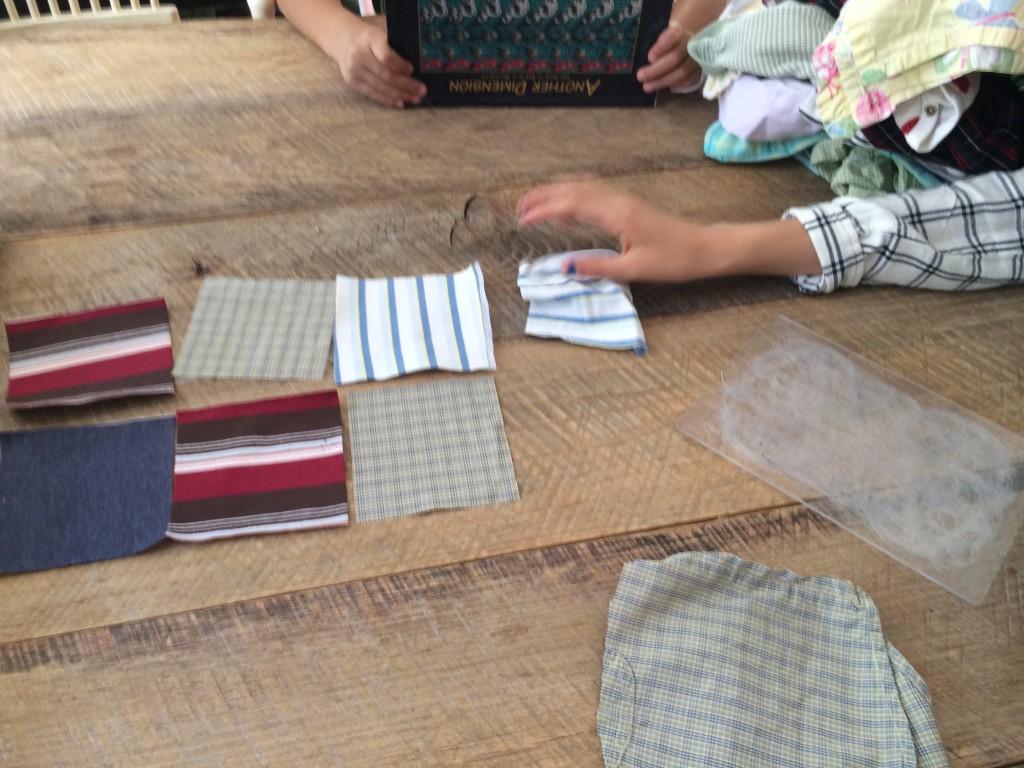
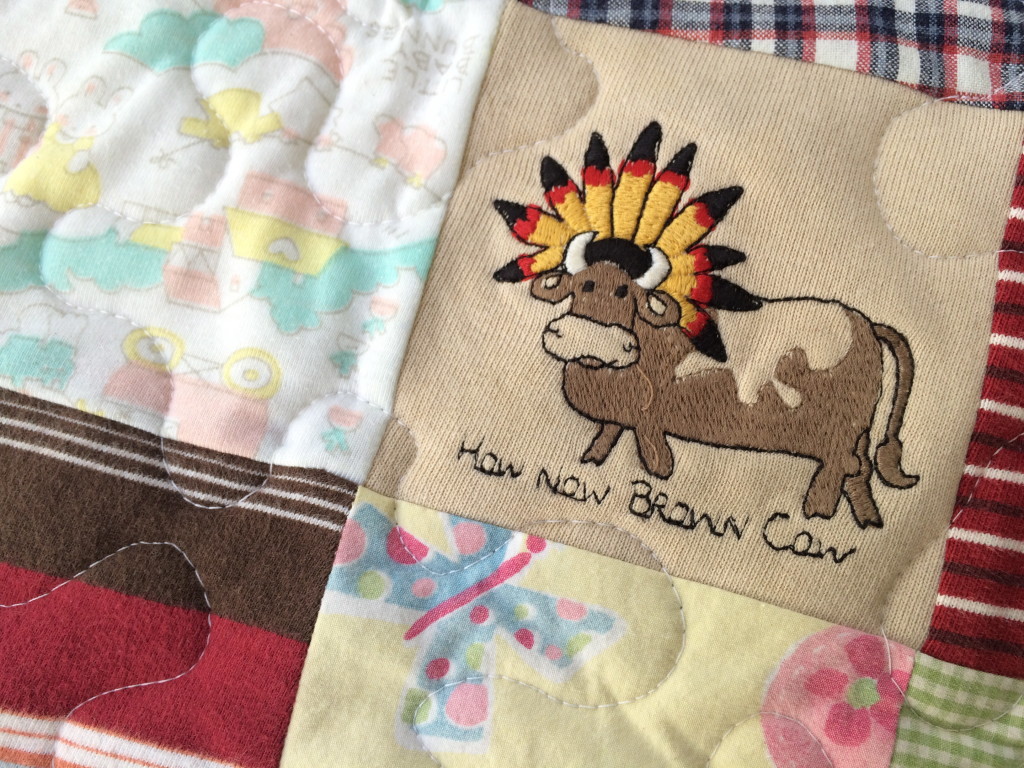
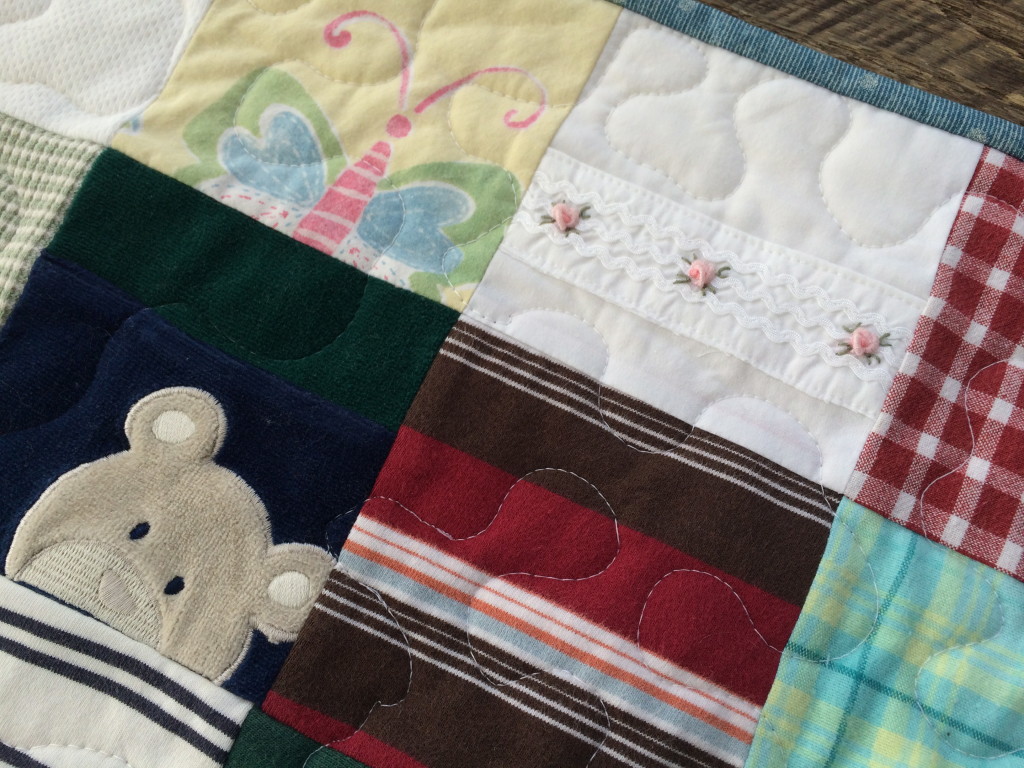
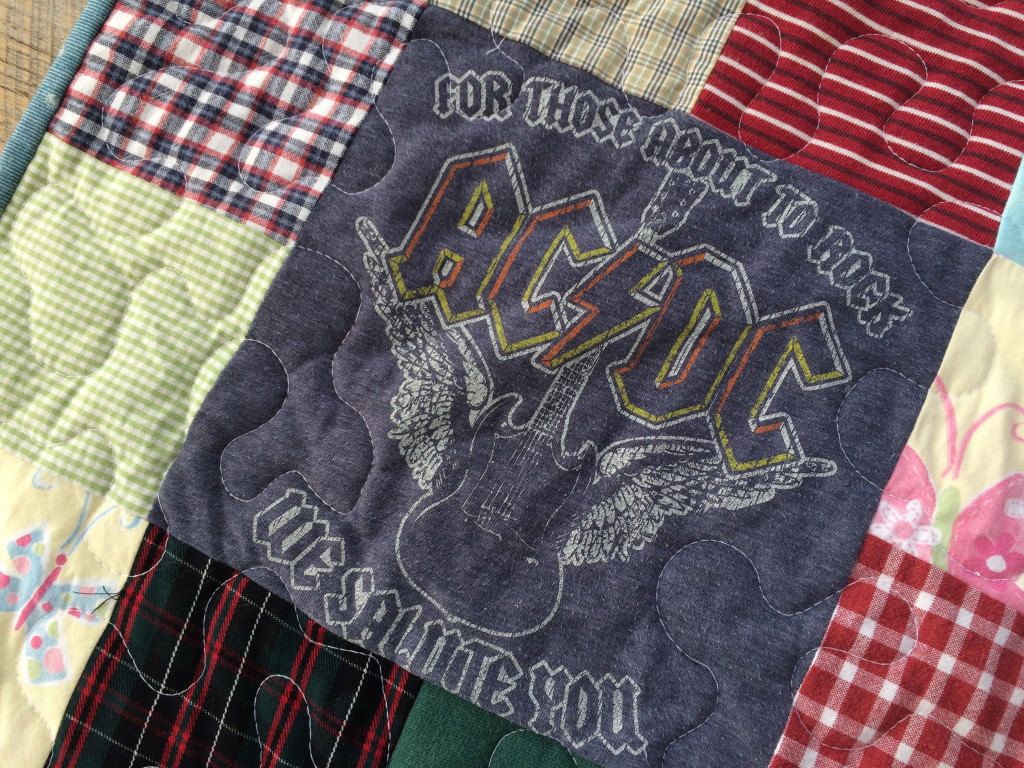
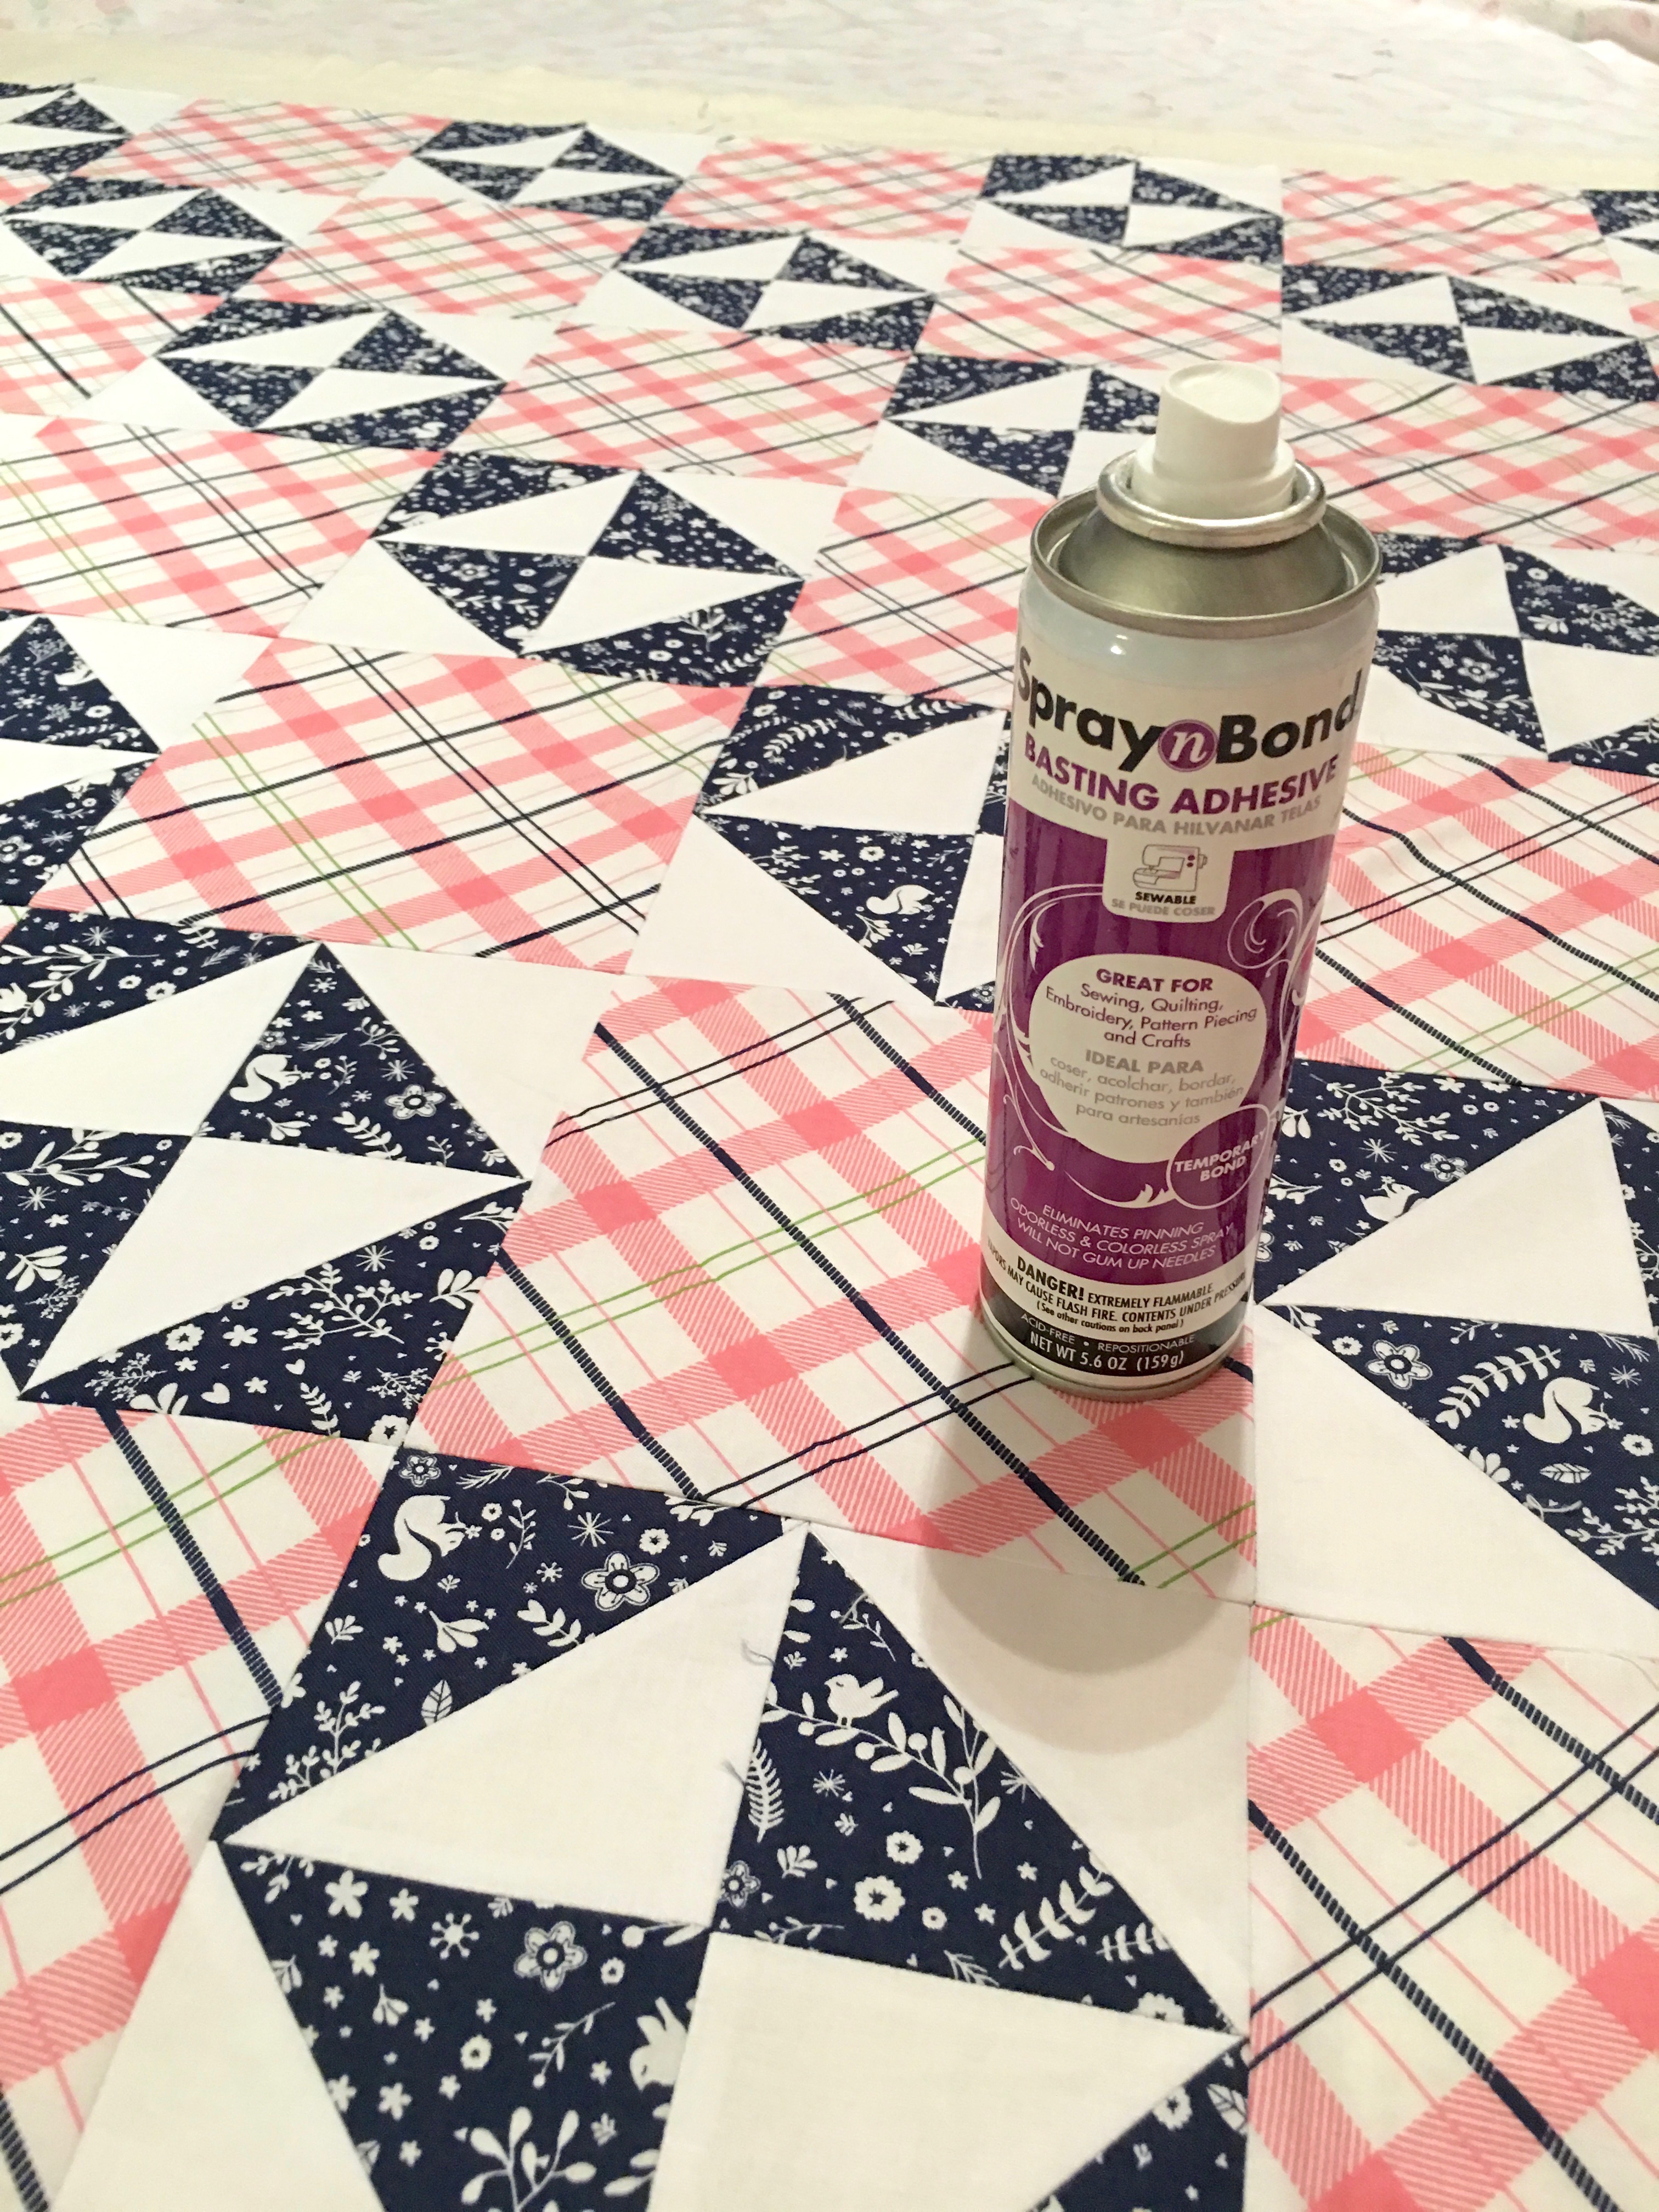
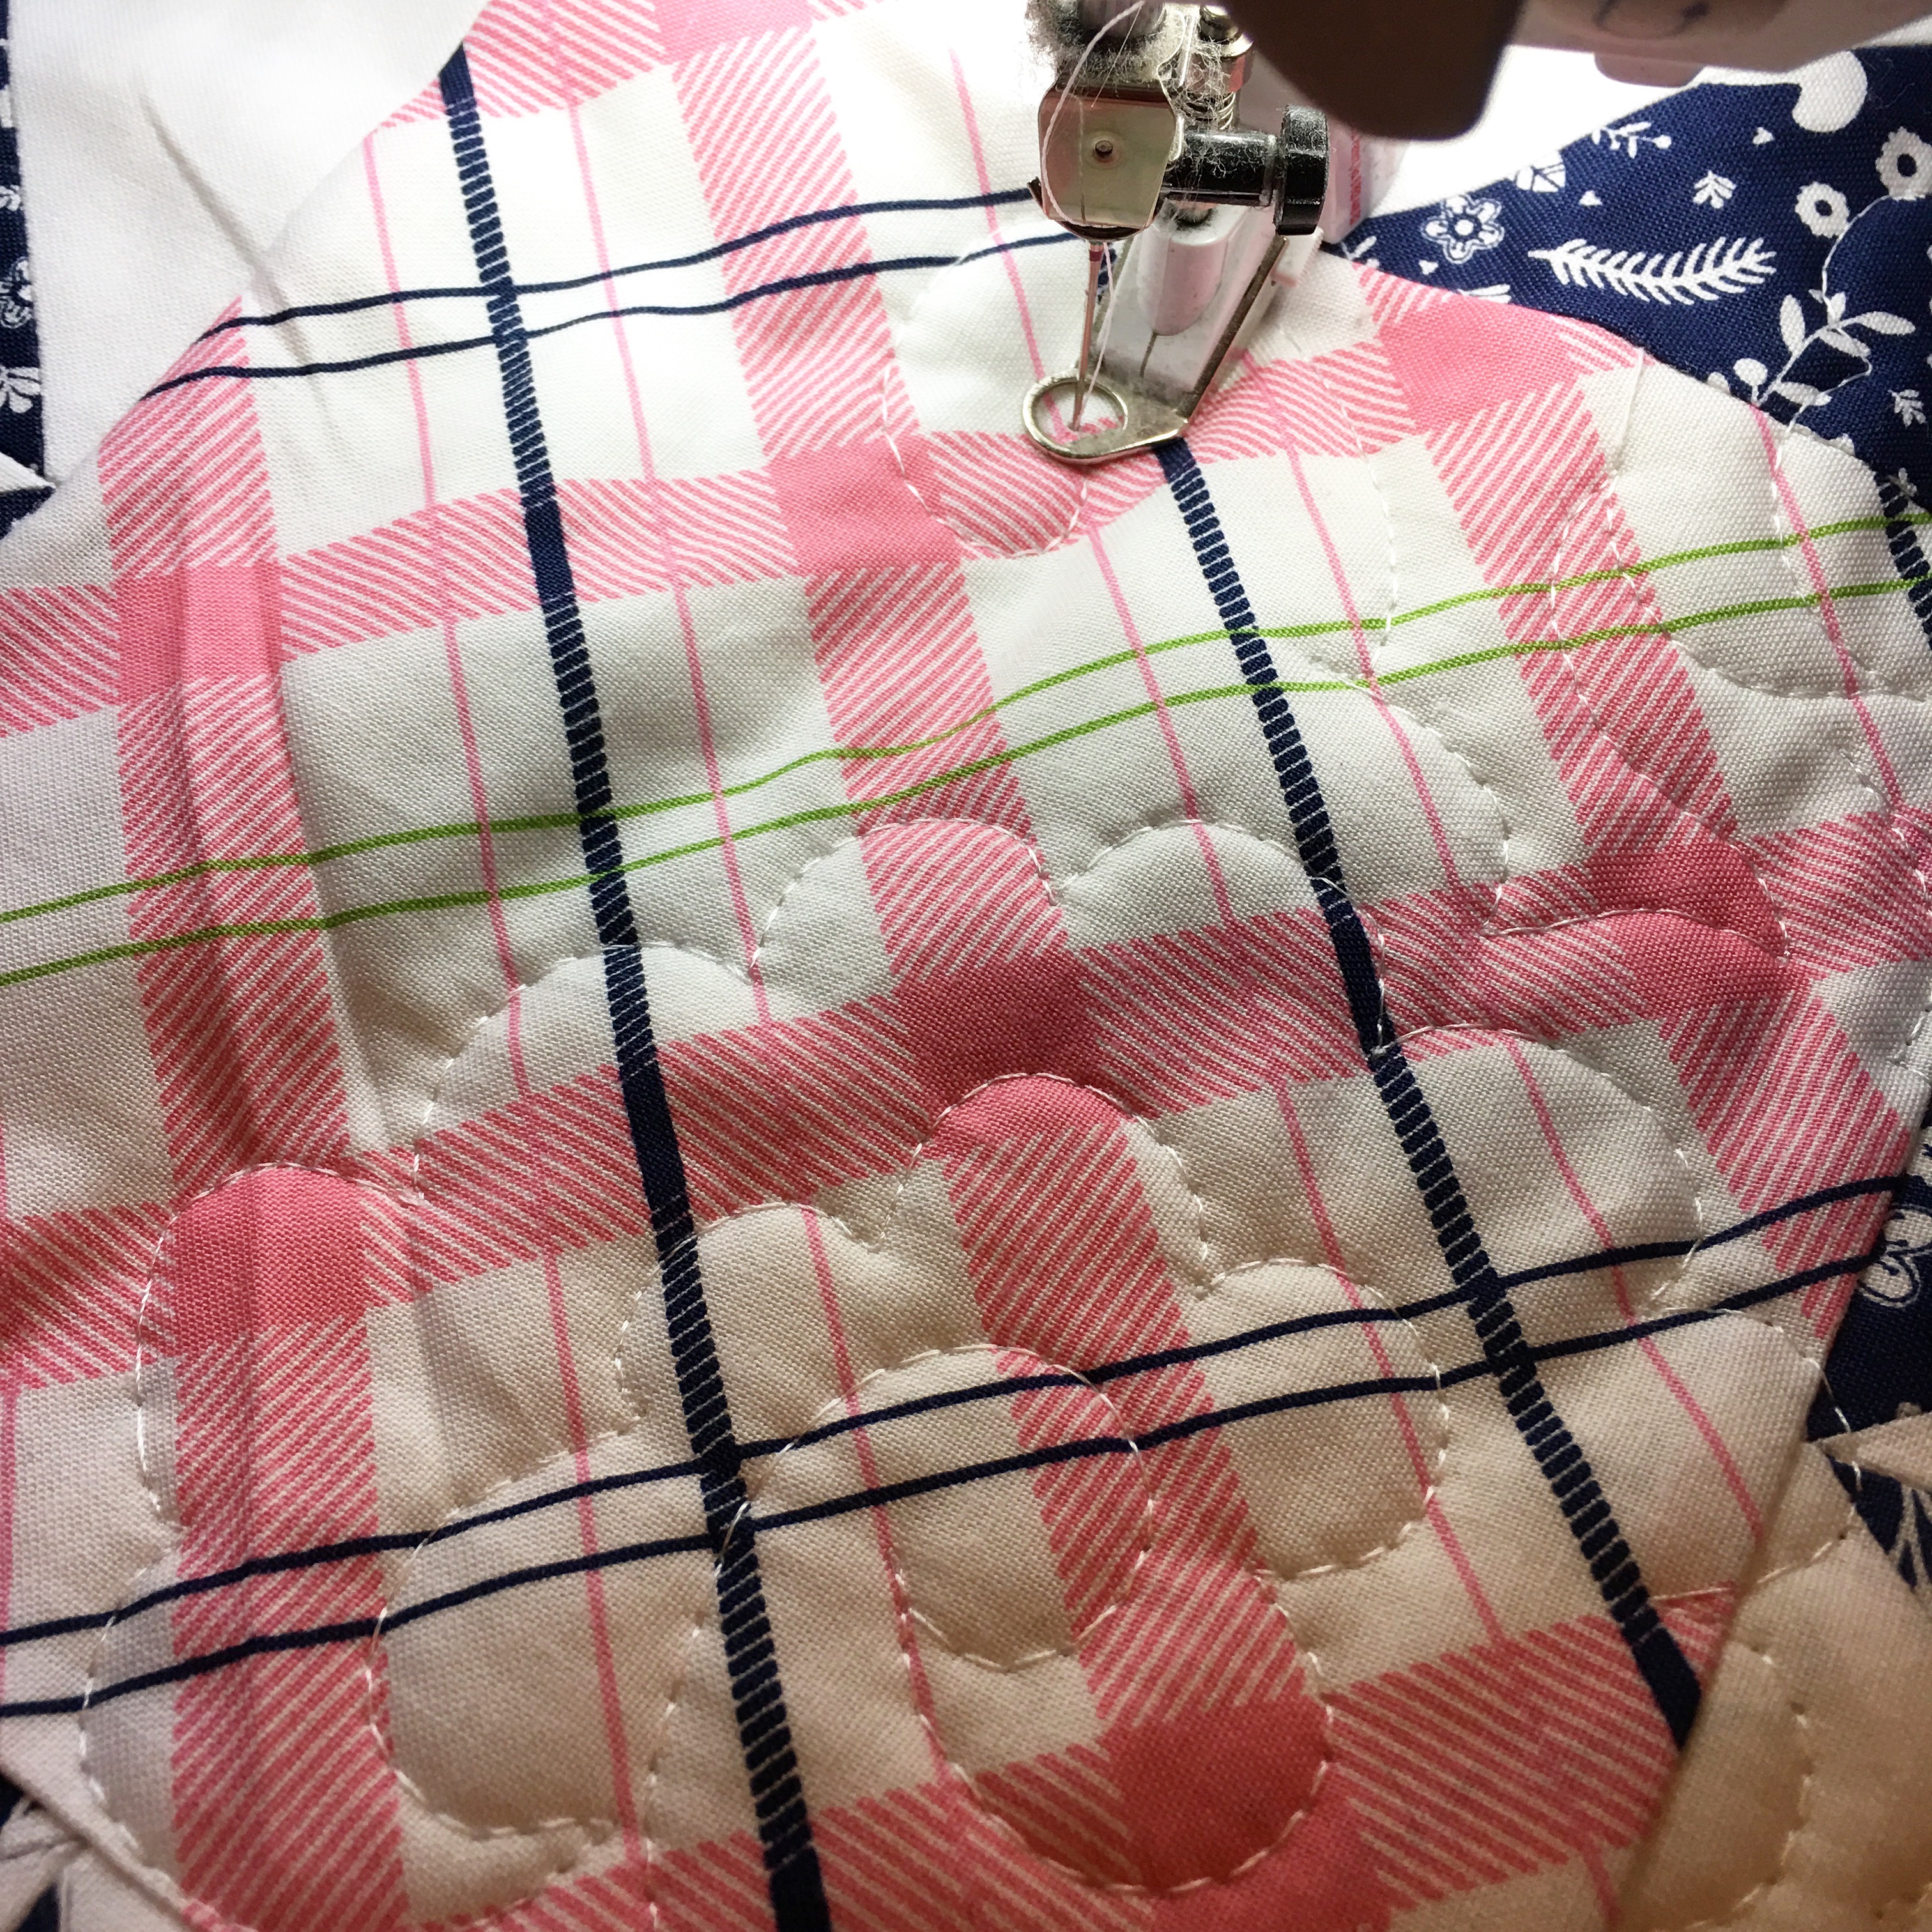
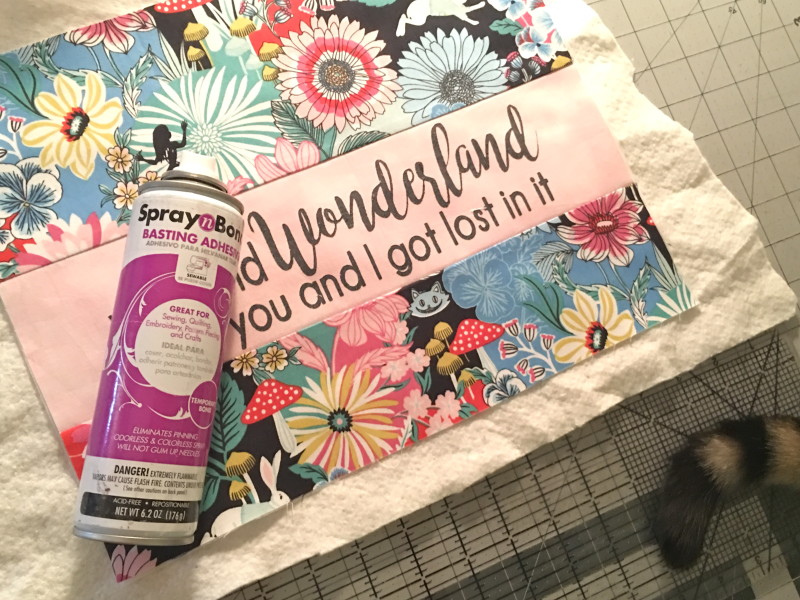
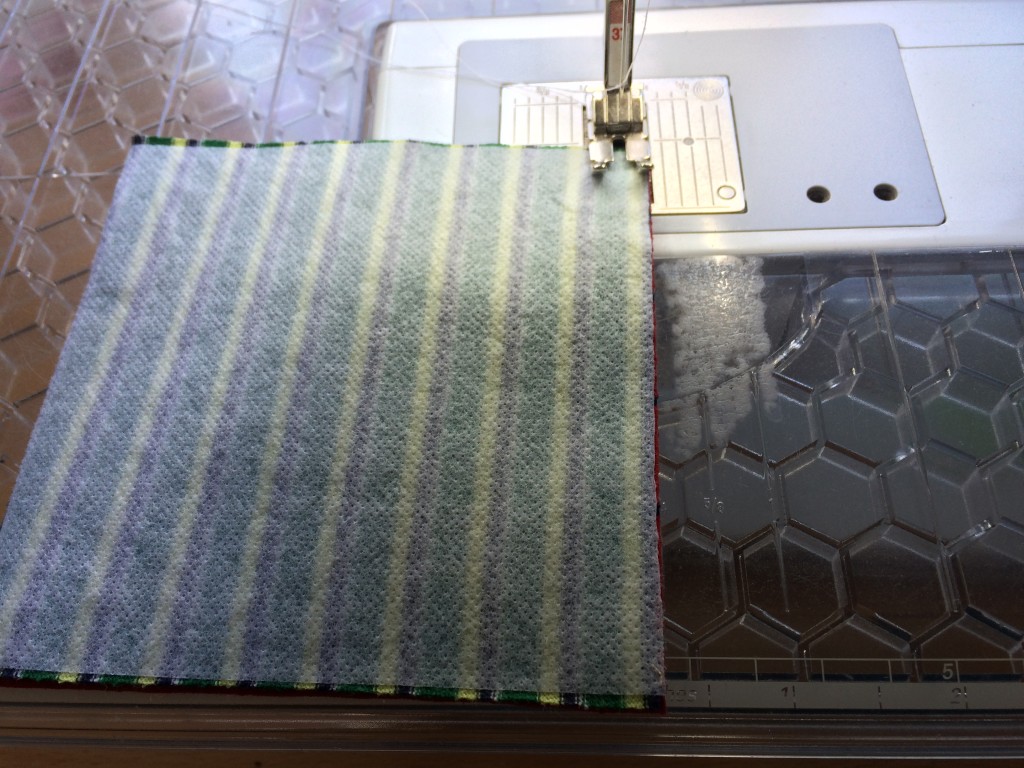
I basted and quilted this just like a regular quilt.  I quilted a little slower just to account for the varying degrees of thickness.  I was able to put a sweatshirt piece next to a thin polyester pj fabric and it totally worked!IMG_6595

We cut a few pieces of trim and top stitched them onto the blocks.

IMG_6596

My favorite is the ACDC t-shirt!

IMG_6597

Best of all my friend loved how it turned out because each piece has such a special meaning!  IMG_6594