We’ve had the past 3 weeks off from school. It has been a blast! After Christmas, my parents took my children up to their home. My hubby and I were alone for an entire week! I spent most of the time taking down all the Christmas decorations and crying that Christmas was over 🙁
We watched all 6 of the Fast and the Furious movies! Ya, I know, you are totally jealous!!

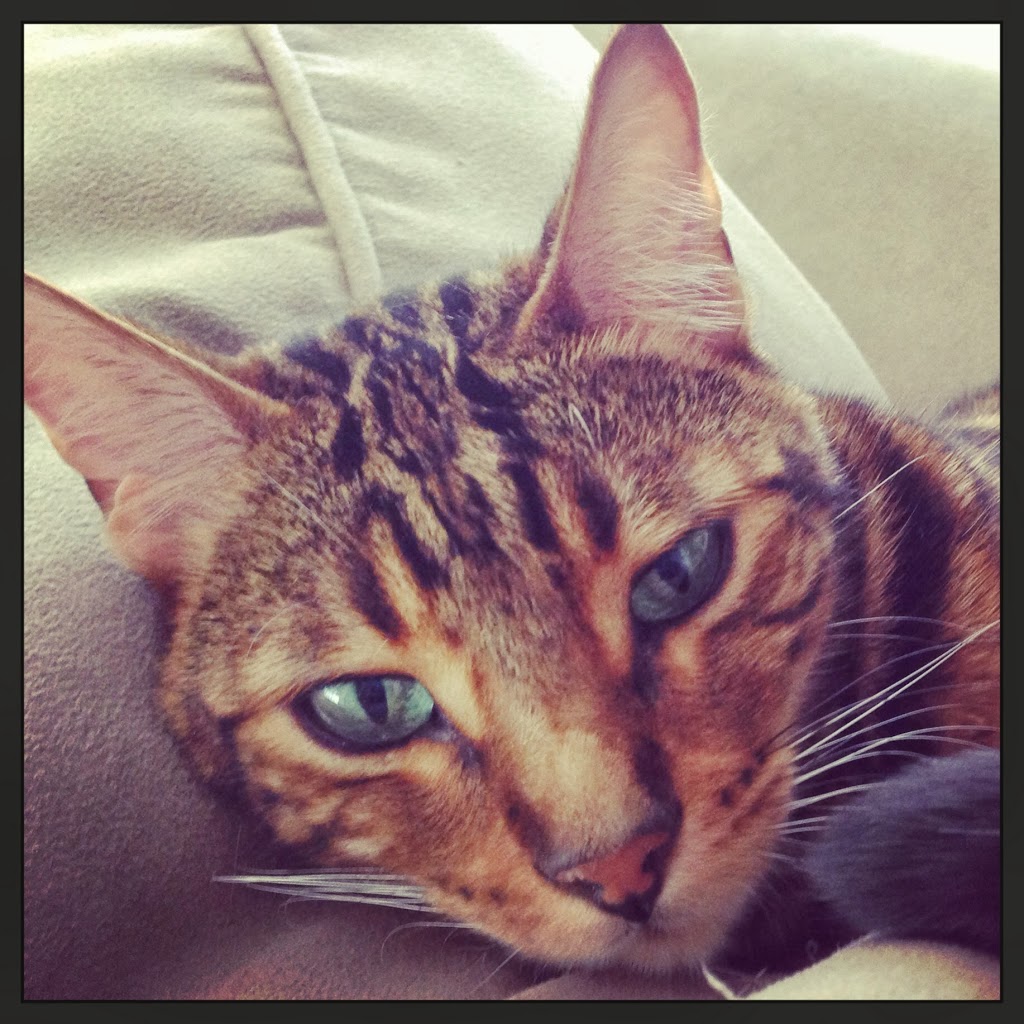
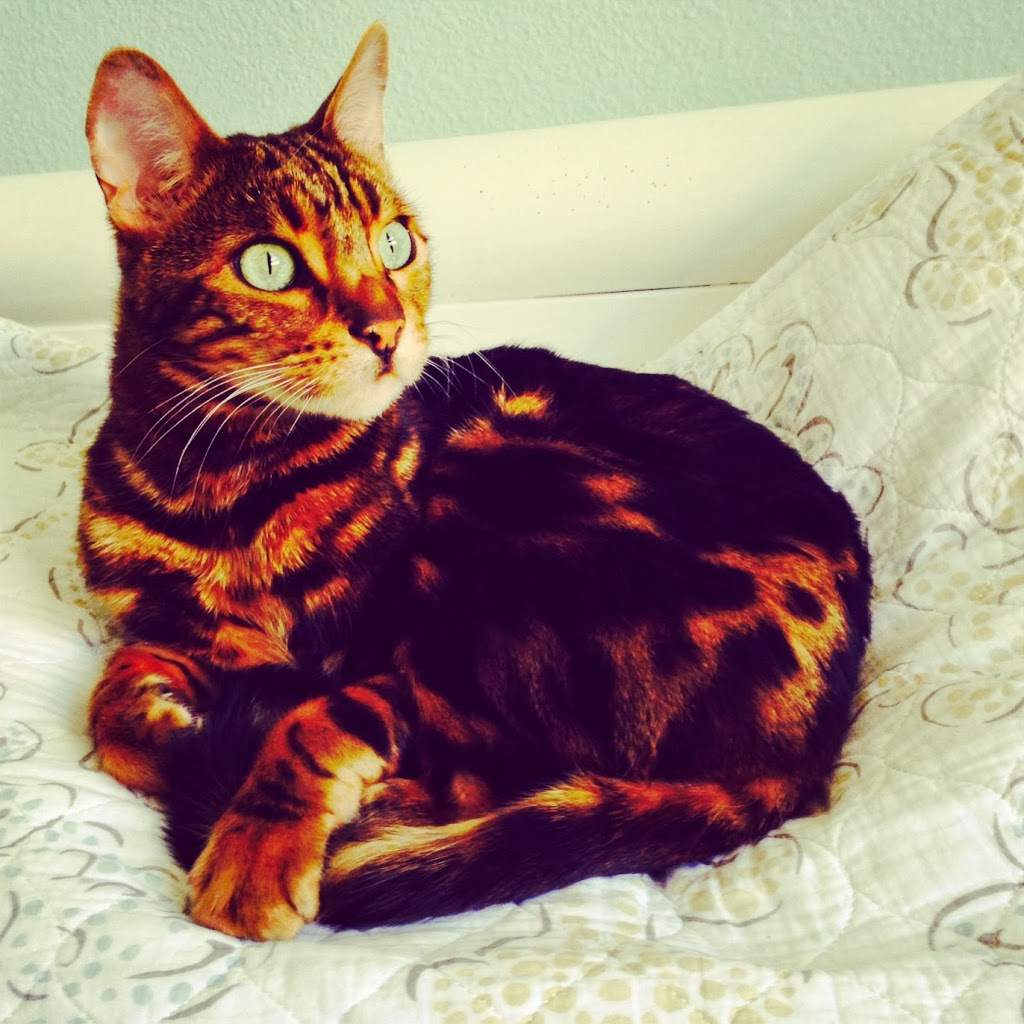
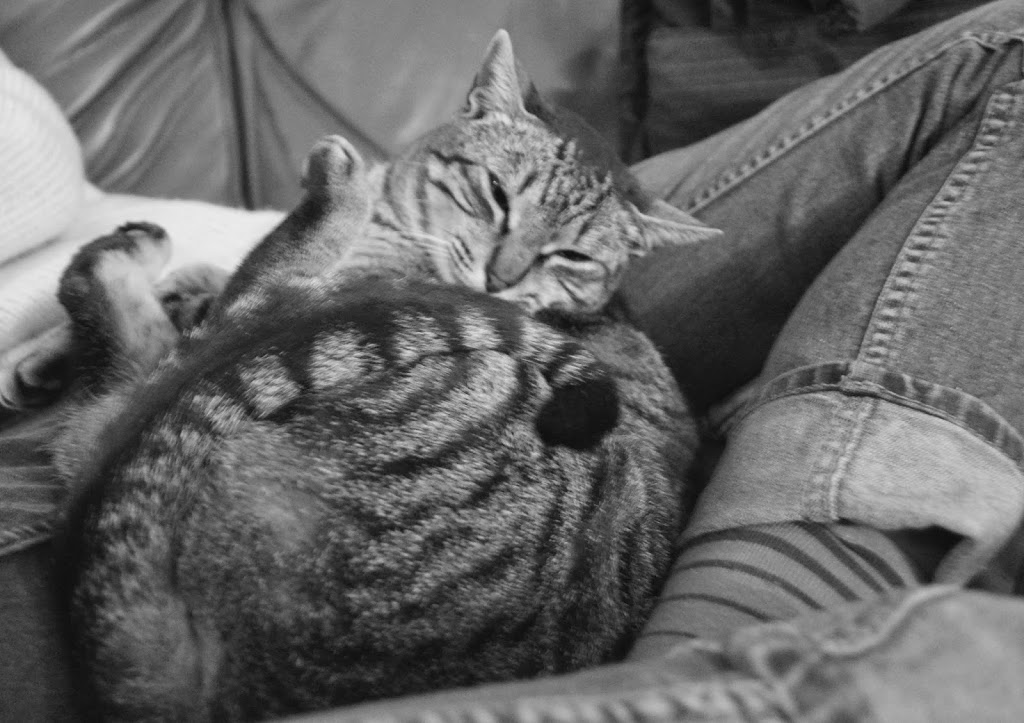
Got to play with Marbles…..
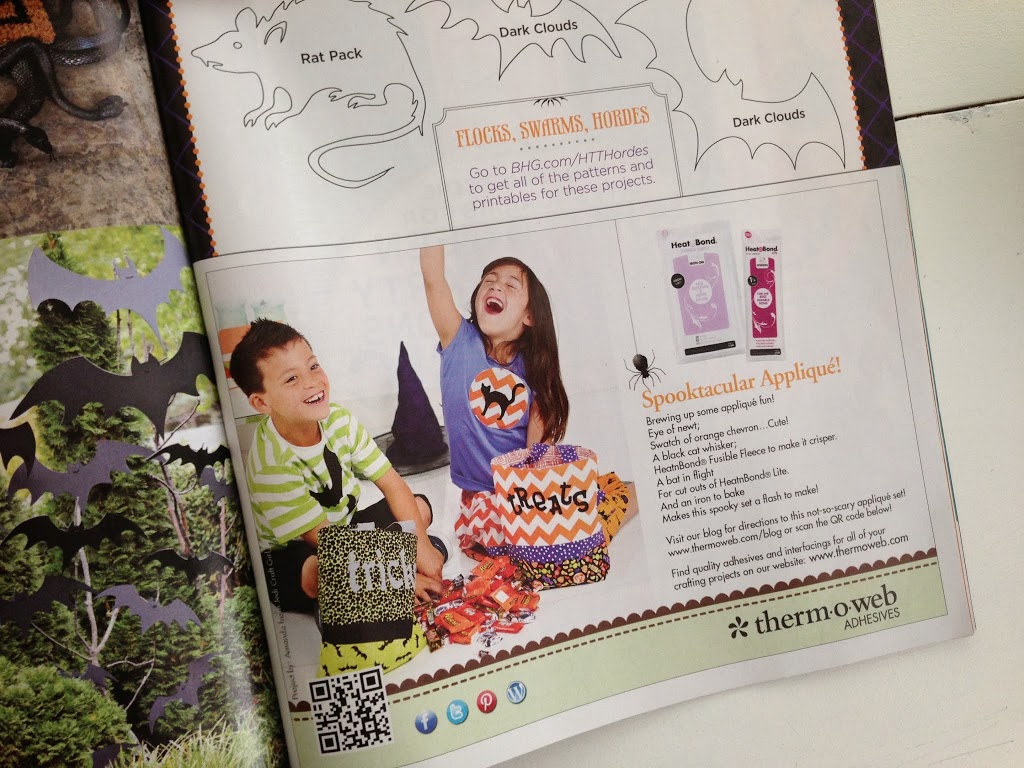
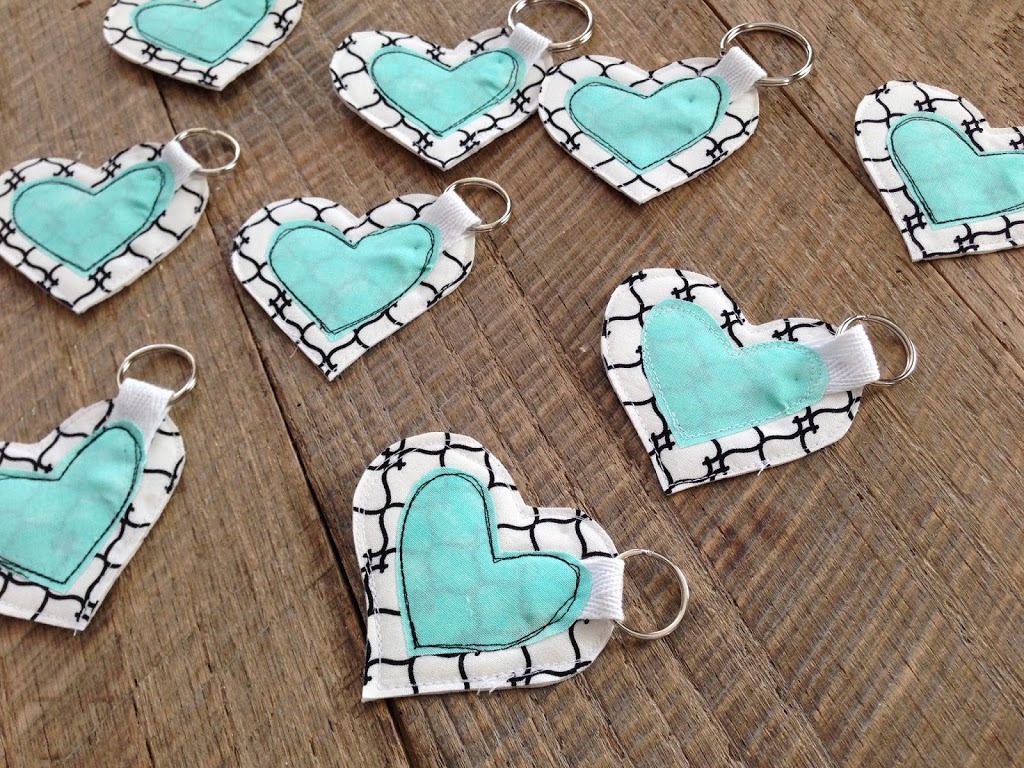
I sewed 20 of these heart keychains……
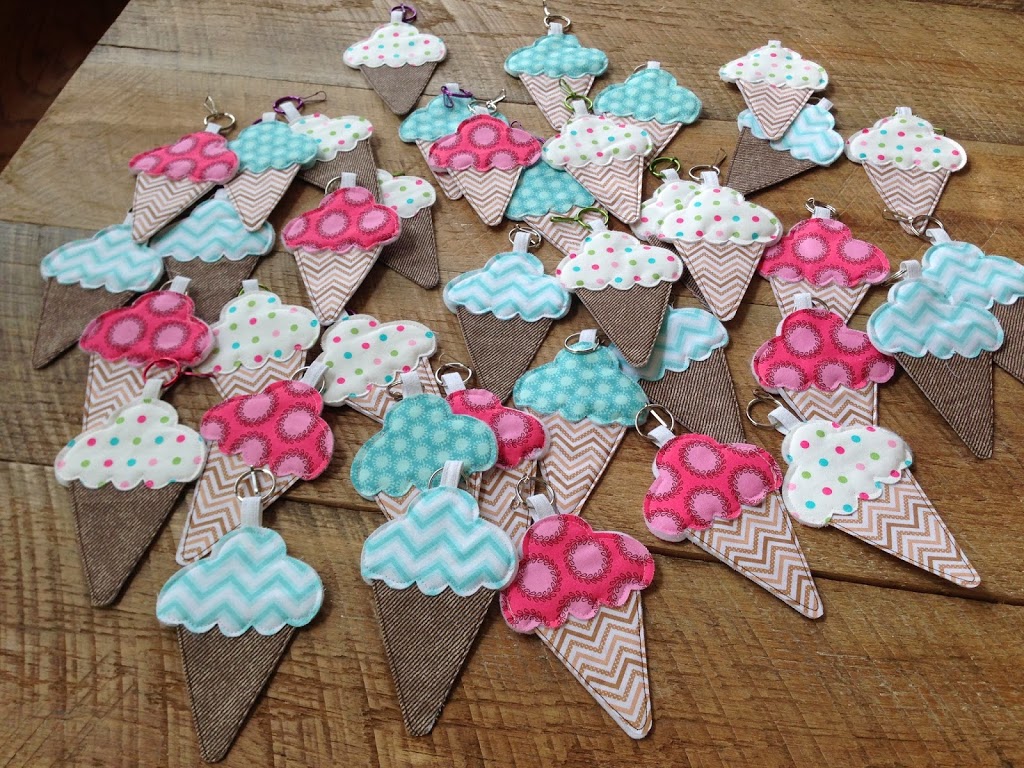
…and 20 of these ice cream key chains for Therm O Web
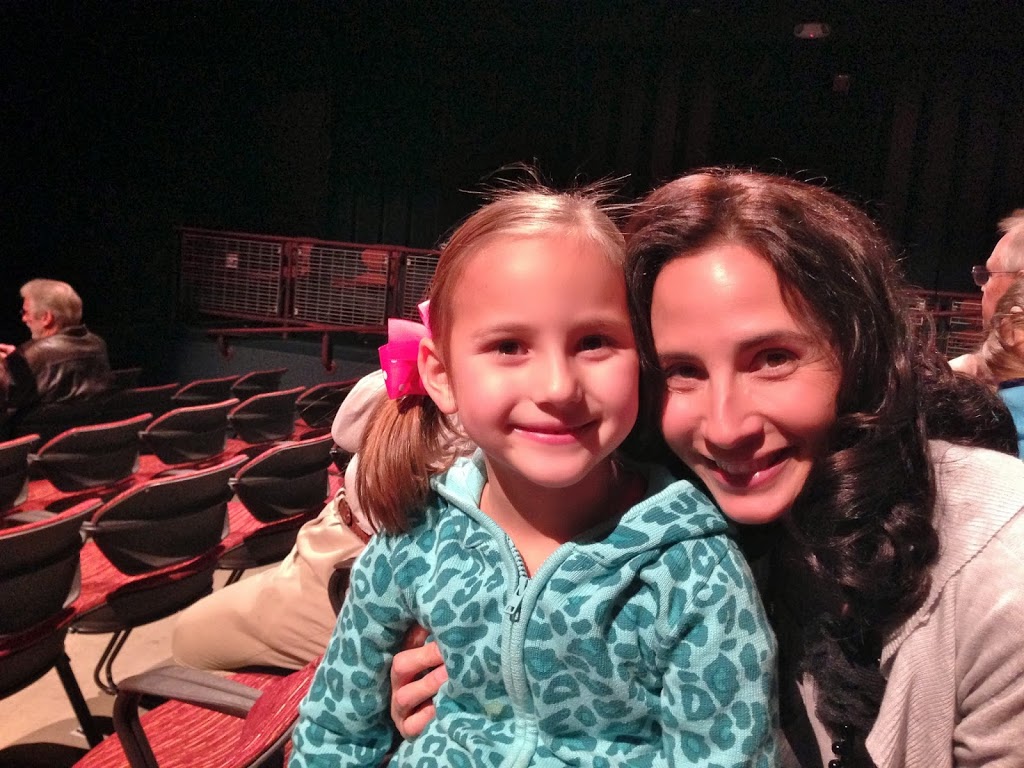
I drove up to my parents and got to be with my kids! We went to an Elvis Presley tribute concert where on the way home Sally declared, “I love Elvis Presley!!”
Played with the cat cousins……
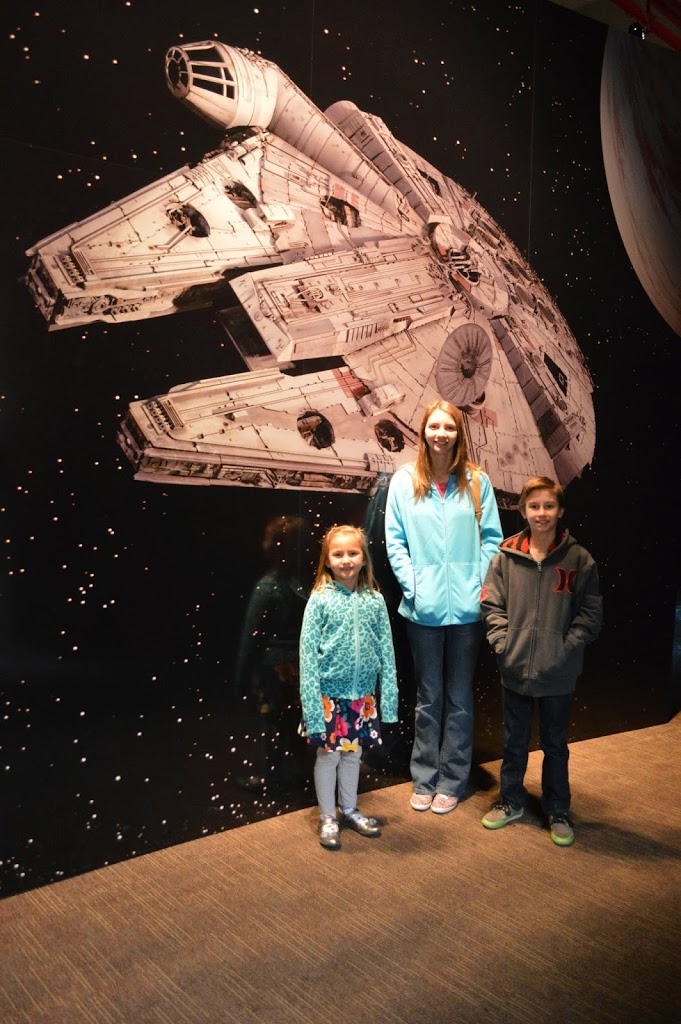
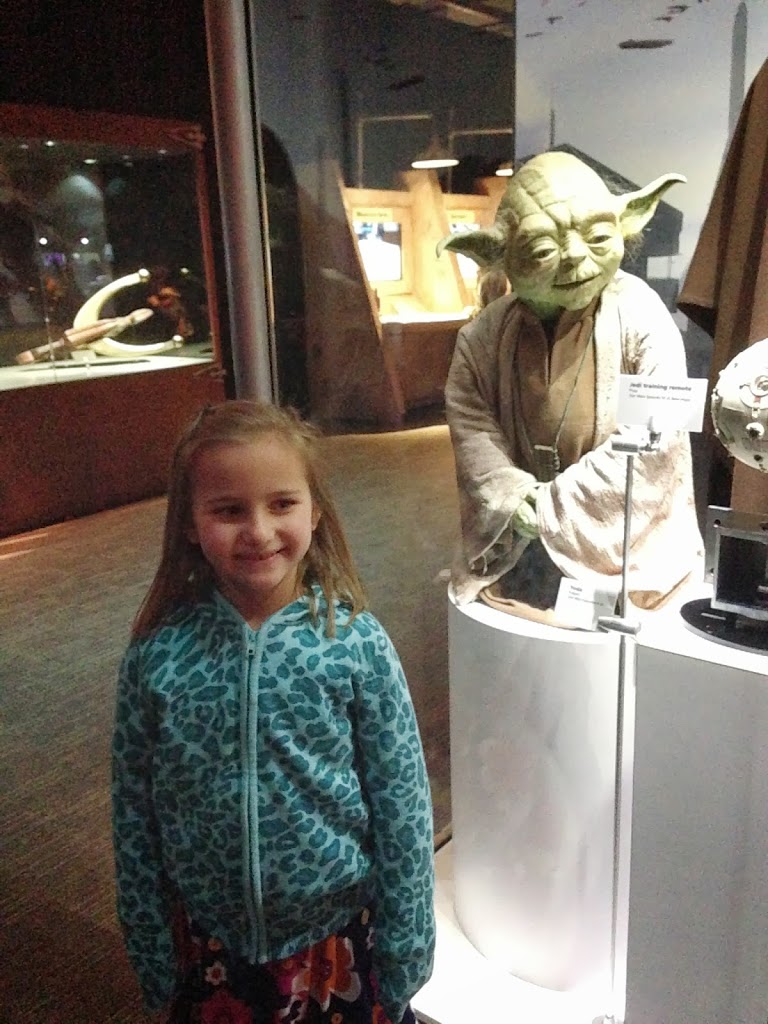
We went to the San Jose Tech Museum and saw the Star Wars Exhibit! It was totally awesome!
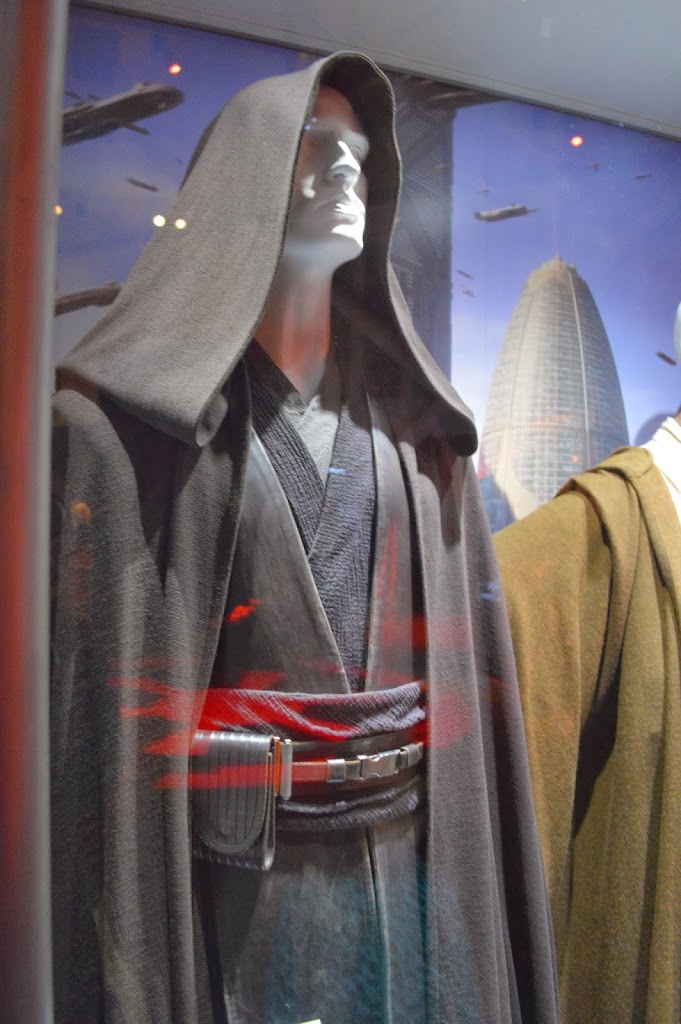
This is the real Anakin costume…..
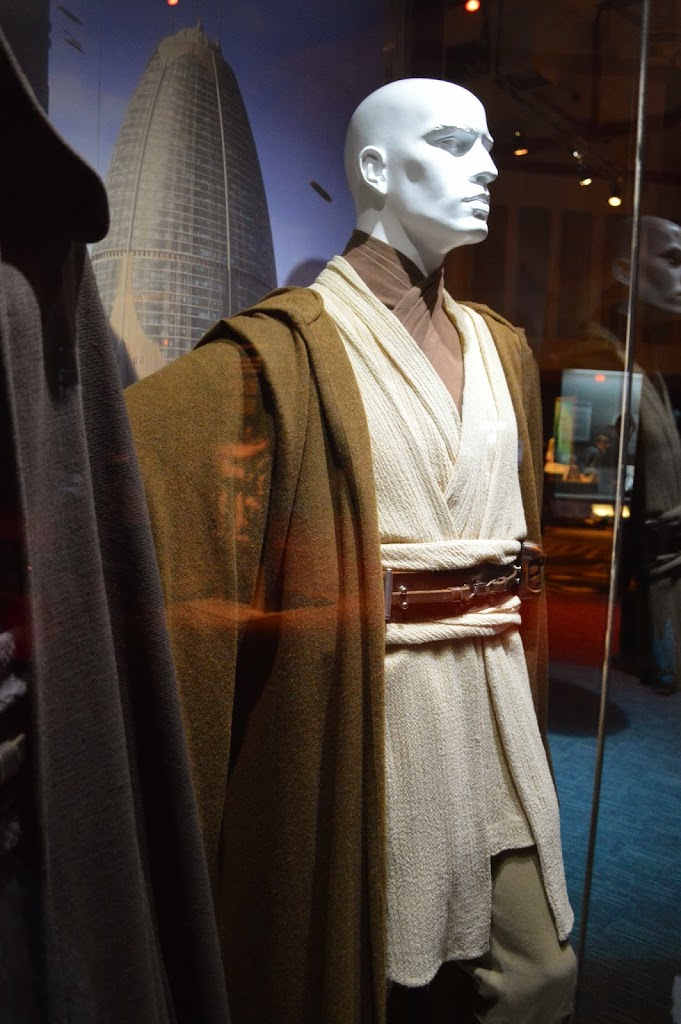
and the Obi-Wan costume…..
and Yoda!!!
I got to visit with my Nana who is almost 94 years old!

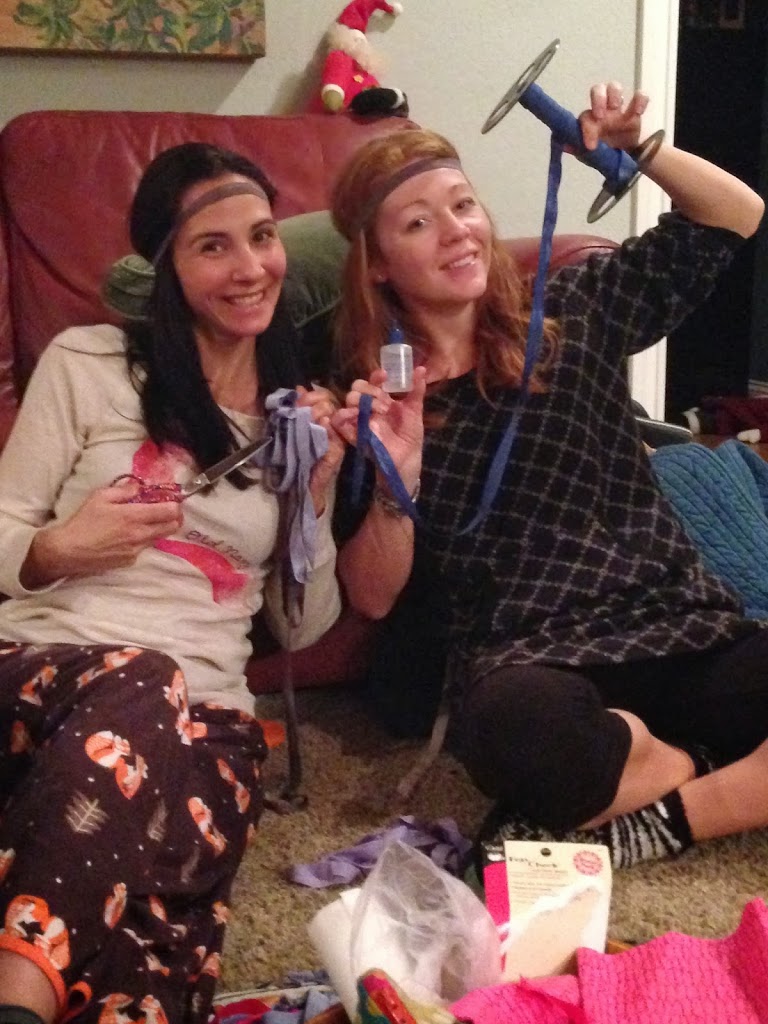
…and hang out with my sister-in-law….crafting….thrifting….late night guitar karaoke…..One Direction Movie watching!!
I can’t believe it’s all over and now time to get back to a schedule….hmmmmmmmm