One Direction Valentines – Backstage Pass to my Heart

We love Valentine’s Day and we love 1D at our house, at least my Kindergartner does (and mommy)!  We found these 1D valentines at the store and decided they needed something a little extra.  We turned them into pretend Backstage Passes!  Here’s how you can make them:

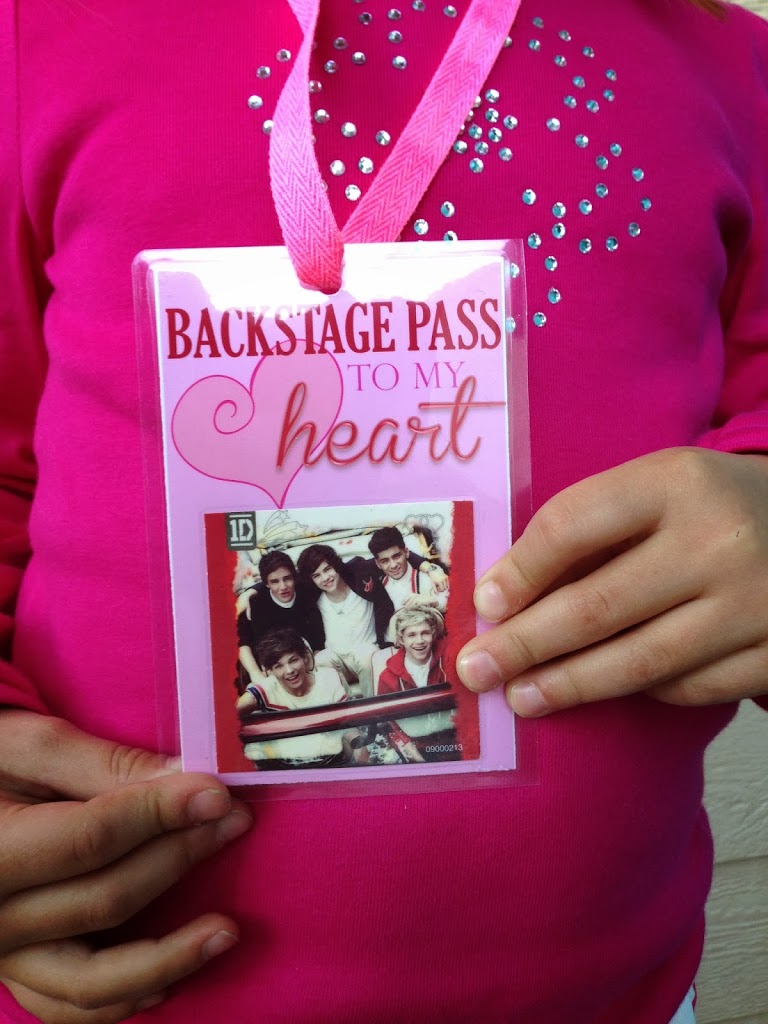
Print the Backstage Pass on photo paper.  Click HERE to download.

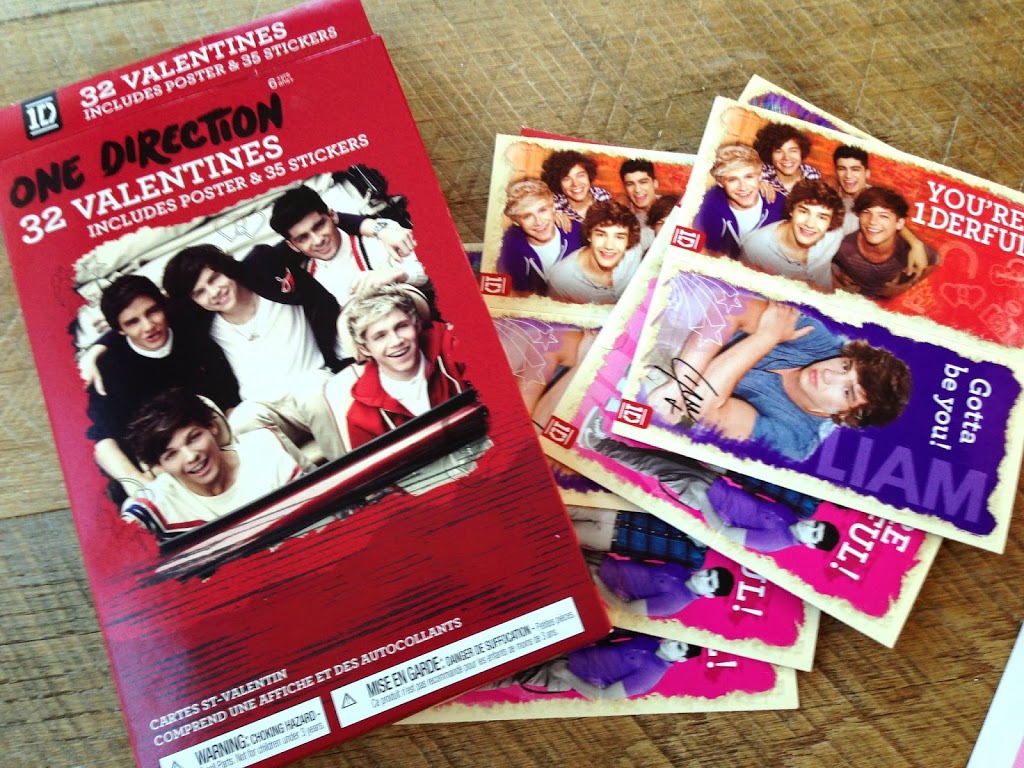
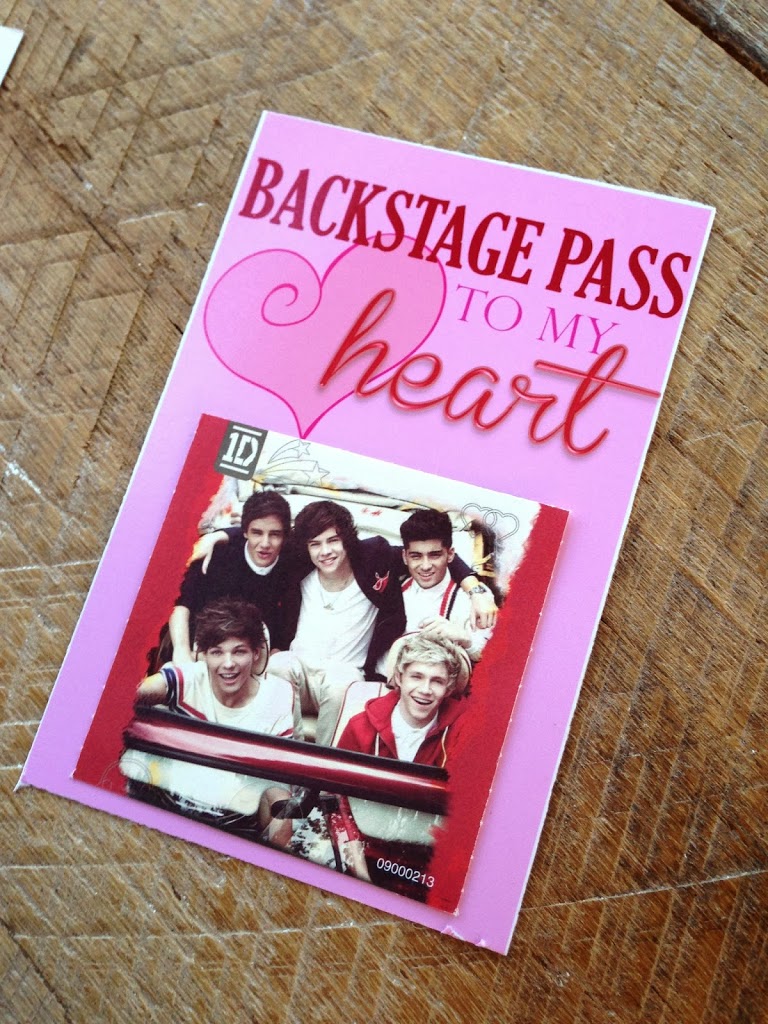
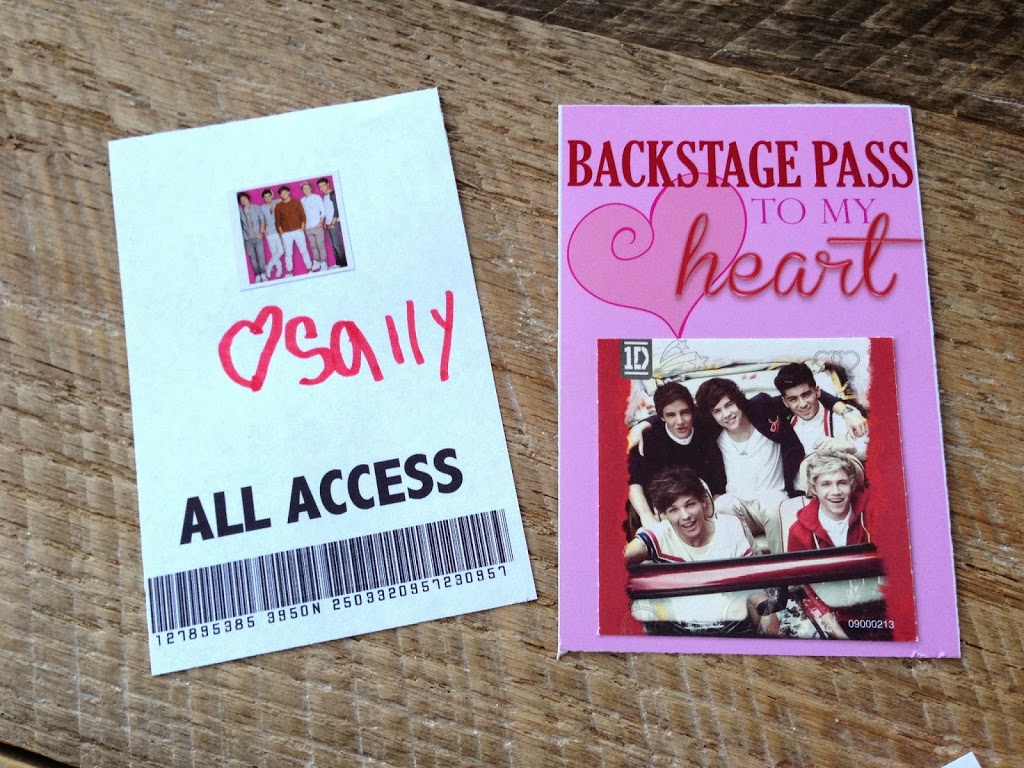
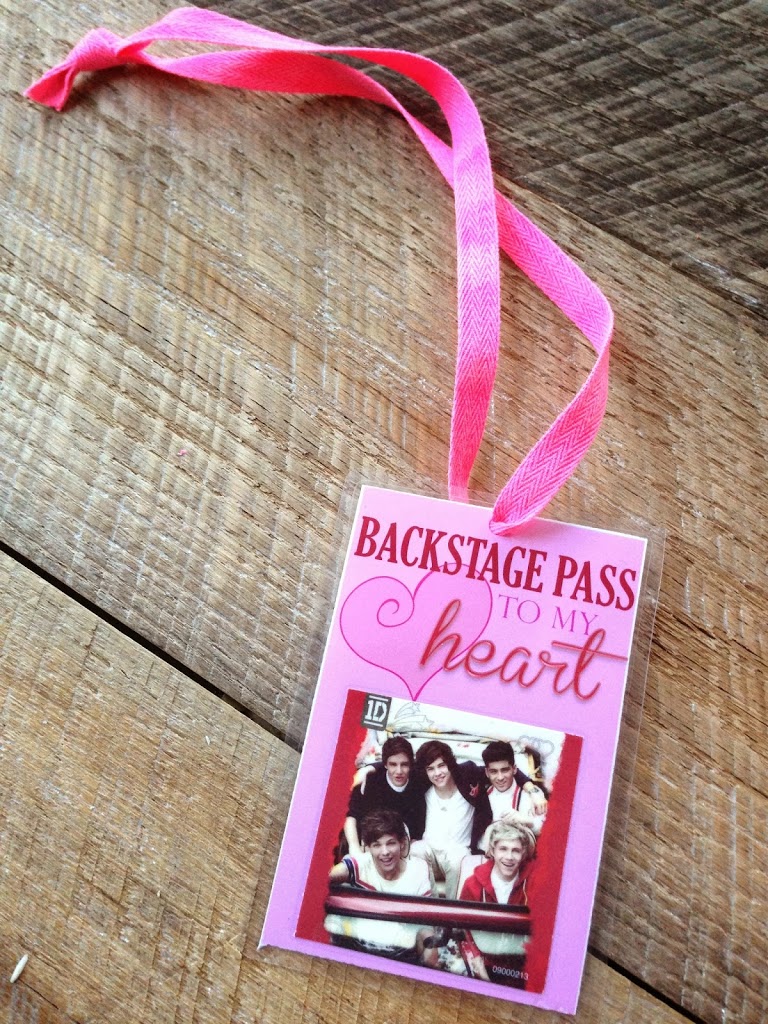
 Cut them out.  Cut the 1D valentines to fit on the pass.  I choose to use the picture on the back of the valentine since it was of all 5 of the guys and it was a little smaller and fit perfectly in the space.  Glue the valentines to the passes.

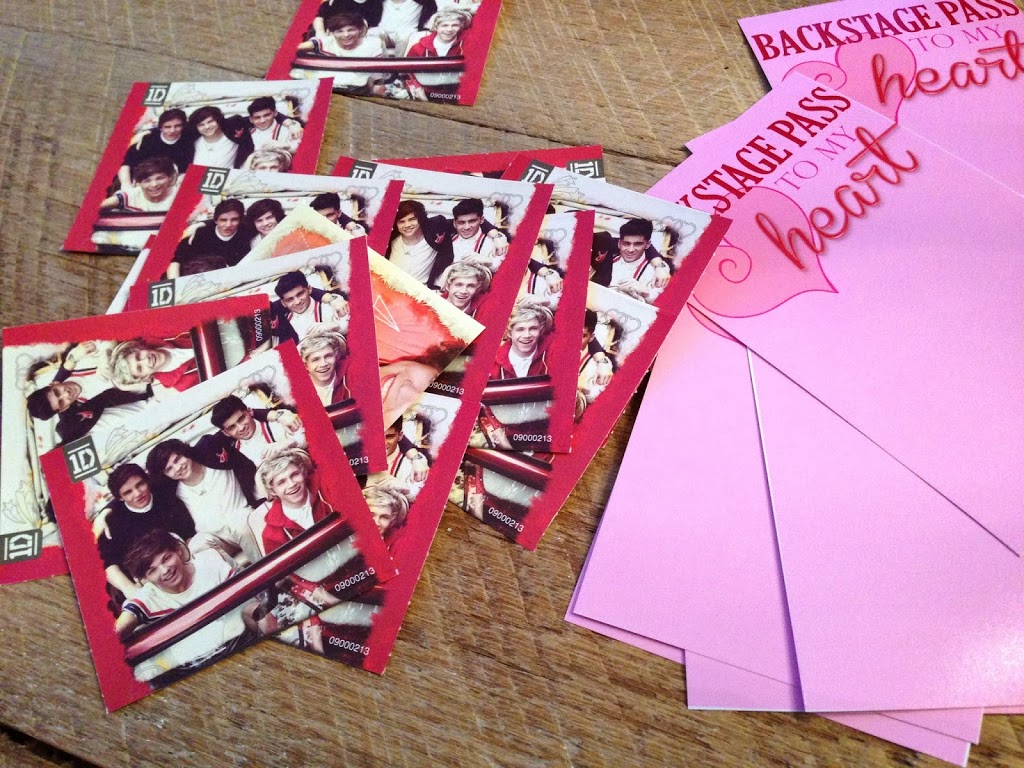
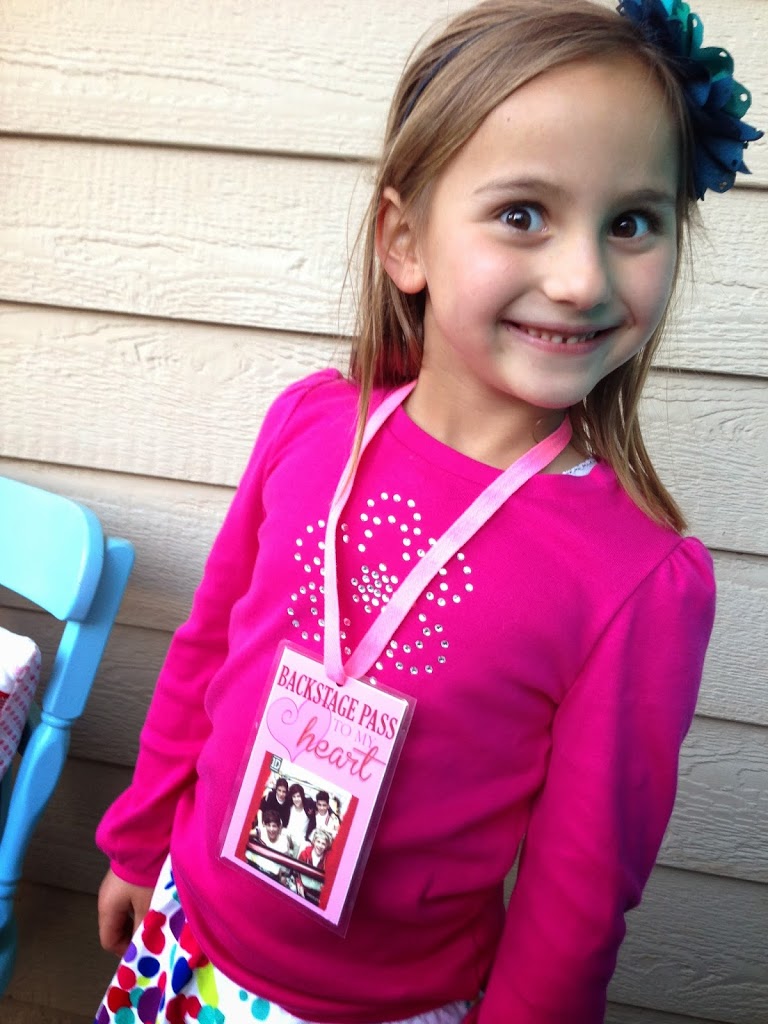
Oh my, they are so cute…..I mean the Valentines are so cute 🙂

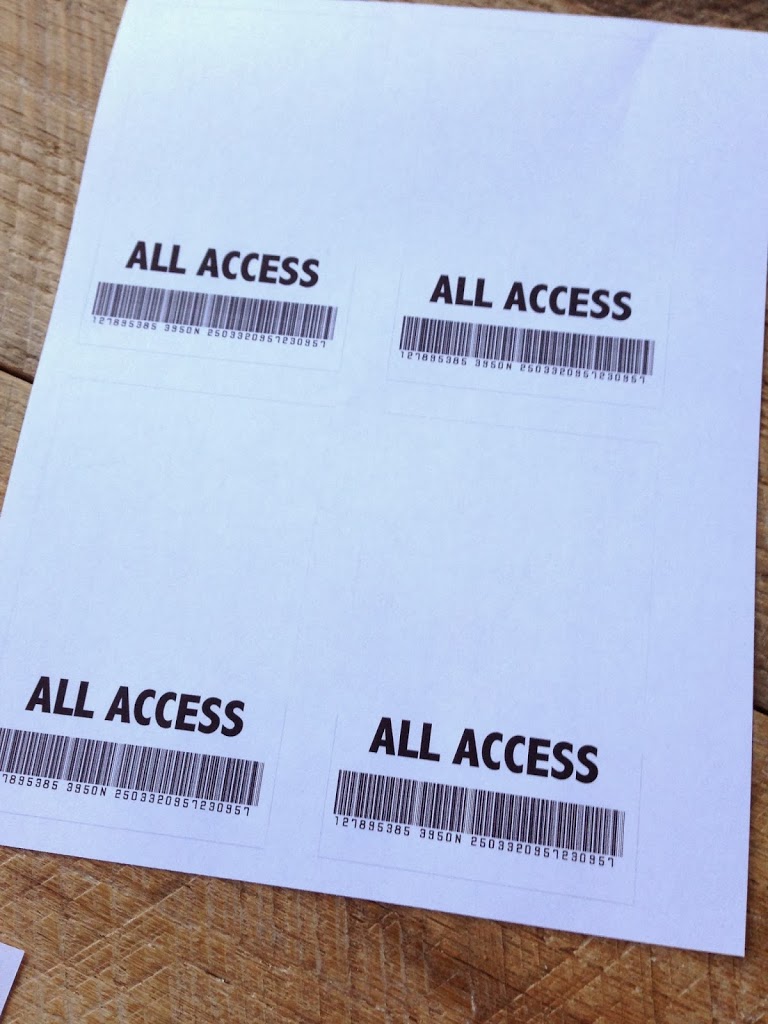
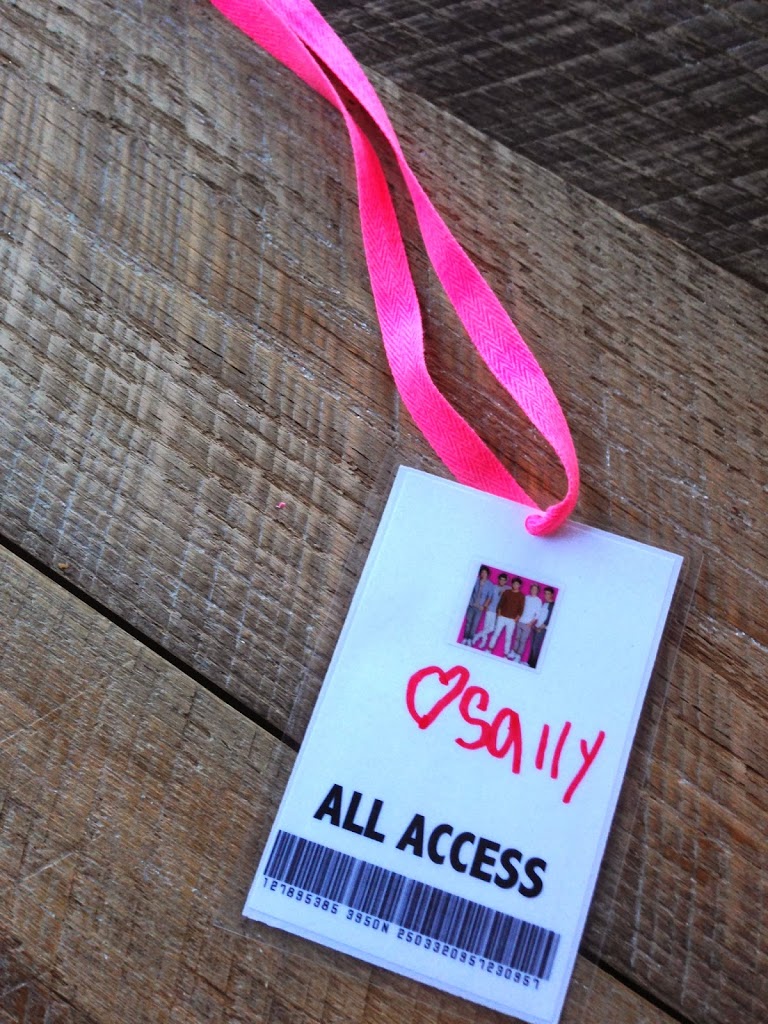
 Print the back of the pass on regular paper and cut on the faint gray line.

 The 1D valentines come with little stickers.  So we added a sticker to the back.  Sally then signed them all.  Glue the front and the back together.

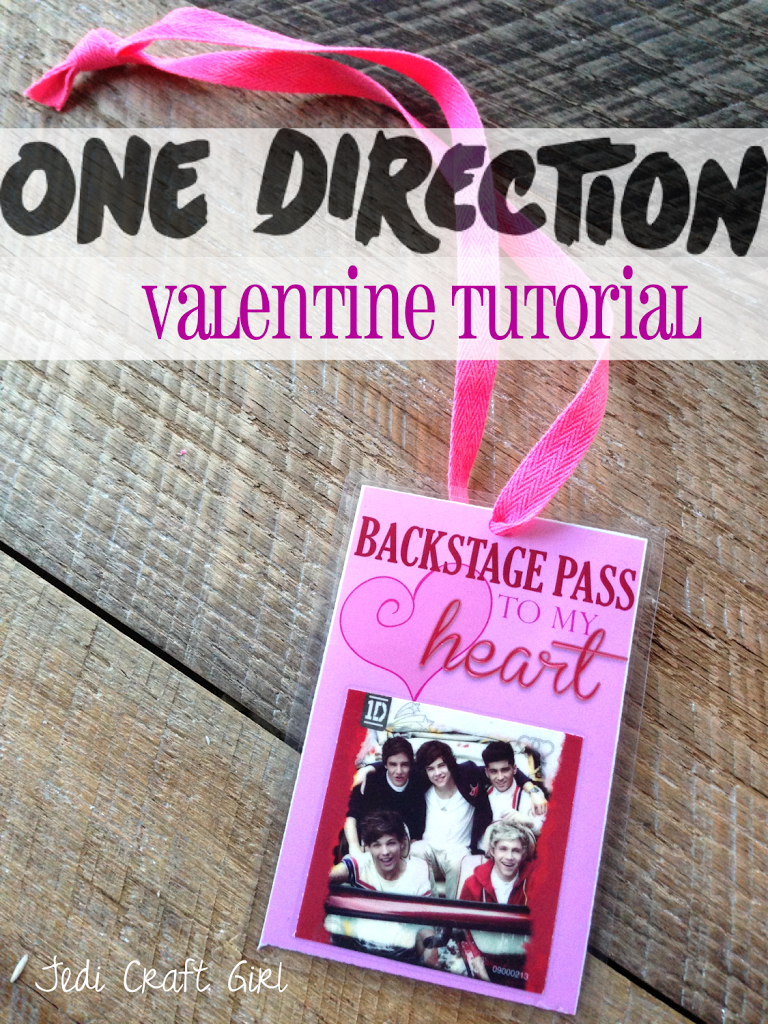
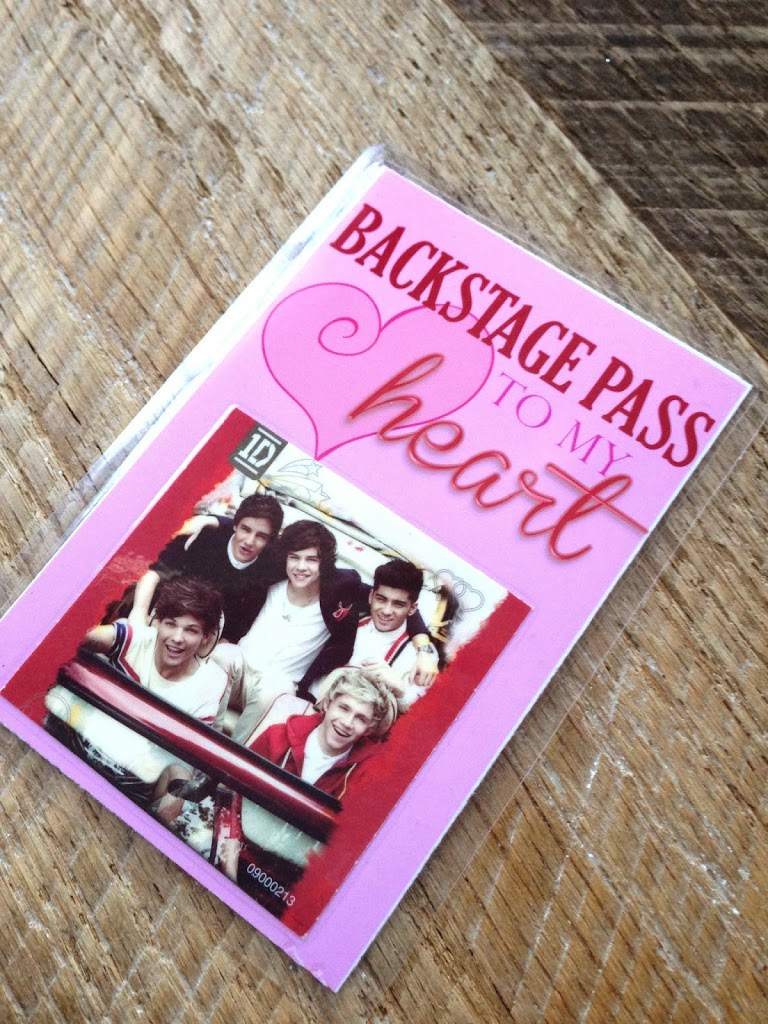
 Insert into a laminating pouch and laminate.

Punch a hole in the top and add some twill tape or ribbon.  I bout this giant spool of neon pink twill tape in LA for about $5.  I didn’t know what I would ever use it for!!!
 

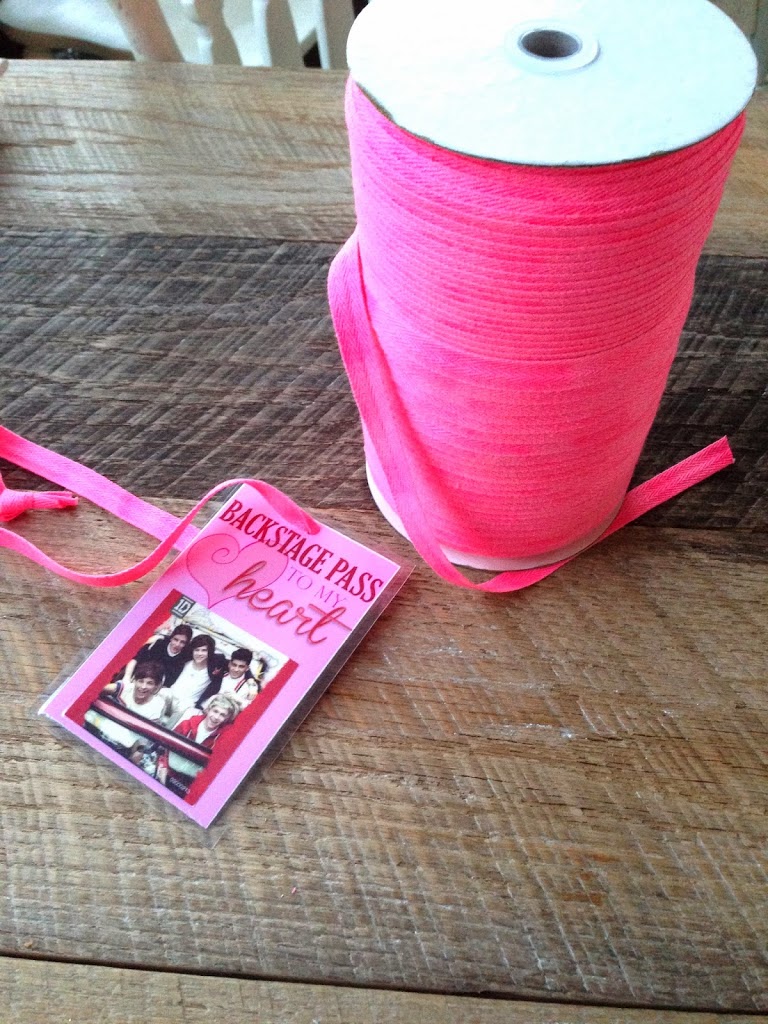
 We are just a little bit excited to wear this!!  We are making one for everyone in the class – even the boys – oh well!  That’s about 26 in all!  Better get cutting!

Amanda

Baby Love Baby Shower

This weekend I helped host a baby shower for a dear friend who just adopted a precious bundle of joy!
Since it is so close to Valentine’s Day and we love baby Harper so much, we thought it fitting to have a Baby Love shower with all things pink, red, and hearts!

I made my favorite strawberry, coconut, and chocolate cupcakes.  We had a few ladies bring different salads as well.

I think our streamer treatment turned out pretty good!


 It was such a fun shower with lots of friends and lots of love for baby Harper!  At the end of the shower, things got a little crazy.  I wanted a picture all together and when we stood by the balloon towers, it felt like we were at the prom.  And this is the result!

Amanda

Burlap Hearts

We are a little burlap crazy at our house right now!  My daughter choose to make these Burlap Hearts and sell them to earn money for her Young Women Camp this summer.  I am so proud of her – she made 60 of these hearts all by herself!  What a crafty girl I am raising!!
The hearts measure about 12″ square and they are big enough to hang on a front door.  Here are some of the different styles she came up with.

There were a few more, but I didn’t have time to photograph them as they were flying out the door!  If you are interested in purchasing one leave me a comment and we can work something out.

If you would like to make your own, here are the basic instructions.  This tutorial is for a 5″ heart, but it’s the same for a larger heart.
Supplies:
Burlap
fabric or lace
heat n bond lite or heat n bond spray adhesive
fiberfill

 Begin by cutting 2 hearts out of burlap.  For the large hearts I drew a 12″ heart on tissue paper and used that for my pattern.

Cut a smaller heart out of fabric or lace.  For the large hearts I used spray n bond to adhere the fabric to the burlap.  For the 5″ hearts I used heat n bond lite.  Here are more details on that method.

Adhere the fabric heart to the center of one of the burlap hearts and top stitch around.
With wrong sides together, sew around the 2 burlap hearts and leave a small opening for stuffing.

Stuff, and top stitch closed.  
For the large hearts we used a piece of wire for a hanger and added a lace bow.  
On the smaller hearts I made a garland (tutorial) and then also made some hanging hearts.

I had a Young Women Camp meeting and I used these as the handouts.  

 I have burlap dust all over my house!  Time to vacuum 🙂

Amanda

Burlap Heart Garland Tutorial

Today my tutorial for this cute Burlap Heart Garland is being featured over on the Therm O Web blog. It’s a fun, quick, easy project – great for Valentine’s Day!
Of course I can’t sew any project without the help of Marbles!  He had a splendid time playing in all the lace!
 
After the hearts were sewn, I sprayed them with Glitter Dust.  I love Glitter Dust!  The glitter won’t flake off your project, the adhesive won’t alter your project, and it just adds a hint of glitter!  
Here you can see the little sparkle when the sun hits it.

I think this garland would be cute in traditional Valentine’s Day colors also.  I wanted it a little more subdue since I was making it for my dining room.

Check out the tutorial and whip one up today!!

Amanda

Family Love Pillow

Today I am a contributor over at Ginger Snap Crafts!  I love Ginger & her fun blog – she has so many great projects and ideas!  I came up with this fun idea for a Valentine Pillow.  The heart on the front of the pillow has a zipper in it and inside the heart are 5 smaller hearts.

There is one heart for each member of our family.  Everyone has their name on the back of the heart.  Every day from February 1st to the 14th we will choose a heart and write a positive quality or character trait on that person’s heart.  On Valentine’s Day, everyone will receive their own heart.   I am  hoping it will help us have extra love in our family!

The pillow is actually made from a drop cloth, this is the pillow back:

Check out Ginger’s blog for the full pillow tutorial!

Amanda

Vintage Paper Hearts

 I got together with my friend for a little paper crafting!  She has super amazing taste and ideas!!  She came up with this fun project.  I love that the hearts are soft colors and not super bright red and white – definitely a vintage feel.  Here’s how you can make them:

First cut out “nesting” hearts on the Silhouette.  We cut about 12 different papers so we could mix and match.

Use “Distressing Ink” to age the egdges.

Next, paint white glue on the edges and dip them in “Vintage Sparkle” glitter – its the best color of glitter ever!!

Once they were dry, layer them and sew the center on the machine (of course I had to get some sewing in the project!!)

Aren’t they looking cute?

Gather peach, cream, and pink crepe paper on the sewing machine until you have a pile.
Hot glue the gathered crepe paper around the back like this:
When they are finished, I sprayed them with Glitter Dust – it’s magic in a can!  It gives them a soft dusting of glitter – just like the name says!  And the glitter doesn’t flake off!
I just can’t get enough of them!  They are all over my house!
I wanted to make a garland with some of them, so I glued three to a piece of lace.  I added additional ruffled crepe paper.
I love how my tea cabinet looks!  I love this picture from the Graphics Fairy.  I printed it out in an 8×10 and framed it.
I also made a paper rosette and glued a heart in the center – I hung it in the guest bathroom.
I’m ready for Valentine’s Day now!!!

Amanda

Happy Valentine’s Day!

Its been a crazy month.  February is starting to feel like the new December!  Of course I left making the children’s valentine’s to the night before at 10pm.  Lucky Ginger Snap Crafts posted this idea and it was quick and easy!
 
Here are mine.  I could not find any crazy straws with loop-de-loos – only squiggles.  We added a Hawaiian Punch on the go pouch and tied them all together.  We only had to make 60 of these!!

I found this cute printable from Lizzie Jane Baby and sized it down to use as a tag for my daughter’s Valentines.

 My daughter made the quilted valentine keychains for her friends.  She fussy cut images of birds and fish and owls!  She is the cutest 13 year old ever 🙂

I tied up all my valentine keychains and hopefully I can get them delivered today.

Amanda

Beginning Quilt Project – Table Runner

My friend is learning to sew and she wanted to learn how to piece a small quilt.  I found this free pattern for a table runner – it’s a great beginner project!
  
We were inspired by Valentine’s Day and choose fabrics that were pink, red, and white.  She came over and I helped her cut and taught her all about the basics of quilting.  She did great!  Here is the finished project!  (we ran out of time so I quilted it for her….that will be the next lesson!)


Amanda

Quilted Heart Keychains

Every Valentine’s Day I like to make a little item to give my friends.  And so the Quilted Heart Key chain idea was born 🙂  I love this project because it is a total scrap buster!!  Here is how you can make one:

Supplies:

Scraps of 2 fabrics 
Scraps of cotton batting
Fusible web
Twill tape or ribbon
Small jump ring or key chain
Larger jump ring or zipper pull
Click HERE for the heart pattern

Step 1
Cut your main heart fabric into 2 squares about 4″ each.  Also cut your batting that size – this measurement can be very rough.

Step 2
Layer your items like you would a quilt.  Top piece right side facing out, batting, and back facing opposite.  
 
 Pin your heart to the top of this layering.
Step 3
Sew around the heart following the pattern.

Step 4
Trim close to your sewn edge.


Step 5
Cut 2″ of twill tape and loop it through your small split ring.   Sew the edges down toward the center of the heart.  This will be covered when you add the next fabric heart.


Step 6
Trace your smaller heart onto your fusible web (trace 2).  Iron it to the wrong side of the fabric.

Cut the hearts out on the line and iron them to both sides of the heart trying to center them the best you can.

Step 7
Top stitch around the center heart.  I stitched around it twice.  I like when the stitches kind of follow each other and are not perfect – kind of sketchy like.  
Then add your larger split ring or zipper pull.  Done! 
 

Amanda

Red Hot Popcorn

I am linking this recipe up to 30 Handmade Days Blog.  Mique is having everyone link up a favorite recipe – this is one of my favorites for Valentine’s Day!   It is super yummy! (I have changed it slightly from others on the Internet)

Popped popcorn – I used my hot air popper and popped 2/3 cup and then another 2/3 cup. (This will be enough to fill up a roasting pan)

Lightly butter your roasting pan and place popped corn in pan making sure to sift out ALL seeds. Heat oven to 250 degrees.

1 cup butter
1/2 cup Karo syrup
1/4 cup sugar
10 to 12 ounces red hots ( I guessed because my bag was a 14-ounce bag)
1/4 tsp. salt

Melt the above ingredients on the stove top. Bring to boil and boil for 5 minutes. (My red hots took a long time to dissolve almost the entire 5 minutes.) Turn off the heat and add 1/2 tsp. baking soda. Stir well. Pour the molten hot mixture over the popped corn and toss to coat. Place in the oven for 1 hour stirring every 15 minutes. Yum!!! 

Amanda