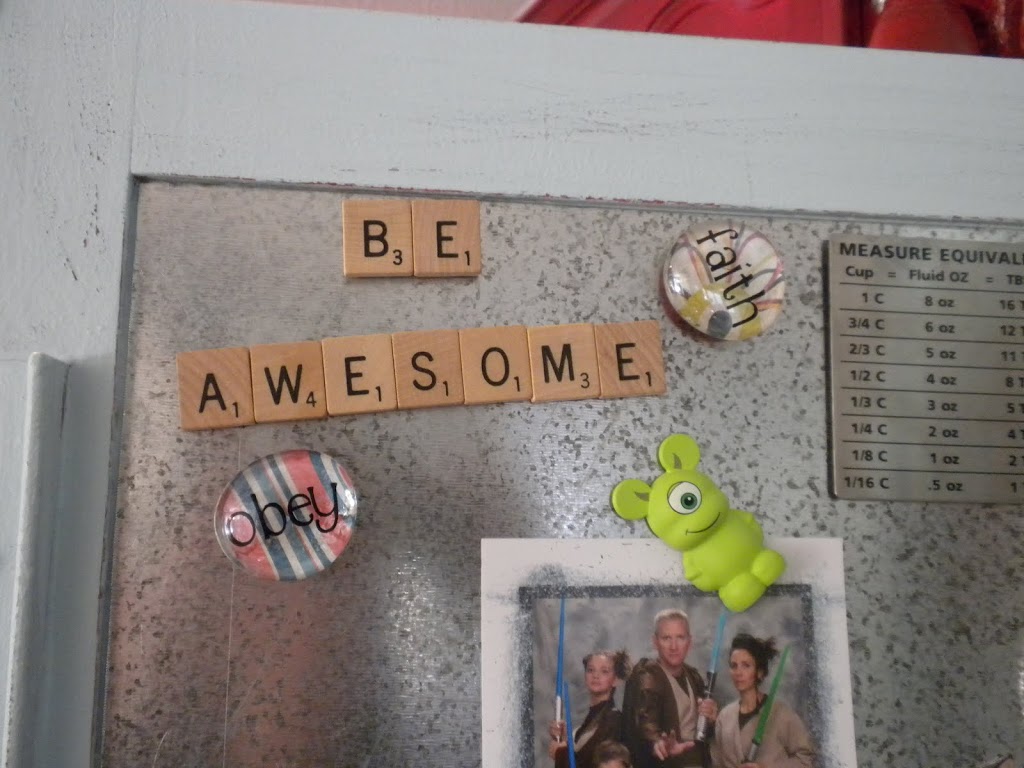
In an effort to keep the front of my refrigerator looking clutter-free, I came up with this solution: Use the inside of the pantry doors! I bought a piece of sheet metal at Lowe’s. I measured the inside of the pantry door and sniped the metal to that size. I used an epoxy to adhere it to the inside of the door. Now, I can keep all the cluttery things I love (random photos, magnets, notes, drawings, etc.) out of plain sight. I still see them all day long because I am always opening the pantry doors. It would be cute to put the metal down low for the children to play with!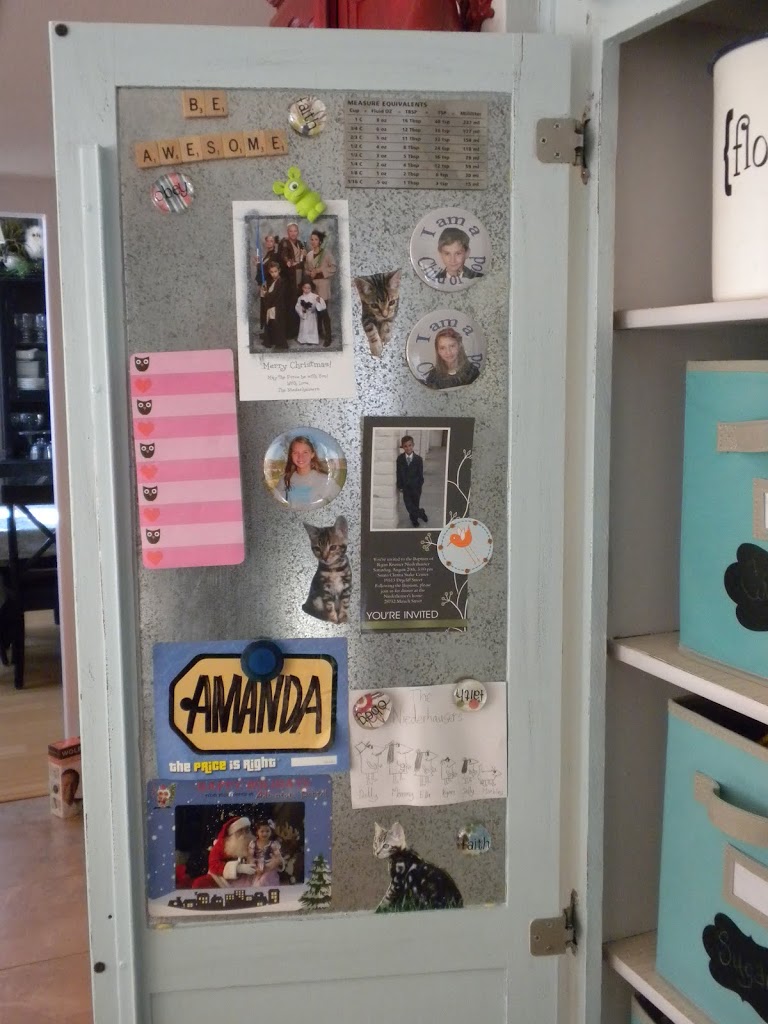
On the other side of the pantry I wanted to paint chalk board paint – but chalk is forbidden in the house (says husband). So, I thought dry erase board. I bought this frame at a garage sale for 50 cents. It had plexi-glass in it which I almost threw away at the time. It is much lighter than glass and worked perfect for my dry erase board. I put some 3M tape on the bottom so the frame wouldn’t clank around every time I open & shut the door. Every day there is a different note from Ella about her cat Marbles!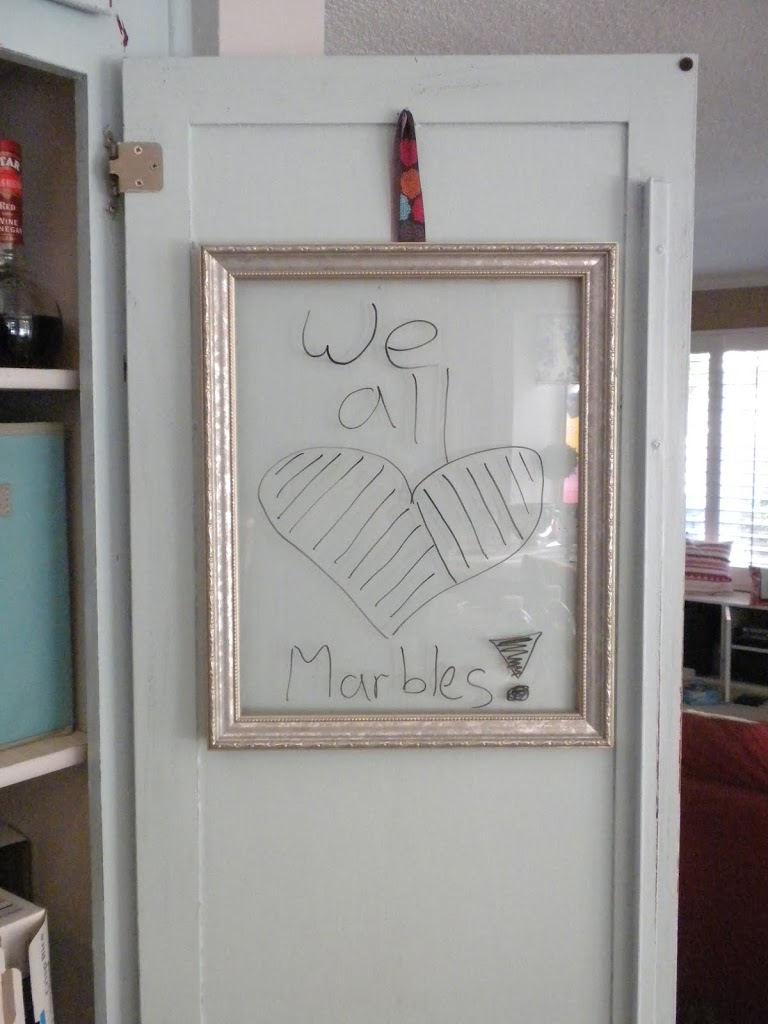
Archives for January 2012
Pantry – magnets & dry erase
Pantry – magnets & dry erase
In an effort to keep the front of my refrigerator looking clutter-free, I came up with this solution: Use the inside of the pantry doors! I bought a piece of sheet metal at Lowe’s. I measured the inside of the pantry door and sniped the metal to that size. I used an epoxy to adhere it to the inside of the door. Now, I can keep all the cluttery things I love (random photos, magnets, notes, drawings, etc.) out of plain sight. I still see them all day long because I am always opening the pantry doors. It would be cute to put the metal down low for the children to play with!
On the other side of the pantry I wanted to paint chalk board paint – but chalk is forbidden in the house (says husband). So, I thought dry erase board. I bought this frame at a garage sale for 50 cents. It had plexi-glass in it which I almost threw away at the time. It is much lighter than glass and worked perfect for my dry erase board. I put some 3M tape on the bottom so the frame wouldn’t clank around every time I open & shut the door. Every day there is a different note from Ella about her cat Marbles!
Heirloom Silverwear Display
I found this idea on Write. Click. Scrapbook. It is such a great idea!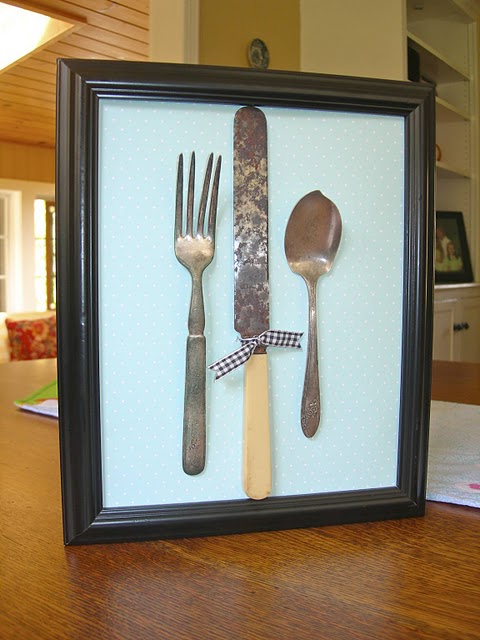 I got out some of my heirloom silver pieces and made one in about 5 minutes. I used scrapbook paper and cardboard for the back. I marked the places the wire needed to go to hold the silver then drilled small holes through the paper/cardboard. I used thin wire to hold the pieces in place. I have it hanging in the kitchen and it makes me happy to look at it.
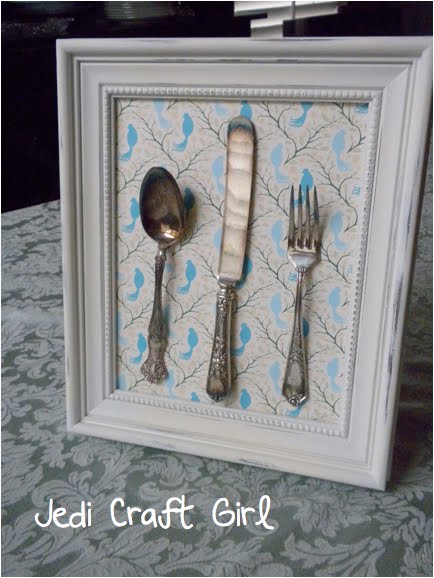
Heirloom Silverwear Display
I found this idea on Write. Click. Scrapbook. It is such a great idea!I got out some of my heirloom silver pieces and made one in about 5 minutes. I used scrapbook paper and cardboard for the back. I marked the places the wire needed to go to hold the silver then drilled small holes through the paper/cardboard. I used thin wire to hold the pieces in place. I have it hanging in the kitchen and it makes me happy to look at it.
My Favorite Peanut Butter Chocolate Cookies
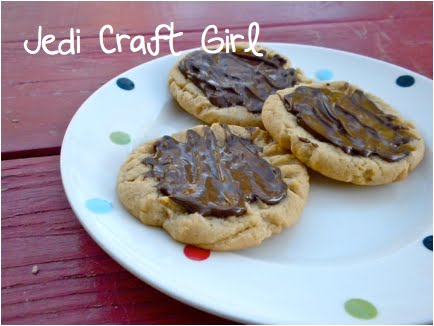
I love chocolate and peanut butter together! When ever I am served those Hershy’s Kiss peanut butter cookies I love them but never know how to eat them. I end up with a big chunk of chocolate in my mouth and the chocolate-less cookie remaining. Problem solved with this, my favorite PB cookie recipe!
Peanut Butter Chocolate Cookies
1 cup butter
1 cup peanut butter, smooth
2 1/2 cups flour
1 cup sugar
1 cup brown sugar
2 eggs
1 tsp. baking soda
1 tsp. baking powder
1 tsp. vanilla
Beat butter, peanut butter, 1 cup of the flour, sugars, eggs, soda, powder and vanilla. Beat in the remaining flour. Shape into balls and roll in sugar. Flatten with a fork in a criss-cross pattern. Bake at 375 for 7-9 minutes. Remove from oven and sprinkle with chocolate chips. Return to oven for about 30 seconds. Spread the melted chocolate over the top of the cookie.
Problem solved: chocolate in every bite!!!!
My Favorite Peanut Butter Chocolate Cookies
I love chocolate and peanut butter together! When ever I am served those Hershy’s Kiss peanut butter cookies I love them but never know how to eat them. I end up with a big chunk of chocolate in my mouth and the chocolate-less cookie remaining. Problem solved with this, my favorite PB cookie recipe!
Peanut Butter Chocolate Cookies
1 cup butter
1 cup peanut butter, smooth
2 1/2 cups flour
1 cup sugar
1 cup brown sugar
2 eggs
1 tsp. baking soda
1 tsp. baking powder
1 tsp. vanilla
Beat butter, peanut butter, 1 cup of the flour, sugars, eggs, soda, powder and vanilla. Beat in the remaining flour. Shape into balls and roll in sugar. Flatten with a fork in a criss-cross pattern. Bake at 375 for 7-9 minutes. Remove from oven and sprinkle with chocolate chips. Return to oven for about 30 seconds. Spread the melted chocolate over the top of the cookie.
Problem solved: chocolate in every bite!!!!
I Love Hobby Lobby!
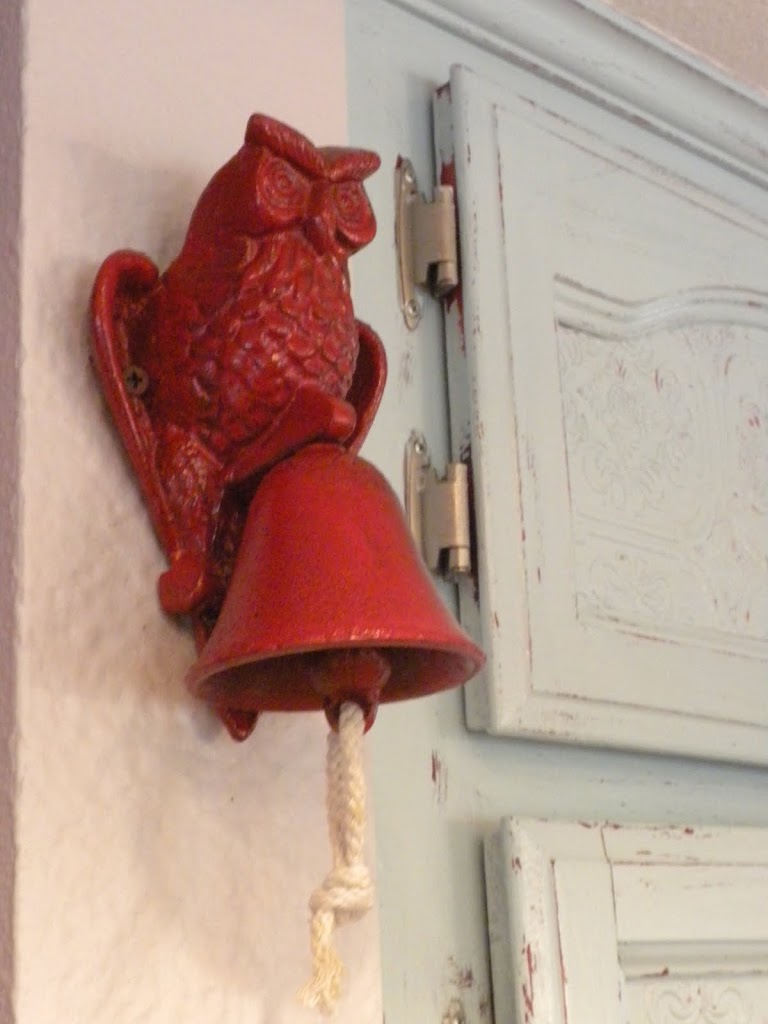
A few weeks ago I went to my sisters house for a weekend. In three days we went to Hobby Lobby 5 times! I don’t live any where near a Hobby Lobby sadly. I found this fun iron owl bell in the metal department. It was $10 and then half price!!! Love that! The bell was a dark brown color so I spray painted it bright red and hung it in the kitchen. I now have a bell to ring when it is meal time instead of yelling for everyone! My kids said, “Why didn’t you hang it lower!” I can only imagine life with three kids ringing this loud bell all day!!!!
I Love Hobby Lobby!
A few weeks ago I went to my sisters house for a weekend. In three days we went to Hobby Lobby 5 times! I don’t live any where near a Hobby Lobby sadly. I found this fun iron owl bell in the metal department. It was $10 and then half price!!! Love that! The bell was a dark brown color so I spray painted it bright red and hung it in the kitchen. I now have a bell to ring when it is meal time instead of yelling for everyone! My kids said, “Why didn’t you hang it lower!” I can only imagine life with three kids ringing this loud bell all day!!!!
Pantry Cupboard Re-Do
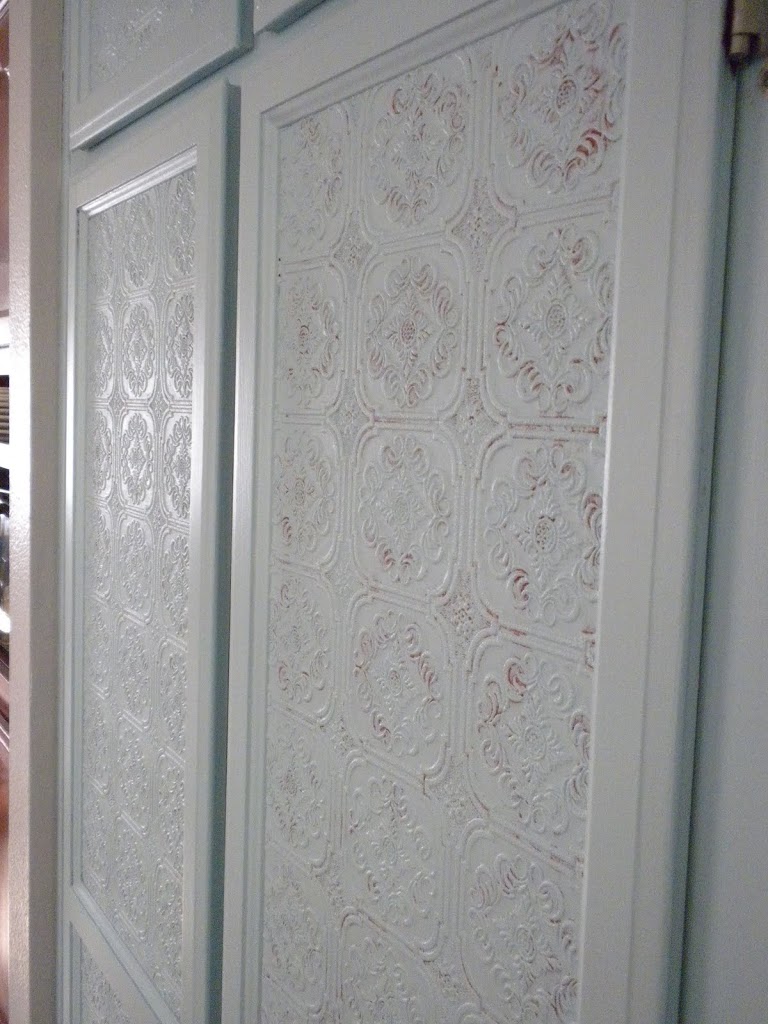
I am in the process of repainting my kitchen. Today’s project is the pantry cupboard. I saw this cool paintable-textured wallpaper at Lowe’s. So I thought I would give it a try. The photos are a little dark as I do my best work in the wee hours of the night!!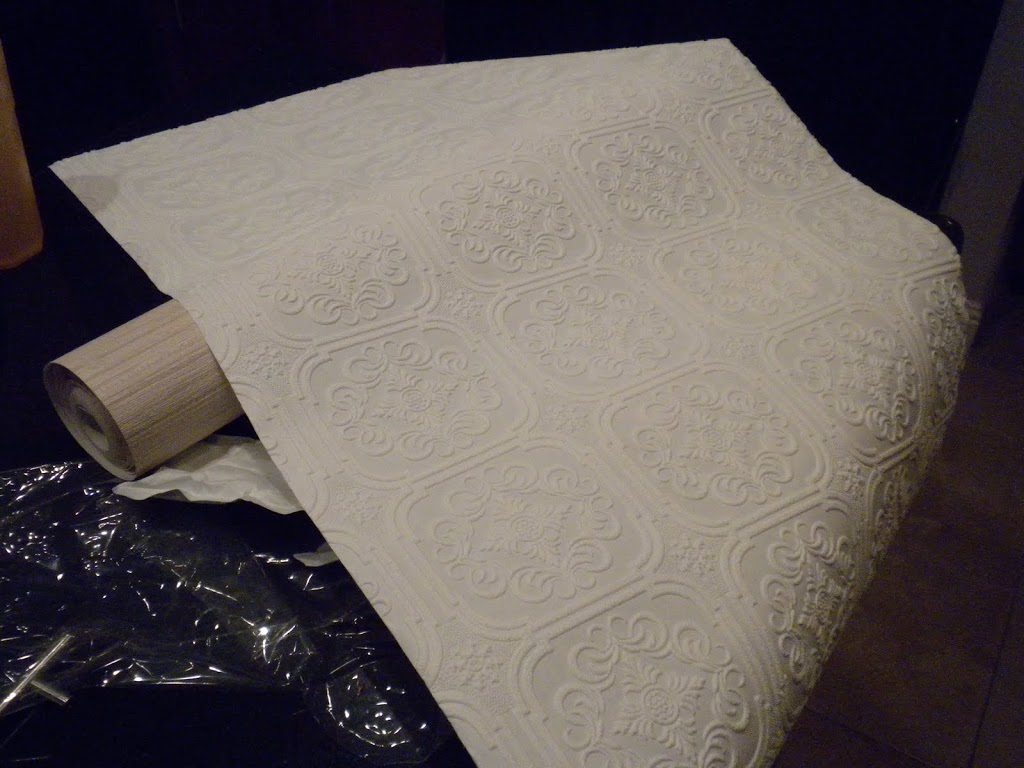
First you measure the space you want to cover and cut the wallpaper those dimensions. I used my quilting rotary cutter and mat and it worked like a dream. Then I followed the wallpaper instructions. Soak the paper for 30 seconds, let it sit for 5 minutes, then apply, smoothing out the air bubbles and wiping off the excess glue.
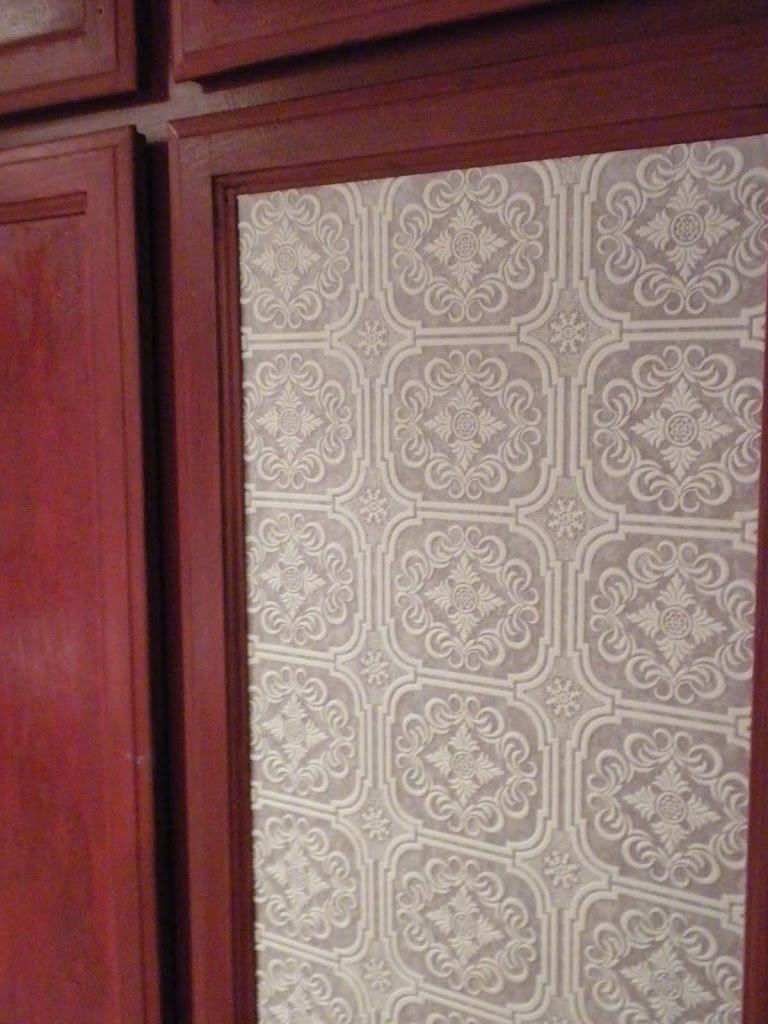
I applied a piece to each of the panels on the cupboards and let it dry over night.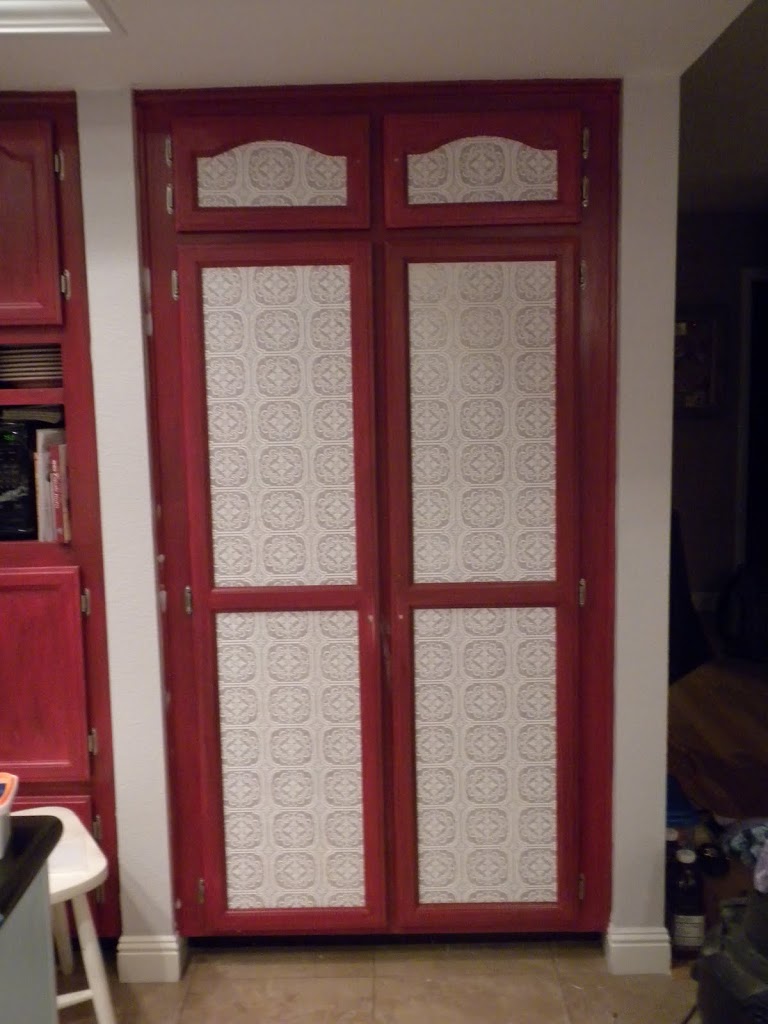
Now the fun part begins. I wanted the wallpaper to match the rest of the cabinets so I first needed it to be red like the rest of the kitchen. It was hard to get out the Tomato Red paint when I am wanting to cover it up!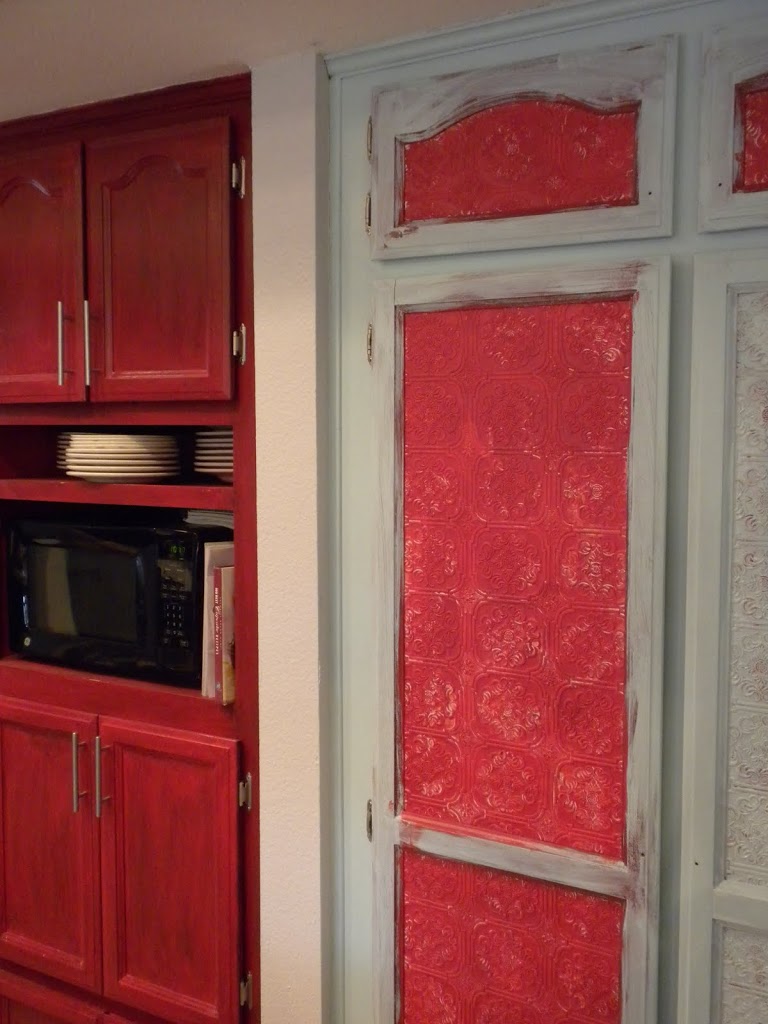
I let the red dry then it was time to paint the aqua color over the doors. I left bits of the red showing through on the texture part to give it the rustic feel I am going for.
When that step was done and dry, I sanded the edges of the doors so the red would show through here and there.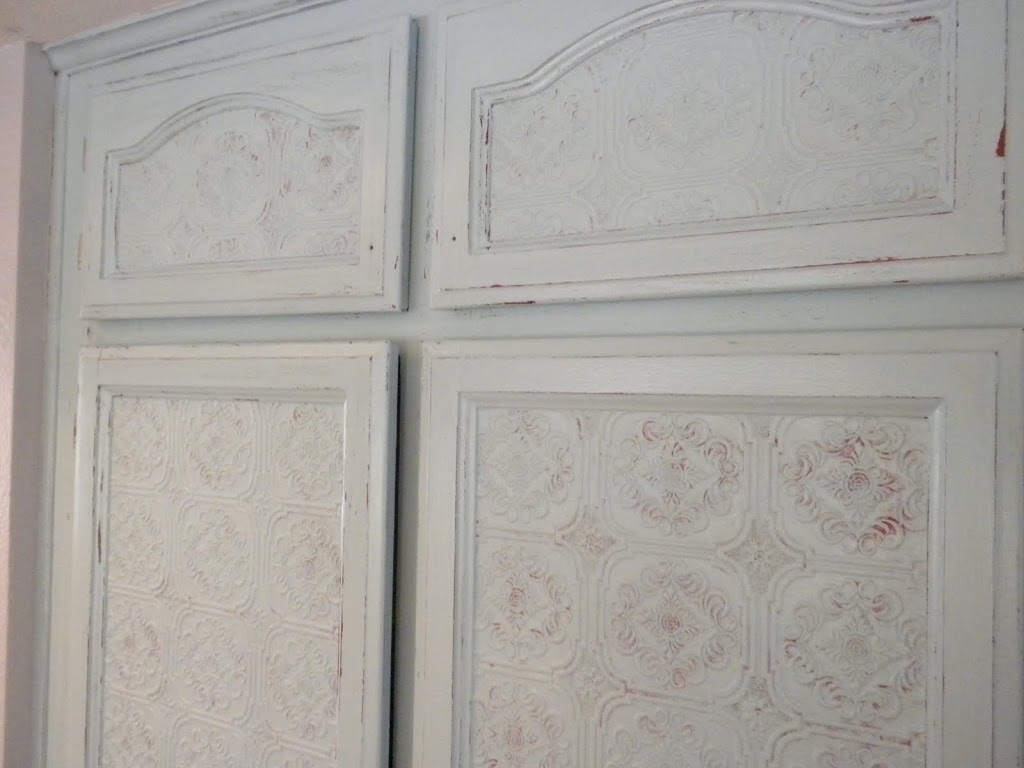
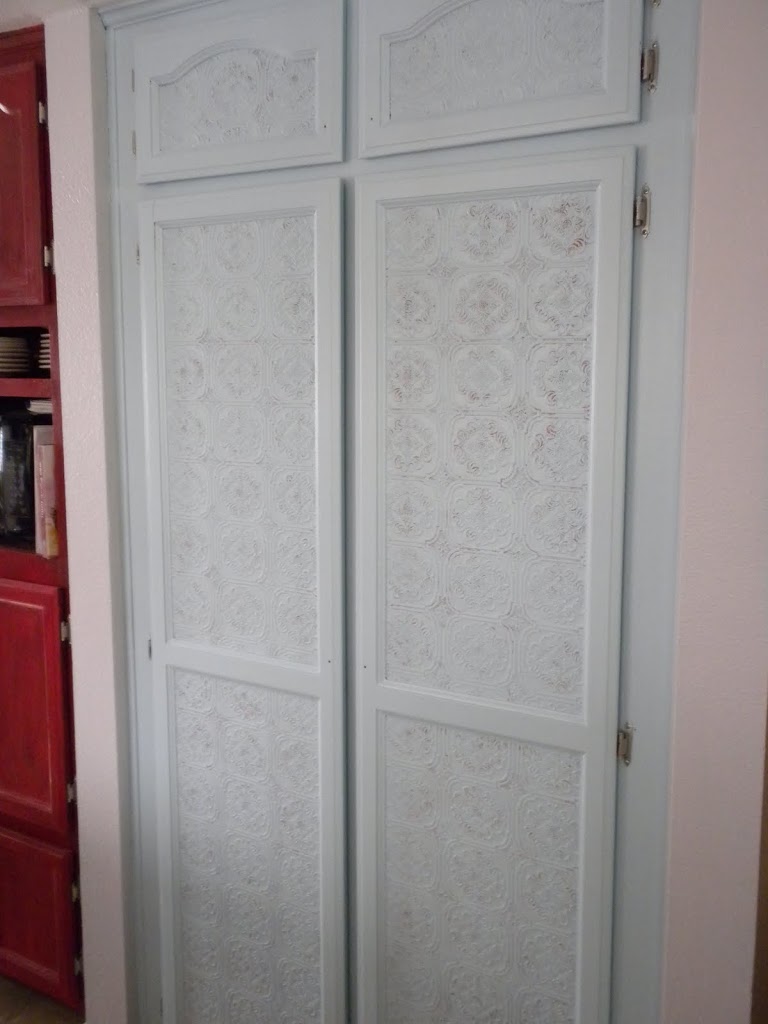
I then applied a coat of Polycrylic. This is a non-coloring protective coat that will keep the paint from chipping and give some durability to the wallpaper.
I love the finished look. The wallpaper looks like it was always part of the doors!
Pantry Cupboard Re-Do
I am in the process of repainting my kitchen. Today’s project is the pantry cupboard. I saw this cool paintable-textured wallpaper at Lowe’s. So I thought I would give it a try. The photos are a little dark as I do my best work in the wee hours of the night!!
First you measure the space you want to cover and cut the wallpaper those dimensions. I used my quilting rotary cutter and mat and it worked like a dream. Then I followed the wallpaper instructions. Soak the paper for 30 seconds, let it sit for 5 minutes, then apply, smoothing out the air bubbles and wiping off the excess glue.
I applied a piece to each of the panels on the cupboards and let it dry over night.
Now the fun part begins. I wanted the wallpaper to match the rest of the cabinets so I first needed it to be red like the rest of the kitchen. It was hard to get out the Tomato Red paint when I am wanting to cover it up!
I let the red dry then it was time to paint the aqua color over the doors. I left bits of the red showing through on the texture part to give it the rustic feel I am going for.
When that step was done and dry, I sanded the edges of the doors so the red would show through here and there.
I then applied a coat of Polycrylic. This is a non-coloring protective coat that will keep the paint from chipping and give some durability to the wallpaper.
I love the finished look. The wallpaper looks like it was always part of the doors!


