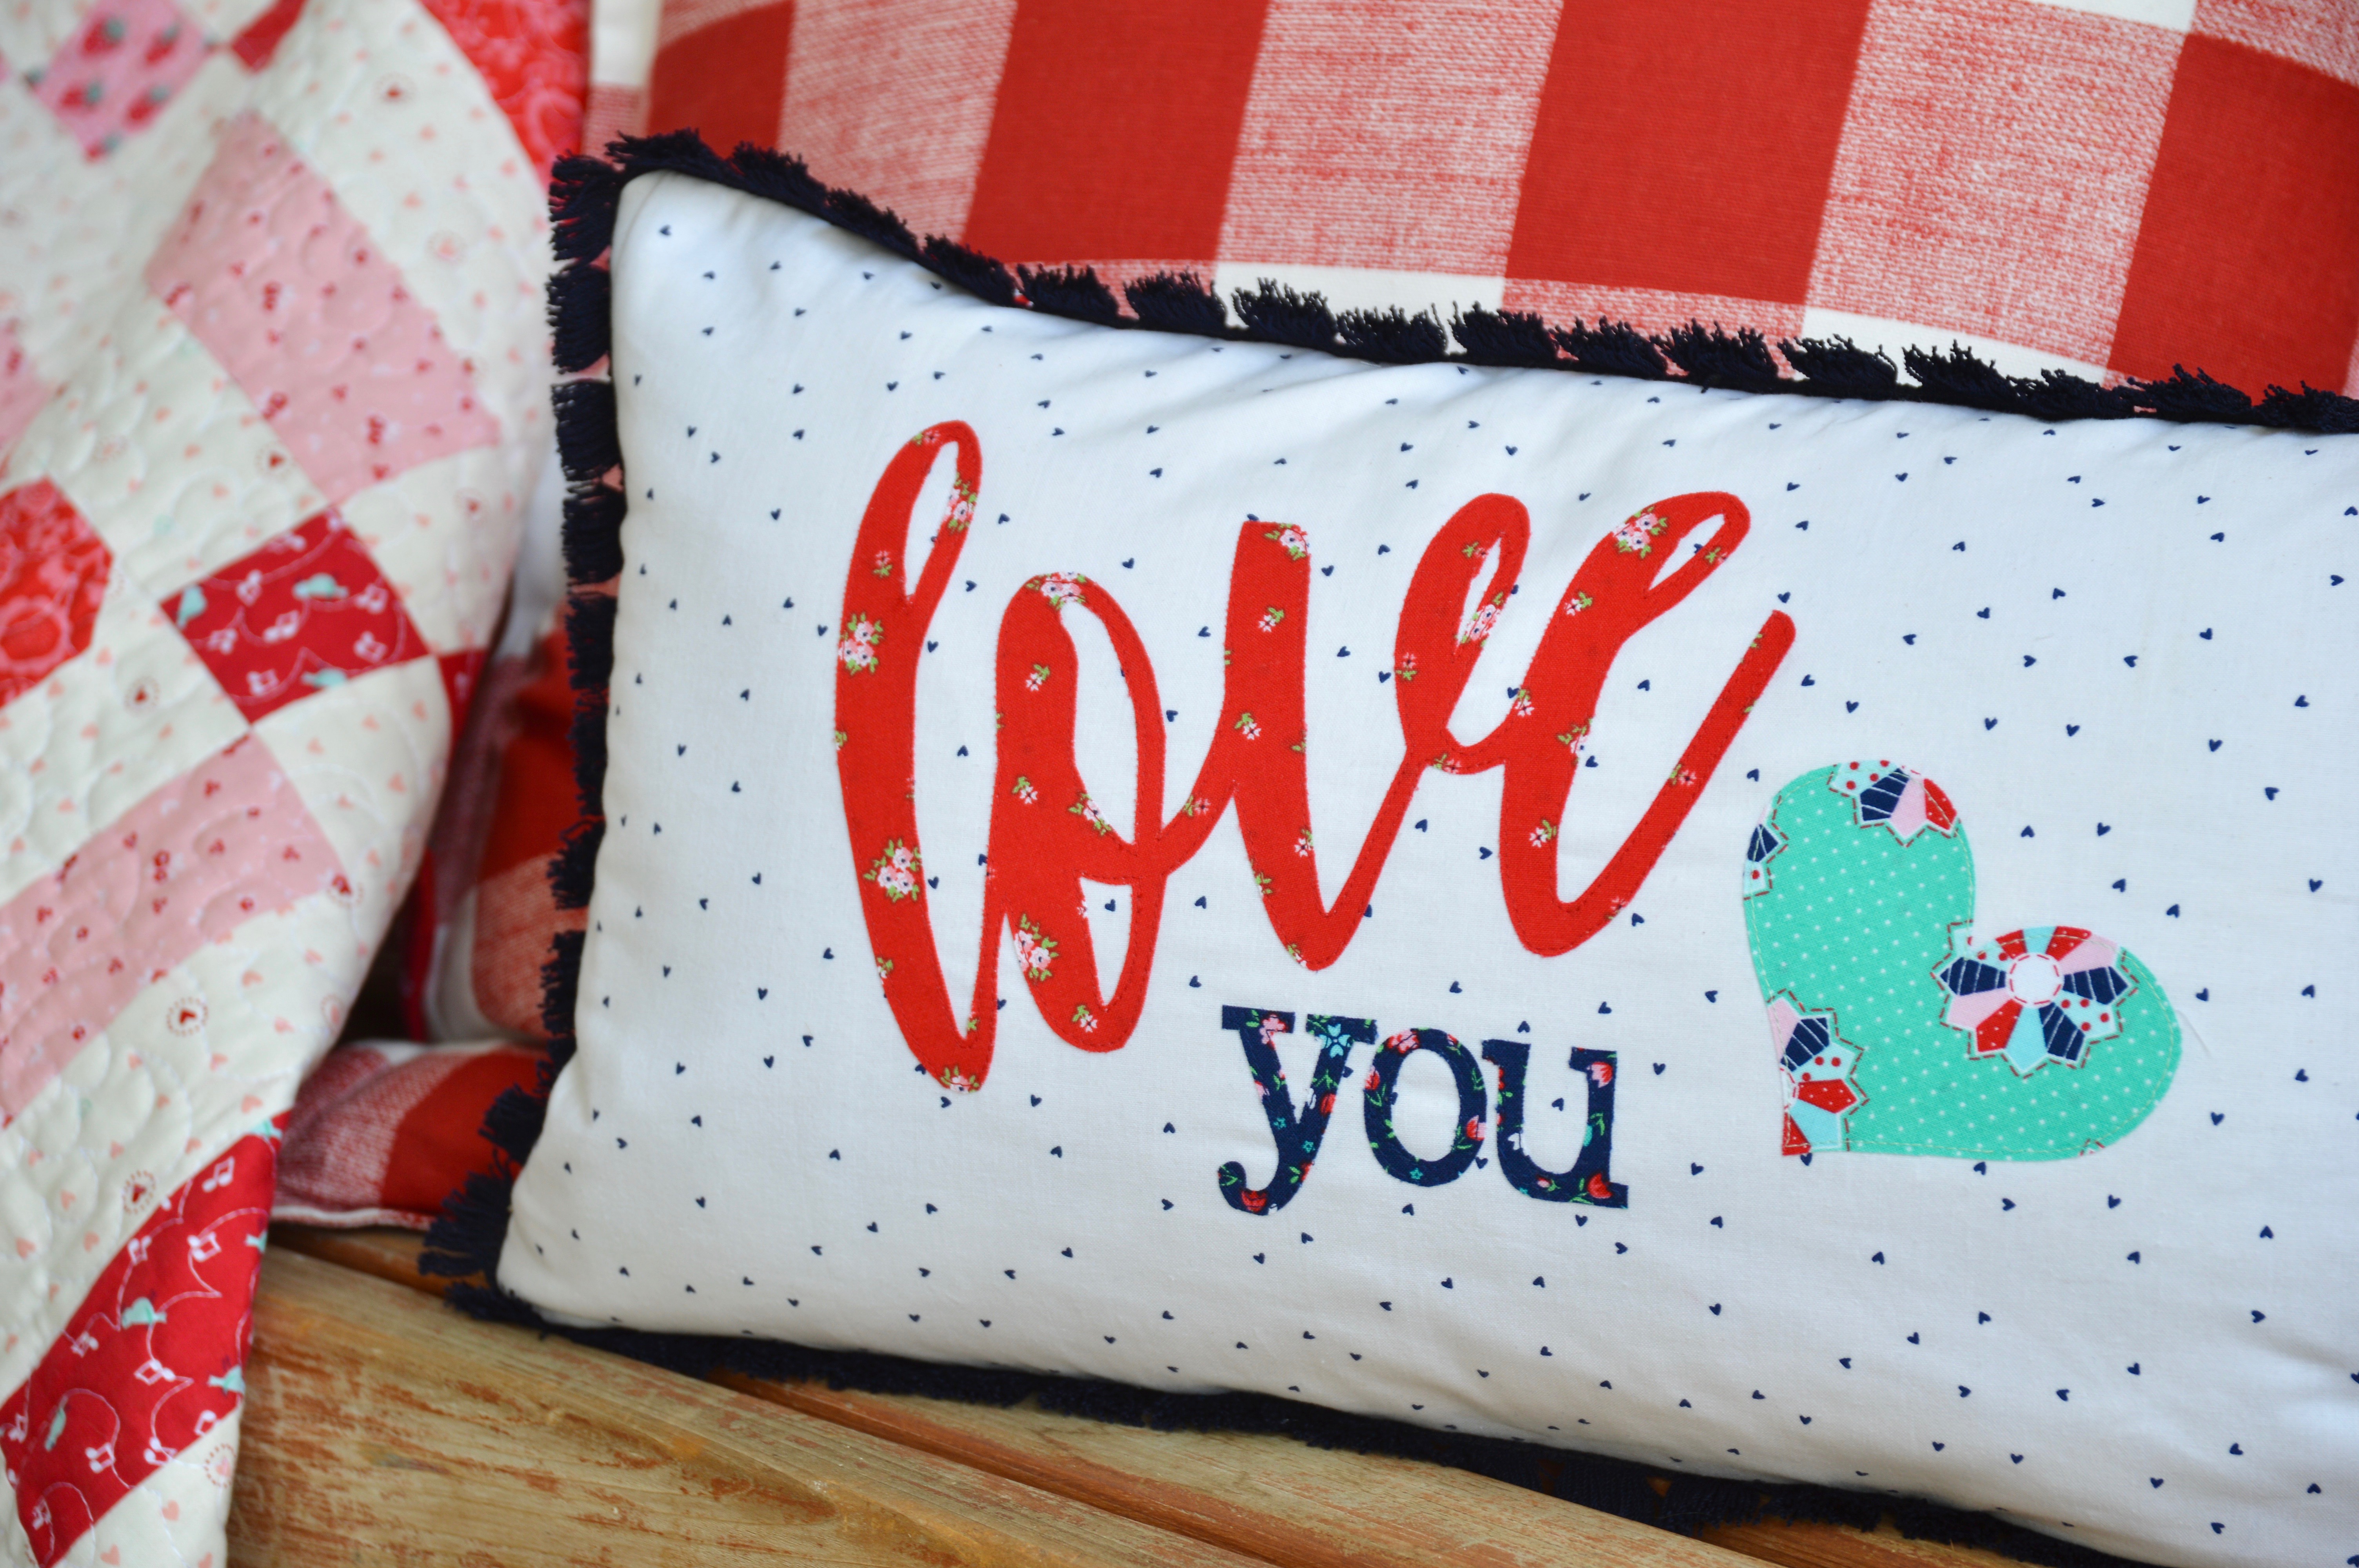
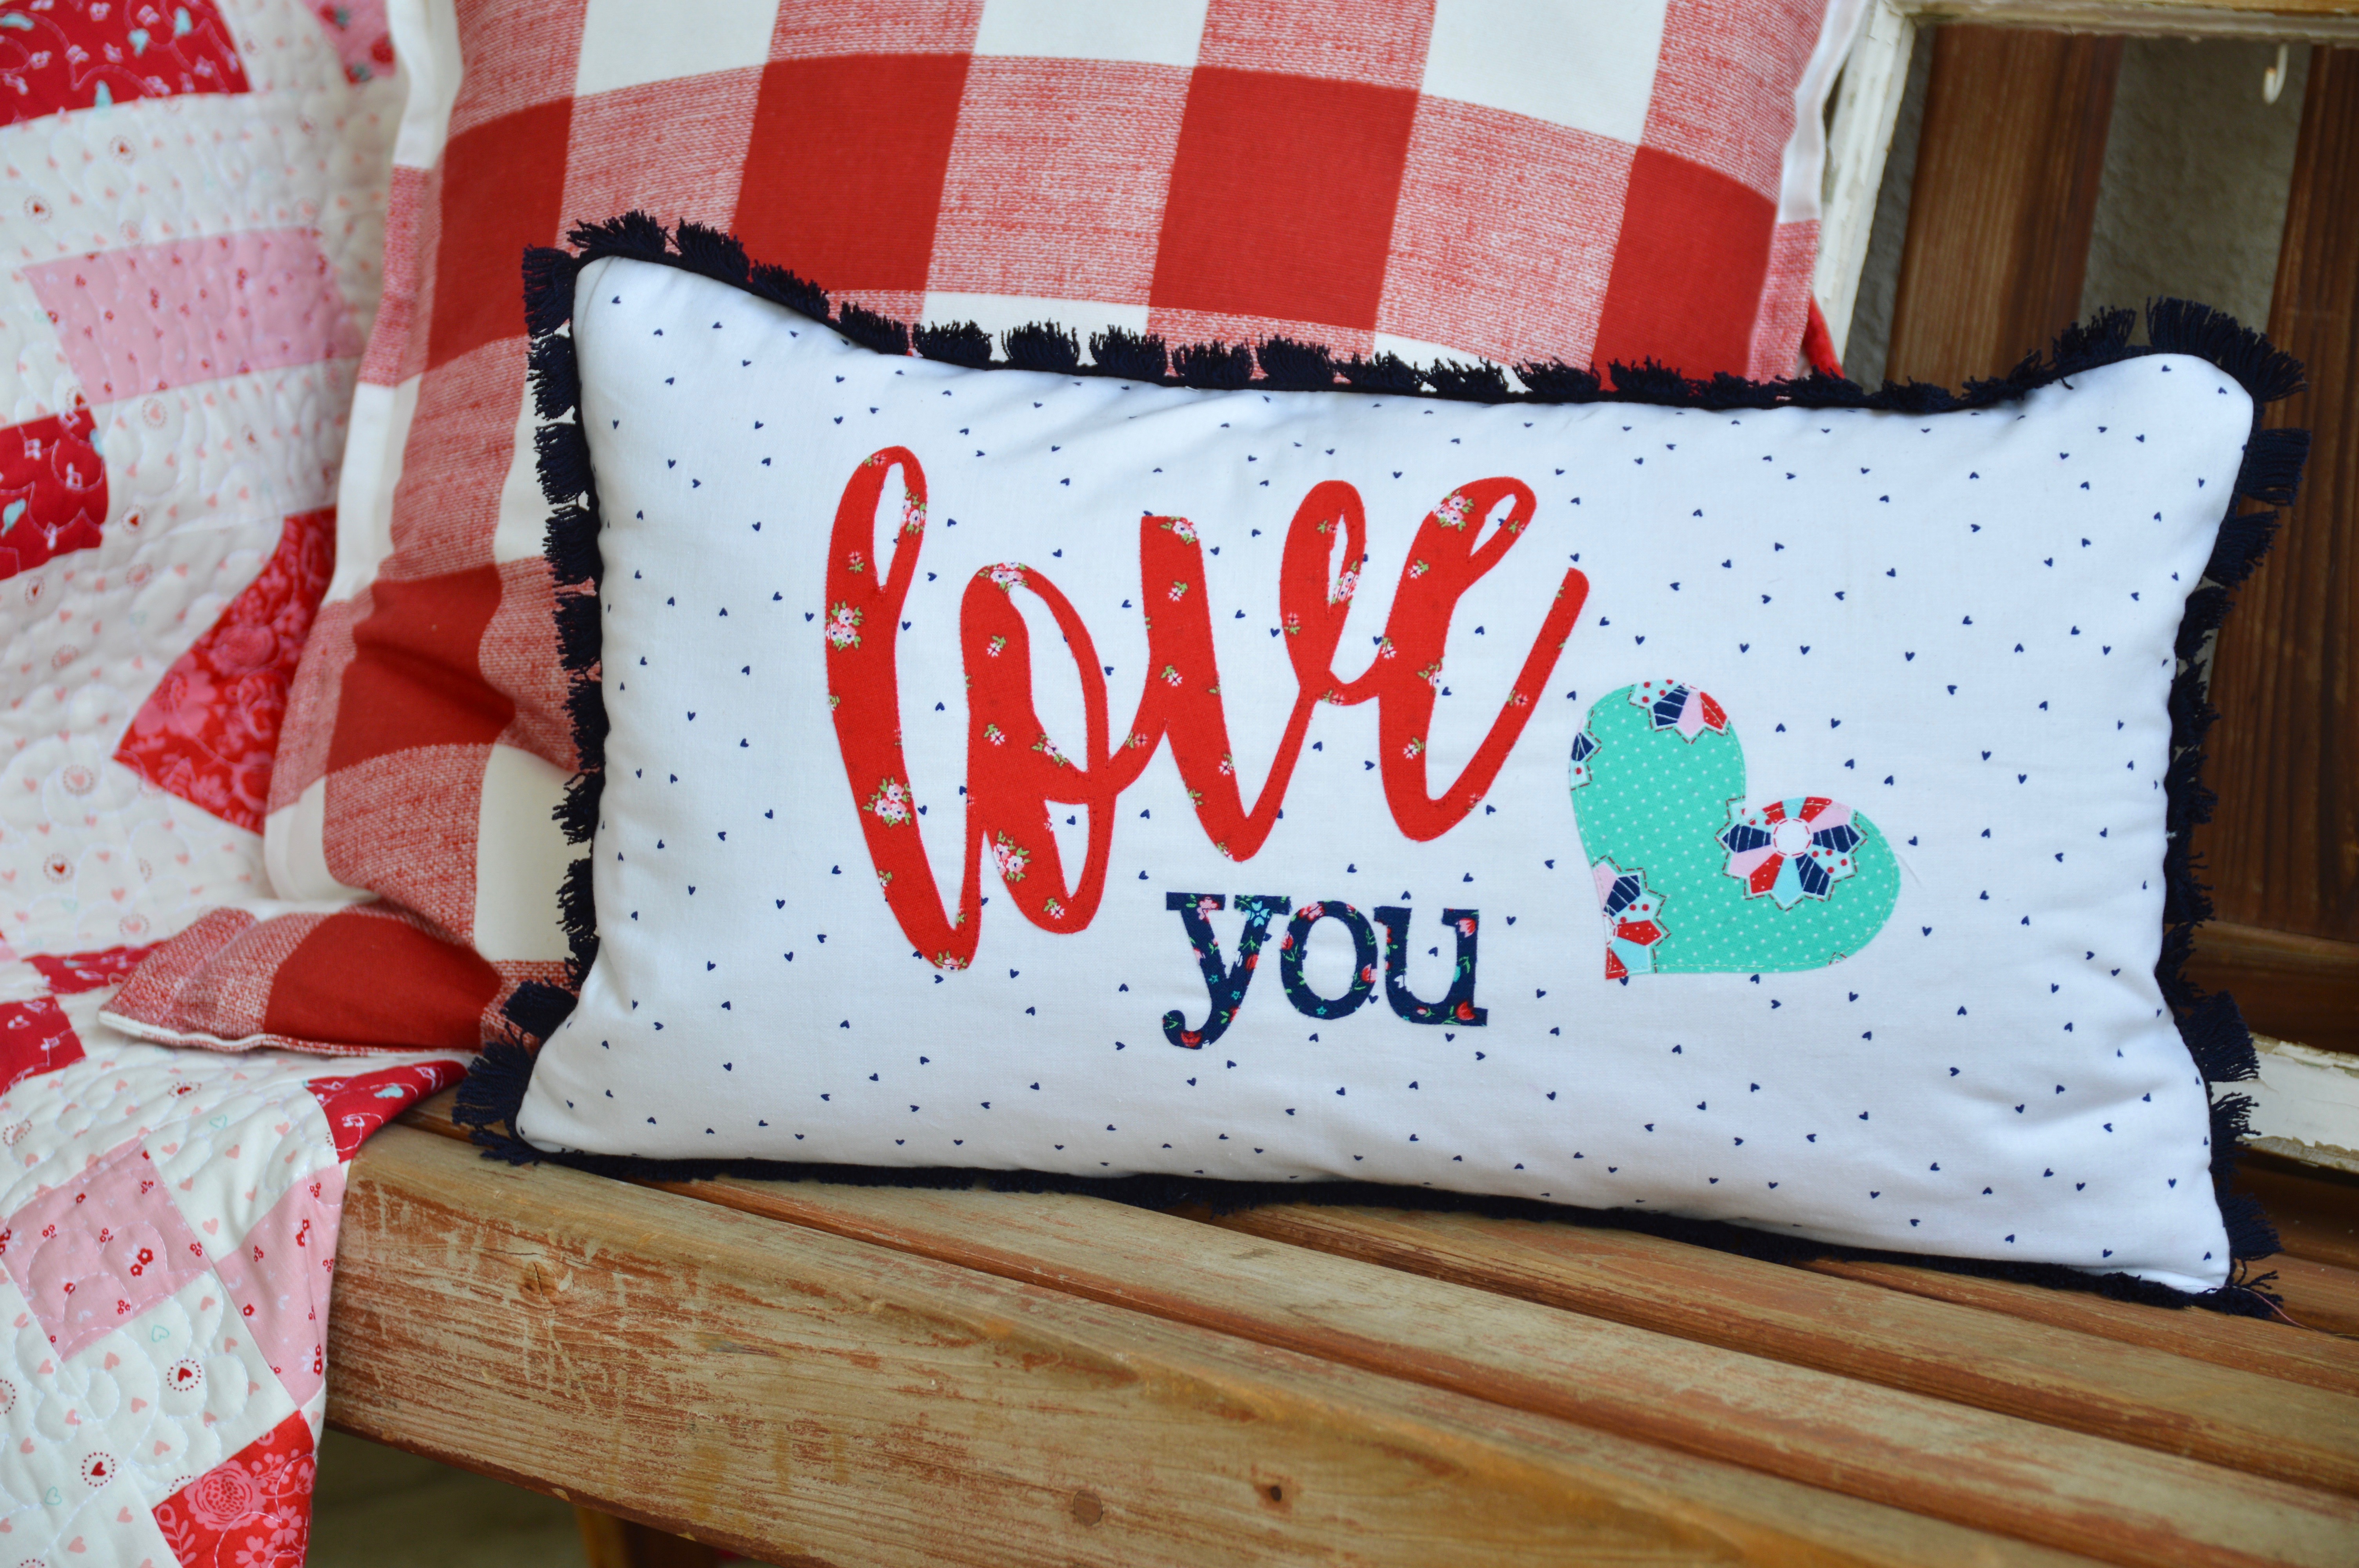
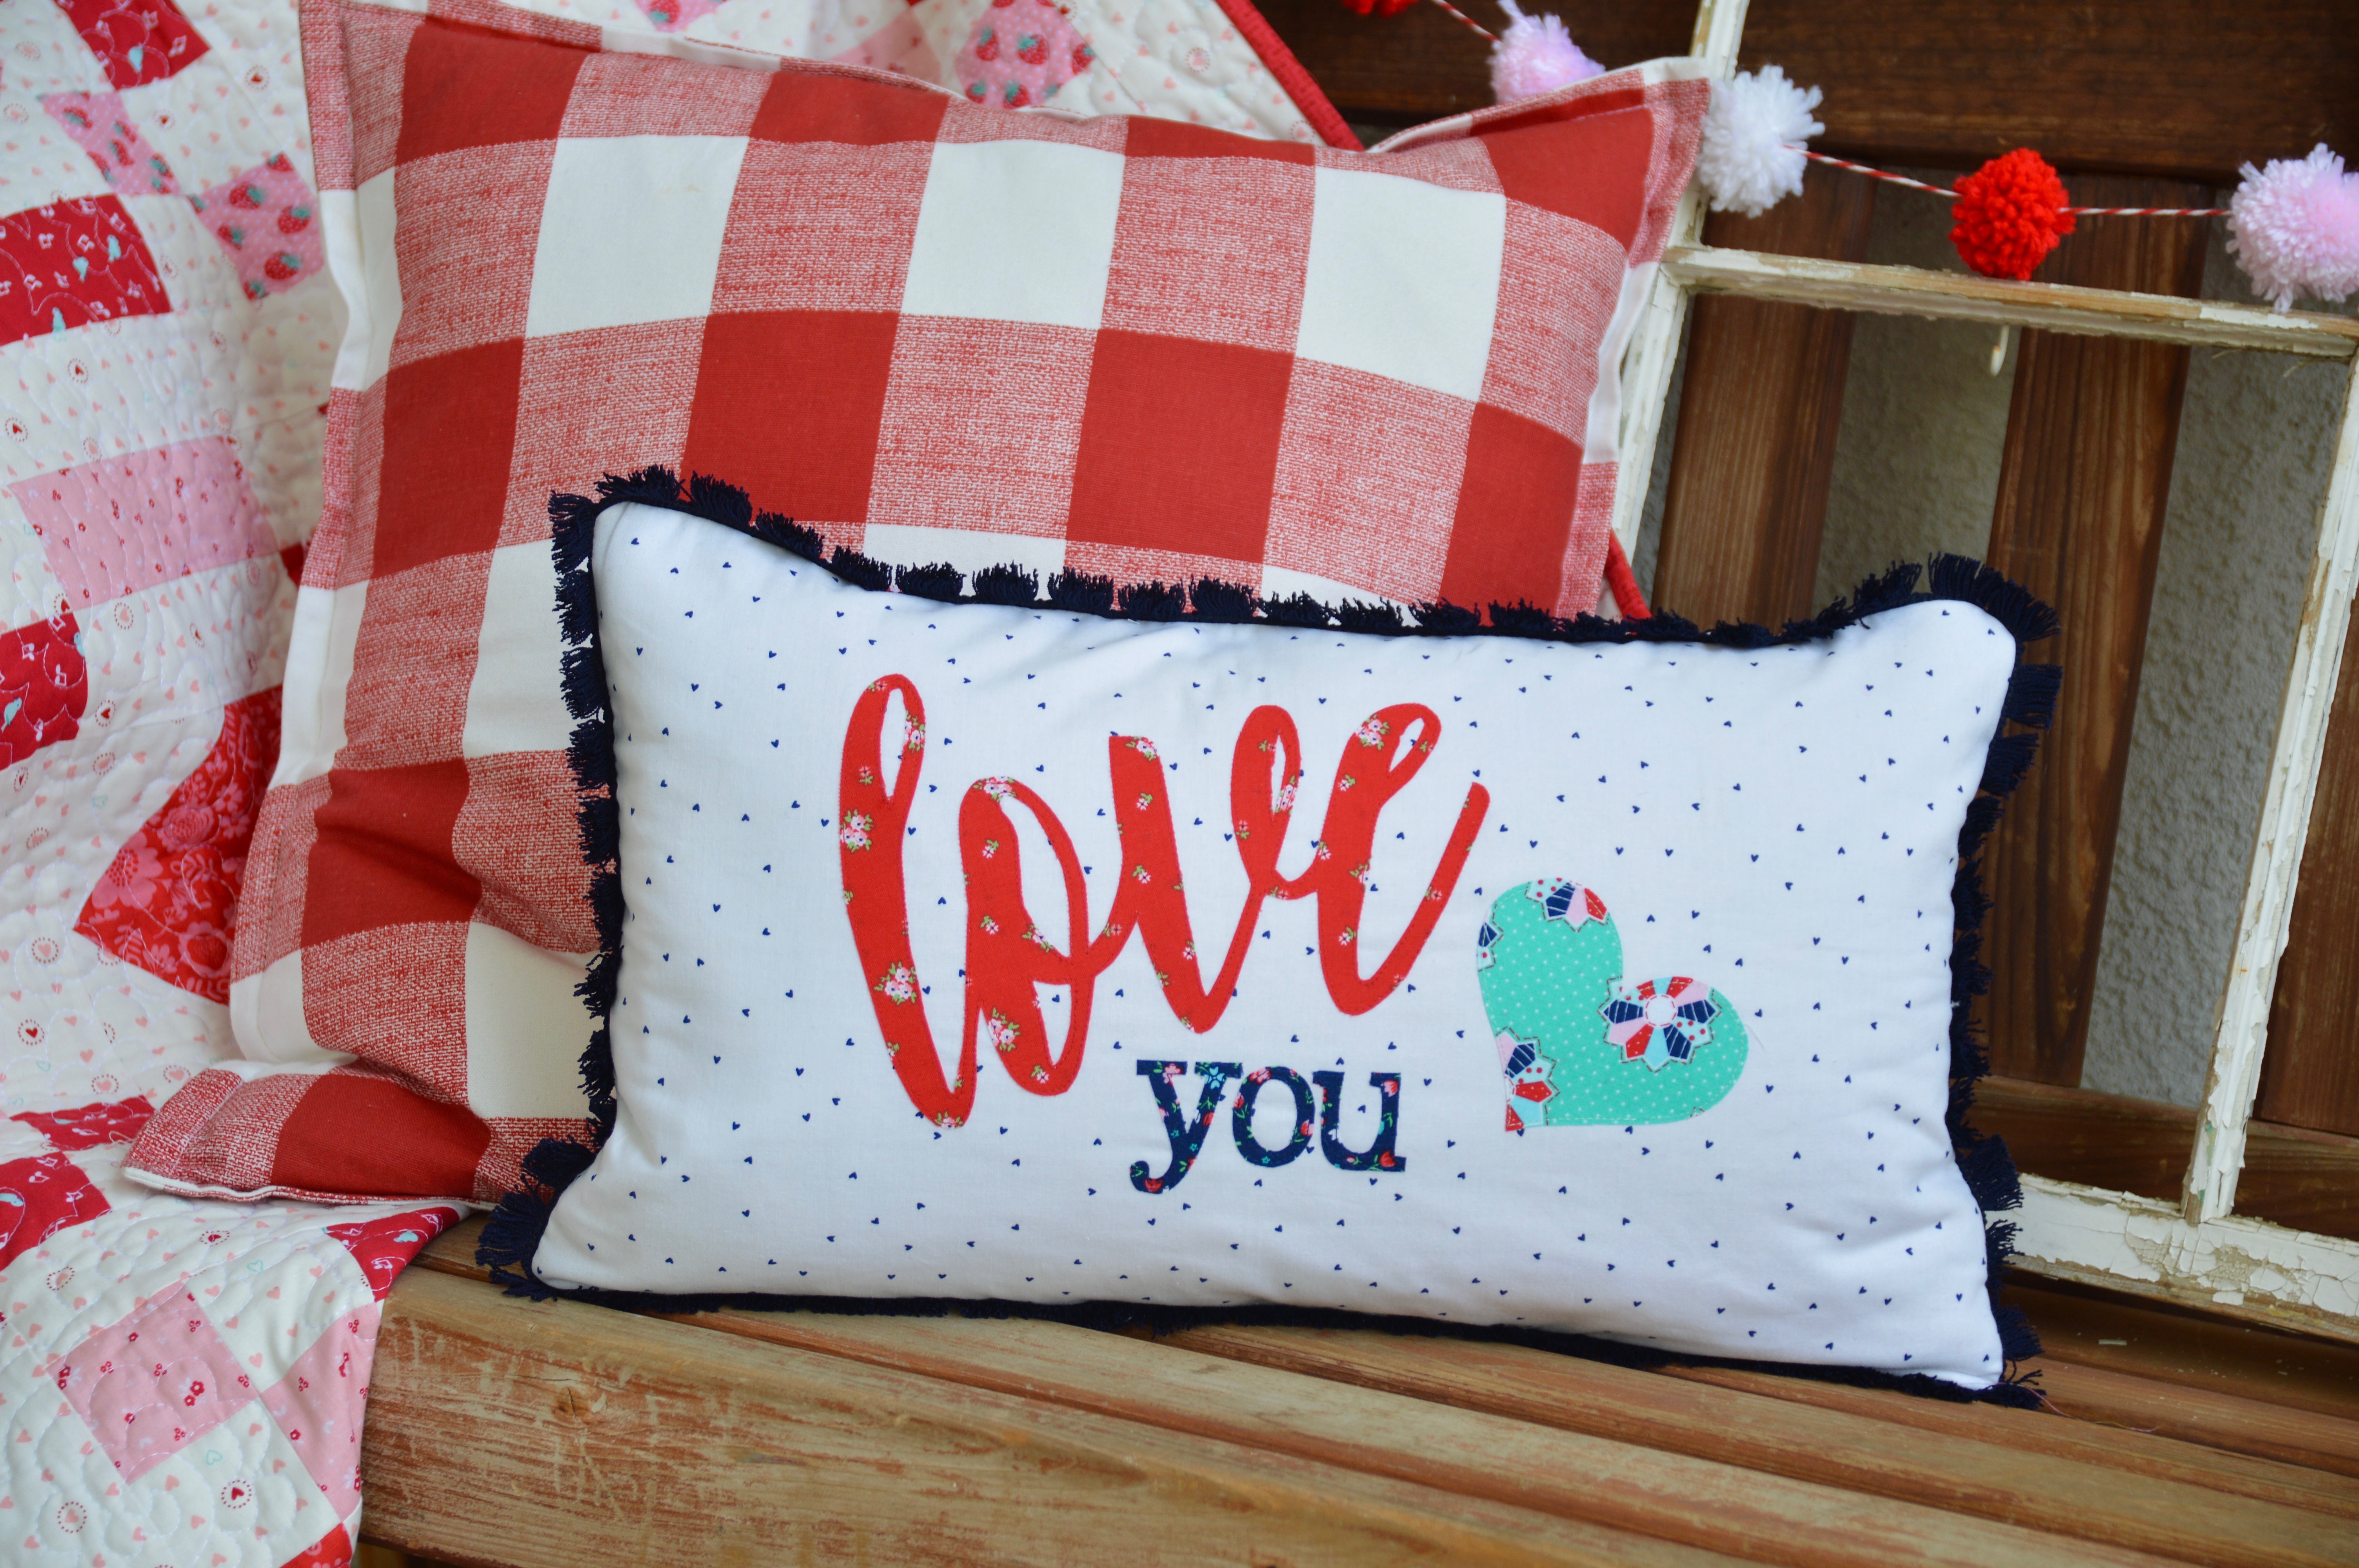
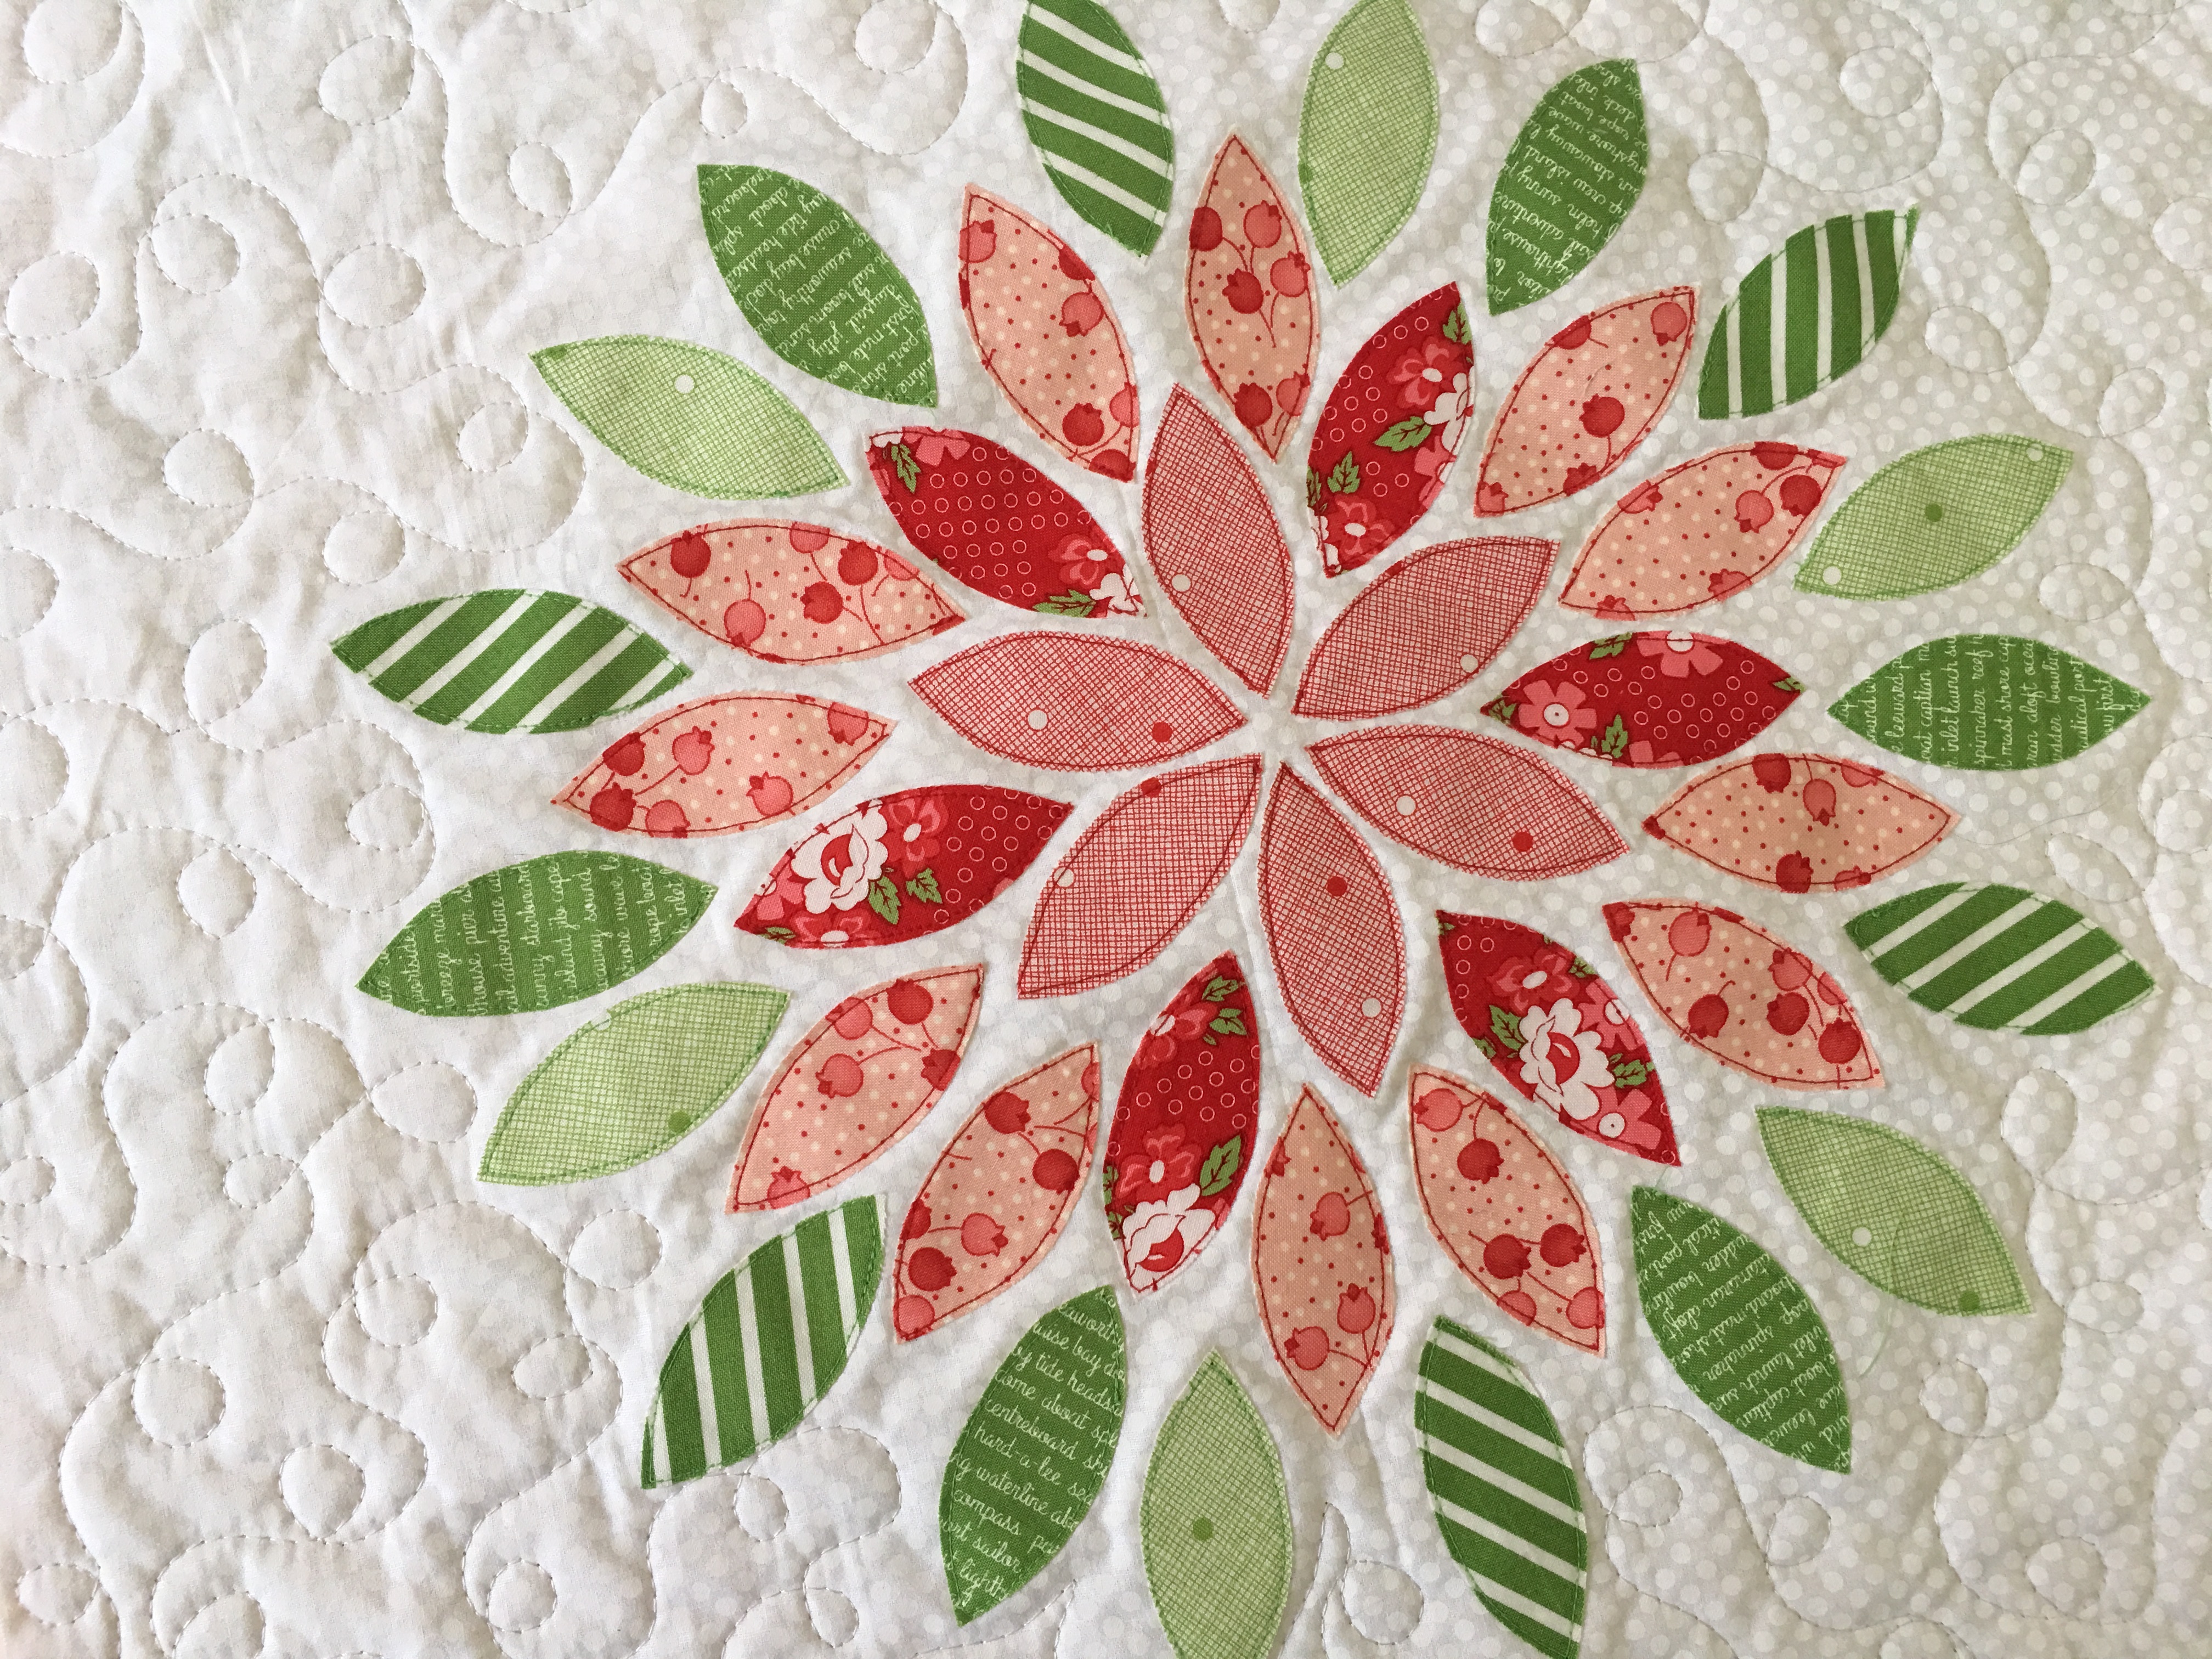
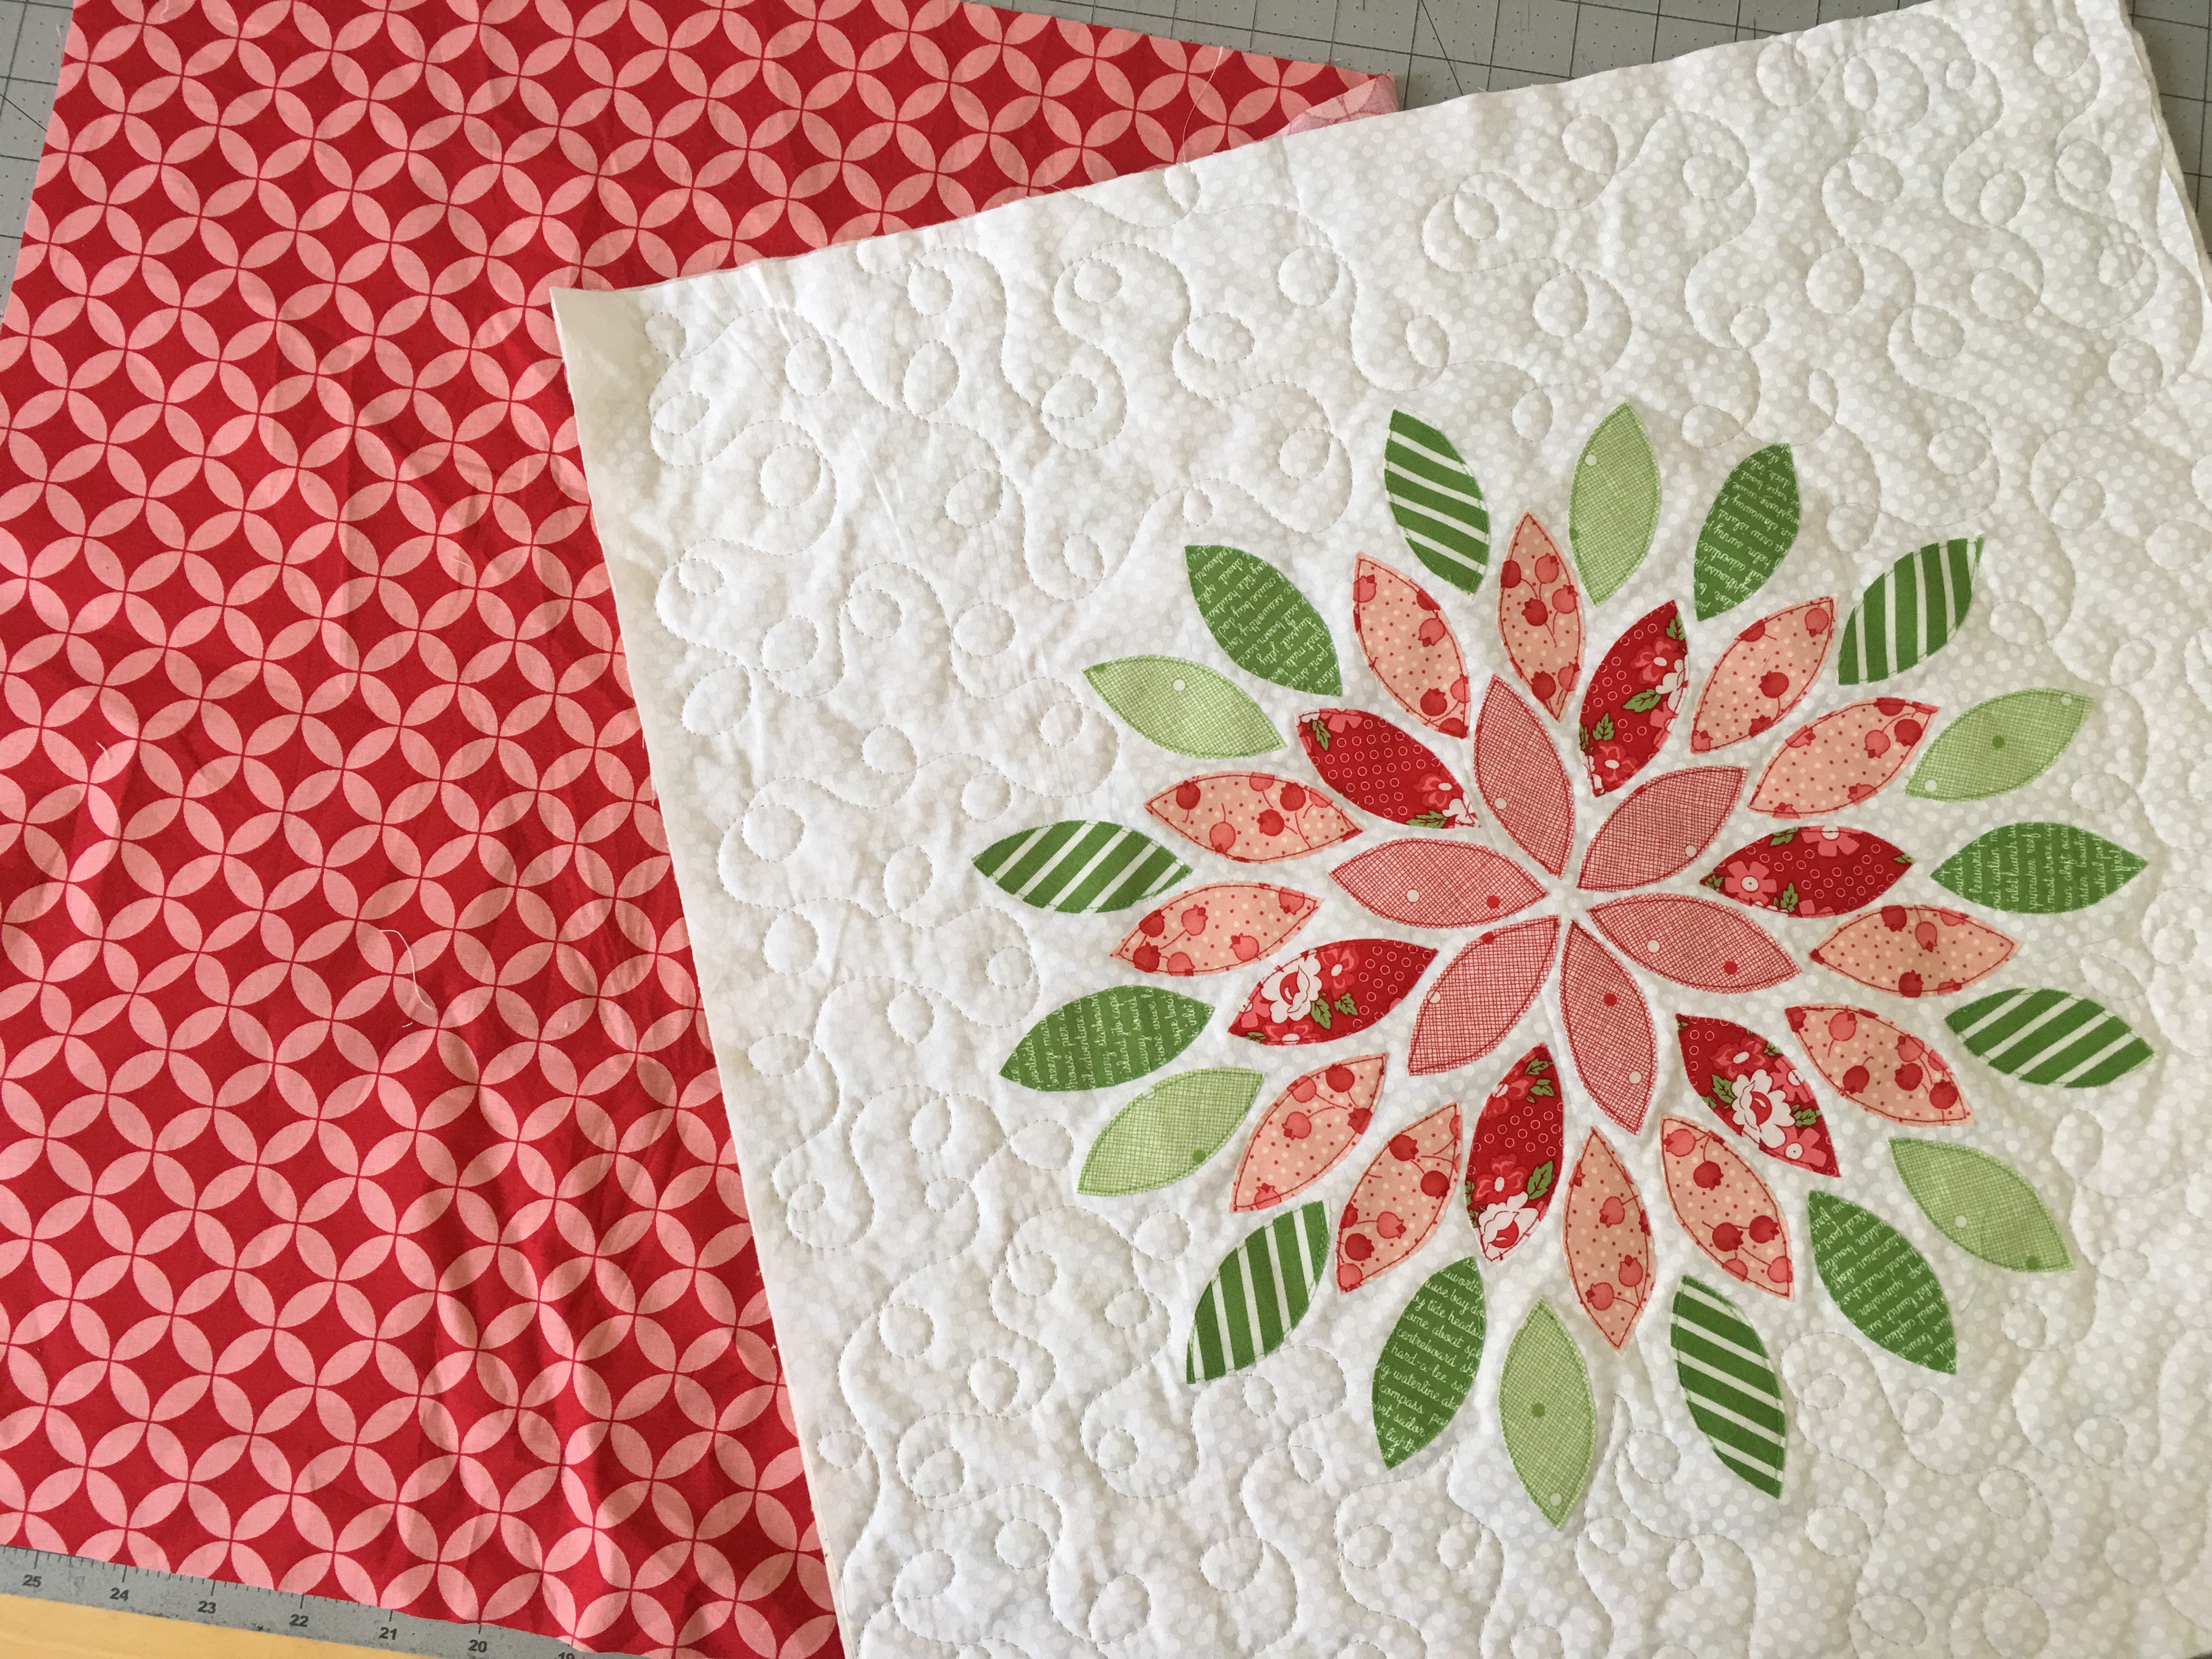
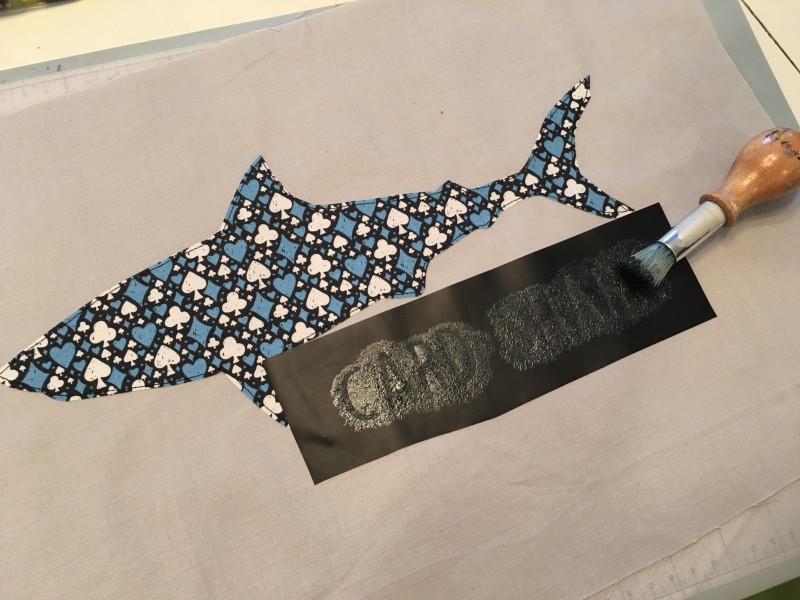
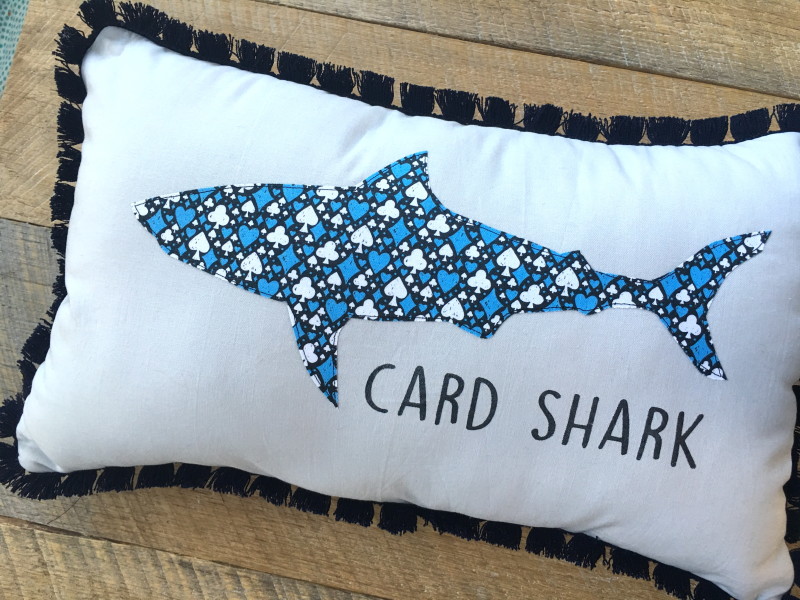
I am a word-a-holic and I LOVE anything with words: signs, mugs, pillows, t-shirts, you name it! I love adding words to my sewing projects and today I am going to show you how to do this start to finish! Today I’m sharing this pillow tutorial over at Diary of a Quilter! Hop over to Amy’s blog to for the full instructions!
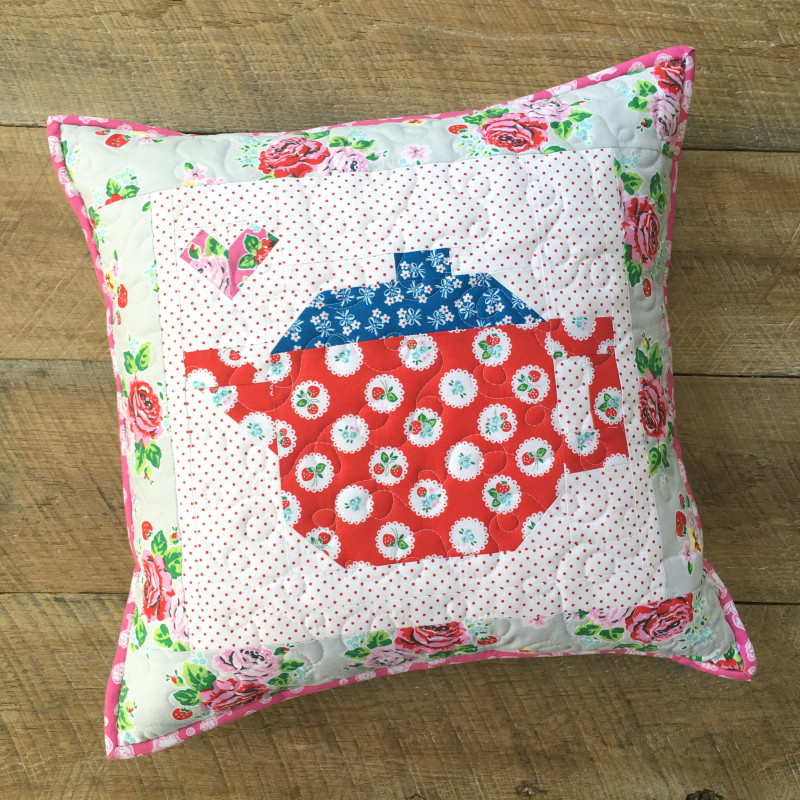
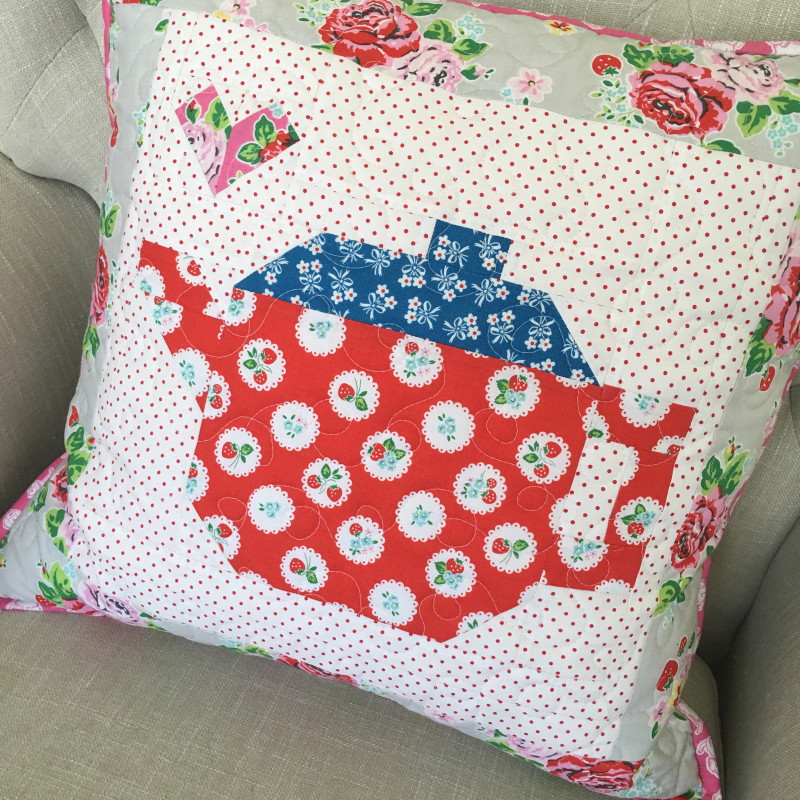
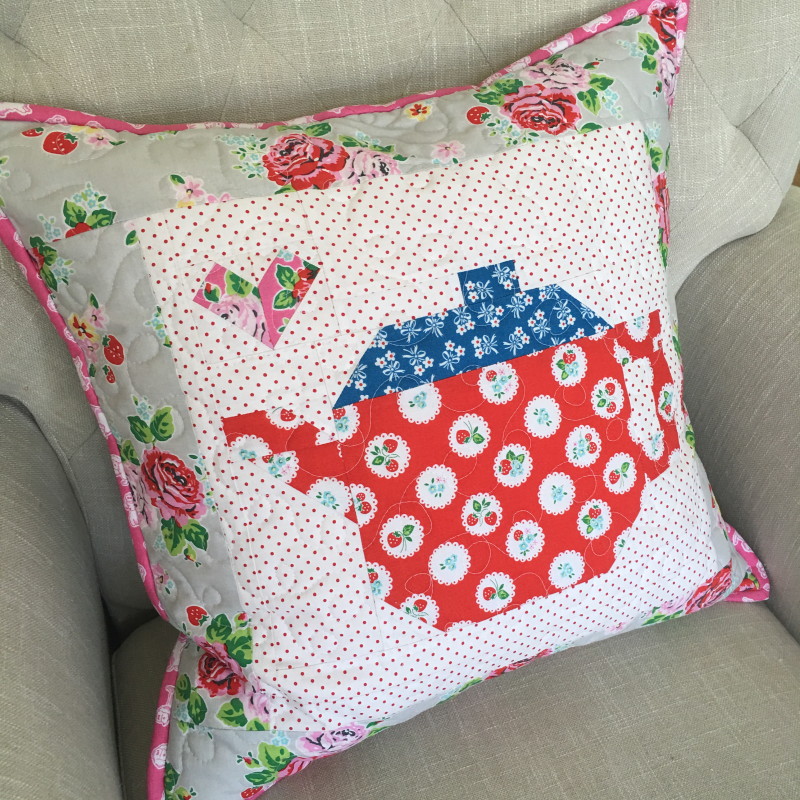
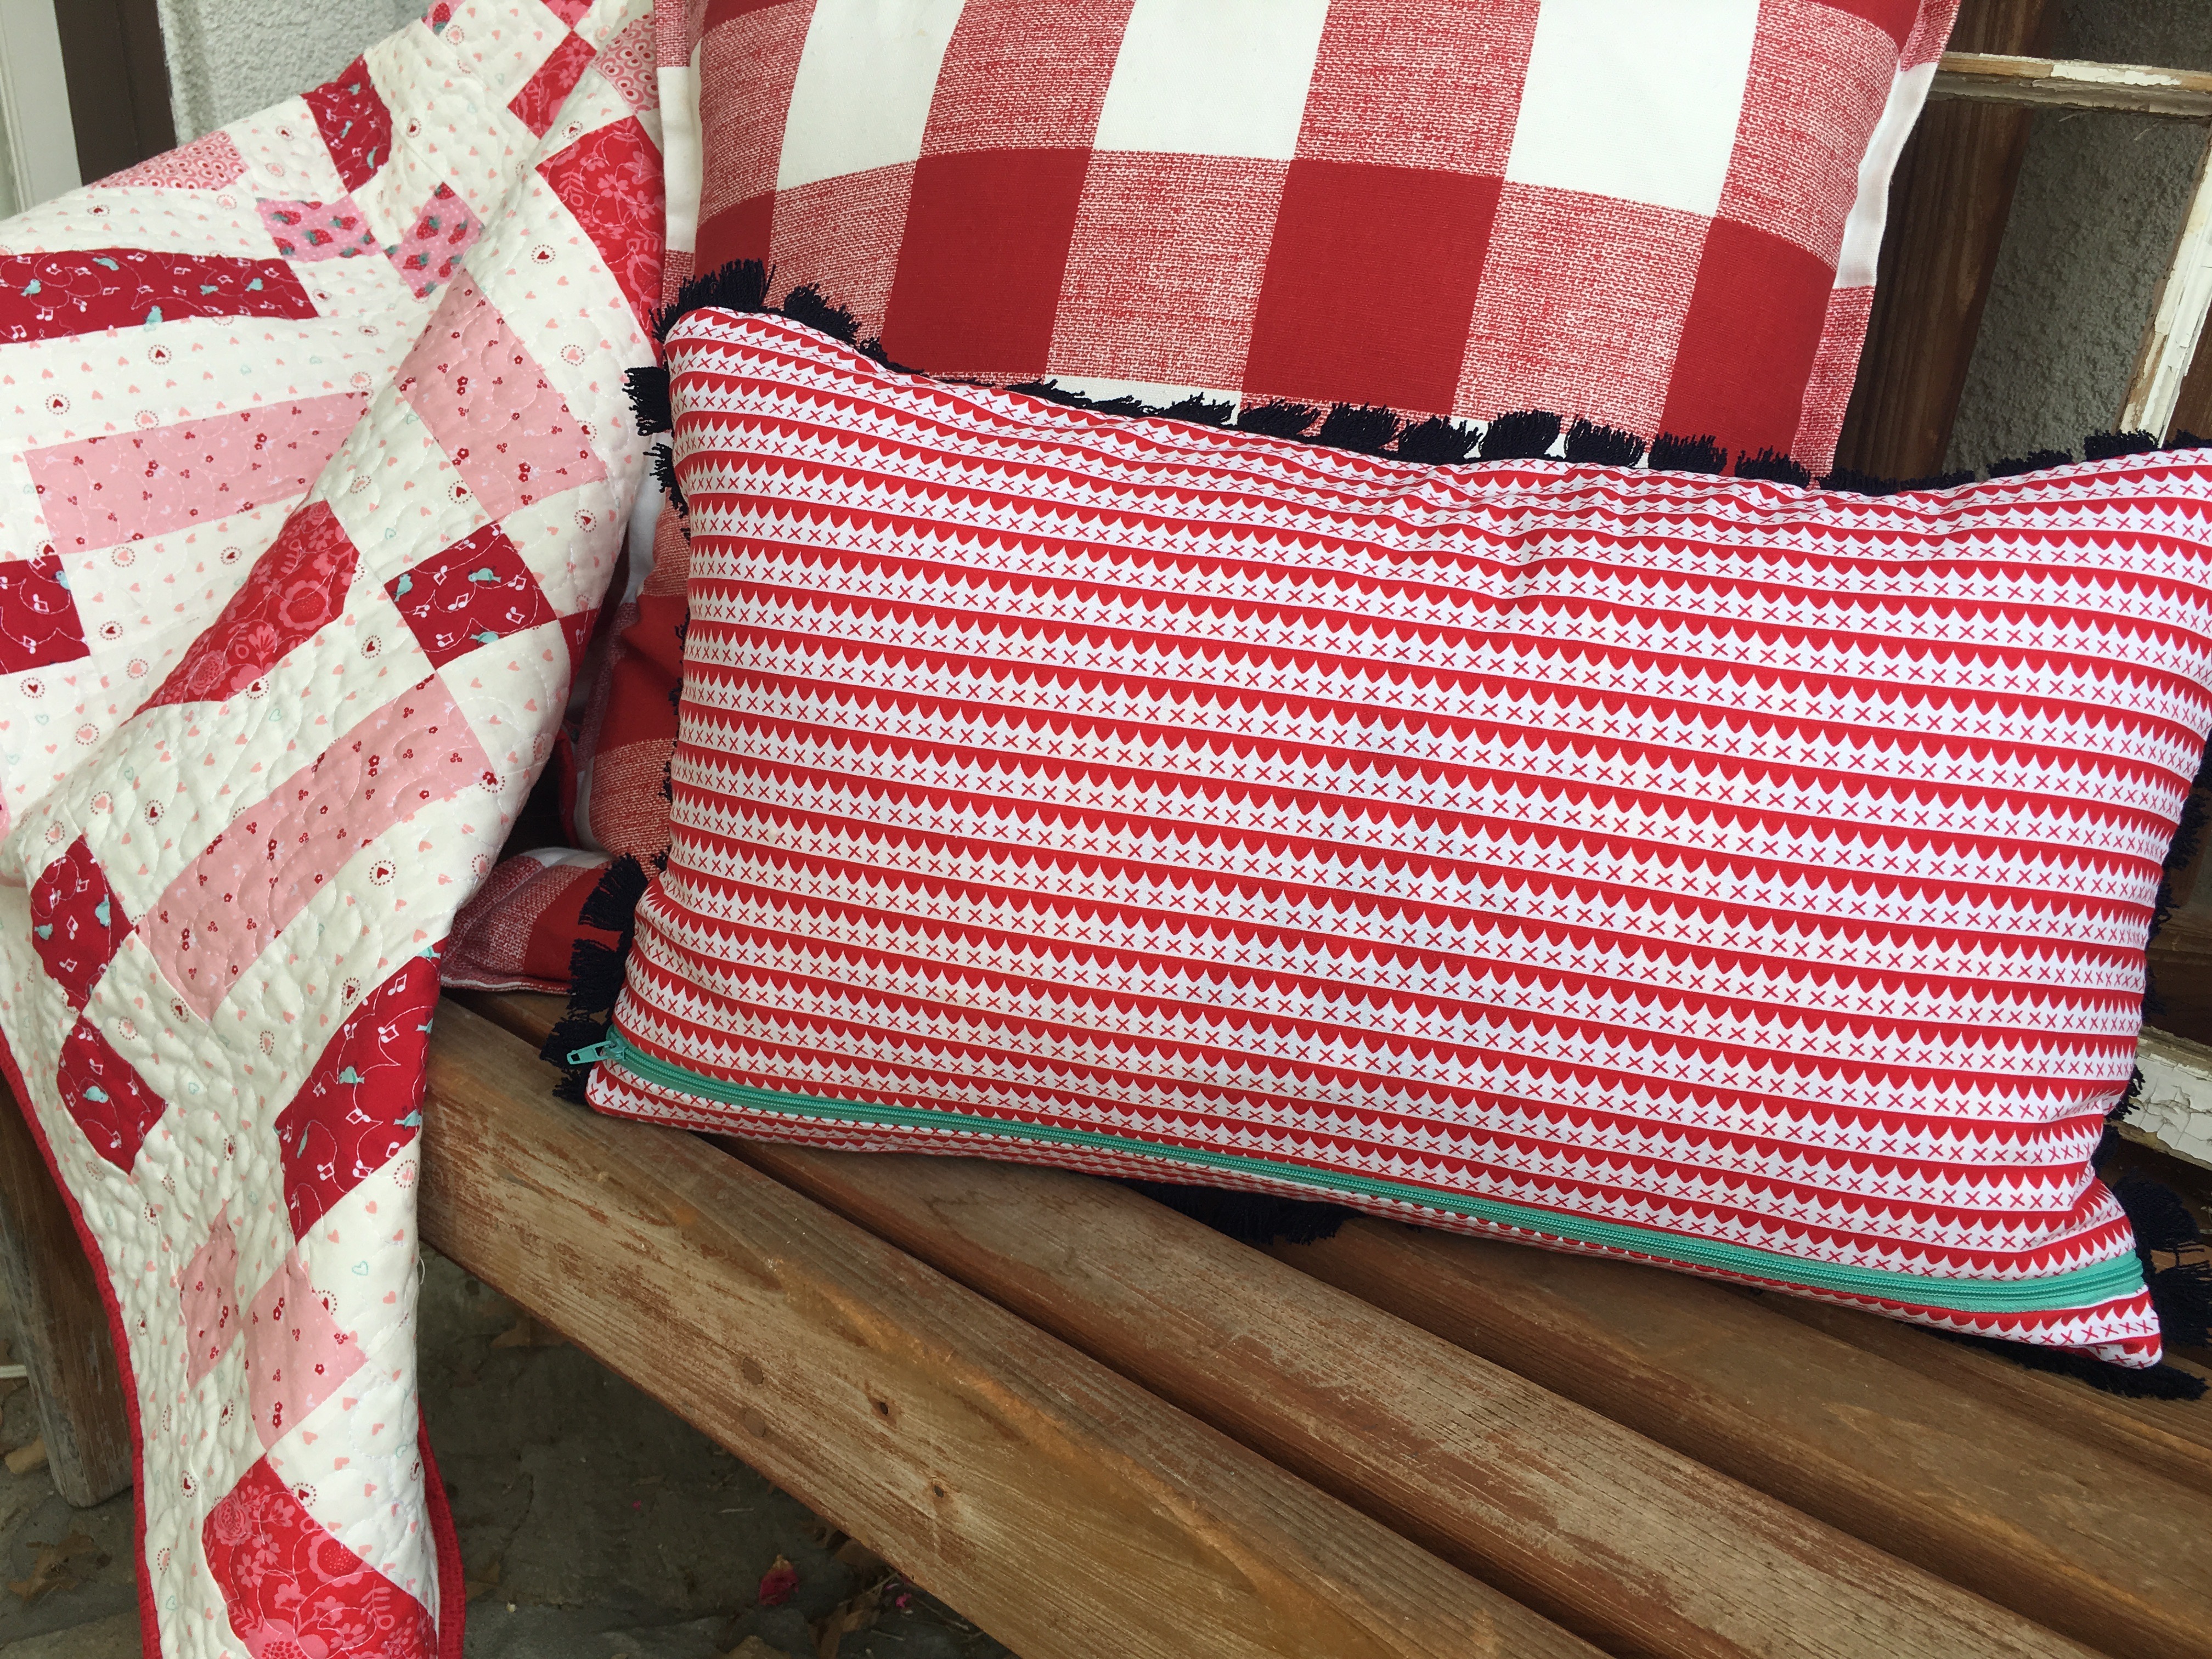
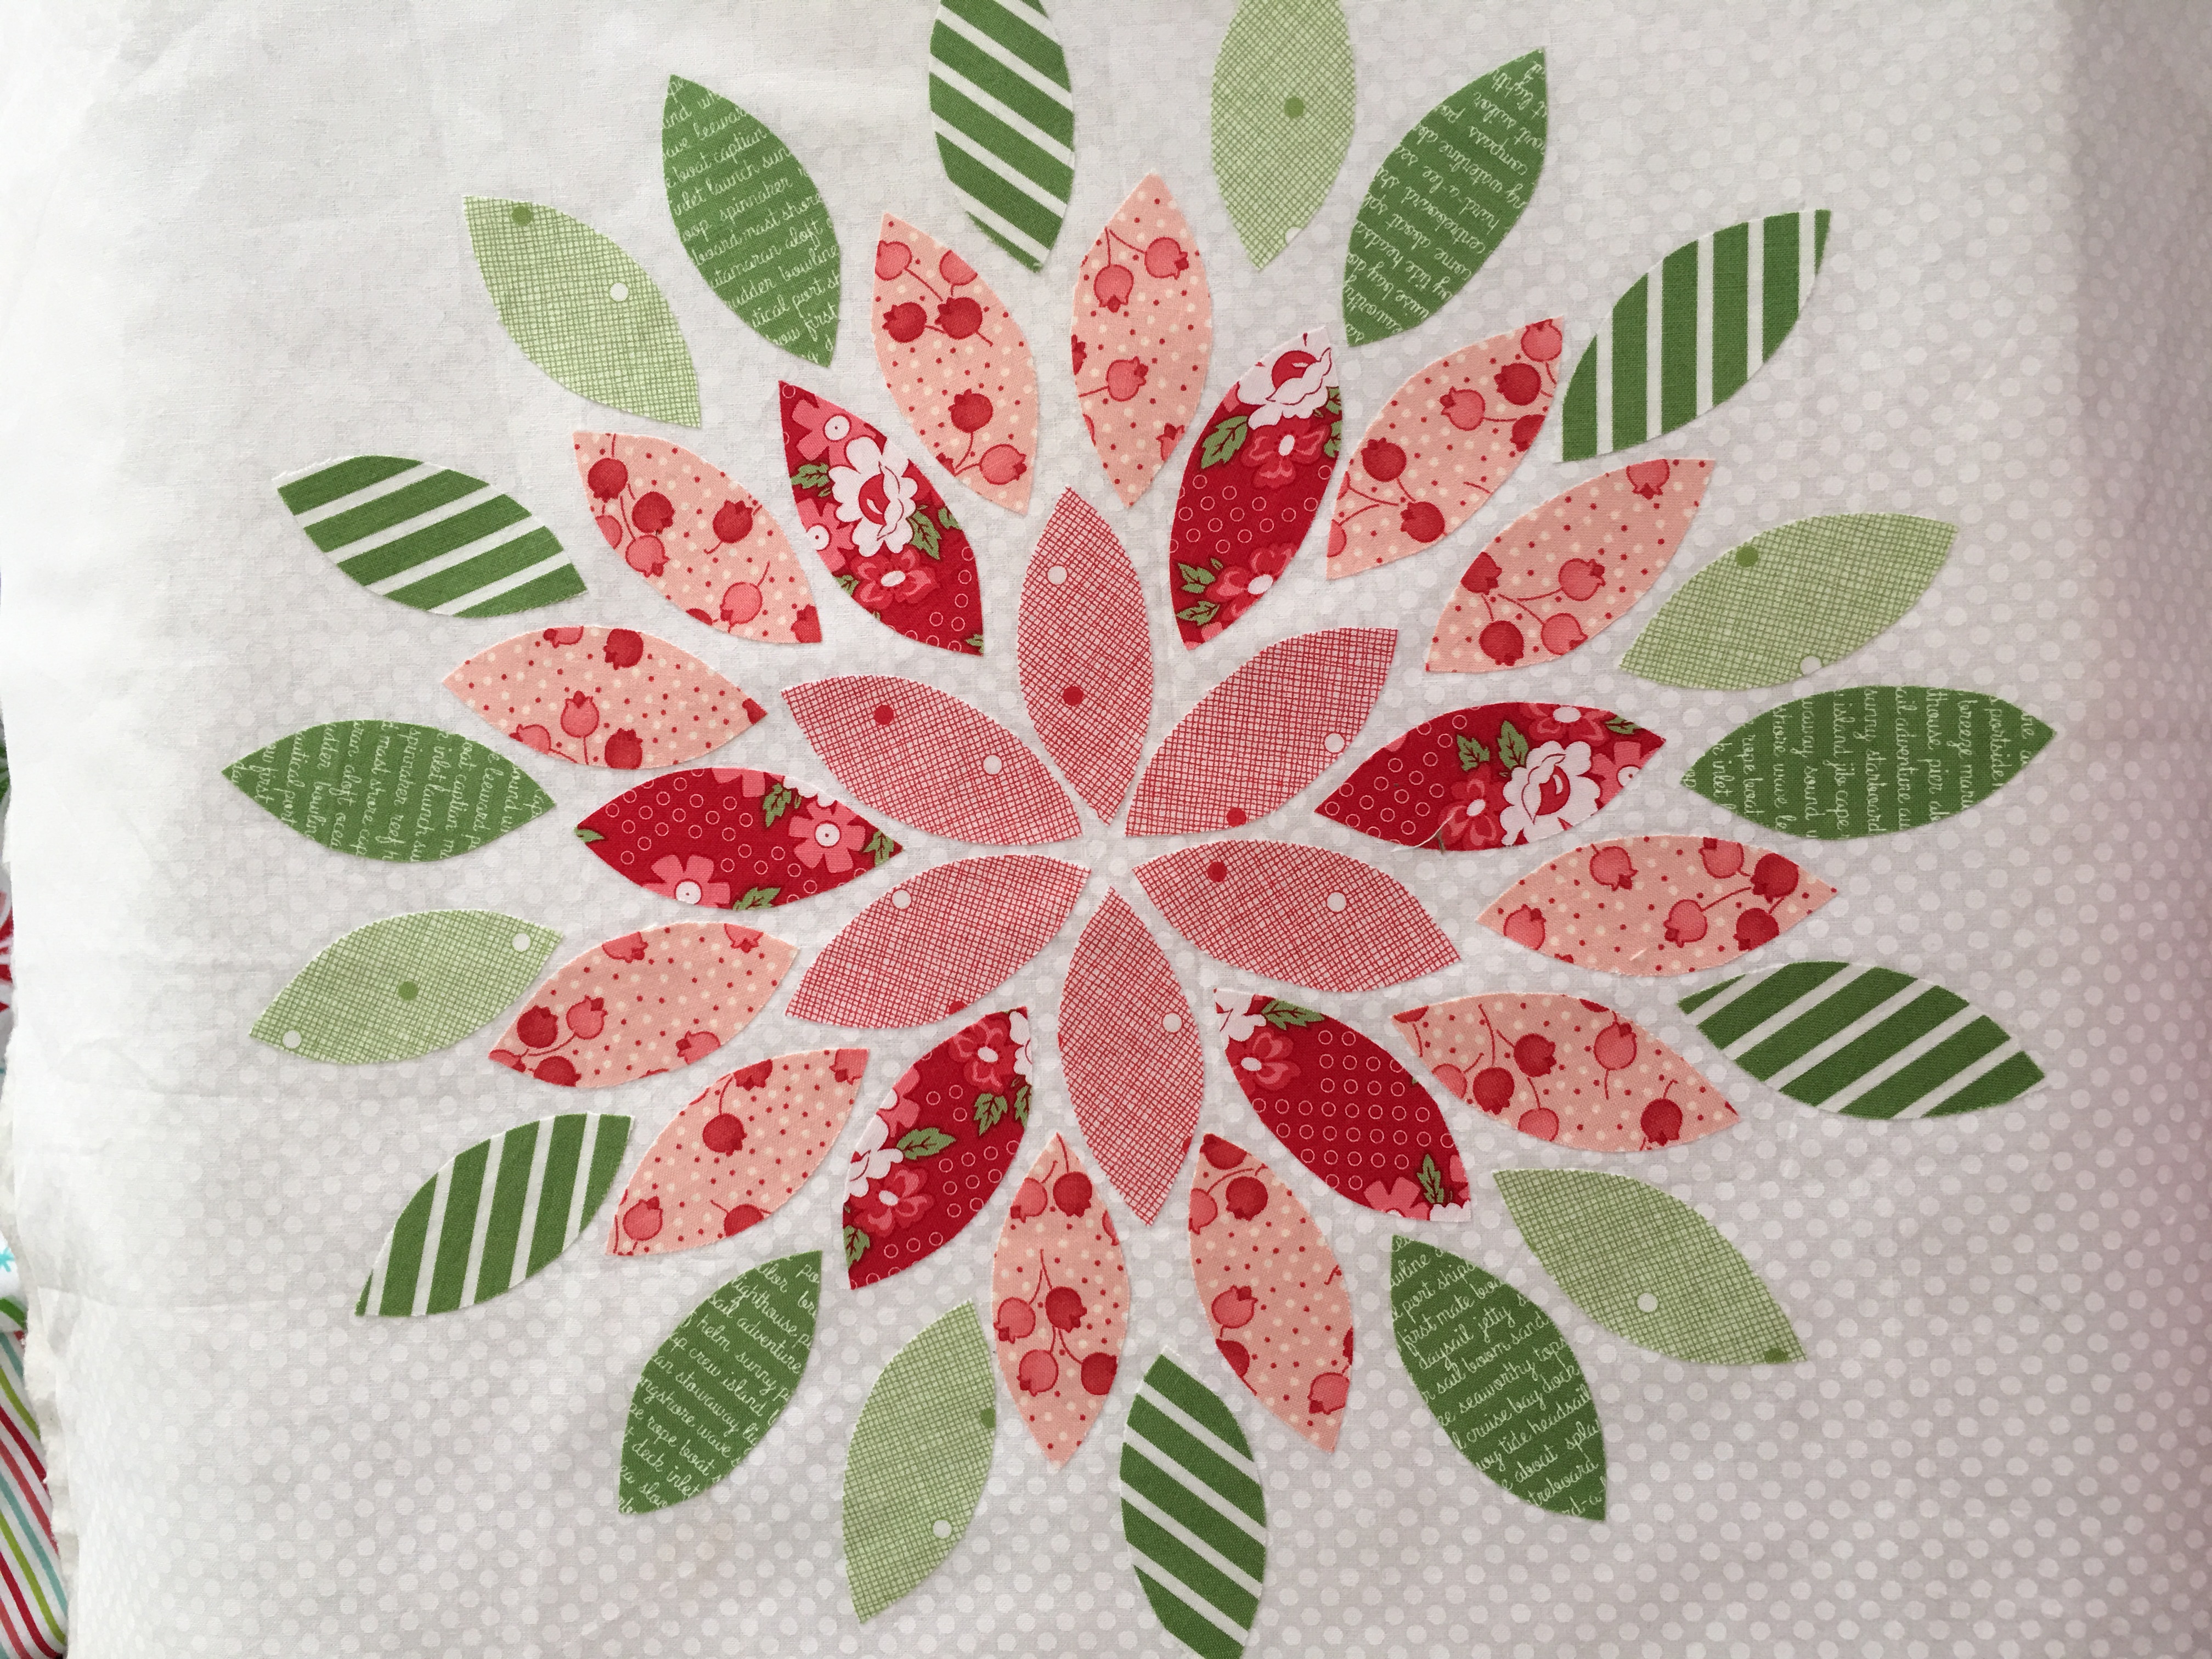
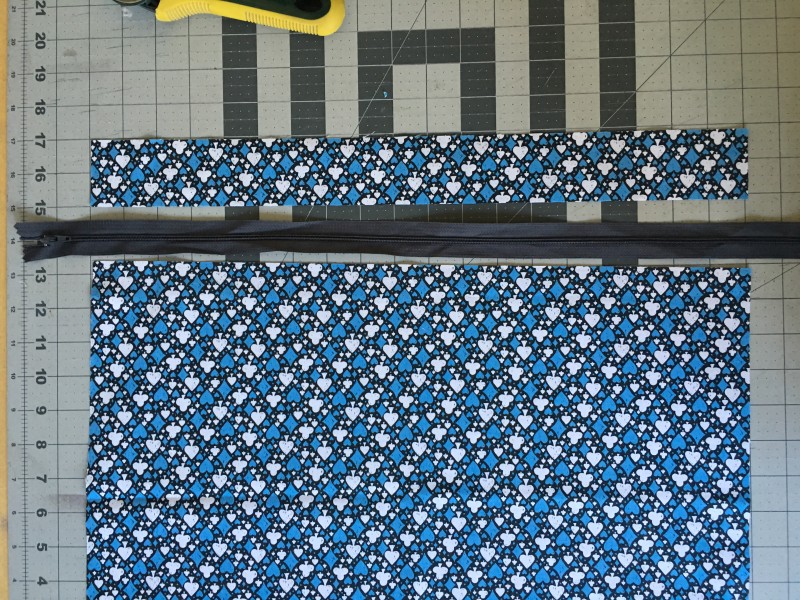
Once the appliqué is finished you can turn it into a pillow using your favorite method; mine is a zipper closure on the back. For more information on inserting a zipper into a pillow, click HERE.
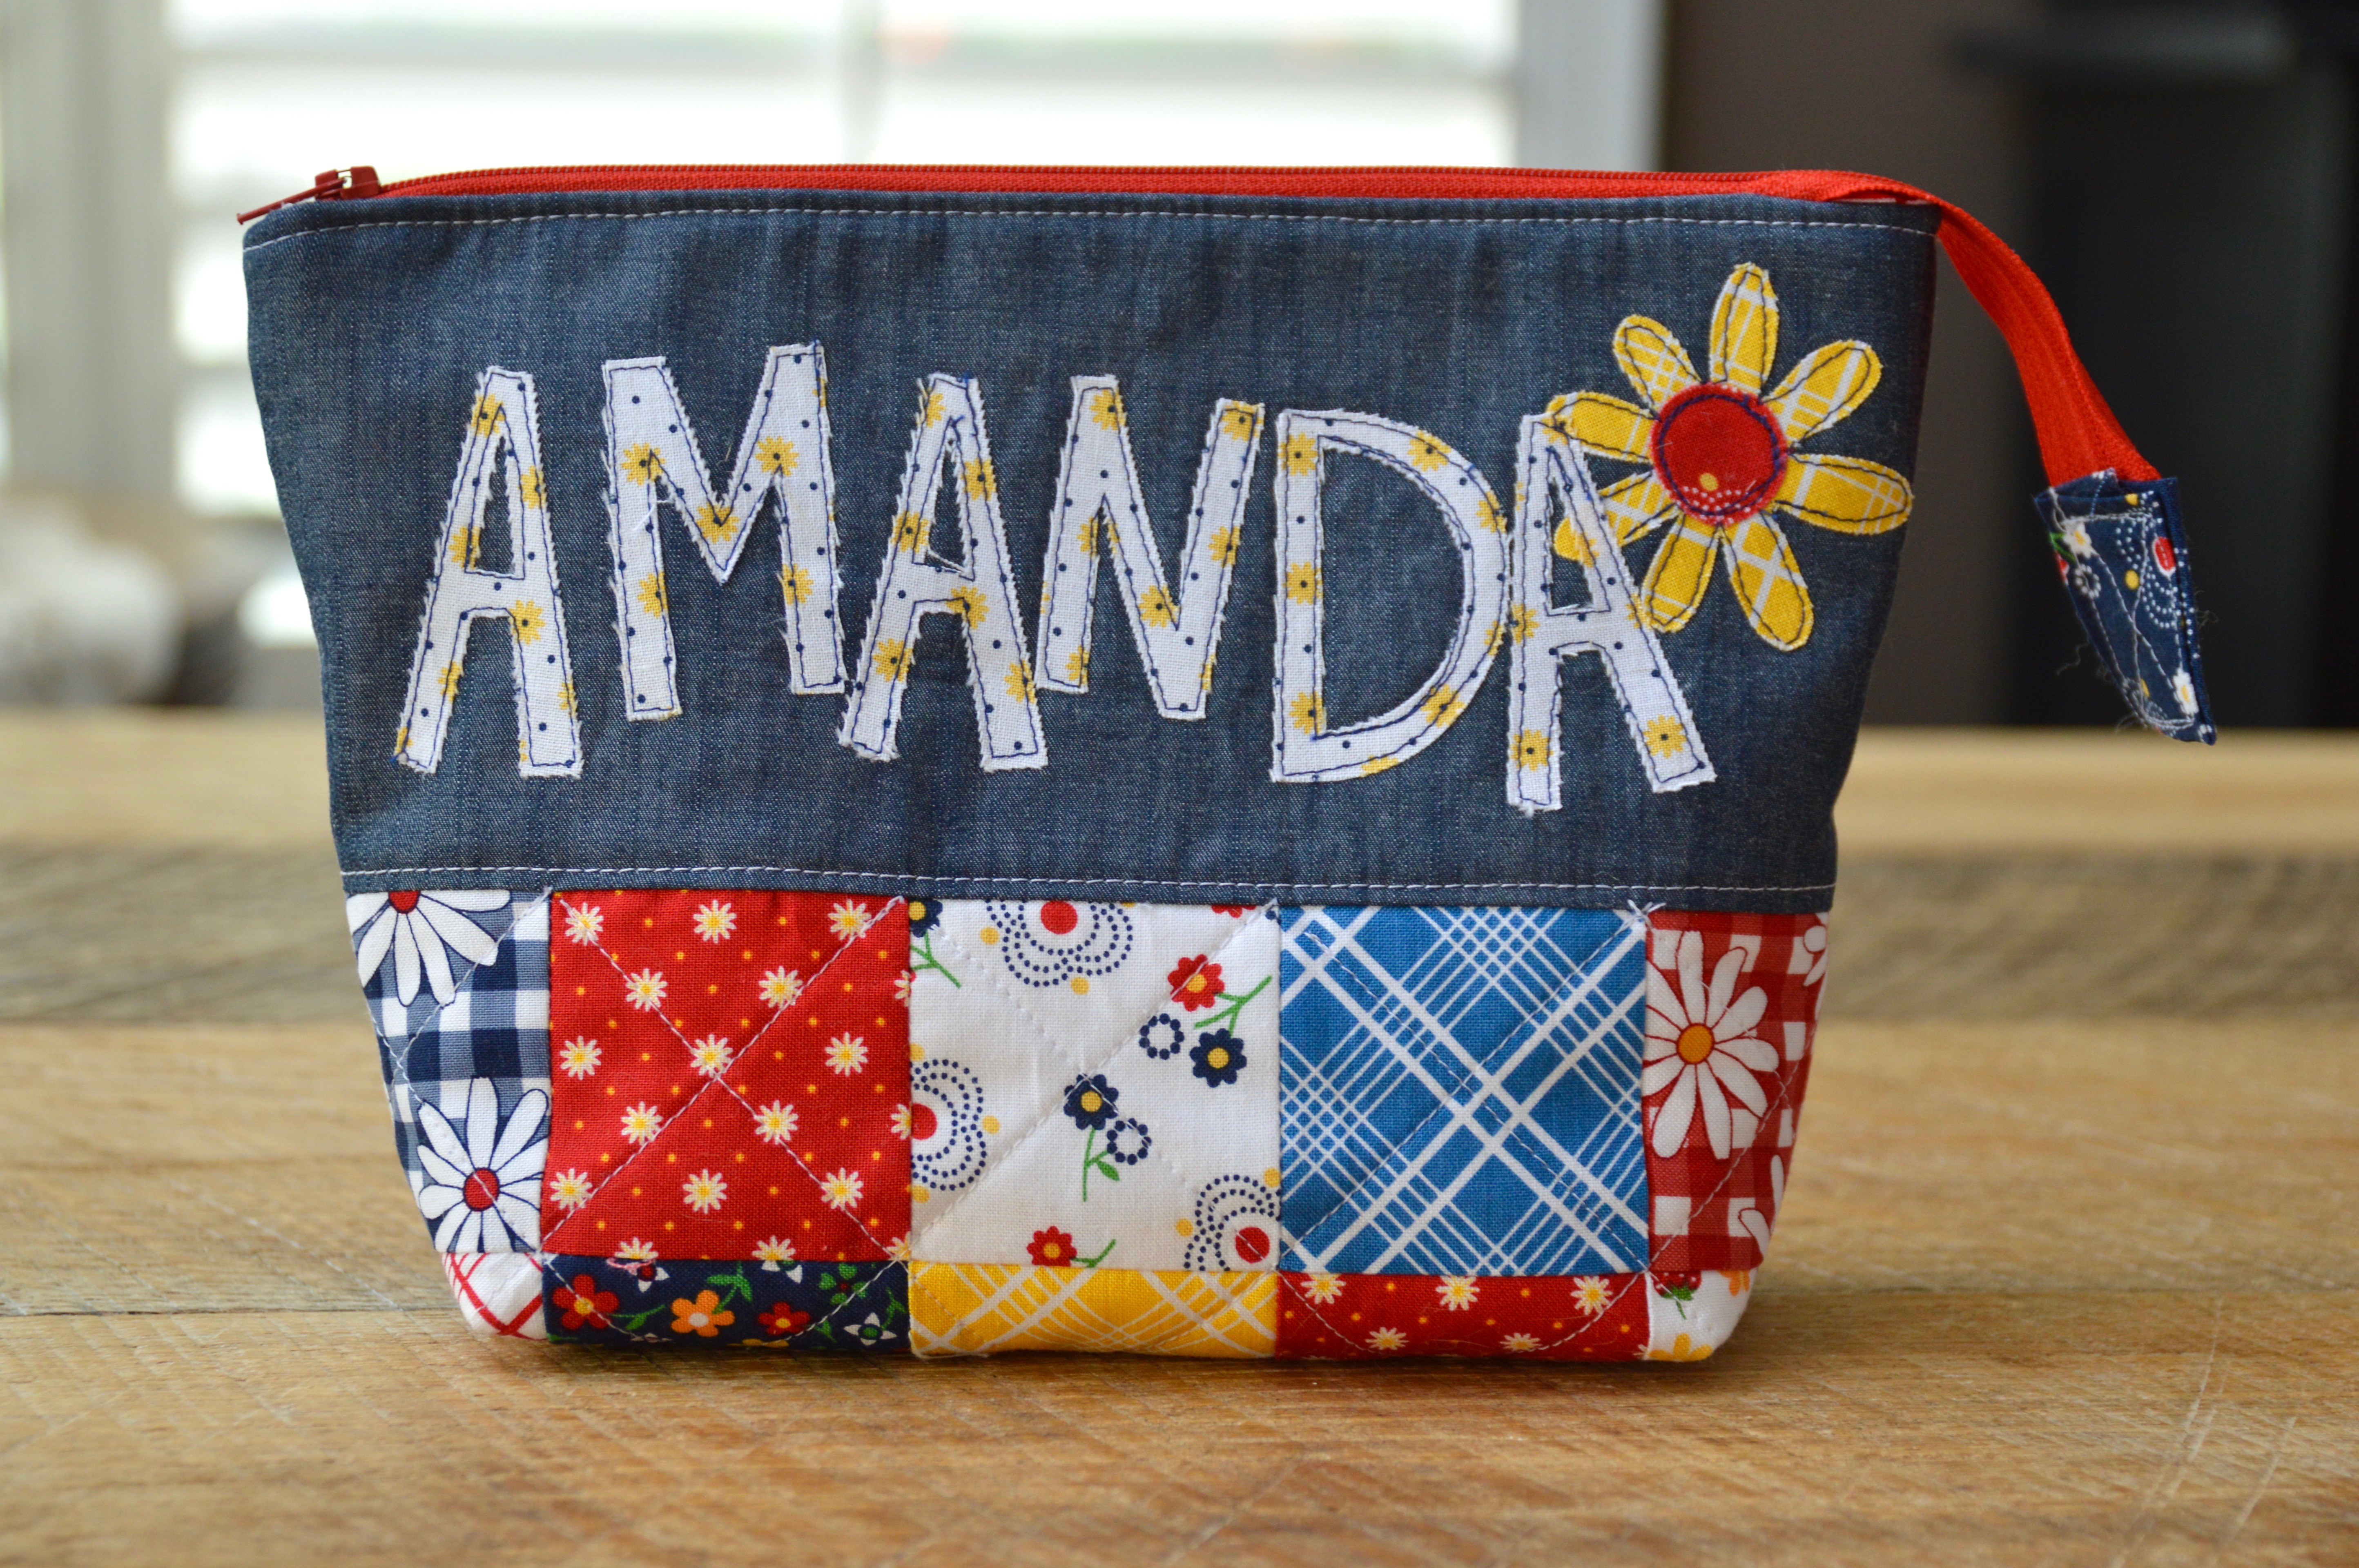
Here is another example of a fun word appliqué project! Click HERE for the turorial.


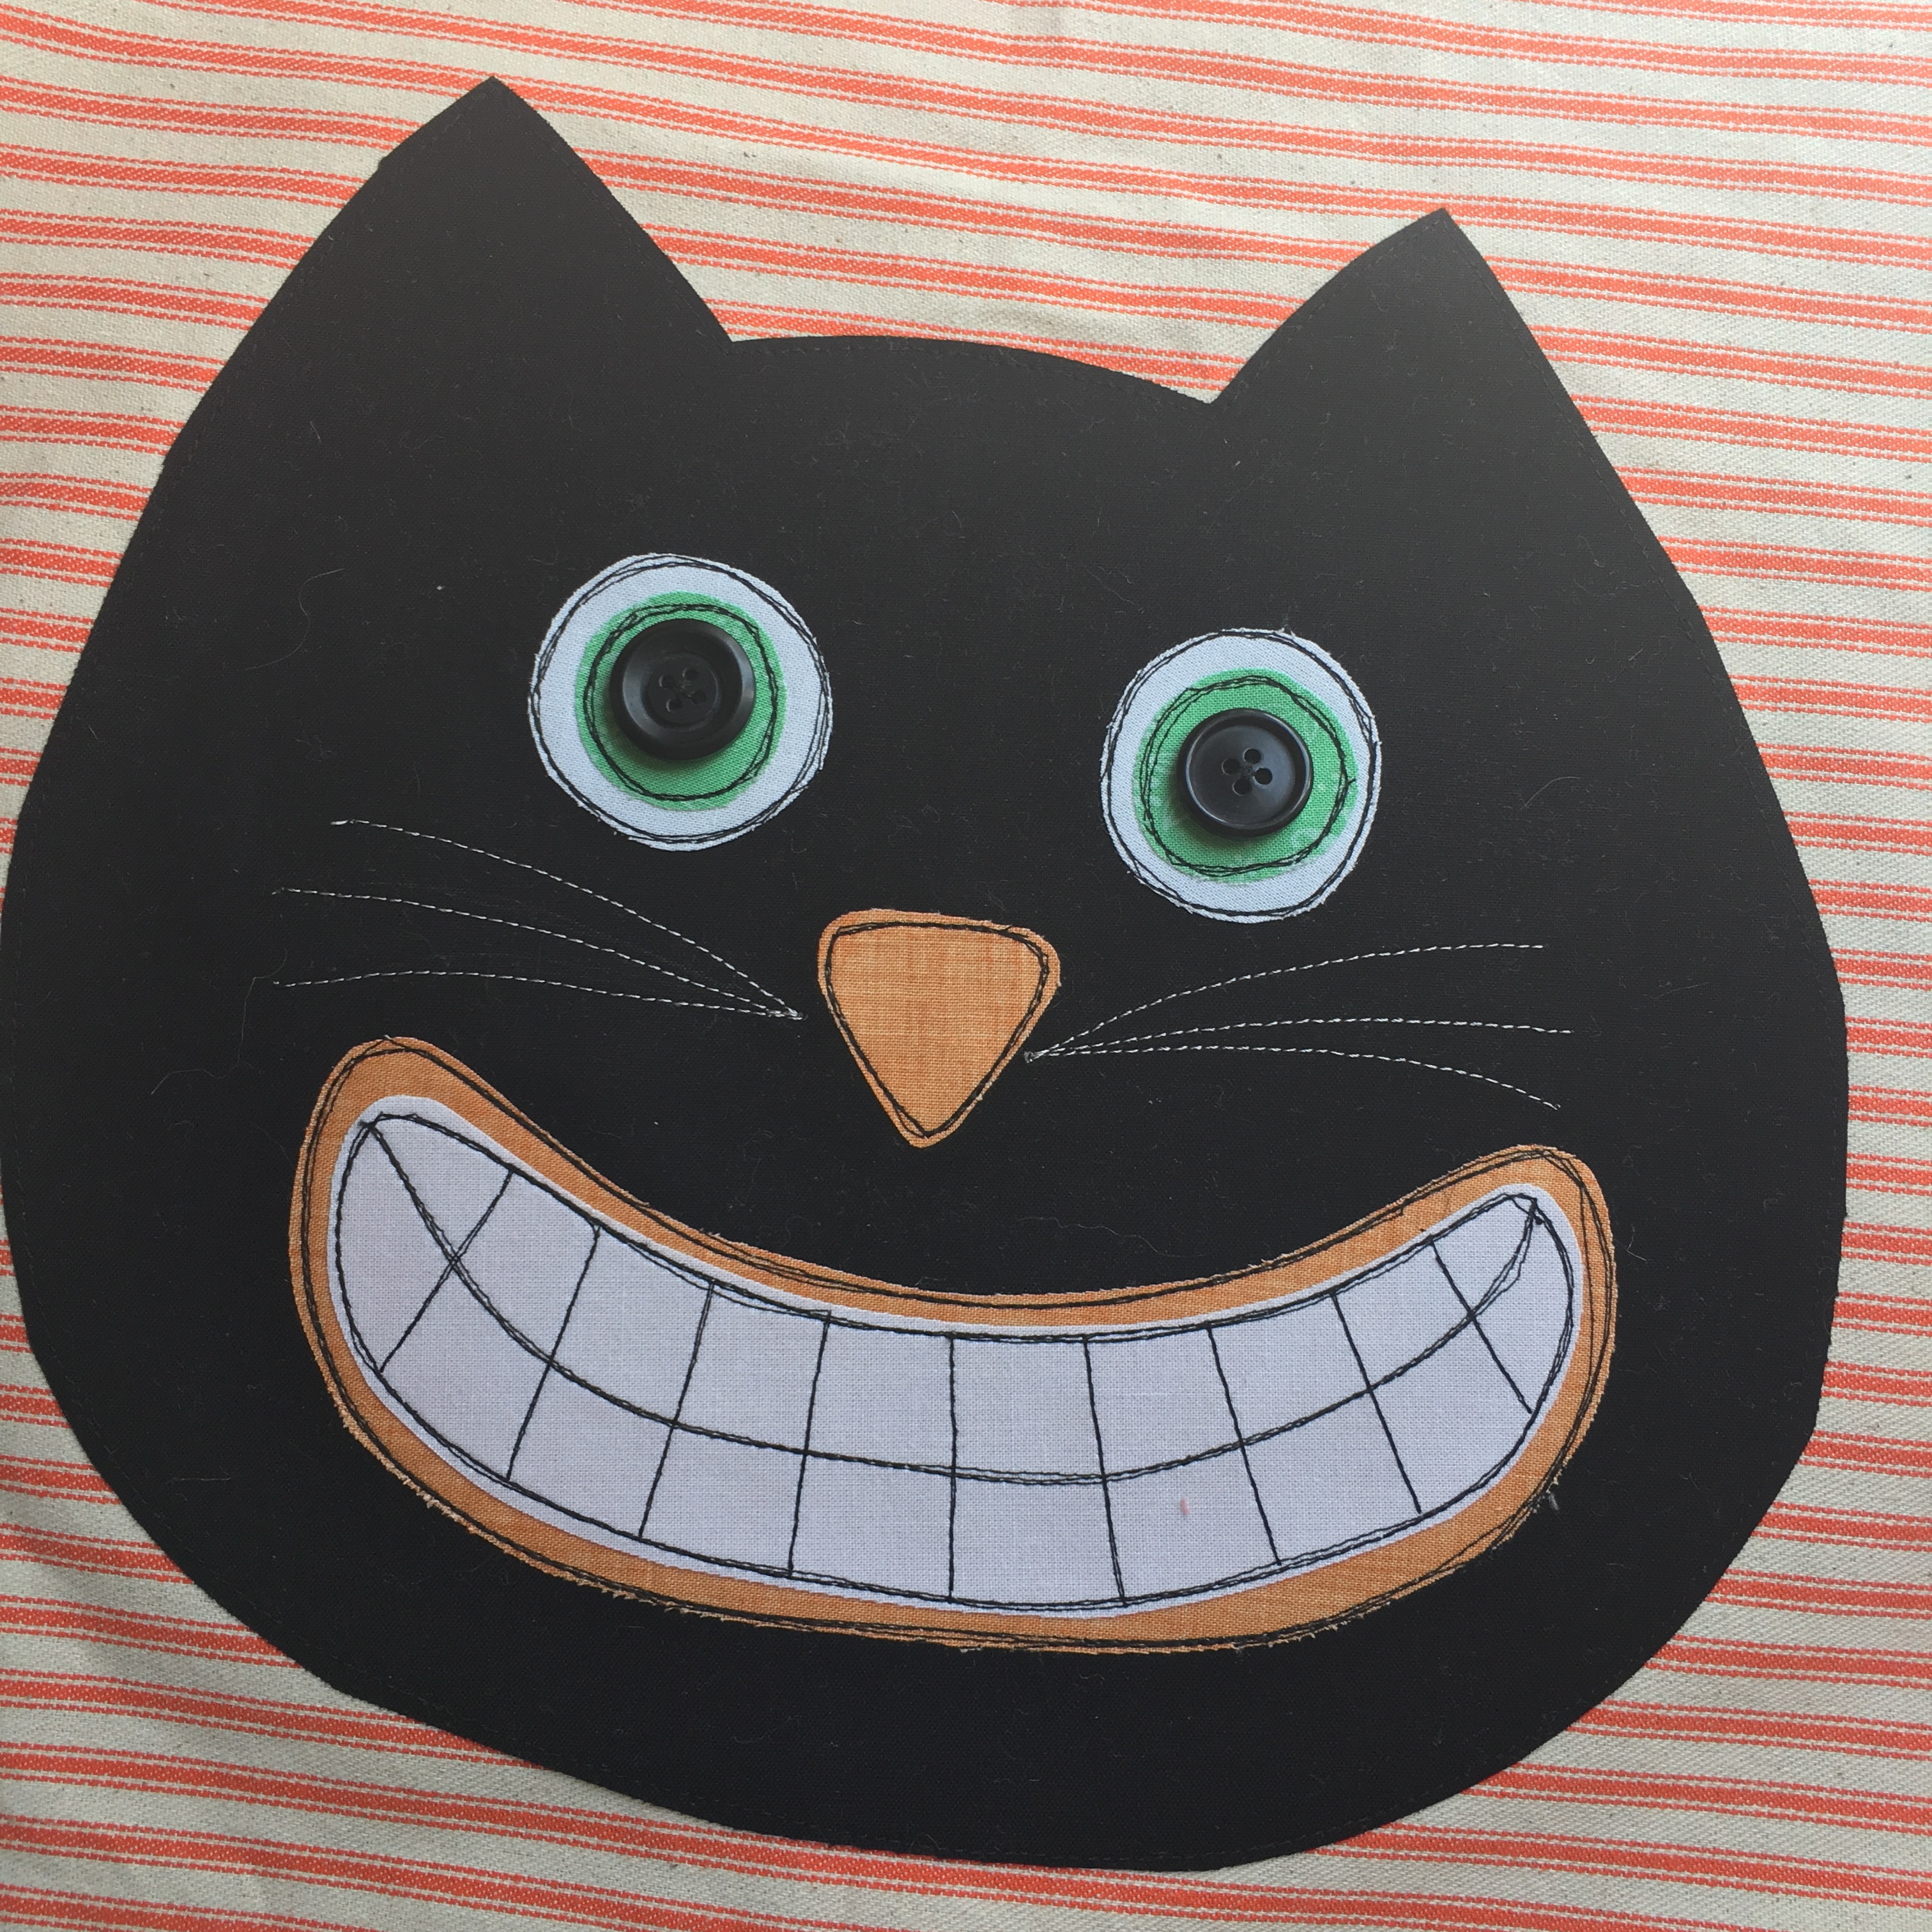
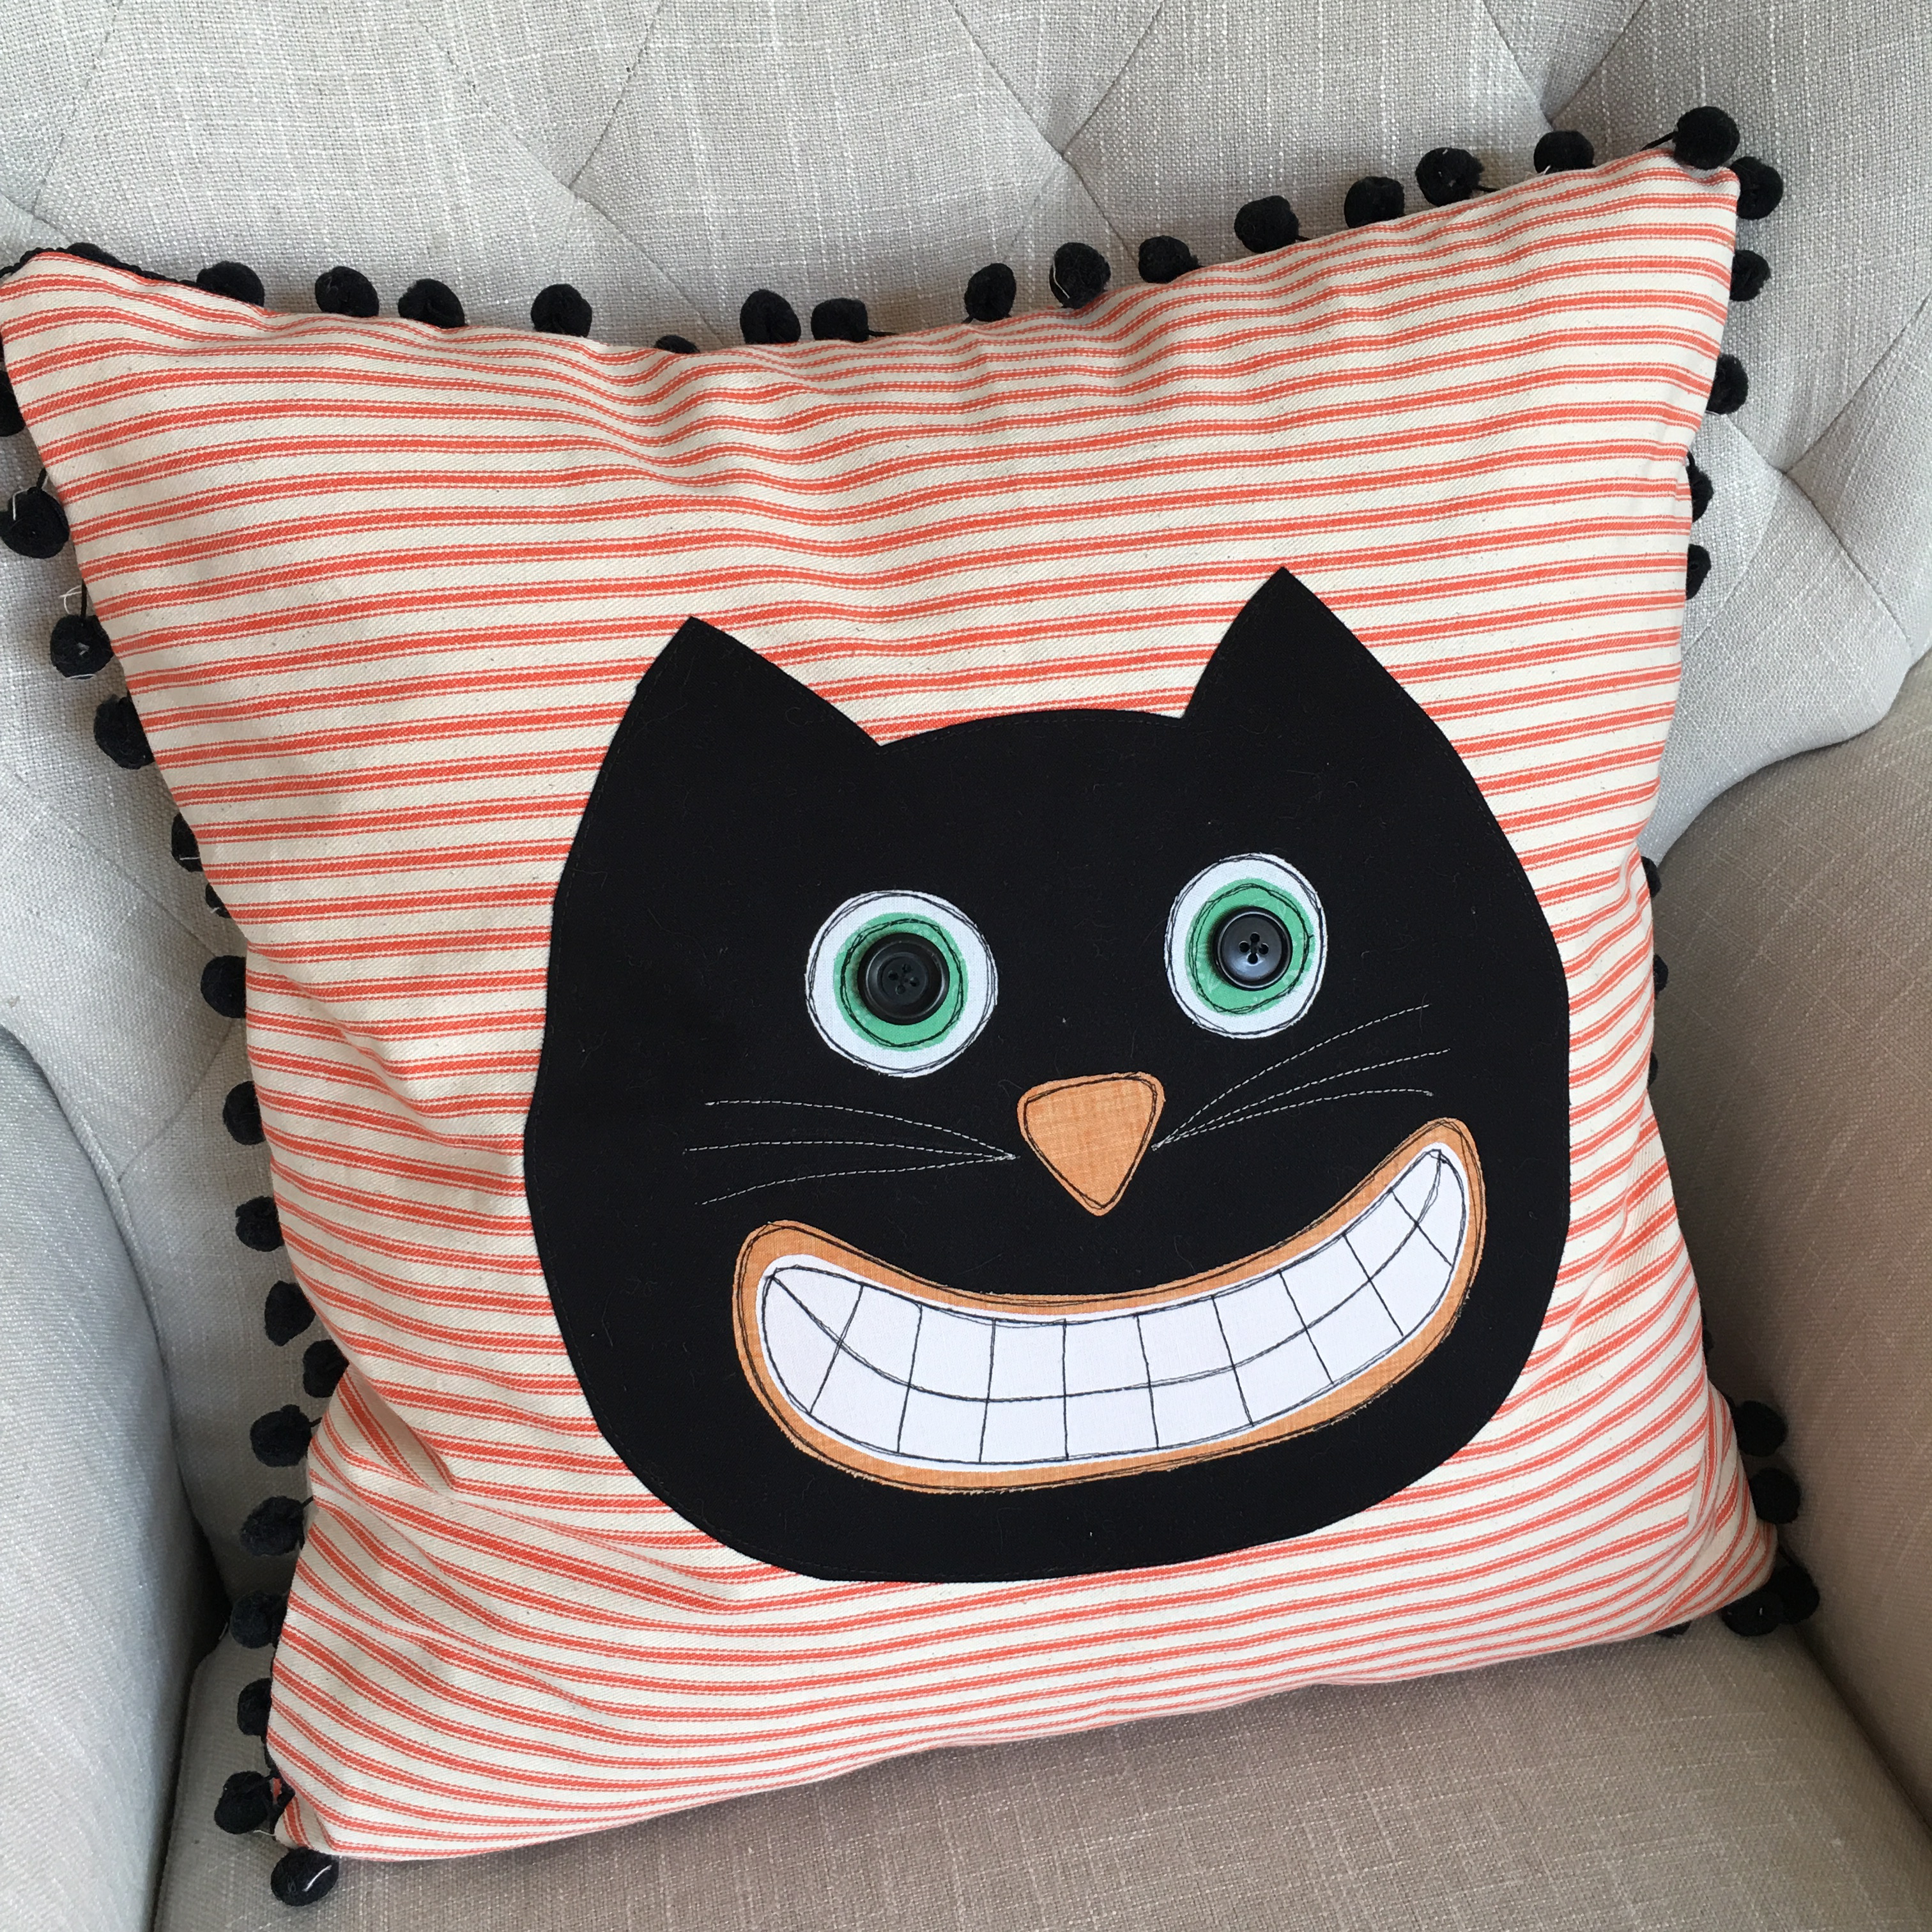
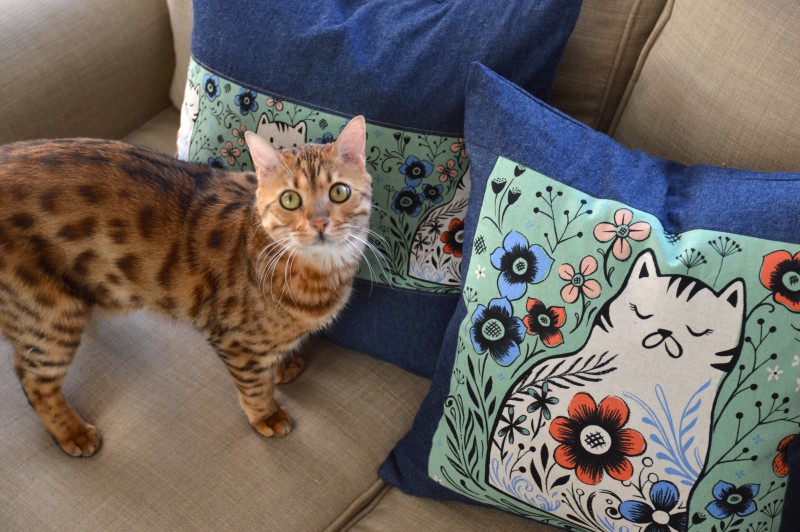
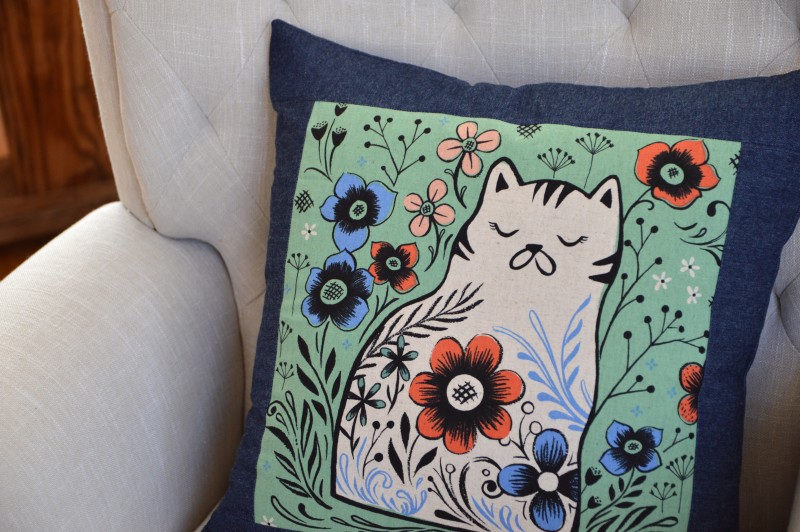
 I need another pillow like I need a hole in the head!! hahahaha!! Who doesn’t need this silly cat pillow on their couch during the month of October! I love looking into the family room and this kitty face is always smiling at me 🙂 Want to whip one up? You only need about 1 hour!!
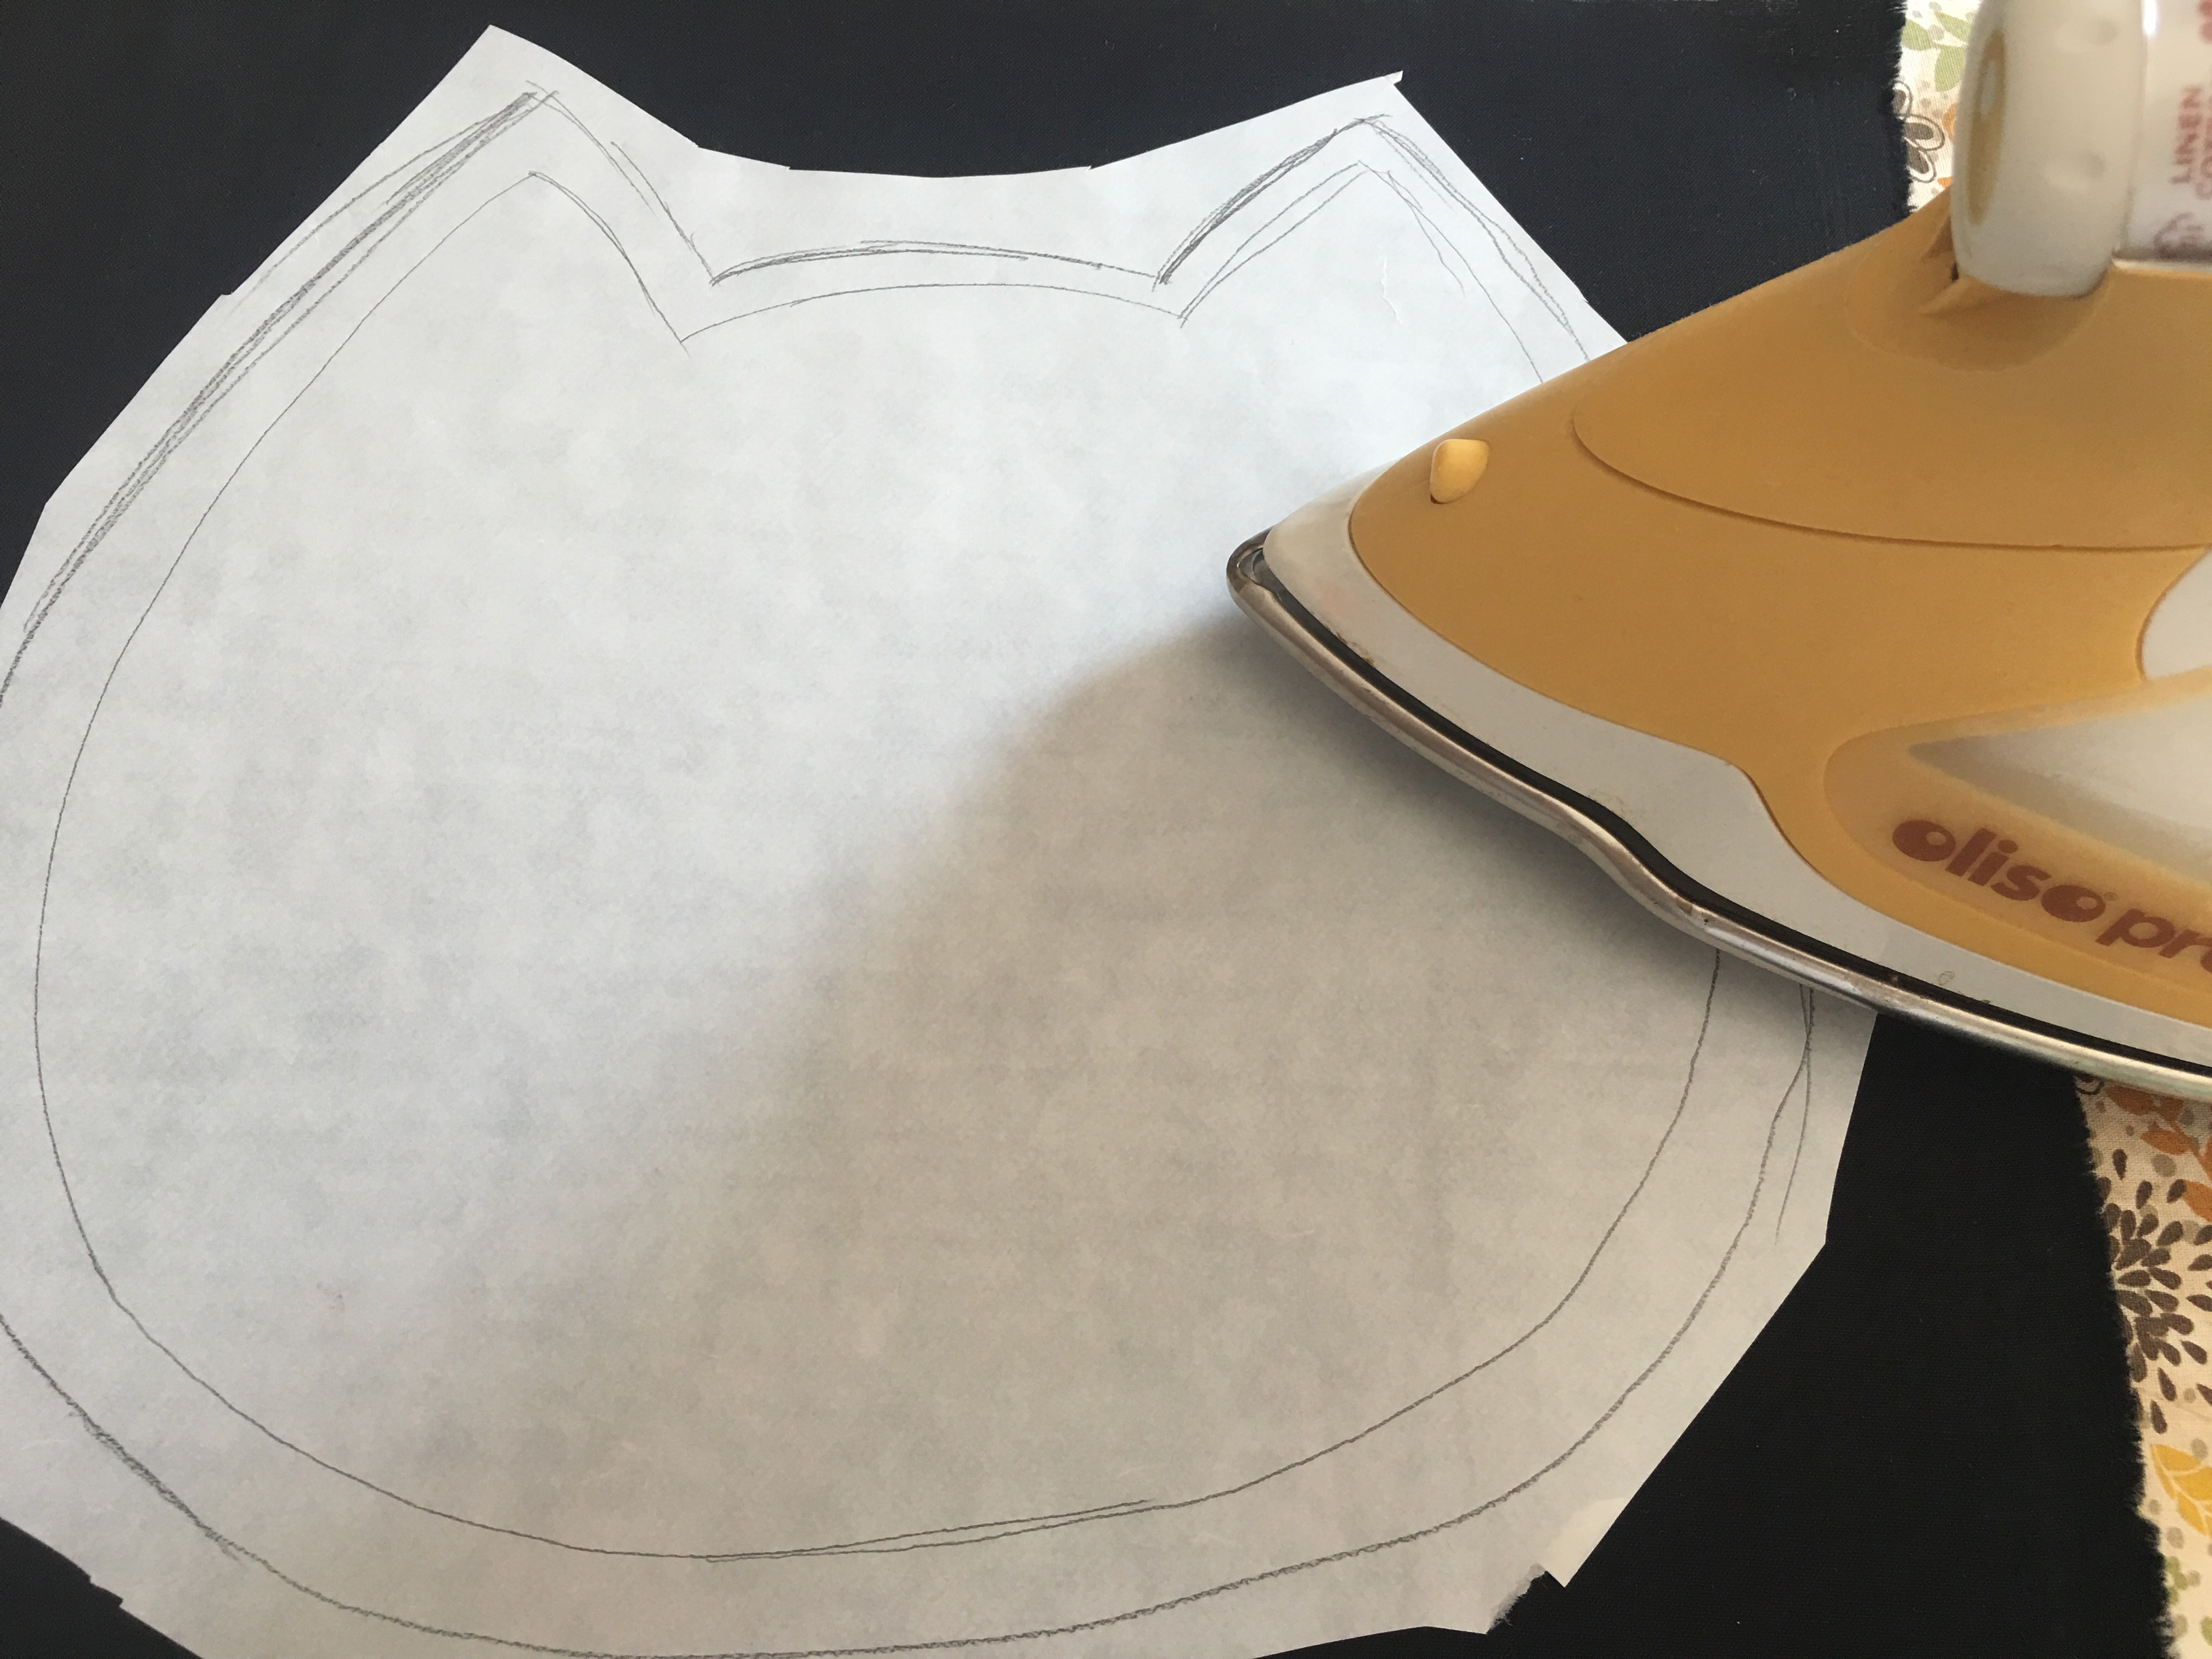


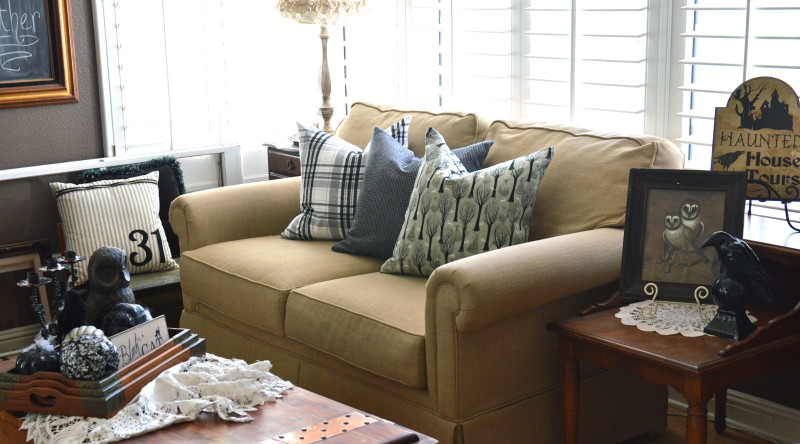
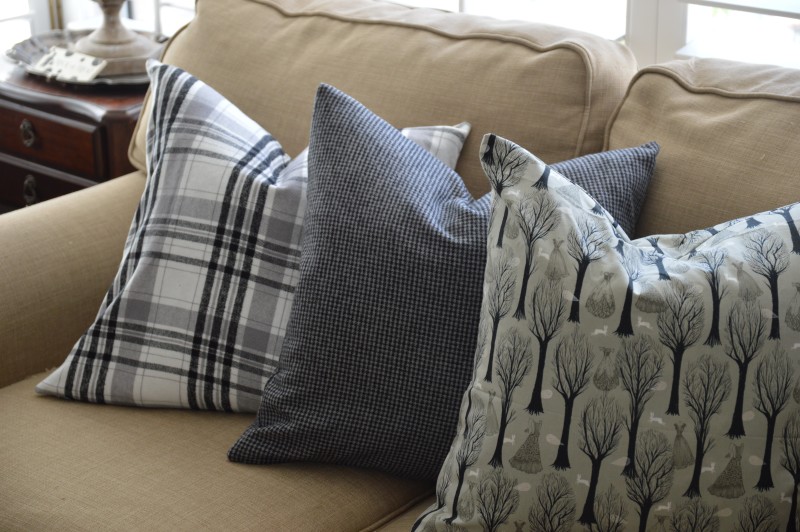

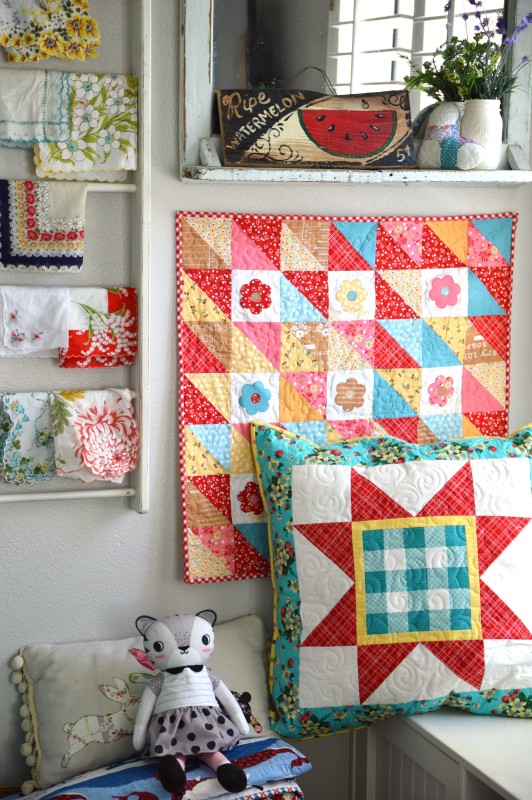
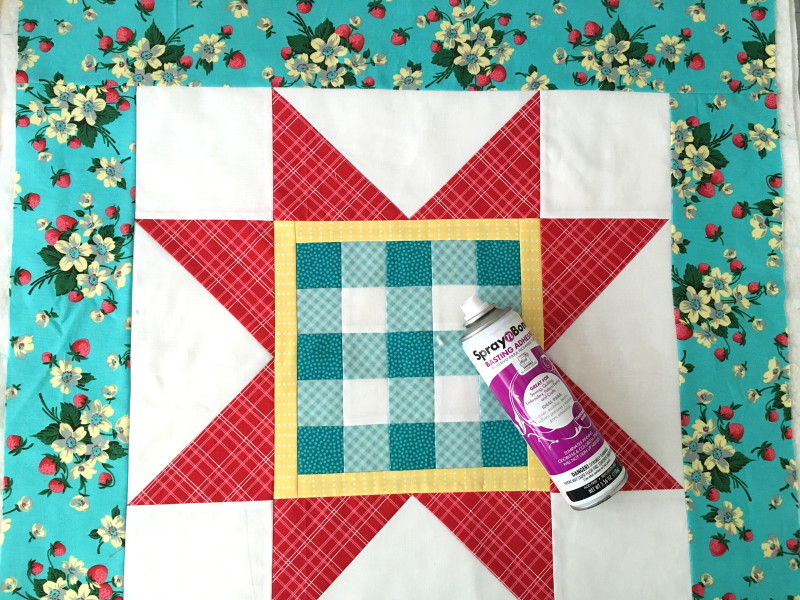
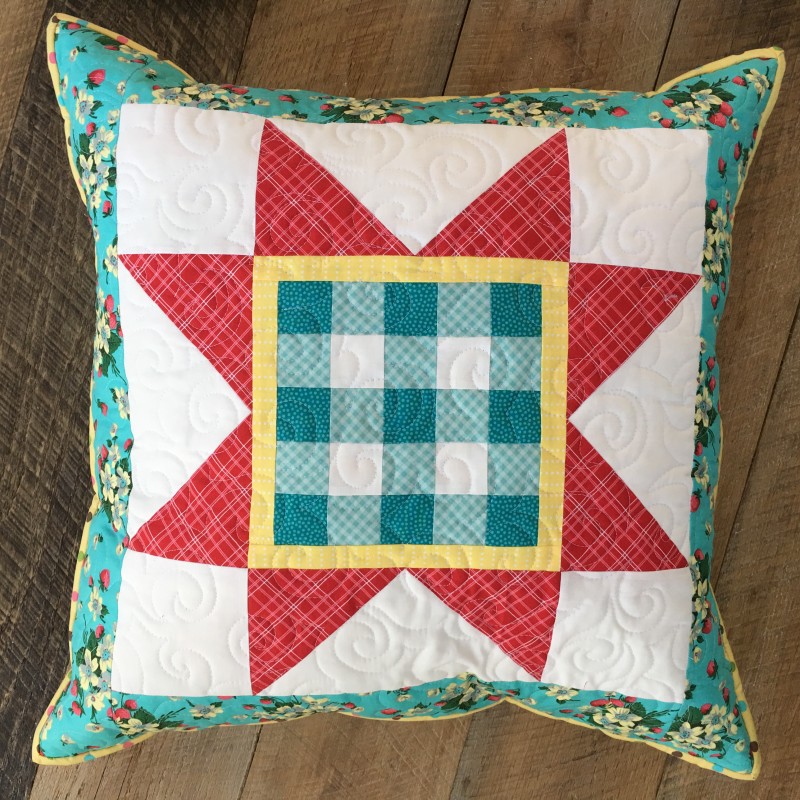
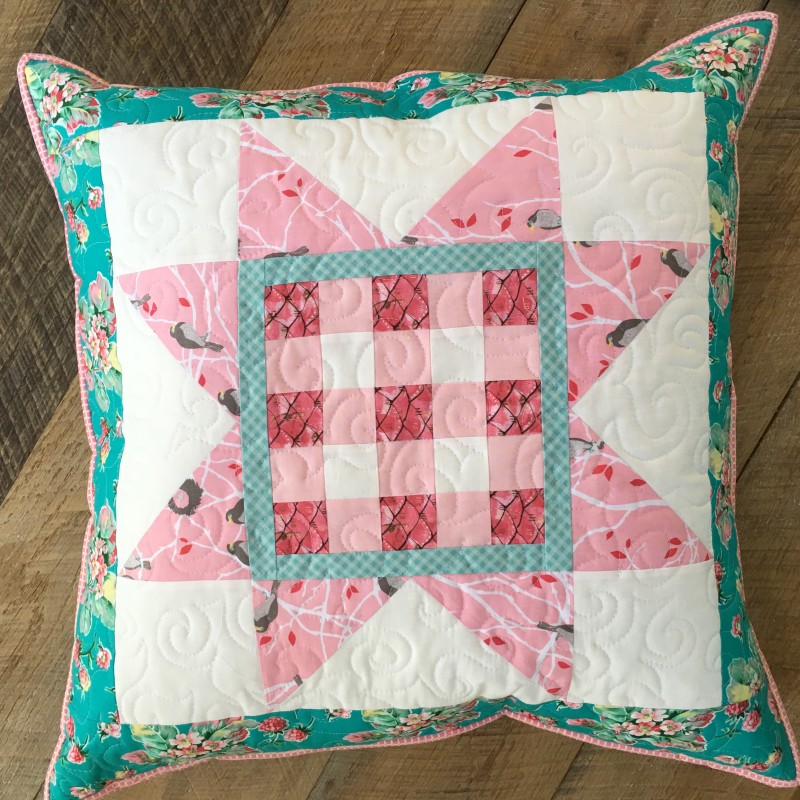
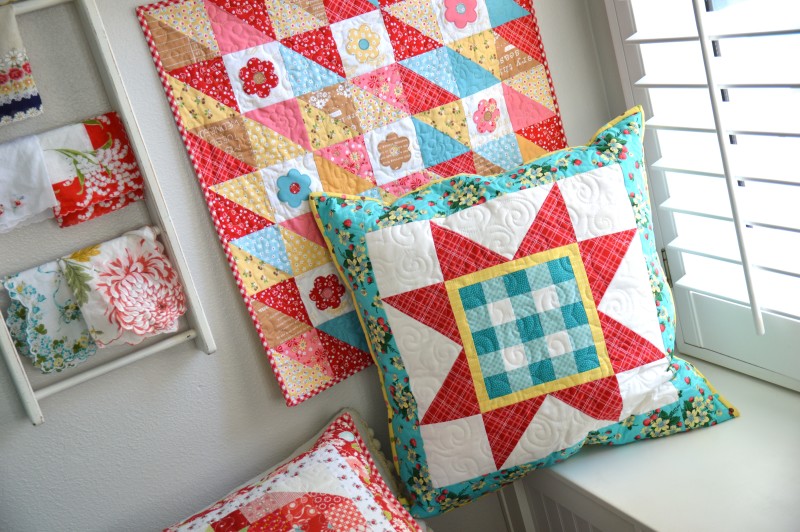
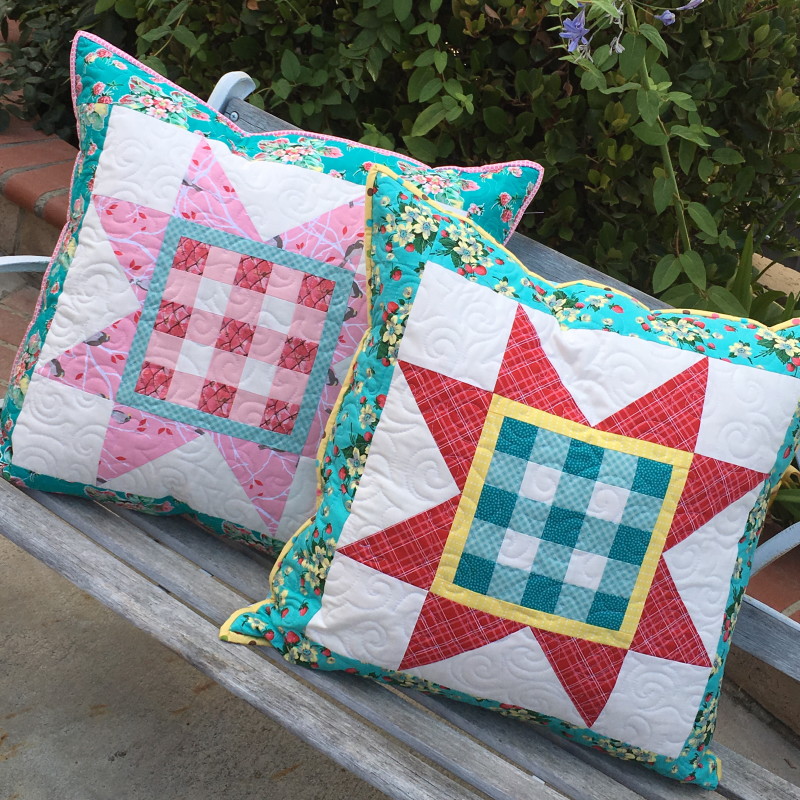

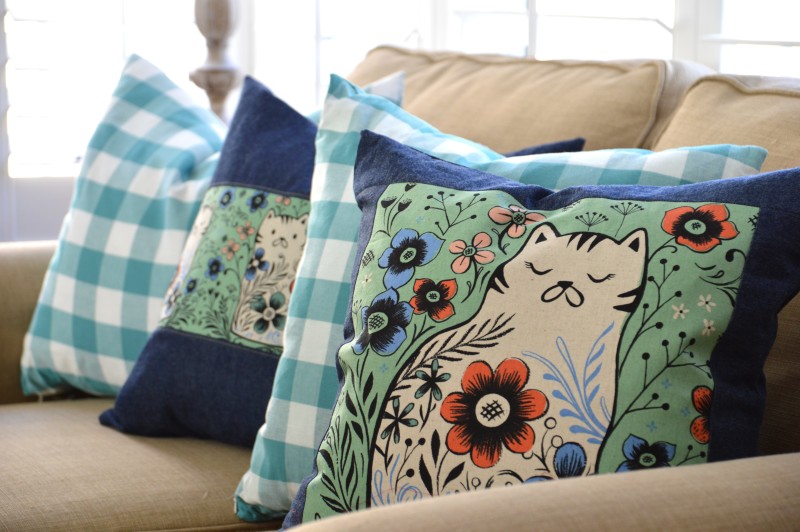
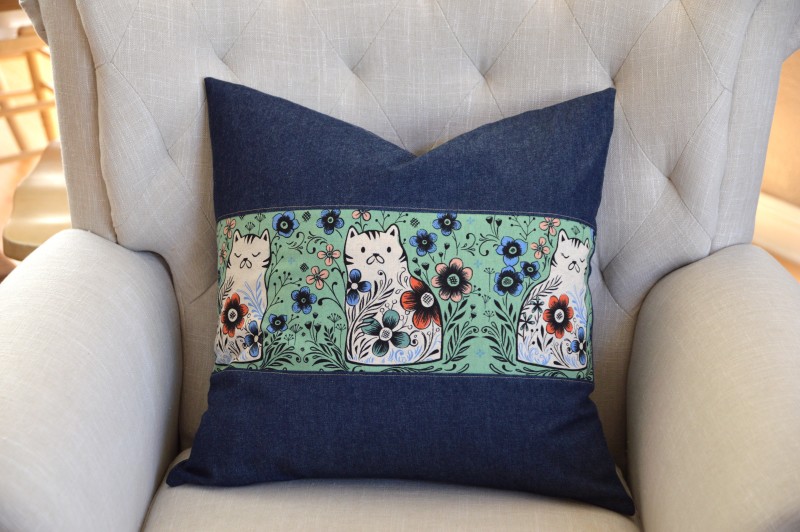
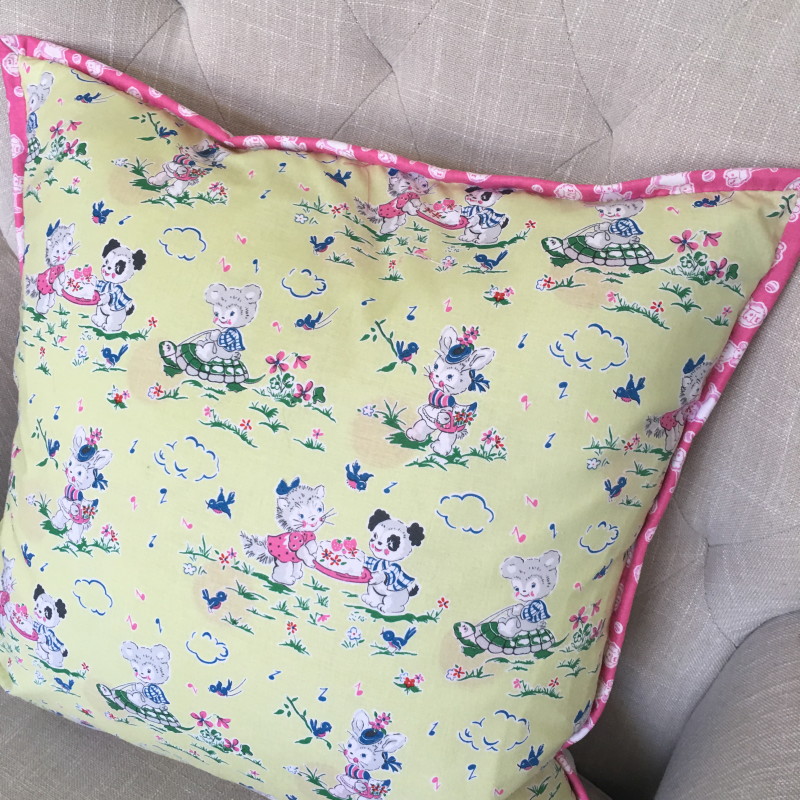
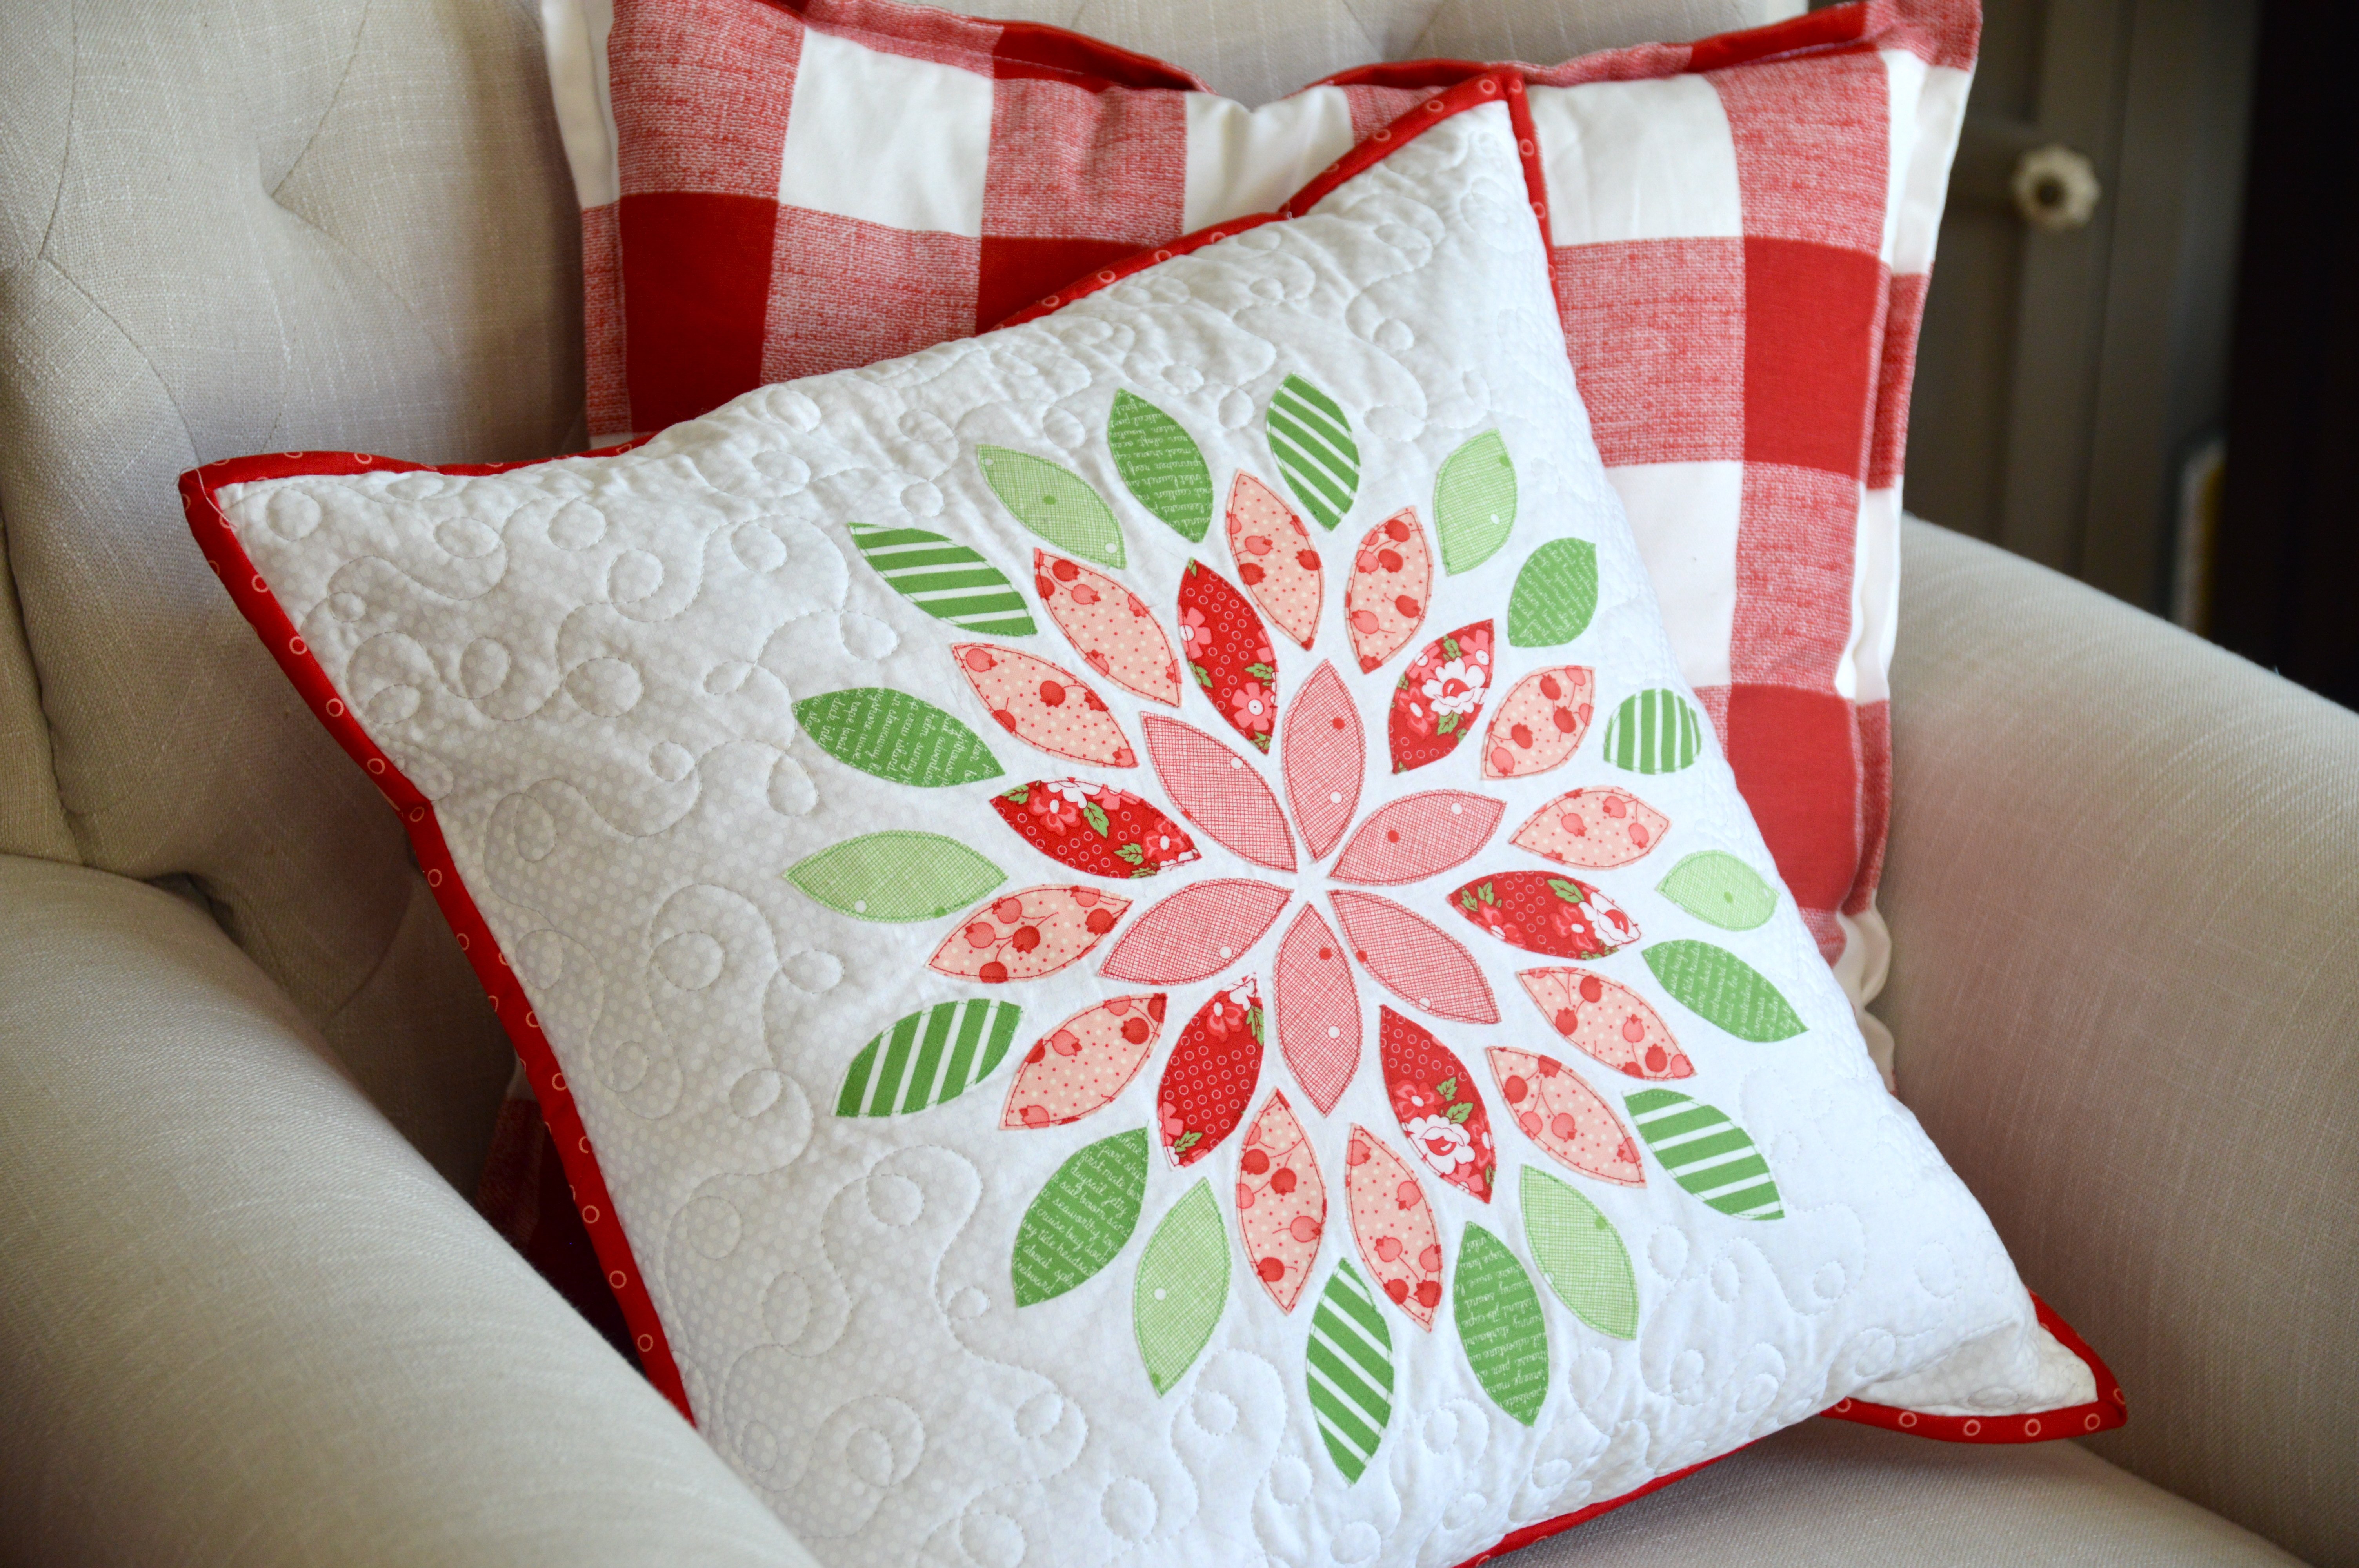
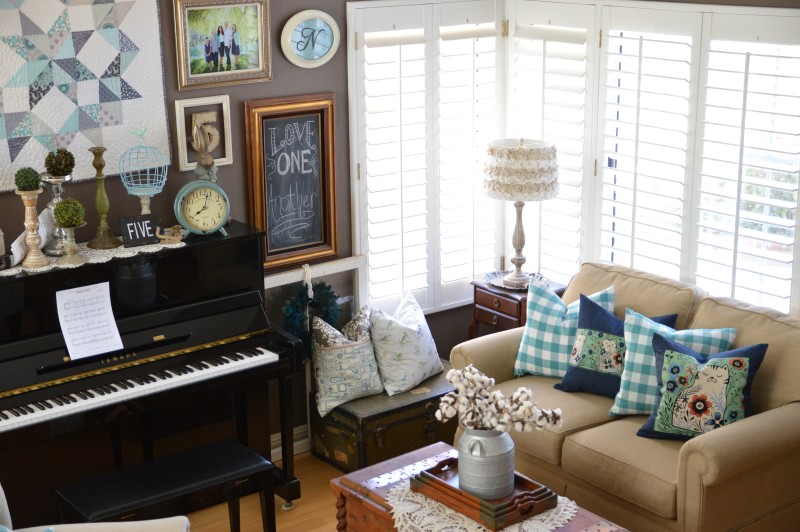 Freshening up your pillow decor is such a great summer activity – it doesn’t take very long but it makes you feel so happy to have something new in your home.

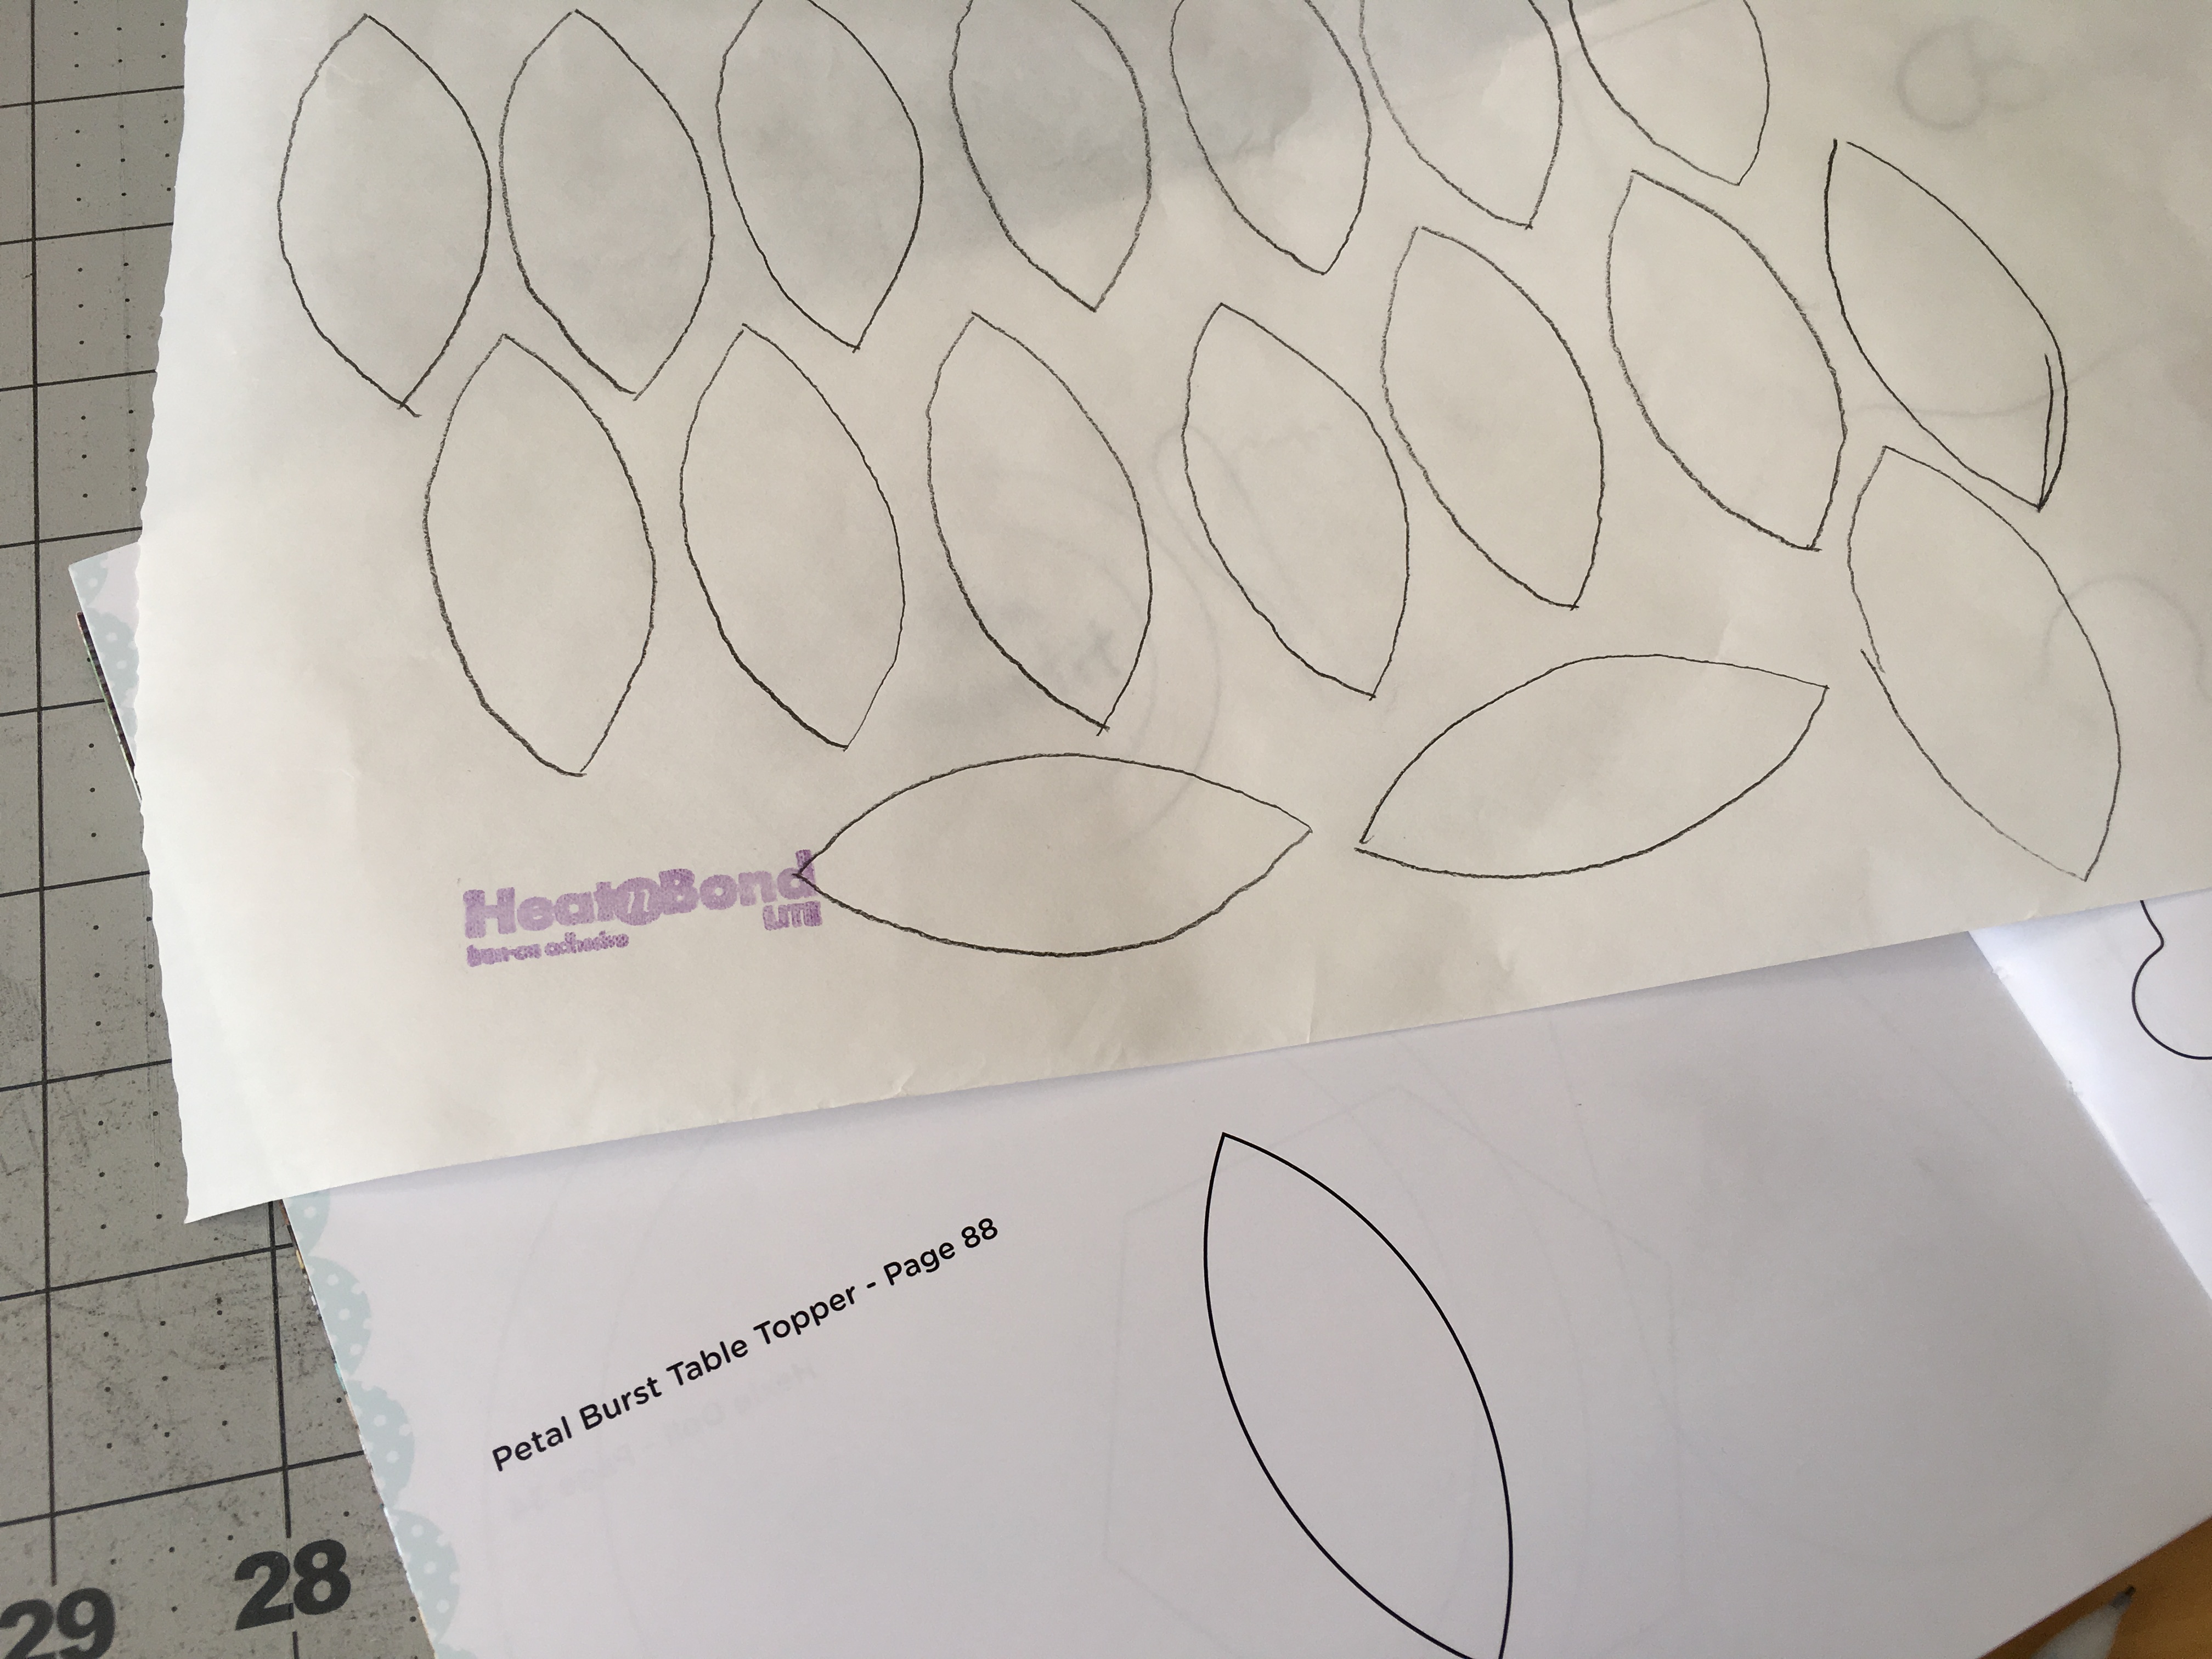
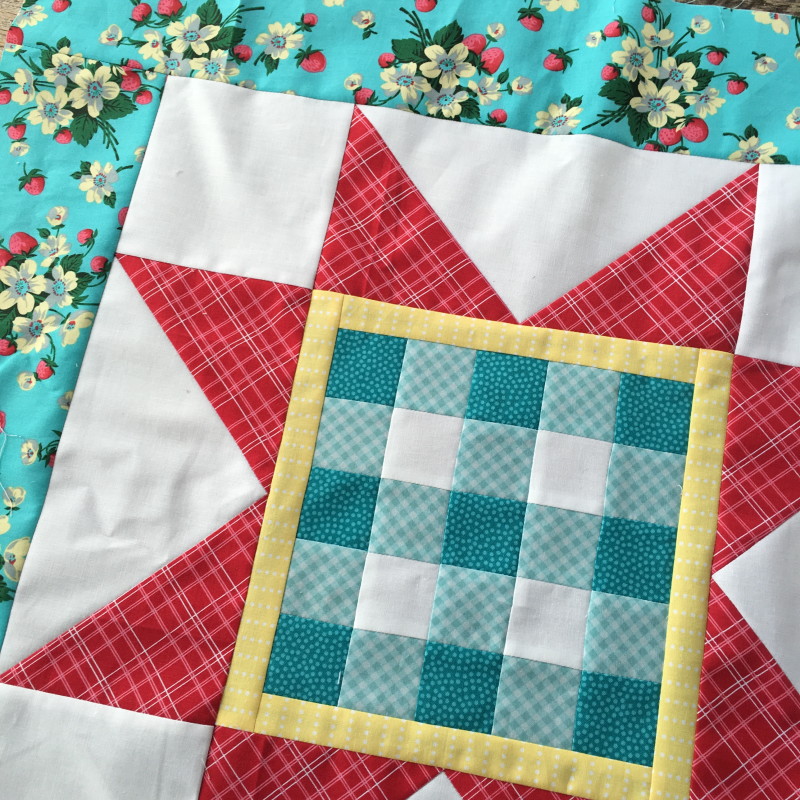
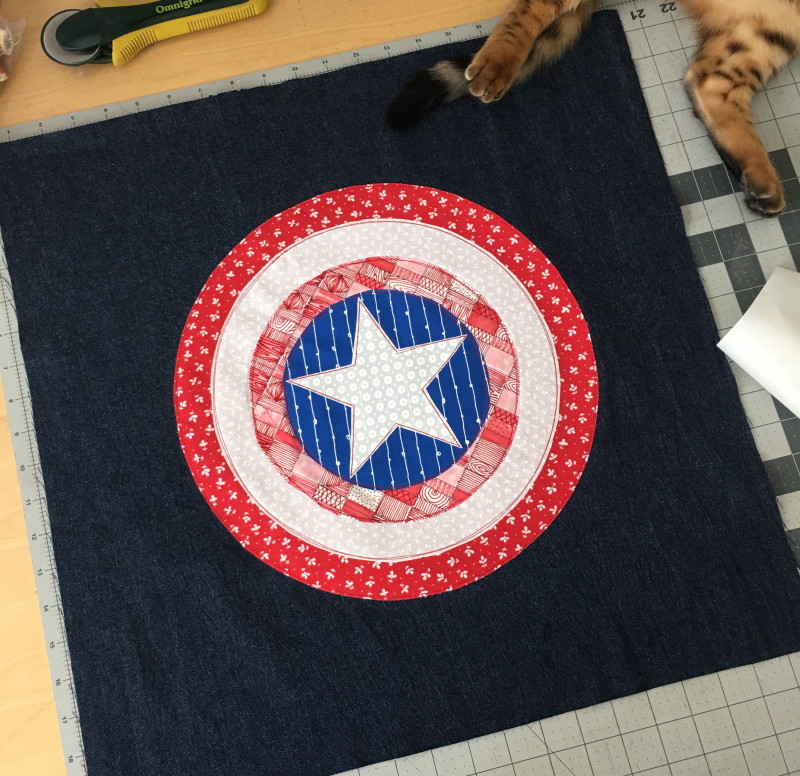
 For the 8″, 6″, and star shape you can click
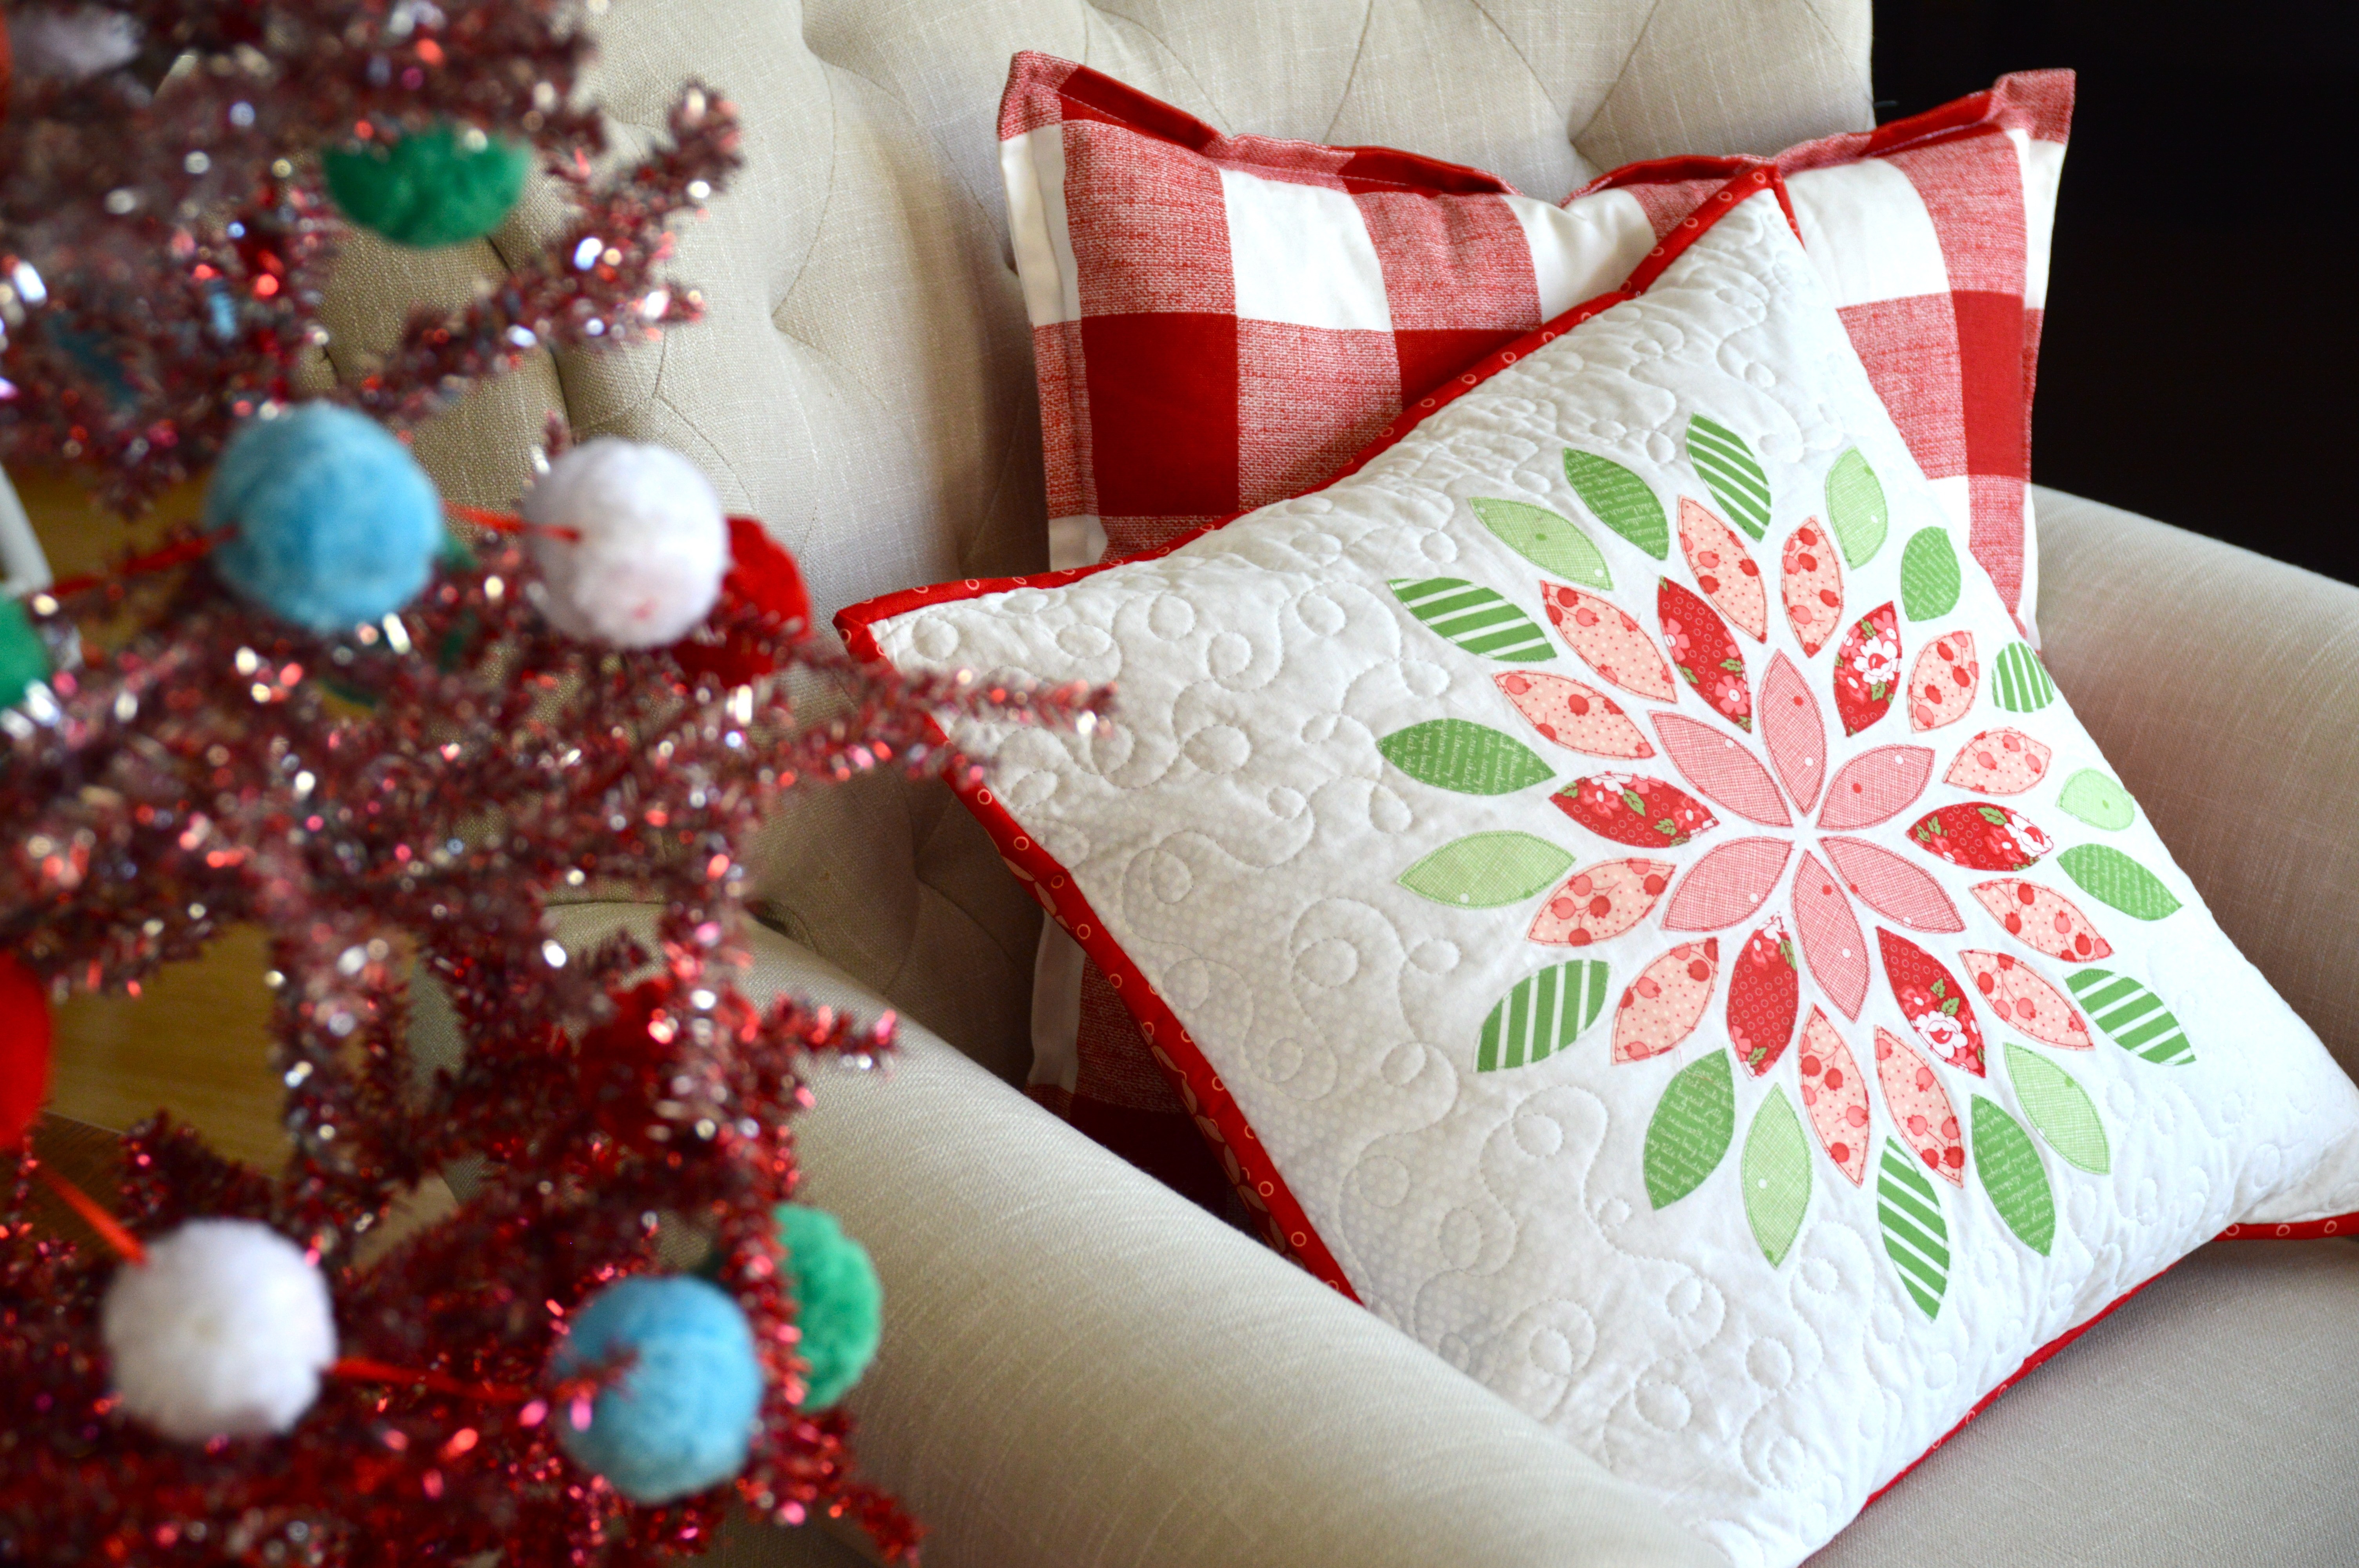
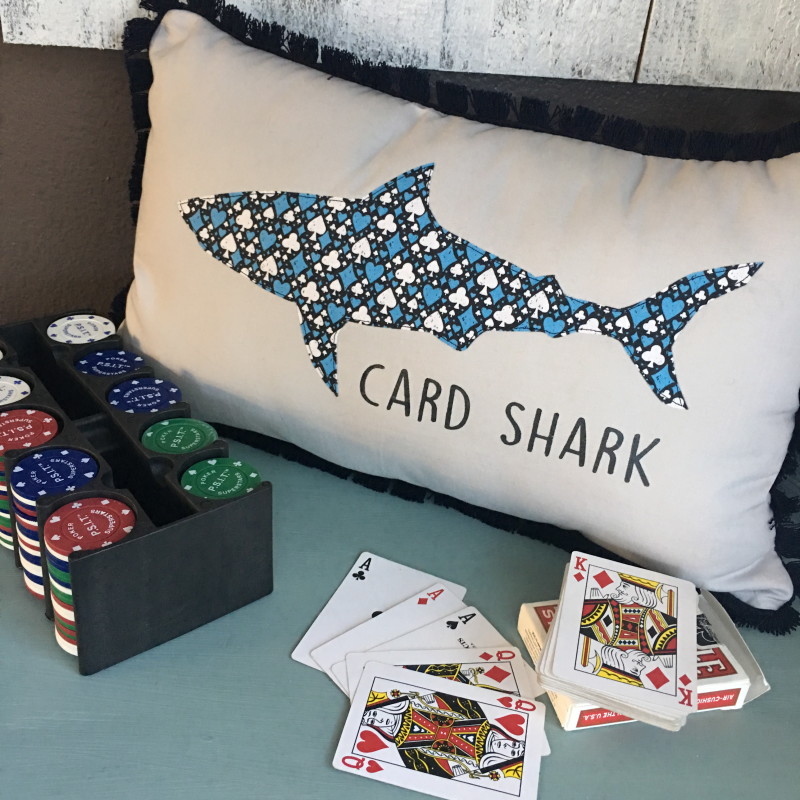
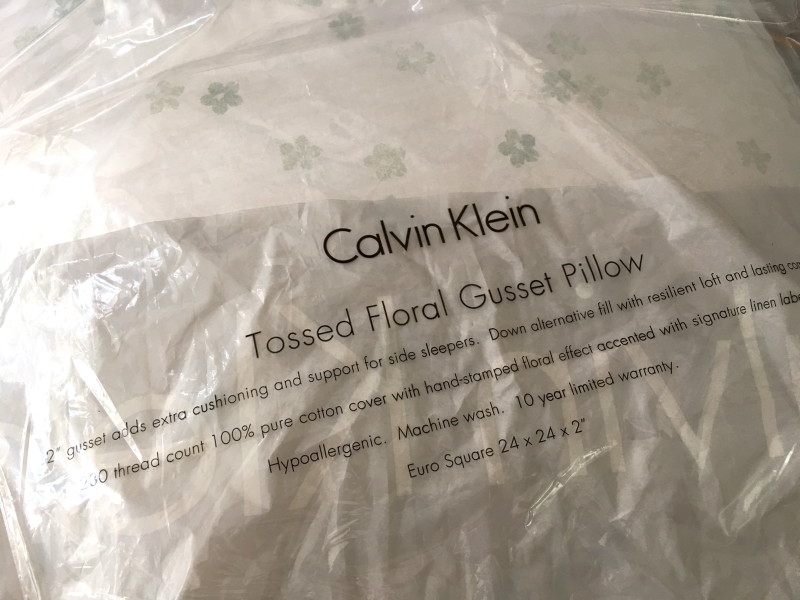
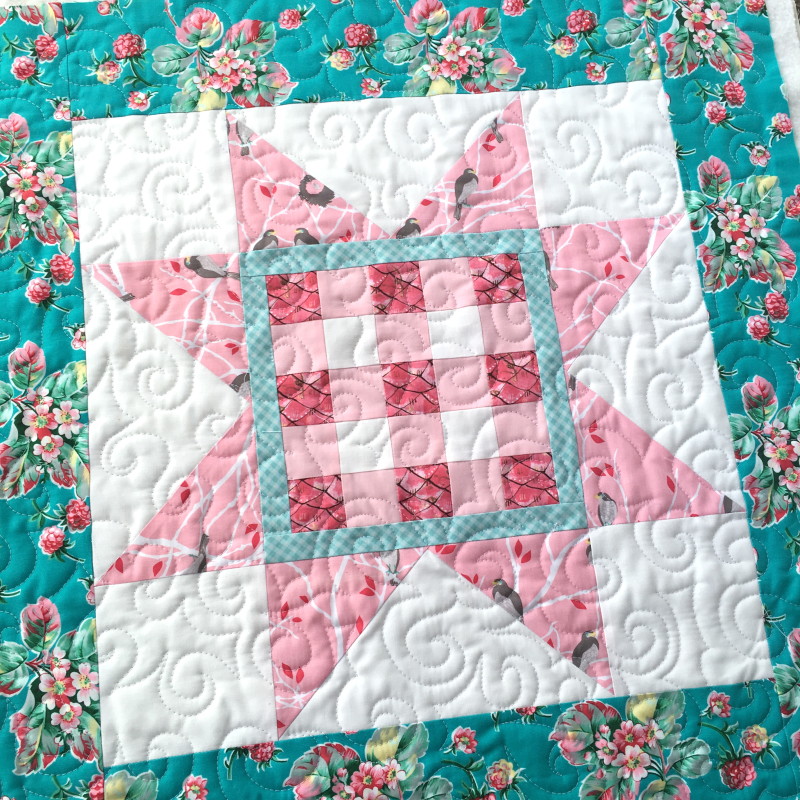
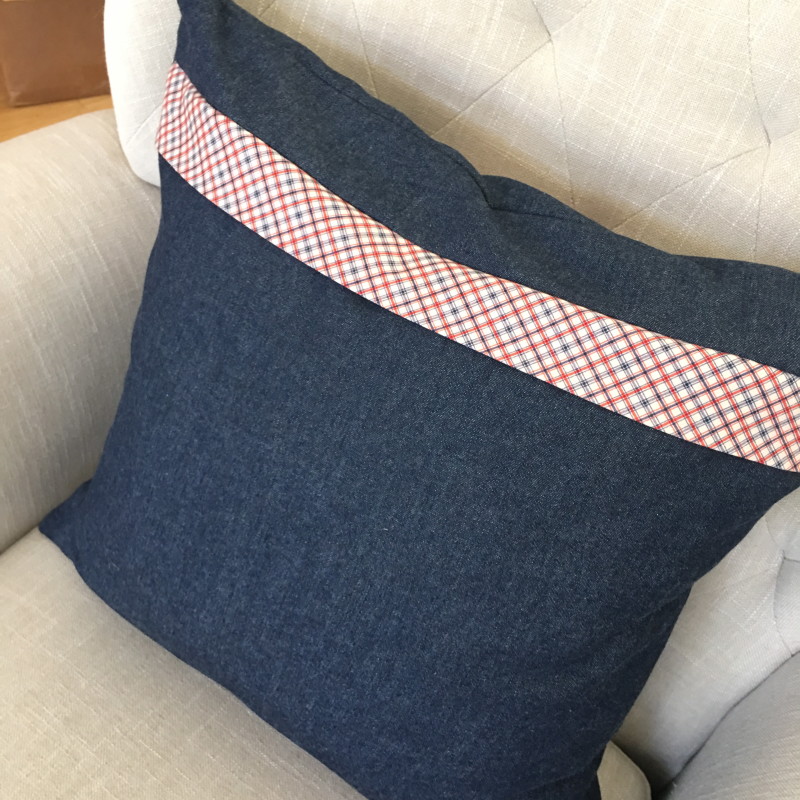 Insert the pillow form and you’re done! Ready to wrap and head to the party!!

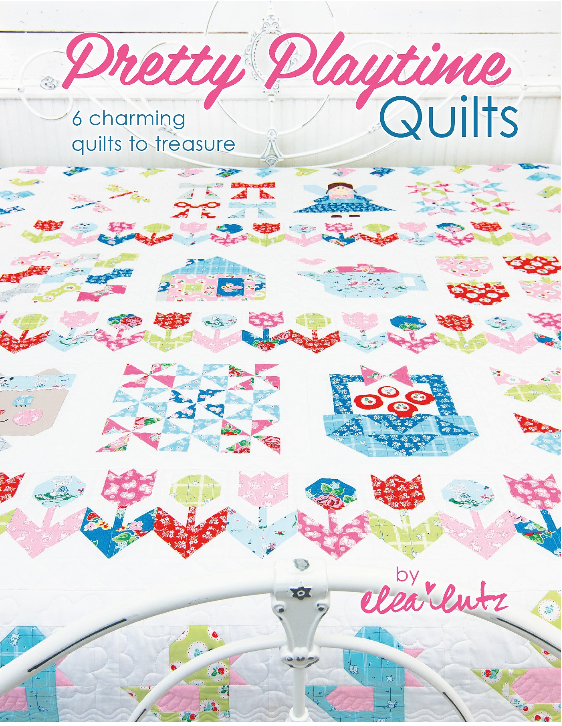
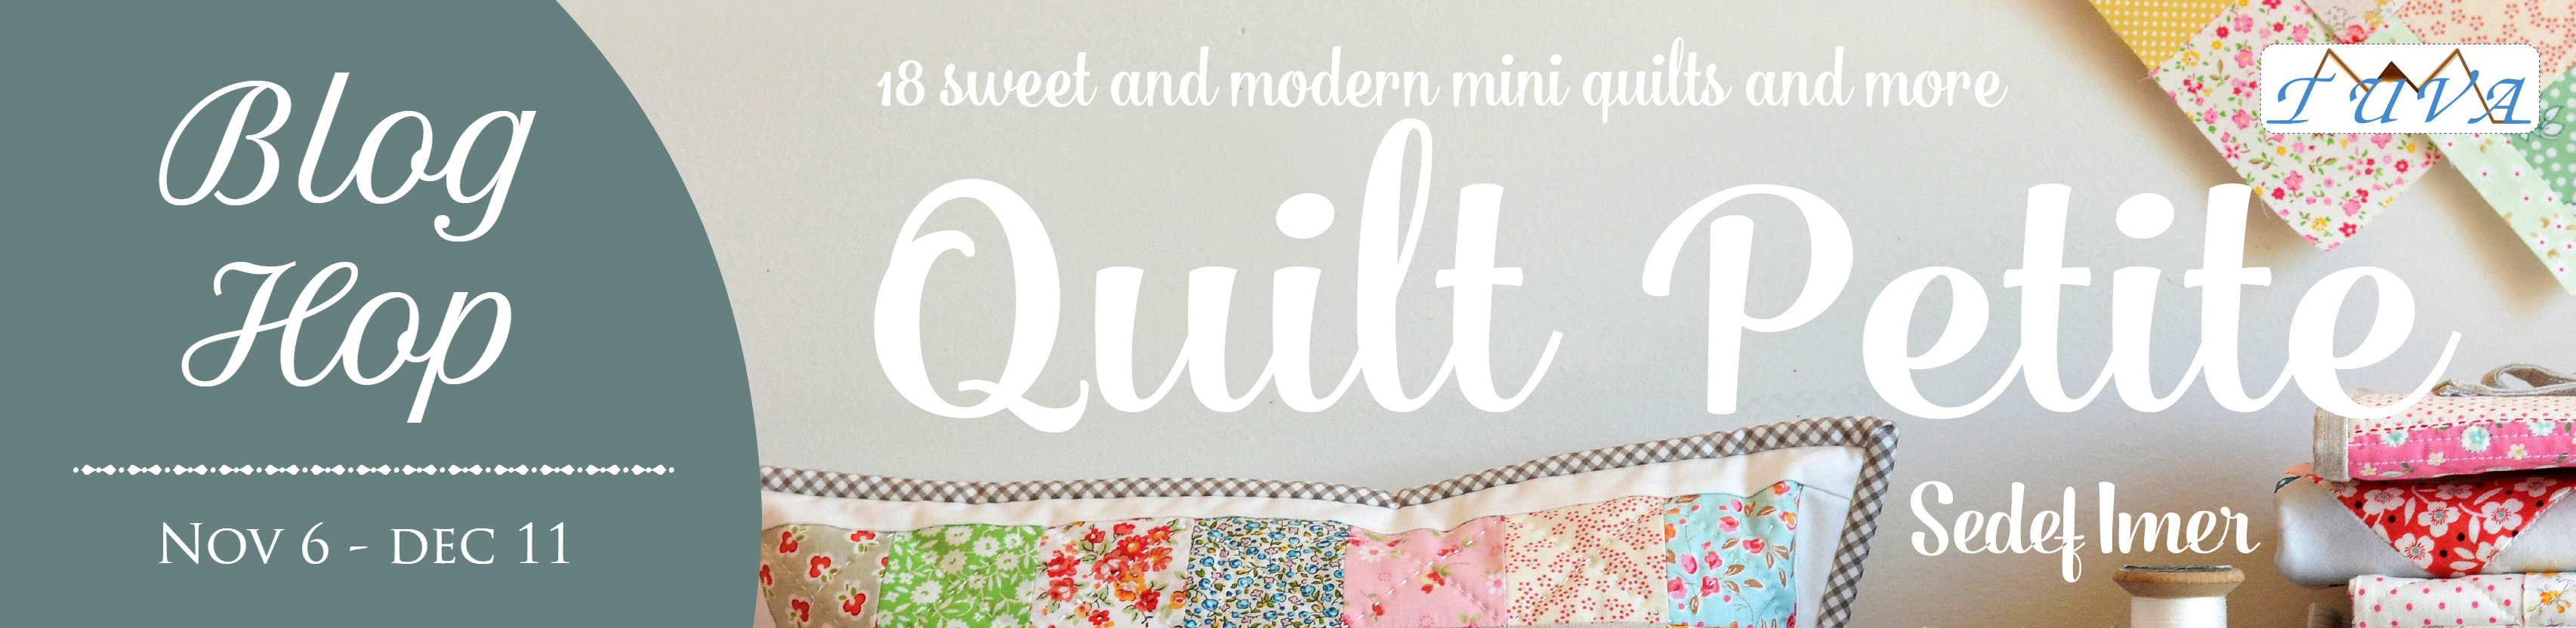
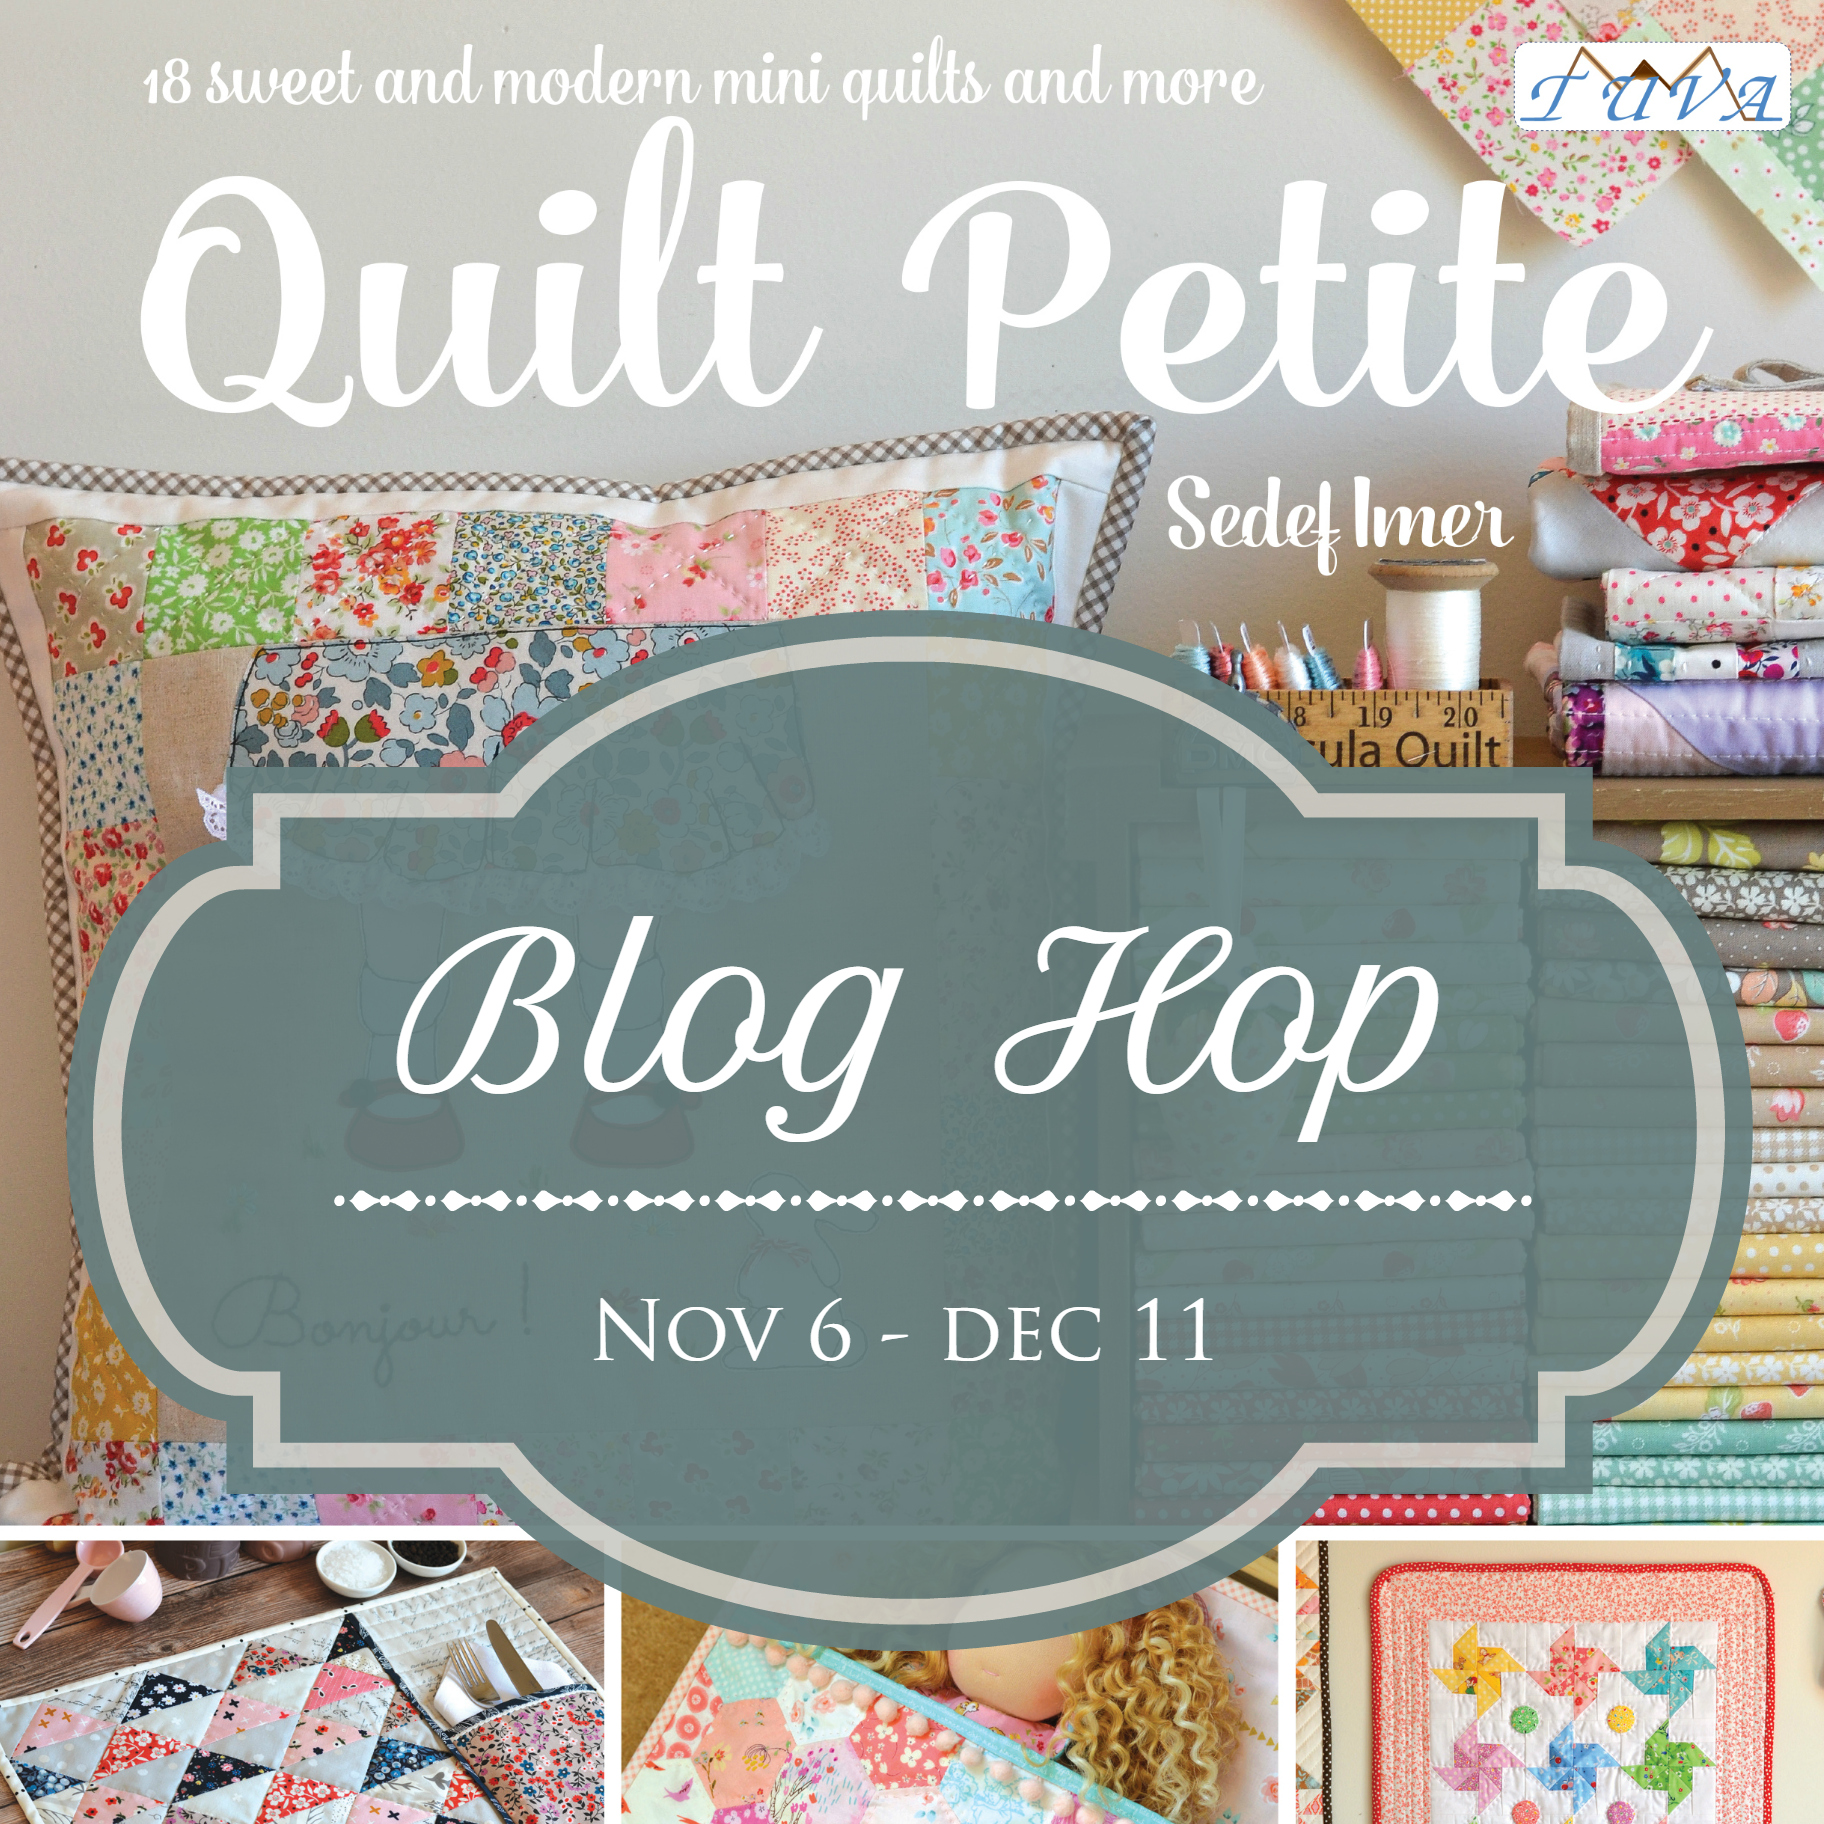
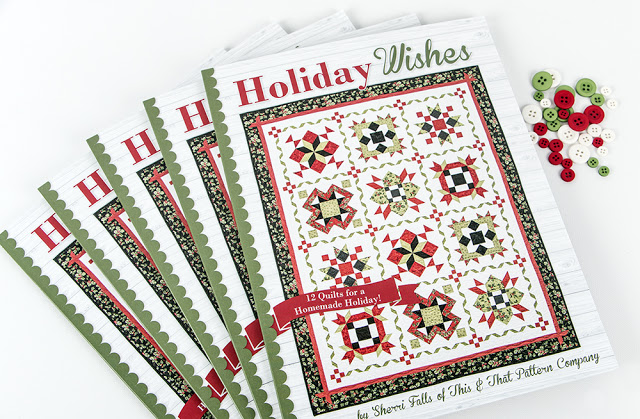
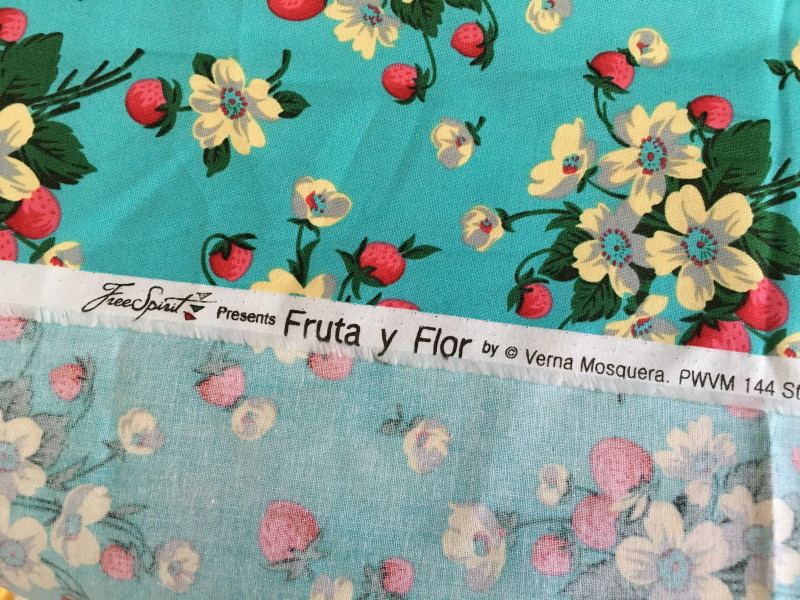
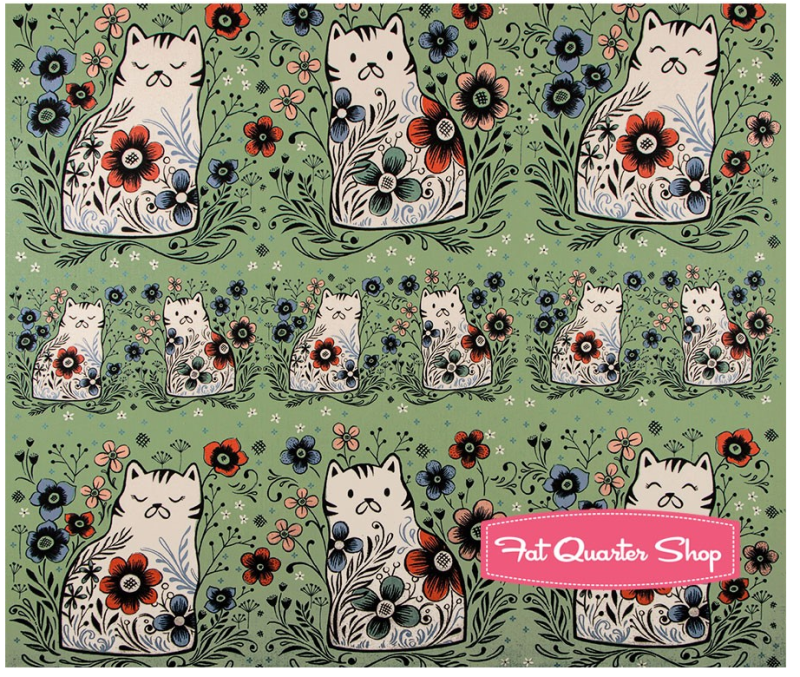
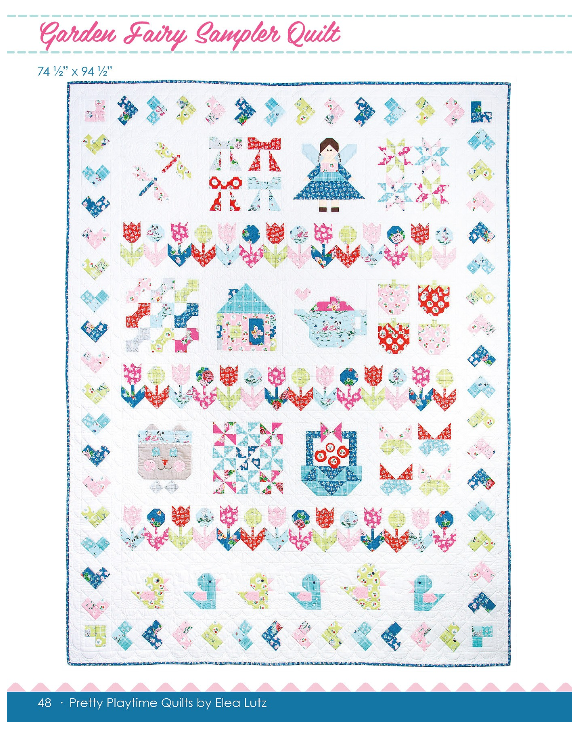 The fabrics used in the pattern book are from Elea’s fabric line